

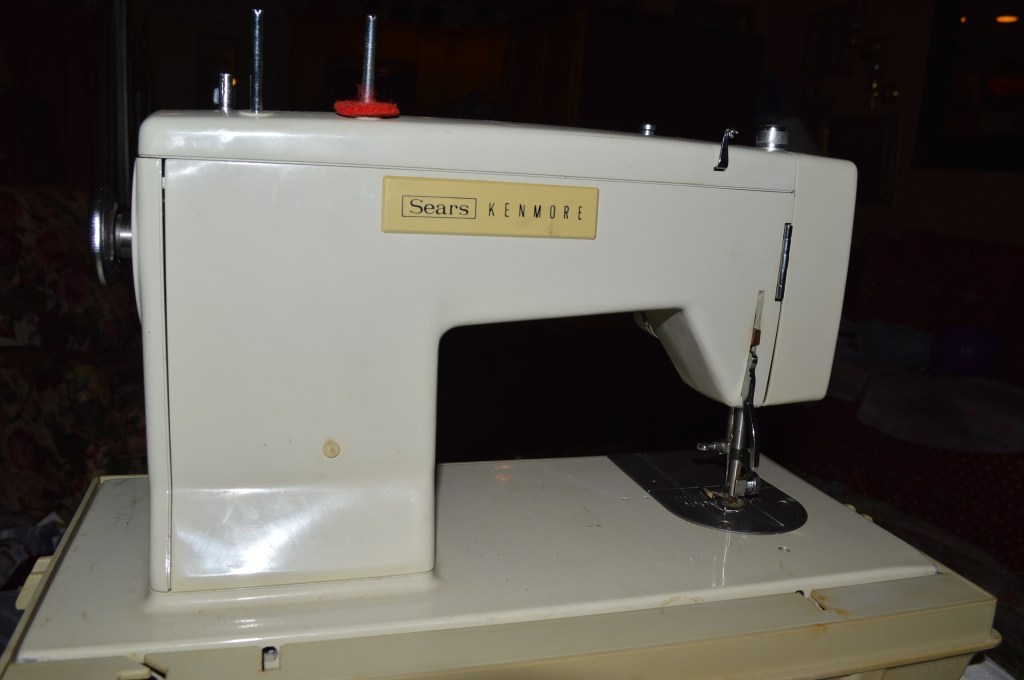
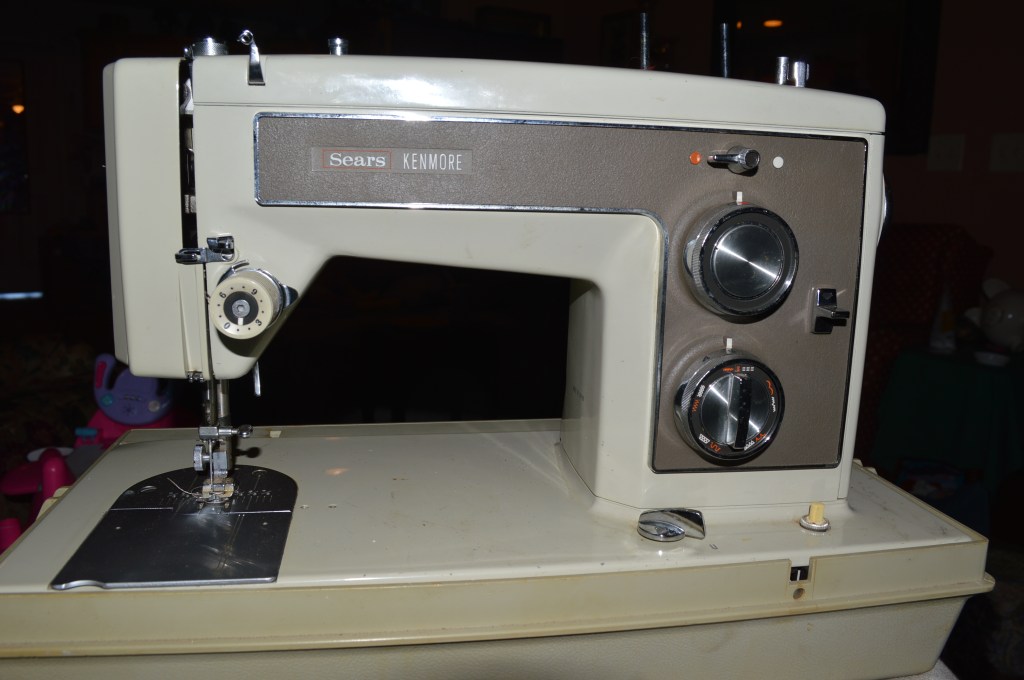
Up for restoration is another Kenmore! This model 1410 was manufactured in 1972-73 and is an all metal machine. I like this machine for several reasons. It is powerful with a 1,2 amp motor and double reduction belt drive, it has 11 stitches, including a good selection of stretch stitches and even a decorative “eye brow” stitch… that’s probably not the name of the actual stitch, but it’s what my Wife calls it. It has a class 15 front loading vertical bobbin and uses a standard 15×1 needle. It is twin needle capable, has drop feed dogs, and a drive mechanism for the excellent button hole attachment, and others.
Typical of this vintage Kenmore that I restore, the finish is in great condition. There are a few small chips here and there, but nothing that captures the eye. The machine is in good mechanical condition, the drive mechanisms are generally clean and devoid of the brown oil varnish I so often see. I have some extra time and I’m in no rush, so I decided to take this restoration a little further for this machine. I want to see what lurks inside of the rotating parts. I don’t expect to find much, because as a general rule, Kenmore’s are pretty clean in these areas. But, I’m going to disassemble the needle bar, presser foot bar, and the feed dog connecting rod cap, and the entire rotating assembly in the head of the machine. The motor and tension mechanisms will be restored, and the gear box will be cleaned and re-greased. The balance wheel has yellowed and will be restored to it’s original color.
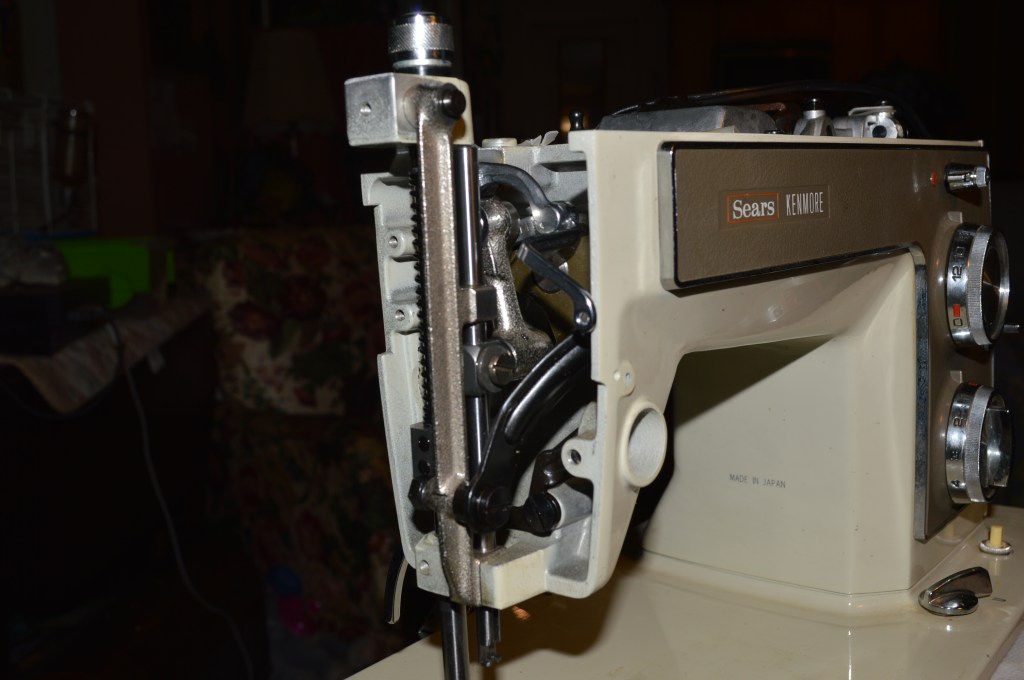
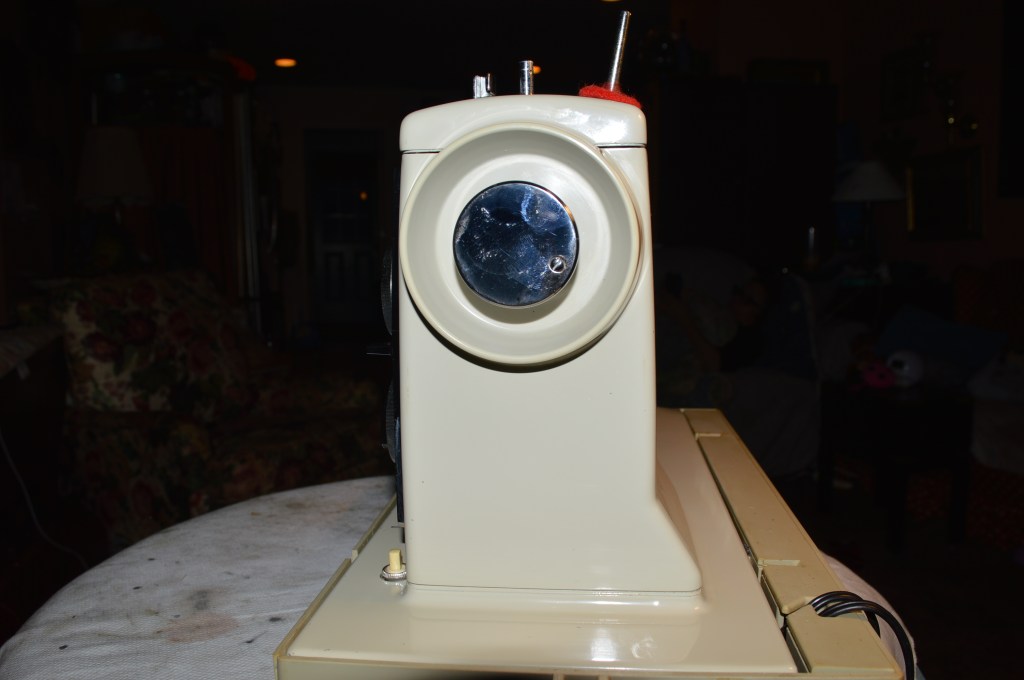
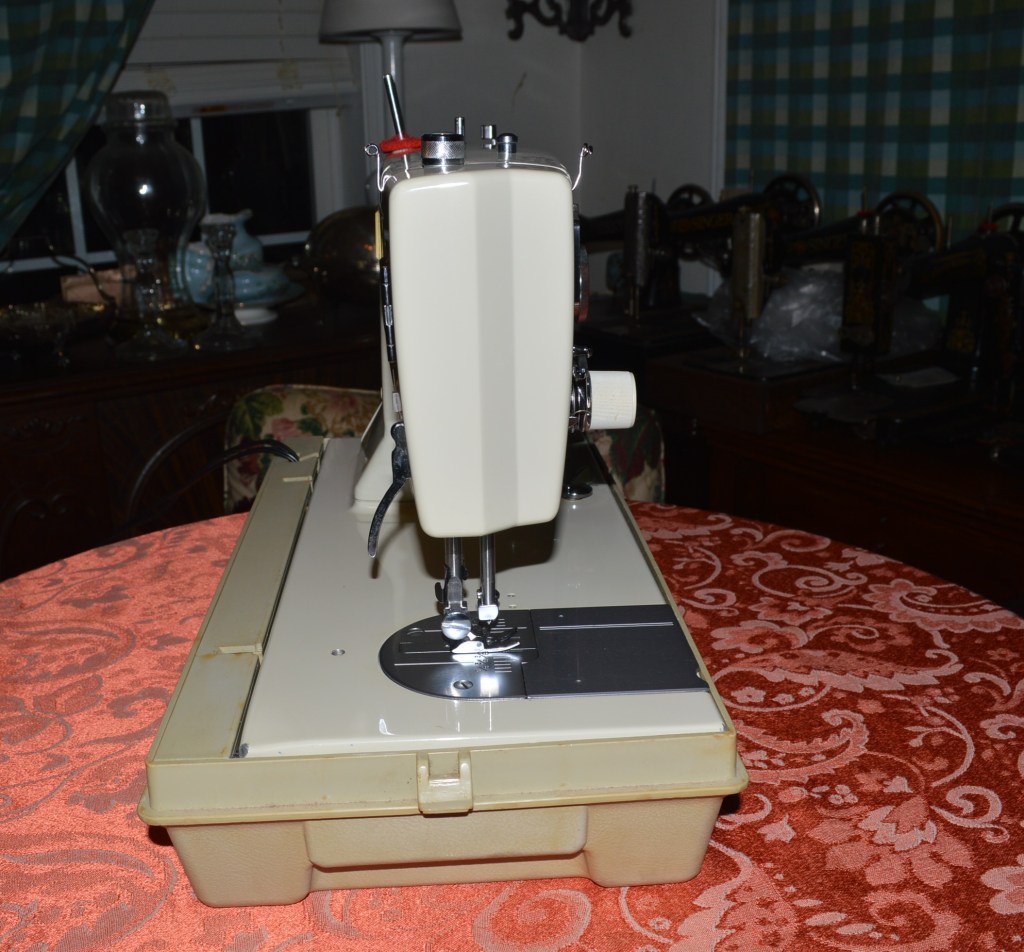
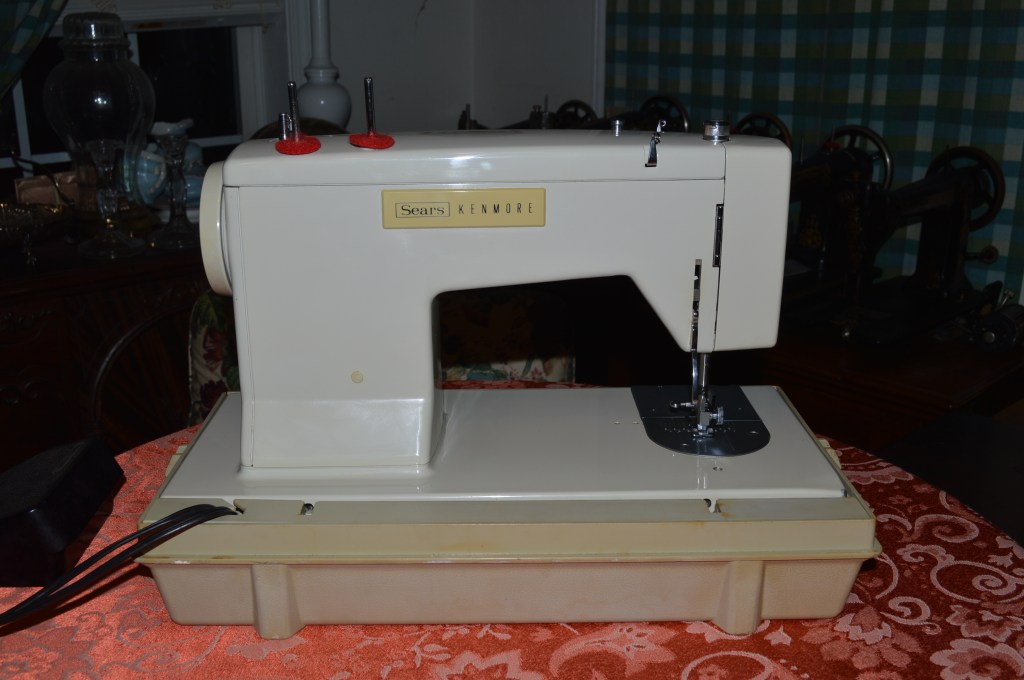
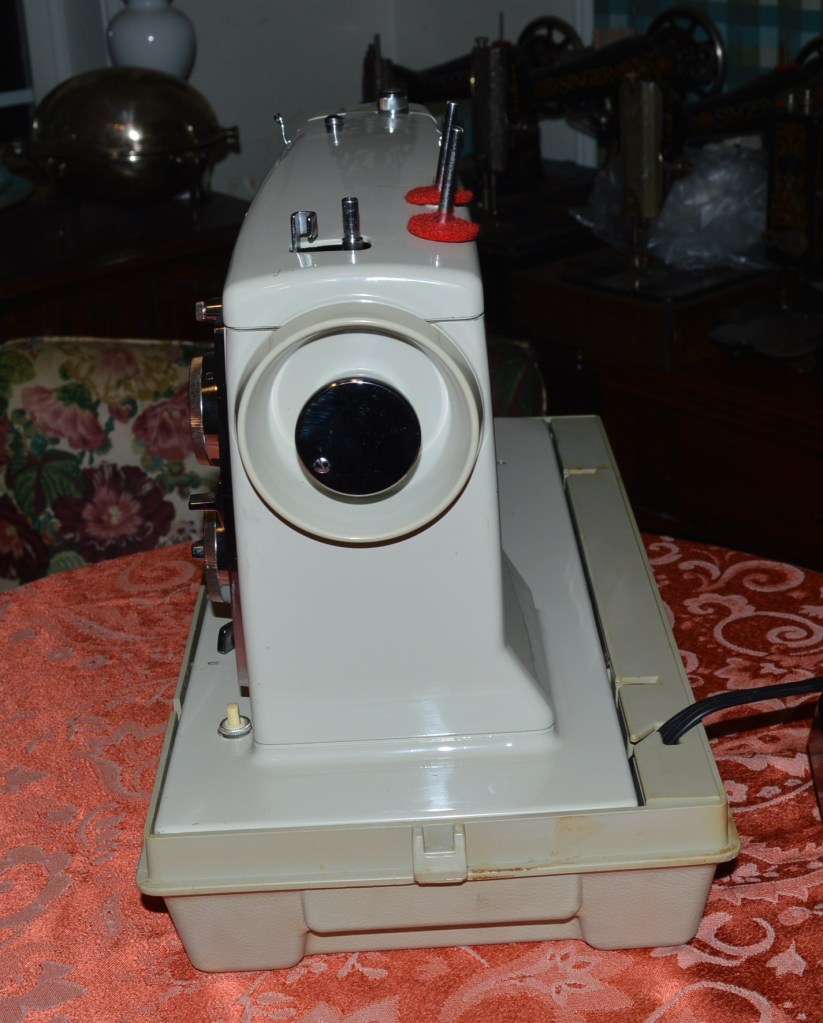
Here is the machine before restoration.


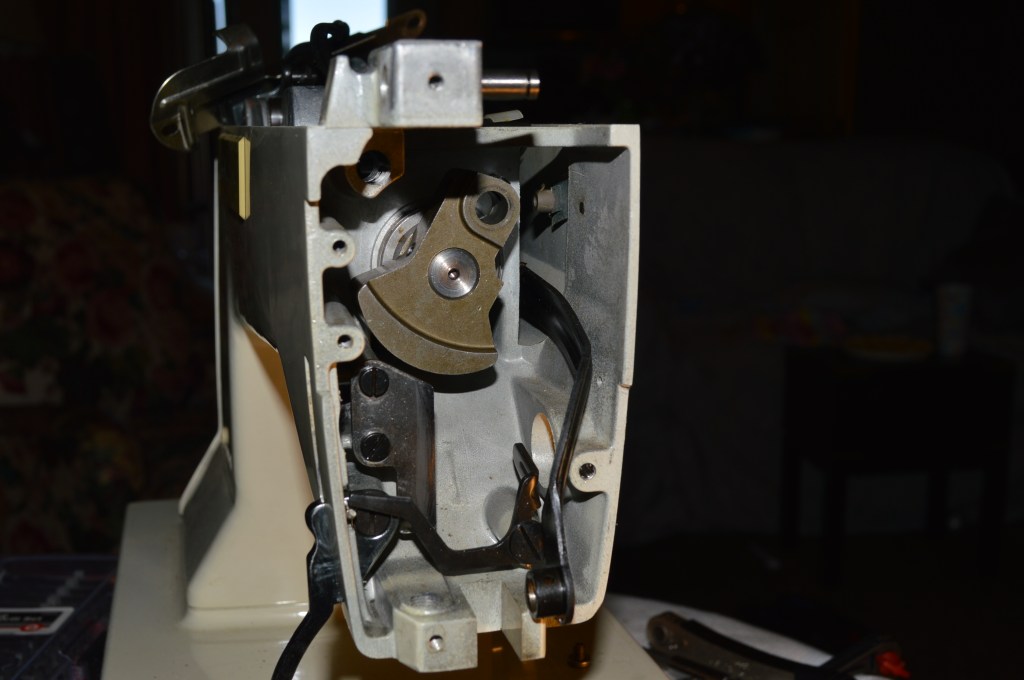
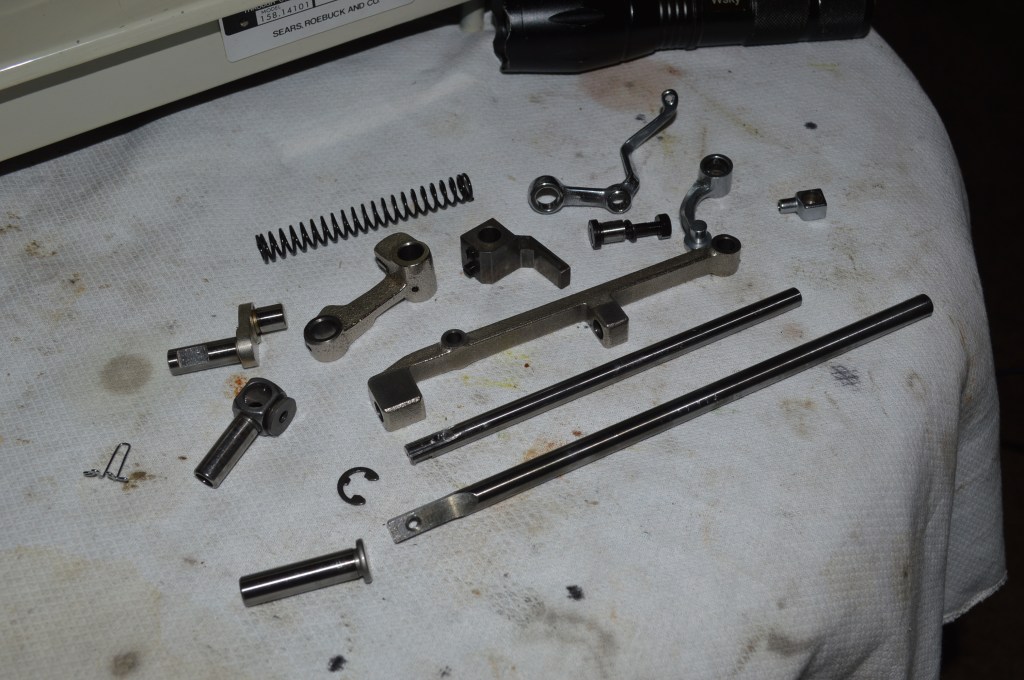
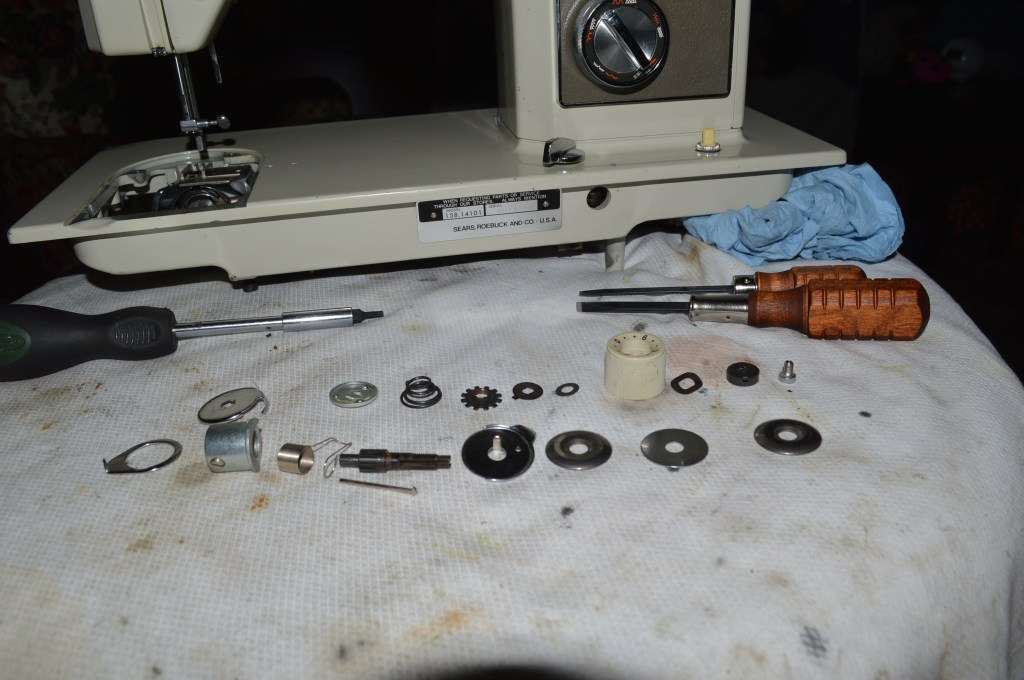
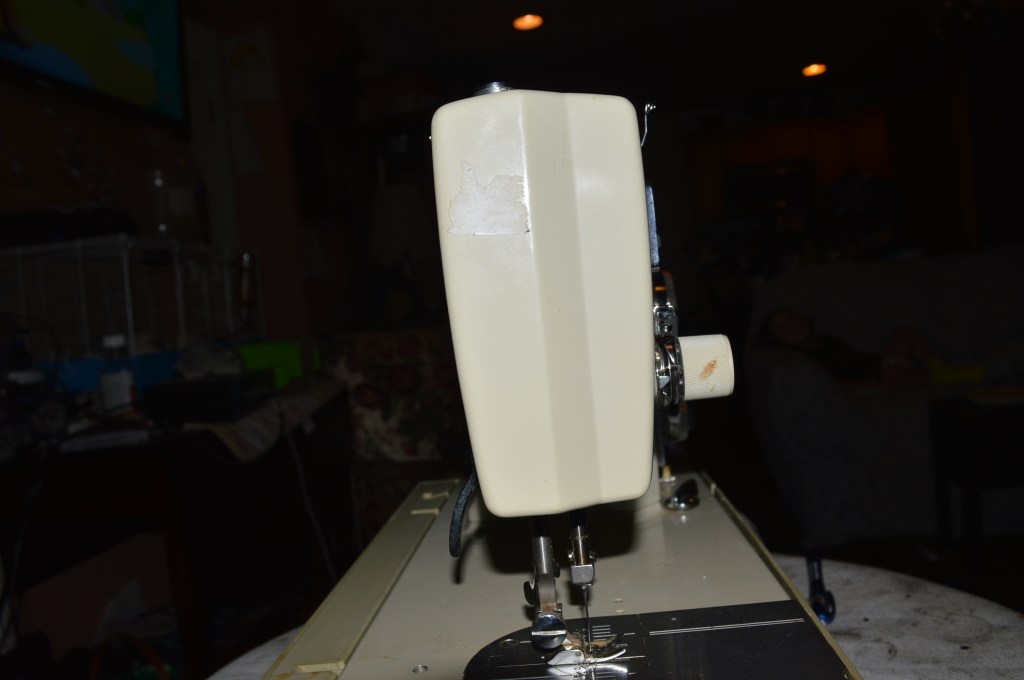
The first step is to disassemble the sewing machine head.

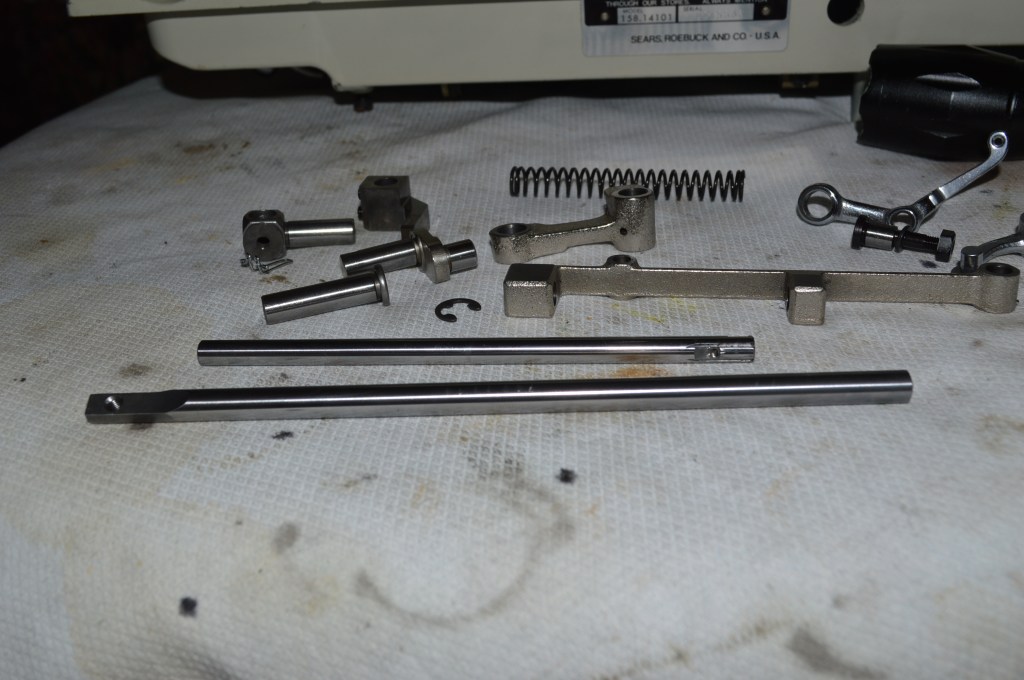
The parts are laid out for ultrasonic cleaning… but they don’t look bad at all.
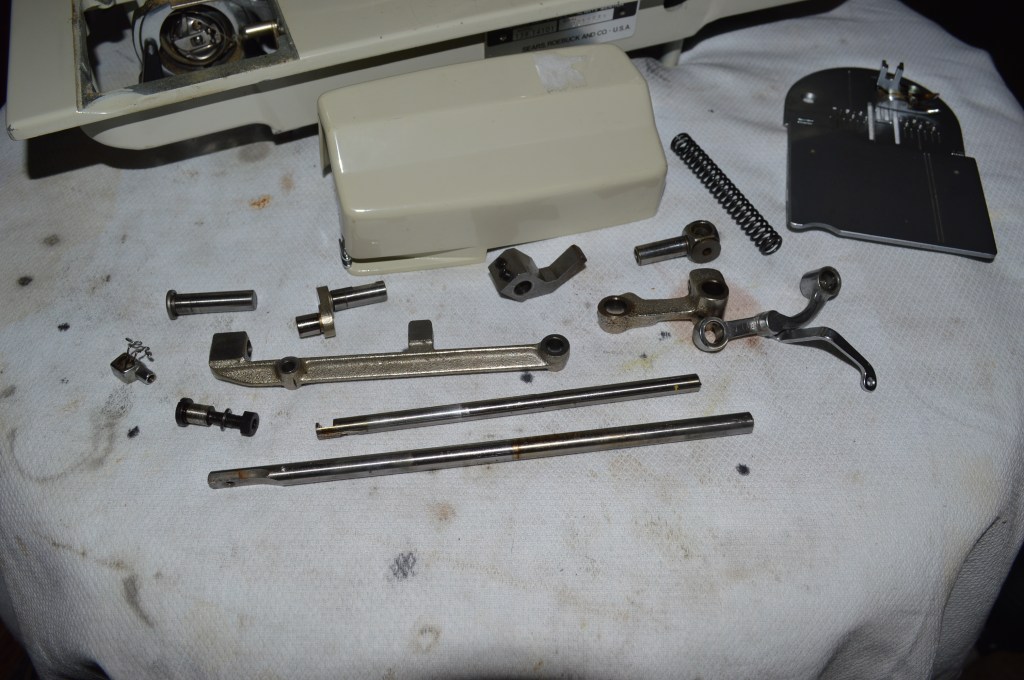
After cleaning the parts are wire brushed for good measure.
Then the needle bar and presser foot bar are polished smooth as glass.
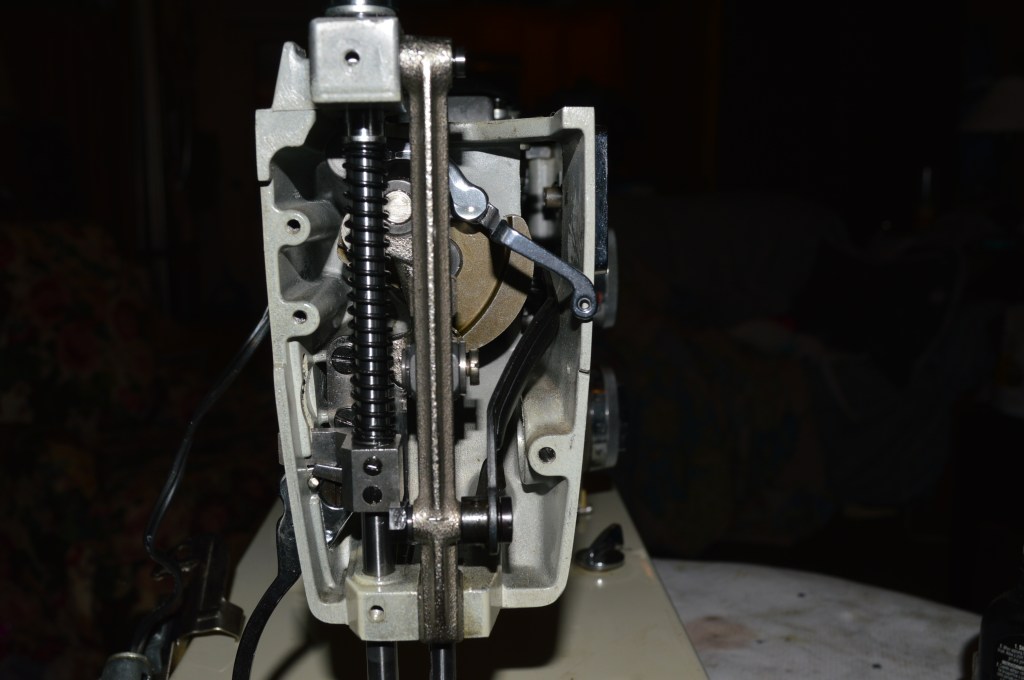
These parts are reassembled in the machine.
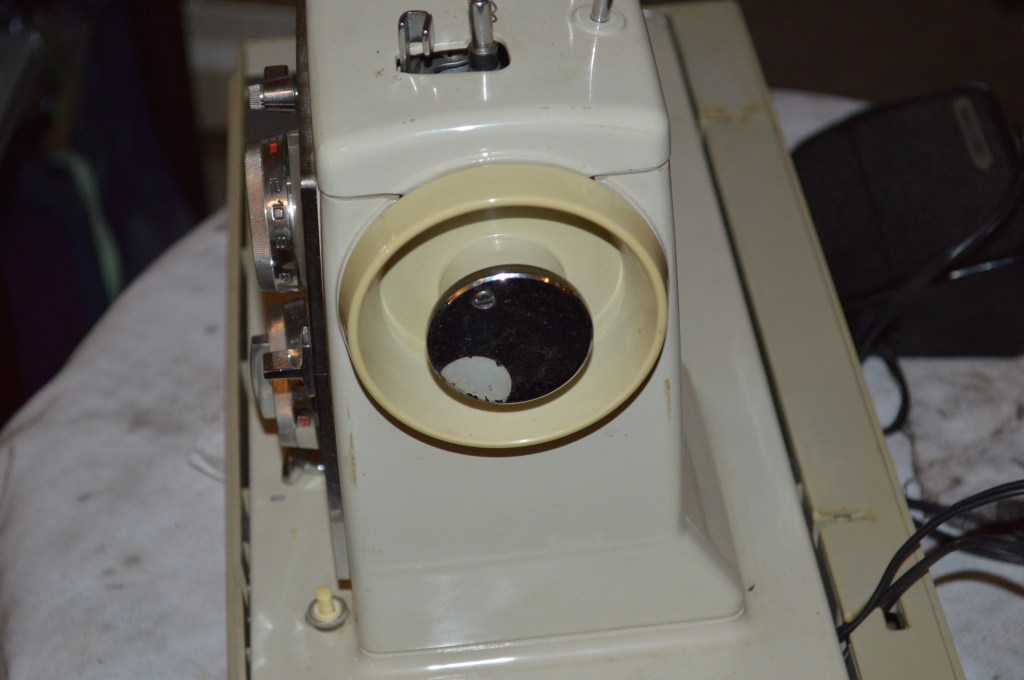
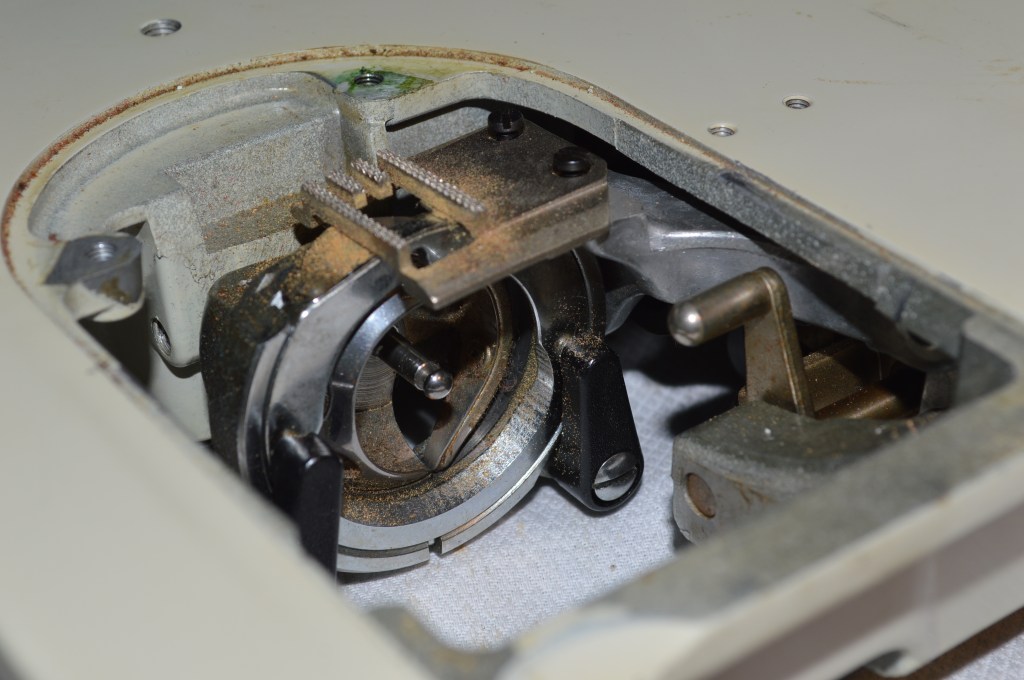
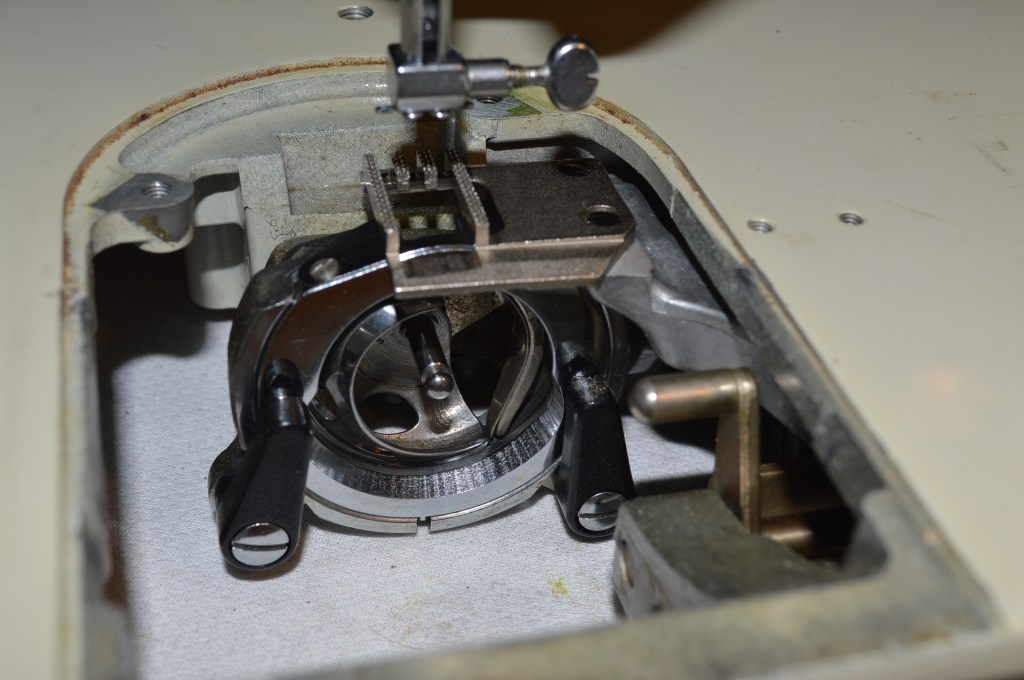
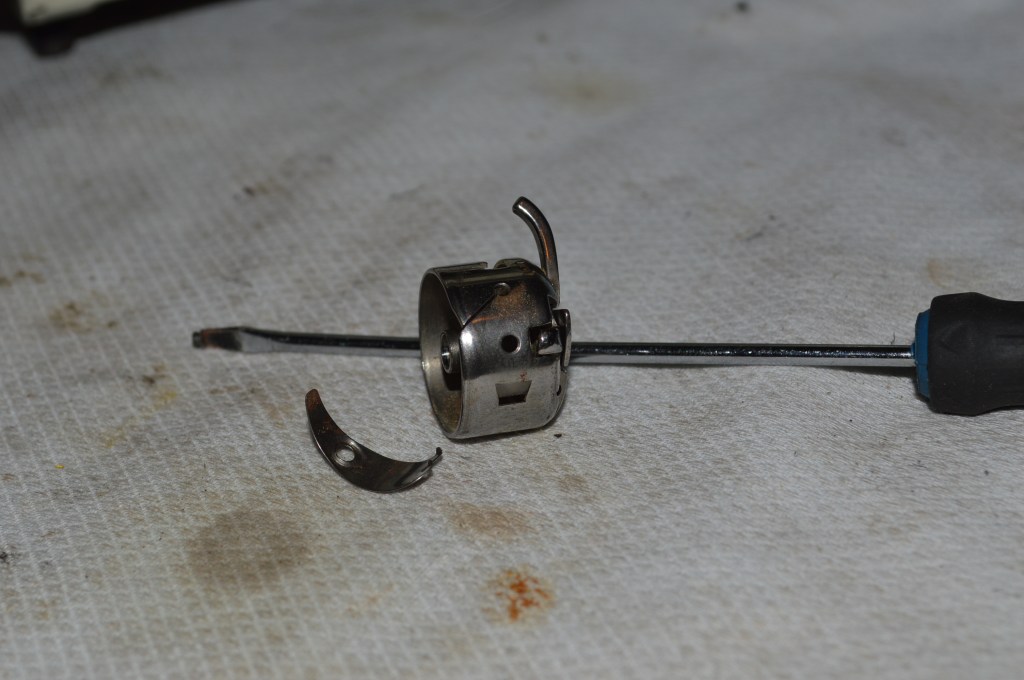
Now the bobbin assembly and race is disassembled and cleaned.
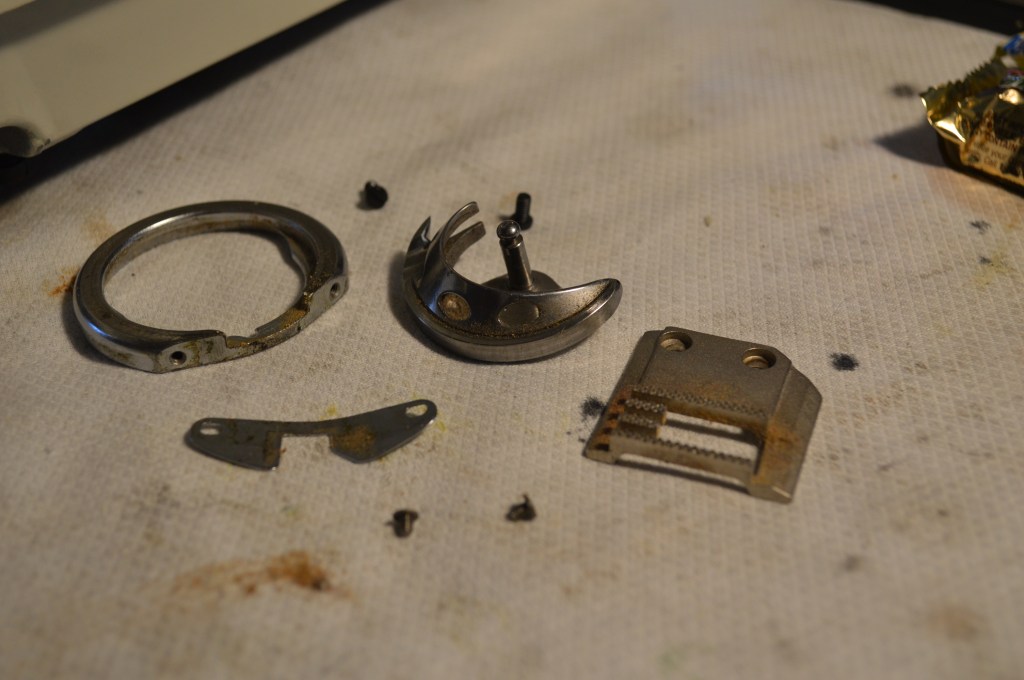
The cleaned parts are ultrasonically cleaned and wire brushed.
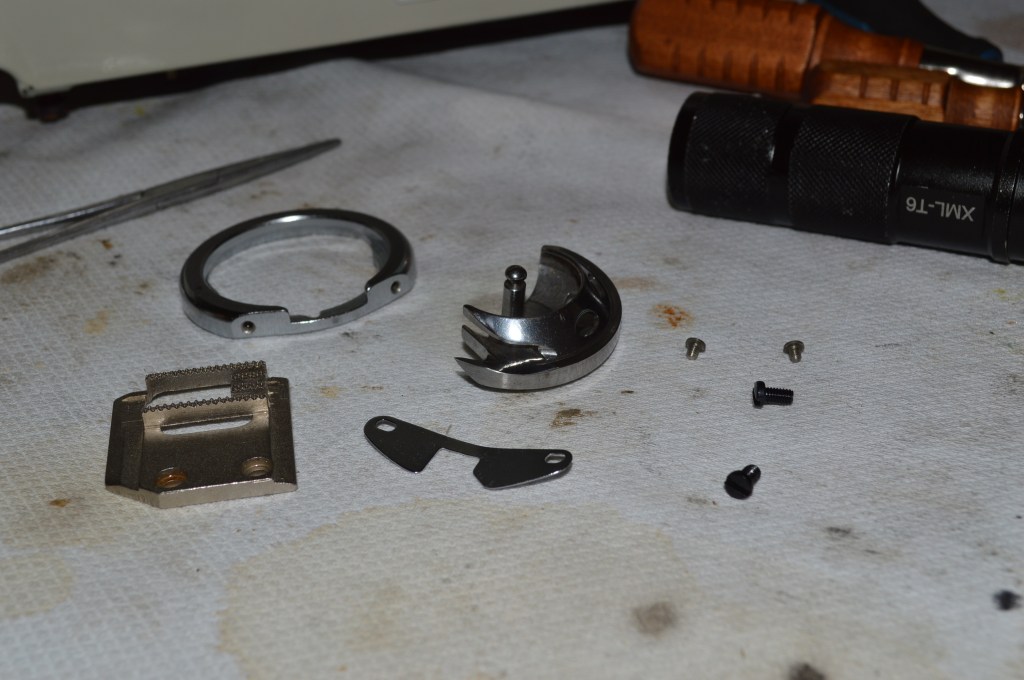
Hook race and shuttle shaft is cleaned
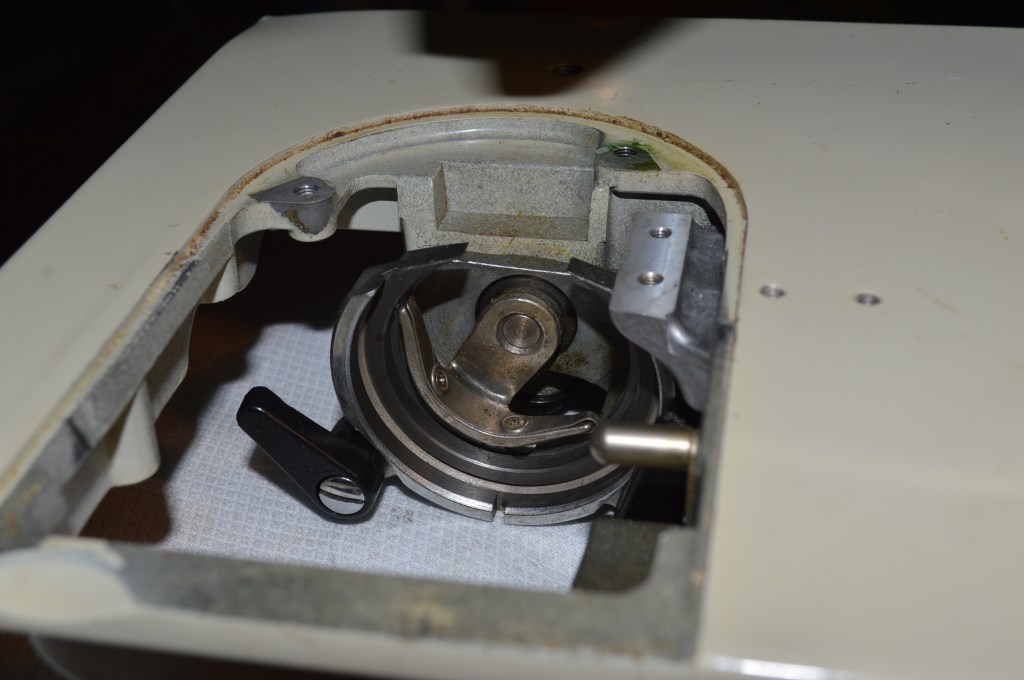
The parts are reassembled in the machine.
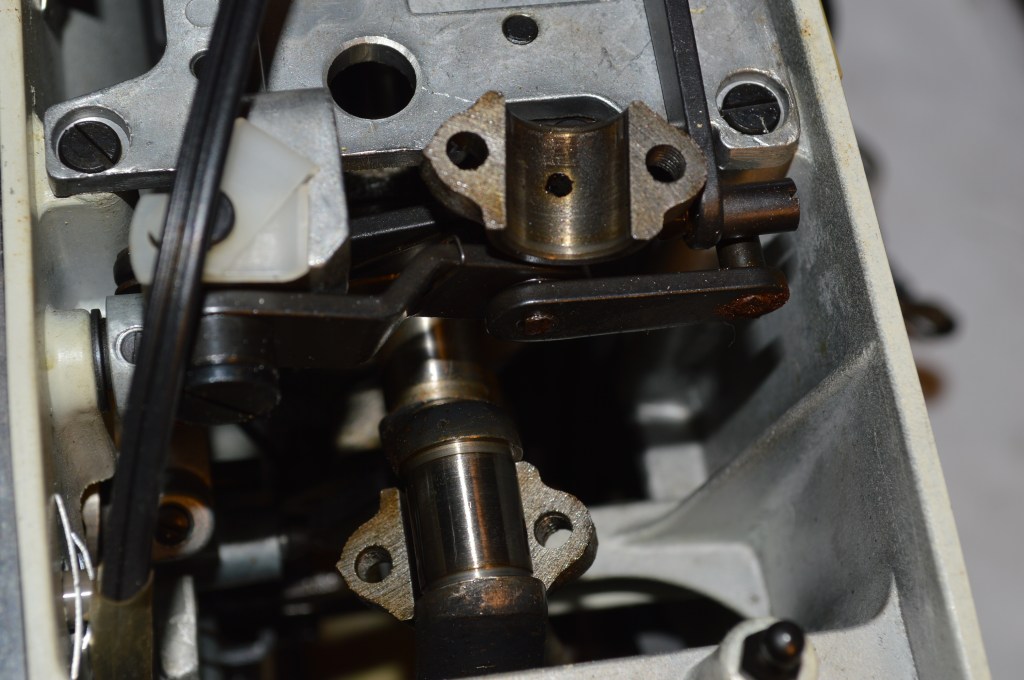
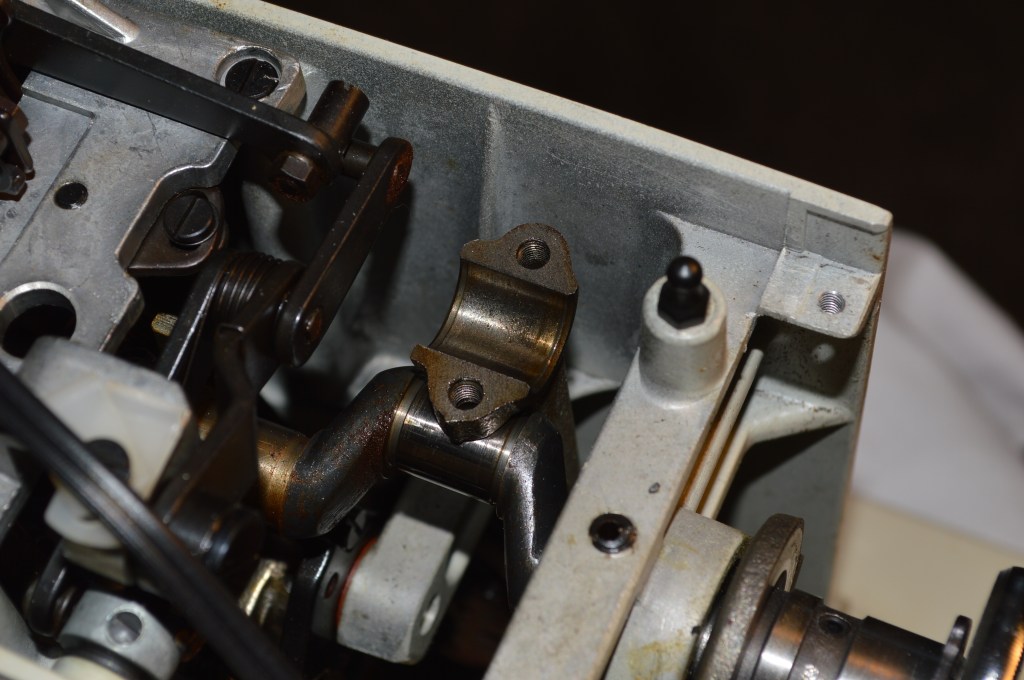
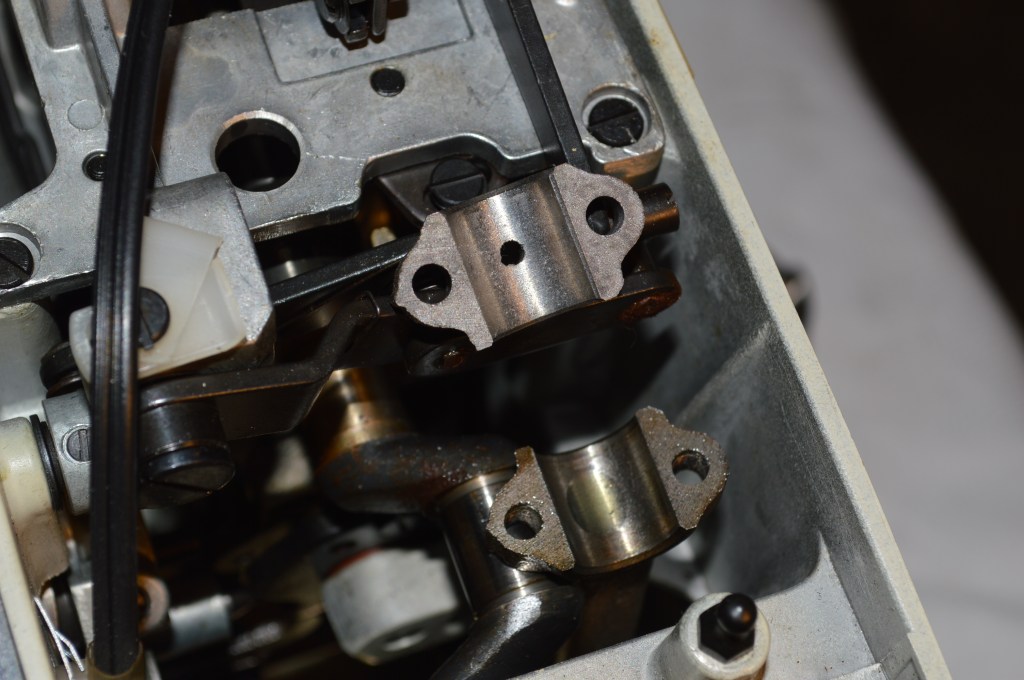
The feed dog connecting rod and shaft are cleaned.
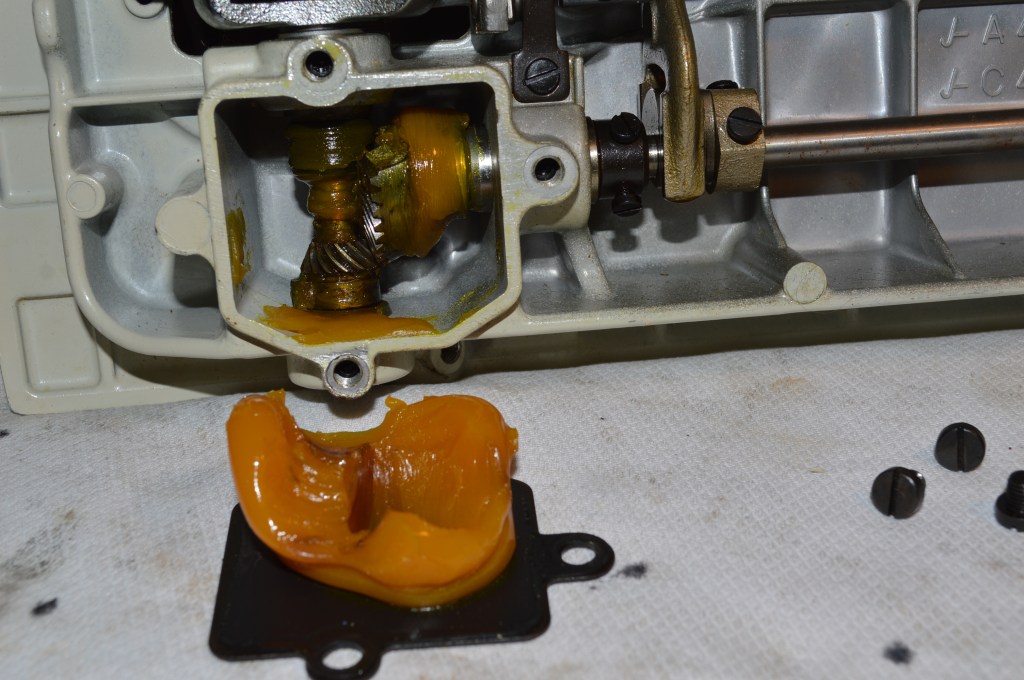
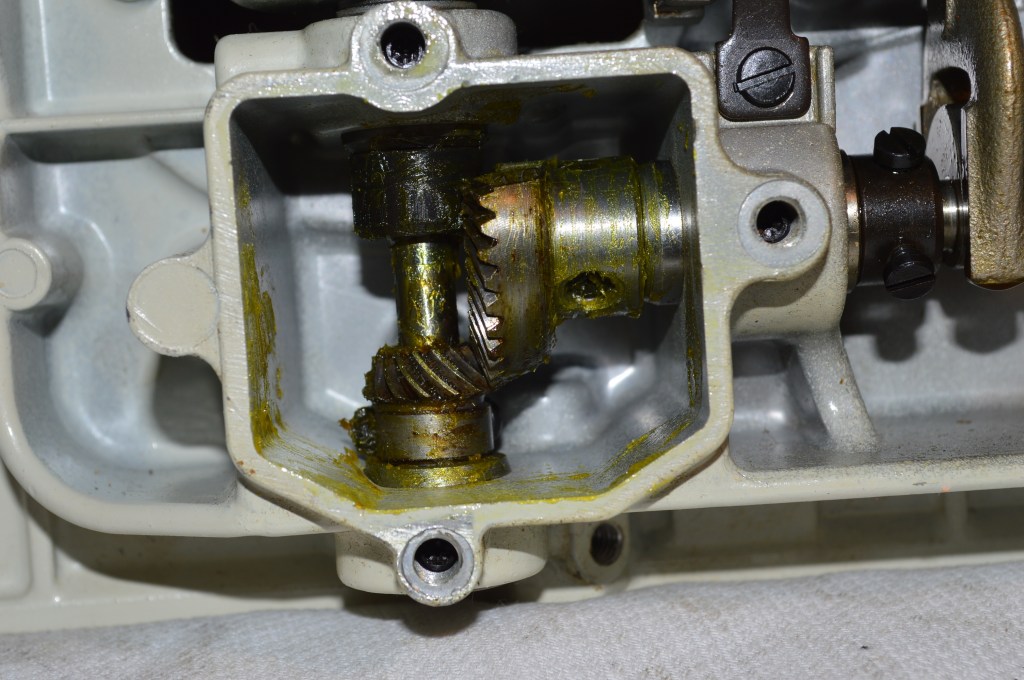
Now the gear box is opened to remove the old grease, clean, and re-grease. If you have a Kenmore of this vintage, you can be certain your grease looks like this… they all do. It’s easy to clean and you do not need to remove all traces of old grease. The only object of this exercise is to fill the case with new grease. The machine will run quieter, and you won’t need to worry about lubricating the gears for a long time.
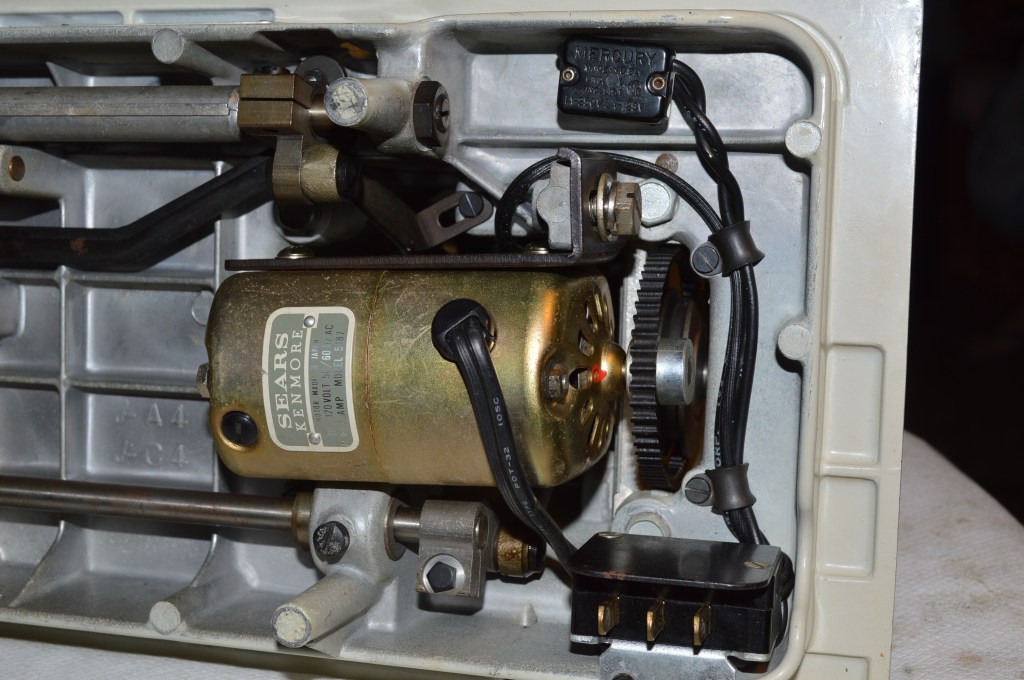
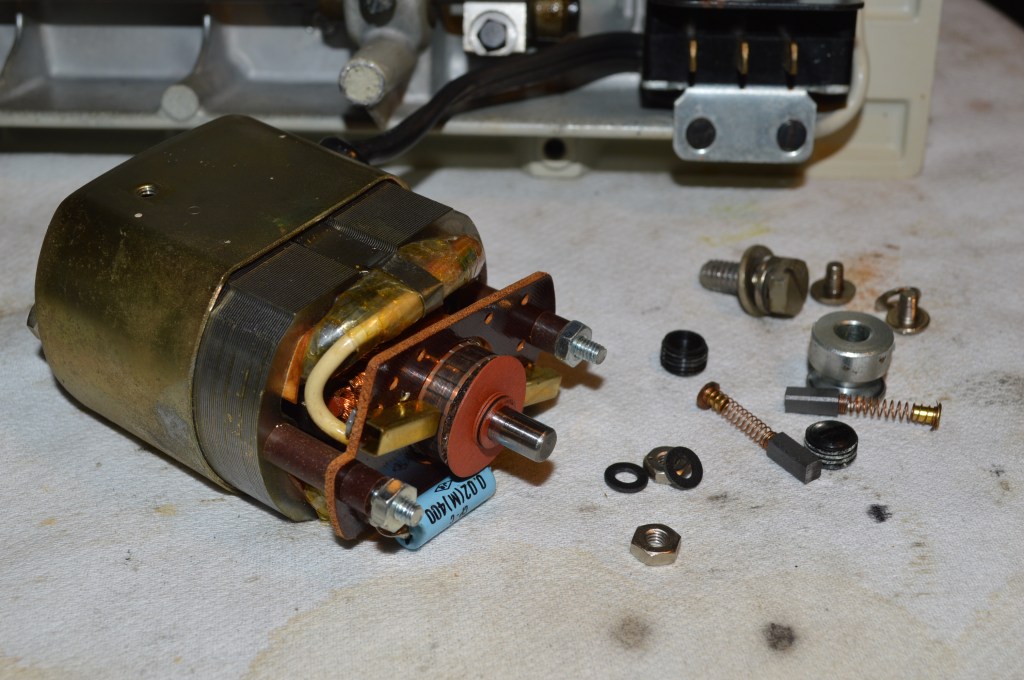
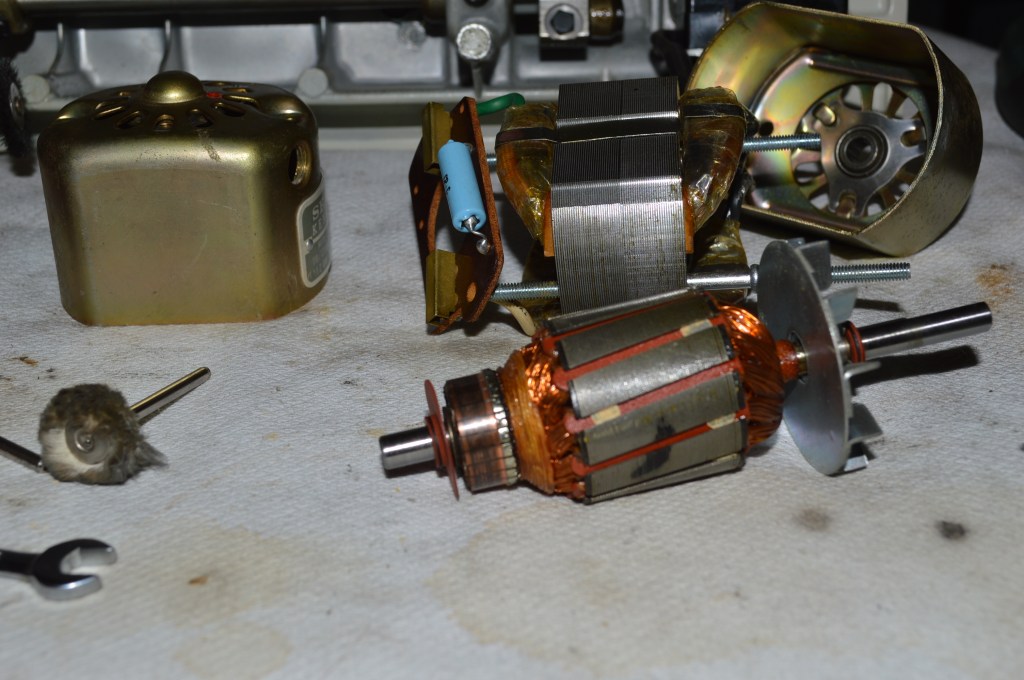
Next the motor is disassembled and restored. The Armature and commutator is polished, the brushes are inspected, and the oil wicks recharged with oil.
Now the tension mechanisms are disassembled and cleaned.
The balance wheel that was yellowed from age has been restored to it’s original color.

All of the mechanisms in the sewing arm are cleaned and oiled at all moving and friction parts. The metal cam gears are coated with a thin layer of Tri-flow grease. Everything looks great here. Now the body of the machine is deep cleaned and glaze polished for a beautiful shine, and everything is checked for adjustment.
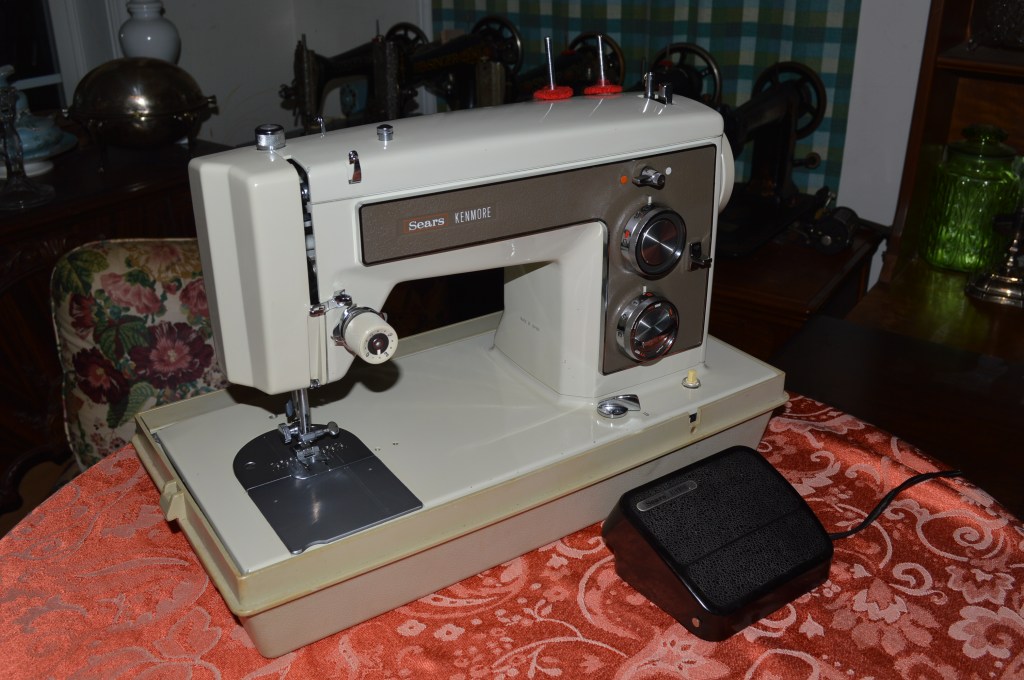
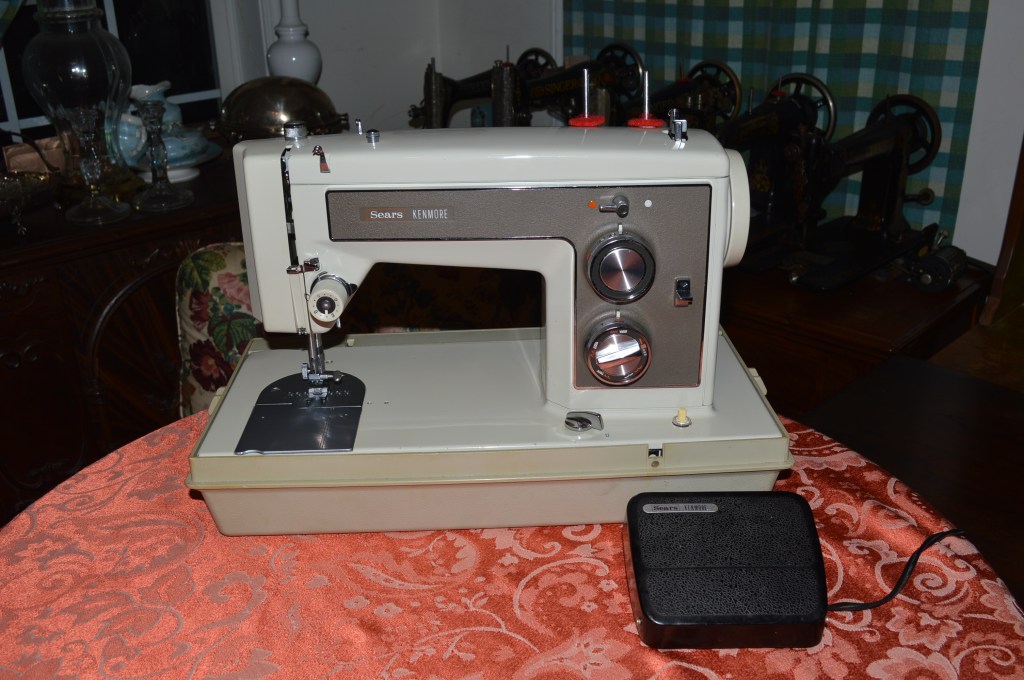
Now the restoration is complete. As usual, the machine sews great and all of the functions and controls are smooth… not much else to do to a Kenmore, so this 158.14101 is ready to be used and enjoyed by anyone who appreciates the quality and durability that Kenmore sewing machines of this vintage have to offer!
So as usual… here is the before…


And here is the after…
So why do I go to such lengths disassembling and cleaning a Kenmore? Well, that’s because Kenmore made a fine quality all metal sewing machine. Often disregarded by folks not familiar with them, and sought out by folks who are, the Kenmores manufactured in Japan are just great all around sewing machines. They offer a good selection of stitches for garment making, they have powerful motors whose power is amplified by a reduction belt drive system, and have a very useful hyper extension that provides an extra high presser foot lift. The independent drive mechanism under the bed powers the many attachments offered, and the Kenmore button hole attachment is one of the best out there you will find on a vintage machine. All in all, they are a great machine, and worthy of the extra time and effort it takes to rejuvenate them to sew at the peak of their performance.
If you like what you see please visit our Etsy store at https://www.etsy.com/shop/pungoliving, and see this Kenmore Model 158.14101 and all of our other restored fine quality vintage sewing machines.

Hi, I have had the same machine for over 30 years. I love it. Denium, leather , wedding gowns, ect it does it all. I have a problem I went to replace my on off switch cant remember how to put the wires back, I dont want to short it out. Do you have a diagram on where the wires go? If you do can you send me a photo. The foot pedal, switch and motor all hook up to 4screws and I dont remember, I should have taken a picture before I took it apart. Well enjoy its a great home machine. Thanks Kelly
LikeLike
Hello Kelly,
I have 2 pictures showing the wiring to the plug on your machine. If you provide me with your email address, I’ll be happy to send them to you.
Thanks!
Lee
LikeLike
Truly enjoy your wonderful, informative blog! Especially the Kenmores. I have a 158.1410 that I rescued from a thrift for $8 (with case) – it was my first Kenmore and I learned a lot about restoring it over the years. When I try to scale down my ‘herd’ of machines, I just cannot part with this 1410. It’s the most reliable, hard working, easy-to-get-along-with machine I have had – with a beautiful, consistent stitch. It’s currently in a a cabinet and true joy to sew with!
LikeLike
Hello Mike,
I agree with you 100%. The same goes for the 1400 and 1430. They are designed for garment construction and they have a good selection of stitches, are durable, all metal, have great tension control, and are true workhorses. I am, always on the lookout for any of these 3 machines.
One word of advice, if you have not changed the grease in the gearcase, you should. It will sew quieter and smoother… I see the need for this on every Kenmore I restore. I have a tutorial blog on how to do this and it’s easy and only takes a little time.
Thanks for reading, and I hope you found something useful to help keep your 1410 running it’s best!
Have a great day,
Lee
LikeLike
Thanks Lee! – Yes, I did replace the gear grease – had no idea what was in there (for a few years) until I did a full cleanup/restore! I agree – there’s something about those build/styles/models (1430/1410) that just seem solid and smooth. They’re not the most stylish, but they’re so reliable. I also have a 148.1560 with case, 158.1931, 158.1040 and 1050. None of these shine (sew-wise) like the 1410, in my opinion. I recently parted with the 1560 – to a friend’s mom who is in assisted living (her Elna is out of commission). She’s an avid sewer (of masks lately) and was delighted to get the 1560. 😉
BTW: do you happen to know the name of the right (half moon) gear in the gear case ? Reason being, I am working on my White 764 (1964) – that half moon gear is nylon and has a horizontal crack by the screw. I’ve never replaced a gear before but am on the hunt for one in case it gives out. Not sure how easy it would be to replace but thought I’d try. 😉
So many other wonderful things on your site I’m finding…. your wood base boxes you build are stunning – truly!
Thanks again,
-Mike
LikeLike
Hello Mike, I don’t know if it has a specific name… it is an oscillating gear. You can replace the gears, but it is not easy, and there is some attention you need to take to assure proper gear mesh and adjustment. I don’t replace gears because I don’t have the ability to set the correct tolerances. If it was for my machine I would, but for a Customer’s machine I would not. It is a shame that plastic made it’s way into these otherwise great sewing machines!
Don’t hesitate to contact me if I can be of any assistance!
Lee
LikeLike
I have a model # 158.14100 since 1972. Two knobs have broken off – the stitch varigator and the reverse knob. Do you have any instructions on how to replace them?
LikeLike
The 1410 is a great machine and the knobs are not difficult to replace, but the rear cover needs to be removed.
The biggest problem you are going to have is finding the parts… If you can find them, let me know and I will try to walk you through the repair.
I hope this helps!
Have a blessed evening!
Lee
LikeLike
Hello Mike, I have a 158.14101 that is needing the smaller belt by the motor. Do you know where I can find one? Possibly 10″…Also what kind of gear grease do you use? I just can’t seem to let this one go..my friend for over 40 years. Thanks for your help. Teresa
LikeLike
Hello Teresa,
You can find replacement belts for your 1410 at an online sewing machine parts store. I normally buy from Central Michigan Sewing Supply. To replace the grease, you can use any high quality automotive bearing grease. It does not need a lot of grease, so get the smallest amount you need for the machine. You will find that it runs quieter and smoother!
I hope this helps and please let me know if I can be of any further assistance,
Lee
LikeLike
Hello!
I just purchased this machine at a thrift store with so much excitement. Stumbled upon the blog by searching the model number.
I was wondering would anyone happen to know what type of paint is on the machine. I’m worried it’s lead paint since the model seems to be from 1972.
Maybe I’m just being paranoid but wanted to ask anyway.
LikeLike
Hello Julia,
I don’t know for certain… I know it is an enamel paint, but I don’t know the formulation. Personally, I am not concerned for myself and unless it is inhaled, ingested, or absorbed in the skin, it is not likely to pose a risk anyway.
Maybe someone will tag on with some more definitive information… it is an interesting question that I have not seen before!
Have a wonderful evening,
Lee
LikeLike