
This restoration is for me… well, actually it is for my Wife. This machine was my Wife’s first vibrating shuttle machine. My Wife is a “vintage” person at heart. We share this interest, but she truly experiences it. A vibrating shuttle machine really appealed to her and knowing that a machine made in the late 1800’s could become a favorite machine today was appealing to me. Think about it… this machine was made in 1889 and it runs smoothly today and still makes a beautiful straight stitch.
There is a definite appeal to using a machine made with the precision and quality built into a sewing machine of this vintage. I would be so bold as to say that even considering it’s age, sewing with a properly adjusted vintage sewing machine such as this one sets a standard against any machine you will ever use again. Cast iron bodies, tempered precision fit steel sewing mechanisms, decorative nickel plated control knobs and needle/bobbin plates results in a smooth running precision sewing machine. What’s more, these machines were designed with mechanisms that can be adjusted to maintain the original clearances. This adjustability means the machine can be run with just routine maintenance for a hundred years. The day after it’s hundred year anniversary, the machine’s critical clearances can be adjusted to the original specifications and the machine will sew as well for the next 100 years as it did when new. At 132 years old this machine is proof even though the adjustments are being made thirty-two years too late!
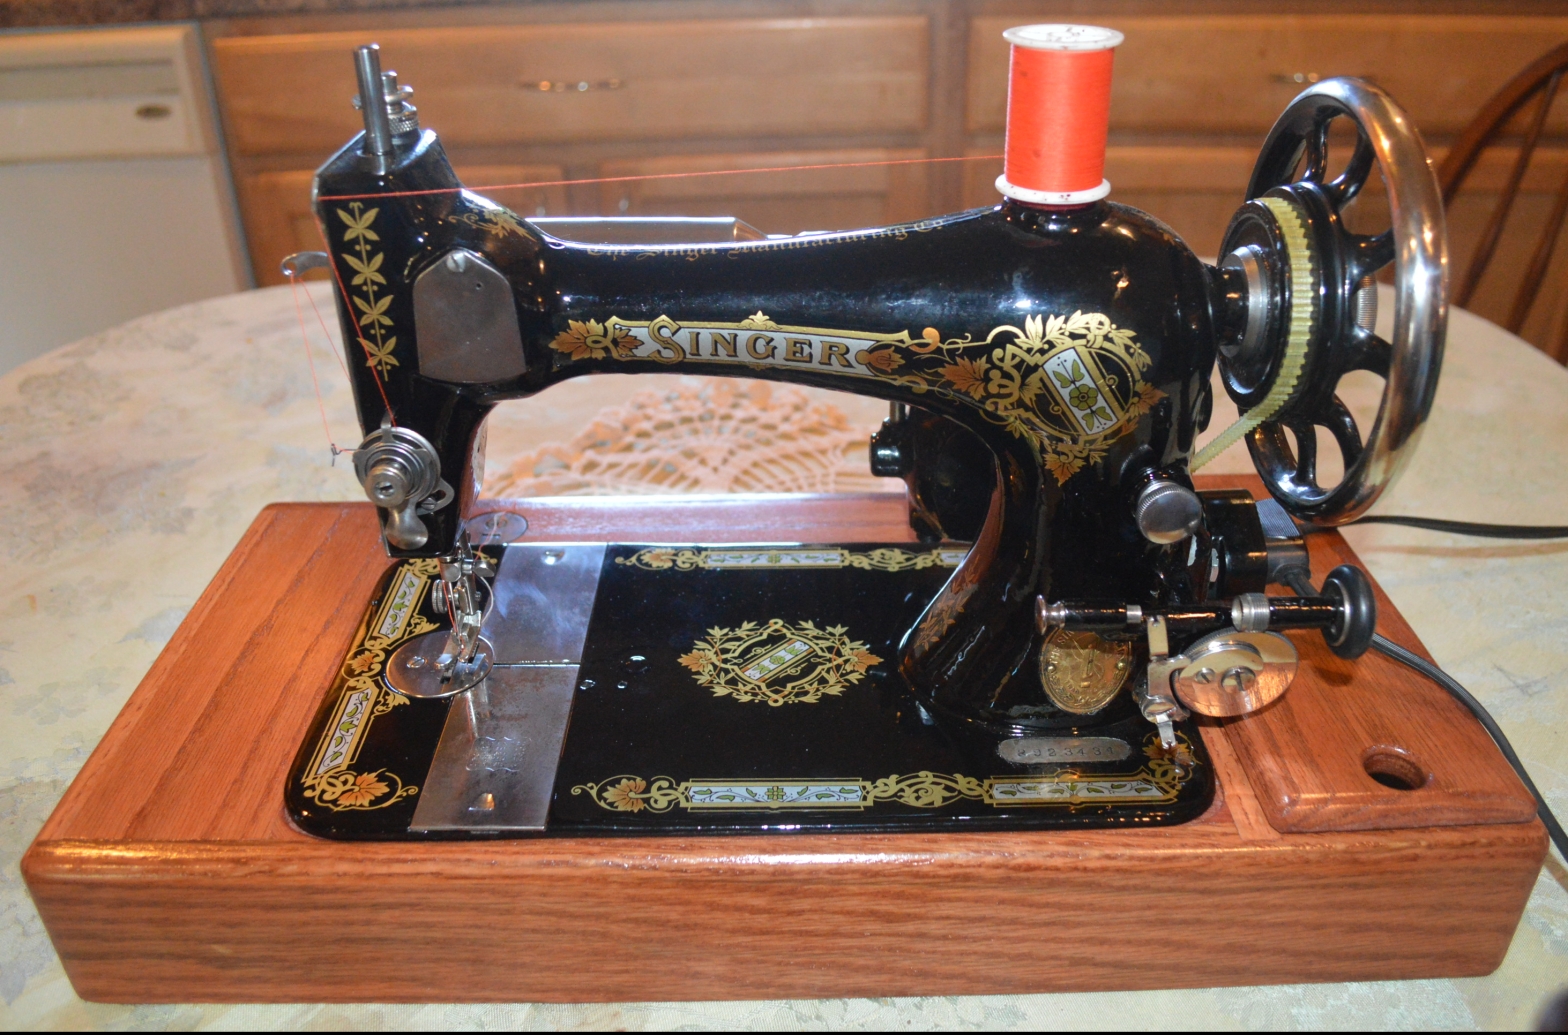
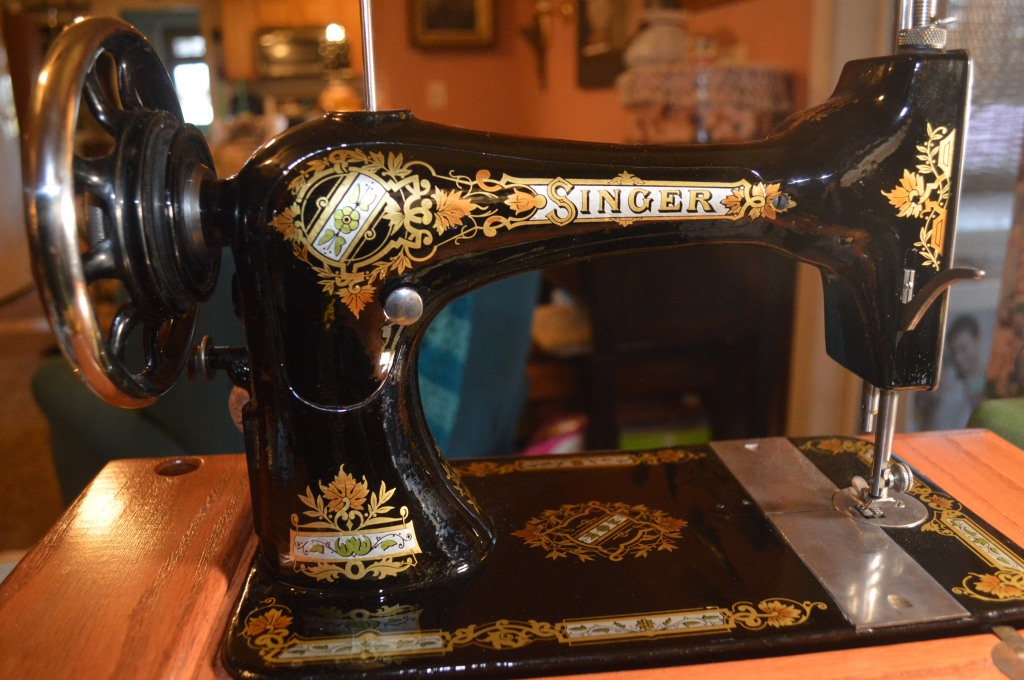
This machine has some distinctive casting features to identify it as a very early model 28, or a late production VS2 and the serial number dates it to 1889. It is a very desirable model and I don’t see them often. One look at this machine and you will agree that a complete restoration is deserved. The paint on the machine is chipped or worn away in places, and the decals are almost non-existent. The decal set we chose for this restoration is not the same as the original decal style, but what better time to make a change than now. A complete mechanical restoration is not needed because the machine turns exceptionally smooth now, but the scope of this restoration justifies it… and it’s fun!
The plan is to keep the original paint on the the body of the machine and correct the paint defects. Then I will respray the machine with a coat of custom mixed black paint over the body of the machine. New reproduction decals will be applied and the machine will be prepped for a new top coat. Finally, I will spray a new oil base polyurethane top coat. During this process I will completely disassemble the machine and restore it’s parts to like new condition.
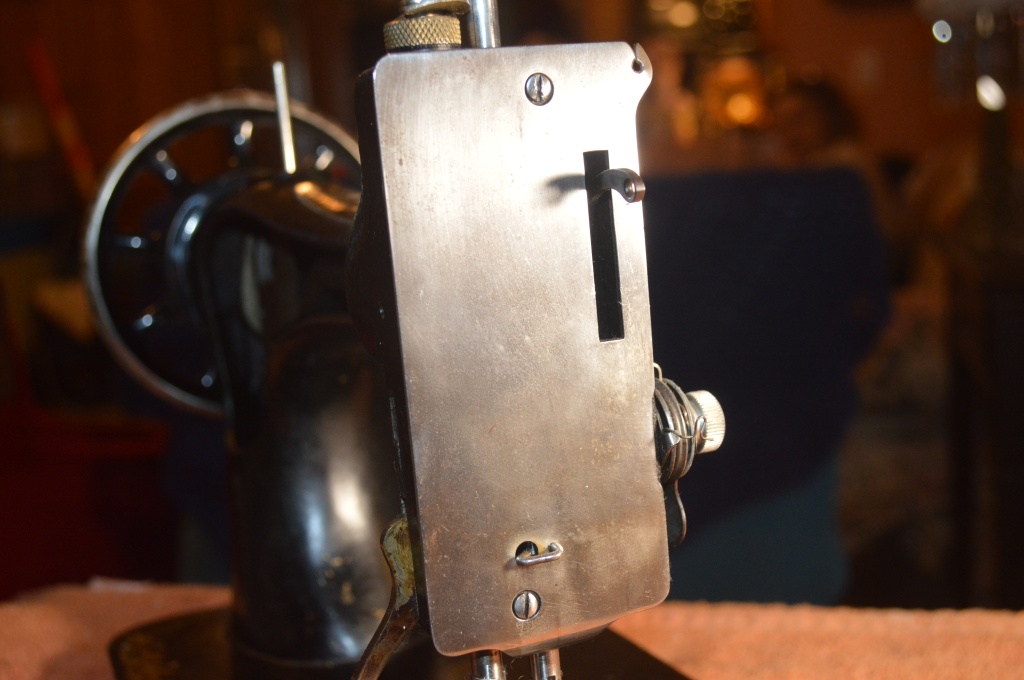
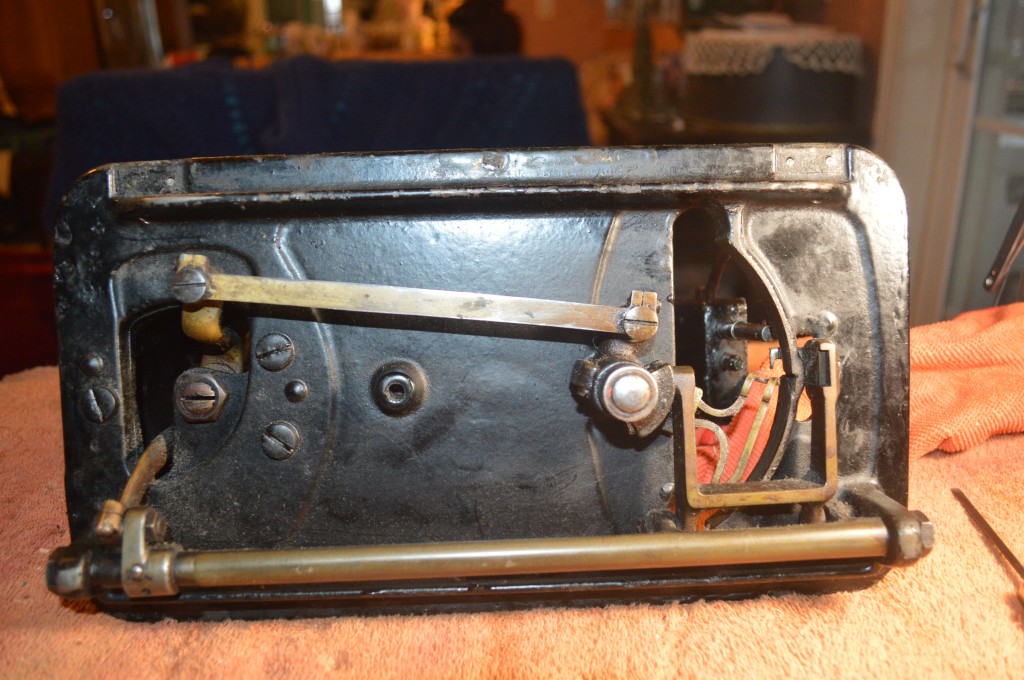
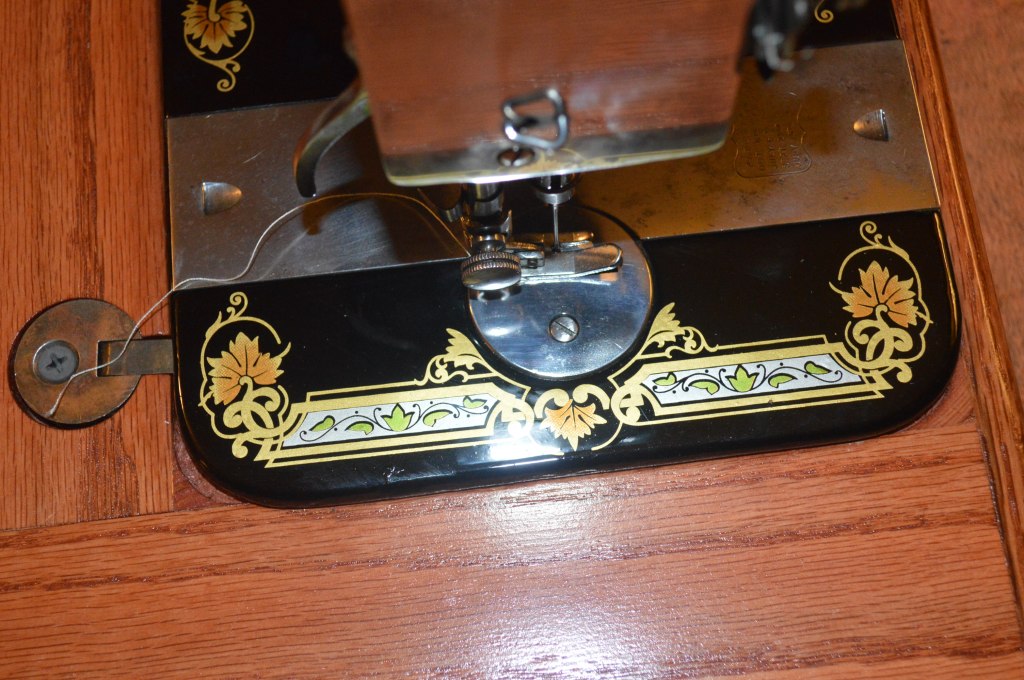
I mentioned that this machine was a late model VS2 or an early model 28. I know this because it has some distinctive differences from later model 28’s. These differences are a ridge in the sewing bed casting behind the bobbin plate covers, a round “boss” for the thread spool pin, and a full kidney shaped rear access plate. Later models lost the ridge, and the access plate evolved from a full kidney shape, to a shortened kidney shape, and finally to a pear shape. The machine is not vintage correct because the presser bar spring pressure knob and the tension assembly have been replaced. My research into these parts suggests that they were replaced in the 1950’s. While I would prefer original parts, for this machine it is no big deal.
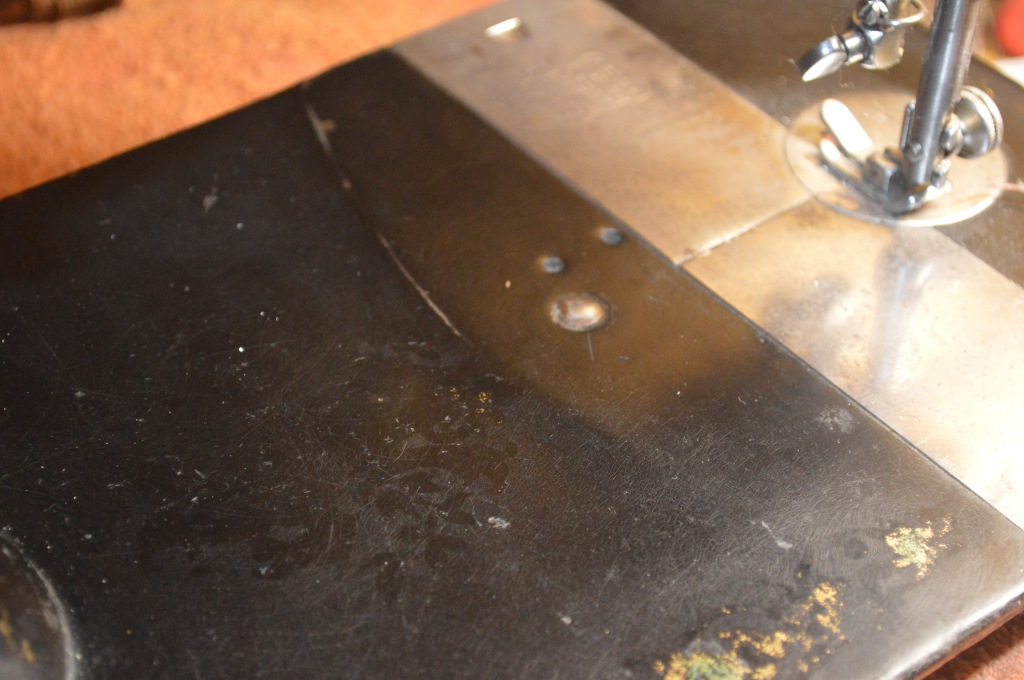
Notice the ridge in the bed plate 
Full length cover 
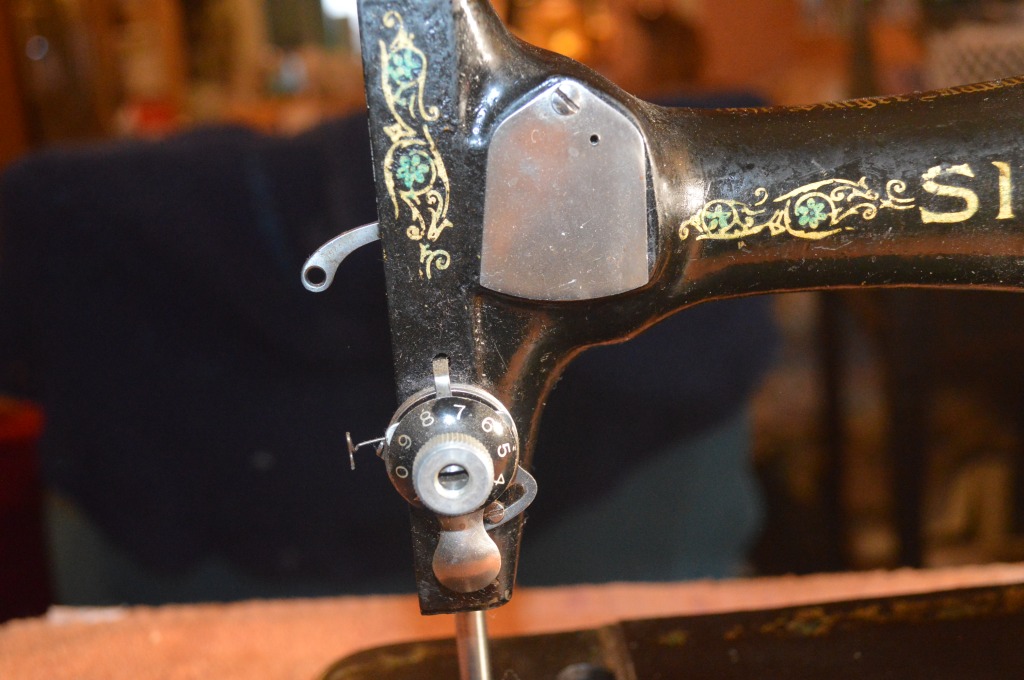
Fancy numbered tension dial 
High tech spring loaded “push” presser foot control
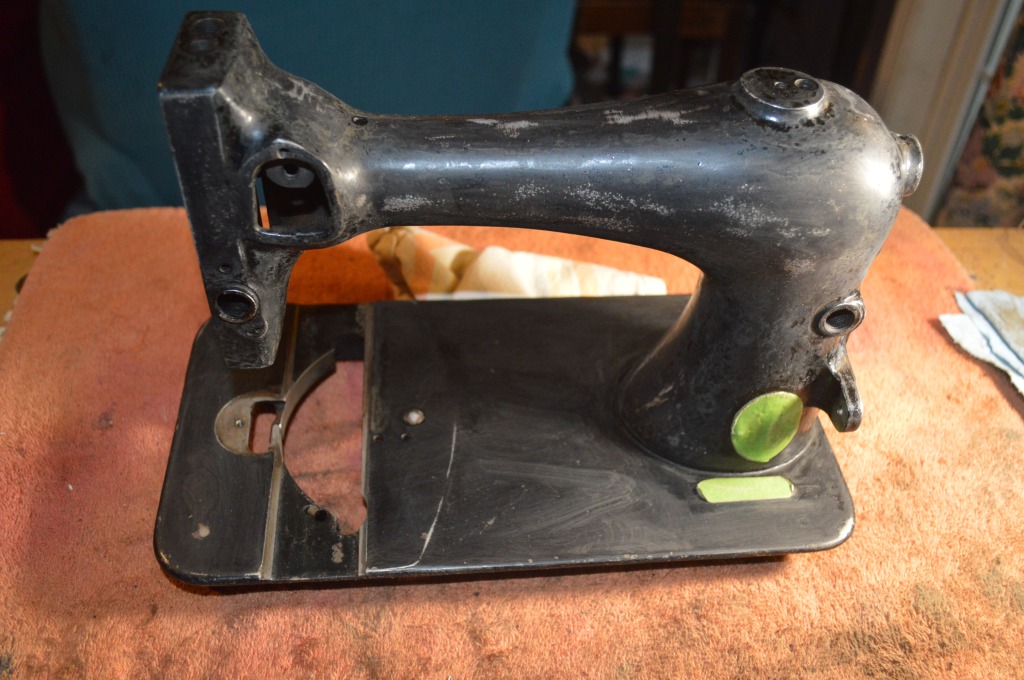
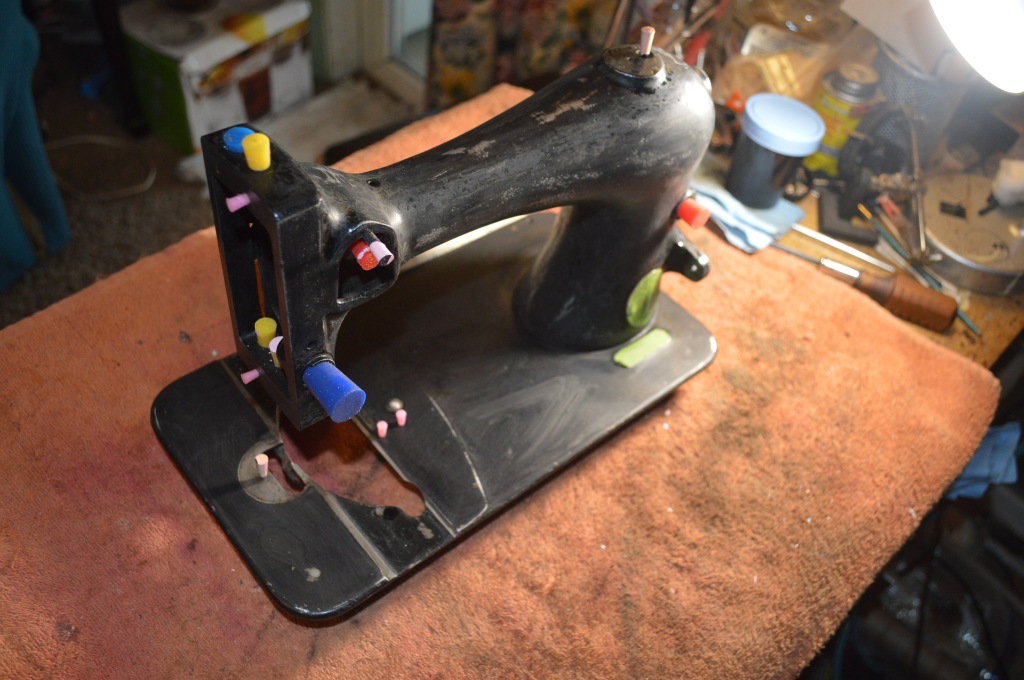
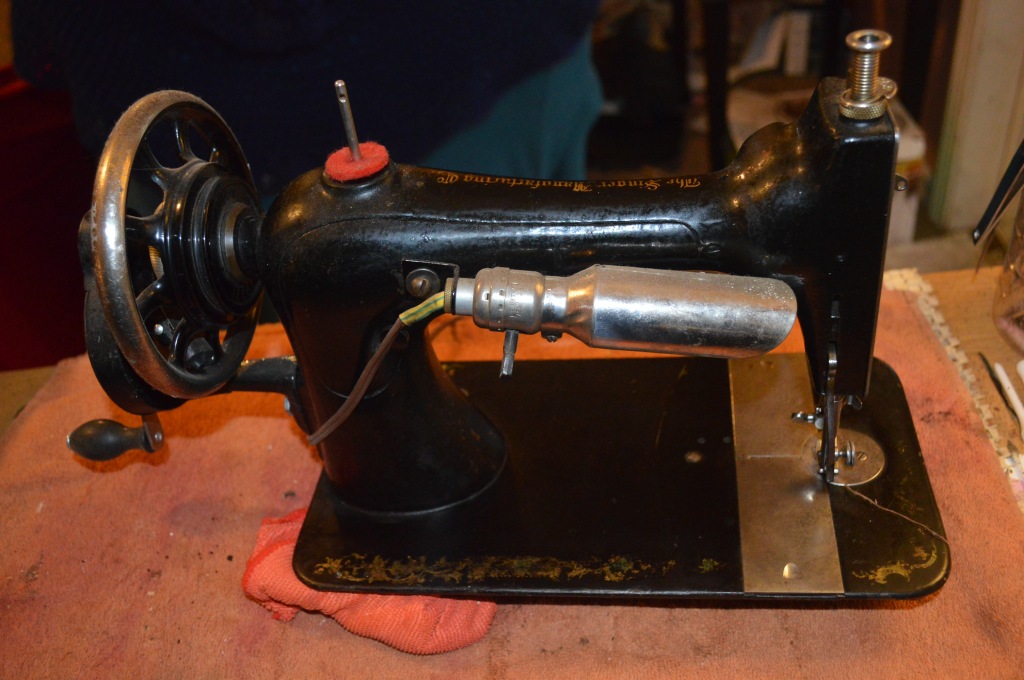
So let’s get started. Here is the machine before the restoration.


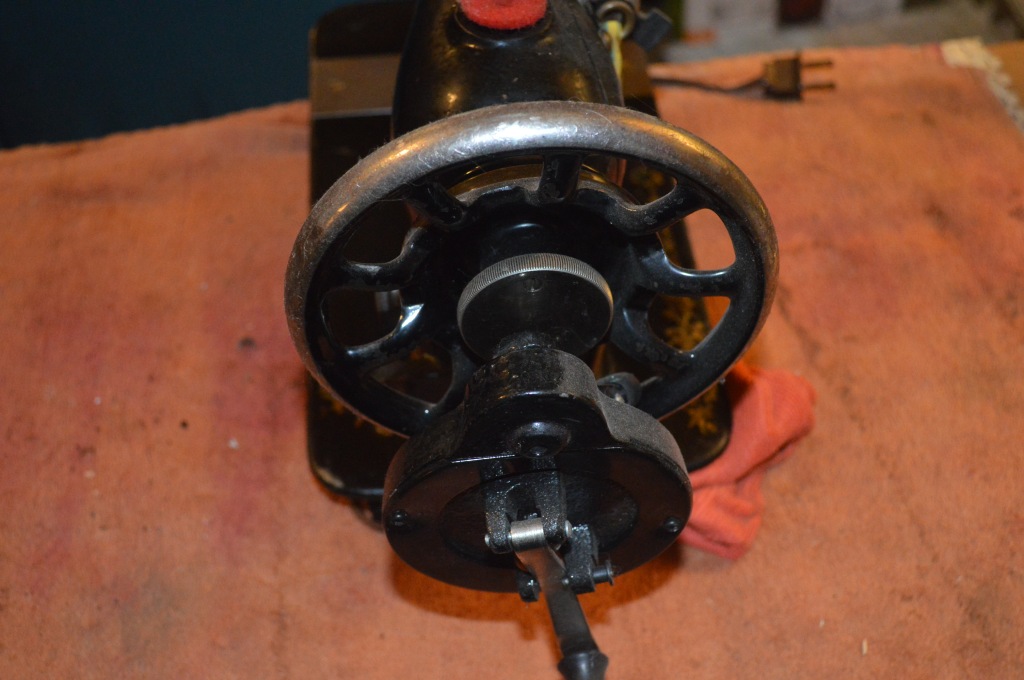
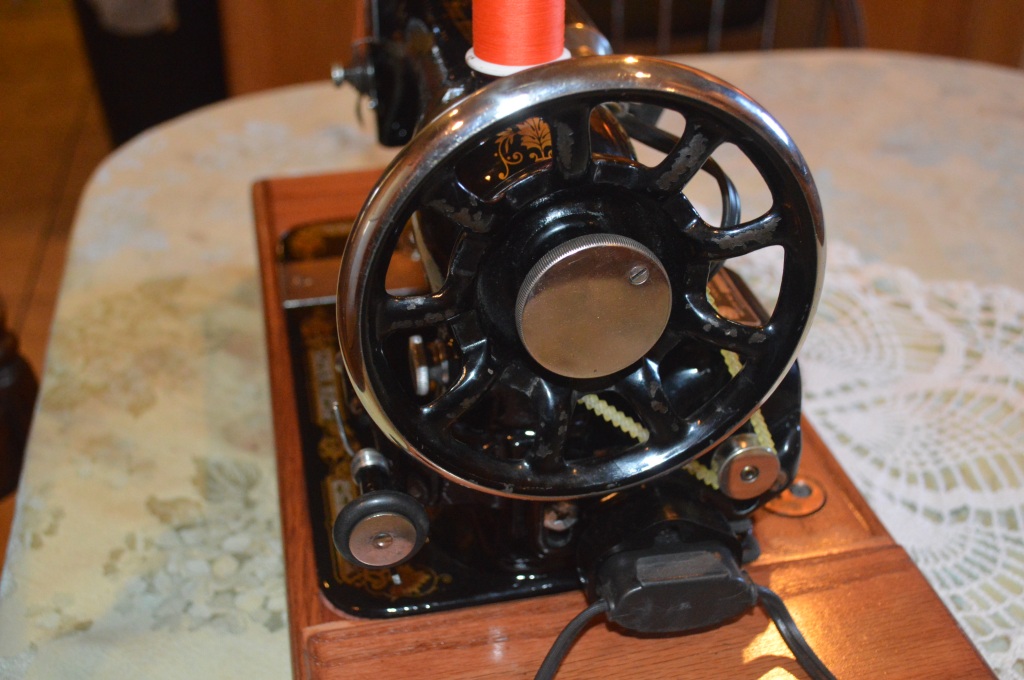
The hand crank on the machine is a cheap Chinese knock-off of a Singer hand crank. It may or may not be re-used… only my Wife will know, but I will add a vintage Singer motor and leave the decision to her.
Beginning the restoration, the machine is disassembled.
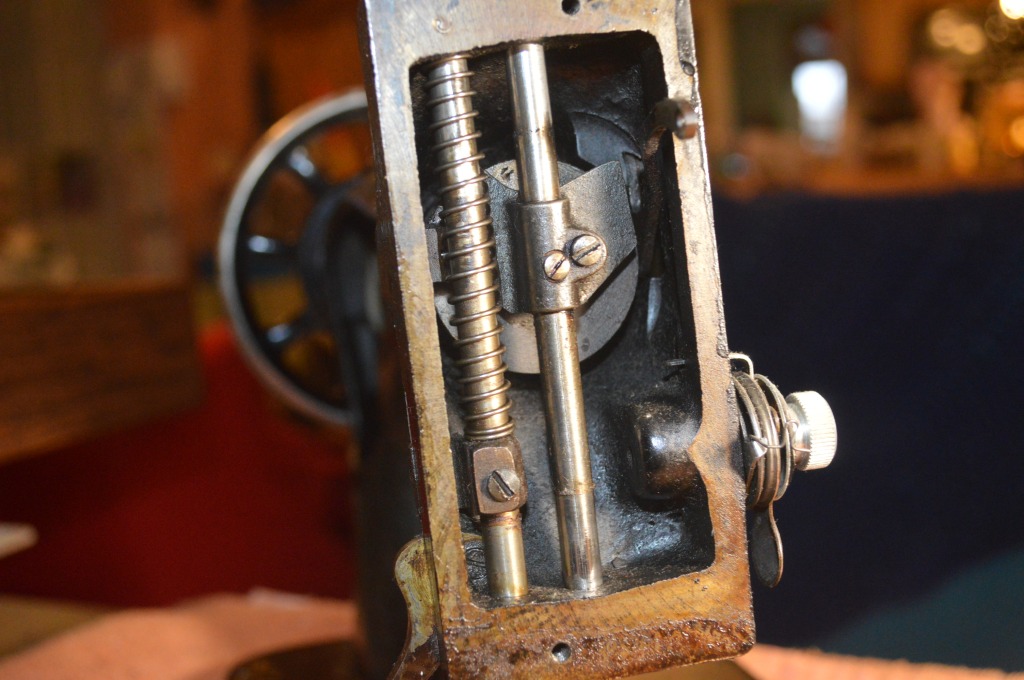


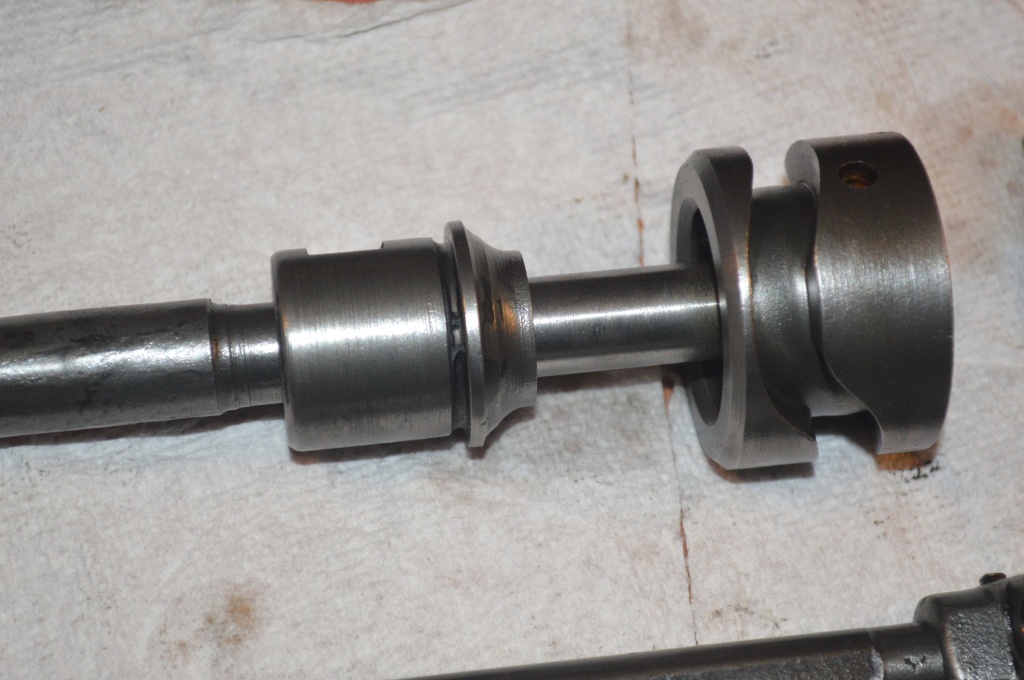
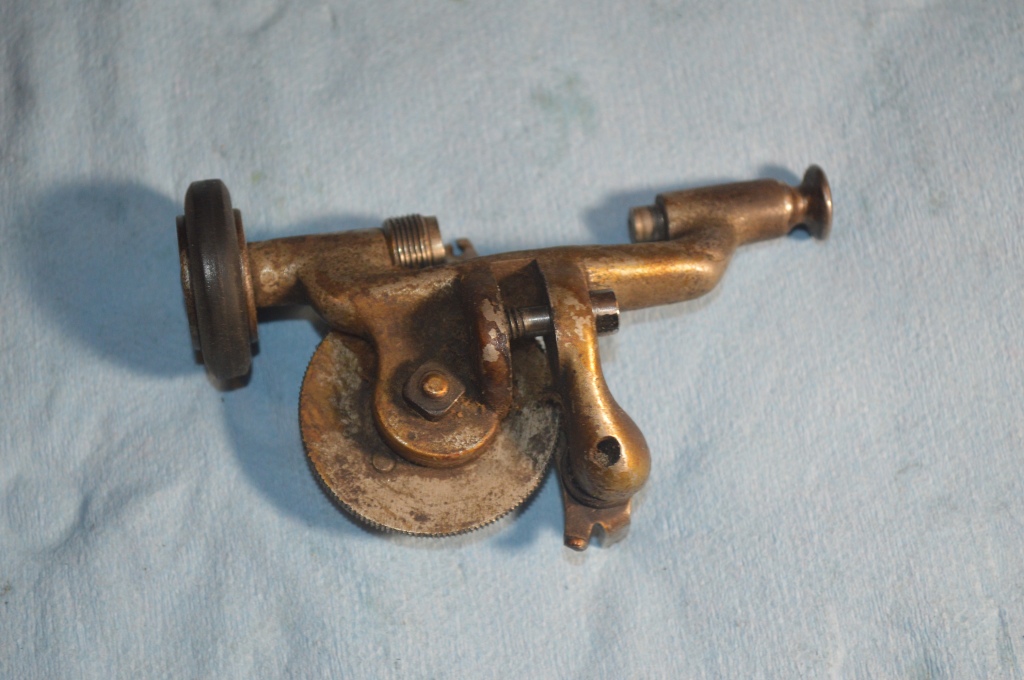
Now, the disassembly hits a snag. The assembly that drives the feed dog is mounted on a post and held in with a collar secured by a set screw.
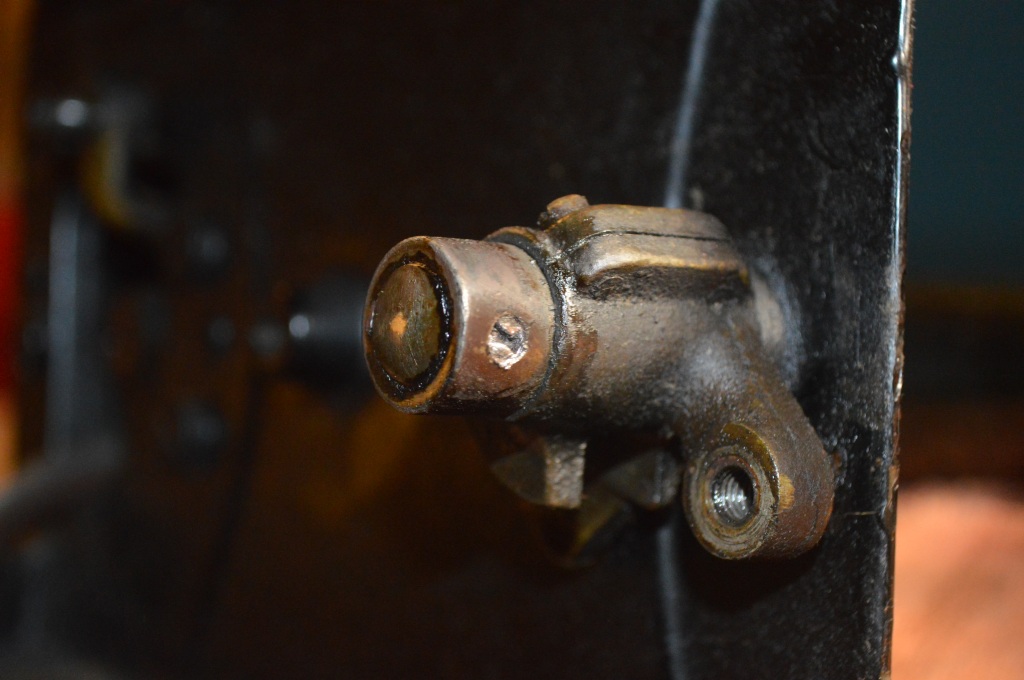
Despite heating with a butane torch, I cannot loosen this set screw… it’s been in there too long. This often happens to very old machines and while it could be drilled out and re-tapped, the risk of doing more harm than good means that it will be cleaned in place. Notice the split in the casting? This allows for adjustment to remove play between the post and the assembly.
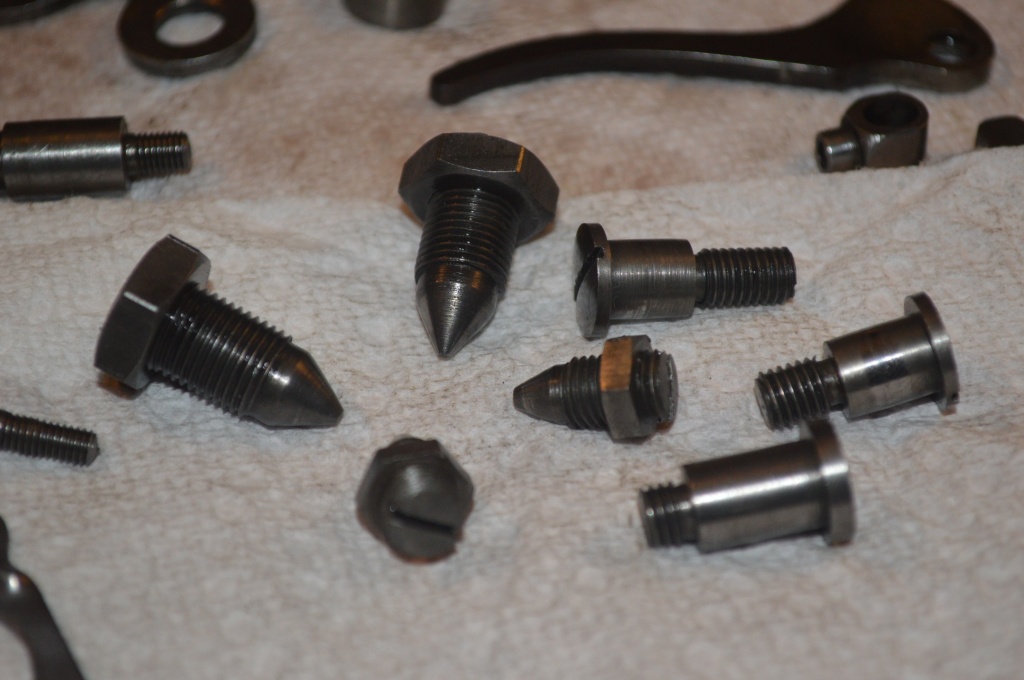
All of the parts are laid out for cleaning.


This is what 132 years of old oil varnish looks like. When these parts are cleaned and wire brushed, they will look like new! When reassembled, adjusted, and oiled, the machine will feel like new!
After the parts are ultrasonically cleaned, and heated in oil to drive out any water, the parts are wire brushed. Larger parts are cleaned on a 4 inch stationary wire wheel, smaller parts are wire brushed with a dremel tool. The key to getting the machine as smooth as possible is clean steel… to achieve this, every part is wire brushed. This includes the screws and nuts as well. Here are the parts after cleaning.


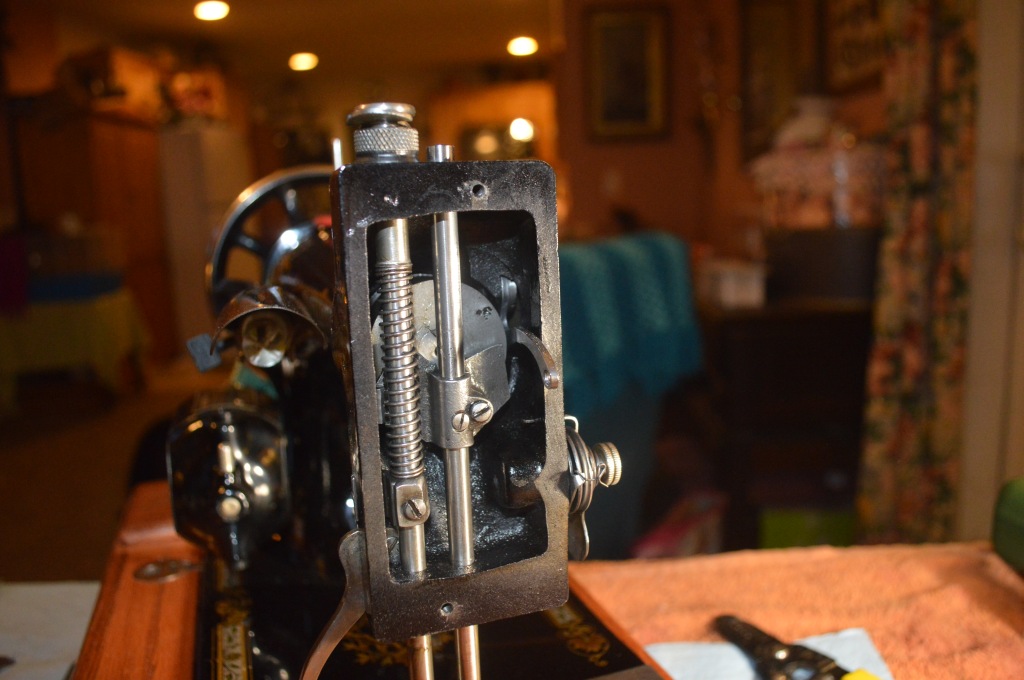
The needle bar and presser foot bar need to be as smooth as possible so they are polished after wire brushing.

Before 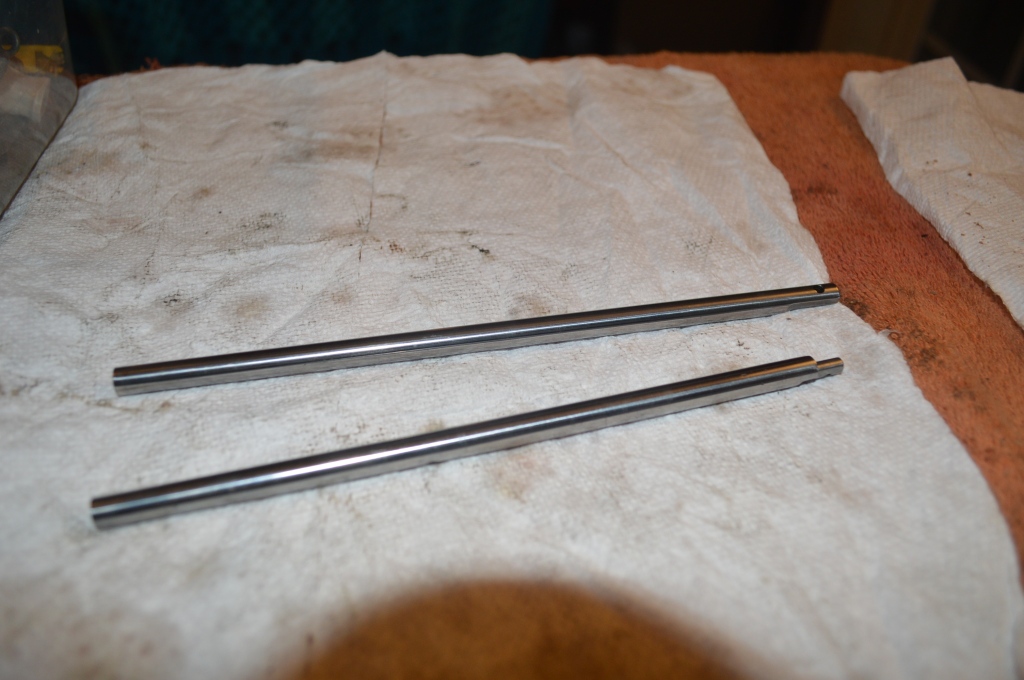
After
The next step is to prep the machine for paint. As I mentioned before, the original black Japanned finish will be kept. This means that the body won’t be stripped to bare metal, but it will need to be repainted.
The body of the machine is cleaned and sanded with 240 grit sandpaper to smooth the paint and remove the decals. Next, the machine is wiped down with naptha to remove any residual dust and oil.

Threaded holes are filled with silicone plugs to keep paint spray out.
The paint I use is custom mixed to get the deep black color characteristic to these machines. There is no off the shelf paint with the deep black color I need. After experimenting with different “black” paints, I found that all of them look “gray” or “blue” compared to the original black japanned finish. Singer’s original recipe included a mix of carbon black powder and lacquer. The machine was then double dipped in the black Japan paint and oven cured. I found several vintage black Japan recipes online that purported to be the recipe Singer used, but I cannot confirm or reproduce it… I’m sure someone out there can, but it’s beyond my facilities. I found a recipe online that is a near perfect color match and the ingredients are readily available. I adjusted the recipe’s proportions to suit my preference and it is as follows:
- Two teaspoon of ebony black aniline stain (alcohol soluble)
- Two ounces of 99% alcohol
- 16 ounces of wax free shellac
The stain is dissolved in the alcohol for 24 hours and then mixed into the shellac. Prior to spraying, it is passed through a fine mesh paint filter.
To get the coverage I want requires about 4 ounces of paint, and the machine is sprayed with four successive coats spaced 30 minutes apart.
Here is the machine after just one coat of paint…
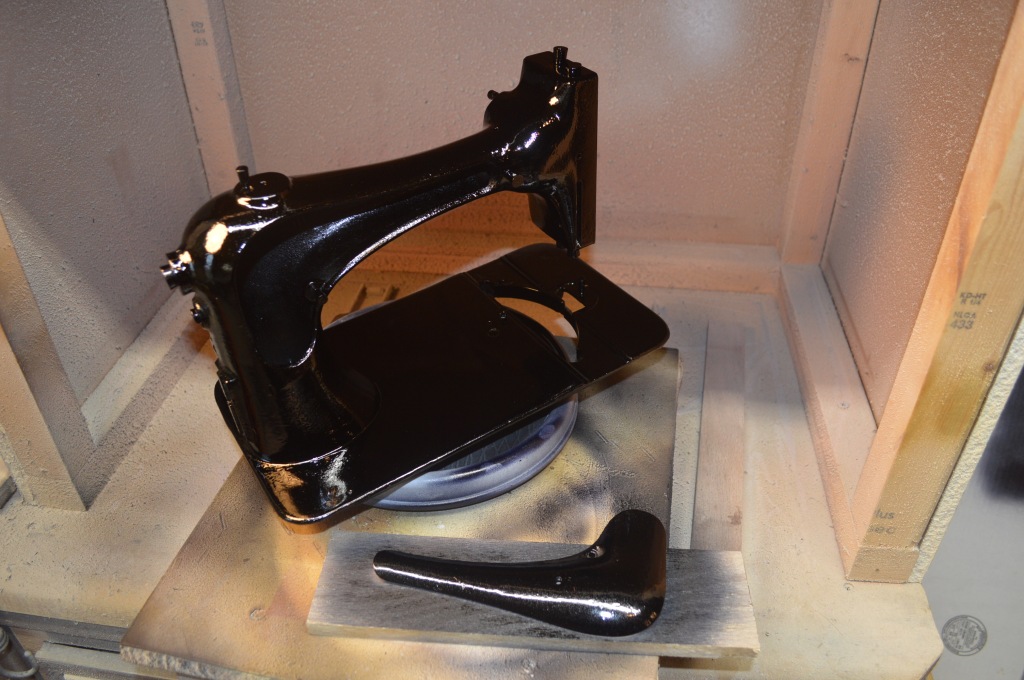

After the final coat, the machine is closed in the paint box to allow the paint to cure. Because the paint is essentially shellac, it is susceptible to damage from water and discoloring. This is a problem because the restoration decals are waterslide decals and are placed on the machine wet. I need a waterproof barrier to apply the decals. Prior to applying the decals a thin coat of oil based polyurethane is sprayed over the machine. Polyurethane is impervious to water and I will allow it to cure for at least 3 days before the decals are applied. Time is not an issue in the restoration since there is much more work to do while the paint cures. Note: This is a significant variation from the original topcoat finish and it is not period correct. Normally a consideration, if a machine needs new decals this is the only option I currently know of and it is as close as I can come.
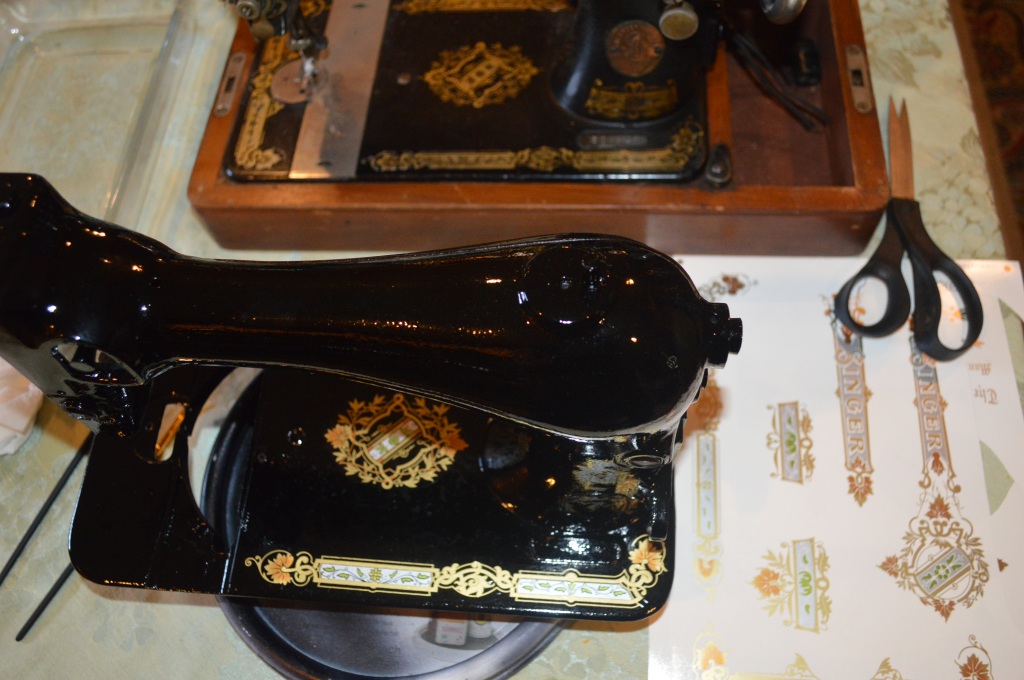
Next, the decals are applied. When positioning the new decals, it helps to have a machine to use as a reference. I happen to have a model 128 with these decals in great condition to help me. The decal set we chose is a pattern called “Victorian”. This machines, as well as many model 28’s are often found with very colorful “La Vencedora” decals. I chose to use the Victorian decal set because it is not quite as “busy”, and I like the pattern. Both are period correct for this machine so it’s not “wrong” to use this decal set in lieu of the original decals. These decals came from a company called Keeler decals,They specialize in sewing machine restoration decals for a variety of machine makes and models and the decals are of good quality. If you are considering a full cosmetic restoration and replacing the decals, they are worth checking out.
The “Victorian” decal set looks like this…

The decals are applied on the machine over several stages. I prefer to do one surface at a time… the bed, the sewing arm front, and the sewing arm back are applied one day apart.


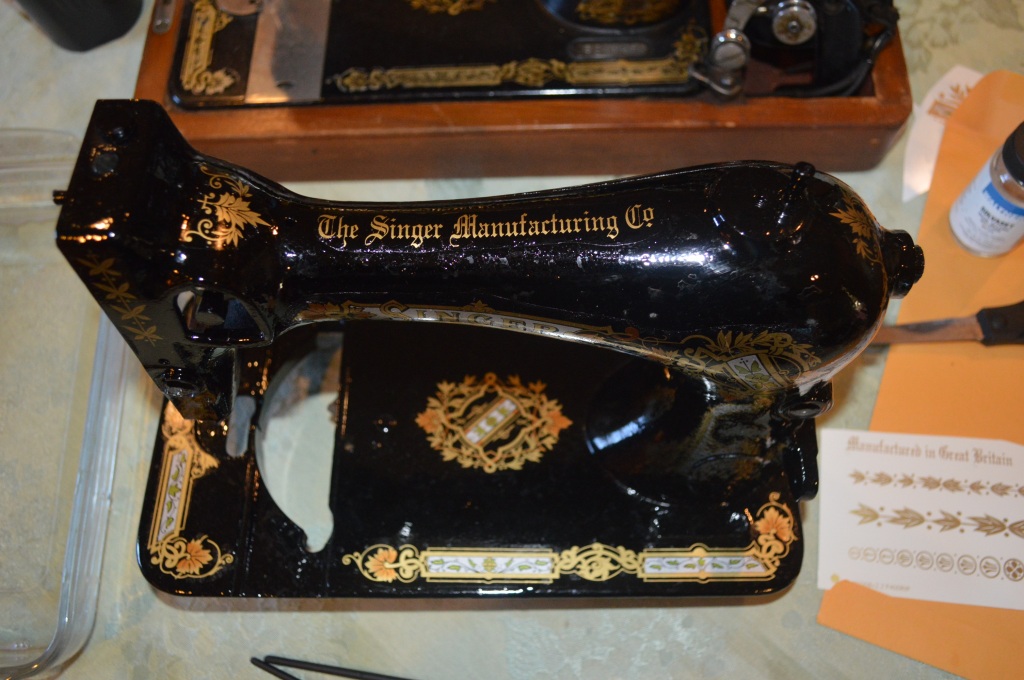

After applying the decals and allowing them to sit for a few days, the next step is to submerge them with successive layers of polyurethane topcoat. I don’t know how many coats are needed going in, but when the decals are completely submerged beneath the topcoat (no discernable outline of the decal edges), there is enough. For this machine it took an initial three coats. After 36 hours to cure, I wet sanded the body of the machine with 1500 grit sandpaper. This levels any edges on the decals and with a final coat of polyurethane, the surface is smooth and the margins of the new decals are submerged and indistinguishable in the finish.
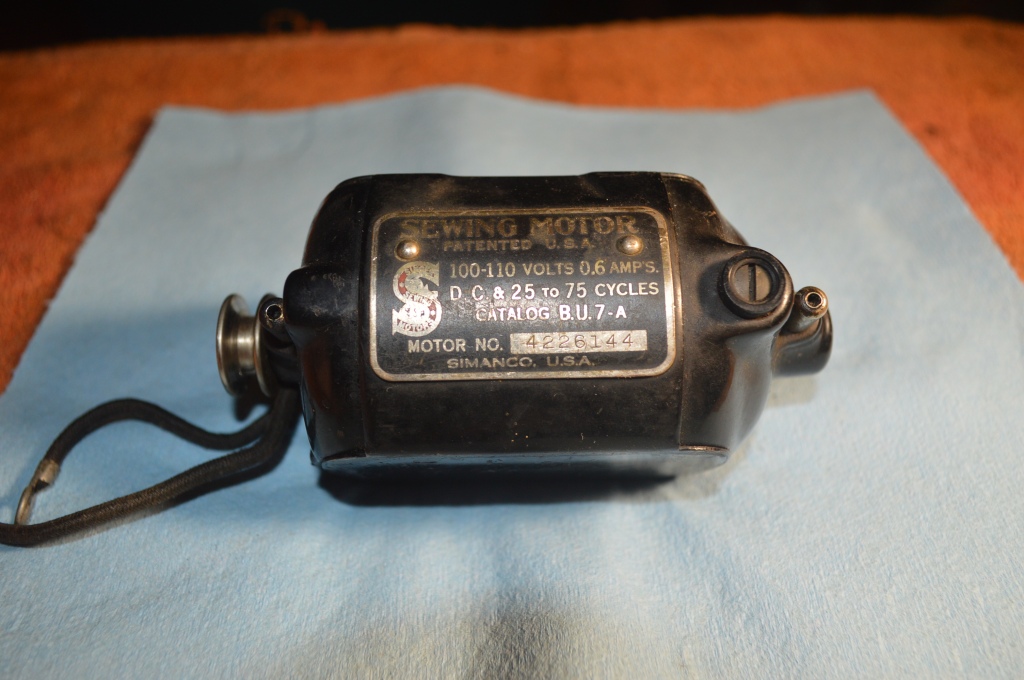
For the motor, I chose a vintage 0.6 amp Singer B.U.7-A motor. It is a grease wick motor and the restoration includes disassembly, cleaning, polishing the motor shafts and commutator, and removing the grease wicks. I decided to keep the original cloth covered wire because they are still in pretty good shape… if they prove to be a problem in the future, I’ll replace them then.

Motor disassembled 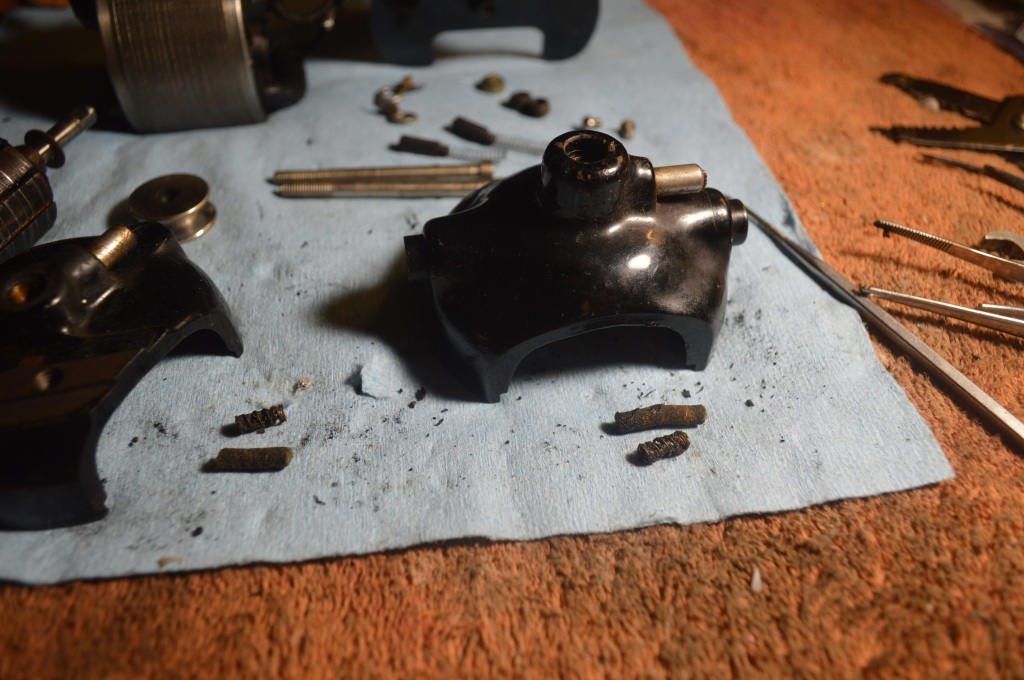
Grease wicks and springs removed 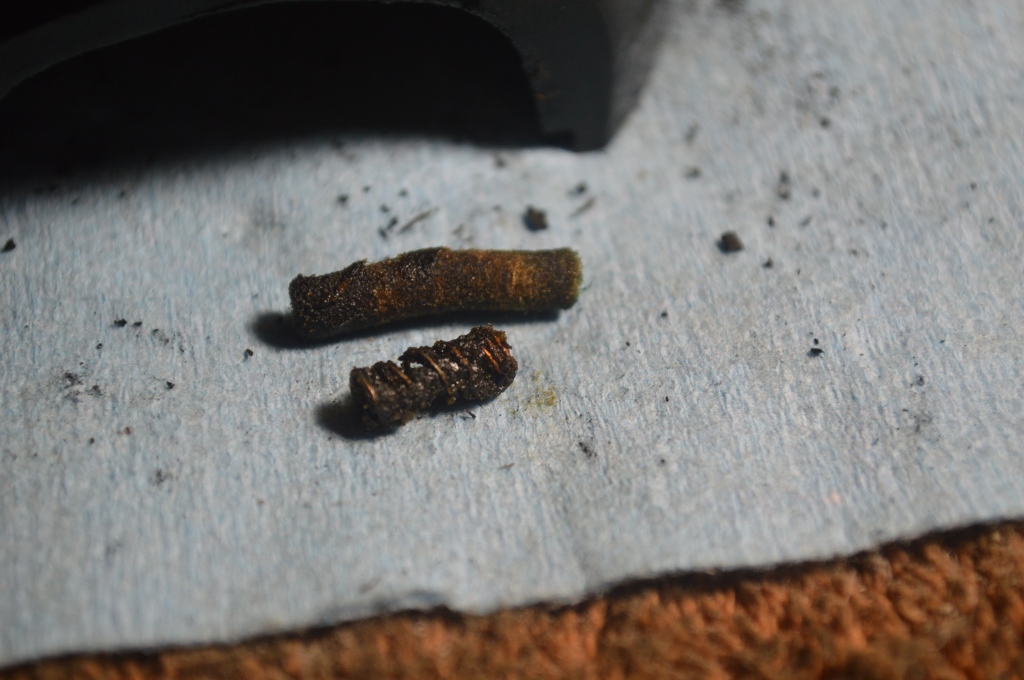
Wicks need to be clean to assure proper lubrication 
Commutator prior to polishing 
Commutator after polishing 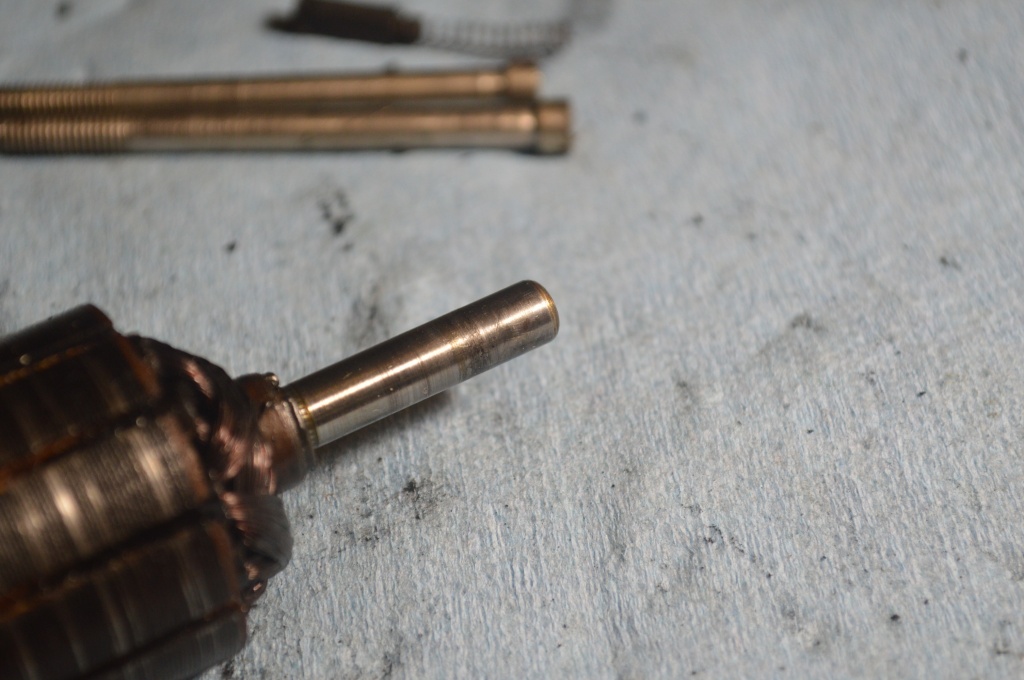
Shaft before polishing 
Shaft after polishing 
the motor is cleaned, lubricated, and run-in for a few minutes until warm… it’s a good strong motor and runs as it should.
You may have noticed that the bobbin winder mechanism is missing. Well, I found one on Ebay and though it is pretty dirty, it will restore nicely. it is disassembled, cleaned, polished, and repainted.


Cleaned… 
Wire brushed 
Before polishing 
After polishing 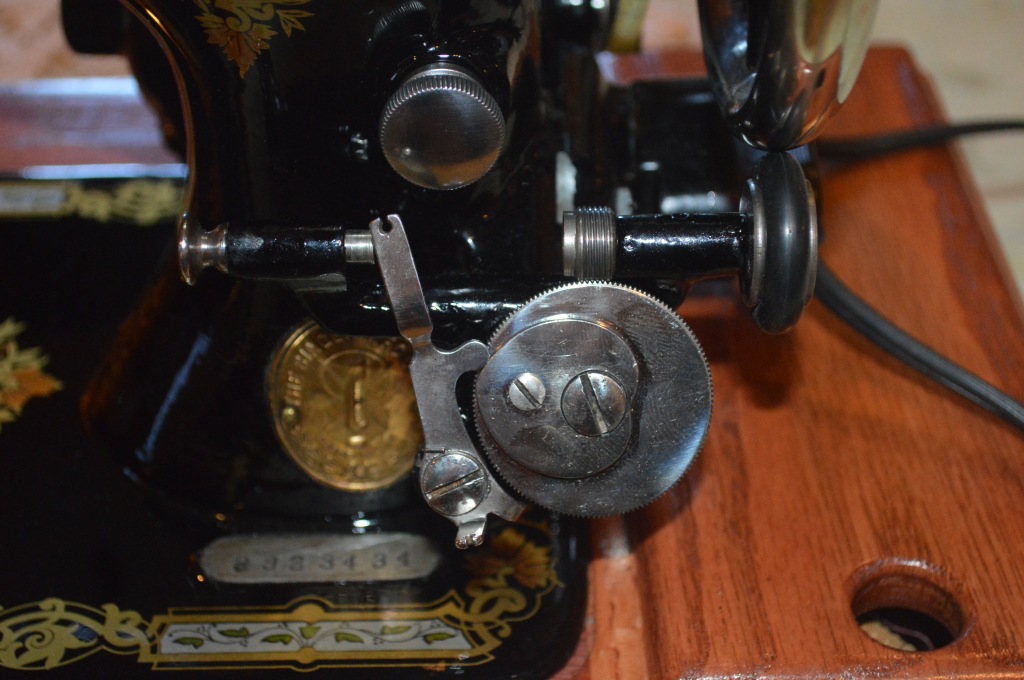
Painted and reassembled
All of the plates and shiny bits are polished… the larger pieces are polished on a 6″ polishing wheel, the smaller parts are polished with a small buffing wheel and a dremel tool. The polishing medium is red jewelers rouge.

Before polishing 
After polishing
The tension assembly is cleaned, and the machine is reassembled and adjusted. After adjusting the stitch length mechanism, feed dogs, and shuttle hook timing, the stitch quality is excellent, and the straighness of the stitch is characteristic to vibrating shuttle machines.

The machine restoration is done… so as usual, let’s look at a before and after…
Before:


And after:

Without motor and light to spoil the view! 


I hope you enjoyed following this restoration and gained a little knowledge along the way! As always, If you have any questions or if I can be of any assistance, please contact Lee at Pungoliving@gmail.com.
Thanks for reading,
Lee

WOW! That’s an amazing and exquisitely beautiful antique machine! I’m drooling over it. I own quite a few vintage machines, all Kenmores because I’ve used them for years and love them. The oldest one I own is almost as old as I am, 70, so it guess it comes close to being an antique (like me!)
I love sewing, quilting and just working with my hands in general. My husband thinks I’m nuts, but I enjoy maintaining my machines. I’m able to do some disassembly, change belts, perform reasonable job of cleaning gears and linkages, plus cleaning motors and changing brushes, etc., but I’ve never taken a machine completely apart as I’d never get it back together again. That old Kenmore I mentioned is a 1954 or 55 model 120-49. It’s way different than what Kenmore usually produced, in that it has a cast aluminum “skeleton” on the inside. The cover is relatively lightweight steel (I think) and is easily removed to expose the innards. It’s weird in that it uses a chain rather than a belt. Stranger still, to me anyway, is that it has a 1.5 beast of a motor that was made by a branch of Chrysler. It does only straight stitching, and is an ugly monster. But it intrigued me so I opened it up, carefully cleaned it and oiled it, removed a tiny bit of rust, cleaned out dust and crud from the motor (there wasn’t much), and polished the commutator. The brushes were in good shape so I simply put them back in place, them give the motor a touch of oil where it needed. Other than polishing the outside, that’s about all I’m capable of doing so I put it all back together, put a needle in it and tested. It’s noisy – not surprising – but I think that’s because of the chain, the motor itself rumbles quietly and smoothly. A friend of mine is making a nice wooden base for it. I can’t wait to begin using it because with the right needle, the bugger will punch easily through a lot of layers, including garment leather. Fun!
I know your engineering degree gives you an advantage in this arena but how much insight does it provide as to how sewing machines work? What helps you most when putting the parts back together? Taking pictures? I’d very like to know. And if possible, would you consider explaining or showing how you mounted the motor on your gorgeous Singer? At my age, I’ll never achieve your expertise. Even so, I’d like to learn all I can anyway.
I hope I haven’t annoyed you with all this questioning, but I’ll be very grateful with anything you choose to share.
Thank you so much!
LikeLike
Hello Suzanne,
Disassembling a sewing machine involves removing parts that must be in a proper orientation and adjustment. The average sewing machine has well over a hundred bits and pieces. Some look the same but are slightly different. Having an engineering degree is more of an extension to my personality. I am curious about how things work and hoe they are put together. Ever since I was a kid I would take things apart and put them back together again. For some folks, they have an ability to look at something and just know how it works. I just know where all of the parts go and how the assemblies fit together. Some folks understand art and how colors and shapes work together… I can’t do that and it just shows that people have different talents. Still, I take a lot of photos and I use service manuals to make the fine adjustments a sewing machine needs to sew properly.
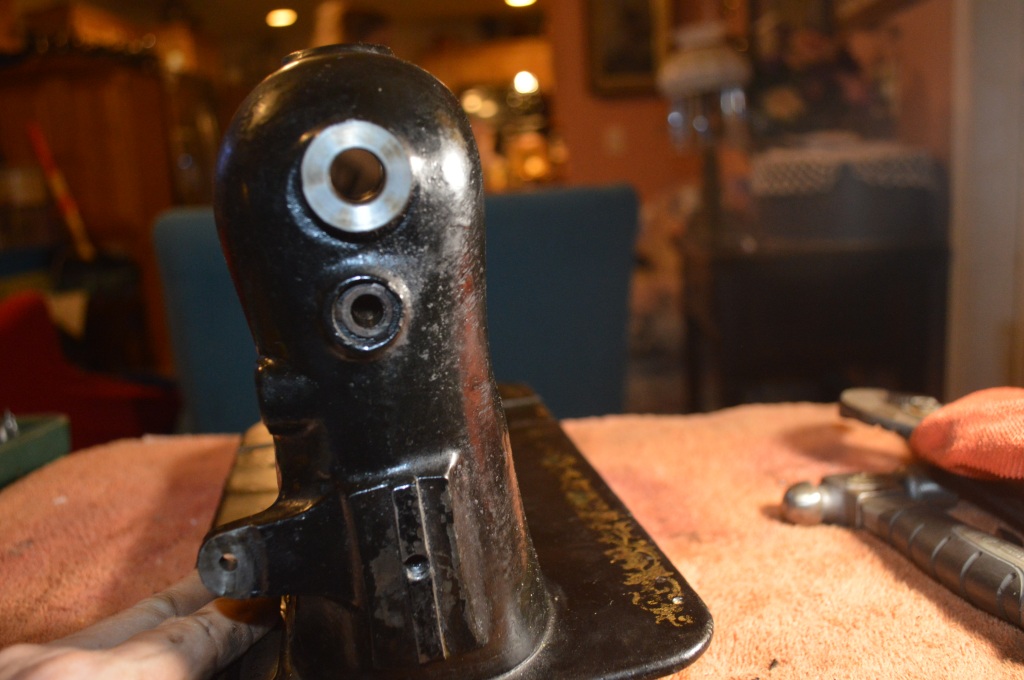
On the Singer I restored, mounting the motor was simple. The body has a casting to attach a hand crank and it is the same fit for a Singer motor bracket. I used a vintage Singer motor with the bracket and it was simple to attach in place of the hand crank. Some antique Singer machines like the model 27 was a treadle machine and does not have a casting to mount a motor. To add a motor to these machines, it is typical to find a hole drilled and tapped into the pillar. Easier said than done, the pillar is not vertical so a motor bracket does not sit straight. A suitable shim needs to be fabricated to align the motor properly. I don’t like the idea of drilling a hole in an antique sewing machine, but I did this on my Wife’s model 27. It is more important to be able to use a machine than it is to avoid drilling the hole.
I am familiar with your Kenmore but I don’t own one. I think a chain drive is innovative and it certainly is durable. There are many machines that use a similar drive system. Among some others the Singer 206K uses a steel reinforced cog belt. You are a mechanically inclined person and the work you do is much more than most people would attempt. Fortunately, you don’t need to disassemble a machine to the extent I do. The intent of my restorations is to return a machine to sew and run like new. It isn’t necessary to make a machine run and sew well. If you keep your machines cleaned and oiled, they will last for generations… that’s what motivates me to restore them.
If you have any questions or if I can be of any assistance, please don’t hesitate to contact me.
Have a blessed day,
Lee
LikeLike
THANK YOU!
LikeLike
Congratulations, what an accomplishment!
LikeLike
Thank you Jeffery,
I enjoy restoring these wonderful antique machines and it is especially gratifying doing it for my Wife!
Have a great day,
Lee
LikeLike