A Tip for Reinstalling Screws in Bakelite and Plastic Components

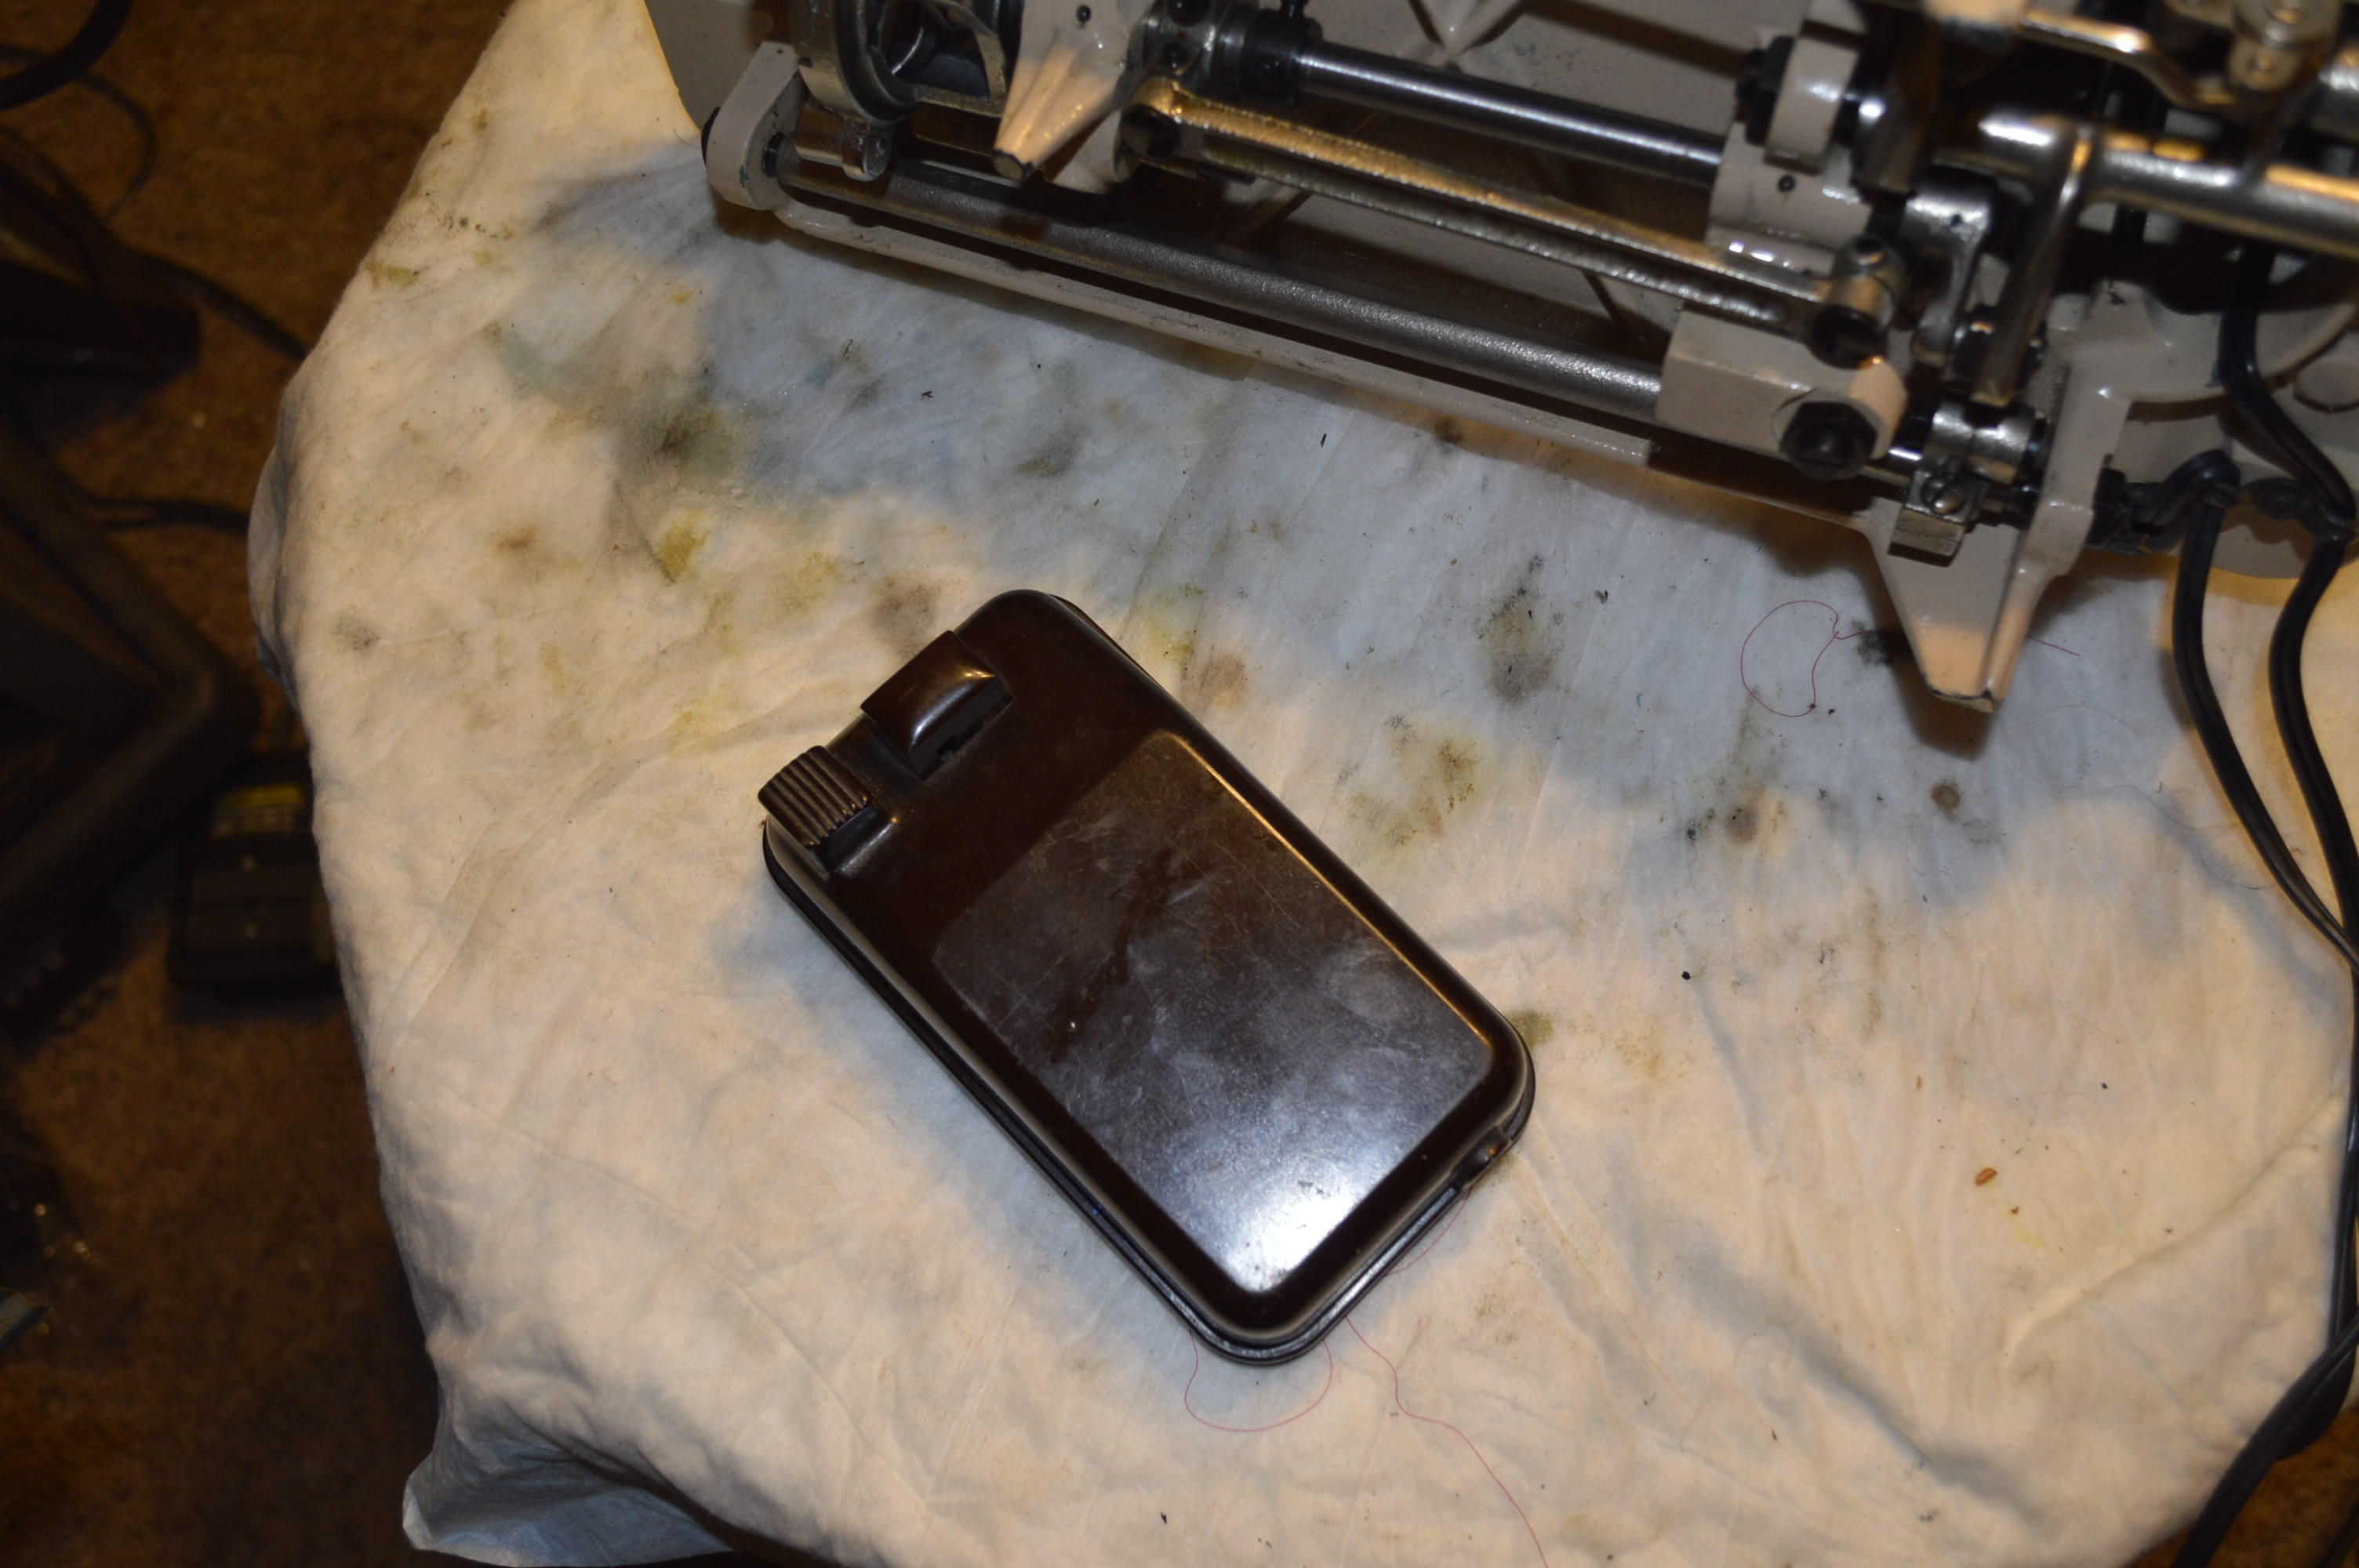
I was rewiring a Singer button controller today and when I was reassembling the bakelite housing, it occurred to me that the steps I take for granted may be be worthy advice to share with others.

Bakelite is really a “plastic” used from the mid 1930’s well into the early 60’s. And like any plastic, it is much softer than steel and can crack if proper care isn’t followed when reinstalling the steel screws. When it comes to reinstalling the screws, the consequences of cutting new grooves instead of mating with the existing grooves (cross threading) the screws will result in catastrophe, frustration, and tears. The damage caused by cross threading plastic is often irreversible, and even in the best case, weakens the grip of the screw.

To illustrate what I mean, the next few pictures show how this controller is disassembled… and of course, reassembly is the reverse in order of the disassembly.

Singer Button Controller


Note the screws nested in the rubber feet on the corners
These 4 metal screws thread into the plastic body of the controller body and bottom cover

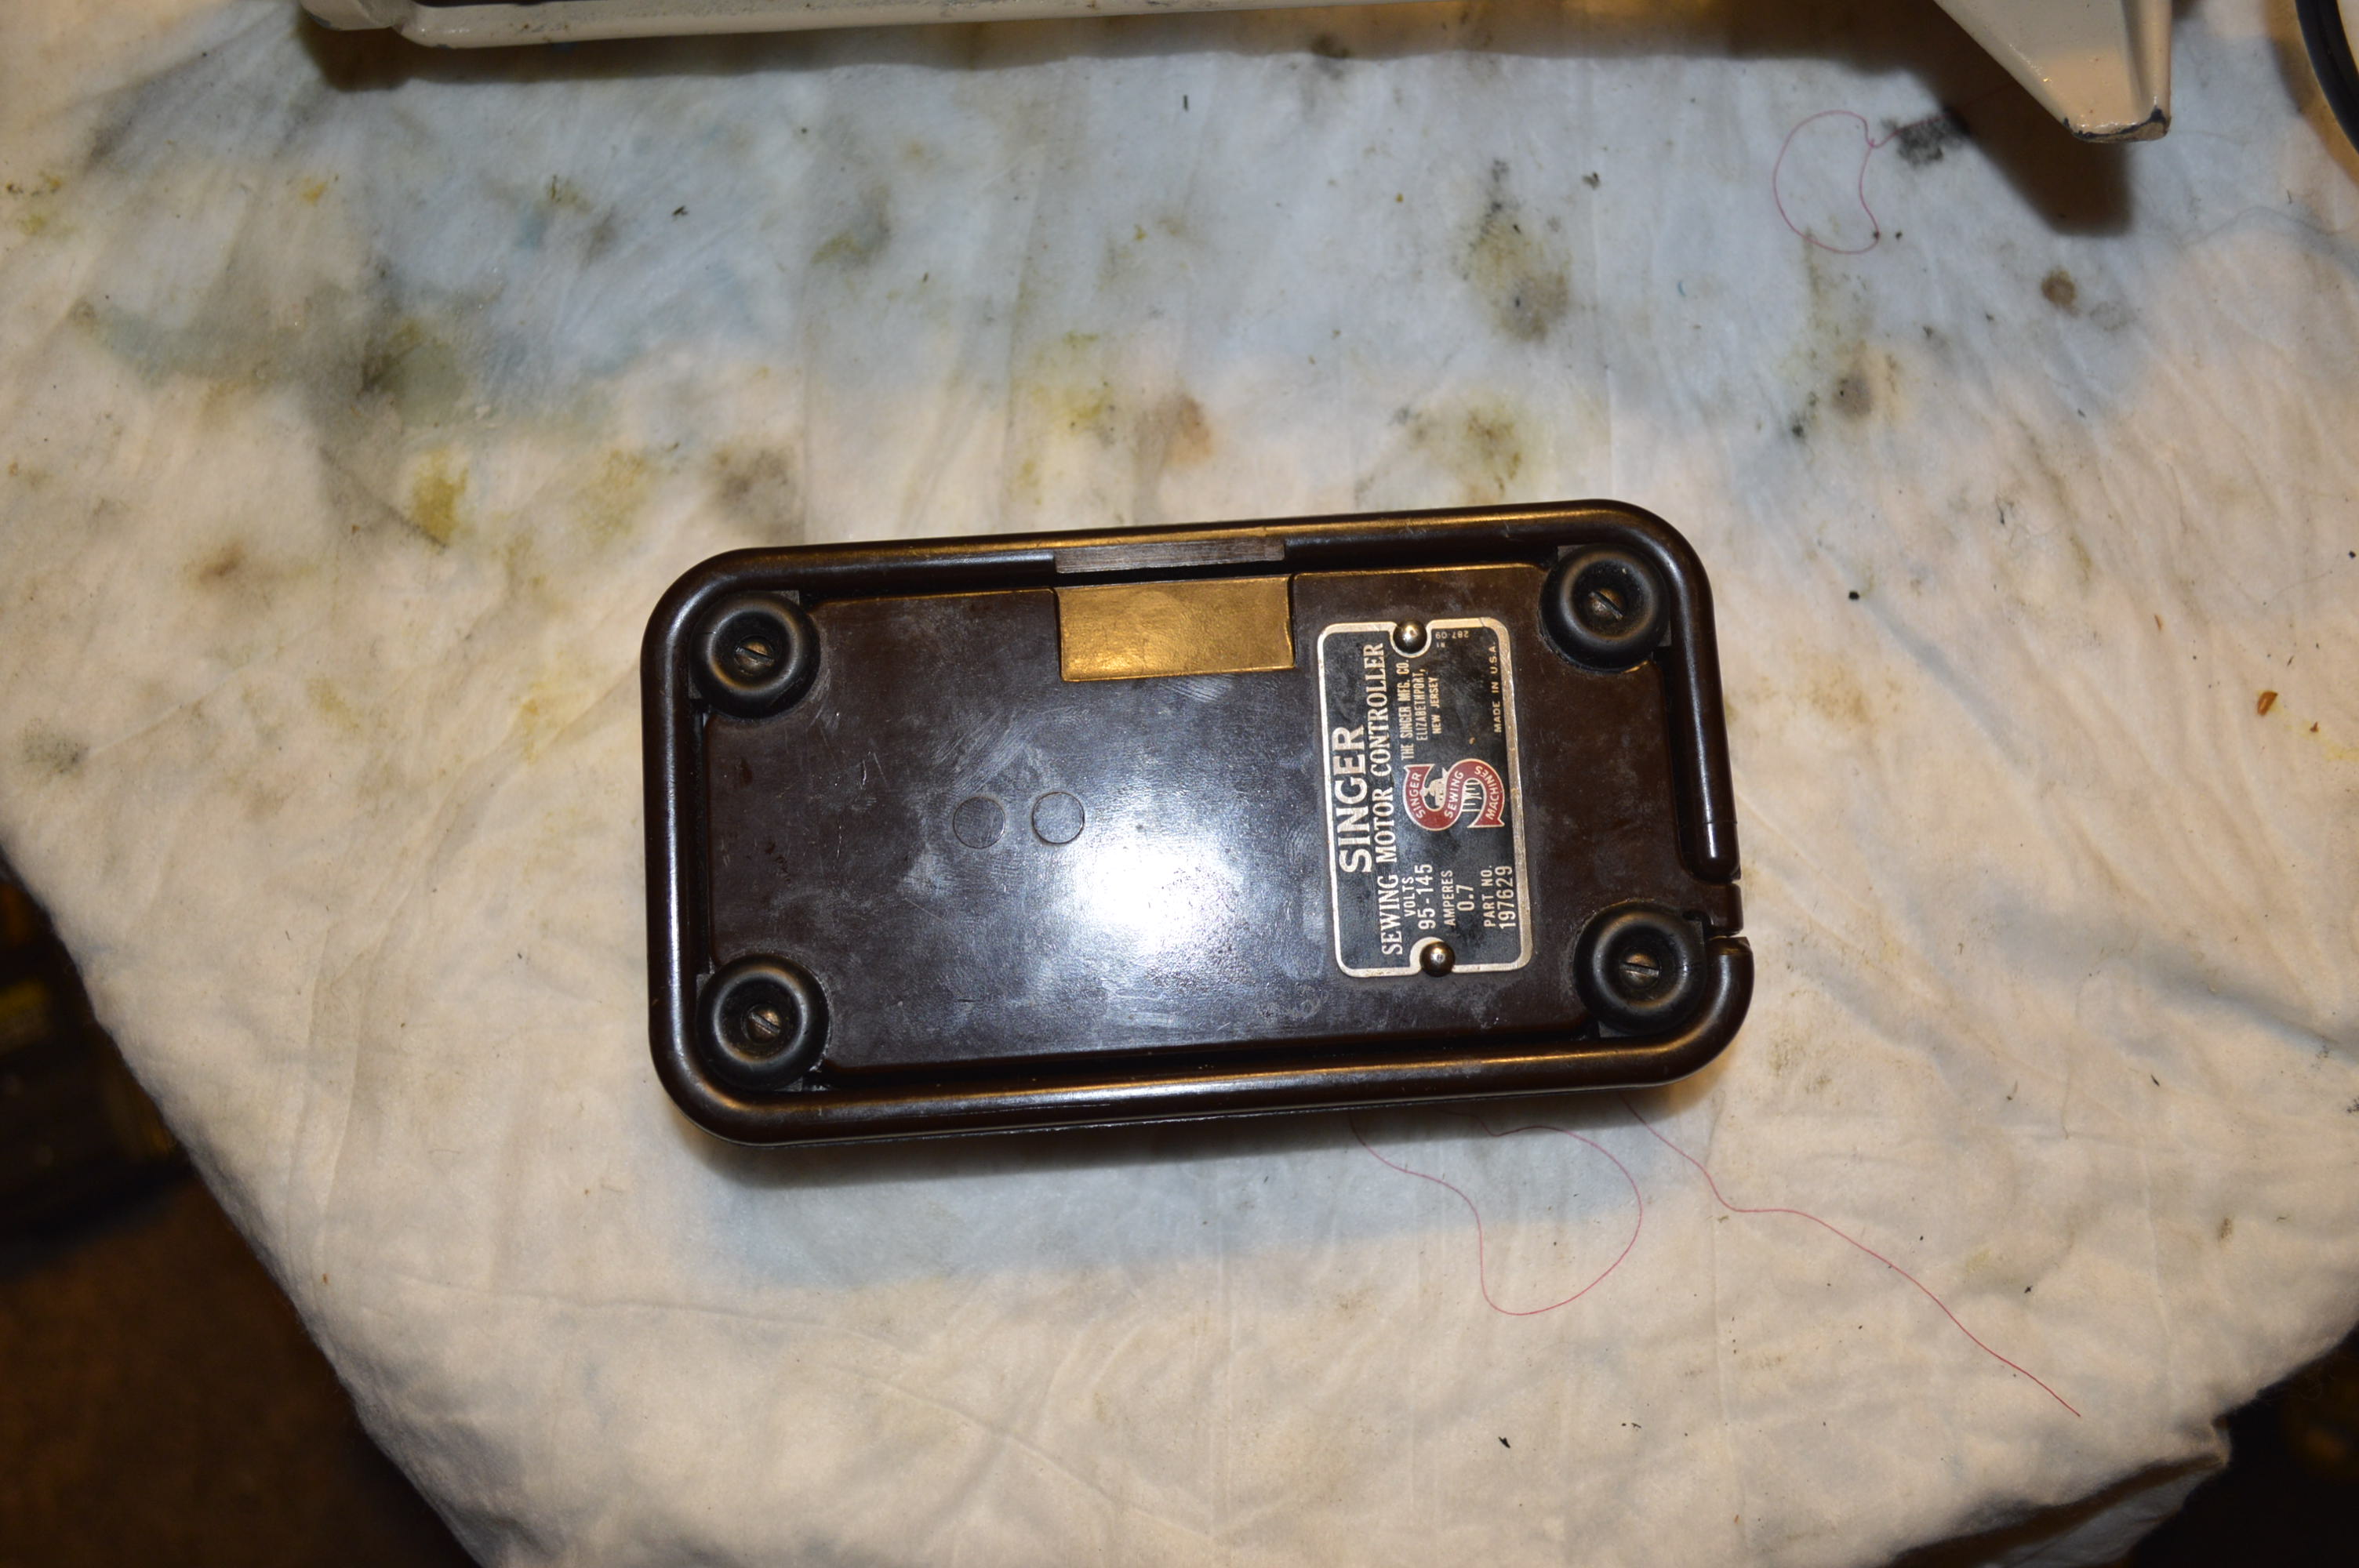
Note that the metal screws tap into the bakelite housing. The threads it cut in assembly must match the screw threads in the same grooves when it is reassembled. The steel screws are very capable of cutting new grooves in the bakelite housing when reinstalled and this will damage the bakelite housing, bind when tightening, and will likely break or crack the housing. This is true of all plastic housings so this advise spans any application where plastic is fastened with screws.

Prevention is simple. It is easy to align the steel screw threads with mating grooves in the plastic… When you set the screw in the hole of the part to be reassembled, don’t start by turning the screw clockwise (tightening). At this point, you can’t feel where the threads of the screw and the grooves in the plastic mate. Instead, start by turning the screw counter clockwise (loosening) while gently applying downward pressure to the screw. Usually, the weight of the screwdriver is enough. As you are turning the screw counterclockwise, you will feel the screw “set” and the first thread of the screw will settle in the first groove in the plastic. At this point, proceed to tighten the screw. it will not try to cut new grooves (cross thread) but will follow the existing grooves and tighten smoothly.

Its simple, dependable, and will prevent damage to the plastic part being reassembled.

I hope this helps!

Published by pungoliving

First and foremost, I decided to share some of my experiences with vintage all metal sewing machines. It is a natural progression of my life experience exercising my hands and my mind. My background is a simple story... graduating High school, I wanted a trade. I landed an apprenticeship at Norfolk Naval Shipyard in welding. 5 years later after earning certification and working in many different environments, I decided to enroll in College and earn an Engineering. At the same time, I married a wonderful girl and started a new life. Graduating College with a degree in Structural Engineering, I began a 35 year career in the Federal Government. Along the way, we were blessed with 3 beautiful children. Earning a Masters degree in Engineering and registration as a Professional Engineer I worked for the benefit of my family and my Country. Over the years, I have pursued many different hobbies... woodworking, car mechanics, astronomy, and taking apart and putting together all sorts of things. Pretty much anything I could put my mind and my hands into. So now, many years later, I am retired and finally able to wile away my days at home with the love of my life. Her interests have always been in sync with mine, but spending so much free time with her, I realized how broad her talents are! One interest she is particularly fond of is sewing. It didn't take me long to put 2+2 together and realize that I could do something with this. So, acquiring, adjusting, servicing, and restoring sewing machines was a win-win. I have a hobby that is detailed, involves tinkering with precision engineered high quality manufactured machines, while she has an opportunity to sew on various different makes and models of sewing machines. While there are many that have information on line, and what I have to say more than likely has already been said, I wanted to contribute to that conversation and learning gleaned from my experience and research.

Leave a Reply

Fill in your details below or click an icon to log in:

WordPress.com Logo

You are commenting using your WordPress.com account. Log Out /  Change )

Facebook photo

You are commenting using your Facebook account. Log Out /  Change )

Connecting to %s

%d bloggers like this: