
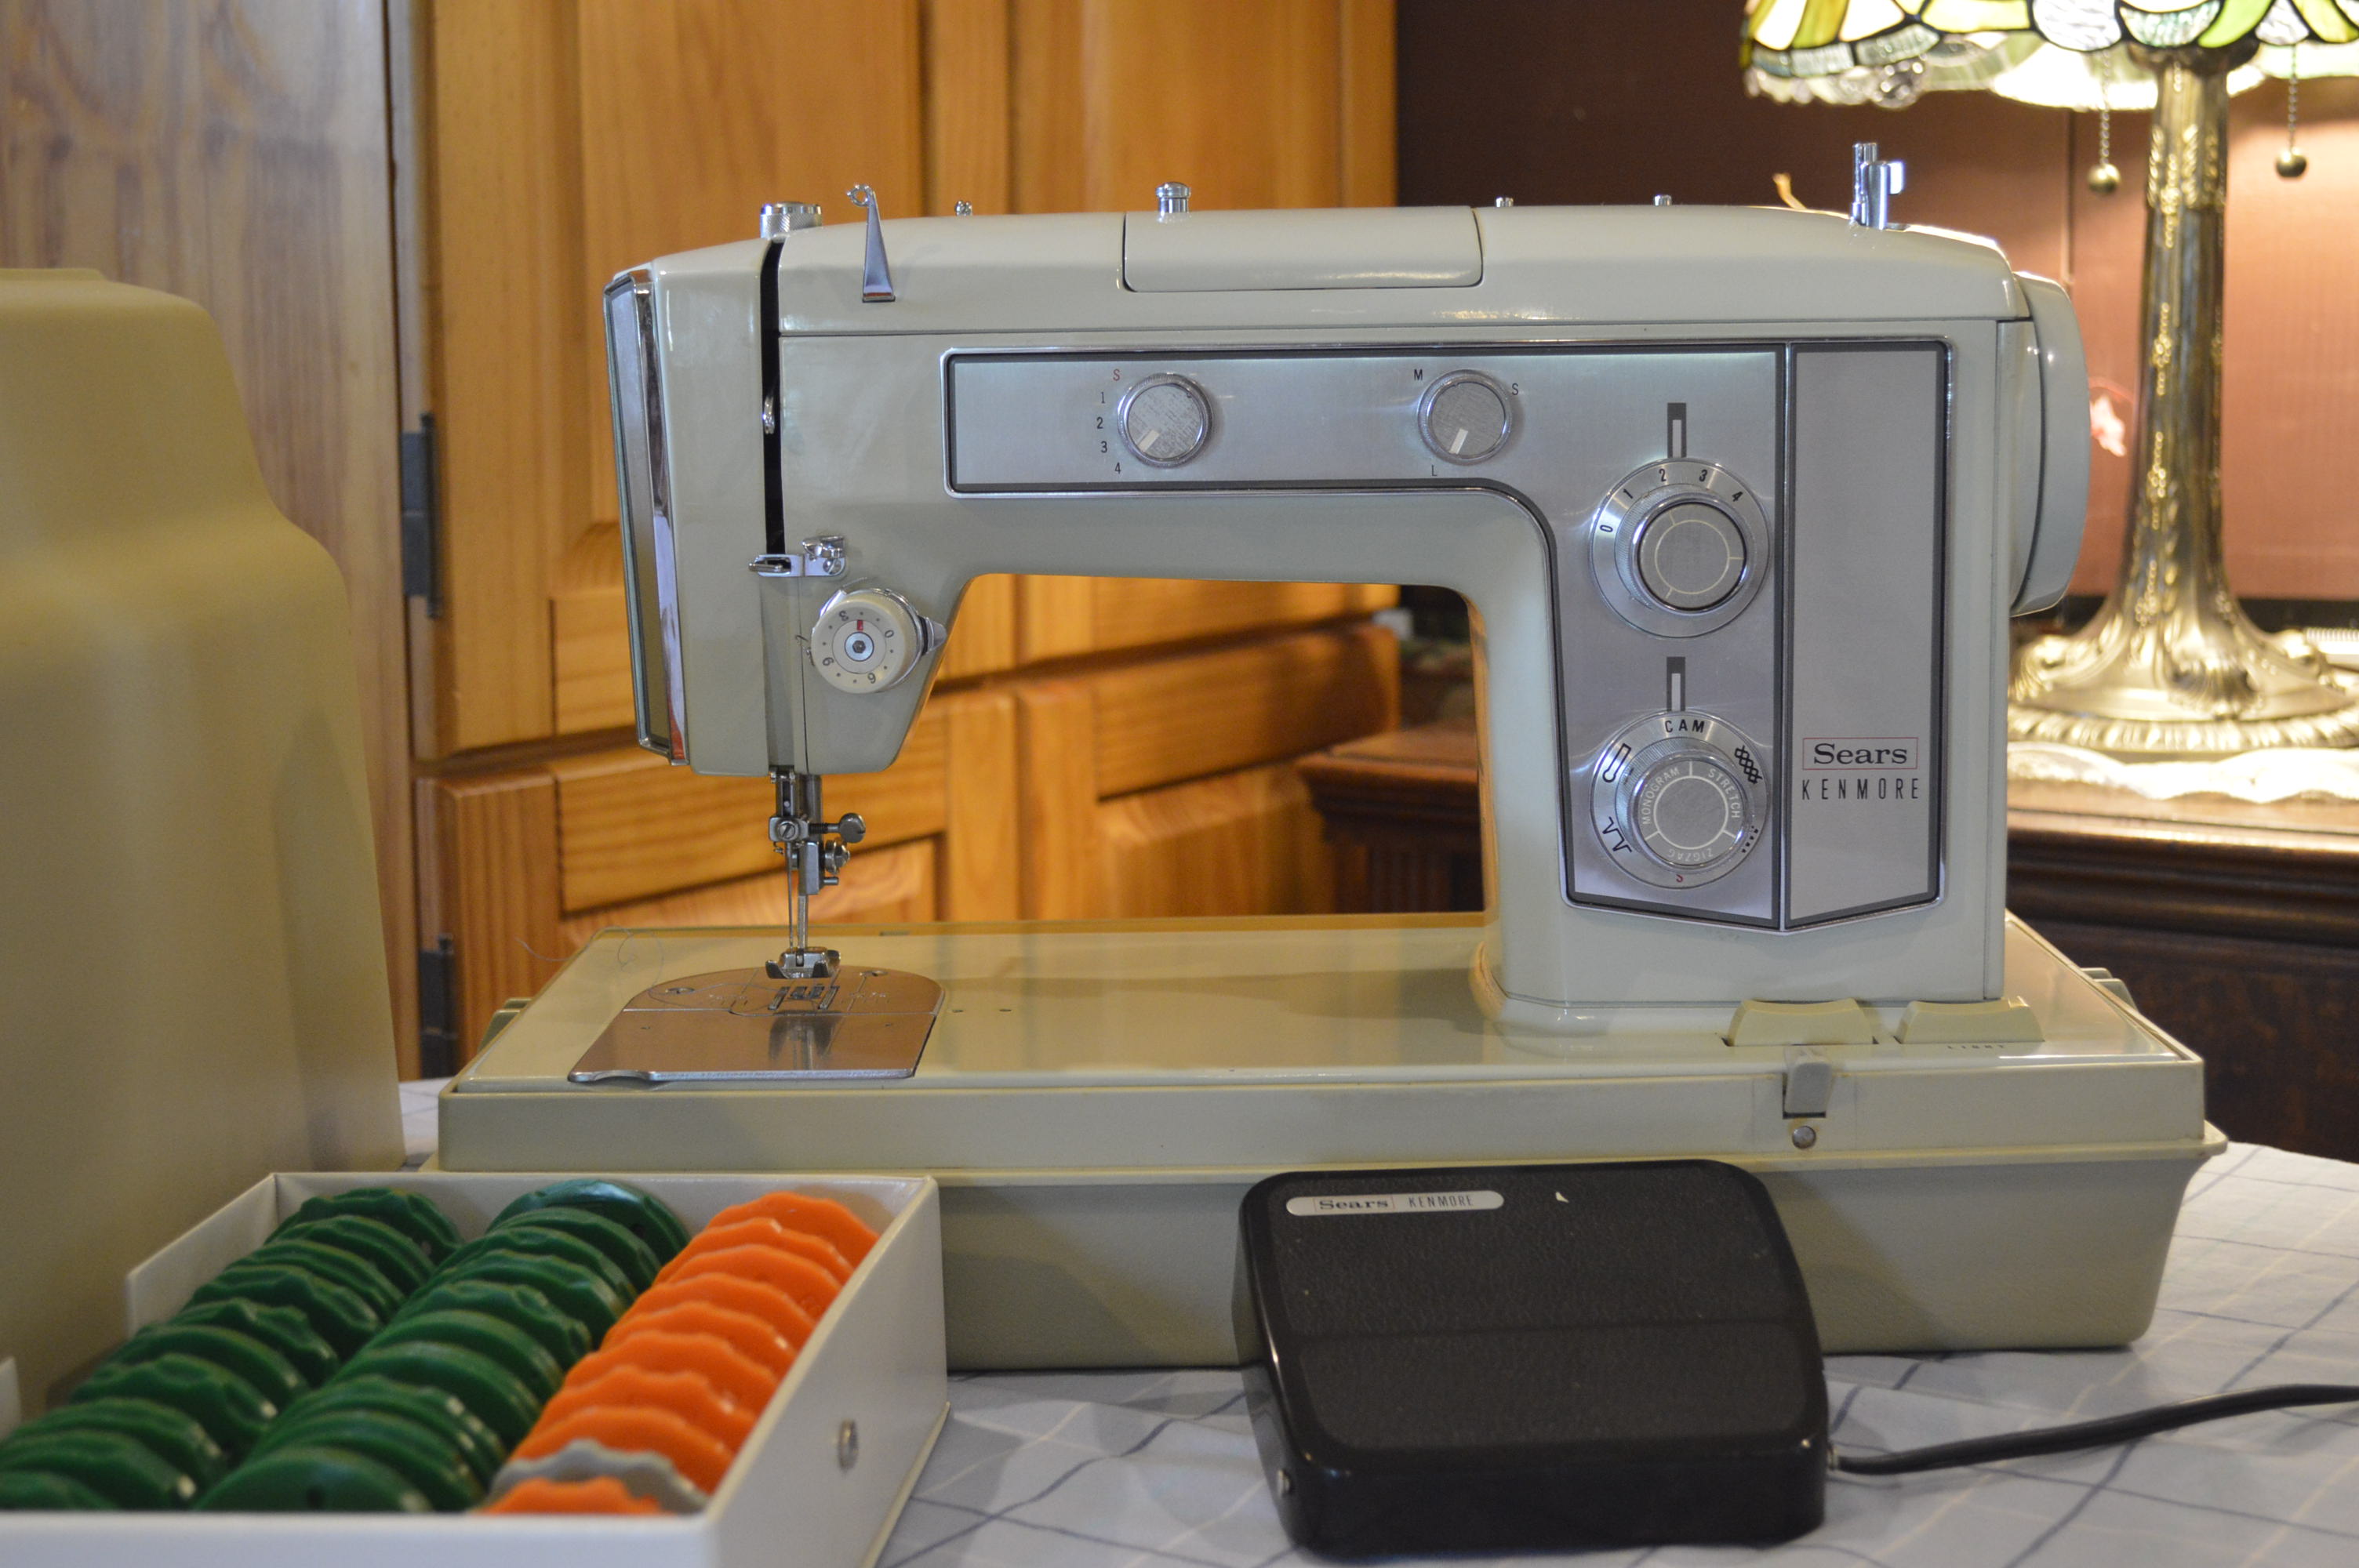
Vintage Kenmore sewing machines, especially the 158 models manufactured before 1976, have gained a reputation for quality, durability, ruggedness, and ease of use. Over the years, the Kenmore 158 models, made by Maruzen in Japan, were manufactured with a myriad of different models and features. Useful built in stitches, cams, attachments, accessories, high shank, low shank, external motor, internal motor, flat bed, free arm, etc, were found on different series in the models. One thing that remained constant and shared by all is the ability to sew with a minimum of fuss with adjustments and produce a great stitch. The reason? They are built to high quality standards demanded by Sear and Roebuck to back up their satisfaction guarantee. One this that is prominent on many Kenmore’s is the 25 year warranty label proudly displayed on the body of the machines.
The 158.1802 series sewing machine is regarded by many as the “Best of the Kenmore’s”. There is a lot in the machine to back this claim up. The body is enameled cast aluminum rather than cast iron. All of the the internal mechanisms are steel. The internal cam stack, the gears, the drive shafts, the exterior knobs, the balance wheel, and the face plate are metal, including the decorative plate on the nose. With a 1.2 amp motor and reduction belt drive, the machine is powerful. It runs quietly and smoothly. It’s super high shank and generous presser foot bar extension are capable of sewing projects that were never intended for this class of machine… but its there. From all angles, the 1802 is a very good sewing machine.
Servicing a Kenmore is a very straightforward process. The key to these machines is cleaning and lubrication. Adjustments to the sewing mechanism is very uncommon and rarely needed. Motor reconditioning is always done, but Kenmore motors are very durable and the reconditioning is done more for continued longevity than it is to restore performance… at least in my experience. So, the topic here is servicing a 158.1802, but the steps are pretty much applicable to any similar Kenmore.
First step is cleaning. The paint on these machines is very durable, so cleaning is much simpler, in that detergents can be used without damaging the finish… no, you can’t use solvents or abrasive compounds, but a diluted solution of Krud Kutter (what I use) works very well. There is a lot of mechanical linkages and moving parts in these machines that need to be cleaned, but disassembly is not necessary, or advised. Fortunately, they are pretty accessible for cleaning. These components are cleaned with cotton swabs.
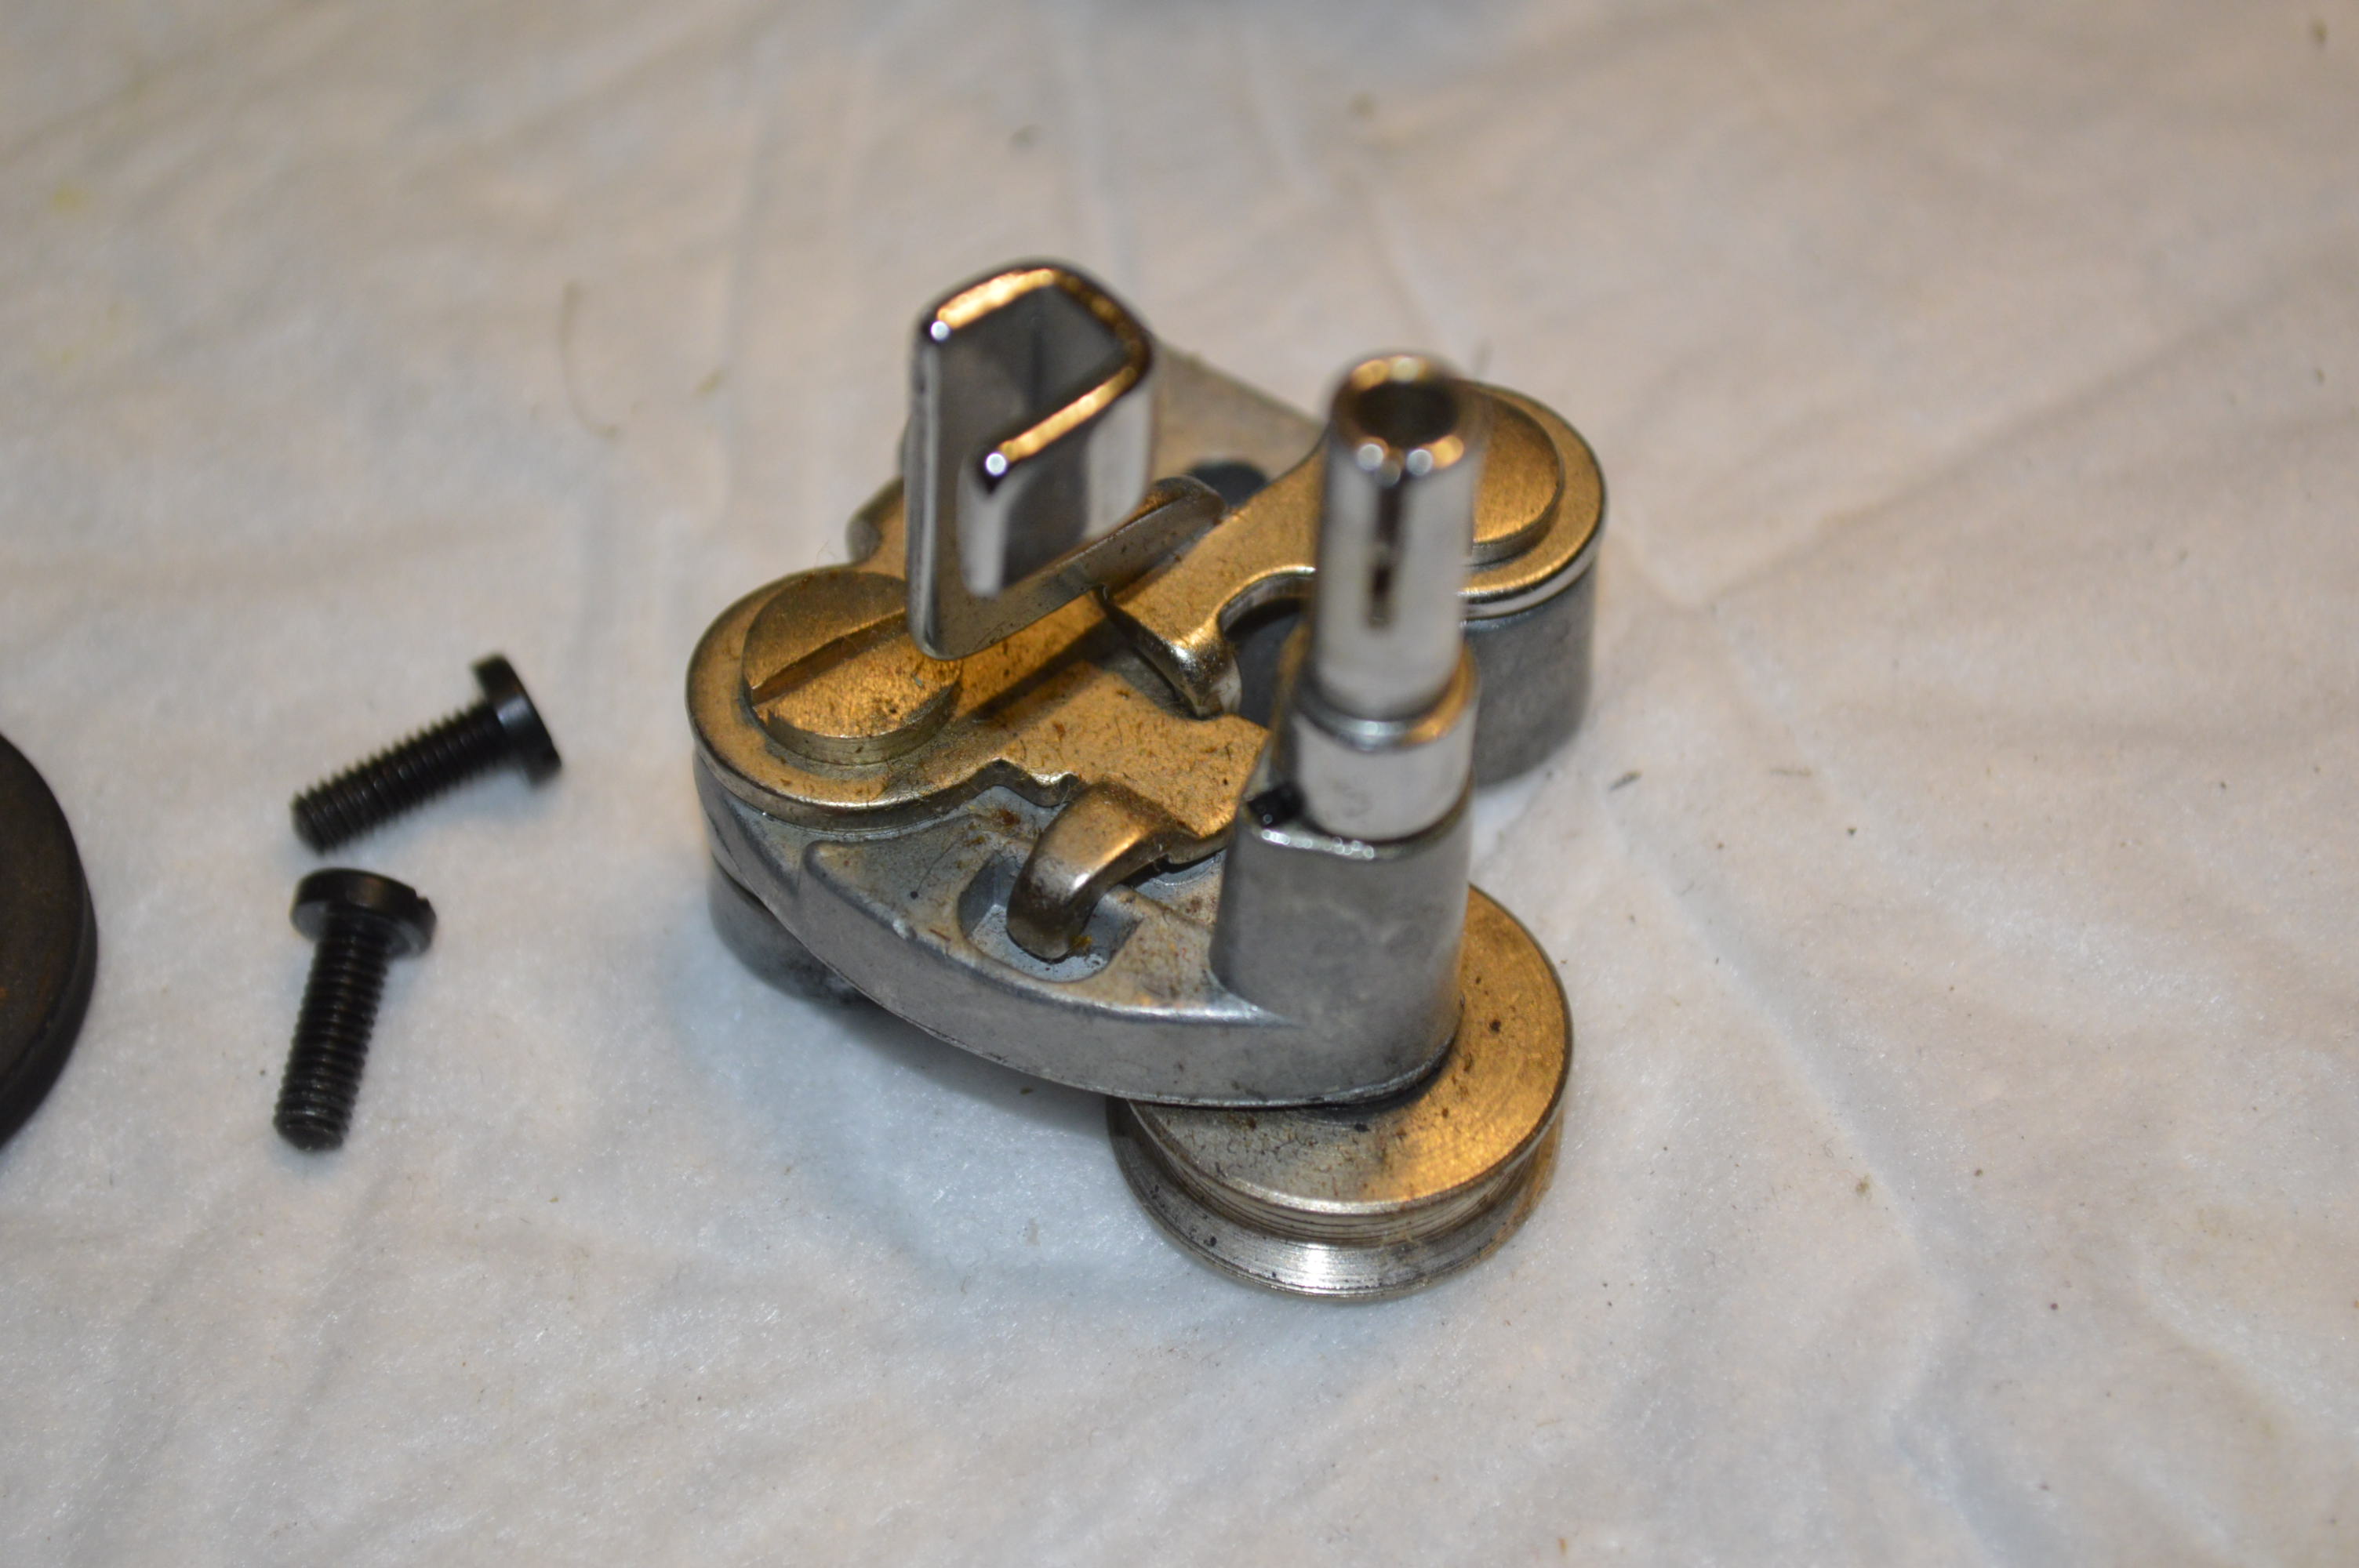
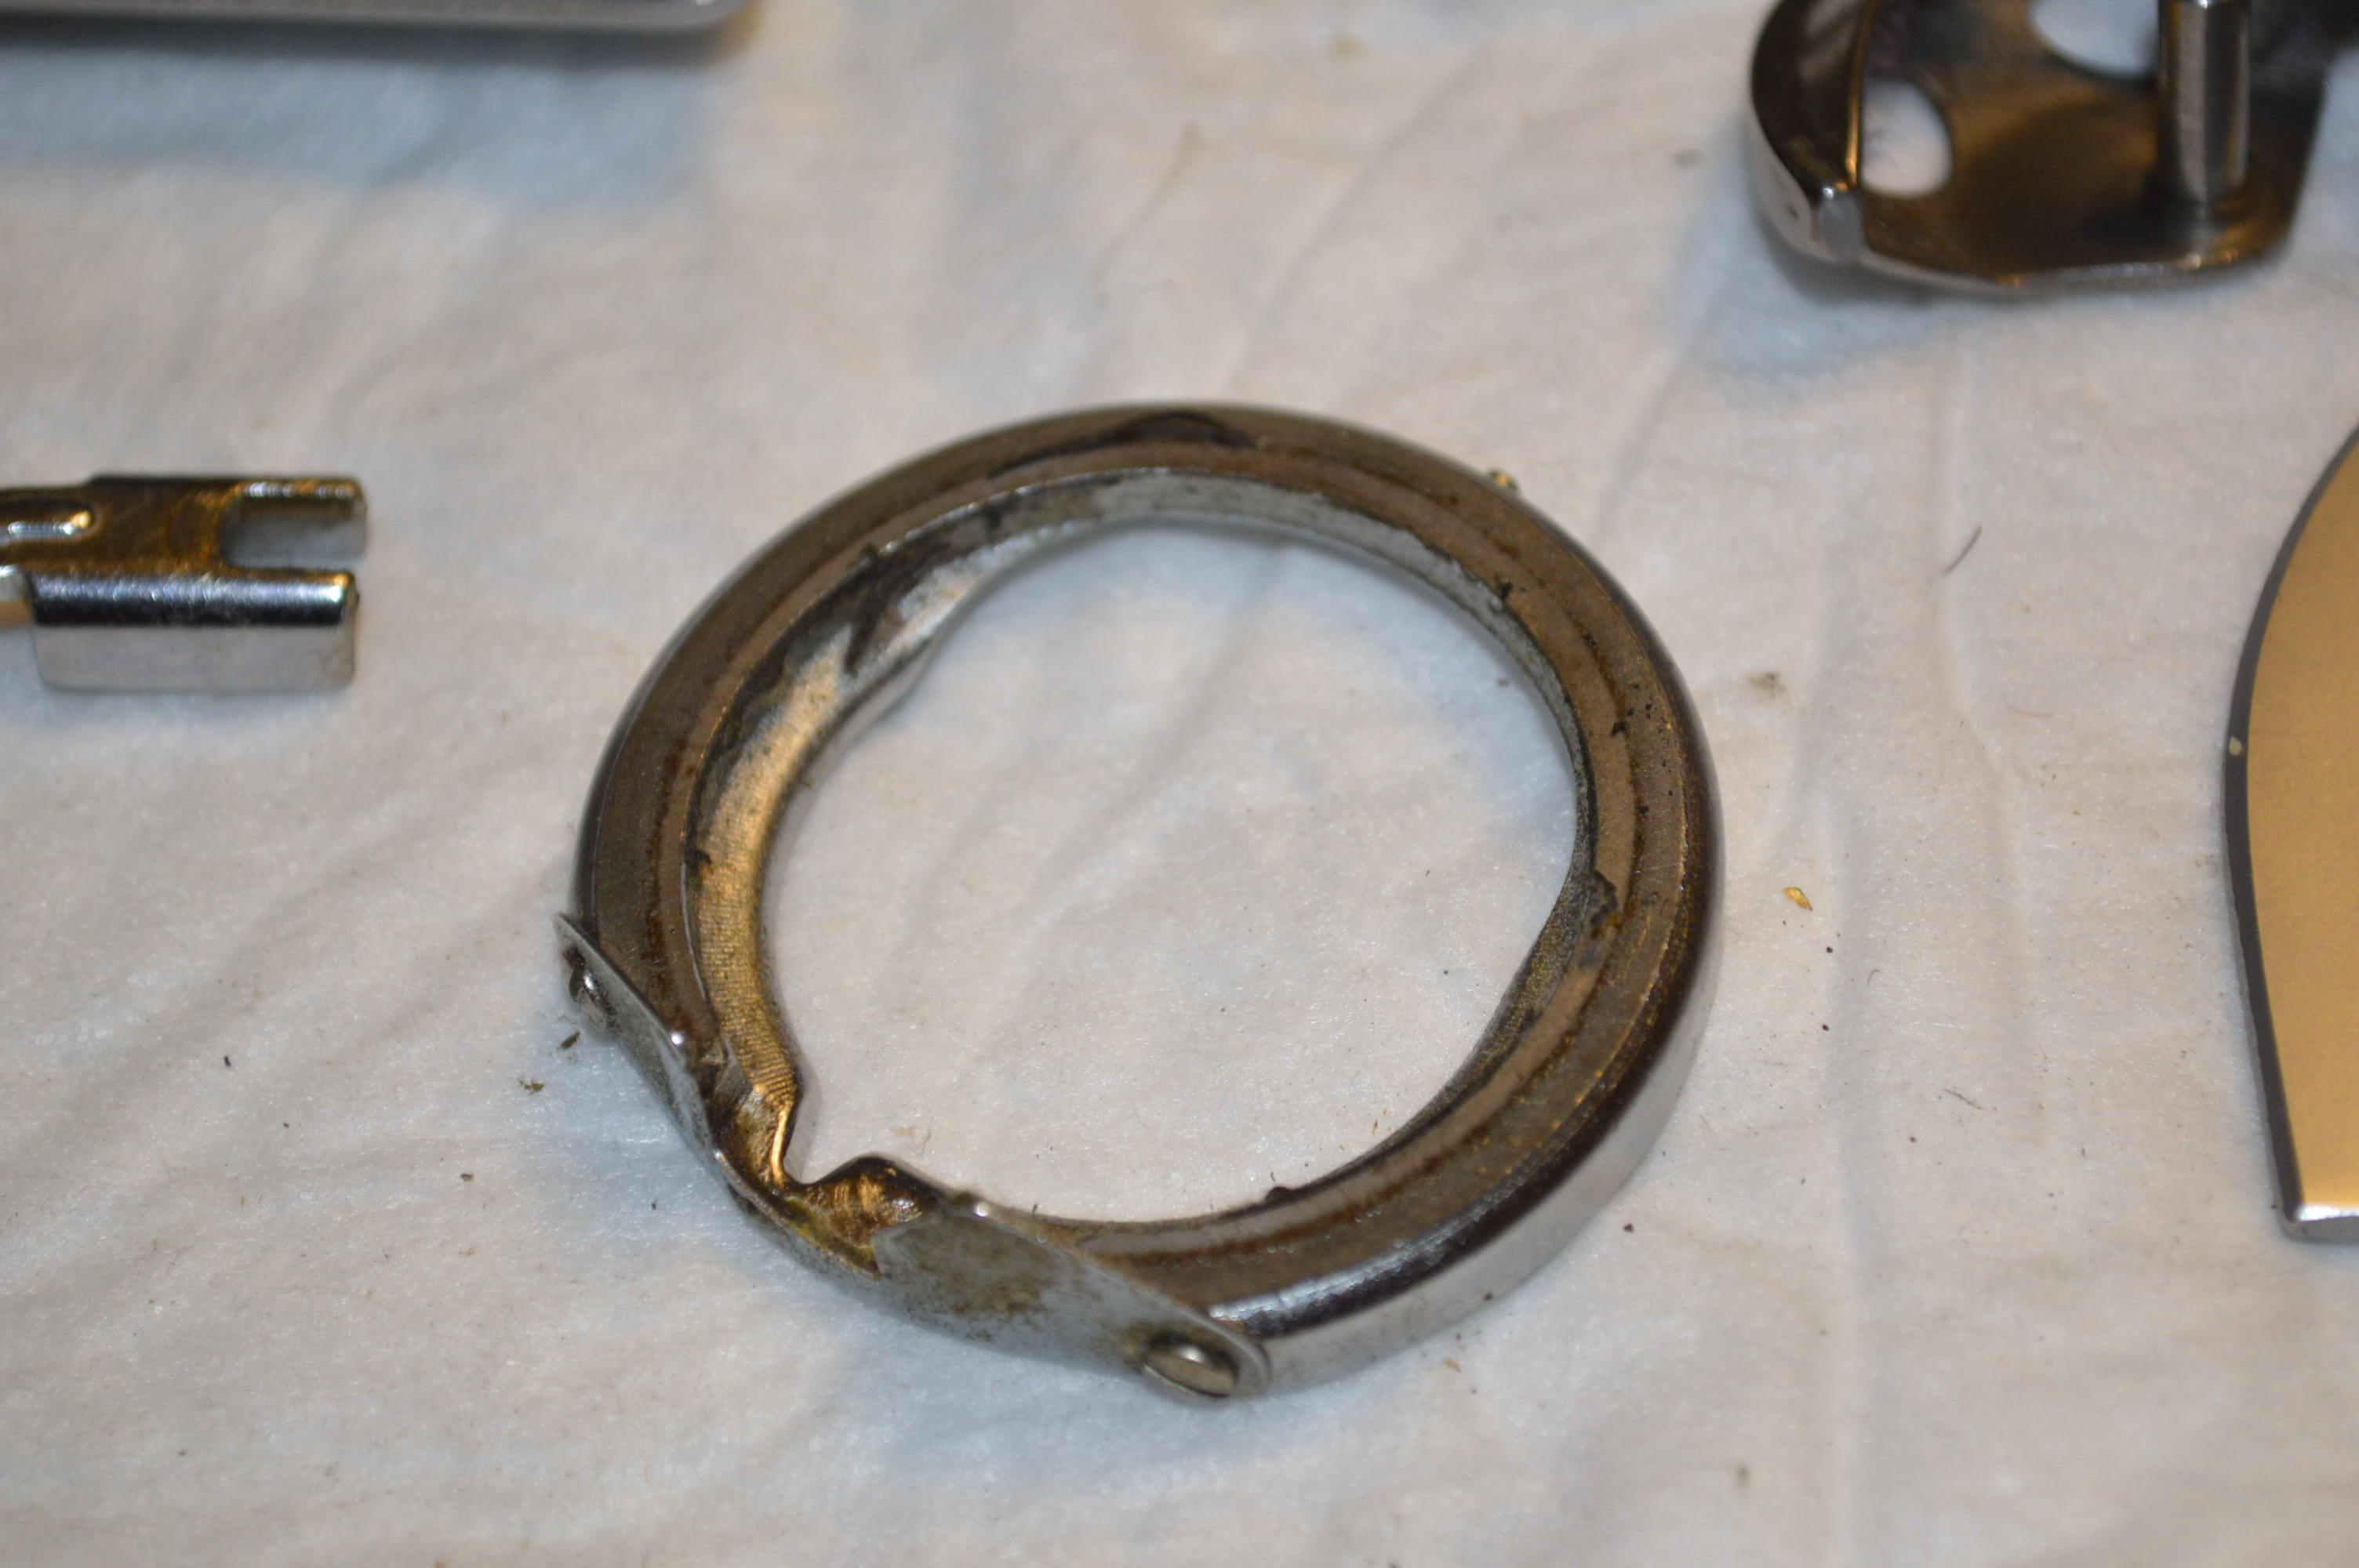
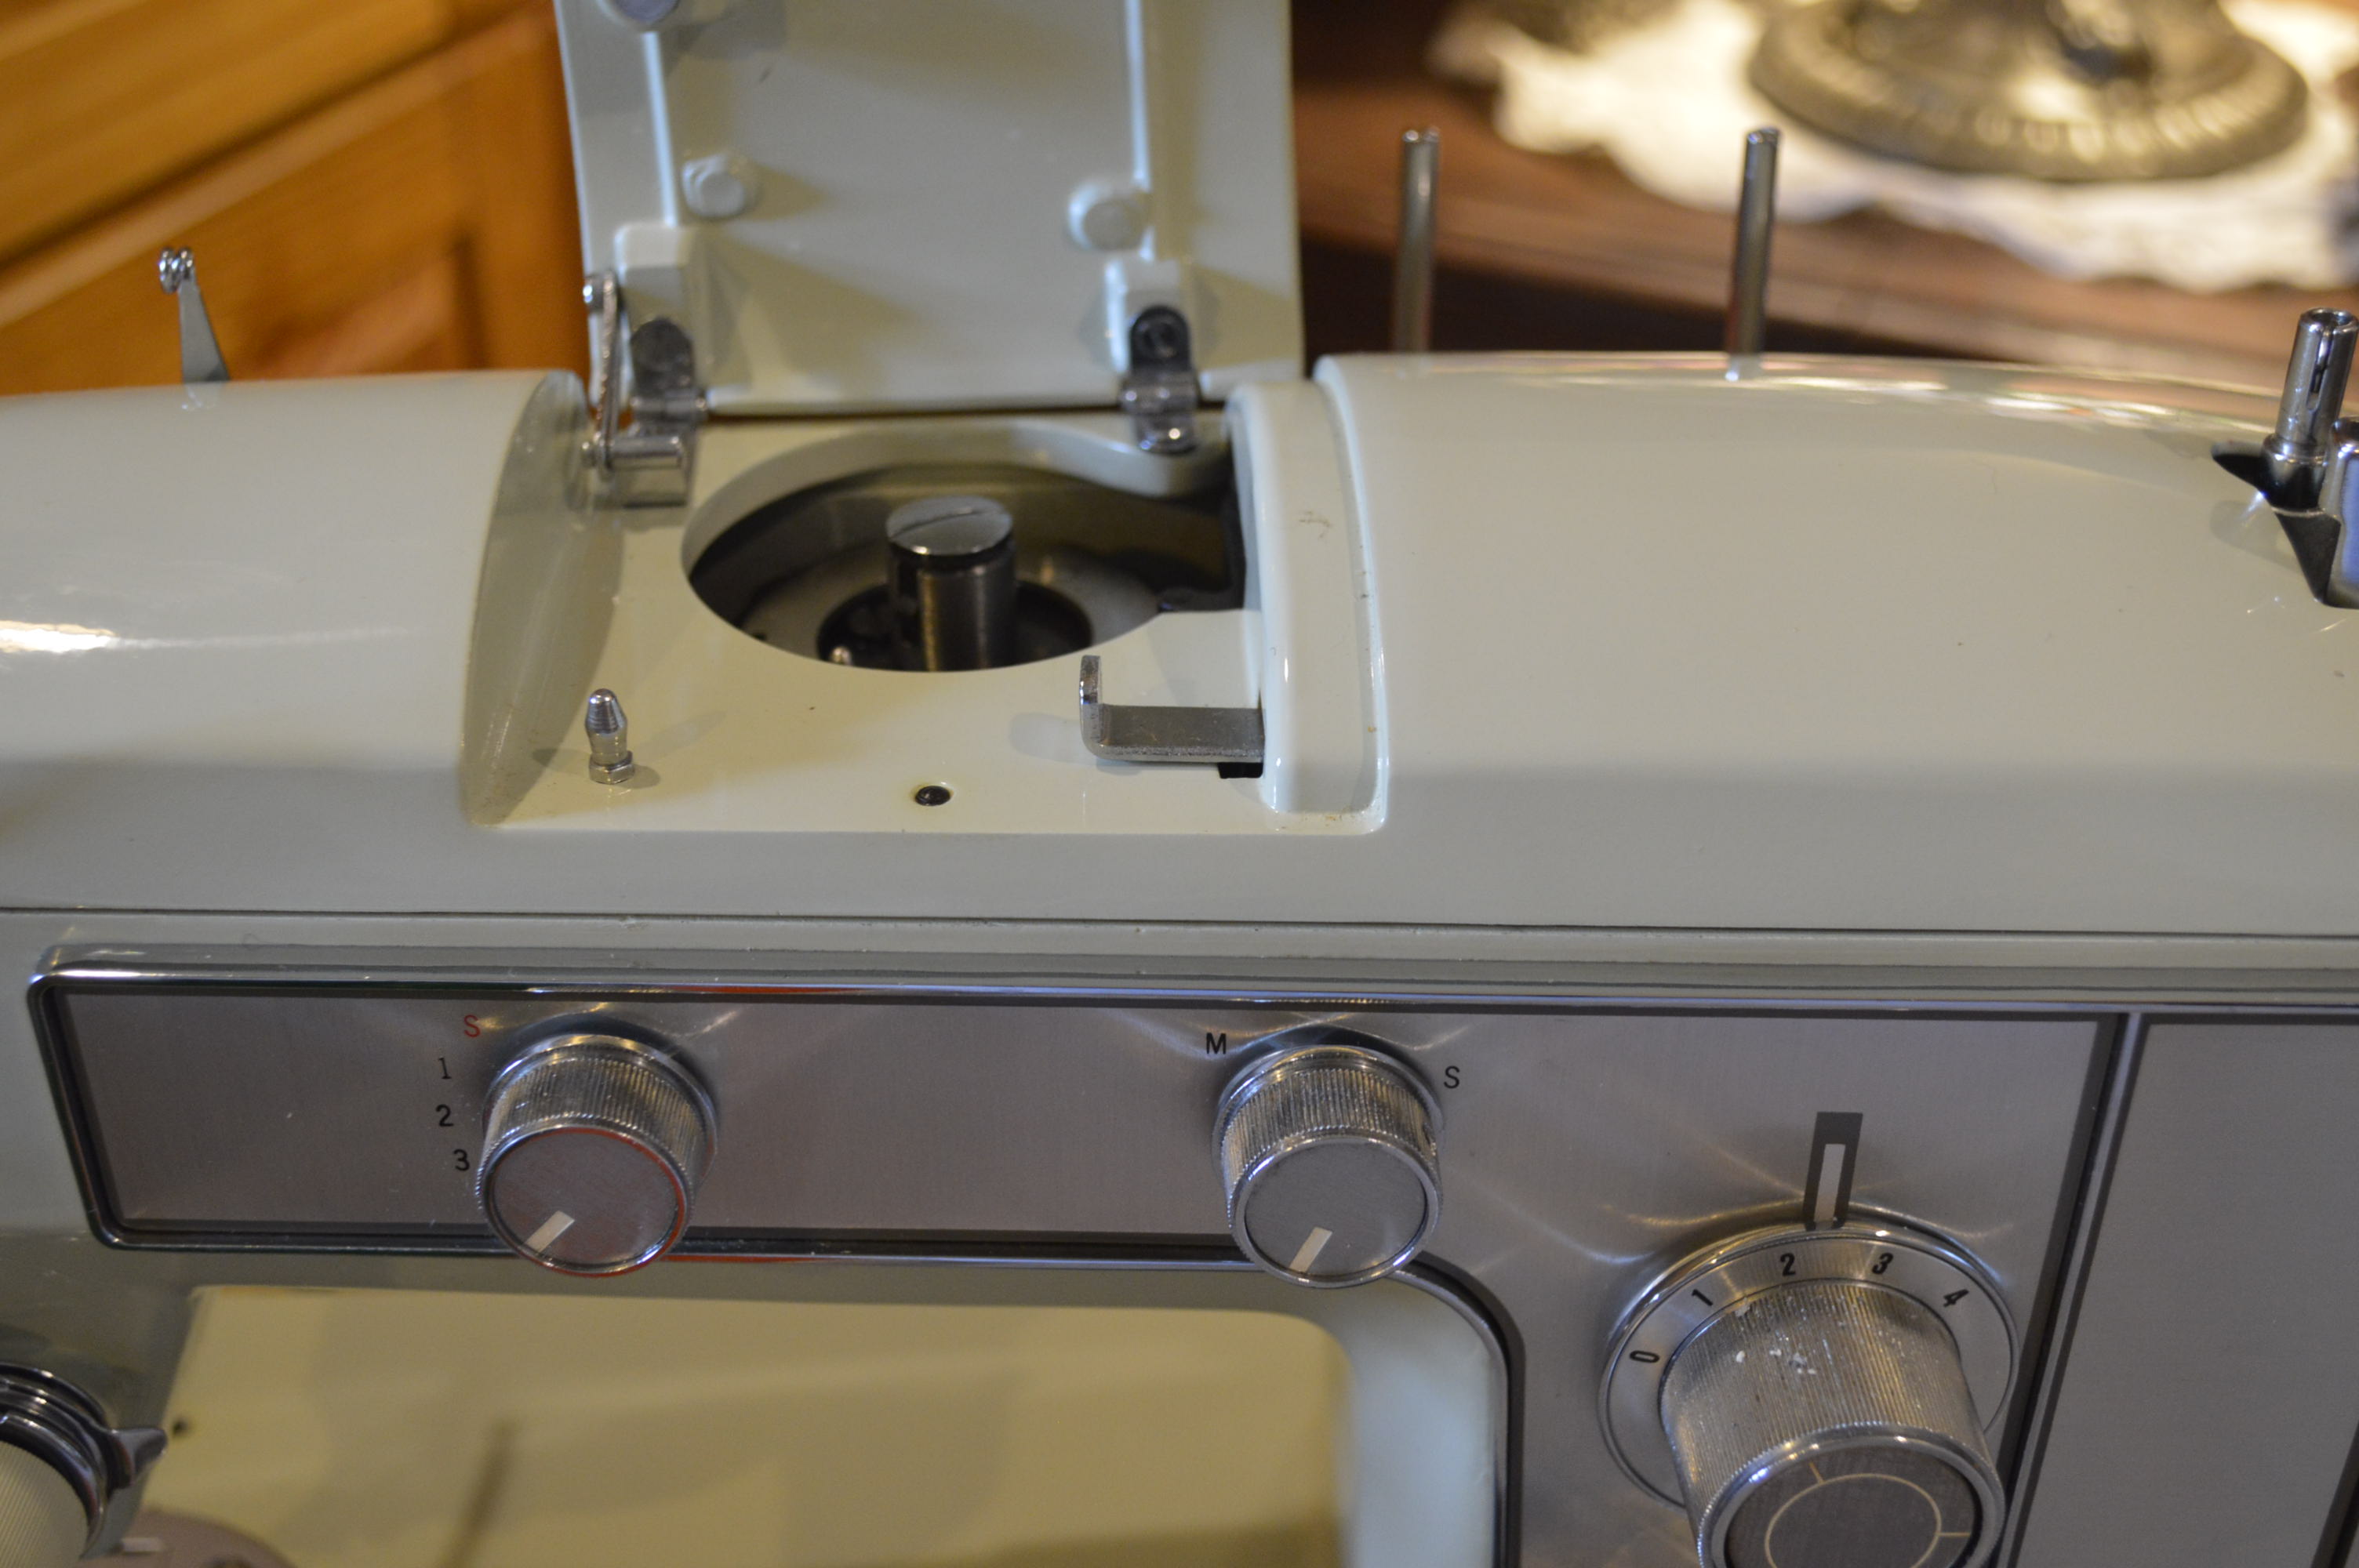
Parts that should be removed are the presser foot, needle plate, bobbin cover plate, balance wheel, bobbin case, shuttle hook, bobbin winder, and the top tension assembly. All are easy to remove.
Removing these assemblies makes cleaning the moving assemblies and feed dogs easy… just takes time and attention to detail to remove any old oil, varnish, and lint accumulated over the years.

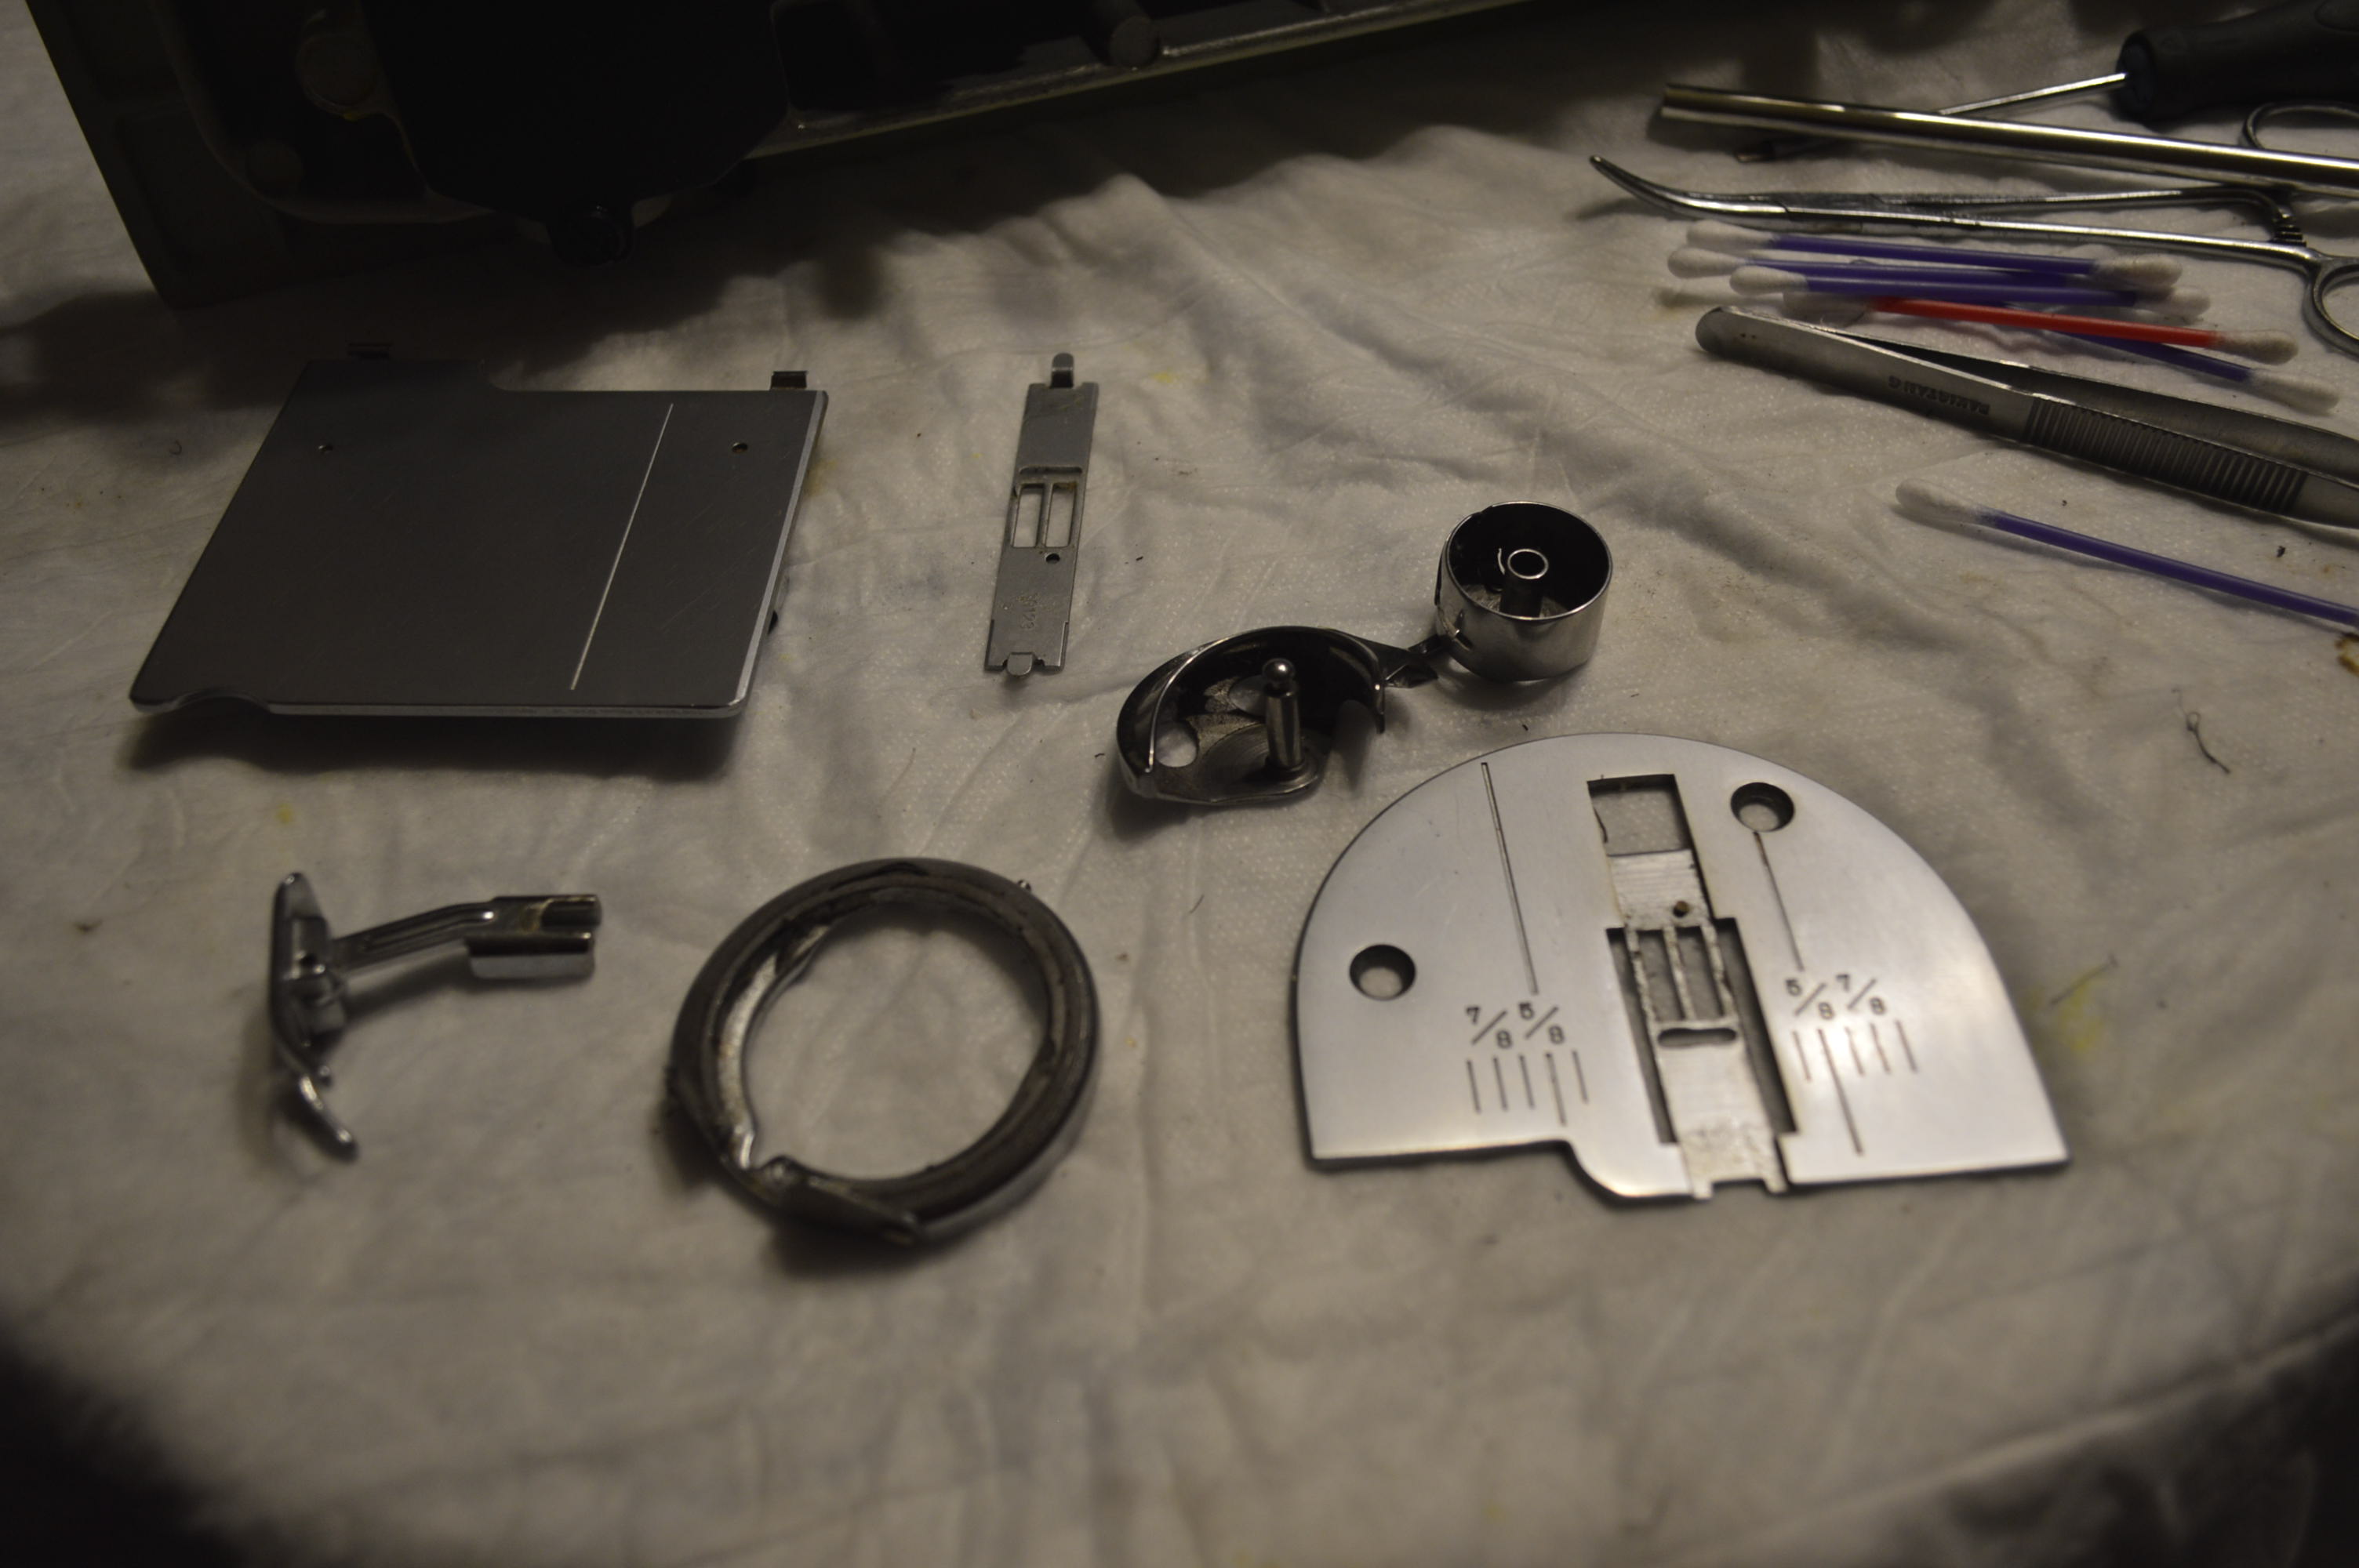
These parts are ultrasonically cleaned and set aside for reassembly. They can be easily cleaned with a cotton swab and detergent.
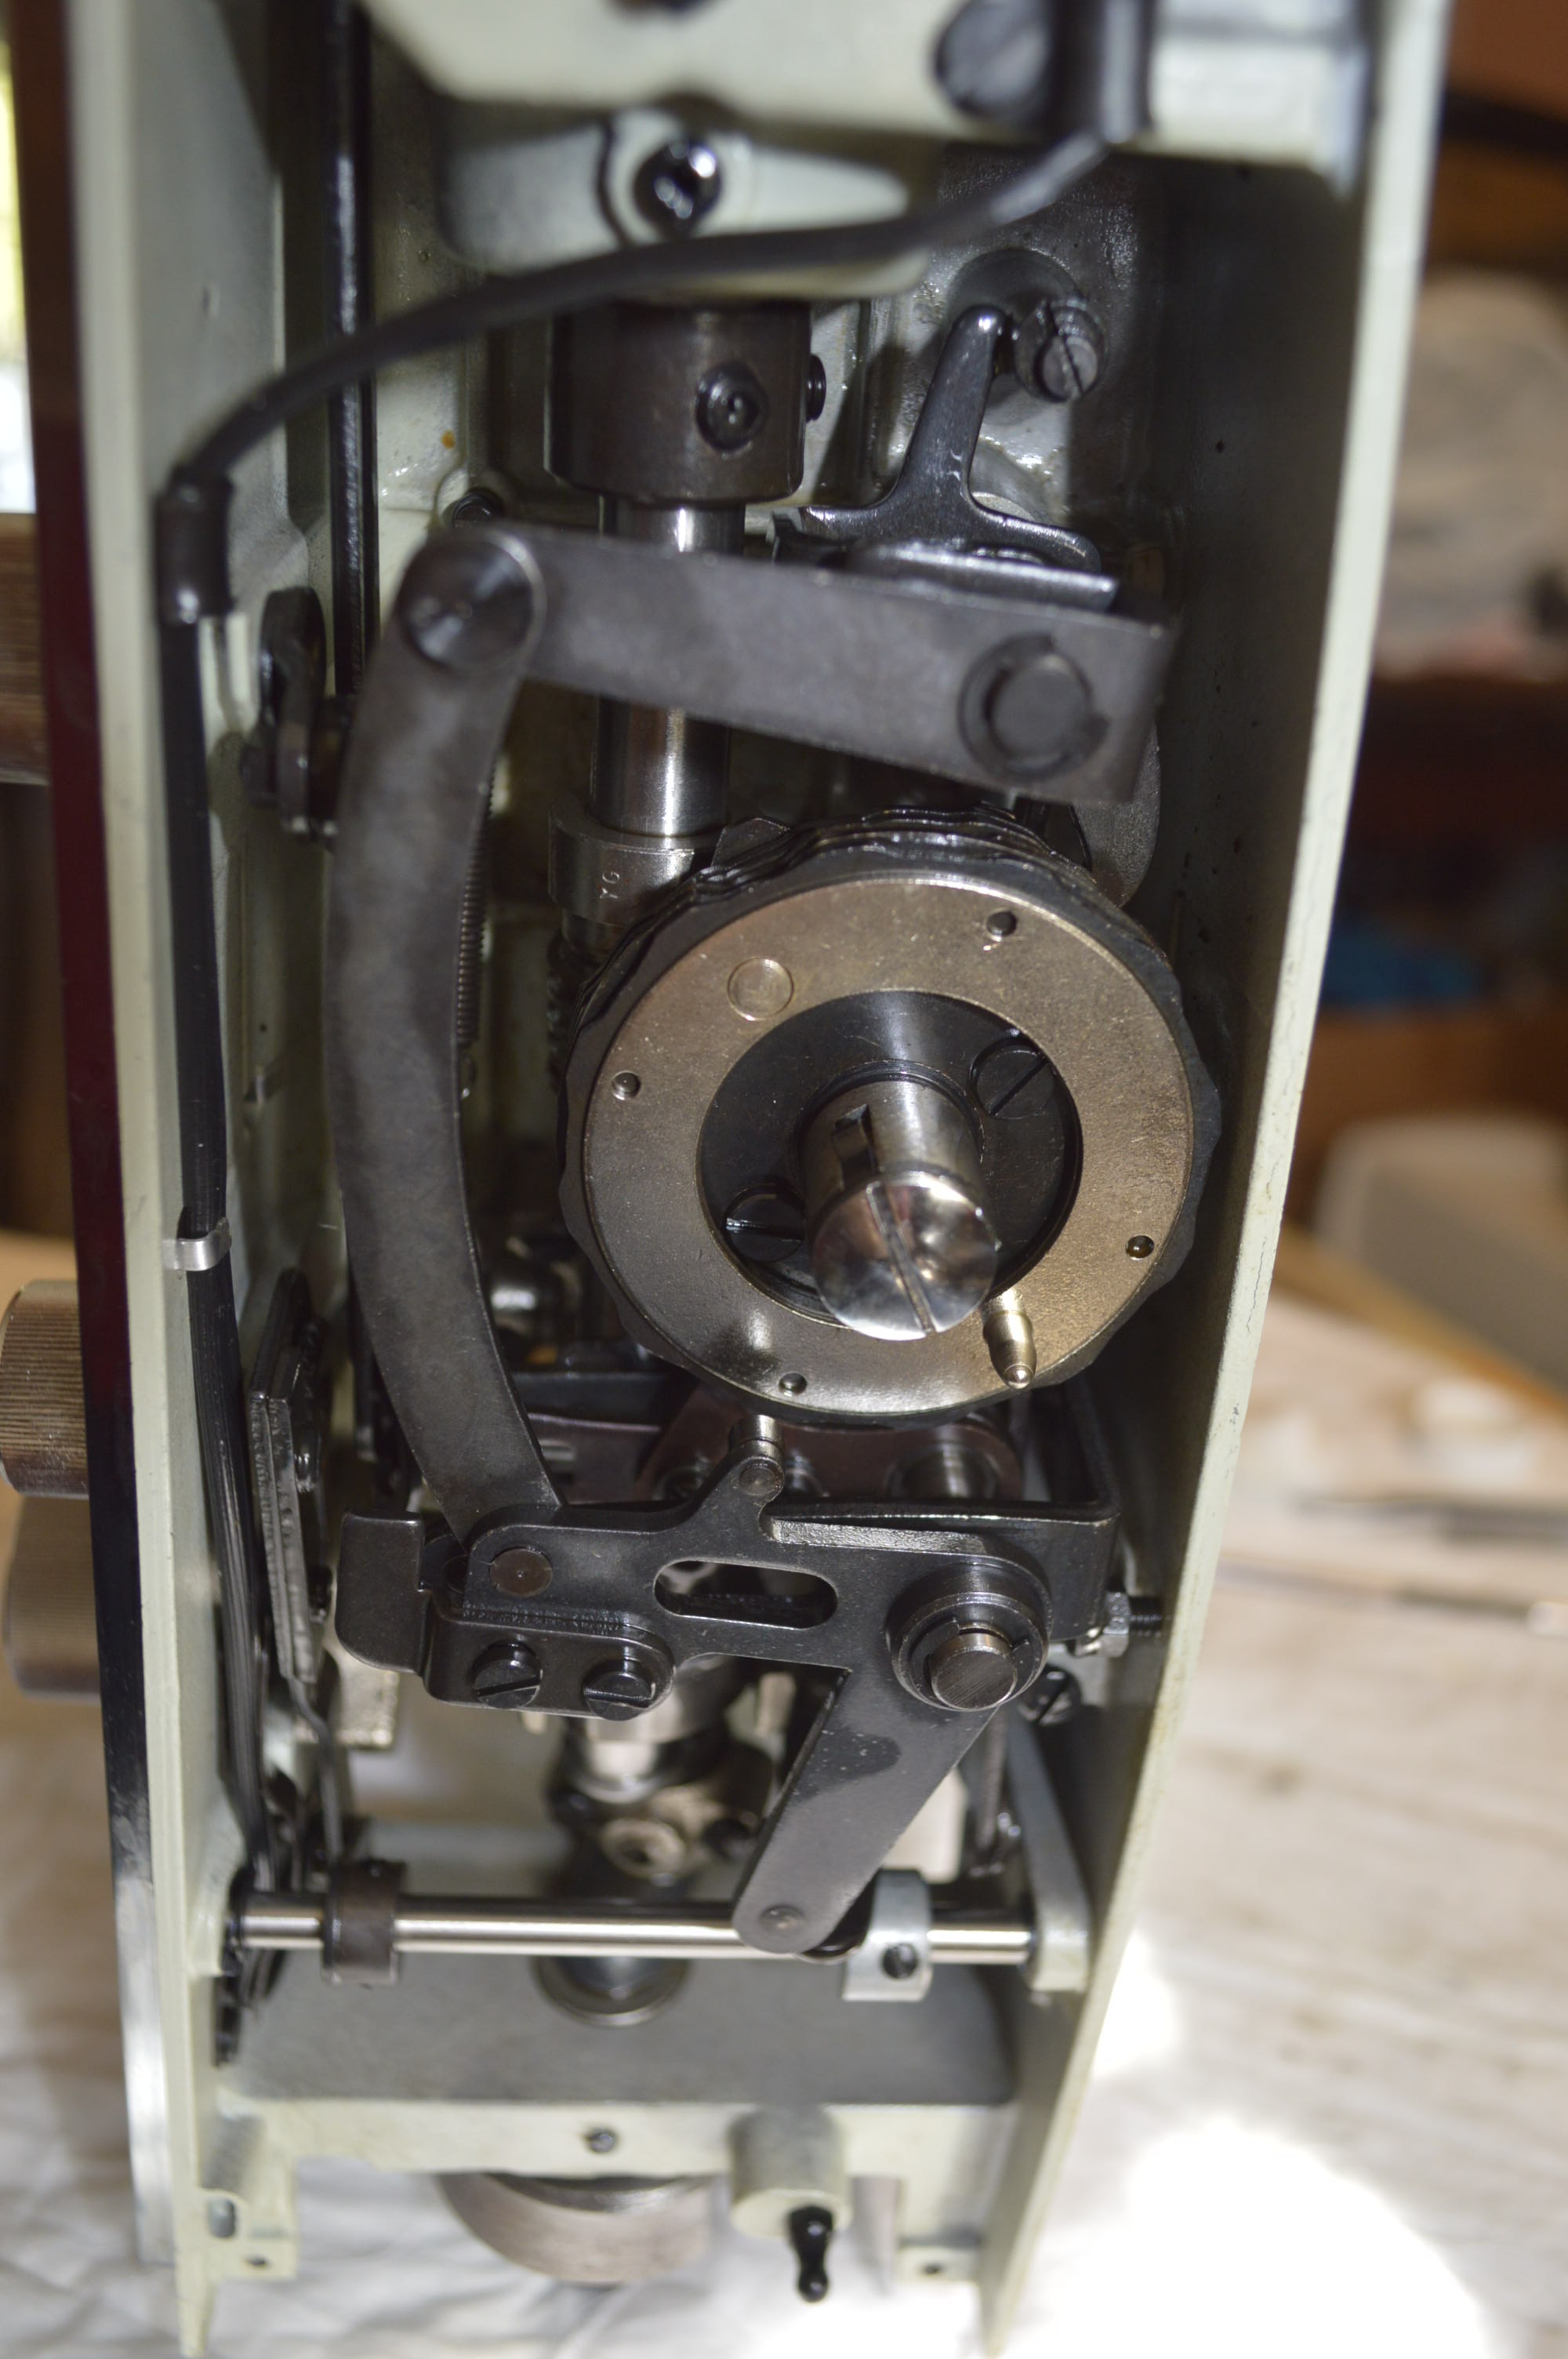
The underside of the machine is easy to access. There are a few things to do under here besides cleaning. The motor will be reconditioned without complete removal, and the gear case will be serviced.

All of the mechanisms here are cleaned and oiled.
Motor reconditioning…
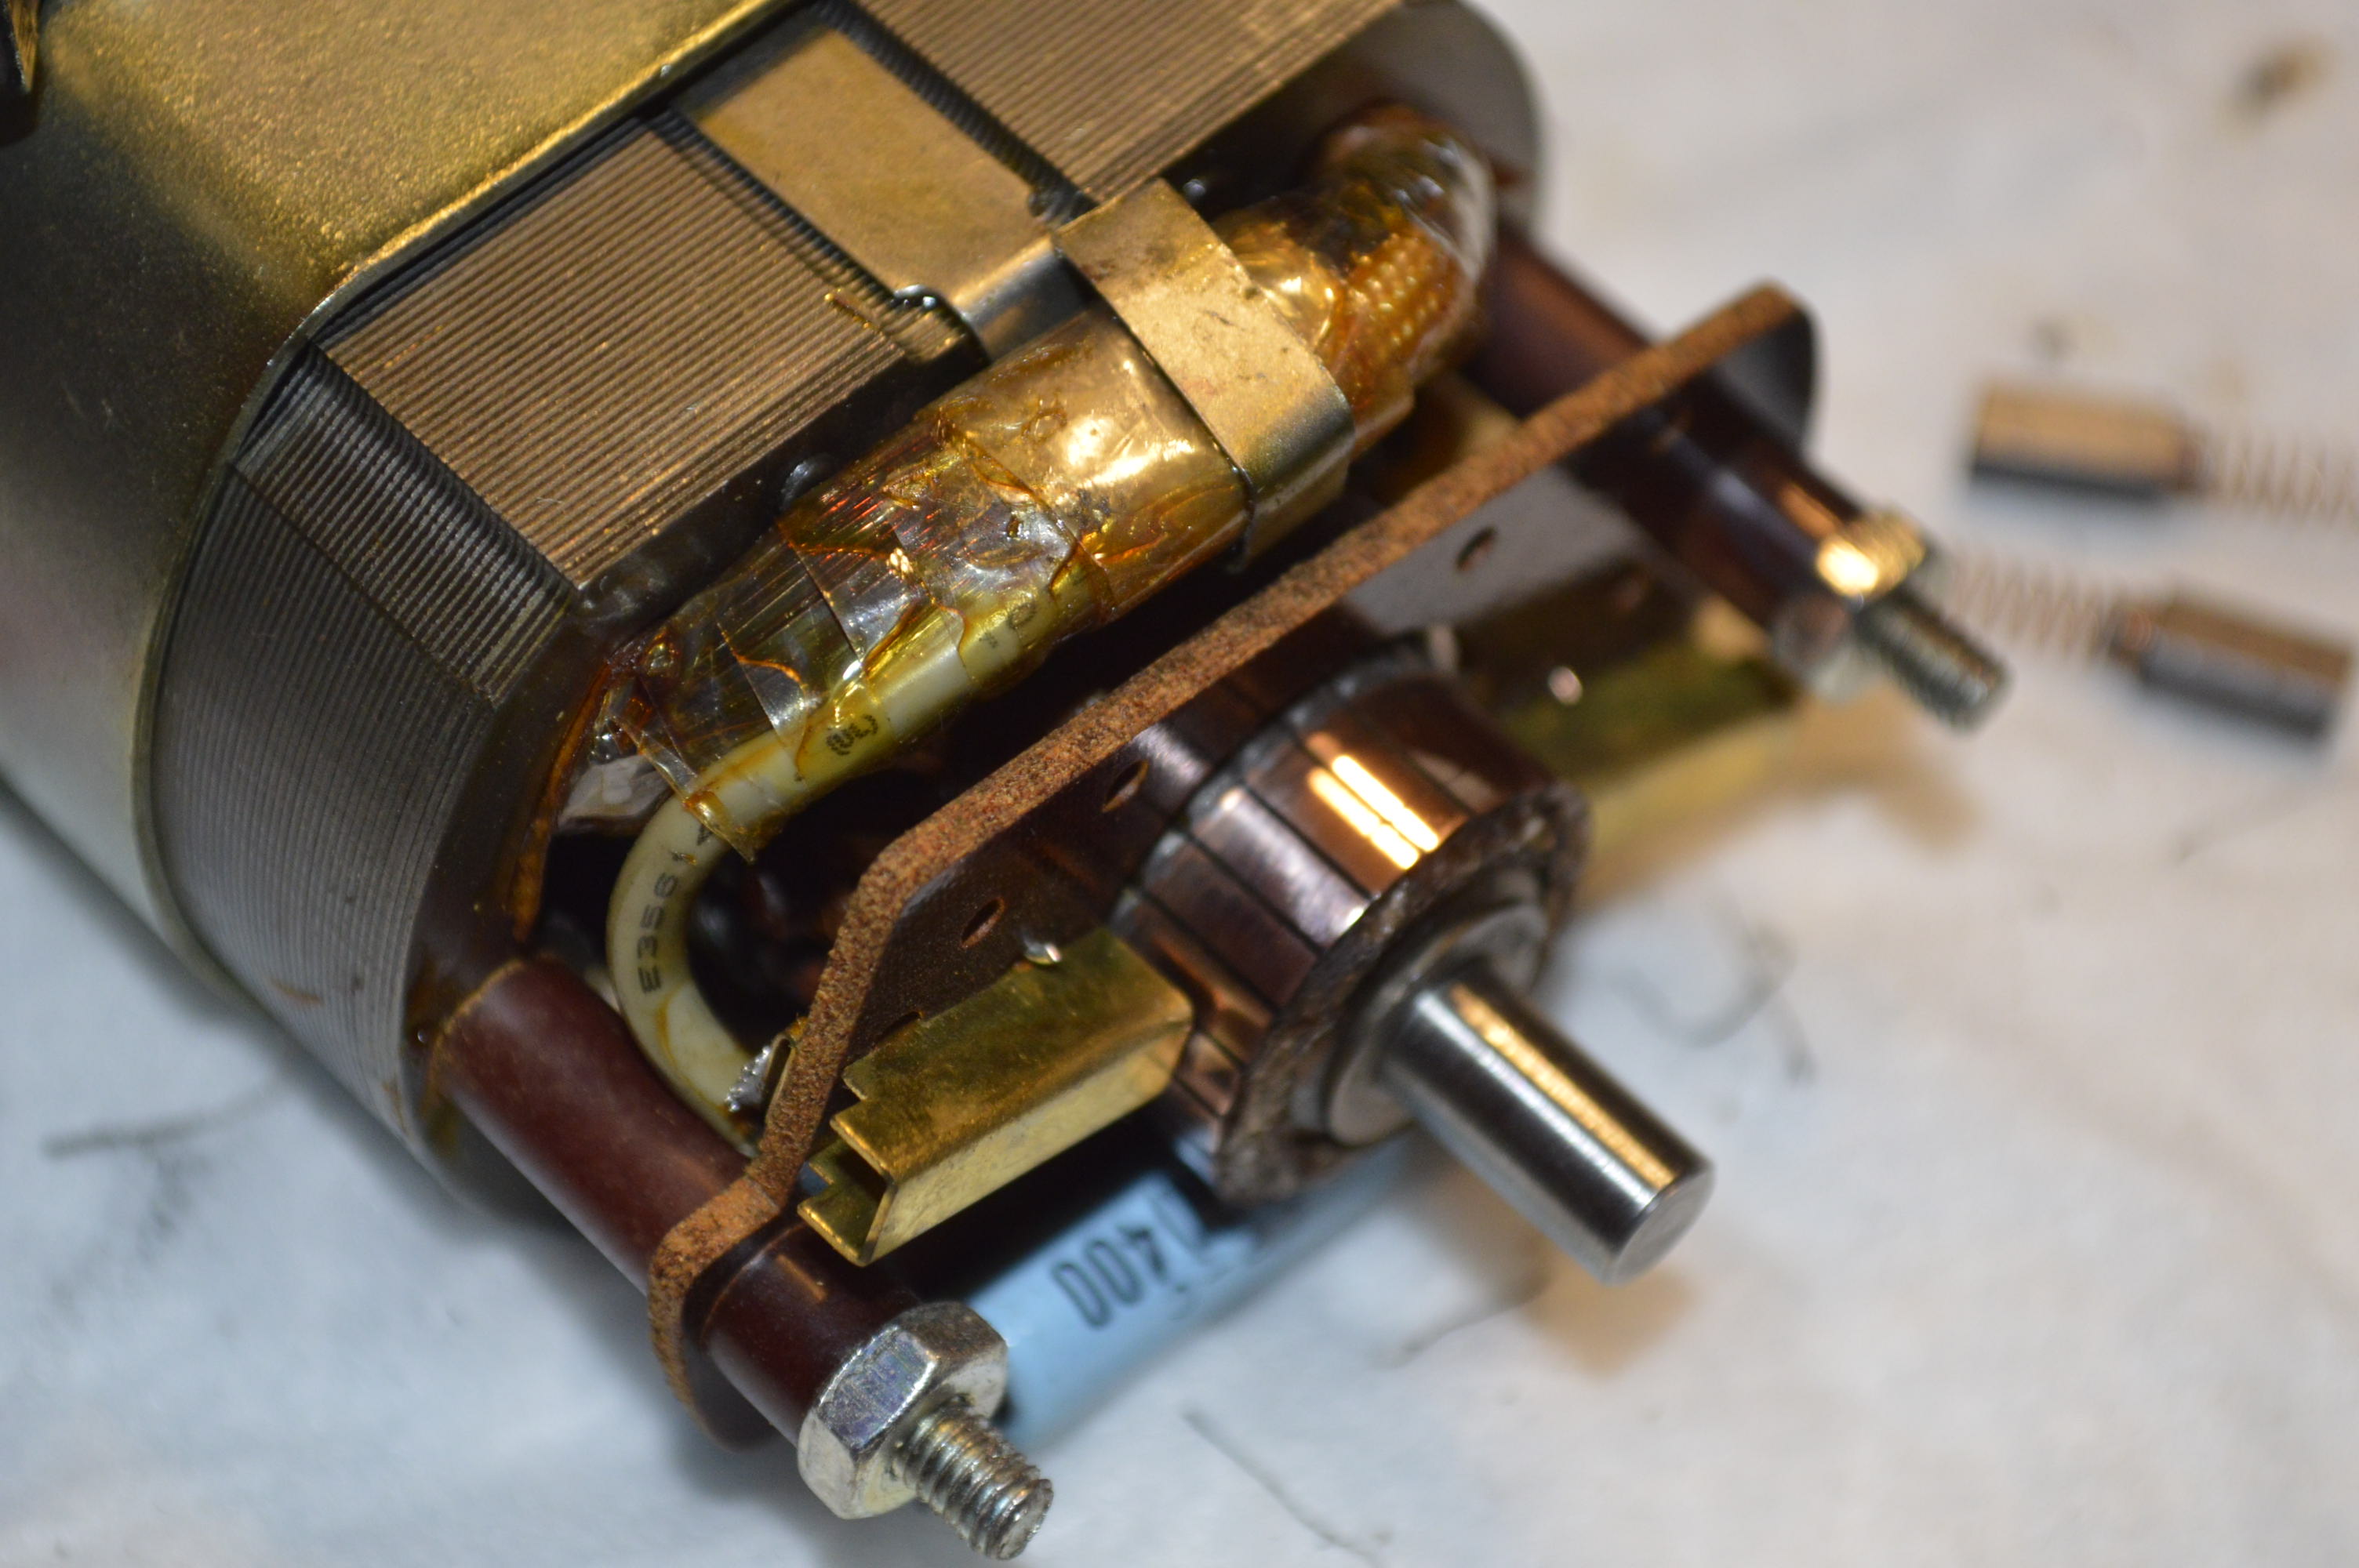
Armature Polished 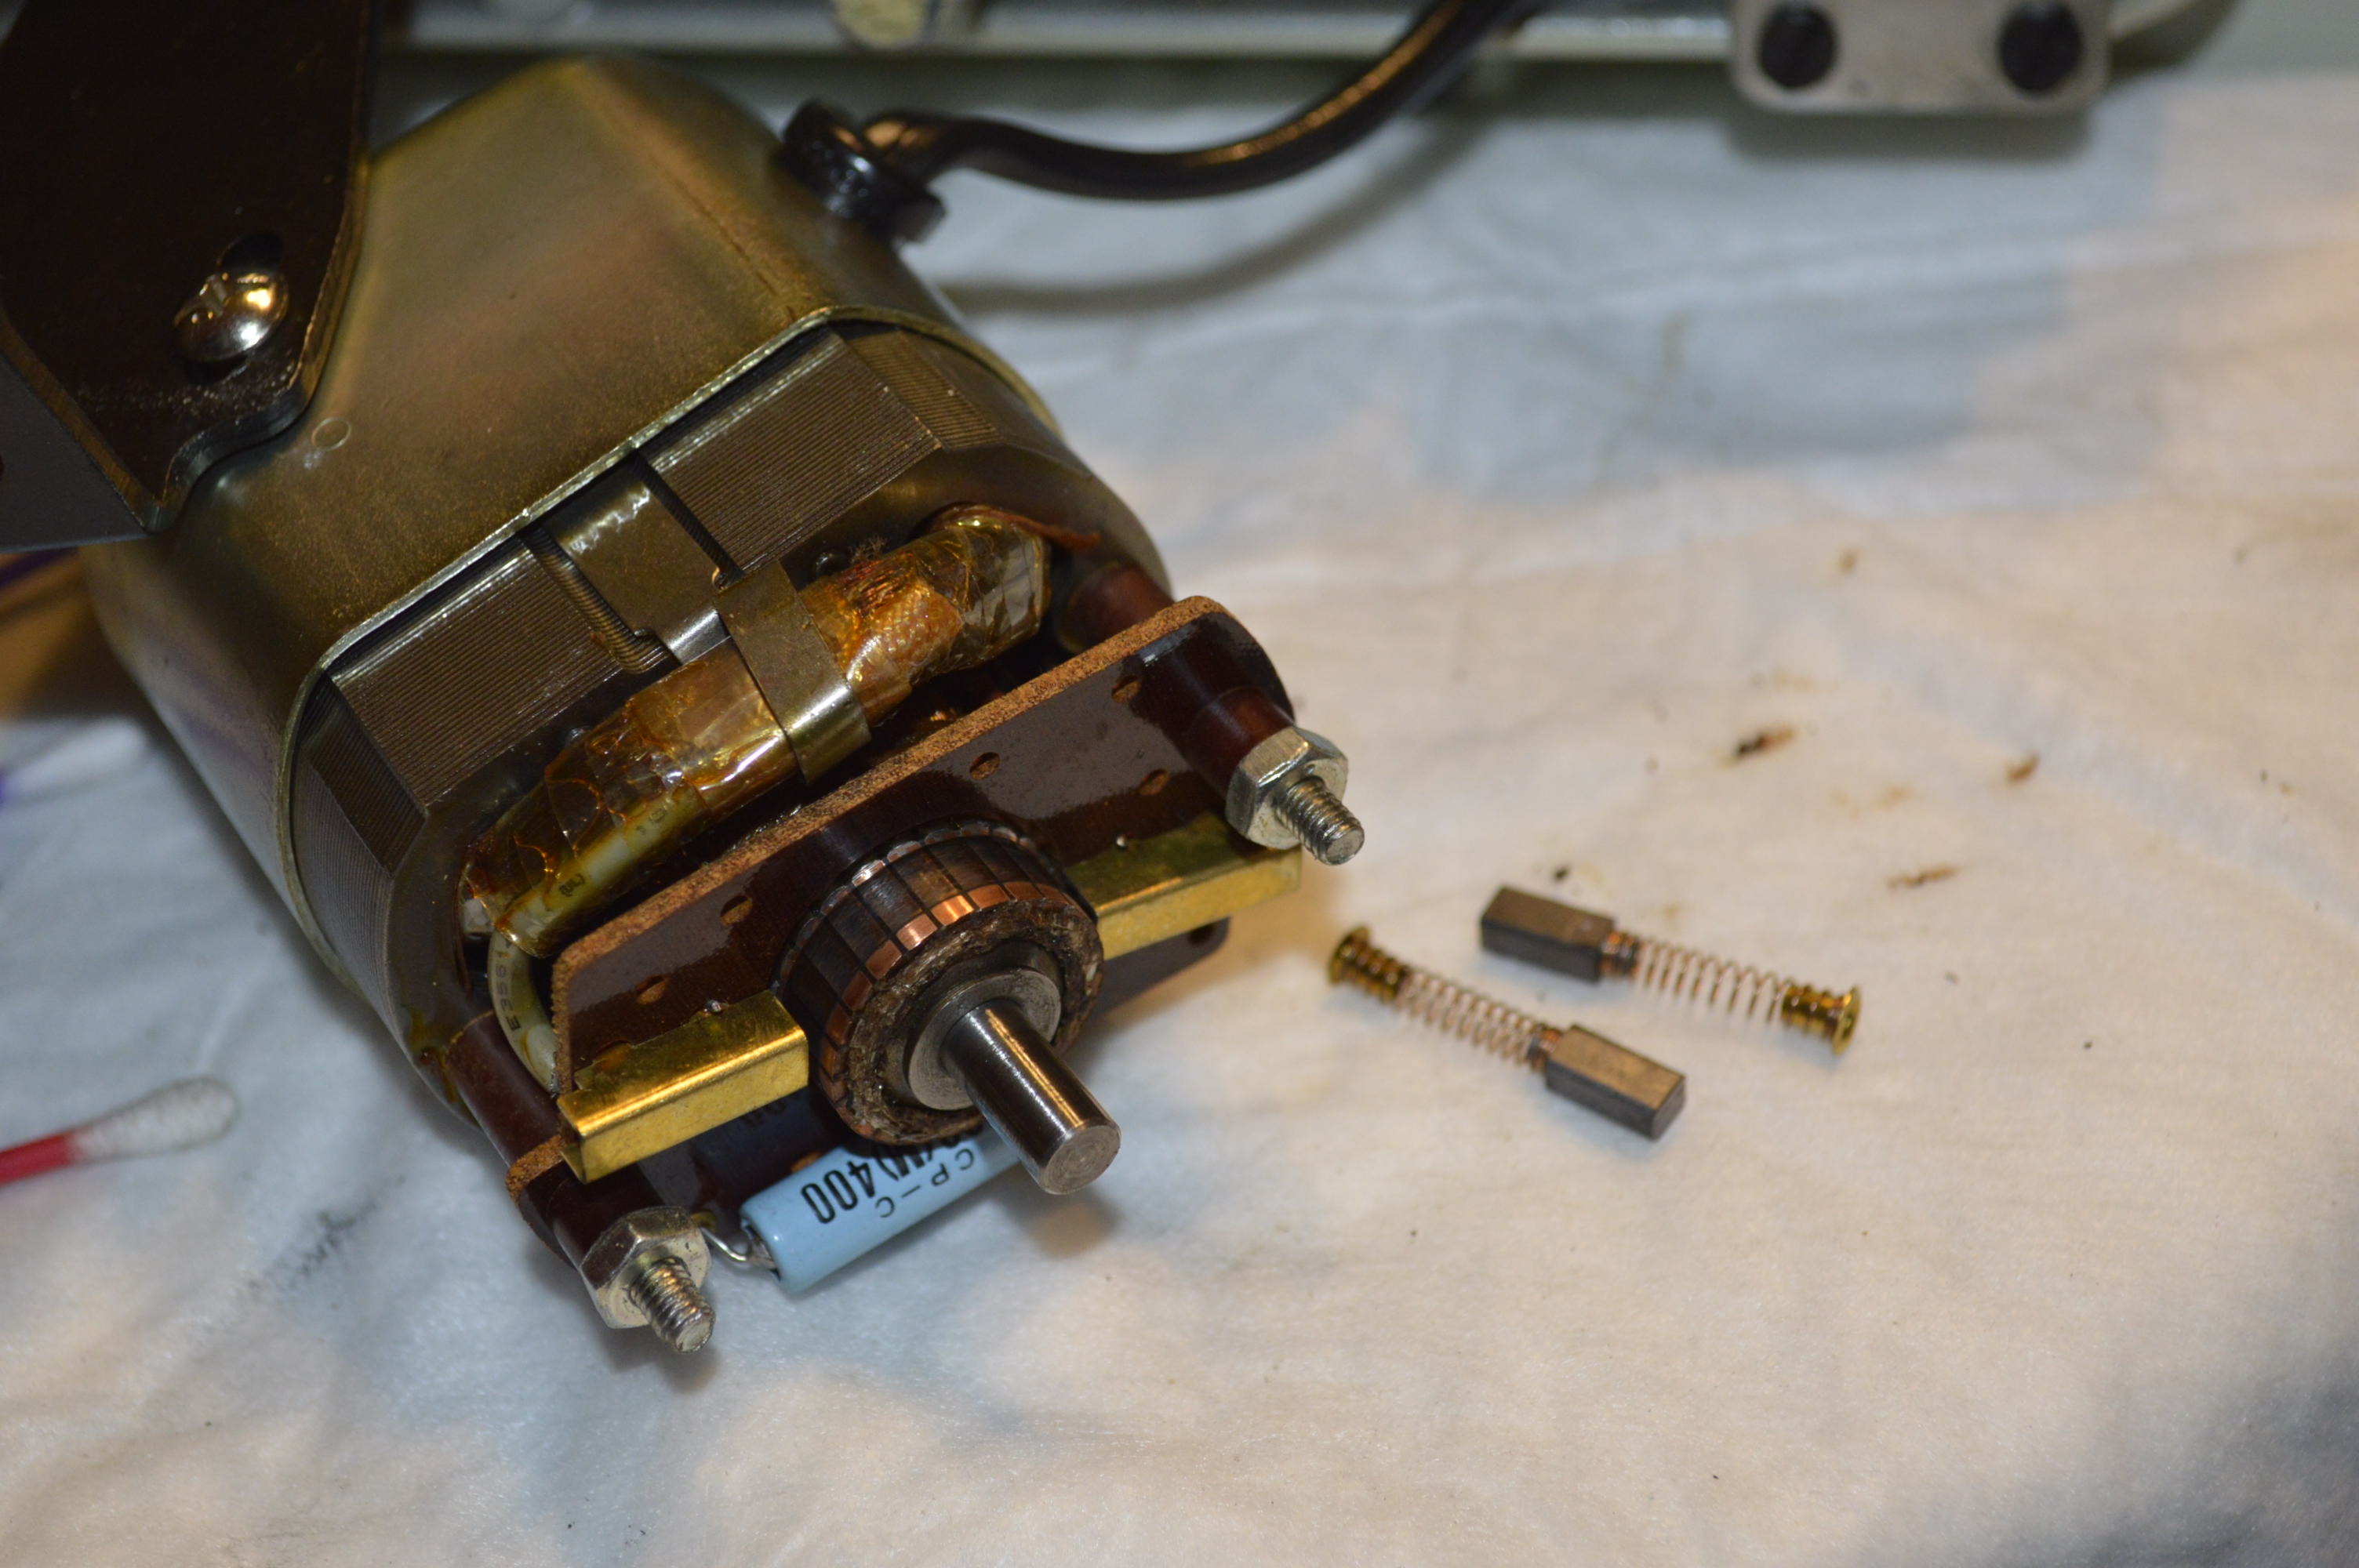
Armature Before Polishing 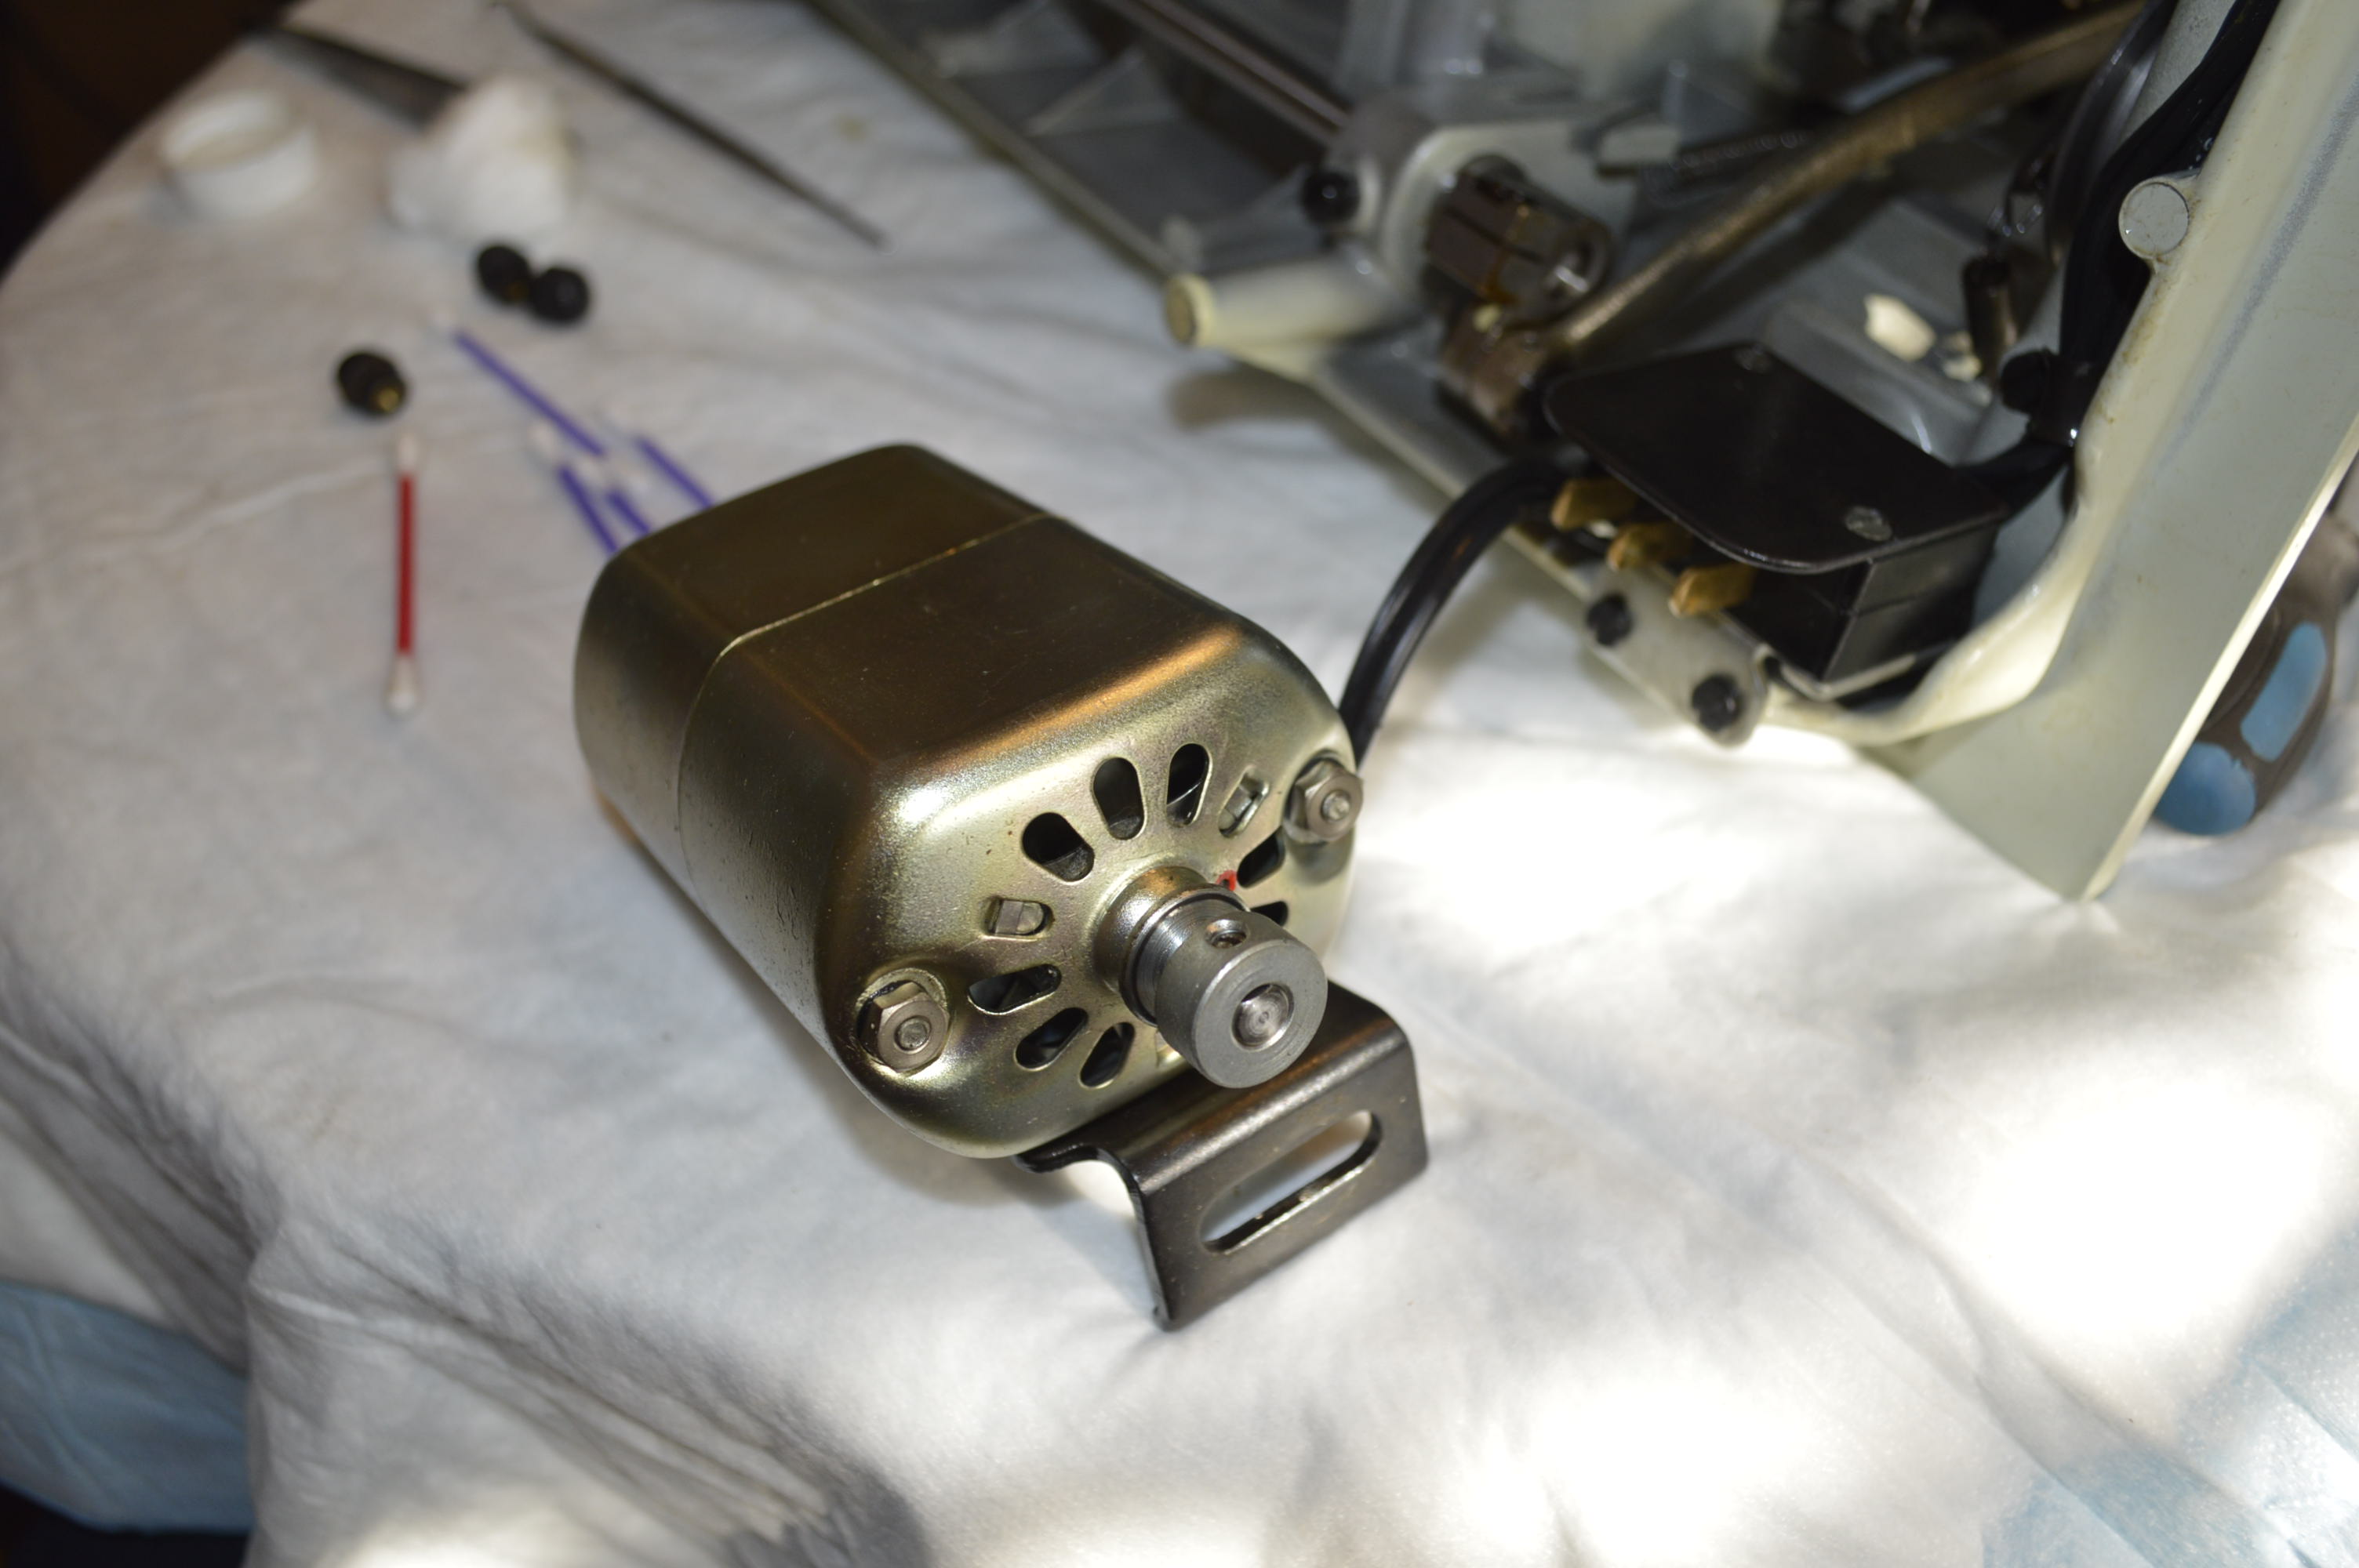
Complete and Ready to Install
The motor brushes are removed, the coils cleaned with CRC electric cleaner, the armature is polished, the brushes are reconditioned, and the motor is reassembled and oiled.
Gear Case Cleaning…
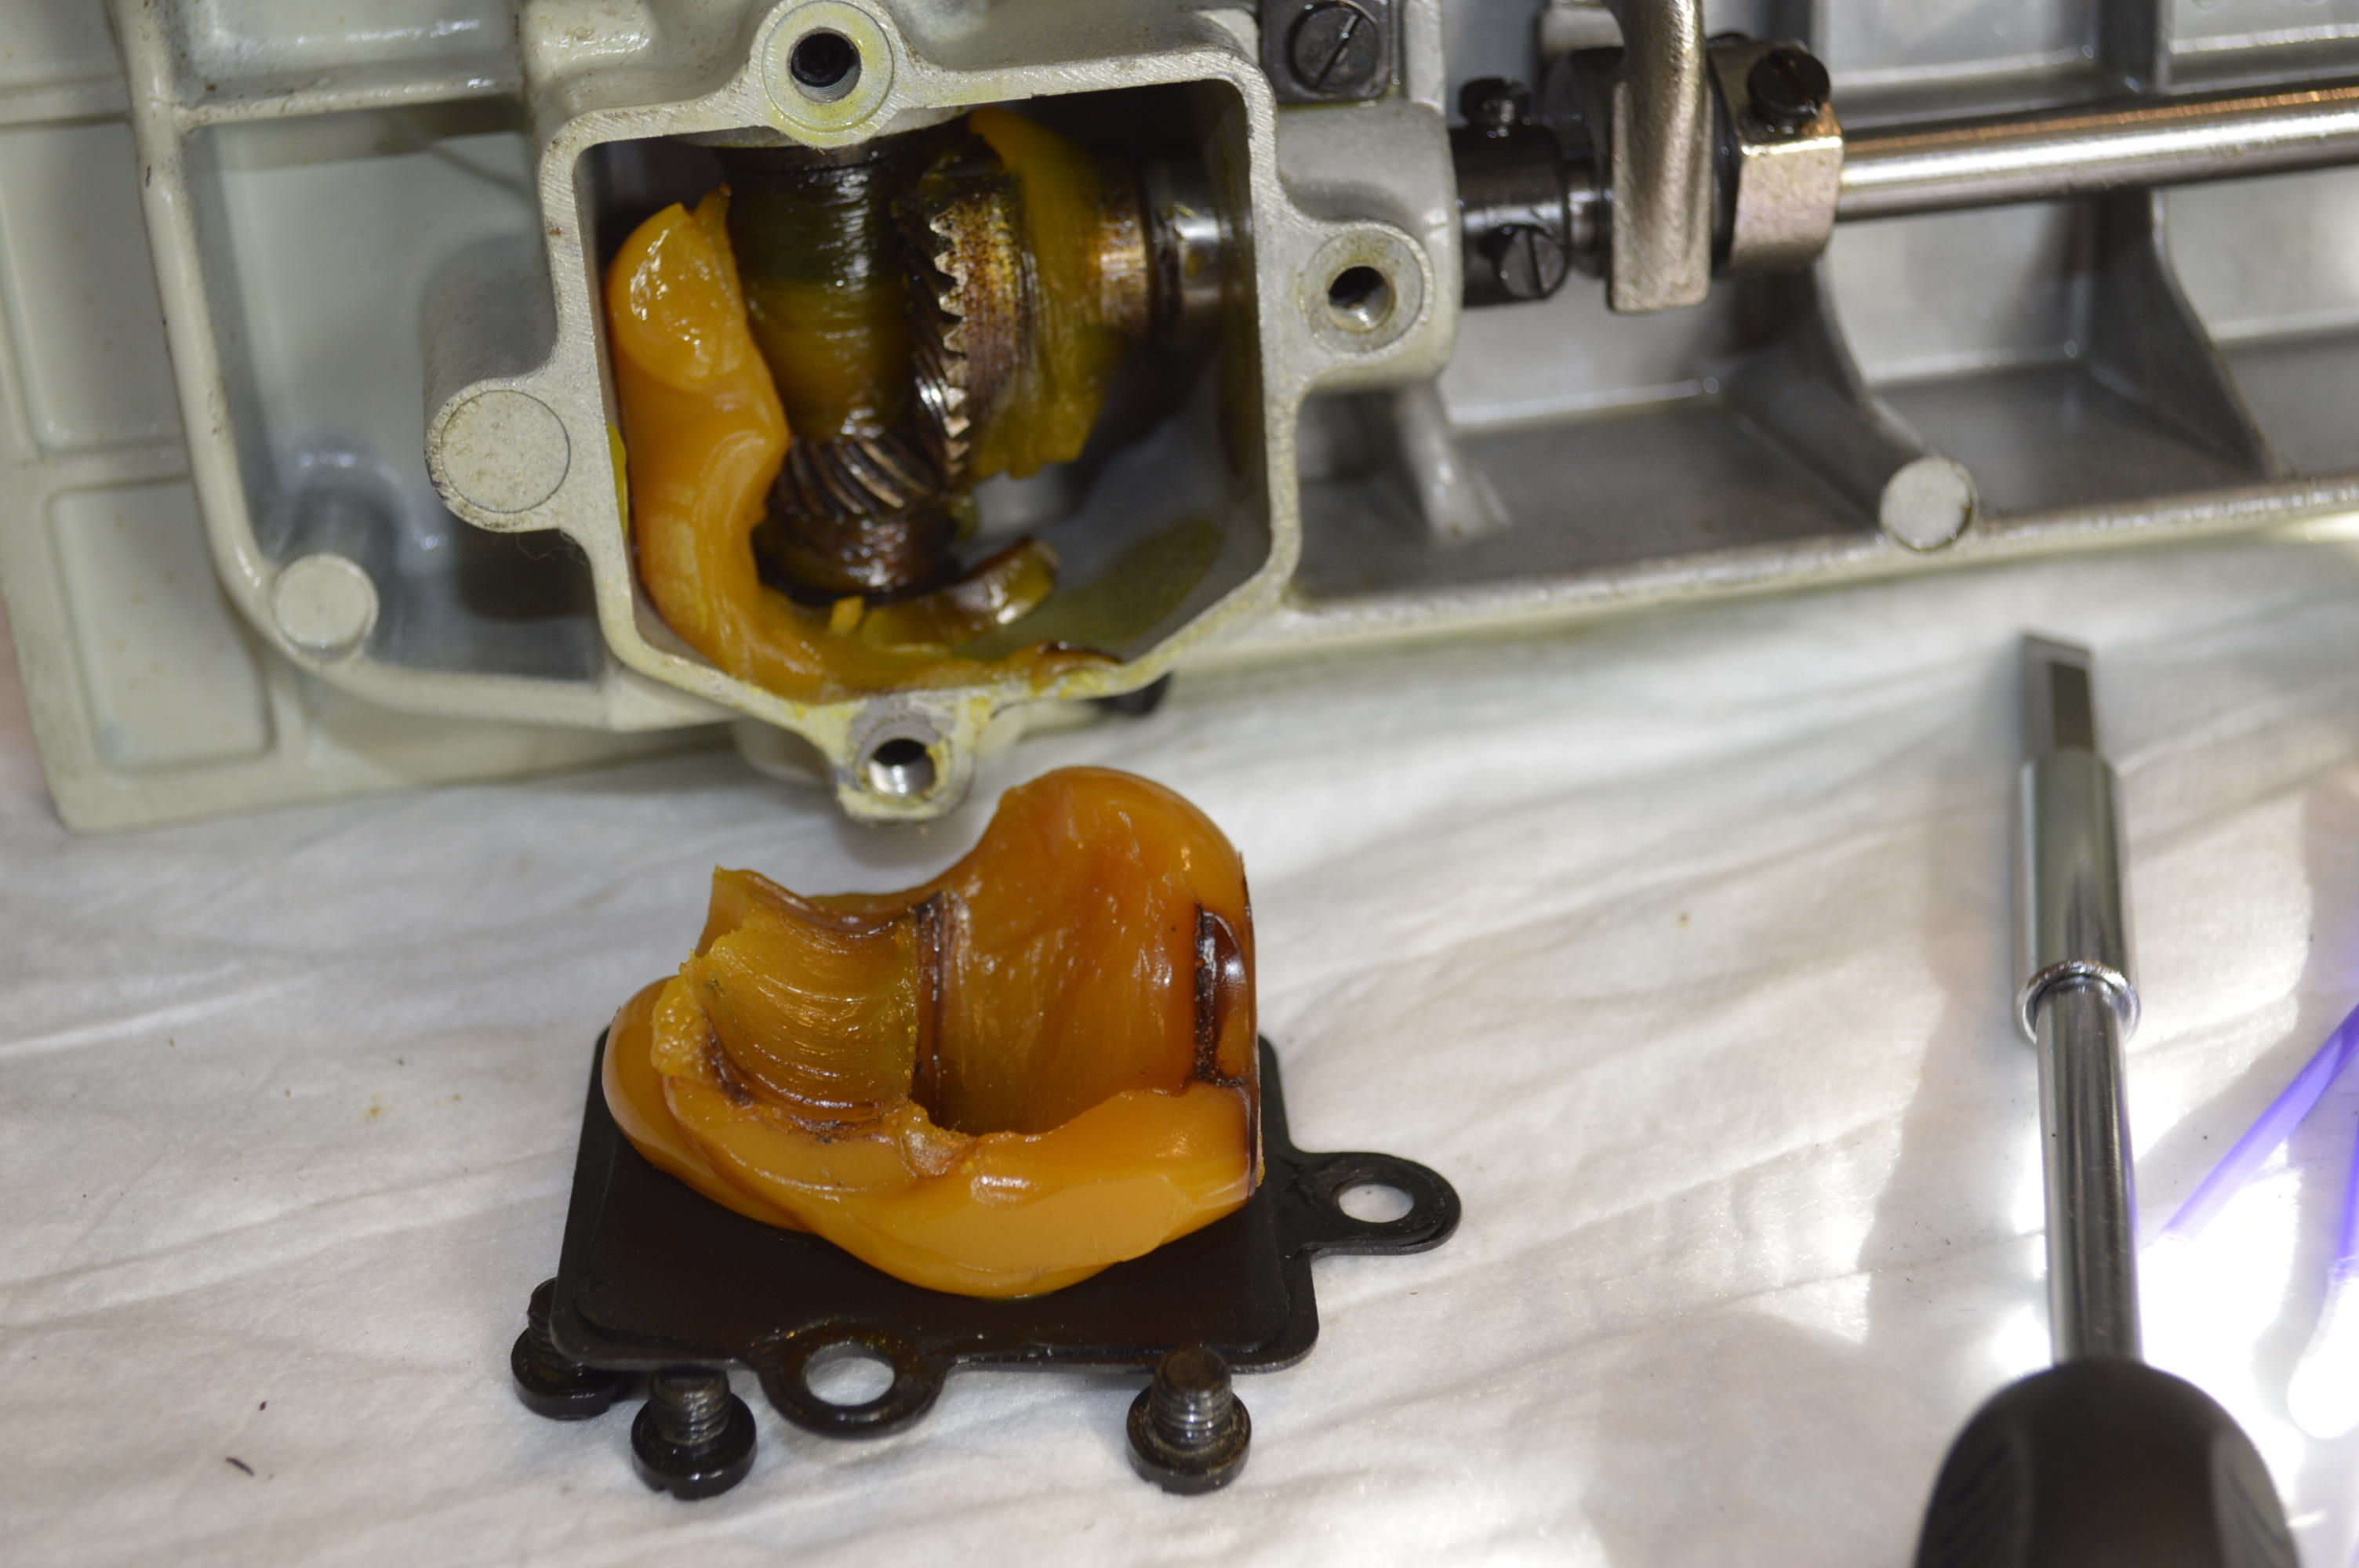
This glob of grease is doing nothing to lubricate the gears. You can see the cavity in the grease where the gears sit, but no grease on the gear teeth. This is all removed and the gears regreased.
Top Tension Assembly Cleaning…
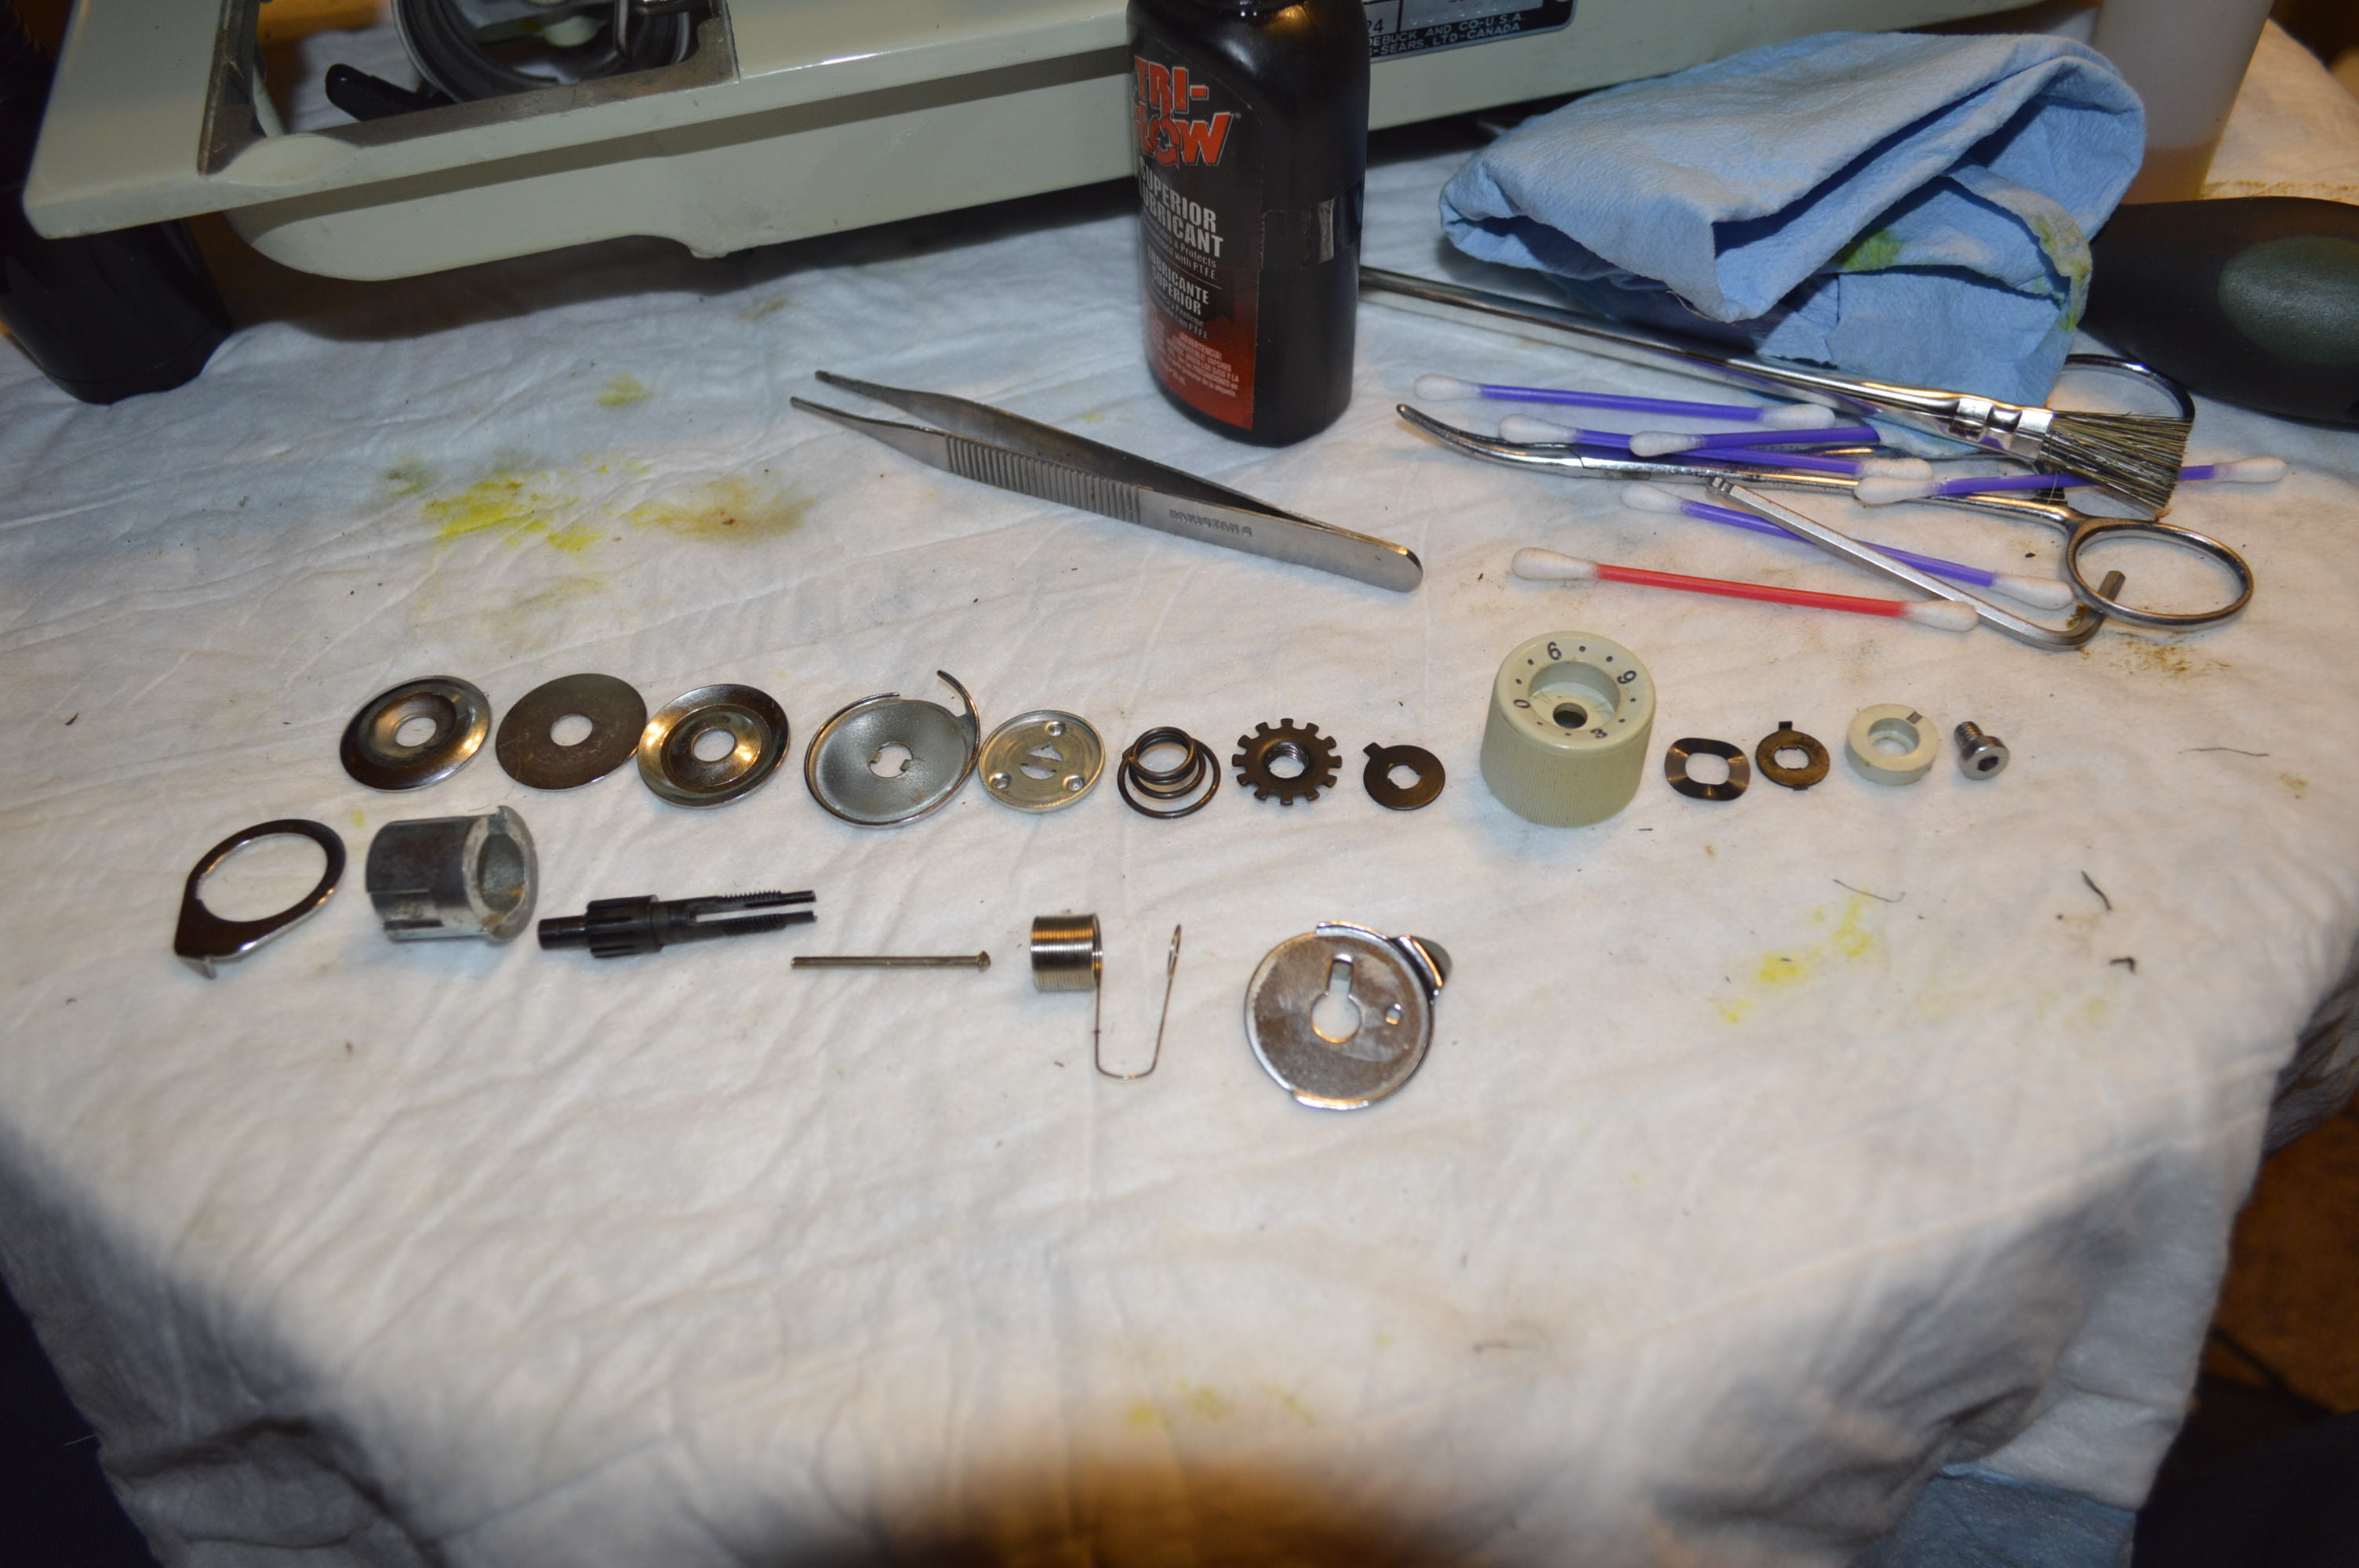
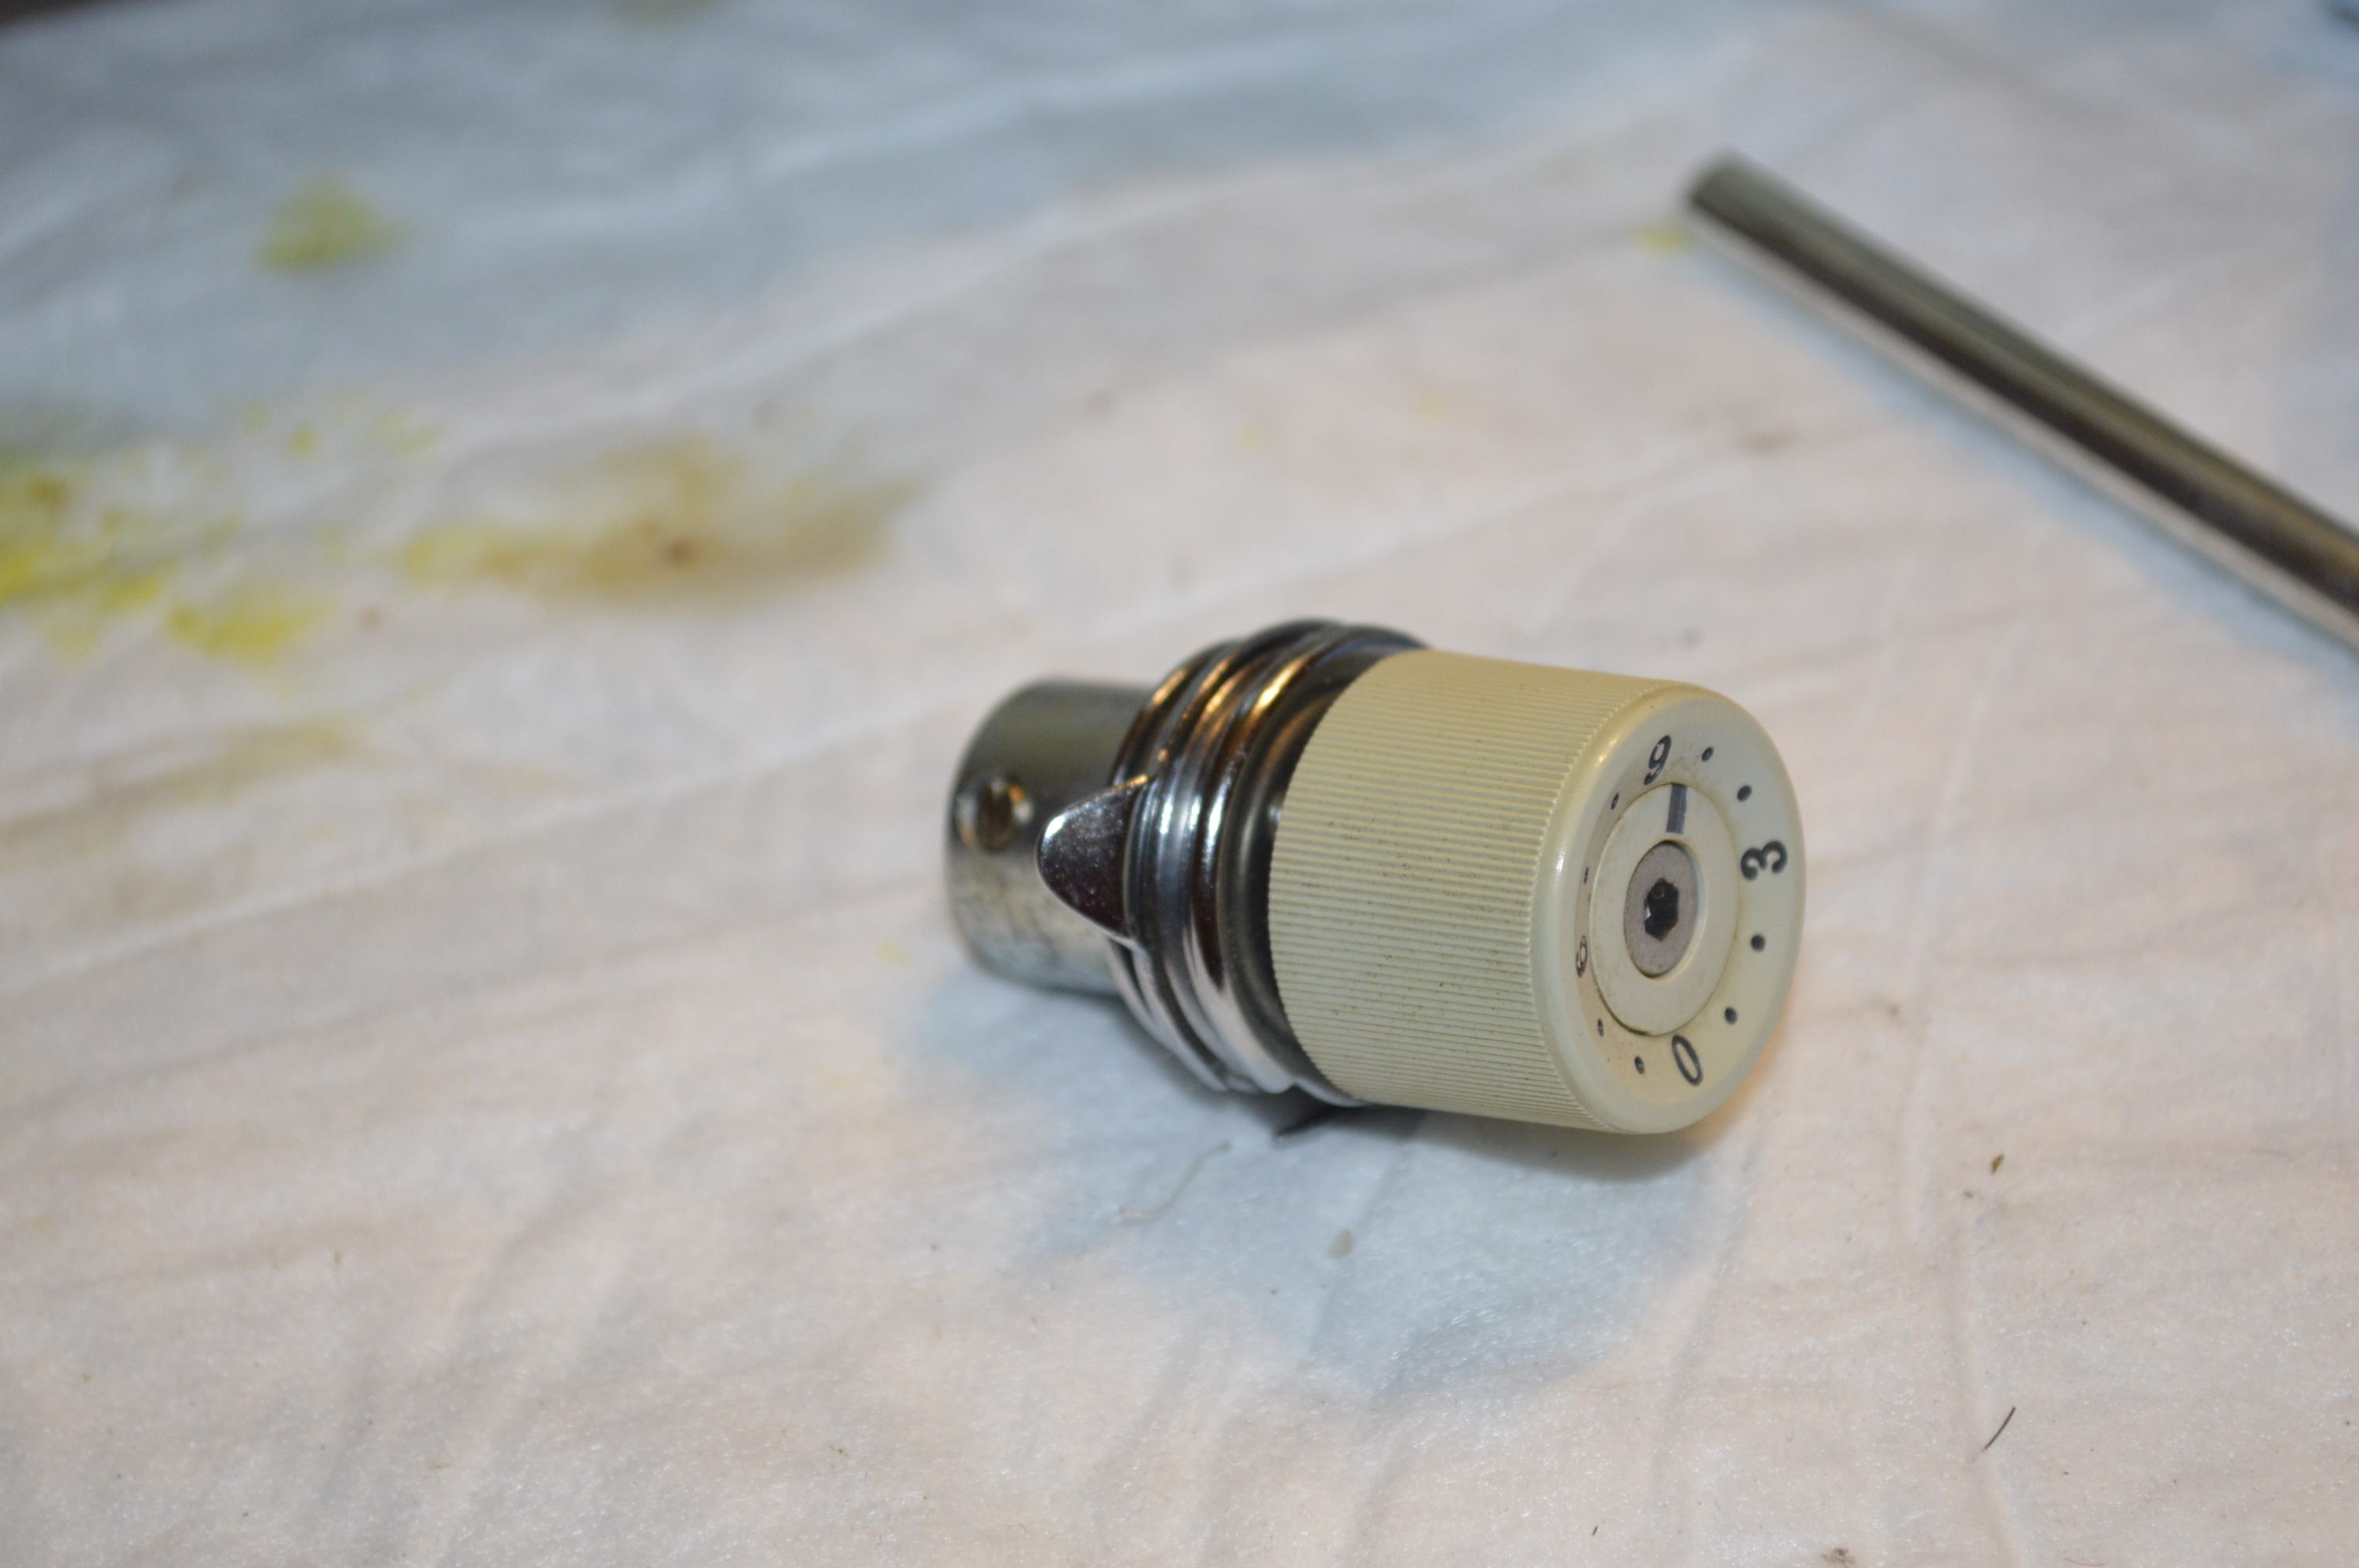
The tension assembly is disassembled, ultrasonically cleaned, and reassembled.
Bobbin Case Cleaning…
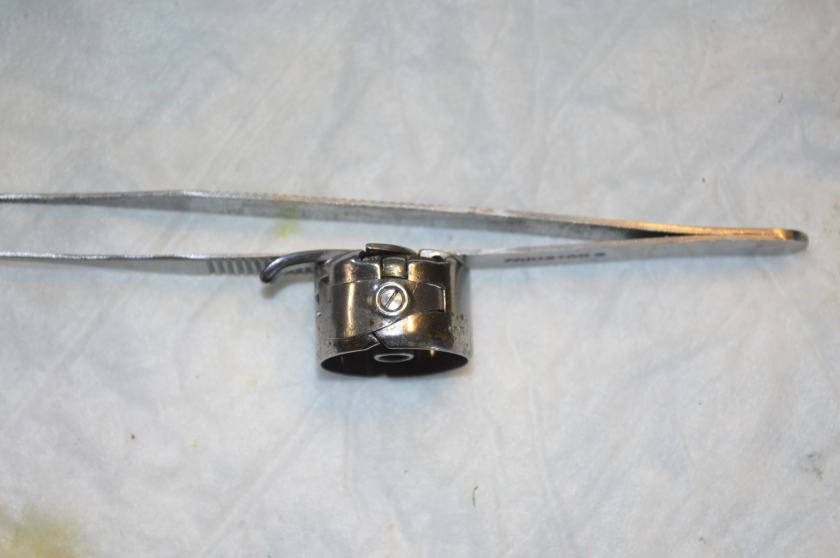
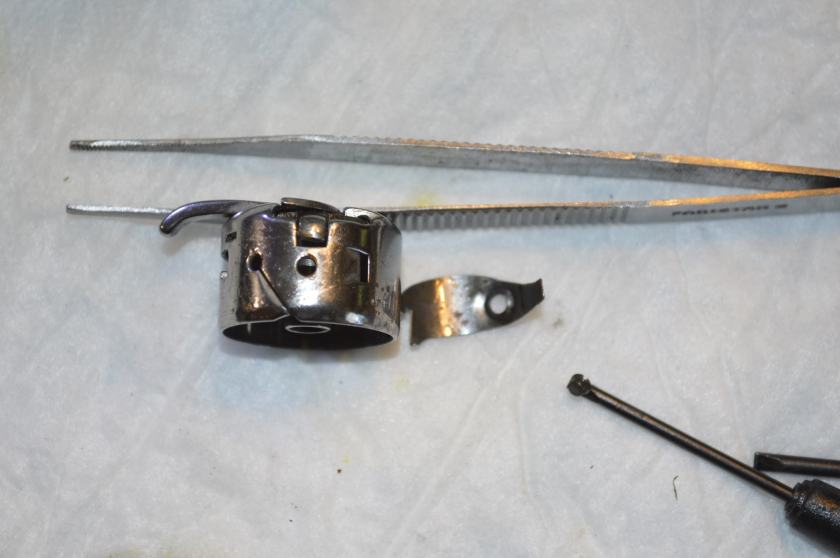
The bobbin case and the bobbin case leaf spring is removed and cleaned. This is a very important step not often discussed in cleaning or servicing a sewing machine. A bit of dirt or corrosion here can cause a host of tension problems and poor stitch quality. If you look closely, you will see some dirt on the bobbin case body and leaf spring. These parts are ultrasonically cleaned, then soaked in WD-40 to remove any water remaining in the assembly, then soaked in 99% volume alcohol to remove any WD-40 remaining in the assembly. It is very important to keep these components free of oil.
Sewing Machine Arm Mechanism Cleaning…
There are no screws to remove, the top cover pops off to reveal the sewing mechanisms. Cleaning the assemblies is straight forward. The gears are cleaned and re-greased. After all of the assemblies are cleaned, they are oiled.
The Front Sewing Head Cleaning…
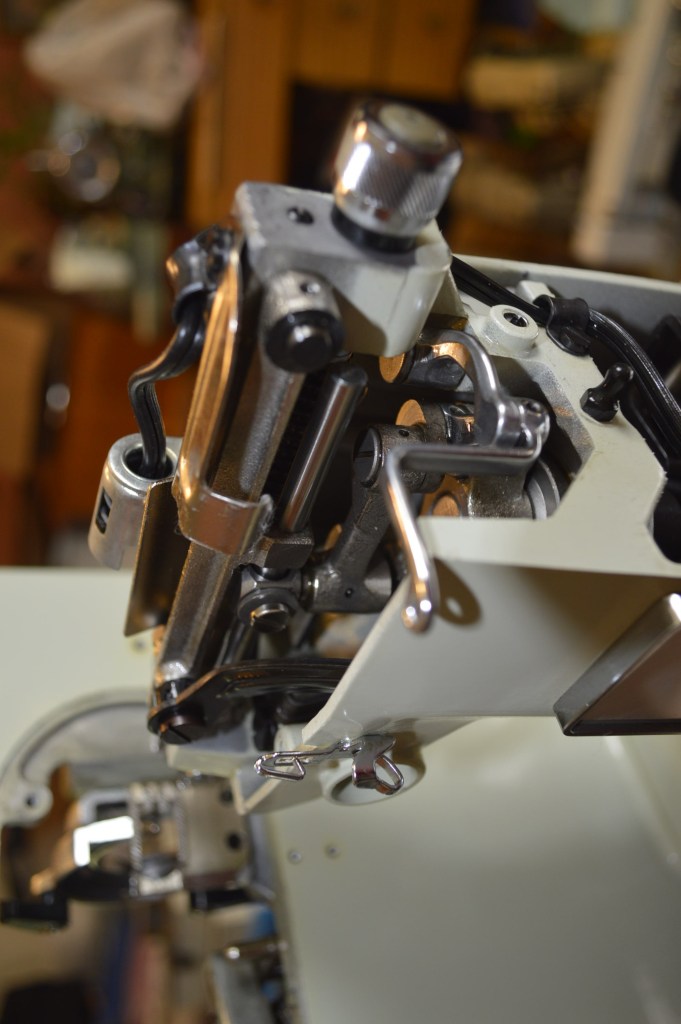

The light bulb bracket is unfastened and swung out of the way for access, The mechanisms are accessible for cleaning and oiling.
All of the sewing mechanisms under the bed, under the top cover, and behind the front cover are given a light coat of WD-40 spray. While not a lubricant, it will provide a protective coating.
Cleaning the Body…
Not much to say here, but the body of the machine is cleaned with a soft cloth, some mild detergent, and some cotton swabs will remove any dirt, dust, or oil on the painted finish. Follow the cleaning with an application of good carnauba wax and buffing, and the machine will look new. This is especially true with this machine because there is no plastic to clean or worry about damaging .
Now everything is clean, every thing is reassembled, and everything is properly lubricated. All that remains is adjusting the top tension, and the bobbin case tension. This is done by running the machine.
That’s it! While it is time consuming, the detail involved in cleaning and reconditioning is worth it. This 1802 will run and sew great for a long time to come. If you have a Kenmore of this vintage, this level of cleaning will bring your machine back to the peak of its performance and you will see a noticeable difference in how she sews!
