

Introduction
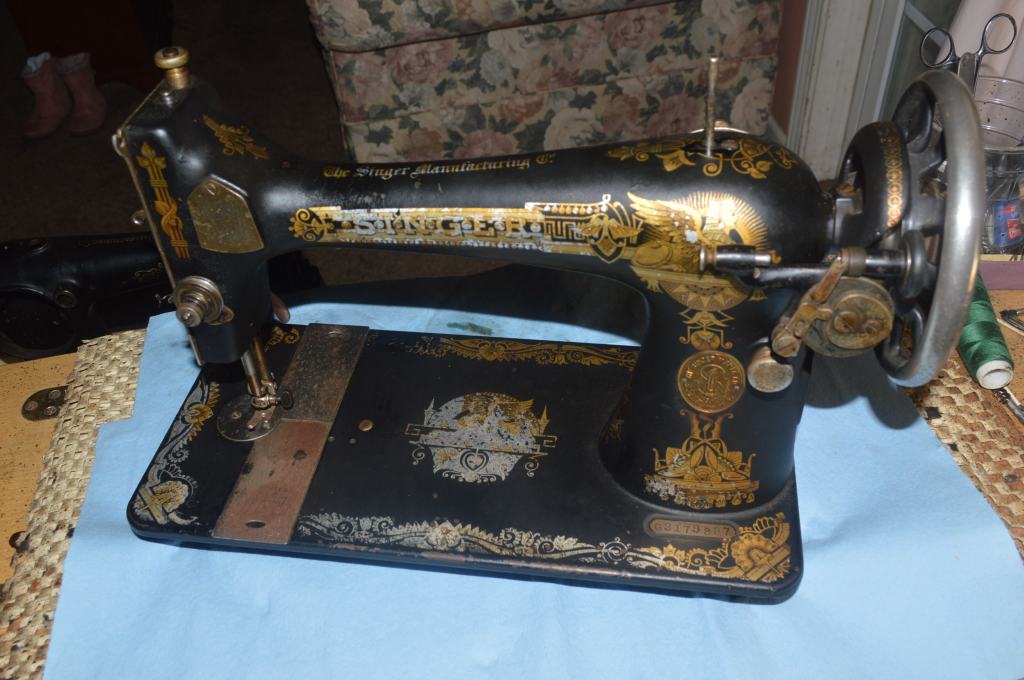
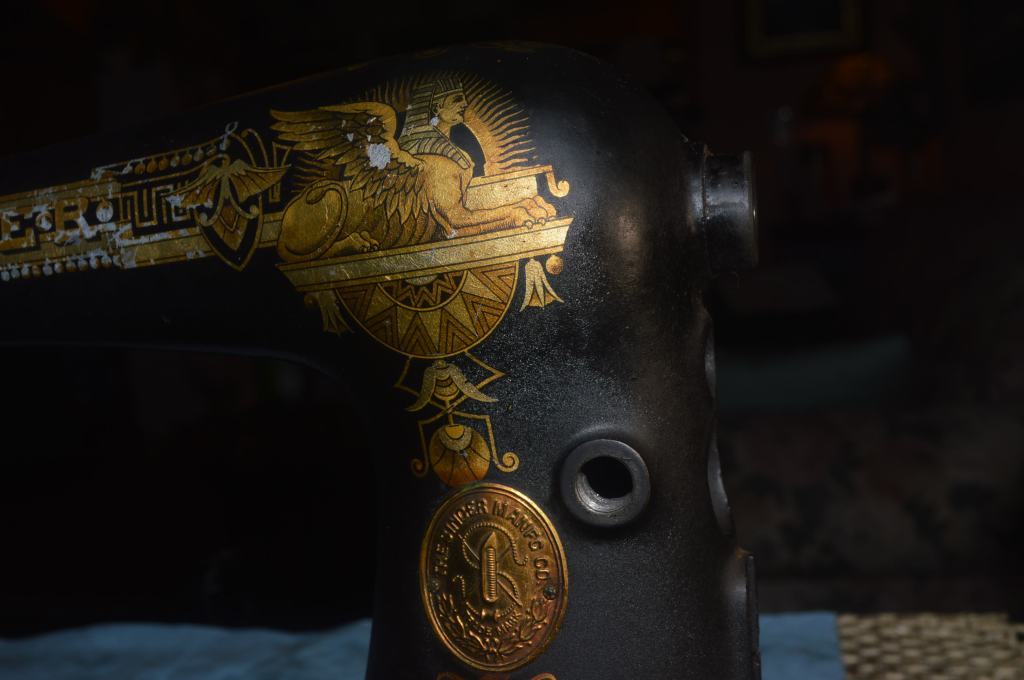
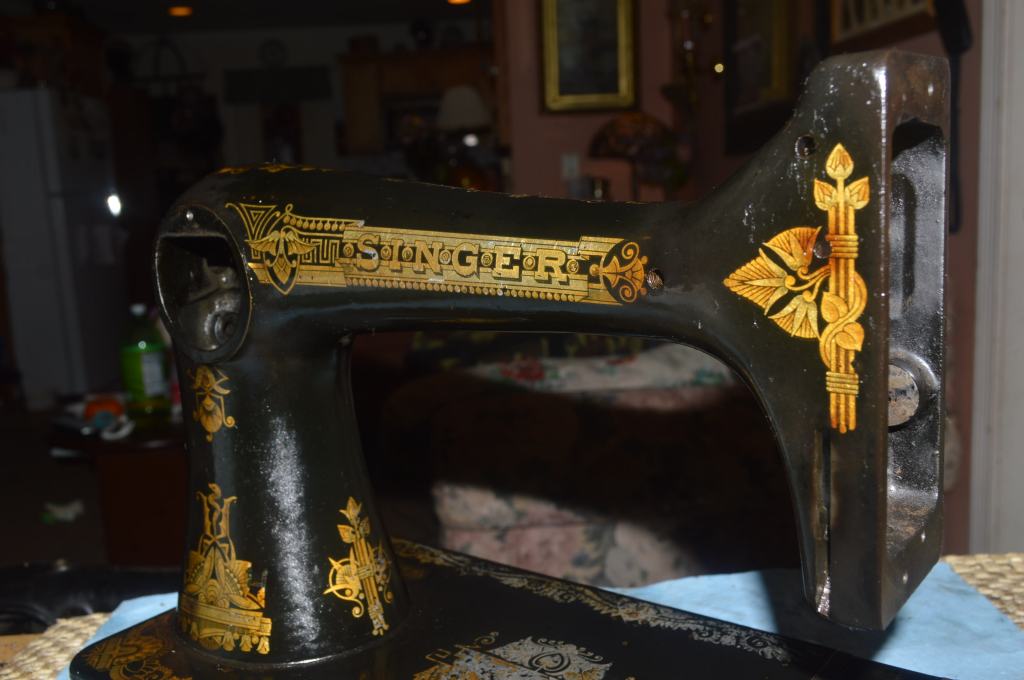
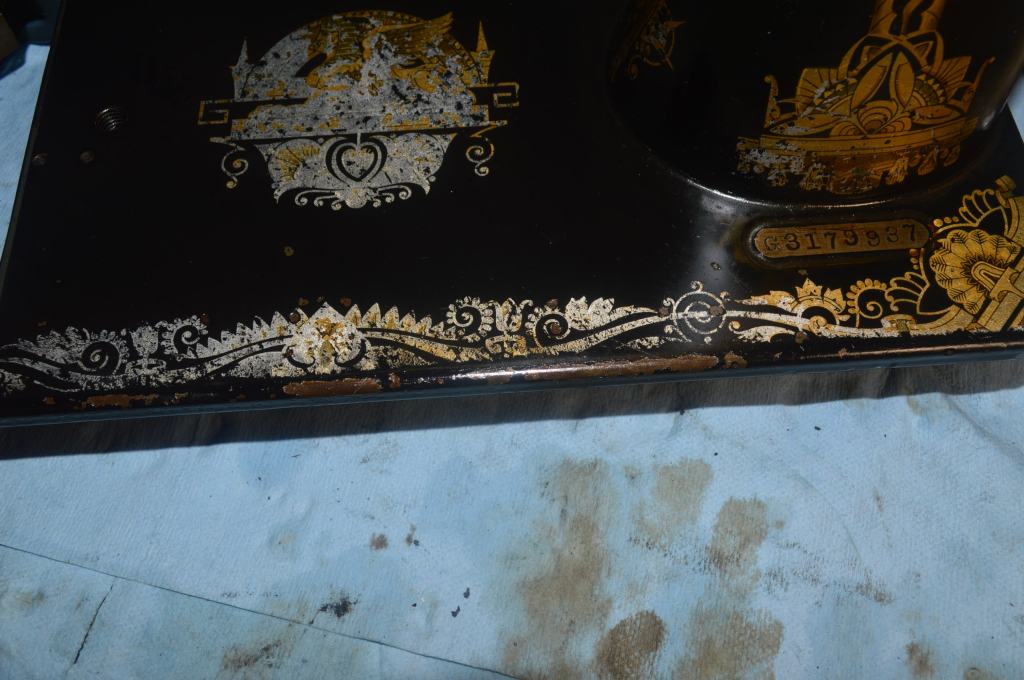
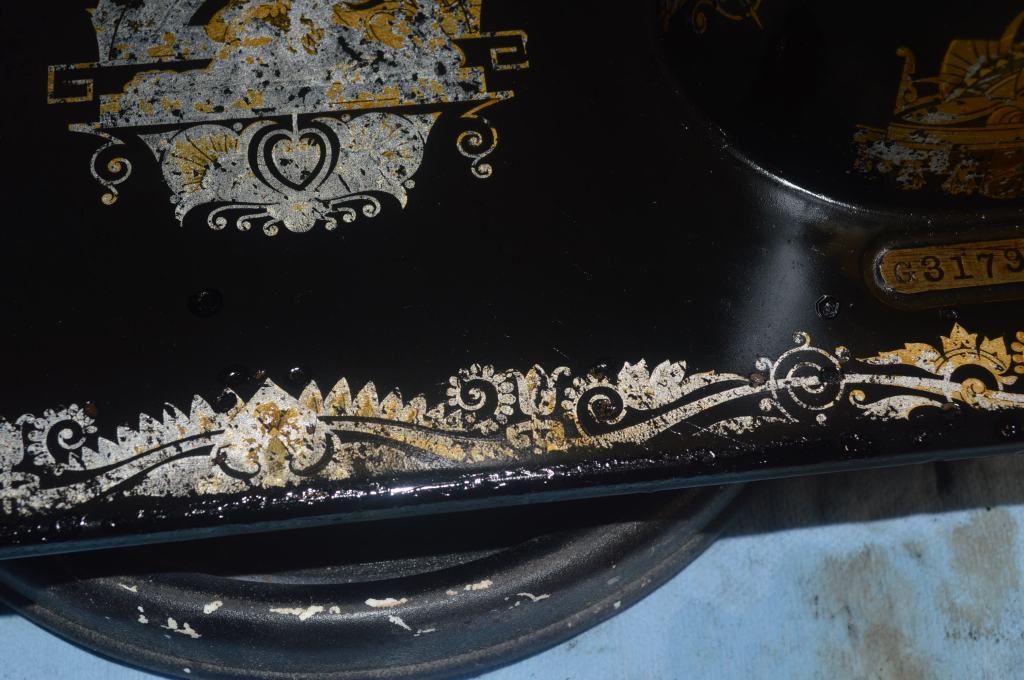
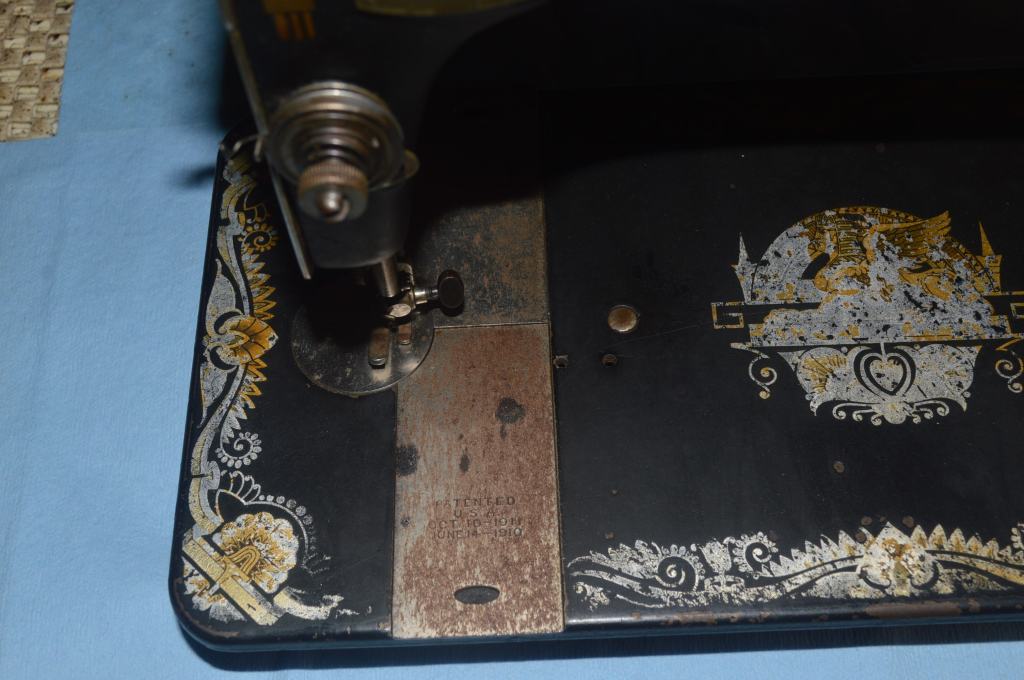
This is a custom original finish restoration and a great opportunity to restore a fine sewing machine to sew like new and stabilize the original but care worn Sphinx decals and beautiful black Japanned paint and protect them from further wear. Before undertaking a restoration like this, I think it is important to know a little bit of the machines history. This model 127 is serial number G3179937 and it was one of 30,000 127’s commissioned for manufacture on August 27, 1913. This 127 was designed to be powered by either a treadle or hand crank and has a boss in the casting that is used today to mount a sewing machine motor. Earlier 127’s did not have this feature and are not suitable for attaching a motor. Even so, this 127 arrived on the scene before electric motors were well conceived of or commonly found on sewing machines in 1913. This is not surprising considering electric power distribution in much of the US was scarce and unreliable in when the machine was manufactured. It began it’s life as a treadle machine, and the customer prefers it to stay that way. One modern feature the machine lacks is a light, which is really less of a convenience today than it was then so a vintage light will be restored and provided for the machine.
1913… That’s a long time ago in our history. The United States was a very different place then. In 1913, Wilson Roosevelt was President and the 16th amendment to the Constitution was ratified. The 16th amendment gave Congress the power to lay and levy taxes on individual and business income irrespective of State… that is, the Federal income tax. The Country was undergoing a metamorphosis from a farm based economy and was giving way to an industrial revolution that transformed the Nation. America’s population was one third of what it is today and the average standard of living was much lower. For perspective, roughly one half of a person’s wages was spent on food alone and workdays averaged ten hours a day six days a week. The buying power of one dollar in 1913 would get you the equivalent of $27.63 today.
Why is this relevant to this sewing machine? Well, in 1913 the purchase of a sewing machine represented a major purchase. Clearly, it was a treasured item and now at 108 years old the machine would undoubtedly have some very interesting stories to tell!
The customer told me that this 127 was his Grandmother’s machine and she used it often. It was then passed down to his Mother who also sewed and saw good service from the machine. He remembers his Mother using the machine in his childhood growing up. From what he told me, I can guess that this machine was new when it came into his family and now having passed through three generations, it is certainly a family heirloom.
I am excited to have the opportunity to preserve this machine so it can continue it’s journey from generation to generation in his family… to run and sew for generations to come.
Restoration Plan
The restoration of this machine consists of two parts, a mechanical restoration and an original finish cosmetic restoration.
The mechanical restoration will be accomplished by the complete disassembly all of the sewing mechanisms and restore them to like new condition. Even in it’s current condition, the machine turns smoothly and it is evident that it was well maintained. There is ample old oil varnish present on and in the mechanisms, but it is generally clean of lint and debris buildup. A perfect candidate for a mechanical restoration, when it is finished the machine will run smooth as silk.
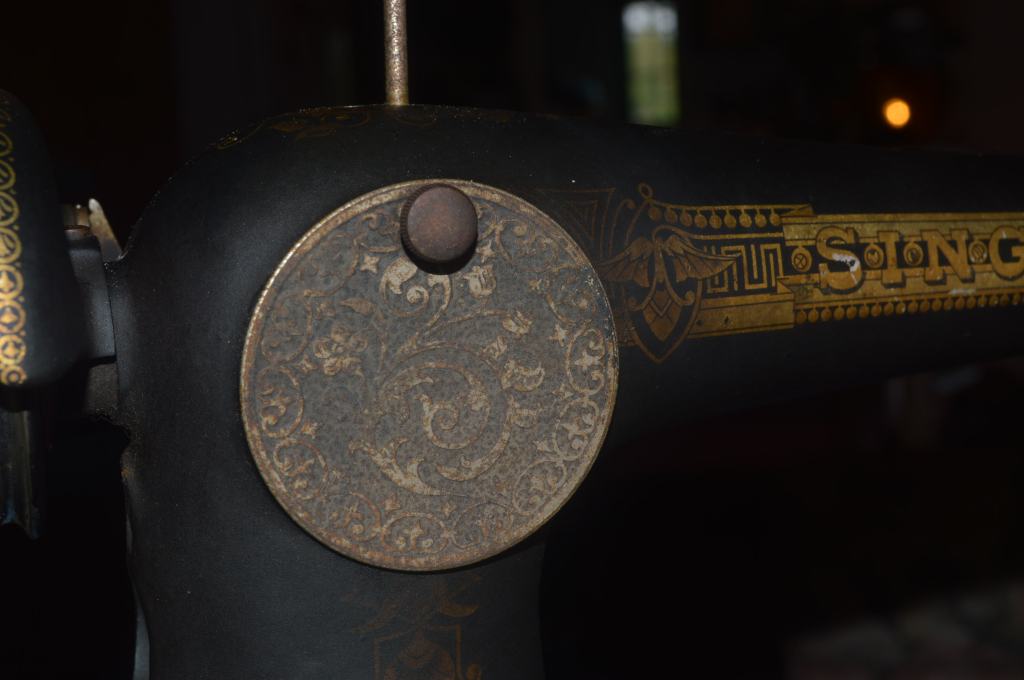
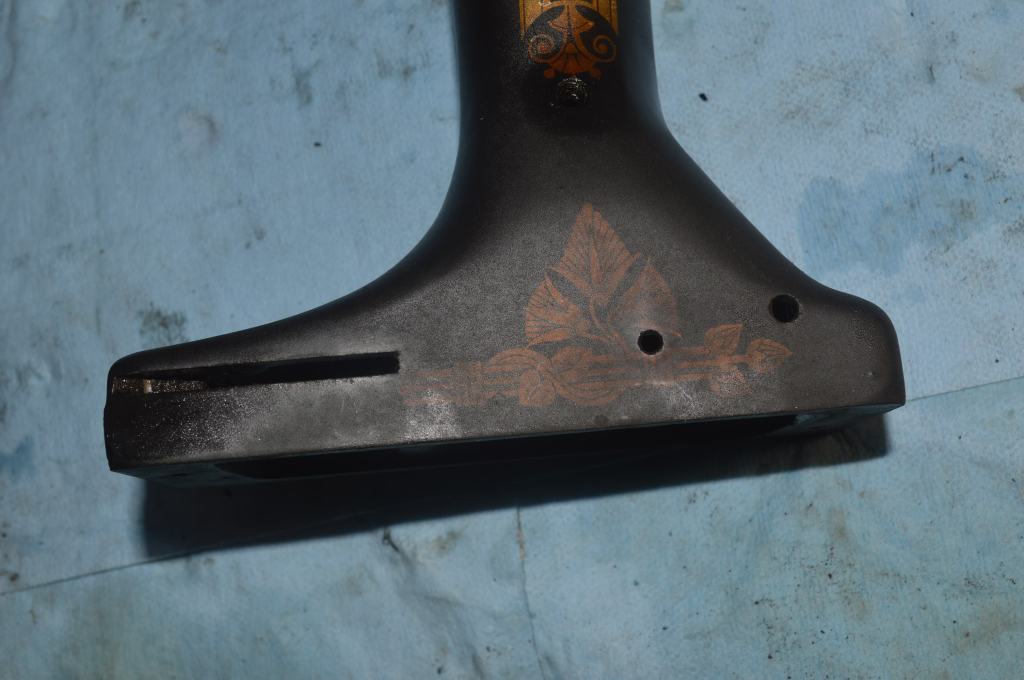
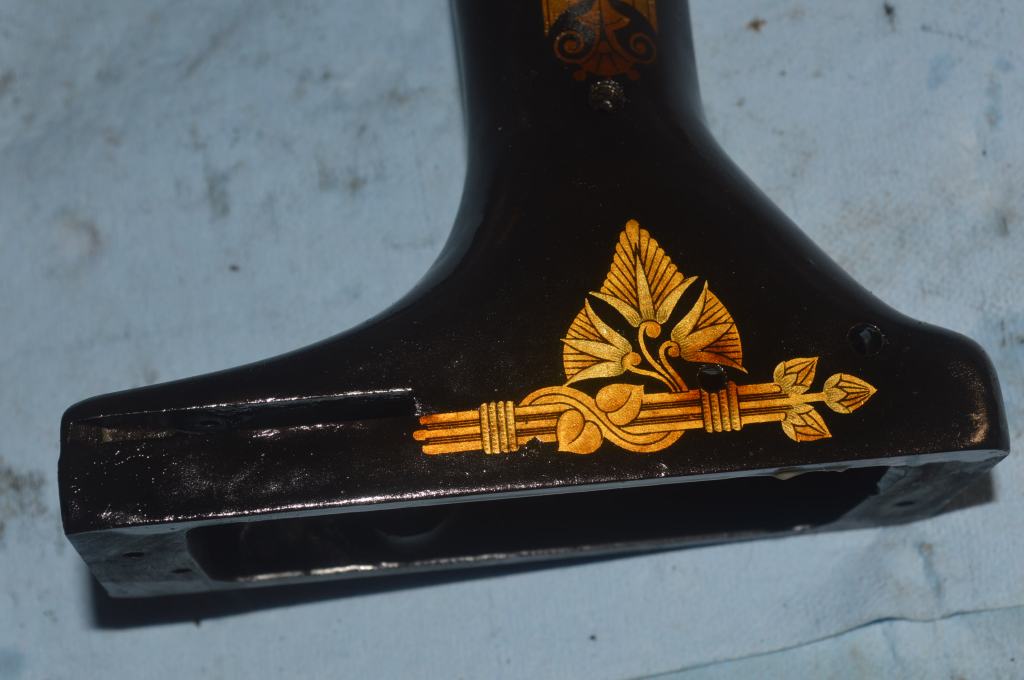
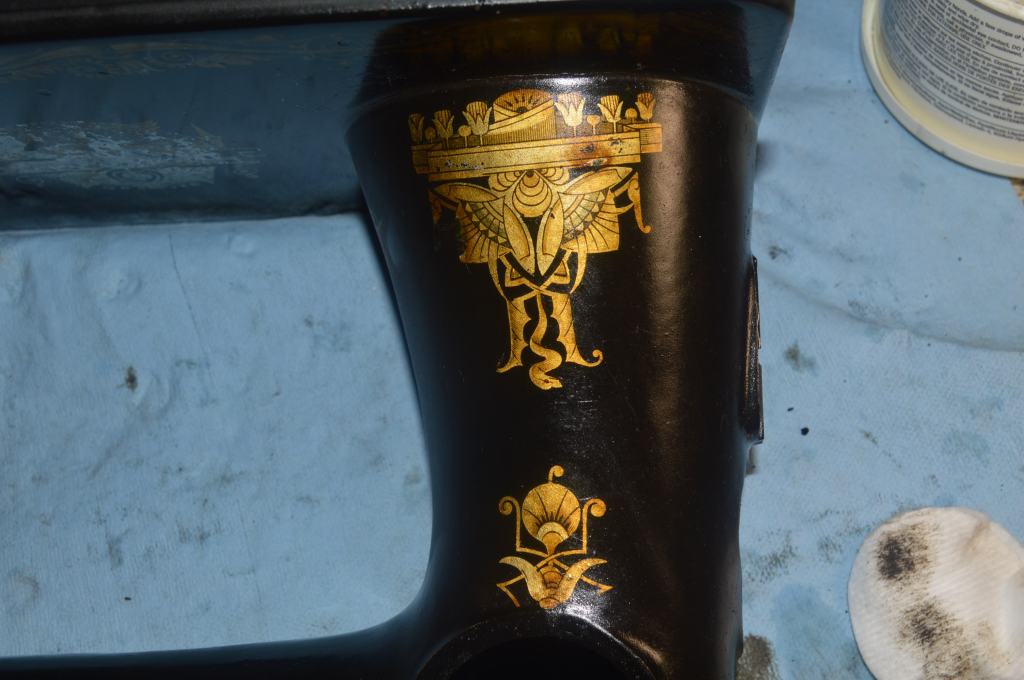
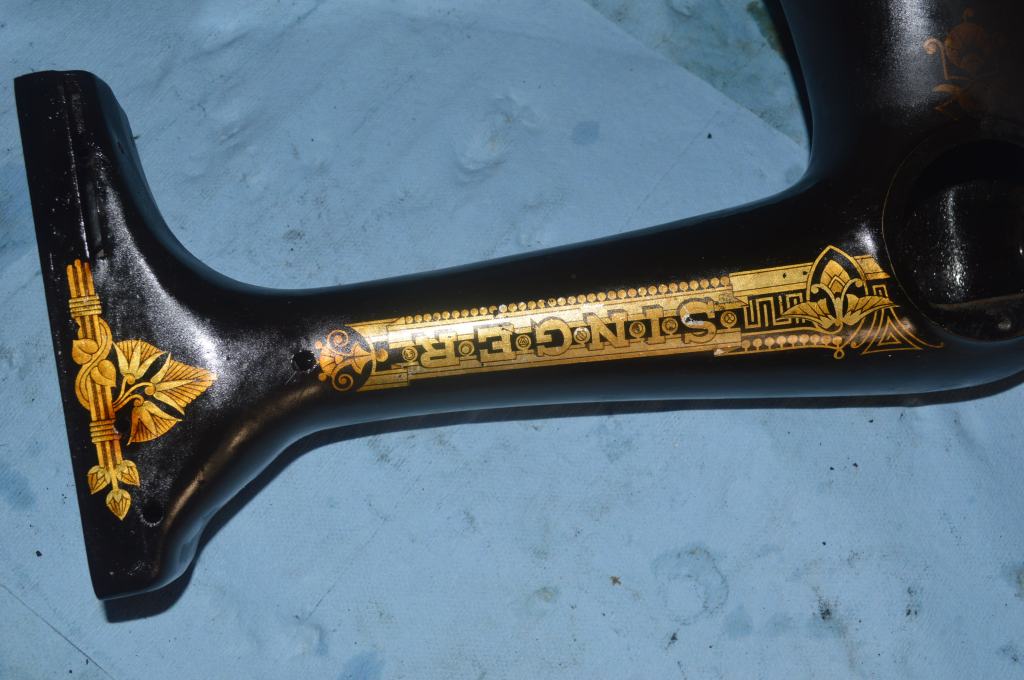
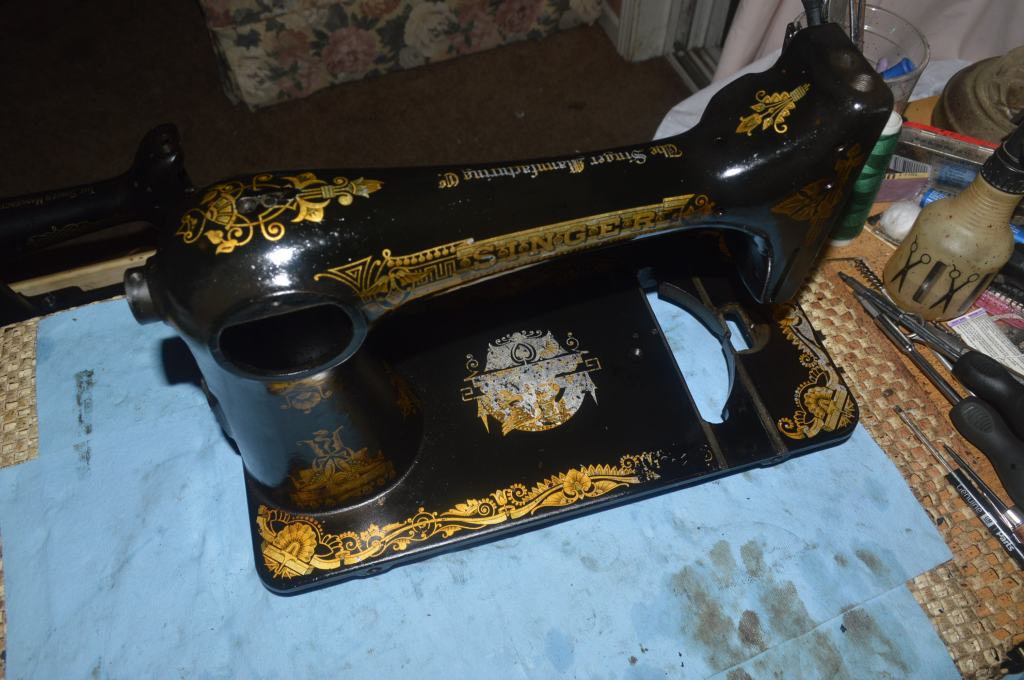
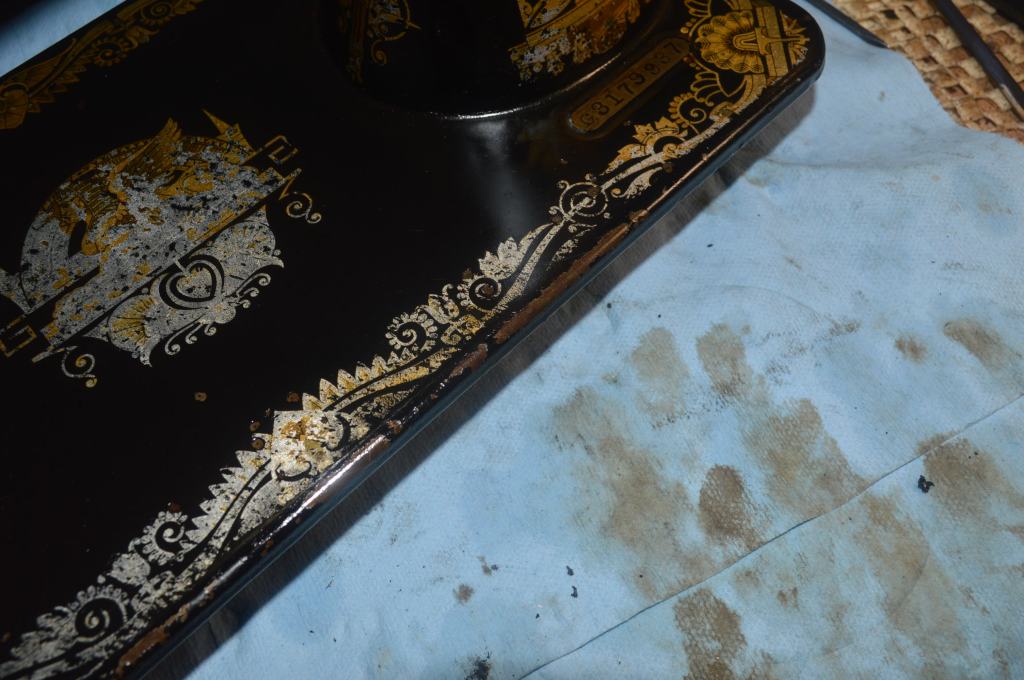
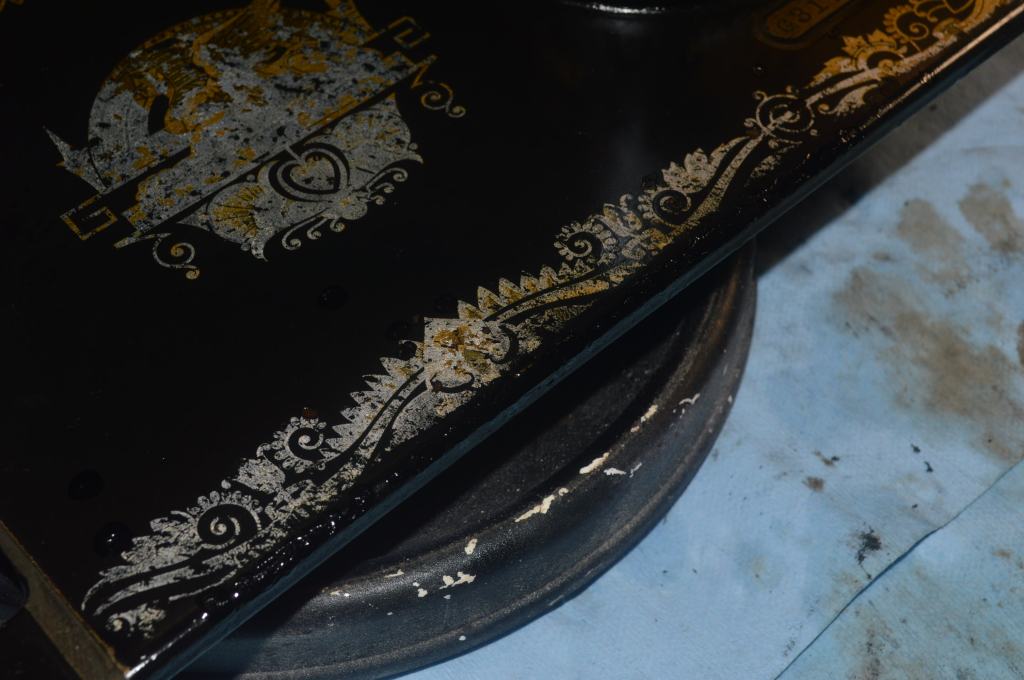
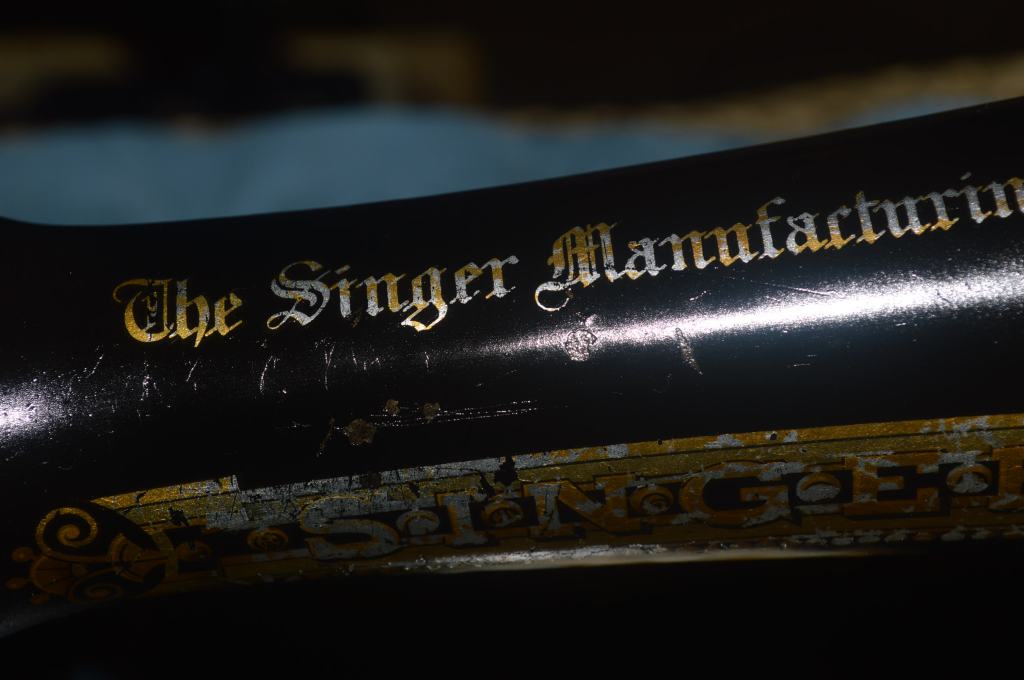
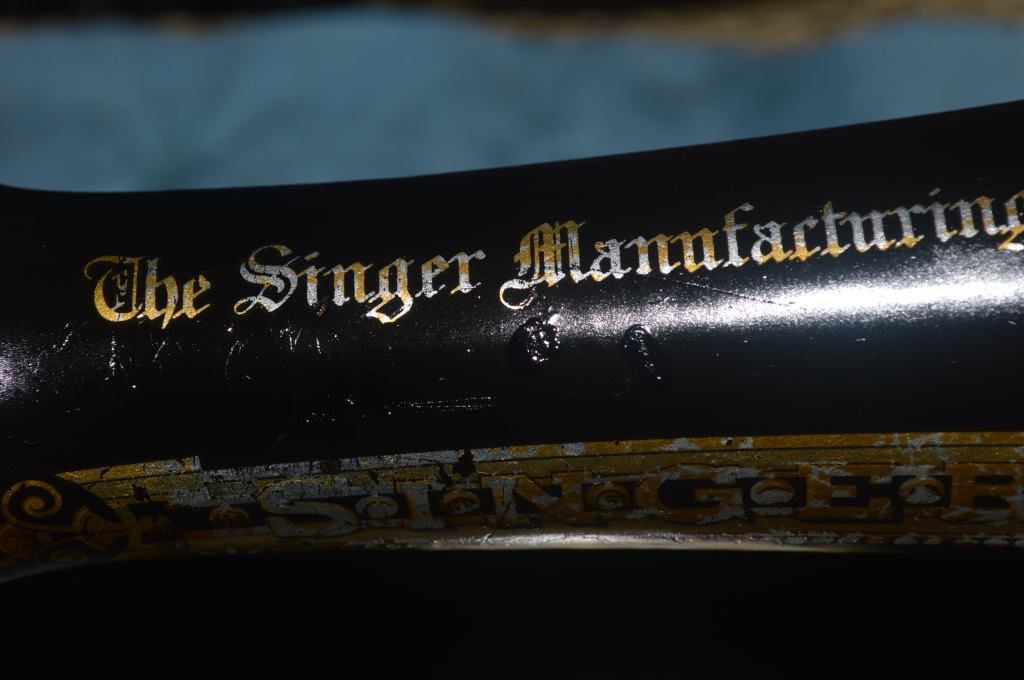
The cosmetic restoration is targeted to enhance and stabilize the existing finish. It will be deep cleaned, paint chips will be repaired with custom mixed color match paint, and the entire machine will be top coated with a new shellac finish. The paint is generally in good condition with a few chips here and there and some paint loss on the leading edge of the sewing bed. The dull appearance of the paint is due to layers of old oil buildup but will restore beautifully. The plated pieces and covers have a light coat of rust and there is some slight pitting in some of the parts. While the pitting cannot be removed, these pieces will be polished to their best shine and luster. The machine will not look like new, but that’s not the objective and there is no desire to erase the machines history of use repainting and re-decaling the machine would do.
There is much beauty left in this machine and deep cleaning followed by a new top coat of shellac rubbed to a polished finish will bring out the machines full potential and protect it for years to come. This is what an original finish restoration accomplishes and I think it is a perfect choice for this machine.
The Restoration
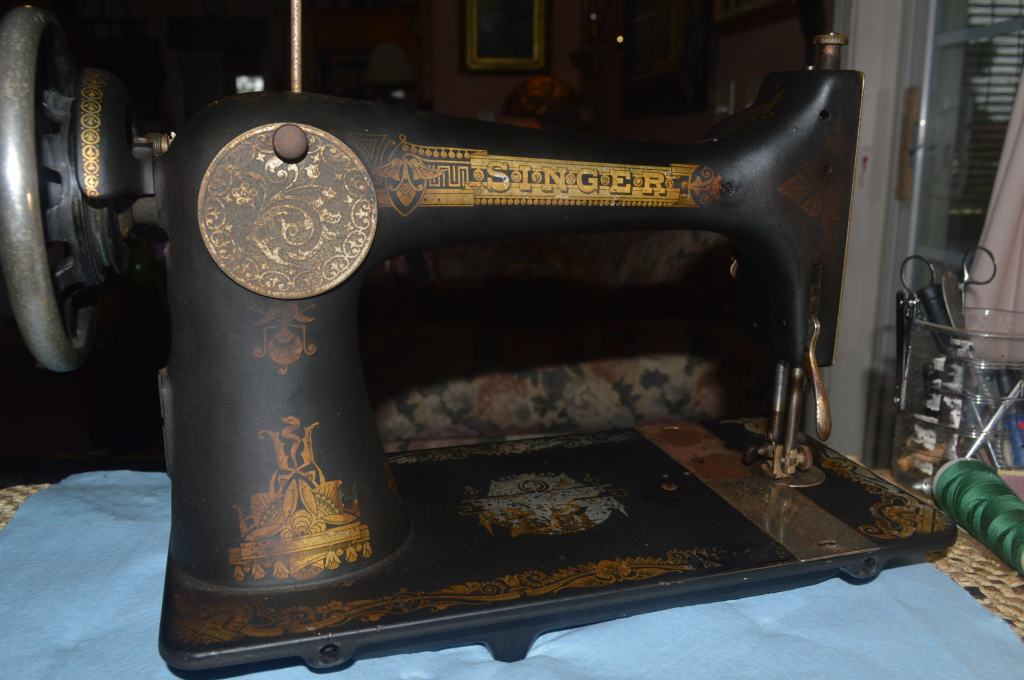
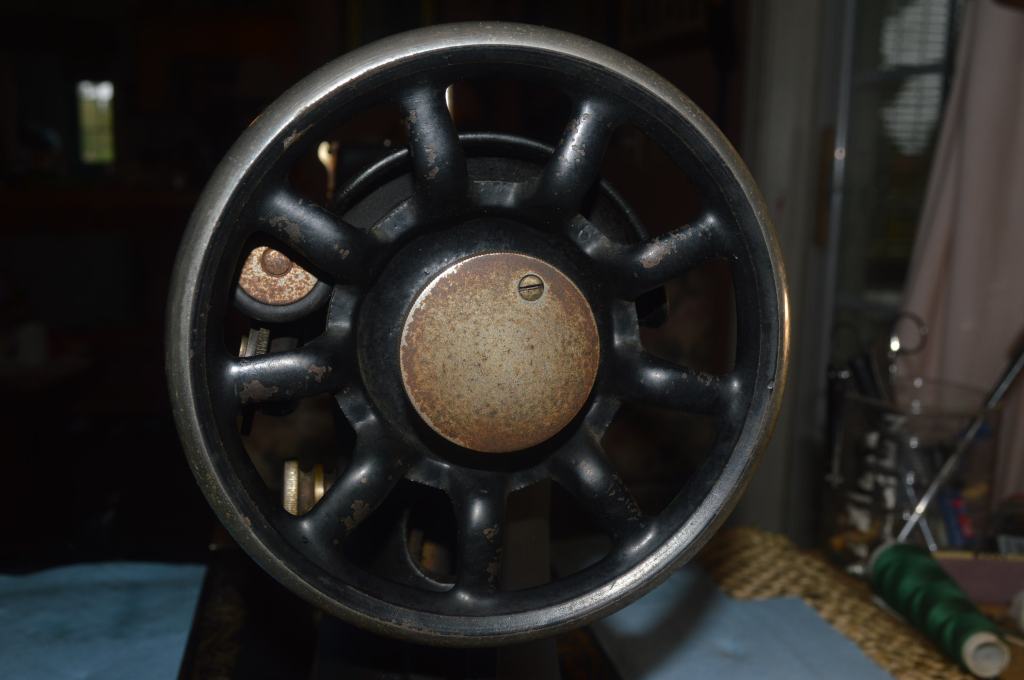
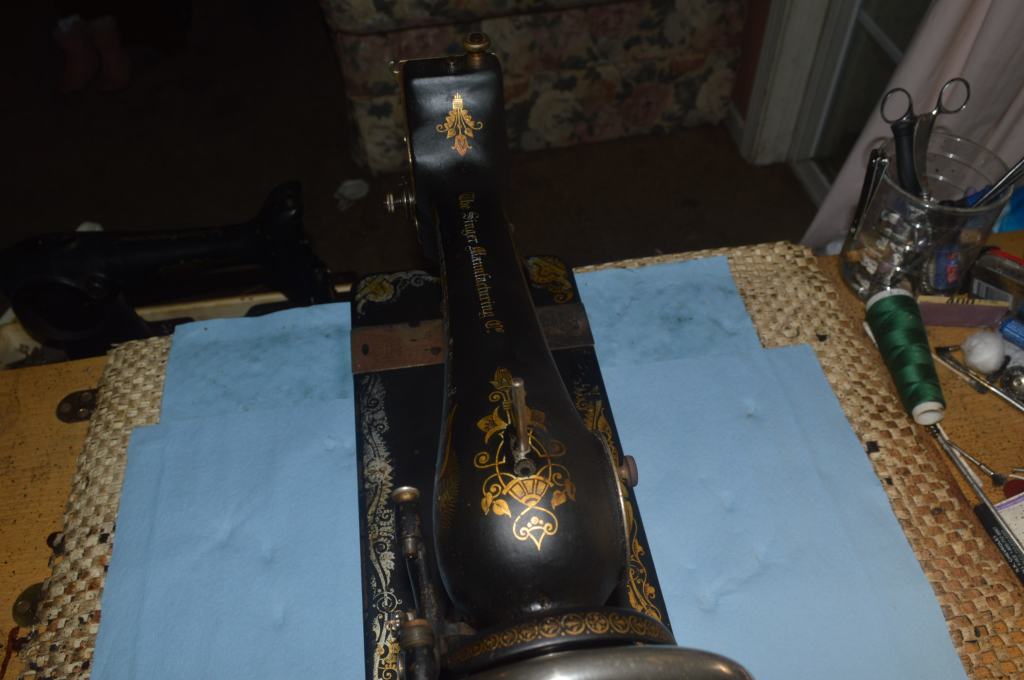
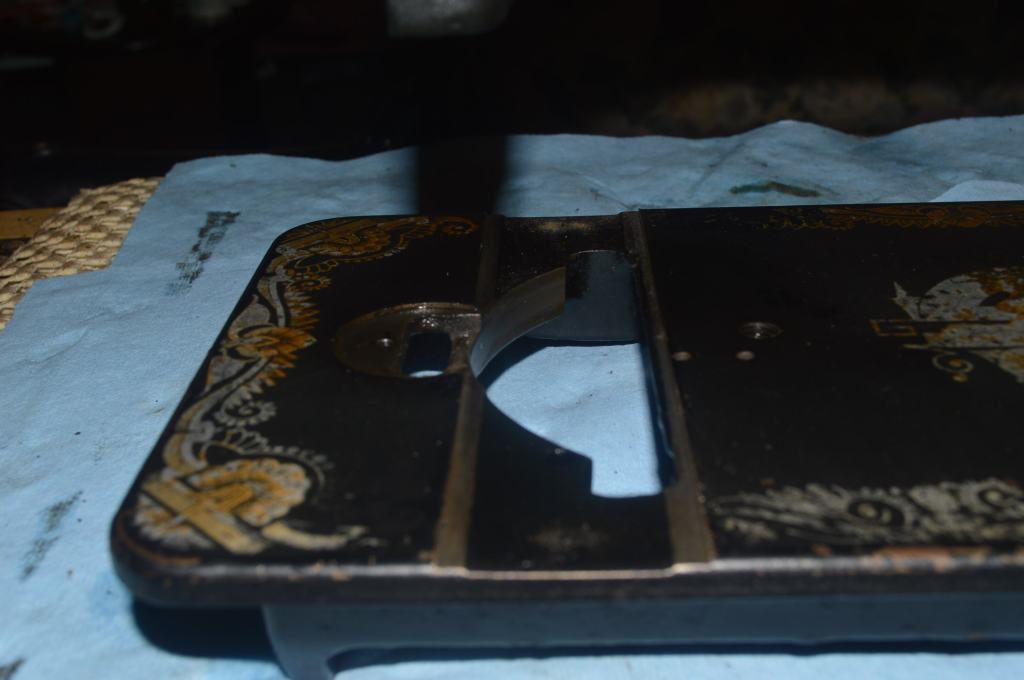
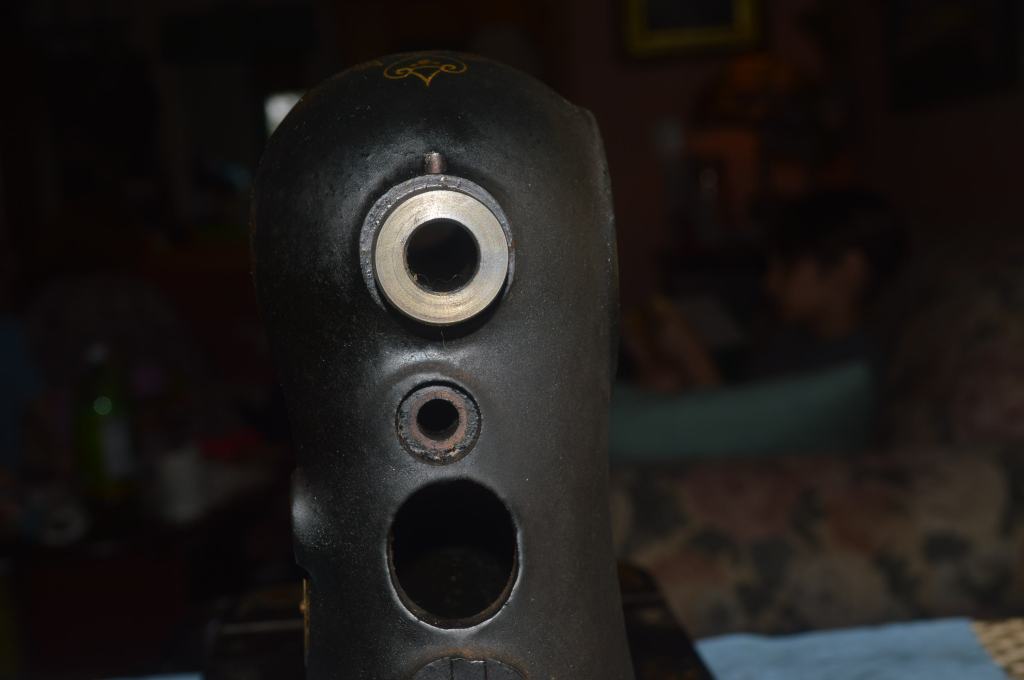
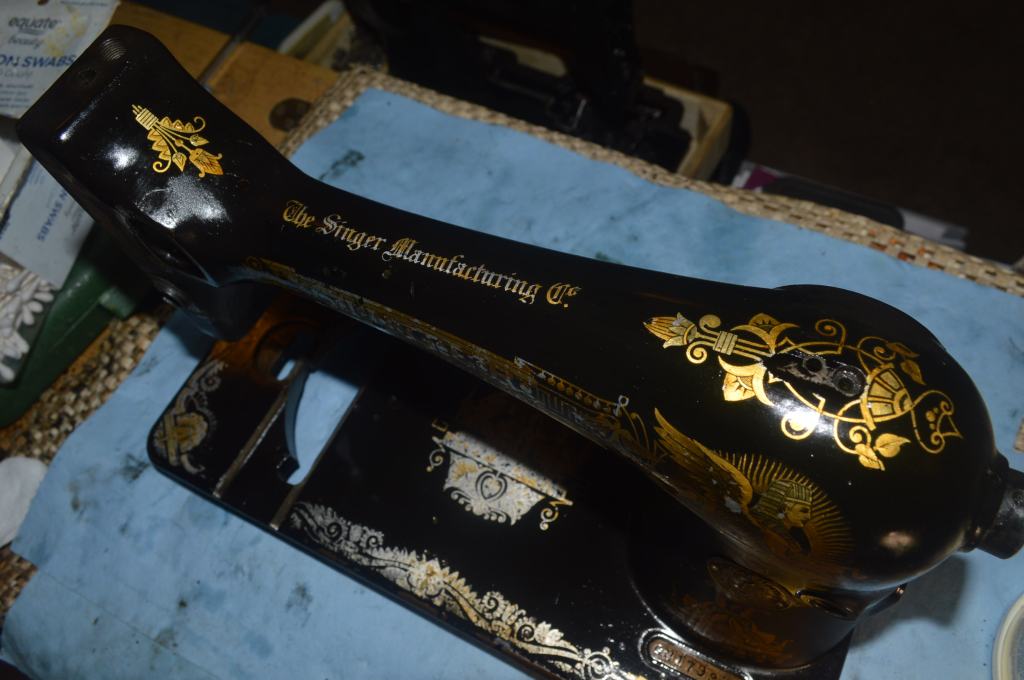
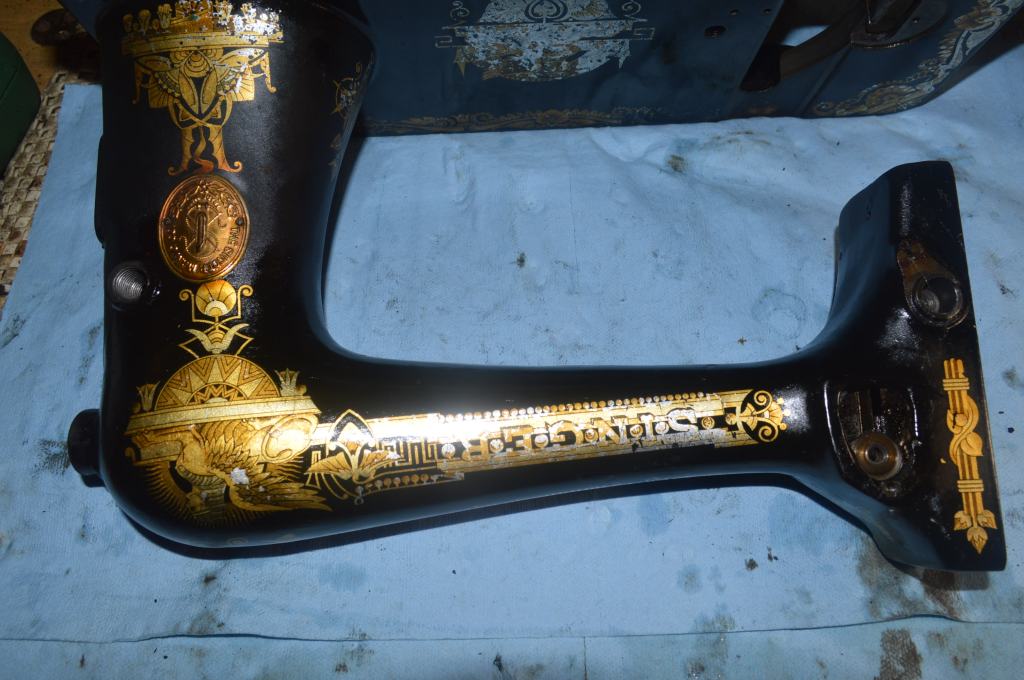
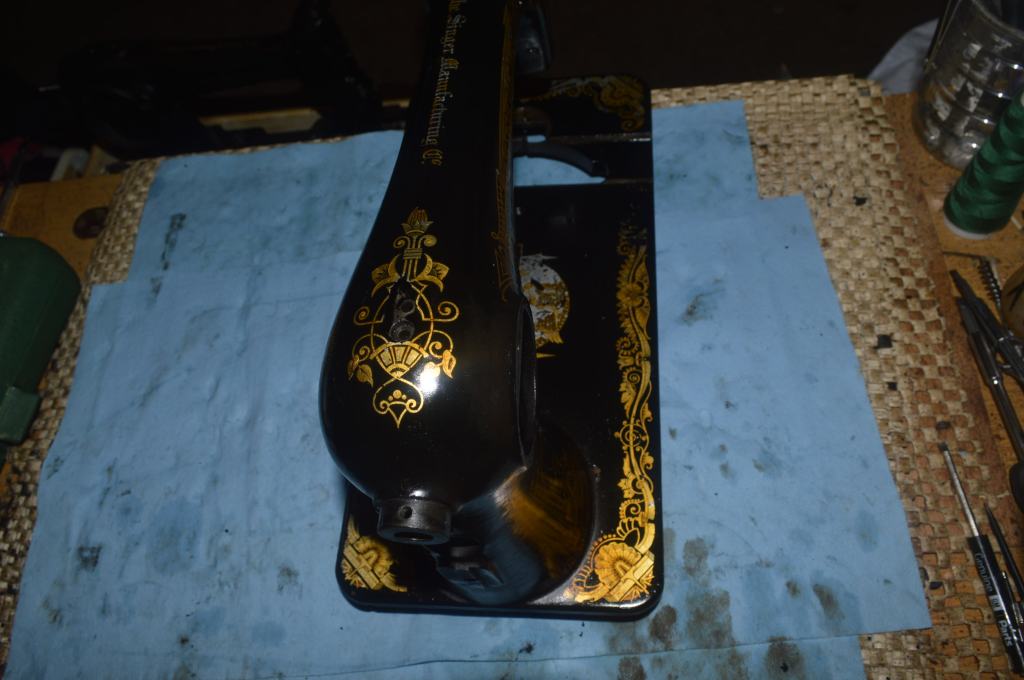
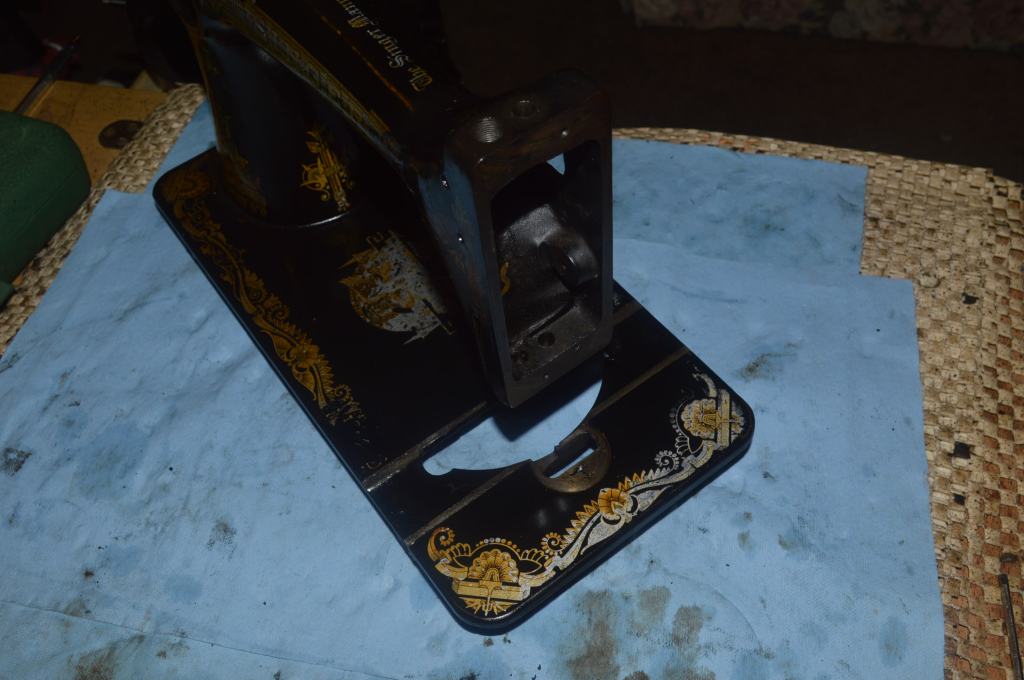
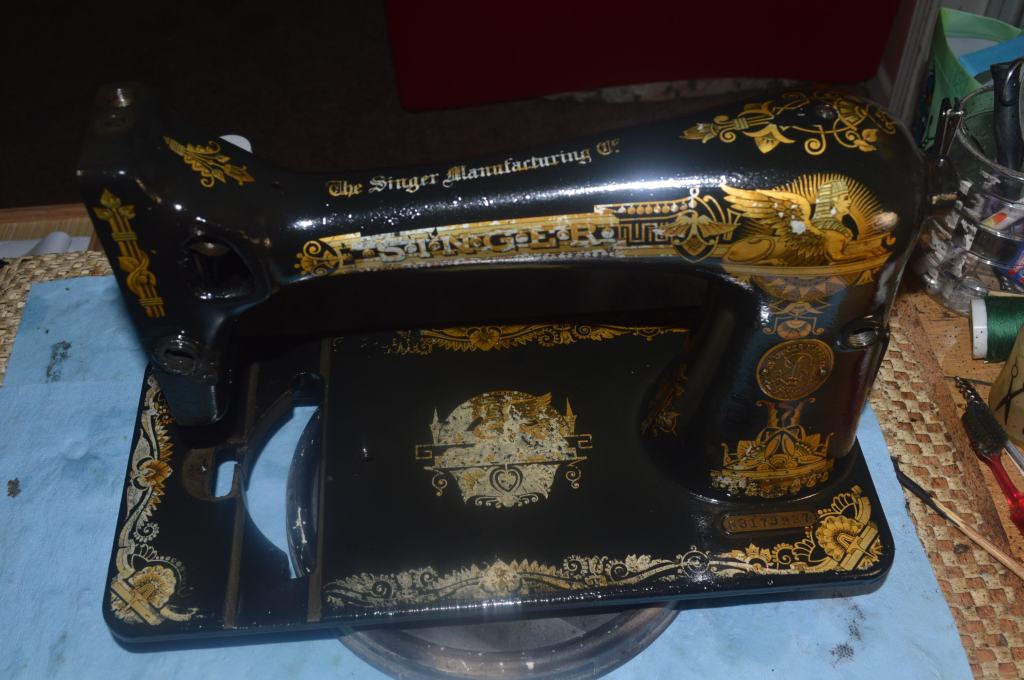
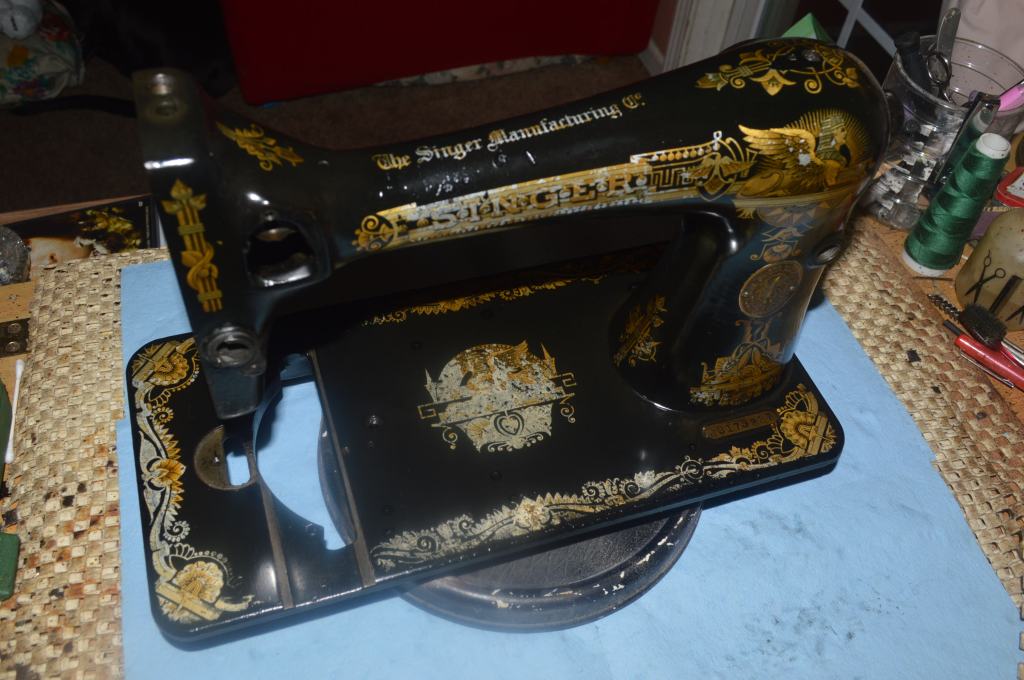
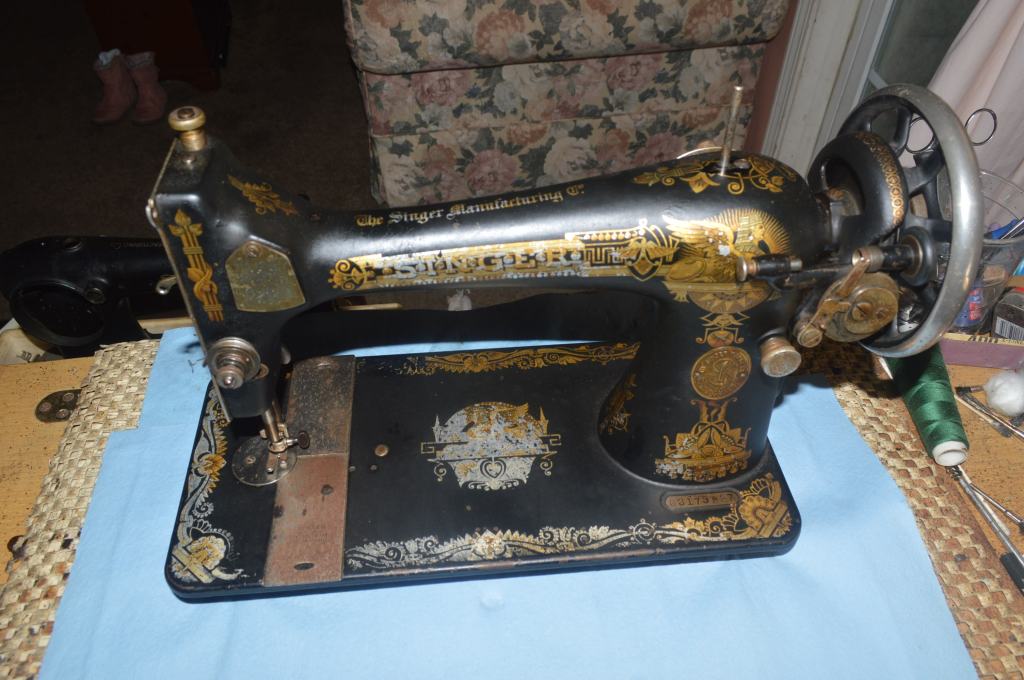
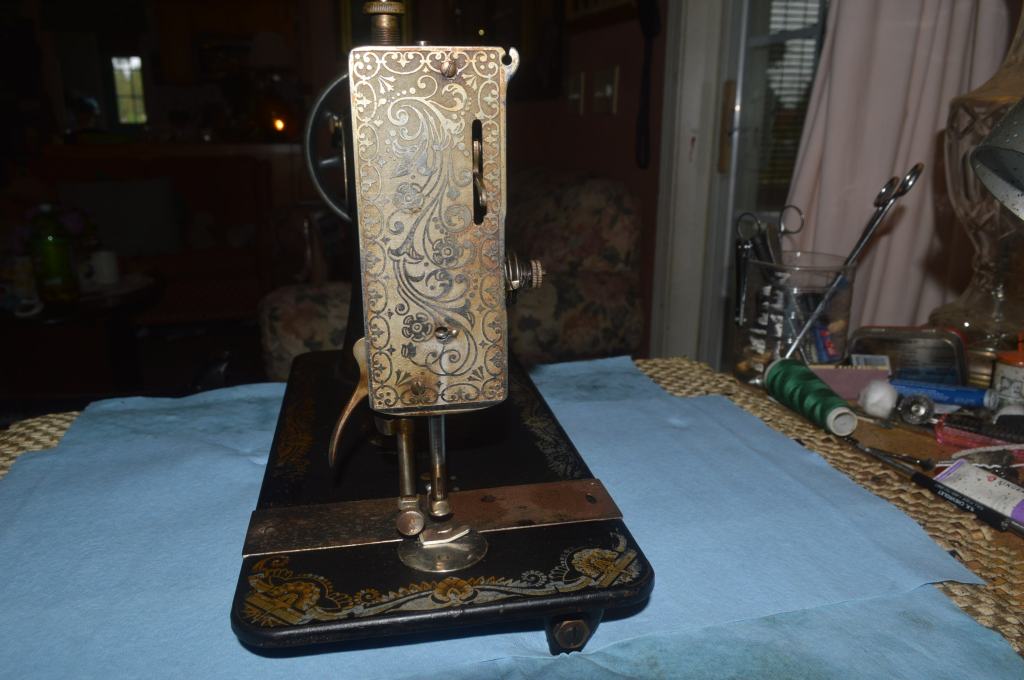
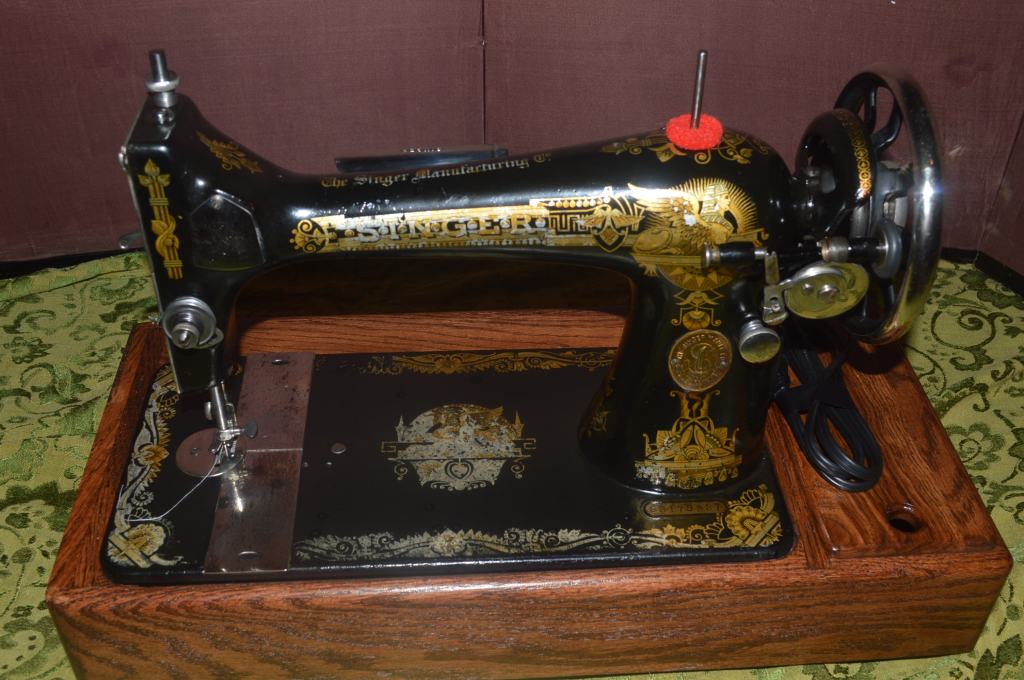
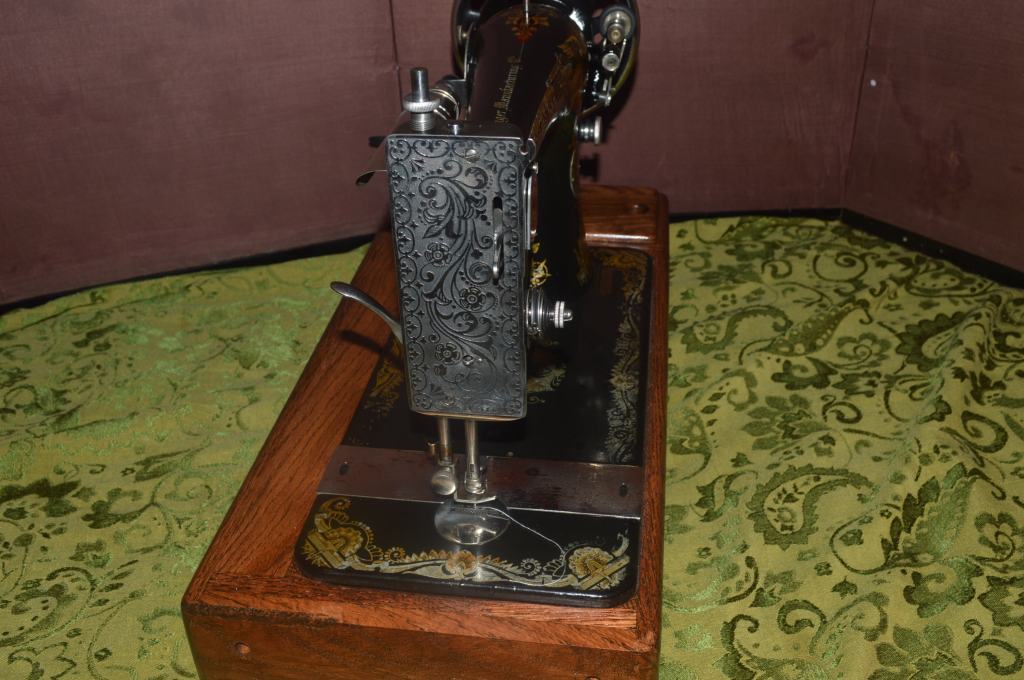
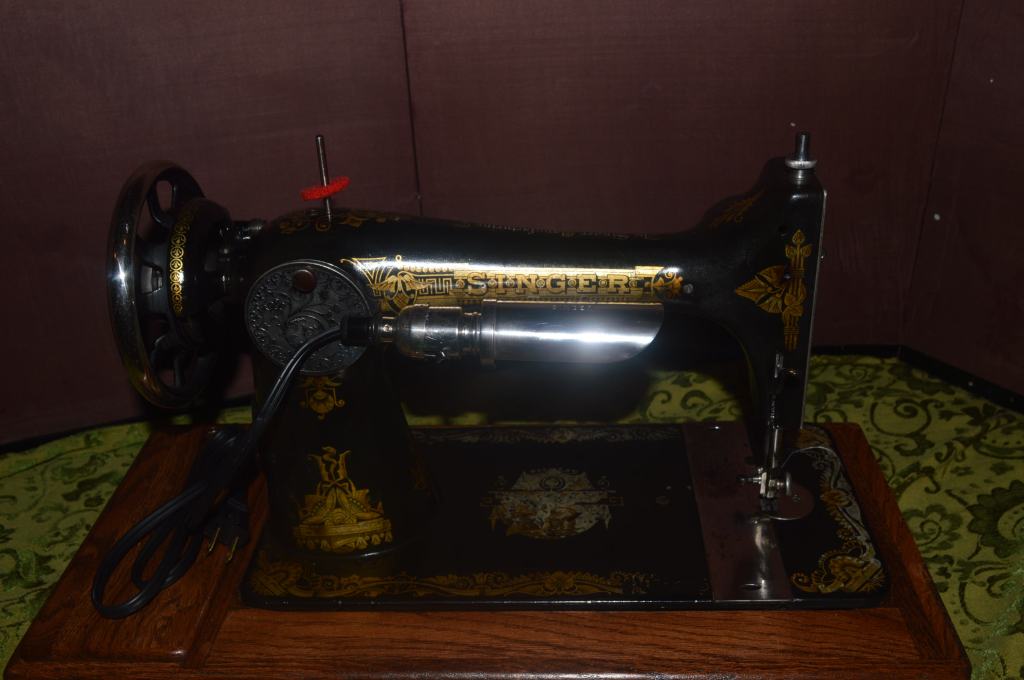
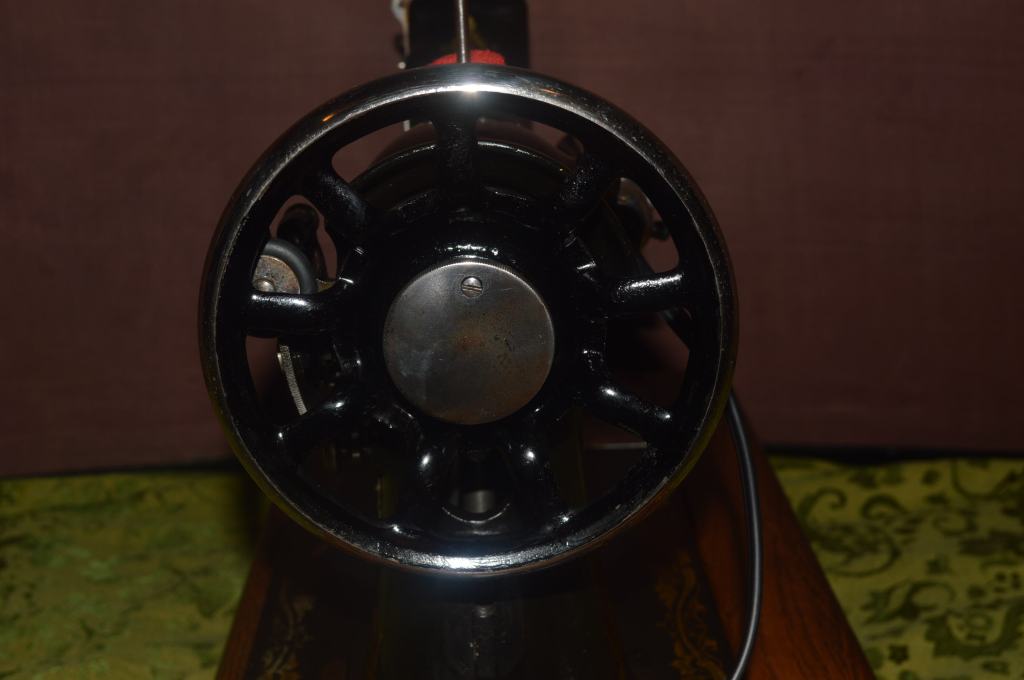
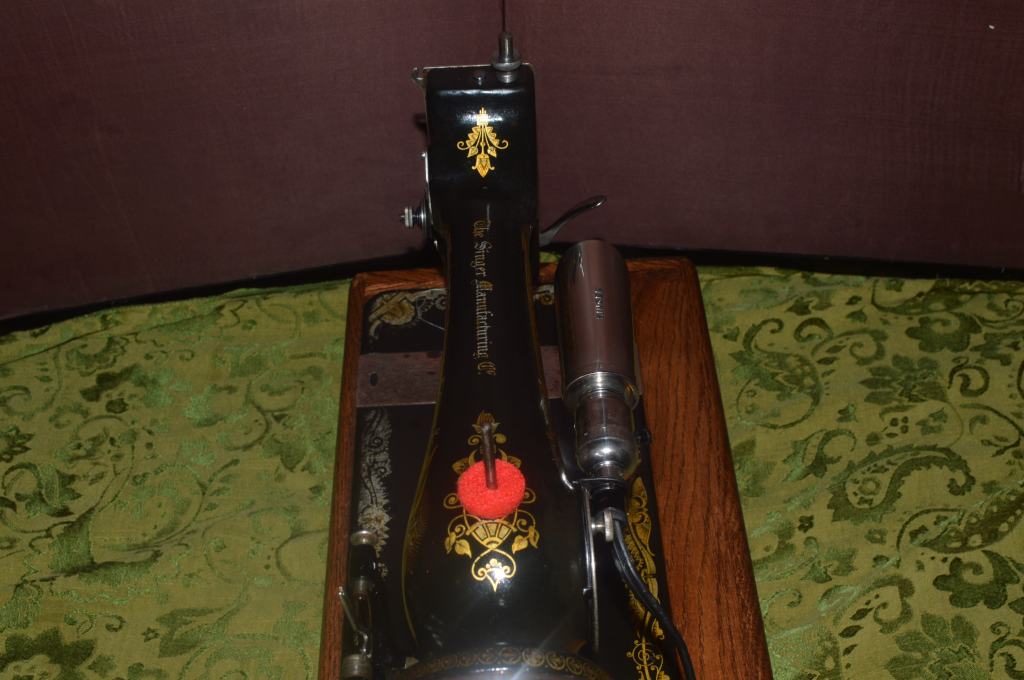
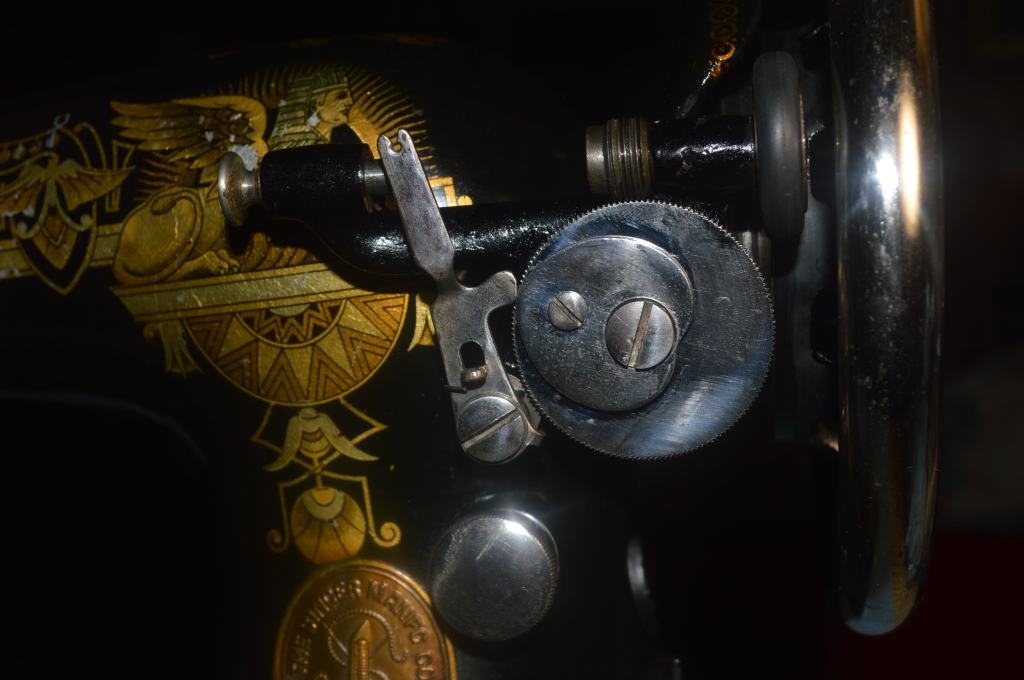
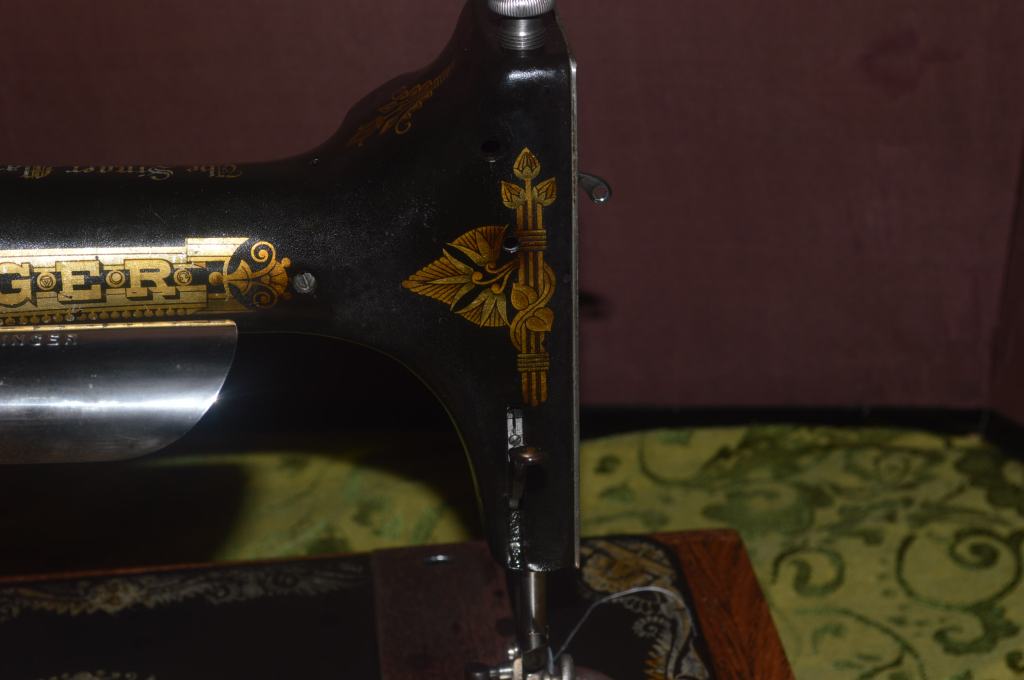
The success of a restorations is always compared by before and after. Starting out for comparison, this is the condition of the machine before it’s restoration begins.


Mechanical Restoration
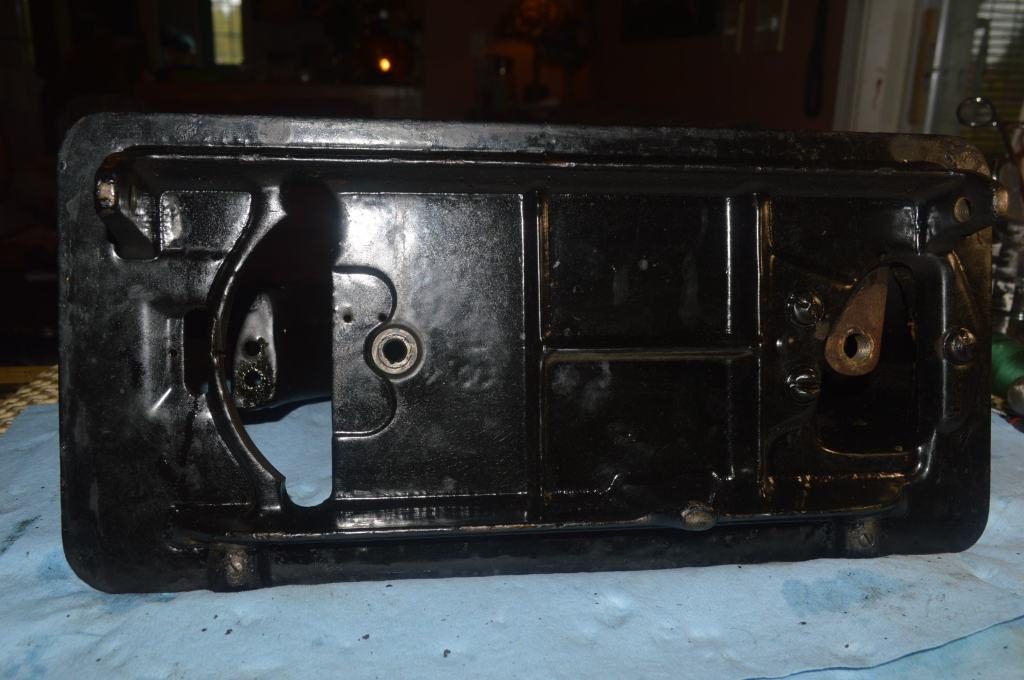
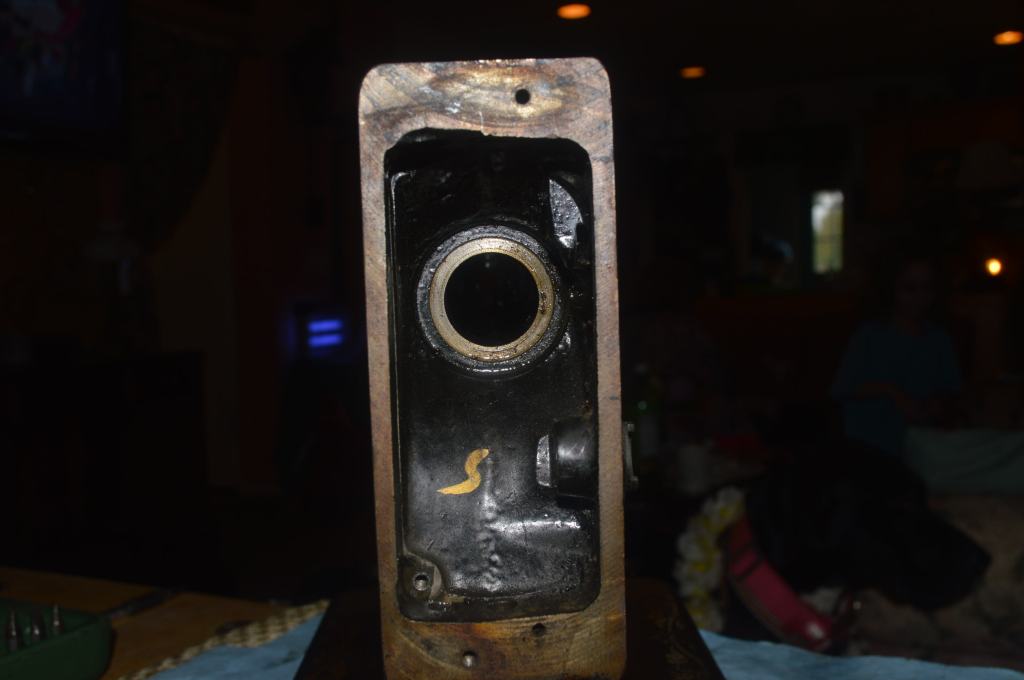
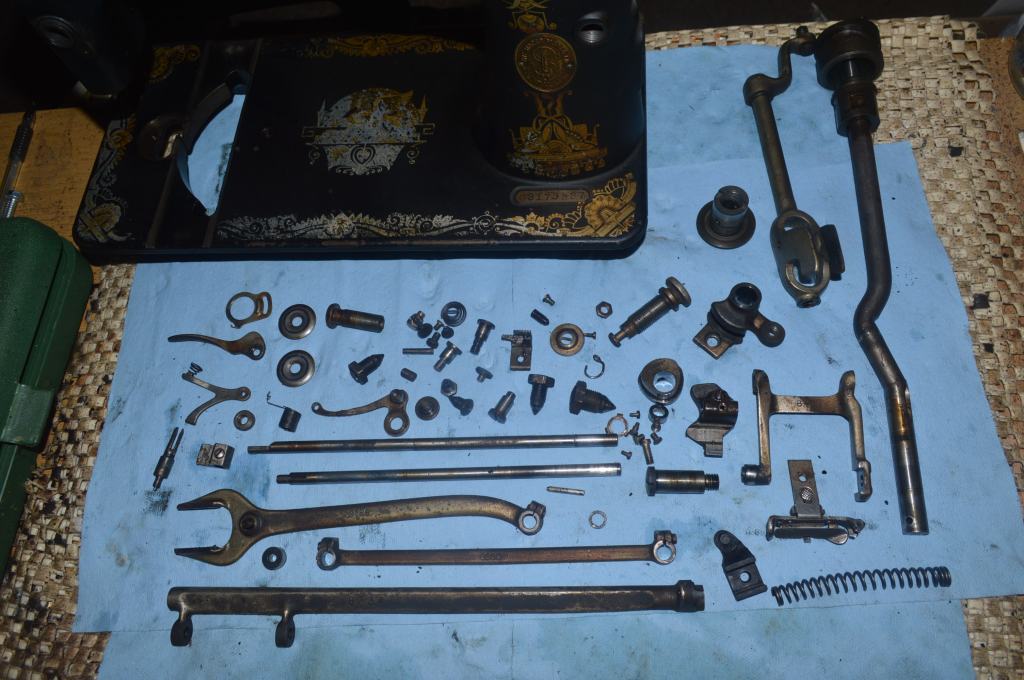
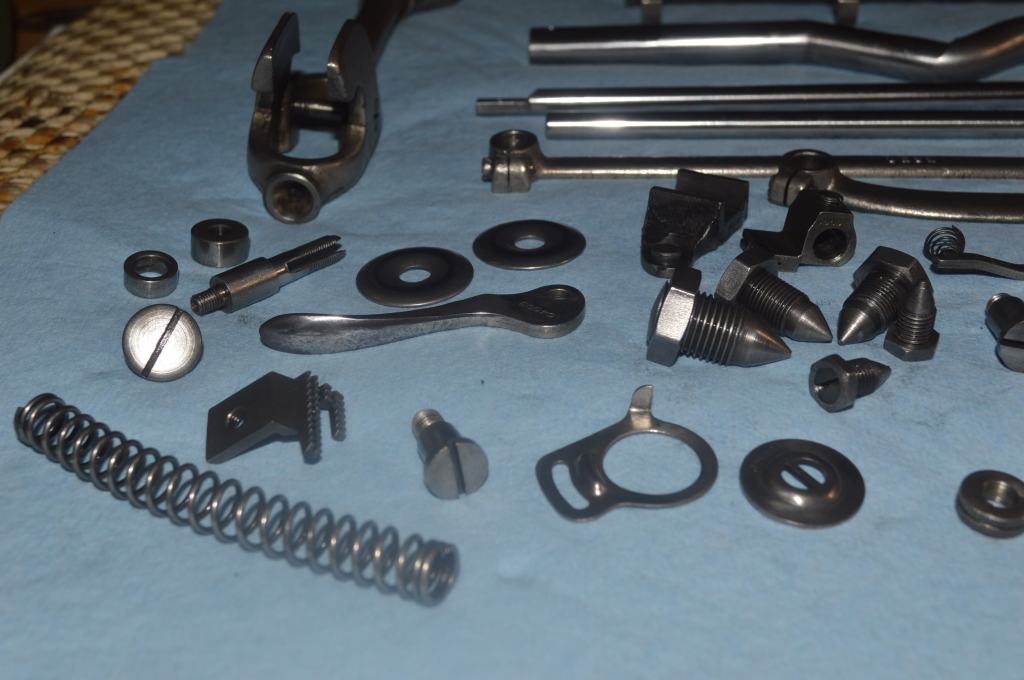
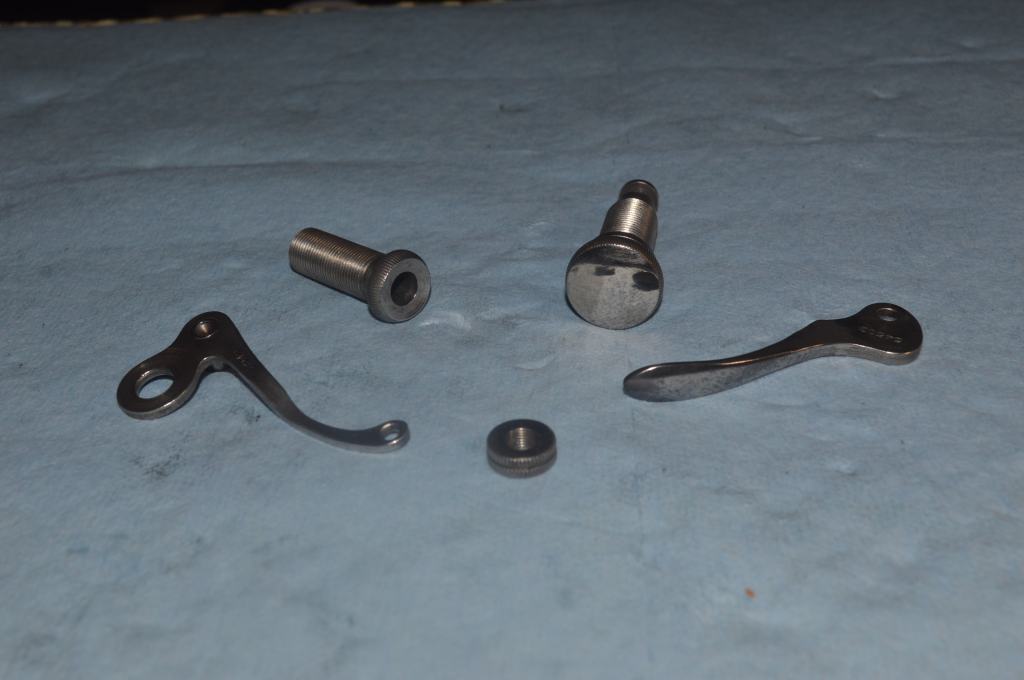
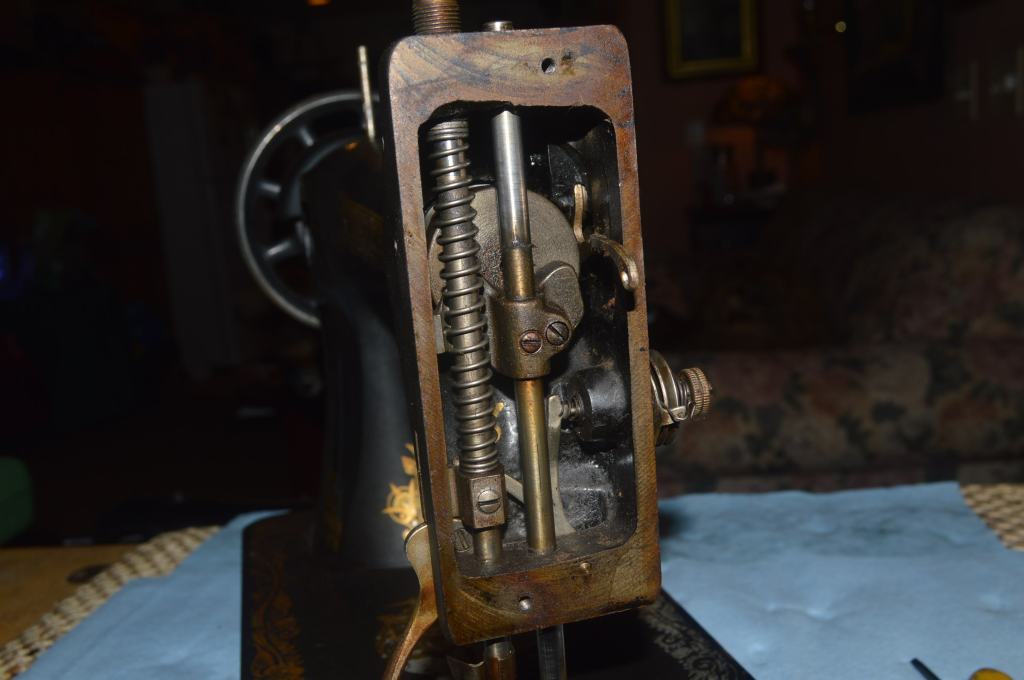
The first step is total disassembly and all of the parts are removed from the body of the machine.
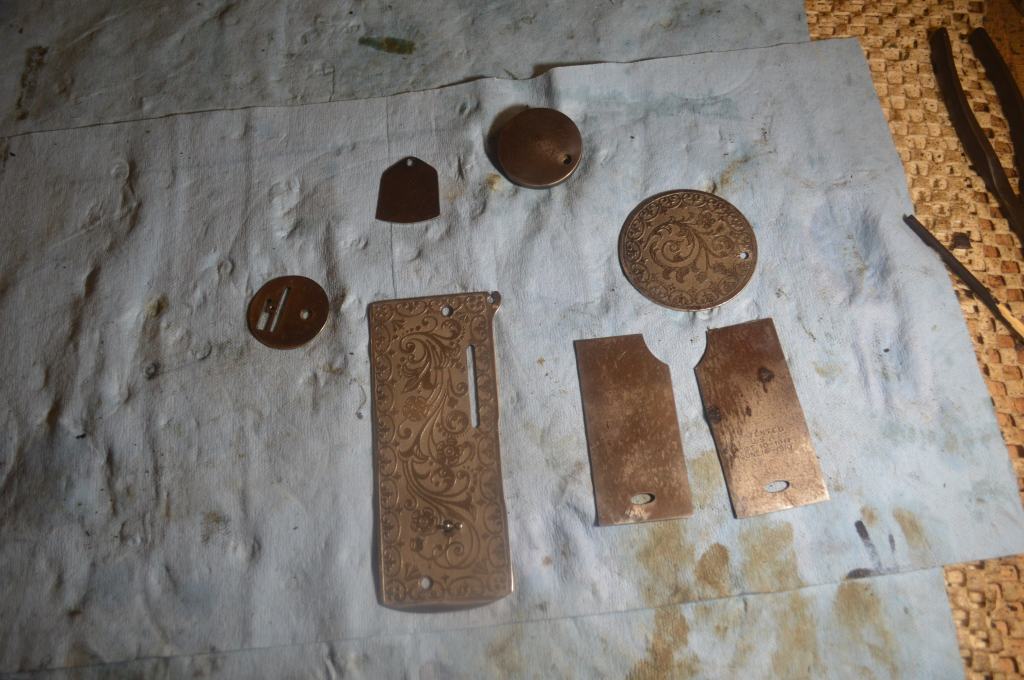
All of the parts are laid out for ultrasonic cleaning.
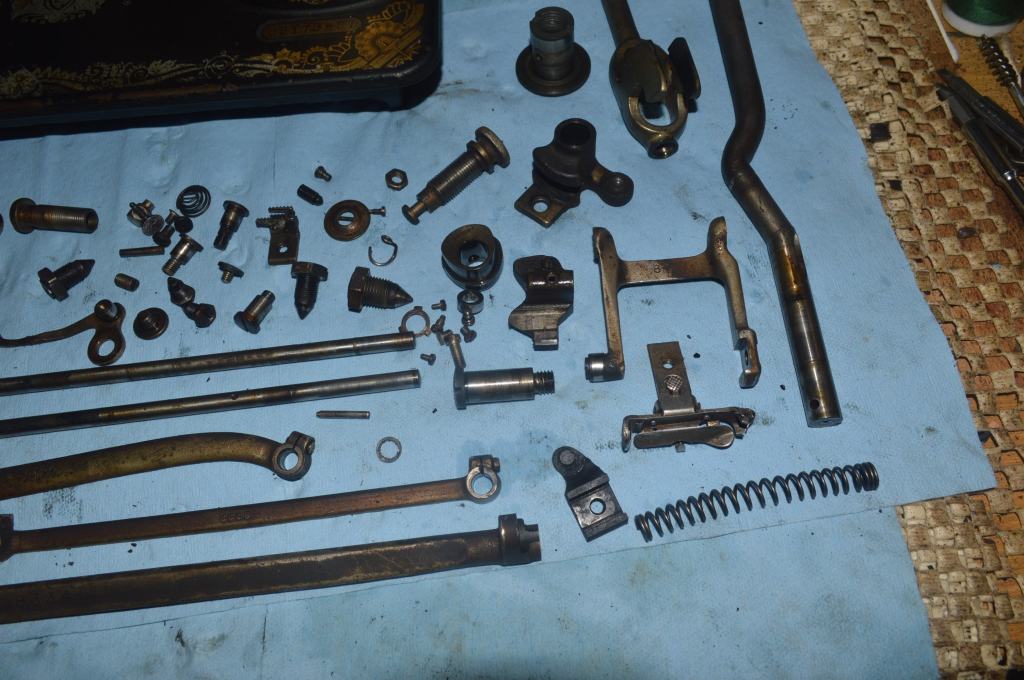
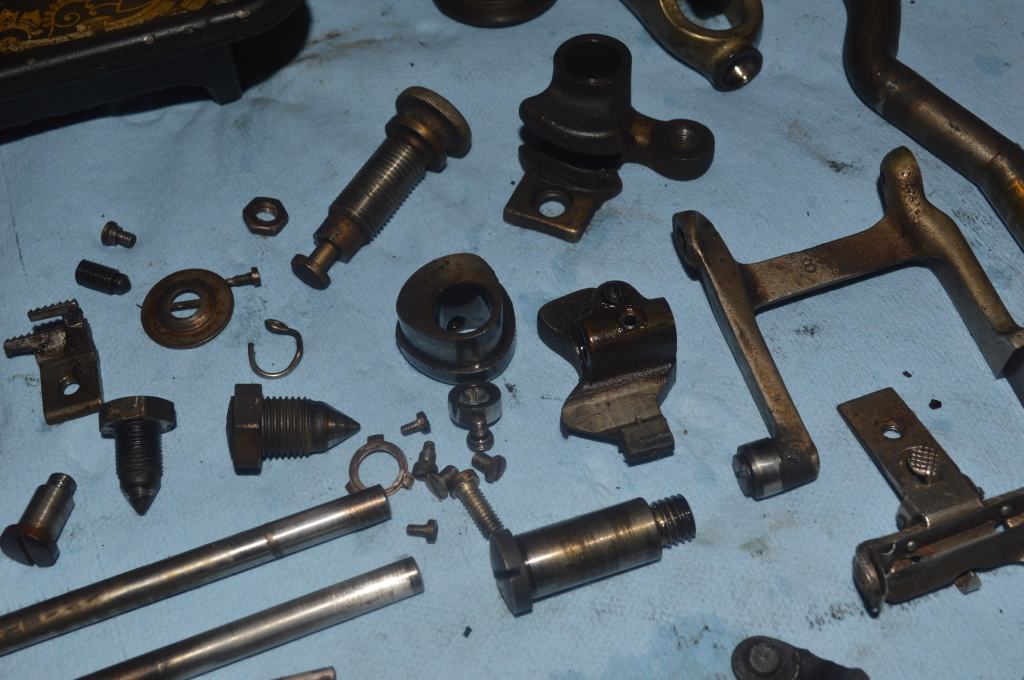

As expected, there is quite a bit of oil varnish on the mechanical parts. This inhibits smoothness in the machine and must be removed to restore the smoothness it is capable of.
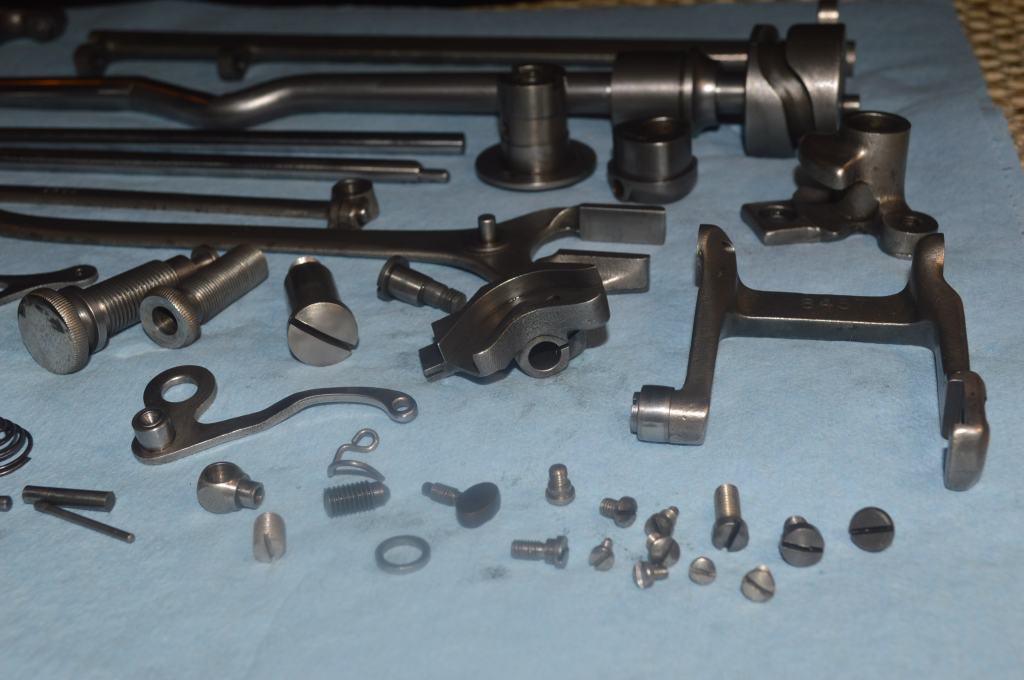
After they are ultrasonically cleaned, the parts are heated in oil at 350 degrees to boil off any water remaining on the parts from cleaning. Each part is then wire brushed to like new condition.

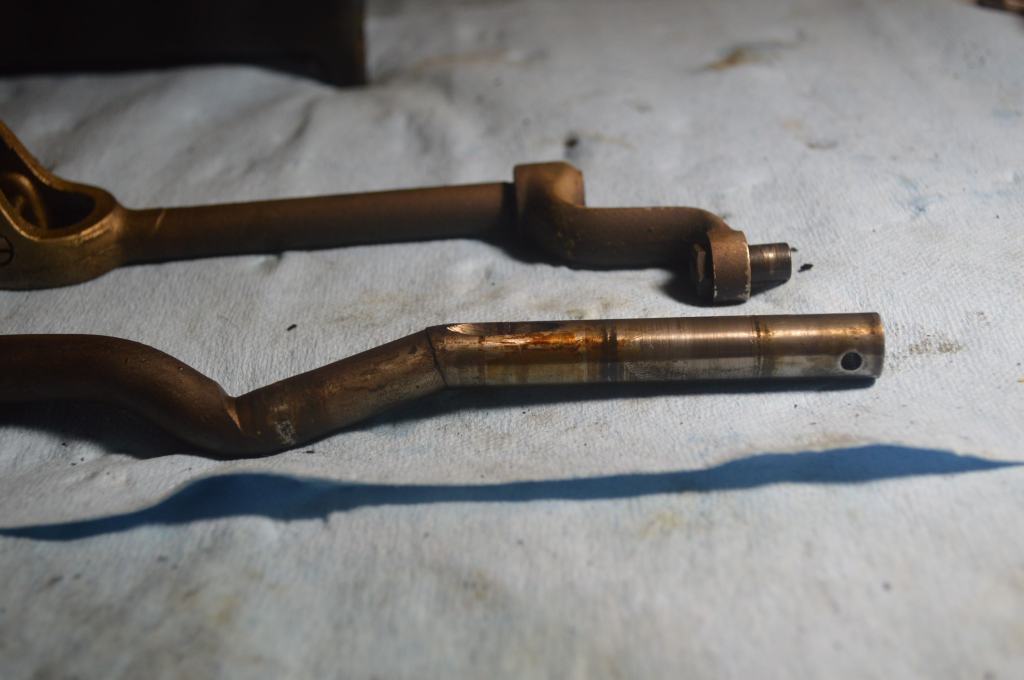
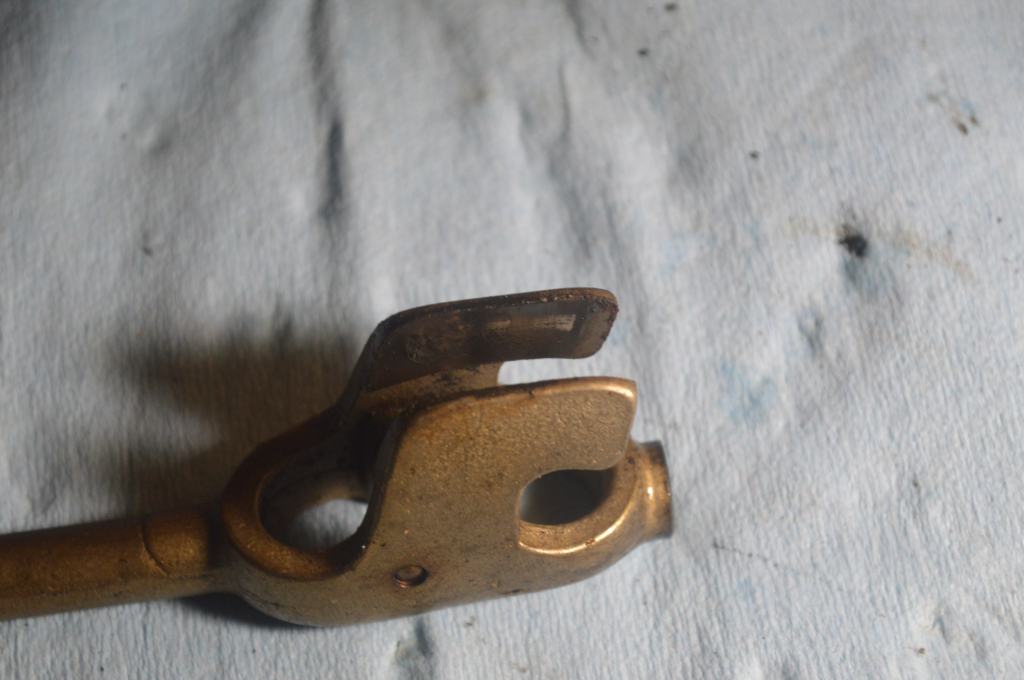
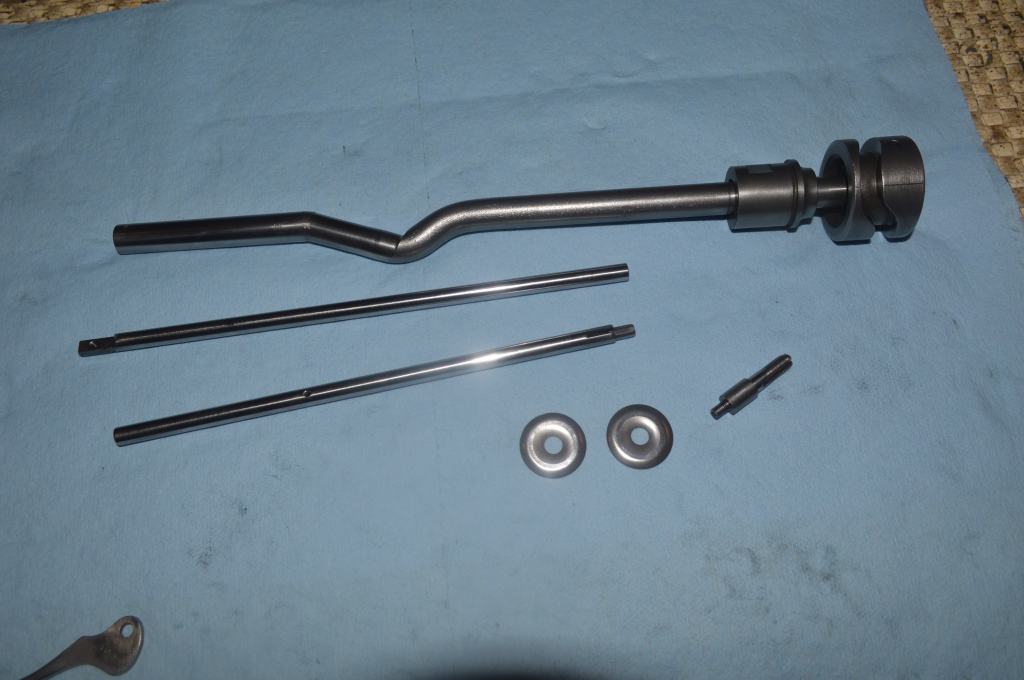
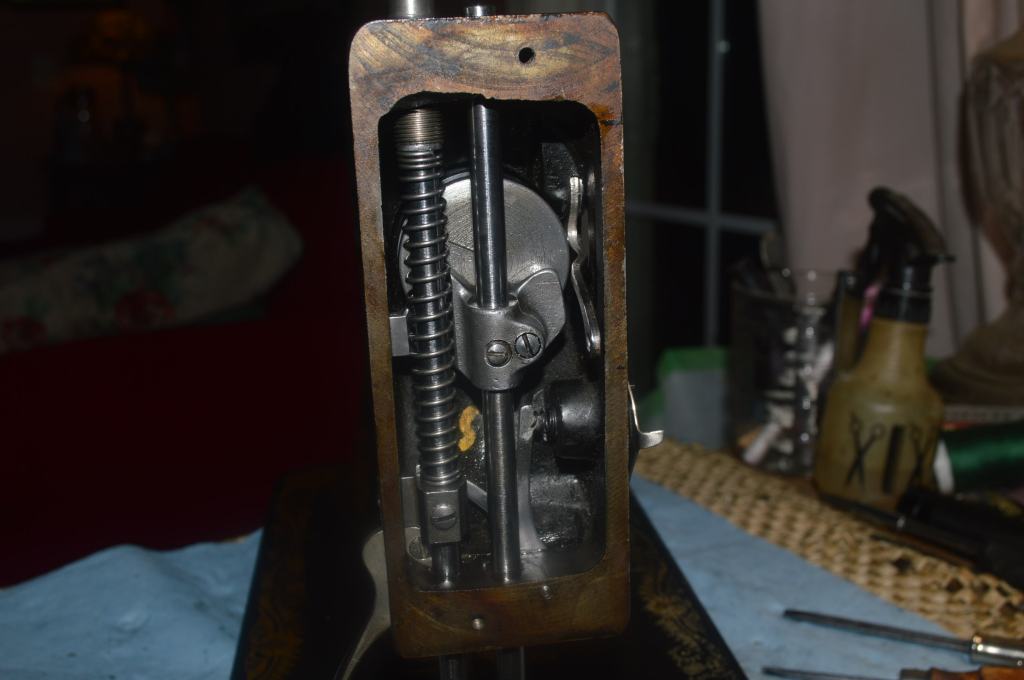
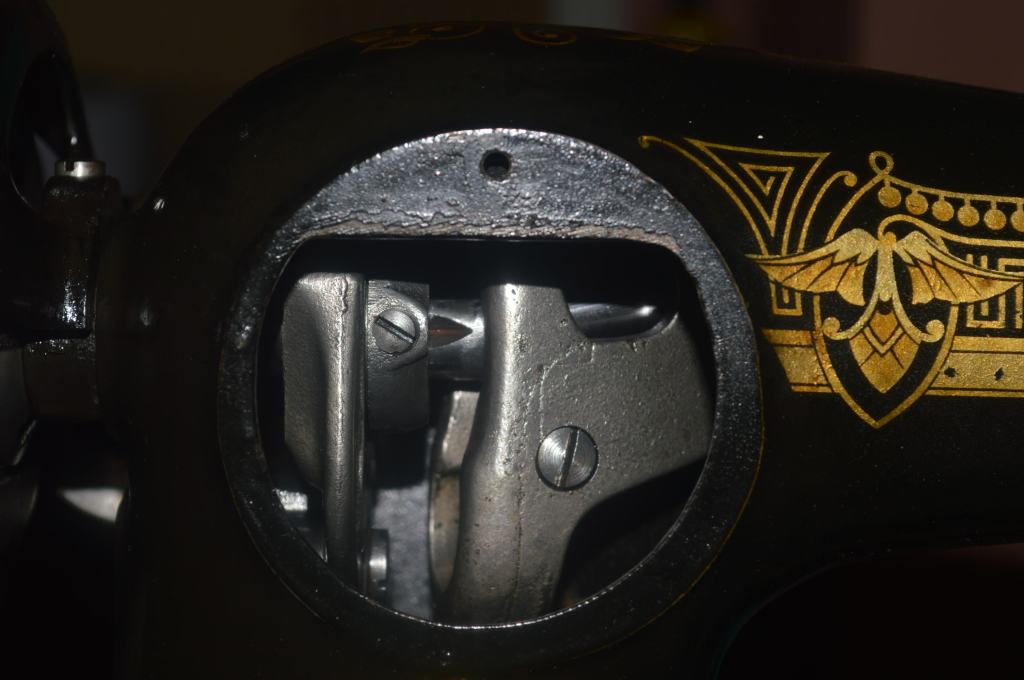
Normally, folks think about polishing as a cosmetic step to give plated parts a mirror shine, and this is certainly true. But, some parts need polishing to move together as smoothly as possible. These include the needle bar, the presser foot bar and the bearing surfaces of the upper arm shaft. Other parts are in the thread path and need to be as smooth as possible for consistent thread tension. These include the tension bar stud, the bobbin shuttle, and of course the tension discs. These parts are polished for performance… not just good looks!
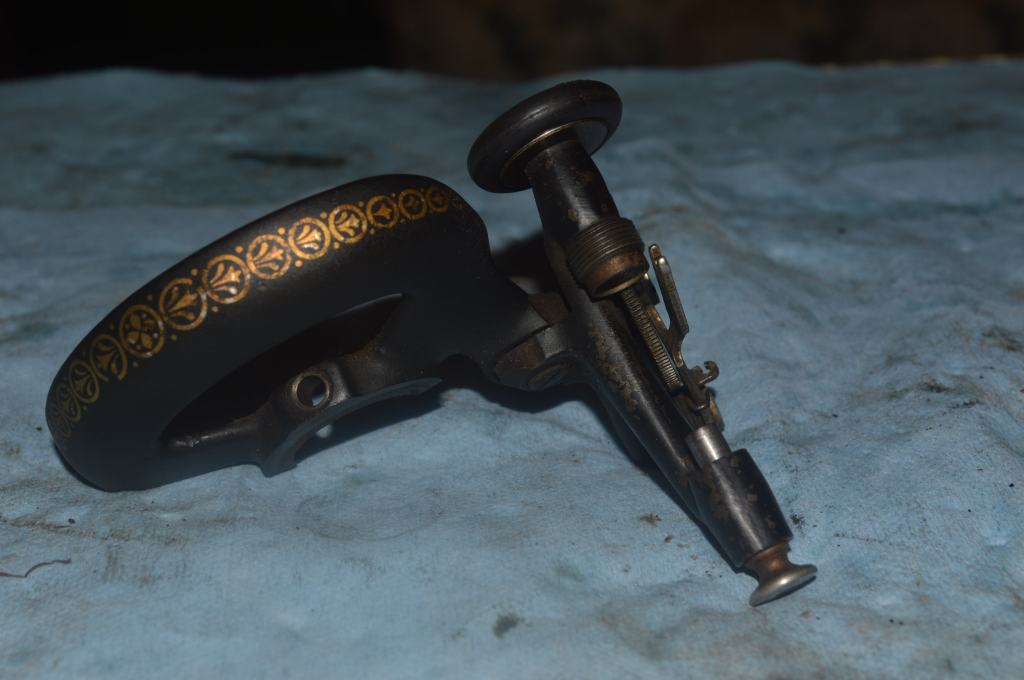
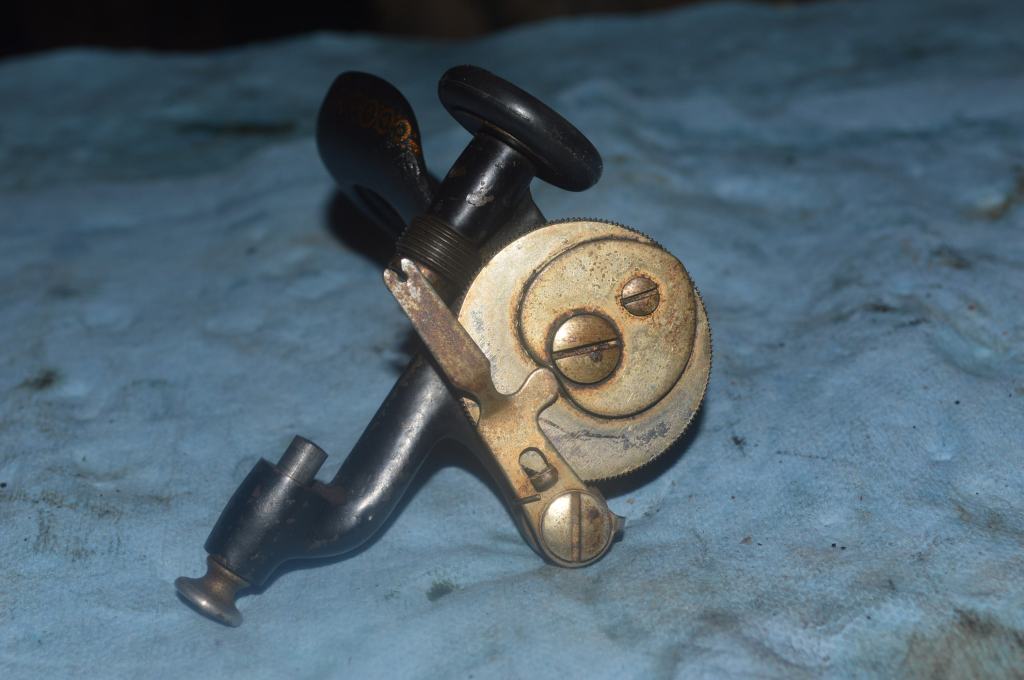
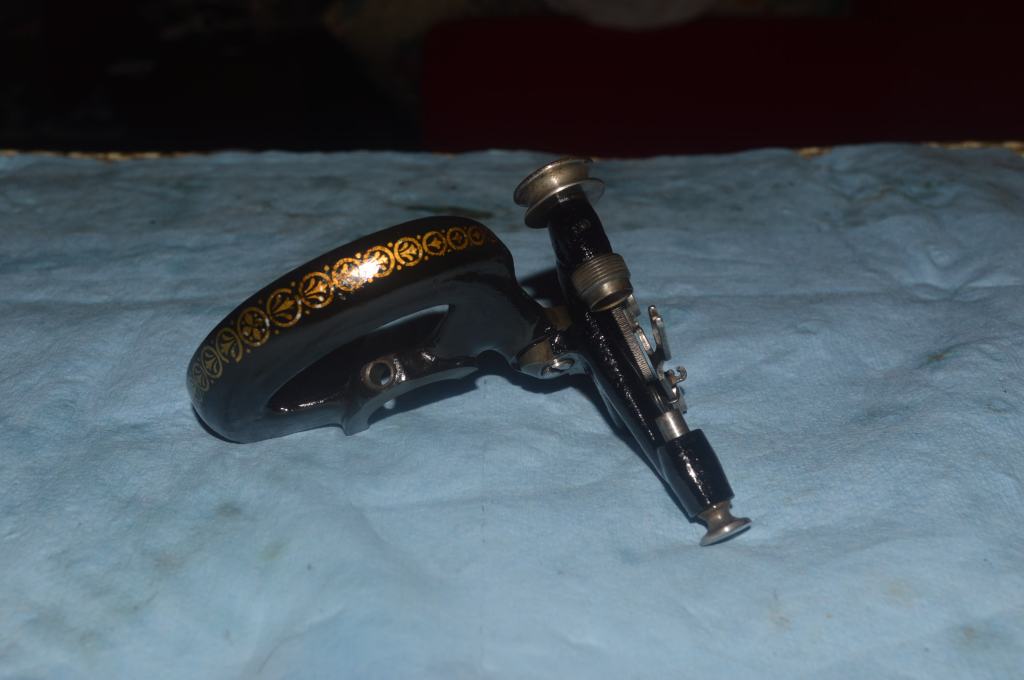
I always restore the bobbin winder separately because it is a stand alone assembly. It is disassembled, cleaned, painted, and the plated parts are polished.
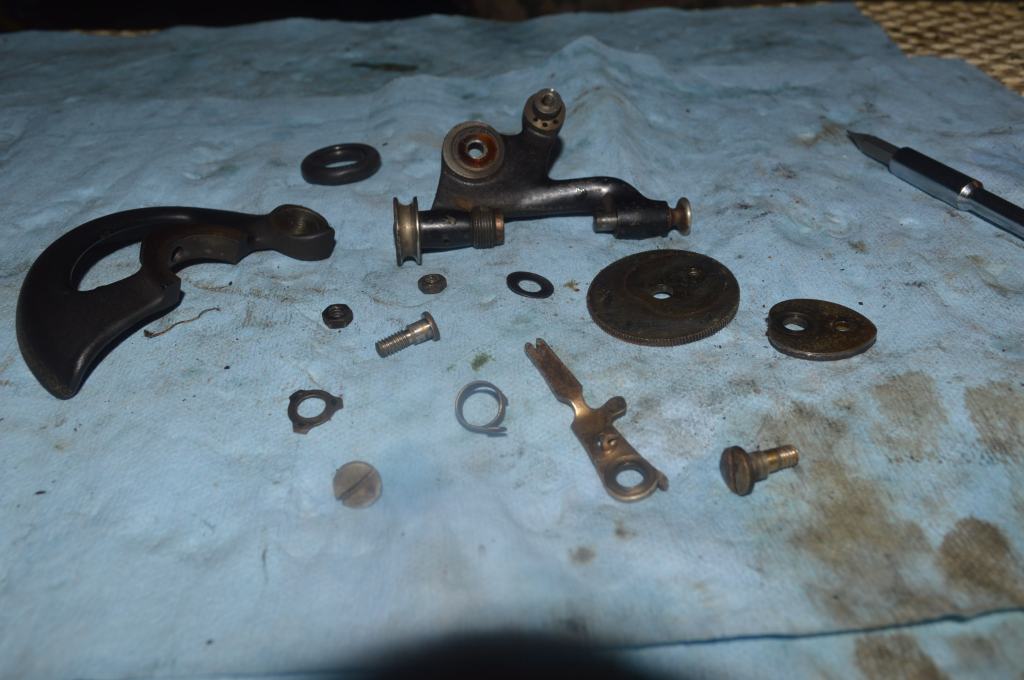
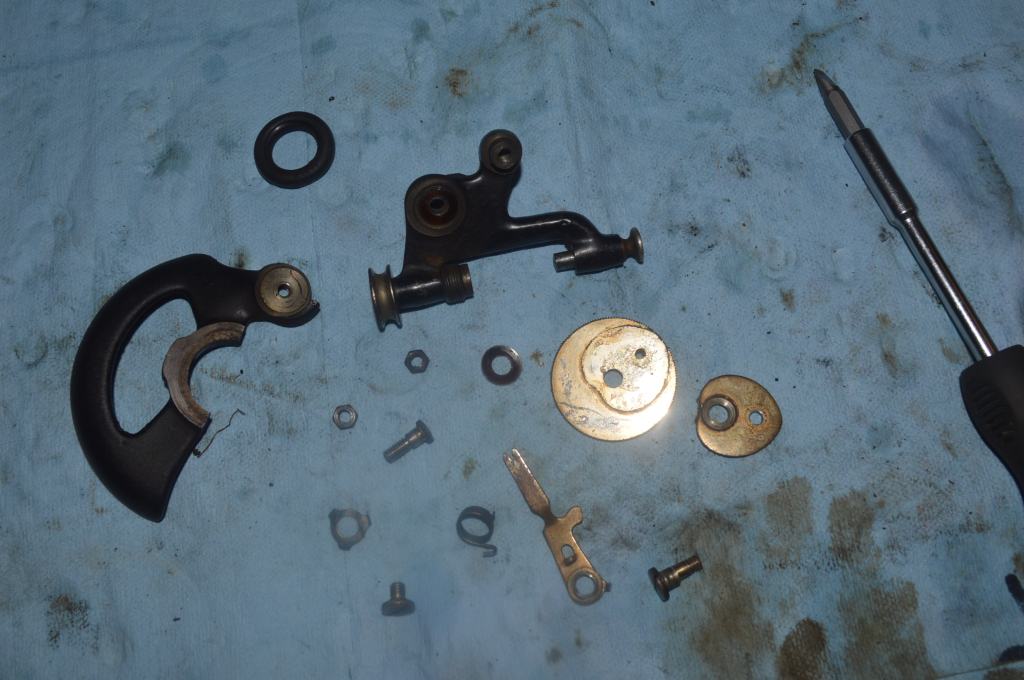


The tension assembly was disassembled and cleaned with the rest of the parts. The customer provided a new thread take up spring. The shaft and tension discs are polished and the assembly is put back together awaiting final adjustment.

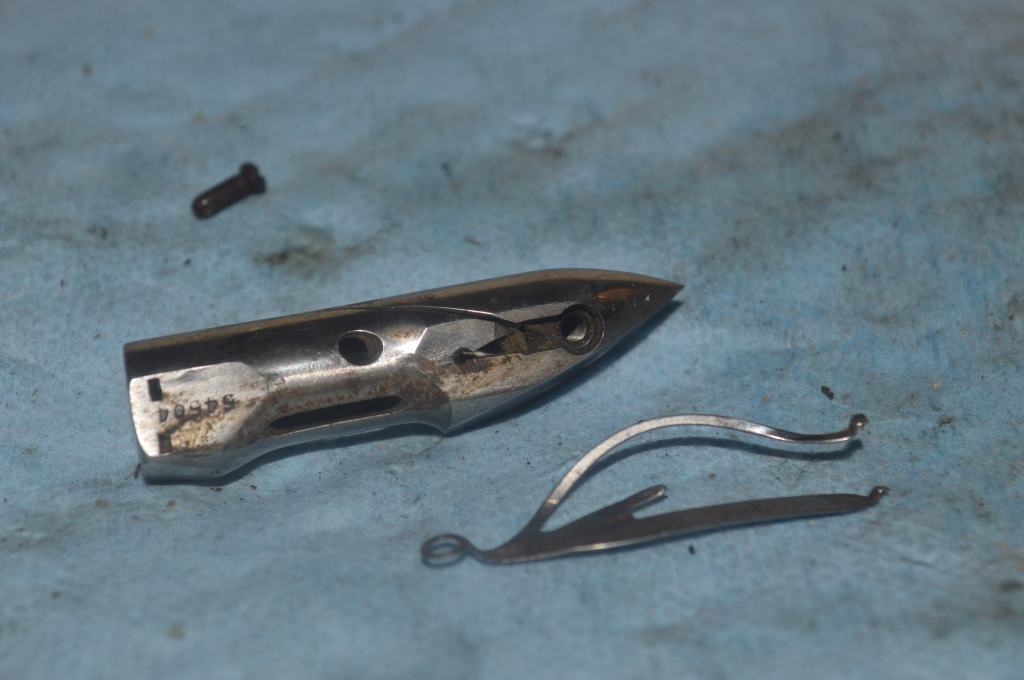
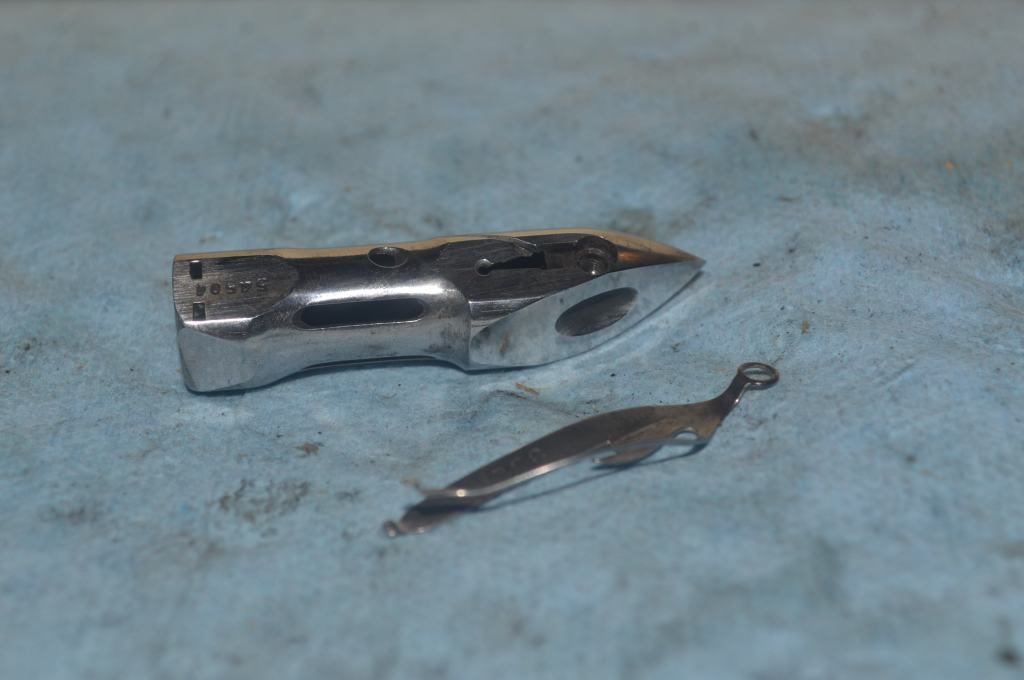
The heart of a shuttle machine like this 127 is the shuttle… the shuttle houses the bobbin, controls the bobbin tension, and also serves as the hook to pick up the thread. Later hook designs like the horizontal class 66 bobbin and class 15 bobbin machines housed the bobbin independent of the hook. This means that the shuttle must be as smooth as possible inside and out to form the best stitch possible.
To accomplish this, the shuttle is disassembled, cleaned, and polished in a vibratory tumbler to polish it inside and out. The outside is finish polished on the buffing wheel.
These parts will be reassembled in the machine after the cosmetic restoration.
Cosmetic Restoration
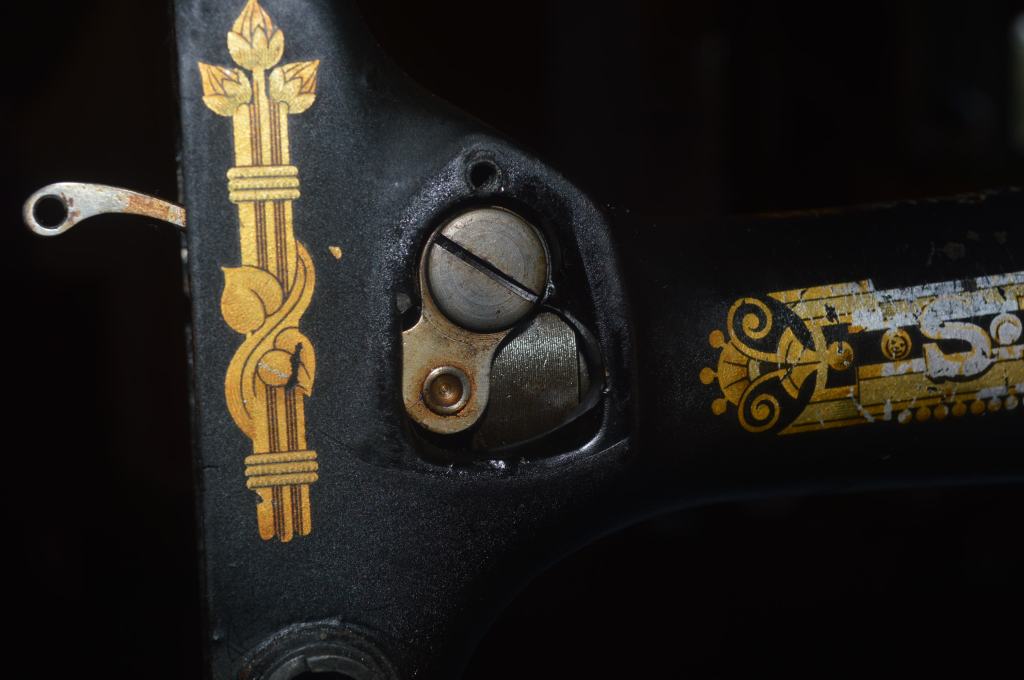
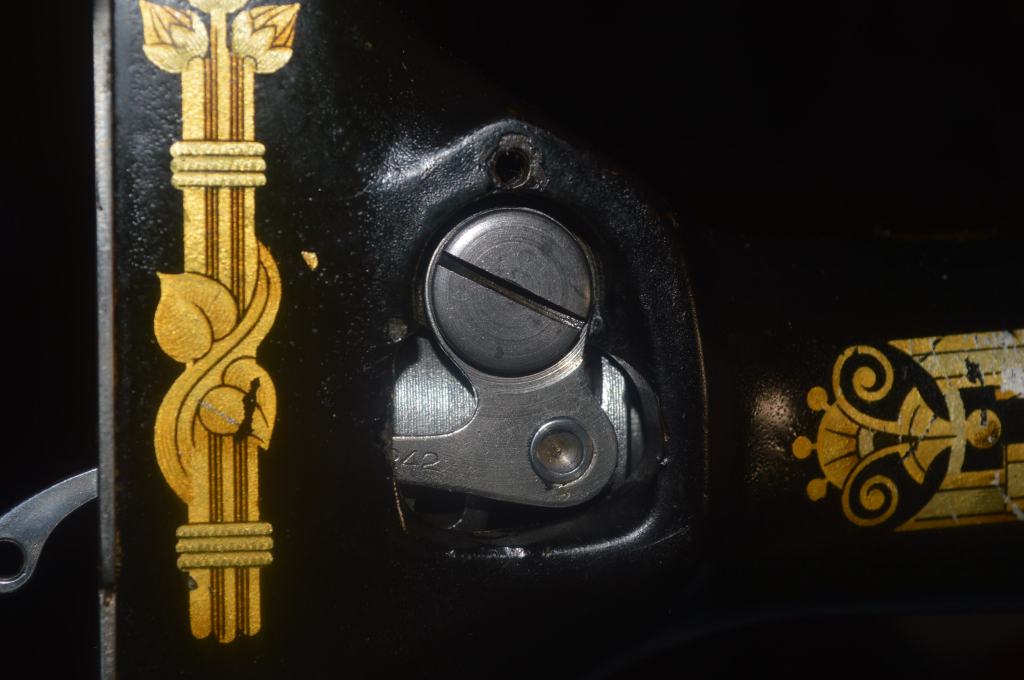
The first step in the cosmetic restoration is deep cleaning the machine. In the areas where the decals are silvered and the original shellac top coat is gone, aggressive cleaning must be avoided to prevent additional damage to the decals. These areas are cleaned with sewing machine oil in small areas using my finger to rub the oil into the finish and clean the machine. After evaluating the other areas of the machine, the old oil and contaminants are removed with GoJo using a combination of my finger, cotton balls, and cotton swabs. In all the remaining areas, the machine and decals are cleaned to the maximum extent I feel possible without damaging the decals.
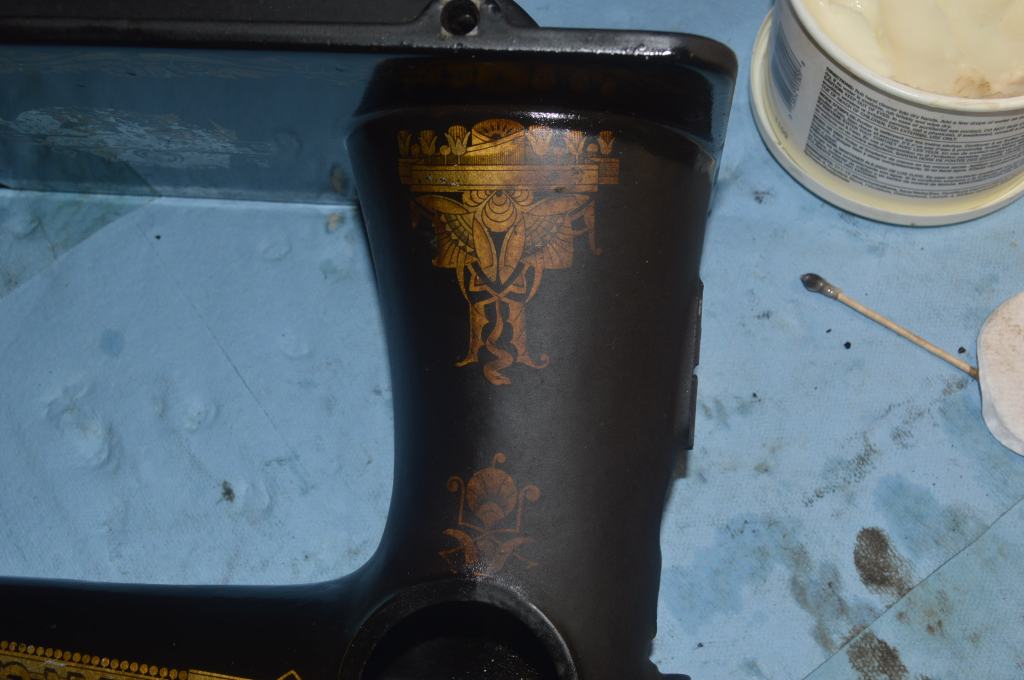

Working to clean the machine this way is time intensive but time well spent. The old oil is slow to dissolve but the outcome is well worth the effort.

A light coat of sewing machine oil is wiped over the body of the machine and now the paint chips are repaired.
Now the machine is prepared for the shellac top coat. To get the thickness I want will require at least four coats to allow me to rub out a smooth finish.
Polishing the plated pieces will make a huge difference in the finished appearance of the machine. Regardless of the condition the pieces are in, polishing will restore every bit of shine they are capable of. Where rust has penetrated the plating, polishing will smooth out the finish. Unfortunately, where plating is lost cannot be reversed without re-plating the part, but the appearance is much improved. I think of it as rust converted to patina.
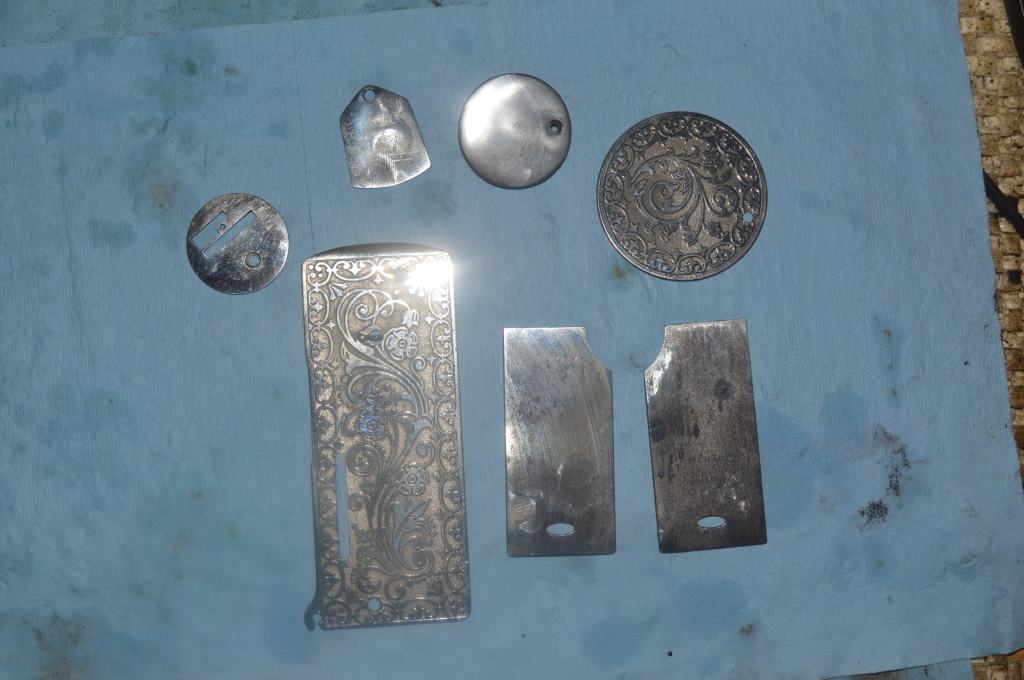
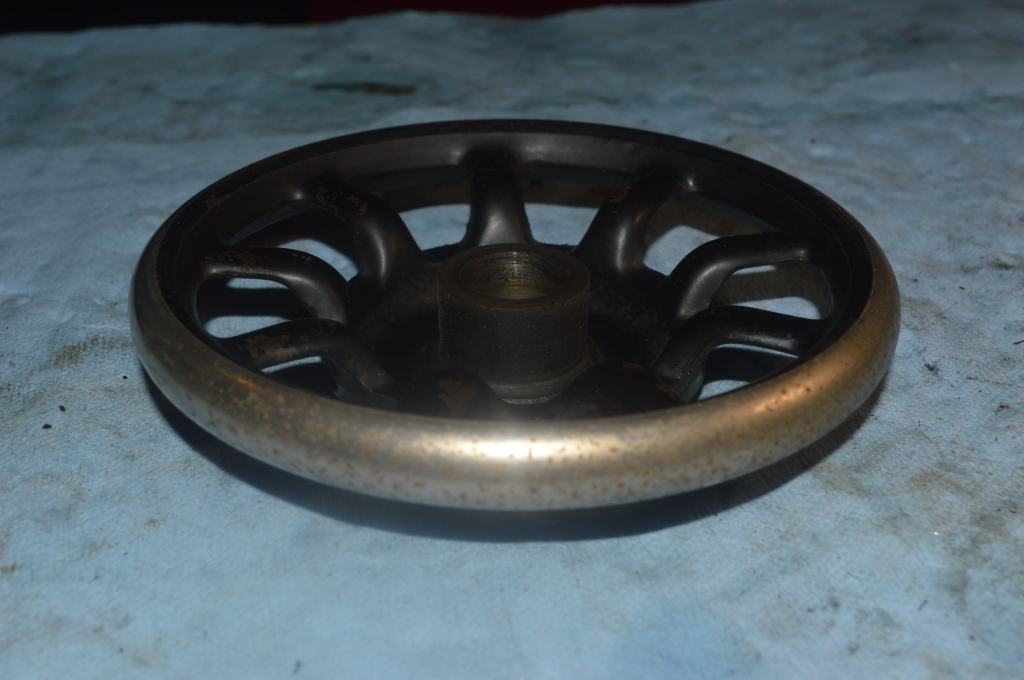
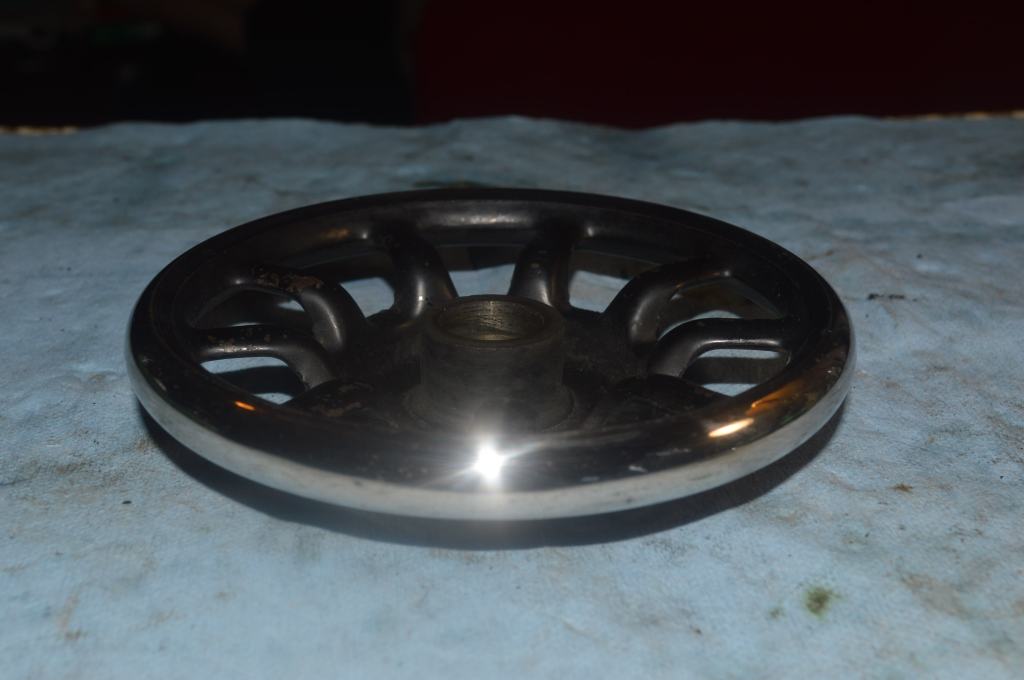
I’ve discovered that polished plated pieces do not photograph well, but the final assembled machine will show what a difference this step makes.
With the machine top coated and the new shellac cured for a few days, I can rub the finish out to get the final smooth polished surface. This is a multi step process that involves wet sanding the machine using sewing machine oil as the wetting medium. It starts with 800 grit paper, followed by 1000 grit paper, then 1500 grit paper, 2000 grit paper, 2500 grit paper and finally polishing compound.
Before finish and polishing 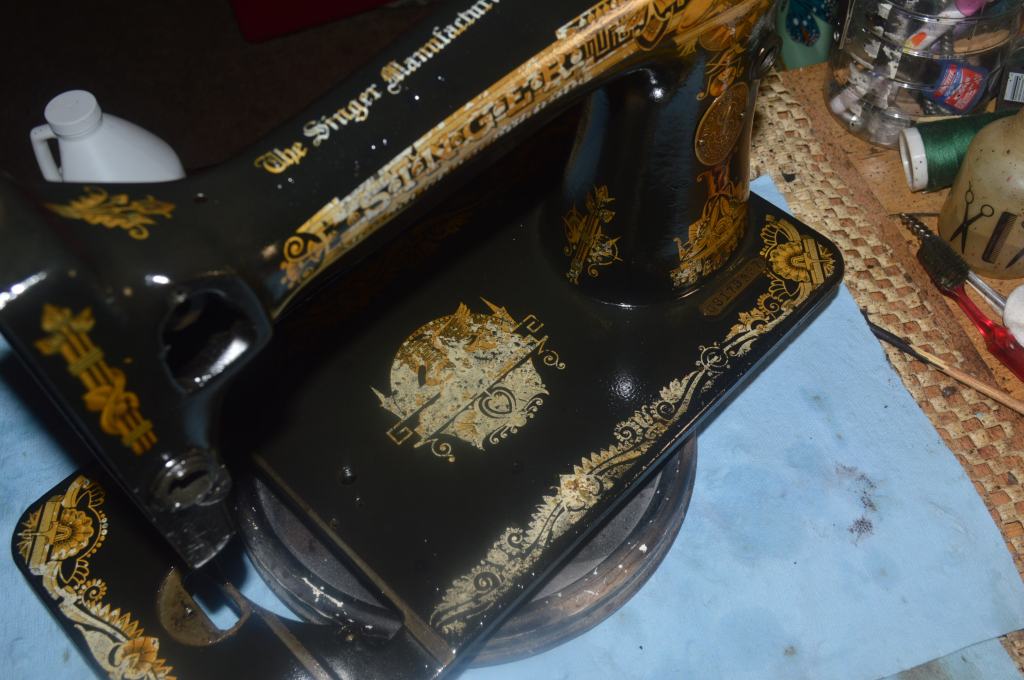
After finishing and polishing 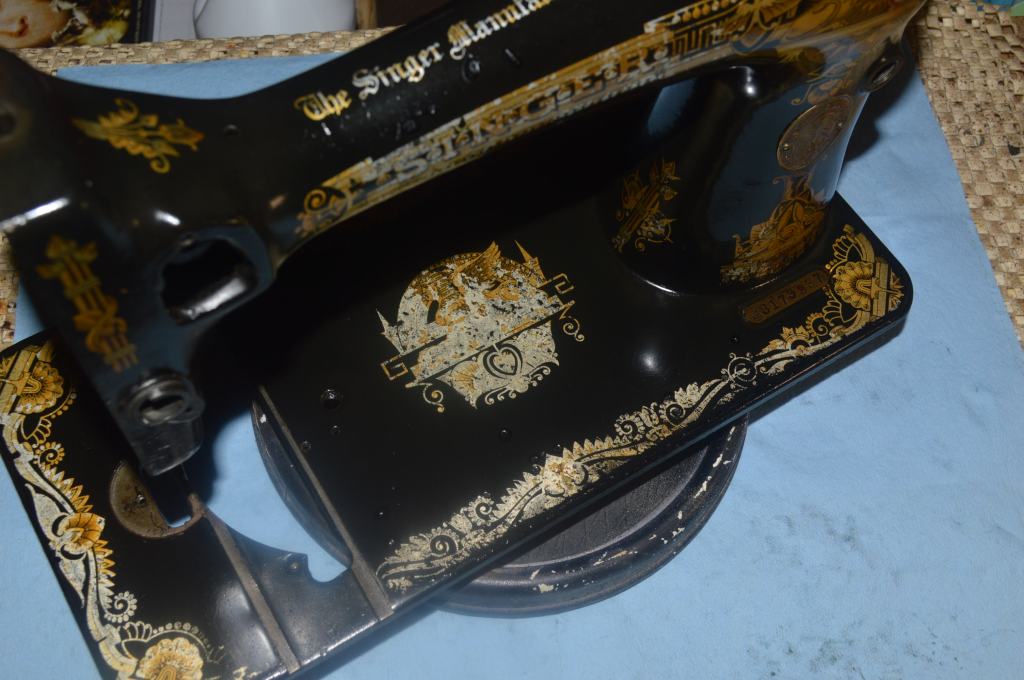
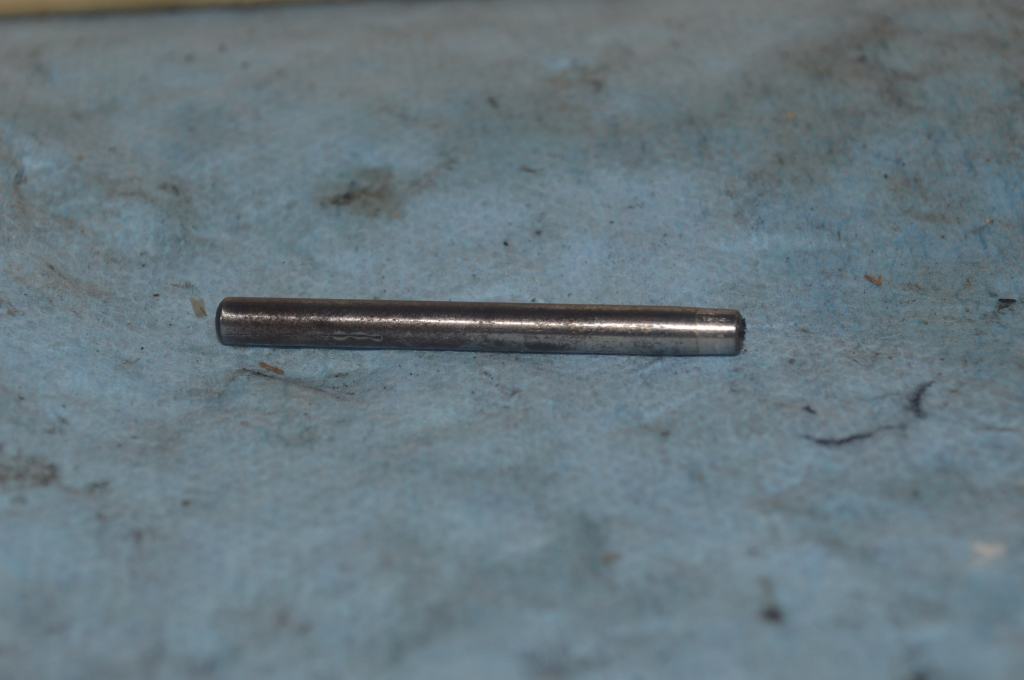
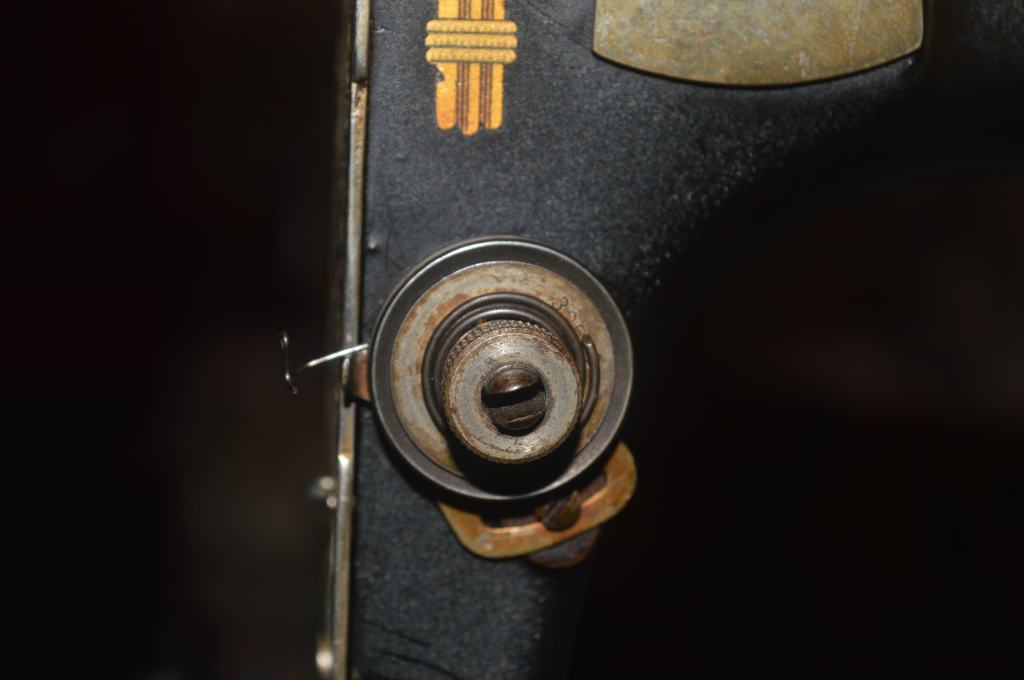
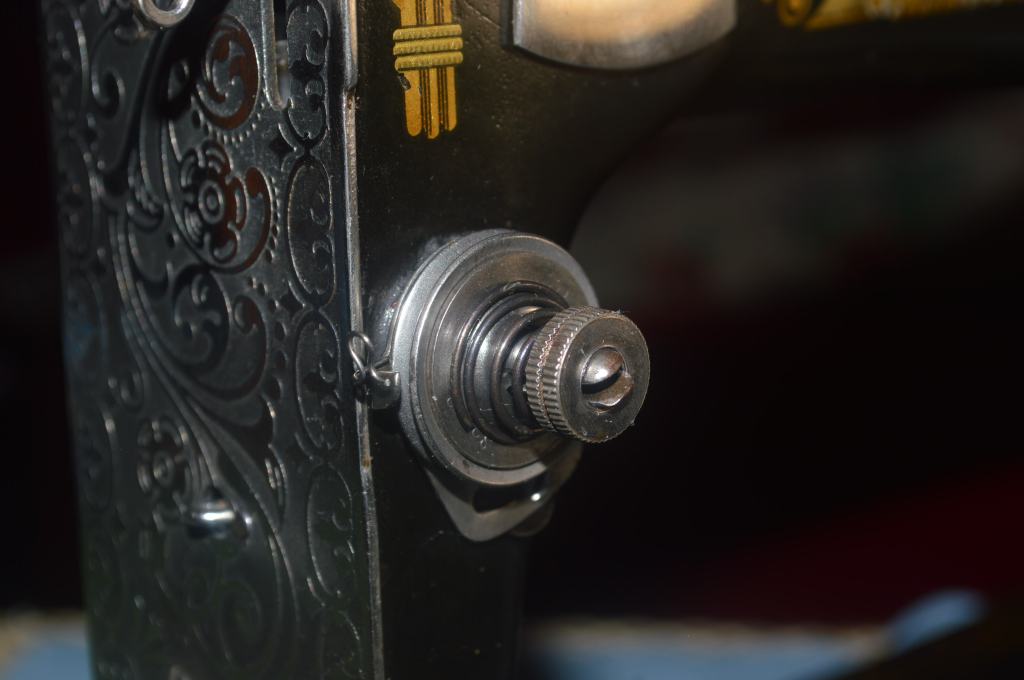
The final step in the restoration is polishing the spool pin. Thats my favorite step because it marks the end of the restoration! Coated with rust, it doesn’t look new, and I didn’t replace it with new. It, like the rest of the machine, it’s condition is part of the story. No worries though, it works perfectly!
All that remains is reassembly and adjustment. This is the easy part and also the most rewarding!
Final adjustments include feed dog height, feed dog position, presser foot height, needle bar height, shuttle hook timing, and top and bottom thread tension. Because the machine does not have a motor, test stitches are made by running the machine with a hand crank!
I often hear the measure of a machine is the stitch quality defined by balanced tension and the straightness of the stitch. Machines like the Featherweight, 201, and 301 are renowned for their straight stitch. In my opinion, these machines do make an excellent stitch, but for laser straight stitches it is hard to beat the straightness a well adjusted shuttle machine like this 127. To illustrate my point, here is the test stitch after final adjustments were made… not bad!
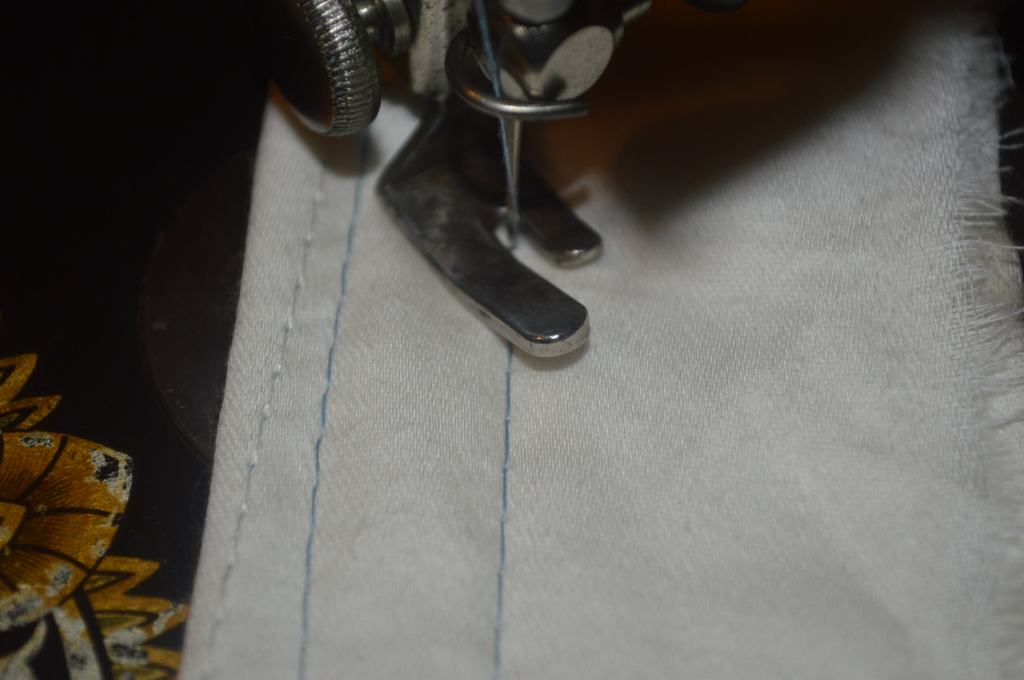
The smoothness and quality of stitch is quite impressive and expected with Singer shuttle machines. They were made to the highest standard of quality and that quality shows through today. No doubt, this restoration has set back the clock and if properly oiled and cleaned, it will run smoothly for another 100 years!
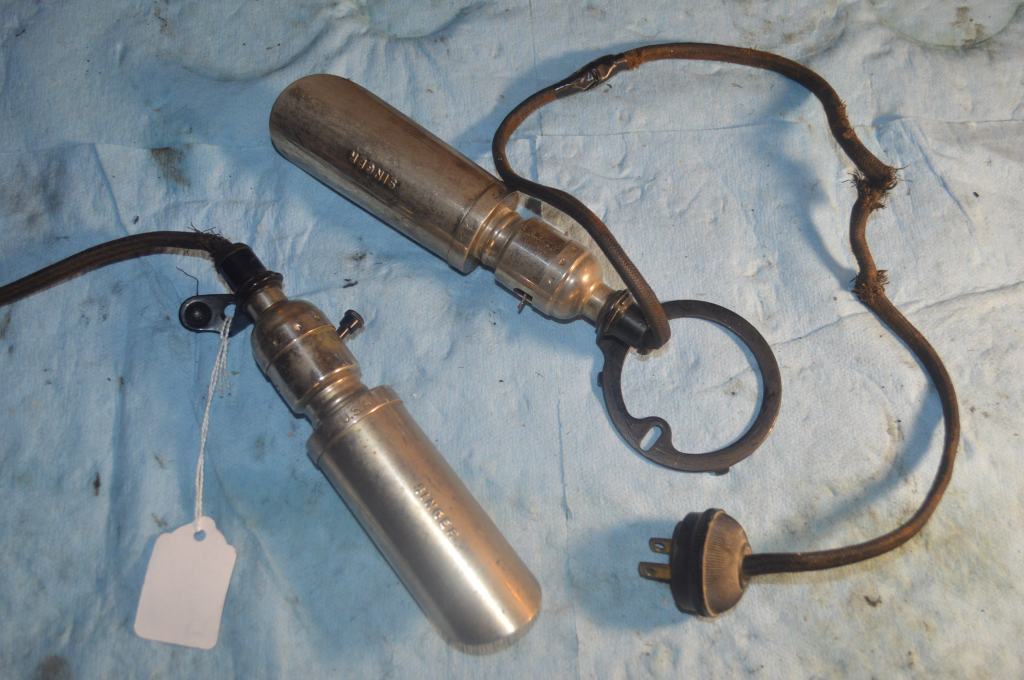
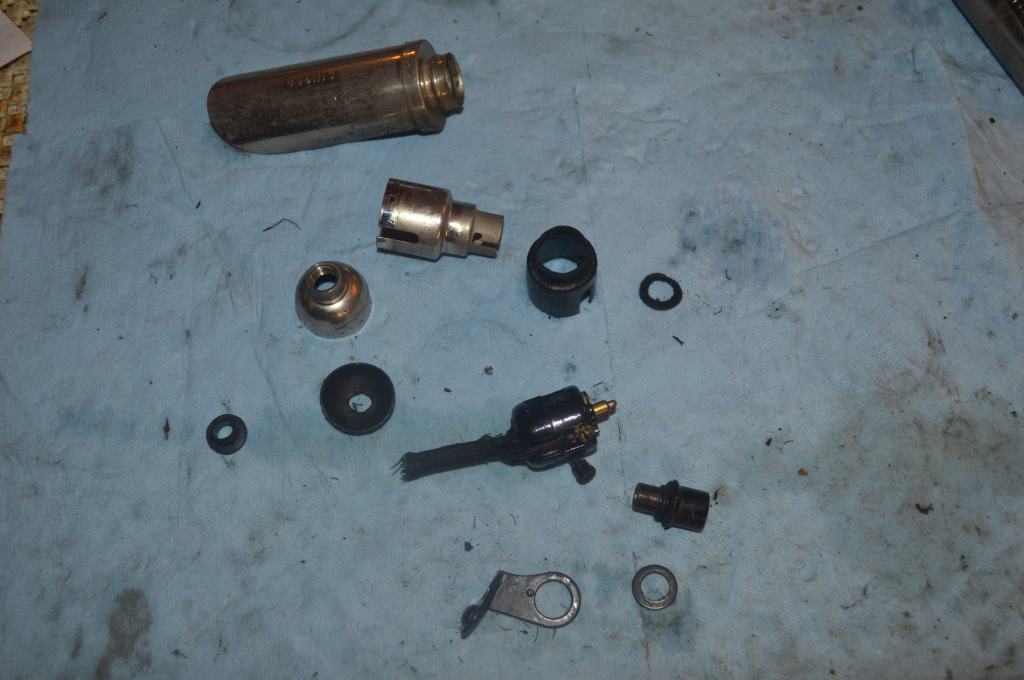
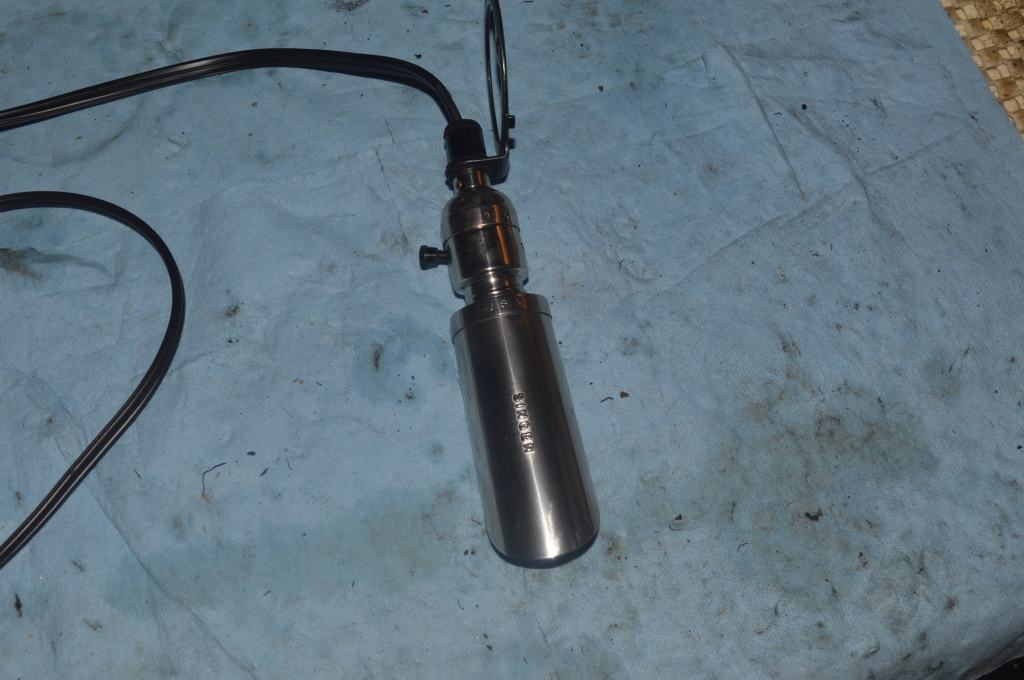
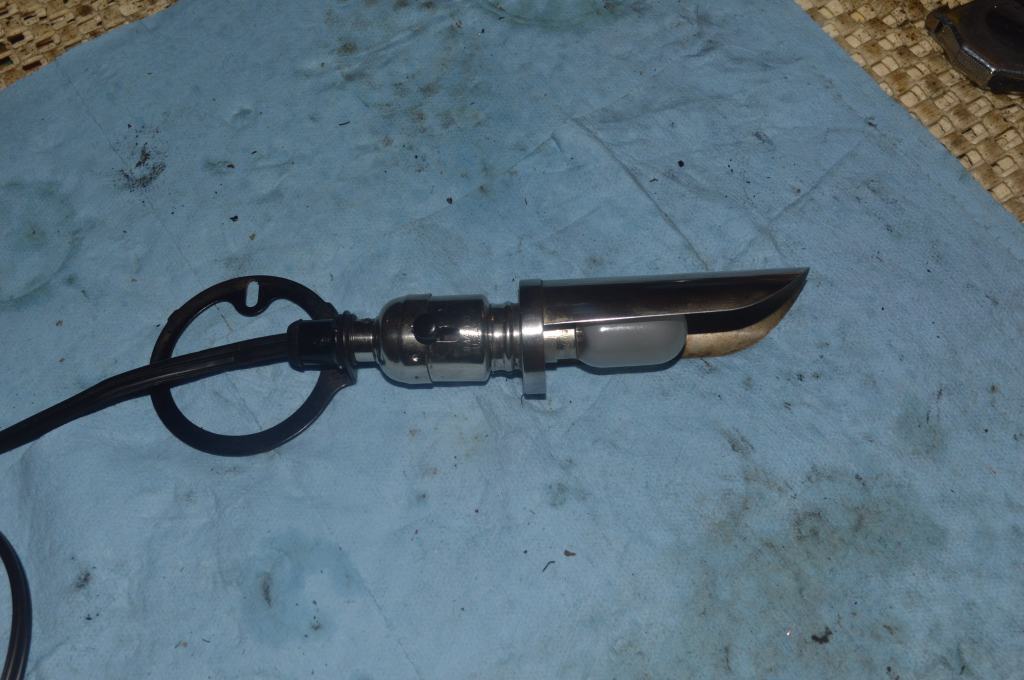
The customer requested a vintage light be added to his machine and I think that even absent a motor, every sewing machine needs a light. They are easy enough to find on Ebay but they always need new wires. I found the correct vintage light, disassembled it, rewired it, and polished the housing to complete the restoration,
Now everything is done and the restoration is complete. I mentioned a comparison before and after, so lets take a look.
Here is the machine before the restoration…


Here is the machine after restoration…


Well, I hope you enjoyed the seeing the restoration process as much as I did doing it… It is satisfying to know that a durable high quality machine made 108 years ago is now running as smoothly and reliably as it did when it was new. Not only that, I have every reason to expect that with proper oiling and maintenance this machine will run reliably for many more years to come.
Looking for a similarly restored quality vintage all metal sewing machine for your sewing room? Let us know! We specialize in custom orders and are happy to locate and restore the “perfect” machine for you!
As always, If you have any questions, or if I can be of any assistance, please contact me through Etsy or send me an email to Pungoliving@gmail.com.
Thanks for reading!
Lee
