
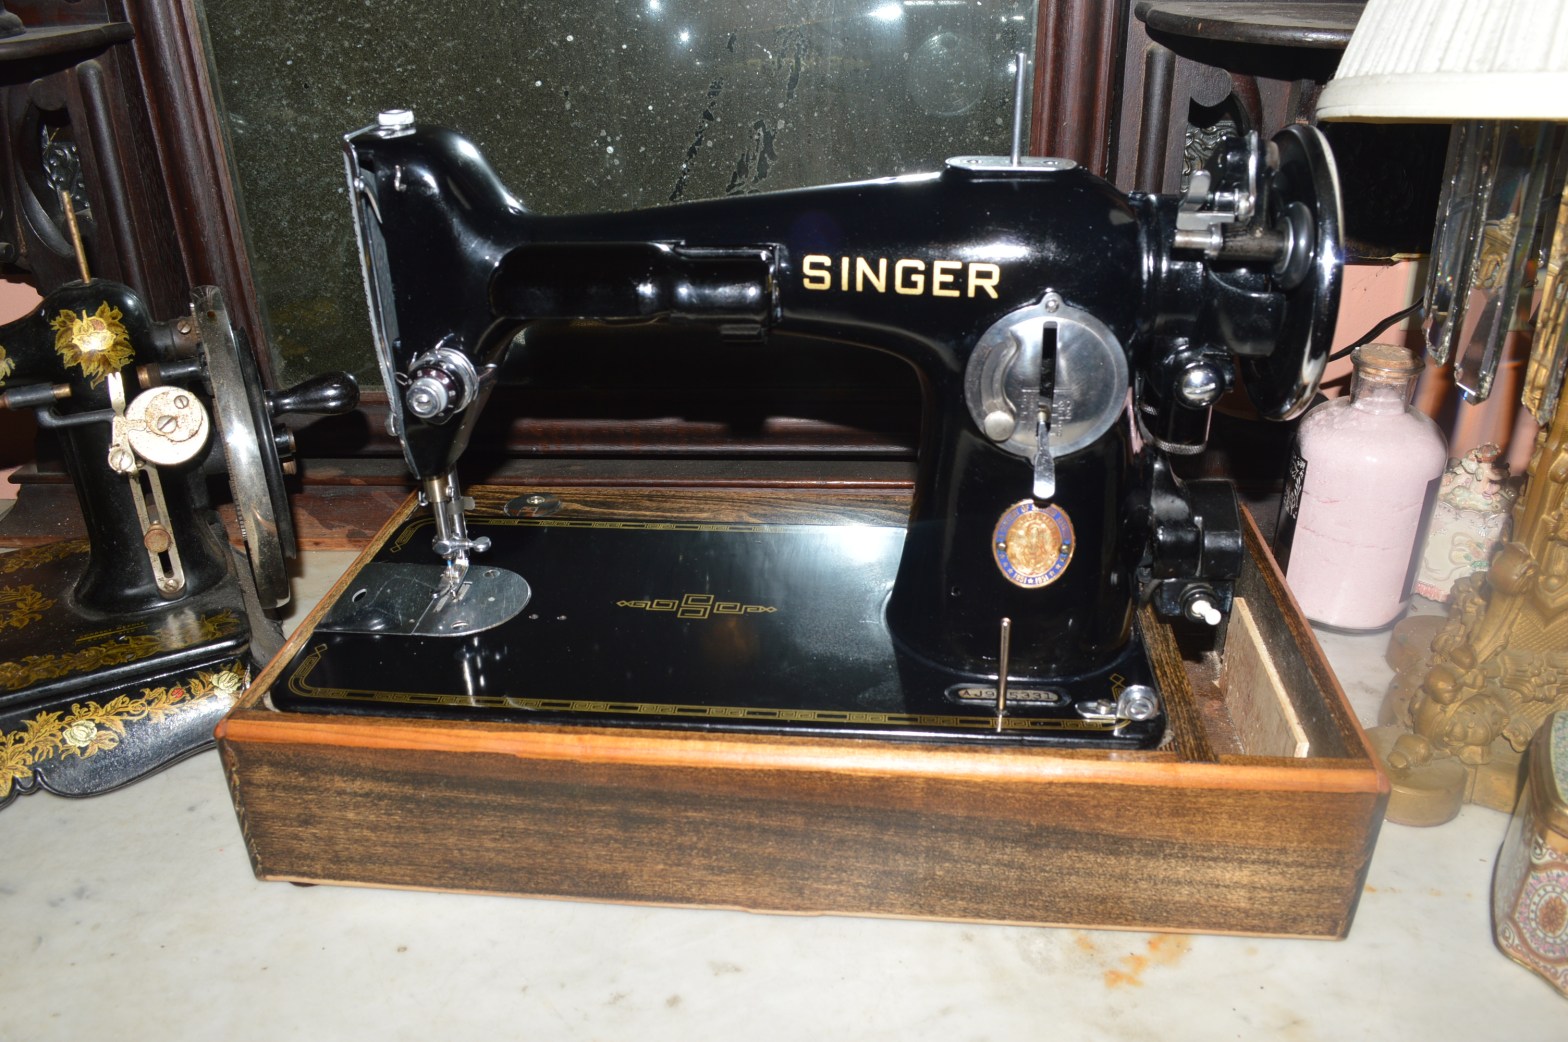
So, this post is a little different from my other restoration blogs. In essence, it is a year long journey of starts and stops. Of finding difficult to find parts, and finally completing the restoration of this 1950 Singer 201-2. Here’s the story… I purchased this 201 for my Wife Carole with the intention of doing a full restoration. When it arrived, the paint was in passable condition but there was some decal wear. The extent of the decal wear was such that I felt it was impractical to attempt any decal repairs. The machine had a broken take up arm linkage but other than that, it was in fine shape. From the onset, I knew that the machine would need restoration decals. I still wanted to use the original black japanned finish because it is a very durable finish and in my opinion, is superior to any modern paint I could use to re-paint it.
Carole on the other hand… well she doesn’t care if a vintage Singer sewing machine has decals or not. She loves the character these old machines have earned over many decades, and enjoys sewing on them more for how they sew rather than how they look. Paint worn away? No problem, she thinks that’s just fine. Still, I know she loves the deep black shine and beautiful gold decals… add that to the fact that I restore sewing machines, and the end is justified… I just gotta restore this 201 for her.
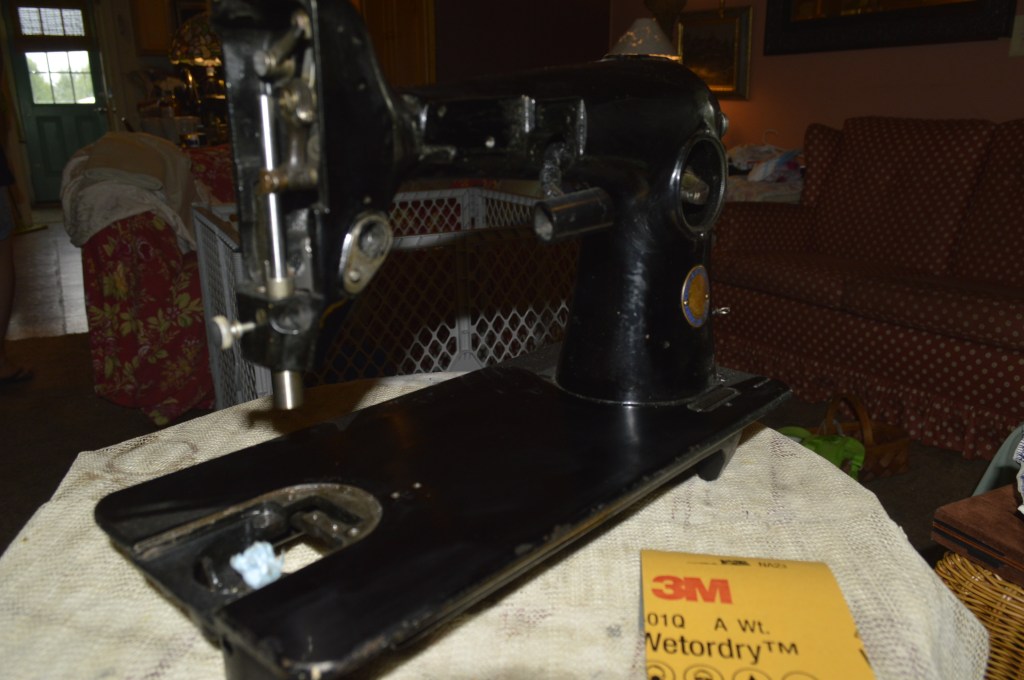
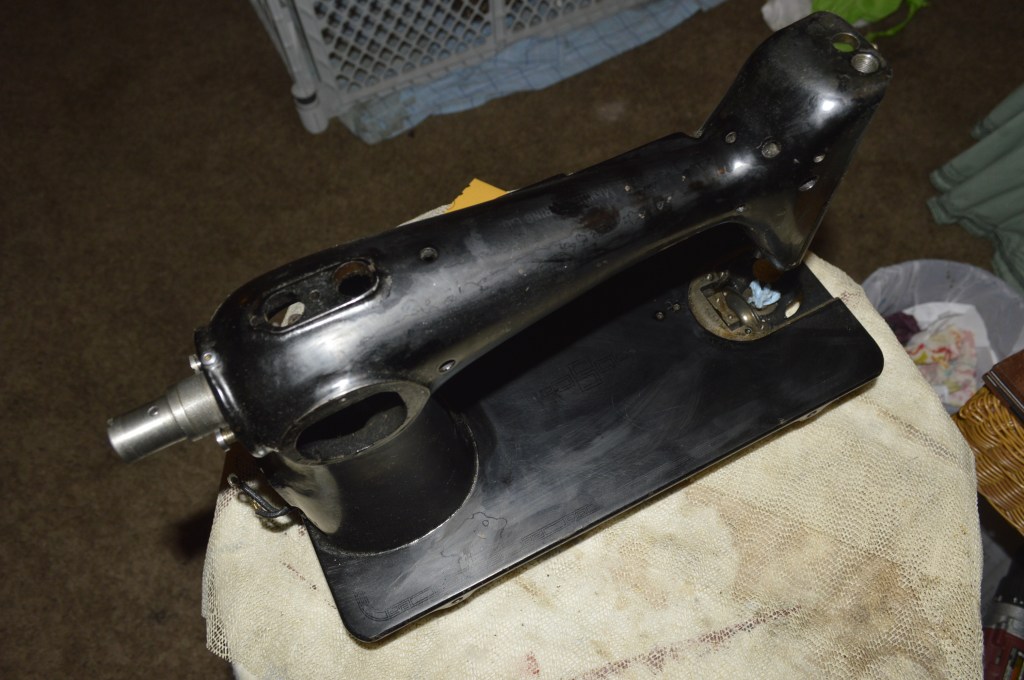
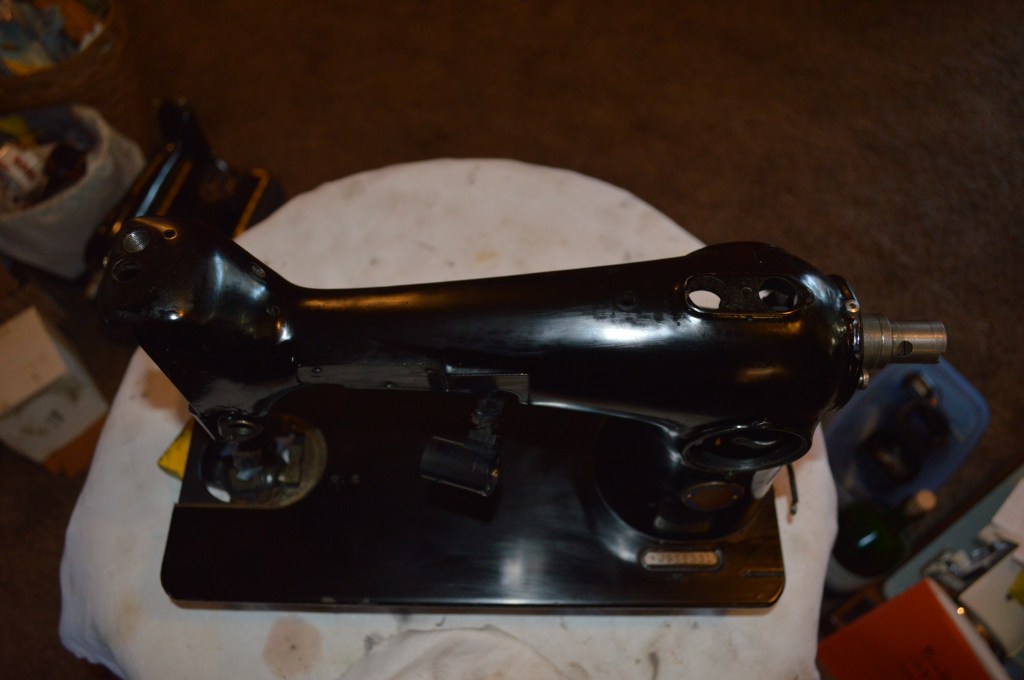
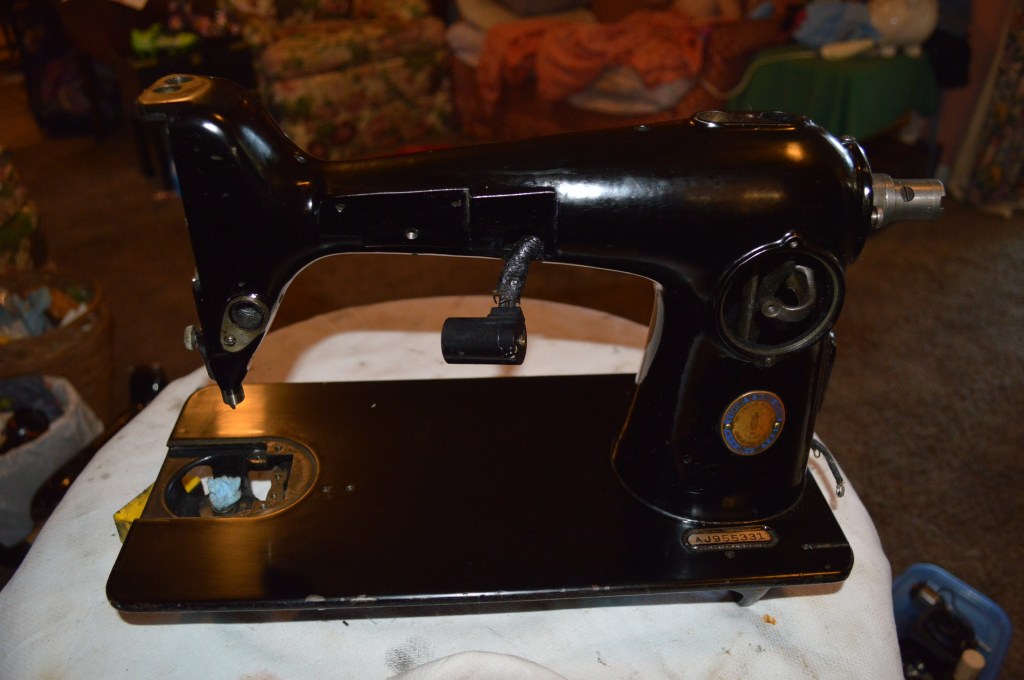
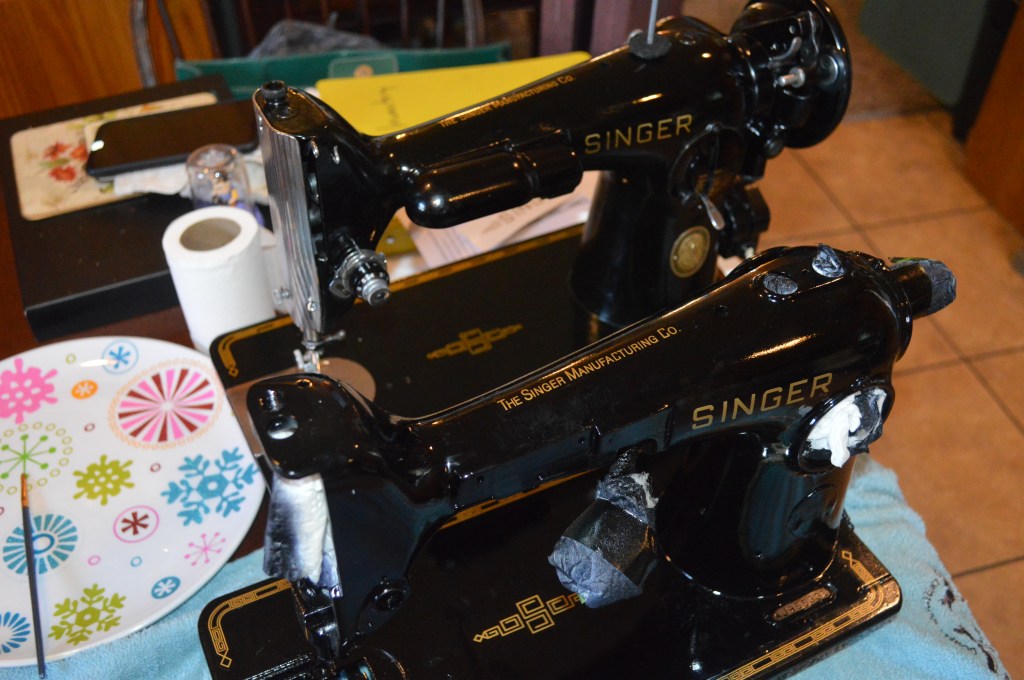
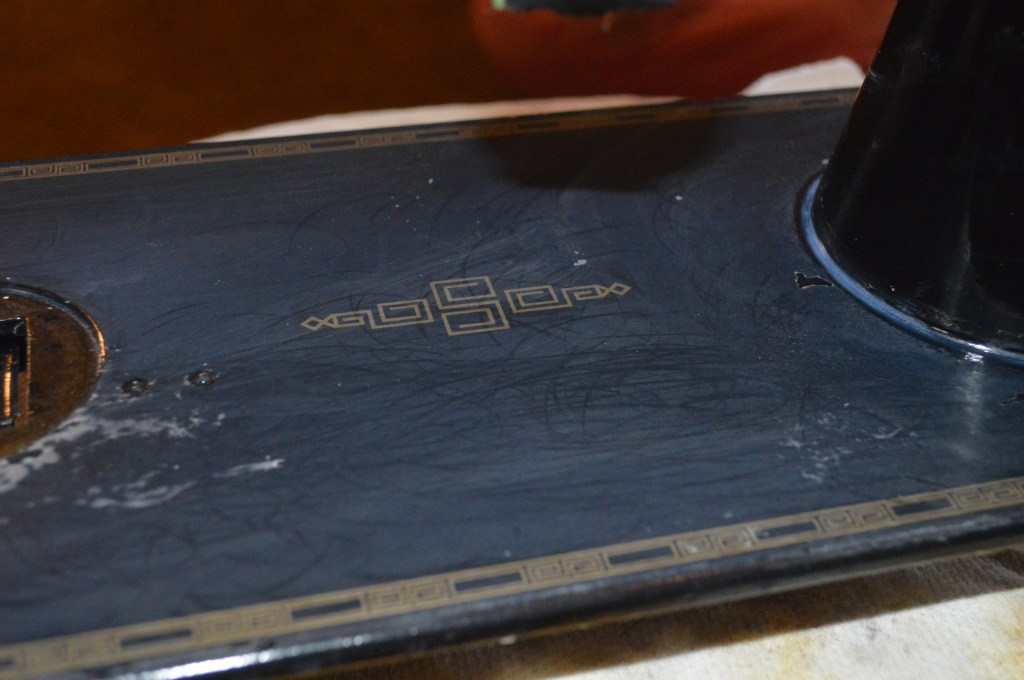
With a serial number of AJ955331, it along with 49,999 other 201’s was commissioned for manufacture on November 6, 1950. The plan for this machine is to do a complete mechanical restoration, then a complete cosmetic restoration. I began this restoration before I started documenting all of the steps I take for a particular machine. For the purpose of this blog. I am going to document the restoration from the point I left off… where the shellac coating and decals have already been removed. The mechanical restoration I did is the same level of detail I do on all of my 201 restorations. This is detailed in several 201 restoration blogs I have done, and I invite you to see what it takes to do a detailed 201 restoration and see my other blogs.
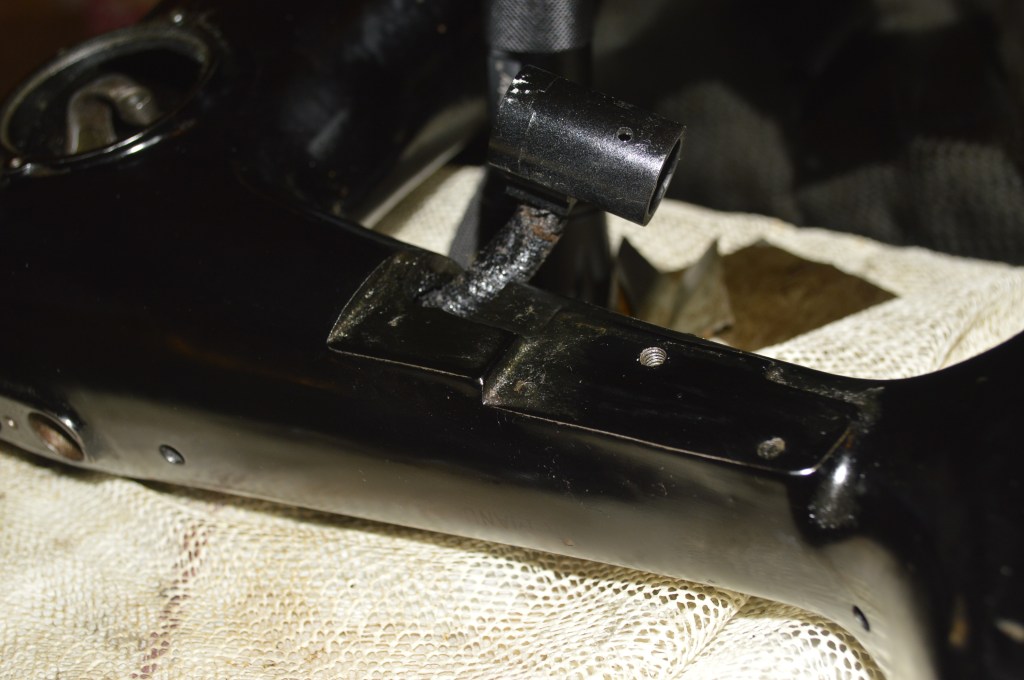
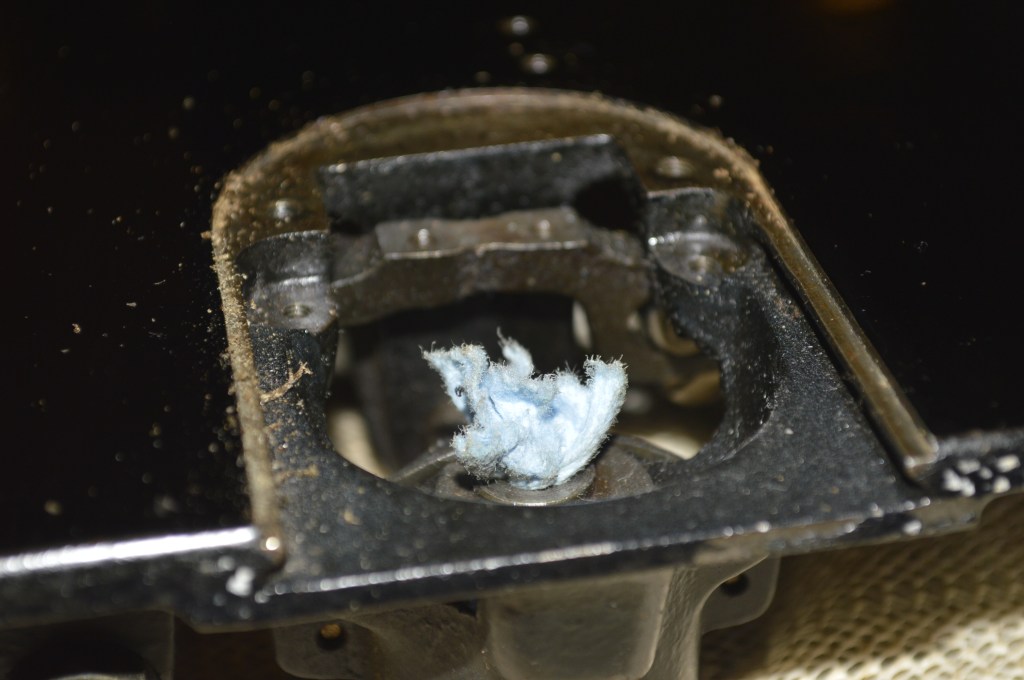
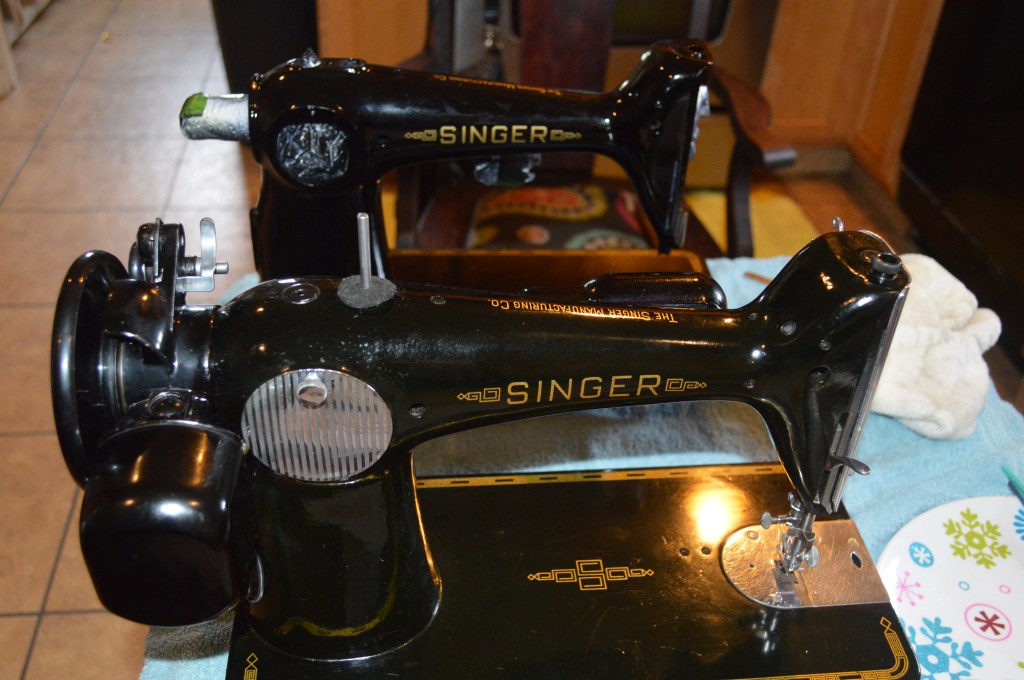
I mentioned that the take up arm was broken. Now, with hundreds of thousands 201’s manufactured in the United States, you would think it would be easy to find this part. Well, it proved otherwise and after a month of searching, I finally found one in the UK. I ordered the part, had it shipped to the US, and I finally have all of the parts I need to finish the machine. So, picking up where I left off, here is the machine being prepped for new paint and decals. The restoration decals I used came from Keeler Sales, they have very accurate and high quality restoration decals for the 201 and many other vintage Singer sewing machines.
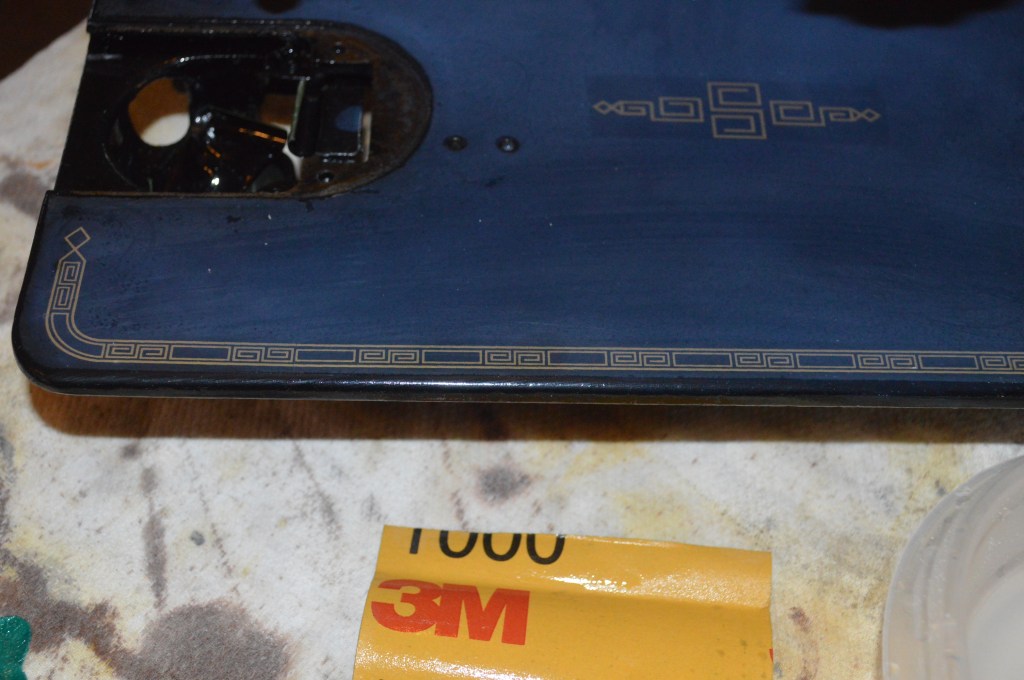
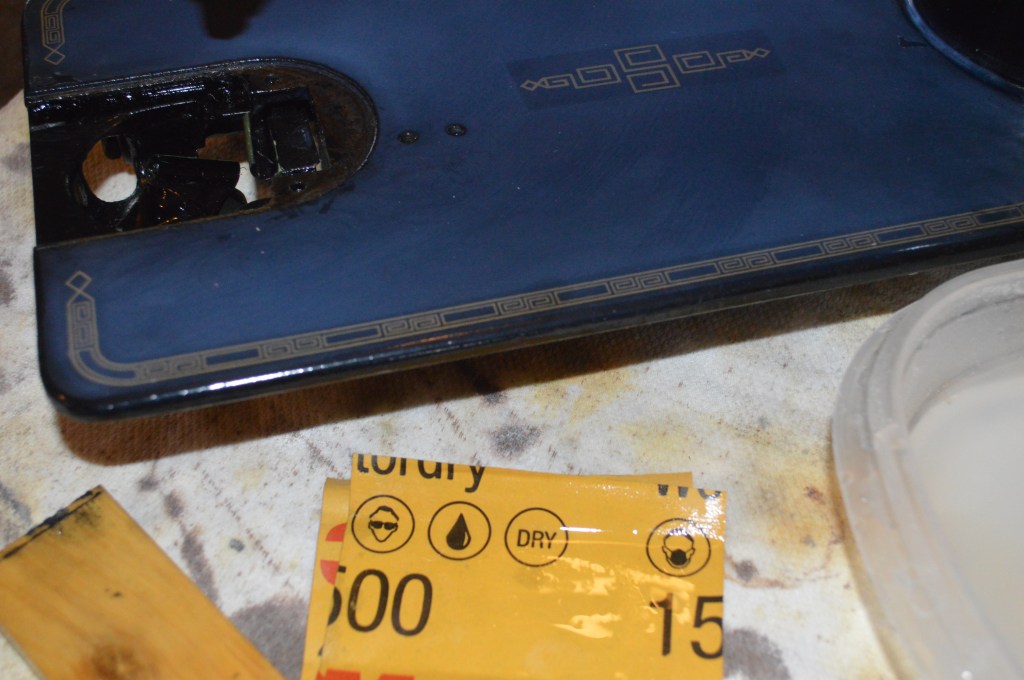
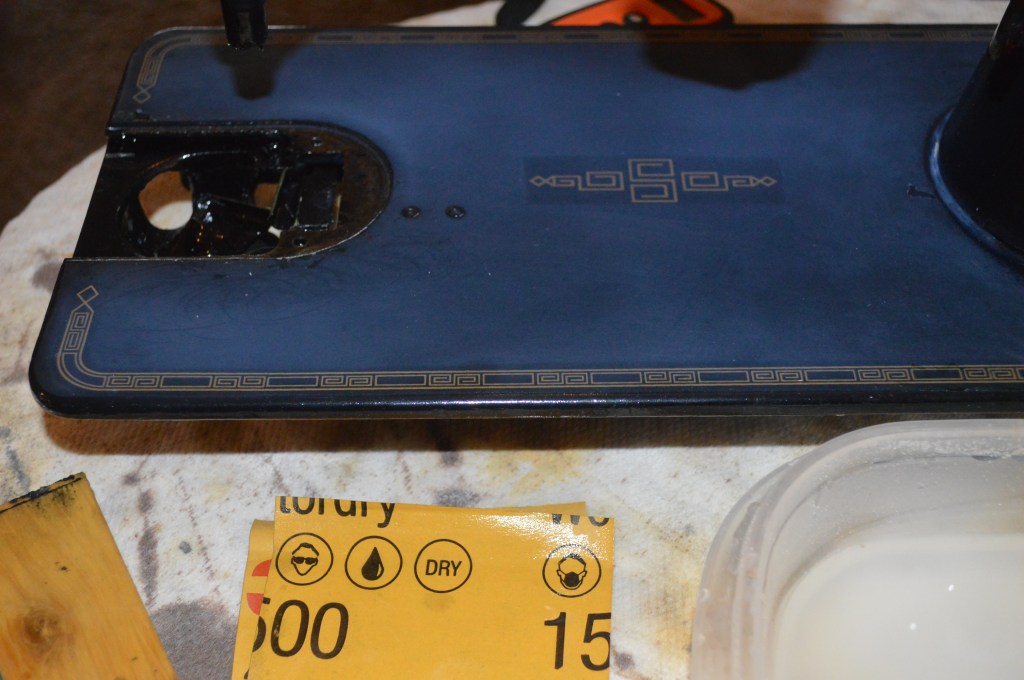
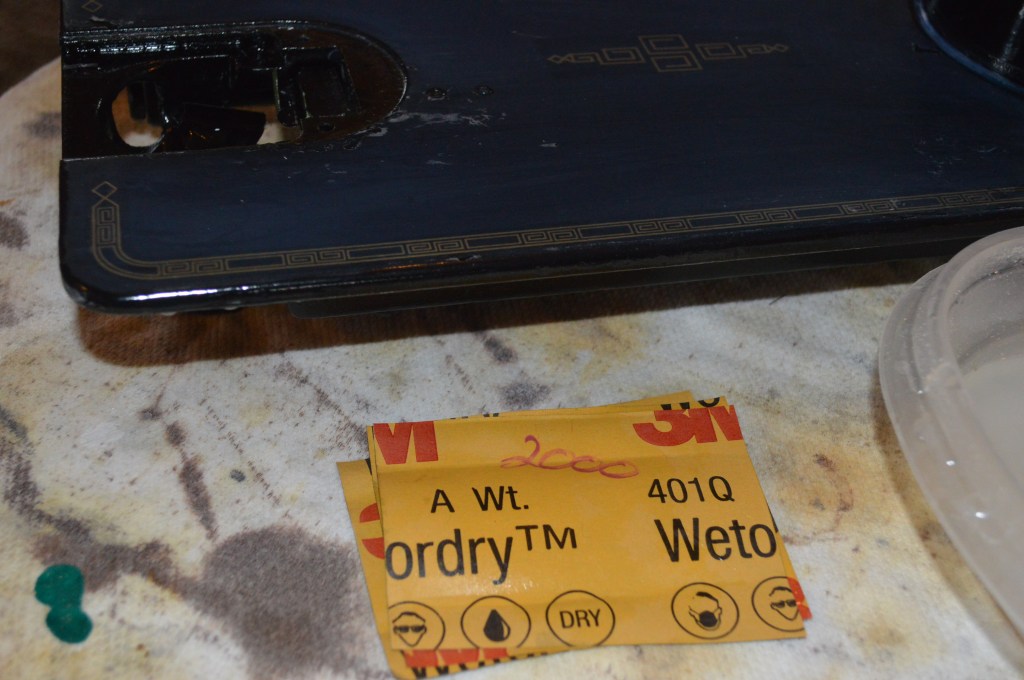
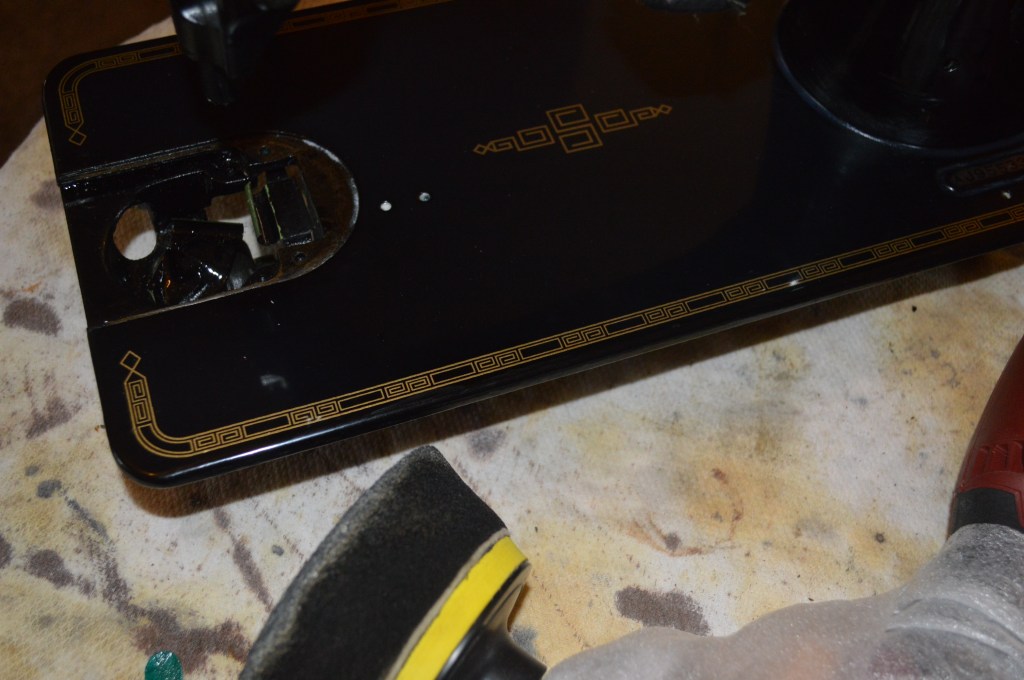
The first step is to wet sand the machine with 1000 grit sandpaper and boiled linseed oil as the wet medium.
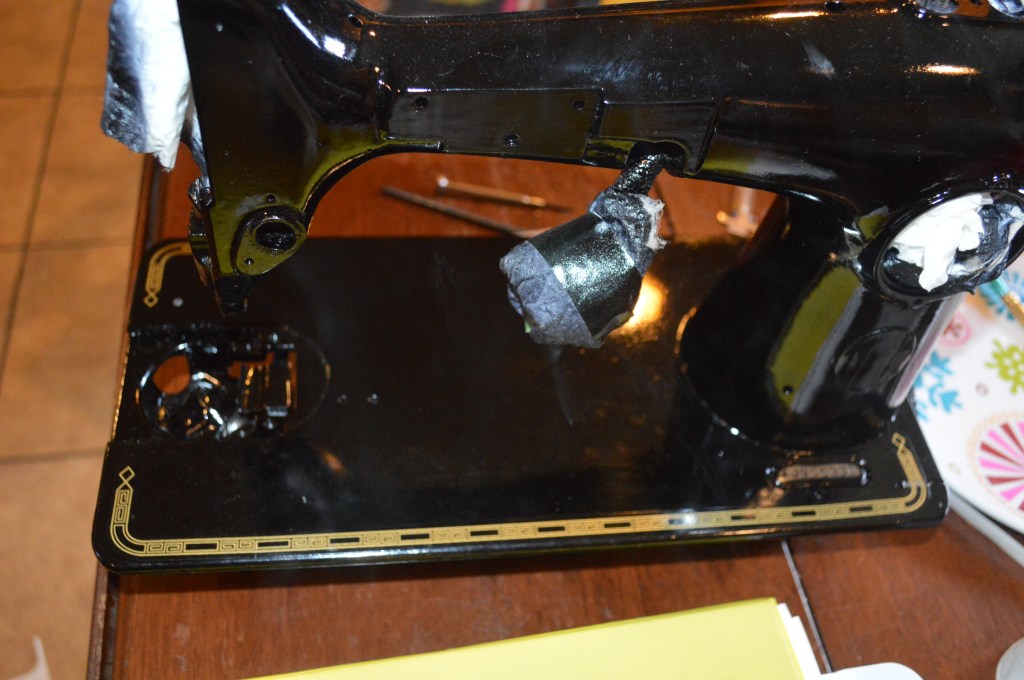
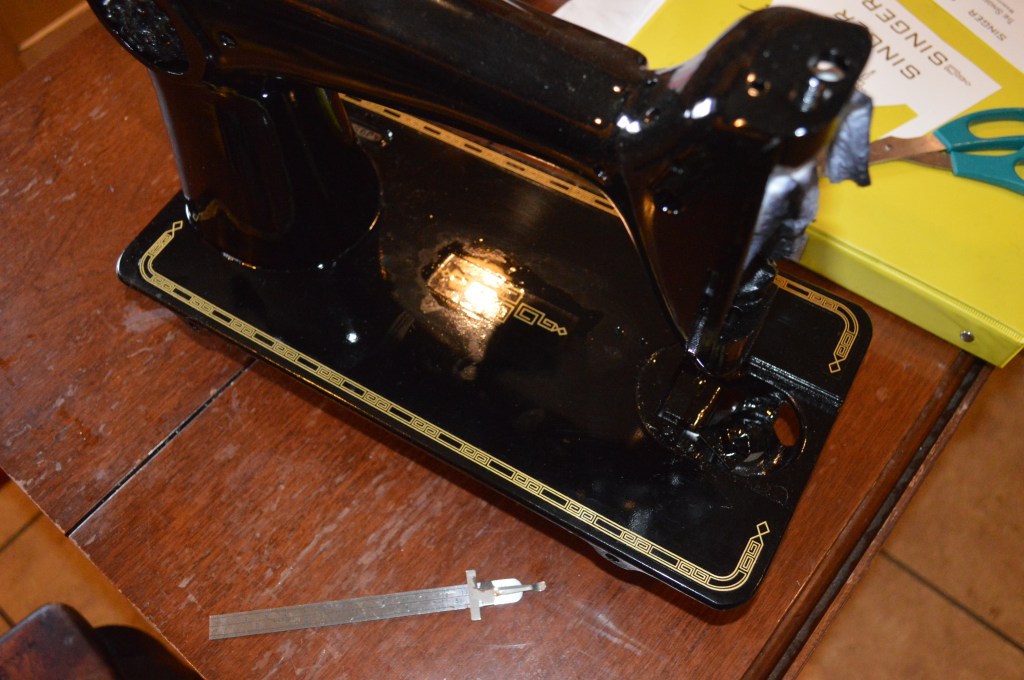
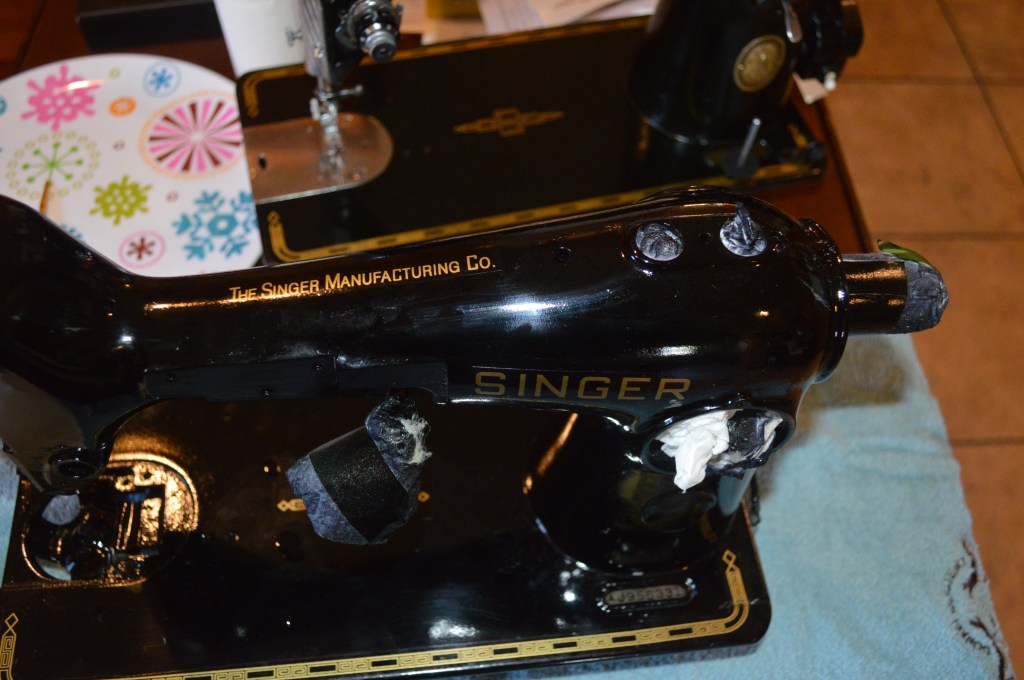
Next, all of the chips are filled in with the paint I mixed for this project. The paint formula can be found online, but it is a mixture of lamp black aneline dye, 100% alcohol, and shellac. The dye is dissolved in the alcohol, then “diluted” with shellac. The color is a perfect matching black and it is compatible with the original black japanned finish.
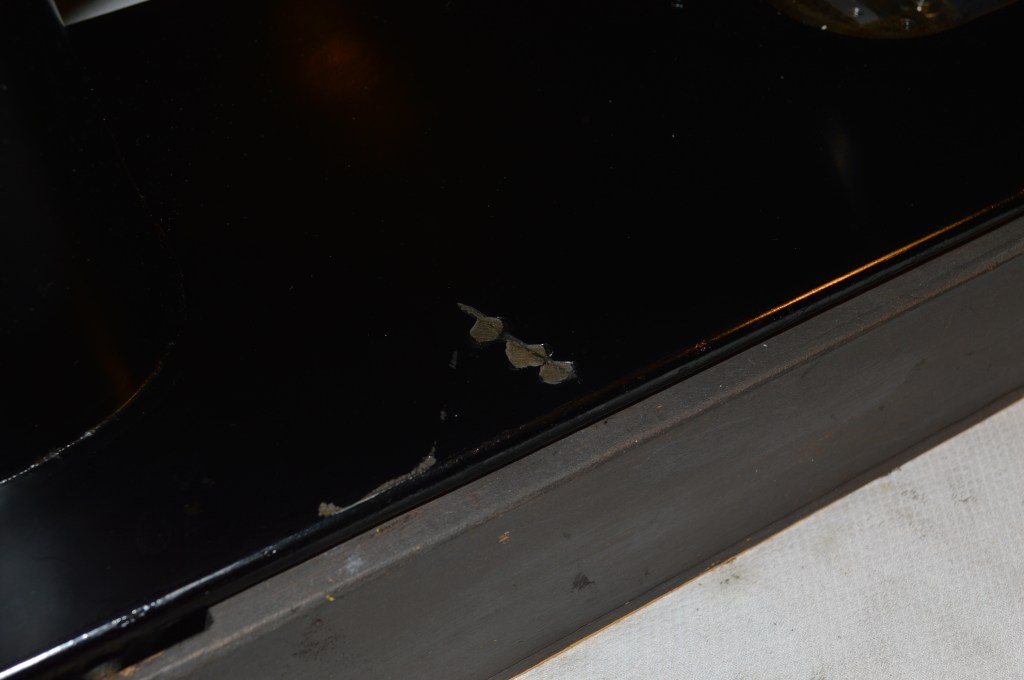
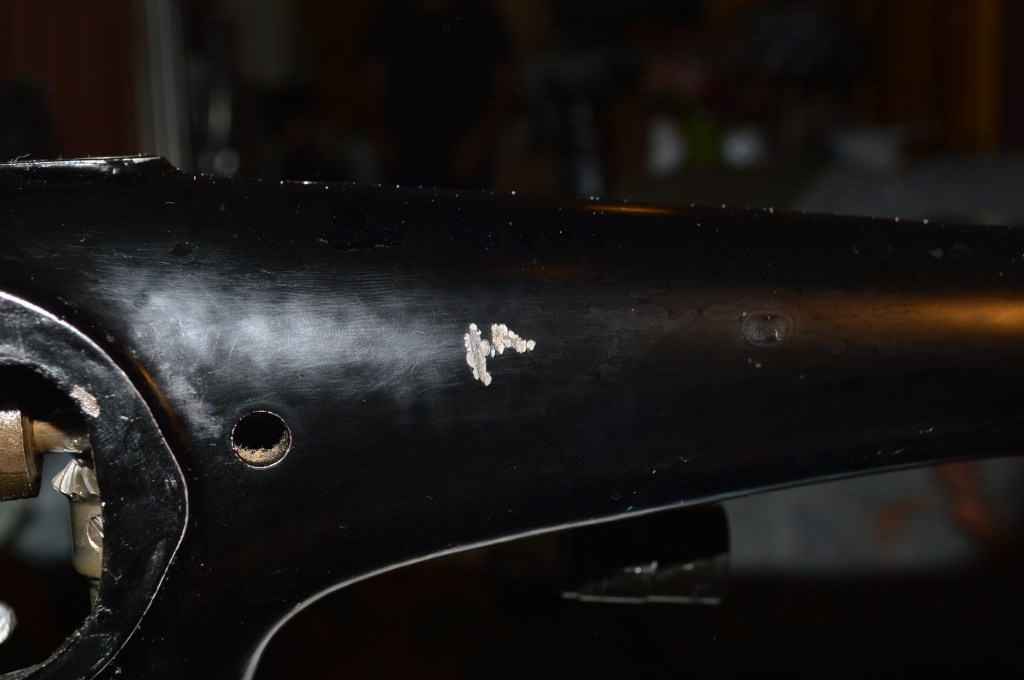
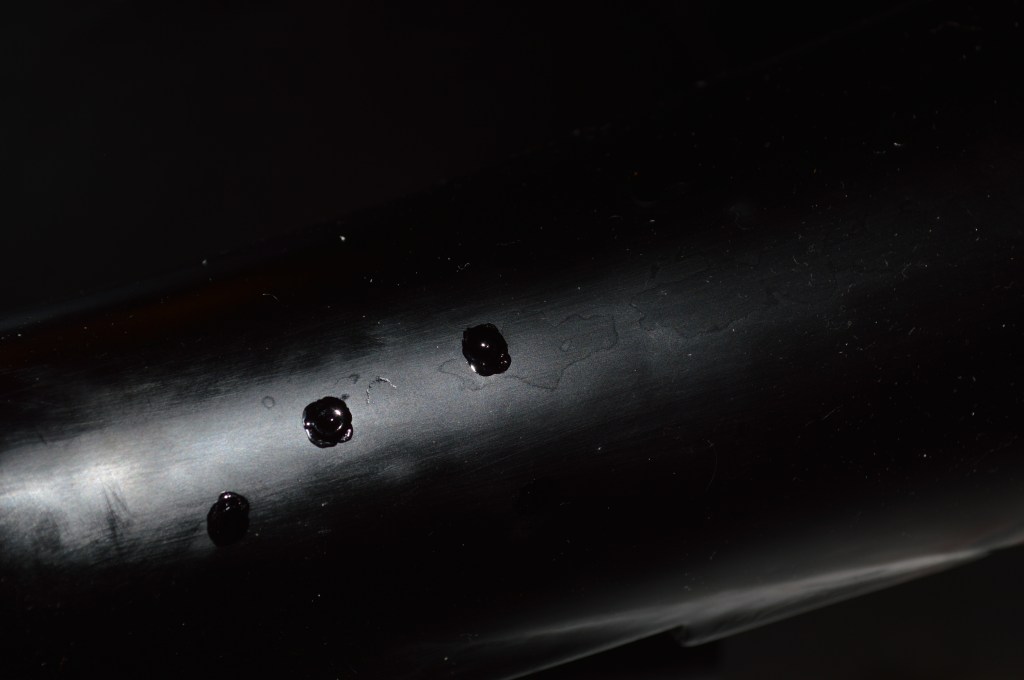
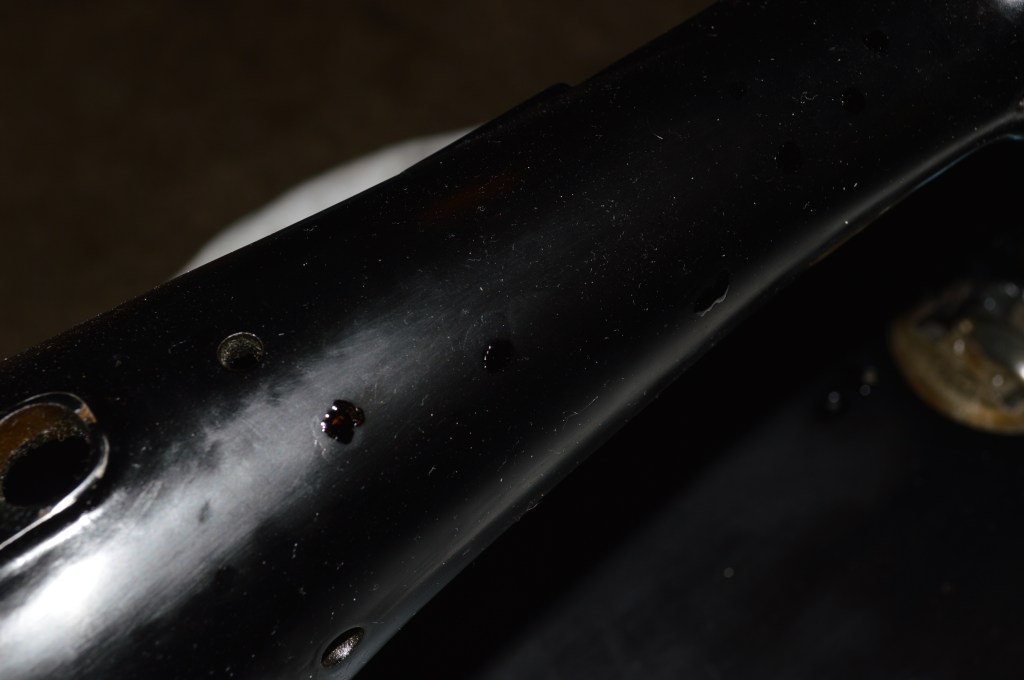

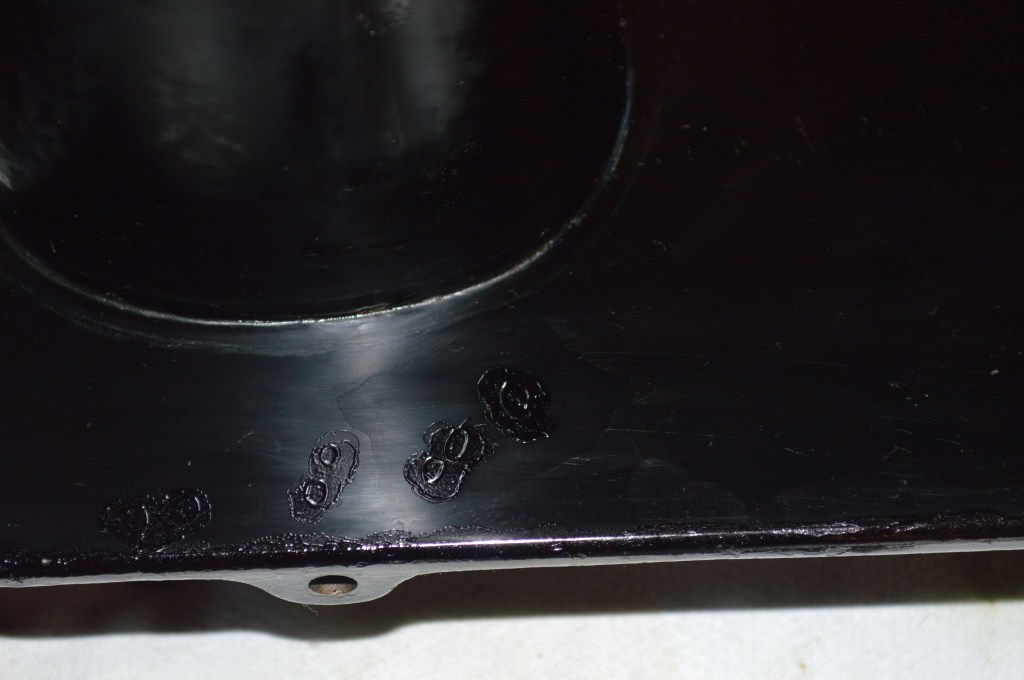
The paint is thin, and it takes several applications to fill the chips. They actually need to be slightly raised and then sanded smooth for an invisible repair. Filling the chips is a multi-stage process and takes several days to allow for cure time. After filling all of the chips with paint, the machine is again sanded to smooth out all of the repairs.
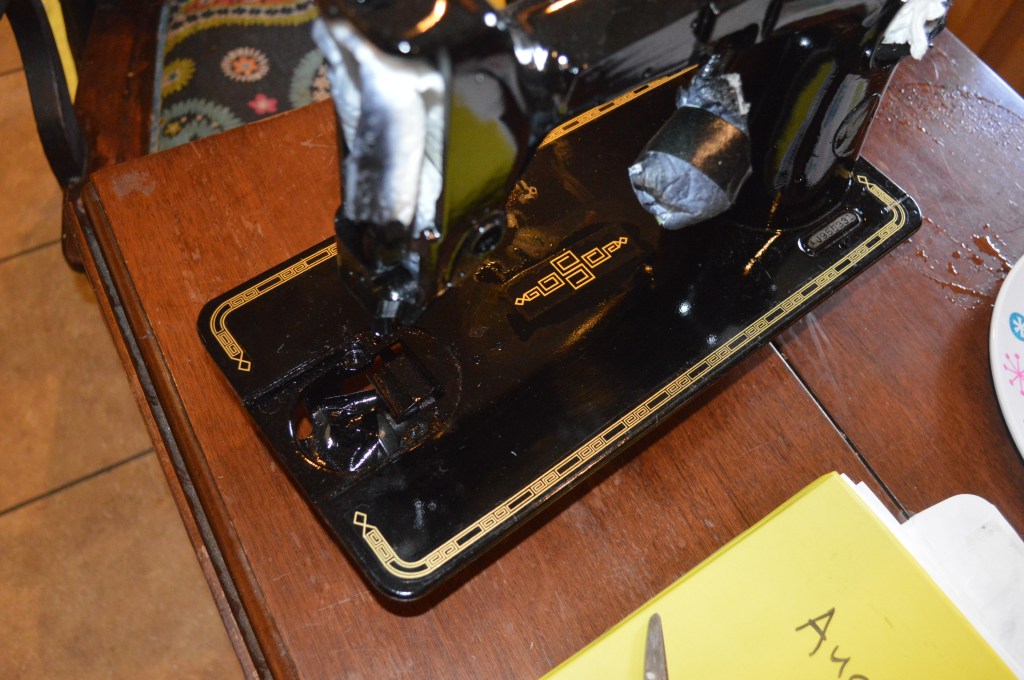
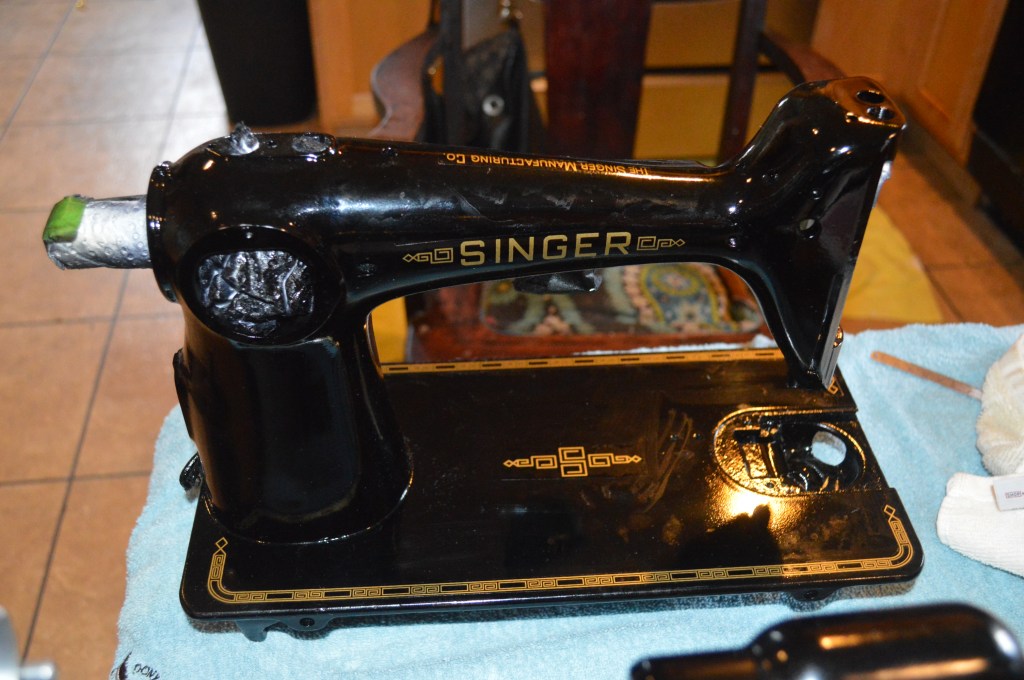
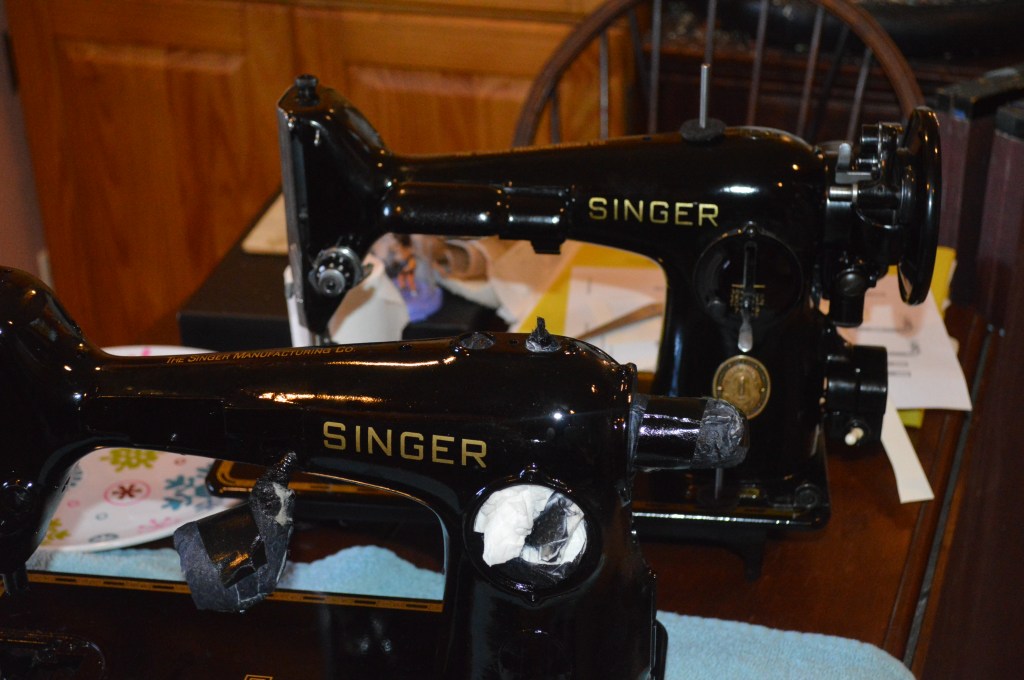
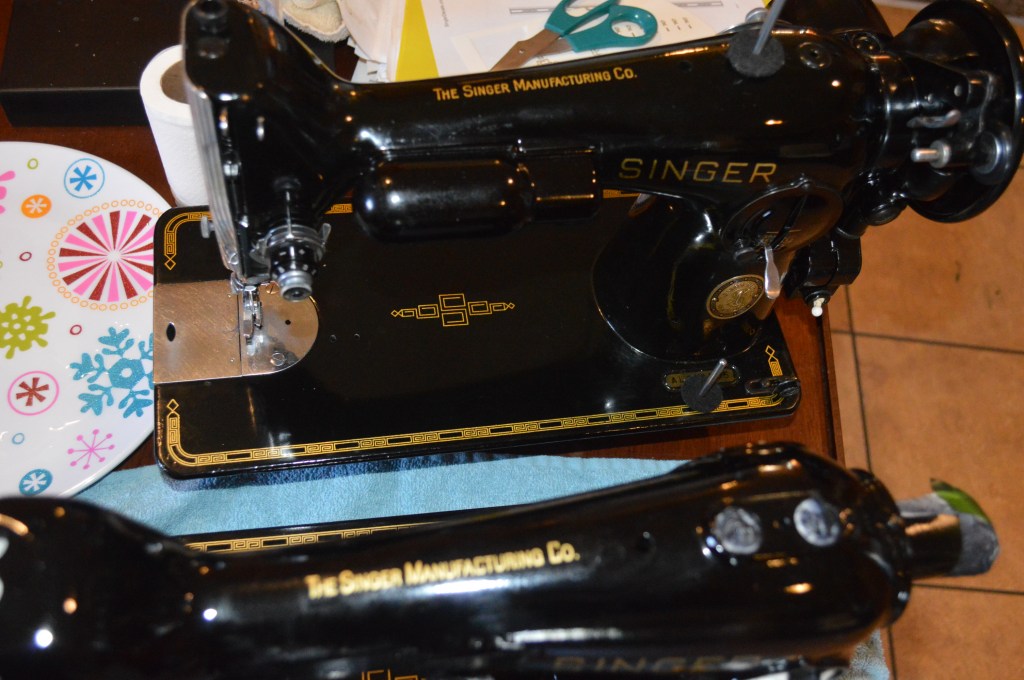
Next the machine is sprayed with the lamp black paint I mixed. four coats of paint are sprayed and then it is set aside for three days to cure. Following the cure time, I spray a coat of lacquer to prepare the surface for the decal application. Next the decals are applied. I use another 201 as a “guide” to position the decals exactly where they should be. The decals are treated with Walther’s solvaset to help the decal edges blend into the body of the machine

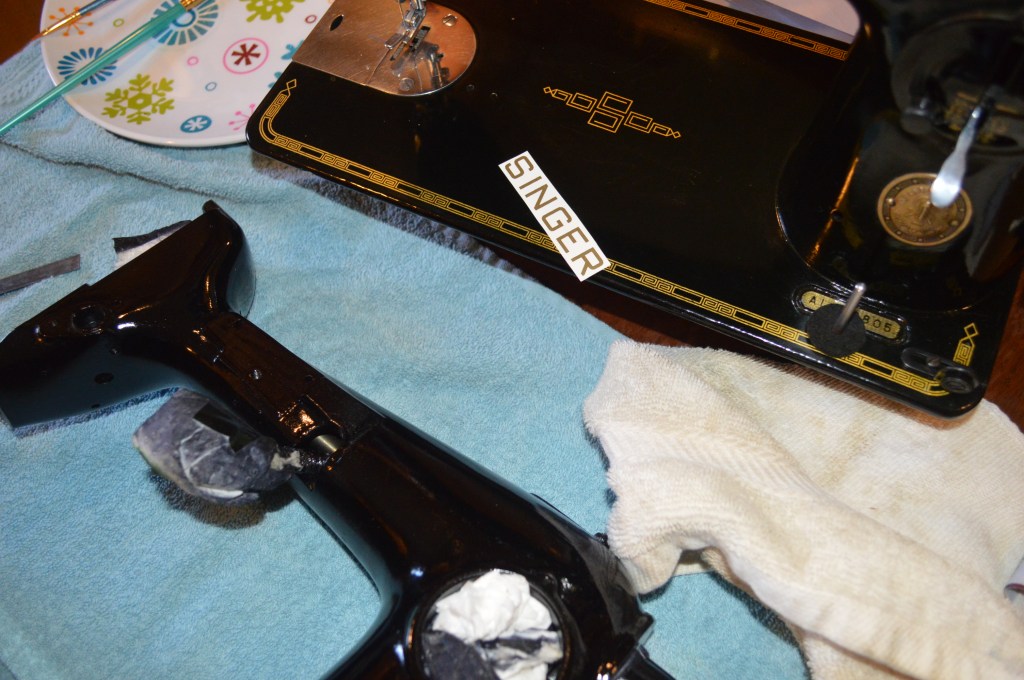

The most time consuming and most important steps begin now. The decals have a thickness that needs to be submerged under the finish coat. For this machine I want a very durable finish. Generally, I use shellac to re-coat the original finish on a machine. Here I am using a water based polycrilic… it is a very tough and dries crystal clear. Every coat of finish applied is thin and it takes quite a few coats to submerge the decals below the finish. There is no way to determine how many coats will be needed to completely submerge the new decals starting out, but the polycrylic dries quickly and a fresh coat is sprayed on the machine every two hours. Following this schedule, the first day resulted in four coats. Again, the machine was left to cure for three days. On the fourth day, the machine was wet sanded with water and 1000 grit sandpaper. The decals are still raised, so another four coats of polycrylic was applied. Another three days to cure, and another round of wet sanding with 1000 grit sandpaper. The decals are almost submerged, only a slight border remains on the center bed decal, the sewing arm decals look great. Since I only need a few more coats on the sewing bed, the rest of the machine is masked off and four additional coats of polycrylic are sprayed on the bed… another three days, and then on to final finish sanding.
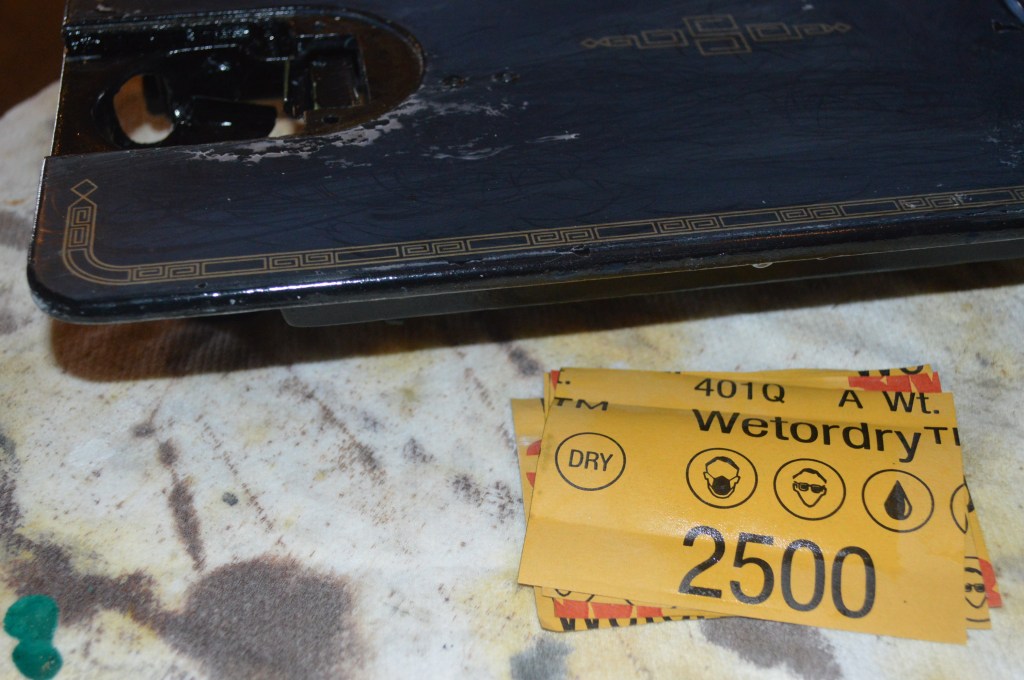
First, the bed is wet sanded with 1000 grit as before… see the decal borders? This needs to be below the final finish to look good.
Finally submerged…
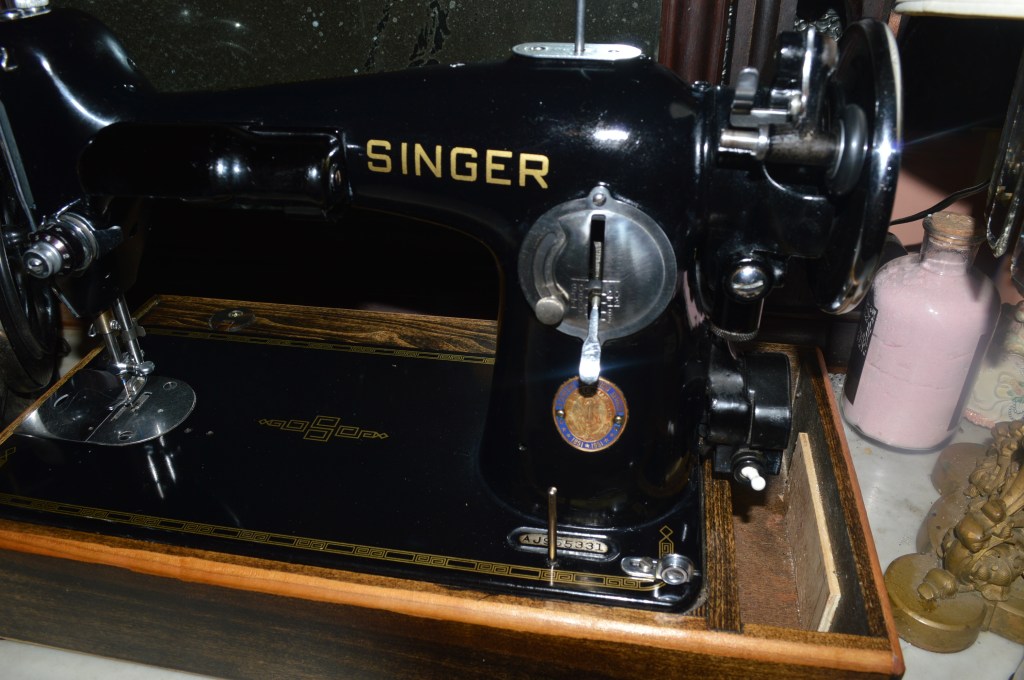
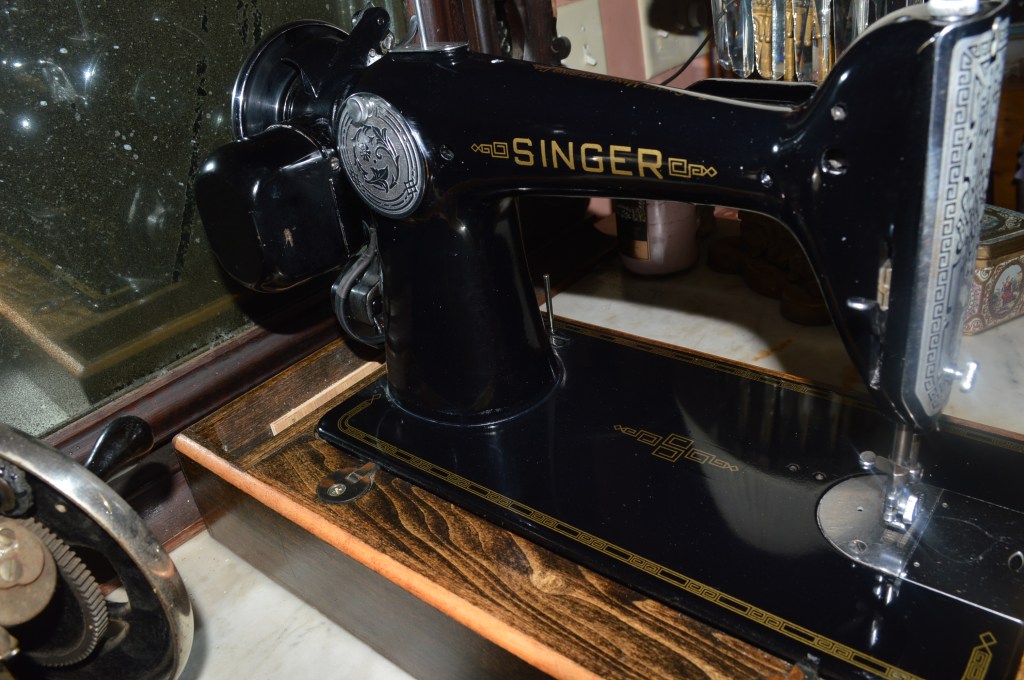
Finally, the machine has a smooth finish and the decals are submerged. The next step is glaze polishing. to get a deep black finish, the machine is glaze polished three times. Each application results in a finish a little smoother than before.

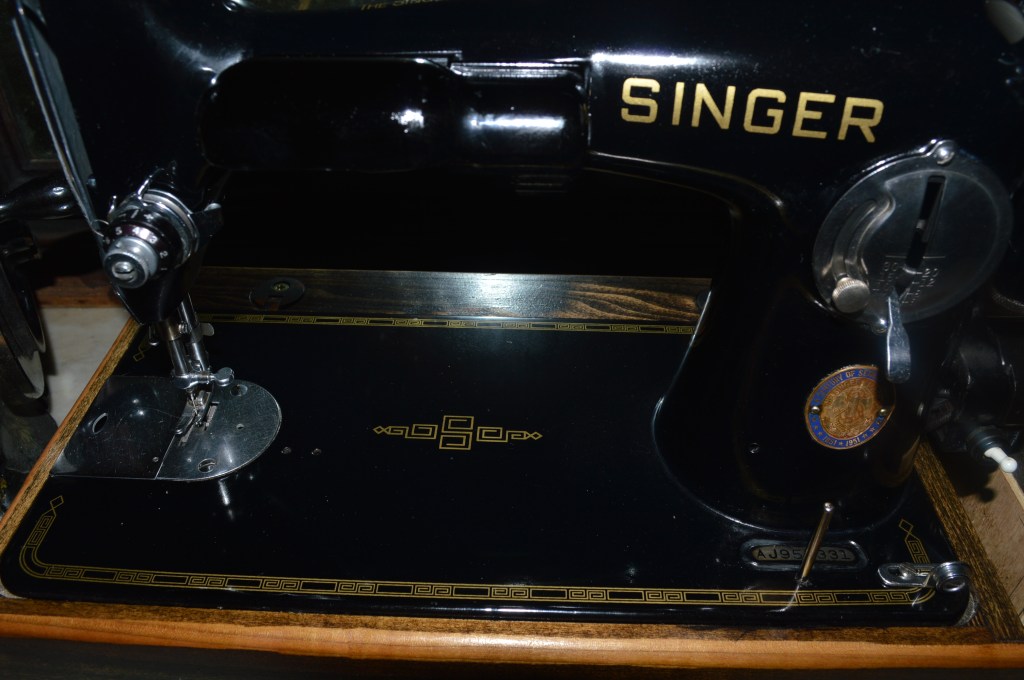
Satisfied with the finish, the machine is completely reassembled, adjusted, and ready to sew.
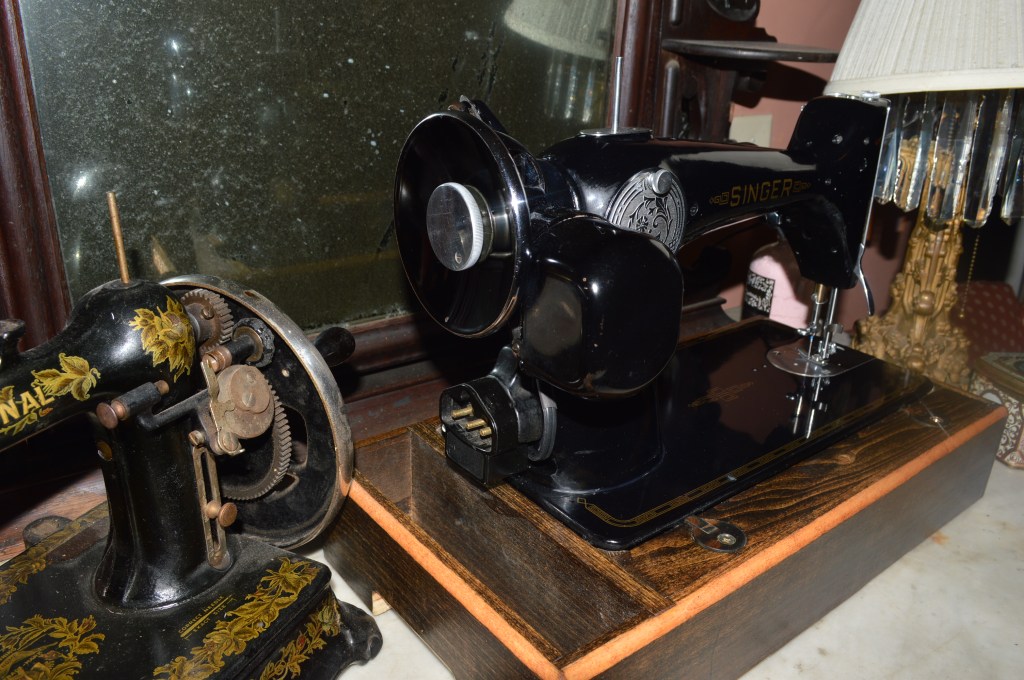
So… it only took a year and a few starts and stops, but Carole has a 1950 201 in perfect cosmetic and mechanical condition… despite the fact that the machine would be perfectly happy in it’s previous cosmetic condition, but it is truly beautiful now!
Here is the machine fully restored…

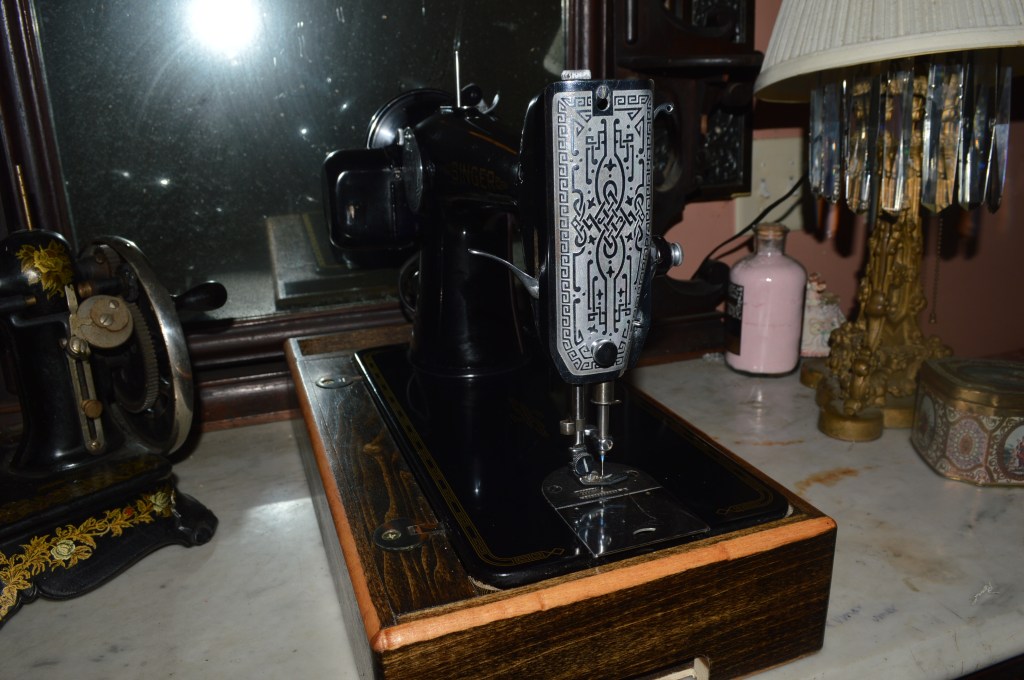
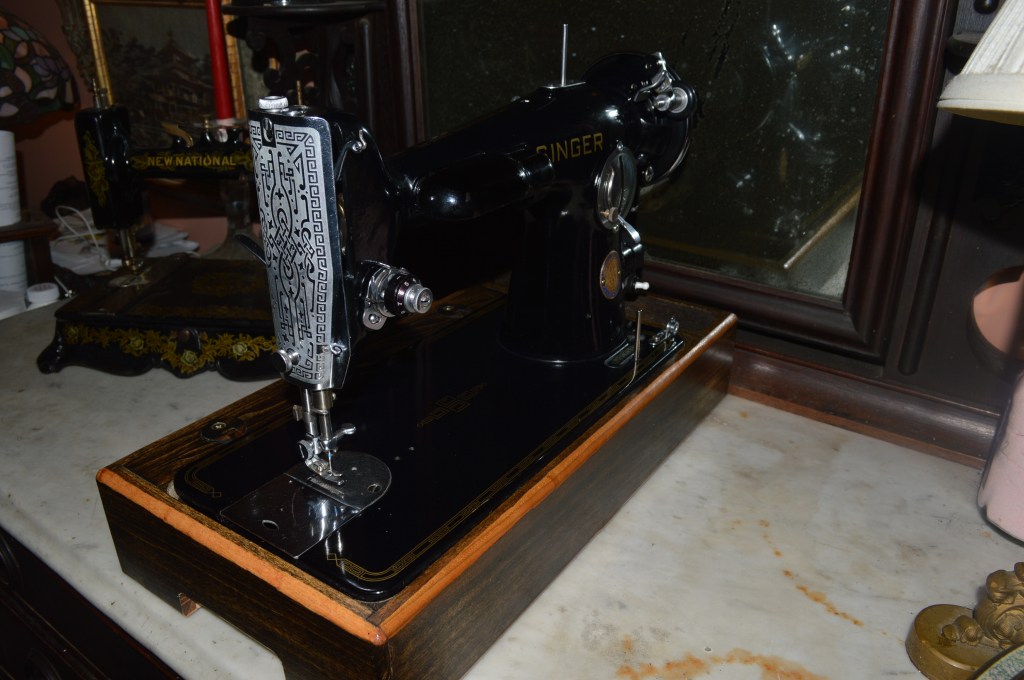

Funny, but about the time I got to the decal application, Carole began to get really excited about the outcome potential. When the machine was complete, she was in love with it… but then again, who wouldn’t be!
If you like what you see please visit our Etsy store at https://www.etsy.com/shop/pungoliving, and see all of our other restored fine quality vintage sewing machines. If you have any questions, please contact Lee at Pungoliving@gmail.com.
Tell me what you think!

Lee,
I acquired a 201-2 from the Goodwill auction site. The finish was a bit rough but the machine worked very well. I followed your guide in this post to put new decals and finish coat. It turned out beautiful. Thanks for your guide!
LikeLike
You are quite welcome! I’m glad you found my information useful.
LikeLike