

“Making a silk purse out of a sow’s ear”. I heard this old saying when I was a kid. It means being able to turn something ugly or inferior into something attractive or of value. So it is with vintage sewing machines. Say you come across an old black Singer sewing machine in your travels and it is dirty, or rusty, or so stiff it will hardly turn … is it worth a second glance? Well, unless the cast iron bed or sewing arm is cracked in half, I think the answer is “YES!”. The decals may be in great shape or maybe they are worn from use, it doesn’t matter. Why? because it is fully capable of being a reliable, attractive, and wonderful sewing machine with some cleaning and thorough reconditioning.
It’s a lot of work, but the outcome is well worth the effort. As an example of the processes involved in cleaning and reconditioning one of these high quality gems, I have a 1962 Singer model 15K-110 to show you. I originally intended to use this machine as a “donor” machine to recondition another Singer model 15 manufactured in 1938. Unfortunately, the 1938 machine was damaged beyond repair in shipment… yep, poor packing in shipment can break cast iron pieces and destroy a piece of history. Well, now the tables are turned and the 1962 Singer is the only candidate for reconditioning.
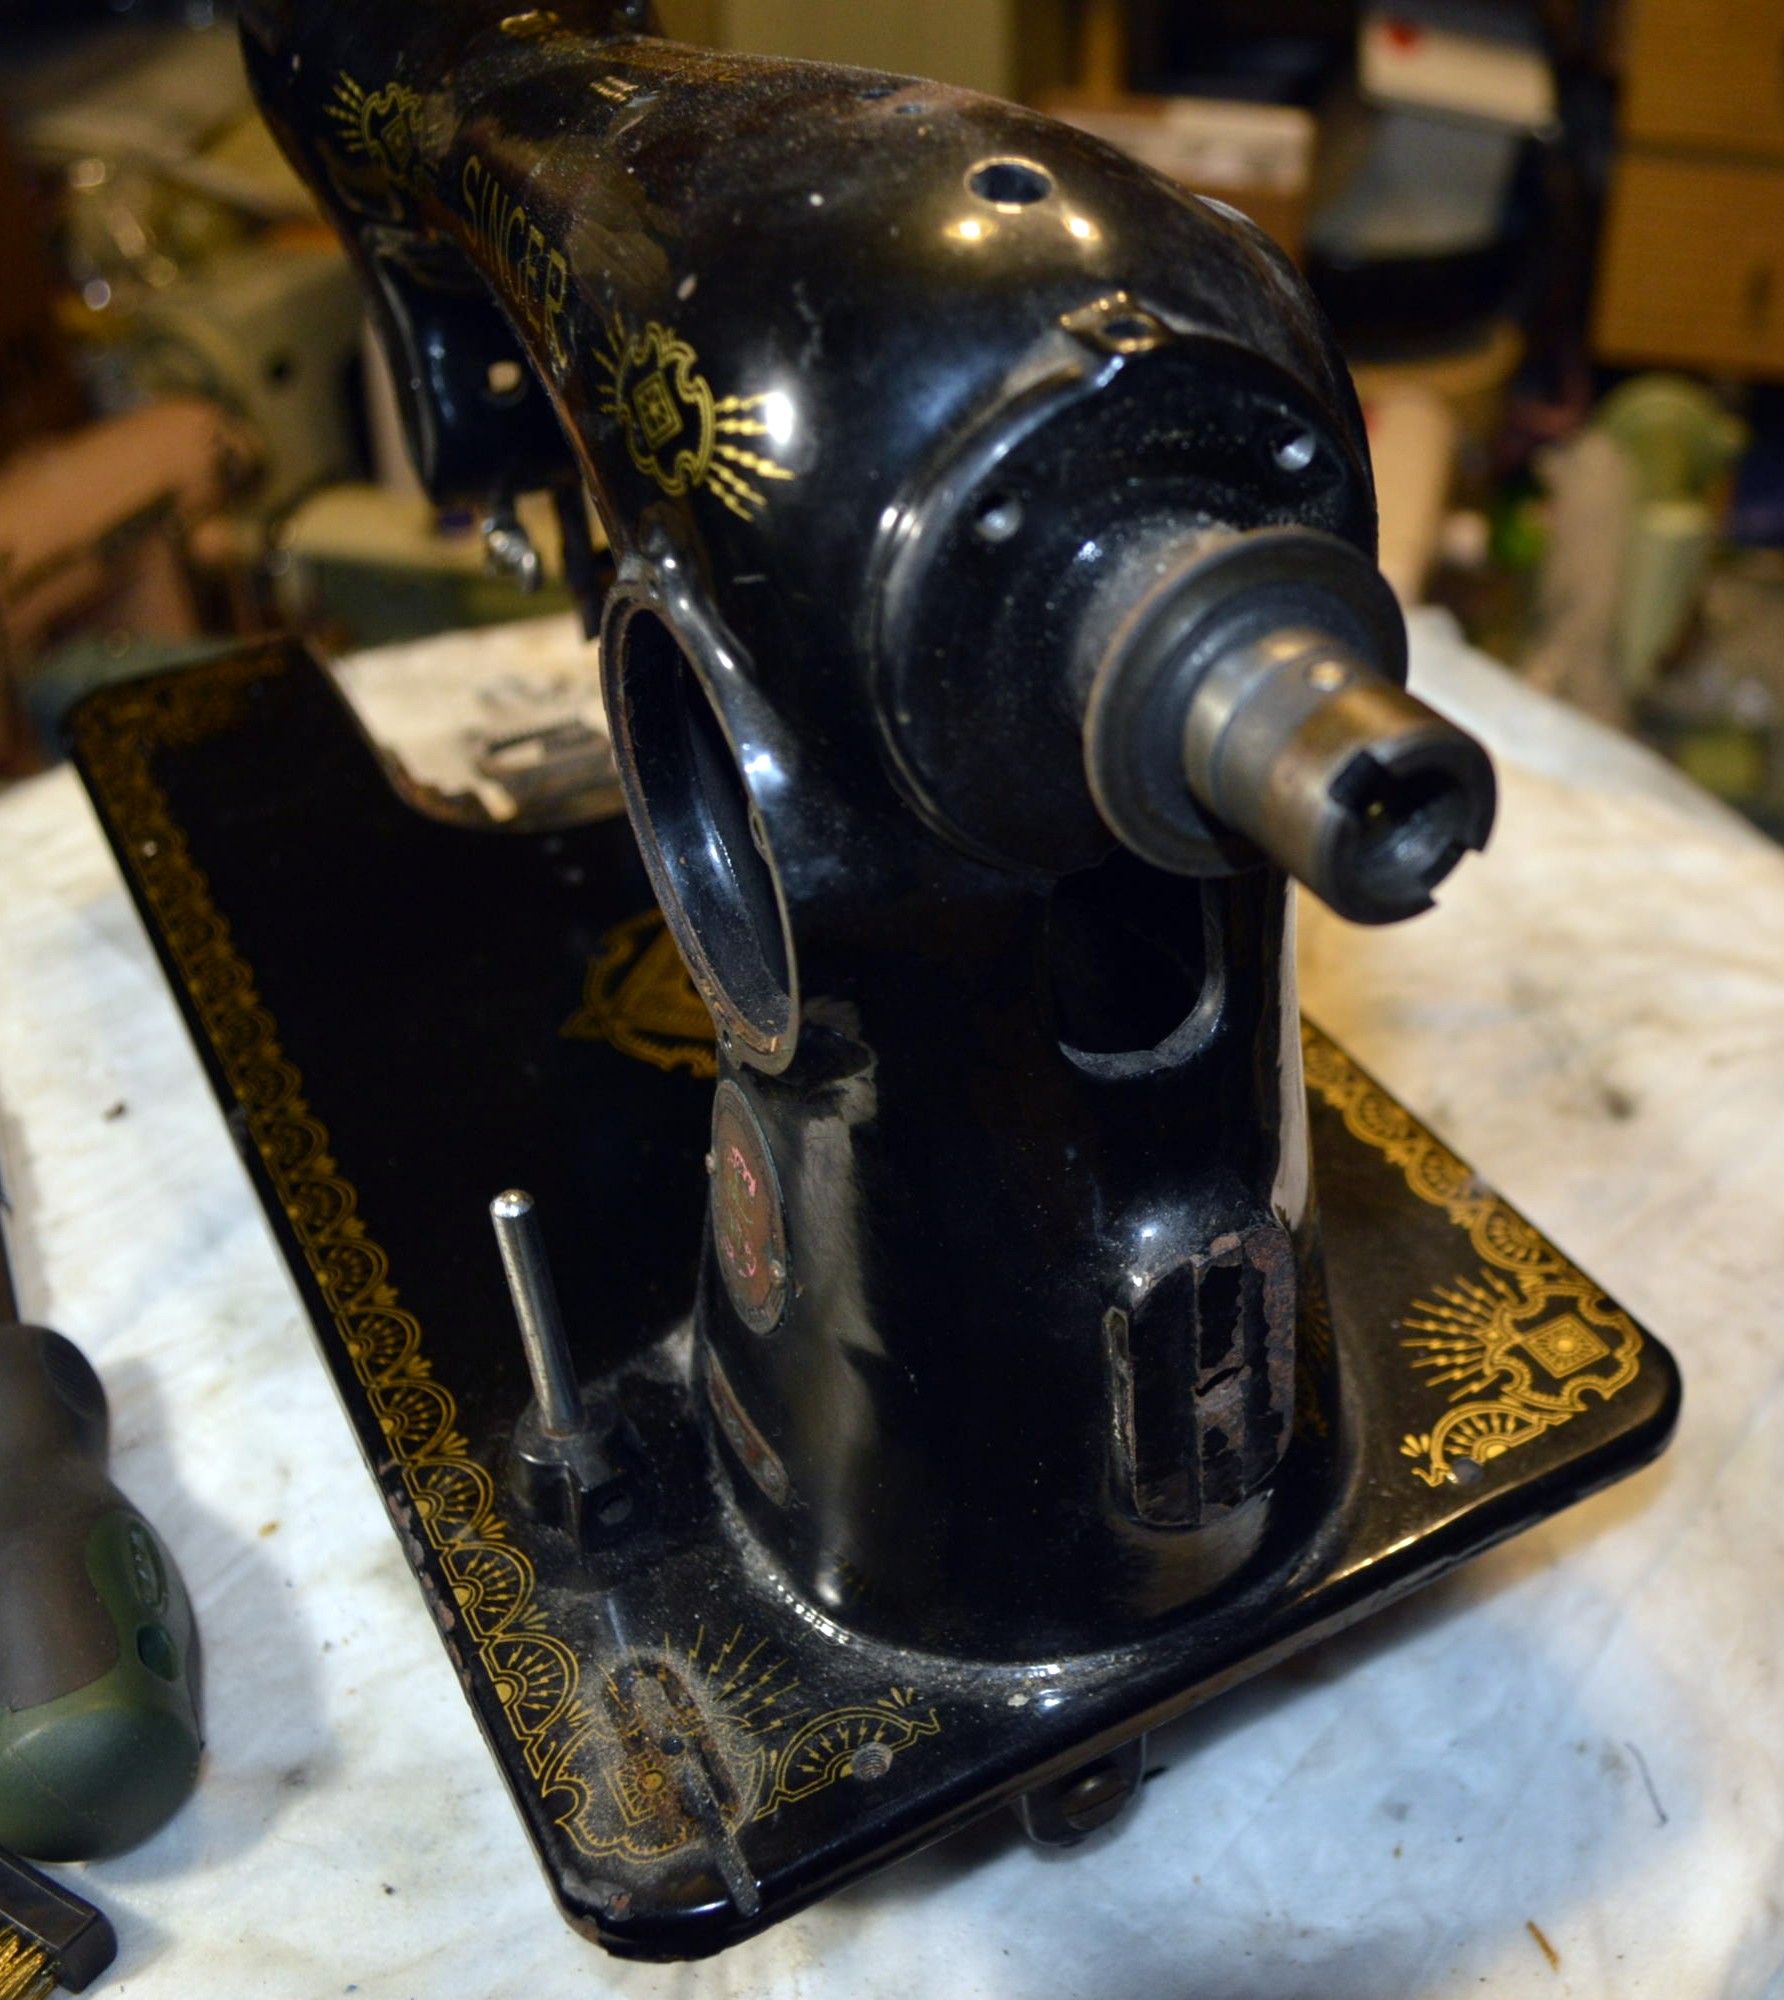
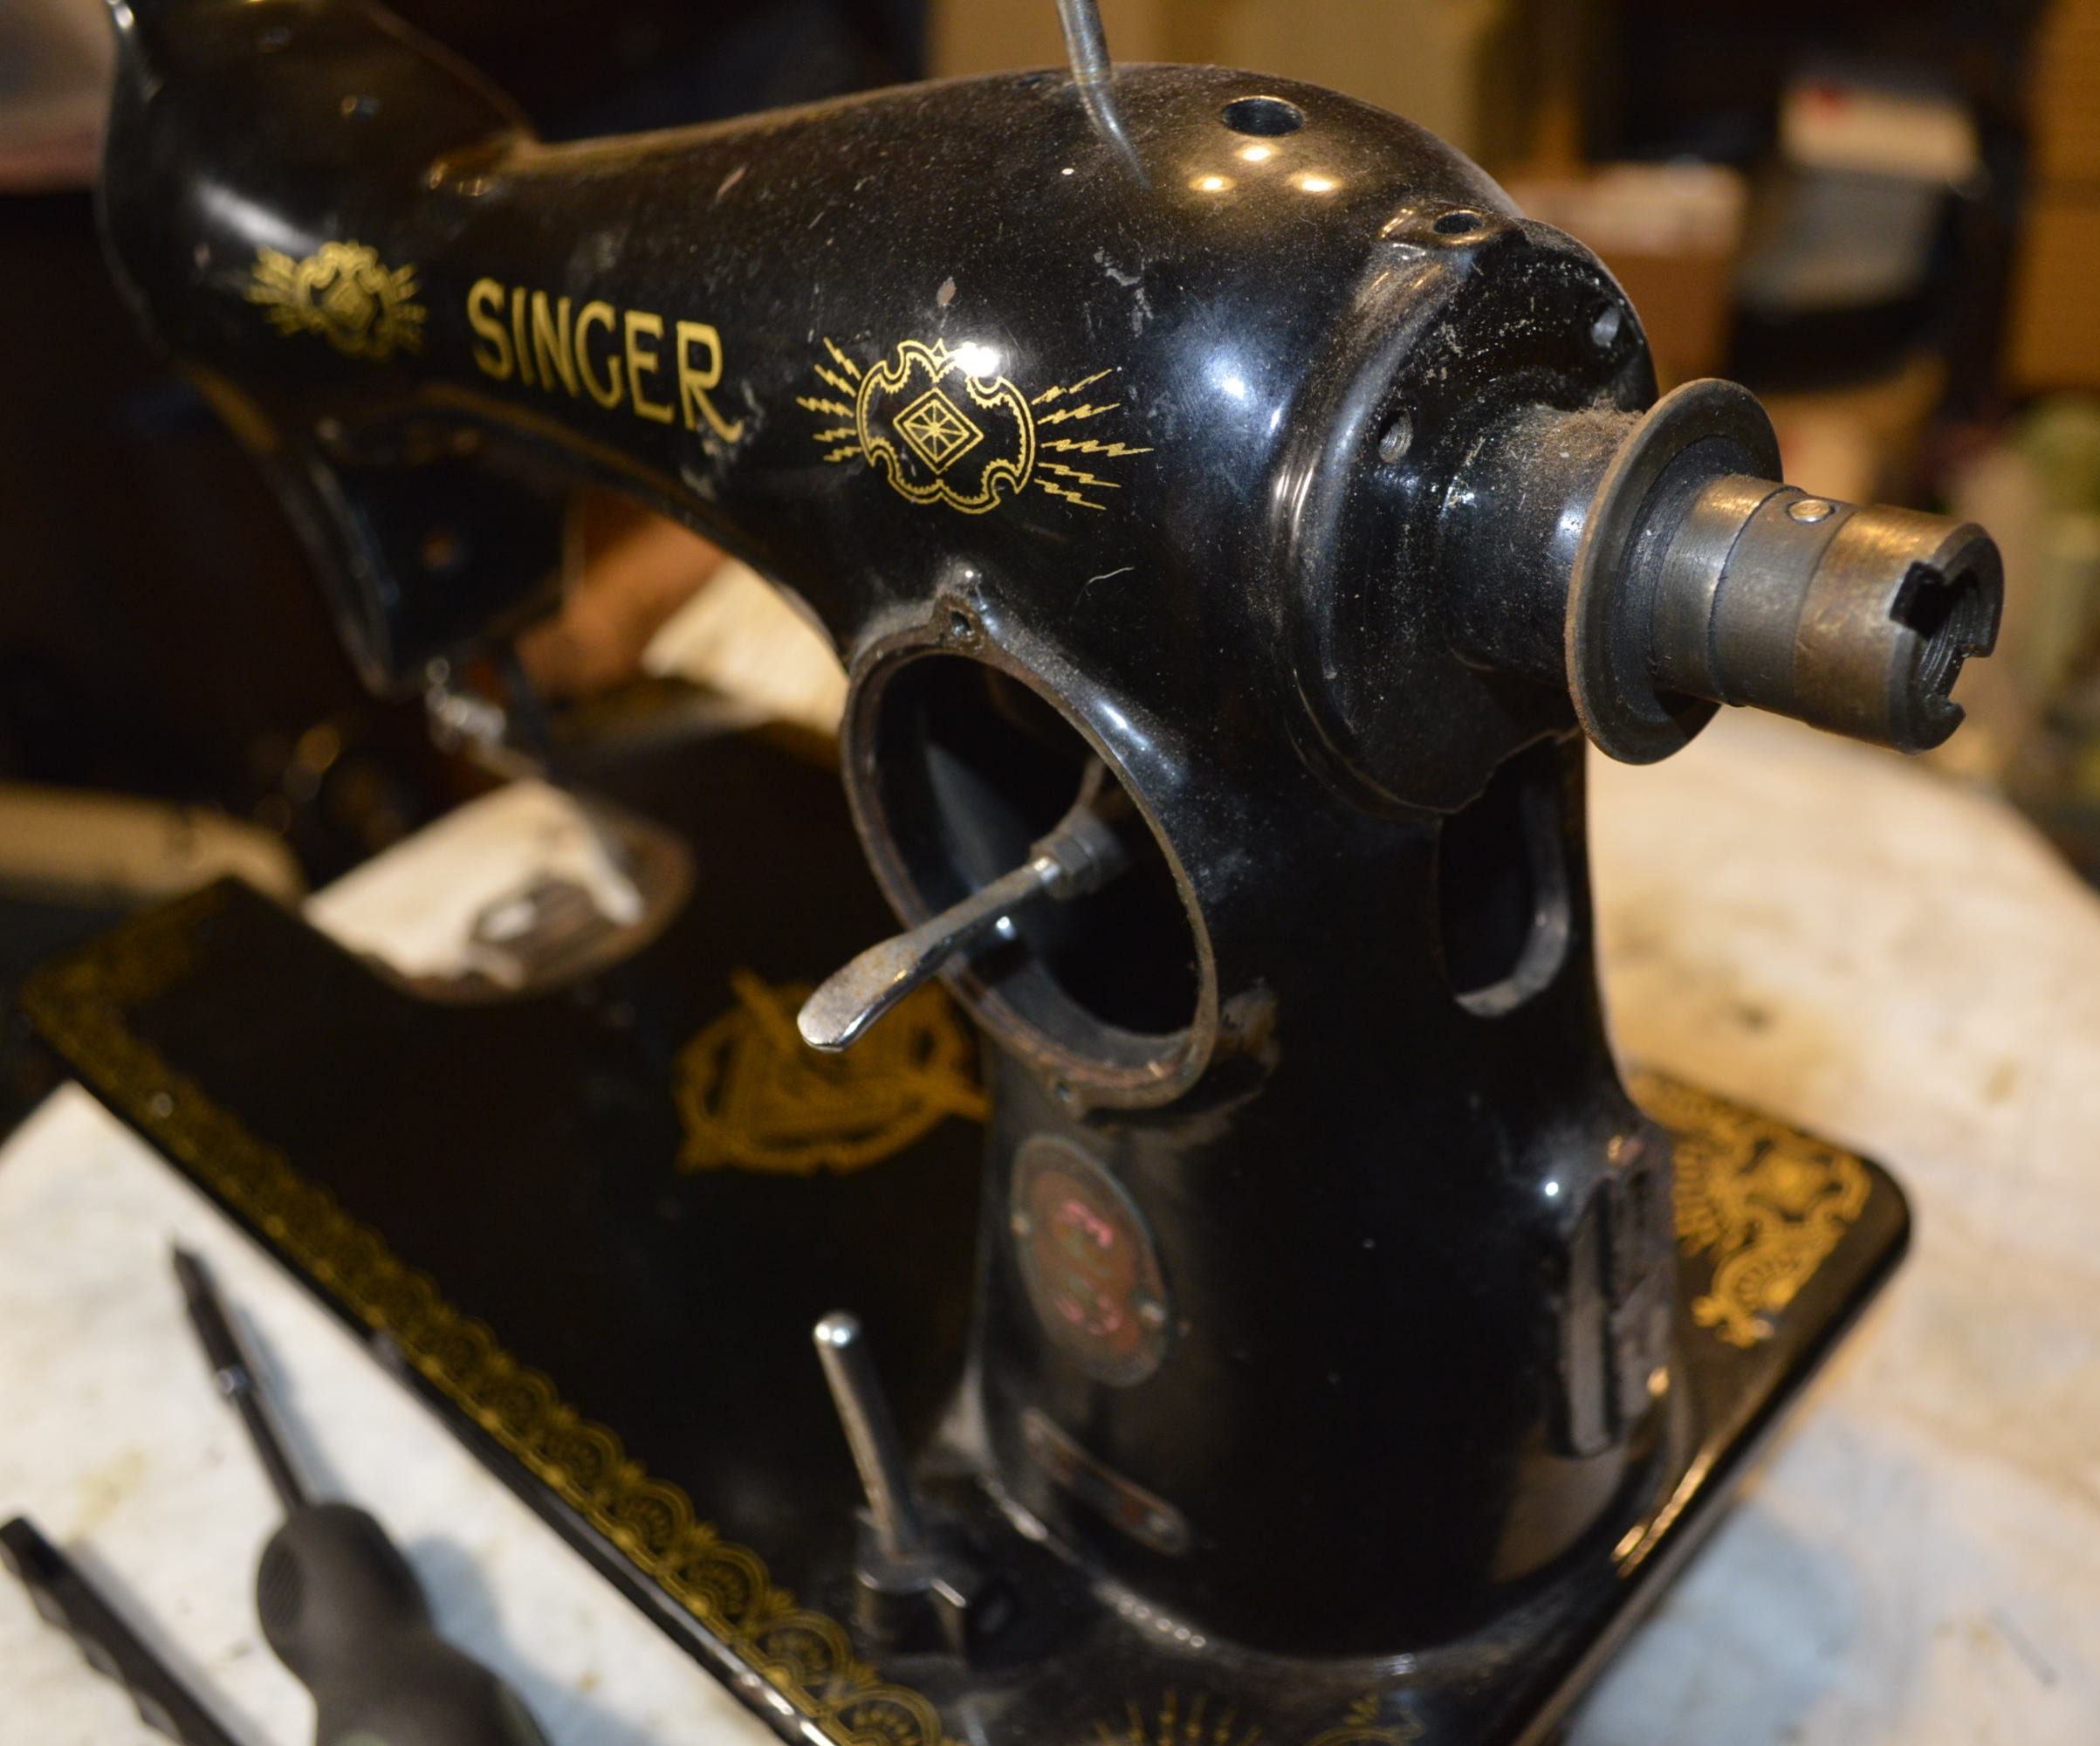
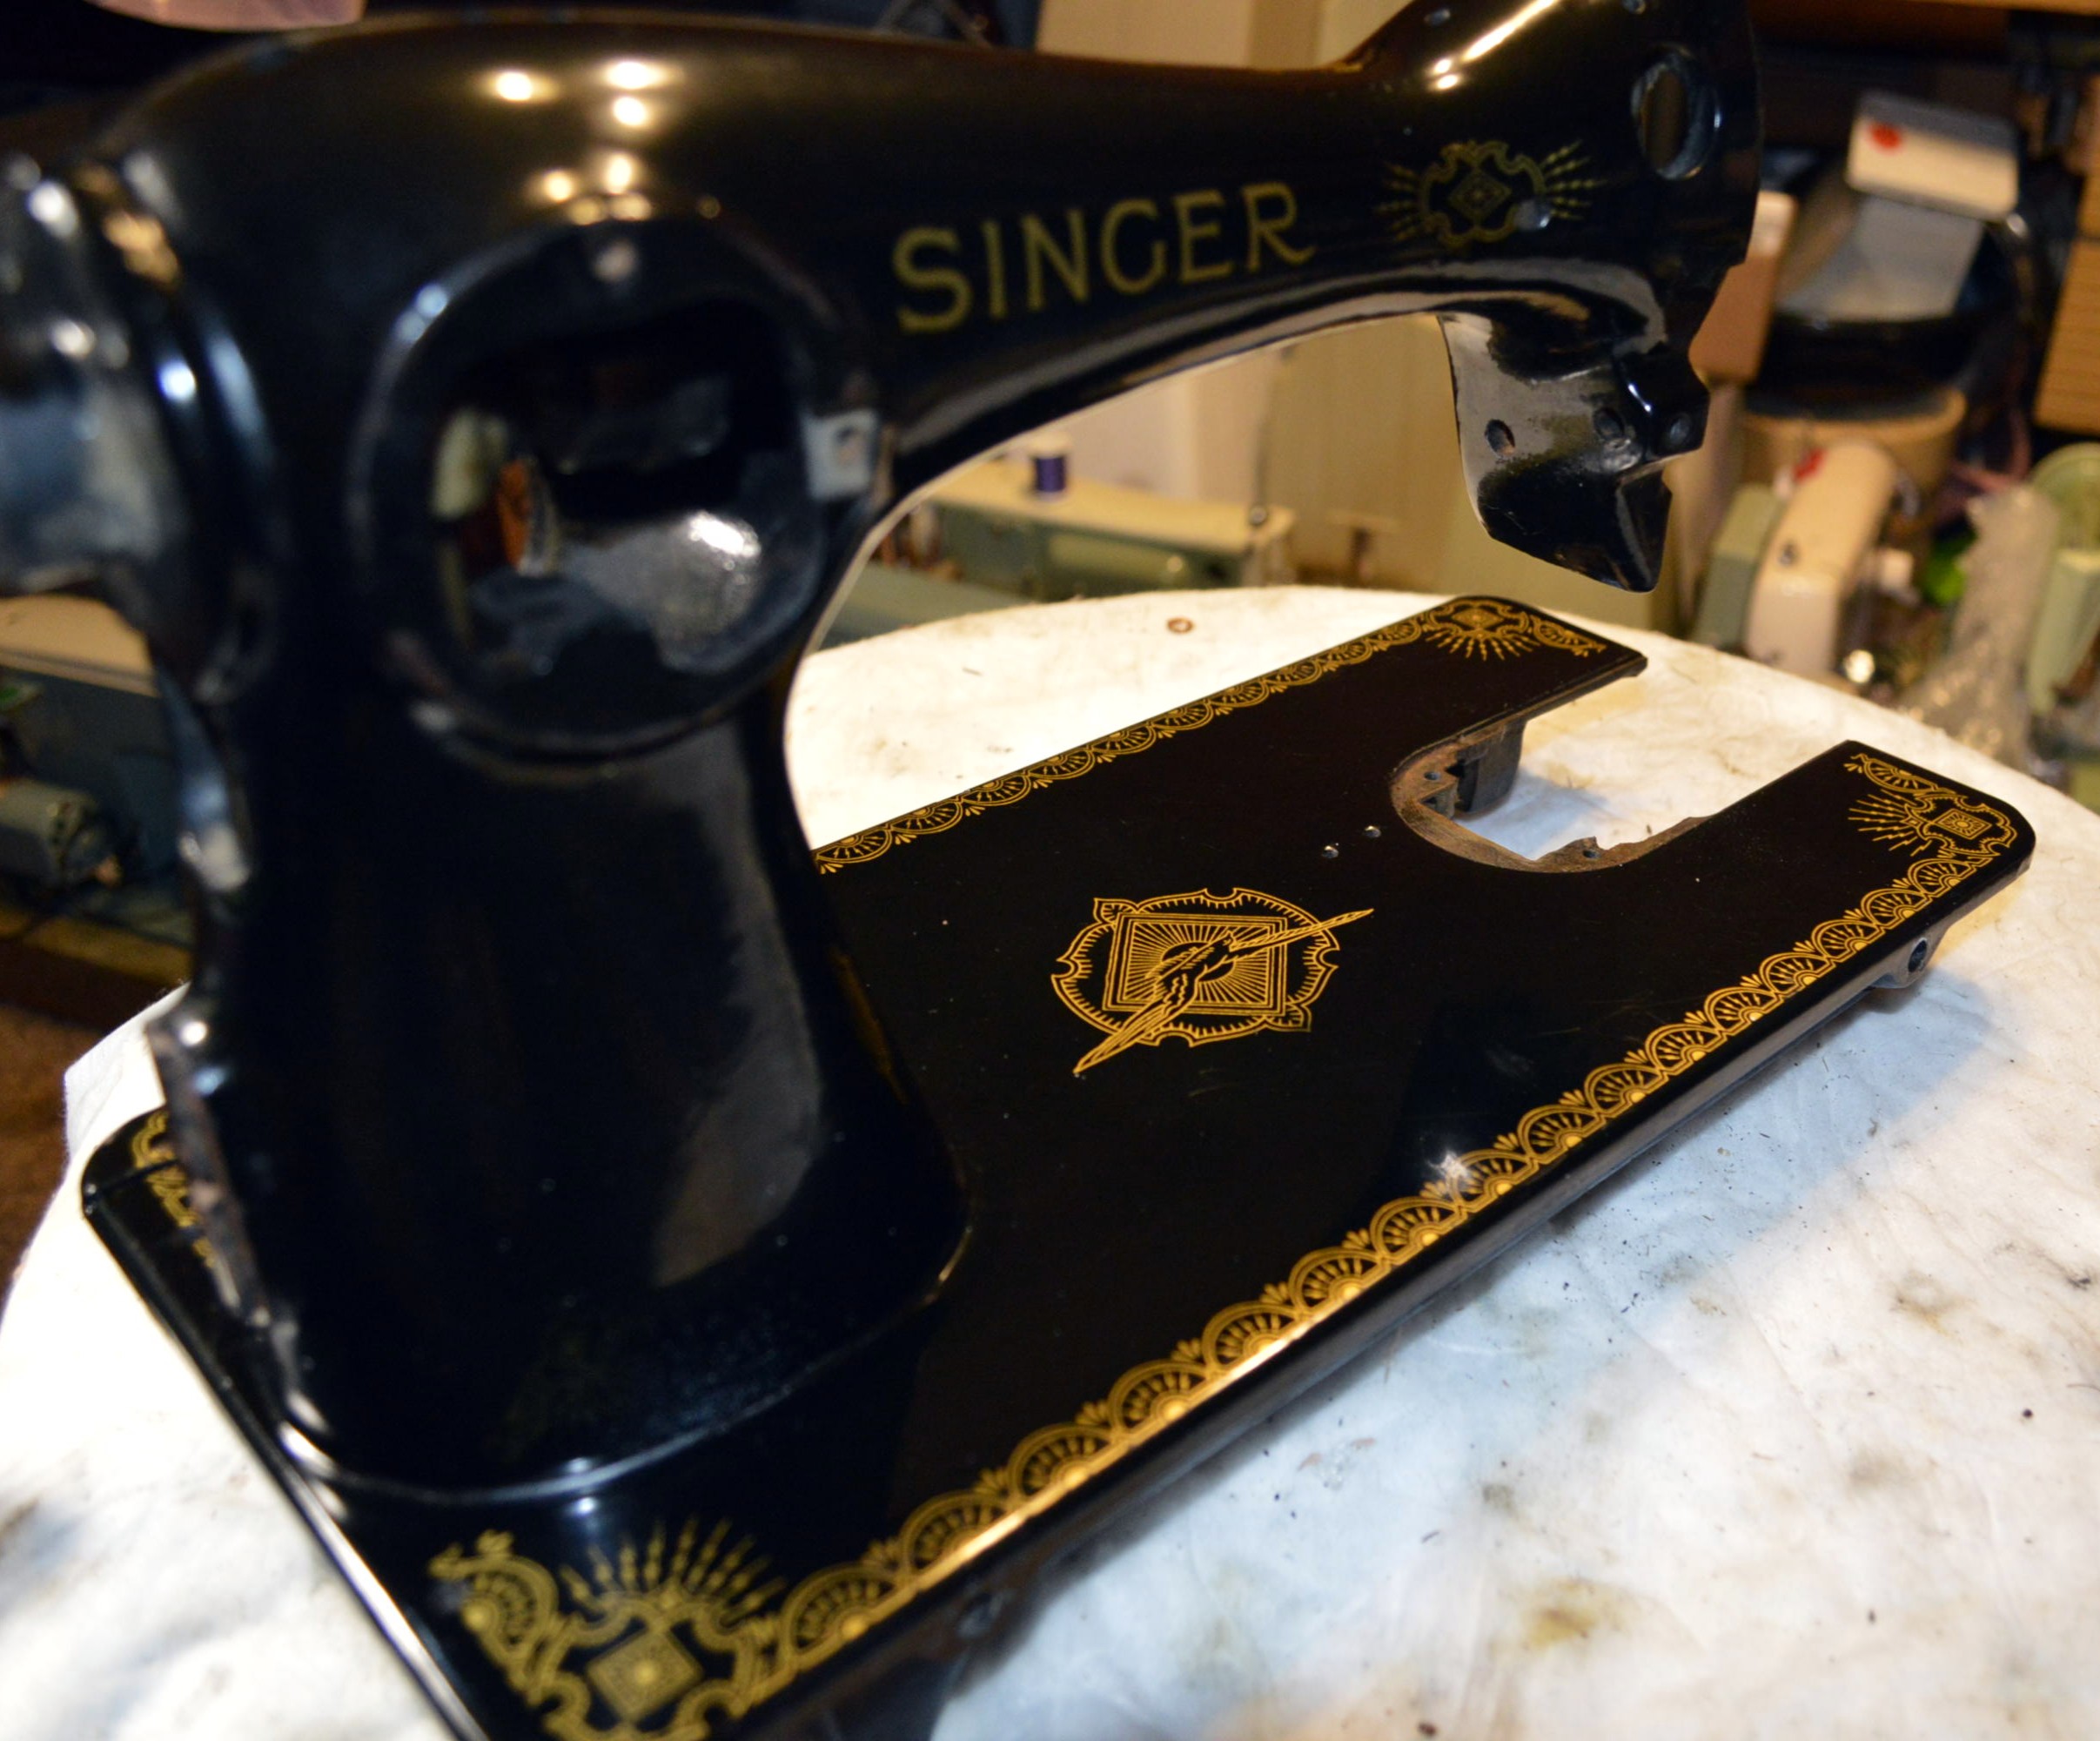
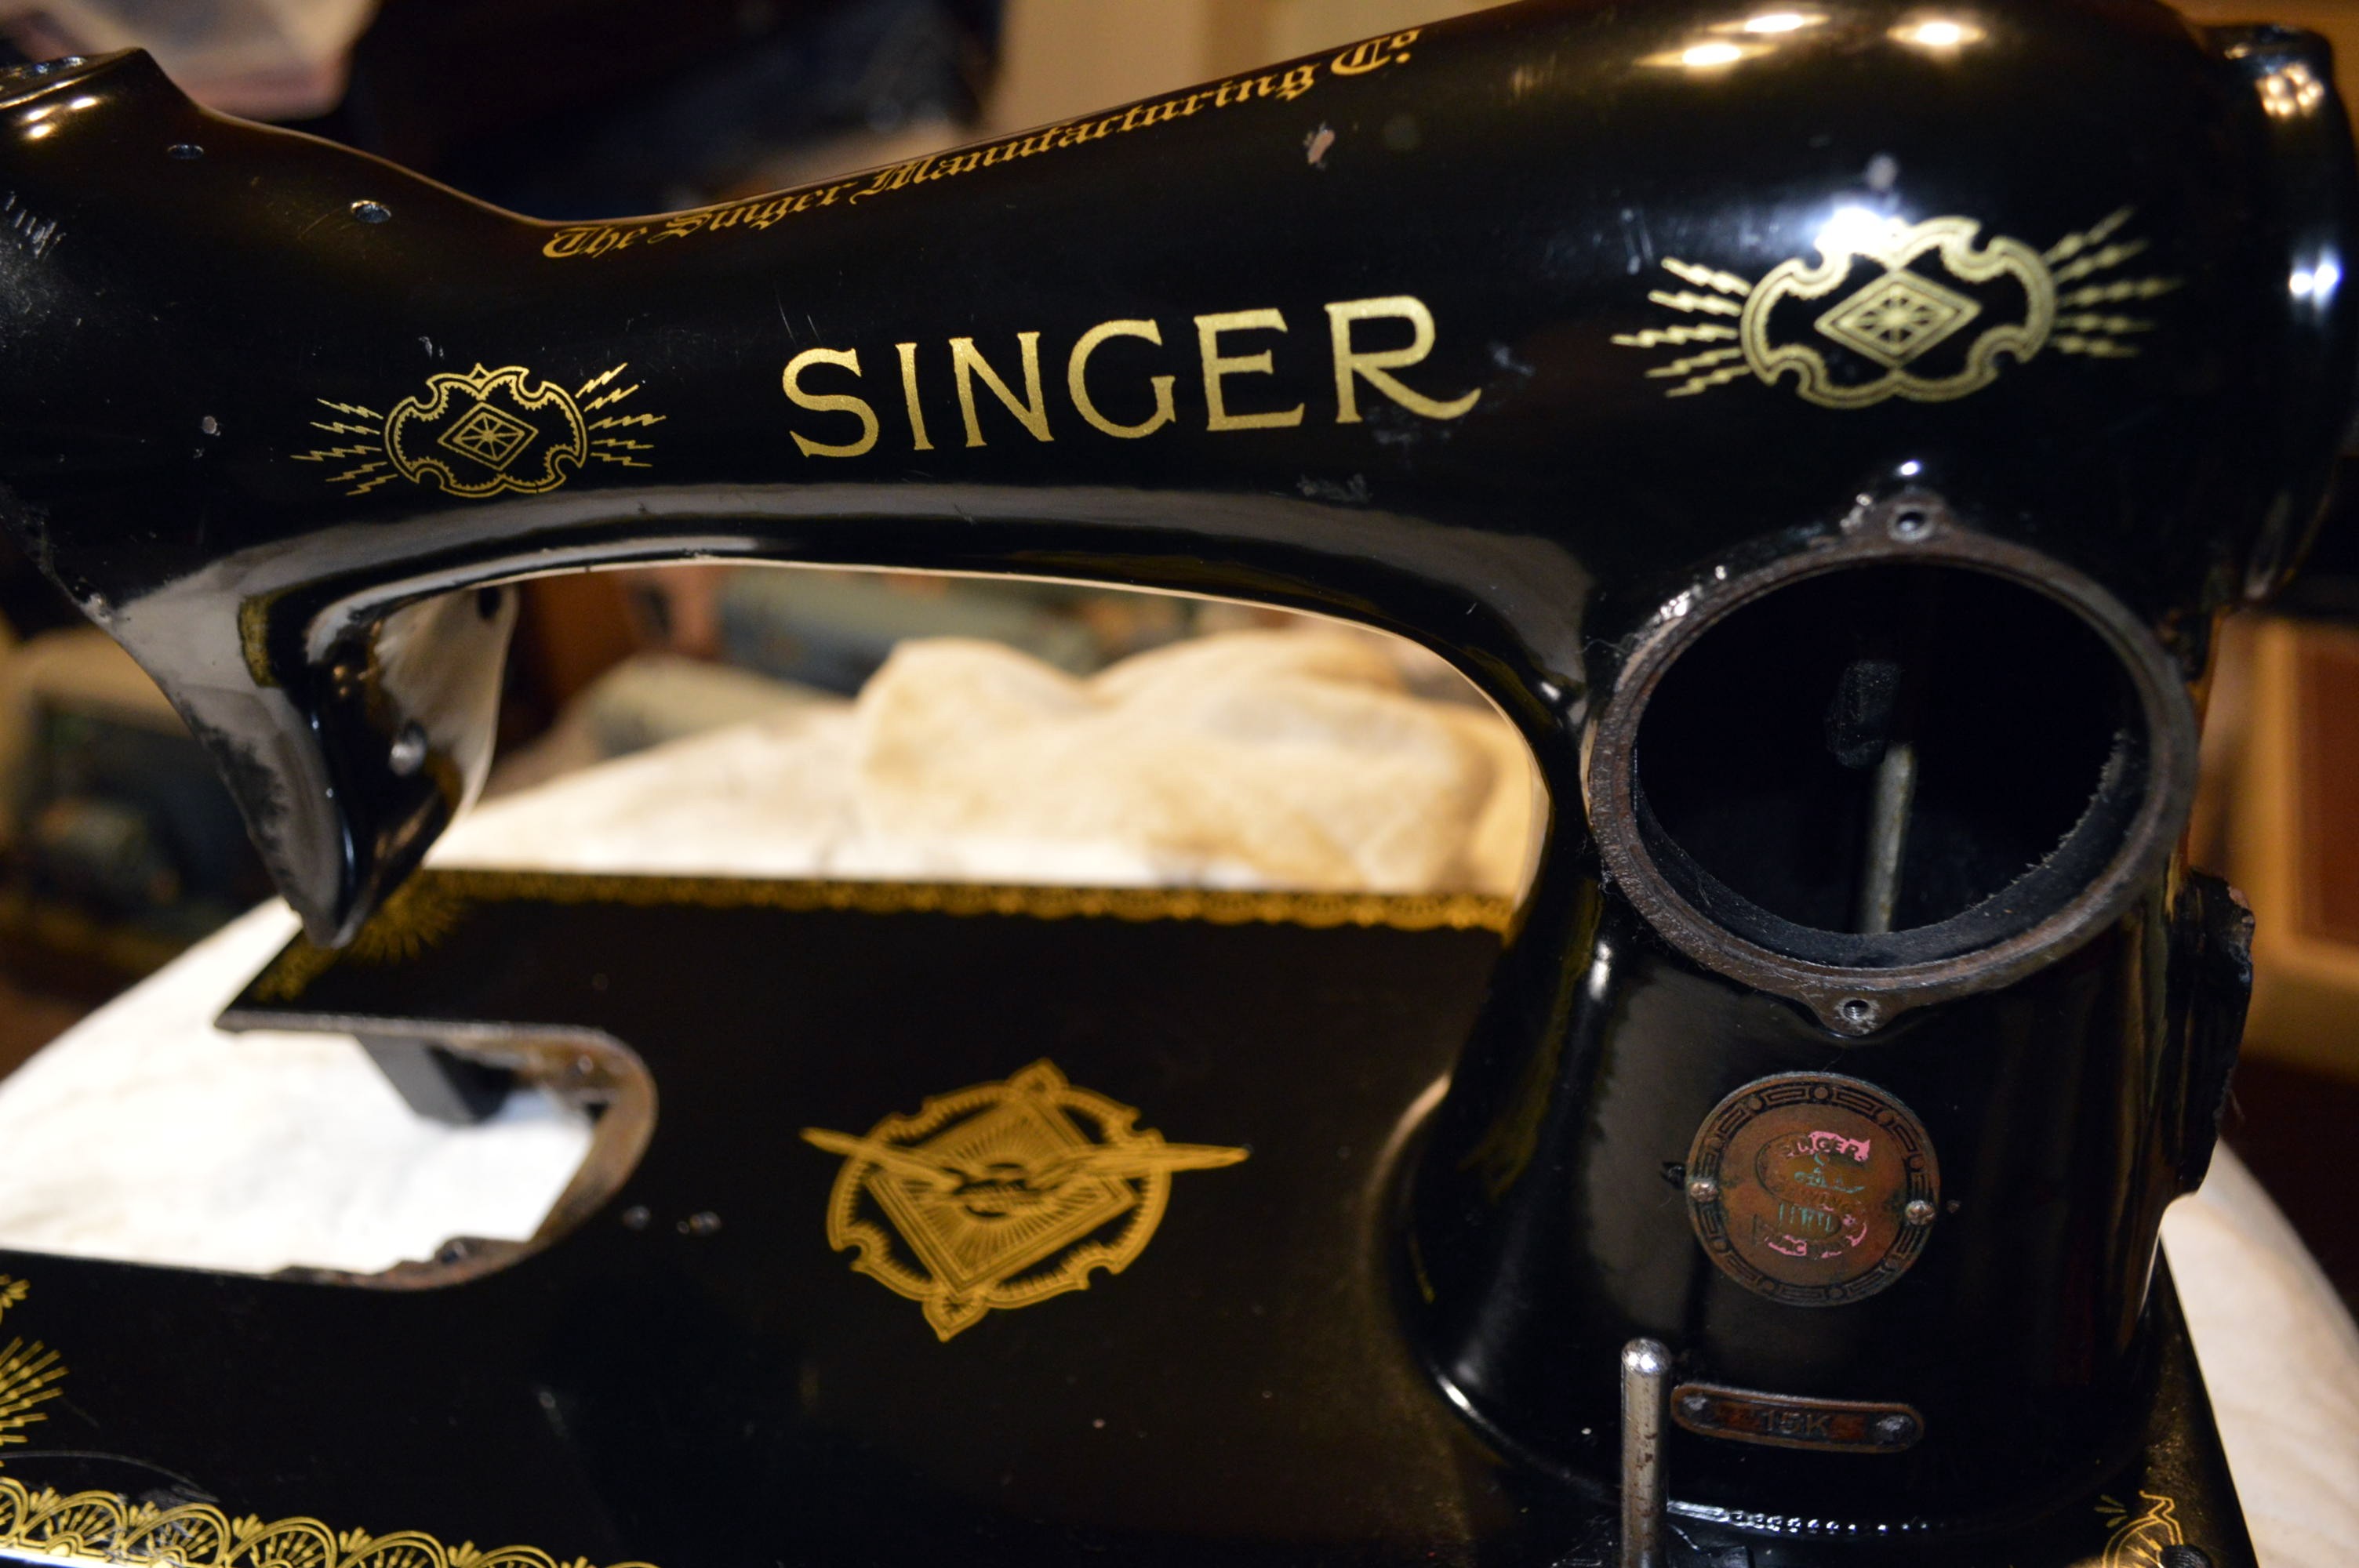
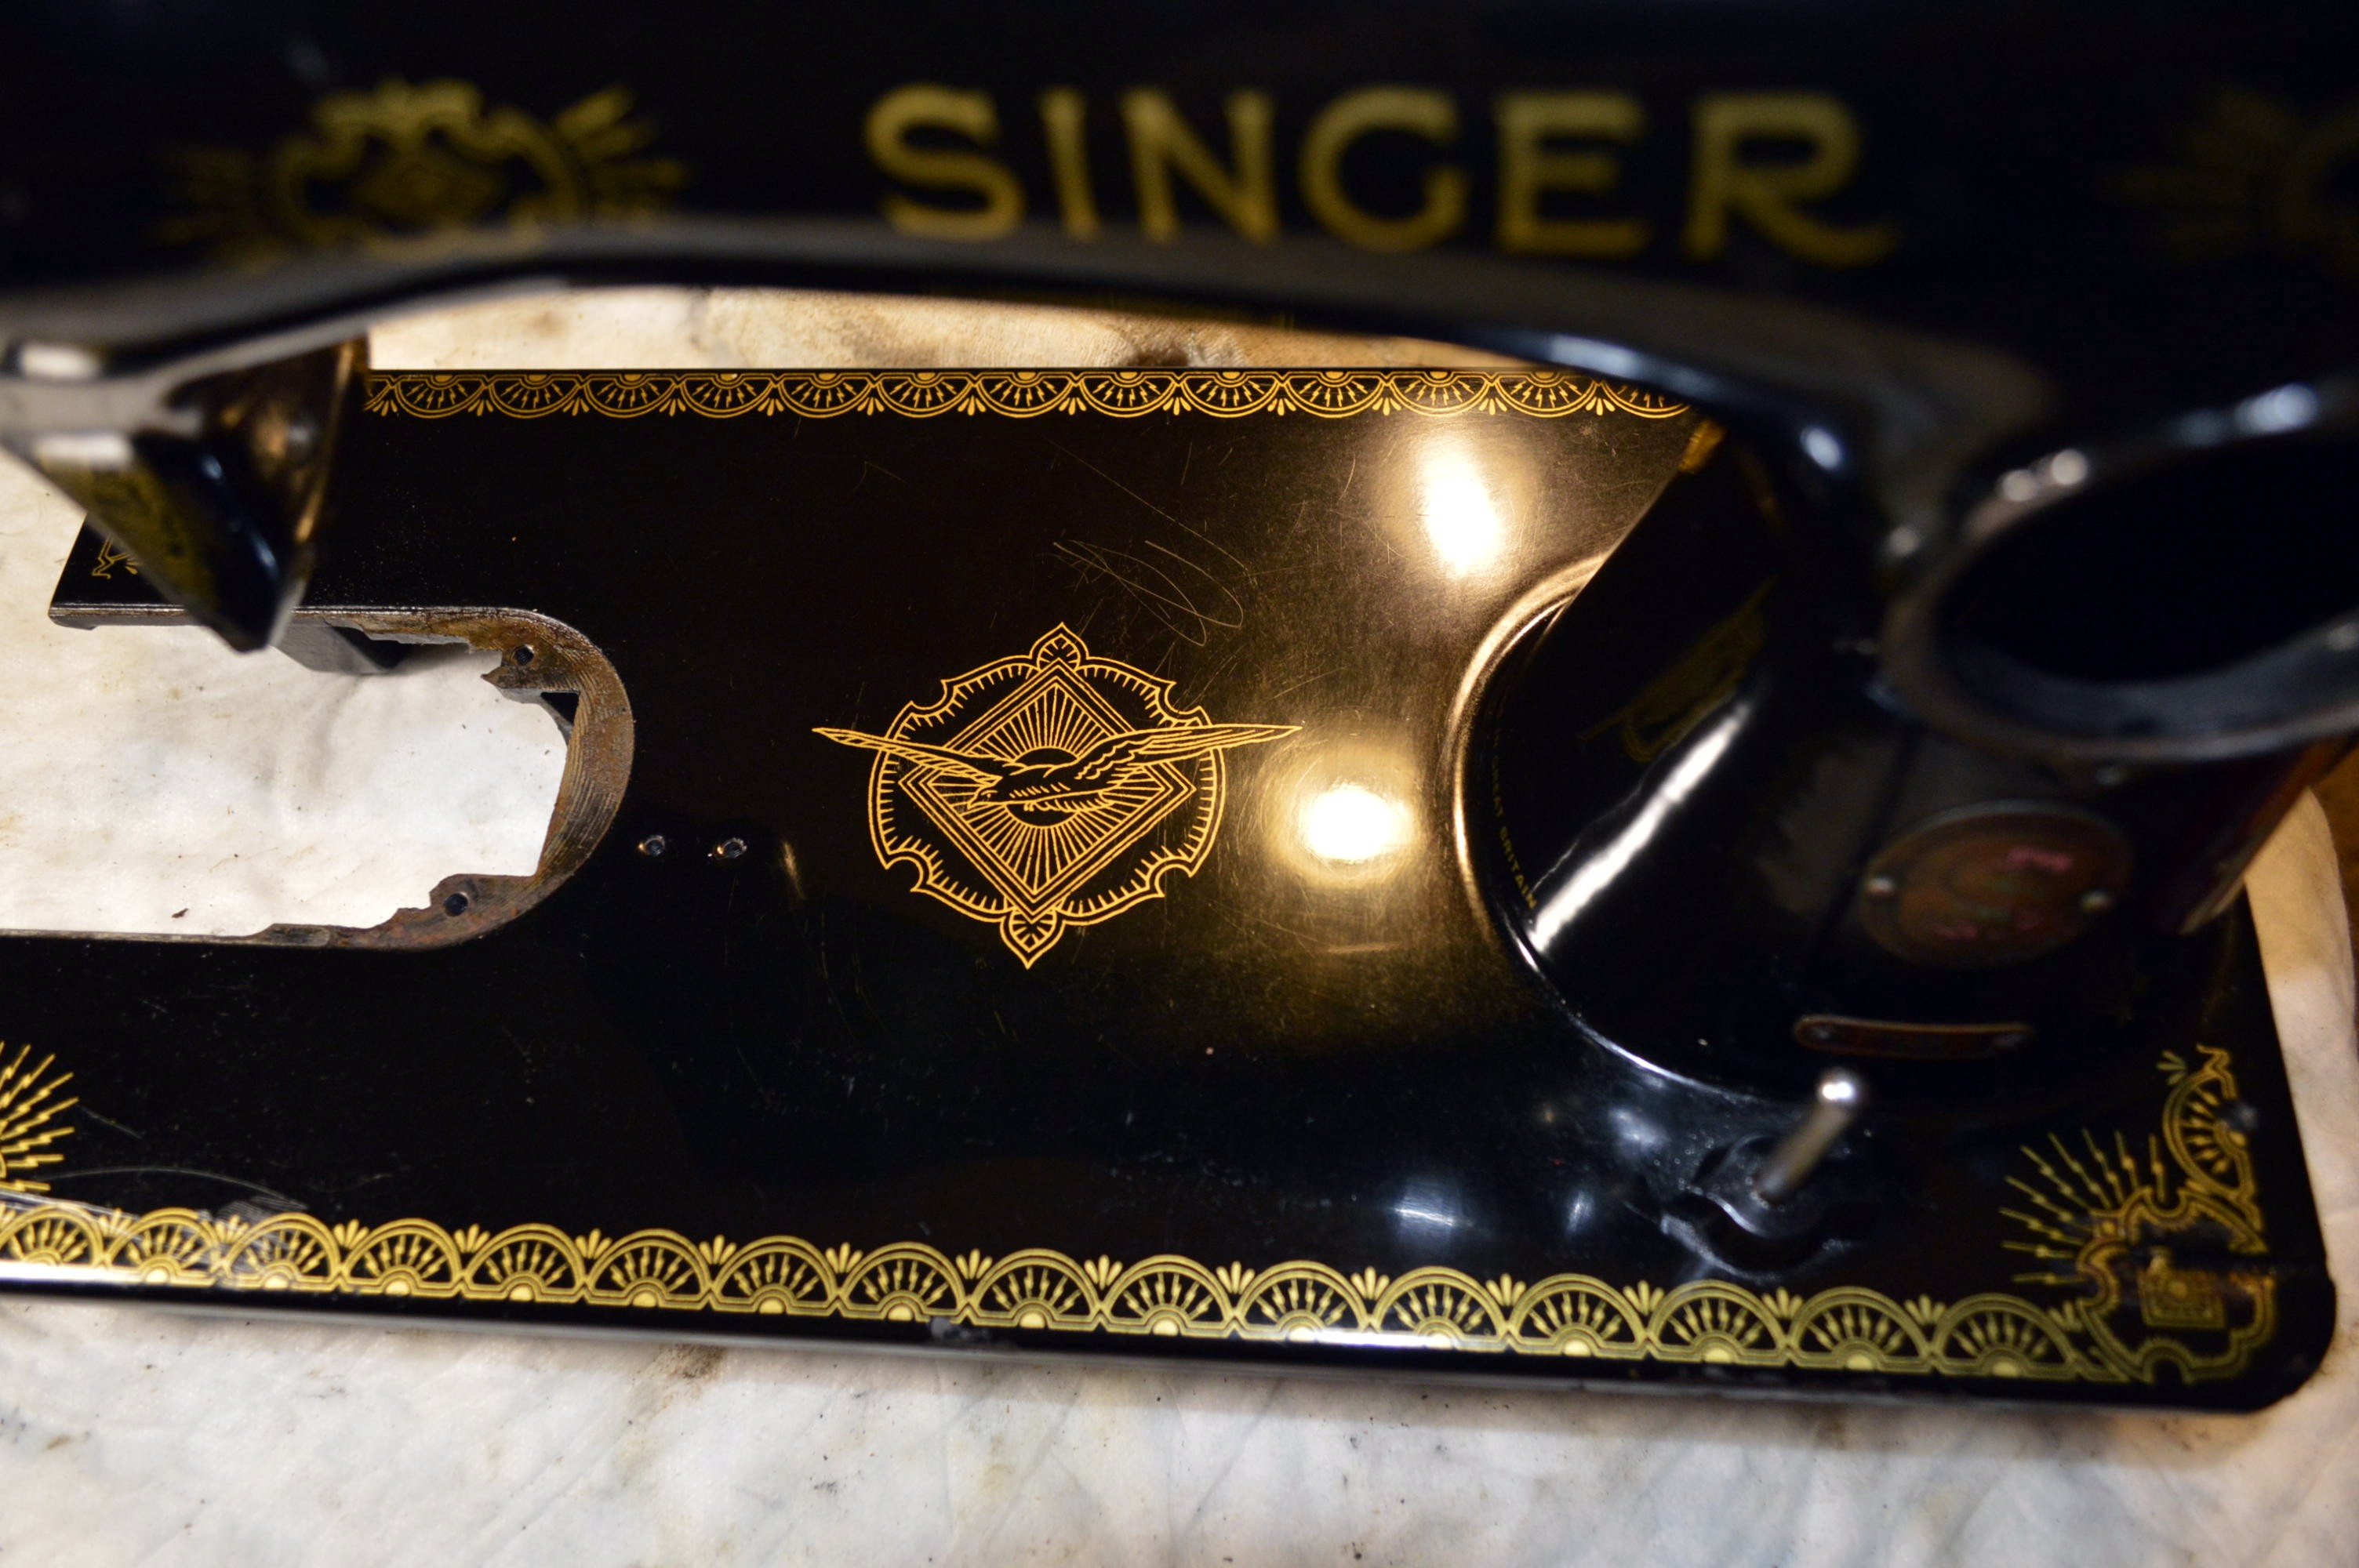
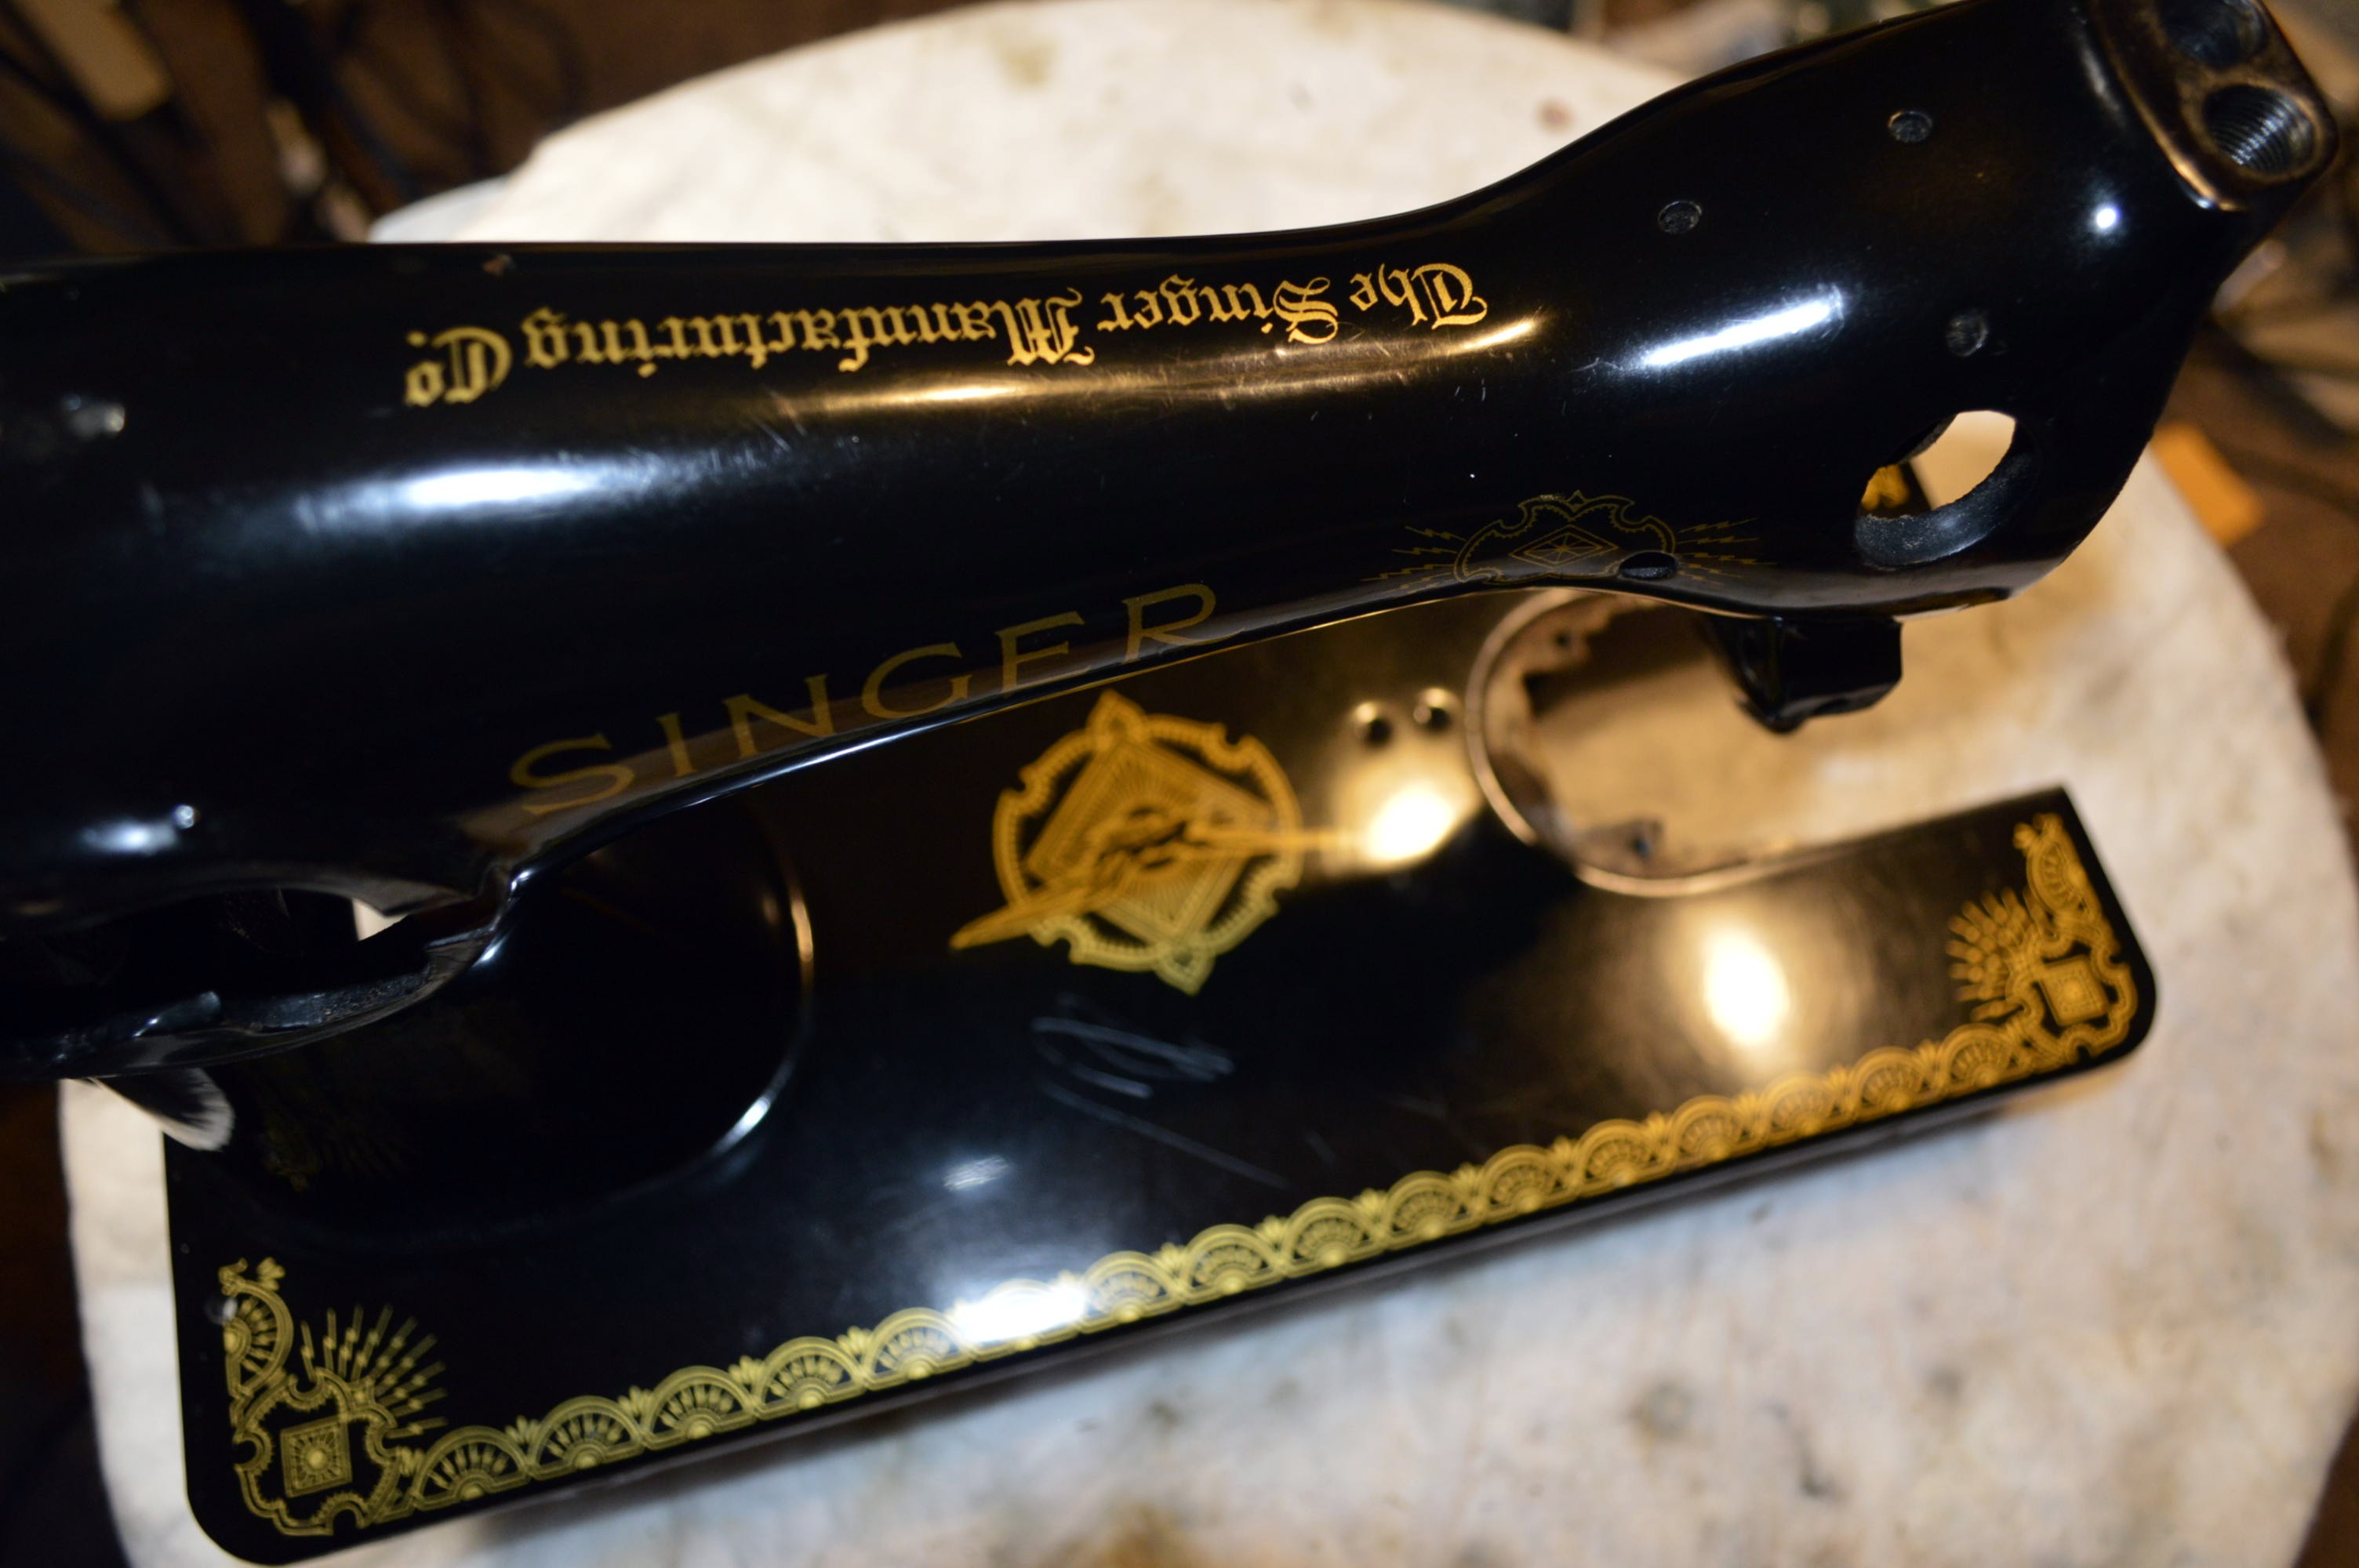
About the machine… Singer began production of the model 15 in the early 1870’s and it was in constant production until the early 1960’s. Essentially it remained the same machine with a few features added in its evolution. The last model produced was the model 15-125. Many are familiar with the Singer model 15-91 because of its gear drive and potted motor, but they were manufactured in different variants. This one is belt driven by an external motor. The Singer machines made in Great Britian and Scotland were designated with a “K” following the model number. This Singer model 15K-110 simply signifies that it is a model 15 made at Singer’s Kilbowie plant in Scotland, and it is the 110 series. No, it is not rare, but it does represent the first model 15 that Singer produced with the feed dog drop mechanism activated by a knob located on the sewing bed, adjacent to the sewing arm pillar. This will be important later. For now, lets just focus on the process.It also has the RAF decal set (yep… Royal Air Force).
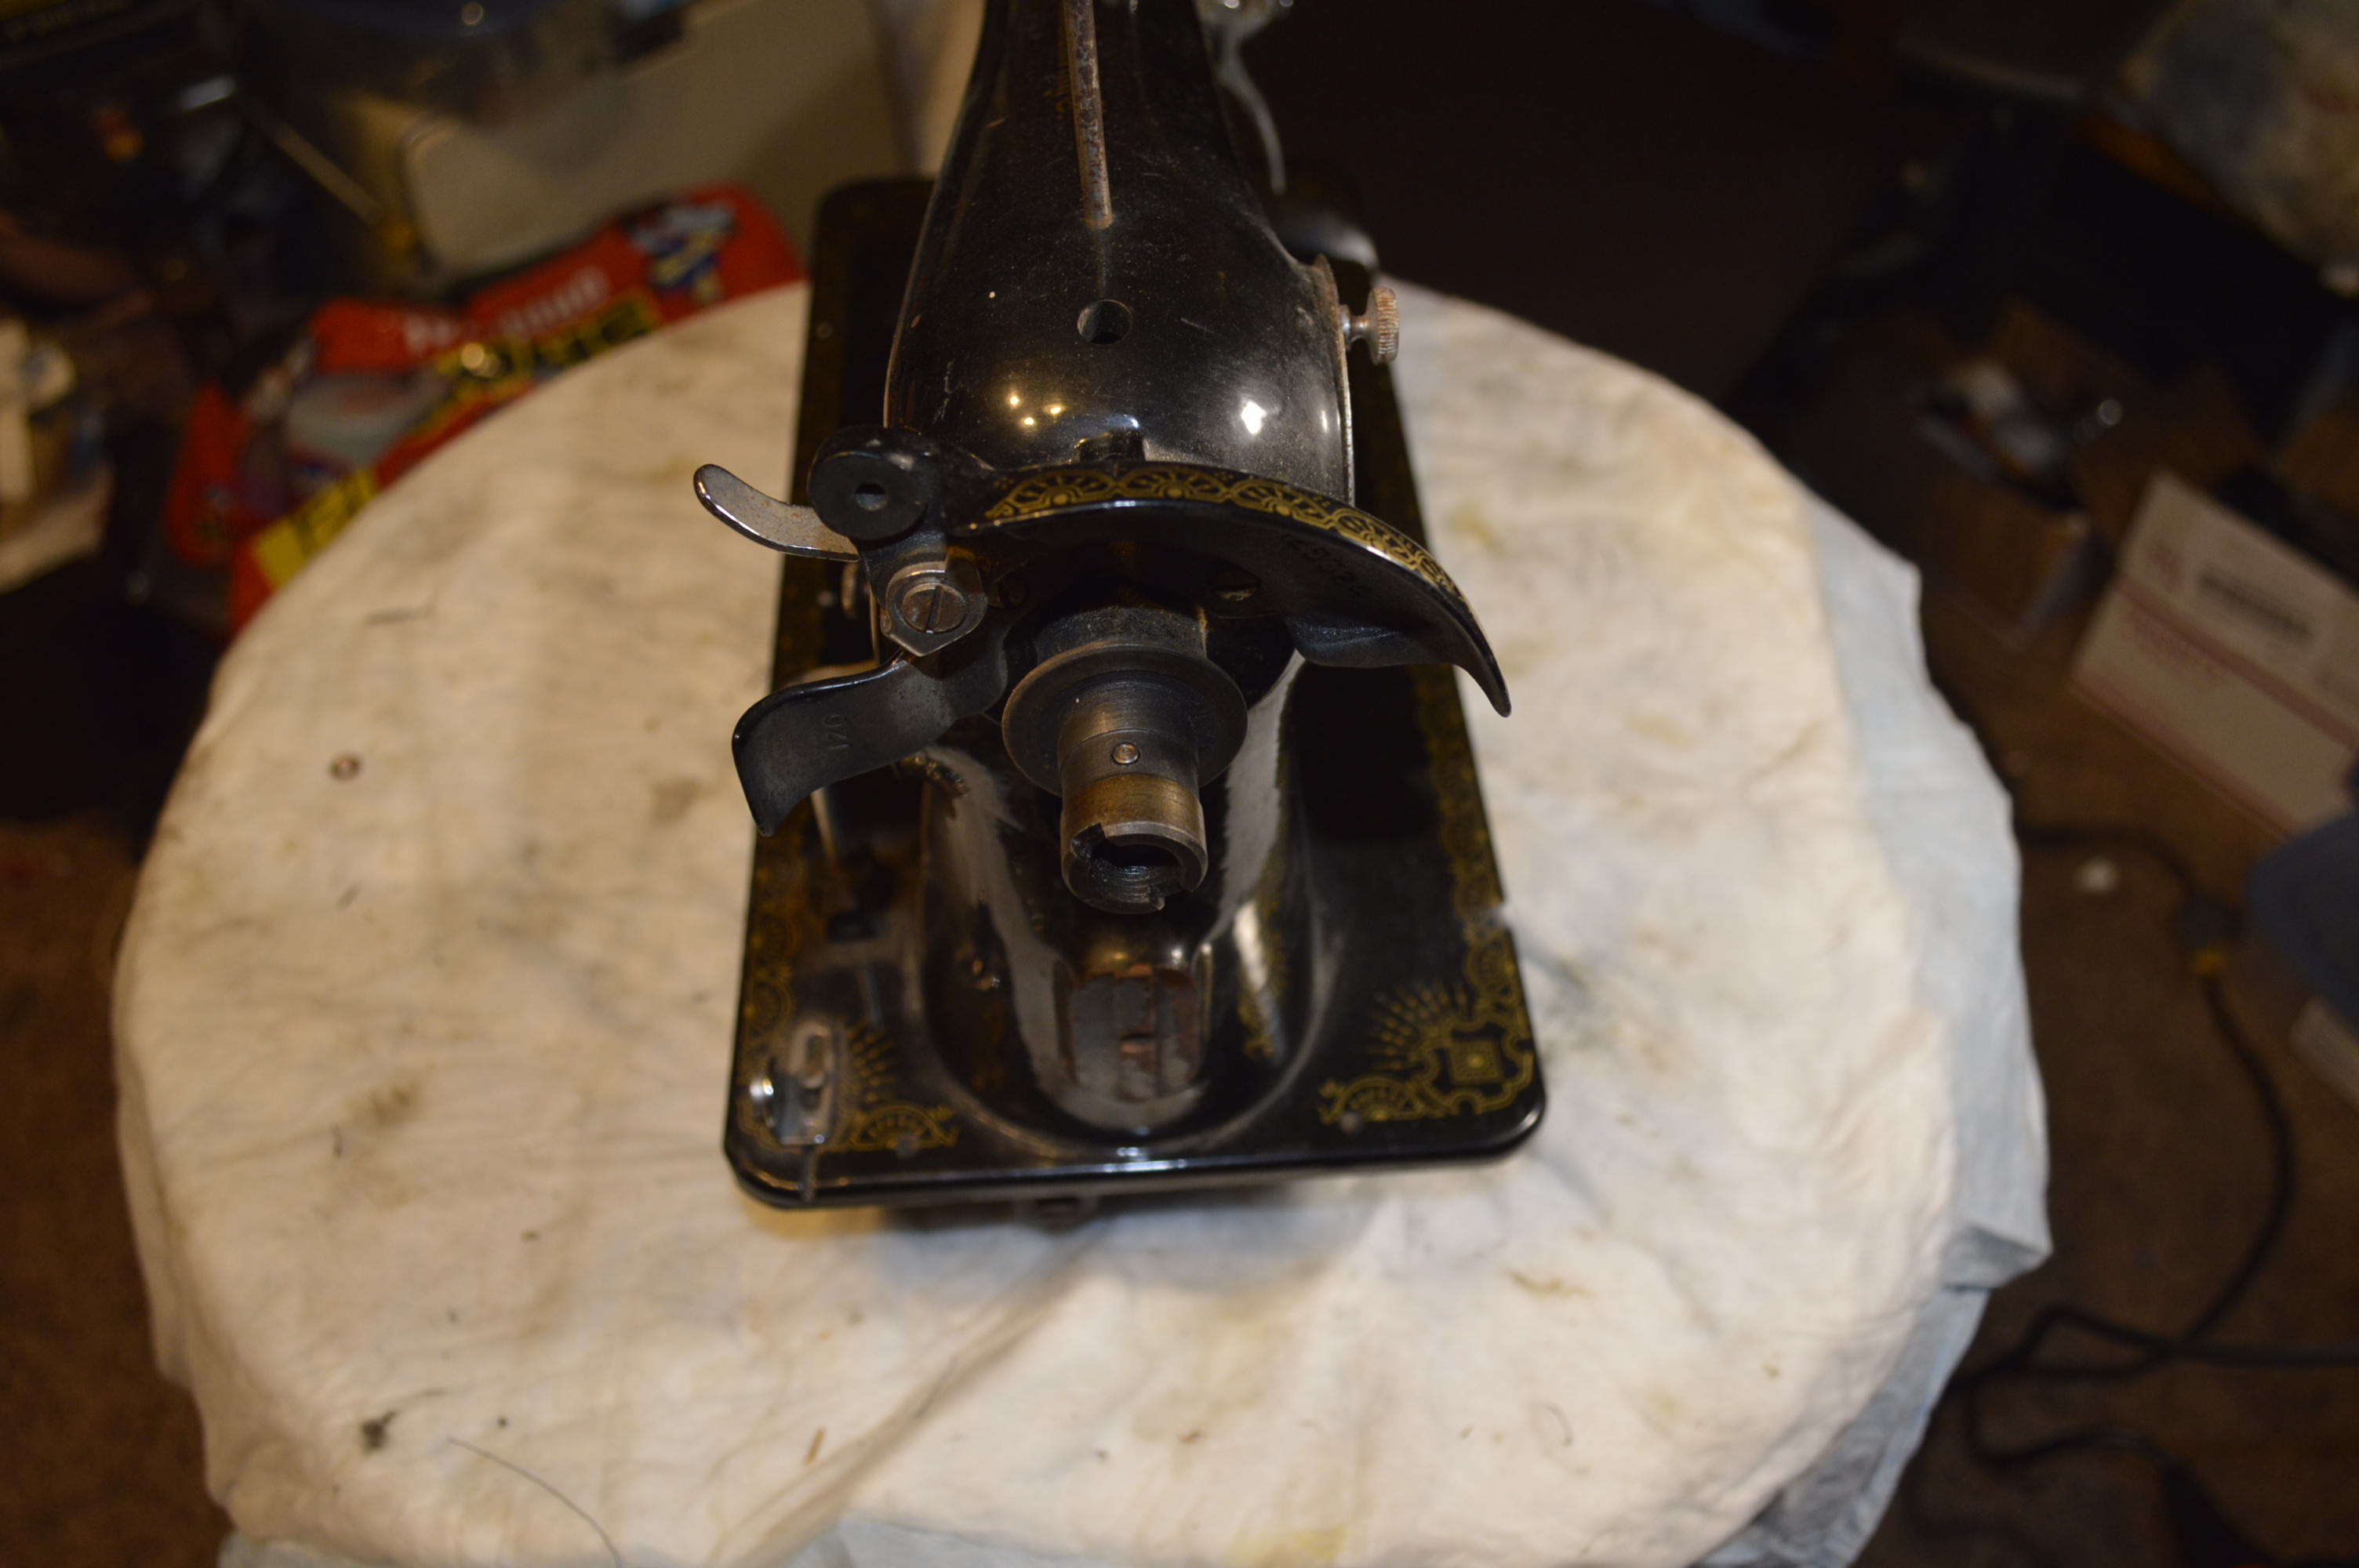
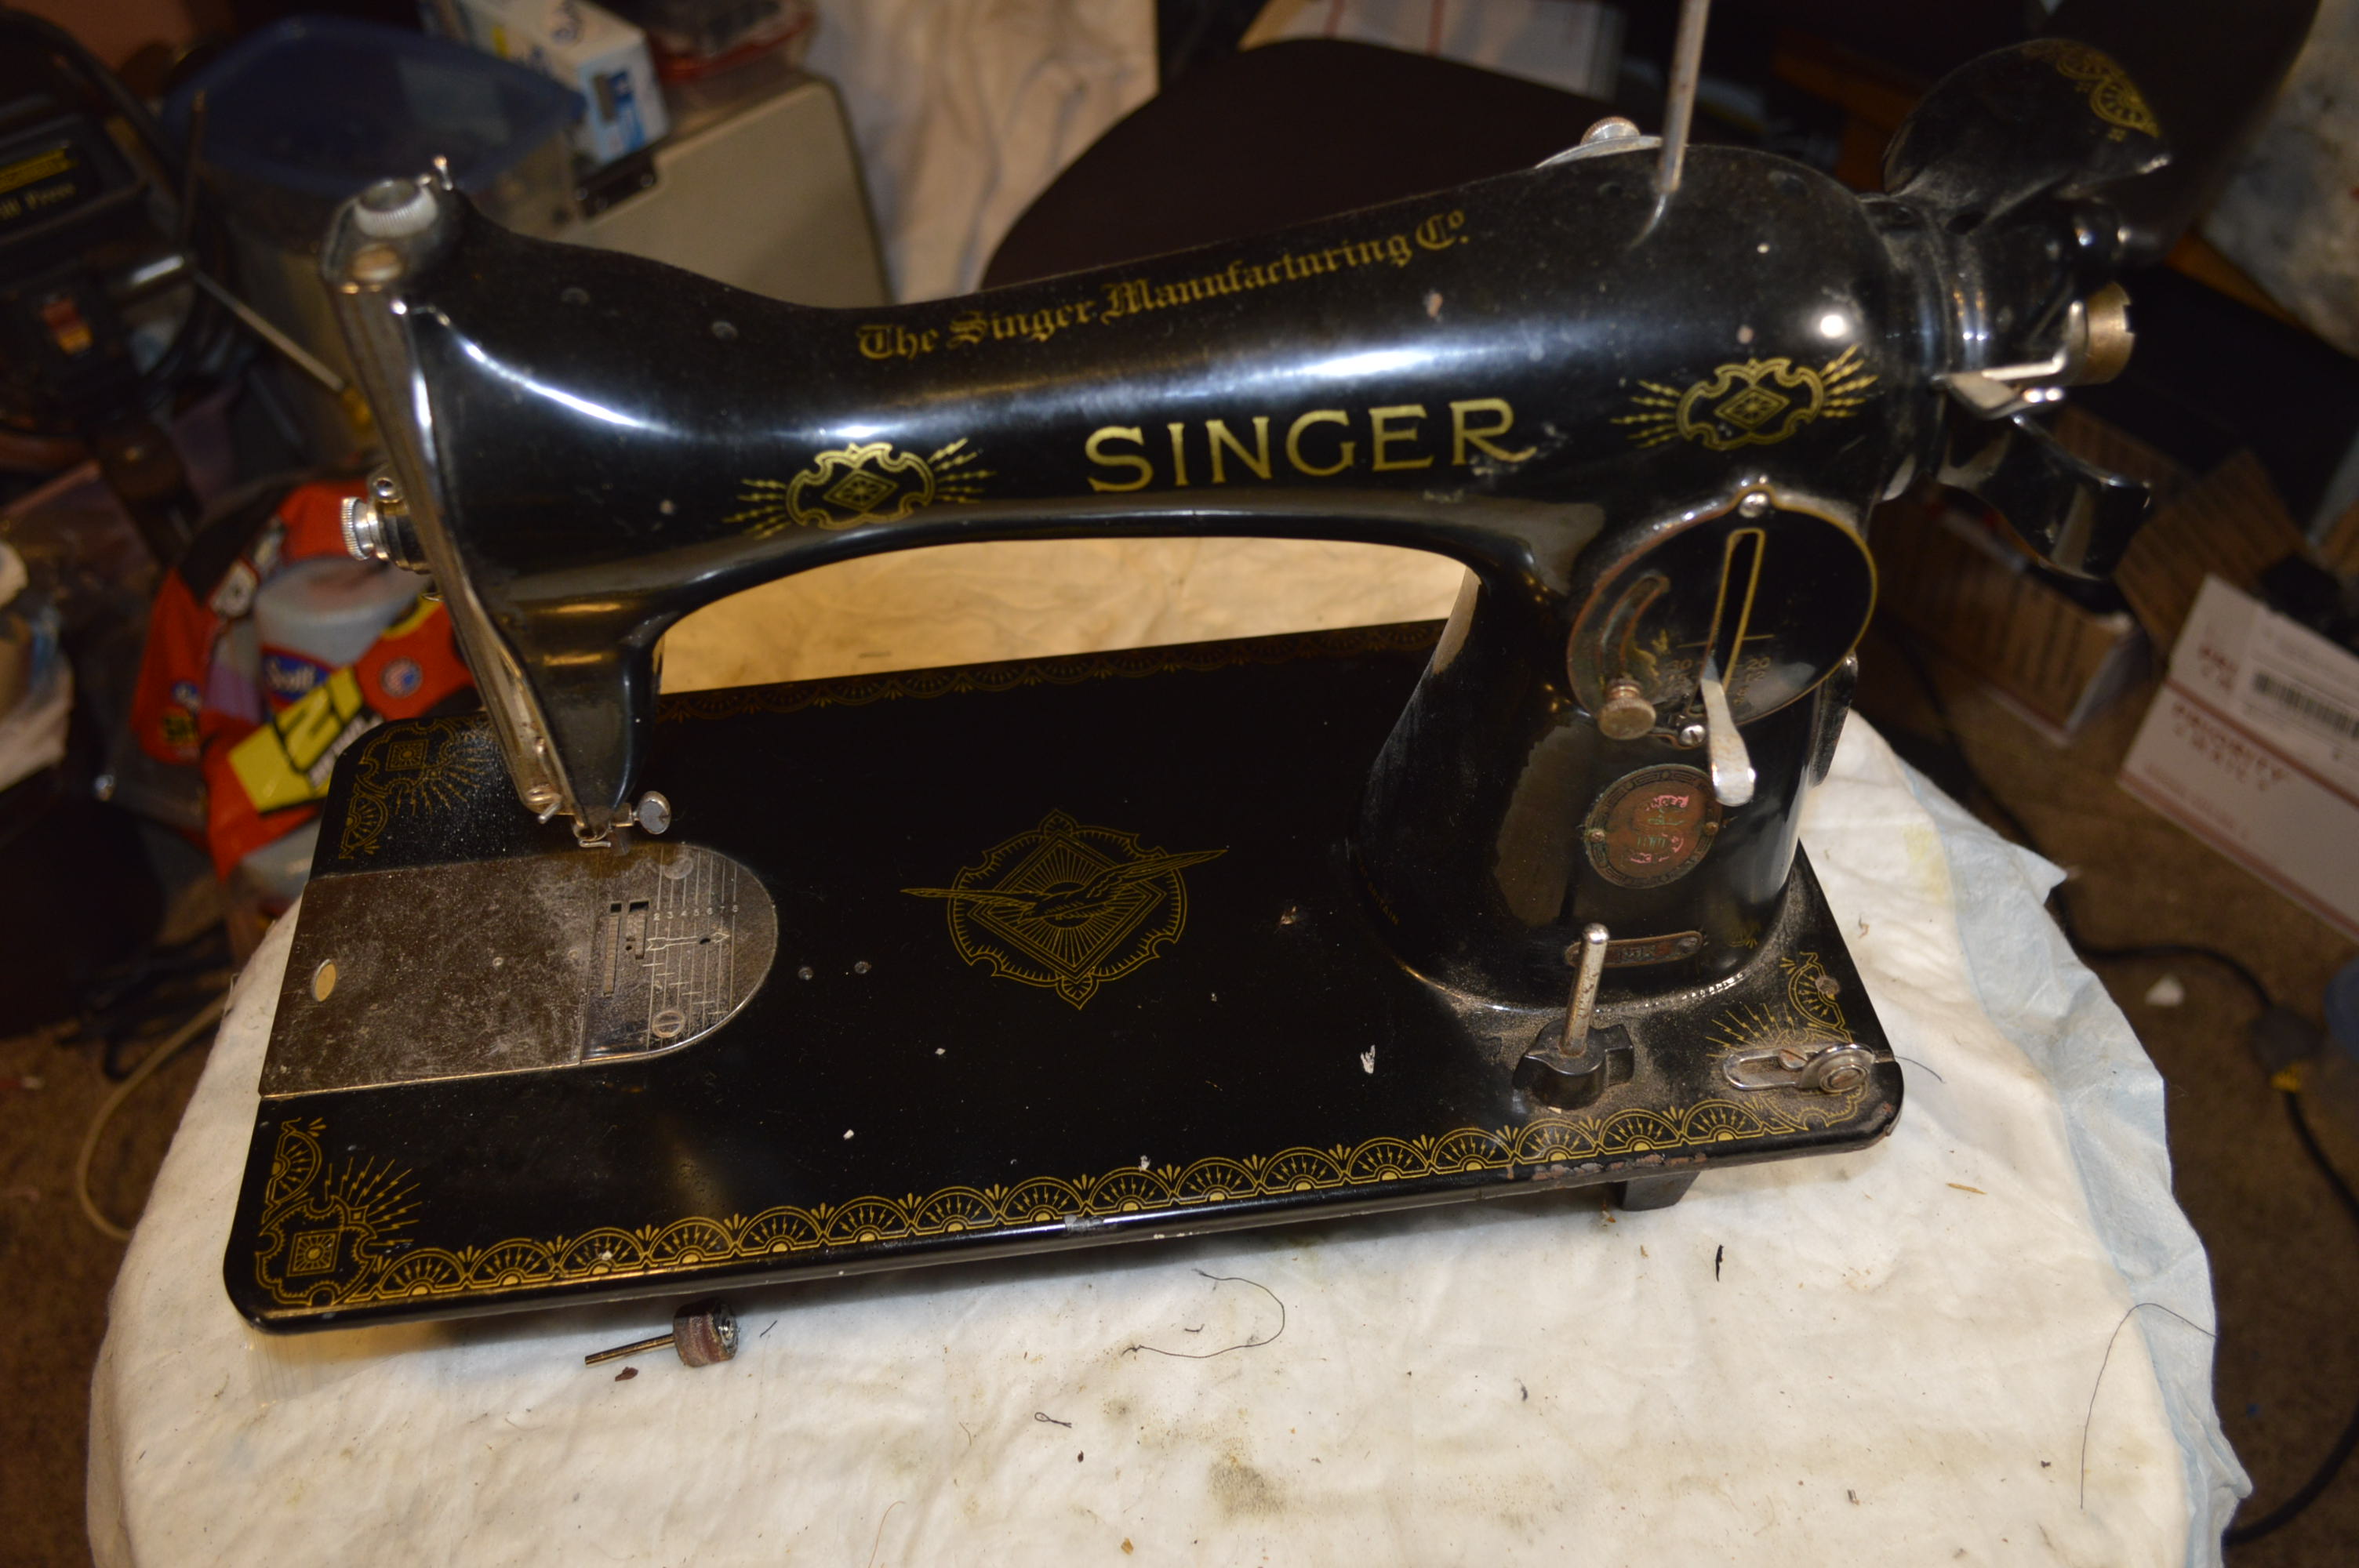
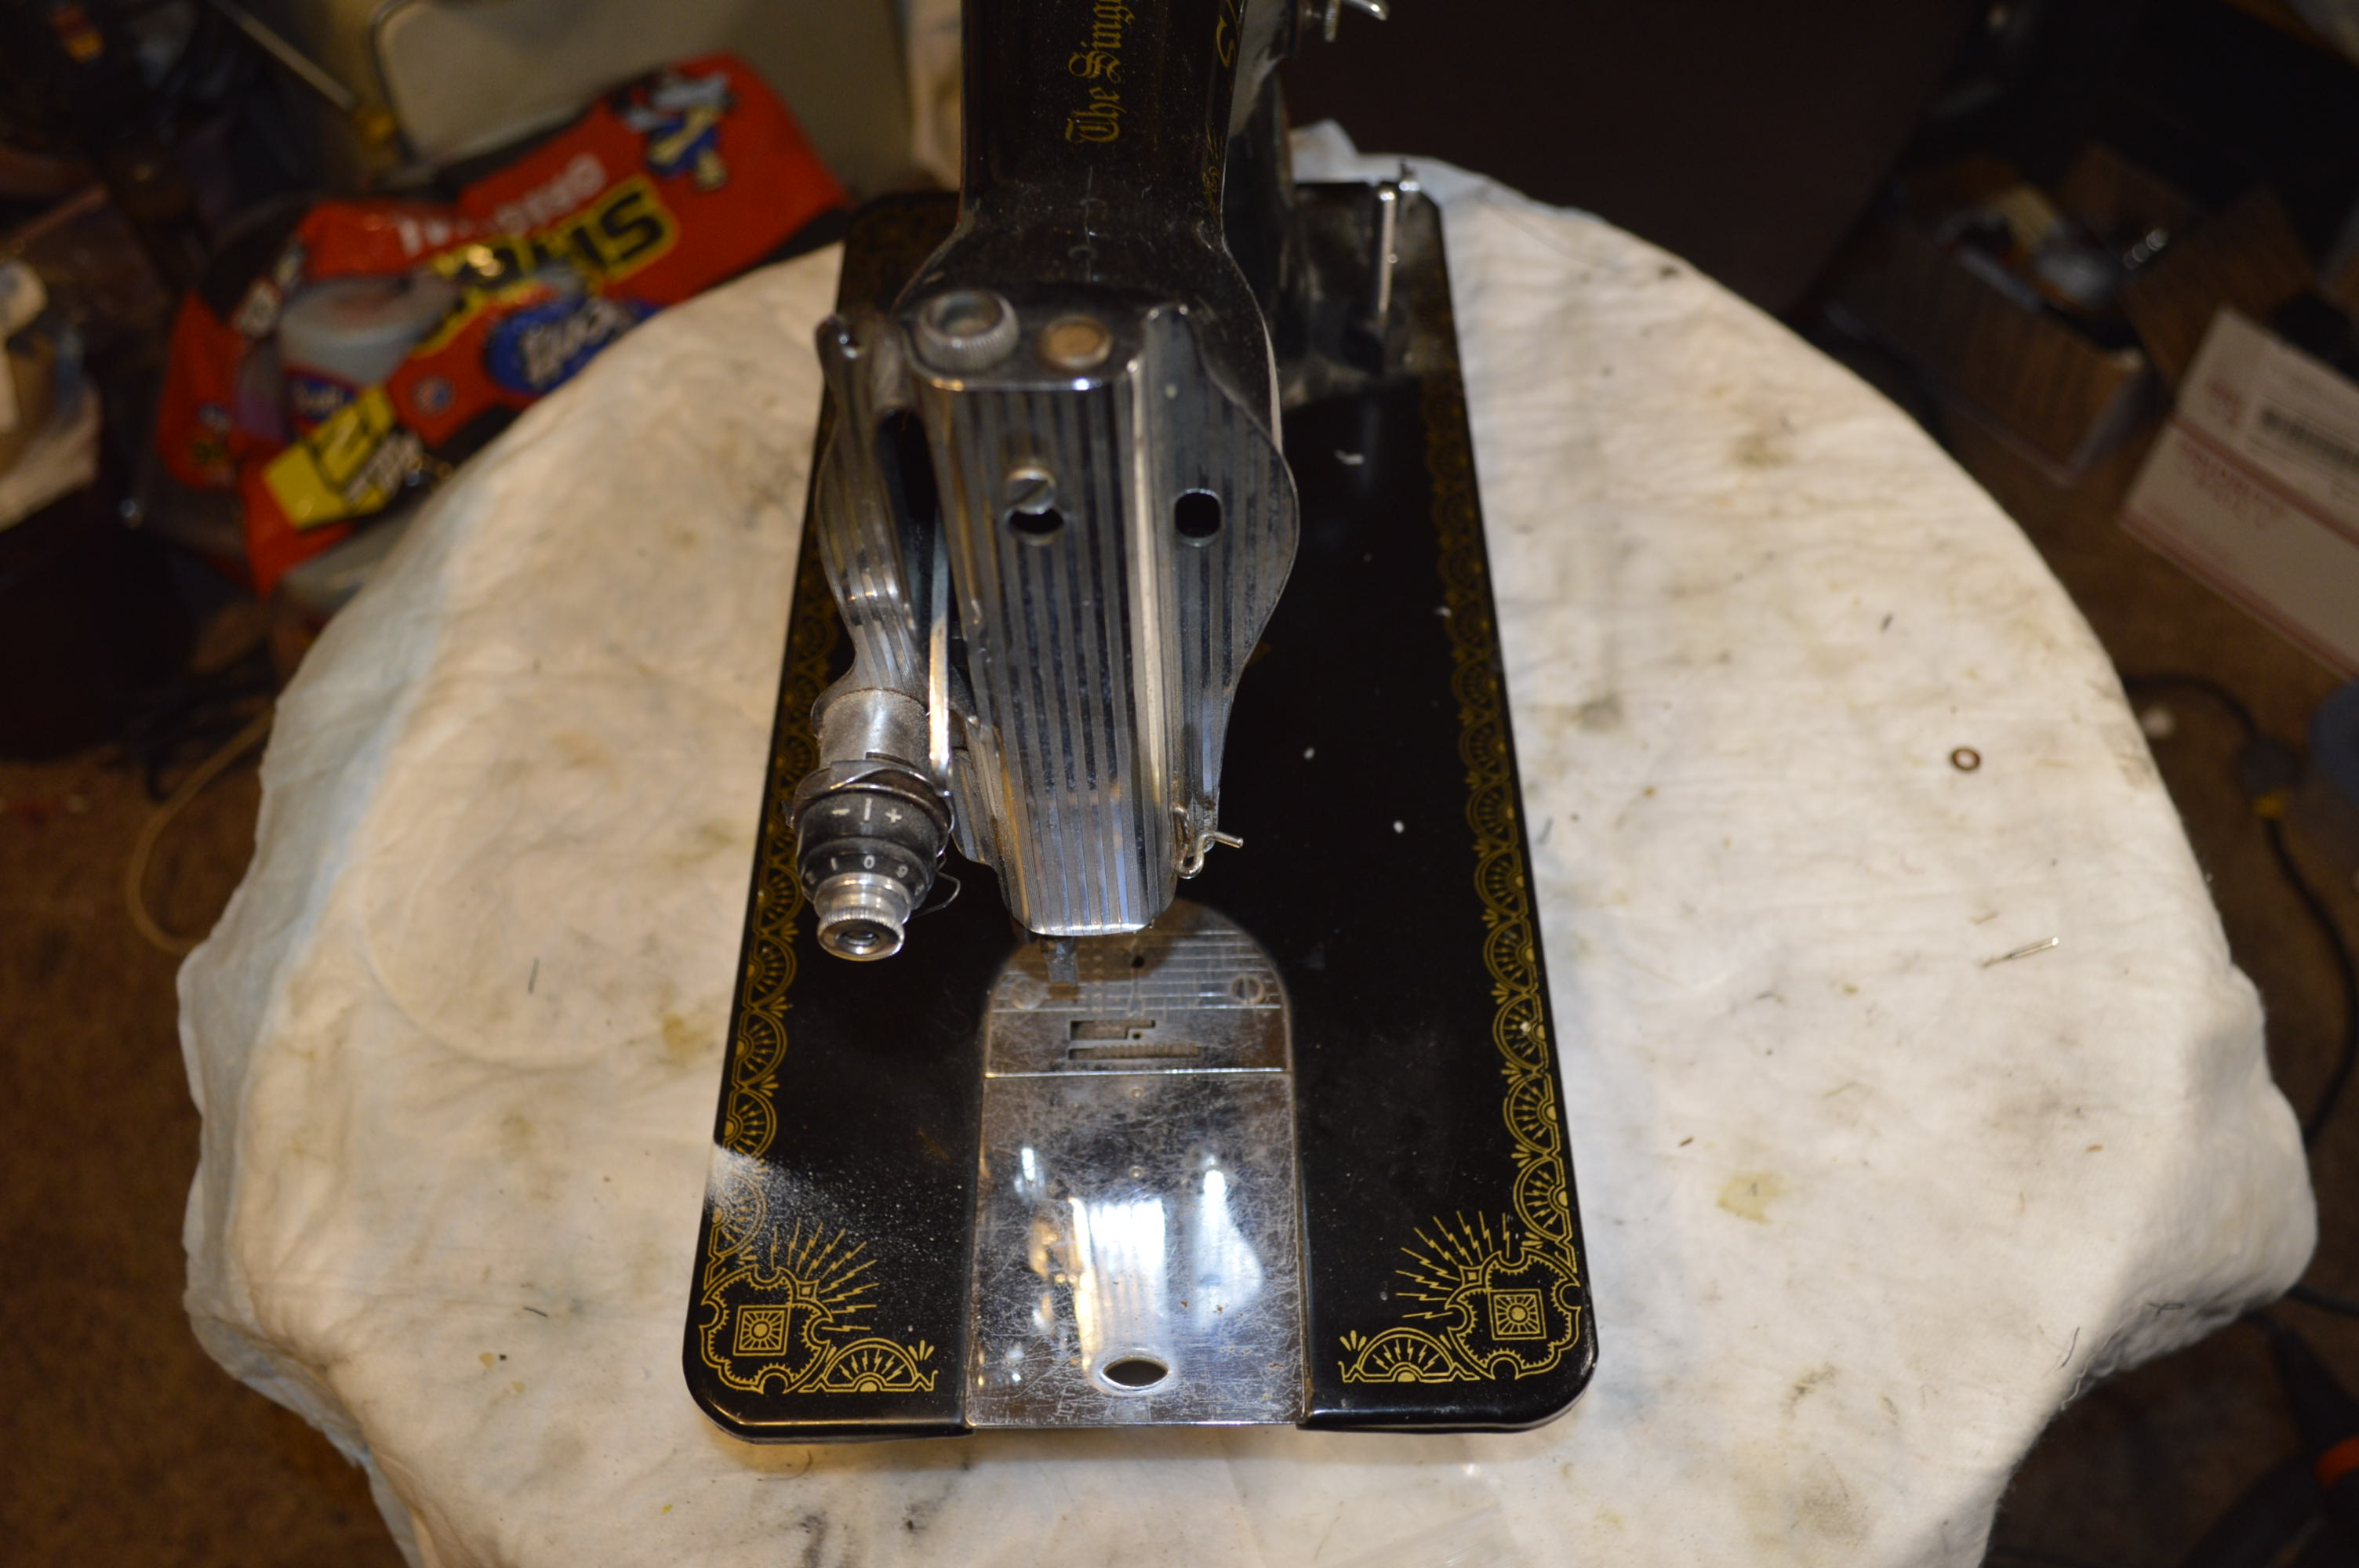
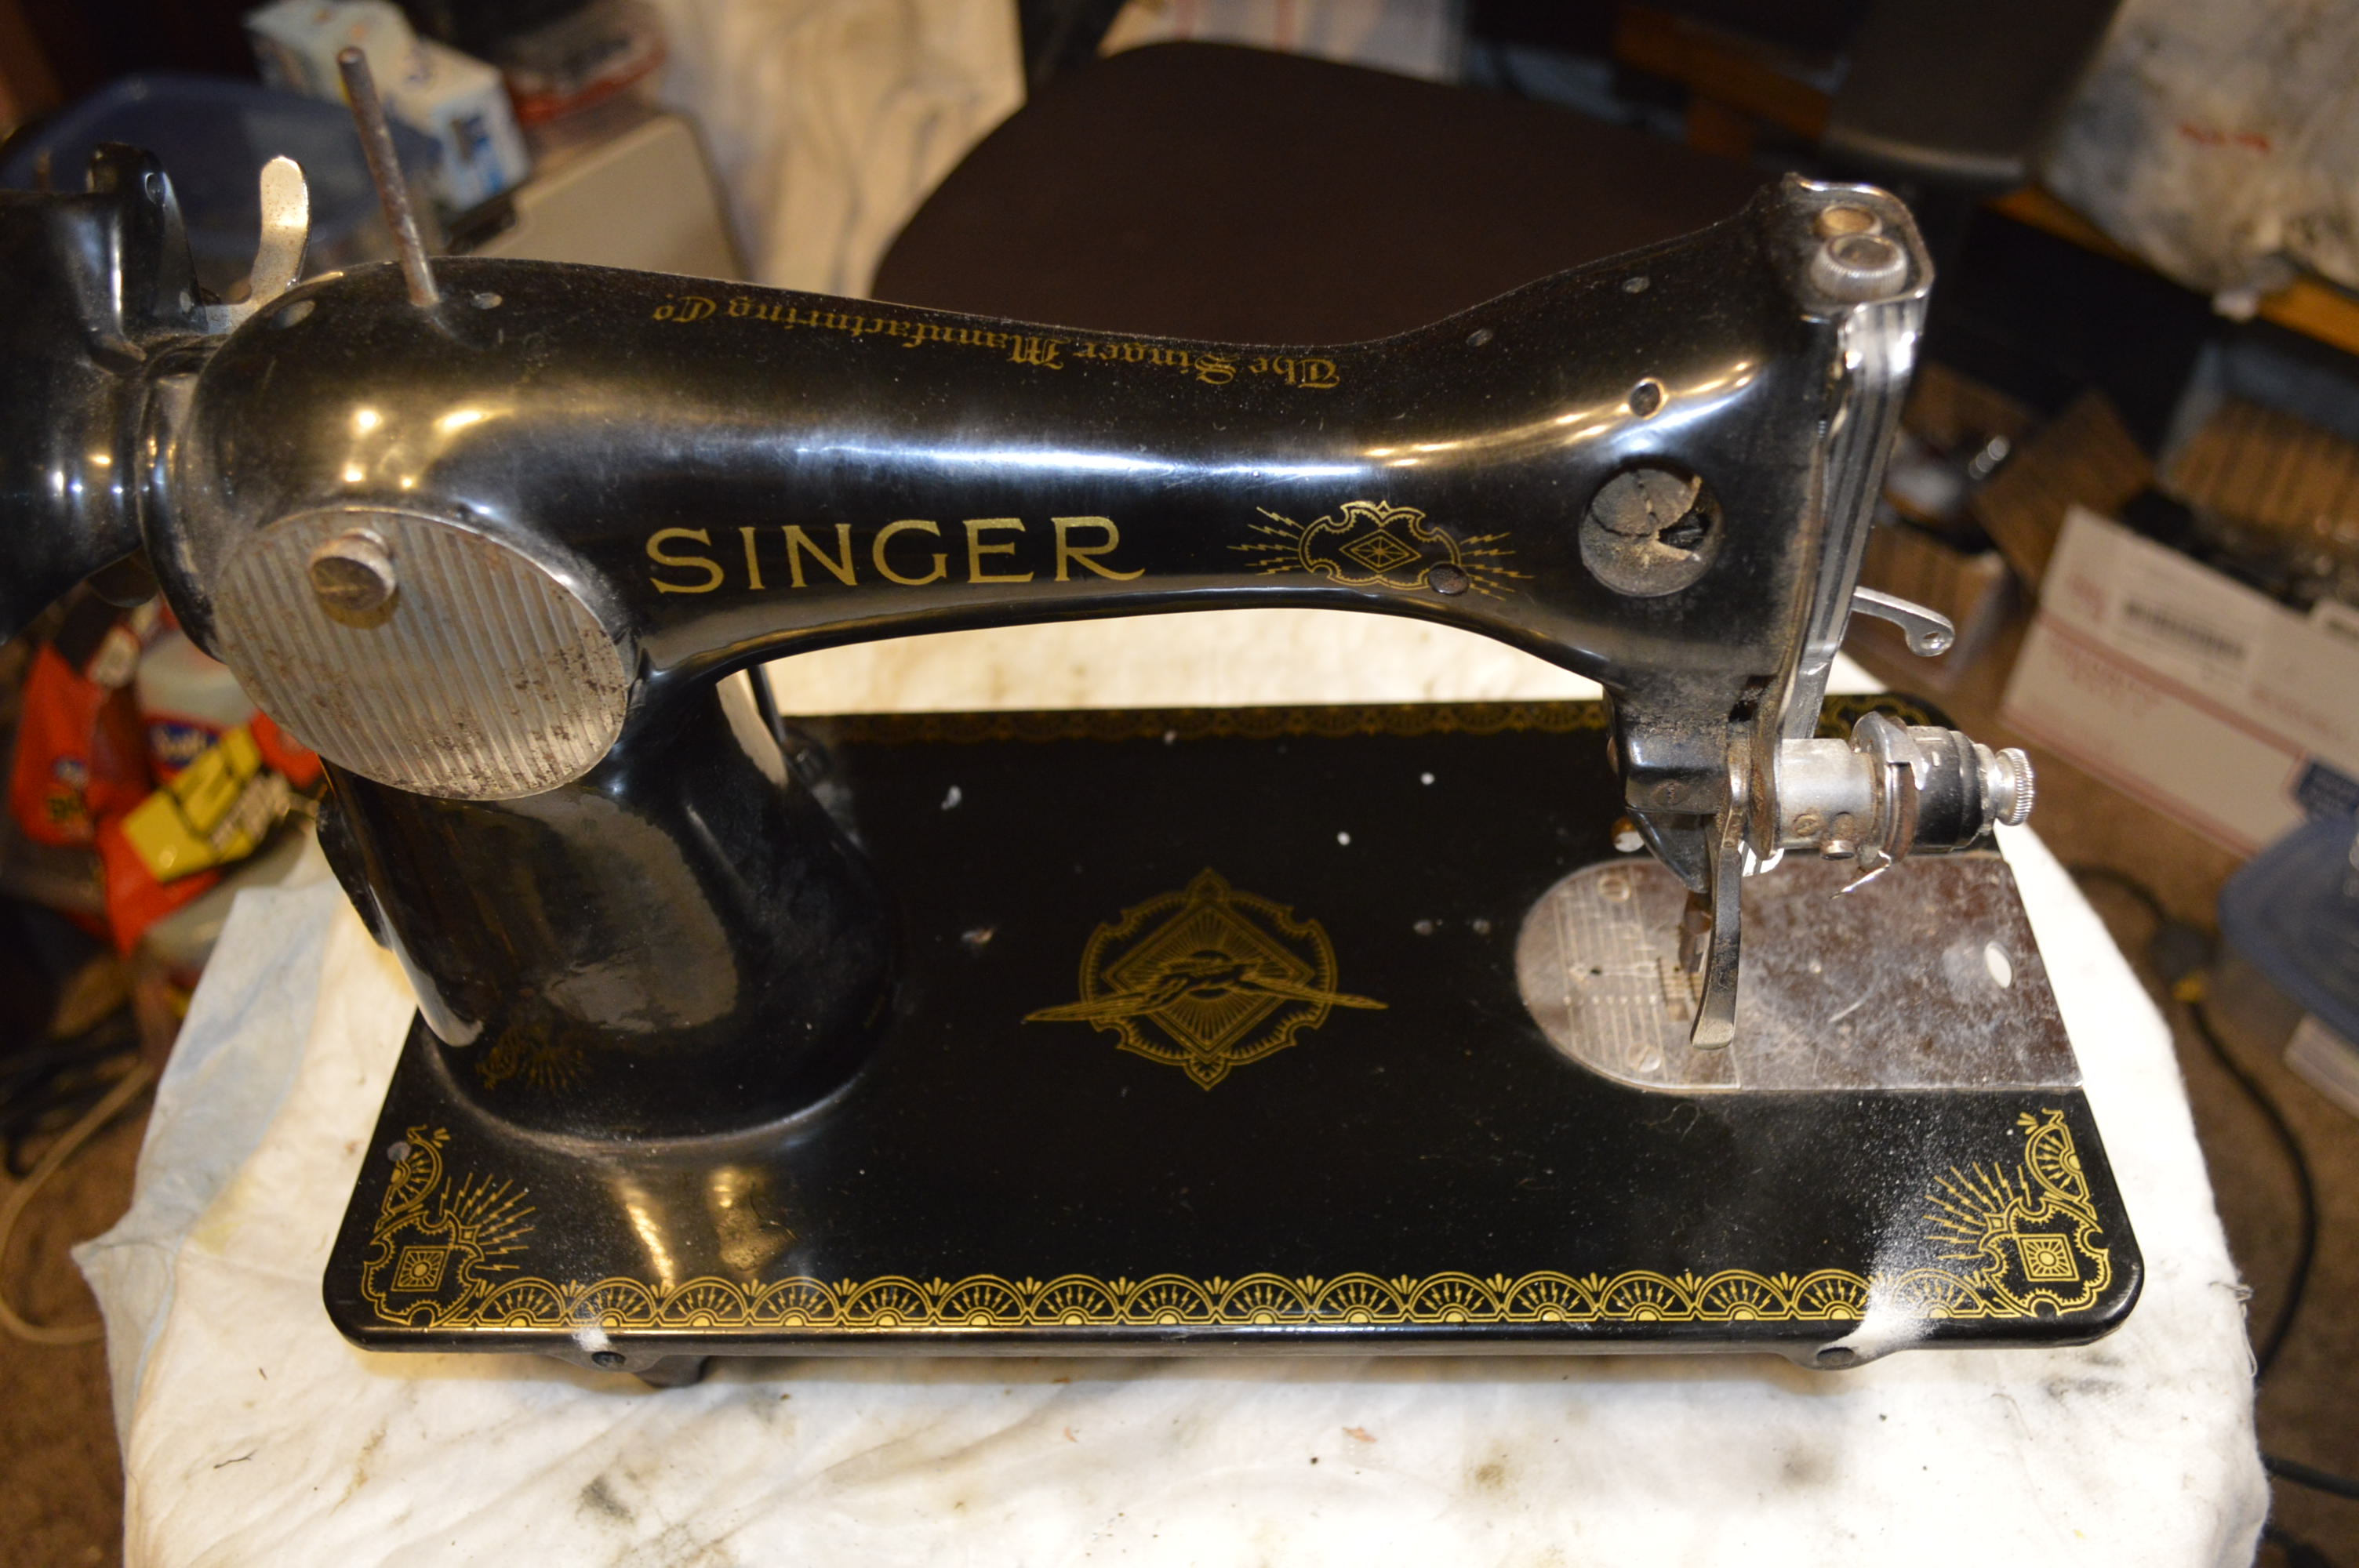
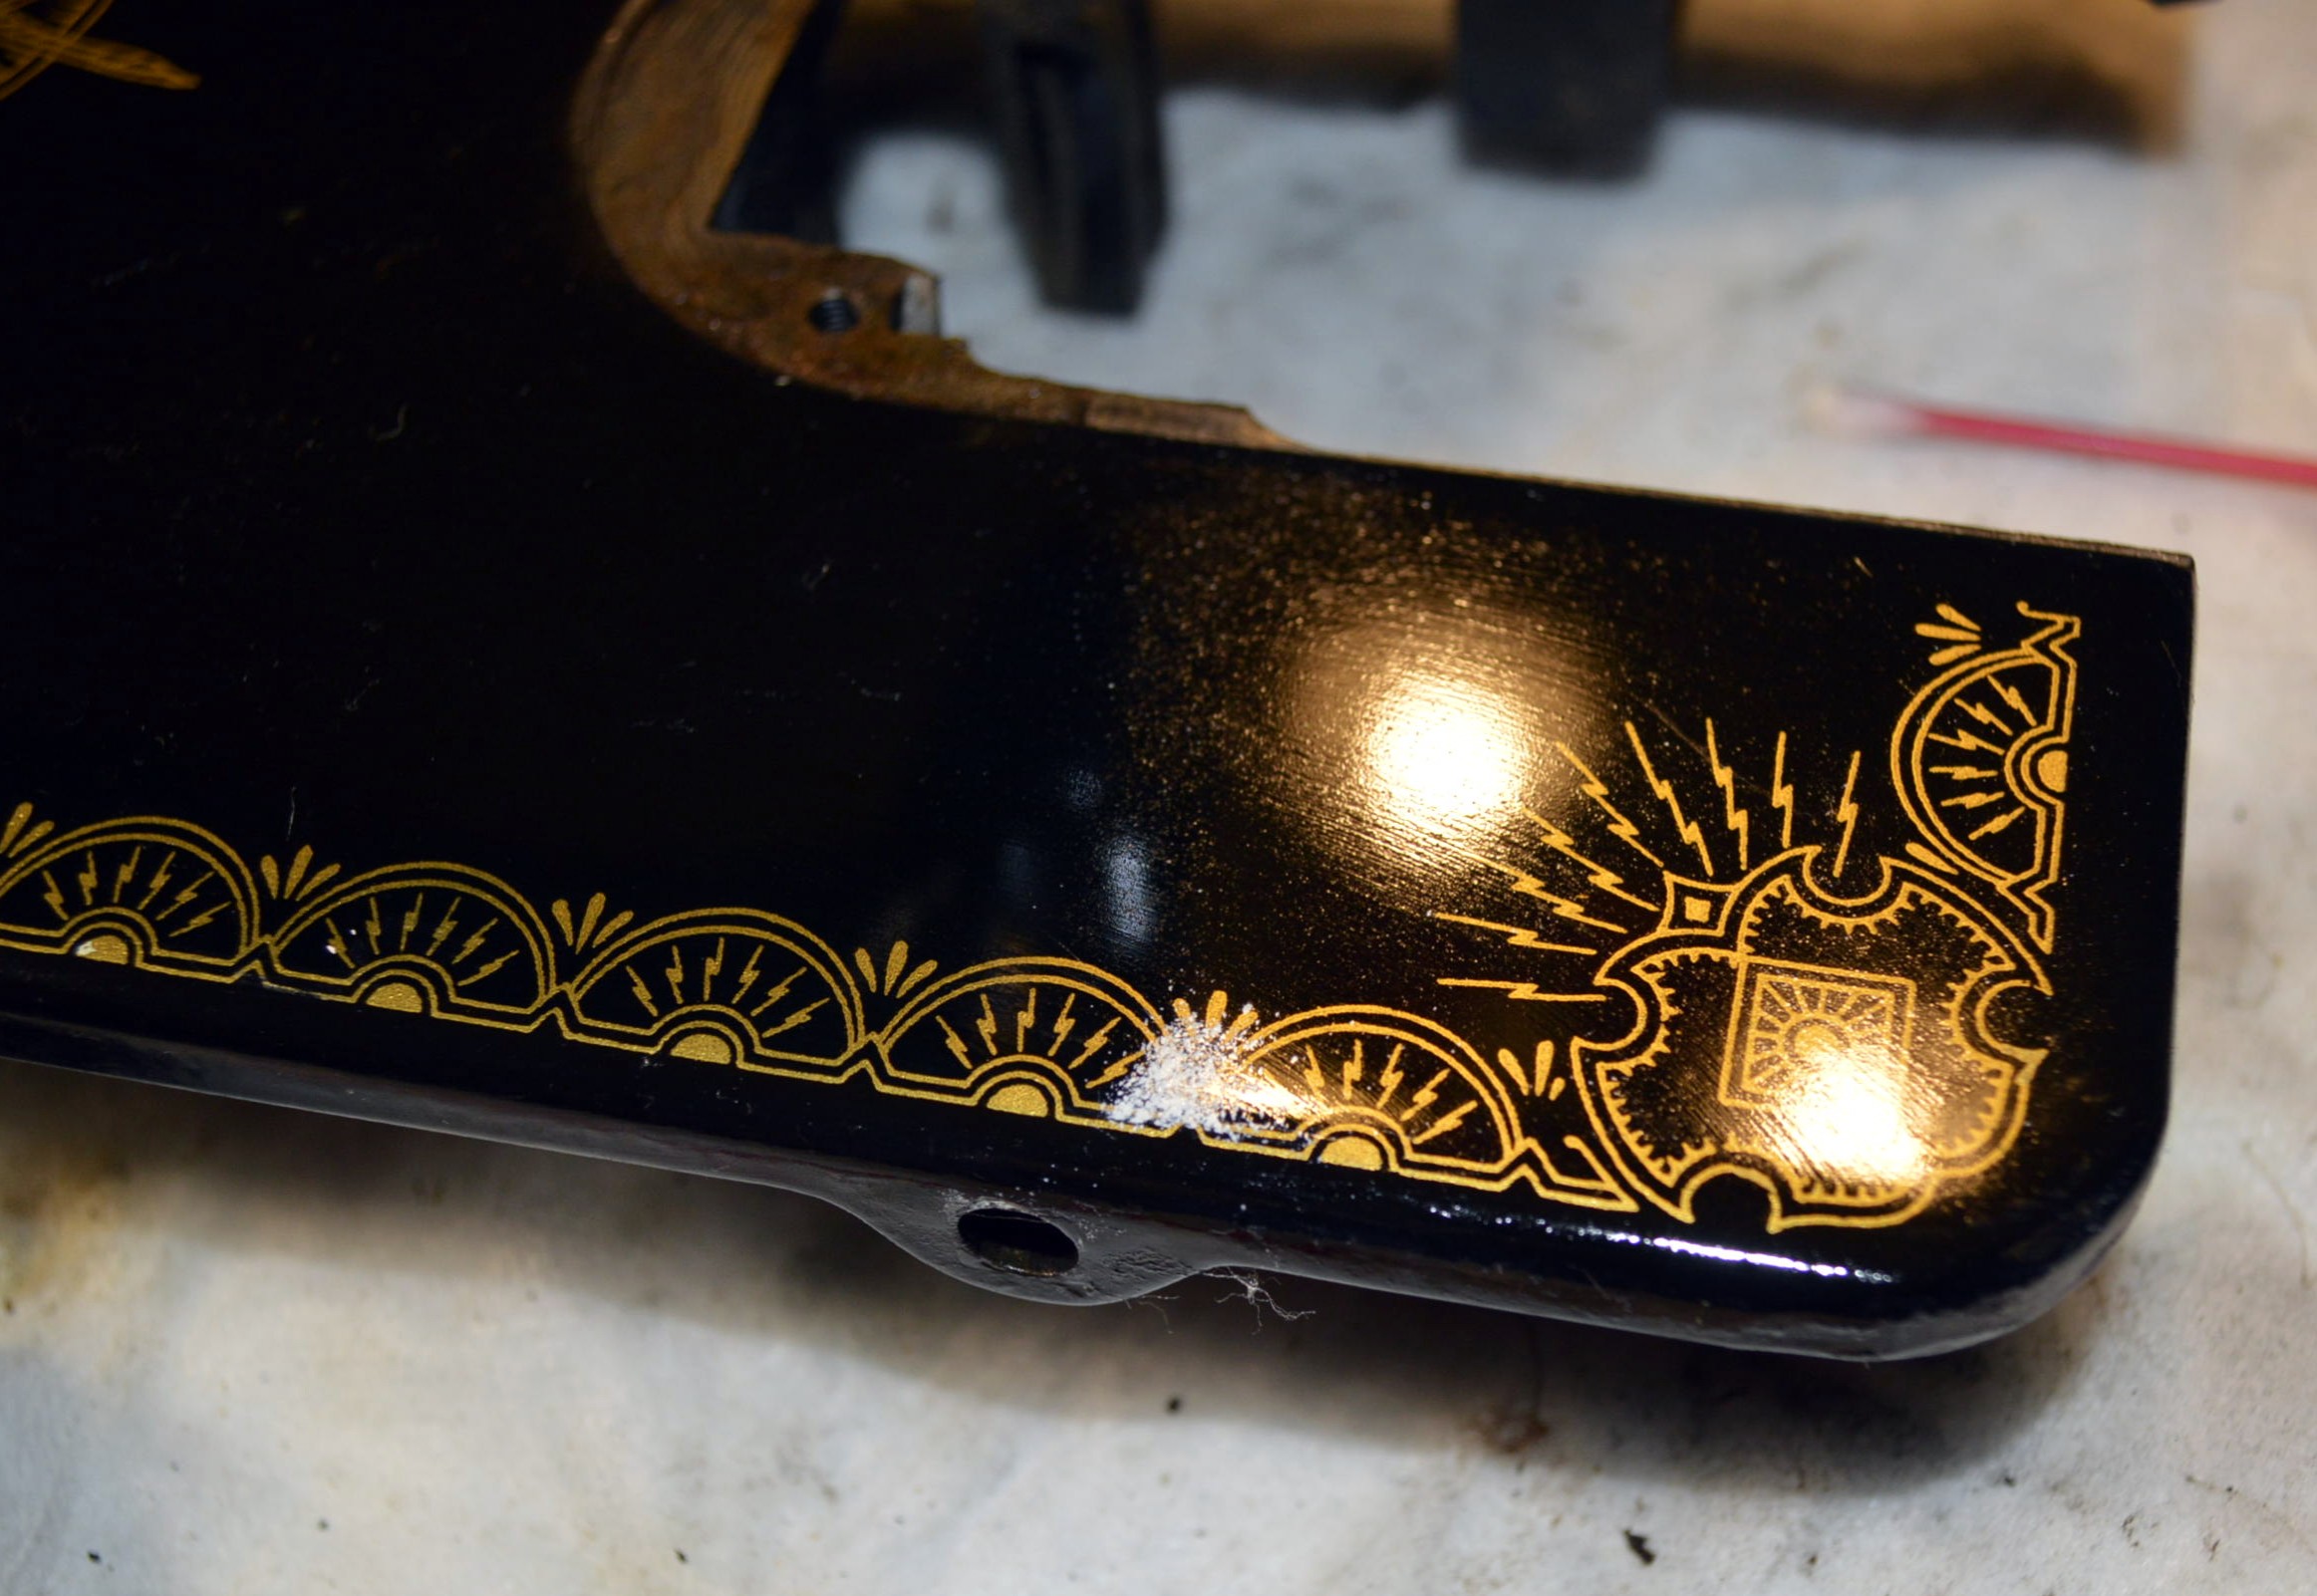
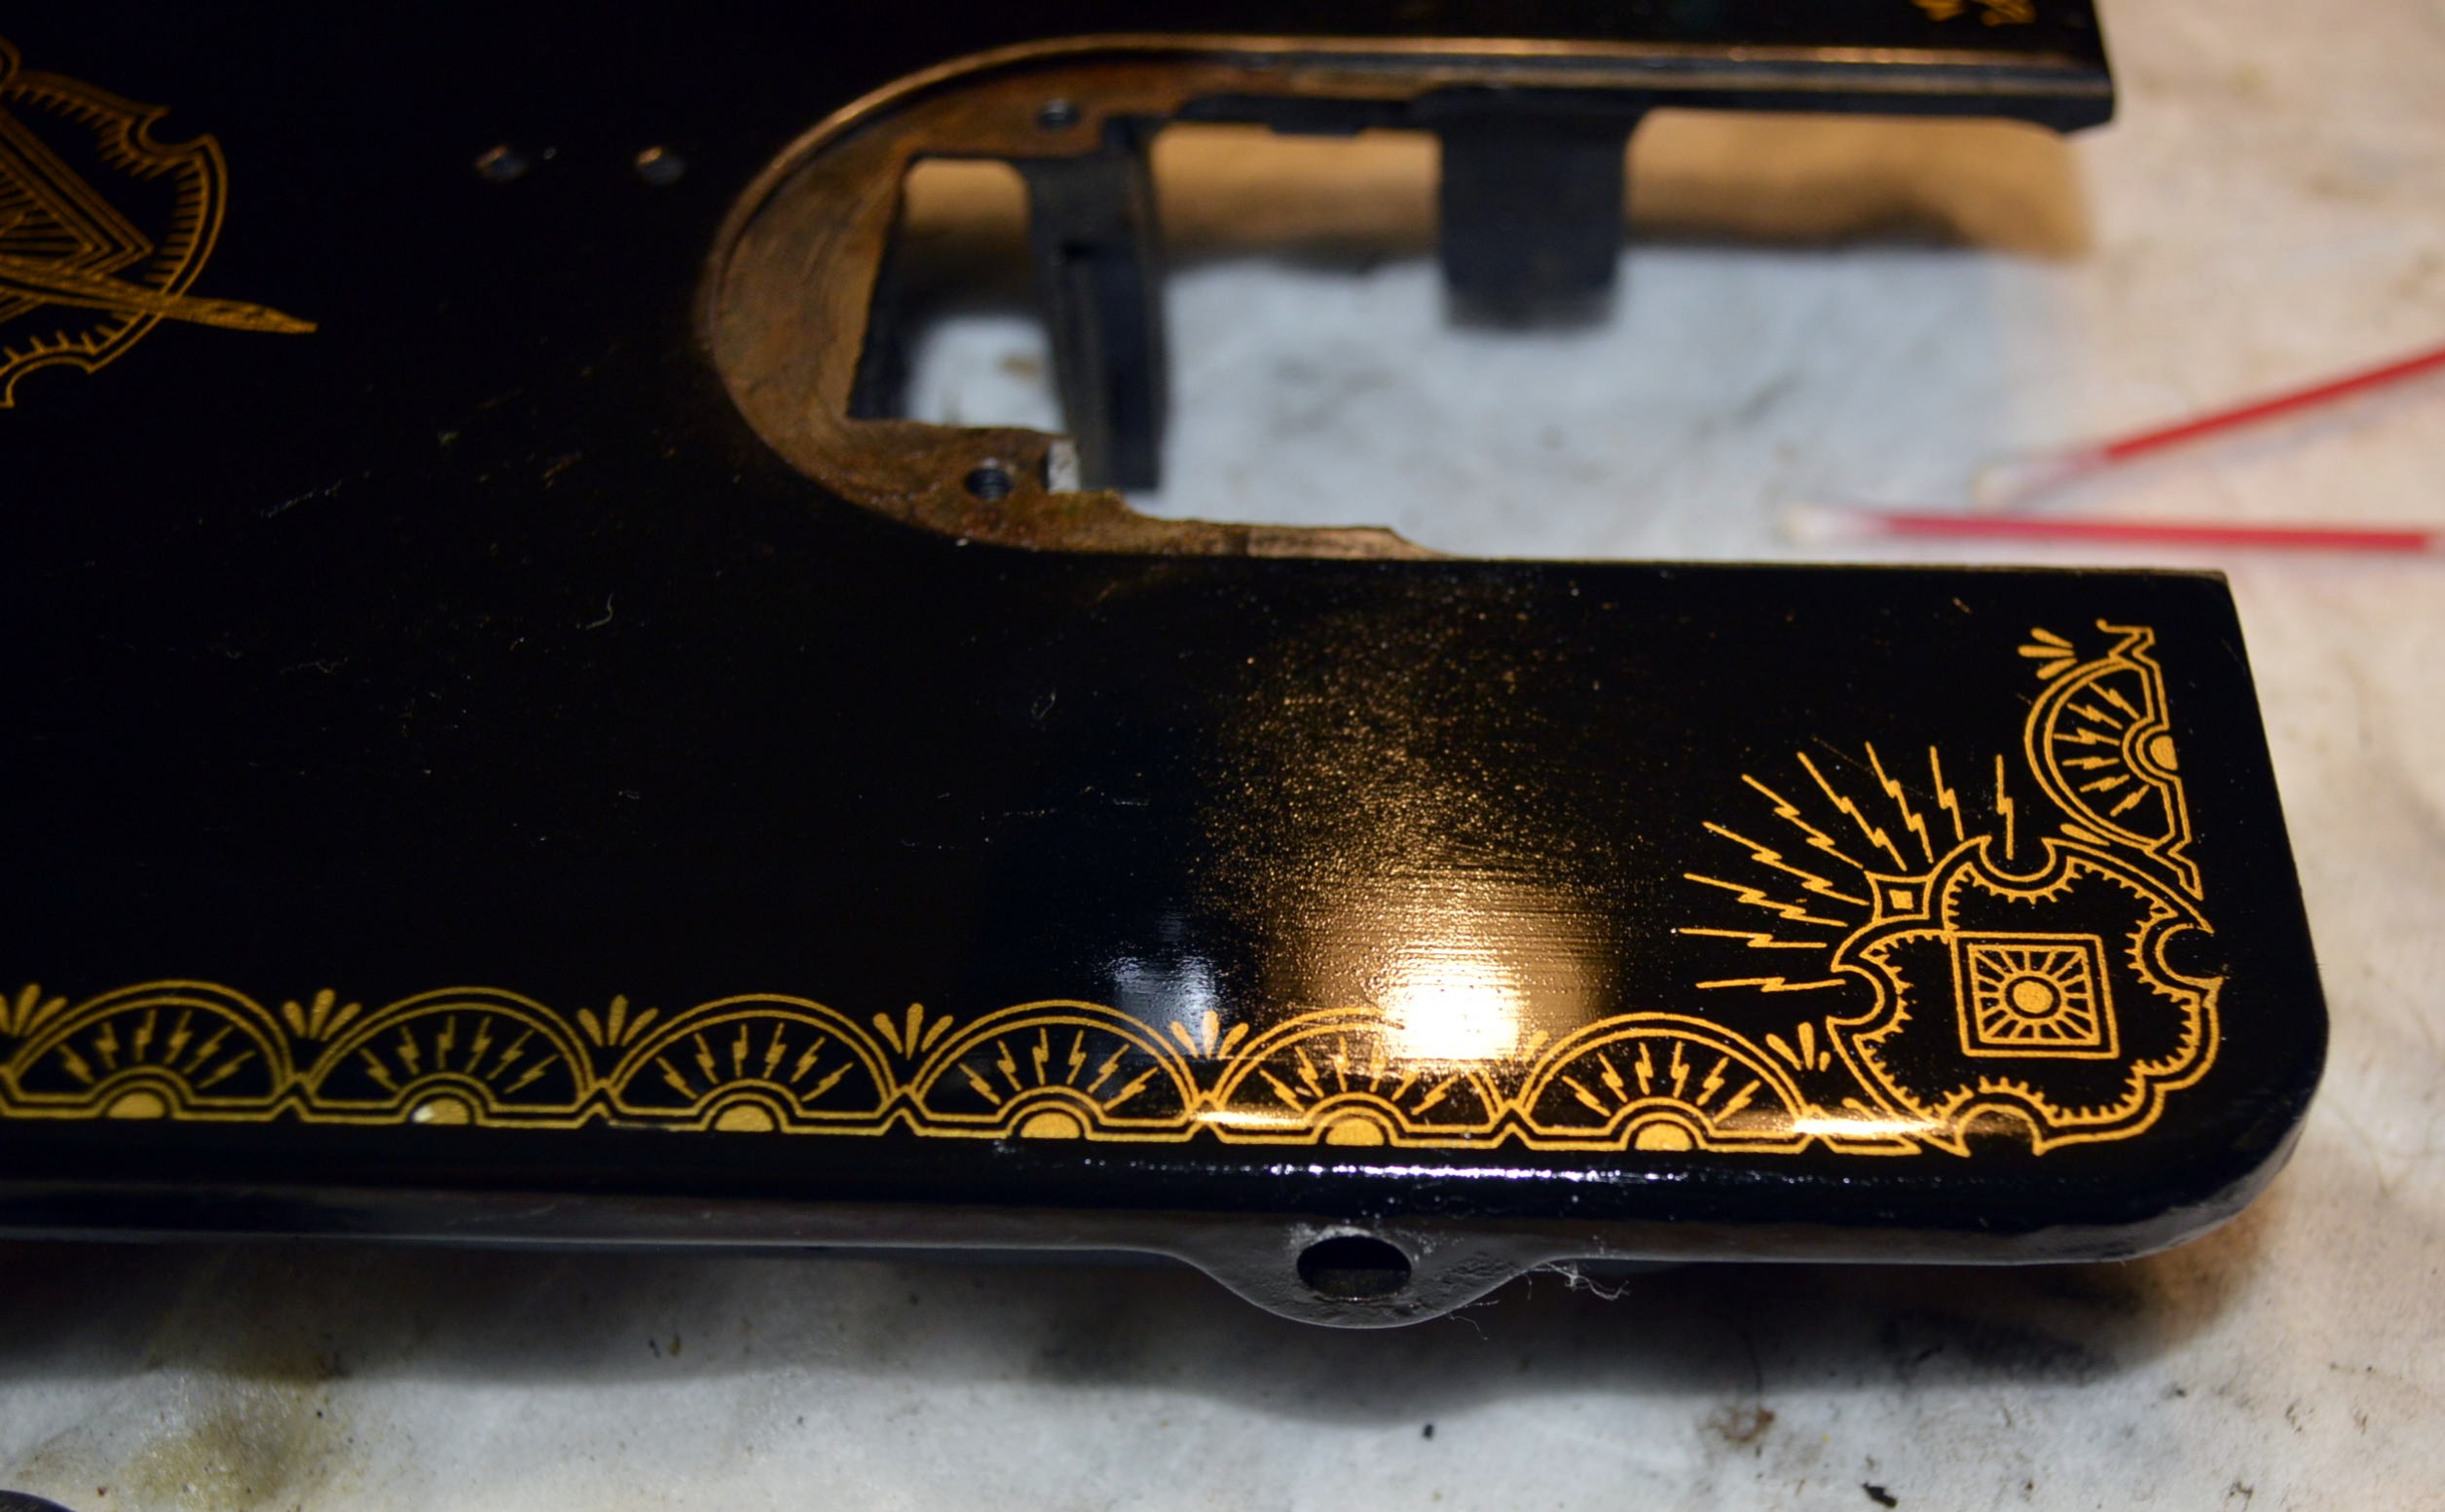
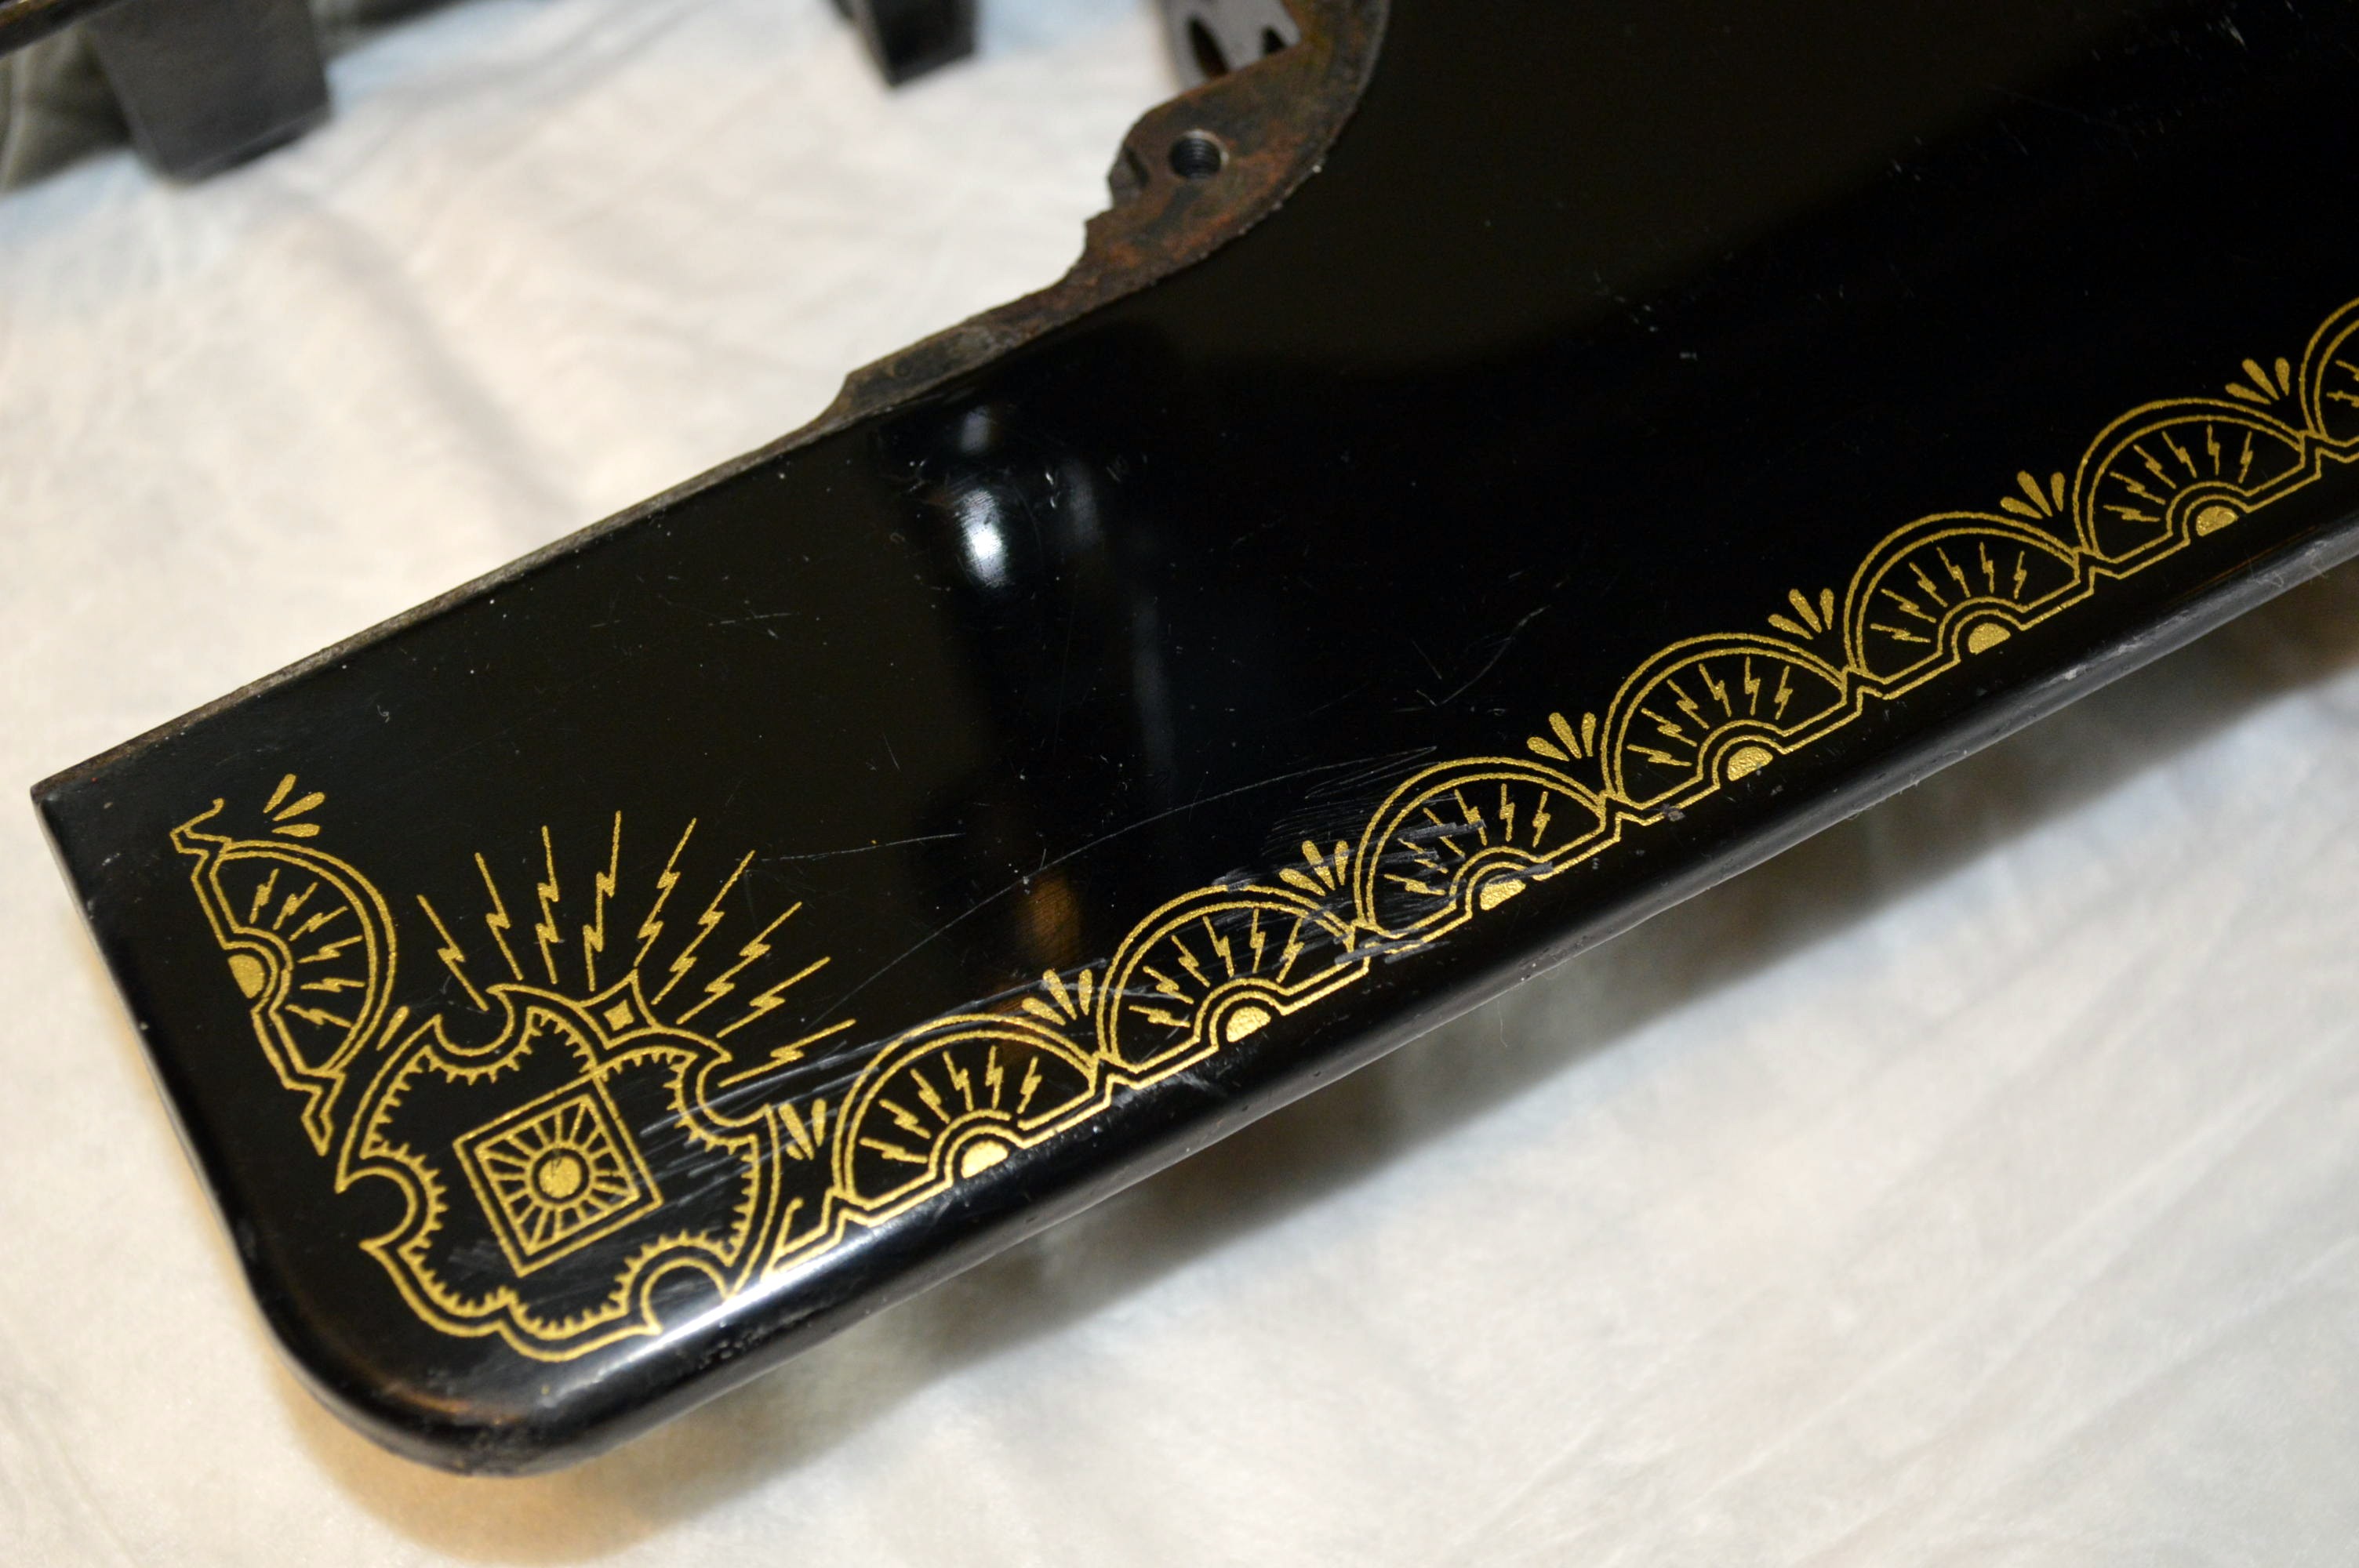
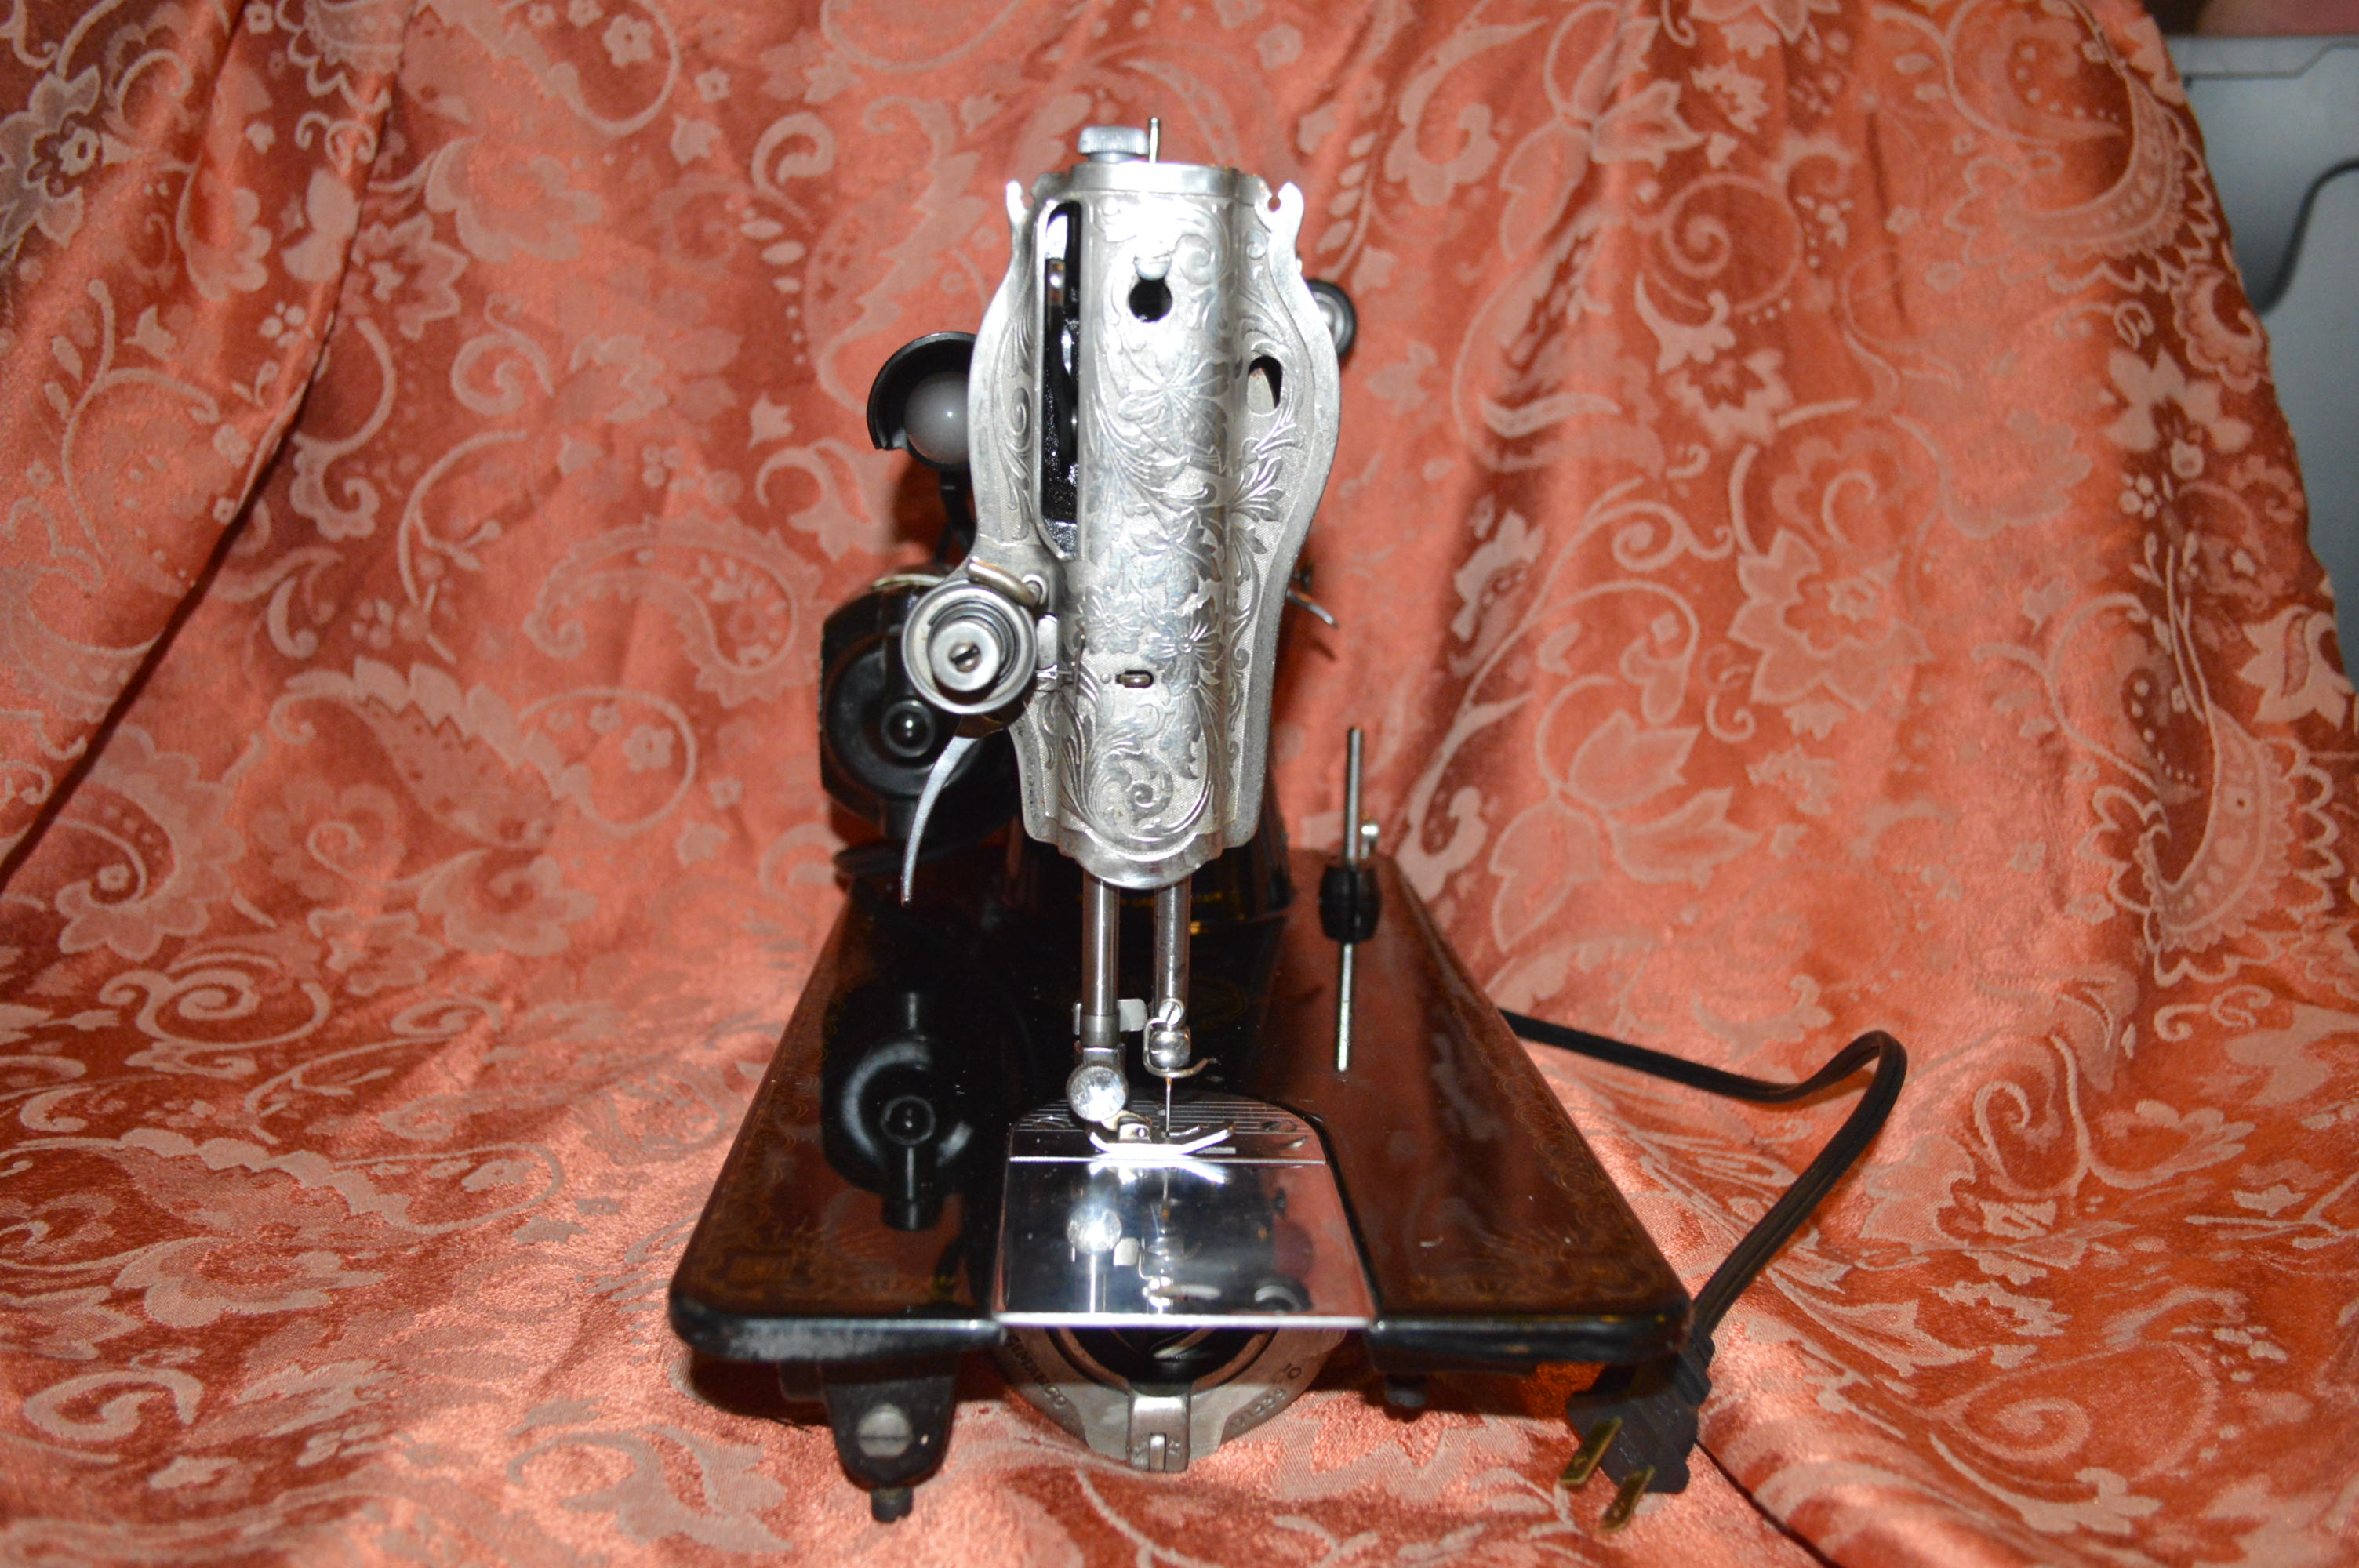
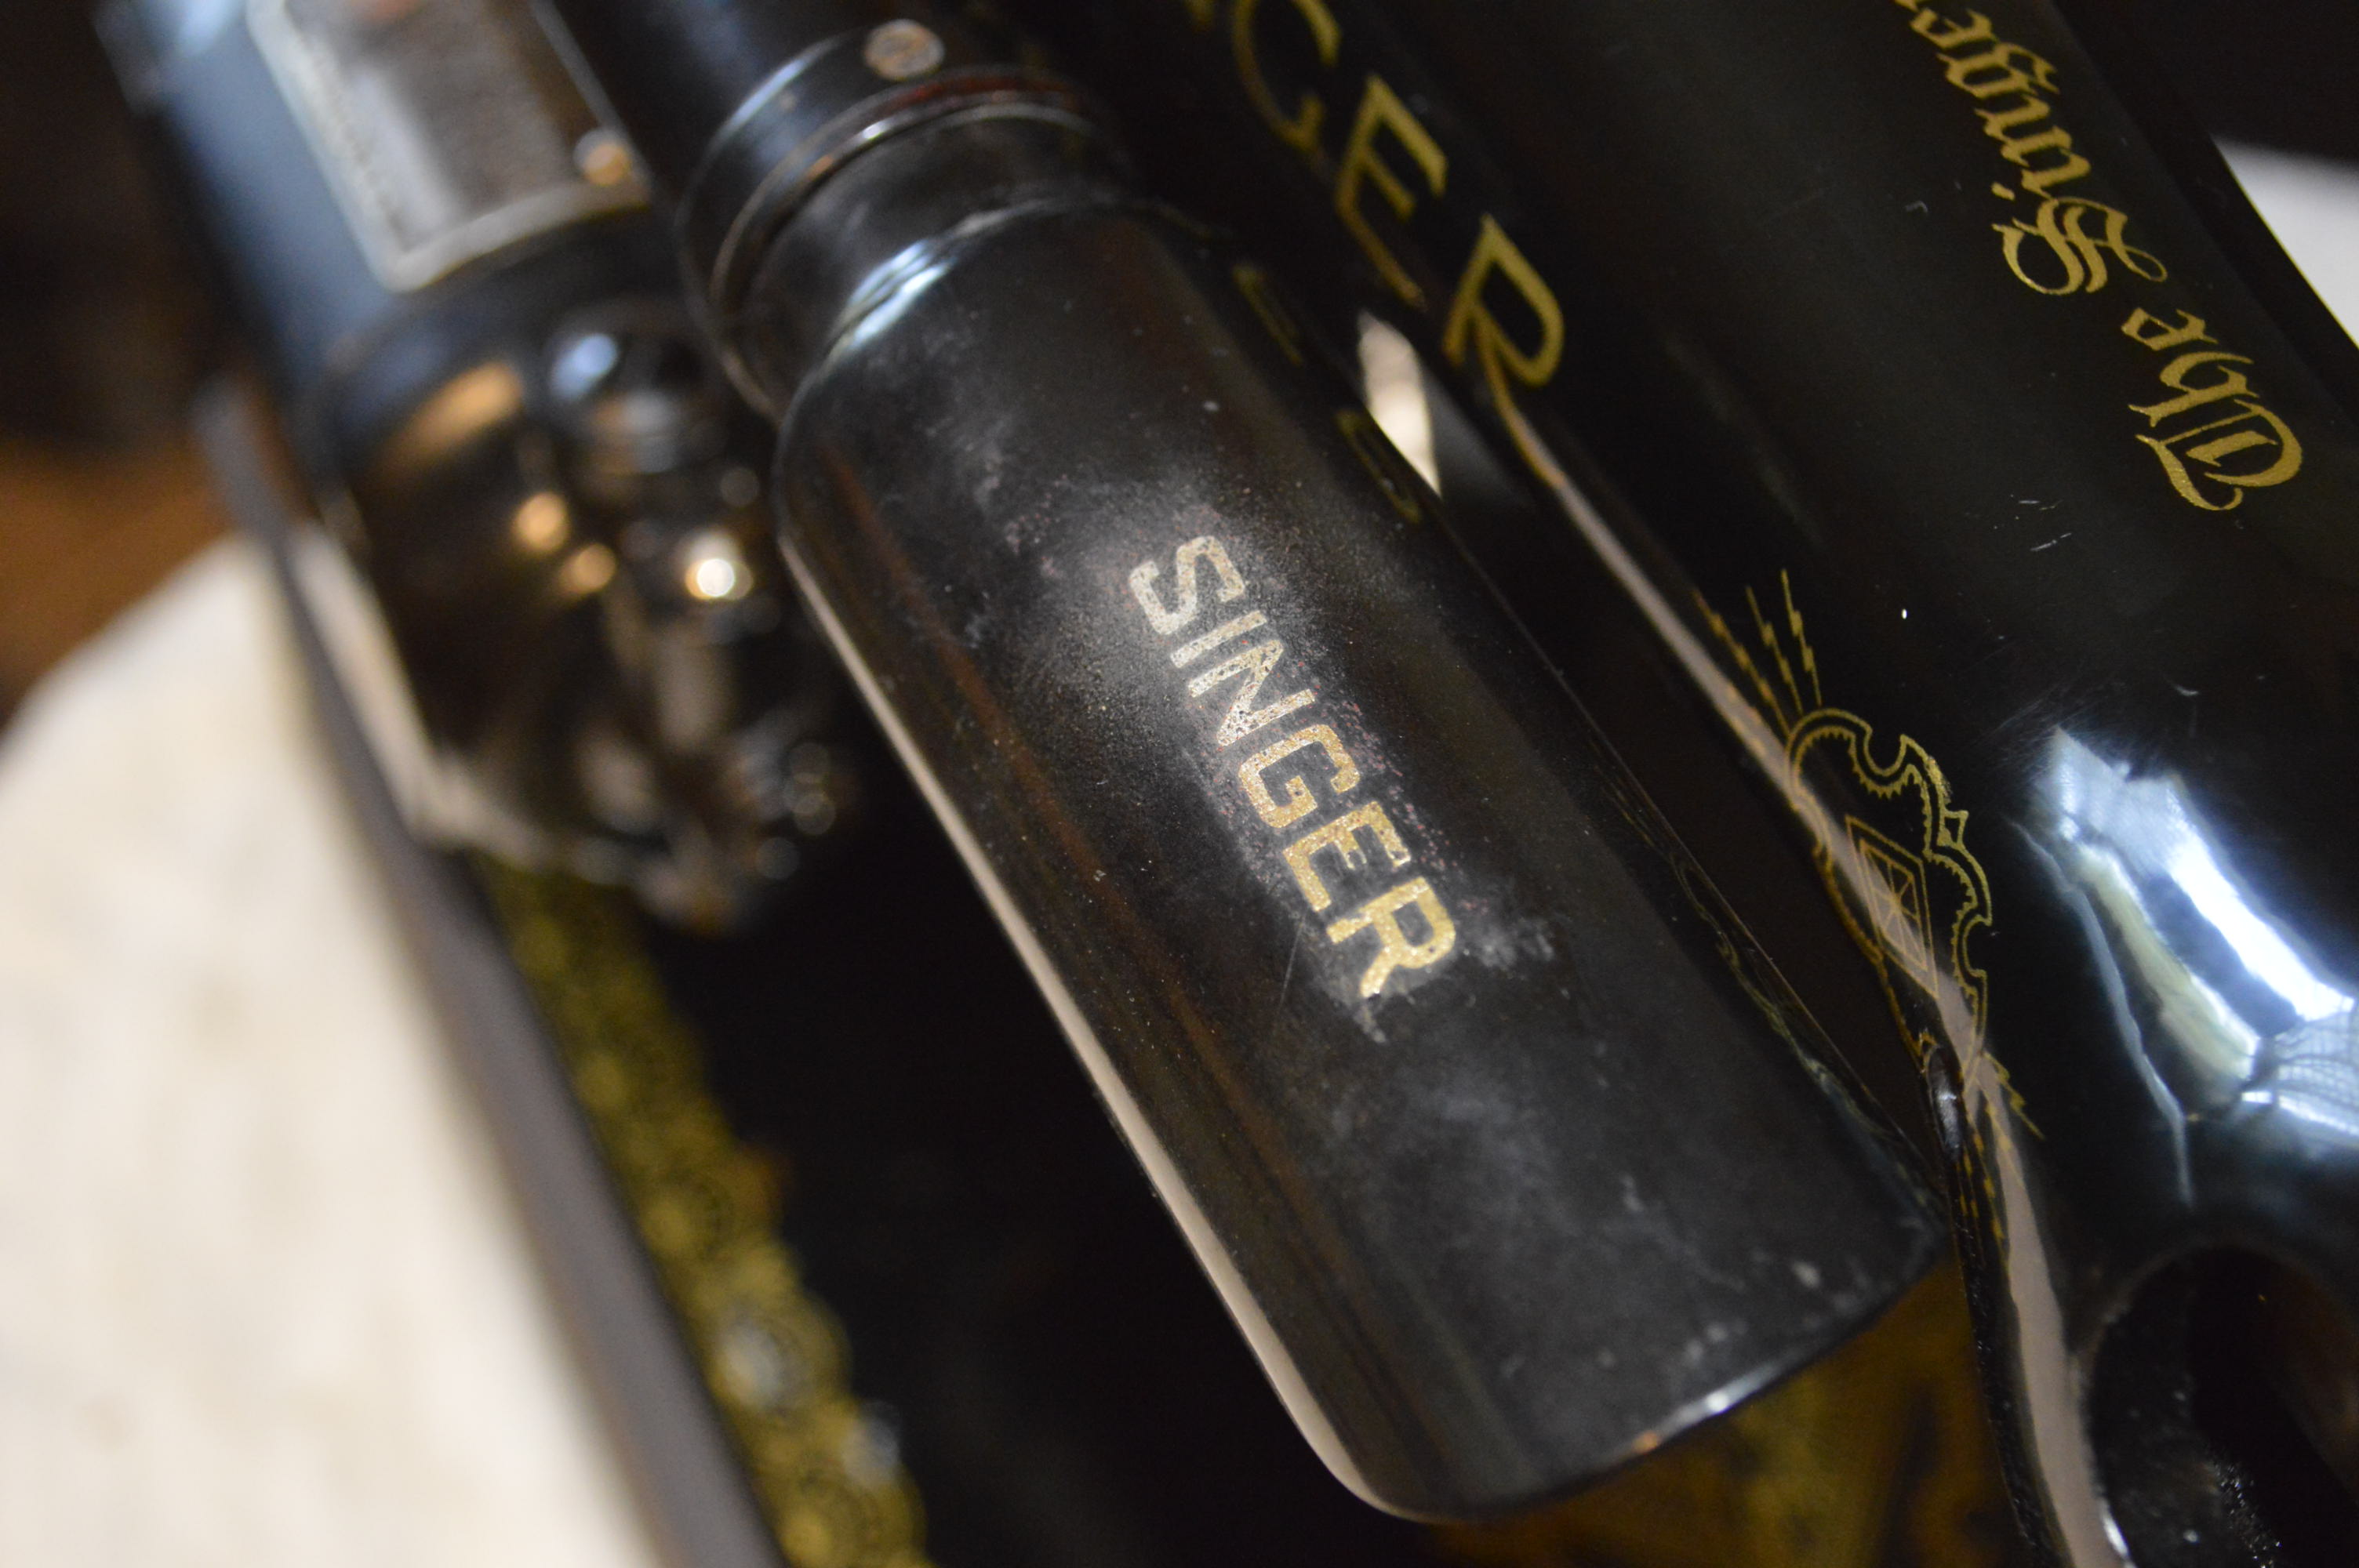
This is the Singer 15K-110 in basically the condition I got her in… except for a little oil I applied to the sewing bed to assess the lacquered finish. Notice the distinctive “RAF” decals?
The next pictures are of the donor machine.

This is the 1938 Singer 15K that I originally intended to restore… but the machine’s casting that holds the bobbin shuttle race and hook was broken in shipment.
Between the two machines, I have enough to make one, so here it goes. Oh, I forgot to mention to set your expectations appropriately. Damaged decals will always be damaged. Deep scratches will always be seen, and any corrosion or scratches present on the plates, levers, or screws will always leave their mark. The cosmetic condition of all these blemishes can be greatly improved, but don’t expect them to look like new… just a thousand time better.
Before starting the cleaning process, remove the needle if present, all of the covers, plates, the presser foot, the motor, the balance wheel, the bobbin winder bracket, and the bobbin winder guide located on the bed of the machine. This will give much easier access to clean the body of the machine.
In cleaning, the first step is to remove any dust and loose debris. This is easily accomplished using a dry paint brush to gently wipe the surface.
The next step is to use sewing machine oil, applied with your finger in a gentle circular motion, to gently loosen up and dissolve any grime or dirt more deeply embedded in the finish. Follow with a soft cotton cloth (an old white t-shirt works well) to remove all excess oil. Once this is done, it is a good idea to stop and assess the finish. If the decals show signs of “silvering”, that is, they look silver instead of gold, proceed with caution. This means the protective shellac coating applied over the decals is gone and the decals can be easily damaged. If this is the case, it is best to stick with sewing machine oil and gently clean the machine in small sections, and only gently rubbing the decals.
To better assess the condition and coverage of the shellac coating and identify sensitive areas, shine a flashlight close to the machines finish. The shellac coating will appear with a green hue. Often you will see the green hue with patches and areas that are jet black. These black areas are the original black lacquer japanned finish, and the shellac has worn away. Be especially attentive to the decals. If they are covered with the green hue, they are protected and can be effectively cleaned, if not, they are unprotected and must be cleaned gently with nothing but sewing machine oil. Luckily, the shellac coating on this machine was in very good condition.
Once you know the condition of the finish, Use a cotton ball with a few drops of oil on it to get a deeper cleaning. Work in small areas (about the size of a half dollar). Again, use a gentle circular motion and check the cotton ball frequently for dirt and debris. Change cotton balls often so you don’t scratch adjacent areas with the contaminants picked up by the cotton ball. Continue this process until all areas of the machine have been cleaned. as you can see from the pictures below, the machine looks much better.
If you are satisfied with this finish, you can stop here. If the condition of the finish allows, you can get a deeper cleaning. For this, I use a product called GoJo. It is a lanolin based hand cleaner and is generally safe for the finish where the shellac coating is intact. Note: there are two different types of GoJo… one with pumice, and one without. DO NOT use the GoJo with pumice in it. It will destroy the finish on your sewing machine. The cleaning process is similar as before, but instead of oil on the cotton ball, use a small amount of GoJo. Again, work in a circular motion in a small area. Gentle pressure is all that is required. wipe gently with the cotton cloth between cotton balls. Repeat over the same small area until the cotton ball comes up clean. Repeat until the entire surface of the machine has been cleaned. Be particularly careful when working near the decals. Gently rub the body of the machine with a clean cotton cloth to remove all traces of GoJo. At this point you should see a deep shine.
But you can’t stop here… following the GoJo cleaning, there is more shine to be obtained. Oops! see that white paint? You may have some similar blemish, but if not, you can ignore the next few steps I took to remove it. In an instance like this, oil didn’t work, GoJo didn’t work, and alcohol or acetone will remove the shellac coating. I have found the best method for cleaning this is by very cautiously using a product called Goo Gone and a cotton swab. Goo Gone’s label directions claim it will remove latex paint without damaging oil paint. I have had good success with this product, but every time I use it, I’m completely focused on what it is doing to the finish, especially here because it is covering the decals. Here is how I proceed. Pour a small amount of Goo Gone in the cap and set it close to where you are working. Dip the end of a cotton swab in the cap to pick up a small amount of the Goo Gone… it does not have to be soaked, and shouldn’t be. Working an area the width of the cotton swab, turn the cotton swab in a twisting motion. After a few twists of the swab, stop and use a cotton ball with a few drops of oil to wipe the spot you just cleaned to remove the Goo Gone. It may take a few applications in the same area before the paint is removed, but it will soften and remove the latex paint. Always follow up the application of Goo Gone by wiping with oil applied to a cotton ball. Don’t rush, it is a tedious process to get all of the white paint off so be patient.

The paint was completely removed, and the finish and decals are undamaged… glad that’s over.
Now the machine is clean, it’s time for the polish. I use a good glaze polish made for automotive paint finishes. I’ve used different brands and I haven’t seen much difference in the performance. This process is slightly different. Apply a small amount of polish and instead of working in a circular fashion, rub the polish in a back and forth motion. I prefer working parallel to the long edge of the bed. Still work in a small area (about the size of a post-it note). When the polish begins to glaze, buff the polished area with a clean cotton cloth. Repeat the process over the whole surface of the machine. The finish you see here is the best you are going to get…


Polish is not a protective coating. You will actually hear the finish squeaking when you are hand buffing the polished surfaces and it is necessary to apply a protective coating. You actually have two options here. You can coat the entire surface of the machine with a light coat of sewing machine oil. This will nourish the shellac coating and keep it looking great. Or you can use a high quality carnauba wax followed by a good hand buffing. On high quality original finishes, I prefer oil. On good quality original finishes, I use wax for a thicker protective film. Folks are divided on which is the best, so I’ll leave it up to you. to decide what method you prefer. For this project, I chose carnauba wax. I chose the wax over the oil to ensure all parts had prolonged protection.
Clean all of the parts you took off separately. use cotton swabs and alcohol or acetone (I prefer acetone) to clean the brown varnish off of all of the affected parts. typically the needle bar and presser foot bar. Be VERY careful not to drip or otherwise get acetone or alcohol on the paint… it will strip the varnish and leave an irreversible paint defect. Clean any painted parts with GoJo and oil. Make sure you clean all of the lint off of the feed dogs, sewing machine head, and in the bobbin case.
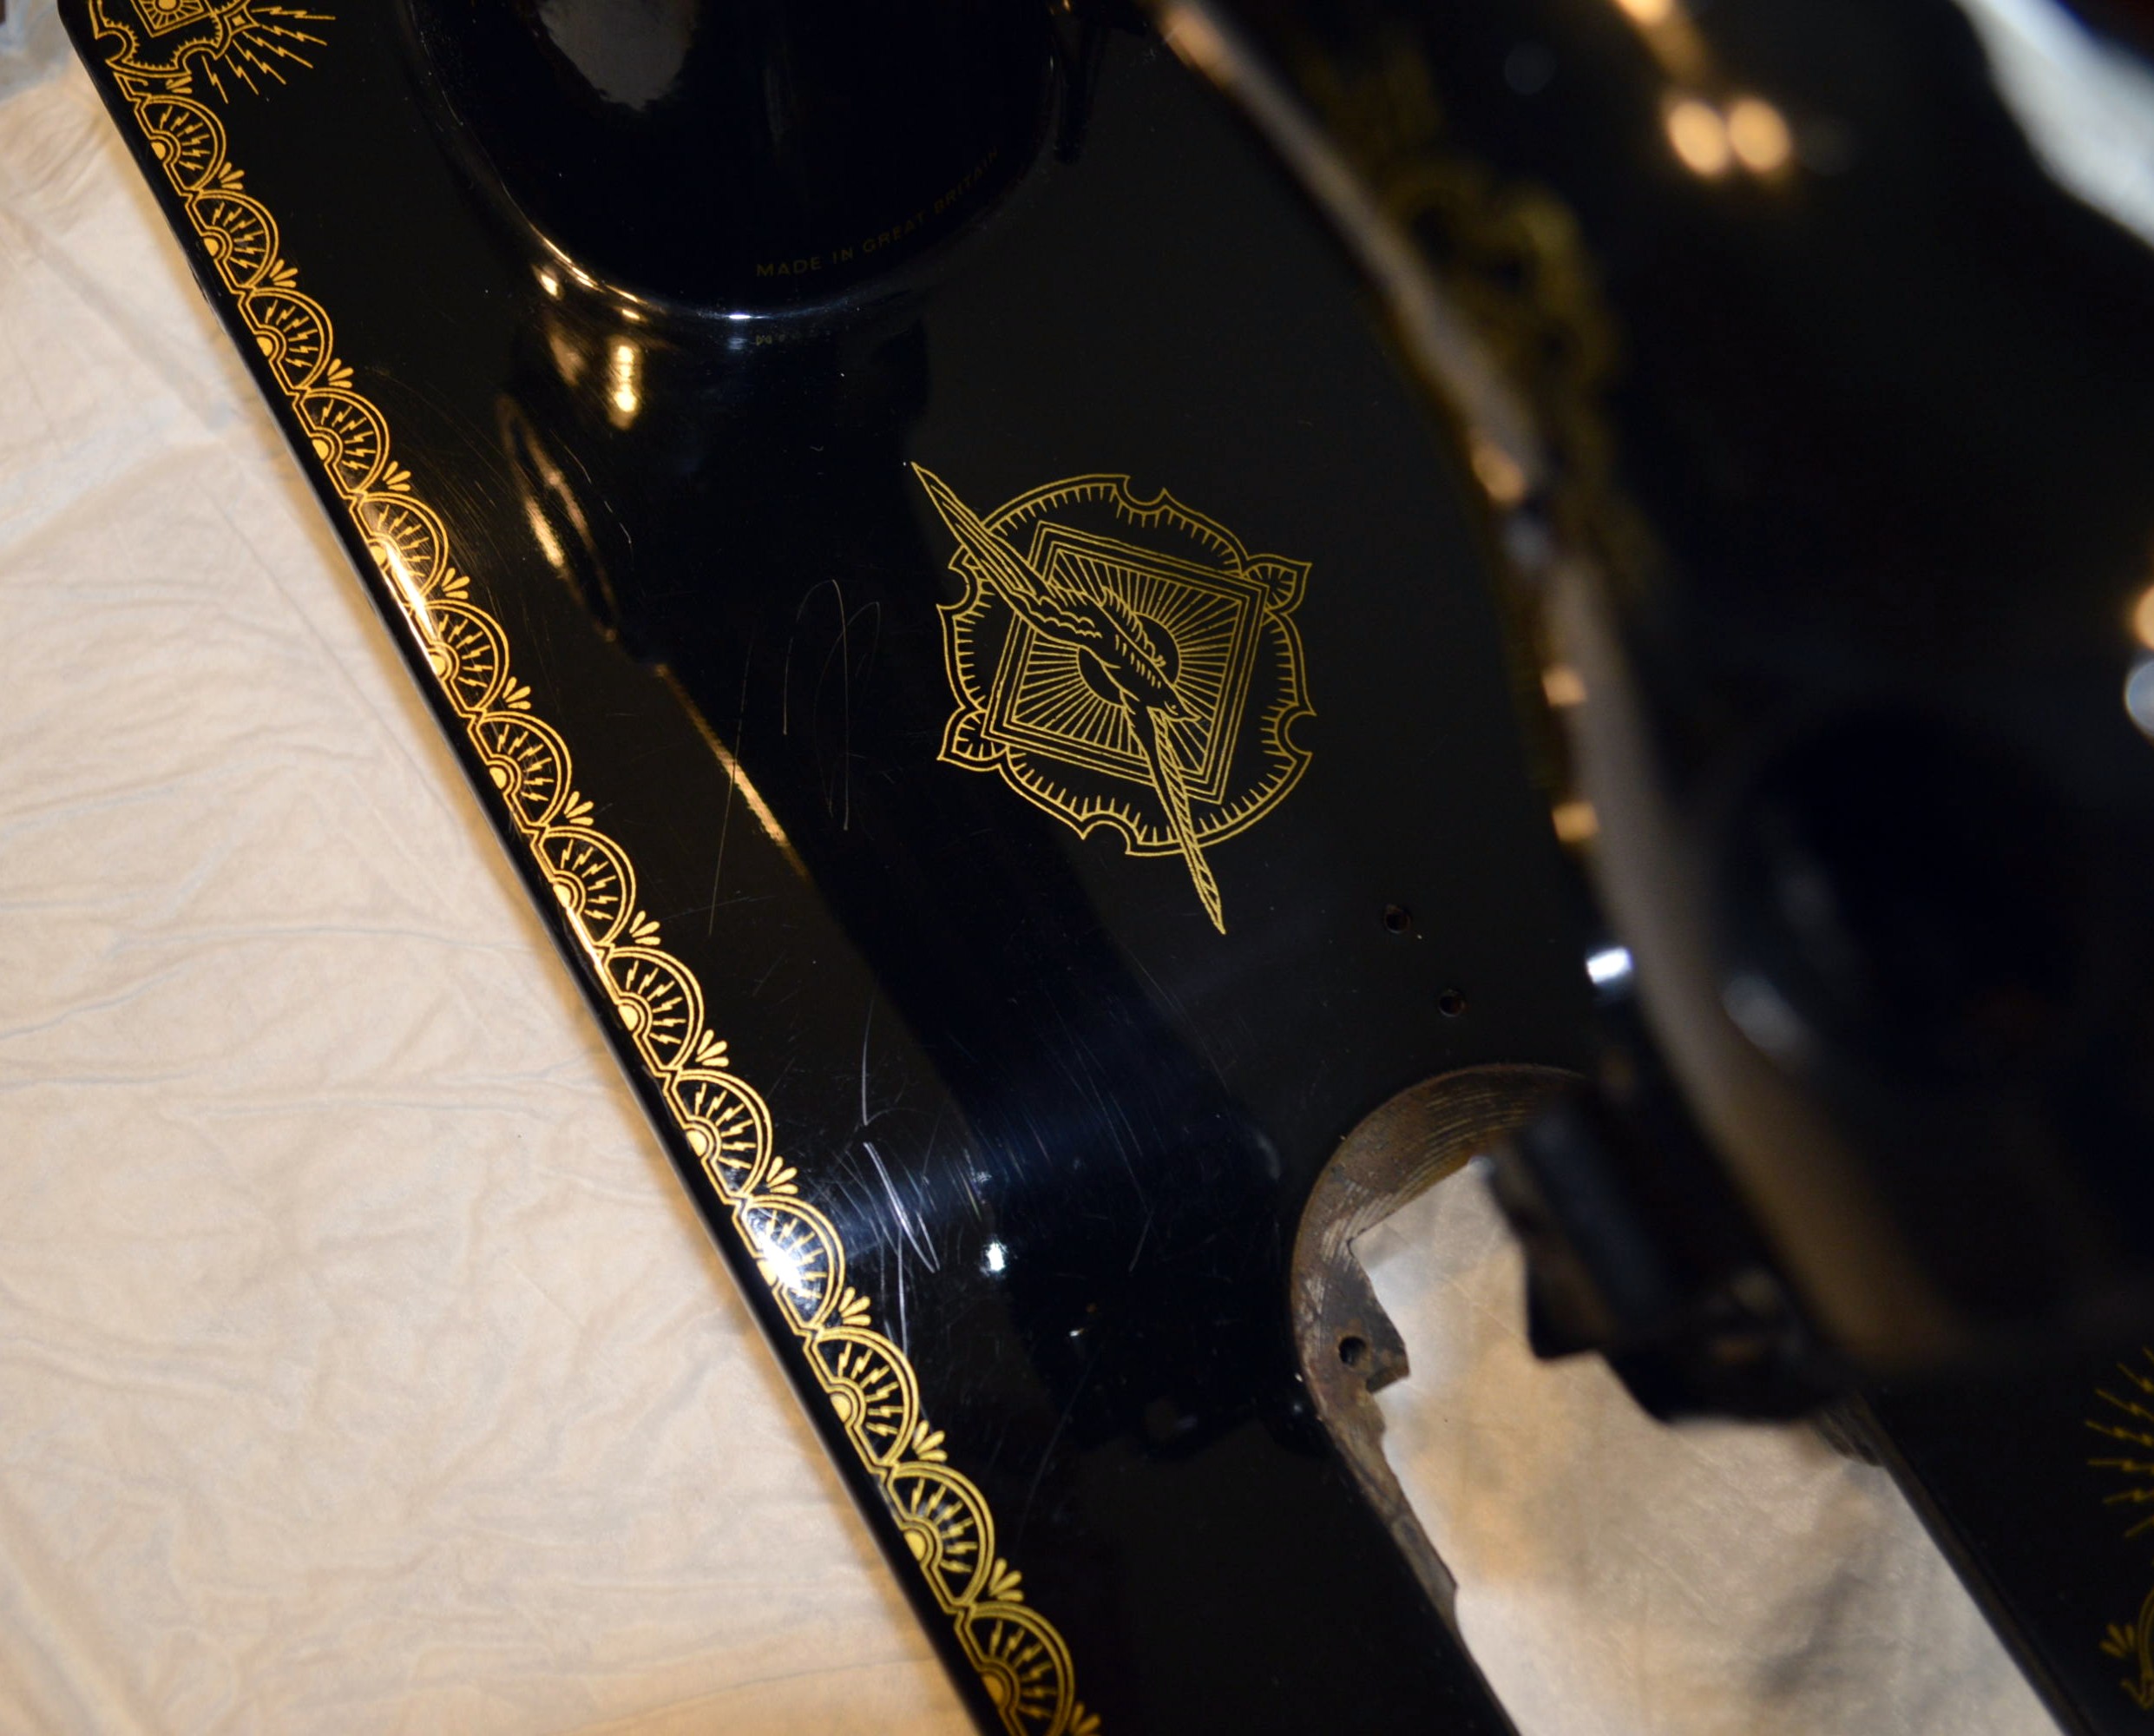
The finish on this machine turned out beautiful. The decals are intact and in excellent condition, there are a few scratches that remain on the bed, but they are what they are… just the result of use over 56 years. Over all, it looks fantastic.
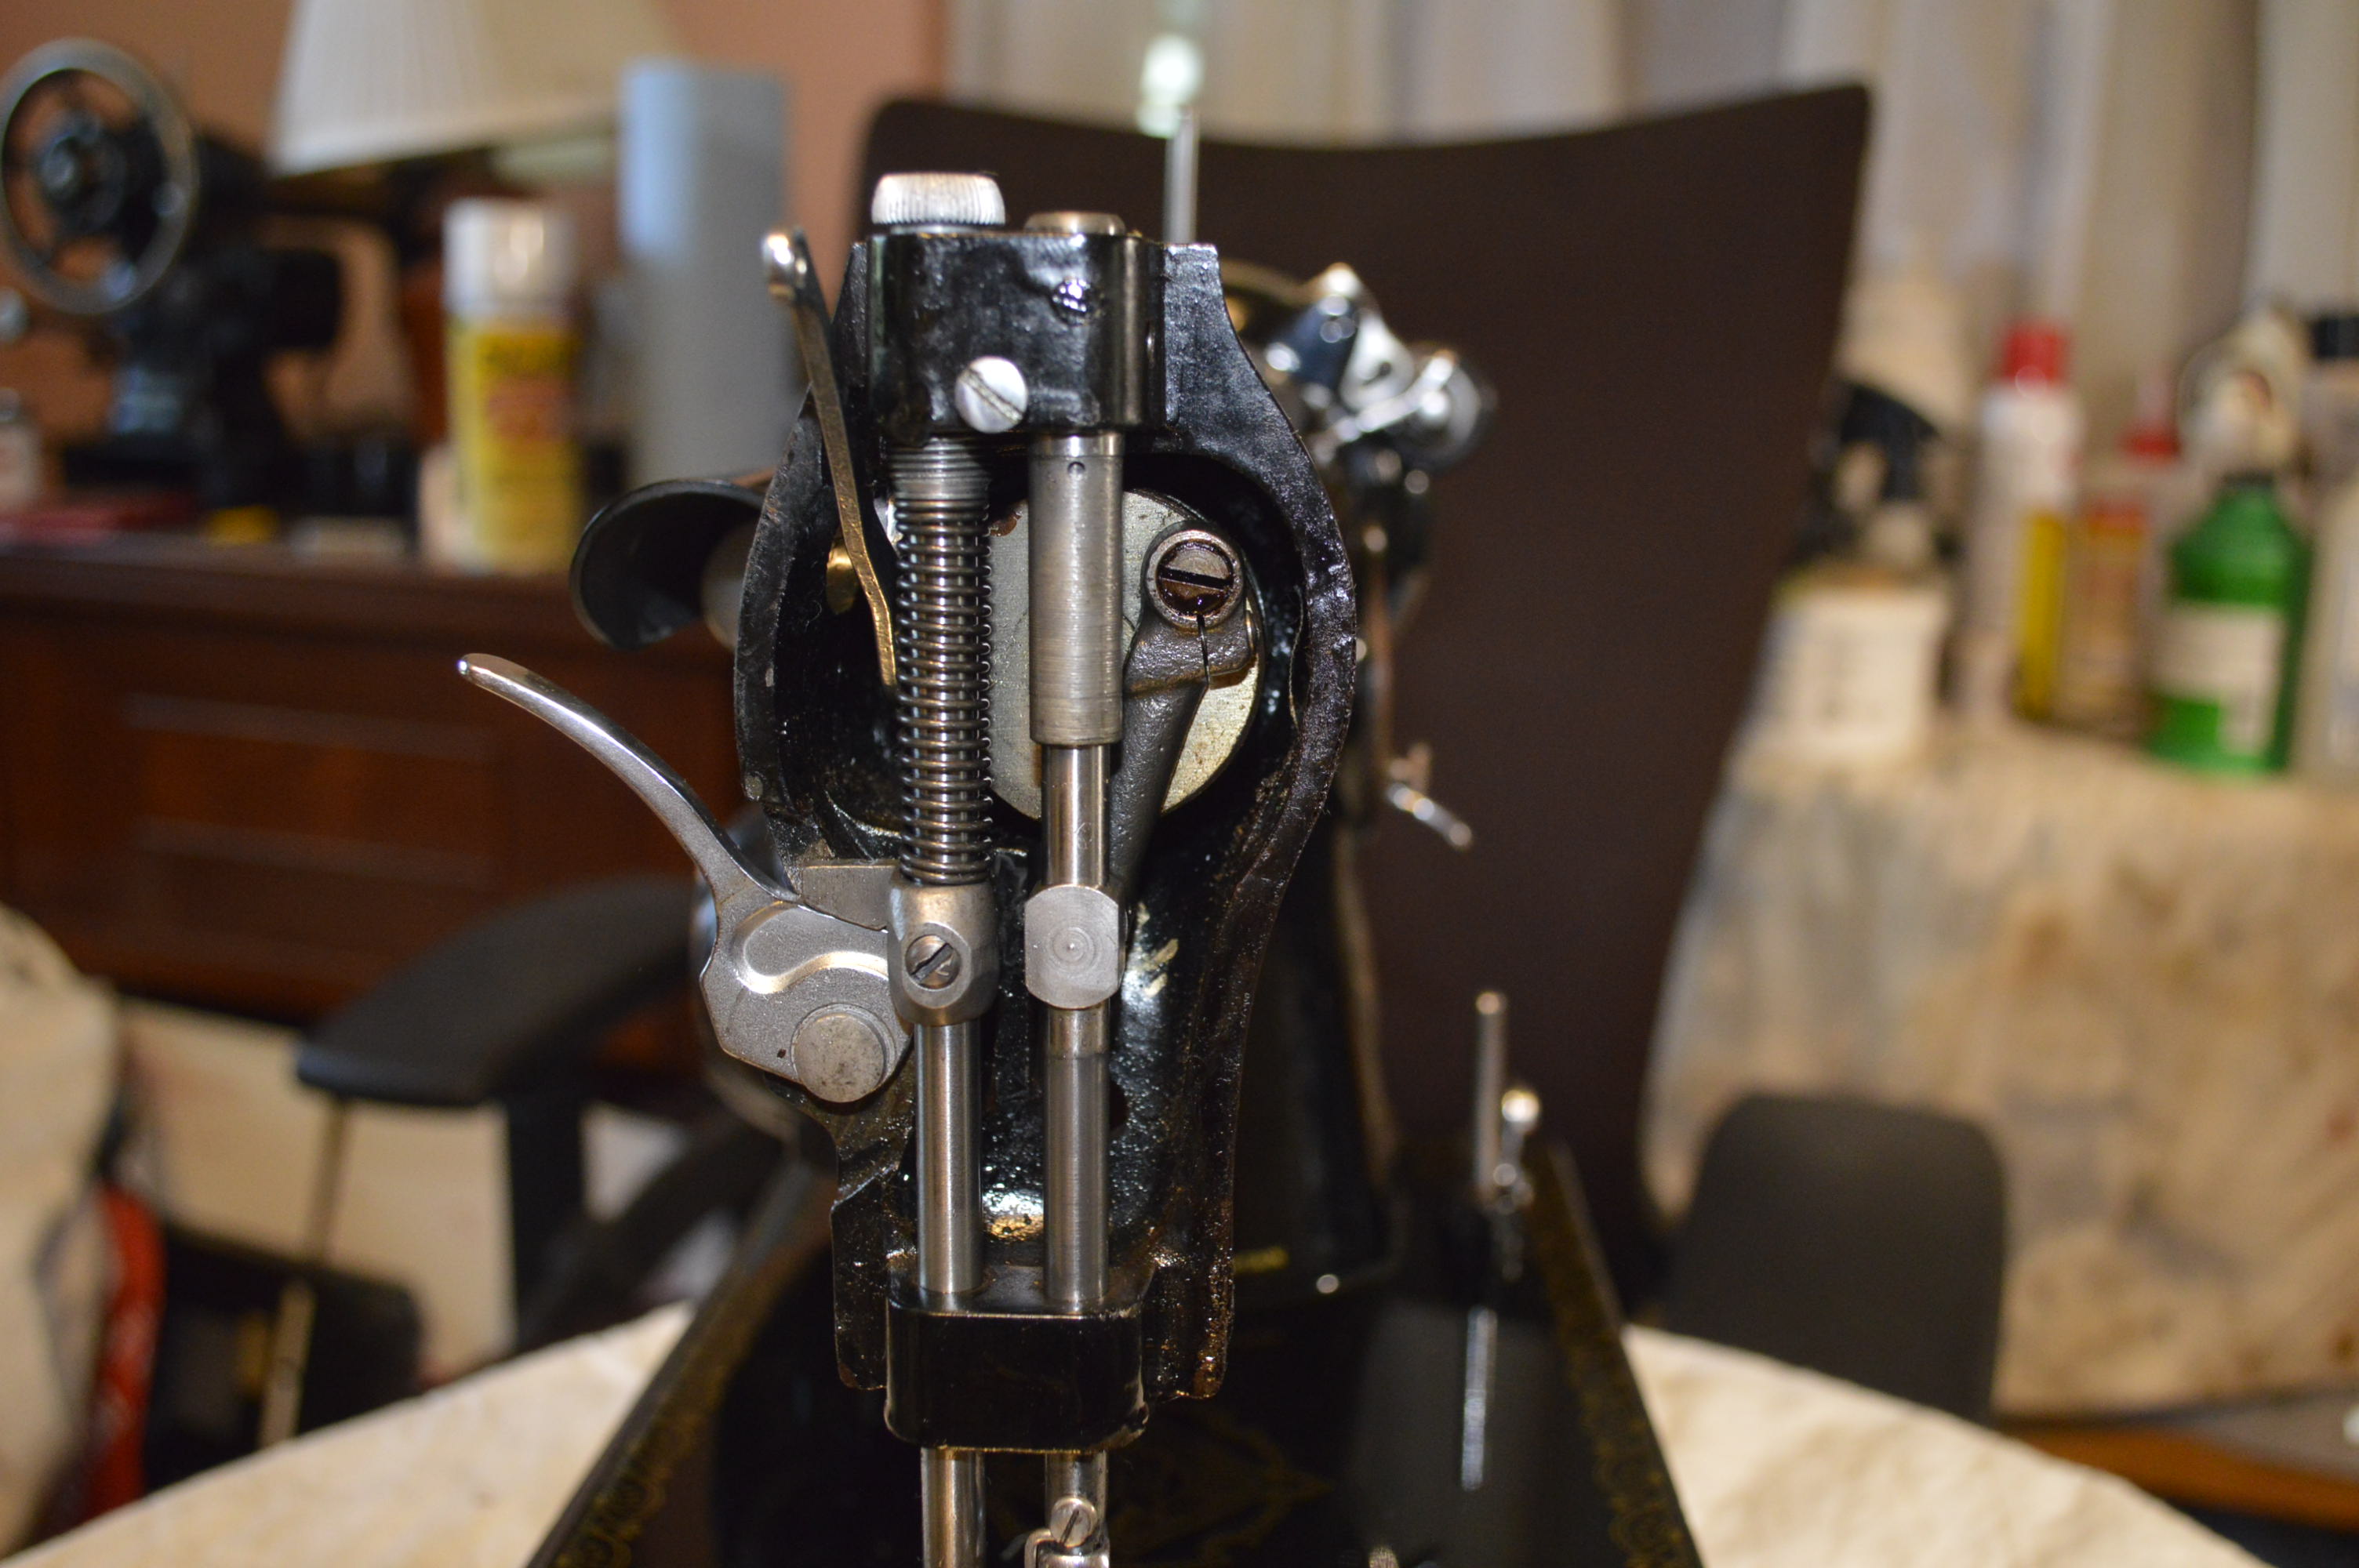
This machine is in for more than just a deep cleaning. It has a long way to go before it is completed. Reconditioning involves removing all of the parts and pieces of the sewing mechanisms in the sewing head and under the bed. I broke up the cleaning process from the reconditioning process for a reason. Most folks will clean and oil the machine and live happily with the results. It is well worth the effort and well within most peoples abilities. Reconditioning a sewing machine on the other hand is a completely different story. Most folks should not attempt to completely disassemble a sewing machine unless they are technically inclined. There are lots of parts that have to be reassembled and adjusted for the machine to work properly.
Without a high degree of technical know how, and service manuals for reference, it is better to clean and lubricate your machine and leave the sewing mechanisms alone. Reassembly is always the reverse of disassembly, but there are a lot of steps to remember, small screws and fasteners that look similar but not quite, and screws and fasteners that are hidden from even close inspection. In short, its easy to break or mess something up.
I’ve got some practice here, so I’m going to show you the process I use.

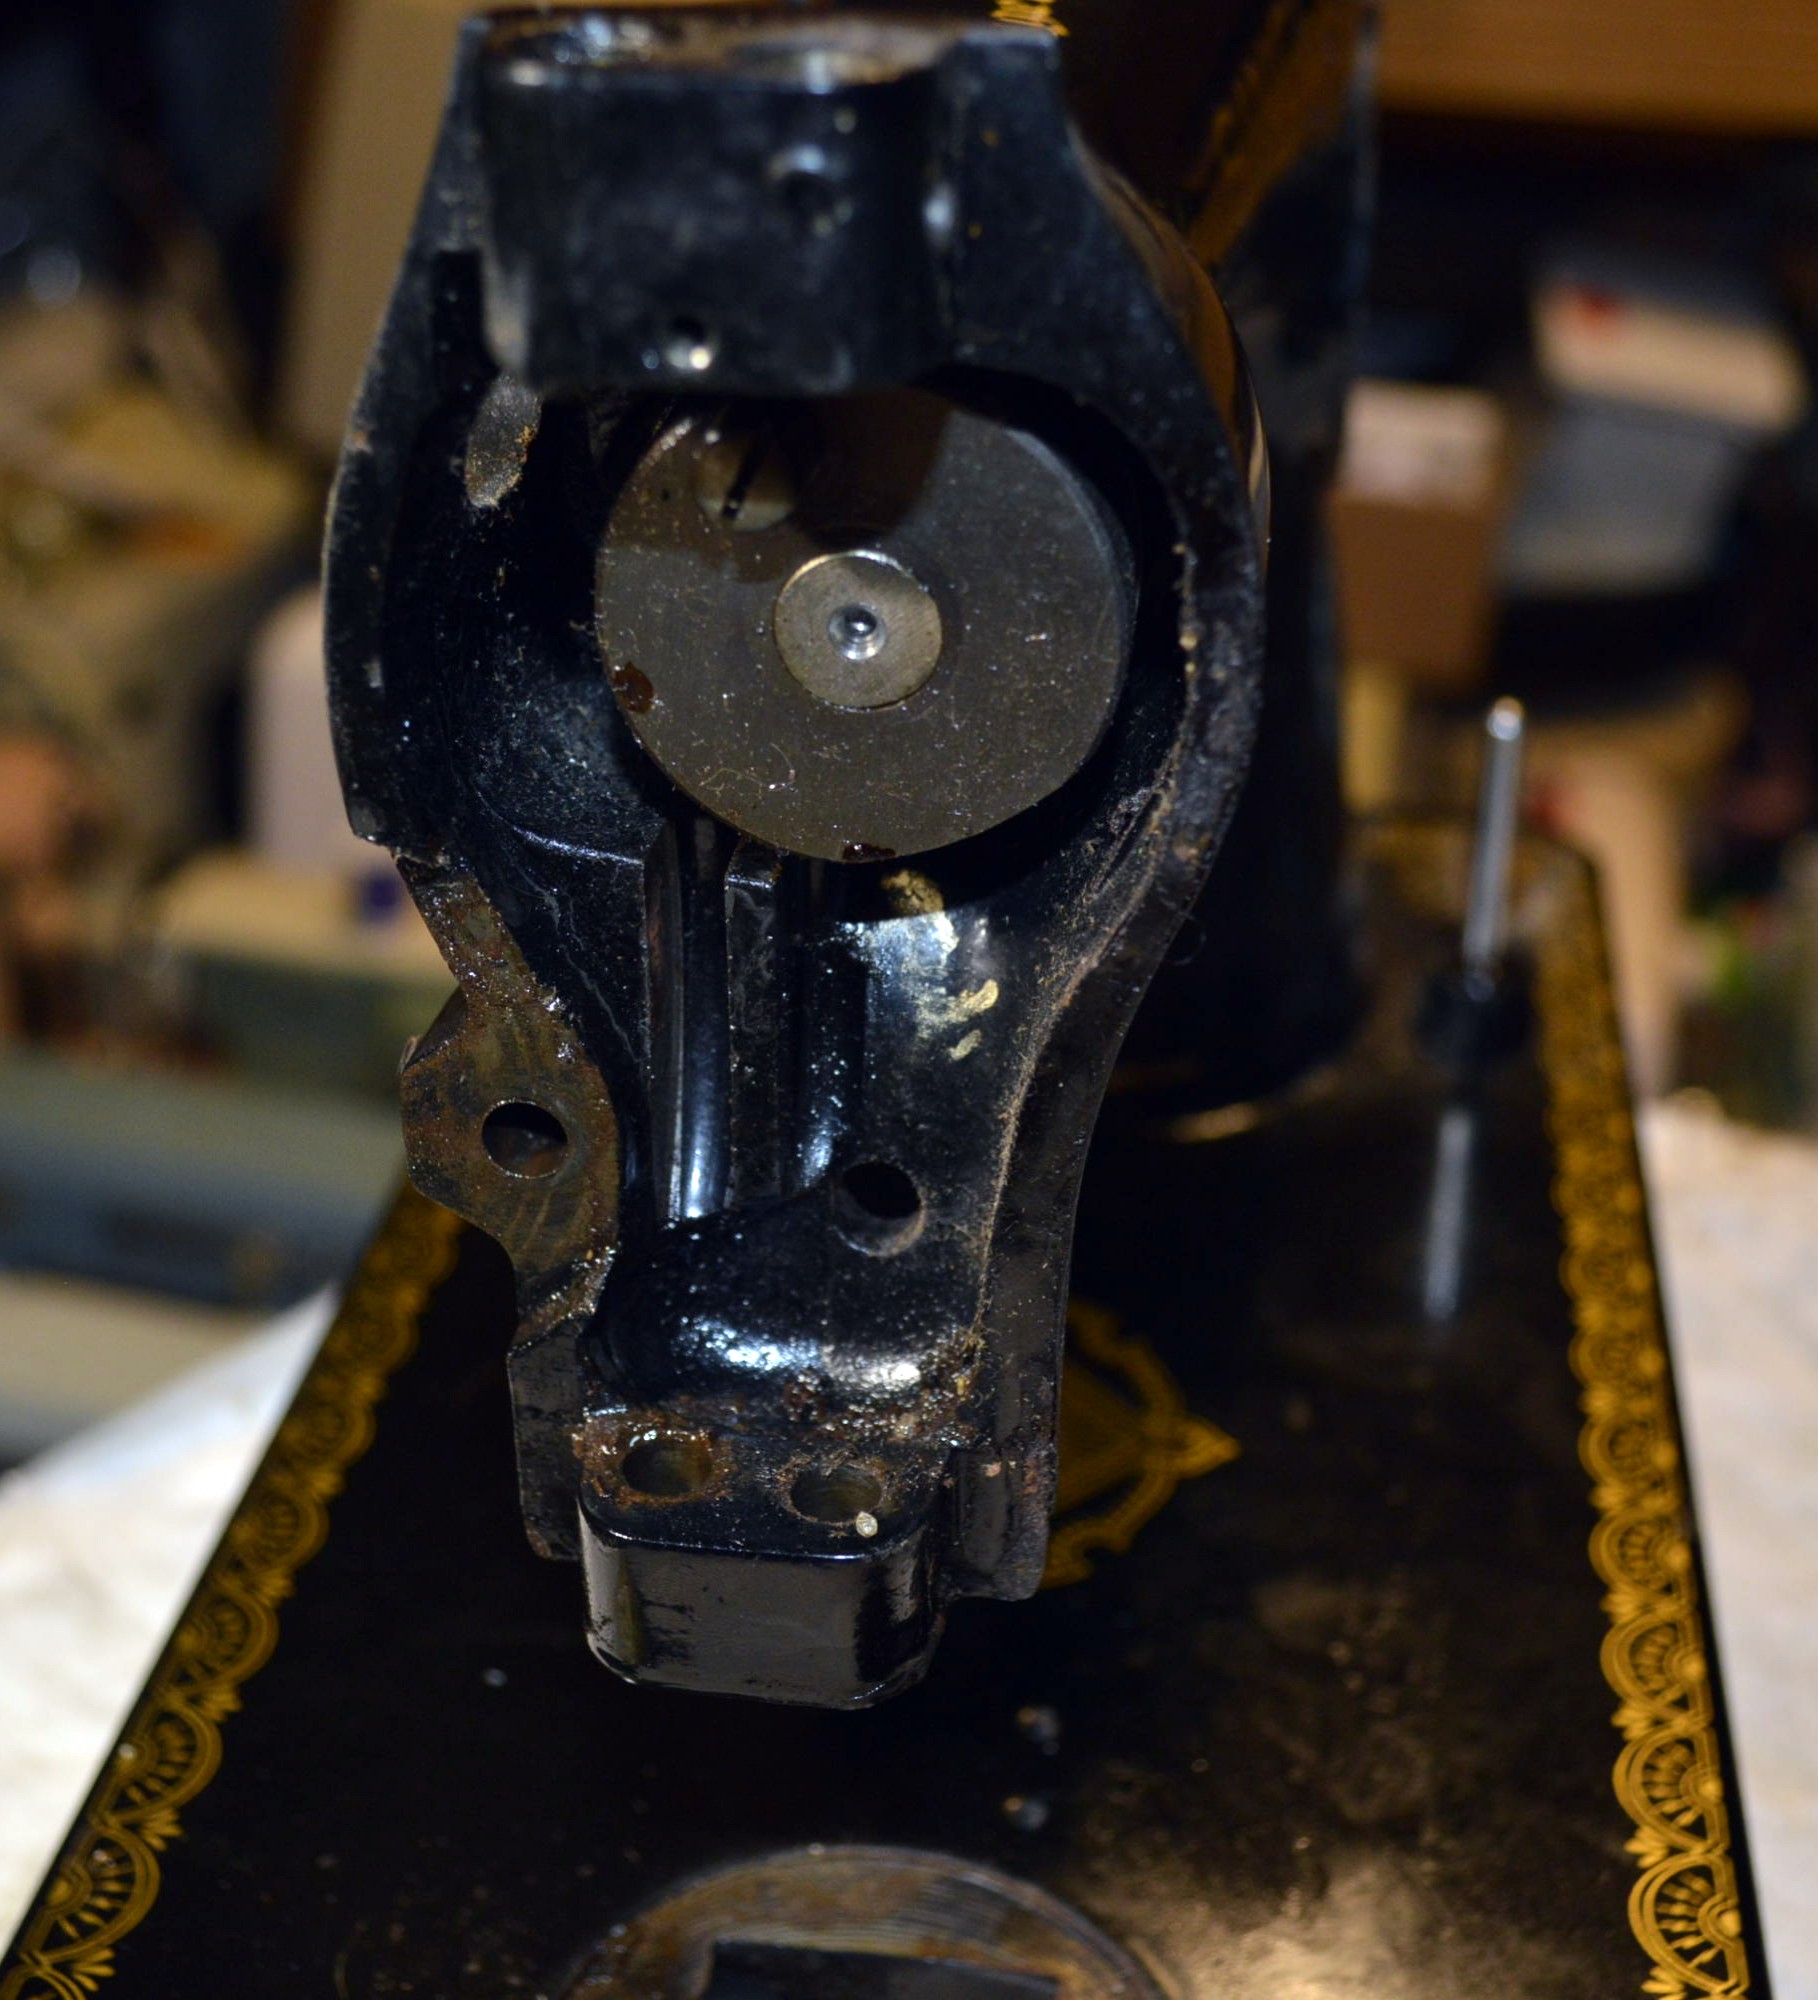
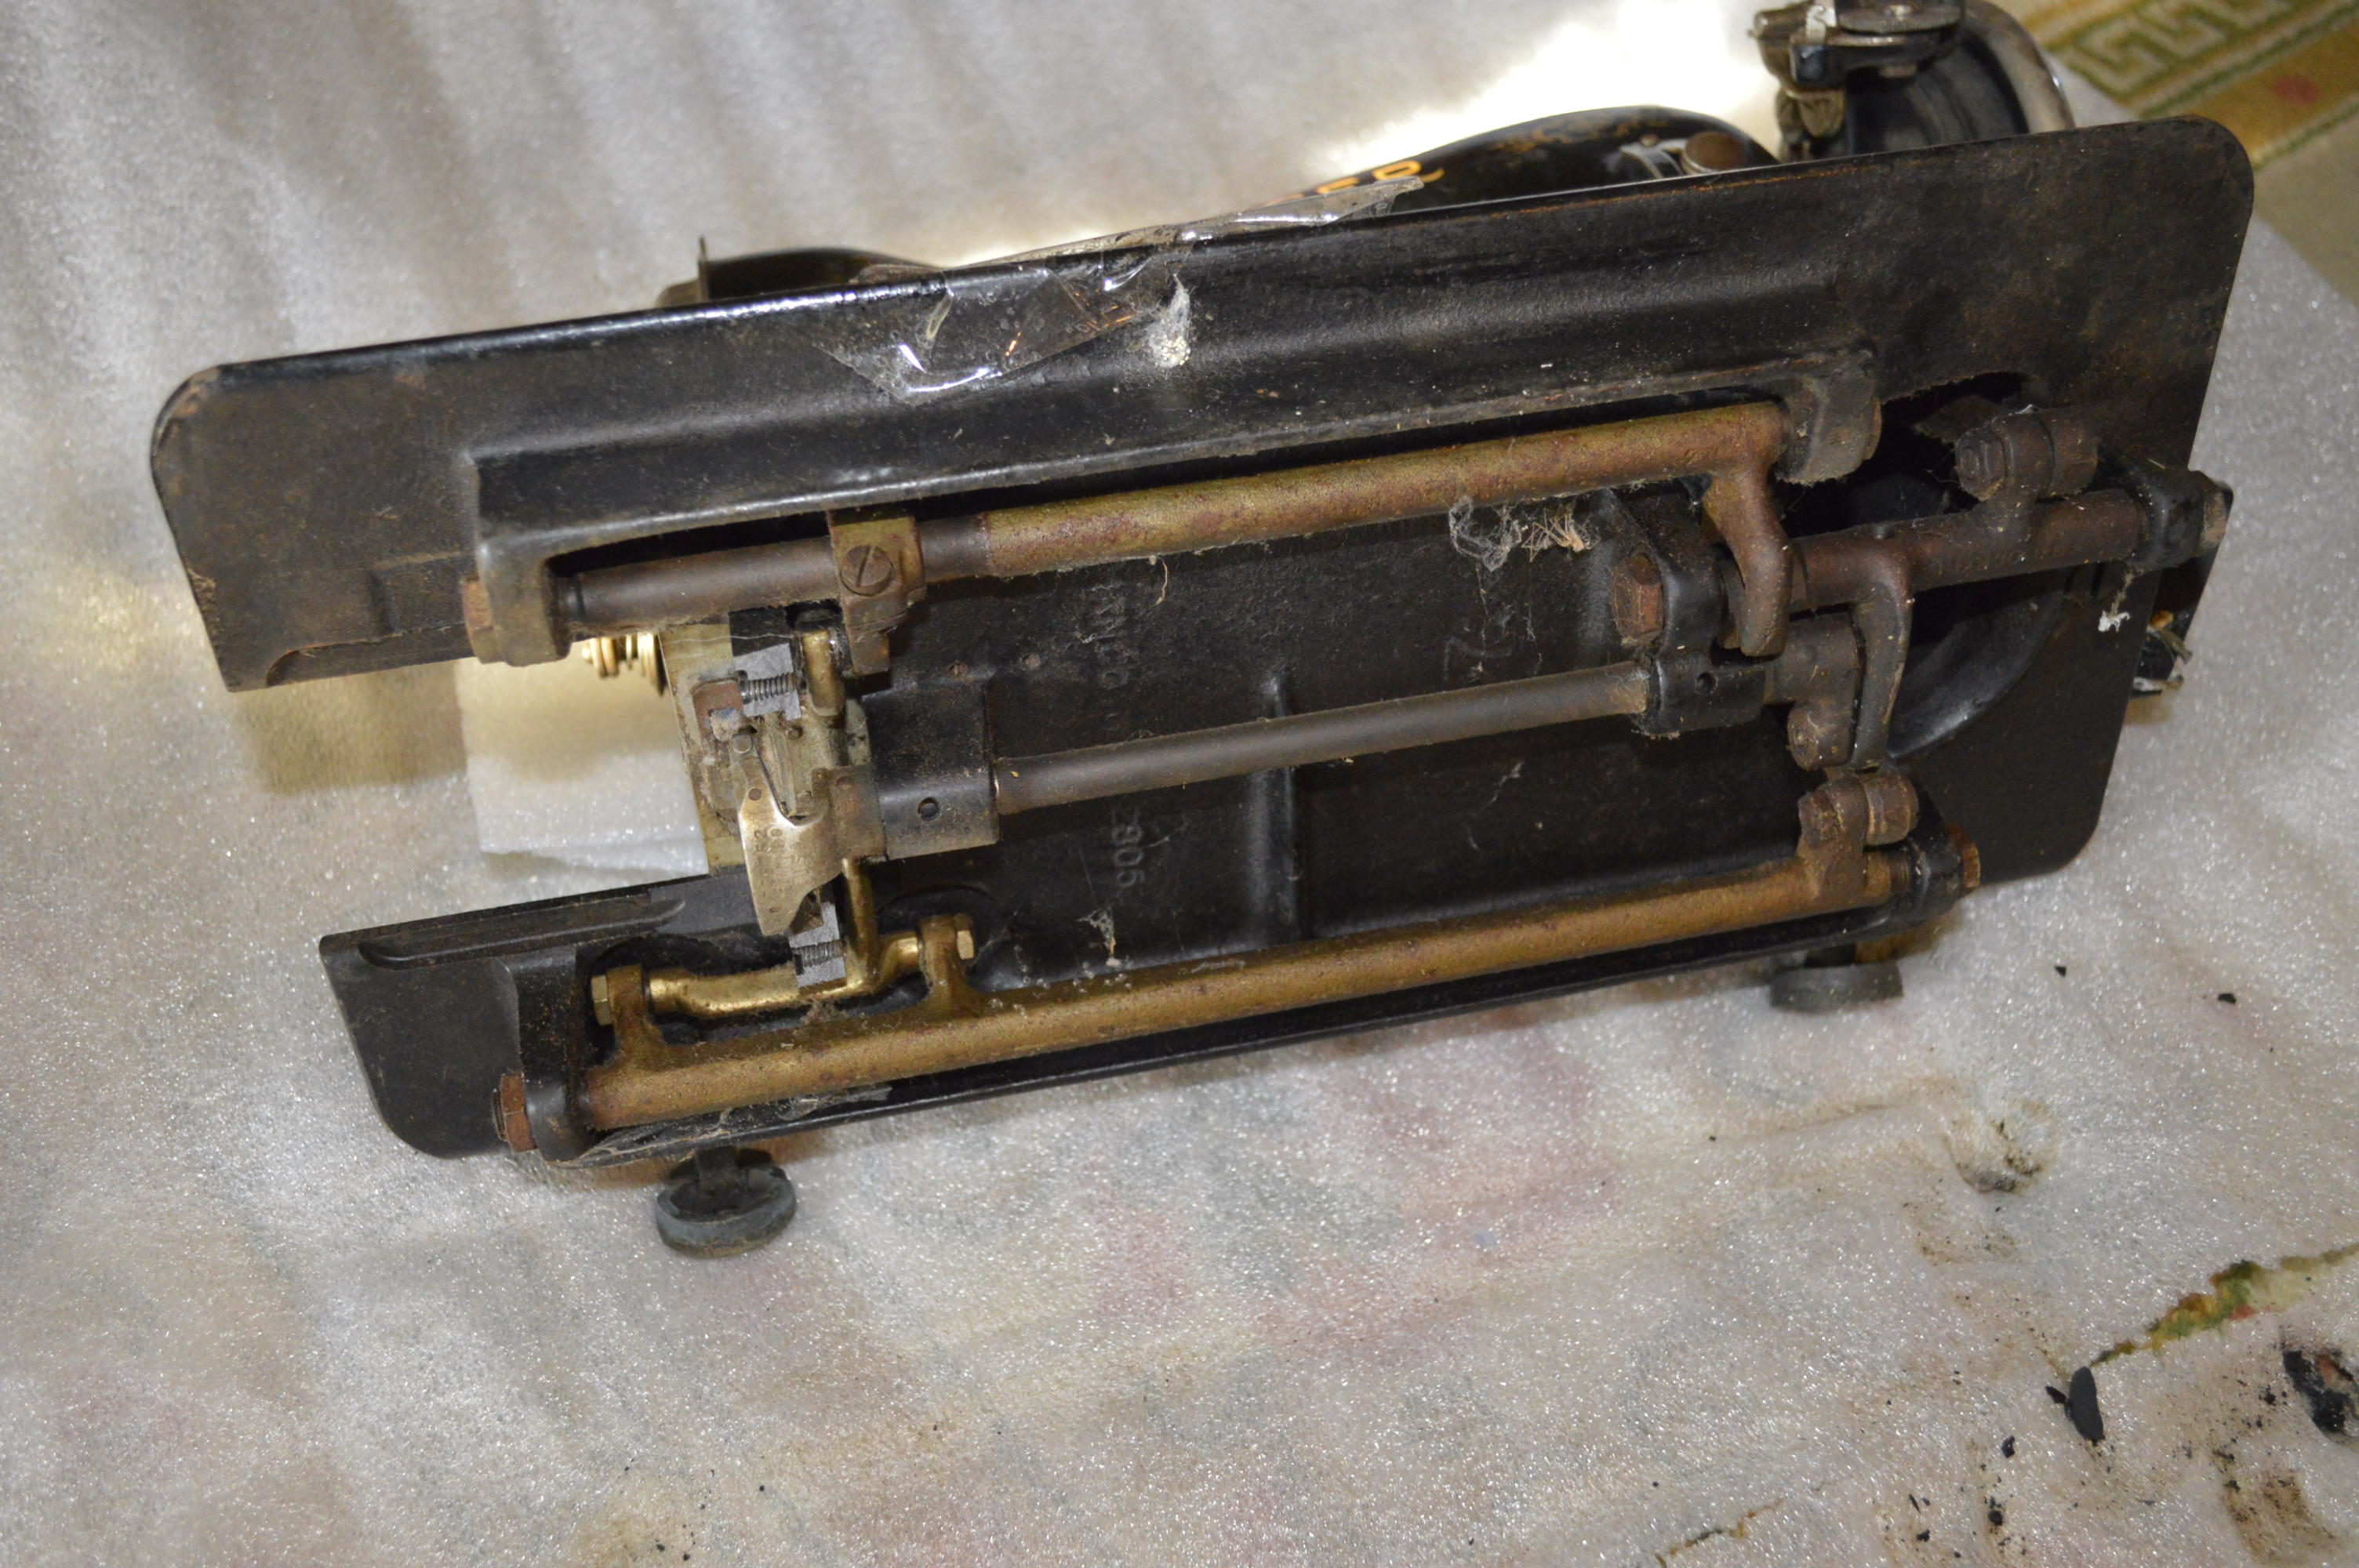
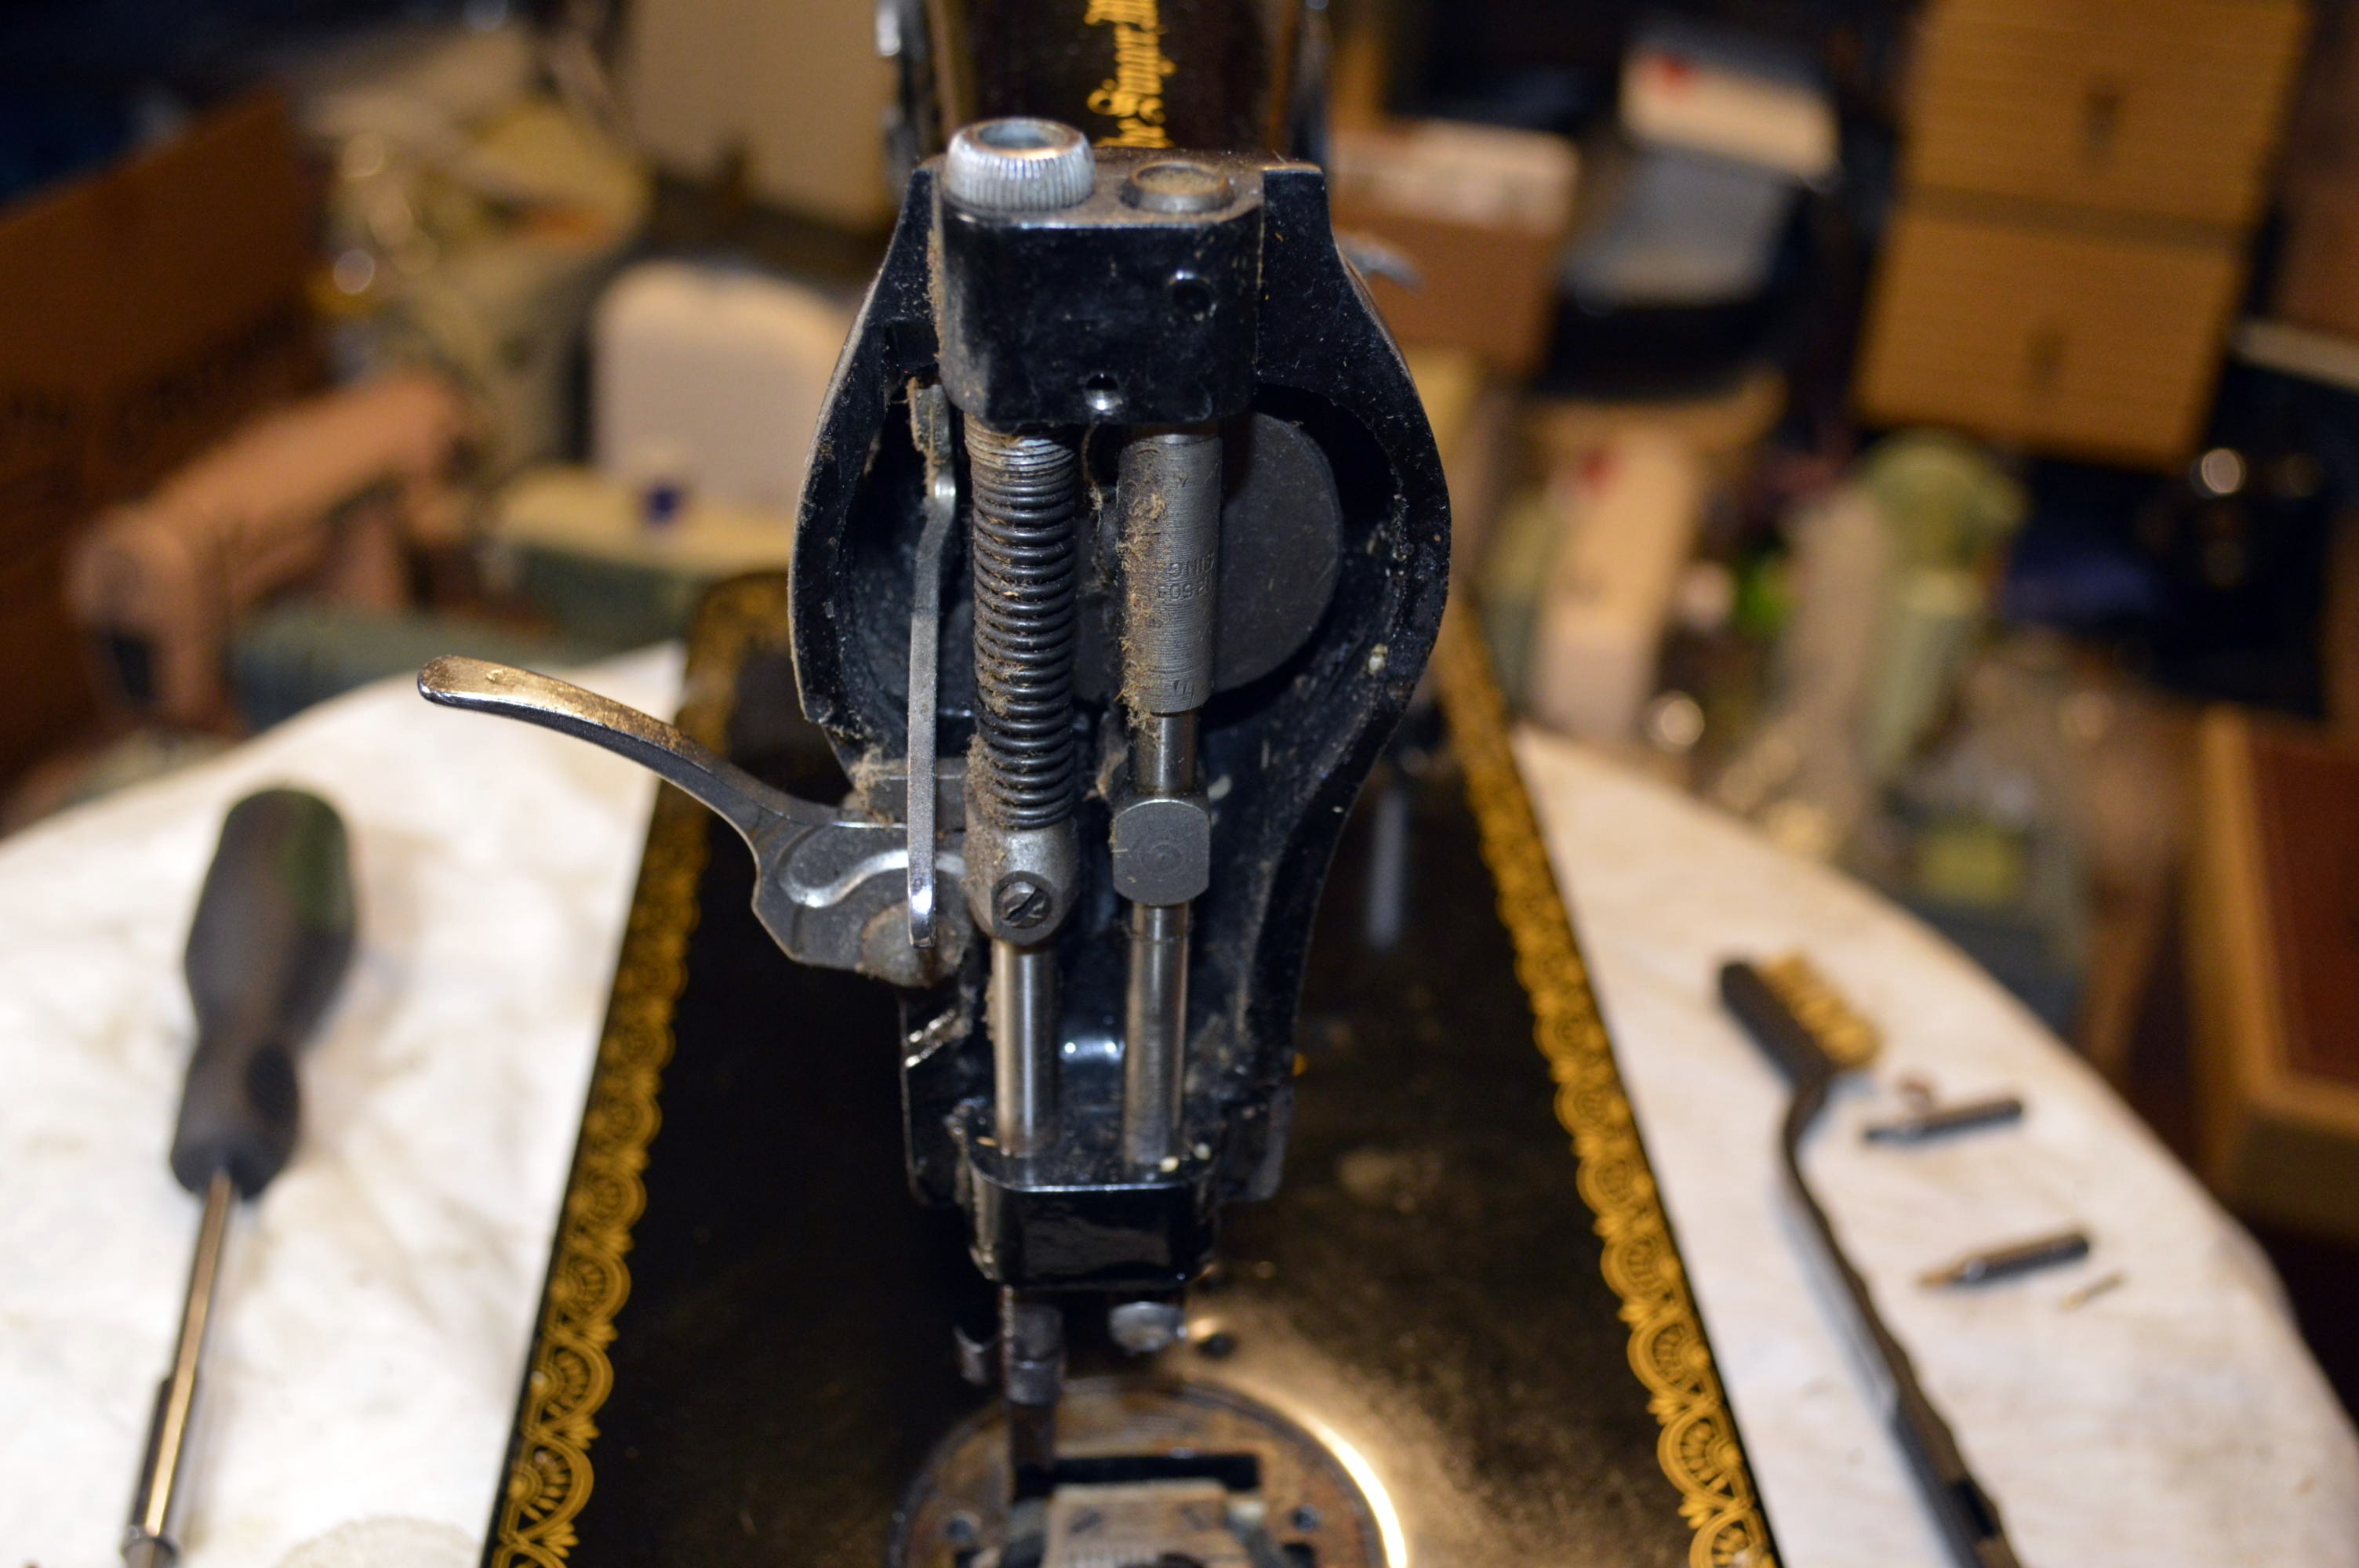
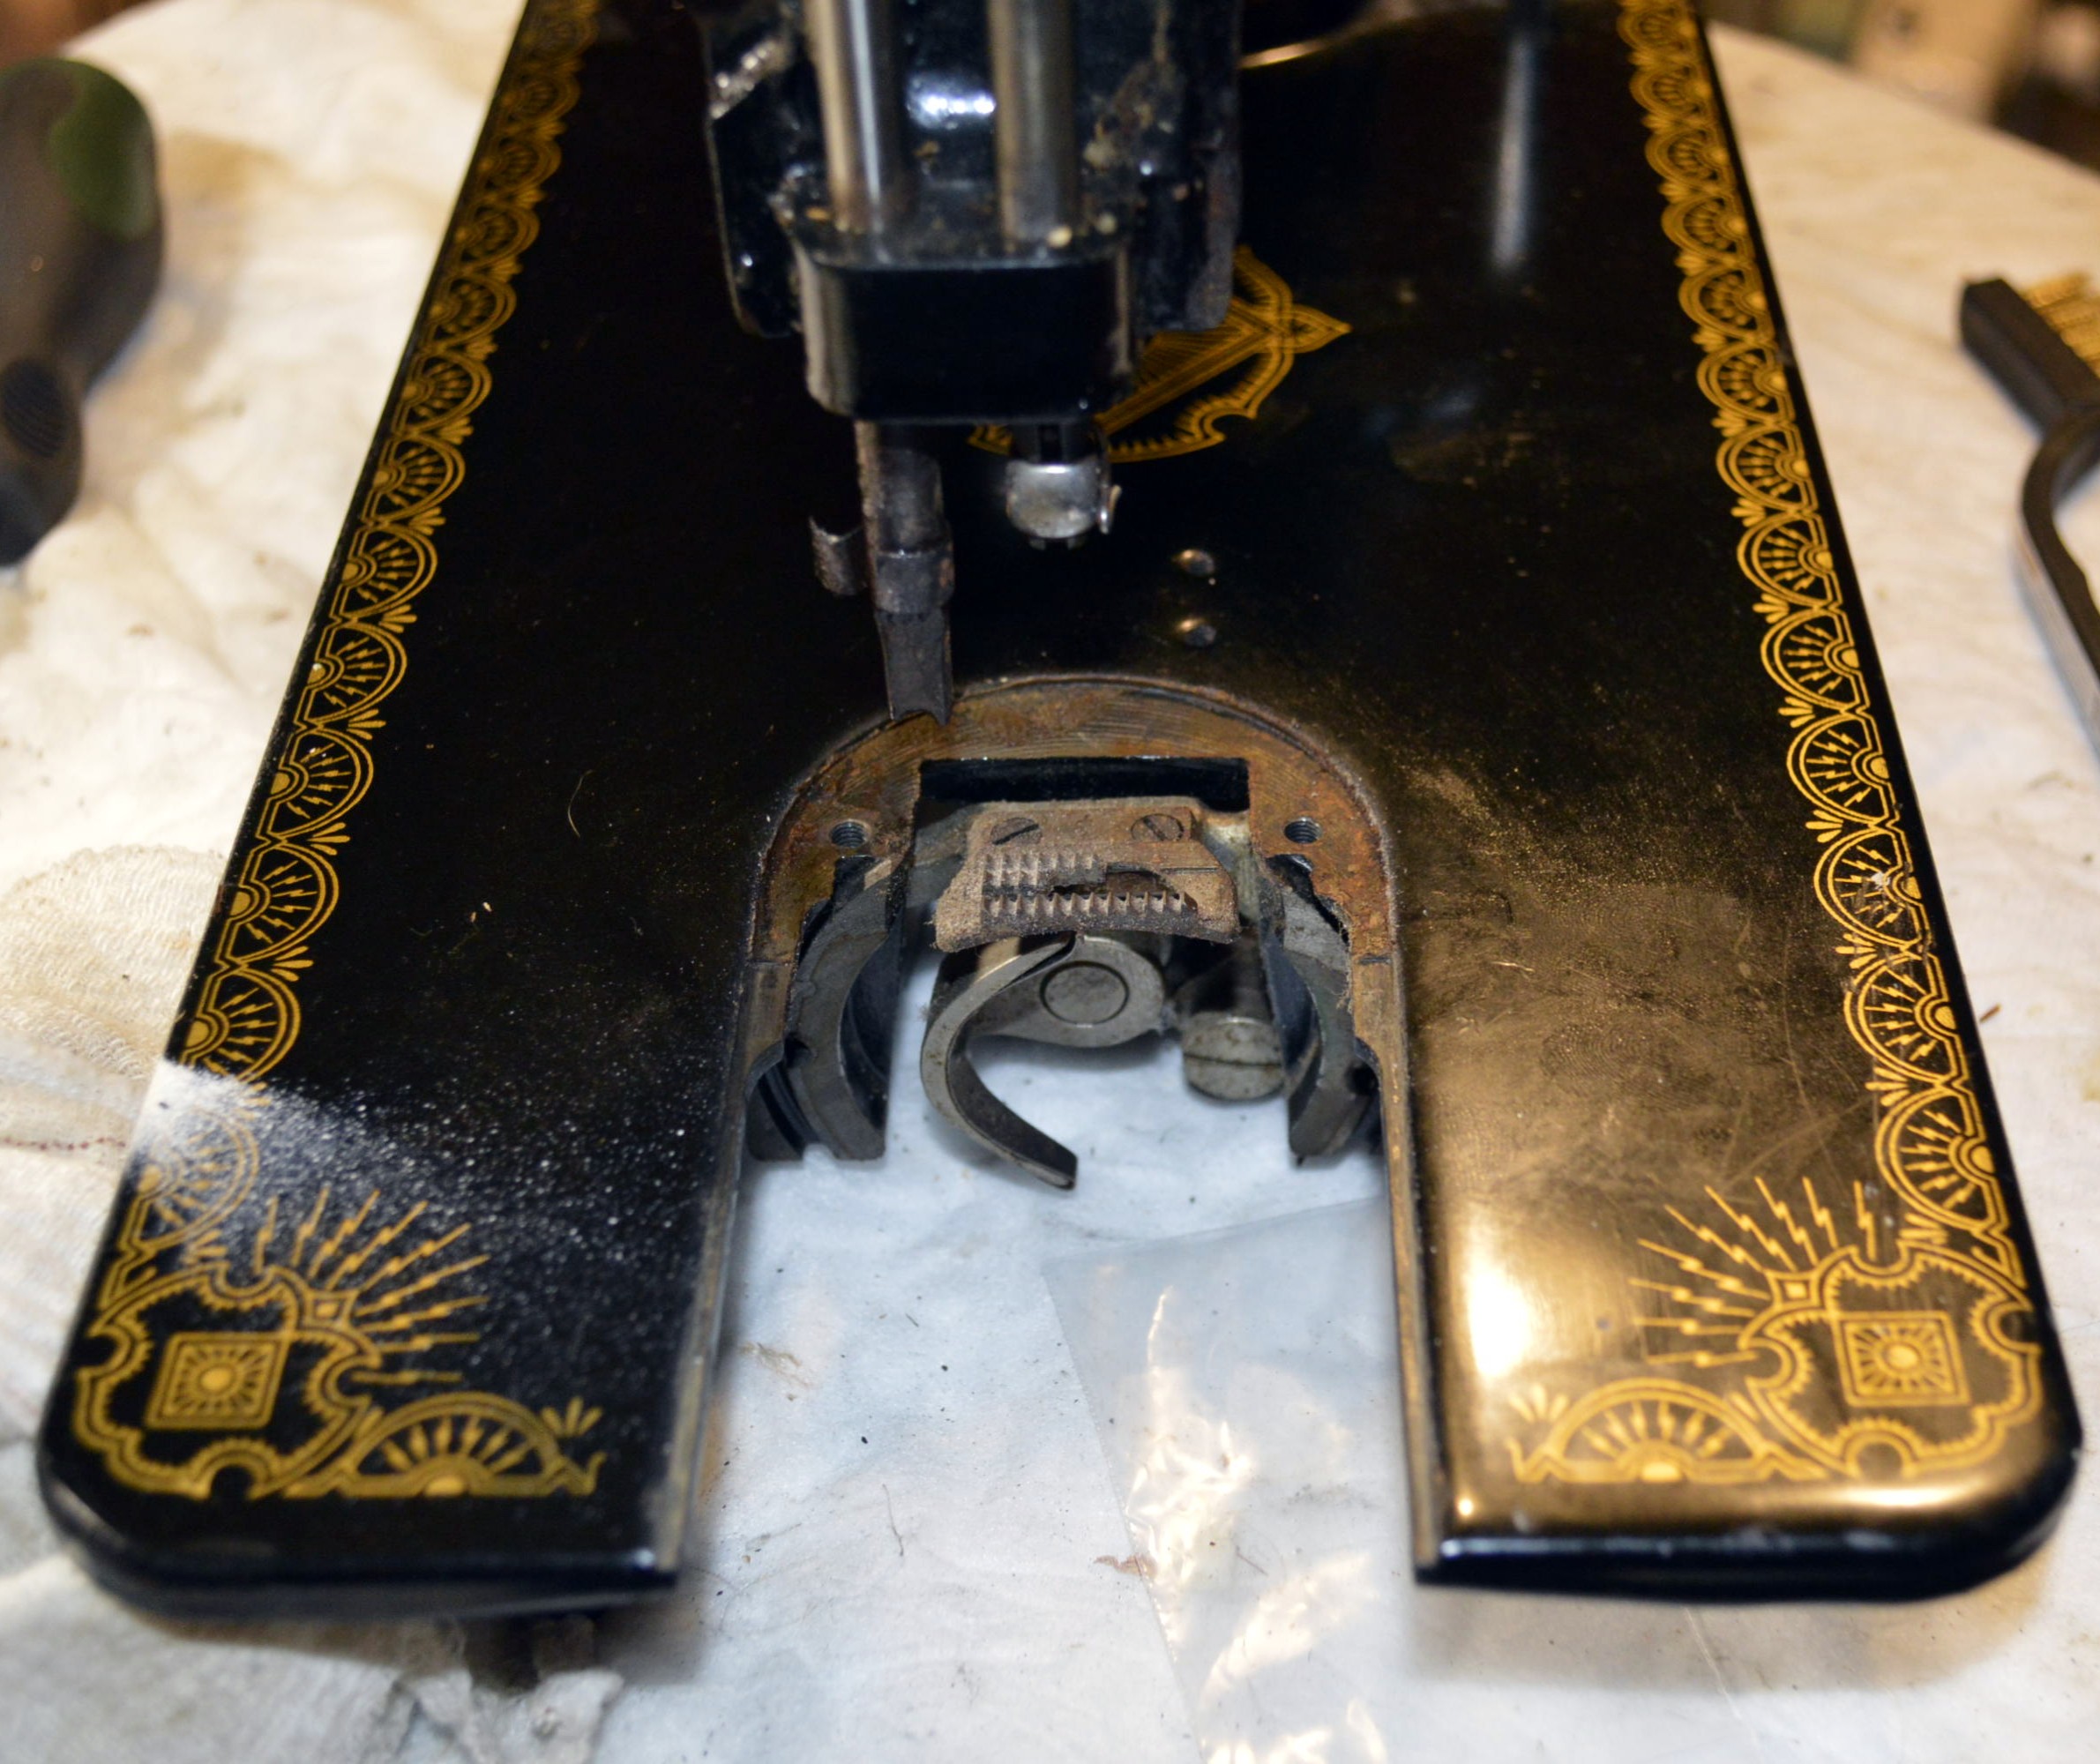
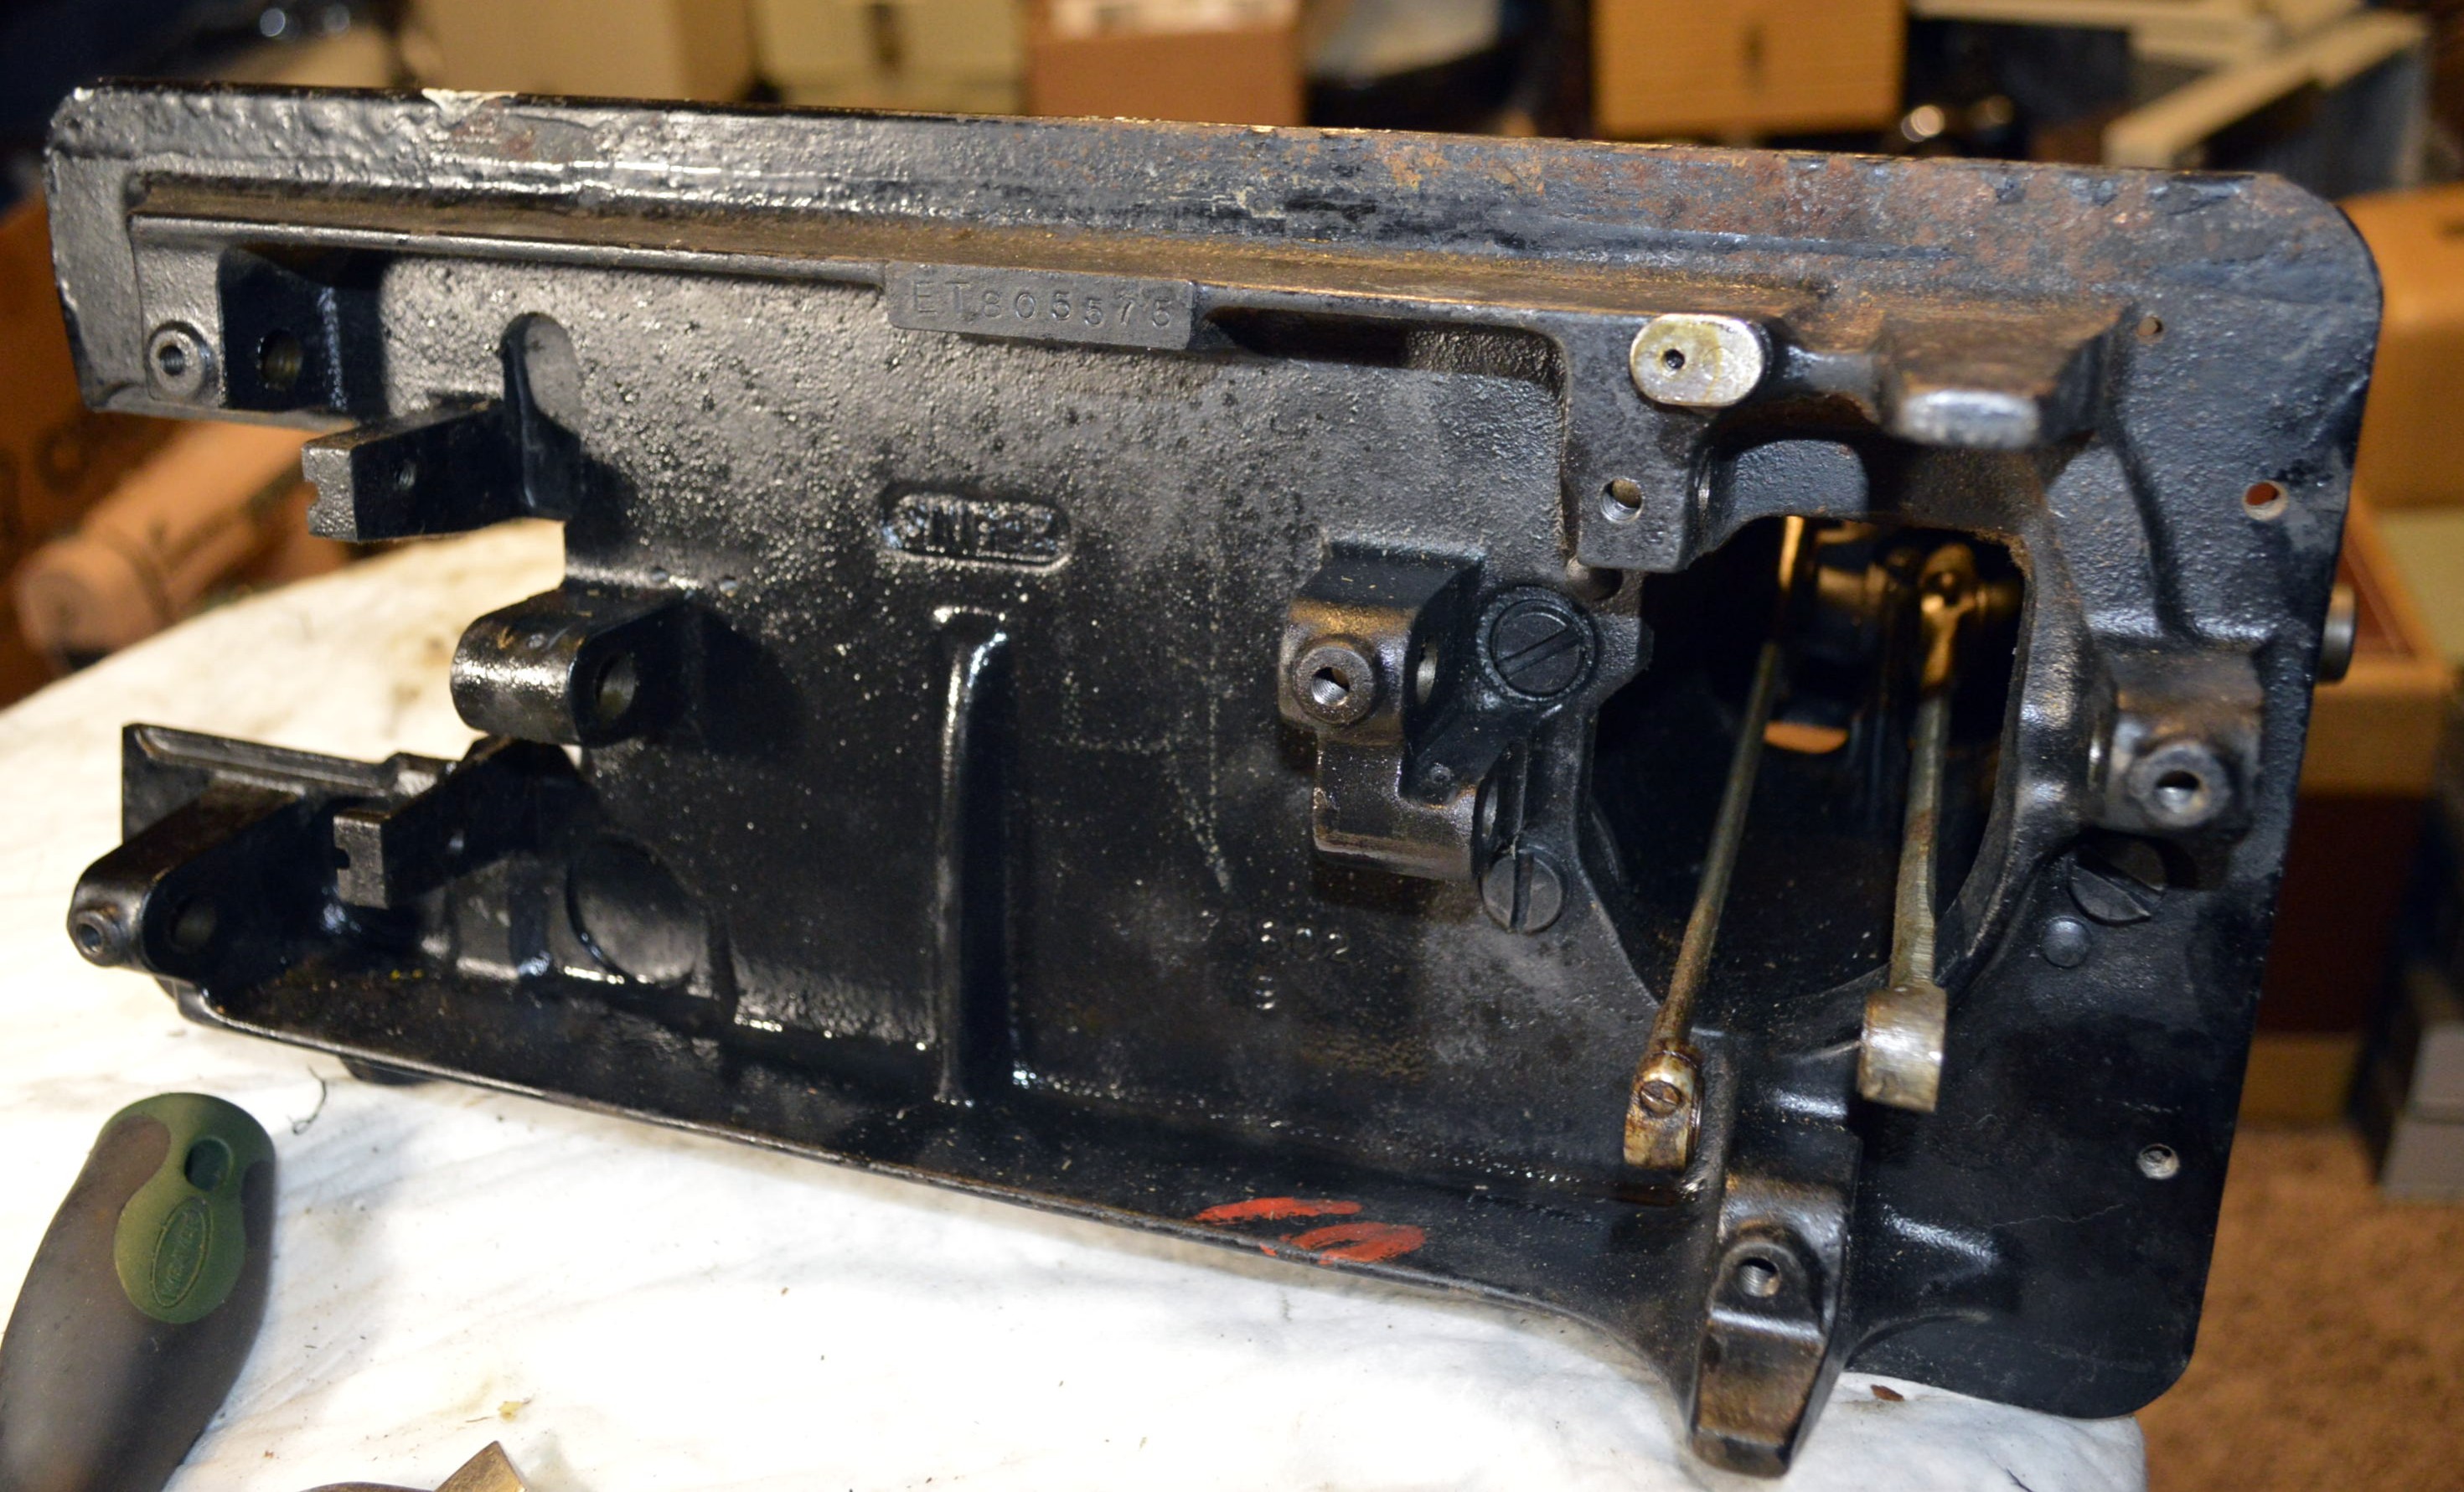
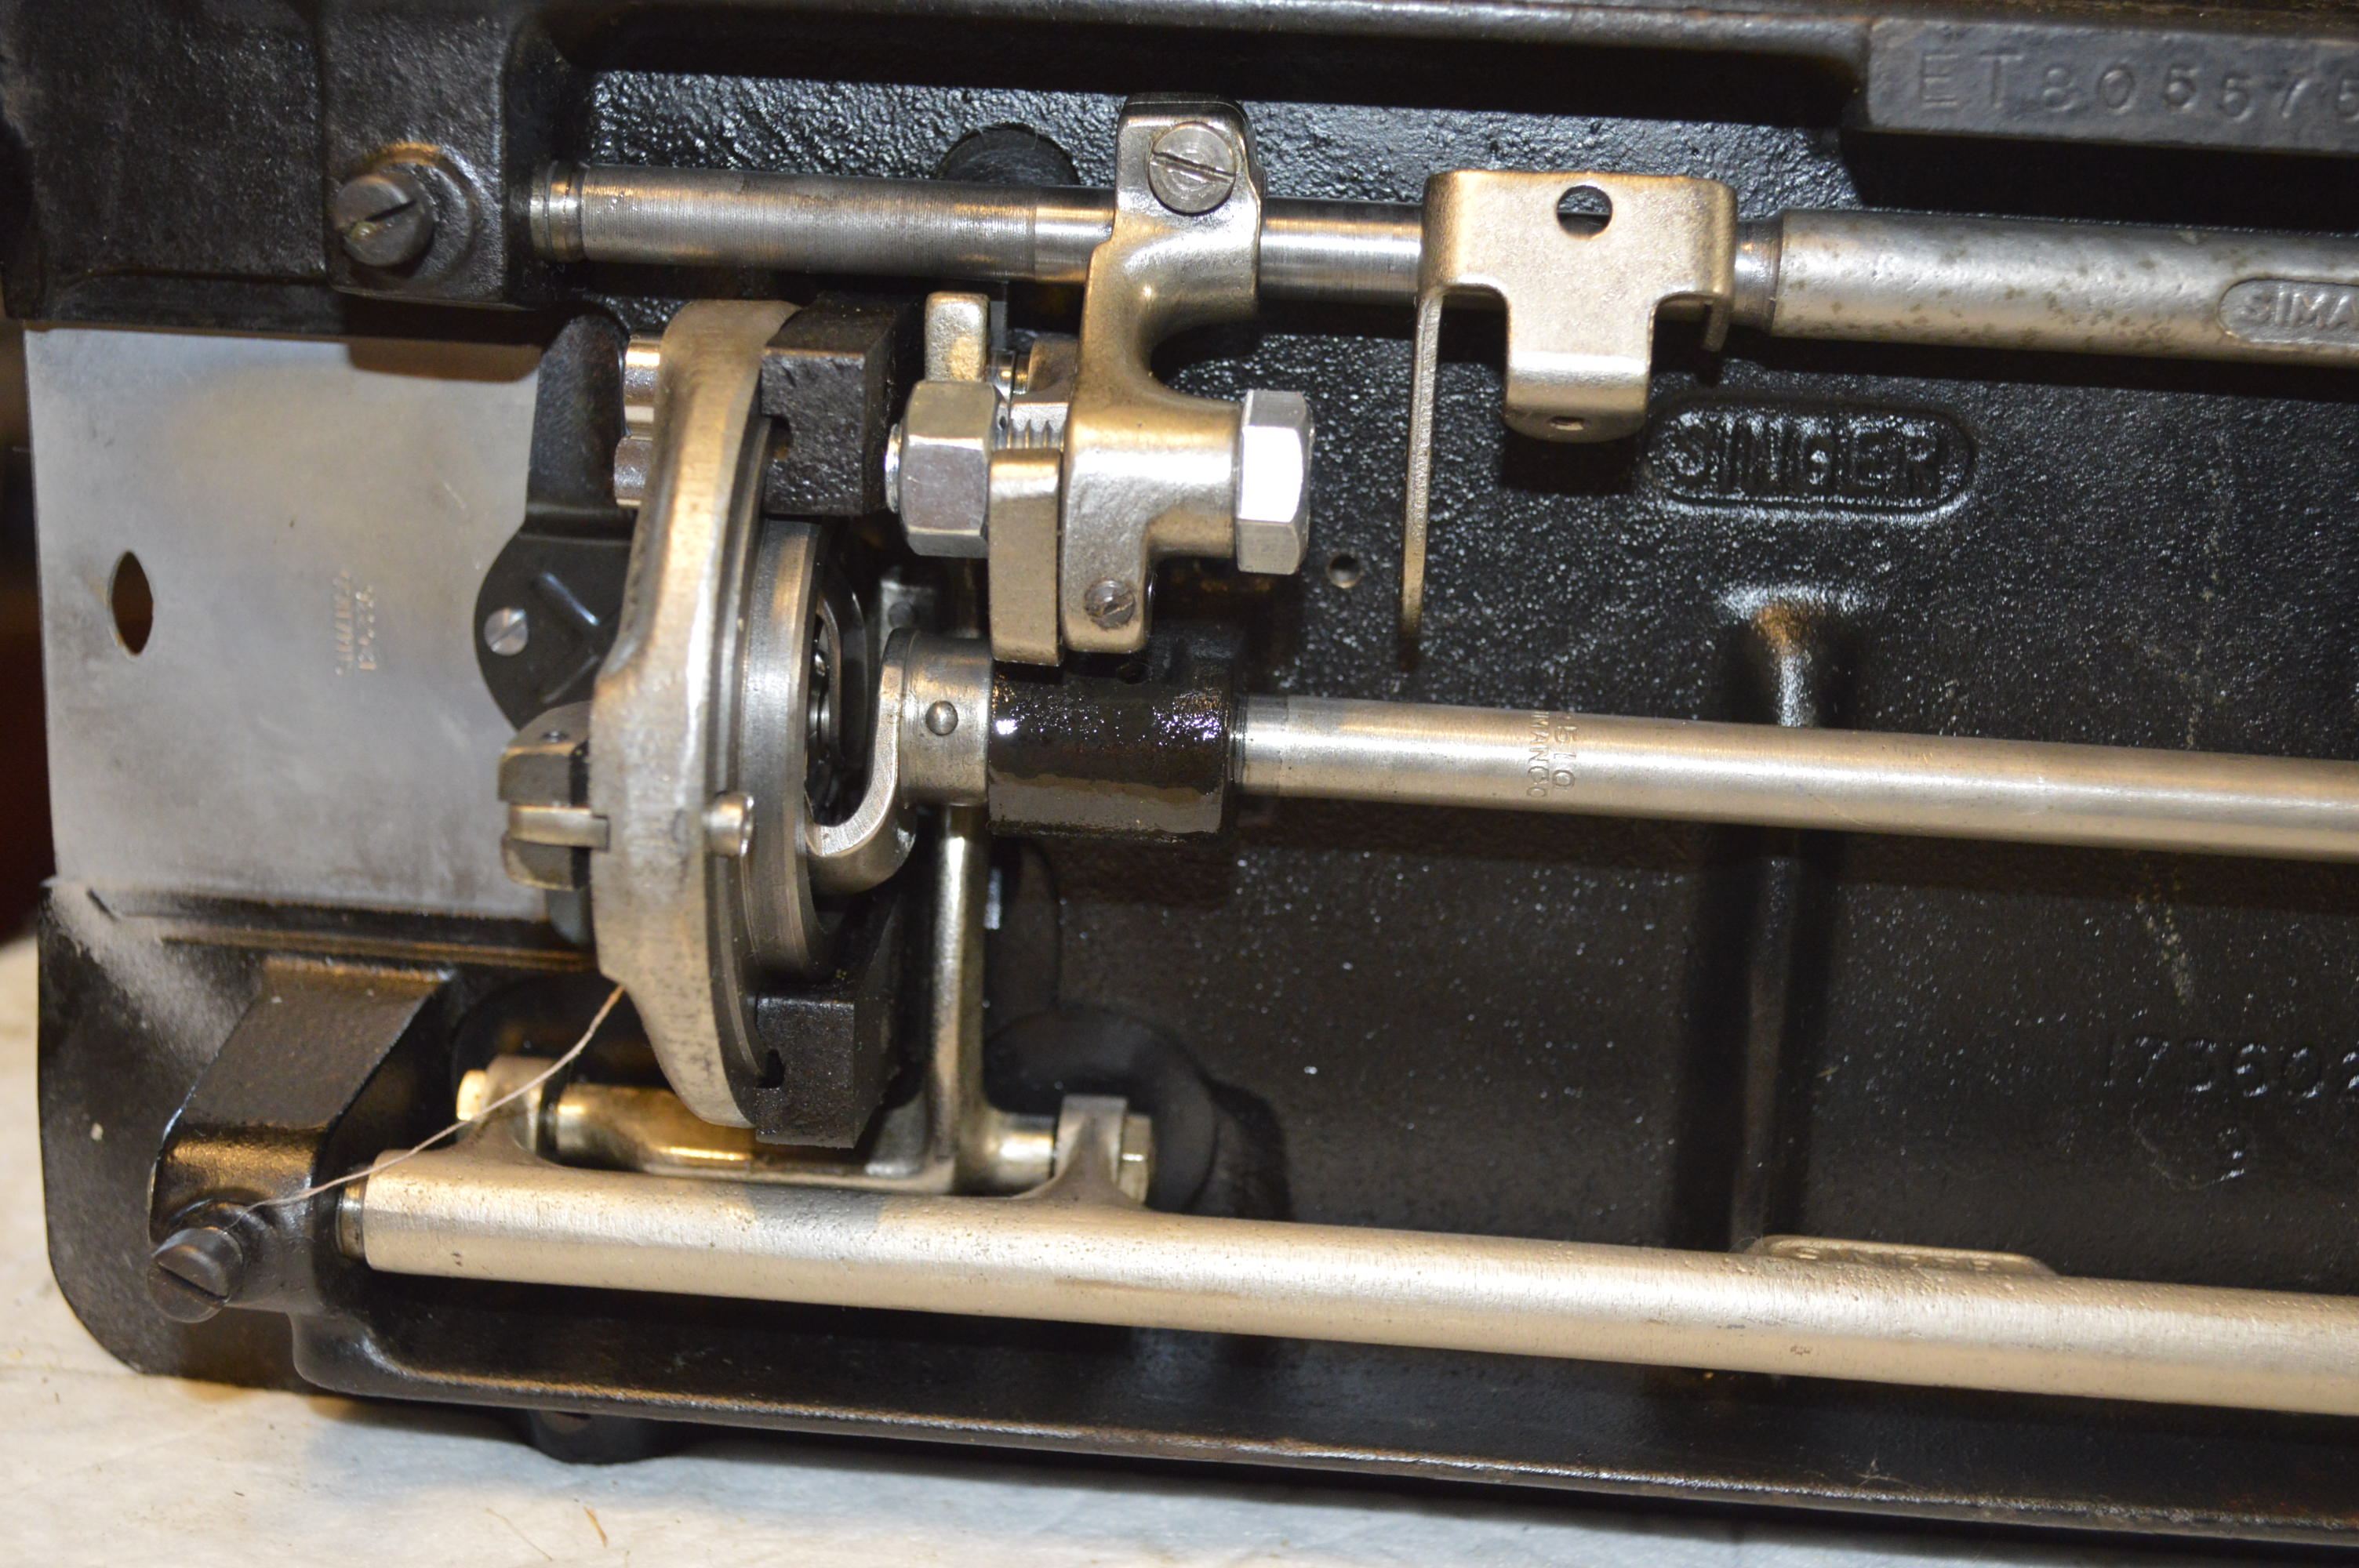
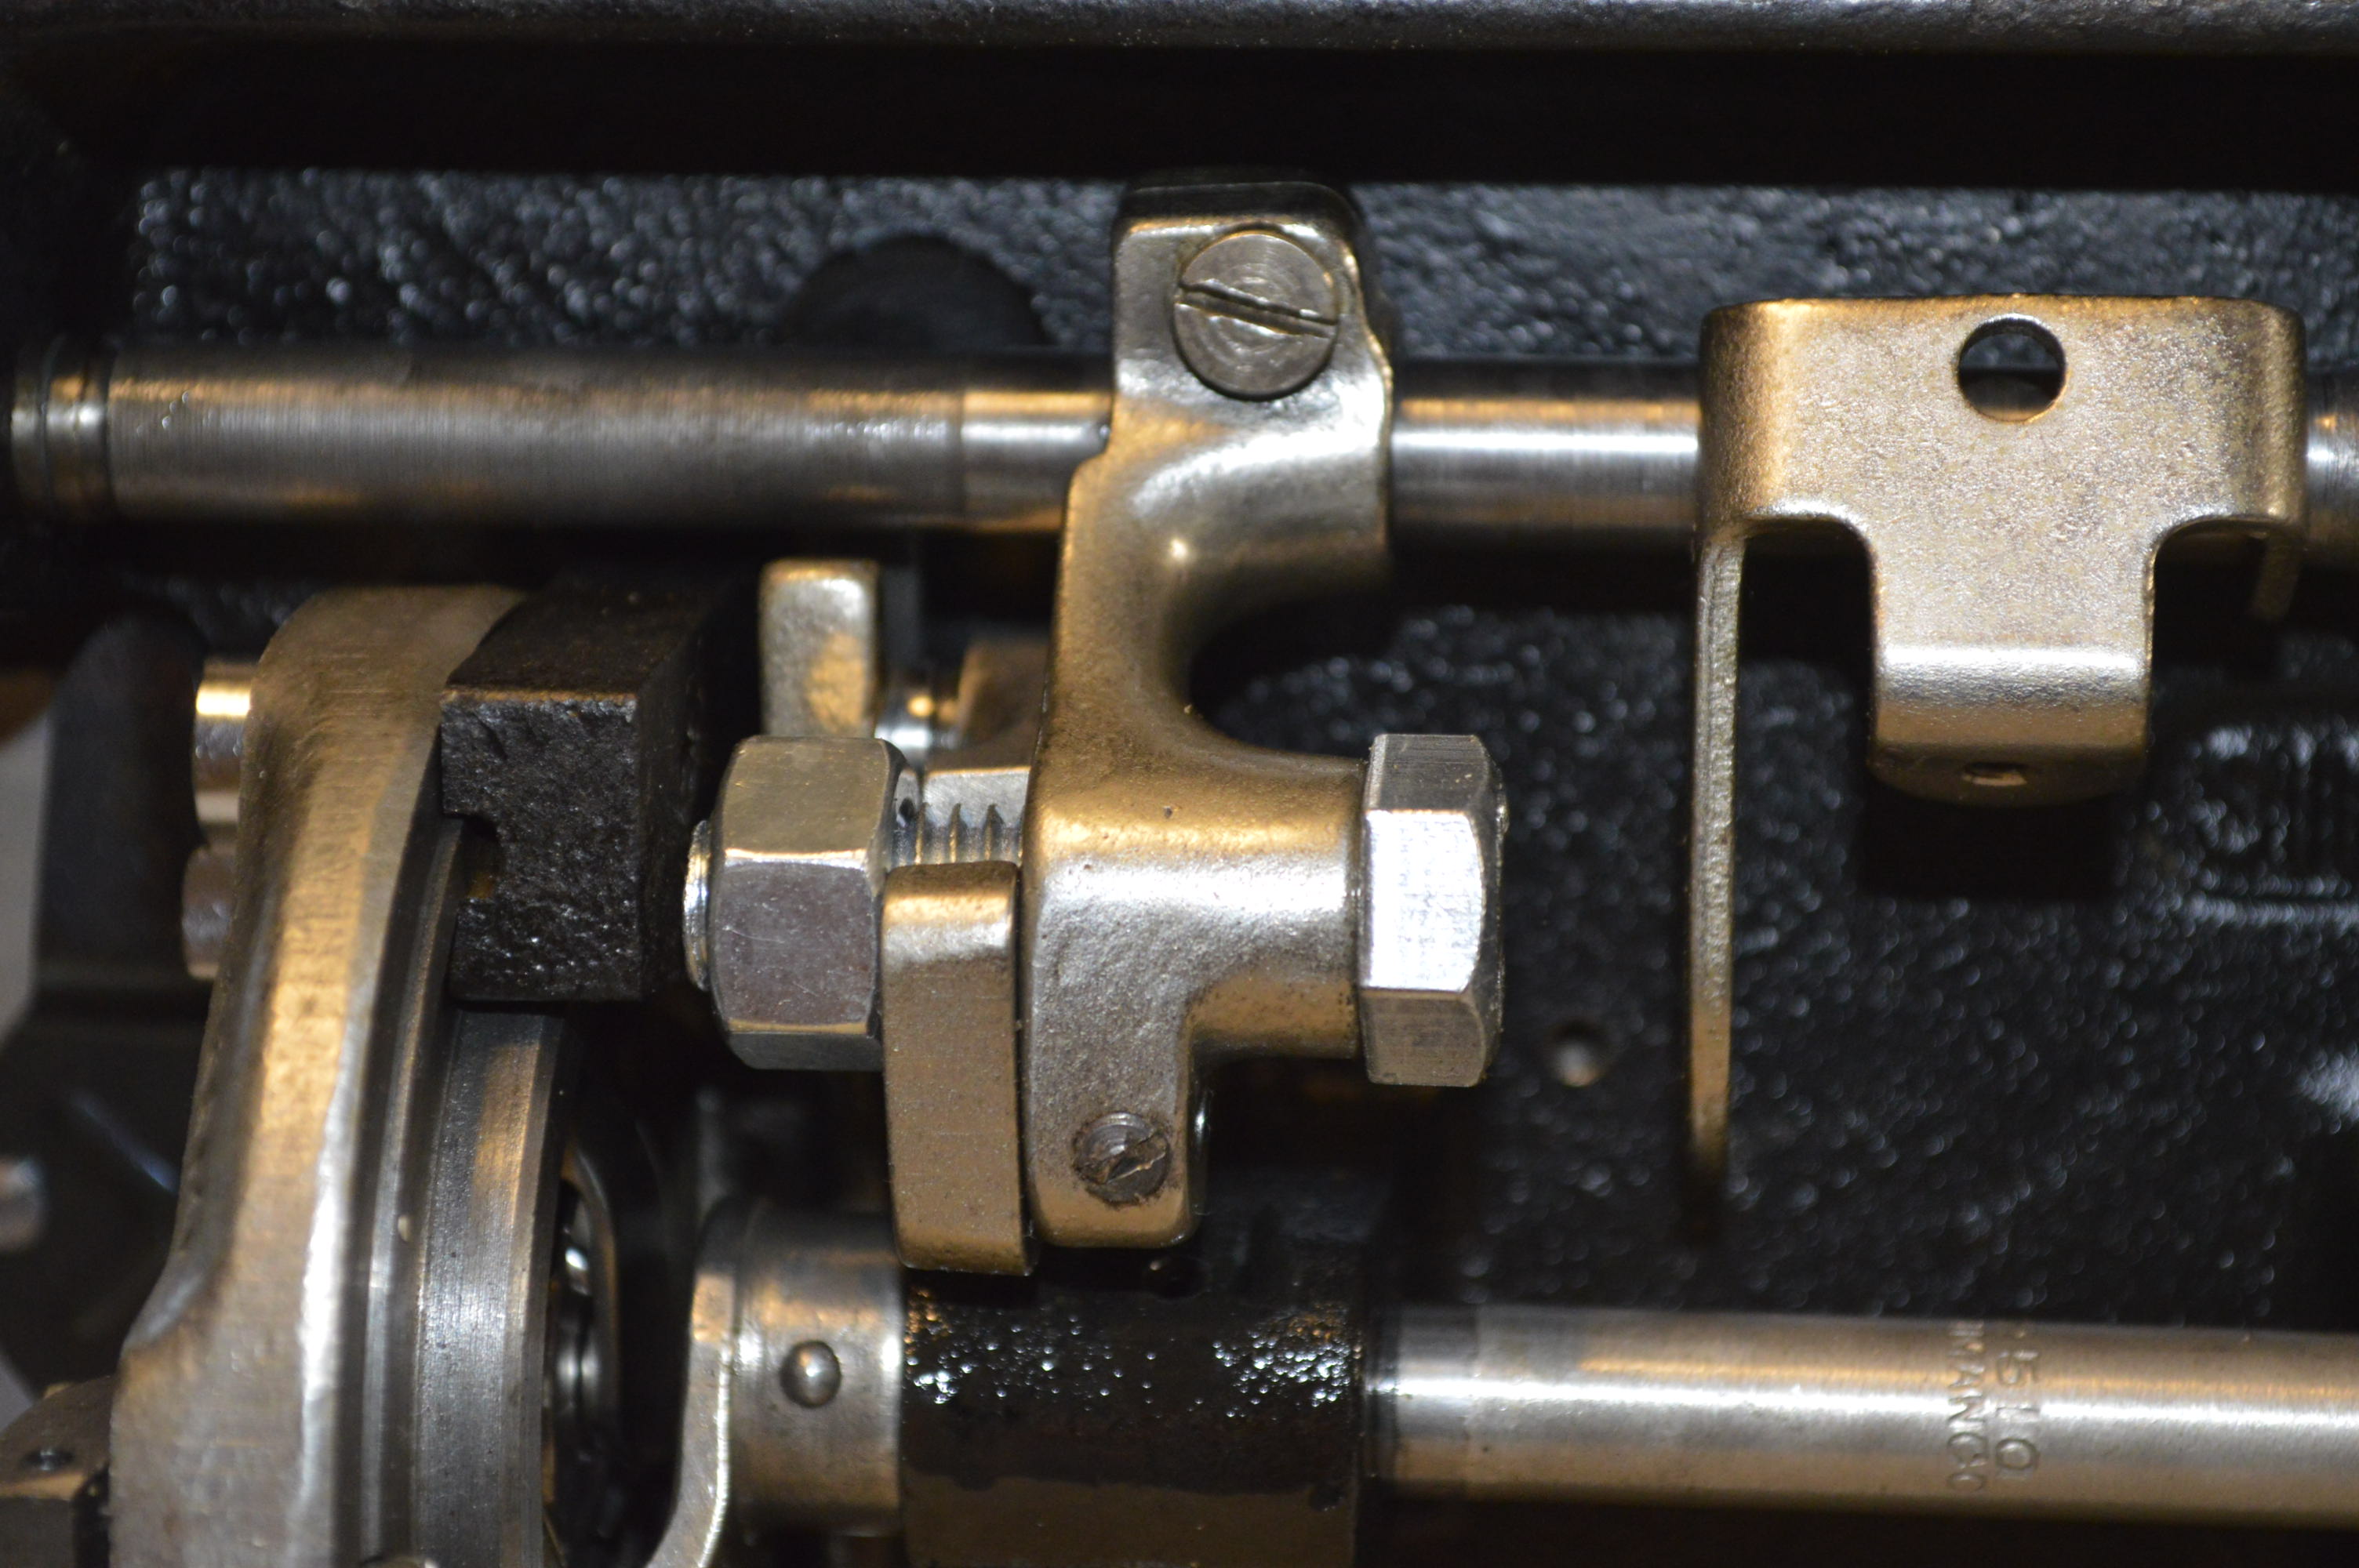
Similarly, all mechanisms beneath the sewing bed must be removed.

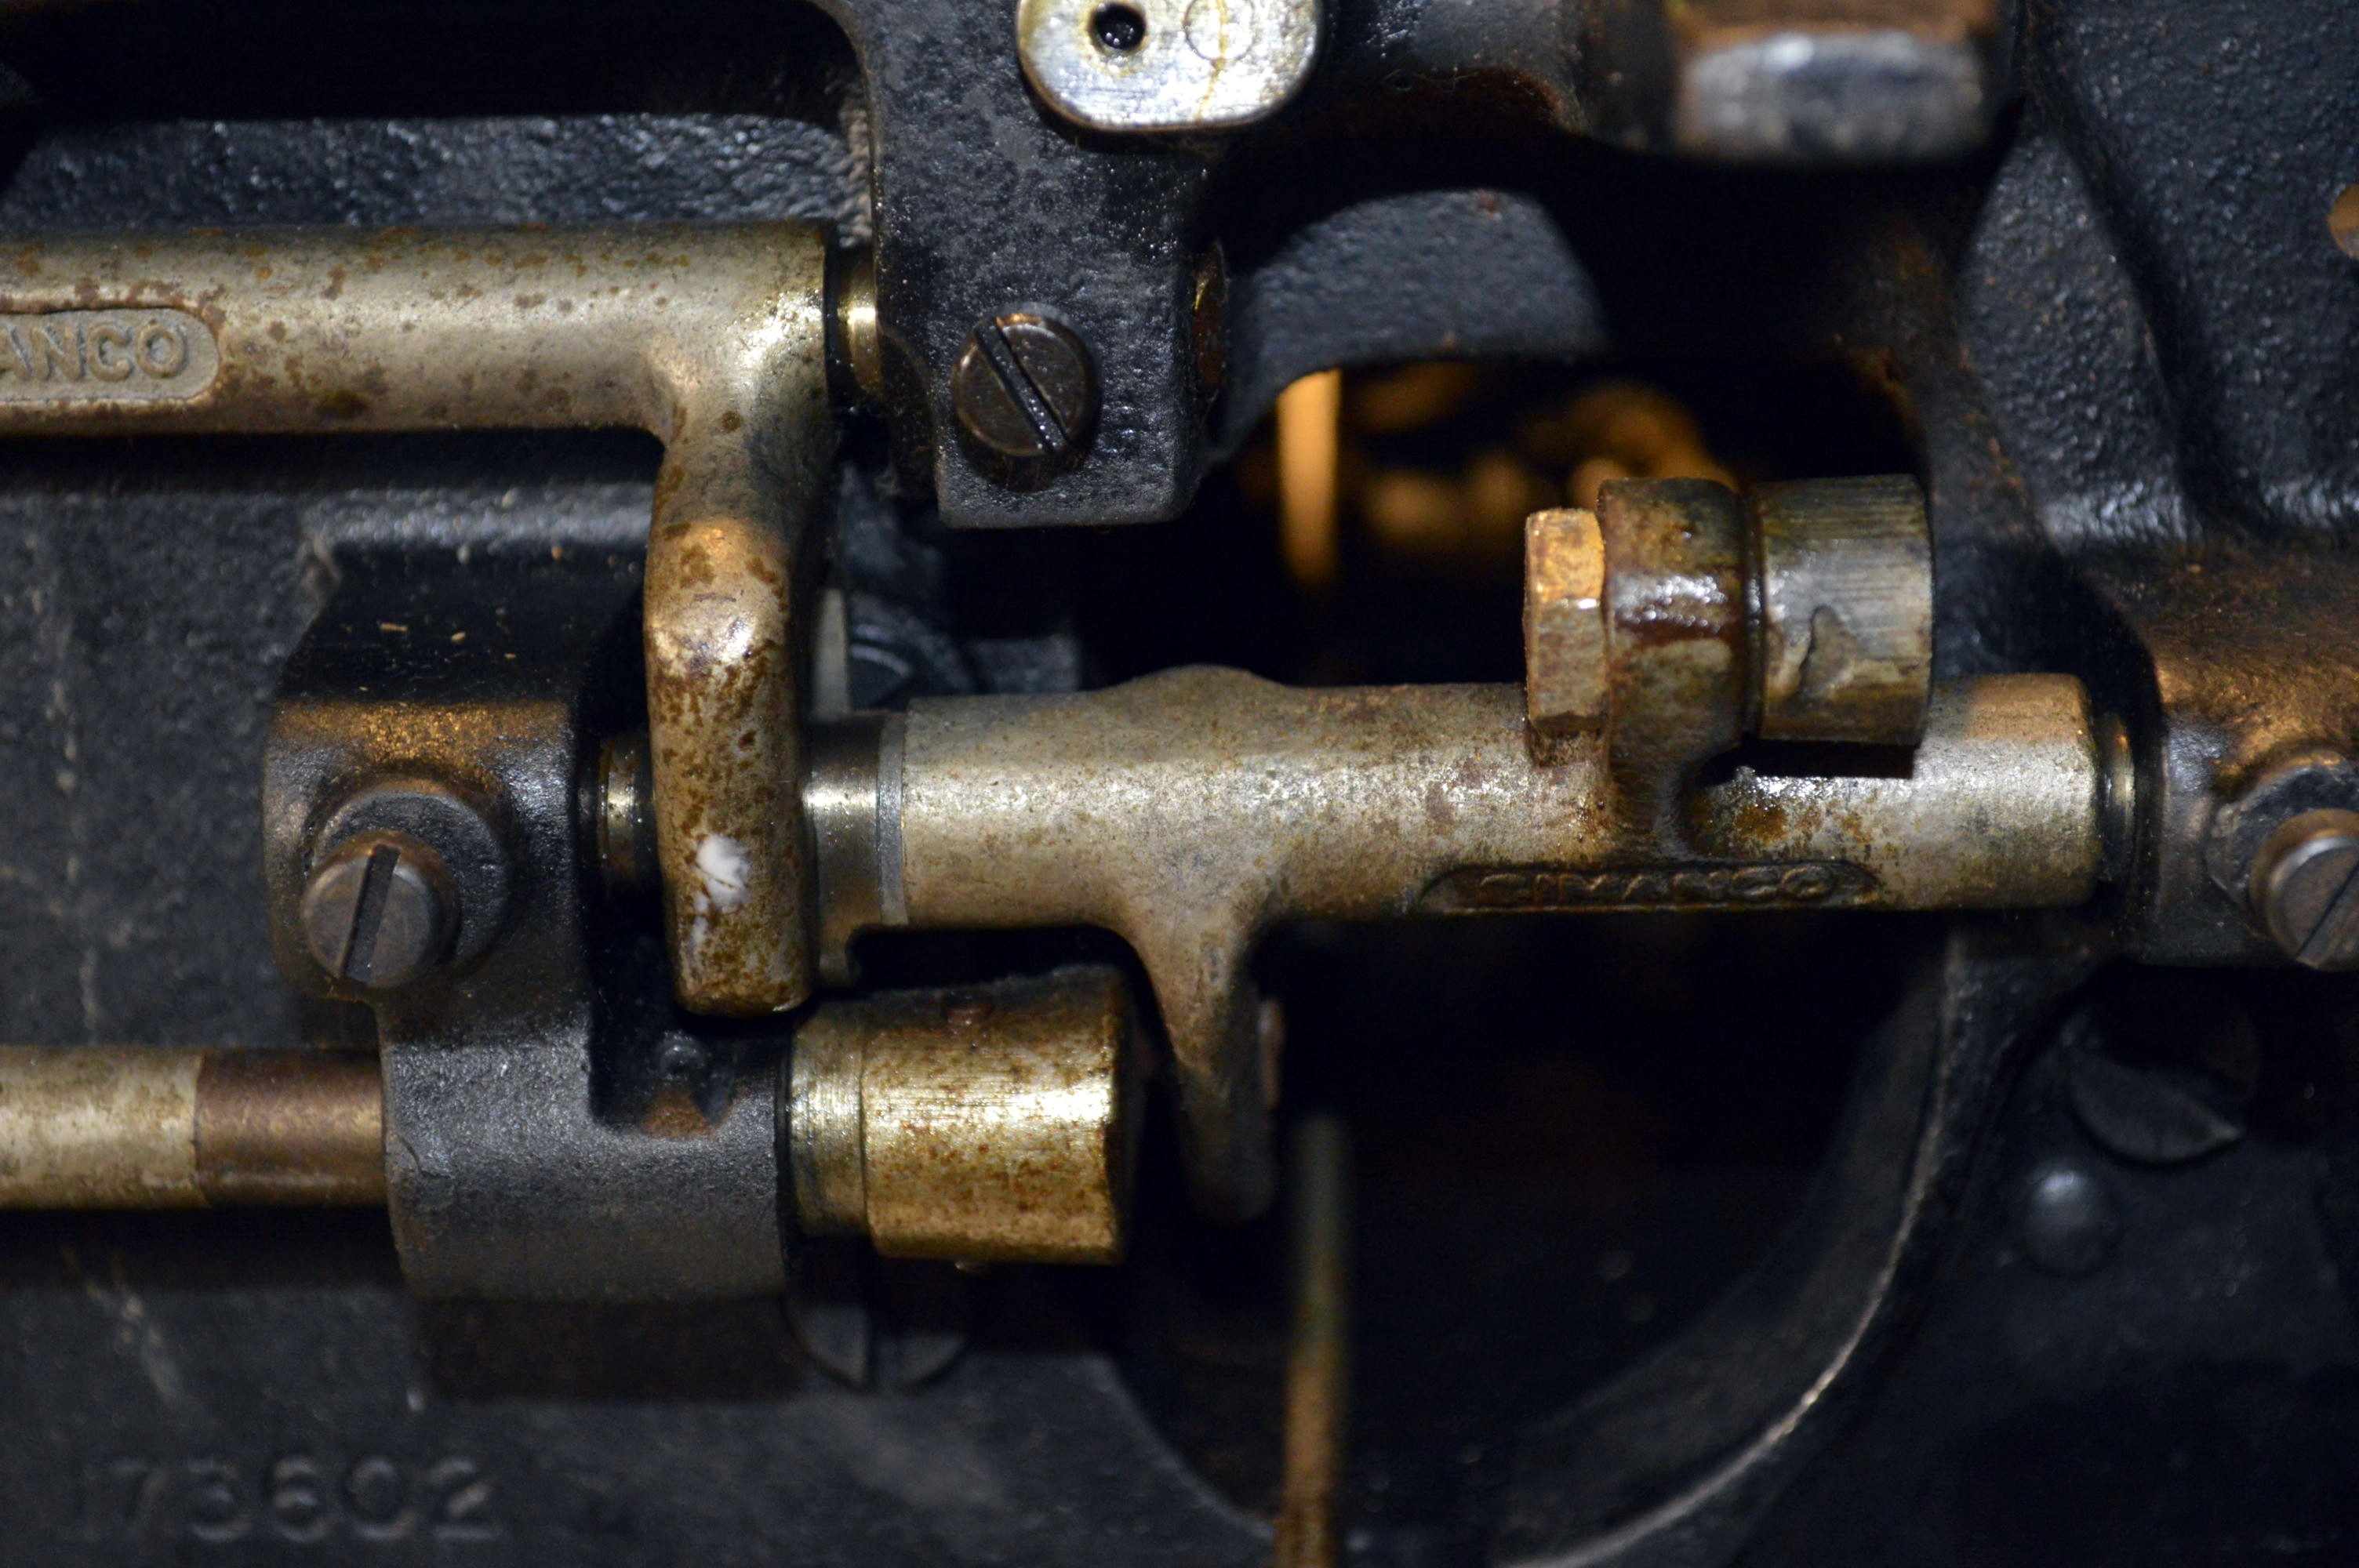
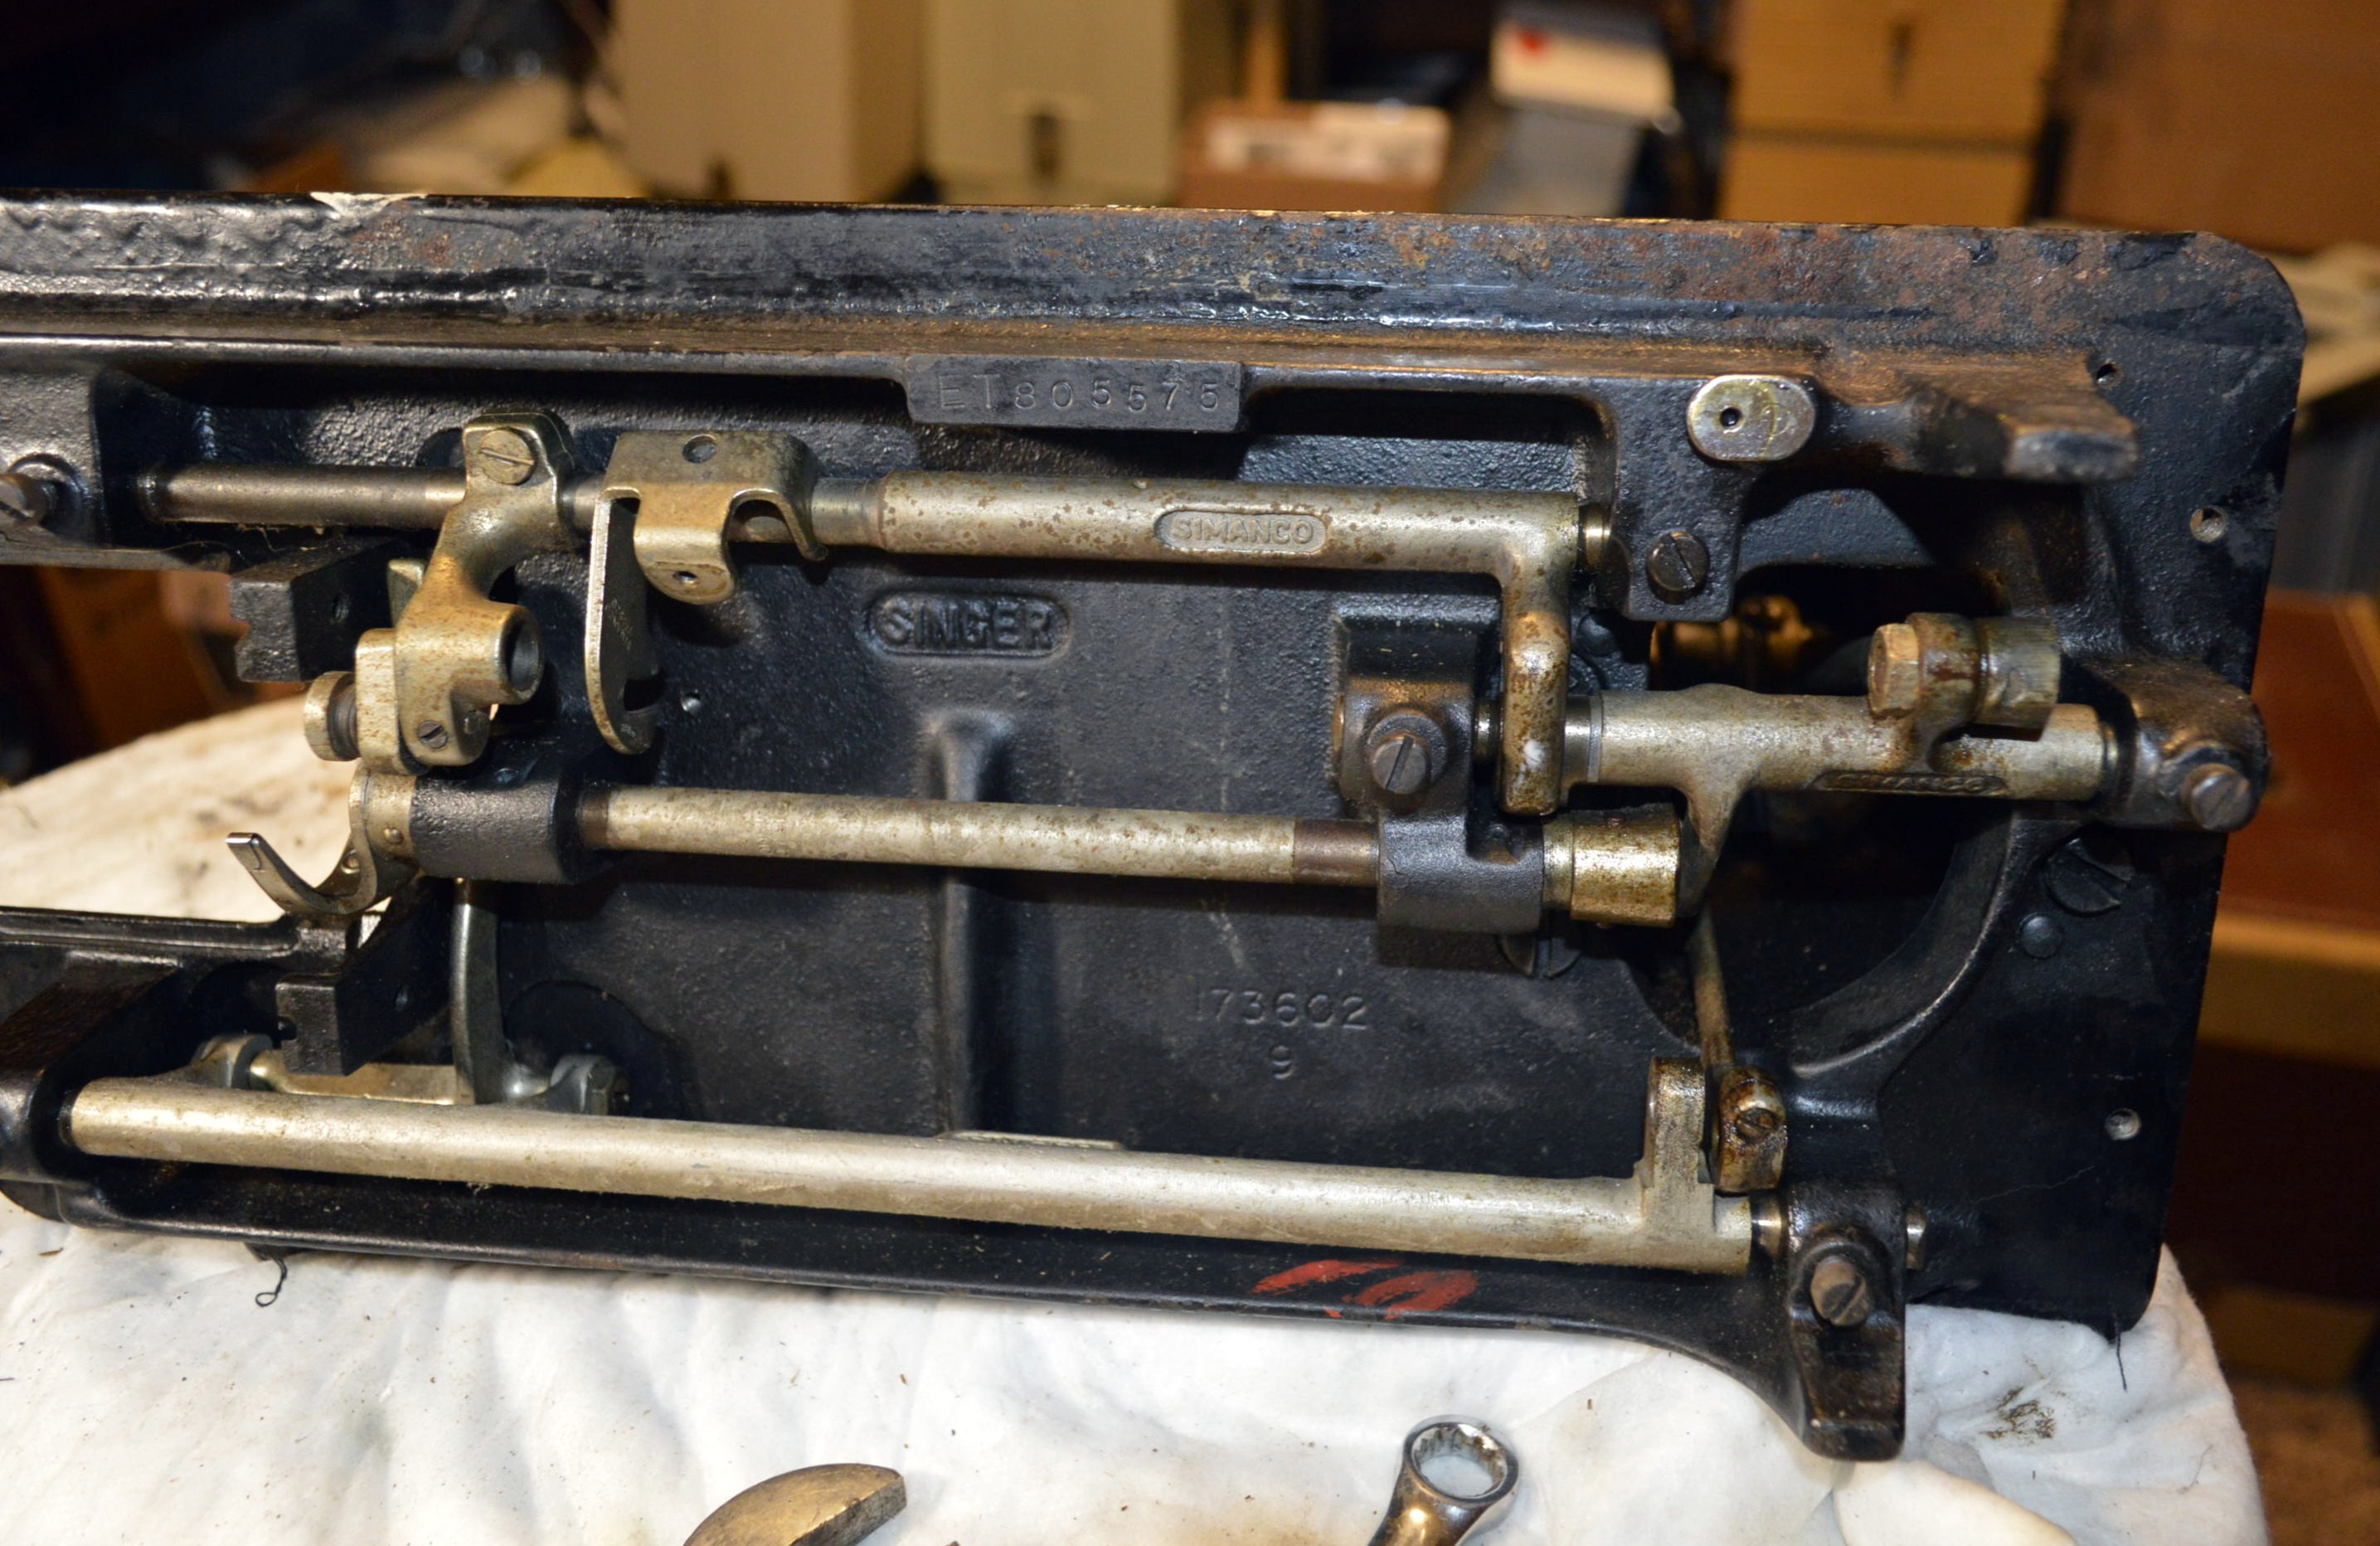
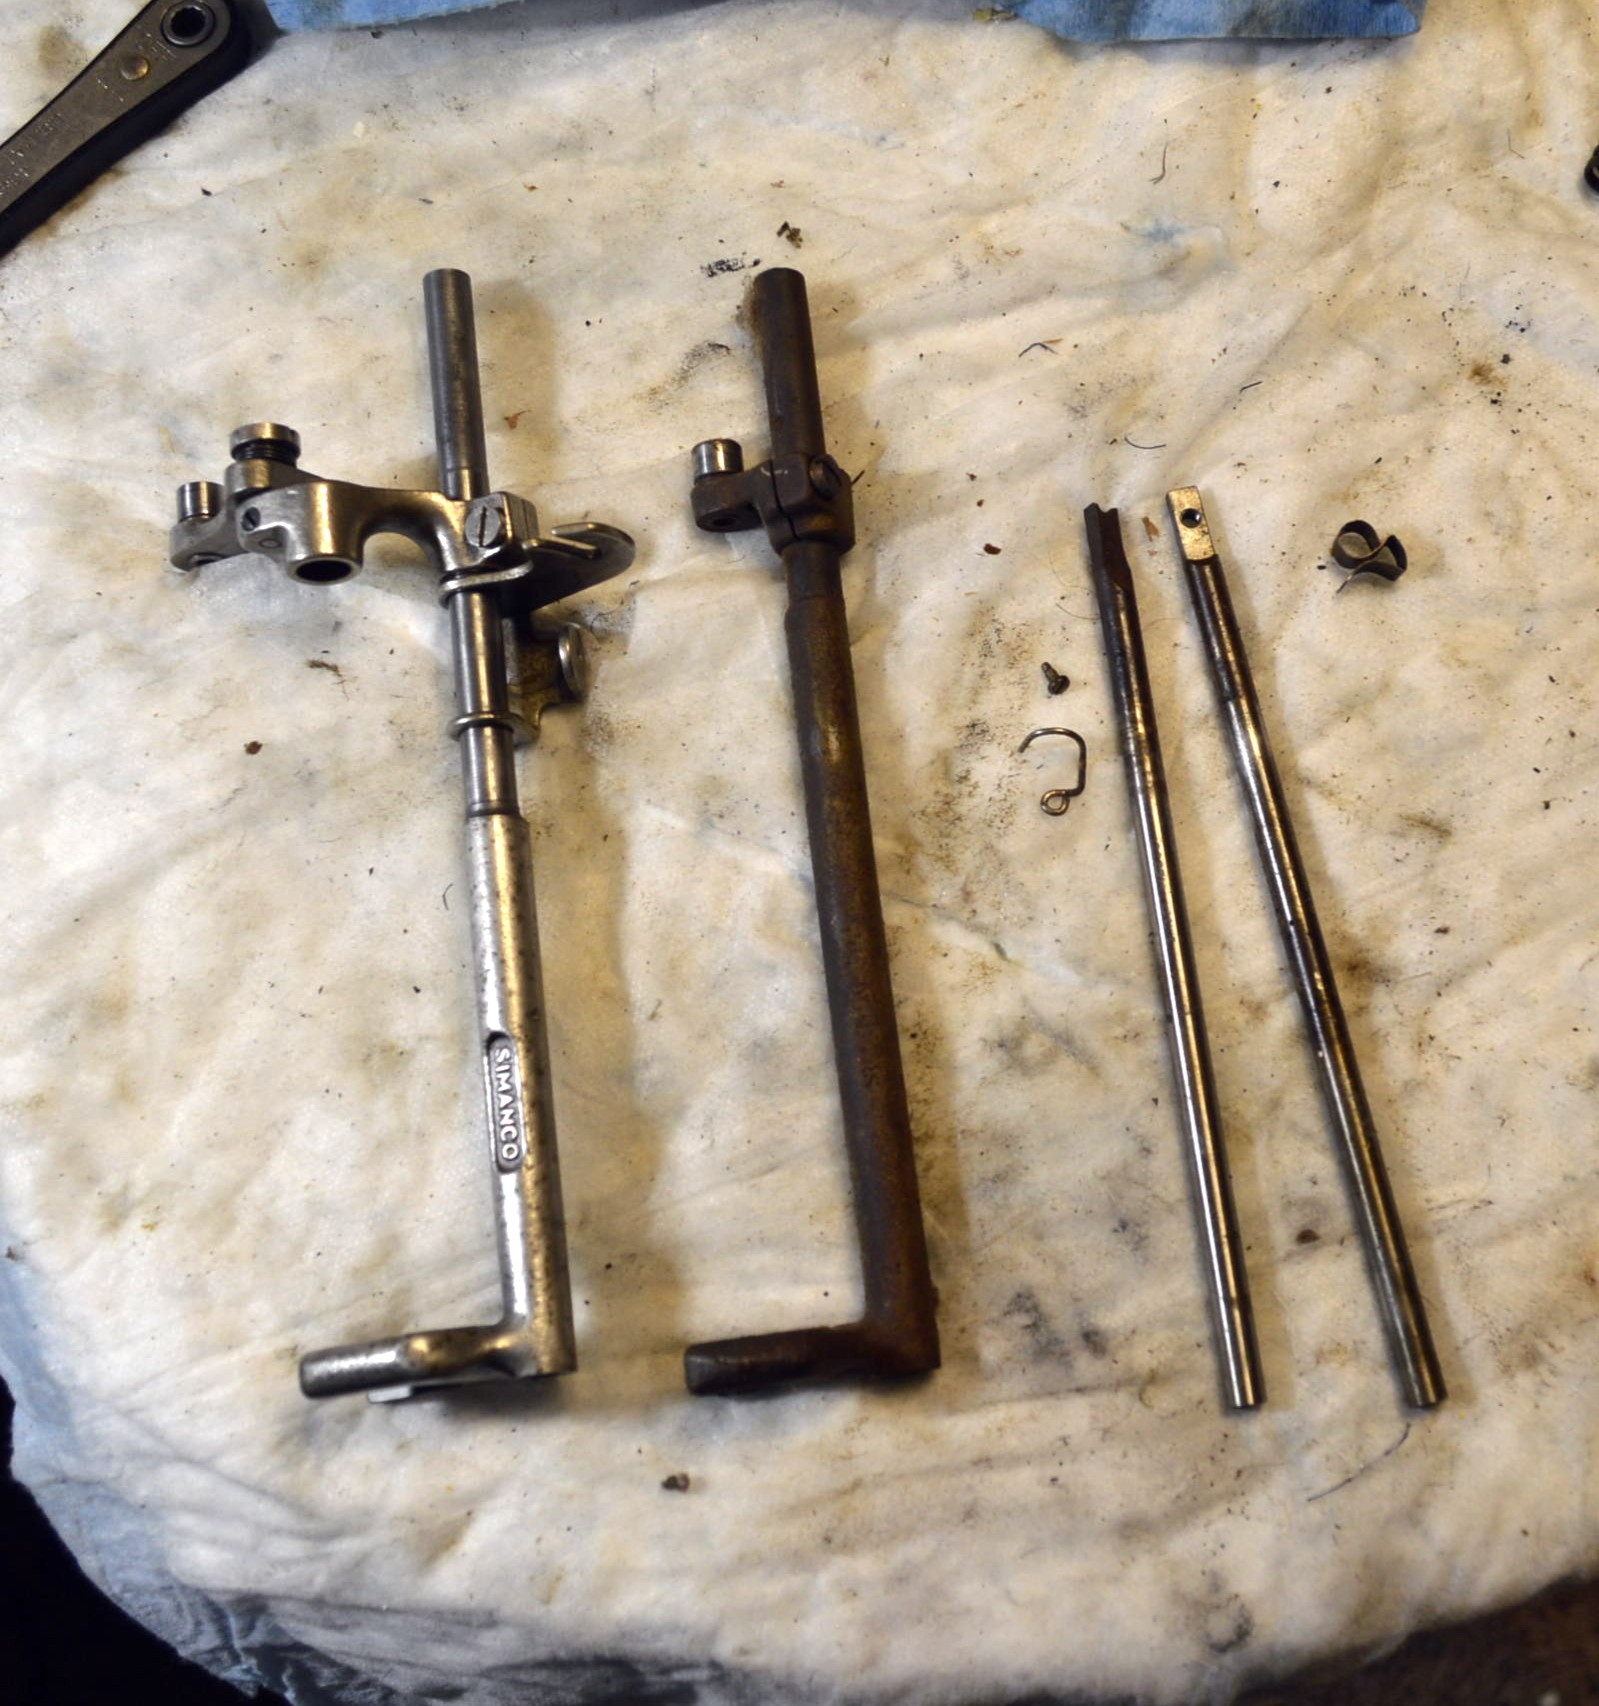
There are two rods that go thru the pillar. The rod on the left has a forked end that engages an eccentric cam for the stitch length control. This fork and the associated stitch length control mechanism will be removed.
The rod on the right is the connecting rod that attaches to the main shaft in the sewing machine arm. This rod does not need to be removed on this machine. The horizontal shaft in the sewing arm and the connecting rod on this machine was free of play and turn freely, so they are left in place. It is best to avoid disconnecting it or any components in the sewing arm unless it is necessary.
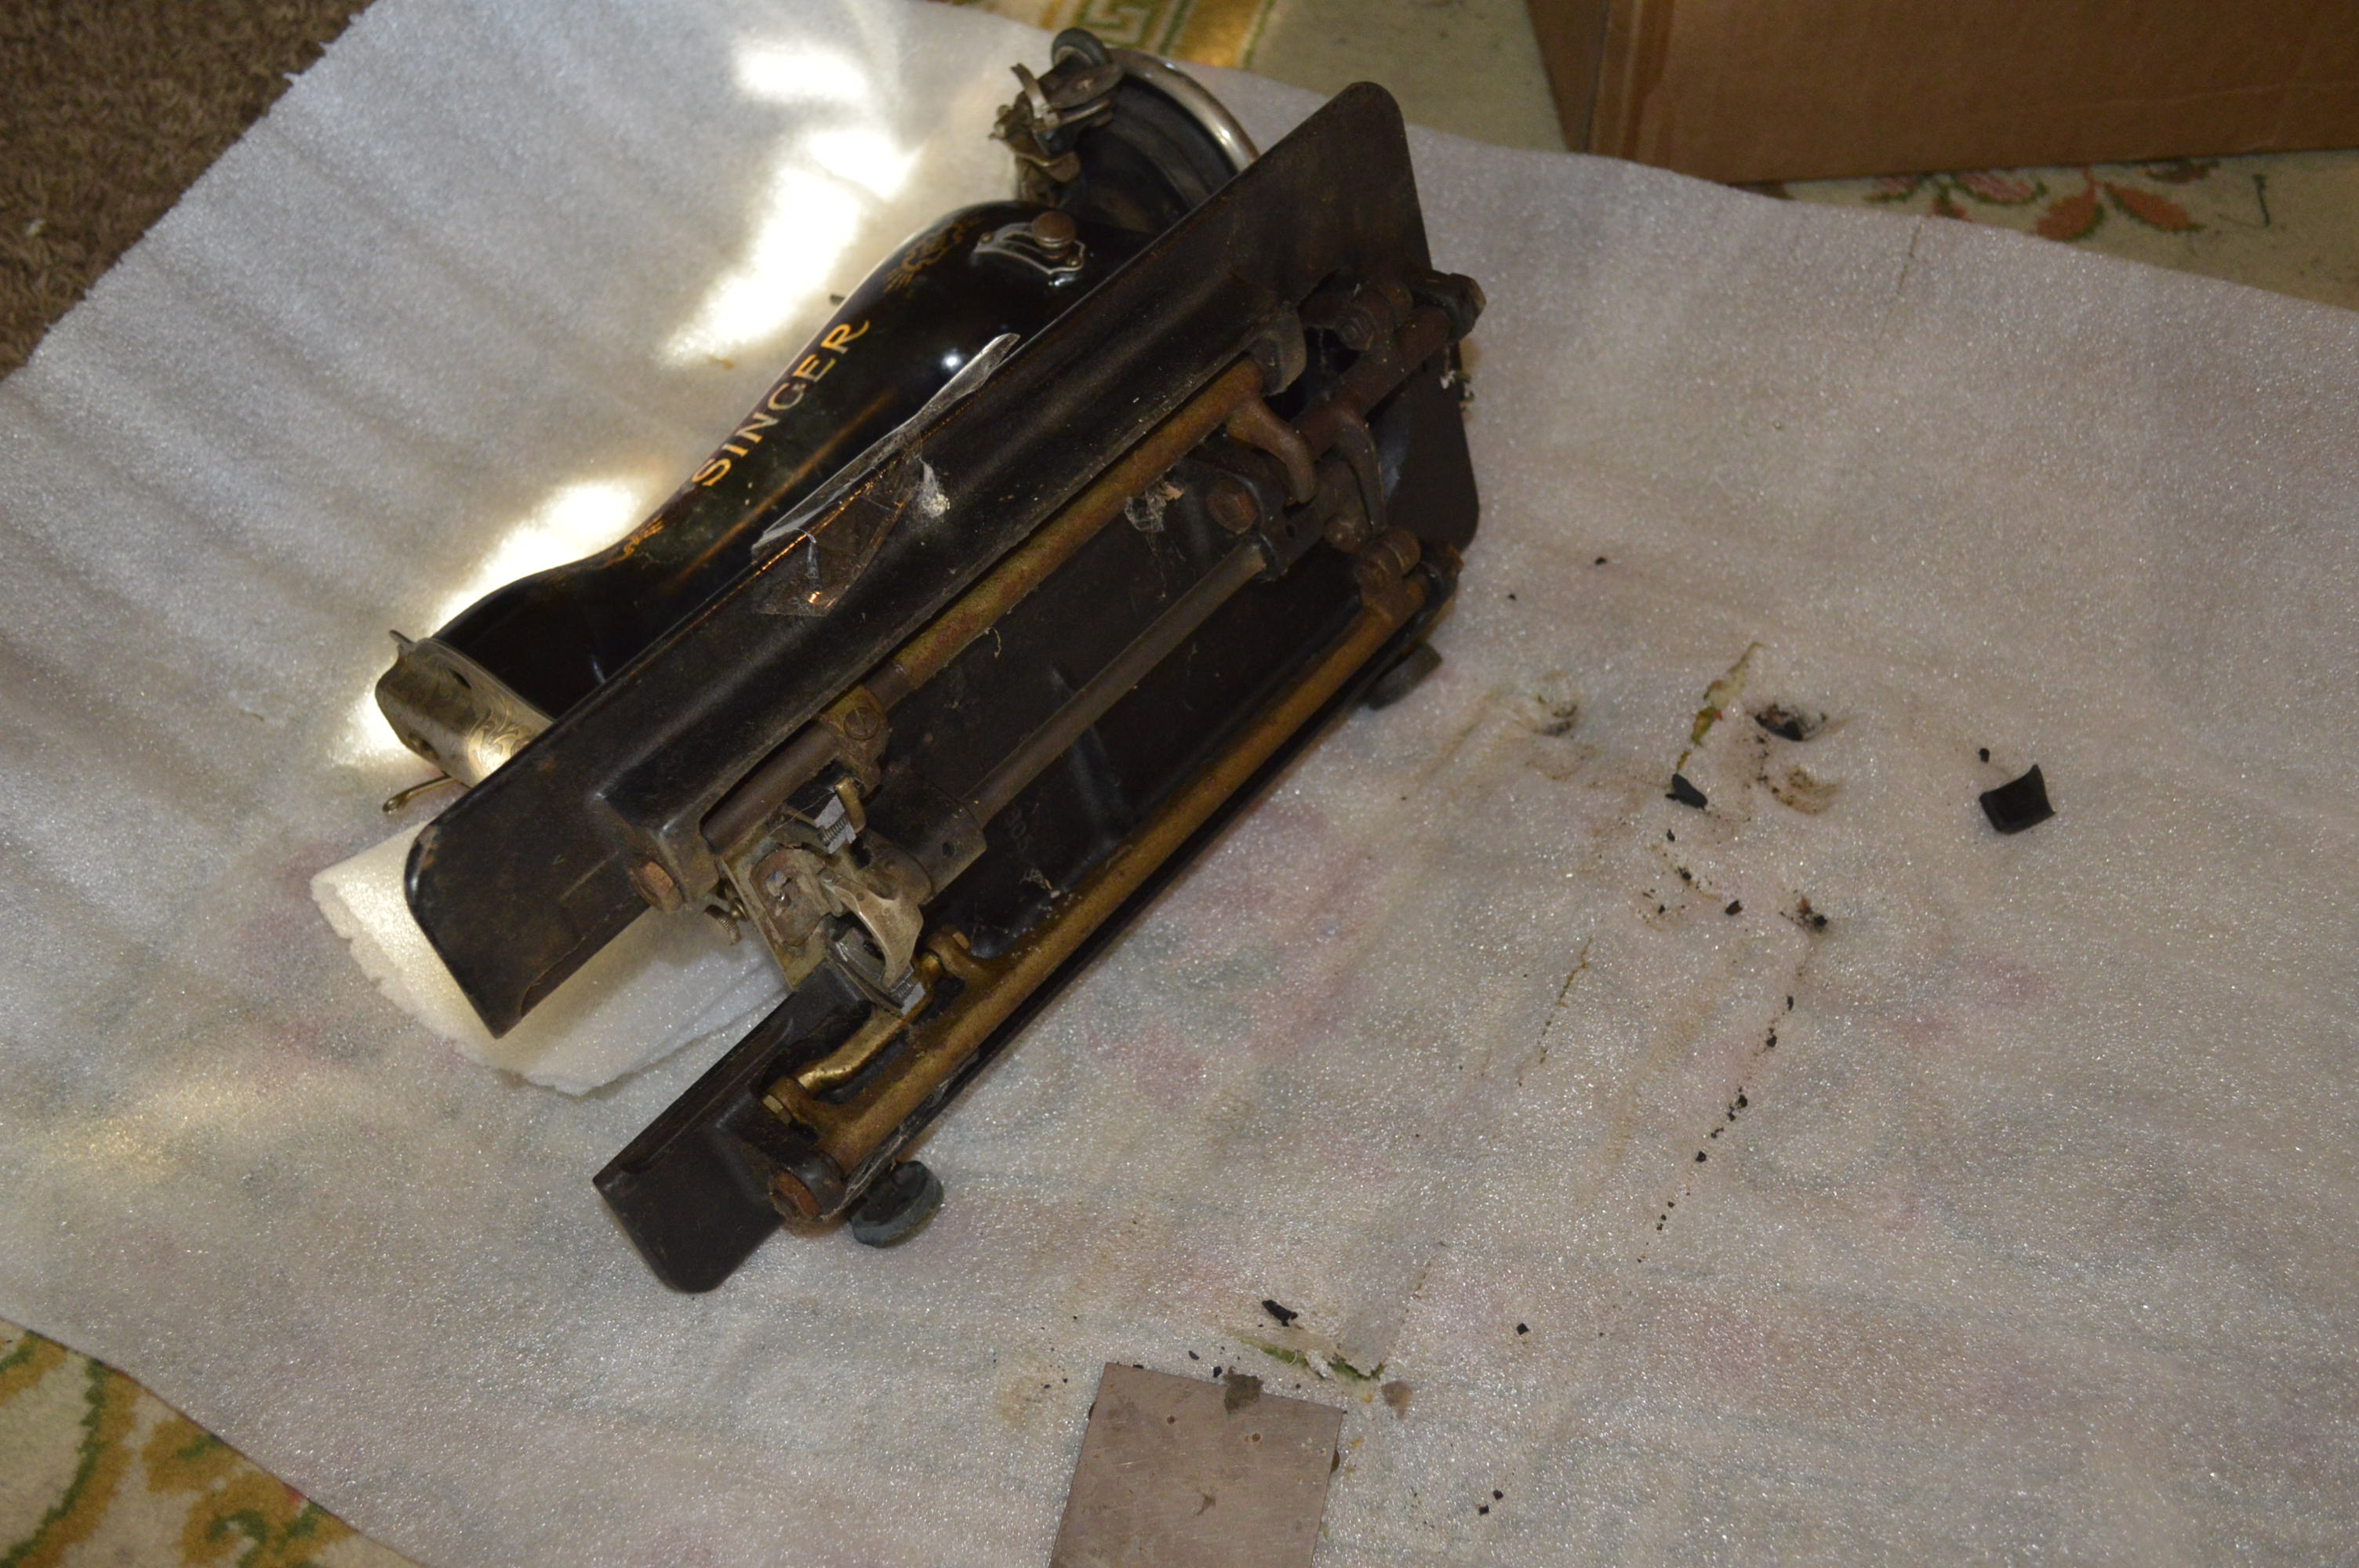
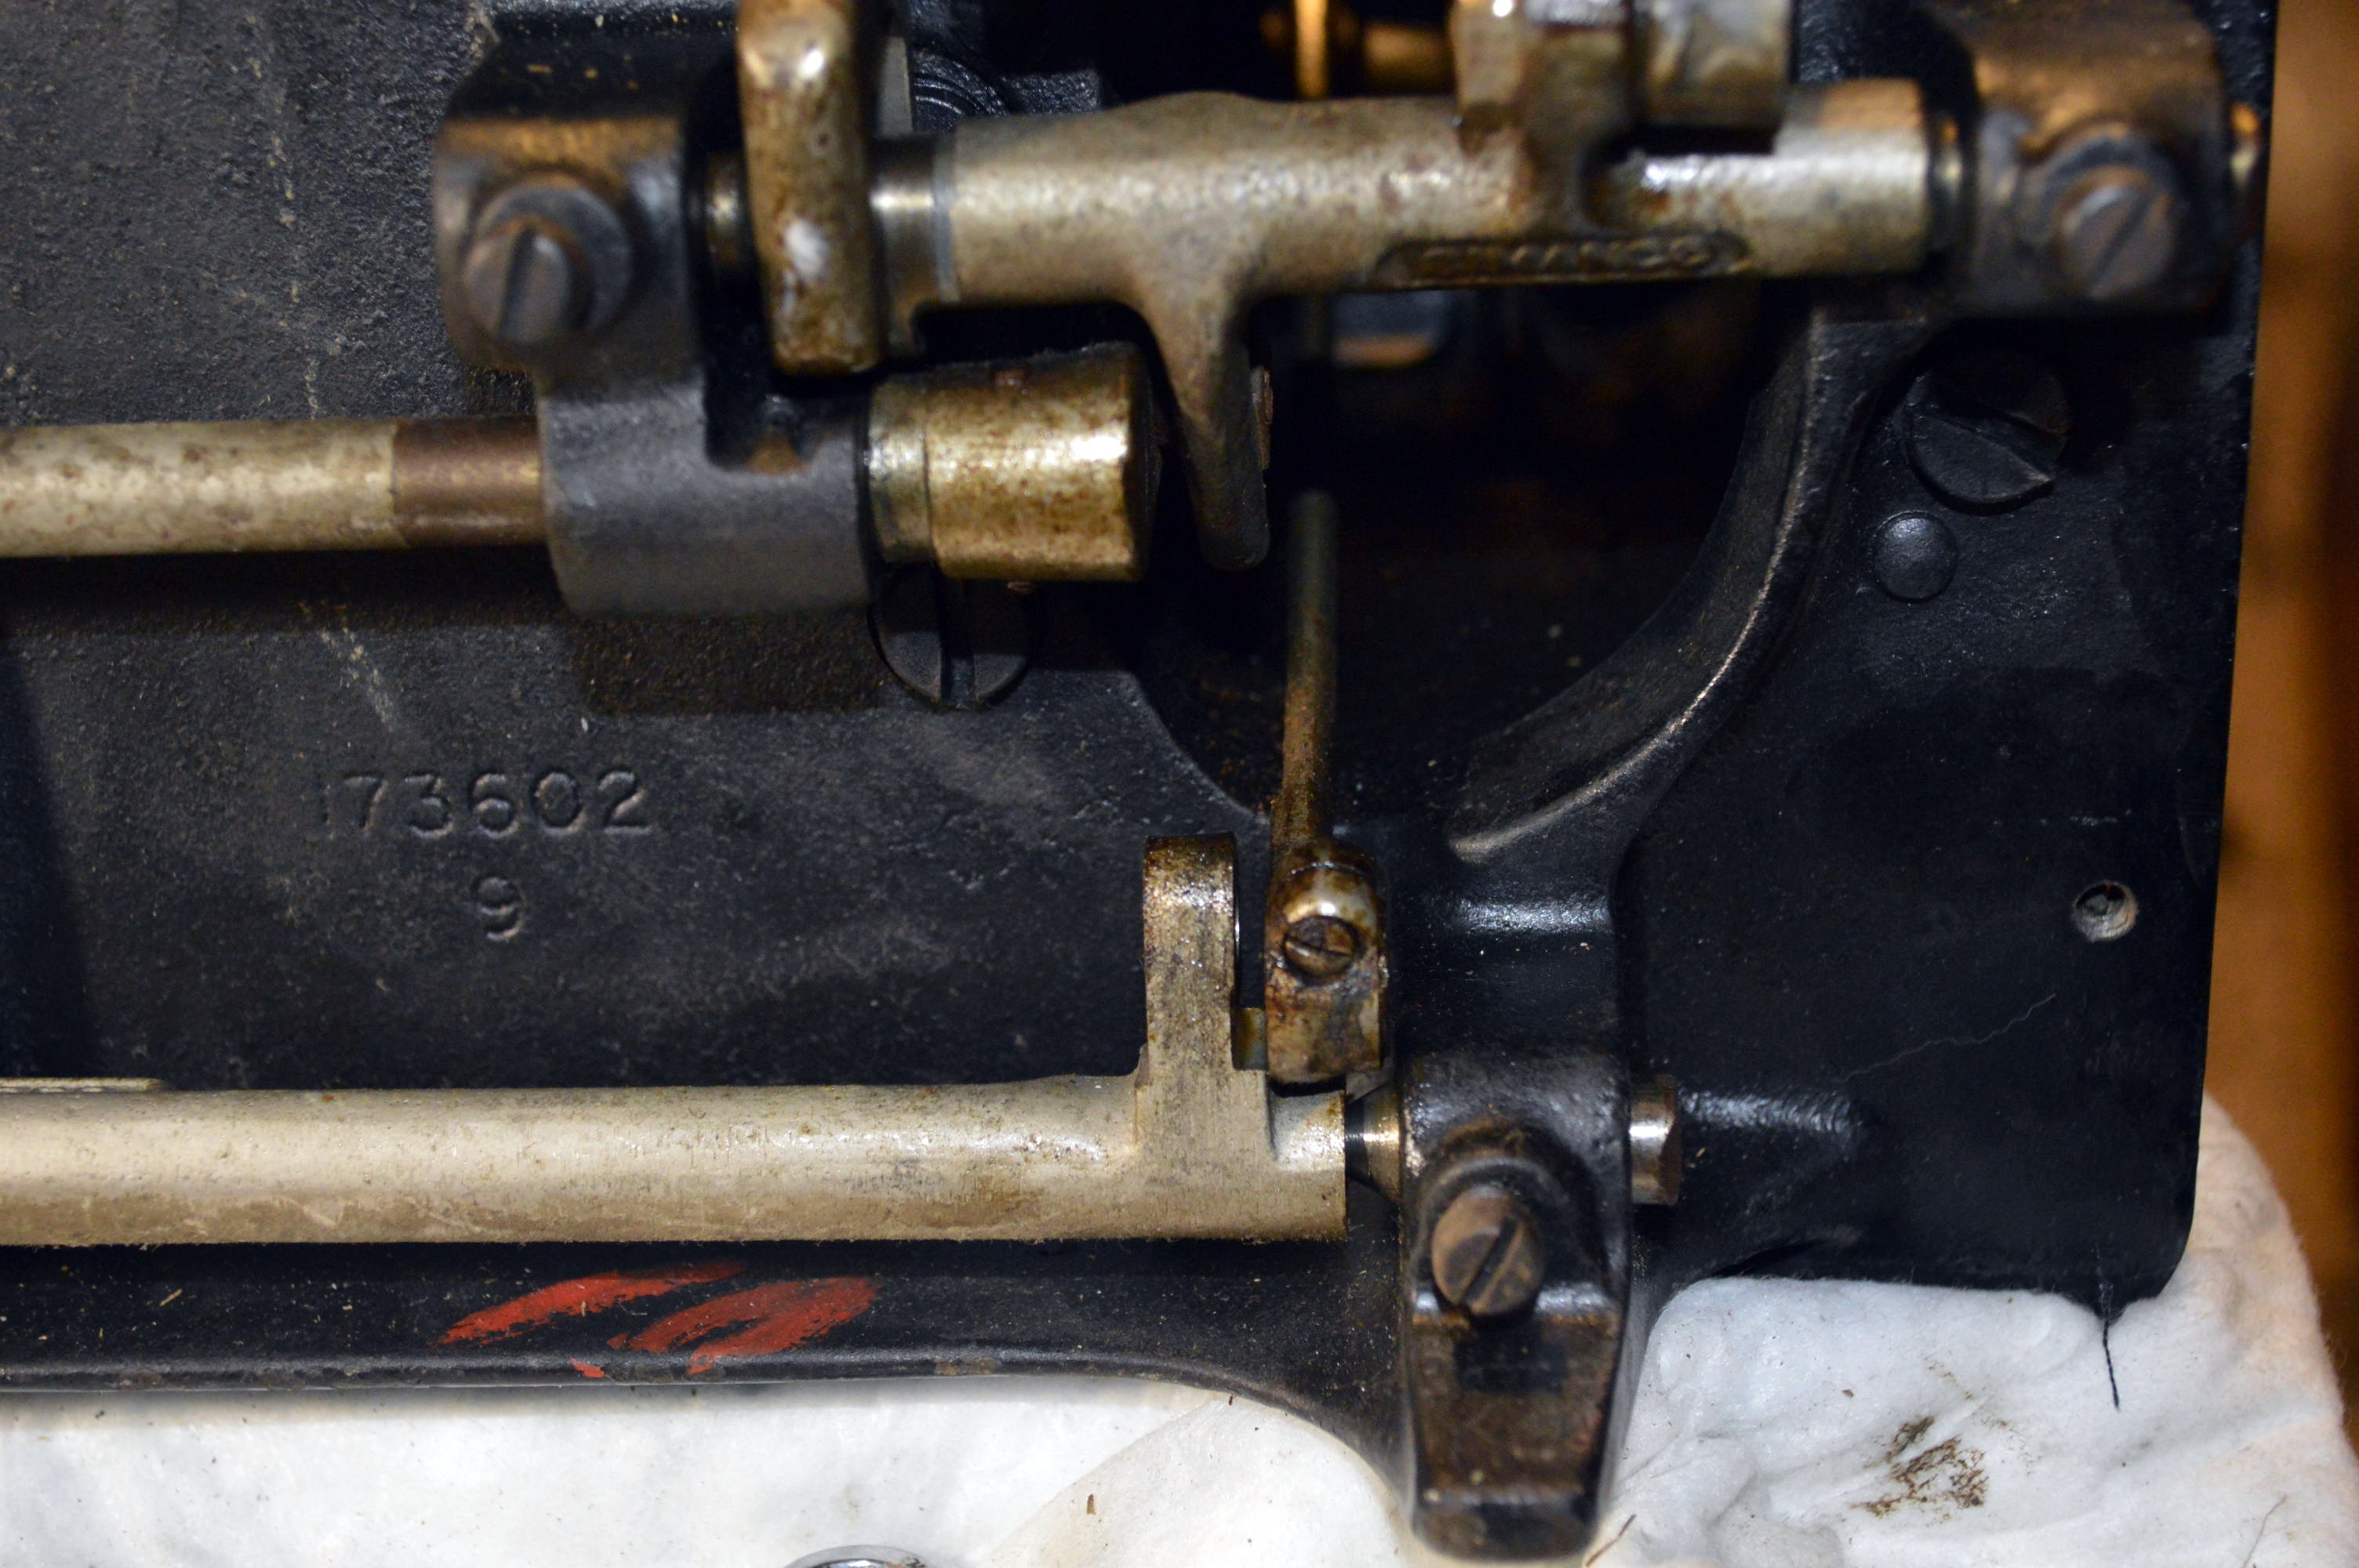
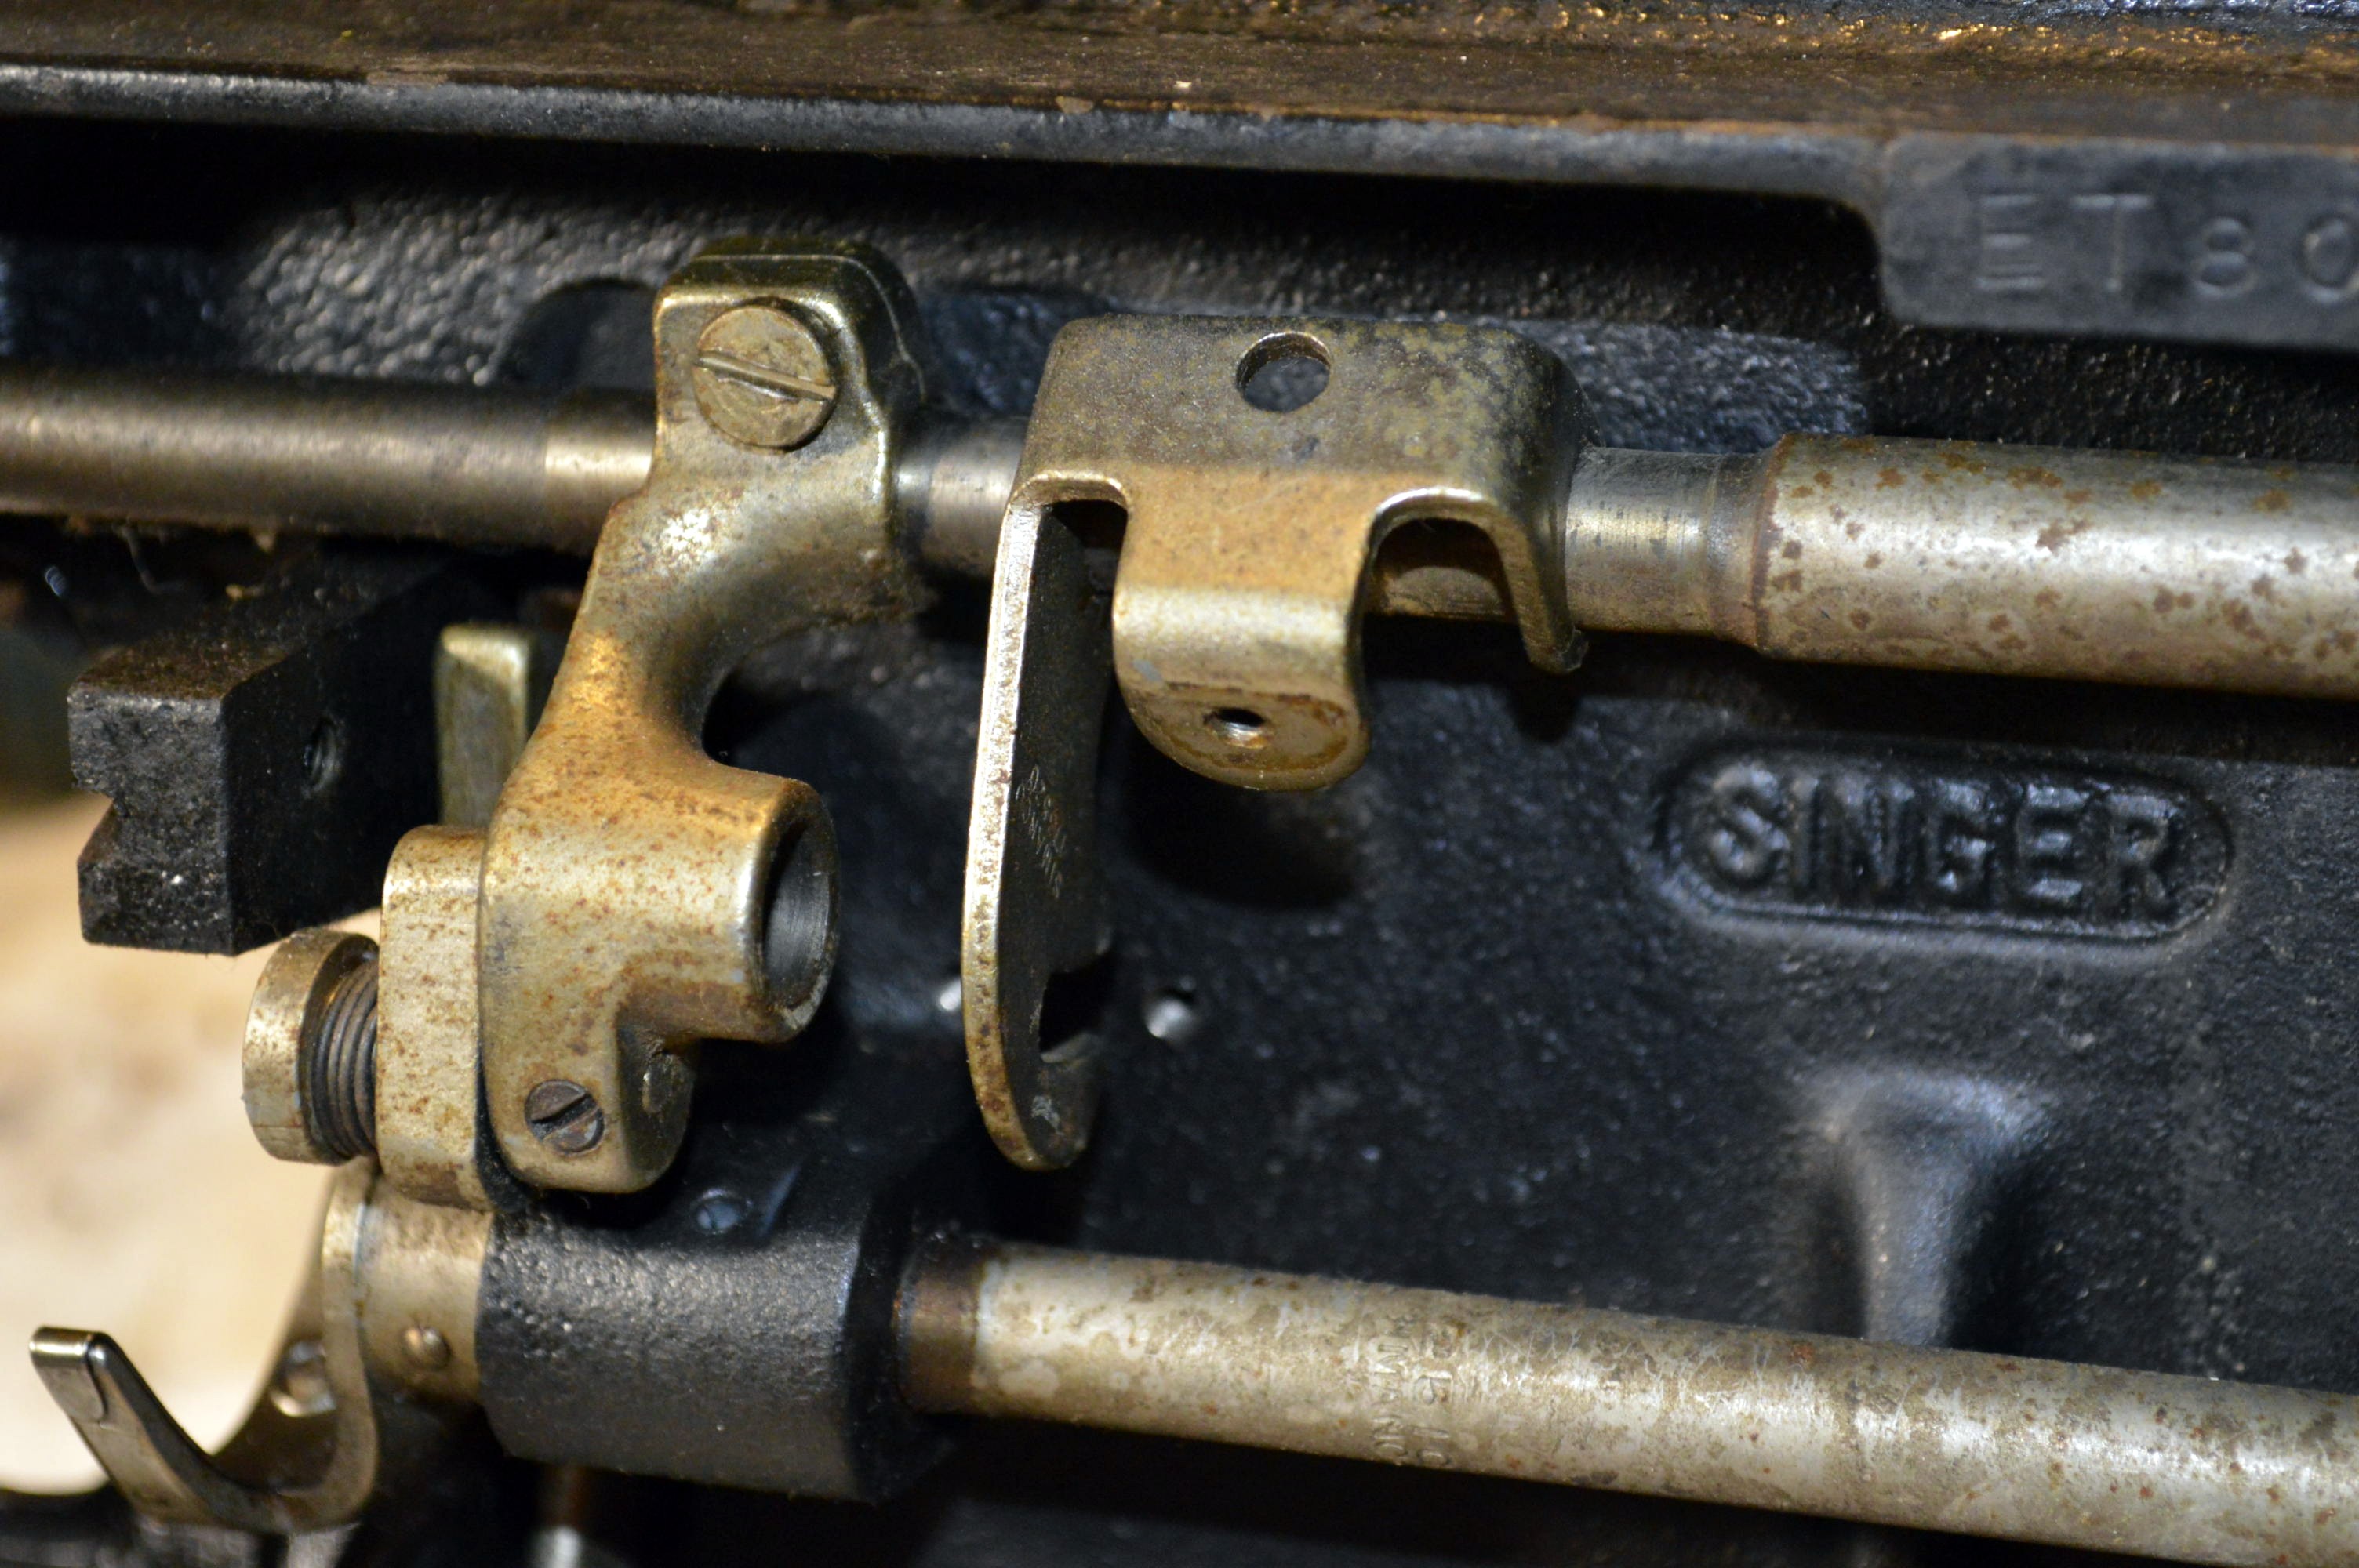
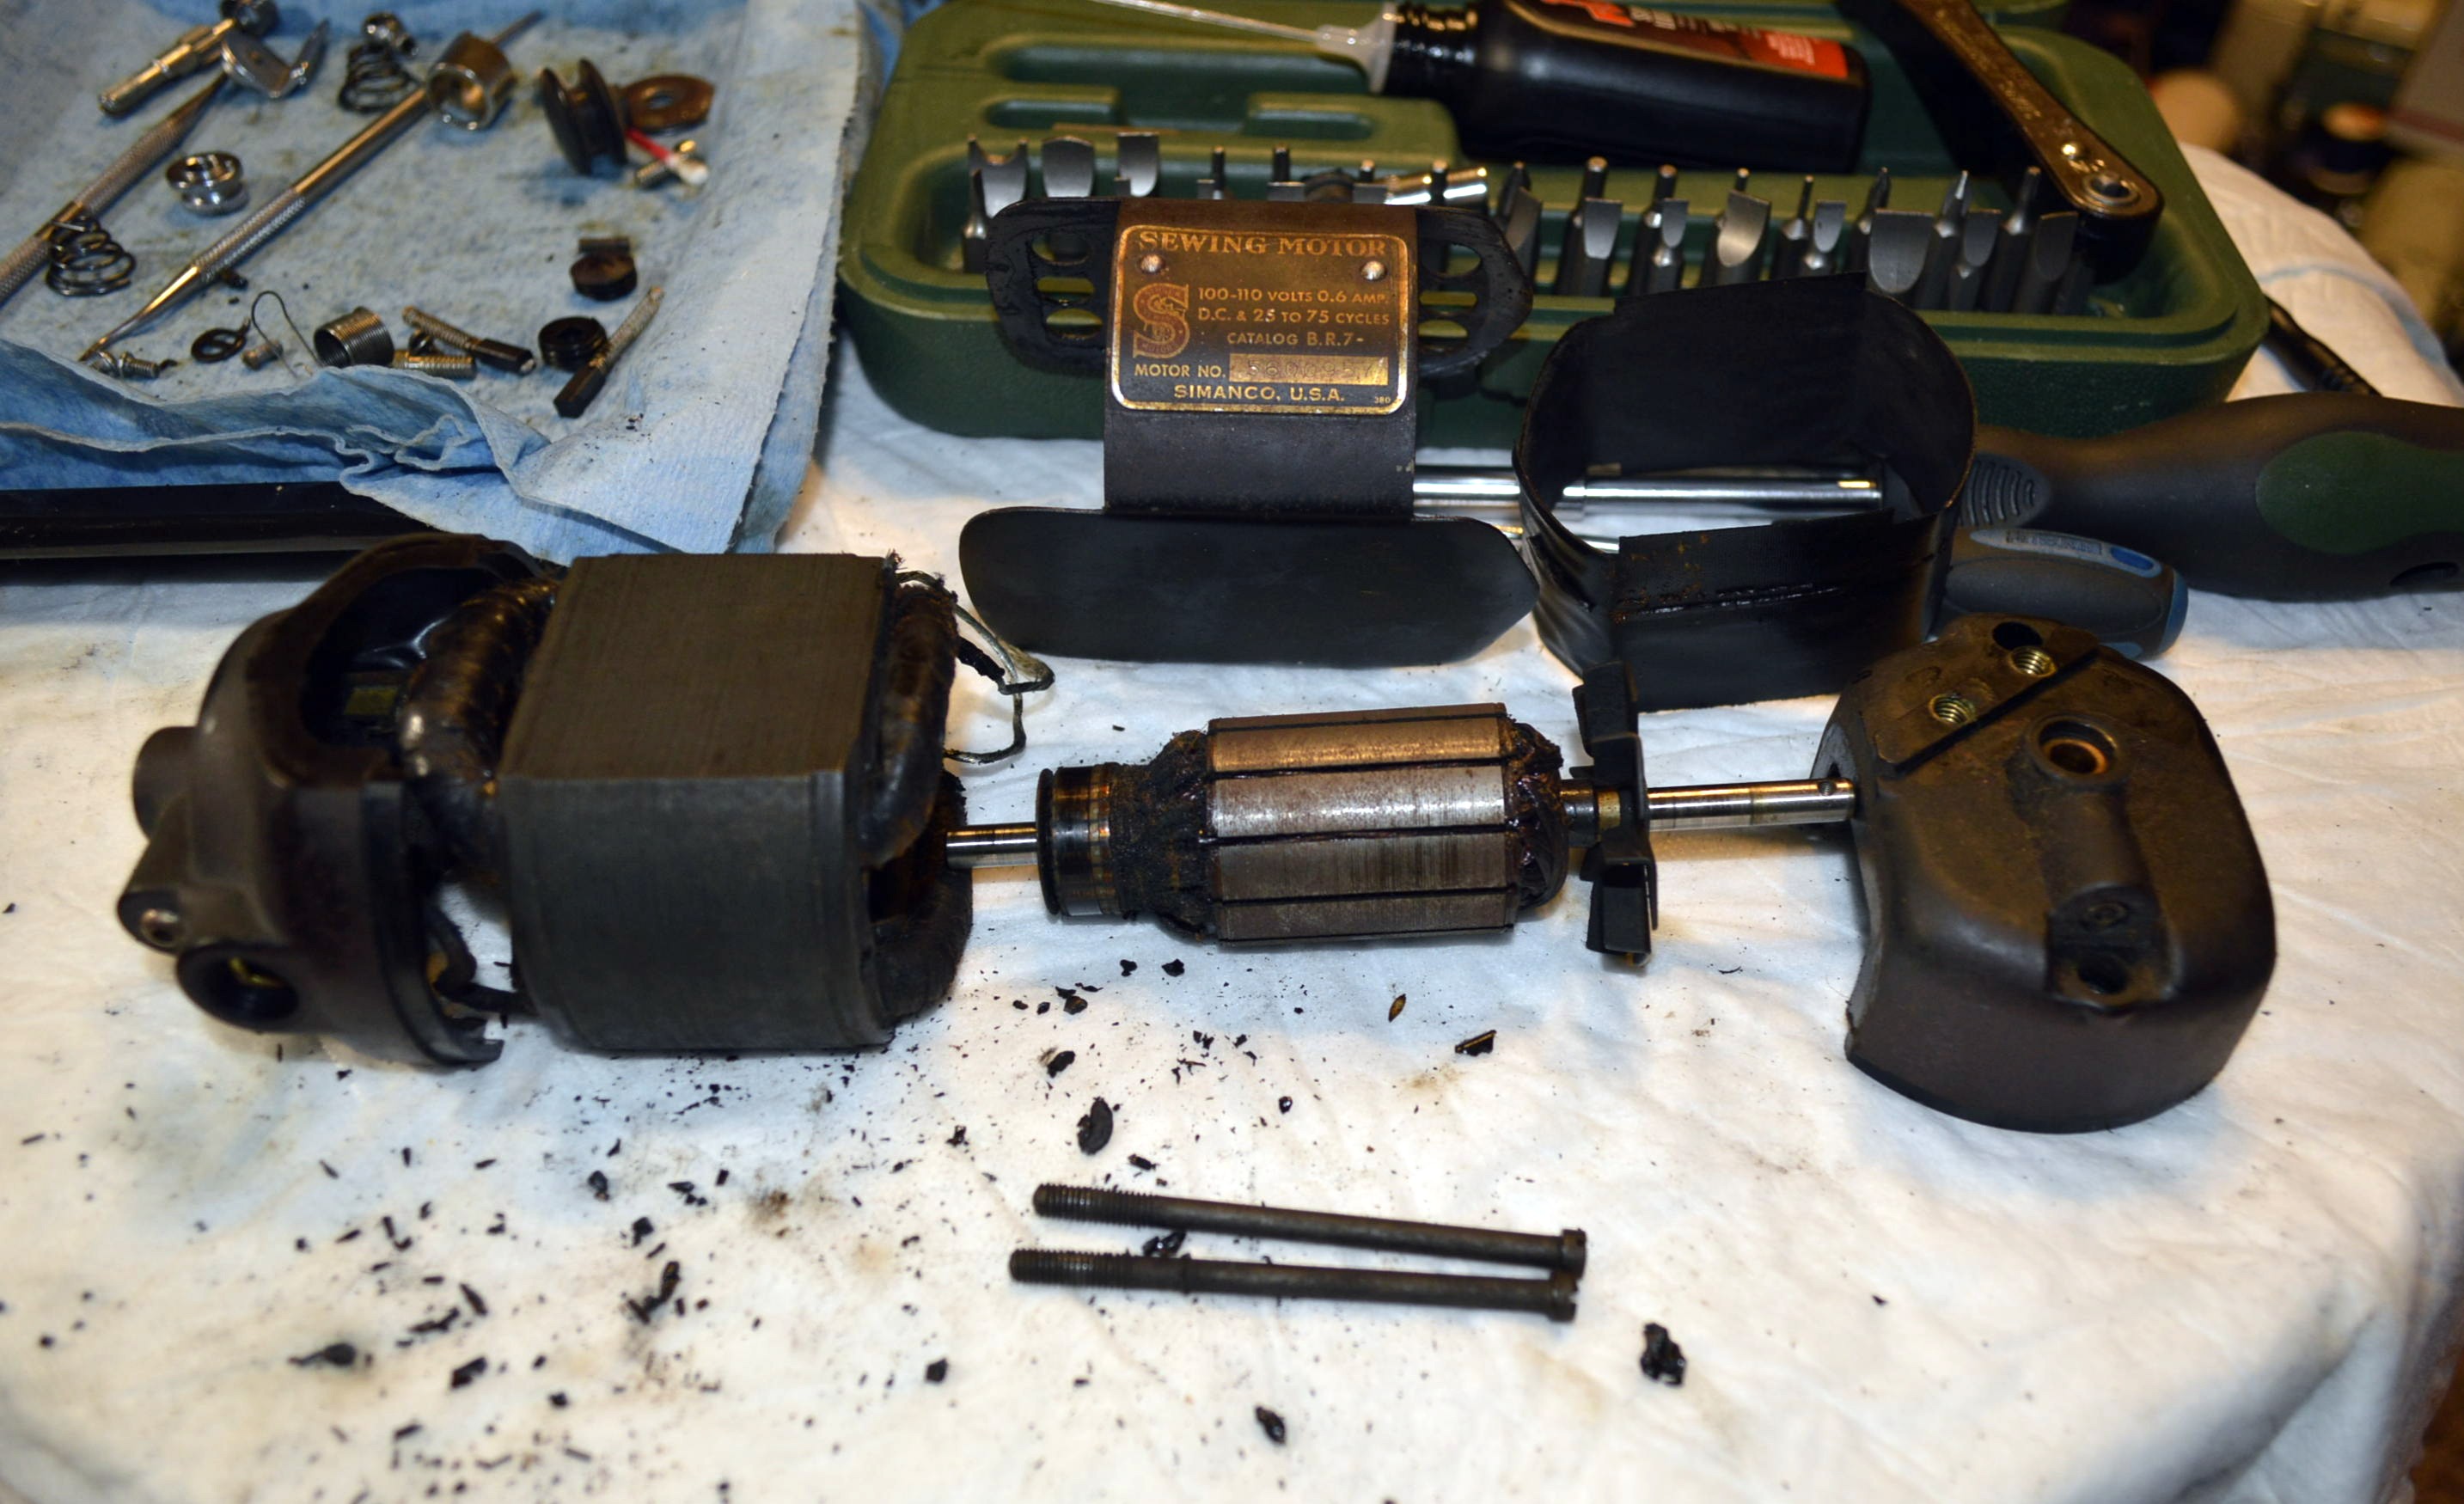
Here are all of the parts removed to be reconditioned.

Following ultrasonic cleaning and a soak in WD-40, they look much better. All varnish, dirt, and oil are removed from all parts… inside and out.

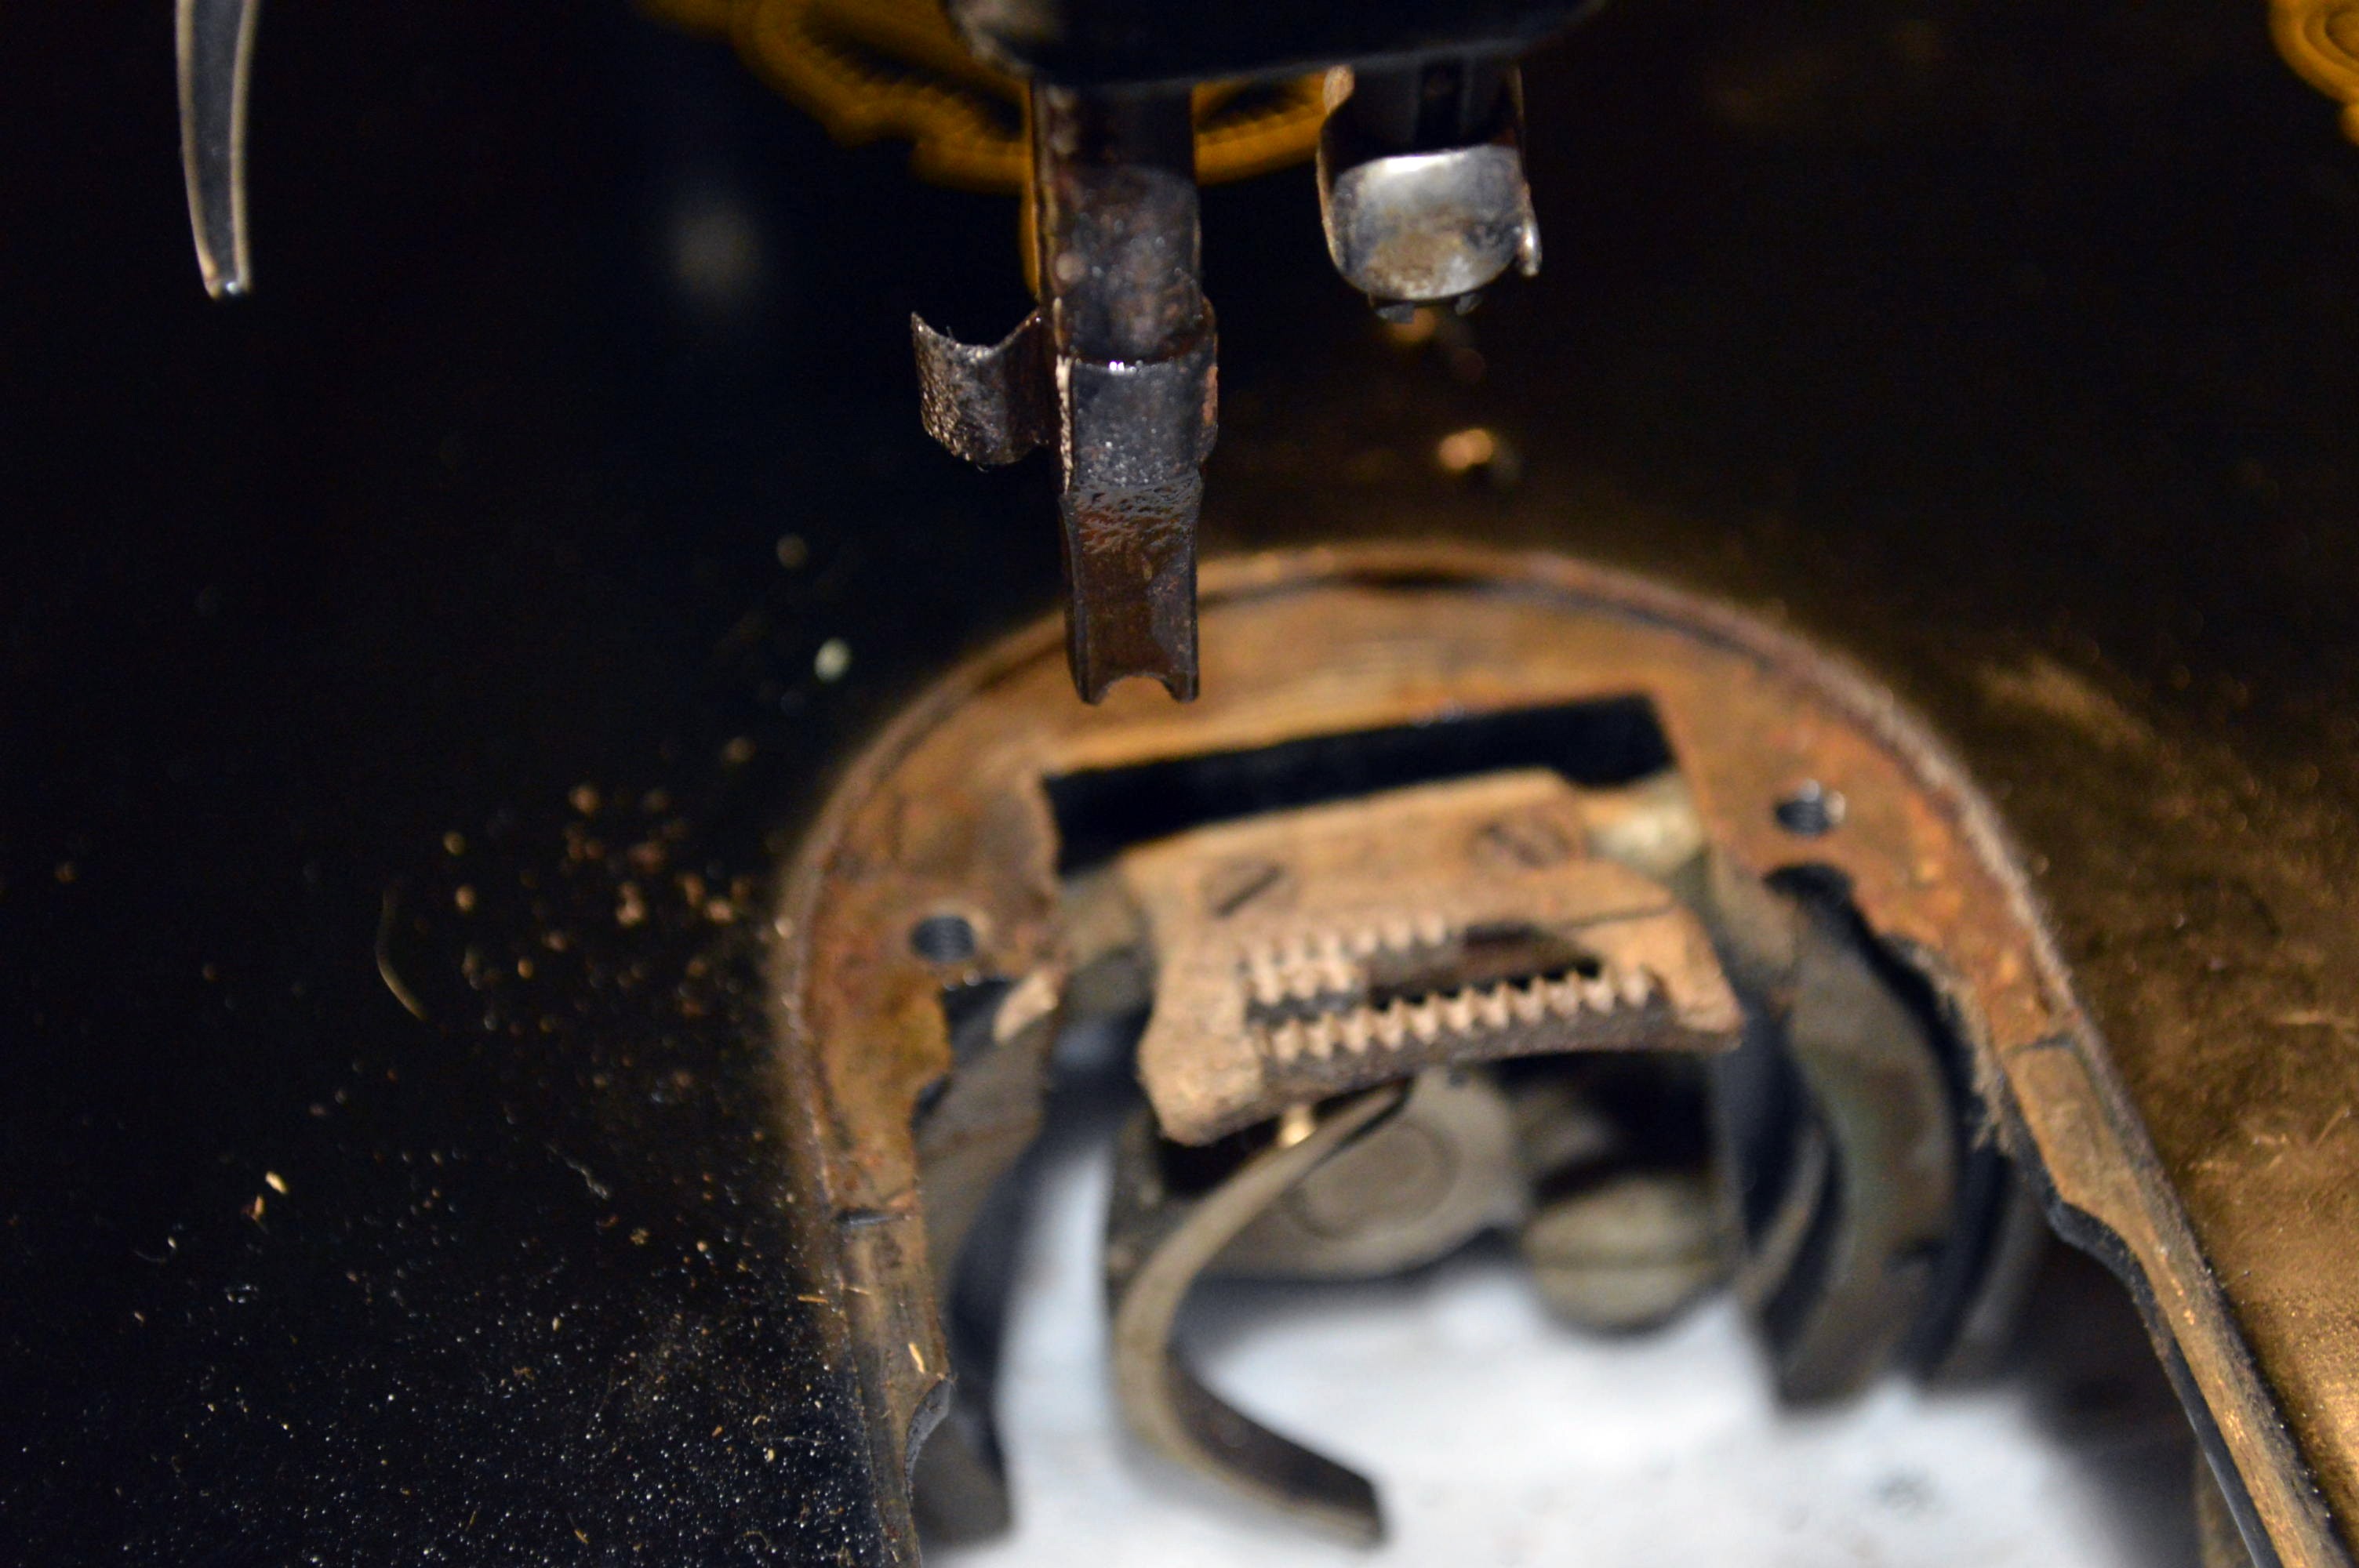
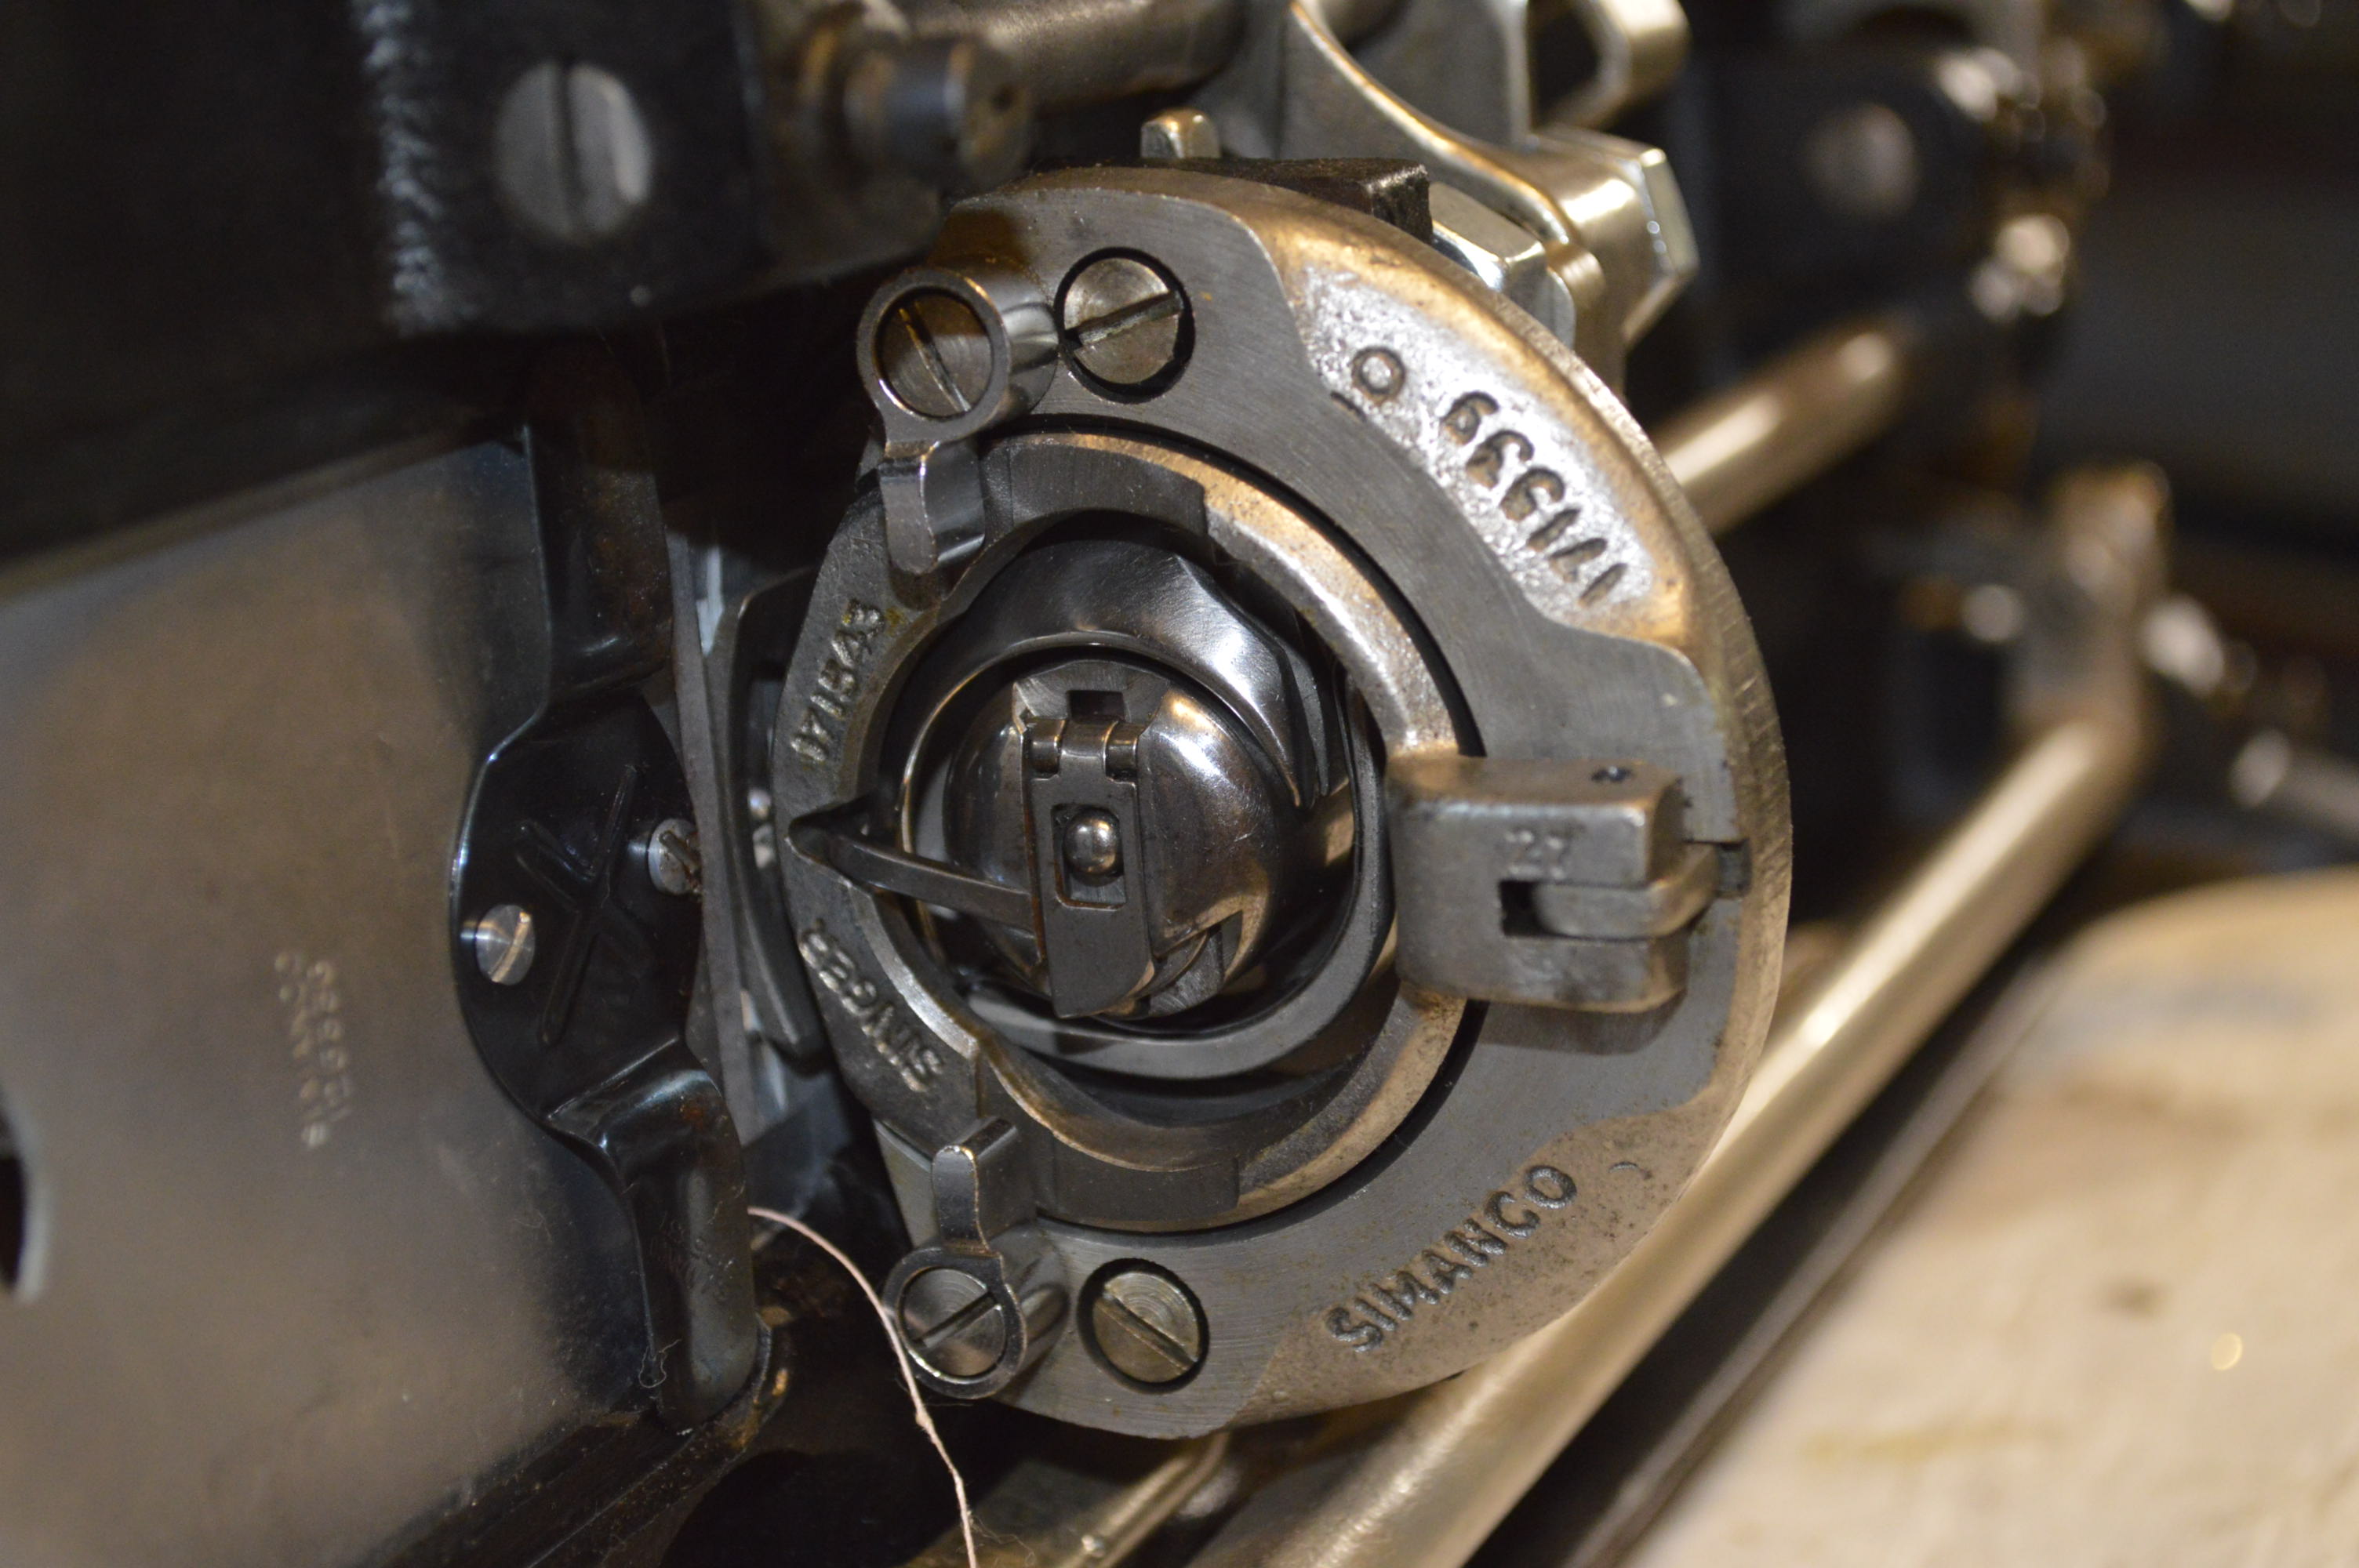
Now, here’s the thing that is different on the 15K110 from other model 15’s,… Remember I mentioned the drop dog feature being located on the bed adjacent to the pillar? Well, it turns out the entire linkage and engagement mechanism is missing. To make things worse, I can’t find a replacement part anywhere. This wouldn’t have affected my buying decision as a donor machine, but it might have if I knew that this was the machine I was going to spend hours on reconditioning. I will have to keep looking for the parts. They may or may not ever be found so I have to make a choice. Either will disable the drop dog function. I can use the same part from the older donor machine, or I can lock the existing mechanism linkage in place with a bolt. The other part that needed to be replaced was the presser foot bar, but fortunately, the donor machine supplied this part.
Now on to the motor… One of the most valuable aspects of what sets reconditioning apart from merely servicing a sewing machine is the reconditioning of the motor. The motors that Singer designed and manufactured are fantastic examples of durable construction. Even after 80 or more years, these marvels just keep turning. Imagine the condition of the inside of these motors after all these years! Wait… I have pictures!
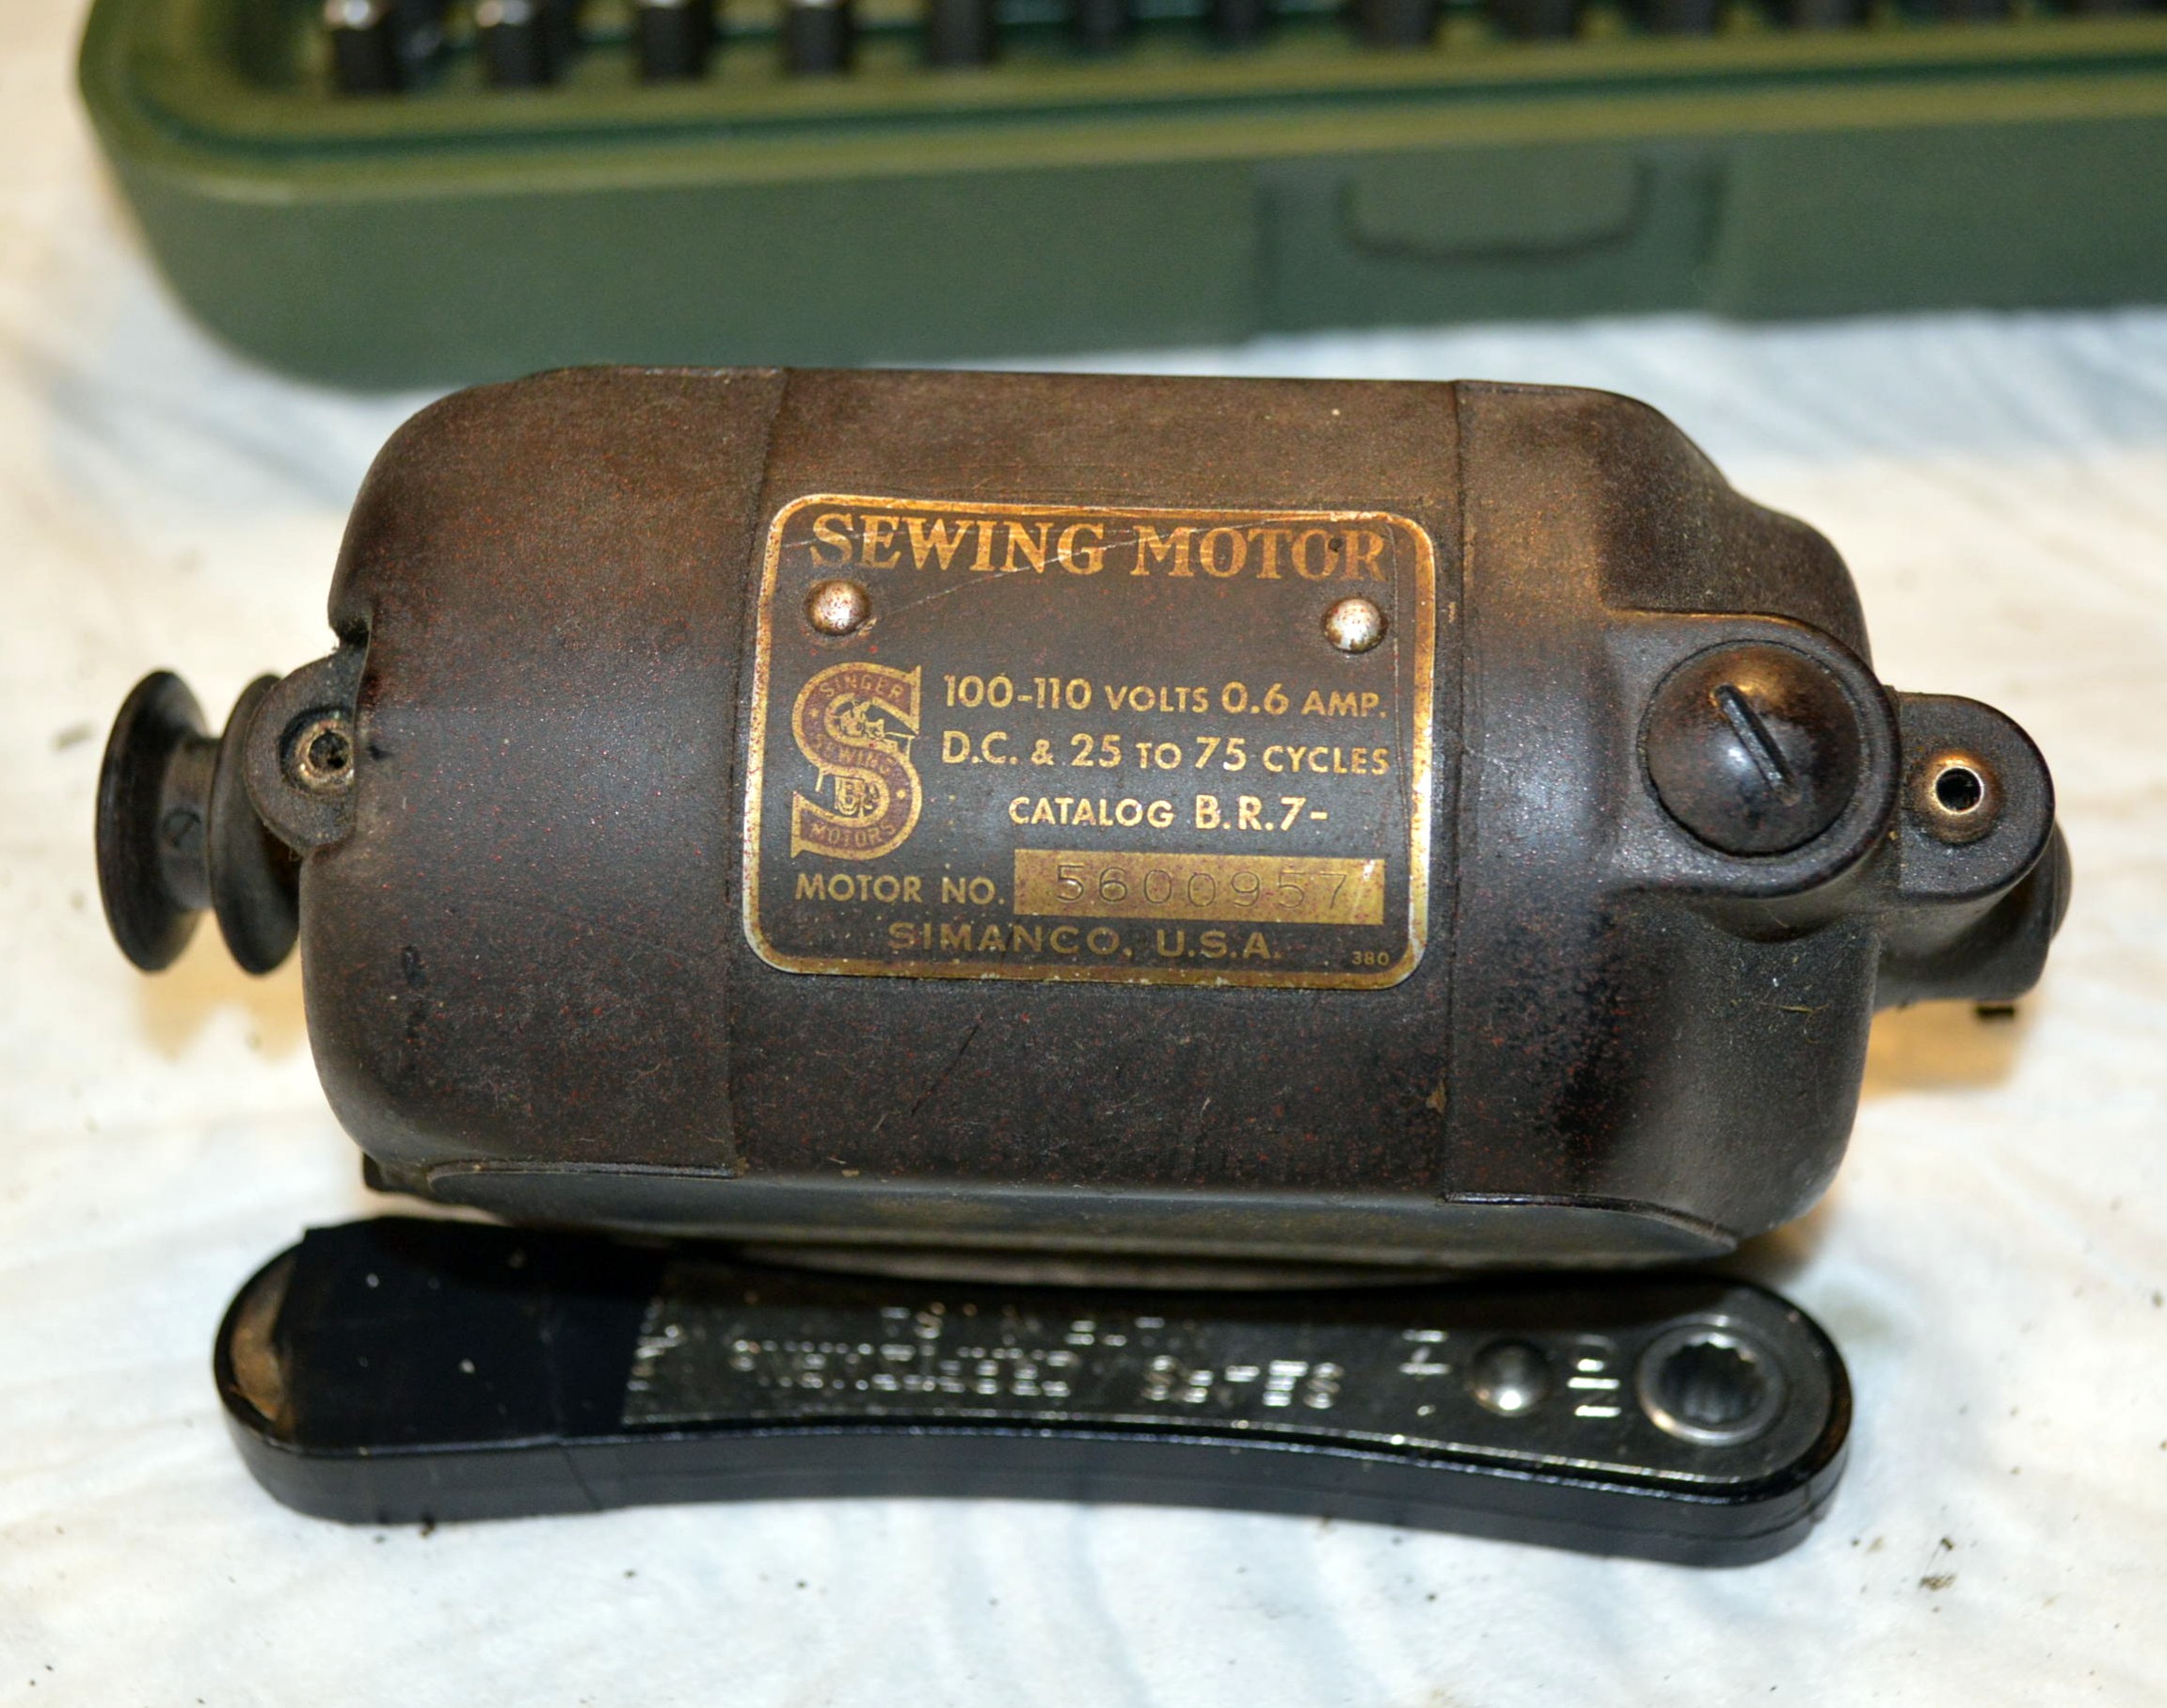
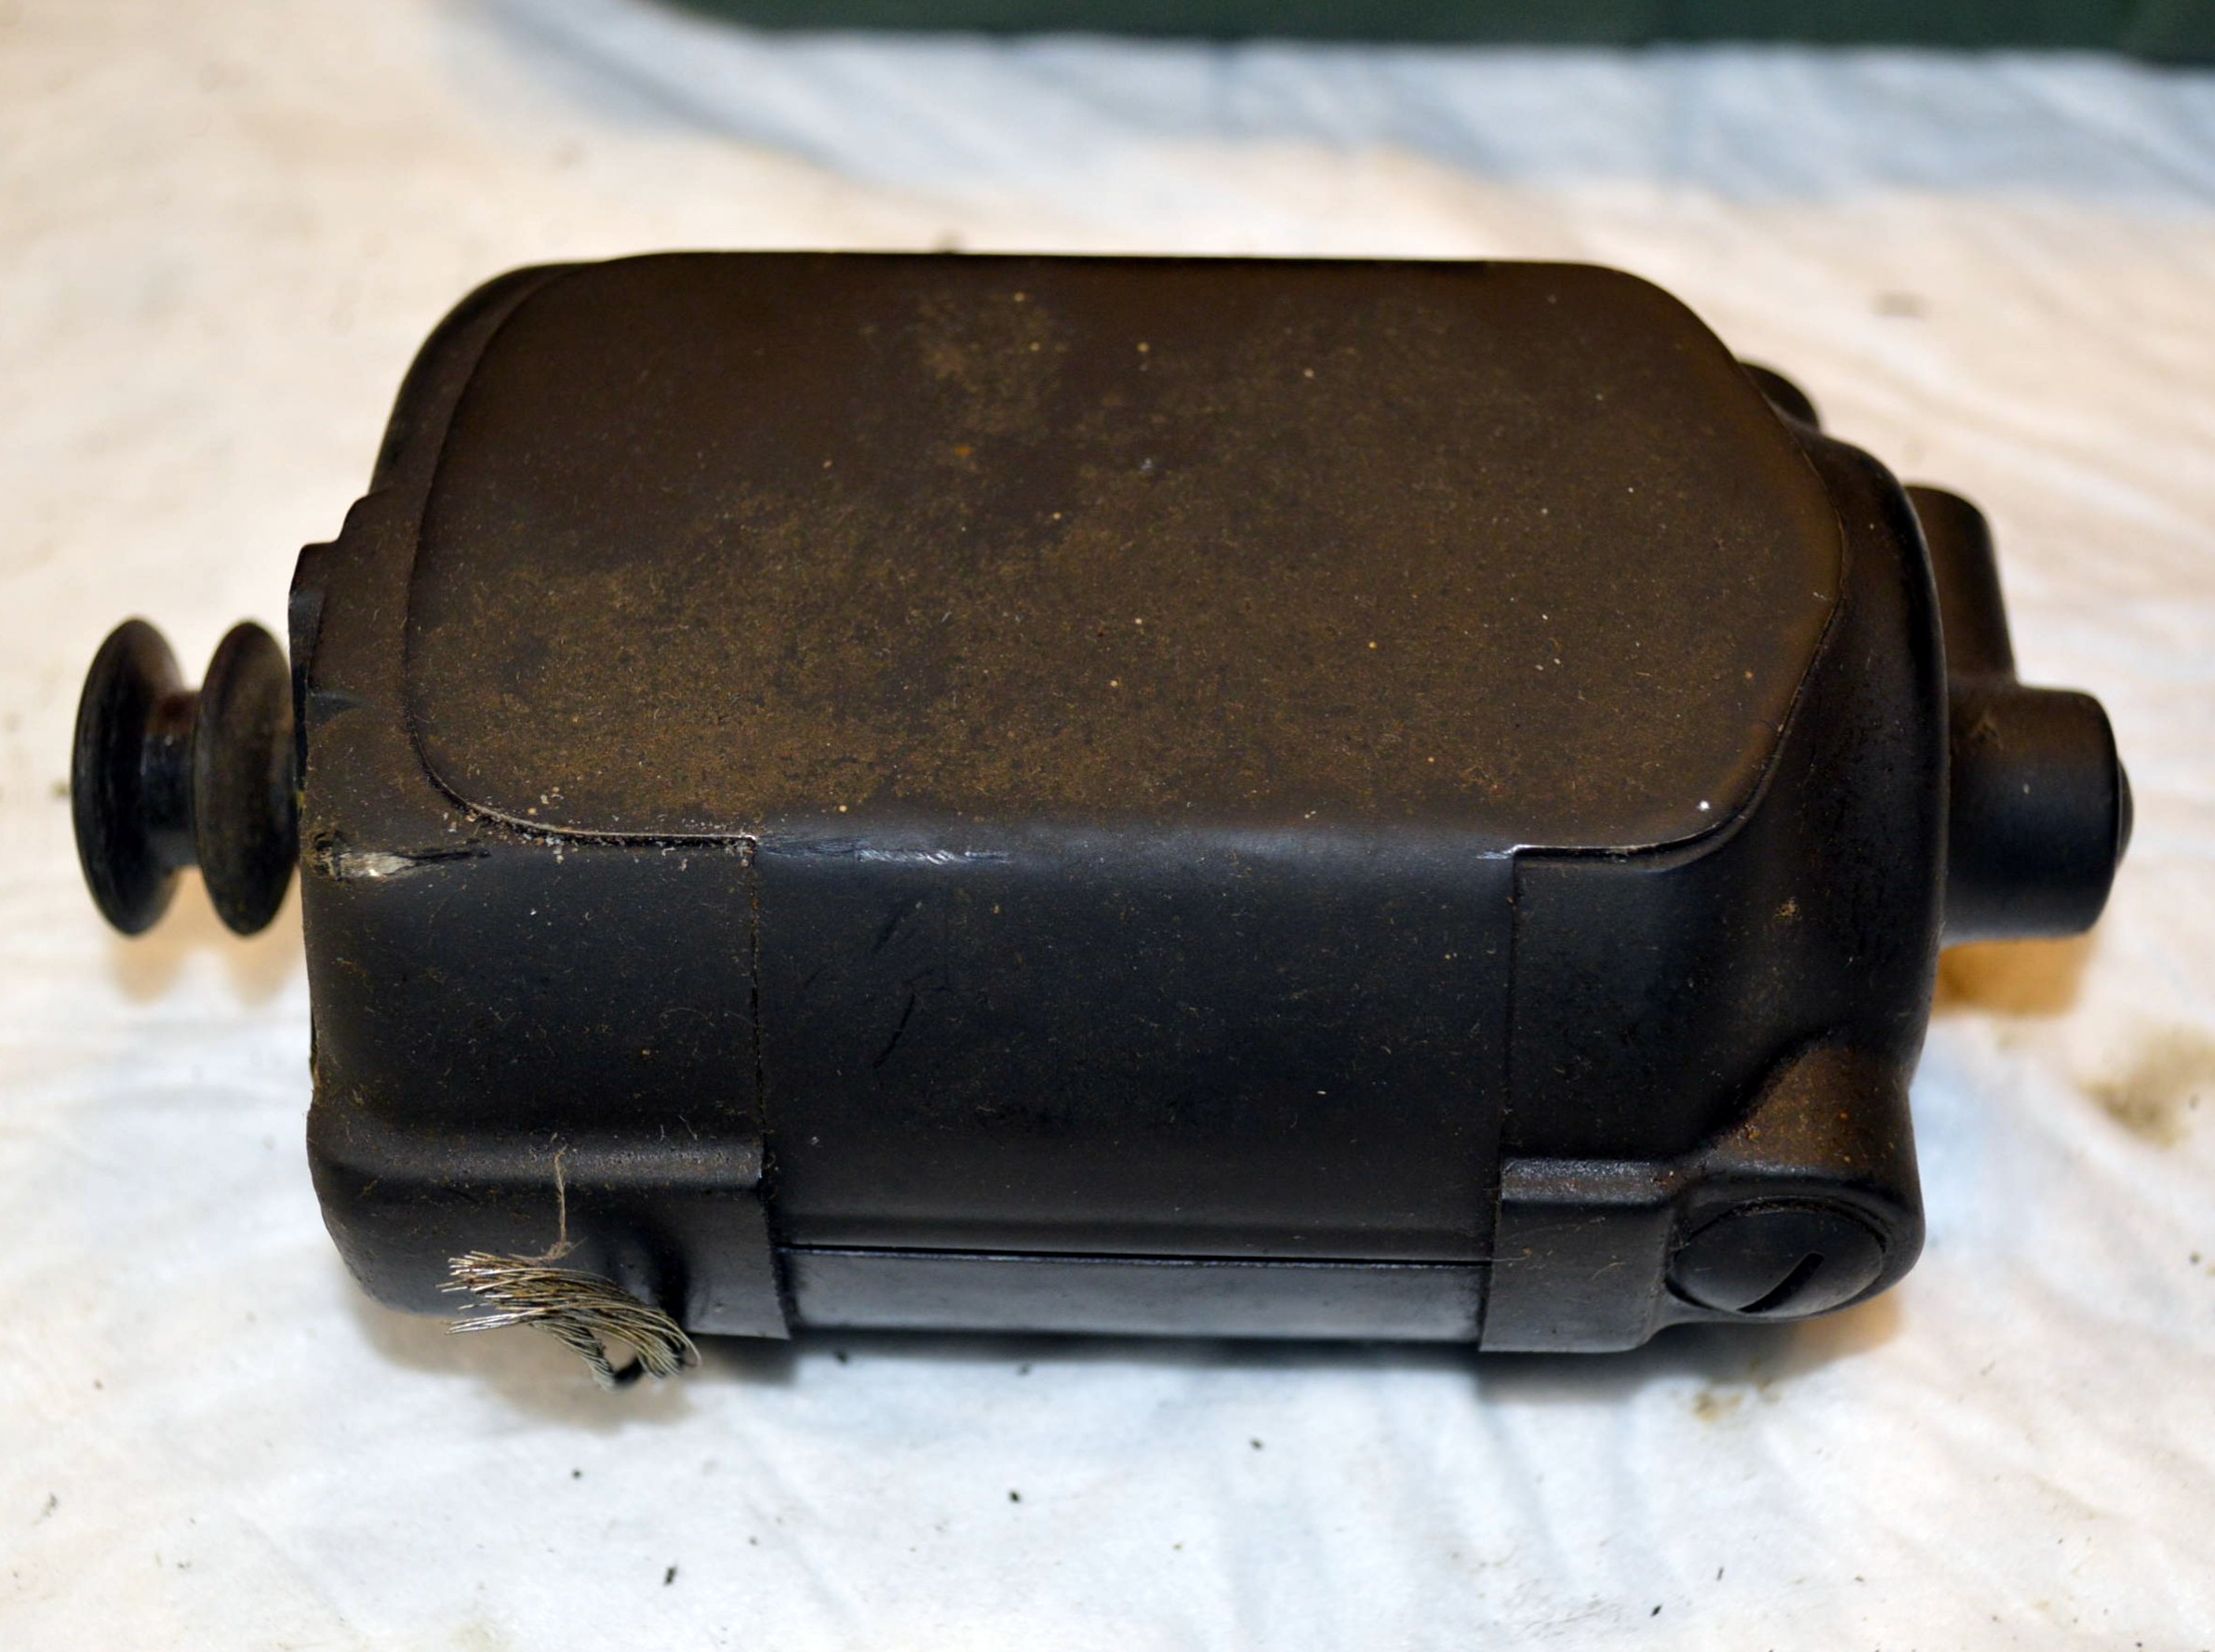
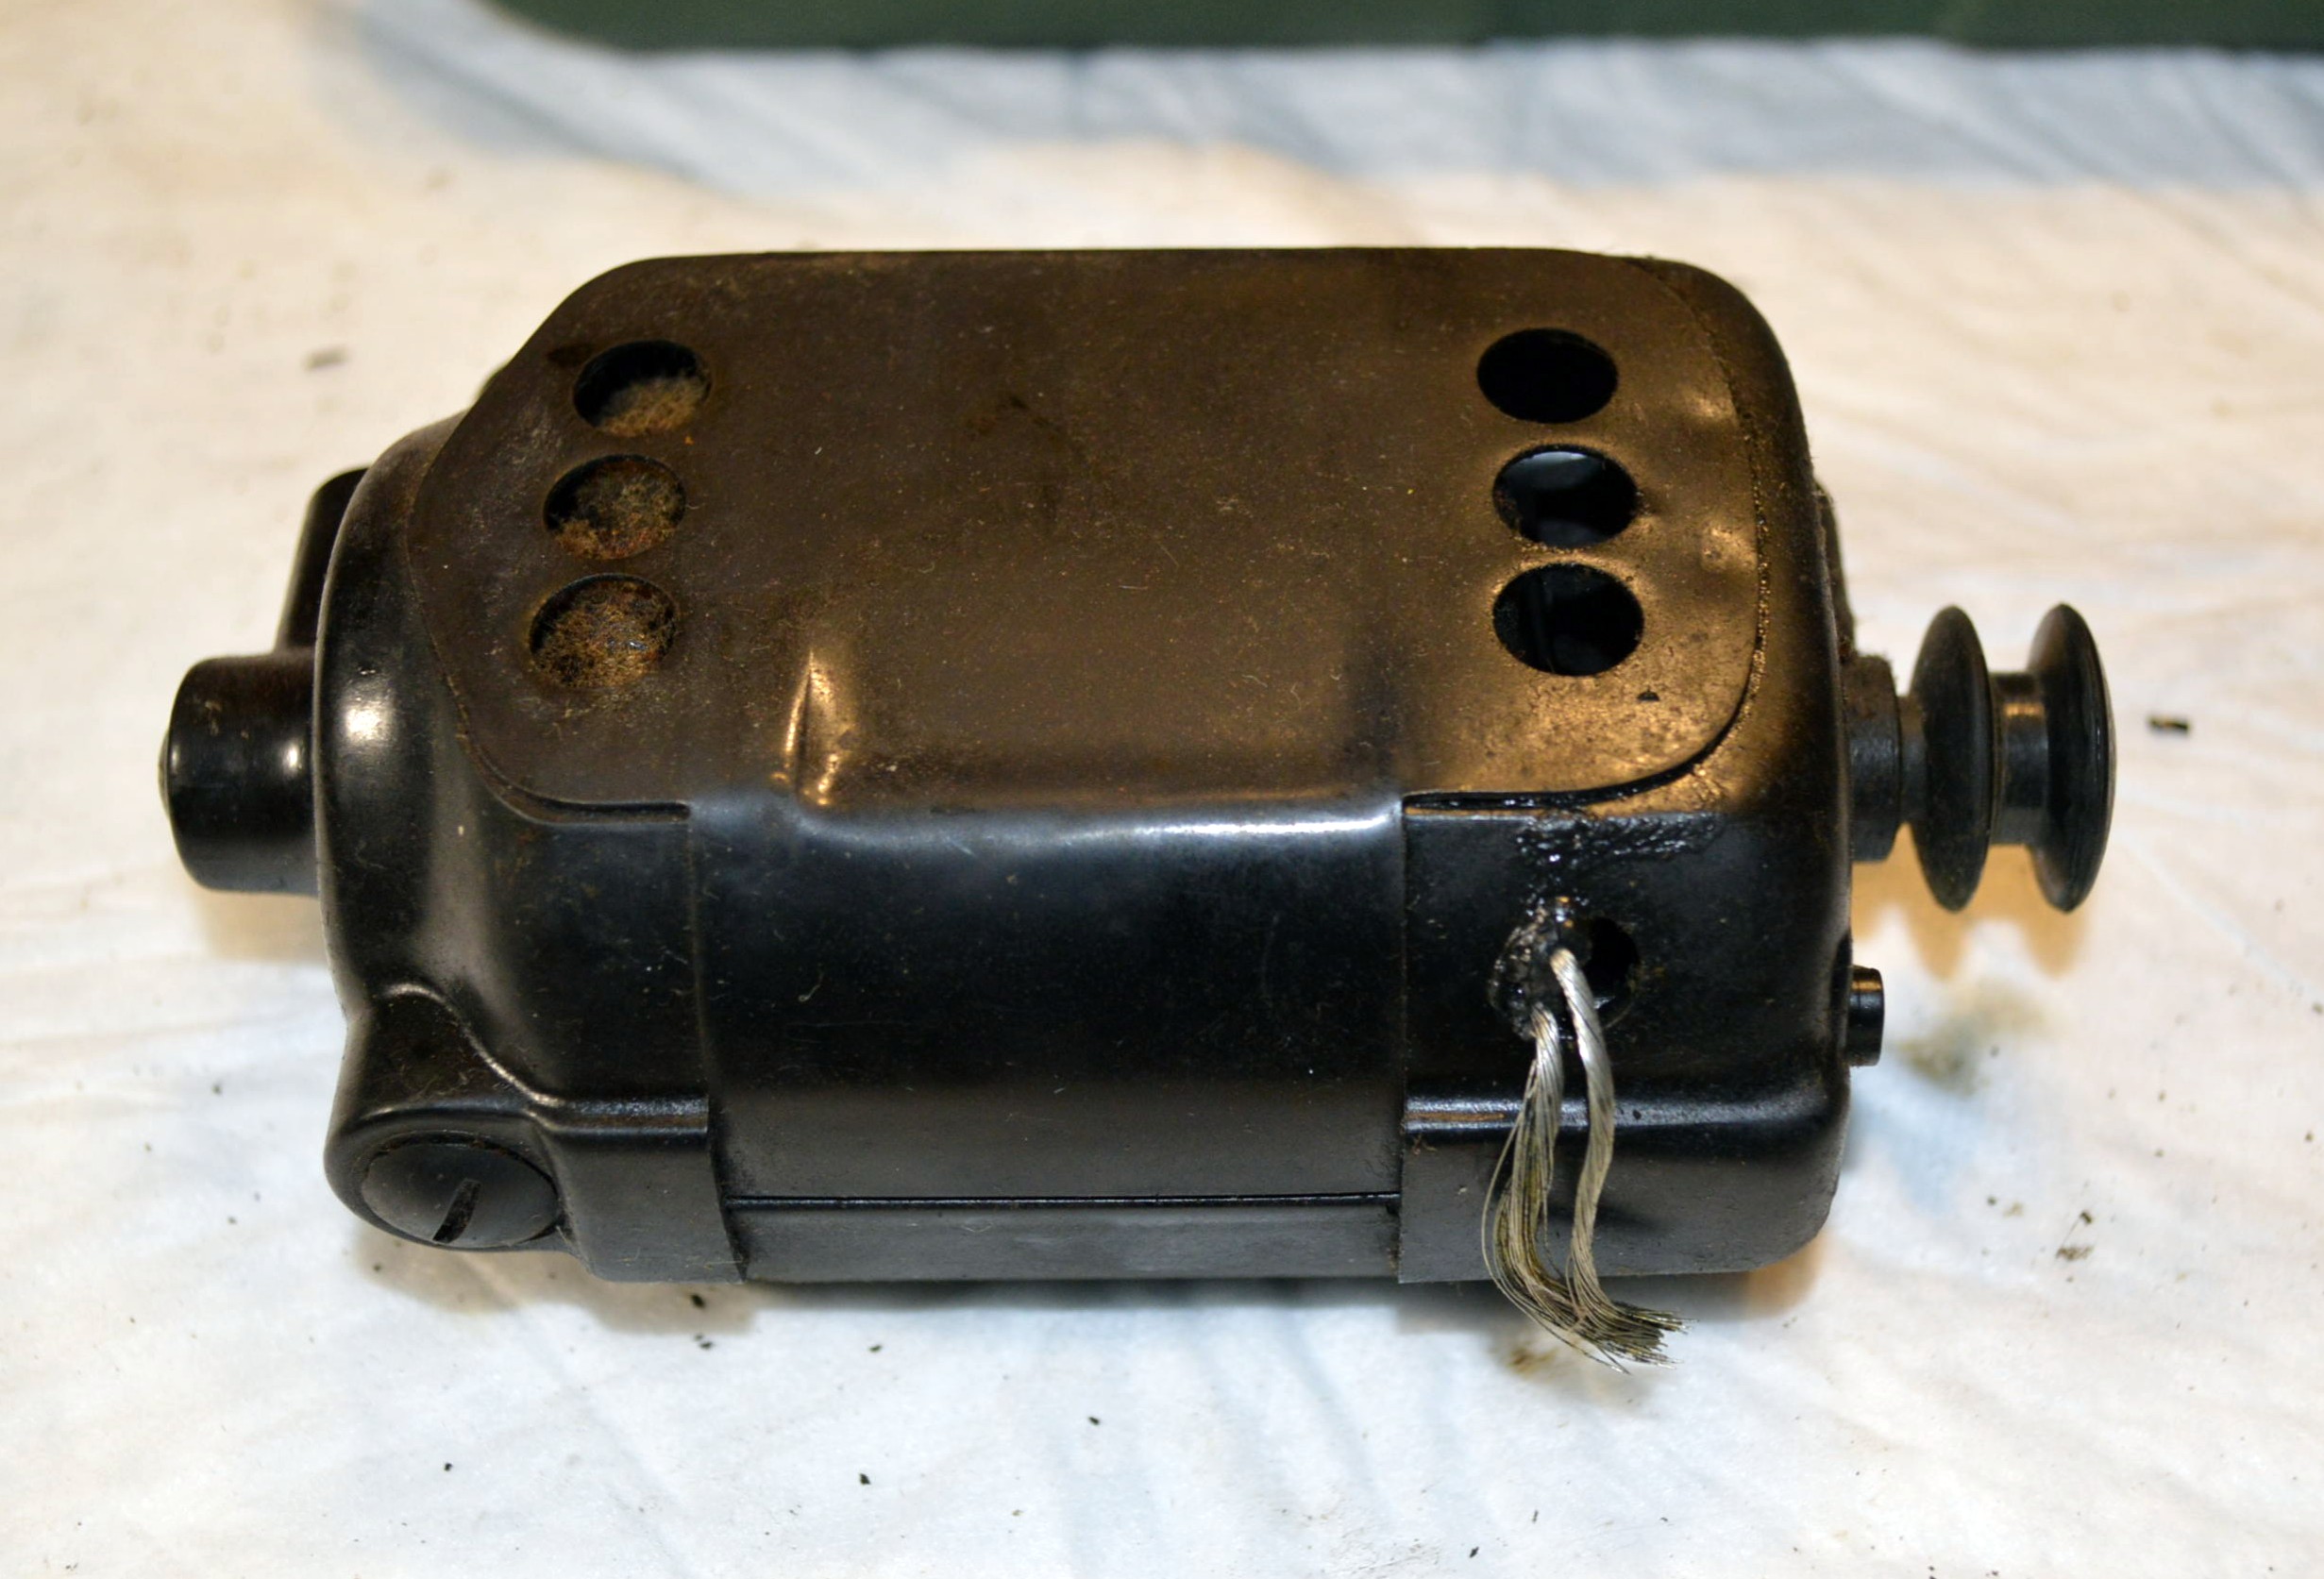
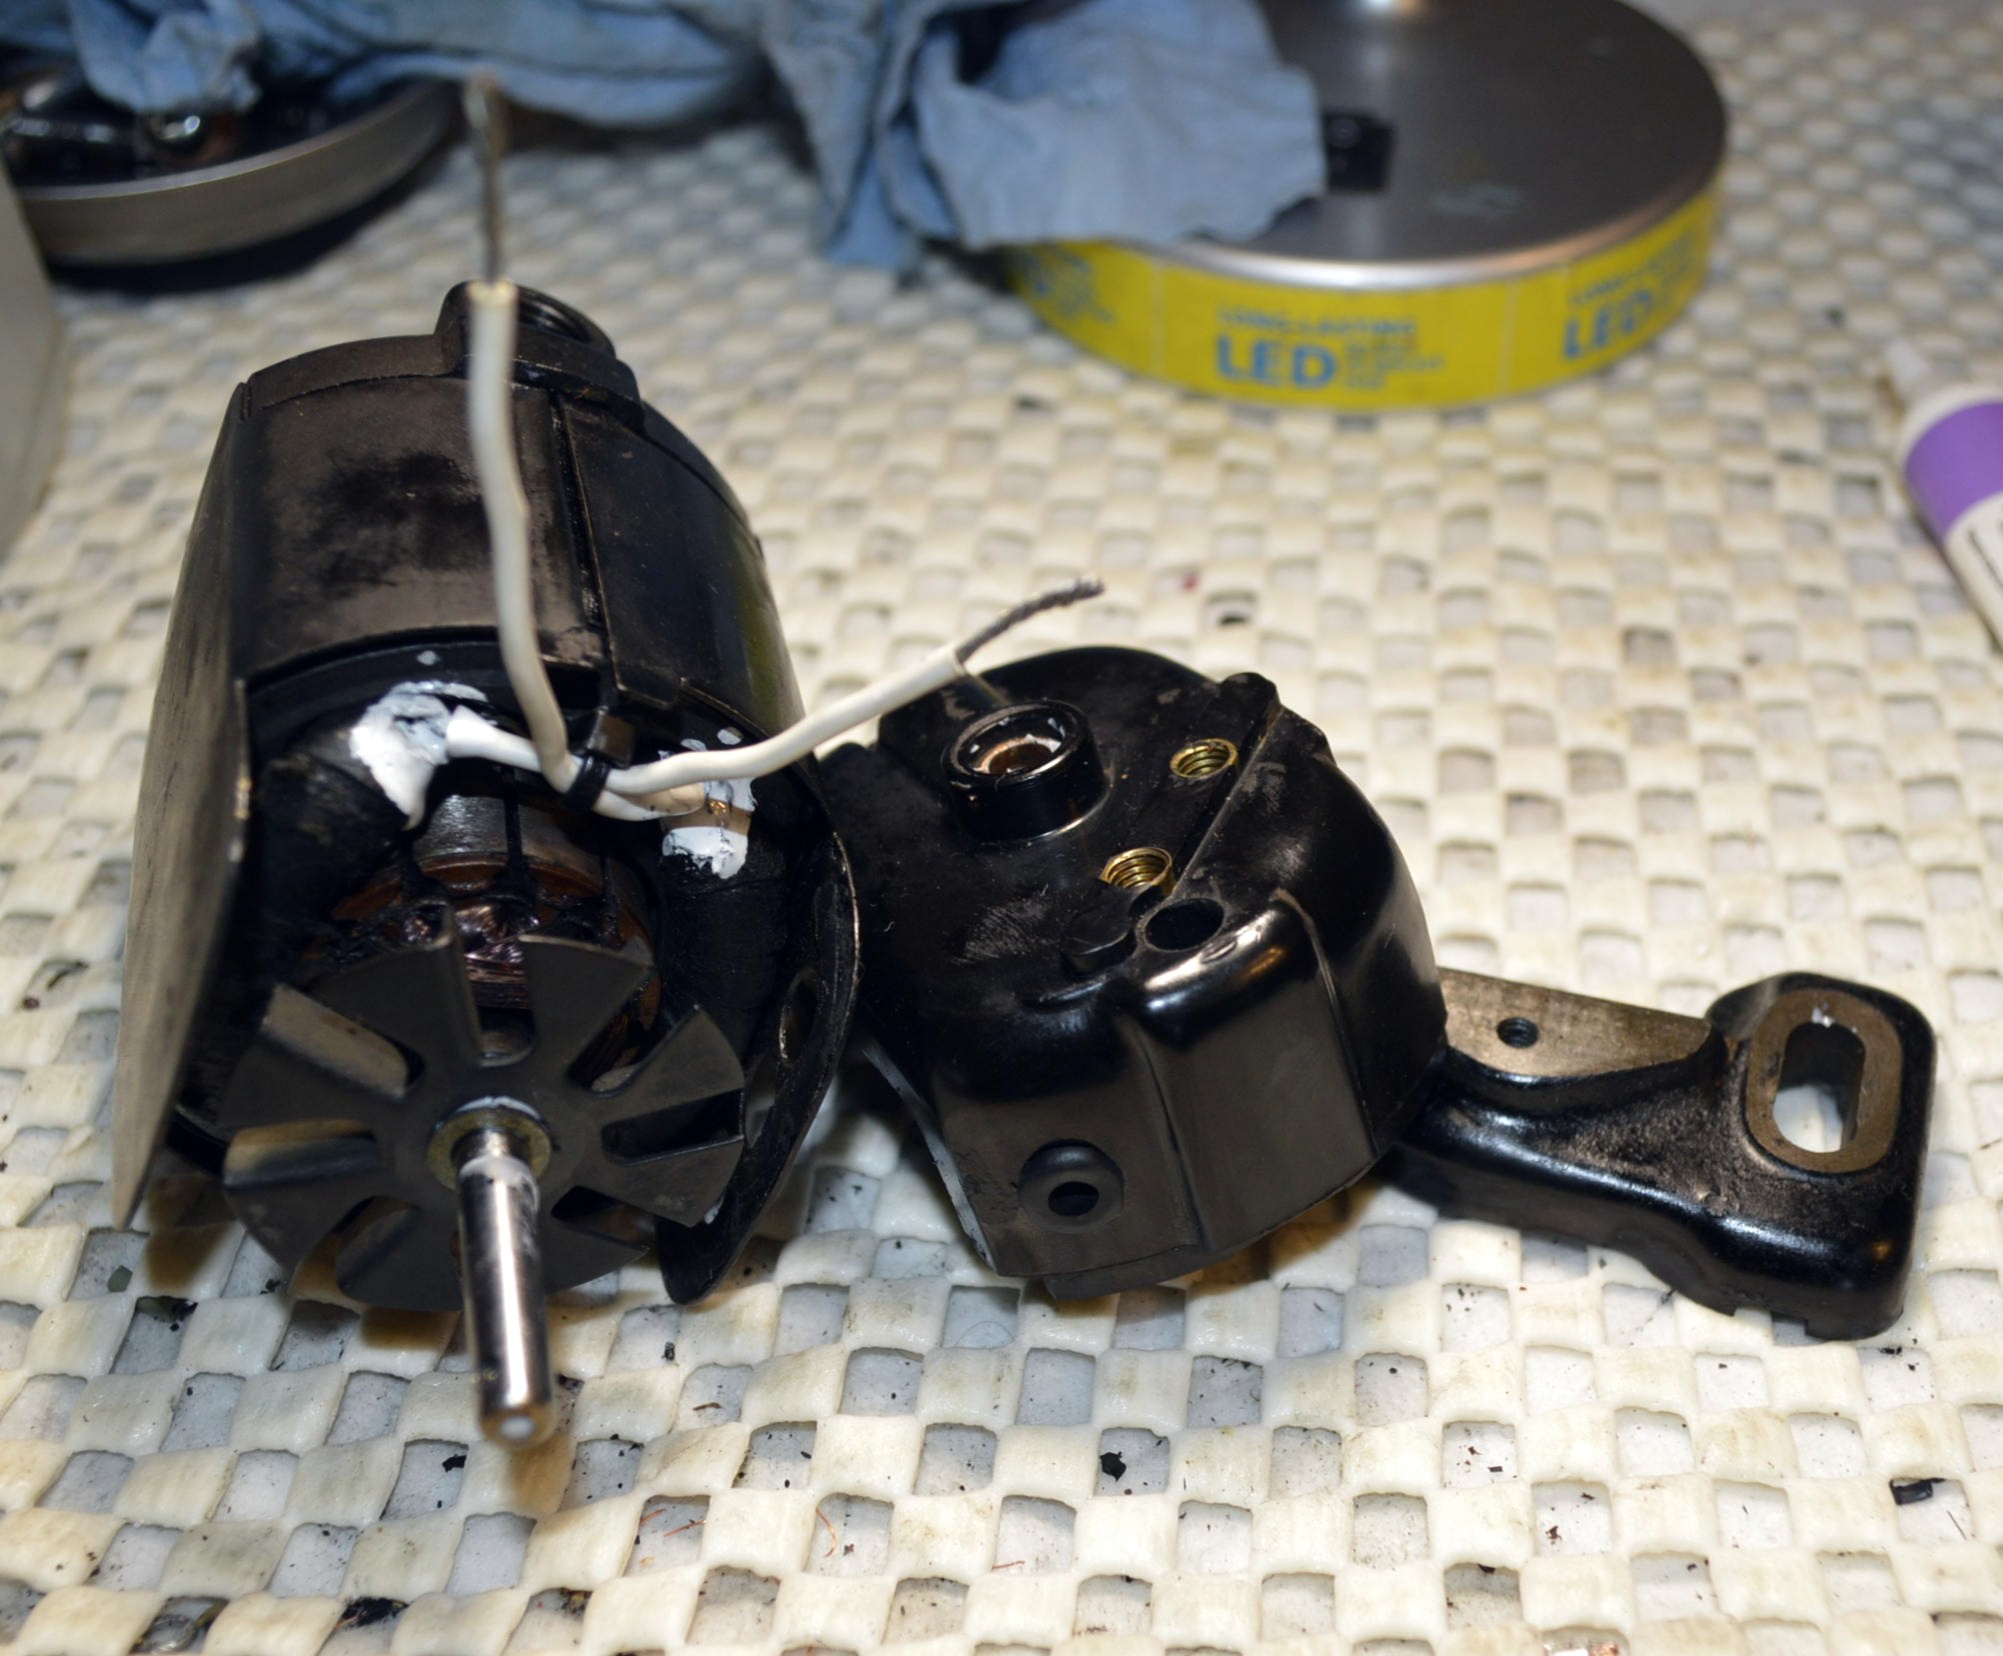
This motor has not been tested… look at the bare wires protruding from the cover! But is spins free so there is a good chance that it will be a good motor when it is reconditioned. The steps are pretty simple: disassemble, clean, lubricate, and reassemble. In practice, this is quite a bit of work. First, the motor is disassembled and the parts and pieces are separated.
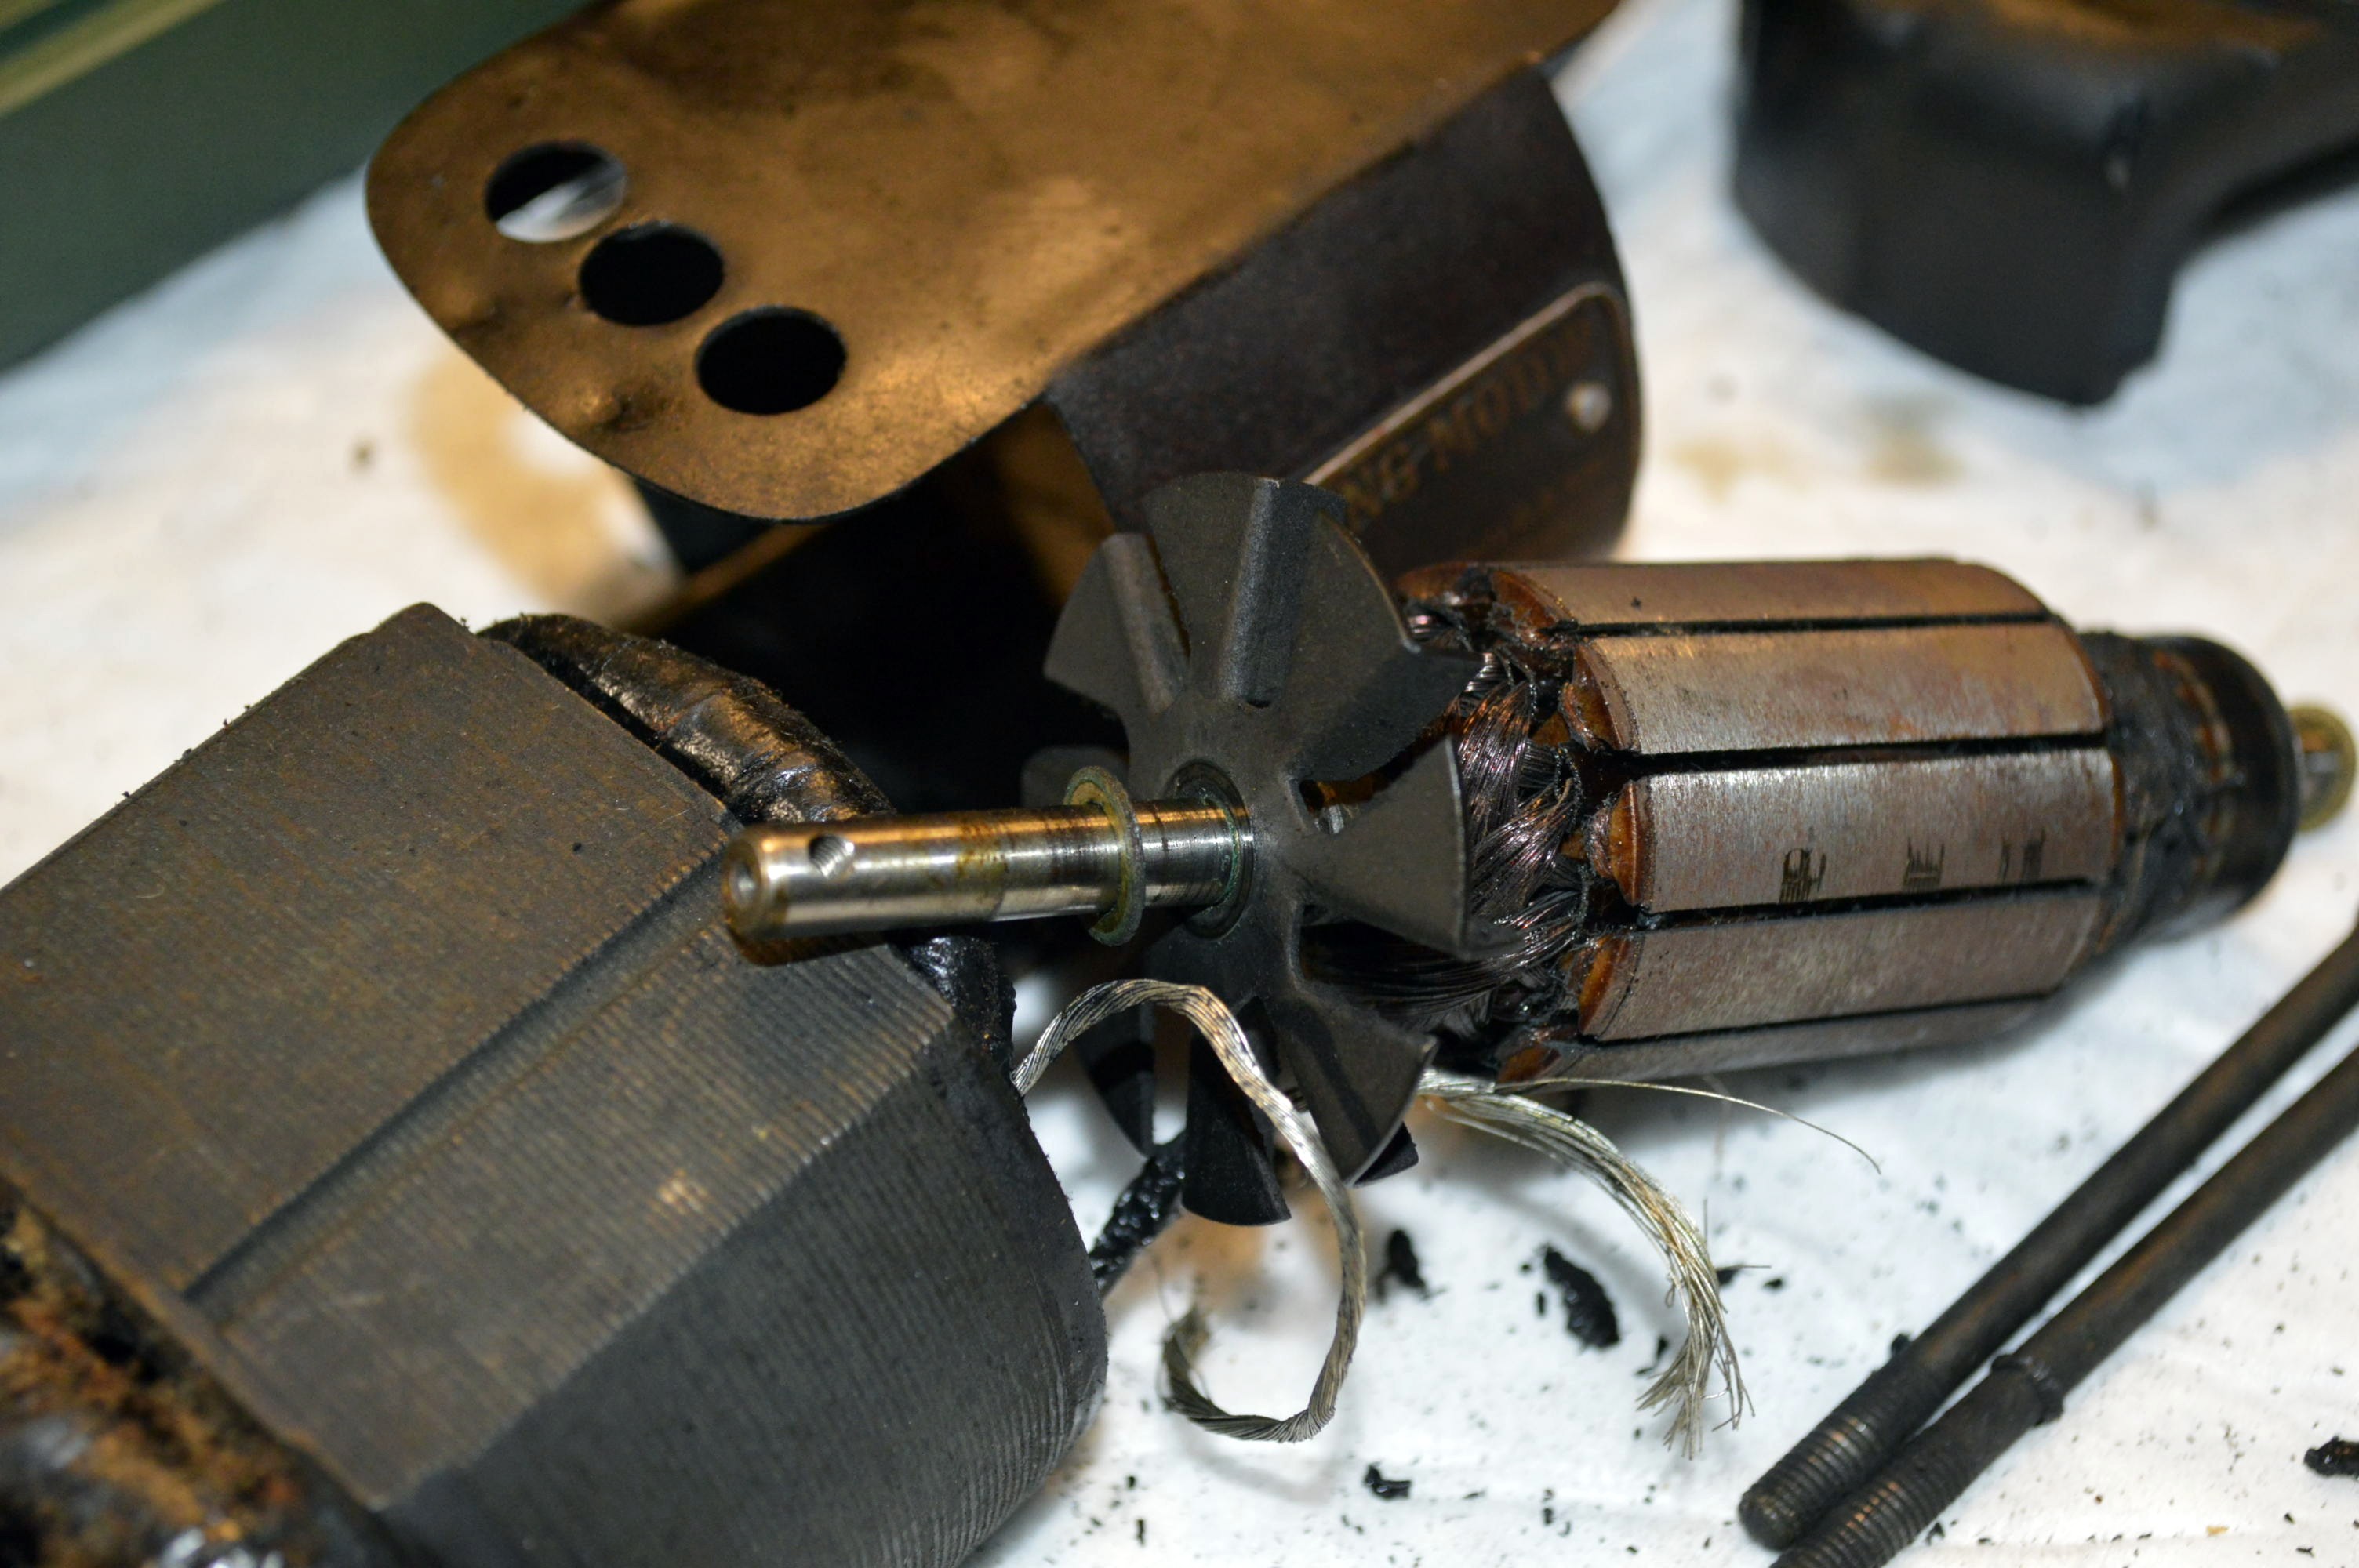

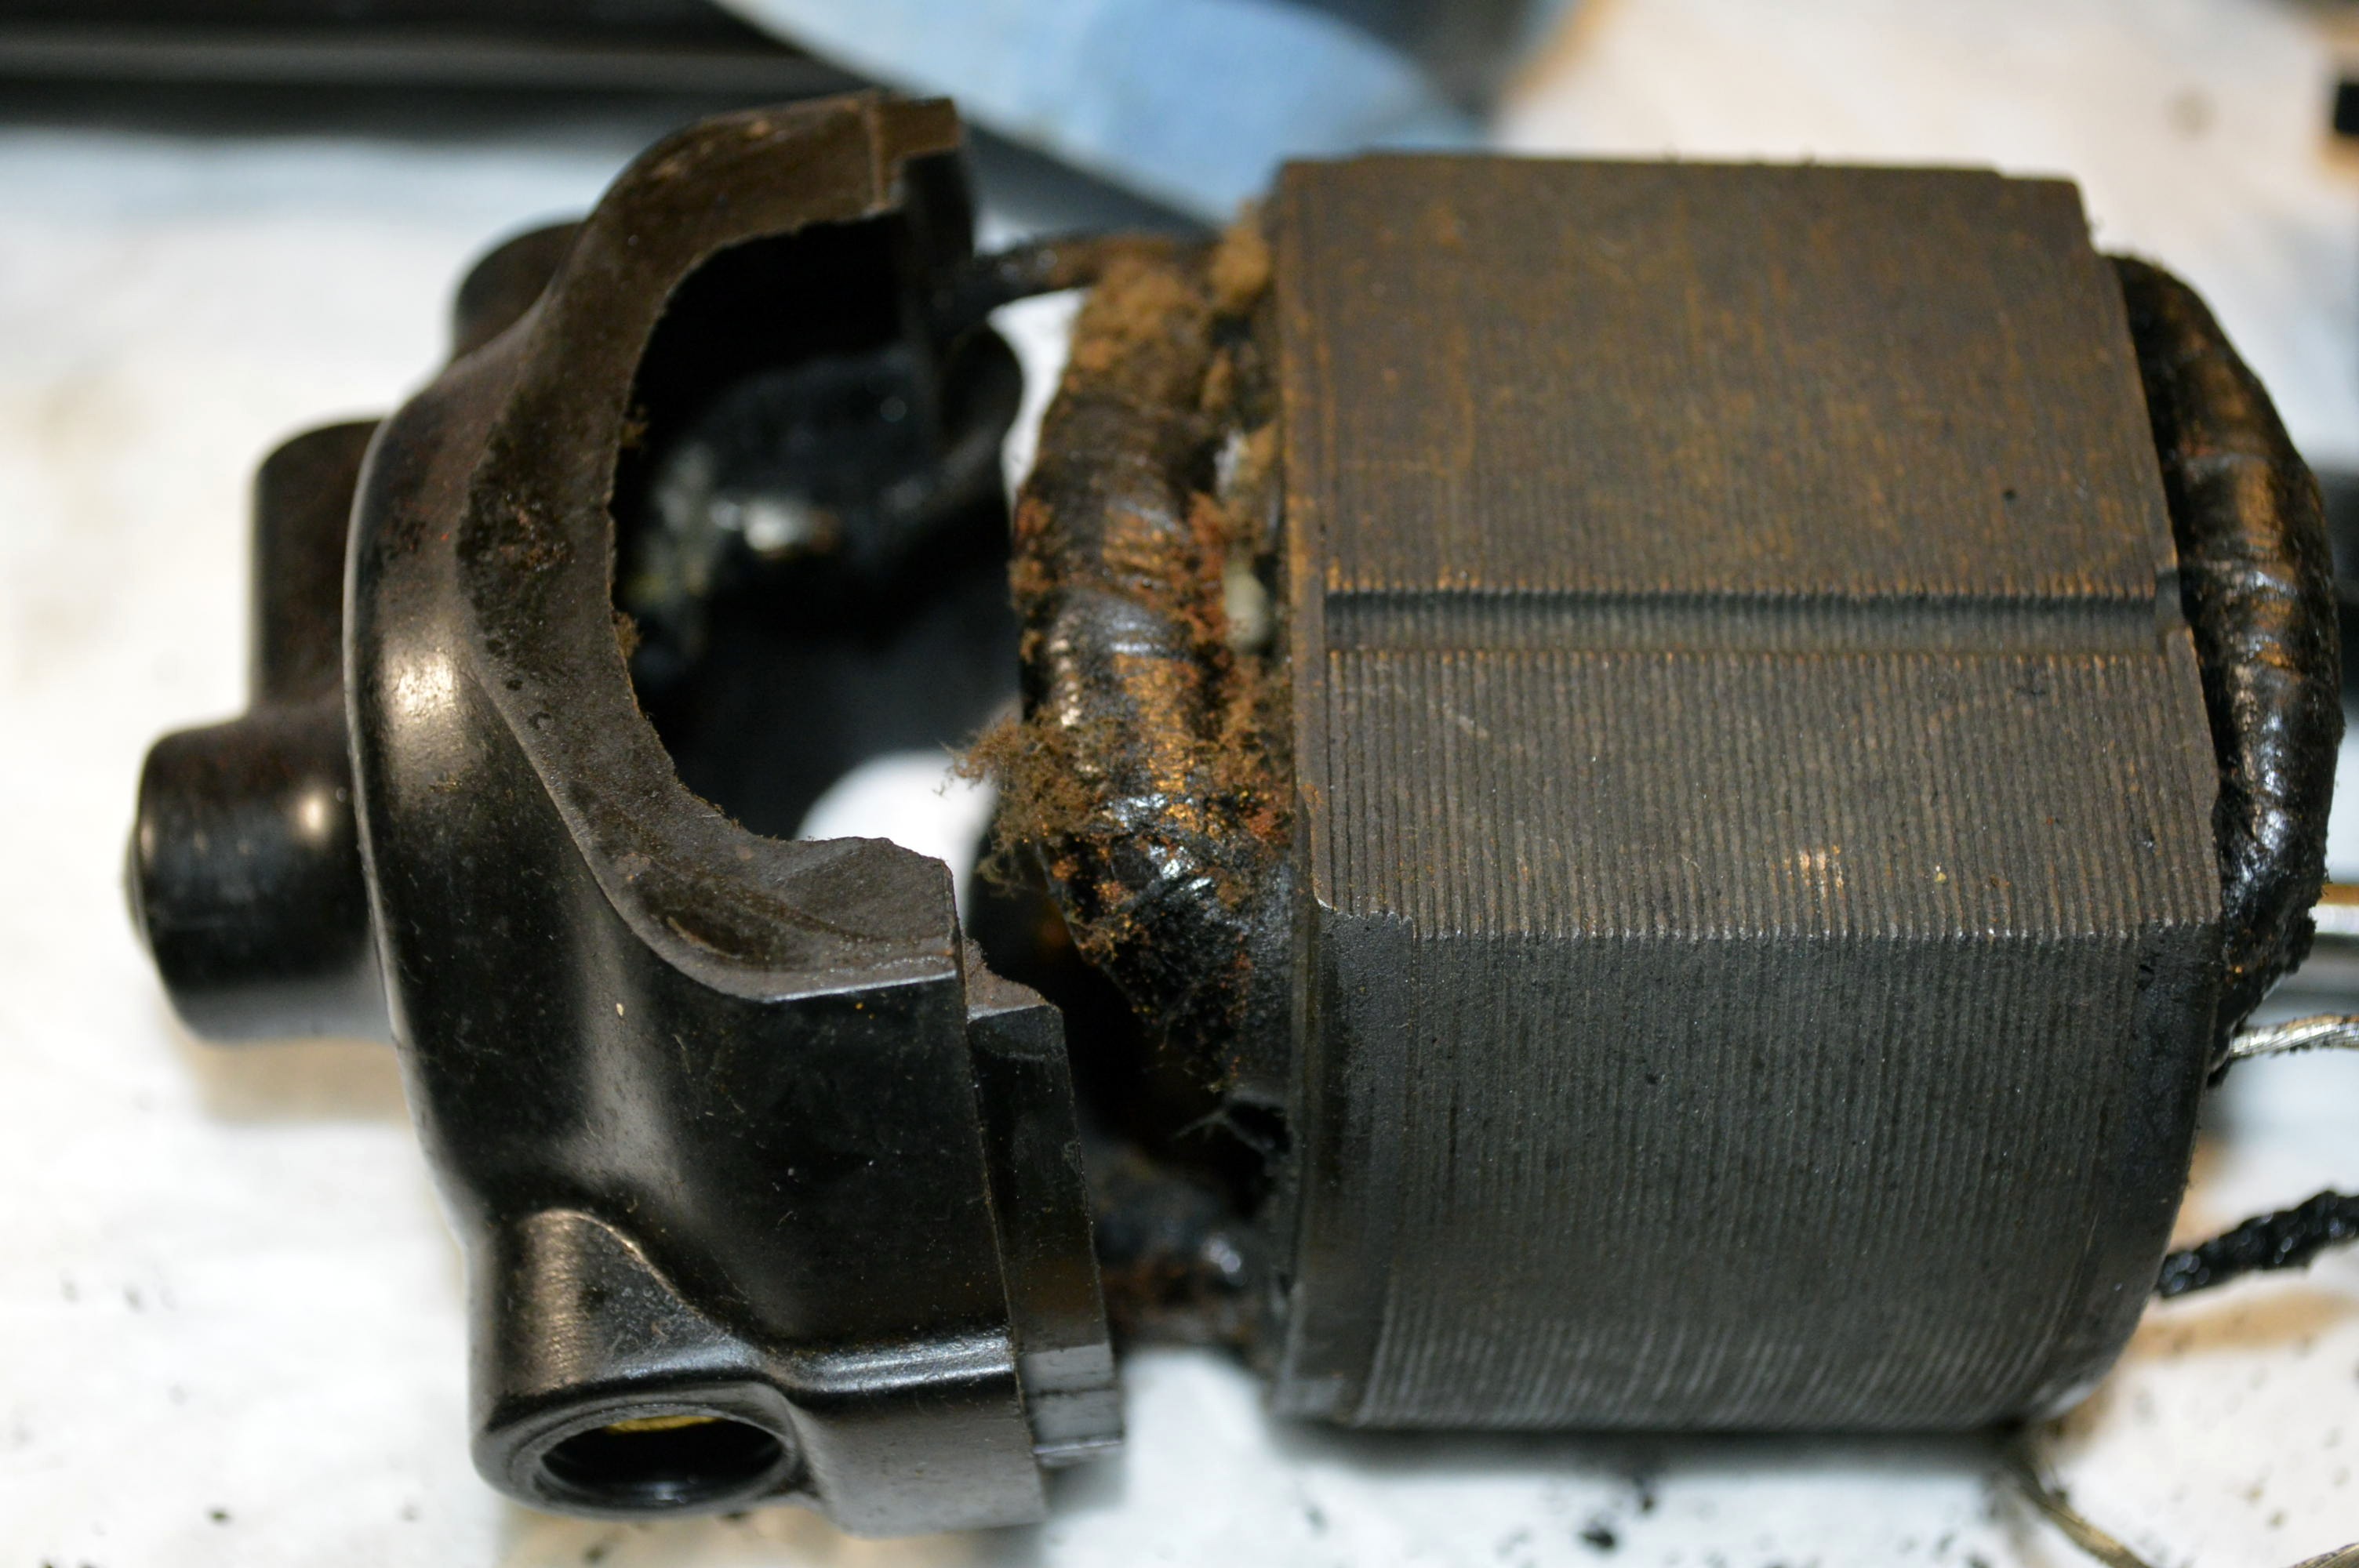
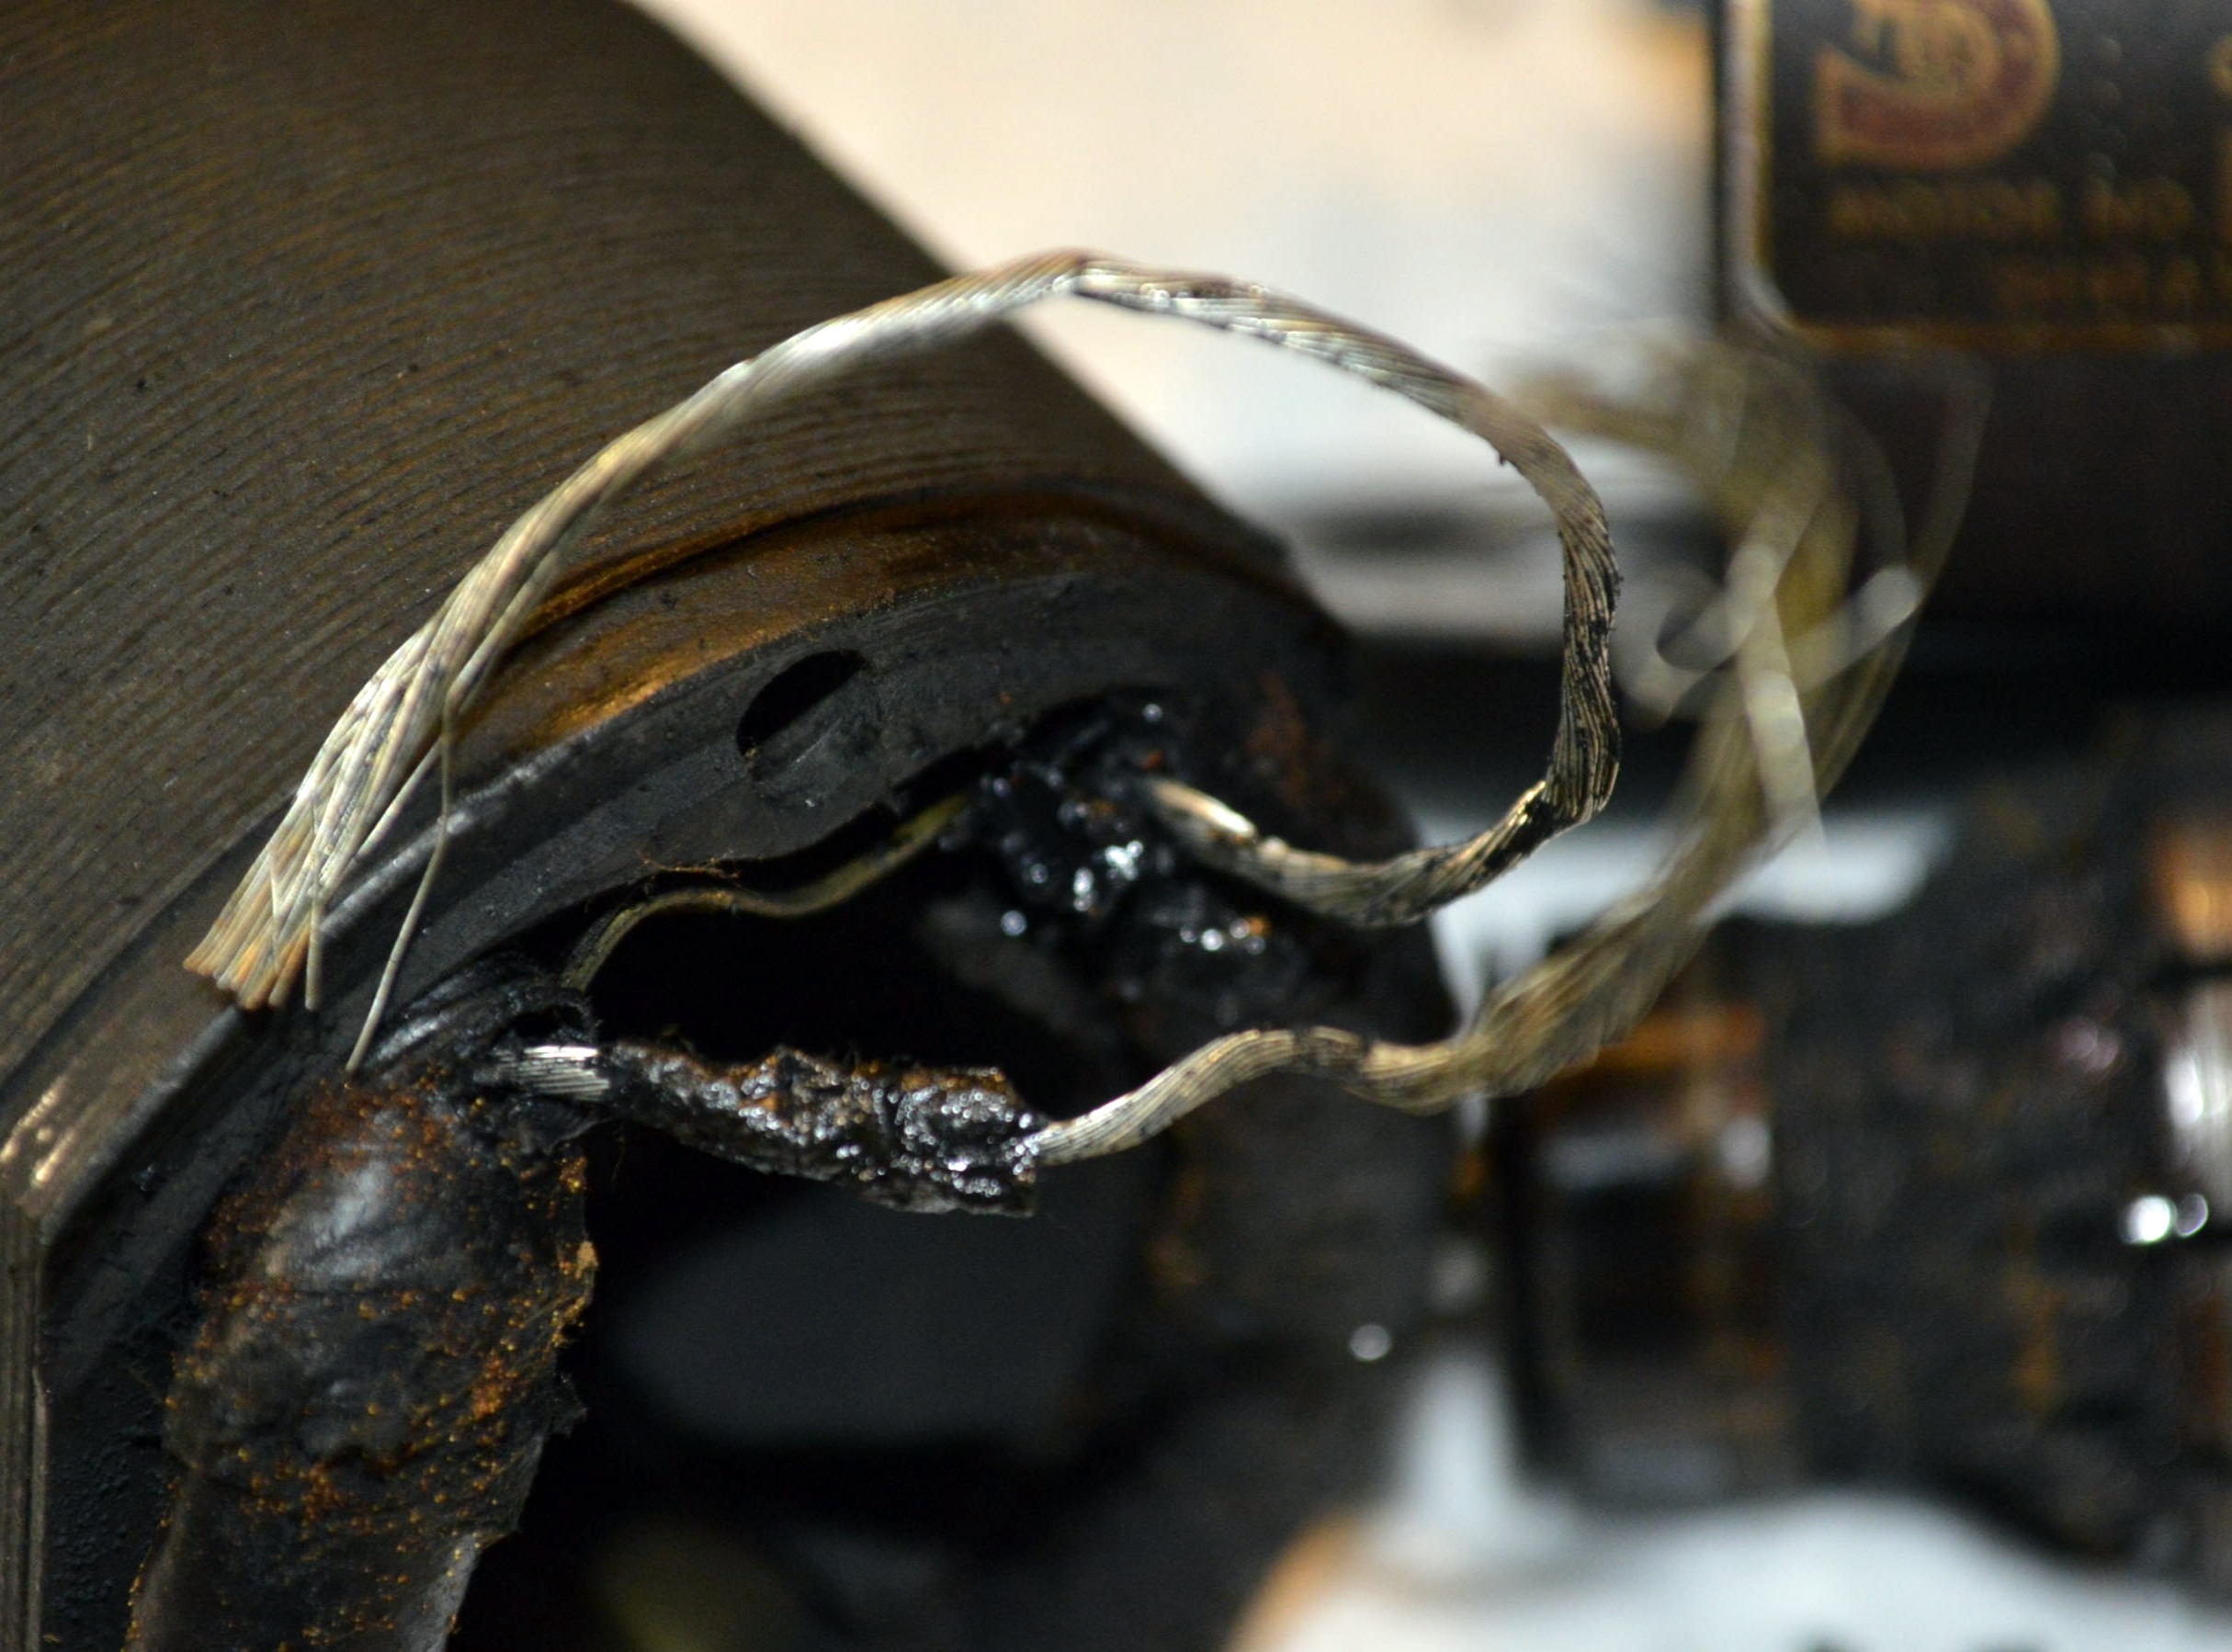
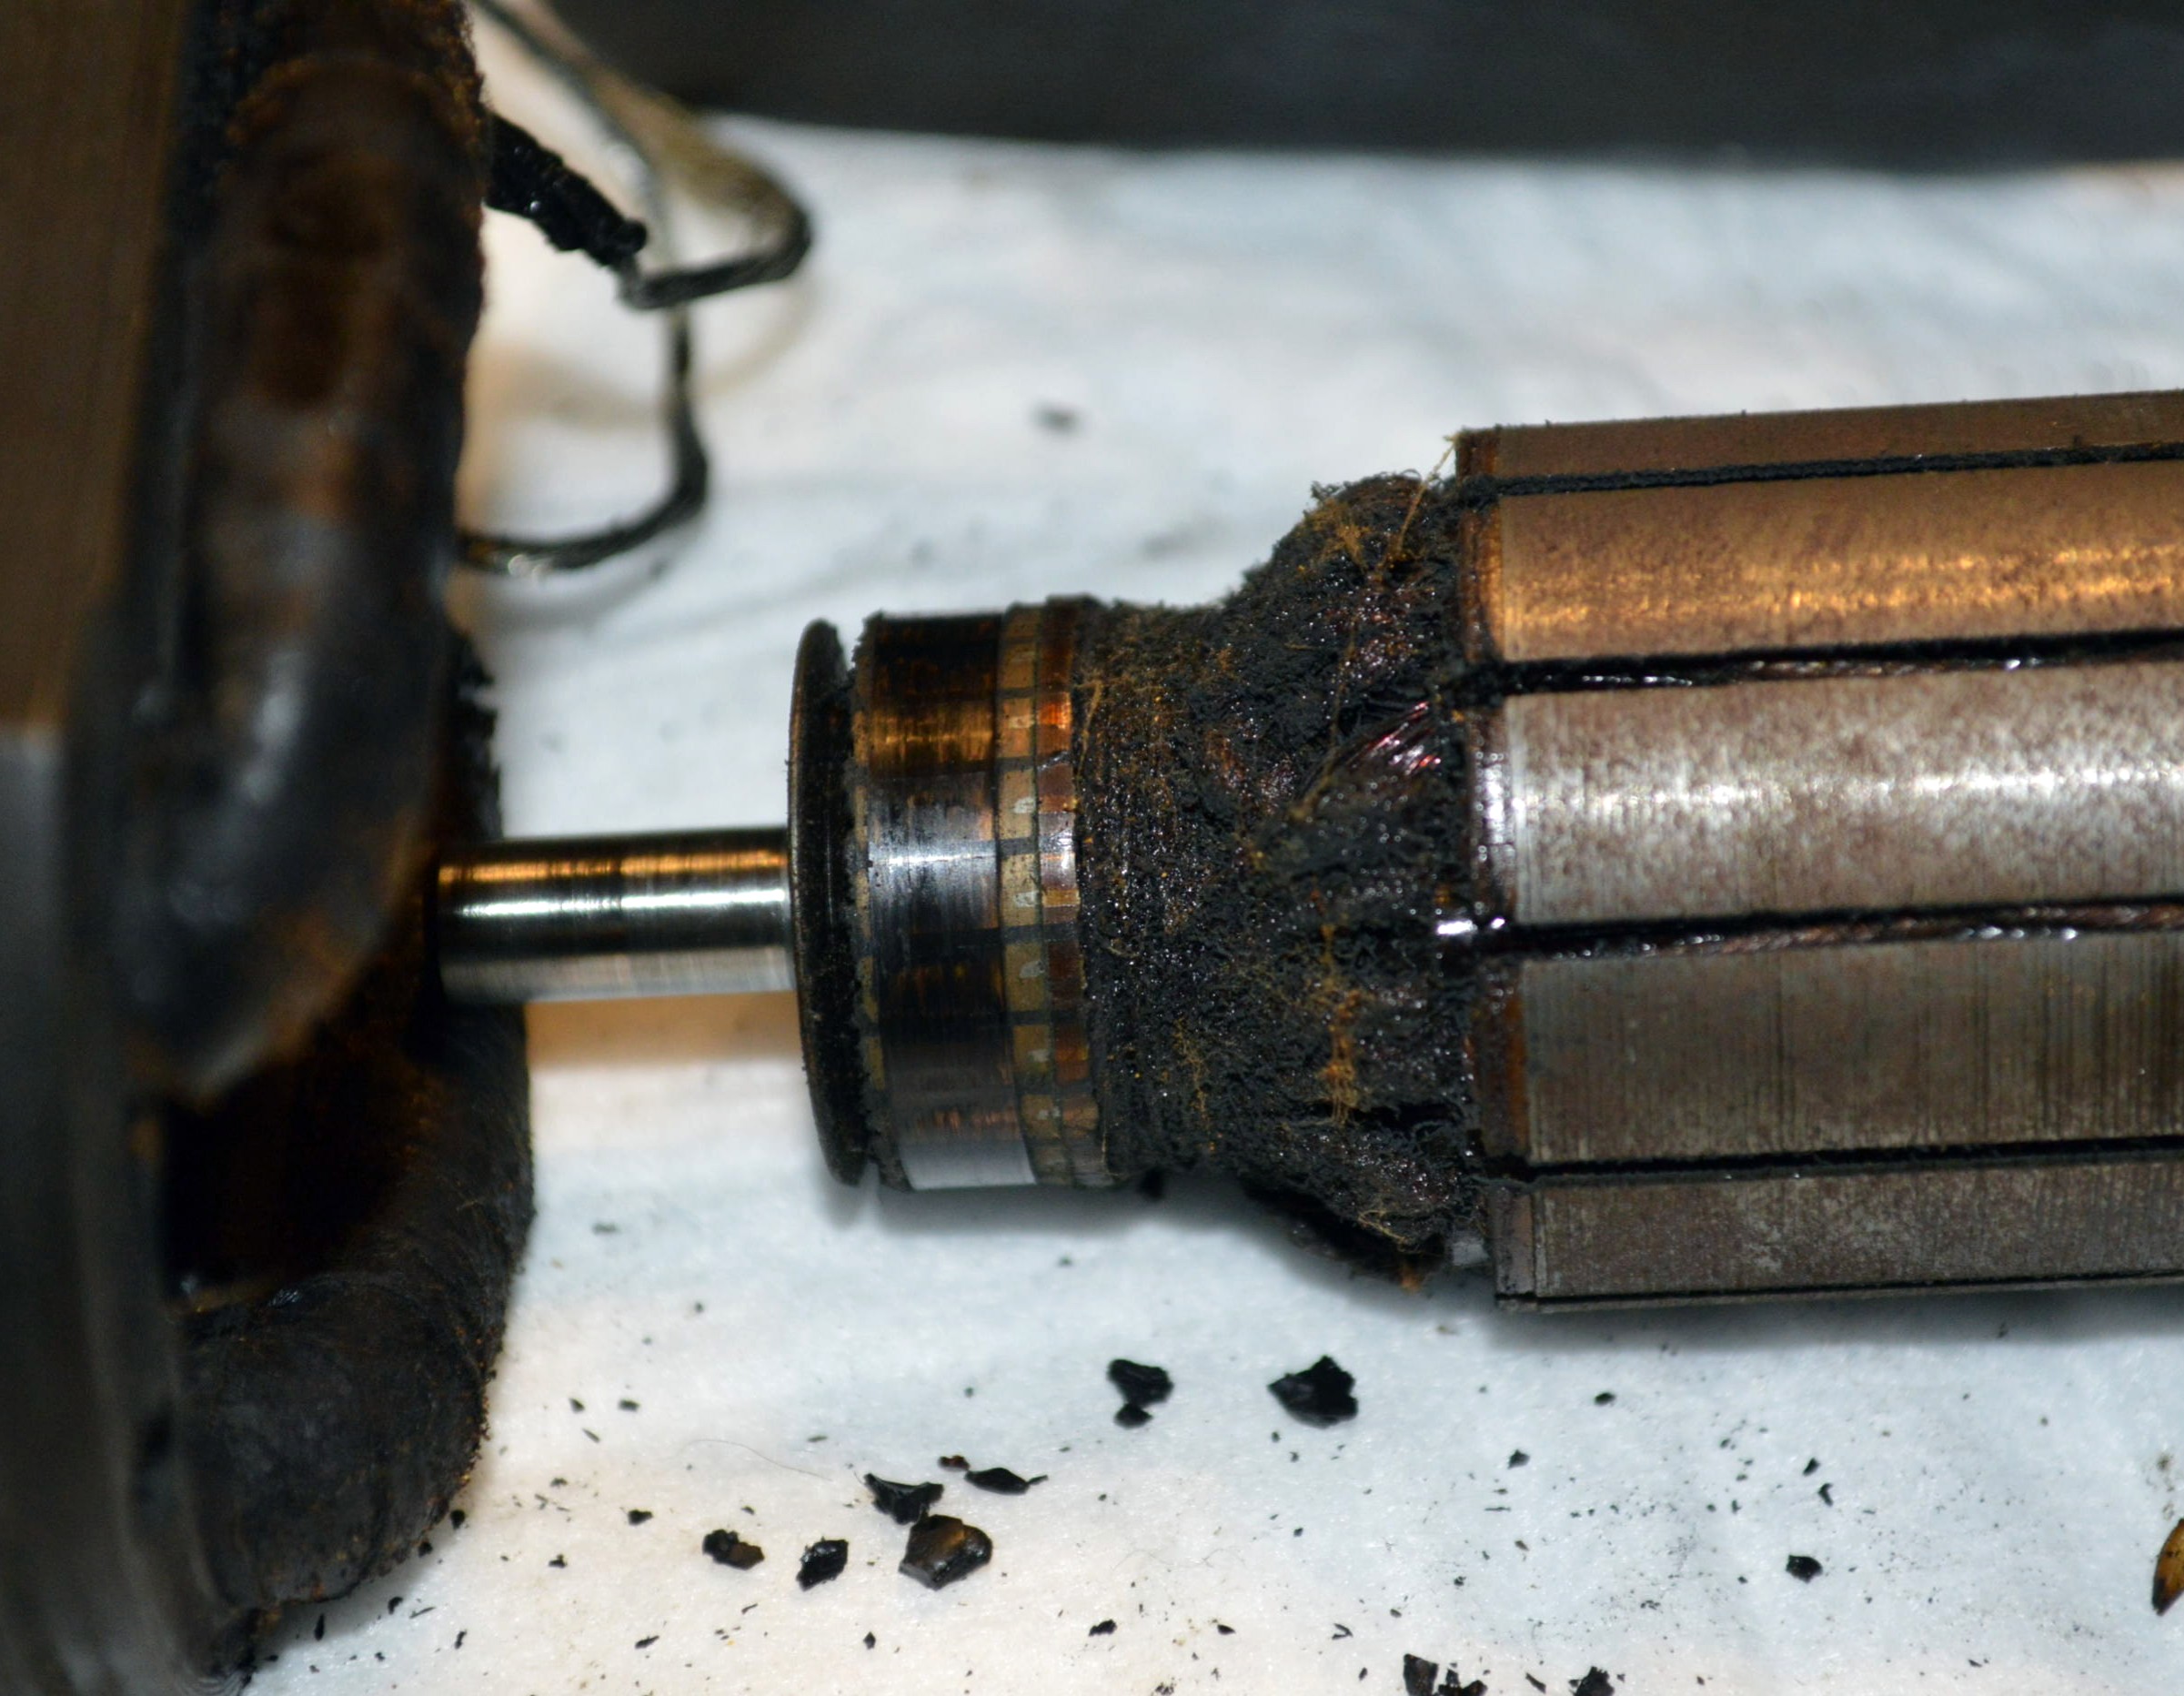
At first glance, and from the bits of dirt, dust, and old wire insulation, it looks pretty bad. The armature is fouled with carbon and the wires are bare up to the stator coil. Actually, this is not unusual and will be fixed. The motor brushes are in good condition and unless there is a break in the armature or stator coil wires, this motor will run again.
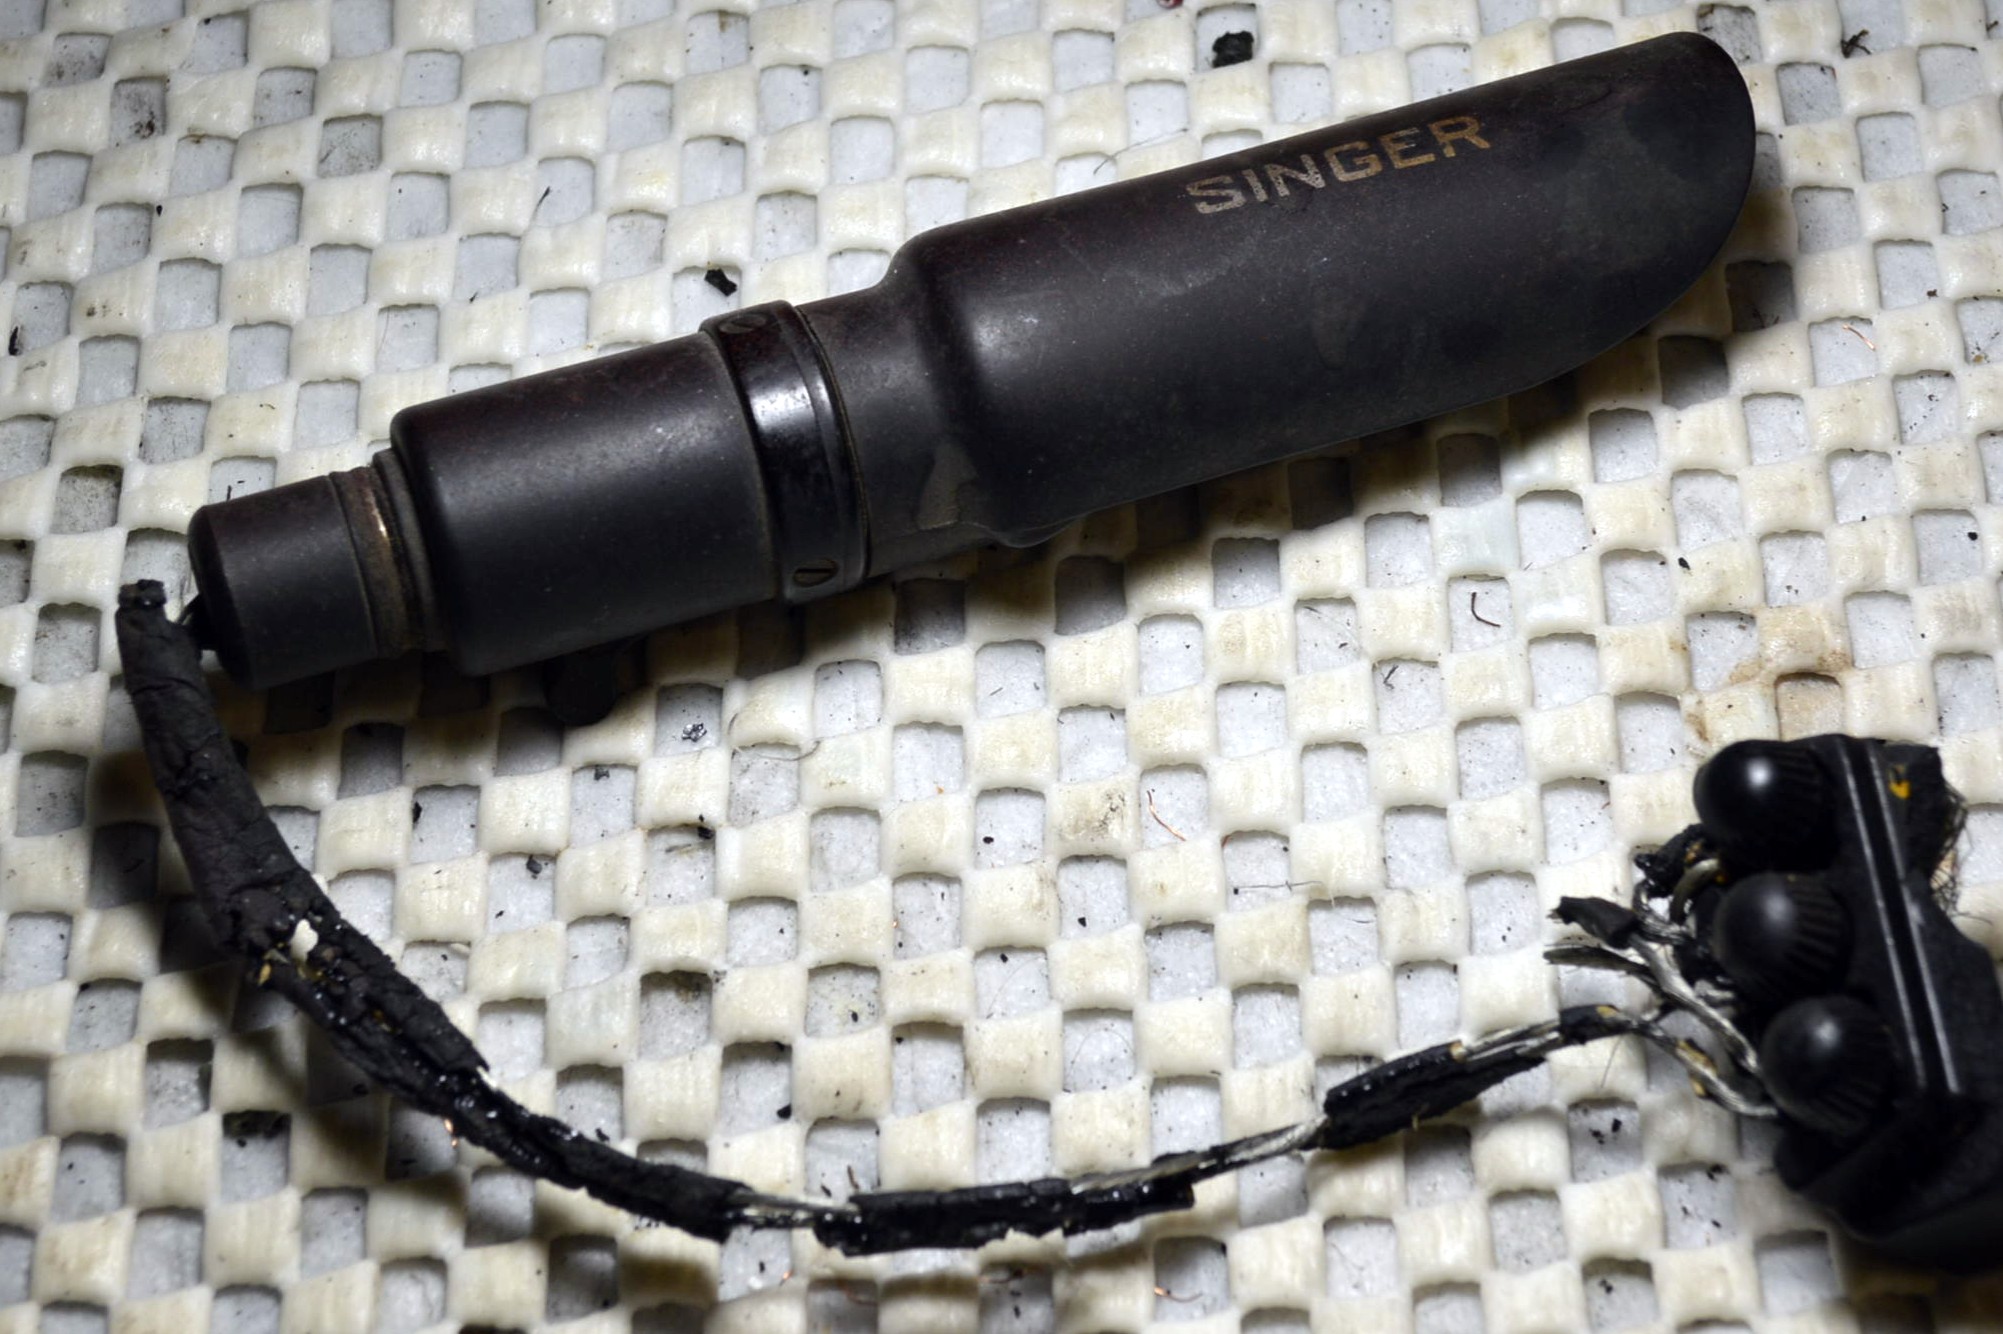
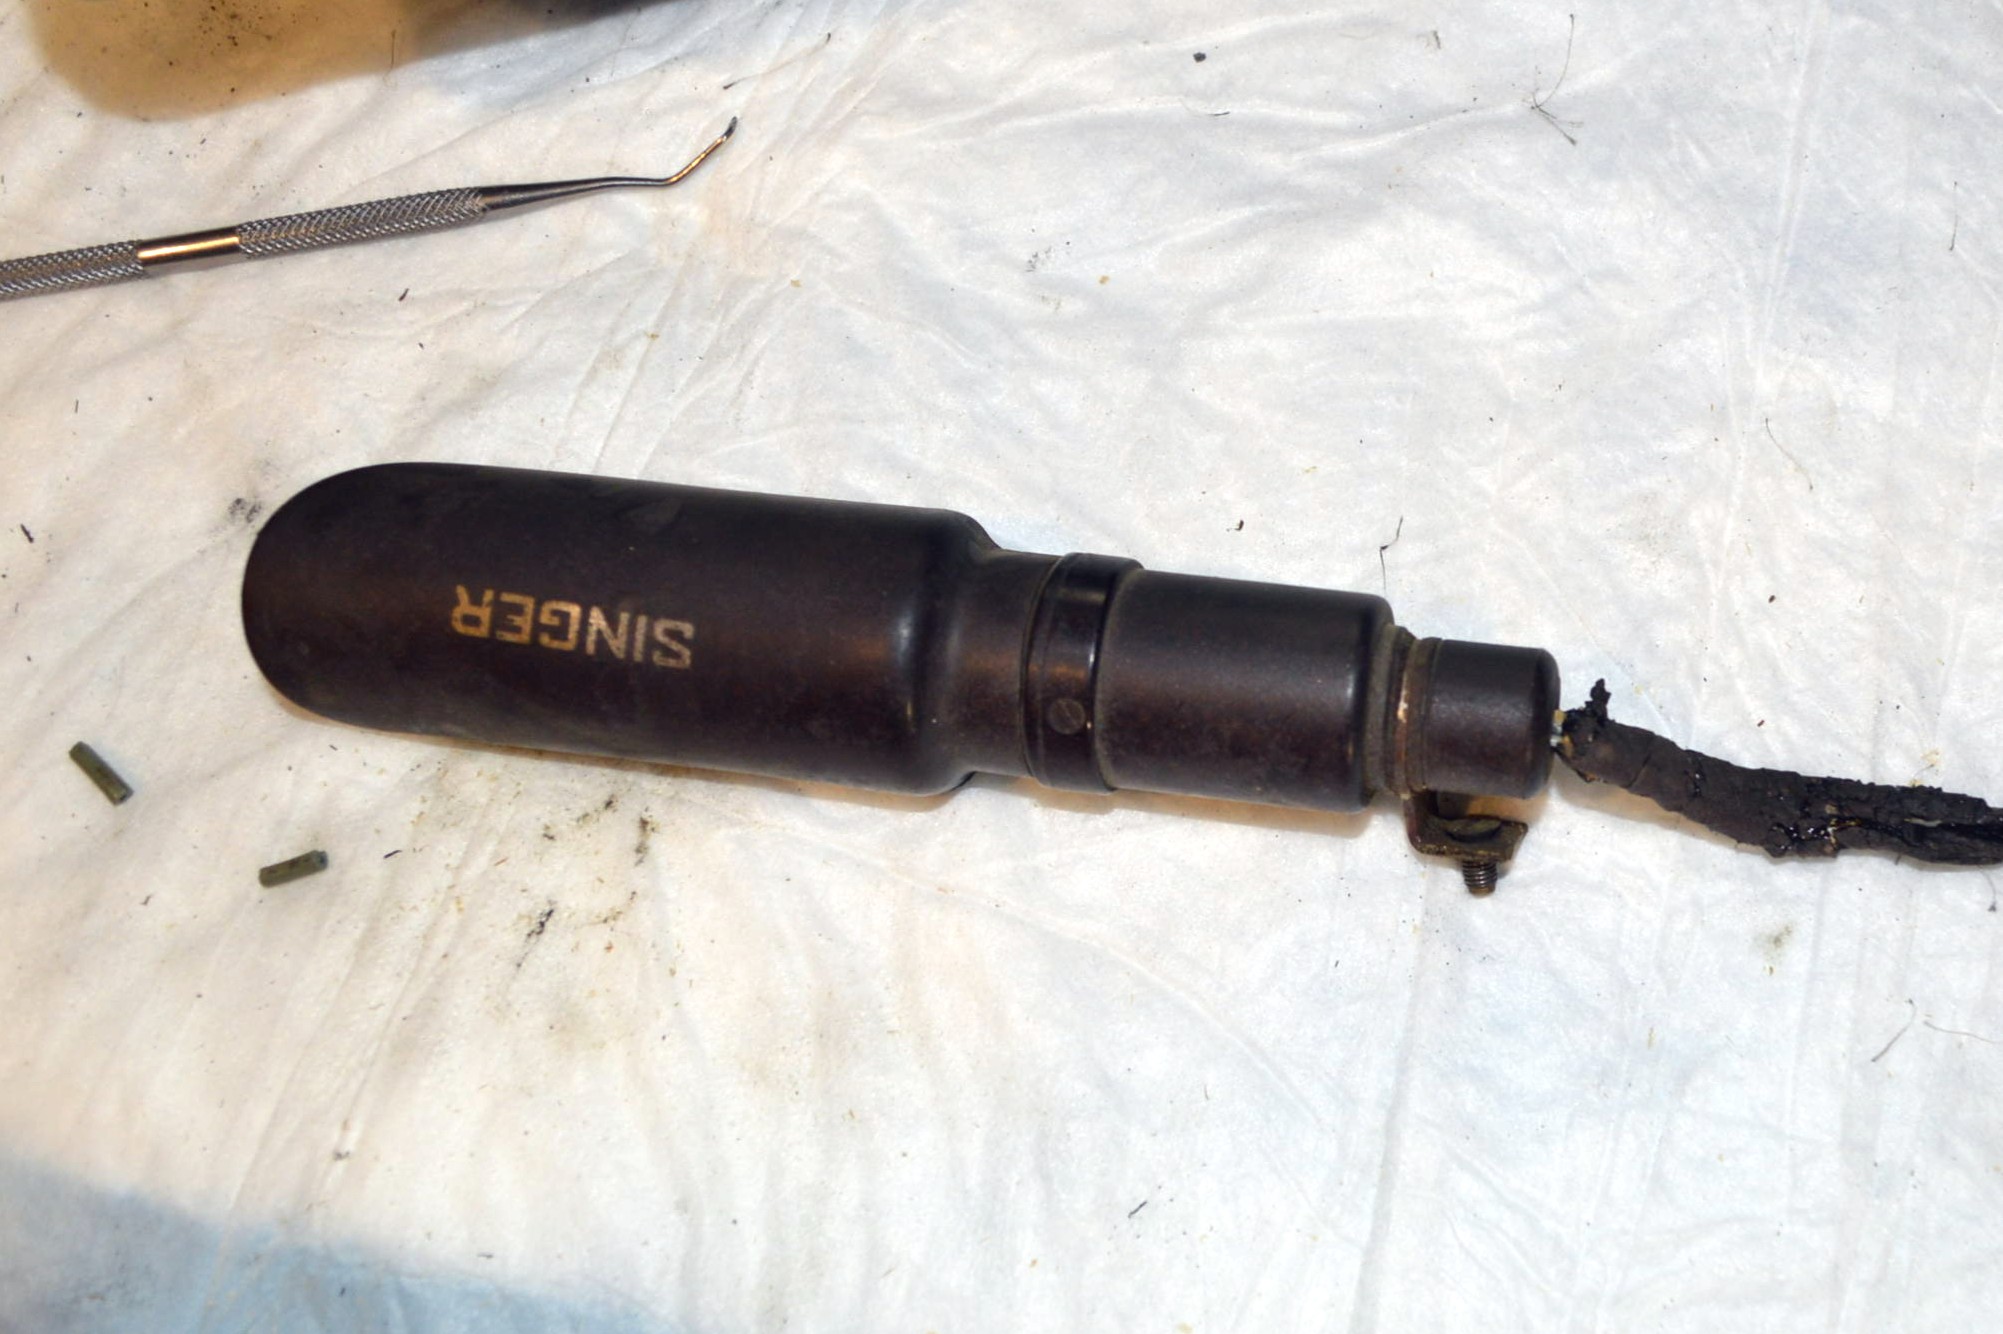
Wires Sealed and Reinsulated 
Armor After Polishing 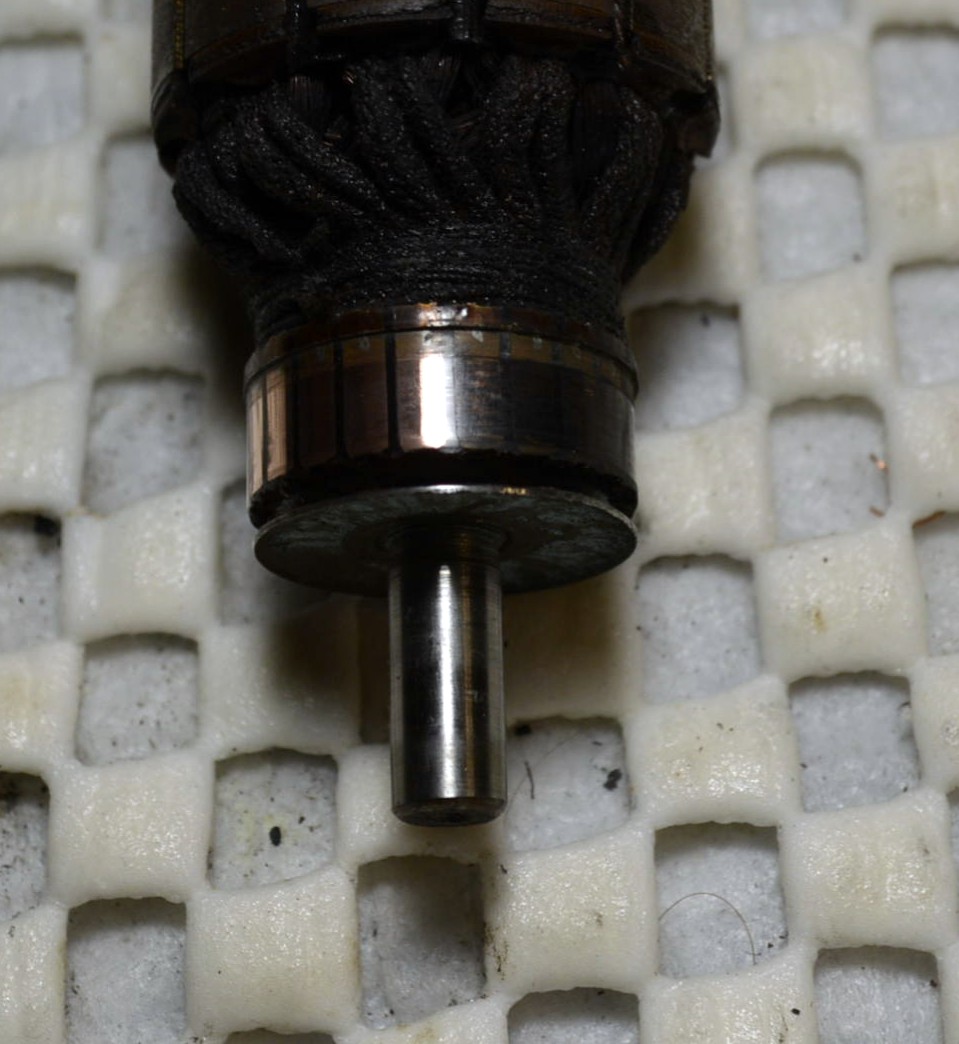
Armature Before Polishing
The grease wicks are replaced and re-greased, the armature installed, the cover assembled, and the reconditioned brushes installed. The motor was bench tested and runs smoothly and strongly.
Next comes the light assembly. The wires are completely worn out and new wire is required.
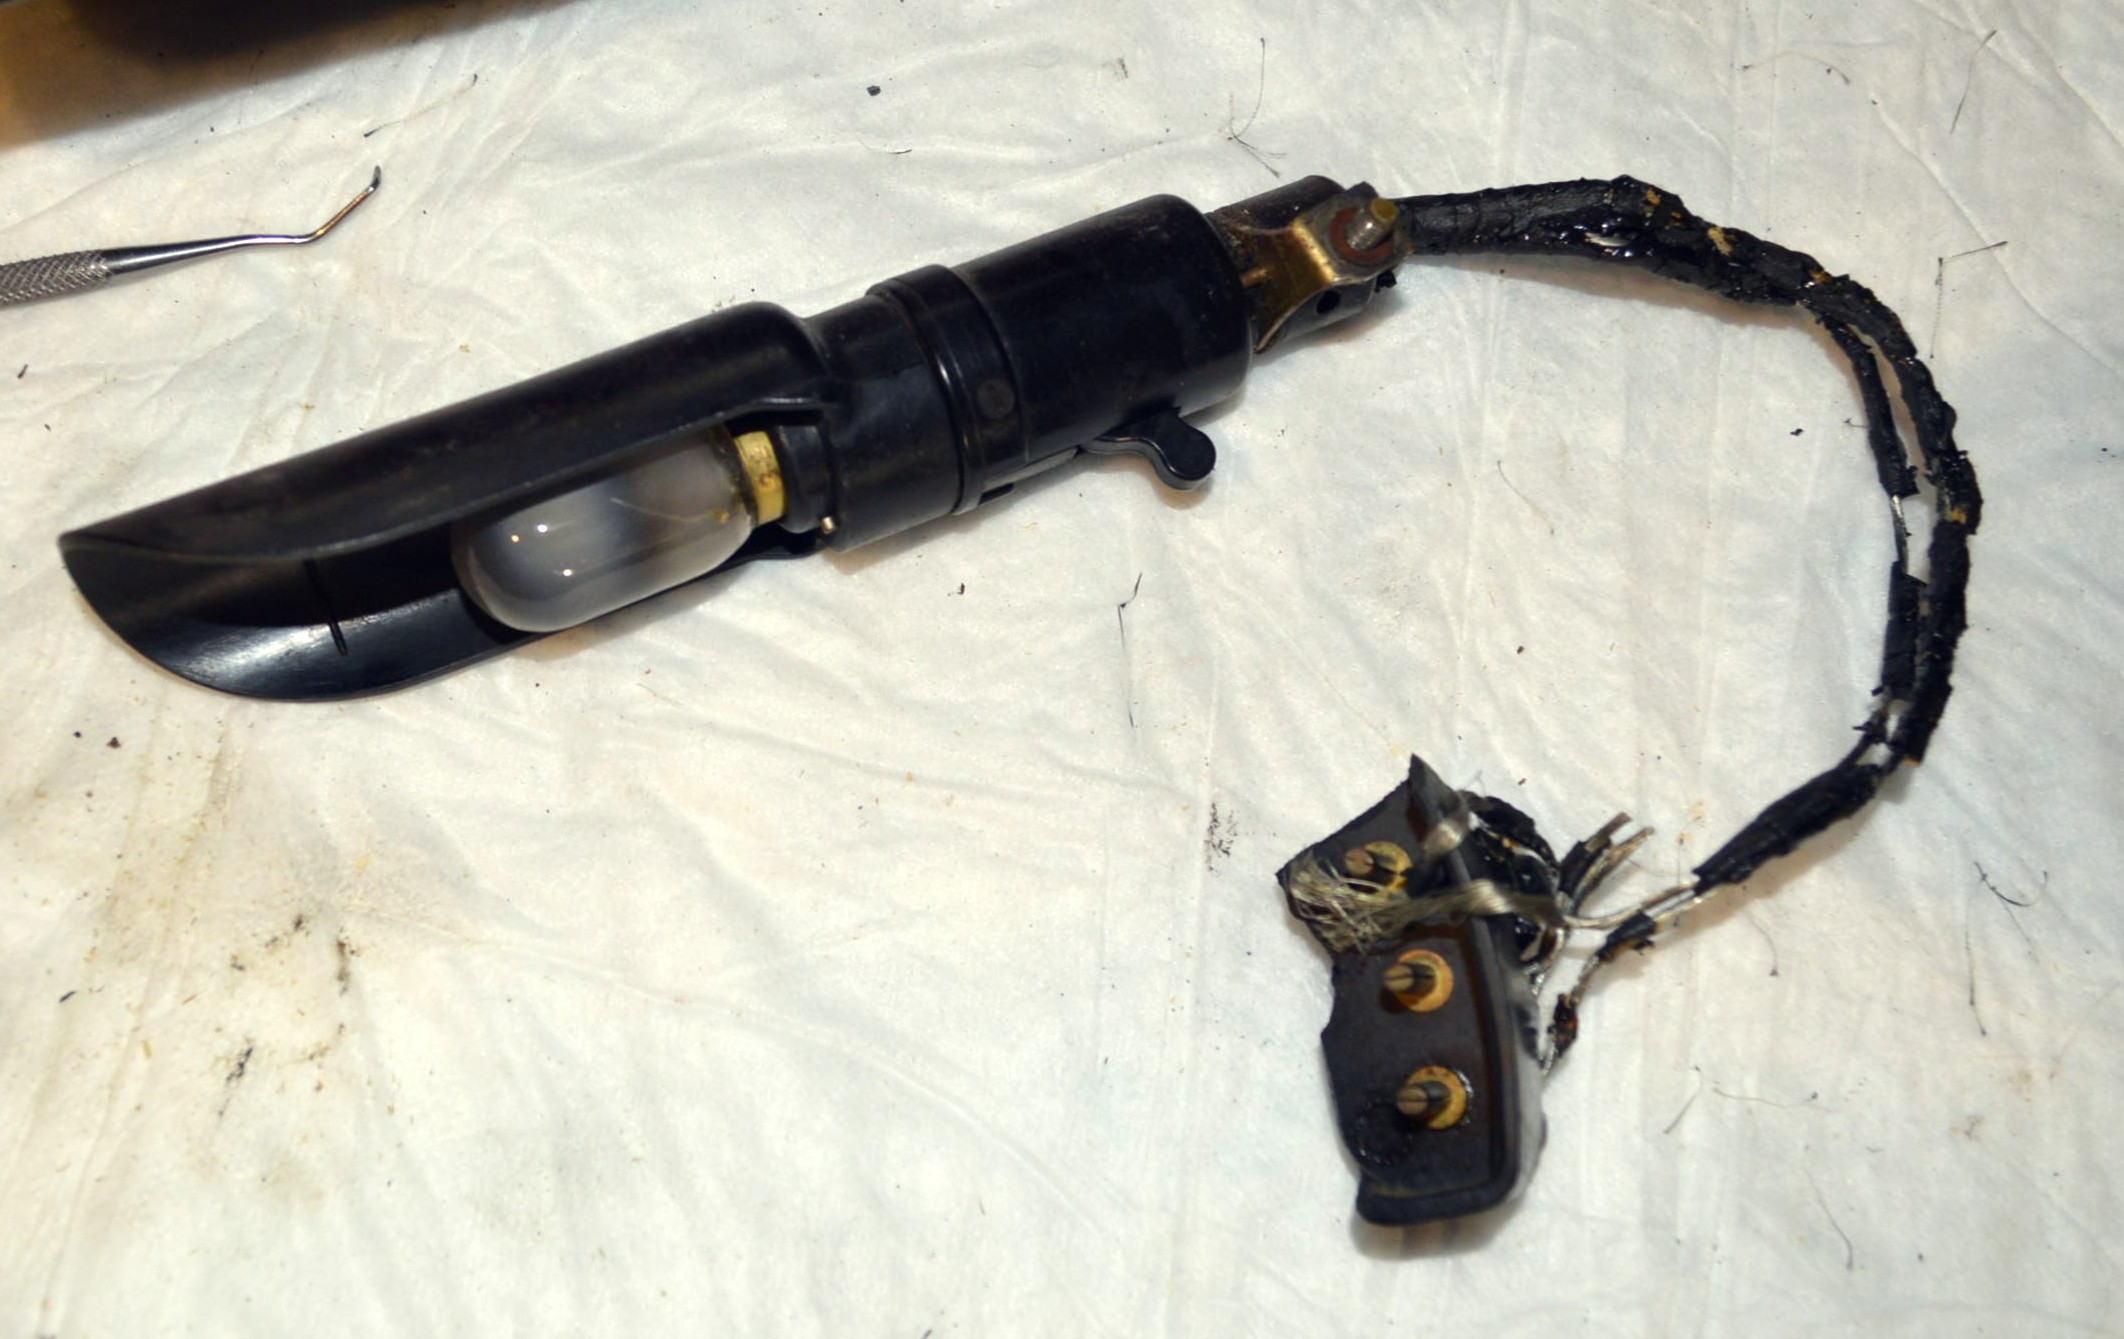
The steps to rewire are pretty straight forward:
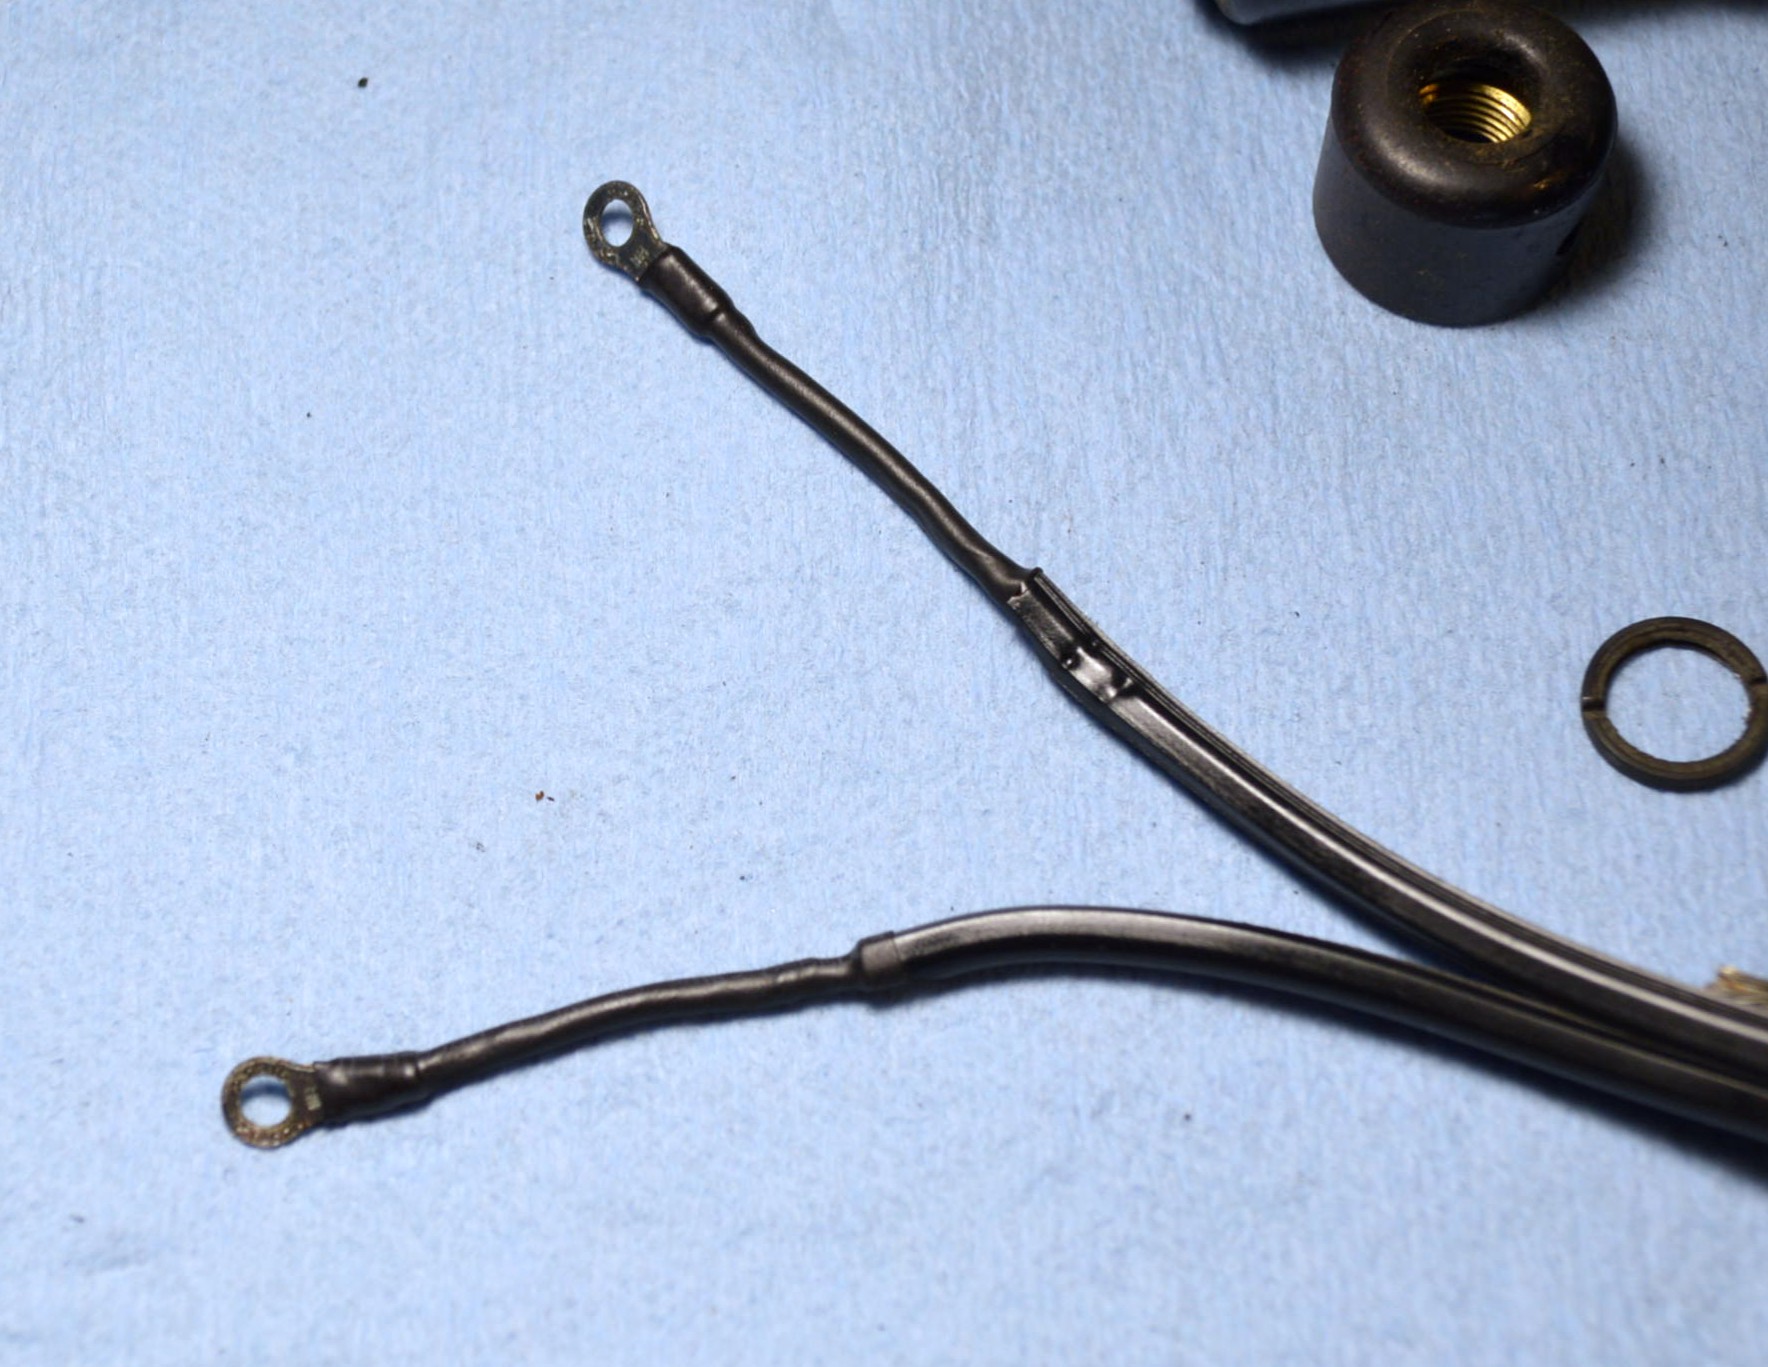
Soldered Wires Reinsulated 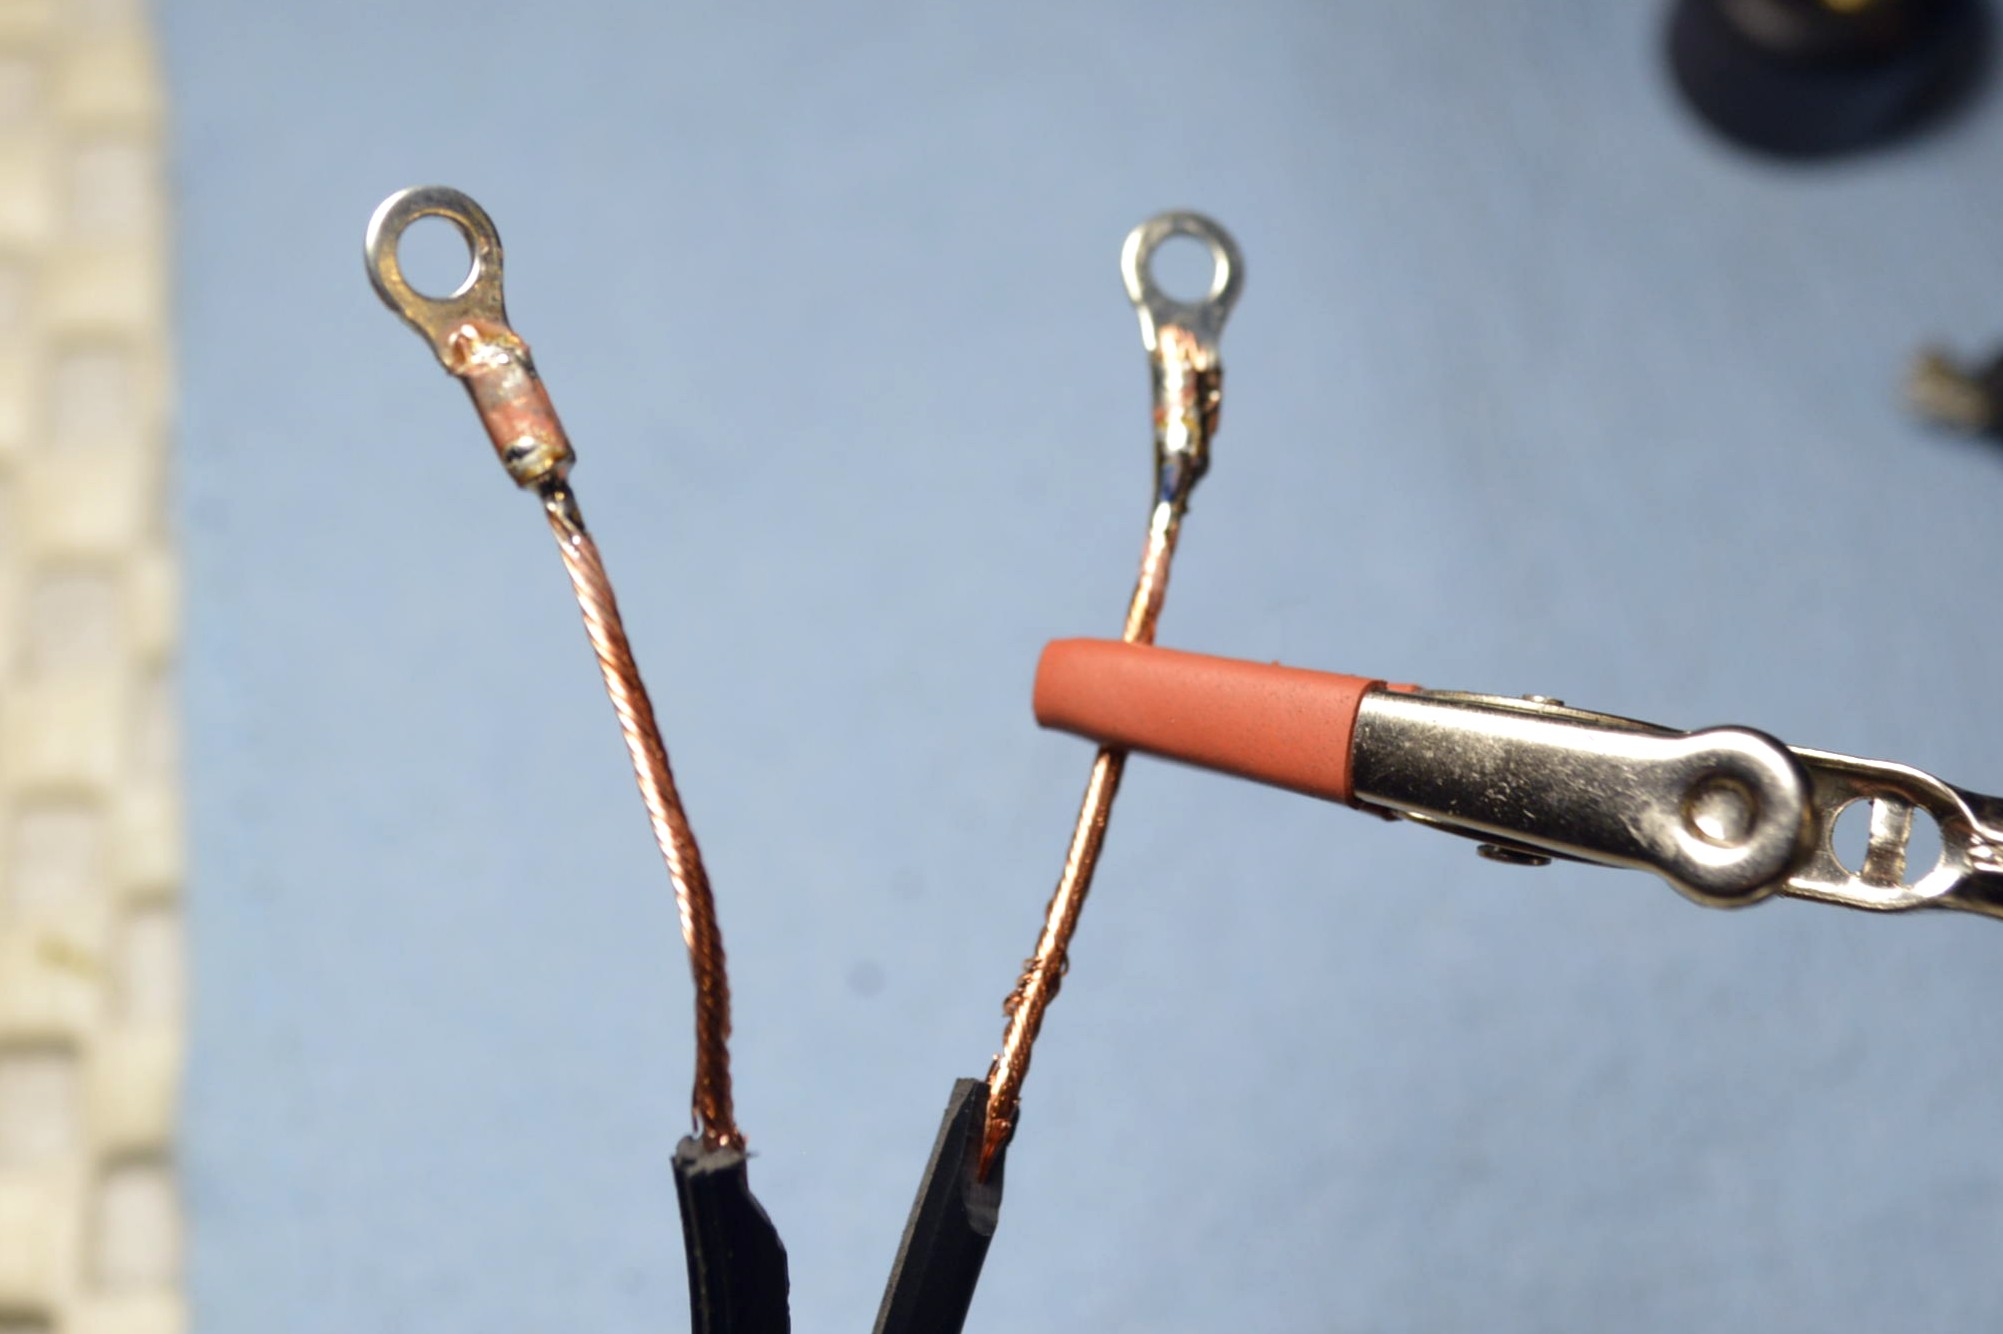
Wires Tinned and Terminals Soldered 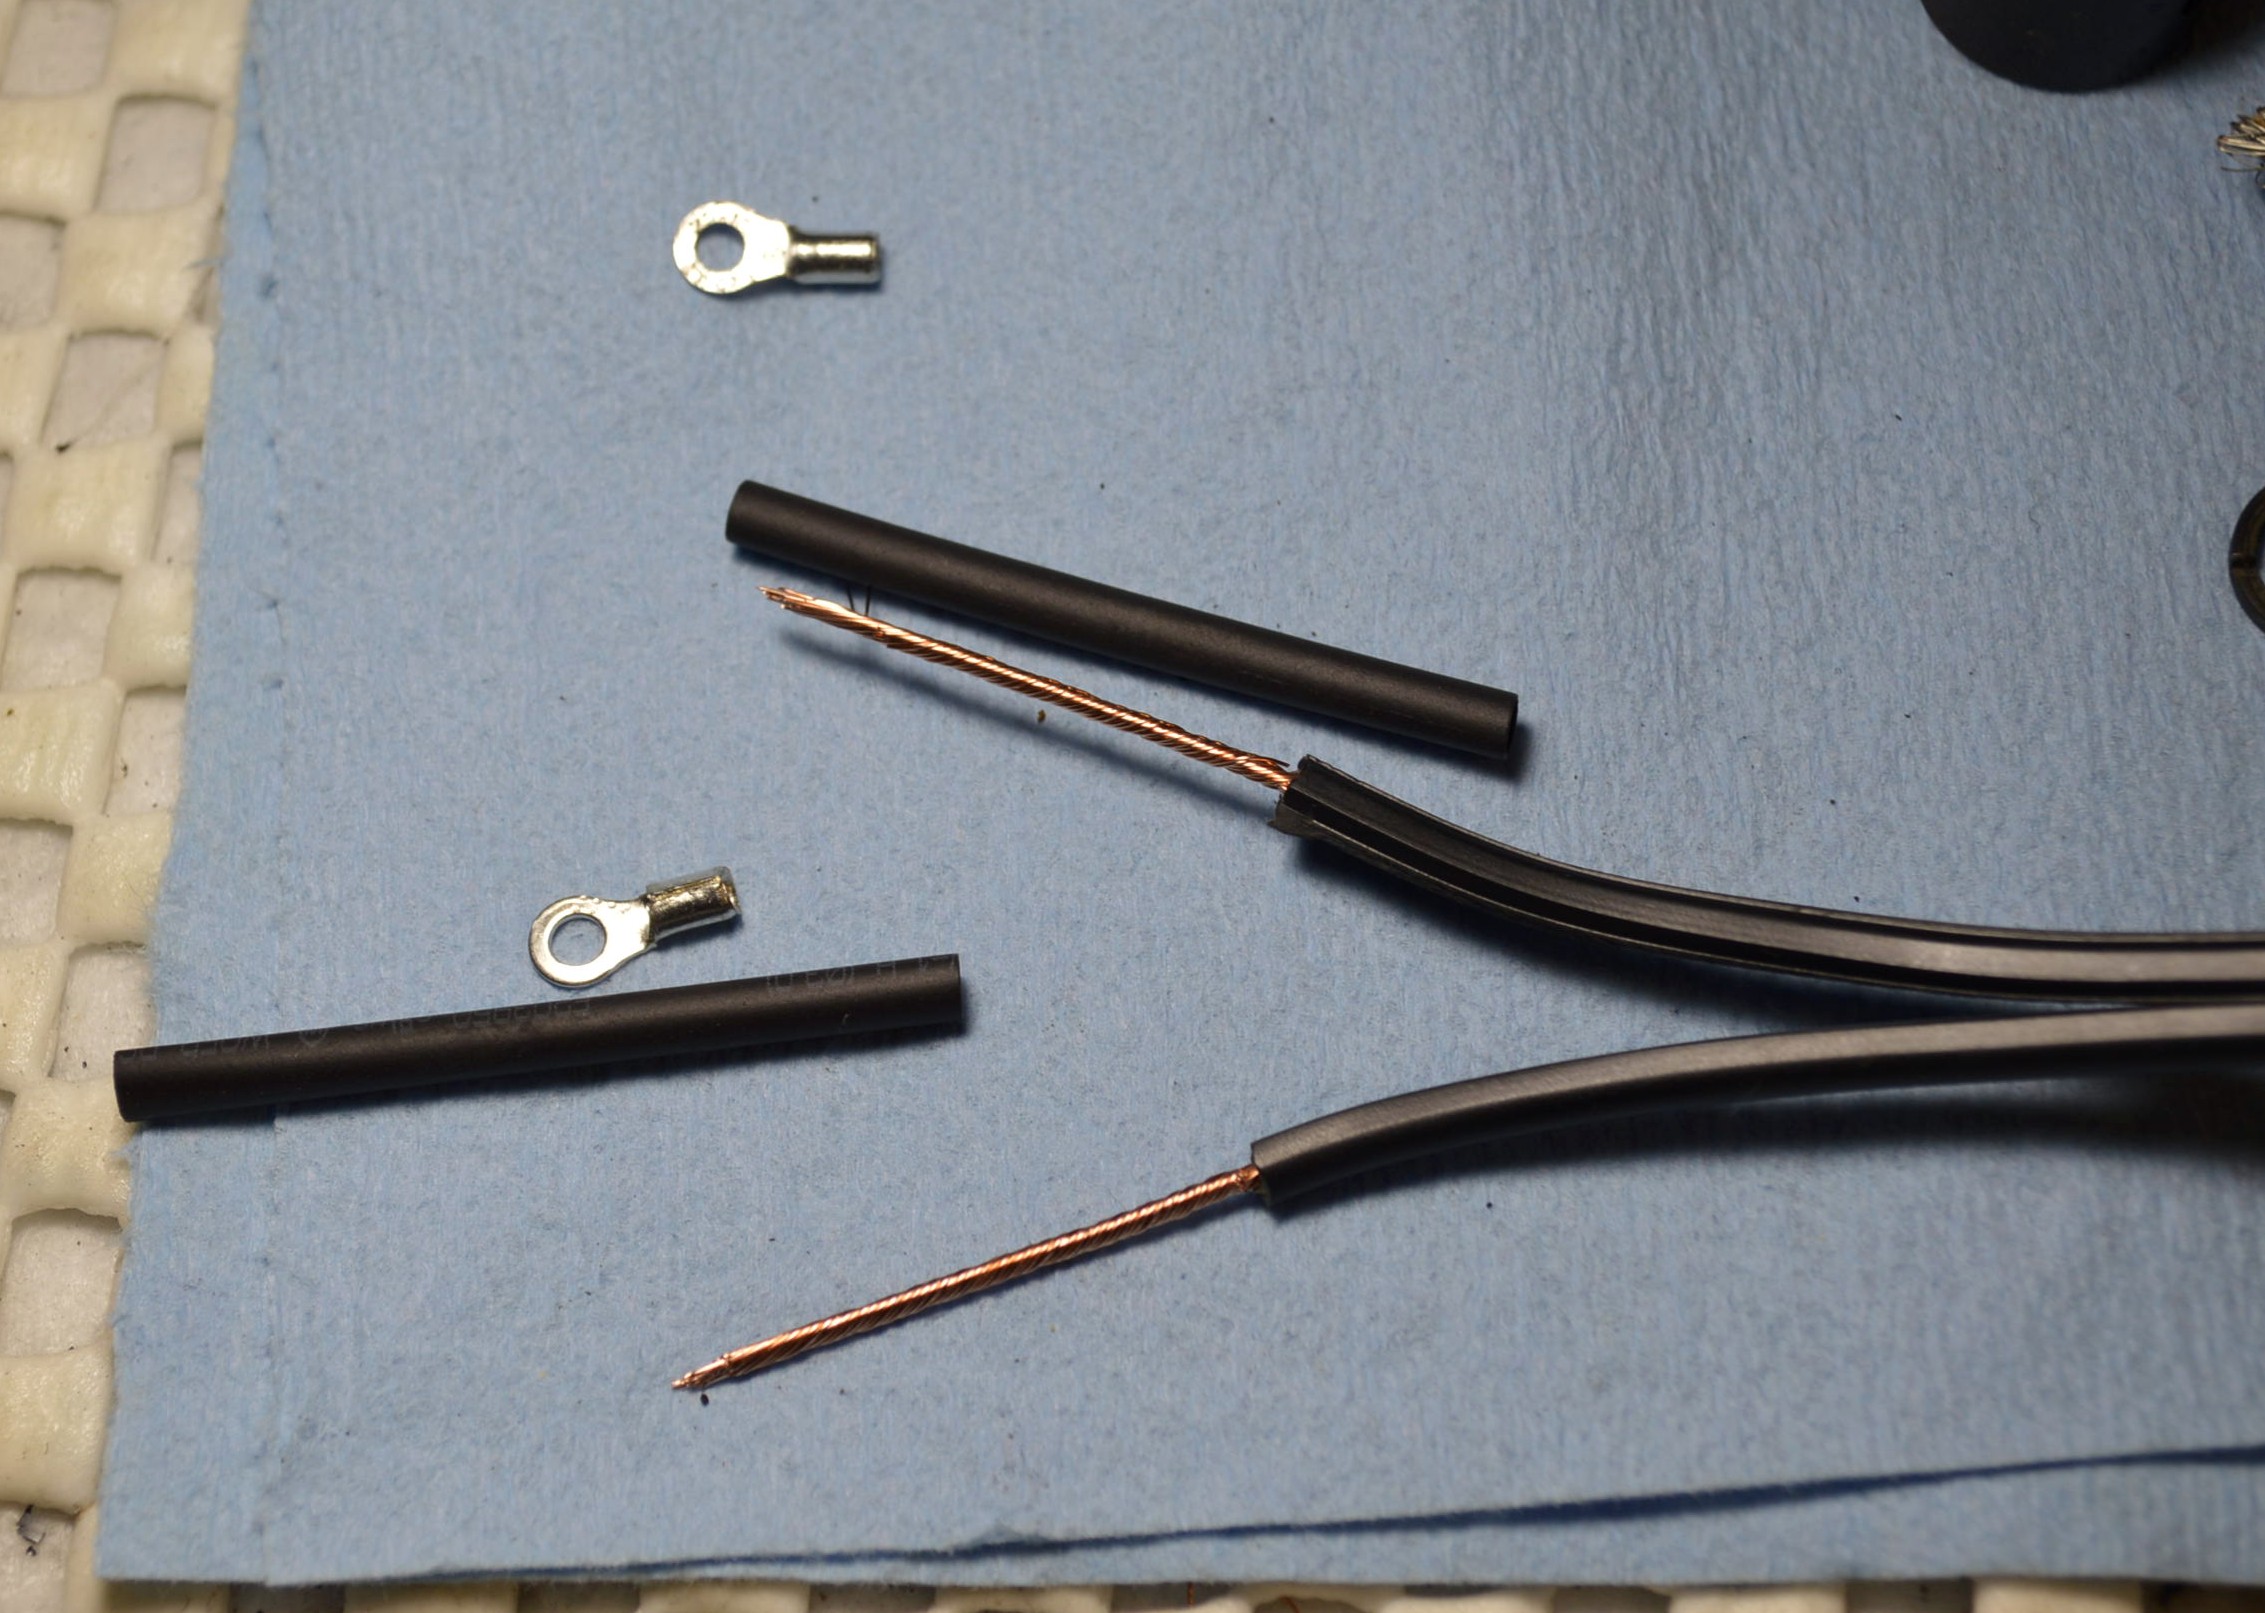
New wWre Stripped and Sized for Fixture Clearances 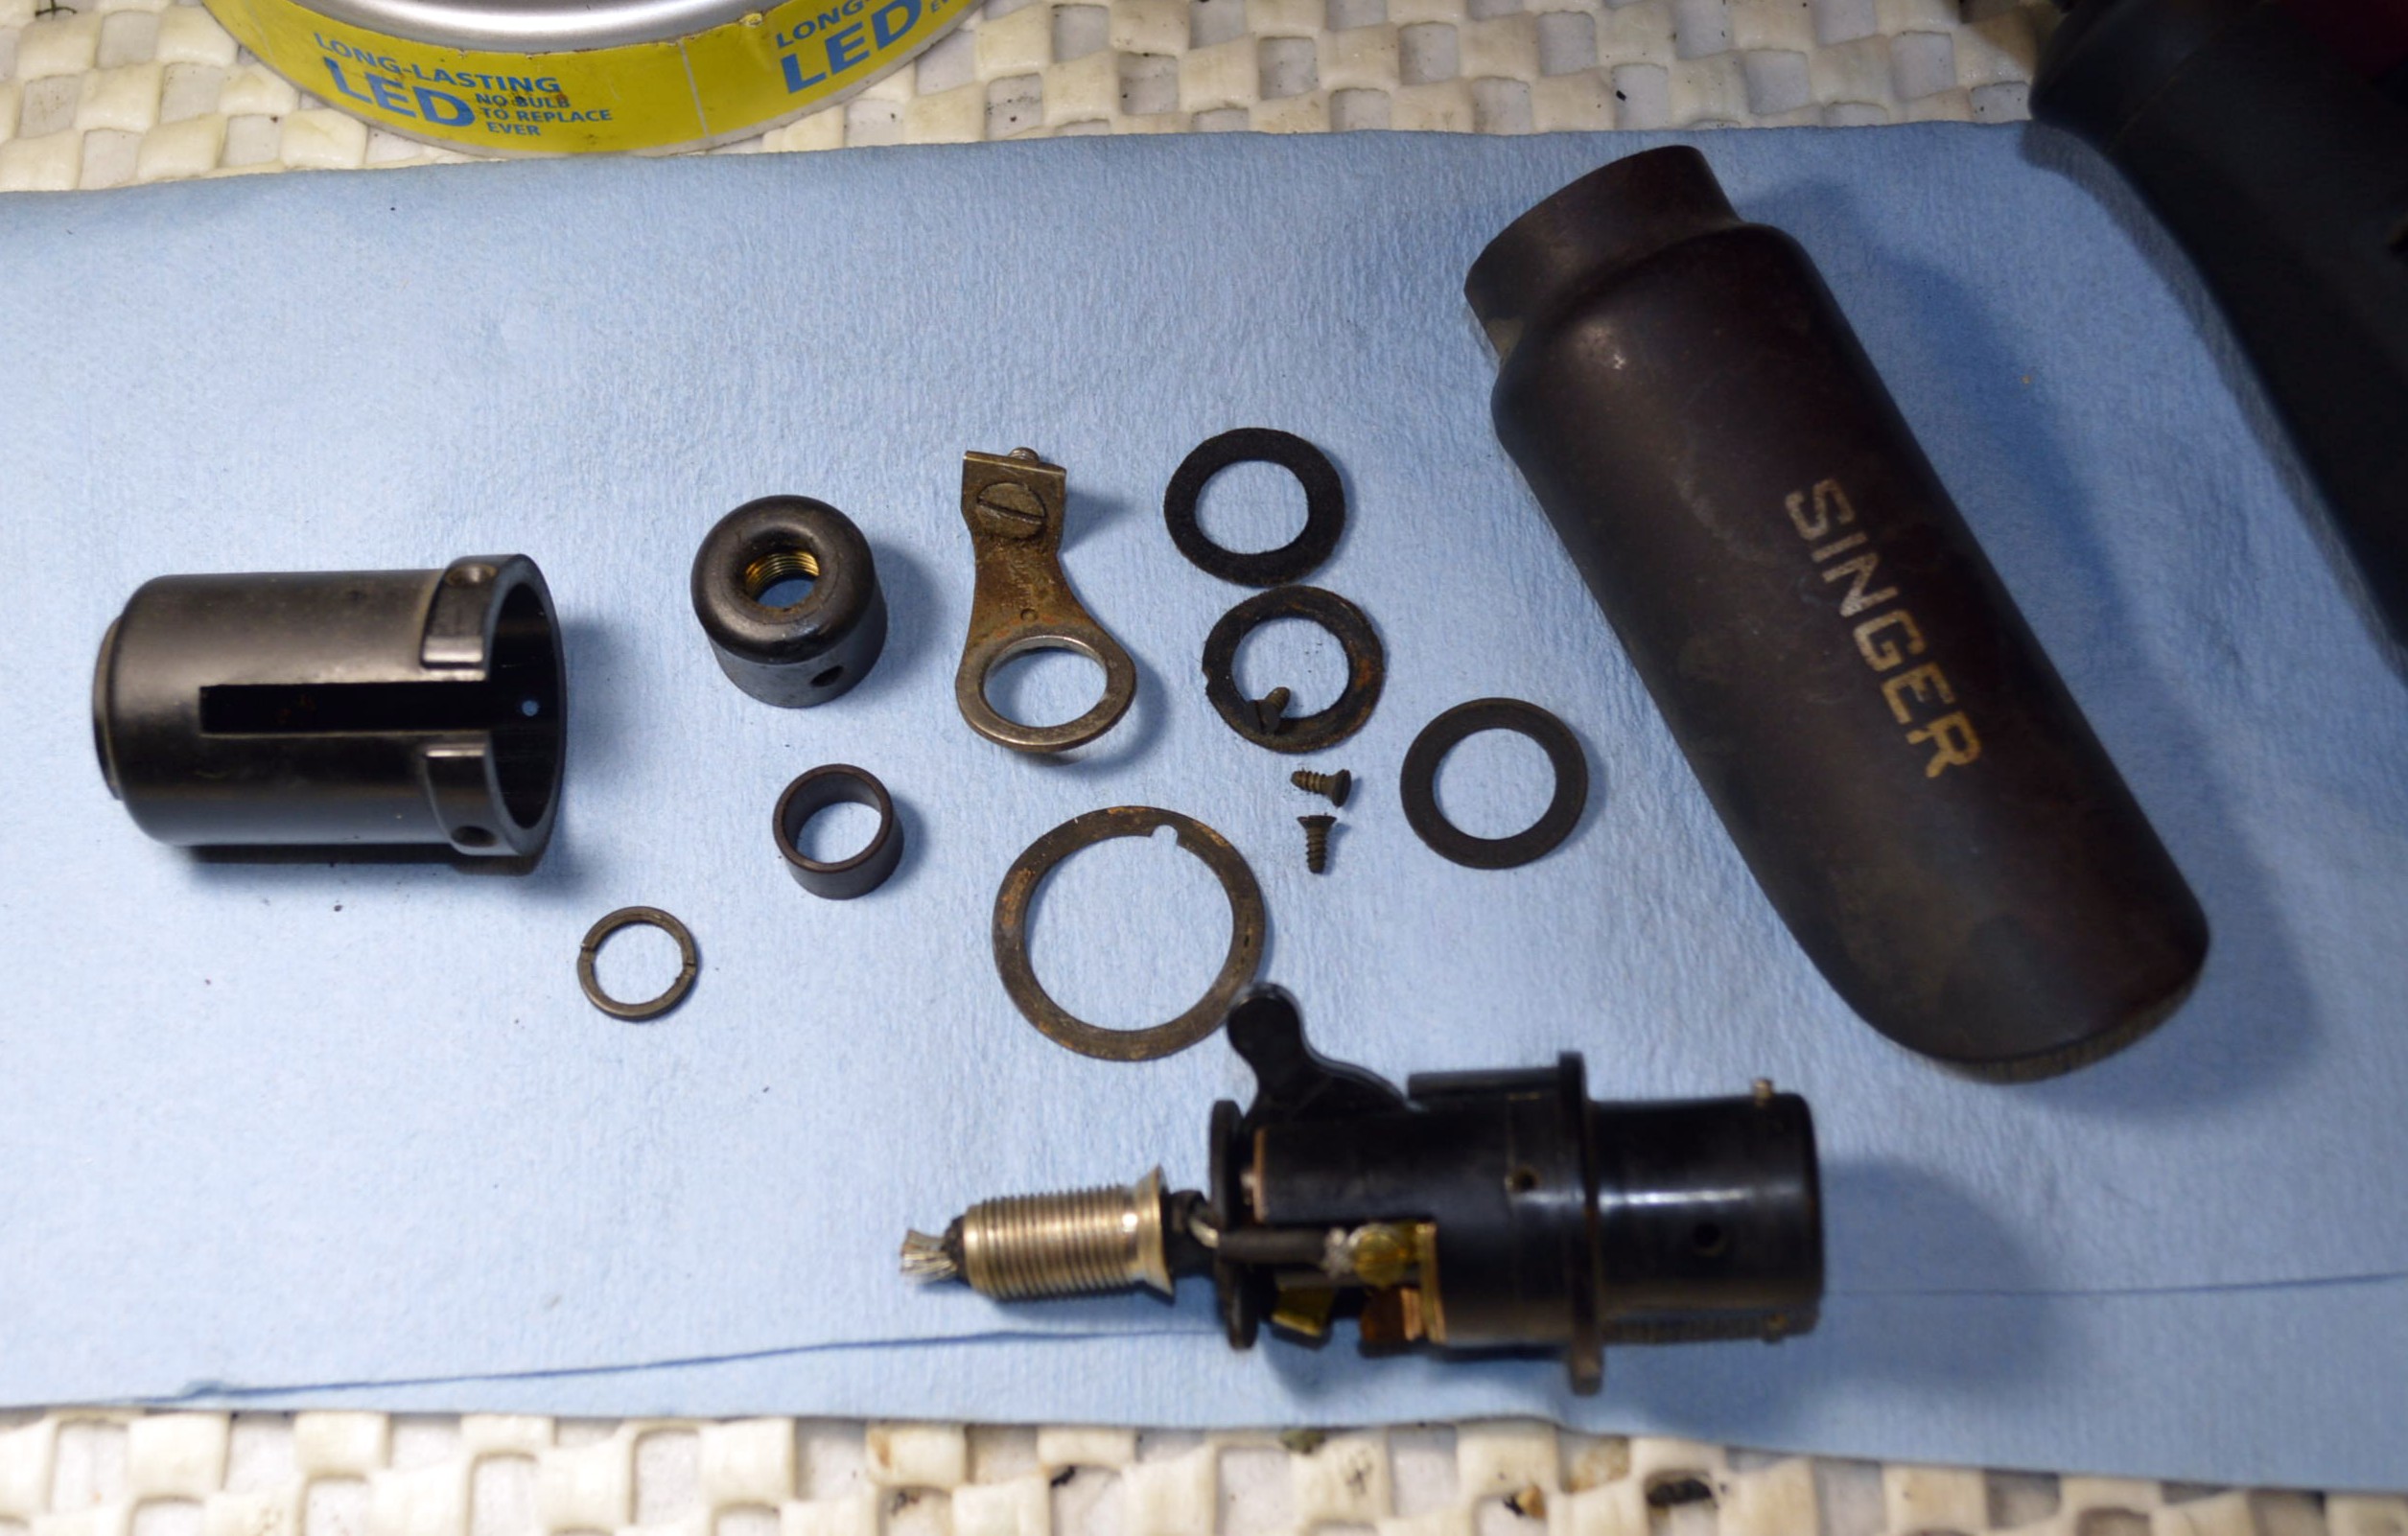
Light Disassembled
The light is covered with some paint over spray sometime in her past. It is made from bakelite and although it looks brown, it is actually black. This overspray was removed with acetone and cotton swabs. Great care needs to be taken around the decal. There is no protective coating on the decals here, so the best I can do is get up as close to the margins of the decals as possible, and then stop. I don’t want to loose this decal, and I’ll be happy with it.
The light is then reassembled and attention is turned to the cosmetic condition of the light.
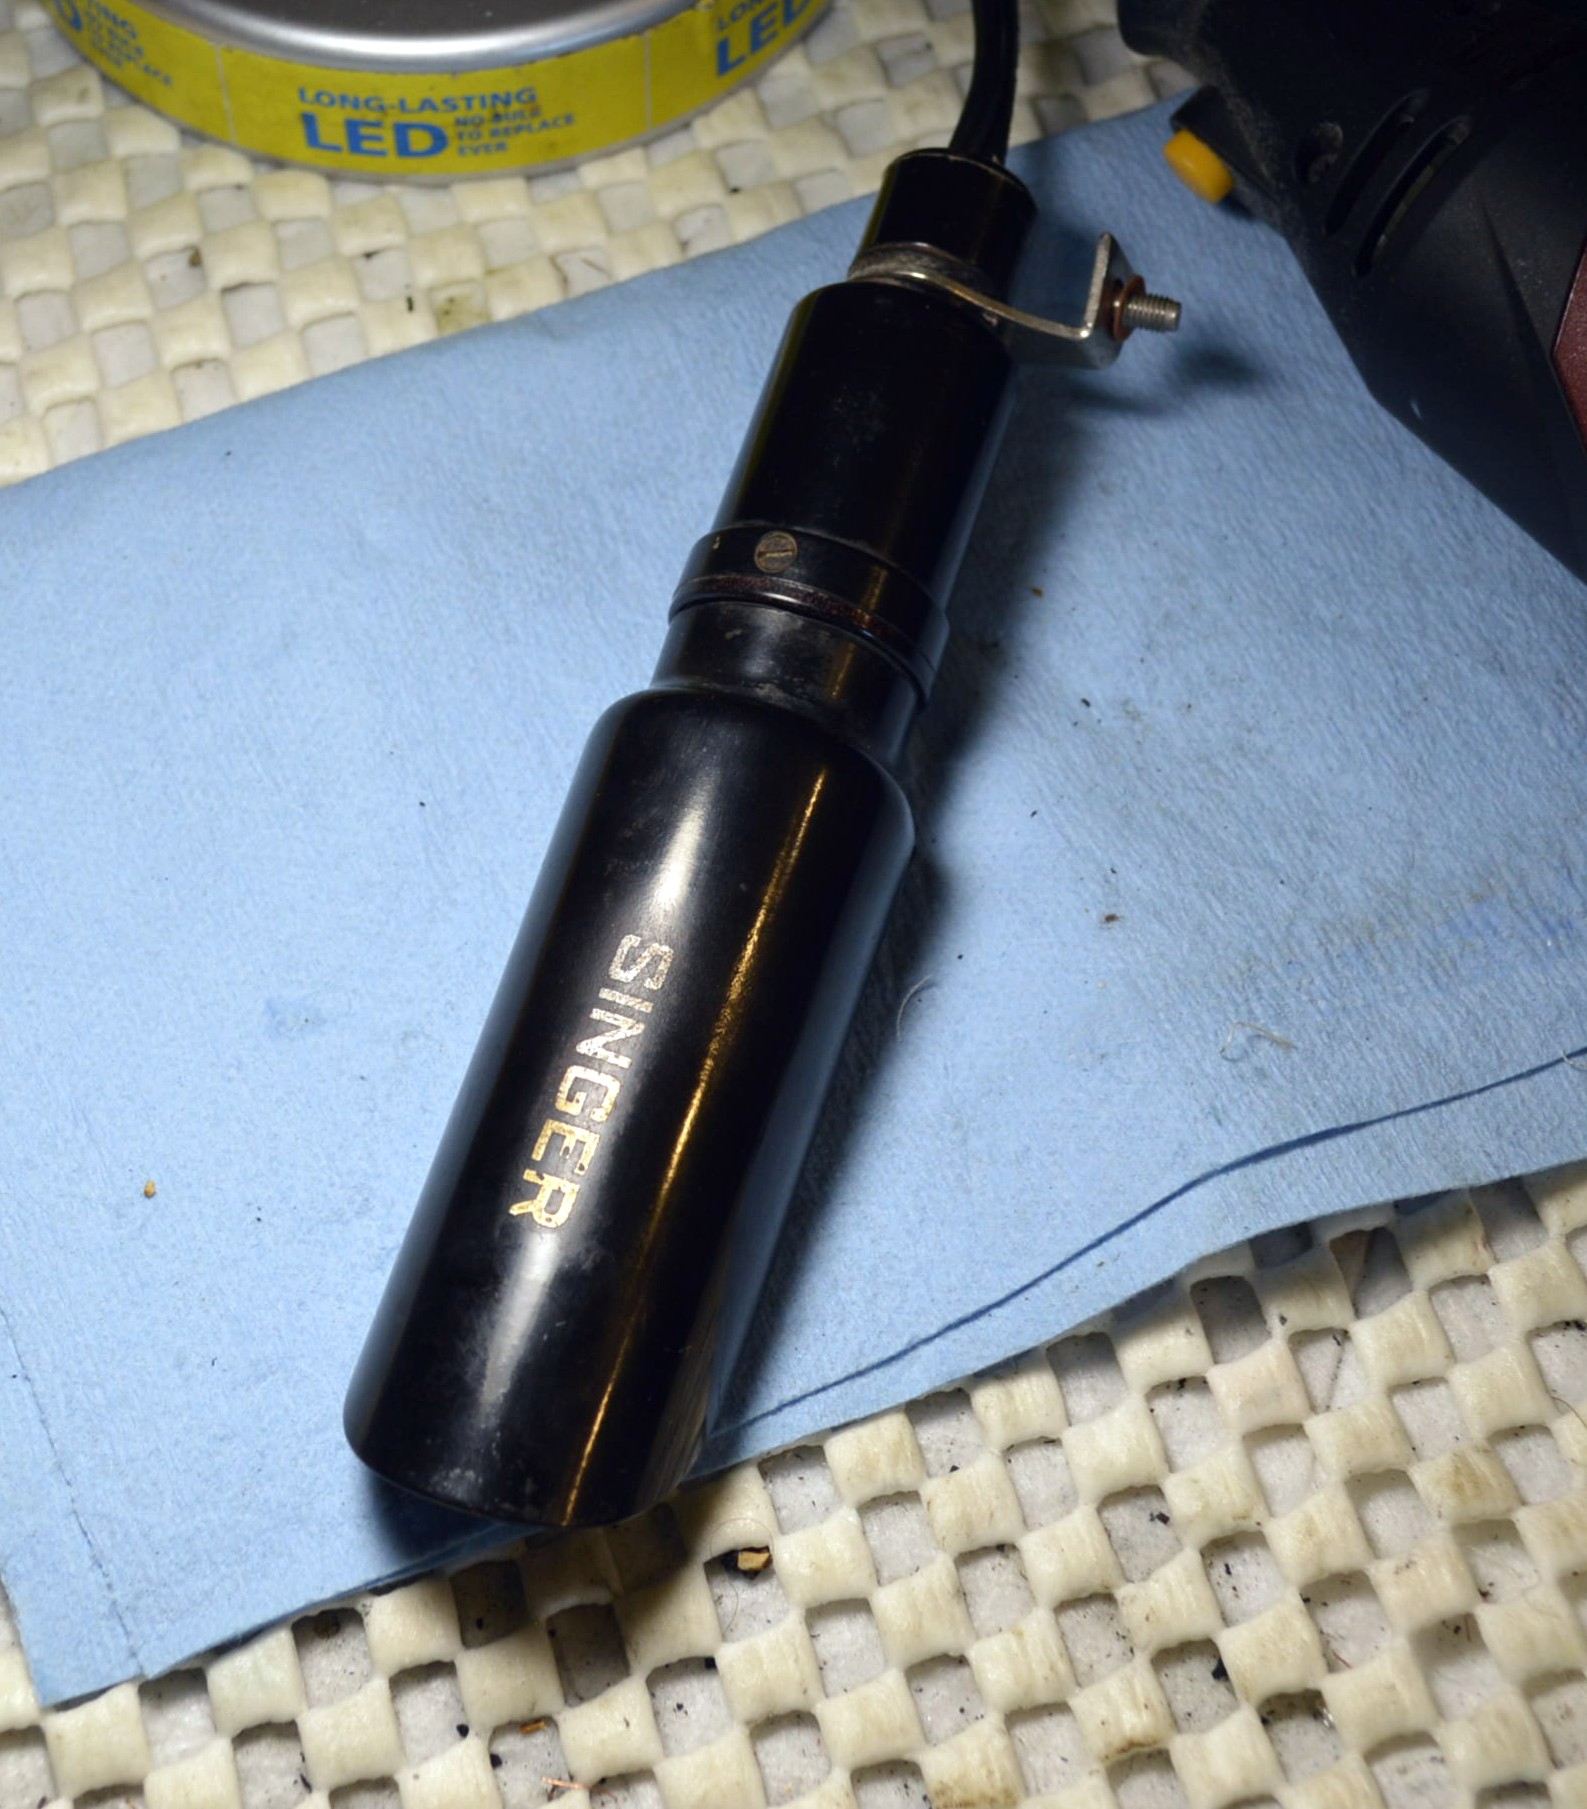
Light Fixture Cleaned and Polished
Next are some of the details…
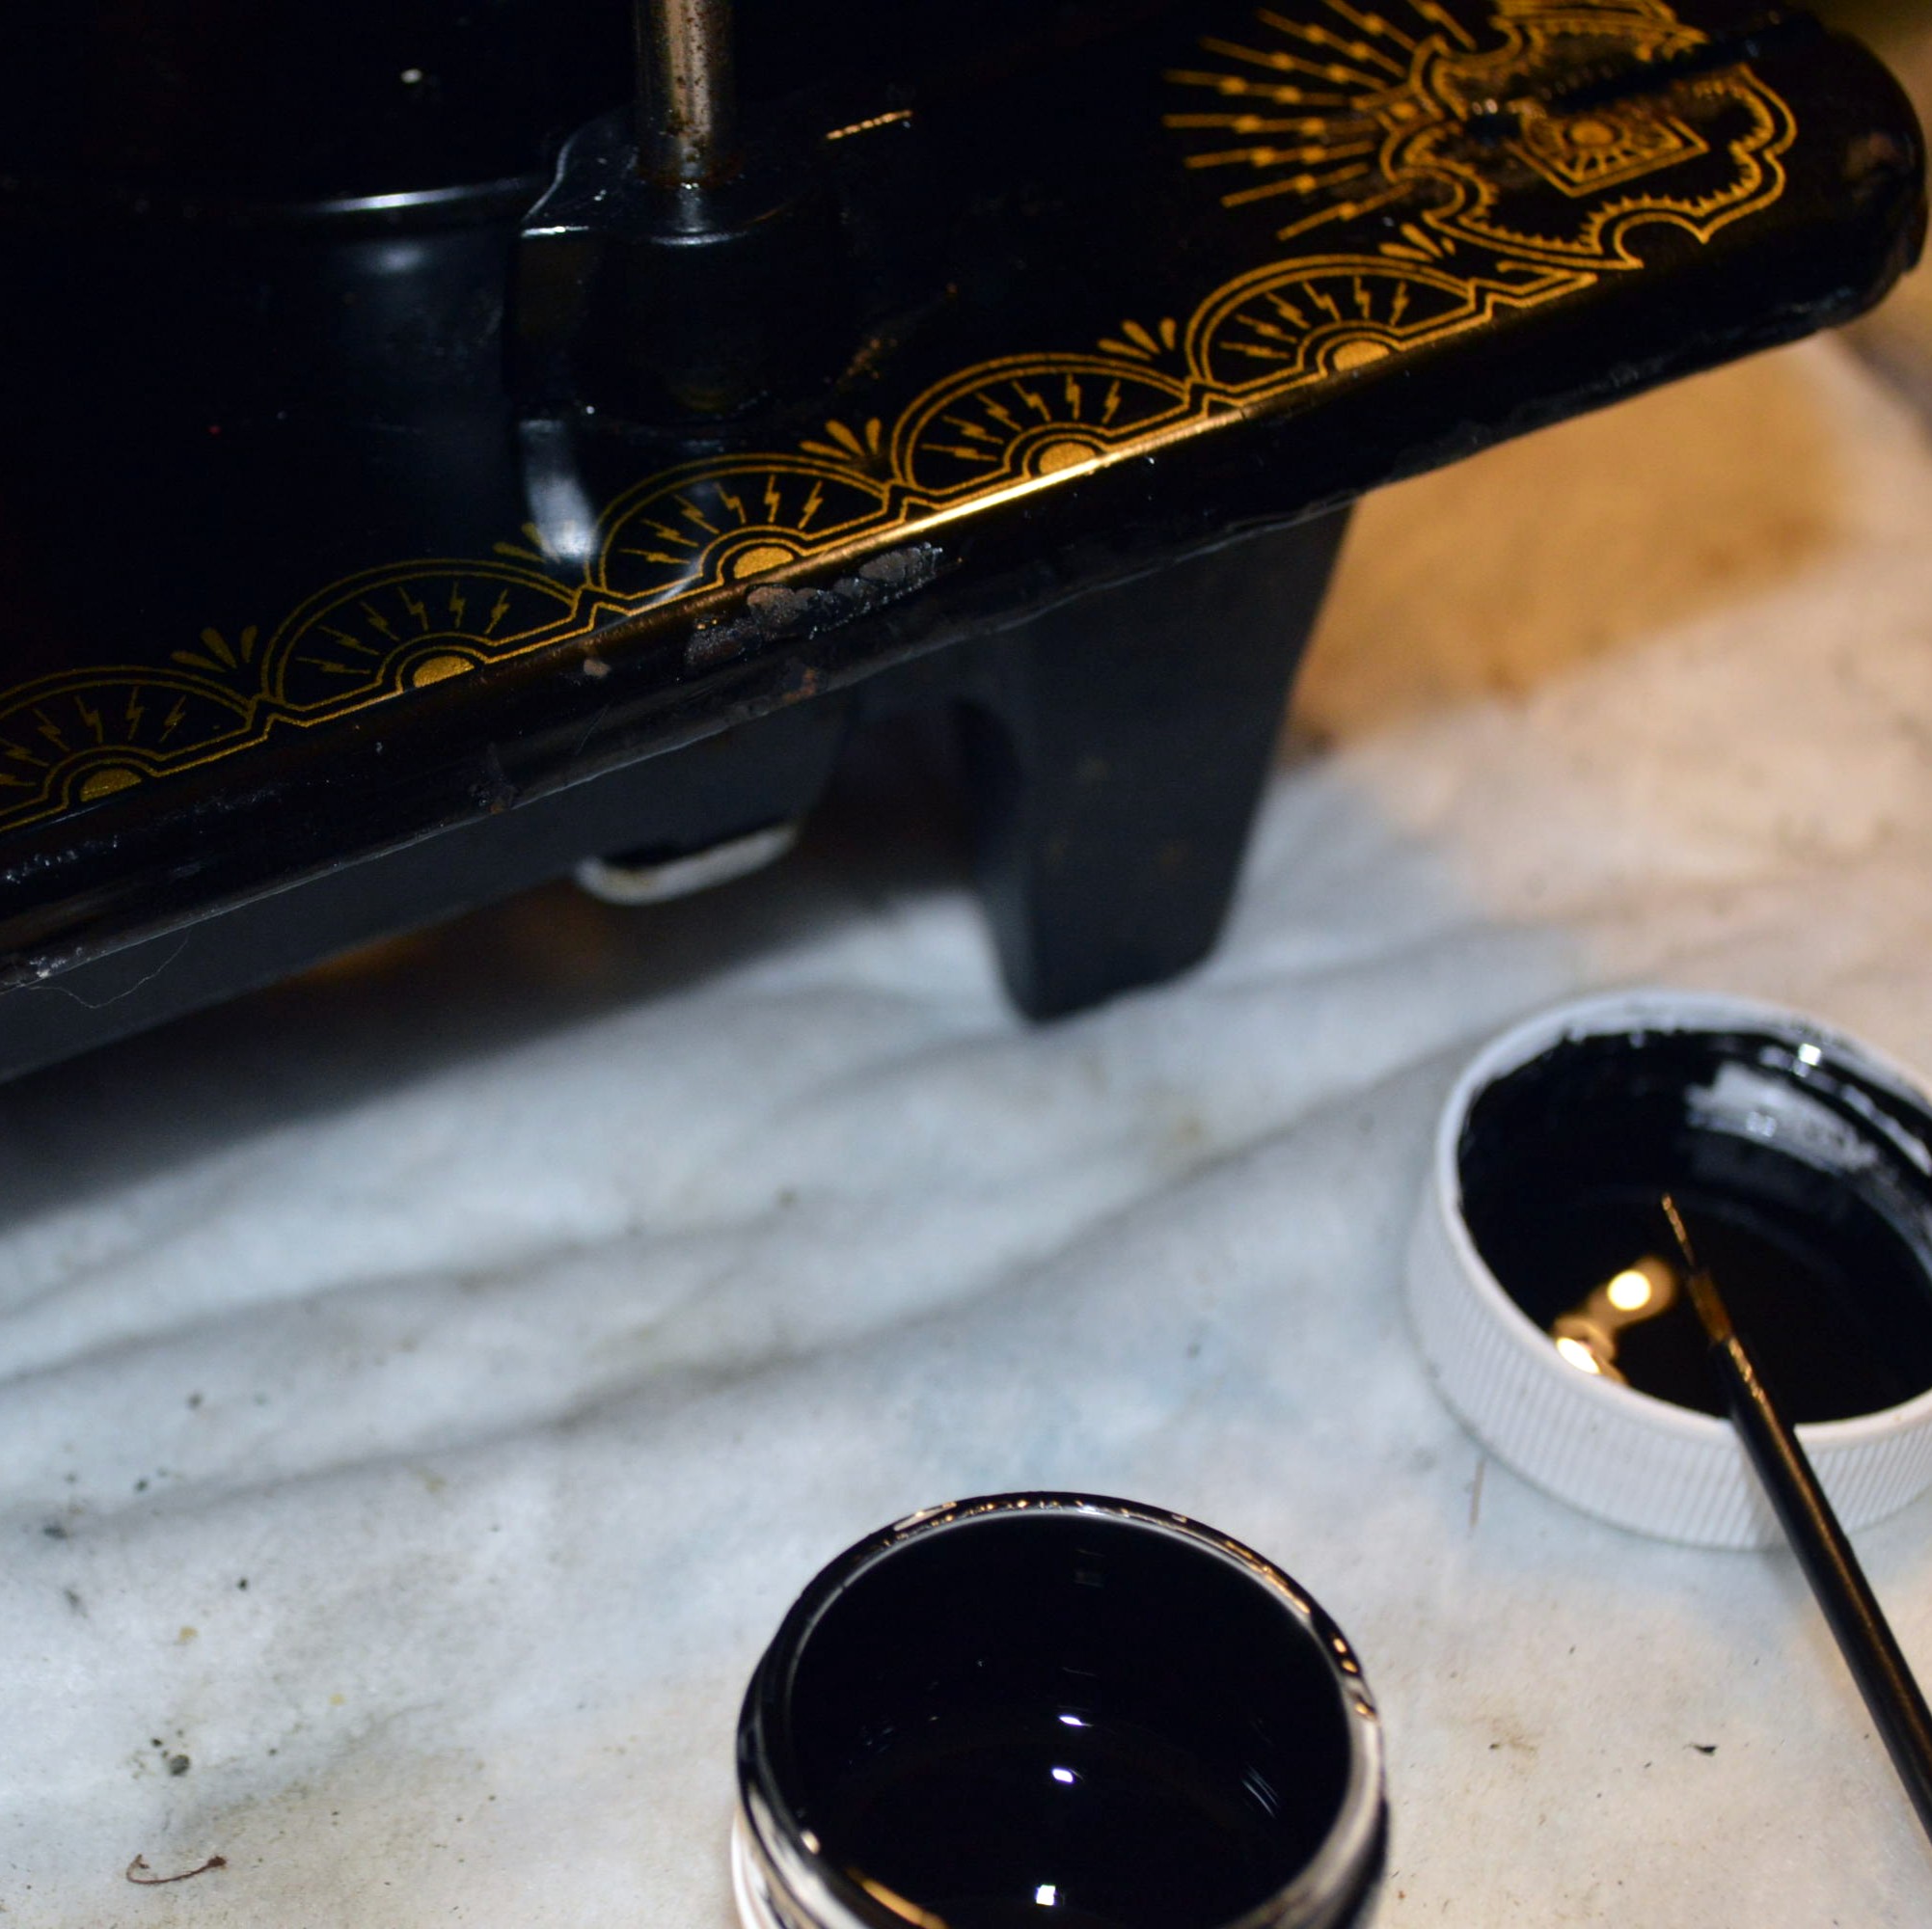
Chips Paint Matched 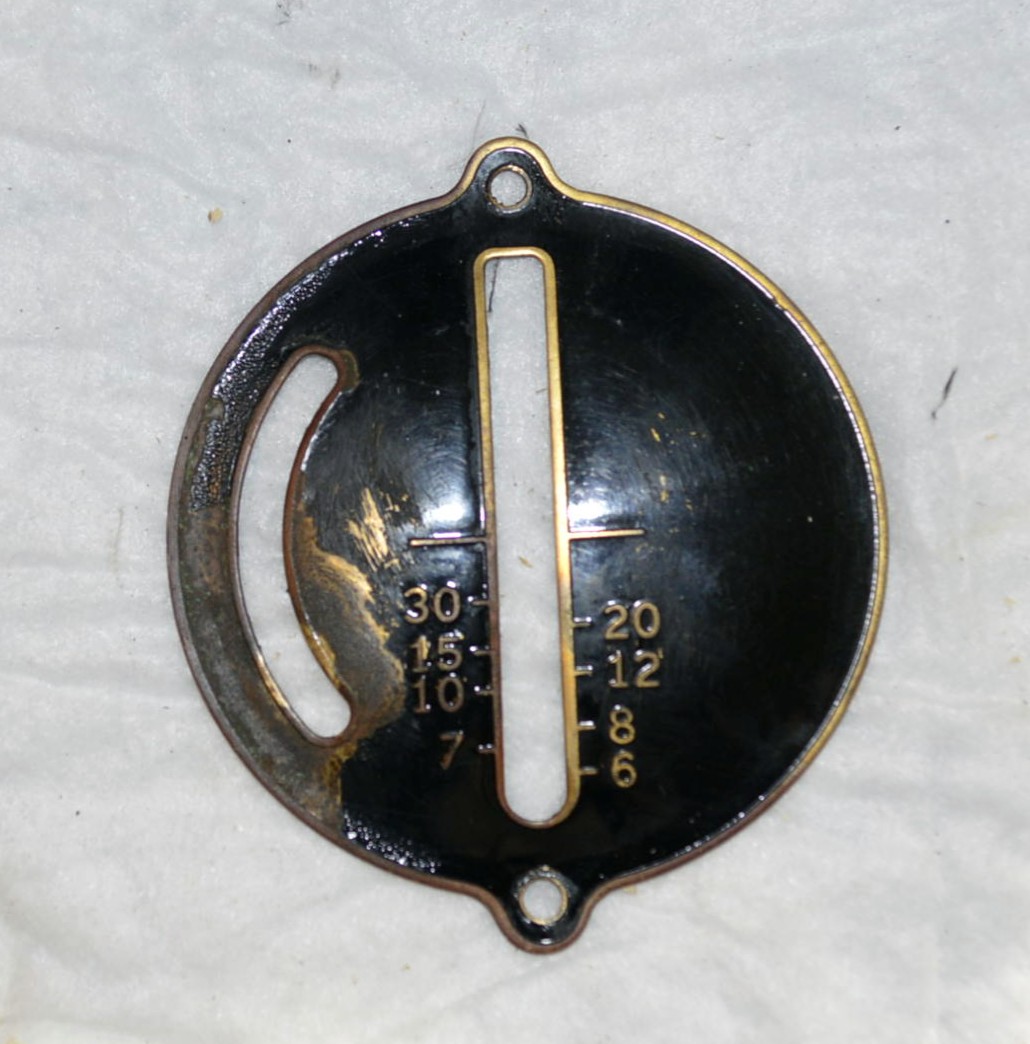
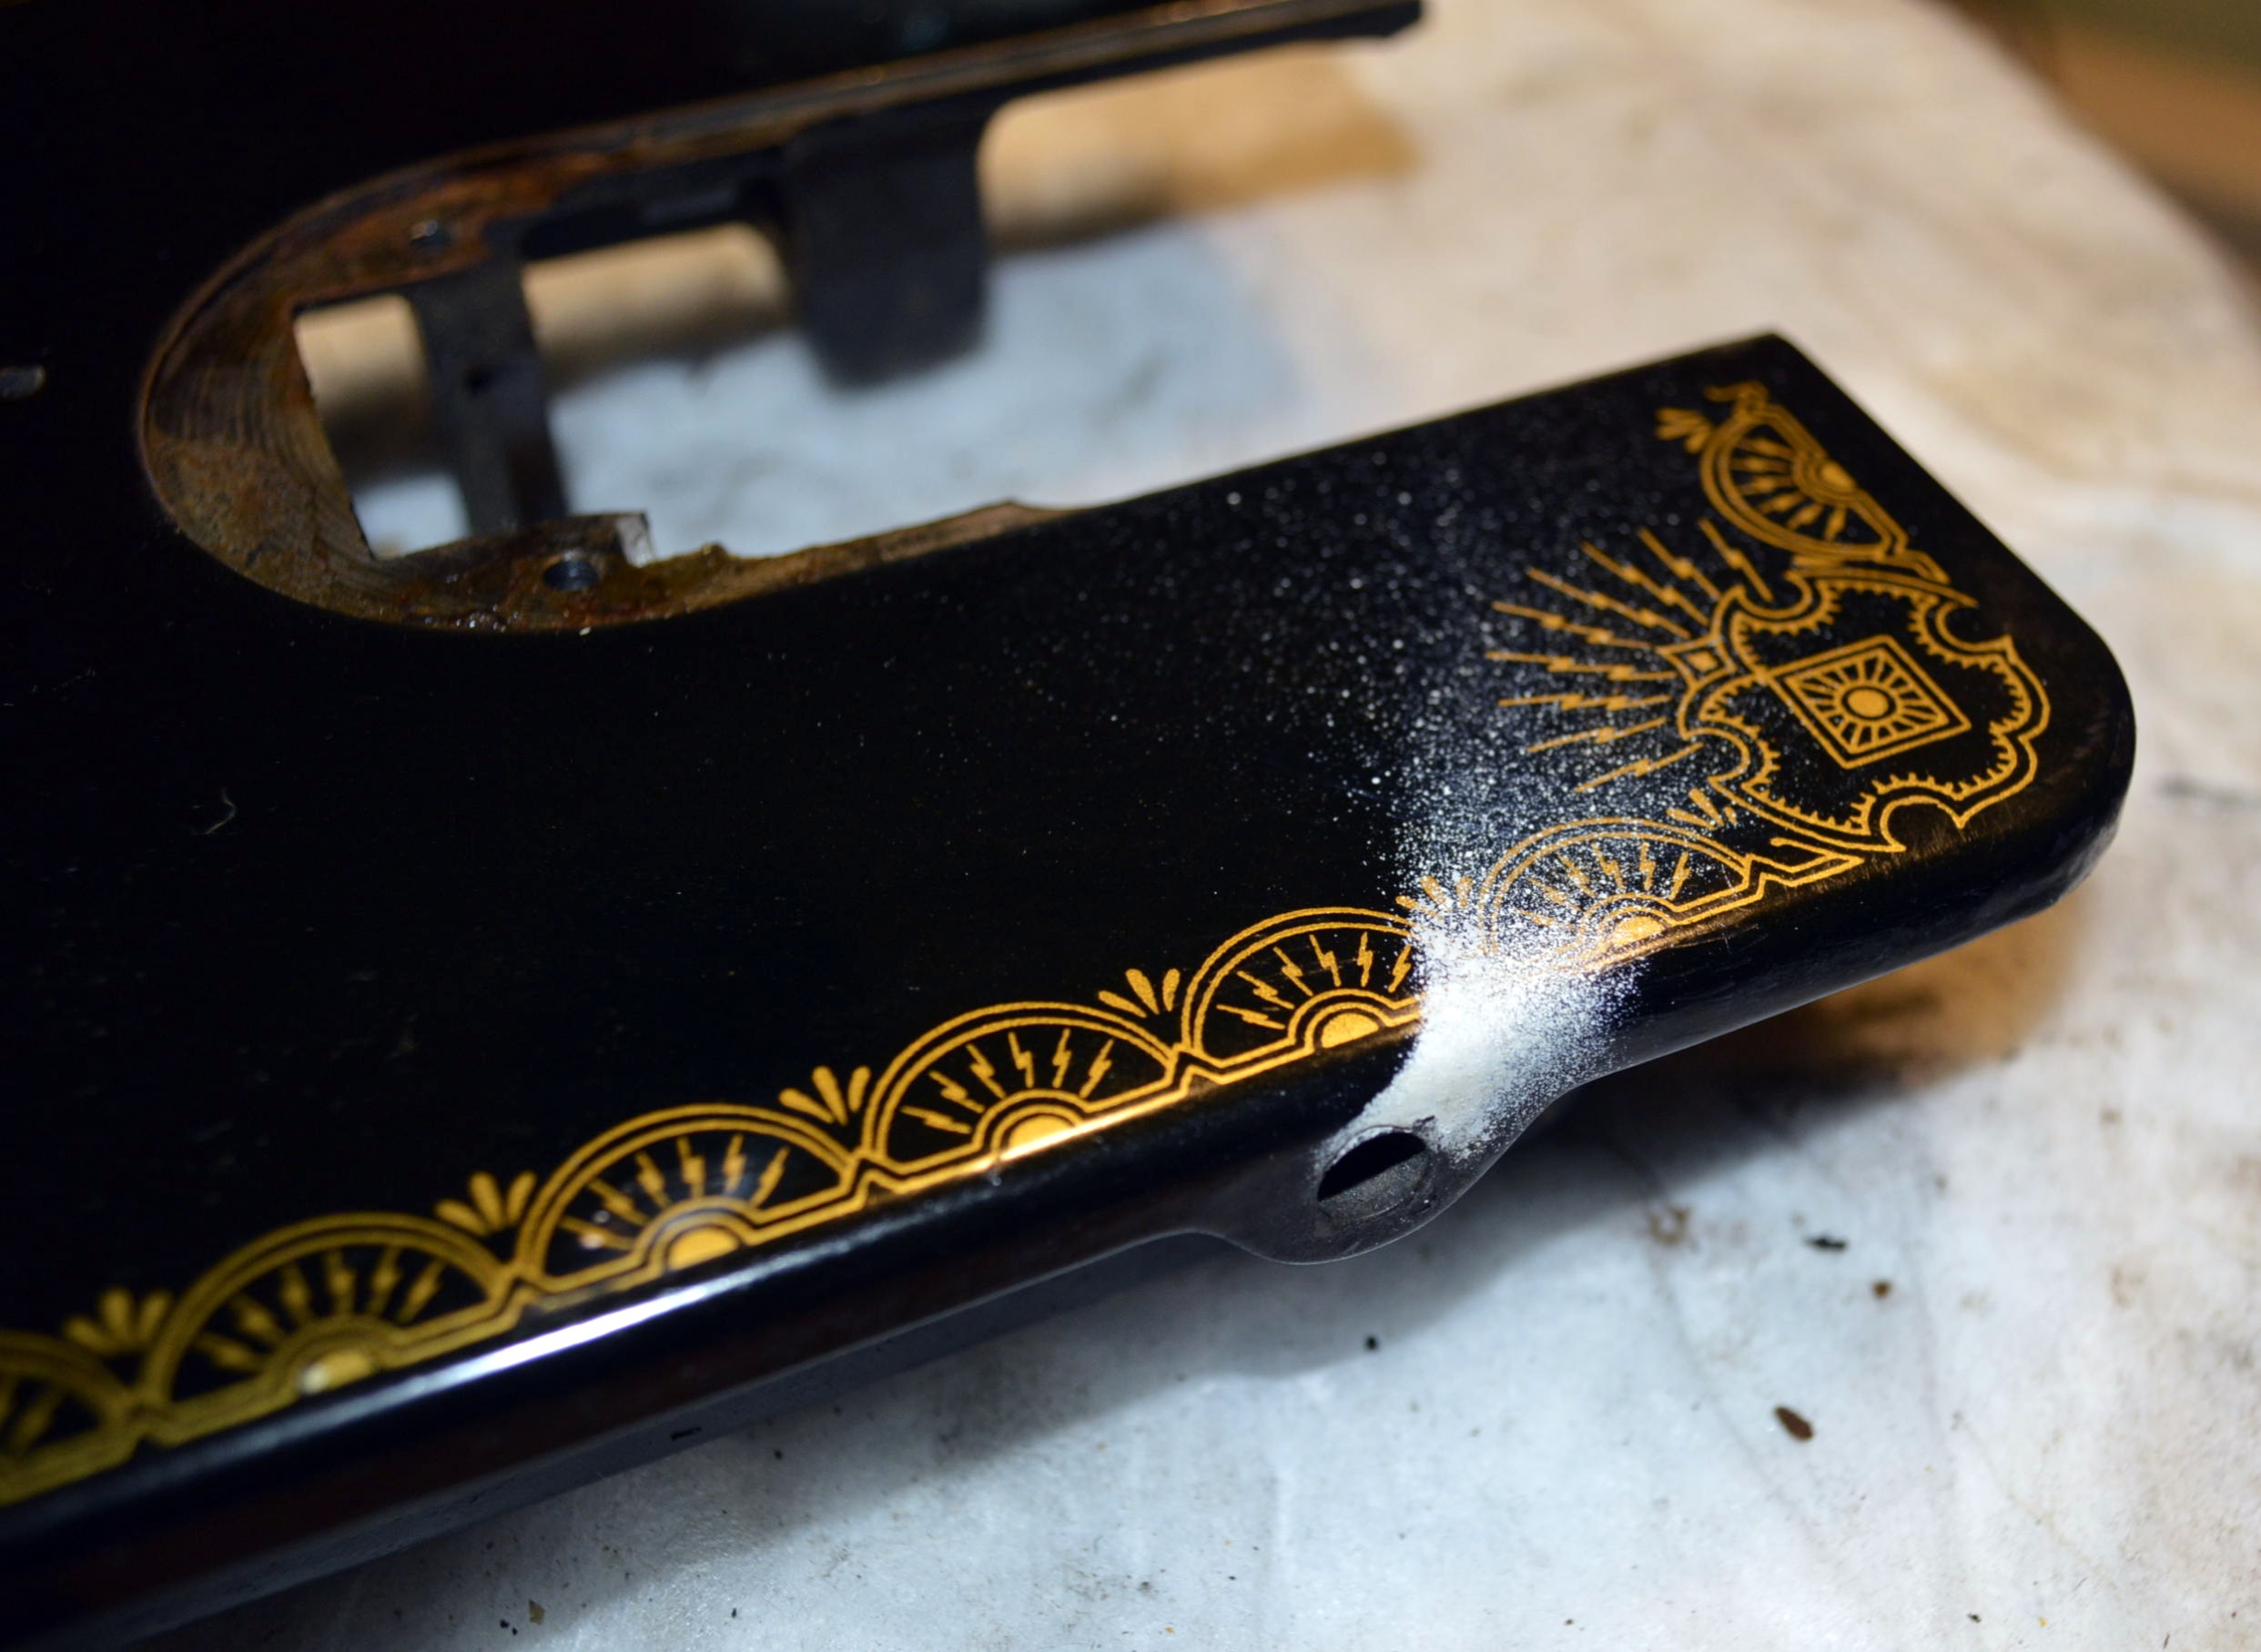
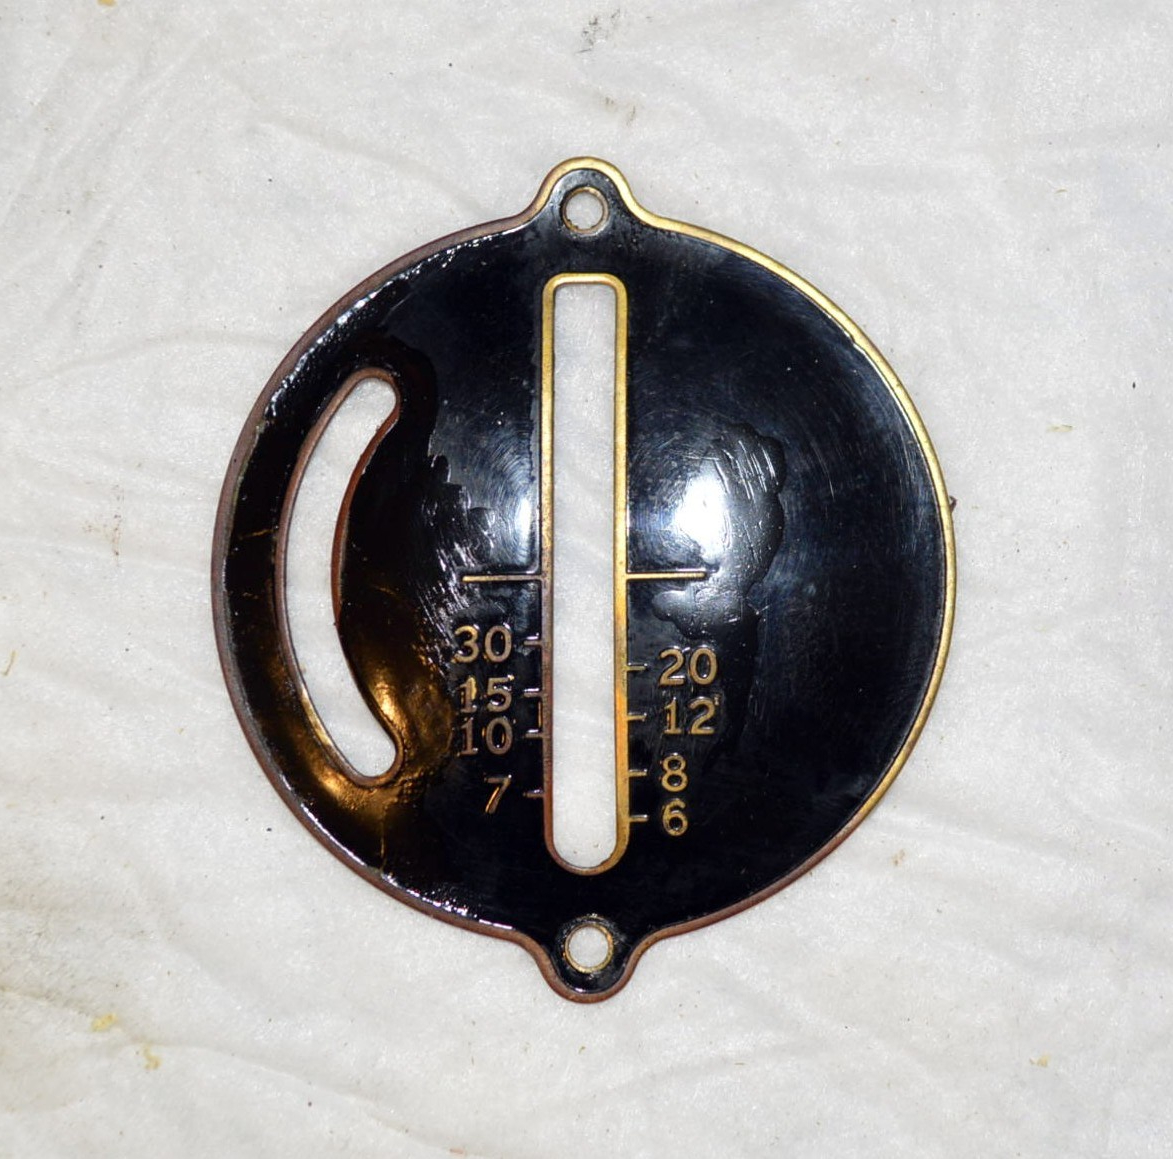
Stitch Length Cover Paint Worn Off in Places
Here the stitch length cover has been cleaned and the worn off paint areas repainted with “lamp black” paint… this is the closest match I can find and its pretty close. I am not going to blend the edges any further… not much to gain and much to lose.
The small paint chips on the edge of the bed is paint matched with “lamp black” paint…
That’s it! Everything is clean, lubricated, reassembled, and adjusted. Now for the Good… The Bad… and the Ugly…
First the good… Look at the machine after reconditioning!
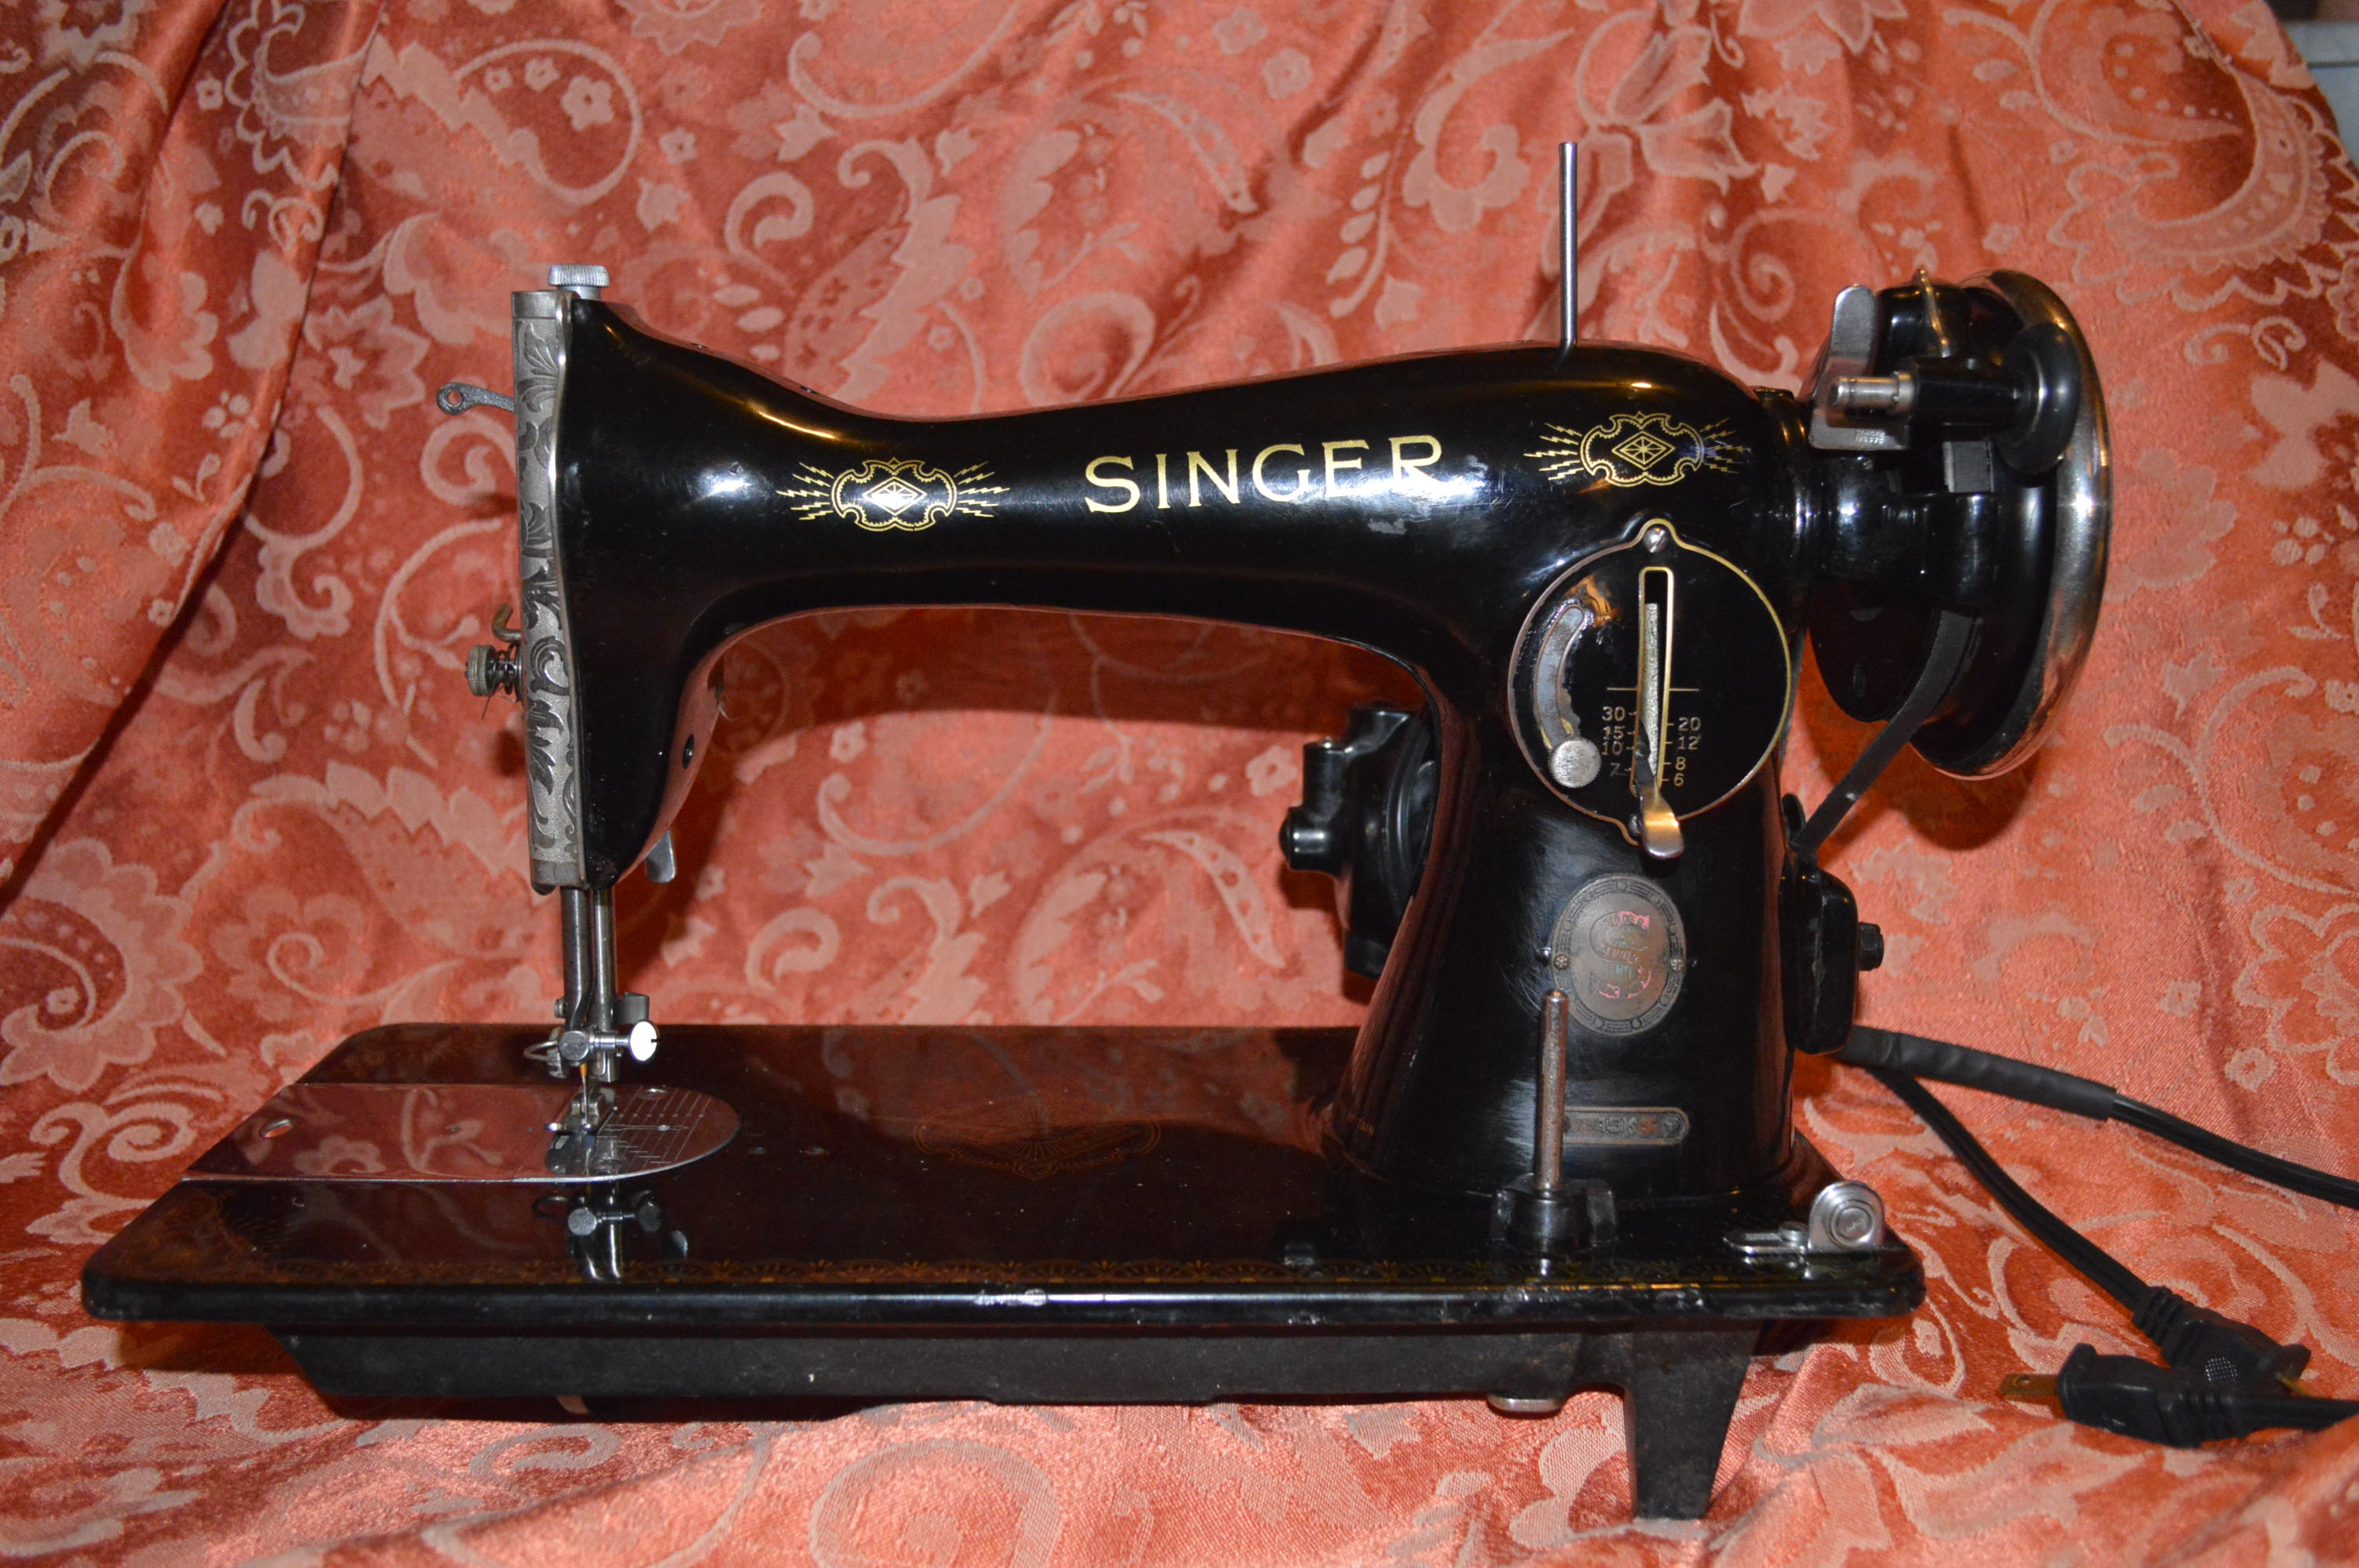
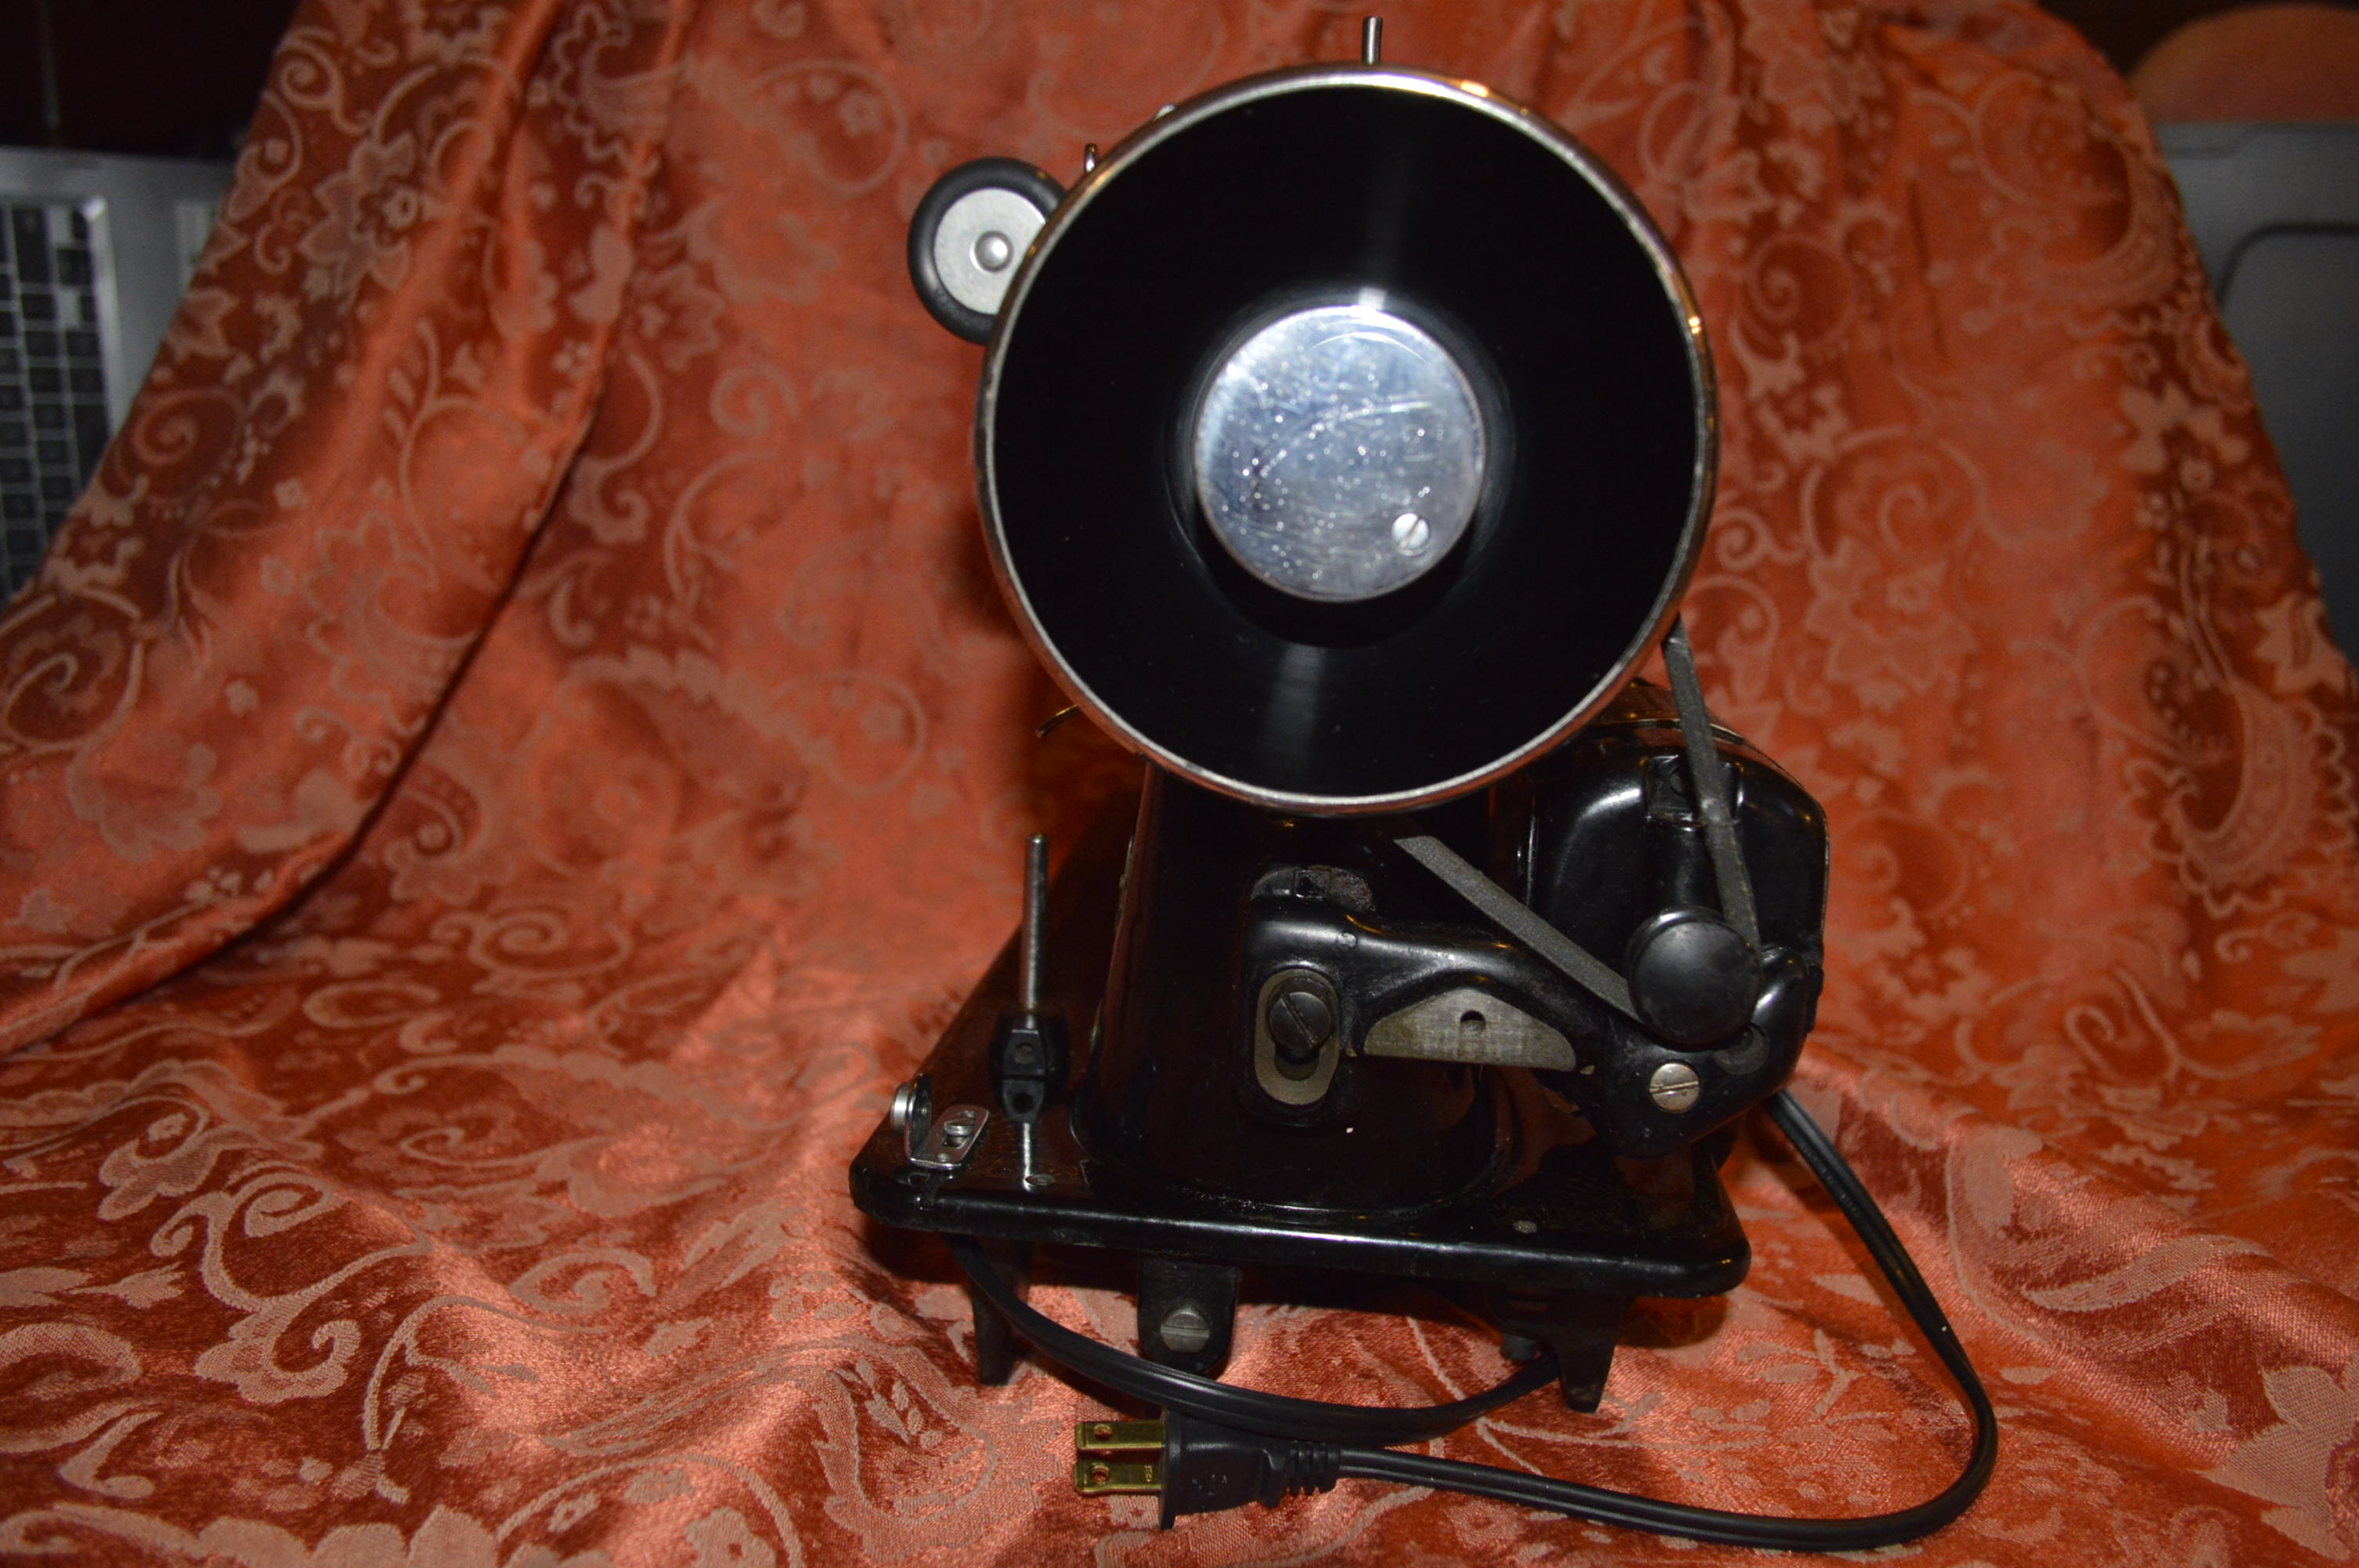
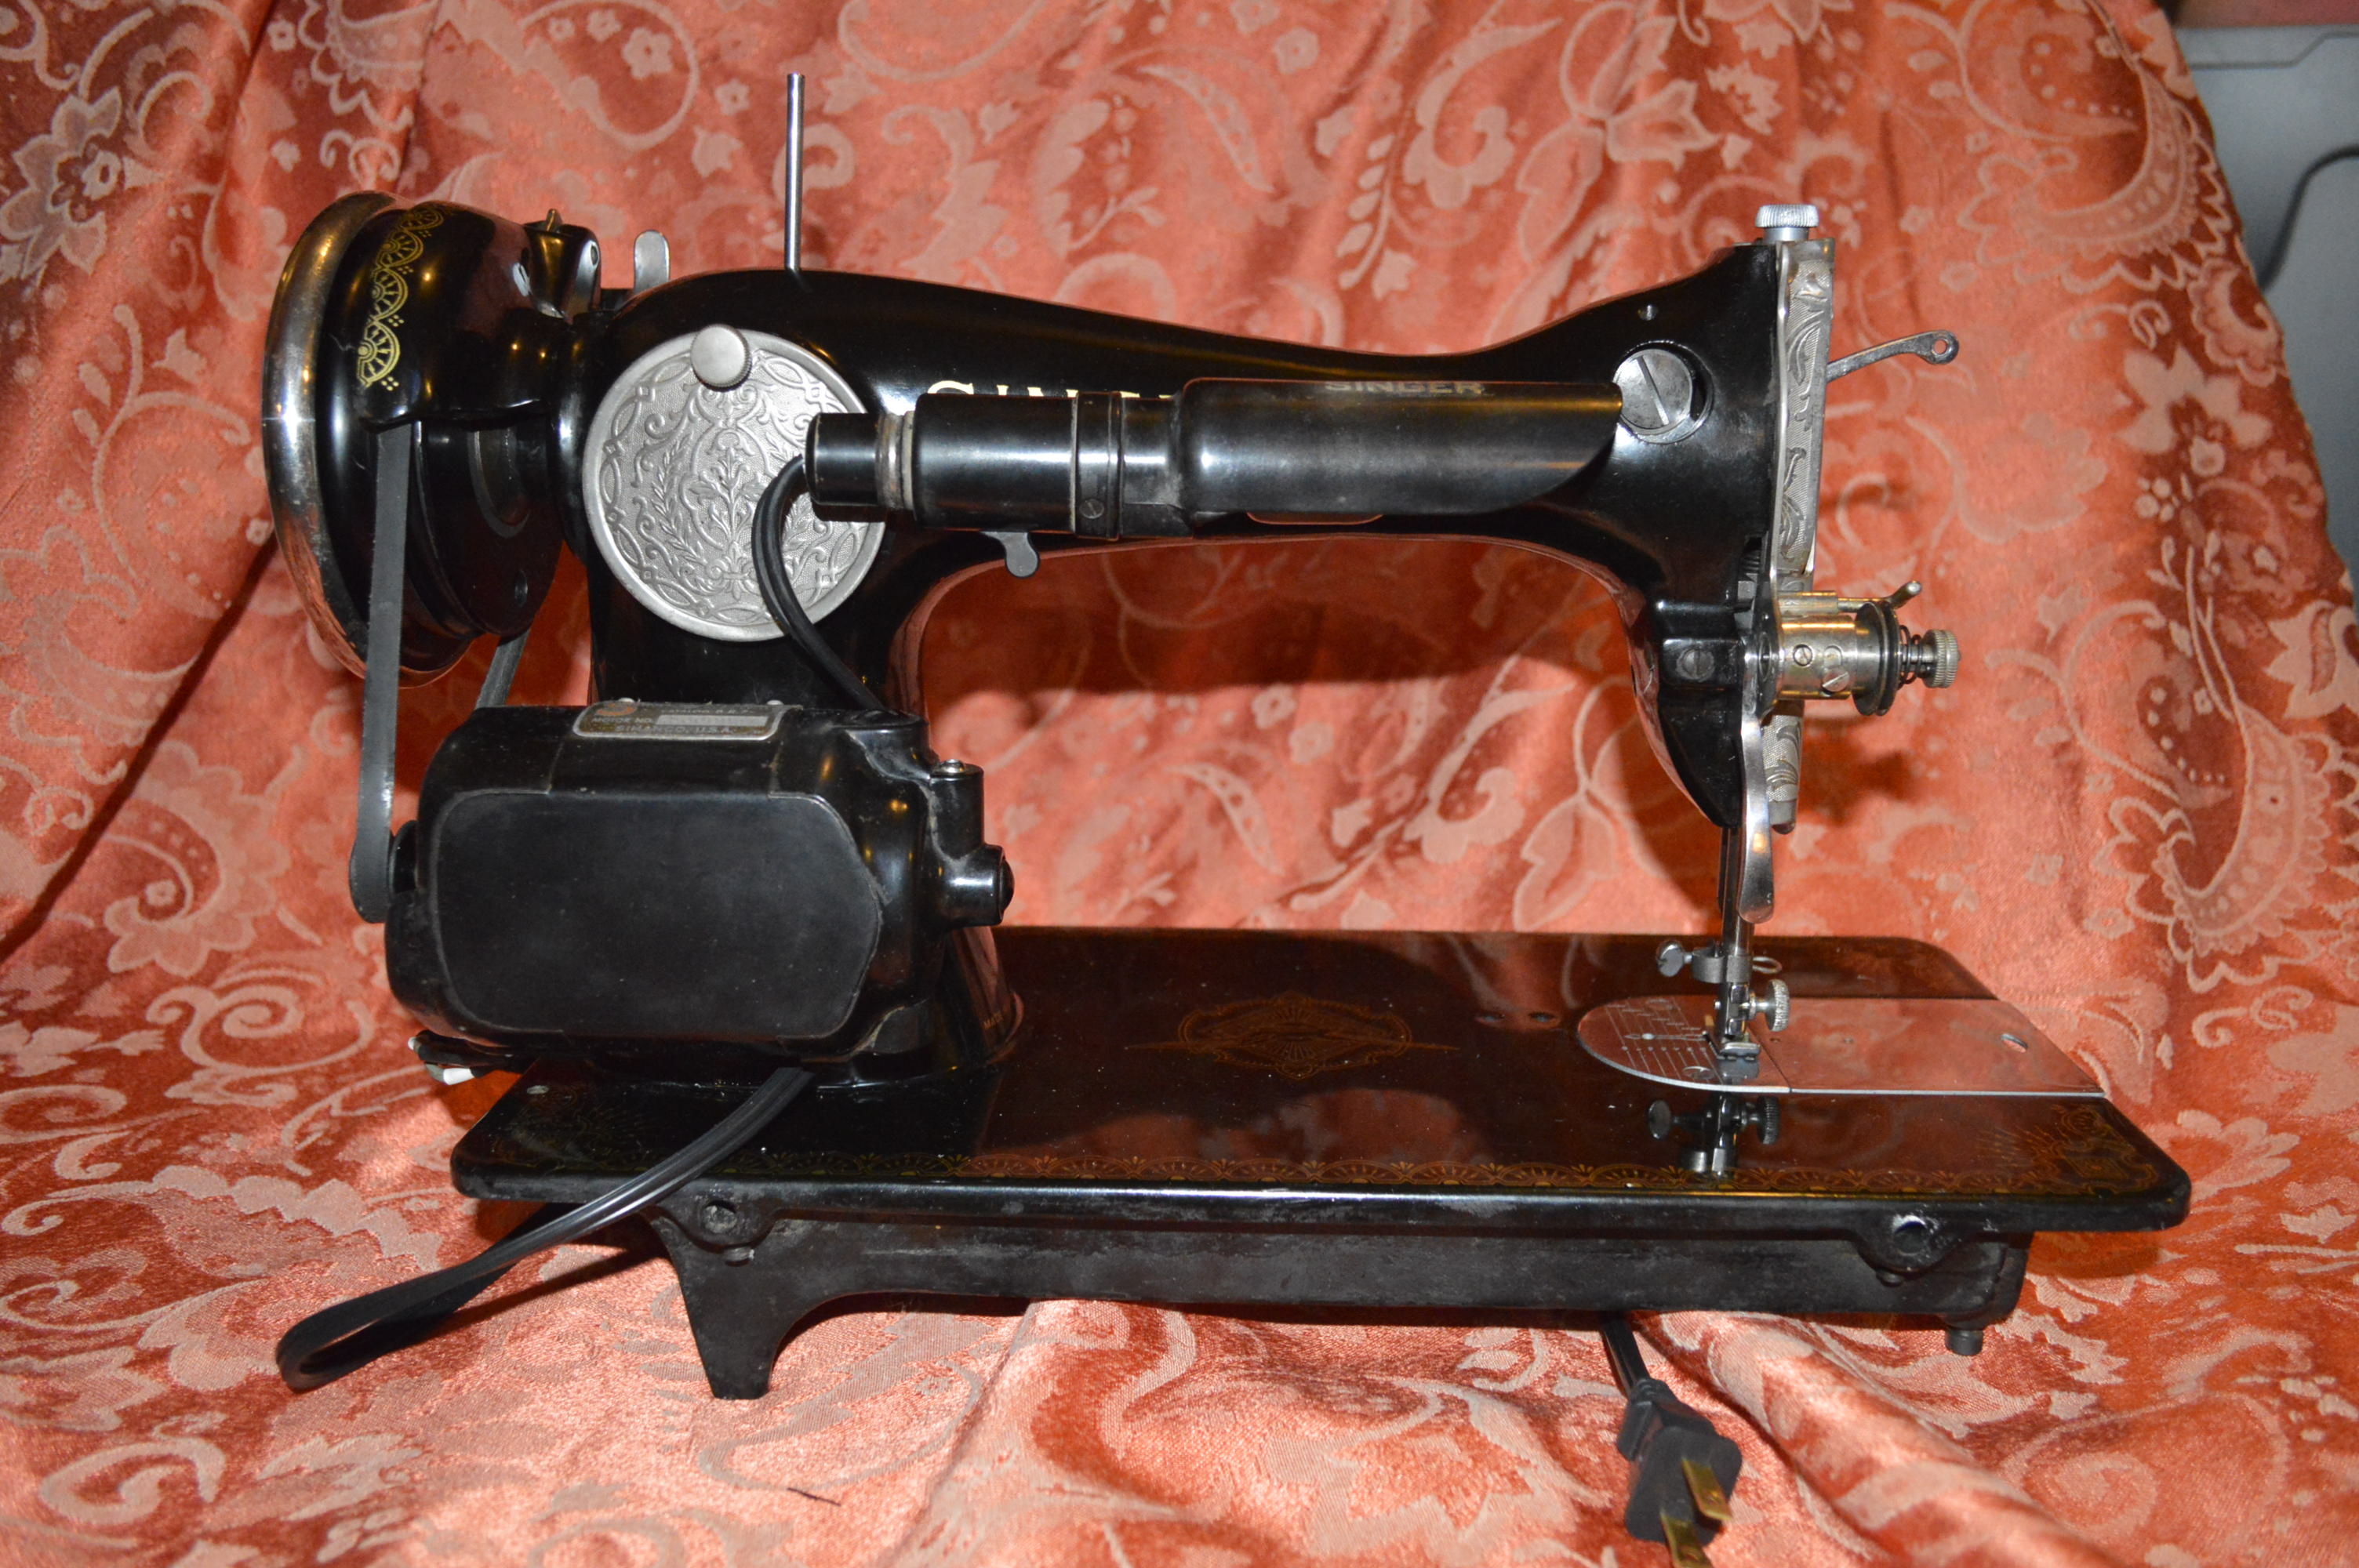

After everything was reassembled and adjusted, the machine was put thru her paces and she sewed very well! Keep in mind… she started out as a donor machine . In fact the roles are reversed. I did use some of the hardware from the 1938 model 15. You may notice the face plate and back cover plate have been taken from the 1938 model 15. I just liked the look of the fancy scroll pattern more than the straight striated covers she came with. I also used the presser bar, motor, light, balance wheel, and tension control from the 1938 machine.
The Bad…
The 15K-110 was manufactured in 1962. That’s pretty young for these black lacquered vintage Singer sewing machines. As I mentioned earlier, one of the features Singer incorporated into this machine was a feed dog drop mechanism located on the bed. Too bad the under bed linkage and parts that operate this function were missing. Having the choice of using feed dog rocker assembly from the 1938 machine, I decided to keep the machine intact and “fix” the feed dogs so they would work without these parts. Heres how I did that…
I simply put a bolt in place of the retractable pin it is supposed to have. This means that the feed dog drop is disabled, much like the earlier model 15’s before they had the ability to drop the feed dogs at all. If I ever come across the correct parts, it will be easy to get the mechanism working as it should. That’s it! Not so bad after all.
The Ugly… Remember about setting expectations? well, here’s why. Neither machine was complete with all of the little chrome plated bits and pieces in great condition. Those that were in the best condition were used. As a result, some of the parts that were installed had rust or corrosion that was removed, but is no longer “shiny”. Or a cosmetic condition that could not be improved. Some of these parts are shown here,

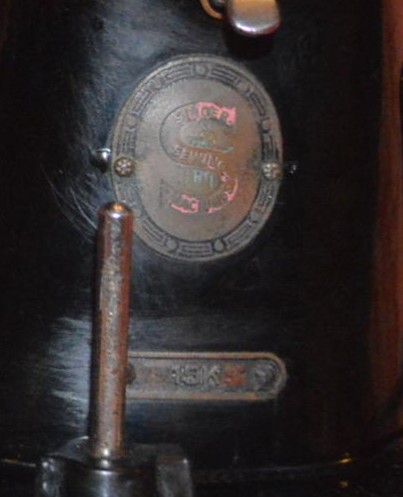

As you can see, the light shroud has some “haze” around the decal. This is actually a rust colored paint over spray from some event in its history. It must have been primer, because it was very difficult to remove. It took several hours and lots of cotton swabs to clean the fixture. Rather than sacrifice the decal, I was satisfied to work to the margins of the decals and leave it alone. Also, the presser foot screw had surface corrosion that went thru the plating. I was satisfied to remove the corrosion and let it be. The Singer badge has damage from corrosion and paint loss. Except for cleaning, I decided to leave this alone. Anything I did would have removed more paint and result in more damage. The stitch length cover was similarly affected with corrosion and lack of paint in places. Here I opted to paint match the area and leave it alone. I felt that any attempt to blend in the repaired area would create more damage. Sometimes it better to leave well enough alone, and tell people these defects and marks of wear adds “character” and are “reminiscent of her veiled and storied past experiences”.
All in all, cleaning and reconditioning of this machine is a complete success. I am satisfied with how she looks and how she sews. She runs smoothly, quietly, and forms a great stitch… exactly as she should. Is she as good as new? Well, in function yes. The only time in her life it has she been cleaner is when she was new. The greatest advantage to this level of reconditioning is that all old oil and varnish build up is removed from the outside and INSIDE of parts, including those that rotate in contact with each other. It really is a noticeable difference and the machine will run well for a long time to come.
Well, that pretty much whats involved with cleaning and reconditioning a vintage black Singer sewing machine… and how to make a silk purse out of a sow’s ear.
Tell me what you think!

I am impressed, that is with 3 capital I’s, with the detail you have provided. I am a retired lecturer in engineering and, like you, have an interest in the fine engineering of the Singer 15K machines.
Luckily I have been able to retire from UK to a farm in France, a desolate one in a very rural part of the country which I have rebuilt over the last 20 years.
Big workshops have afforded me the facility to persue my childhood passion of Singer machines.
With growing collection of machines from 1870 onwards nearly 100 now I spend perhaps too much time with them as my wife will testify.
We, or should I say my wife, runs a patchwork class with these machines instead of the modern machines which gives the provenance of the quilt a certain interest. The ladies can then take home the machines if they want as I can replace them without problem from our local charity suerstore at about 10 $ each.
Thanks once again for your information I will digest and think kindly of you for taking the time to put the listing together
derek
LikeLike
Thank you for visiting our blog. I started doing this with the hope that it would show others some tips on maintaining these great vintage sewing machines… it’s a lot of work but it is rewarding to me, and I too am learning along the way!
Good luck to you and your Wife, and have some fun with it!
Lee
LikeLike
I would love to know the brand of the lamp black paint and if you needed a primer for it to adhere to the metal. I am working on an RAF 18-80 and excited to follow your lead!
LikeLike
15, not 18 😀
LikeLike
Hello Kate,
The paint I used on this machine was “GMC S15 19 Lamp Black Paint” I got iy from Jeff’s paint. The paint cane in 3 small paint containers and a brush. It is an excellent match. The quantity is more than you need for one machine, but still worth the price. I hope this helps!
Lee
LikeLike