
Introduction
This Kenmore 1601 restoration is a custom order for a mechanical restoration and it’s a great opportunity to return a premium quality Kenmore to its peak performance. This particular machine is a model 158.16010 which dates it to 1969. Kenmore’s made prior to 1974 are of all metal construction and 1969/70 production dates are particularly good years for the 1601. All of the parts on this machine are made of metal, including the body, panels, covers, and control knobs. The machine has a solid build and feel, but it is not as heavy as it looks. The body and bed casting are made from aluminum. This gives the machine has good heft and a good balance. It is not too heavy to handle in a cabinet, and it is not so light that vibration is noticeable.
Cosmetically, the model 1601 is identical to the Kenmore model 1802. Except for the background pattern on the control knobs, you can’t tell them apart. Mechanically, they are very similar. The internal structure of the arm shaft section is slightly different, but the mechanisms work the same. Both use class 15 bobbins and standard 15×1 sewing needles. They both use a vertical oscillating hook driven by a double reduction belt pulley coupled to a powerful 1.2-amp motor. Both machines are cam compatible and with a selection of 30+ available pattern cams, allow the machine to sew a broad range of utility, stretch, and decorative stitches. Both machines share Kenmore’s proprietary super-high shank presser foot design, and the presser foot has a “hyper lift” extension to provide a very generous clearance under the presser foot. The only significant difference I can tell between the 1601 and the 1802 is that the 1601 is a center needle homing machine. Compared to the 1802, I think this gives the 1601 an edge for quilting where a 1/4″ seam allowance is desired.
When it comes to this particular machine, the differences and similarities are not important. What is important is the machine’s history. This 1601 is a one owner machine that was purchased by the customer after graduating college and she has used it ever since. The machine has been serviced a few times over the years, and it is clear from its condition that it has been well maintained. The machine is clean of lint and shows signs that it has been properly lubricated.
Cosmetically, the machine is in excellent condition. Except for a few paint chips that are too few to mention, the finish looks almost new. So why the restoration? Well, the customer is experiencing a few problems with the machine and told me that it sometimes pulls the cloth into the throat plate. The other issue with the machine is that it struggles with sewing thick fabrics. Considering the build quality of the machine and its sentimental value, she felt it could not be replaced with a comparable new machine. Setting the sentimental value aside, I must agree that replacing this machine with a new machine of similar construction and build quality would be hard to find and very expensive. Anyway, the purpose of this restoration is to return the machine to its full potential and sew at its peak performance. Any issues she was experiencing with the machine will be corrected in the restoration
The Restoration Plan
The plan for this machine is to disassemble and clean all of the sewing mechanisms that turn, slide, or rotate on another part. This includes all of the mechanisms in the needle bar section of the machine, the feed dogs, the bobbin race cover, and the connecting rod. Other parts will be disassembled and cleaned one by one. Kenmore’s use fairly complex assemblies under the machine bed and disassembly/reassembly would prove to be very difficult without losing critical adjustments that would be difficult to restore. There is not much to gain but much to lose. Disassembling parts one by one allows them to be cleaned and reassembled without losing these adjustments. Similarly, the mechanisms in the sewing machine arm are connected by a myriad of linkages and springs. Linkages can easily be cleaned in place. Once done, the machine will run as smooth as silk and after adjustments will make a variety of beautiful stitches. The motor will be disassembled and restored, and the tension assemblies will be disassembled and cleaned. There are many steps to do, but each one is intended to bring the machine closer to near new condition.
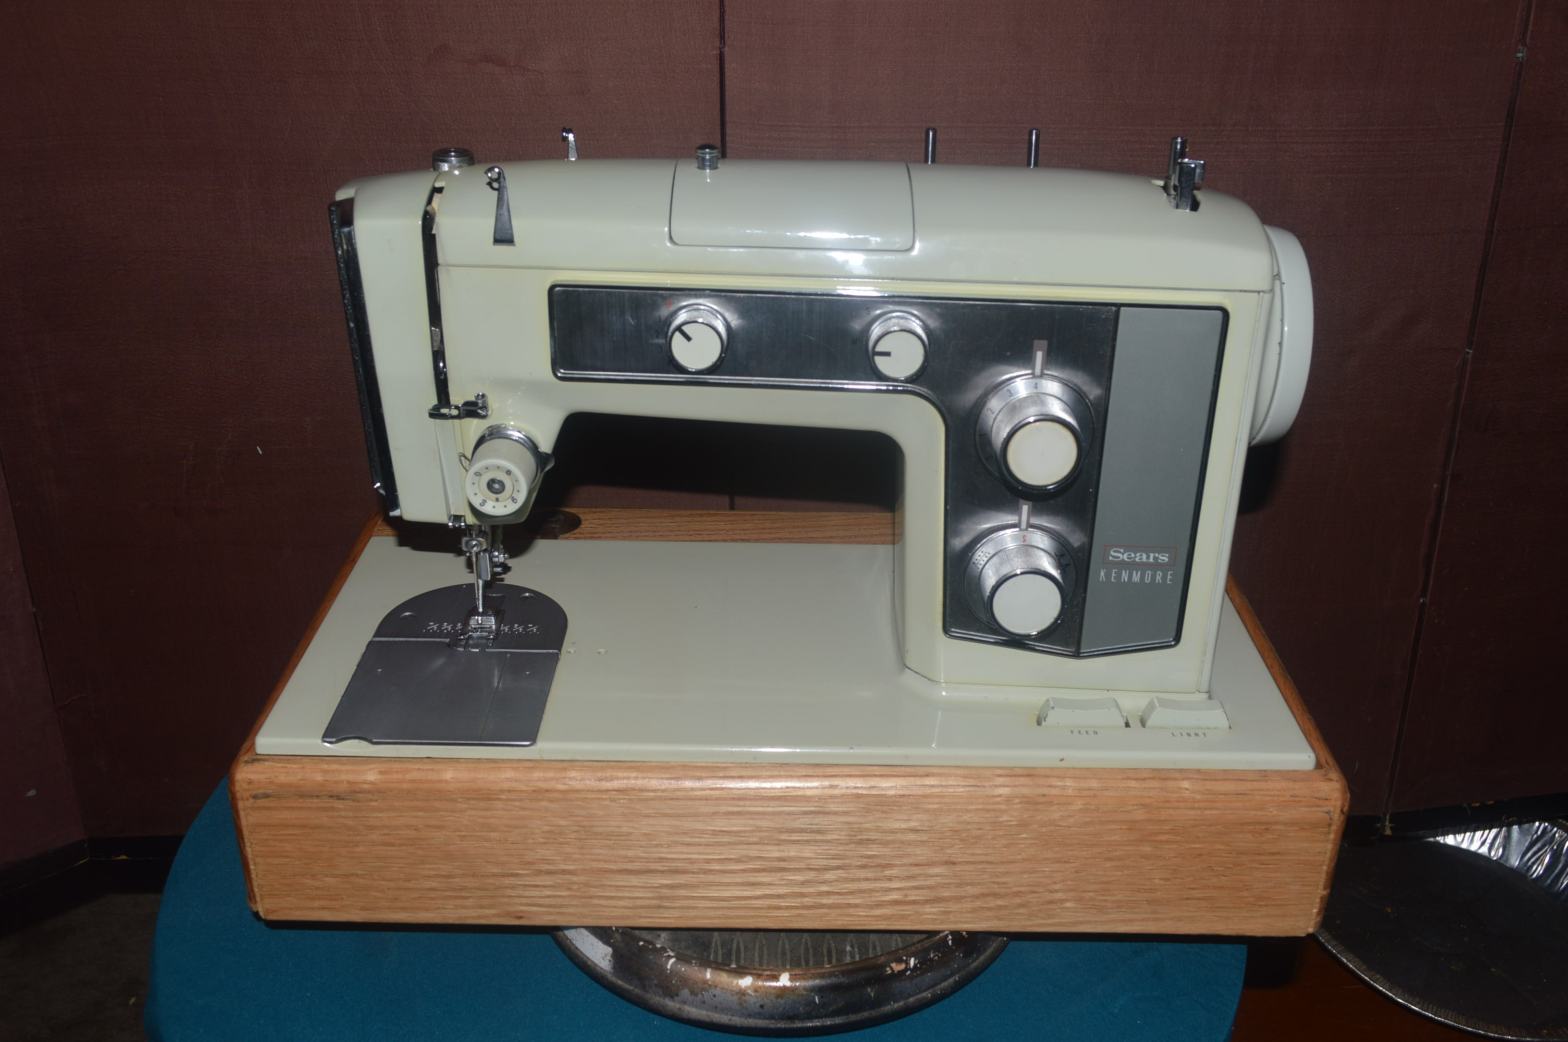
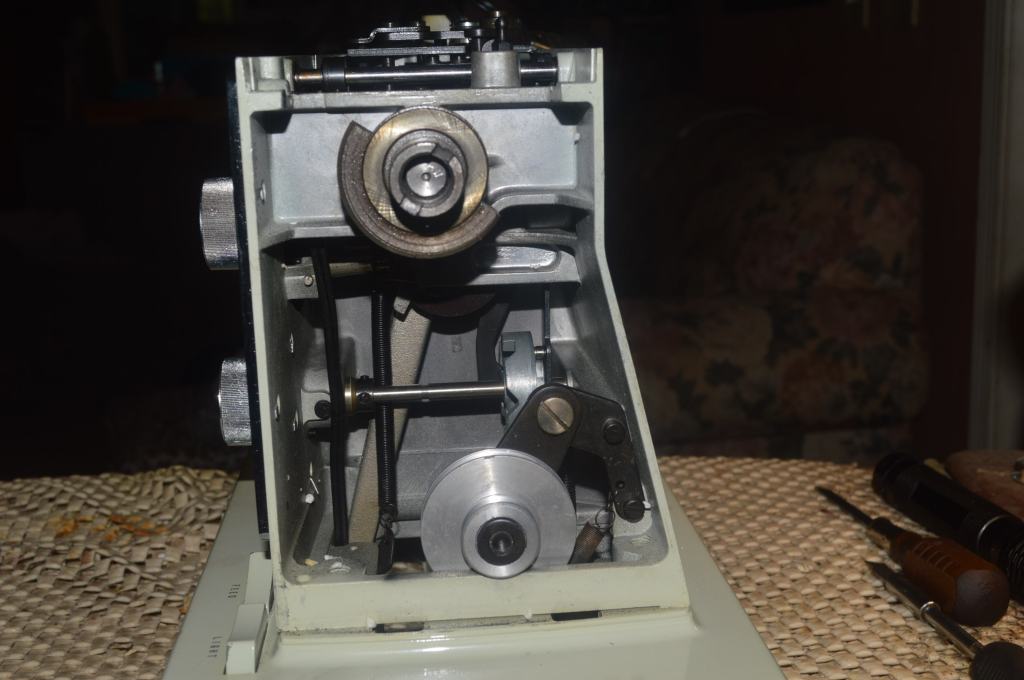
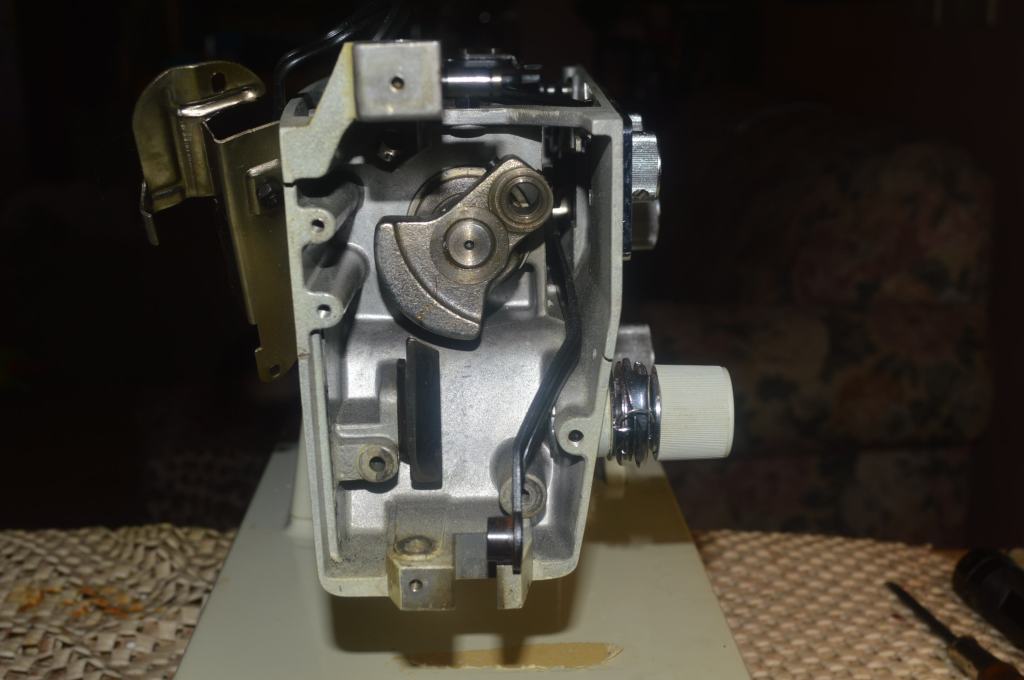
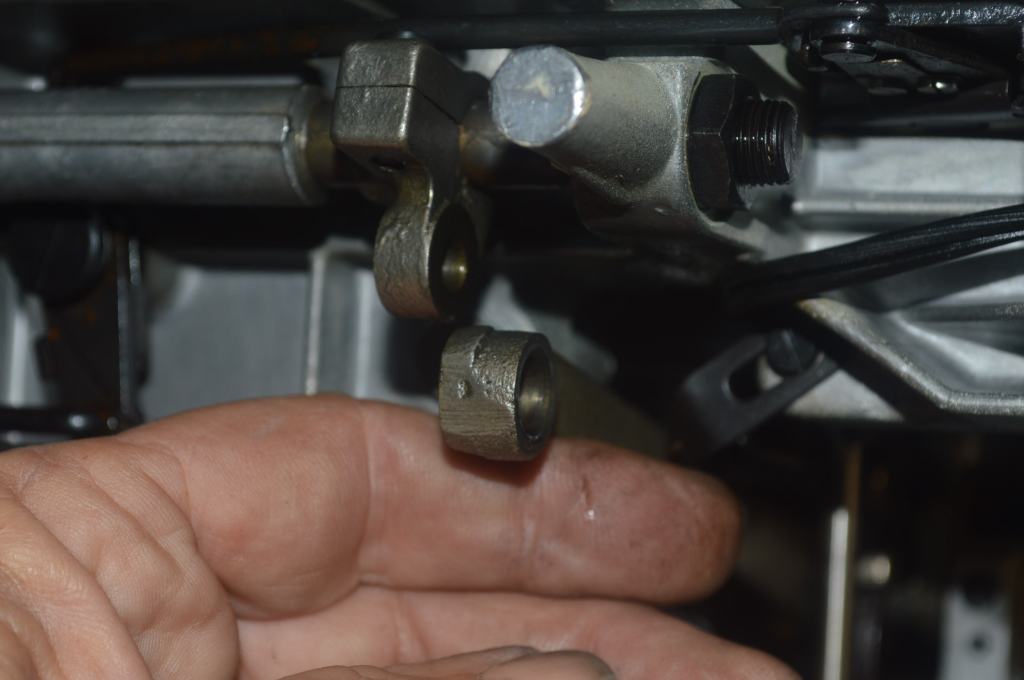
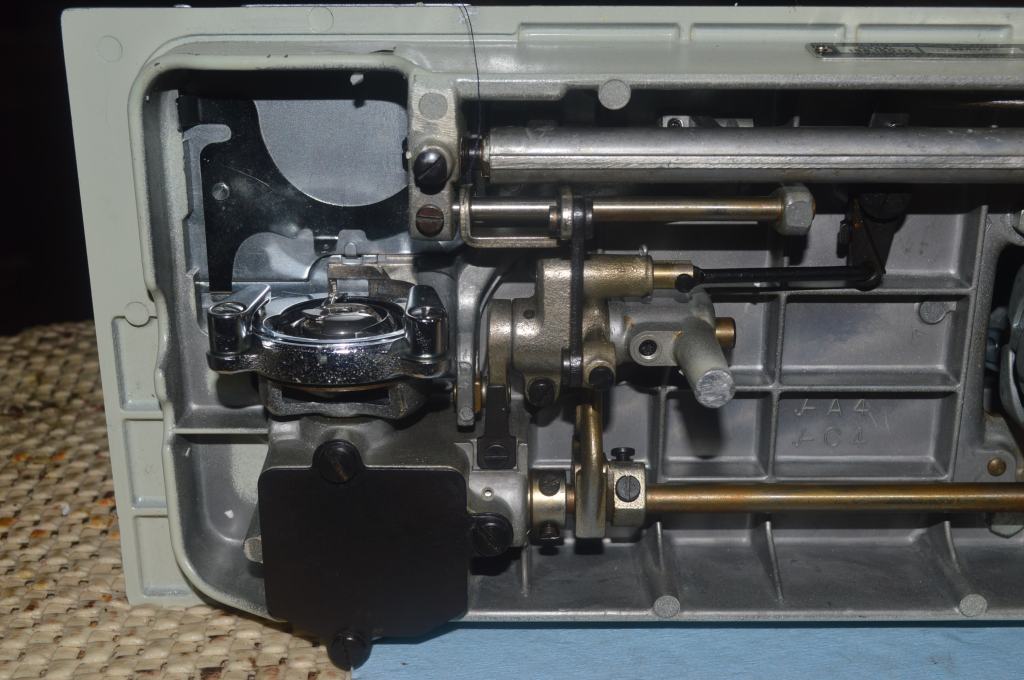
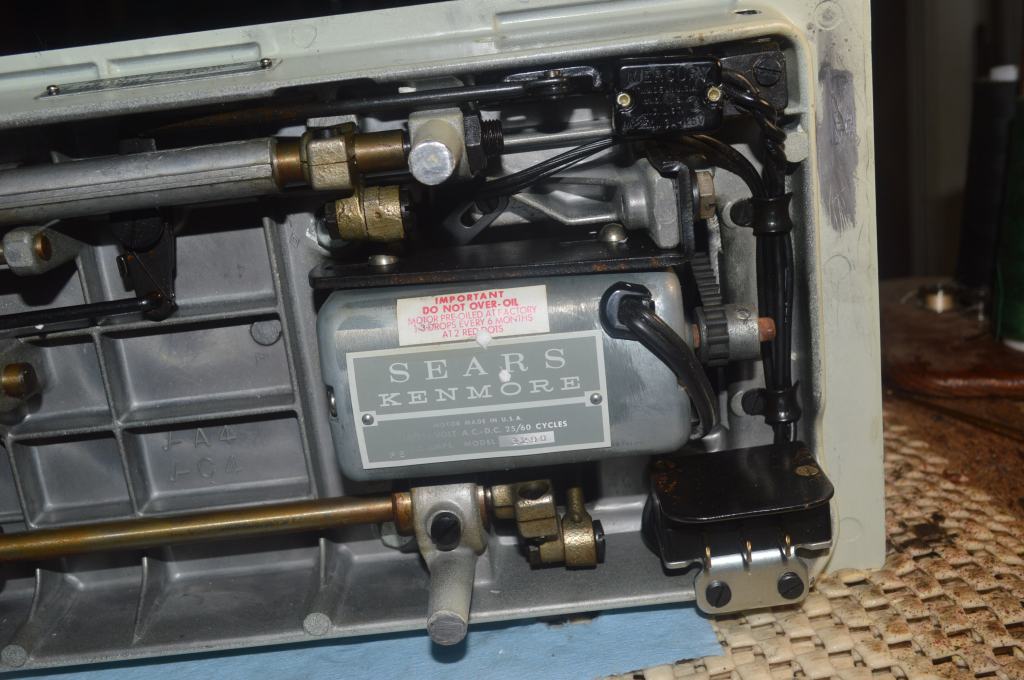
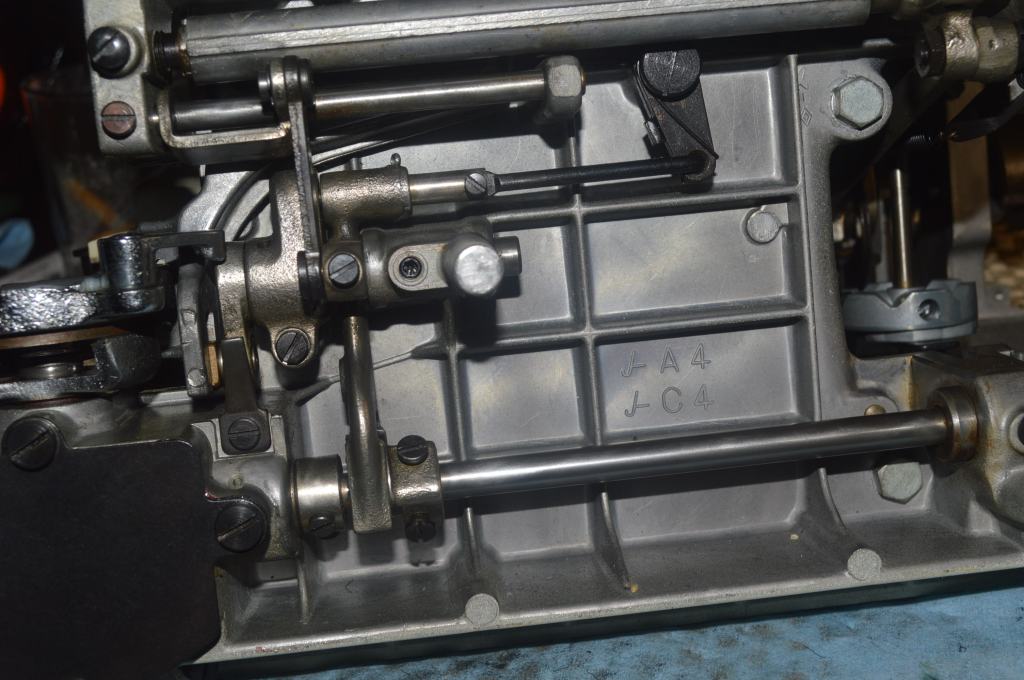
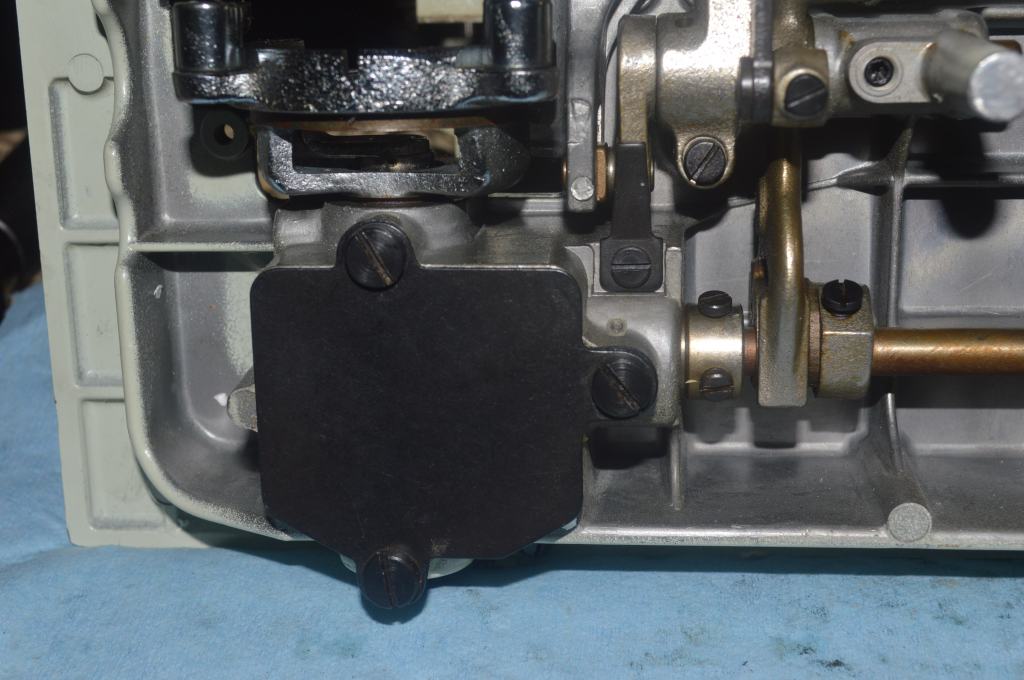
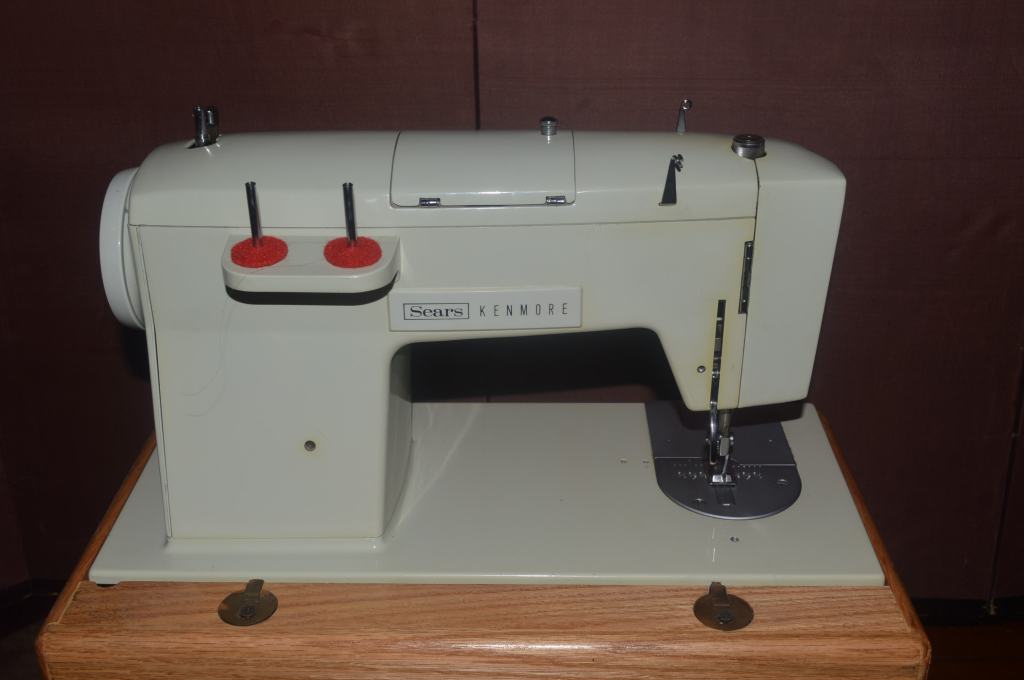
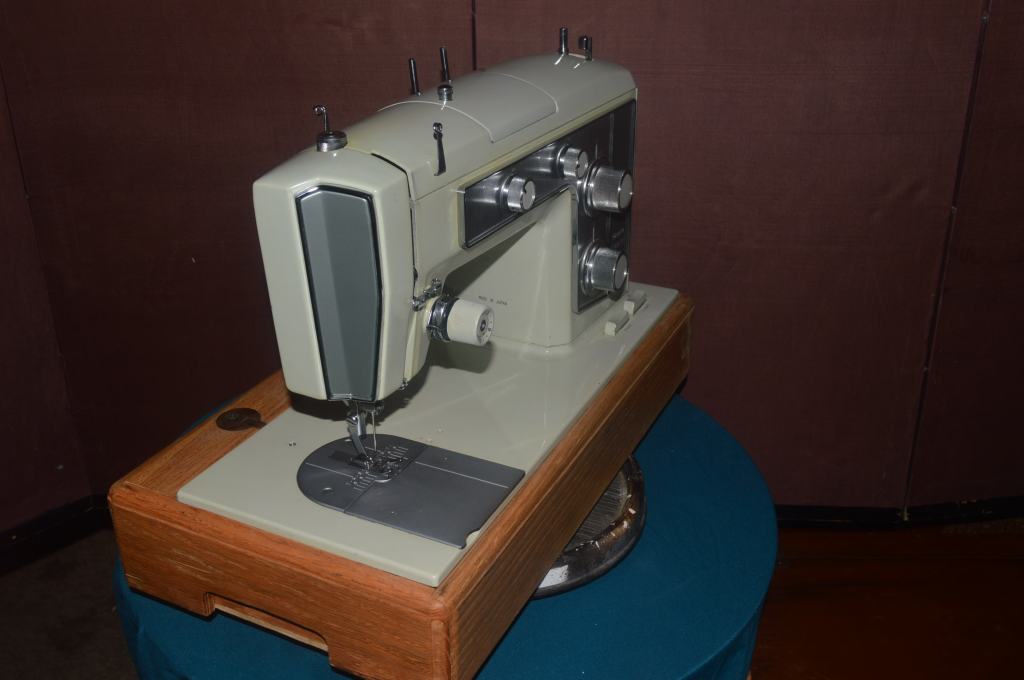
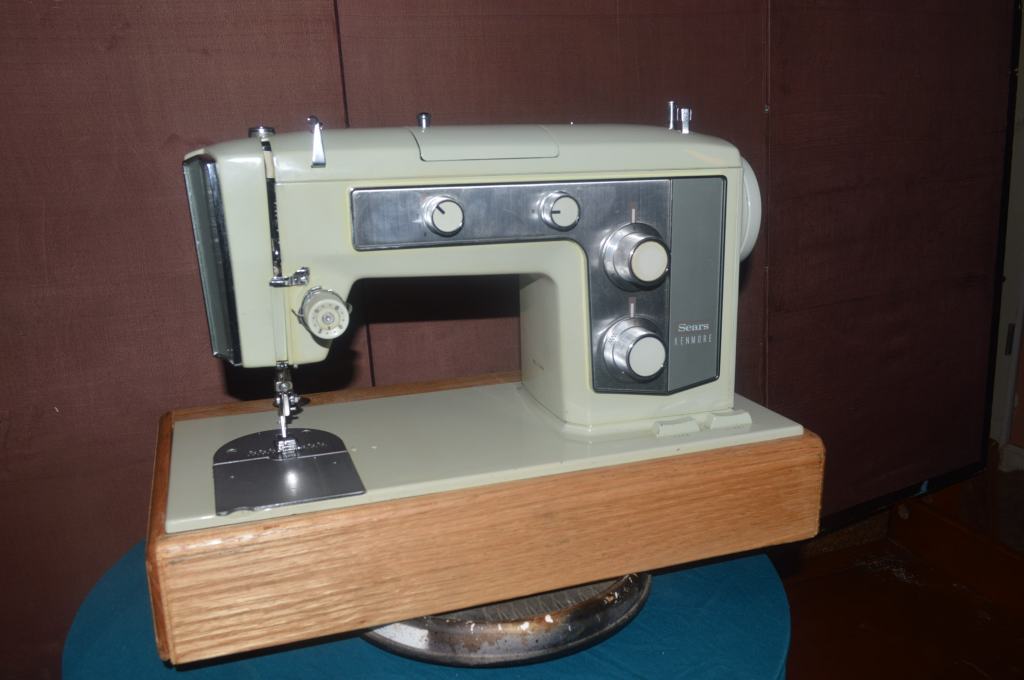
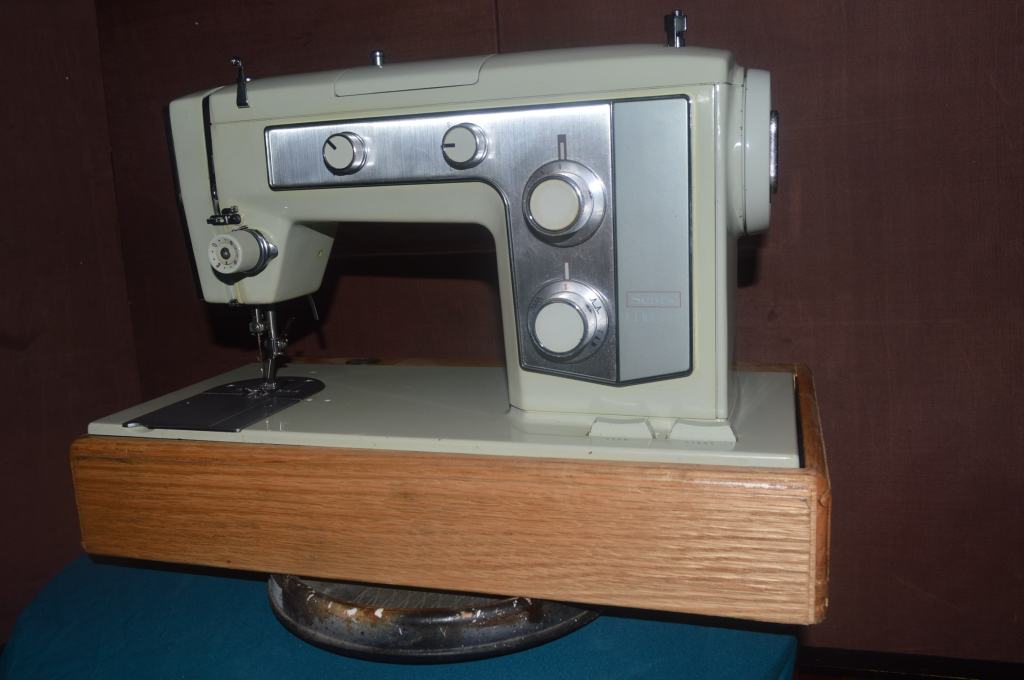
Getting started, these are pictures of the machine before the restoration begins.

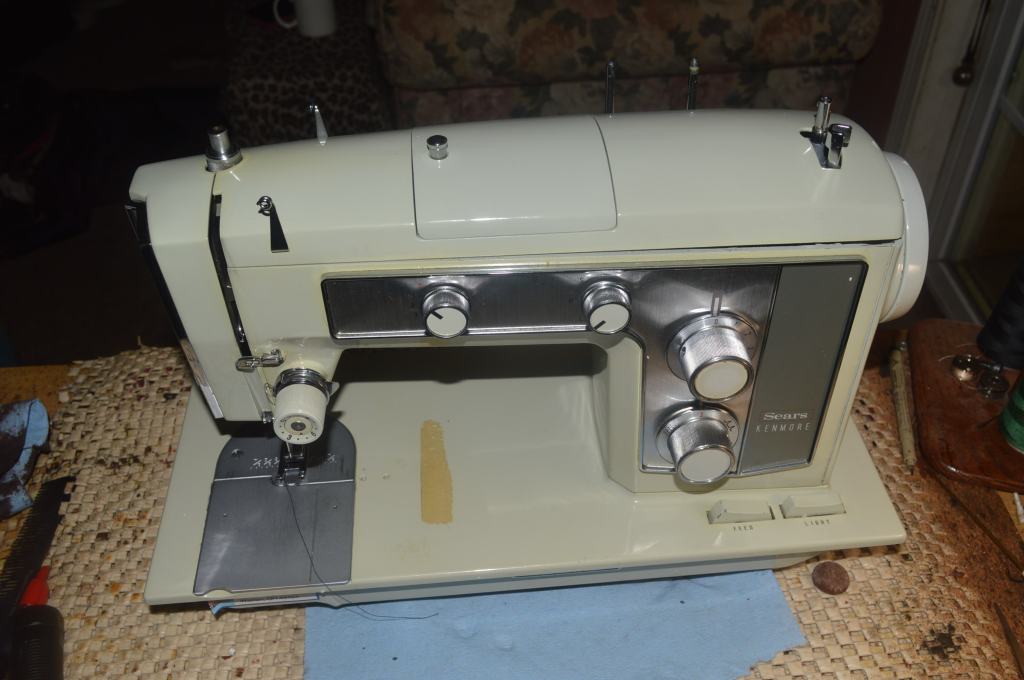
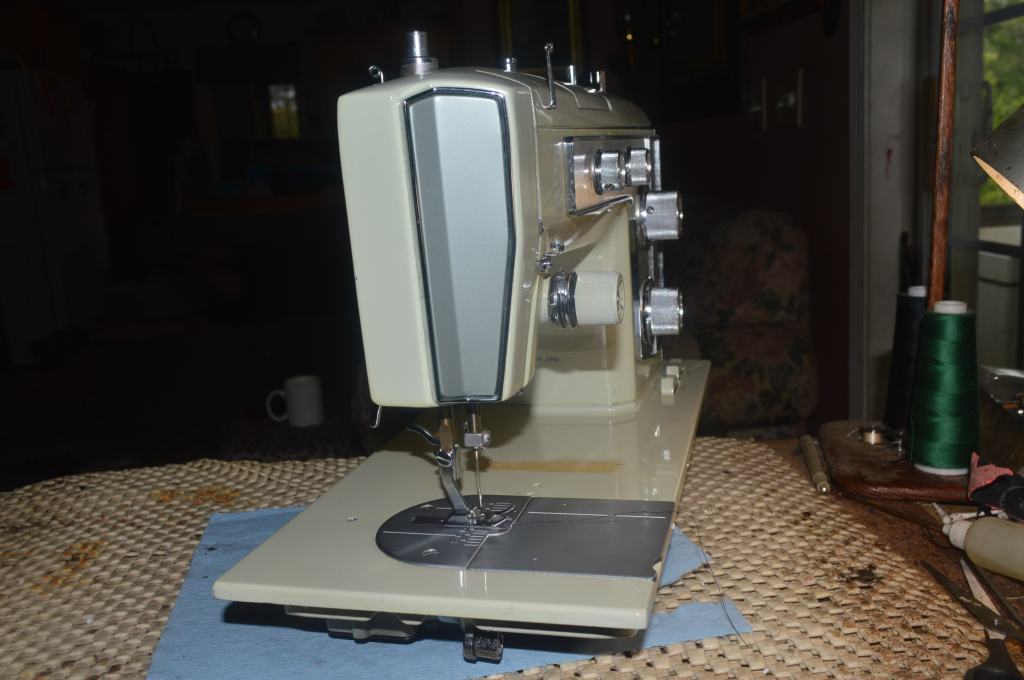
As the pictures show, the machine looks to be in very good condition. There is some old oil varnish that needs to be removed and a few adjustments to be made.
The Mechanical Restoration
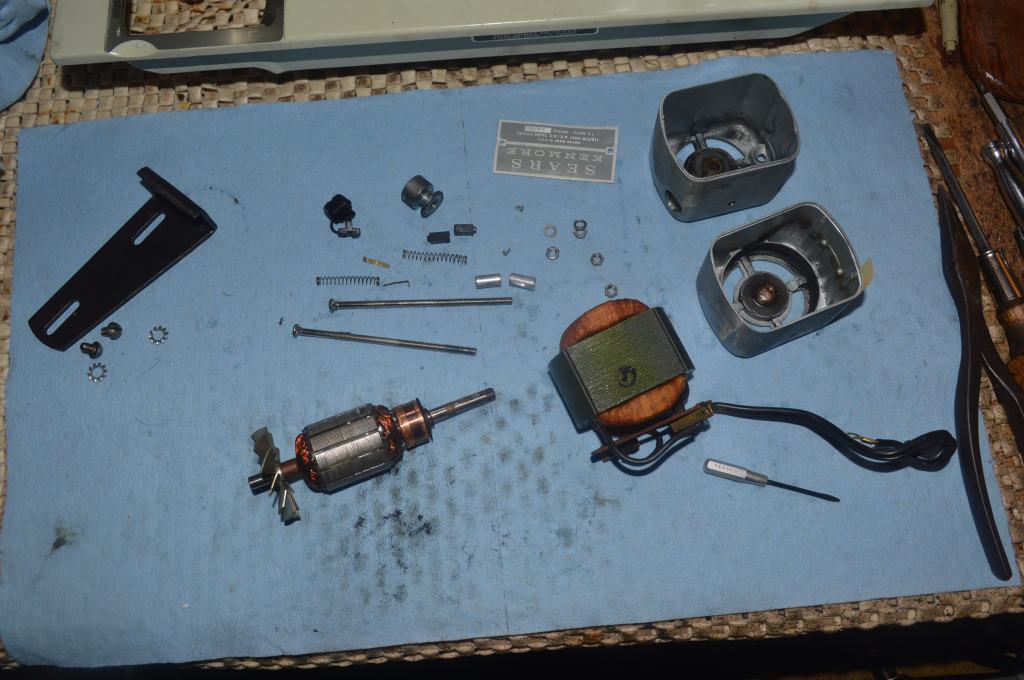
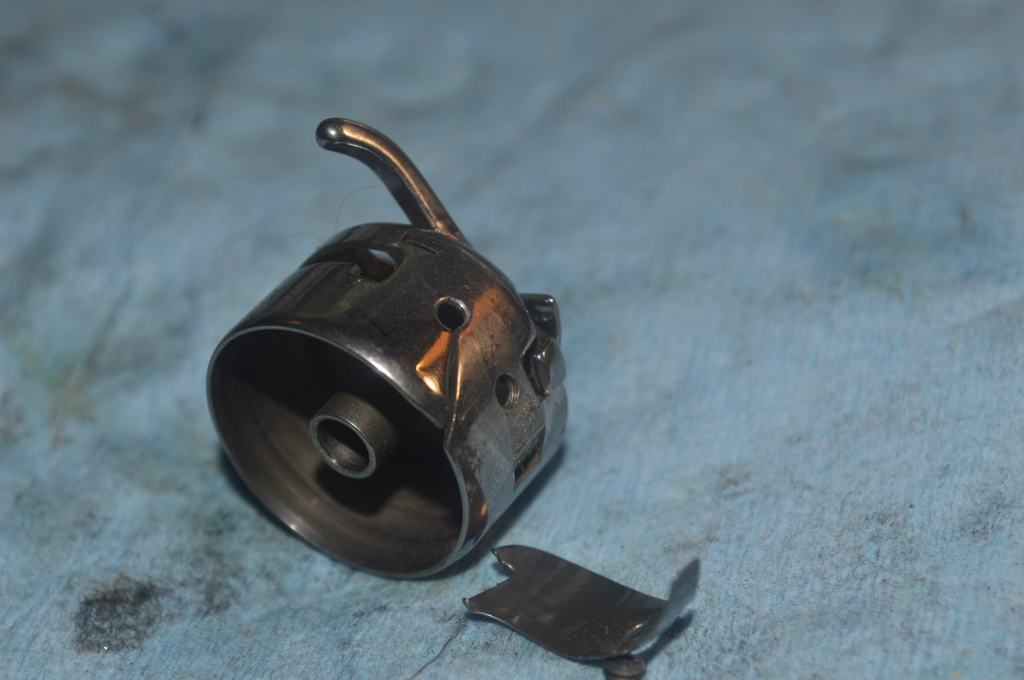
The mechanical restoration begins with disassembly.
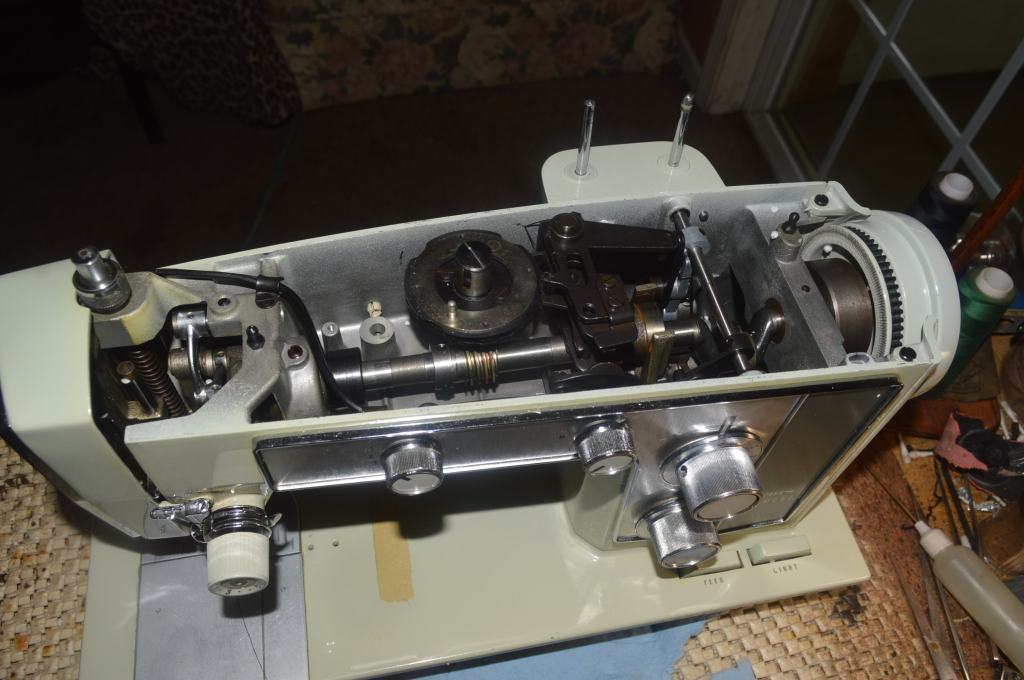
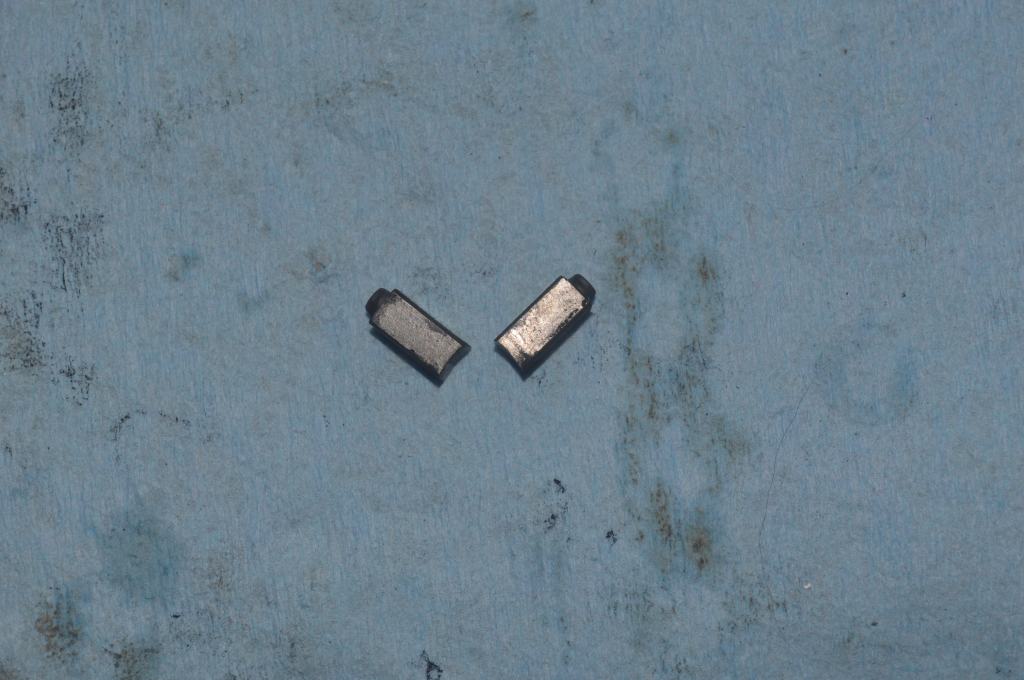
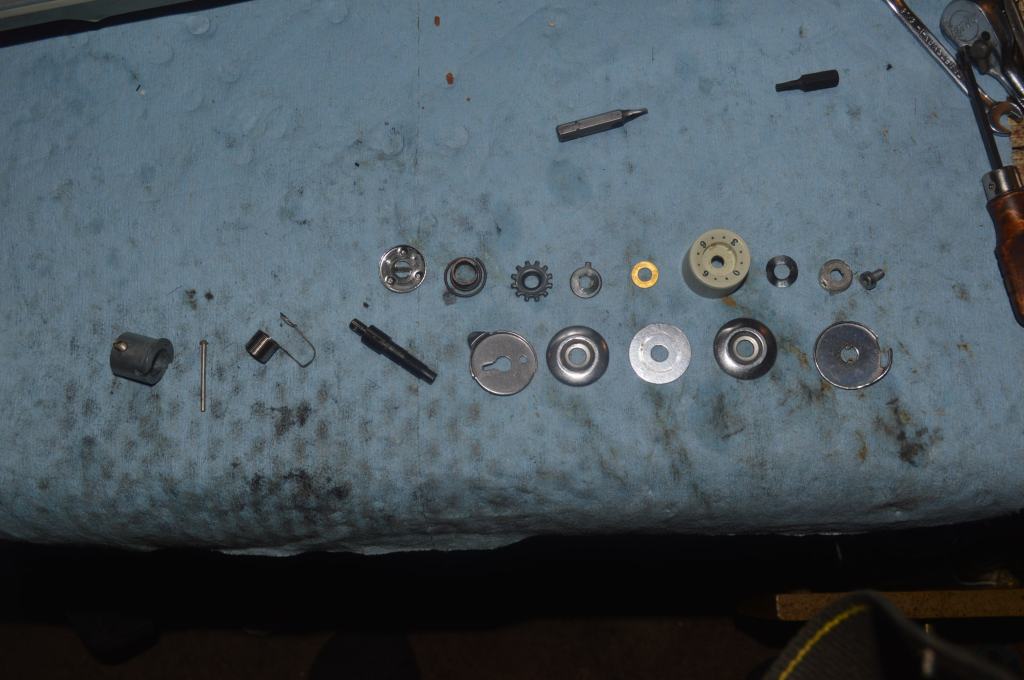
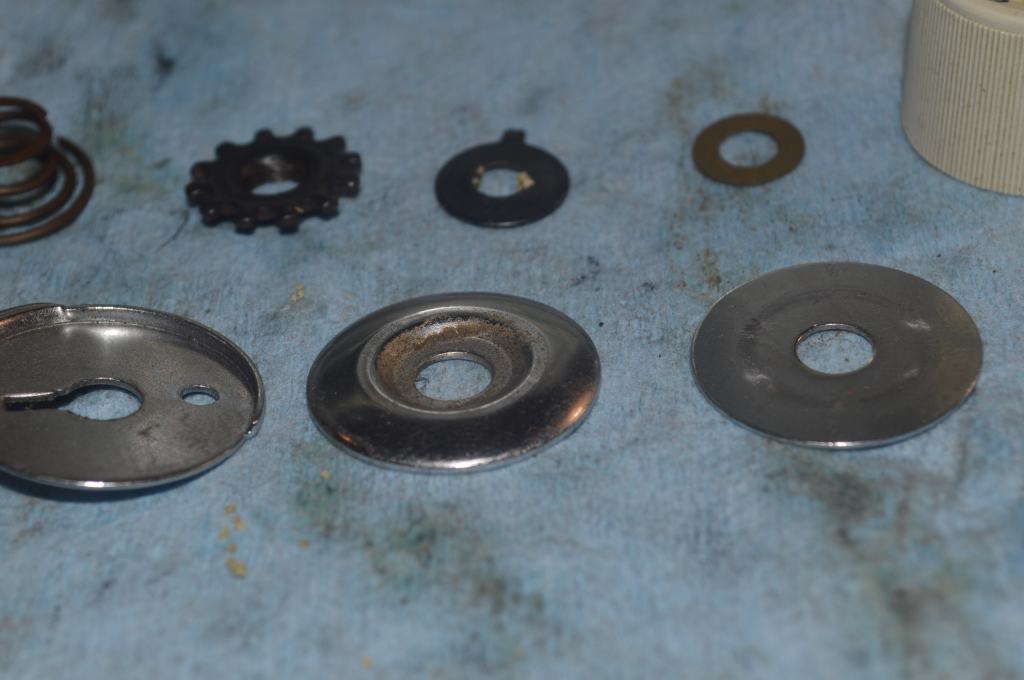
The parts are laid out for cleaning.
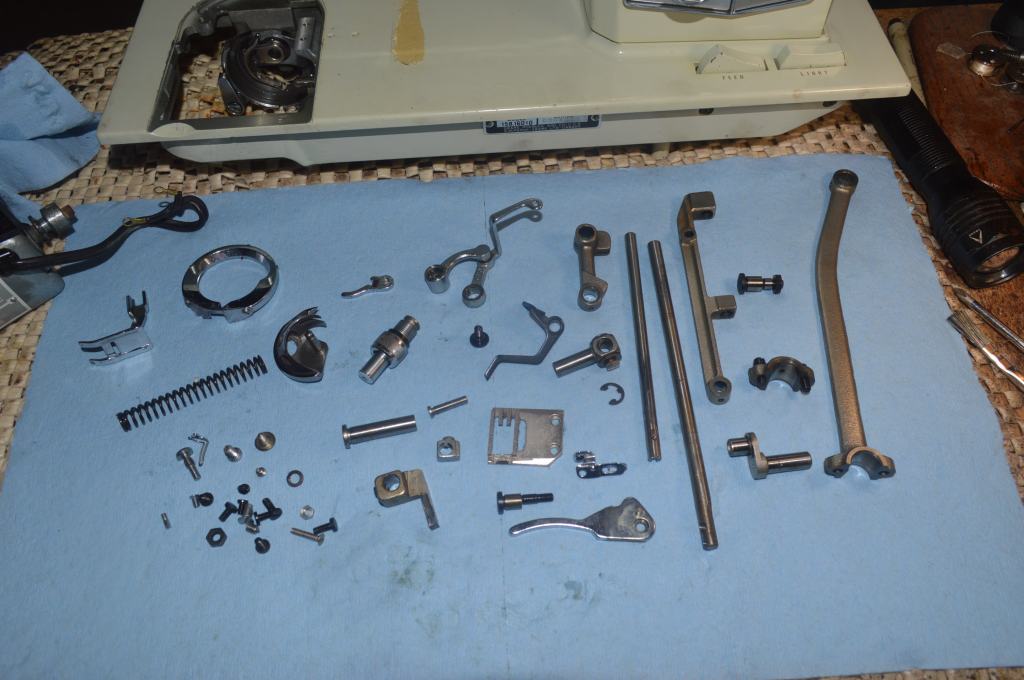

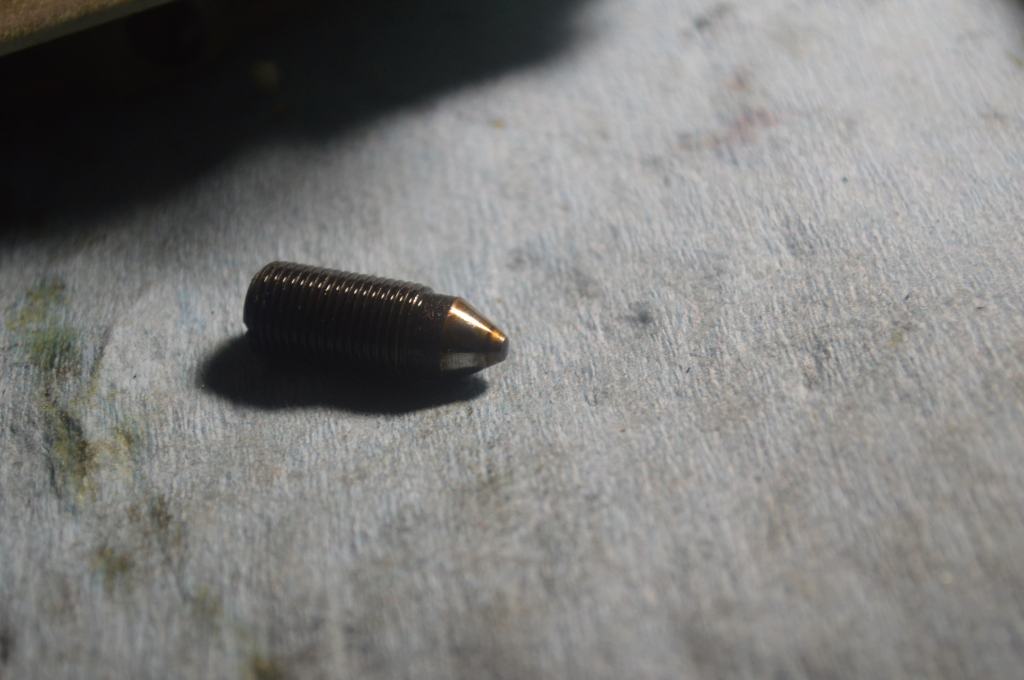
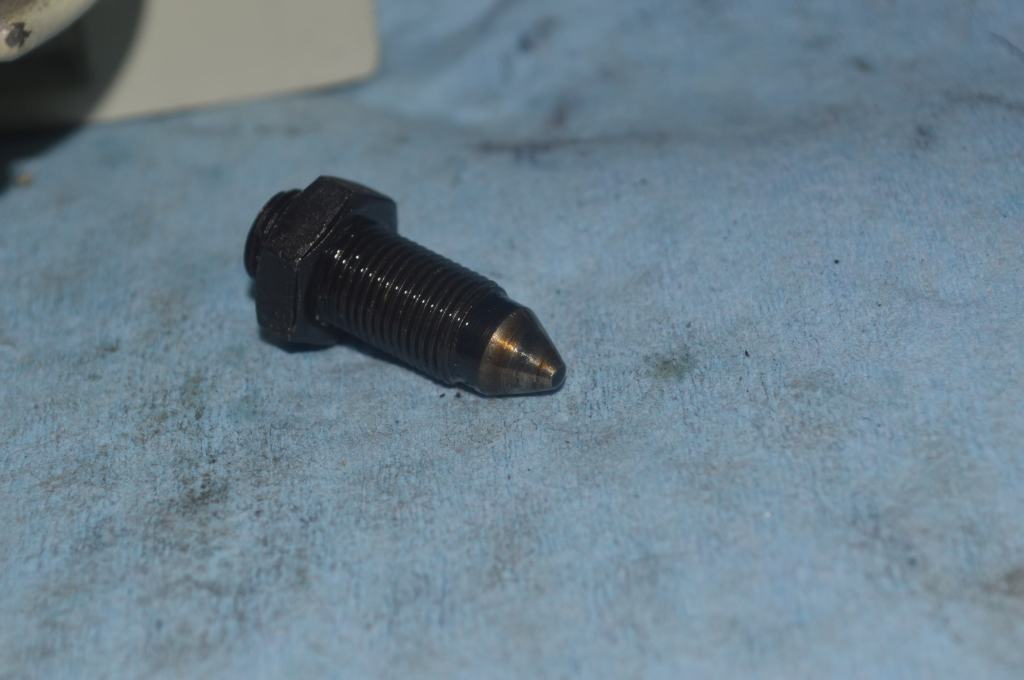
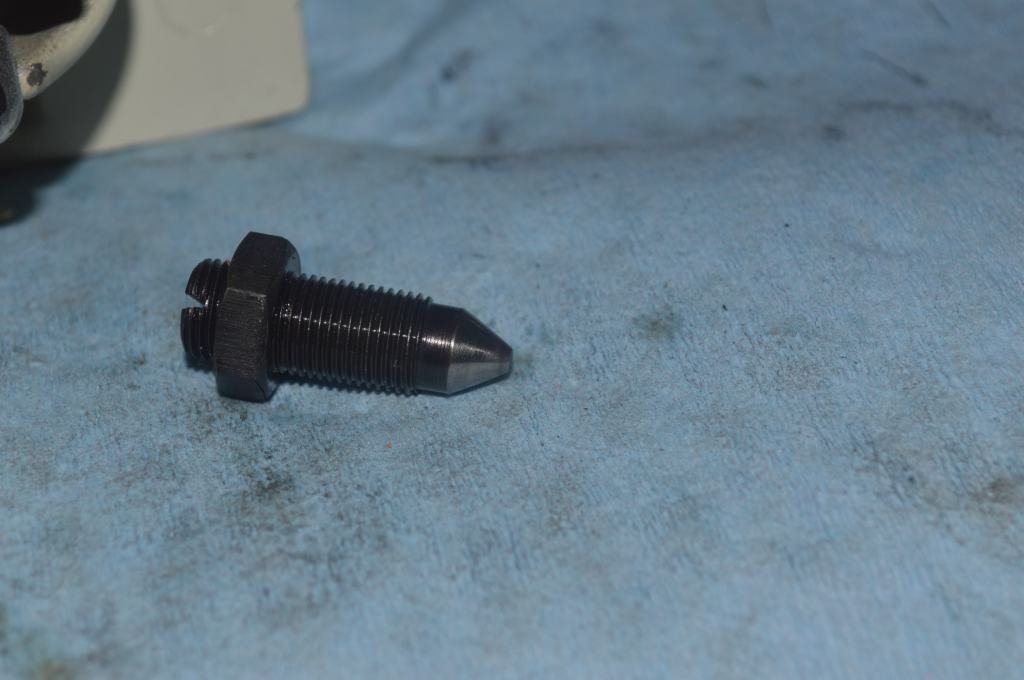
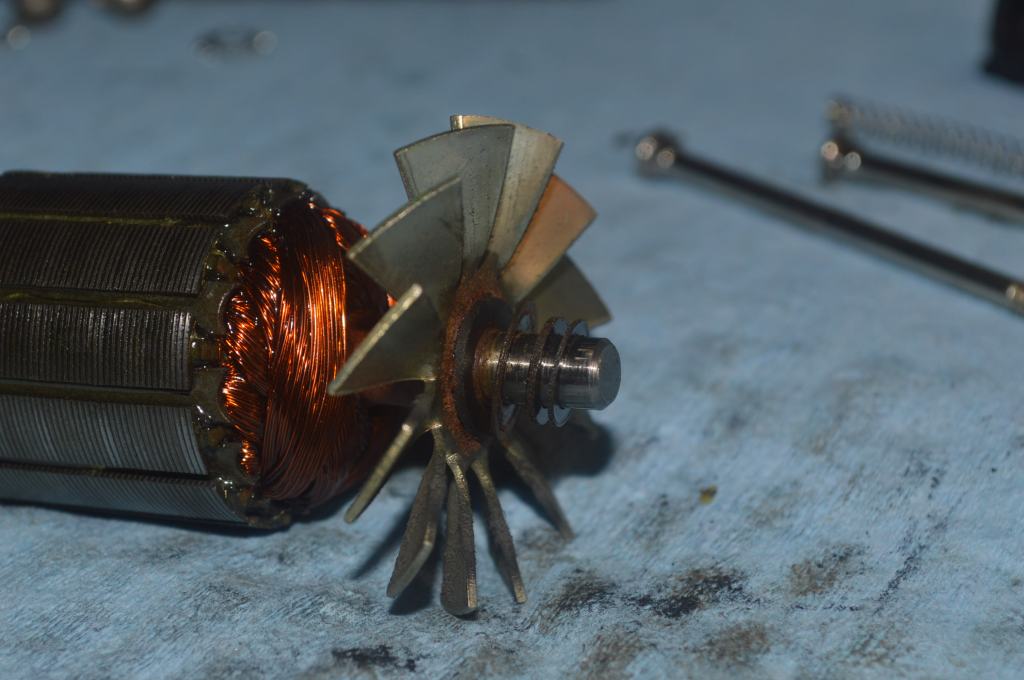
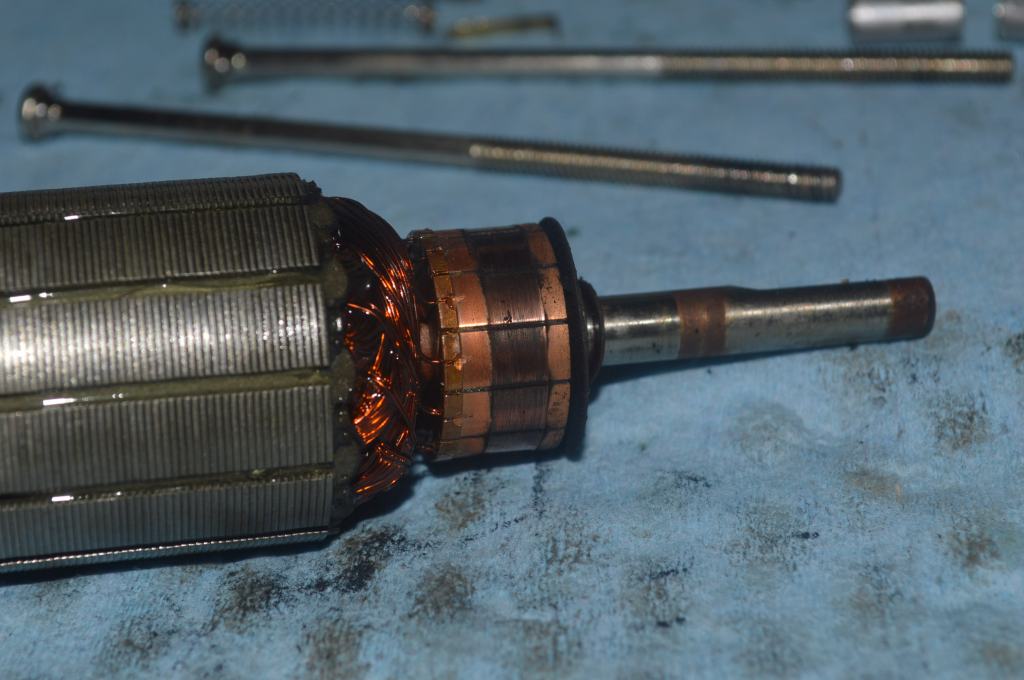
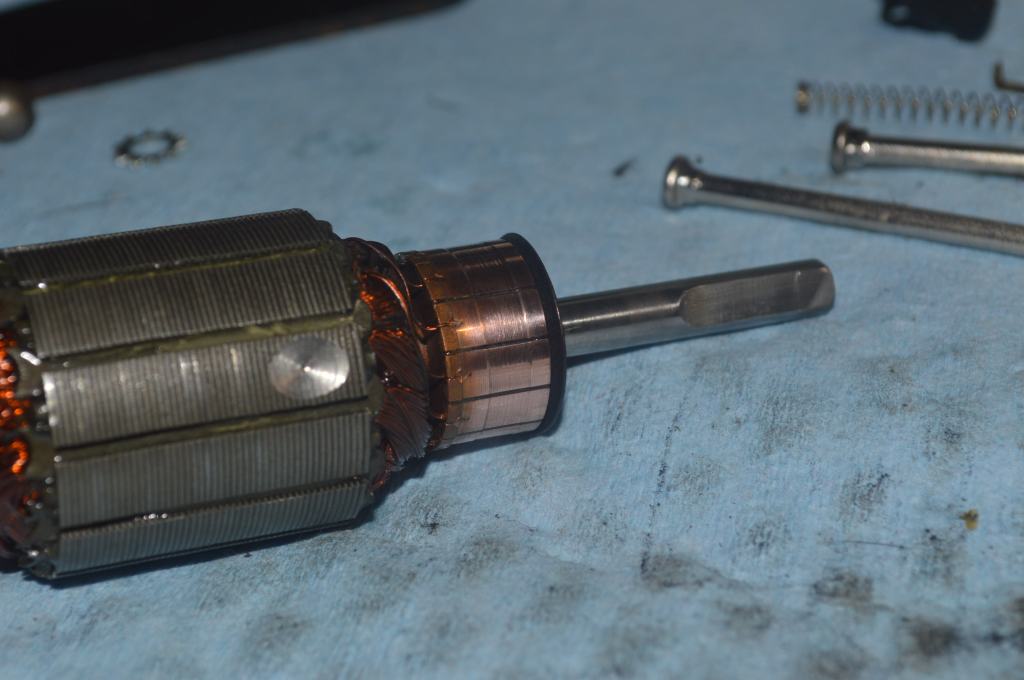
Each of the parts removed are ultrasonically cleaned, heated in oil to drive off moisture, and then wire brushed to bright metal.
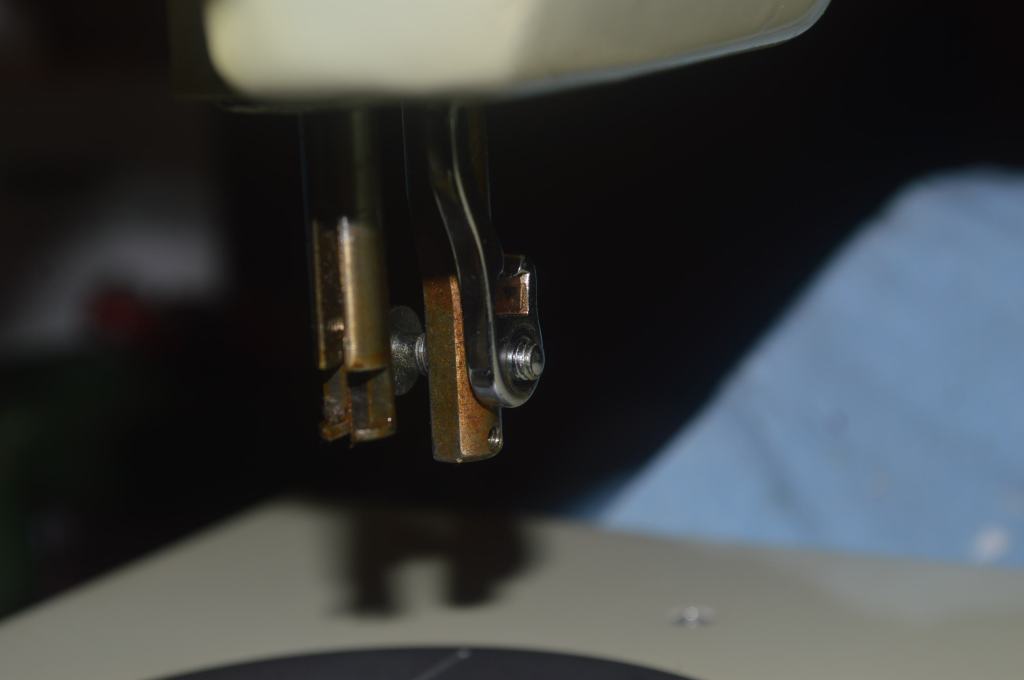
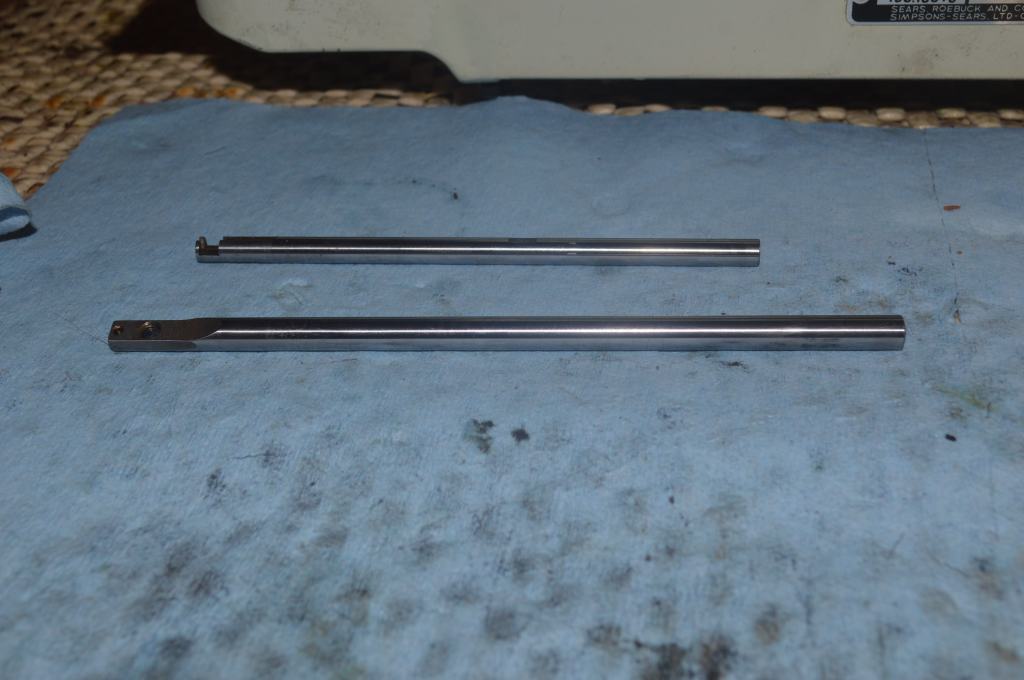
Taking it a bit further, the presser foot bar, the needle bar, and the connecting rod are polished. These parts must be as smooth as possible.
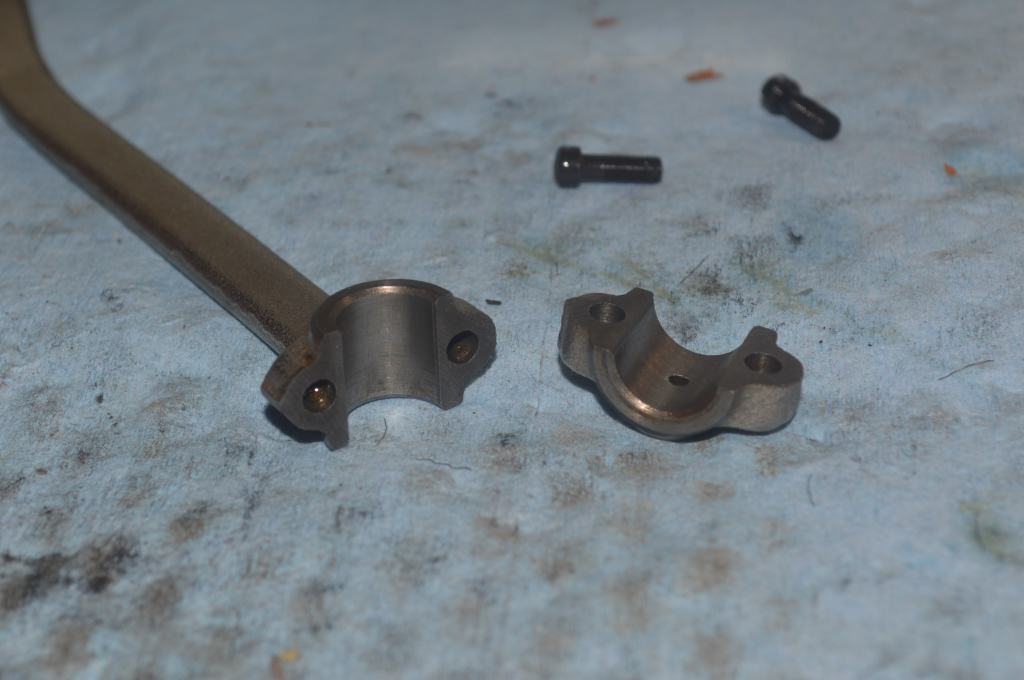
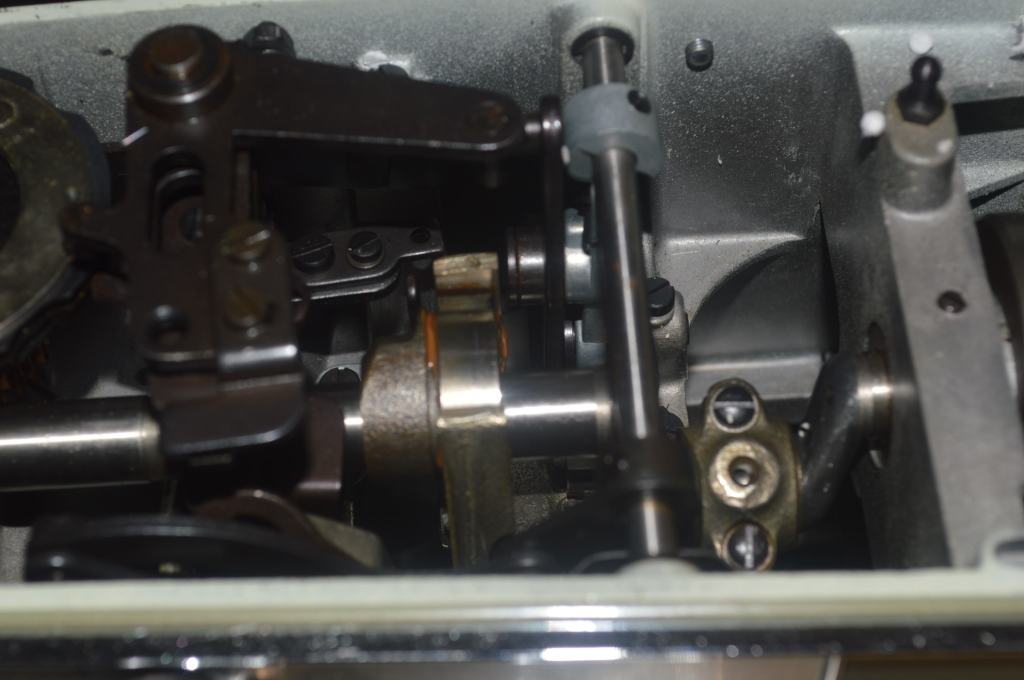
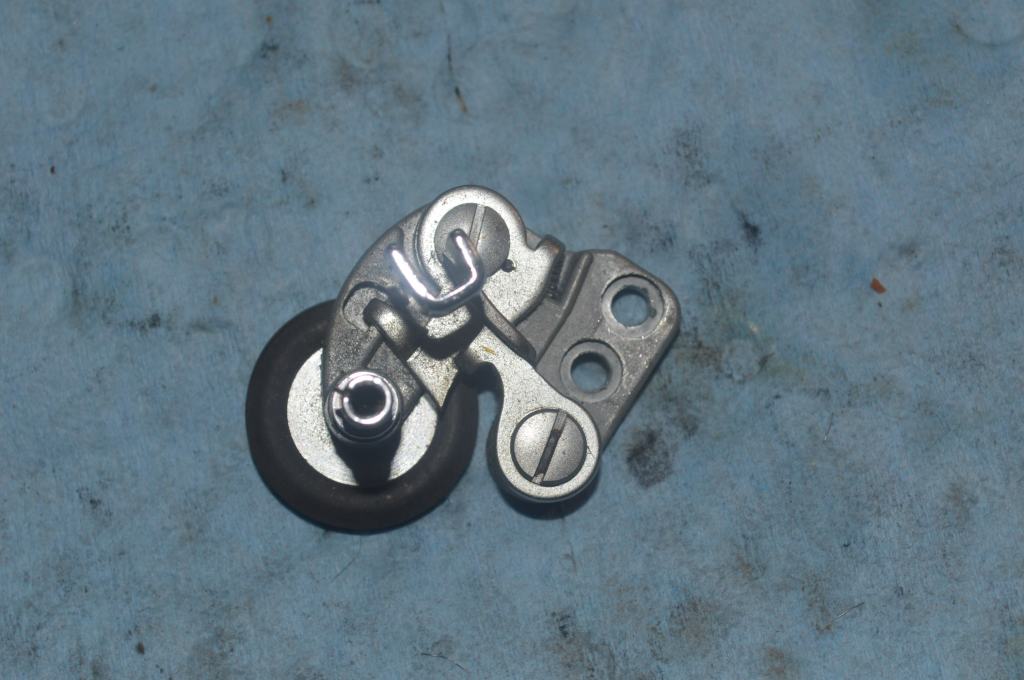
The parts that are disassembled in place are removed, cleaned, and reinstalled one at a time.
Traces of old oil varnish is removed from all of the mechanisms and all points of contact are lubricated.
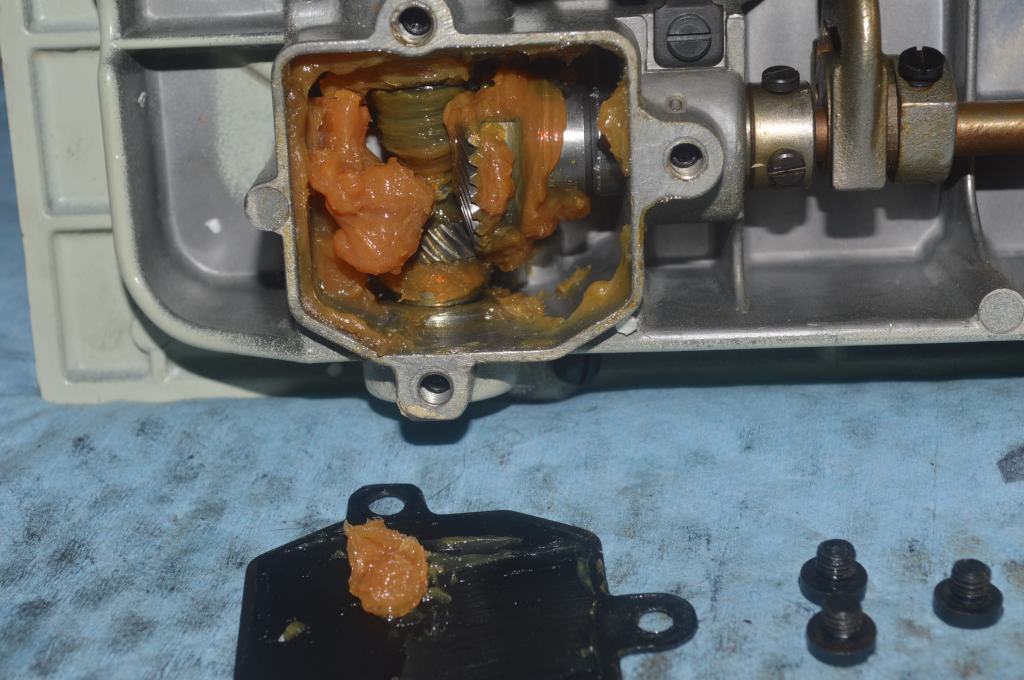
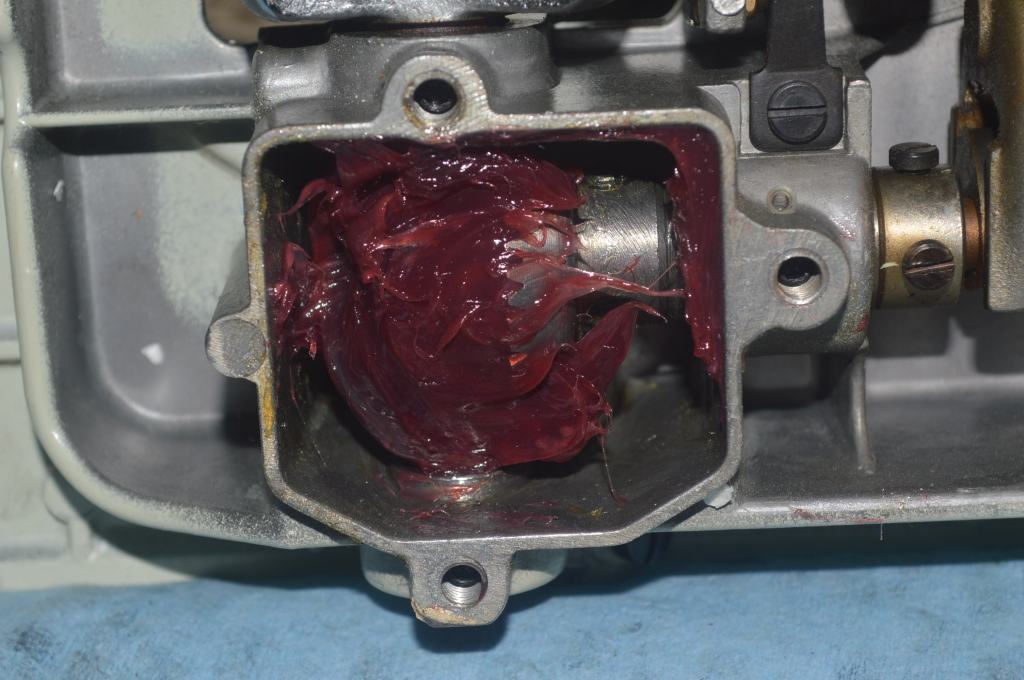
The gear case is opened, the old, hardened grease is removed, and new grease is added.
The next step is the restoration of the motor. It is disassembled and cleaned, and the armature shafts and commutator is polished.


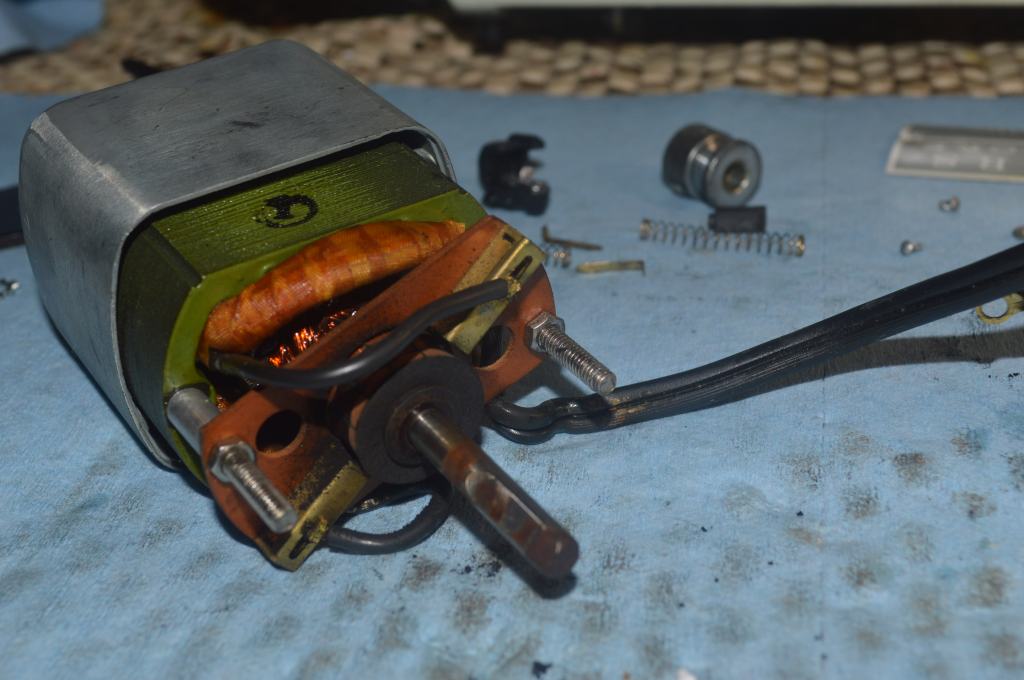
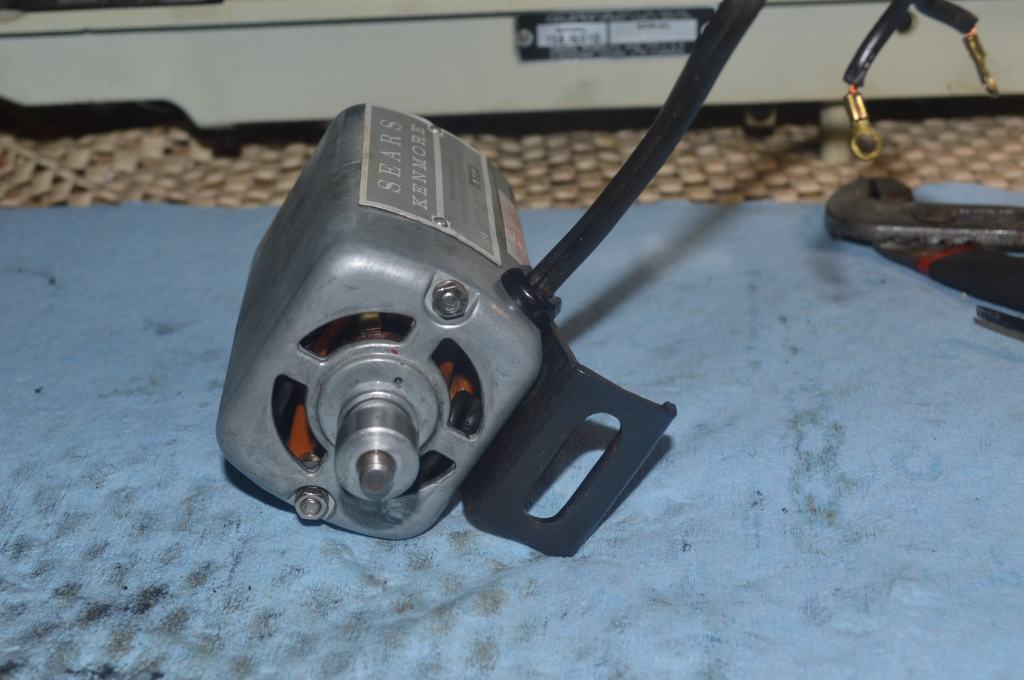

Not surprisingly, the motor runs smooth and strong.
The top tension assembly is disassembled and cleaned. The tension discs are polished.

The bobbin tension flat spring is removed, and the tension surface and spring is polished… even a slight bit of dirt here can create bobbin thread tension problems.
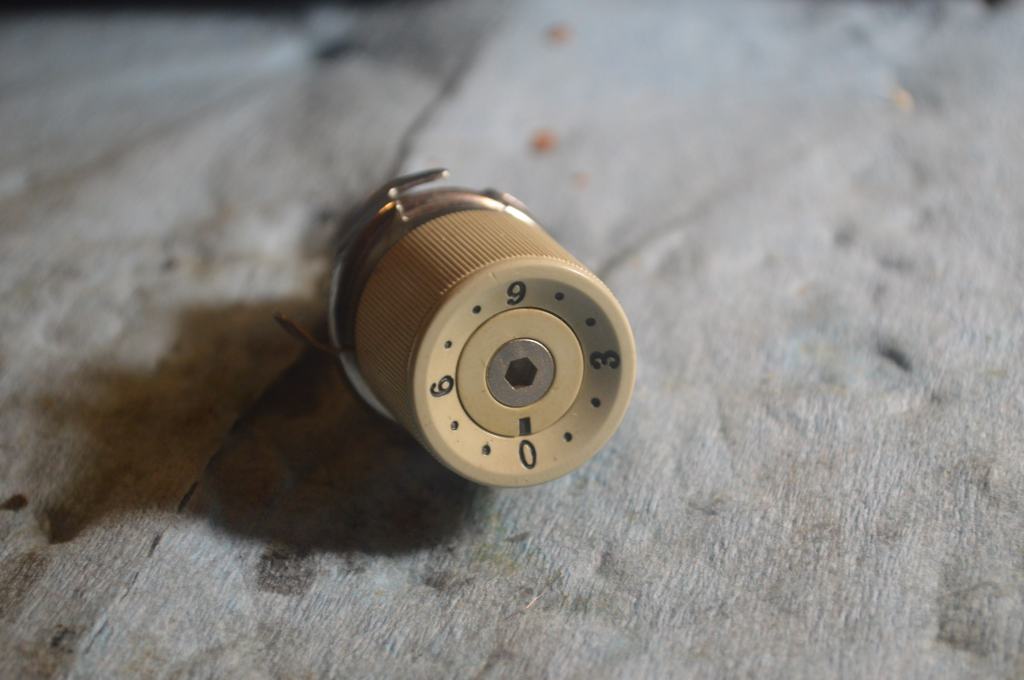
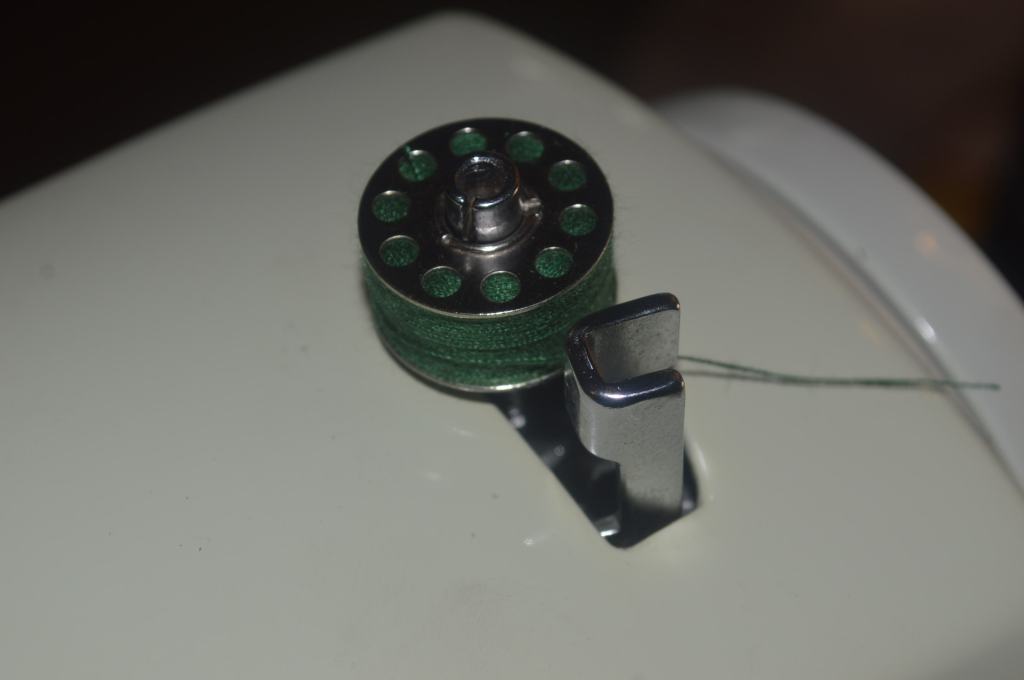
Next, the bobbin winder is removed and cleaned, then it is adjusted to wind a full bobbin.
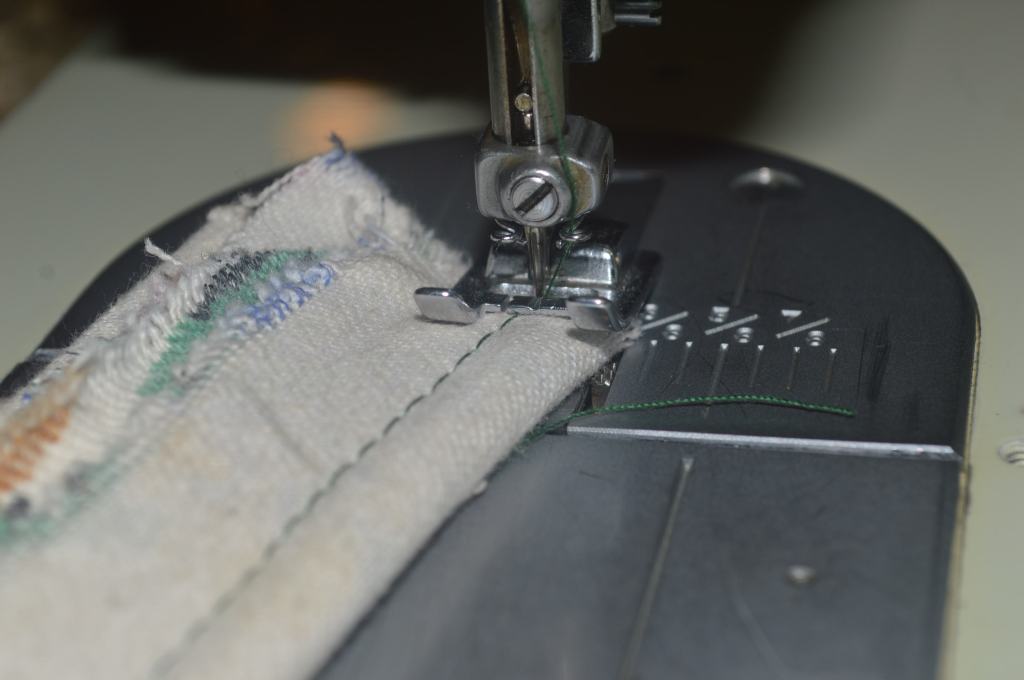
The final step is too clean and polish the body of the machine. Once it is done, the machine is reassembled and adjusted. The machine is run thru all of its built-in stitches to ensure each is sewing properly. The fabric I used is upholstery weight denim, the needle I chose is a size 16 needle.
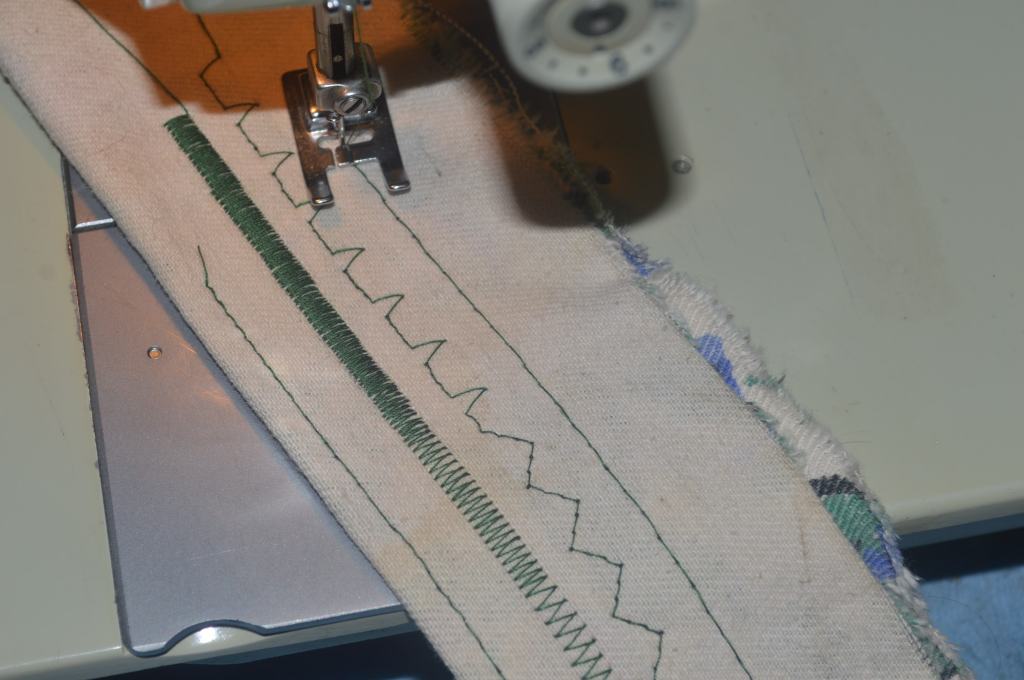
Next, a pattern disc was chosen to make sure the cam assembly was operating properly. I used 2 layers of cotton fabric to make sure the machine wasn’t pulling the fabric into the throat plate. The fabric fed reliably and there was no issue with feed… going forward or reverse.
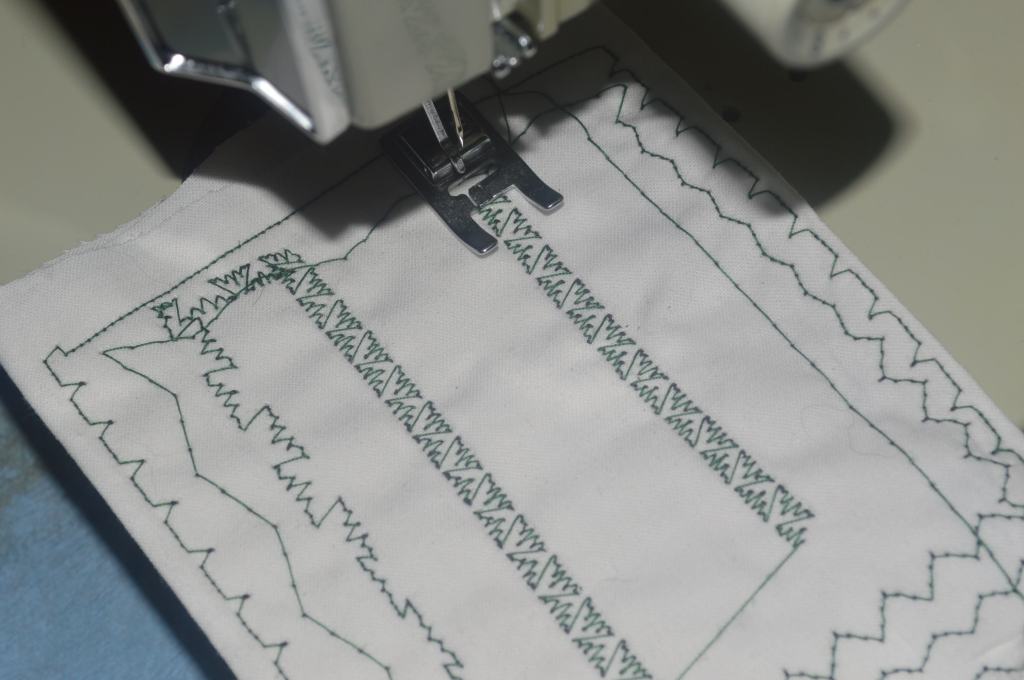
One of the issues this machine had was sewing thru heavy fabrics. Kenmore’s combination of high amperage motors and double reduction pulley system produces impressive piercing power. This machine is expected to pierce heavyweight and multiple layers of fabric without a struggle. To demonstrate this, the denim fabric is folded to eight layers (full depth of presser foot without extension) and the needle is set against the fabric. This is the best test for piercing power since the machine must start with the needle piercing the fabric from a dead stop… Here, the machine pierced and sewed a seam in the fabric at slow speed with no hesitation… and the stitch quality is excellent.
With the mechanical restoration complete, the machine runs and sews as I expected it would. The machine runs smoothly and quietly. It has plenty of power, and the stitch formation is excellent. Overall, I think that the customer will appreciate the difference in her machine and continue to enjoy using it for many more years to come.
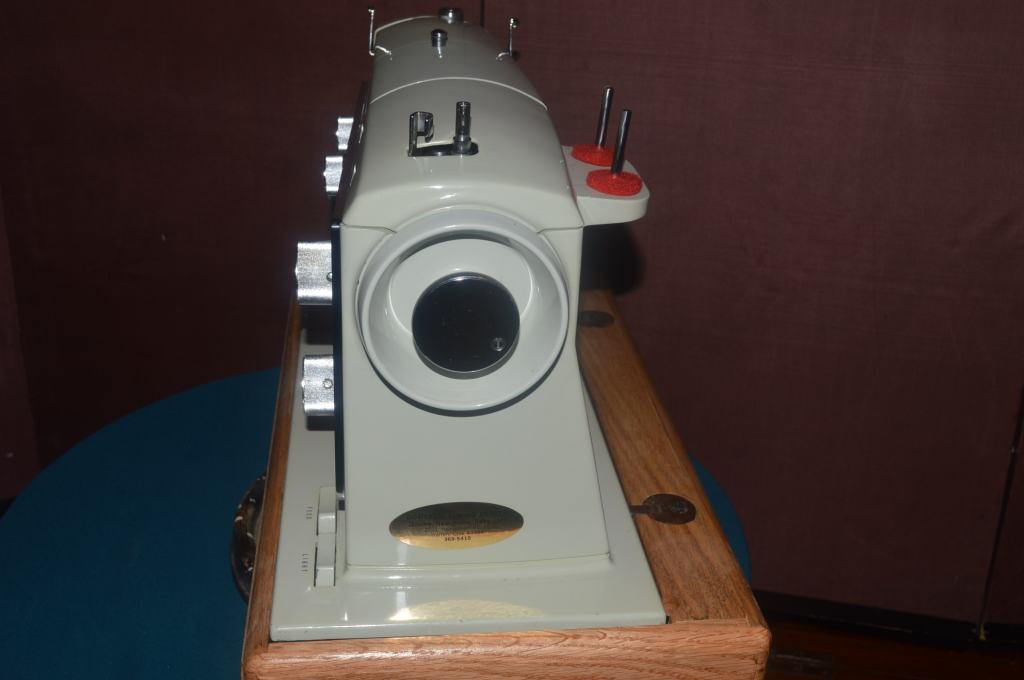
Here is the machine after the restoration is complete… I will say that it looked great before and it looks great now, but the real difference is the one you can feel. Unfortunately, I can’t show that in pictures!

Well, I hope you enjoyed the restoration process! It is satisfying to me knowing that a durable high quality sewing machine made 53 years ago can run as smoothly and reliably today as it did then. Not only that, I have every reason to expect that with proper oiling and maintenance this machine will run reliably for many more years to come.
Looking for a similarly restored quality vintage all metal sewing machine for your sewing room? Let us know! We specialize in custom orders and are happy to locate and restore the “perfect” machine for you!
As always, If you have any questions, or if I can be of any assistance to you, please contact me through Etsy or send me an email to Pungoliving@gmail.com.
Thanks for reading!
Lee

Hi, I emailed you at bongoliving at gmail last night. Could you let me know if you received it?
What part of the country are you located in? Thanks
LikeLike
oops, I just saw that it’s pungo not pongo. I’ll resend my email to you. Please let me know if you received it. Thanks
LikeLike
Hello! Thank you for posting your wonderful article. Very informative. I purchased a Kenmore 158.16 013 yesterday. I am in the process of cleaning and oiling. The cam door doesn’t close all the way and it looks to me that it may have been tweaked because the hinge on one side seems a little misaligned. Wondering if You have ran into this. Thank you so much for any insight you may share
LikeLike
Hello Pamela,
I’m sorry for the late response, but I have been unavailable for the past few weeks.
It is not difficult to tweak the cover to fit. Often times, there is enough play in the screw holes to adjust it properly. Loosen the screws just enough (but not loose) to where you can close the cover. Open it carefully (so as not to move the position on the screws) and retighten them.
I hope this helps!
Lee
LikeLike
Thank you for your reply on my Cam lid. I actually was going to do that but I’ve only been able to get two of the three screws out. Have been using penetrating oil but Unfortunately the screws are stripped and I didn’t do it lol. Pretty small to use a screw extractor on but I don’t know I may just leave it. Thank you so much for your response and you have a great day!
LikeLike