


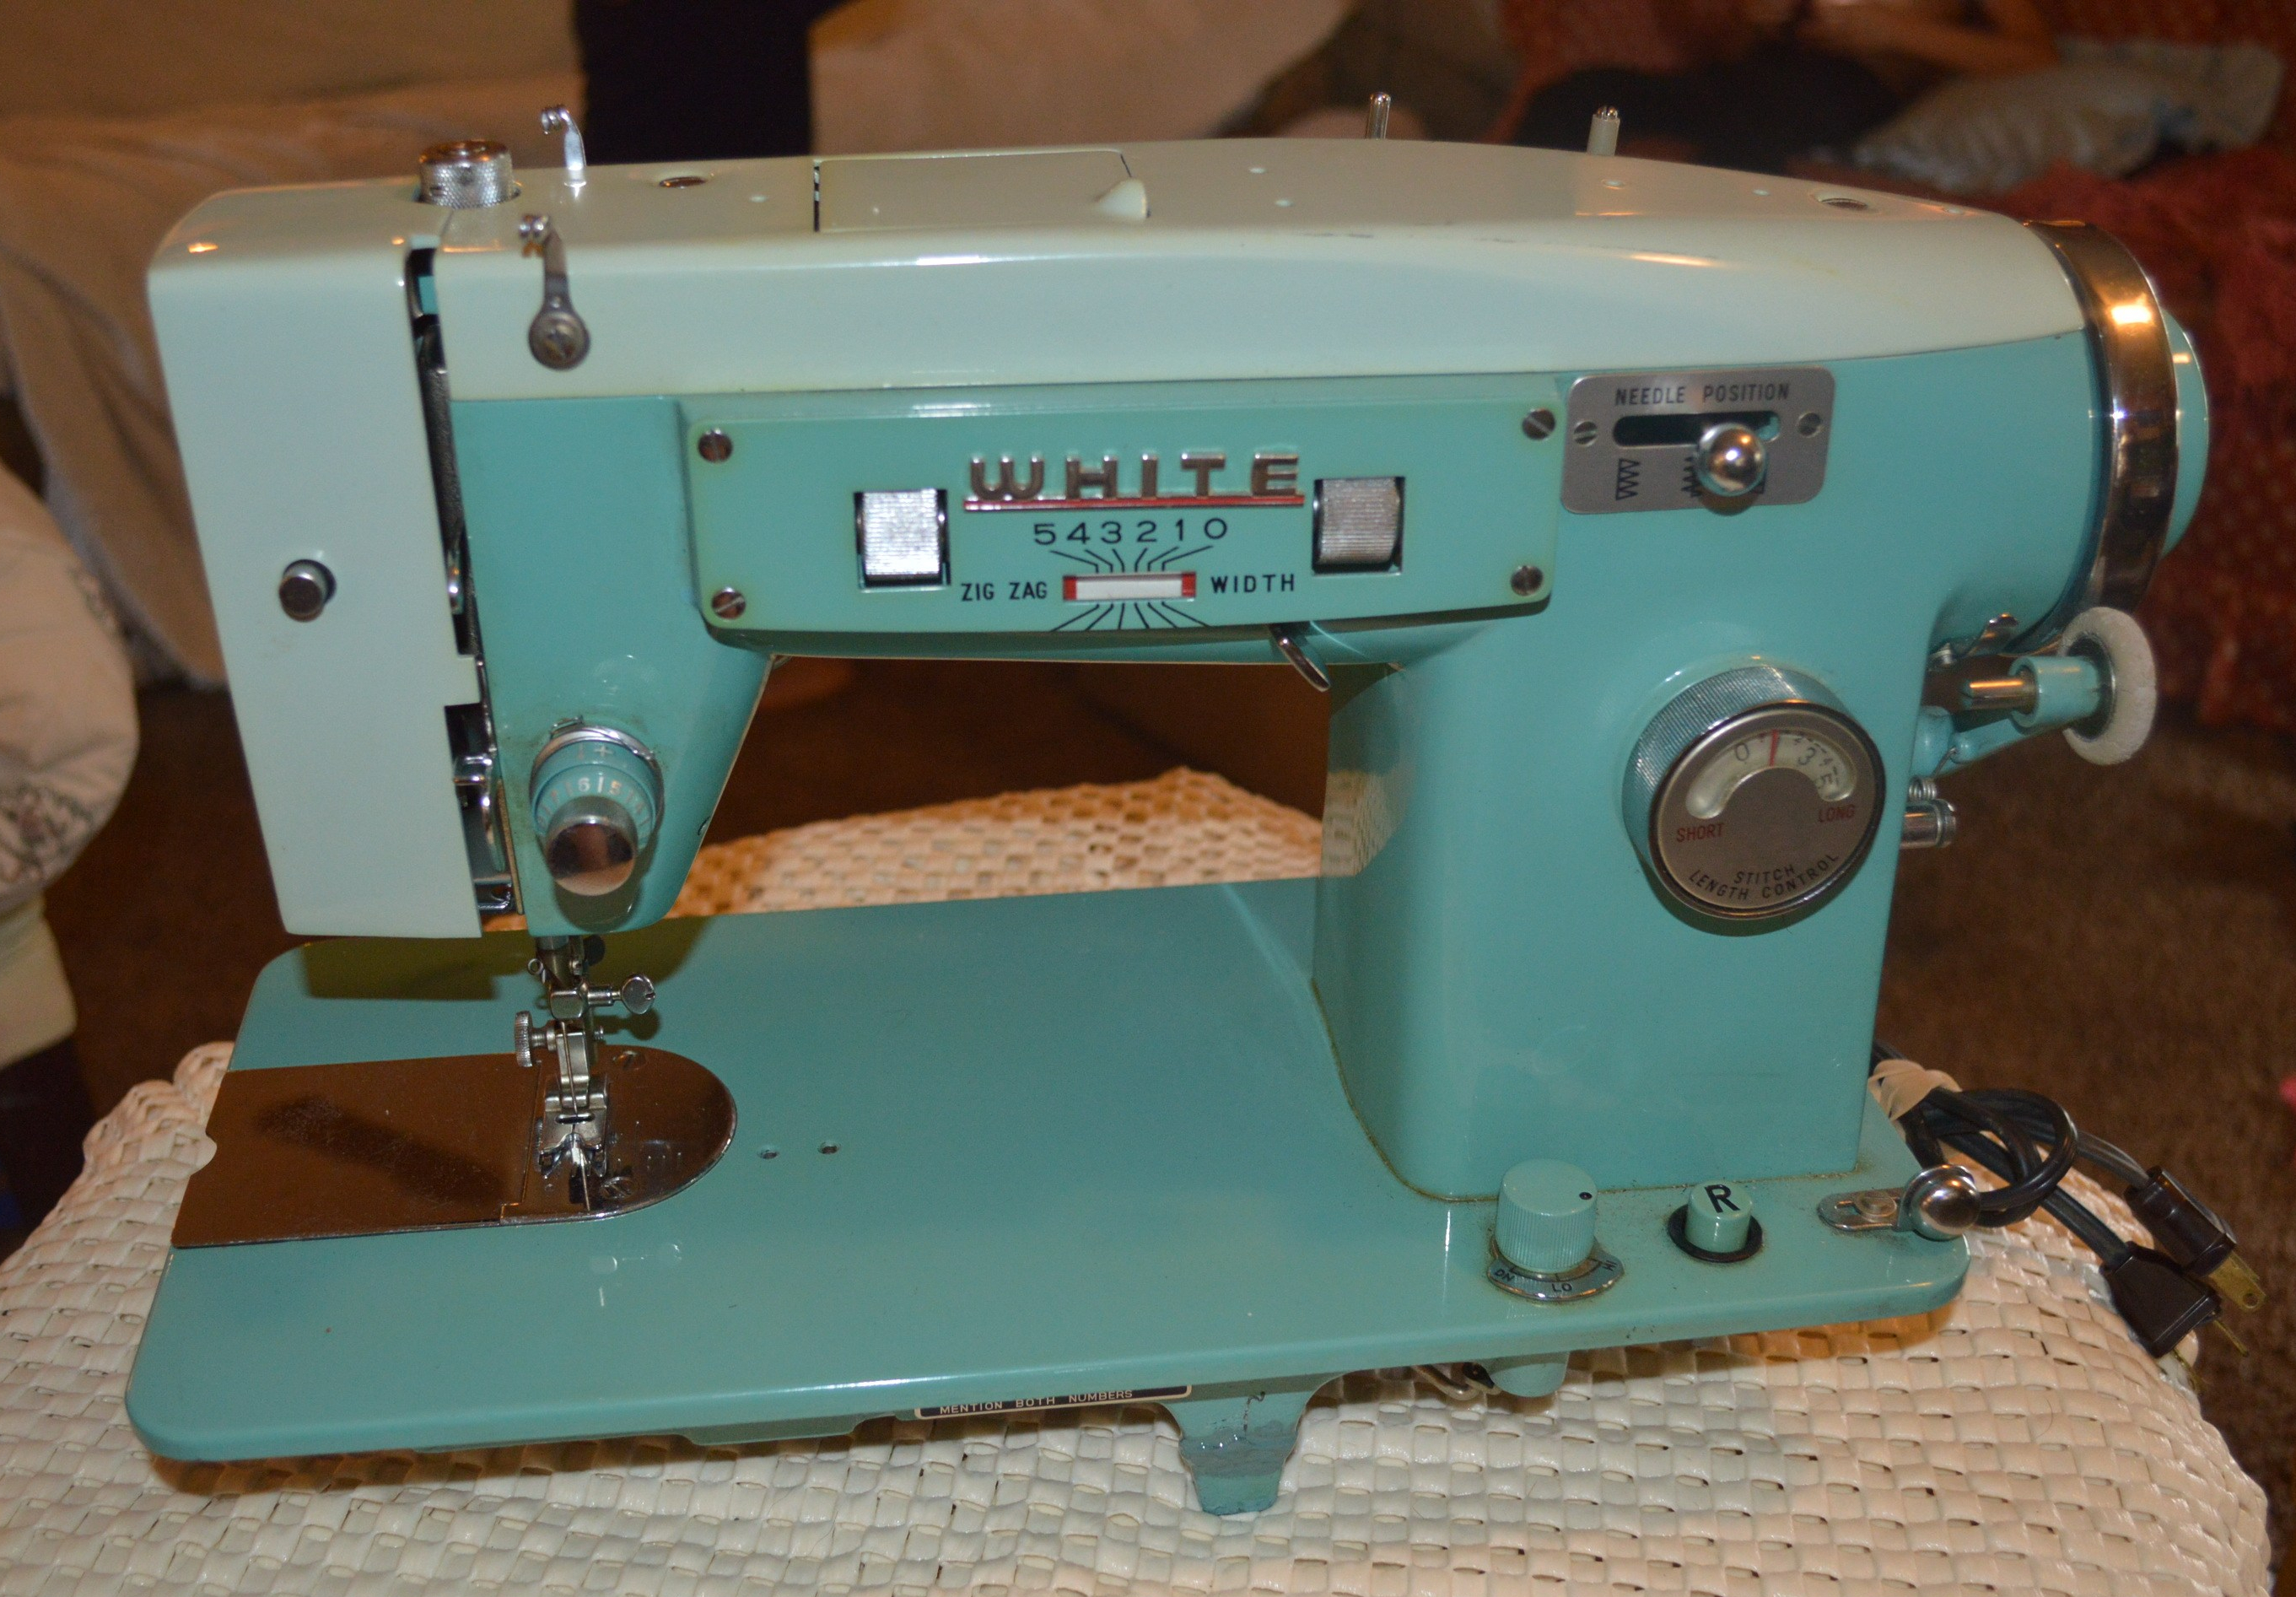
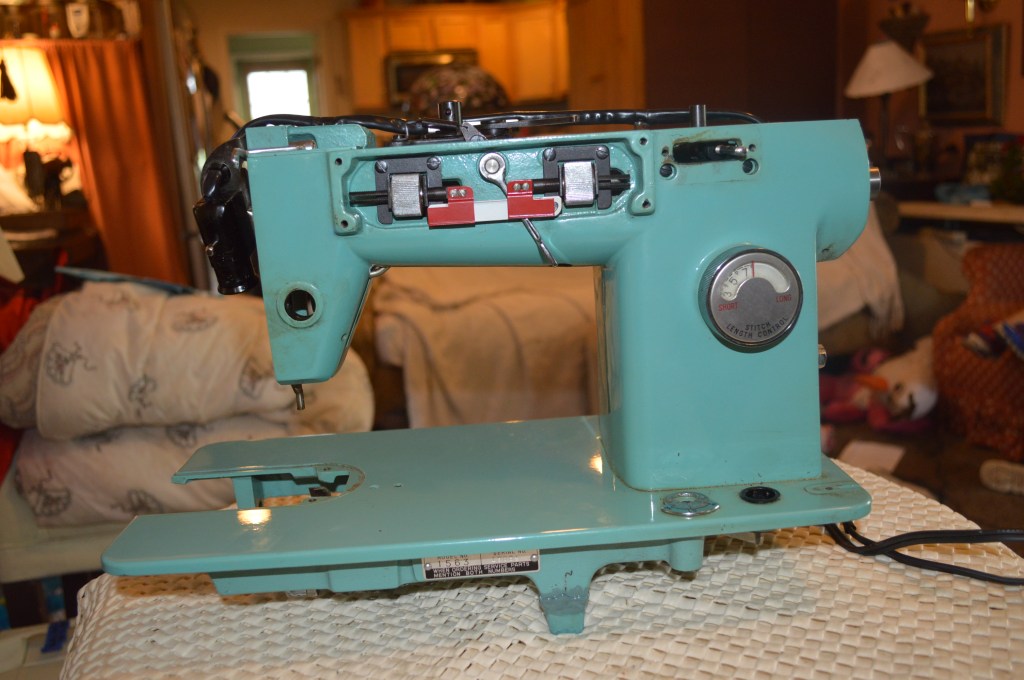
Up on the bench is a White model 1563 sewing machine. One observation I have made in my restoration efforts on vintage sewing machines of different manufacture is that White makes an excellent machine. That’s not particularly surprising, since White has been manufacturing sewing machines almost as long as Singer. In fact, around the turn of the century, they were the second largest sewing machine company in the world. The biggest difference I can see between the two companies is that Singer never “branded” their machine to retailers, and that White never tried to innovate their designs to the degree Singer did. Seems like White found a design that worked perfectly (AKA rotary bobbin) and stuck with it. Kind of like the attitude I have… “if it ain’t broke, don’t fix it). Up thru the 1950’s, White made sewing machines under a host of different labels… the most prominent being Kenmore. Singer sold Singer’s.
As to style, White’s early vintage machines were quite ornate and did not compromise anything when it came to function. The White Family Rotary is an excellent example of this…

It looks good and is built like a tank, It also features a full rotary hook and the largest harp space of any domestic home sewing machine of any manufacture… then or now. While White did make a number of their models quite stylish, it seems they stuck to the principle of function over style. The model I am working on here has a very austere presentation. All of the controls are very well laid out and simple to use, but not “flashy” in any respect. What it does present is a very solid, durable, and strong sewing machine. This sewing machine is all metal, has a powerful 1.3 amp motor, features feed dog drop, and the complete drive train uses self lubricating bronze and steel worm and bevel gears. It also features Left-center-right needle positions, and is cam compatible to produce 20 different decorative and pattern stitches using separate cam discs. Add to that it’s 33 pound weight,courtesy of it’s cast iron body and you have a very capable sewing platform you can rely on. The precision of the machine (similar to many White machines of this vintage) is impressive. In my humble opinion, these machines produce the most beautiful satin stitch of any vintage machine out there.
I did not start off thinking that this restoration was going to be as detailed as it turned out to be. Cosmetically, the machine had a few scuffs that needed to be corrected, and the chrome needed to be polished. Otherwise (and aside from the usual dirt) it is in excellent condition. The internals had the typical coating of oil varnish build up, and like all machines that I restore, it was in for a deep cleaning of the body and internal mechanisms, adjustment, and the complete restoration of the motor and tension control assemblies. After all… White’s, (like Kenmore’s of this vintage) seldom need more than this to restore to a high level of sewing quality.
Early on in this project, I noticed that the machine did not “feel” as smooth as it should. instead, it had some “sticky” spots I could feel turning the balance wheel by hand. This told me that the oil varnish was more than cosmetic and had worked its way inside of the many moving parts and assemblies. Altering my original expectations, I decided it deserved a much more complete and detailed restoration. So… here it goes.
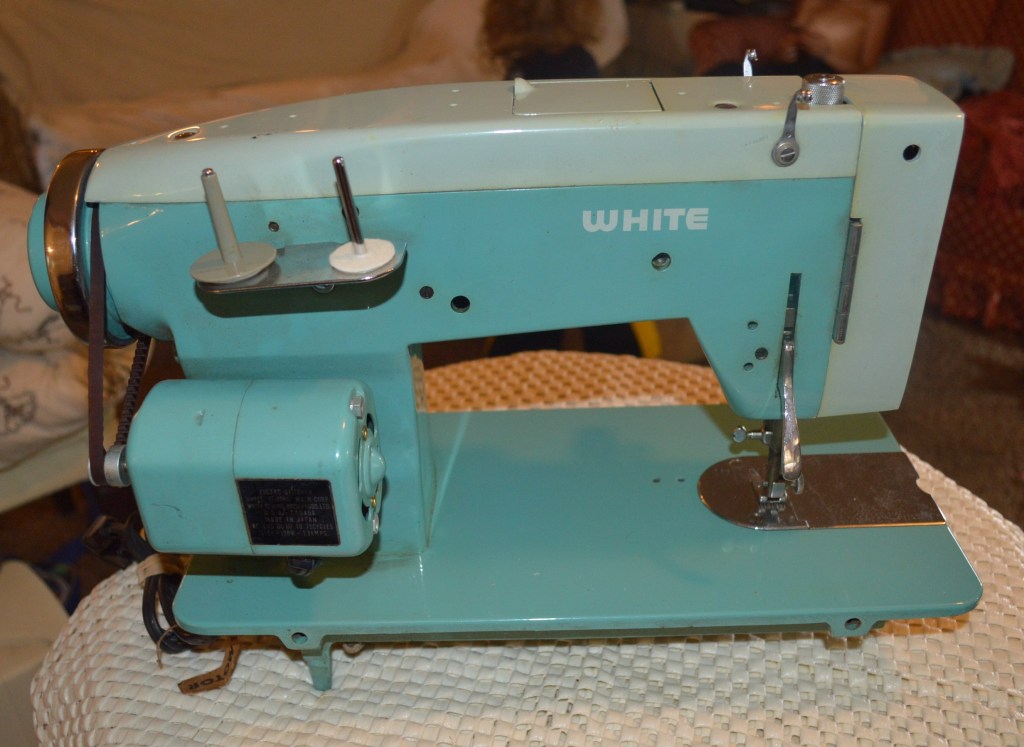
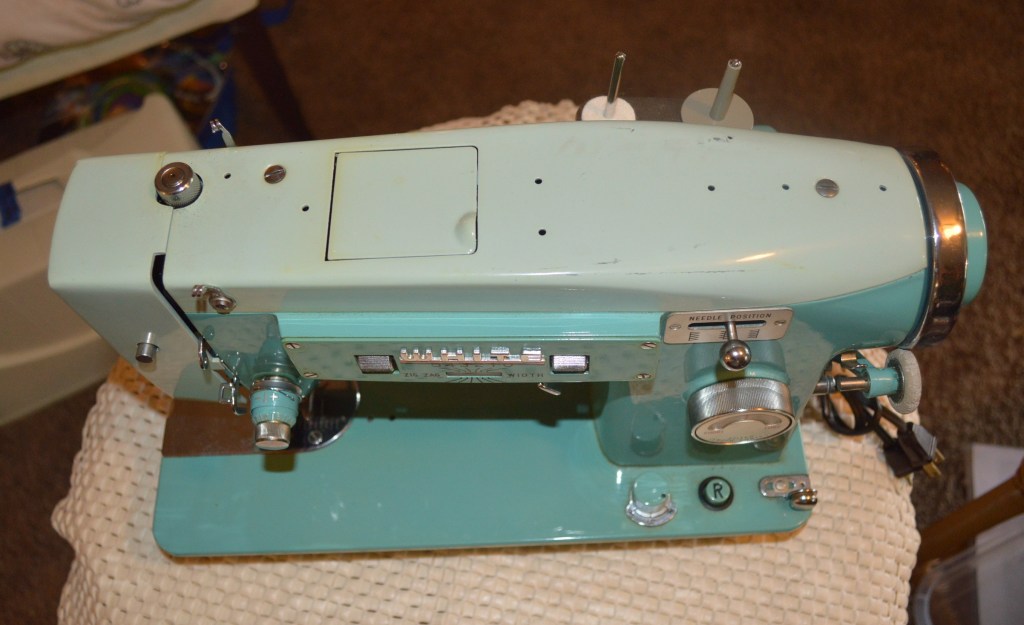
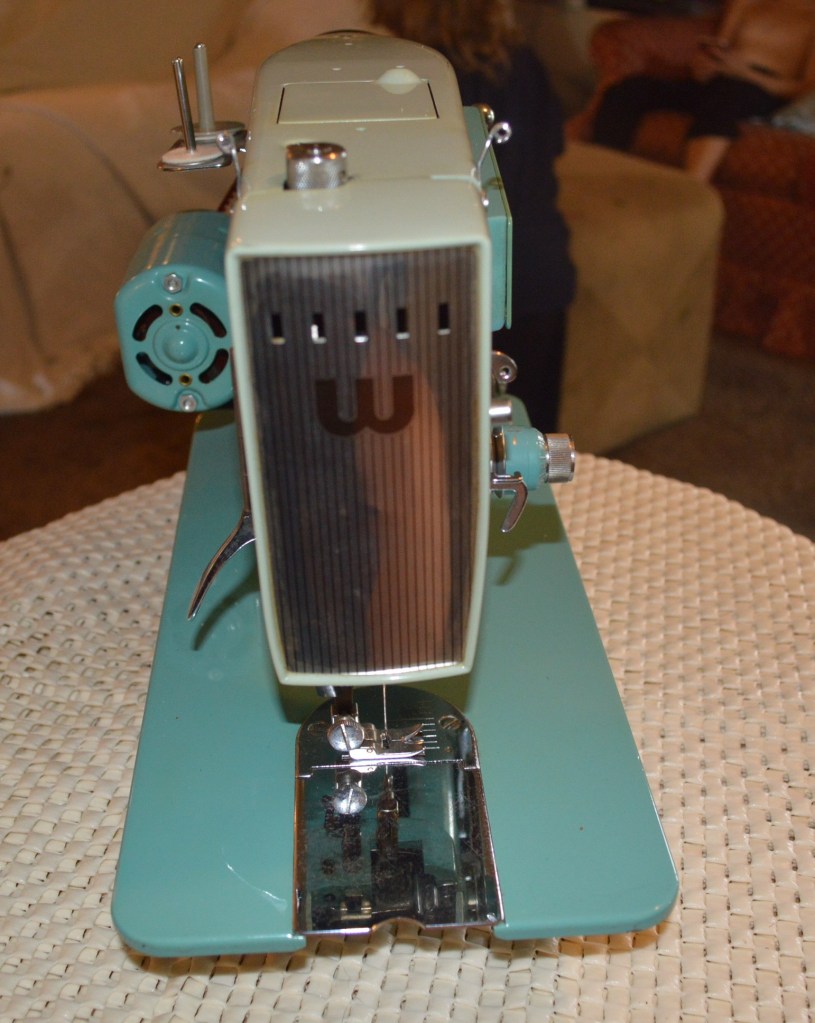
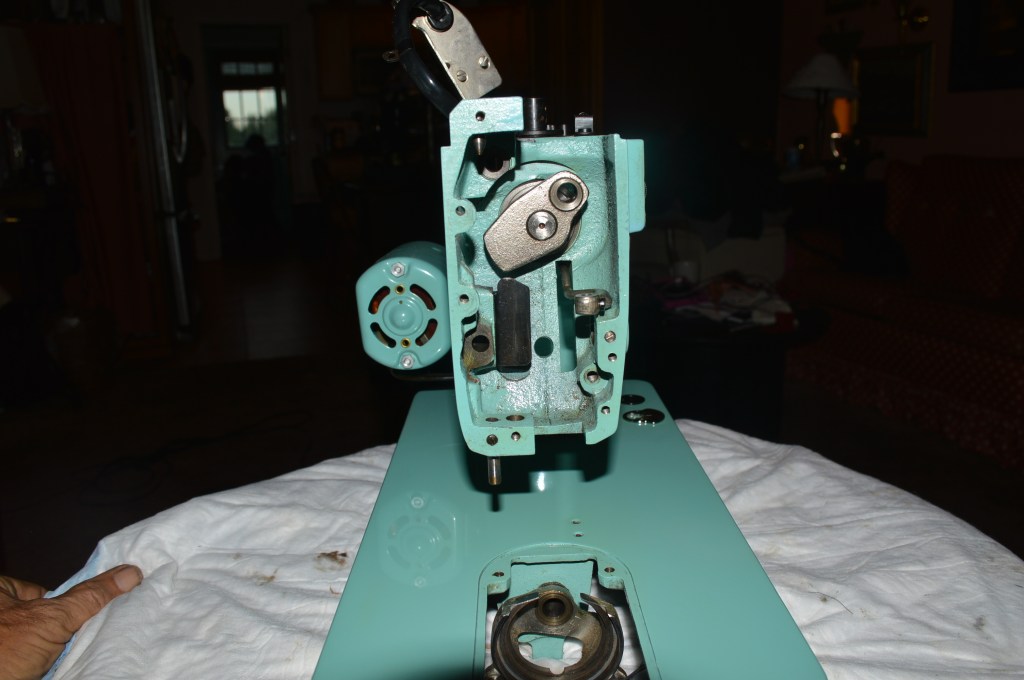
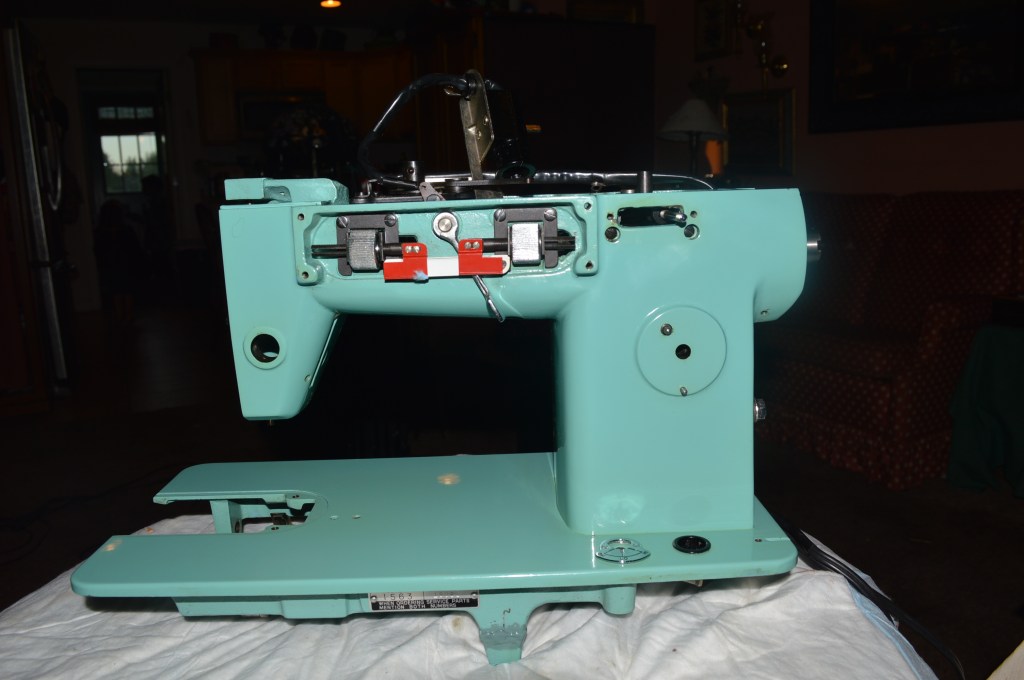
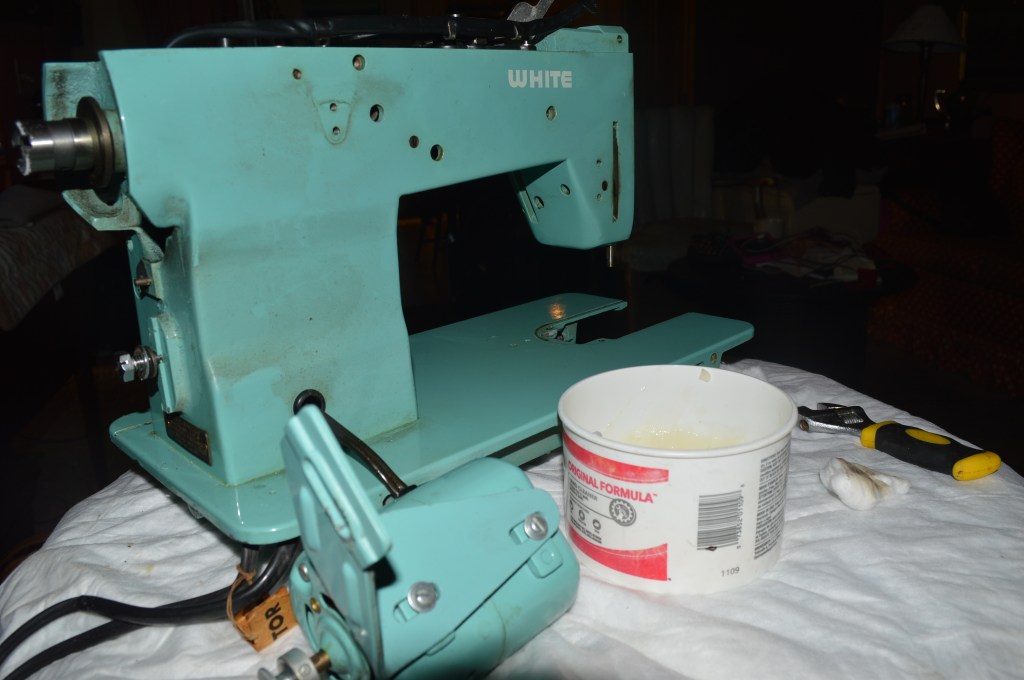
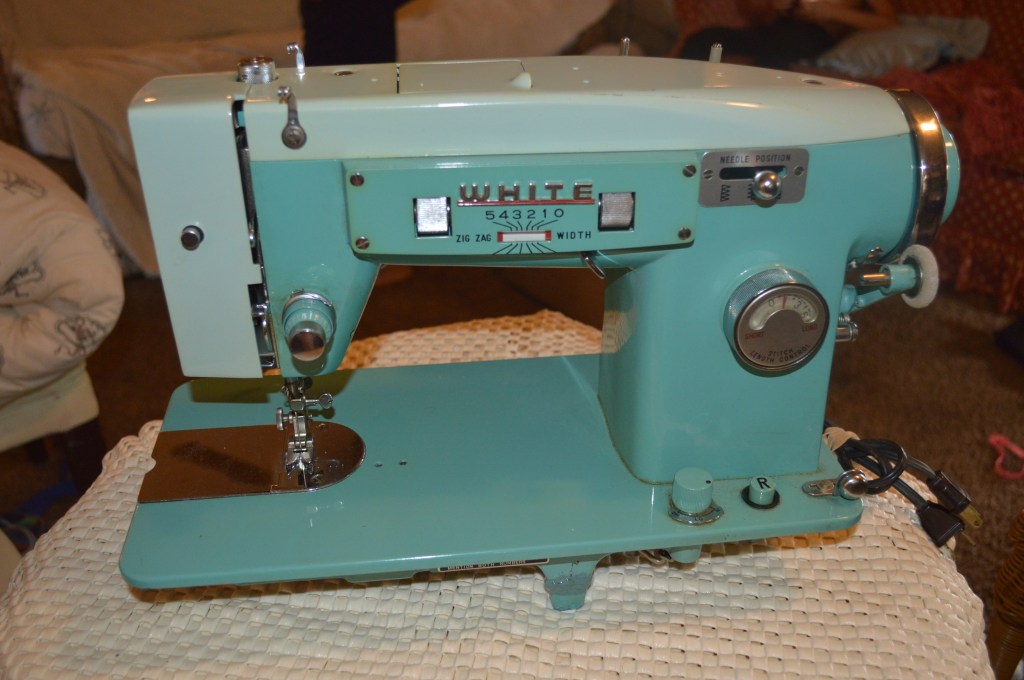
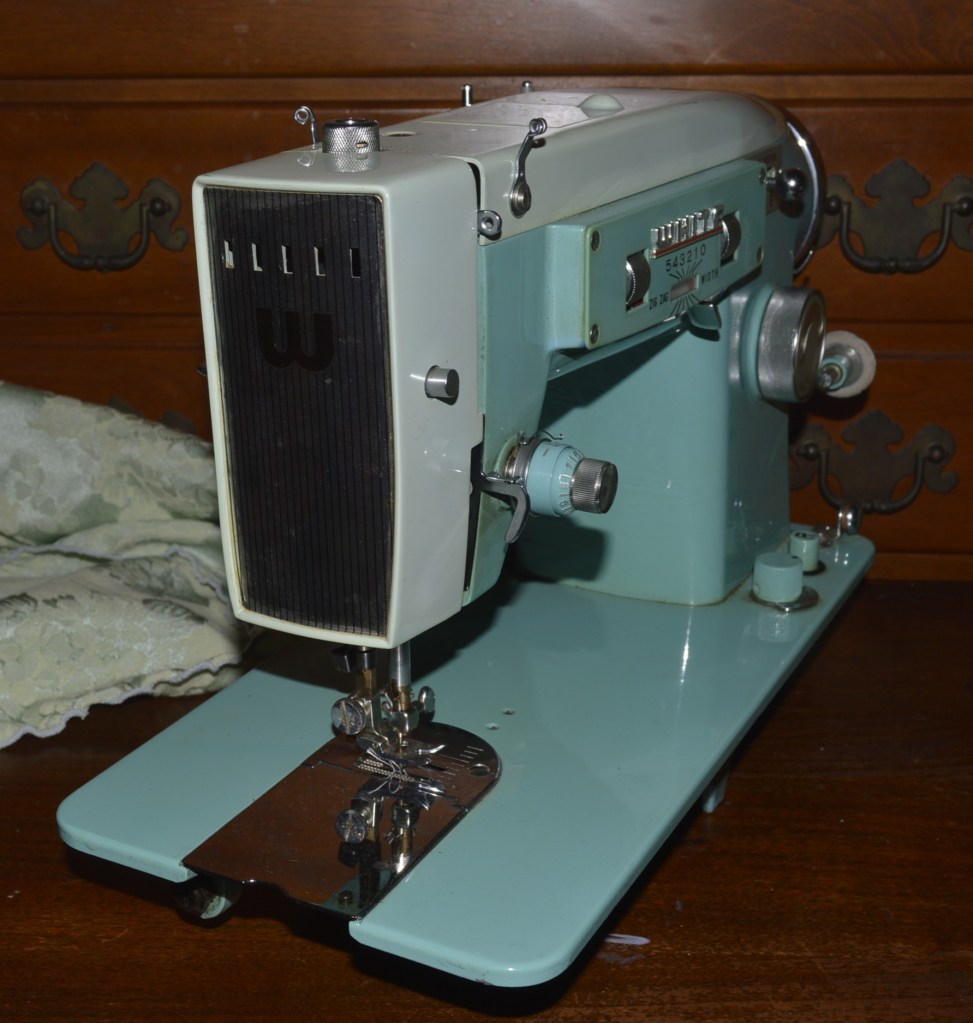
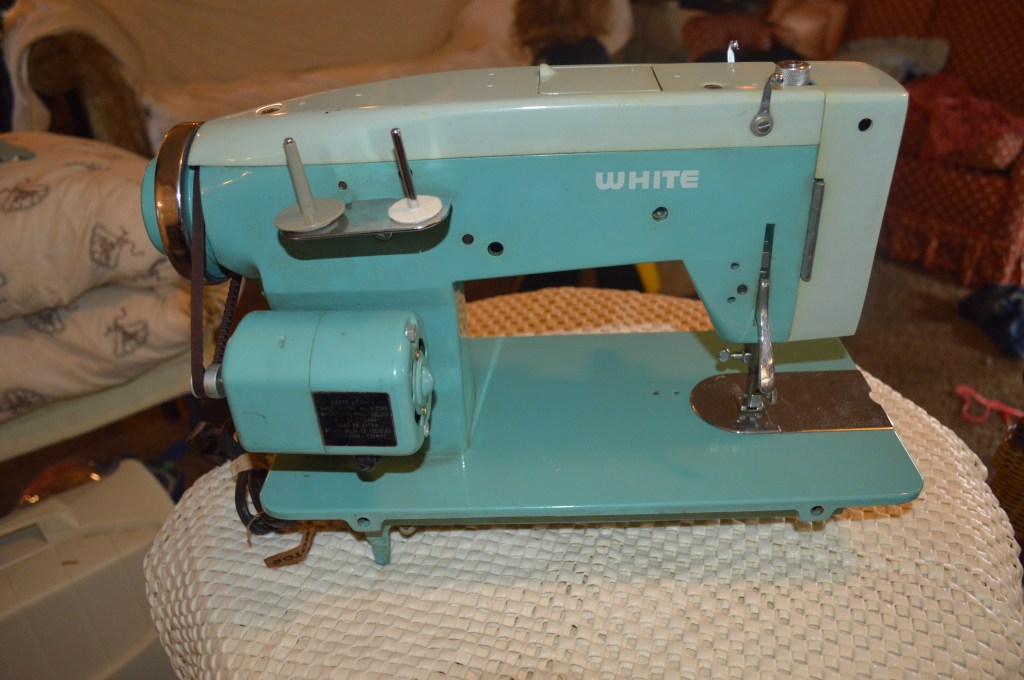
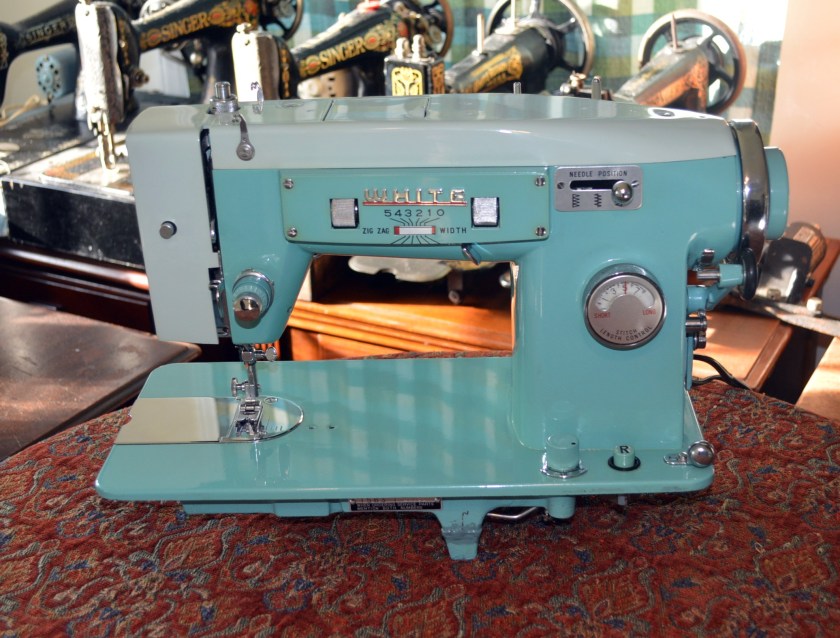
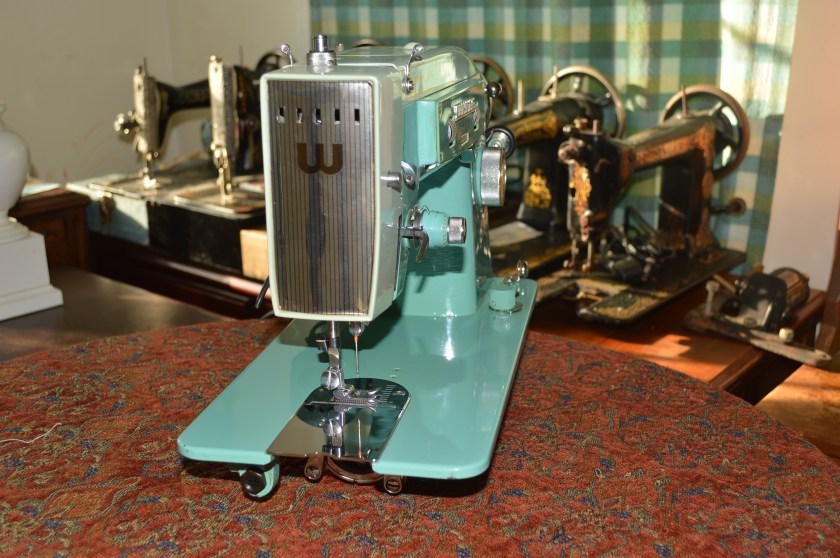
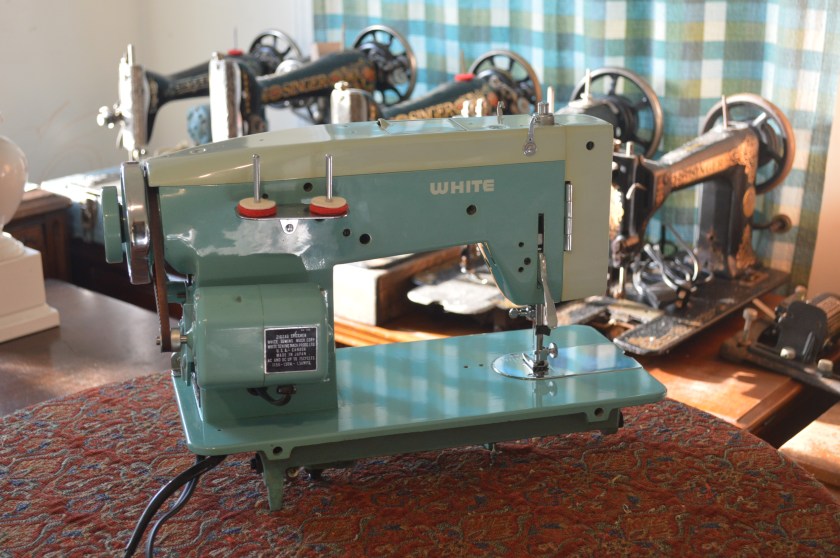
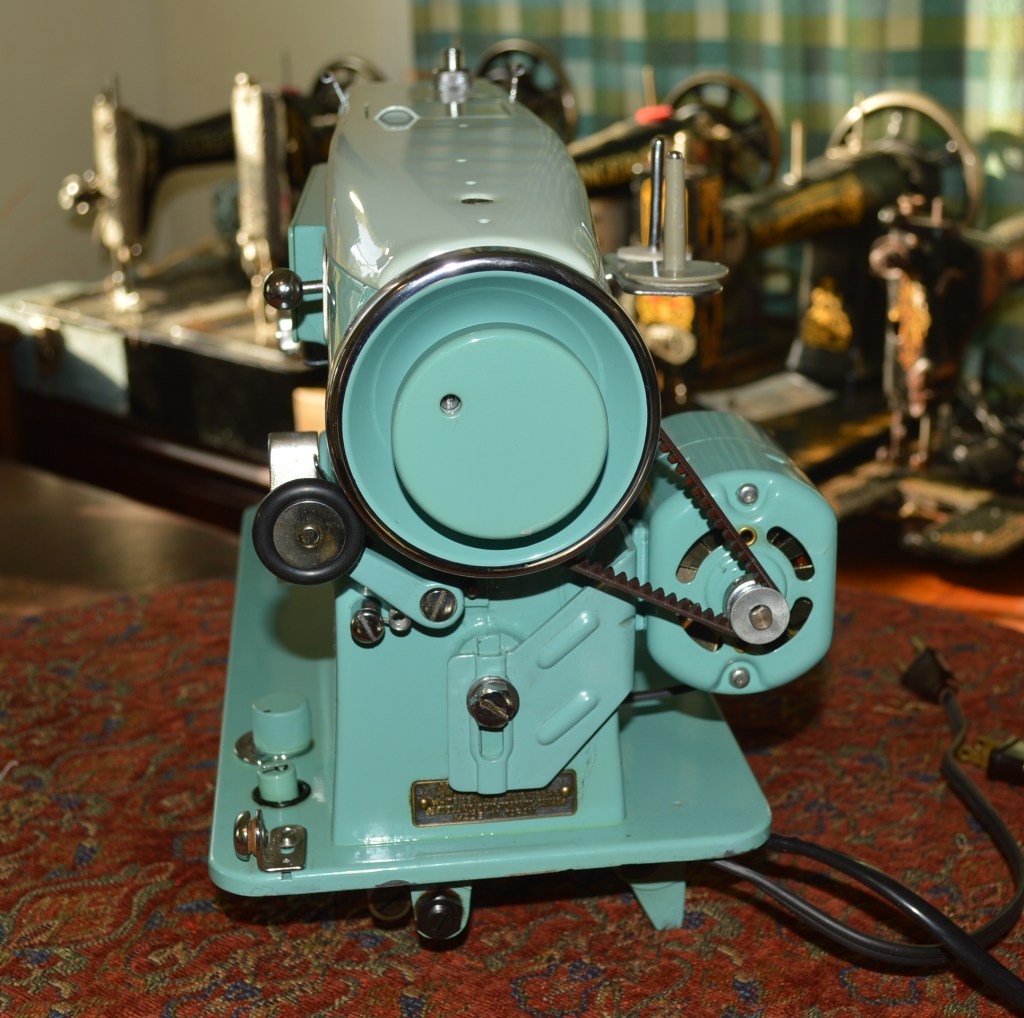
Here is the machine before the starting the restoration…

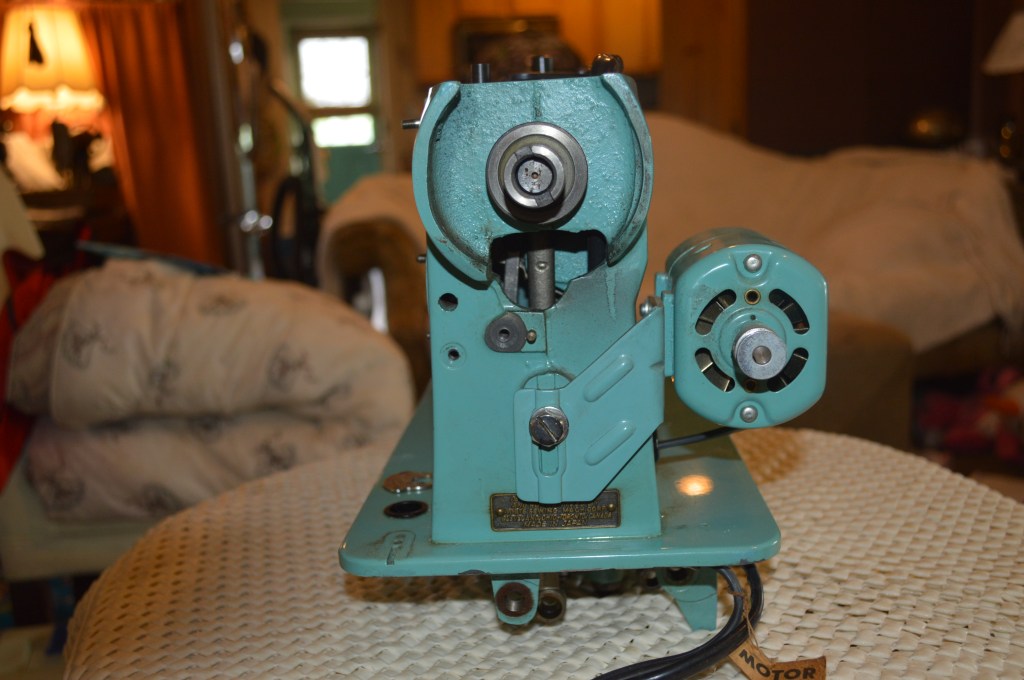
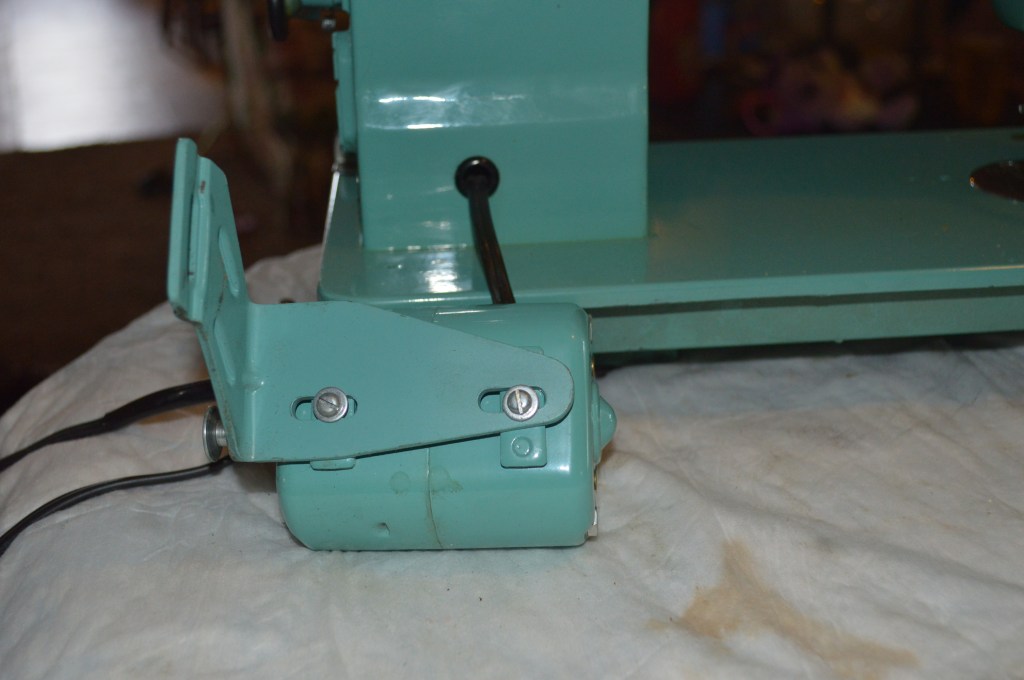
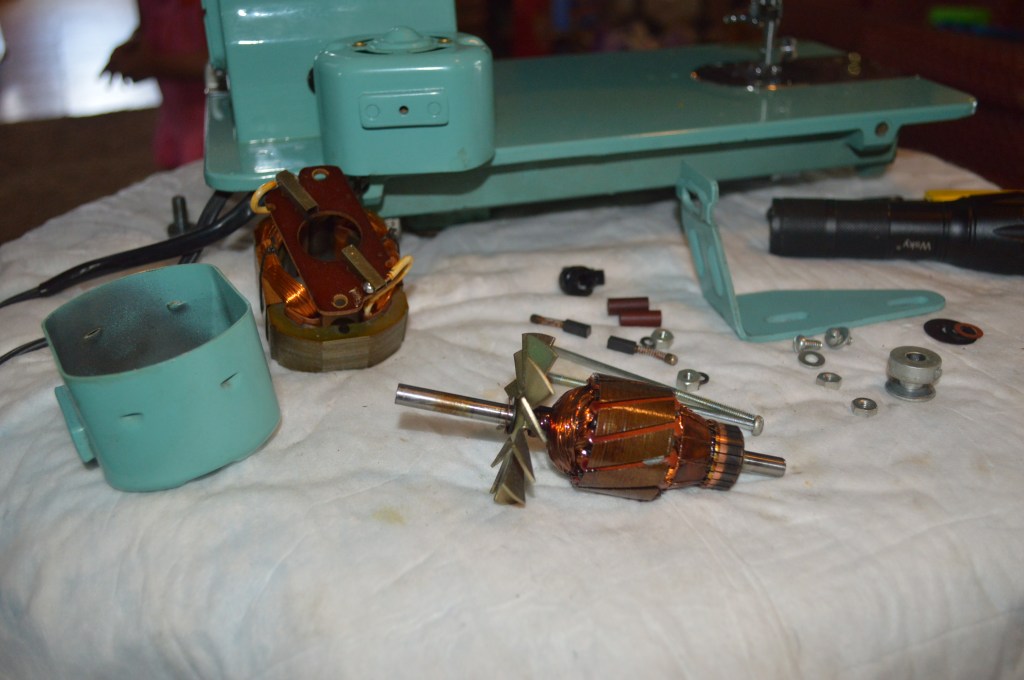
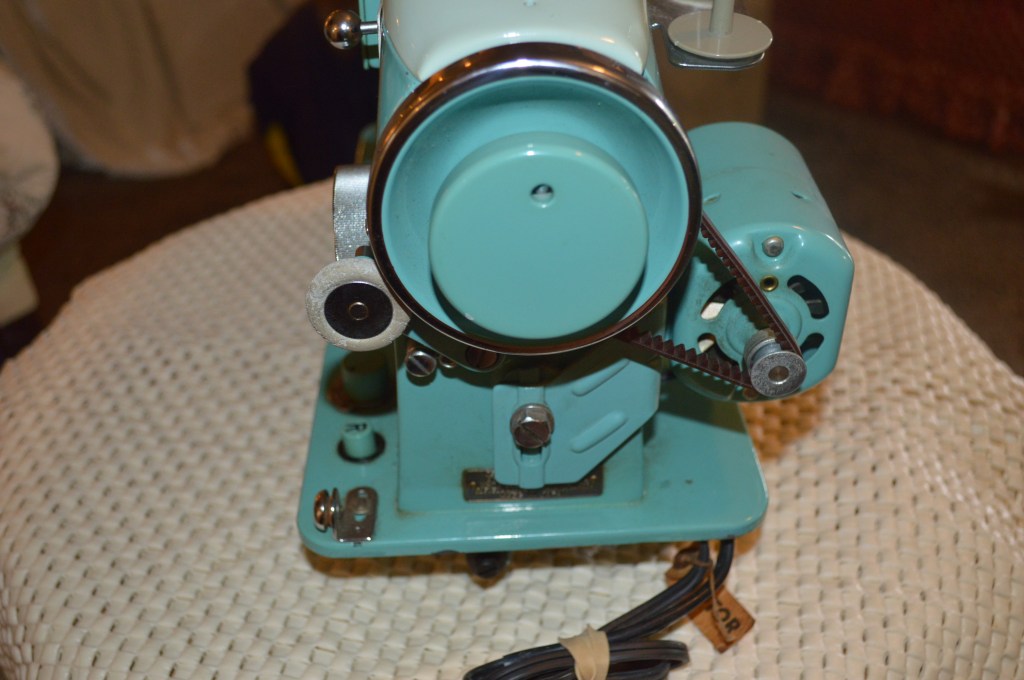
The first step is to disassemble as much of the parts, bits, and pieces as possible to allow easy access for cleaning… because the motor’s power cord is in good condition and the motor can’t be completely removed without cutting the wire, the motor will be disconnected from the machine and laid to the side for this restoration.
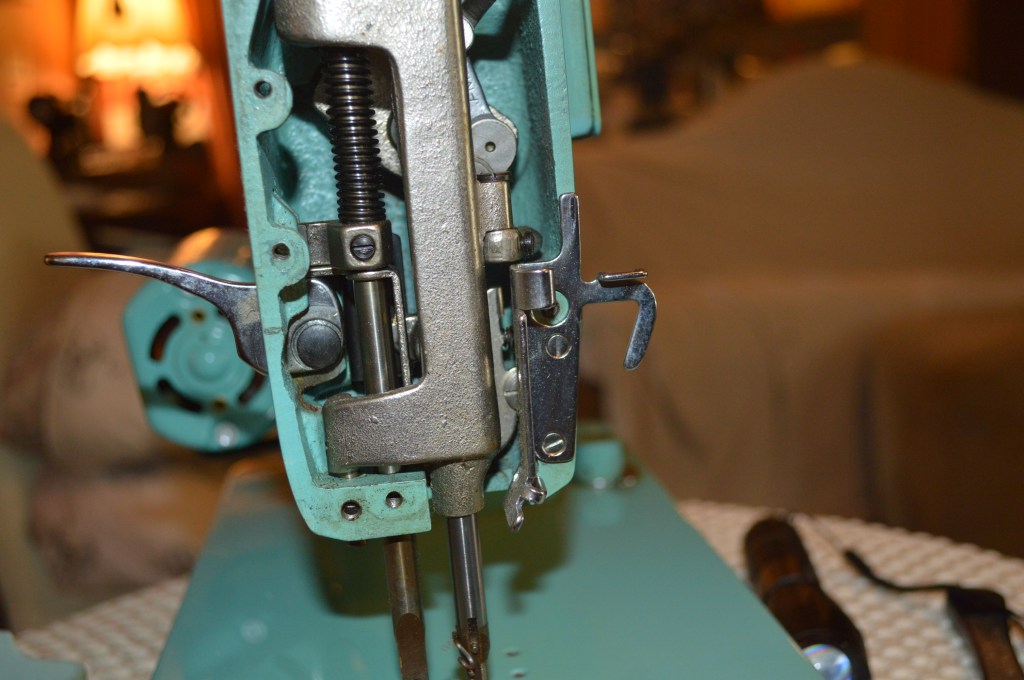
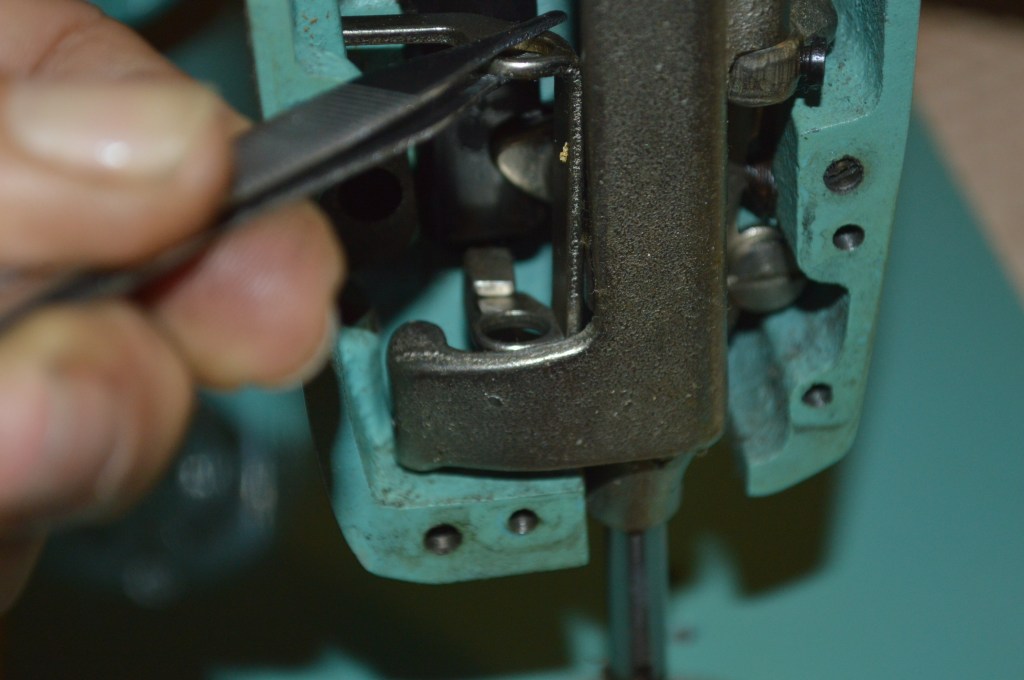
The mechanisms in the needle bar head are removed…
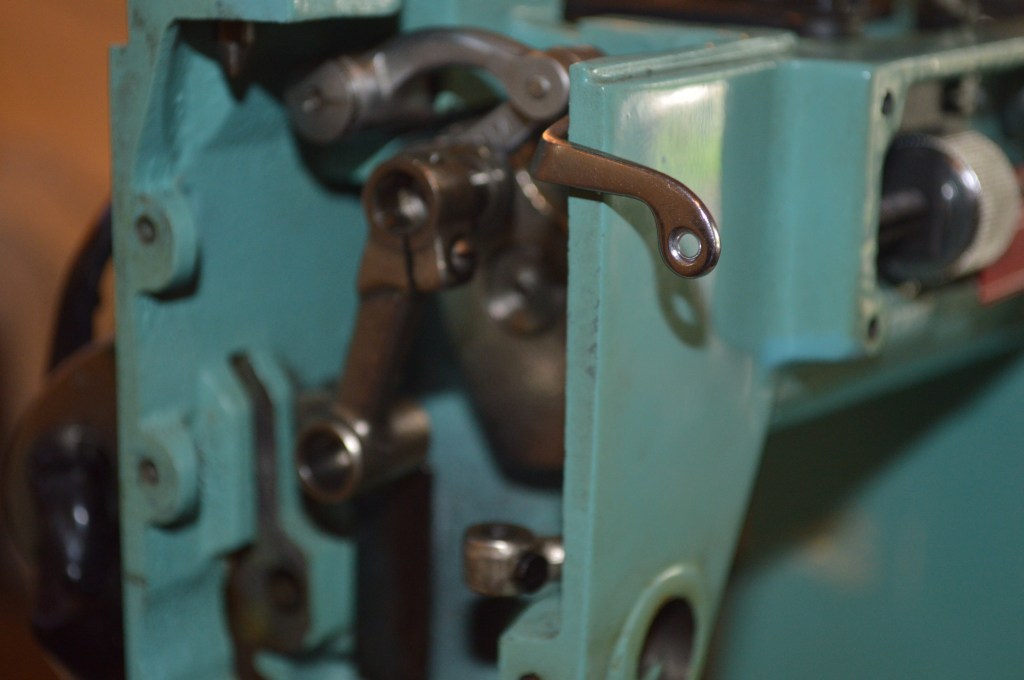
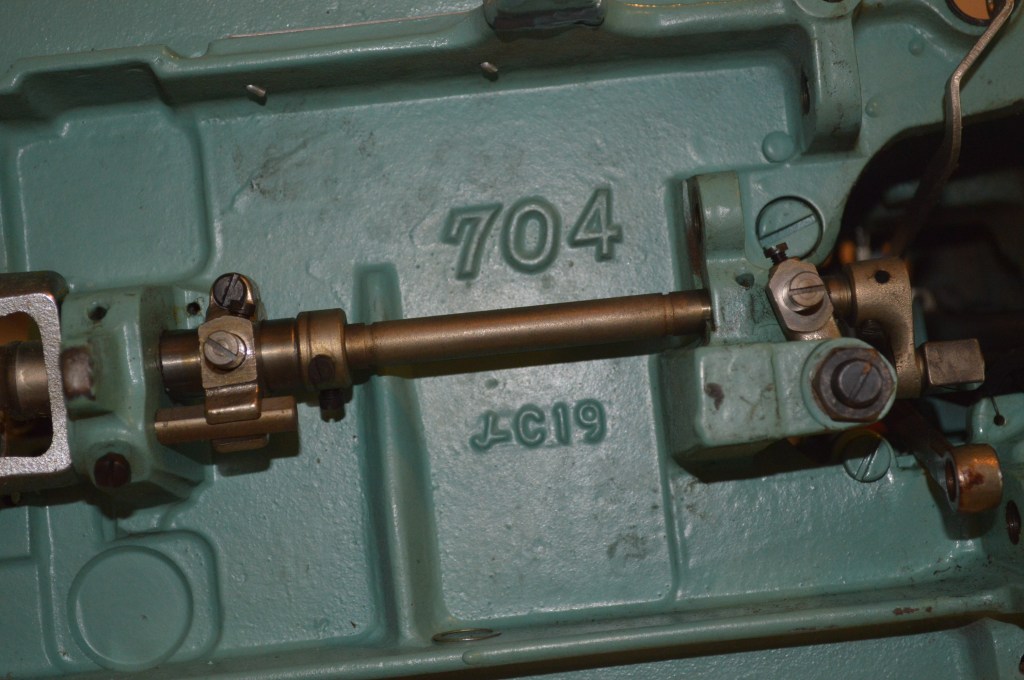
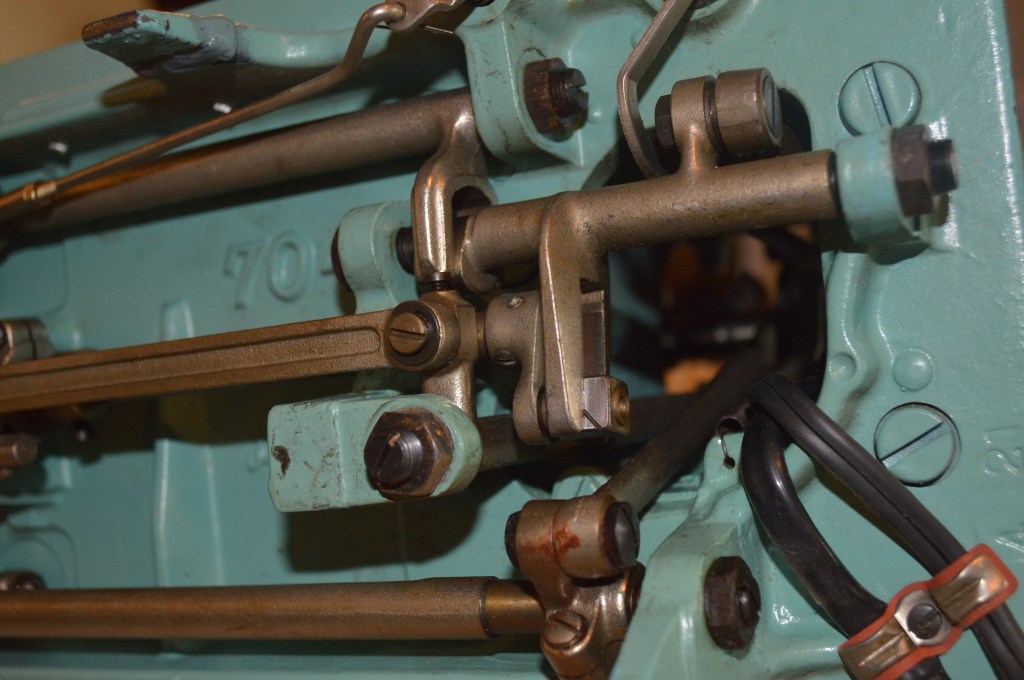
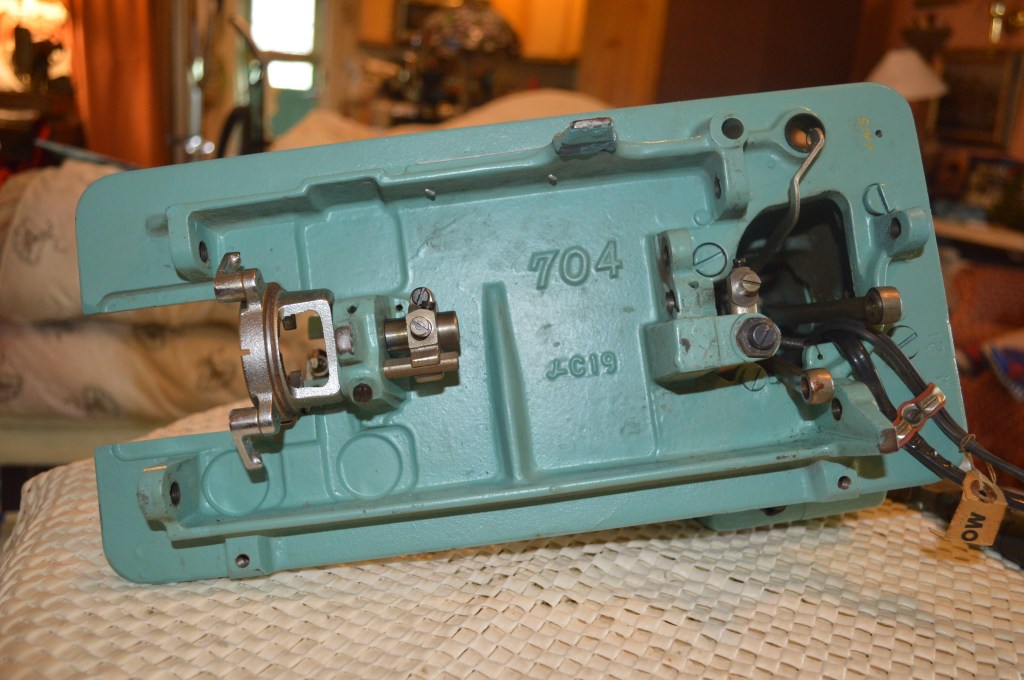
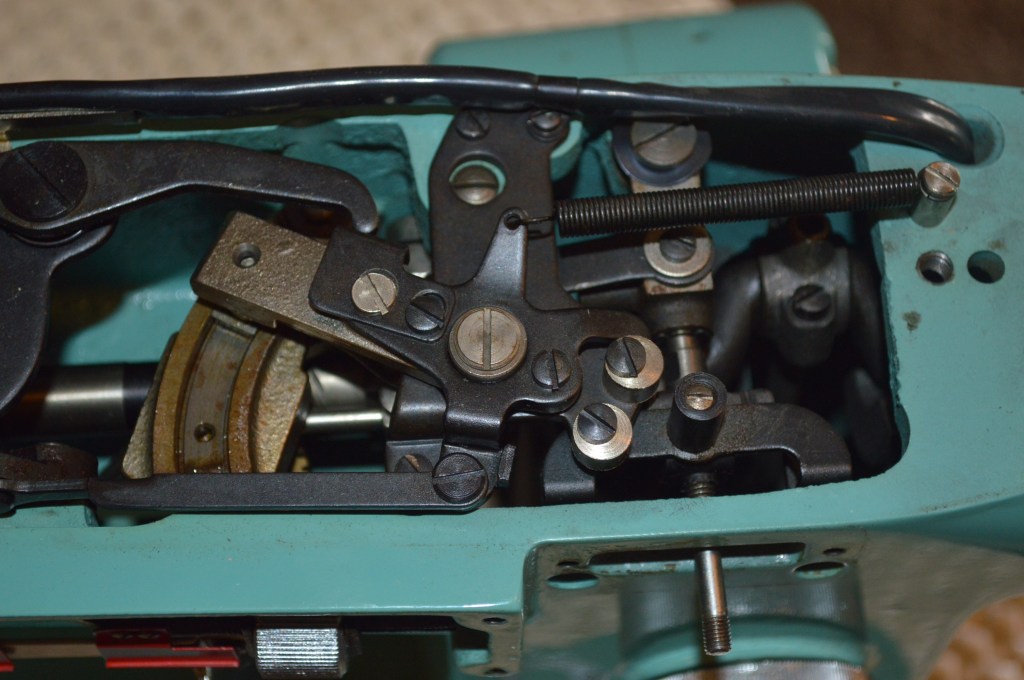
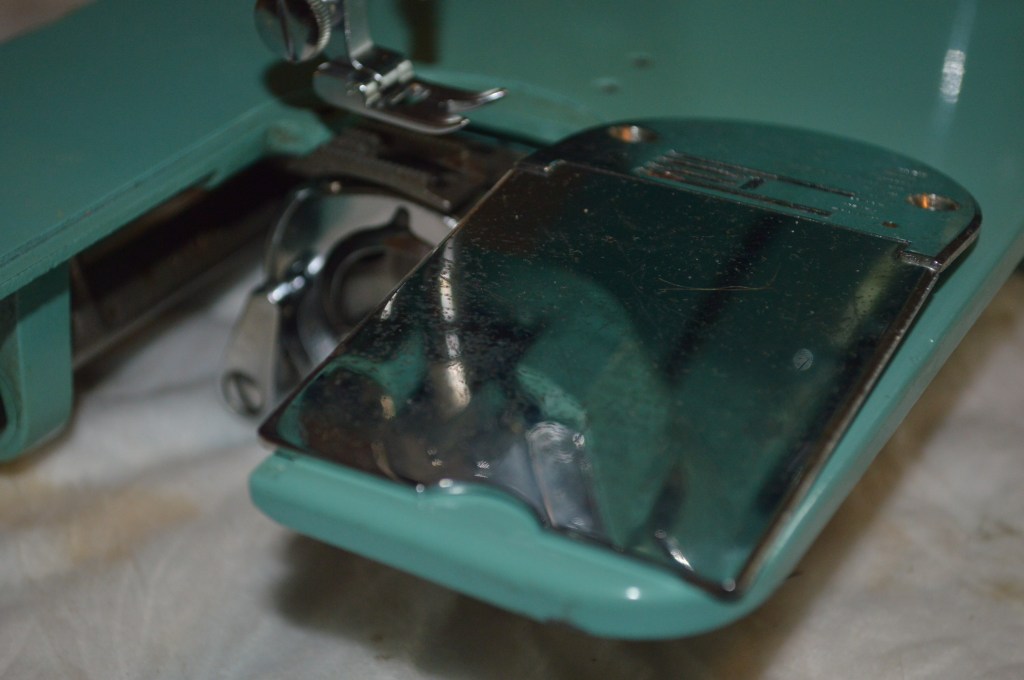
The mechanisms under the sewing machine bed are removed…
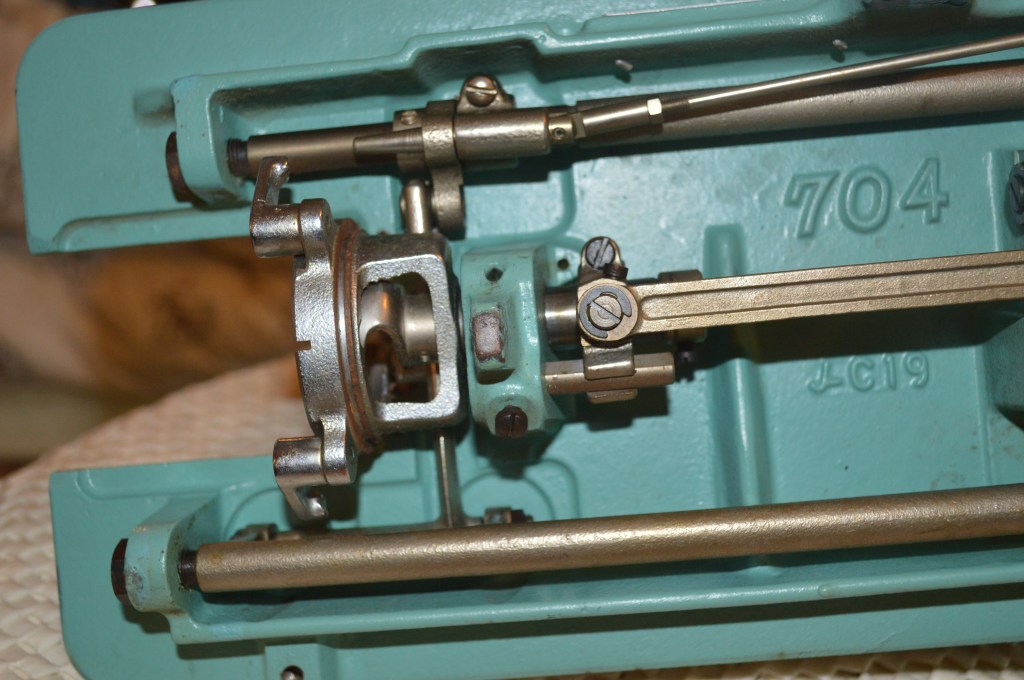
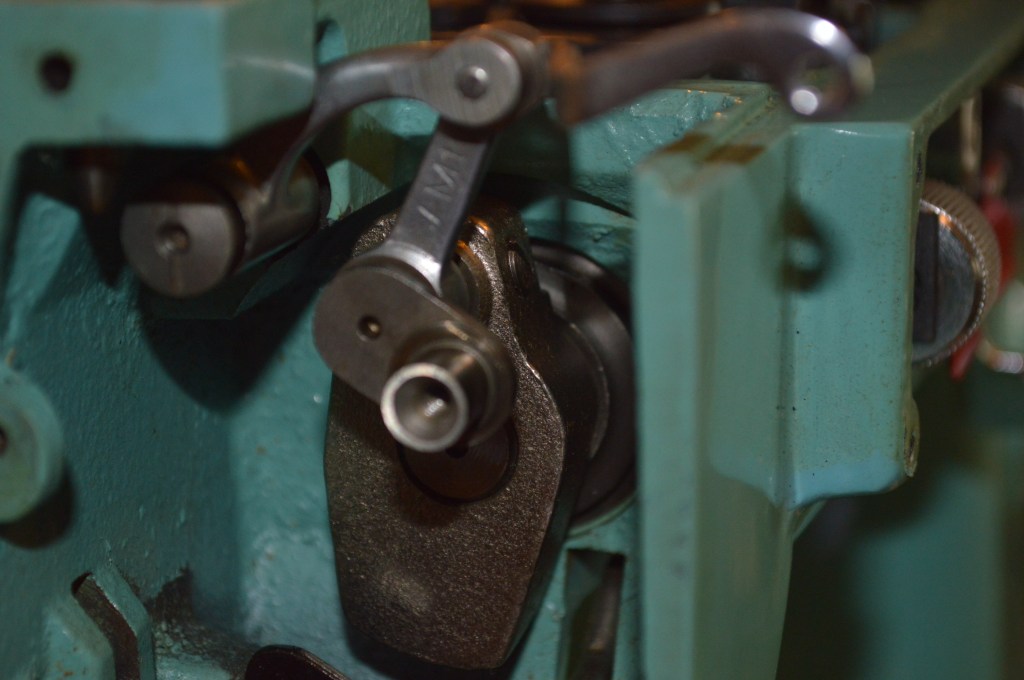
It is easy to see the varnish build up that, after time, affects the smoothness of the sewing machine. Moving on, the top mechanisms are removed…

See the steel and bronze gears! That’s a guarantee that this machine will last for generations.
All of the parts are laid out for cleaning… I have captioned these pictures to show you what I am seeing.
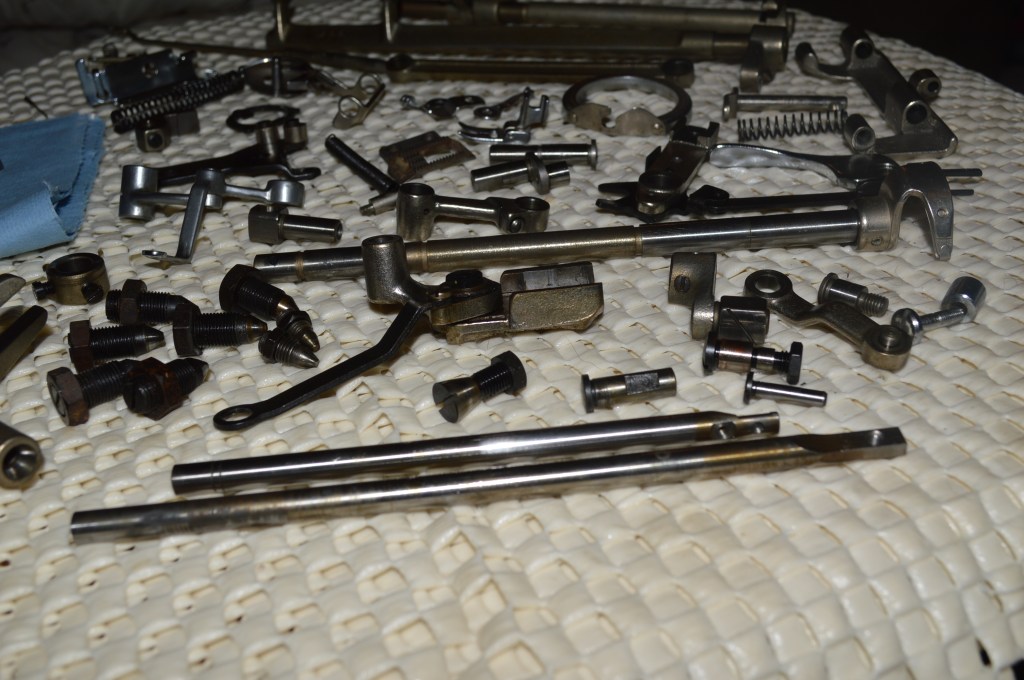
These are mostly “moving parts” Note the brown “oil varnish” film. 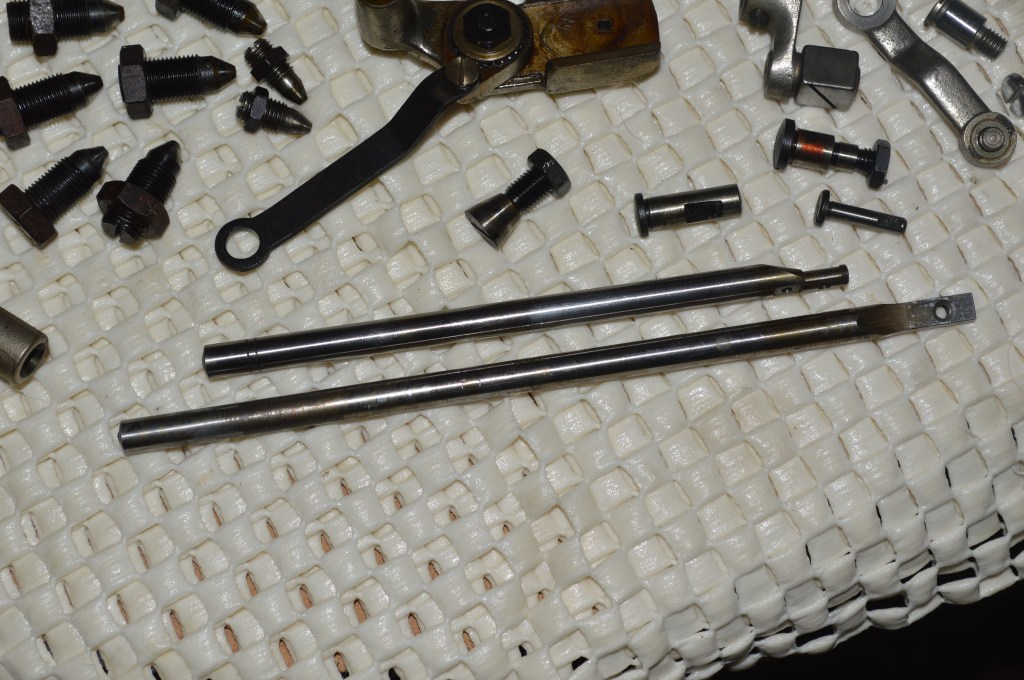
Needle bar, presser foot bar, and zig-zag width control slide are heavily varnished. These need extra attention in cleaning 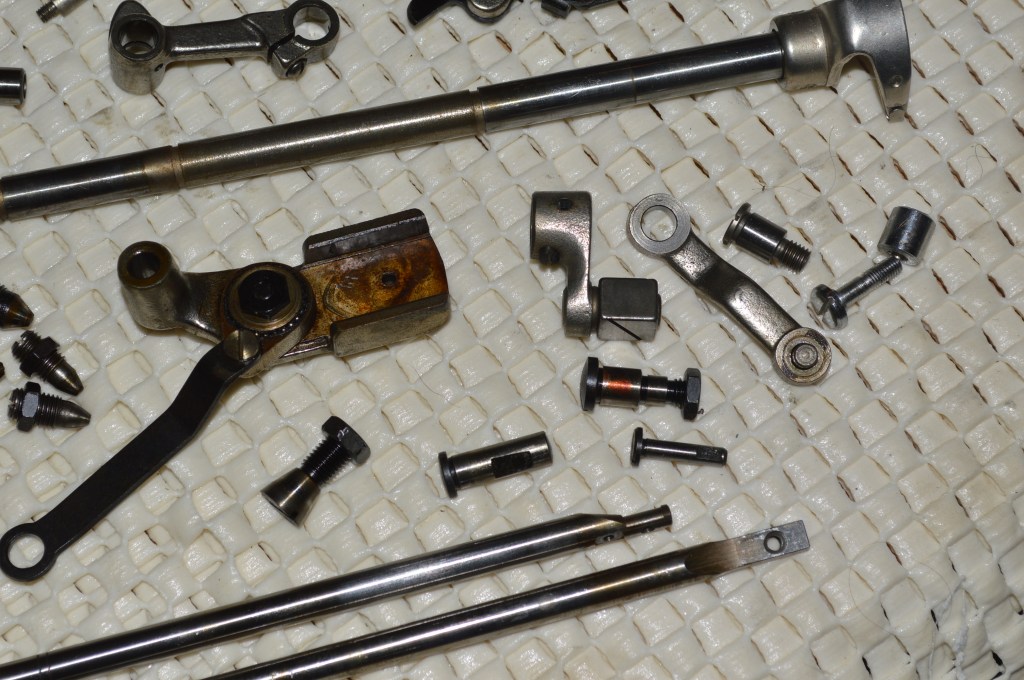
Notice the varnish on the hook shaft… center of picture. This is what spins the bobbin. Again, this needs special attention in cleaning. 
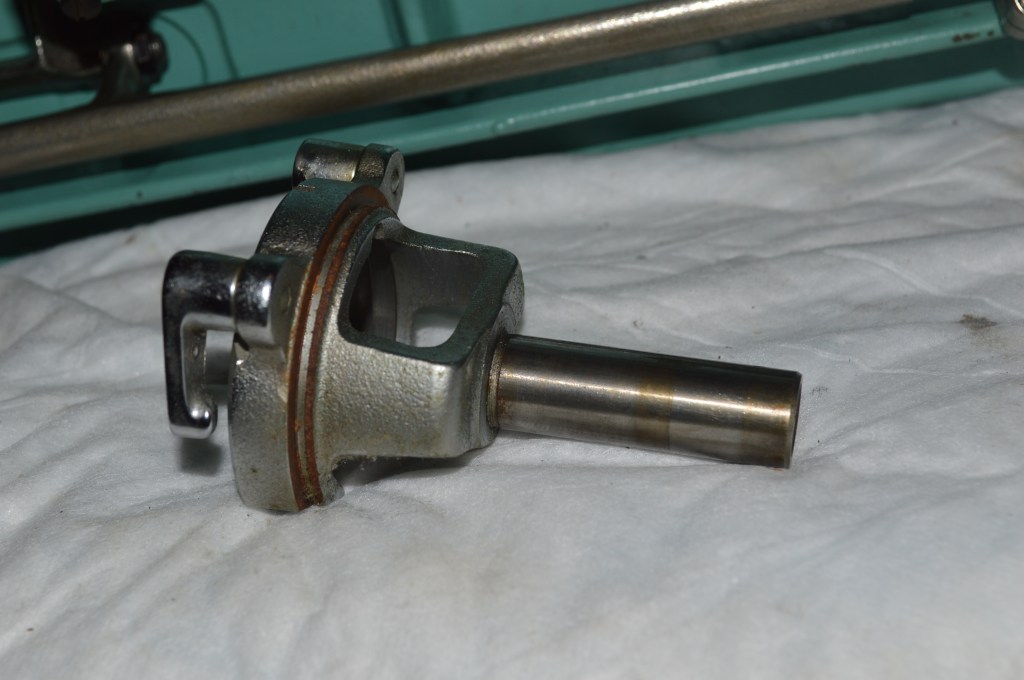
The bobbin hook race assembly. It is a dual moving part. The hook shaft spins in the middle, and the case shaft moves in and out to follow zig-zag motion of the needle. 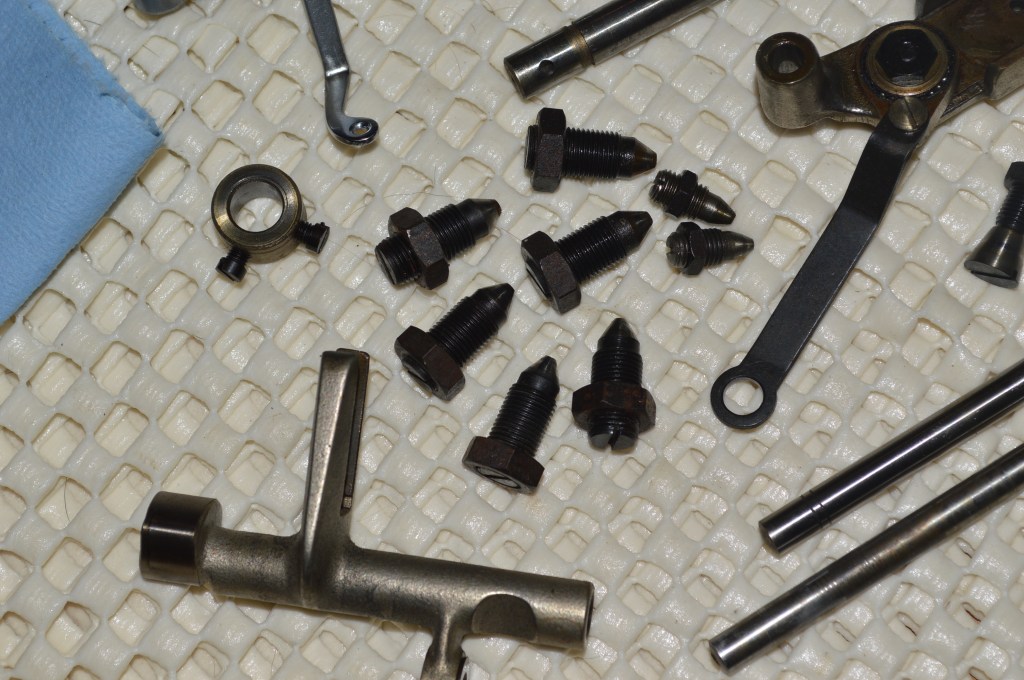
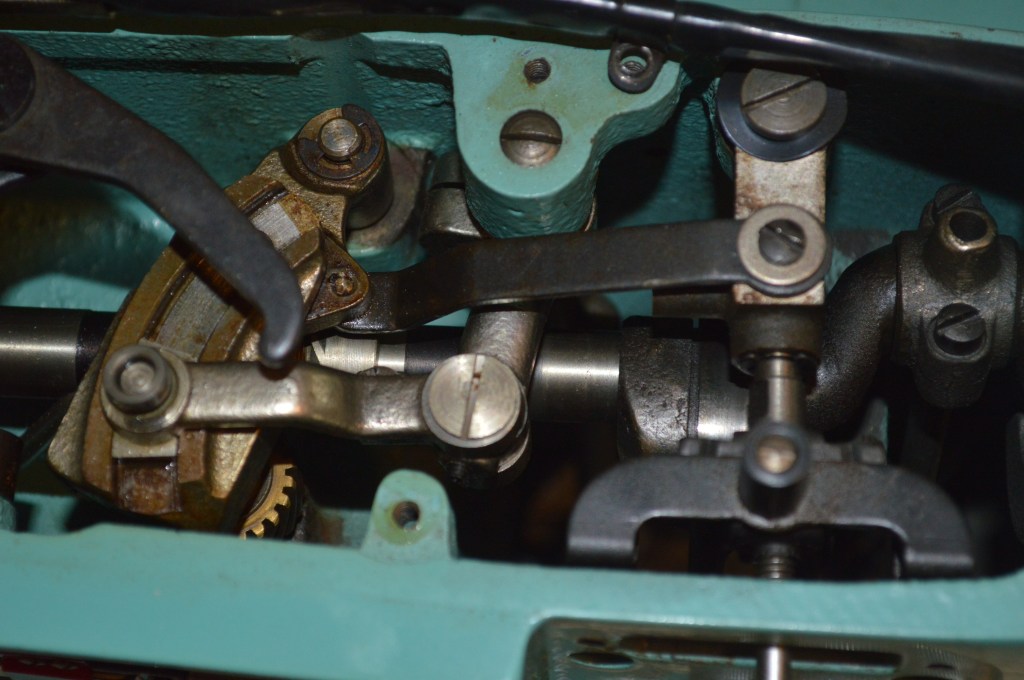
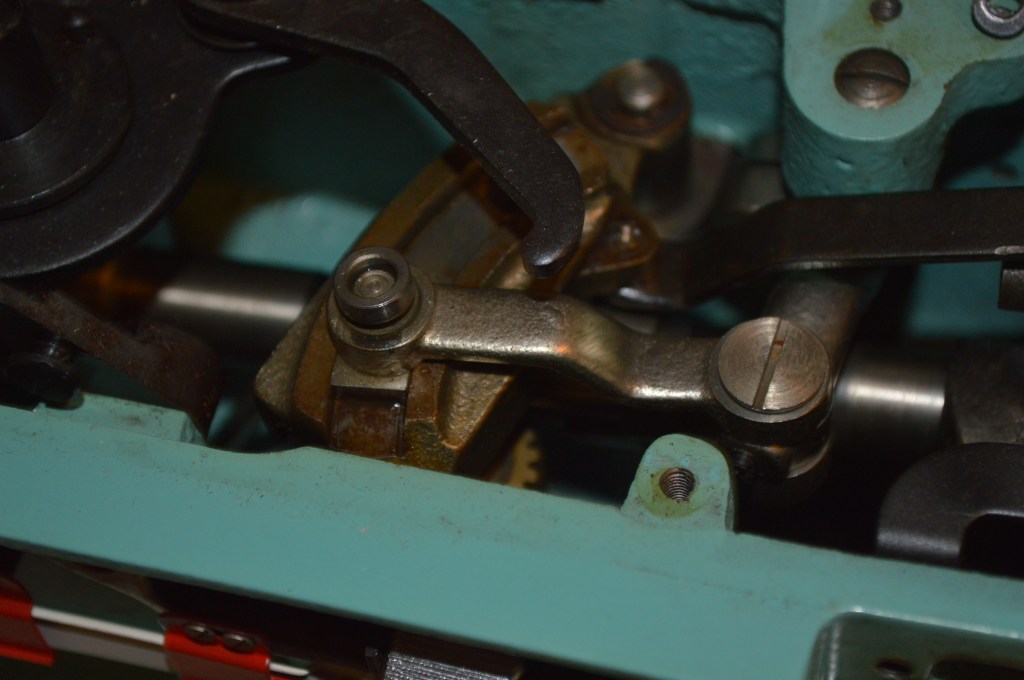
Rocker arm pins in center picture. Often ignored and seldom oiled, these add friction and resistance to the machine’s mechanism. 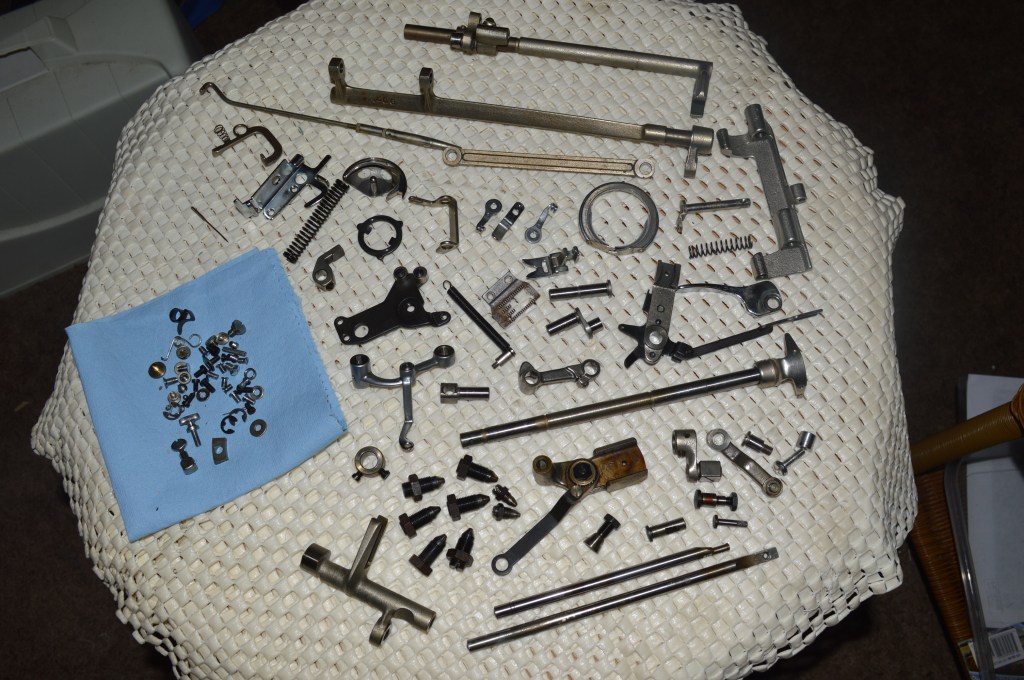
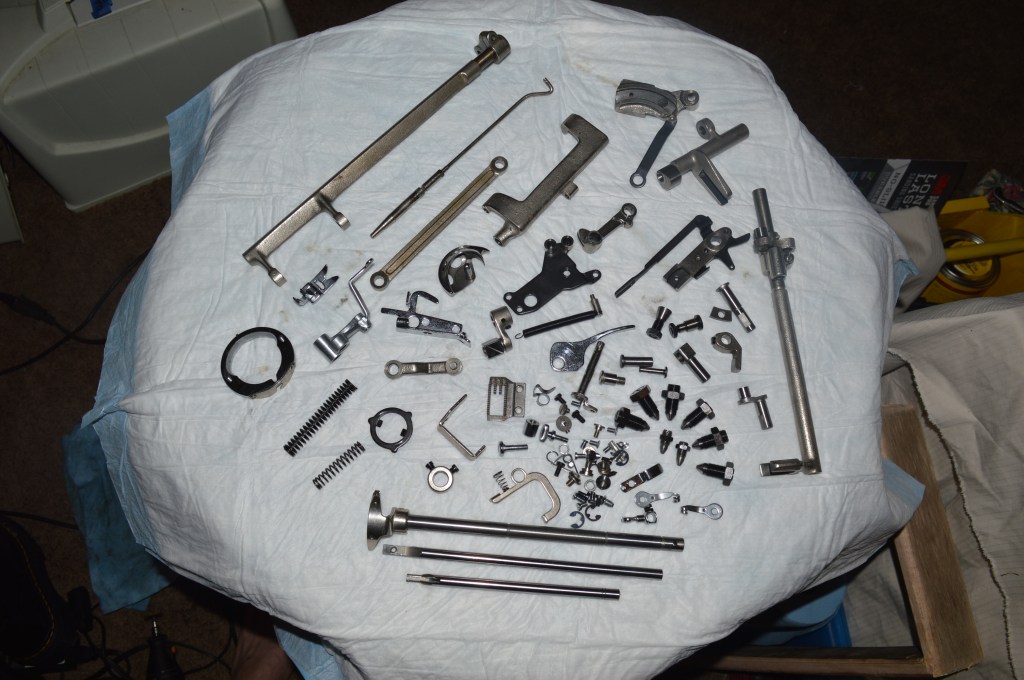
Items laid out for ultrasonic cleaning. 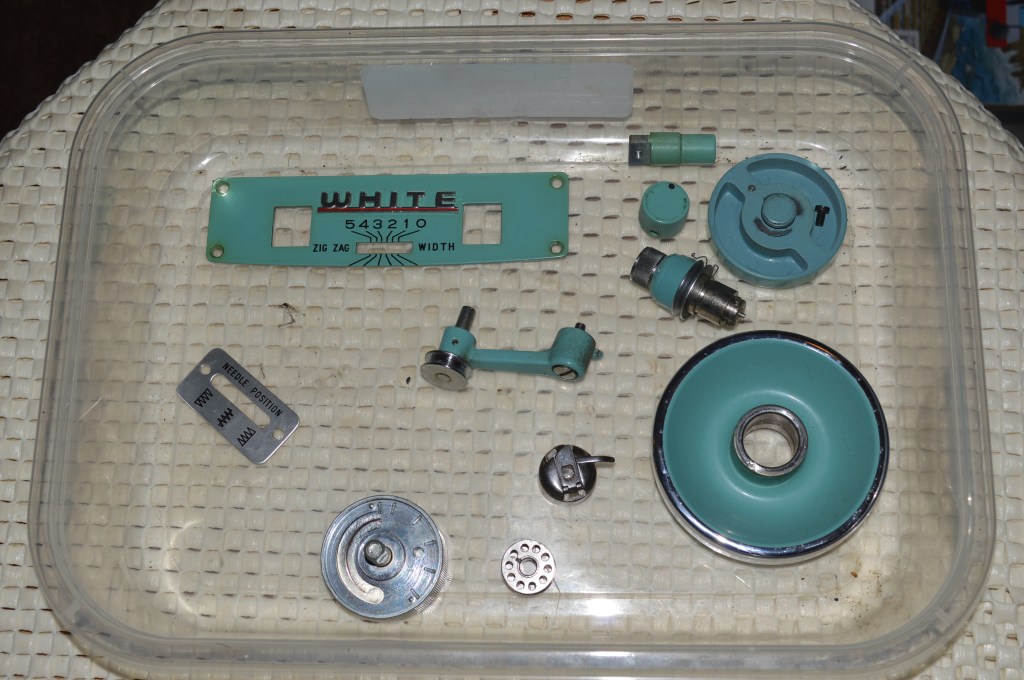
Body parts are hand cleaned…
Considering the amount of oil varnish that has built up on… and in the moving parts, it explains why the machine felt “sticky”. All of this will be fixed when cleaned “like new”
After ultrasonic cleaning, the parts look clean. but to further ensure they are as clean as possible, every moving part, except for the presser foot bar, the needle bar, and the hook shaft, is wire brushed with a dremel tool to get to the same condition the part was in when it was assembled in the factory. The needle bar, presser foot bar, and hook shaft will be polished to “glass like” smoothness.
All parts mentioned above completely and cleaned, wire brushed, and reconditioned. 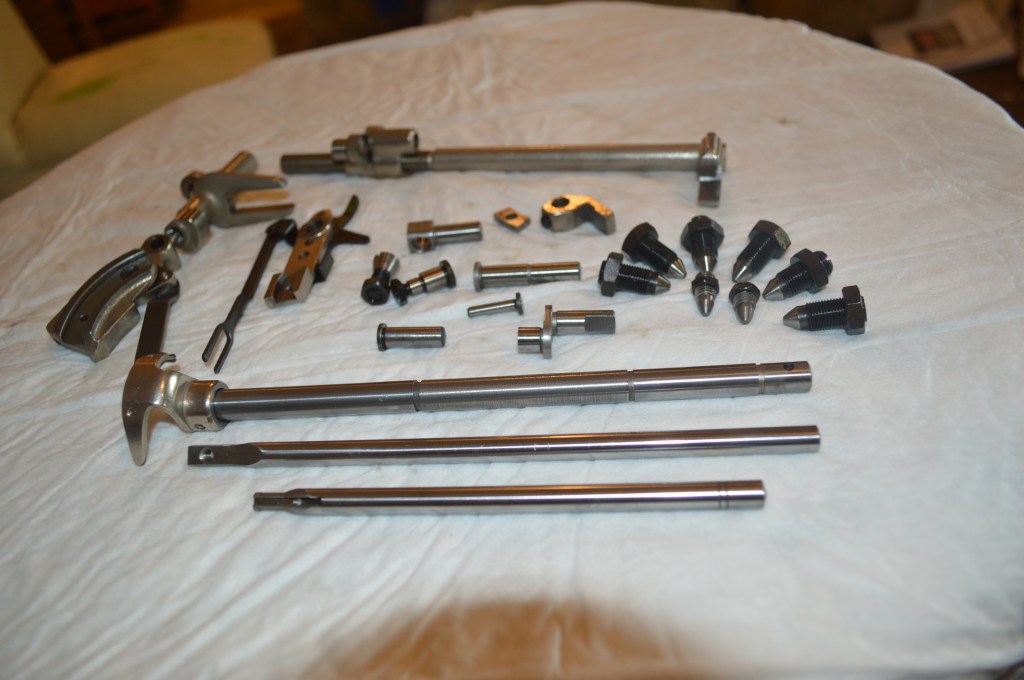
Polished shafts and wire brushed parts ready for reassembly. 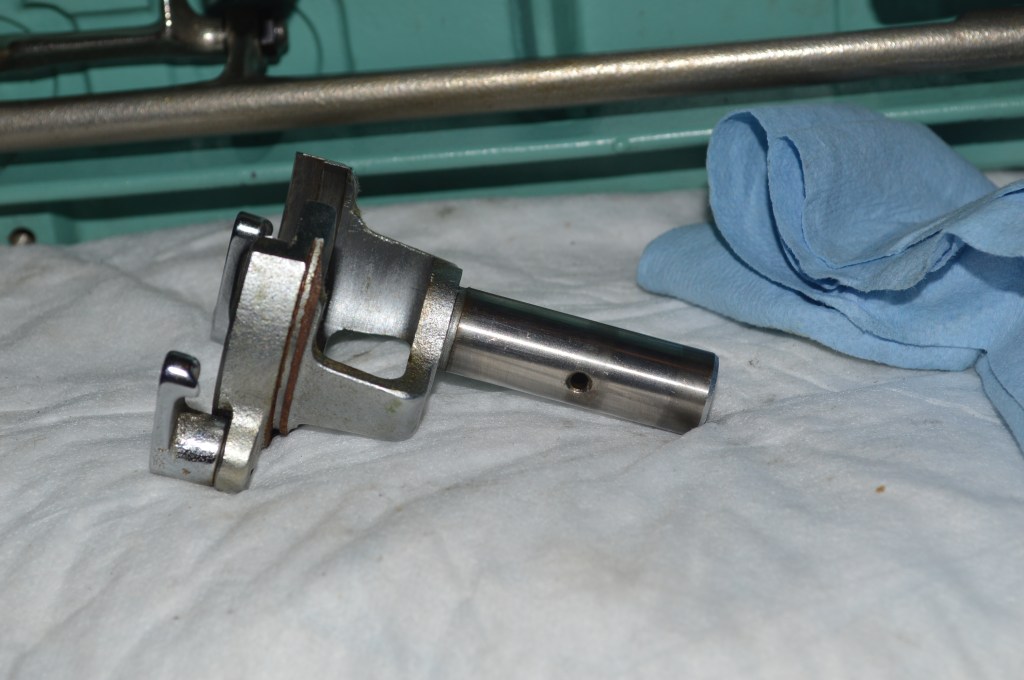
With the mechanical parts cleaned, it is time to clean the body of the machine… With everything out of the way, I use GoJo and cotton balls to remove all old oil, nicotine, dirt, etc. It is easier to clean in smaller areas than it is to clean the whole machine at once, so this is a tedious process, and it takes a fairly long time. The result is better because you can get a more detailed cleaning this way. Many cotton balls gave their all to the cause.

The area behind the motor is always dirtier than the rest of the machine… Hmmmm. 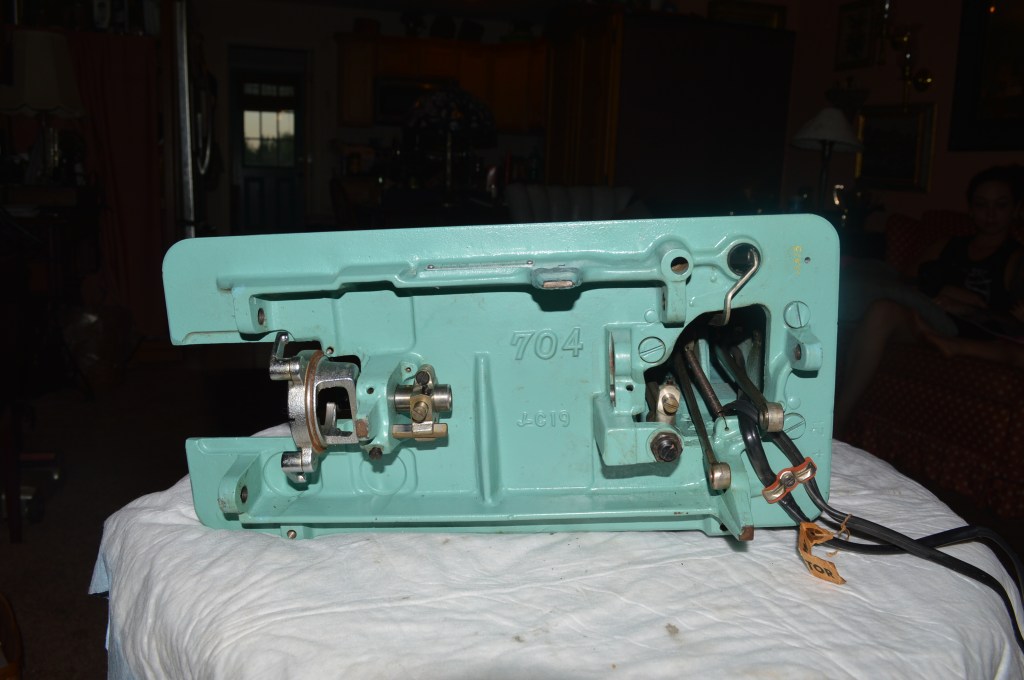
The next step is to restore the motor. The motor is completely disassembled to clean the brushes, and the armature shafts and commutator.
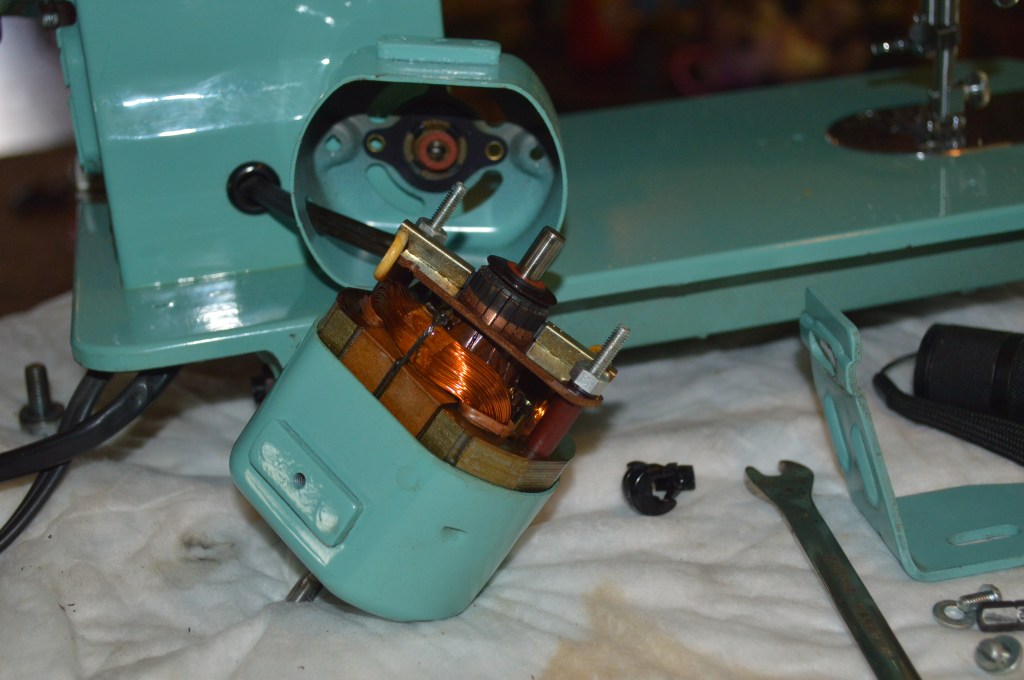
Note the oil varnish on each end of the shaft and the carbon build-up on the commutator. The coil wires and brushes are in great condition.
After the motor brushes are cleaned, the armature shafts and commutator polished, and the motor bushings lubricated. The motor is reassembled and bench tested to “run in” and ensure it is up to it’s maximum speed and power.
Getting close to reassembly time, the tension control is disassembled and cleaned…
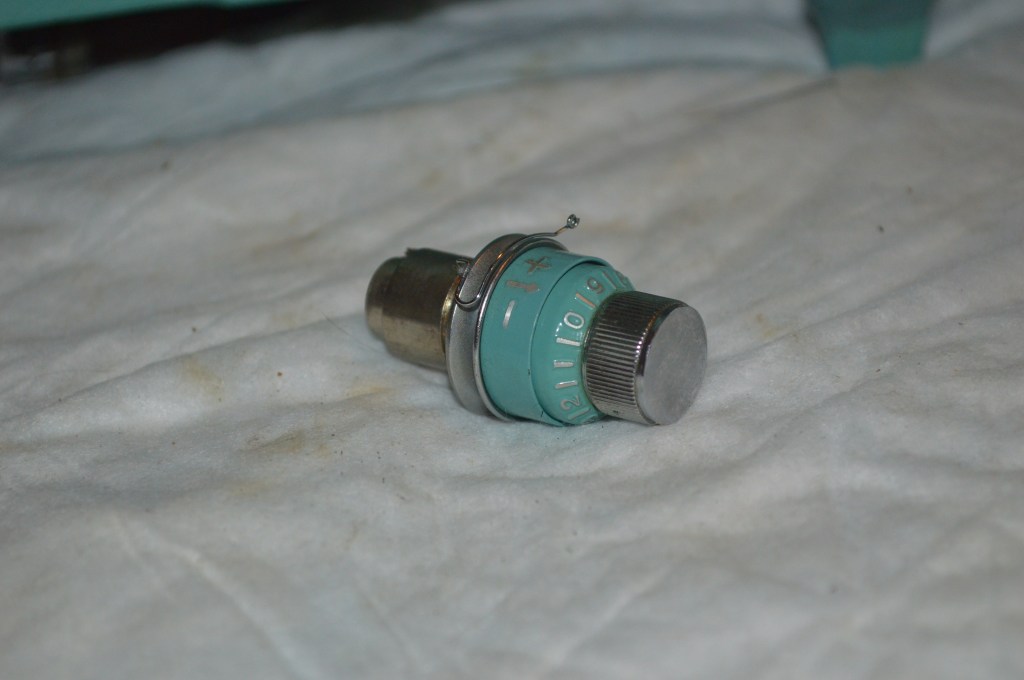
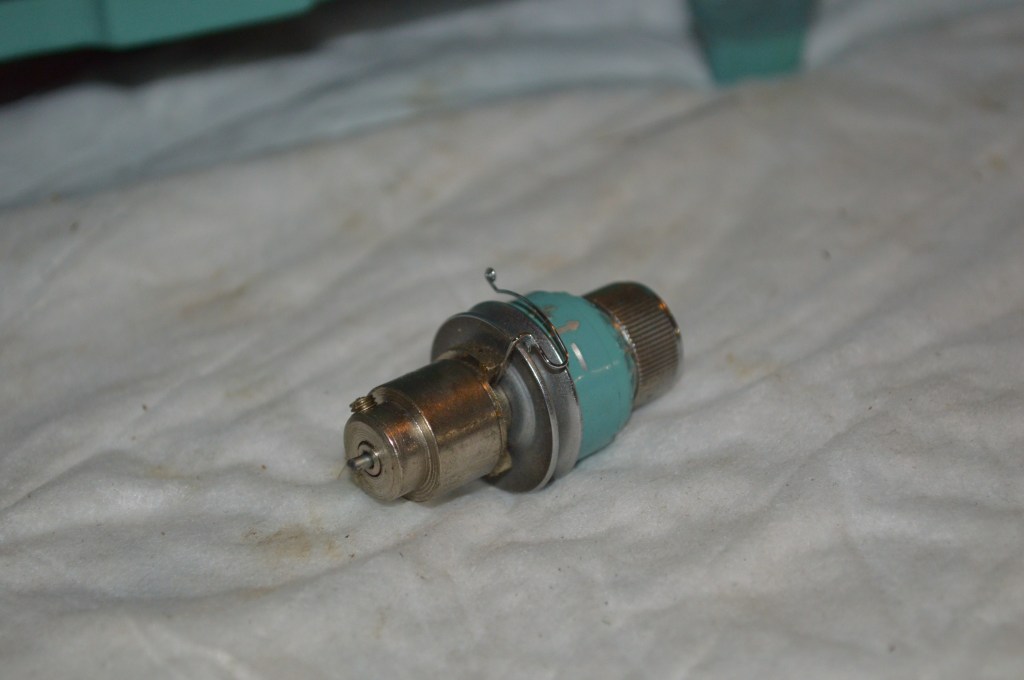
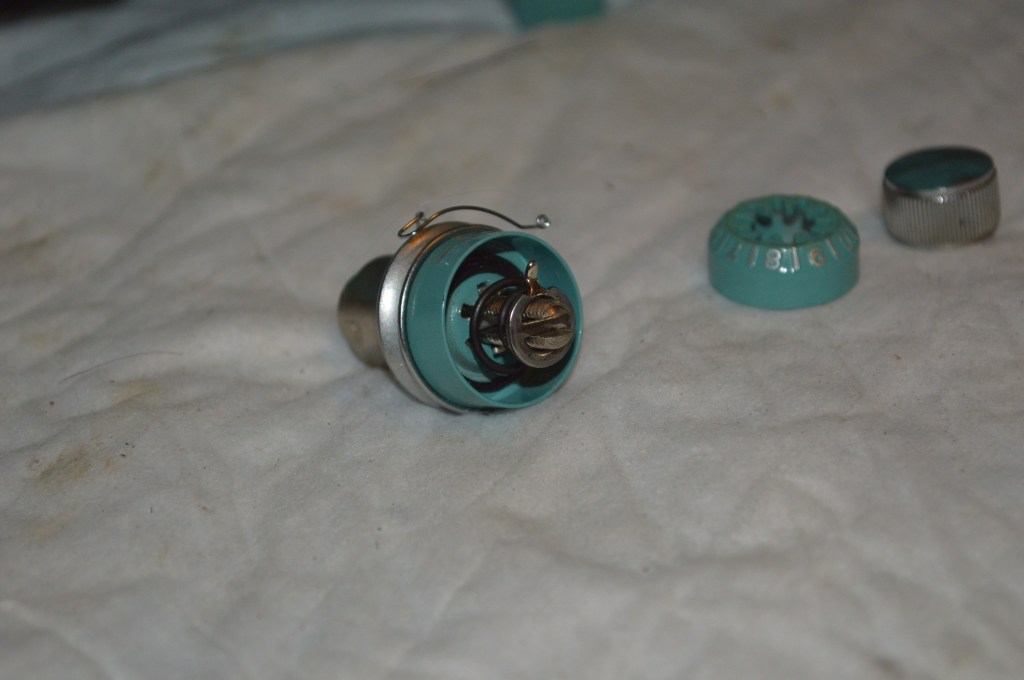
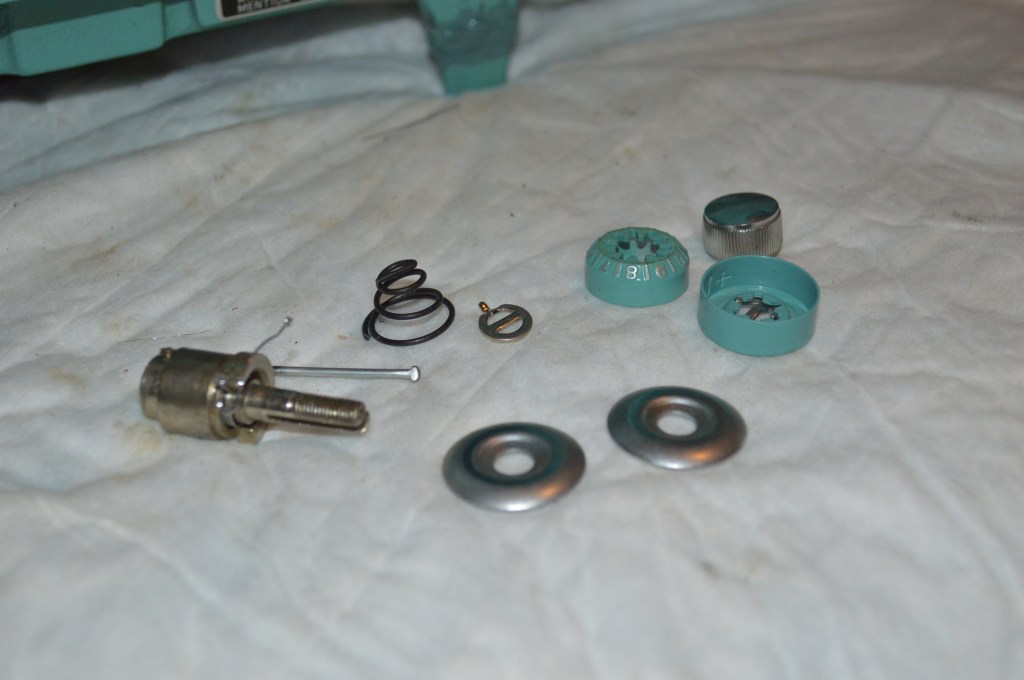
Its a simple mechanism and easy to clean.
The needle plate cover has some slight corrosion on the surface and is buff polished to a mirror finish.
Before… see it? 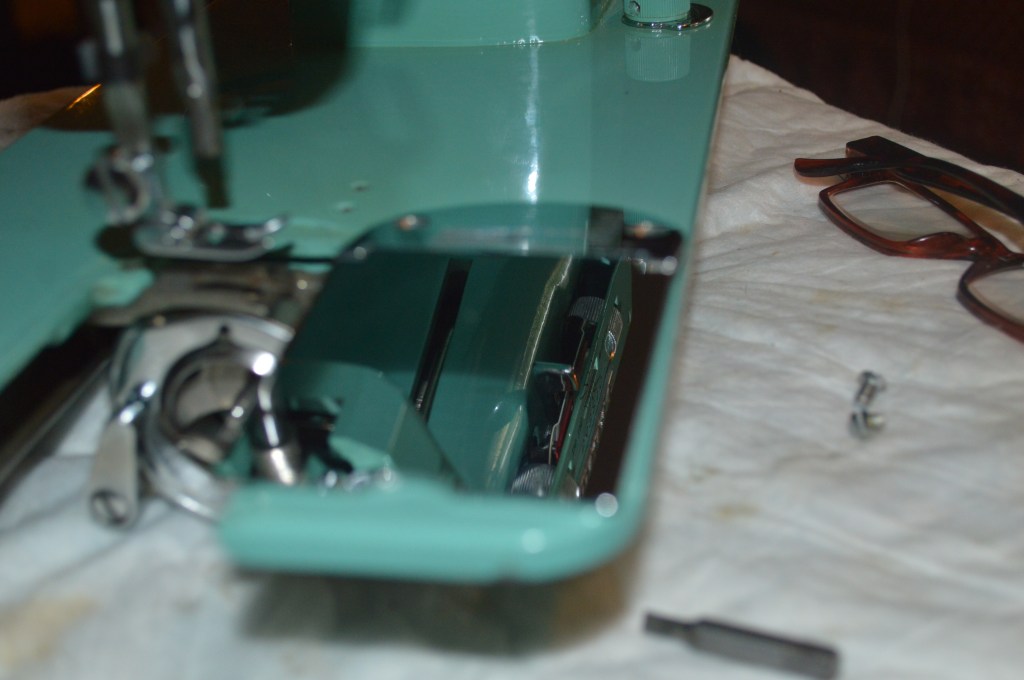
After… gone, or,”nothing to see here!” 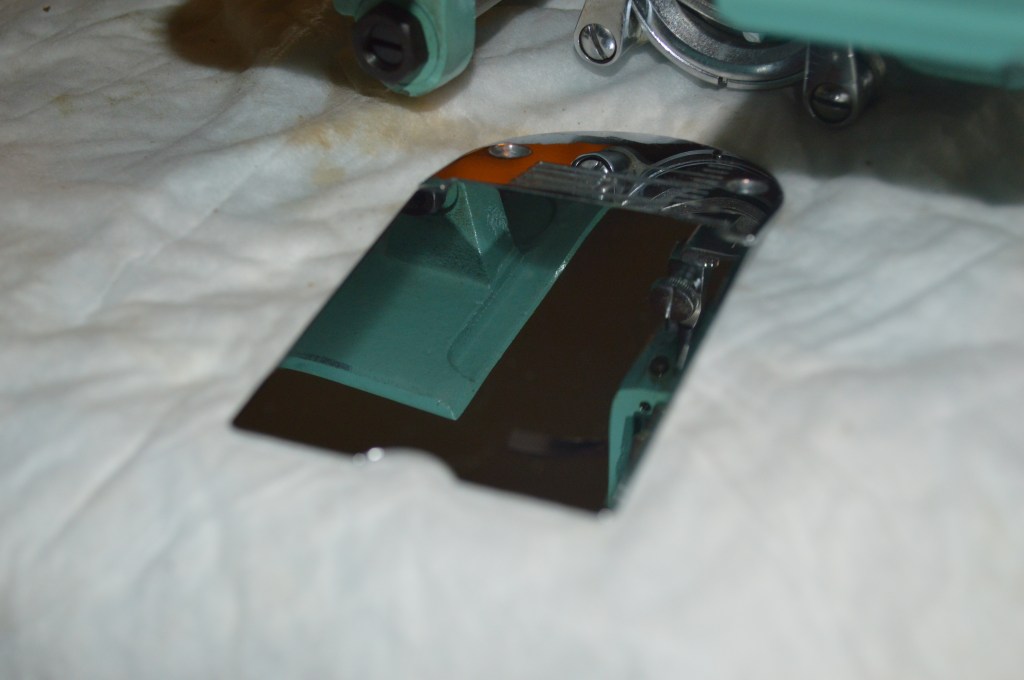
Now, it is finally time to reassemble the machine. After all of the parts are reassembled, they are lubricated and adjusted. Test stitching allows for fine tuning the needle timing, needle depth, needle clearance, feed dog drop mechanism, and feed dogs. Rocker arms are also fine tuned to make sure nothing is binding or otherwise “out of whack”.
So, the restoration is finally complete and the machine is ready to go. The machine produces a beautiful satin stitch, and the decorative cam patterns it produces benefit from the tight zig-zag and feed control for nice consistent pattern stitches.
So, as usual, here are the before pictures…
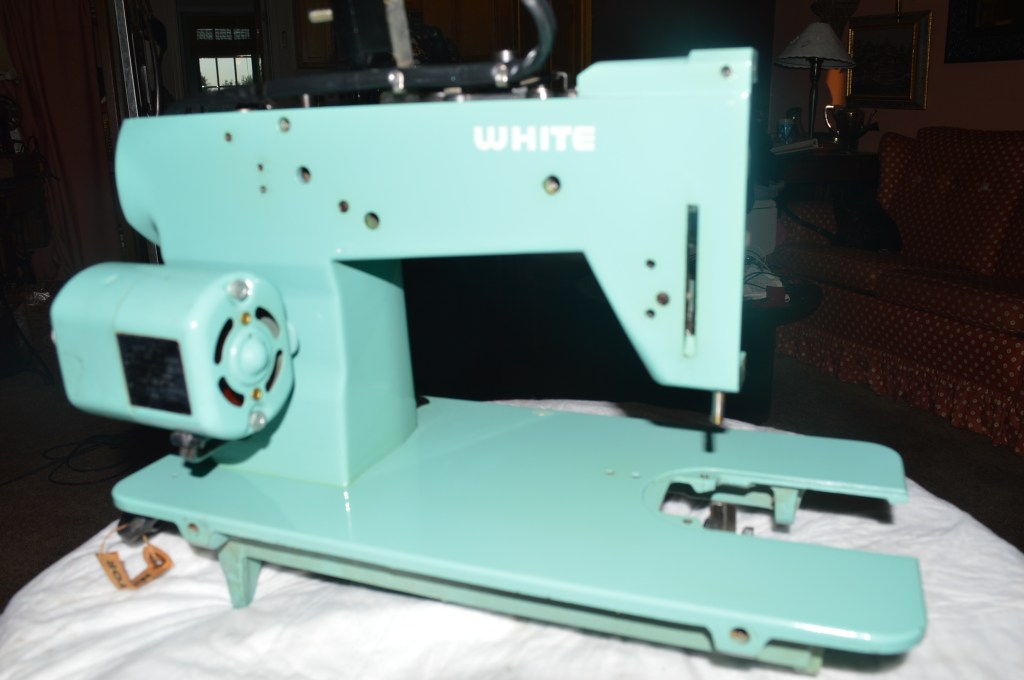
And the after pictures…
While White machines of this vintage do not normally require such an in depth and detailed restoration, they are certainly worth the time and effort. The end result is a smooth, powerful, and precise sewing machine that is heirloom quality. This machine is ready for the next 4 generations of enthusiastic sewers!
Tell me what you think!

Hi,
I have the exact same sewing machine and would like to sell it. It still in in working order and is mounted in it’s own wooden table. Would you know anyone interested?
thanks
Jeff
LikeLike
Hello Jeff,
You have a workhorse of a sewing machine! I sorry to say that I don’t know of anyone requesting this machine at this time. You would probably have good luck posting an ad on a site like Facebook marketplace or Craigslist. Shipping a sewing machine and a cabinet is next to impossible and very expensive, so separating the machine from the cabinet would allow you to list it on Ebay.
I hope this helps!
Lee
LikeLike
Working on an old white 3954. Only had one owner and the books and parts are all there. The motor is strong, the action is all good but It’s definitely gummed up and sticks when it engages the cam going to the underside. Taking it all apart like you did looks daunting but I know it’ll be a great machine if I can get it cleaned out. Any guides or schematics you’ve found would be a tremendous help.
LikeLike
Es un gusto poder encontrar tan valiosa información de esta hermosa máquina antigua .
Por suerte lo encontré tengo una igual y estaba buscando información ya que tengo problema con el tensor. Gracias por mostrar tan valioso trabajo de restauración.
LikeLike
Hola, Gracias por sus palabras alentadoras! Por favor, hágamelo saber si puedo ayudarle con su máquina. Que tengas una noche bendita, Lee
LikeLike
I have a White 1563 without any pressure feet or cams can you tell me where I can purchase these. Thank you,
LikeLike
Hello Barbara,
I have sourced cams and feet from eBay and Etsy. I hope you find them there!
Have a great day,
Lee
LikeLike
Jeff, I have a two-tone green White just like the one you fixed. However, after being used for 50 years, the belt fell apart. Can you tell me where you get your belts, or give the dimensions / tension of a replacement belt you use. Thanks, Carol Landberg
Dakota@sccoast.net
LikeLike
Good morning Carol,
If you have the old belt you can measure the belt size by placing a mark on the belt, then place the mark on the belt at the end of a ruler, then roll the belt along the ruler until the mark touches the ruler again. This distance is your belt size. Belts can be purchased at any online sewing machine parts store. I imagine that when you replace the belt, it will be ready to sew another 50 years!
I hope this helps but don’t hesitate to let me know if I can be of any further assistance.
Have a great day!
Lee
LikeLike
I am interested in finding this model and make of the White Sewing Machine. Please contact me at maureen10311956@gmail.com
LikeLike
what would you sew with the 1563 model? car/boat/rv upholstery or would you need something more commercial?
would this unit be used for draperies? or clothing/quilting?
LikeLike
Hello Daryl,
The 1563 is a very powerful well built domestic sewing machine. It will sew upholstery, draperies, blue jeans, and general garment making. It, like all other domestic sewing machines was made for general sewing projects.
If I had a project to do regarding car/boat/rv upholstery on a one off project, I would use it and I’m sure it would sew the material… but these uses really require a machine suited to the purpose. These machine generally have a walking foot design to feed thickness of heavy fabric evenly from the top and the bottom. They also have tension mechanisms and needles suited to using thicker threads.
It is all about your expectations the White model 1563 is a great machine and it is built with strong all steel mechanisms. It will surprise you with it’s power and durability. It is not a commercial machine and it is not generally regarded suitable for commercial use.
I hope this helps answer your question!
Have a great evening,
Lee
LikeLike
Hello Jeff,
I inherited a White 1563 and the motor runs but the handwheel kept slipping. I took off the handwheel and unfortunately the parts fell out so I didn’t get to see how they were in there. I have a key stock that has a tapered cut in part of it, a spring, a small piece of roller stock and 2 thin shims. I am trying to figure out the correct way to reassemble the parts. I am hoping you can give me some guidance.
Thanks,
Ted
LikeLike
Hello Ted,
It sounds like you have a few extra parts there… The balance wheel is attached to the machine with the knob tightened against a washer. The washer has two tabs that fit into the slots cut into the end of the shaft. The tabs have a slight bend and the bend should be facing out and three tabs on the circumference of the washer. The knob has a small set screw in it that needs to be loosened. Place the washer on the shaft, slide on the balance wheel, and screw the knob until it is tight. Tighten the sets screw. Turn the balance wheel until you can see the back of the set screw protruding from the back of the knob and make sure it is not over, or directly adjacent to the outside tabs on the washer. If it is, remove the balance wheel and turn the washer 180 degrees. Assemble as before. The knob should now tighten against the washer and engage the sewing mechanism. The set screw should be in a position between two of the outer tabs of the washer. When properly installed, the knob should only loosen 1/8 to 1/4 of a turn to de-clutch the balance wheel and allow for winding a bobbin.
I don’t know where the other pieces you found go, but they don’t belong behind the balance wheel!
I hope this helps!
Lee
LikeLike
I have a White 3955, where the bobbin hook race assembly attaches to the machine is cracked. I have searched for weeks and cannot figure out what to purchase to fix this. Is it the assembly or is there a bracket holding it? Part name, number or correct name would be wonderful.
LikeLike
Good morning Stacey,
There are so many different White models it is difficult to picture your machine, Can you send me a picture of the machine and where it is cracked?
You can send pictures to pungoliving@gmail.com and I will do my best to assist you.
Have a blessed day!
Lee
LikeLike
Not sure if you still have this machine, but I just acquired one and am trying to find a replacement belt. The recommended 13-3/4″ belt is too long. Do you know what belt it takes? Thanks so much!!!
LikeLike
Hello Amy,
I don’t have the machine to measure the belt, but if you have the old belt, you can measure it to get the proper size. Put a mark on the belt and place the mark at the end of a ruler. Roll the belt until the mark again touches the ruler. The length measured is the length of the replacement belt you need.
I hope this helps!
Lee
LikeLike