
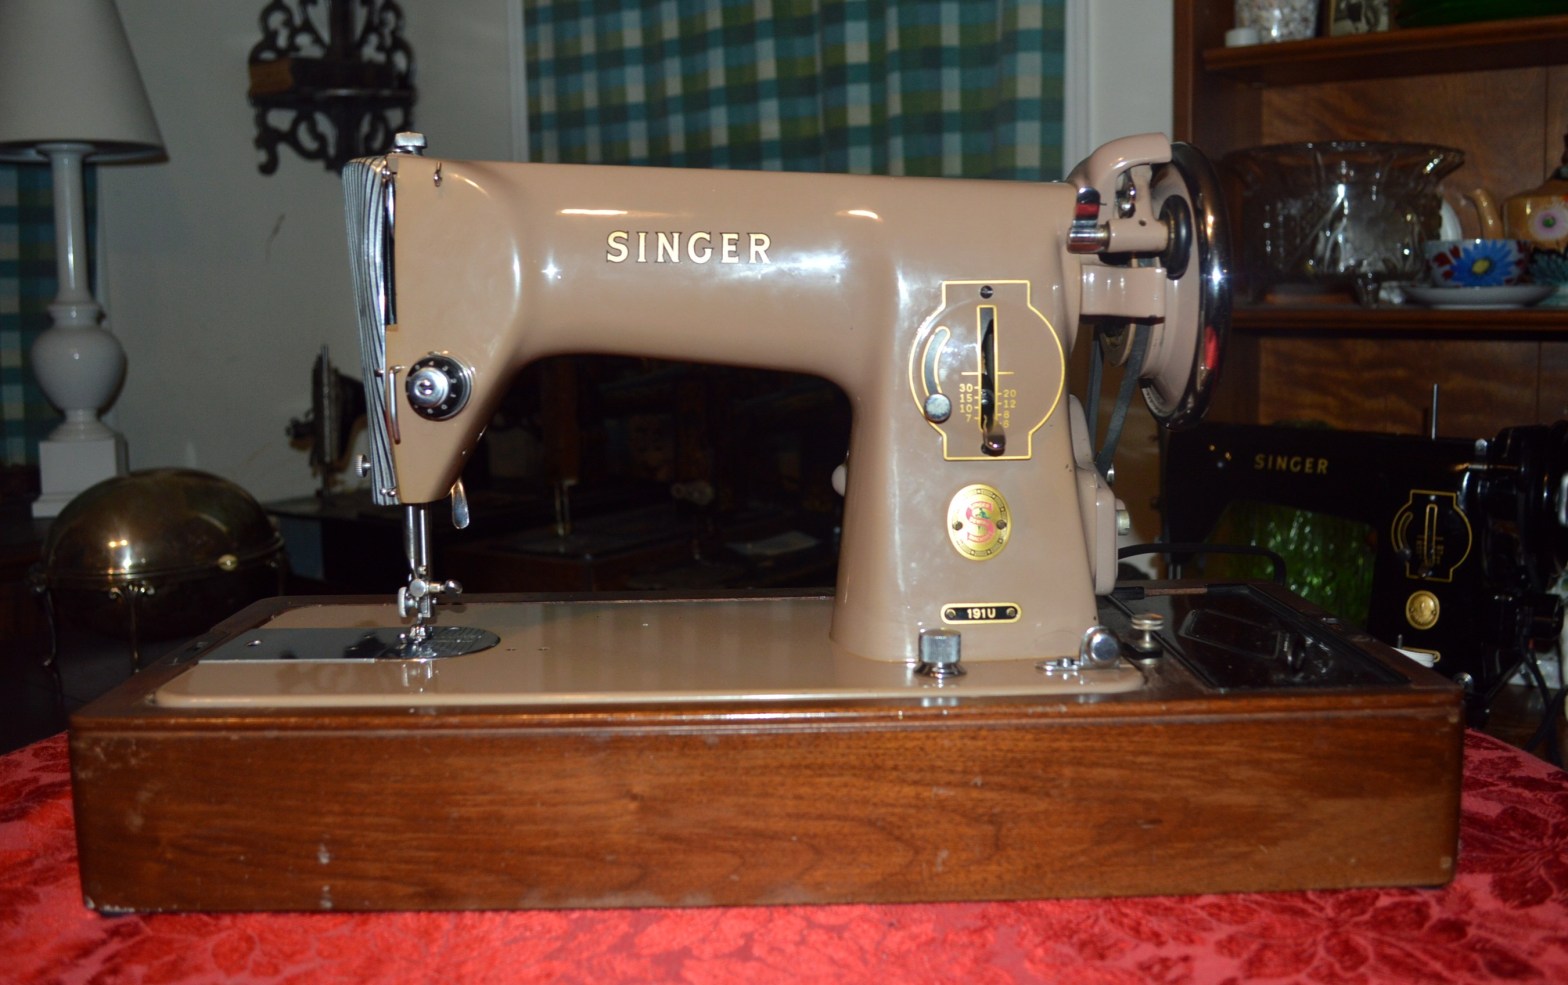
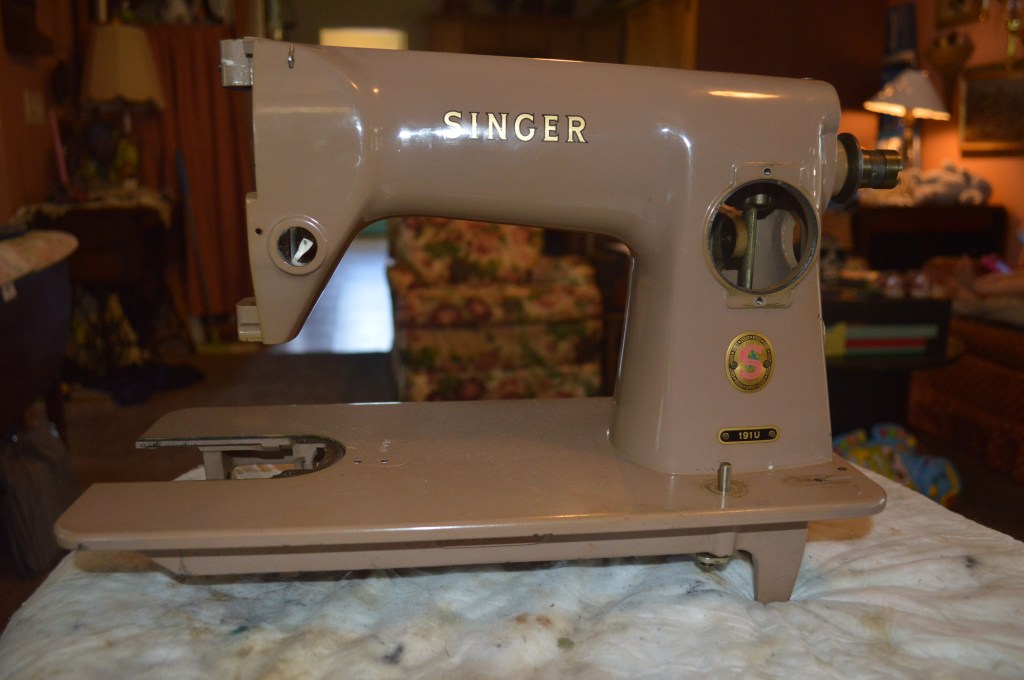
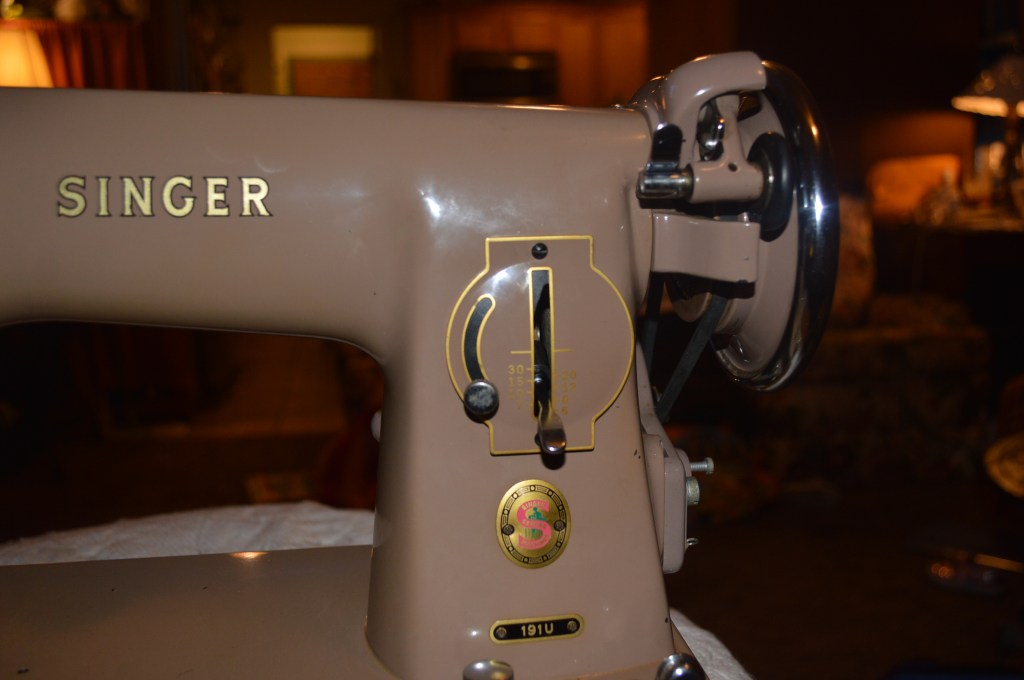
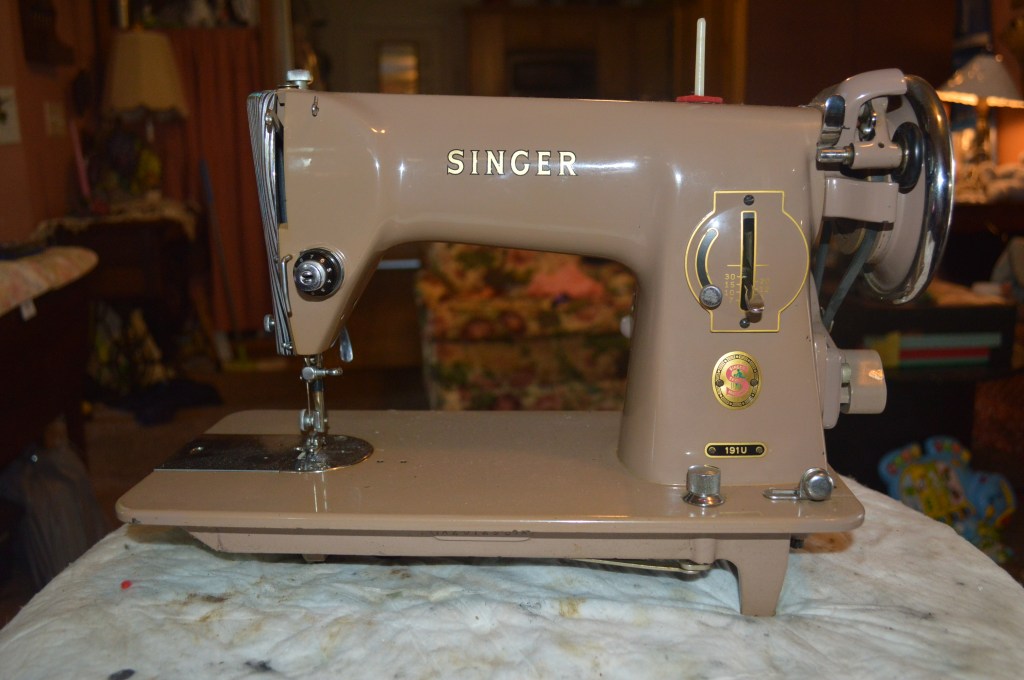
This restoration is a Singer Model 191U. The 191U model has an interesting history… you see, it was actually manufactured by Janome and was badged as a Singer! The Singer model 191U was made in Japan between 1957 and 1962. I can’t pin the exact date of this one. It uses a class 15 side loading bobbin, an oscillating hook mechanism, standard 15×1 needles, has a drop feed dog mechanism controlled by a knob located on the bed in front of the pillar and, back tacks, and is driven by a .63 amp external motor and belt.
Please bare with me for a few paragraphs, I want to share the story of the manufacturing history of this machine. I think it is pretty interesting, and at the least, a tidbit of information that may be useful in a game of Trivial Pursuit, and it starts with the Pine Sewing Machine Company.
The Pine Sewing Machine Company was established in 1921 by Yosaku Ose and Shigeru Kamematsu. They began using the trade-name of Janome which was registered by them in 1935. In 1954 Pine’s founding partners split, and the exiting partner took the name “Pine” to form his own company, while the remaining partner changed the name of the existing business to ‘Janome Sewing Machine Company.’
The Singer operations located in a town named Utsunomiya, located northwest of Tokyo, Japan was established in 1954 when Singer bought a 50% stake in the struggling Pine Sewing Machine Company. The remaining 50% was owned by The Japan Steel Works. From November 1956 on, all export production at the factory were badged as Singer and sold through the Singer organisation. Singer financed the retooling of the Pine factory in Utsunomiya. Initially, the machines made at the new plant were badged as ‘Merritt’ but a year or so later, once they were satisfied with the product quality of the Merritt machines manufactured (i.e. got the bugs out), they began manufacturing machines under the Singer name. By 1959 the Pine Sewing Machine Company was producing over 70,000 Singer machines a year. Although these were mainly for domestic sale within Japan, about 15% of the production was exported to other countries. Singer machines produced at the Utsunomiya factory were identified by a suffix U added to their model numbers.
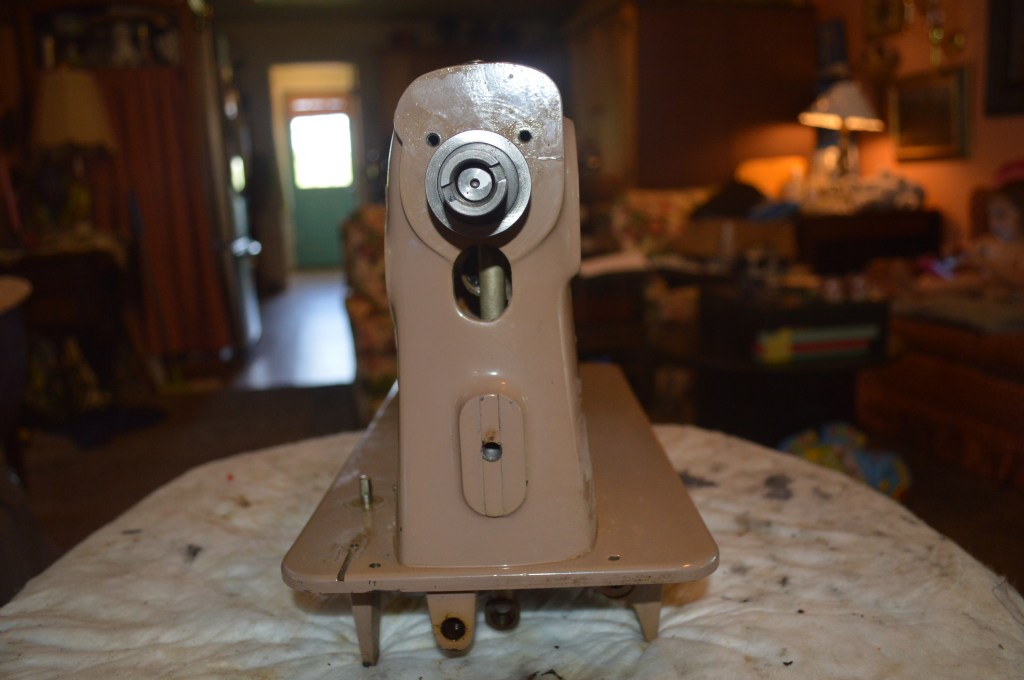
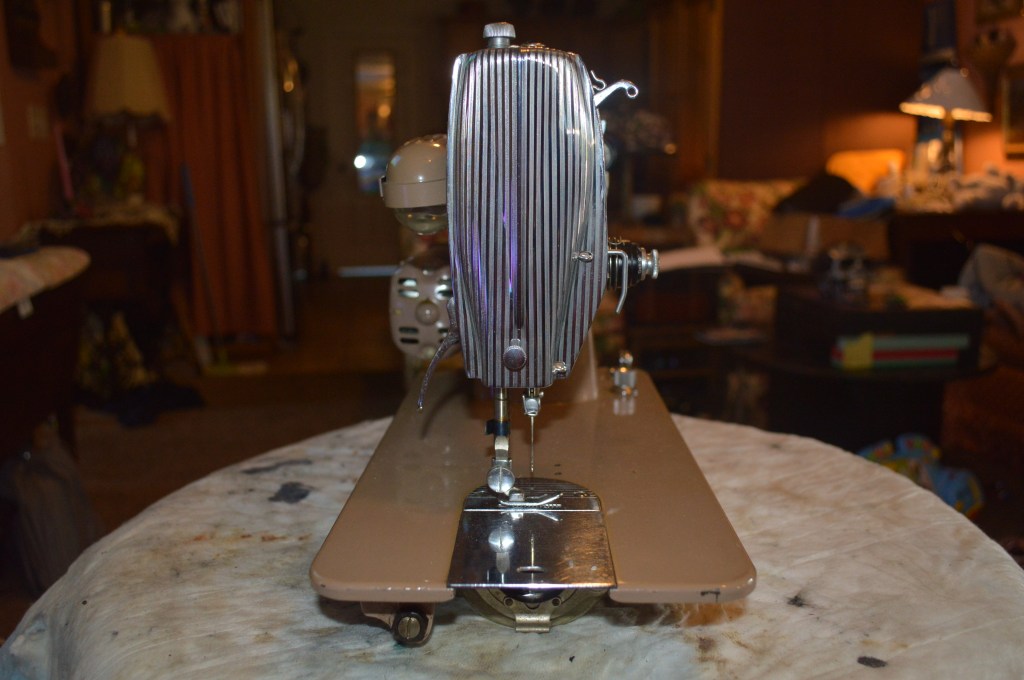
This 191U was a curious find, I found it locally and didn’t really know much about the machine. I liked the styling and the color and thought it would make a great restoration. The machine is in very good condition. The paint and the decals both present themselves beautifully. The catch is… and there is always a catch, is that the machine assemblies were coated with a thick film of oil varnish. So much so, the machine felt “sticky” instead of smooth when turned by hand. After lubricating the machine with Tri-flow oil, it smoothed out a little… but it was still there. Funny thing is that the machine sewed beautifully! Despite all of the resistance caused by this varnish film, the motor overpowered the resistance and it didn’t complain at all. This is certainly one for the before and after club. So, the restoration begins.
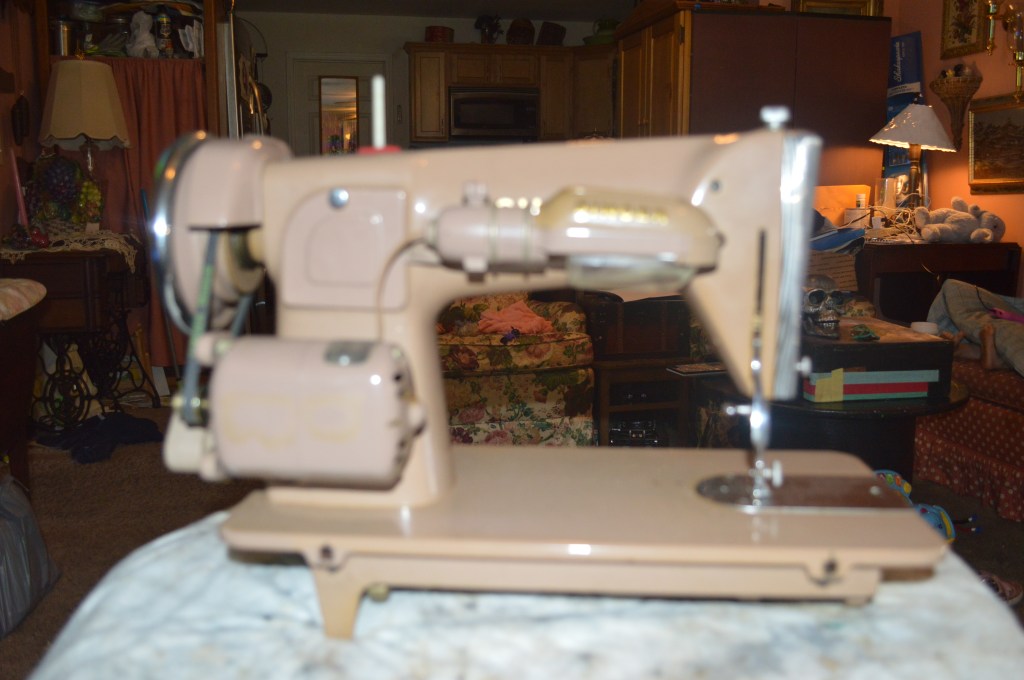
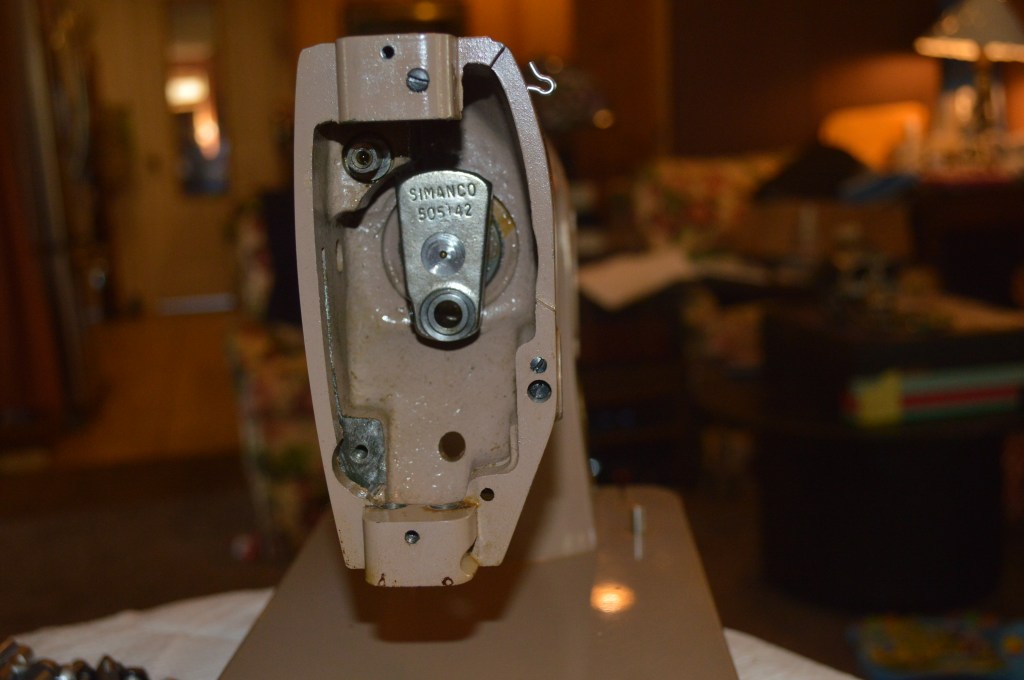
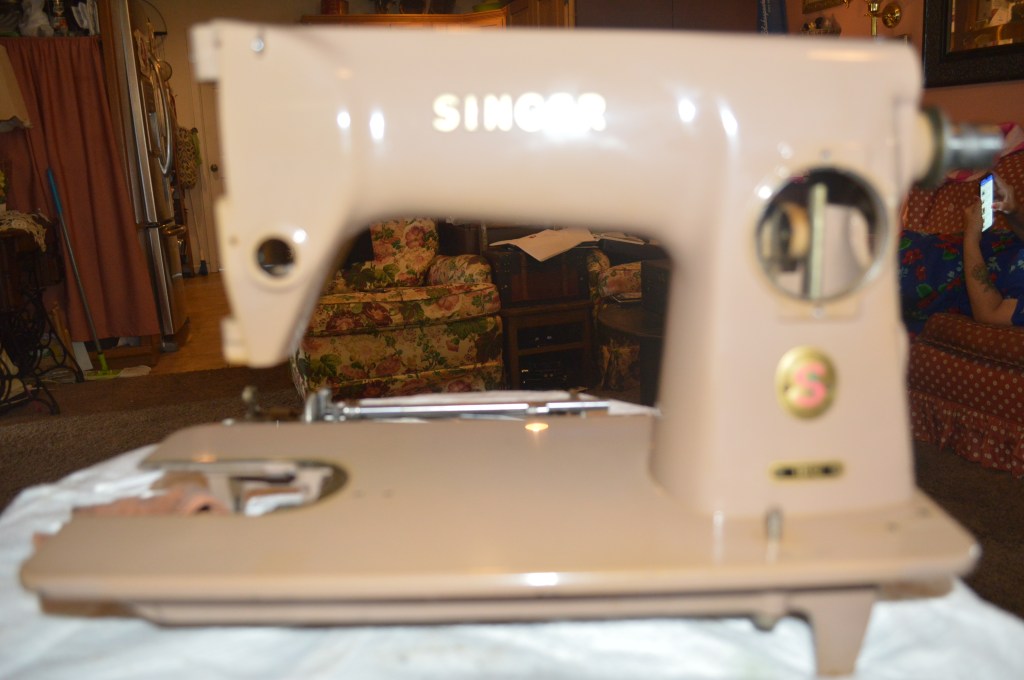
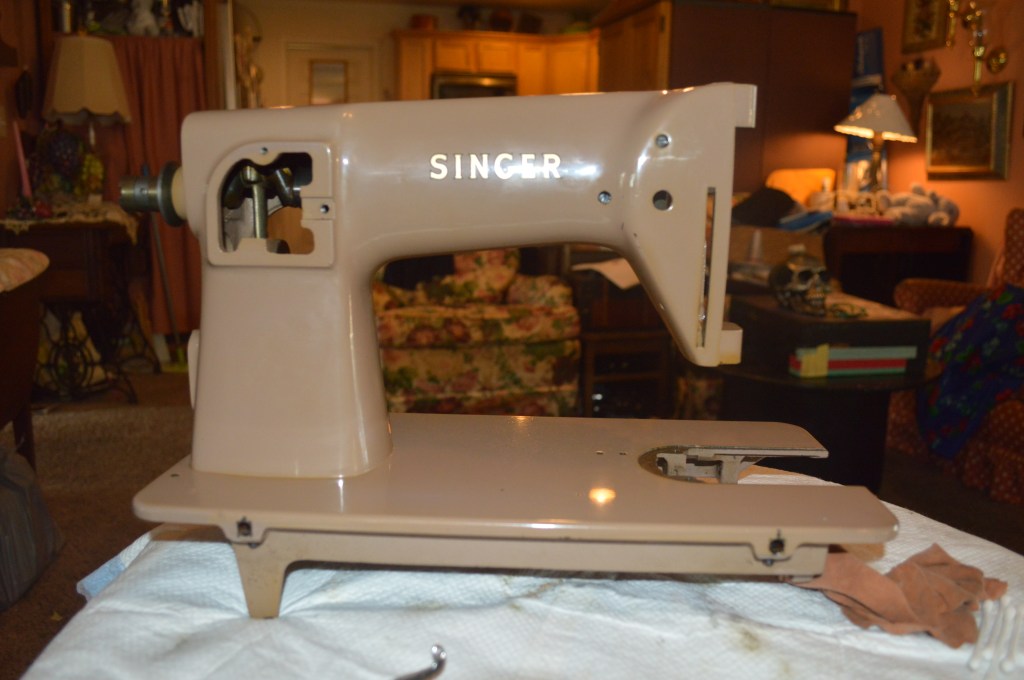
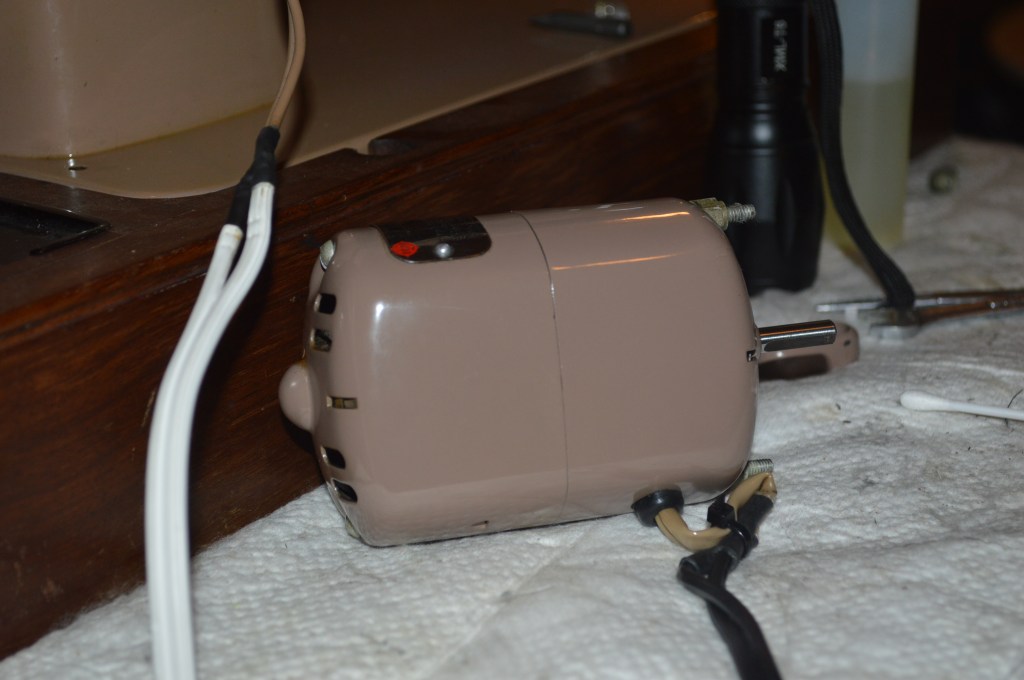
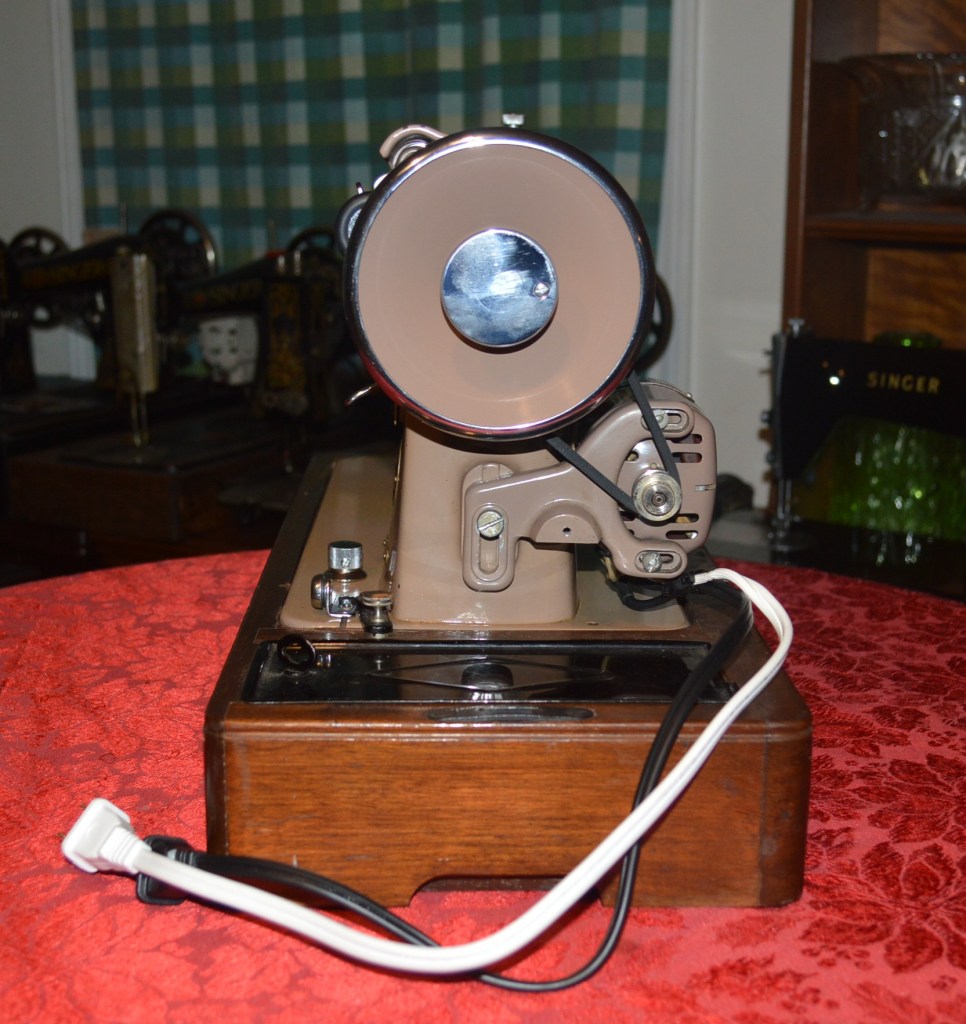
Here is the machine before restoration…


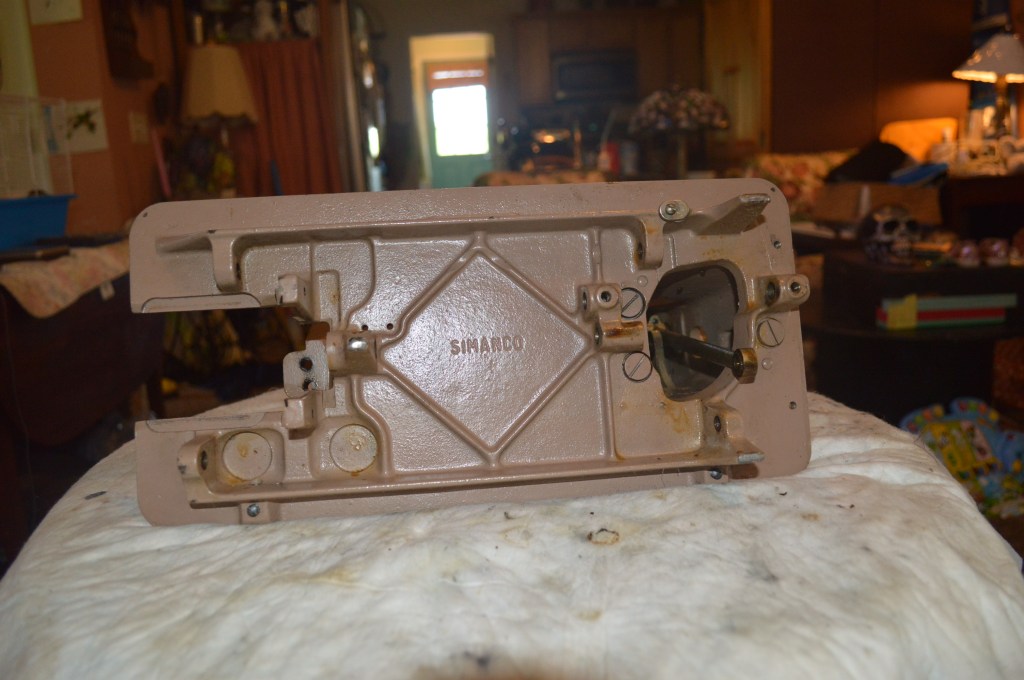
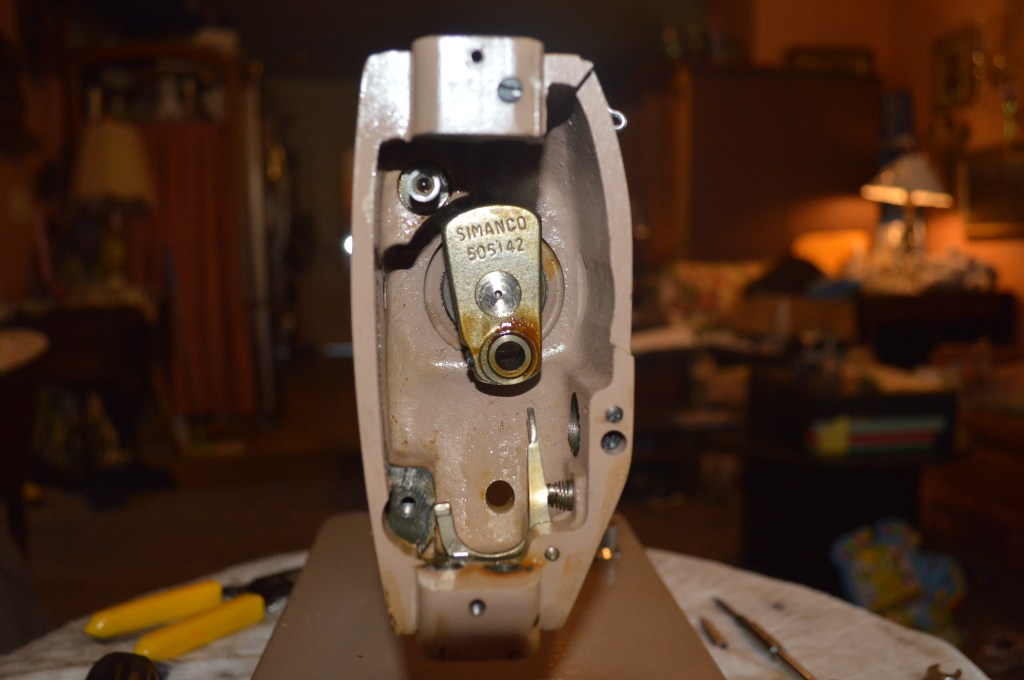
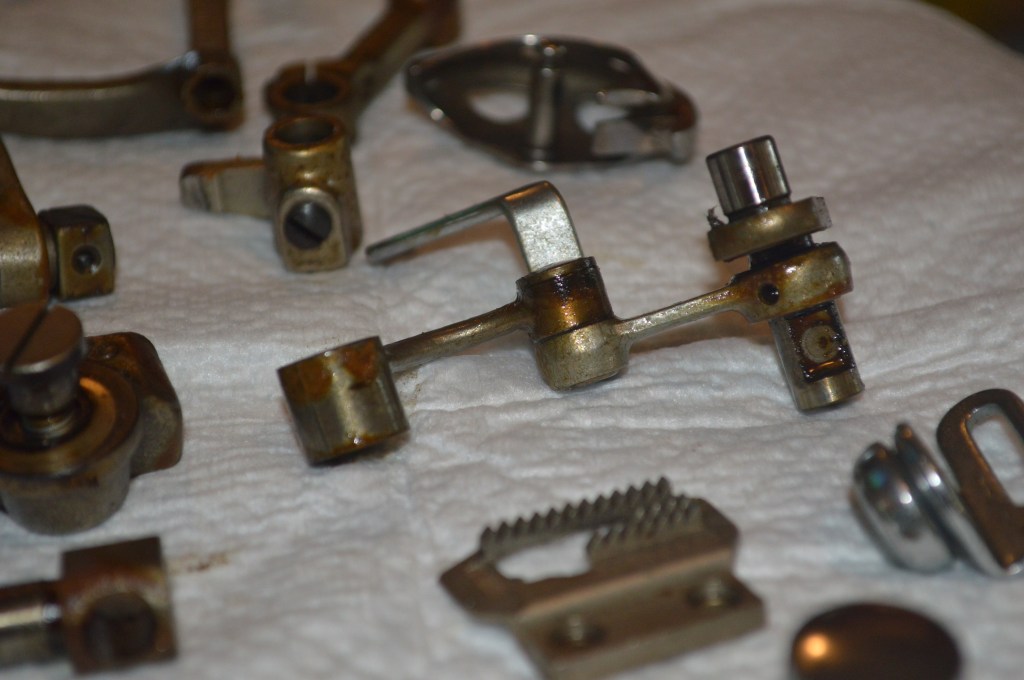
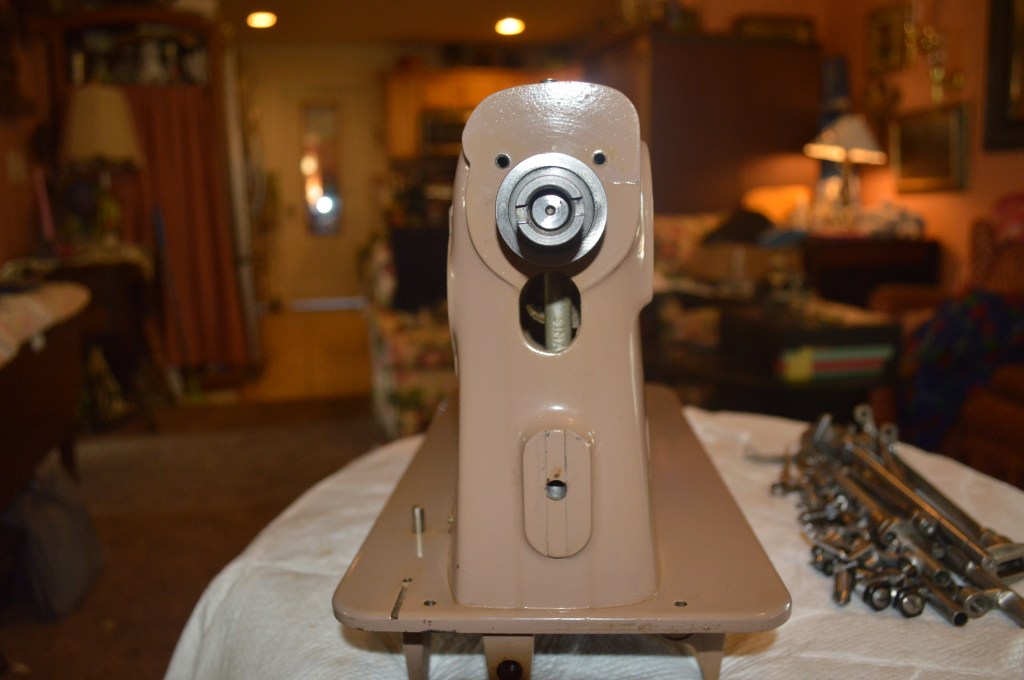
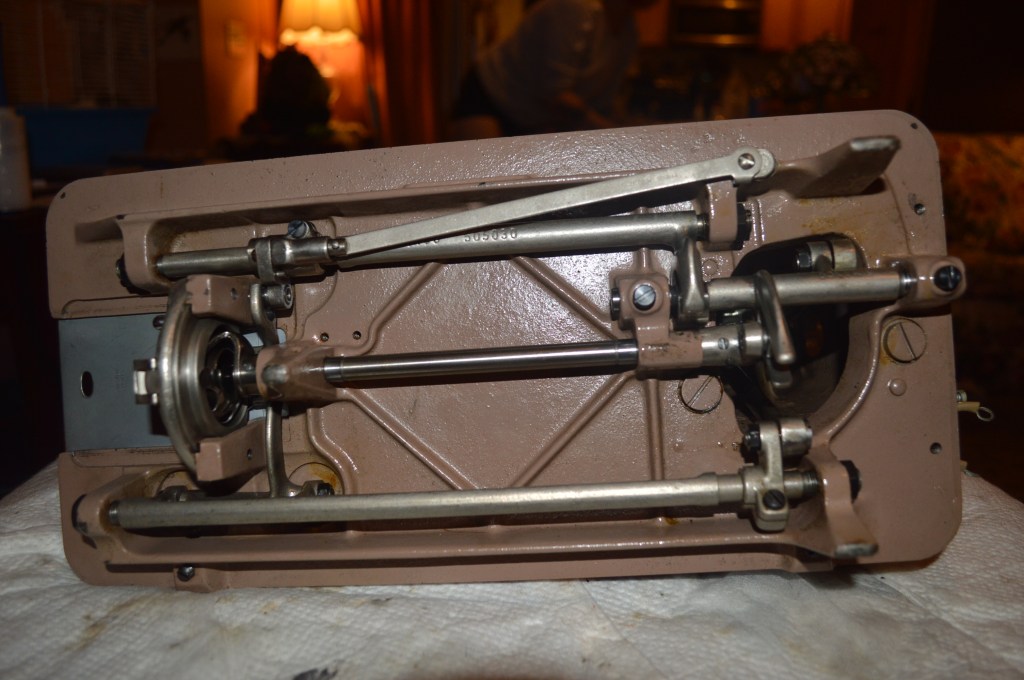
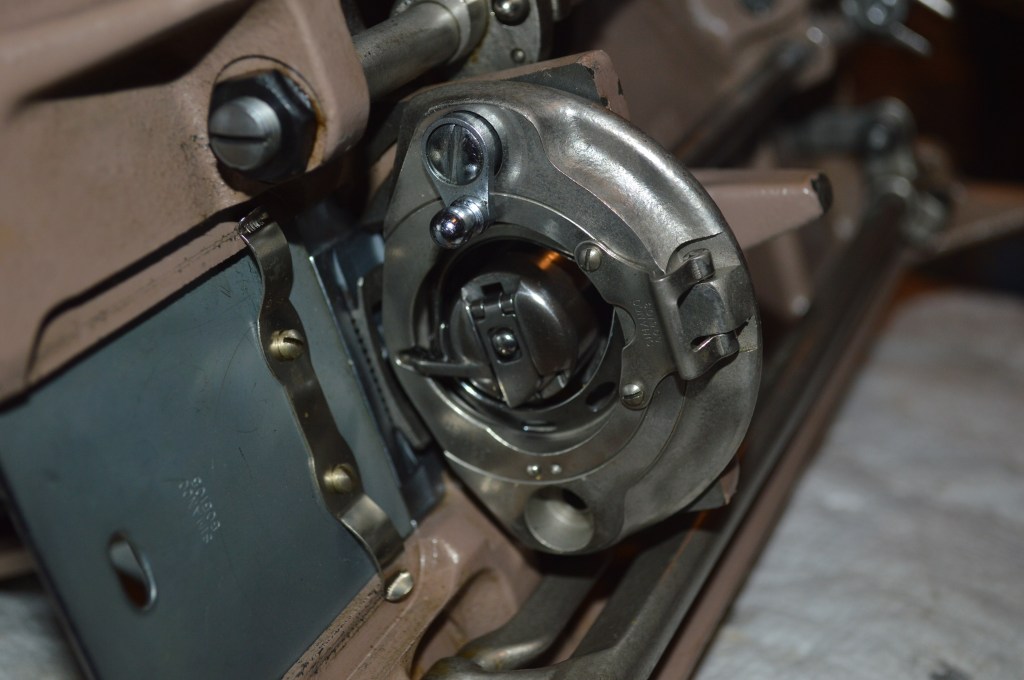
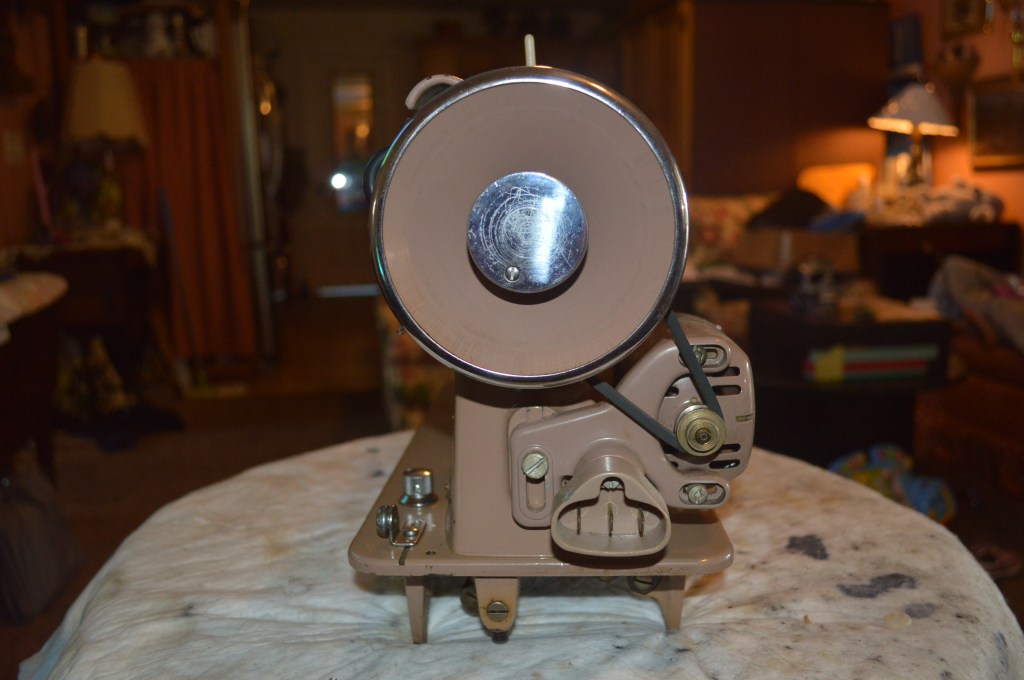
Here is what the assemblies looked like…
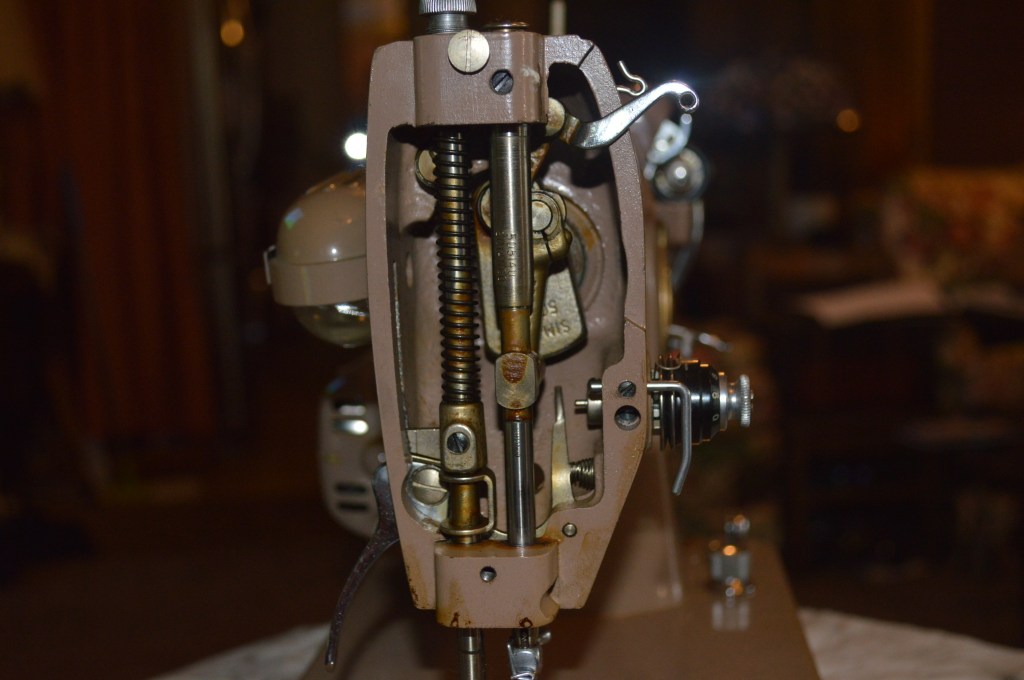
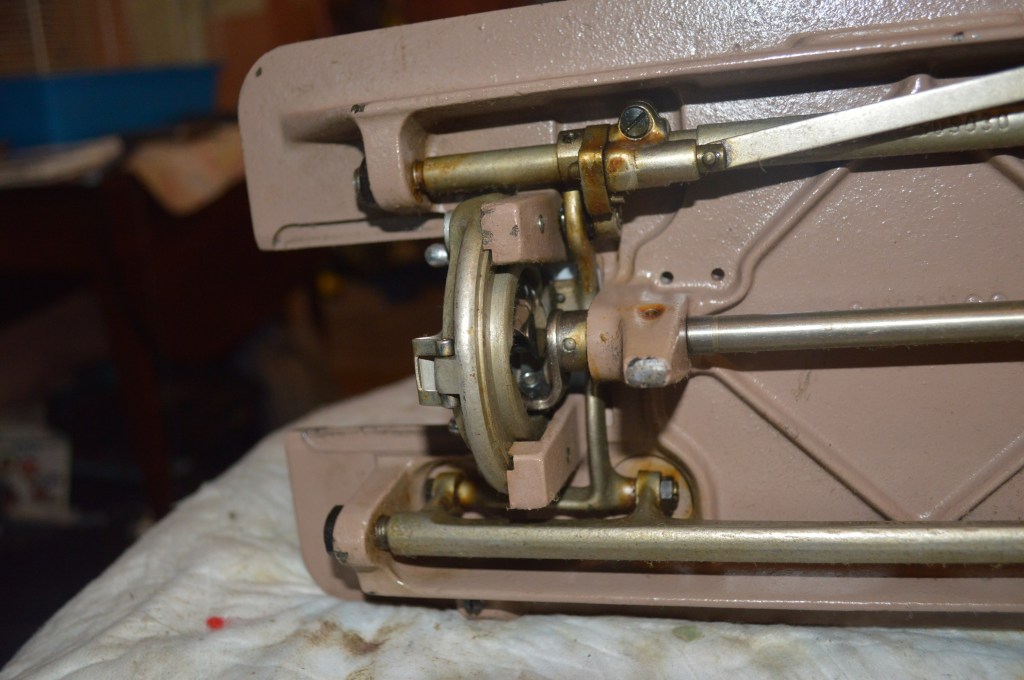

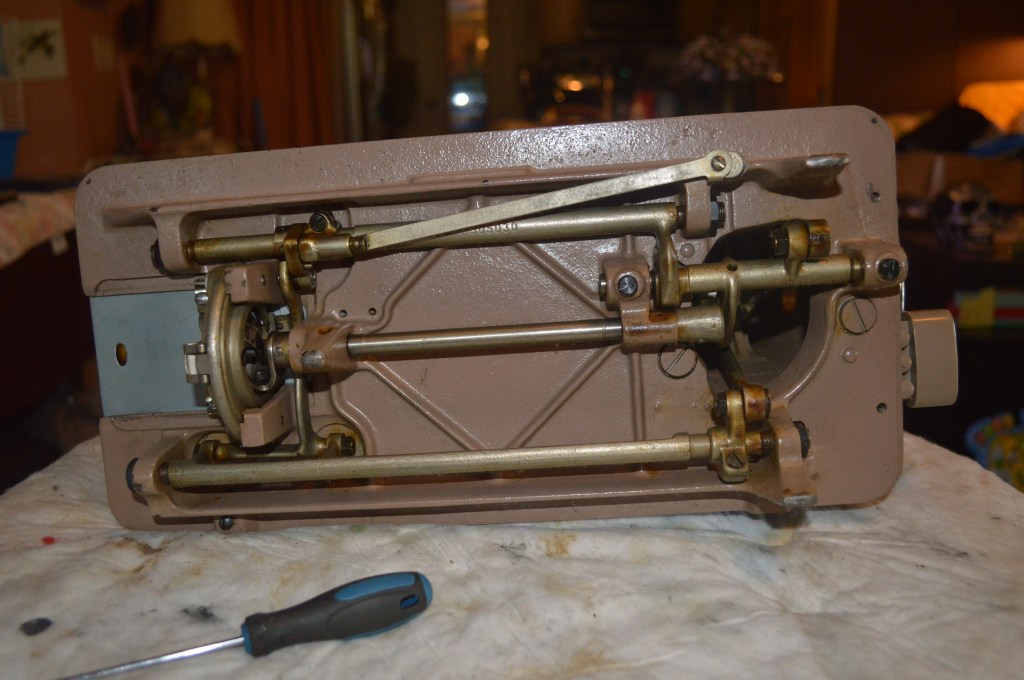
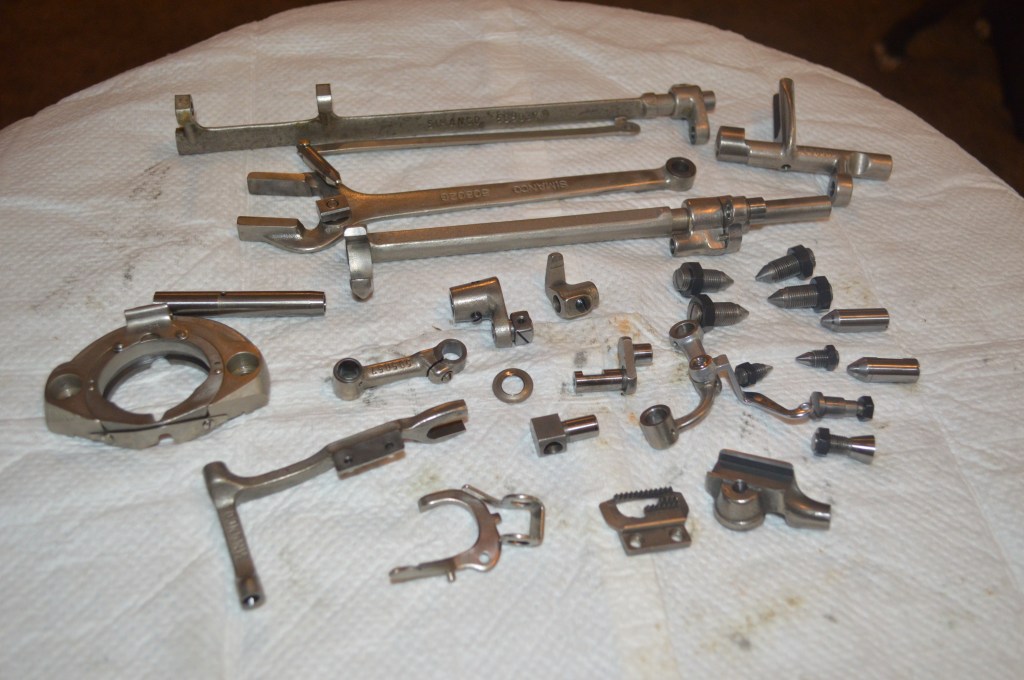
Upon closer inspection… and some judicious probing with a dentil pick, it turns out the oil varnish is mostly dried out grease. The machine was lubricated with grease! Well, the machine will be disassembled for complete cleaning anyway. Just more work to remove all of the built up grease. So, the machine is disassembled…
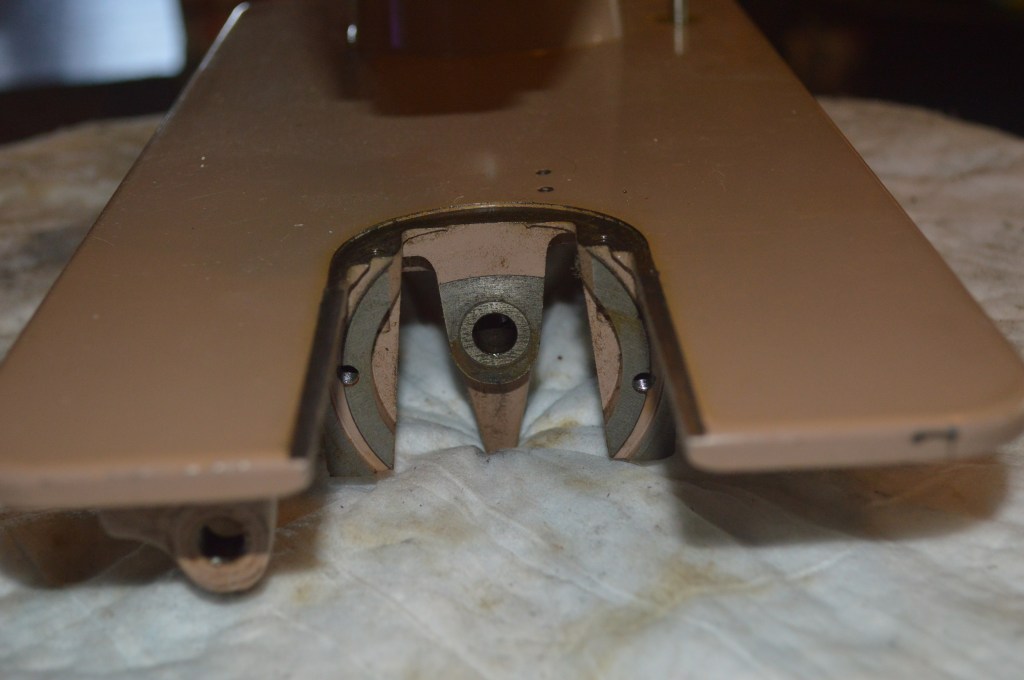
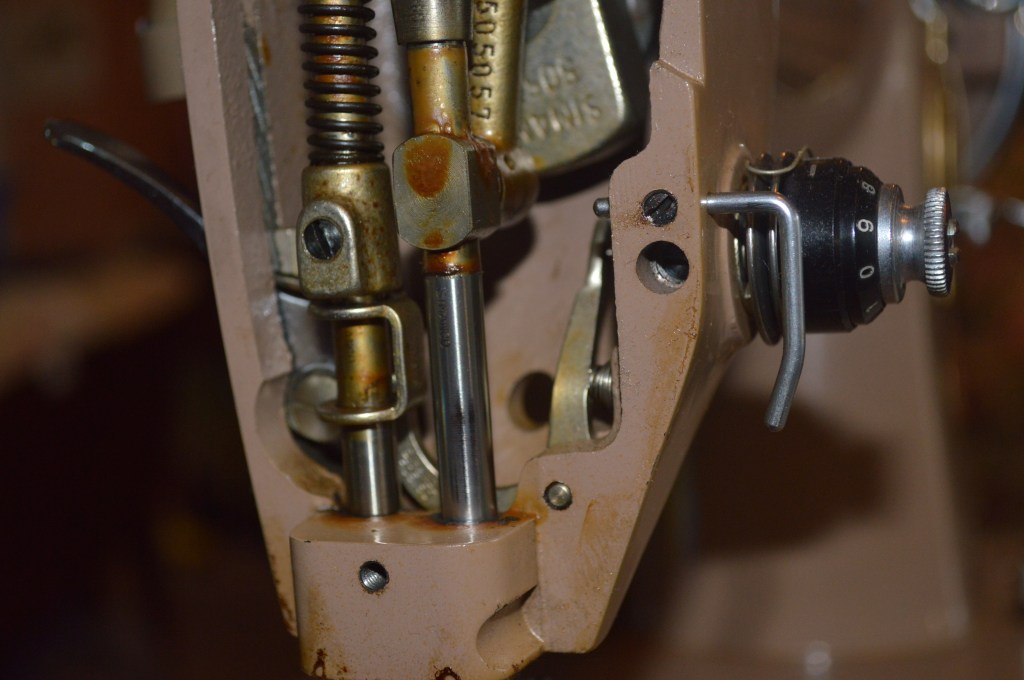
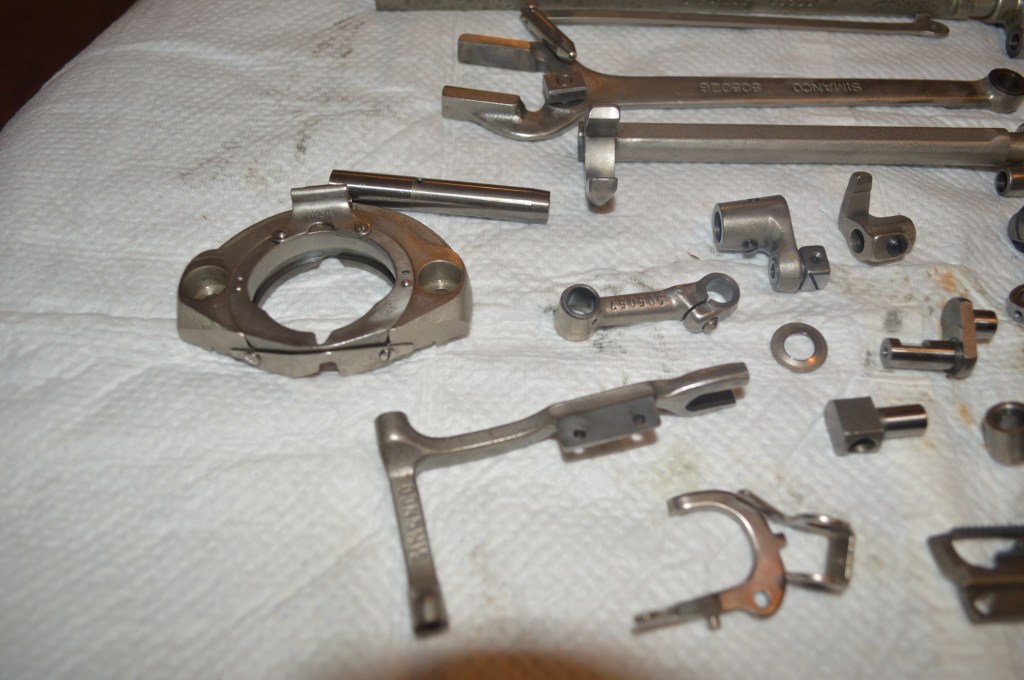
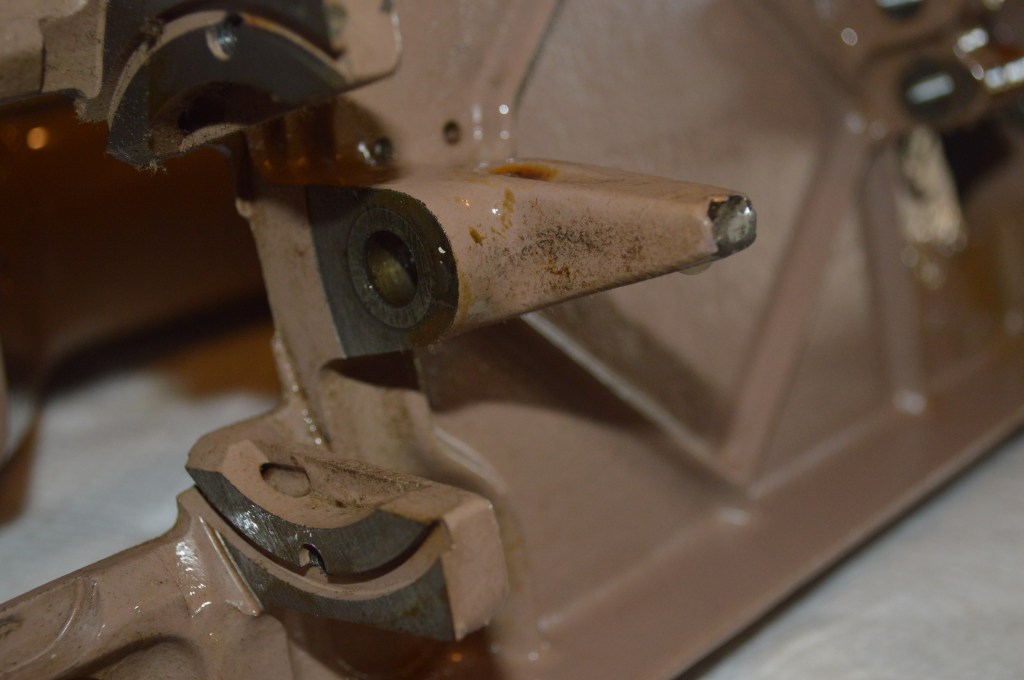
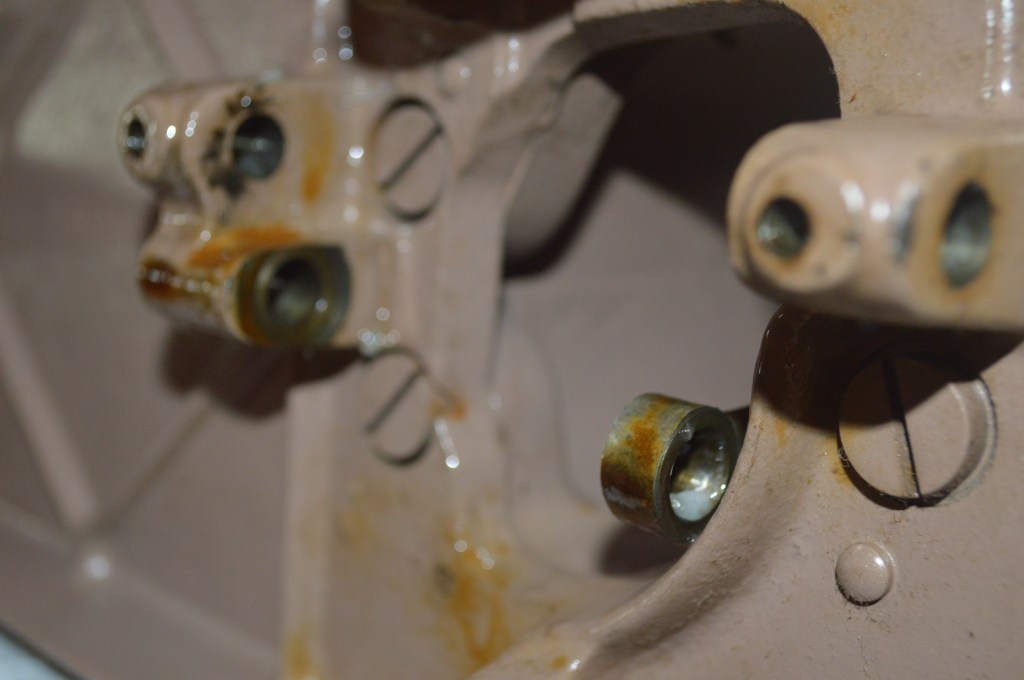
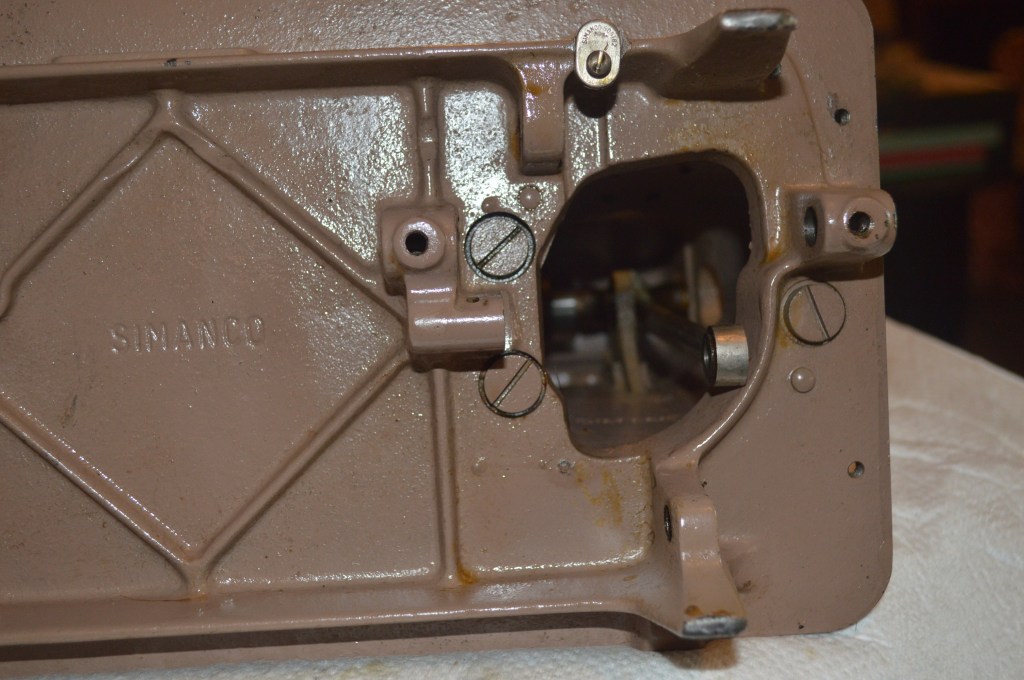
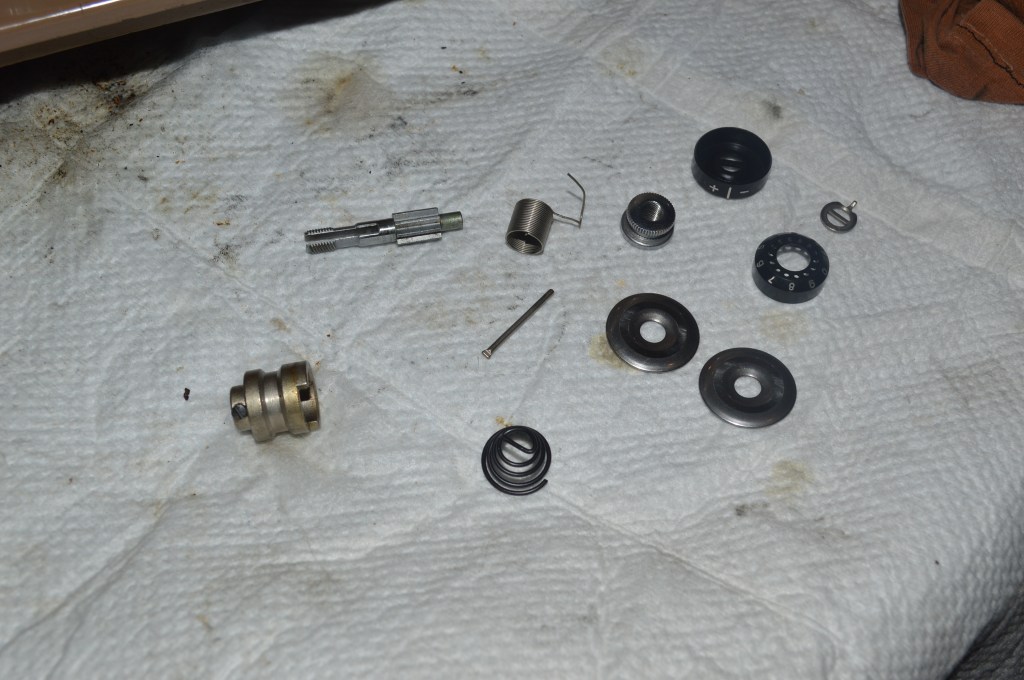
All of the parts are laid out for cleaning… It is easy to see where the “stickiness” came from. Take a good look at the brown coating on these parts… including areas that turn or rub in each other.
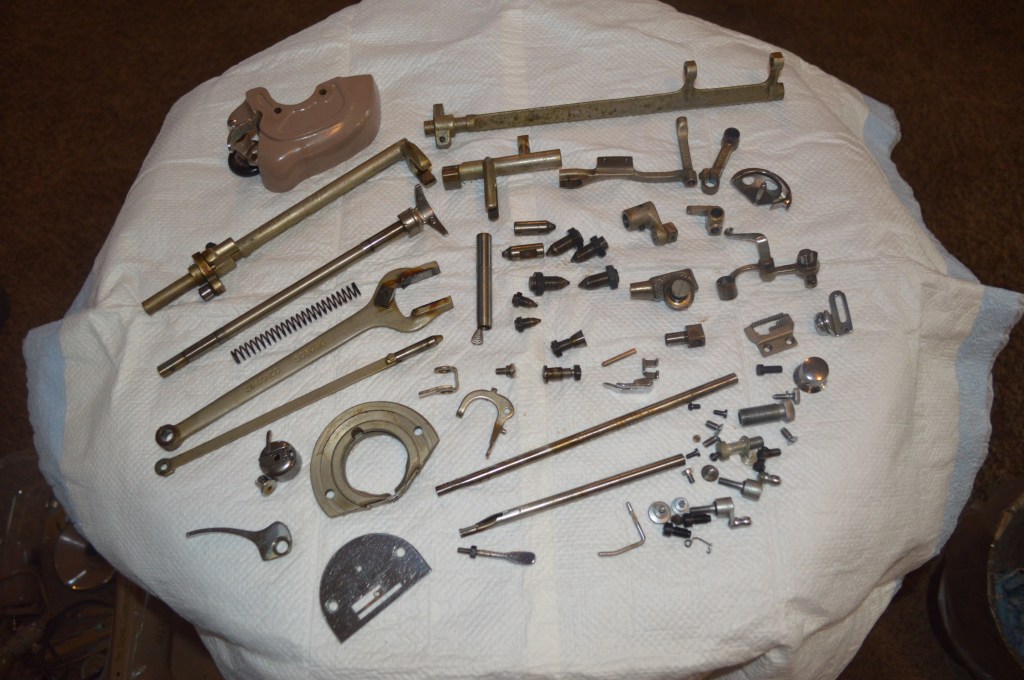
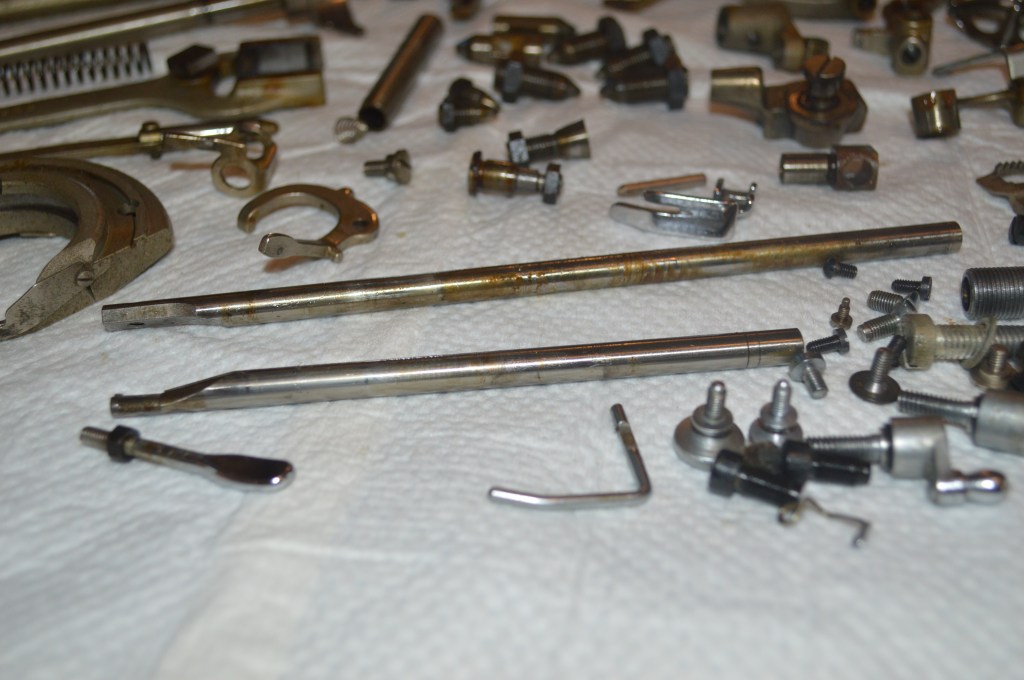
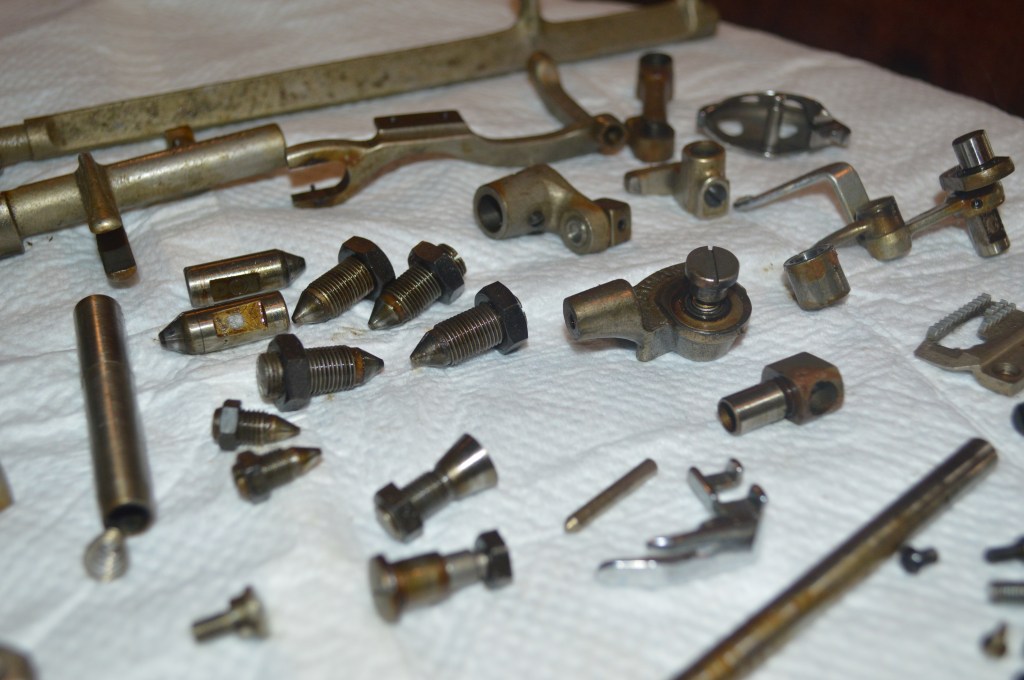
After cleaning, the parts are soaked in WD40, wire brushed, and hand rubbed…


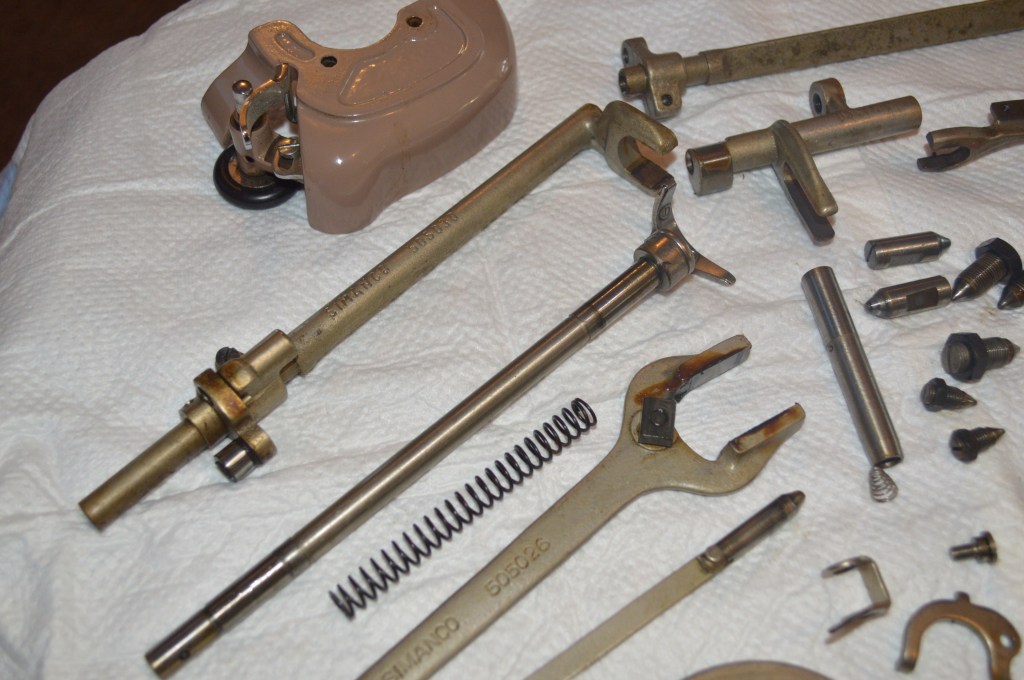
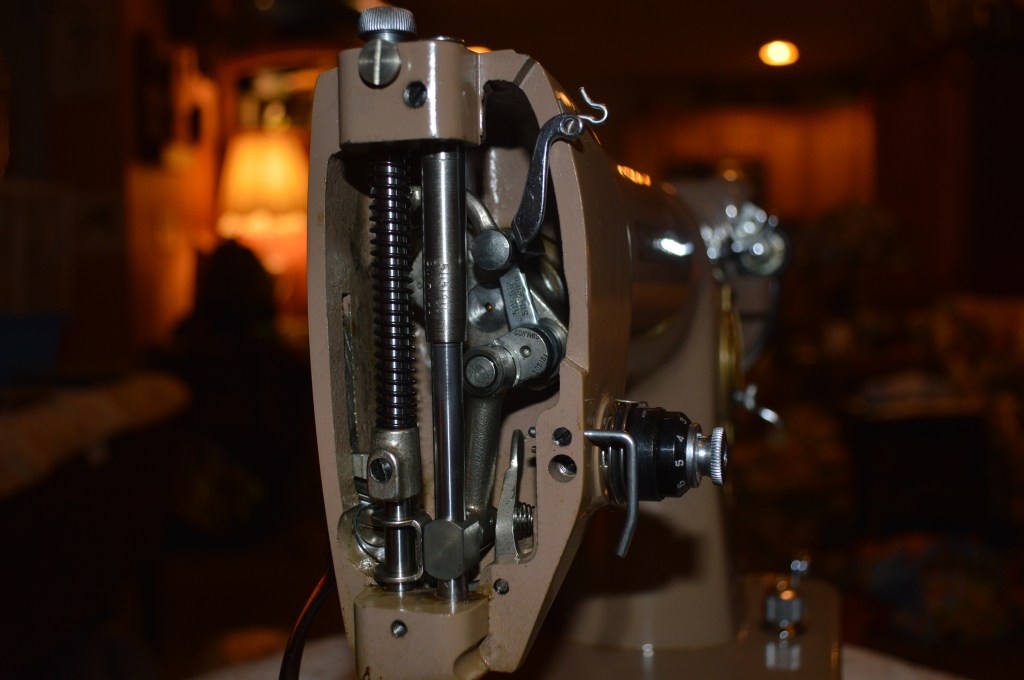
And the presser foot bar and the needle bar are polished to a glass smooth finish…
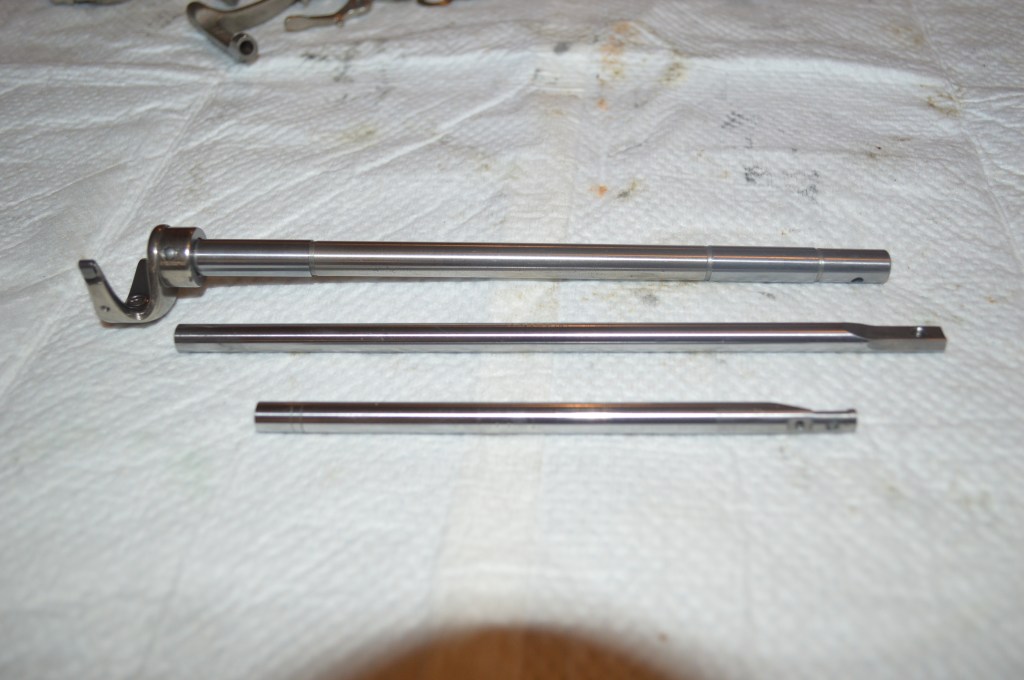
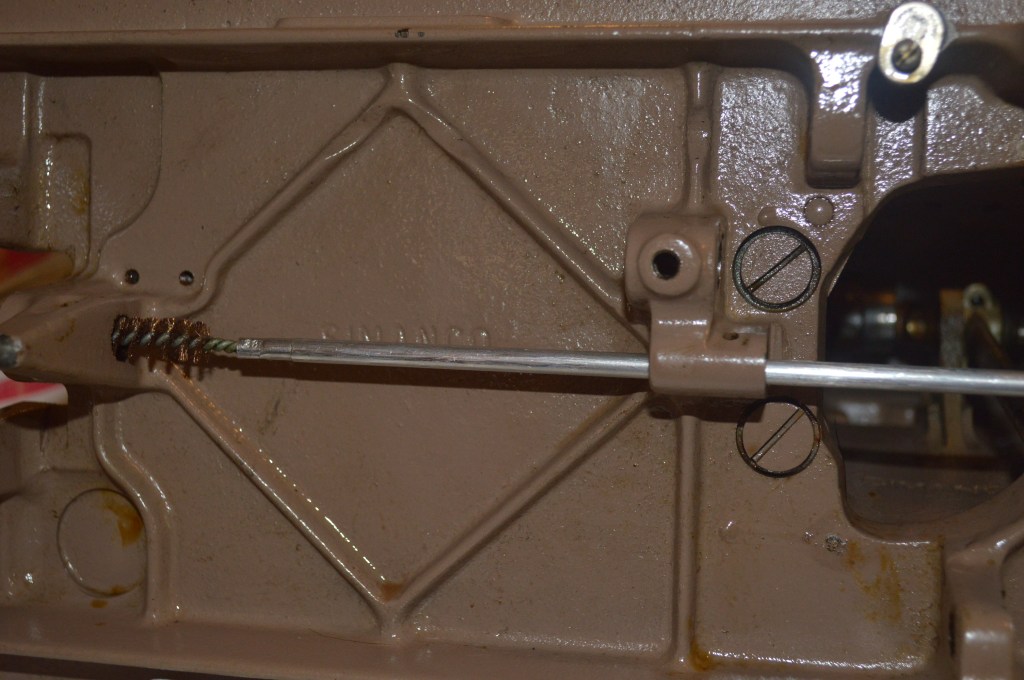
Now these parts look like new, and what’s more important is that when reassembled, will feel like new. After all, that’s what we are after. There is still a lot of cleaning in the areas these parts came from. All of the bushing bores need to be cleaned. This is done with a brass bore brush…
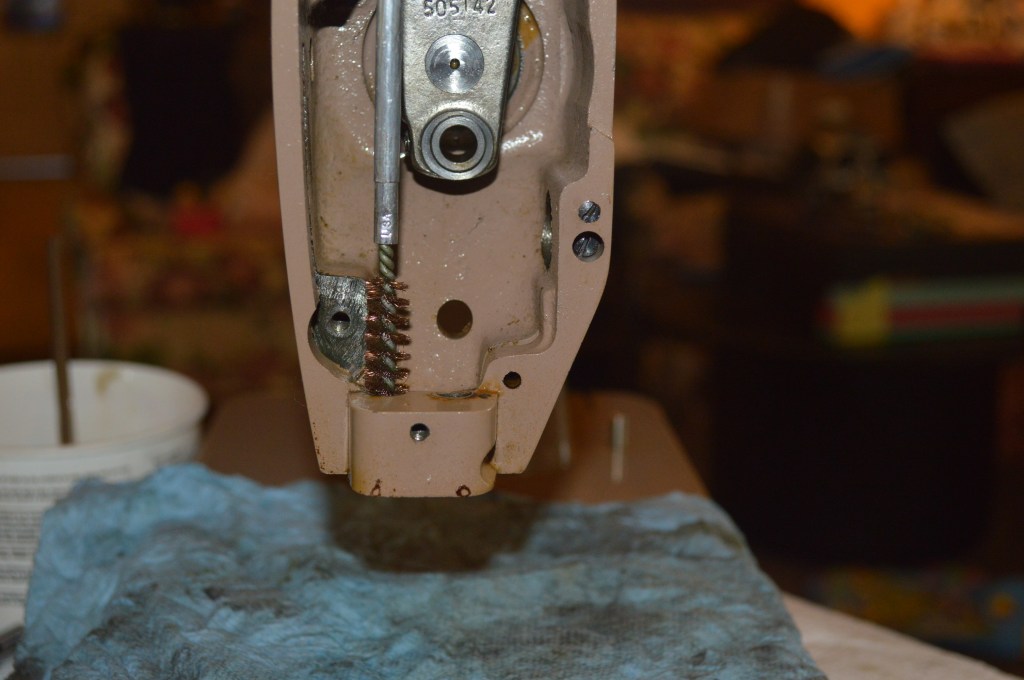
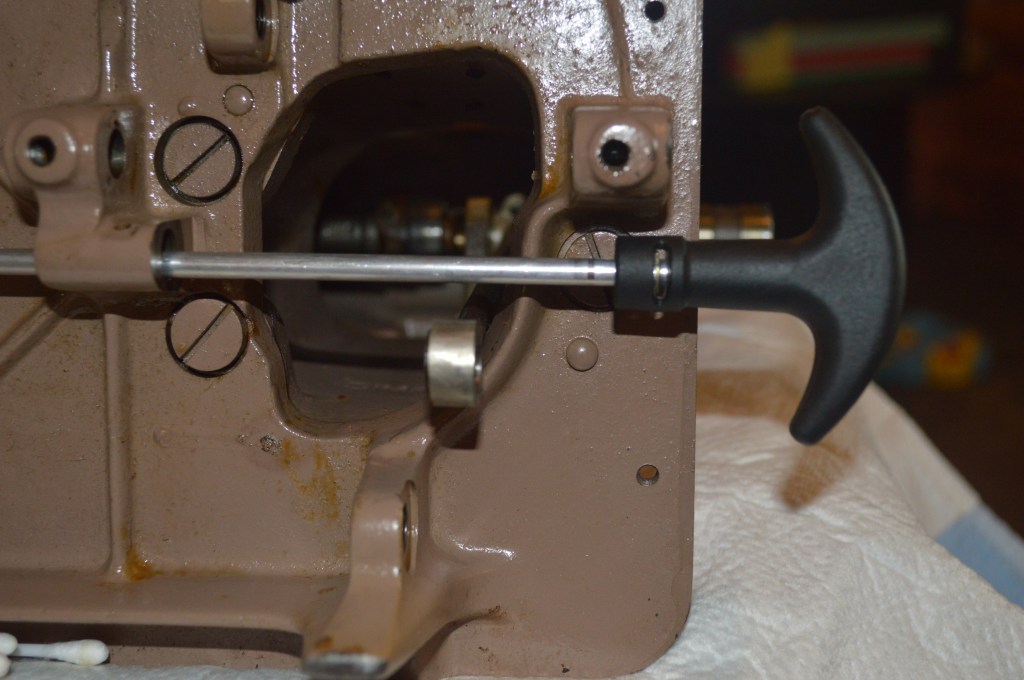
The stitch length adjustment fork rides on a cam lobe in the sewing machine’s arm. This is also coated with old grease and must be cleaned. Here, it is done manually by scraping, then brushing with acetone until it is gone…
It’s tight quarters and tedious, but persistence pays off.
Now is a good time to clean the body of the machine… this is accomplished with GoJo hand cleaner (pumice free formula please!)…

The tension mechanism is disassembled and cleaned…
After reassembly, the tension mechanism is set aside for reassembly.
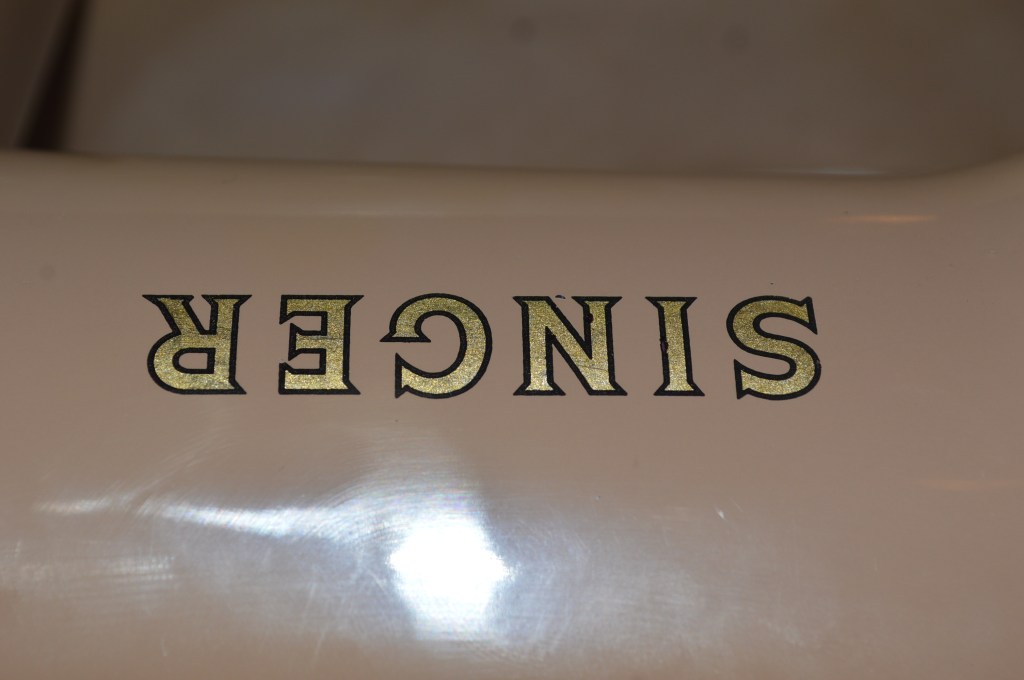
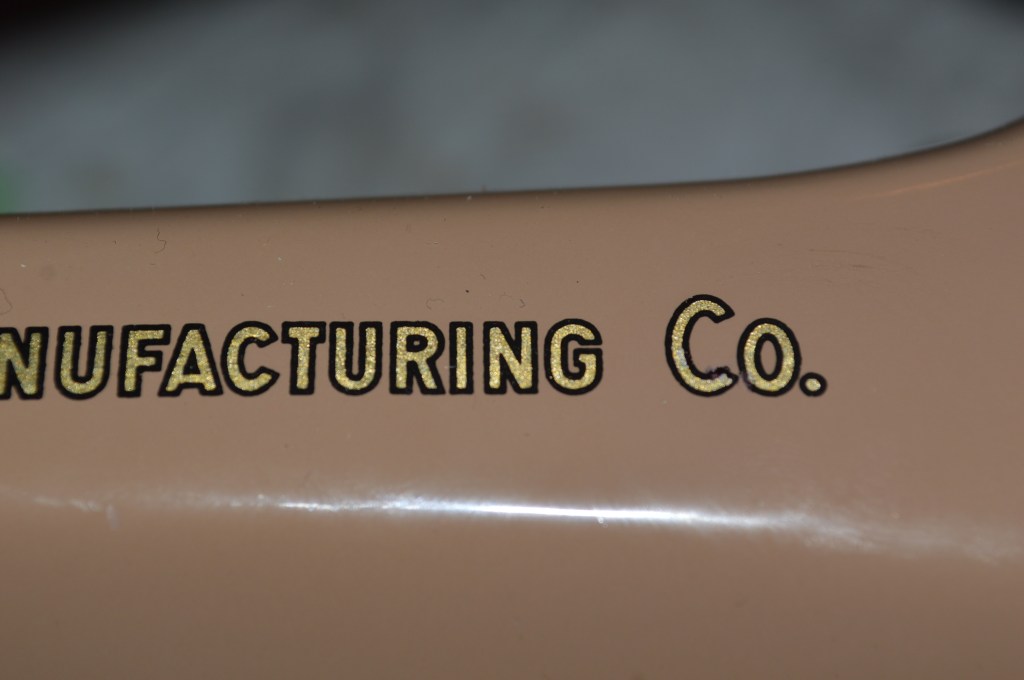
Now is a good time to make any cosmetic repairs. The decals on the machine are in great shape. I did notice that the border on some of the letters was gone…
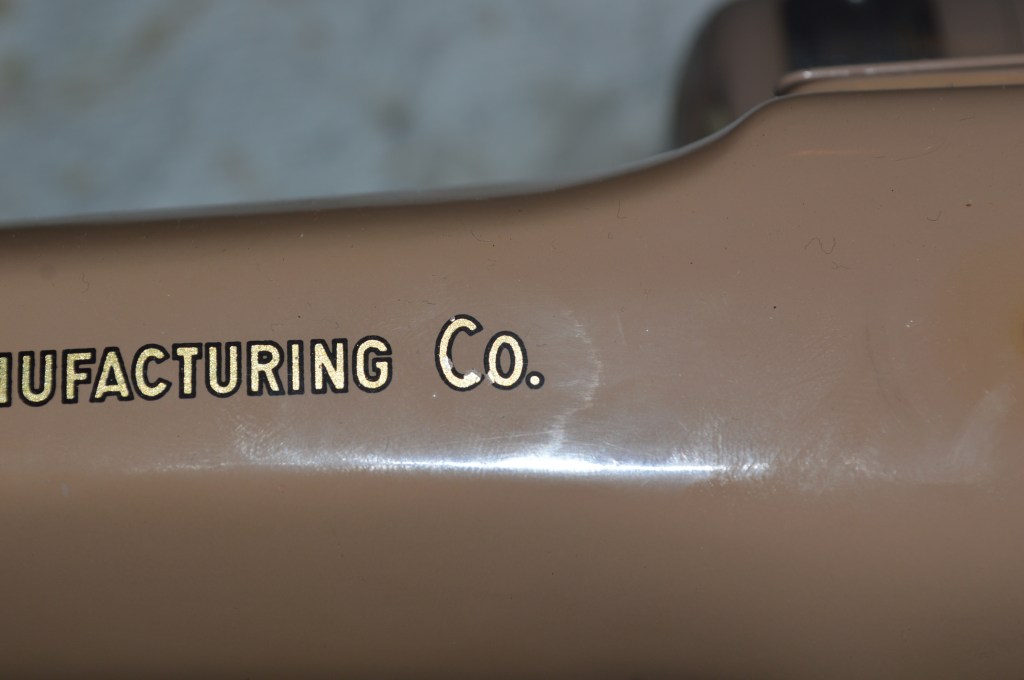
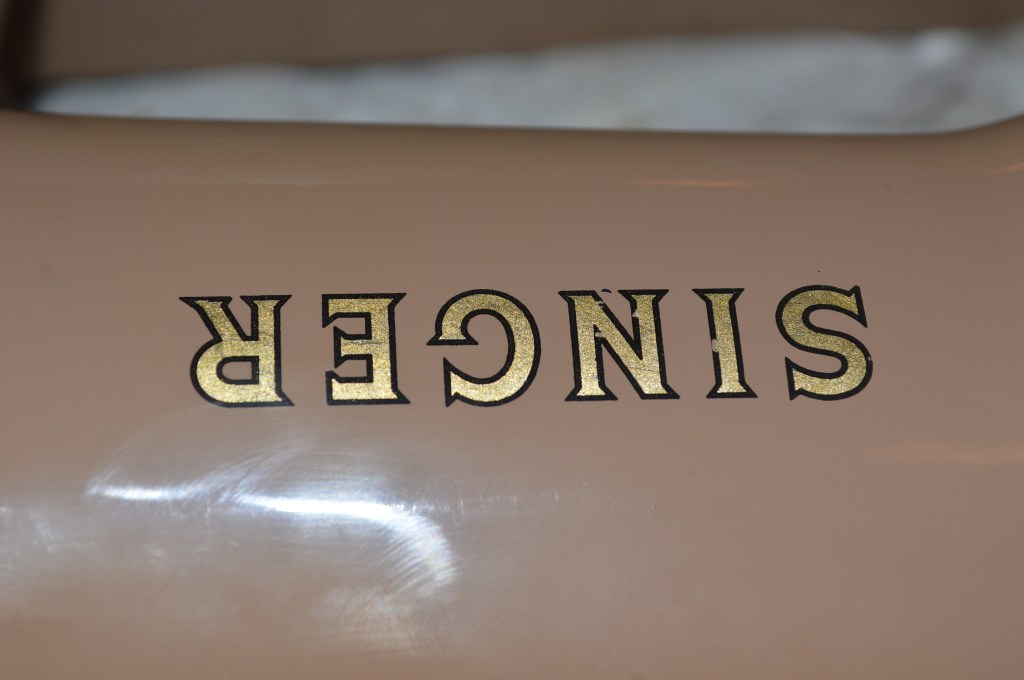
This is fixed with… believe it or not… an ultra fine tip sharpie. Okay, so it’s not authentic, but it works great. The repaired area will need to be clear coated.
And… here is where I hit a snag in the restoration. My Daughter (the artist that mixes my perfect paint match colors) told me that she had walked by the machine several times and just LOVED the color and the style. So, now the restoration takes a turn from a listing to a gift! It is so gratifying to hear that someone connects with a certain aspect of any particular vintage sewing machine. That is one of their charms!
Moving ahead, the reassembly begins… Everything is reassembled in the machine and adjusted to make sure the feed dogs and fabric feed are properly set. The tension assembly is also installed.
It’s starting to look like a proper sewing machine again! The next, step is cleaning the light assembly. Fortunately for me, the wires are supple and in good condition. They do not need replacement. This is a pretty straight forward process…
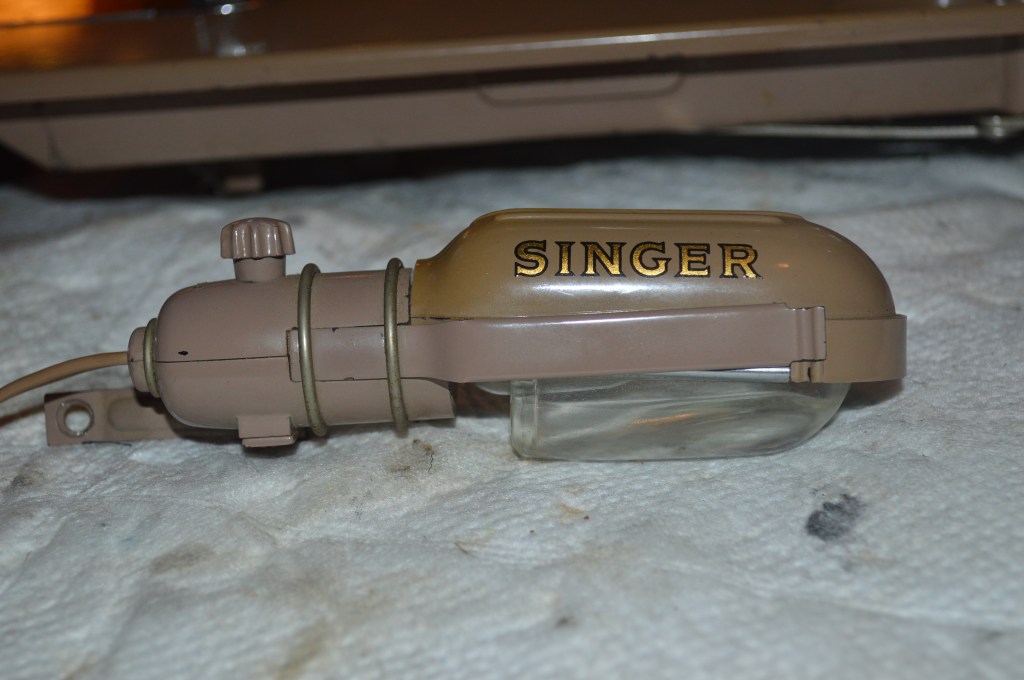
This light is very simple assembly… unless you have to take it apart to replace wires! 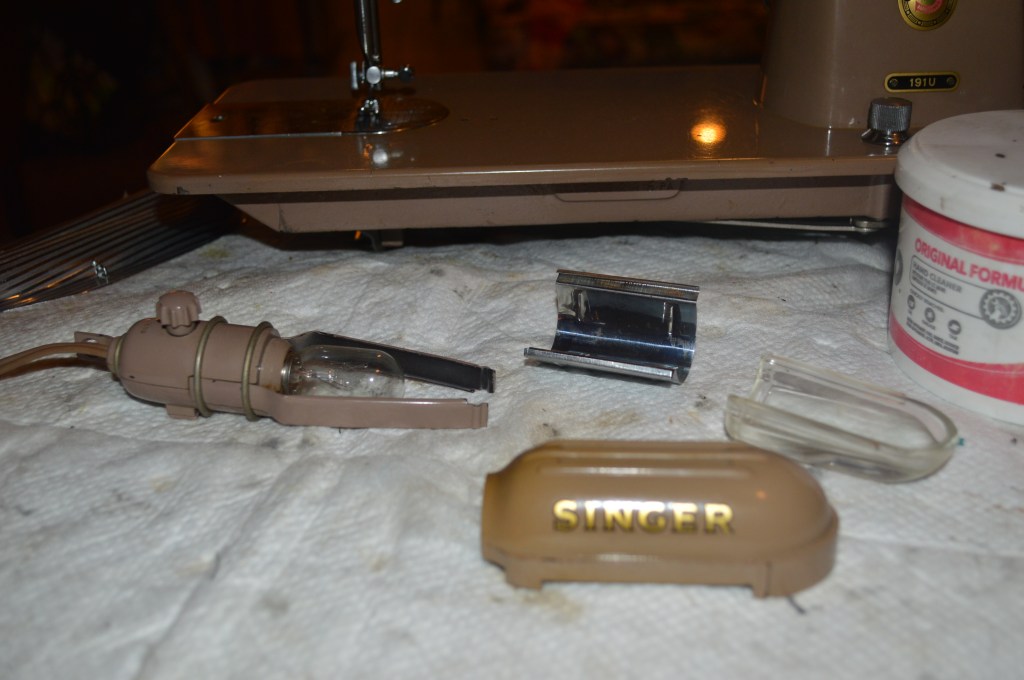
Disassembled and ready to clean with Gojo 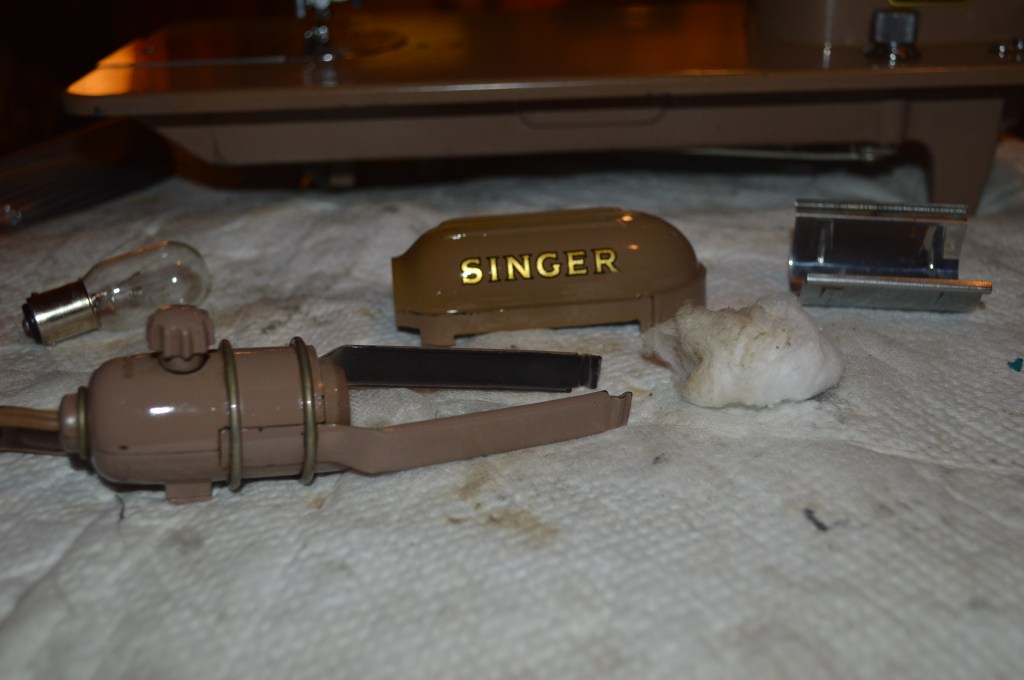
I did pick up some dirt on the cotton ball… not much 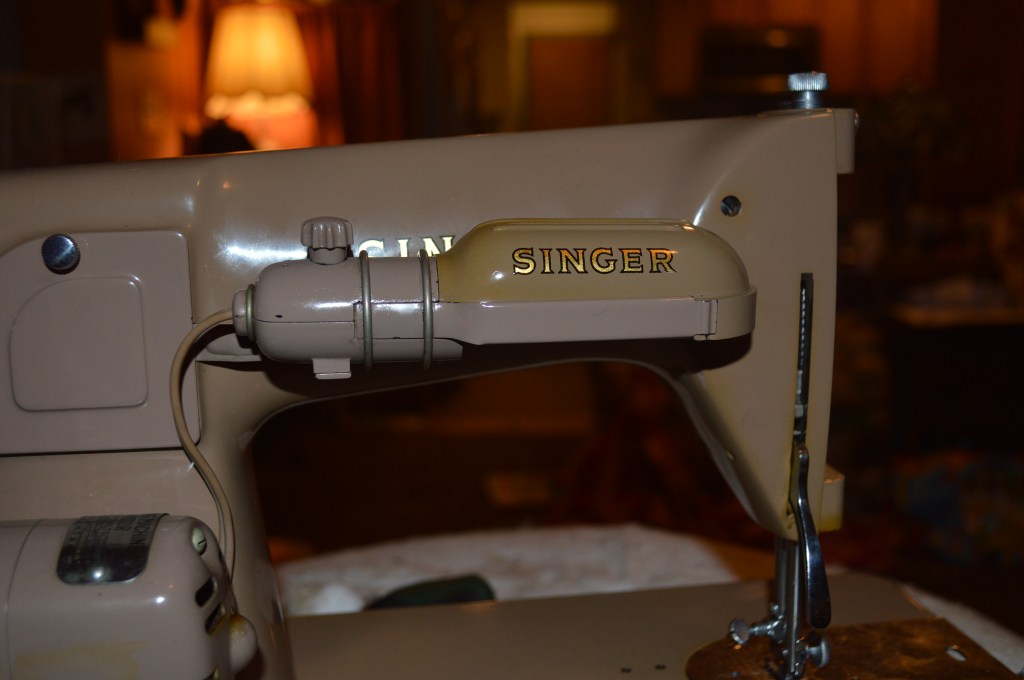
Lens is in ultrasonic cleaner… not quite ready to put in
The light is cleaned and now the motor is the next and last component to disassemble and restore.
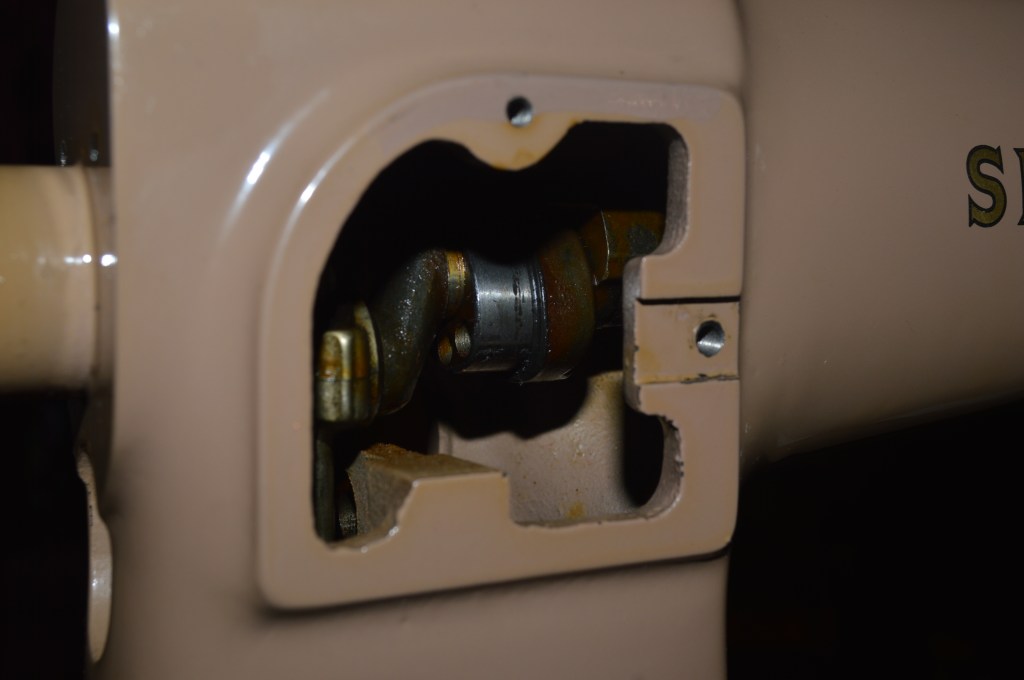
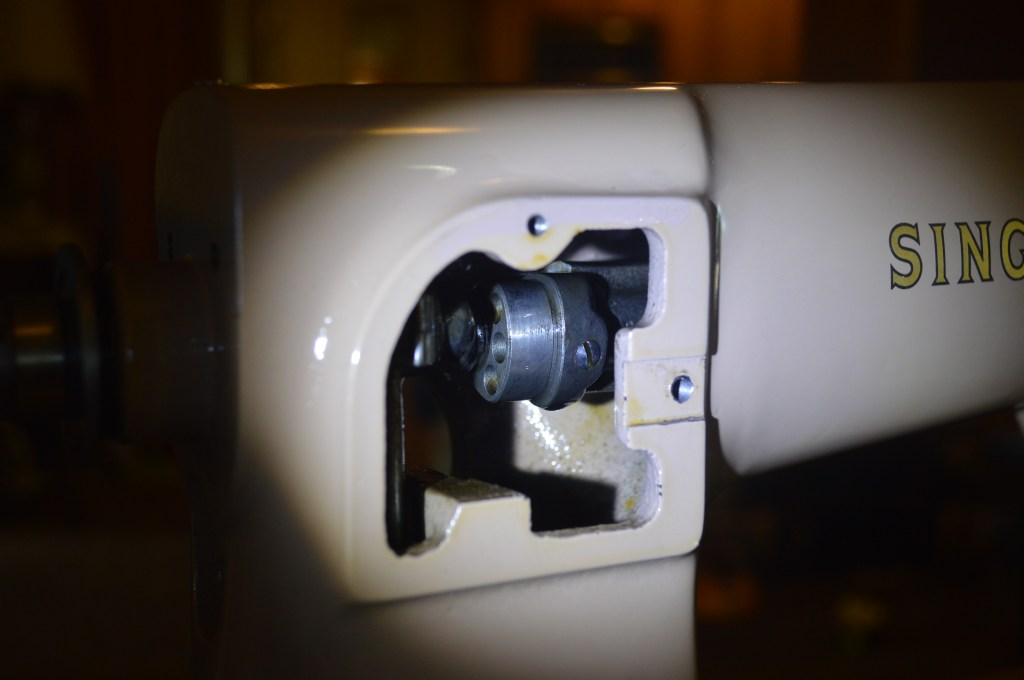
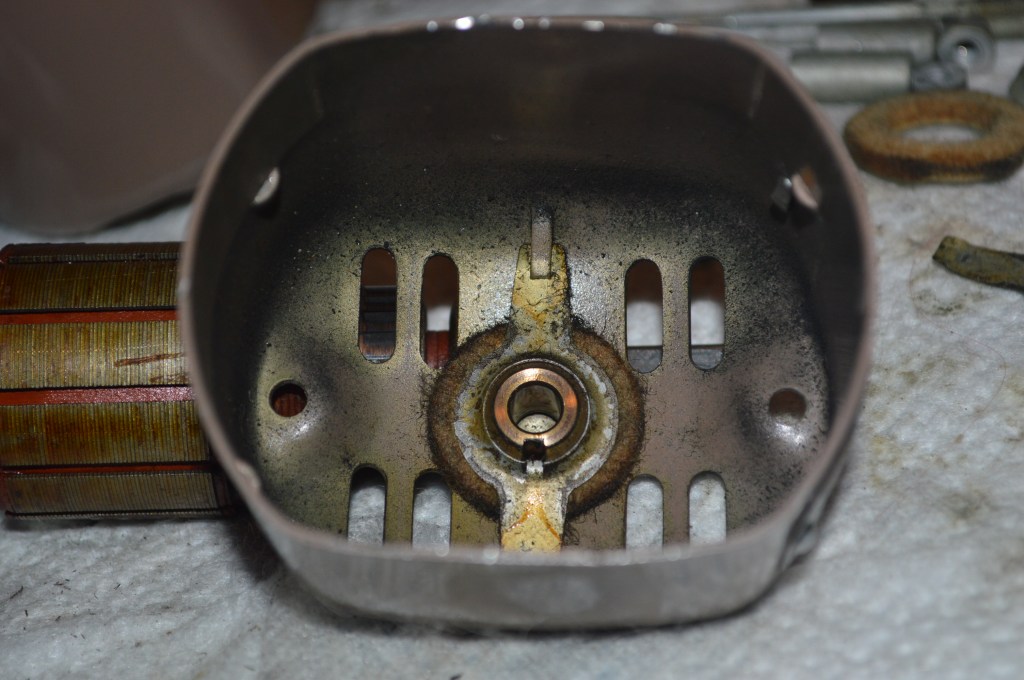
Trouble! as I was disassembling the motor, I realizes that the front motor shaft had seized in the bushing! This is bad. Instead of the shaft turning in the bushing, the bushing was turning in the motor case! You can see the bushing on the shaft…
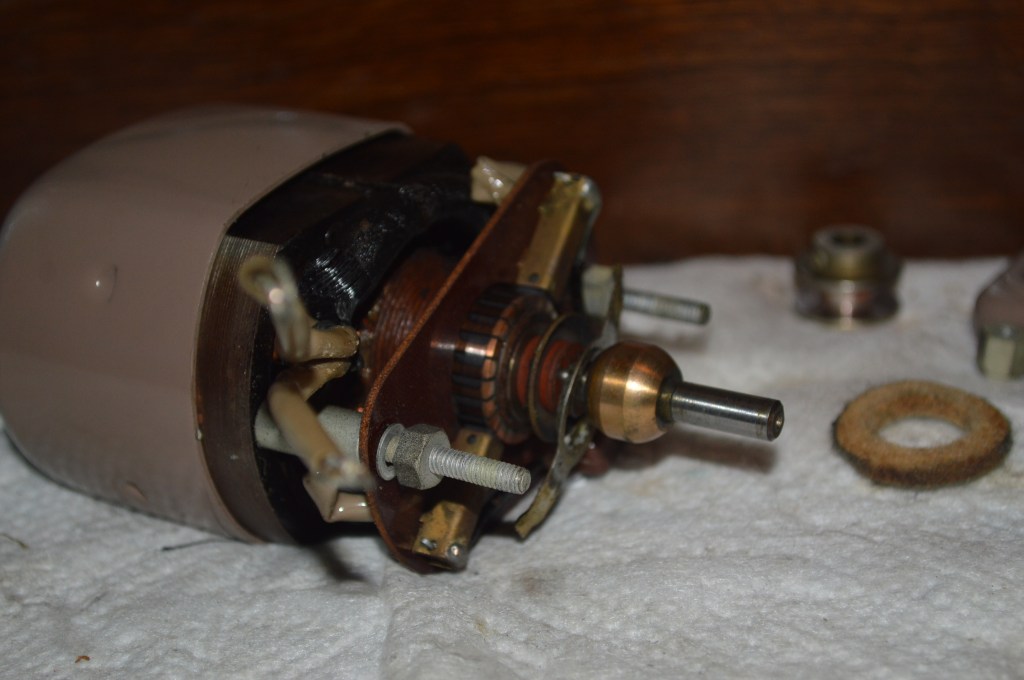
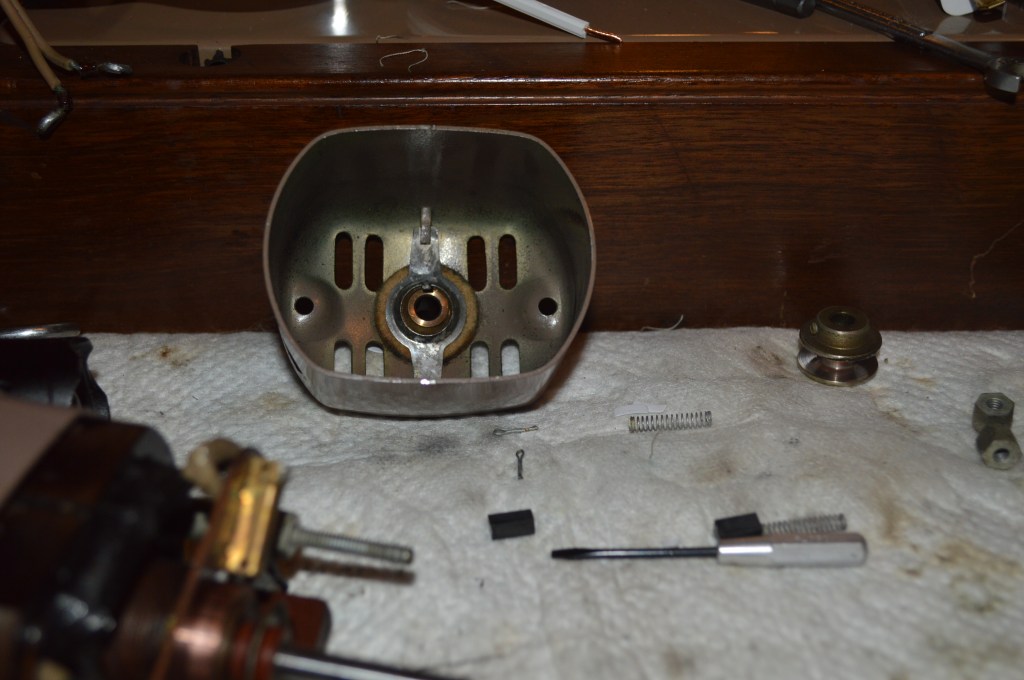
It does not look like the bushing is damaged, so I will remove it, polish it and the shaft, and see if it will reassemble properly. Luckily, it looks like it was not run enough to score the bushing… we will see. The rest of the motor is disassembled…
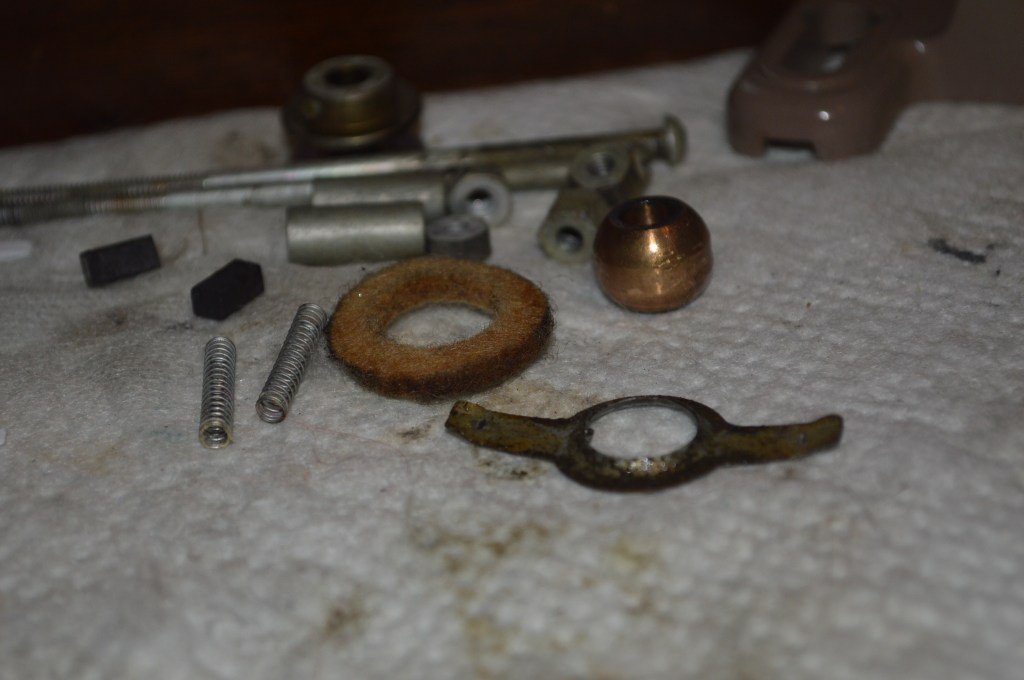
The bushing retainer clip needs to be cleaned and inspected for damage… the oil felts are bone dry 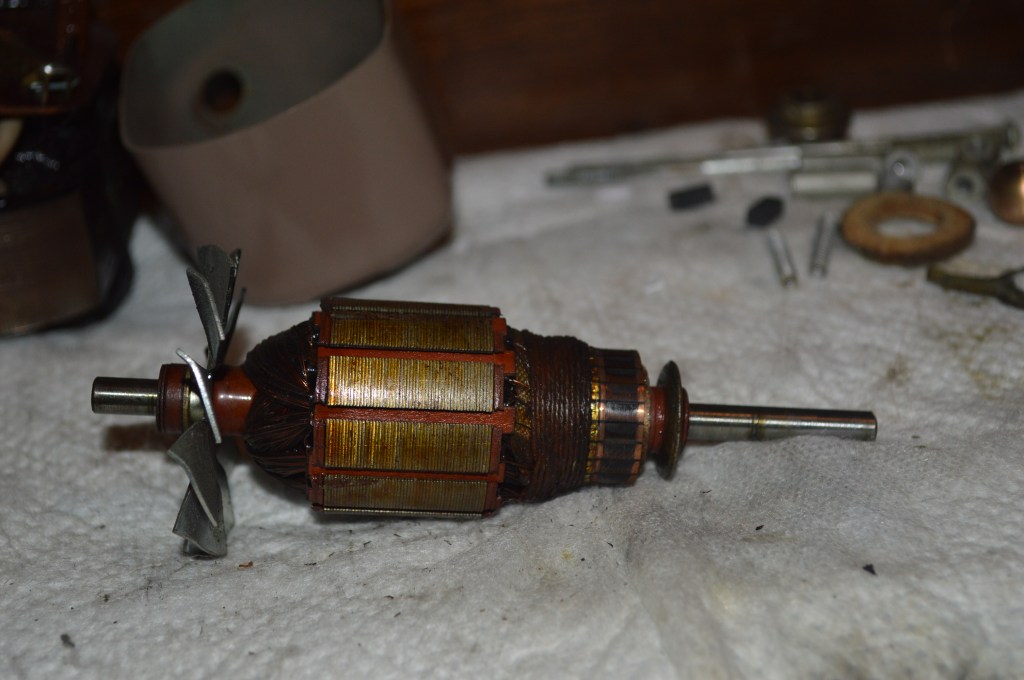
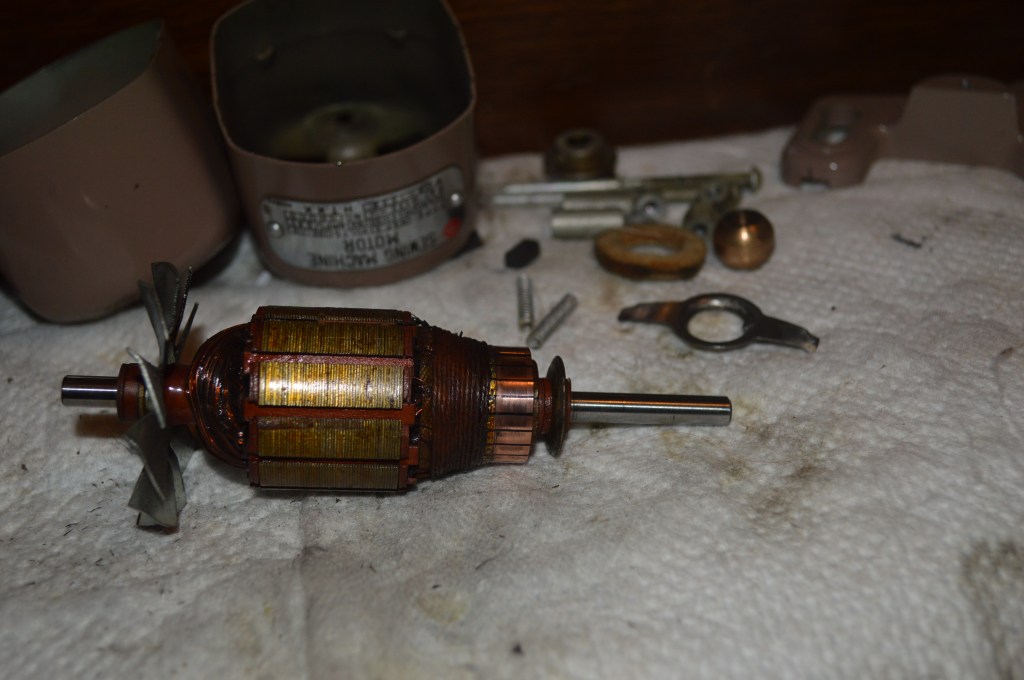
The armature commutator and shafts need to be polished
The armature polished up fine. The bushing retainer clip looks okay and the bushing is cleaned and reinstalled in the case. The brushs are cleaned and the motor felts are well oiled and the motor reassembled.
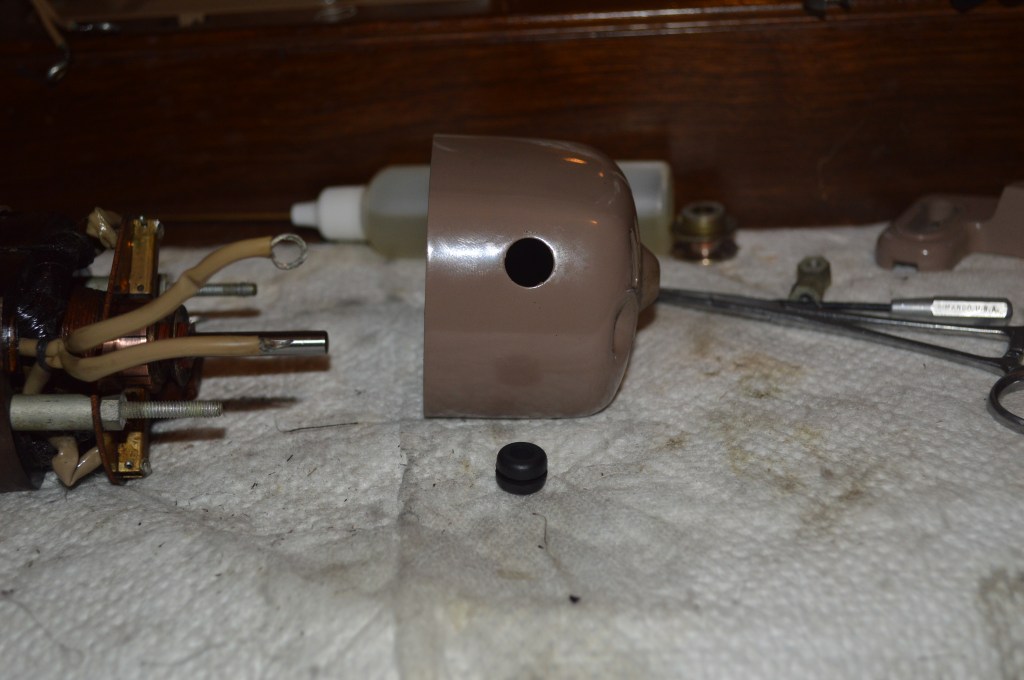
I noticed the wire grommet was missing… maybe it cracked and fell out? or has the motor been disassembled before… I don’t know but the grommet is replaced.
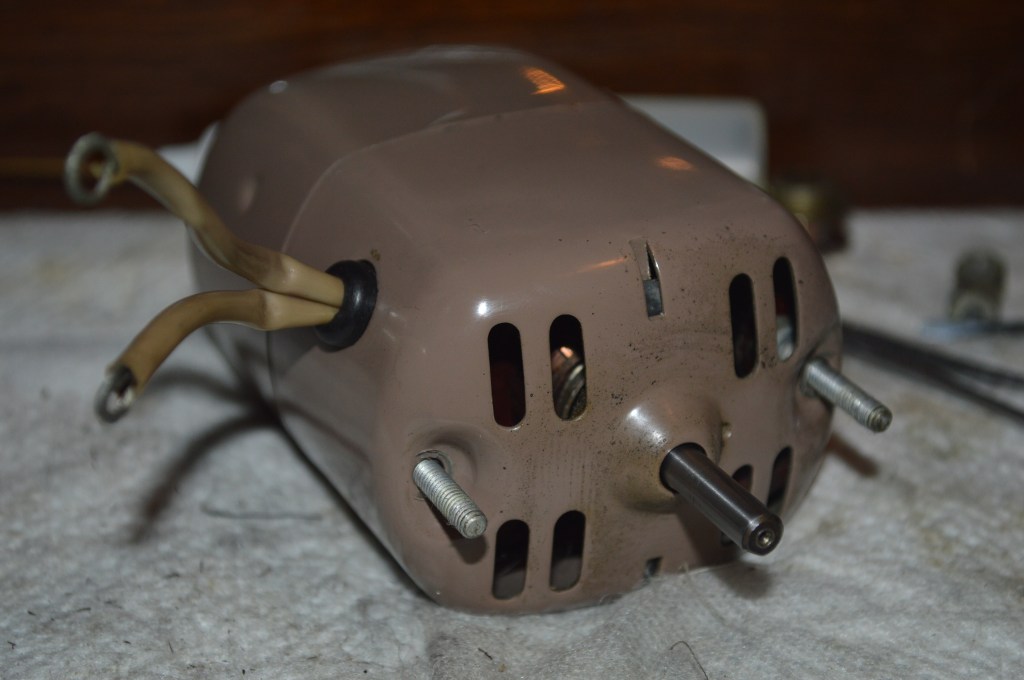
After assembly, the motor is bench tested and it seems to be fine… it is both quiet and powerful. Thank goodness. Of course, if it wasn’t, it is easy enough to replace the motor… I would of course have to paint it to match the “coco” color of the machine.
This is where I need to stop and make a decision… the power cord was missing from the machine when I got it. While the terminal side of the plug looks very similar to most other Singer’s, it is different, and a standard cord will not fit. The cord is not easy to obtain. So here’s my choice… wait until I find a power cord that fits, or wire the machine to use a motor terminal block. If you don’t know, a motor terminal block is nothing more than a power cord that feeds a plug terminal with a receptacle for the motor and the light, and a cord that goes to the controller. It is a very common configuration for a sewing machine in a portable case. I like this configuration because it makes the machine very portable, can be used in a case or a cabinet, and the foot controller can be used for any machine with a plug for the motor and a plug for the light.
I chose to go with the motor terminal block. To use this configuration, I have to solder a wire with a plug to both the light and the motor… I’ll use white wire for the light and black wire for the motor.
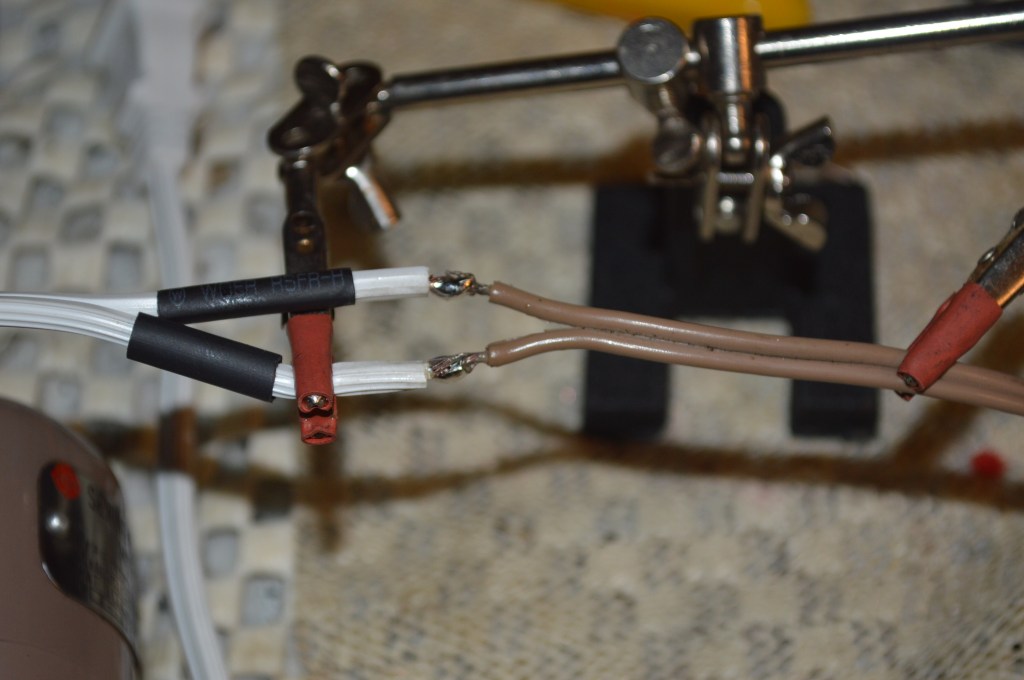
The solder connections are insulated with shrink wrap tubing
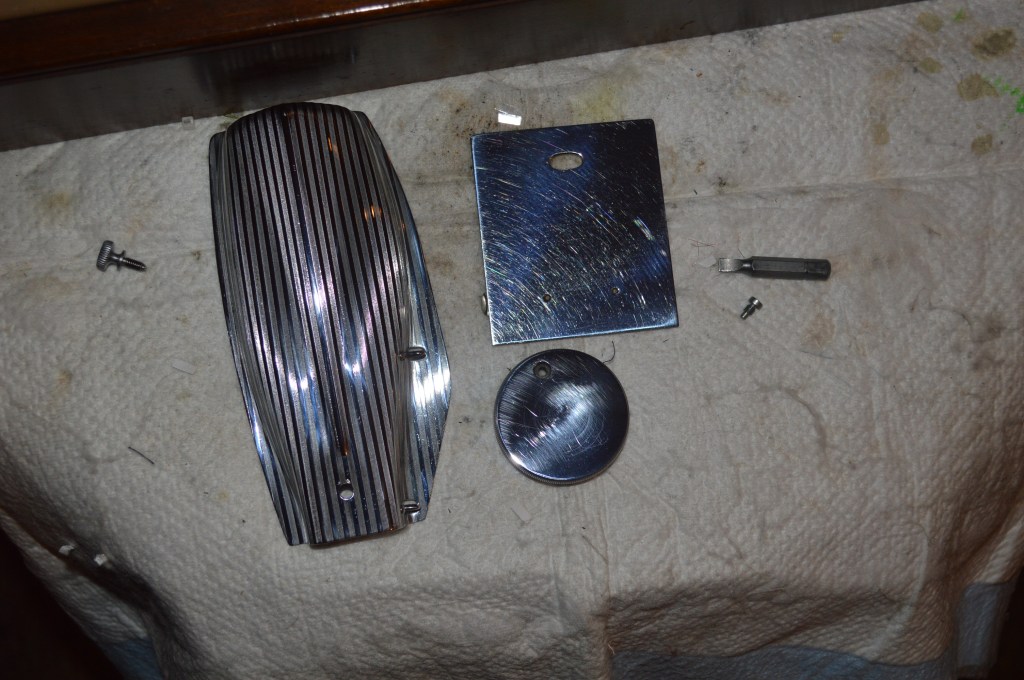
The chrome cover, bobbin plate, and stop motion knob are buff polished…
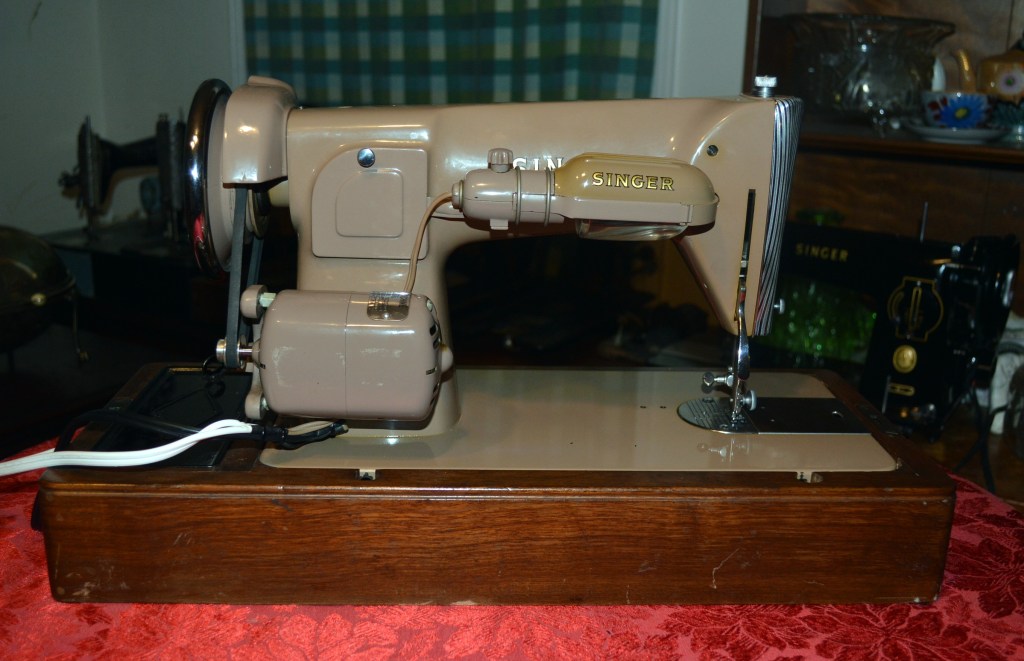
And everything is put back on the machine. Now that the machine is reassembled, the restoration is complete! I prepared a motor terminal block cord wired to an electronic foot controller, and the machine runs great! The last step is to wipe down the machine to remove finger prints, and apply a coat of carnauba wax. The machine will sit in a bentwood case where I think it’s “coco” color will look great!
As it turned out, despite how good the machine looked before the restoration started, it was in dire need of restoration. This just goes to show that looks can be deceiving. The before and after comparison is like night and day. The fact that it sewed well before the restoration is a testament to the quality and durability of the machine. The fact that it could be restored “like new” is a further testament to the quality and durability of the machine. Unfortunately, the days of sewing machines of this caliber of quality and construction are long gone… that in itself is sad. But… the fact that this one exists to sew for generations to come is very satisfying!
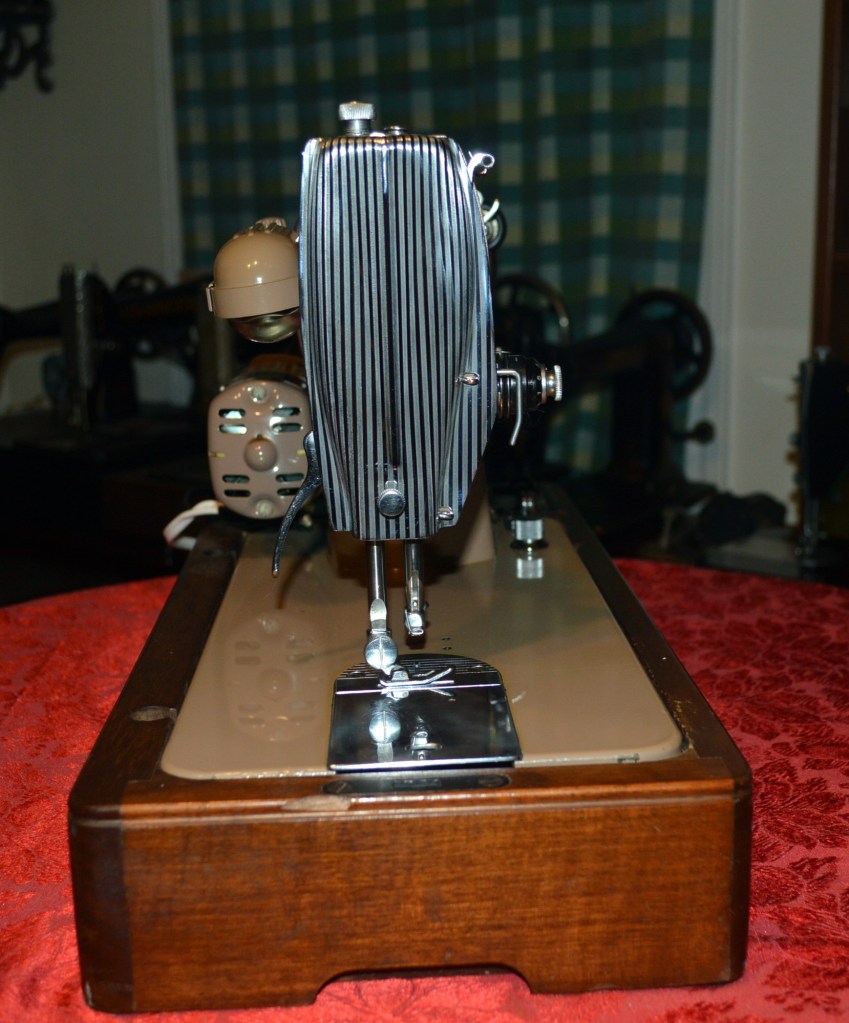
So here are the before pictures…

And here are the after pictures…

While this machine won’t be a listing in our shop, if you like what you see please visit our Etsy store at https://www.etsy.com/shop/pungoliving, and see our other restored fine quality vintage sewing machines.
Thanks for reading!

Hi. I was excited to read this article on the Singer 191U because I have this exact machine. hh Mine is in good condition & I still have the hard case it fits in. My problem is both latches have broken & I have been unable to find replacement latches, although the latches for the 401 look very similiar. Would you have some latches that would work or can the broken latches be repaired? Many thanks, Carol Barron
LikeLike
Hello Carol,
I’m not sure what case you have for your machine. I focus on the machine and have found that vintage cases don’t hold up as well as the machines they carry. I sorry I can’t give you any leads to help you, but I do know trying to repair or replace case hardware is difficult and risky. it would probably be easier to find a replacement vintage case in better condition.
I hope you find a solution to your problem!
have a blessed day,
Lee
LikeLike