

Recently I have been answering a number of questions from folks requesting information on how to restore a typical vintage sewing machine motor. I thought I would take an opportunity to answer these questions and show the process in this tutorial.
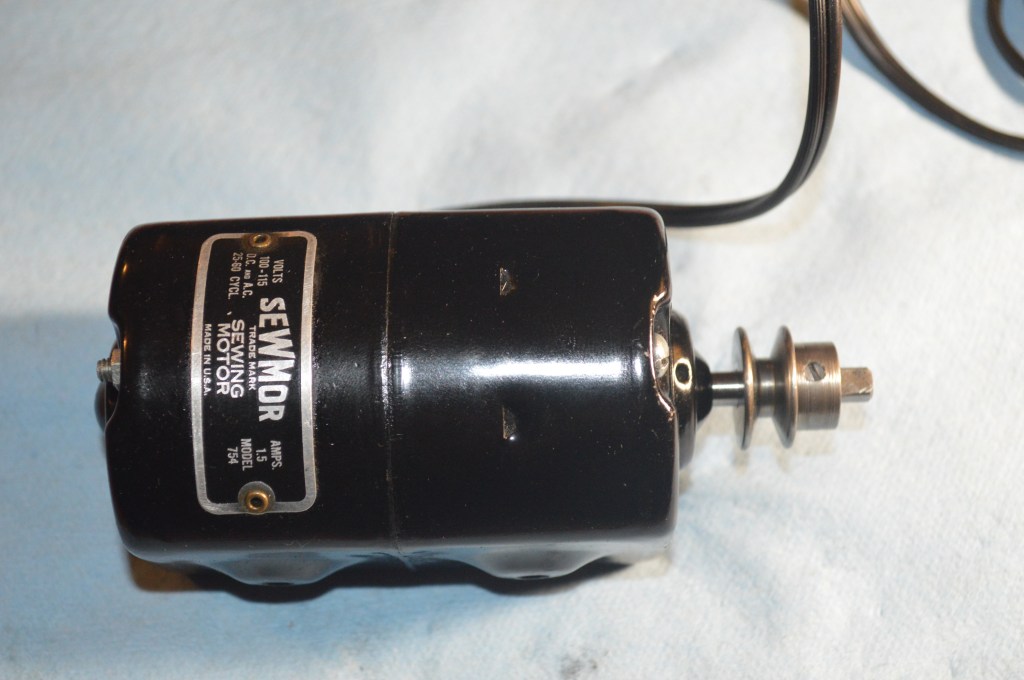
There are many different brands of vintage sewing machine motors in service today and often they are branded to a particular machine. Sometimes, they are badged under a different name. The motor I am restoring in this blog is a 1.5 amp “Sewmor” motor. It could have just as easily been a Delco, a Universal, a Quality, a Mercury, a Brother, or any number of other names you might find on a typical vintage sewing machine motor. Aside from the name, they are all basically put together the same way. In general, the differences are slight and perhaps by modifying some steps to suit your particular motor, the restoration is the same.
Different motors have slightly different construction, but the steps outlined below are pretty typical for these motors across the board… Let’s get started and I’ll show you how it is done!
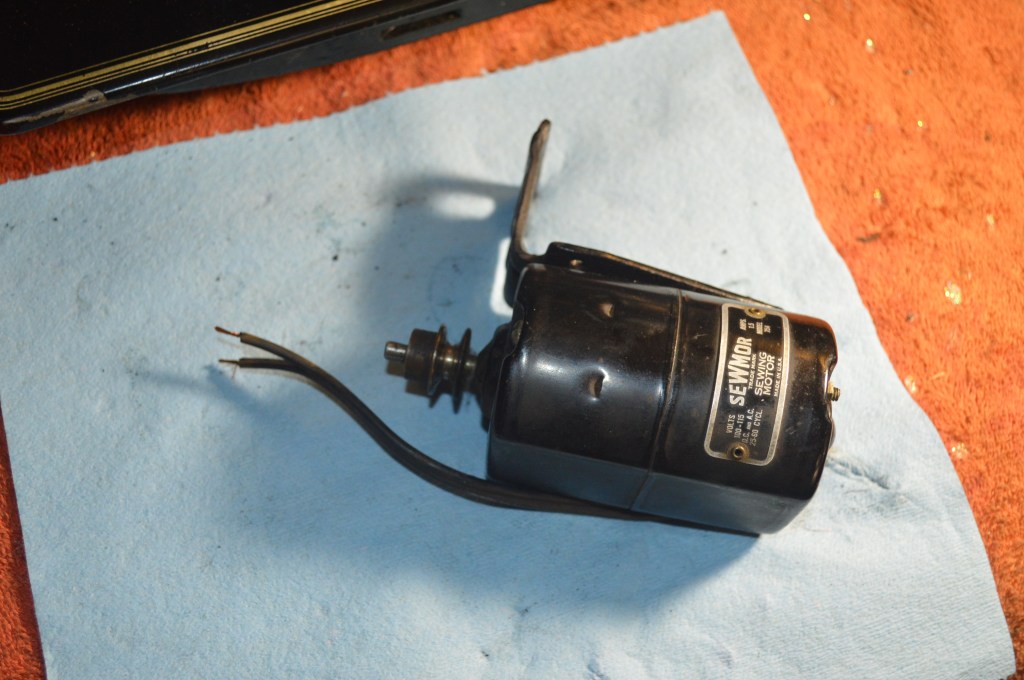
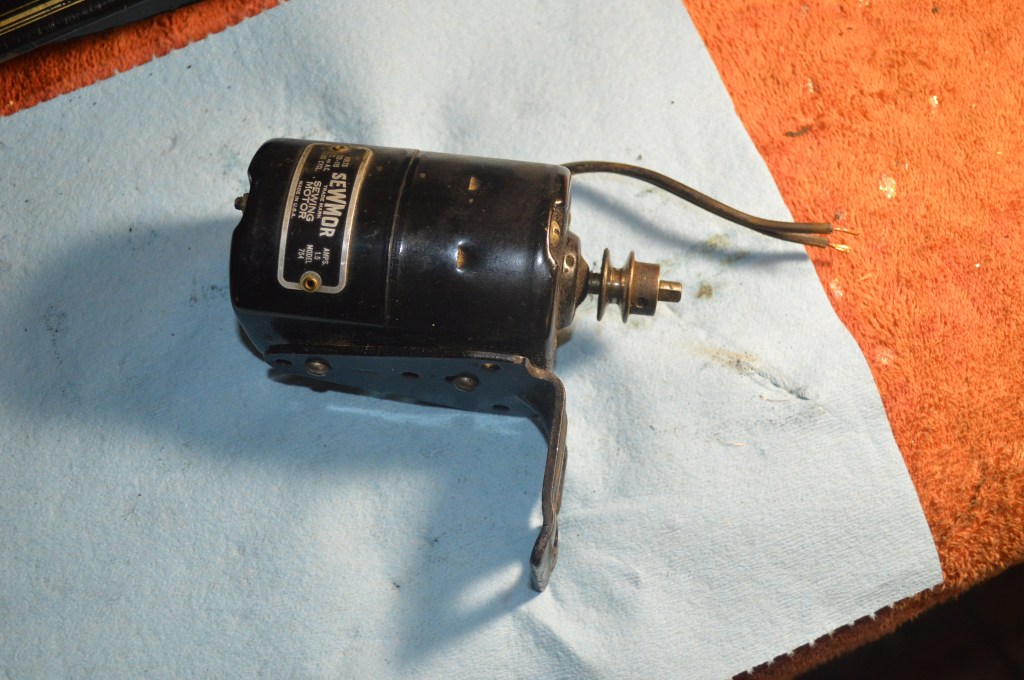
Here is the motor I’m working on… It’s a “Sewmor” 1.5 amp motor.
The steps are as follows…
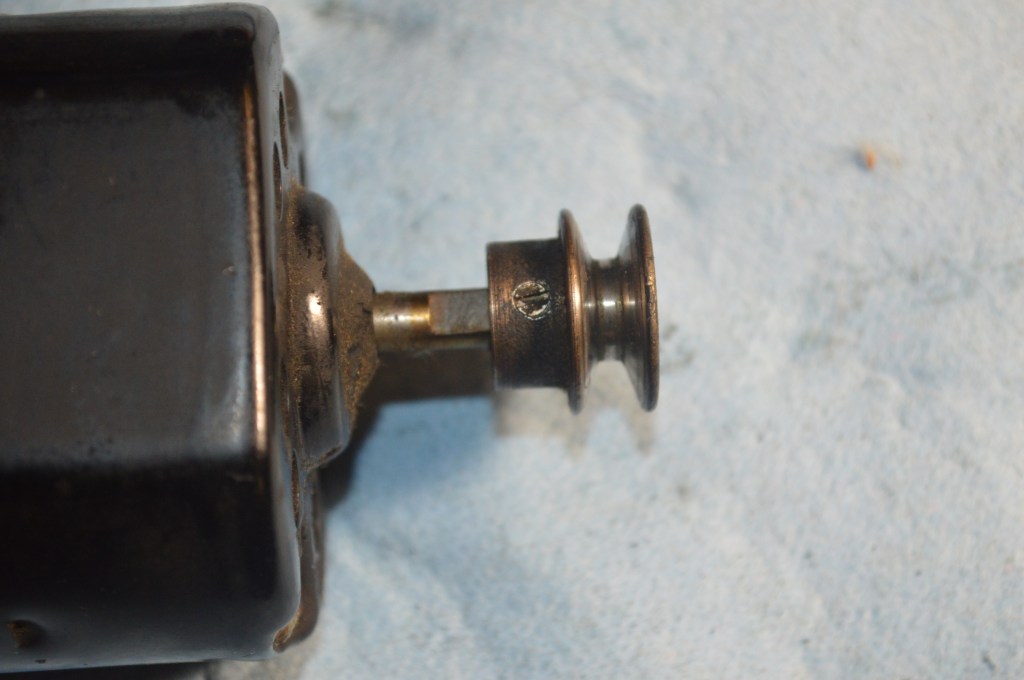
- Start by removing the motor bracket and motor belt pulley. Simply loosen the small set screw and slide the pully off of the shaft.
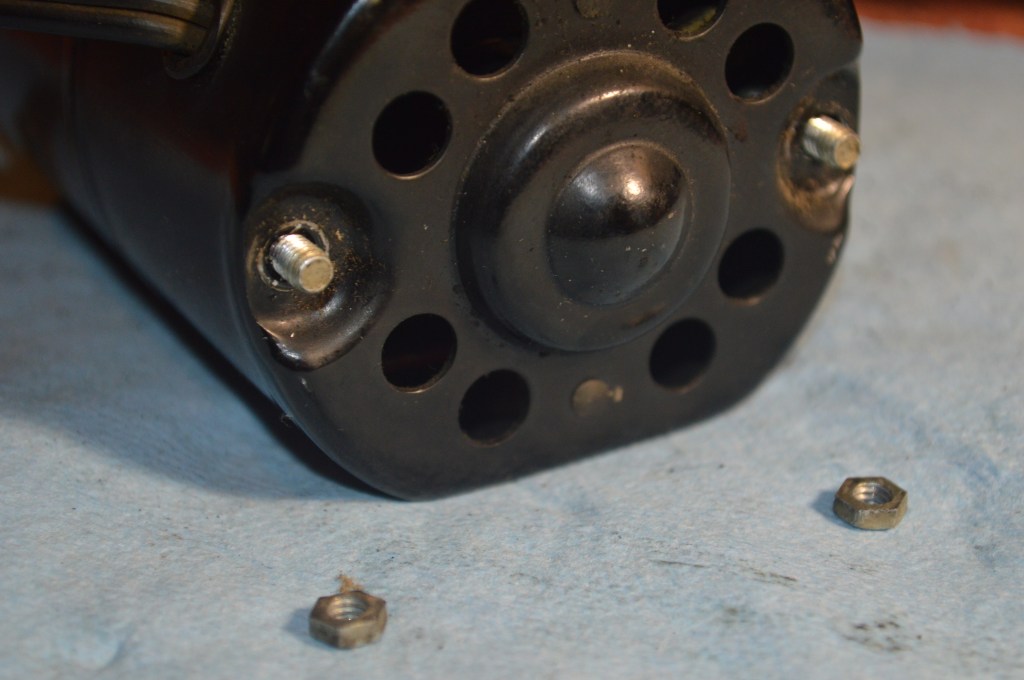
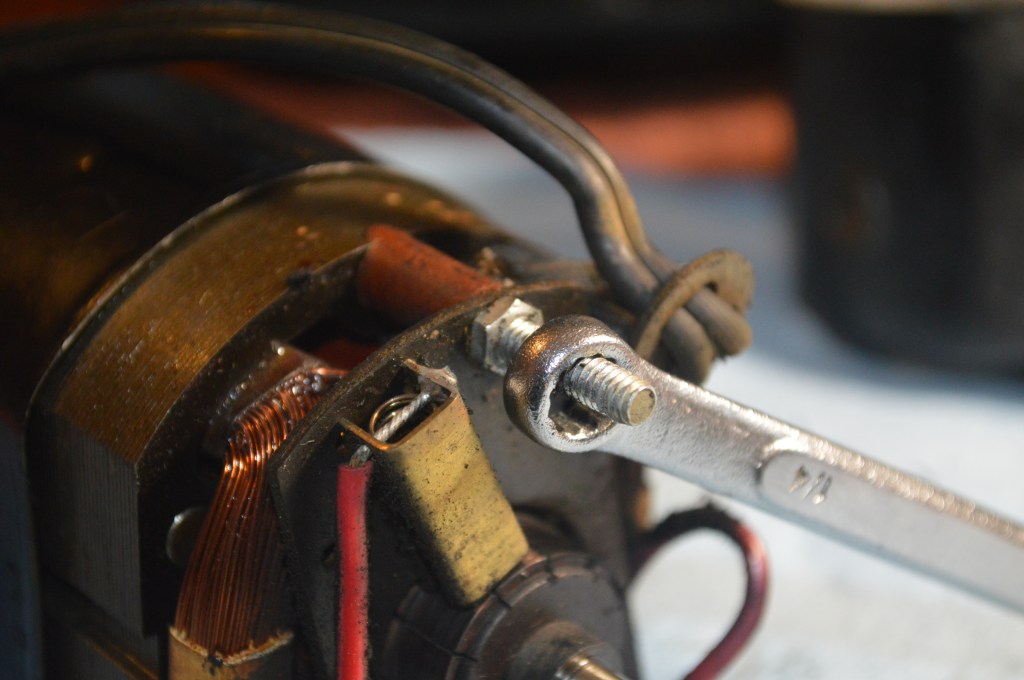
2. Remove the nuts found on the back end of the motor housing.
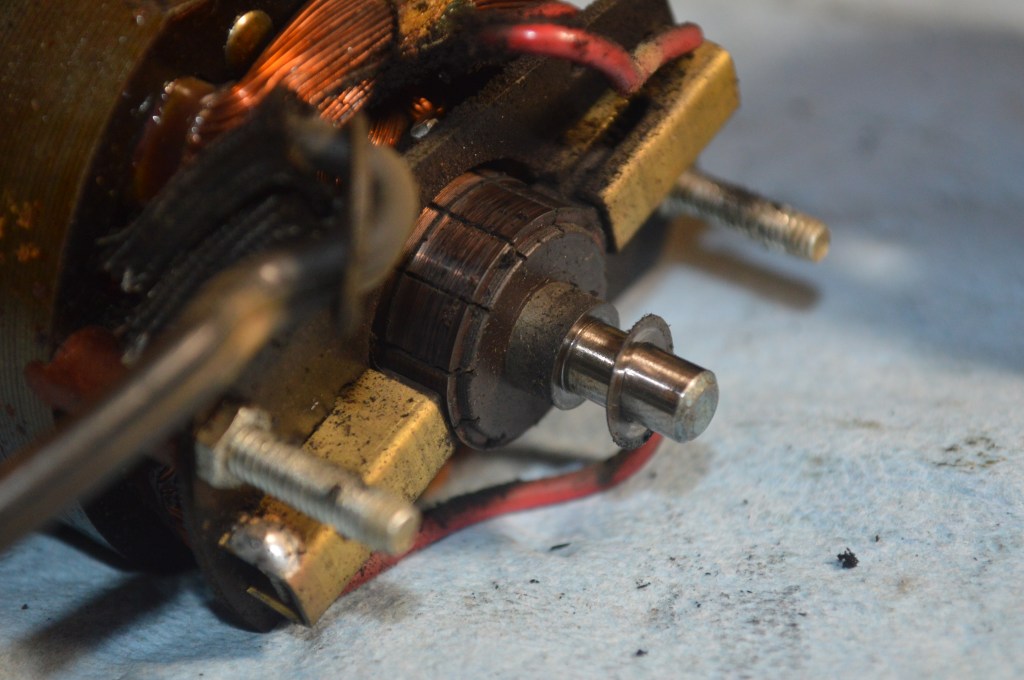
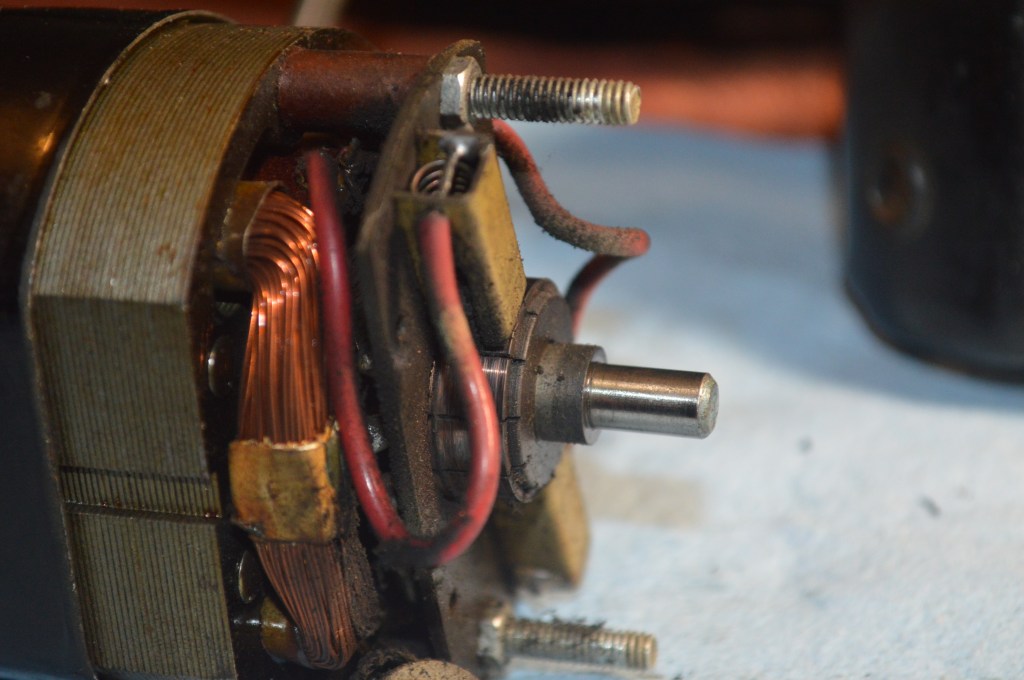
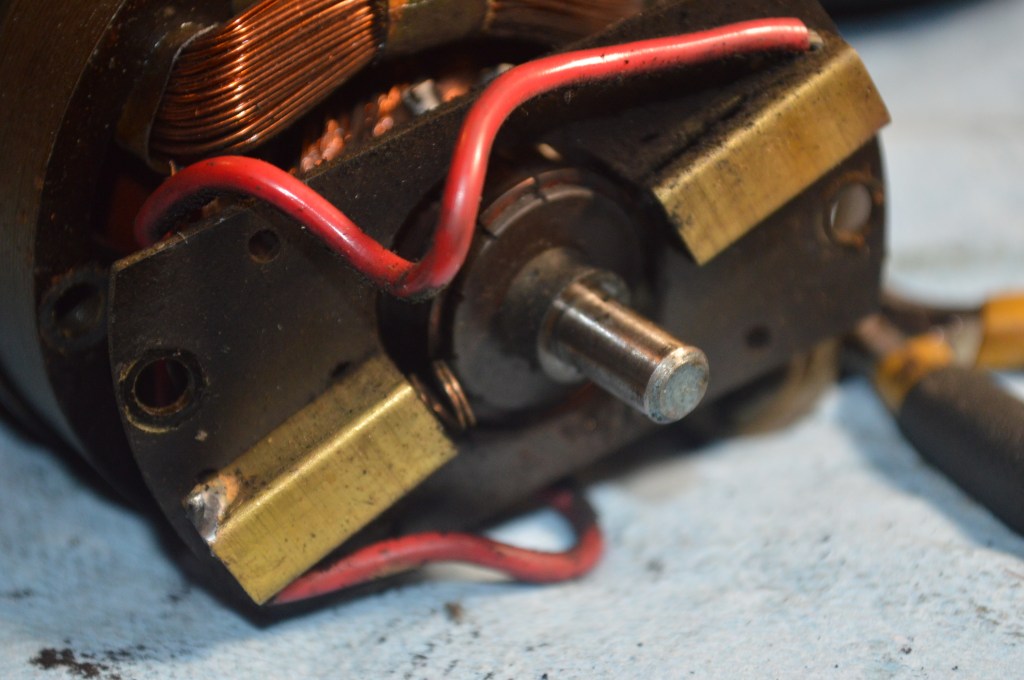
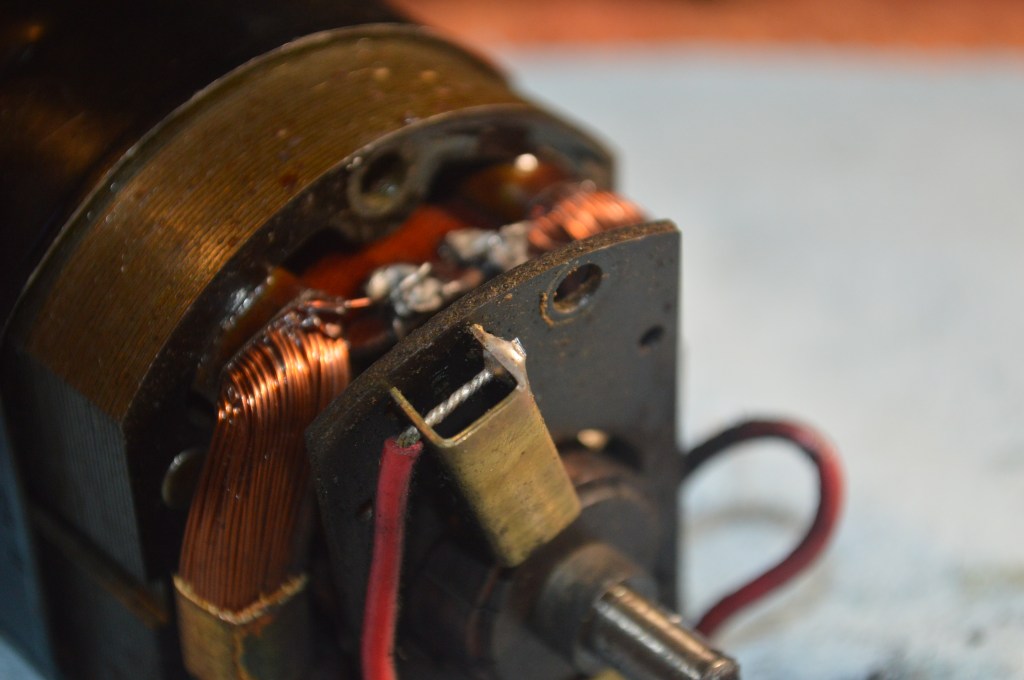
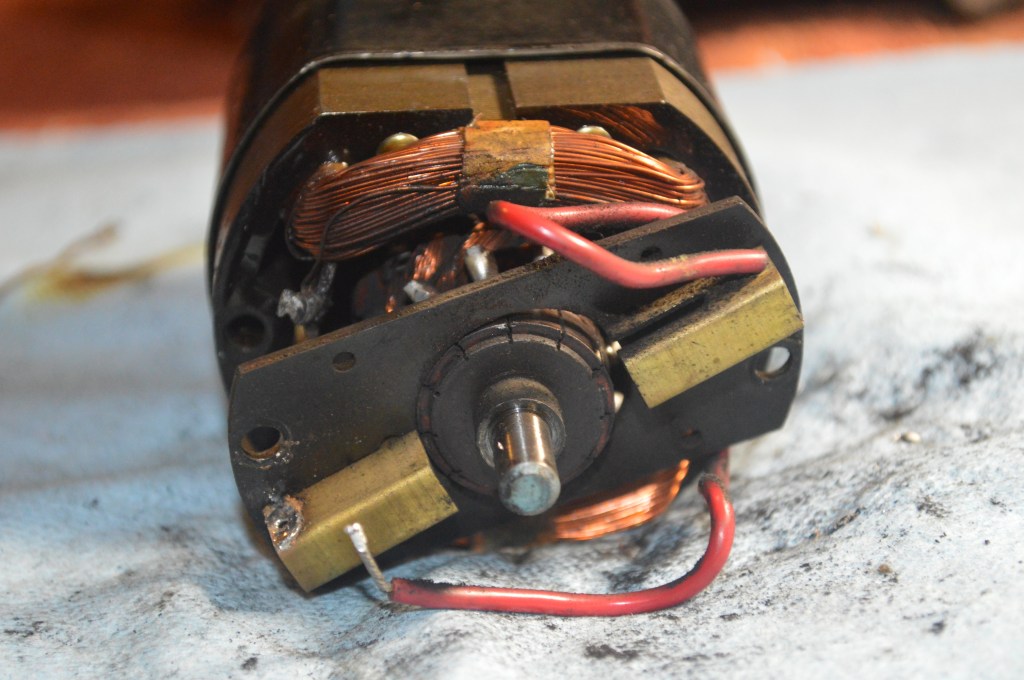
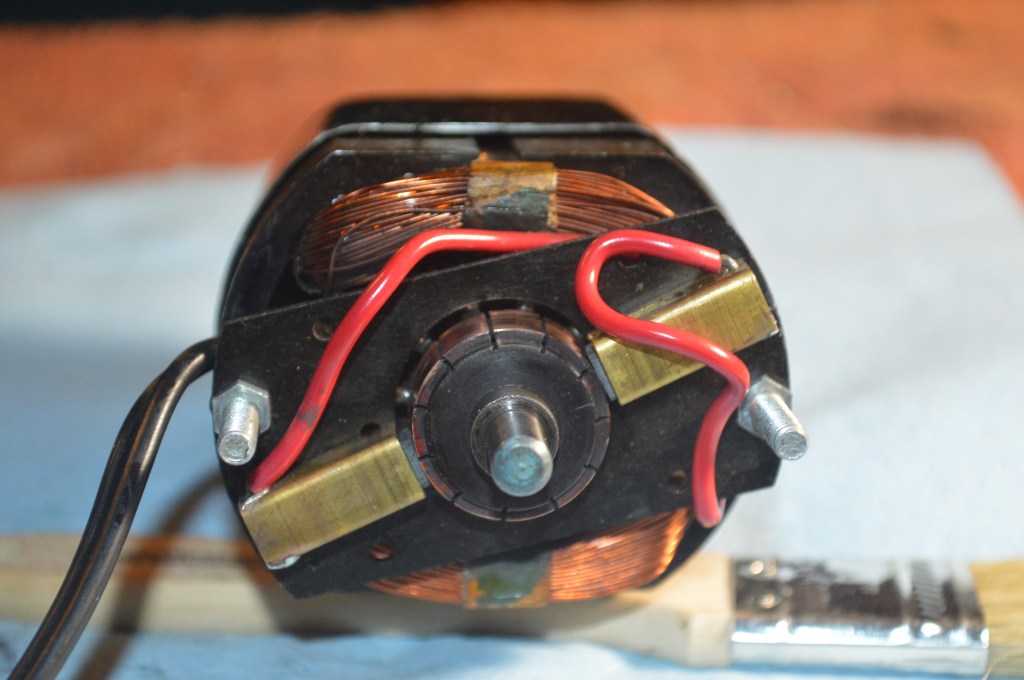
3. Cut the power wire flush with the body of the motor and wiggle off the rear housing end housing to reveal the motor brush tubes and the motor shaft. Note the presence of the washers on the shaft. They will need to be reinstalled in the same position and order when the motor is reassembled.
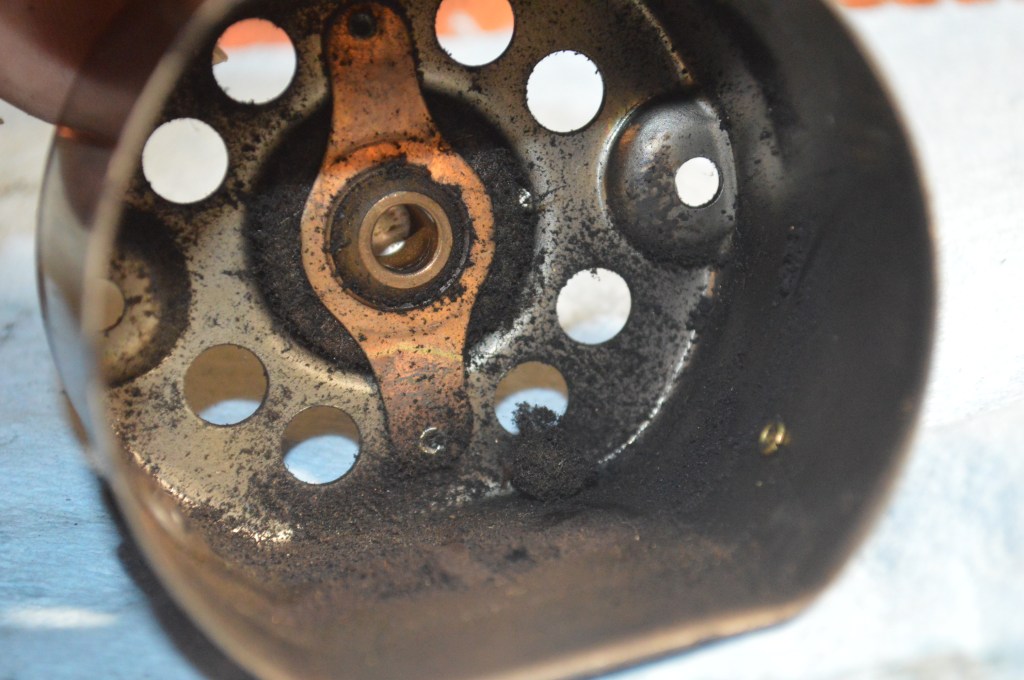
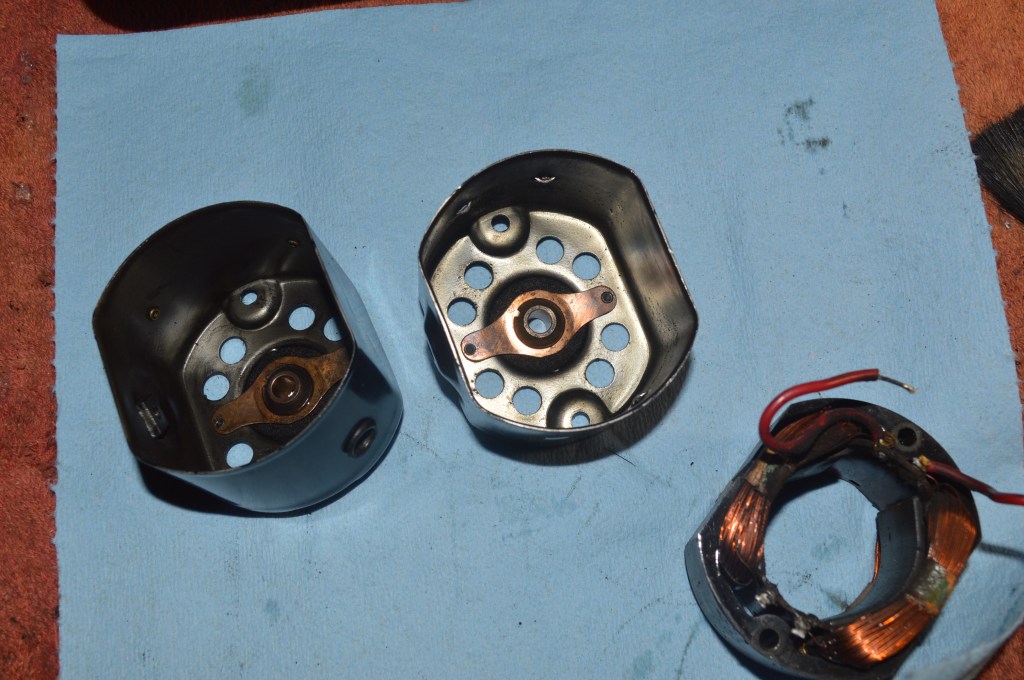
Typical of most motors, you will find dust, carbon, and dirt inside the cap. The round piece of felt behind the shaft bearing is the oil wick. This is normal.
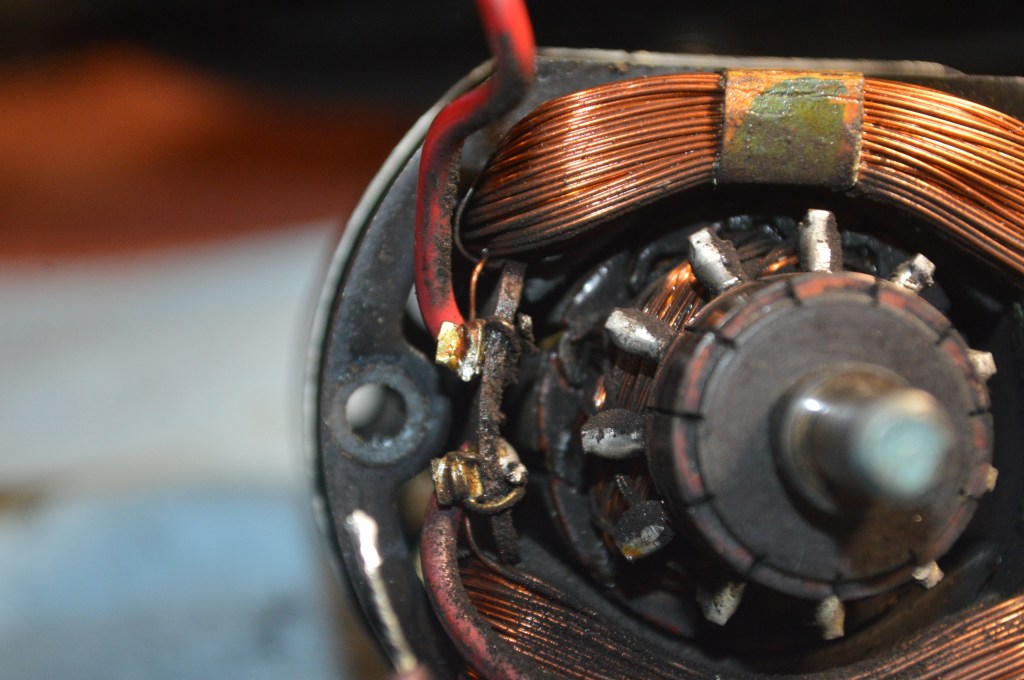
4. Remove the motor brush tube plate by removing the two nuts holding it in place. Remove the long screws and the spacers underneath the plate.
5. Lift the motor brush tube plate away from the motor and the motor brushes, along with the brush springs, will fall out of the brush tubes.
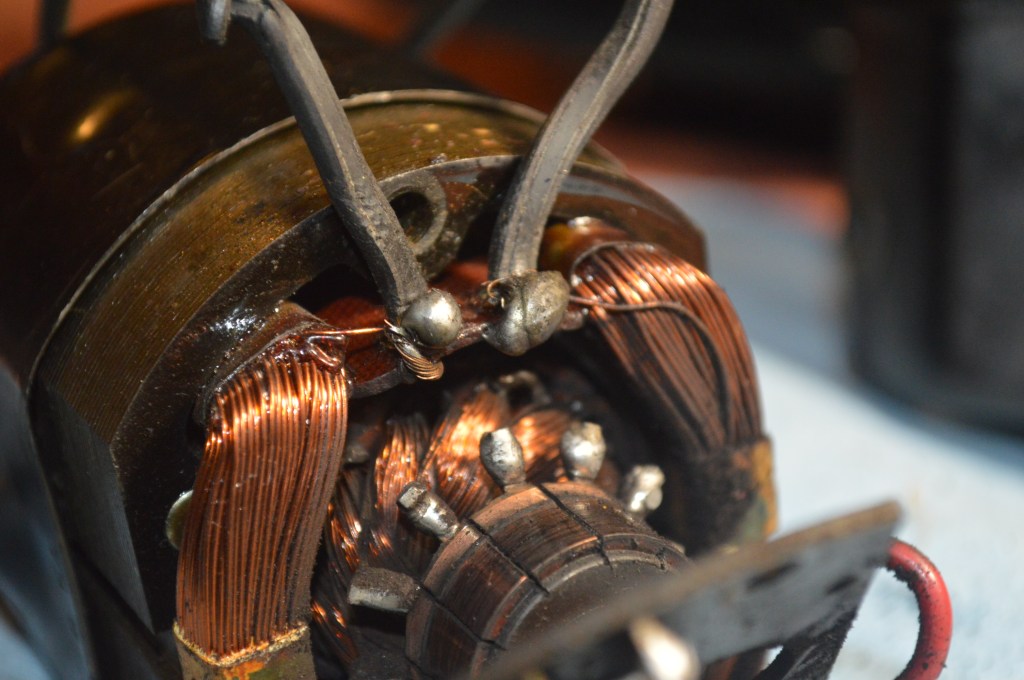
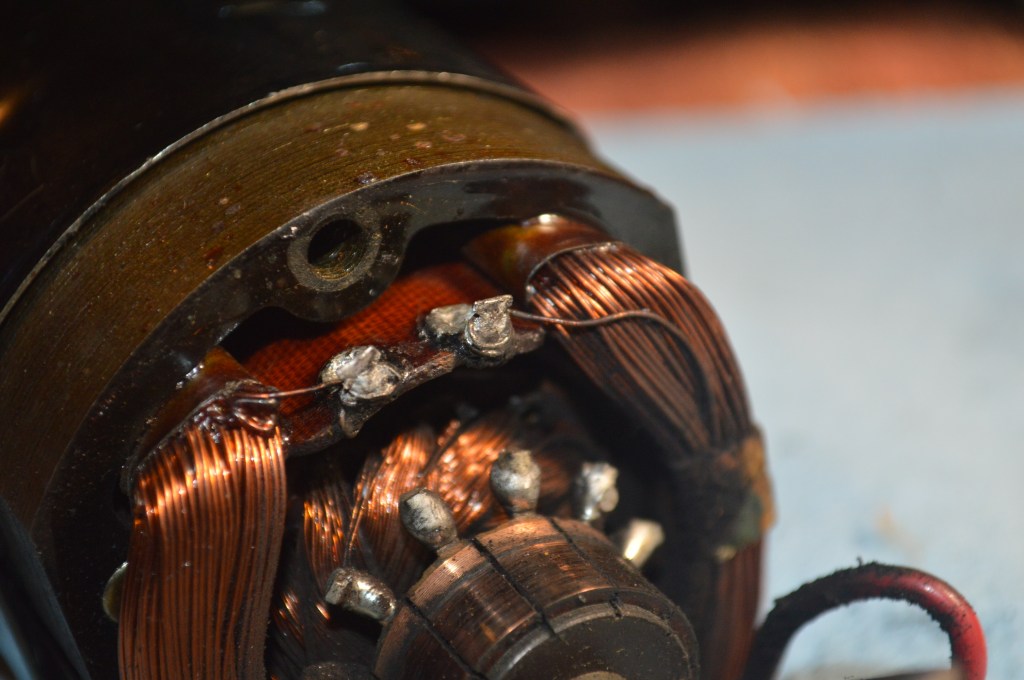
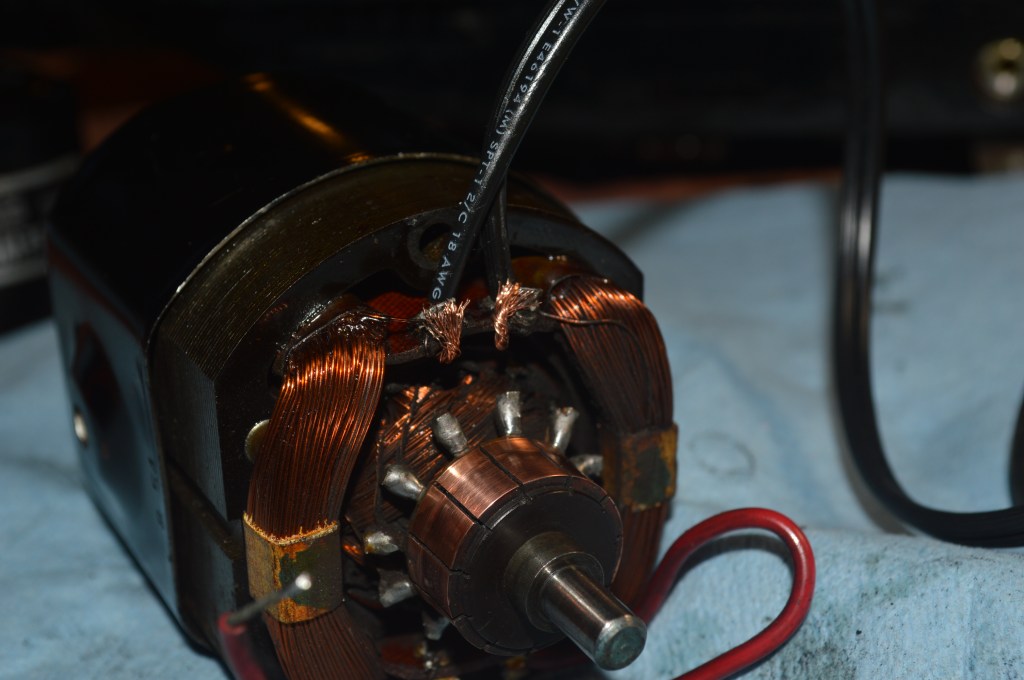
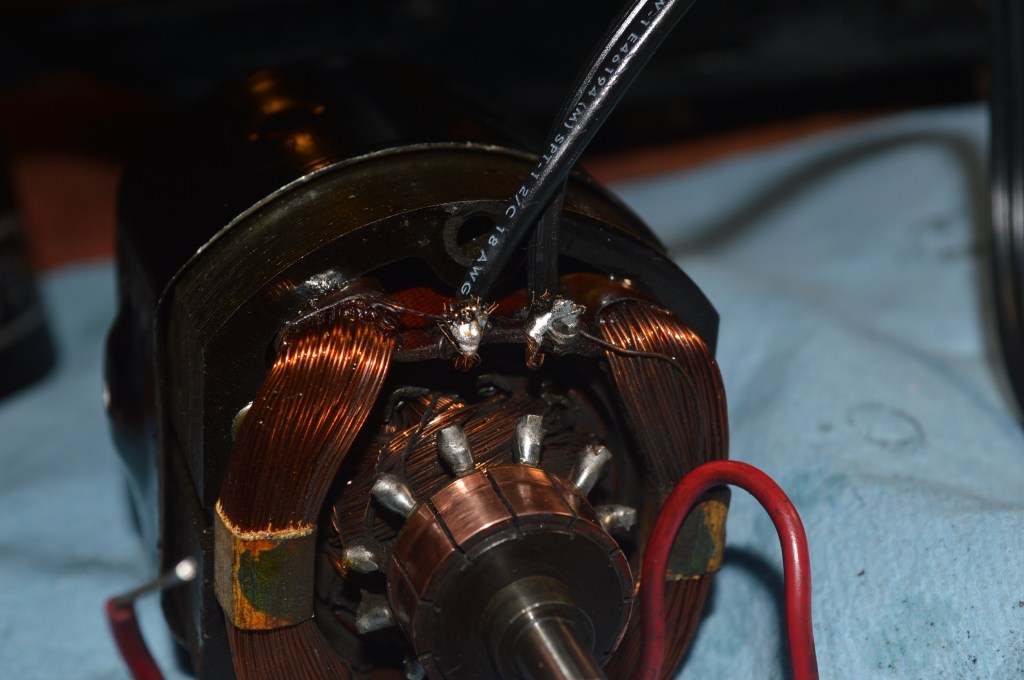
6. De-solder the main wires from the motor coil terminals.
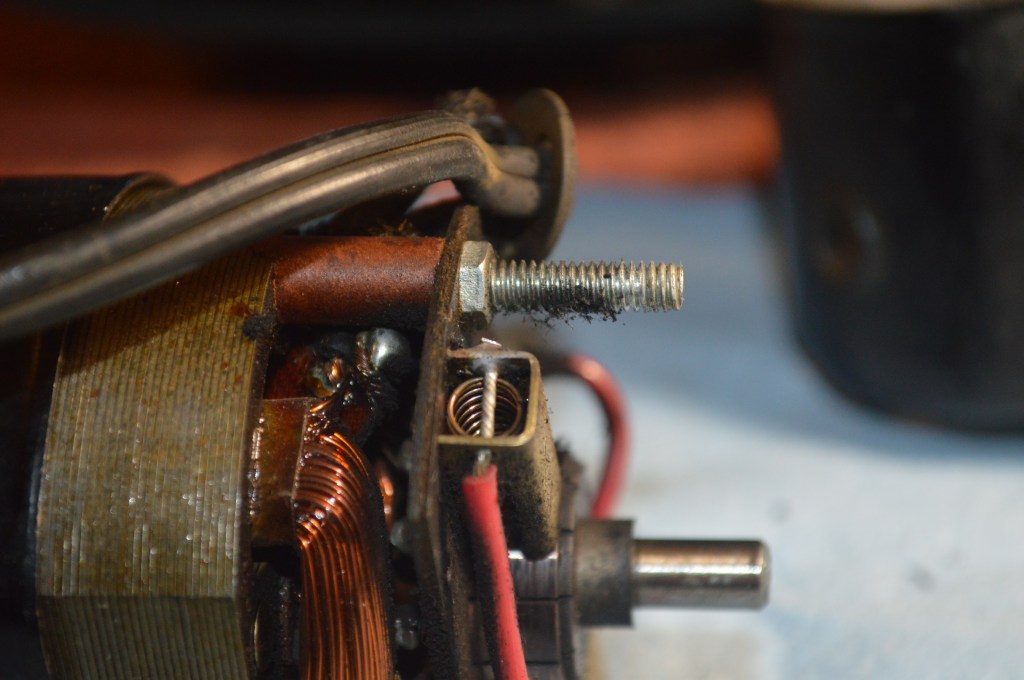
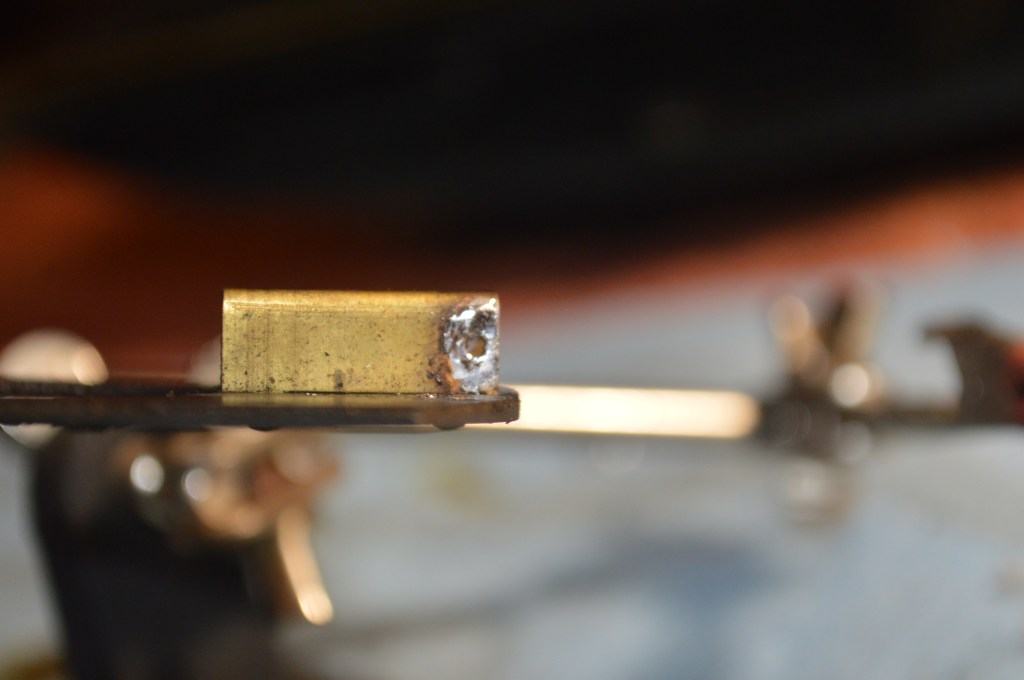
7. Taking note of the position of the wires (they must be reinstalled the same way or the motor will run backwards), de-solder and remove both wires from the brush tubes. Notice that on this motor, the wires keep the brush springs and brushes in the brush tubes. On some motors, it is a pin or a tab that serves this purpose.
8. Remove the plate. Remove any remaining solder from the holes in the brush tubes so the wire (pin or tab) can be reinserted in reassembly.
9. Remove the motor coil from the motor housing (wiggle it off), then remove the motor armature… make sure to note the number and order of the shaft washers.
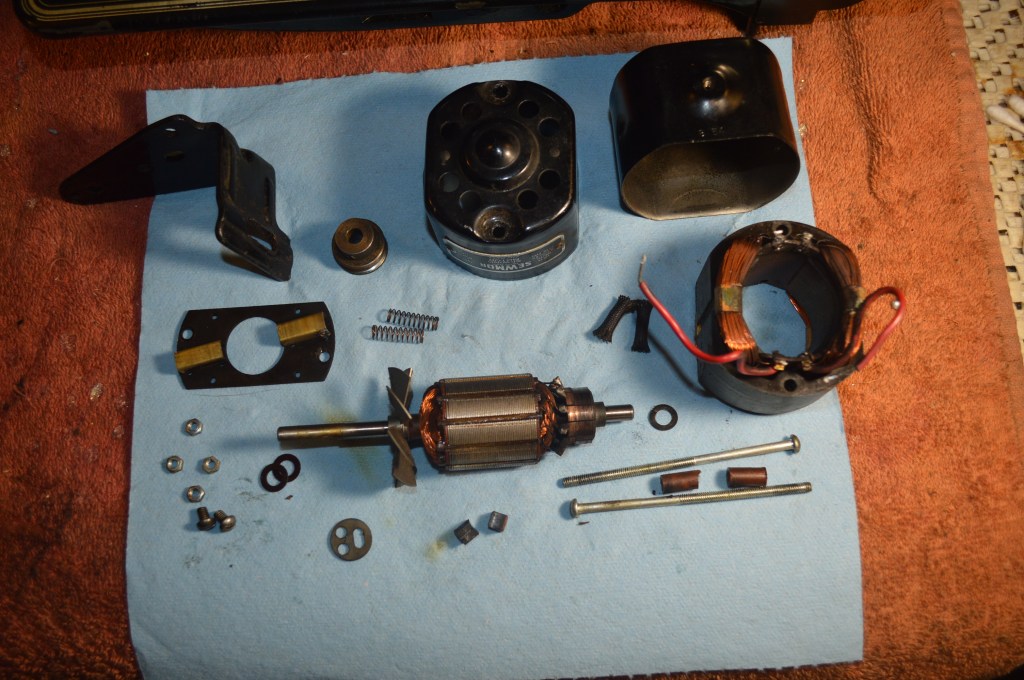
10. Lay out all of the parts for cleaning.
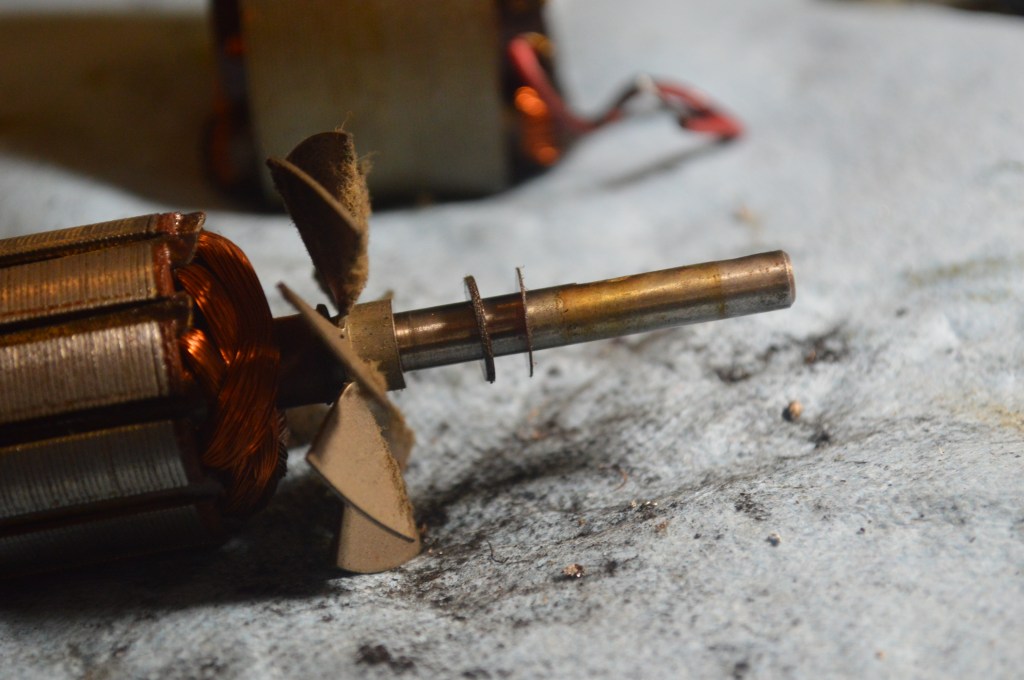
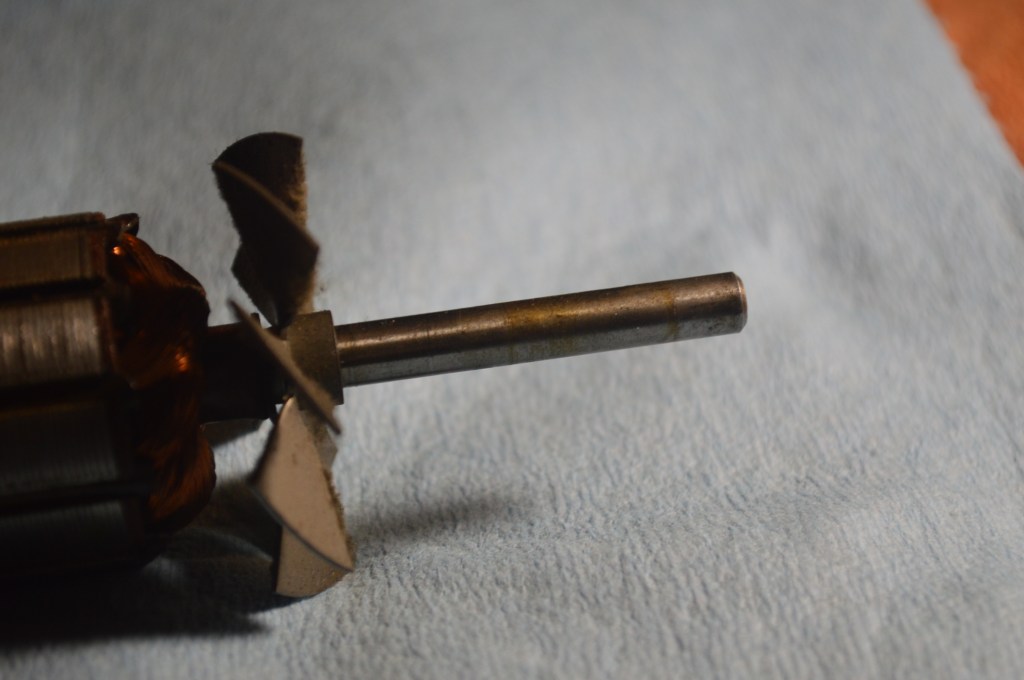
11. Polish the armature shafts and commutator.
Before 
After 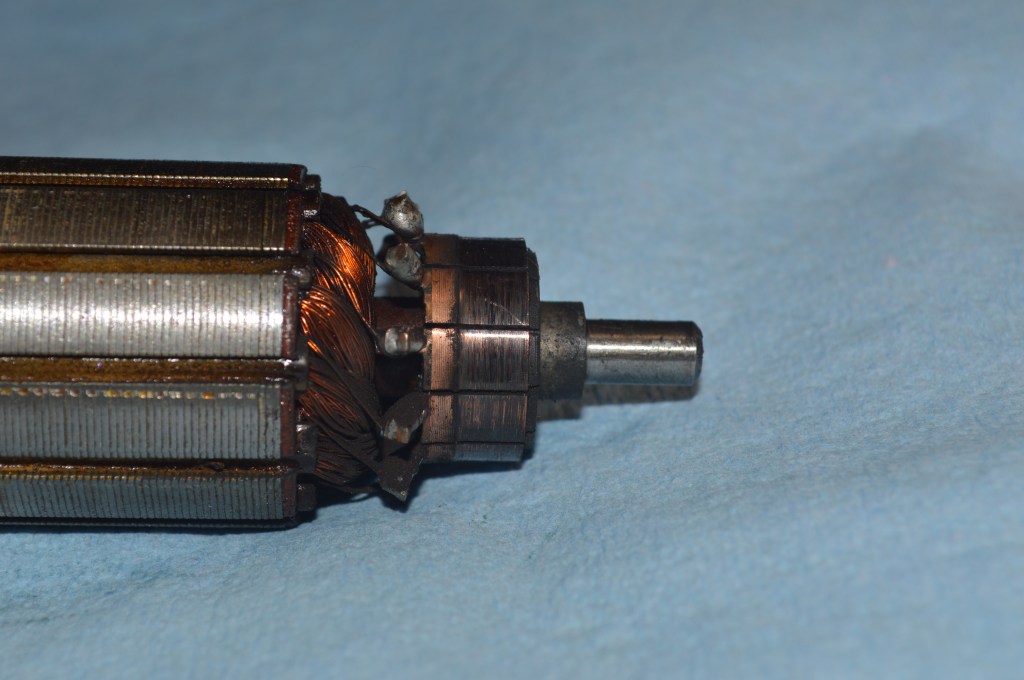
Before 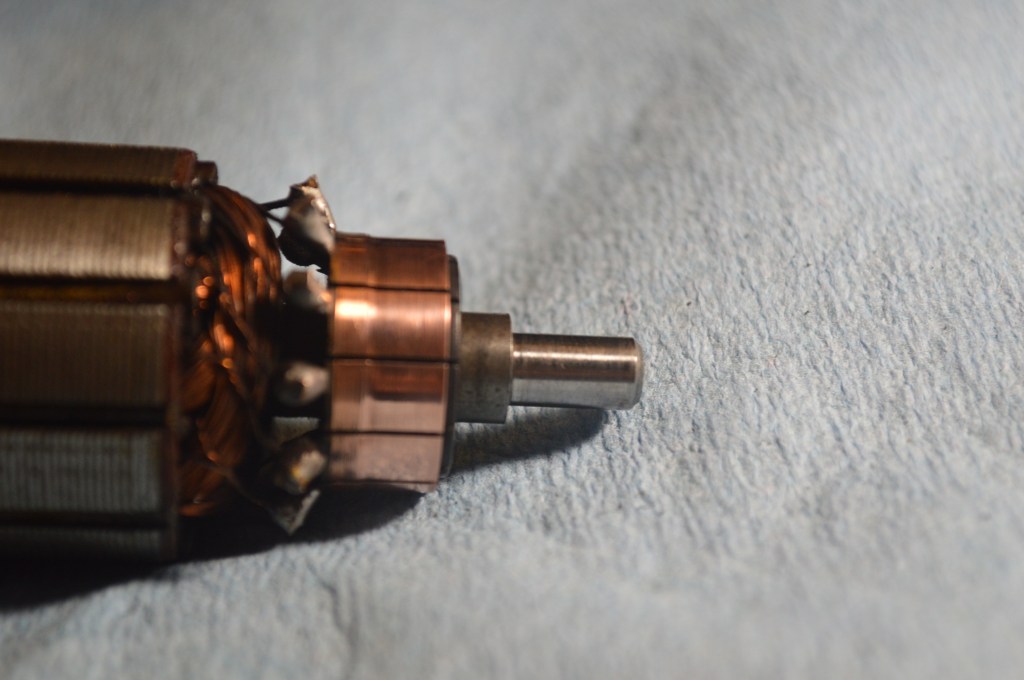
After
I use jeweler’s rouge and a small buffing wheel on a dremel tool to polish the commutator. To polish the shafts, chuck one end of the shaft in an electric drill and use 1500 grit sandpaper oiled with sewing machine oil. While turning the armature in the drill cradle the oiled sandpaper around the shaft and move the sand paper up and down along the shaft. It does not take long to complete the polishing process. Repeat the process on the other end of the shaft.
12. Clean the motor casing inside and out… then add 8-10 drops of oil to the felts.
13. Place a drop of oil on the front motor shaft and reinstall the armature thru the bearing on the front motor housing,
14. Fit the motor coil into the housing around the armature. It is important to orient both halves of the housing so they will come together Properly oriented That is, with the grommet hole in the rear end housing nearest to the side from which the wires will exit the motor, and the bracket holes will be on the same side of the motor when the two halves of the housing are put together.
15. Solder the new wires to the terminals on the coil.
16. Reinstall the long screws, the spacers, and the motor brush tube plate. Tighten the nuts snugly but not too tight.
17. Reinstall the brushes and brush springs in the brush tubes. For this restoration, new motor brushes are used because the original brushes were worn out. If you need new brushes, measure the old brushes with a caliper to get the proper size. Brushes are inexpensive and they can be purchased on Amazon (and other places).
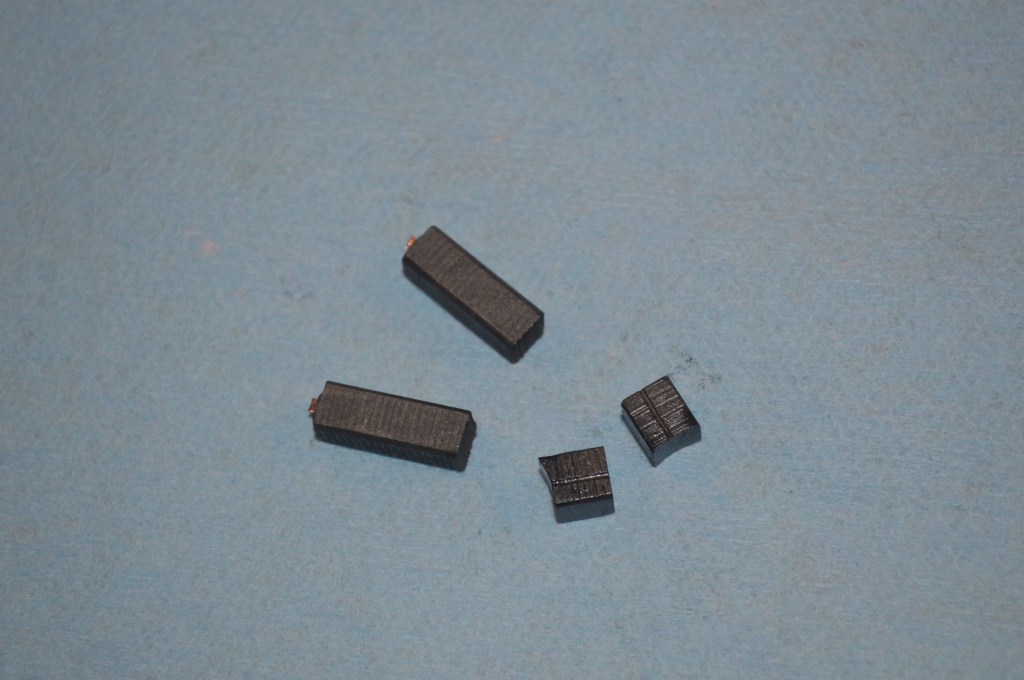
New brushes on the left, worn brushes on the right.
On this motor, the wires retain the brush and brush springs in the brush tubes. Some motors use a pin, or a a bent tab. In any case, this is how the brush and spring is captured and held in the brush tube. Insert the brush and the spring into the brush tube. This step can be a bit tricky because the spring needs to be compressed into the brush tube and the wire (or pin or tab) inserted thru the brush tube hole. Be careful or the spring will fly out of the brush tube. With the spring compressed. I use the tip of a screwdriver oriented diagonally to the brush tube to push the spring into the tube and allow me to insert the wire (or pin, or tab) through the brush tube hole. Solder the end of the wires to the brush tubes.
Tip of the day: You can reverse the rotation of the motor.
This motor is typical in that it rotates counter clockwise. Most do because most machines run with the balance wheel turning towards you to sew. The machine this motor is being restored for needs a clockwise rotation motor because the balance wheel on this machine turns away from you to sew. The direction of the motor can be reversed by swapping the brush tube wires opposite from their original orientation… so that what I did.
18. Line up the holes on the end housing (make sure the holes in each side of the motor housing for the motor bracket are lined up). Place a drop of oil on the shaft and smooth it to a thin film with your finger. Run the new wires through the grommet and pull gently on the wires as the shaft is set into the bearing and both halves of the motor housing are seated together. Rotate the motor shaft a few turns to make sure the wires are not hitting anything in the motor.
19. Reinstall the nuts on the rear housing and tighten snugly.
20. Reinstall the motor pulley on the motor shaft and reattach the bracket to the motor.
21. Cut the new wire to the proper length and put a 2 prong plug on the wire.
22. Take a break, the restoration is complete.
After reassembly, the motor needs to be “run in”. This can be done before or after the motor is reattached to the machine. If you reattach the motor to the machine, perform the run in before you put the sewing machine belt on.
Run the motor at full speed for about 30 seconds to a minute. Then run it slow to fast to slow for a few cycles. You will probably hear the motor speed increasing as everything gets settled into position.
That’s it! It is a good project and it’s not really that difficult to do. In my opinion, a restored vintage motor is of higher quality than any new motor available today, and the vintage appeal of your machine will not be compromised.
I hope you found this information useful!
As always, our tutorials are provided as a free resource to help you learn and maintain your vintage sewing machine. As our site has grown, so has the cost to keep and maintain it. Despite these costs, I will strive to continue posting tutorials and other relevant content for the benefit of the sewing community. If you found the content of this tutorial useful, please consider making a small donation to help me grow the site and help defray my costs… every little bit helps.
Make a one-time donation
Make a monthly donation
Make a yearly donation
Choose an amount
Or enter a custom amount
Your contribution is appreciated.
Your contribution is appreciated.
Your contribution is appreciated.
Please let me know if I can answer any questions or if I can be of any assistance by emailing me at pungoliving@gmail.com.
Thanks for reading!
Lee

This article with the accompanying pictures make this process clear as a bell. Thank you! One question: you re-installed the pulley wheel differently from how it was originally set up. Why was this? Was it wrong at the start or did you have to do that to fit the motor to the new machine?
LikeLike
Apparently I didn’t look at my own pictures… I’ll get it sorted out when I finish restoring the machine it goes to. I run in the motor on the bench. Good observation!
LikeLike
This is great. With the machine UNPLUGGED, and the motor still wired to the machine, I’ve taken motors apart (very carefully) to get out dust & dirt, clean the commutator and the shaft, and ad a drop of oil where needed, but never gone as far as you do here. You give a person confidence. Now I need to get a soldering iron and learn how to use it. Any recommendations on a good one for a “newbie” with a modest budget?
Wish all my machines had a 1.5 amp motor. On a different tutorial you mentioned how to use a vacuum cleaner belt to improve the motor function. Would it be possible for you to put of some photos of that?
Many thanks!!!
LikeLike
Good morning Suzanne,
You ask a good question about soldering irons. The amount of solder on these terminals requires a hot soldering iron. The small “hobby” pencil style soldering irons rated at 15 or 20 watts will melt solder, but it takes a long contact time on the solder… this is undesirable because the longer the iron touches the solder, the more the wire heats up. This can cause the wire to get so hot the wire insulation will melt.
I have found a pencil style 40 watt soldering iron to be sufficient and the tip size is about perfect.
A 40 watt soldering iron is pretty inexpensive on amazon, there are lots of brand choices (I chose the brand Weller. One important note: You will need a soldering iron stand for this type of soldering iron.
I don’t recall a tutorial on using a vacuum cleaner belt as an alternative… perhaps this was a different blog?
I hope this helps!
Lee
LikeLike