
You don’t have to search hard to find many sources that claim that the Singer 201 is the best straight stitch sewing machine ever produced… some say in the World. It’s not hard to believe from where I sit, and it is the reason I love restoring them… to experience how a 201 ran when it was new.
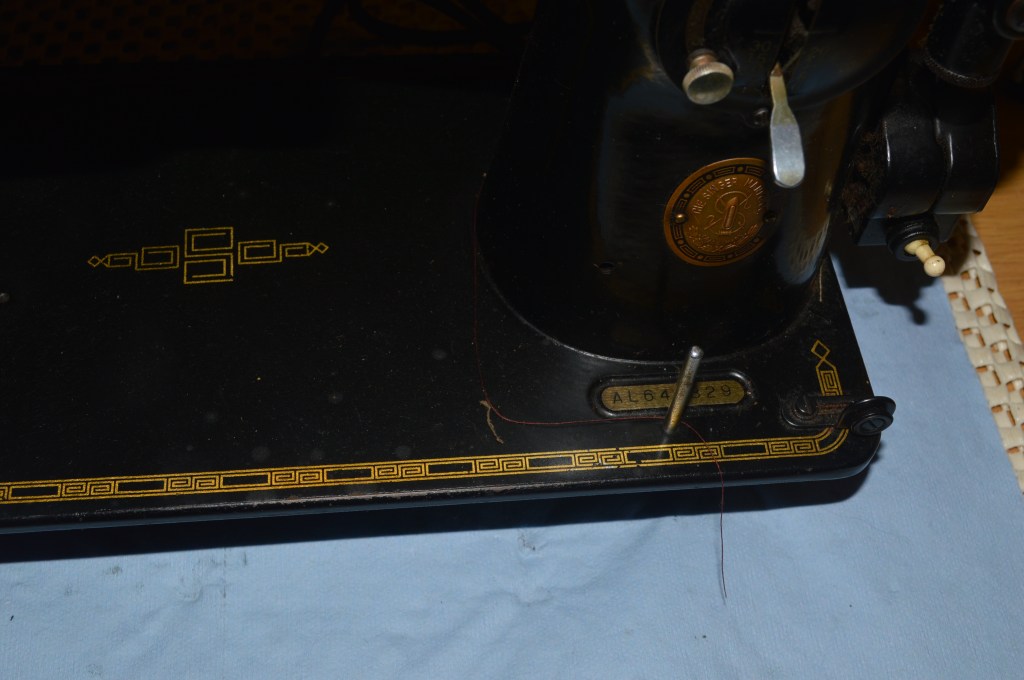
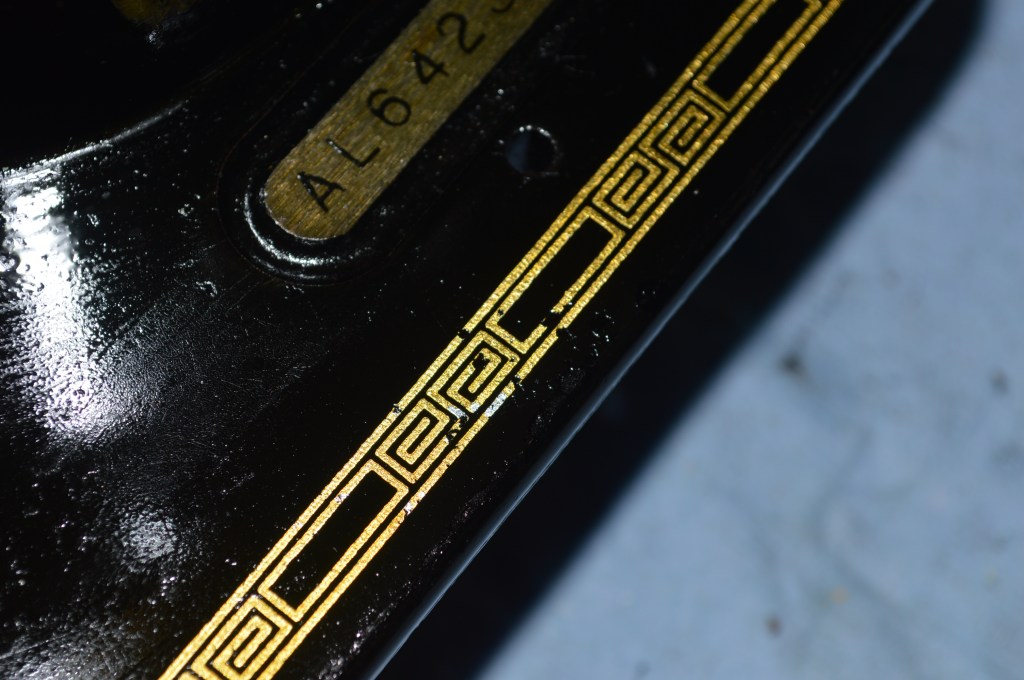
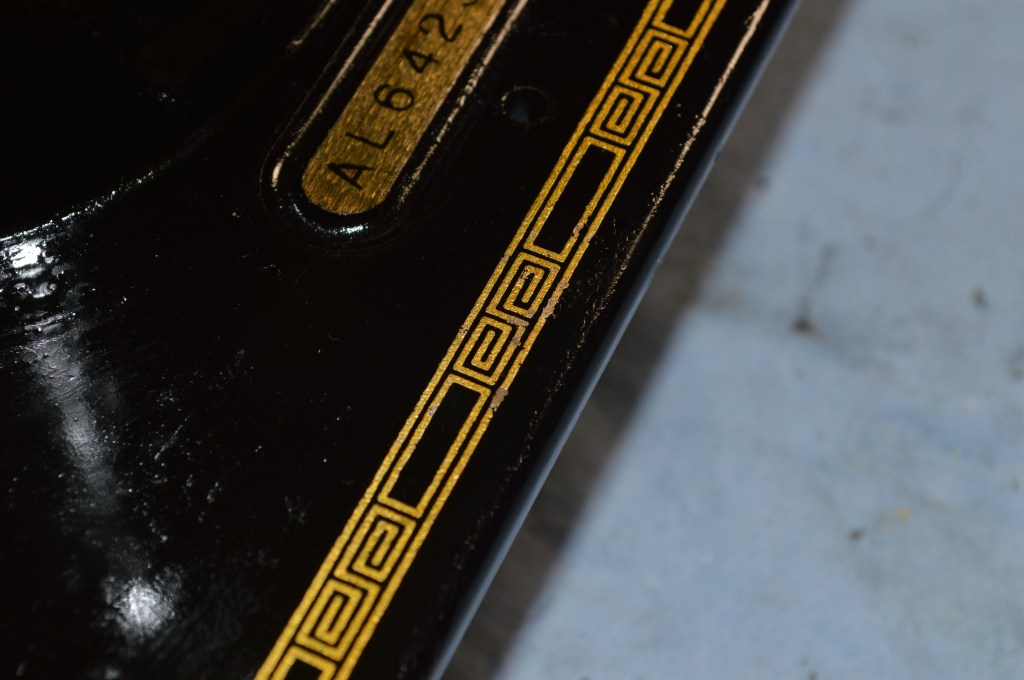
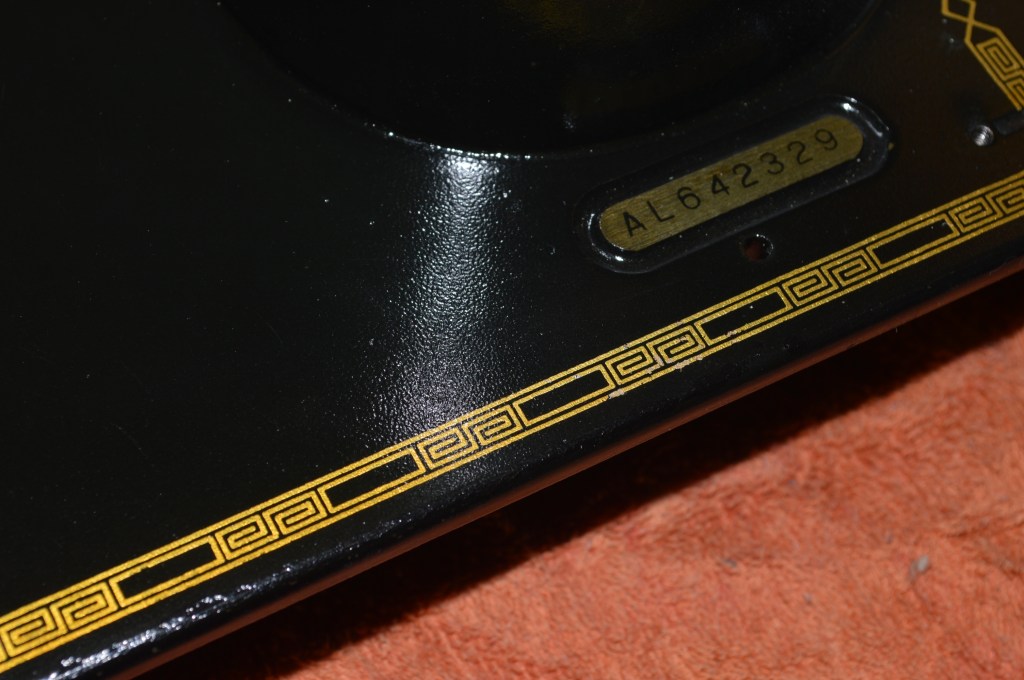
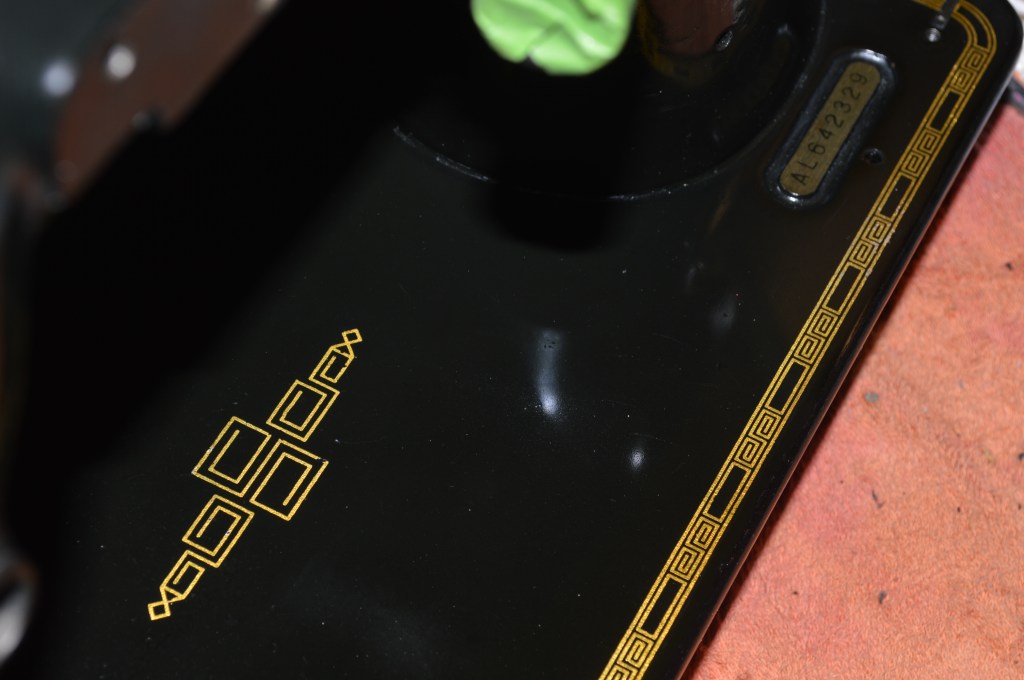
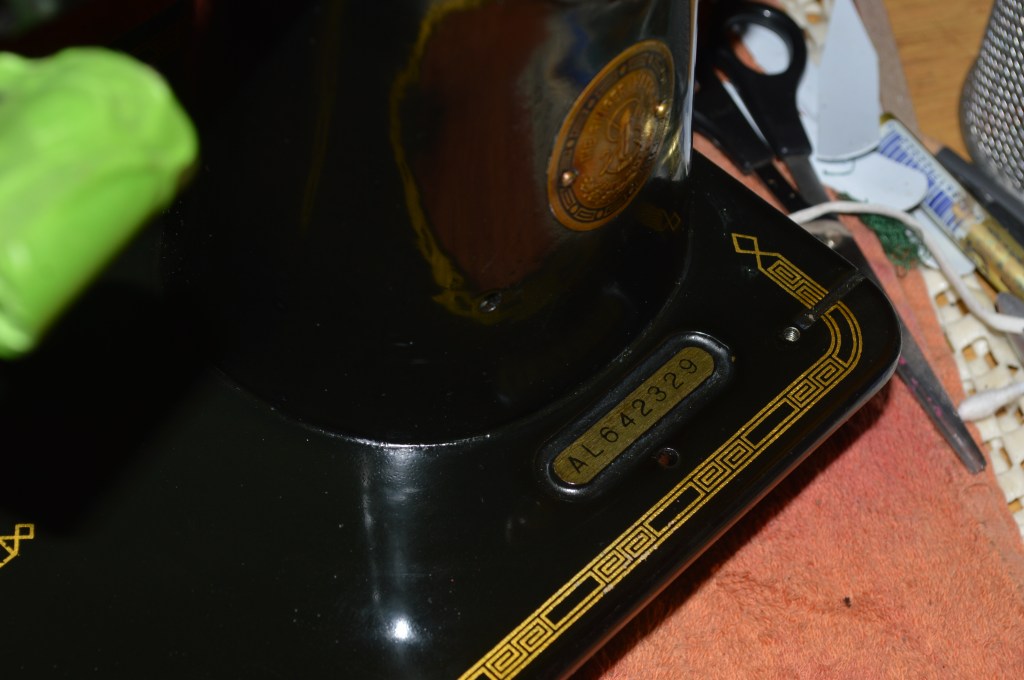
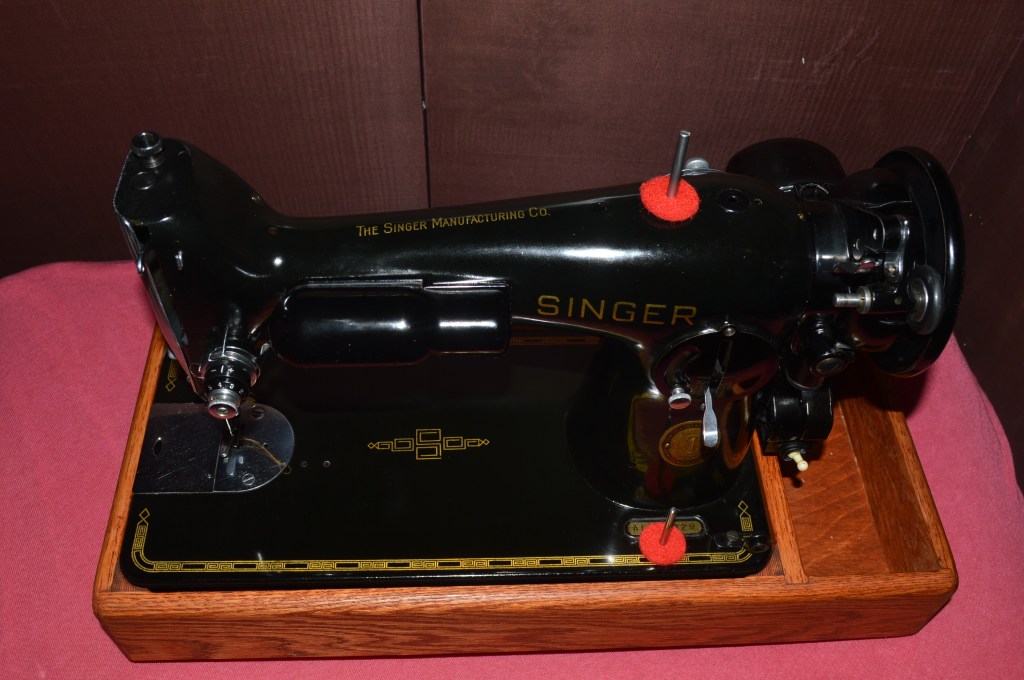
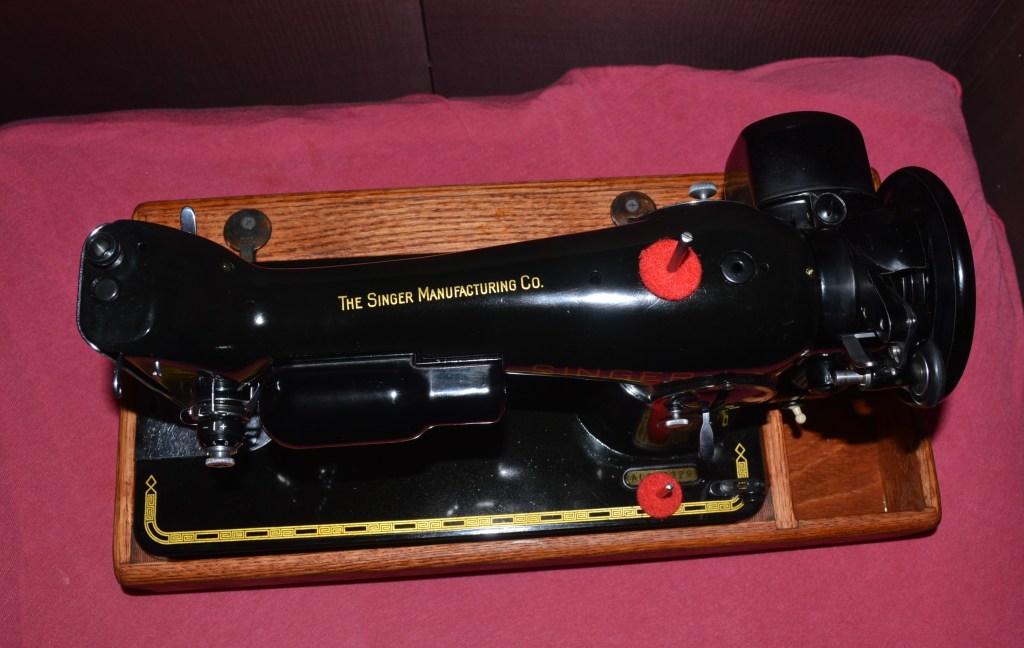
This 201 is serial number AL642329 and she was “born” on November 20, 1953. The restoration for this machine is going to be an “original finish” restoration. This means that paint chips will be corrected, minimal decal defects will be corrected, and the body of the machine will be re-coated with shellac. The original finish will be preserved and where the existing shellac finish is worn, the edges will be feathered into the finish and incorporated in the new shellac finish. The result will be original gold decals and the original black japanned paint stabilized for years to come.
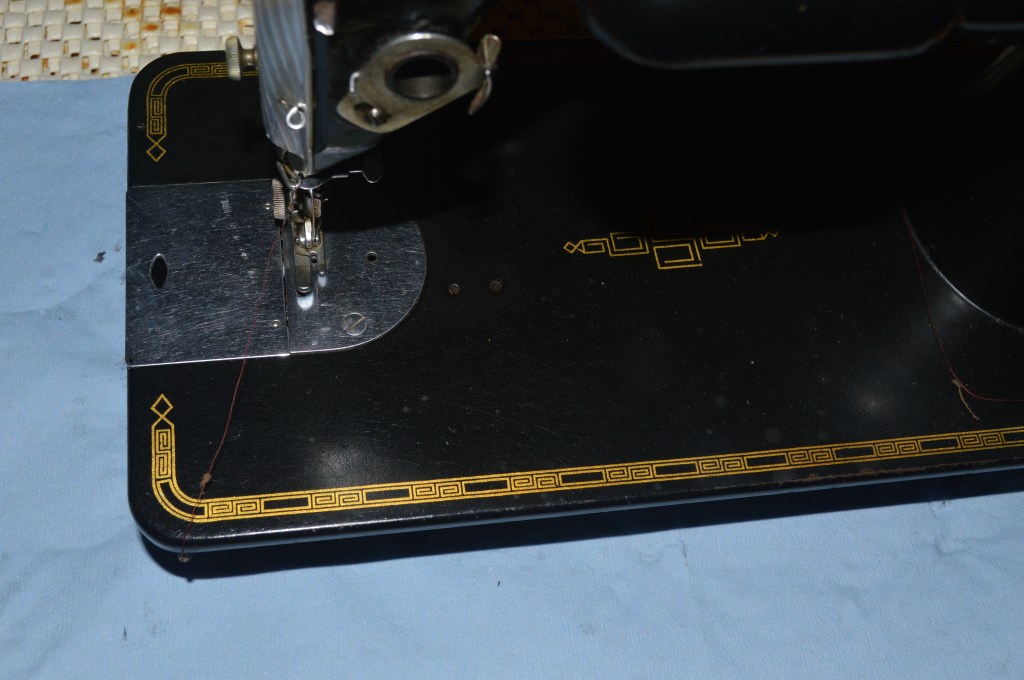
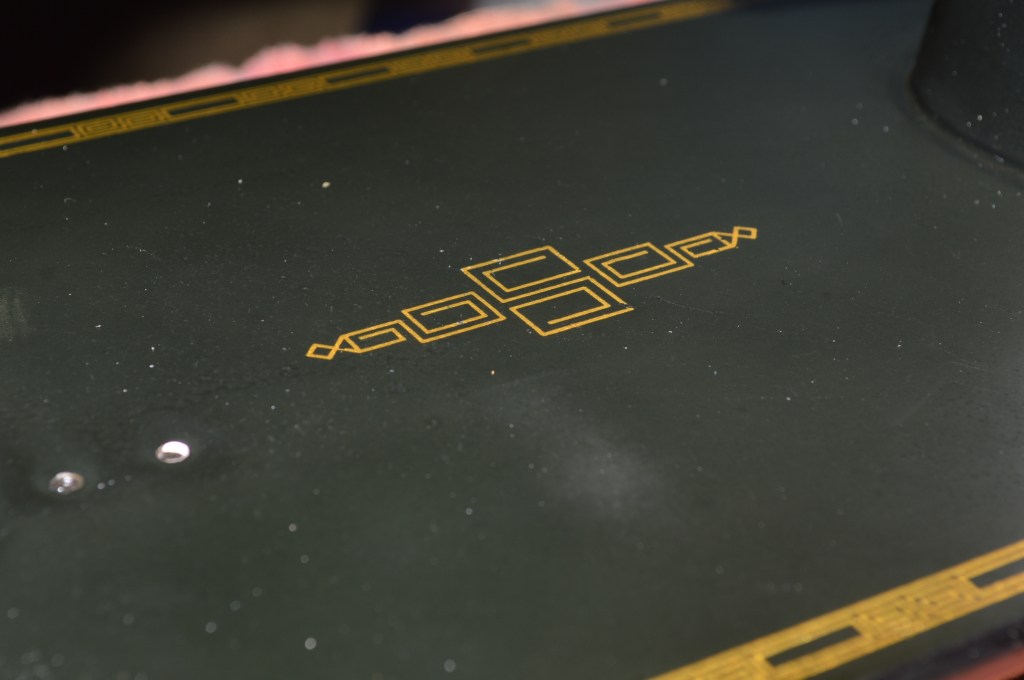
Cosmetically, this 201 is in really good condition to start with. That makes it a perfect candidate for an original finish restoration. I prefer this type of restoration because with a machine in good original condition, it is possible to restore the finish to near new condition. The decals on the machine are in near perfect condition and have a wonderful gold patina, but the finish on the bed has dulled due to the original shellac layer drying out. For a machine like this, an original finish restoration will result in a beautiful original paint finish and beautiful original decals.
Overall, the sewing mechanism is in great condition. It is obvious that over the life of the machine, it was maintained properly… how do I know? Well, the gears are free of grease. The gears in a 201 are meant to be oiled, and the lack of grease tells me that the owner read the maintenance section of the manual. Too often, I see them caked with old grease that is difficult to remove and served no real purpose of lubricating the machine. I already know that the mechanical restoration will result in an exceptionally smooth and quiet running 201… Isaac Singer made this a certainty when his Company built this machine to last for many generations. The term “planned obsolescence” hadn’t been invented yet. All 201’s is heirloom quality, and this is a fine machine with great decals and it will restore beautifully.
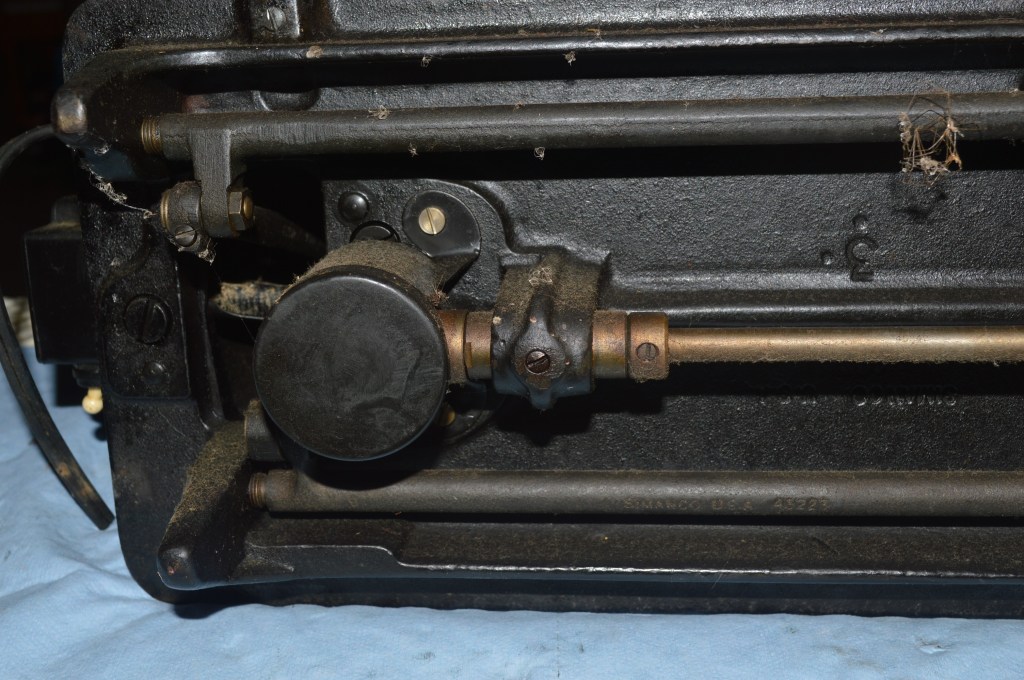
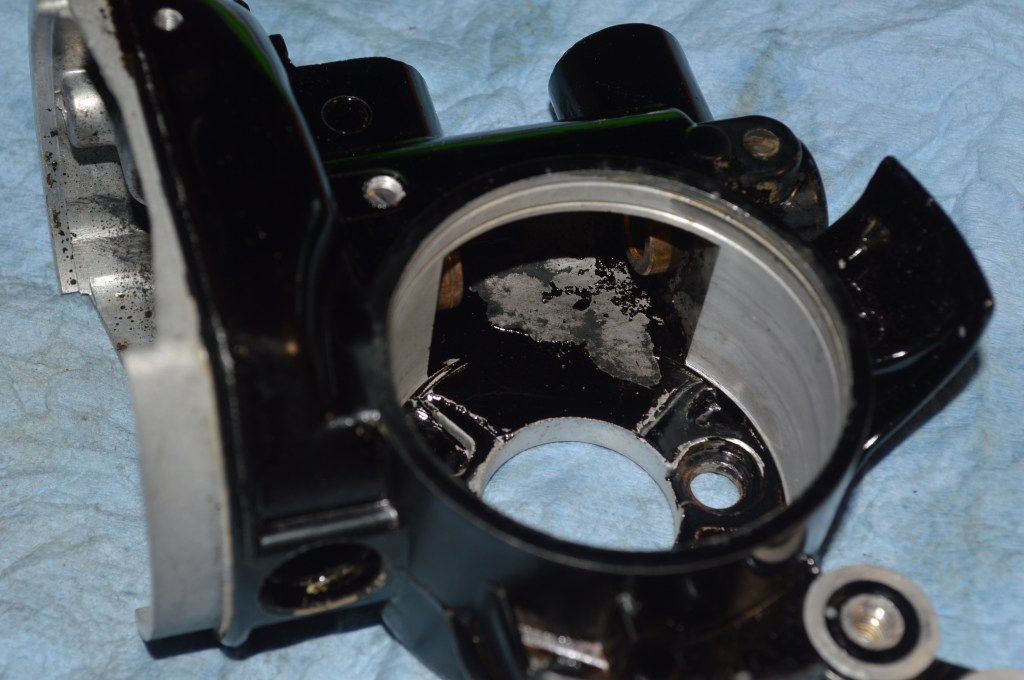
The mechanical restoration will done as it is done for all 201’s… it will be disassembled to the greatest extent possible. The outside of a part can be shiny and bright, but the places you can’t see are not. Mating surfaces that can only be accessed by disassembly have the same contamination and oil varnish as the outside of the parts. This is where smoothness is lost, and where disassembly and cleaning is the only way to restore the feel and performance the machine had when it was new… at least that’s the goal.
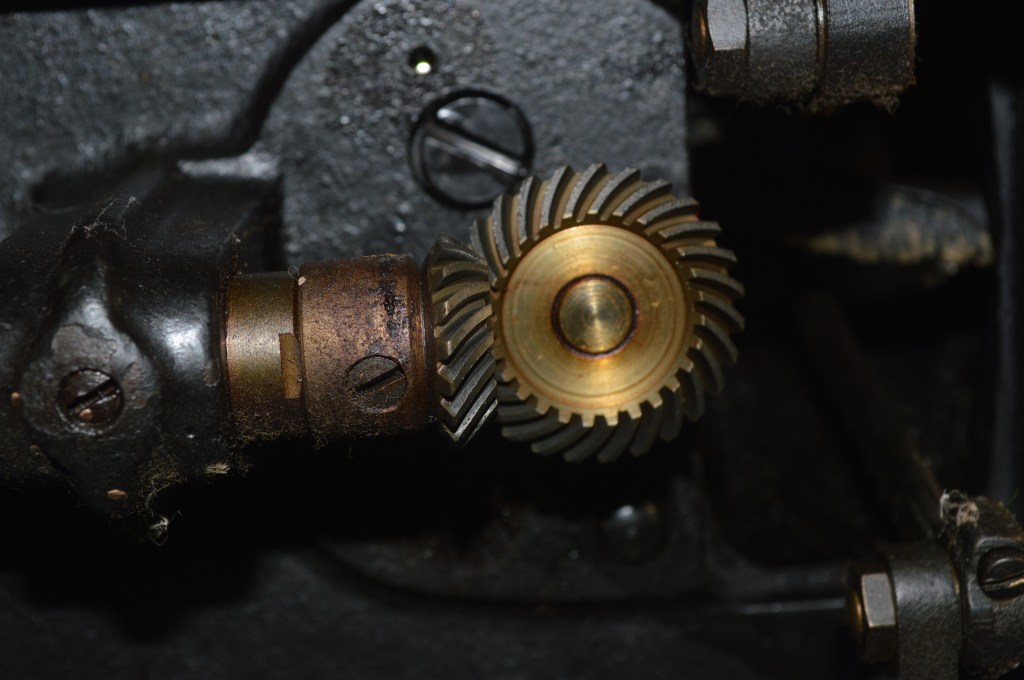
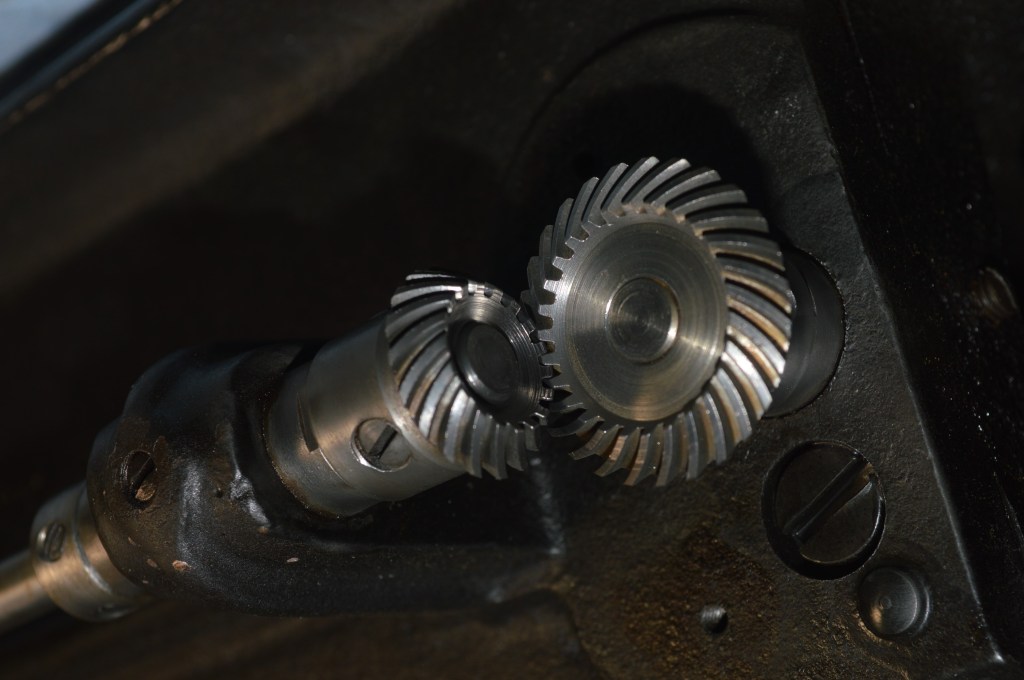
201’s are particularly hard to restore because disassembly is limited to everything but the gears. With the exception of the bobbin shaft gear, the gears must be cleaned in place. The reason for this? The gears in a 201 are matched, mated, and balanced to each other during manufacture. They cannot be removed, reinstalled, and rebalanced and any attempt to do so will affect the smoothness of the machine… This is true of all 201’s… Because of this limitation, the key to a 201 restoration is attention to details… and no detail is too small.
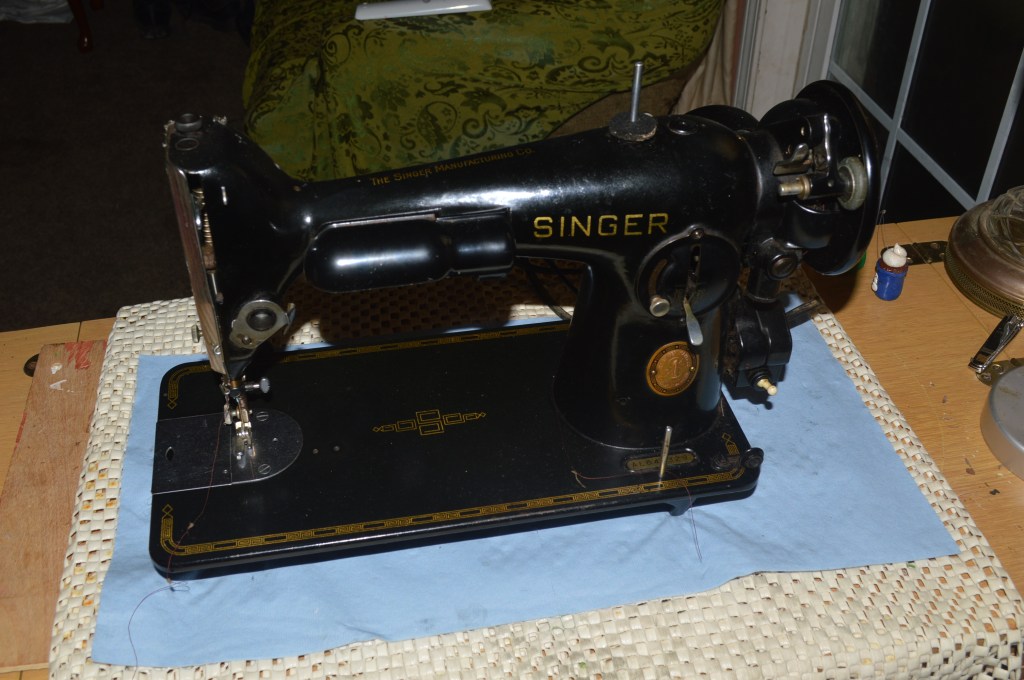
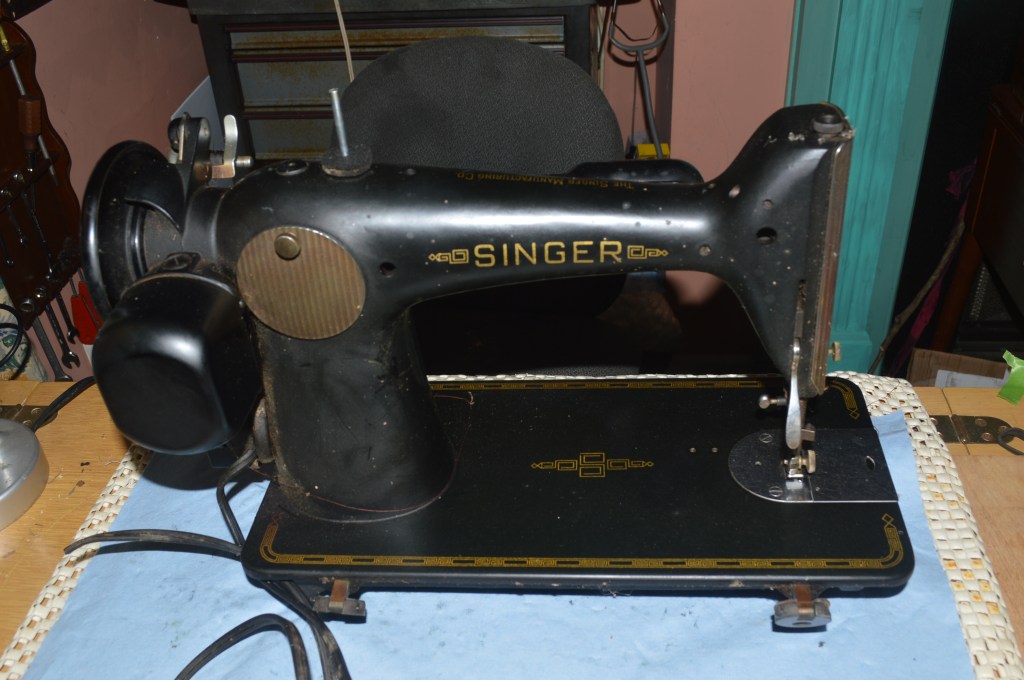
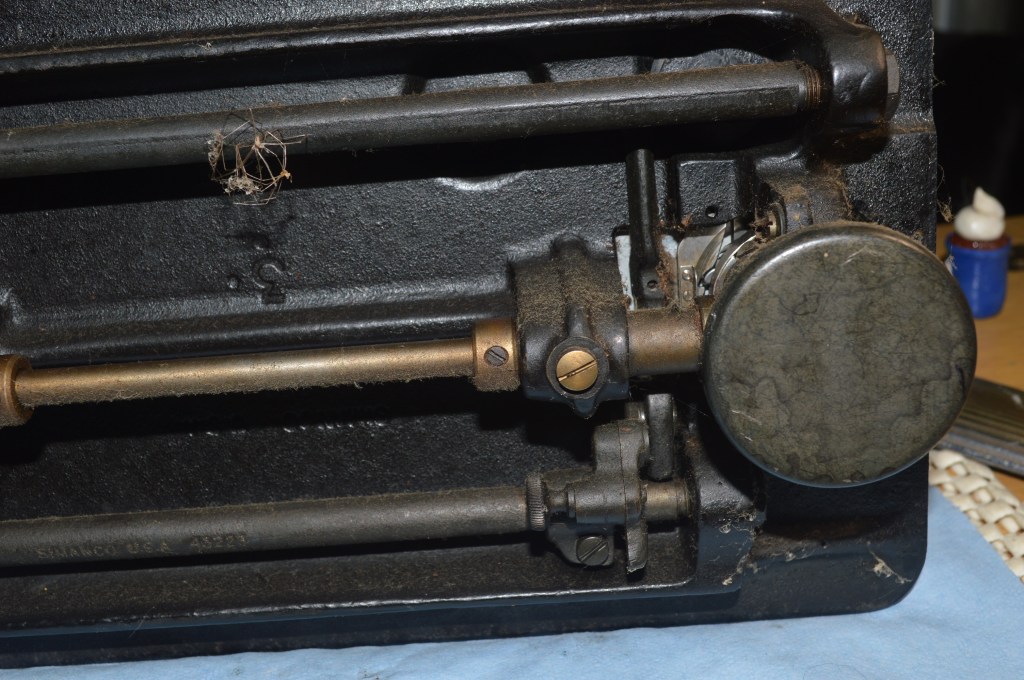
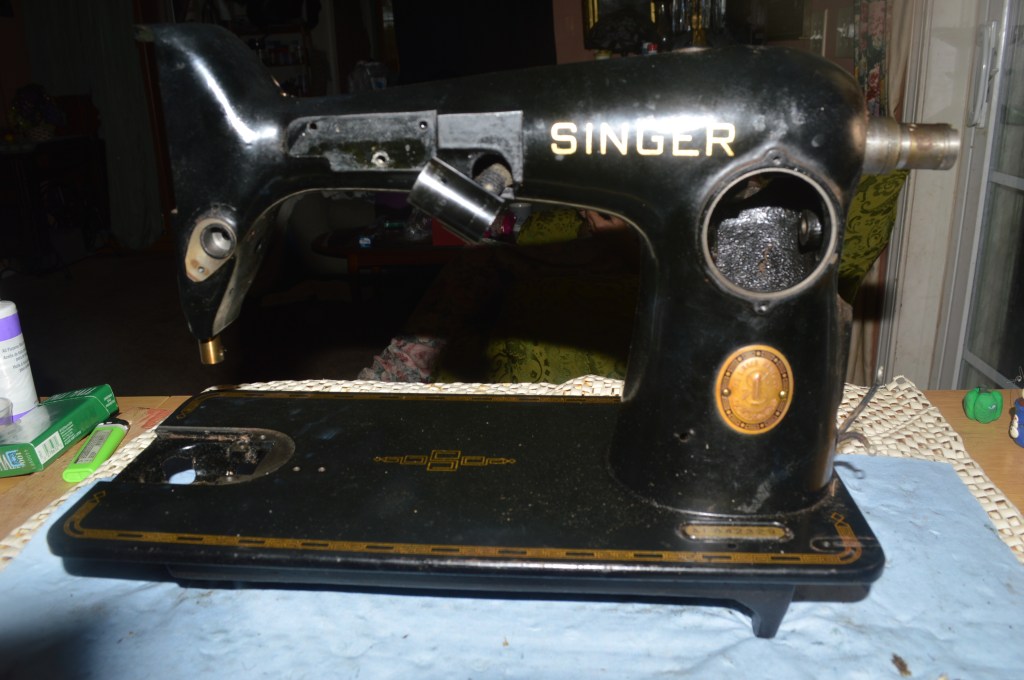
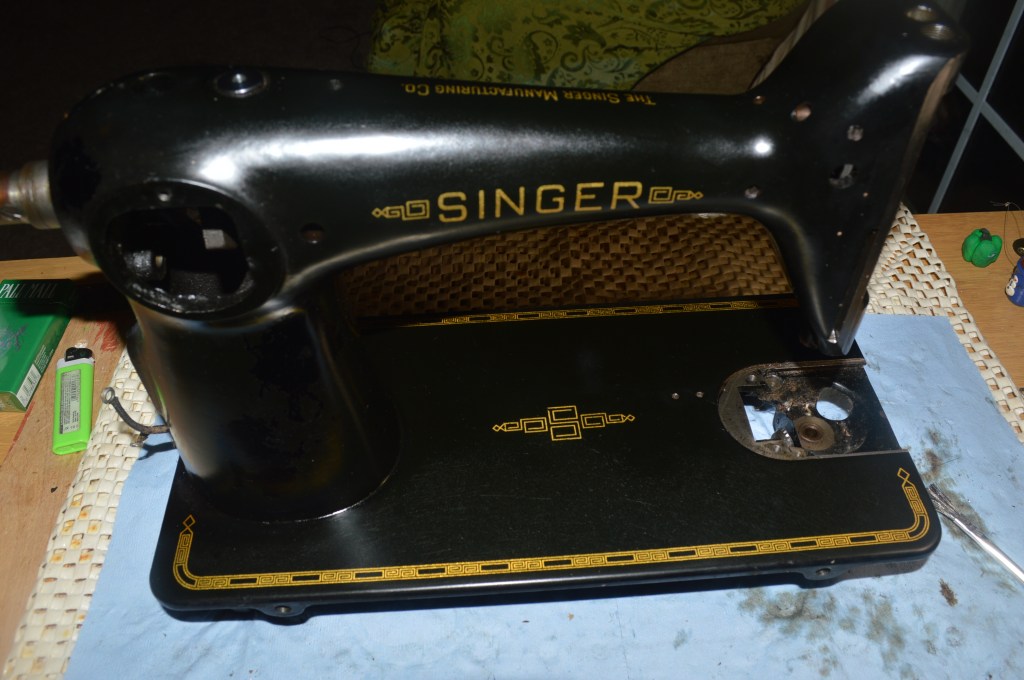
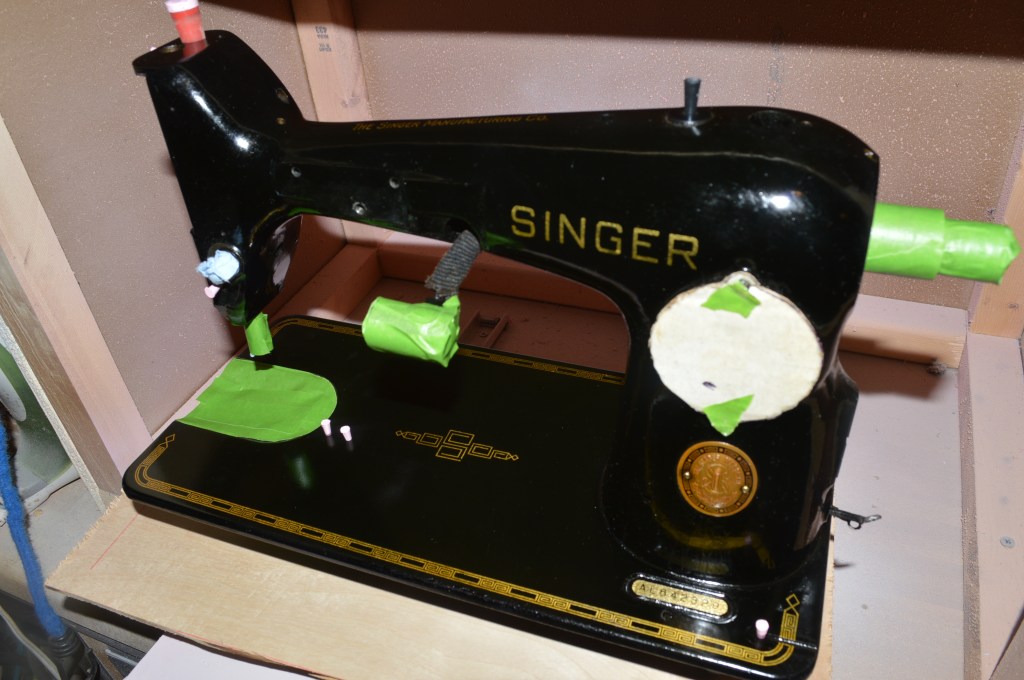
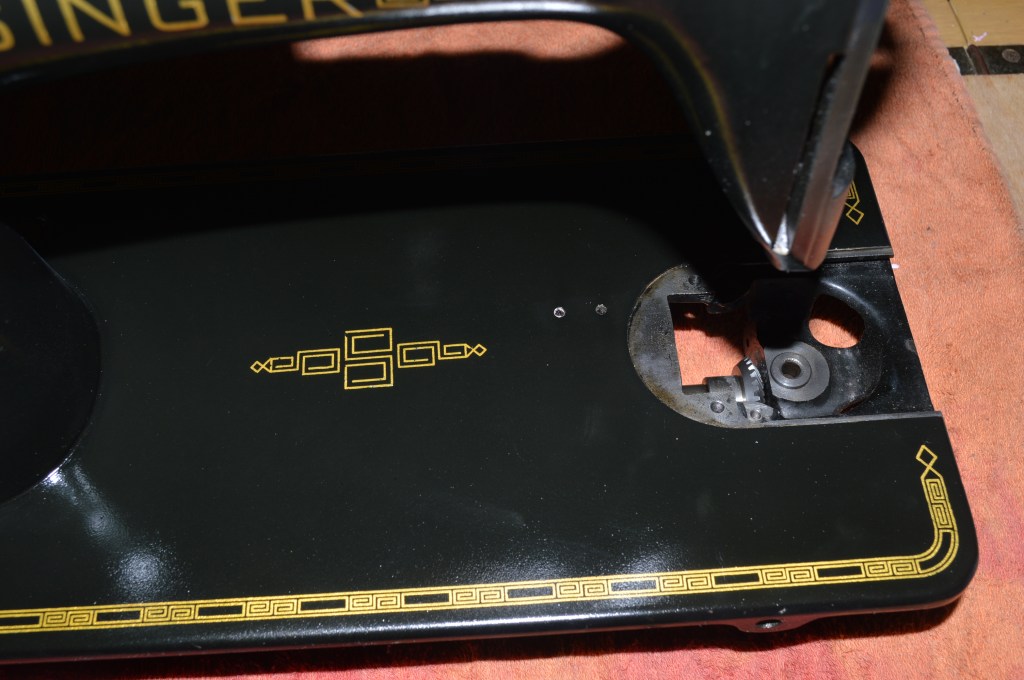
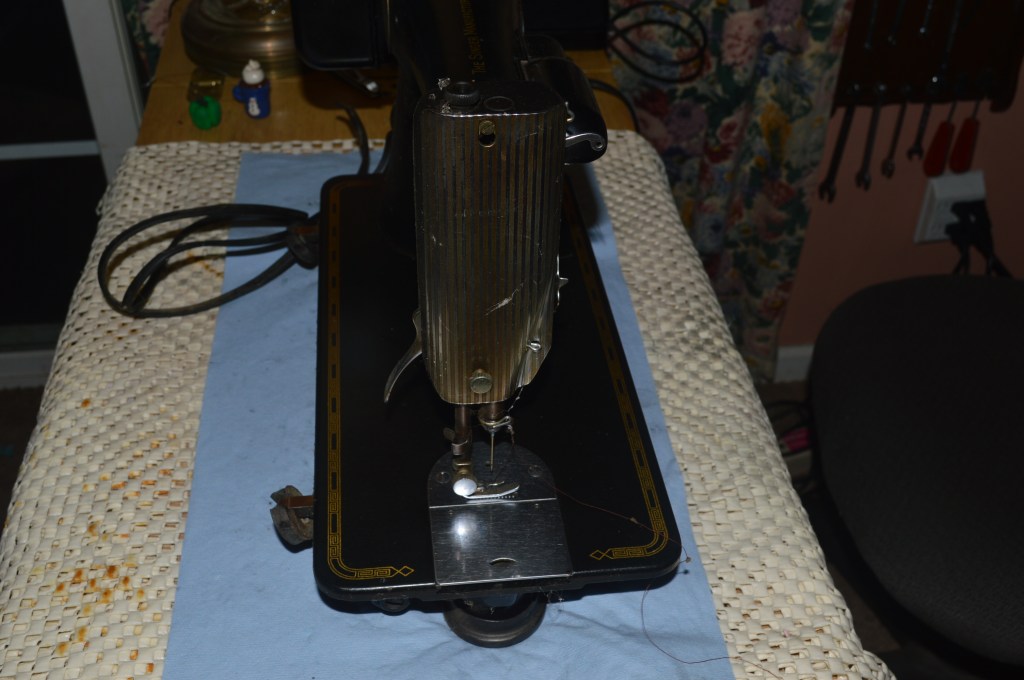
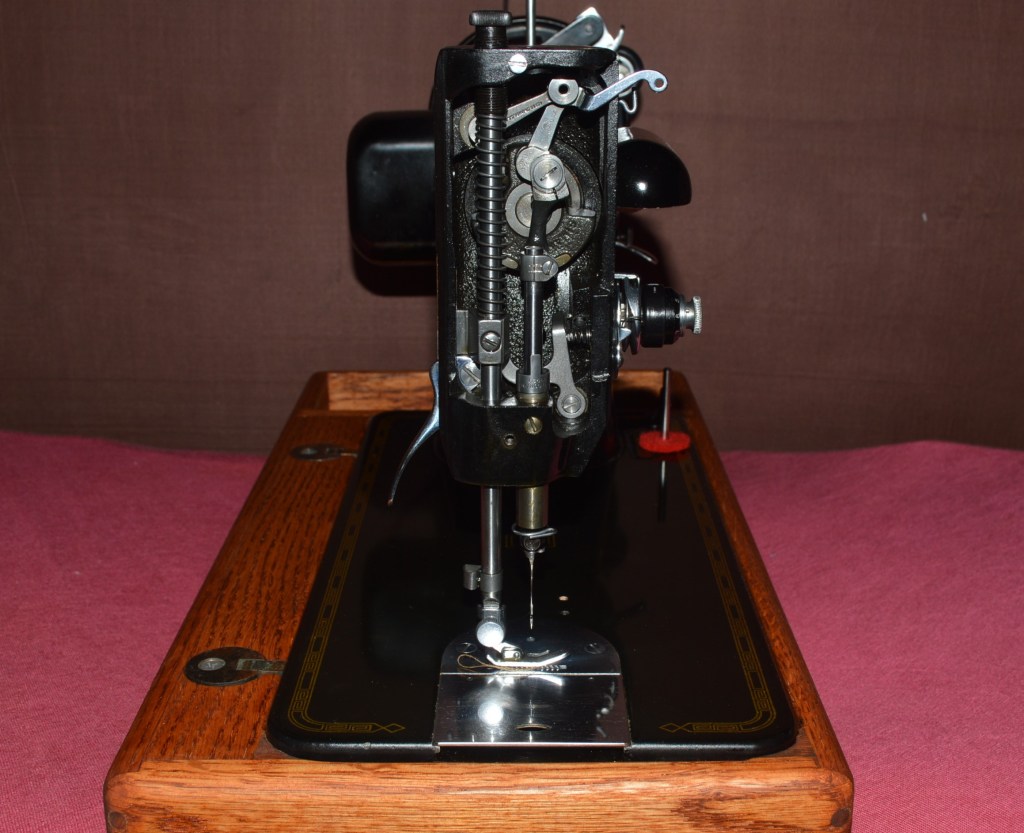
Getting on with the restoration, this is the machine before I begin…


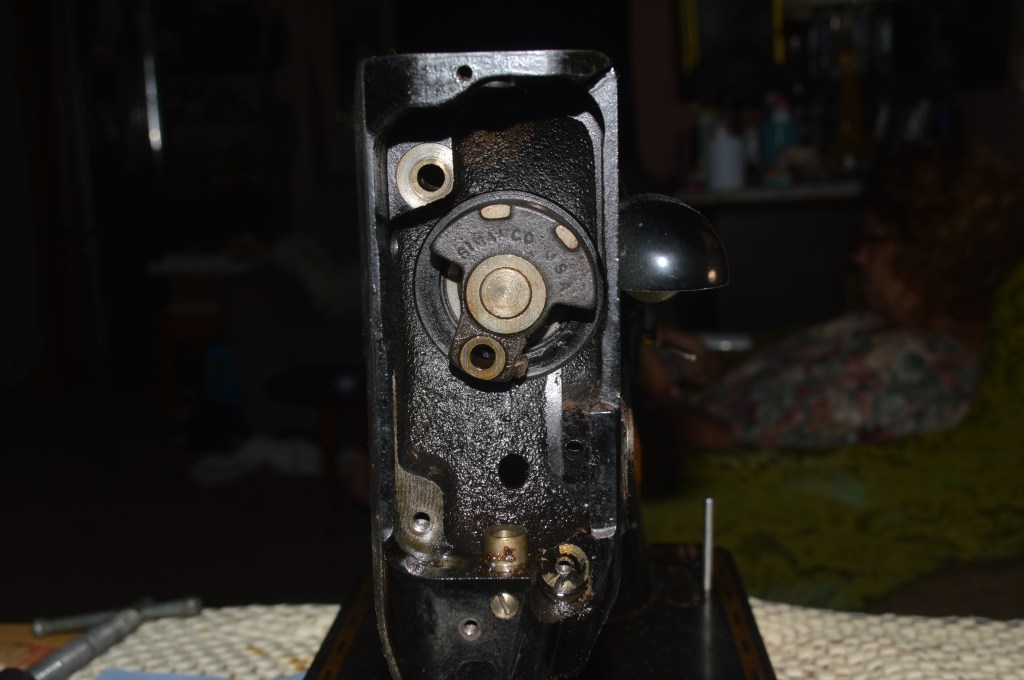
The mechanical assemblies are removed for cleaning…
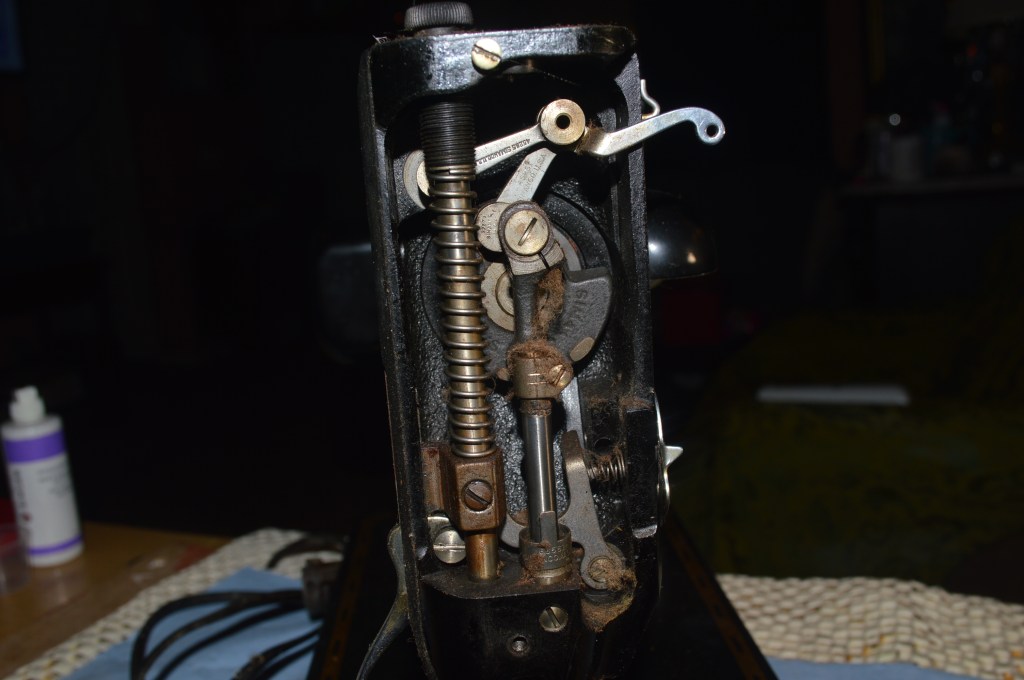

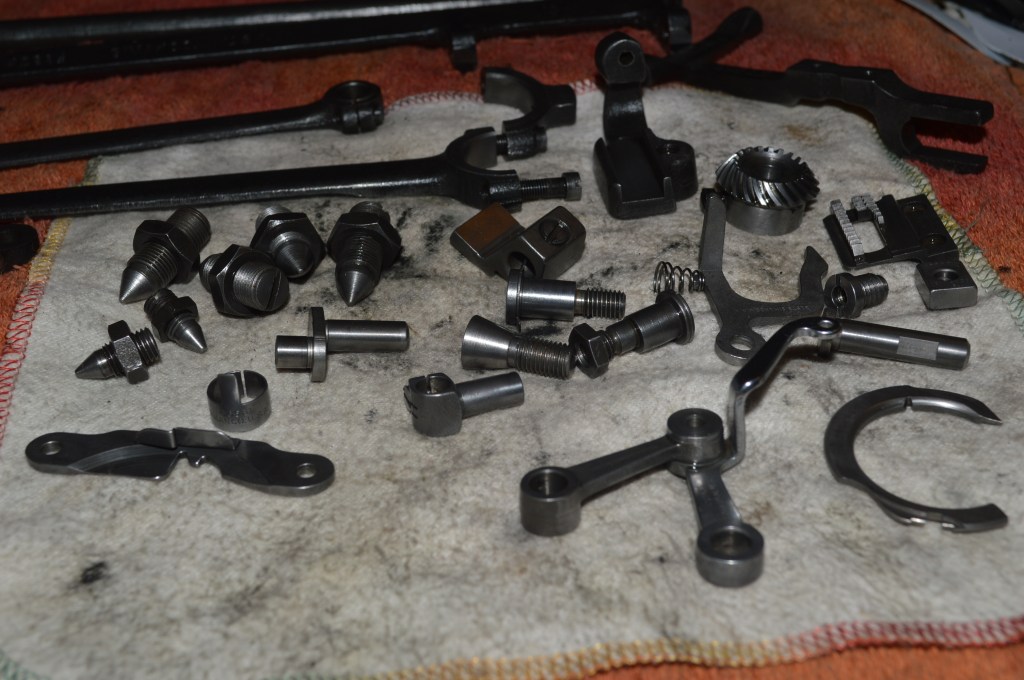
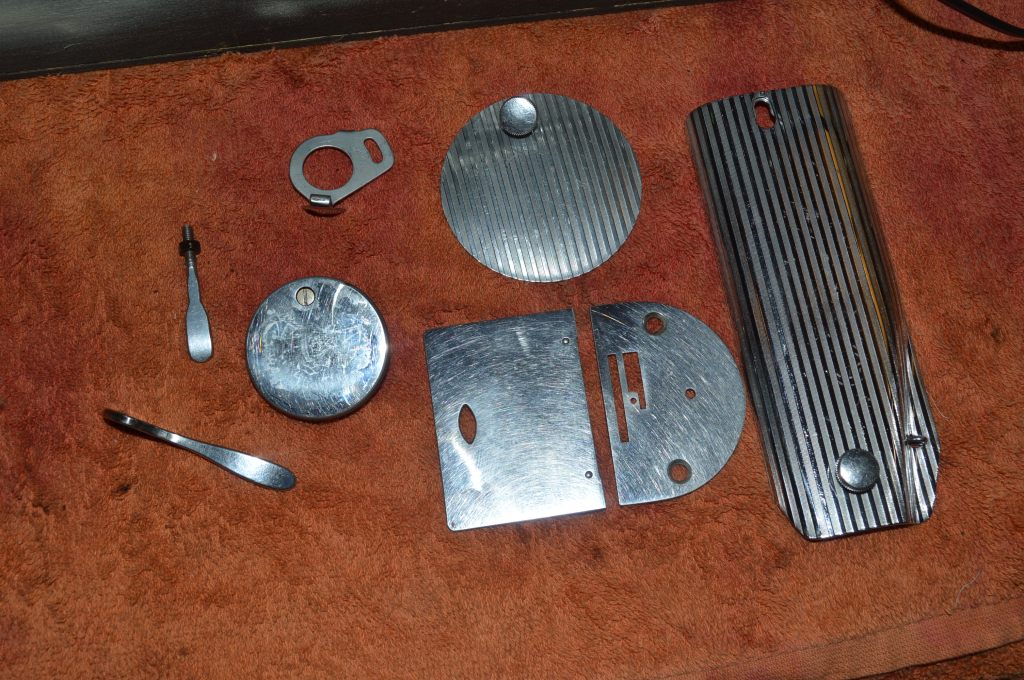
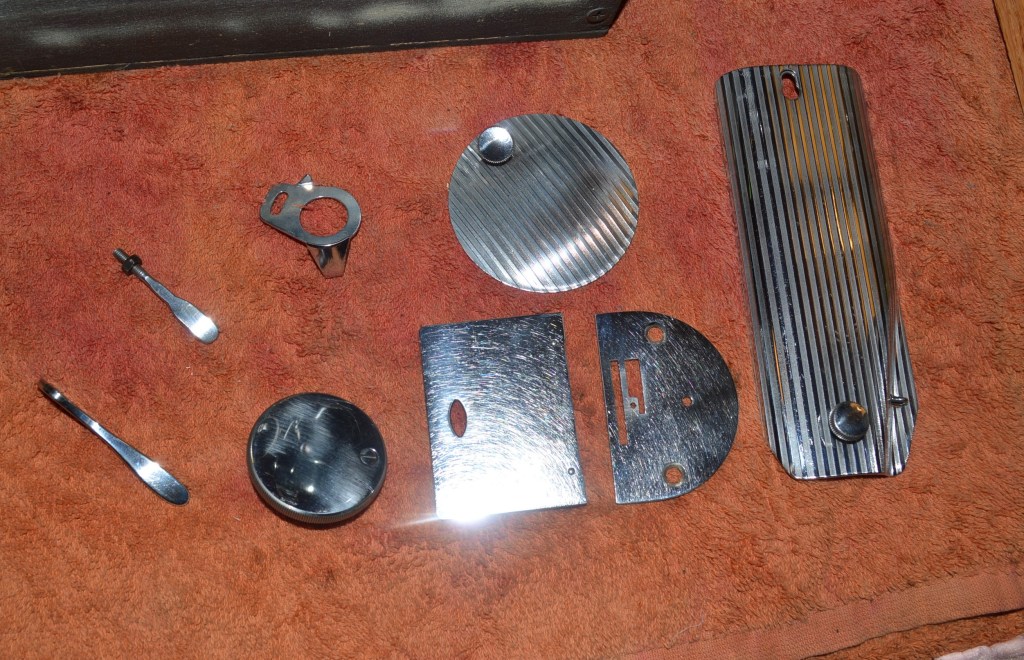
After disassembly, all of the parts are laid out for cleaning…
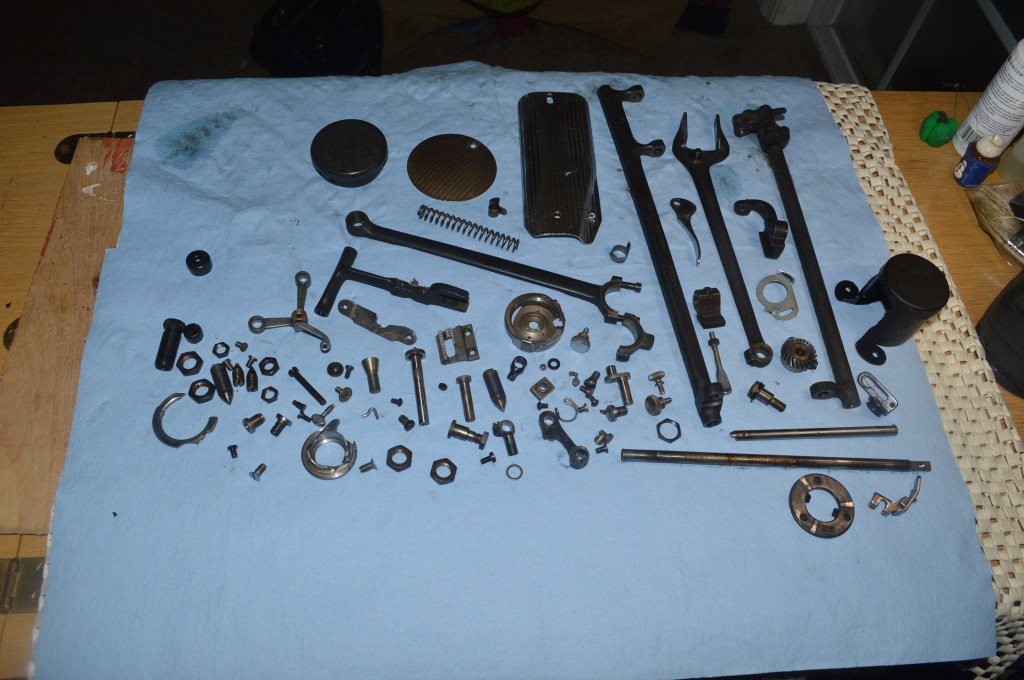

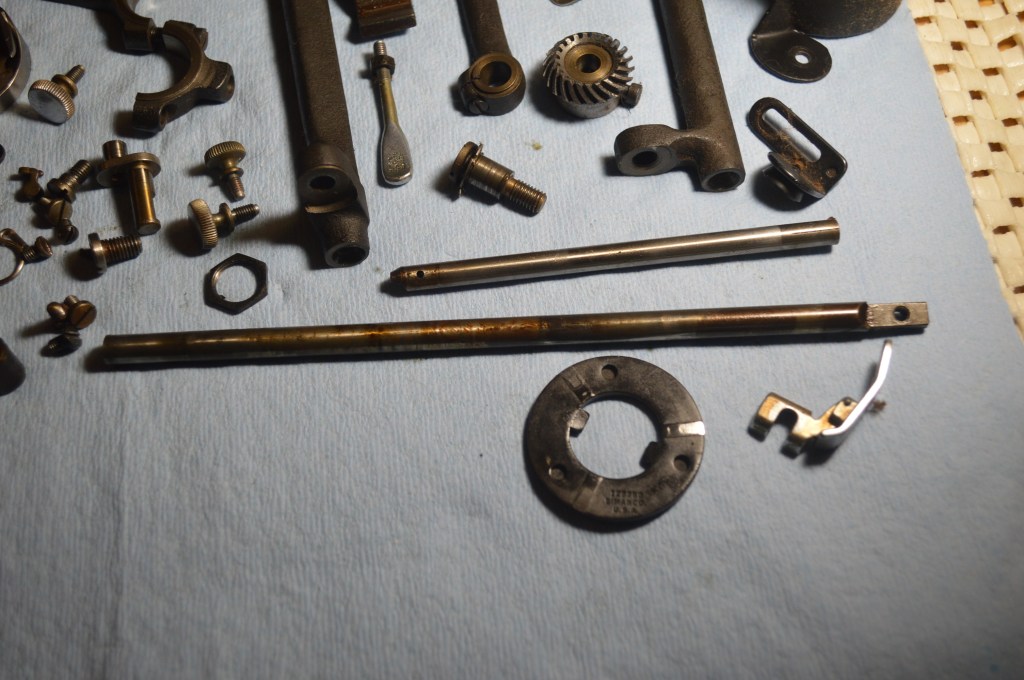
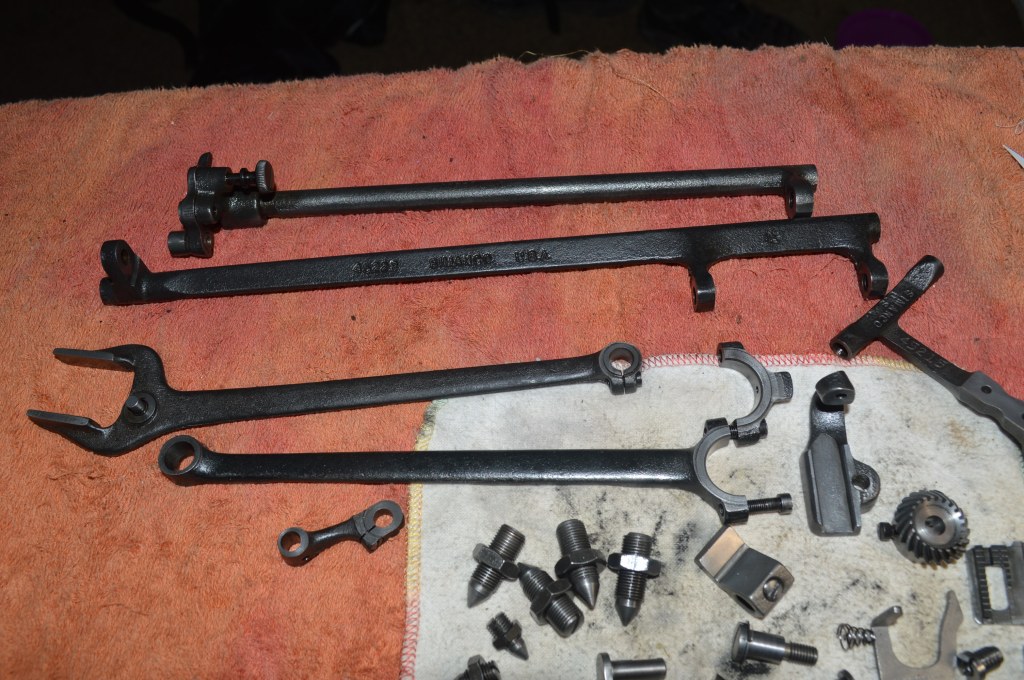
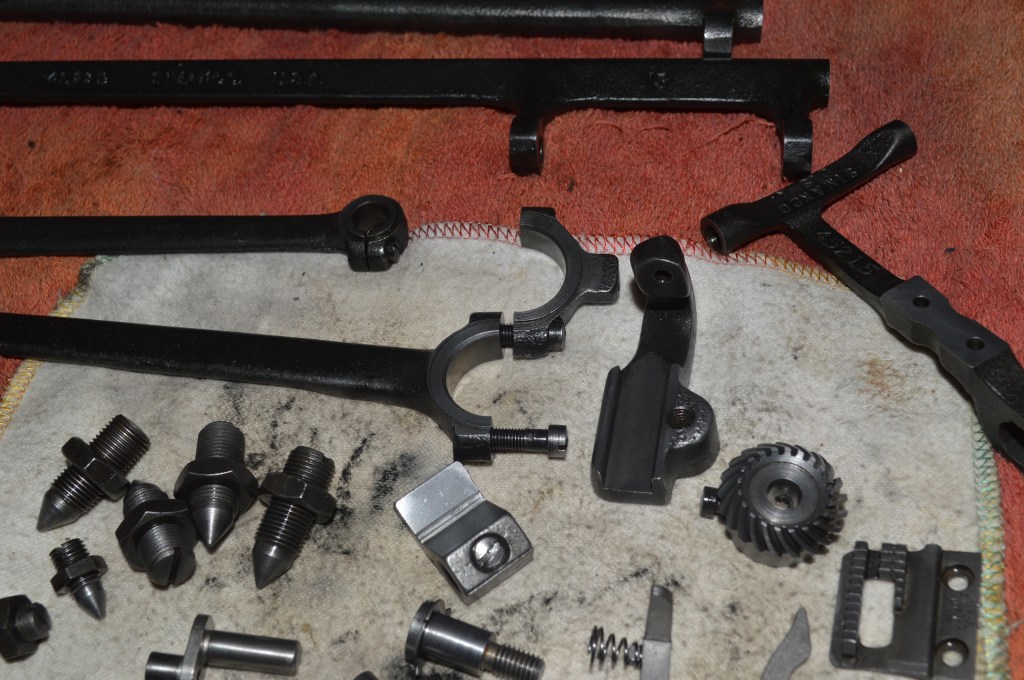
The parts are ultrasonically cleaned, heated in oil to drive off moisture, and wire brushed to a bright steel finish.
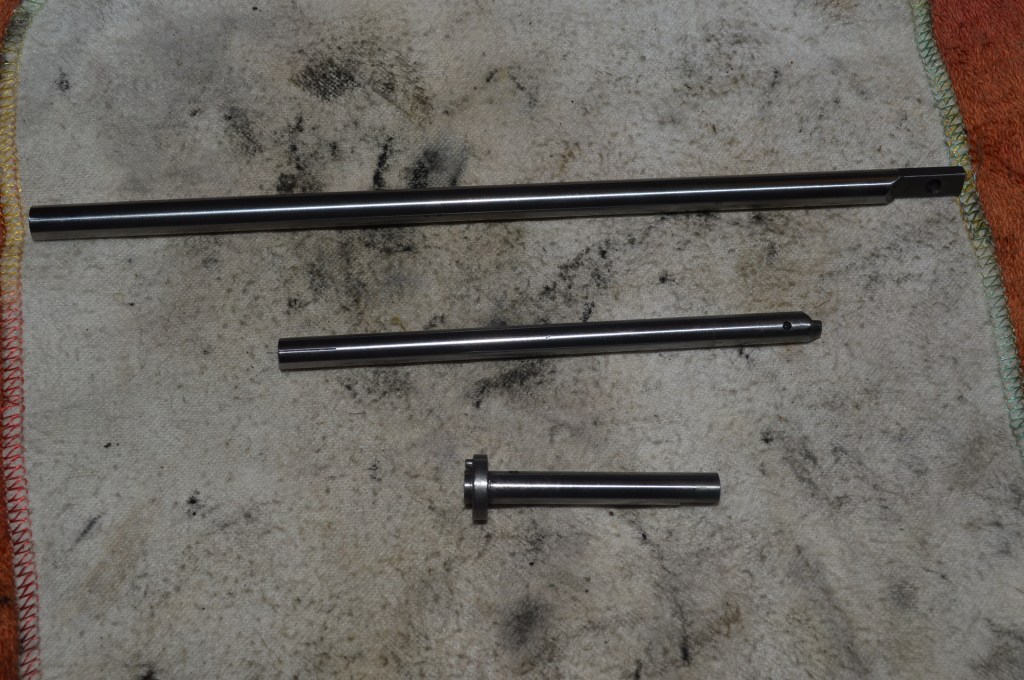
The presser foot bar, the needle bar, bobbin hook shaft are polished to a glass like finish.
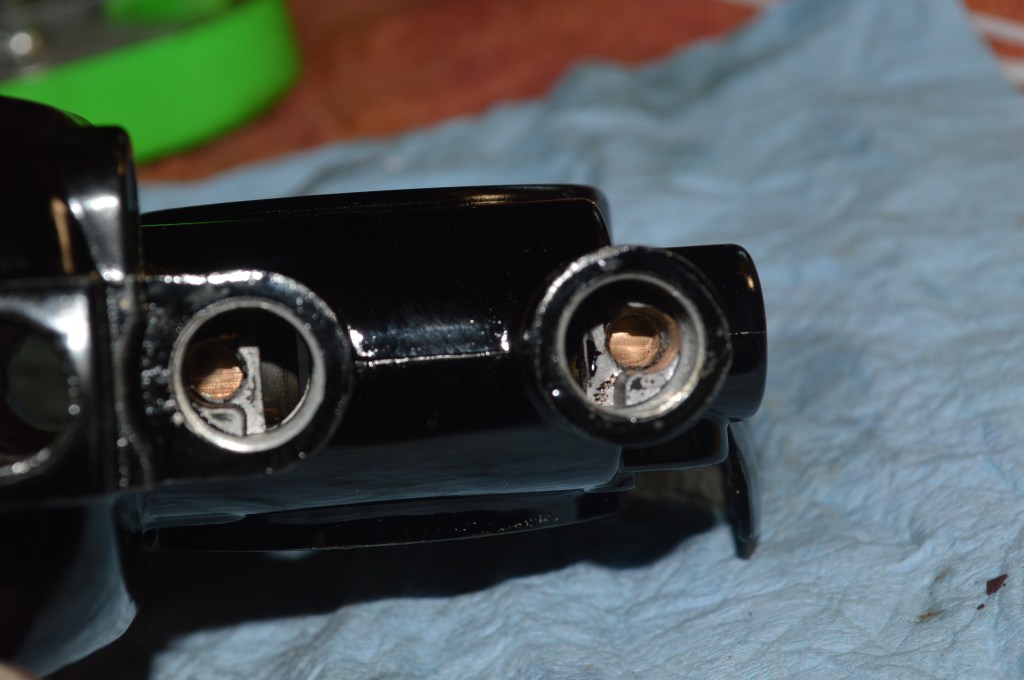
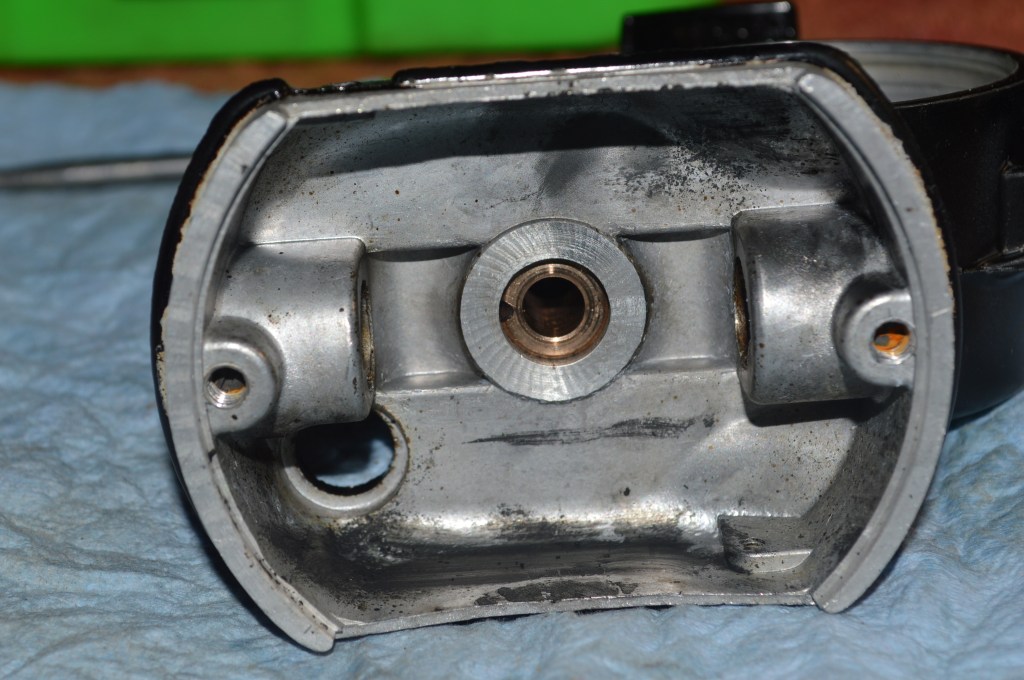
Parts that have bores that other parts rotate in are also wire brushed (some are in the machine and are similarly cleaned in place).

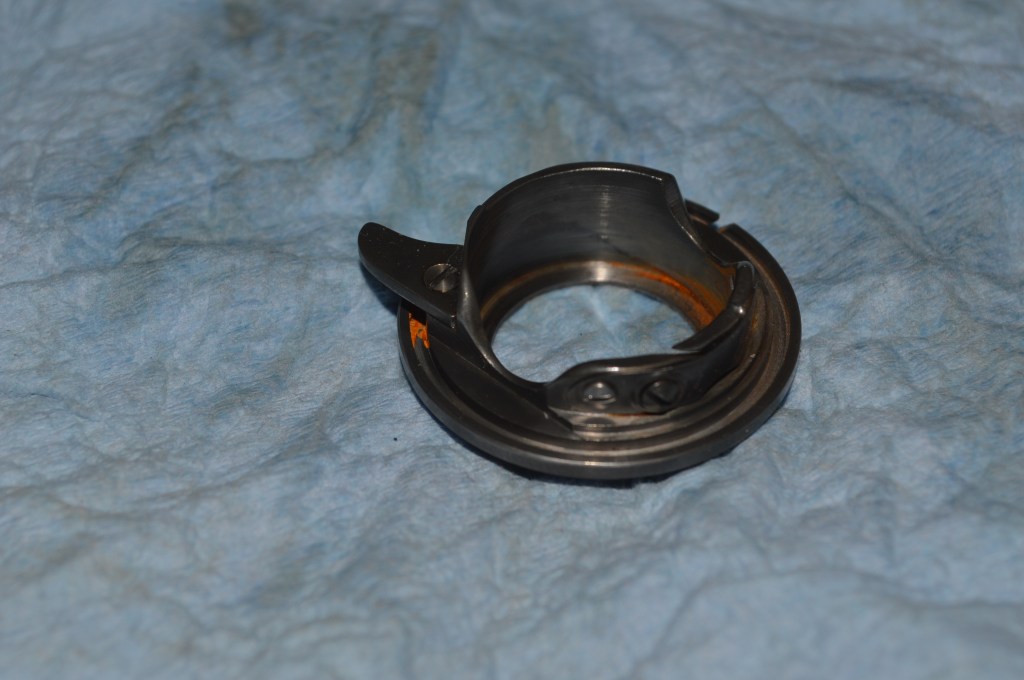
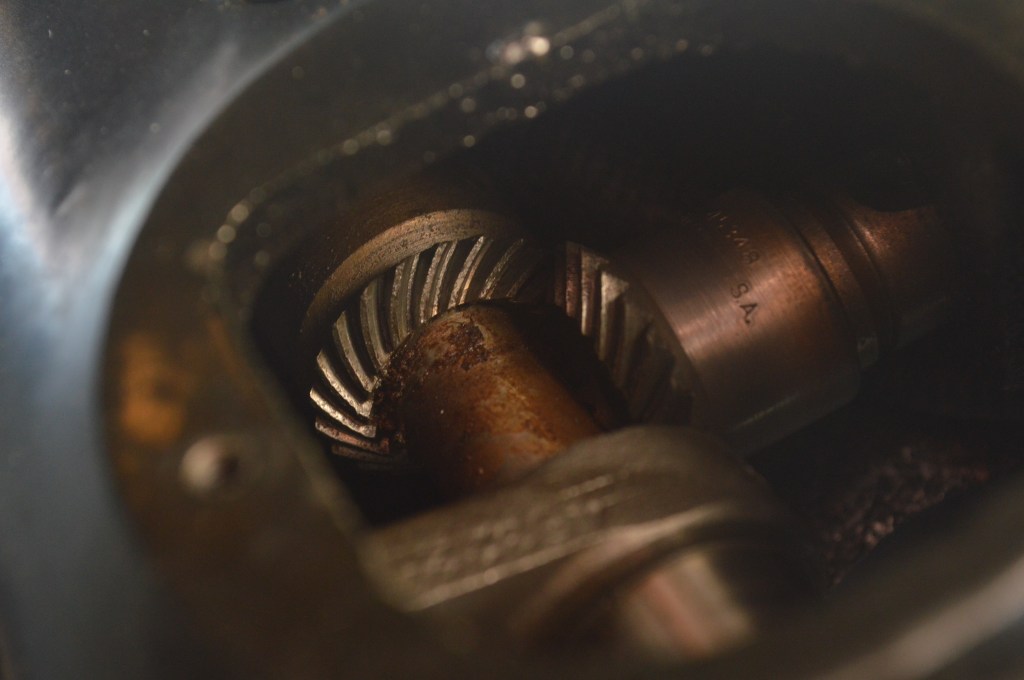
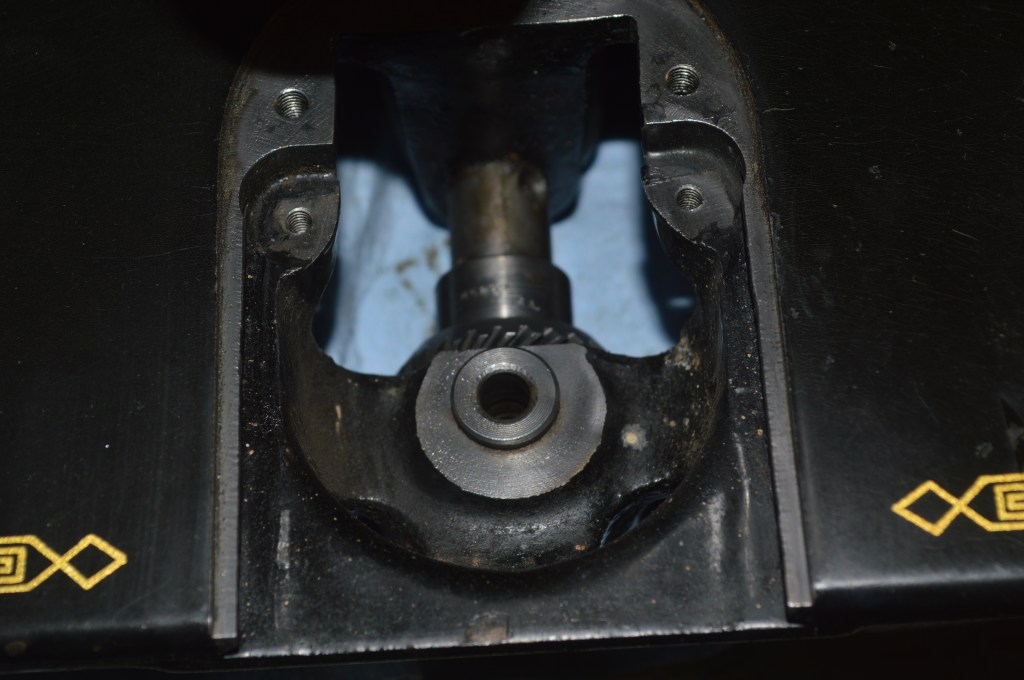
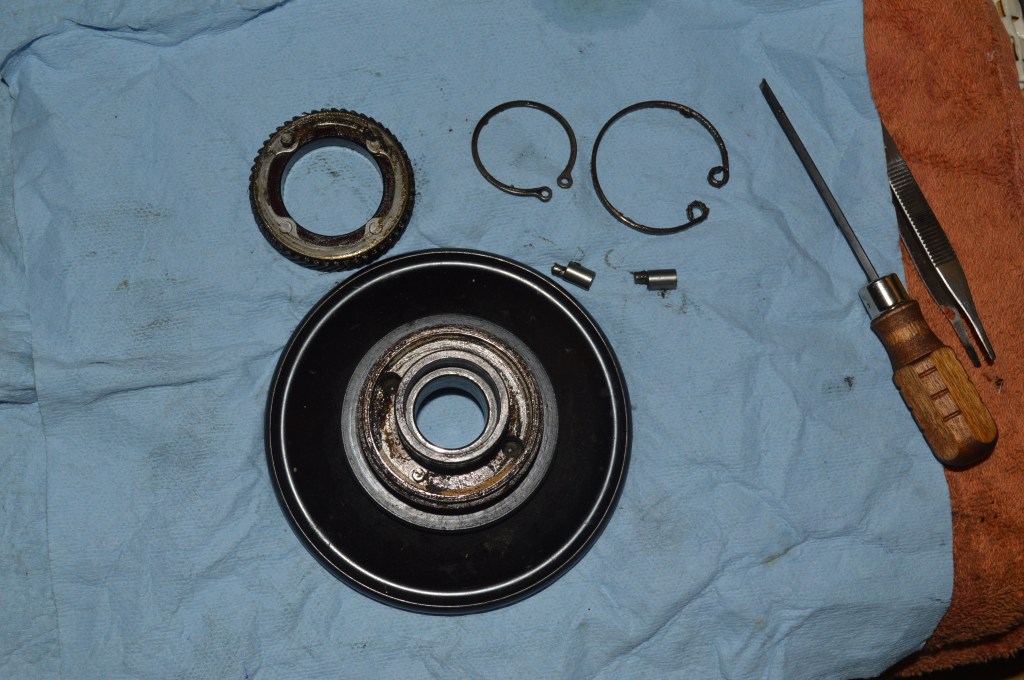
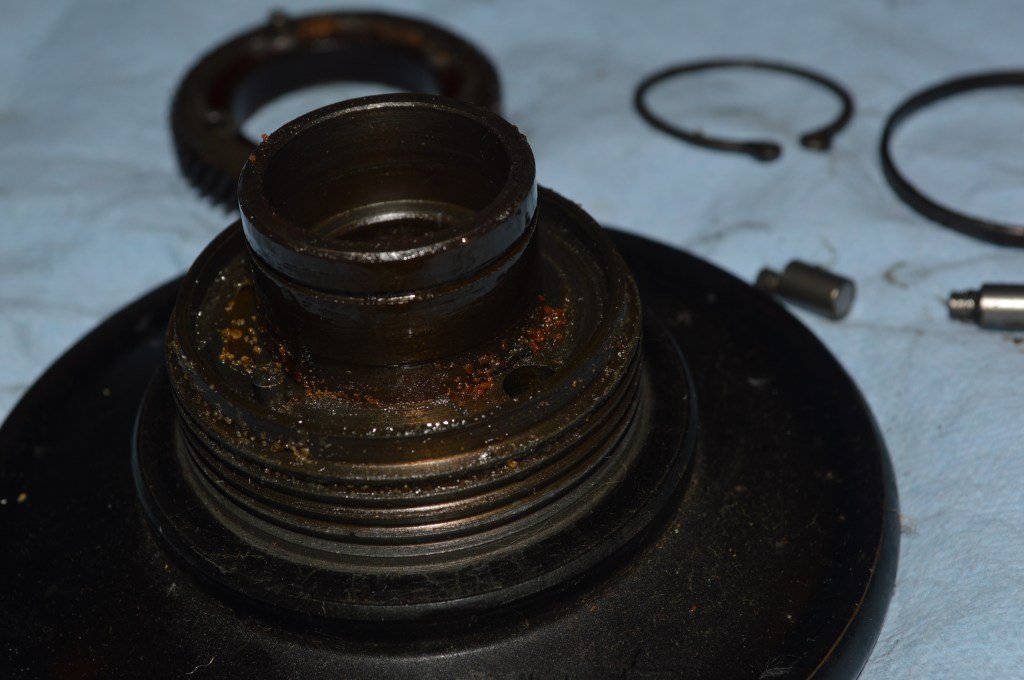
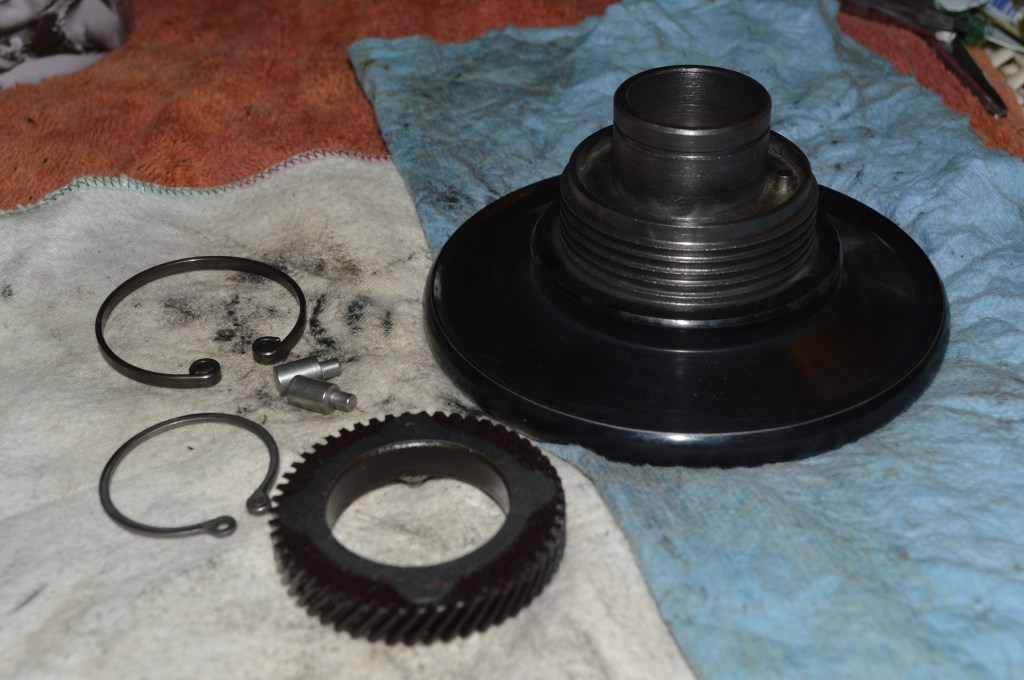
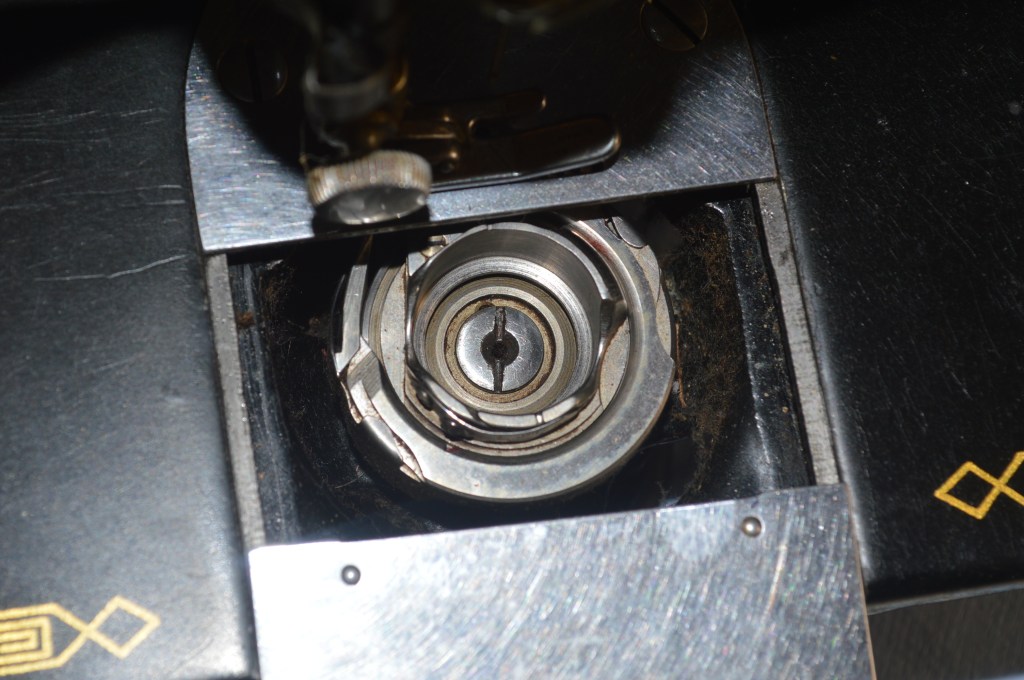
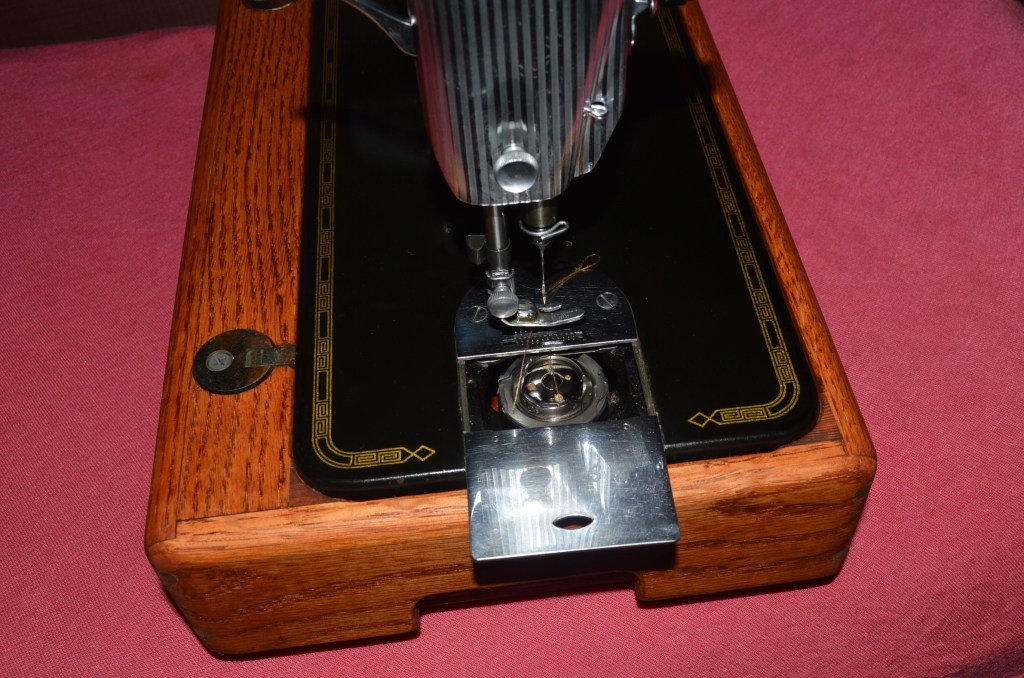
The heart of the 201 legendary straight stitch is it’s gear driven rotary hook. The bobbin hook race and bobbin case in the 201 is a masterpiece of design and needs to be disassembled to clean and make it like new again. Every place there a screw hides something, so it is disassembled. Why? because these areas have the potential of a hiding gunk.
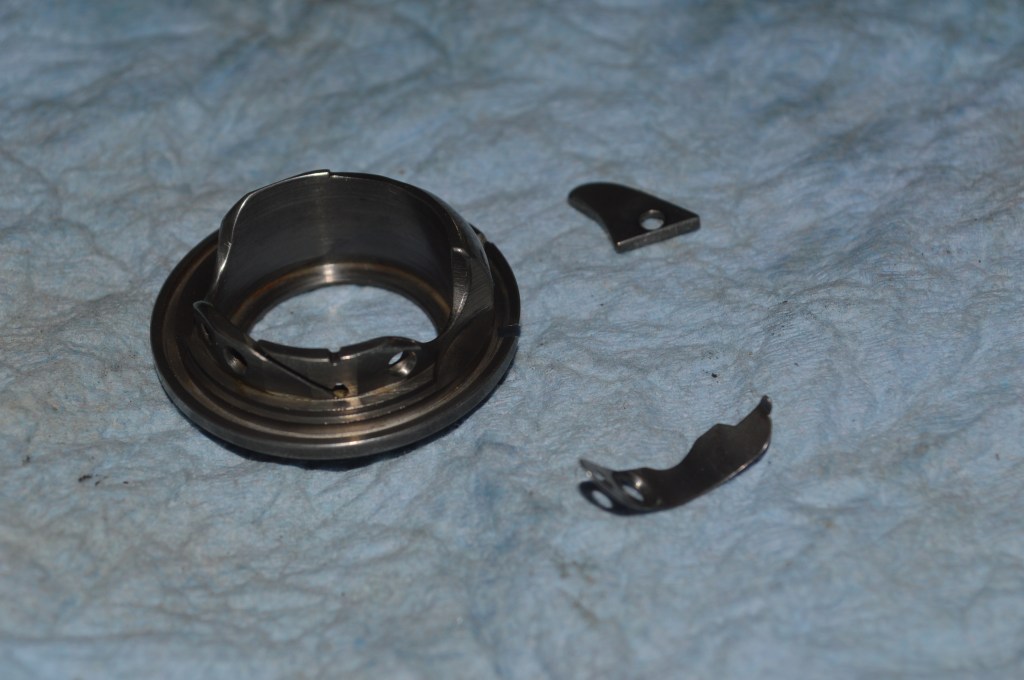
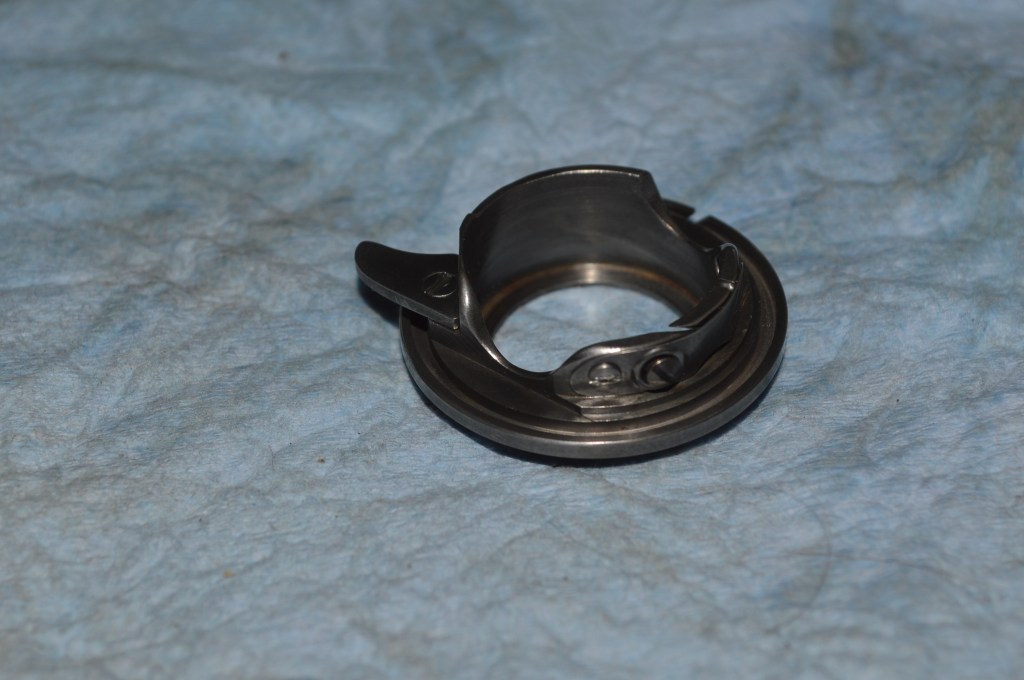
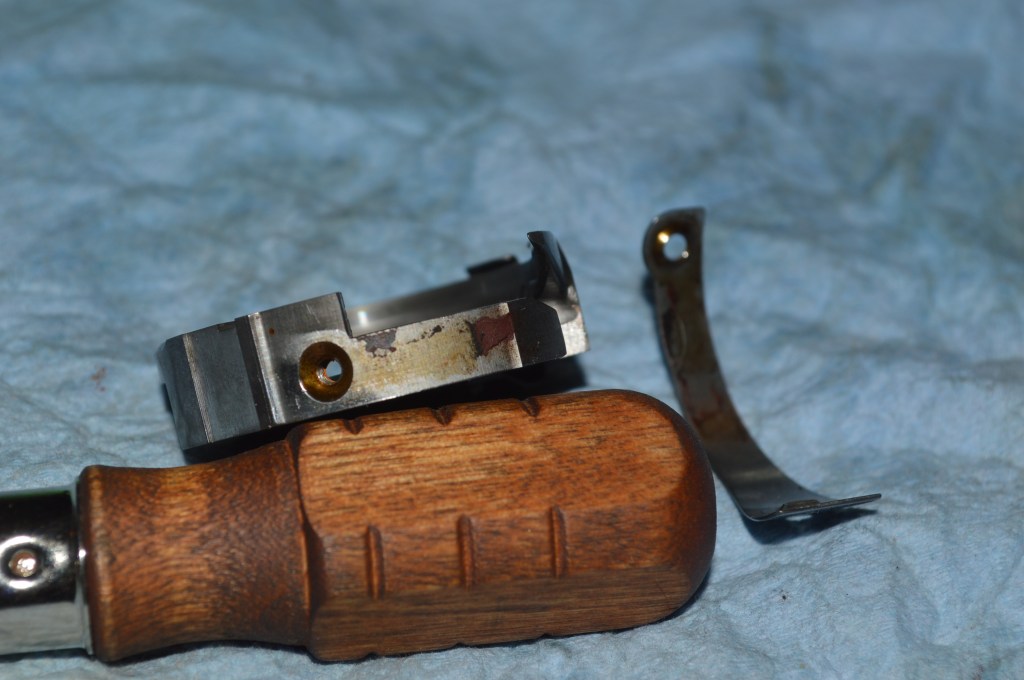
Gunk hides here… 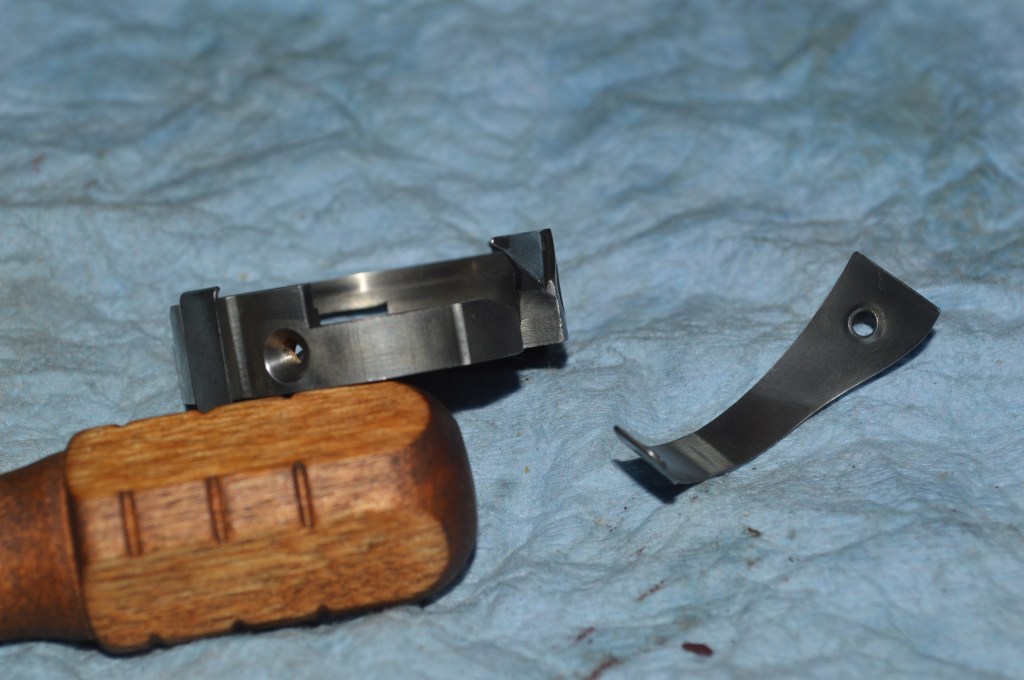
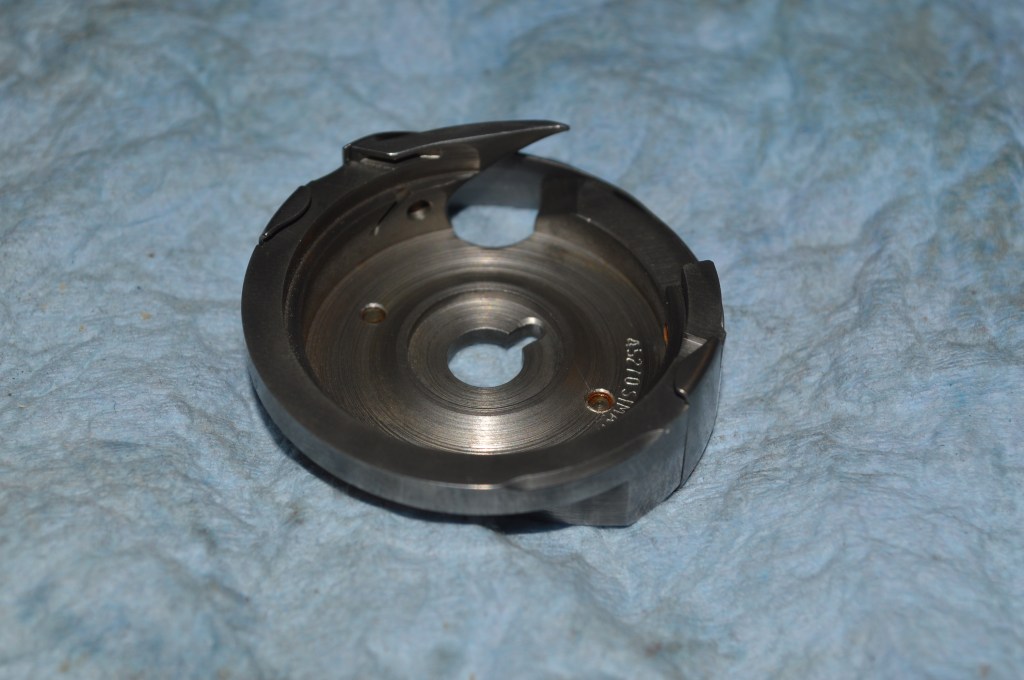
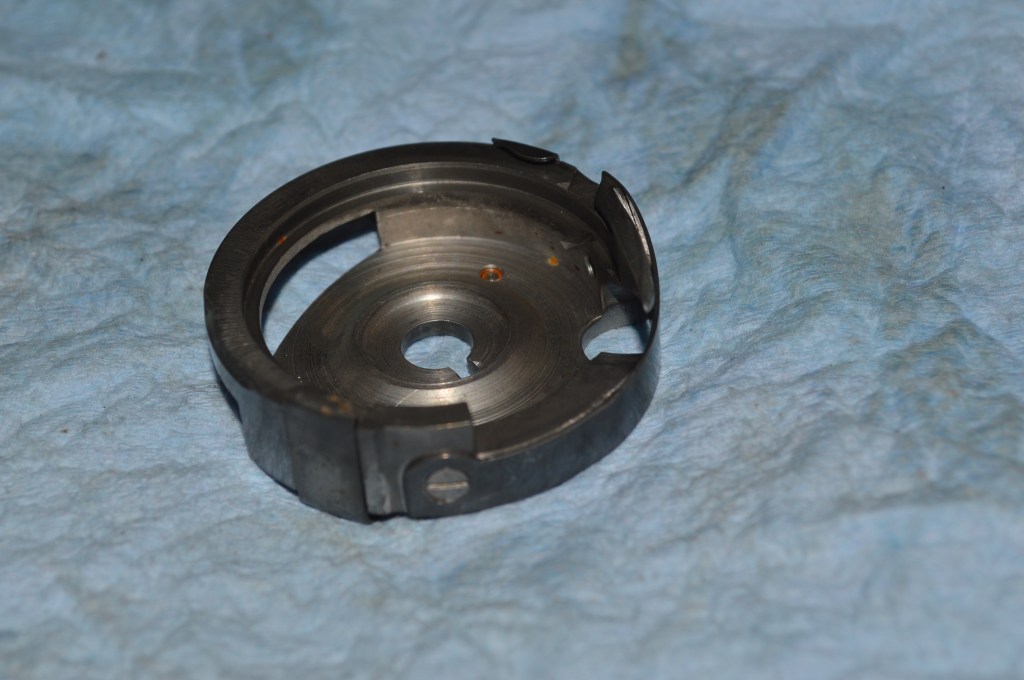
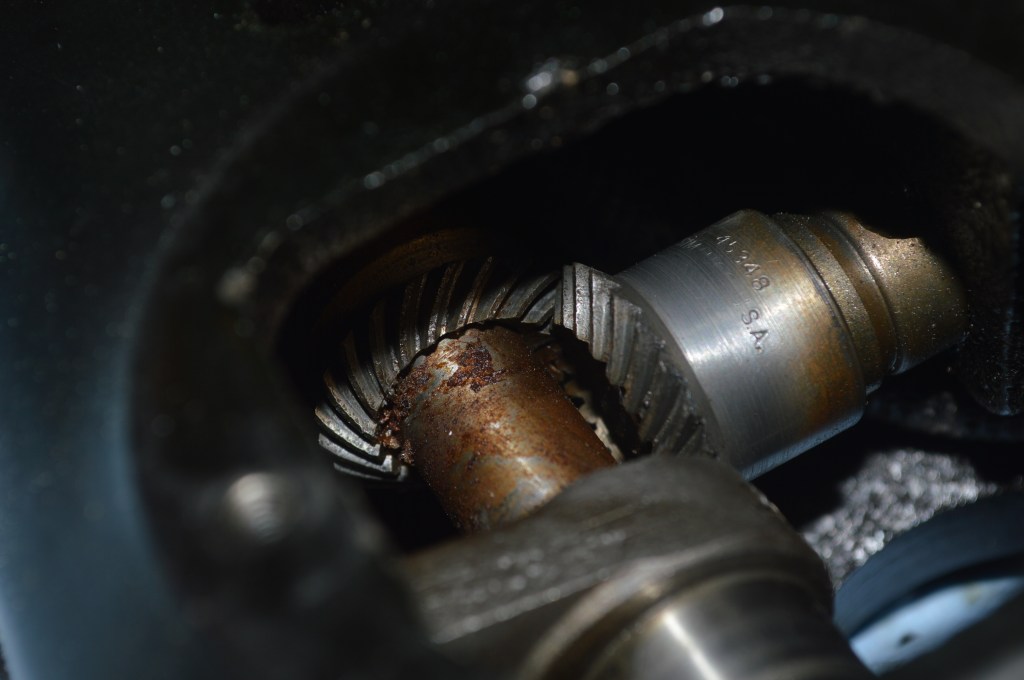
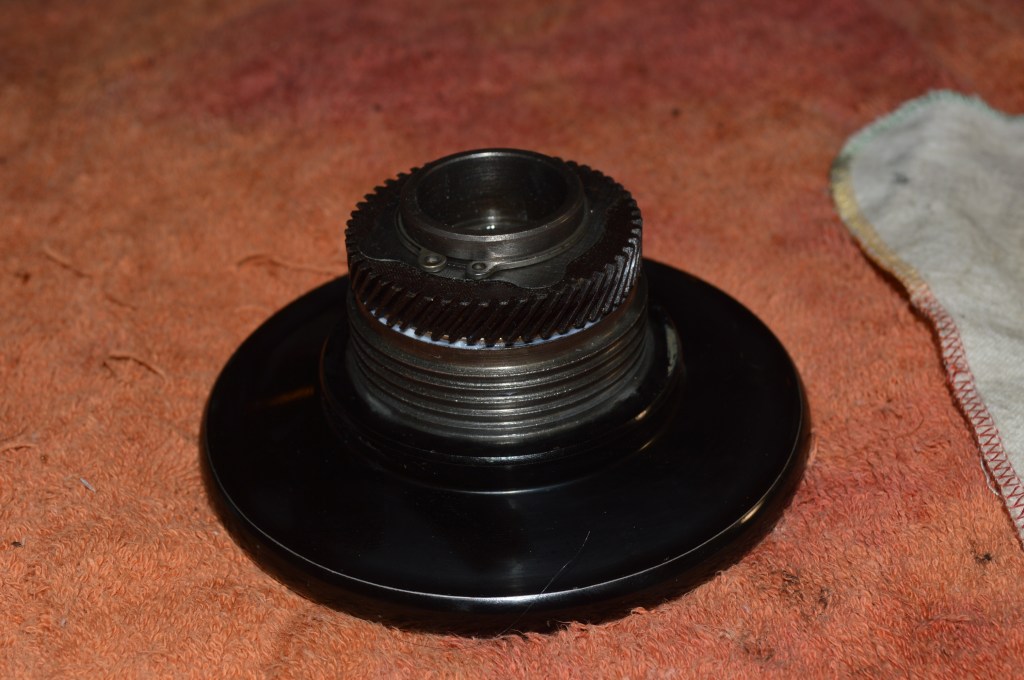
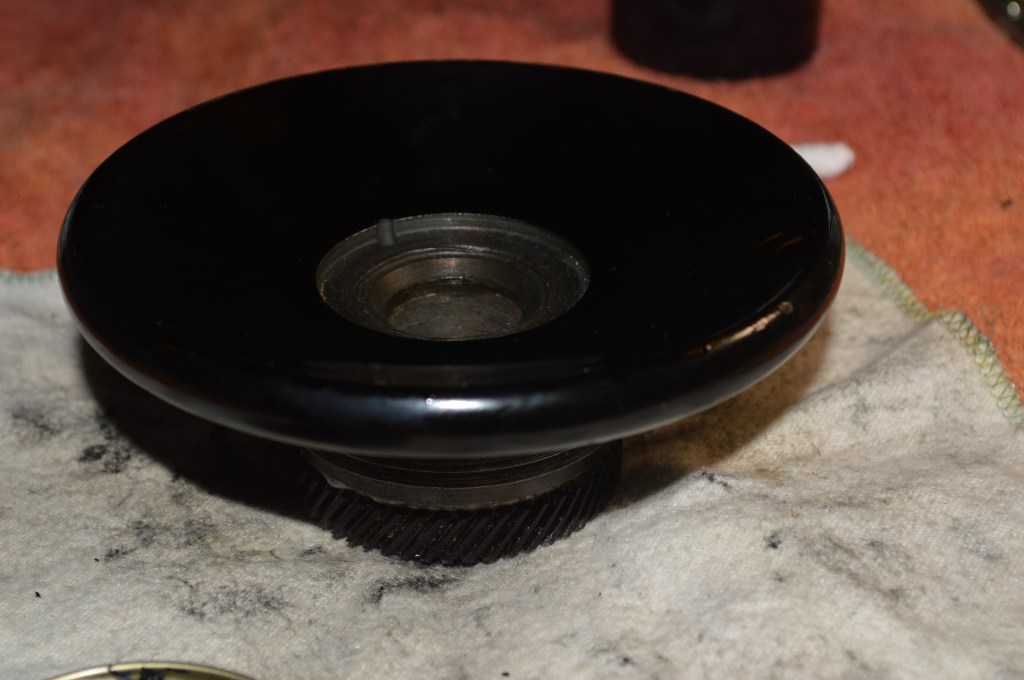
bobbin hook race ready for reassembly in the machine.
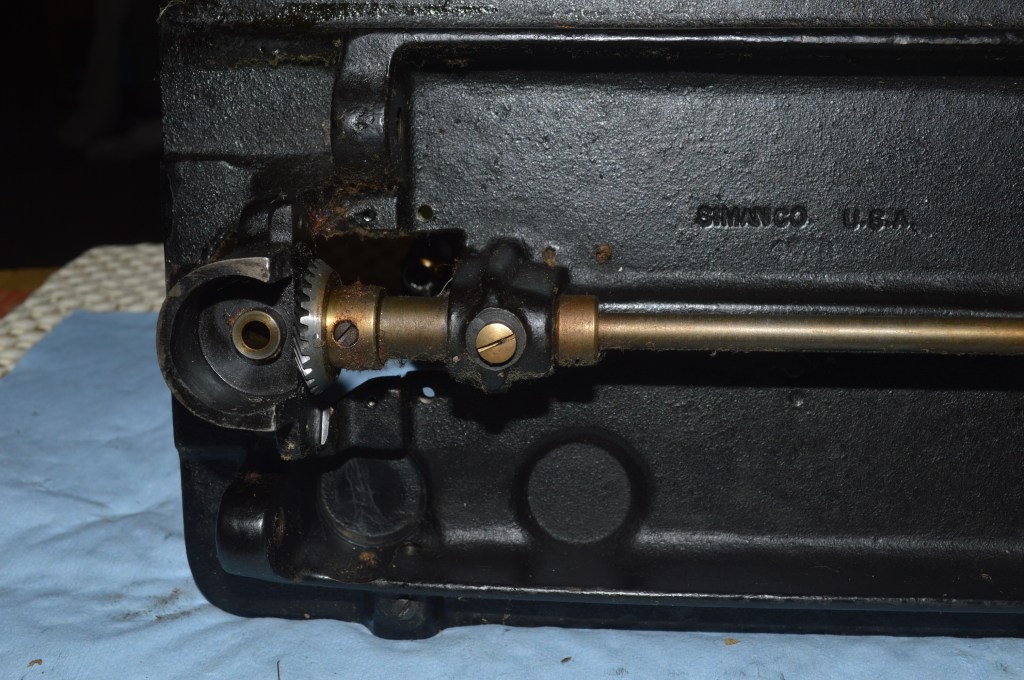
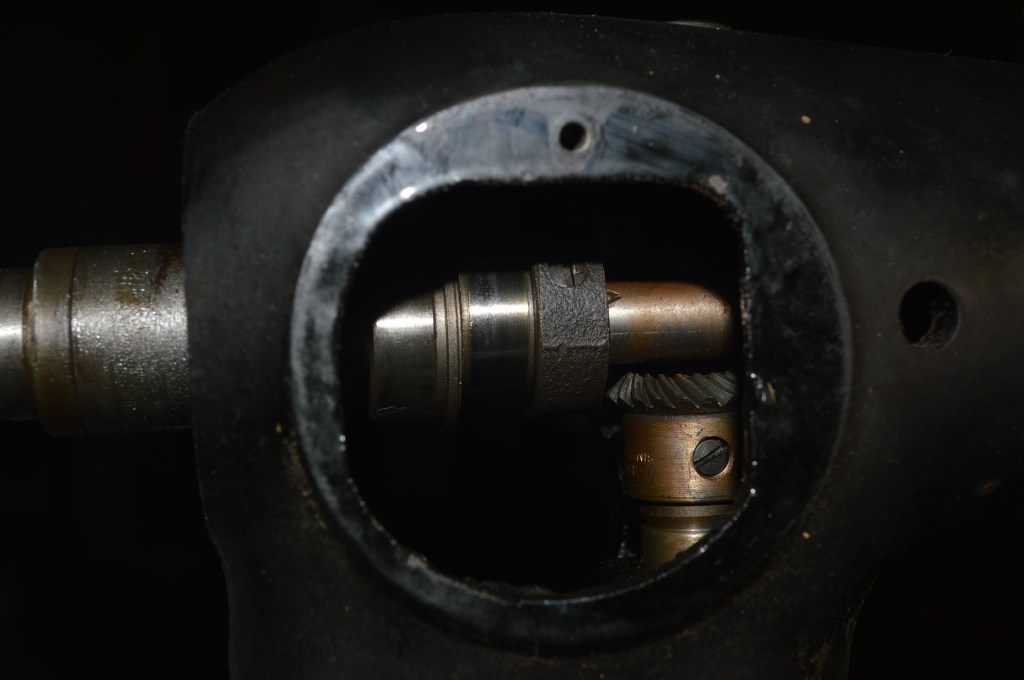
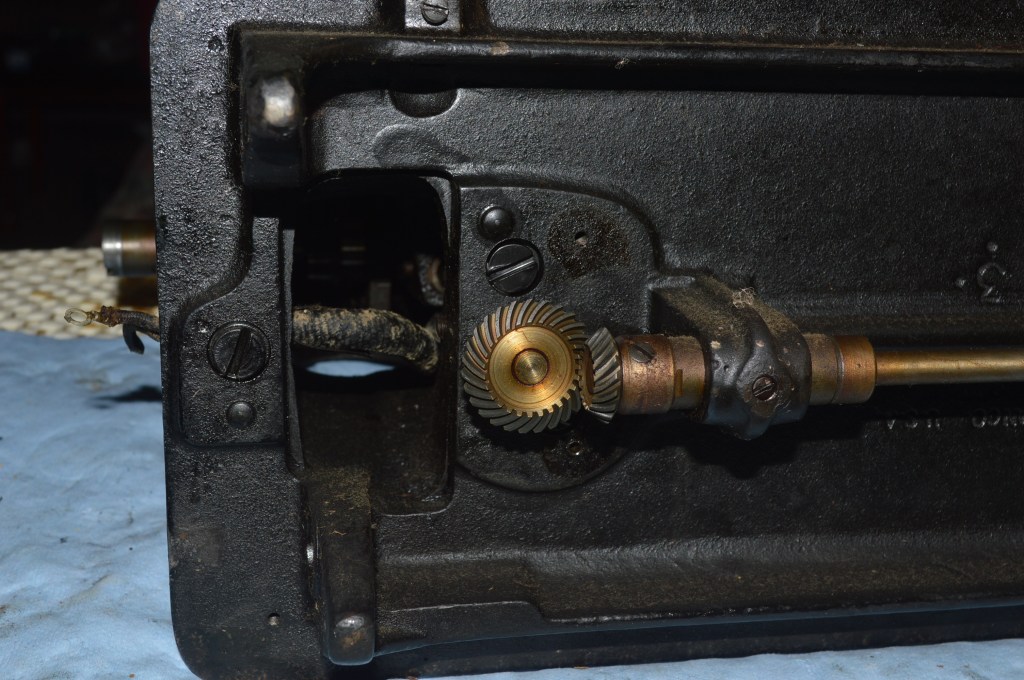
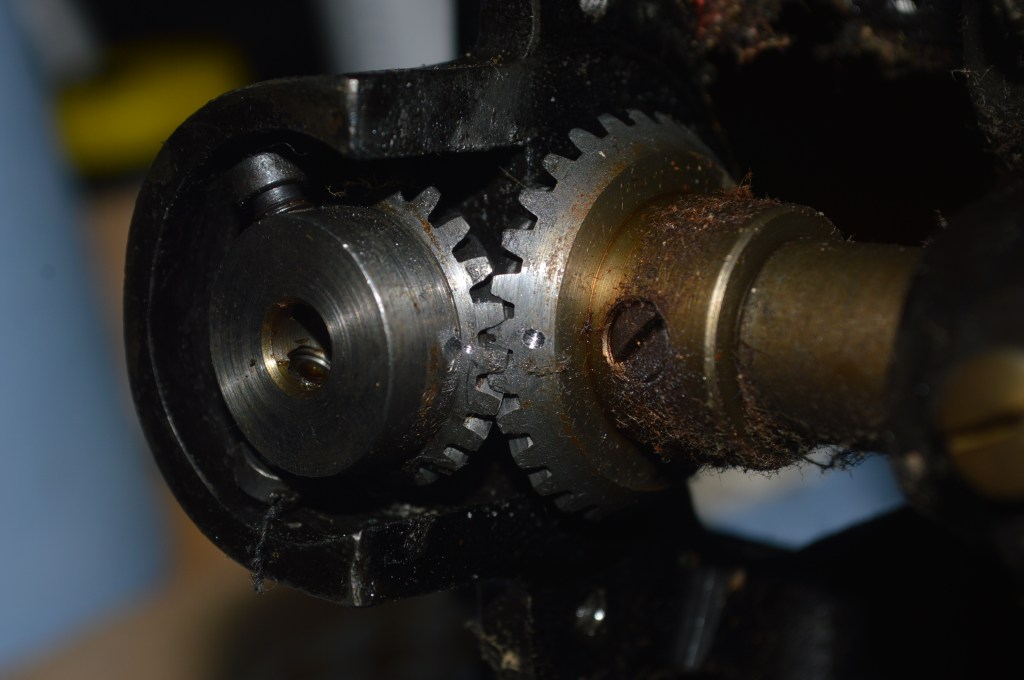
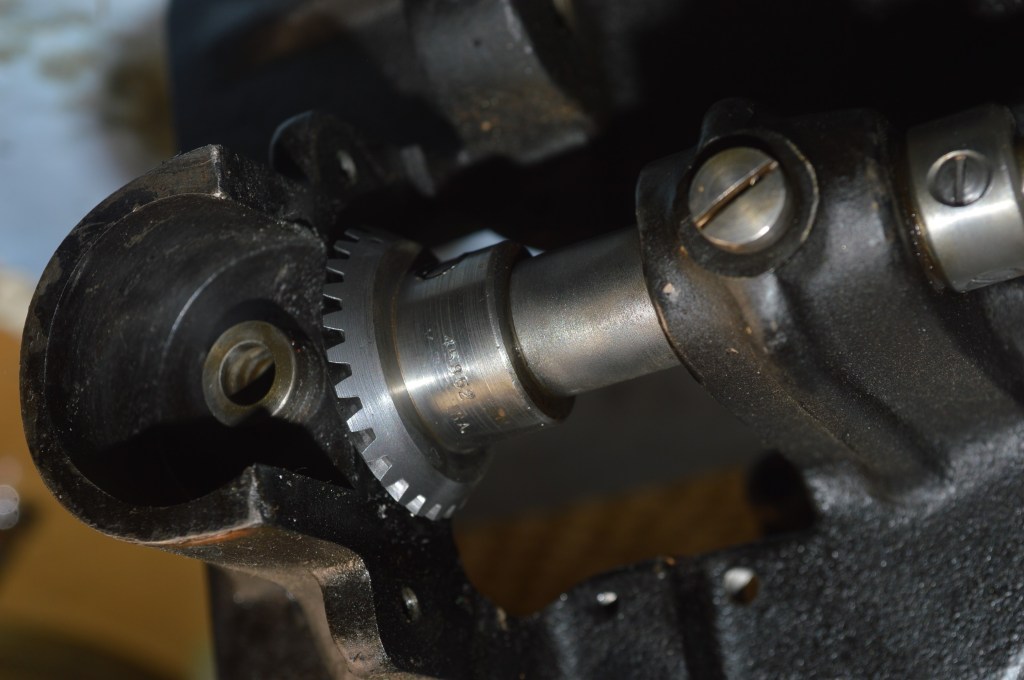
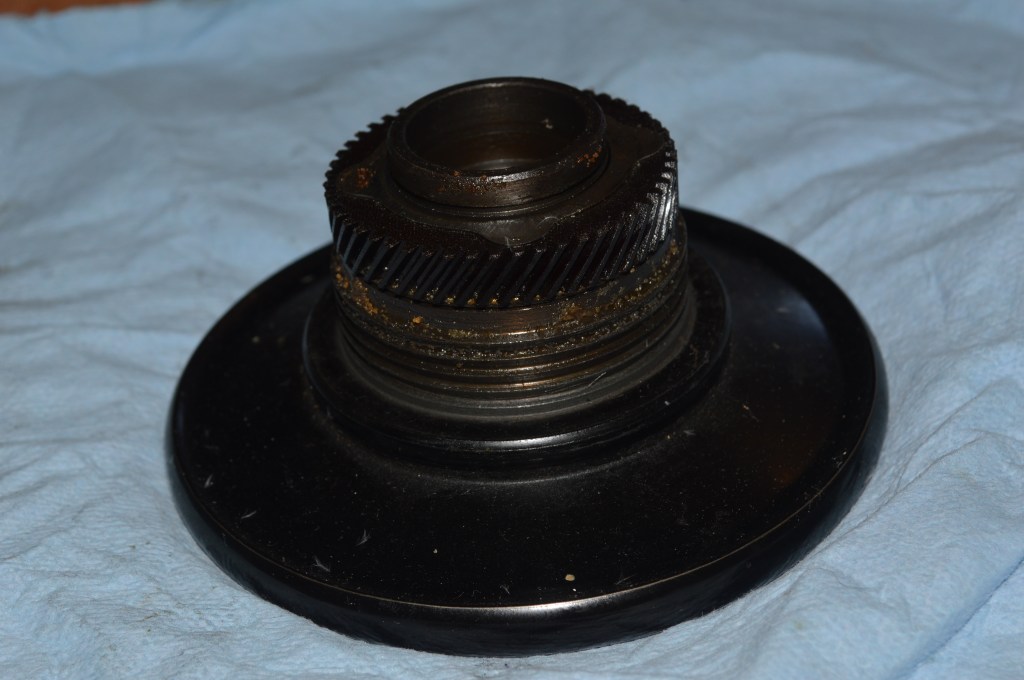
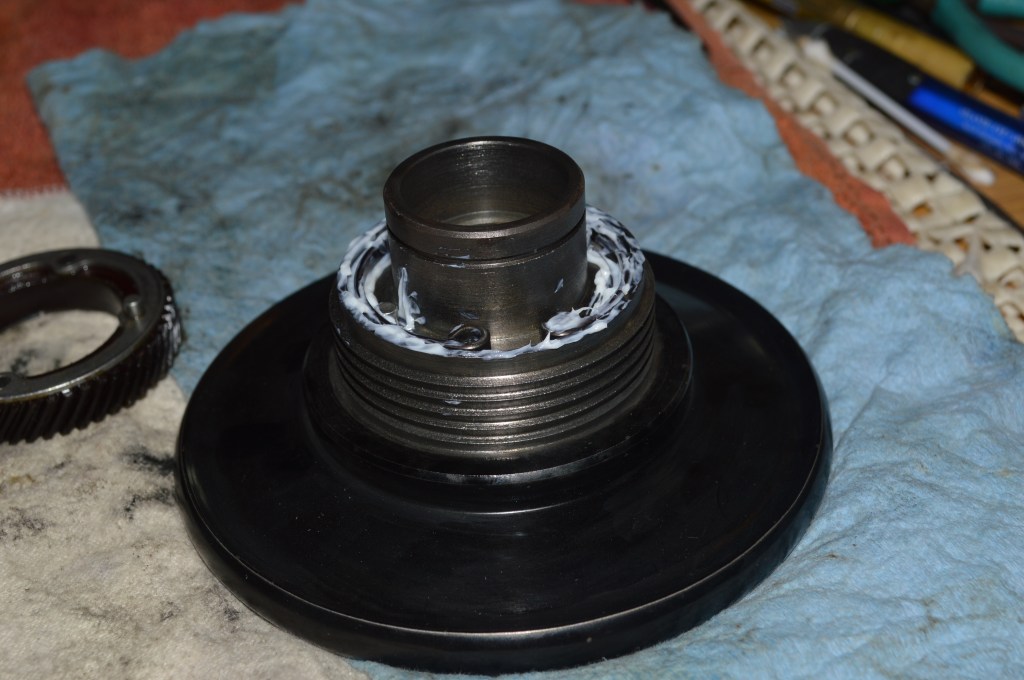
The gears and the bearing bores are cleaned of all old oil… The bobbin shaft gear was removed to disassemble the bobbin race shaft. If you look closely, the gears have been marked so they can be reinstalled to the original tooth mating.


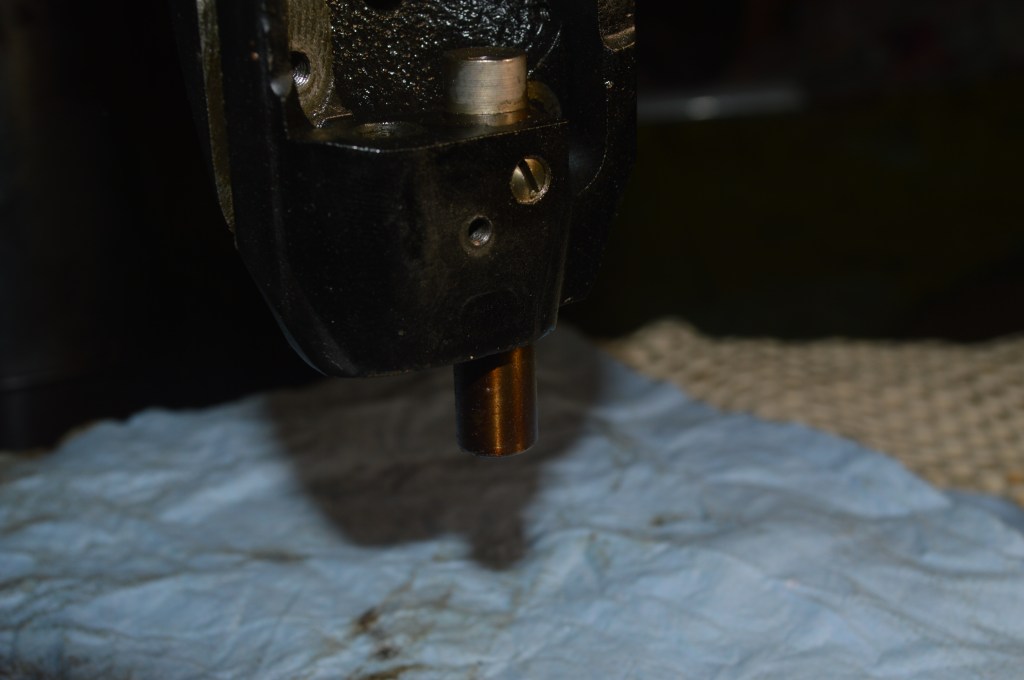


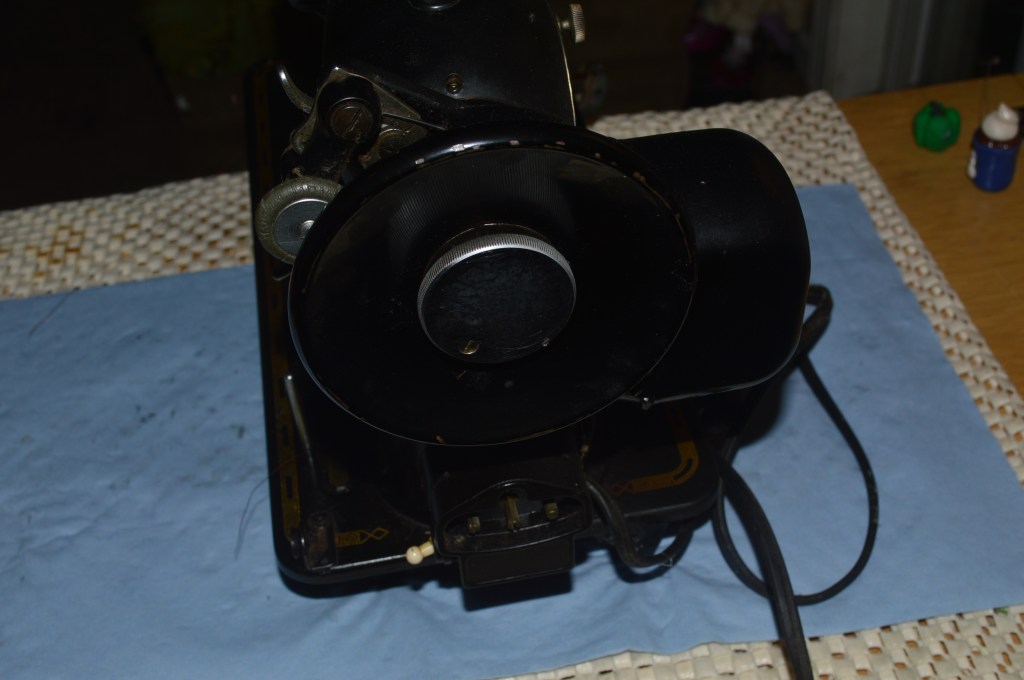
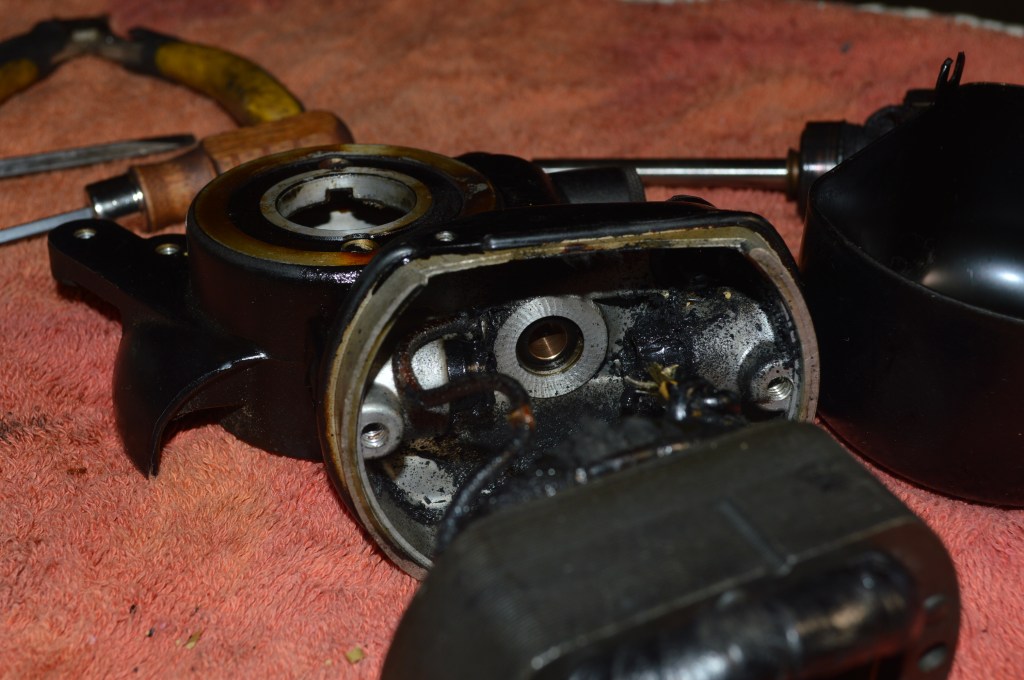
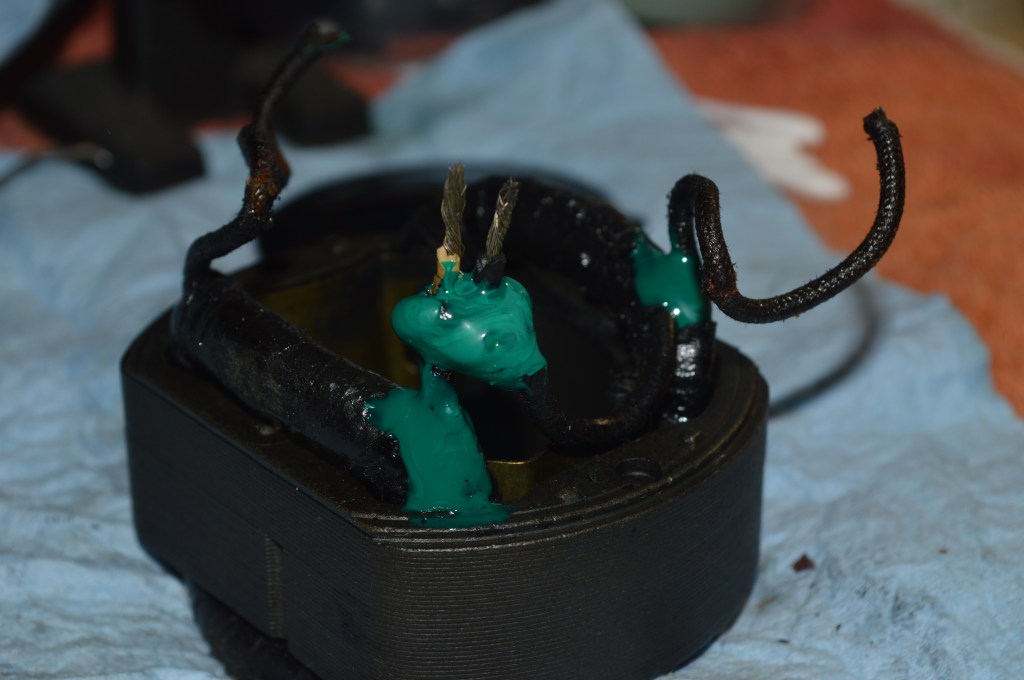
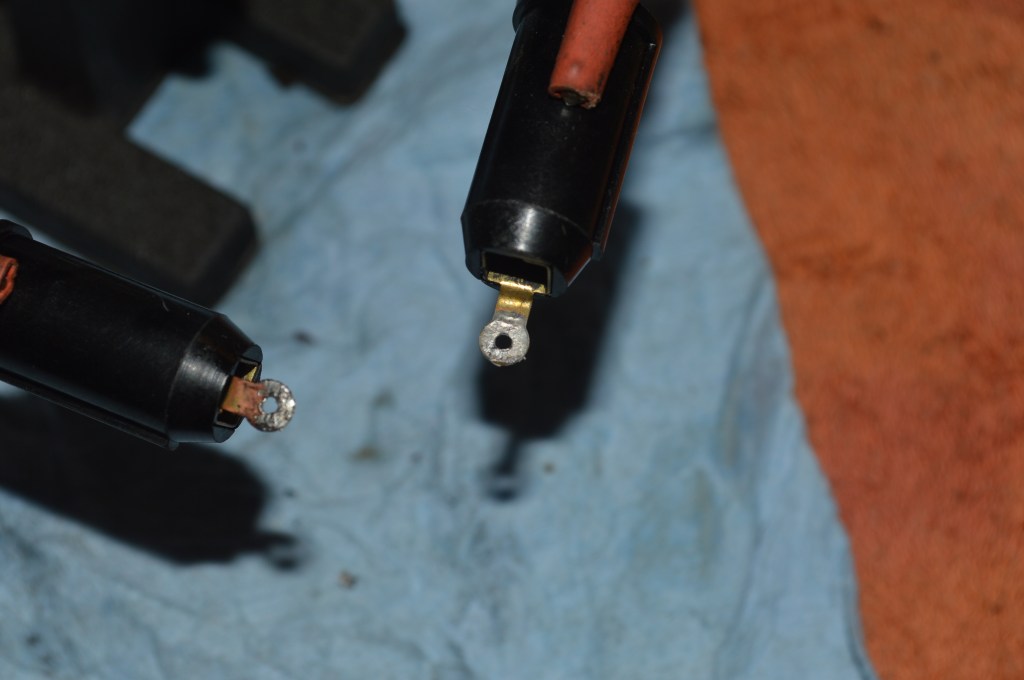
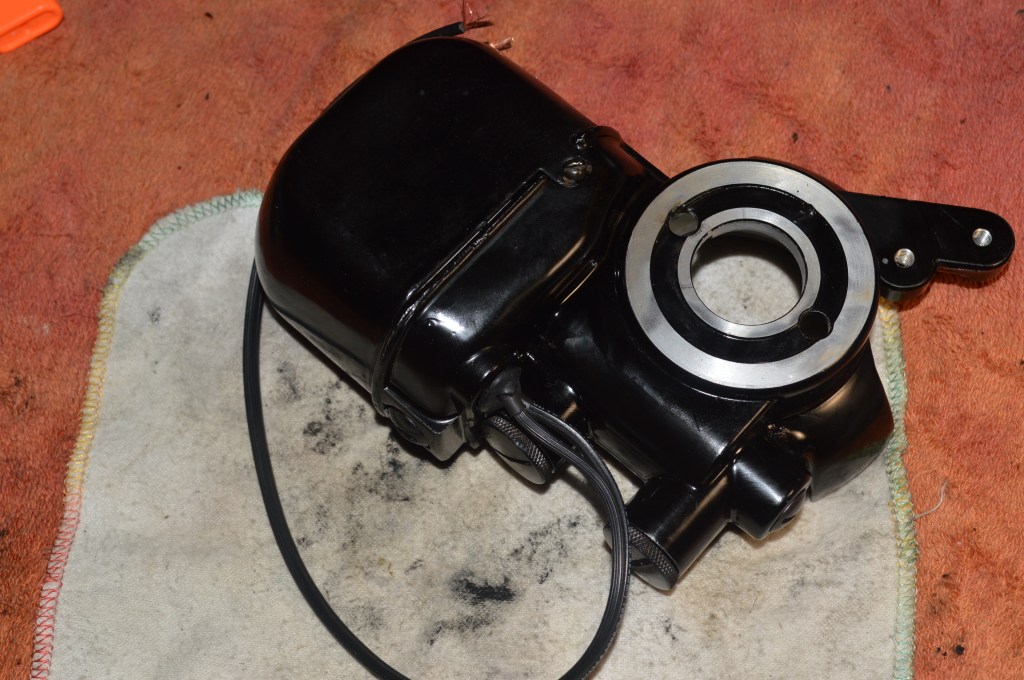
On to the motor… Typical of all “potted motors” (colloquially named because they look like a pot sitting on the side of the machine) the wiring is the weak link and needs to be replaced. This is very common for these motors and why it is so important to inspect the motor wires before using any 201 that hasn’t had the wires replaced. The wires on this motor are completely dry rotted and the bare copper wires can be seen where they enter the motor case.
Note the bare wired where the insulation has dry rotted
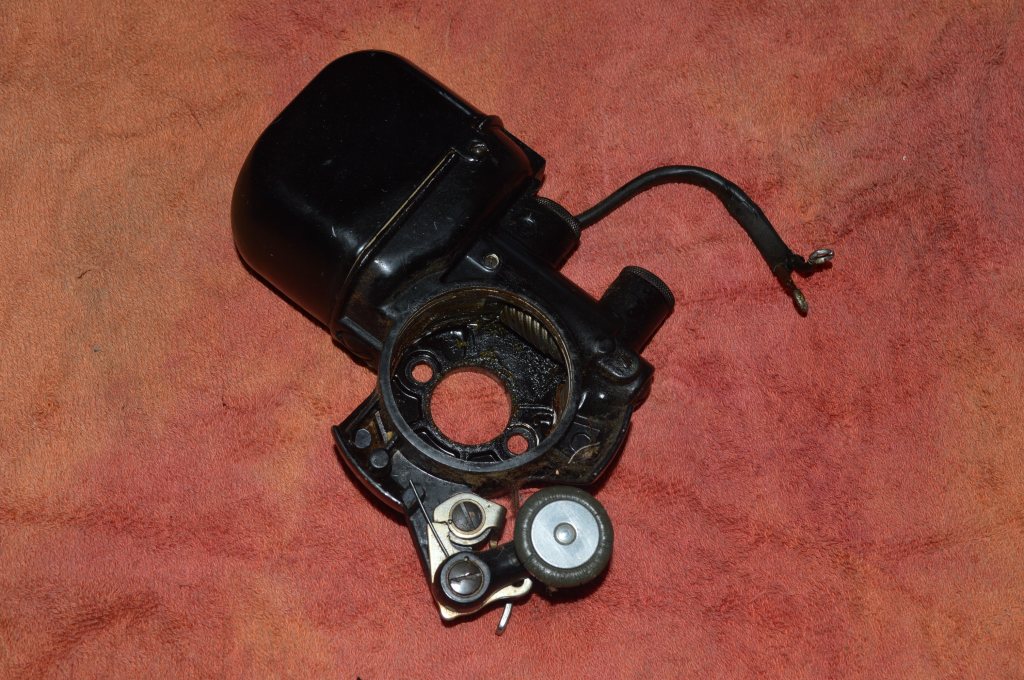
The motor is completely disassembled for cleaning… The bobbin winder is integral to the motor housing so it is disassembled and restored along with the motor.

It is important to get the motor case as clean as possible. After all of the components are removed, the motor case is soaked in kerosene to dissolve all old grease. It is then cleaned with compressed air and ultrasonically cleaned to remove traces of kerosene.
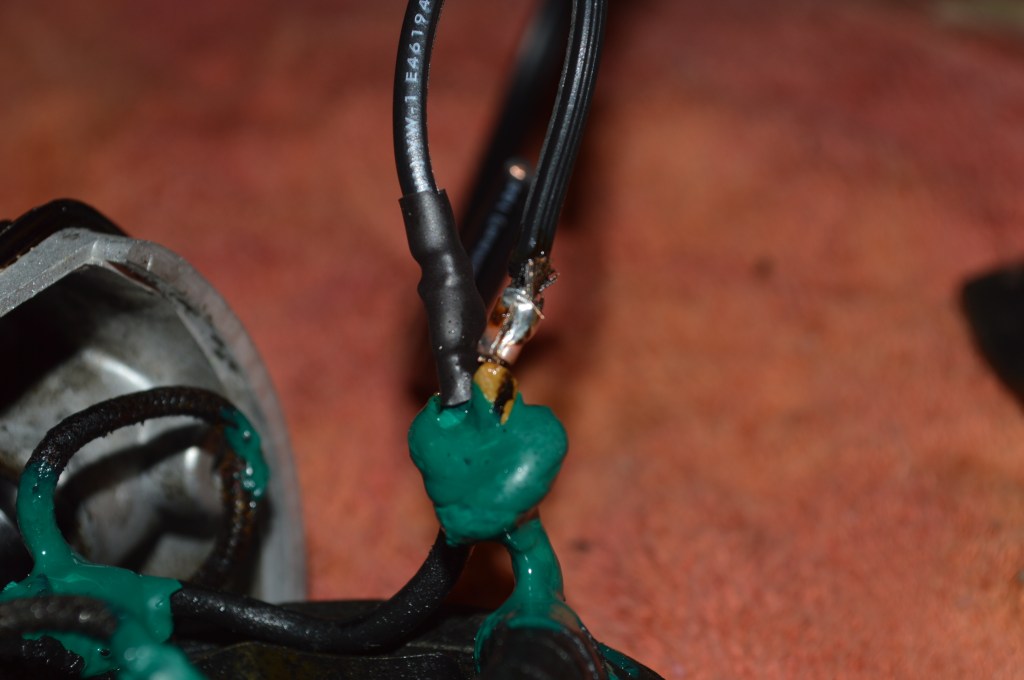
The main wires on the motor are brittle, so they are coated with a liquid rubber insulation. With the consistency of a thick molasses, it is applied to the junction of the wires and anyplace the wires may touch. Alas, the cure time is 24 hours, so the final reassembly is delayed… but there are other things to do.
The commutator and the armature shafts are polished…

Before 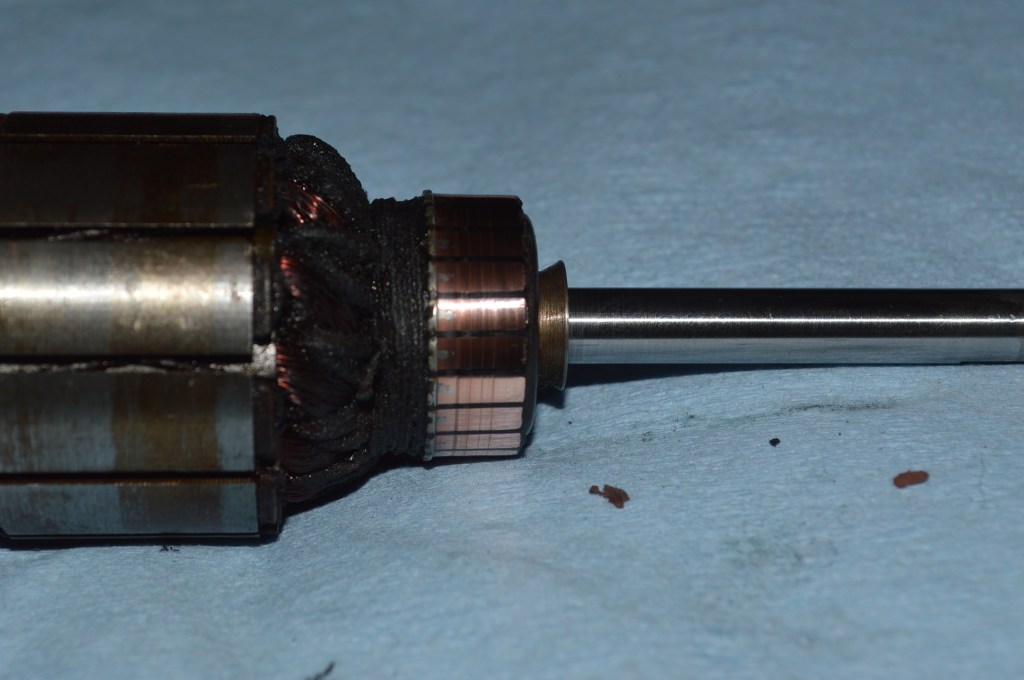
After
The brushes are reconditioned… in normal wear, the brushes will have a curved face where they run-in to the shape of the commutator. The brushes had a flat face when new, so they will be flattened now. They will wear in again over time.
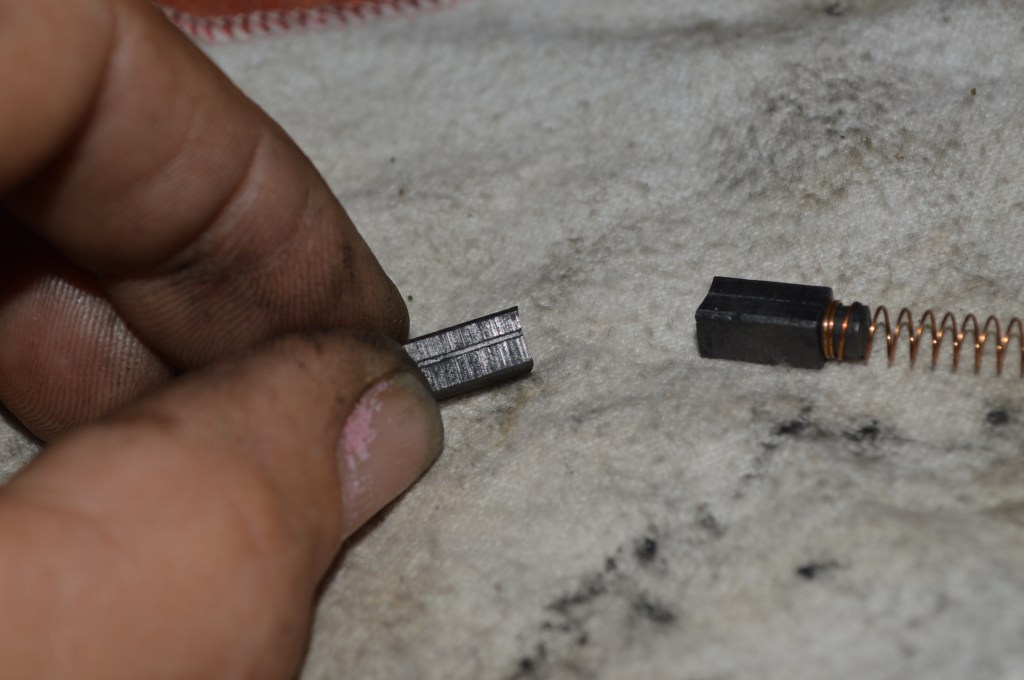
Note the curve in the brush… 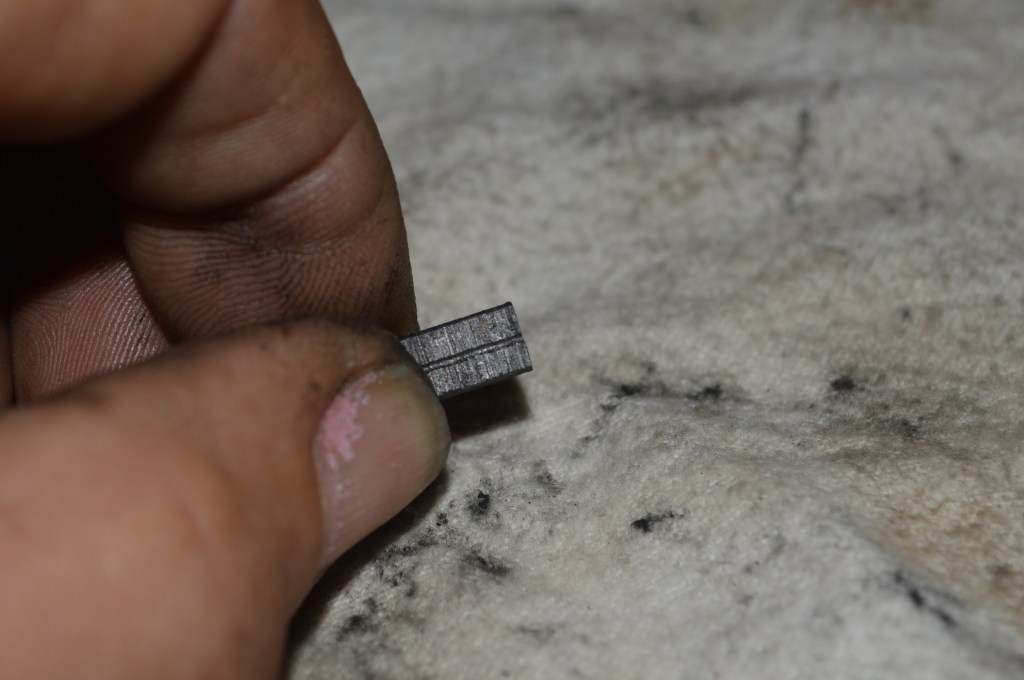
Made flat…
Old solder from the brush tube contacts is removed…
The brush tubes are reinstalled and the brush wires are re-soldered to the motor’s field coil.
After the liquid insulation has set, new wires are soldered to the old main wires. The new wires are crimped in solder sleeves and soldered. Shrink tubing us shrunk around the solder joint for insulation.
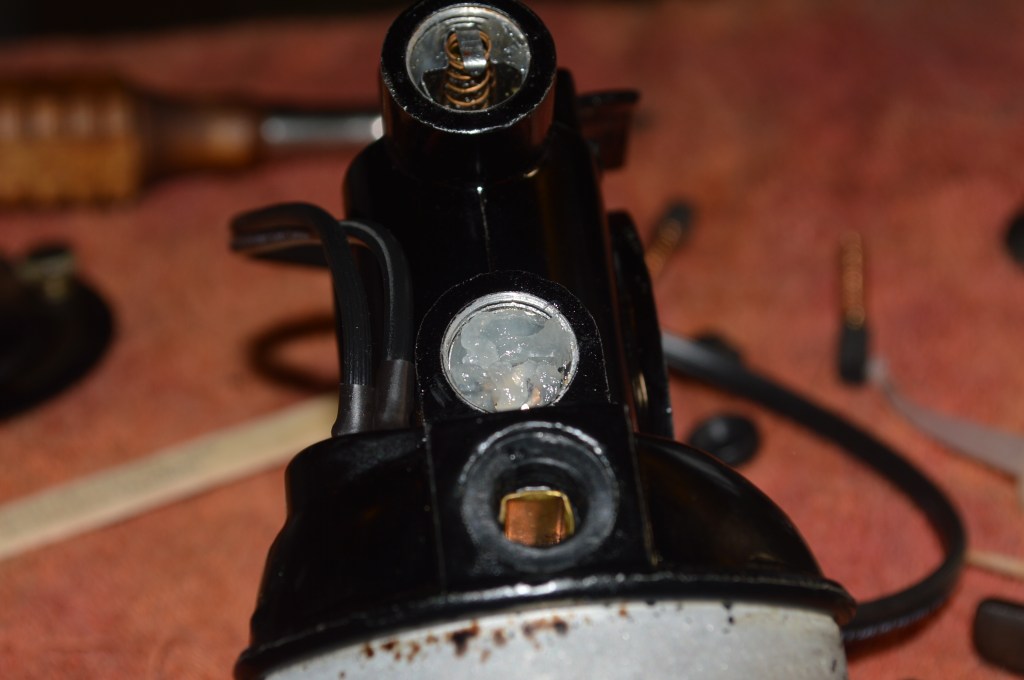
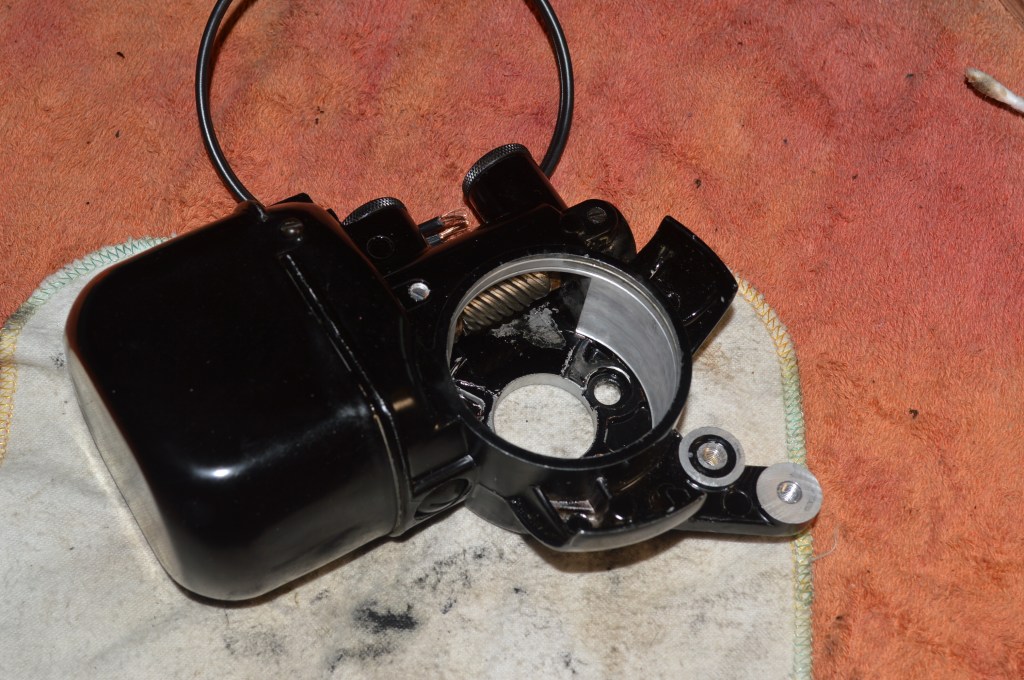
With this done, the motor is reassembled… the wicks are greased and installed, the armature, spiral gear, and the brushes are installed, the new wires are run through a new grommet. The end of the wire is left long and will be cut to length when the motor is installed.
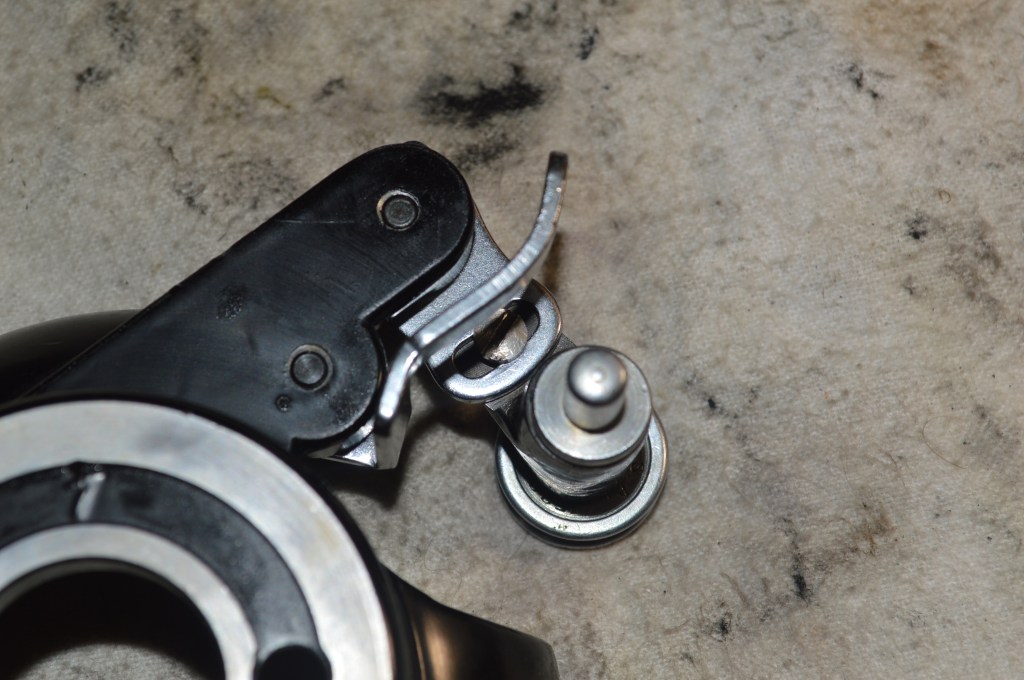
Now the balance wheel is disassembled and cleaned. Often neglected, this is actually an important step to take in a 201 restoration. The assembly inside the balance wheel acts as a shock absorber when the machine starts and stops. Old grease and gunk in this mechanism hampers it’s assembly to work properly.
Where does this gunk even come from?
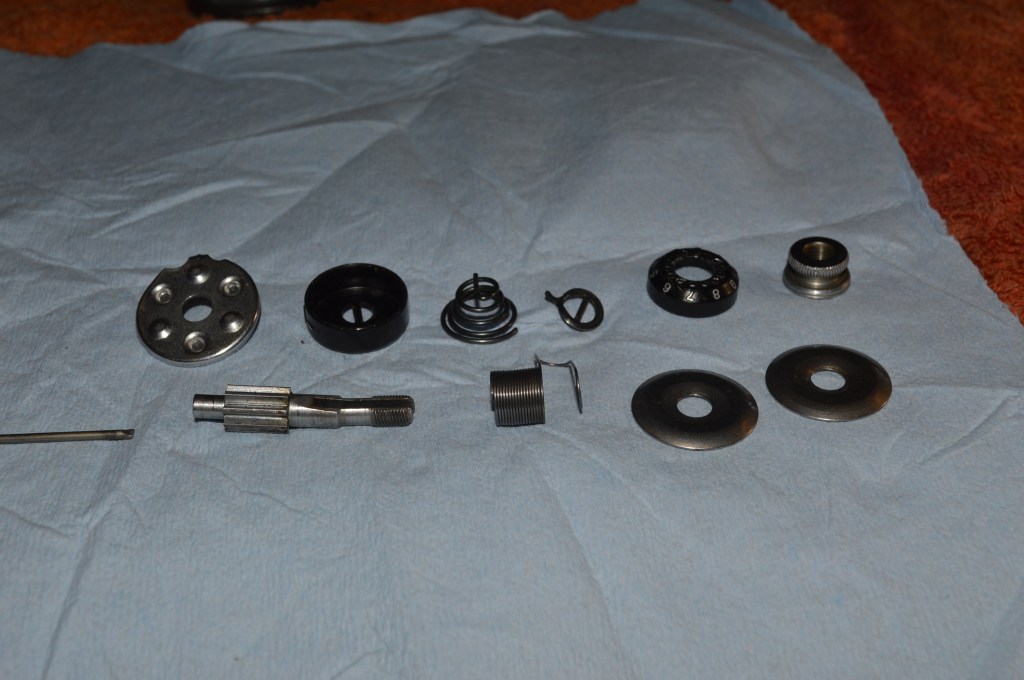
The parts are cleaned, re-greased, and reassembled…
The bobbin winder bits are cleaned and reassembled…


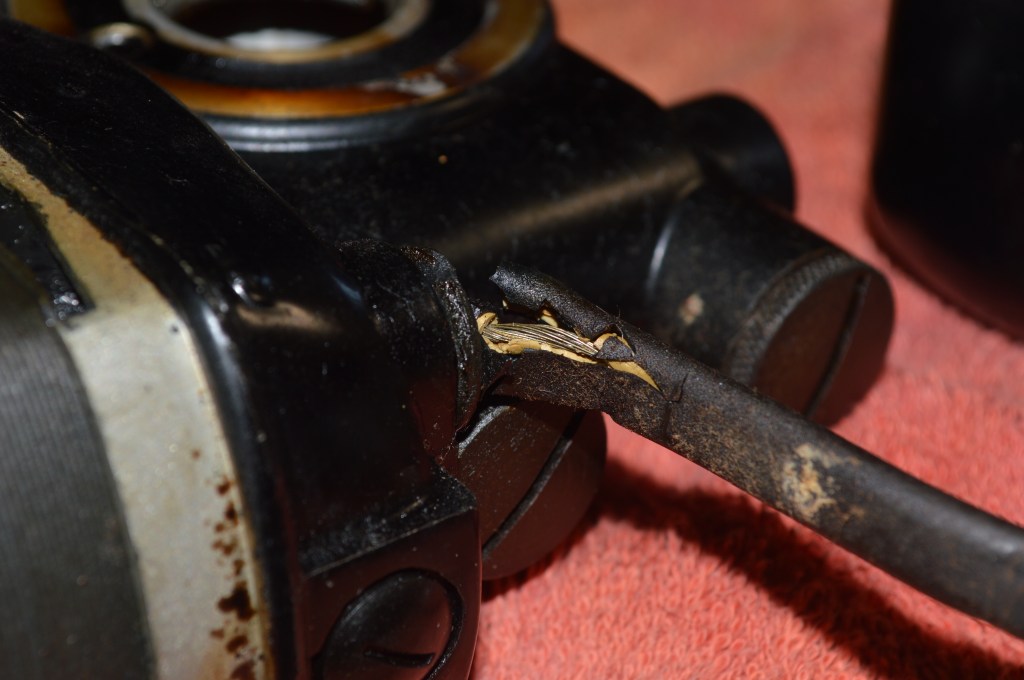
The last part of the mechanical restoration is the upper tension assembly… the lower tension assembly was cleaned with the bobbin case. In case you didn’t notice in the “before” pictures, the machine is missing the tension assembly… Not to worry, I happen to have a spare.
It is disassembled and cleaned…

Now the cosmetic restoration begins. With all of the assemblies and bits and pieces removed, the body of the machine can be cleaned. This is first accomplished by hand cleaning. This brings out the potential finish and allows for correcting any defects in the paint and decals.

Any chips on the edge of the bed are paint matched…
Before 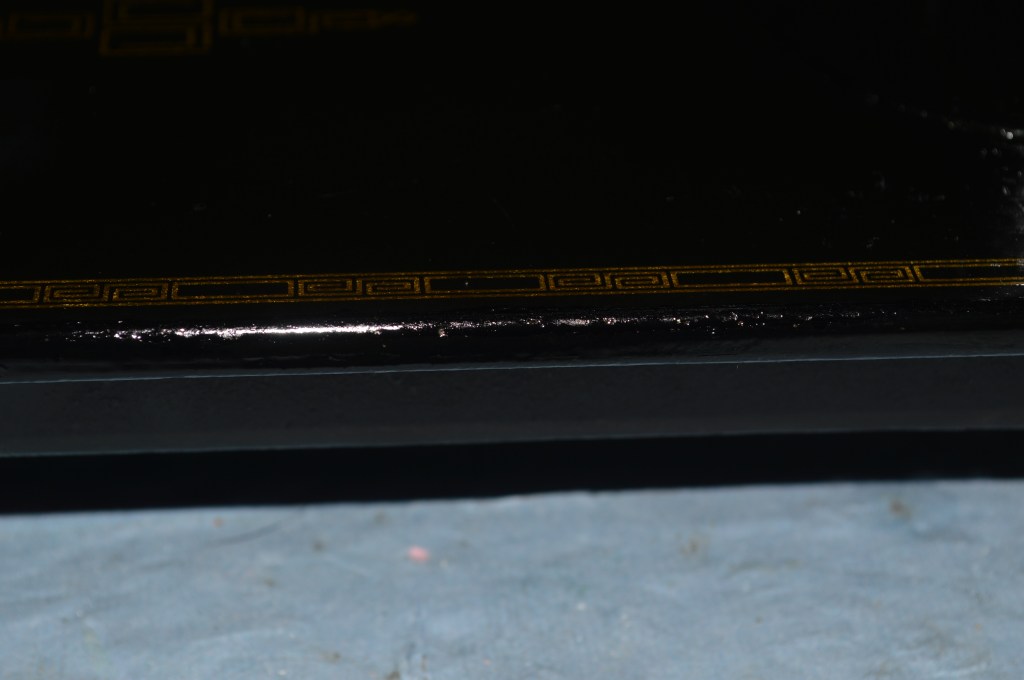
After
There is an area of the decal near the pillar that has silvered. This is repaired with gold paint using a very fine artist brush and a 10X jewelers loupe.
Prior to re-coating with shellac, the body of the machine is coated with boiled linseed oil. This does two things… It allows the original shellac finish to re-nourish itself, and it prepares the machine’s surface for the new shellac. After applying the linseed oil, the machine is set aside for 24 hours to absorb as much of the linseed oils as it can.
After 24 hours, any remaining linseed oil is removed. Another thin coat of linseed oil is wiped on the machine and then wiped off prior to spraying with shellac. The machine is masked off and moved to the paint box.
Because the new shellac will be sanded to a high polished finish, I need to make sure that there is a sufficient build up of new shellac to do this without cutting through the new finish and ruin the decals. Eight coats are applied over a two day period.
The machine is set aside for three days for the new finish to cure before any attempt to sand to the final finish. It is important for the new shellac to cure completely… Cosmetic restoration is by far the most time consuming part of a restoration.

Even before sanding, you can see that the original black japanned finish is a uniform color all over and any previous defects (such as pin scratches) have been greatly diminished . While it is labor intensive to re-coat a machine, the outcome is well worth the effort.
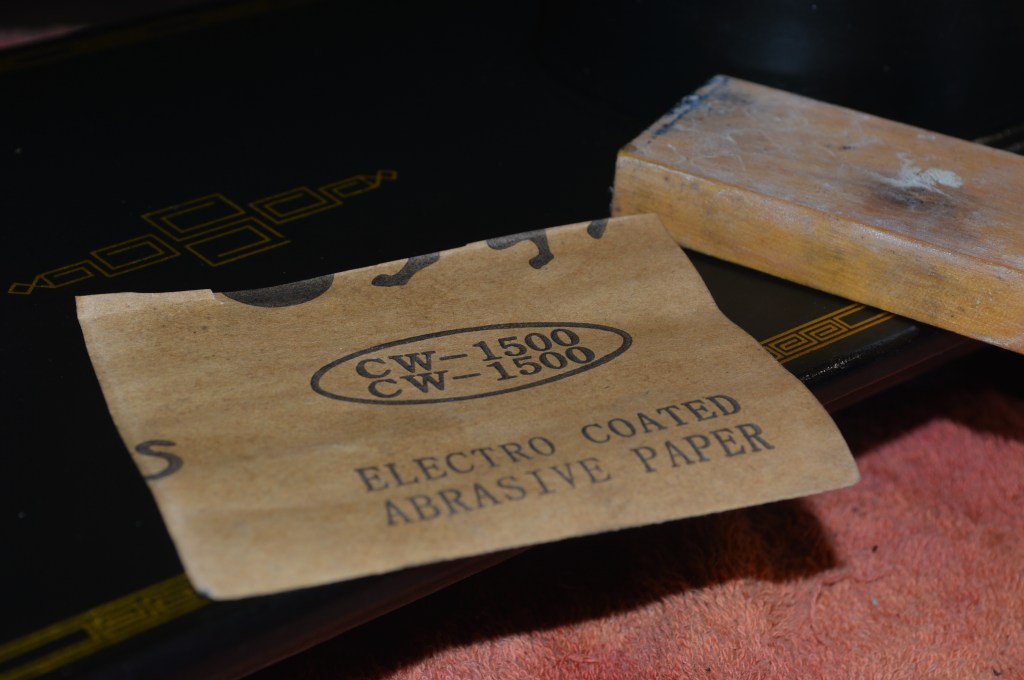
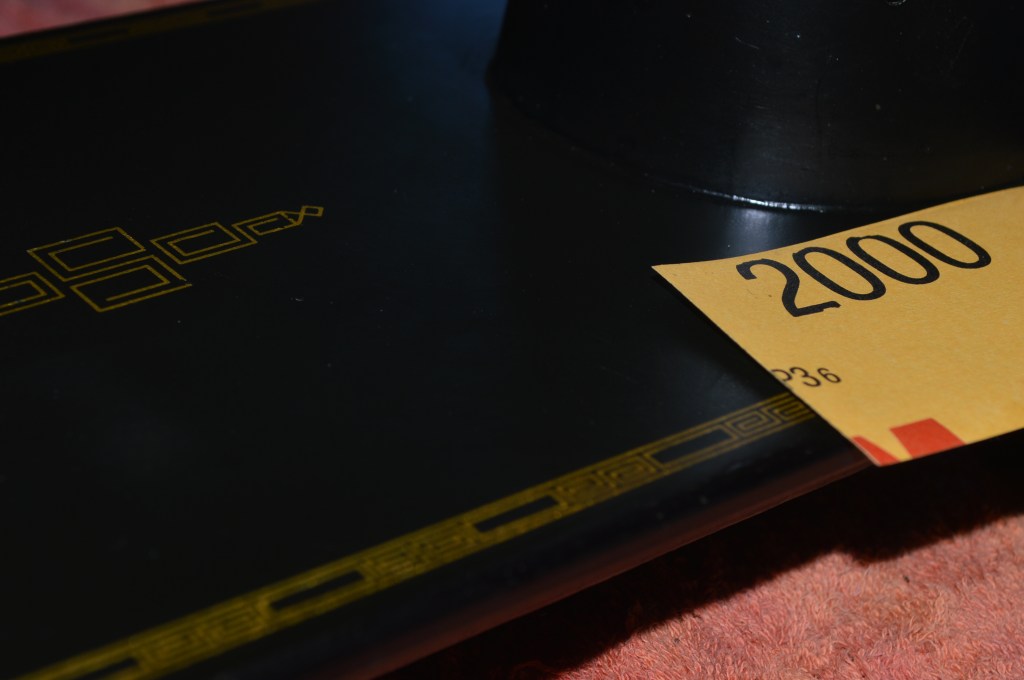
To get the smooth polished finish the machine had in 1953, the new finish requires multiple stages of sanding to get the final smooth glass finish the machine originally possessed… The sanding begins with 1000 grit sand paper, then 1500 grit, 2000 grit, and 2500 grit papers. The final finish will be achieved by glaze polishing. Linseed oil is used as the wetting medium for the papers. The flat bed surface is sanded using a wood block to assure flatness, and the curved surfaces are sanded free form by hand.
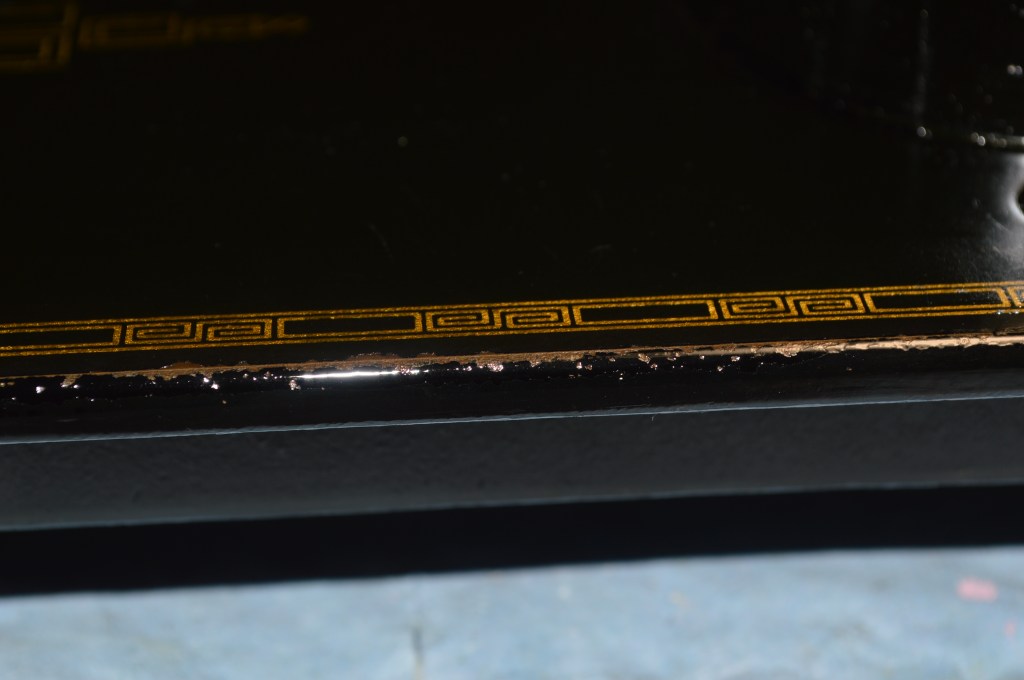
I will try to show the steps in pictures, after a certain level of finish is achieved, the camera does not know where to focus… I use the decals as the focus point. Starting off, this is the finish before sanding. The green hue is the light reflecting off of the shellac.
Hint of the day: In a dimly lit room, you can shine a flashlight on the finish of a vintage black Singer sewing machine to determine the condition of shellac before cleaning. The shellac will show up as a green hue. Anywhere you see black means the shellac has worn away, and the paint is exposed. This is especially important to know before attempting to clean the decals.
The first step is to sand the bed and body of the machine with 1000 grit sandpaper. This will accomplish most of the smoothing required for a polished final finish.
The next step is 1500 grit. 1000 grit is considered a fine cutting grit. The 1500 grit is the first stage of polishing.
Moving on to 2000 grit, the surface gets smoother…
2500 grit yields a very smooth surface… some of the shine emerges…
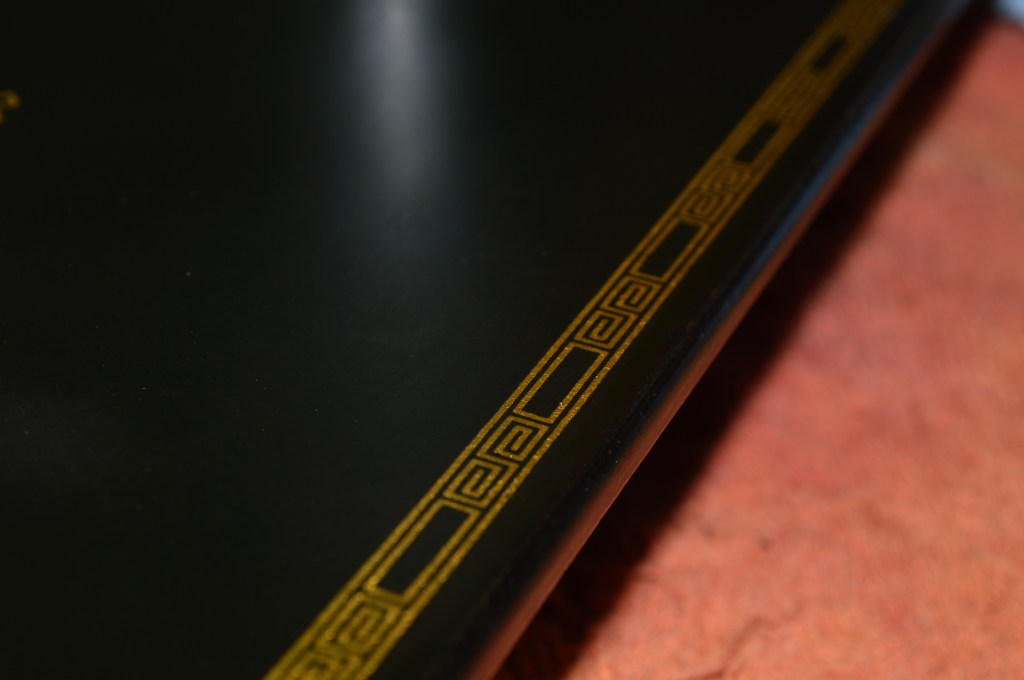
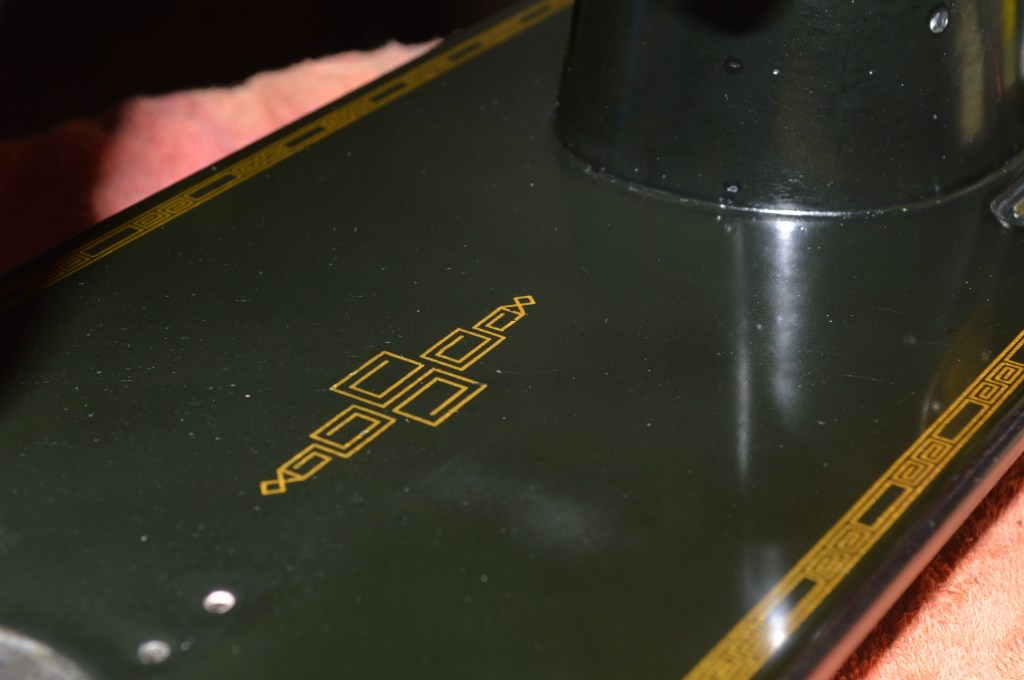
The final polish is accomplished with glaze polish. There are actually two applications of glaze polishing. The first glaze polish is a slightly rougher cut than the final glaze polish. The final glaze polish is very fine cut and leaves the final glass smooth surface. There are still signs of use and history to be found on the body of the machine, but they don’t stand out. Restoring the original finish is more about correcting defects and stabilizing the finish to provide a smooth new wear surface, preserve the paint, and preserve the decals. The final finish on this machine turned out great!
The last part of the cosmetic restoration is to polish the nickel plated pieces. This includes the stitch length lever, the presser foot lever, the balance wheel stop motion knob, the front cover, the side access cover, the needle plate, and the bobbin cover plate. The plating on these parts is pretty good, but polishing brings out the best they can be.
The smaller shiny bits like the tension assembly screw and the stitch length “set” knob are buffed with small buffing wheel on a dremel tool.
You may have noticed, but like so many machines of post war vintage, this machine has a menagerie of parts that are not nickel plated and are black in color. These are called blackslide parts. It’s simple really, these are parts that have a black finish instead of a nickel finish. The use of blackslide parts is totally random, some parts are nickel, some parts are blackslide. Often, different machines will have different blackslide parts than others… but it is very unusual for a machine to have all blackslide parts.
The blackslide parts I noted on this machine is the needle clamp. the bobbin winder guide, and the needle bar cap. I have seen machines with blackslide needle and bobbin cover plates, and blackslide front and side access cover plates… very unusual looking machines. Another thing, blackslide parts were not limited to machine parts. I have seen blackslide bobbins and presser feet attachments… strange.
Now everything is done and he machine is reassembled, lubricated, and all critical adjustments are made. These include hook timing, needle depth, feed dog height front and side clearance, and presser foot height. The machine is tested for stitch quality, and the thread tensions are adjusted.
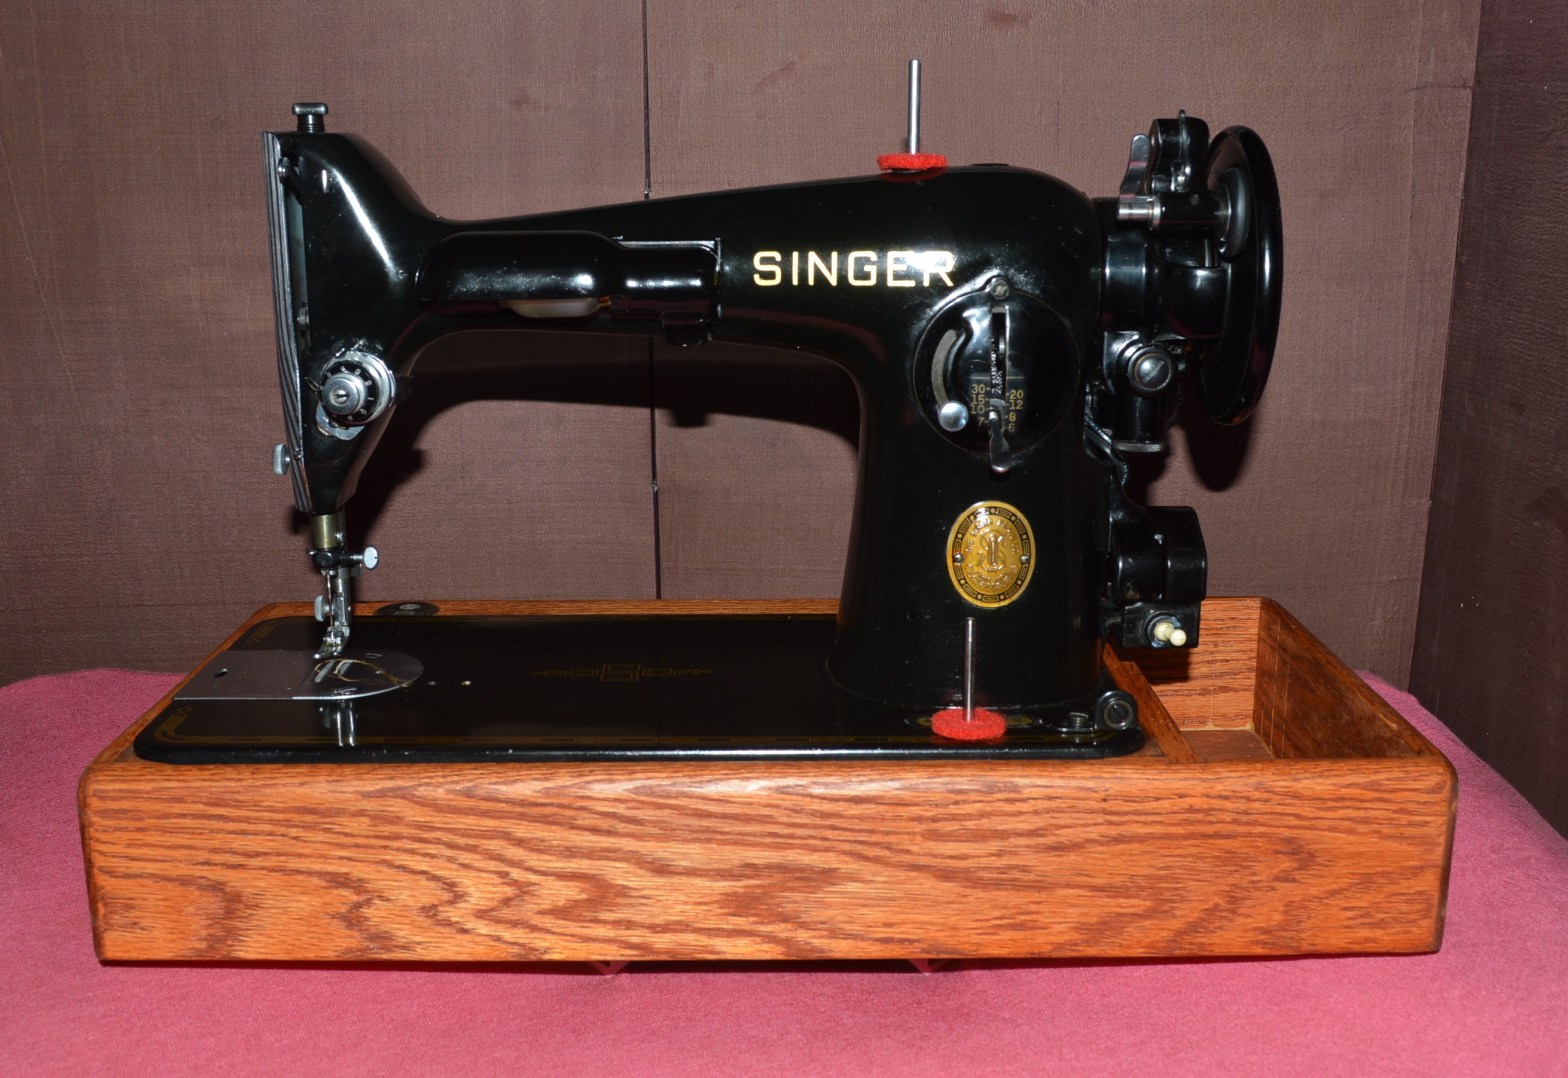
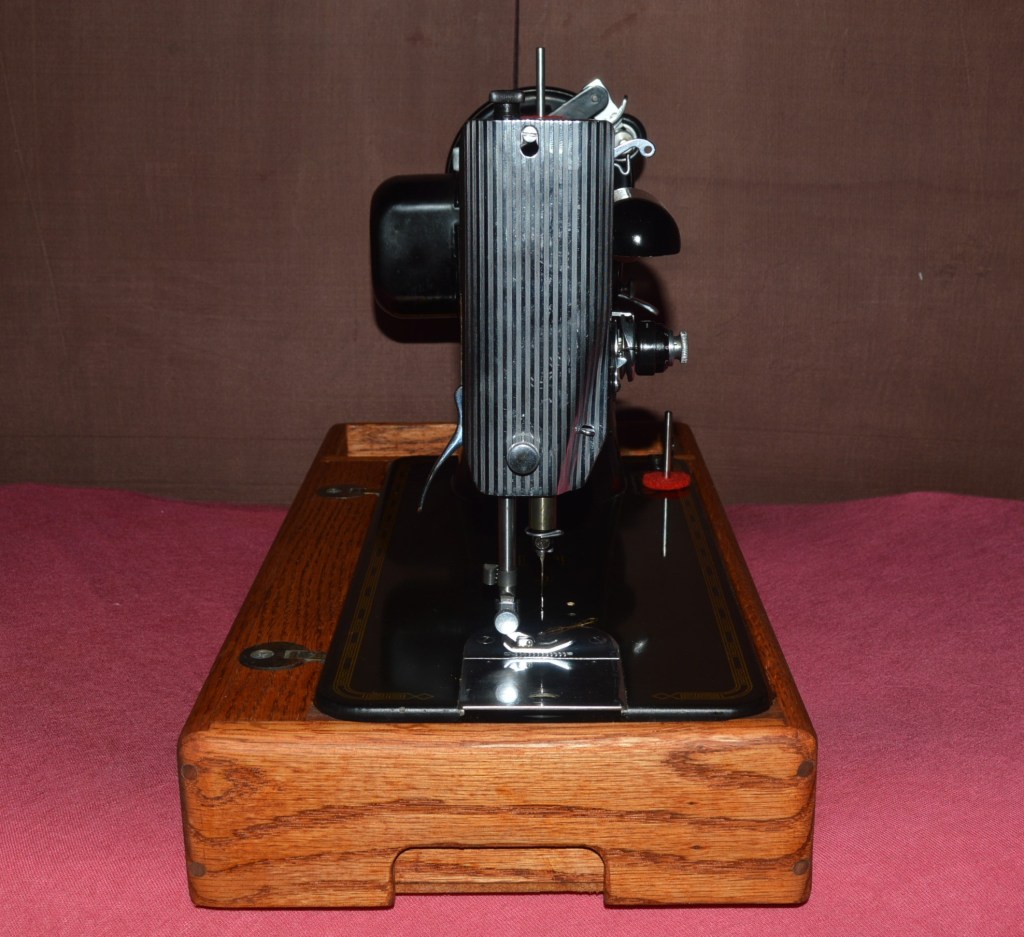
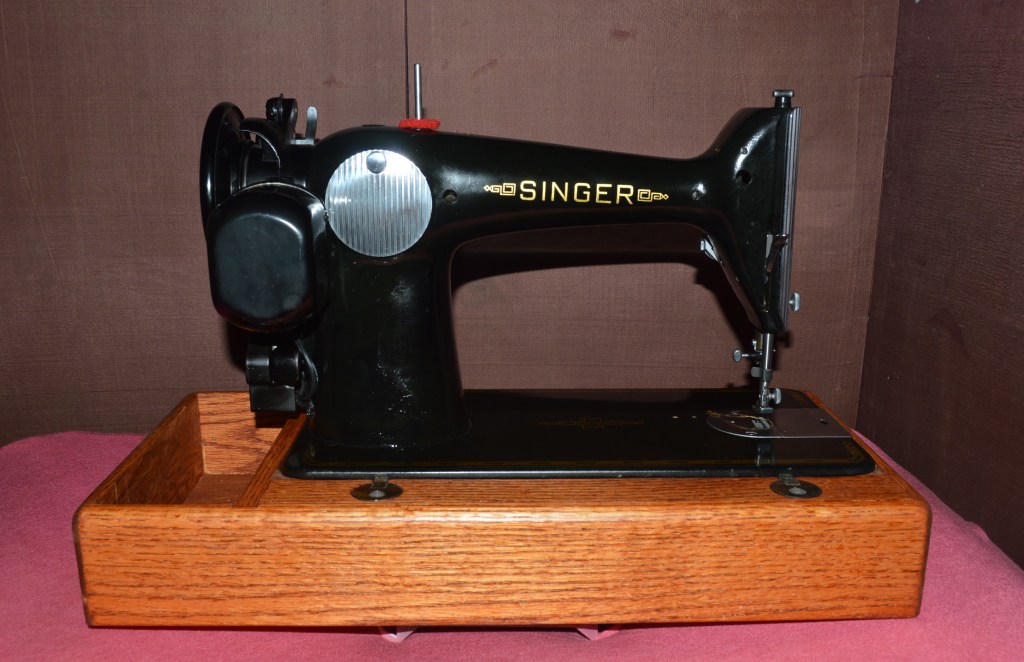
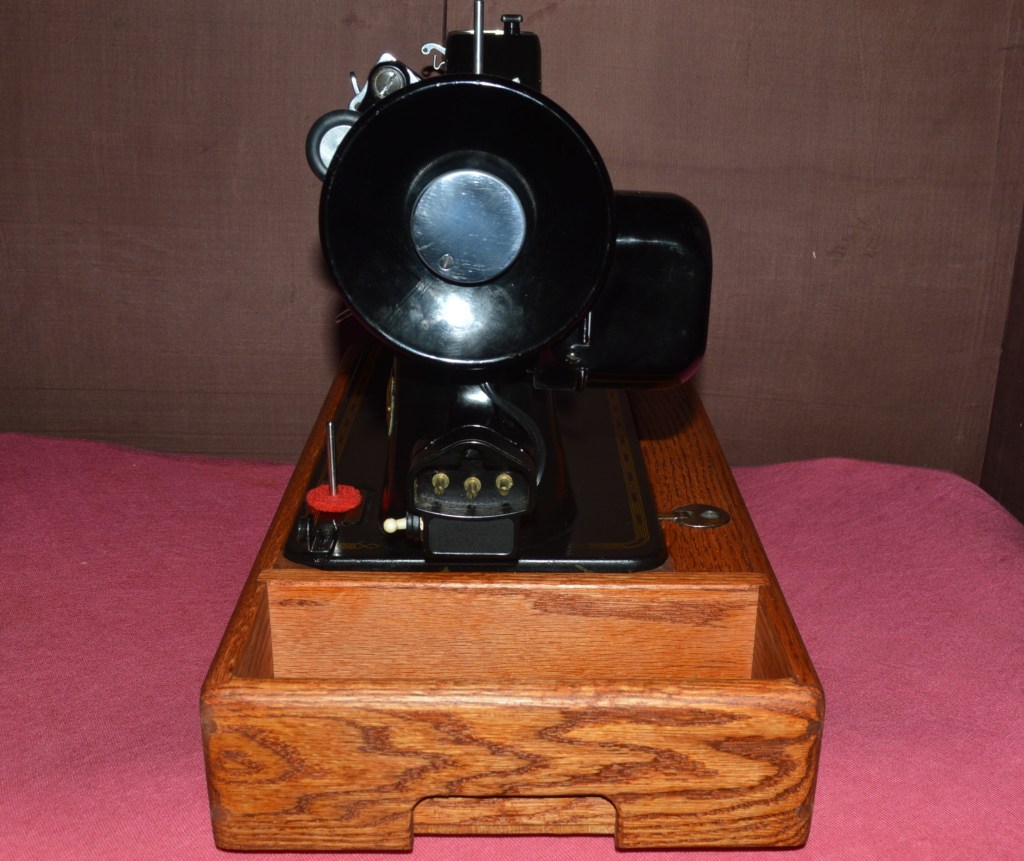
The result is a 201 that runs silent, smooth, and powerfully… just as a 201 should! I think this high caliber restoration is the perfect fit for this high caliber machine. But, a machine like this needs a high quality base to compliment not only the machine, but the room it is in. It has to be furniture quality, so I built a custom red oak base fit to the machine… Now the restoration is complete.
For comparison, here is the machine before restoration…


And here is the machine after restoration…

That it! The restoration is complete and it’s on to the next one…
If you like what you see please visit our Etsy store at https://www.etsy.com/shop/pungoliving, and see this 201-2 and our other restored fine quality vintage sewing machines. As always, If you have any questions or if I can be of any assistance, please contact Lee at Pungoliving@gmail.com.
Thanks for reading!
Lee
