

I have had a lot of interest recently in the Singer model 66. I’m not too surprised in the inquiries I’ve received, what really surprises me is that I haven’t received more inquiries about the Singer 66! Simply put, the Singer model 66 is a great straight stitch sewing machine. It isn’t the star of the show in the singer line up… that’s reserved for the model 201 and model 15, but it’s not for lack of quality and fine craftsmanship.
The 66 is the successor of the Singer model 9W, which was first produced after Singer bought out Wheeler & Wilson. It was mechanically the same design as the Wheeler & Wilson D9, with minor modifications to the bed size to accommodate Singer’s hinge spacing. Anyway, Singer began production of the model 66 in 1903, and discontinued the model 9W in 1913.
The model 66 was an entry level machine priced much less than a model 15. Still, it cost a princely sum for folks back then and its price equaled about an average month’s wages. Think about that for consideration of anything you might pay a months wages for today.
The model 66 is a fantastic, if not simple machine. It introduced the horizontal top loading bobbin and oscillating hook mechanism. This resulted in a machine that ran smoothly and produced a near perfect stitch. But that’s not the best part of the model 66… it is one tough and durable sewing machine. It was never advertised as “heavy duty”, but it is exactly that. The machine is very forgiving in the thickness of thread, or how much heavy fabric you could stuff under the presser foot. It can sew canvas, and it can sew silk. It’s simple straight forward sewing mechanism is darn near indestructible. In essence, it is a machine that should be a serious consideration for anyone looking for a sturdy well built high quality straight stitch sewing machine.
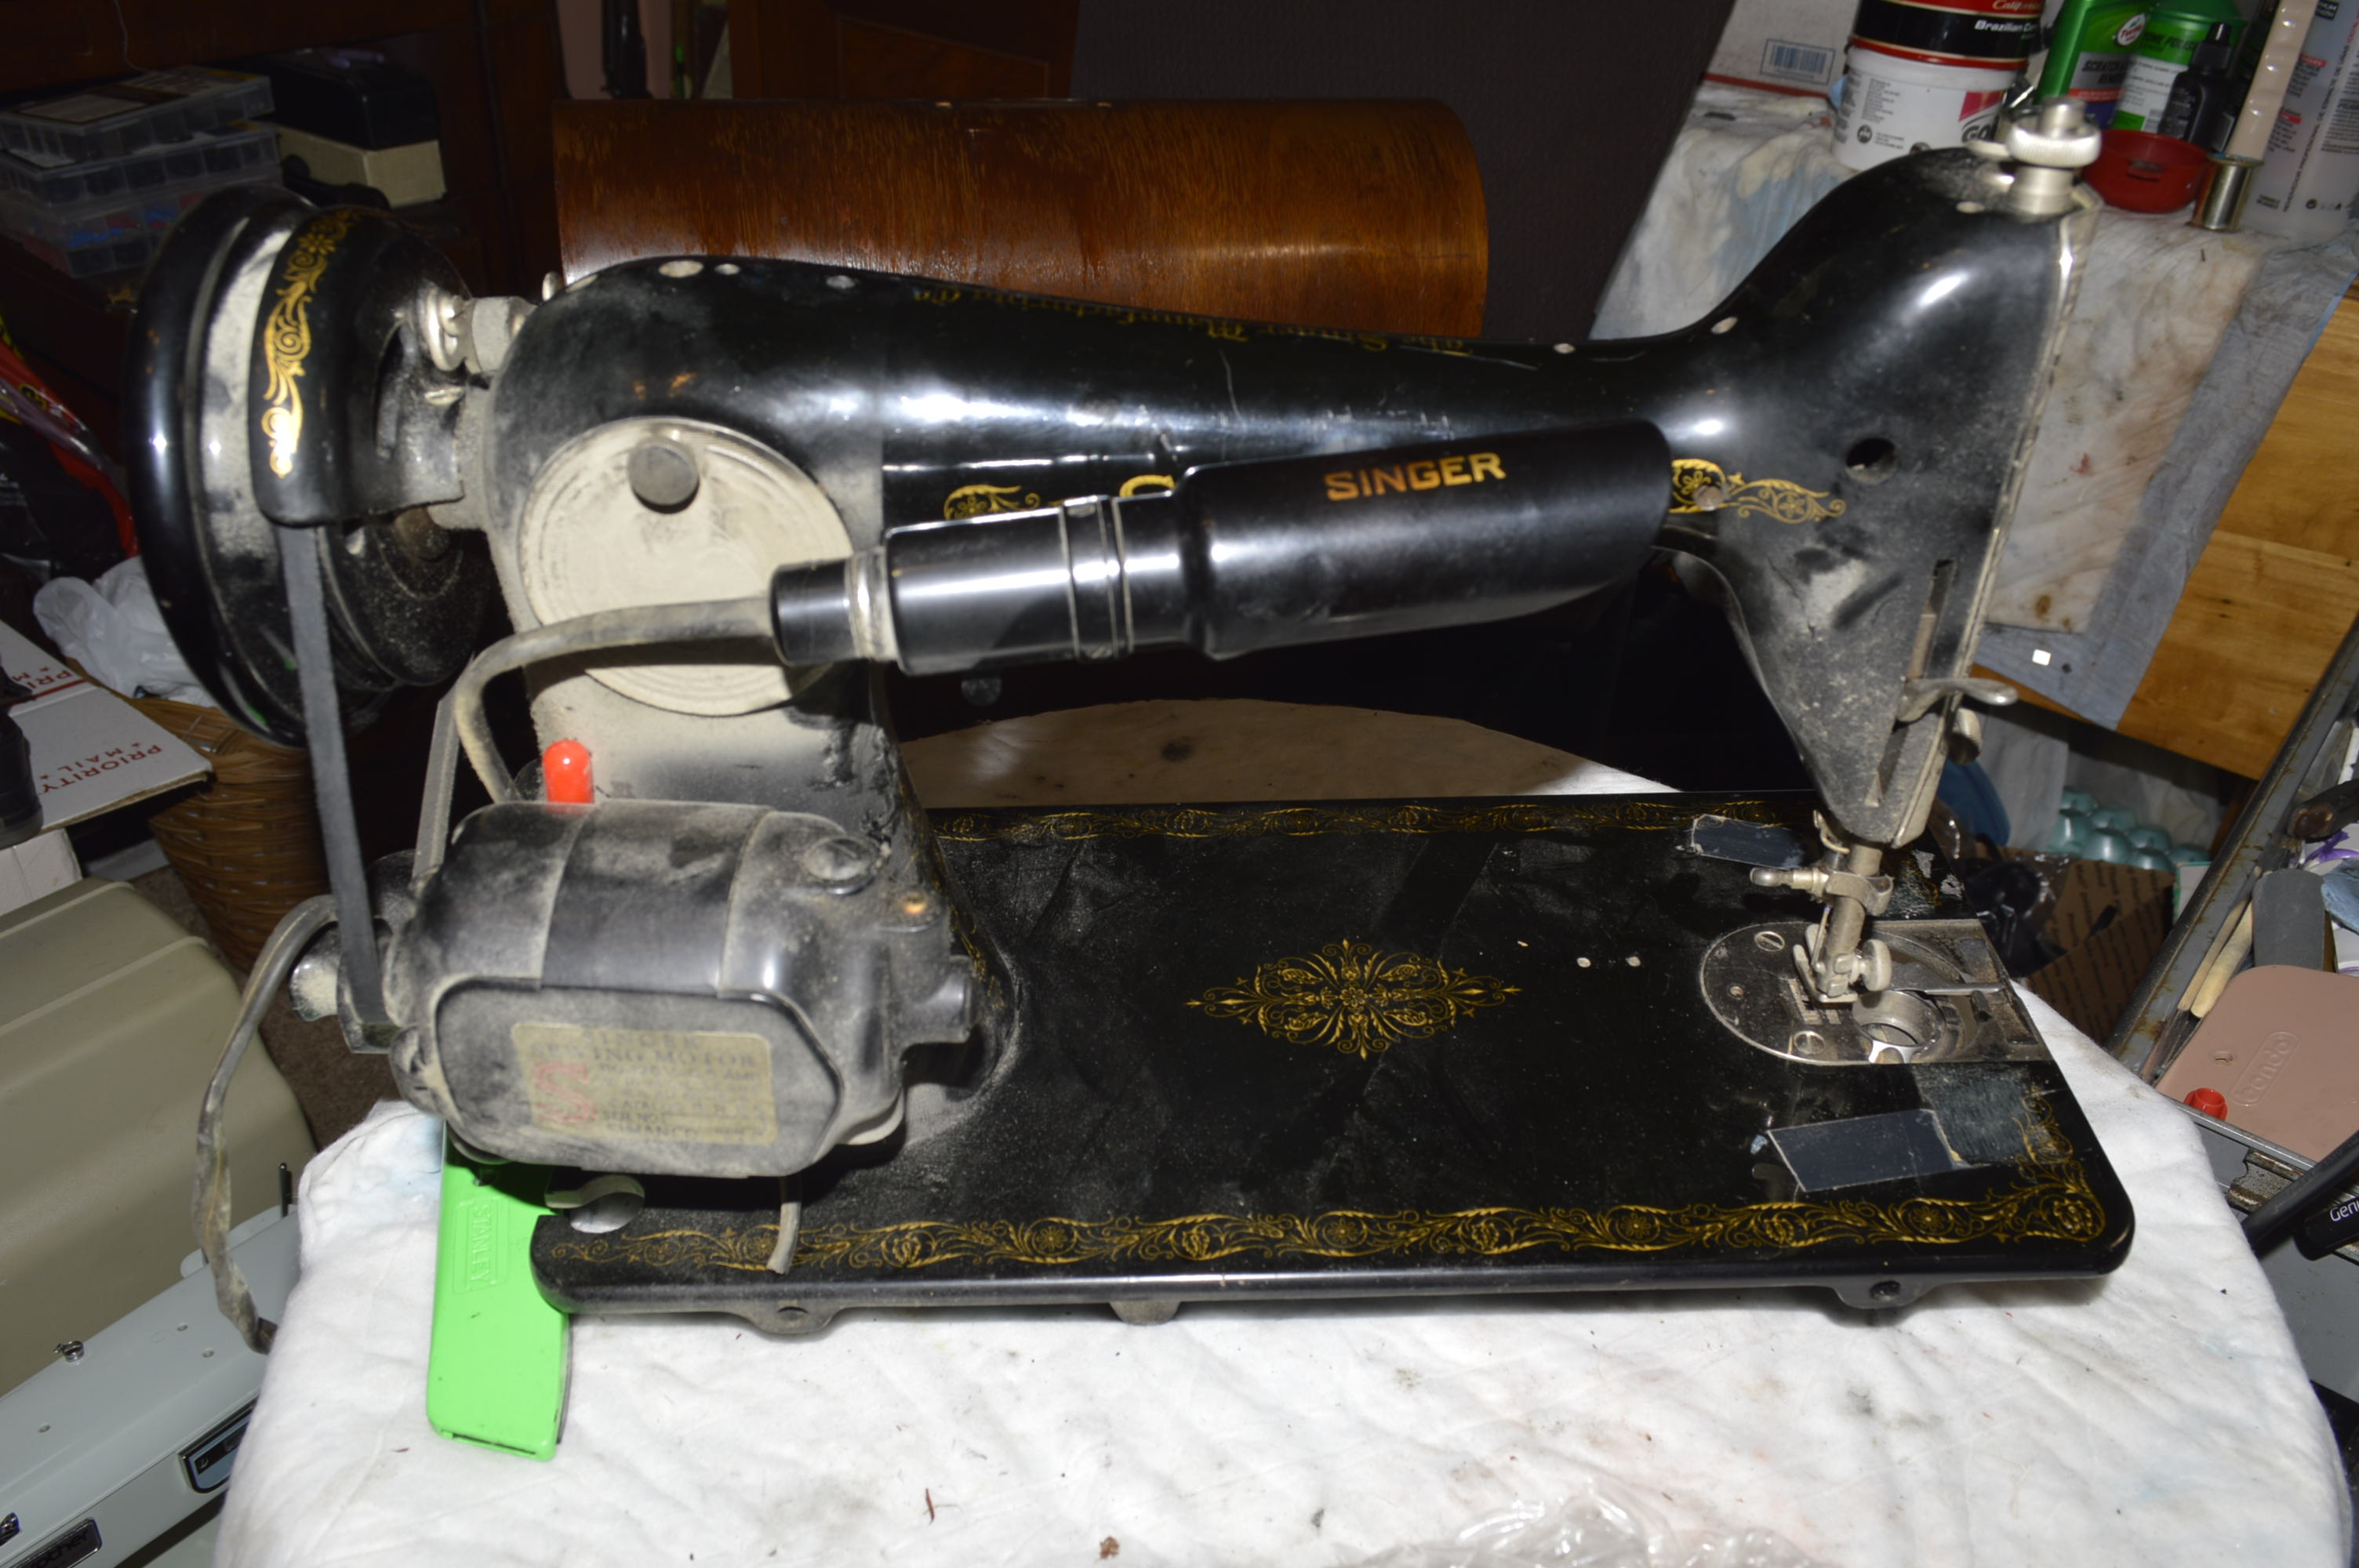
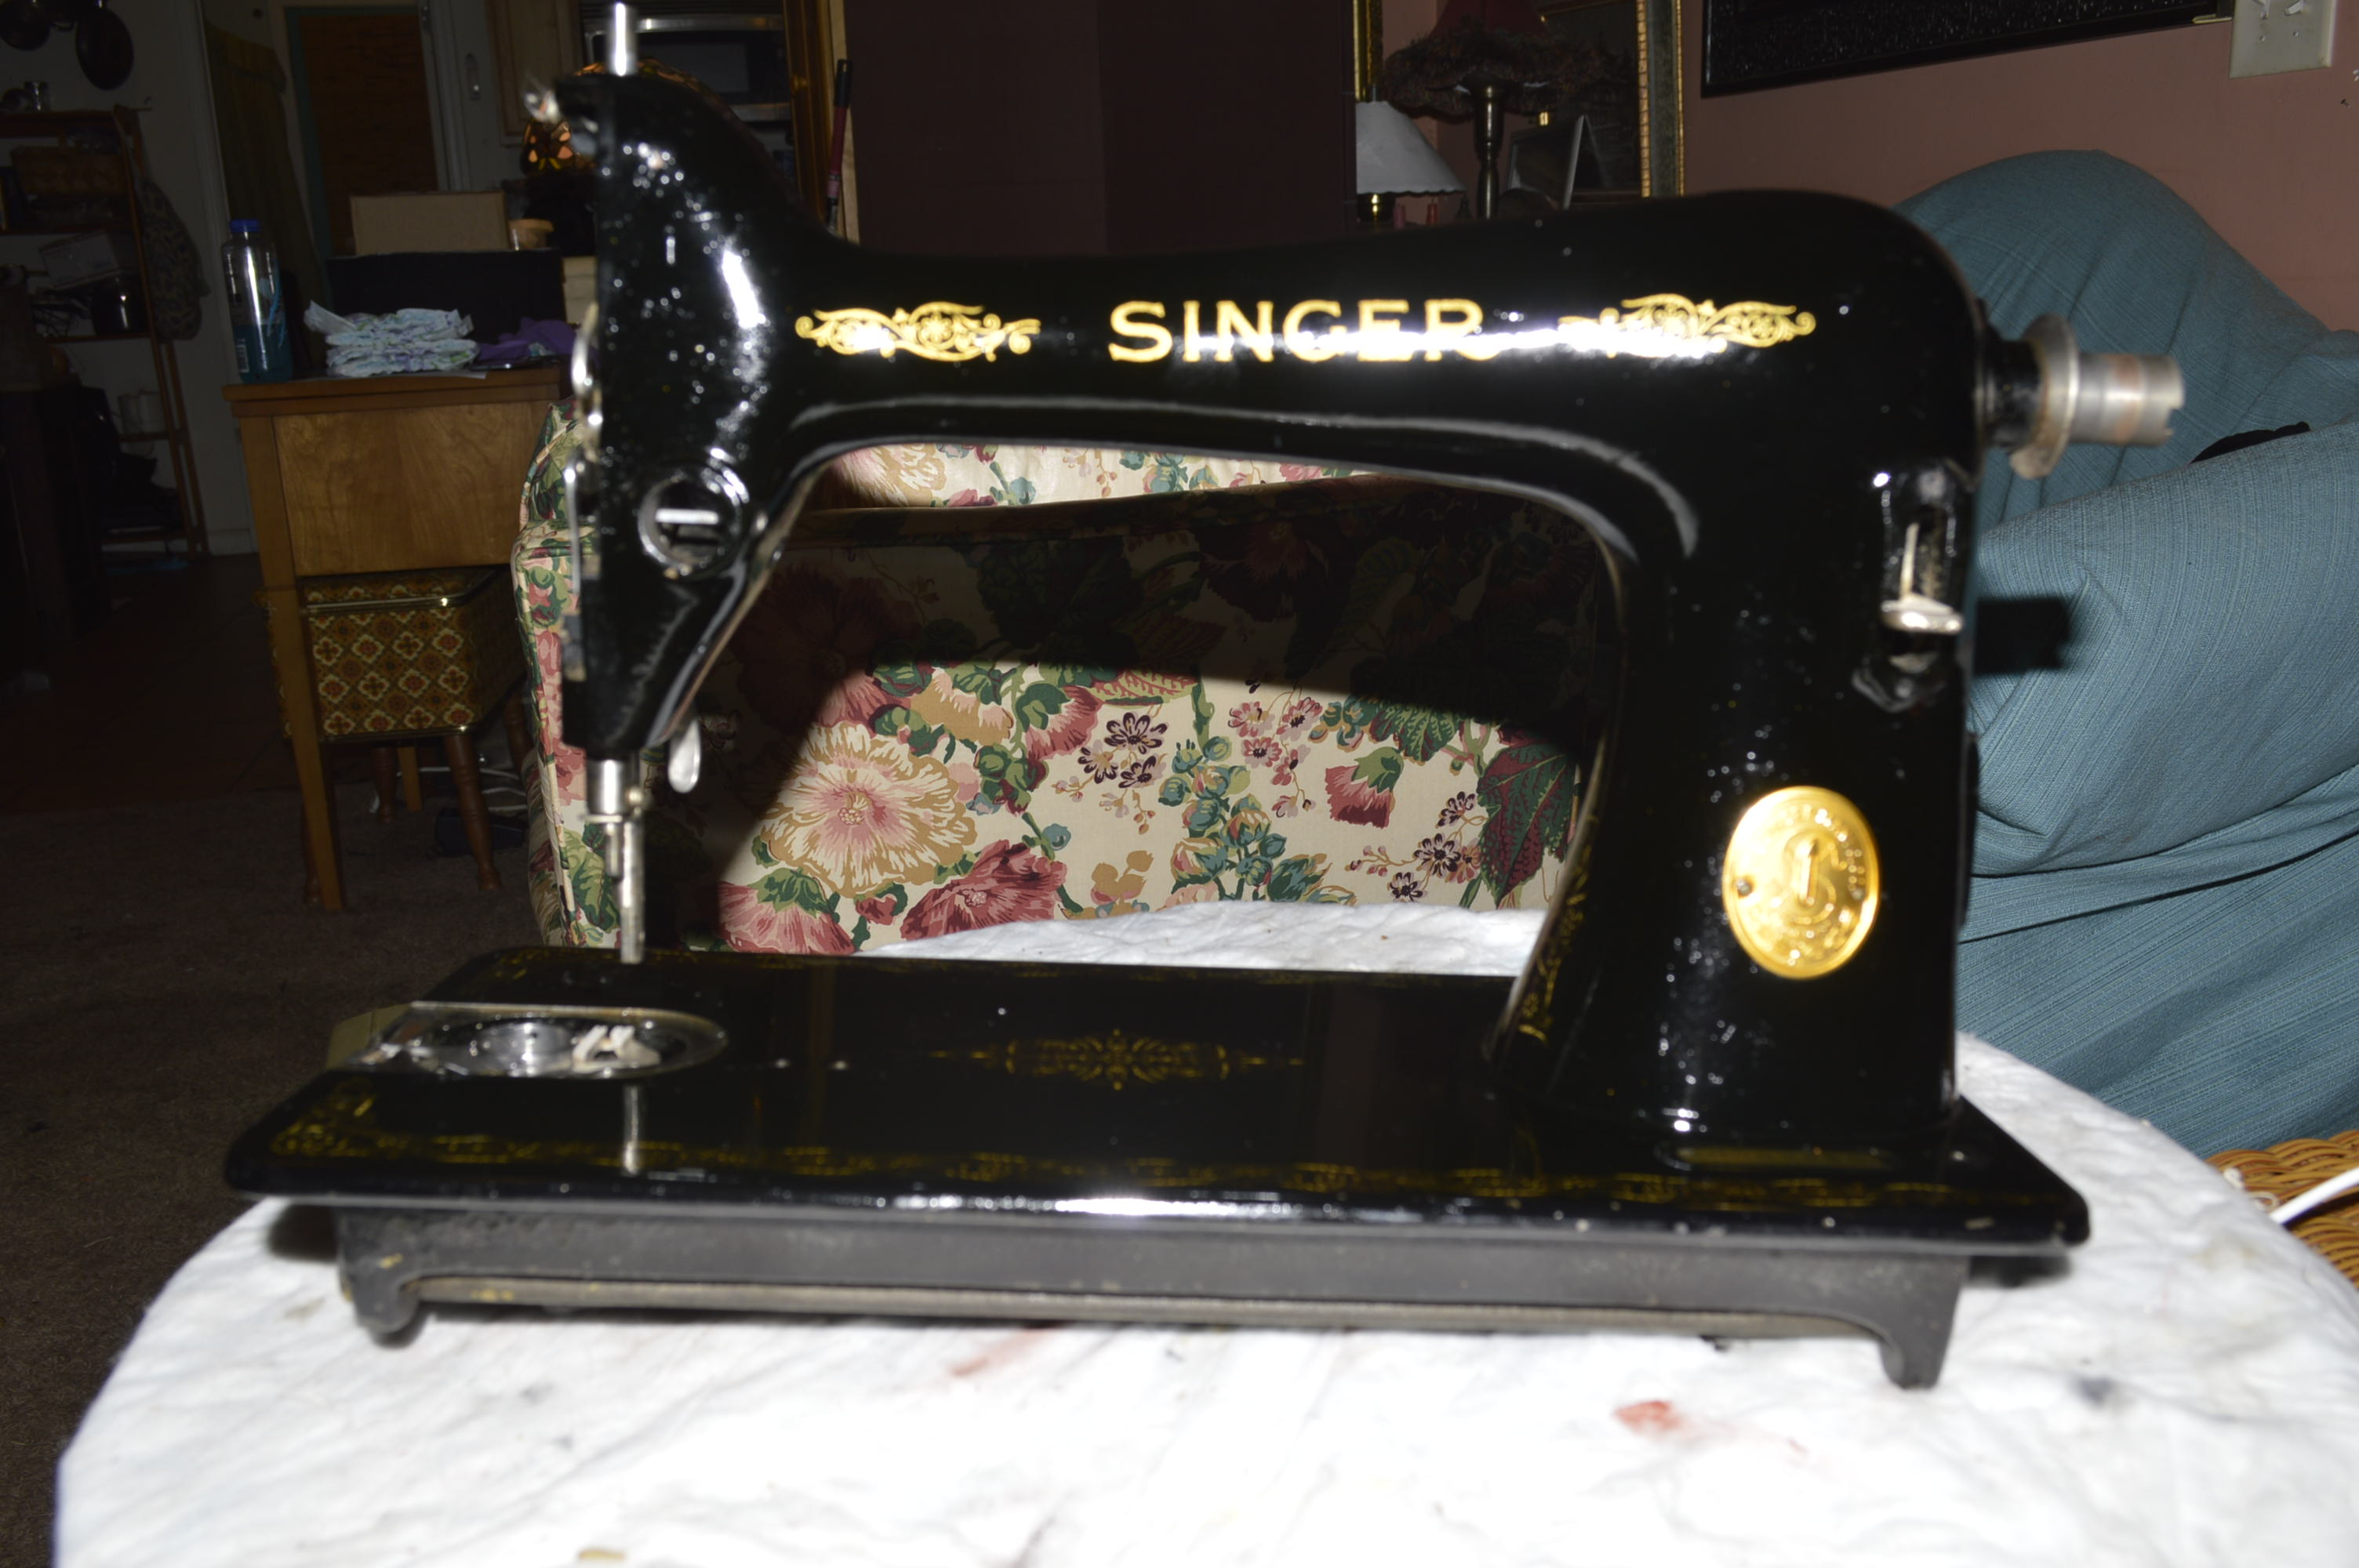
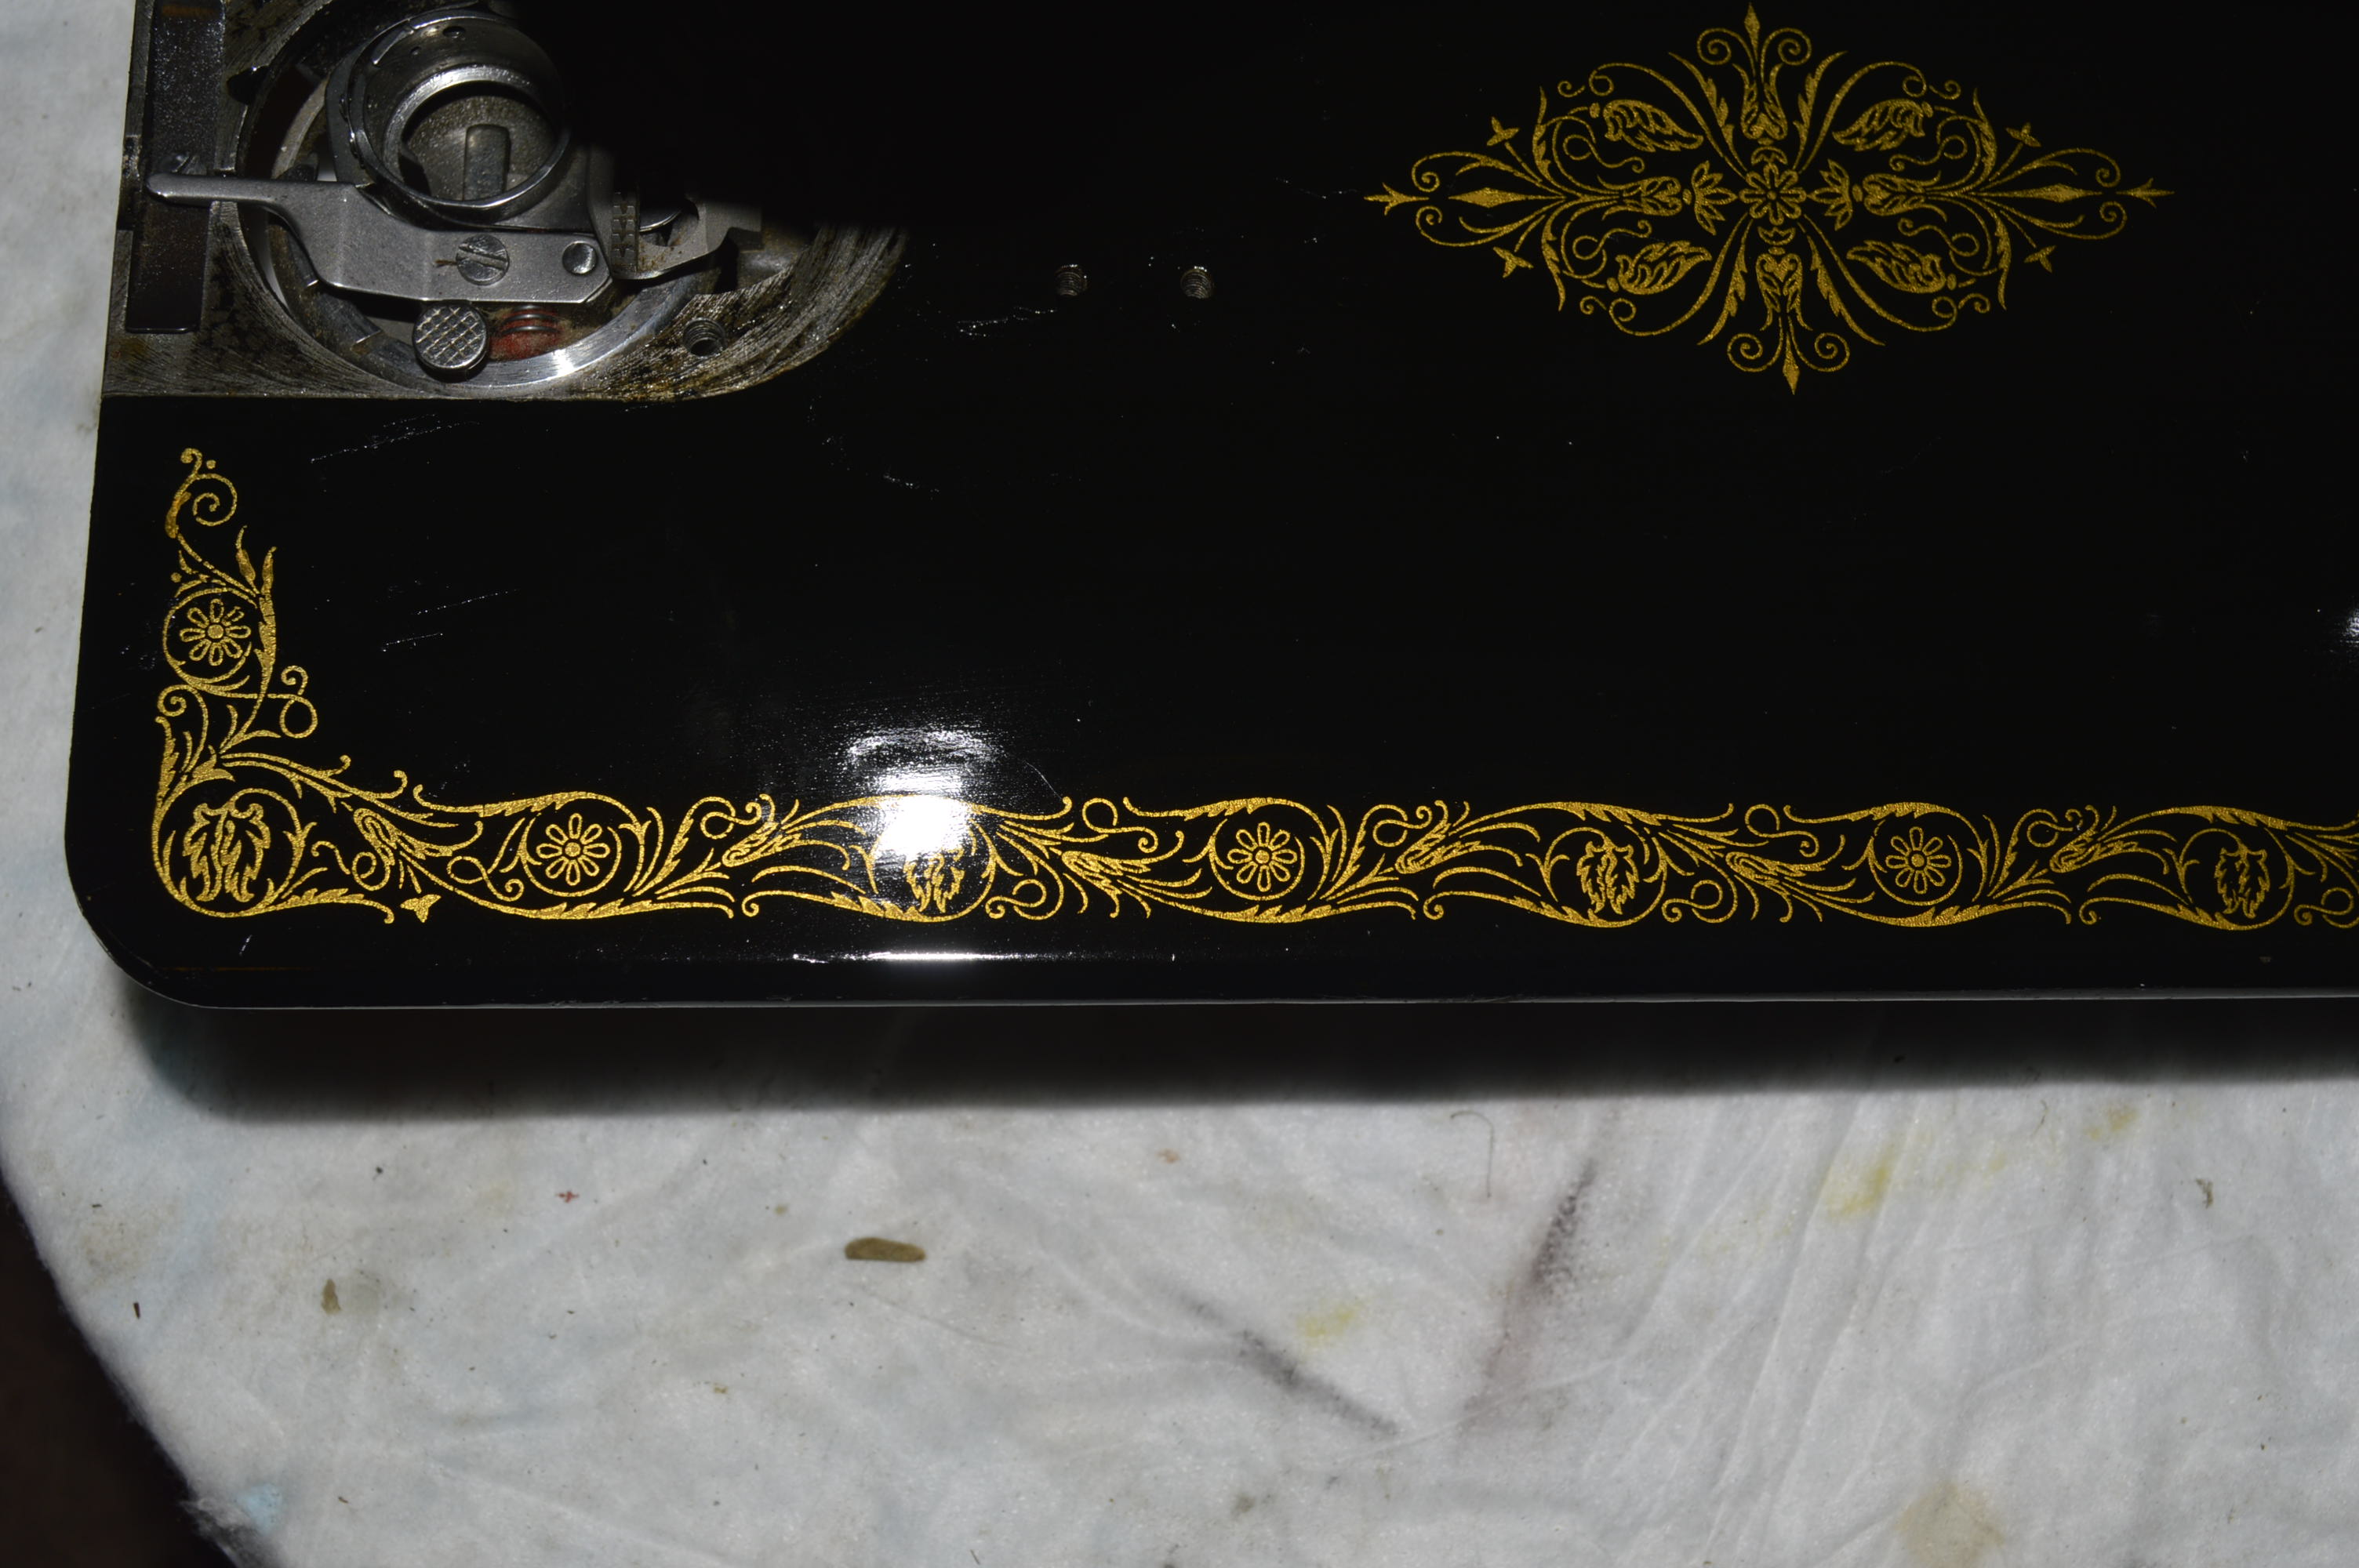
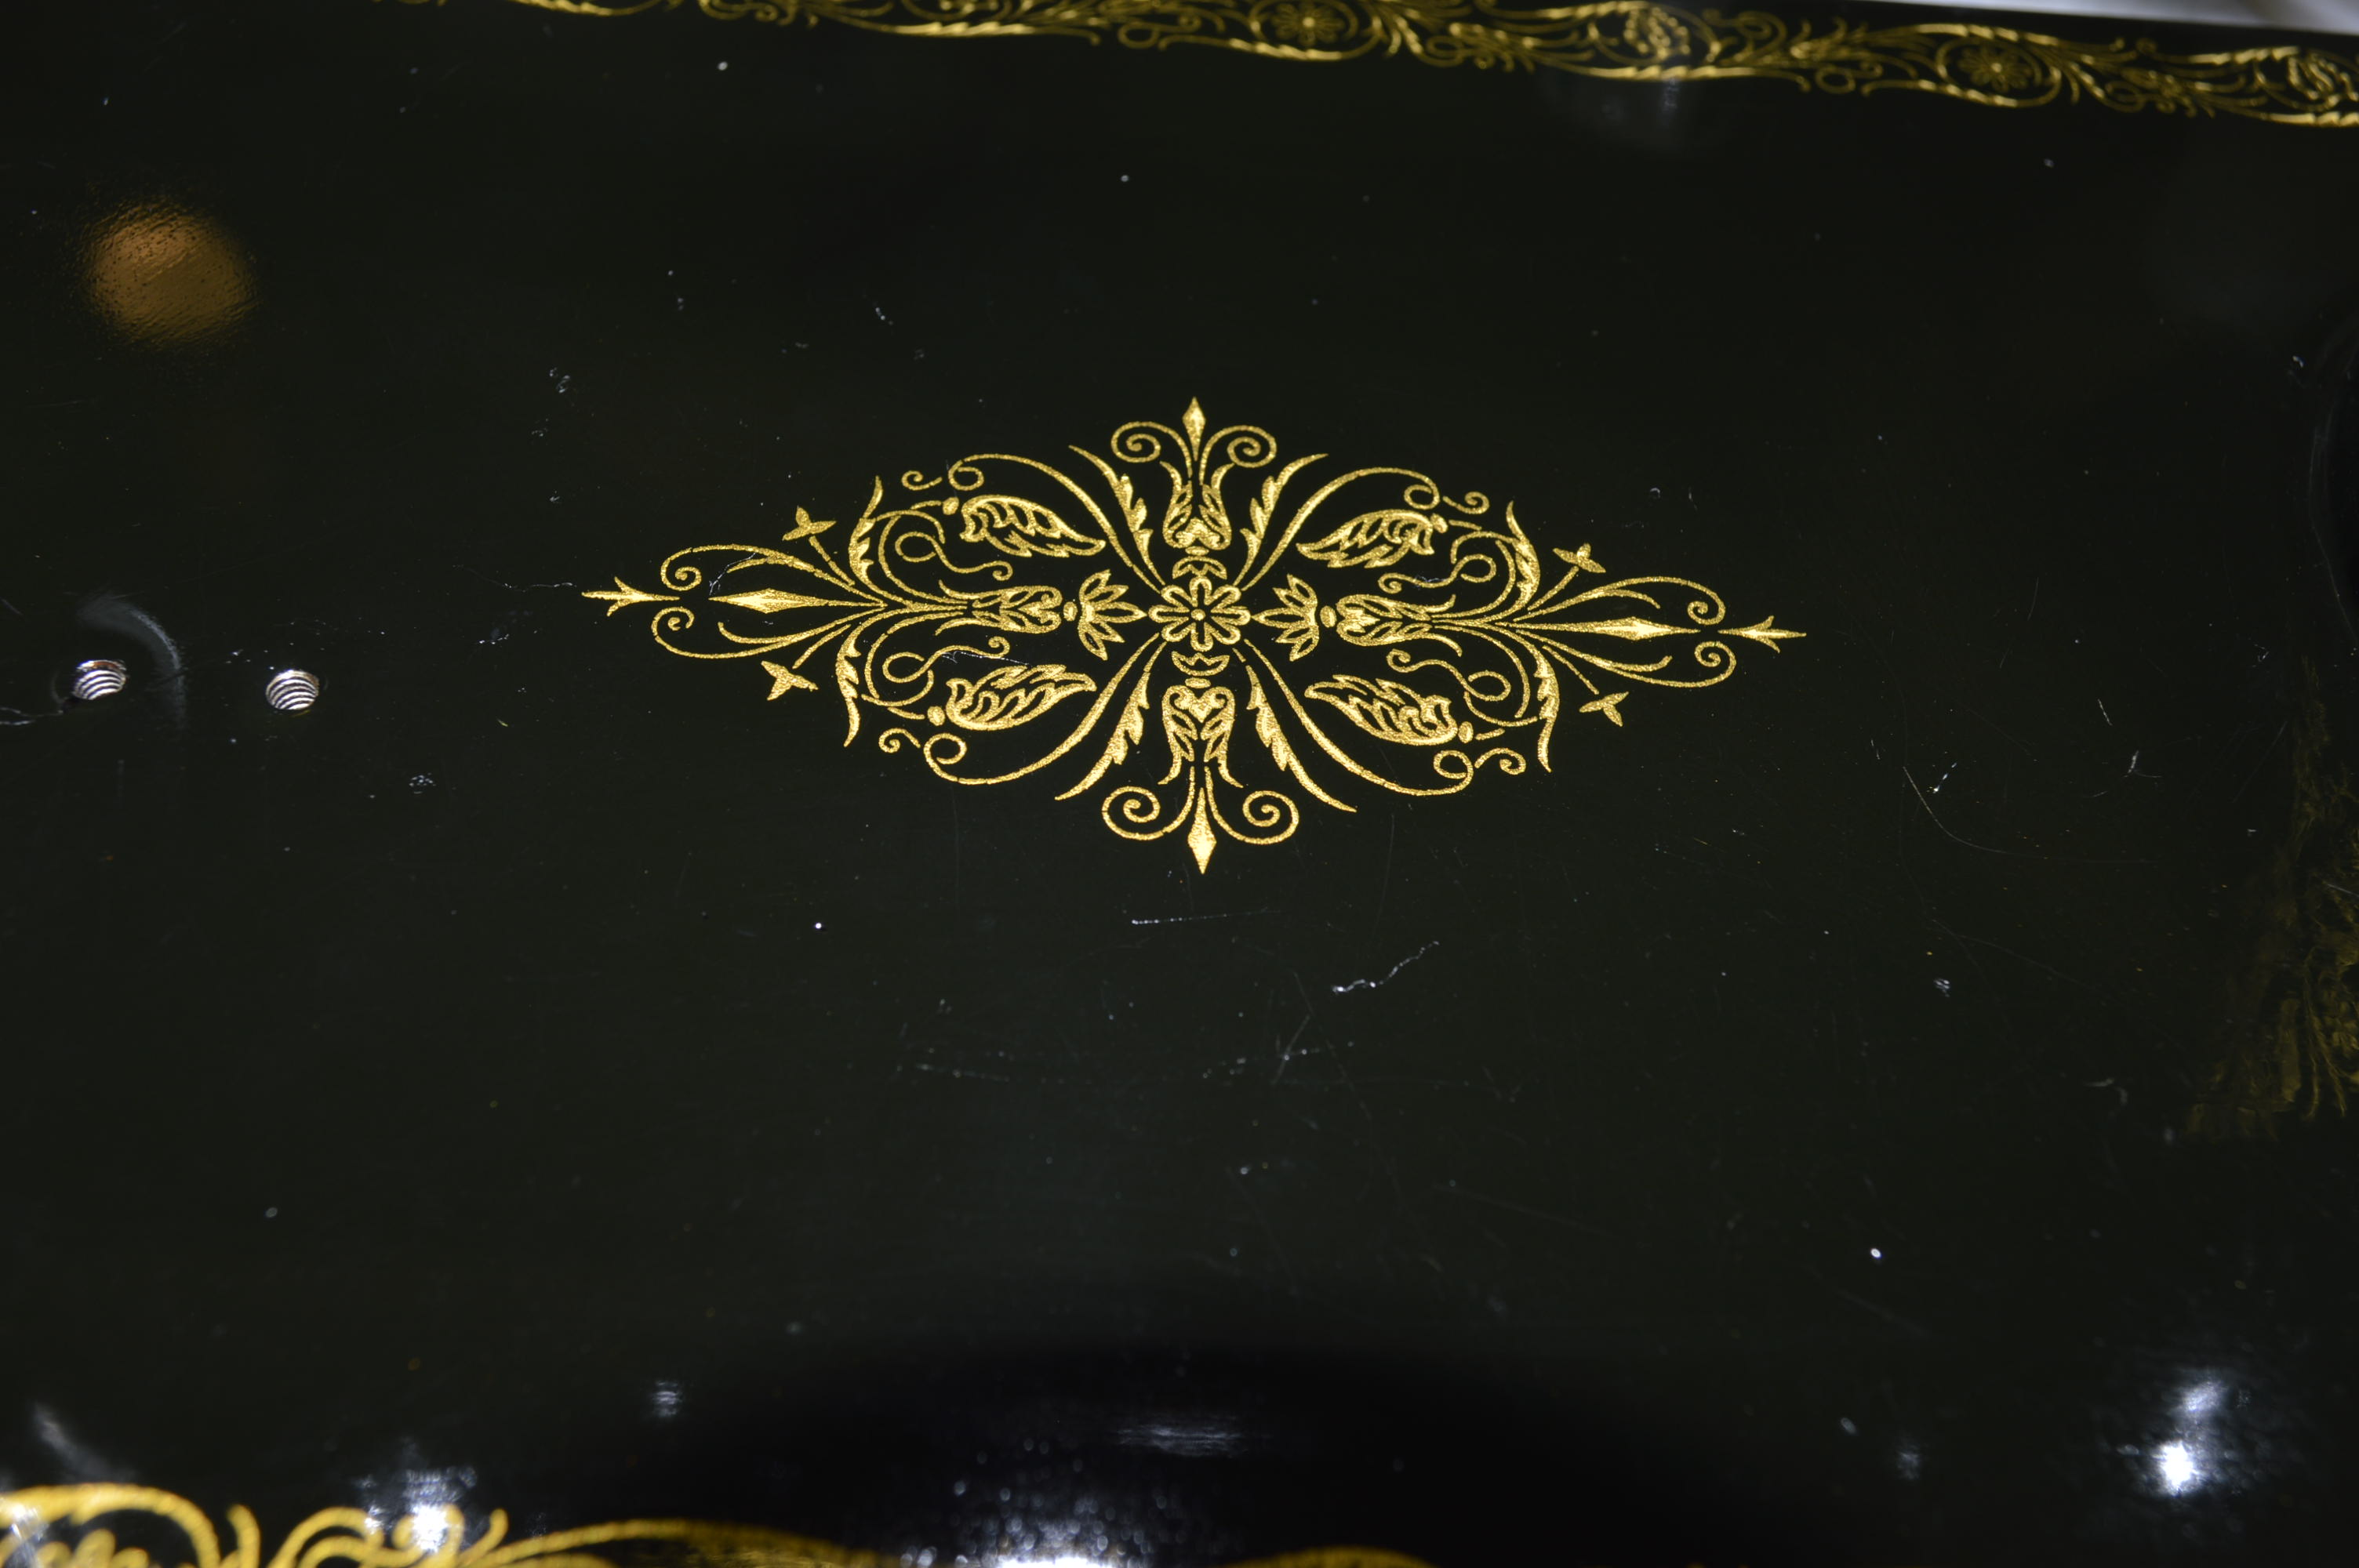
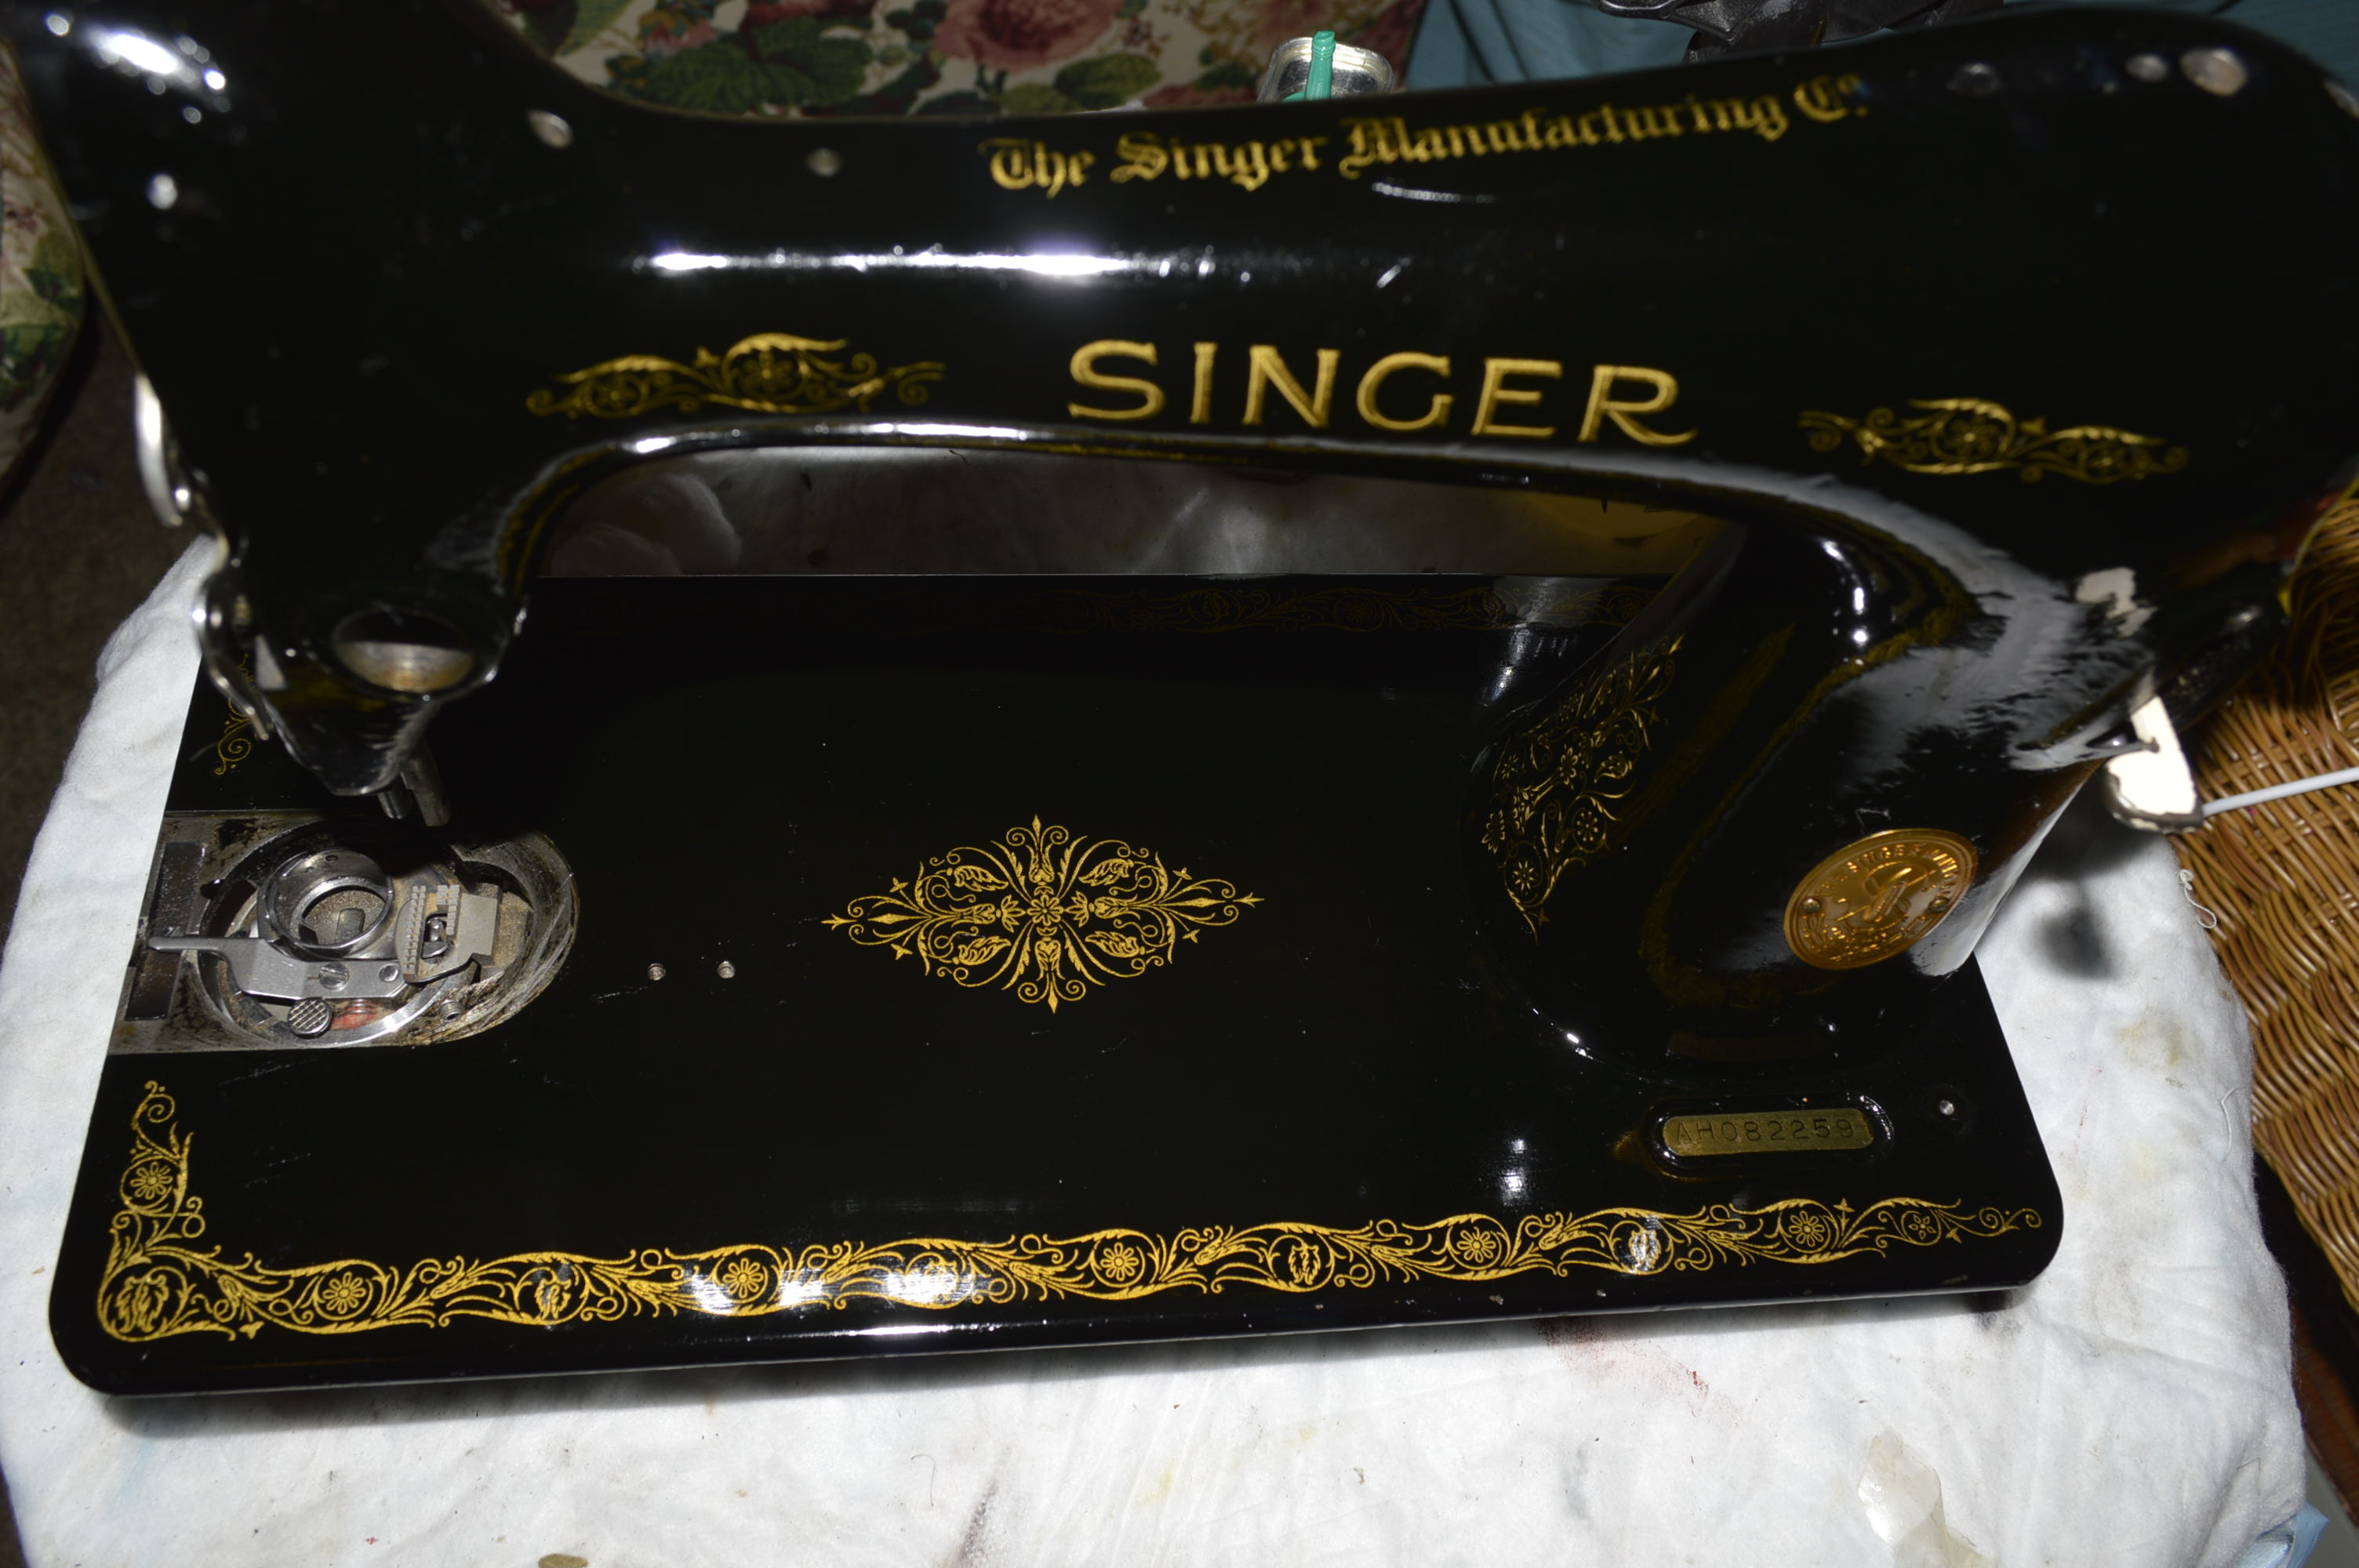
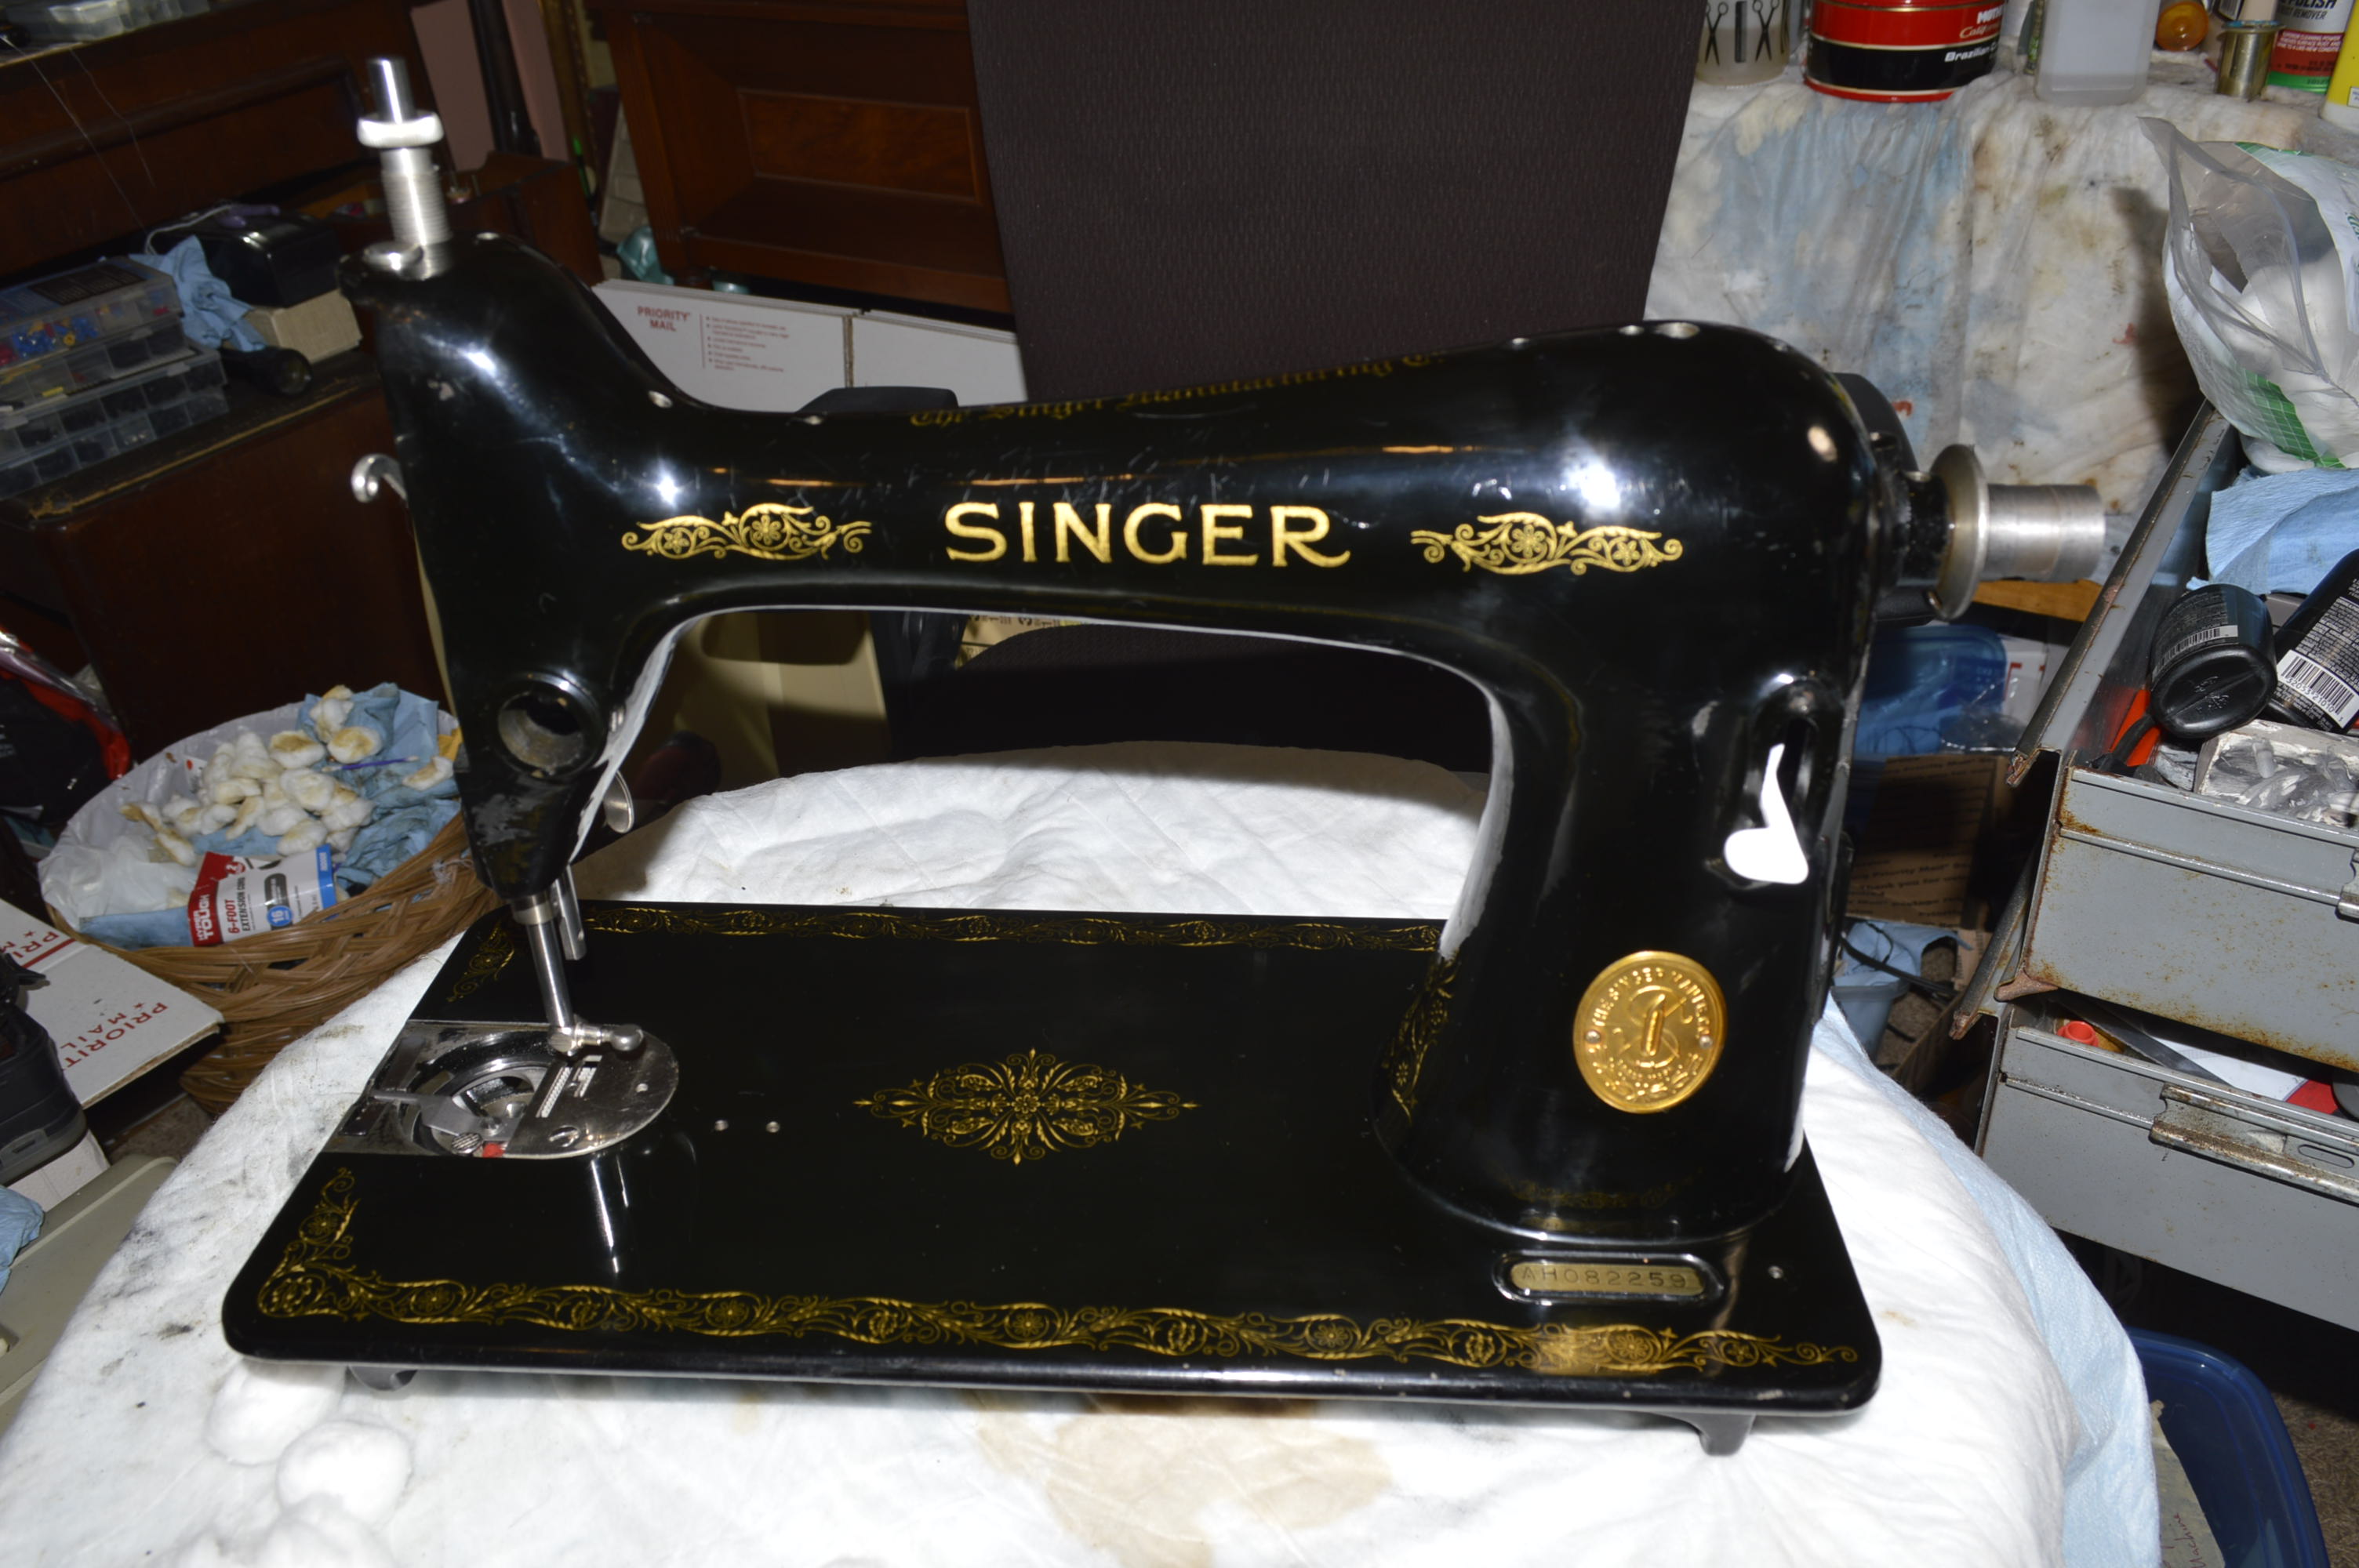
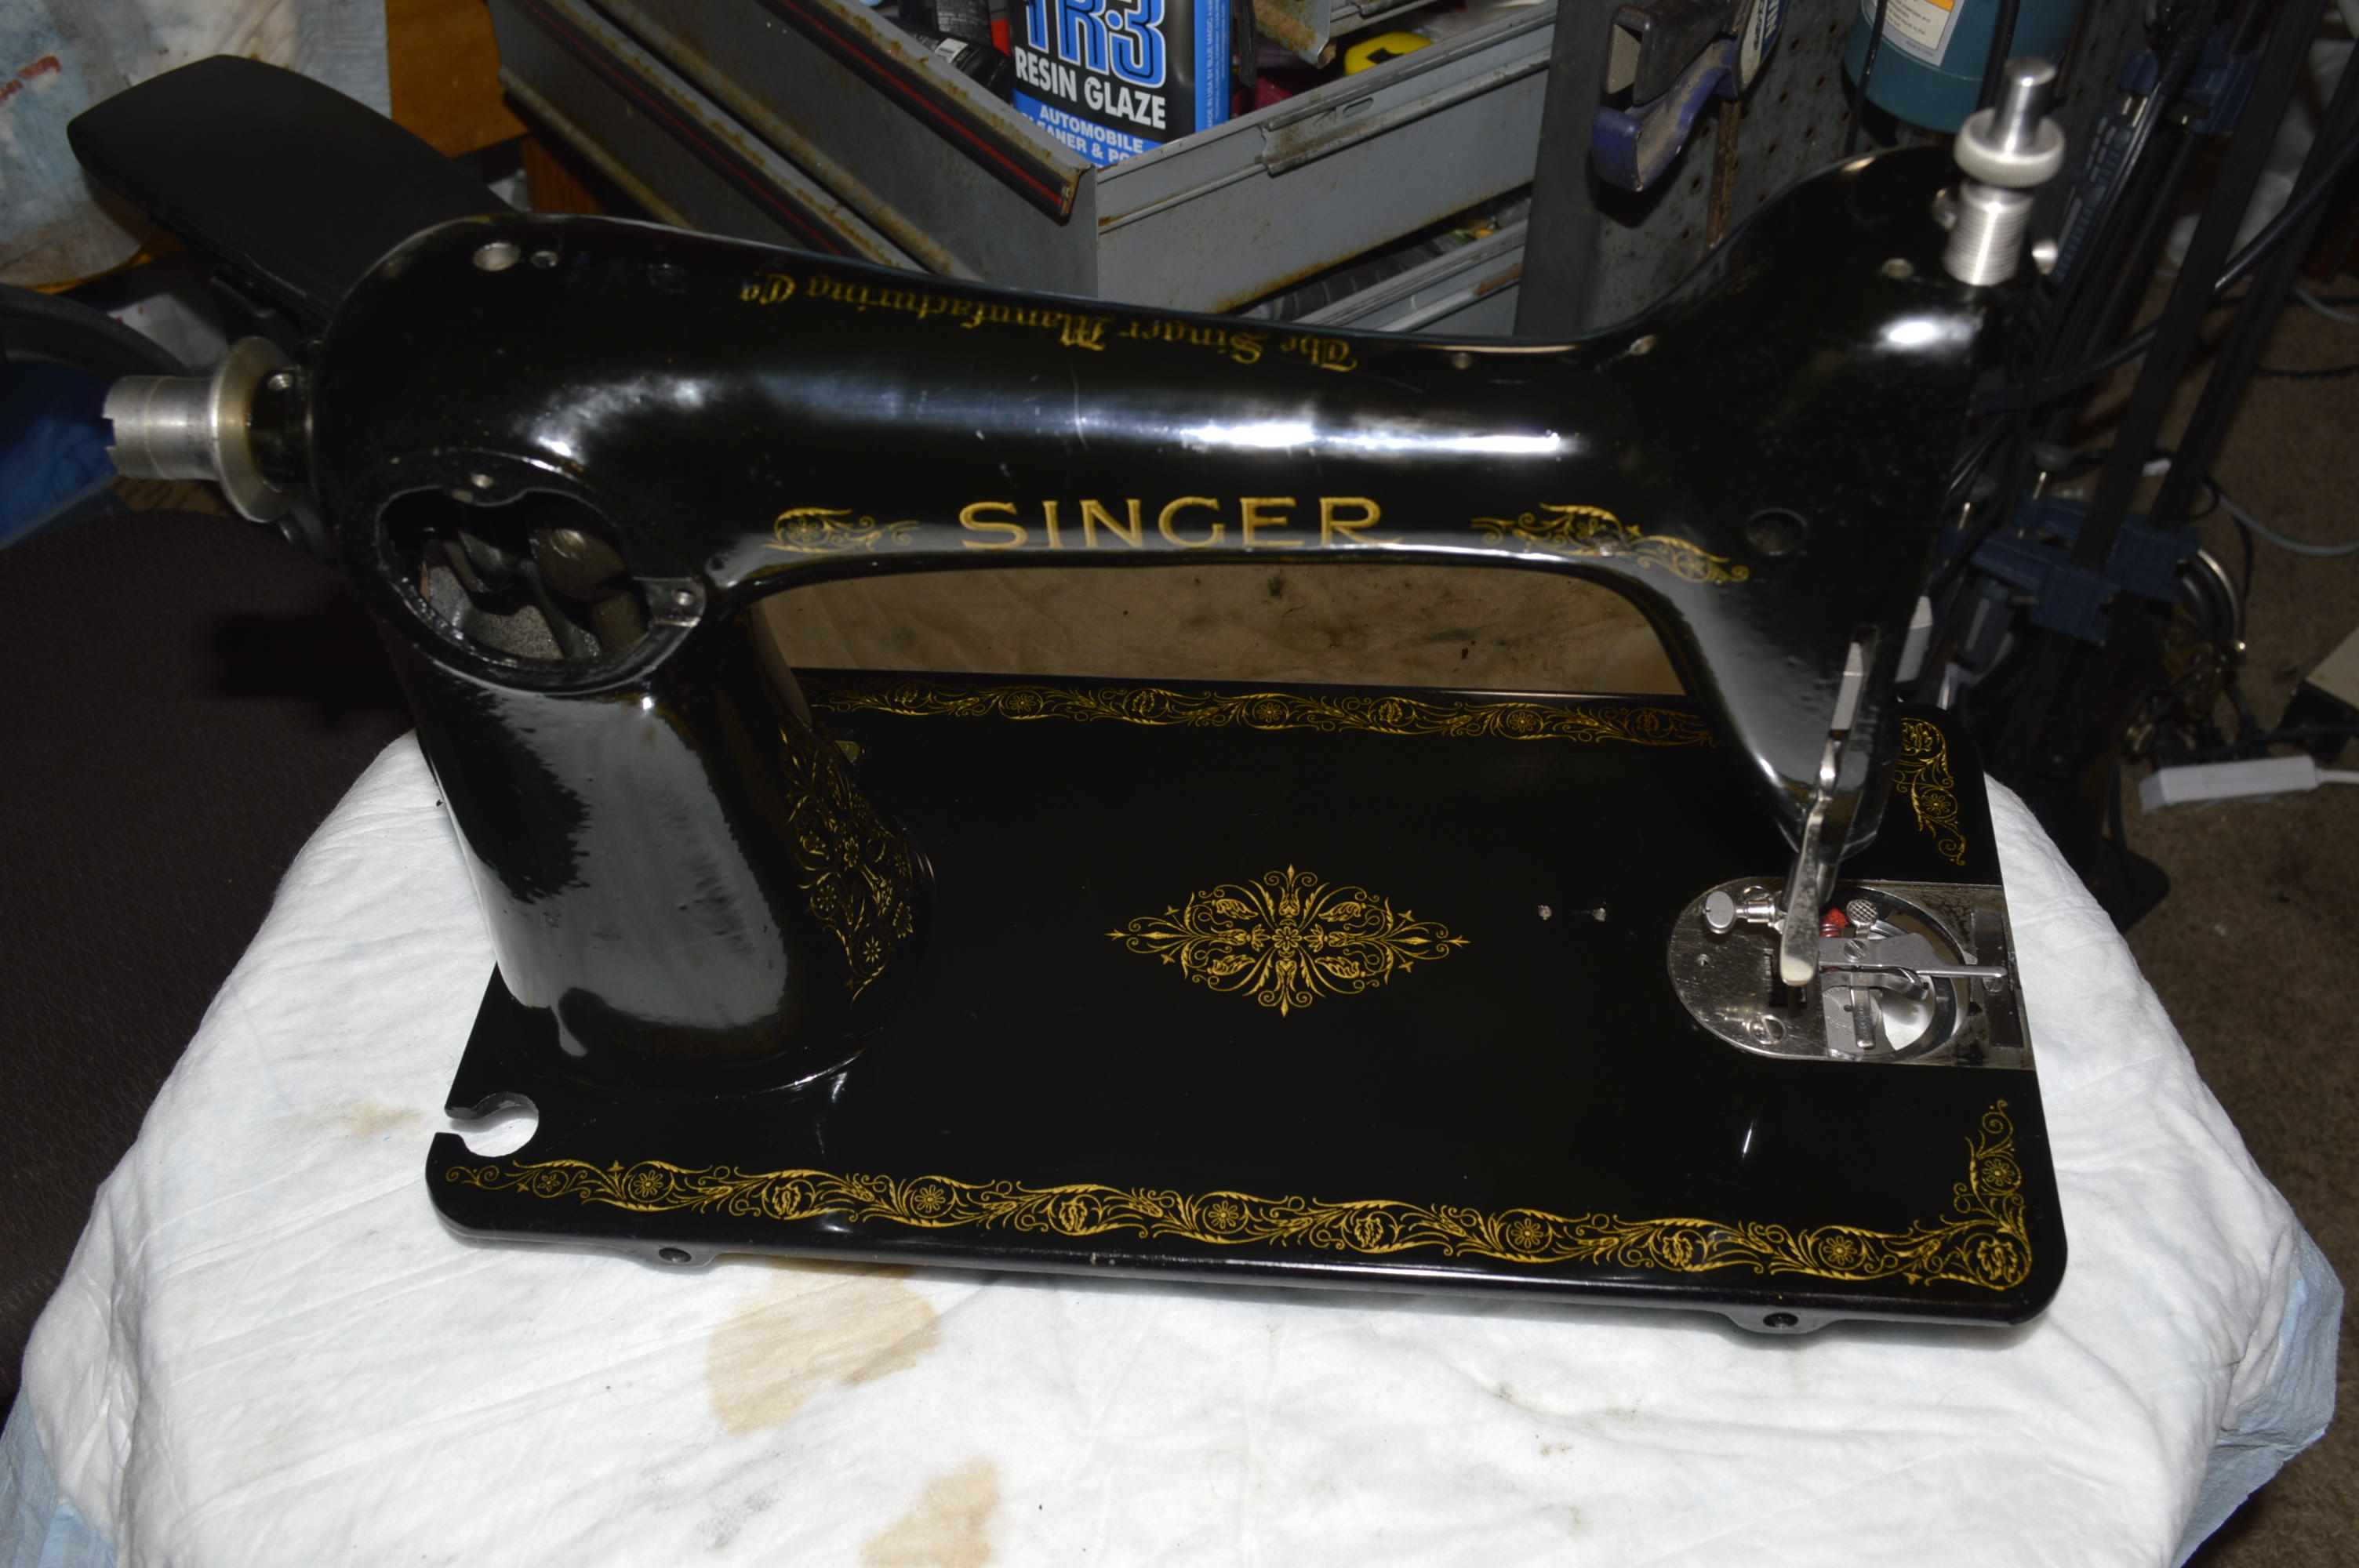
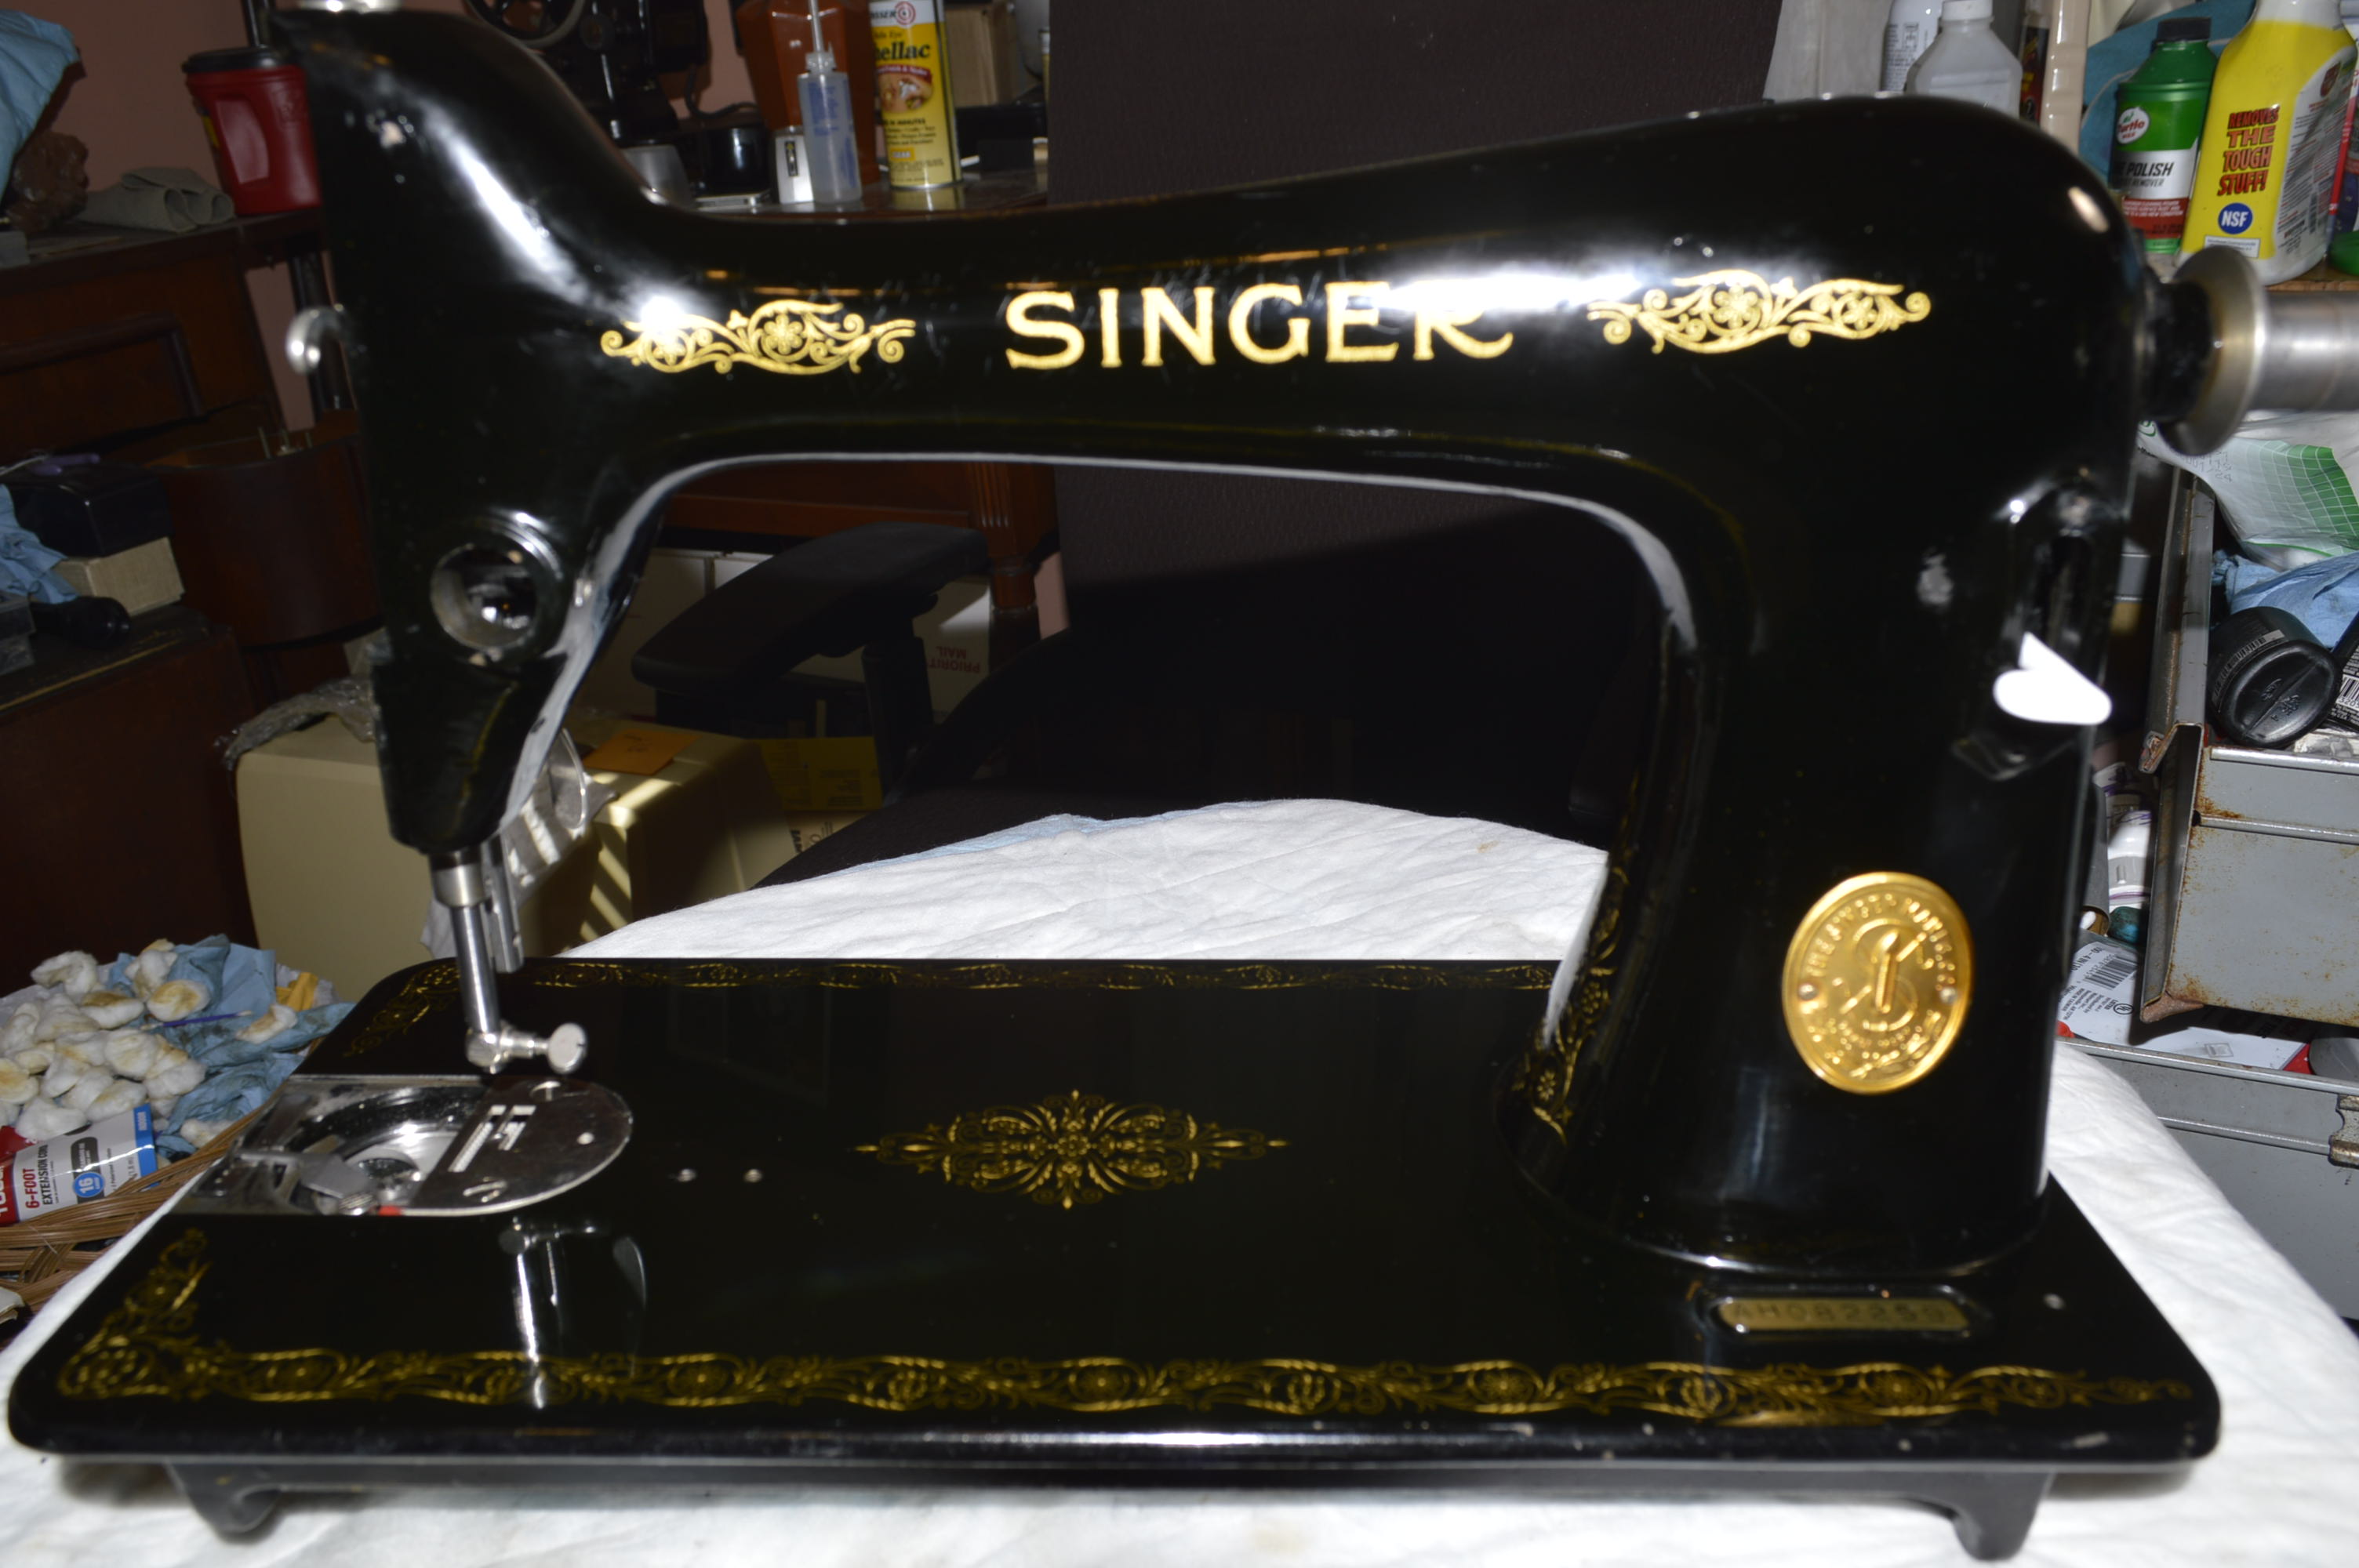
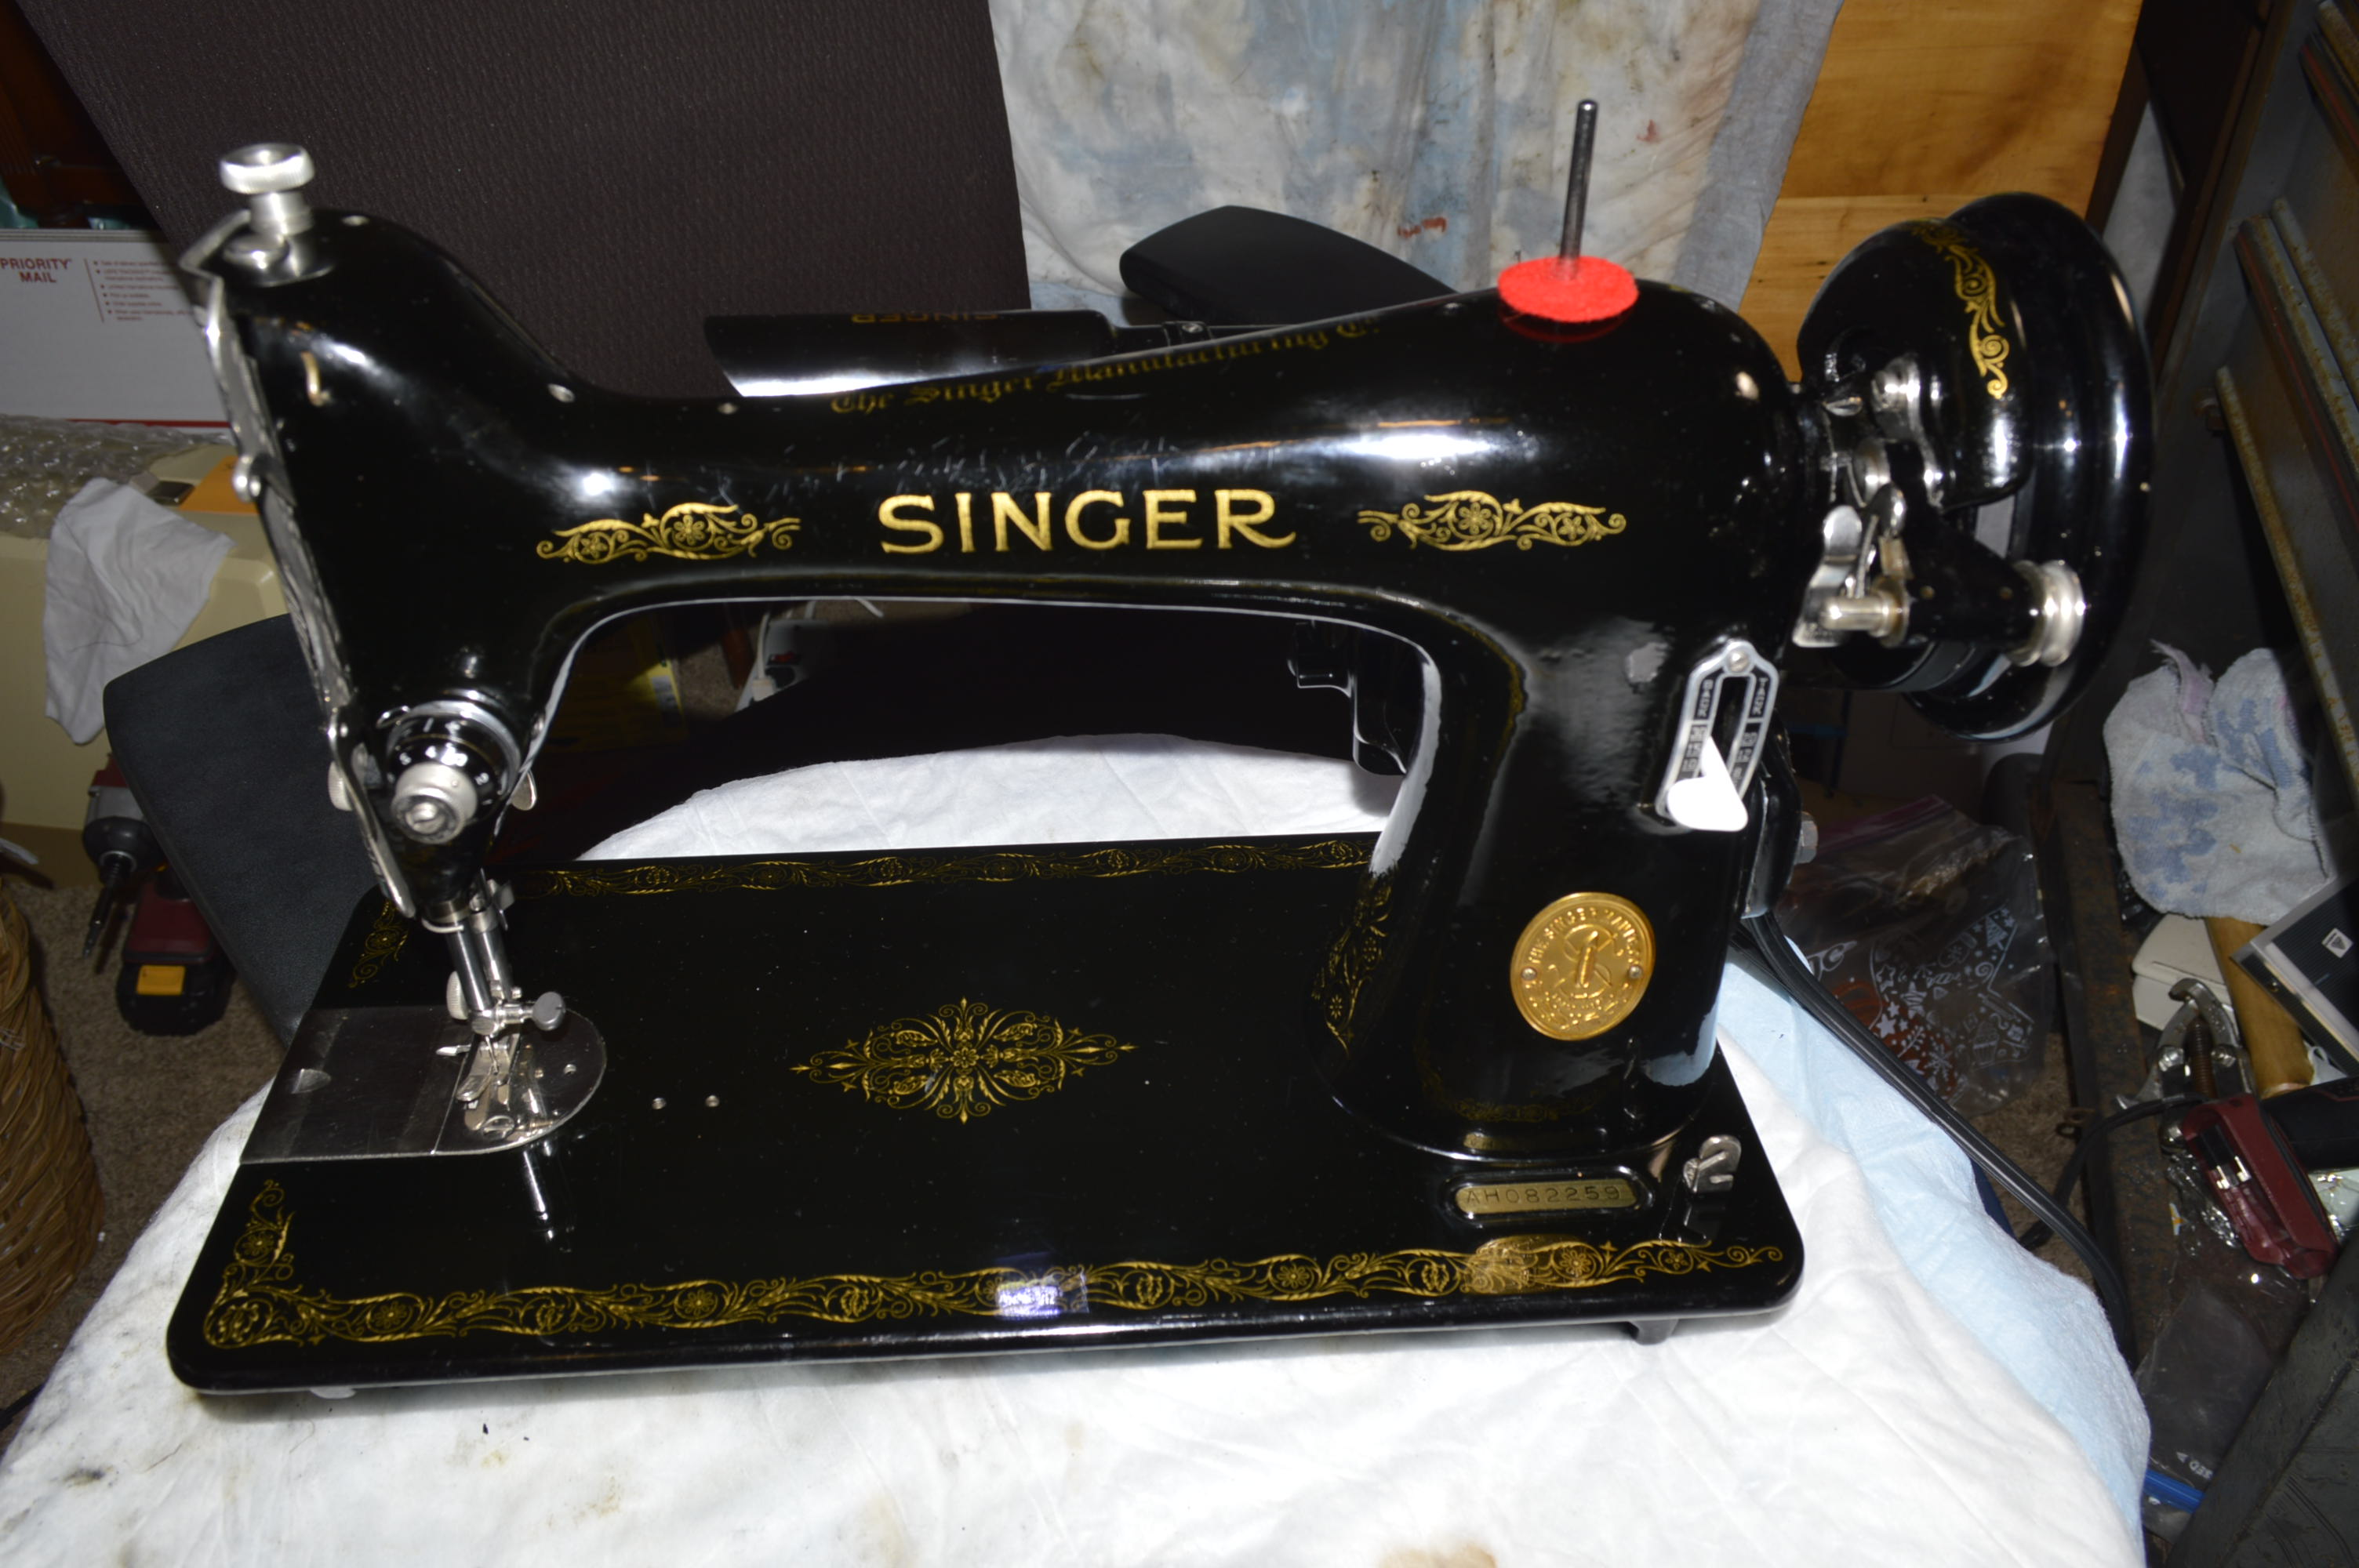
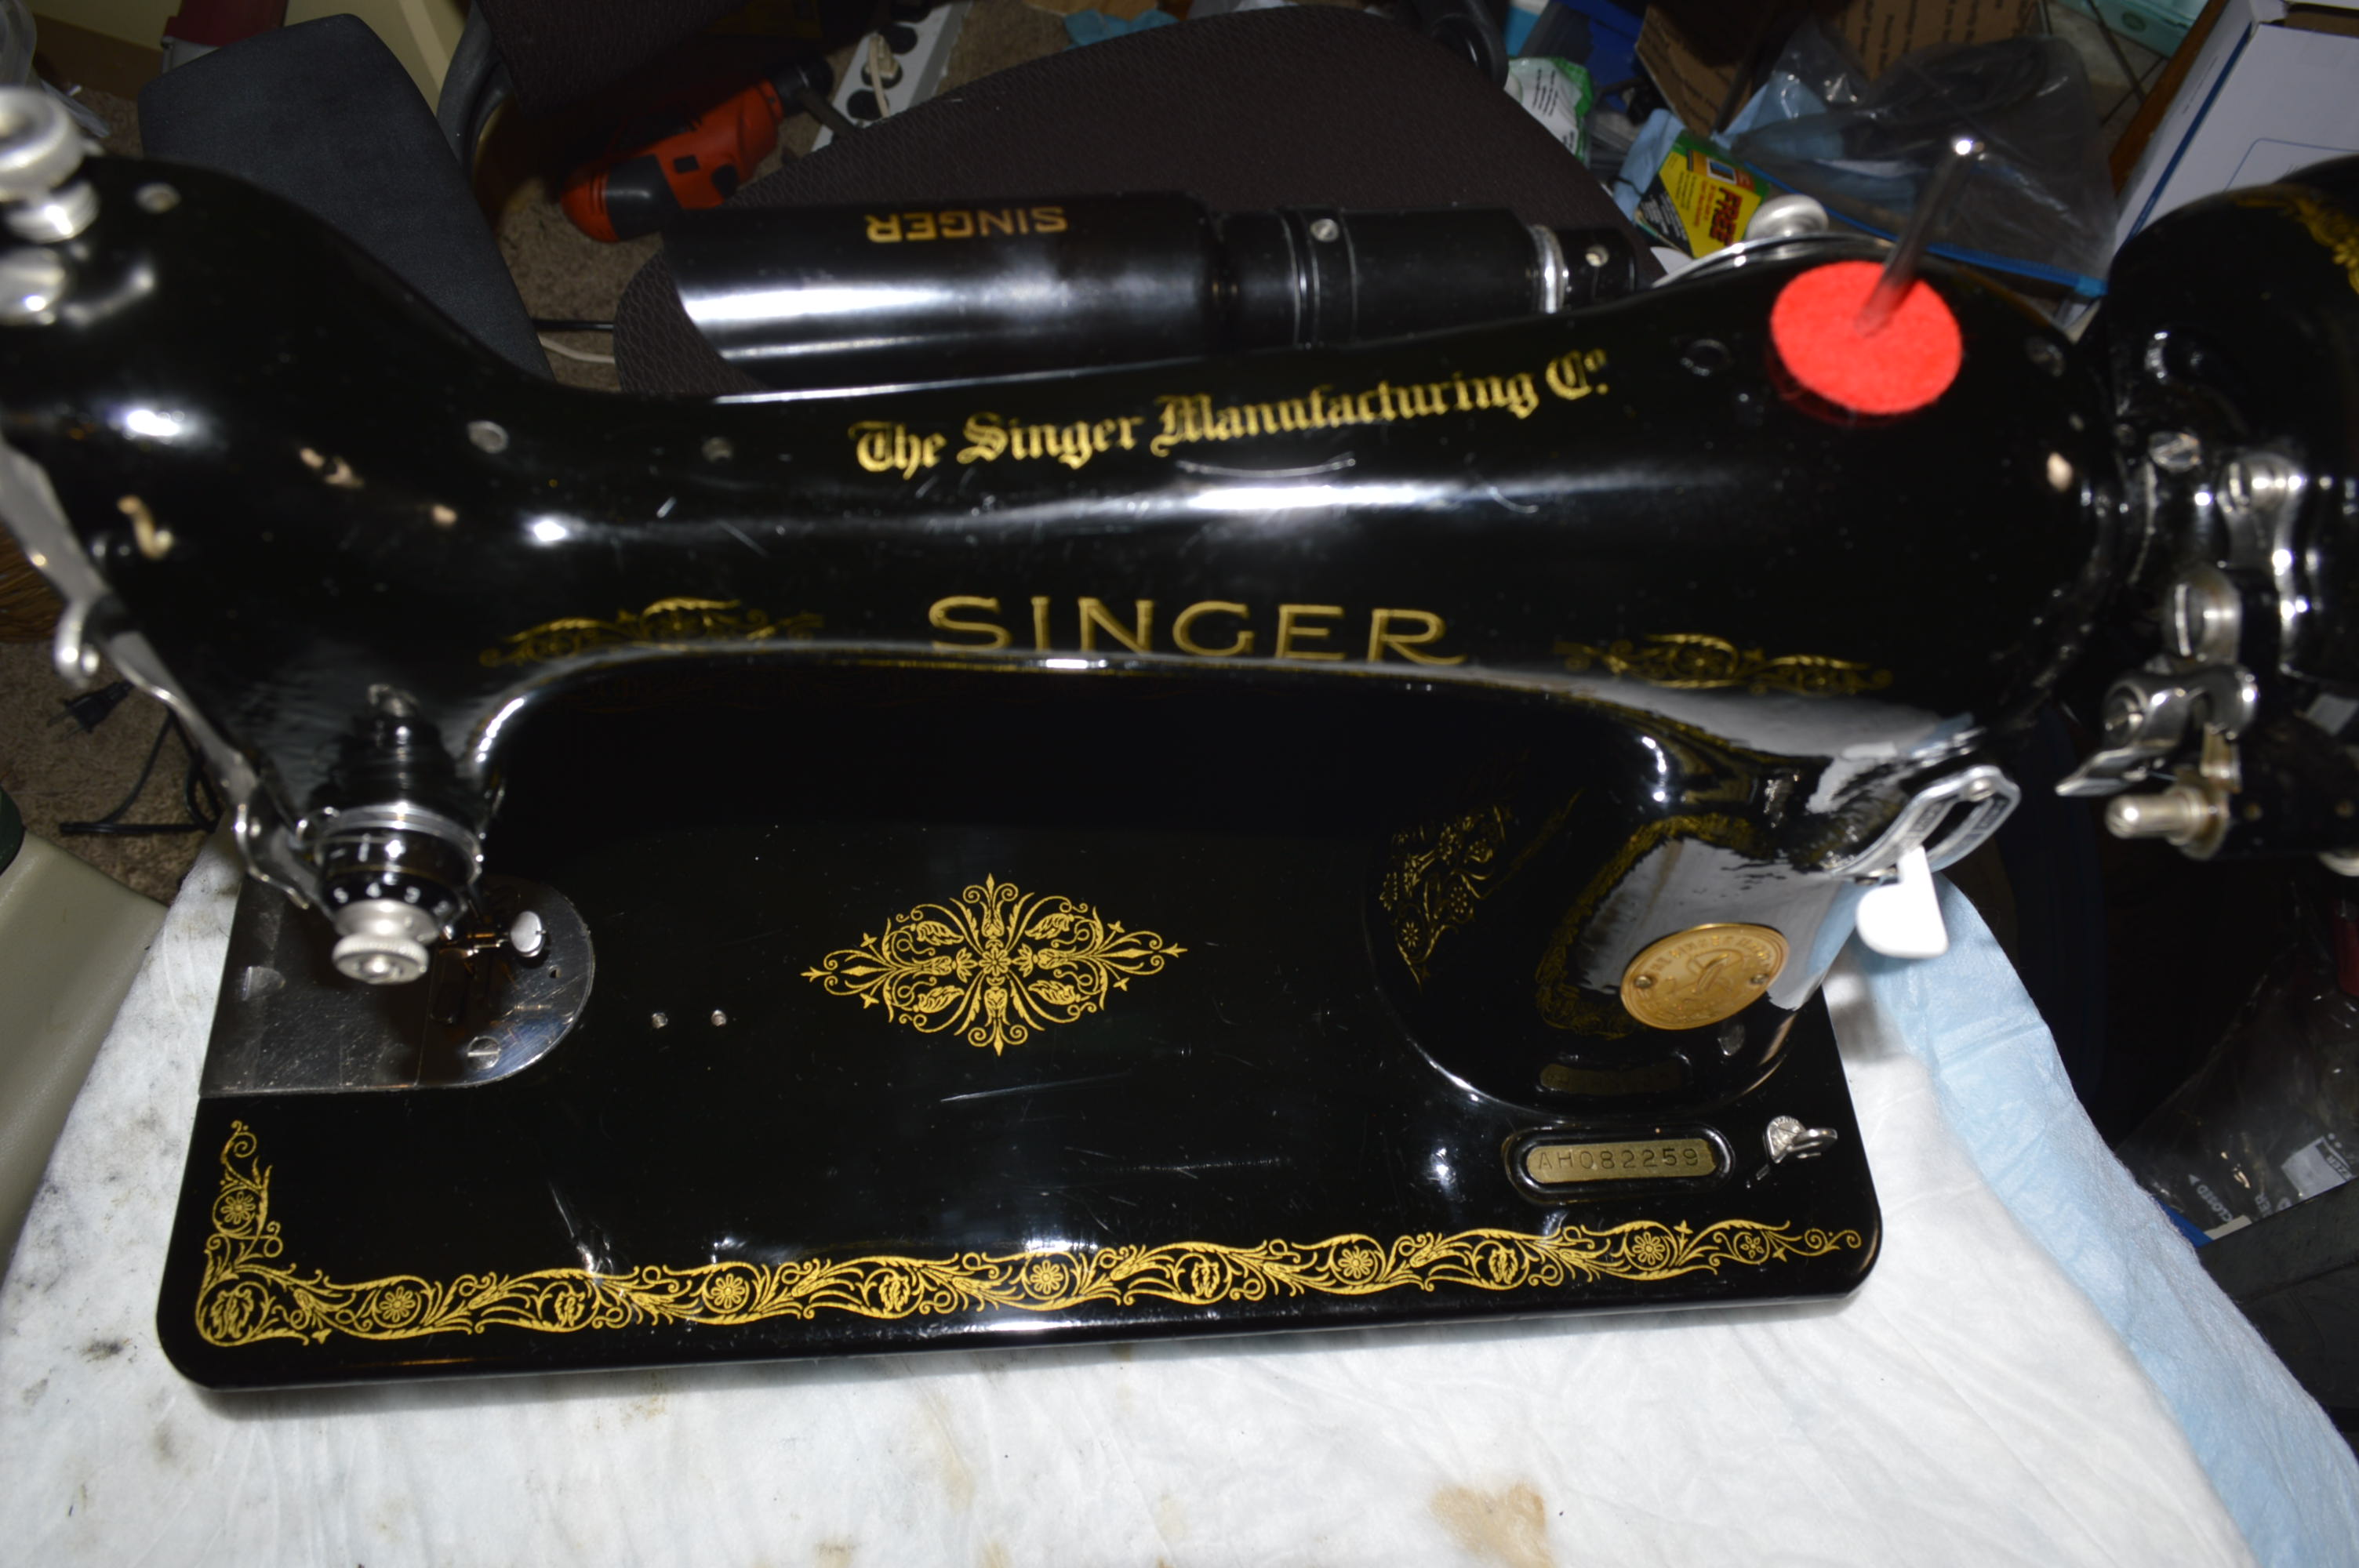
The topic here is the reconditioning of a vintage model 66 sewing machine, and I have a great example to work with. This particular machine’s serial number is AH082259 and she was born on May 9, 1947. She shares her birthday with 14,999 sisters. When I received her, she was dusty, but right away I could tell that she would be in excellent condition when the reconditioning was complete. The decals are rich gold in color and absolutely flawless over the body of the machine. The paint was in great condition with only a few shallow scratches to prove that she had been used. This is what she looked like “out of the box” after dusting with a clean paint brush. This machine is going to turn out beautiful.


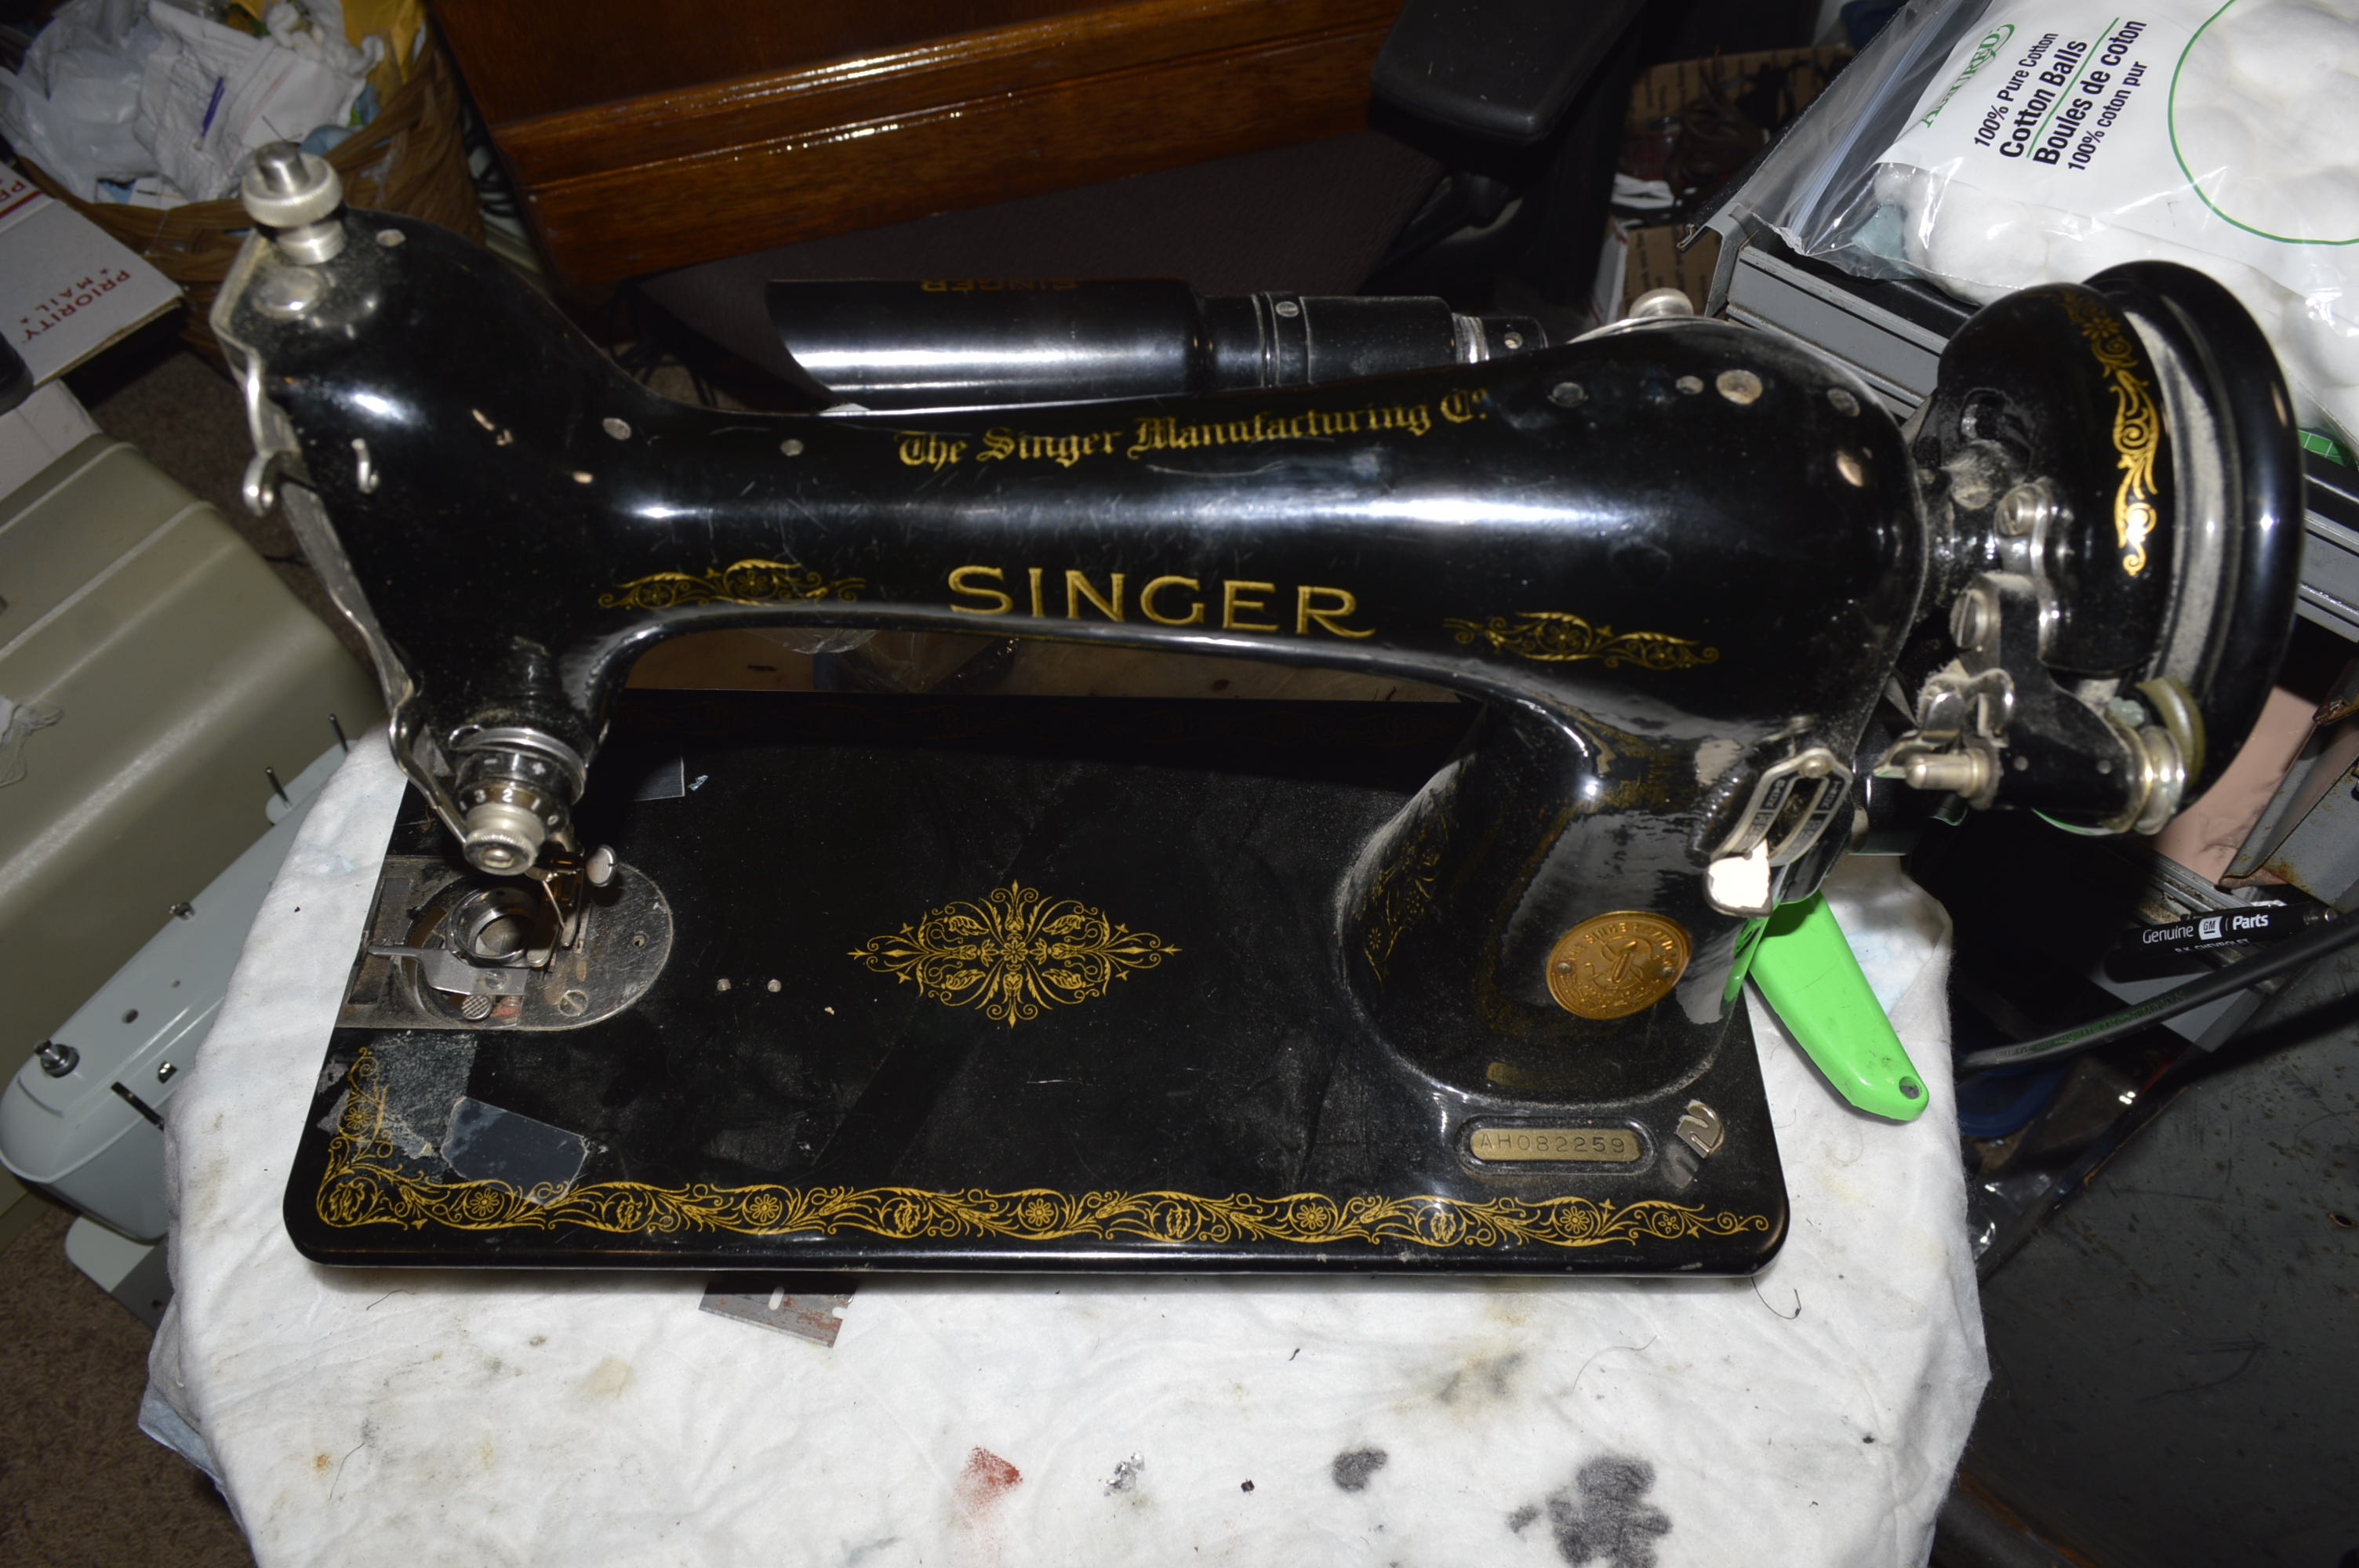
After dusting, I cleaned the body of the machine with sewing machine oil so I could inspect the shellac coating. The shellac coating is so important because it protects the decals, and tells me how deep I can go in cleaning the machine. The true potential was revealed with no more than this simple oil cleaning method.
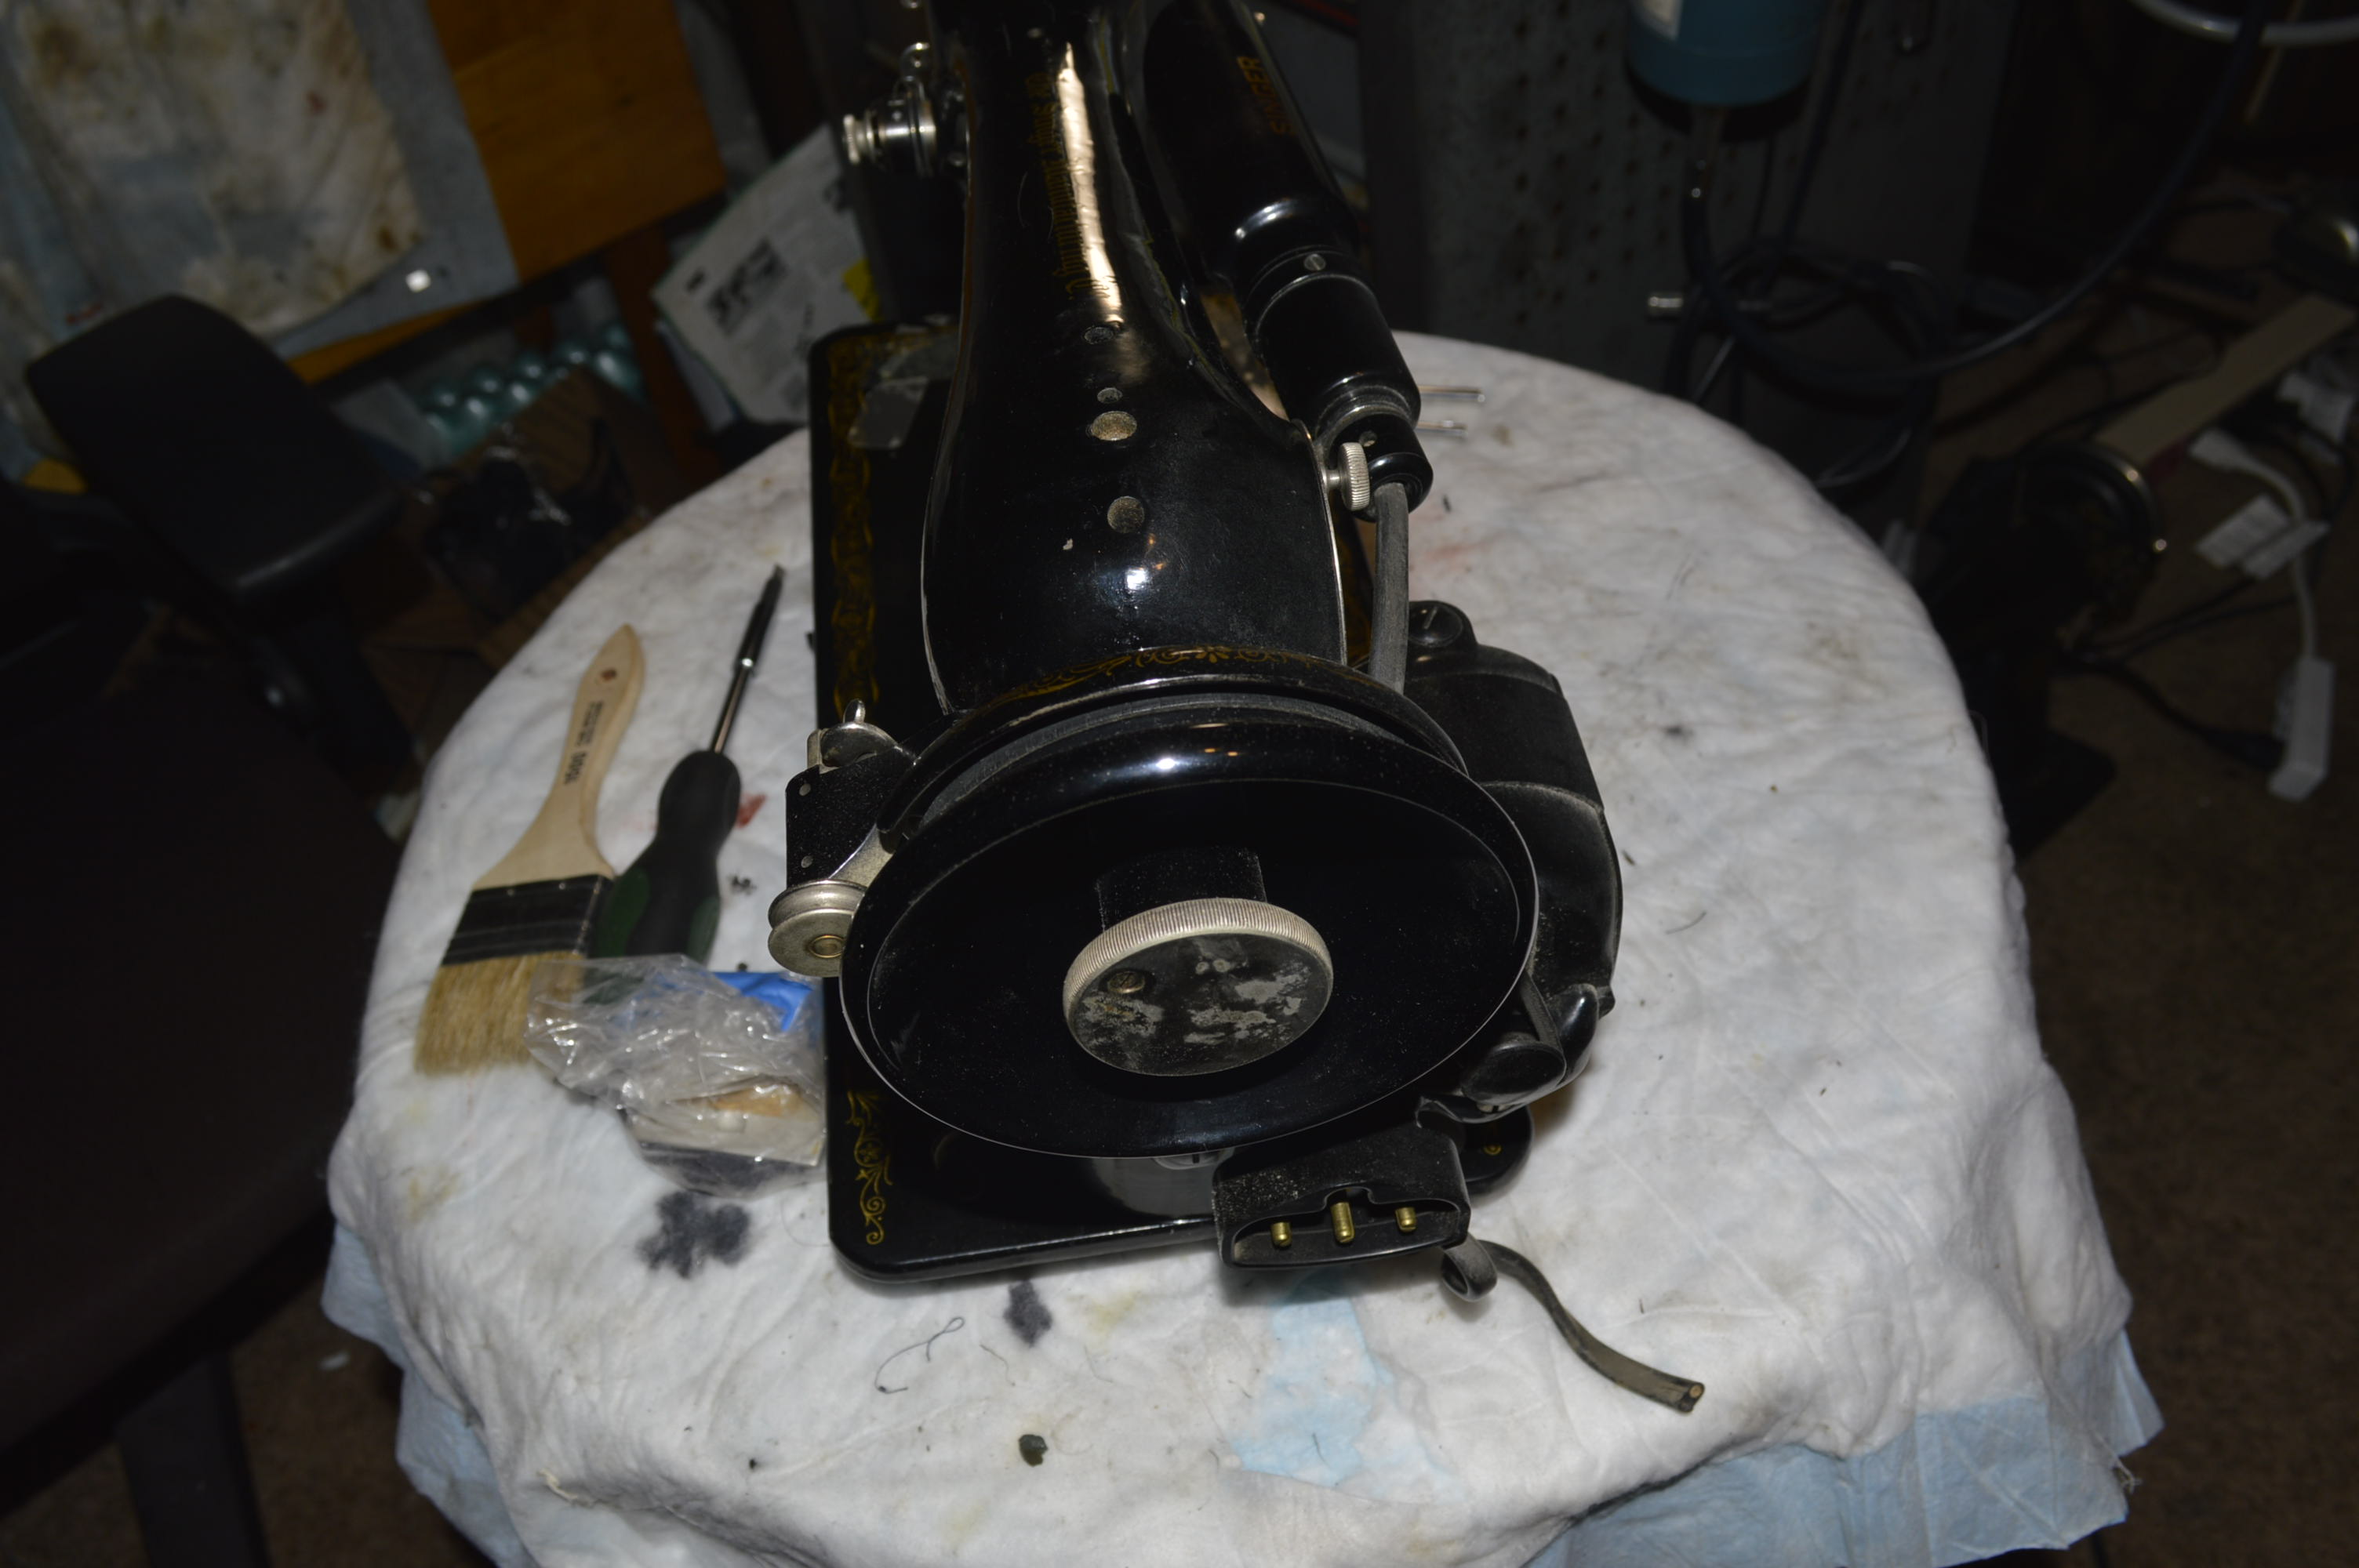
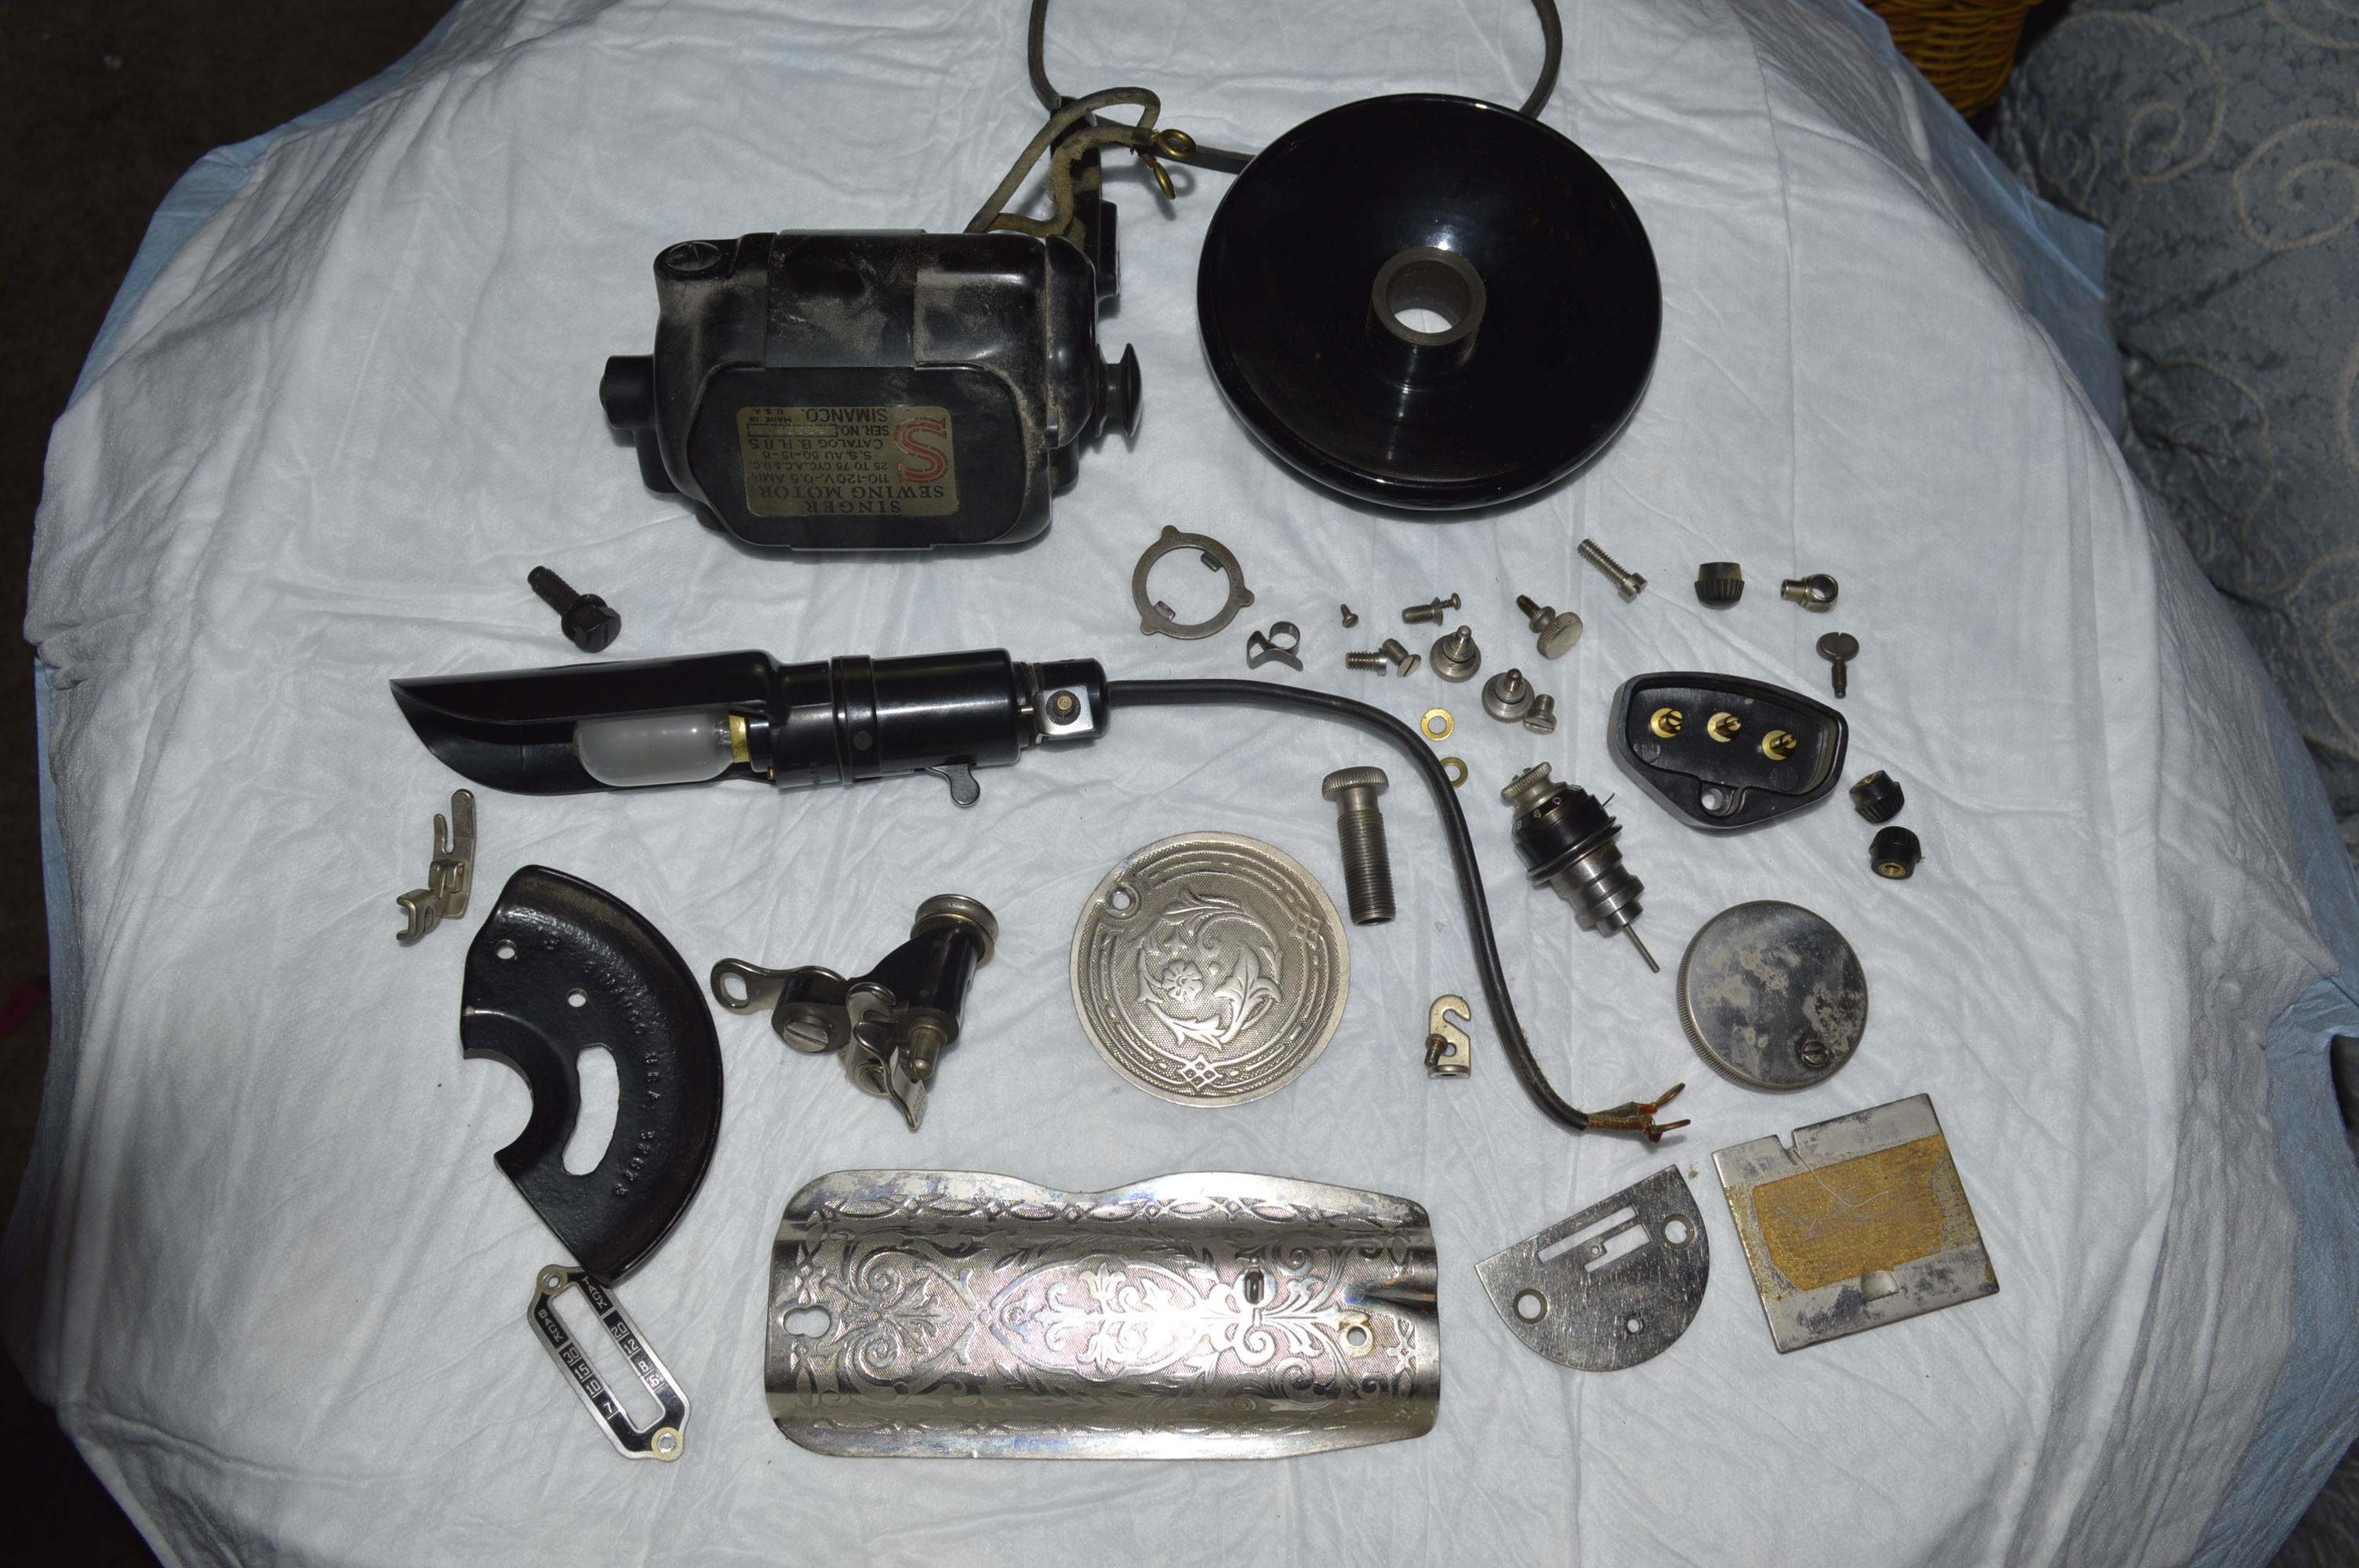
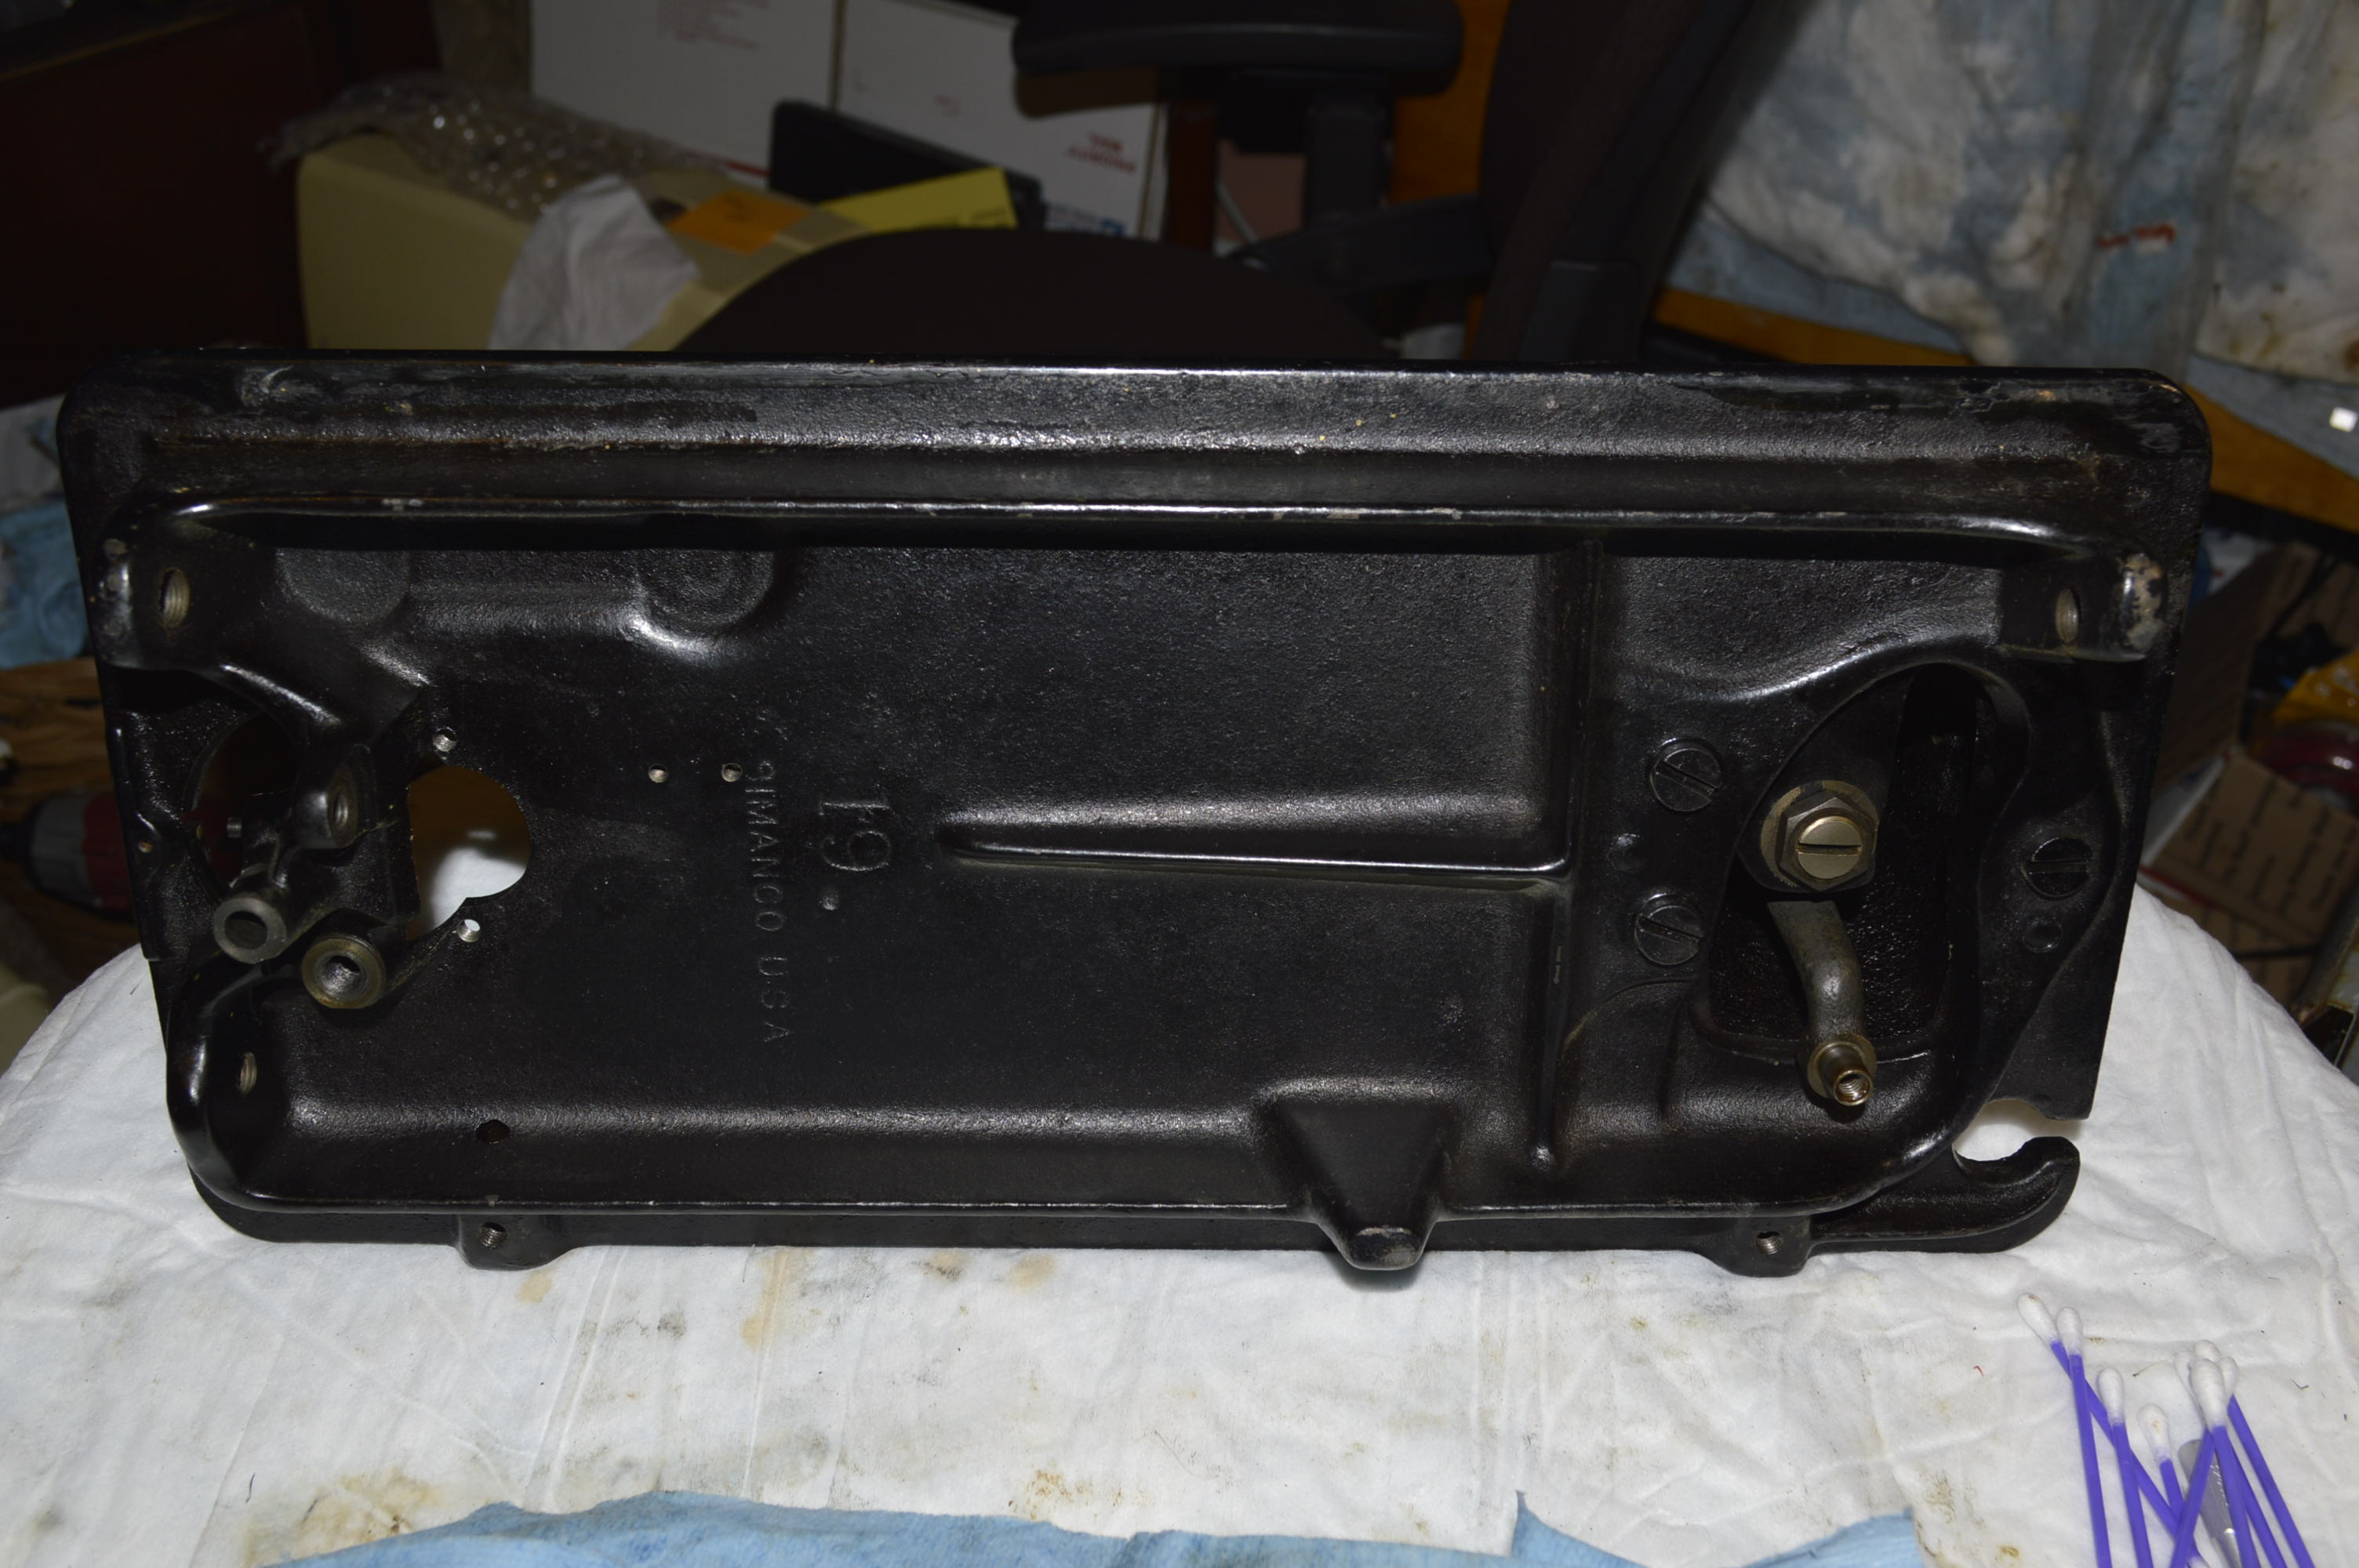
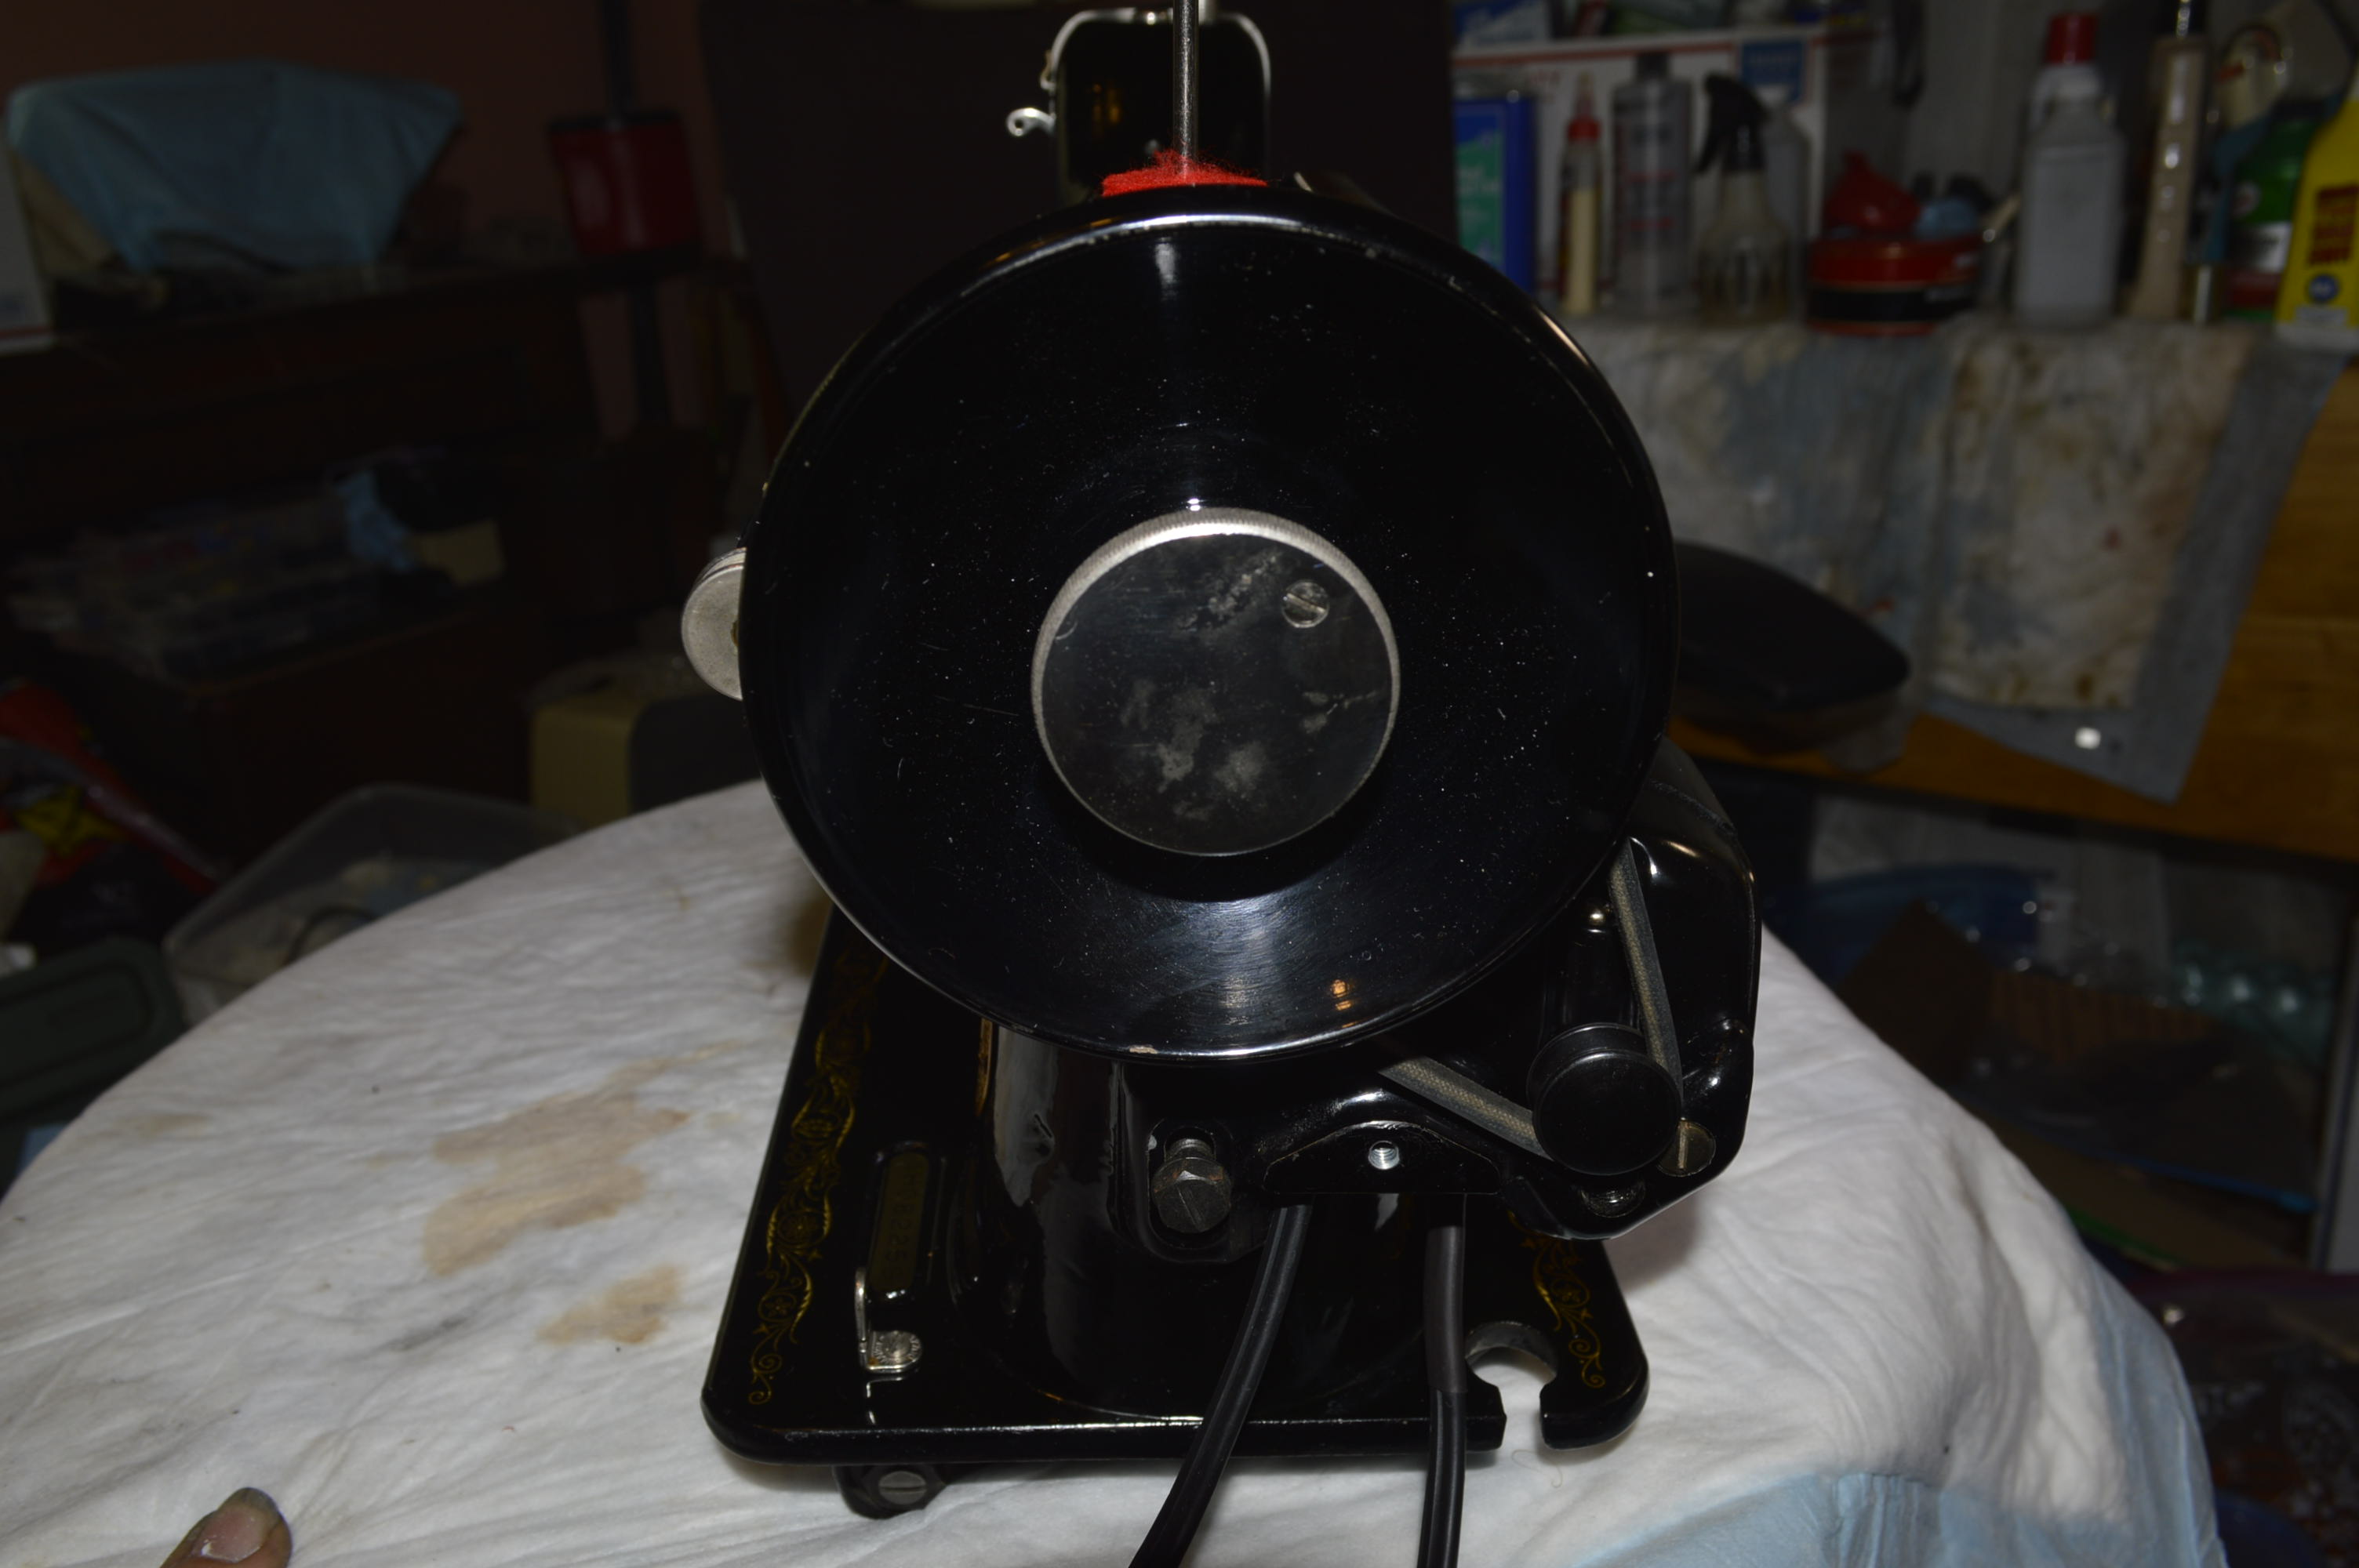
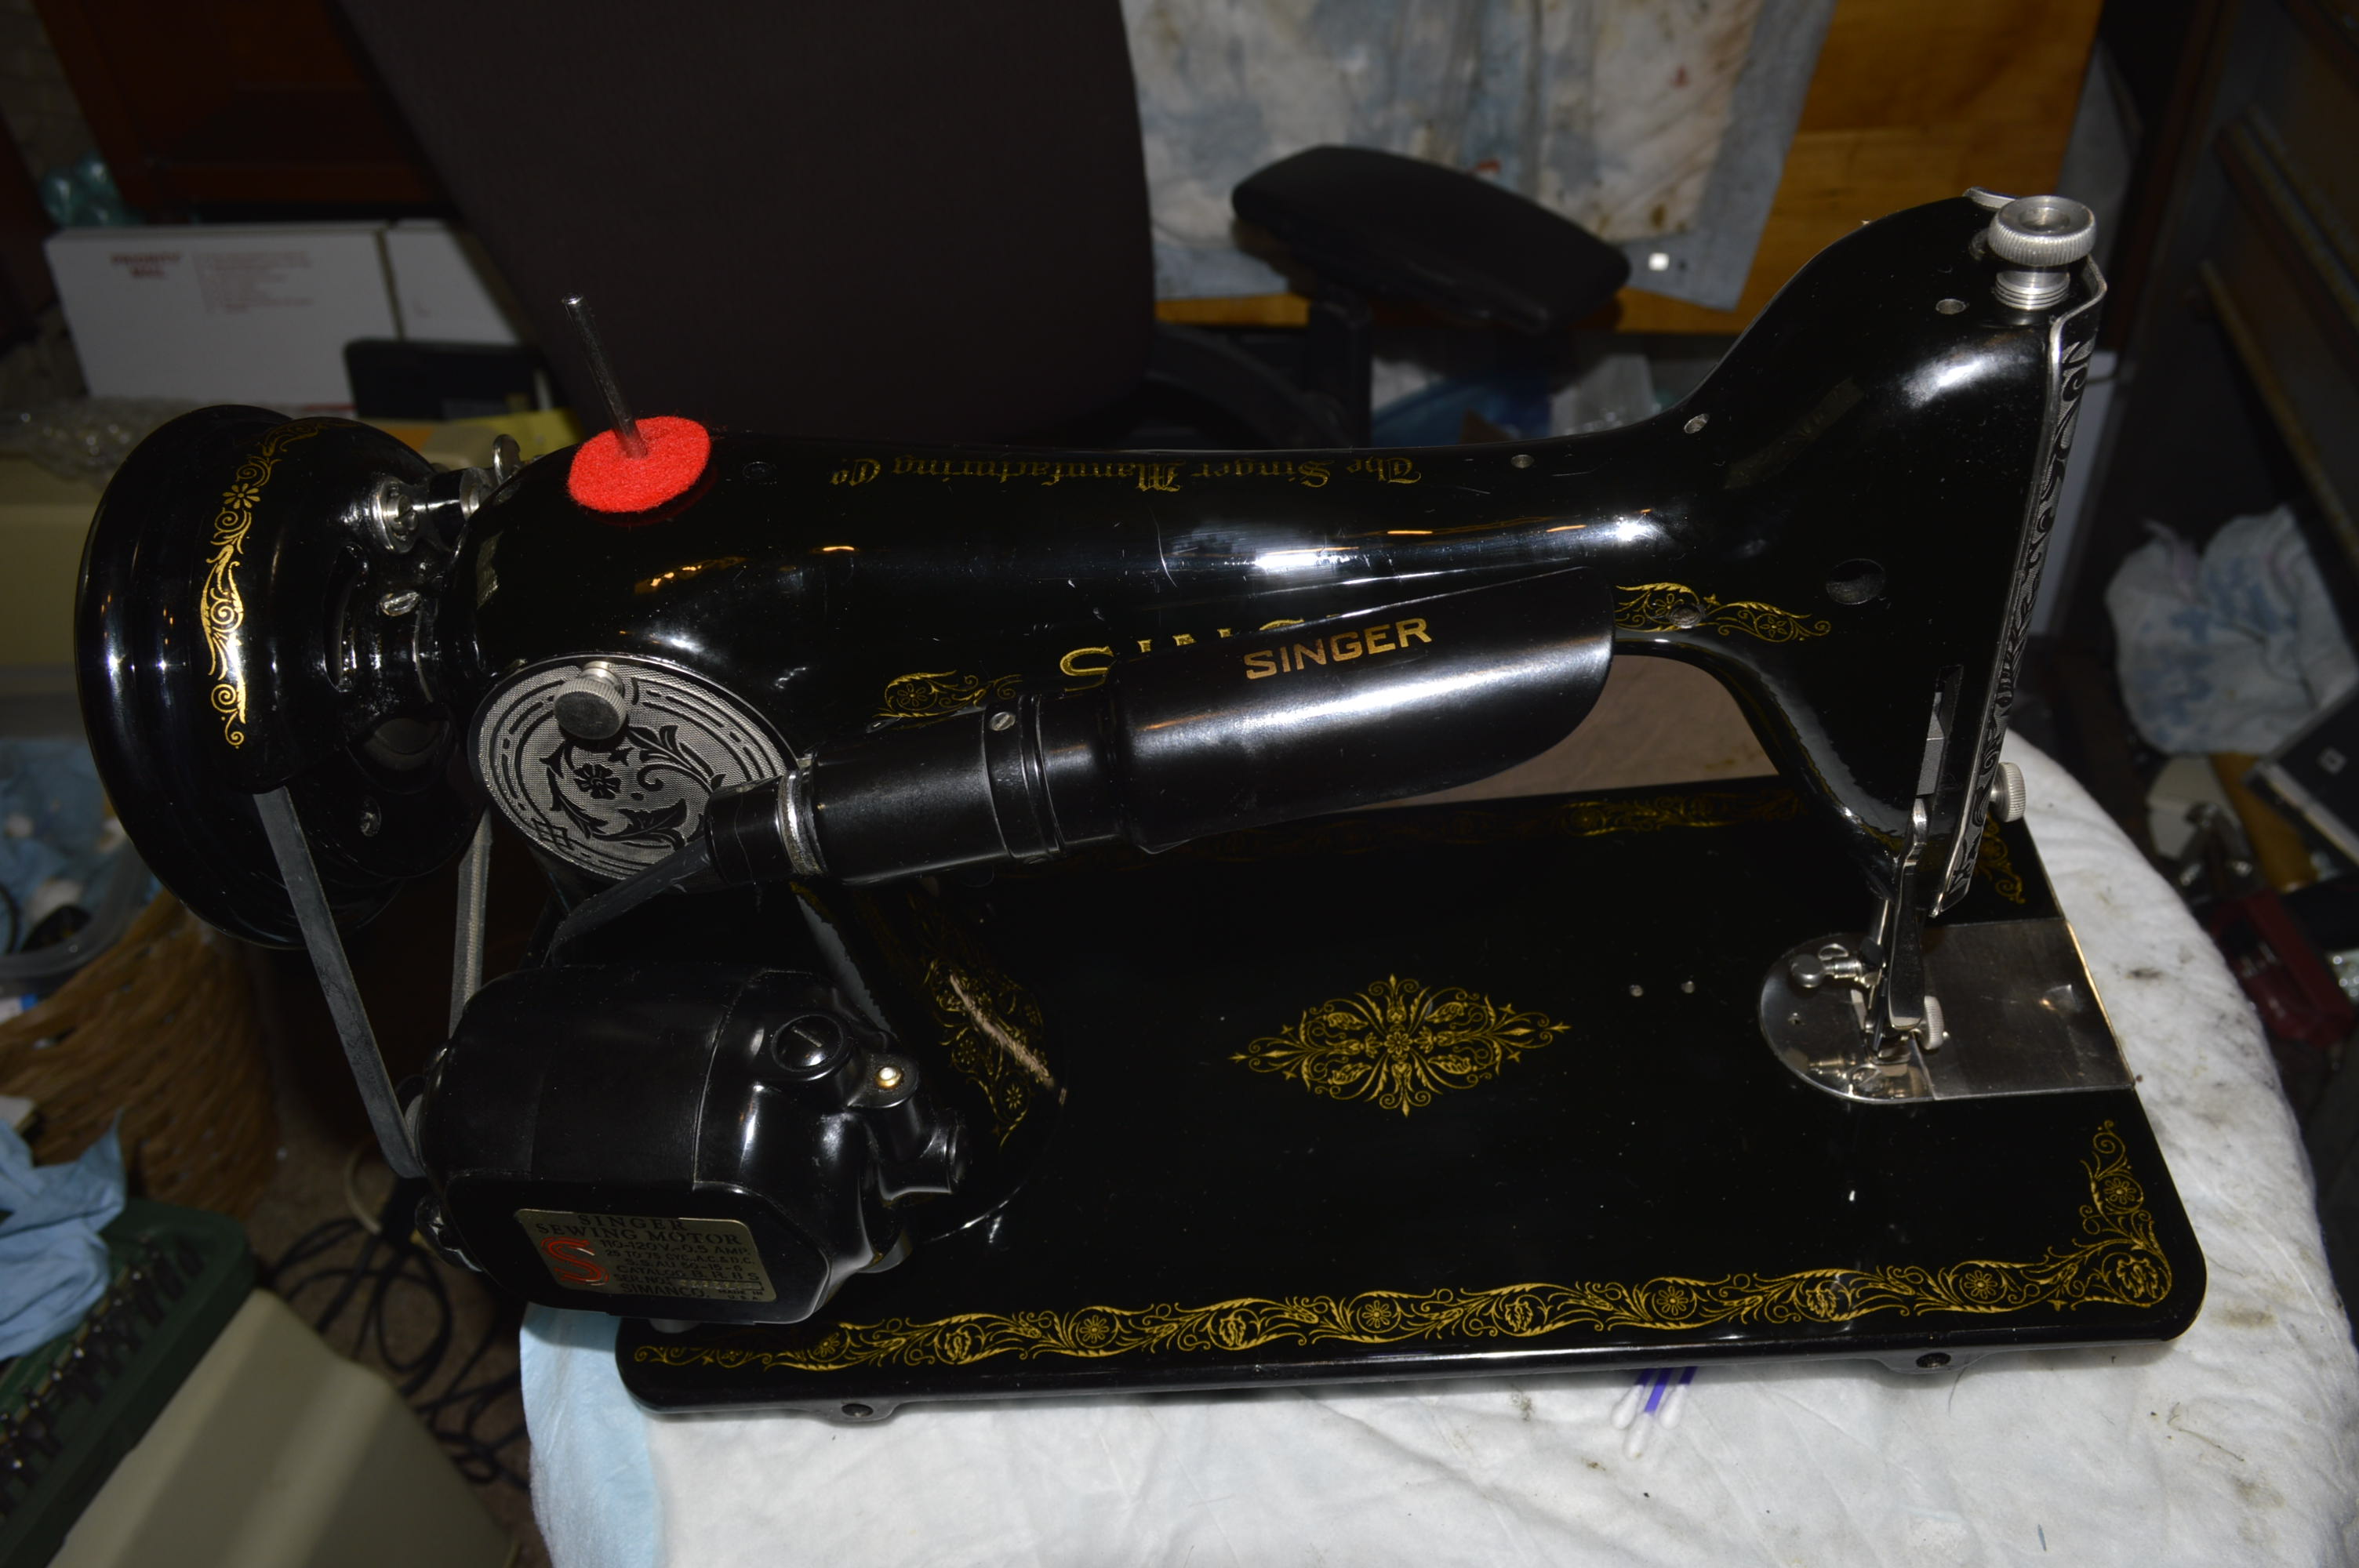
You may have noticed, but all of the plates, covers, the bobbin winder, the bobbin winder guide, the balance wheel, and the motor was removed before cleaning. This machine is getting an extensive reconditioning, and it is easier to clean if I get all of this stuff out of the way. It makes cleaning the body so much easier. Except for the tape residue on the paint, you might ask, why clean it any further? Well, It does look great, but there is more potential left in getting that beautiful finish that these vintage black lacquered Singers are coveted for. These are the parts removed laid out for cleaning and reconditioning.
The tape residue was a job in itself. Actually, it was two types of tape… scotch tape, and masking tape. The scotch tape comes off easily with a little WD-40 and gentle scraping with a finger nail. The masking tape is another story. I don’t know what they made that stuff with back in the day, but it was not easy to remove. After time, patience, and a lot of scraping and rubbing with cotton balls, the tape was gone and the finish below is perfect.
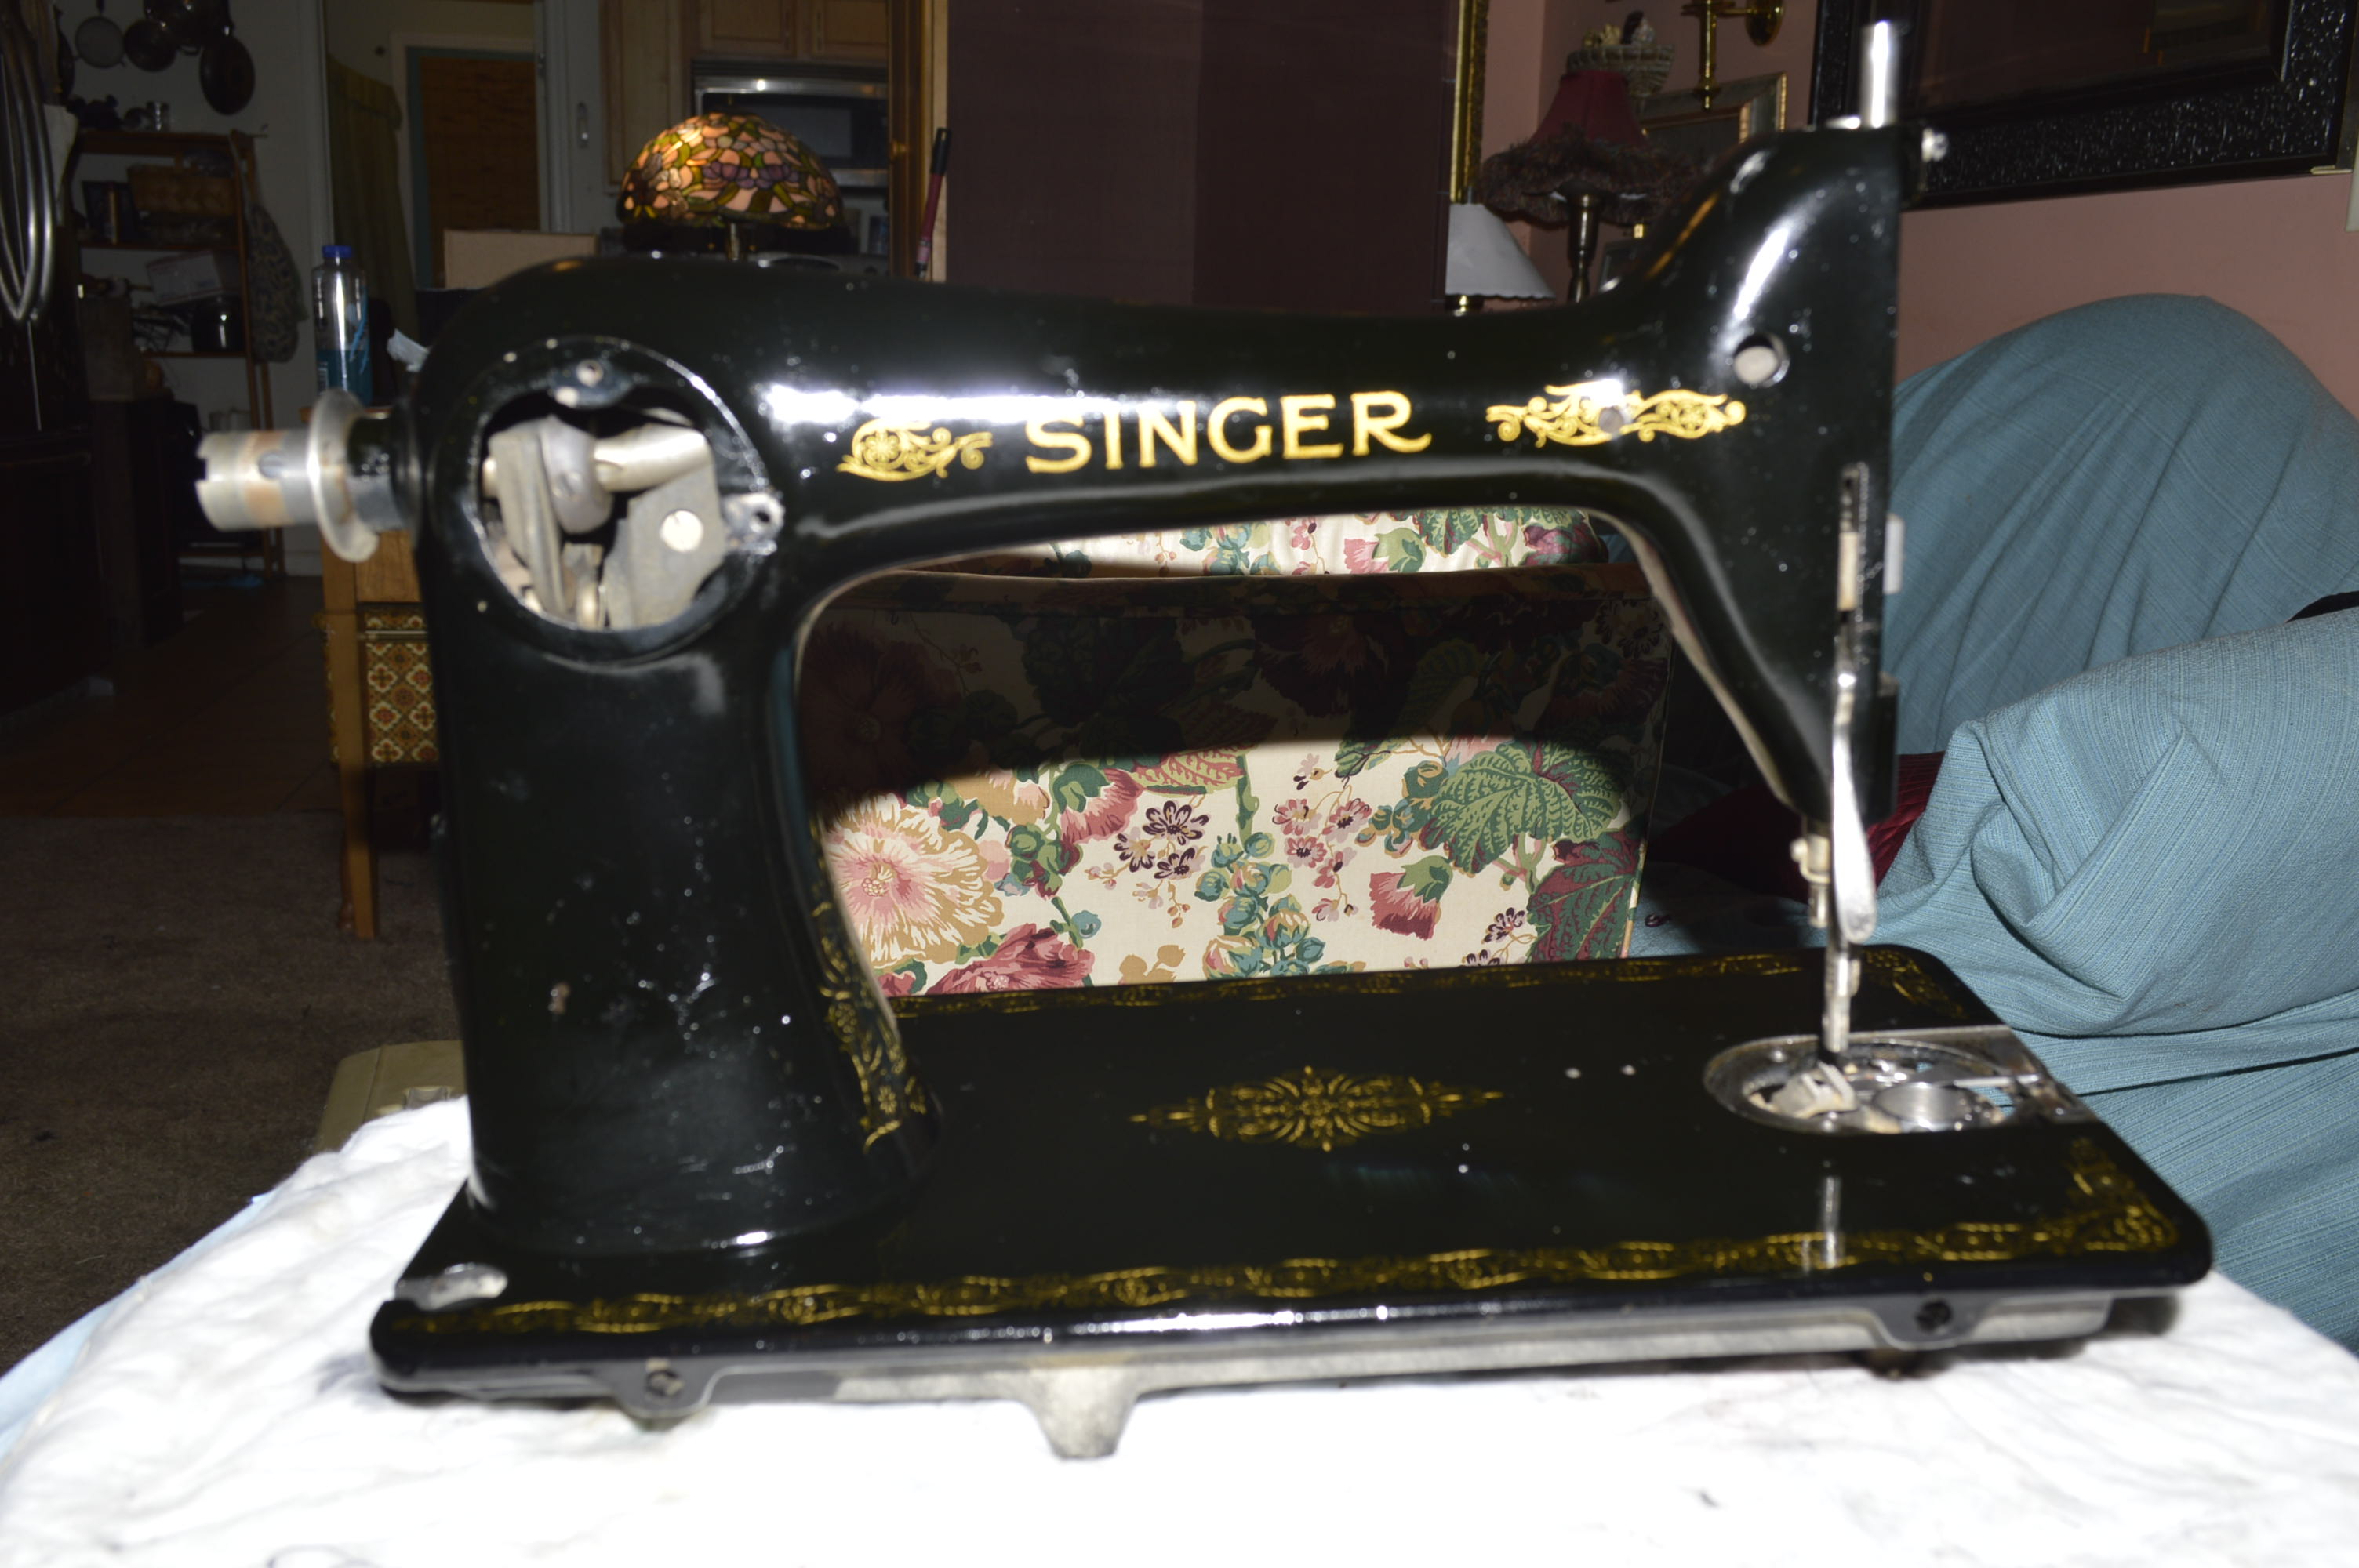
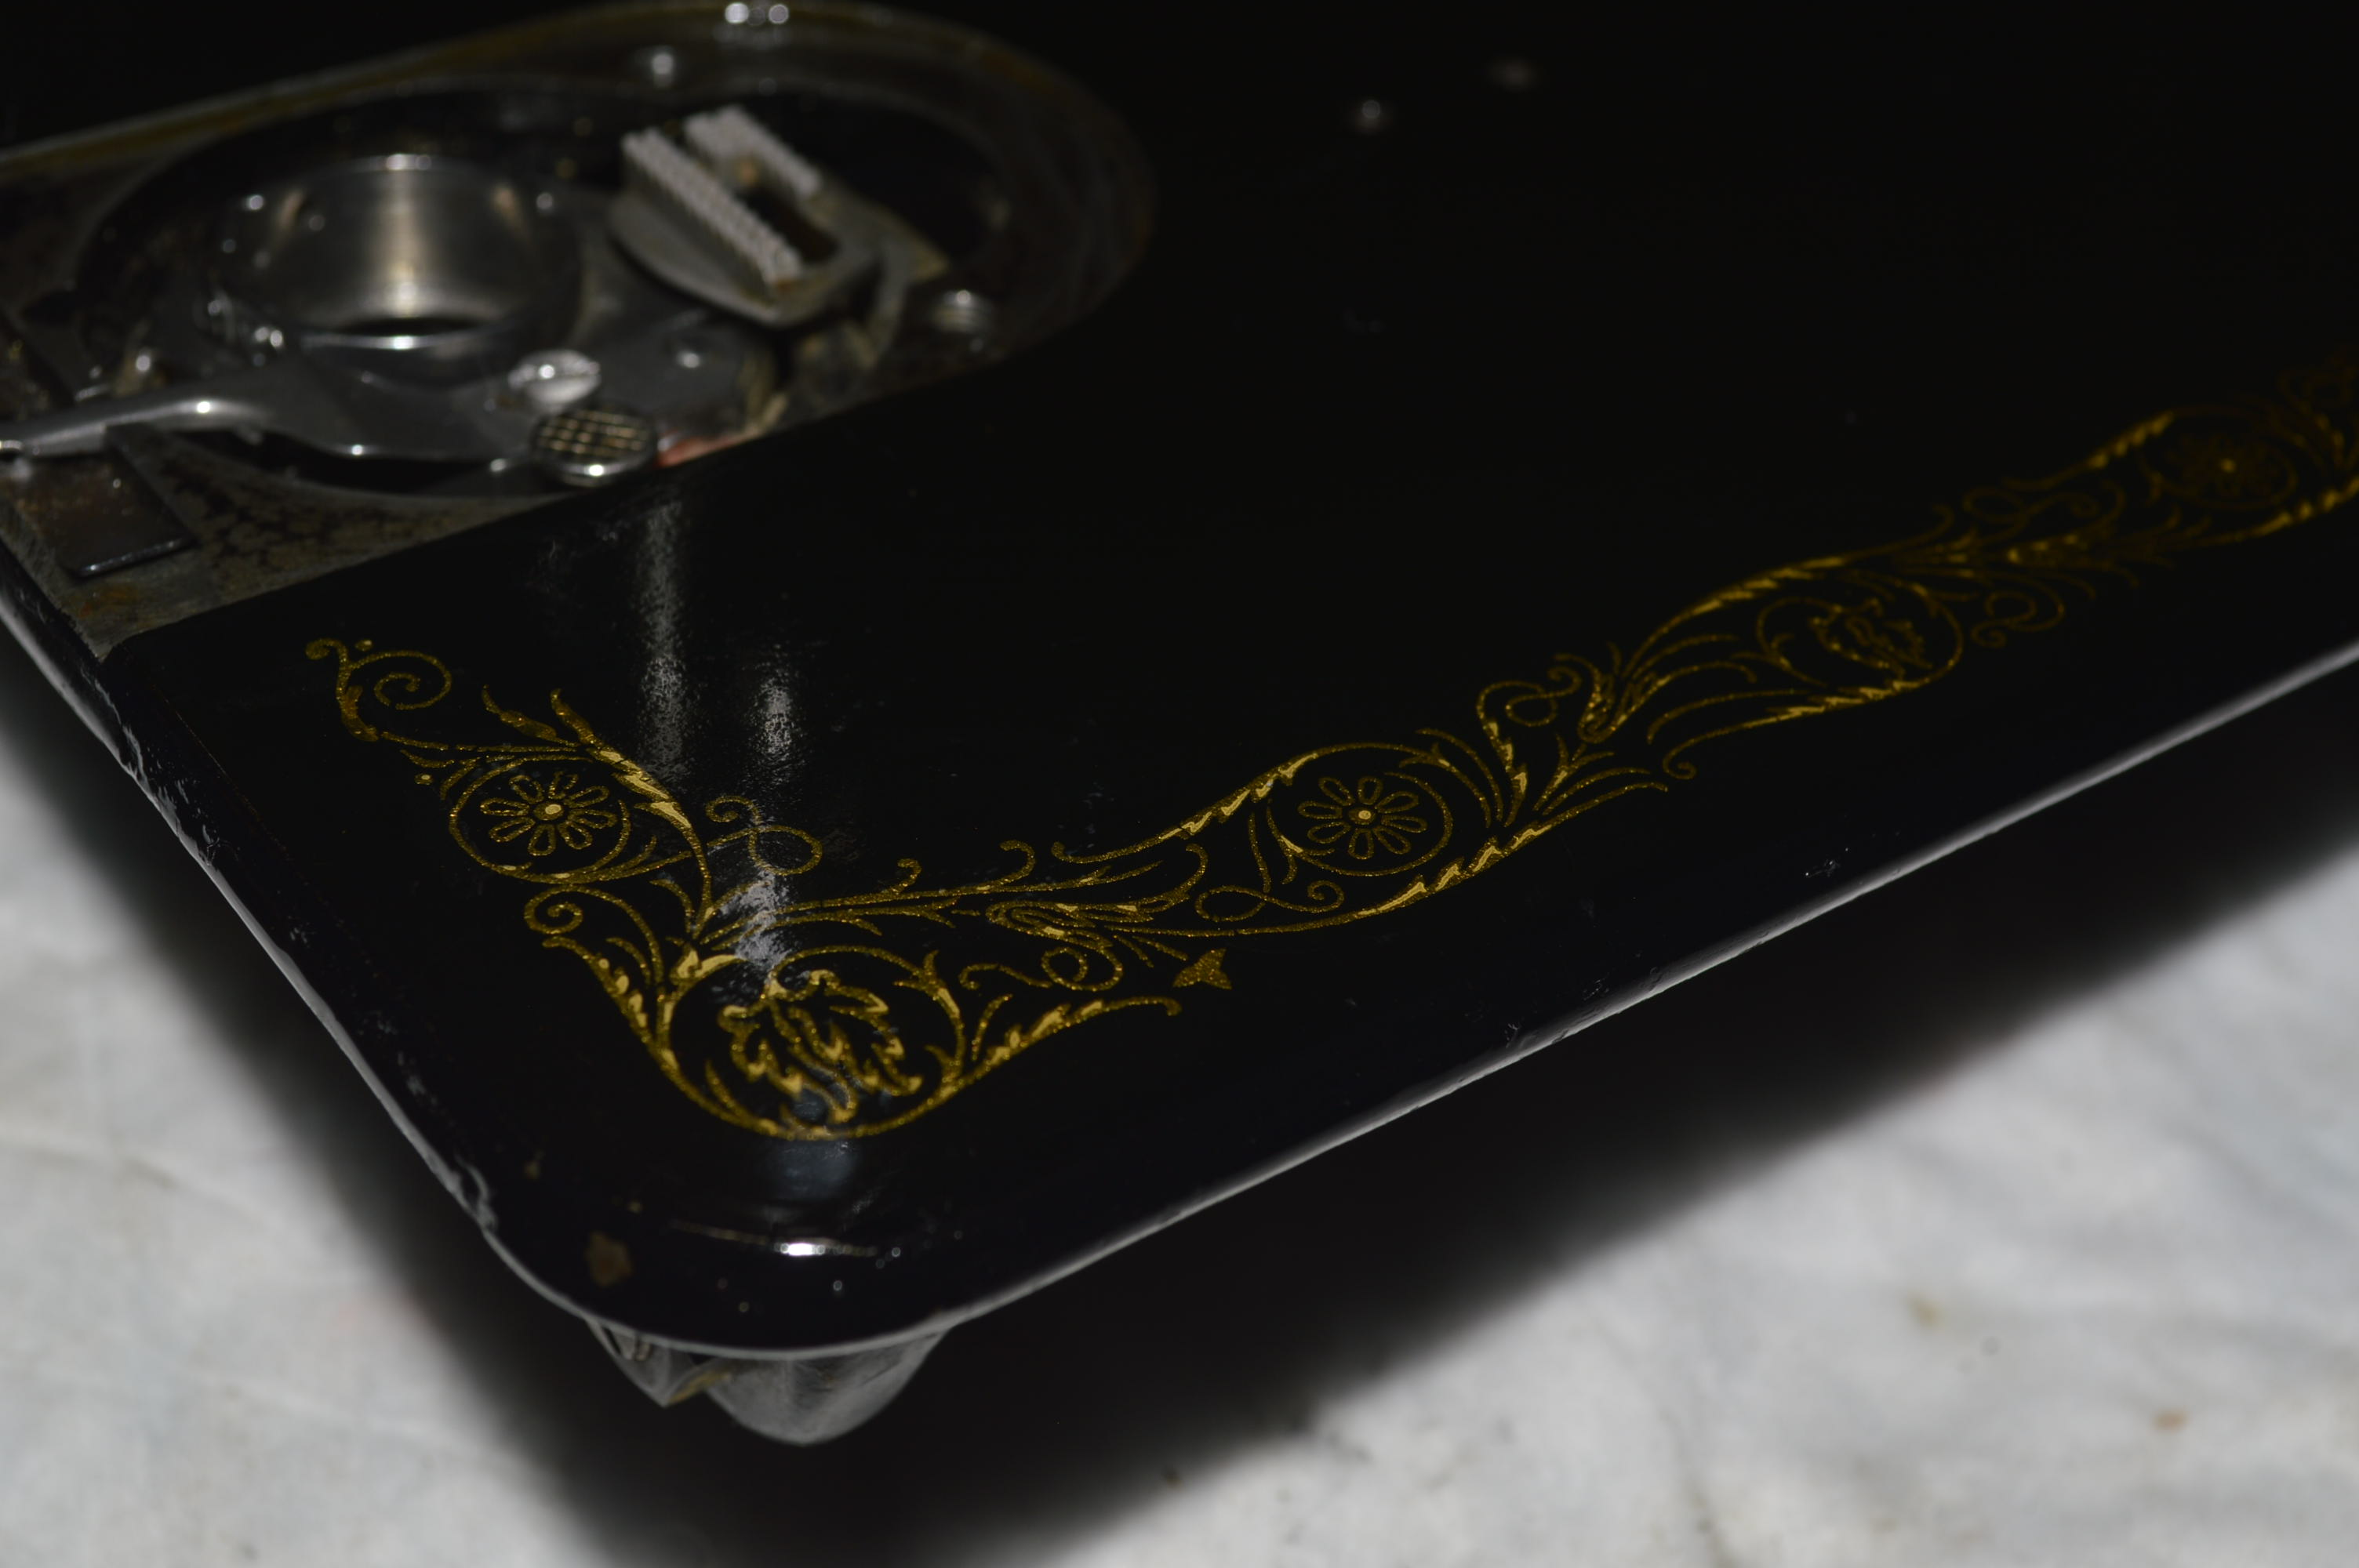
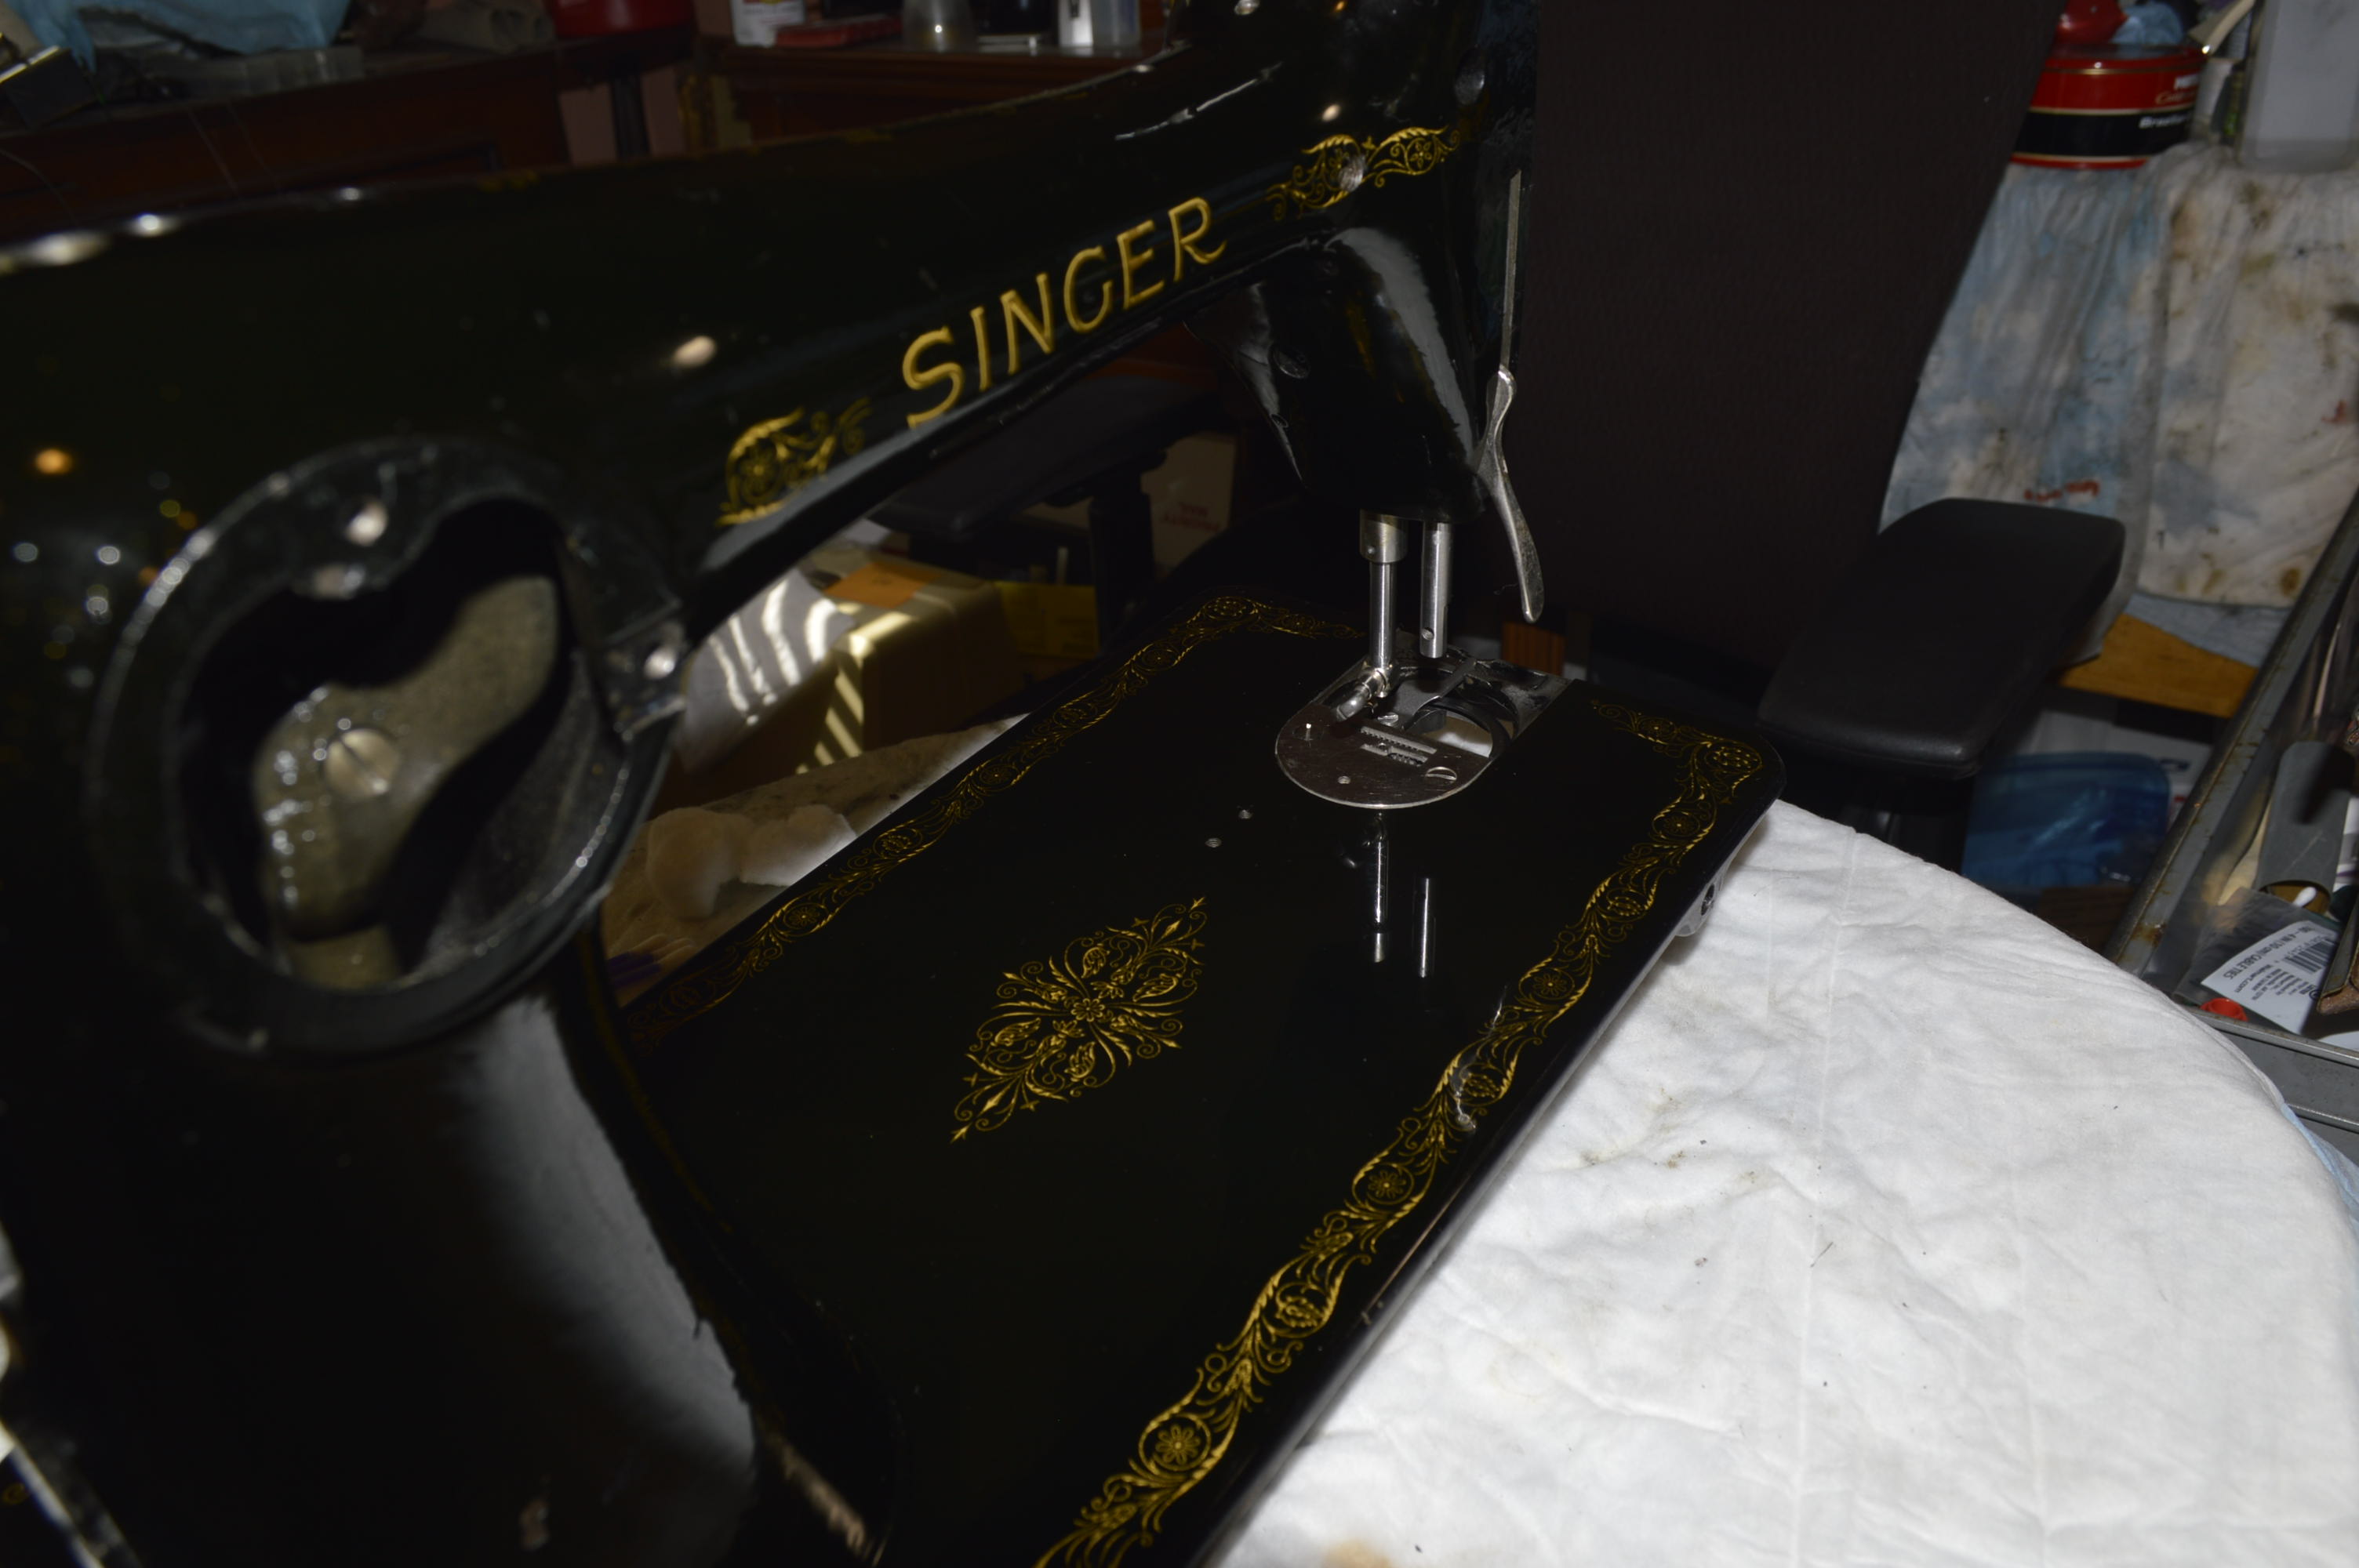
Using a flashlight to inspect the surface, I noted the machine had a uniform green hue over the entire body of the machine. This tells me that the shellac coating is intact and the decals well protected for more deep cleaning.
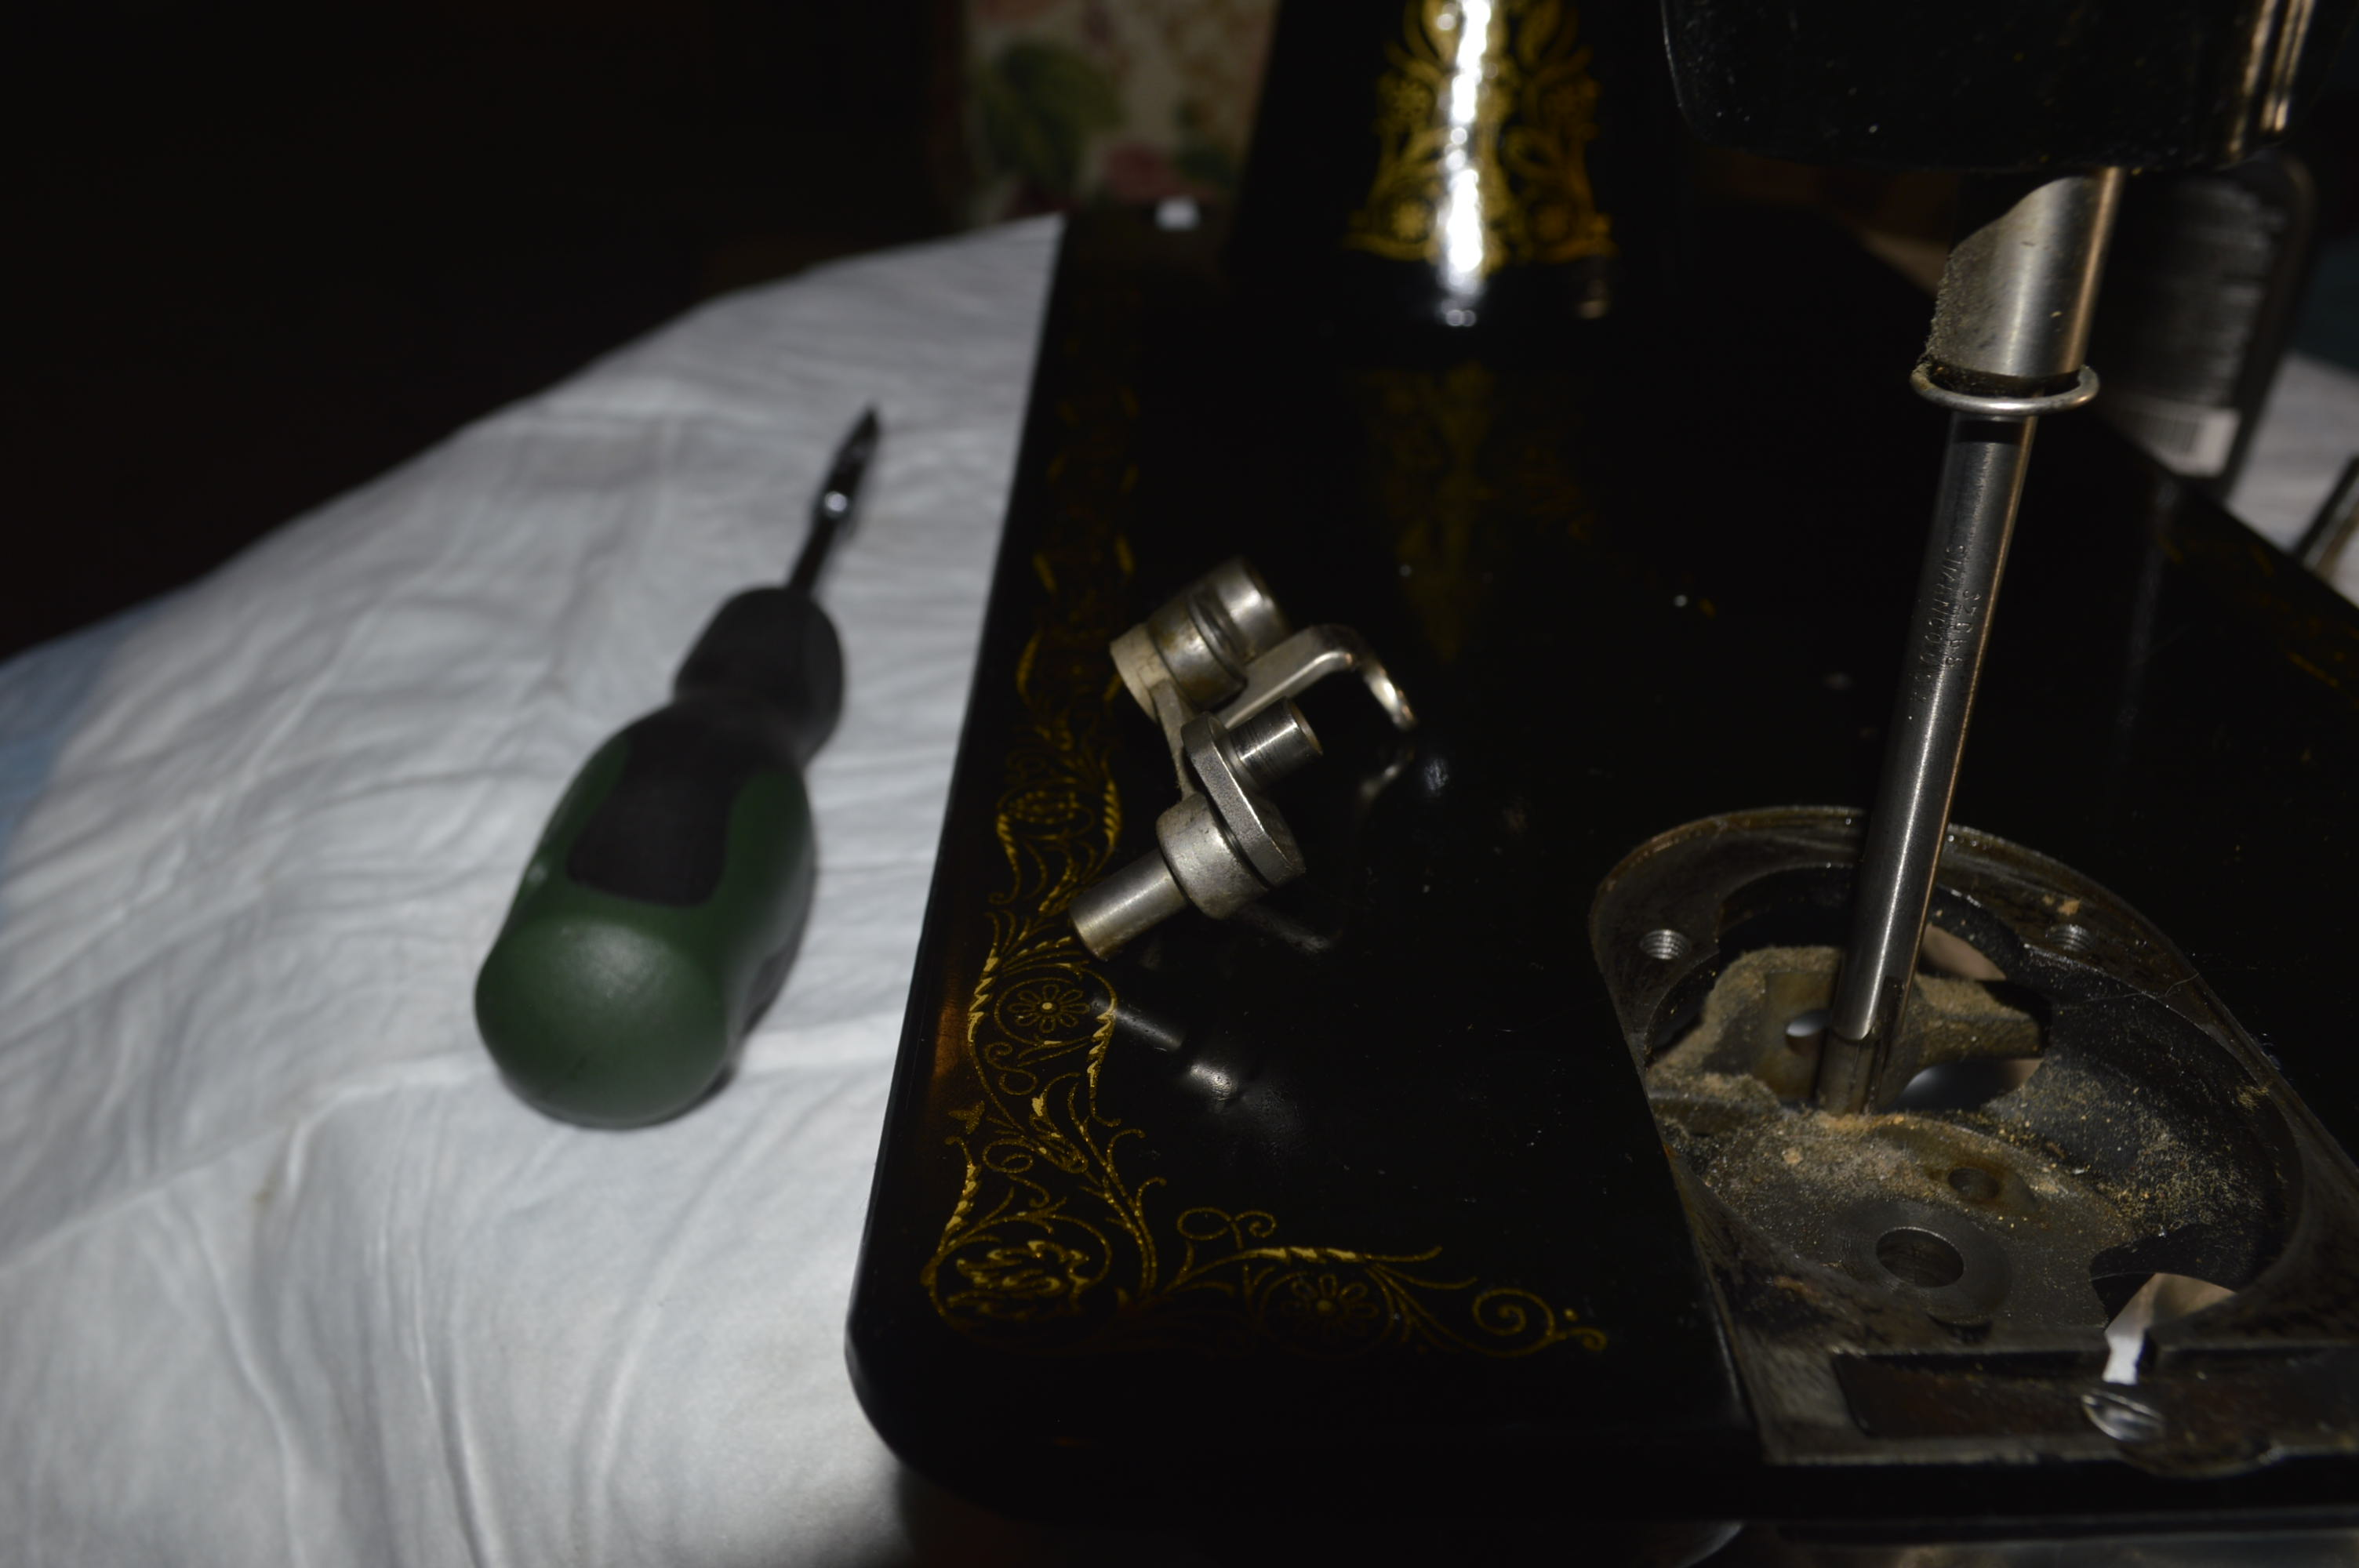
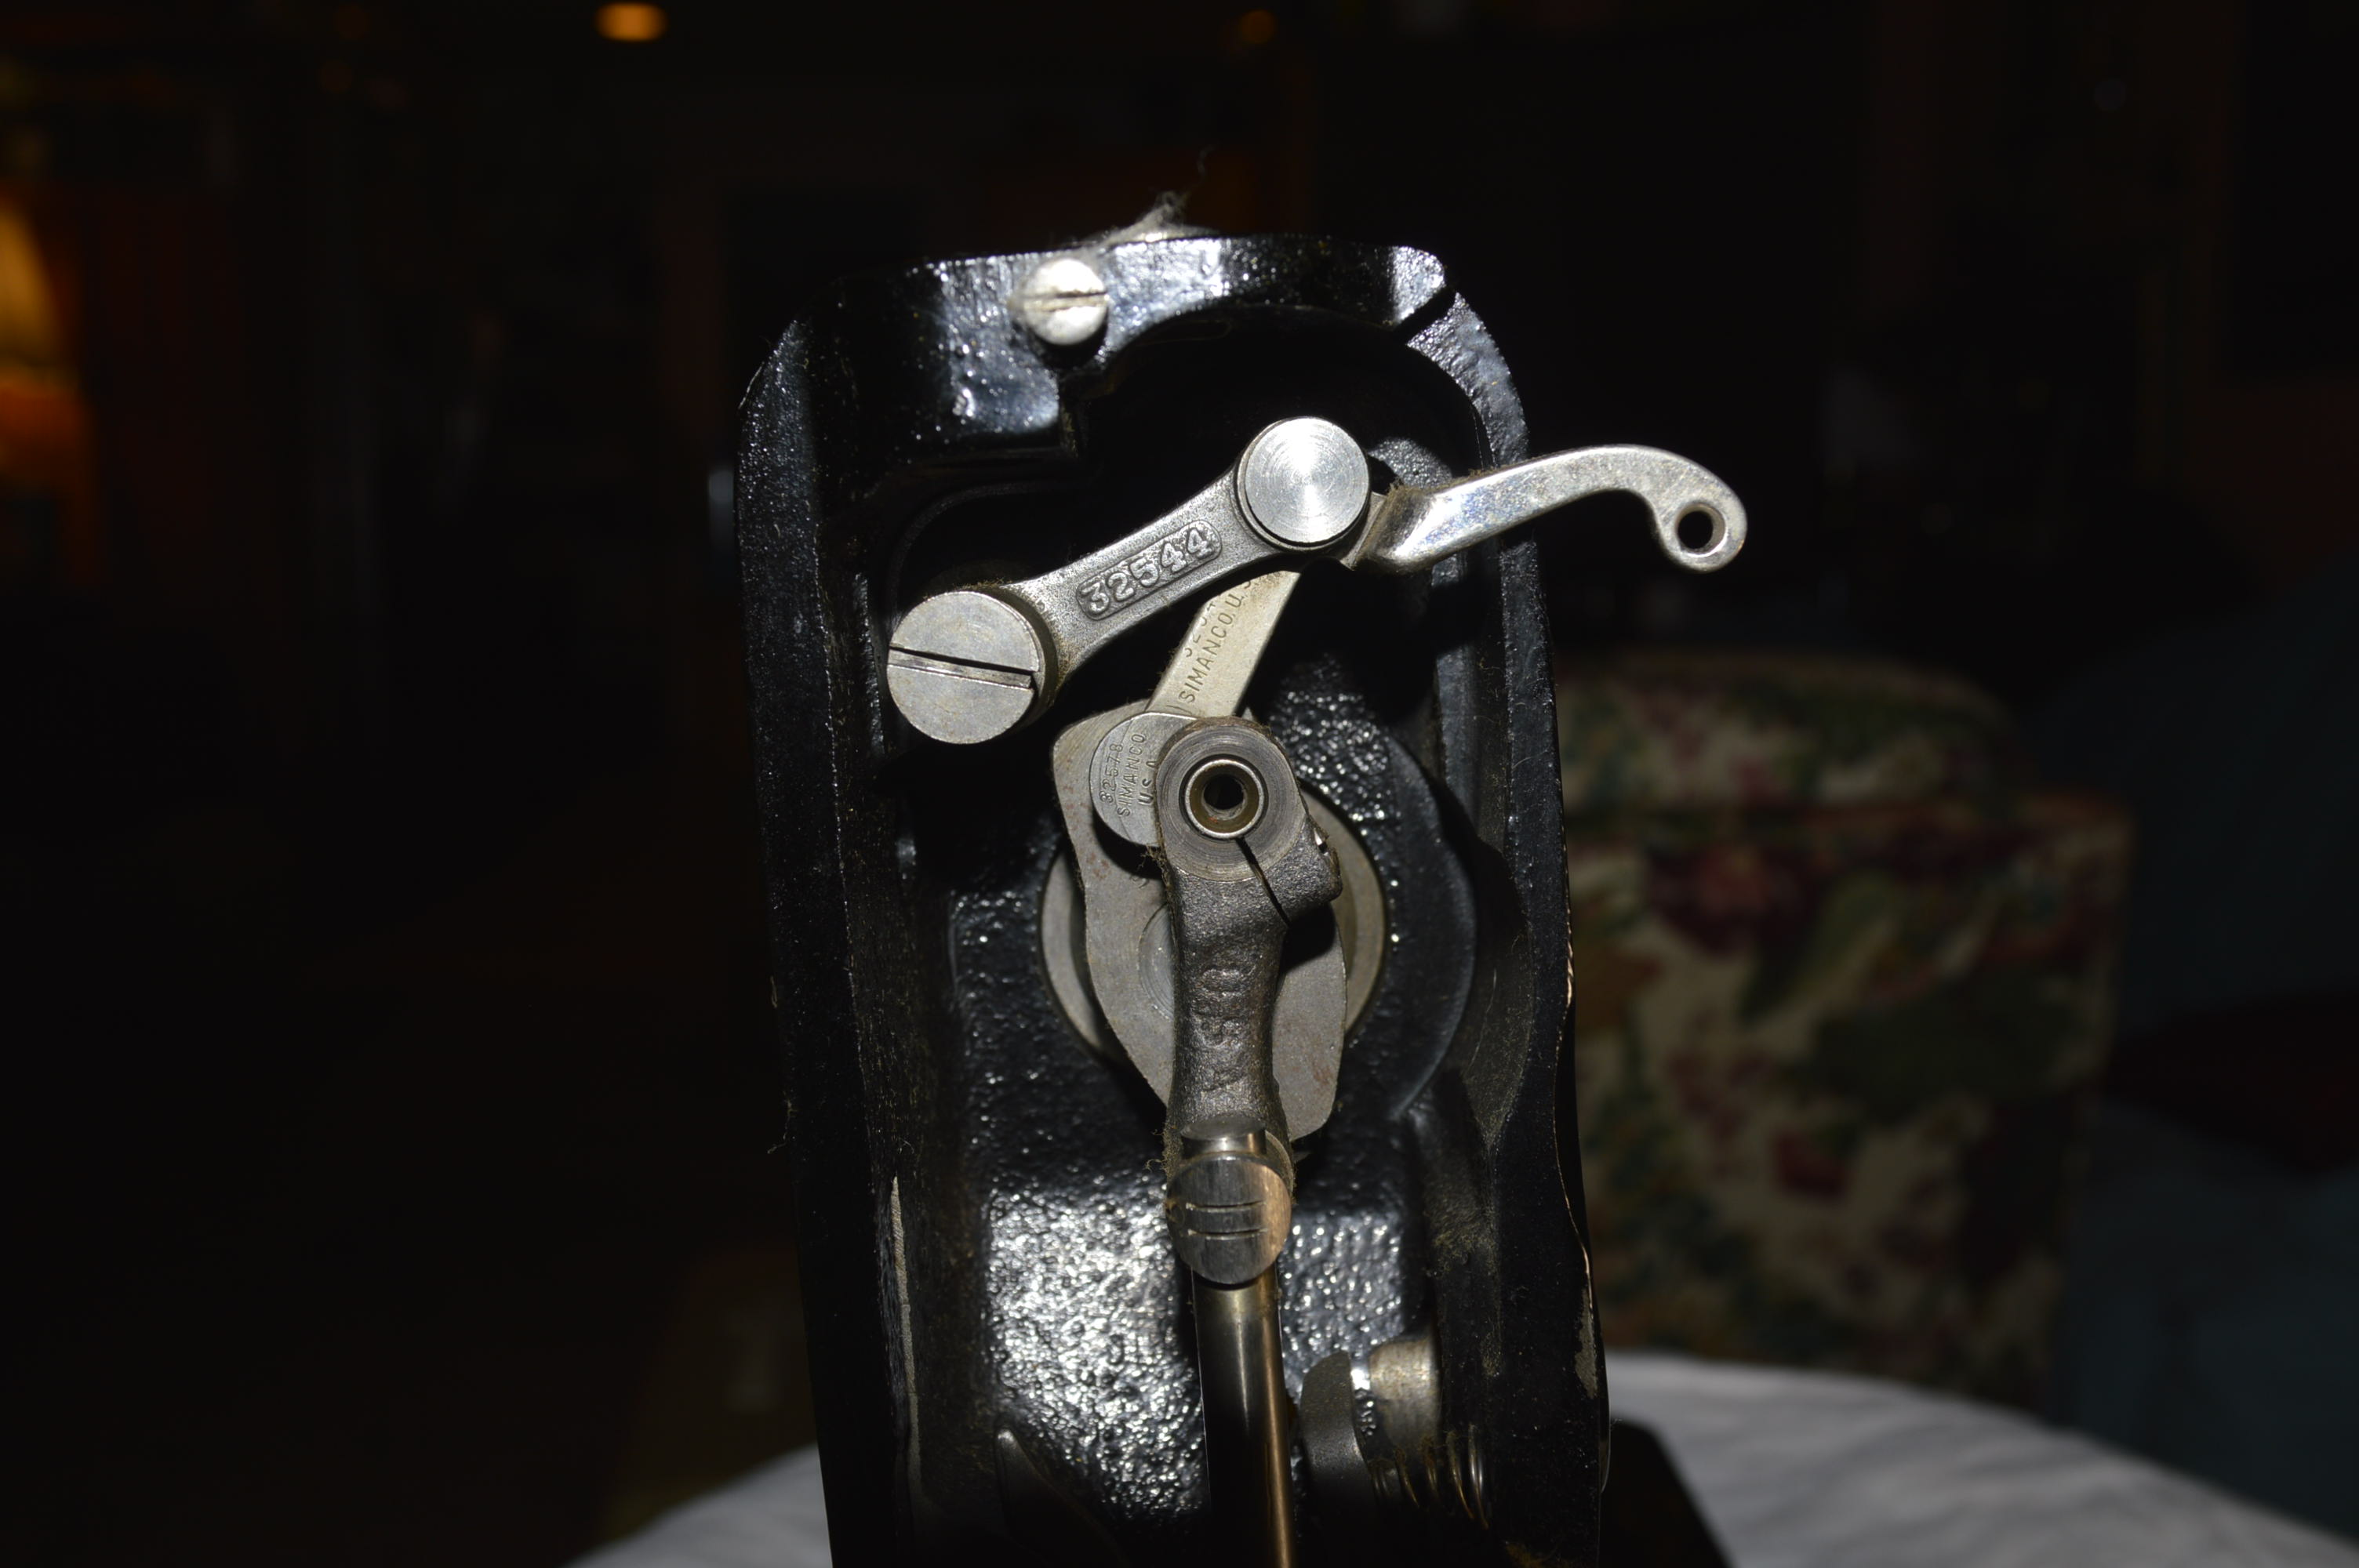
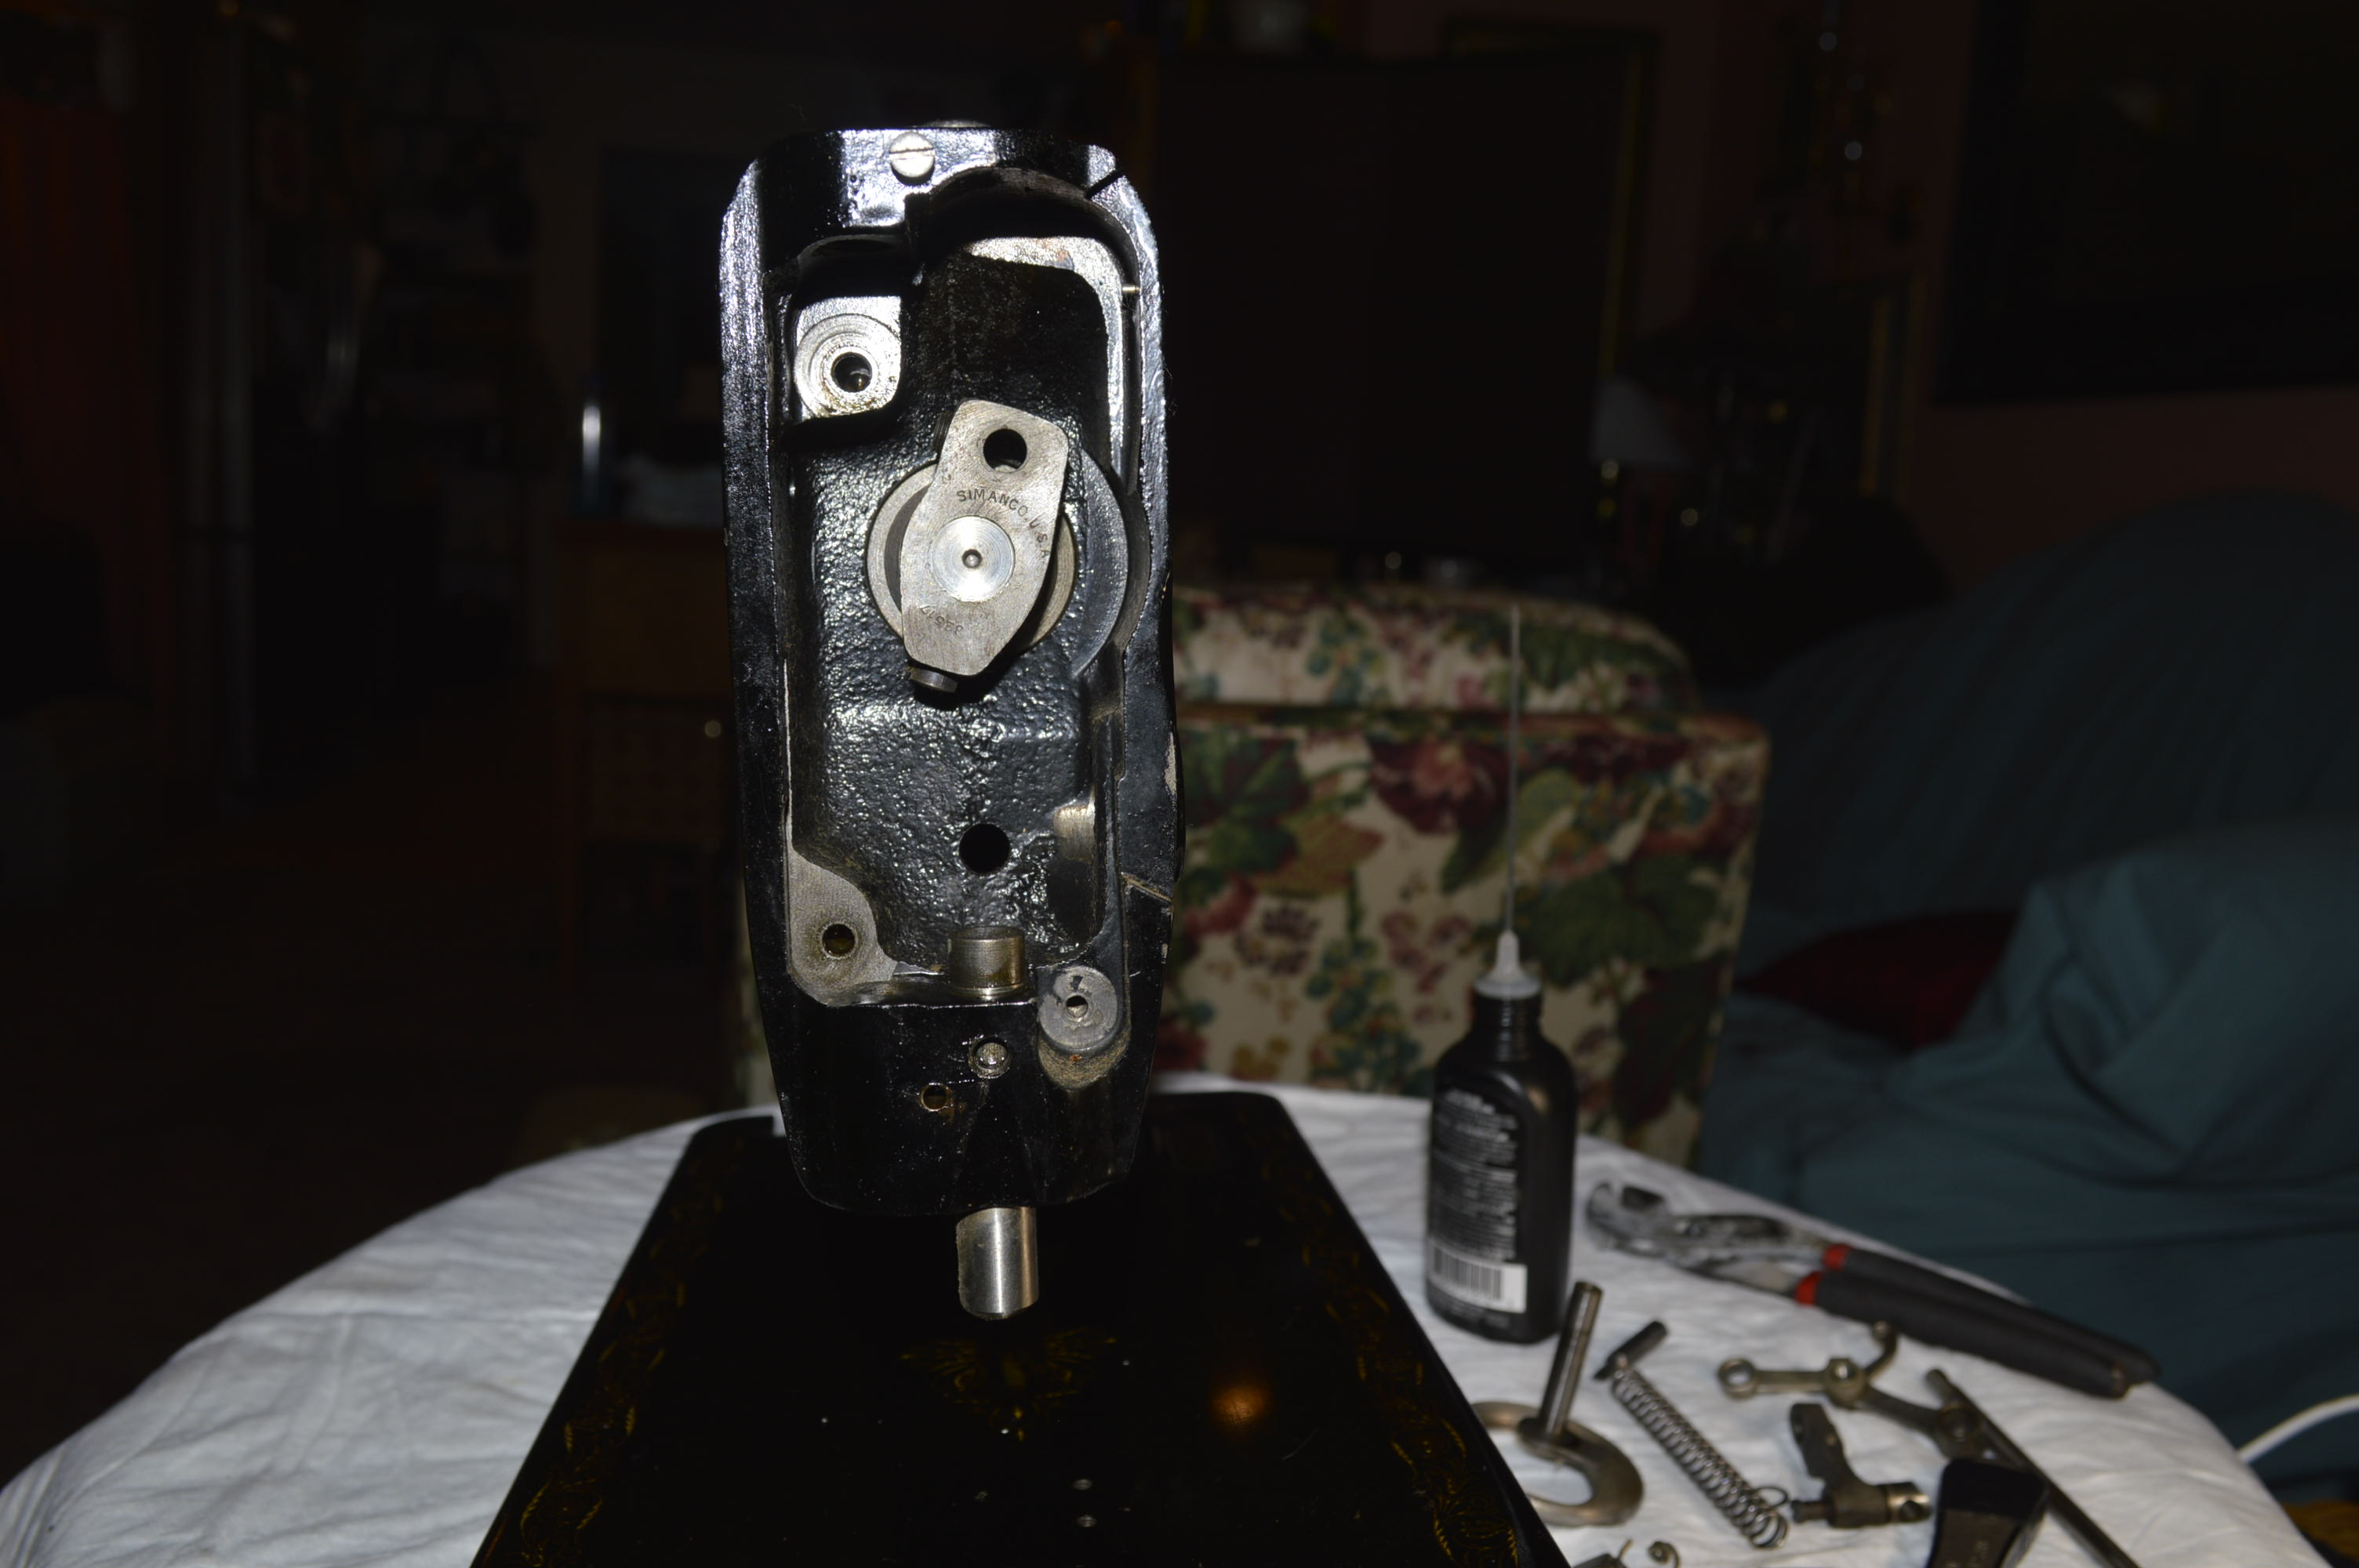
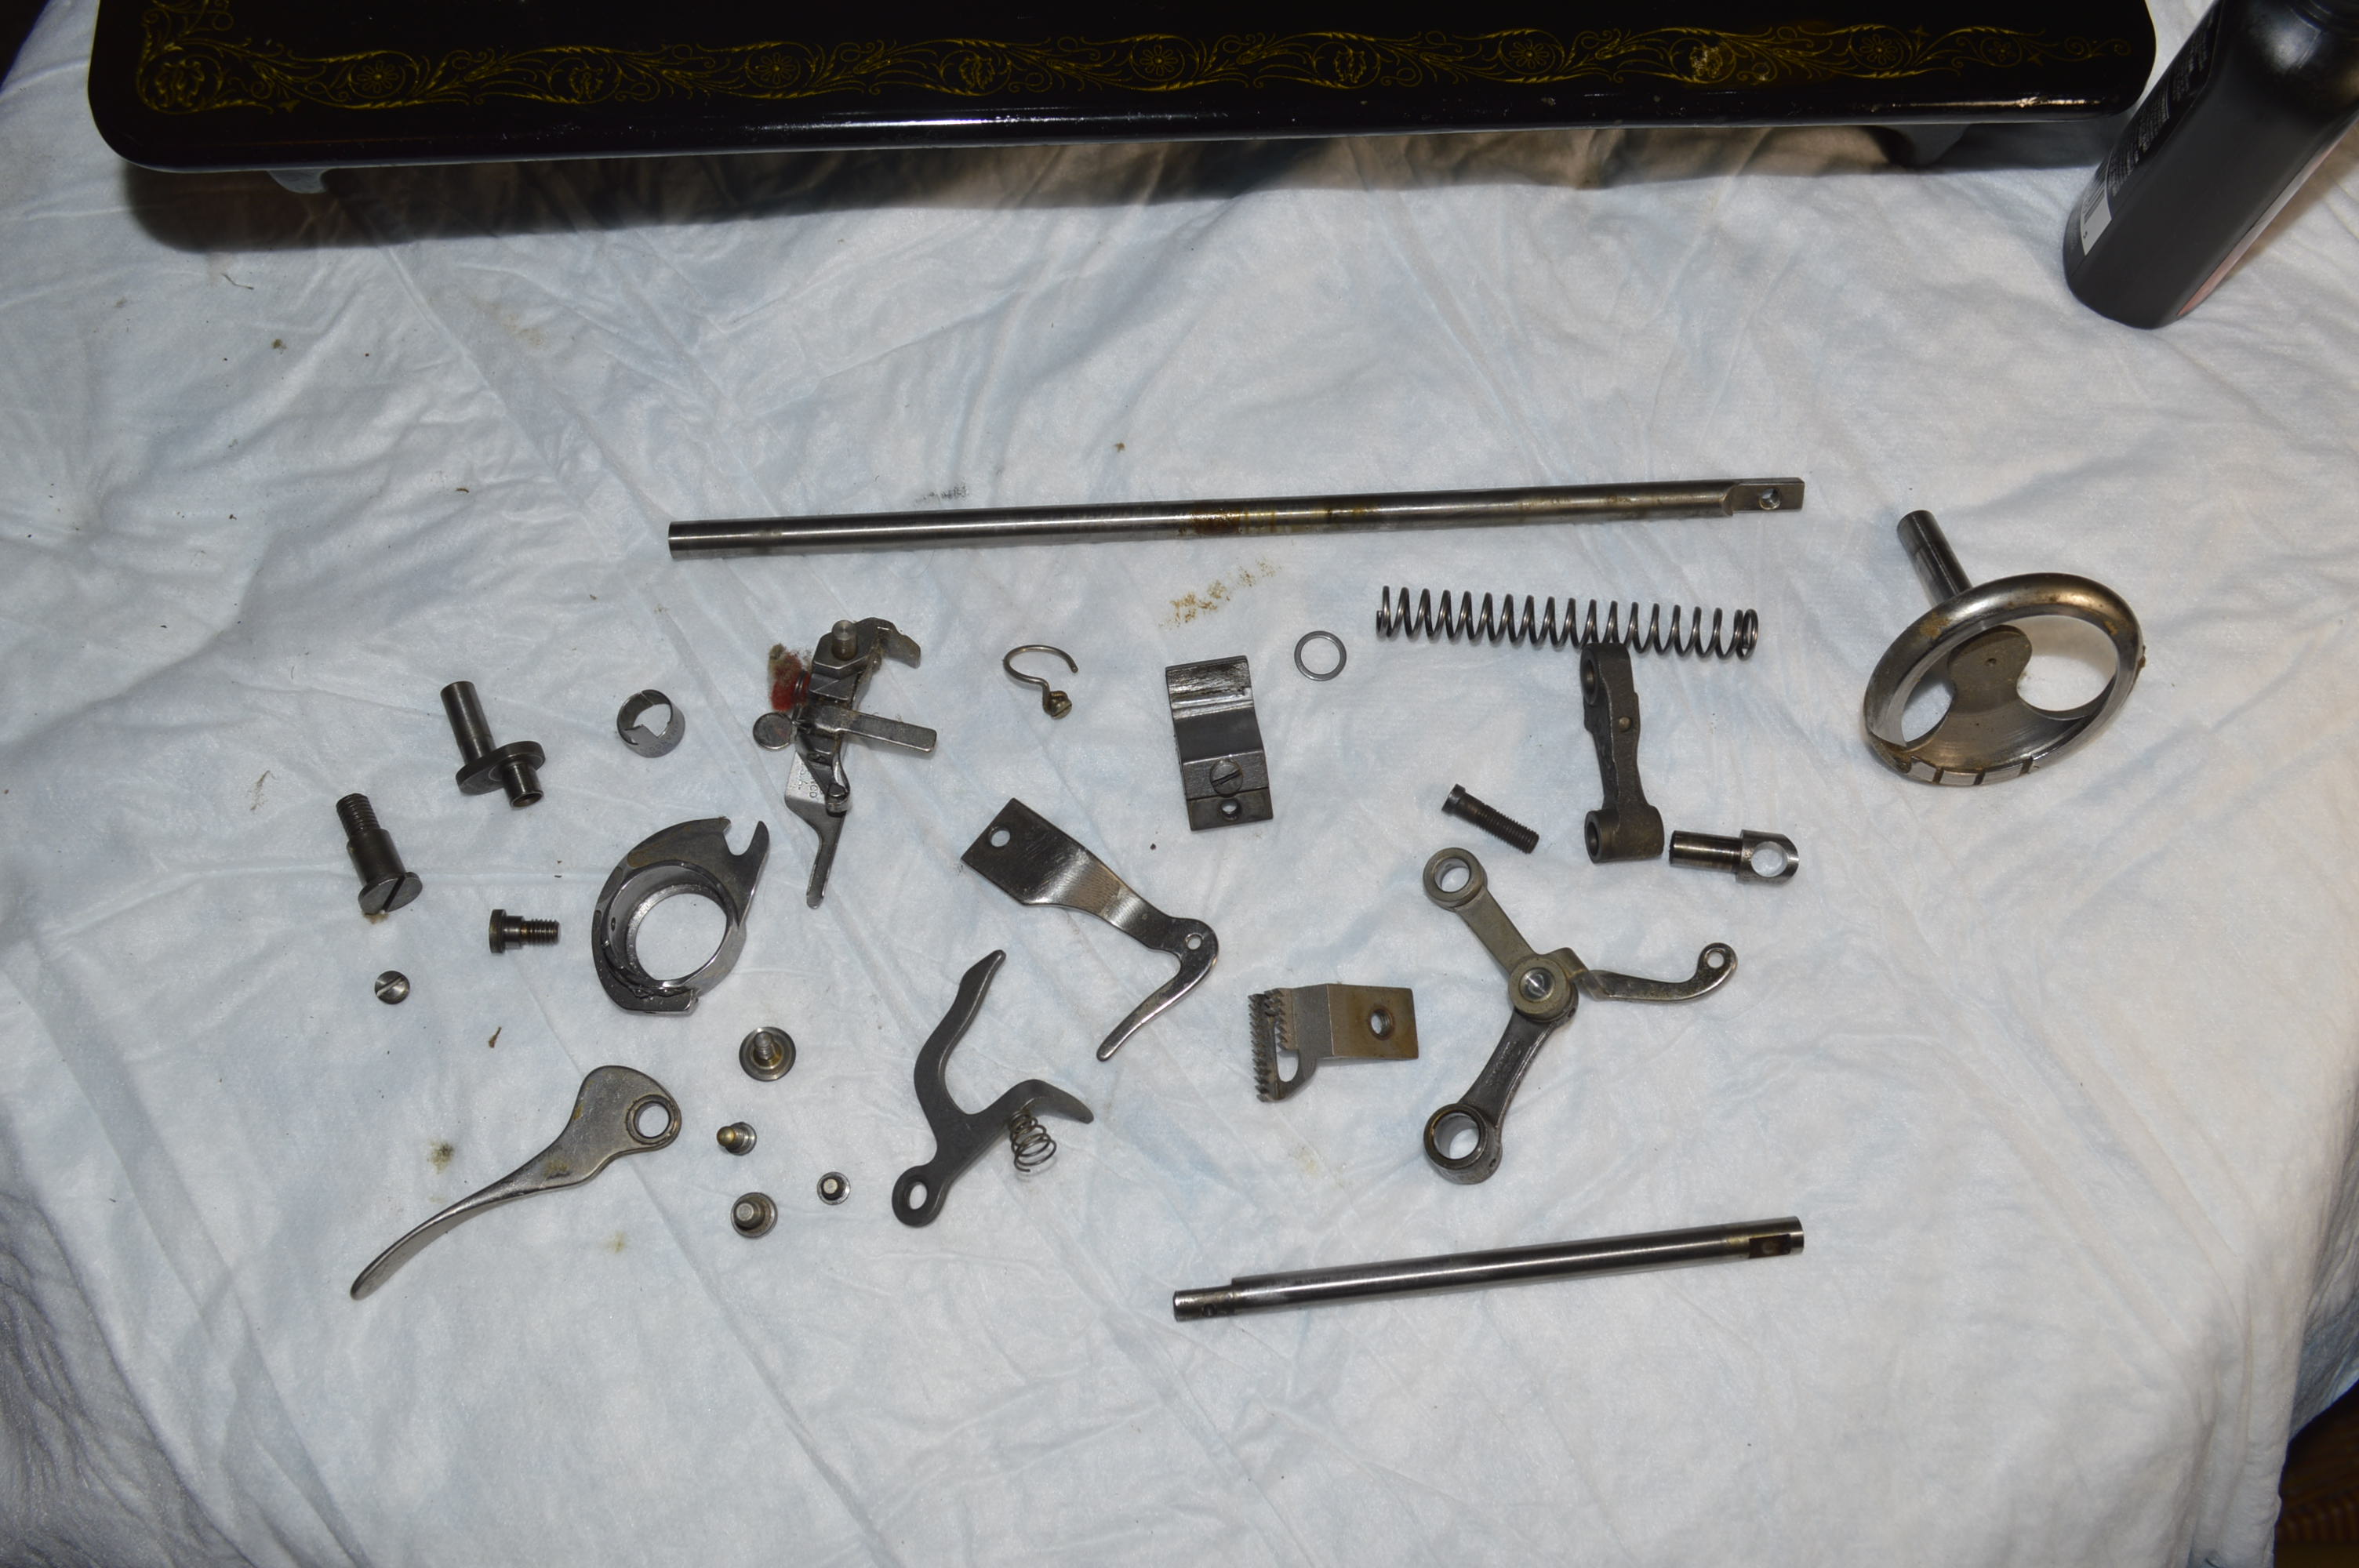
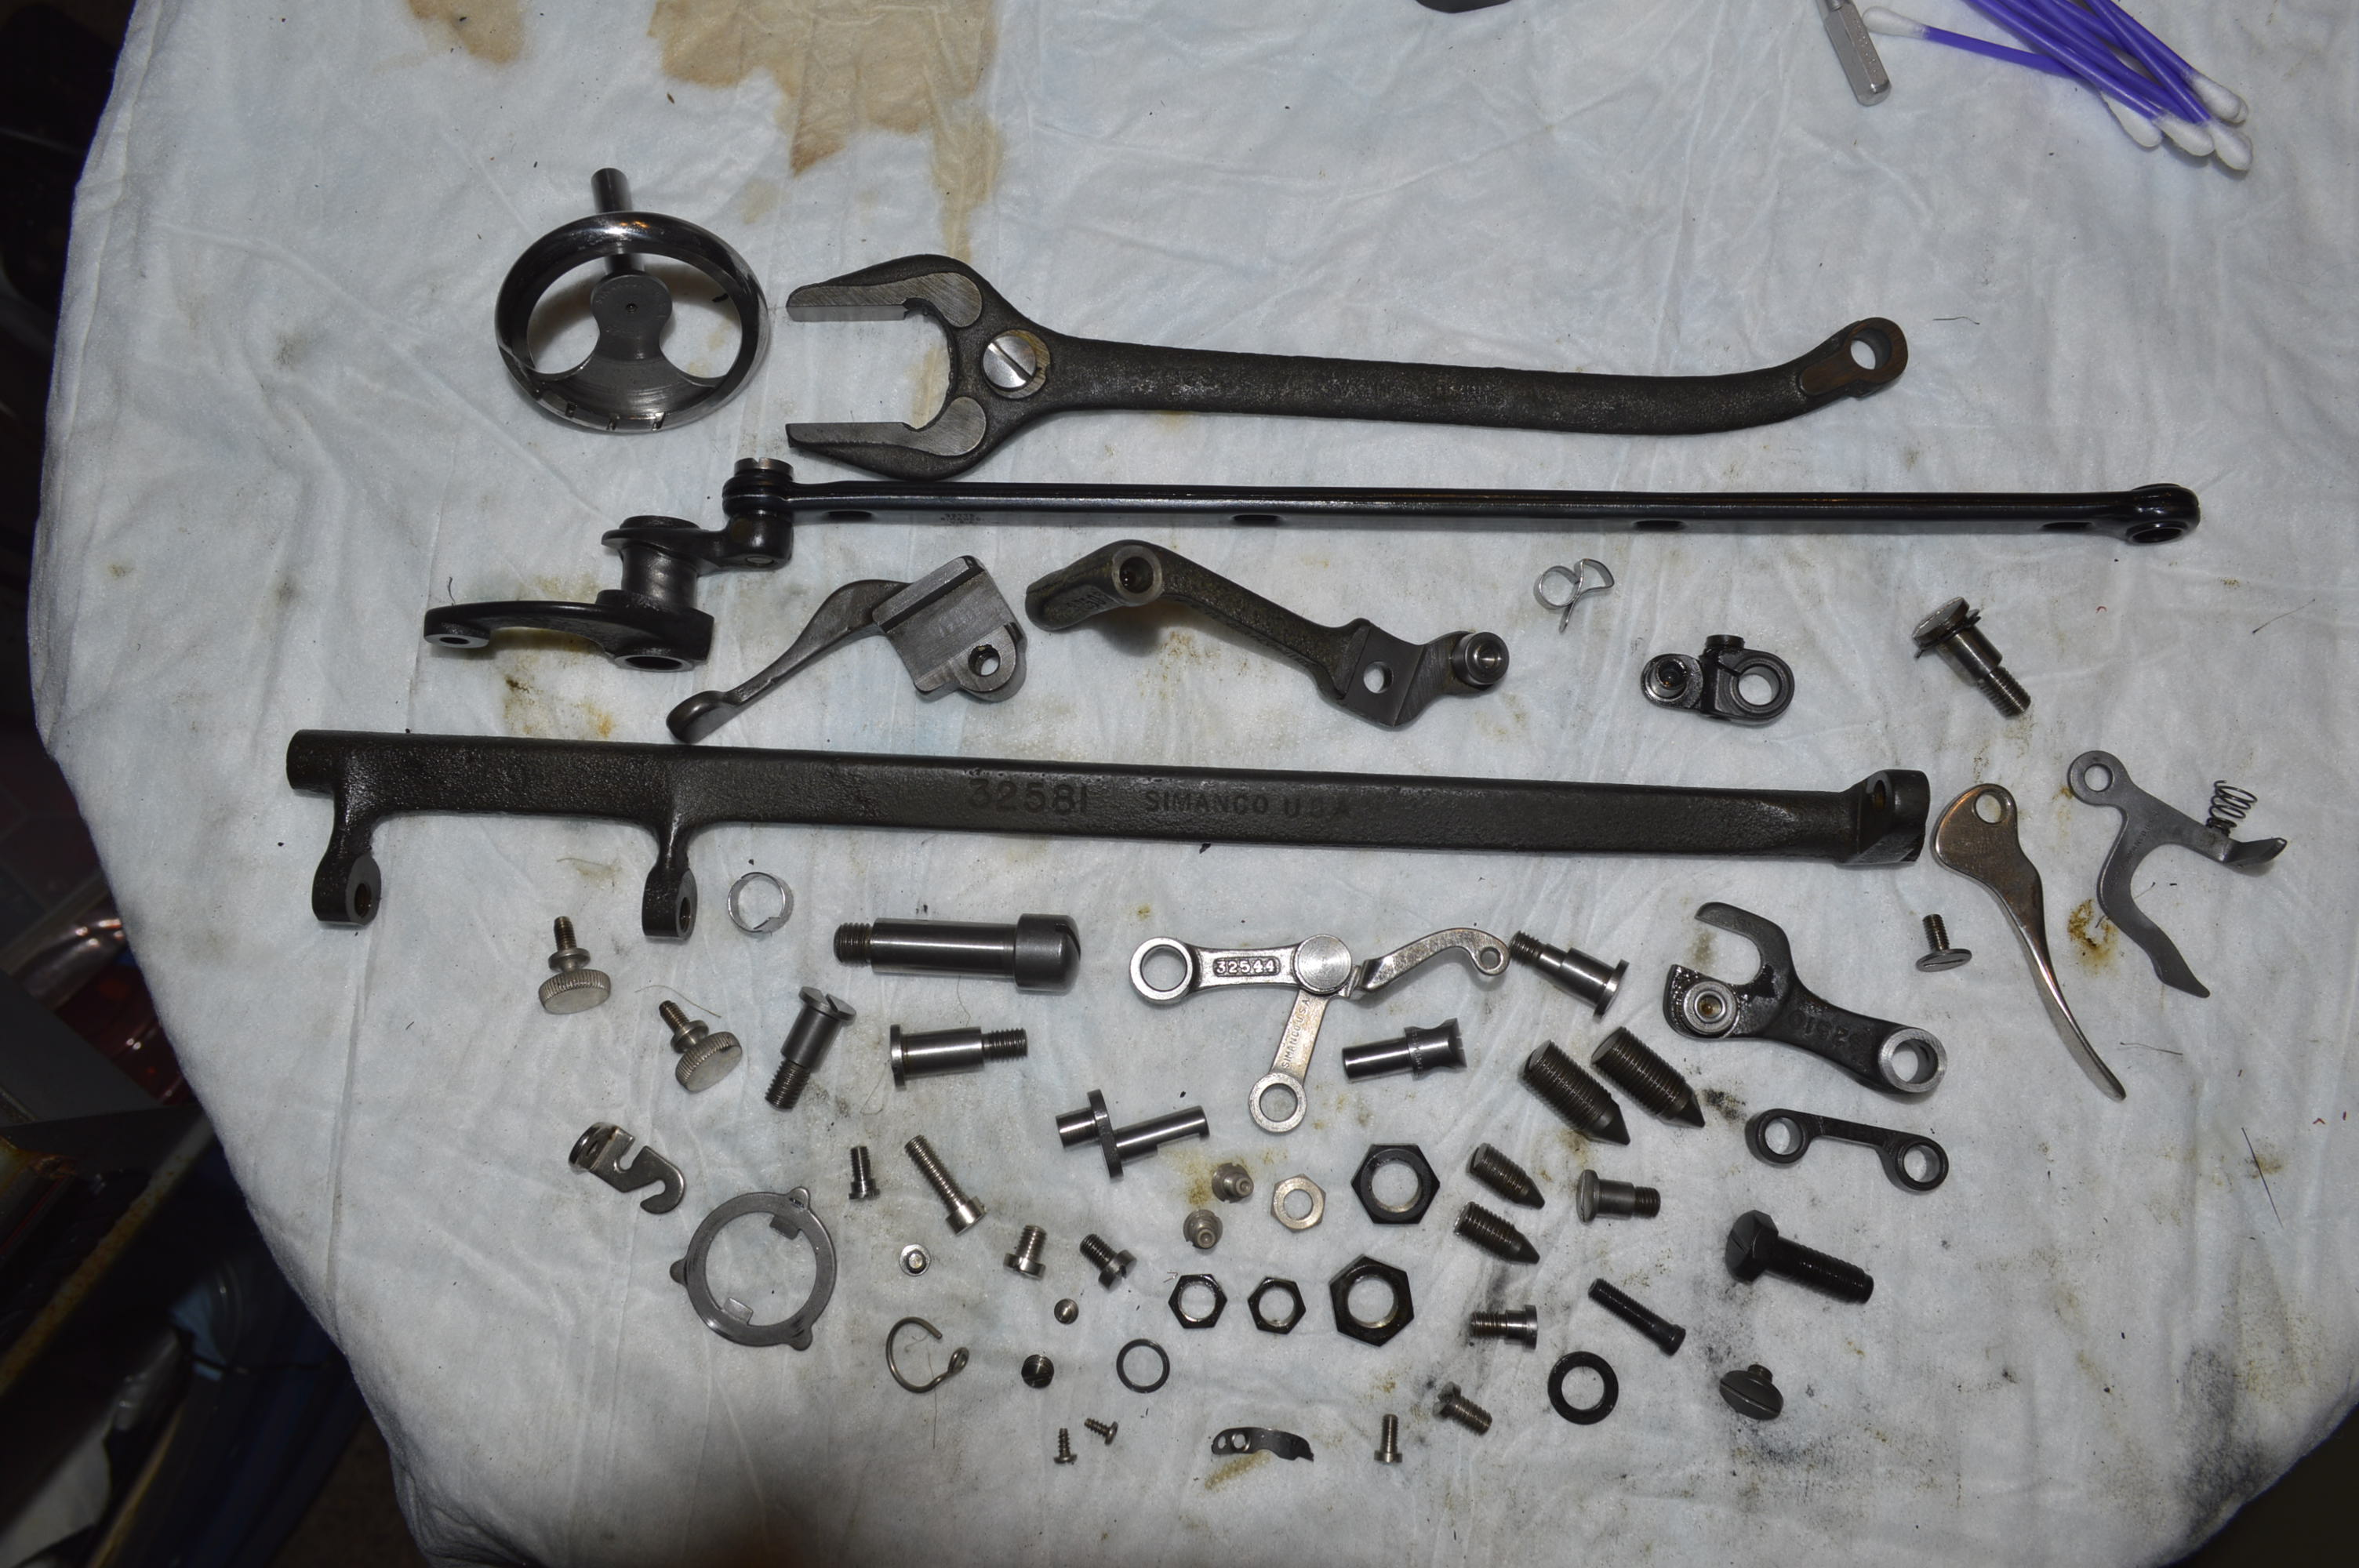
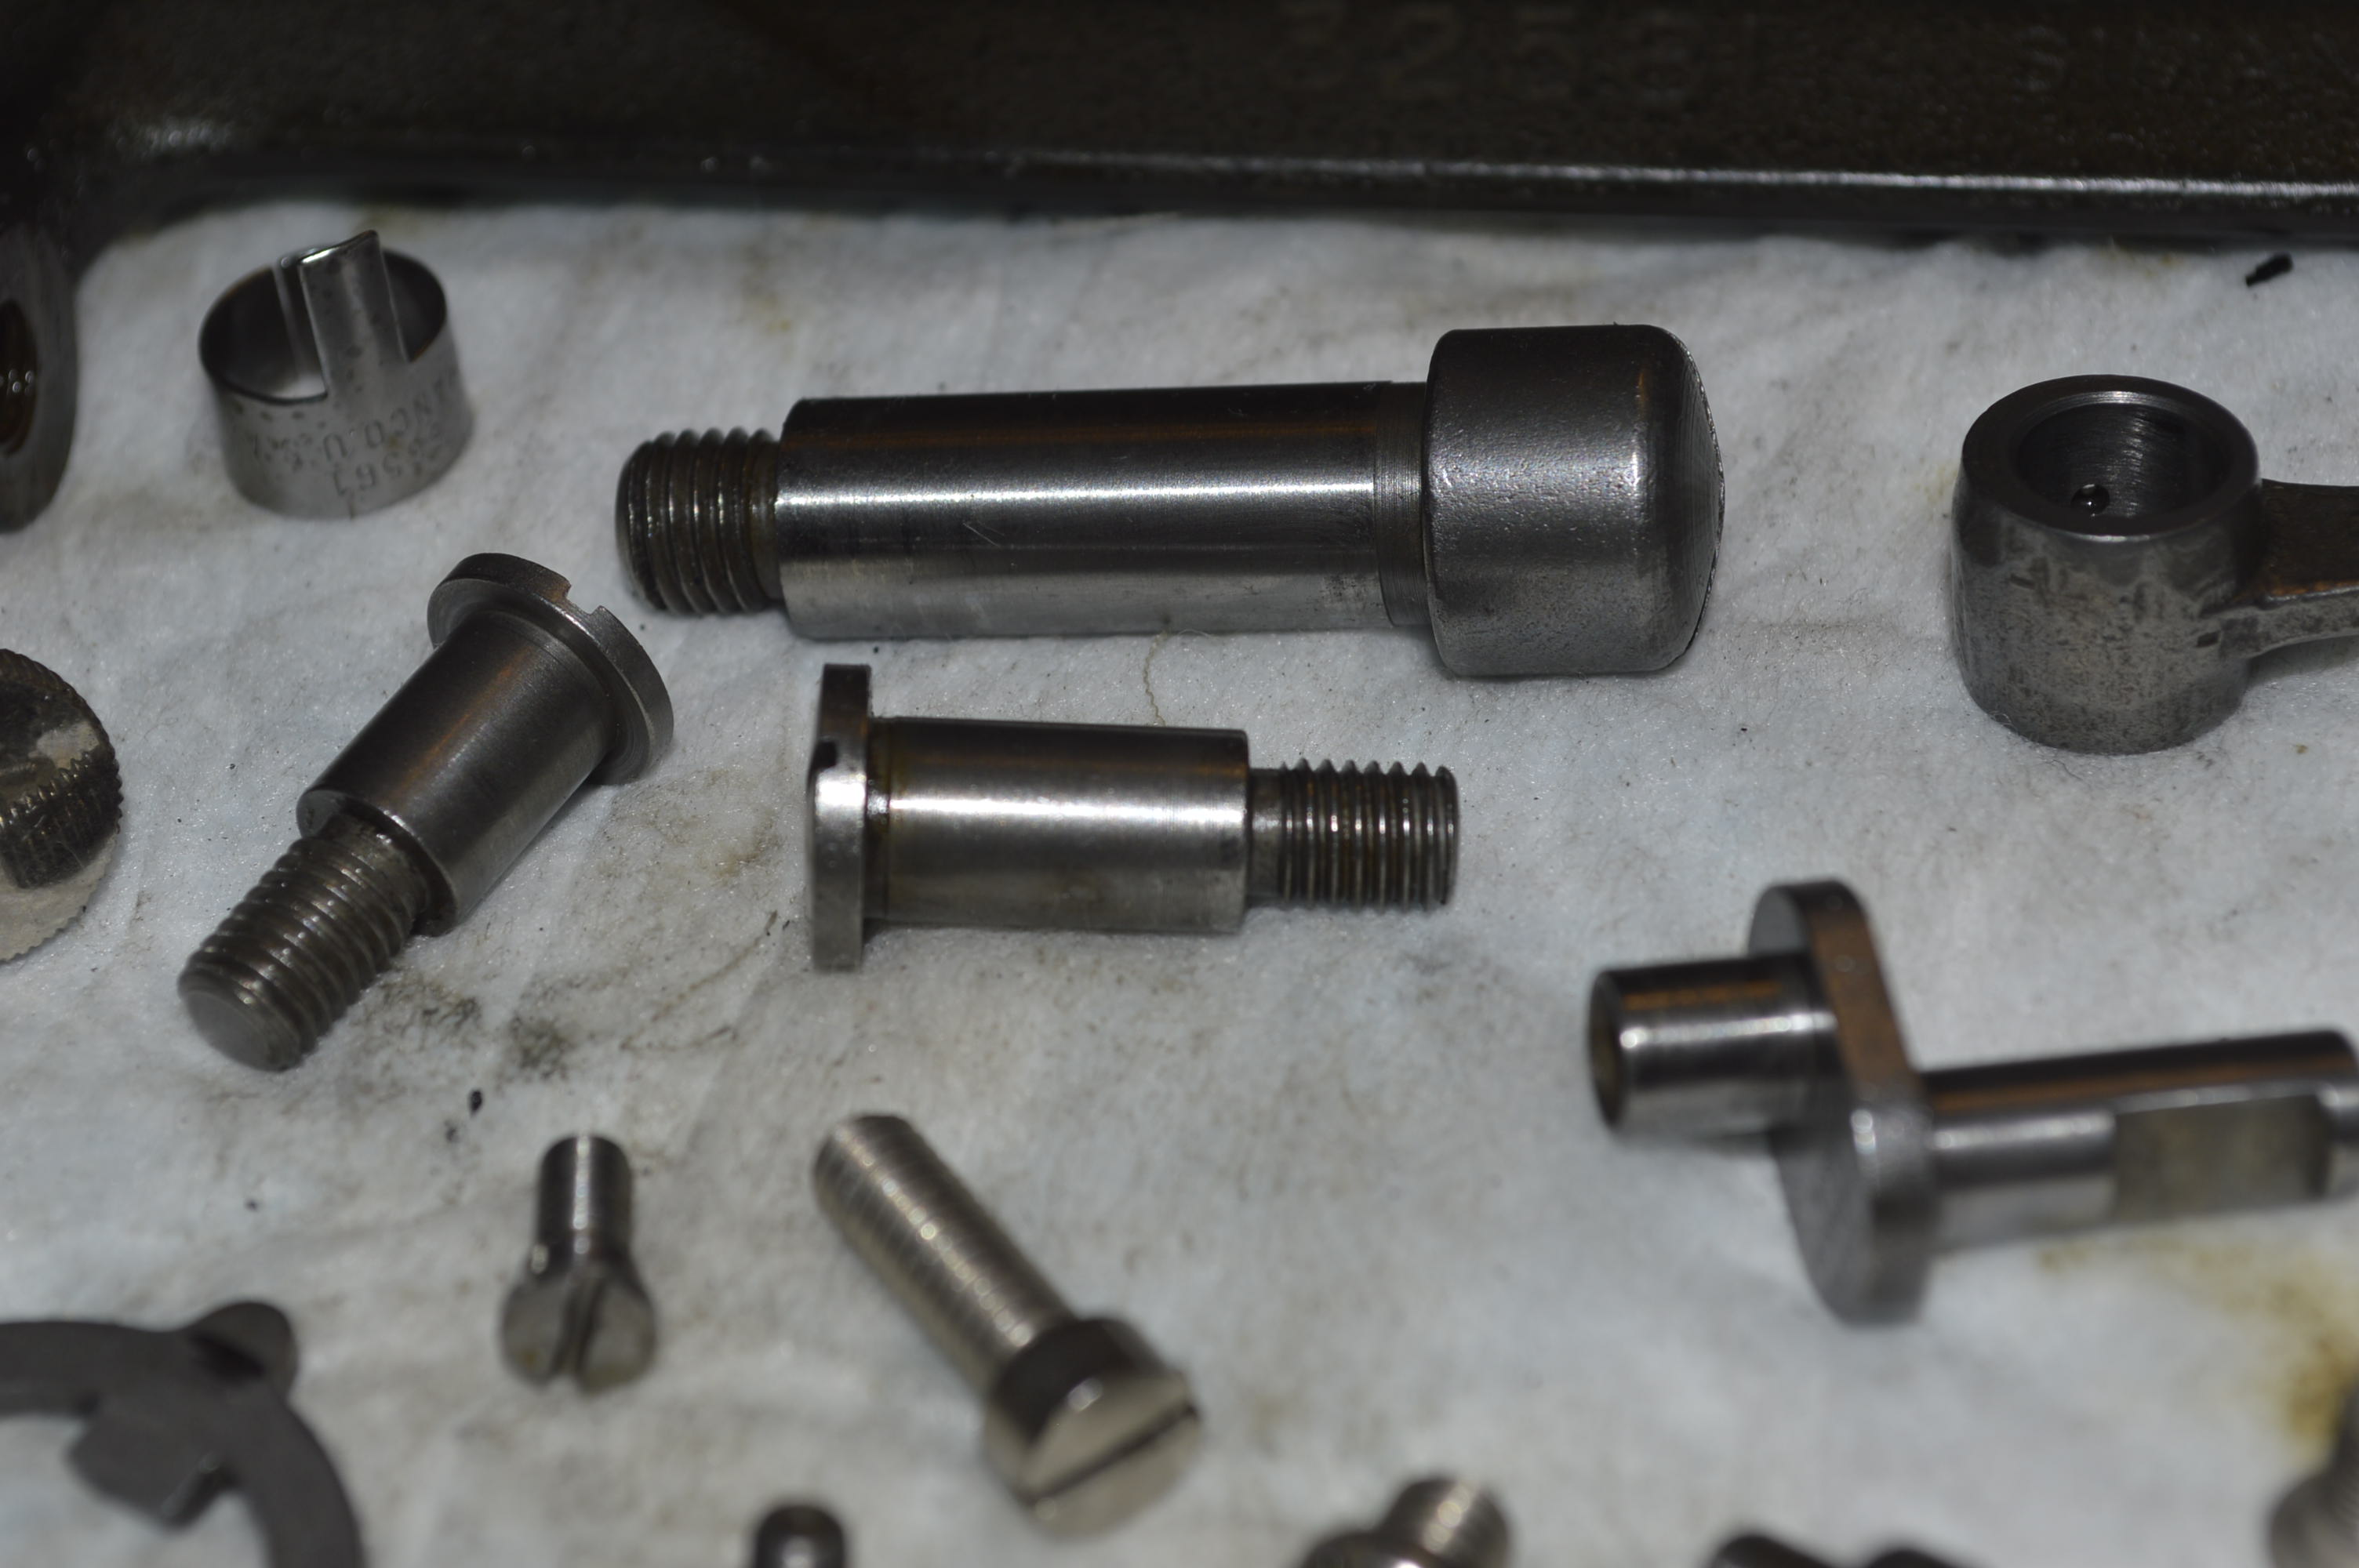
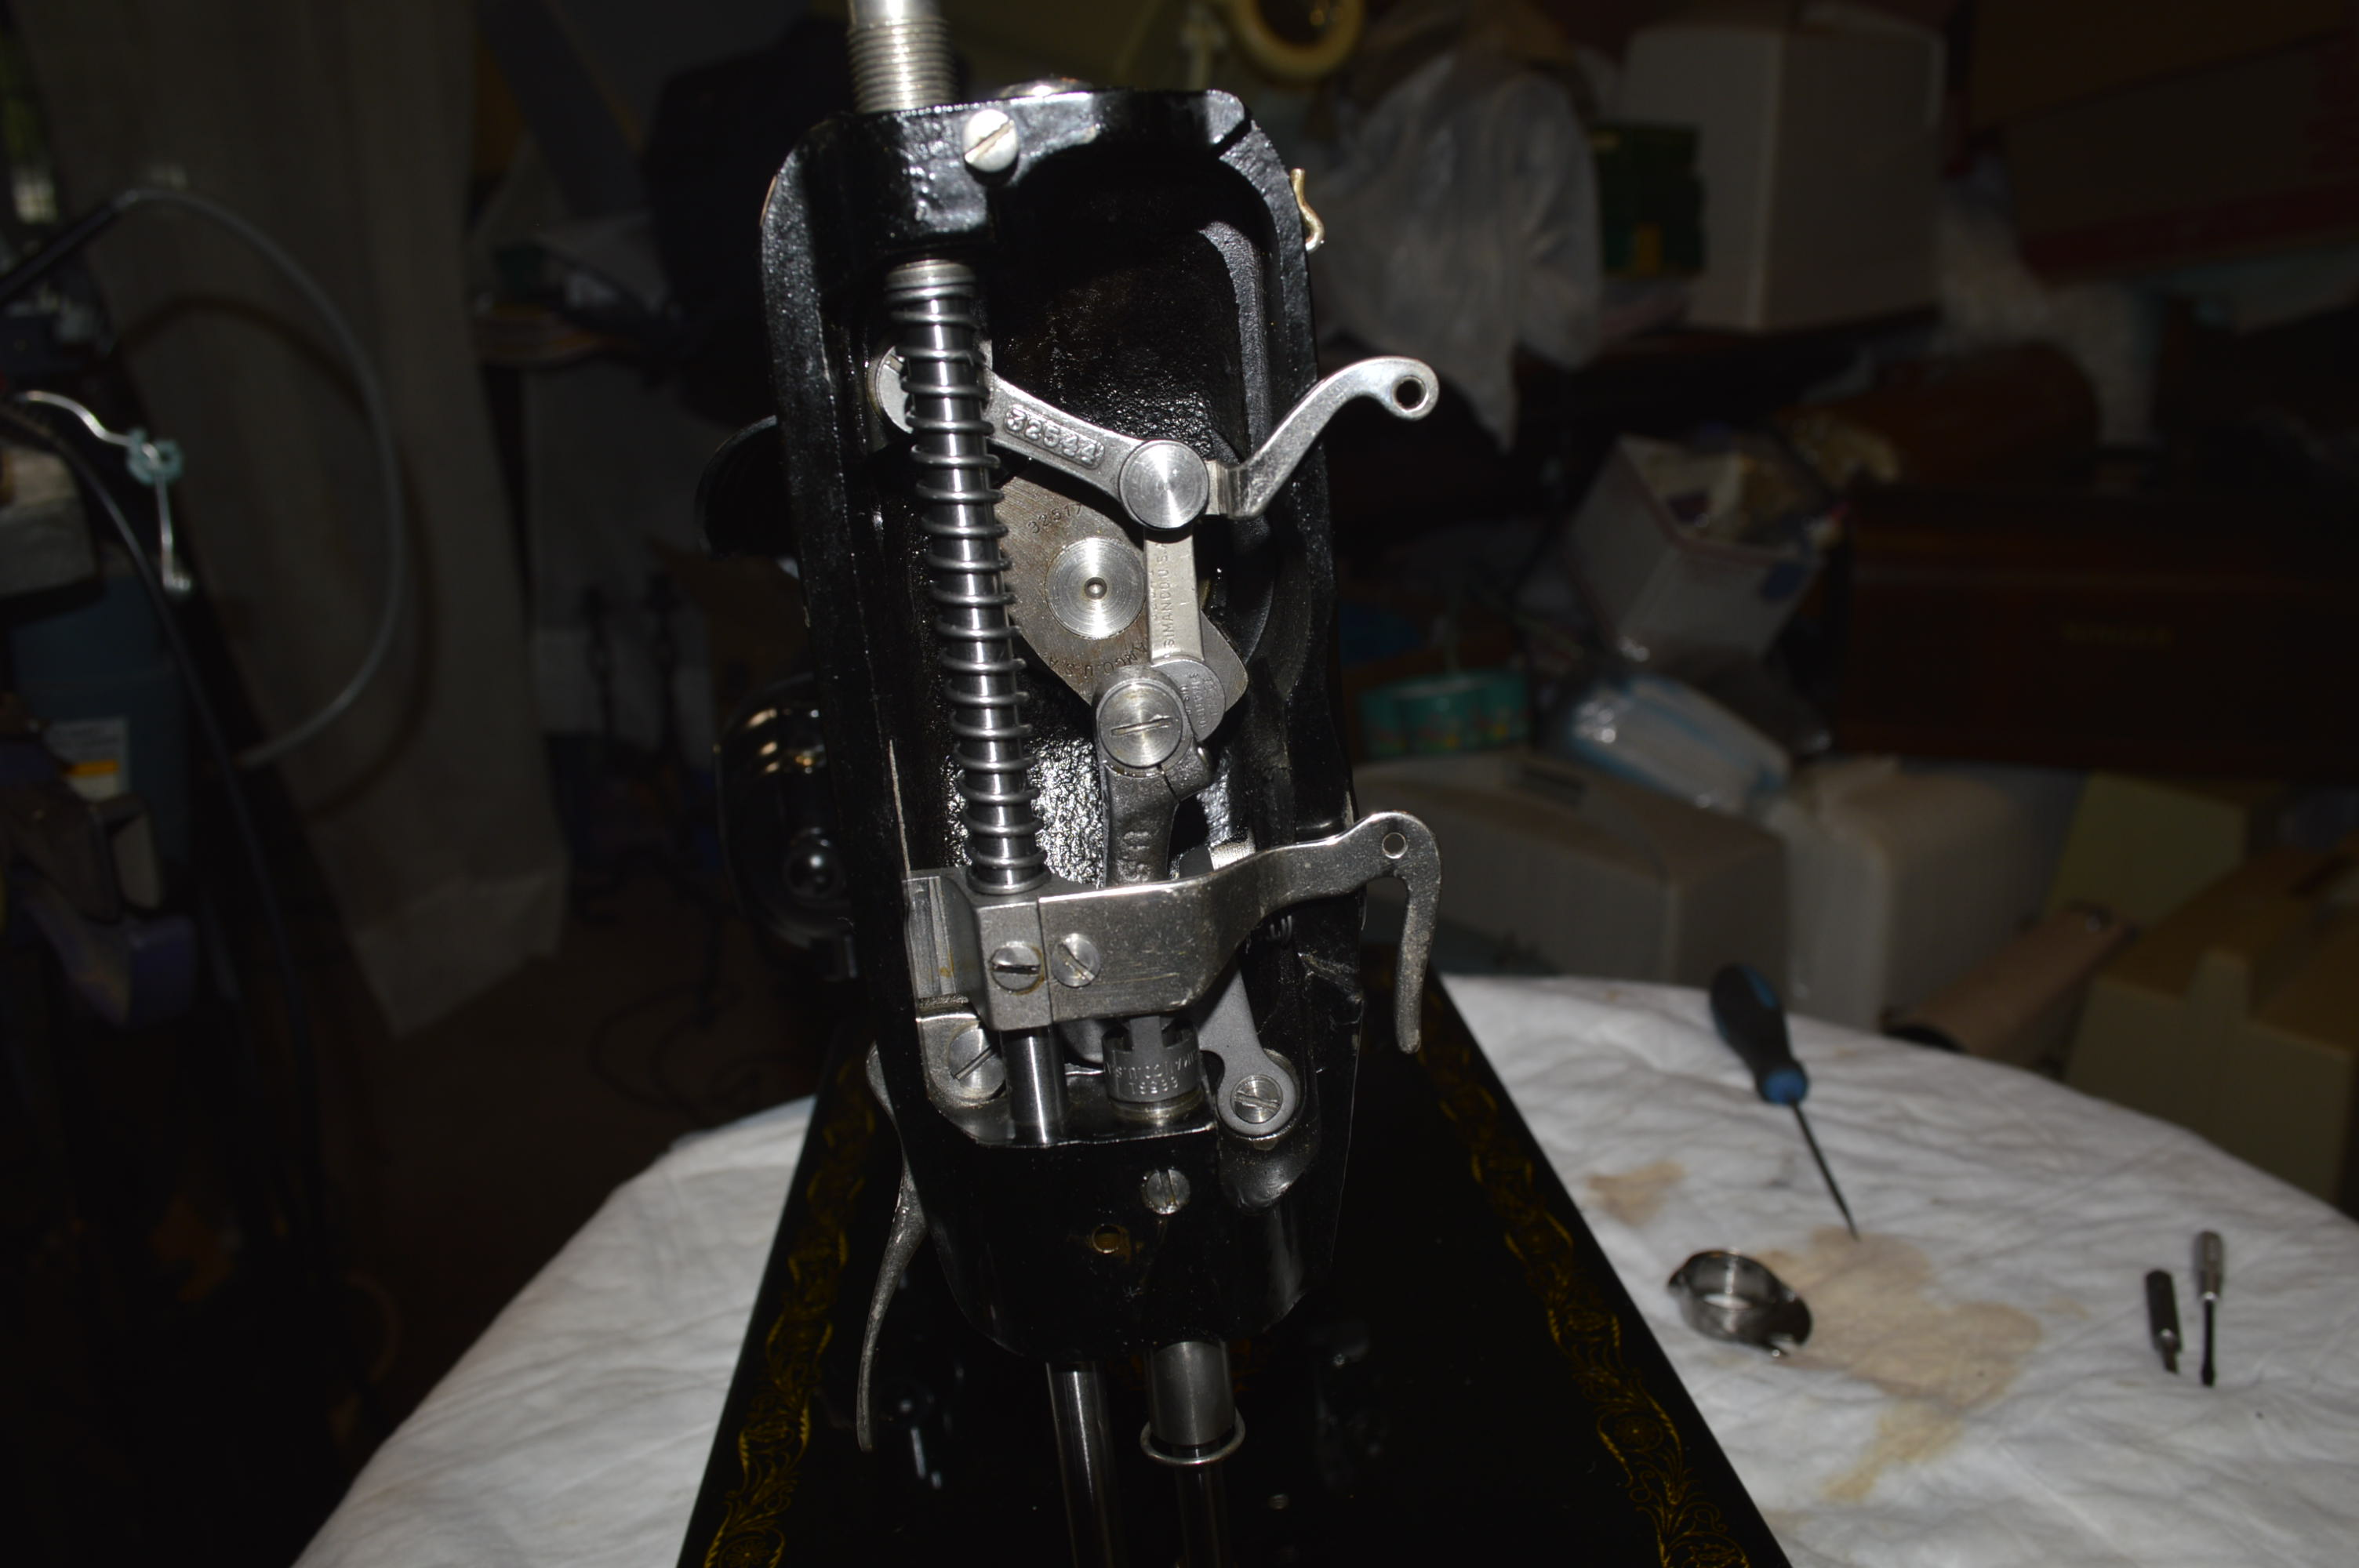
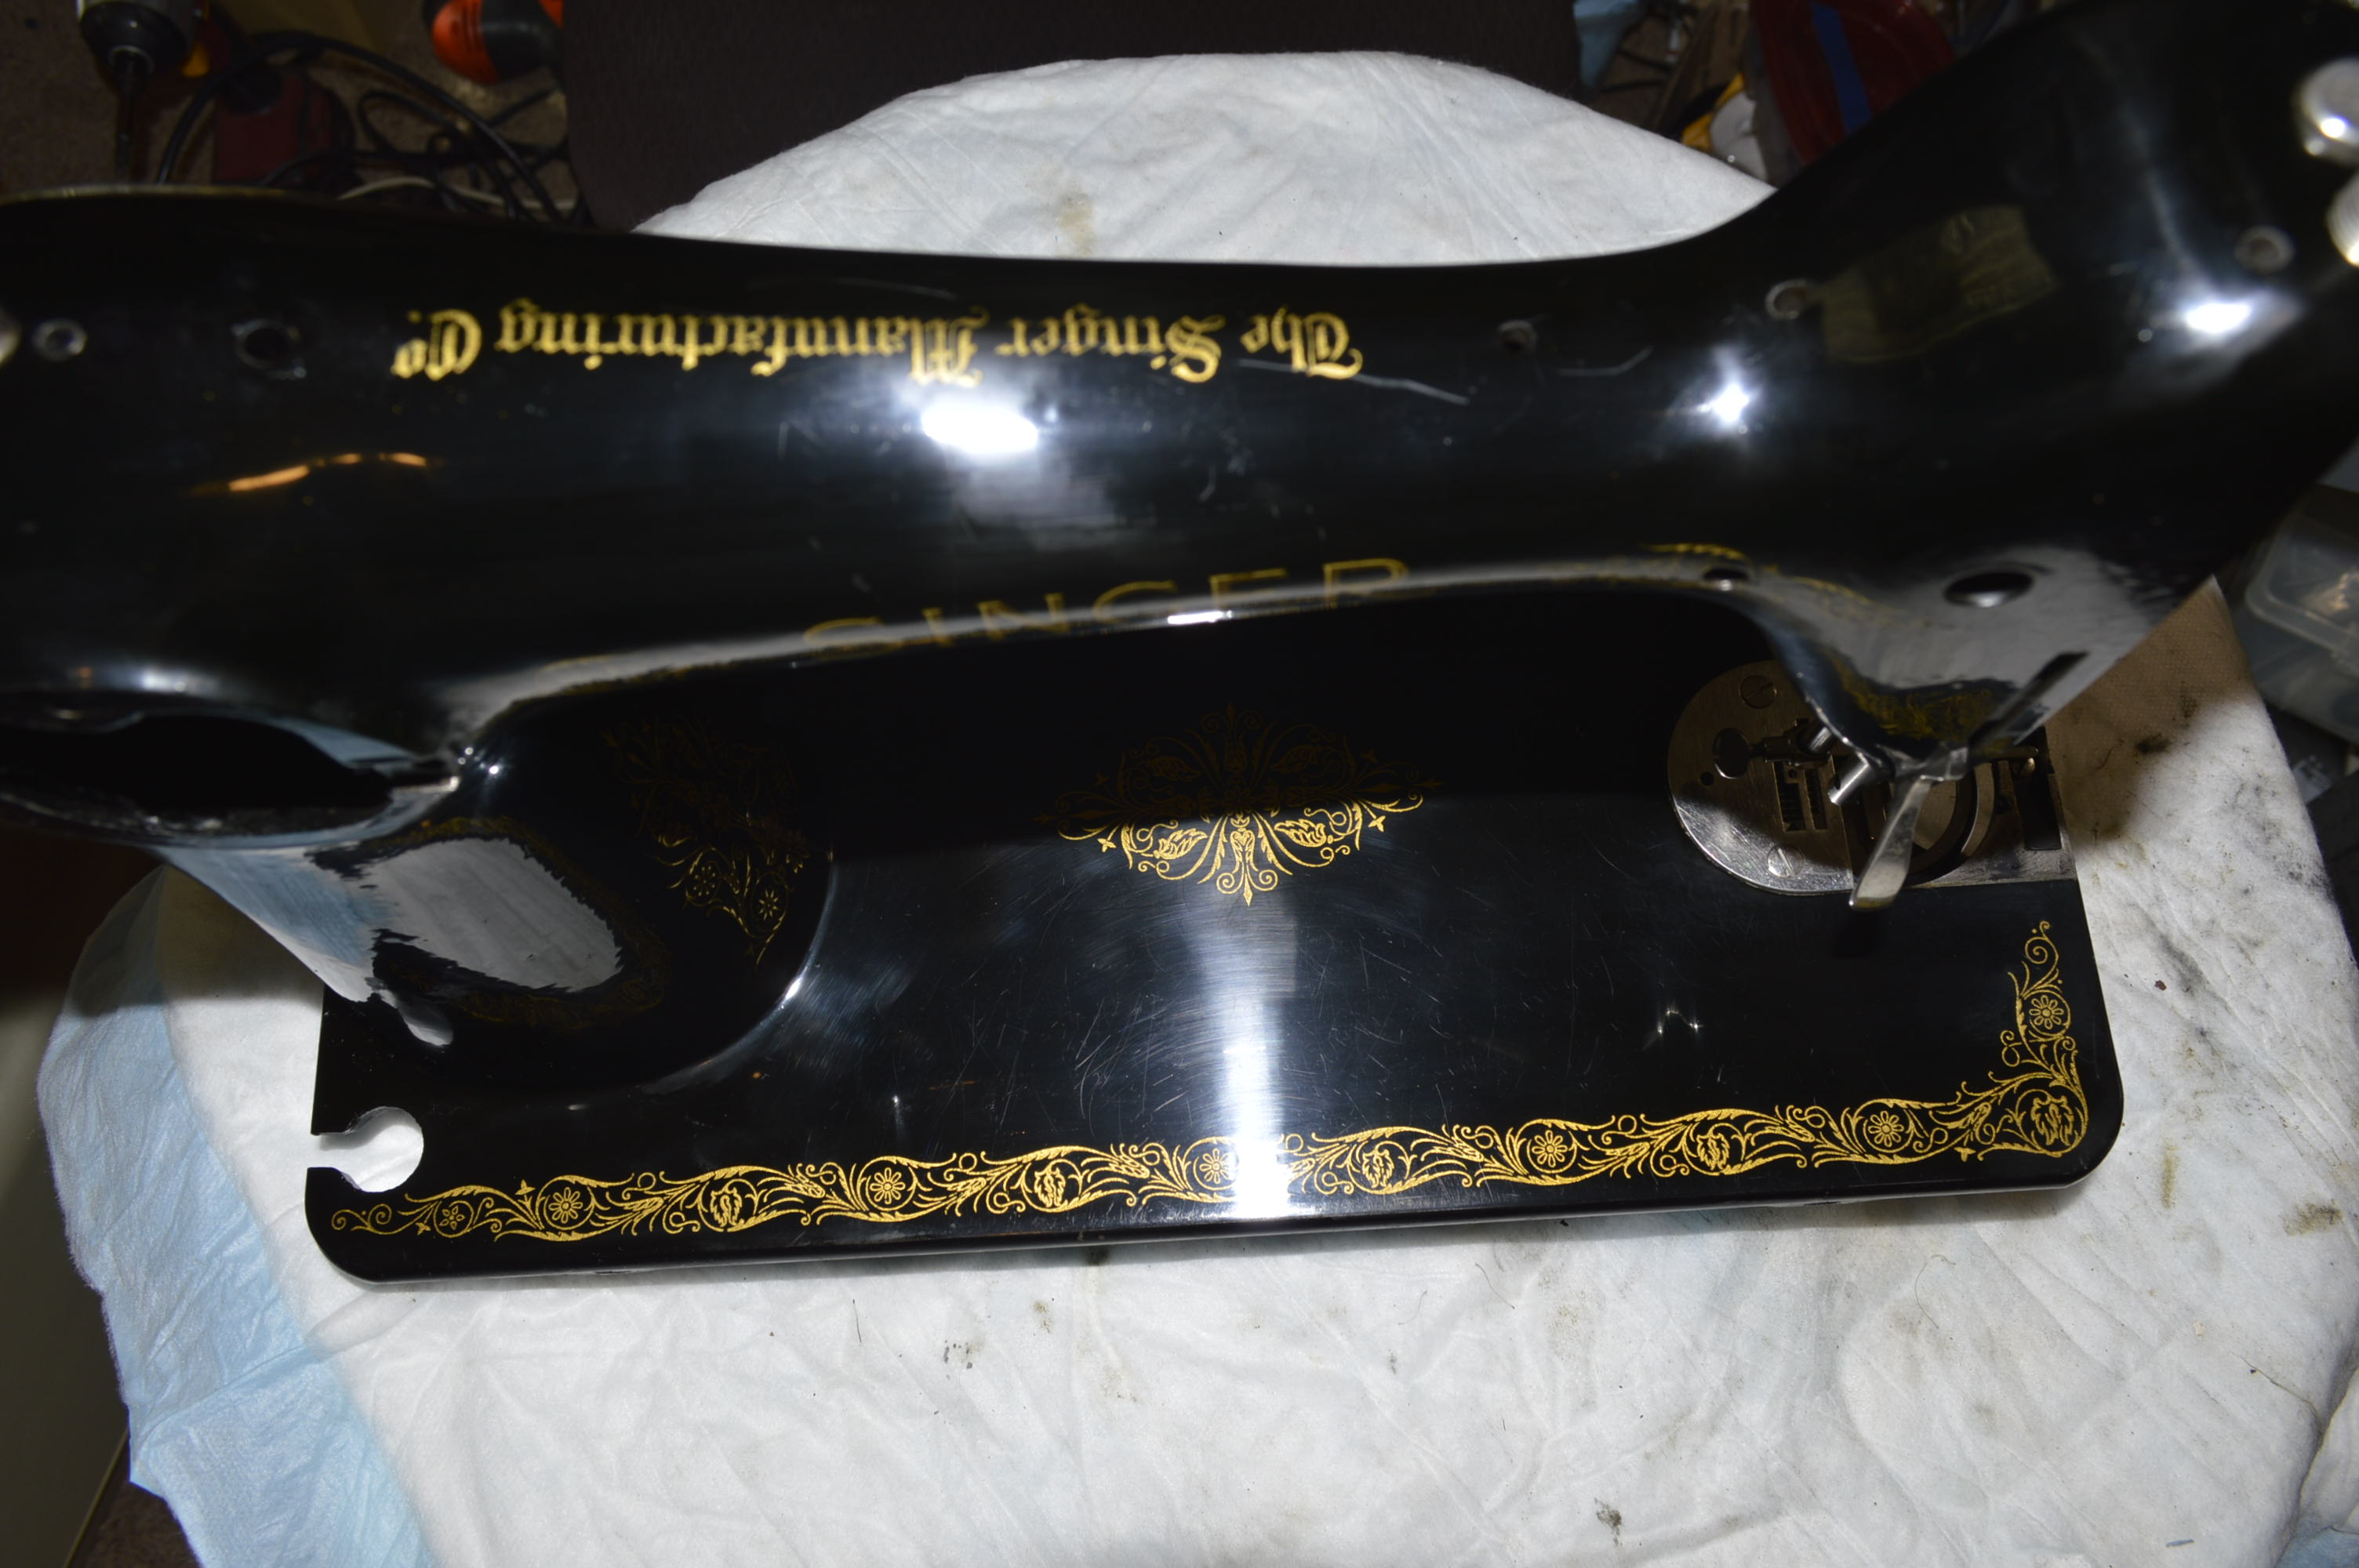
Rather than continue cleaning at this point, I began the reconditioning of the machine by removing all of the assemblies in the head. The next three pictures show you before, after, and the parts laid out for cleaning.
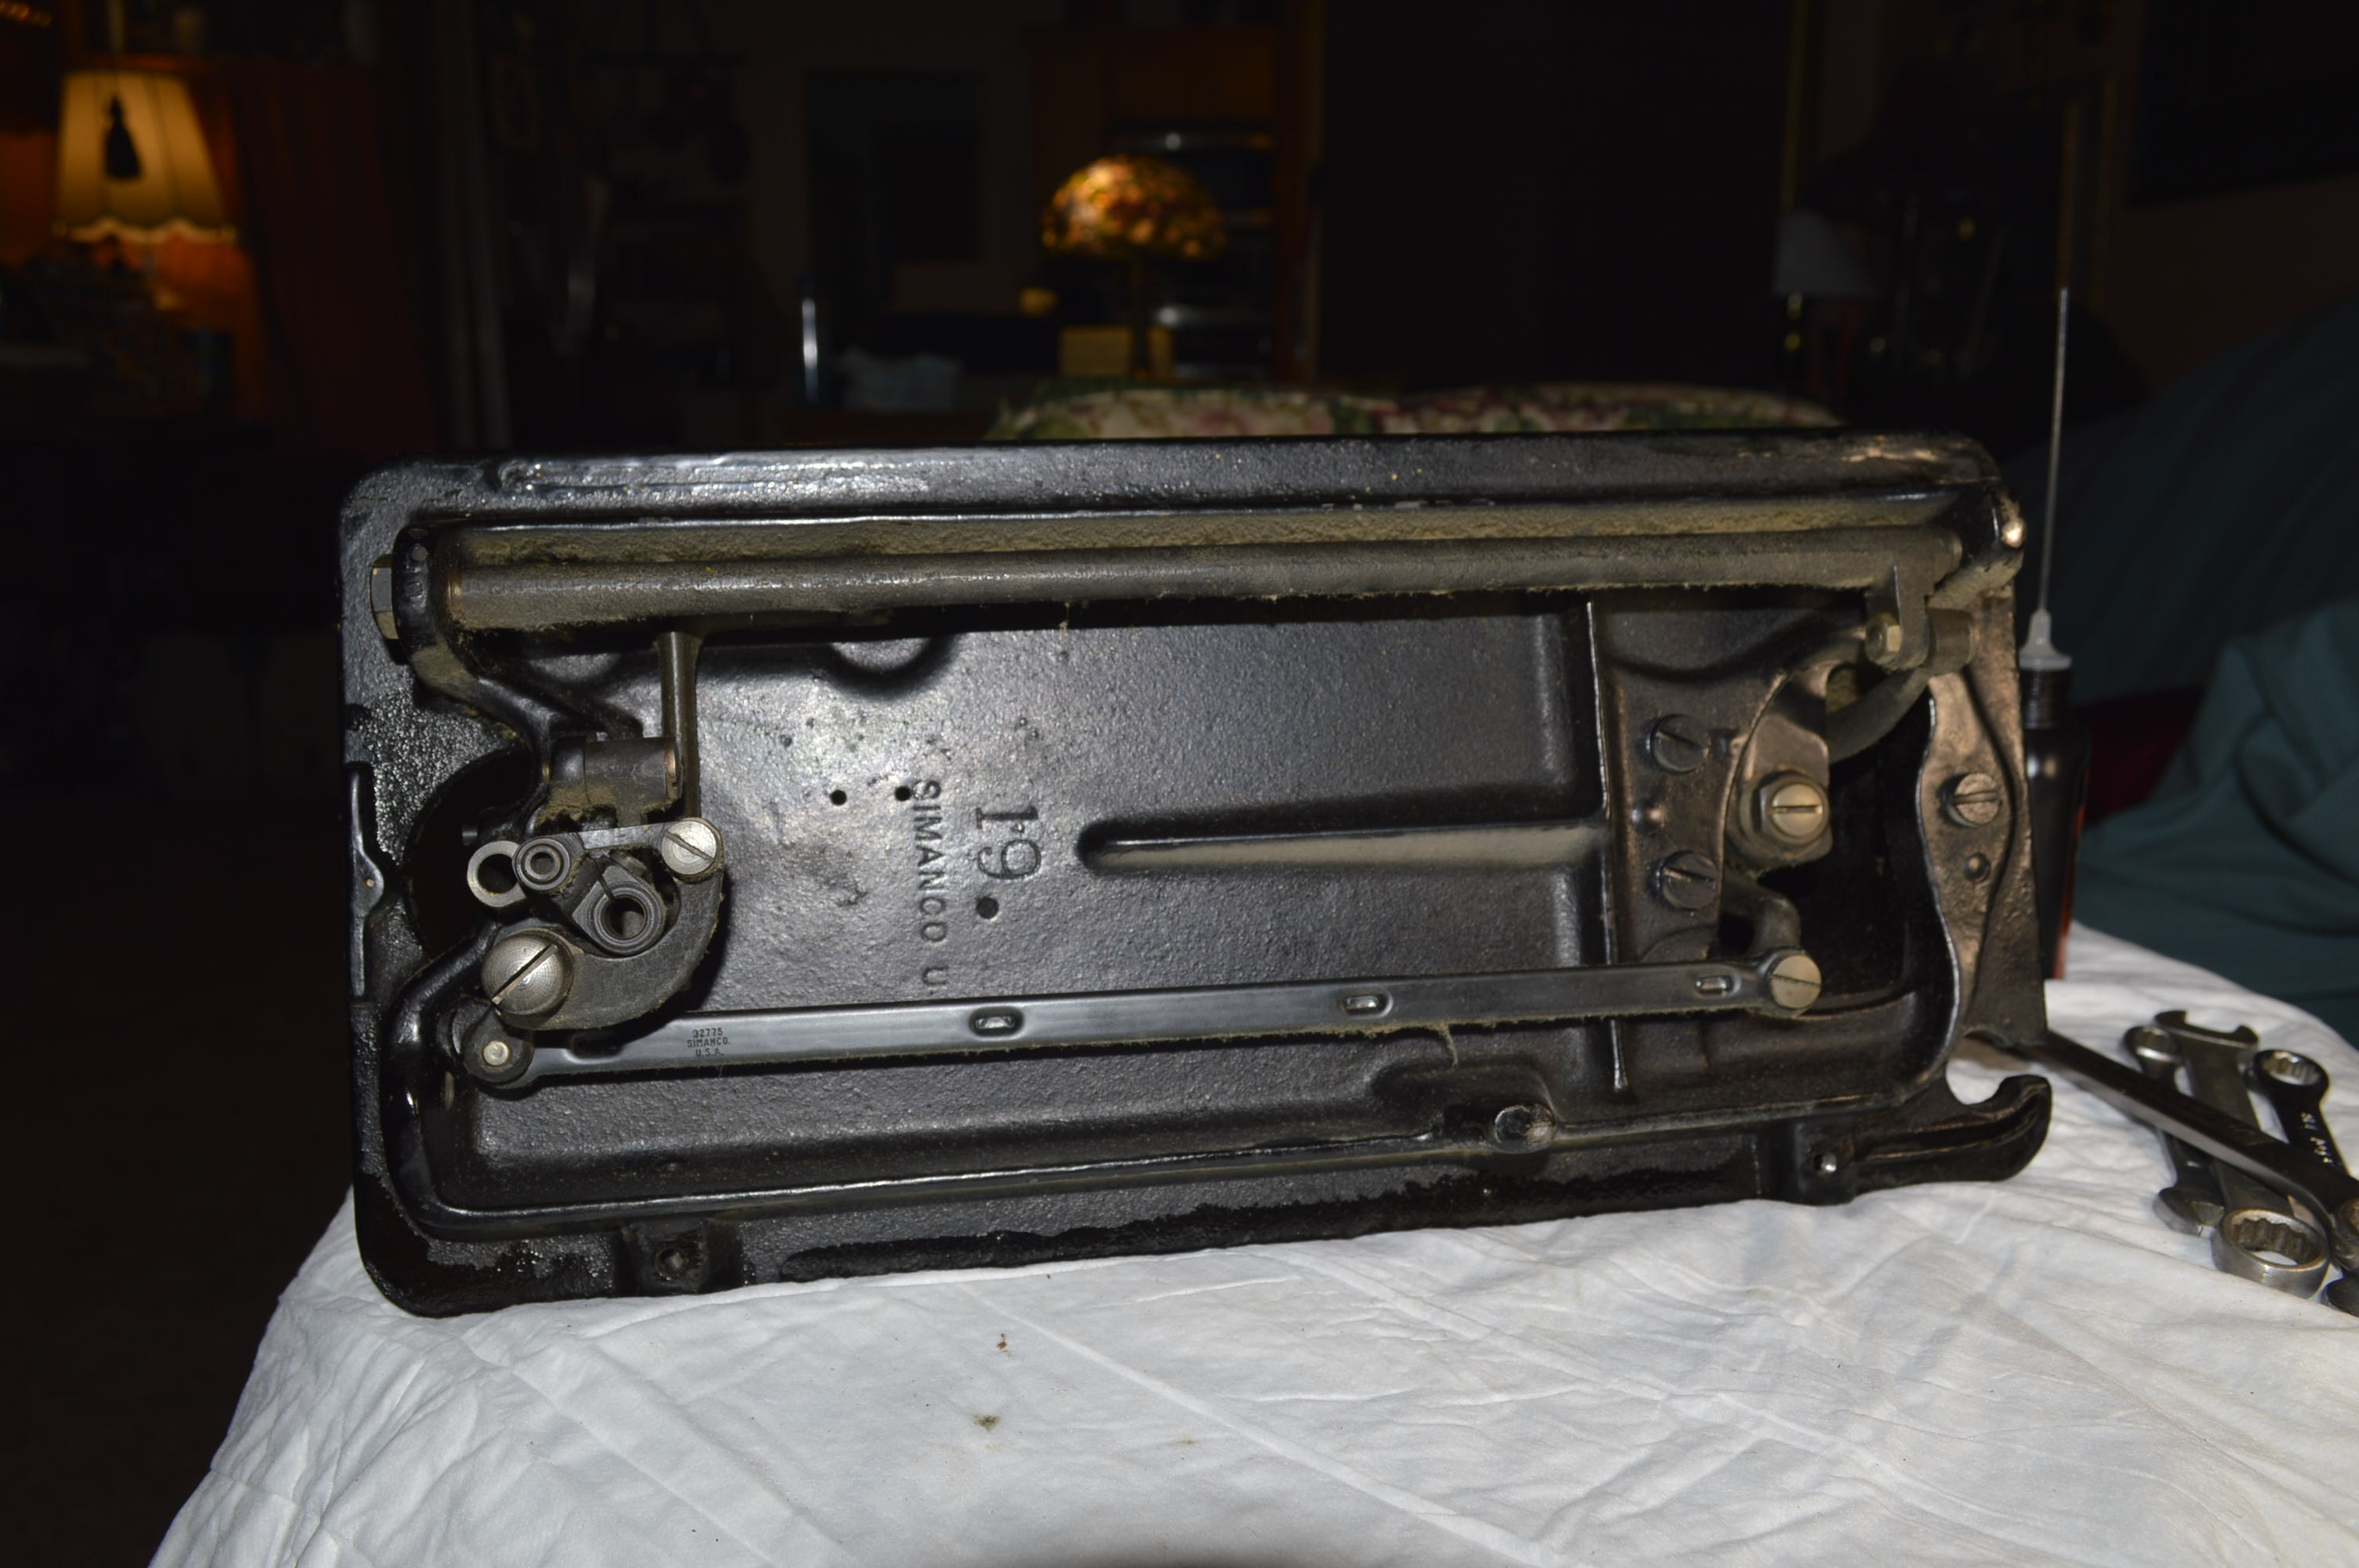
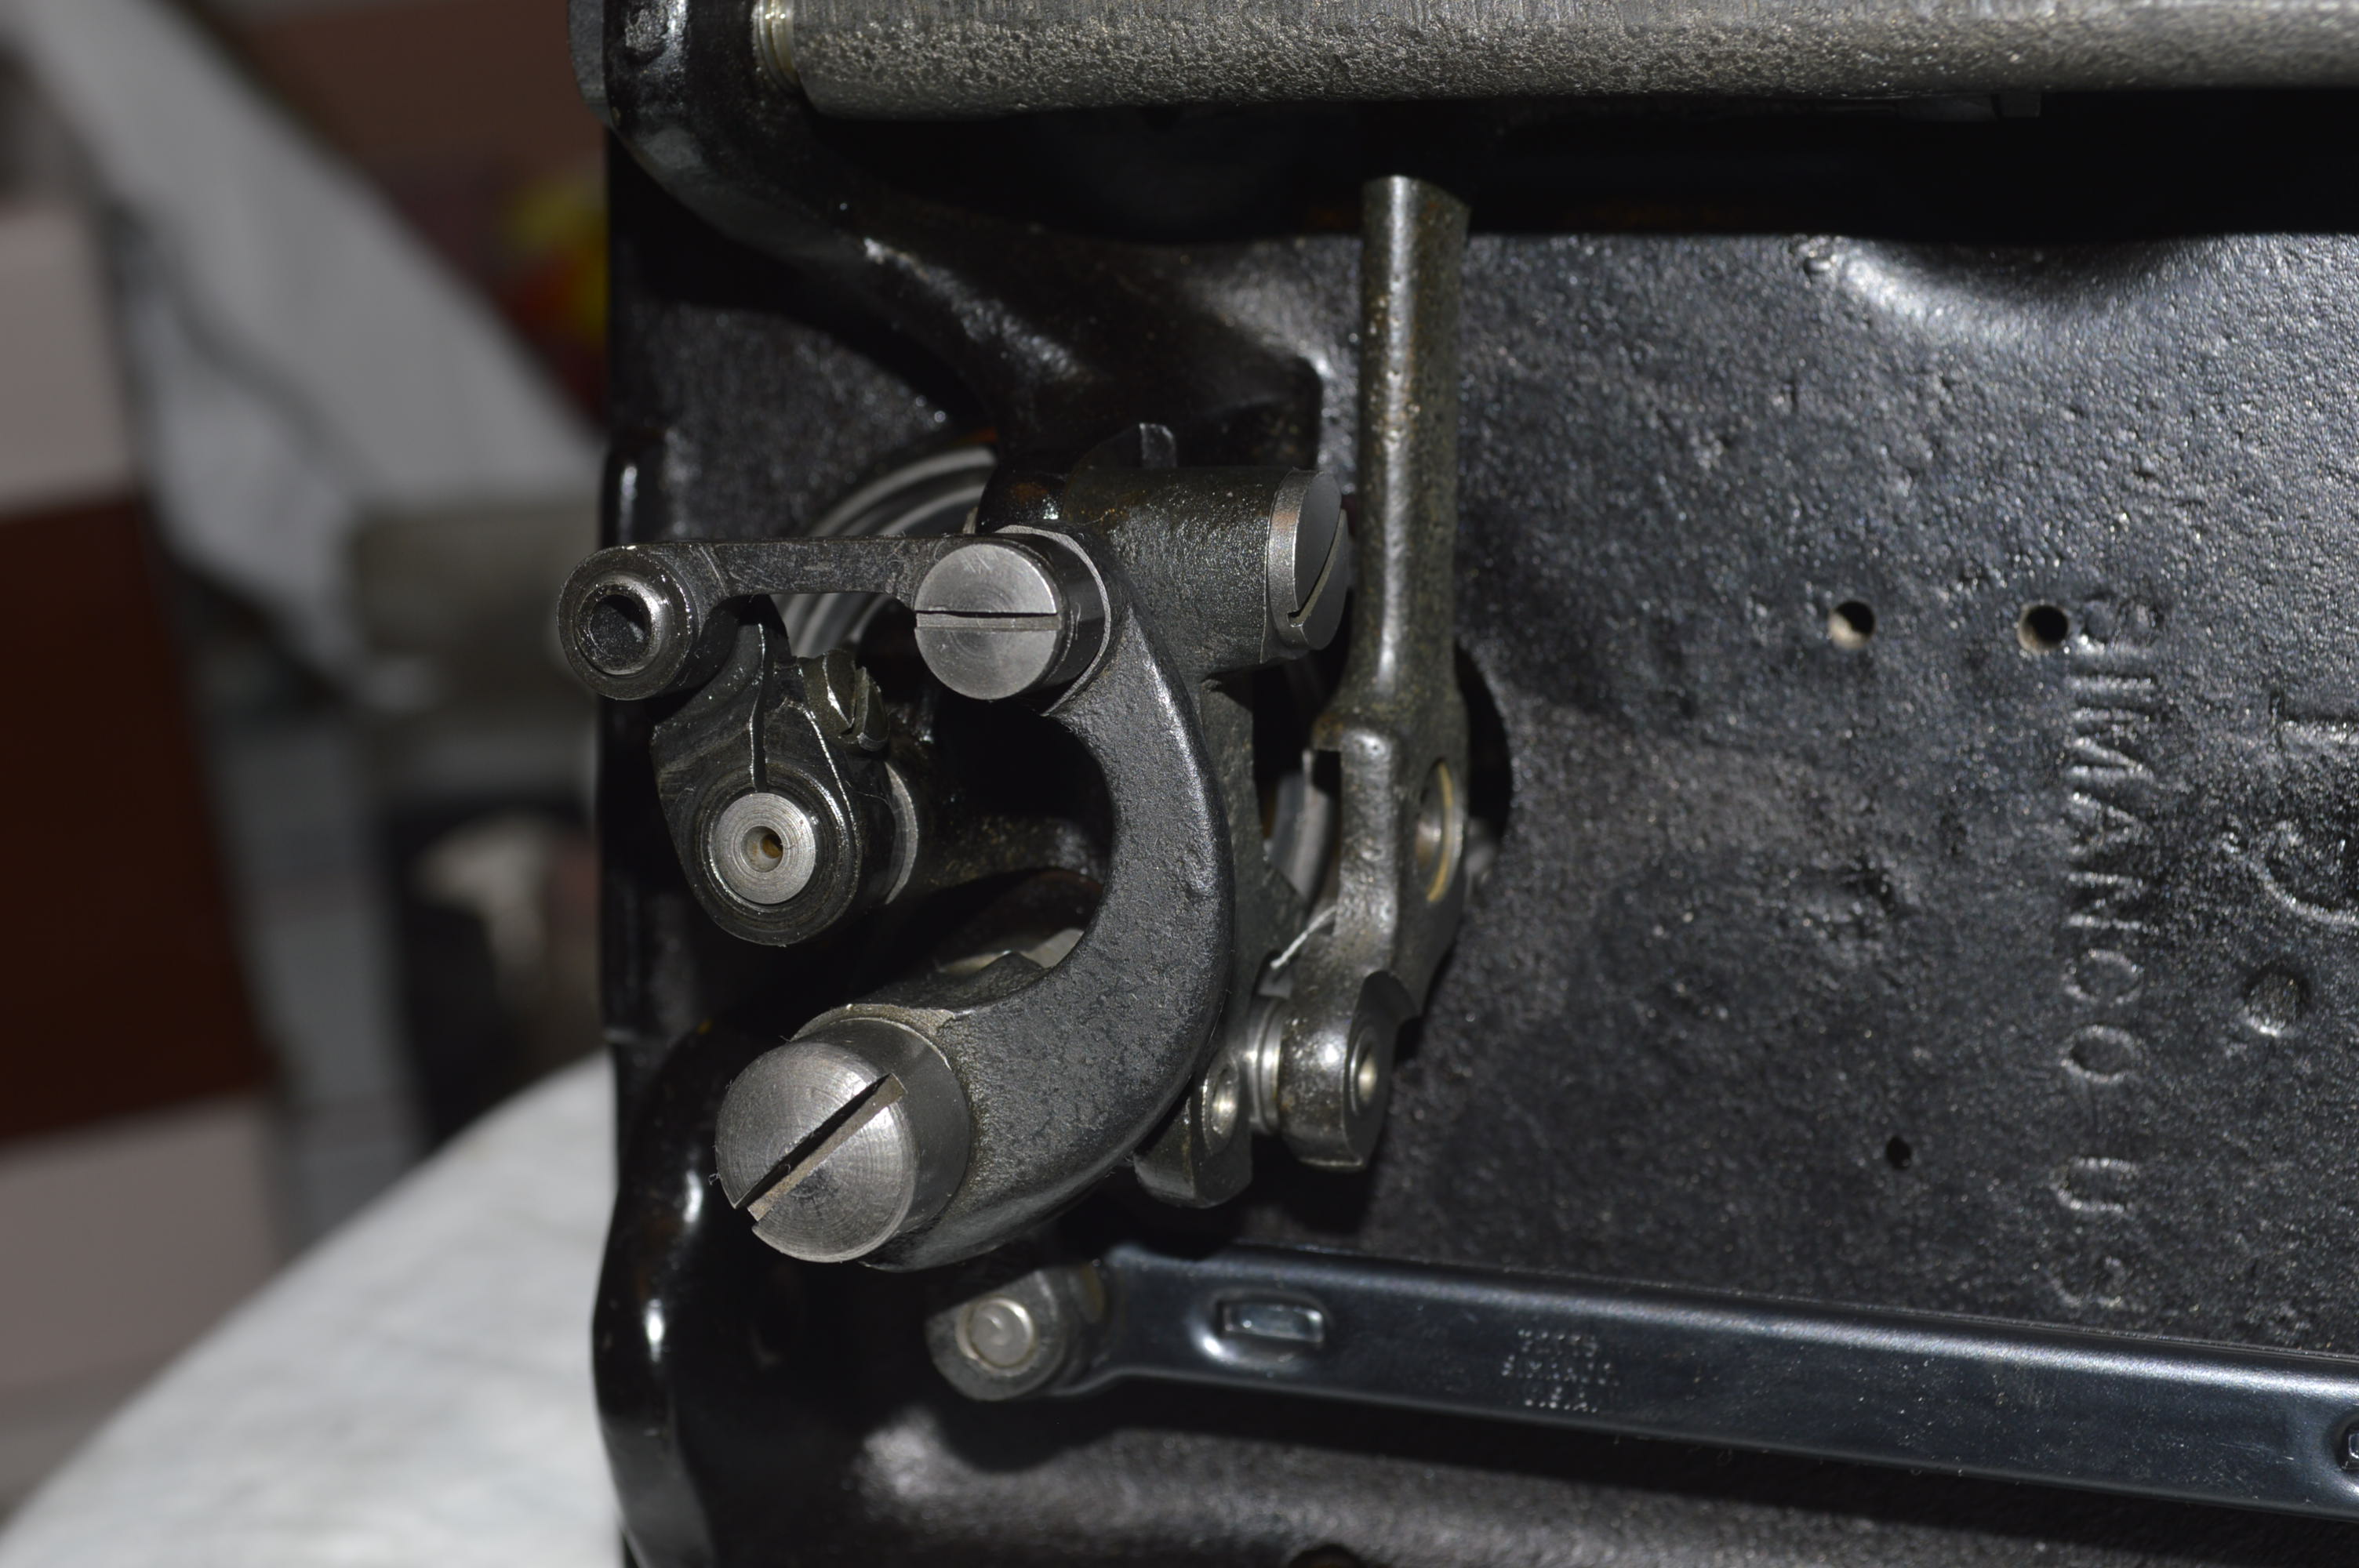
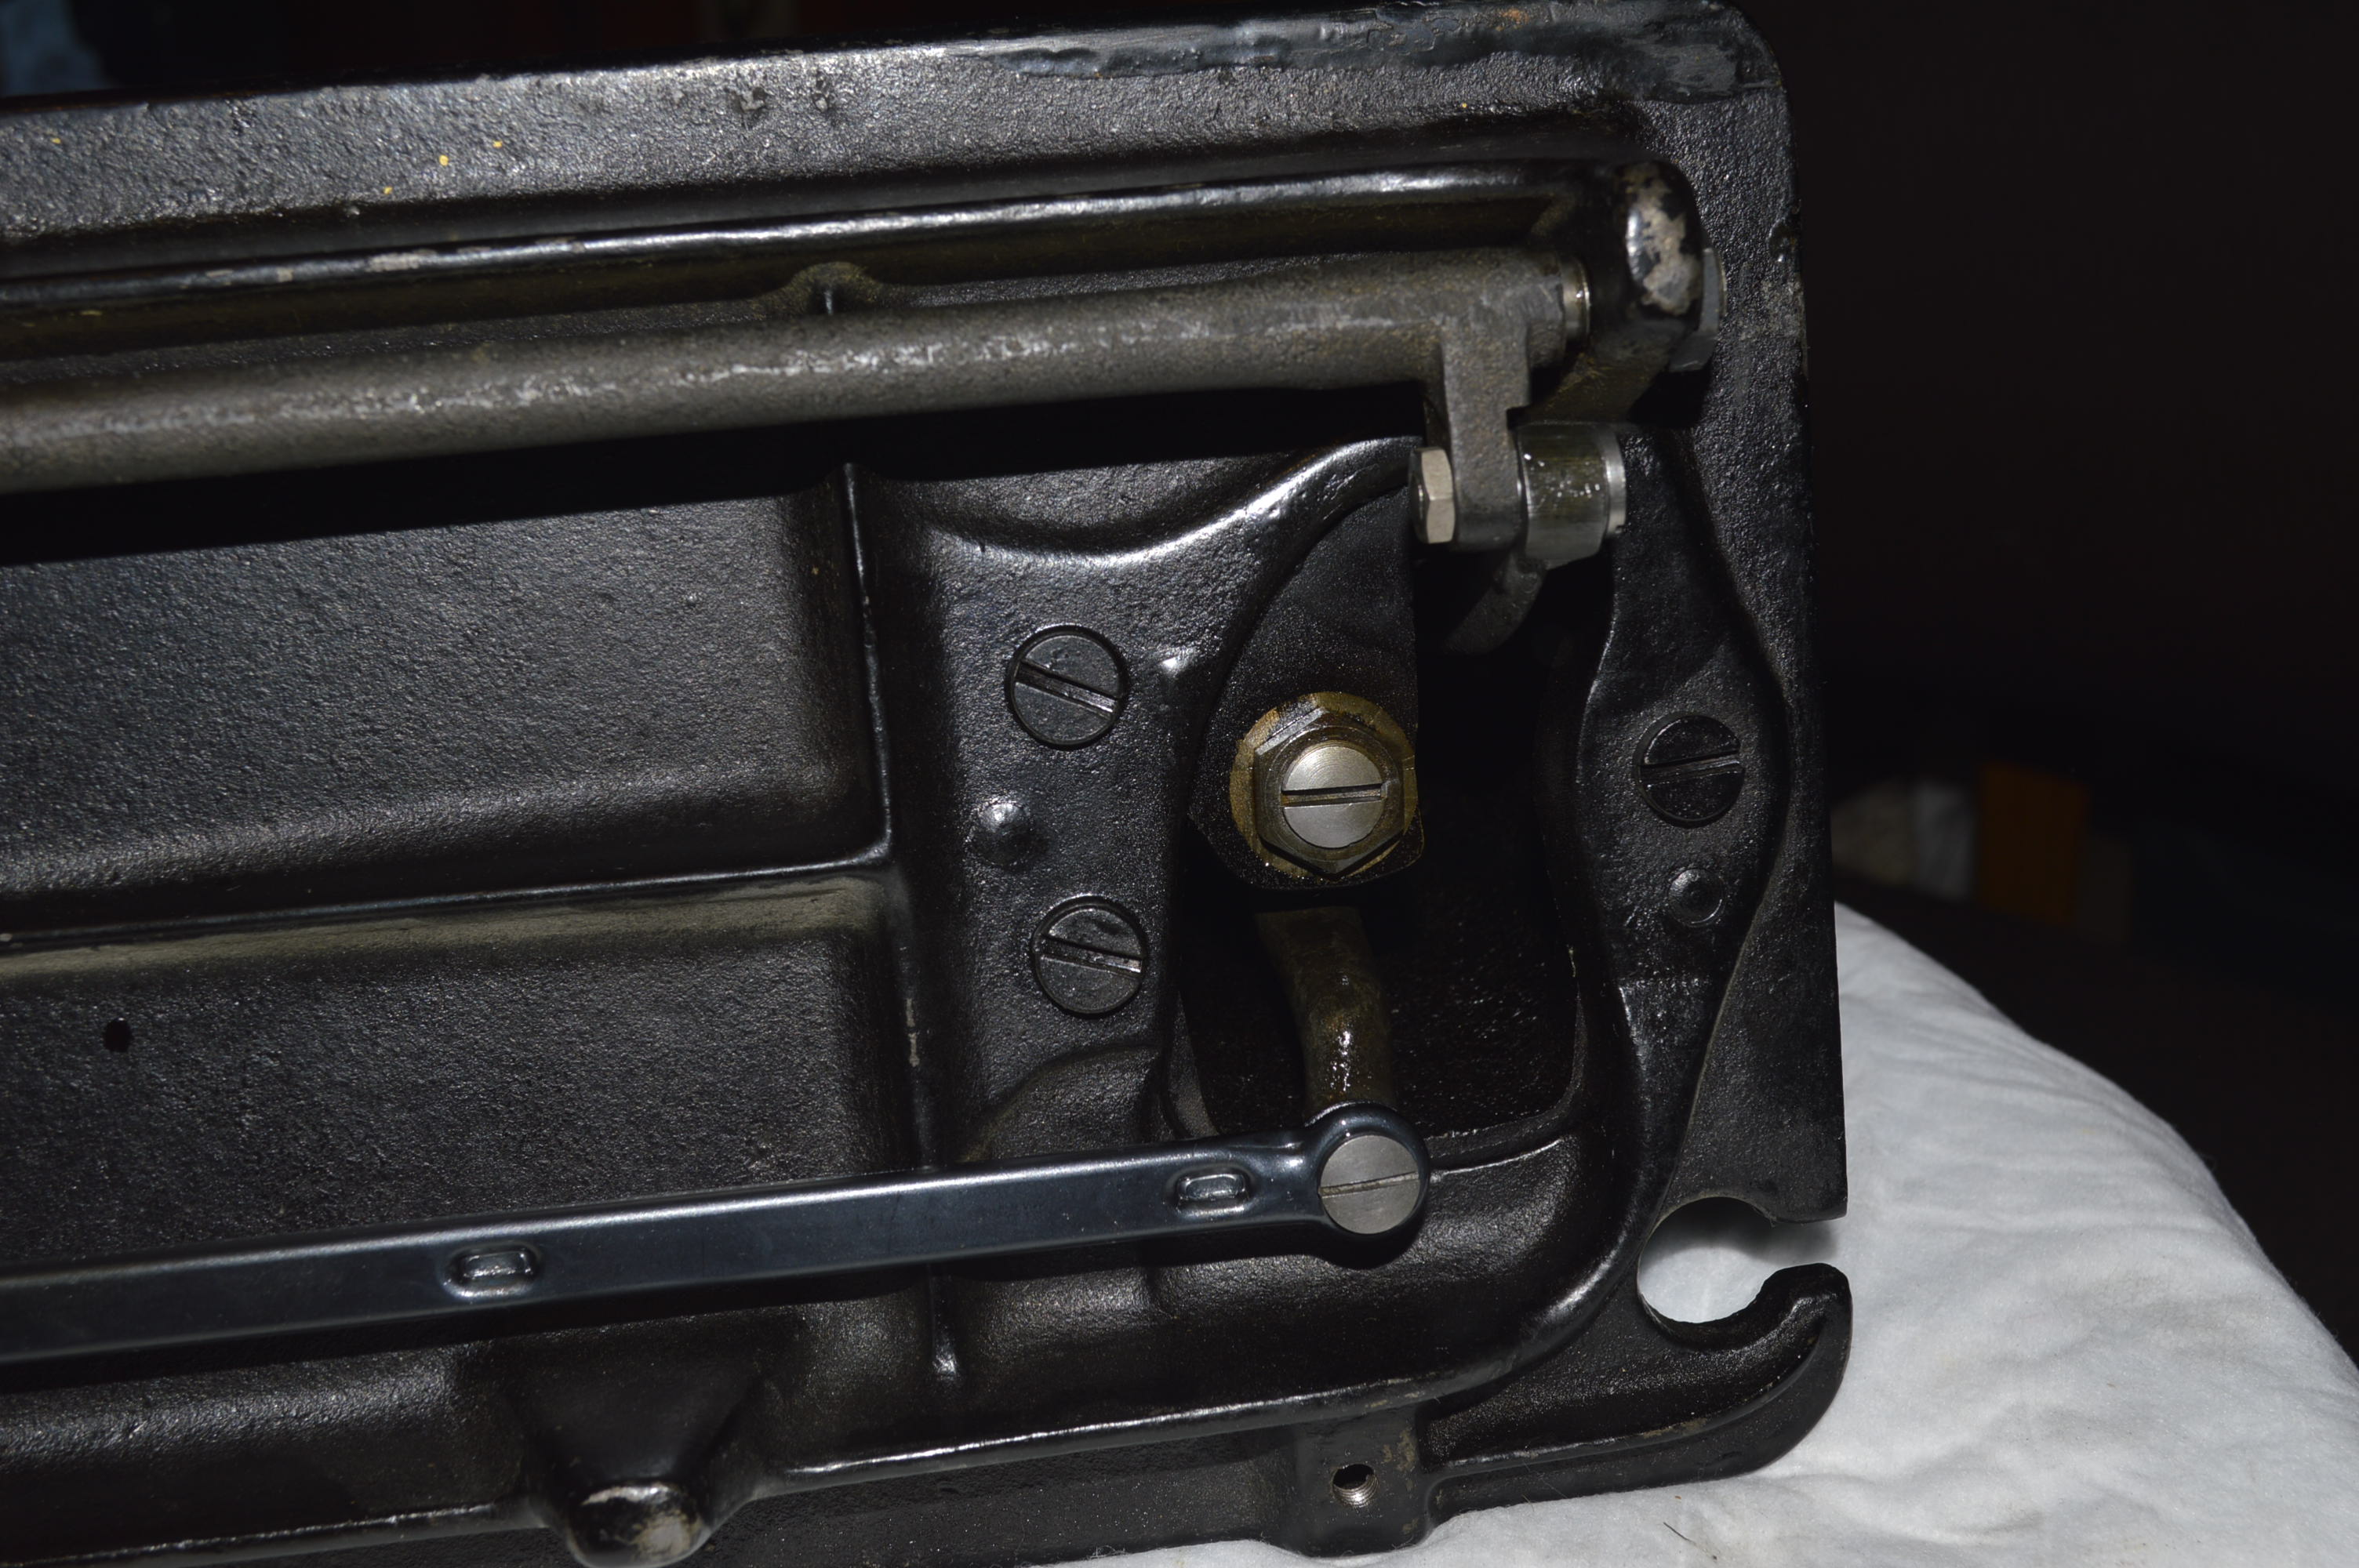
Next came the disassembly of the parts under the bed. Again, you can see the before, after, and the parts laid out for cleaning.


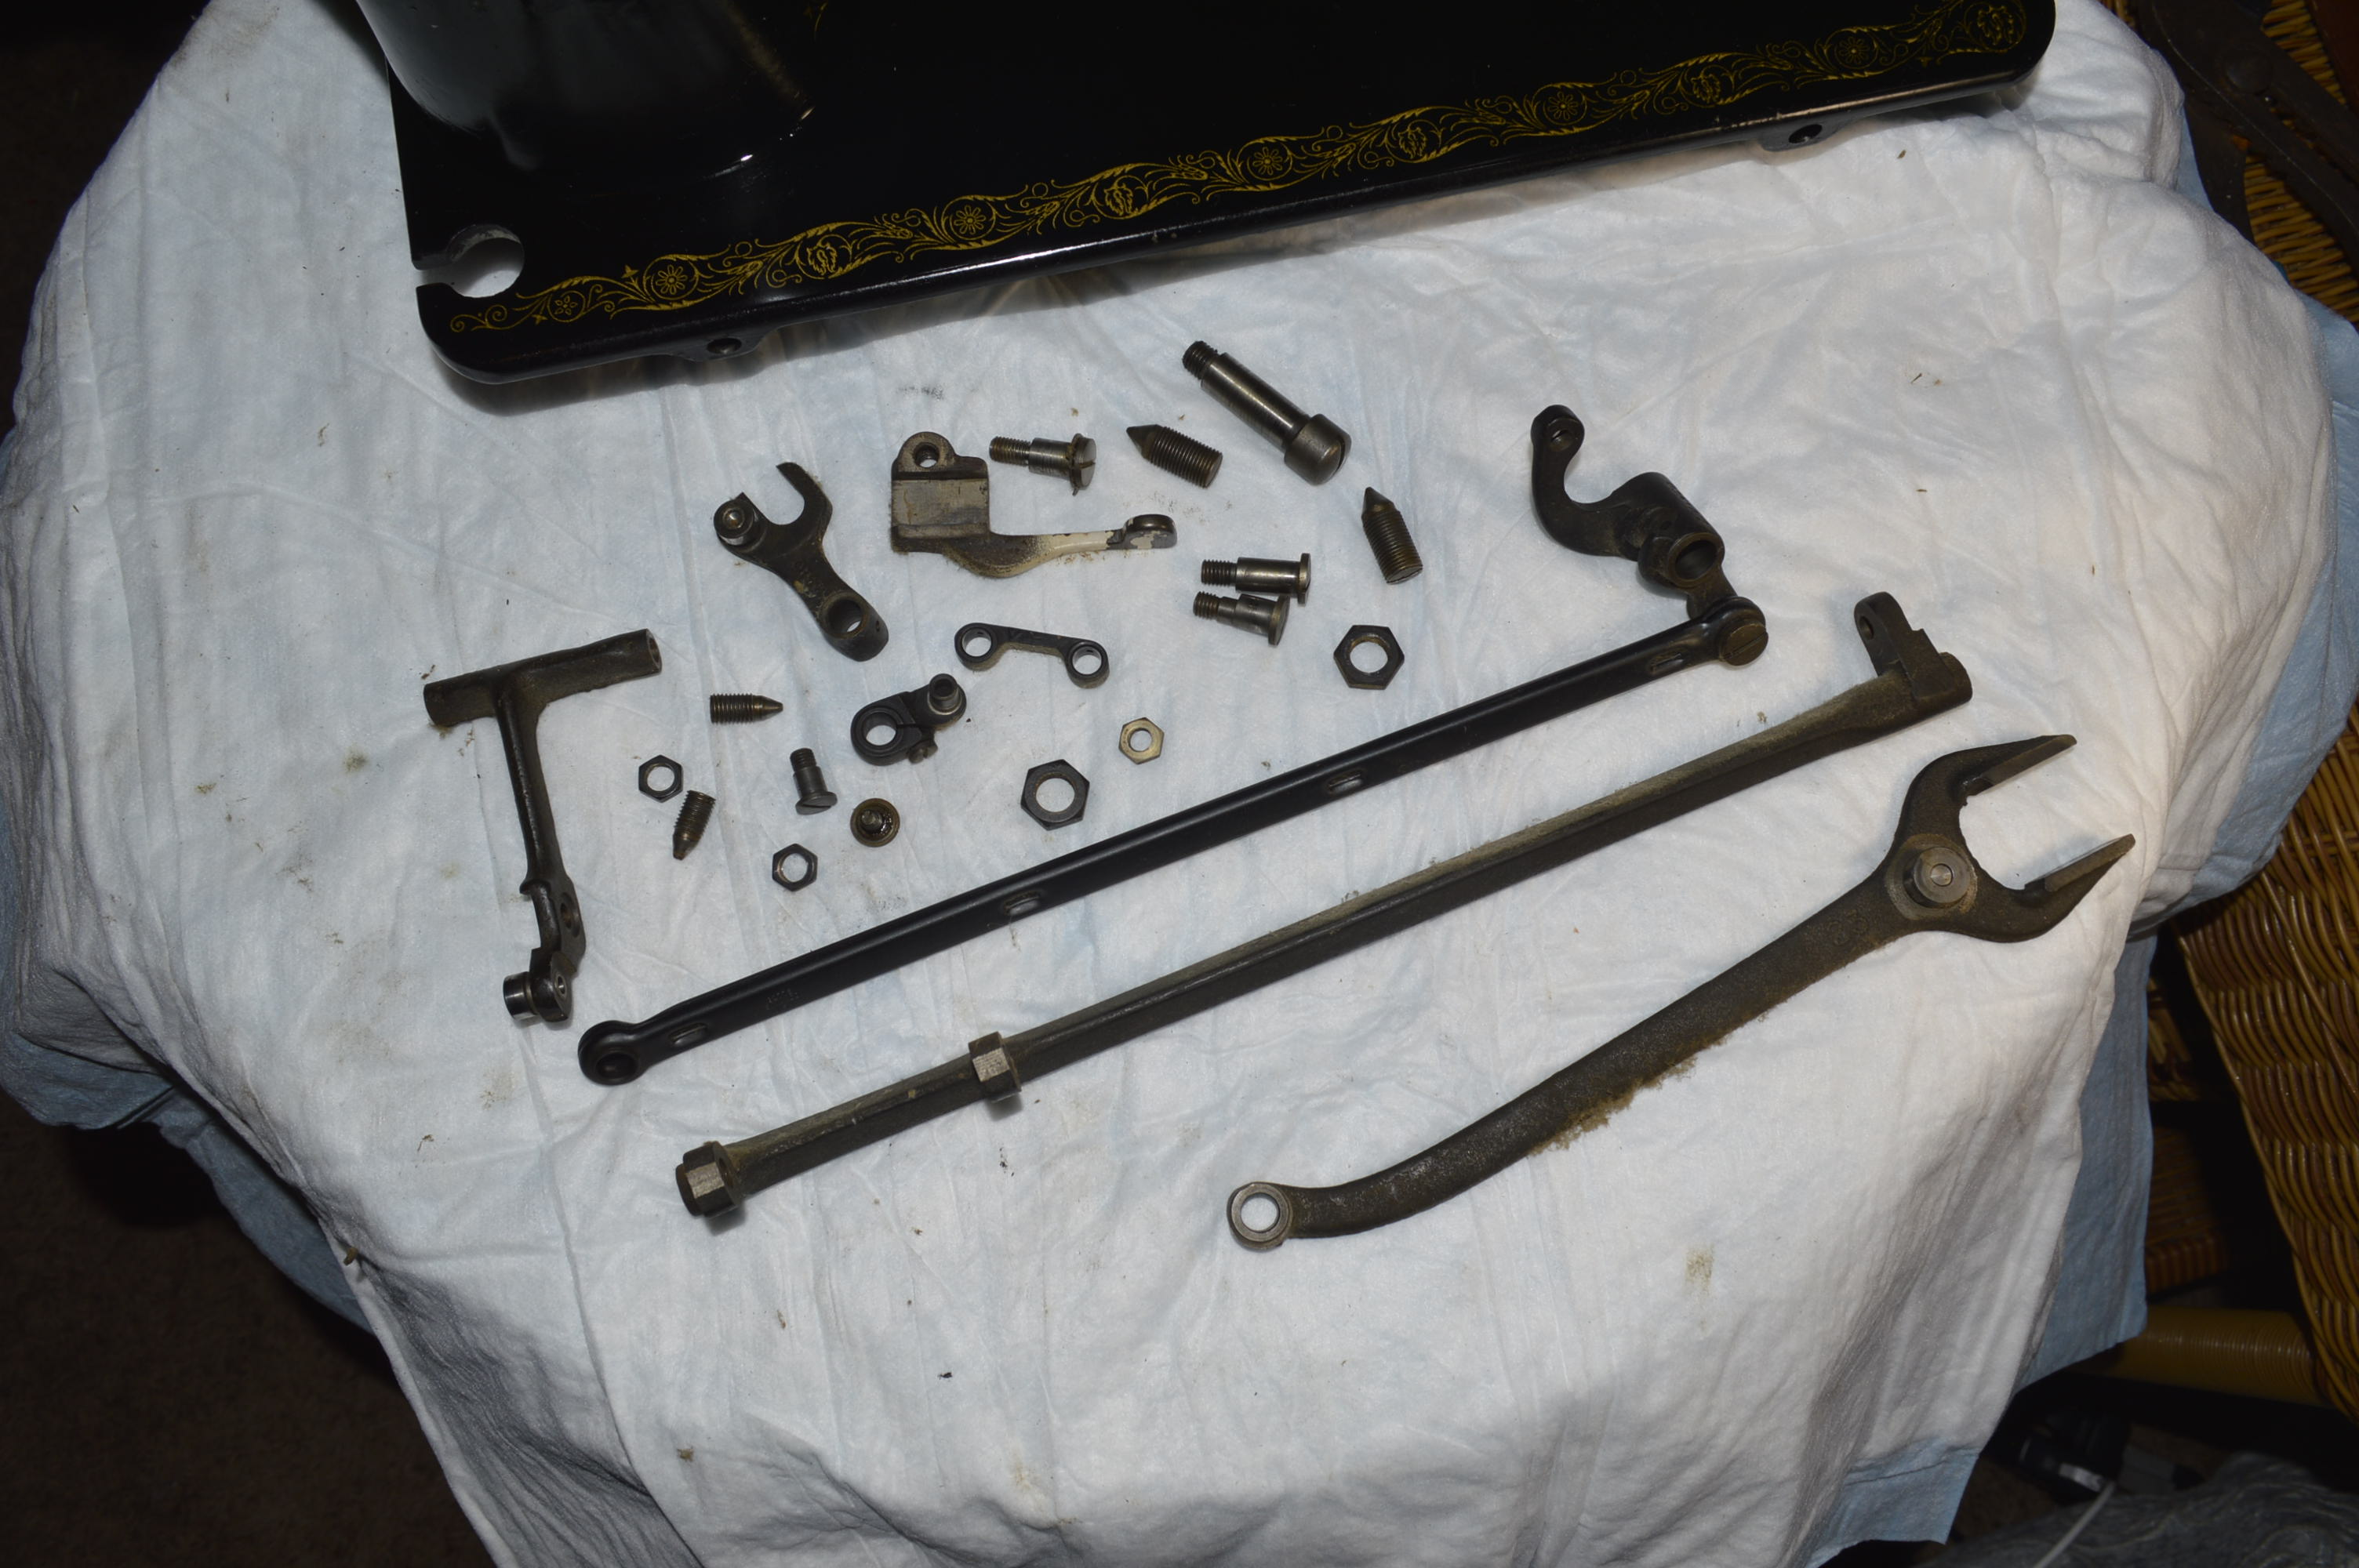
Now, if you zoom in on the pictures of the parts from the head and bed laid out for cleaning, you will notice that they have a film of old oil varnish on them… it’s the “coffee color” coating the parts. This oil varnish is on all of the parts, including the parts that rotate, rub, or are in contact with another part, and it is present inside and out on these parts. This is what sets reconditioning apart from servicing. You can clean the outside of these parts and oil them all day long, but unless you disassemble them, you can’t get to the inside of these parts, and that’s where the work gets done… that’s where the smoothness is. All other cleaning is cosmetic, but cleaning these internal surfaces will change the character of the machine and result in a “factory fresh” feel in the smoothness of the machine… it’s that noticeable.
Here are the same parts after ultrasonic cleaning, and a soak in WD-40 to remove any water left behind by the cleaning.
The parts are hand rubbed with a shop towel to remove the WD-40 residue from the surface… then an extra step is taken. All of the parts that mate together, fit inside one another, and rub together are cleaned further with a dremel and a soft steel wire wheel brush. This is done to ensure that they turn, and rub, and mate together smoothly. The next few pictures will show you the finish this accomplishes.

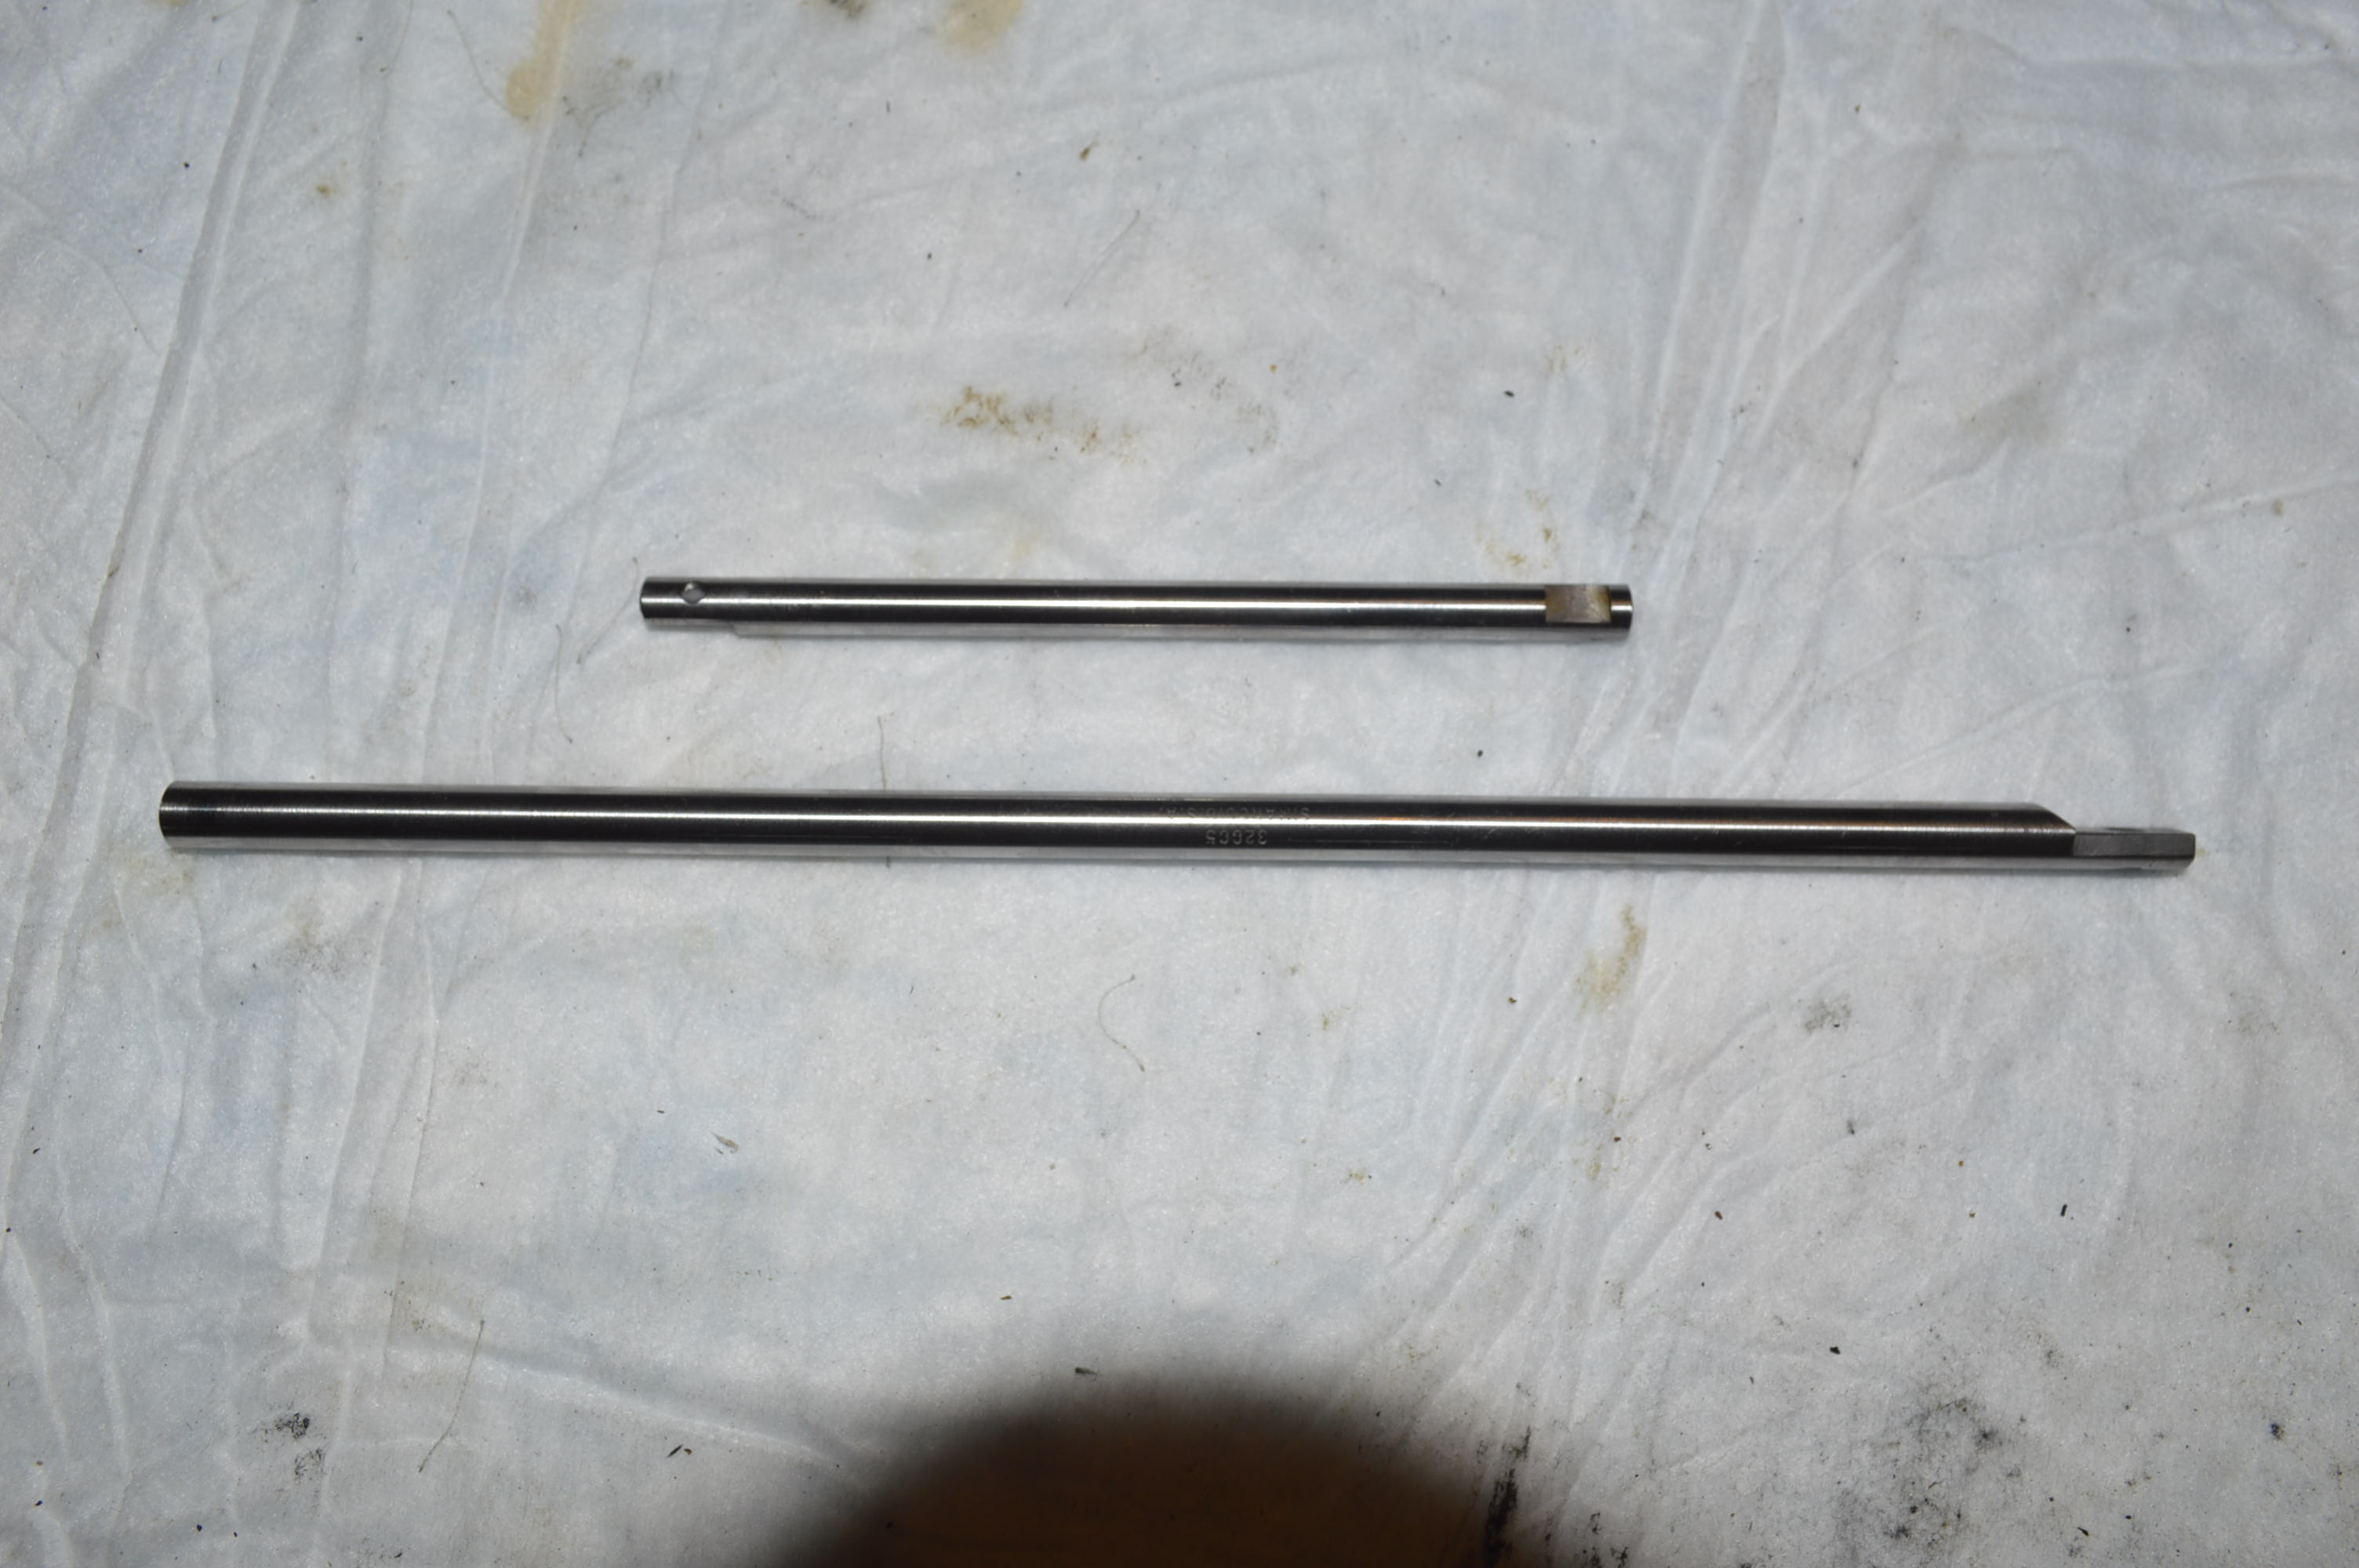
The presser bar and the needle bar need to go even a step further. After ultrasonic cleaning, they look clean, but these need to be polished as smooth as glass. This picture is before…
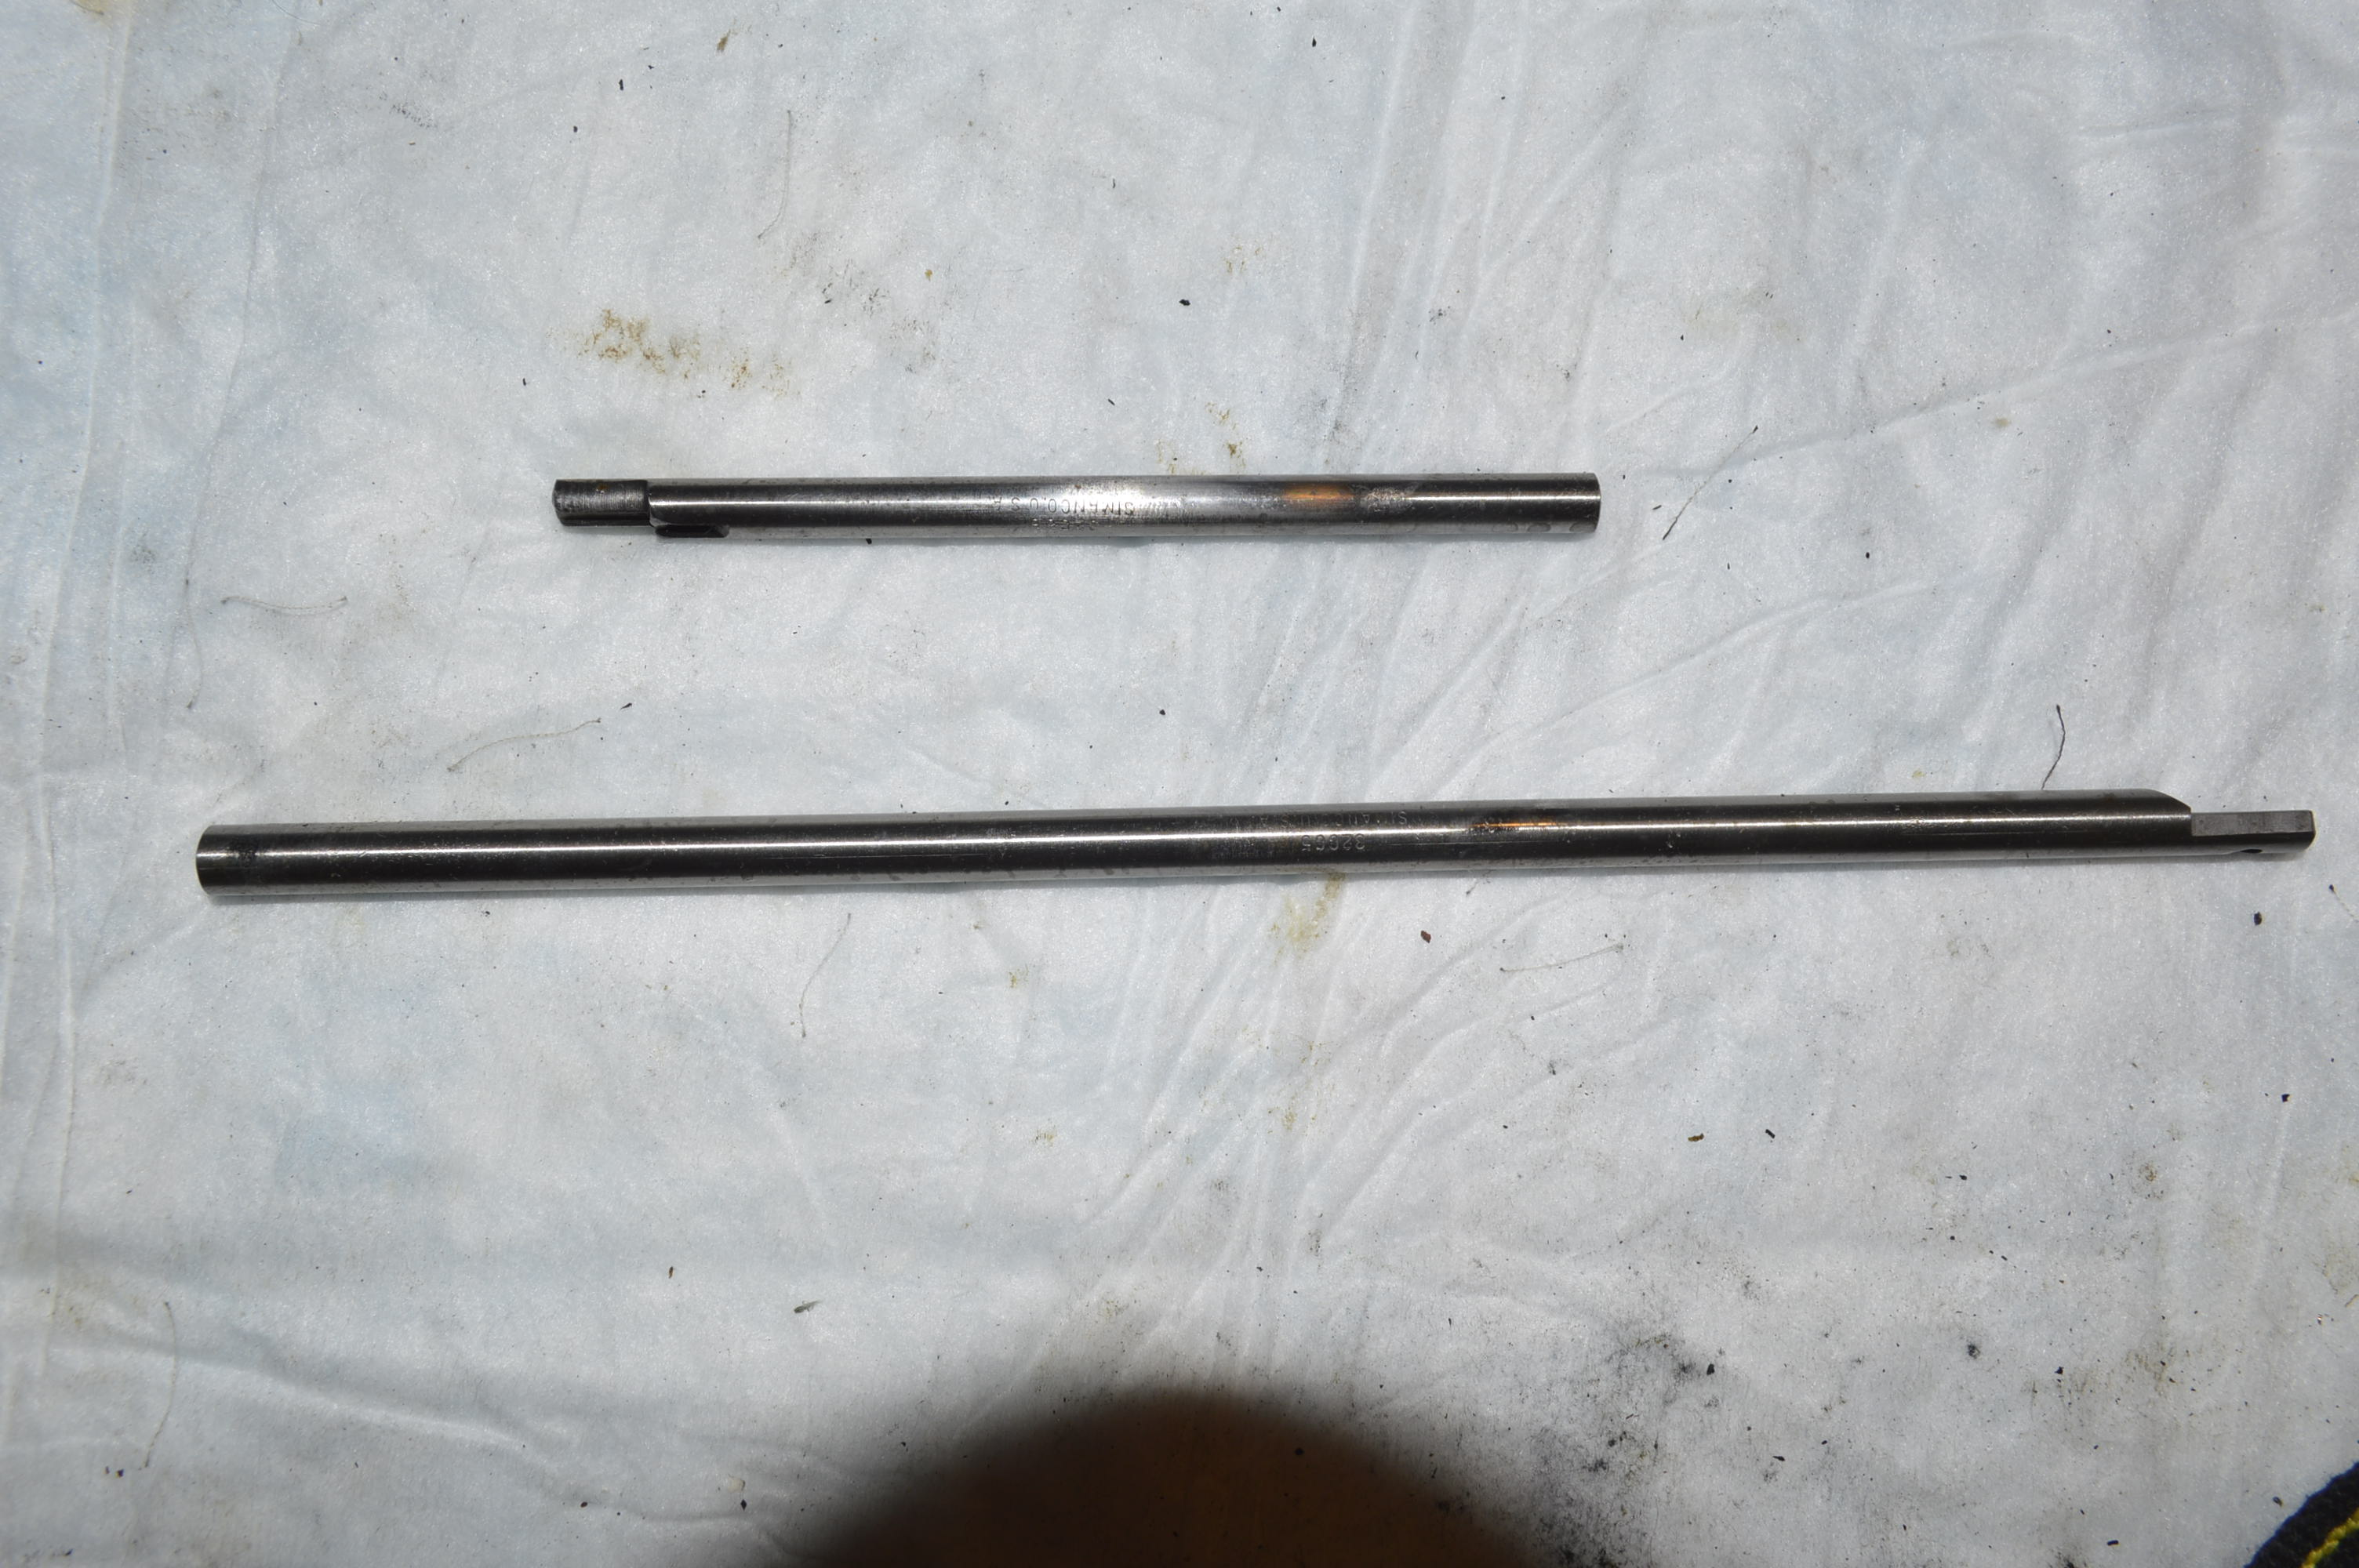
This picture is after…
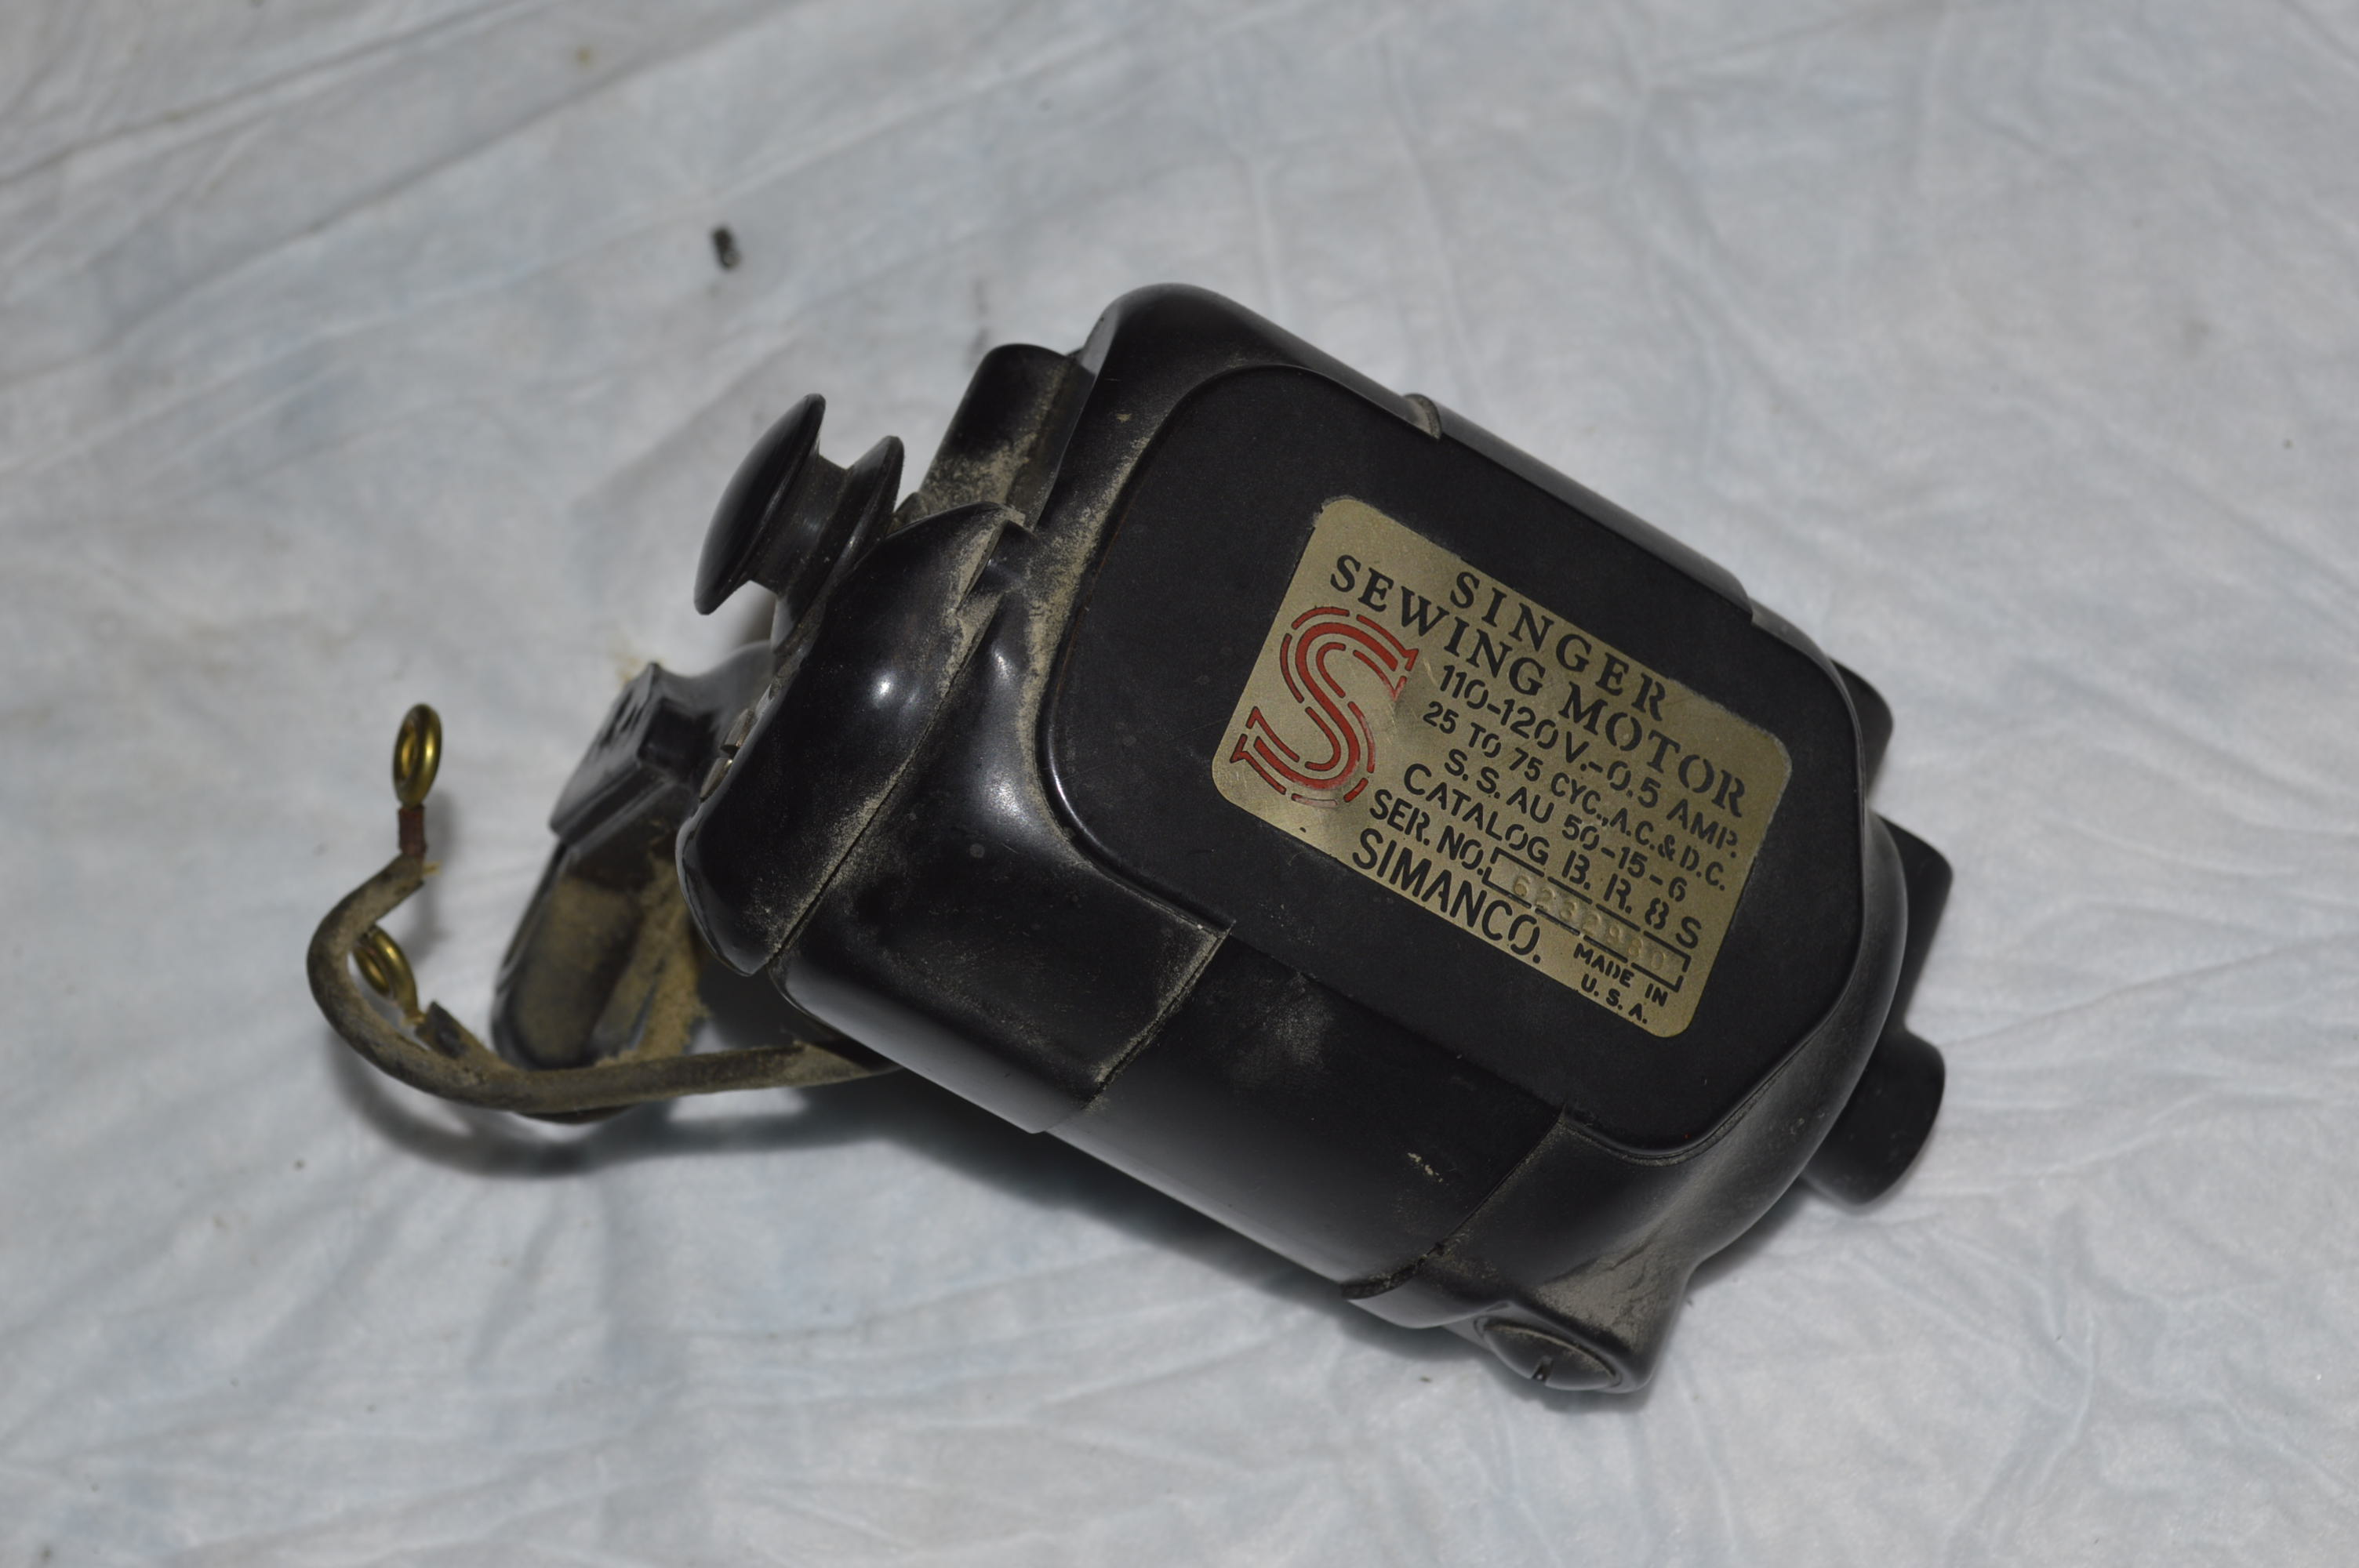
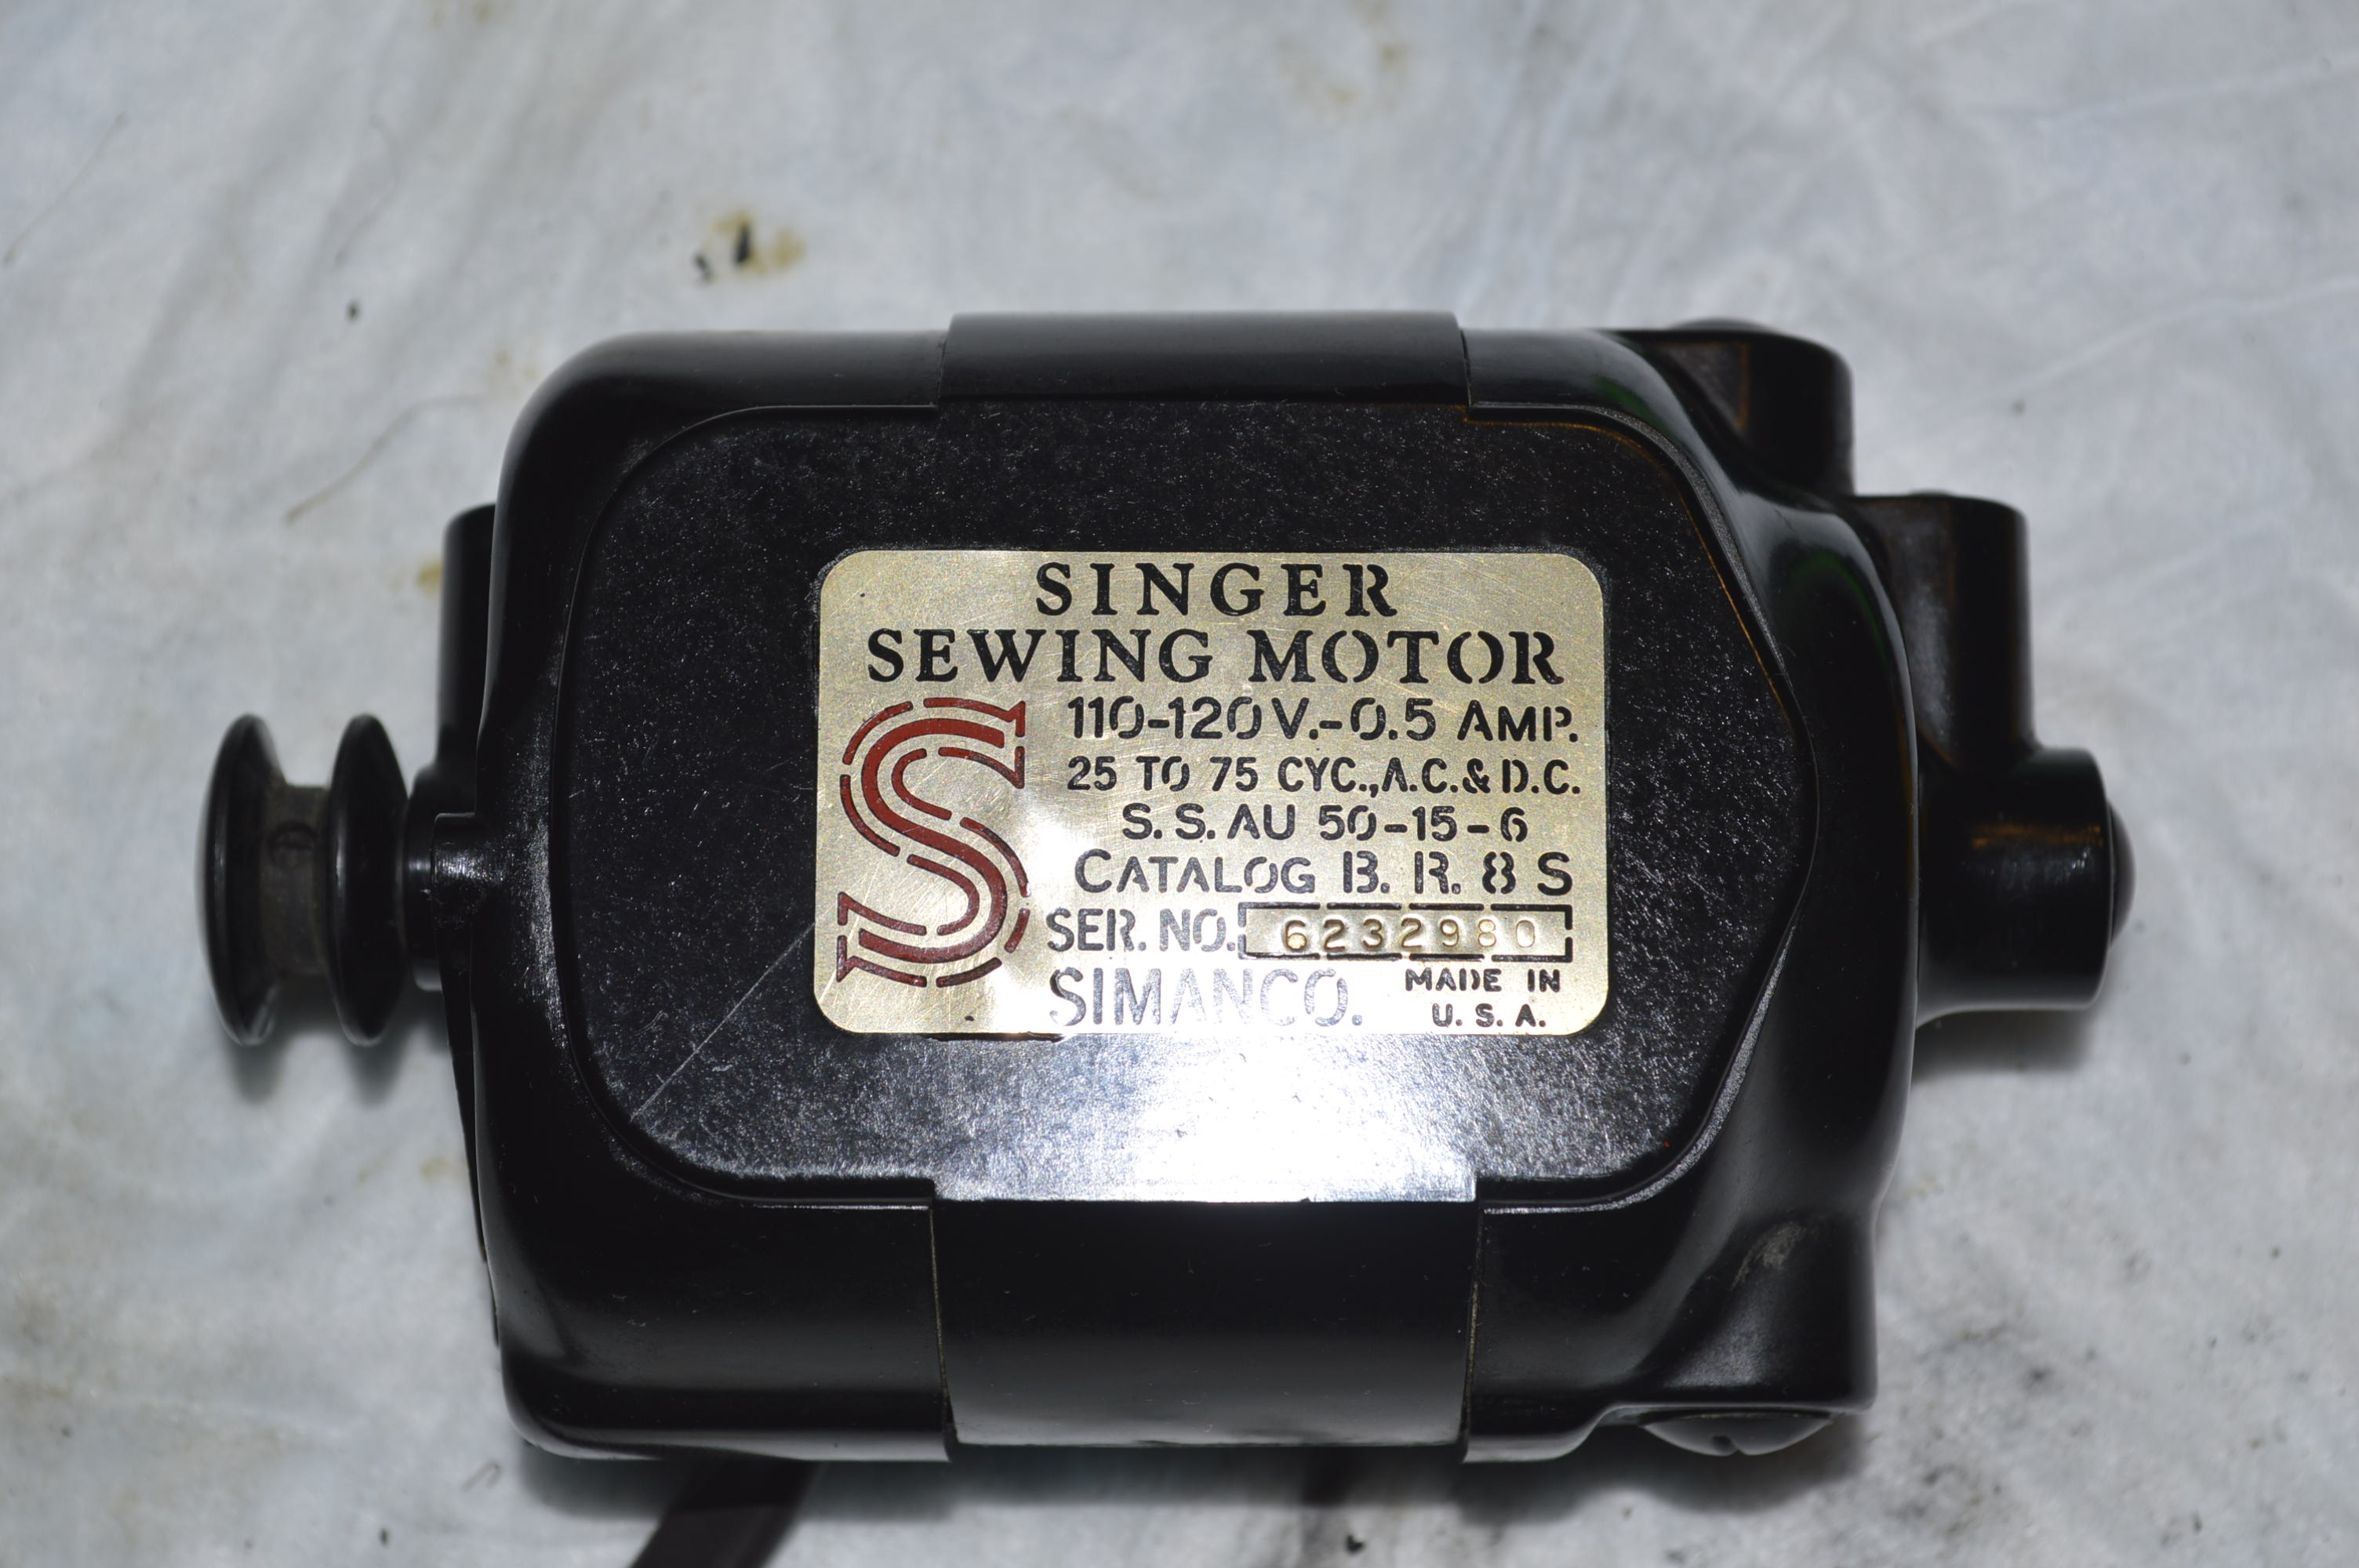
With all of the parts cleaned and ready for reassembly, my attention is turned to the motor. This particular motor appeared to have good wiring, but due to its age and the fact that you cannot see any cracks in the insulation under the outer covering, the wire is replaced. Regardless of how good a motor looks, it is disassembled and cleaned, the armature is polished, and the grease wicks are replaced. The brushes in this motor are in excellent condition, so they will be cleaned and reinstalled.
The motor in original condition…
The motor disassembled…

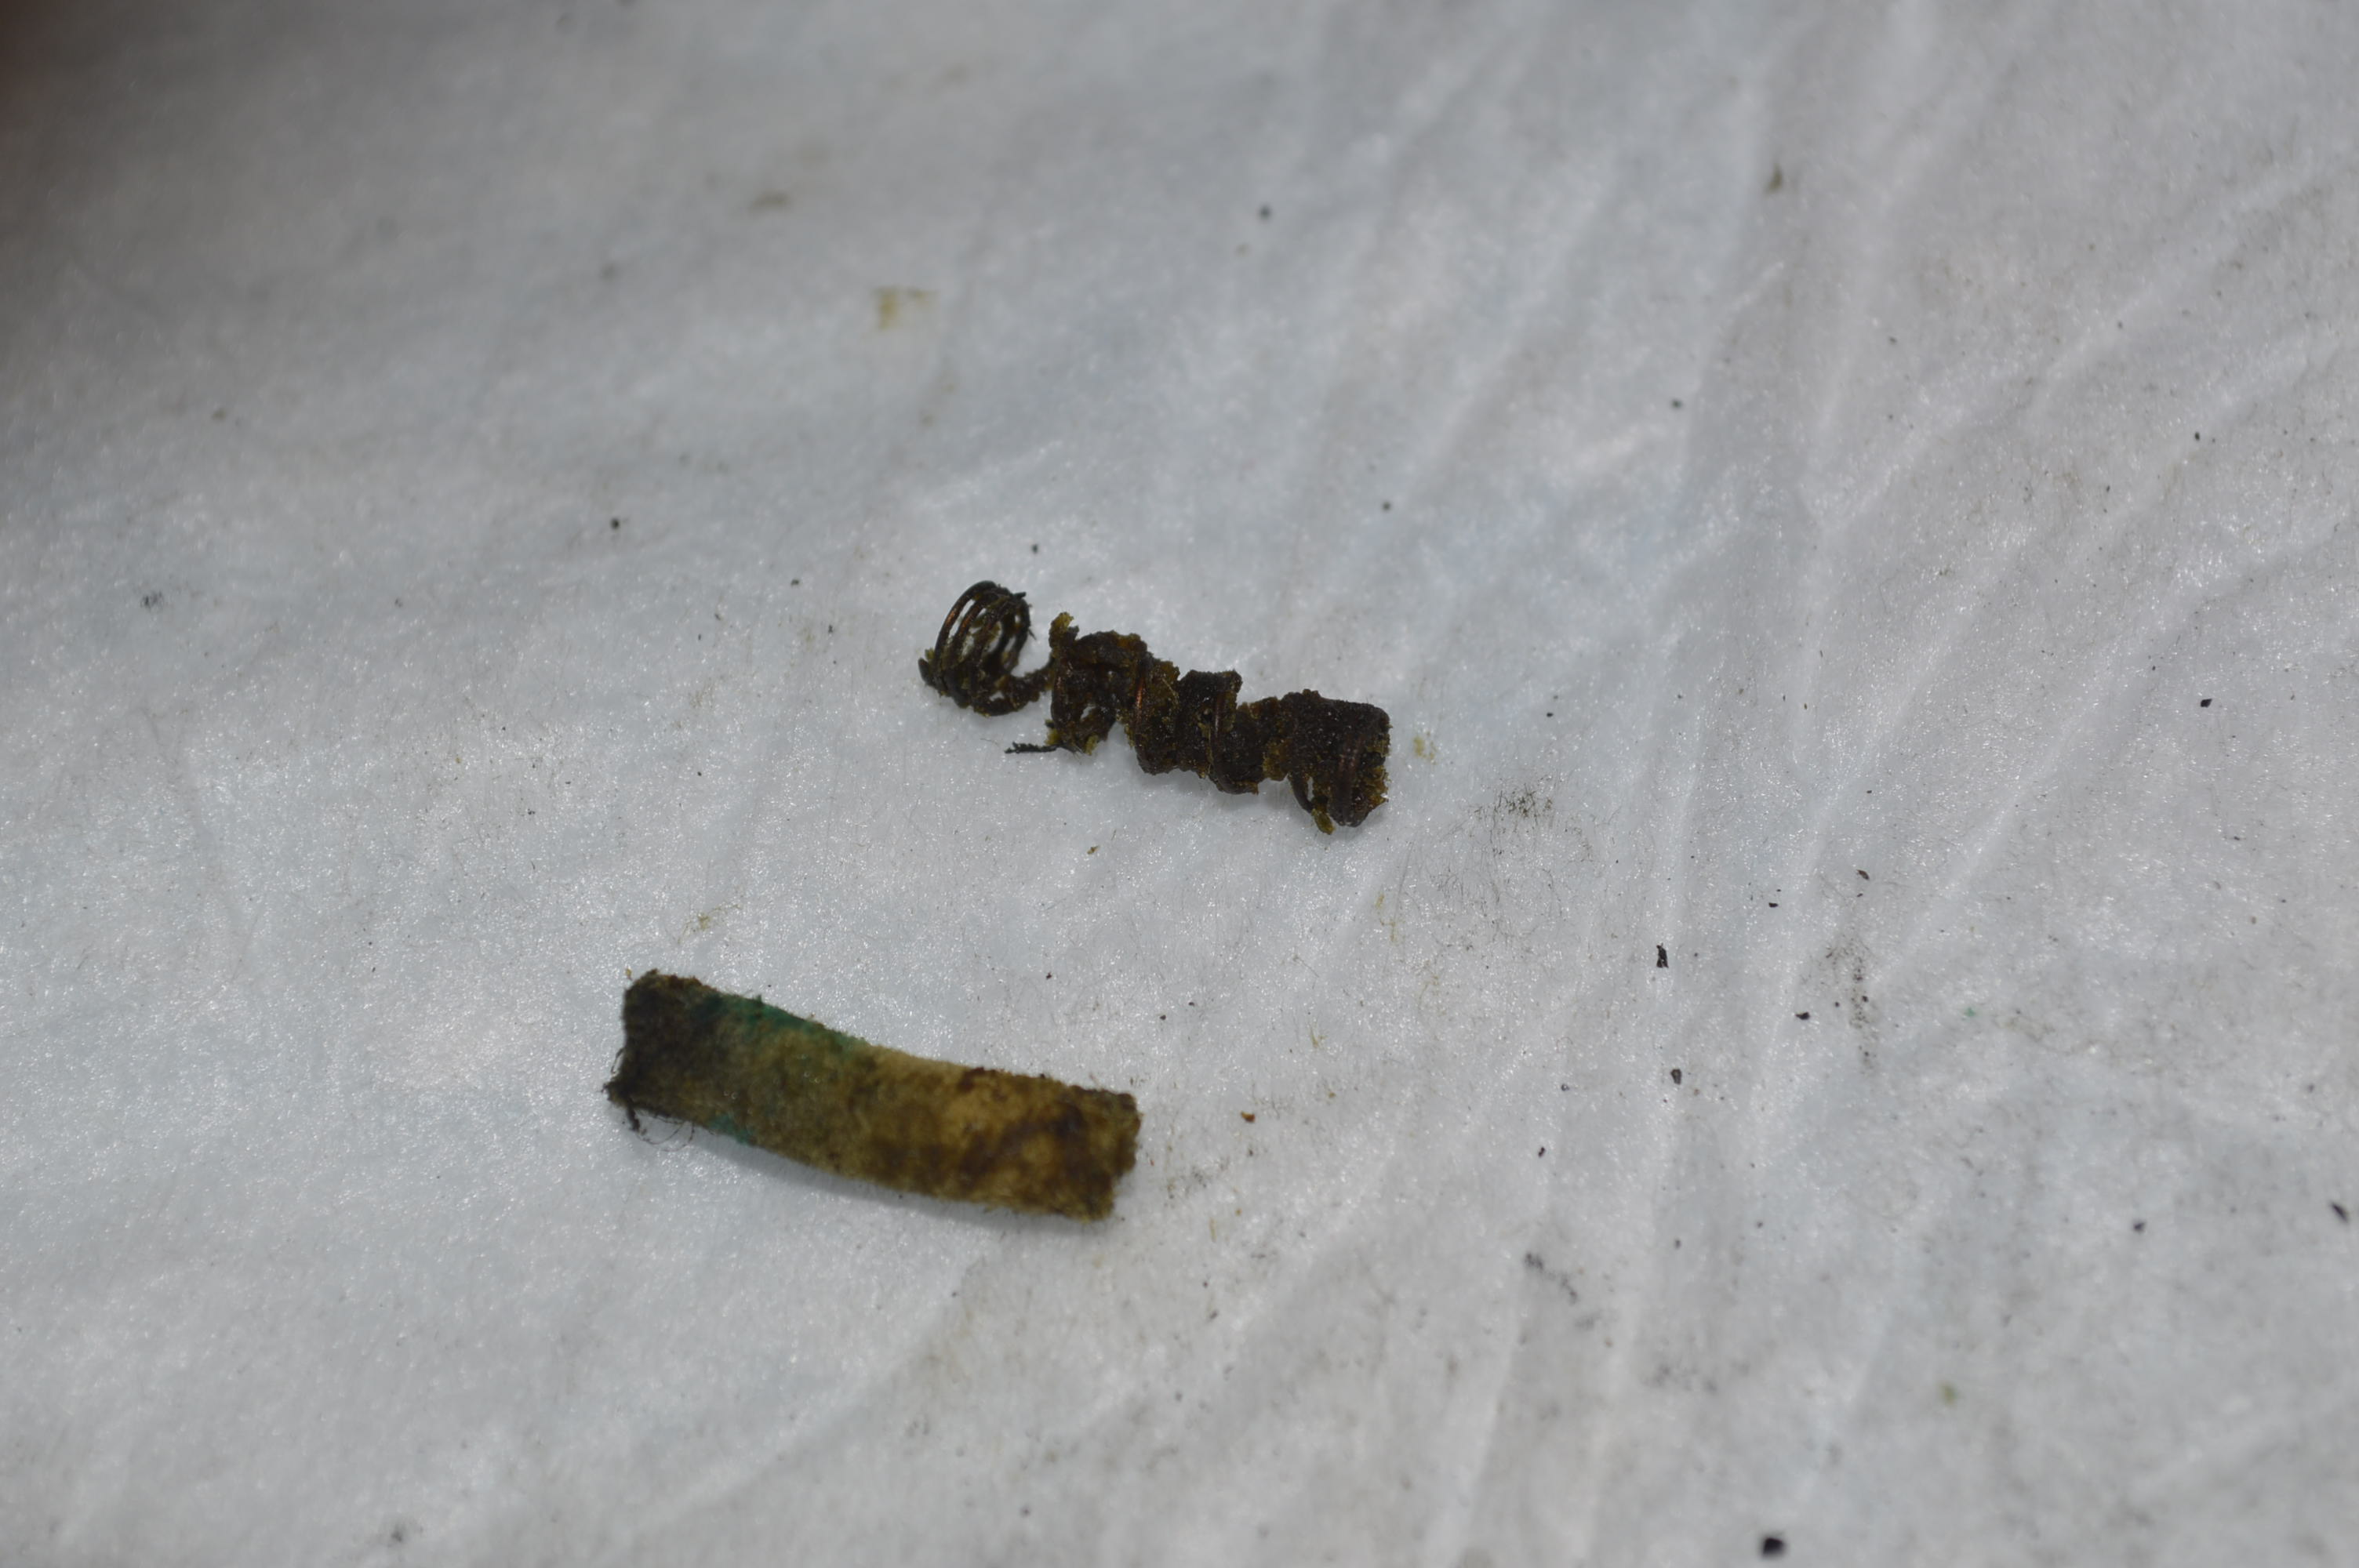
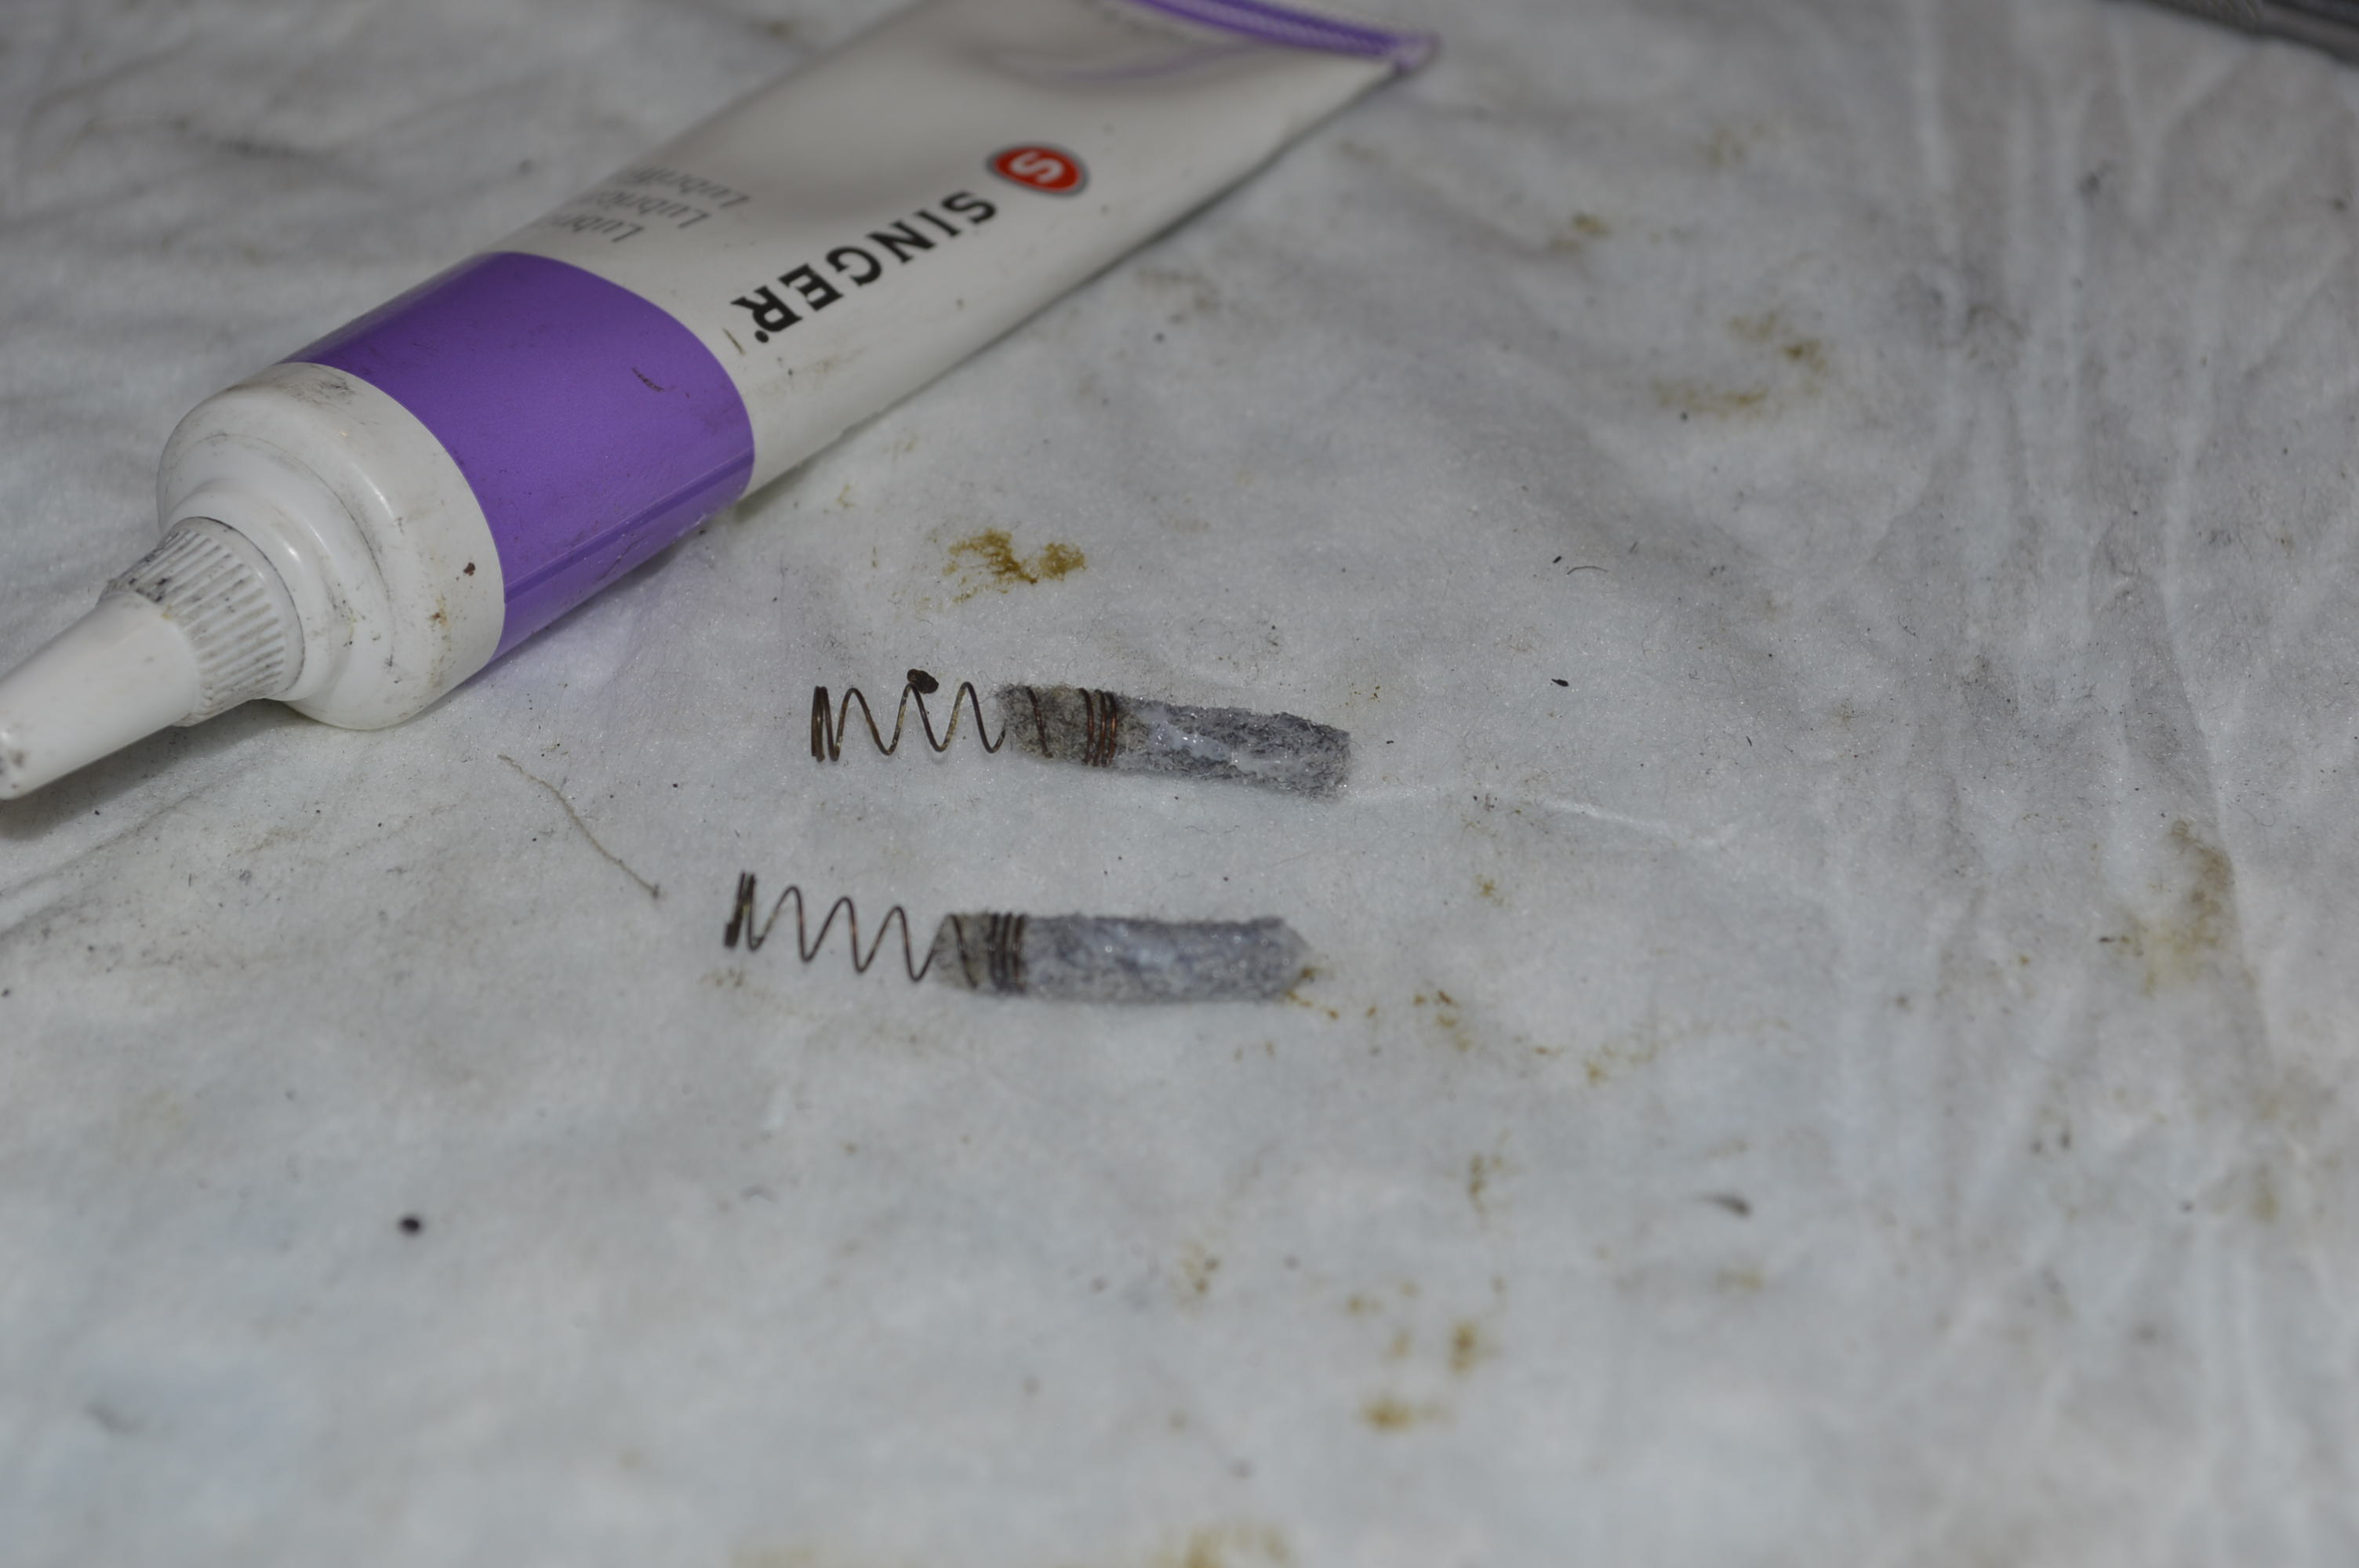
The old and new grease wicks…
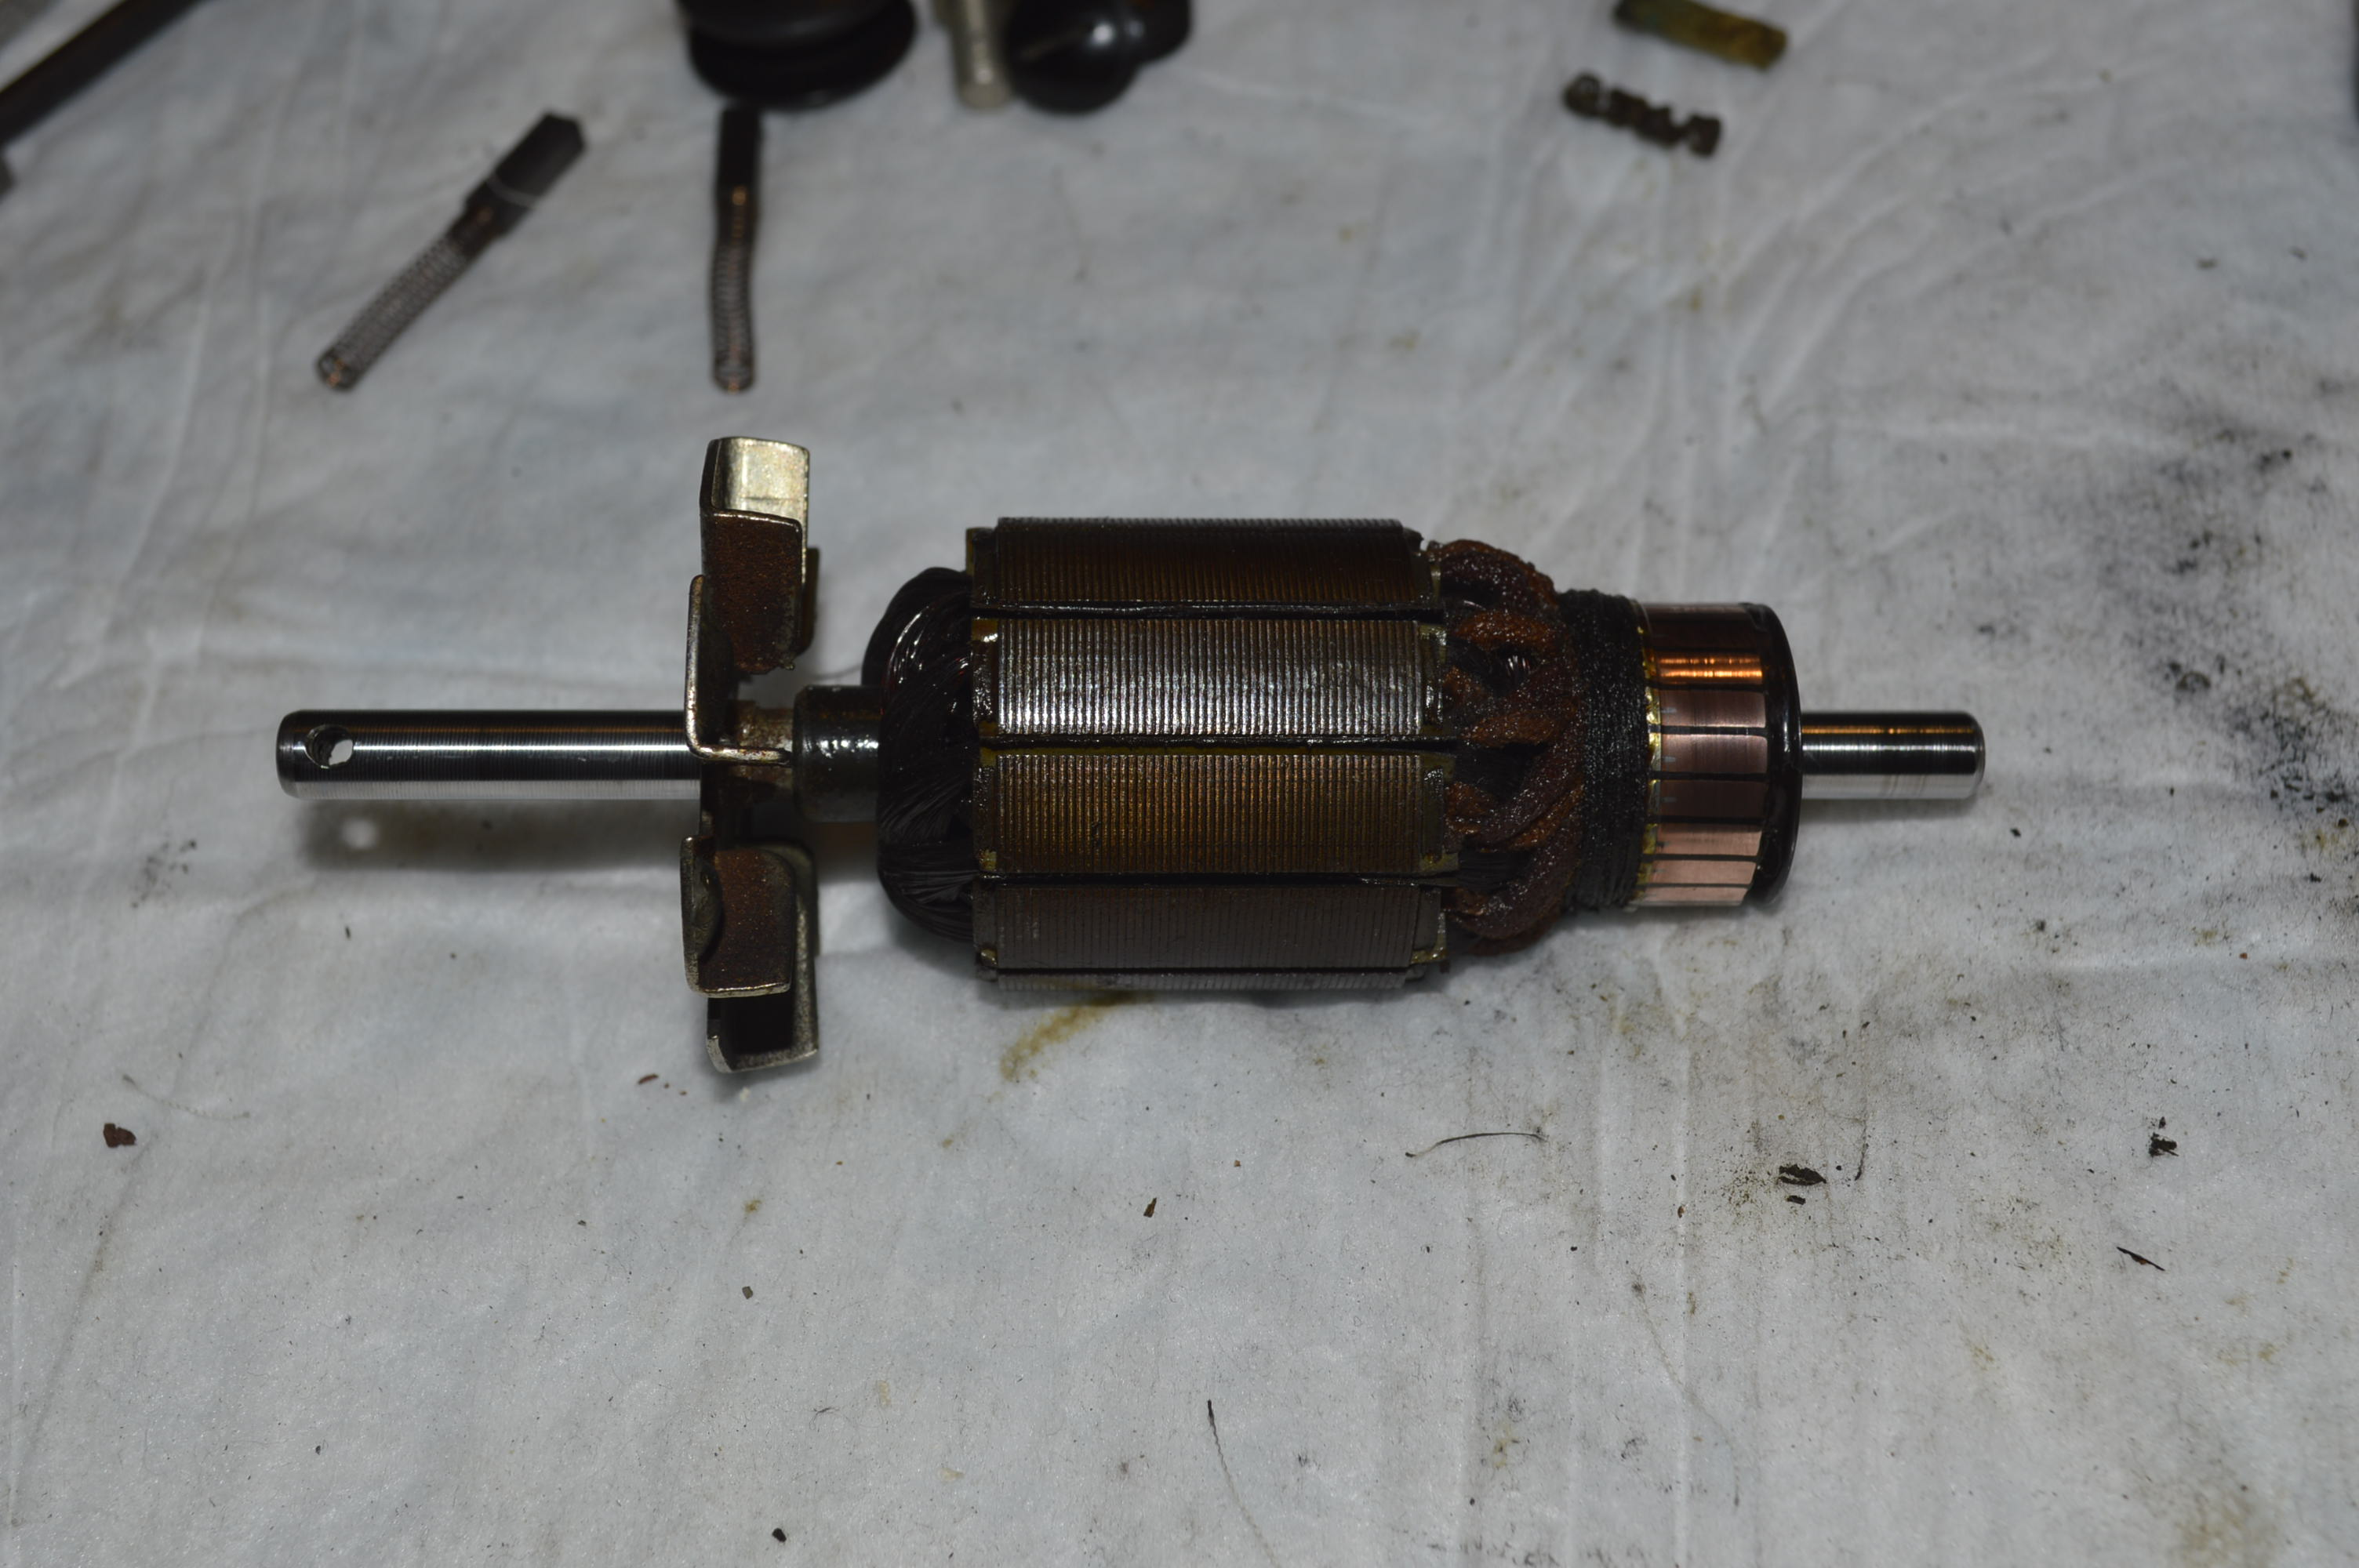
The armature and motor shafts are polished…
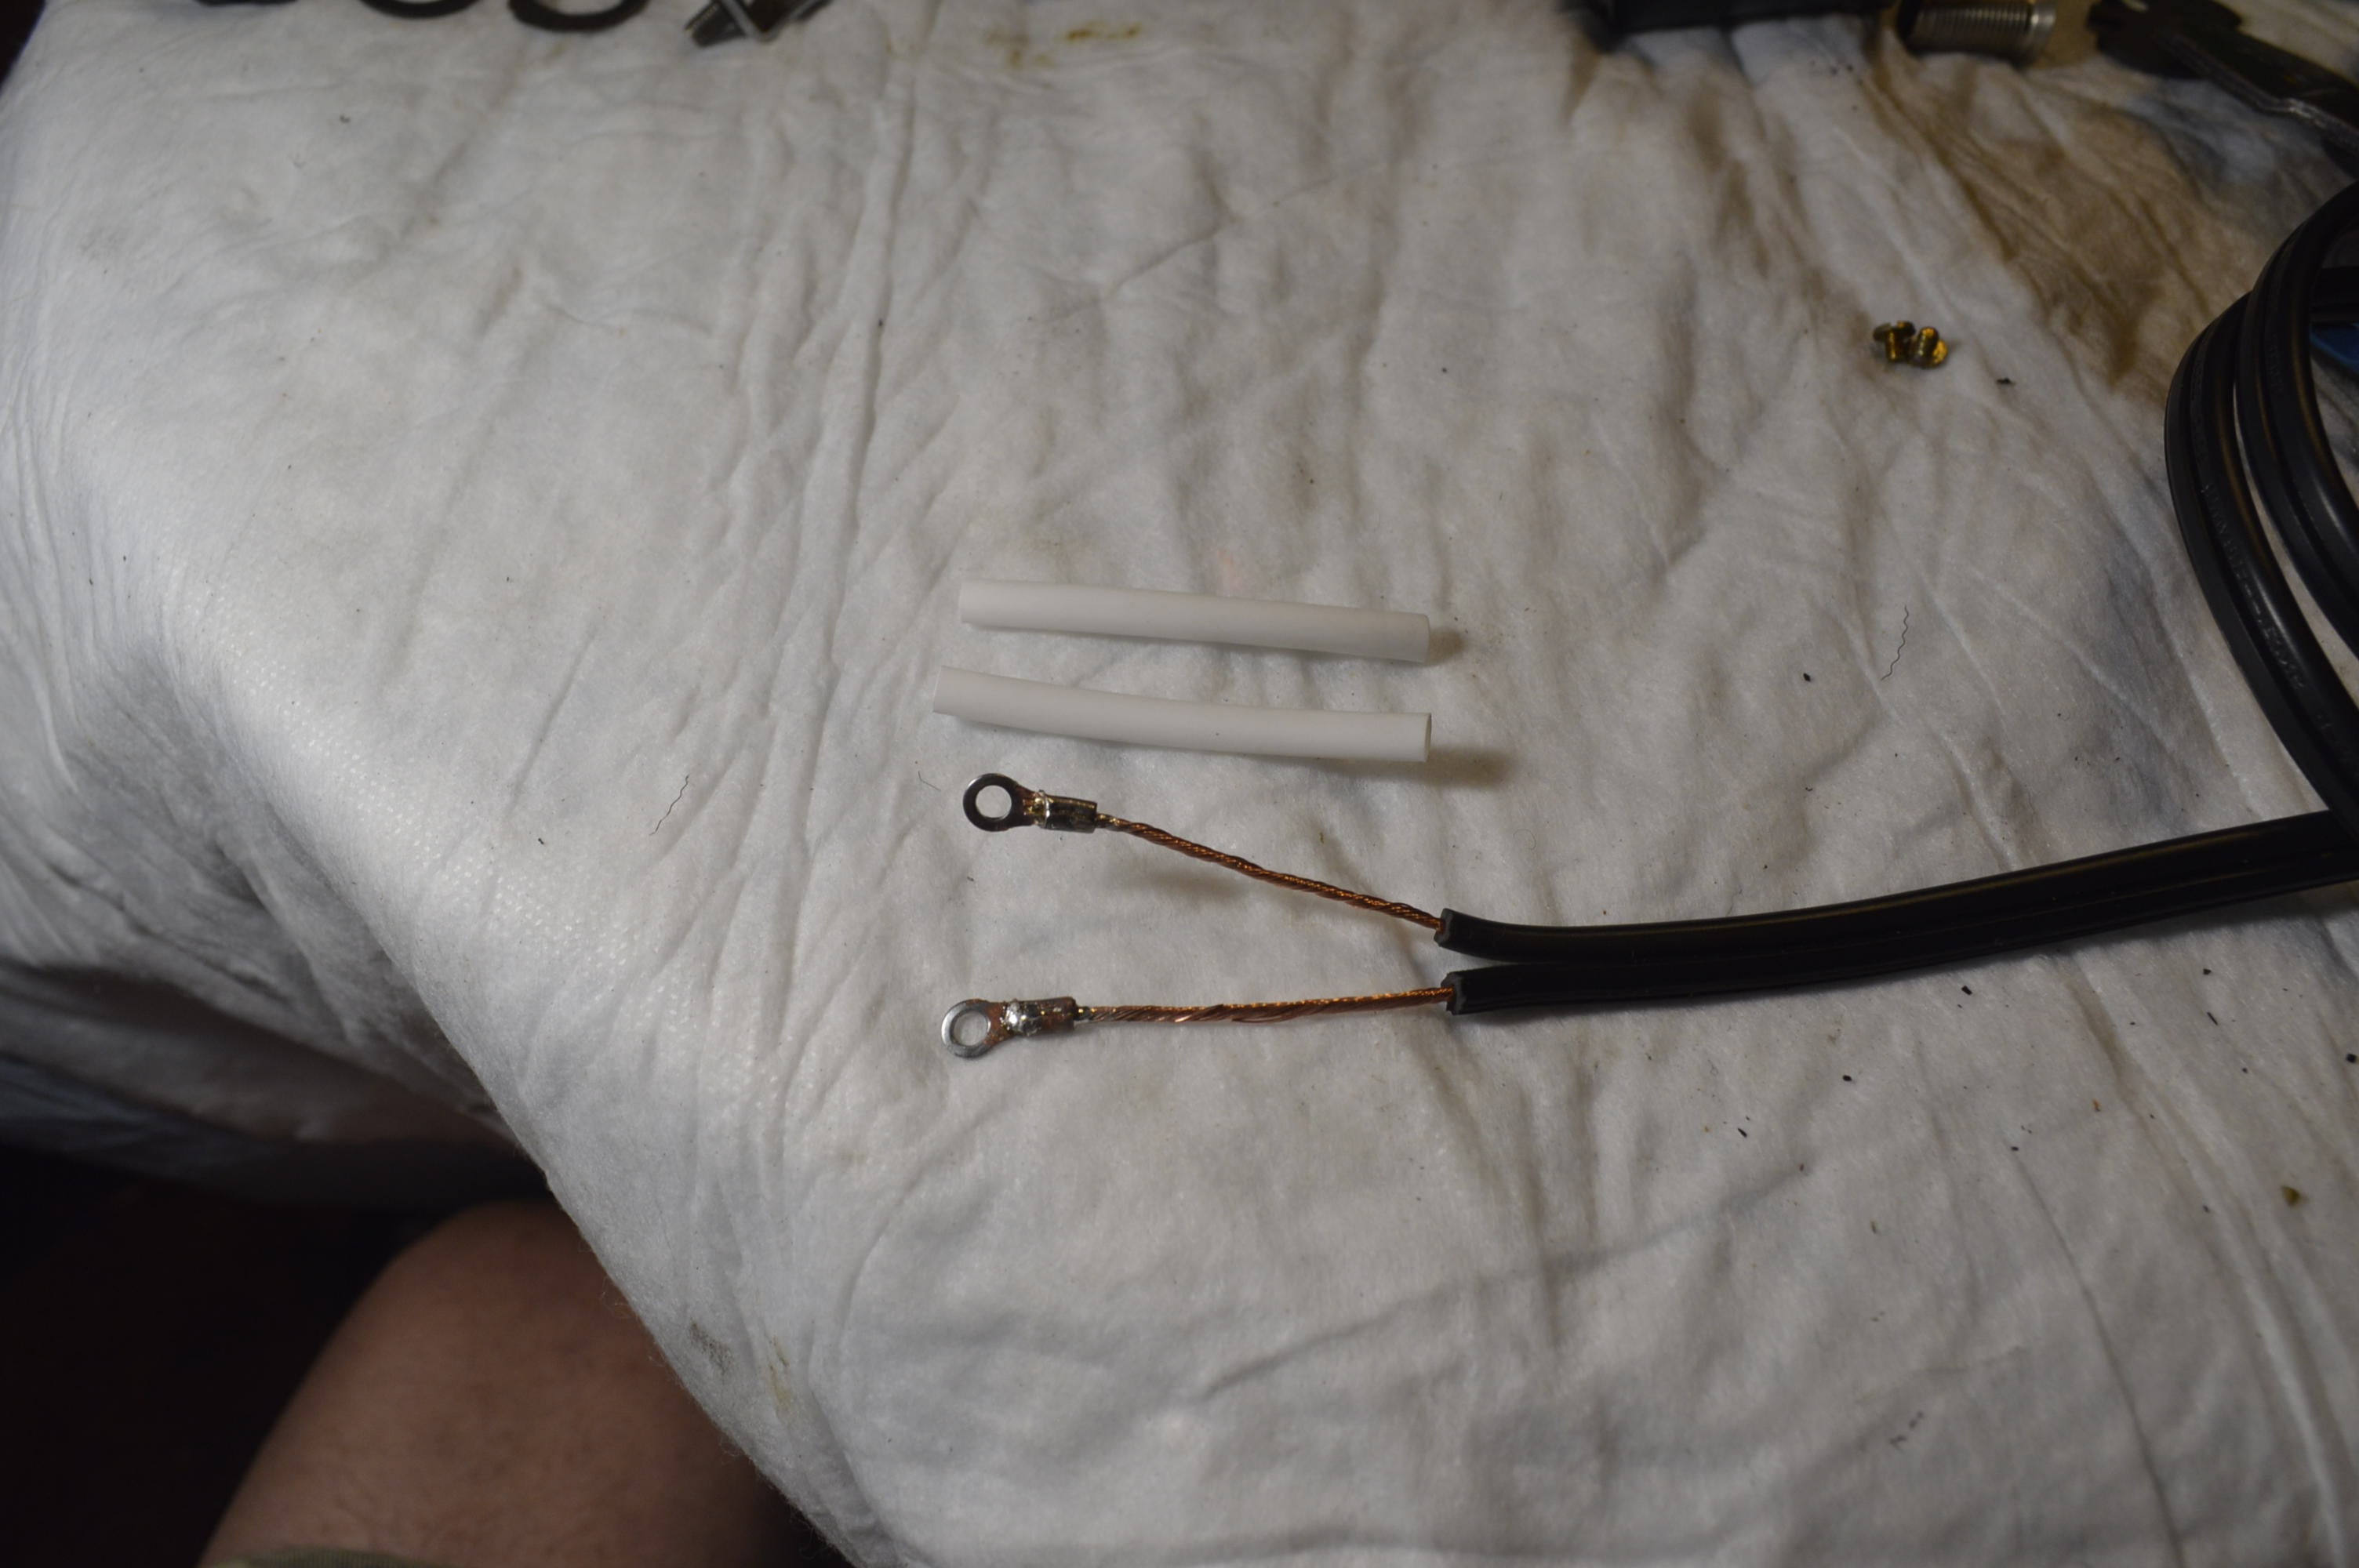
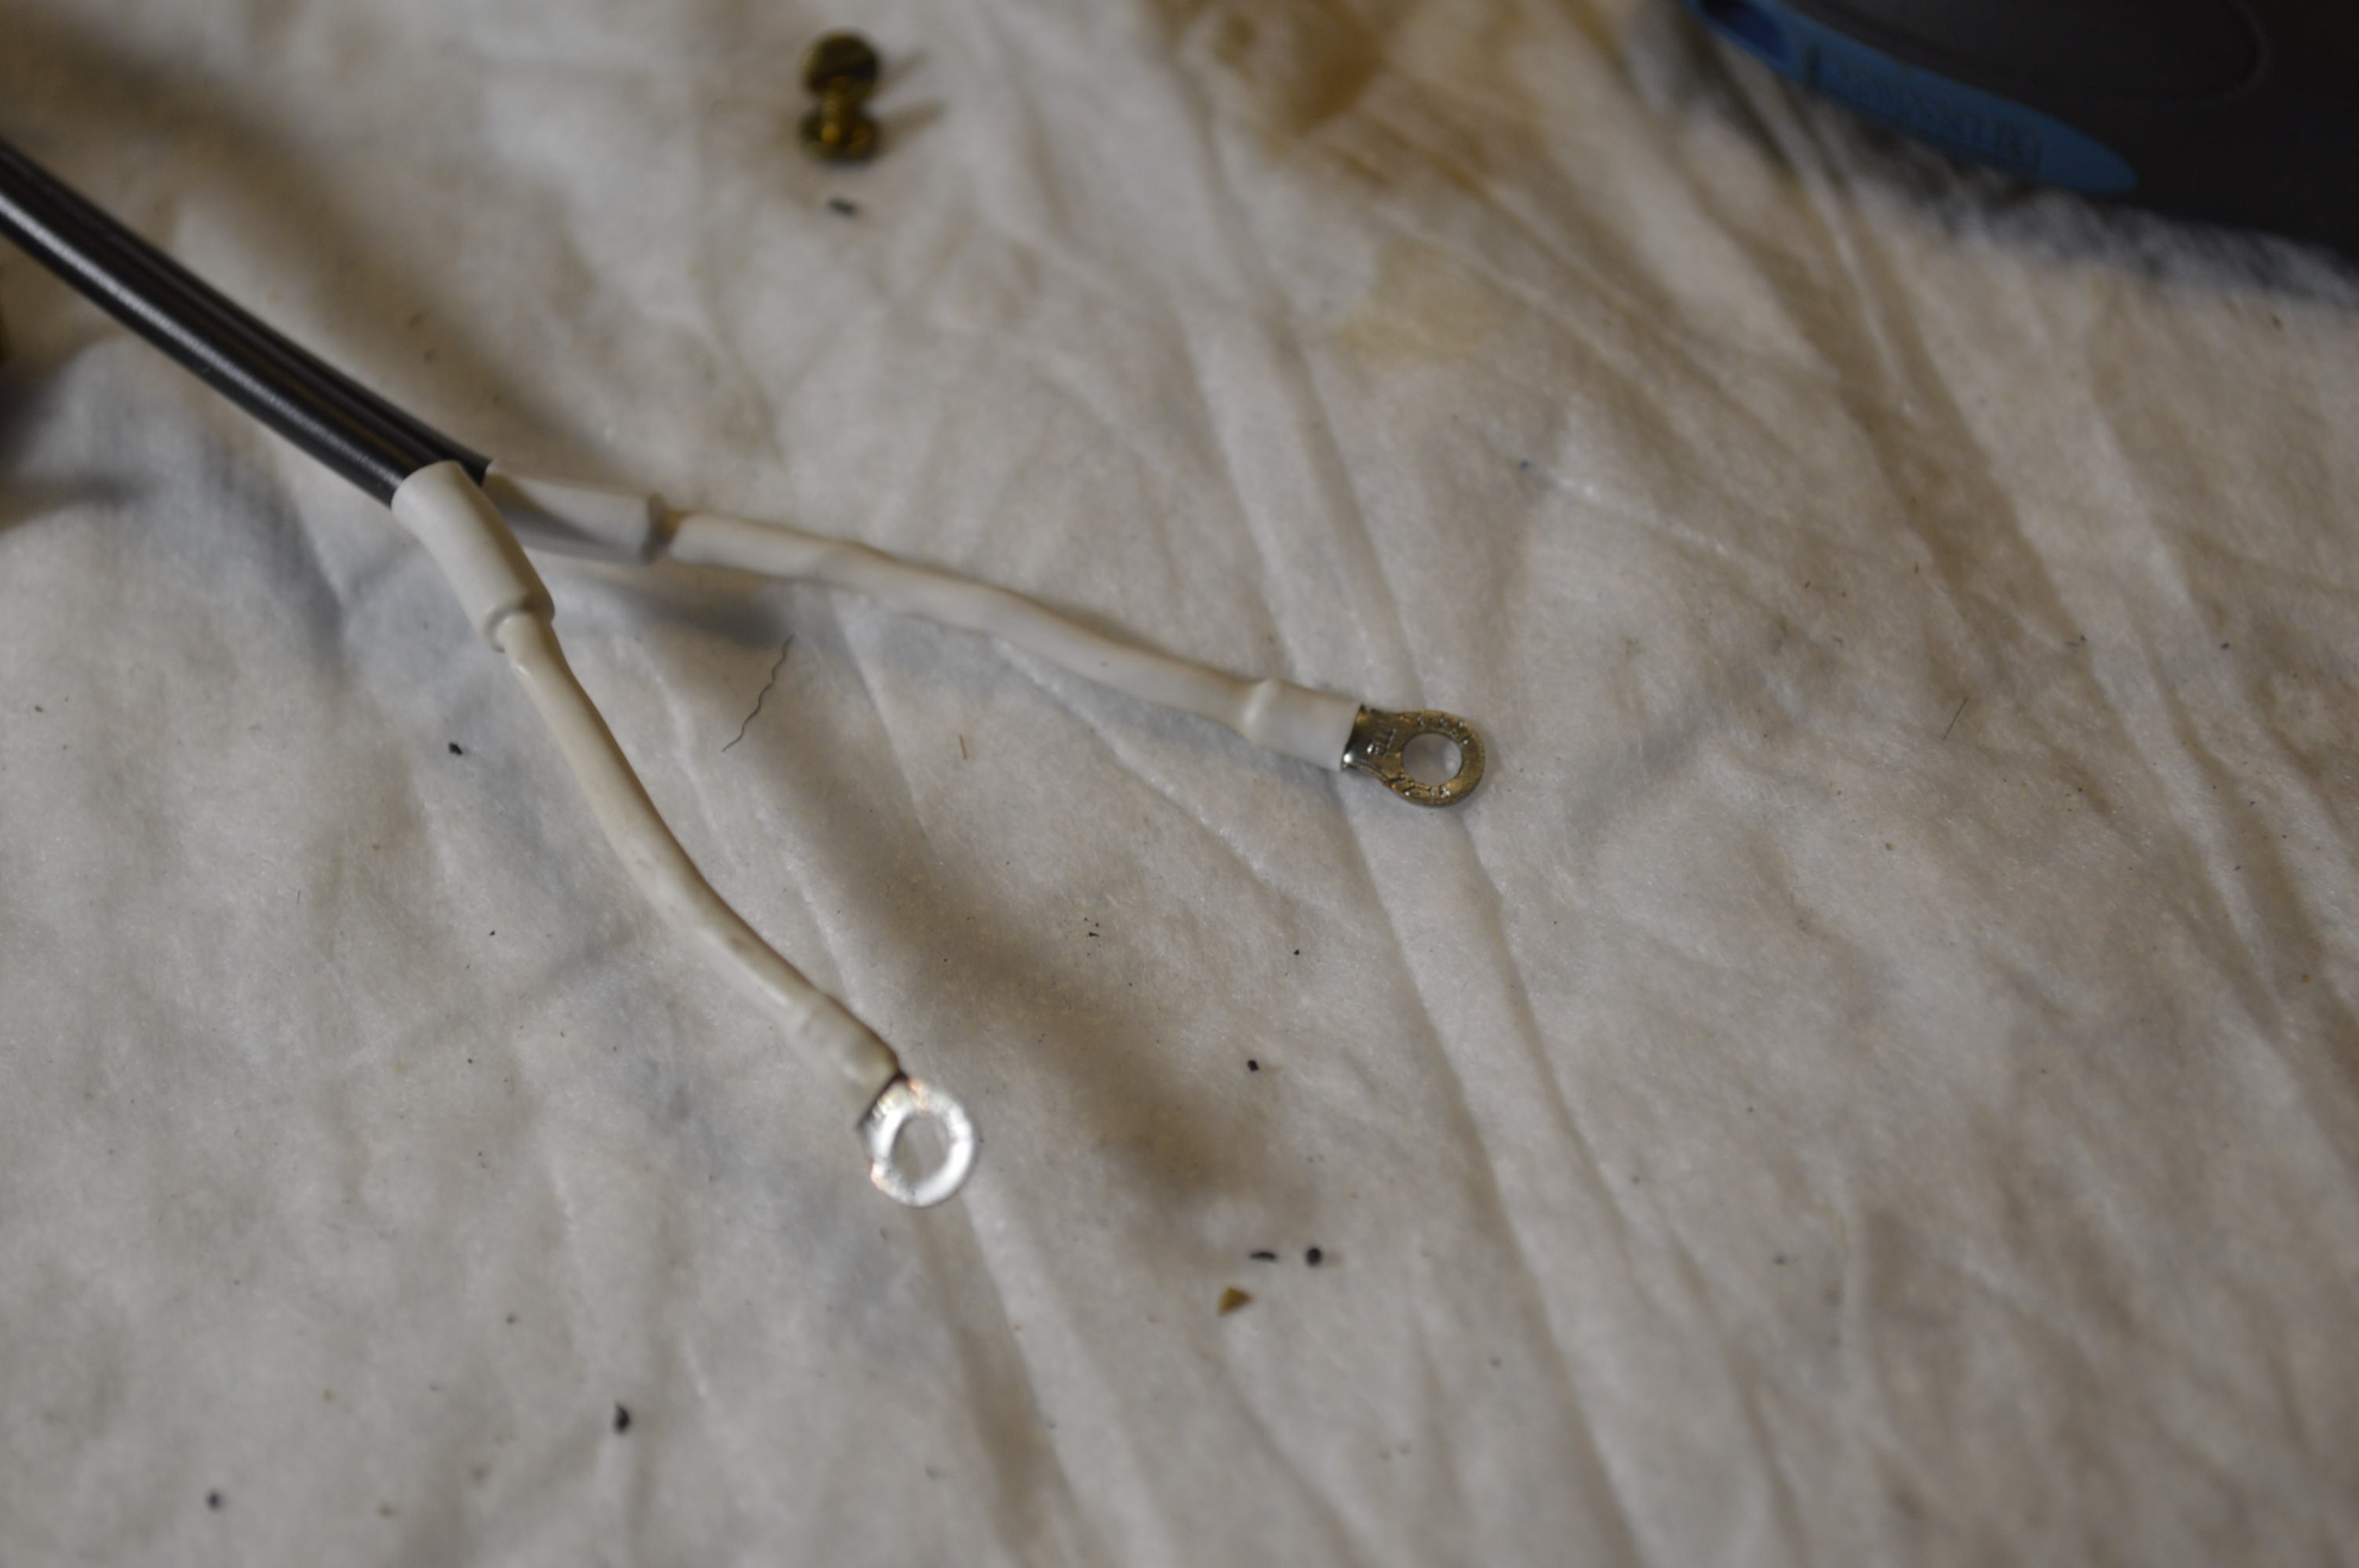
The new wires soldered in place of the old wires… The red tubes are shrink tubing that will cover and protect the solder joint.

And the motor is assembled and bench tested… As expected. the motor runs smoothly and powerfully.
Did I mention that these Singer motors are fantastic? They were made to be serviced, and I prefer these original motors over any new aftermarket motor available today. That brings me to another point that is often overlooked. This is a 0.5 amp motor. The model 66’s balance wheels have a larger diameter belt groove, so it is in effect “geared down”. Believe it or not, this motor will perform as well and appear as powerful as a motor twice it’s size in a modern “plastic” sewing machine… at least in my comparisons.
The next step is to clean the top tension assembly. This is simply done by disassembling the tension mechanism and ultrasonic cleaning and a soak in WD-40. There are a few extra steps that need to be taken with this assembly. Because the tension assembly is in on the thread path, and its purpose is to clamp the thread between the tension discs, and because thread wraps around the tensioner post, it must be free of any oil. These parts are soaked in 99% alcohol (I’ve read moonshine is even better) to remove any traces of WD-40. The tensioner post is wire brushed to make sure it is smooth and will allow the thread to pass without wearing on the thread.
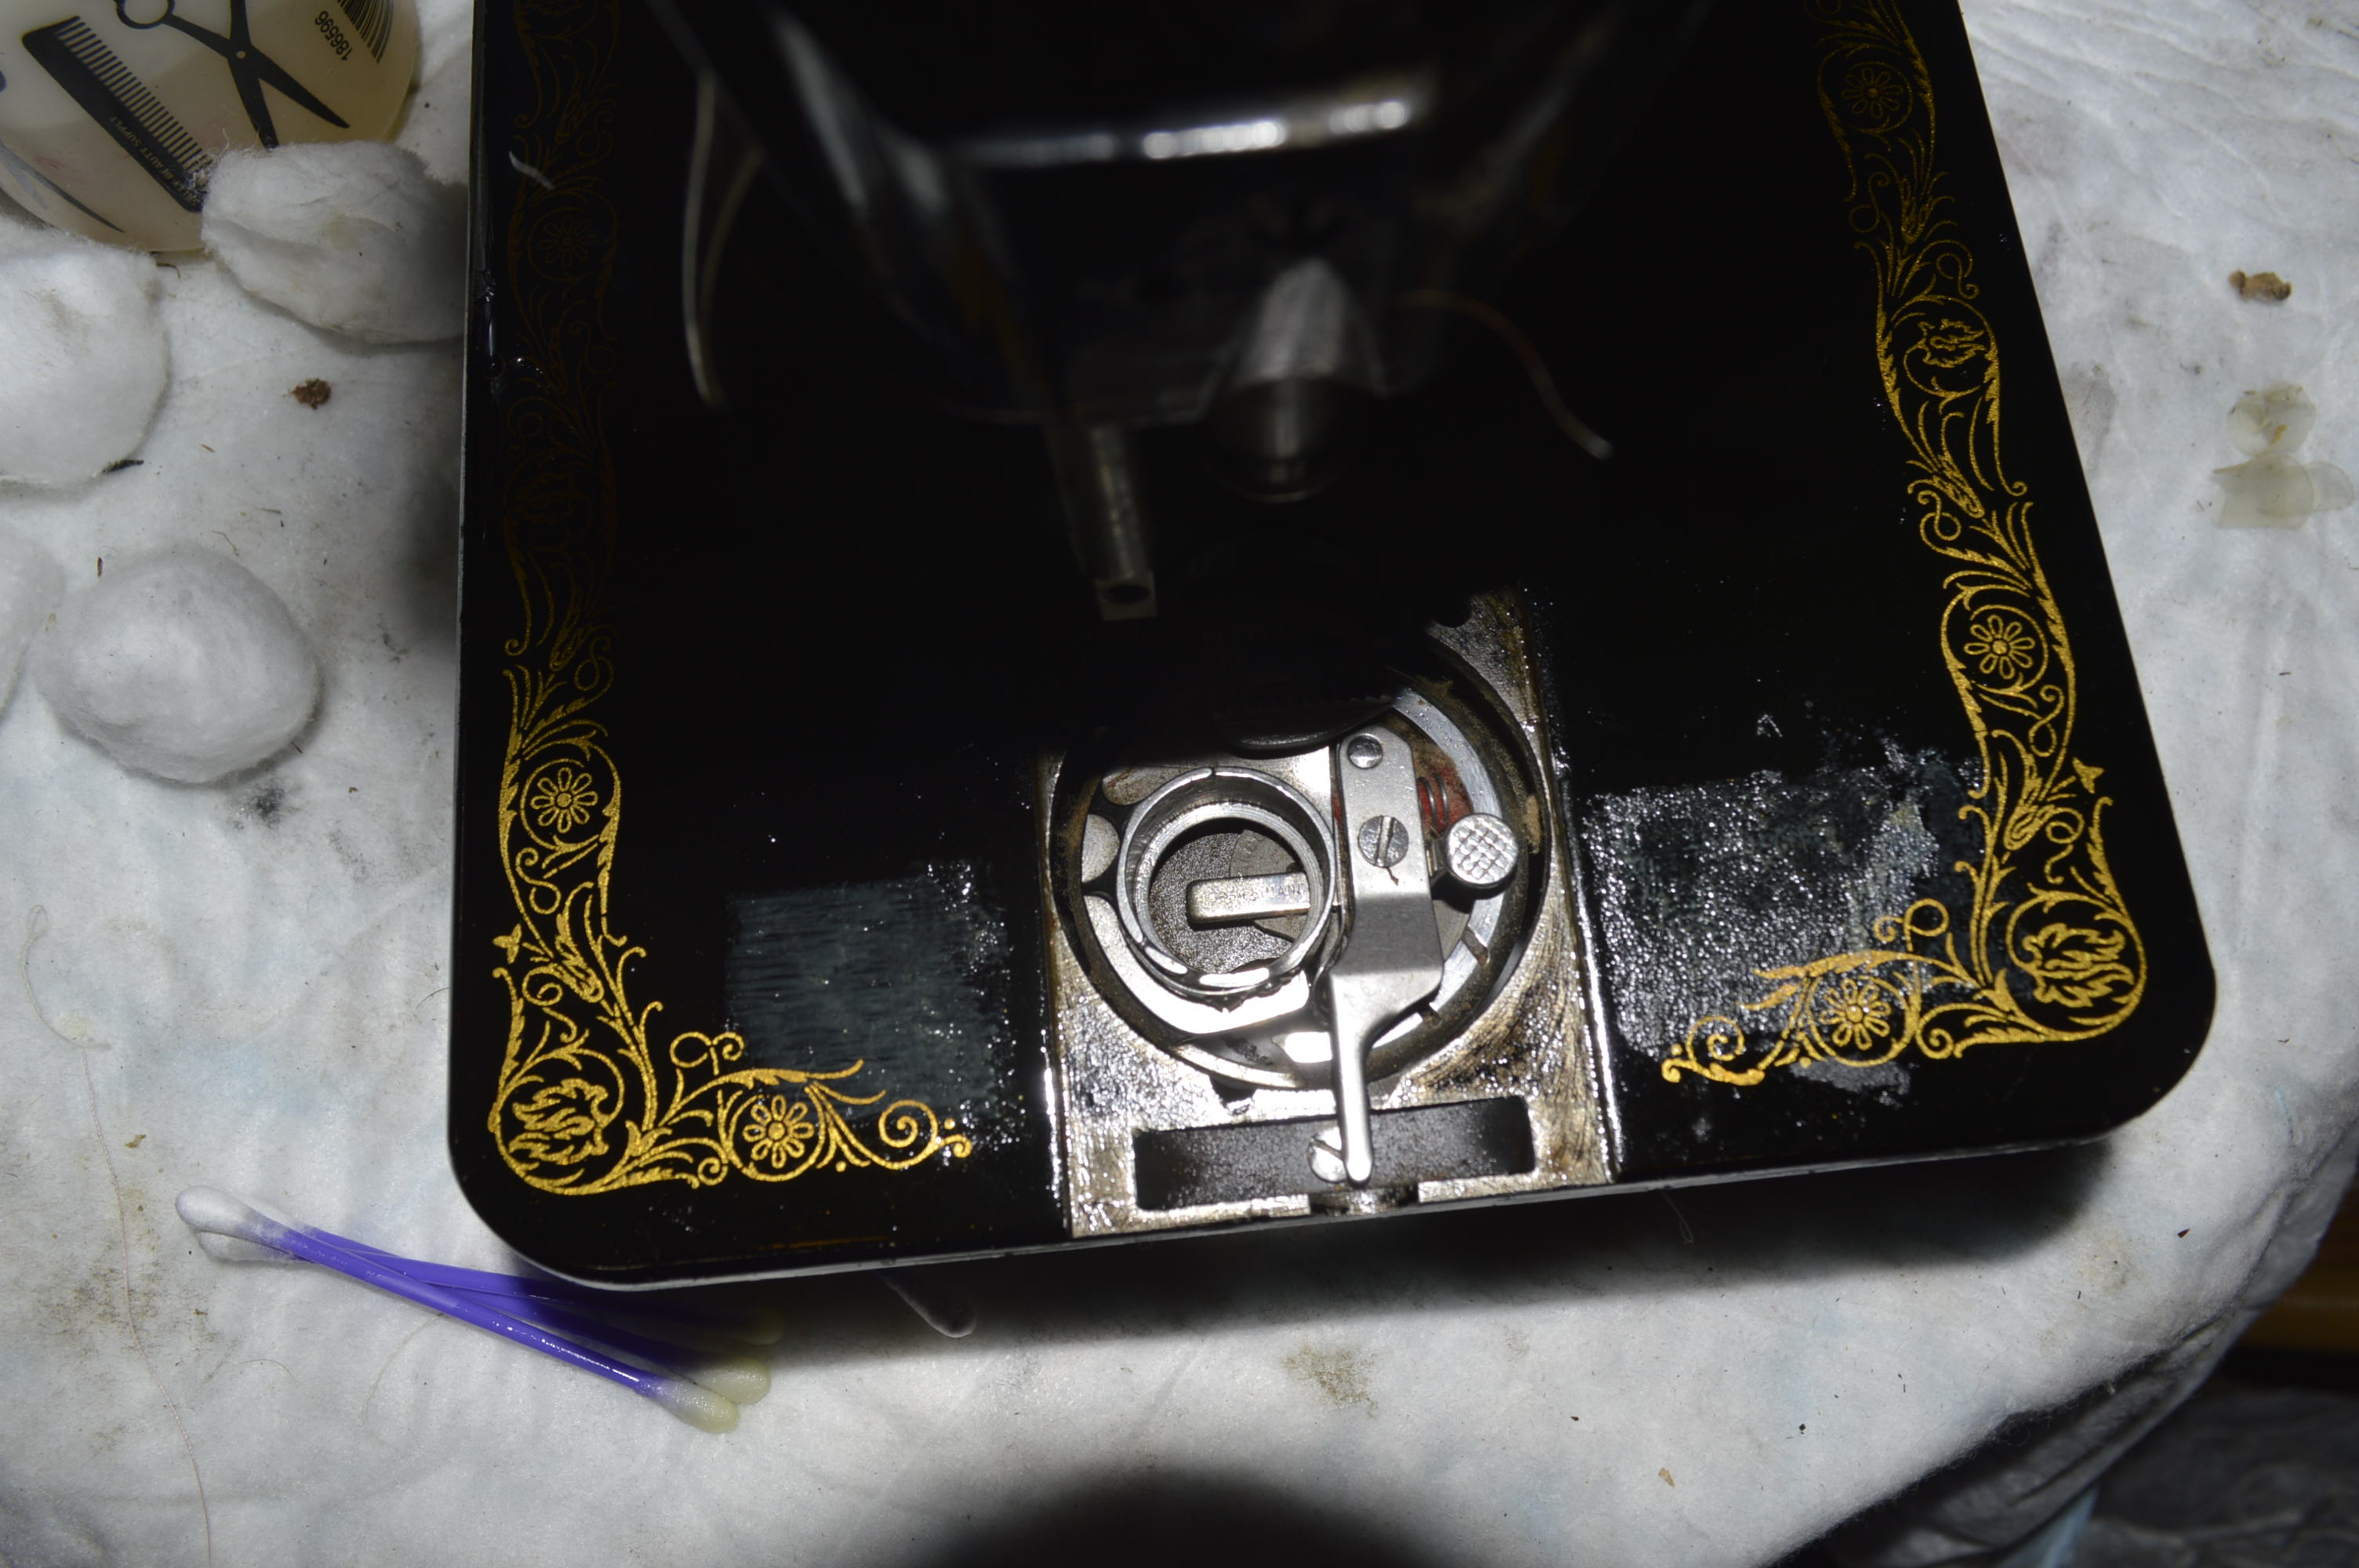
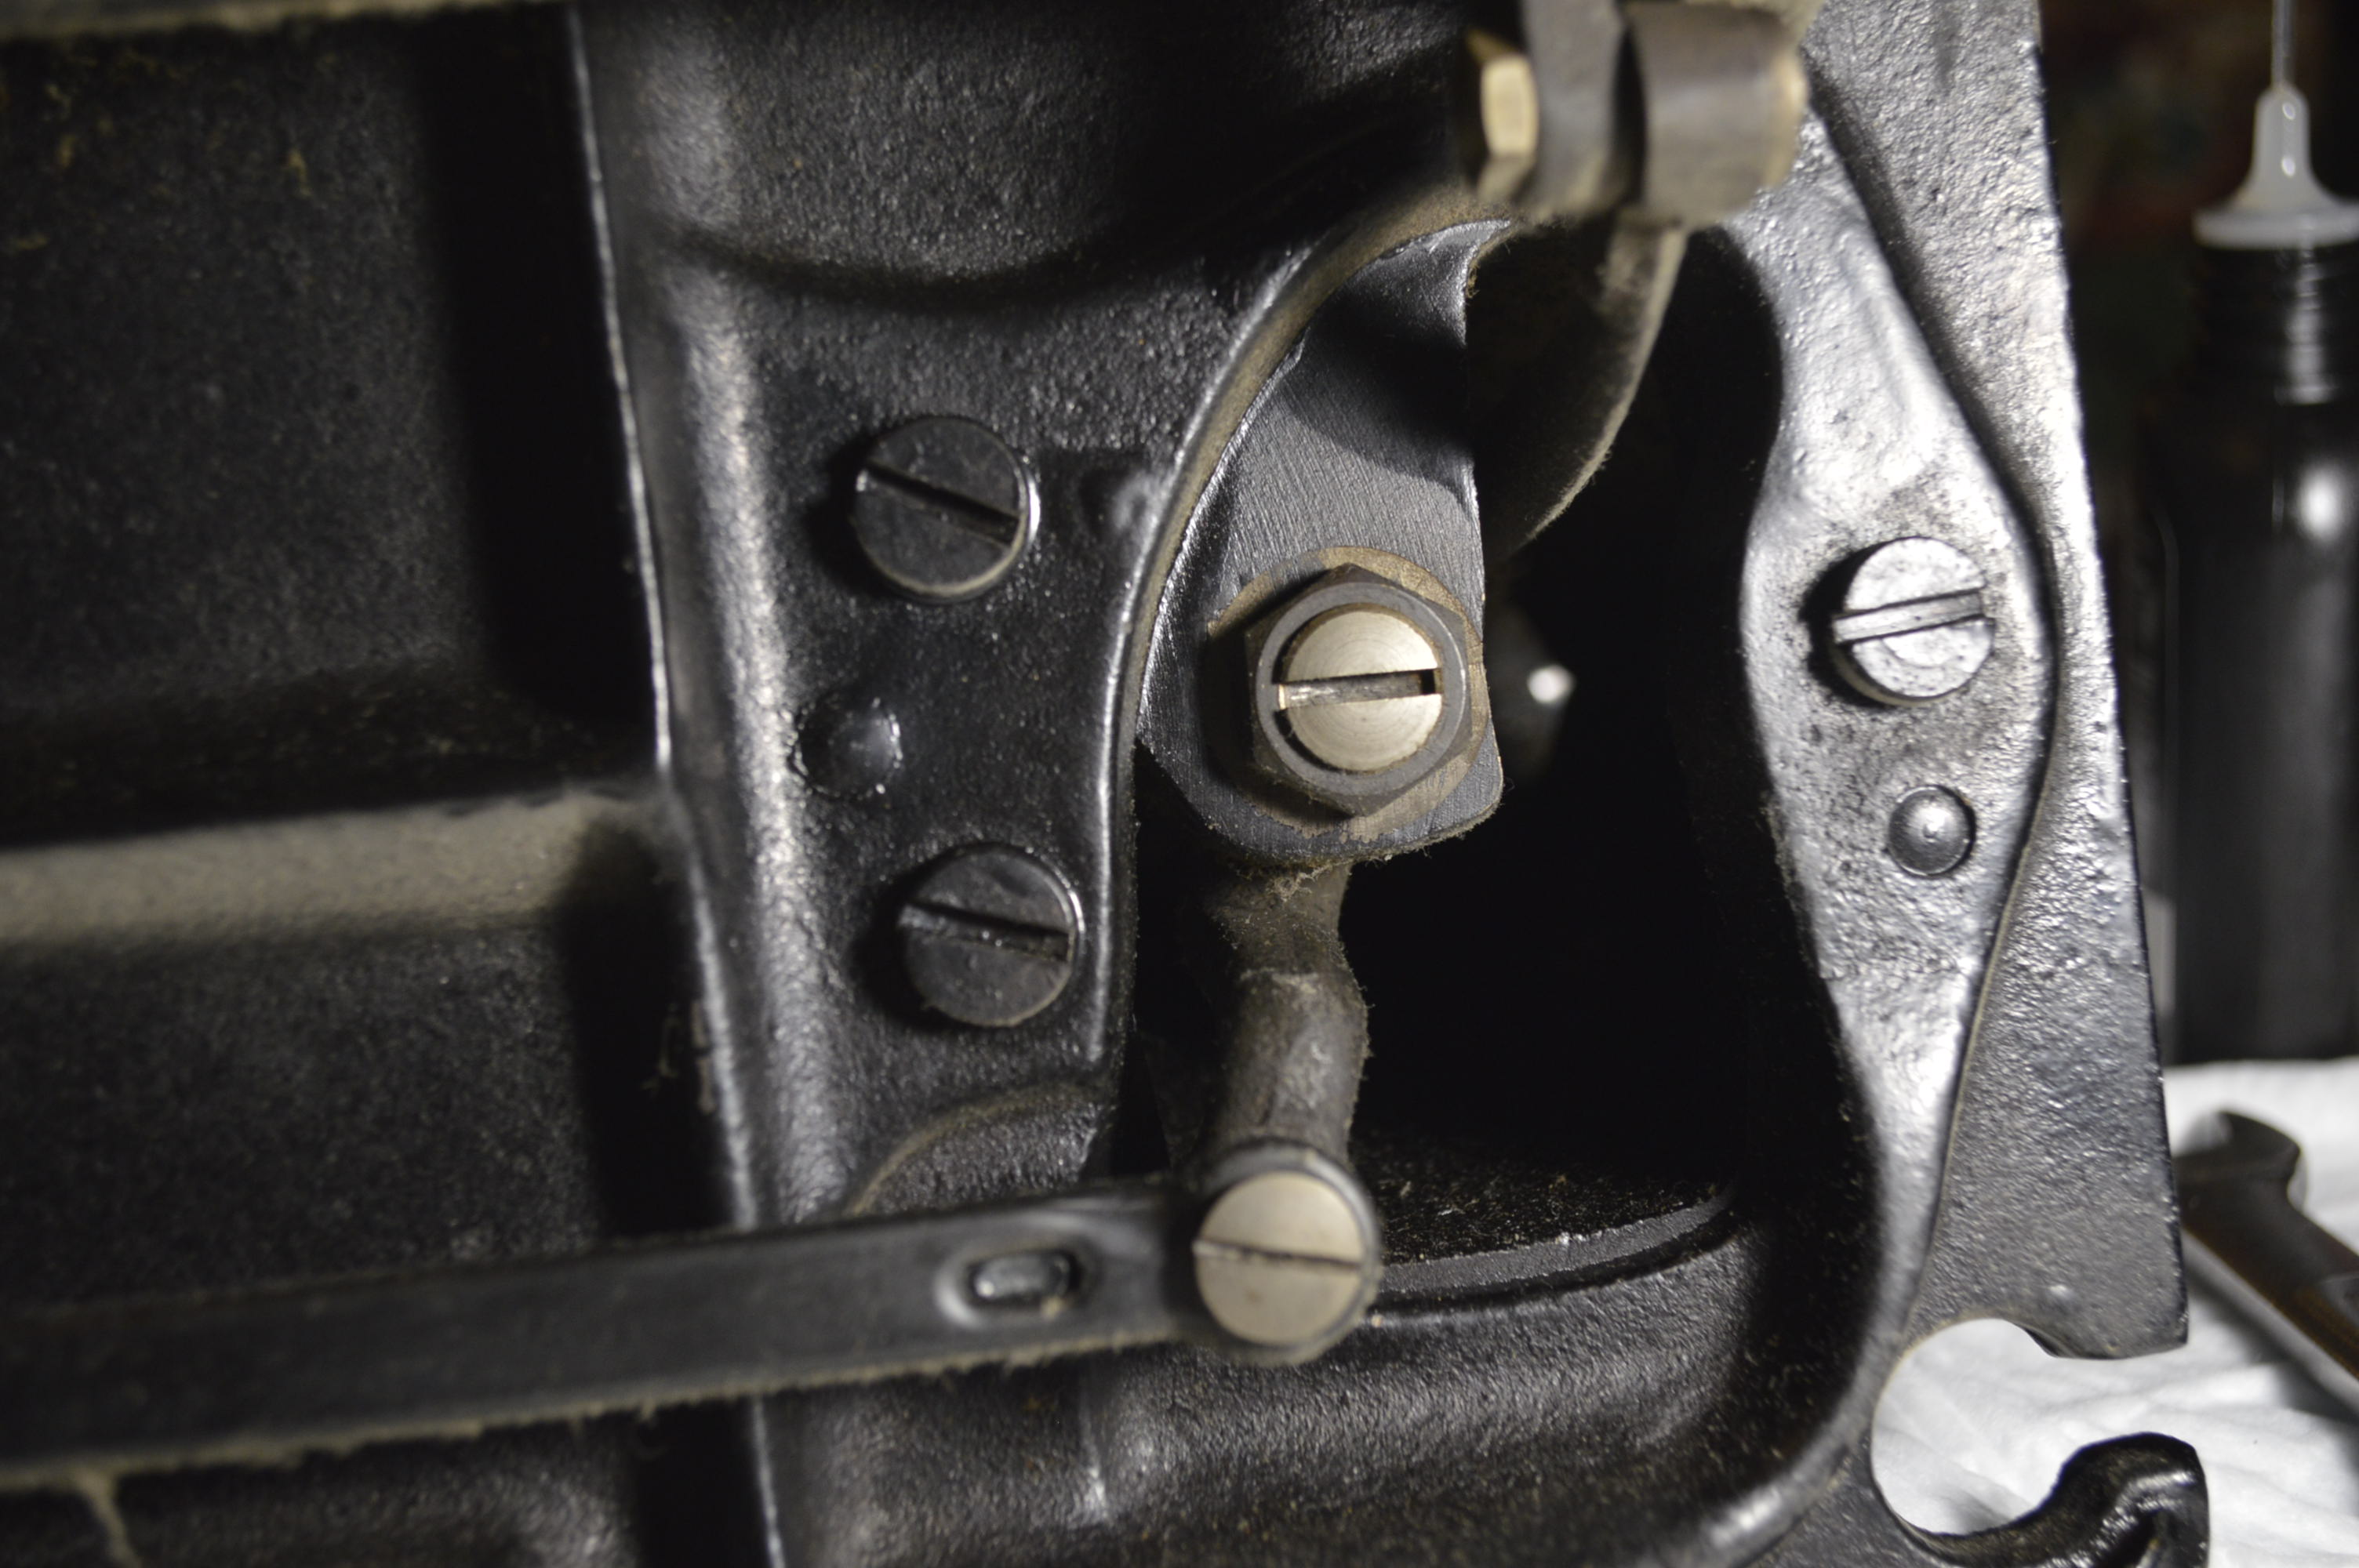
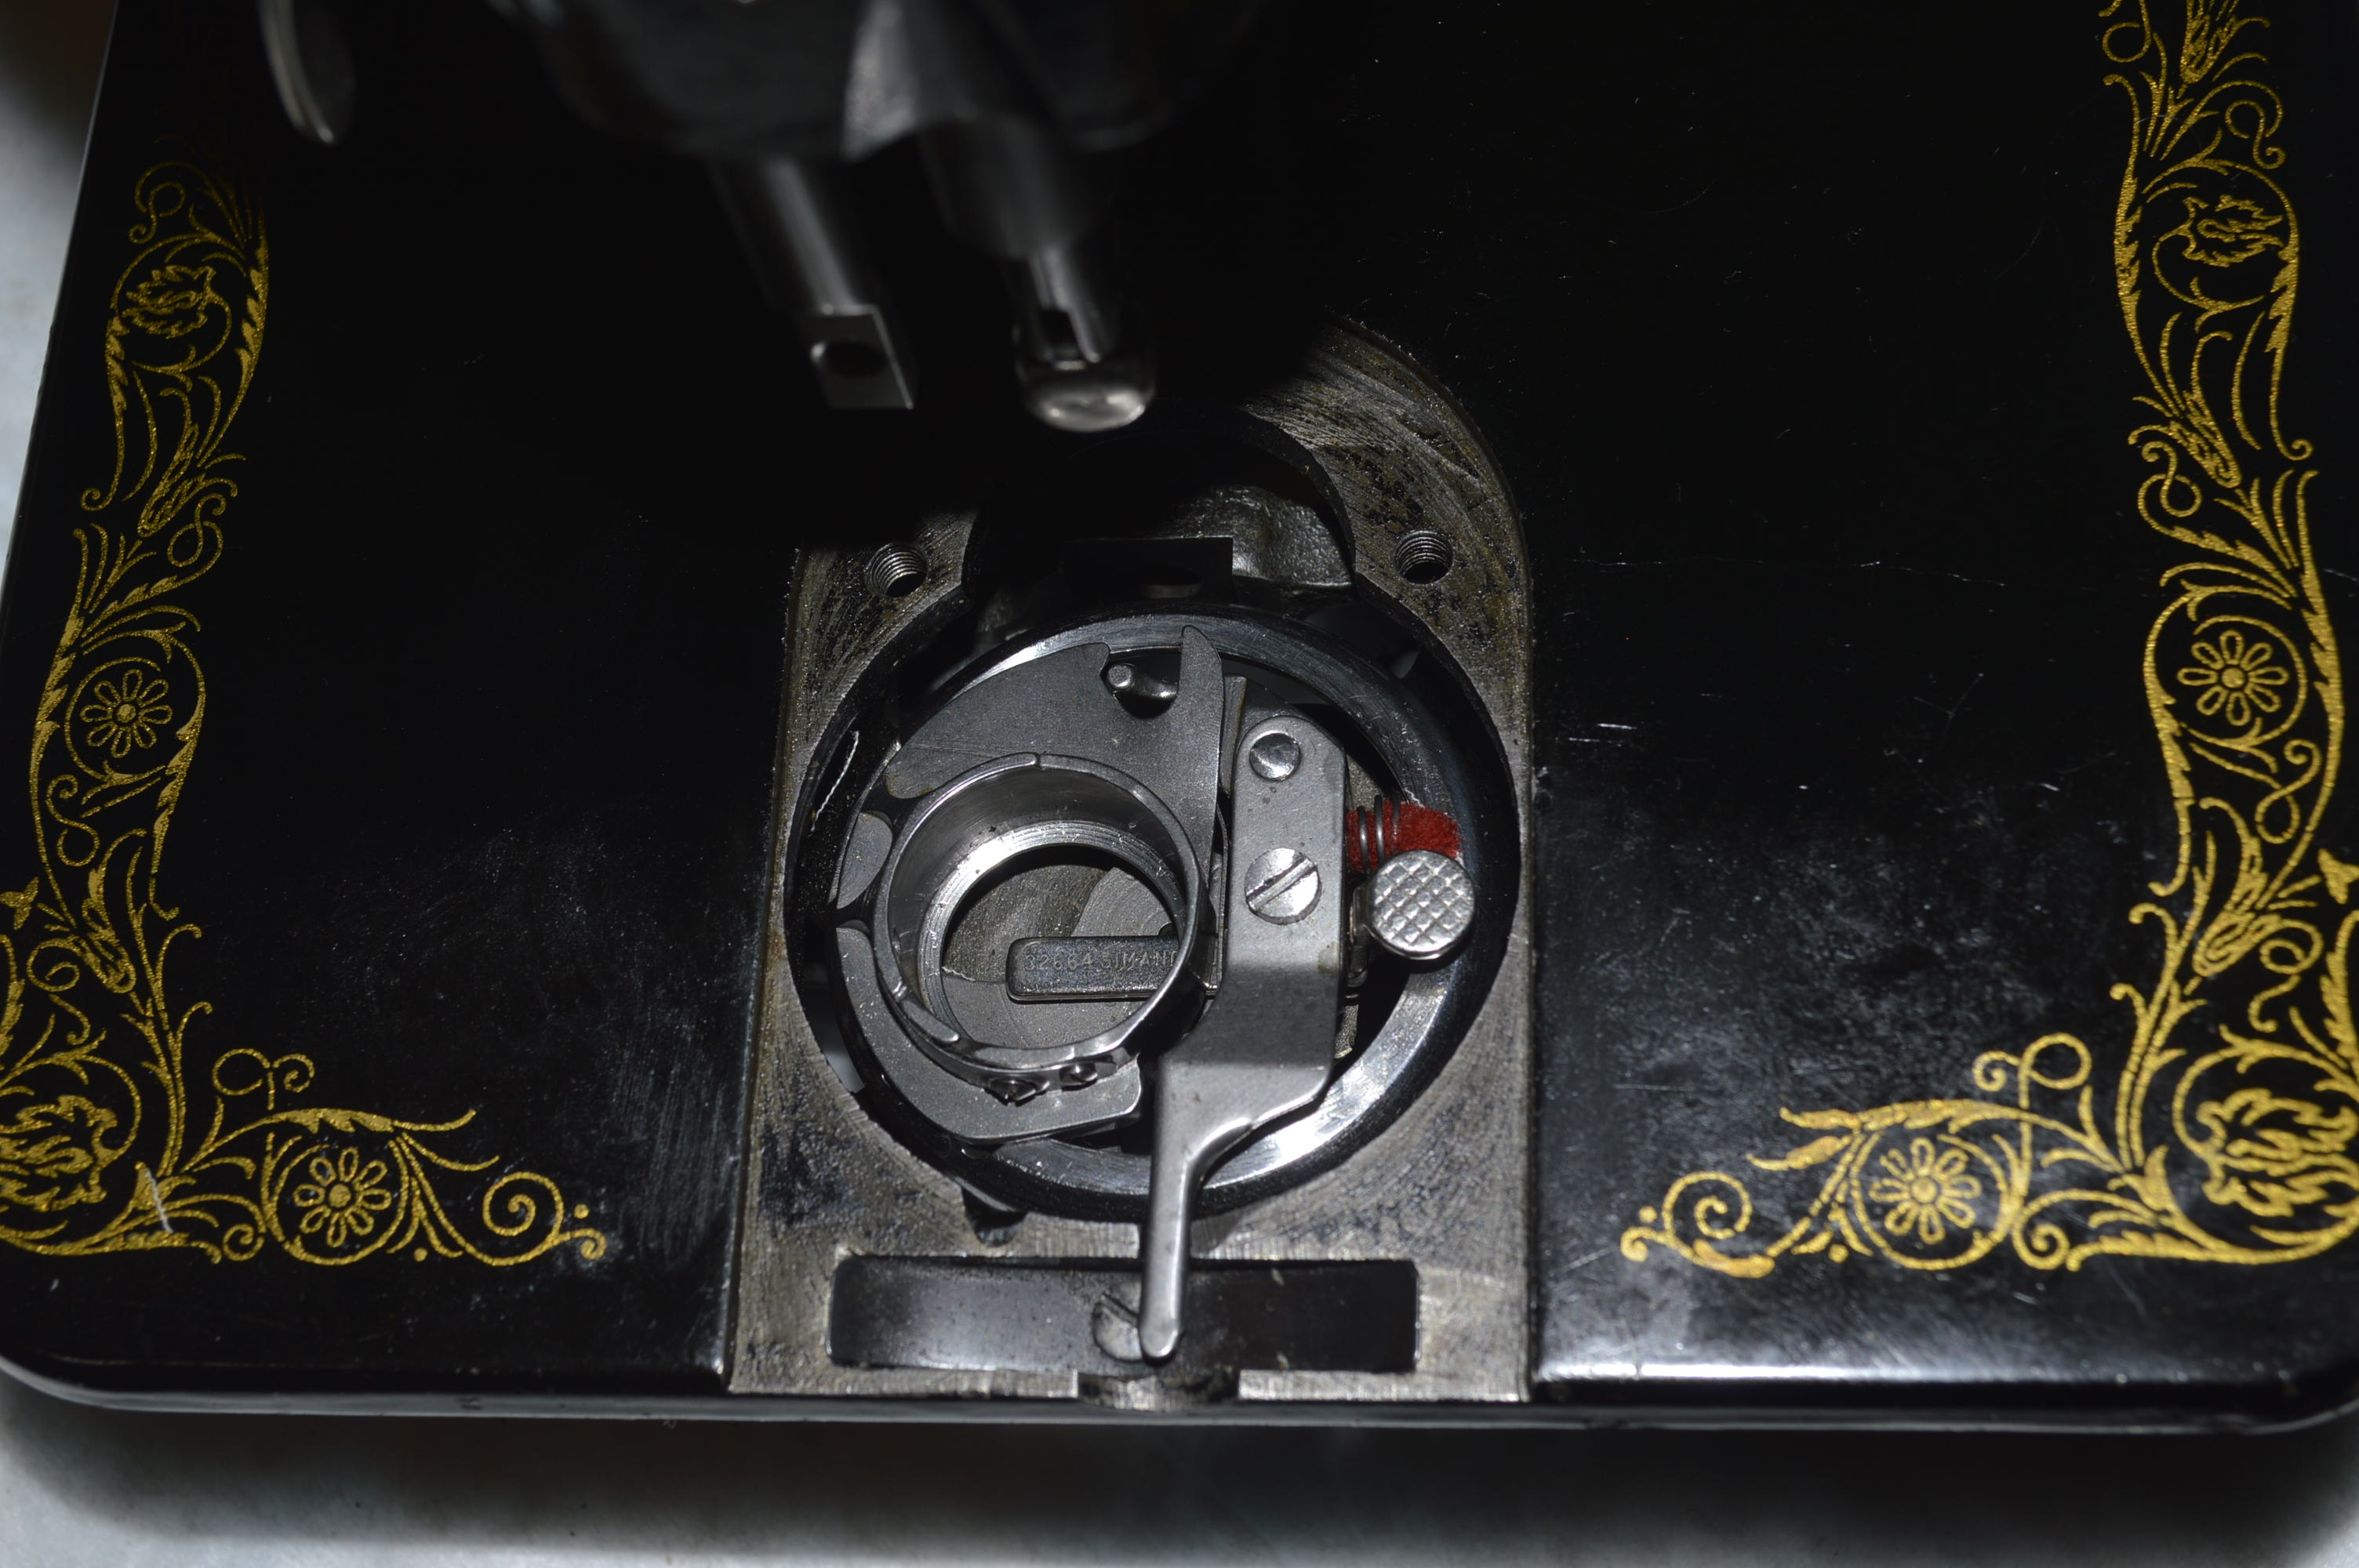
There are two parts that regulate thread tension on a sewing machine. The top tension dial we are are all familiar with (and was just cleaned), and the bobbin case tension regulator. Bobbin thread tension is achieved by passing the thread between the bobbin case and a leaf spring. The leaf spring tension is adjusted by a very small screw that clamps the thread between the spring. This is a very important step. A small bit of crud or thread lodged behind the spring can cause erratic tension problems.
The tension spring is removed from the bobbin case, ultrasonically cleaned, soaked in WD-40, and then soaked in alcohol. It is then reassembled and adjusted for the proper tension.
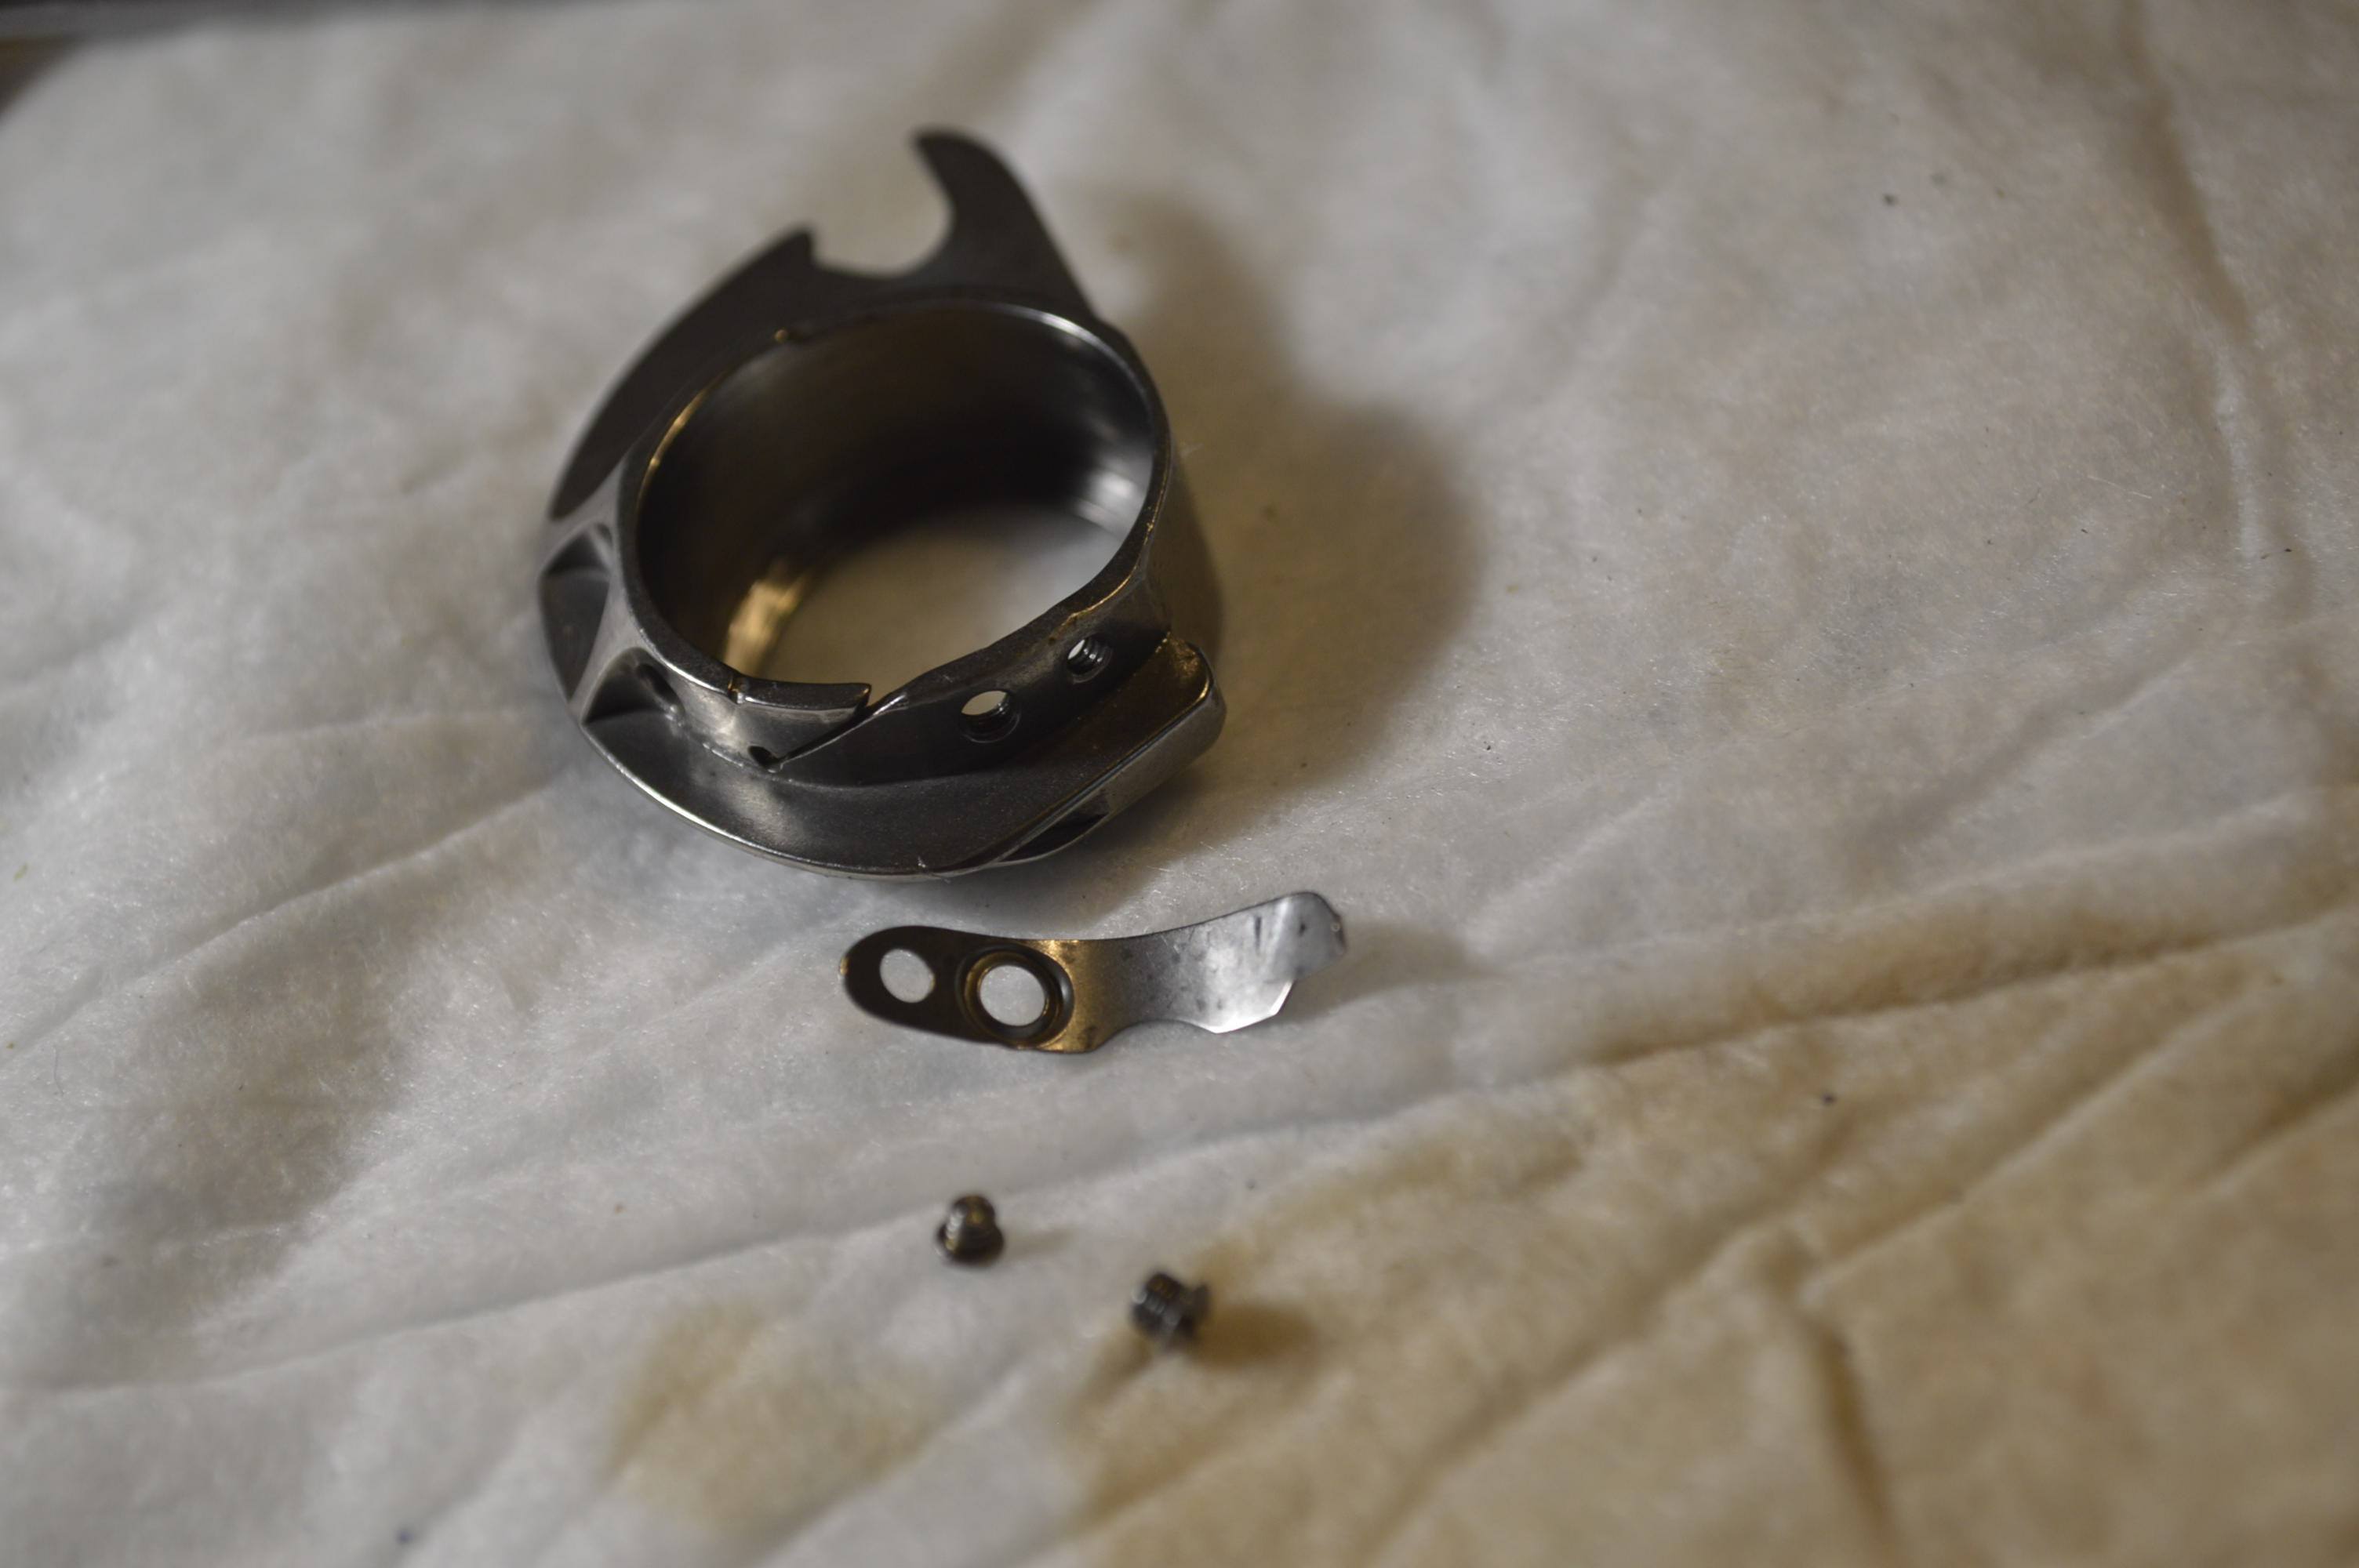
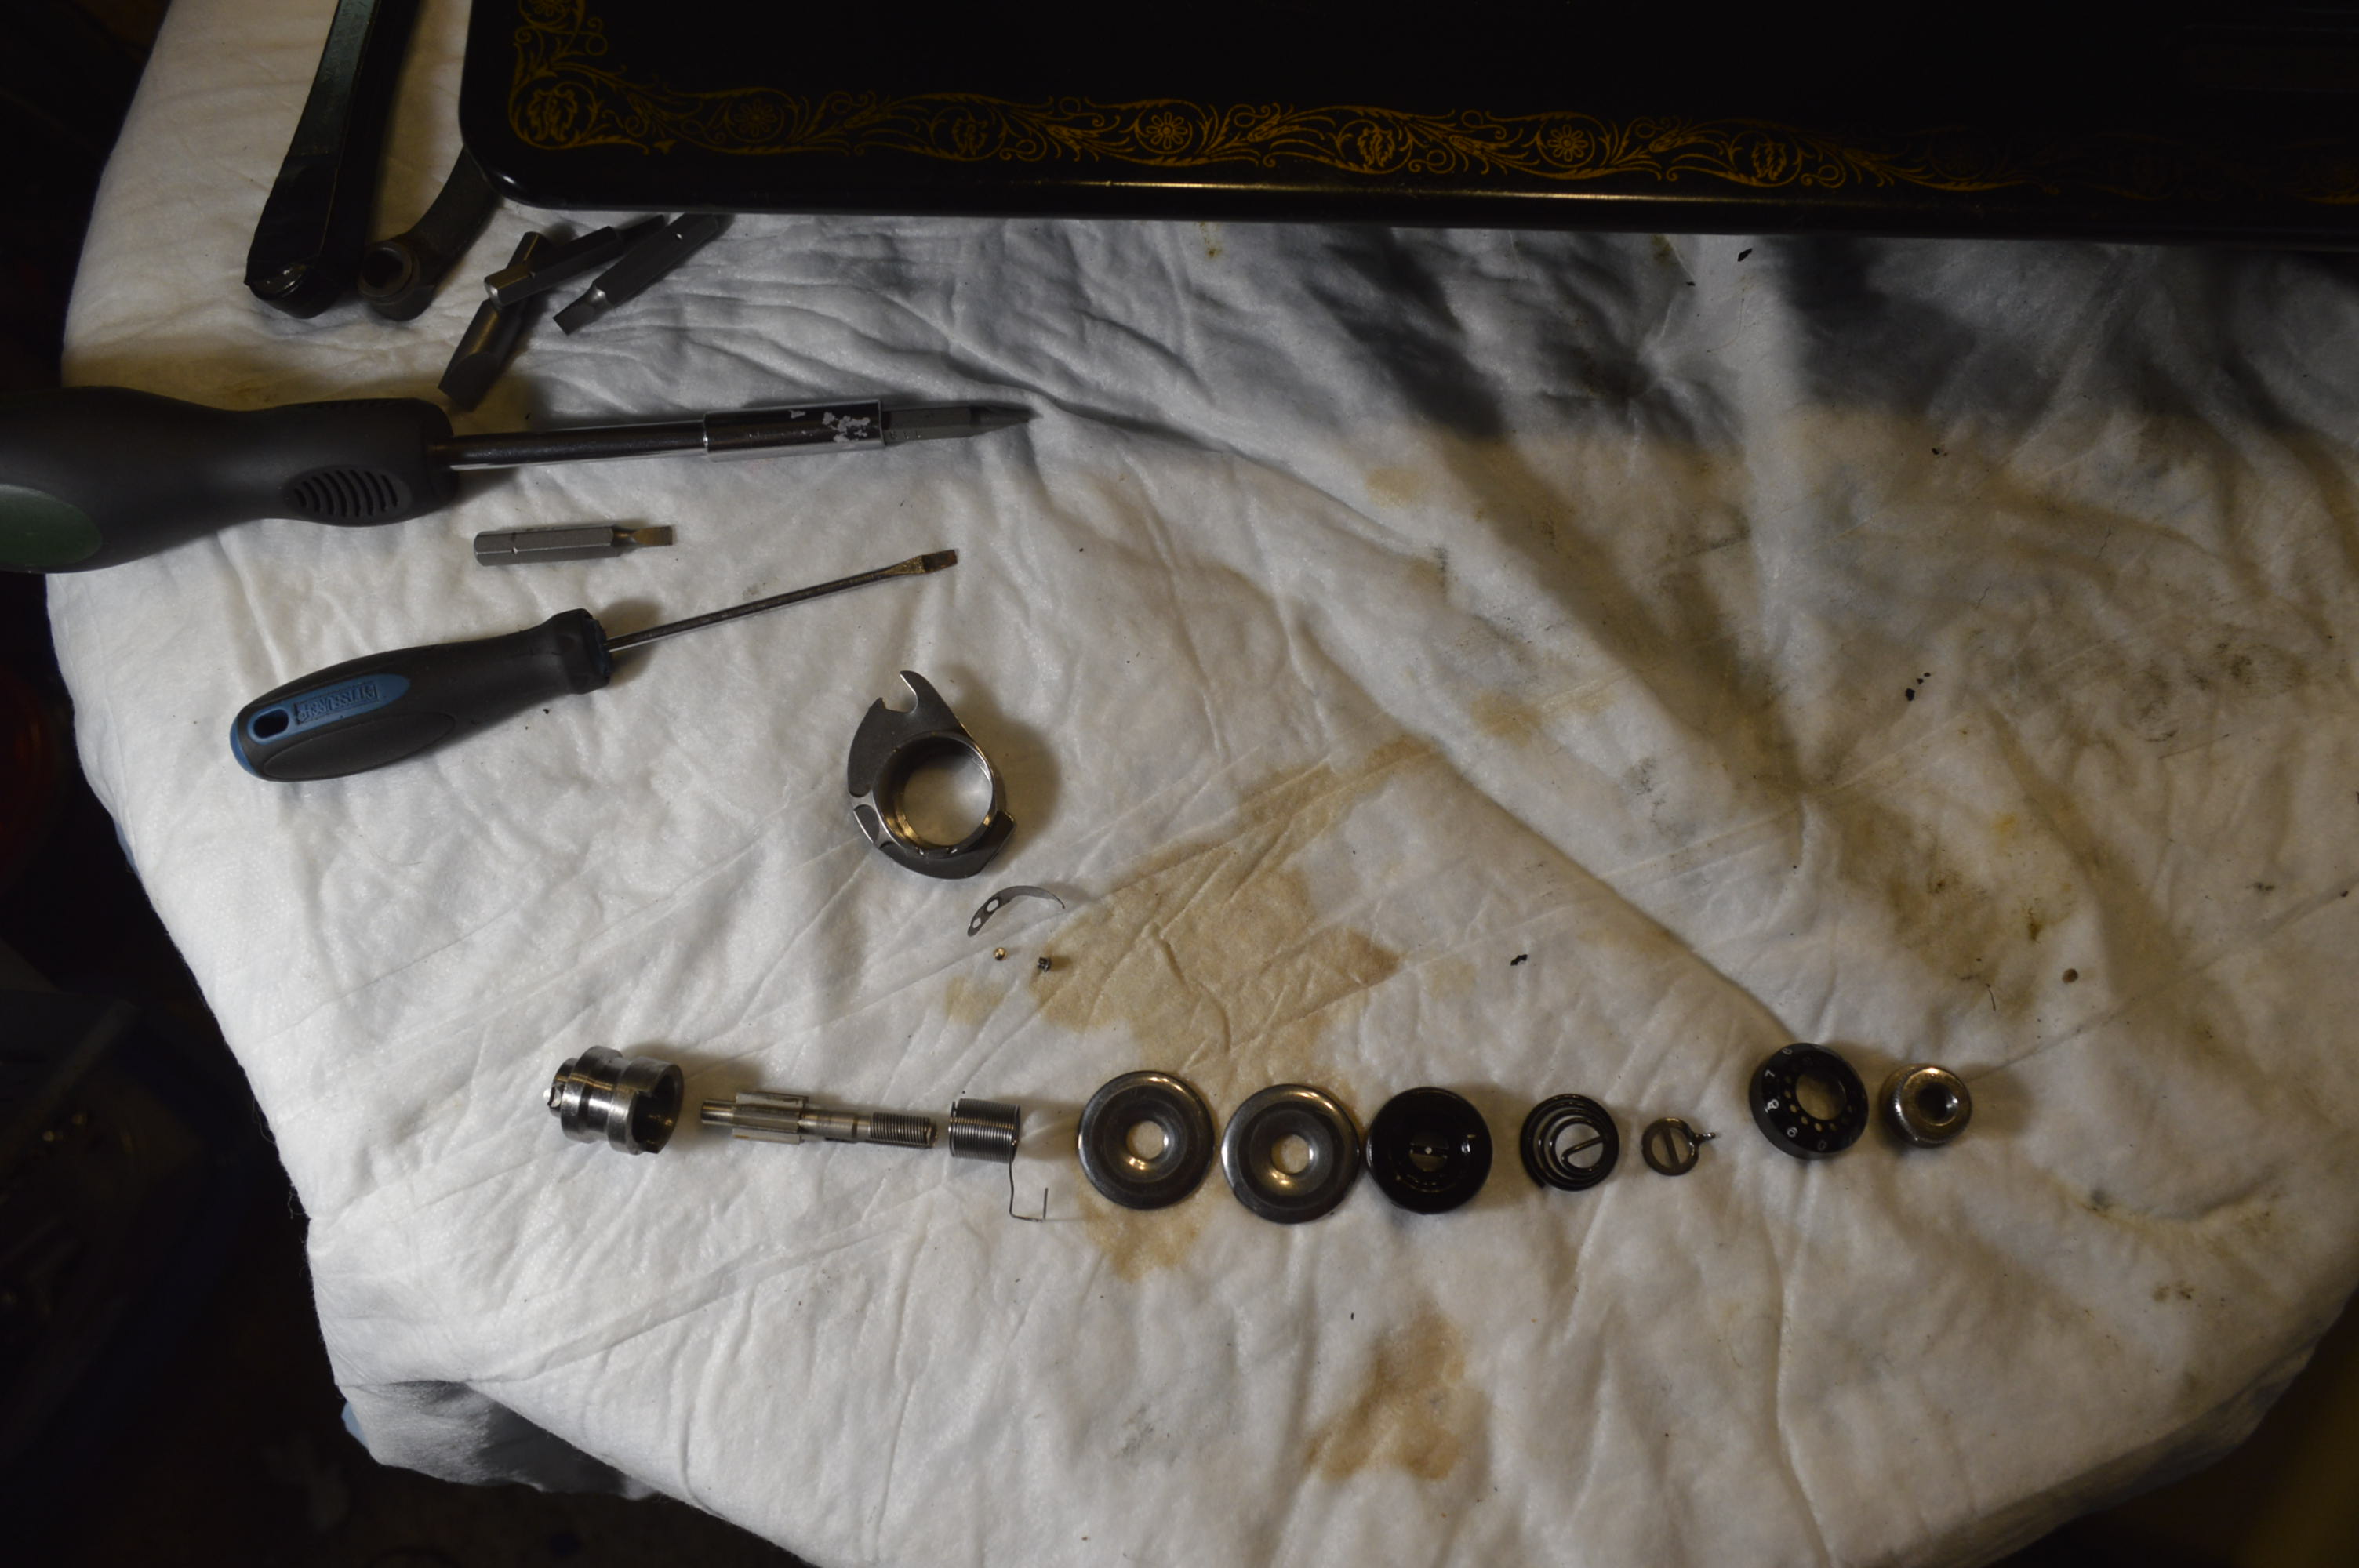
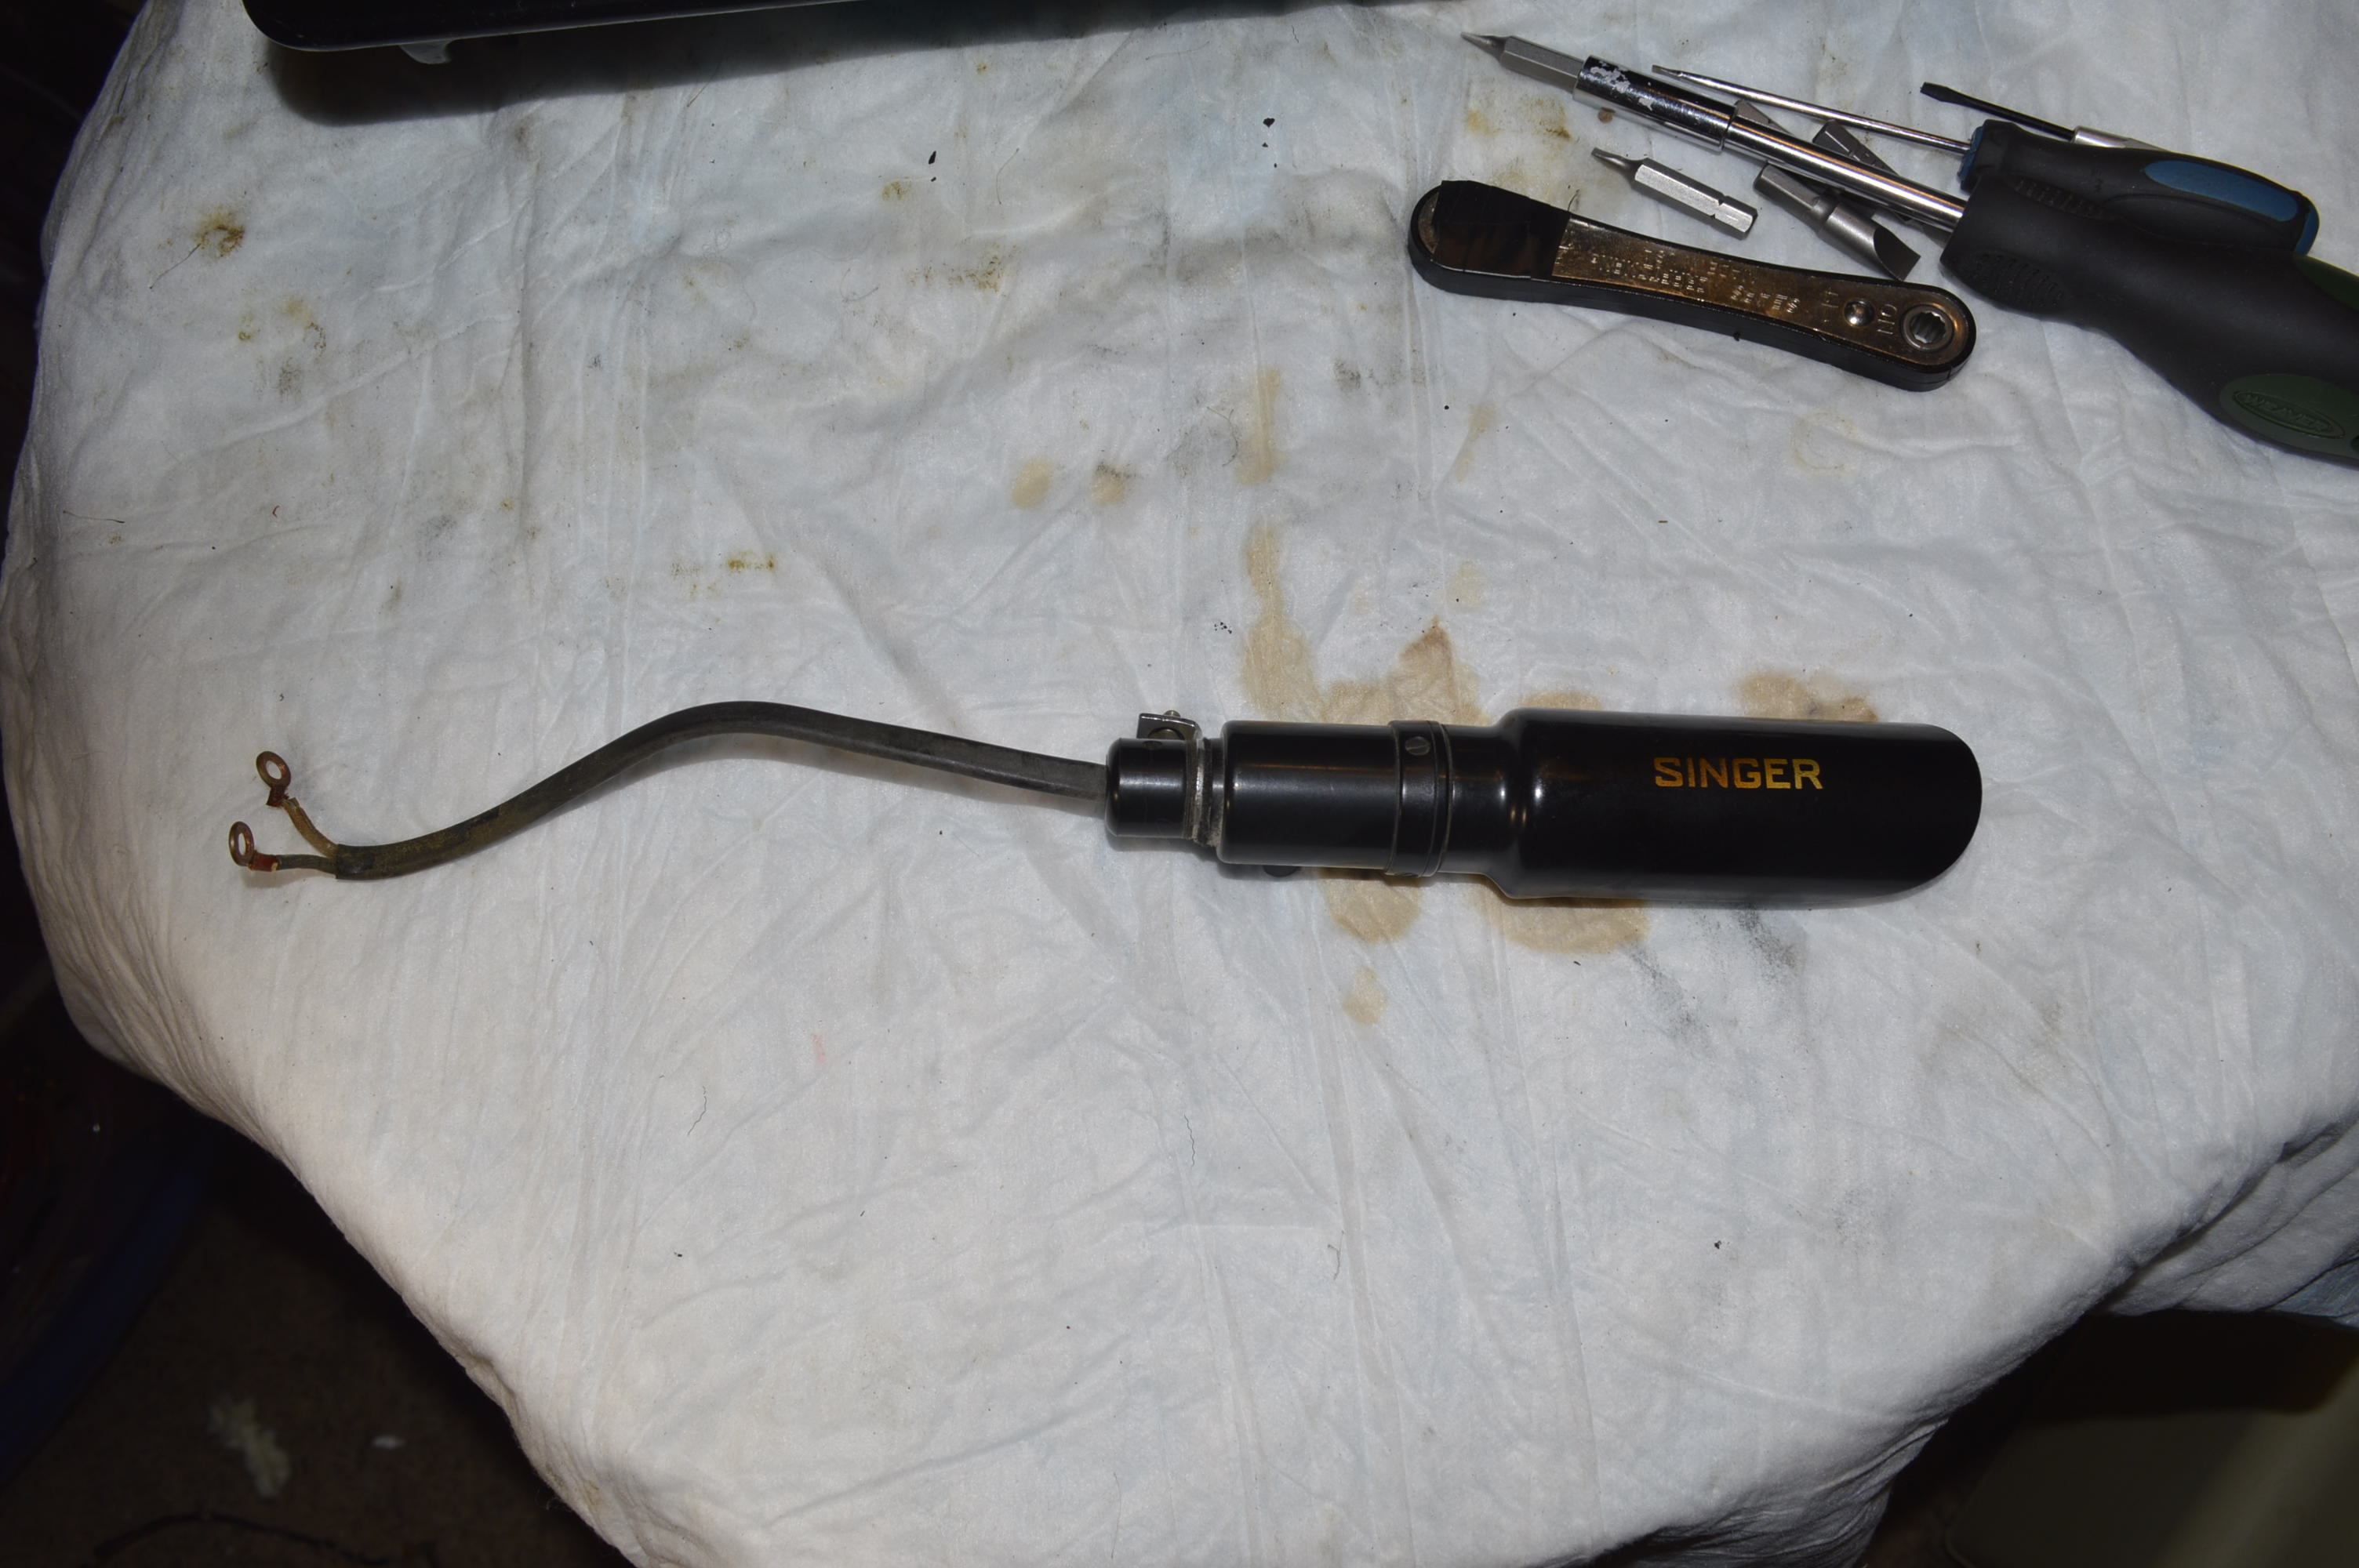
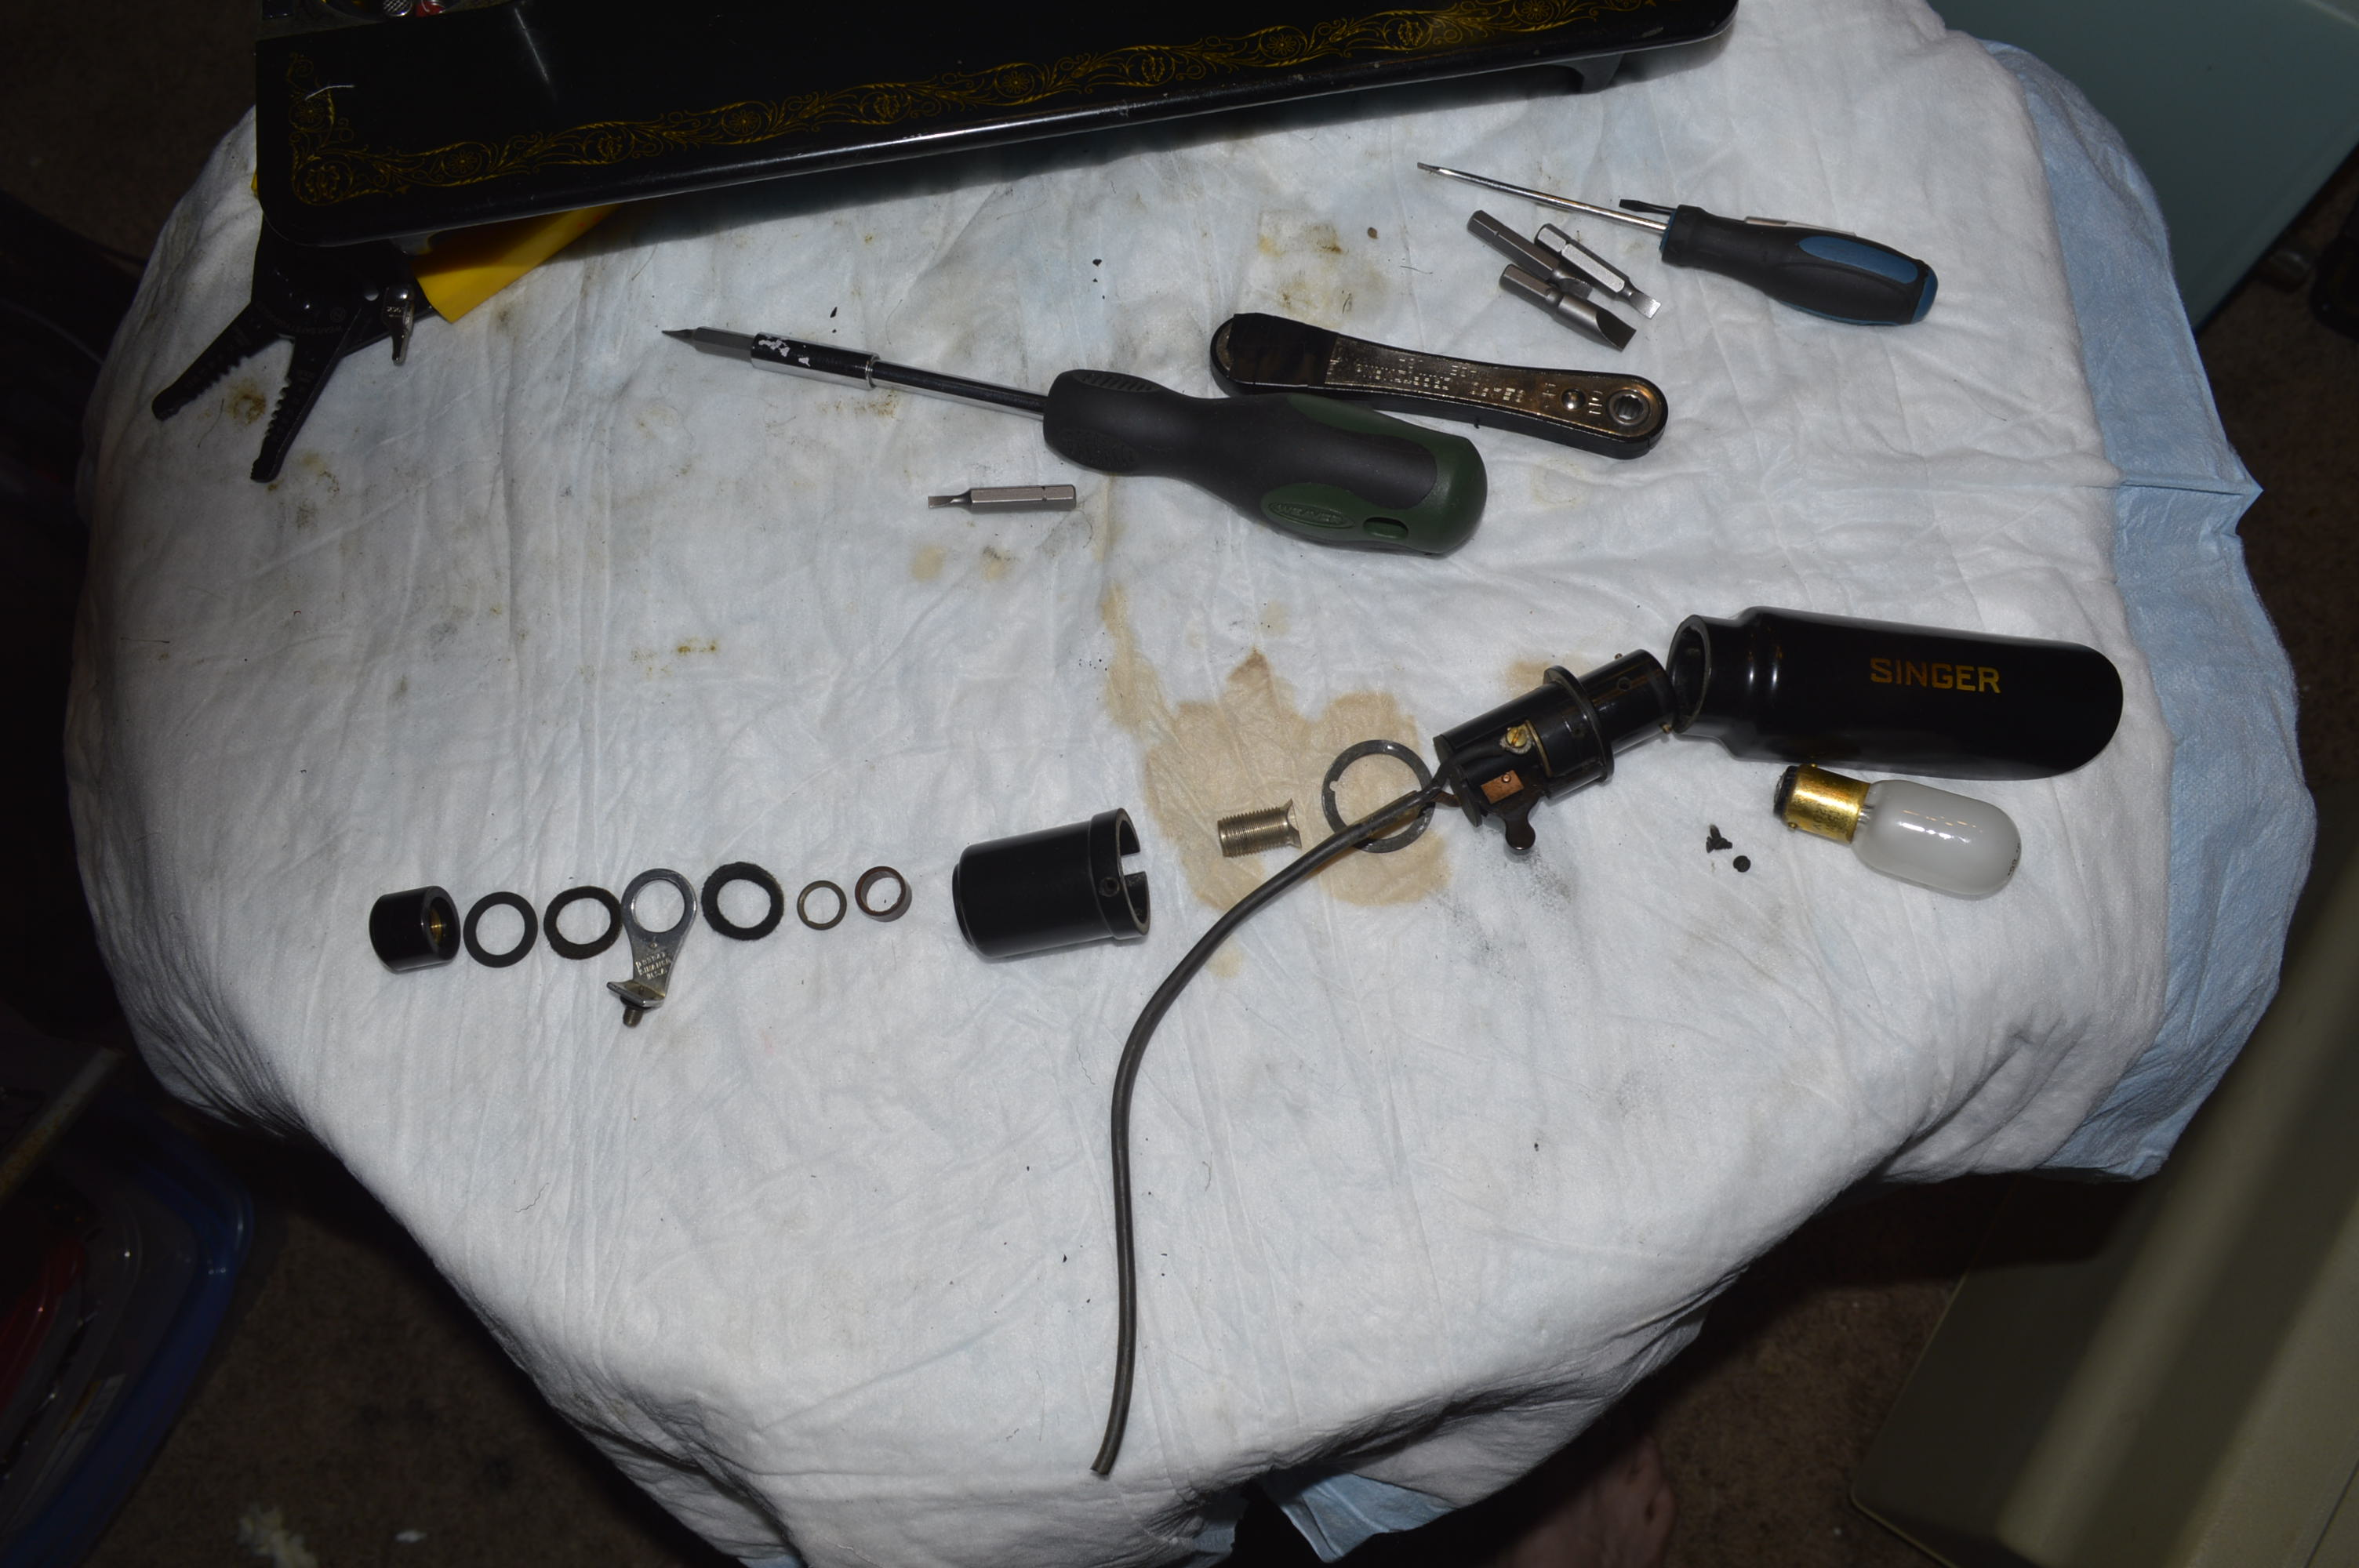
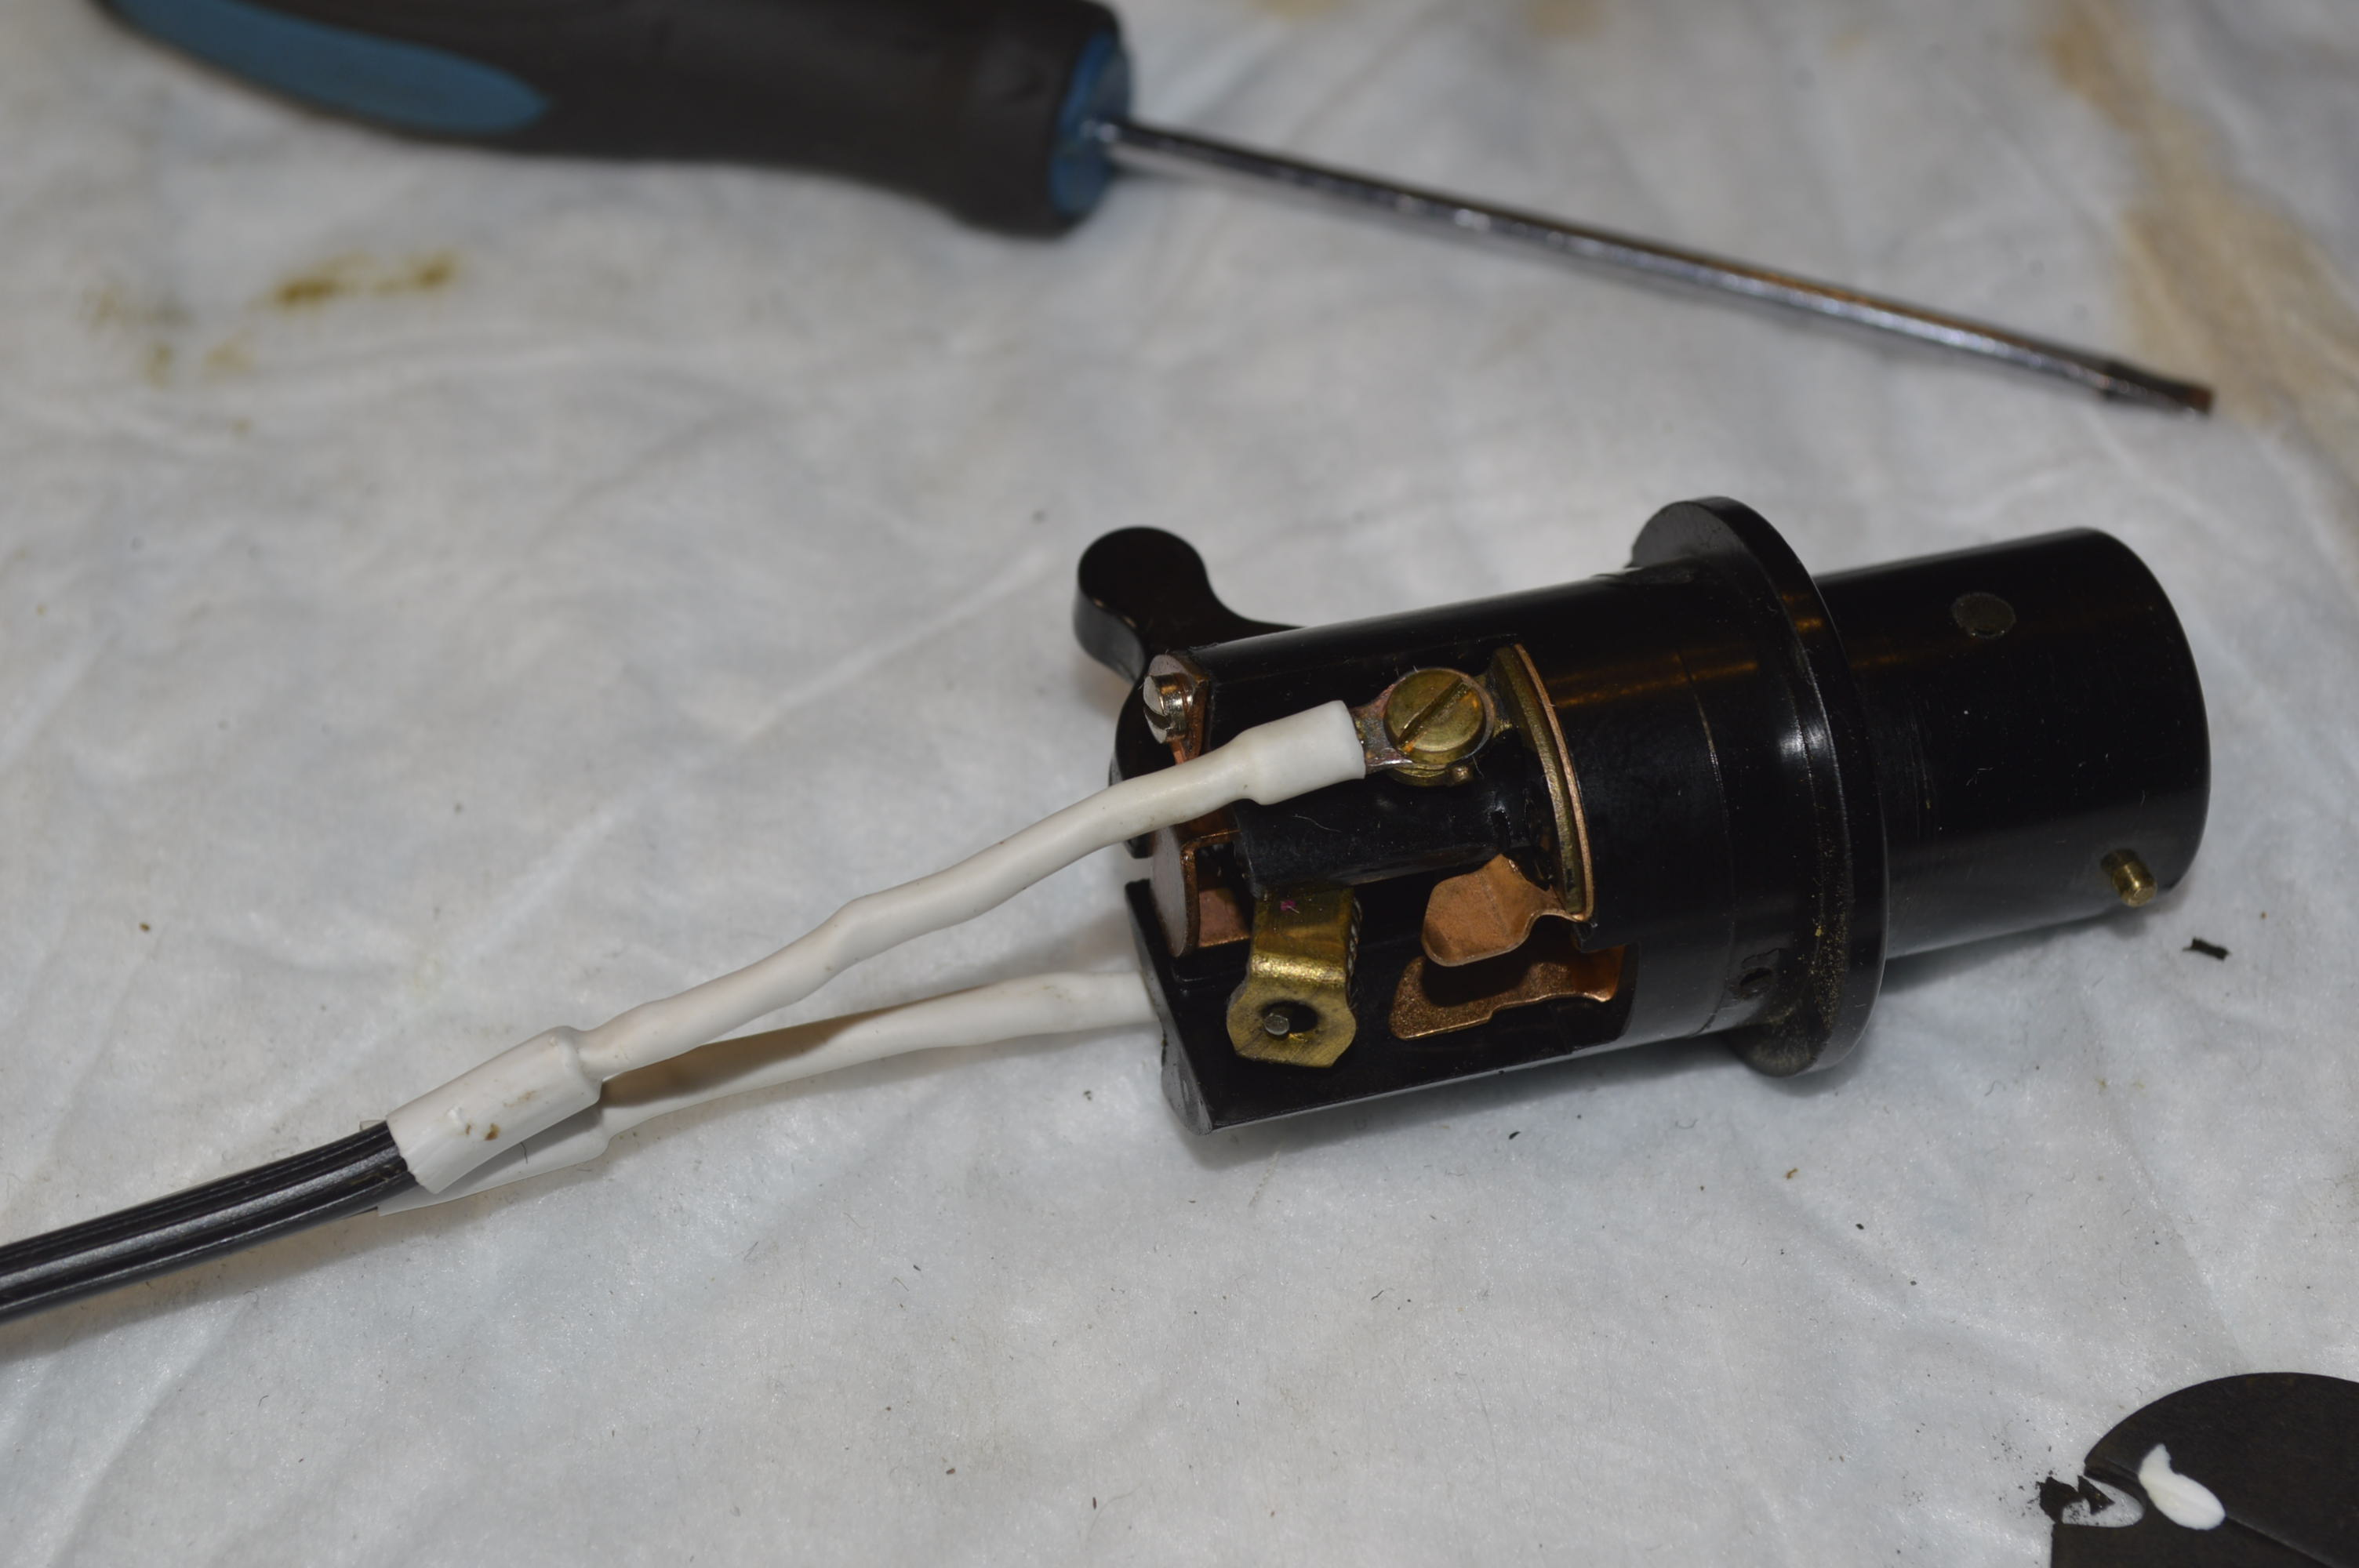
The next step is to rewire the light fixture. This is a simple straight forward operation that involves disassembling the light fixture housing, removing the old wire, soldering terminal connectors on the new wires, and reassembling the light.
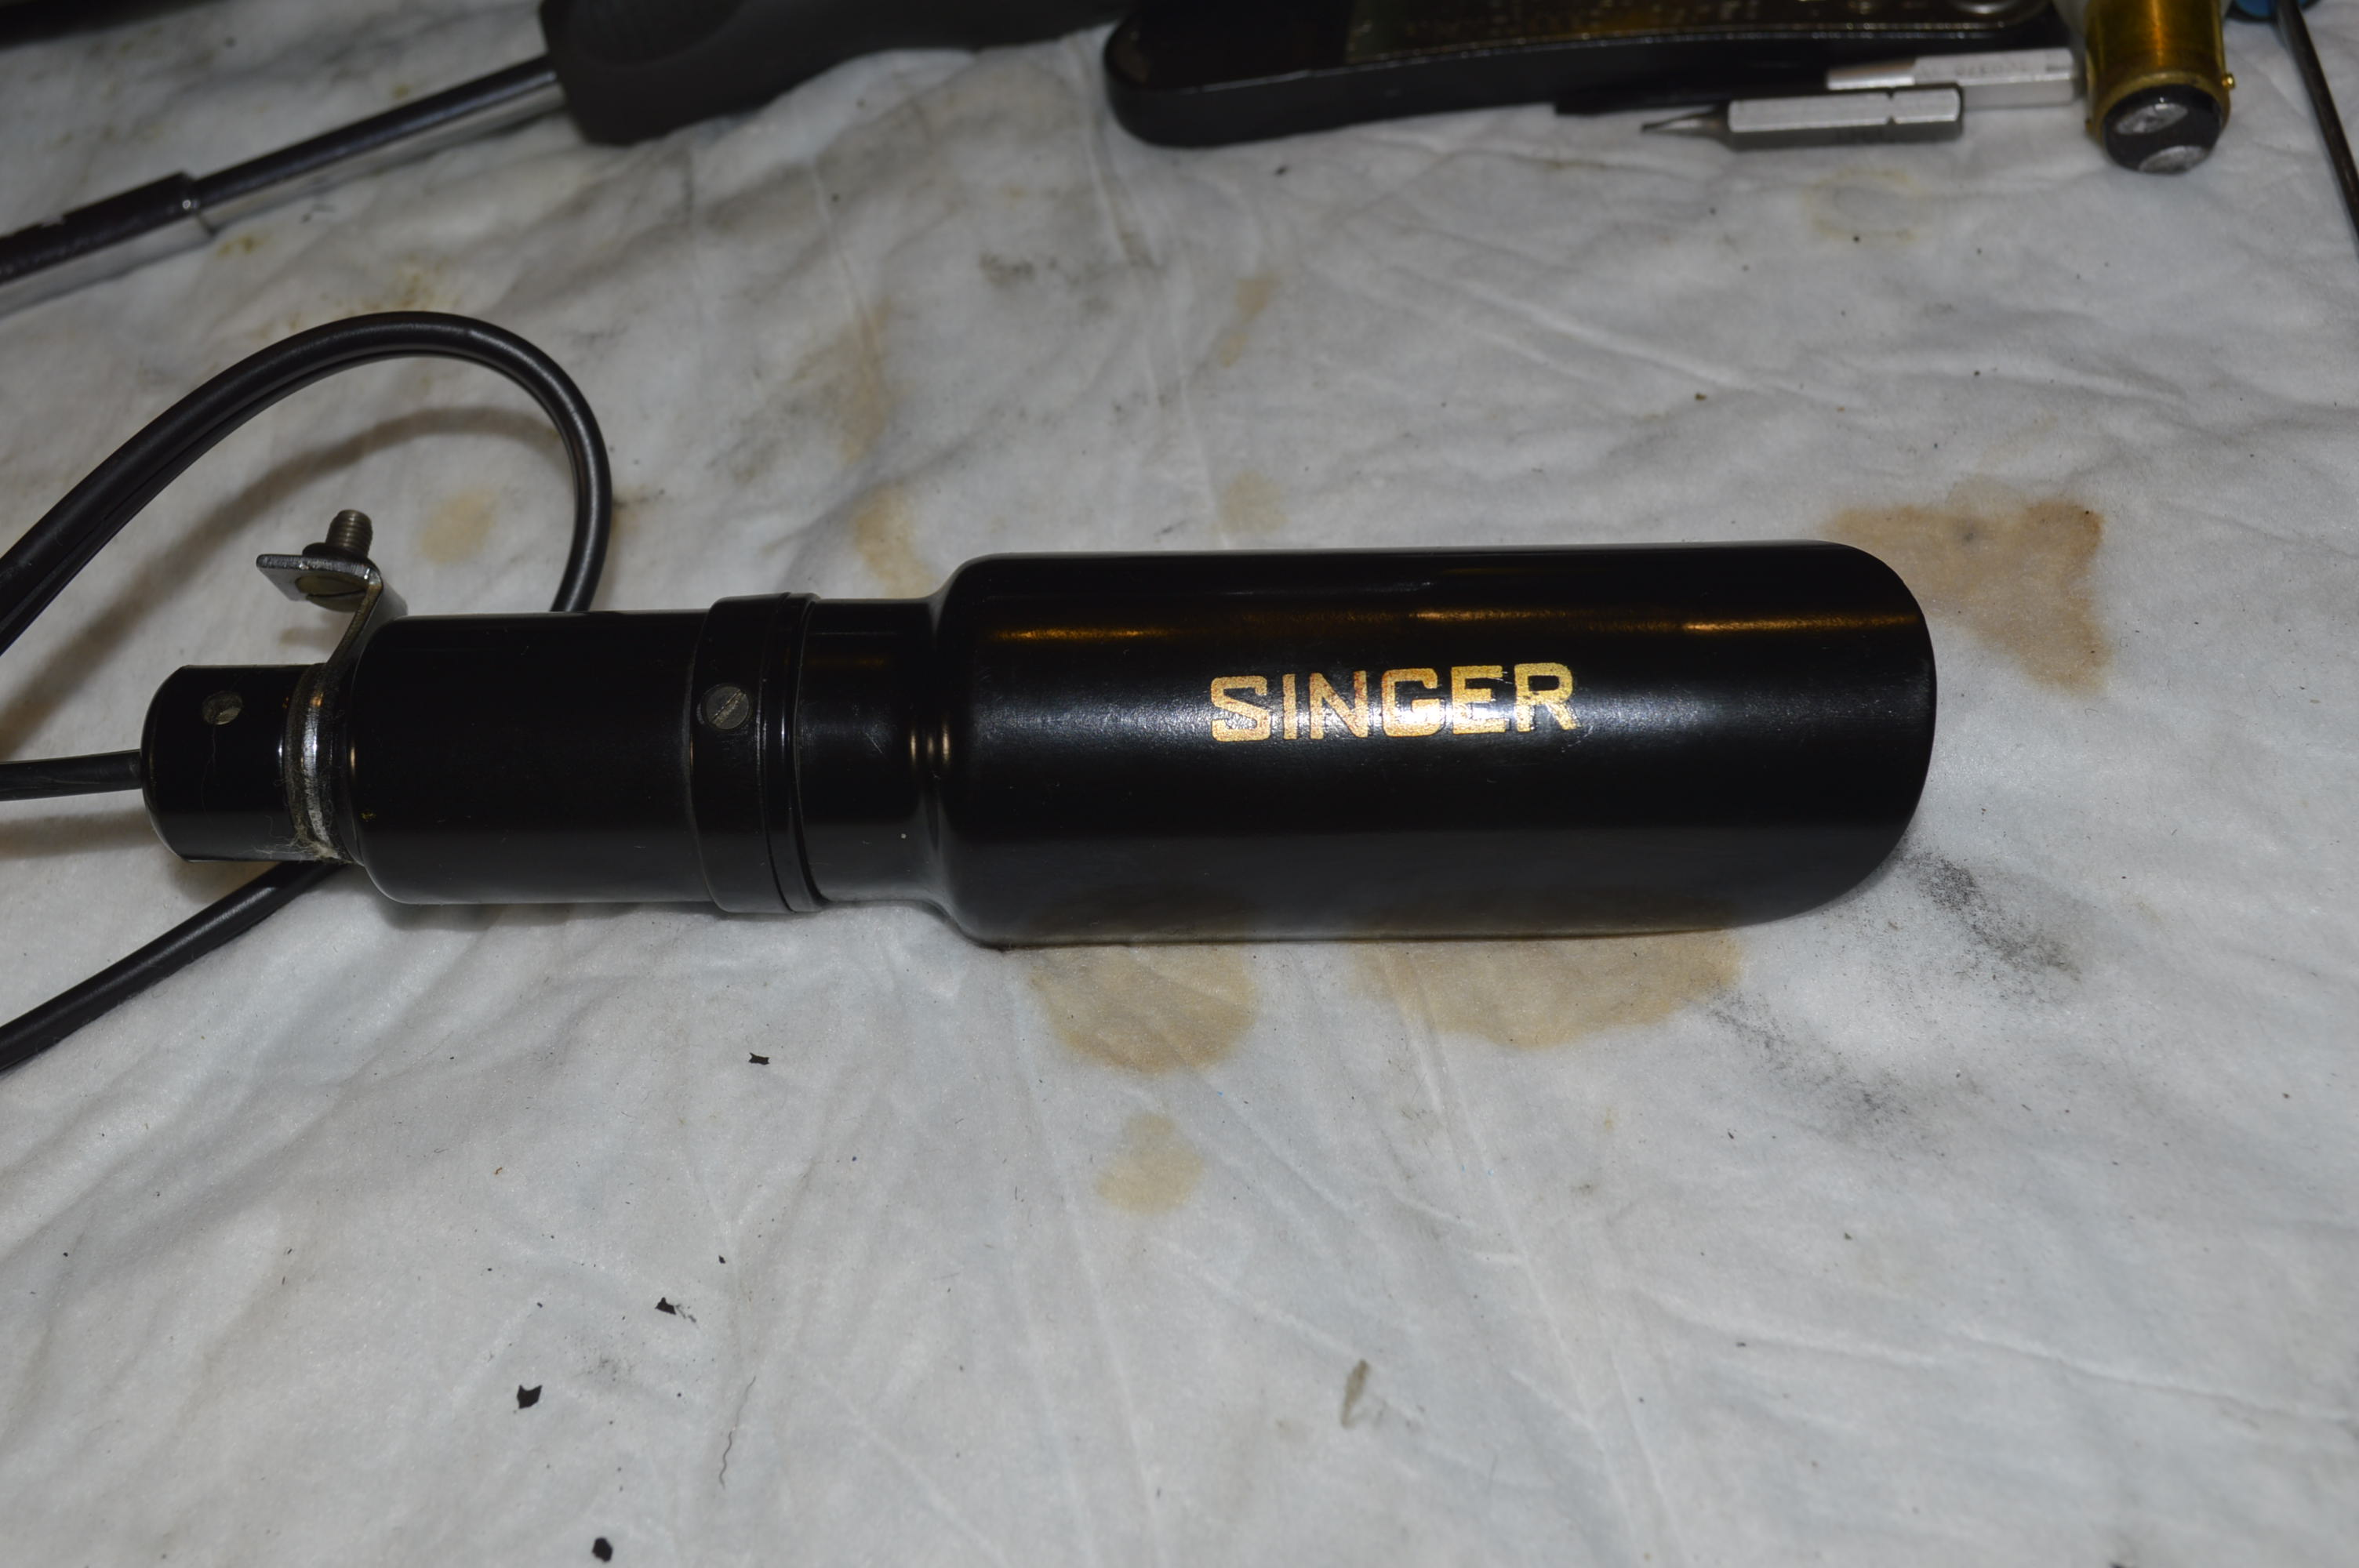
Now that the light is rewired and cleaned, the machine is ready to be reassembled.
Bottom mechanisms assembled…

Top mechanisms assembled…
Now that all of the grubby finger print producing work is done, it is time for deep cleaning. The machine is cleaned using cotton balls and GoJo hand cleaner… don’t laugh, GoJo is a lanolin based cleaner that is very good at dissolving dirt and oil, and when used properly, will not harm the finish or decals on the machine.
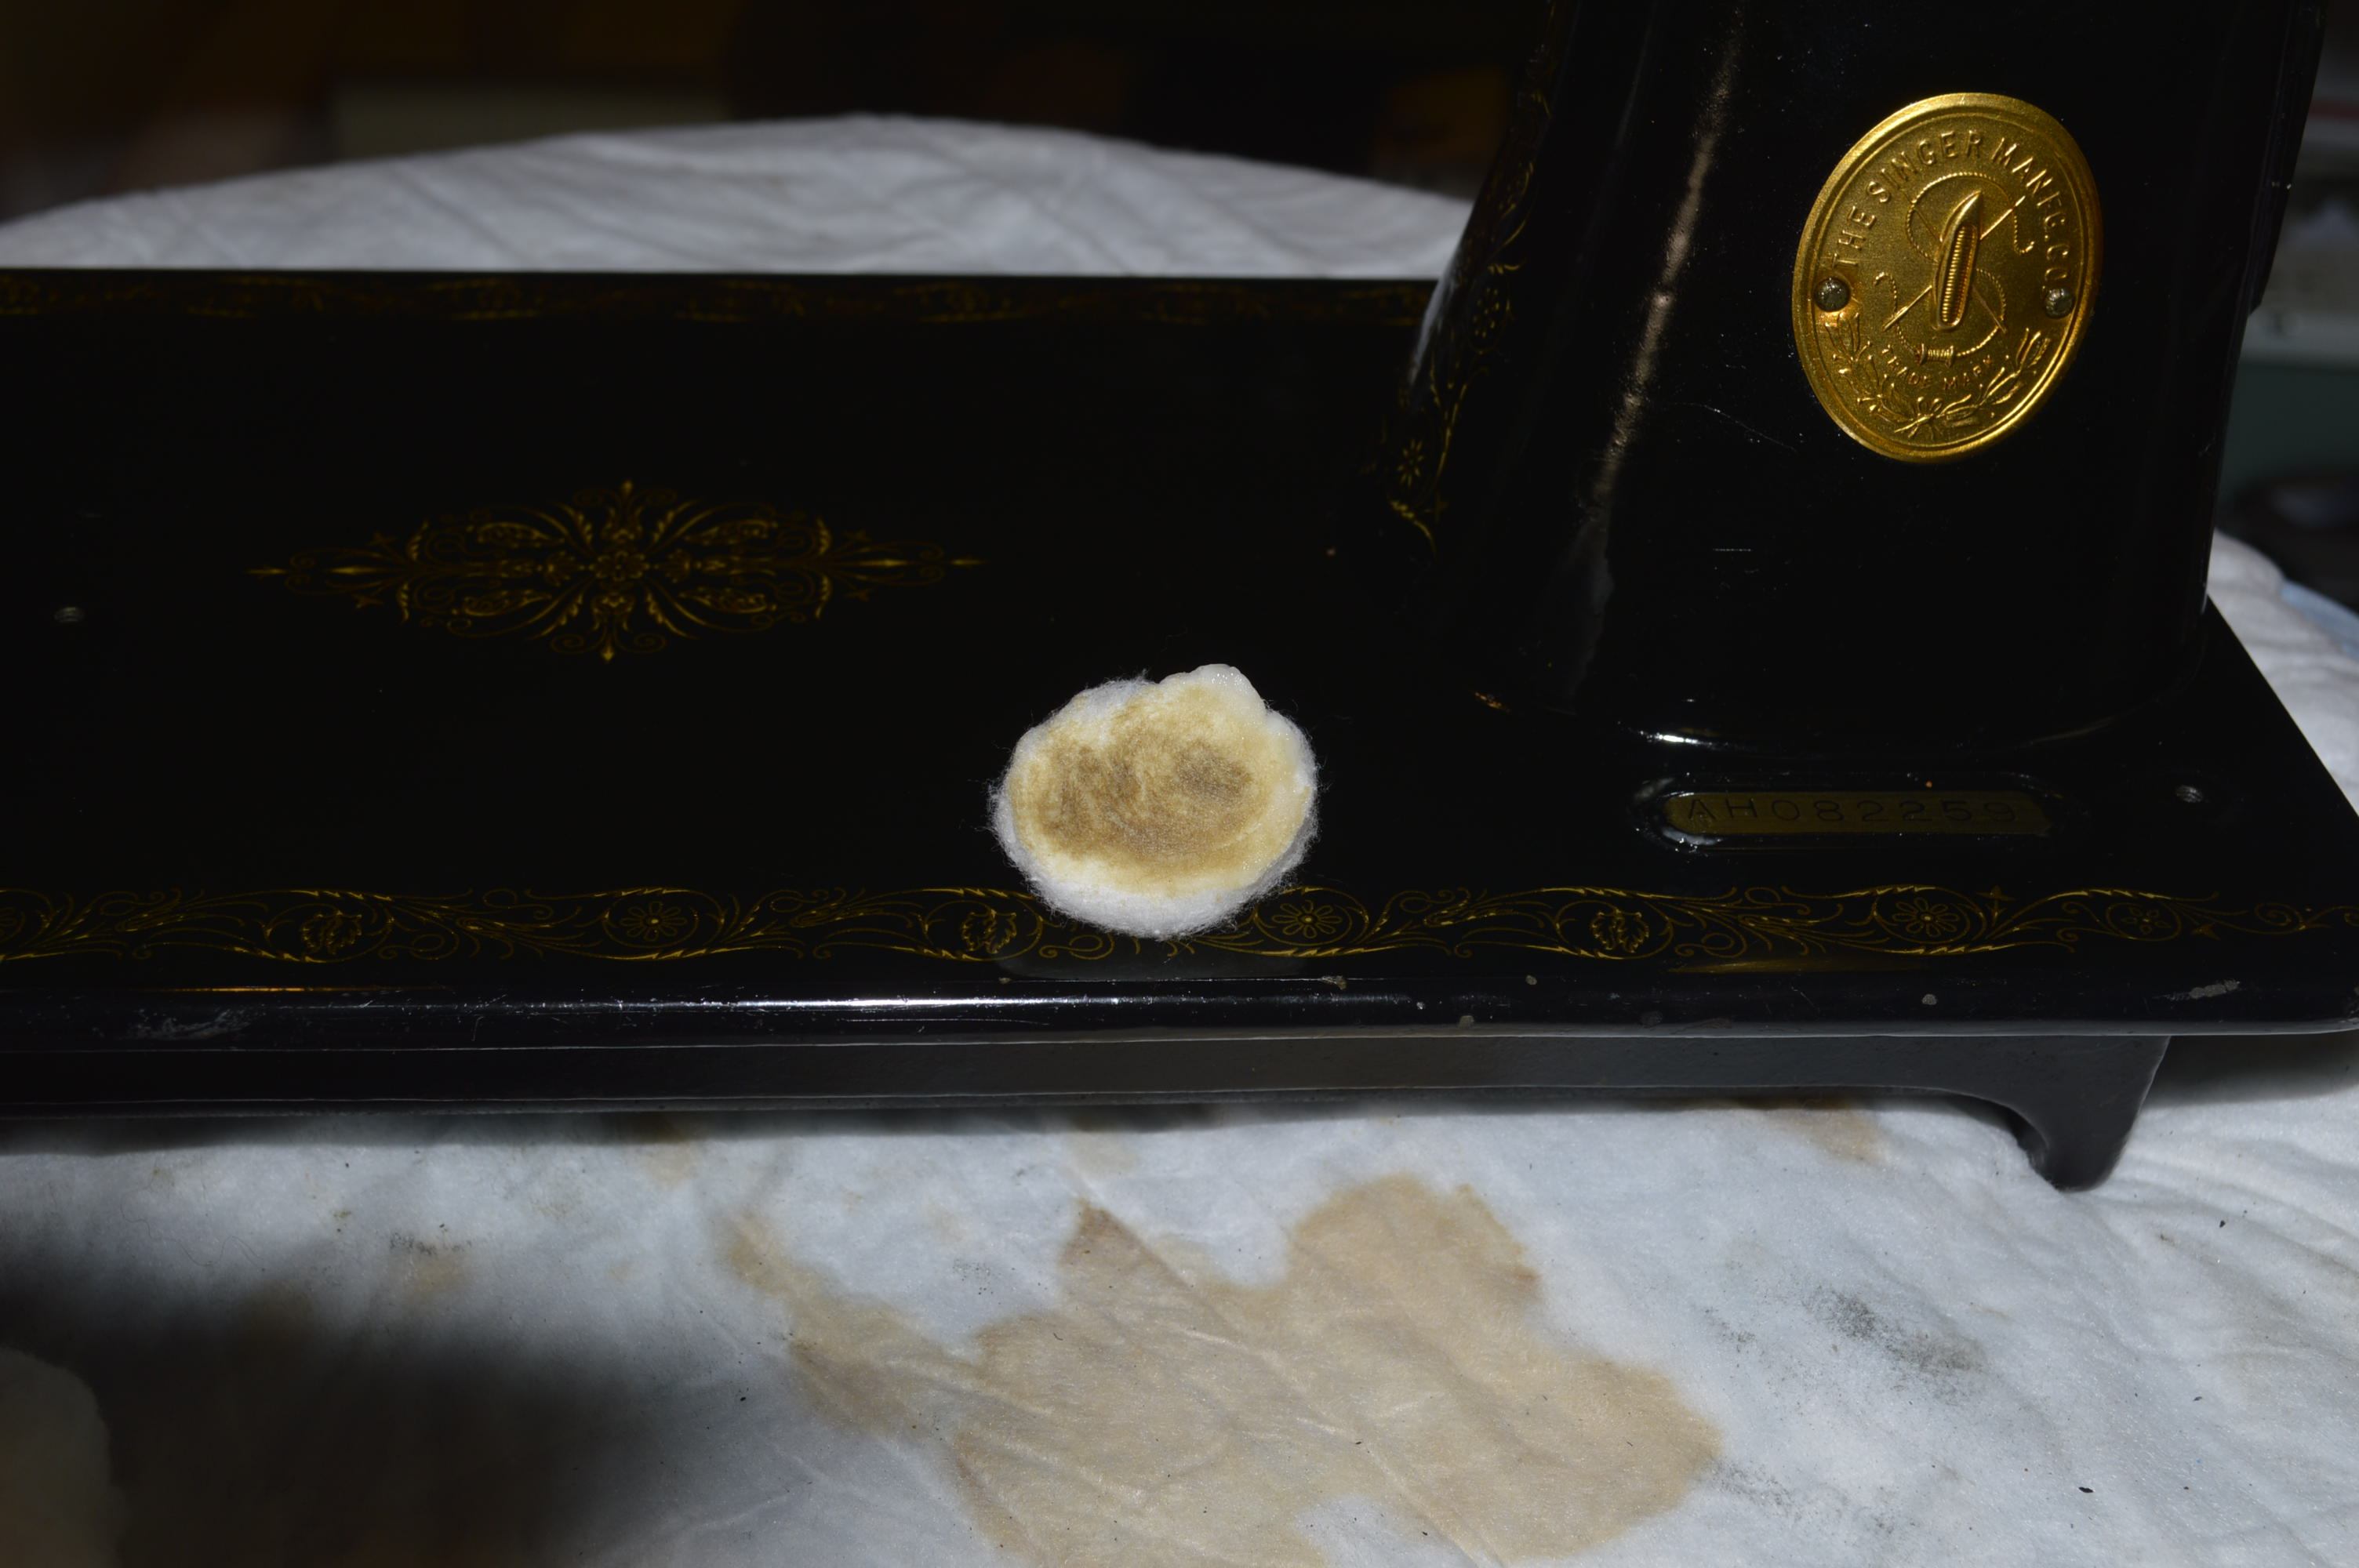
You can see the dirt it picked up… remember, this machine has already been cleaned with oil. The brown stuff is oil, but the darker stuff is dirt. The secret to GoJo is to go over small areas and change the cotton balls frequently. This keeps dirt picked up on the cotton ball from migrating and possibly scratching other areas on the machine. Following the cleaning of an area, cotton balls are used to remove remaining GoJo and buff the area just cleaned. Many, many cotton balls are used. The results brings out a deeper finish…
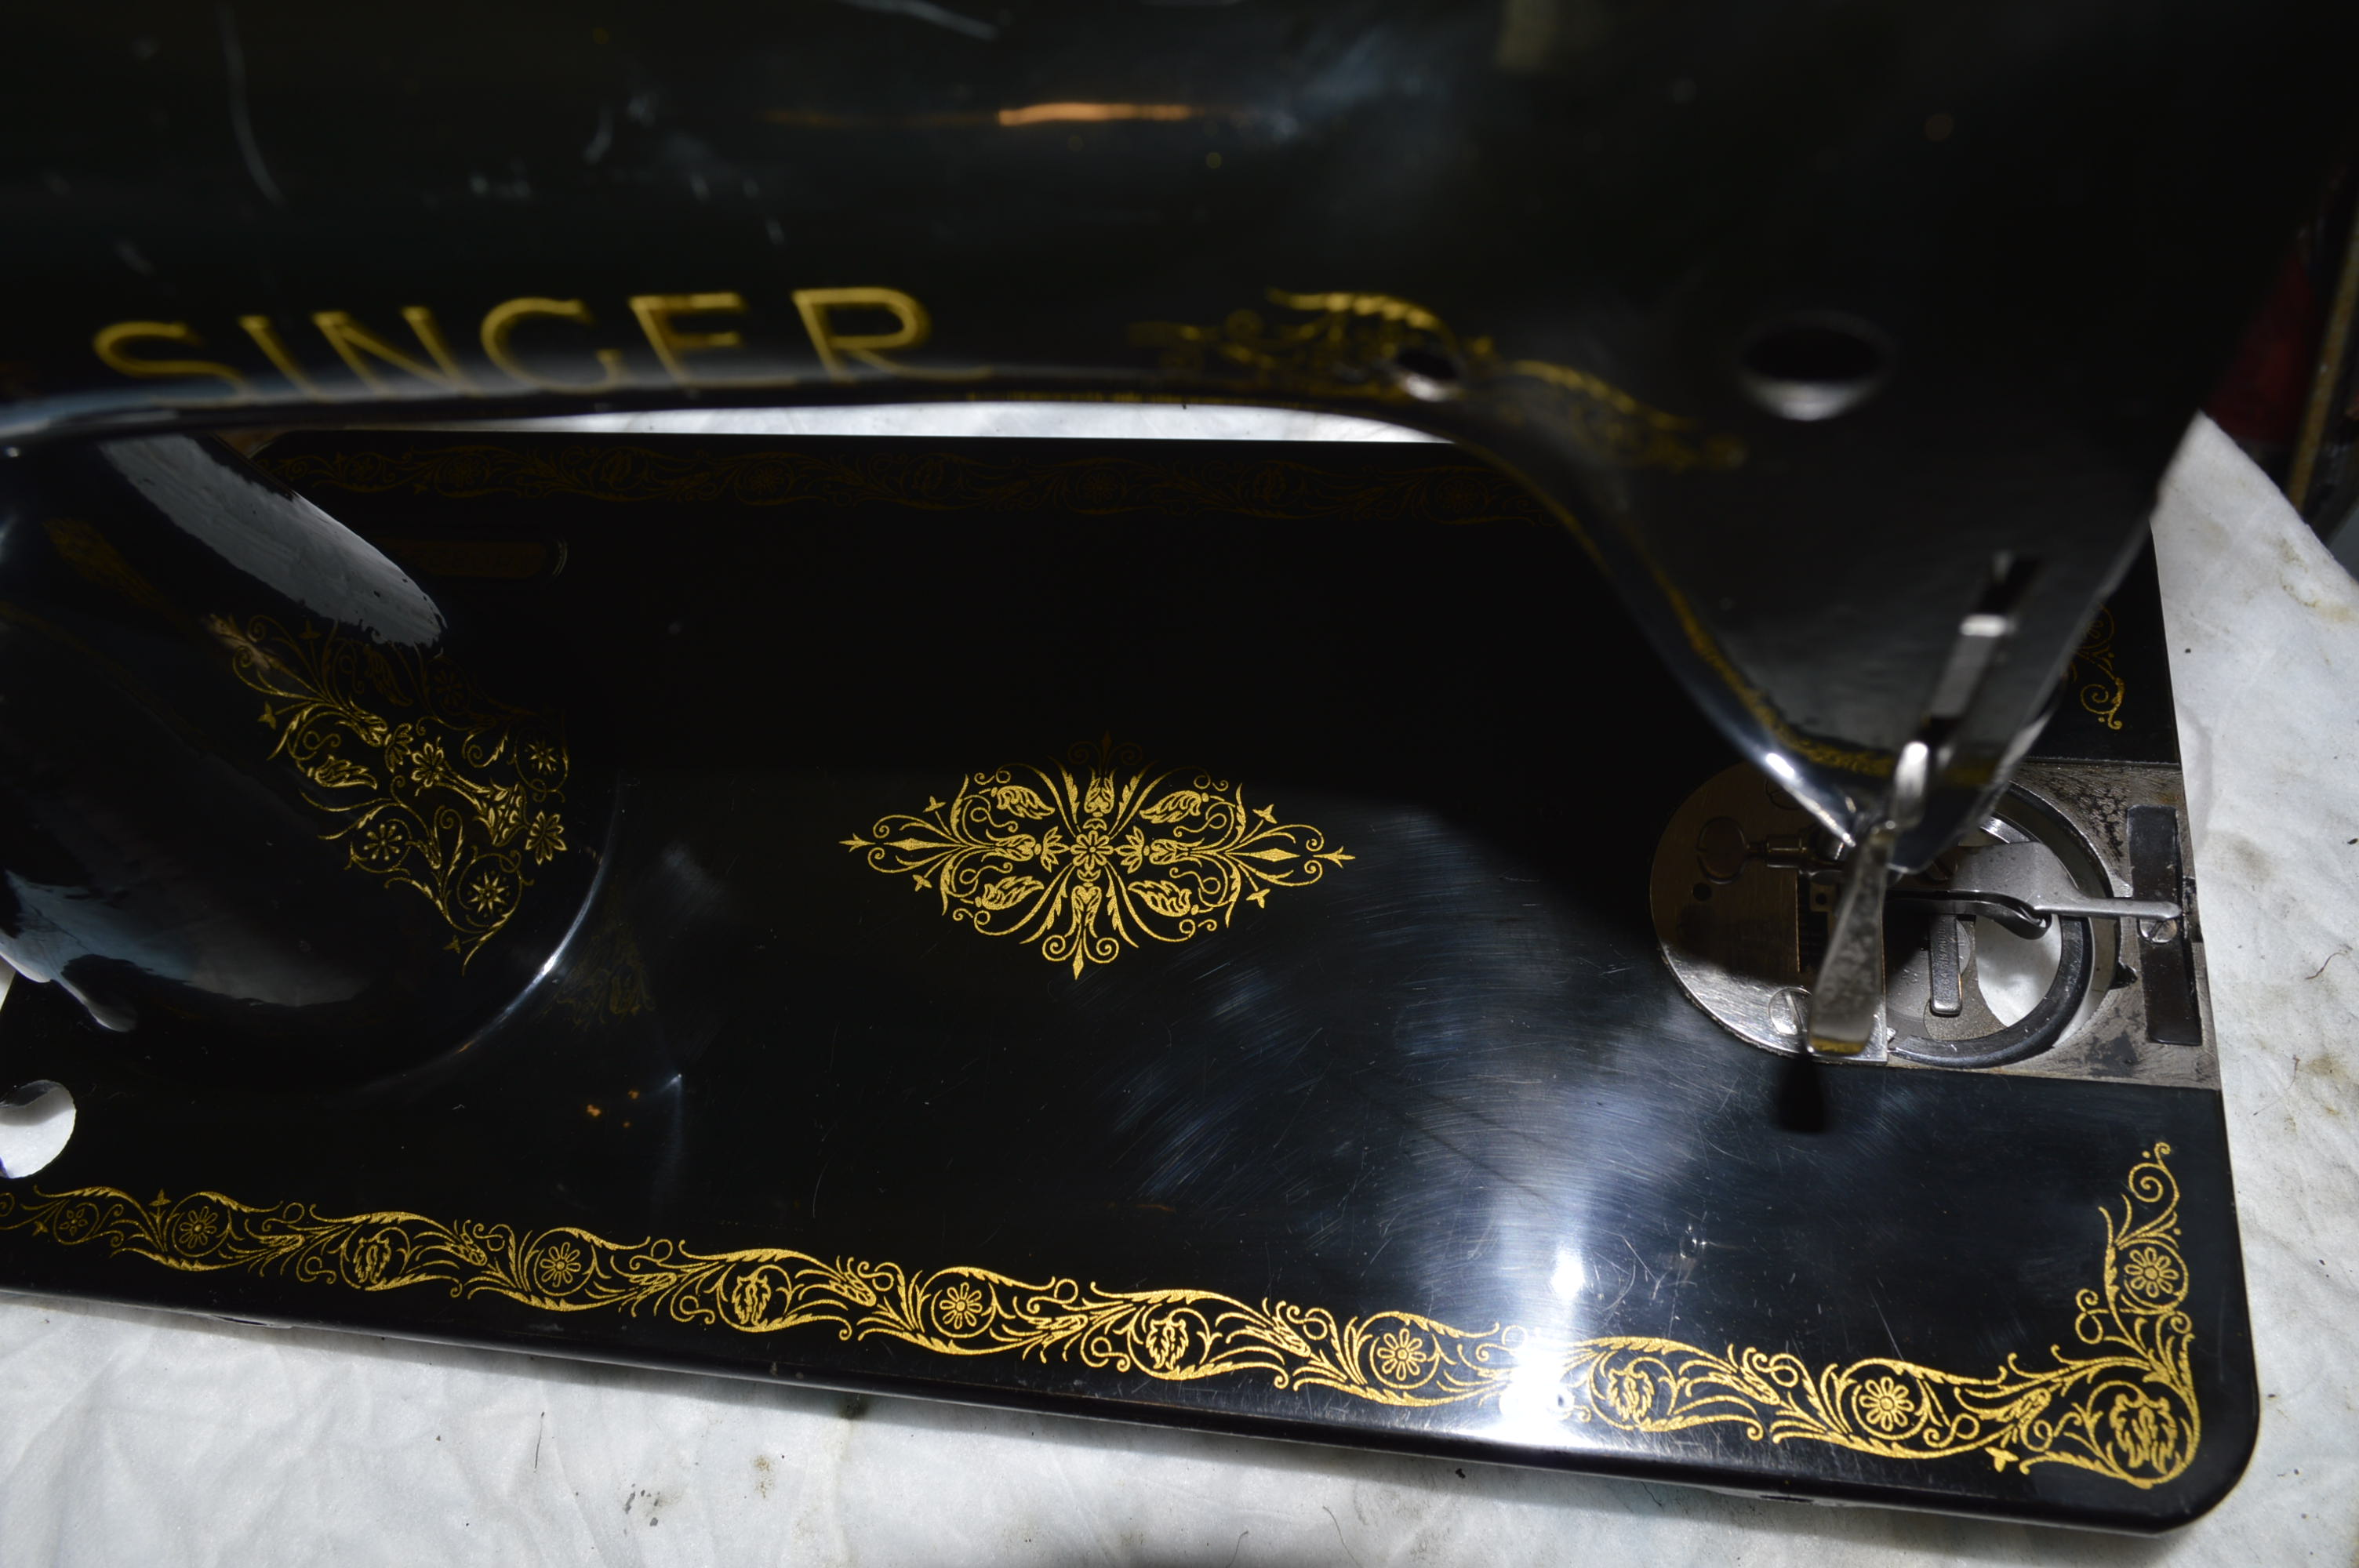


But, cleaning with GoJo is merely the precursor to glaze polishing. This is where the real finish comes out. The product I am using here is TR3, made by Blue Diamond. The process is similar to waxing your car, only the work proceeds in small areas. Application of the glaze polish goes in a back and forth motion to avoid swirls, and the polish is worked into the surface until it starts to dry. The area is then buffed with cotton balls in a the same back and forth motion to reveal the polished surface. This is repeated over the body of the machine.


Because the finish of this machine is in such good condition, I decided to apply a second glaze polish. This time, I am using a product called “Meguiar’s Mirror Glaze”. This is a product that I have had great results with, and it seems to have a finer “cut” than the TR3. Following the smooth surface produced with the TR3, the Meguiar’s should produce a mirror like finish. The application is the same… lots of cotton balls, lots of rubbing, and lots of attention to details. As expected, the final surface is smooth as glass and “squeaks” when you rub it… perfect.

Next, the few small chips are paint matched… all small paint chips are filled in. Very few on this machine.

Before 
After
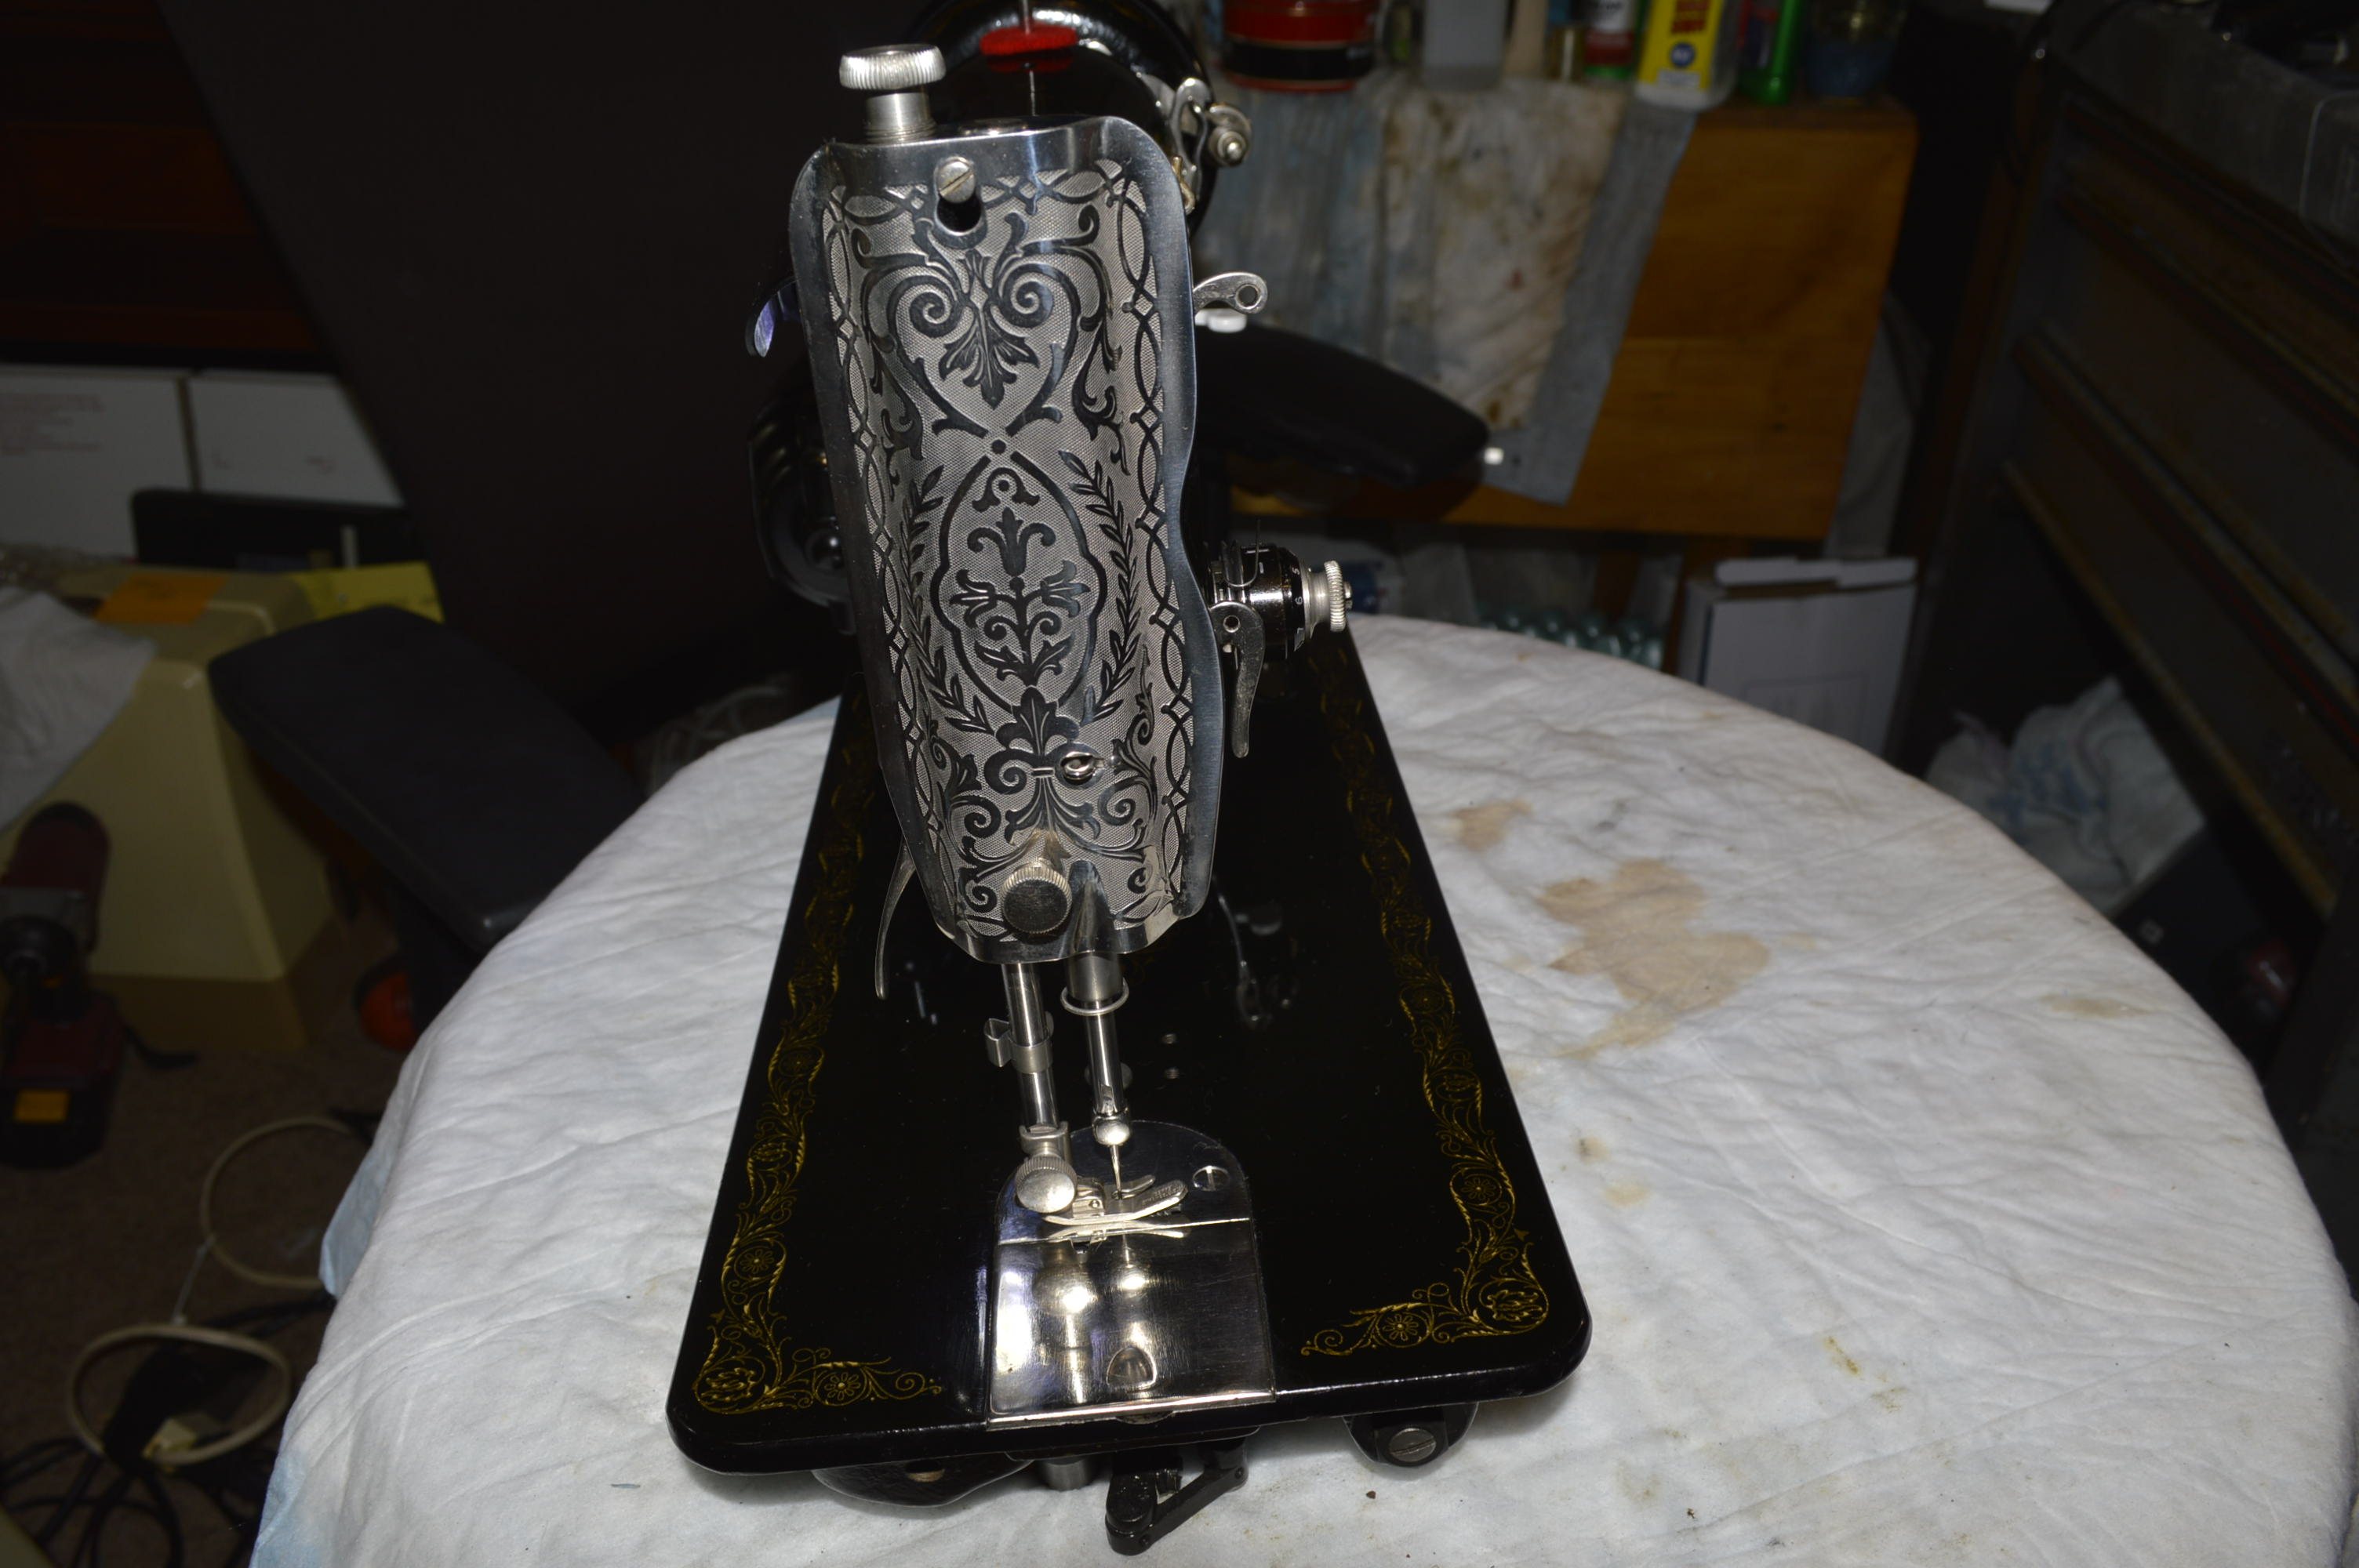
The final step is to buff the face plate, side cover plate, bobbin cover plate, needle plate, and balance wheel stop motion knob with a 6″ buffing wheel and jeweler’s rouge. When assembled, the machine is complete and ready to sew.

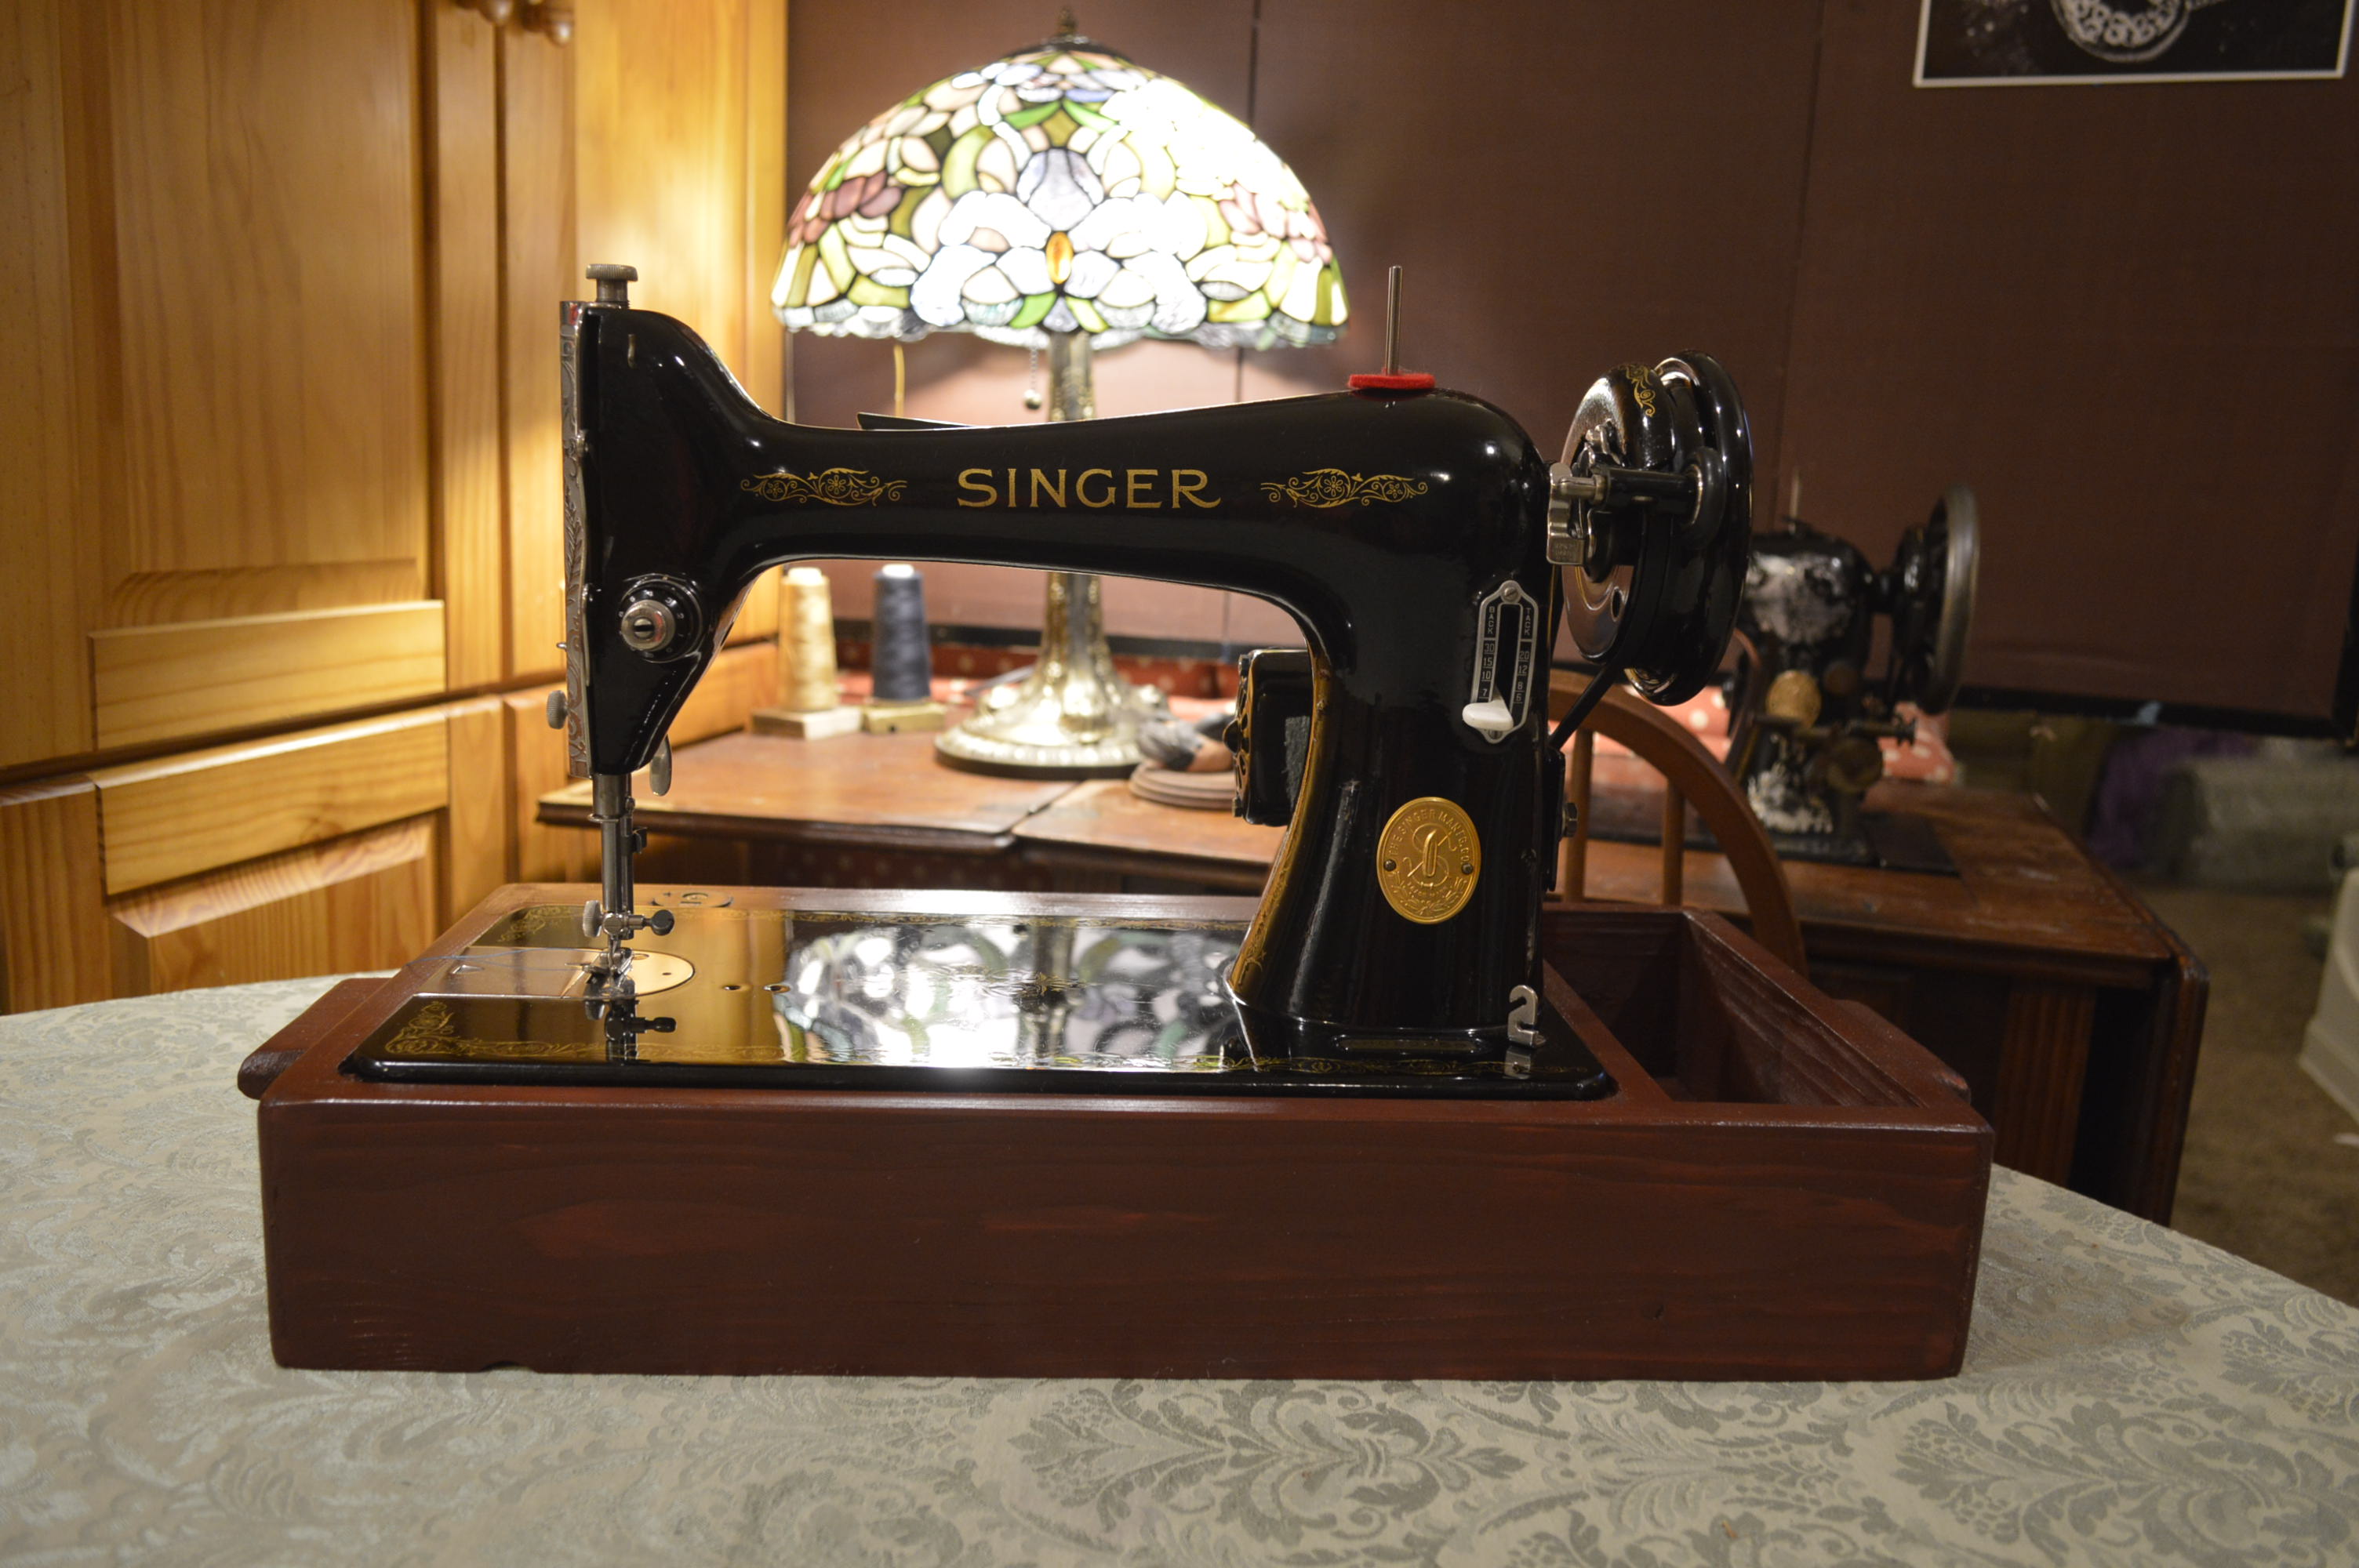
She is an absolutely gorgeous Singer Model 66… Not bad for a 72 year old Singer!… If you have one in better mechanical condition, and she looks this good, please send me a picture!
To see this and other beautifully restored vintage sewing machines, please visit our etsy store at:
https://www.etsy.com/shop/pungoliving
Thanks for reading and tell me what you think!
