
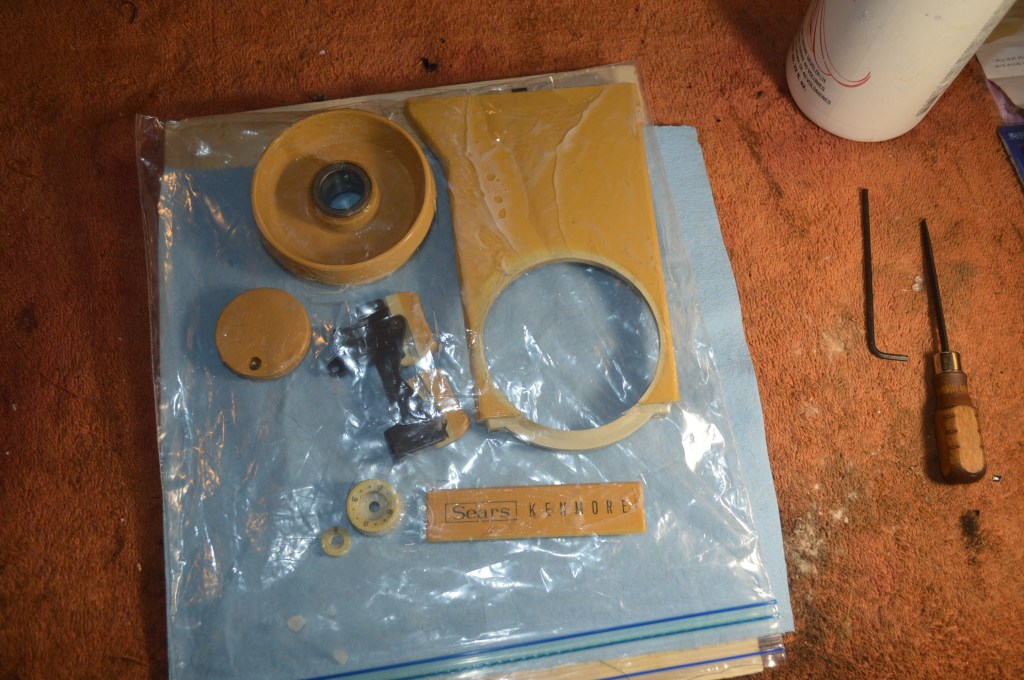
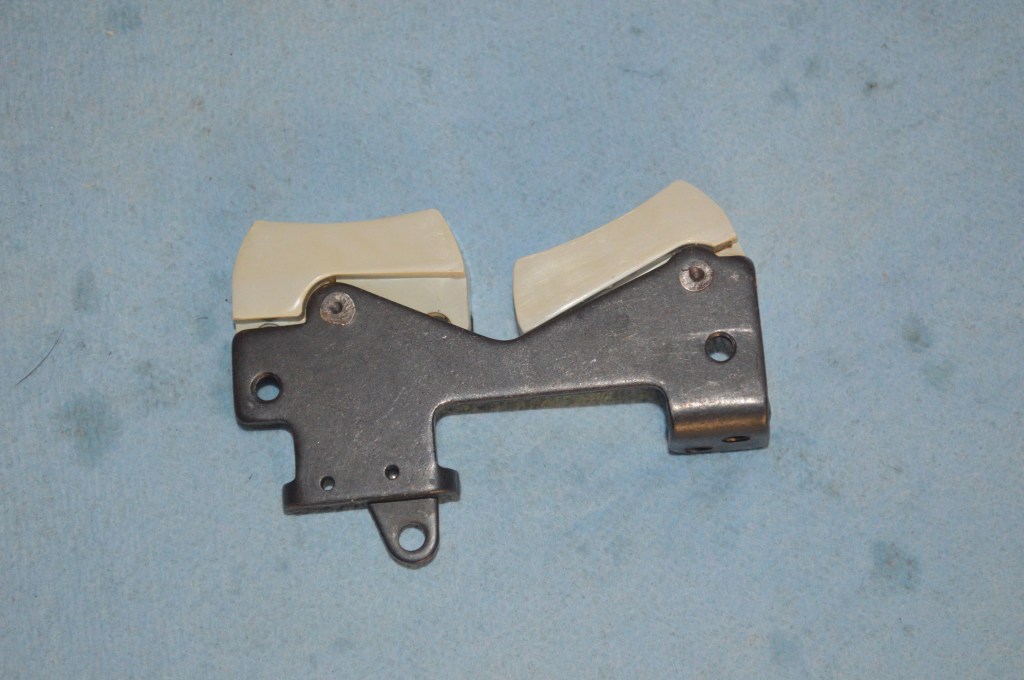
Vintage Kenmore sewing machines are great in almost all respects. They are durable, reliable, tolerant to changes in fabric and tension adjustment, and even with little maintenance will run without complaint. All Kenmore machines made before 1975 have all metal construction in the sewing mechanism and body. All but a few do incorporate some plastic into the badges, tension control knob, back cover, and the balance wheel. Over time, the chemical composition of the plastic changes and these plastic pieces turn a yellow color akin to a school bus… No doubt you have seen this if you are familiar with Kenmore’s. If not, here is a picture (although an extreme example) of what I am talking about.

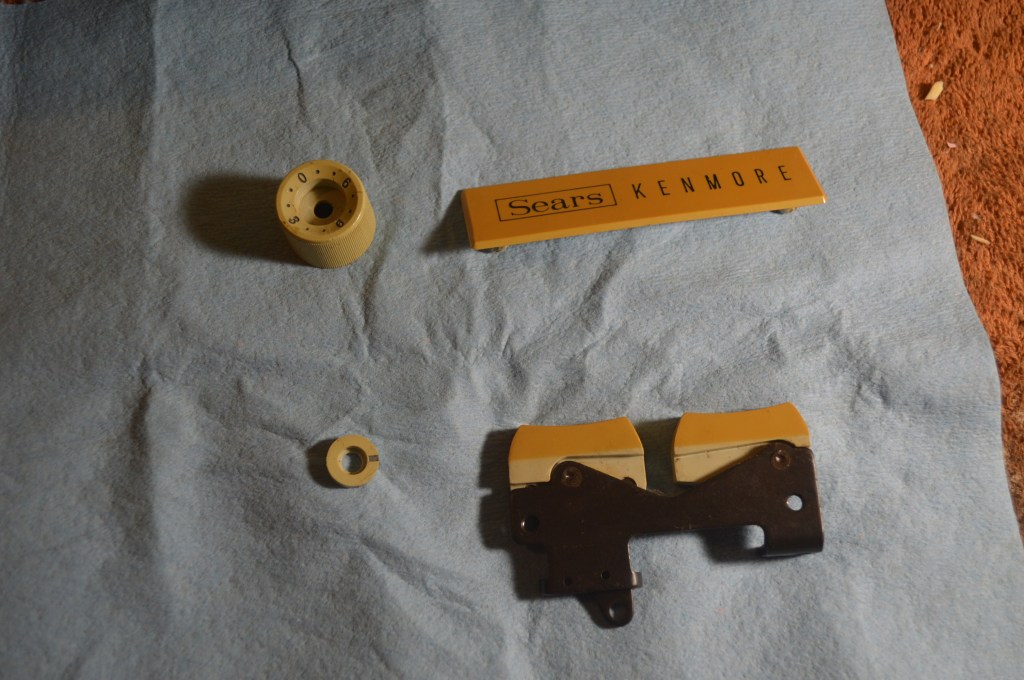
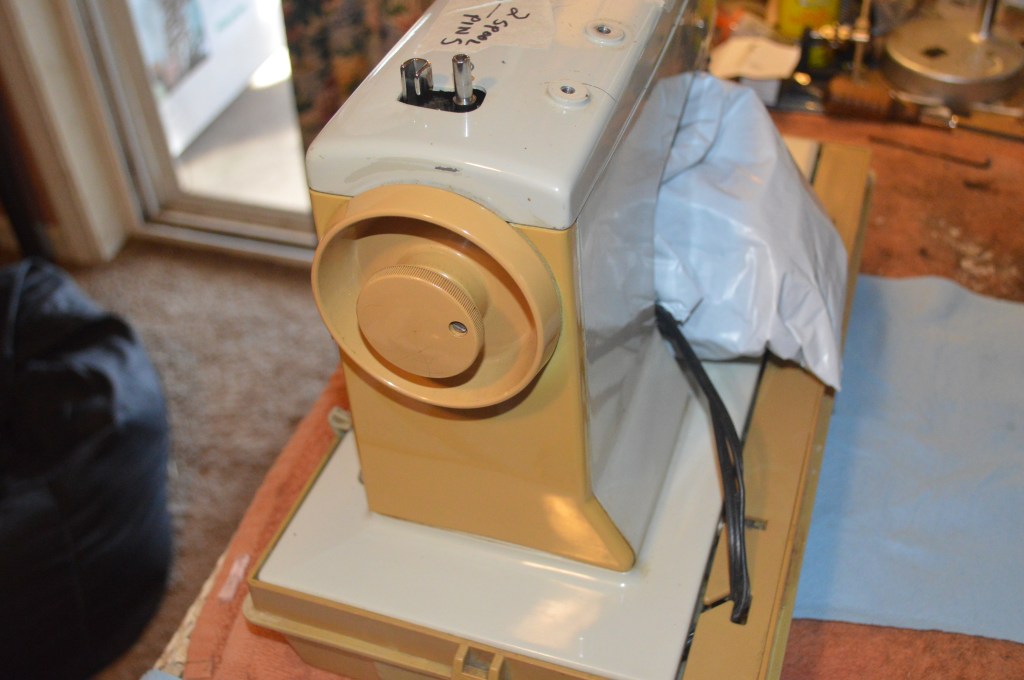
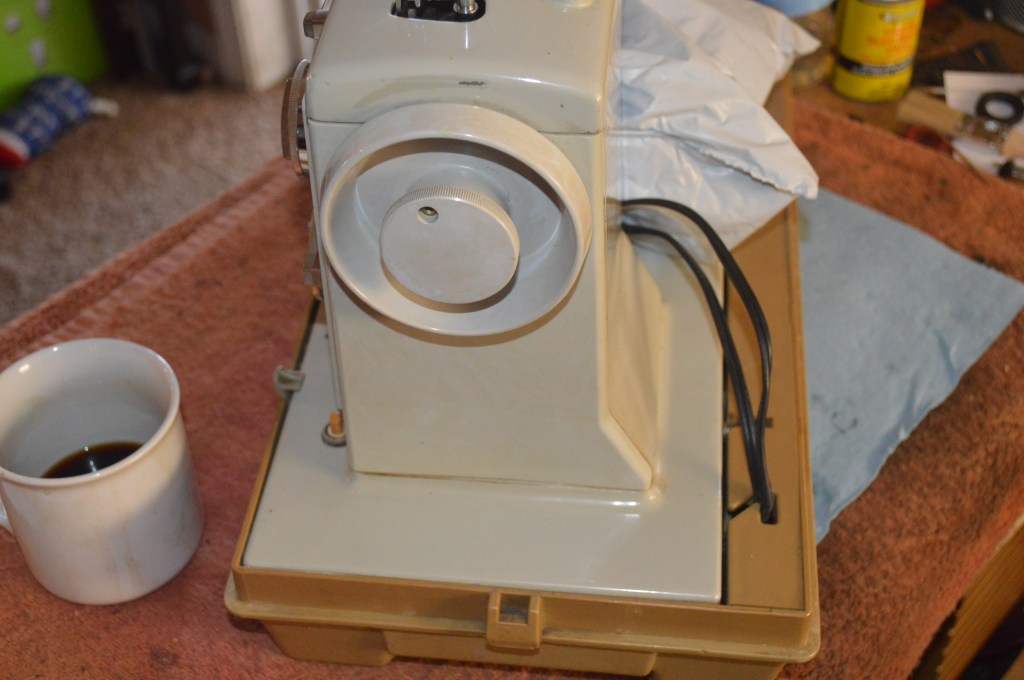
The machine shown is a Kenmore 1974 vintage model 158.1430 and some of the other parts shown in this tutorial are from a 1969 vintage Kenmore model 158.1802. Regardless of the machine, the yellowing plastic is the same, but fortunately, it can be reversed… this only works on plastic though, do not use this process on a painted metal pieces.
I don’t know the chemistry behind how it works, but the gist of it is this… A chemical component in the plastic reacts with air over many years and the plastic turns yellow as a consequence of the reaction. To reverse the process, a chemical reaction is needed to re-establish the chemical component to its original composition and turn it back to it’s original color. How does this work? I don’t know. I think it’s magic… there are folks that understand the chemistry and could explain it better so we all understand what goes on and I can only hope someone comes forward to explain it.
The process is very simple and requires only 6 things… Hair color cream developer, sunlight, a zip lock bag, a small paint brush, latex glovers, and time. To restore the original color follow these simple steps:
- Gather all of the yellow plastic parts
- Using 20 volume or 40 volume cream developer (available at a beauty supply store or online) coat each piece with the developer with a small brush. Wear latex gloves when applying the developer. It contains a high percentage of hydrogen peroxide and it will damage and bleach your skin.
- Place the coated pieces in a zip lock bag.
- Place the zip lock bag containing the parts in direct sunlight… take care that the parts don’t touch and the entire piece can be exposed to full sun light.
- Leave it in the sun all day.
- Rinse the parts with water at the end of the day.
- Repeat the next day if any yellowing remains.

There is nothing special about a zip lock bag, I have also found that a cheap aluminum serving pan with a clear plastic cover from the dollar store works just fine.
Here are some tips to get the best results.
- Don’t get the developer on your skin, in your nose, or in your eyes… it is powerful stuff.
- Don’t inhale the vapors.
- Use a thin piece of plywood or heavy card board to support the zip lock bag containing the pieces.
- Make sure the parts are not touching when they are placed in the sun.
- If it is windy, weight down the edges of the bag to keep it from moving.
- Place in a spot that receives full sun all day.
- The reaction is driven by UV light in the sunlight, not outside temperature, so cool or hot outside, the results are the same.
- Rinse the parts thoroughly with water after the parts are done for the day.
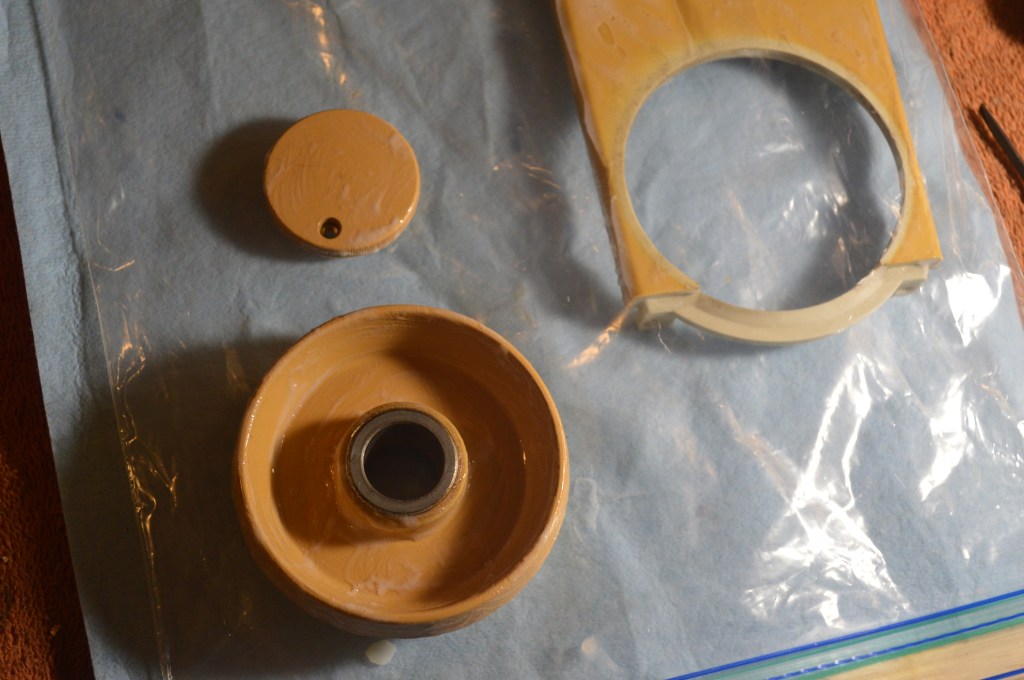
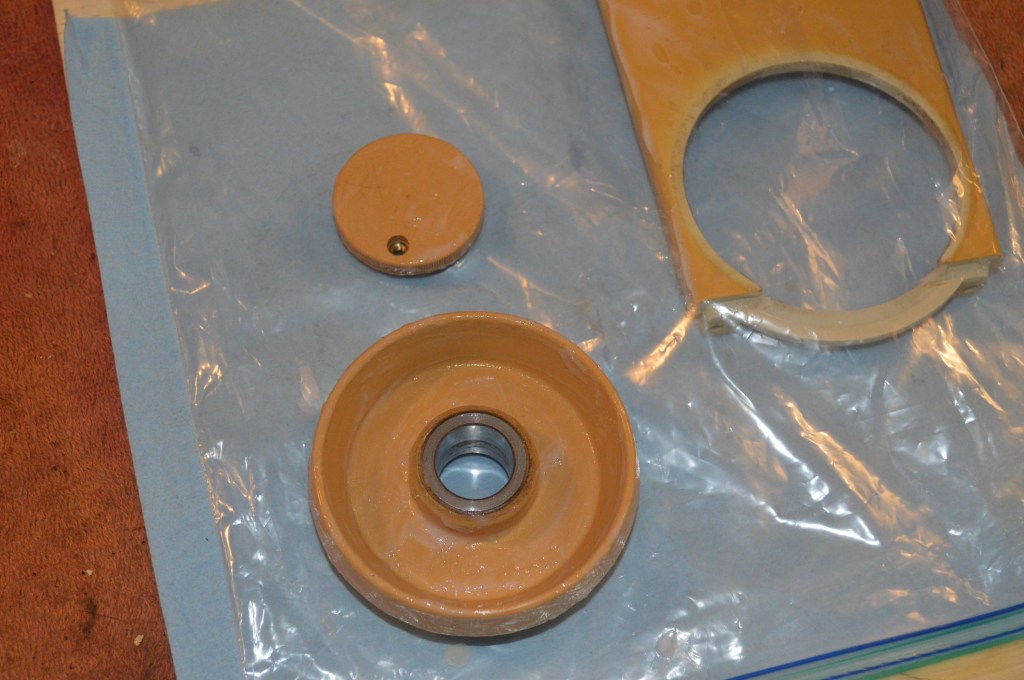
- Repeat the process the next day (if sunny) until all of the yellowing is gone and the original color is revived… These parts took two days, and might benefit from a third.
- Be patient… driven by sun light, it is a slow process.
In case you are wondering.
- UV light from a tanning bed or UV nail polish oven does not work.
- 20 volume developer works just fine… in fact, I think it works just as well as the 40 volume developer.
- Don’t expect good results on Kenmore badges… the ink gets bleached out.
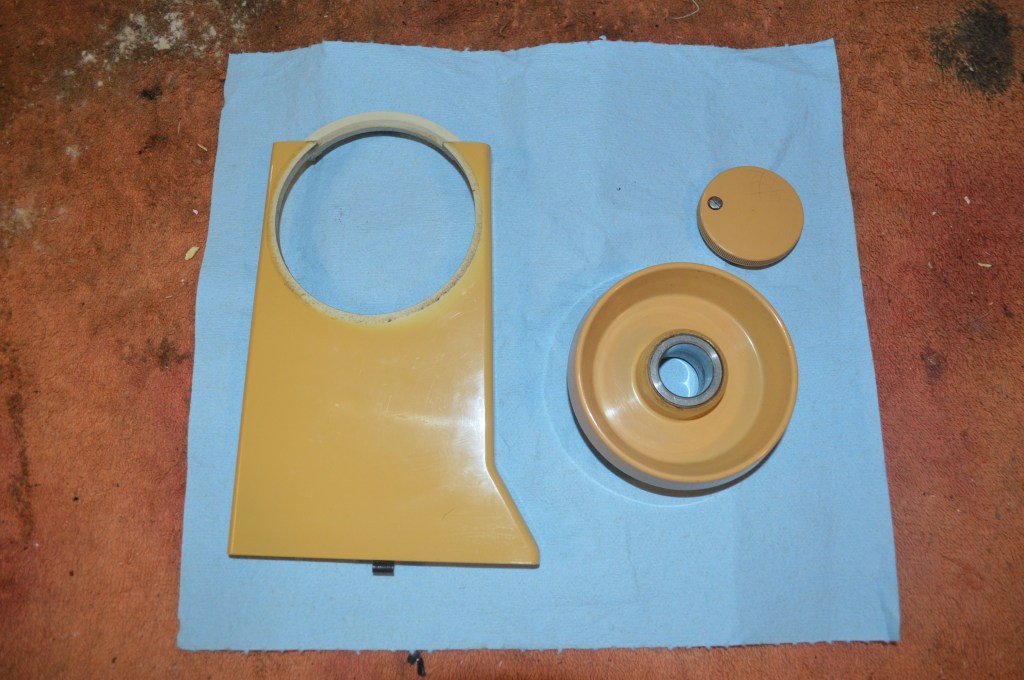
After following this procedure, this is what you can expect…


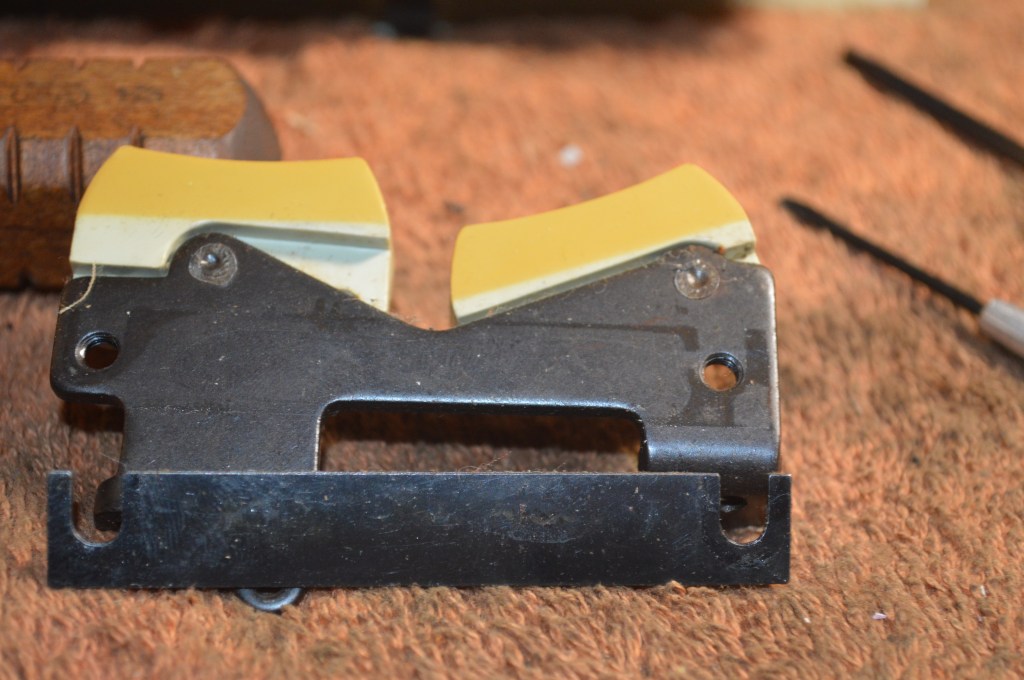

Ink bleached out… oh well
Thats it… See! I told you it was easy and it really makes a difference in the cosmetic appearance of your Kenmore.
I hope you found this information useful!
As always, our tutorials are provided as a free resource to help you learn and maintain your vintage sewing machine. As our site has grown, so has the cost to keep and maintain it. Despite these costs, I will strive to continue posting tutorials and other relevant content for the benefit of the sewing community. If you found the content of this tutorial useful, please consider making a small donation to help me grow the site and help defray my costs… every little bit helps.
Help Support our Site…
Make a one-time donation
Make a monthly donation
Make a yearly donation
Choose an amount
Or enter a custom amount
Your contribution is appreciated.
Your contribution is appreciated.
Your contribution is appreciated.
Please let me know if I can answer any questions or if I can be of any assistance by emailing me at pungoliving@gmail.com.
Thanks for reading,
Lee

Do you also restore Singer 301a sewing machines? I need to get some electrical repairs done first, then I want to see if I can find someone to restore the vintage machine I inherited. Thanks for any information you can share.
On Sat, Mar 6, 2021 at 7:31 PM Restored Vintage Fine Quality Sewing Machines wrote:
> pungoliving posted: ” Vintage Kenmore sewing machines are great in almost > all respects. They are durable, reliable, tolerant to changes in fabric and > tension adjustment, and even with little maintenance will run without > complaint. All Kenmore machines made before 1975 have al” >
LikeLike
Hi, will this work for any brand of vintage sewing machine , like a 1985 Montgomery ward computerized sewing machine ?
LikeLike
Good morning Tamara,
I don’t know… I am not familiar with your vintage machine. I suspect it might, and I doubt it would harm it.
If you try it, let me know the results!
Lee
LikeLike