
Introduction
This restoration is one that is dear to my heart. You see, I have been blessed with five wonderful grandchildren. The oldest is my granddaughter, Millie. She is a very talented and artistic young lady! She loves anything that requires her to use her hands and her mind… beading, crocheting, and basically anything artistic and creative is easy for her. Like most young girls, she enjoys music, photography, and her pet dog Daisey.
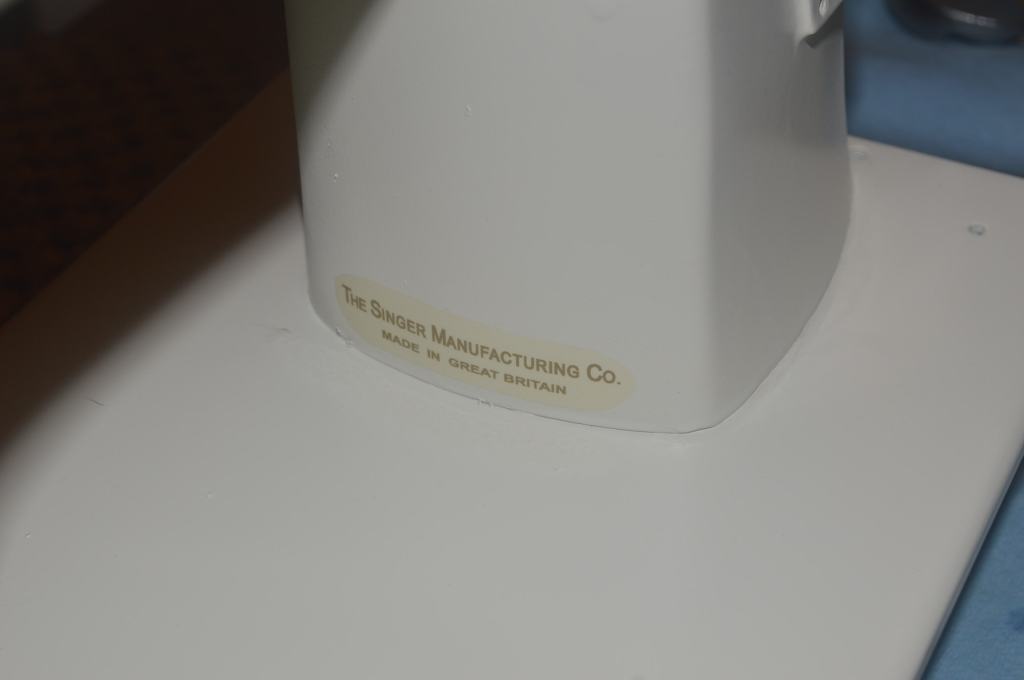
About six months ago (maybe a year, I can’t remember!) she asked her grandmother (Nanny to her) if she would teach her how to sew. Well, that was it for me. Carole and I thought that it was a wonderful thing that she had developed an interest in sewing. After all, she is dawning on her thirteenth birthday, and learning to sew has so many creative elements that she can use to express her interests and have something to show (or wear) for it. We decided that we would restore a machine for her and give it to her to use, and last, as she develops her sewing skills. The only thing we needed to decide was what model machine to restore for her. We chose the Singer model 185K because its retro styled body offered plenty of space to work with and decorate to match her interests. The 185K is a retro bodied model 99 as is really a 3/4 size model 66. It is a very capable machine high quality machine. It is strong, durable, and powerful enough to last her for a lifetime. It is a straight stitch machine that used a drop-in class 66 bobbin and is perfect for learning. She will never outgrow its utility.
Millie loves to watch a anime character called Sakura. In true anime fashion, the colors are bright and cheerful and as such sets the stage for the design we wanted for her machine. Because we know that she will grow and one day be past any animated character, we still wanted to capture the color and theme in a way she would not outgrow. With the stage set and the goal defined, we set out to restore Millie’s machine.
Restoration Plan
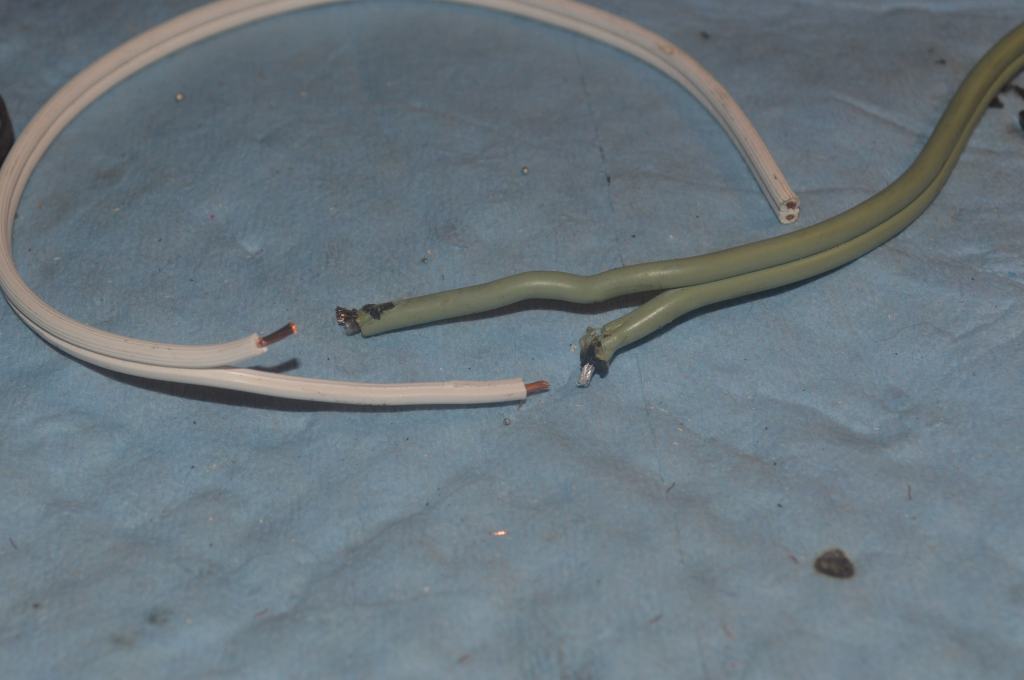
Having already acquired a 1959 Singer model 185K, my plan is to do a complete mechanical restoration that includes the complete disassembly of the machine. All of the parts will be ultrasonically cleaned, heated in oil to drive out any remaining water, and wire brushed to look like new. This will remove all traces of old oil varnish that might inhibit the smoothness of the machine and allow it to run as smoothly as possible. The goal here is to restore the machine to new condition. As part of the restoration, the motor will be disassembled and restored. The “bug eye” light will be rewired, and the controller will be disassembled and cleaned. New wires will be provided throughout.
The body of the machine will be sanded and repainted and then it will be decorated with delicate decals that will result in a machine that is one of a kind… just like Millie!
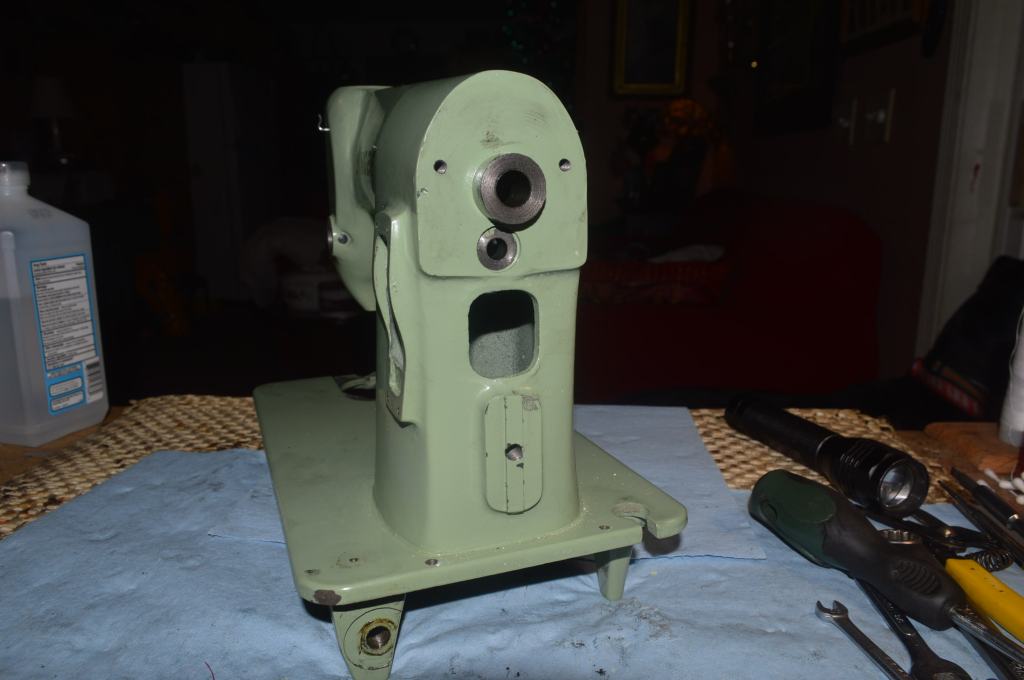
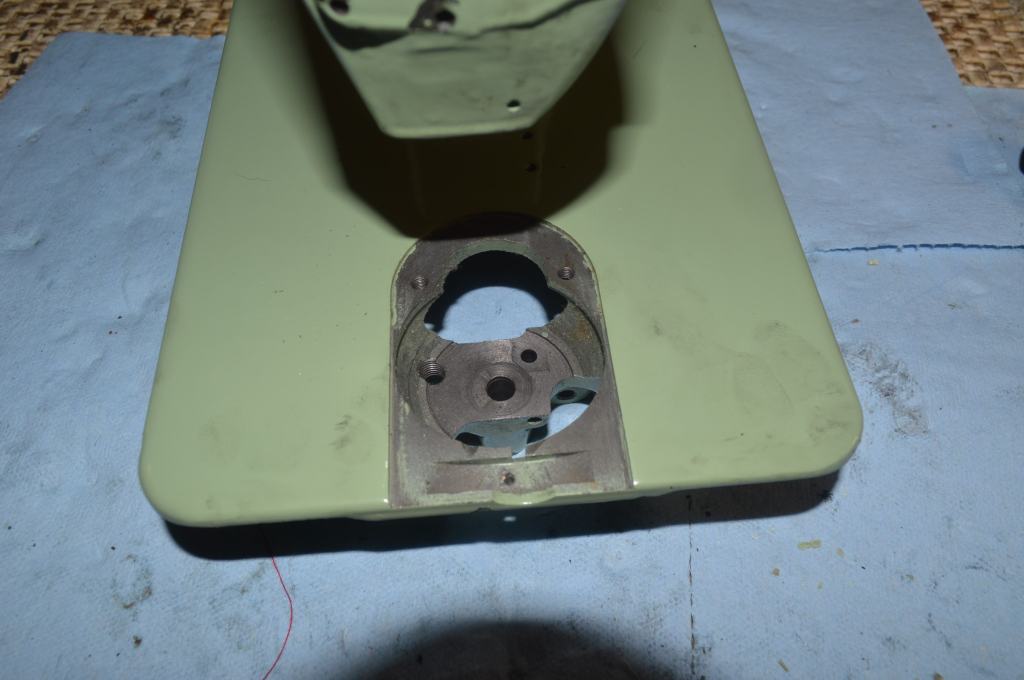
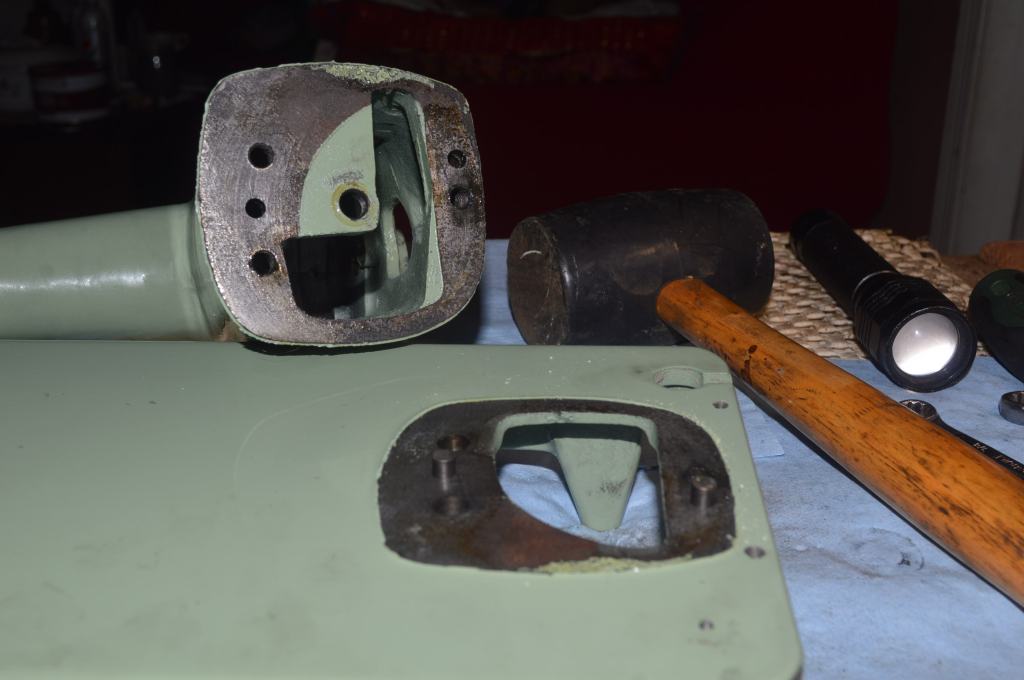
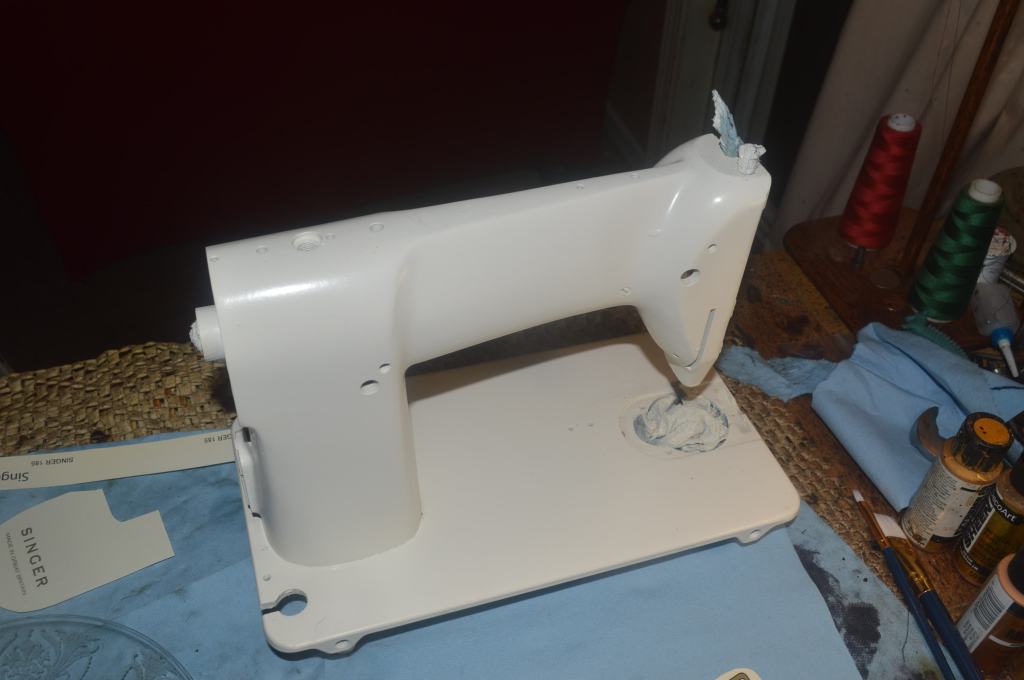
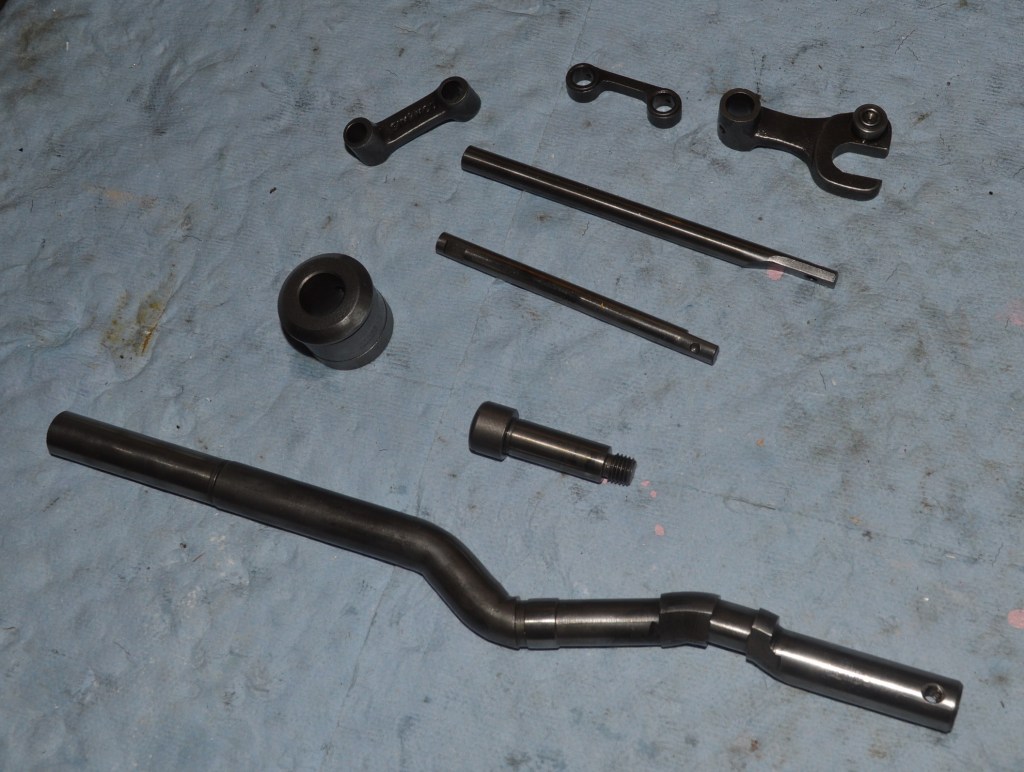
Here is the machine before starting the restoration
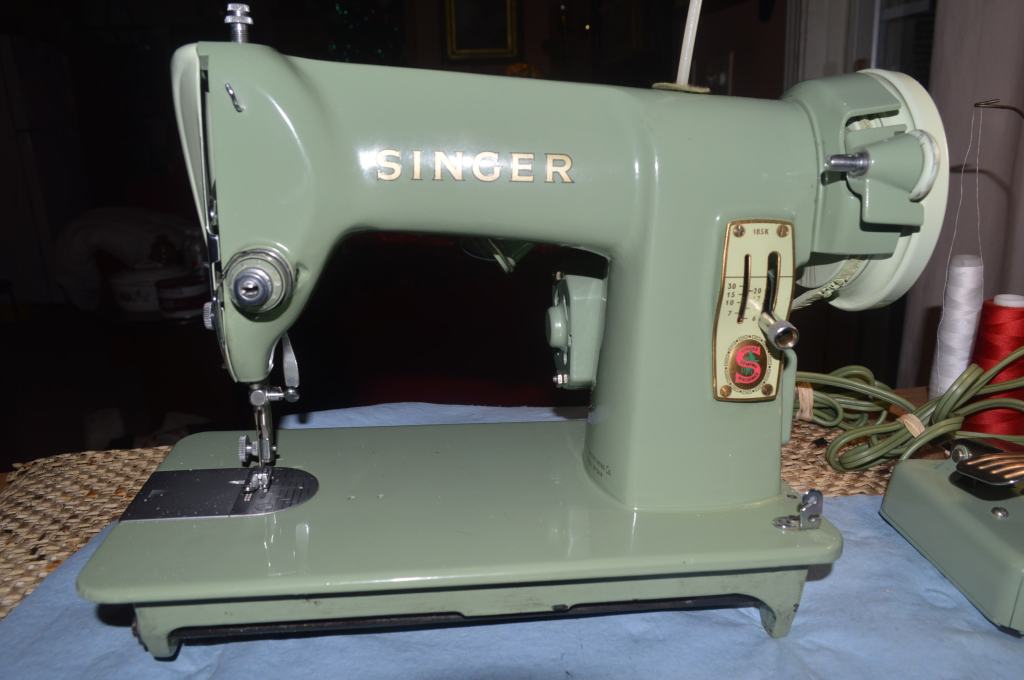
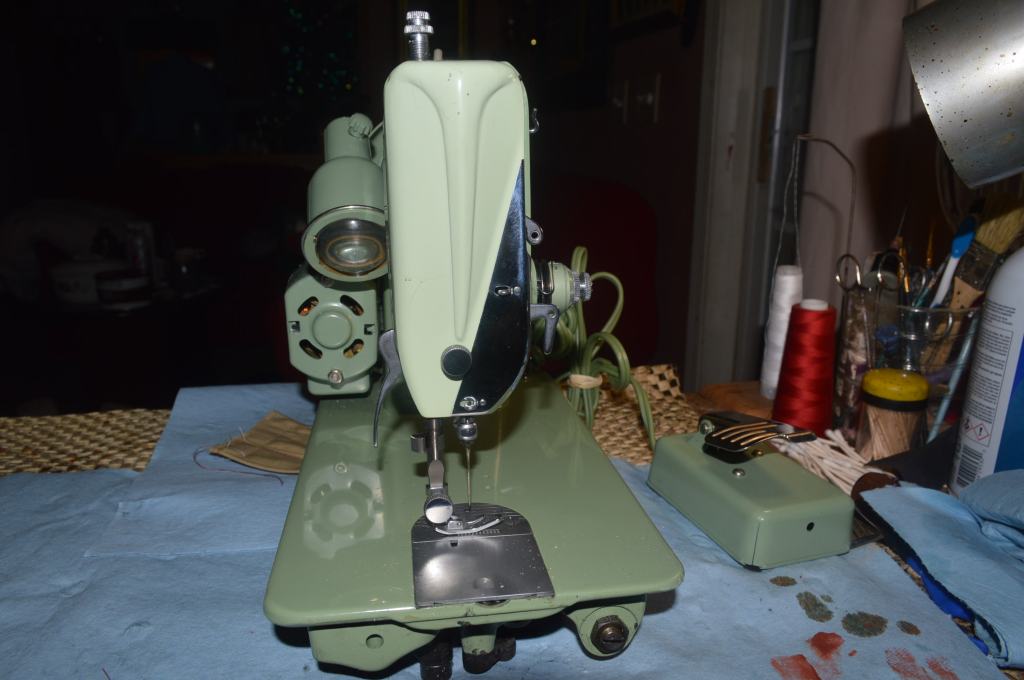
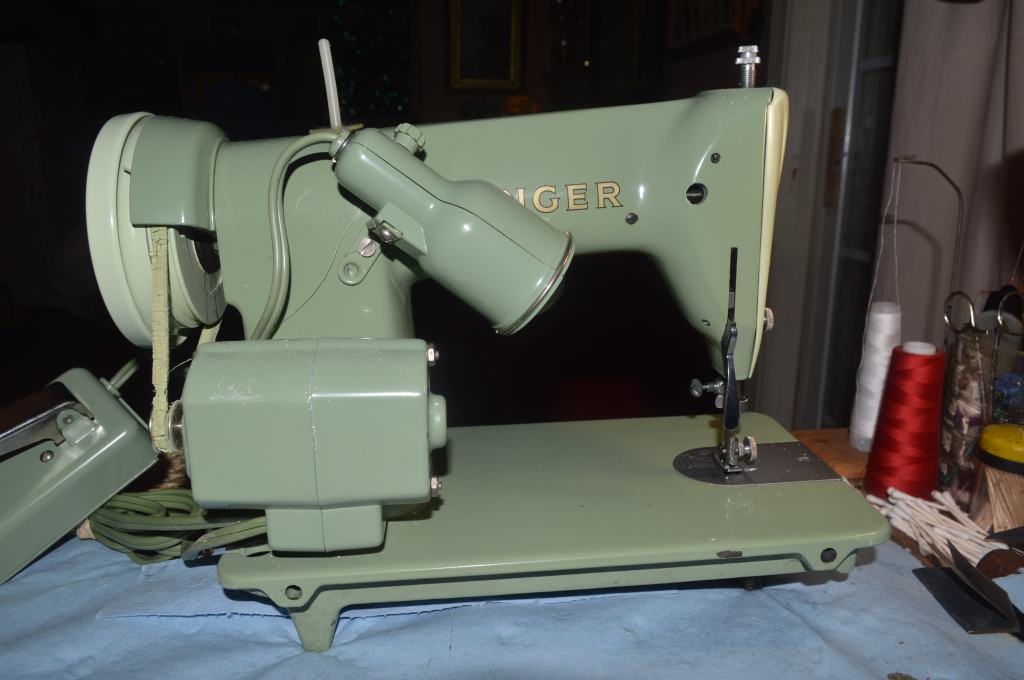
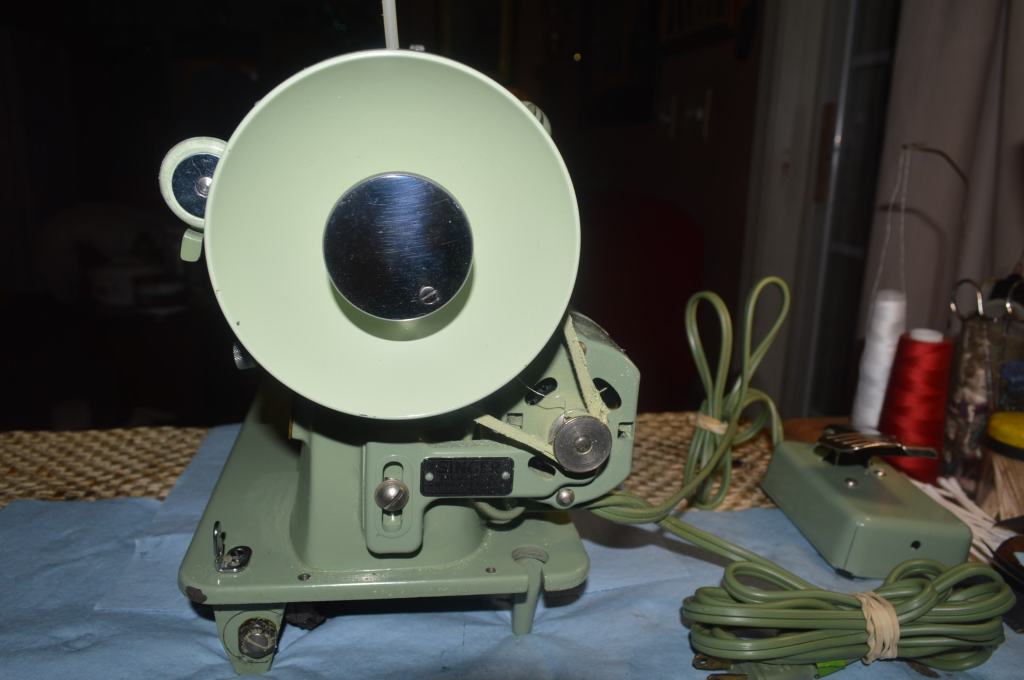
It’s a beautiful machine now, but will look very different when it is finished!
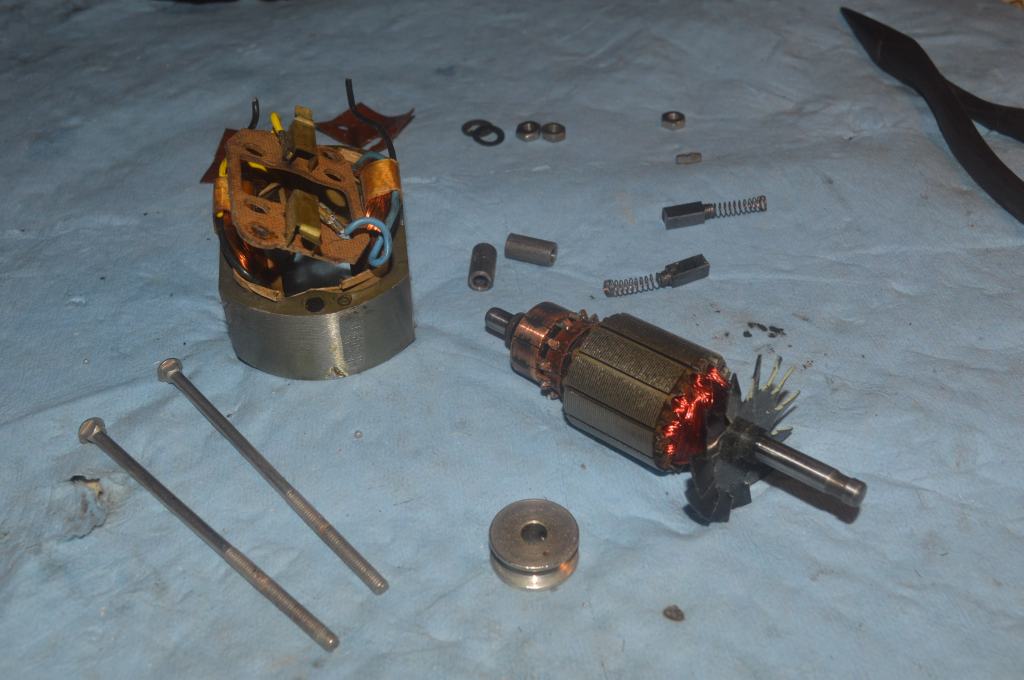
Mechanical Restoration
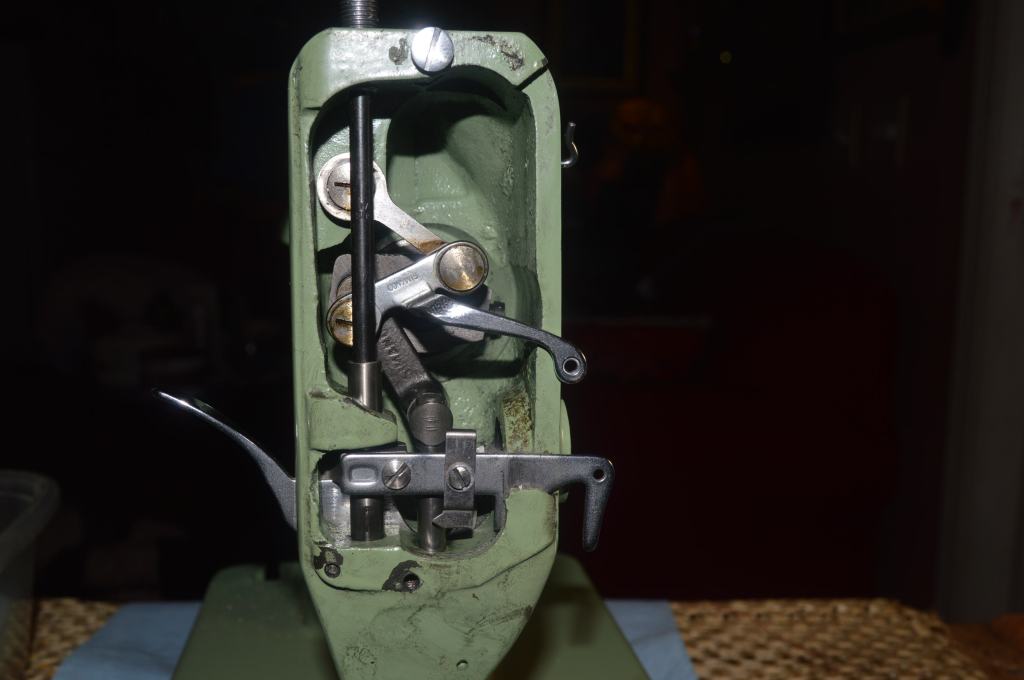
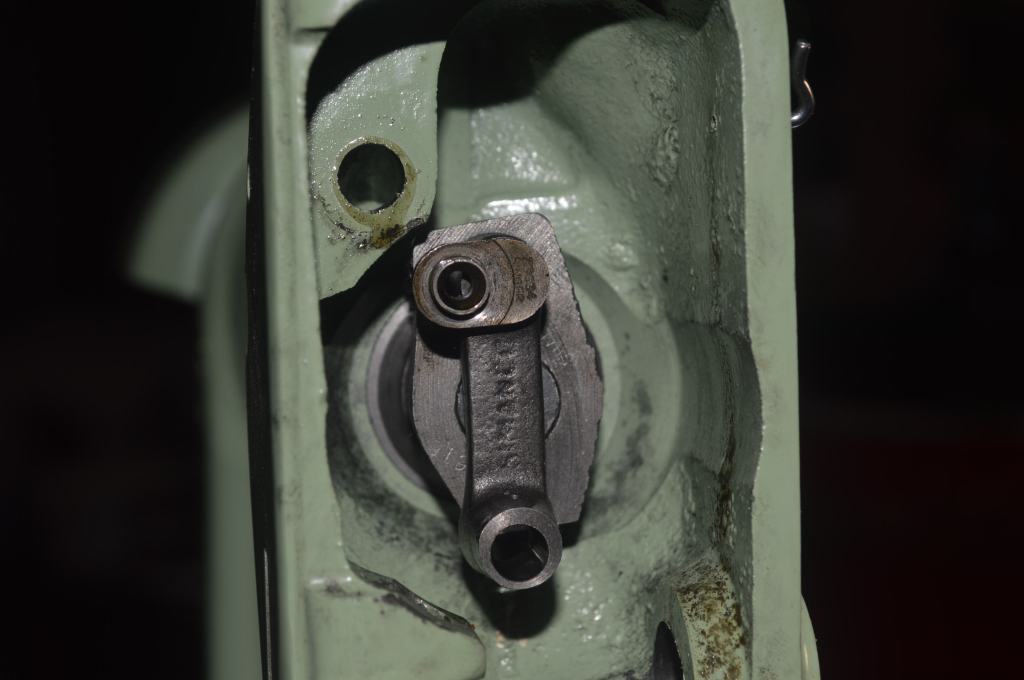
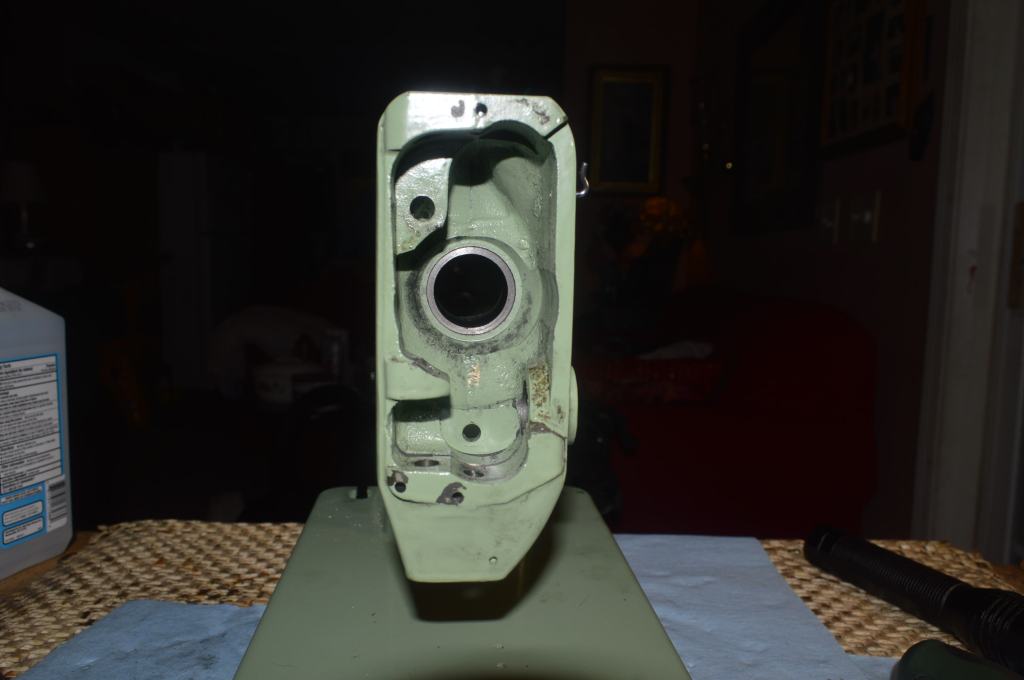
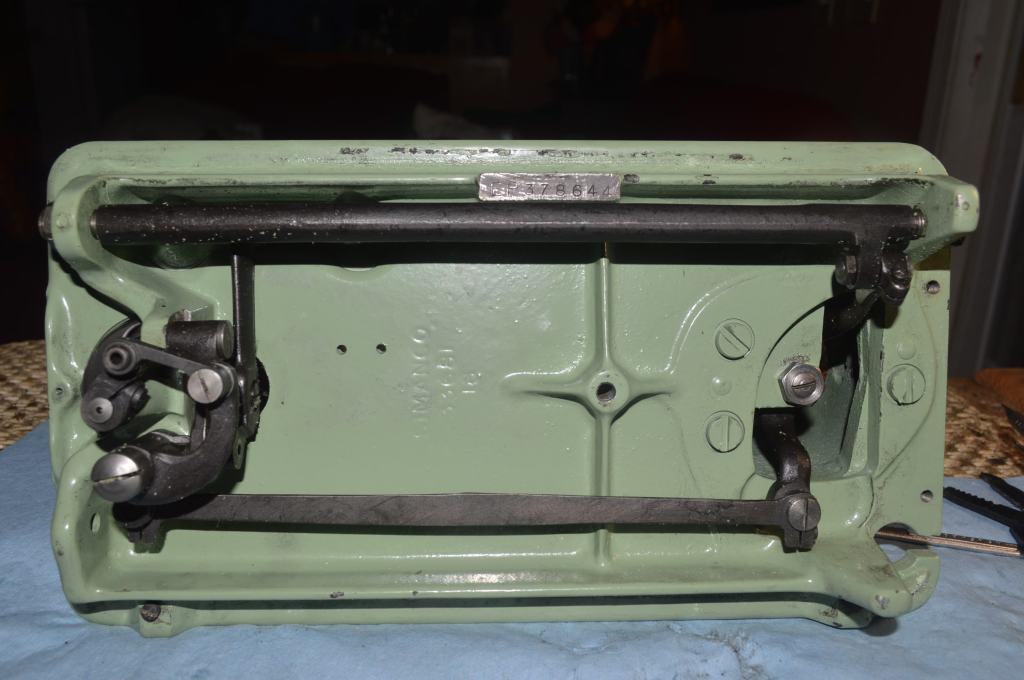
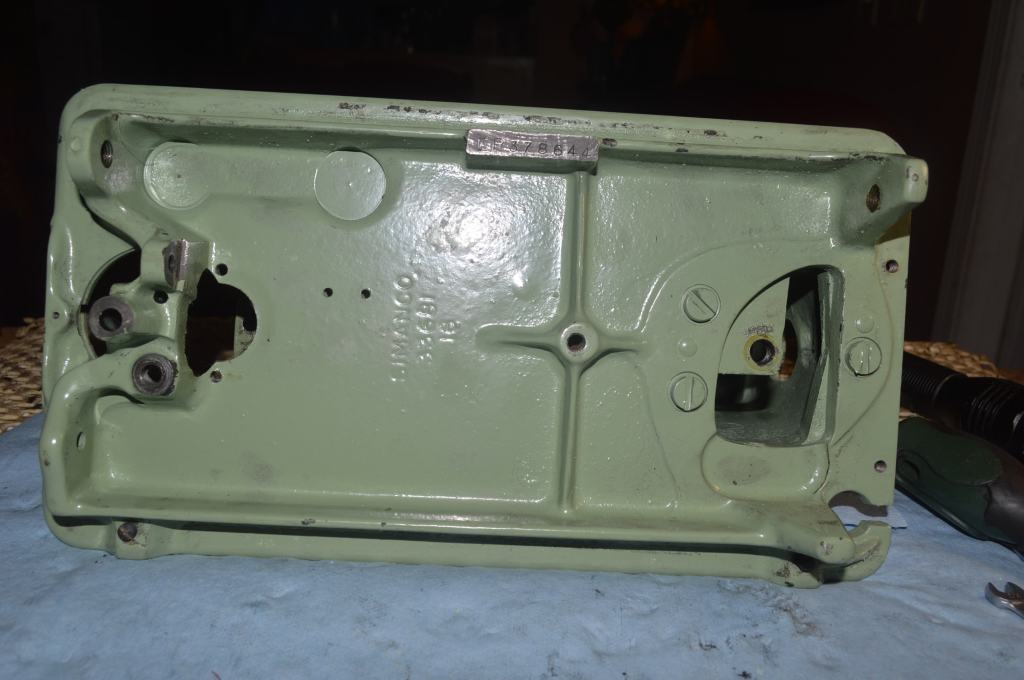
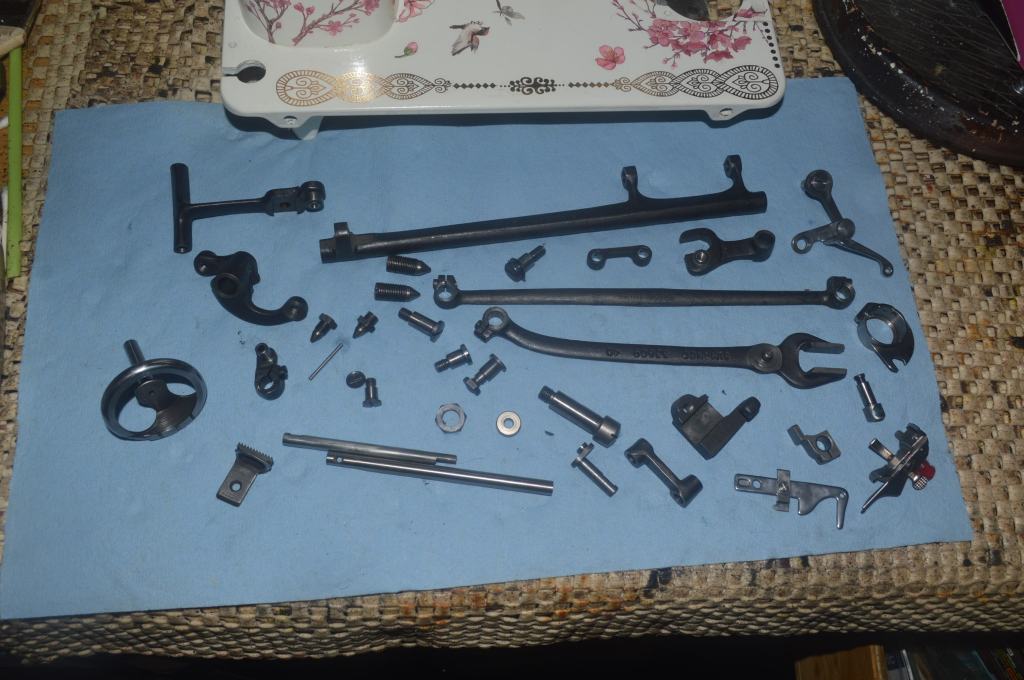
The first step is to disassemble the machine and prepare all of the parts. The parts are completely cleaned and after they are wire brushed, set aside until reassembly.
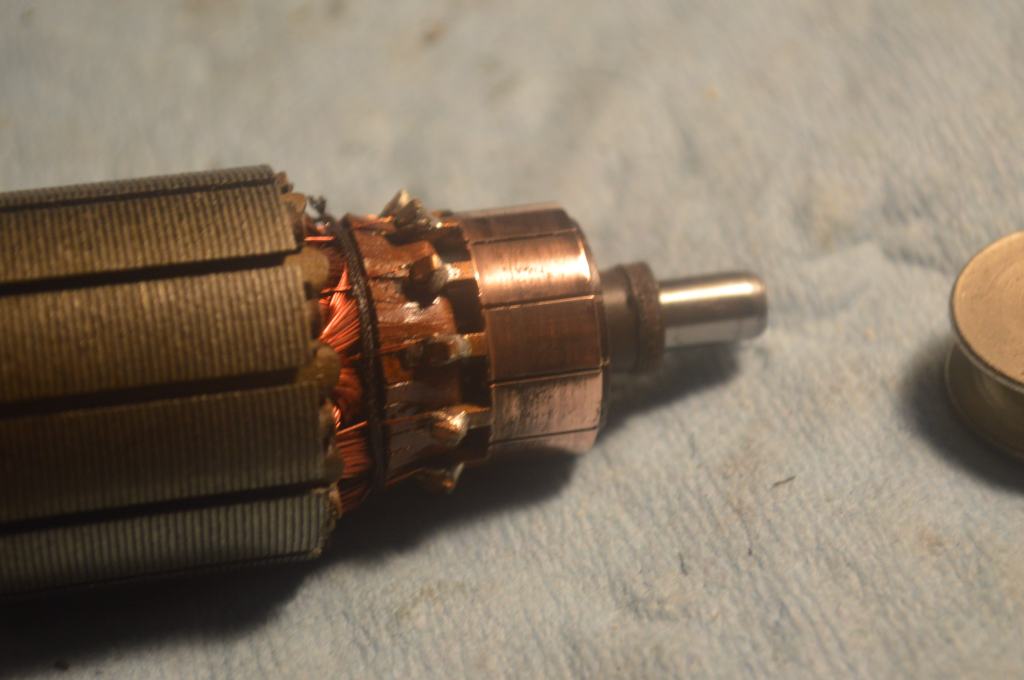
Next, the motor is disassembled, the armature is polished, and the motor bearings are cleaned and lubricated. New wires are attached to compliment the color scheme. All of this is done after the parts are painted and some steps in the mechanical restoration are done while portions of the cosmetic restoration are underway.

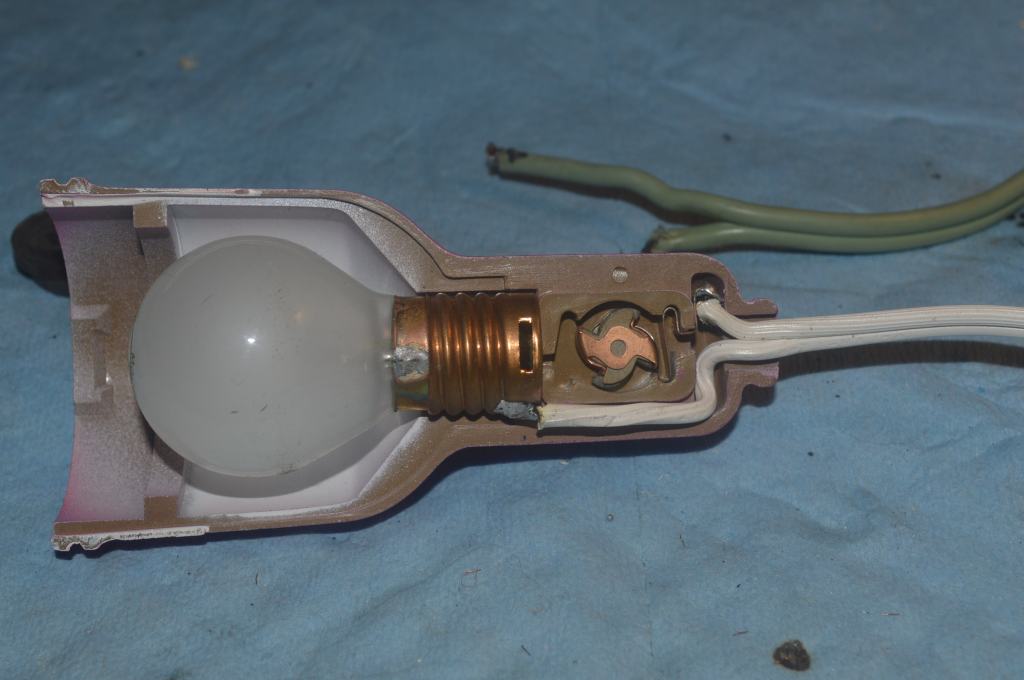
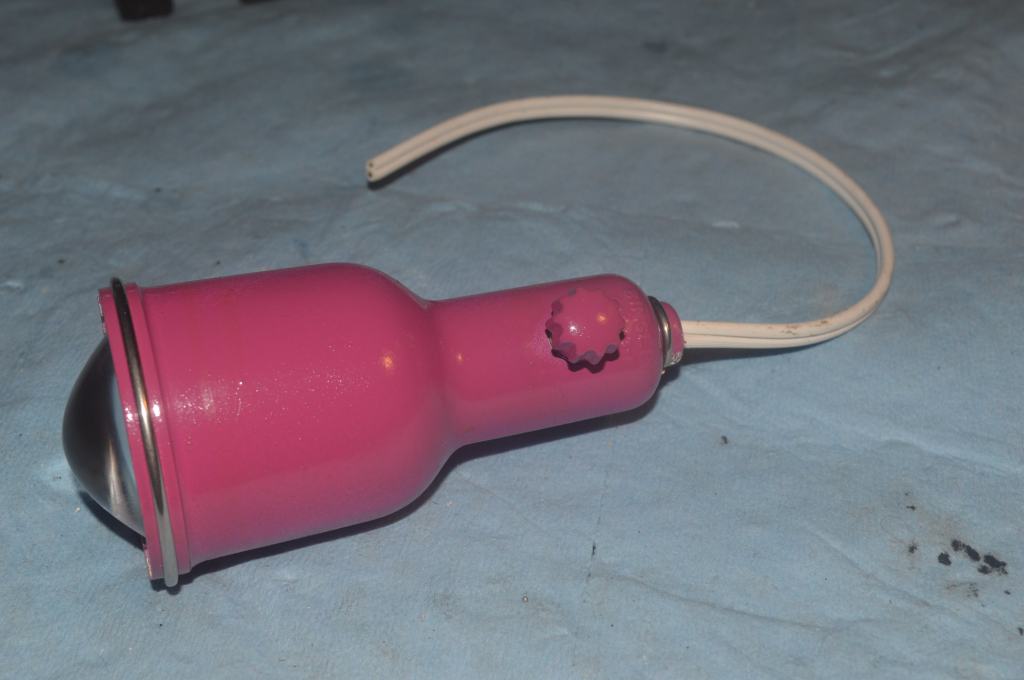
The light is disassembled and rewired, and the incandescent bulb is replaced with an LED.
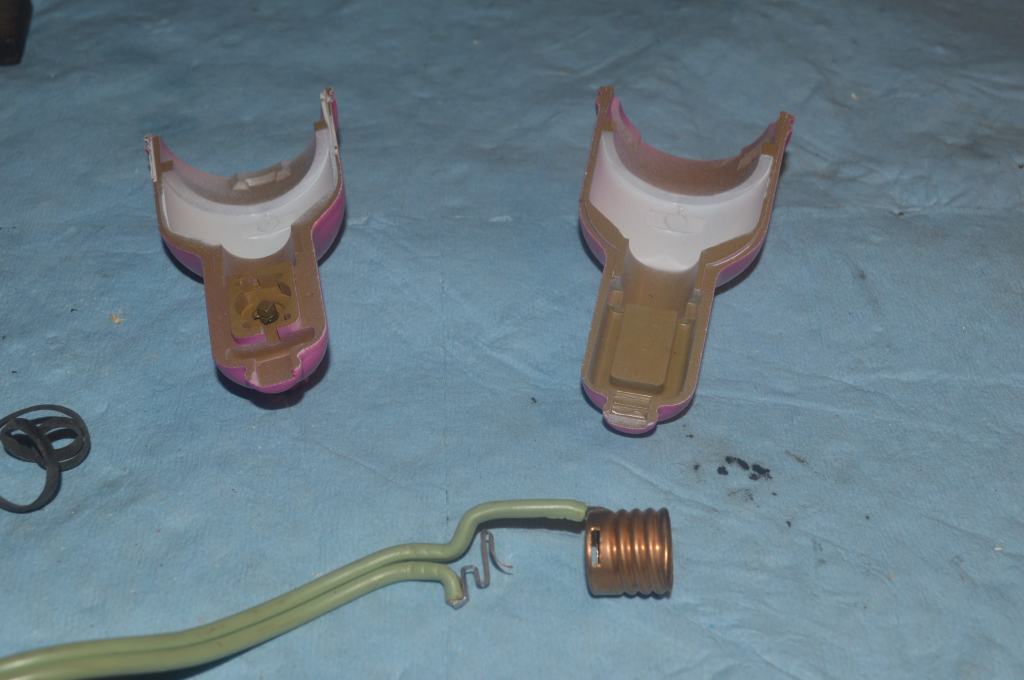
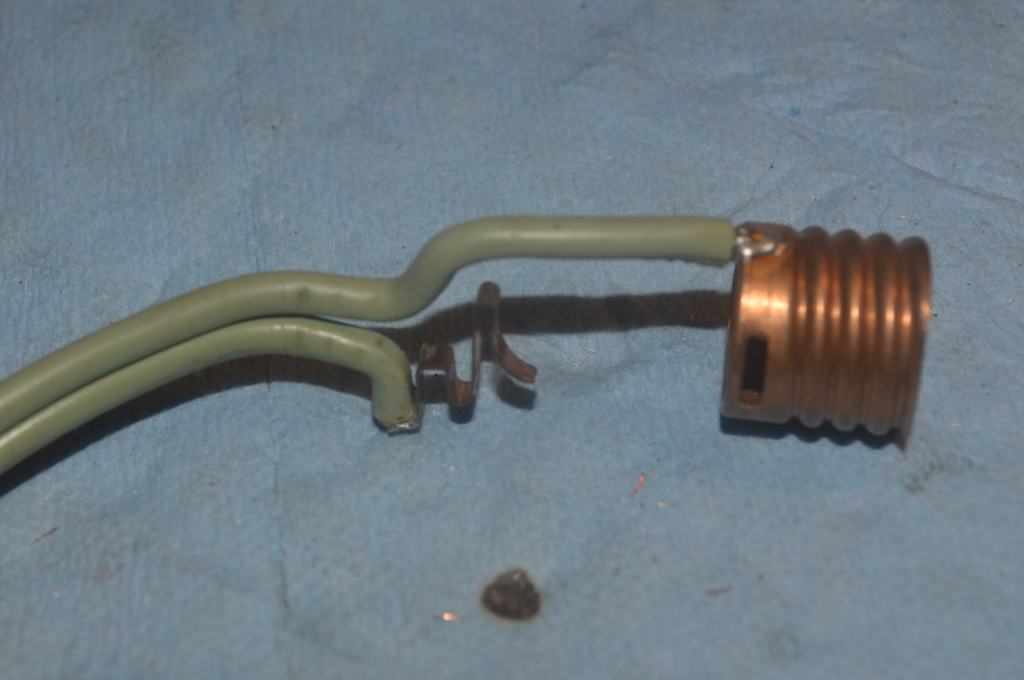

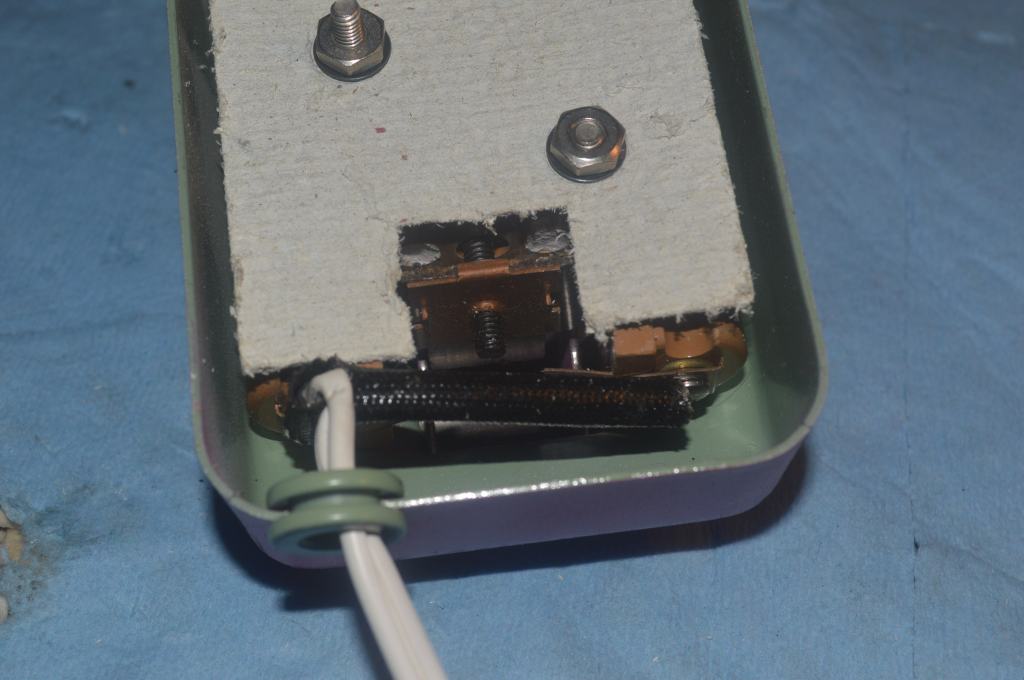
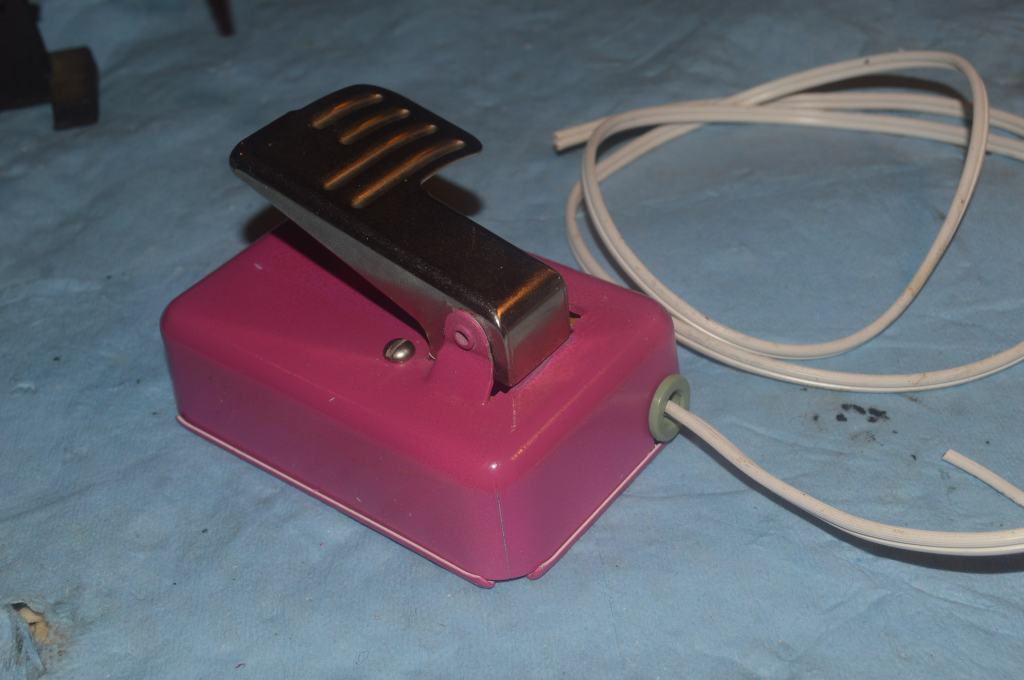
Next, the controller is disassembled and rewired.
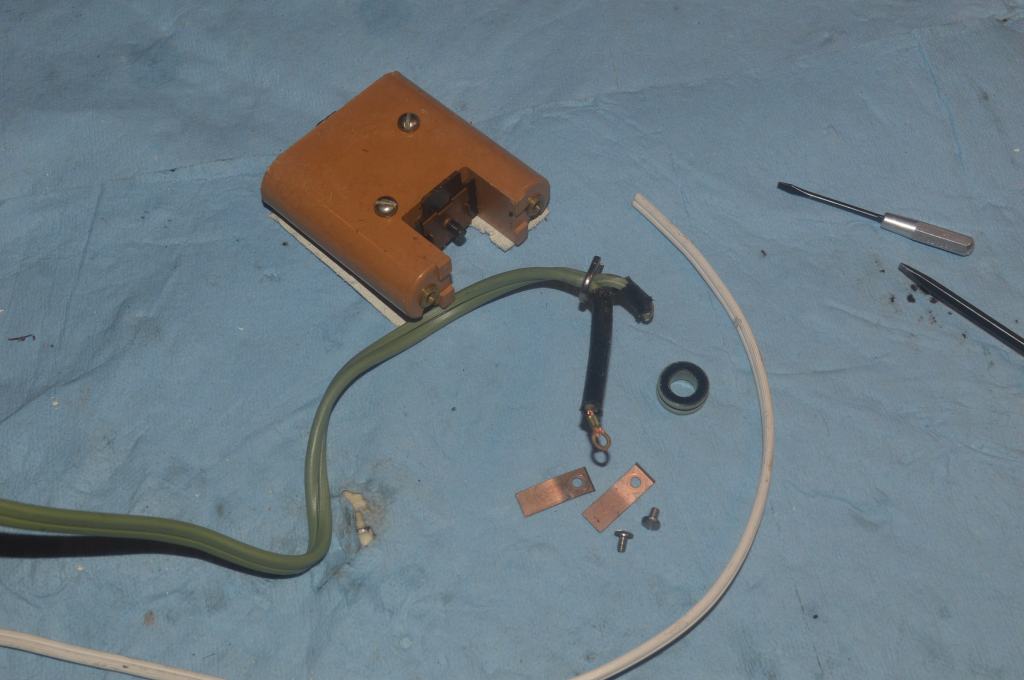
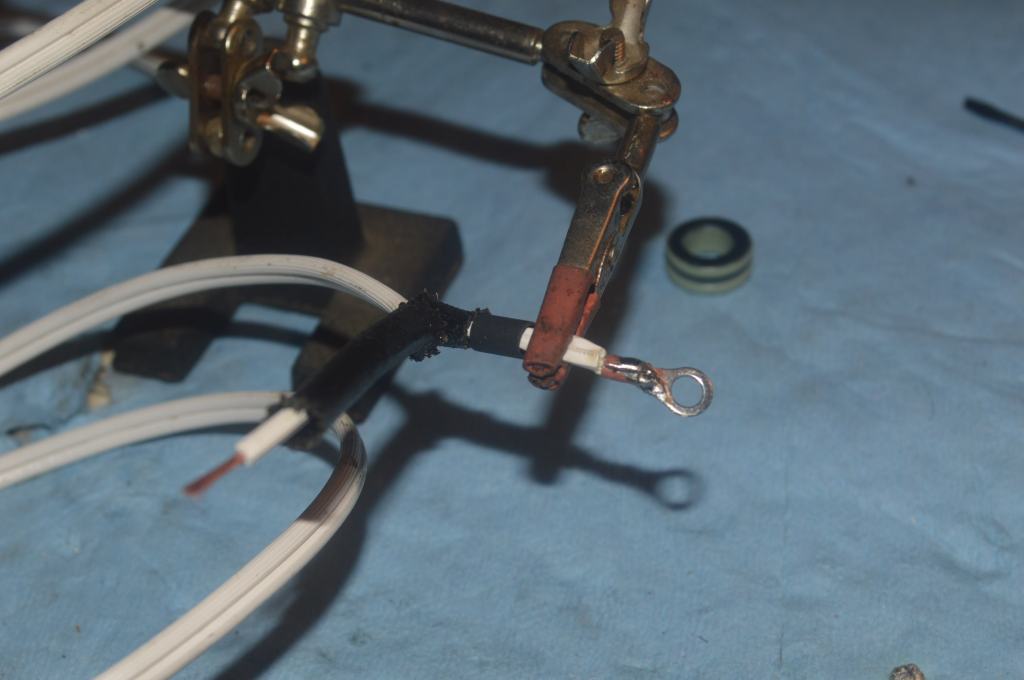

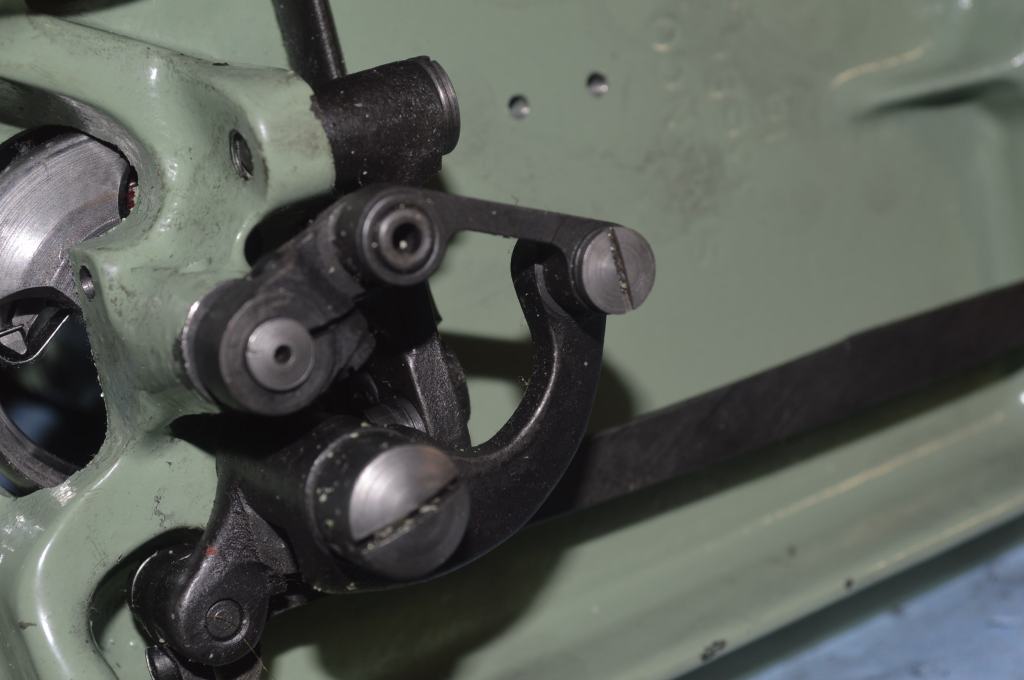
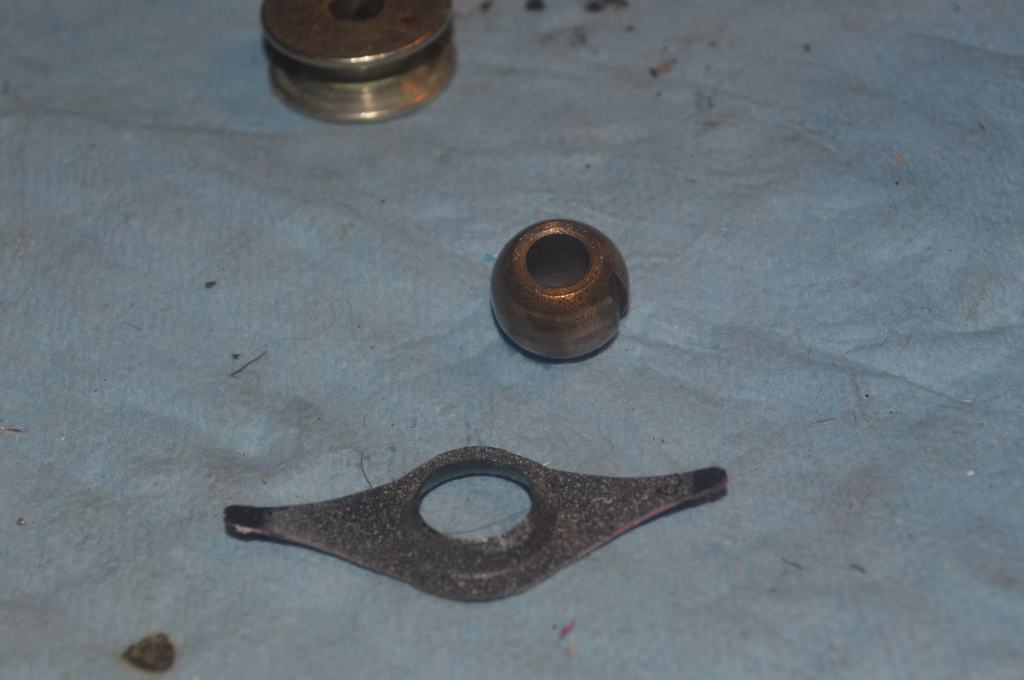
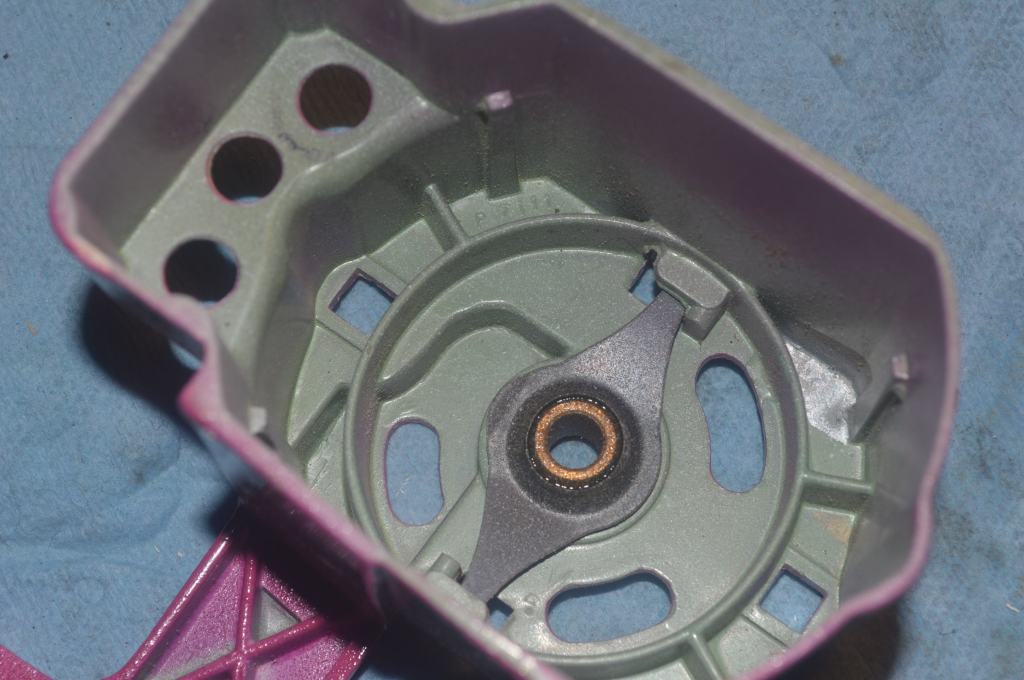
Not forgetting a very important step, the bobbin tension mechanism and top tension mechanism is disassembled and cleaned… Except for reassembly, this pretty much finishes the mechanical part of the restoration.
Cosmetic Restoration
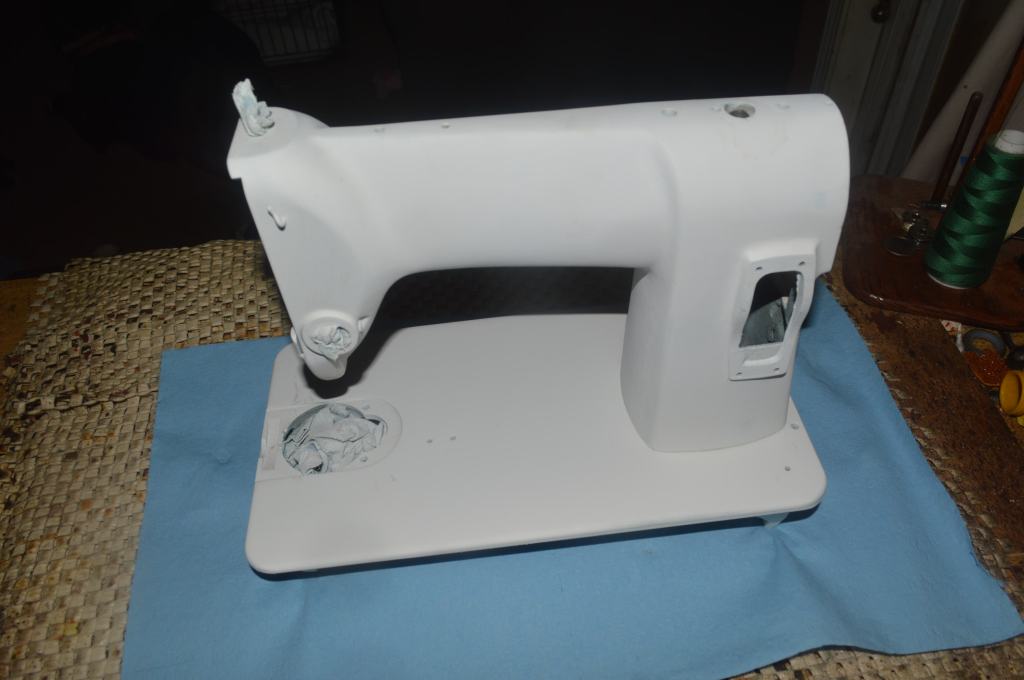
The bulk of this restoration is cosmetic. Except for the top tension dials and the stitch length plate, the plan is to repaint the machine and apply delicate decals. The parts to be painted are prepped and painted in contrasting colors.
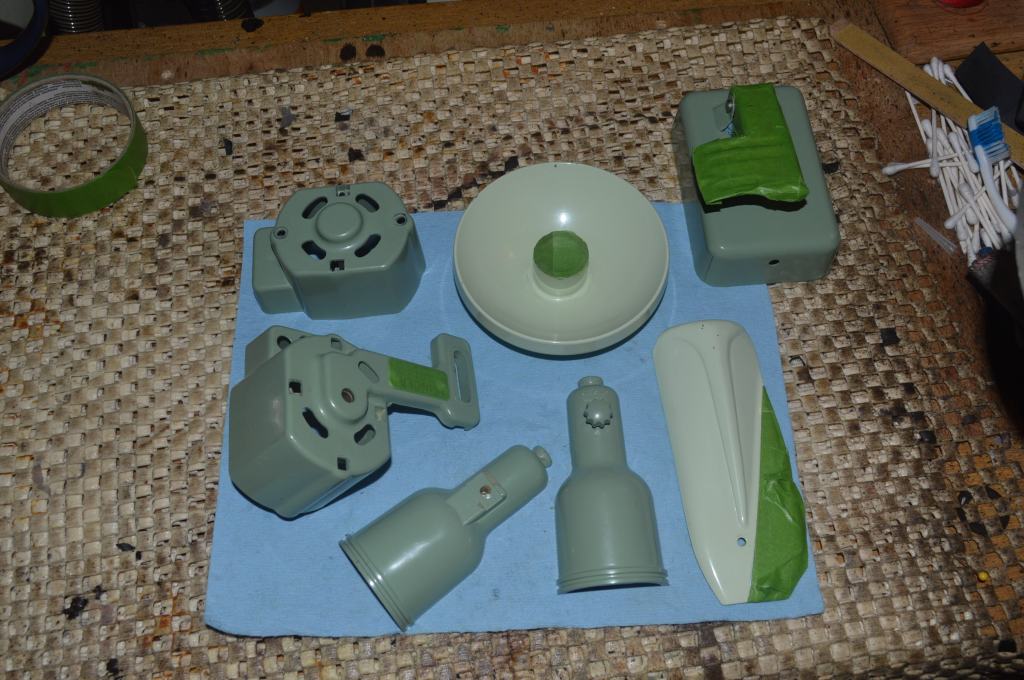

Next, the decals are applied, and the machine is clear coated with multiple layers of polyurethane.


Decal placement is trial and error. Carole has the artistic eye for color and pattern and works thru a selection of colorful decals to get just the right balance. After application, the machine sits for a while for a re-look and decals are added or removed until she is satisfied with the result. The machine is then clear coated with polyurethane for a final protective finish.
When it’s time for reassembly (after allowing for a few days to dry the poly completely), the cleaned parts are pulled together for reassembly.
After reassembly, the machine is run and adjusted and is finally ready to sew.
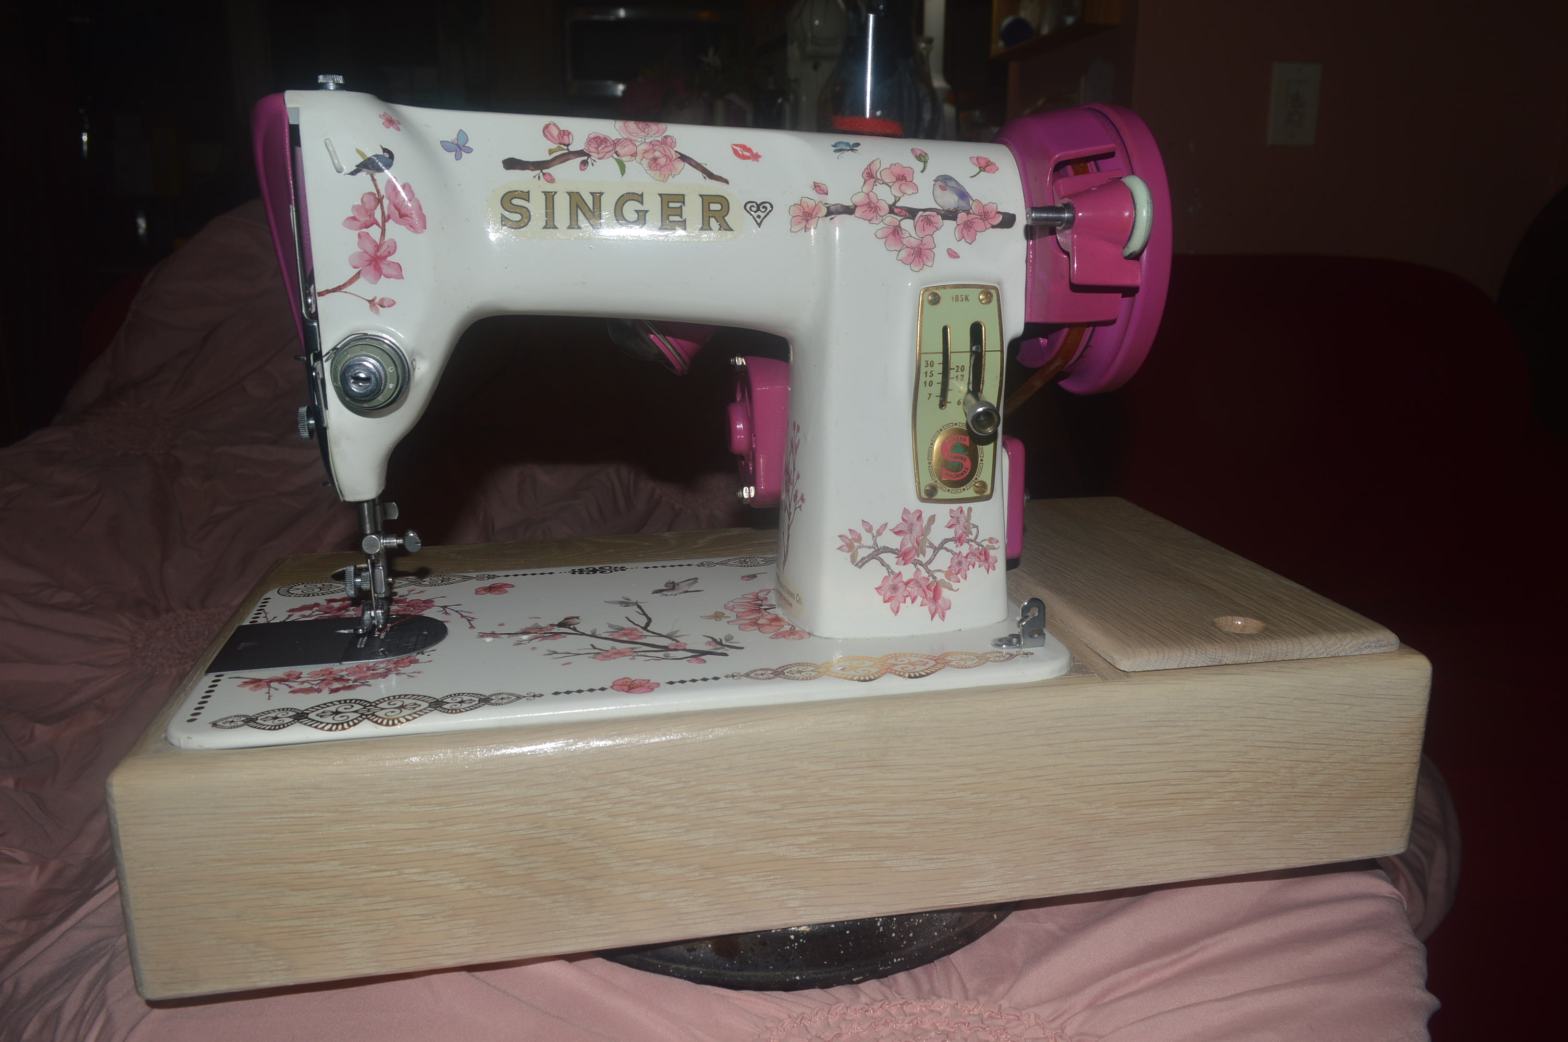
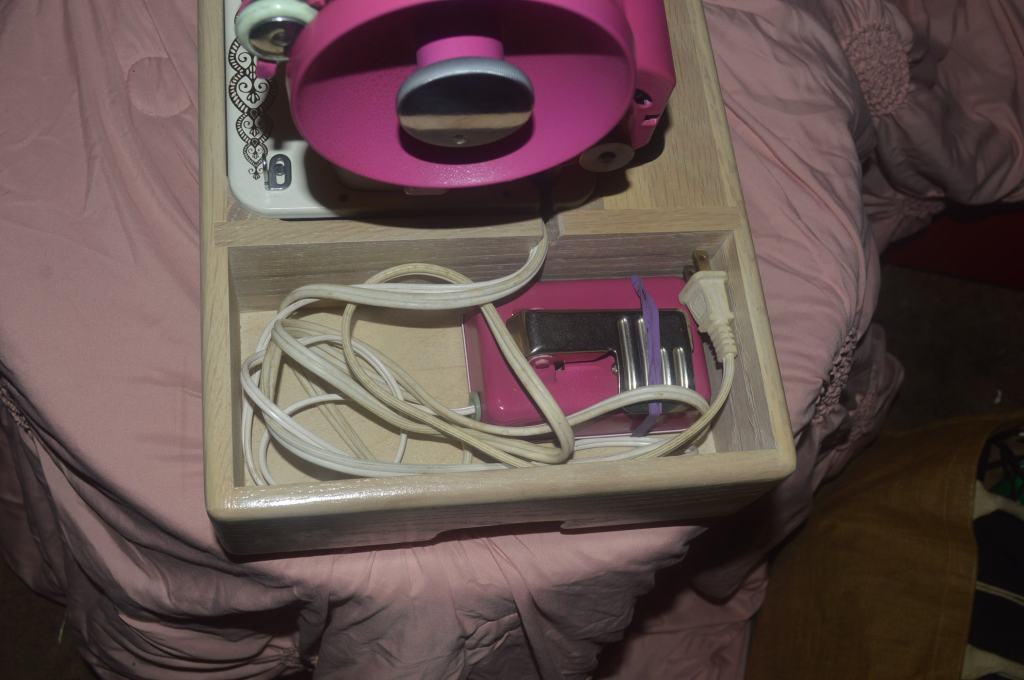
For Millie’s machine, a fitting base is needed. Stained with Minwax oil stain “simply white”, it fits perfectly. The stain color is a nice contrast to the machine, and the pedal and cord storage fits nicely in the compartment.
Finally, the restoration of Millie’s machine is finished, and the only step left is to enjoy the surprise and to see the joy on her face when she uncovers it. Want to see it? well… here she is.
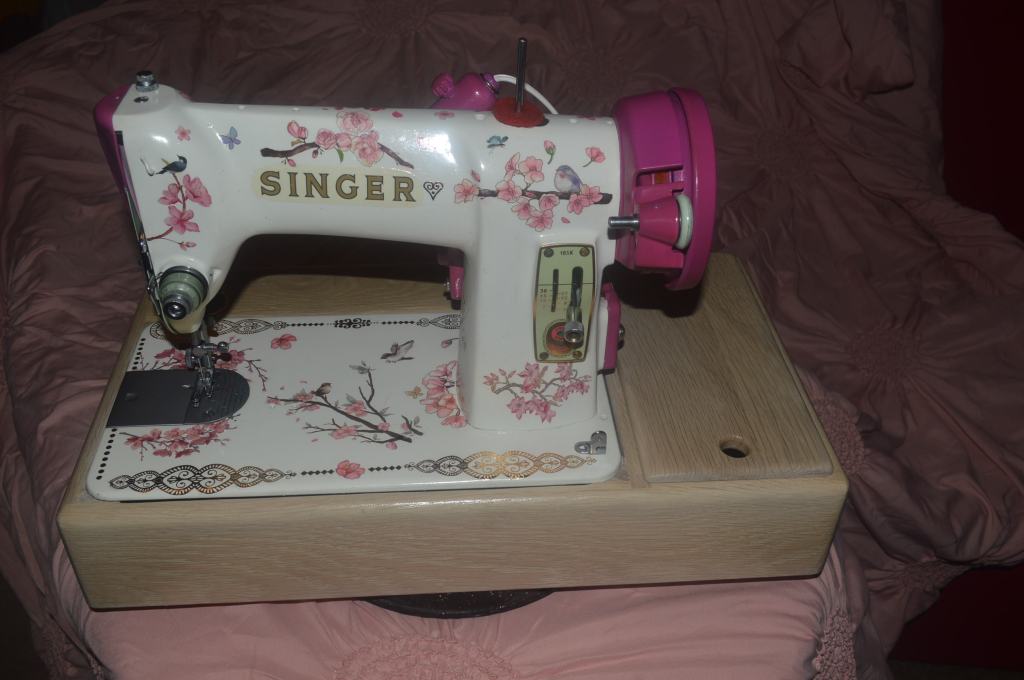
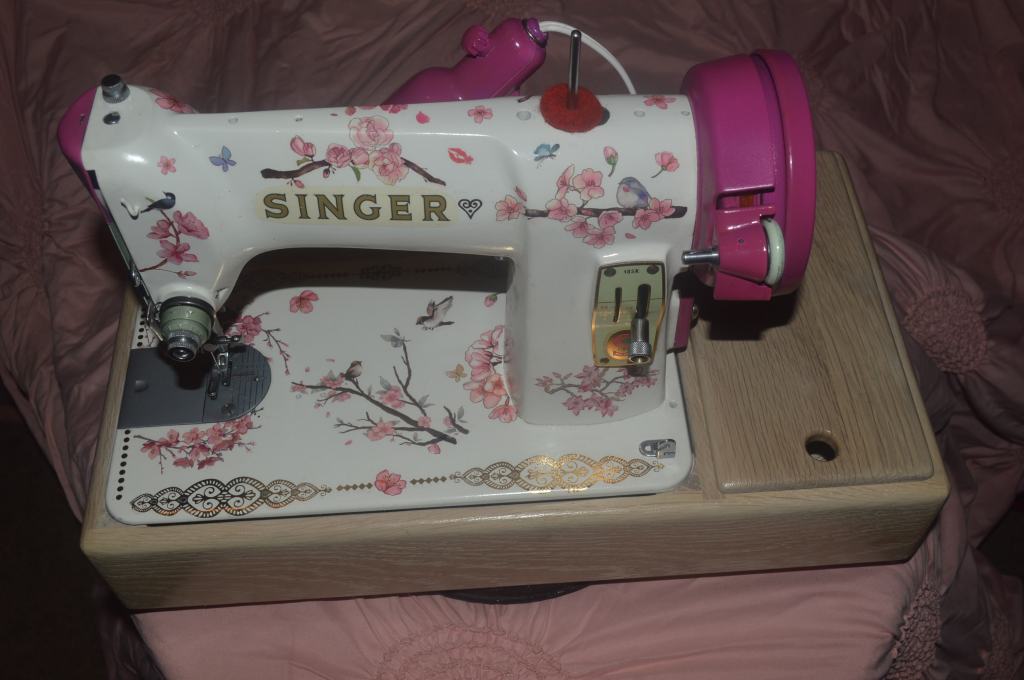
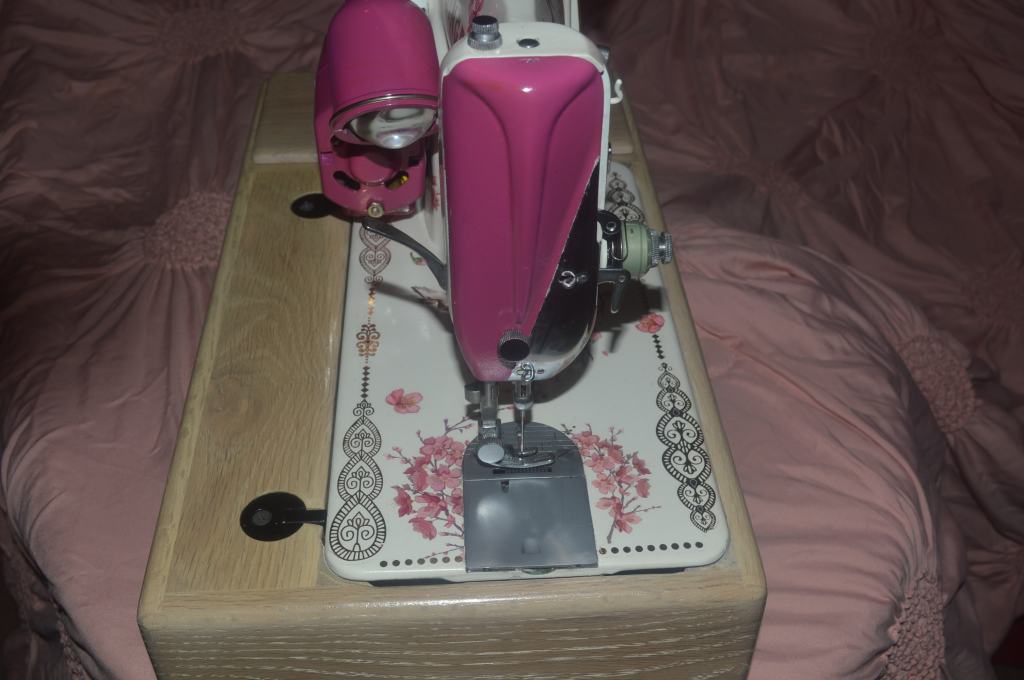
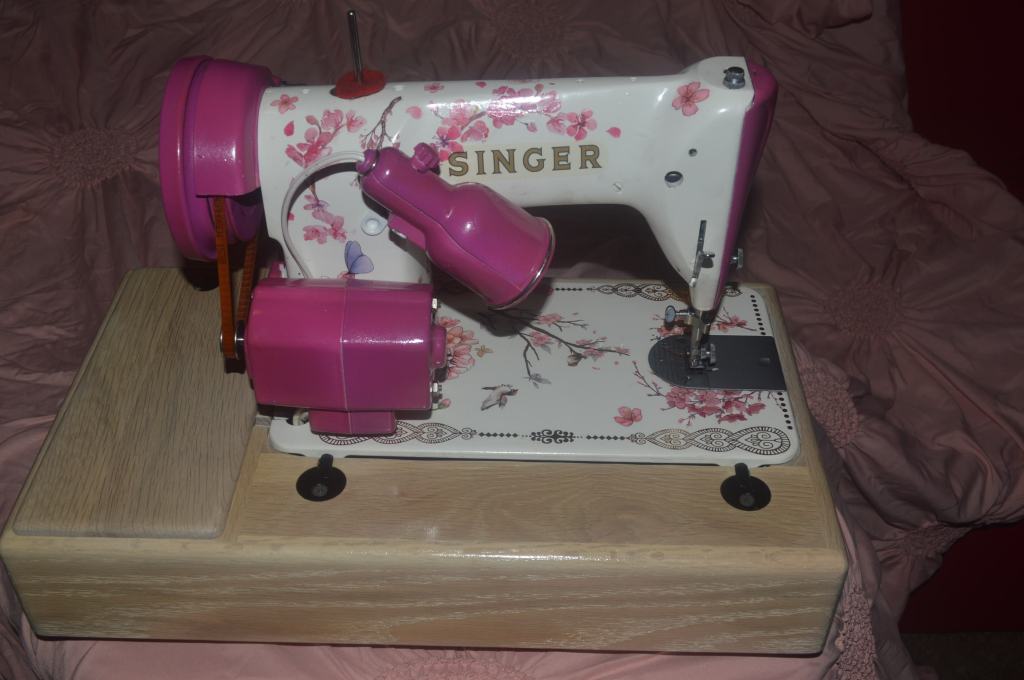

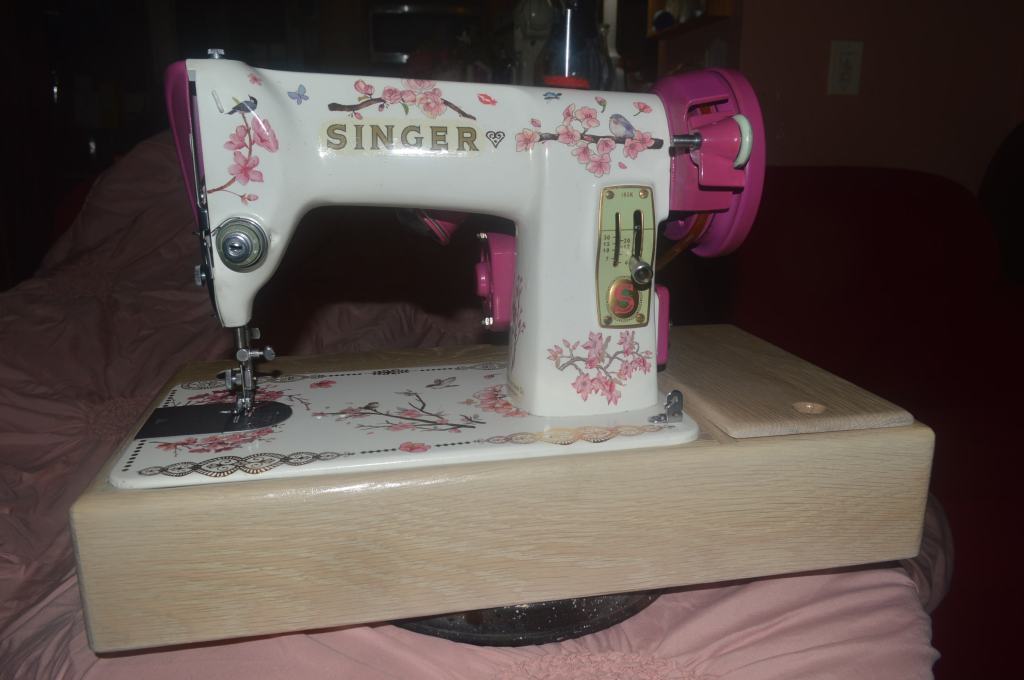
Well, I hope you like what you see and enjoyed the restoration process as much as I did… Millie’s machine is a one-of-a-kind model 185K and runs beautifully as well. Like I always say, some sewing machines need more, some need less, but they all get what they need… this one got it all!
This restoration is really special for Carole and me, and for Millie. Now I can look forward to the next restoration!
Looking for a similarly restored quality vintage all metal sewing machine for your sewing room? Let us know! We specialize in custom orders and are happy to locate and restore the “perfect” machine for you!
As always, if you have any questions, or if I can be of any assistance, please contact me through Etsy or send me an email to Pungoliving@gmail.com.

Wow. Beautiful. And a beautiful story. Heartwarming. Thank you for posting it.
LikeLike
Thanks! It was fun to do.
LikeLike
It’s beautiful! What a keepsake you and your wife made for your Granddaughter!
LikeLike
Lee, as always, another beautiful restoration! I was not expecting the decals to be so vibrant. The hot pink accents really pull it all together. Well done!
I just acquired a 1966 285K for $10, from a Goodwill store. It has the rack and pinion gear bobbin hook movement, which, after reading up on it, was an “improvement” that was not well received, as it made the machine noisier and have a vibration. I haven’t plugged it in yet, as there is a tape-covered bare spot on the wire. Hopefully, it will be a good machine to use regardless. It’s missing a few parts, like a spool pin, presser foot and screw, as well as the needle plate and bobbin cover slide plate. I tried covers from one of my 99’s and they fit, so I’ll have better luck looking for parts under that model. My machine is very clean and in otherwise very good shape.
It’s always a pleasure reading about your restorations.
Renita George
LikeLike
Hello Renita! It’s great to hear from you again!
I can’t say much about the 285. I have not used one and the reputation for the machine leads me to avoid them. I guess the rack and pinion was a design innovation that Singer just had to try.
The parts should be readily available and easy to find.
Please let me know the impressions of your machine when you have the opportunity to run it thru its paces!
have a great day,
Lee
LikeLike