
I have had a number of folks ask me to do a tutorial on restoring a Kenmore sewing machine motor. Since I have done several types of motor restorations, I think now is the perfect time to fill the gap. It just so happens that I am in the middle of a Kenmore restoration, so what better time to break out the motor restoration as a tutorial.
First, the Kenmore motor has got to be the easiest sewing machine motor to restore. There is no soldering because the wires very seldom need to be replaced, and if you need to, it can be done without removing the motor completely from the machine. This may be an advantage because getting the wires out of the plug terminal is not as simple as it could be. In this tutorial, I did remove the motor because as I said, it is part of a larger restoration. Removing the motor does make it easier and I recommend it, but make sure you take good pictures of the wiring in the wire terminal block so they don’t get mixed up.
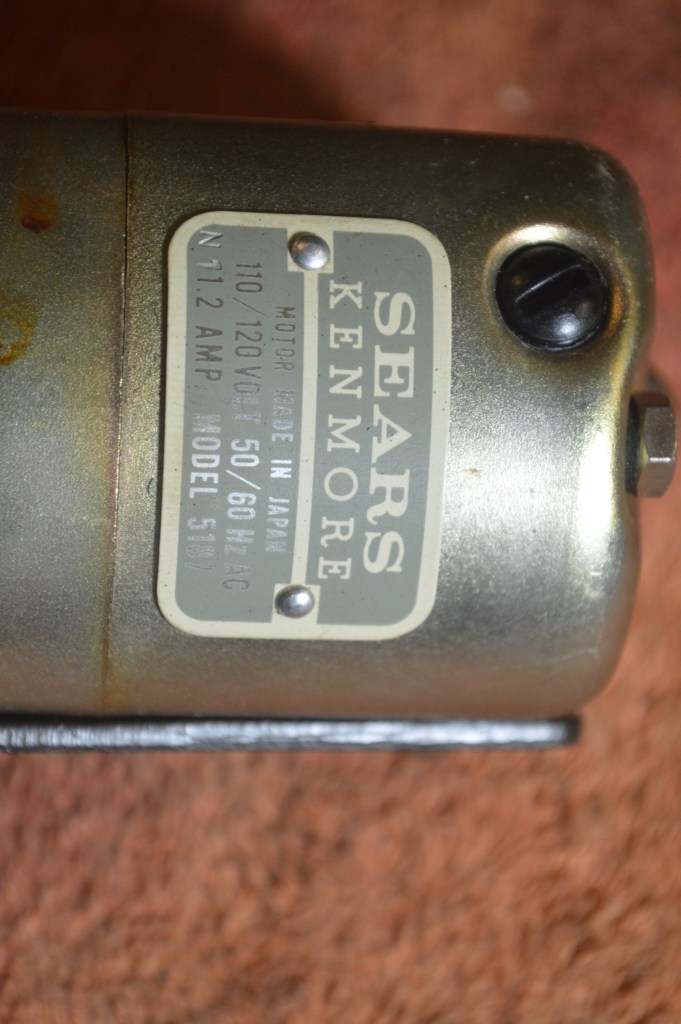
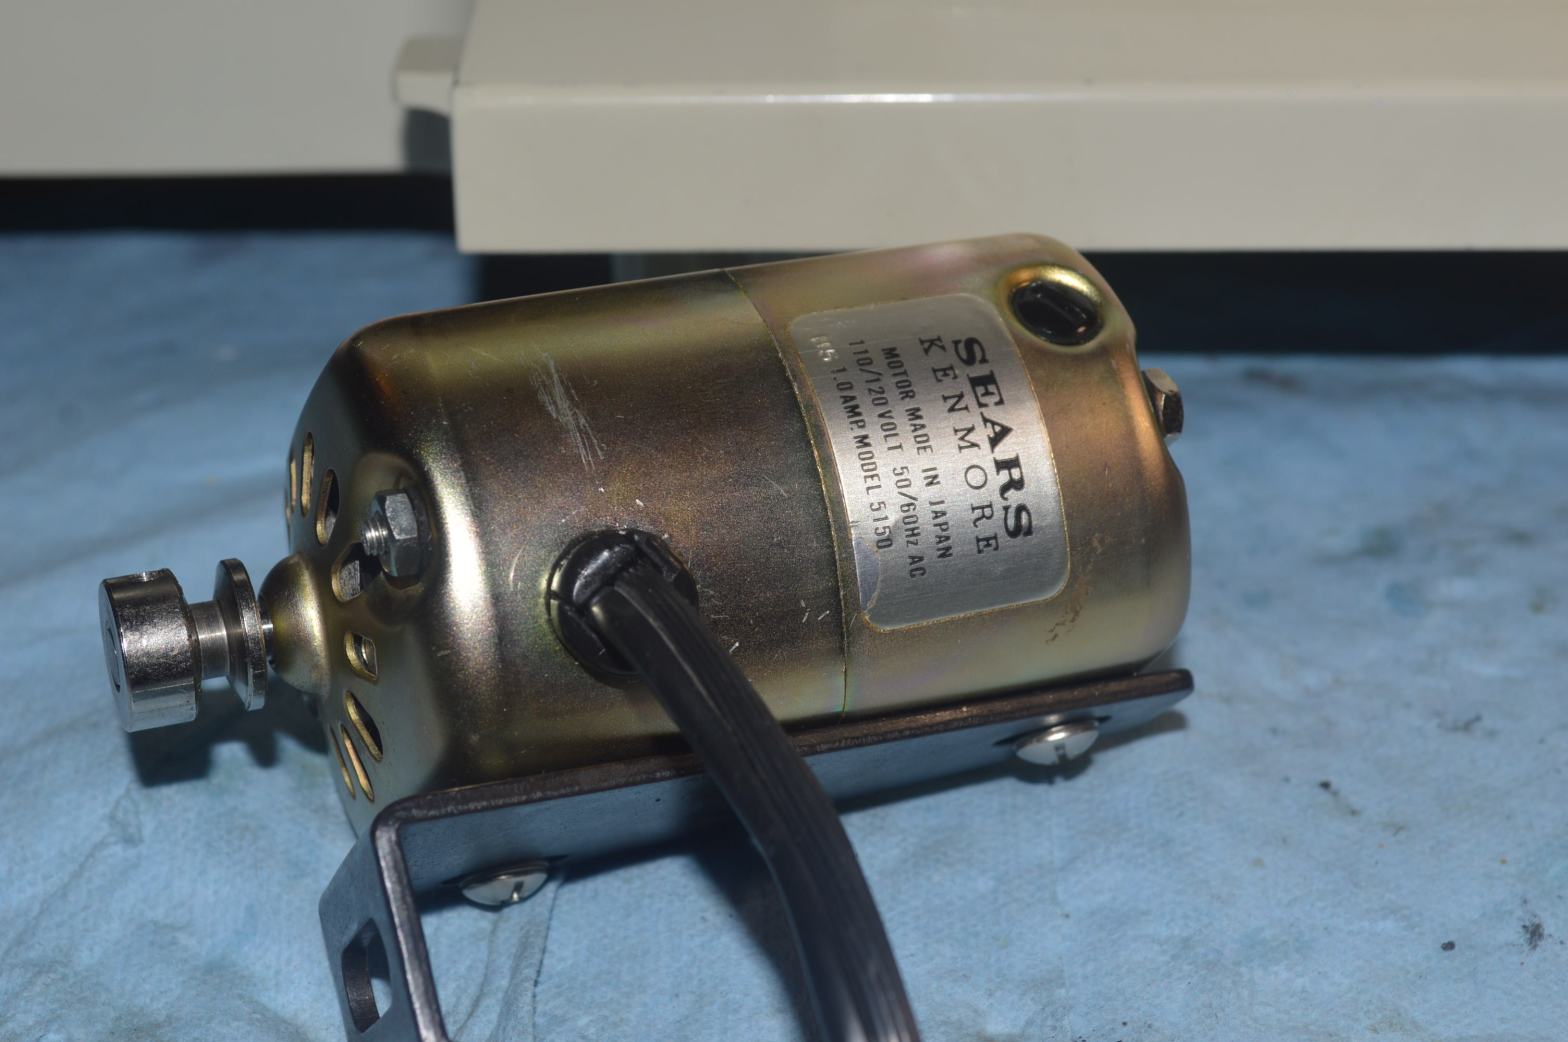
This is a 1.2 amp motor and a 1.0 amp motor arevery common motor in the Kenmore 158 series sewing machines and the steps to restore them are the same. As you go through this tutorial, you will see that there is very little to be done! However, reassembly requires some special consideration and I think adding some reassembly tips and explaining the proper way to do it will help you. After all, a fellow once told me “you might as well learn from other’s mistakes because you’ll never live long enough to make them all on your own”… so true.
Curious? Let’s begin.
The motor does not need to be completely removed from the machine, but it does make the job a lot easier and I think it is worth the extra work You need only follow the motor wires to the wire terminal block and disconnect it there. In either case, it does need to be taken out of the body of the machine. The steps to do this are as follows:
Turn the machine on it’s side and remove the screw holding the motor bracket to the machine.
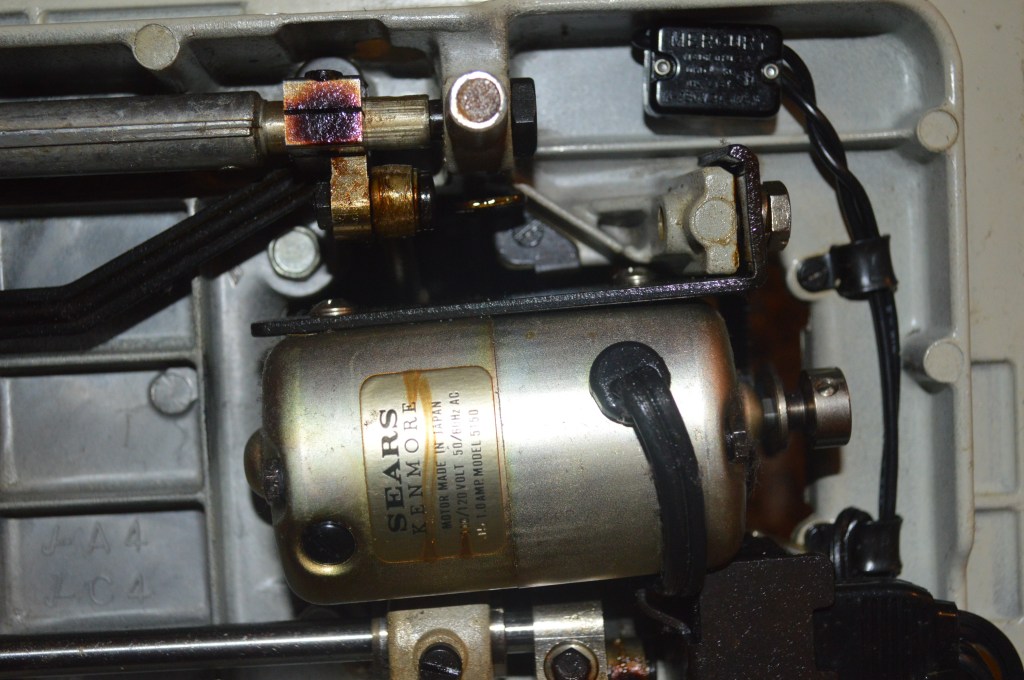
Push the motor upward into the machine and remove the belt from the motor pulley.
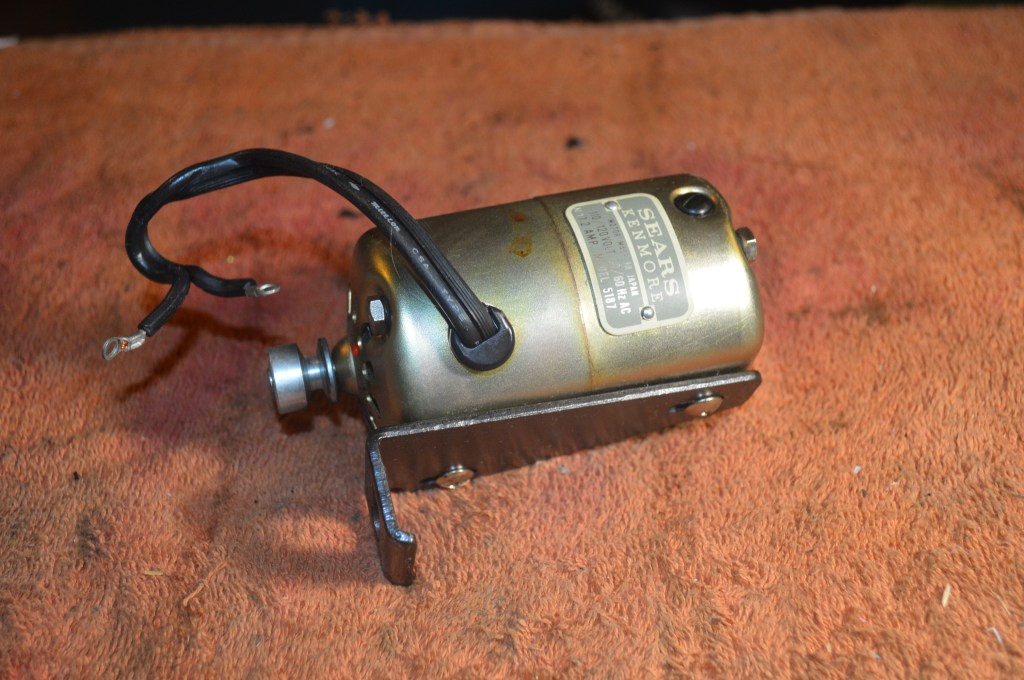
Remove the motor from the body of the machine and lay it on the table.
I find it easier to work on with the motor removed, so that’s how I show it. If you don’t remove the motor, pull as much length in the wire as possible. .Aside from the motor sitting on the bench, all of the steps are the same.
The first step is to remove the bracket from the motor..
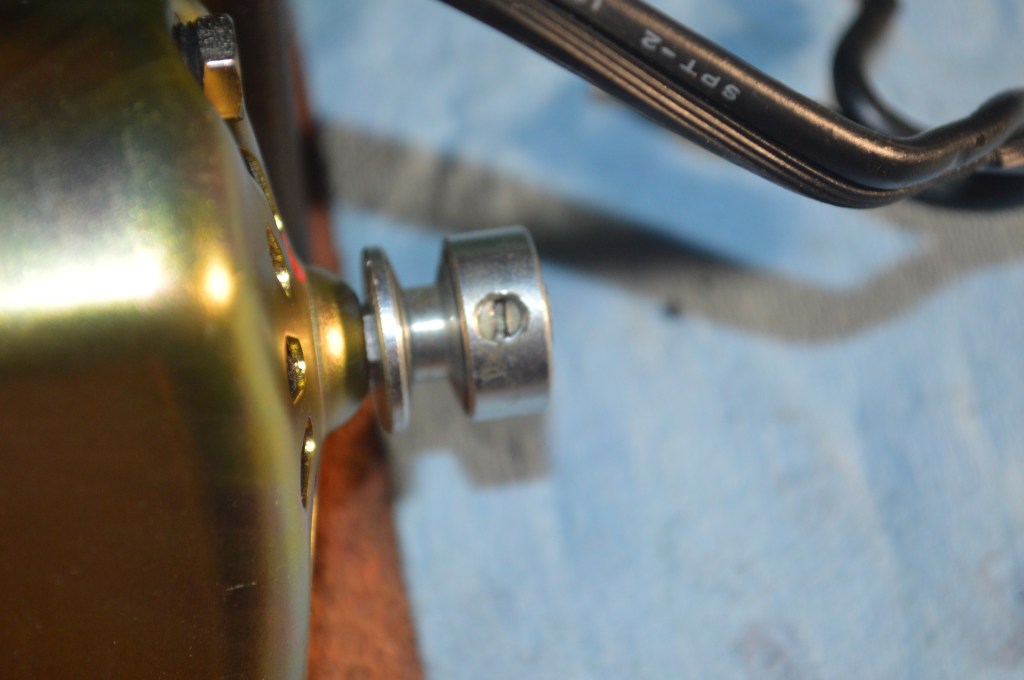
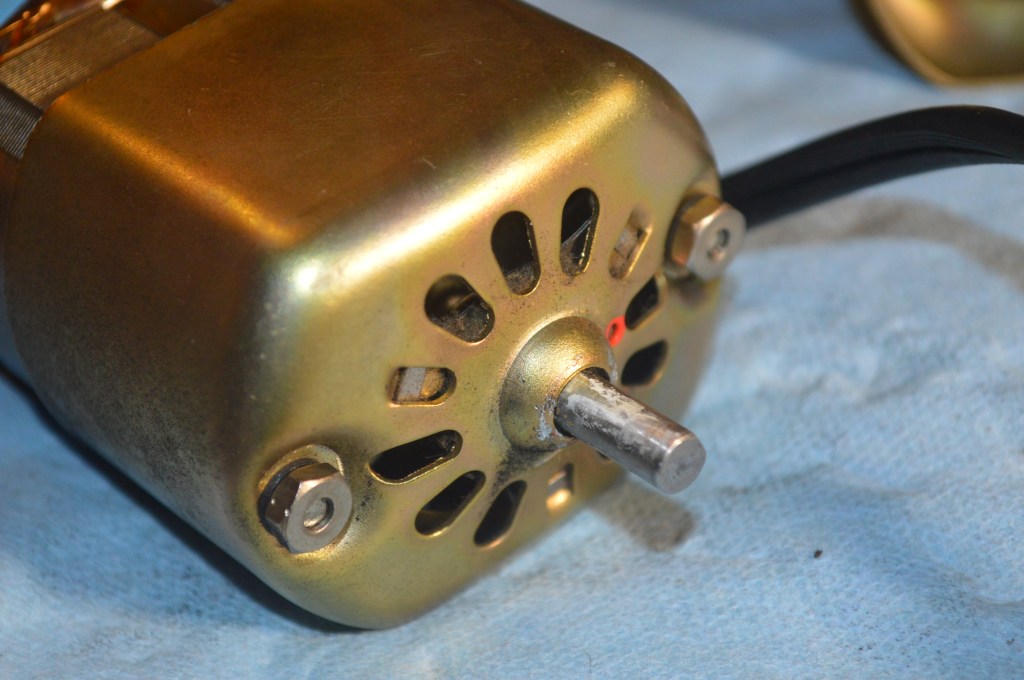
Next, remove the motor pulley… Loosen the set screw and it pulls straight off.
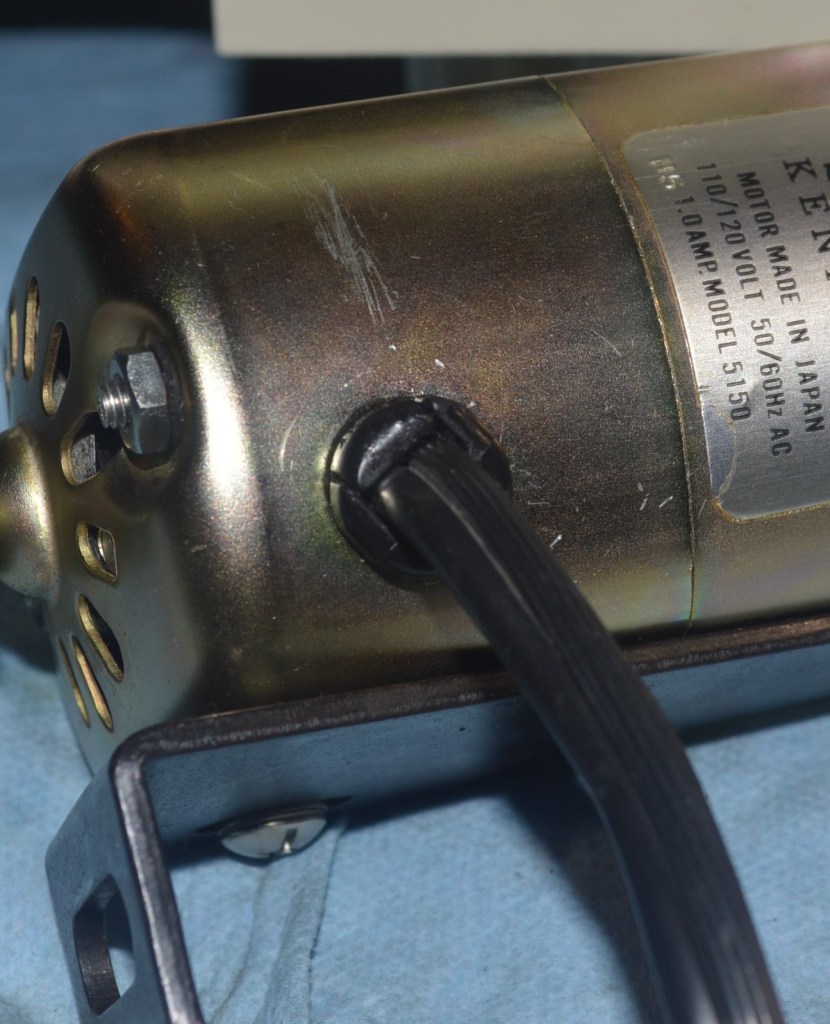
Probably the most difficult part of this restoration is removing the wire strain grommet where the wires enter the motor case. If you look at it closely, you will see a seam on the thin edge of the grommet. Use a pair of stiff needle nose pliers to compress the clamp and rotate it towards the thick edge of the grommet. It will disengage from the motor housing and can then be removed. The wire will have the proper bend formed in it so it will be the same (but reversed) process to put it back in. With the grommet removed, the wire can be pulled thru the motor case to allow sufficient separation to remove the armature.
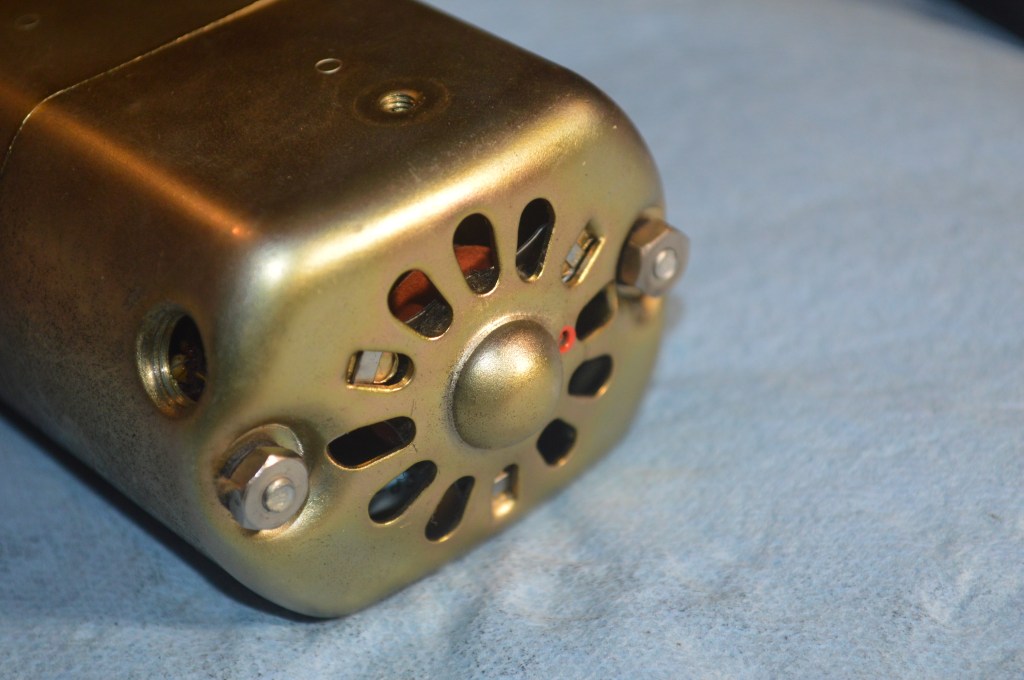
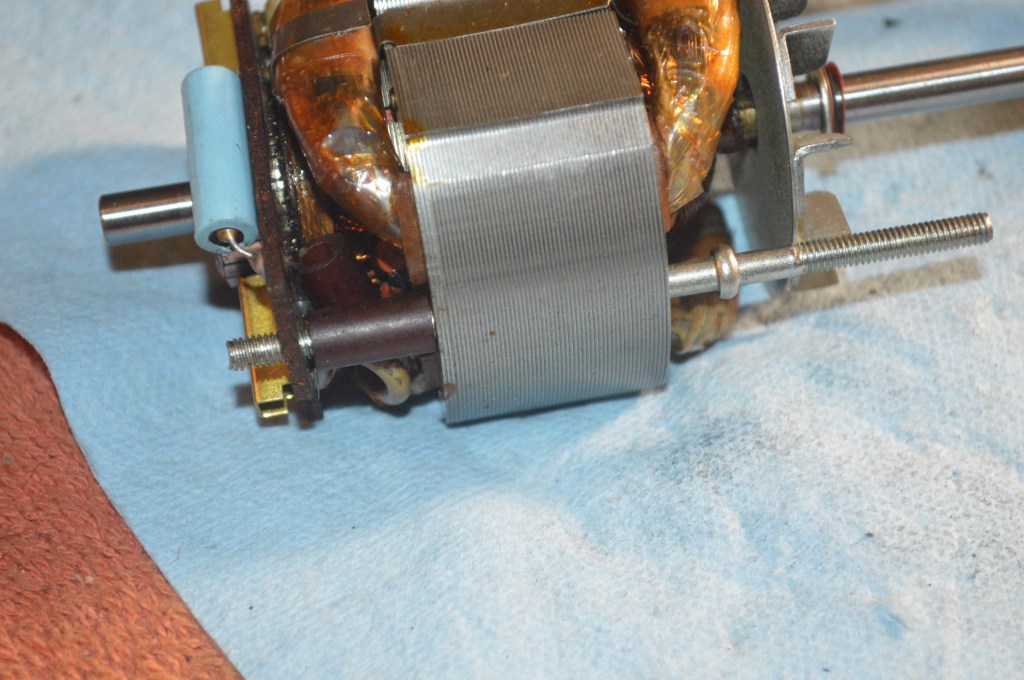
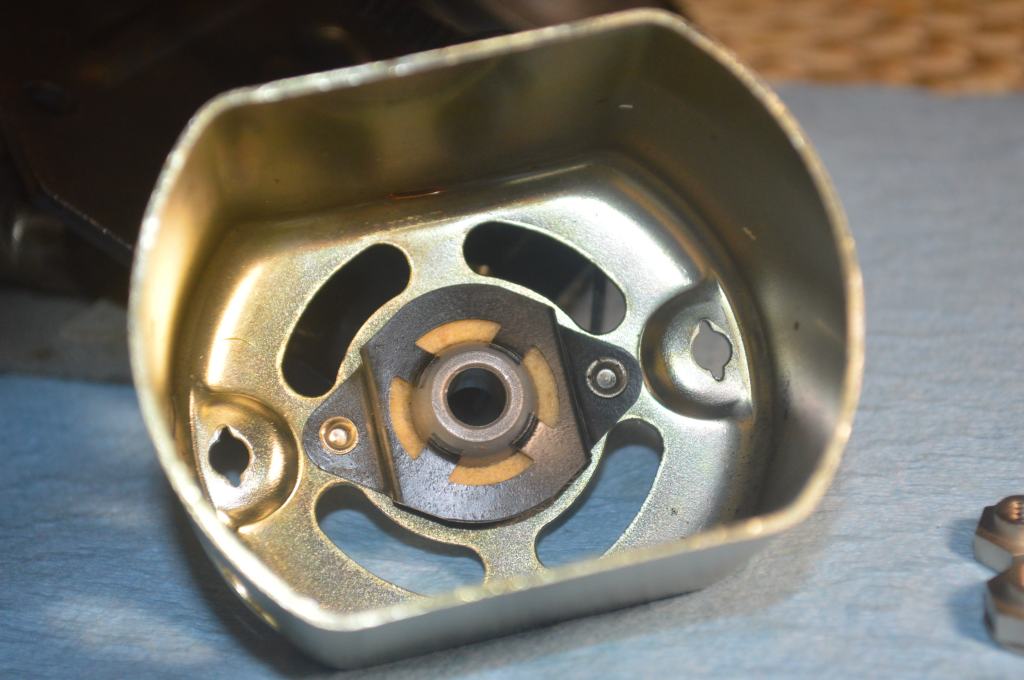
Next, remove the brush caps being careful not to lose them… they are under spring pressure from the brushes There are two of them, one is opposite the other. With the brush caps removed, remove the brush springs.
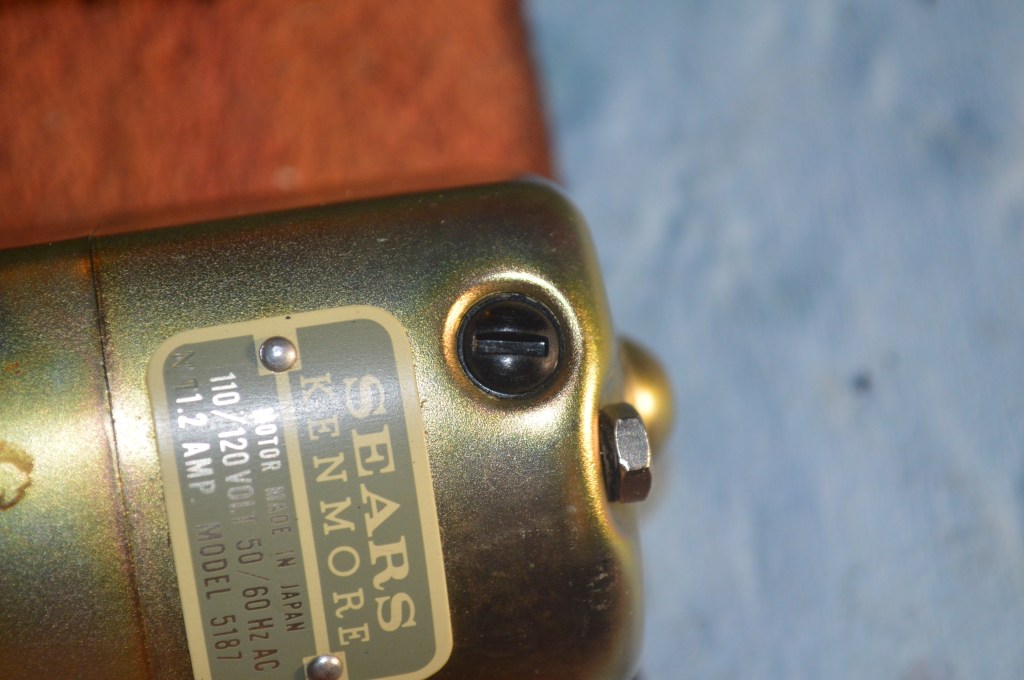
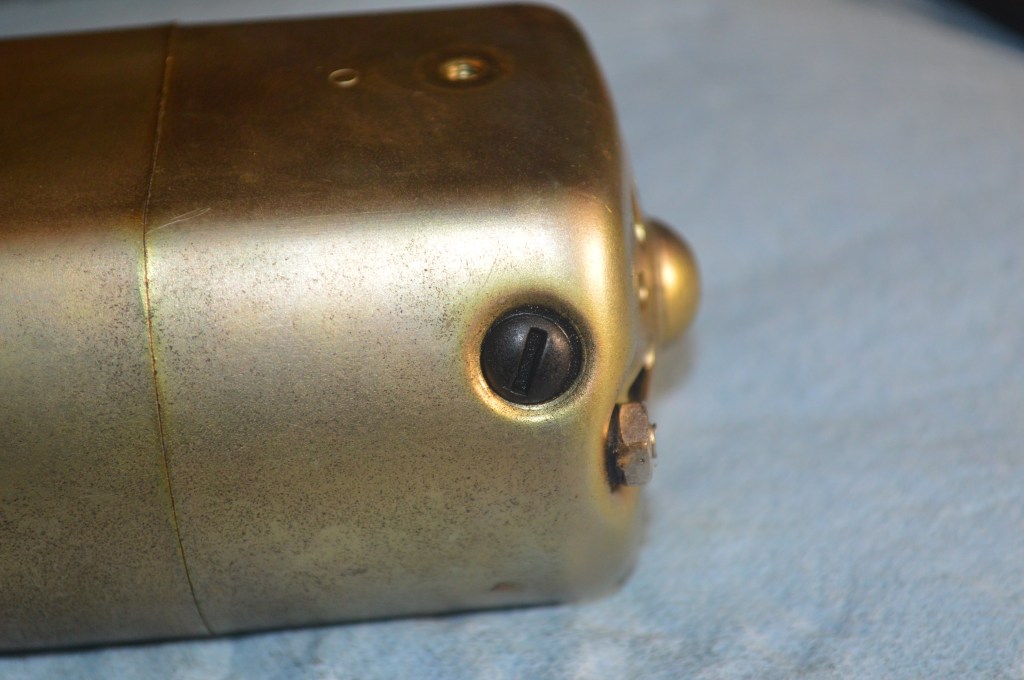
There are two nuts on the brush end of the motor cap. Remove these nuts and the washers.
Gently wiggle the motor end cap off of the motor case.
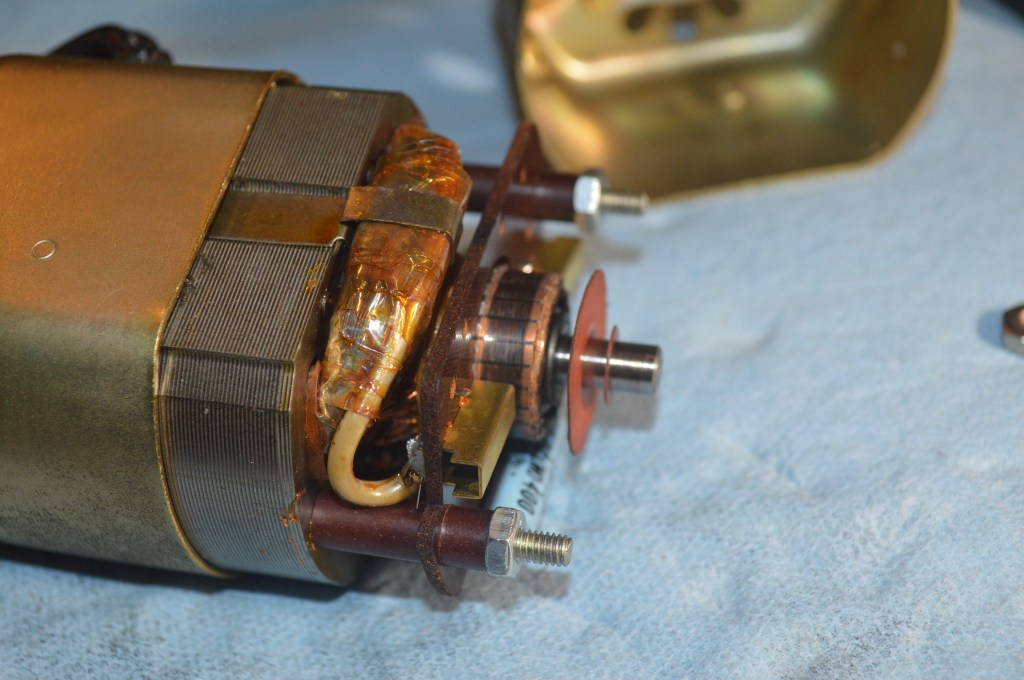
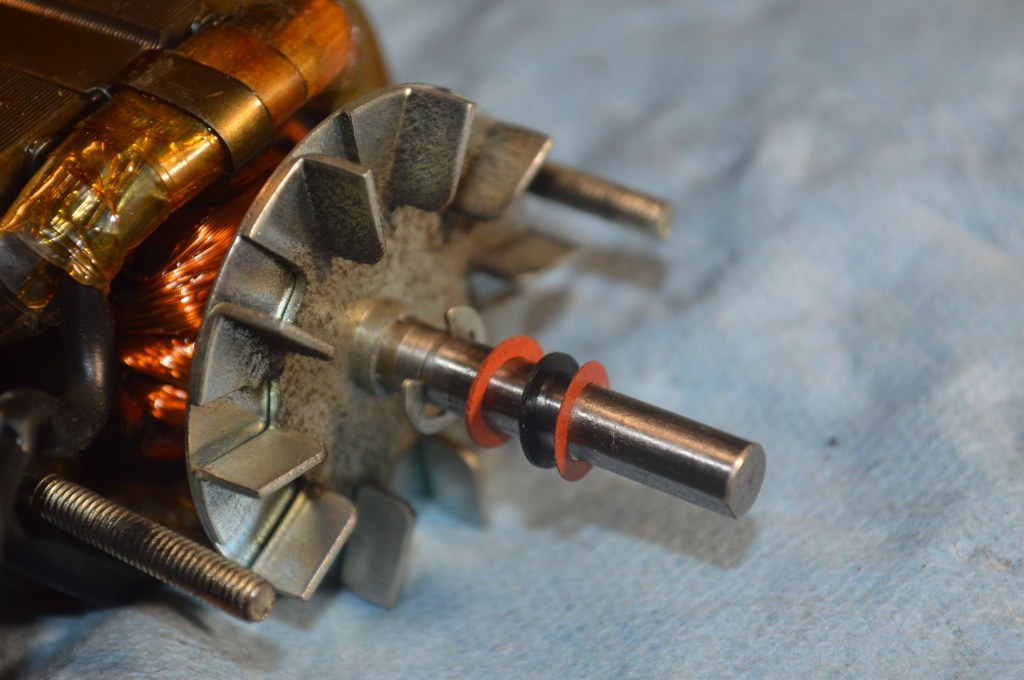
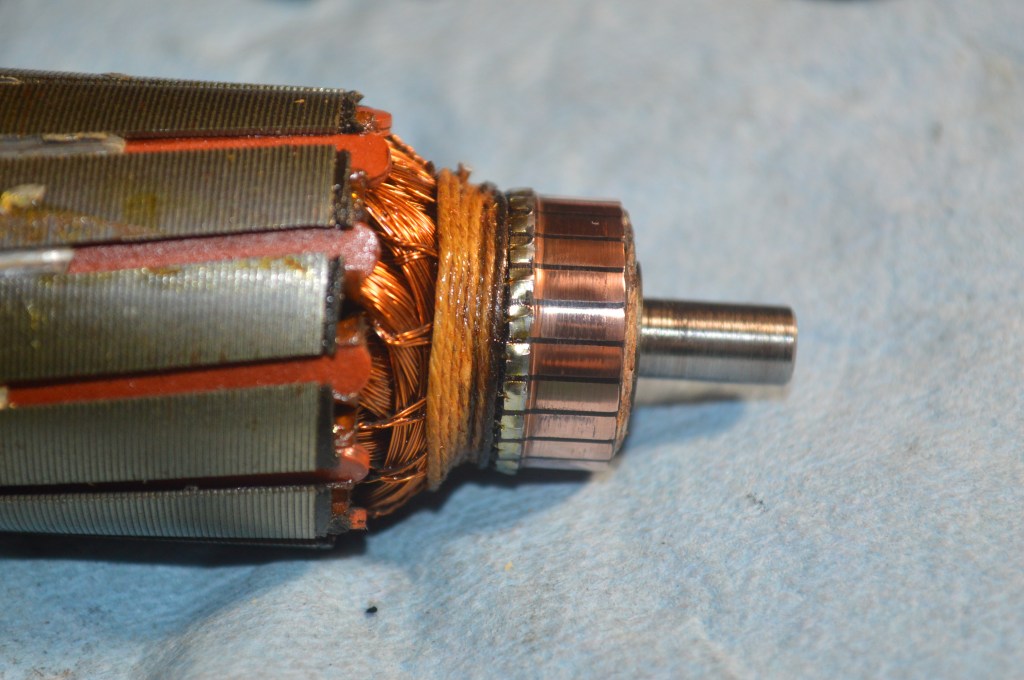
With the cap removed, the armature commutator is revealed. Take note of the washers on the end of the shaft and take a picture of them. They need to be reinstalled in the same orientation. Also note the position of the brush tubes relative to the commutator. They must be adjusted when you reassemble the motor so the brushes contact the commutator properly.
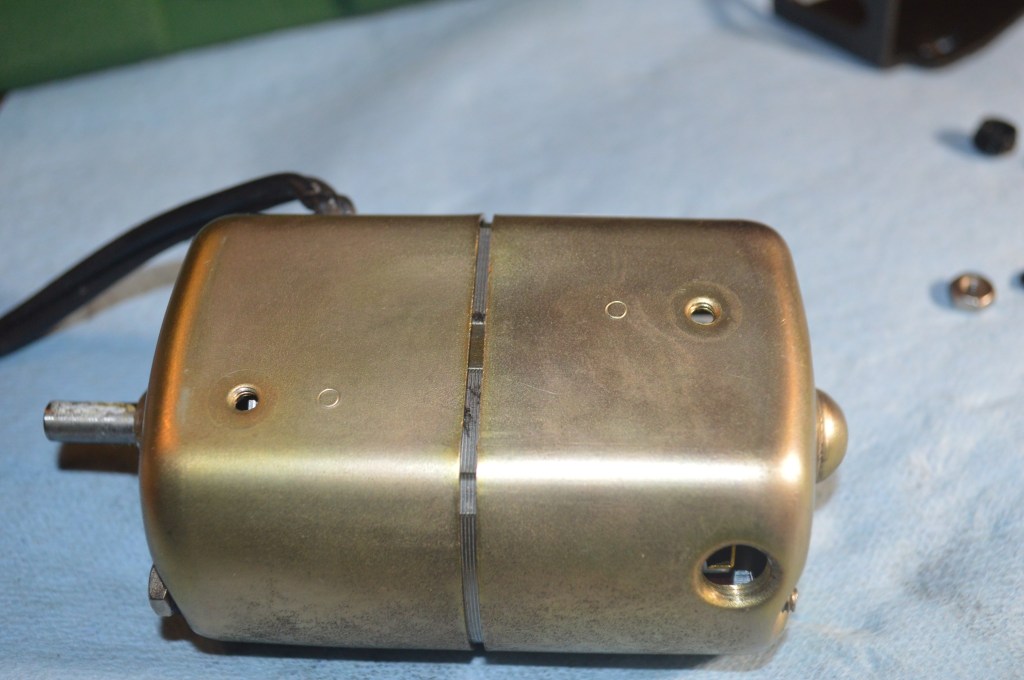
On the shaft side of the motor cap there are two nuts. Remove the nuts and washers. Similar to the brush cap removal, wiggle the shaft end of the motor case and gently remove it. Push the wire thru the hole as the motor cap is removed and don’t let the wire get tight but keep slack in it as the cap is removed.
Again, take a picture of the washers for proper reassembly.
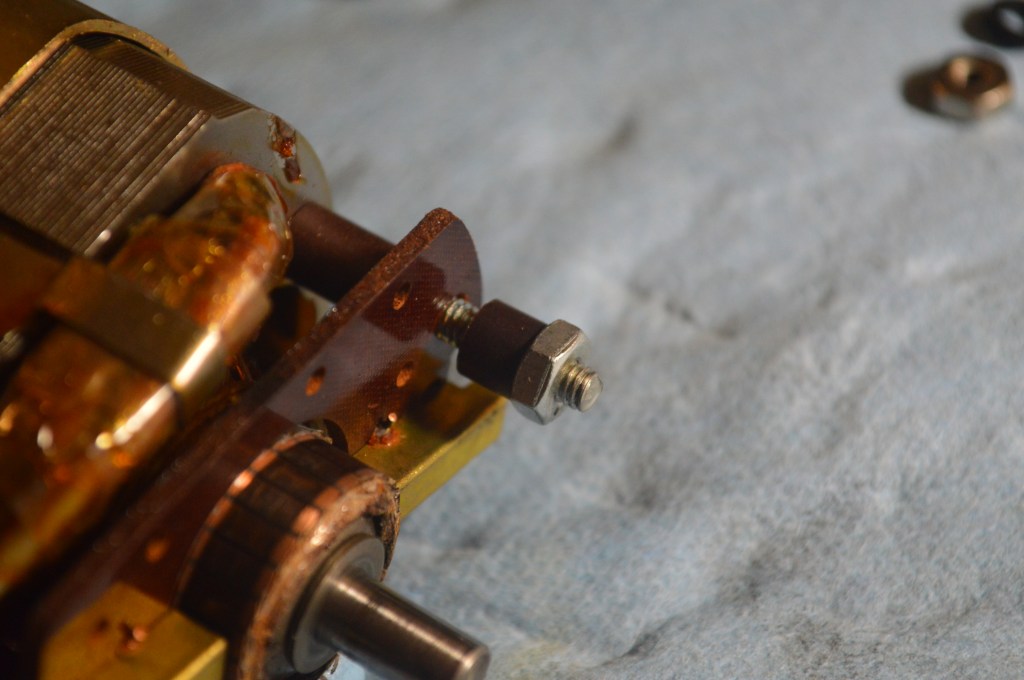
The brush plate is suspended adjacent to the commutator. It has two spacers… a short one on top of the plate and a longer one under the plate. Remove the nuts holding the spacers. Remove the threaded bolts from the field coil. The long and short spacers can then be removed.
Remove the armature shaft from the field coil and set it aside with all of the other parts for cleaning… This is what you should see.
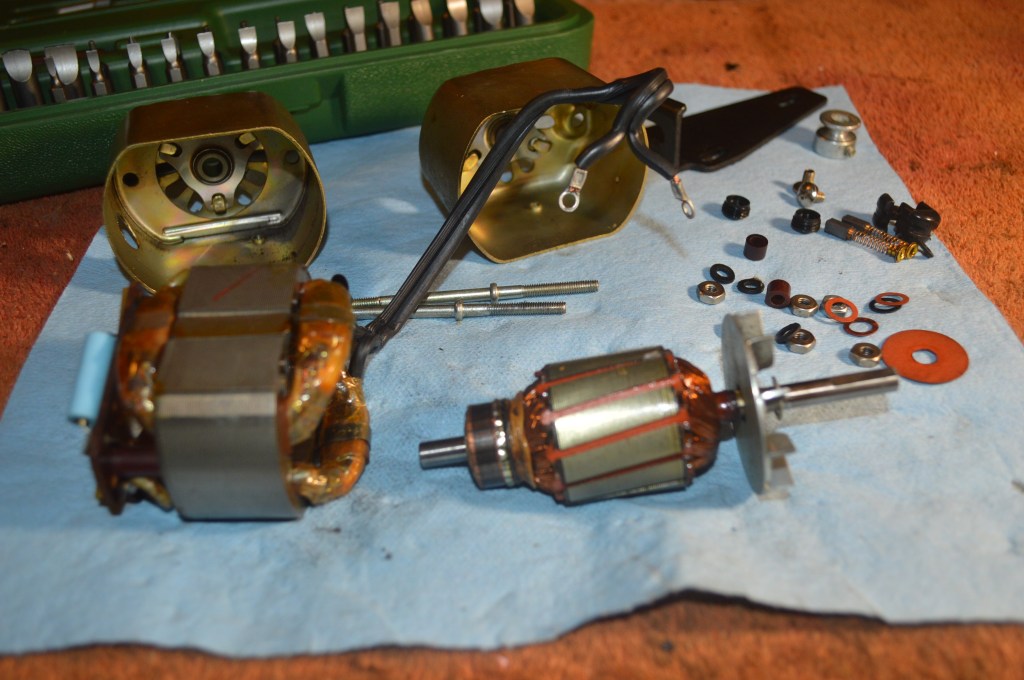
Do not attempt to clean the copper wires in the field coil or the armature shaft. These wires have a thin coat of lacquer applied to them and any solvent used to clean it can damage this thin coating and ruin the motor. The shafts and the commutator are the only parts that need to be cleaned and polished.
I use a dremel tool with a small buffing wheel and red jeweler’s rouge to polish the commutator. To polish the shafts, I chuck each end in an electric drill. Using a piece of 2500 grit sandpaper wetted with a drop sewing machine oil, wrap the oiled sandpaper around the shaft and turn the shaft in the drill. Moving the sandpaper up and down the shaft it is soon polished bright and smooth. Do the same to the other shaft end. If you don’t have a dremel to polish the commutator, you can use a piece of DRY (no oil) 2500 grit sandpaper… don’t let any oil get on the commutator. Chuck the long end of the shaft in the drill and again spin the shaft while lightly holding the sandpaper against the commutator until it is bright. Do not apply much pressure and stop when it is bright… in this case, less is more.
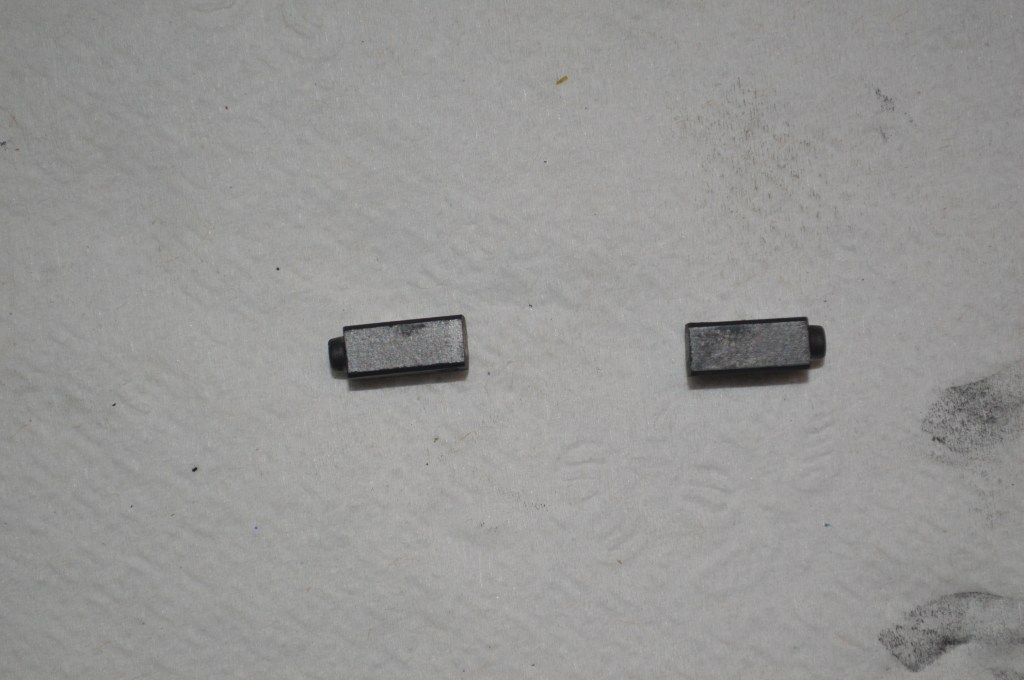
At this point, you can decide if the motor brushes need to be reconditioned or not. Typically, the brushes will have a curved face from wearing on the commutator while new brushes have flat faces. You can leave them alone or flatten the faces.

If you decide to flatten the faces, simply remove the curve by rubbing the brush on a piece of medium grit sandpaper. The brushes are made of graphite and they will flatten quickly with little effort. Just make sure the face is flat and perpendicular to the brush.
If the motor has been unused or not oiled for a long time, the motor felts need to be recharged with oil. apply about 6 drops of sewing machine oil to the felt on each end.
Now the motor can be re-assembled. The motor is reassembled in the reverse order it was disassembled.
To make it easier, here are some tips for reassembly…
Place the two long threaded bolts through the field coil (the bulged end towards the front of the motor).
Place the long spacer below the brush plate and the short spacer above the brush plate and reinstall the nut that holds them against the plate.
Make sure all of the washers are installed on the shafts (referring to the pictures you took) and put the armature in the field coil.
Apply a drop of oil to each end of the armature shaft when seating it in the bores of the motor caps.
Reinstall the wire end cap of the motor casing first. Pull the wire through the hole in the case as you slide the cap into place. When the threaded rod shows thru the cap, replace the nut and washer, but don’t tighten it yet.
Replace the brush end cap of the motor casing until they seat together. Again, when the threaded rod shows thru the cap, reinstall the nuts and washers.
All of this leads up to the most important step… aligning the brush tubes with the commutator. The brush tubes need to be inline with and near the center of the commutator.
Look thru the brush tubes at where they sit in relation to the commutator. If the brush tubes show the brushes will hit the bottom of the commutator, tighten the nuts on the long shaft end and it will push the motor case upward. When the brush tube is generally lined up with the center of the commutator, tighten the nuts on the brush end of the motor case. Once they are snugged up, they can be tightened.
Rotate the shaft by hand to ensure it turns freely and does not rub against anything (such as the main wire).
Place the wire strain grommet so it fits the original bend it made in the wire. Again using a stiff pair of needle nose pliers, crimp the grommet so the thick side can be started in the motor casing, then roll the pliers toward the thin side and push it in the motor case.
Reinstall the brushes if you flattened the faces, the orientation is not important. If you didn’t, make sure the curve is oriented so the curve matches the curve of the commutator.
Reinstall the motor pulley and the motor bracket.
Reinstall the motor in the machine.
Tighten the motor bracket but make sure it doesn’t pull too much tension on the belt. The motor belt should have some side play to run properly.
Once the motor is reinstalled in the machine, it needs to be run in before sewing. Disengage the balance wheel (like winding a bobbin) and run the motor at full speed until the motor speed evens out. It is likely to run slower and pick up speed as everything settles in. Run the motor for a minute or two until it is warm and it should run at a constant speed with renewed power.
That’s it! An easy restoration that will add power and life to your Kenmore motor… Hopefully you will see a dramatic difference in the speed and power of your machine, and motor will run reliably for years to come.
As always, our tutorials are provided as a free resource to help you learn and maintain your vintage sewing machine. As our site has grown, so has the cost to keep and maintain it. Despite these costs, I will strive to continue posting tutorials and other relevant content for the benefit of the sewing community. If you found the content of this tutorial useful, please consider making a small donation to help me grow the site and help defray my costs… every little bit helps.
Help Support our Site…
Make a one-time donation
Make a monthly donation
Make a yearly donation
Choose an amount
Or enter a custom amount
Your contribution is appreciated.
Your contribution is appreciated.
Your contribution is appreciated.
Please let me know if I can answer any questions or if I can be of any assistance by emailing me at pungoliving@gmail.com.
Thanks for reading,
Lee

Your tutorials are awesome. Thanks so much for all that you do. I’m trying to remove the motor from a Kenmore 158.14001 which is very similar to the pics in this tutorial. How do I open up the terminal block where the motor is connected under the on/off switch? It’s not held together my screws, but by a river that has been squeezed and mushroomed on the back side. When I do manage to get it out, (I’m pretty sure I’m going to have to replace the motor entirely), how do I close it back up again?
LikeLike
Hello Susan,
Send me an email with pictures of your terminal block to pungoliving@gmail.com and I will be happy to help you remove the cover. It isn’t difficult to do.
Thanks!
Lee
LikeLike