
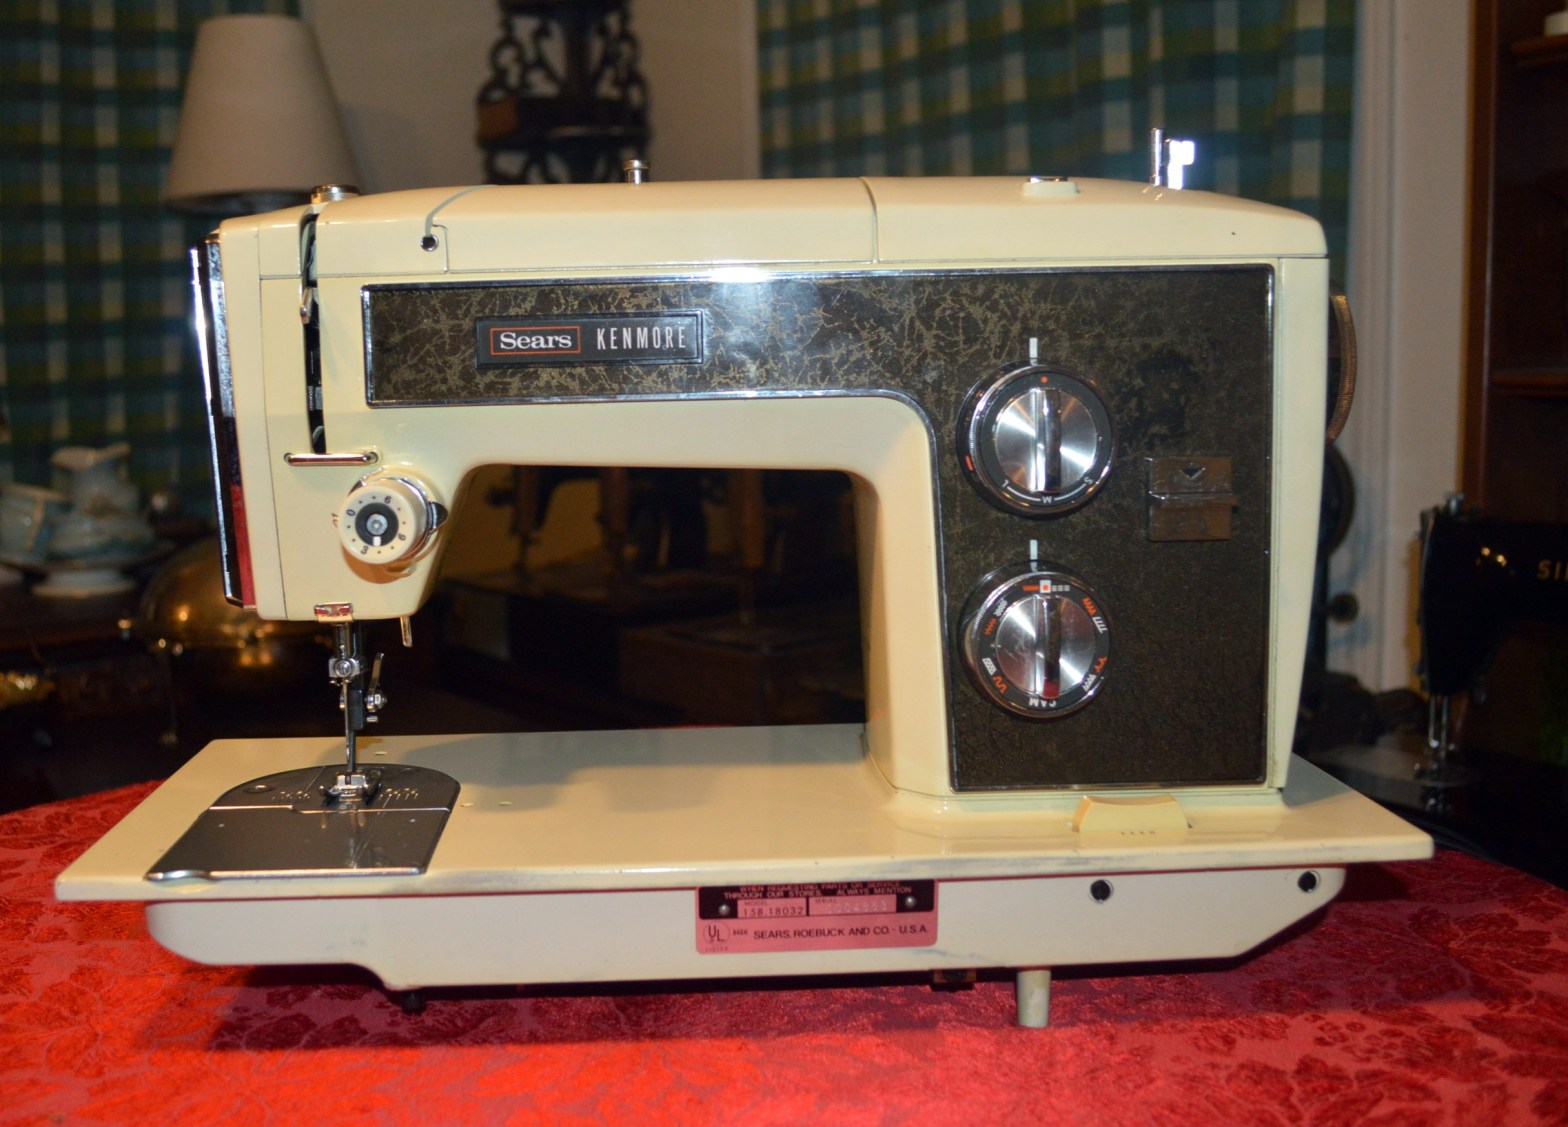
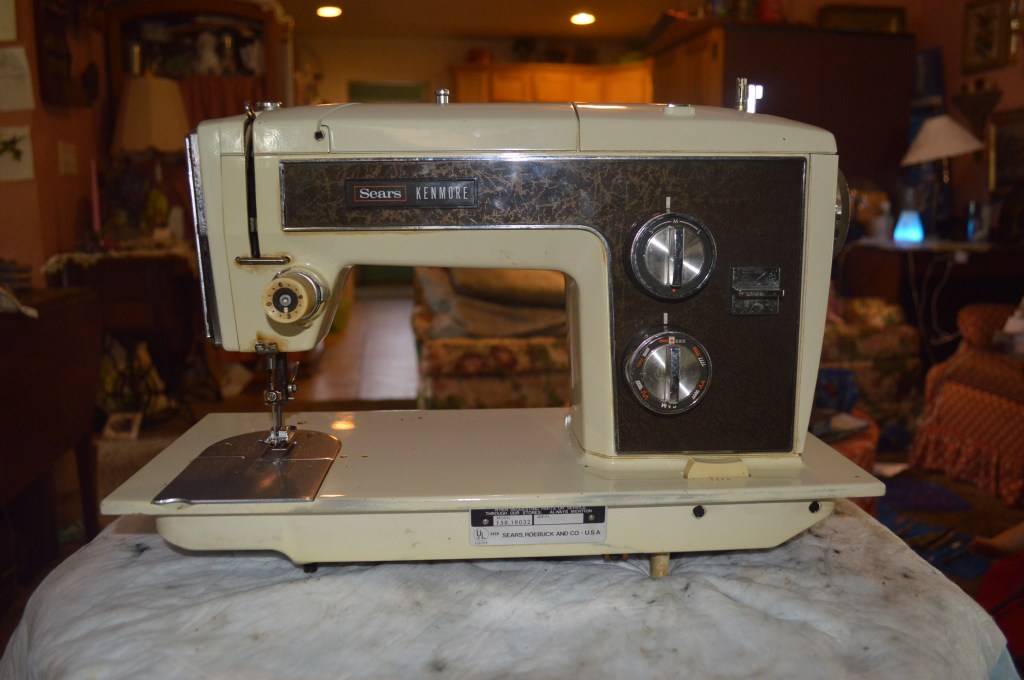
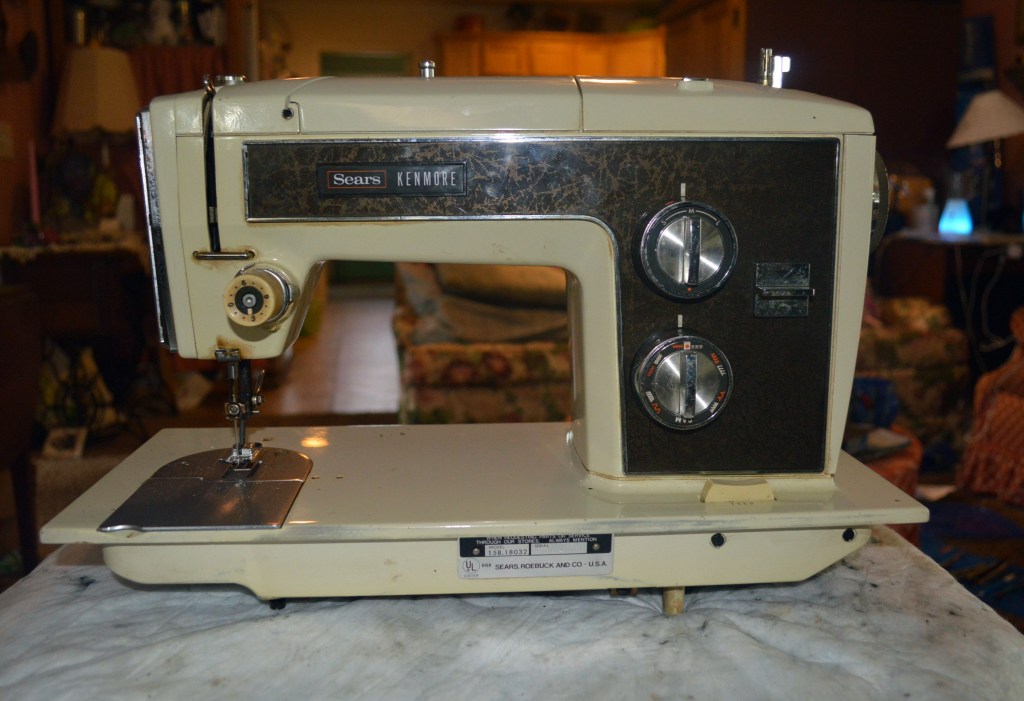
This restoration is for a Kenmore Model 158.18032 sewing machine. Often times, I find that Kenmore’s of this vintage sew remarkably well despite the cosmetic appearance, or the outward appearance of the mechanical linkages and complex assemblies Kenmore stuffed in these machines. Like most Kenmores built in the 70’s, the machine offers a good selection of built in stitches for garment construction. These are functional stitches that include a variety of stretch stitches. The stretch stitch selection is further enhanced by a “stitch modifier” adjustment to offer more adjustment for these stitches. The cam mechanism expands the stitch selection to include many decorative stitches offered by inserting a pattern cam (or “fashion disc” as it is sometimes called) into the machine.
This machine was manufactured in 1973 and is a super high shank design, a class 15 side loading bobbin, and oscillating gear driven hook, 6 regular stitches, and 5 stretch stitches. Pattern cams expand the stitch selection with a variety of 30 cams. The machine uses a double belt reduction driven by a 1.0 amp motor. The feed dogs drop, and the machine has a built in drive mechanism for the available button hole attachment. This is no doubt one of the best button hole attachments offered on any vintage sewing machine.
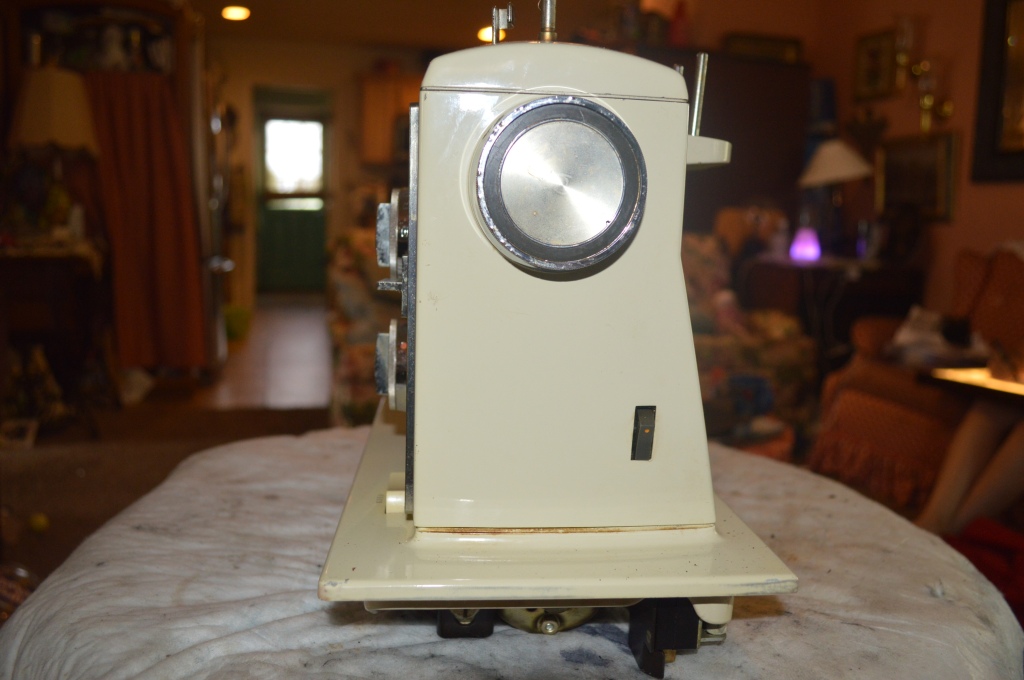
The machine arrived dirty and the internal mechanisms were coated with the oil varnish so commonly found on machines 45+ years and older. My evaluation determined that the paint was in good condition, except for a few small “pin prick” chips. The machine operated as it should and aside from a tension issue, made a decent stitch. Still, the machine was fairly stiff, and was in need restoration.
I consider Kenmore machines to be of very high quality of manufacture, and being all metal, worth the effort a restoration entails.
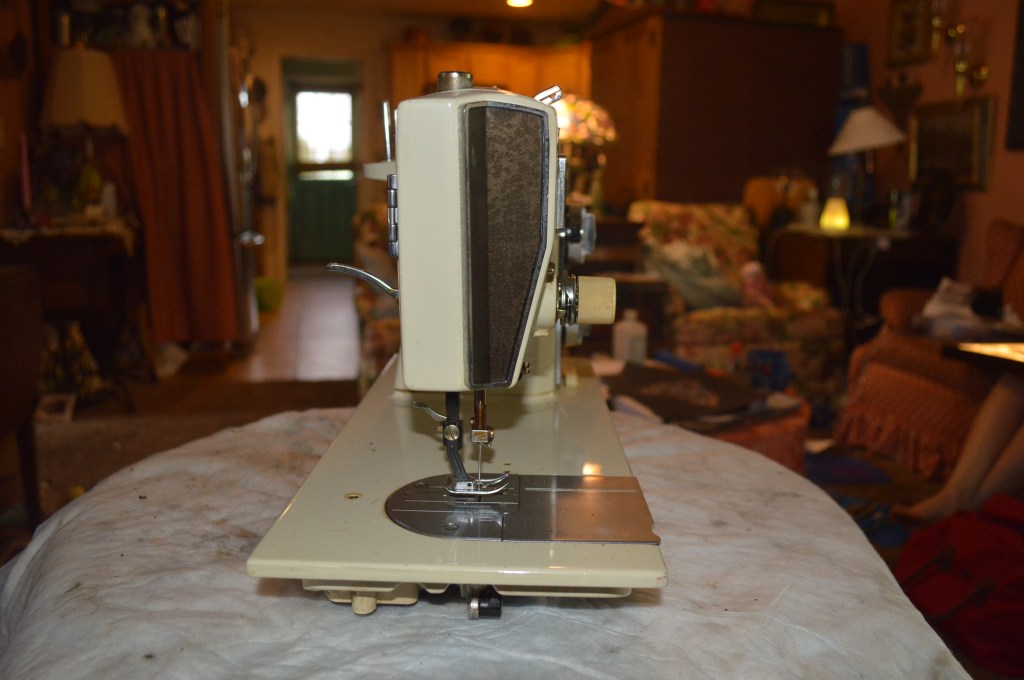
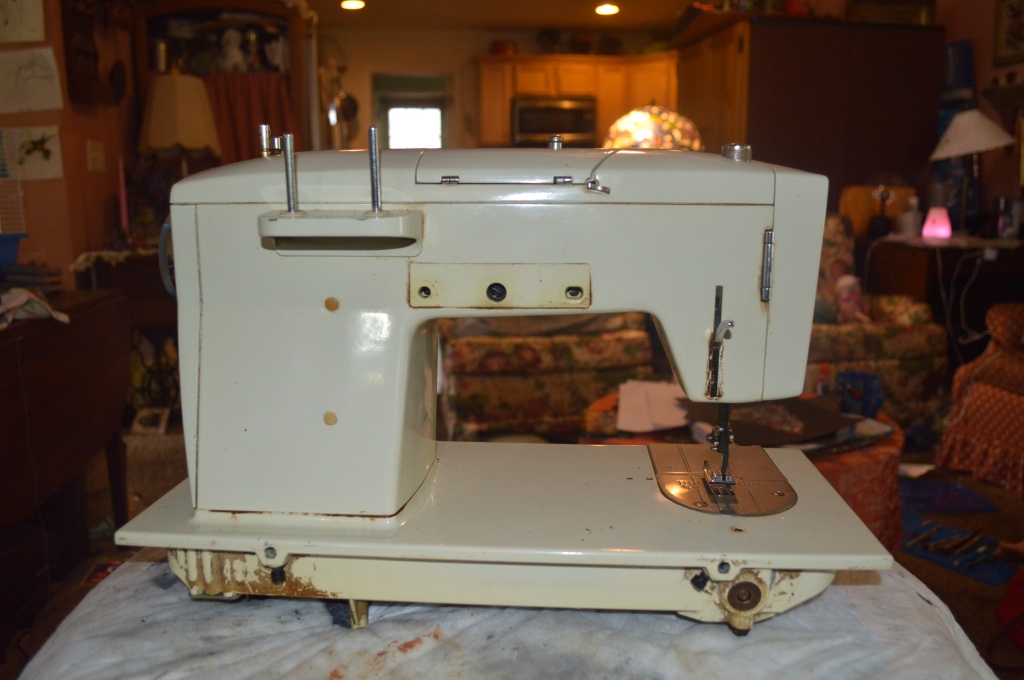
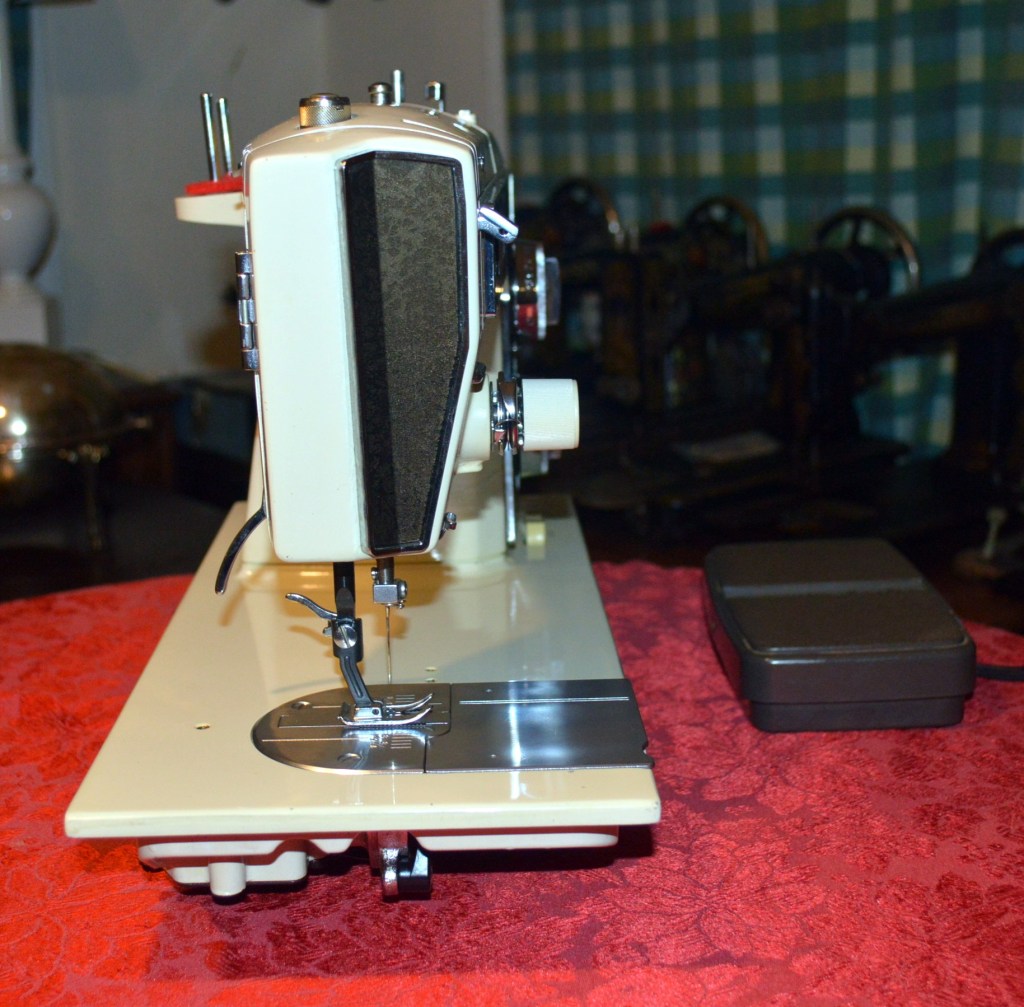
Here is a picture of the machine before restoration…
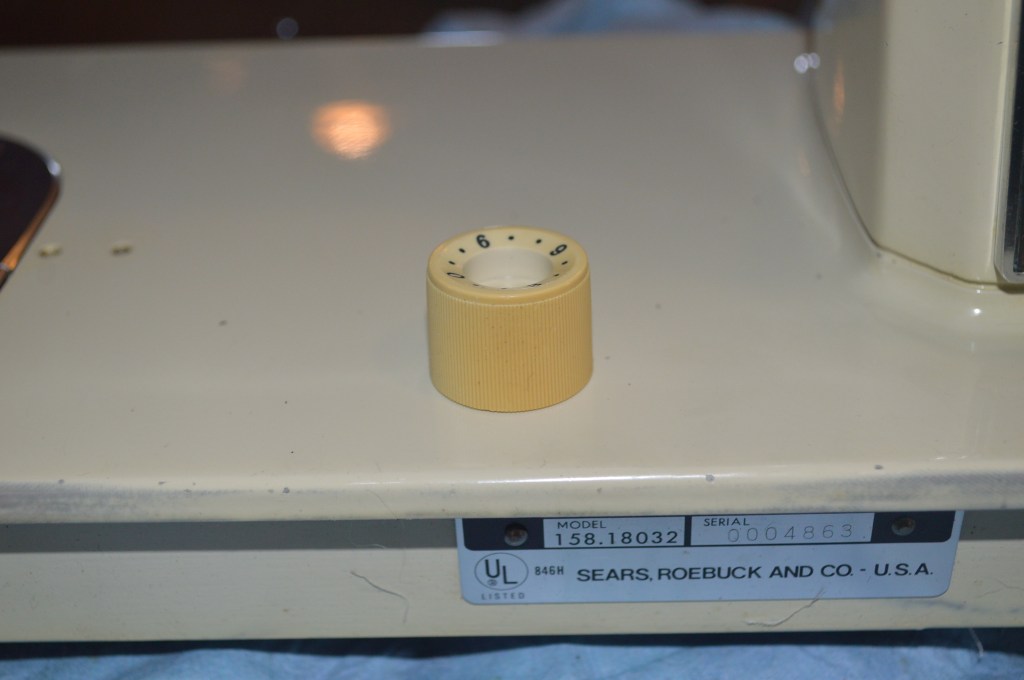
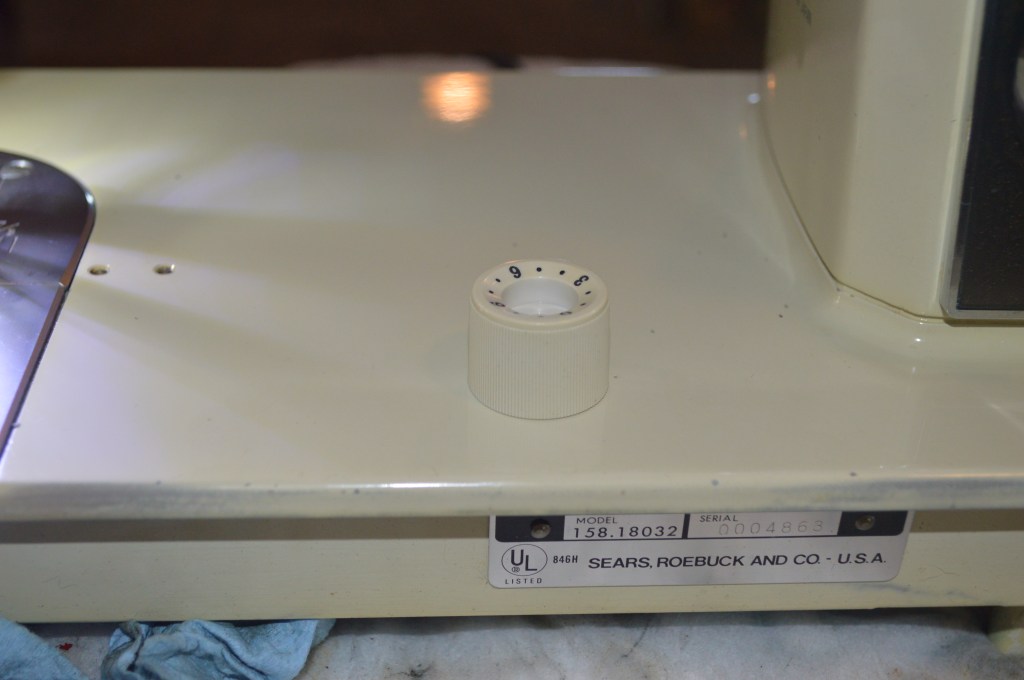
The machine needs several items addressed to restore the cosmetic condition… deep cleaning and restoring the original color of the tension knob… no big deal.
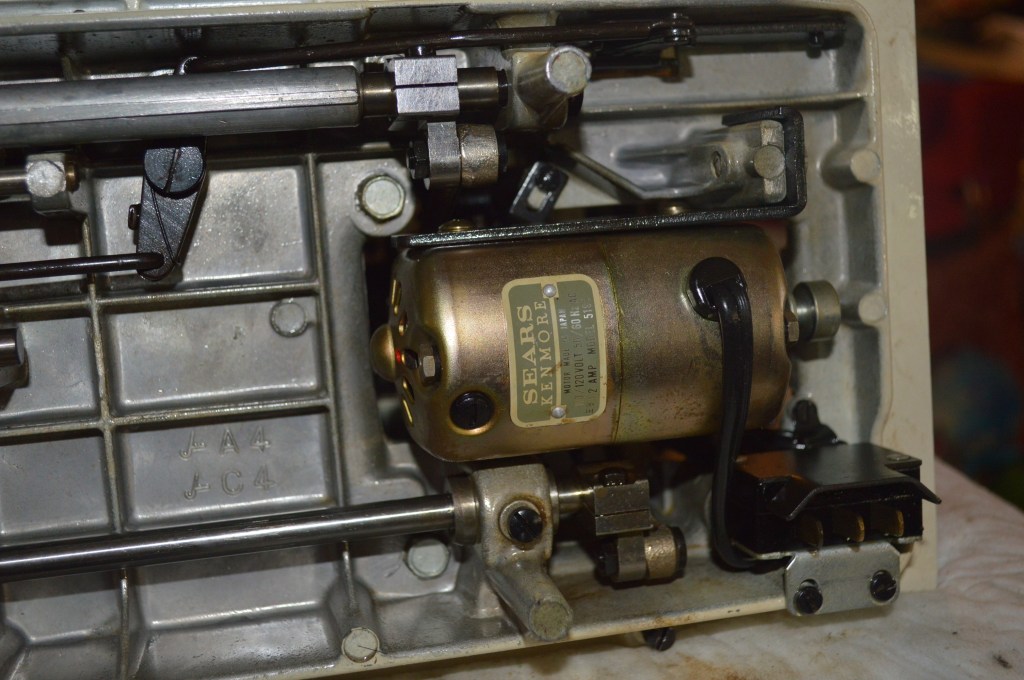
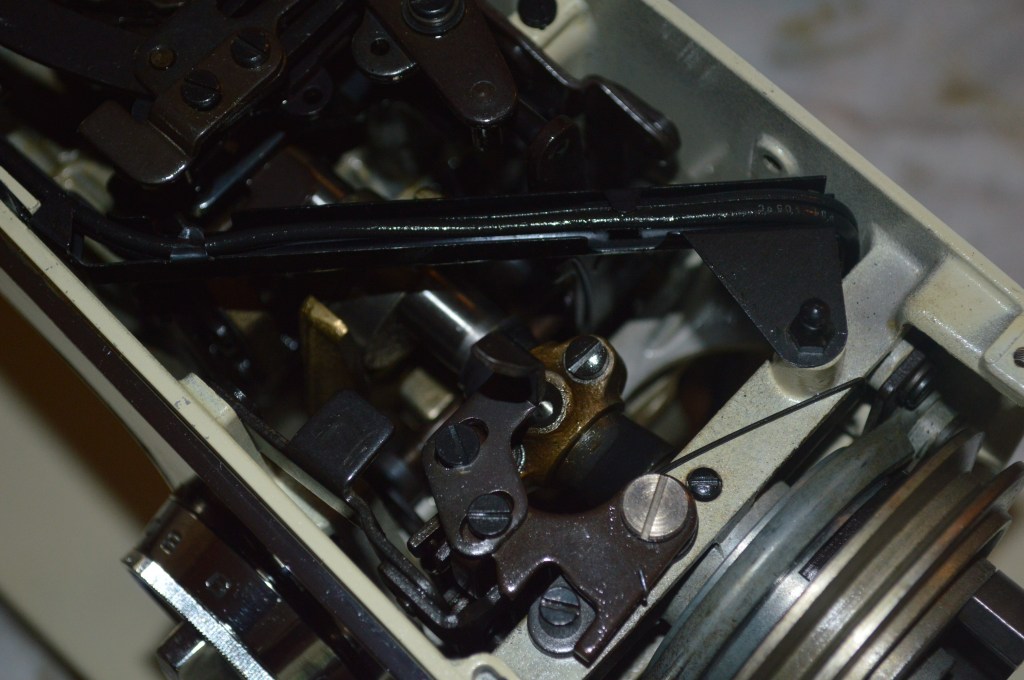
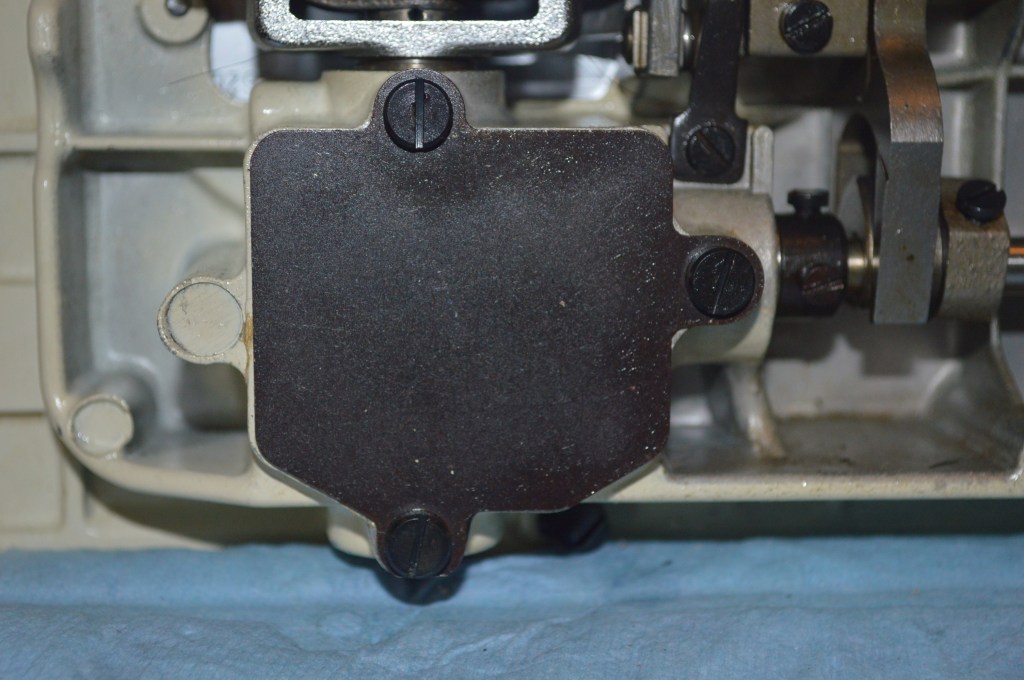
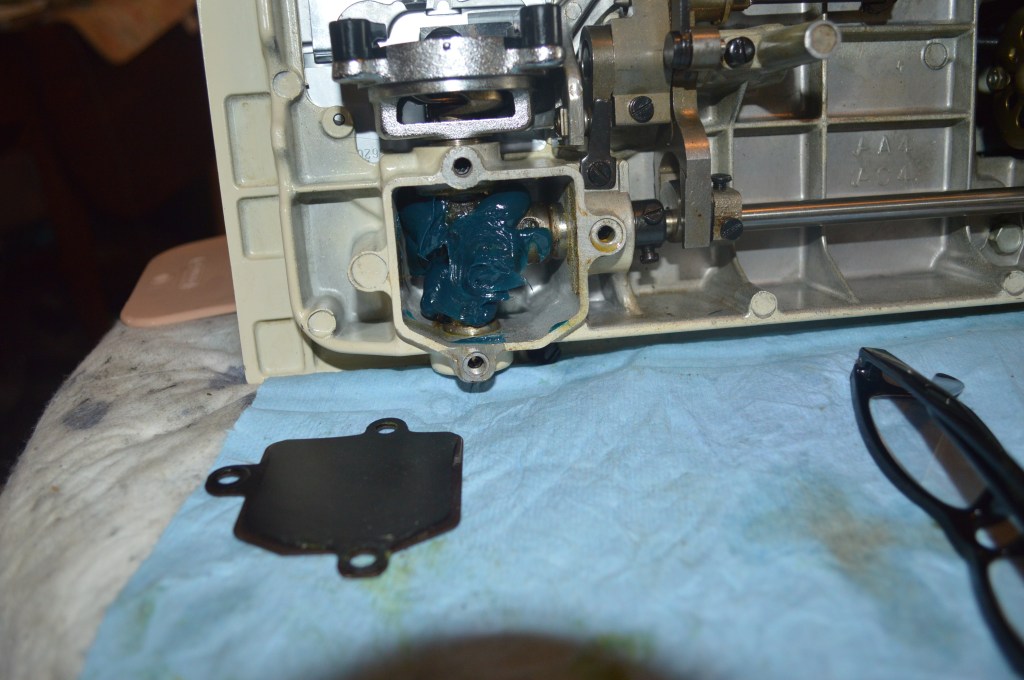
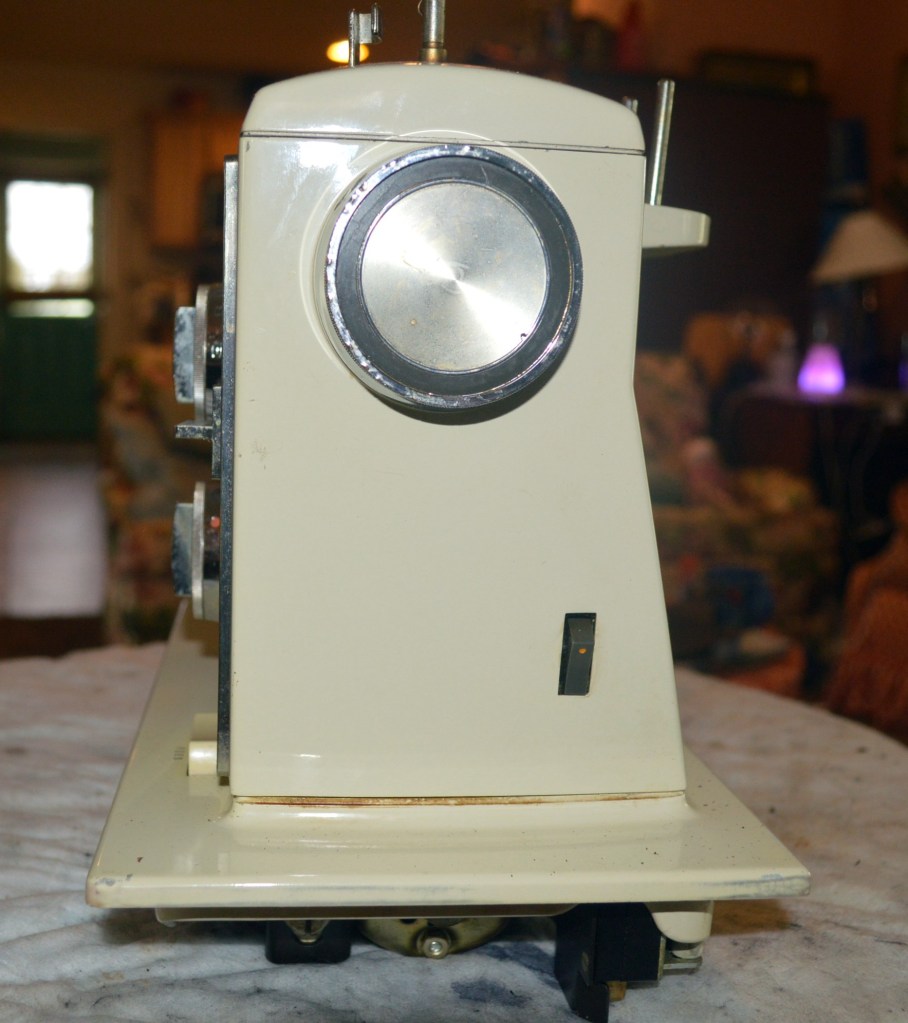
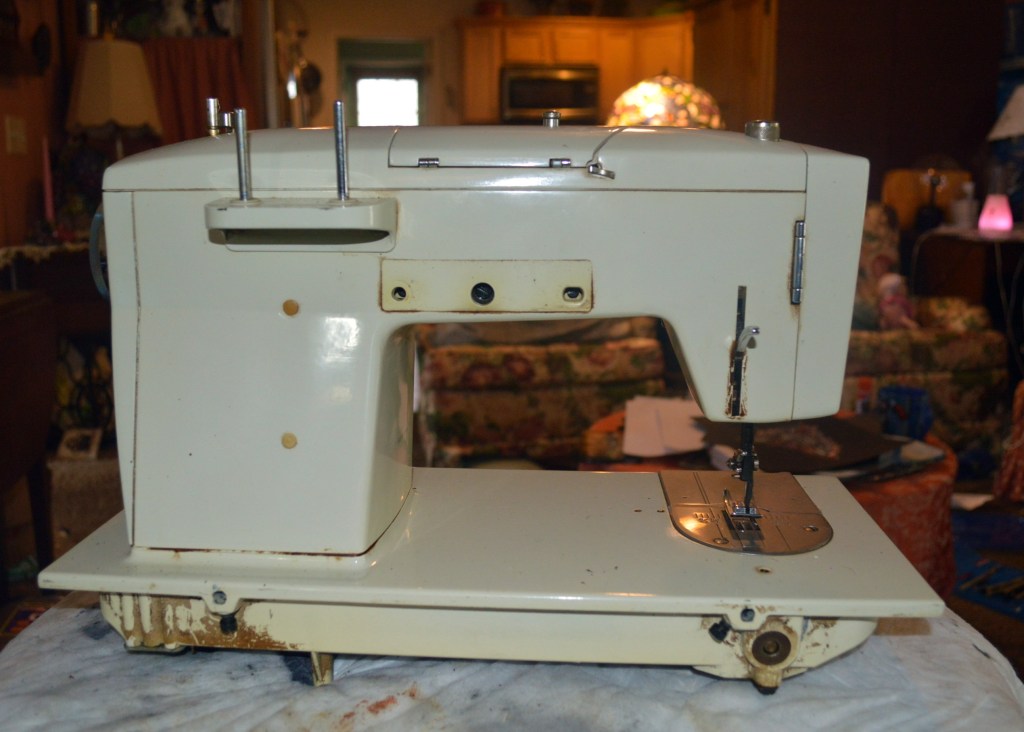
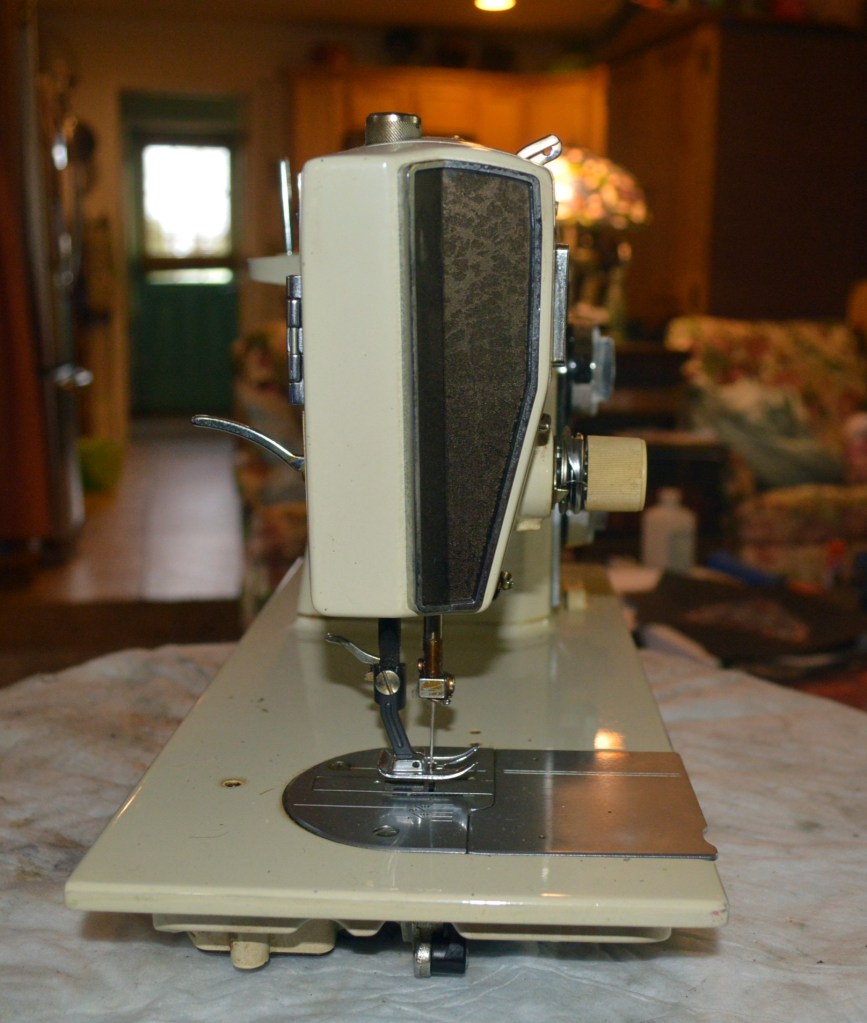
Cleaning the internals and sewing mechanisms is a different story. There is a lot of work here and the restoration begins with removing all of the covers. The bobbin case cover, feed dogs, bobbin winder, tension assembly, and motor reduction pulley. This reveals the extent of cleaning needed and provides access to do it.
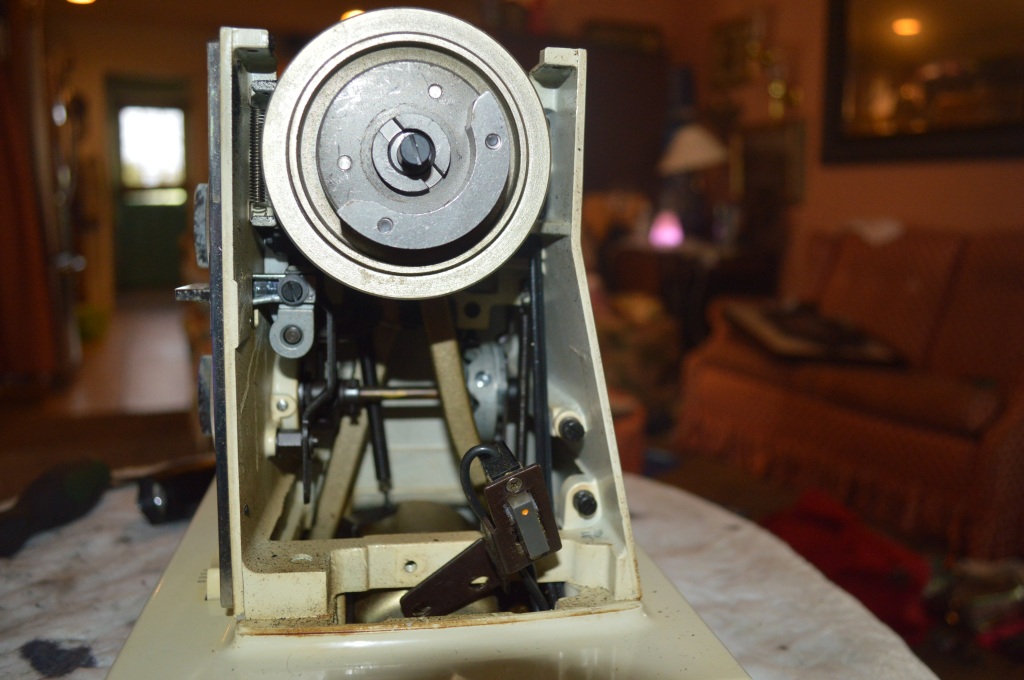
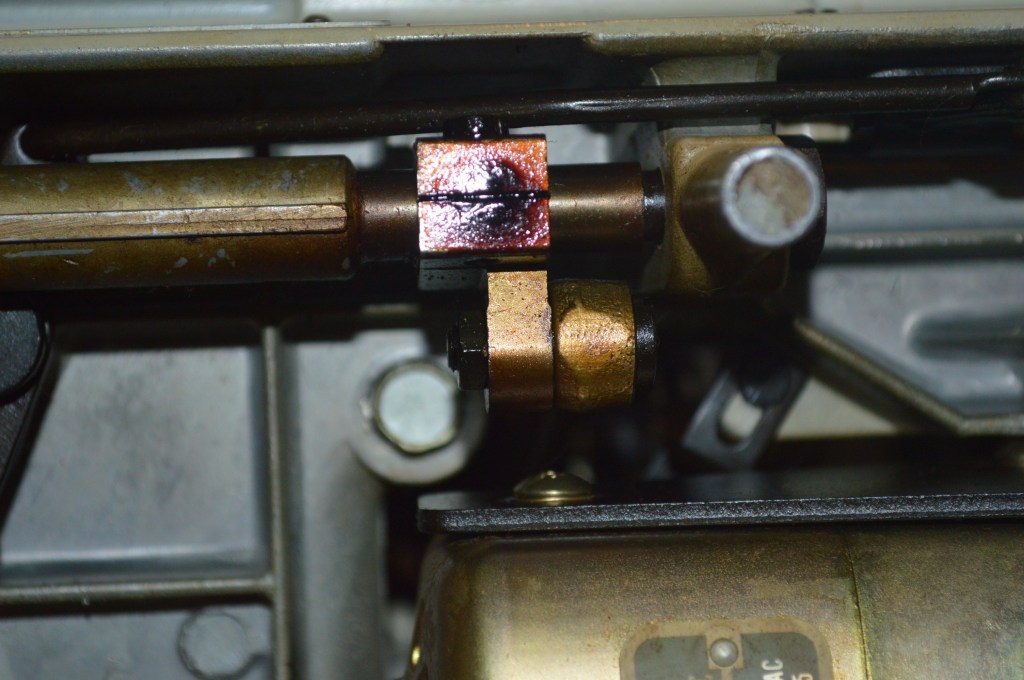
The belt reduction pulley has been removeThe thread guide is removed for cleaningd 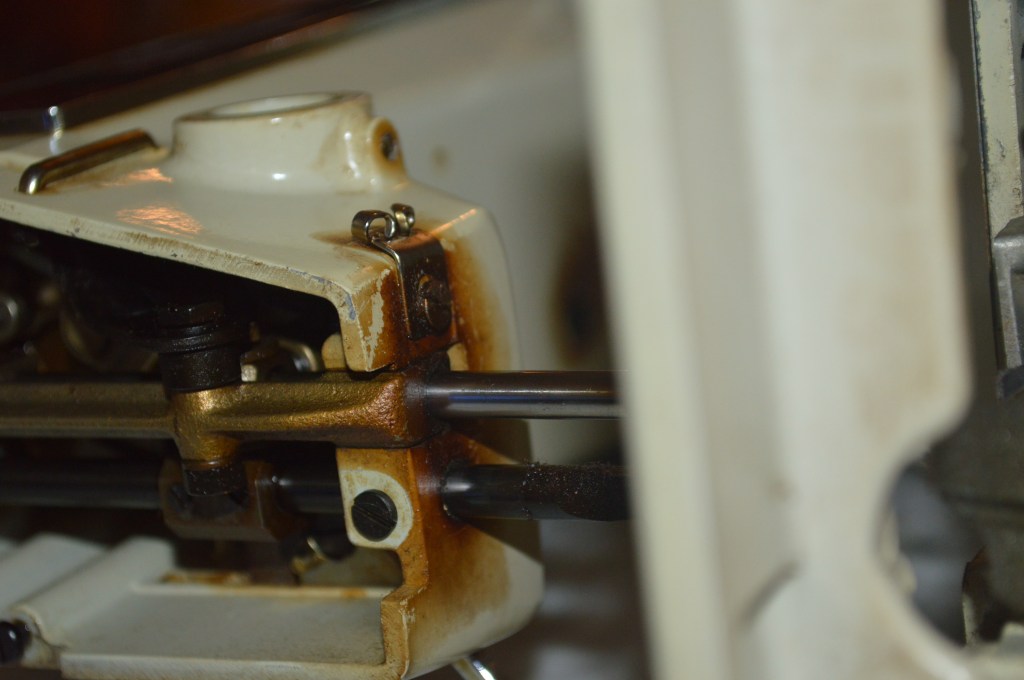
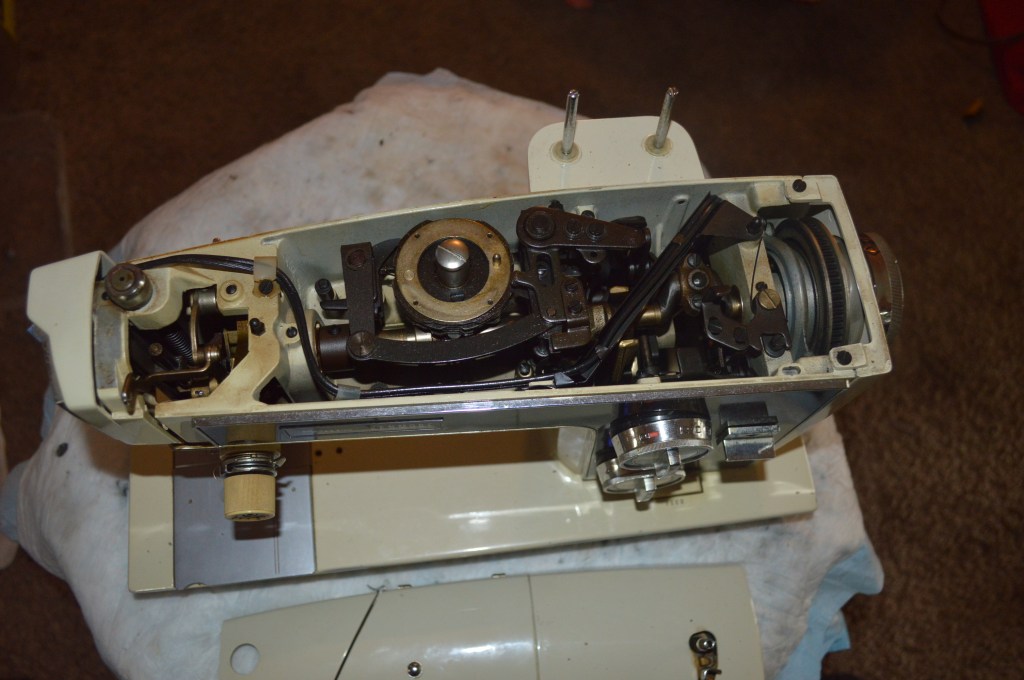
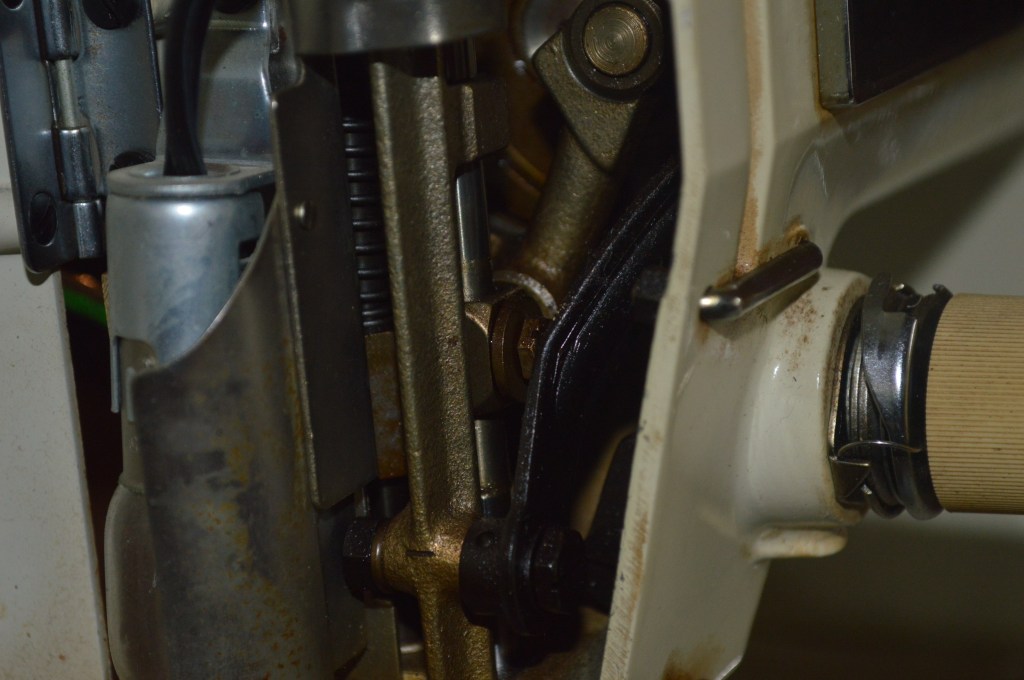
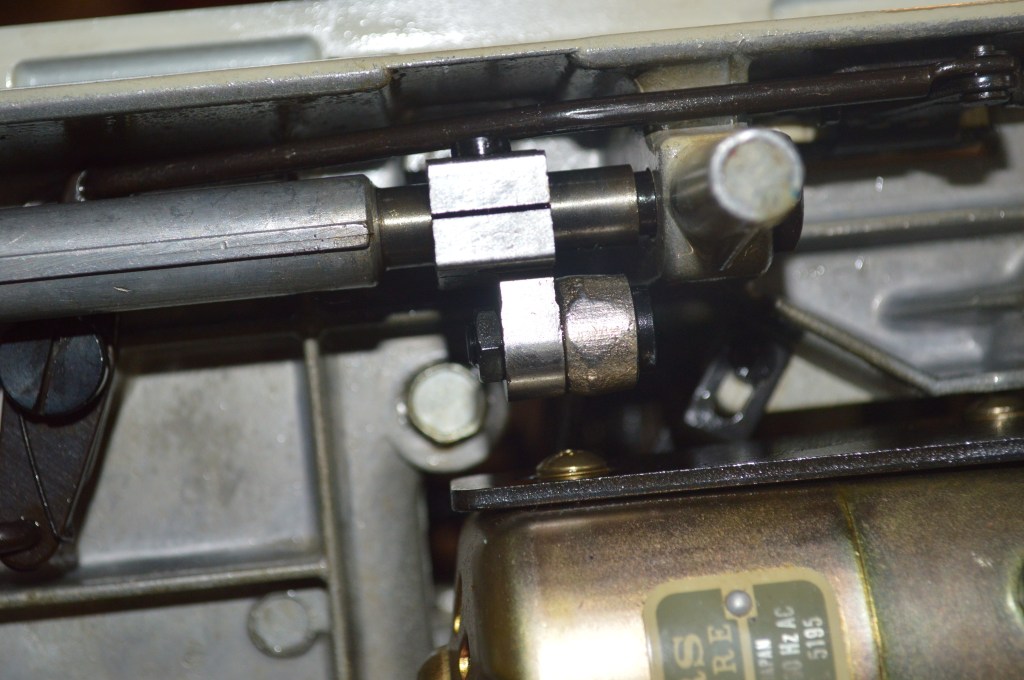
The underside mechanisms look pretty much the same…
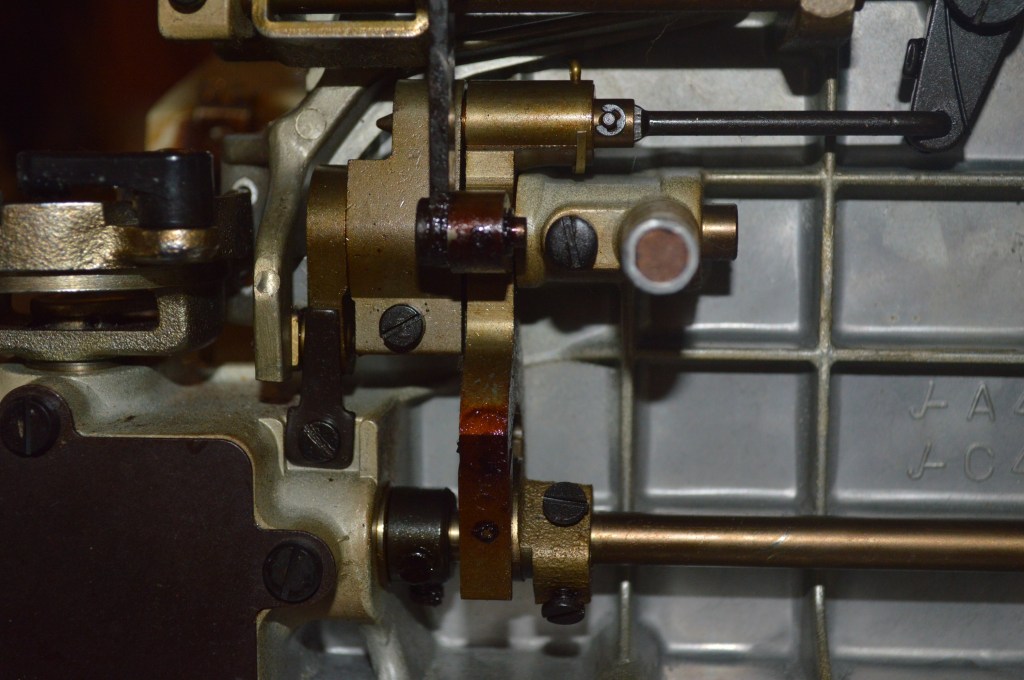
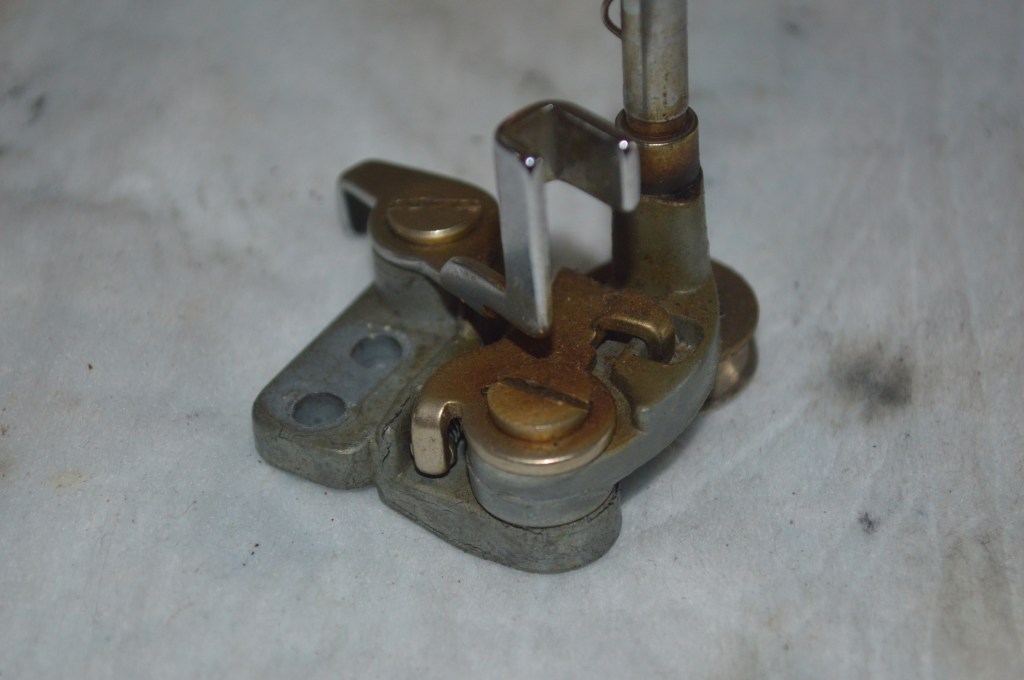
All of these mechanisms are meticulously cleaned…
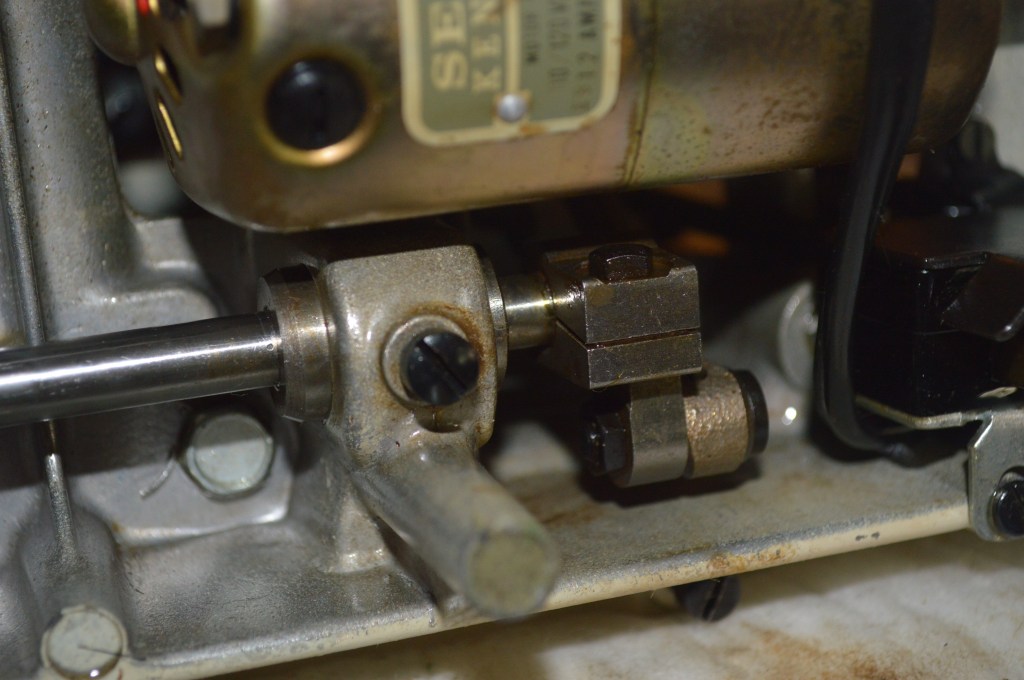
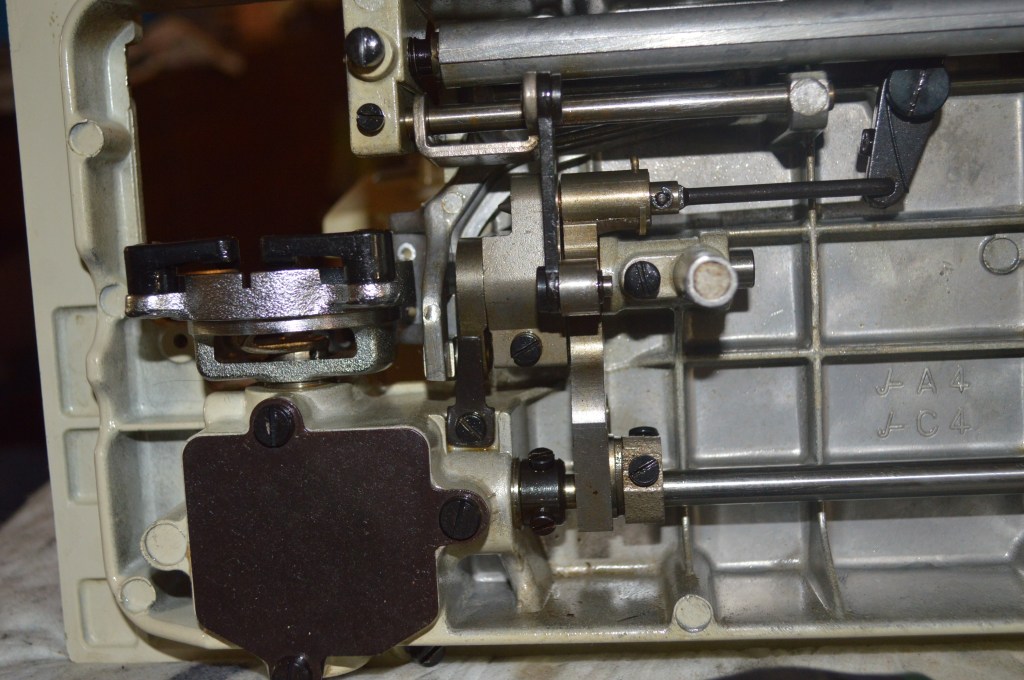
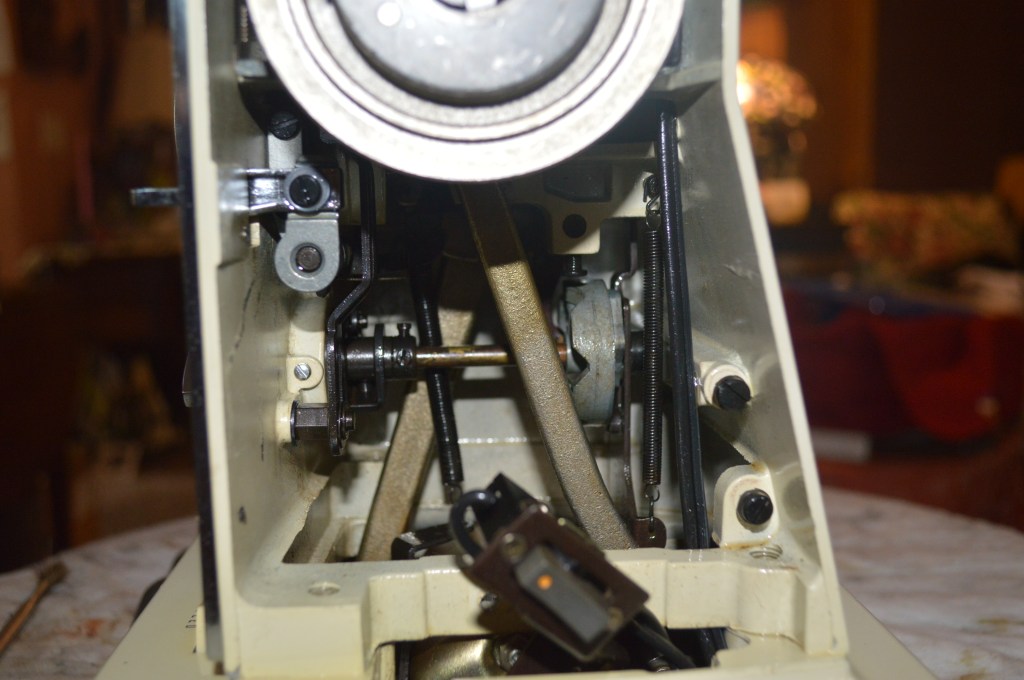
All of the mechanisms are sprayed with Tri-flow oil for smooth operation.
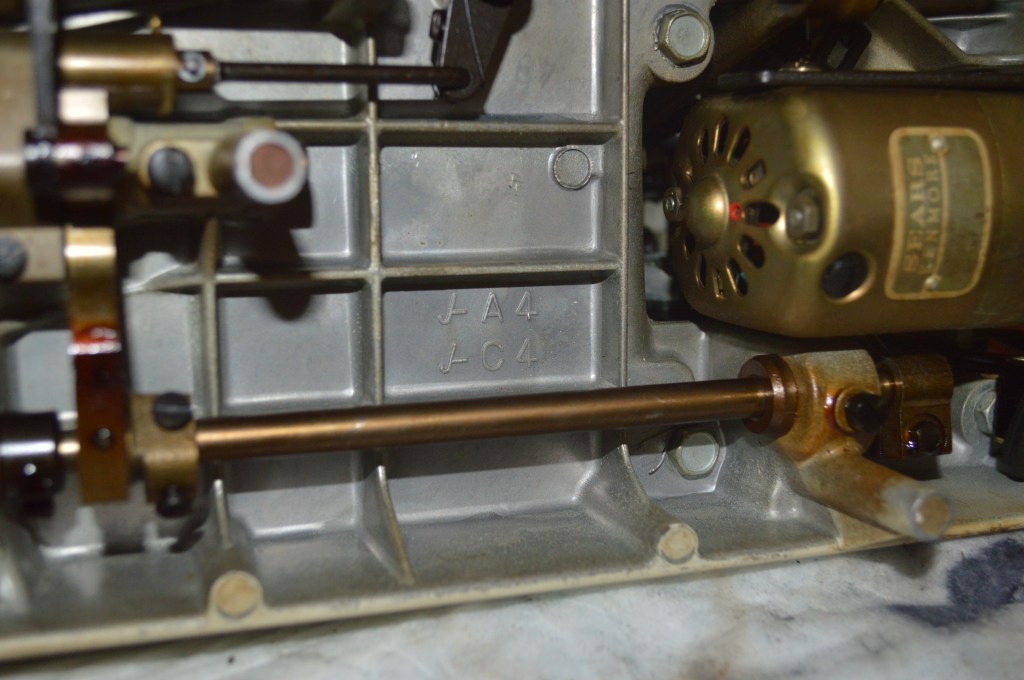
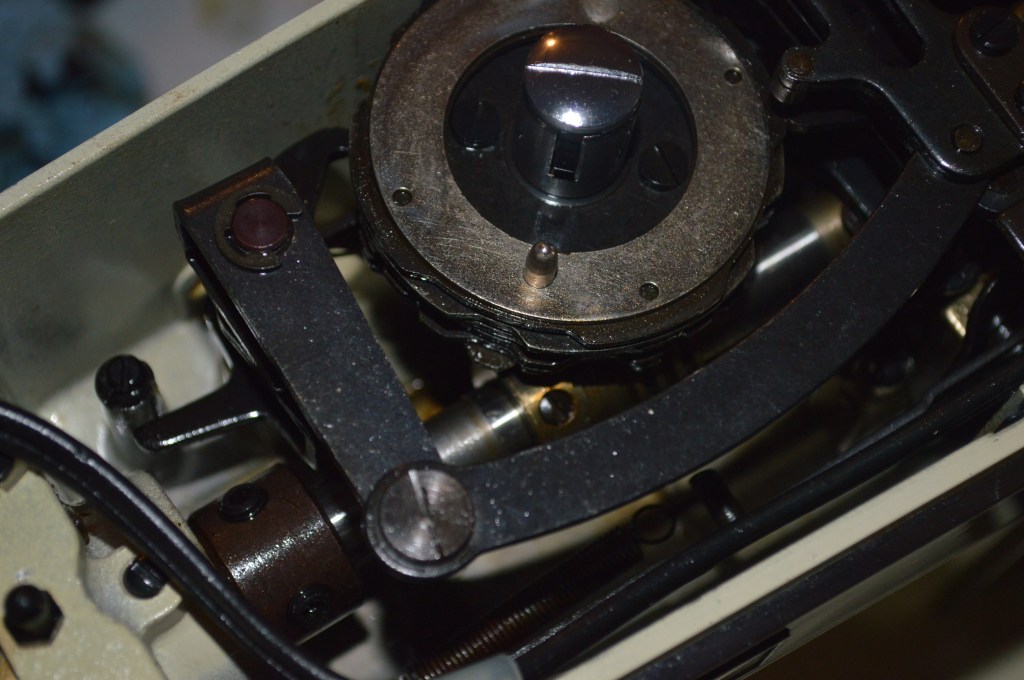
Next the gear case is cleaned and repacked with grease…

The bobbin winder is cleaned…
Now the motor is disassembled. The armature and motor shafts are polished, the brushes and windings cleaned, and the oil felts re-lubricated…


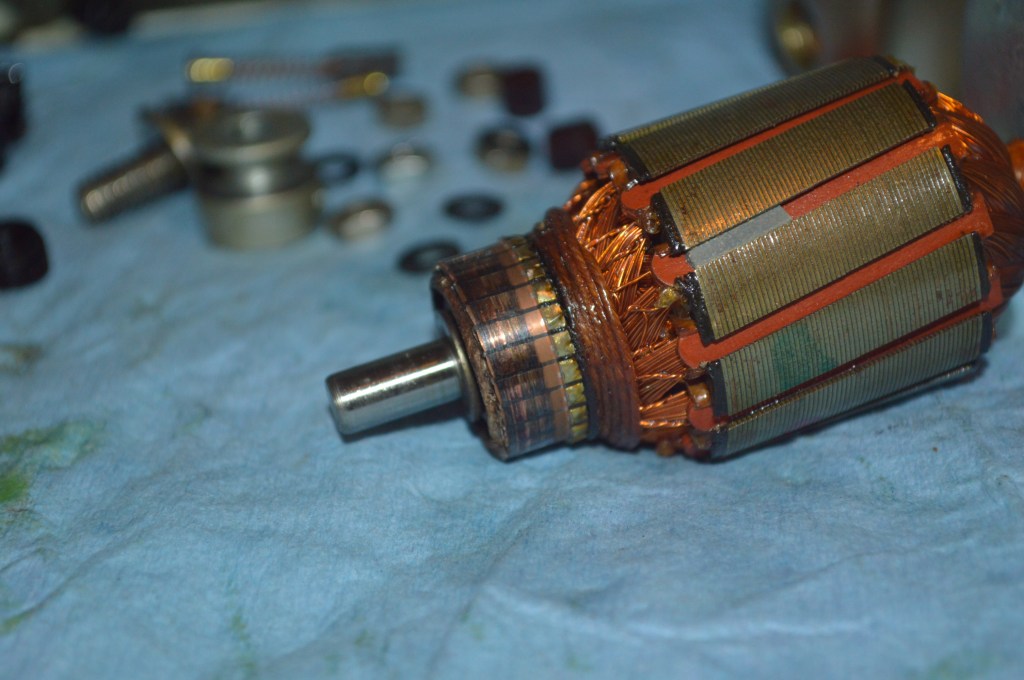
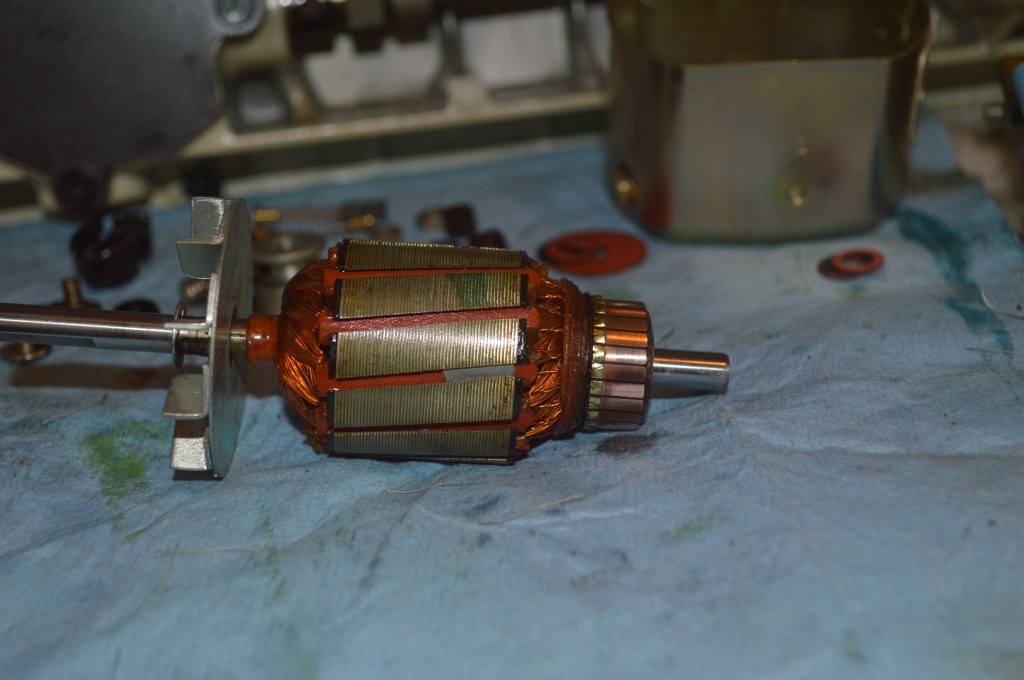
After reassembly, the motor is run it to e ensure is powerful and runs smoothly.
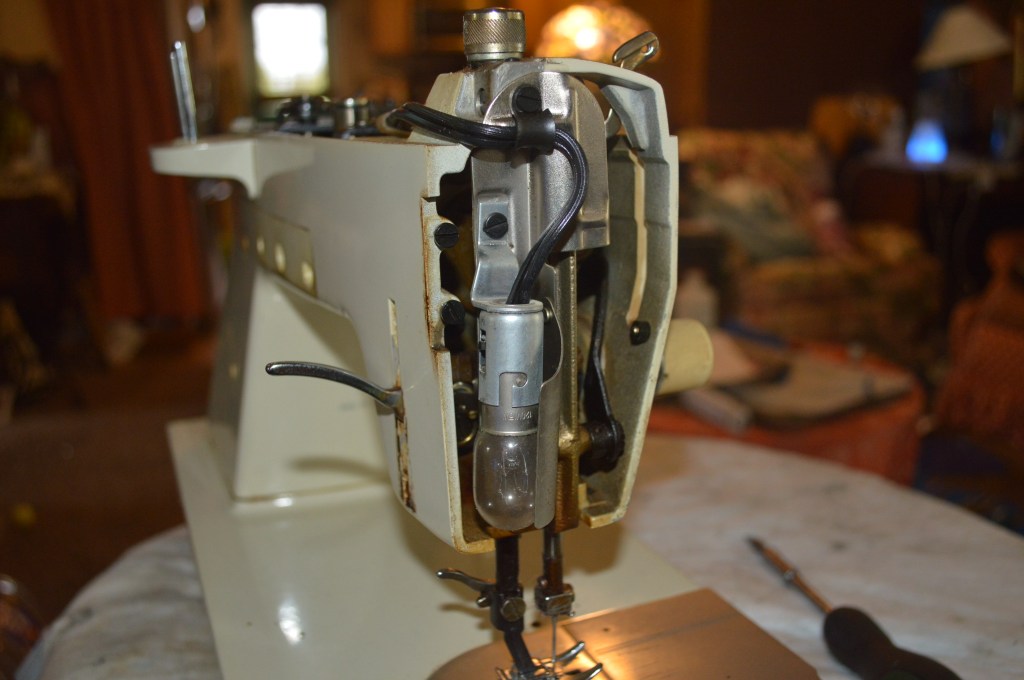
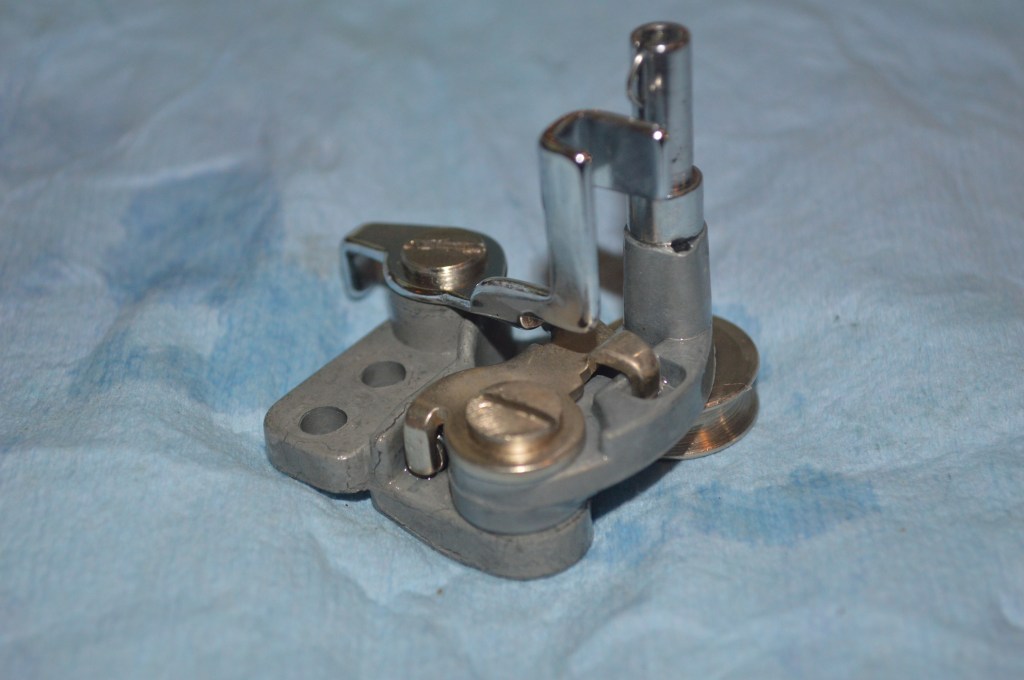
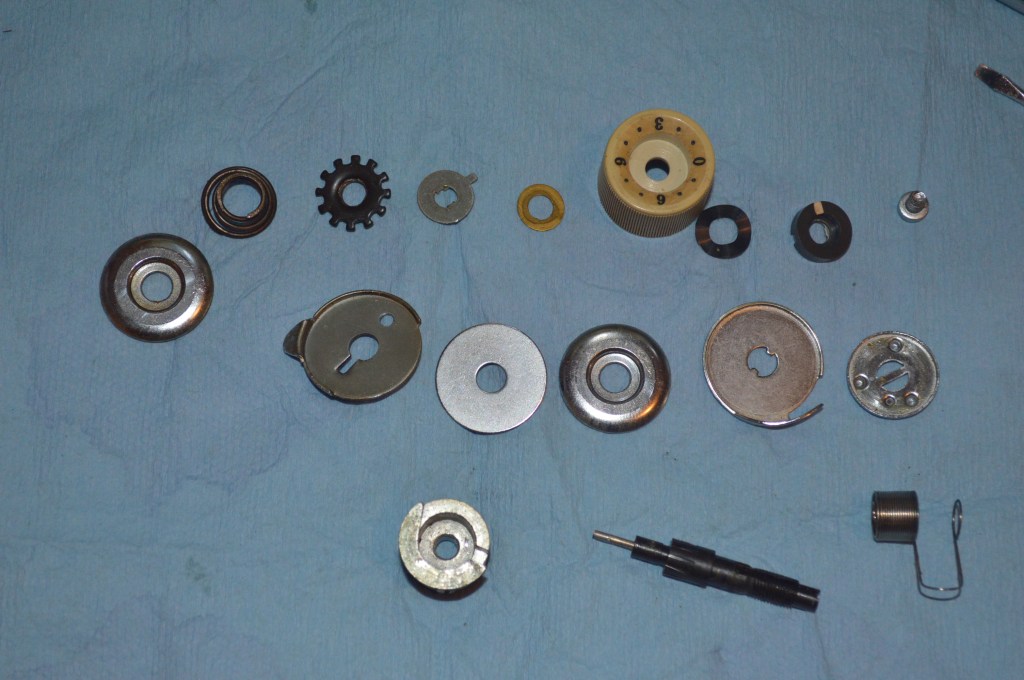
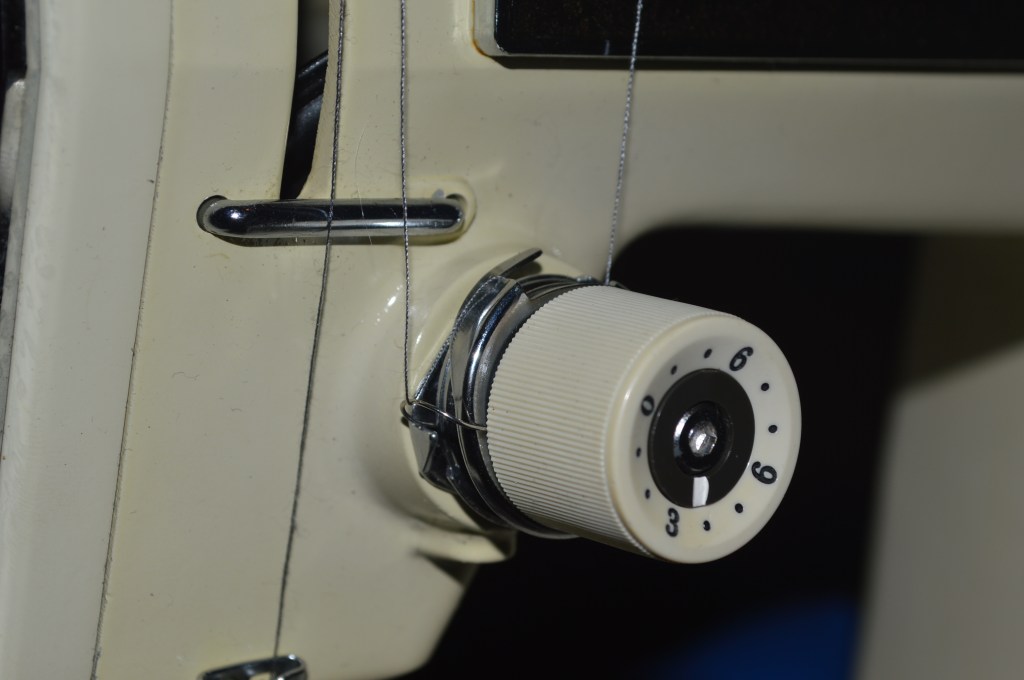
Next, the upper tension assembly is disassembled and cleaned…

The tension knob has yellowed… pretty common on this vintage Kenmore. So… it is restored to it’s original color.
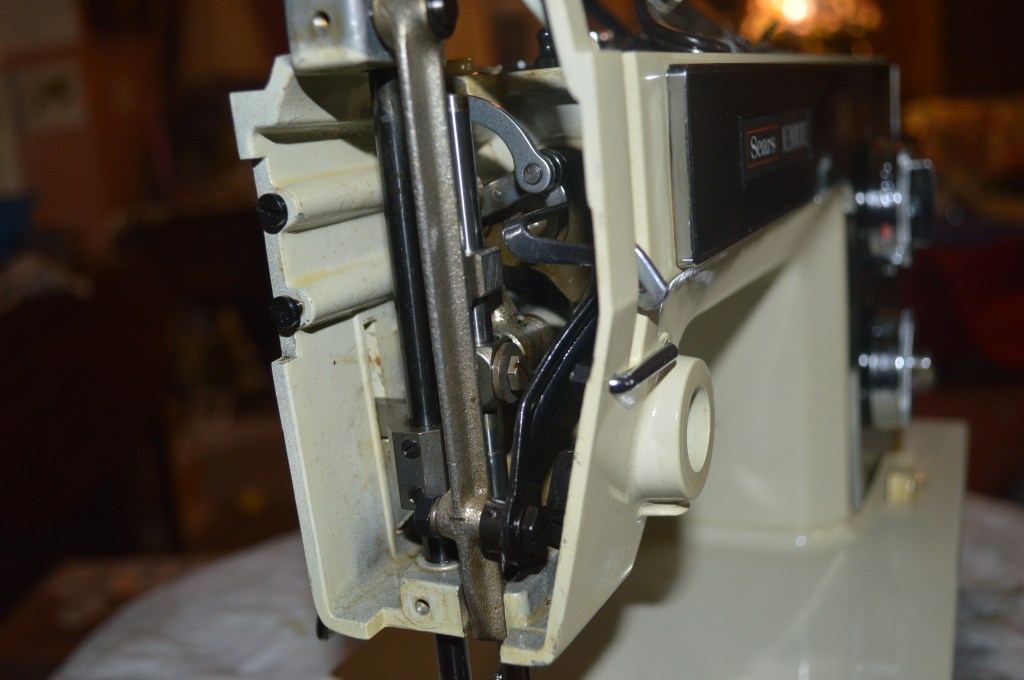
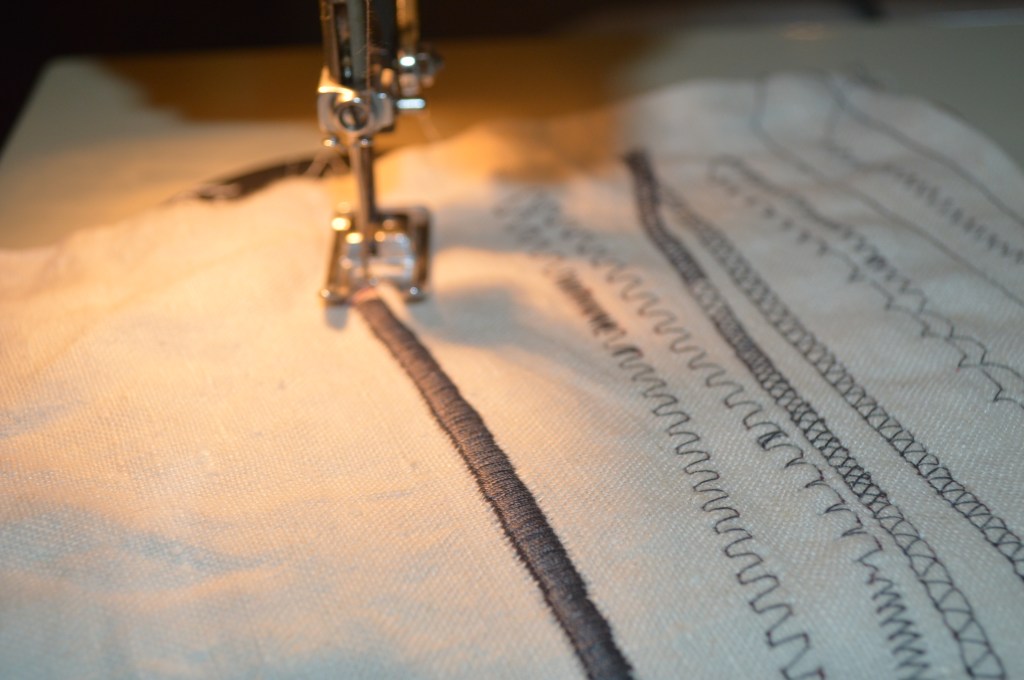
Now the body and all of the covers are cleaned and everything is reinstalled. After the final adjustments are made, the machine is run to ensure all of the controls operate smoothly. This machine uses a solid state controller, and it runs very quietly and has great power and speed control … It is a very satisfying outcome for the restoration of this machine.
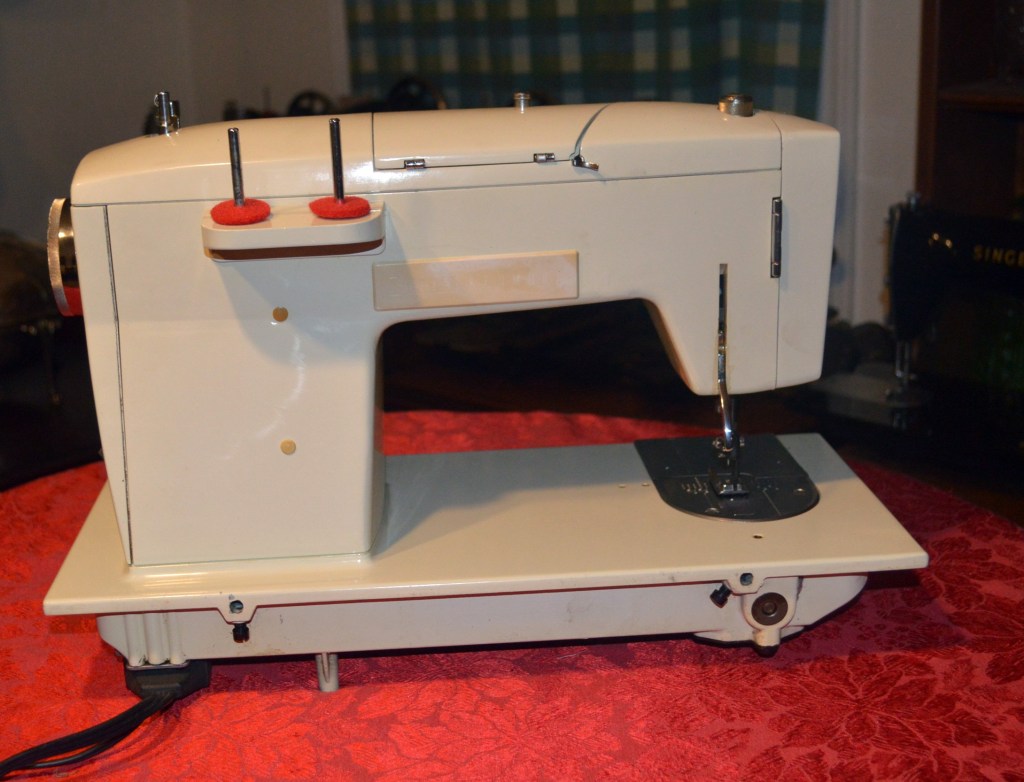
So, here is the machine before restoration…
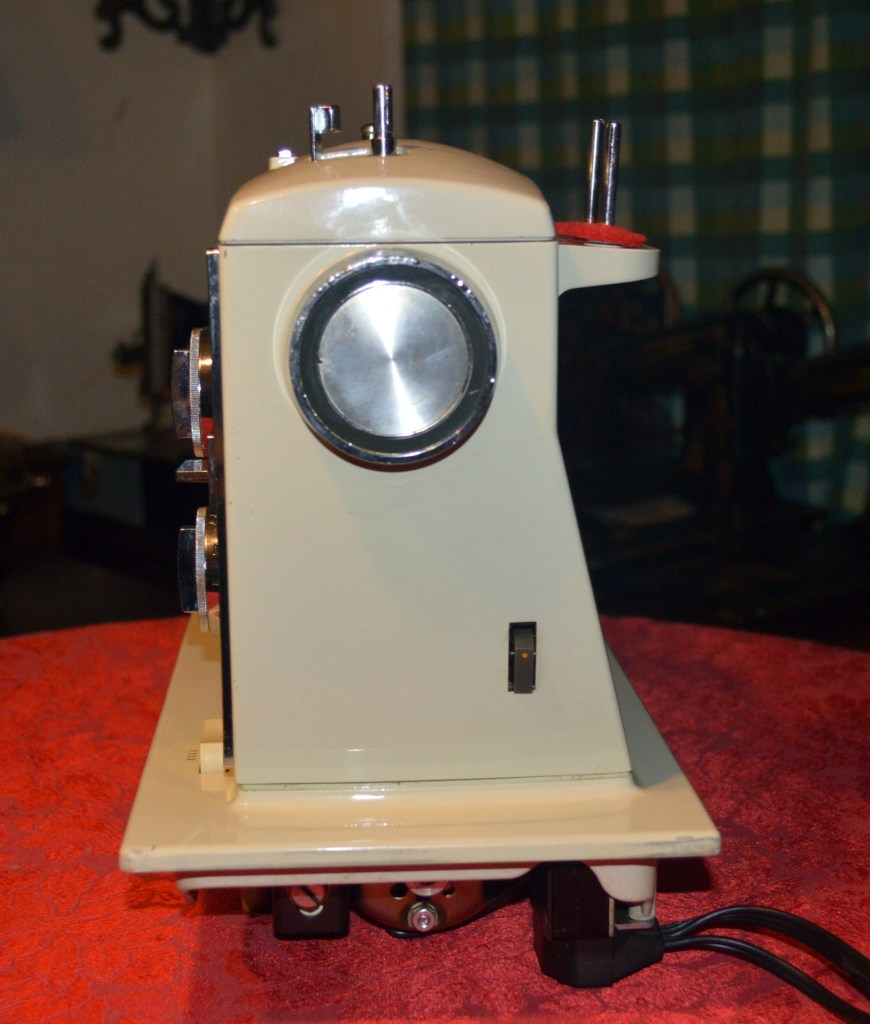
And here is the machine after restoration…

If you like what you see please visit our Etsy store at https://www.etsy.com/shop/pungoliving, and see this Kenmore Model 158.18032 and all of our other restored fine quality vintage sewing machines.

Nice restoration!
LikeLike
Beautiful restoration. I have the same model. However, I can’t find the missing screw bolts to connect the machine to the cabinet. Any ideas?
LikeLike
Hello Karen,
The screws are a standard thread. I will find the thread size and get back to you. You should be able to find suitable screws at the hardware store.
Have a blessed evening!
Lee
LikeLike
I have this machine (Kenmore 158-18032) which I bought NEW with cams & Monogramer. It is set into a Kenmore Cabinet that was for my Mom’s 1940’s Kenmore machine. The machine has been unused for a number of years, and now that I want to use it, it only sews in reverse. I have hunted and hunted for a service manual that might have information about this problem. My husband and I have both had the machine apart, but cannot find where the linkage is frozen that prevents forward sewing.
LikeLike
Hello!
The 1803 has a stitch varigator selection for certain stitches. It controls the direction of the feed dogs and may be that it is not set properly. There are other things that can interrupt forward sewing and I don’t know the range of the problem.
If you send me an email to pungoliving@gmail.com I will be happy to send you the users manual for your machine. There are a few things you can check out in the meantime. First thing to do is make sure the machine does not have a cam in it and set the stitch length to the red “S” with the other knob setting for S-M-L set to S. using the longest straight stitch, the machine should sew a straight stitch in the forward direction.
Look at the manual to confirm the settings and if it is still sewing in reverse, the stitch length fork is frozen in the reverse position, or the linkage from the reverse control is frozen and not allowing the stitch length fork to move properly.
Please let me know if any of this solves your problem.
Have a great evening!
Lee
LikeLike
Very nice work. I have the same model # in very nice condition. Very clean and shiny interior. One problem I found was I can move the needle by hand but when I apply power it doesn’t move. Any idea where to start
LikeLike
Hello Ken,
When you say the needle can be moved by hand, do you mean by turning the Balance wheel?
It could be as simple as the bobbin winder mechanism being engaged. Otherwise, it may be the motor belt is loose or broken.
Perhaps if you give me a little more information, I can help you narrow the problem down.
Have a great day!
Lee
LikeLike
Checked belts both have about the same tension. Yes when I turn the wheel everything works. When I apply power belts run but nothing on the top of the machine moves. How do I know if the bobbin winder is engaged?
LikeLike
The 1803 is slightly different than other models. There is a rectangular button on the top cover near the bobbin winder. After a bobbin is wound, this button must be pressed in to reset the mechanism.
Do you have a manual for your machine? If not, send me an email to pungoliving@gmail.com and I will send you a copy.
I hope this helps!
Lee
LikeLike
Thank you for such a thorough post on this. I have almost this same unit – 158.18033, which I bought only recently. It looks very clean and I’ve made sure it is oiled. I wanted to check/correct the belt tension. I removed the two screws on that side plate, but it seems like the wheel is larger than the hole (so must’ve been installed last). I tried to gently pry the cover of the wheel off, but that seemed like a Pandora’s box I didn’t want to open. Can you help me figure out how to get that side plate off? Thanks. 🙂
LikeLike
Hello Karen,
It’s not as difficult as it seems. I have attached a tutorial on how to change the motor belts on a Kenmore. It isn’t the same machine, but the steps are applicable to your machine.
I hope this helps!
Lee
LikeLike