
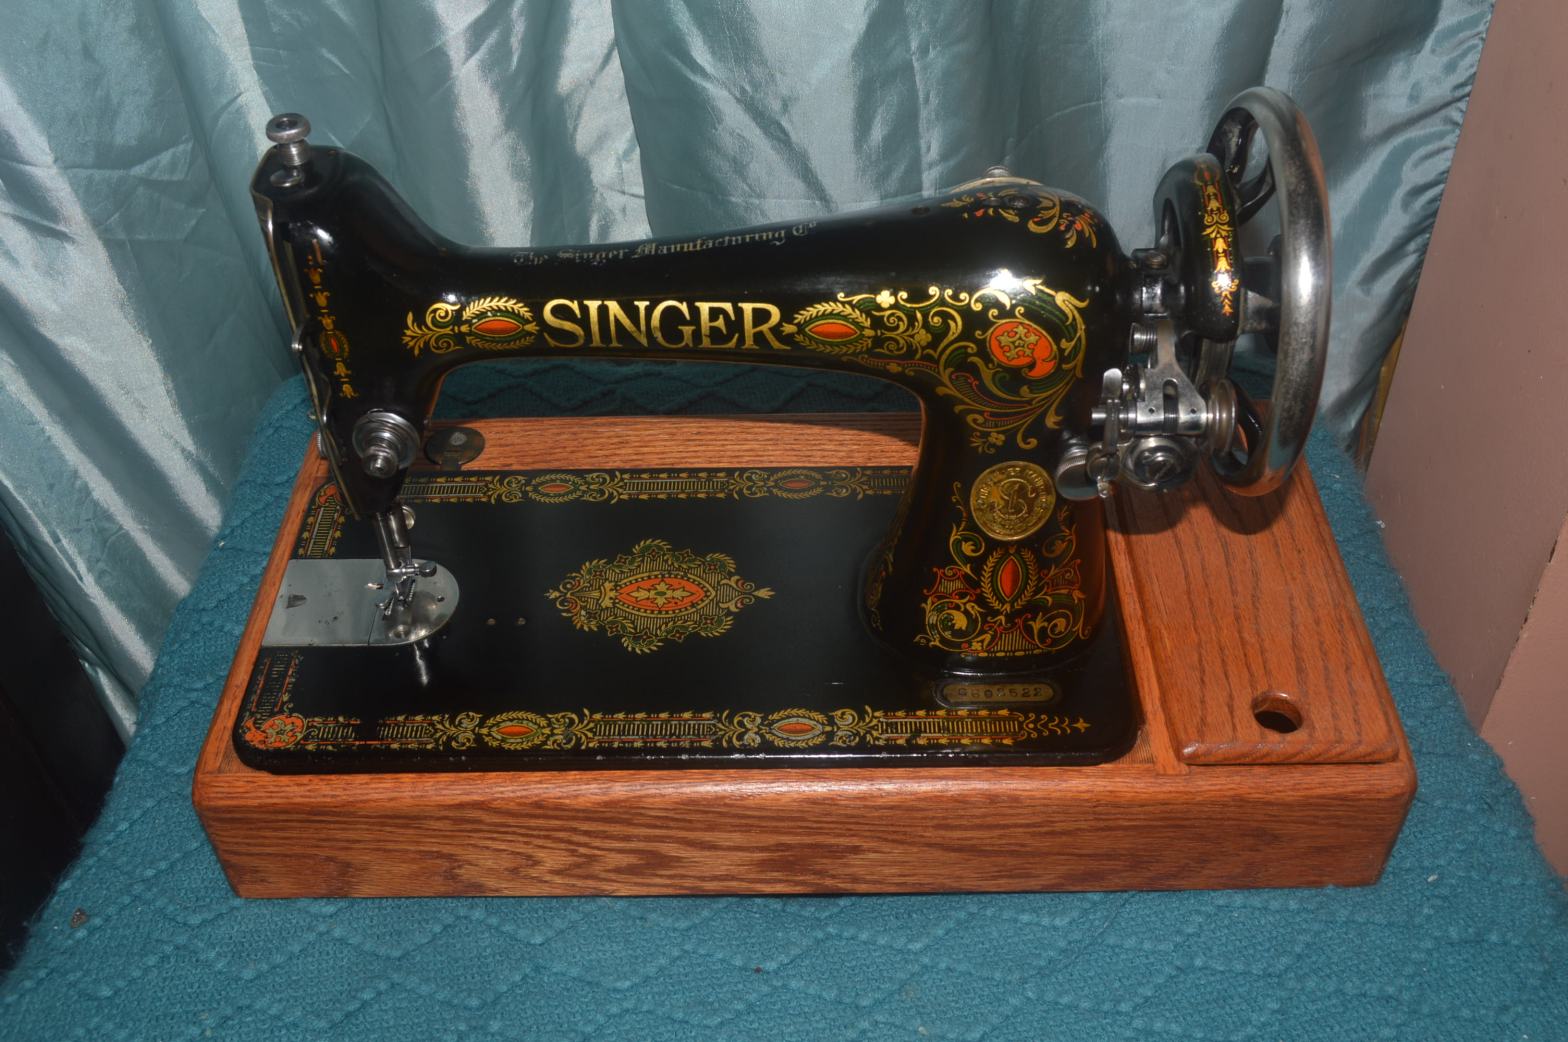
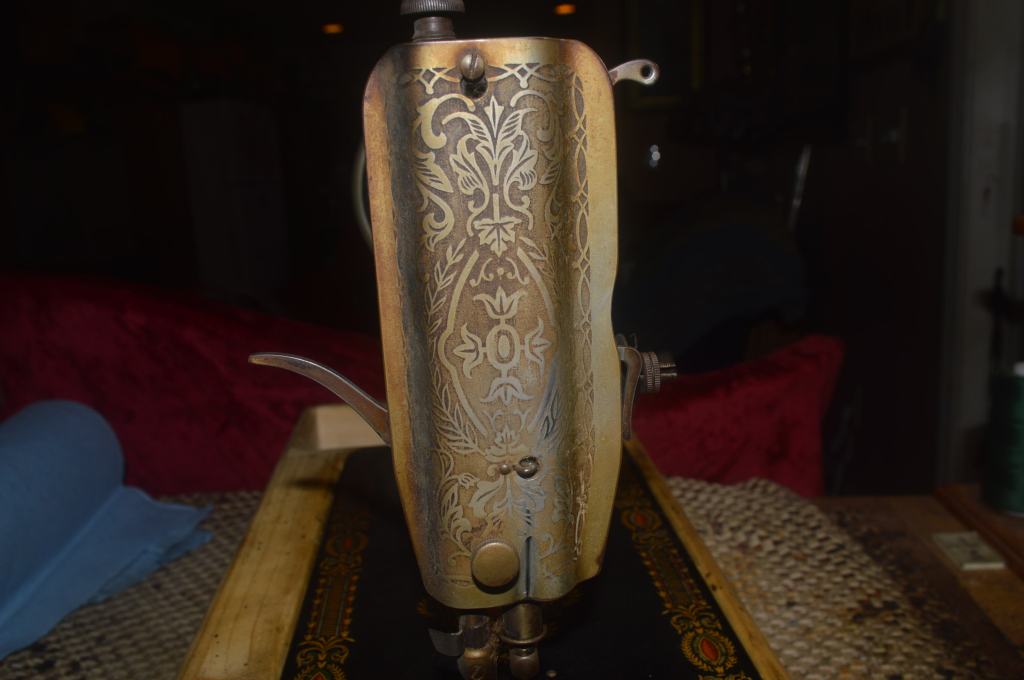
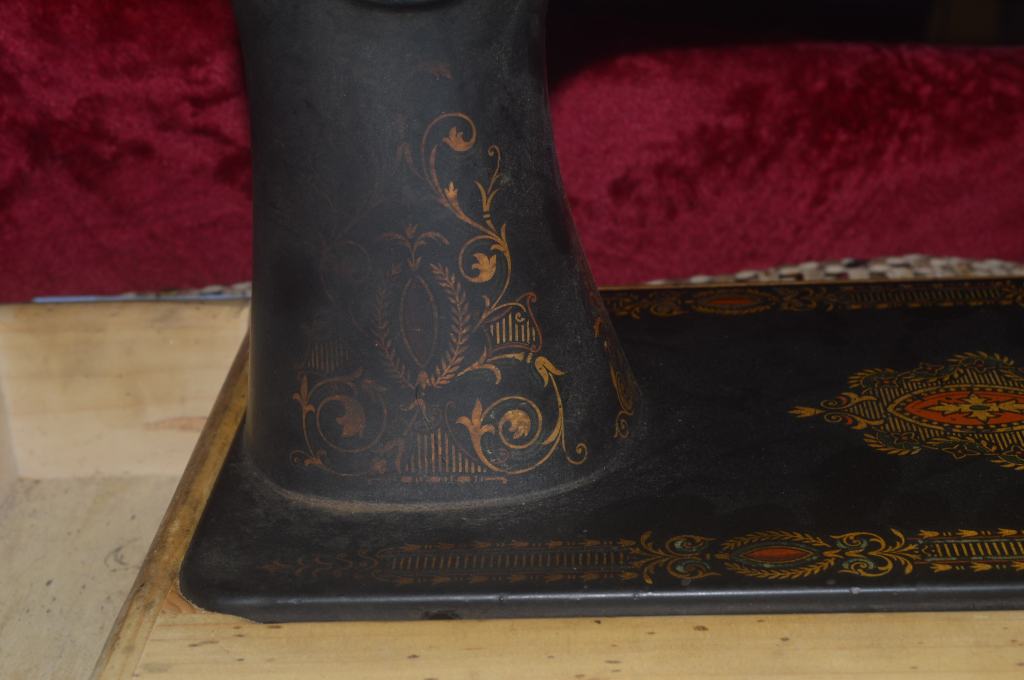
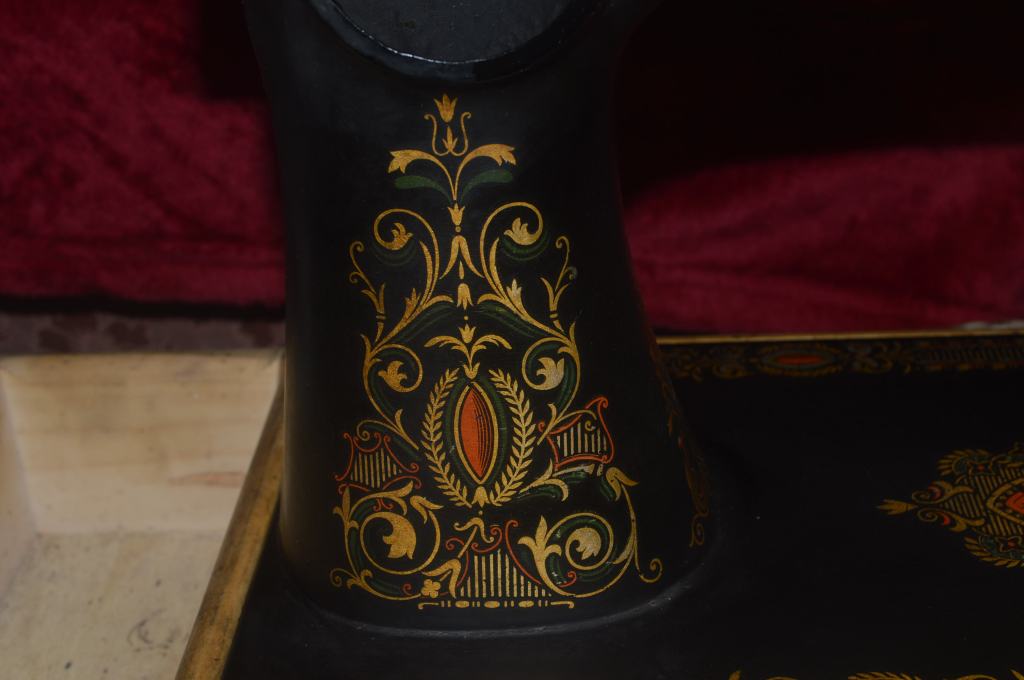
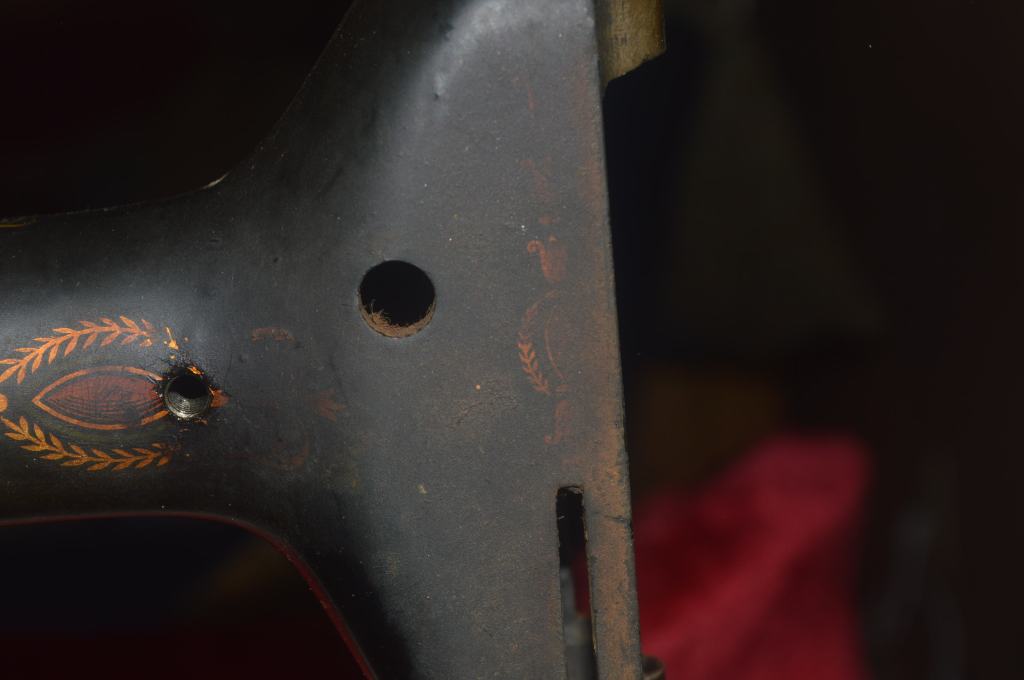
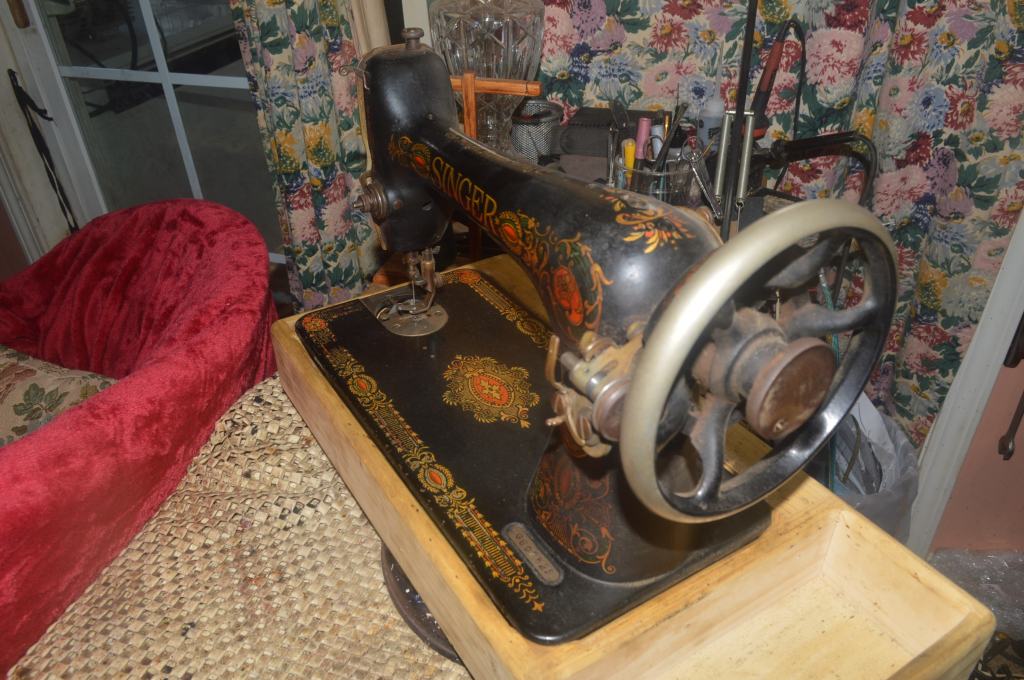
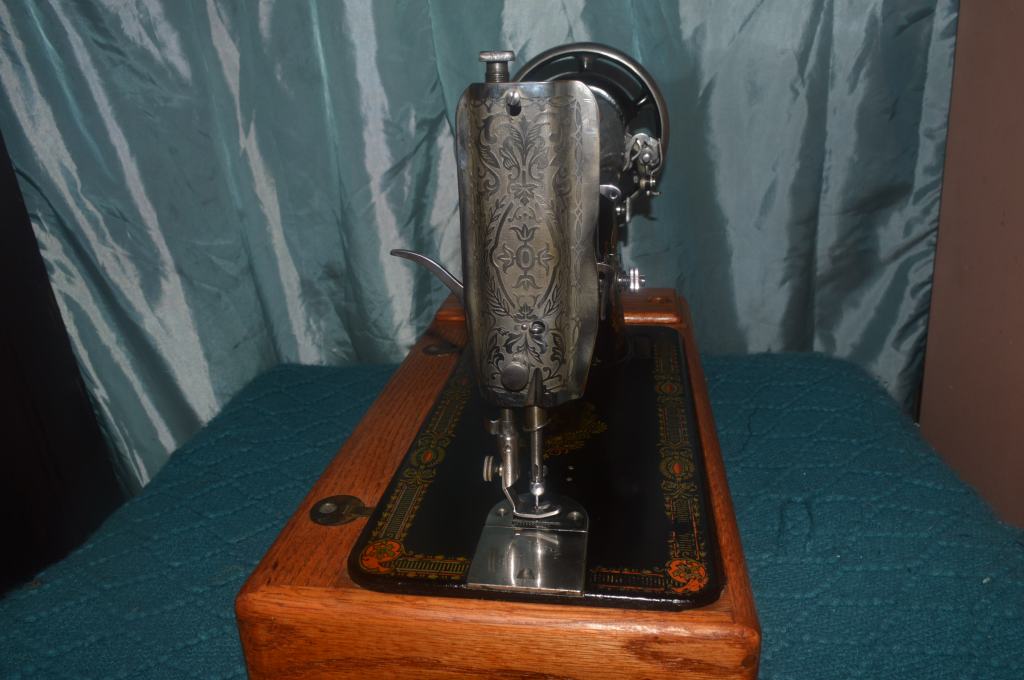
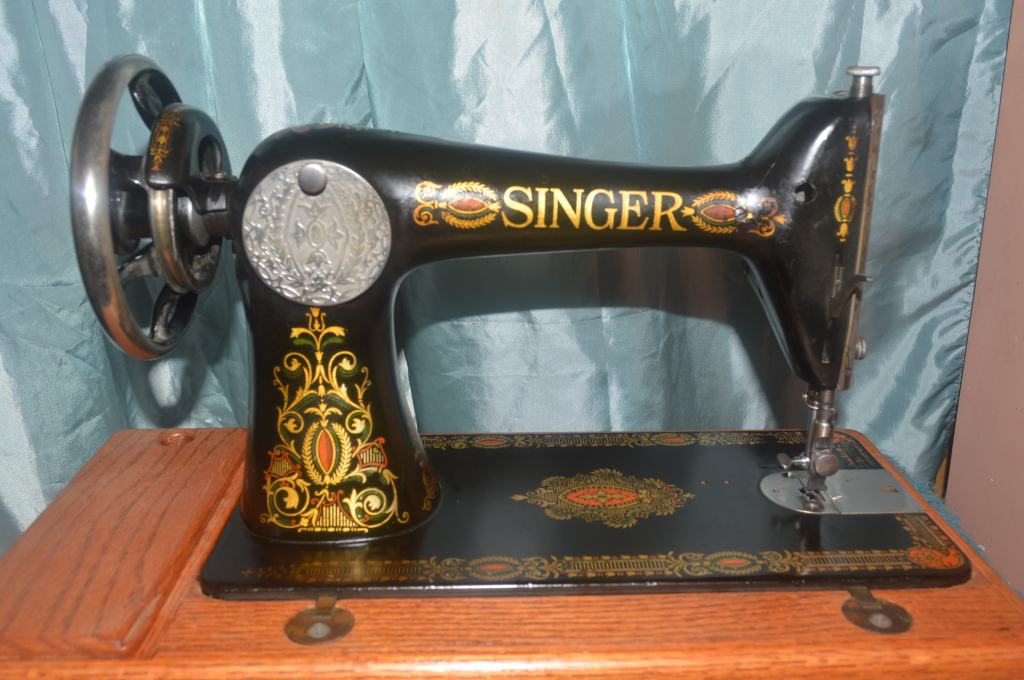
This machine is a perfect example for a sewing machine restoration. Manufactured in 1910, it machine was made exclusively as a treadle machine. There is no provision on the body casting to attach a motor, or more likely for the times, a hand wheel crank. The machine is dull from old dirt and oil. It shows some wear on the decals, but not as much for a 113 year old machine as you would think. The machine is very stiff and has the hallmarks of a machine that has been unused for some time. So, what makes it a perfect candidate for a restoration? Well, it is my expectation of the before and after condition. I know the mechanical restoration will be successful and I expect the appearance of the machine will be quite good as well.
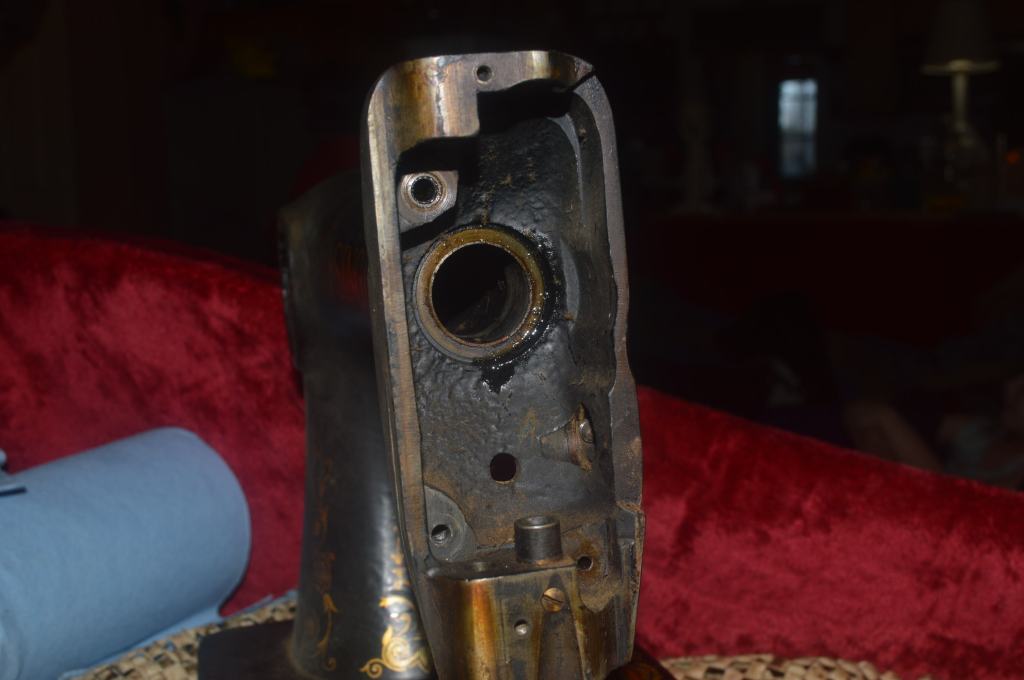
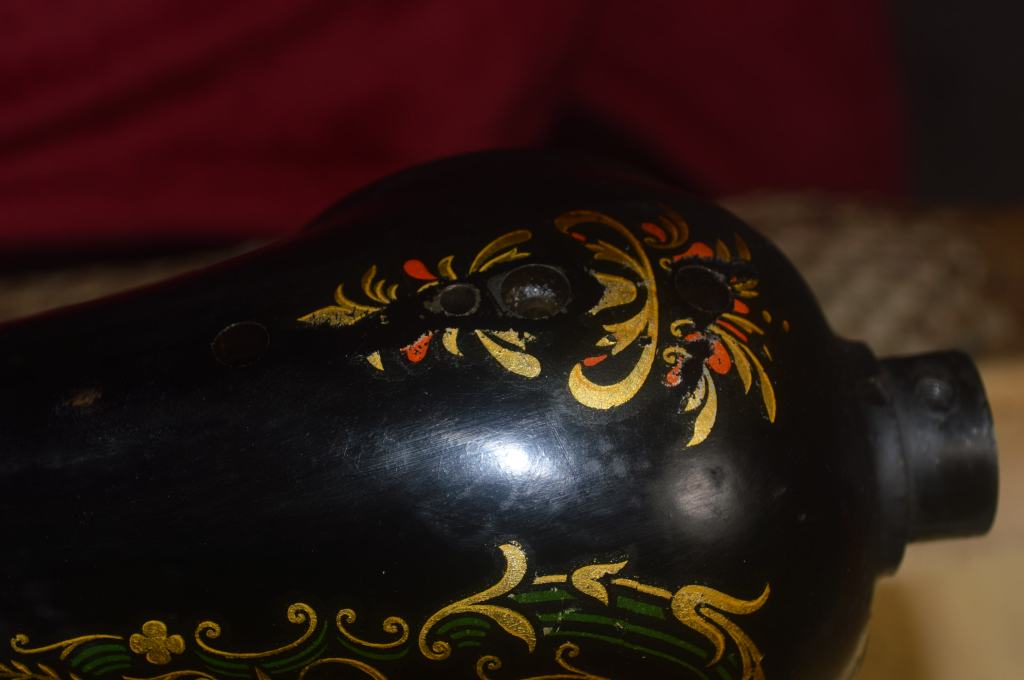
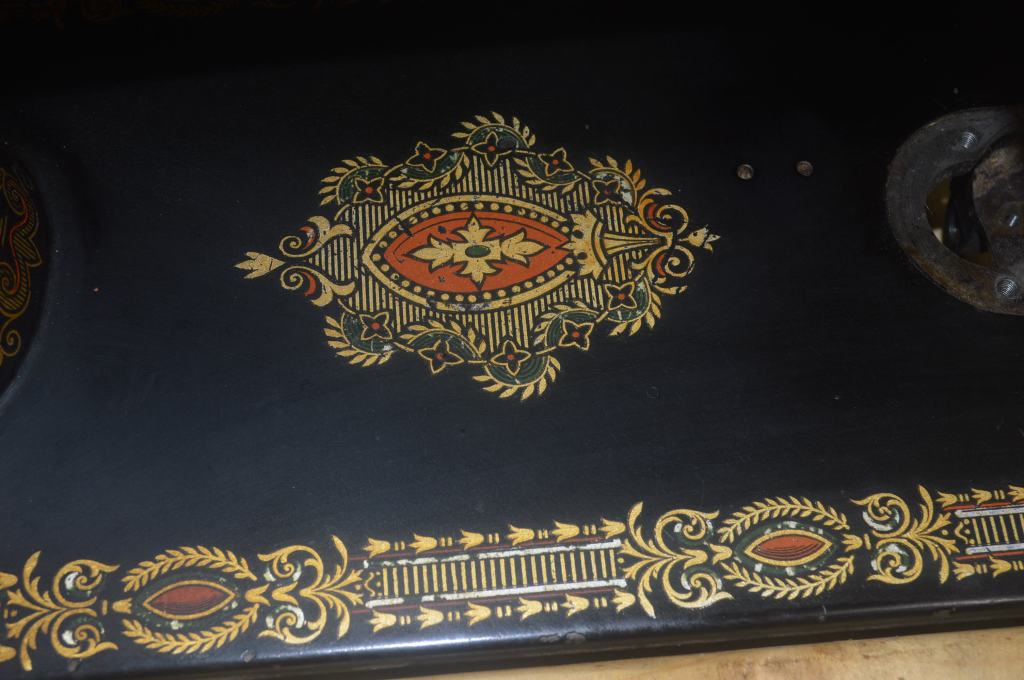
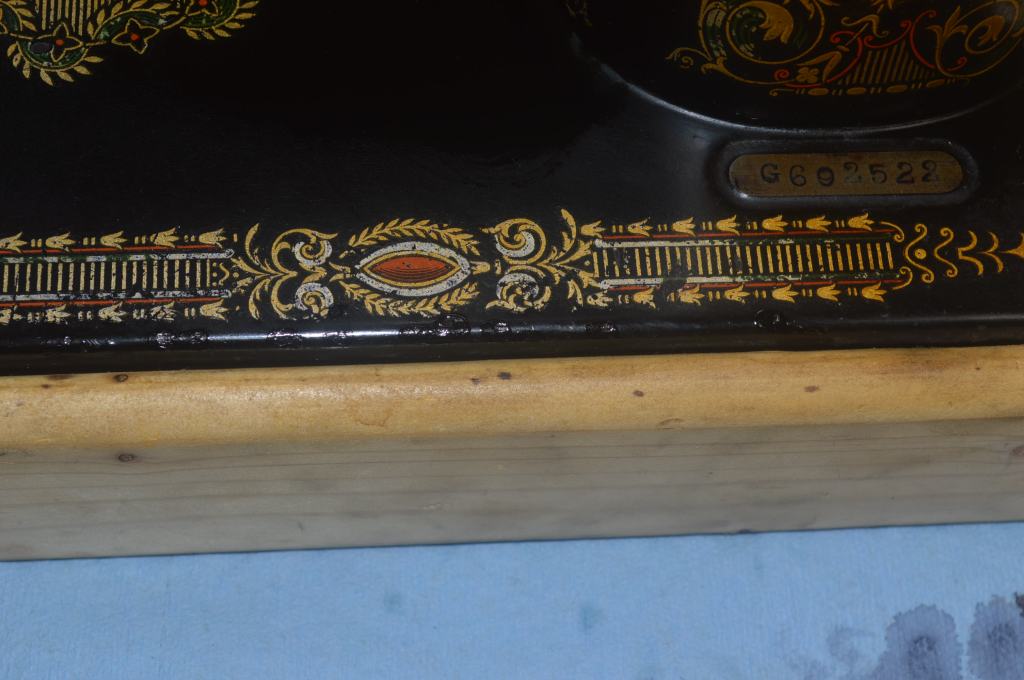
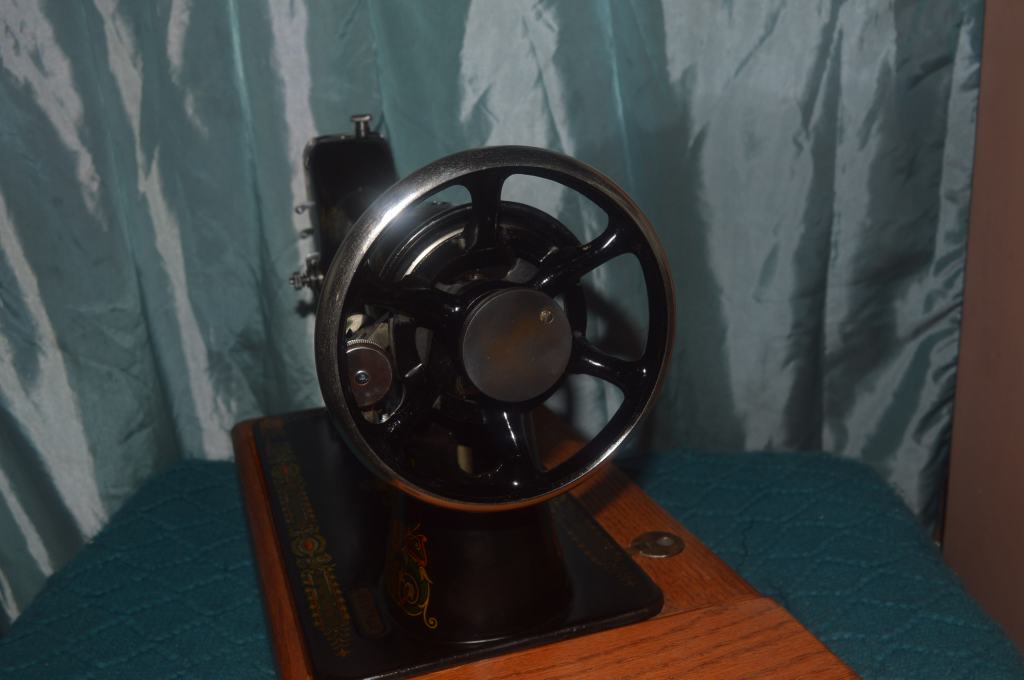
Starting out, the machine has decades of oil and dirt buildup that is hiding the depth and color of the Red Eye decals that adorn it. The paint has aged and lost it’s smooth surface and gloss. This is because the shellac is dry. There are surprisingly few paint chips on the machine and those present can be corrected with color matched paint. The machine has an abundance of oil varnish on the sewing mechanisms and dust and lint have accumulated in all of the usual places. The nickel plated pieces have tarnished and turned brown.
It is these attributes of the machine that make it a perfect candidate for a restoration. I can see through all of these faults and I know before I get started what a beautiful outcome is possible. That said, the restoration begins.
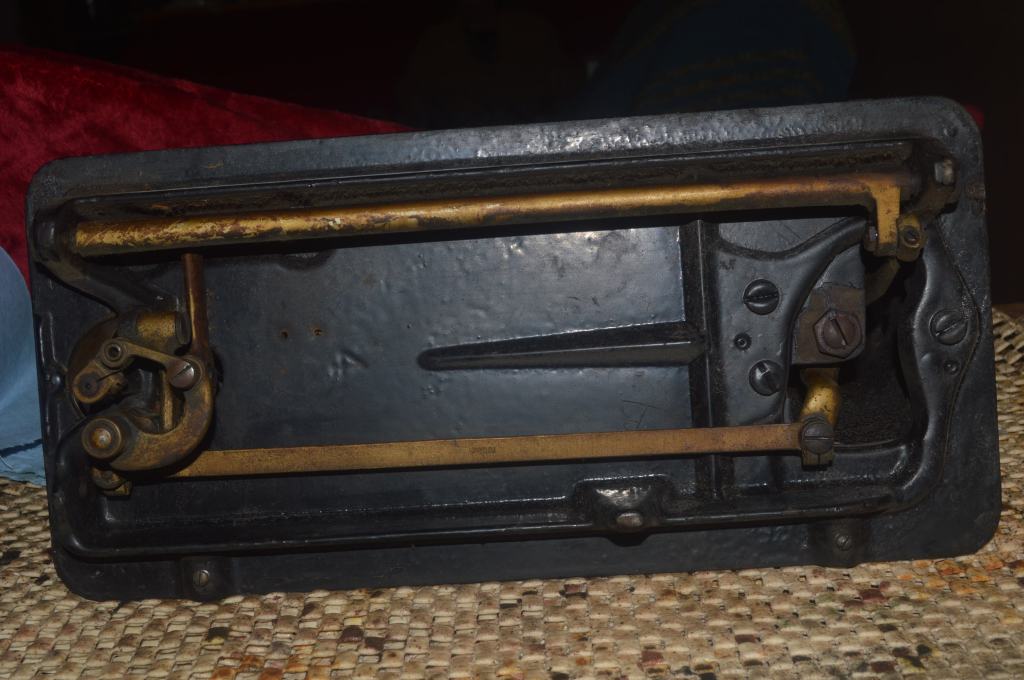
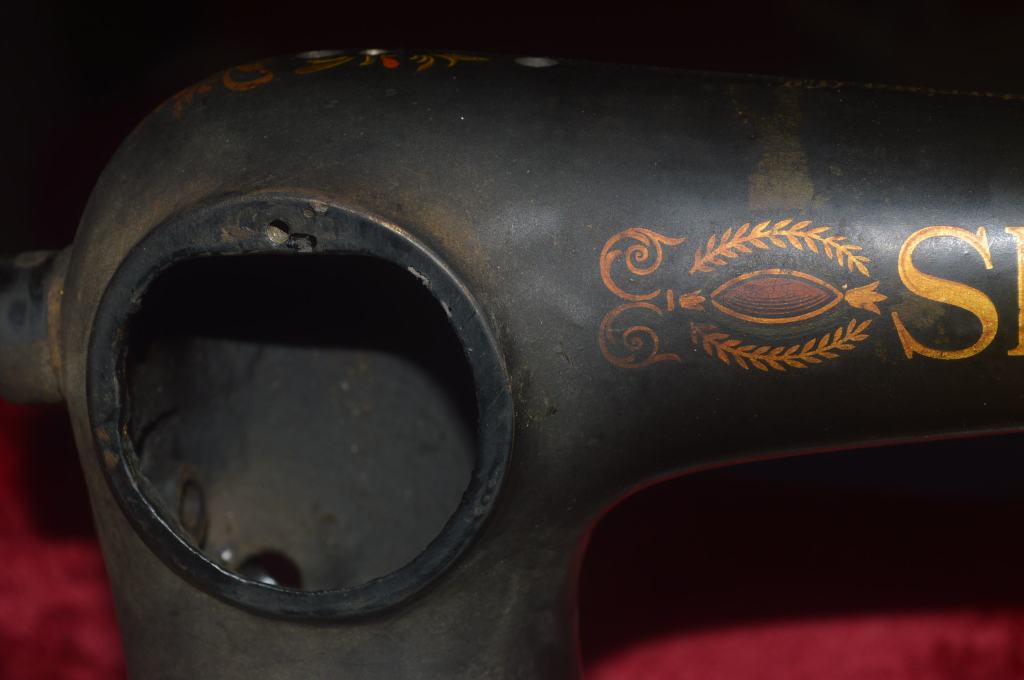
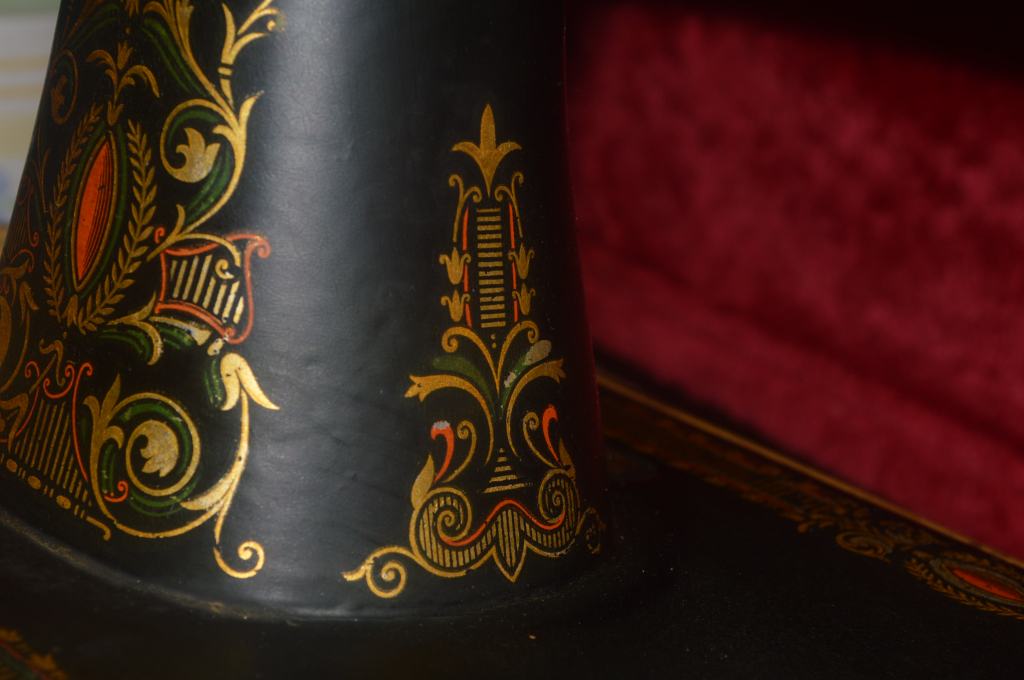
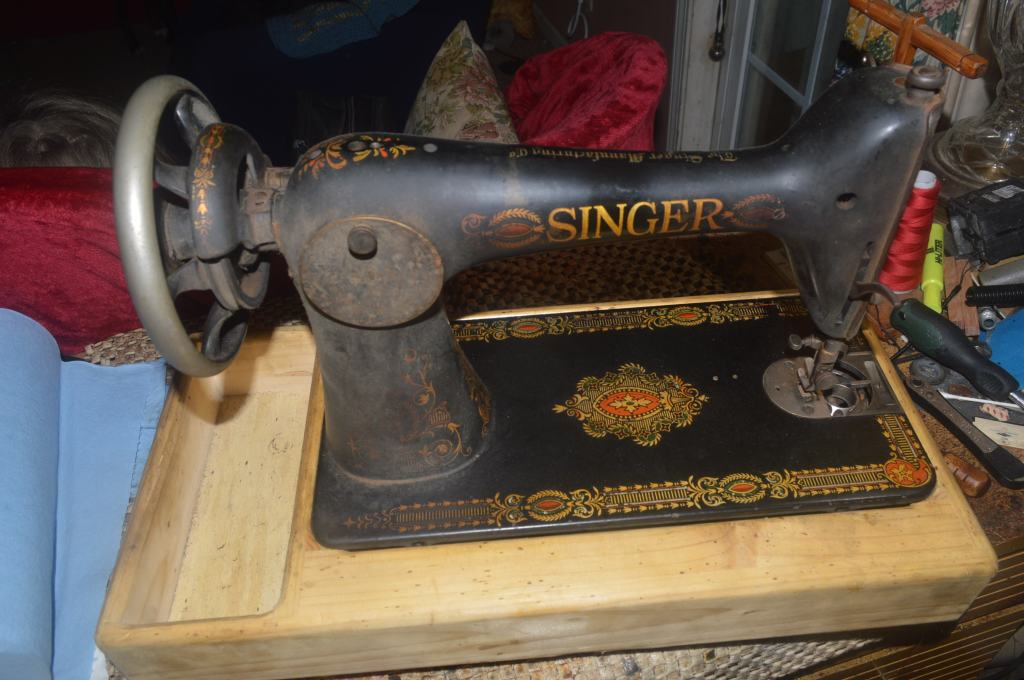
This is the machie before the restoration.


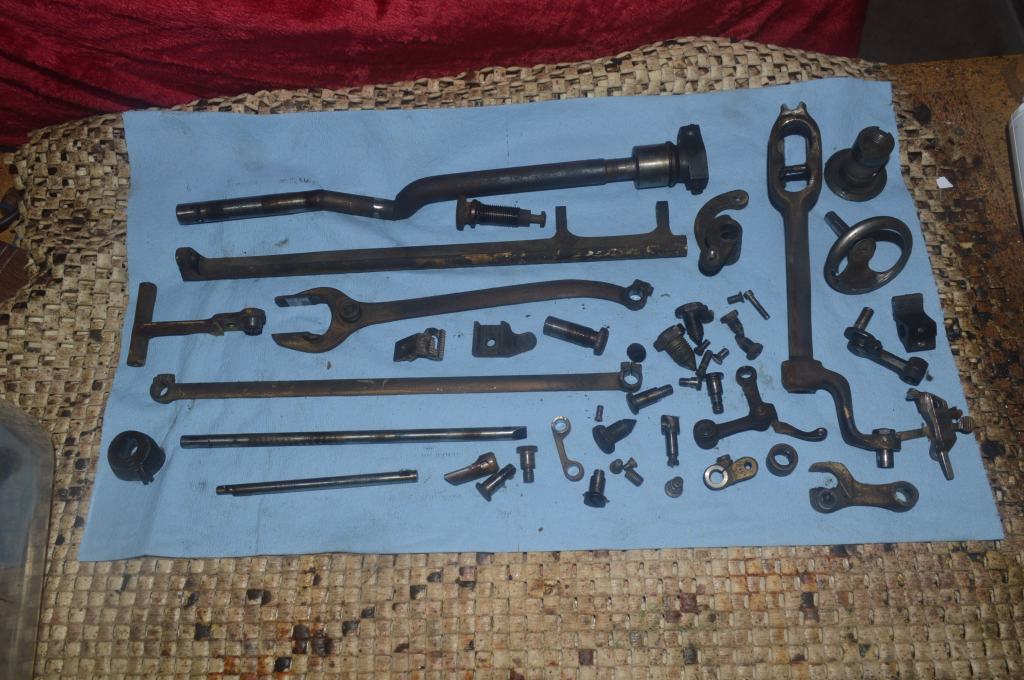
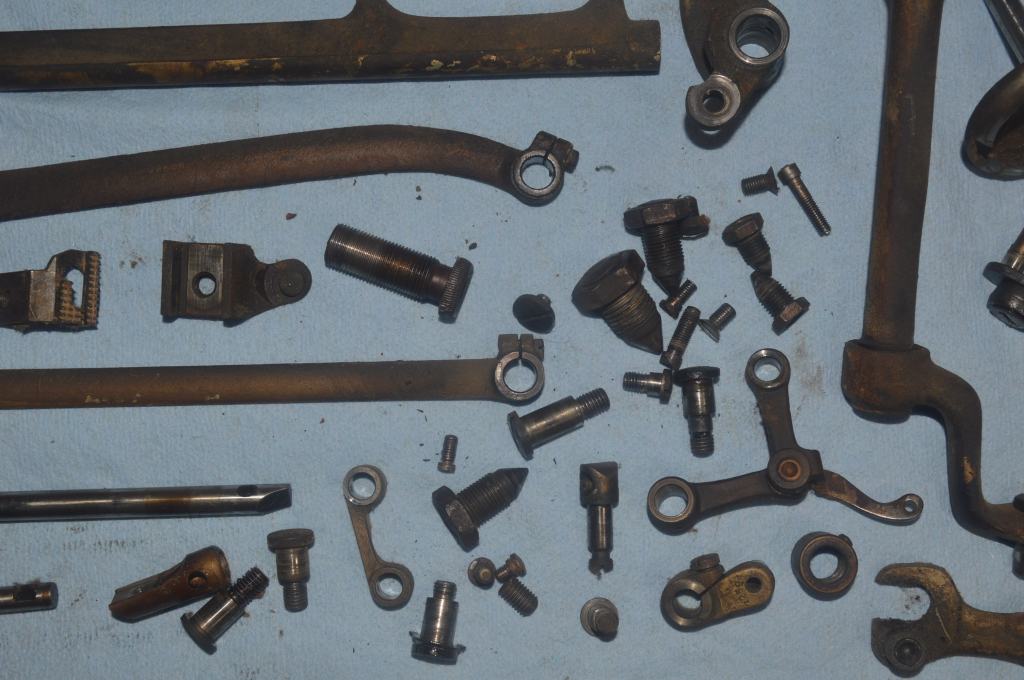
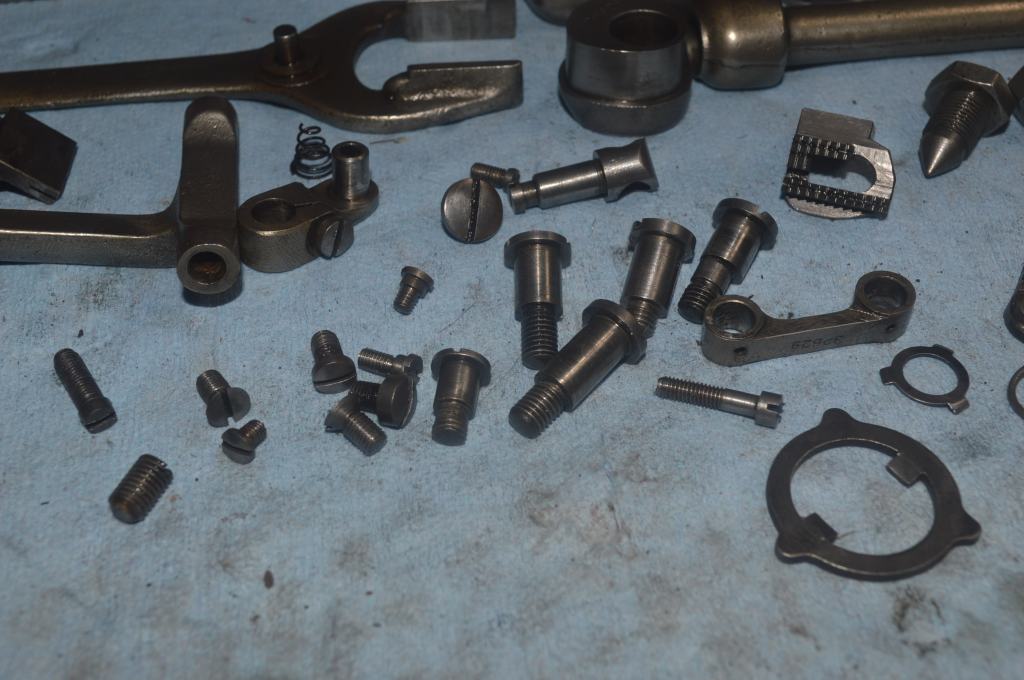
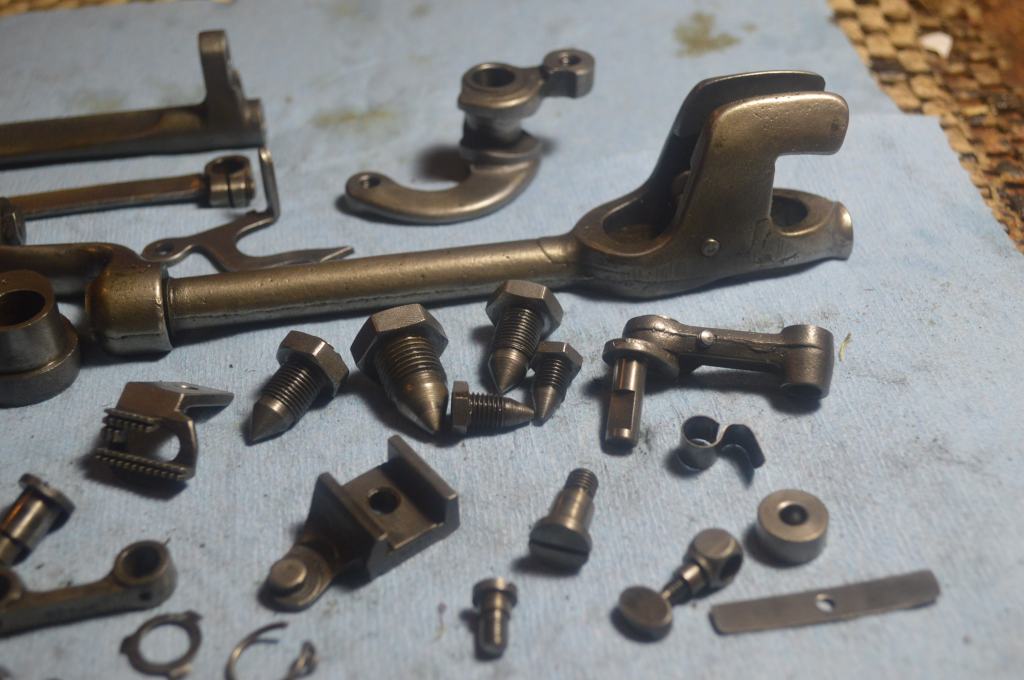
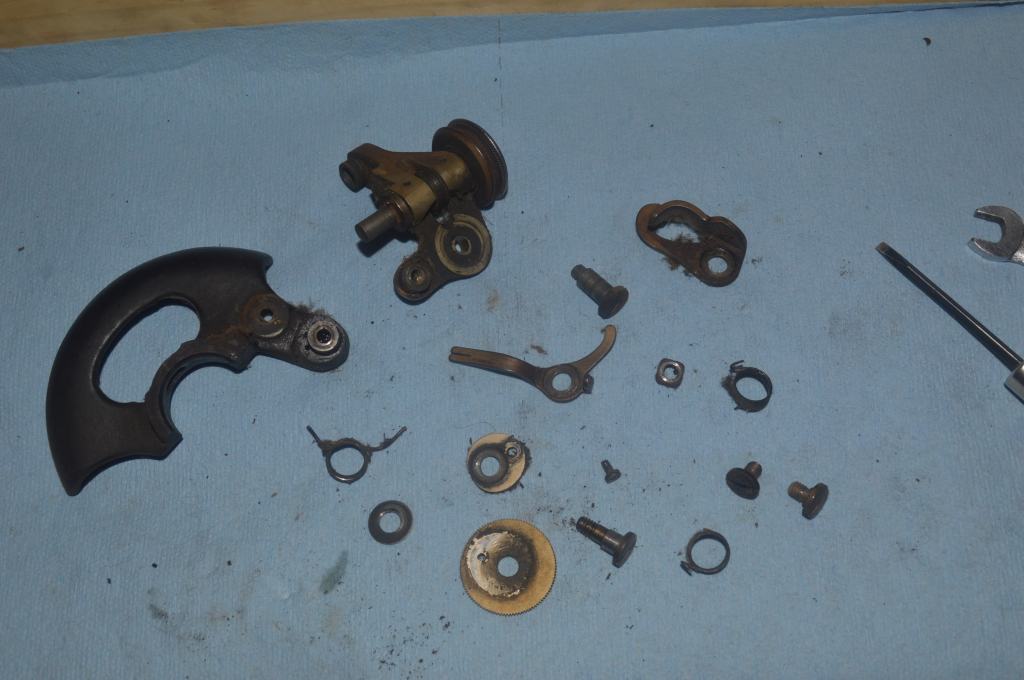
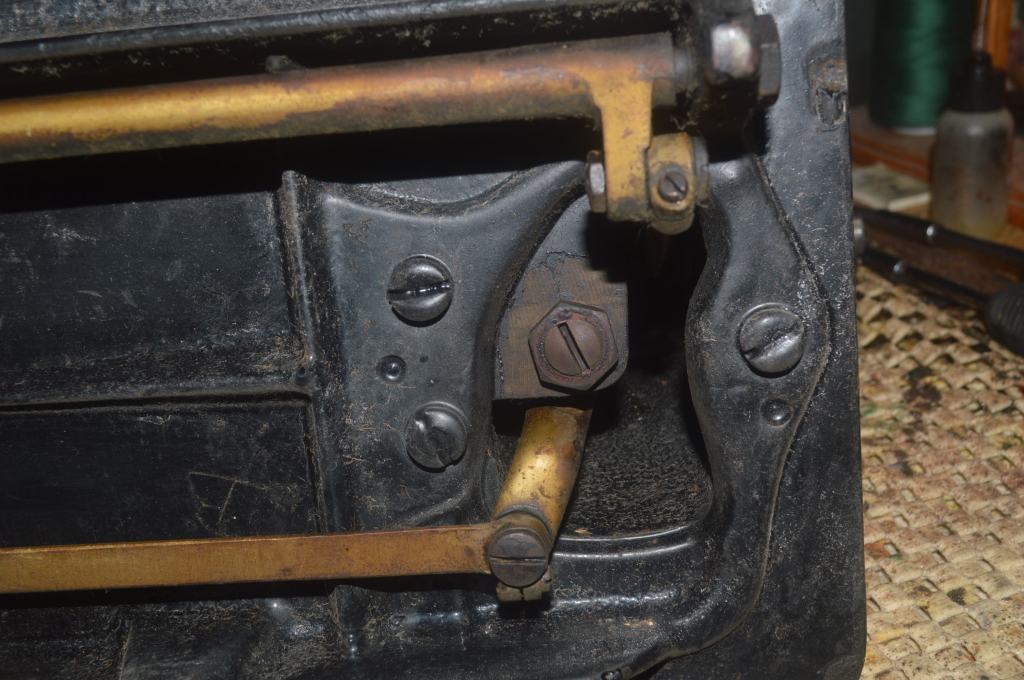
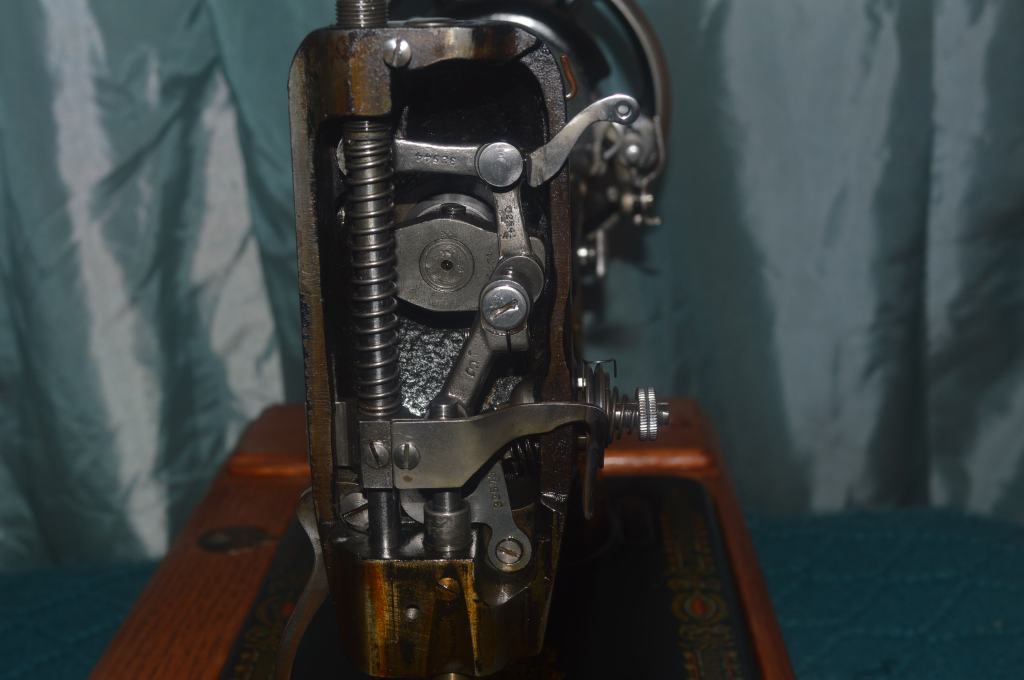
The first step is to disassemble the machine. All of the parts and pieces will be removed, ultrasonically cleaned, heated in oil, and wire brushed to like new condition. In the case of this machine, it did not want to be disassembled… must have been comfortable as it was! If there is one thing I have learned from doing restorations, old oil varnish is a formidible foe. Some machines put up a fight while others go willingly. Some machines need more and some need less, but the impartant thing is to give them what they need. In dealing with a machine like this, in the event a part will not disassemble without my fear of causing damage, it is left alone. Despite putting up a fight, the machine finally gave in and allowed a complete disassembly and all of the parts are laid out for cleaning.


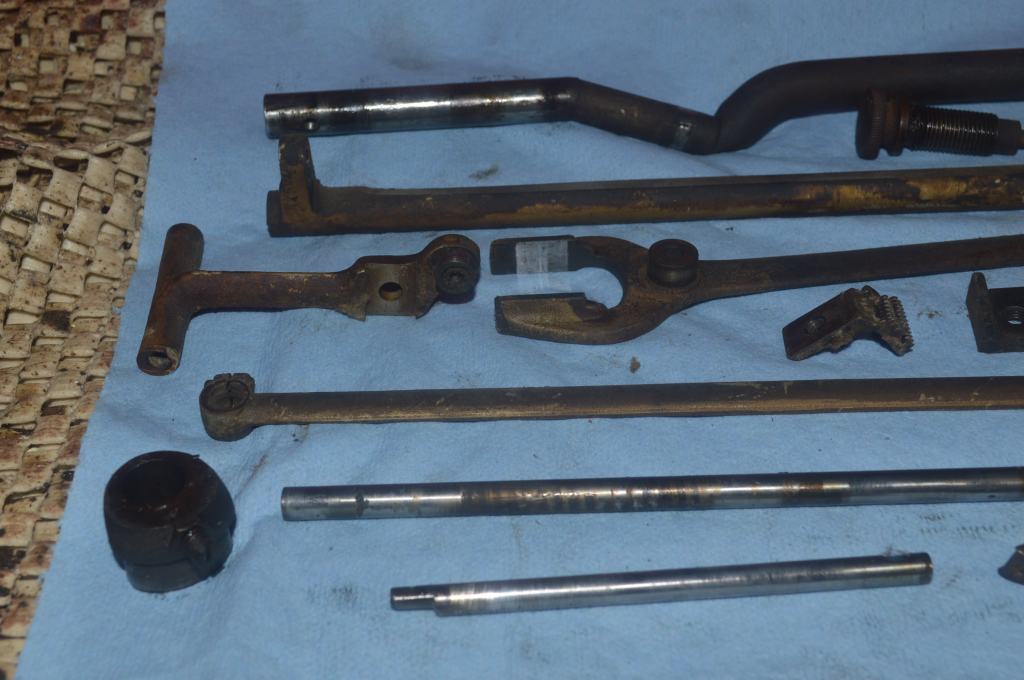
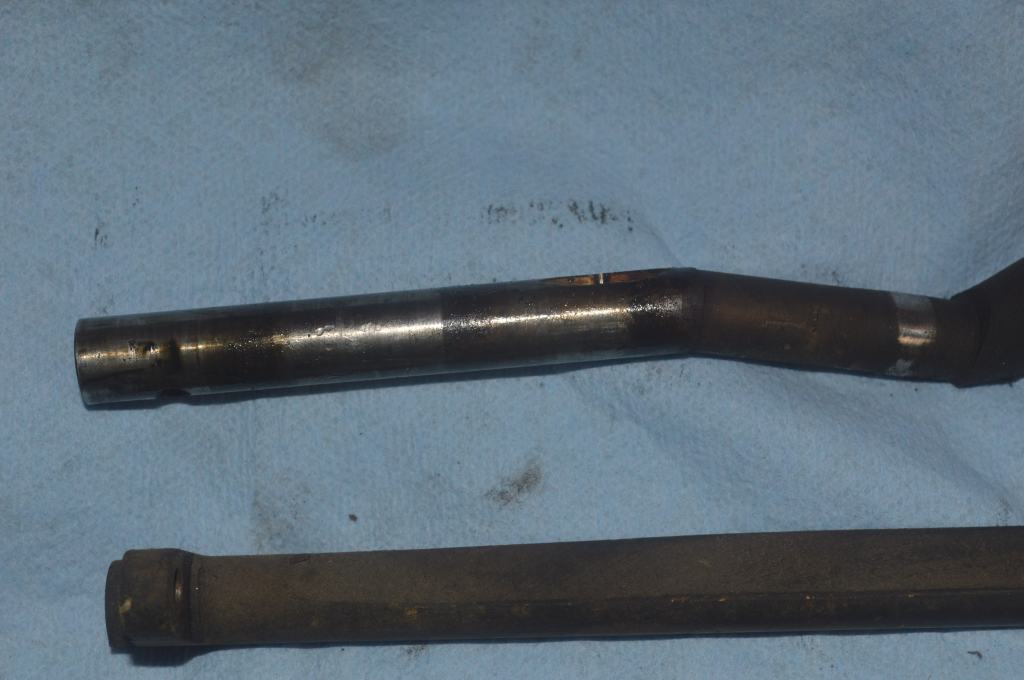
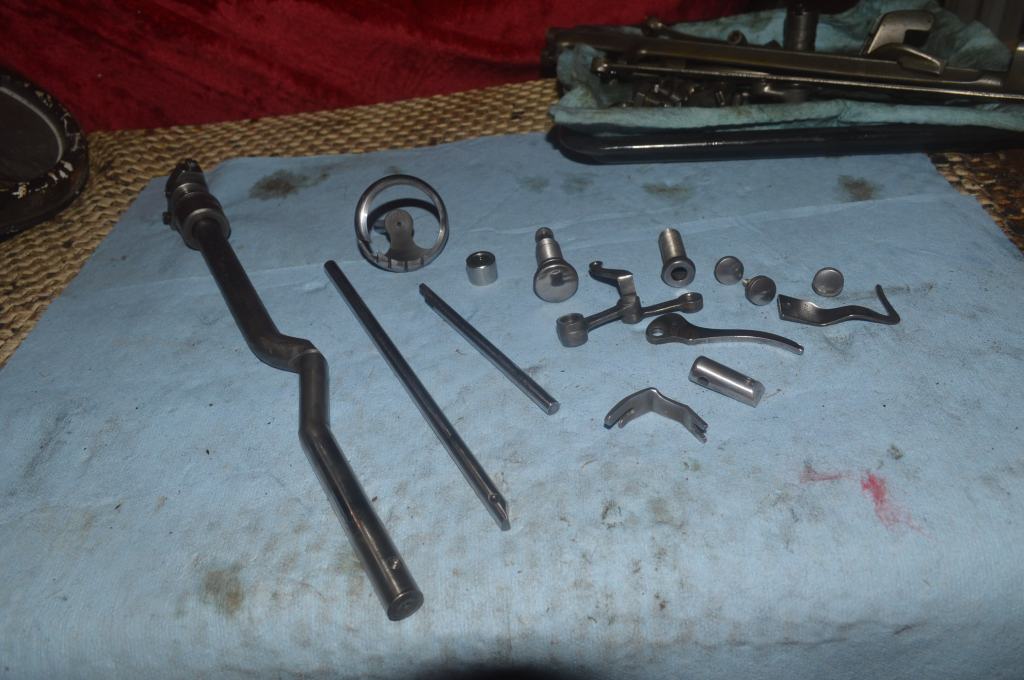
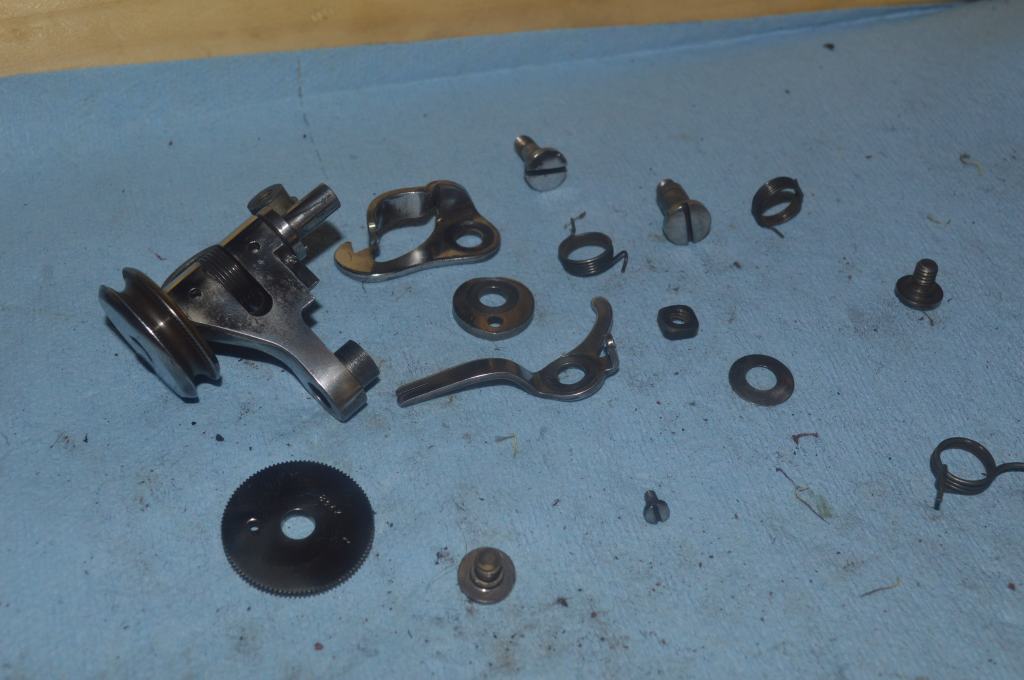
It’s not hard to see where the stiffness came from, but after cleaning and wire brushing the parts look like new. In adition to wire brushing, the needle bar, presser foot bar, the bobbin hook shaft, and the top shaft are polished to a glass smooth finish.
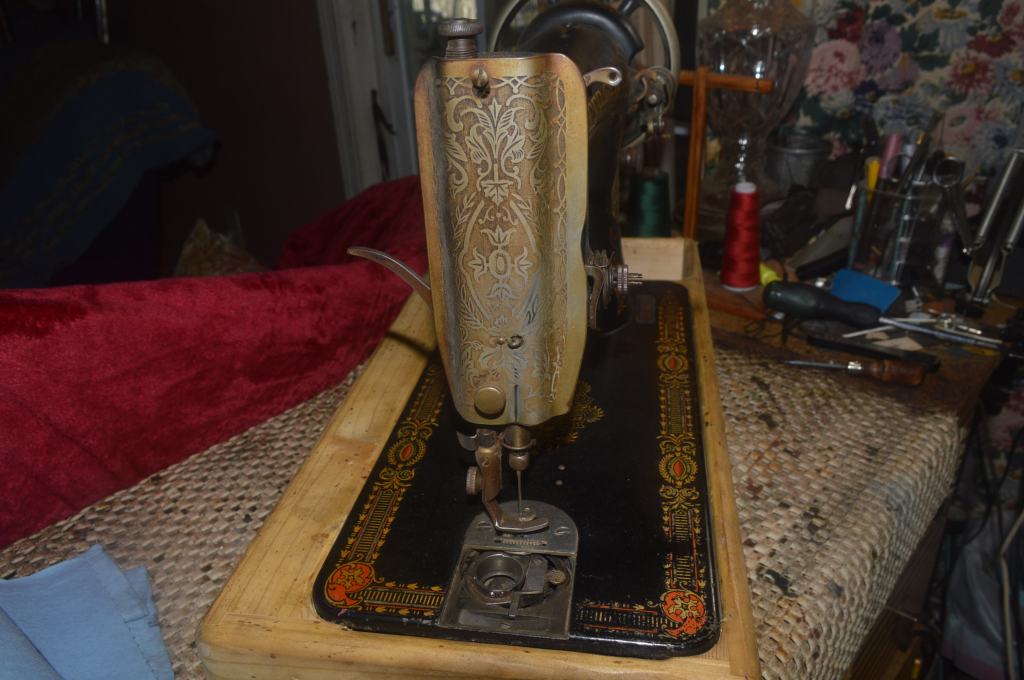
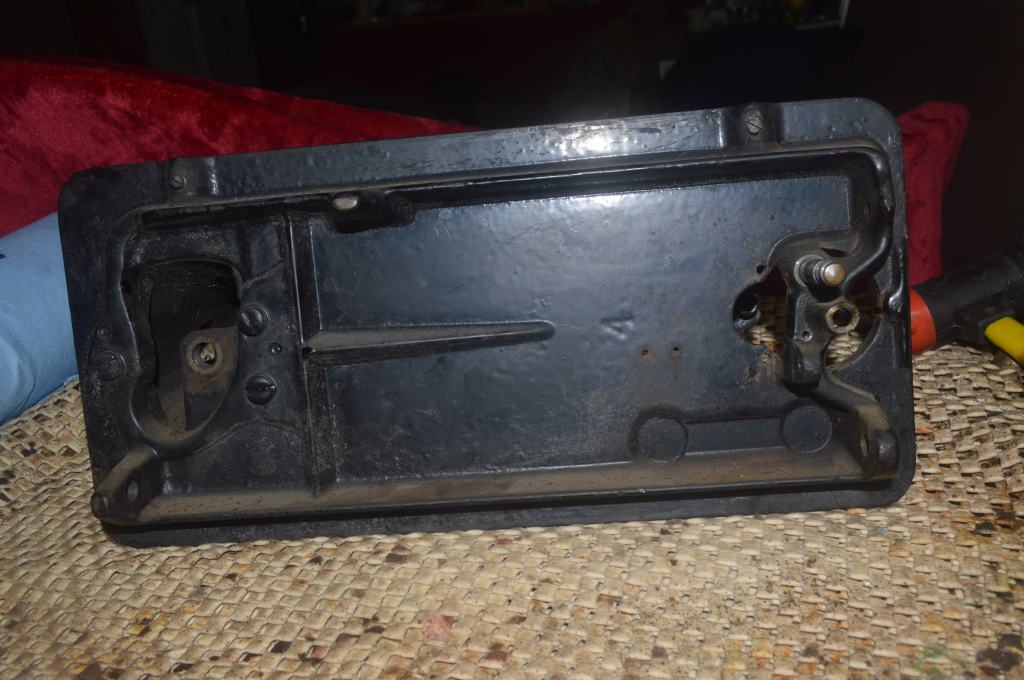
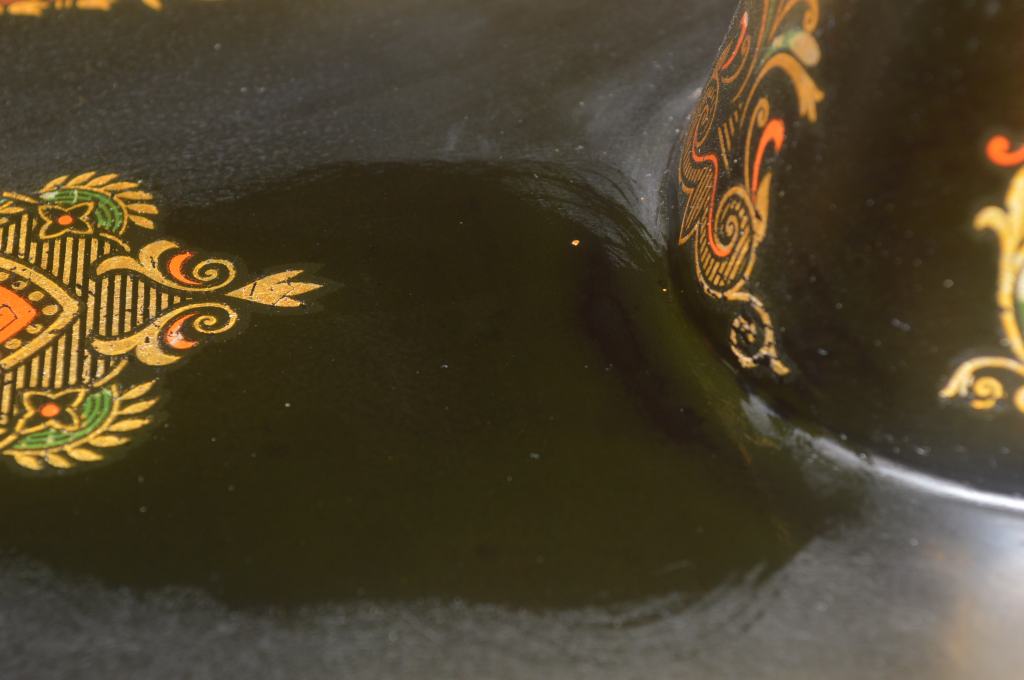
With the machine disassembled, the body of the machine is deep cleaned. This is one step that needs some careful consideration, The decals are worn in areas and this means that there is no longer a top coat of shellac remaining to protect them. Care needs to be taken to avoid damaging them by being too aggressive in cleaning. In other areas, the decals are completely covered in dirt and old oil. Here they need to be coaxed out to reveal them as much as possible. The cleaning methods I used is approached differently depending on the condition of the area being cleaned. I want to get the best outcome for the existing paint and decals,
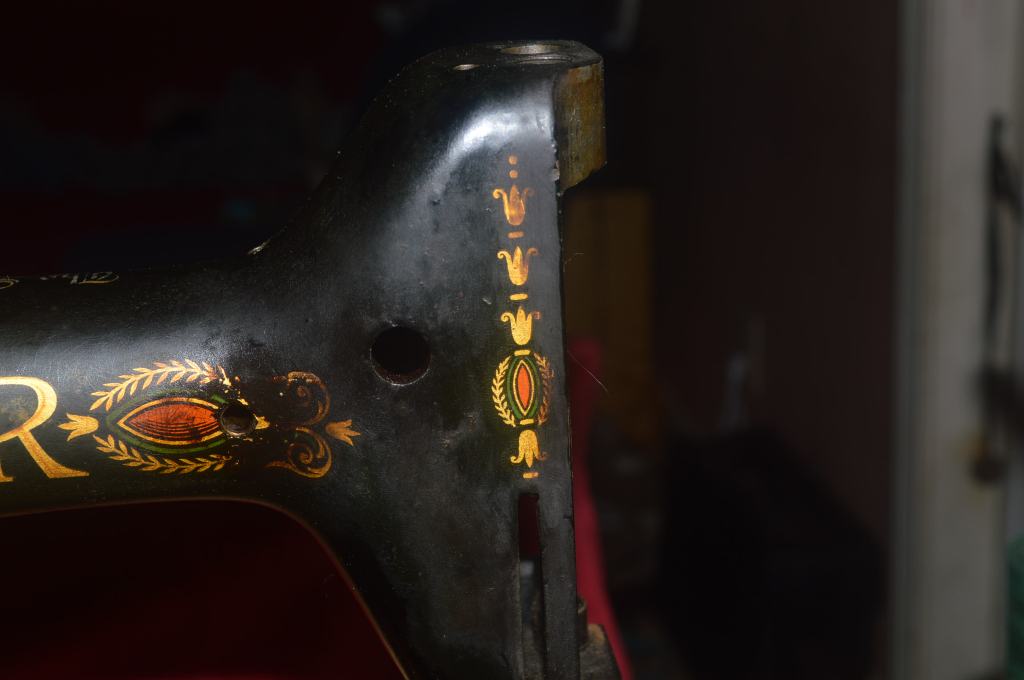
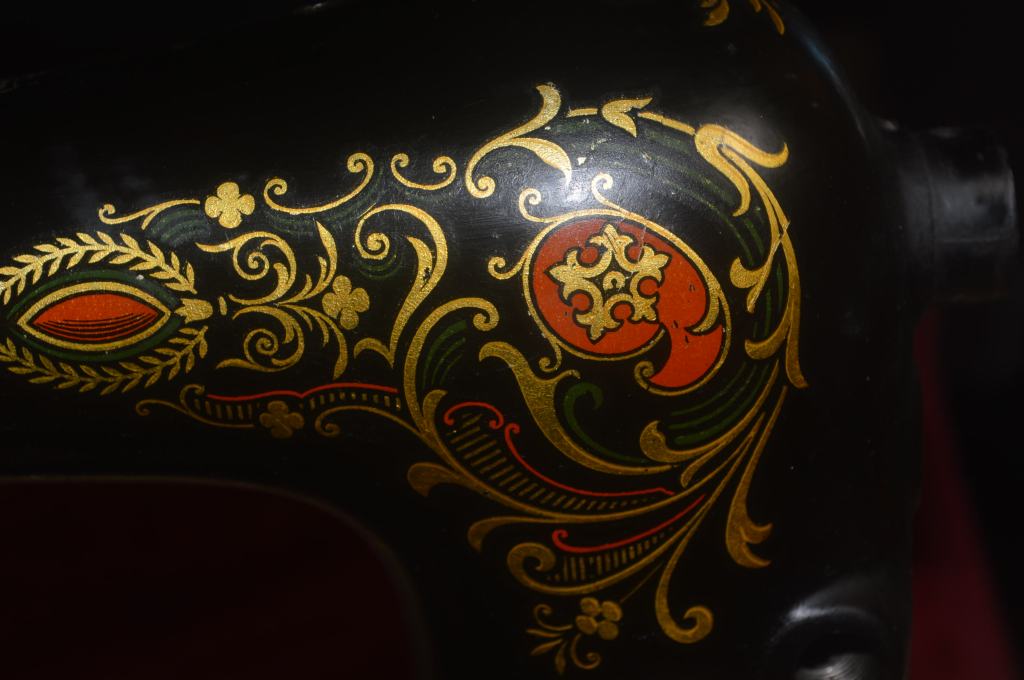
Now it is time to correct the few paint chips on the edge of the bed. They are easily paint matched and the chips are fixed where they are found.

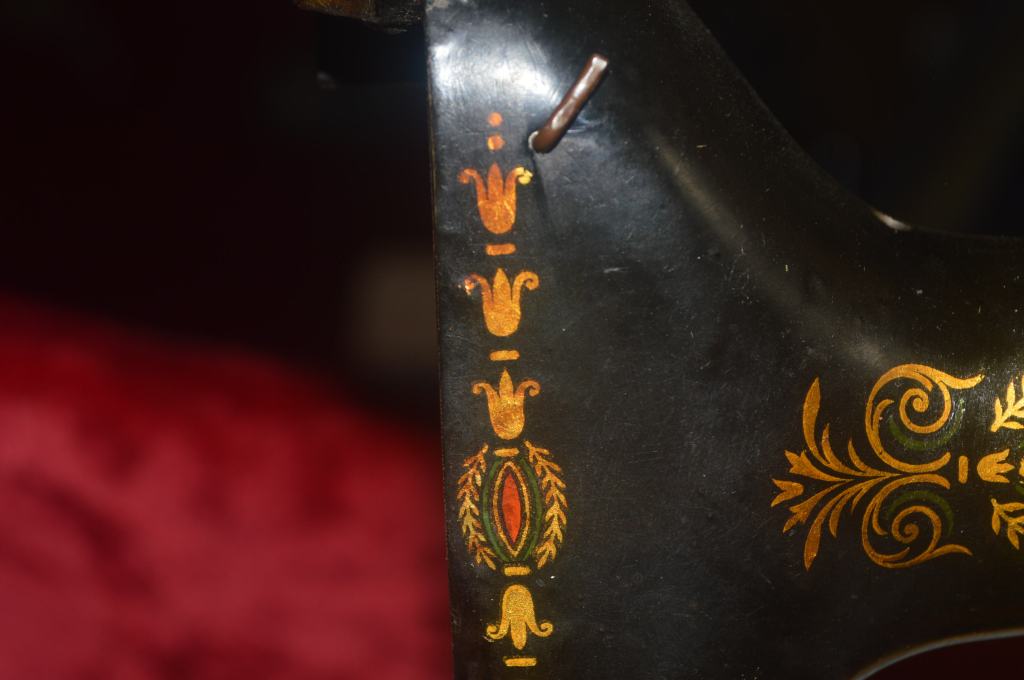
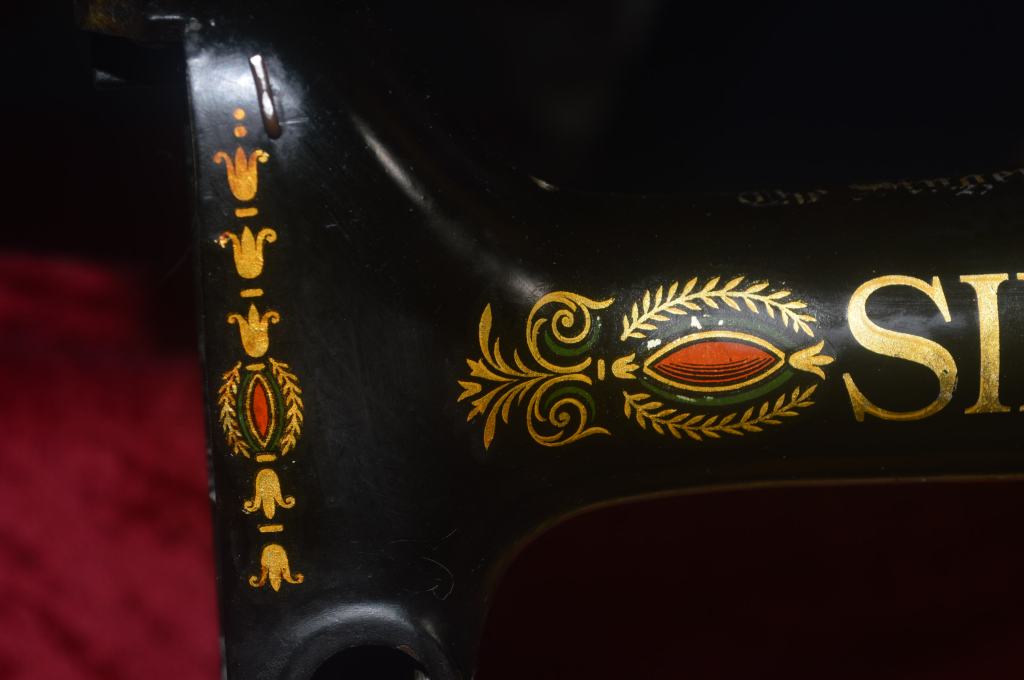
Because the shellac has dried out, the finish on this machine won’t tolerate glaze polishing, but the problem with the paint, like the shellac, isn’t just cosmetic… it too has dried out and need to be renourished. The best approach for this machine is the tried and true method of nourishing it with sewing machine oil. To see what the outcome will yield, I oiled a small area on the sewing machine bed.

The improvement is immediate. Several coats will be needed because the paint will absorb the first couple of coats. When it is fully nourished, it will look great and the only maintenance moving forward is an occasional light coat of sewing machine oil… lightly applied… to keep it nourished.
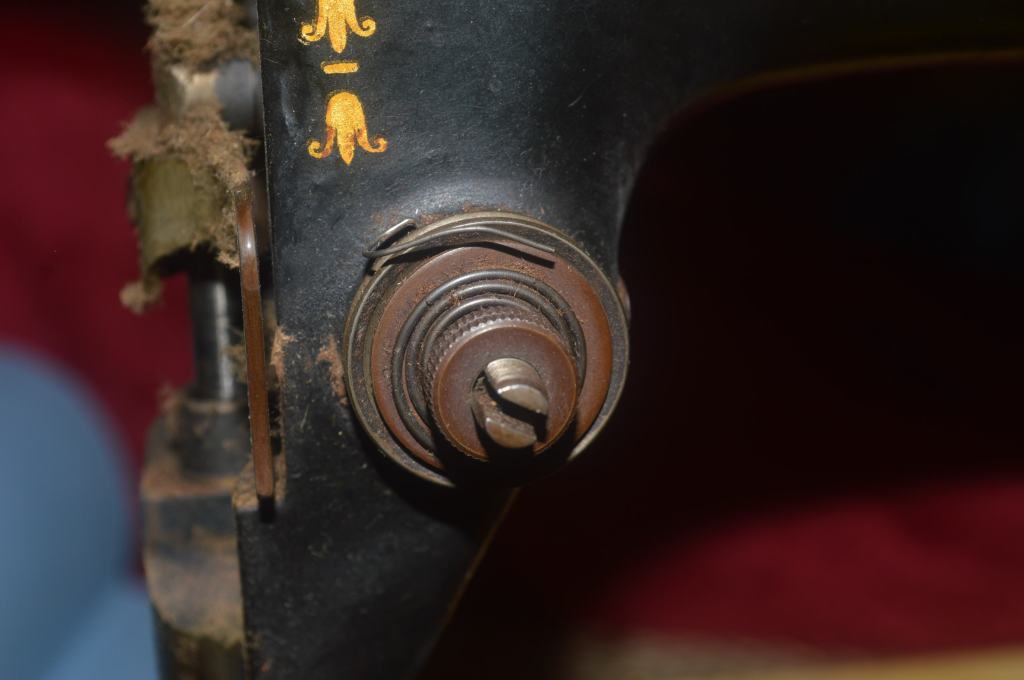
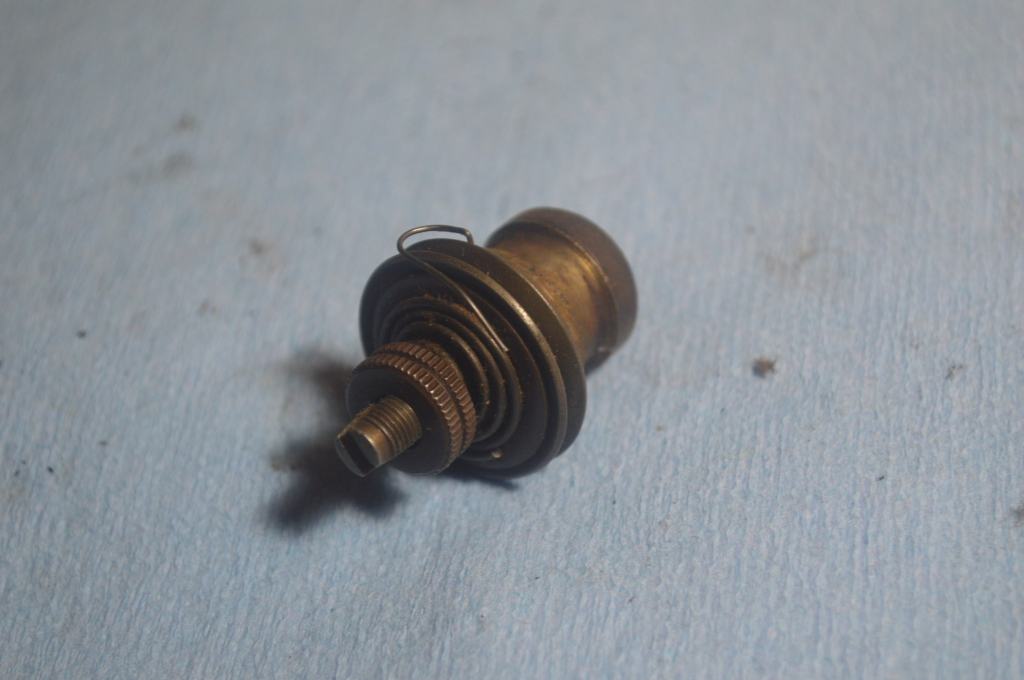
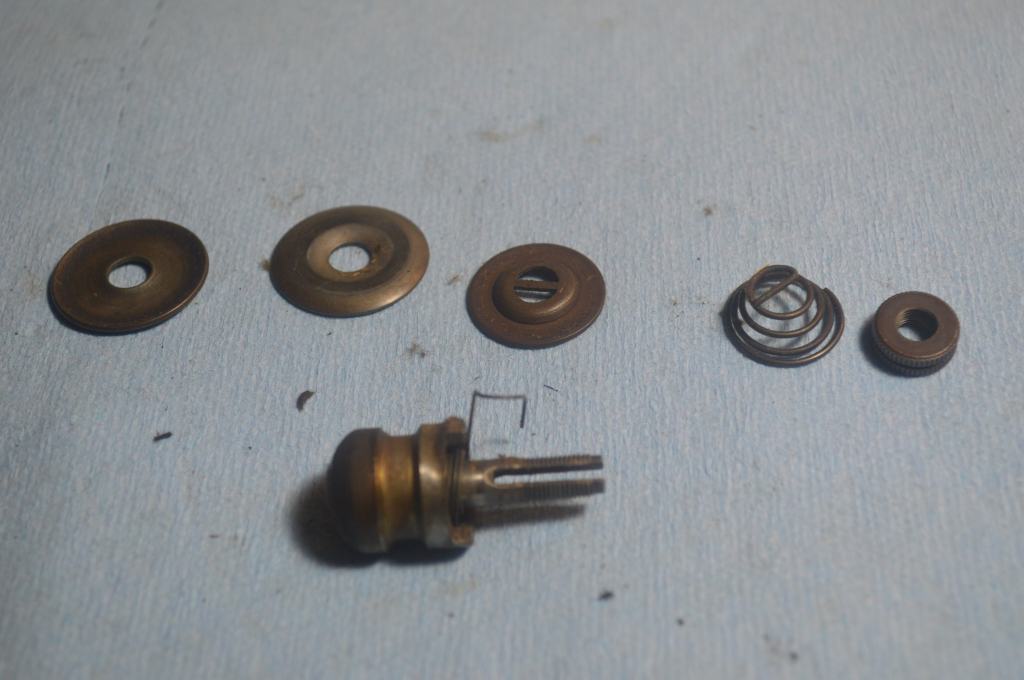
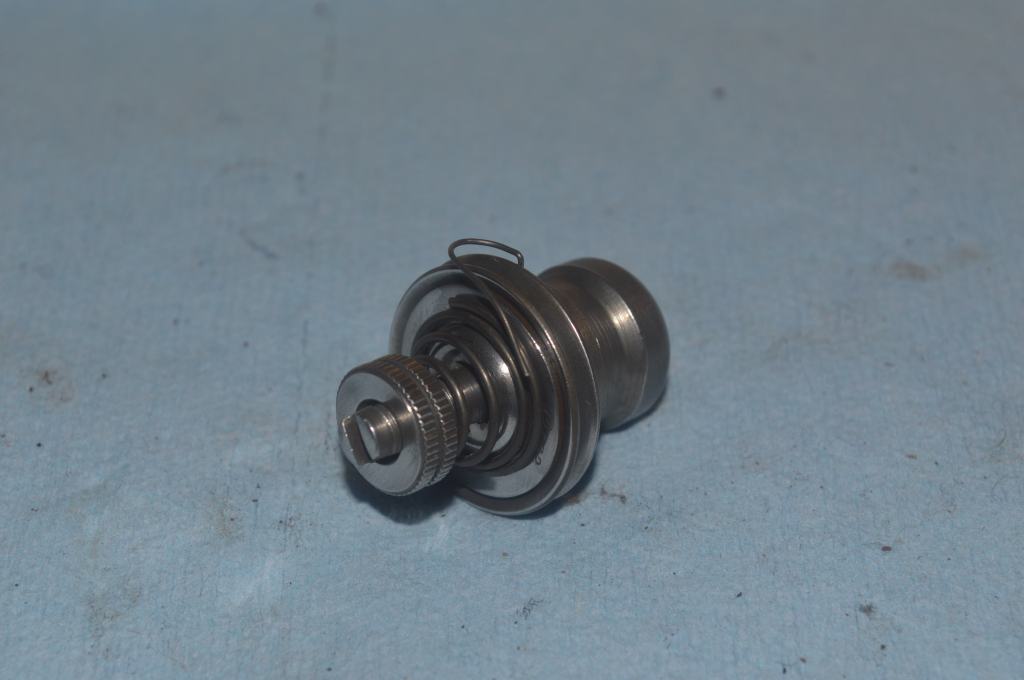
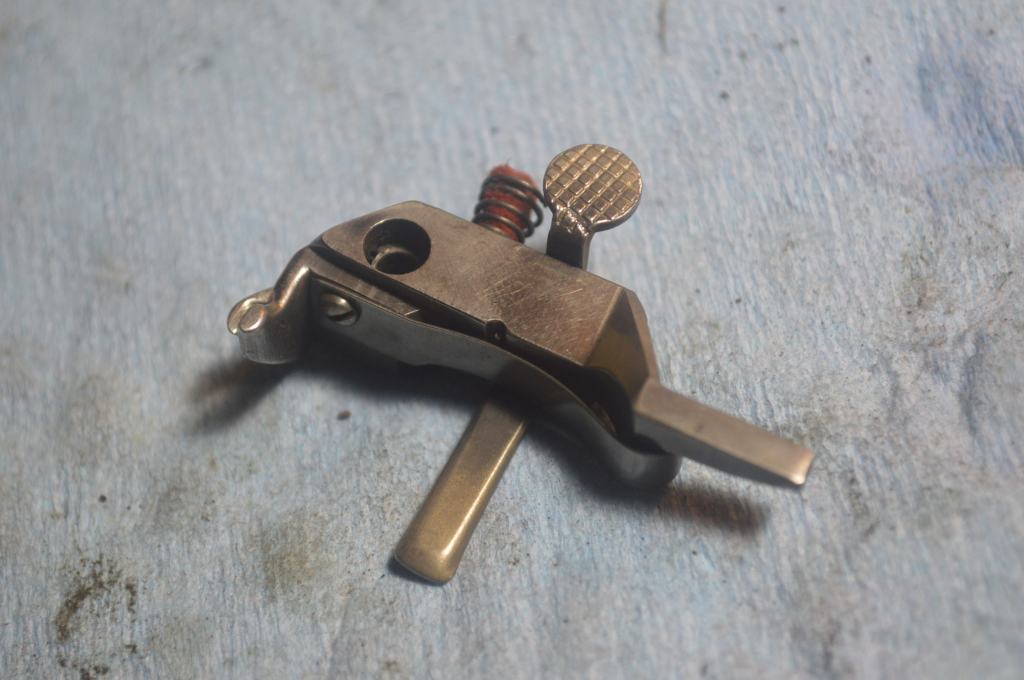
Now it is time to restore the top tension assembly. It is disassembled, cleaned, and ploished.
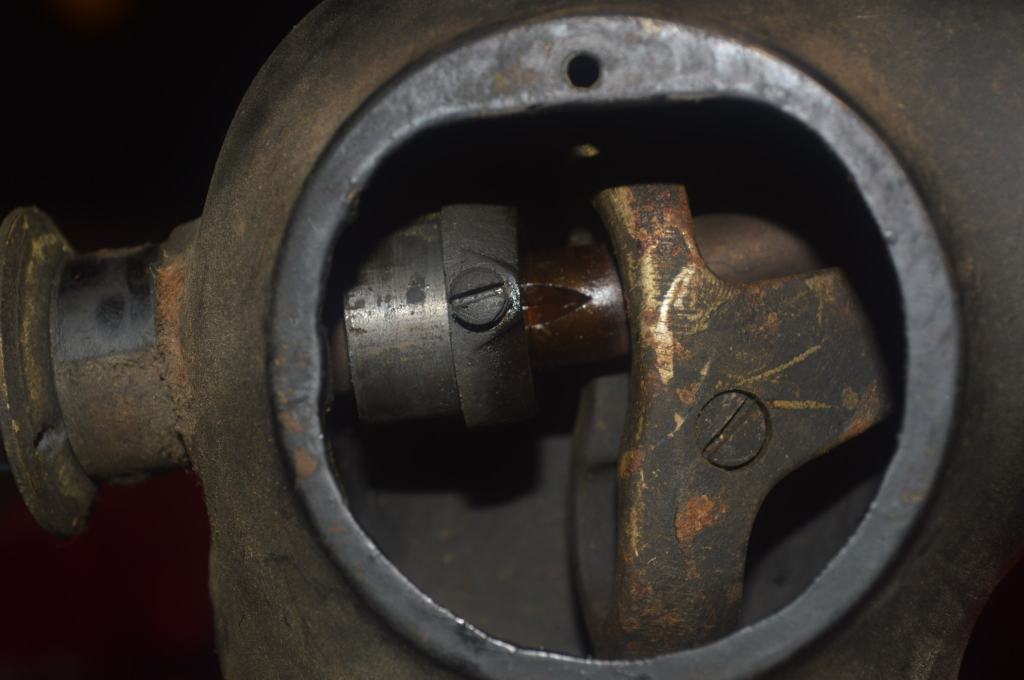
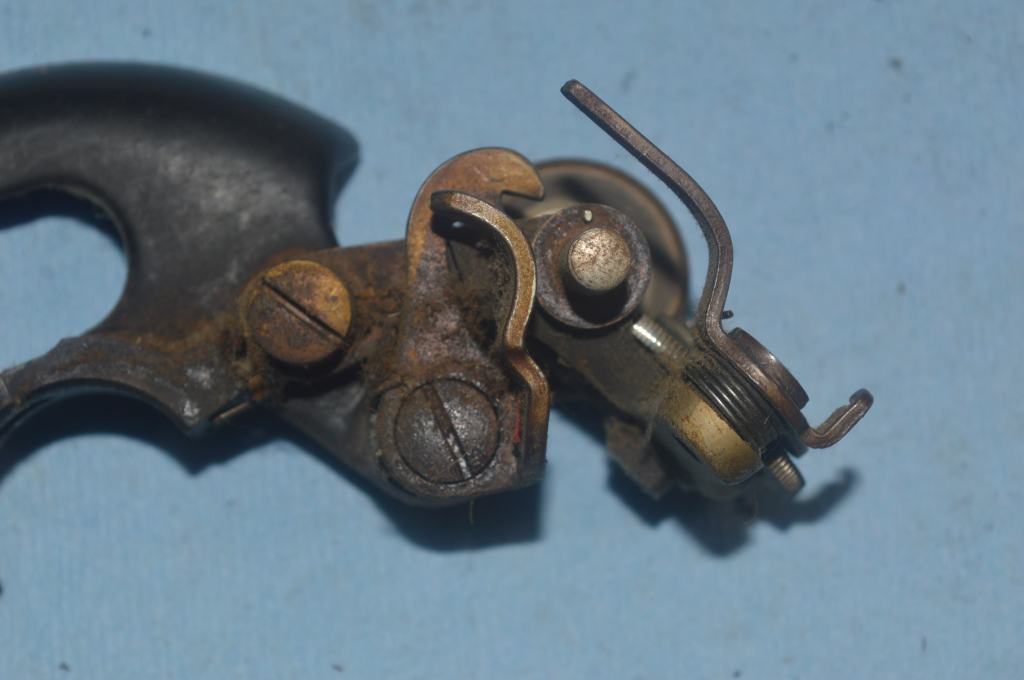
As part of a thread tension duo, the bobbin case tension spring is disassembled and the face of the case and the bobbin spring are cleaned. There is always some gunk to find and clean here.
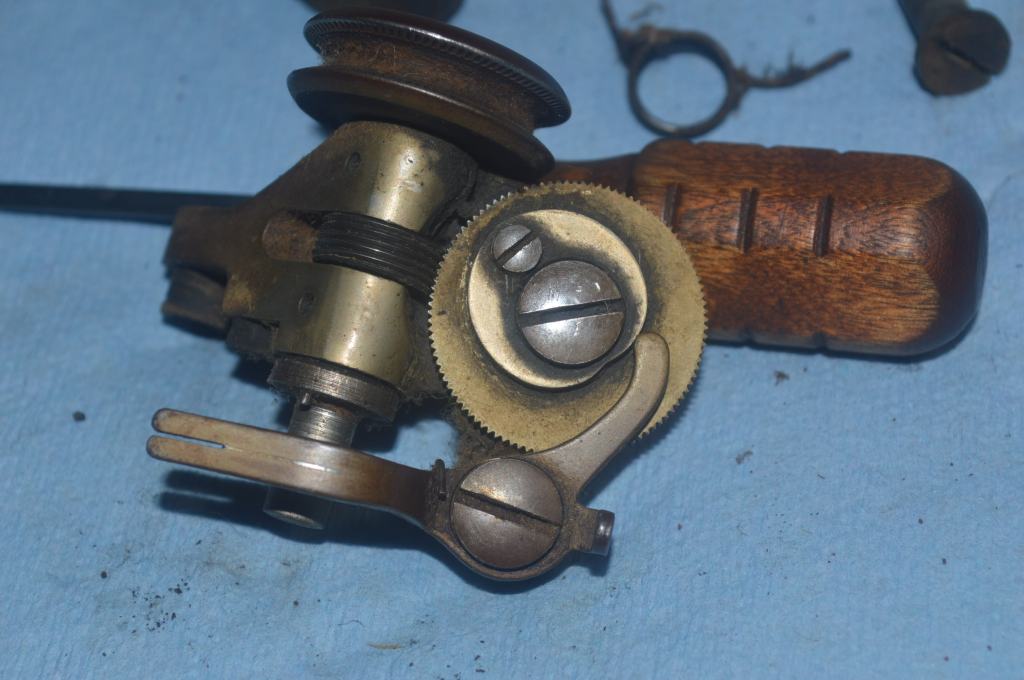
Next, the bobbin winder is restored. There are more pieces to disassemble, but cleaning and polishing the parts makes it look great!

Taking pictures of polished parts is difficult, so look for it on the finished machine.
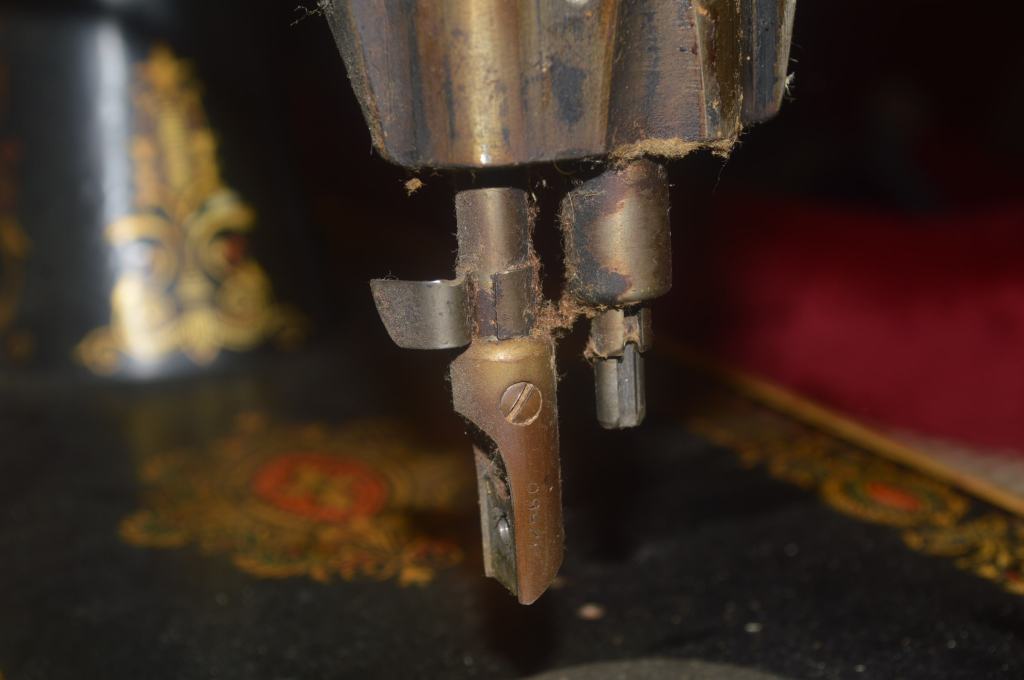
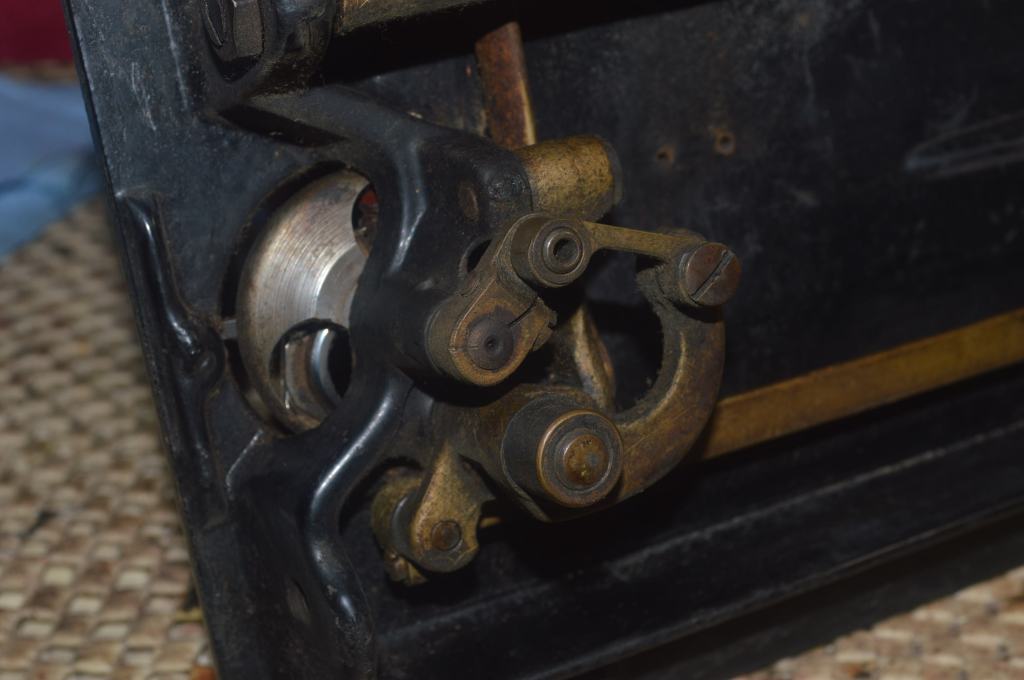
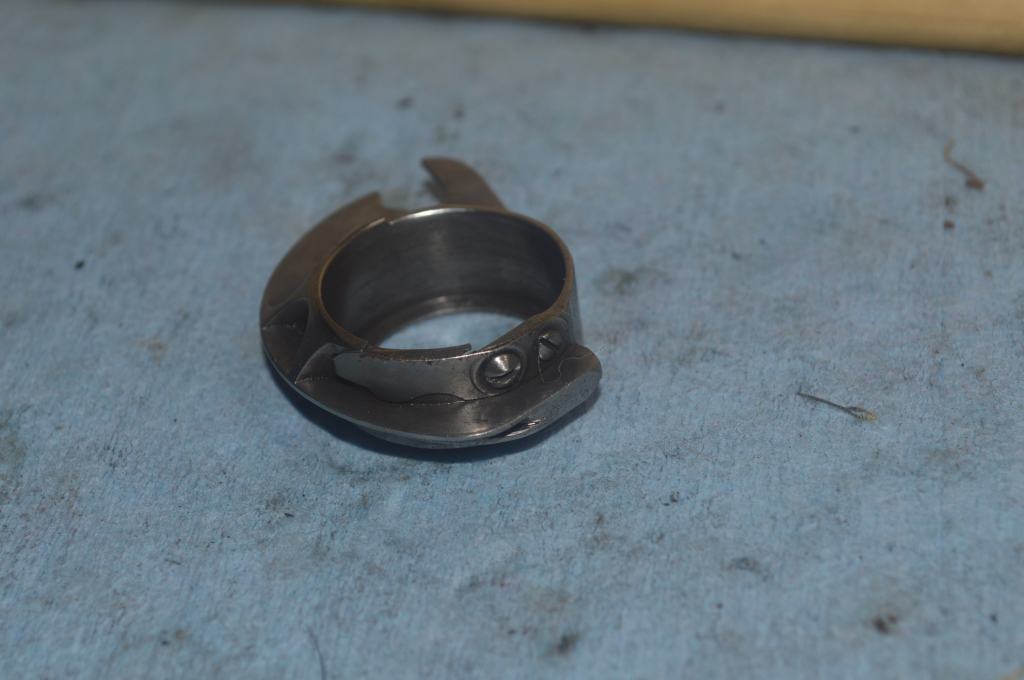
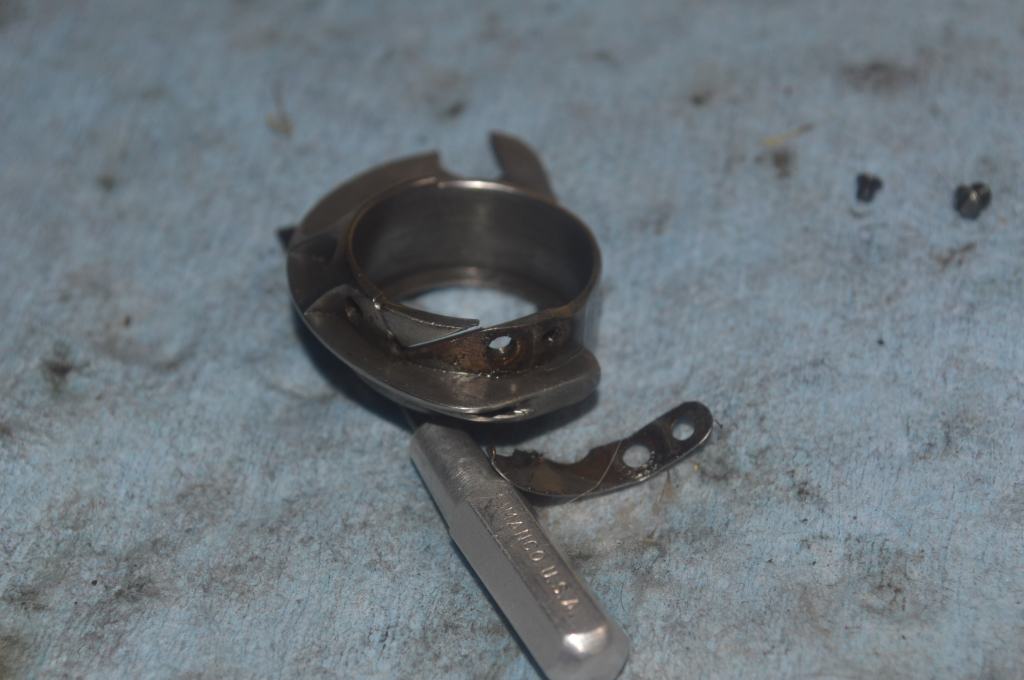
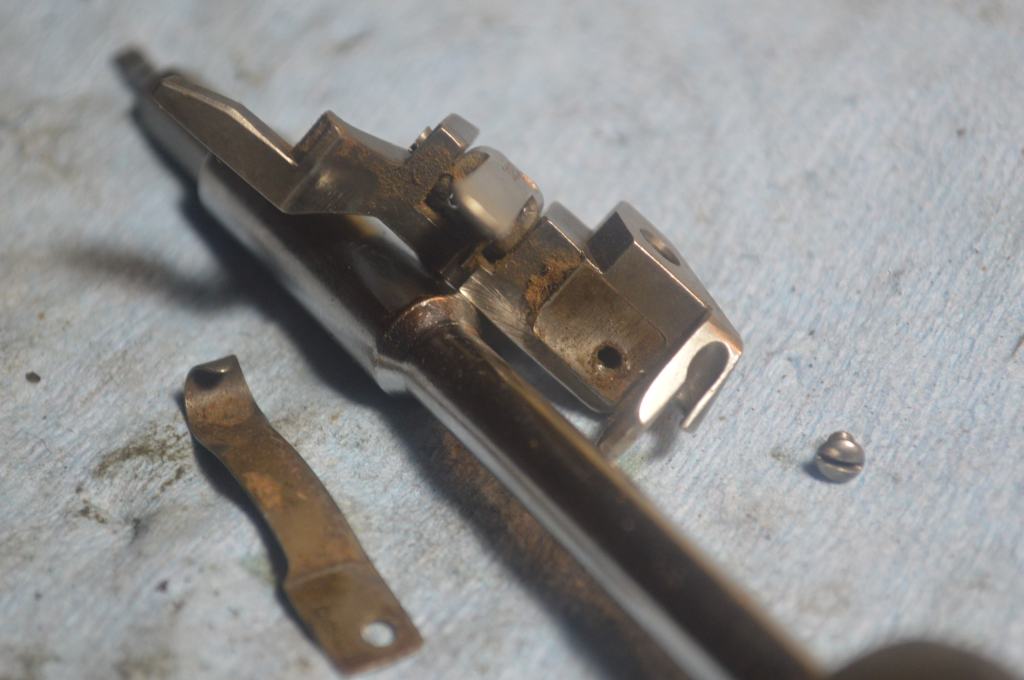
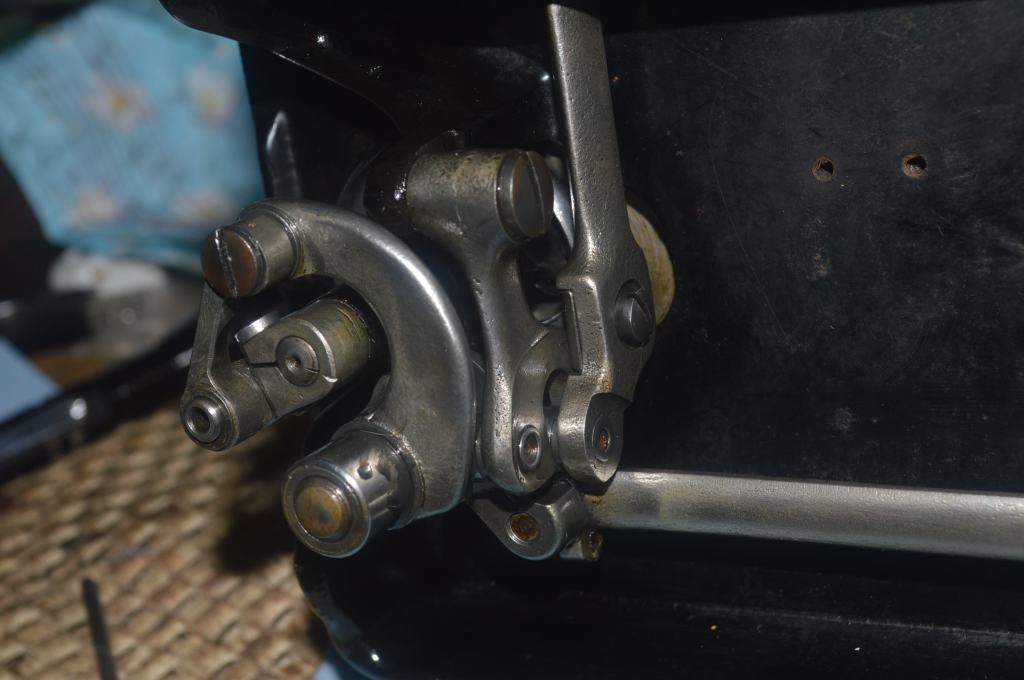
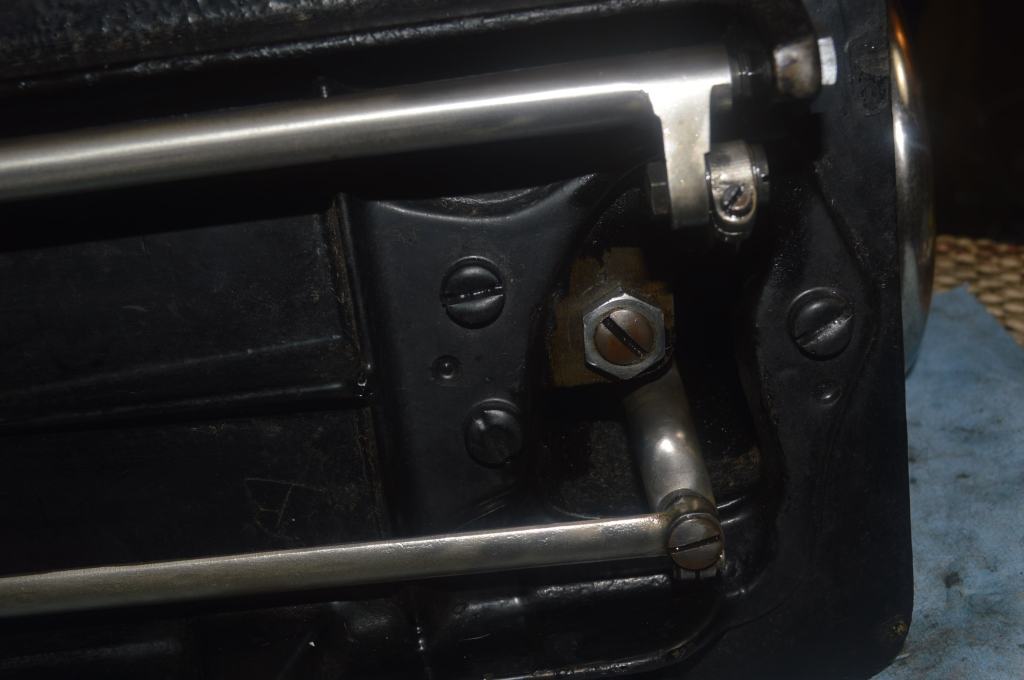
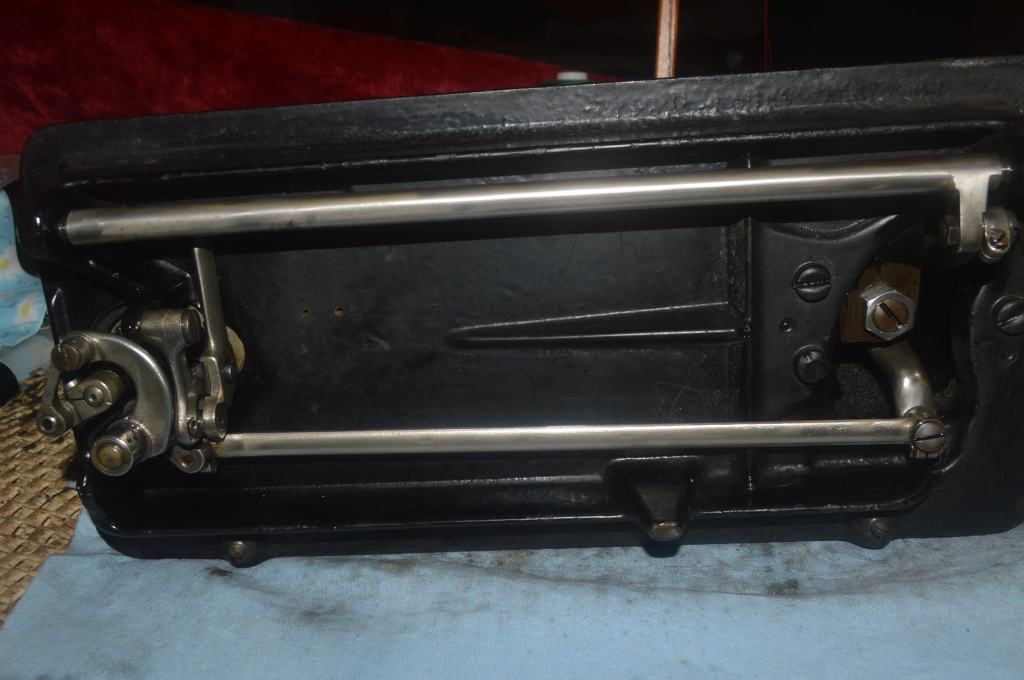
Now, the bobbin thread clearance spring and mechanism is disassembled and cleaned.
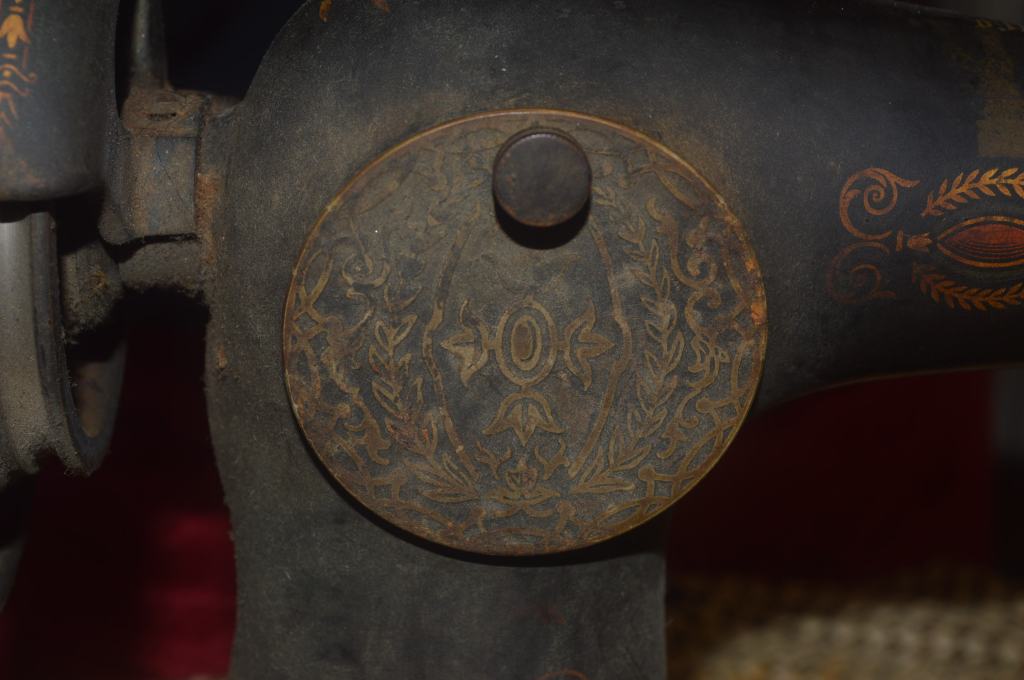
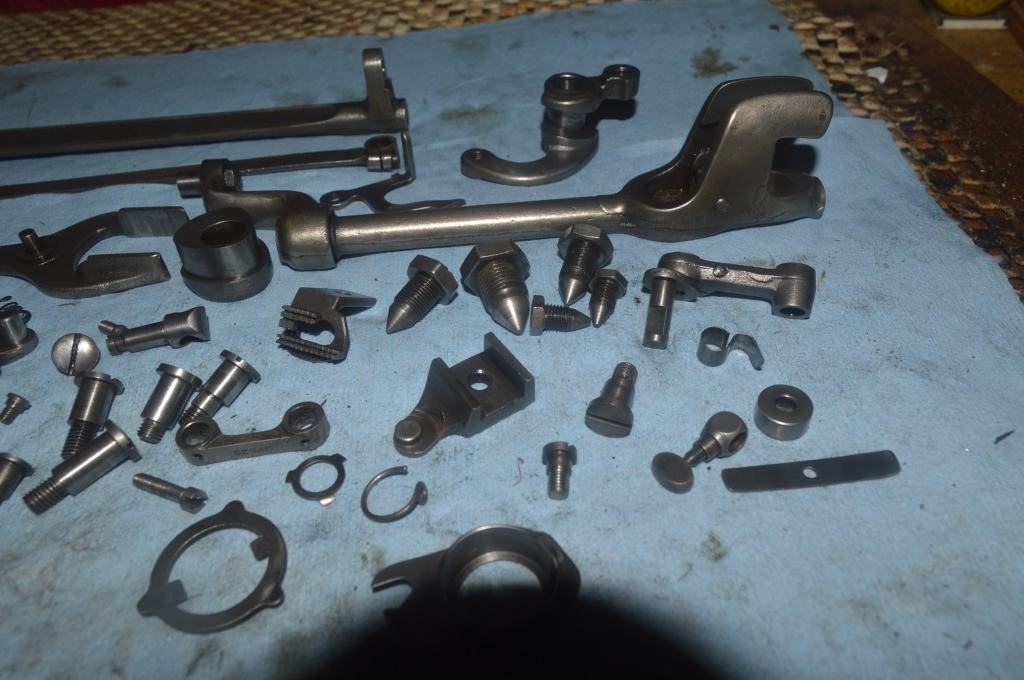
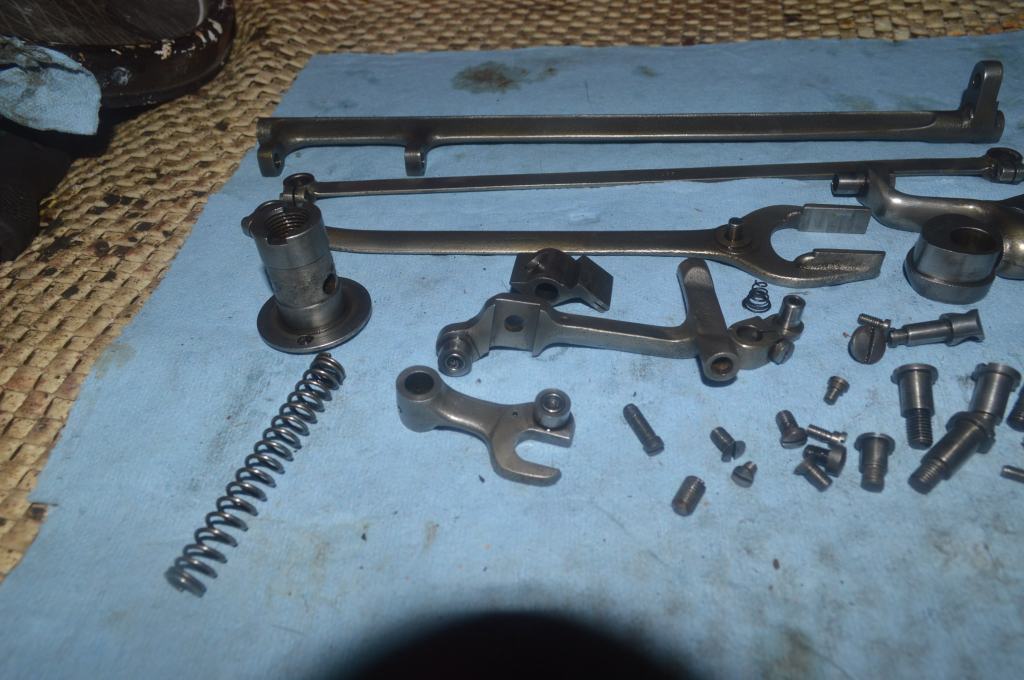
Next, all of the nickel plated parts are polished. The parts shown are the larger parts, the smaller parts are polished just before reassembly. The polished parts are hard to capture in a picture, and shows up best in the final pictures.
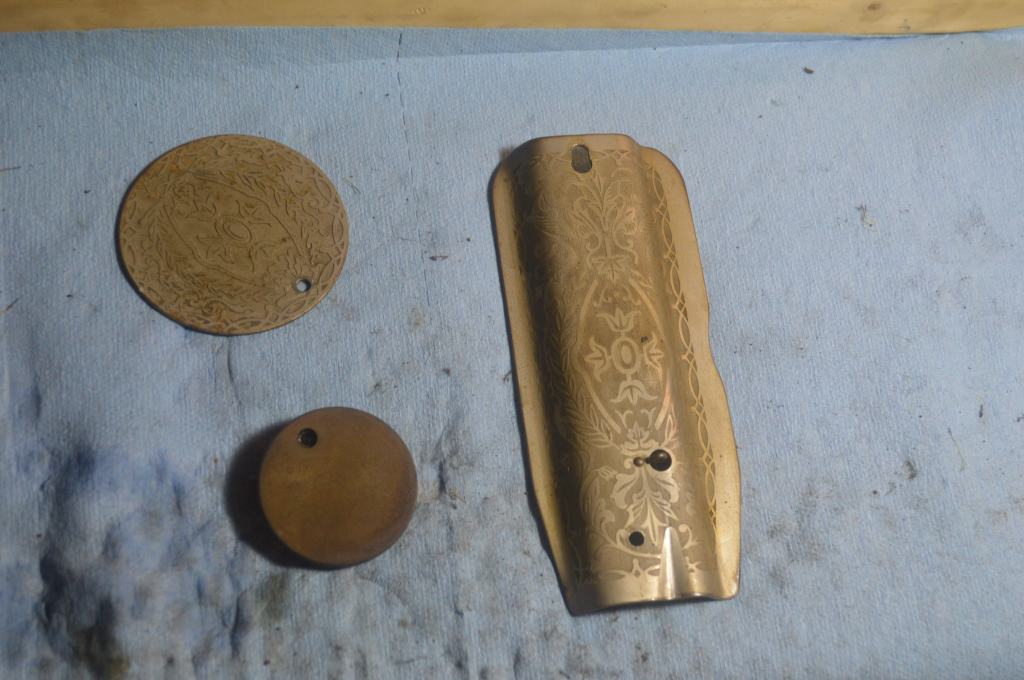
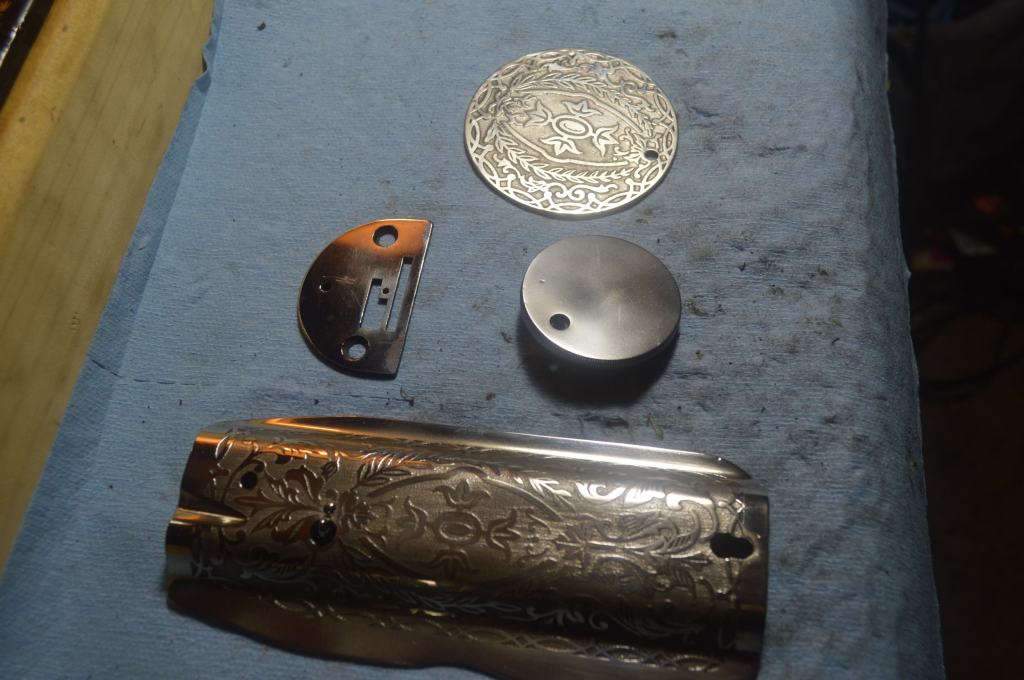
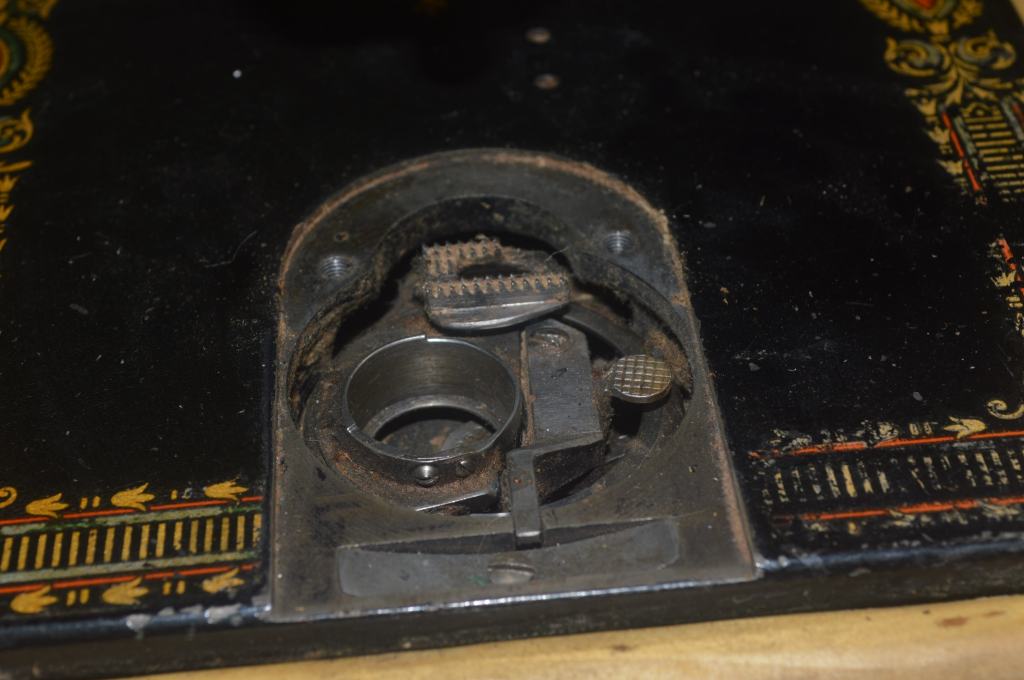
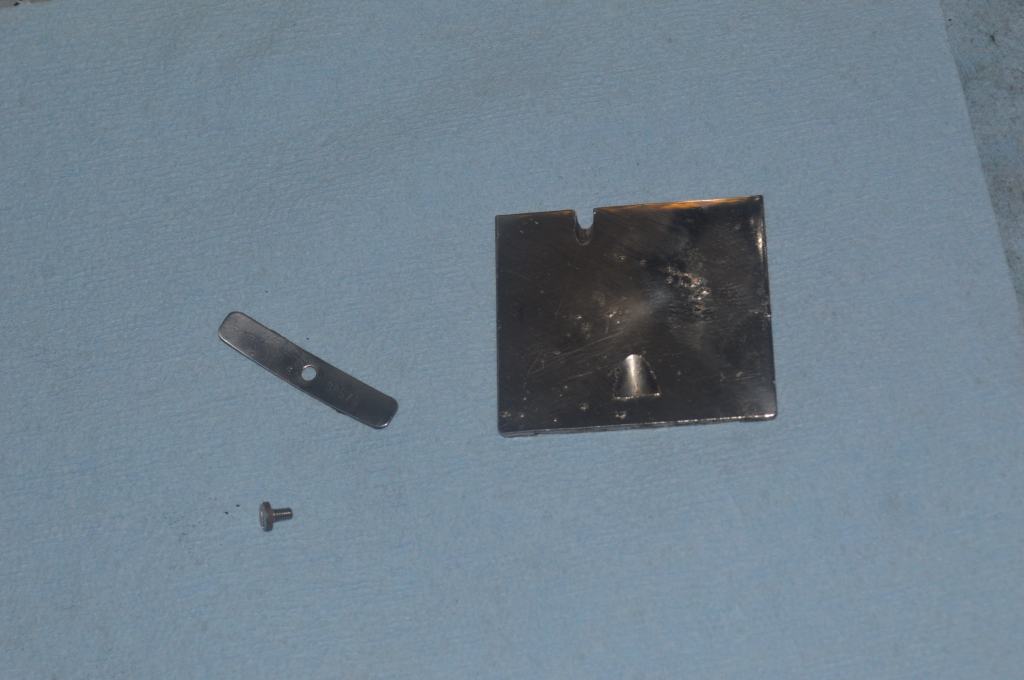
The machine was missing the bobbin plate cover. In addition, the flat spring the secures the cover had been worn down. These are the only parts that need to be replaced on the machine. Fortunately, there is always a donor machine on Ebay to find parts. Sometimes it takes a while, but eventually they can be found.
With all of the assemblies cleaned and restored, and the body of the machine cleaned, it is time reassembly. The machine is run with an external motor for five minutes to seat all of the parts, and then the fine adjustments are made. At this point, the machine turns very smoothly. The needle bar depth, hook timing, feed dogs, bobbin tension, and top tension is set. These can only be checked by running the machine. Again, because it is a treadle machine, it is run with an external motor to make sure it sews well.
After adjustments are made, the stitch looks like this…
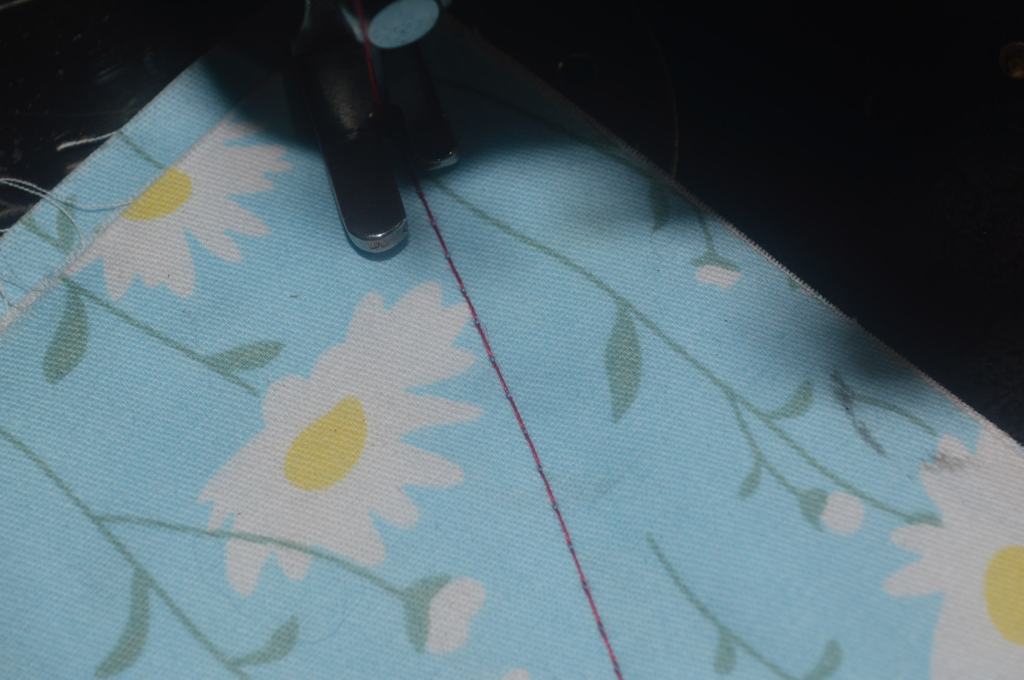
The machine makes a very nice stitch!
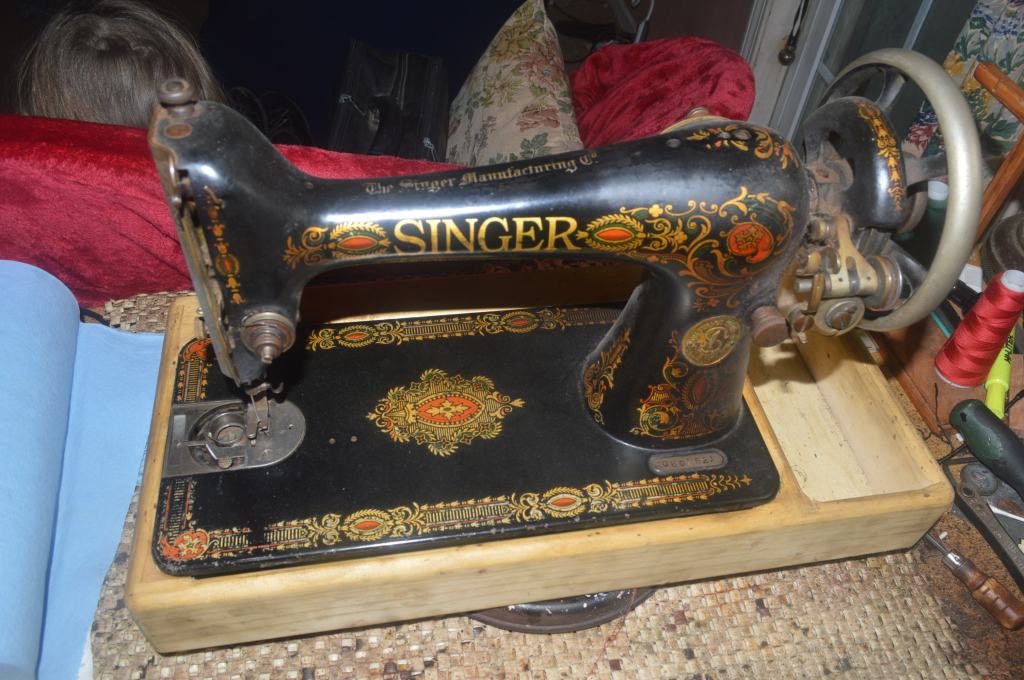
Finally, the restoration is complete and a comparison can be made… Here is the machine before the restoration.


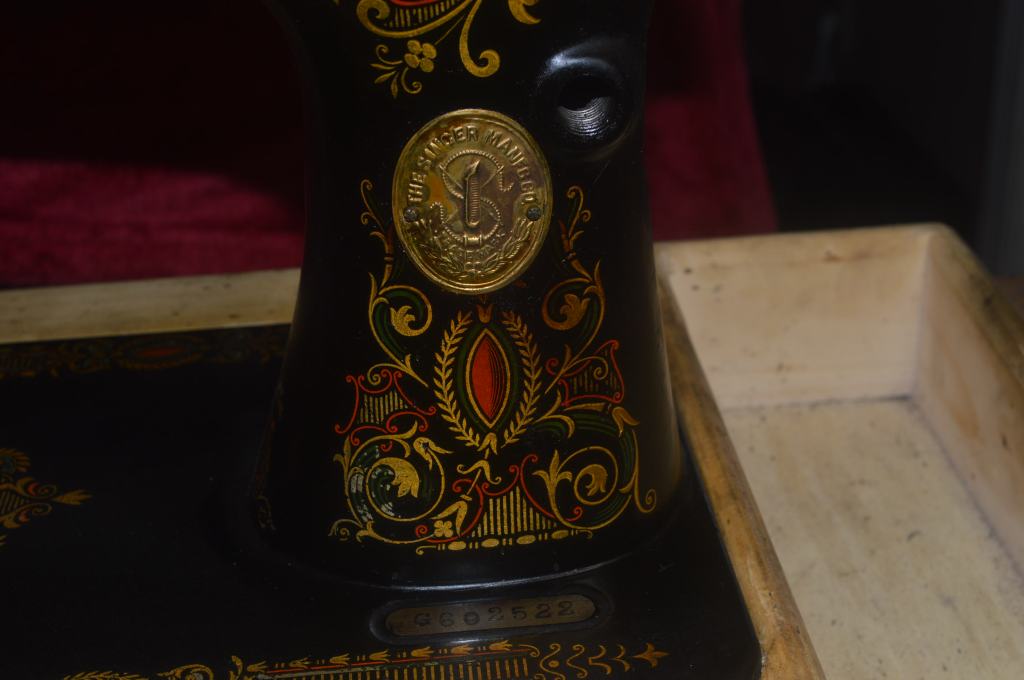
And here is the machine after the restoration…
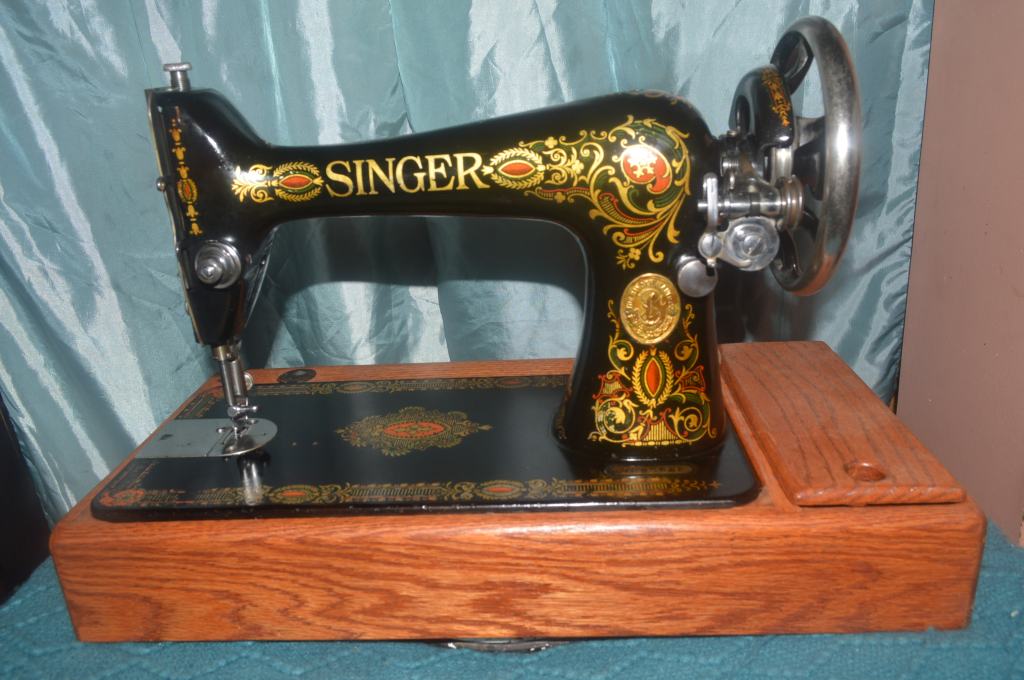
Like I said in the beginning, this machine is the perfect candidate for a restoration. The before and after is a great contrast and reveals the best the machine has to offer. Made for a treadle cabinet, my customer said that she was refinishing the cabinet, and I have no doubt that the machine and cabinet will look beautiful when reunited… and it will sew beautifully too!
Well, I hope you like what you see and enjoyed the restoration process as much as I did… This was a great restoration and this 113 year old Singer 66 is ready for many more years of smooth sewing. While I will admit that this machine went kicking and screaming too its way back to life, it was well worth the effort. Again, this just proves again what I already know… some sewing machines need more, some need less, but they all get what they need, and now I can look forward to the next restoration!
Looking for a similarly restored quality vintage all metal sewing machine for your sewing room? Let us know! We specialize in custom orders and are happy to locate and restore the “perfect” machine for you!
As always, if you have any questions, or if I can be of any assistance, please contact me through Etsy or send me an email to Pungoliving@gmail.com.
Thanks for reading!
Lee

Bravo! Beautiful restoration. Bravo!
LikeLike
Lee, as always, your restoration yields another beautiful machine. The face plate and rear cover on the 66 has to be one of my favorite sets. I wish my decals were as good as yours, but they are quite worn. I guess the machine got lots of love before I got it
I always enjoy reading about your restorations.
Renita George
P.S. I recently aquired three machines. I haven’t dated them yet, but I’m guessing early 1960’s. Two are Universal Japanese-made, and one is a Necchi Nora with a simple zig zag. It has a cam or access hatch, but no place to put a cam. One Universal has only straight stitch, and has drop feed dogs. The other is more advanced, with several stitches, and drop feed dogs. All are very heavy! I just can’t seem to turn away these machines that come my way :). Take care.
LikeLike
Hello Renita!
My wife has a Universal Deluxe straight stitch machine and it is a japanese model 15 clone. It sews quite well! The zig-zag machines are very well built too. Nechi makes a good machine, but they are not very easy to work on!
Be careful though… like kittens, collecting sewing machines will soon fill up your home! Trust me, I know.
Take care and keep me posted on your machines.
Lee
LikeLike
What a beautiful restoration! Thanks for sharing!
LikeLike
Thanks for the wonderful blog, after the ’80s Singer I was using expired while sewing some very plain cotton last fall (plastic gears, what is there to say), I found an early ’30s Wittenberge-built model 66 in a portable bentwood case + knee operated electric motor, all original in reasonably good condition for a 90 year old machine. Previous owner had bottomed out the bobbin tension screw, so naturally it stitched but the fabric would barely move after each stitch. After adjusting back to a normal tension + complete overhaul of wiring (much thanks for your articles on rewiring these motors, otherwise I just would have ordered a new motor) I have a very nicely stitching machine, not quite as pretty or shiny as the one pictured here, but beautiful nonetheless. The machine must either have hardly been used and/or deep cleaned at some point in the last few decades as the mechanisms are still quite shiny with practically zero oil varnish inside the bearings compared to some of the machines you post here.
The only thing that has been tricky with my model 66 is that the screw holding the bobbin case spring on seems to be seized. The adjustment screw is fine, and can be adjusted while the case is in the machine using the little screwdriver supplied with the machine, but I can’t clean under the spring. Best I have done so far is to douse with WD40/kerosene while “flossing” with some thread between the spring & case, but the slot in the screw is very shallow and my screwdrivers are not a perfect match for the slot, I have the correct width but a bit too skinny to fill the slot. I’m guessing the solution is heat (soldering iron?) + potentially grind a screwdriver of the correct thickness to the correct width so there is no slippage, but even then I’m tempted to just leave it alone. Any magic tricks?
LikeLike
Hello Fionn,
The screw you are trying to remove can be difficult to remove, and I have a screwdriver bit that fits the slot perfectly. The worst case is that the slot of the screw will be damaged so it is impossible to remove. I never thought about locally heating it with a soldering iron, but I think it may work!
While I am sure that there is some old gunk under the spring, using unwaxed dental floss should clean any debris out of the thread path. If you have soaked it in WD40 and kerosene, it is important to remove any oil film under the flat spring. Otherwise, it will hinder getting a proper tension and attract more gunk.
If you are unsuccesful removing the screw, soaking it in acetone (nail polish remover) will do the trick. heat it gently with a hair dryer to evaporate the acetone, and finish off with the unwaxed dental floss. Just make sure no acetone gets on the machines paint because it will damage any paint it touches.
Getting it working reliably is more important than disassembling it if it damages the screw, so in this instance, it may be better to leave it alone. I have had machines that had screws that refused to loosen, and rather than risk breaking them, I work around the problem by cleaning as much as I can.
I know you will be successful getting your 66 running great and I’m glad you found my blogs useful. Please don’t hesitate to ask if I can be of any assistance.
Have a great day!
Lee
LikeLike
Thank you for your reply, I have been quite busy here, albeit with a small odd-job or two for my Singer 66, but I am strongly tended to just leave the bobbin case spring alone like you suggest. I rinsed it a bit with some acetone, but there seems to be nothing in there and after I set the tension for a particular needle/fabric/thread combination it has been sewing well. If it wasn’t for my occasional requirement to overcast raw edges I wouldn’t need any other machine.
Your other article that I found useful was on replacing the felt on the hook, on my machine all that was left was a small nub in the spring holder. Still need to find a suitable chip repair paint too on east side of the Atlantic, but there are suppliers advertising various “lamp black for GM” touch-up paints, hopefully they will be close enough.
LikeLike
Hello Fionn,
The lamp black GM paint should be a good color match. It is as close as I have found available.
It is great for chips, but scratches are not easy to cover with paint.
I hope this helps!
Lee
LikeLike
So pretty! I’ve been restoring one too, and I’m not sure how to polish the chrome looking pieces. You said you used a wire wheel? I have a brass one, but I tried using a cotton wheel with some polishing compound and didn’t have much luck, so I didn’t think a wire wheel would even be an option.
LikeLike
I use a wire wheel to clean the steel parts. The chrome parts are cleaned with a buffing wheel or a dremil polishing wheel depending on size.
There are a number of chrome and metal cleaners you can purchase at an auto supply or Walmart.
I don’t use them so I don’t have a favorite, but from I hear folks say thry work well.
Keep me posted on how your restoration progresses!
Lee
LikeLike