
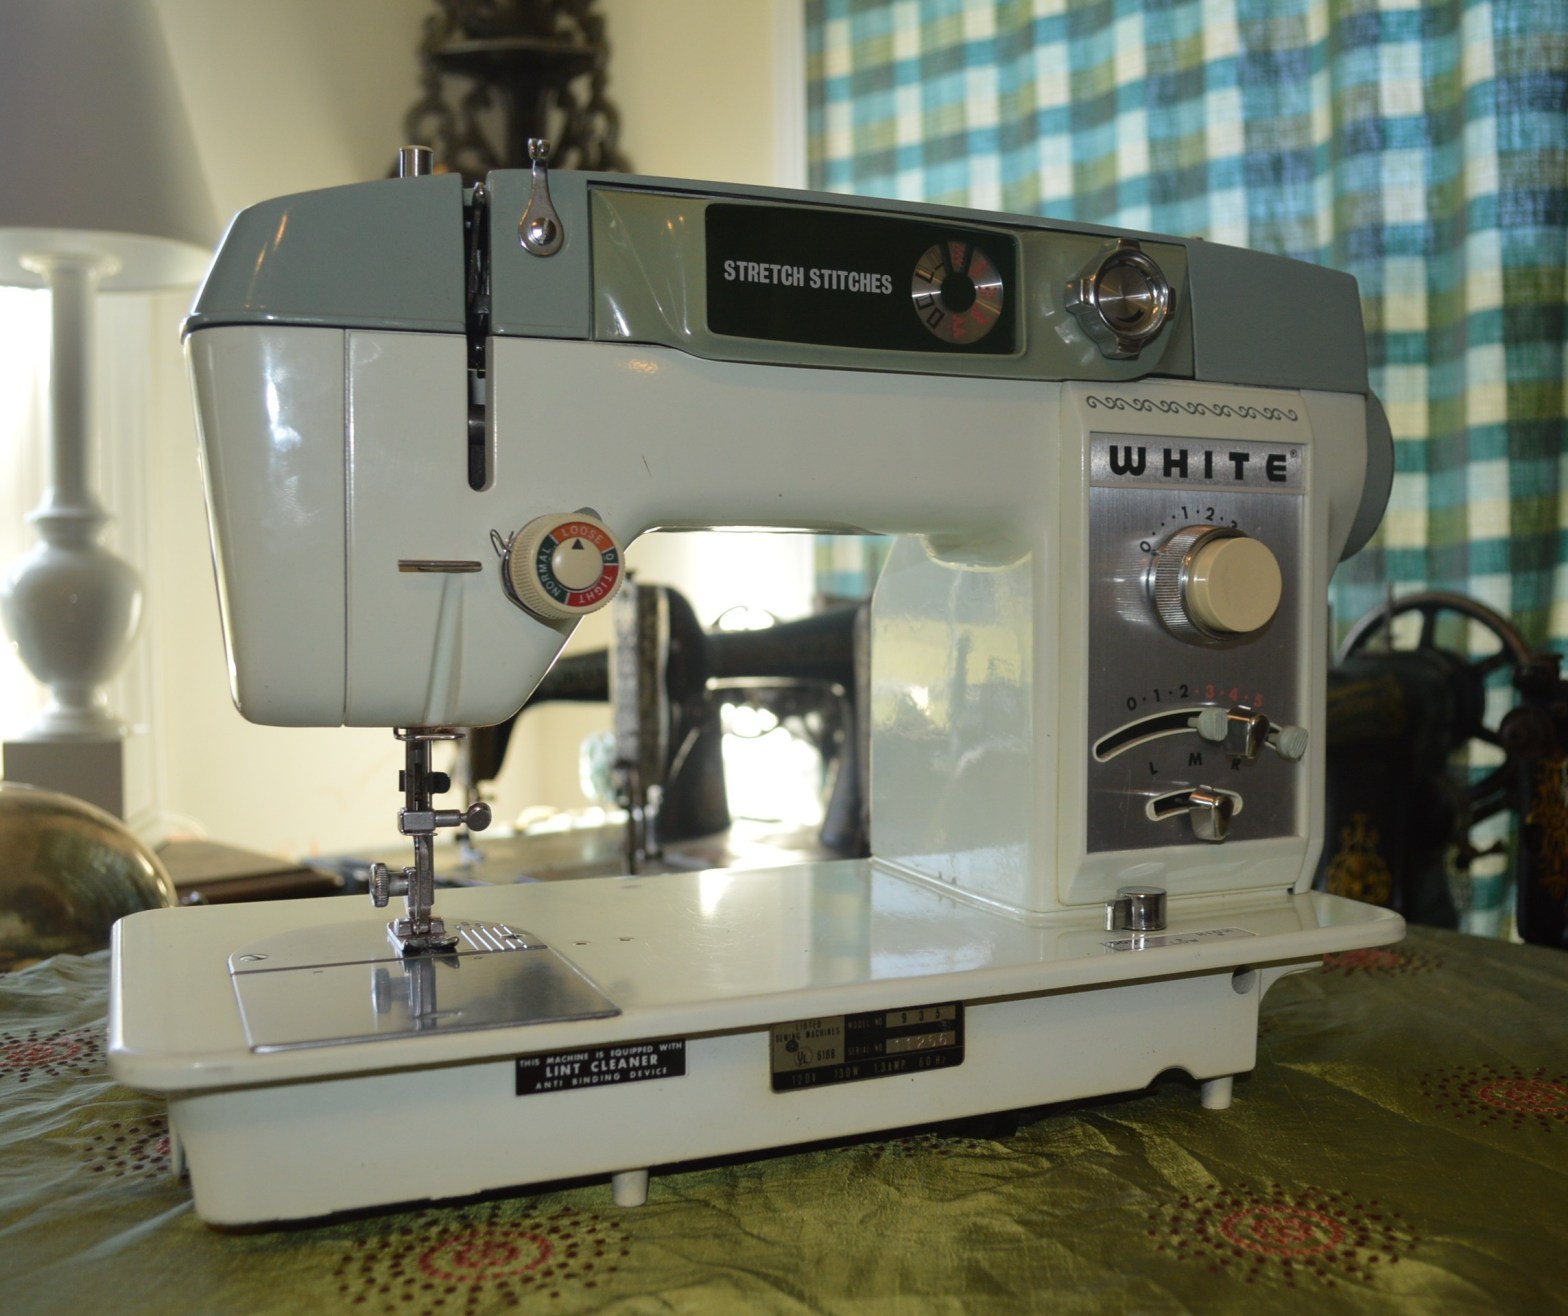
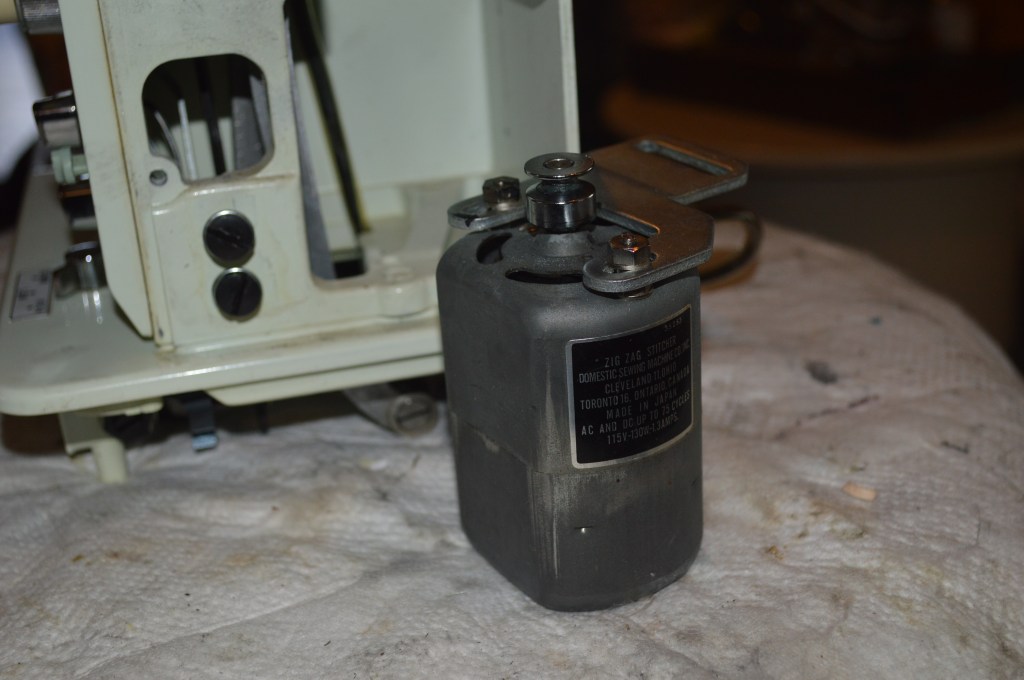
This restoration is a White “Stretch Stitches” sewing machine. To be honest, this restoration has been put off for a while due to my concern over the machines suitability for restoration. When I got the machine some months ago, I thought that it would be a “perfect” candidate. The sewing mechanisms were clean, bright, and free of old oil varnish. The same for the needle bar and presser foot head and the cam assemblies located in the sewing arm. The machine has a powerful 1.3 amp motor that looked to be in good condition and it was powerful and smooth. The only obvious thing that suggested that the sewing machine was not sewing was a broken take up spring in the top tension assembly. Aside from that, the machine’s internal mechanisms looked like new… or at least very little used. So, what was my hesitation? Well, it was this…

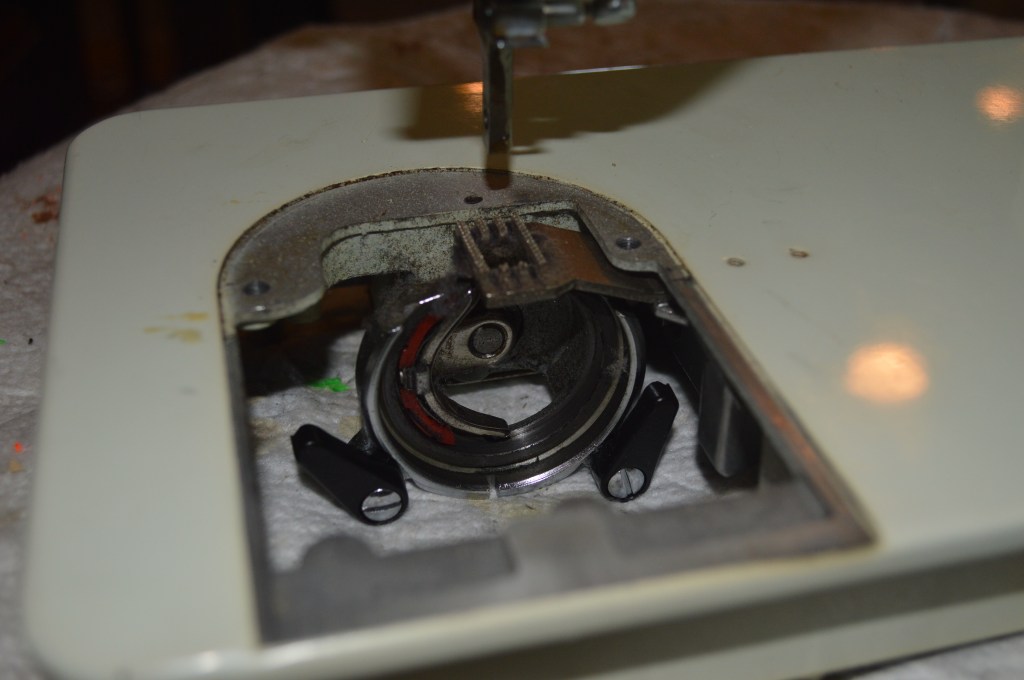
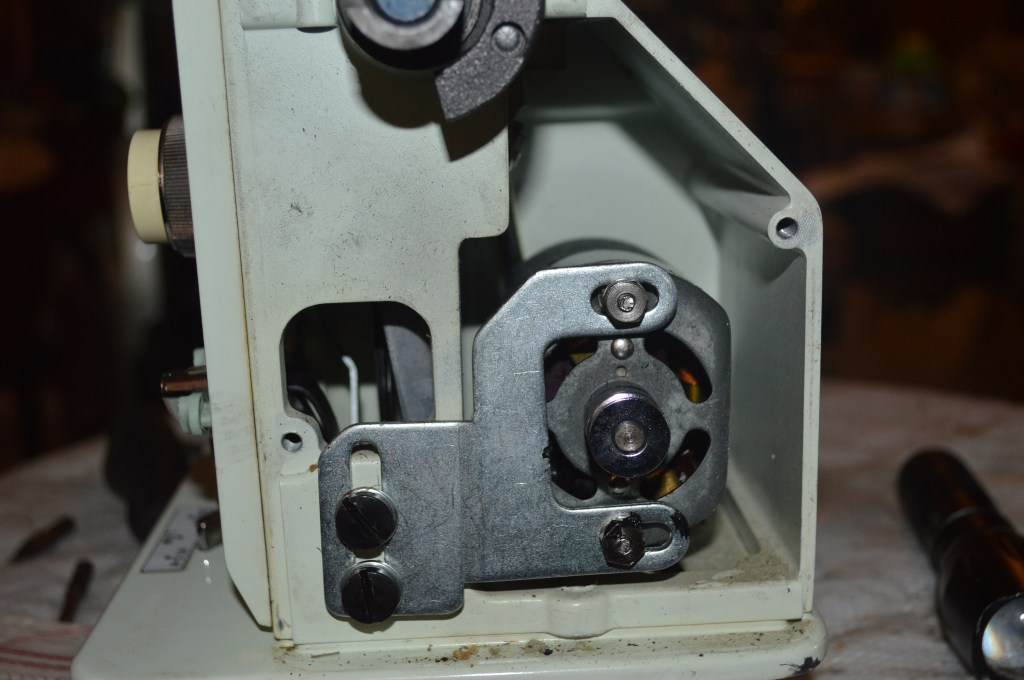
When I looked at the cam stack, I saw this large “plastic” gear. This was a disappointment because I thought the 935 was an all metal machine, and I put it away.
Well, I took the machine out the other day and took another look. On close inspection of the gear, the edges seemed to sharp to be plastic. Tapping it with my finger nail, it seemed to be too hard for plastic. Hmmmm… finally, I took a small file and scratched the side of the gear and lo and behold… it’s not plastic! Turns out it is anodized aluminum. This is a game changer and right up on the restoration bench it went.
Cosmetically, the machine is a little dirty and needs a good cleaning. Mechanically, it needs to be gone thru to make sure everything is clean and well lubricated. The motor and gearbox need to be addressed, as does the tension assembly. Of course, all of the bobbin case parts need to be cleaned.
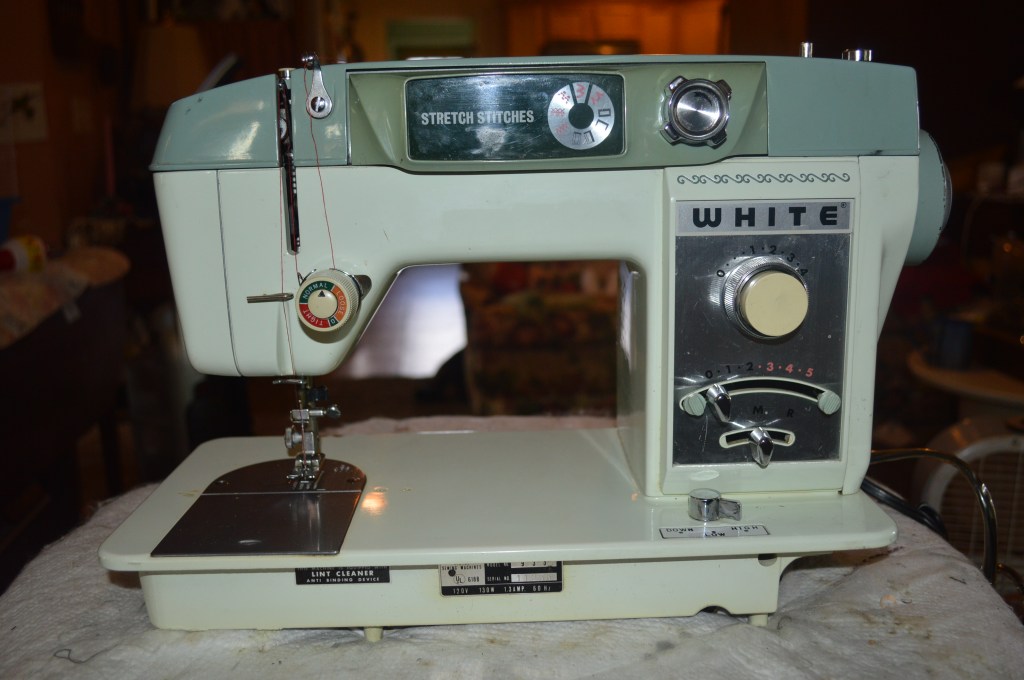
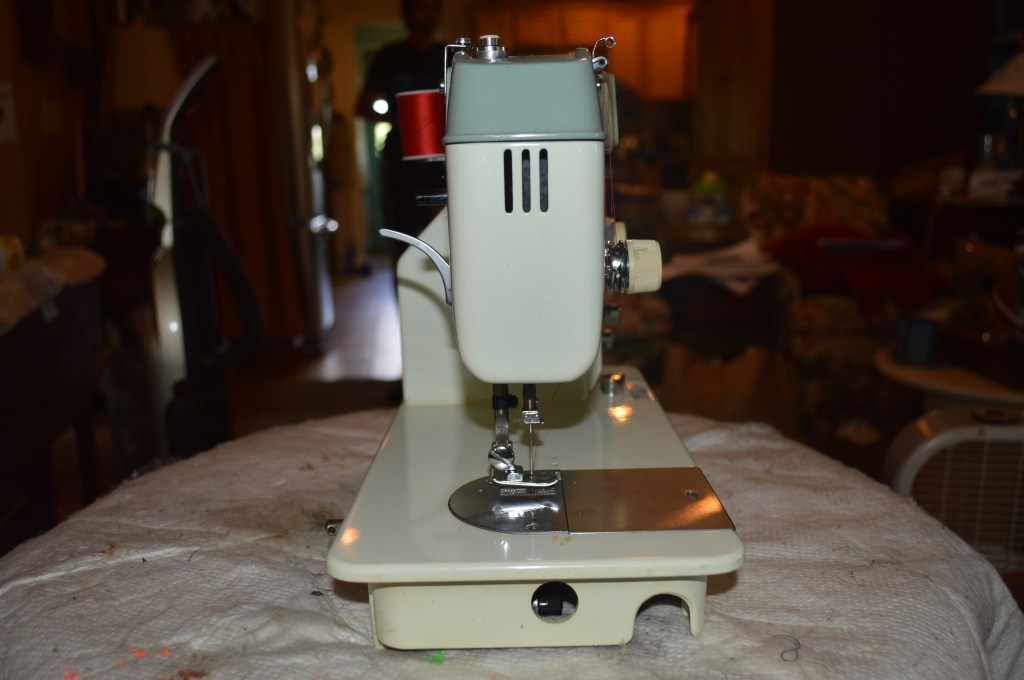
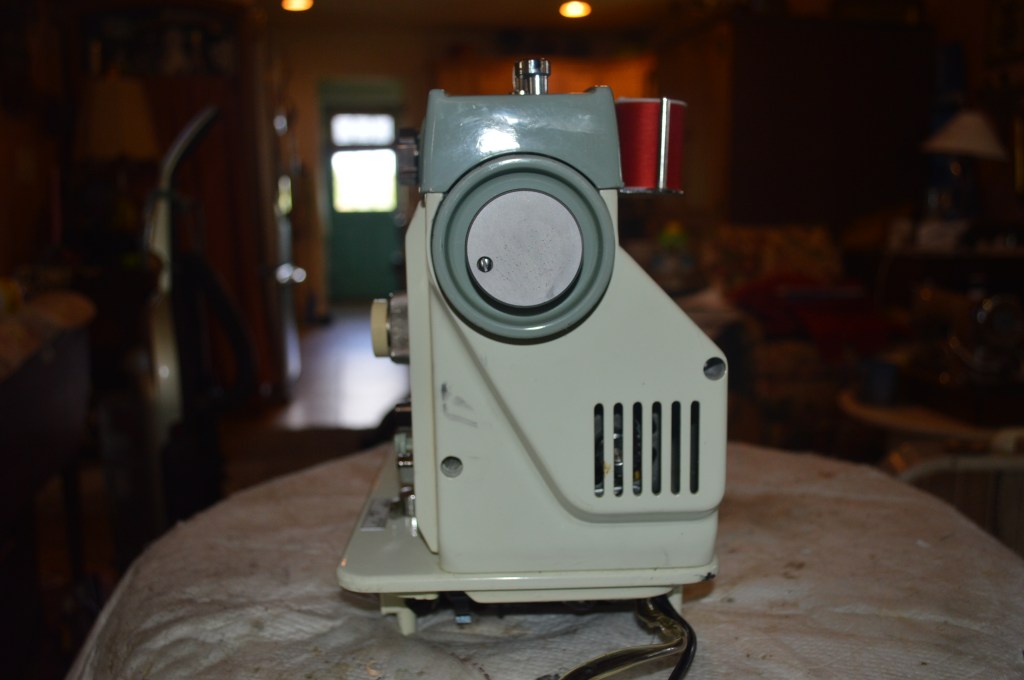
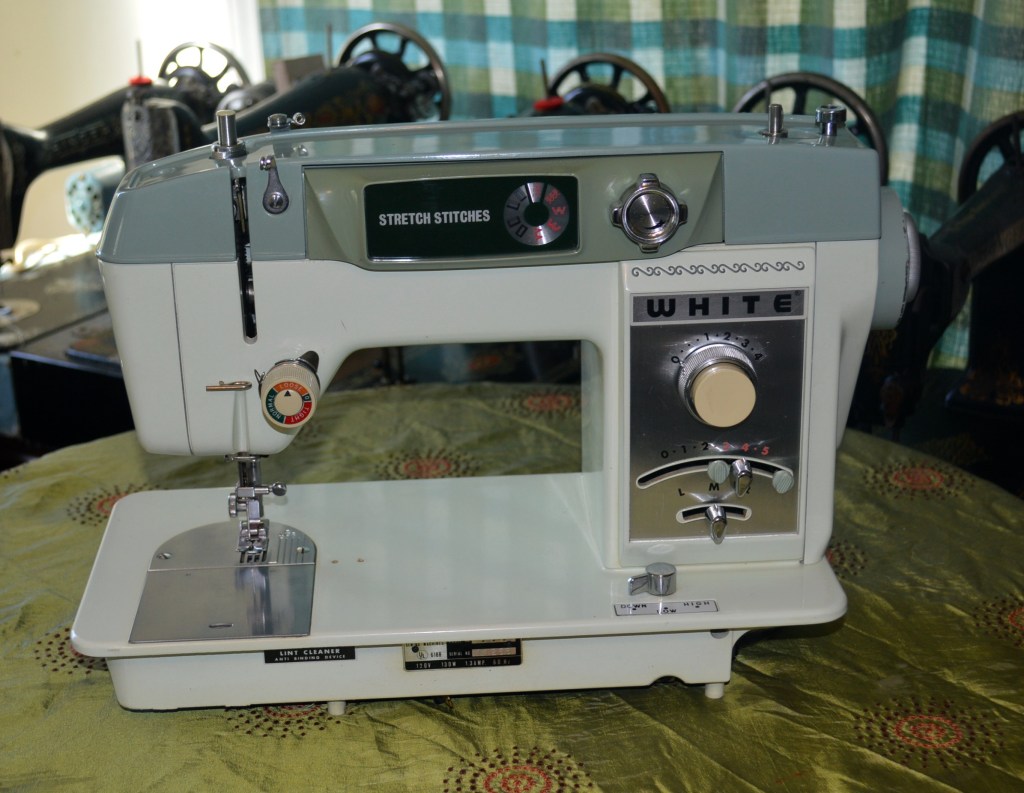
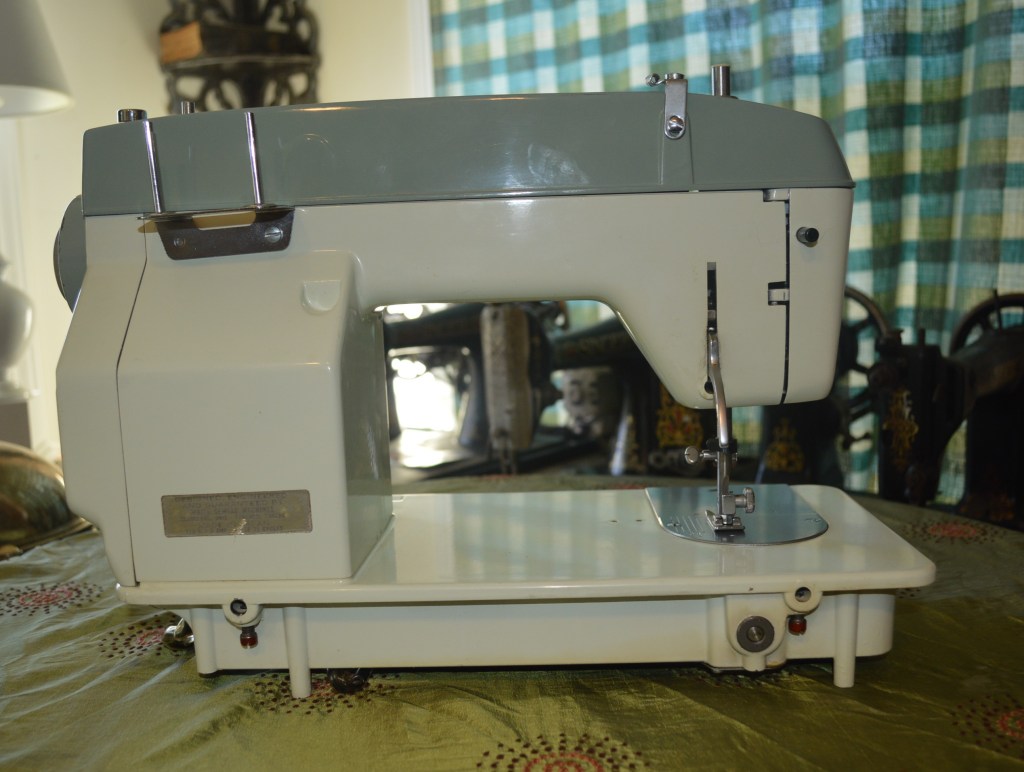
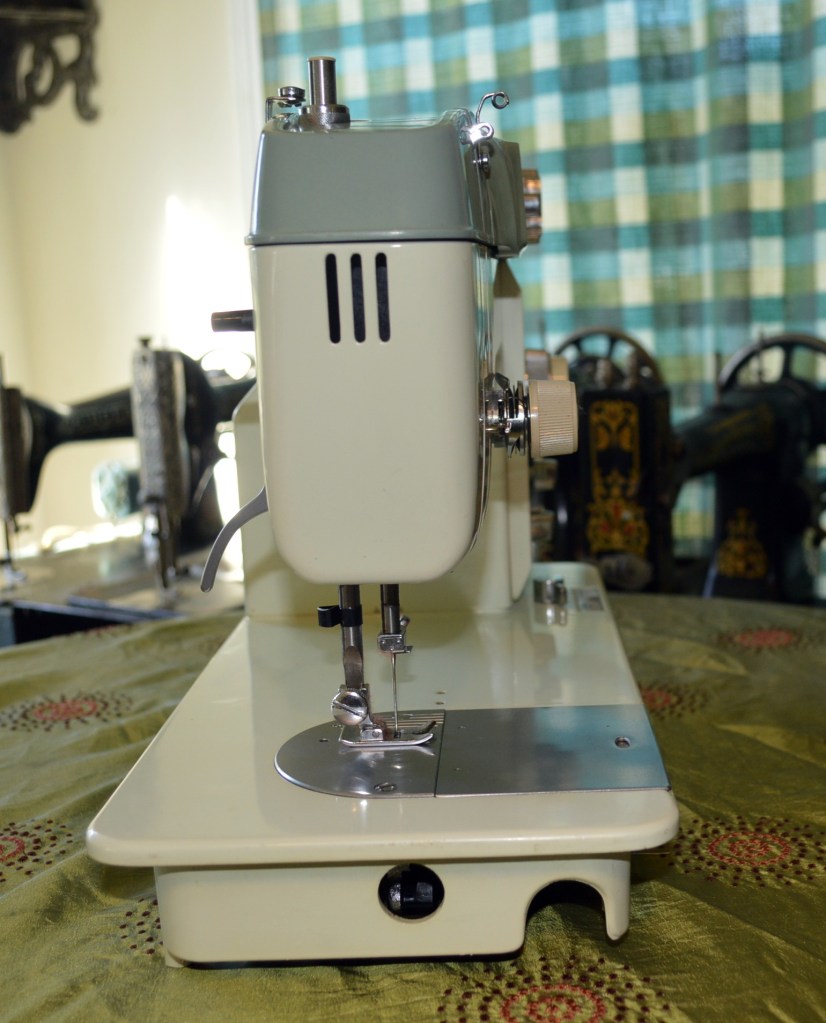
Here are the before pictures of the machine…


The restoration starts with removing all of the covers, the balance wheel, and the tension assembly, and the bobbin race covers.
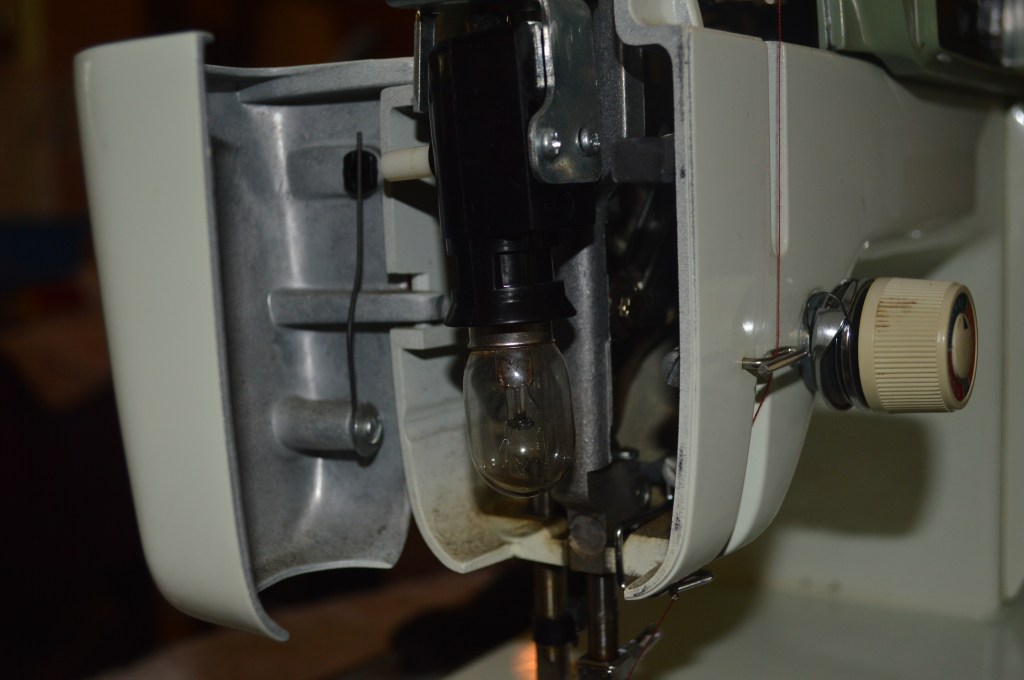

This exposes everything for cleaning and access to the motor.
Looking at the mechanisms, everything looks bright and clean…
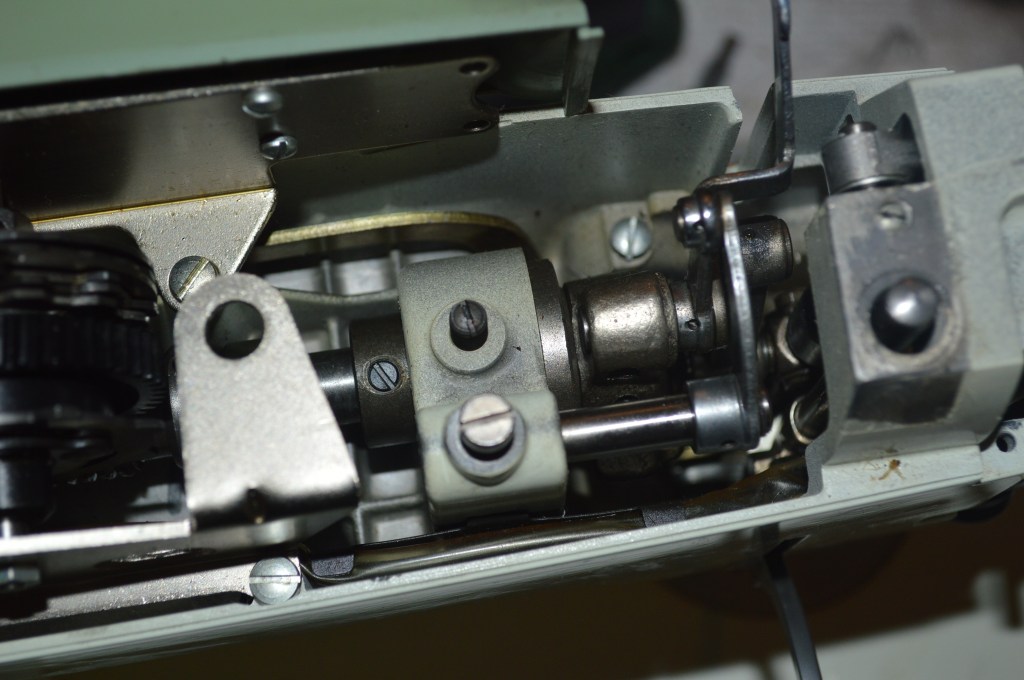
Work here consists of lubricating all of the locations for usual maintenance, then spraying with Tri-flow oil to oil all of the linkages and cams.
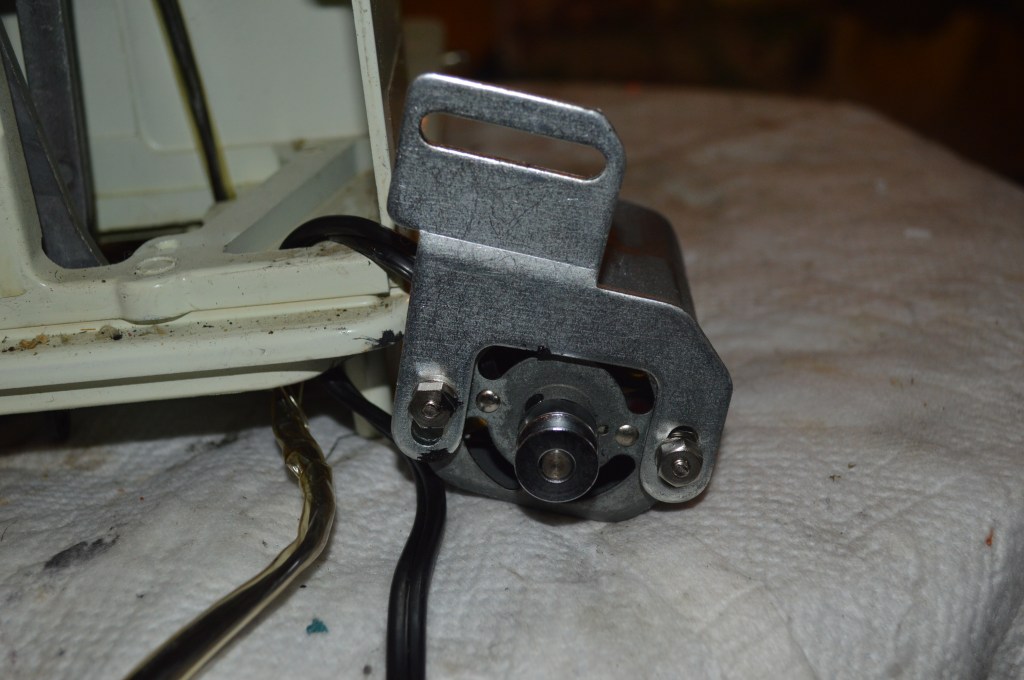
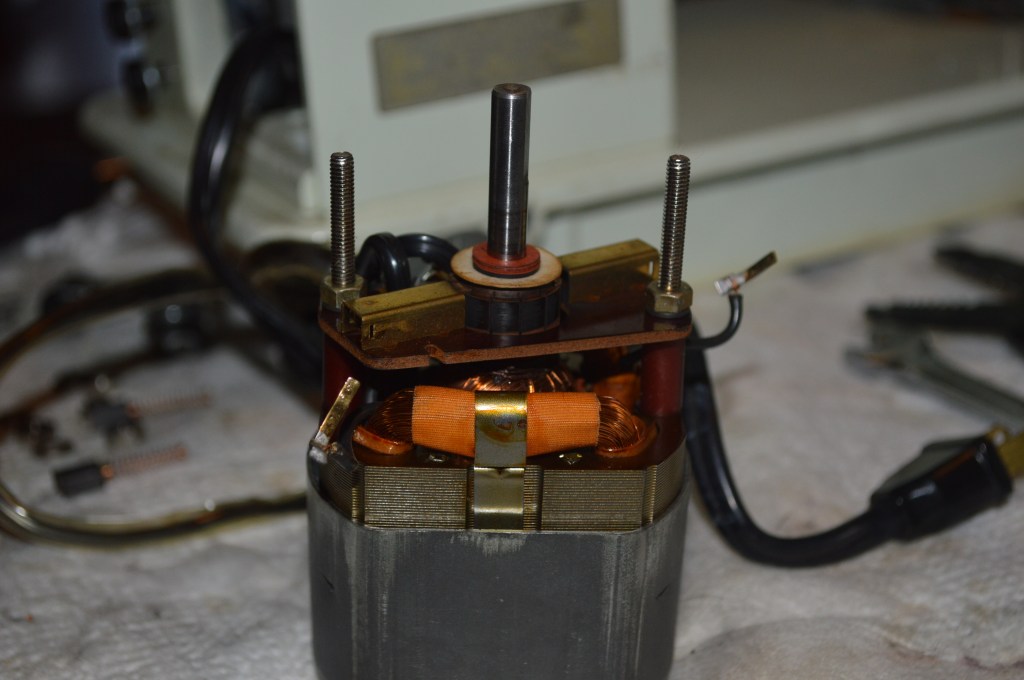
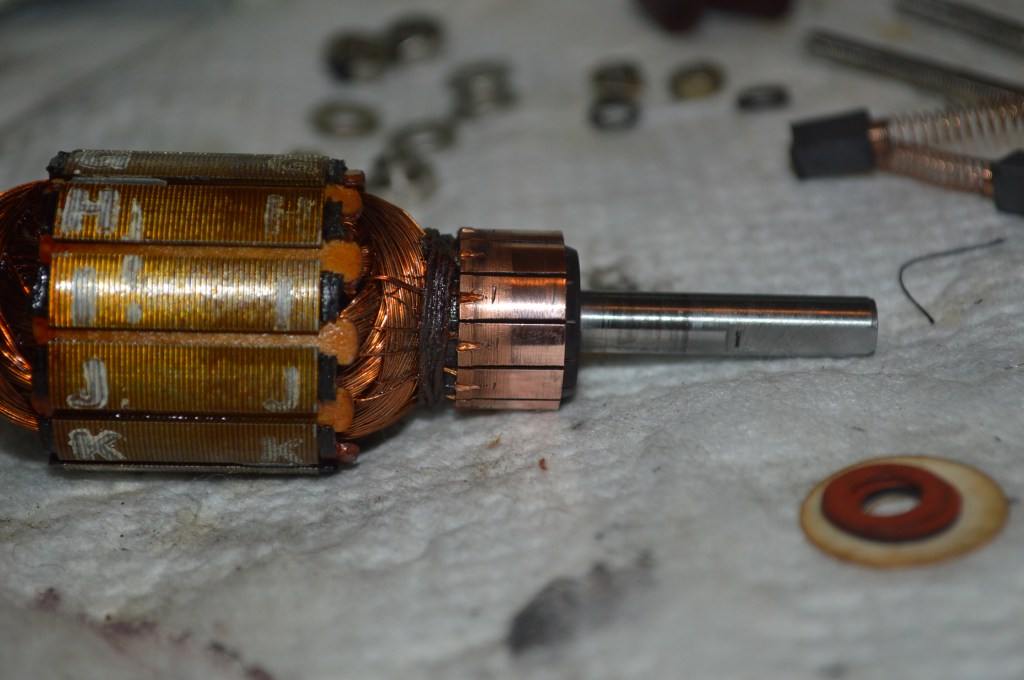
The motor is removed for disassembly and cleaning. Typical of all restorations, the armature shafts and commutator needs to be polished…
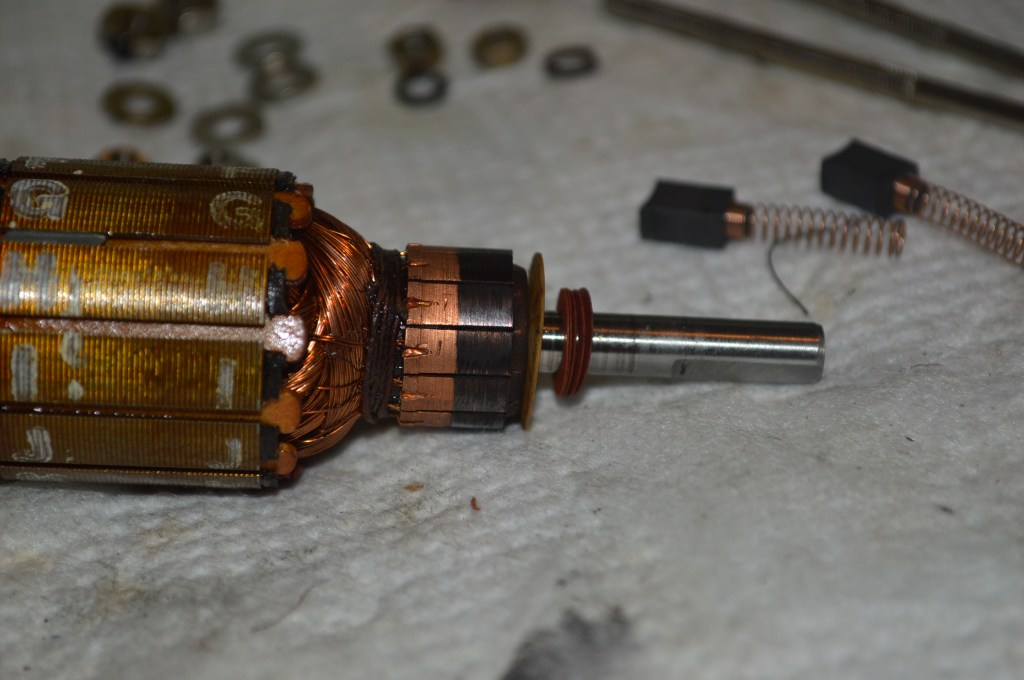
After polishing, the armature shafts and commutator are ready for reassembly…
On this motor, the brushes are in good condition, and have a pronounced curvature where it contacts the commutator. The purpose of polishing the commutator is to provide a smooth surface for the brushes to contact. The smoother the surface, the less friction the brushes will feel and it will prolong the brush life. The curvature on the brushes adds surface contact area… hence more friction. I have decided to recondition the brushes by flattening the contact face of the brush. The next two pictures show the before and after…

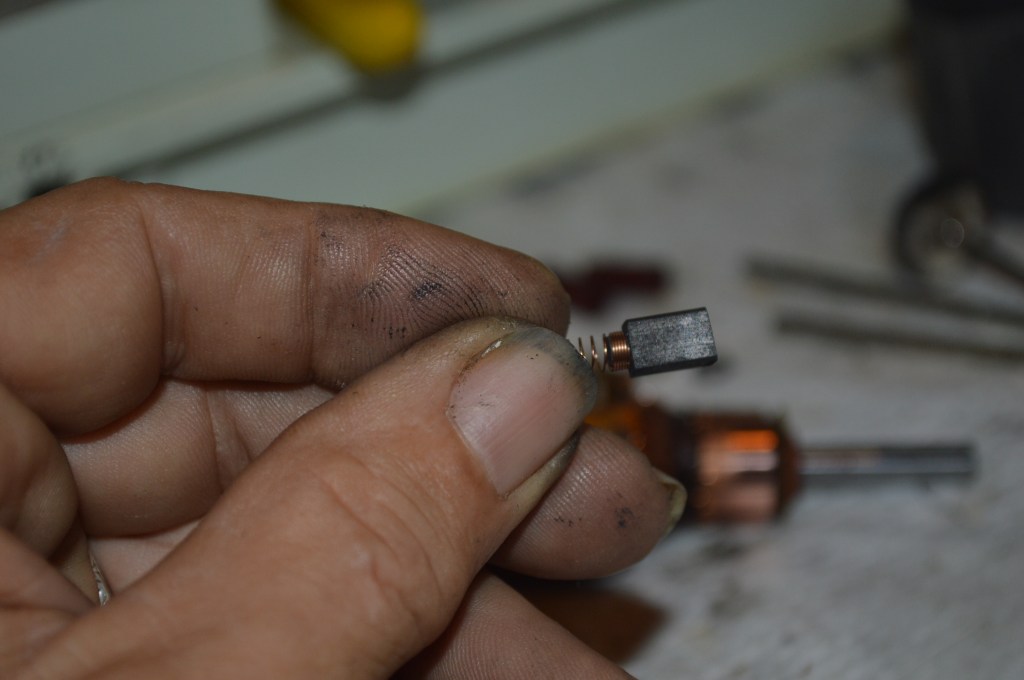
The brushes will wear into the armature over time. The motor felts are well oiled and the motor is reassembled and bench tested.
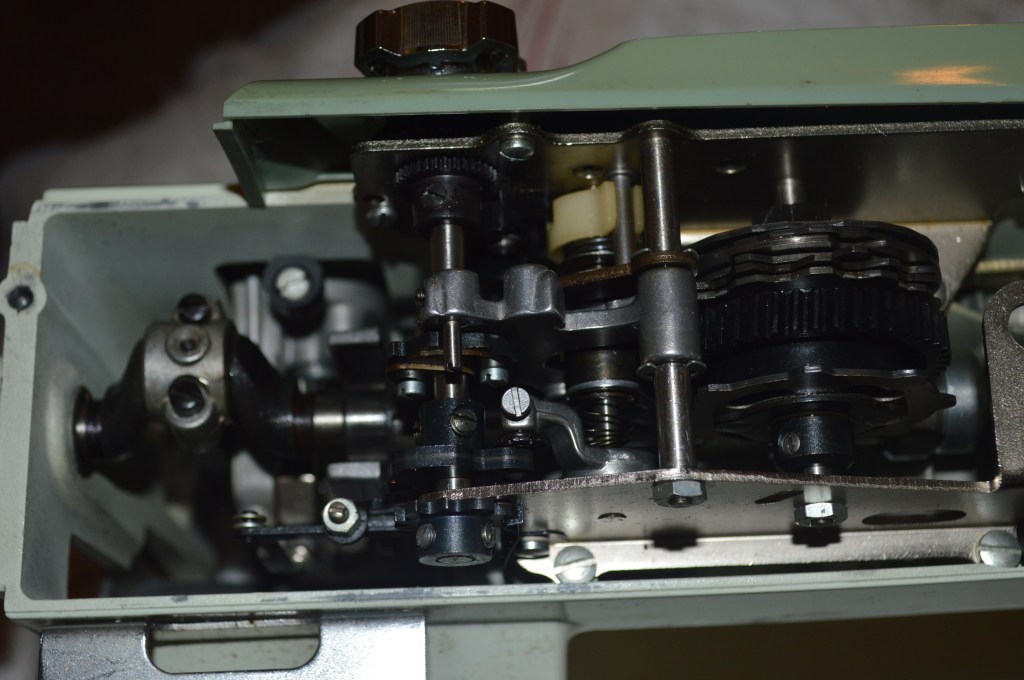
The next step is to clean and repack the grease in the gear box…
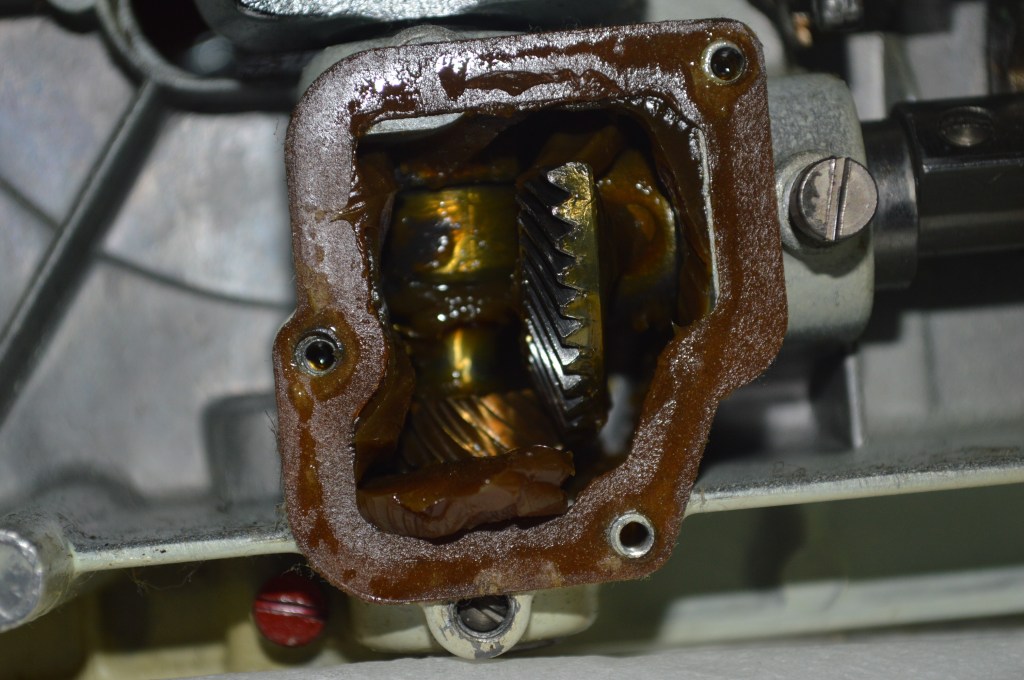

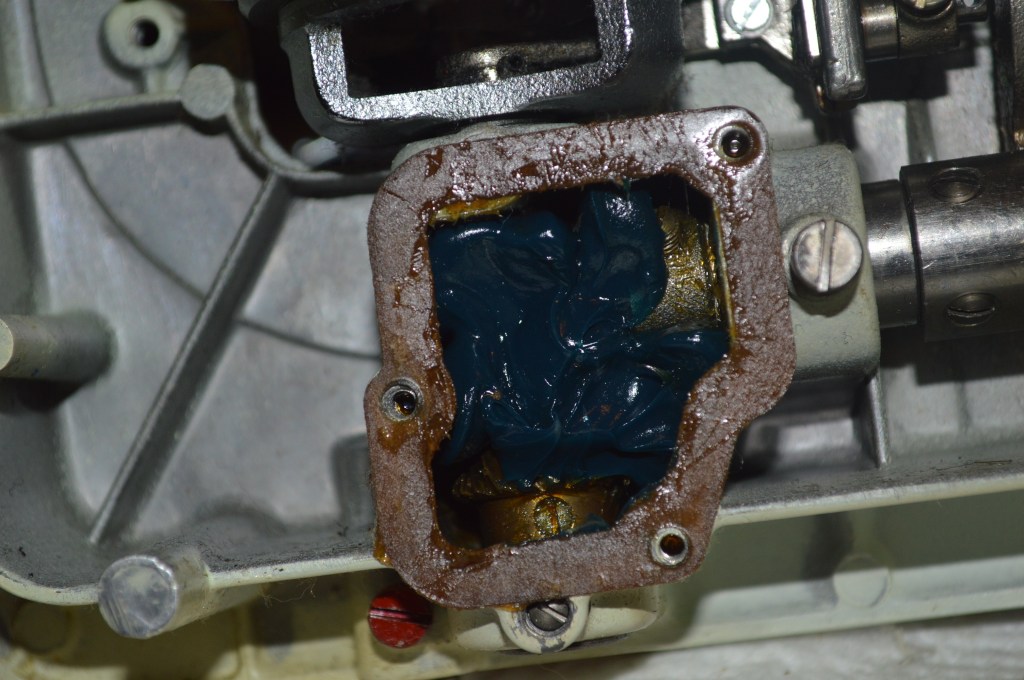
Despite how it looks, the existing grease is still grease consistency. Often, the grease is hardened to the consistency of beeswax and looses the ability to lubricate the gears… not so here. Still, new grease is appropriate.
Next, the machine is deep cleaned. Using Gojo to clean and remove all dirt and residue, some of the “scuffs” are removed and the machines finish is brightened.
The tension mechanism is disassembled, the take up spring is replaced, and all of the bobbin race parts are ultrasonically cleaned.
The machine is reassembled, all parts are coated with tri-flow oil spray, and all of the mechanisms are lubricated.
The last step is sewing with the machine and adjusting the tension and anything else that may affect sewing performance . As a comparison, this is the before pictures…


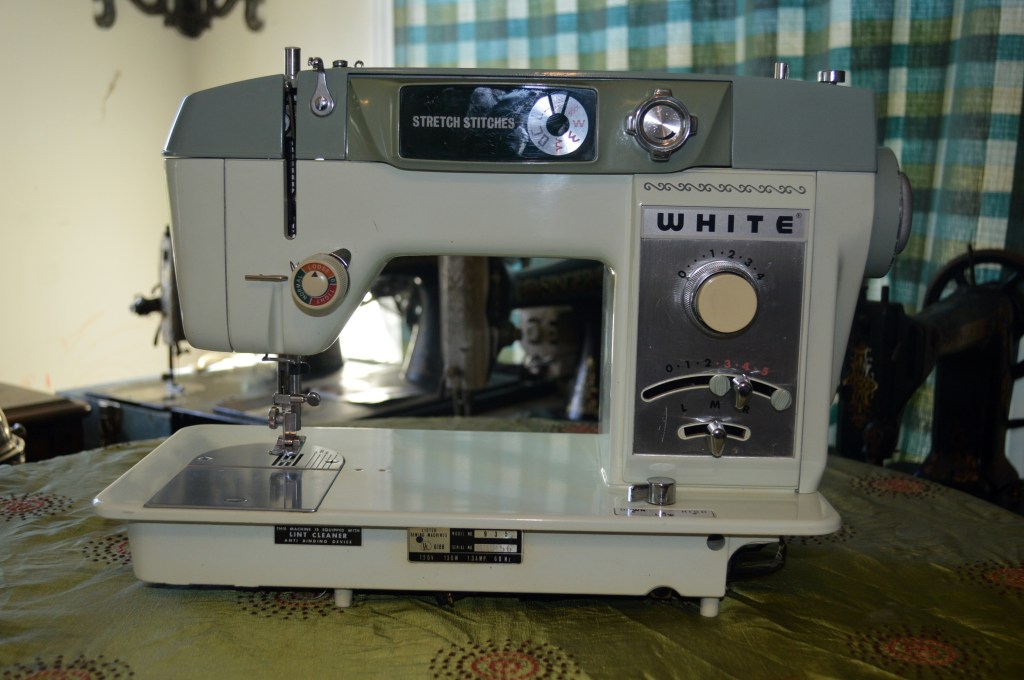
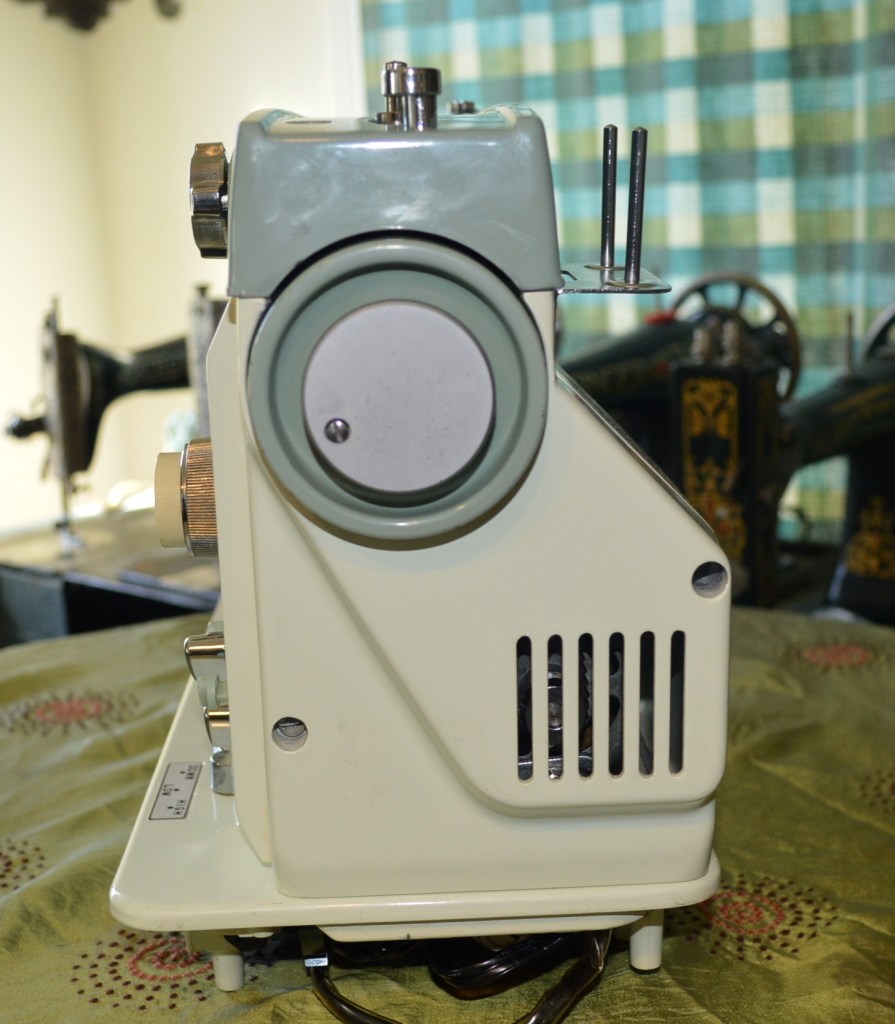
And here are the after pictures…

If you like what you see please visit our Etsy store at https://www.etsy.com/shop/pungoliving, and see this White “Stretch Stitches” Model 935 and all of our other restored fine quality vintage sewing machines.
Thanks for reading!

Hi there!! I hope you can help me with my problem. I have the 935 model and my needle broke! Do you know where I can buy a new one and how to install it?? Thank you in advance!!
LikeLike
Hi there!! I hope you can help me with my problem. I have the 935 model and my needle broke! Do you know where I can buy a new one and how to install it?? Thank you in advance!! Also what size
LikeLike
Good morning Fernanda,
I hope I can help you by answering your question.
Your machine takes a standard 15X1 (Singer 2020) needle. It is likely the only needle you will find in a store like Walmart. They come in different sizes depending on the type of fabric you are using. The bigger the size, the thicker the needle. A size 14 is very common. Your 935 threads through the needle from front to back, so the flat side of the needle should be inserted in the needle bar facing away from you.
There are many YouTube videos available to help show you hoe to change your needle and thread your machine.
The needle should be replaced about every 8 hours of use. They do wear out.
I hope this helps!
Lee
LikeLike
I need a whole tension assembly. We have the original one but as i can see looks like i need to buy. One already assembled. Where can i find one. I called sewing parts.com and they need the part number. 🤔.
LikeLike
Hello Mary,
Finding an original replacement may prove difficult. Your best bet would be to finding it from a Model 935 “parts machine” someone is selling parts from on Ebay.
I wish I could be more help!
Lee
LikeLike
Is there a substitute for this machine? White 935 tension assembly that i can use?
LikeLike
Hello Mary,
I’m sure there are other tension assemblies that would work. I don’t have a machine to measure from, but so long as the diameter and length of the assembly barrel is the same length, it would probably work.
I hope this helps!
Lee
LikeLike
I am needing to know two things please ?……
1: how do I thread the bobbin 2: how do I get the we needle to grab the thread from the bobbin underneath the plate ?
LikeLike
Good evening Veronica,
Your machine should have the needle inserted with the flat side of the needle facing the back. It threads from front to back. Loading the bobbin is simple but it is easier shown in pictures than described in words. The user manual describes how to insert the bobbin in the case and pull up the thread.
If you don’t have the user manual, send me an email to pungoliving@gmail.com and I will send you a copy of the manual.
I hope this helps!
Have a great evening,
Lee
LikeLike