

Introduction
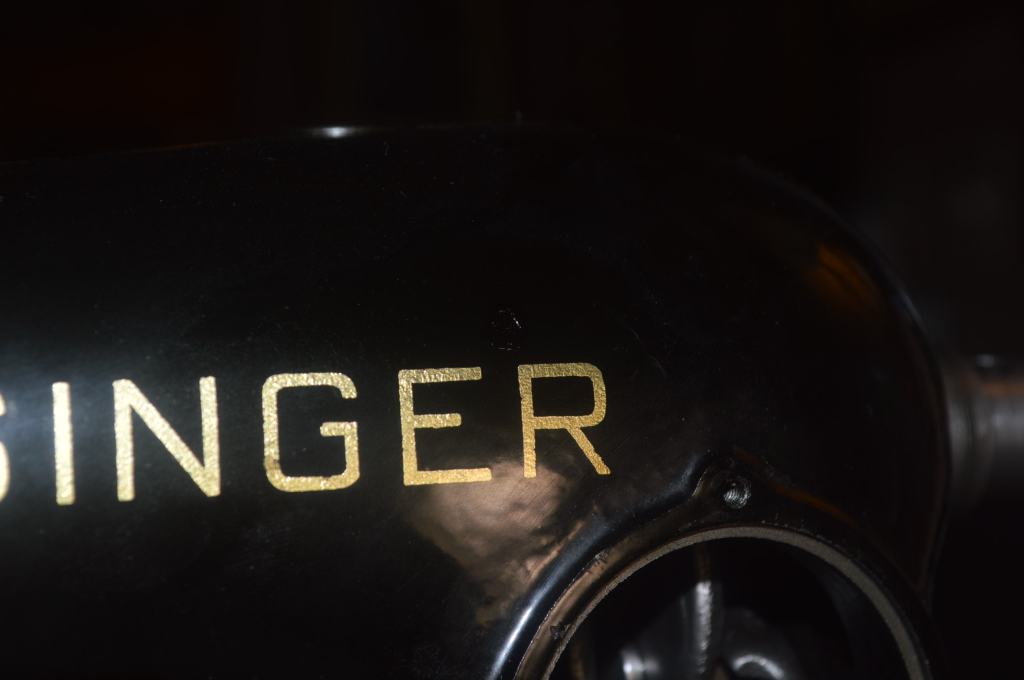
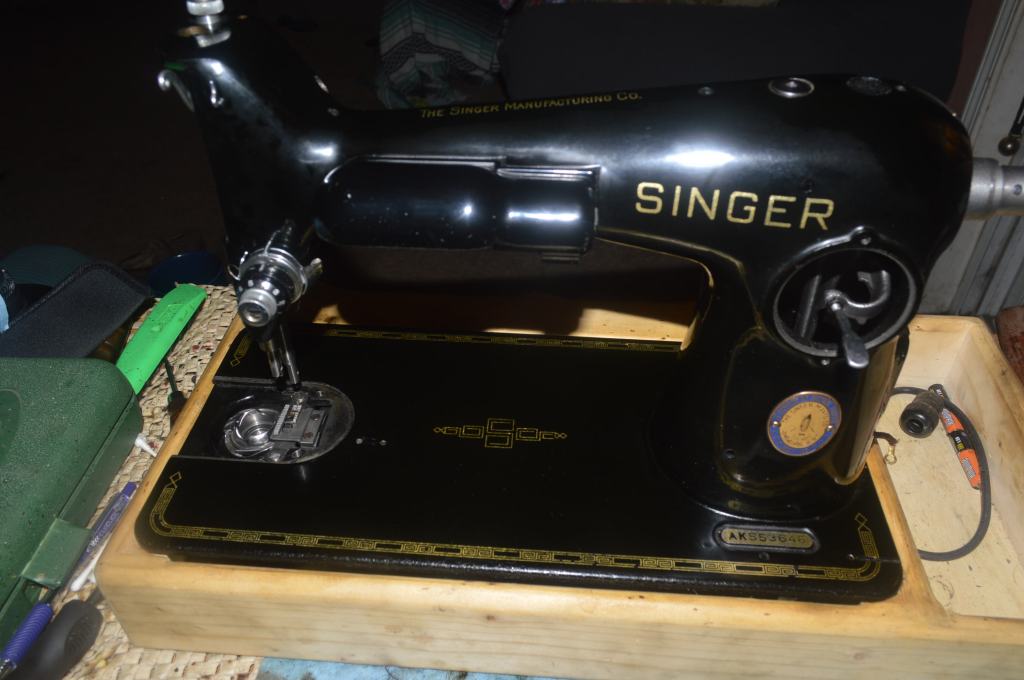
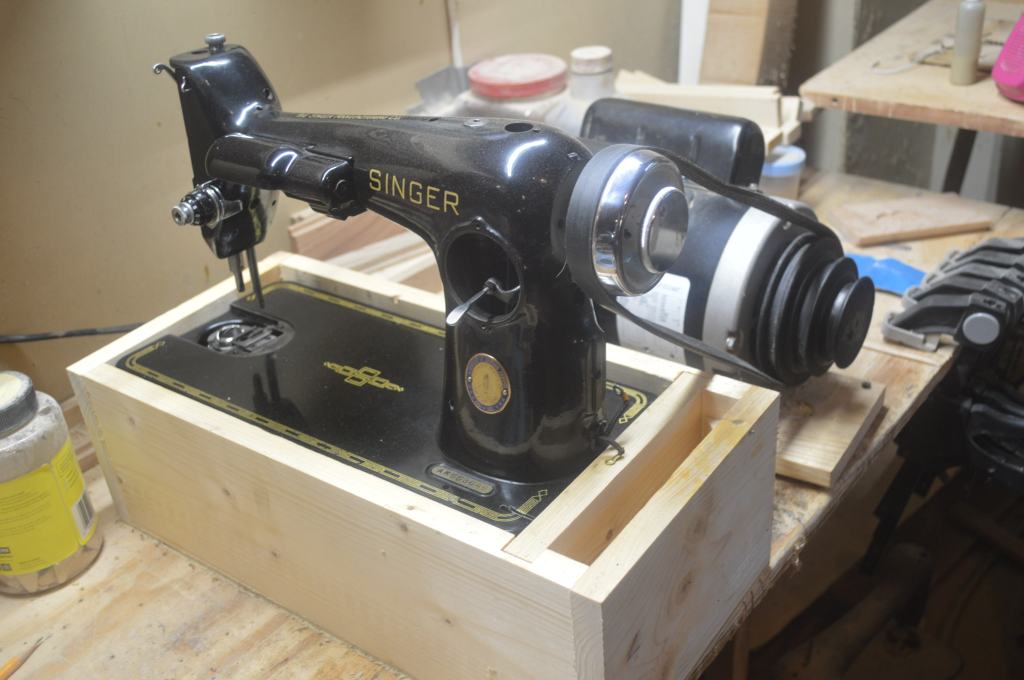
Meet Belle, she is a Singer model 201-2 and the serial number AK553646 identifies her as a centennial machine commissioned for manufacture on July 26, 1951. What is a centennial machine? Singer began manufacturing sewing machines in 1851. They celebrated their 100th anniversary in 1951 and in commemoration of the event they changed the usual brass color Singer badge with a commemorative badge that had a blue border and the anniversary dates embossed in the badge. This badge was an instant success for Singer. They could not keep up with demand for centennial machines, and believe it or not, they scoured their factories for unsold and old stock machines made prior to 1951 and replaced their badges with the centennial badge. I have seen machines dated as early as 1948 with centennial badges! Well, Belle is a true centennial machine and proudly displays her badge.
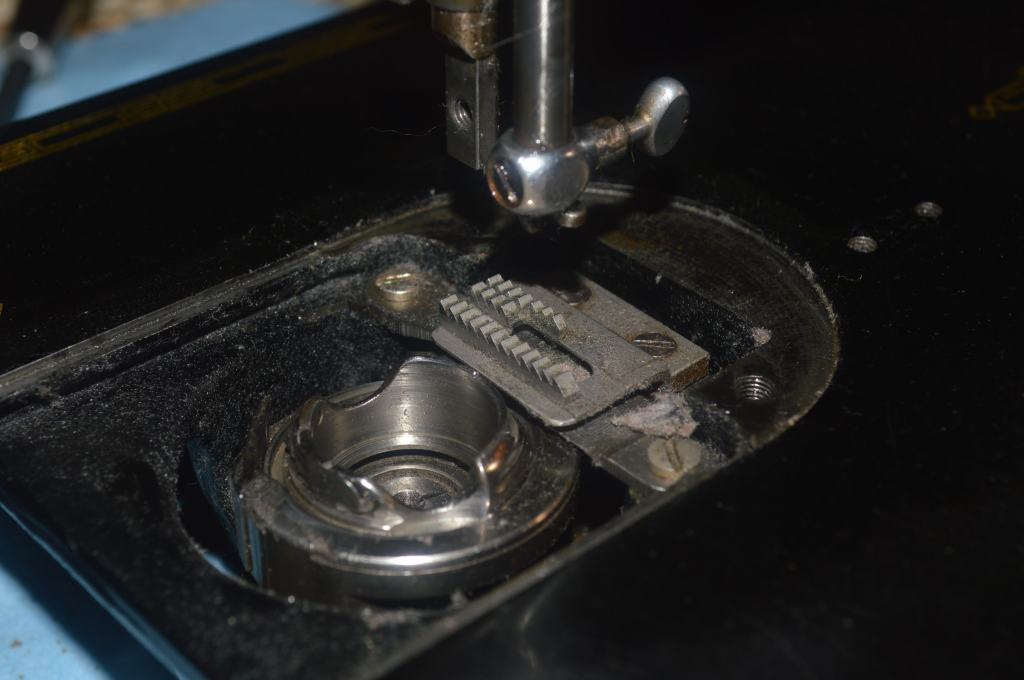
Another thing I learned from Belle, was a bit about her past use. Machines like Belle don’t give up their secrets easily. The excellent cosmetic condition suggests slight use, but the disassembly gave me clues that this is not the case. The chrome plating worn away on the needle throat plate is a symptom of use. When inspecting the parts during cleaning I noticed that plating was missing in between some of the rotating parts. I know that Belle was well maintained and oiled regularly, so what happened to the plating? My guess is Belle was used often and for a long time. I would wager that this 201 has sewn 100 miles of stitches in her lifetime. The amazing thing is that despite a whole lot of use, after restoration the machine is smooth and tight and quiet as a kitten. Vintage machines like this 201 are made to last. Obviously, Isaac Singer had never heard the phrase “planned obsolescence” and he built machines to last seemingly forever. Manufactured using cast iron and precision ground and turned tempered steel there was not much to wear out. In assemblies where wear was a concern, Singer built in a way to adjust it out. Even the screws are tempered steel! These vintage sewing machines were made to last decades, and many machines well over 100 years old still look and sew great. In fact, the more these machines are used (not abused) the better they sew. A drop of oil at each oiling location and simple cleaning is all these machines require.
Anyway, Belle’s owner told me that Belle “needed a little love”. Well, that (and this restoration) will reward her with a machine that will please her for years to come.
Restoration Plan
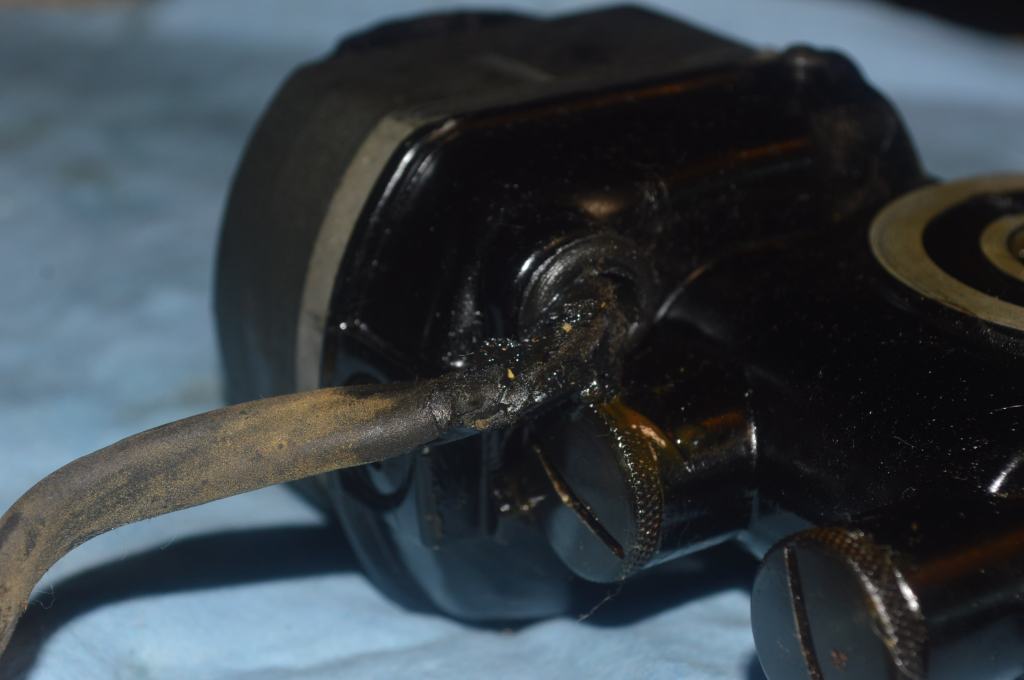
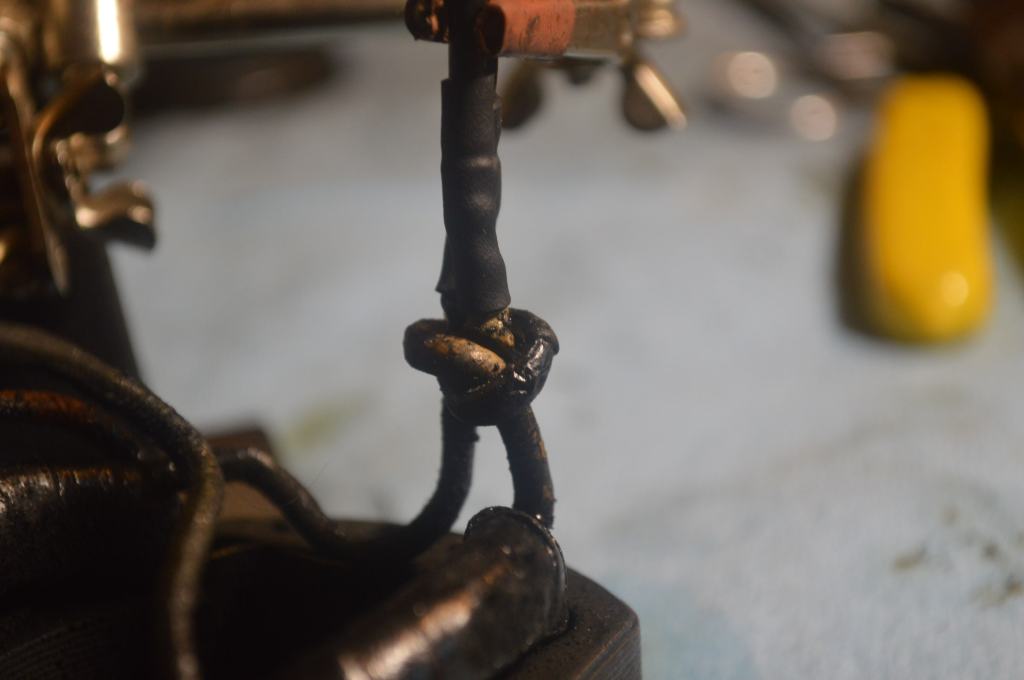
Belle is getting a mechanical restoration. The owner told me that Belle was her go-to machine and has sewn hundreds of face masks for the Covid pandemic and is used above the other machines she owns. She has had Belle for about five years and noticed some performance symptoms using her. She described her concerns as being old and cracked wiring (very typical for these machines), some stiffness, and perhaps some issues with the bobbin race assembly. When Belle arrived, I turned the balance wheel by hand and besides some stiffness, noticed a binding at the top of the needle bar stroke. The machine had evidence of regular oiling and was relatively lint free. There is a considerable amount of old oil varnish that when cleaned will restore the smoothness the machine currently lacks. The machine will undergo the disassembly of all of the rotating assemblies except for the gears and the upper arm shaft. All of the parts removed will be ultrasonically cleaned, heated in oil to drive off moisture, and then cleaned with a wire wheel until they are bright clean steel. Cosmetically, the decals are in great condition and the black paint is also in great condition. There is some ground in dirt, but it will clean beautifully. It’s really the kind of machine you look for… it has a beautiful cosmetic condition and after a restoration it will sew as close to new as possible.
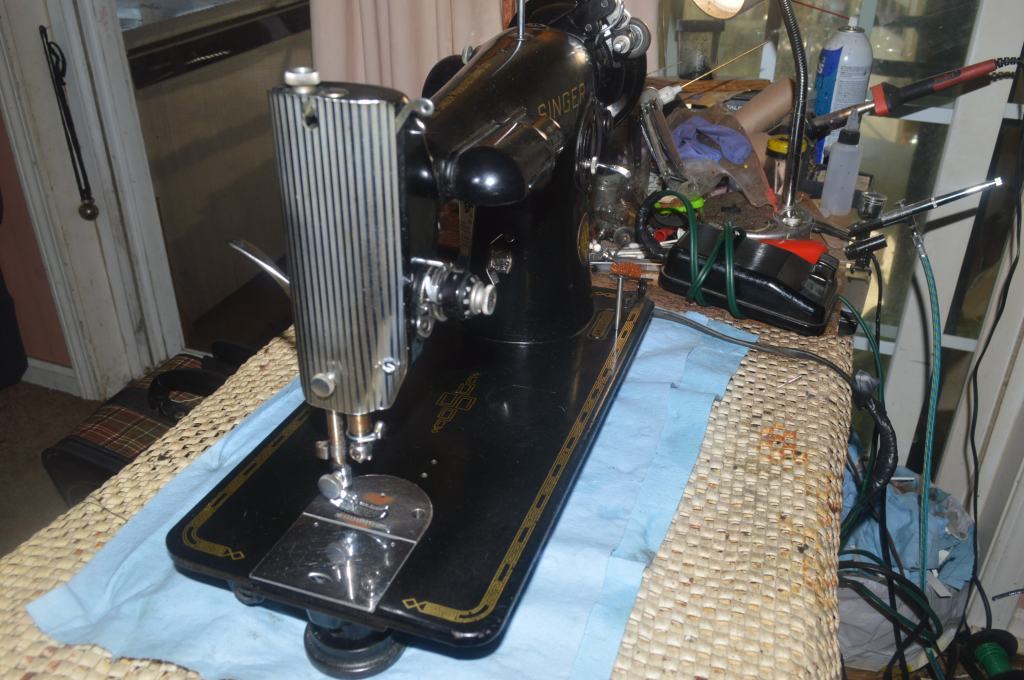
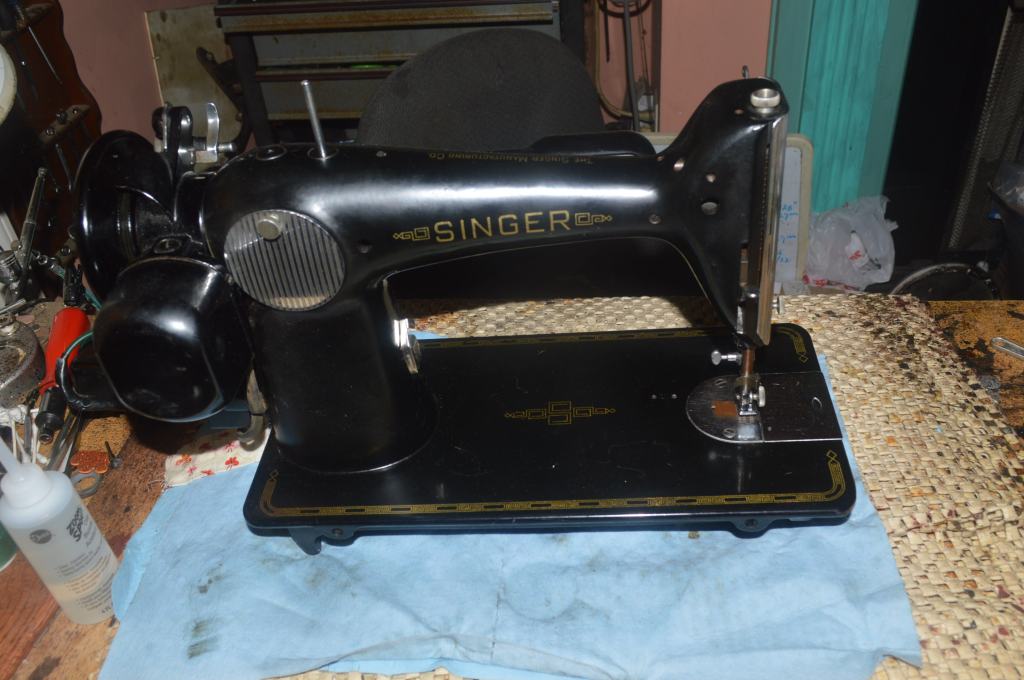
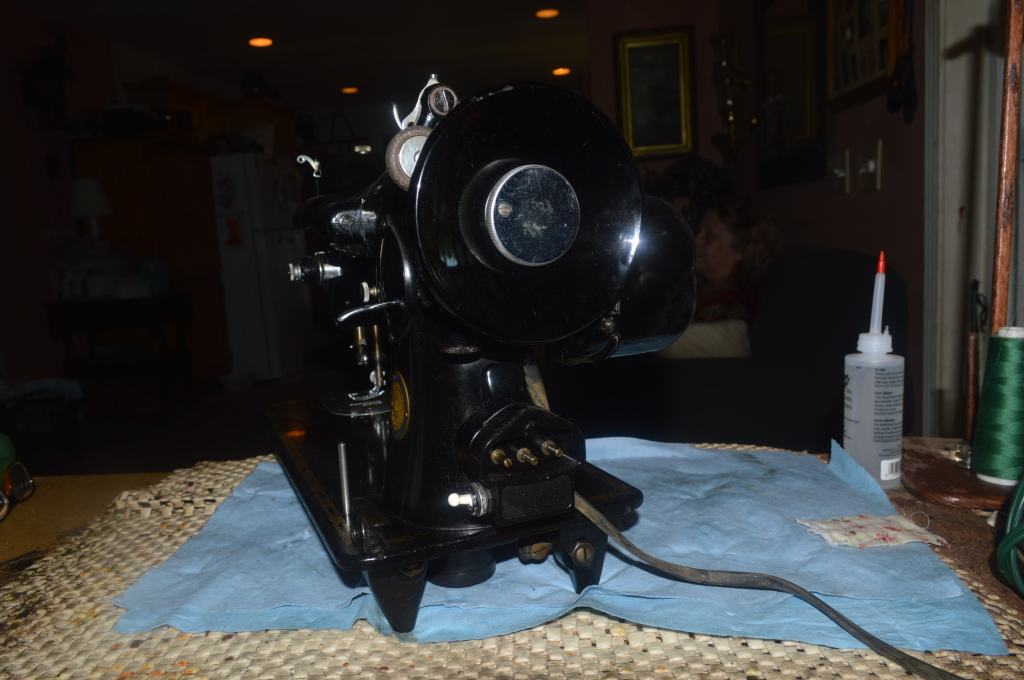
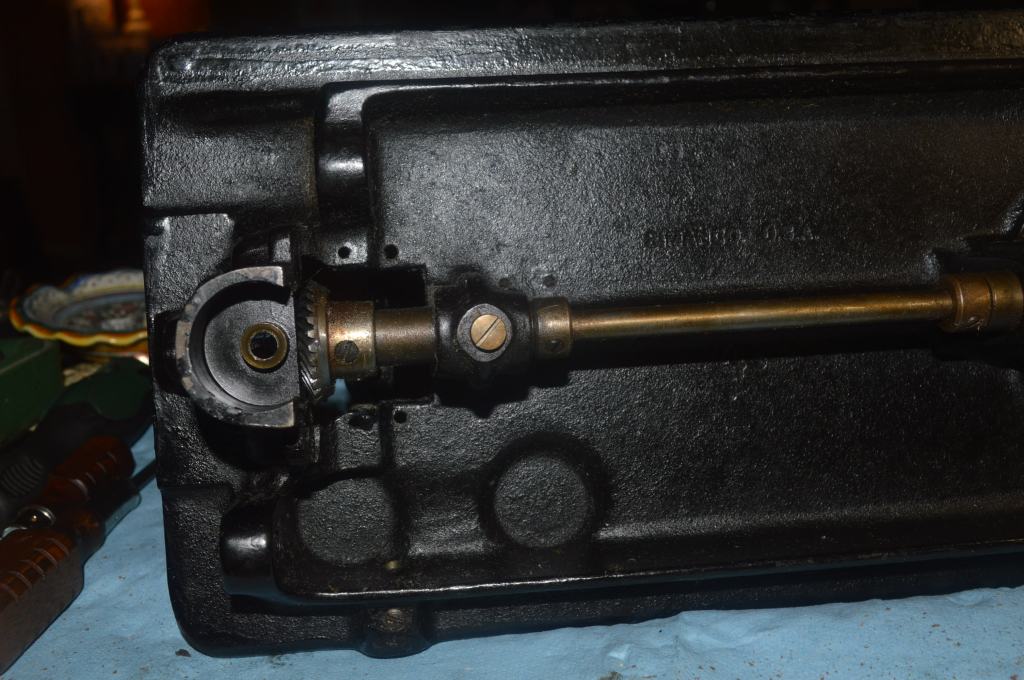
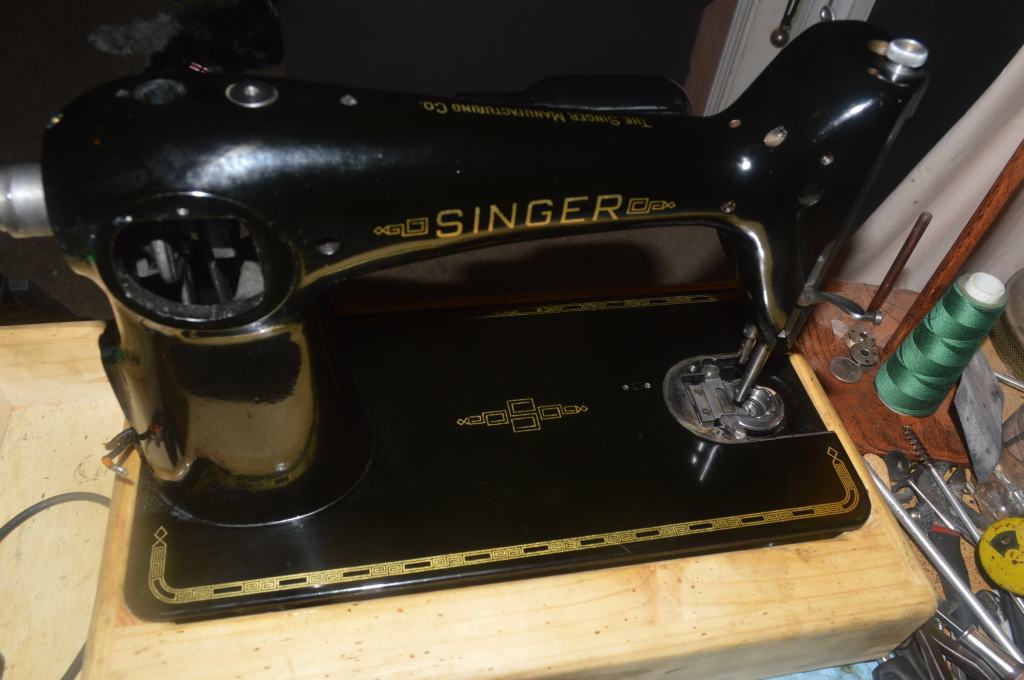
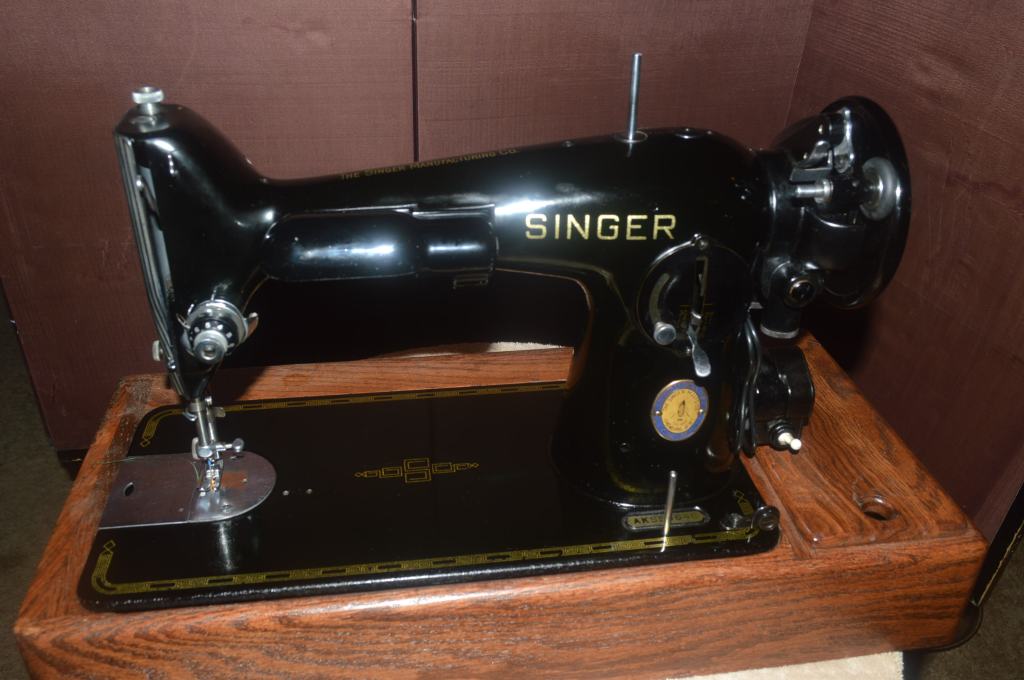
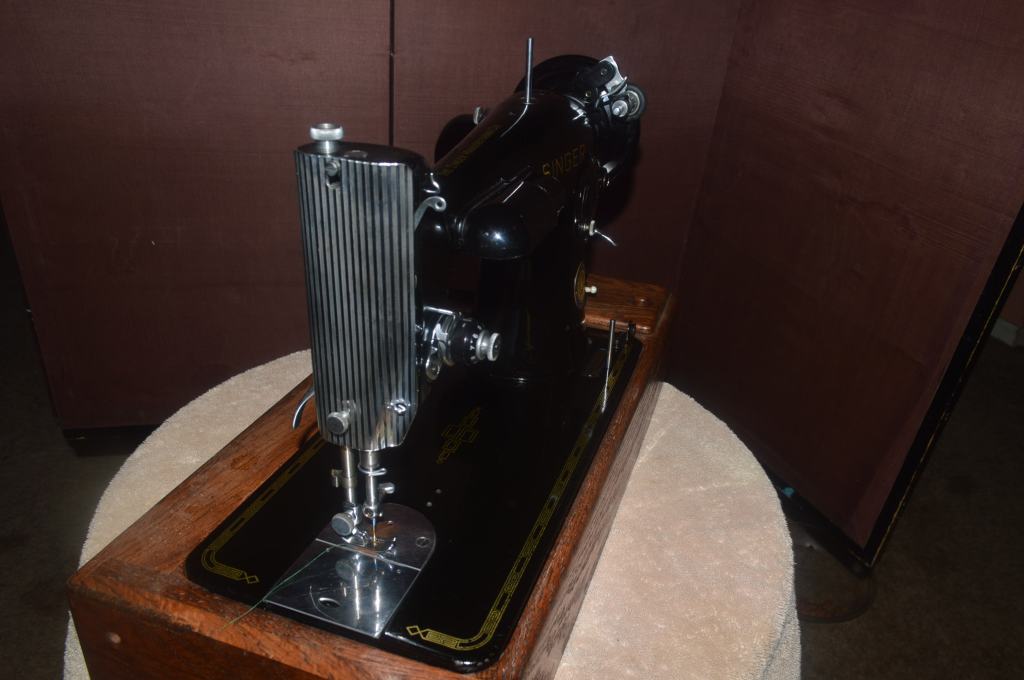
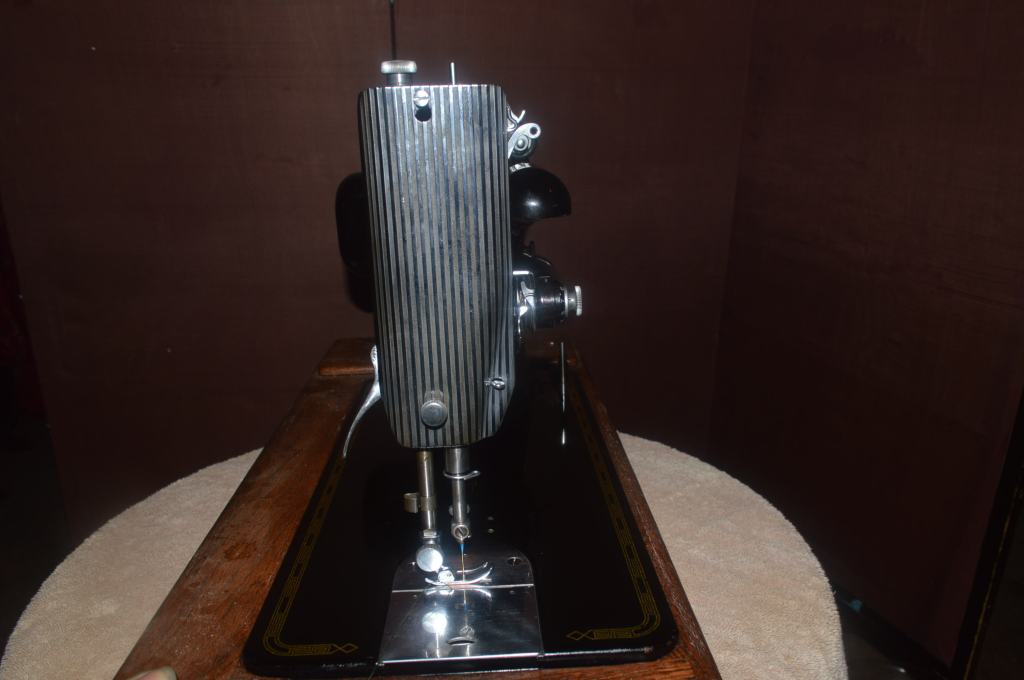
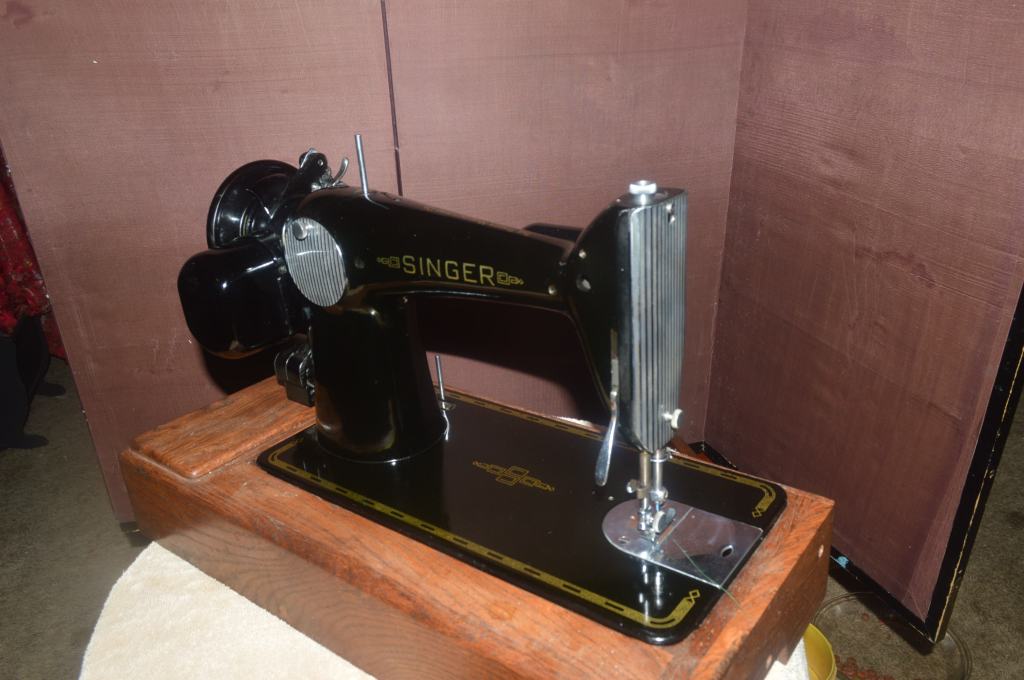
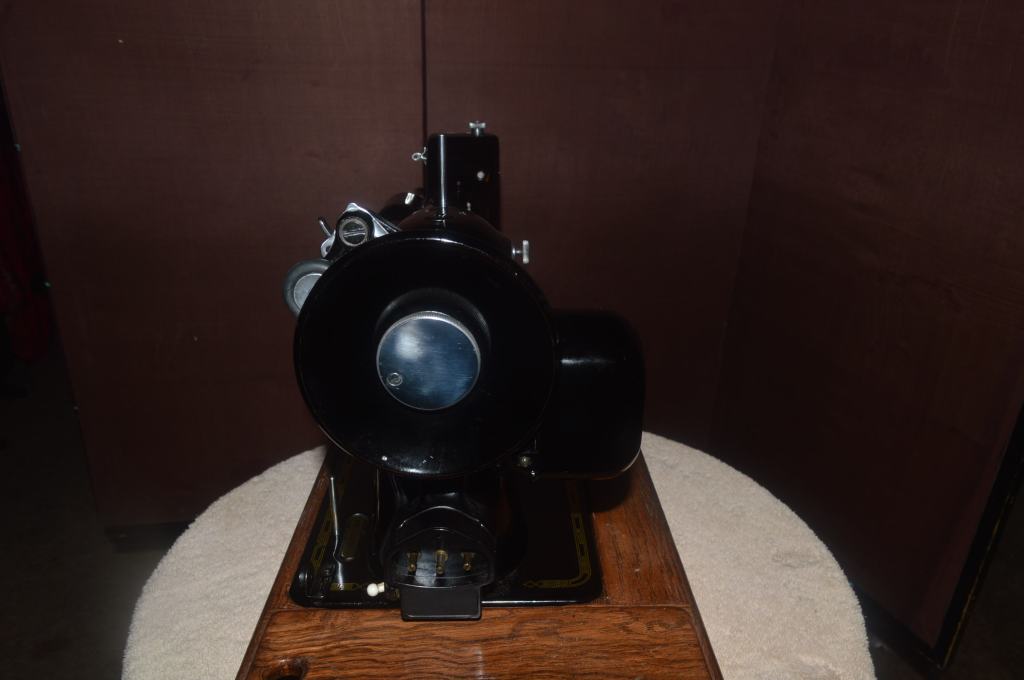
Here is the machine before the restoration begins.

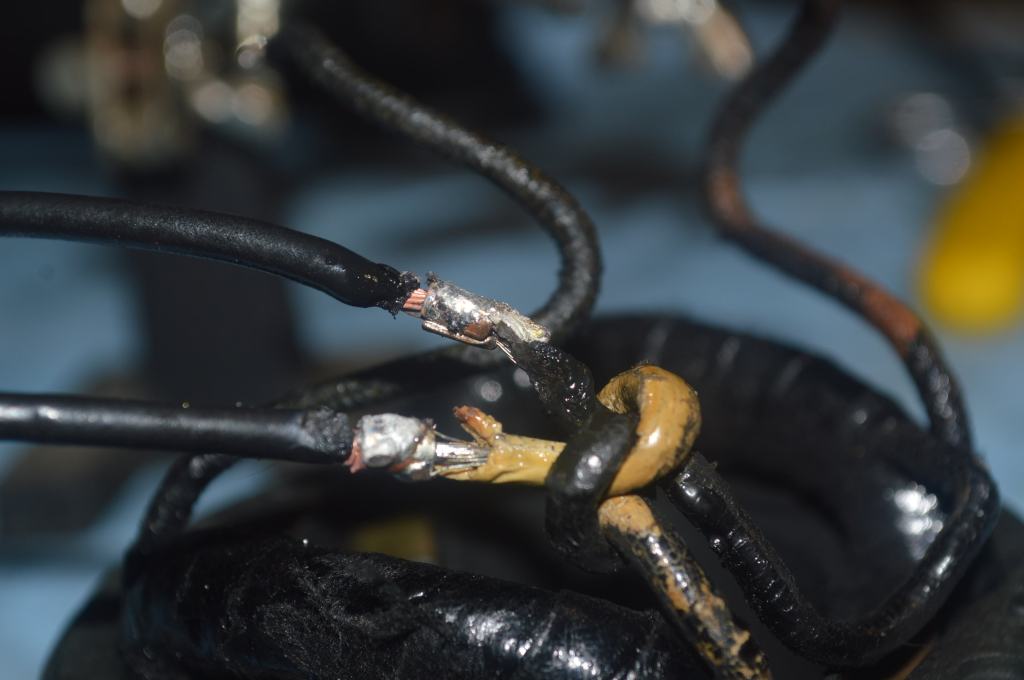
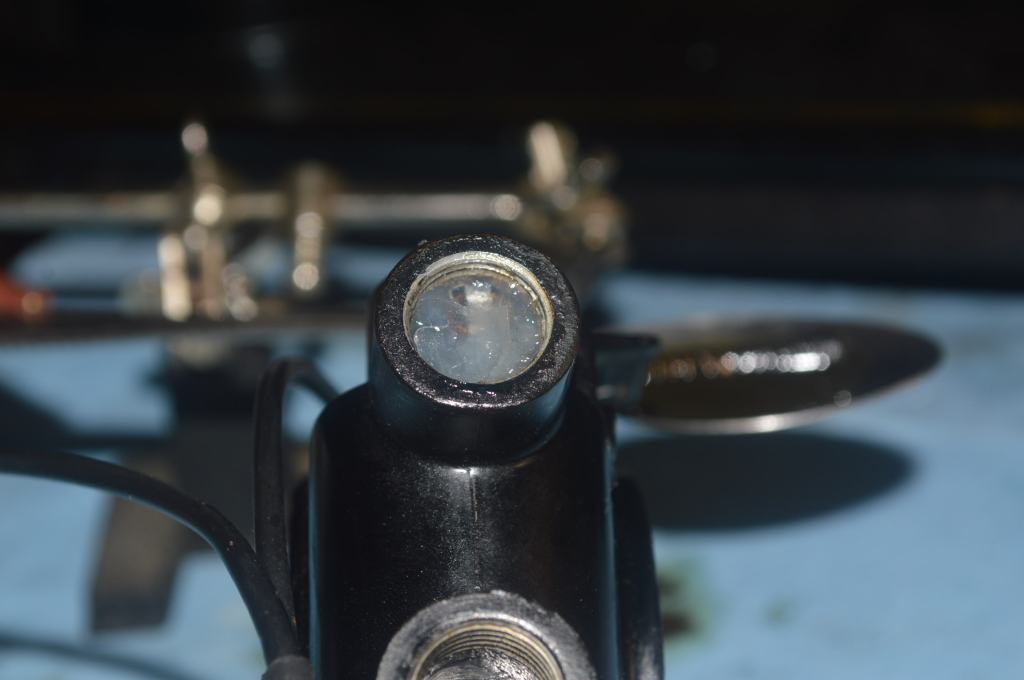
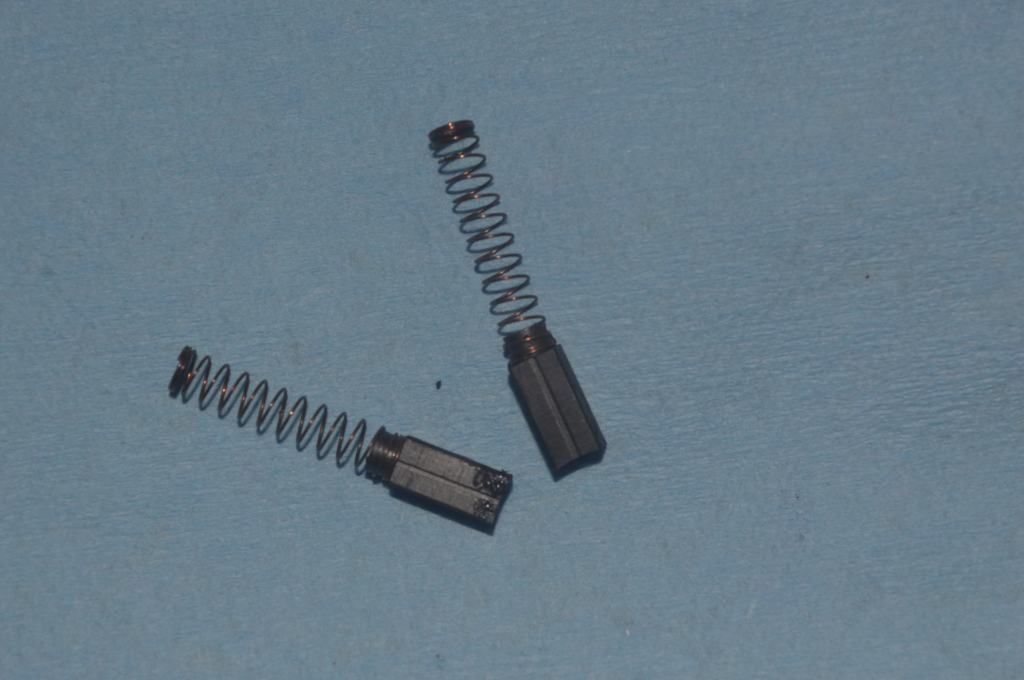
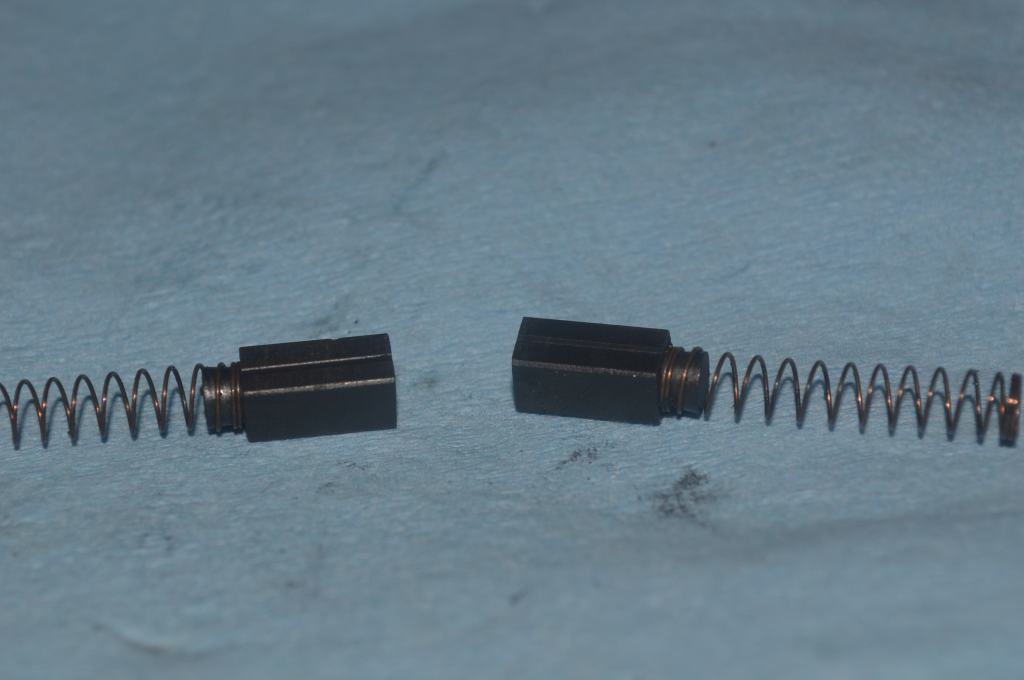
Let’s get started! Normally, I don’t run a machine until after the restoration is complete. Because the motor’s main wires are almost always cracked or bare of insulation, I worry about creating a short and damaging the motor. But in this case, I knew the machine was being used regularly. By running the machine, I isolated the binding to the motor. I checked the speed of the motor, and it was running at 630 stitches per minute. This is far below the 1100 stitches per minute the machine is capable of and allowing for age, the 980 to 1050 stitches per minute I expect after a restoration. The other concern with the motor was a lack of power. These symptoms can be caused by one or two things. Either the motor is soaked with oil that has contaminated the motor brushes and coated the motor commutator and motor windings with oil, or there is a short in one of the motor windings. If it is caused by oil contamination, it can be cleaned and restore nicely, if it is a short, the motor has to be replaced. Not knowing which, I decided to start with the motor restoration. If it does not improve, I have the opportunity to find a replacement without delaying the restoration.
Mechanical Restoration
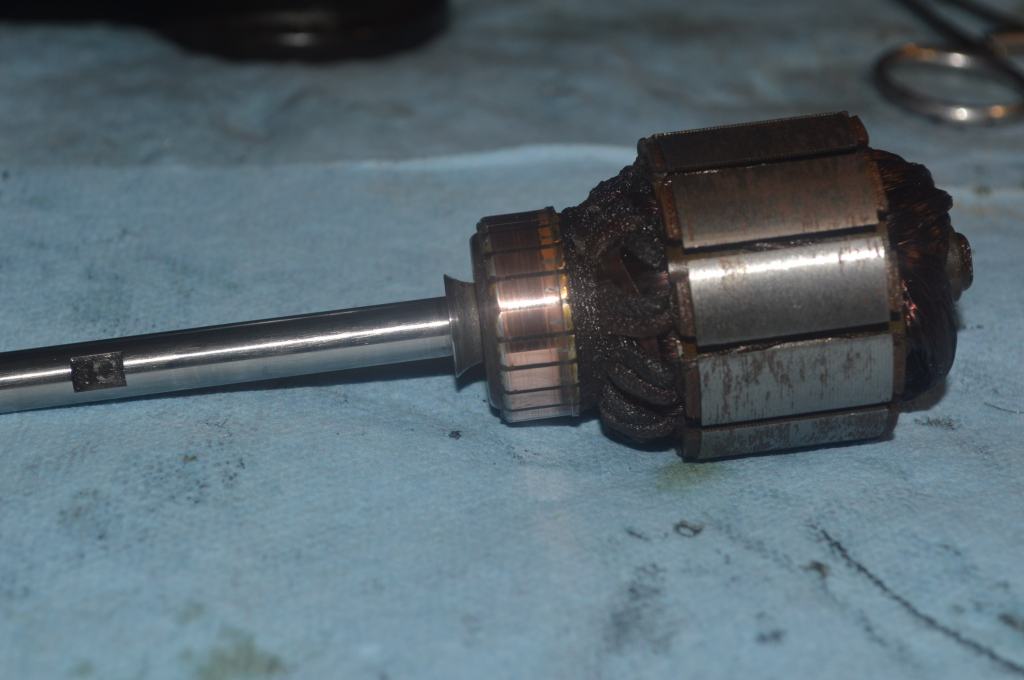
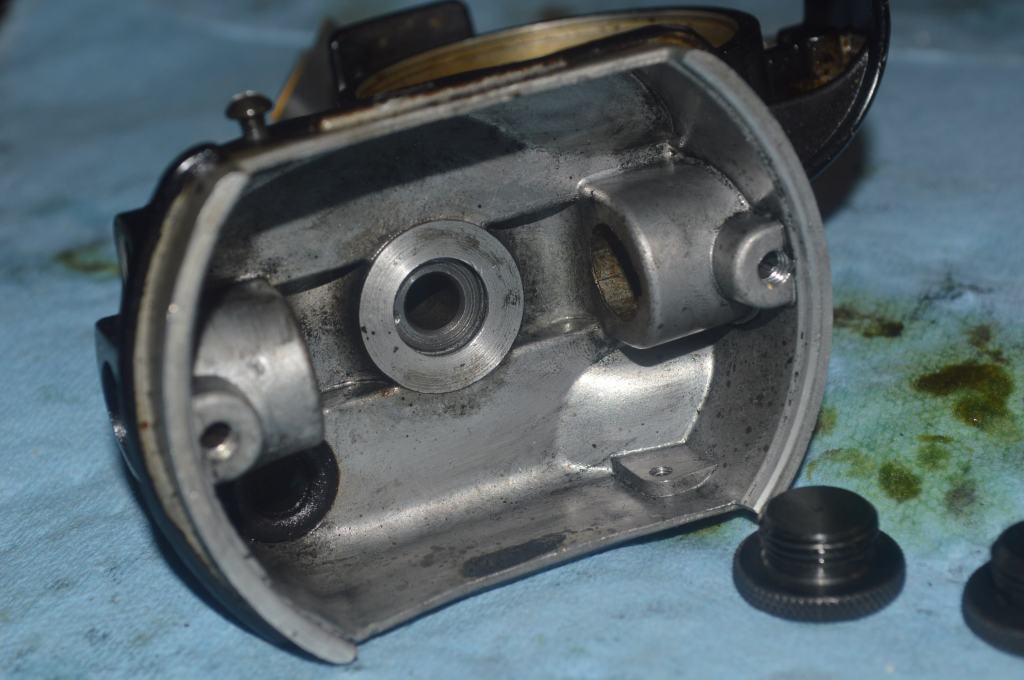
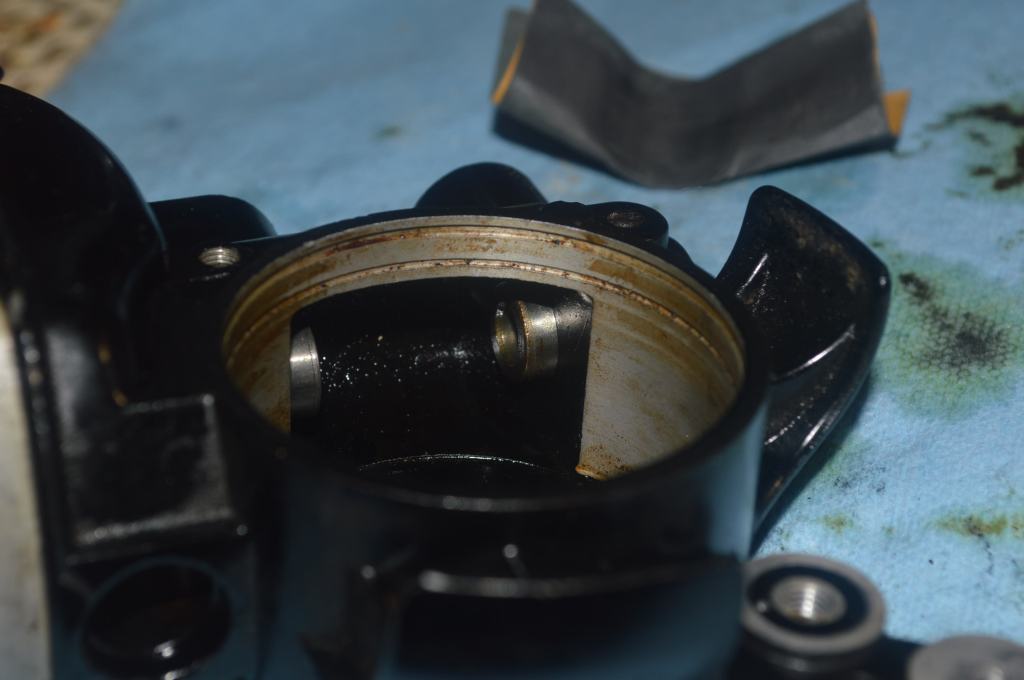
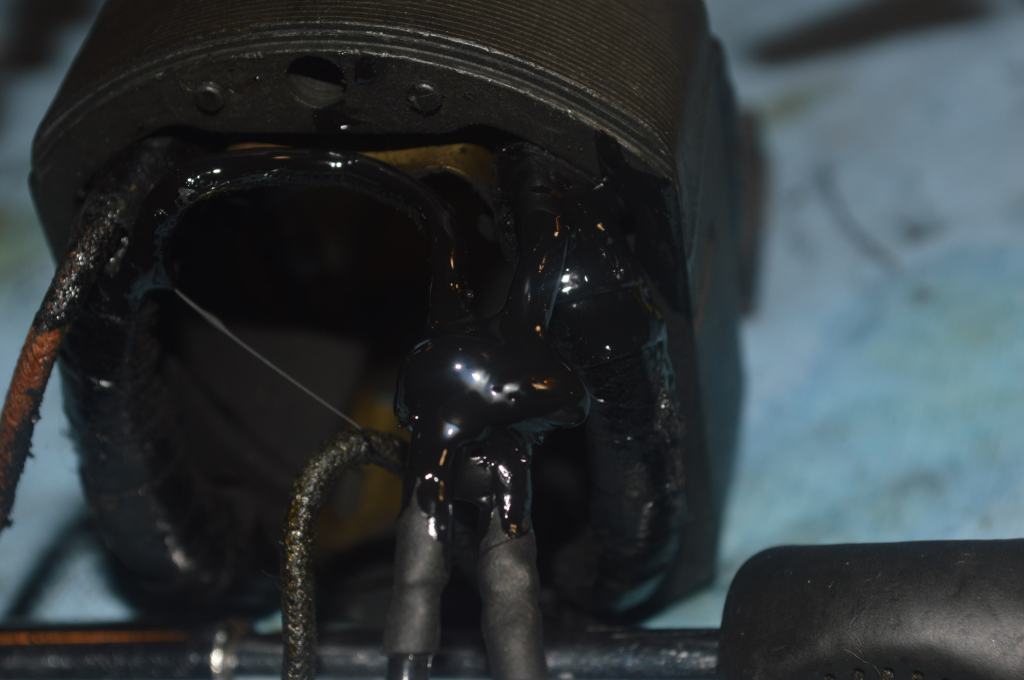
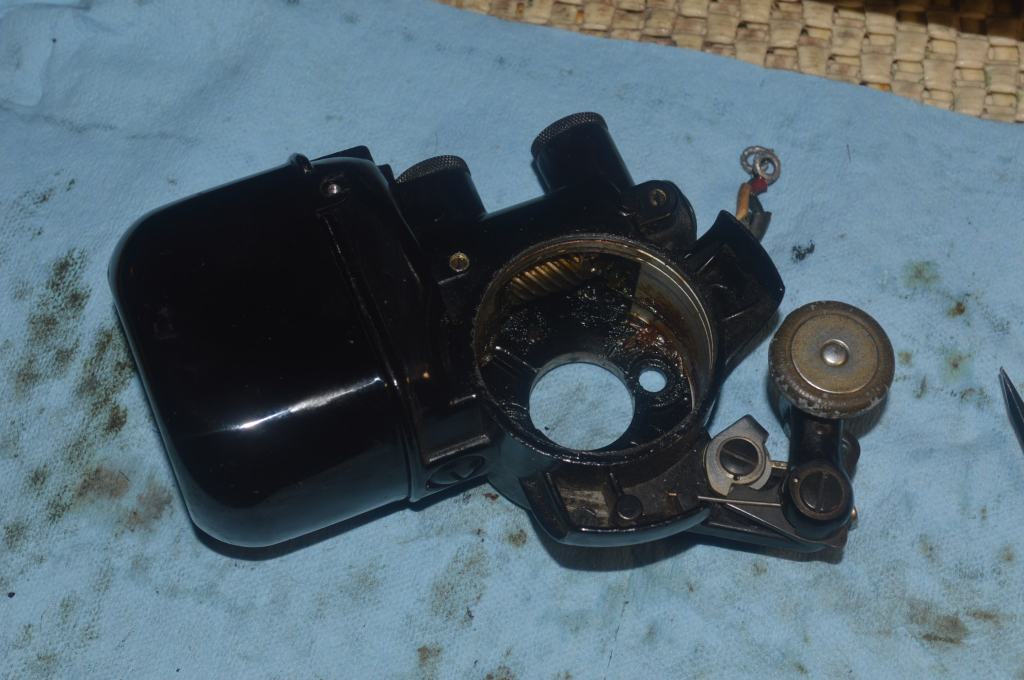
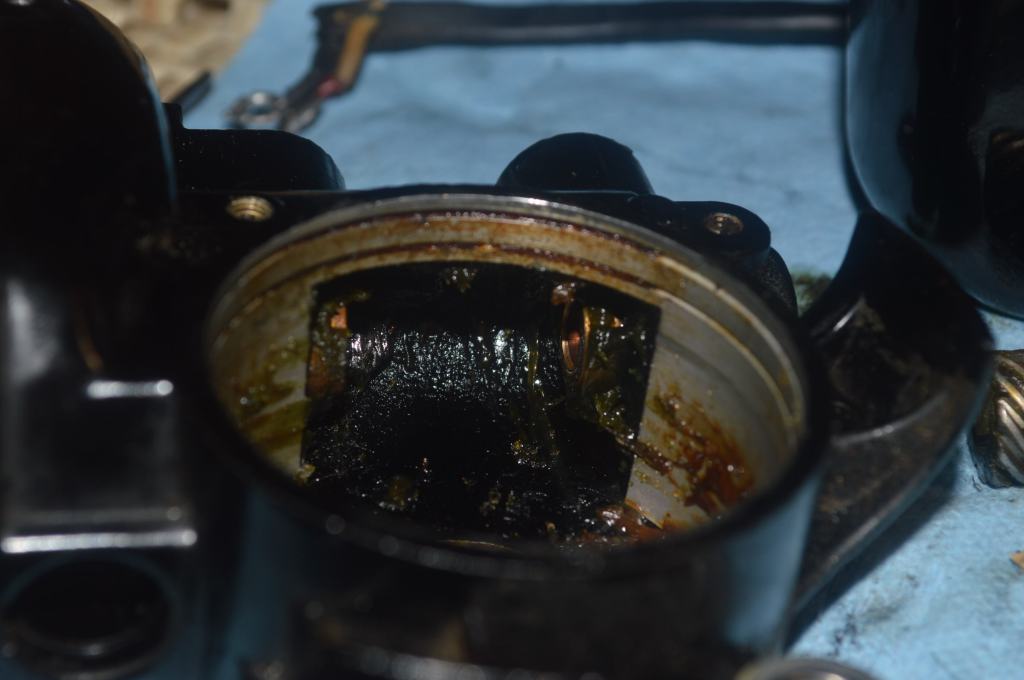
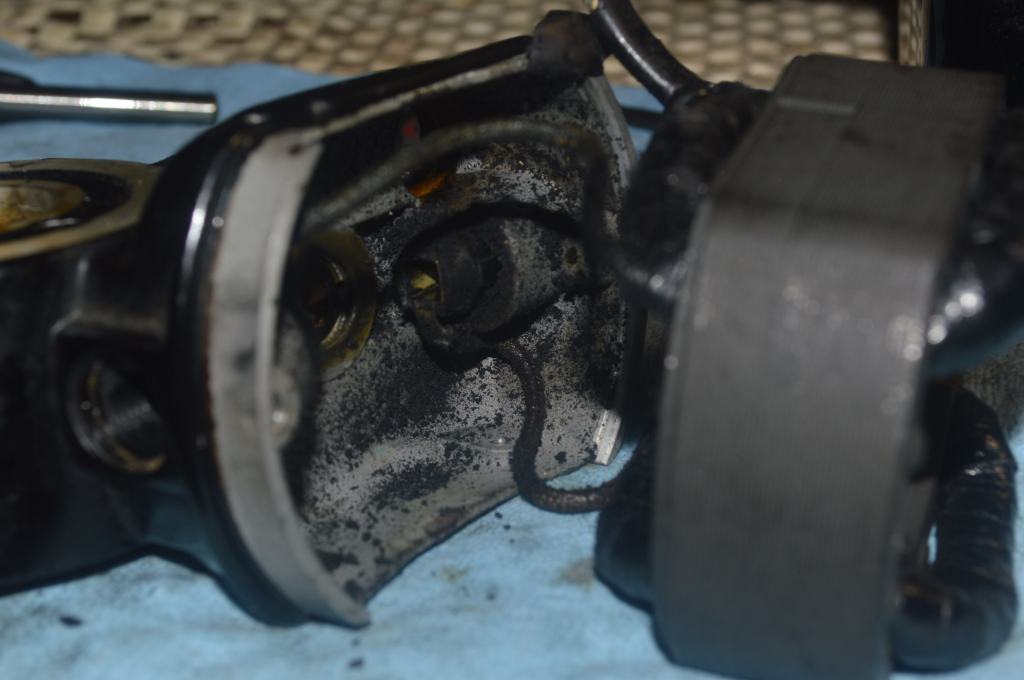
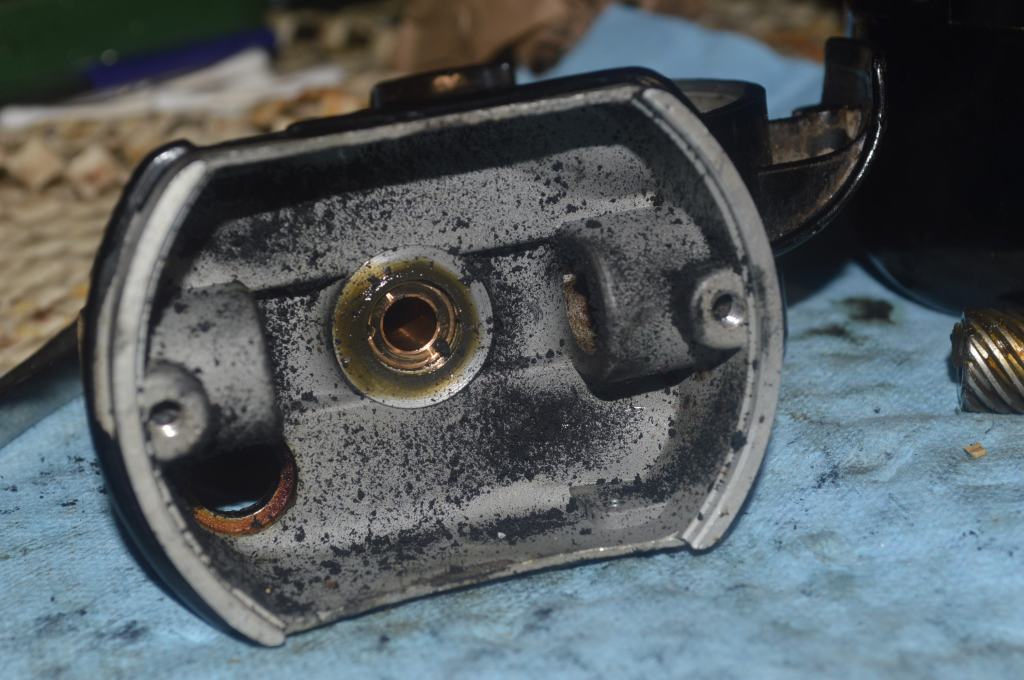
To see if I have a good motor to work with, I am starting this restoration with the motor. It is disassembled and cleaned.
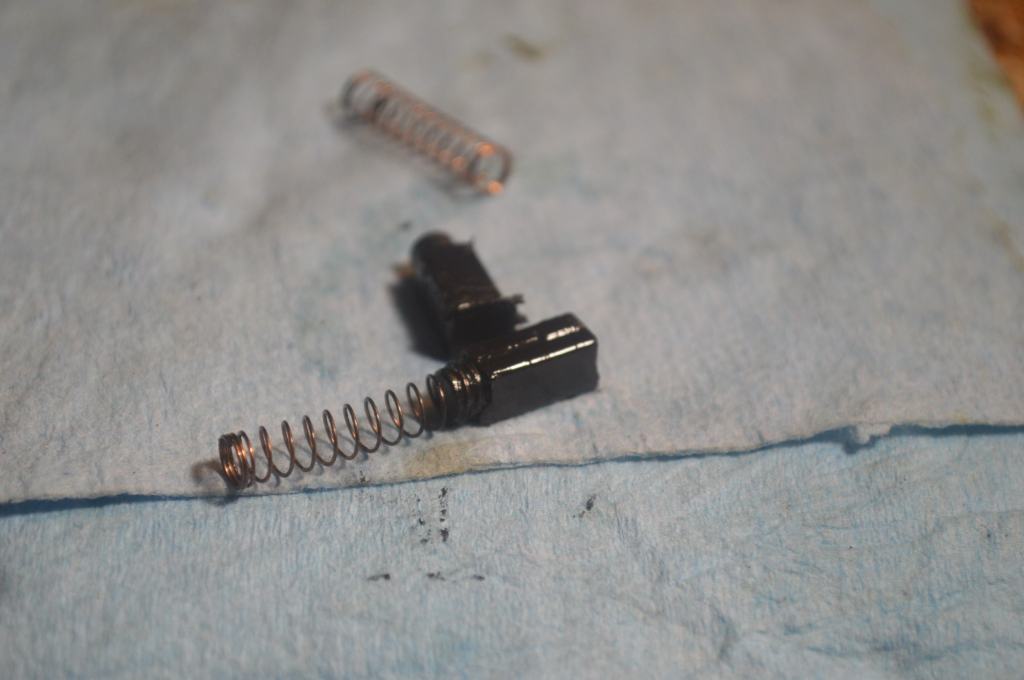
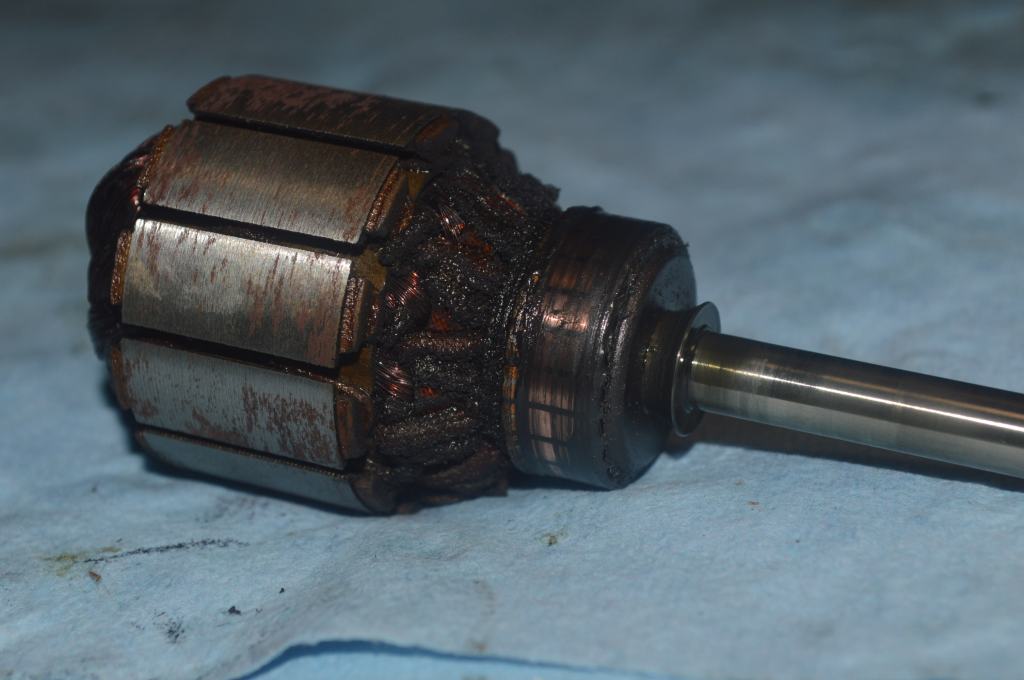
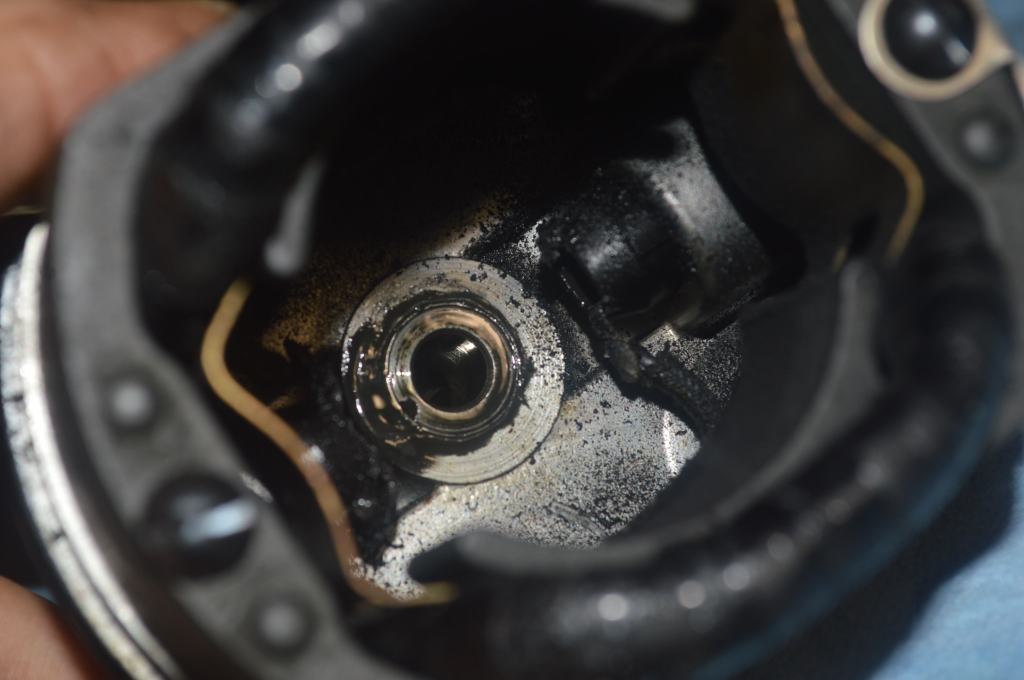
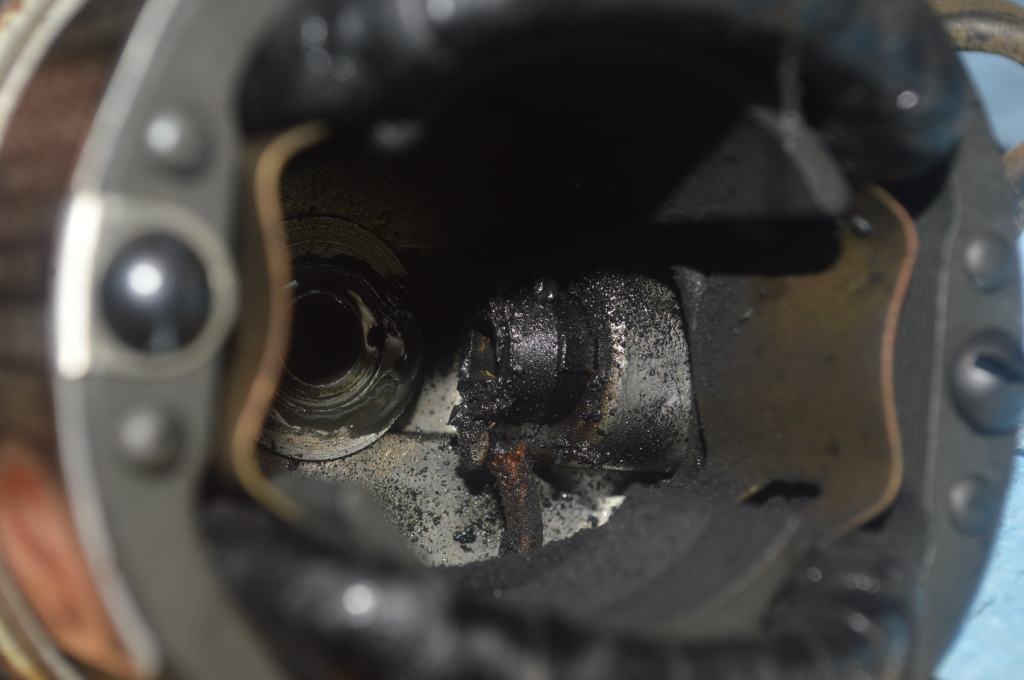
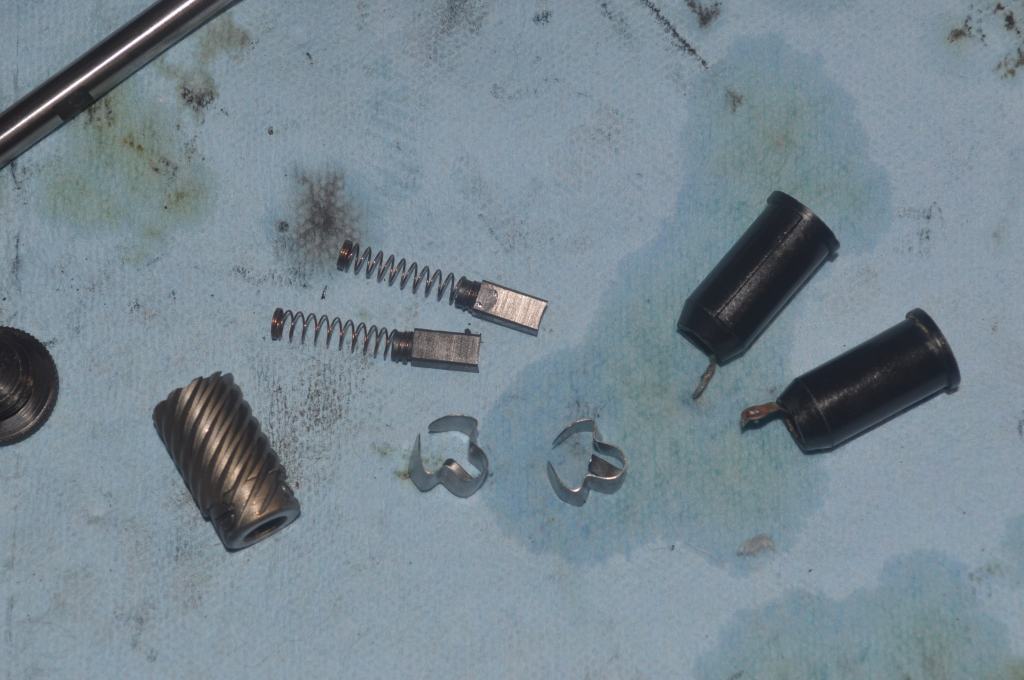
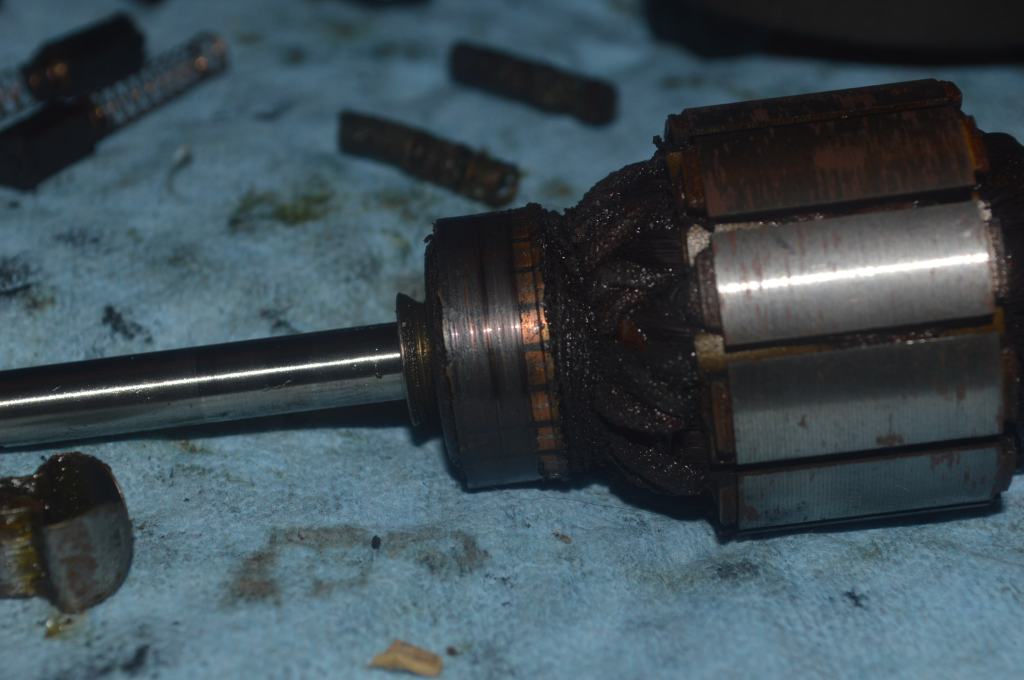
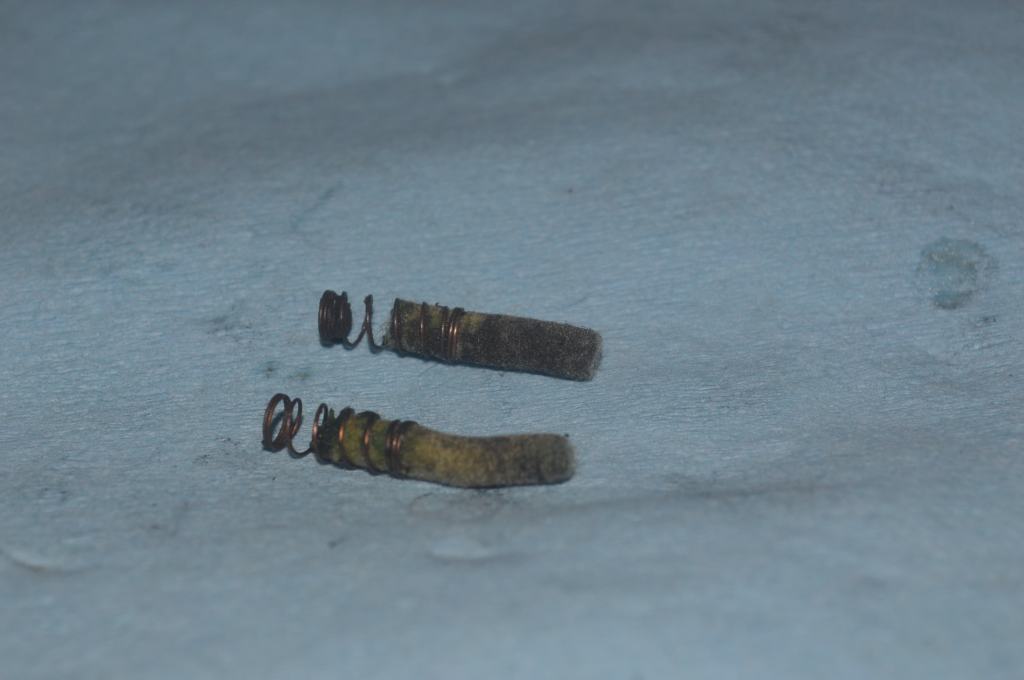
Aside from a lot of oil contamination, one of the armature bushings was loose… this was likely responsible for the binding. In addition, a thin flat washer intended to keep lubricant from entering the motor case was missing. Everything inside the motor case is oil saturated, including the armature windings. This is not a good sign, but it can be cleaned. As long as a wire has not shorted, the motor should run fine. Assuming the best, the motor restoration is completed with new wires and clean components.

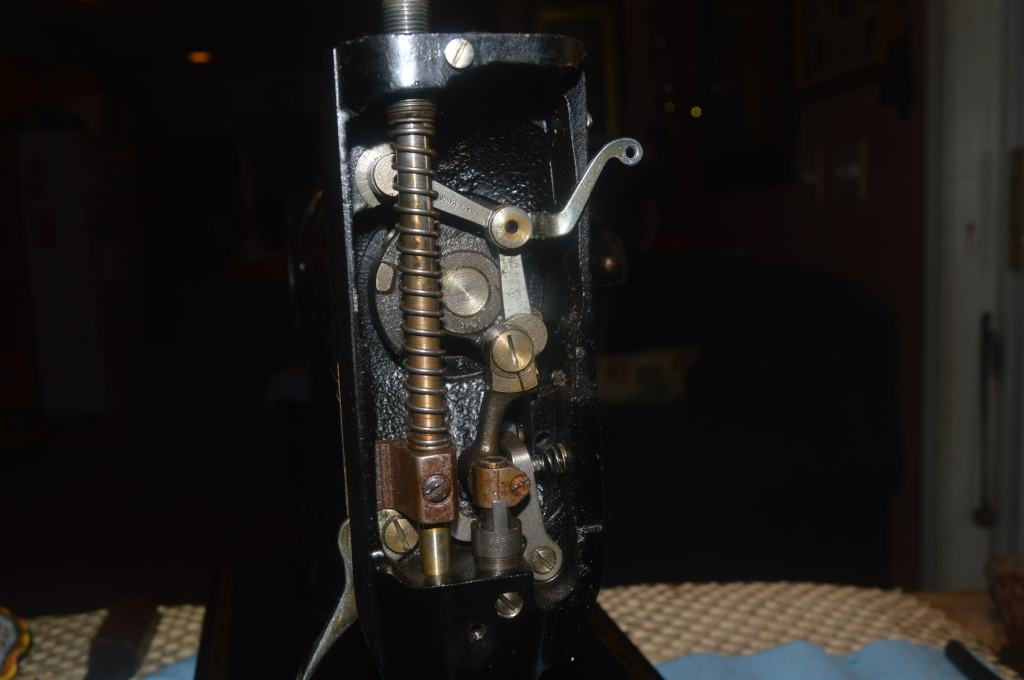
The motor is put back on the machine to see if there is any improvement… The speed has increased to 690 stitches per minute but unfortunately it is still lacking power. The solution for Belle is a replacement motor. Always being one to look on the bright side, I now have a fully restored motor… too bad it isn’t any good. At least I know how to proceed and when the replacement motor arrives, I’ll repeat the motor restoration. In the meantime, the restoration continues, and the machine is disassembled.
Tip of the Day…
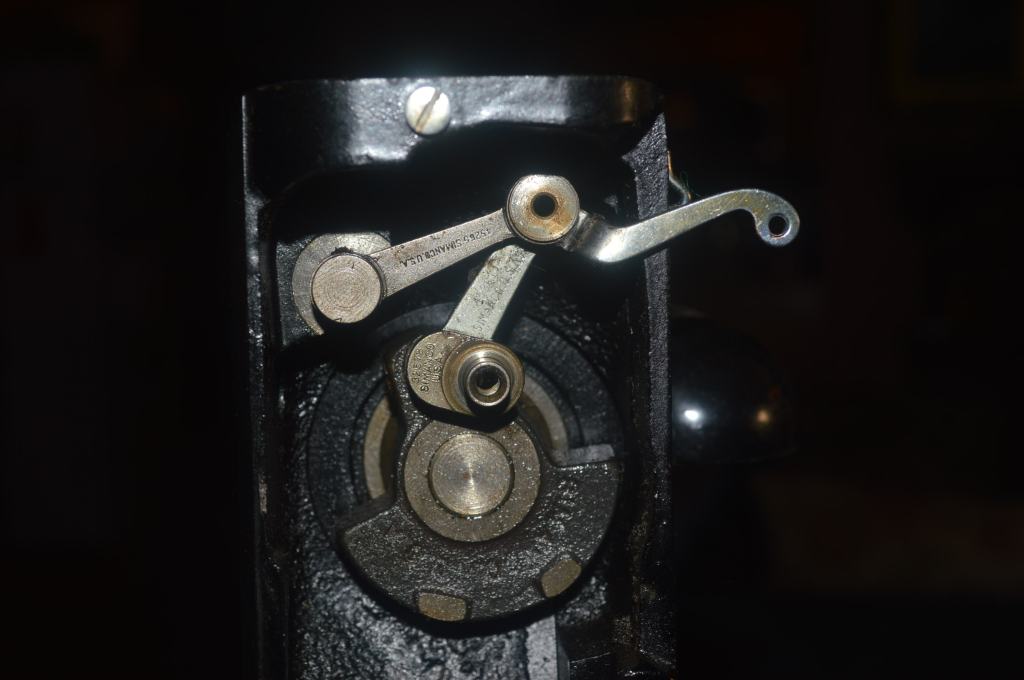
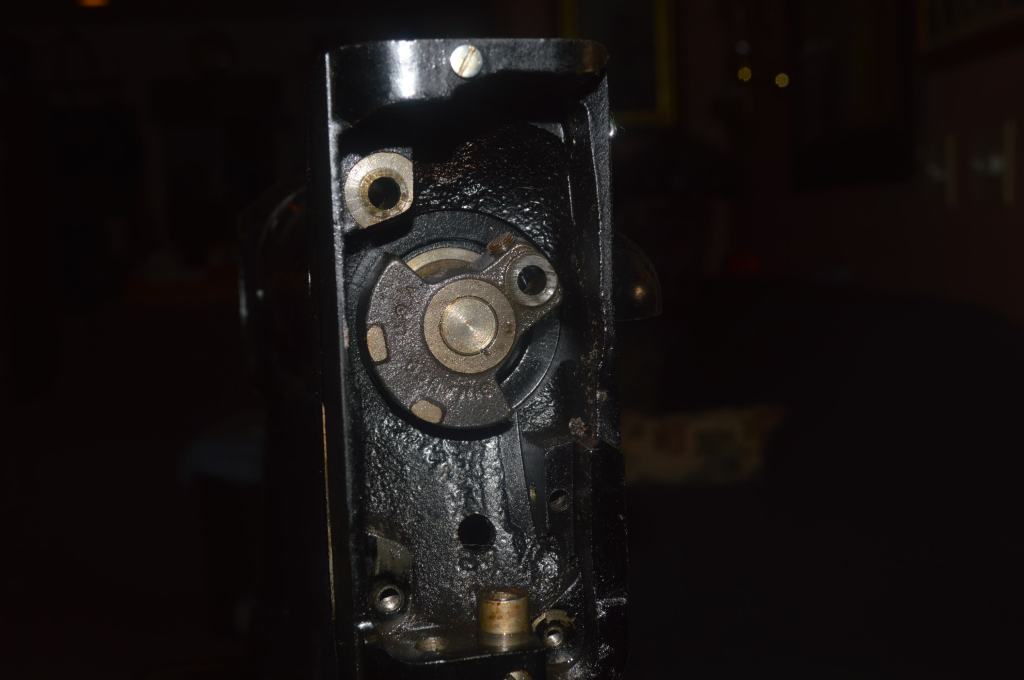
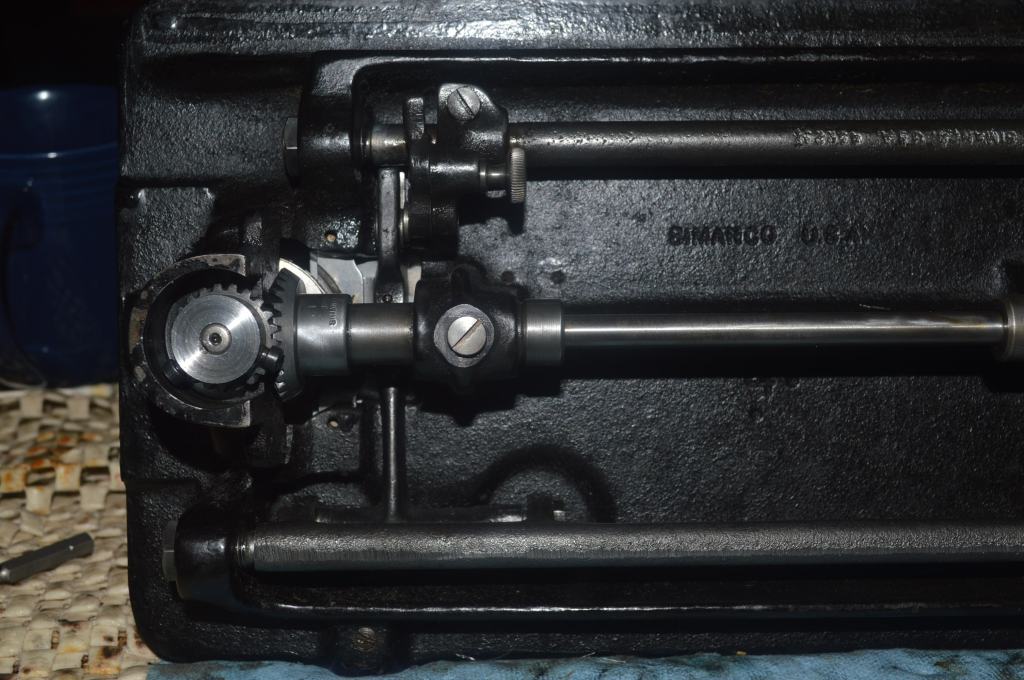
201’s are gear driven machines and they have specific lubrication requirements. Contrary to what many folks think, the gears are lubricated with oil, not grease. On the other hand, Singer potted motors are lubricated with grease. Never use oil to lubricate the motor! Oil is detrimental to the motor windings and damage can occur… on with the disassembly.

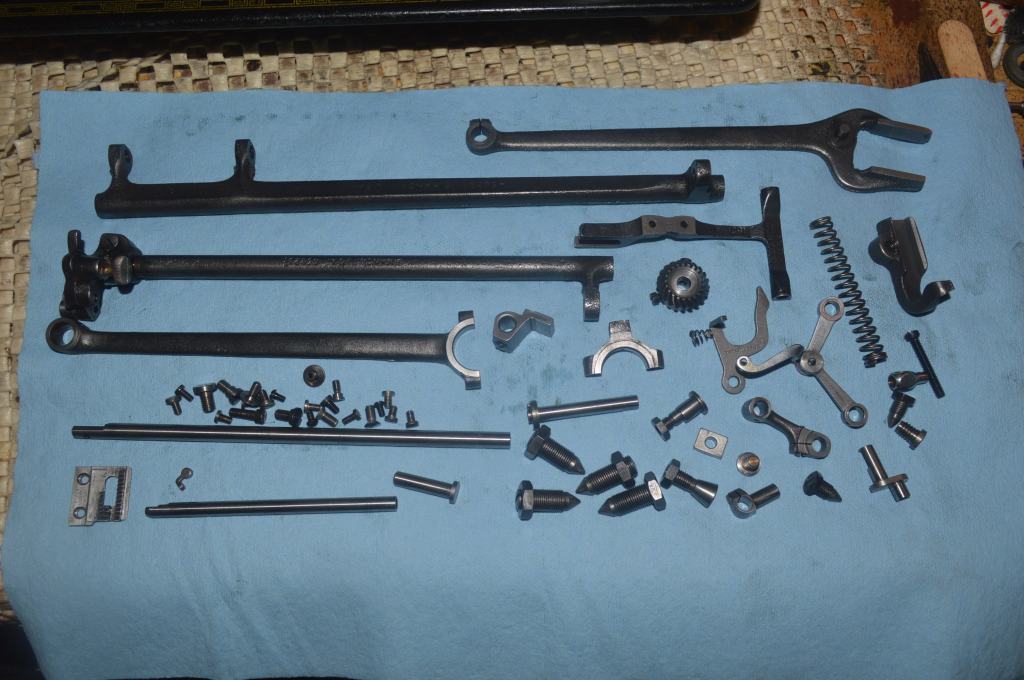
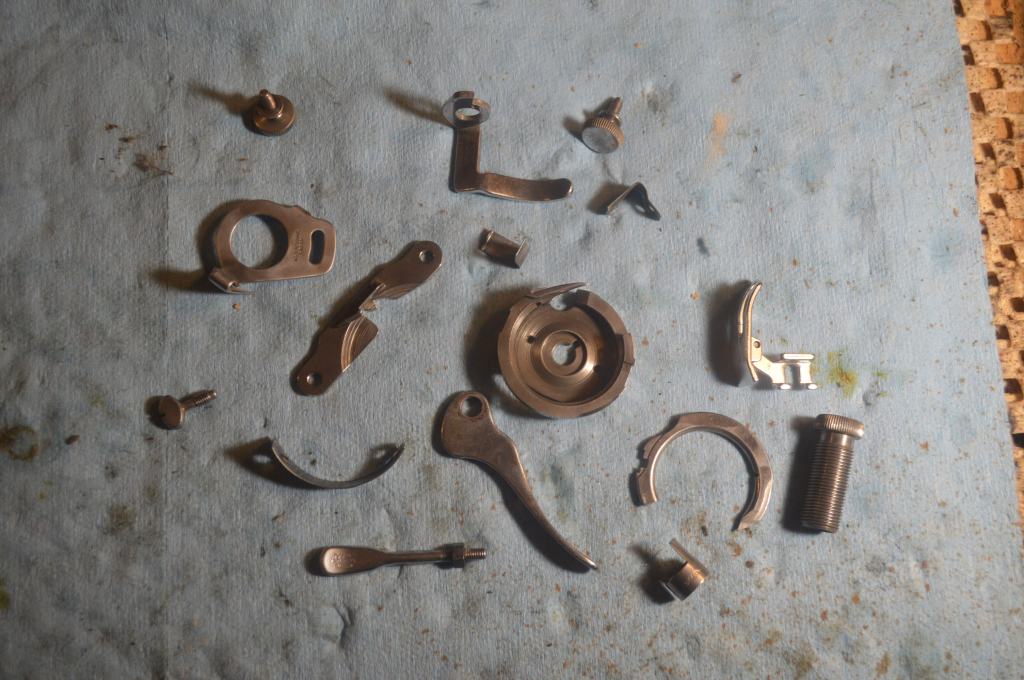
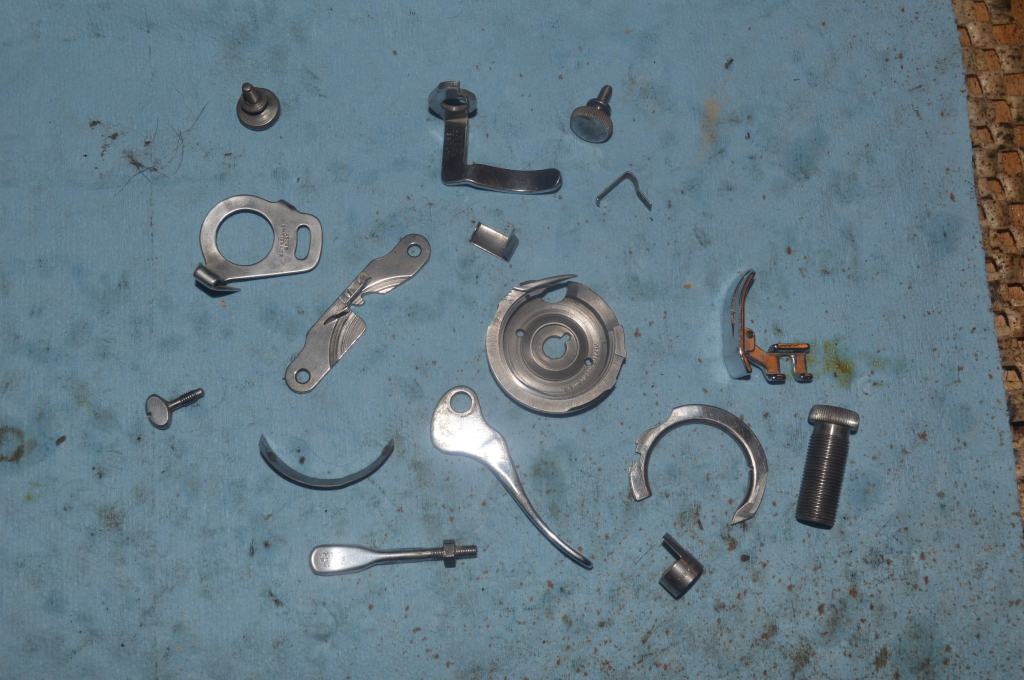
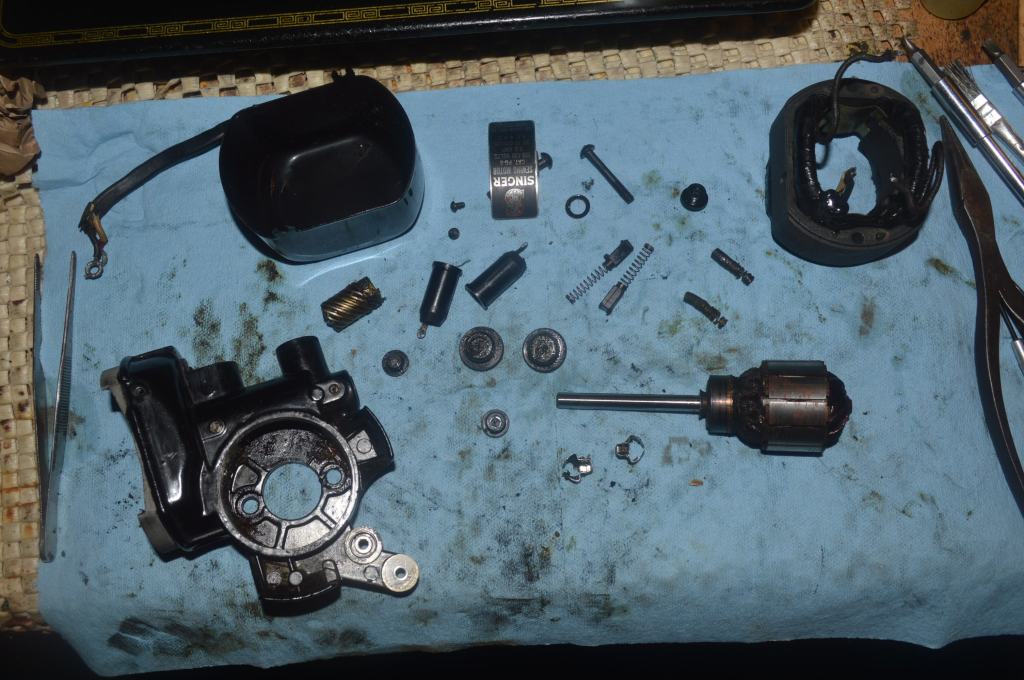
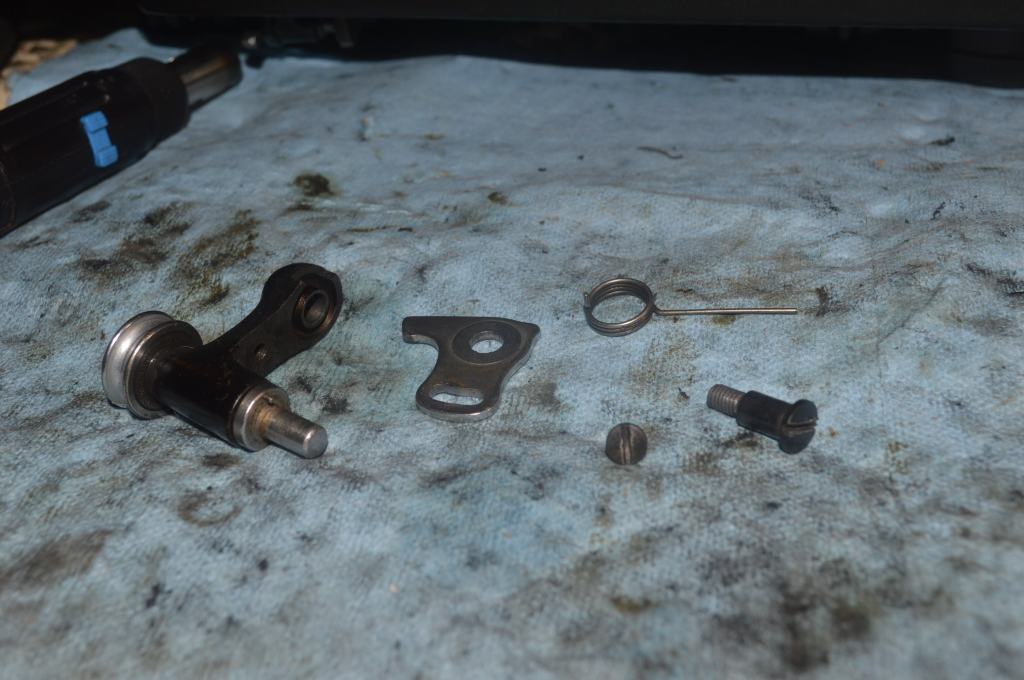
The parts are laid out for cleaning.

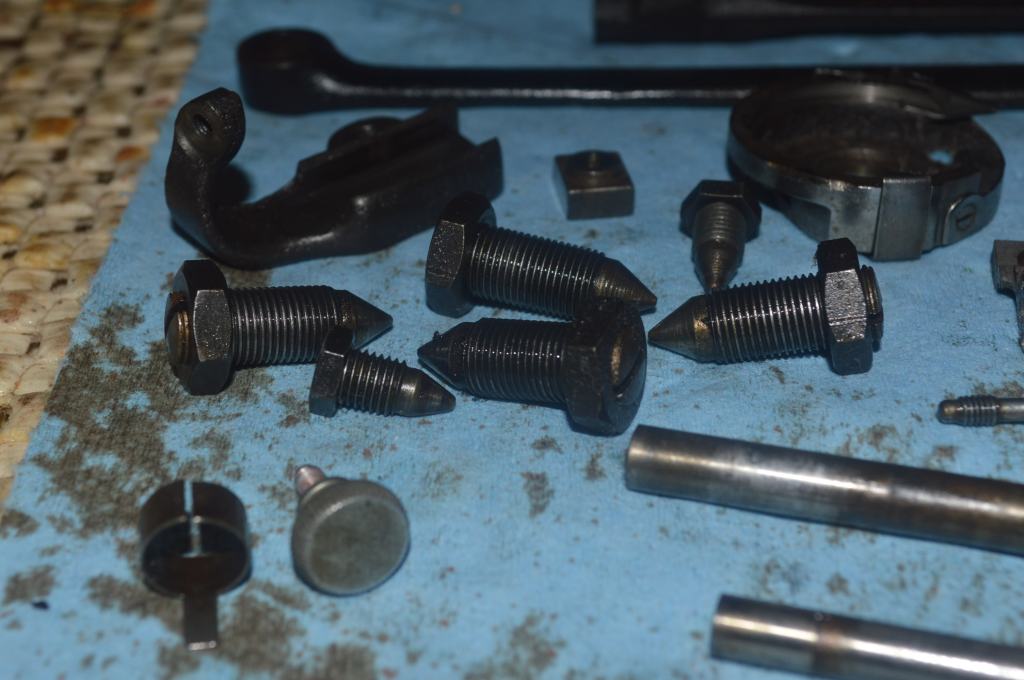
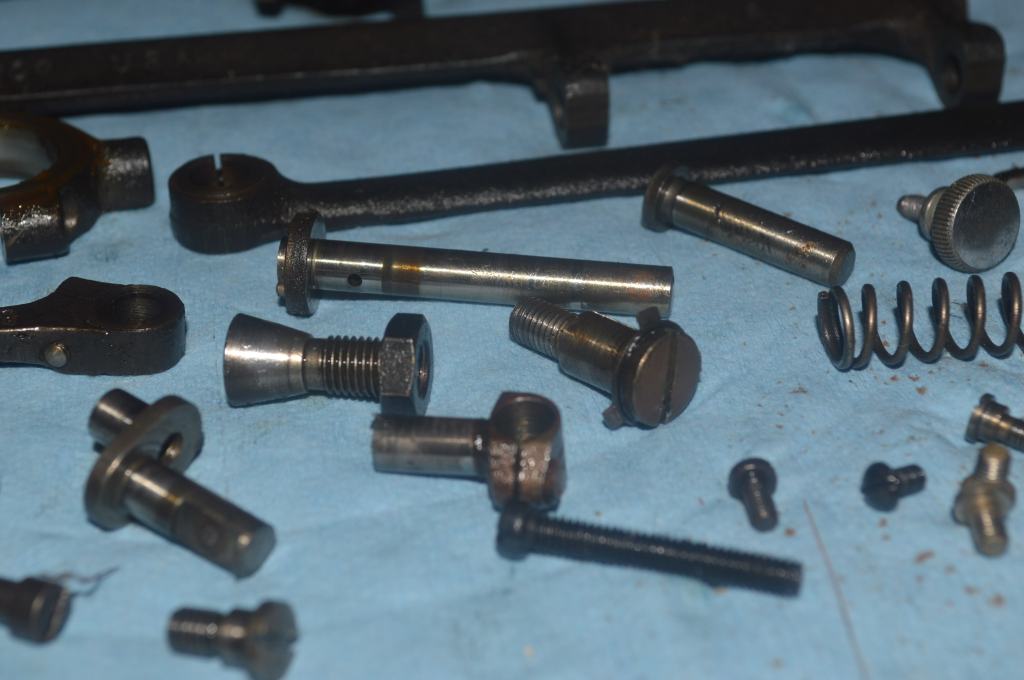
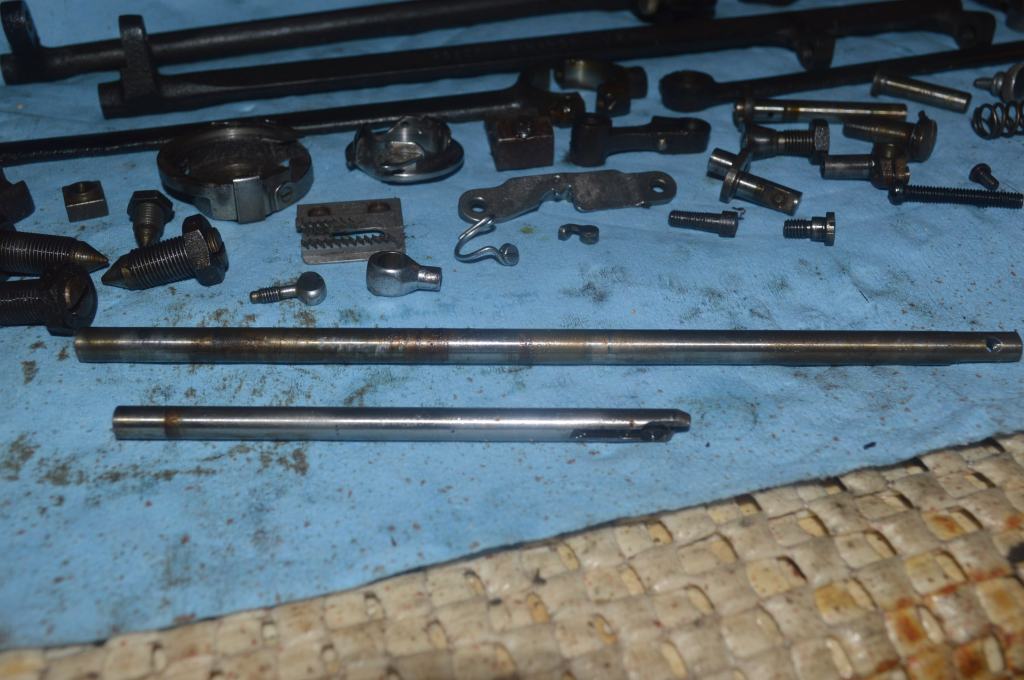
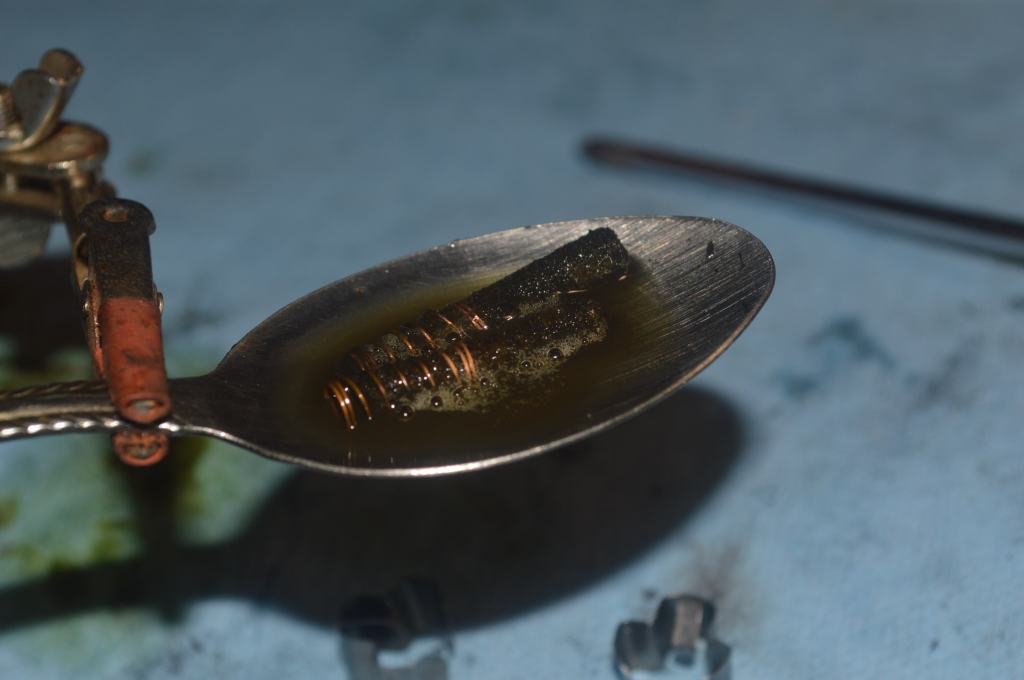
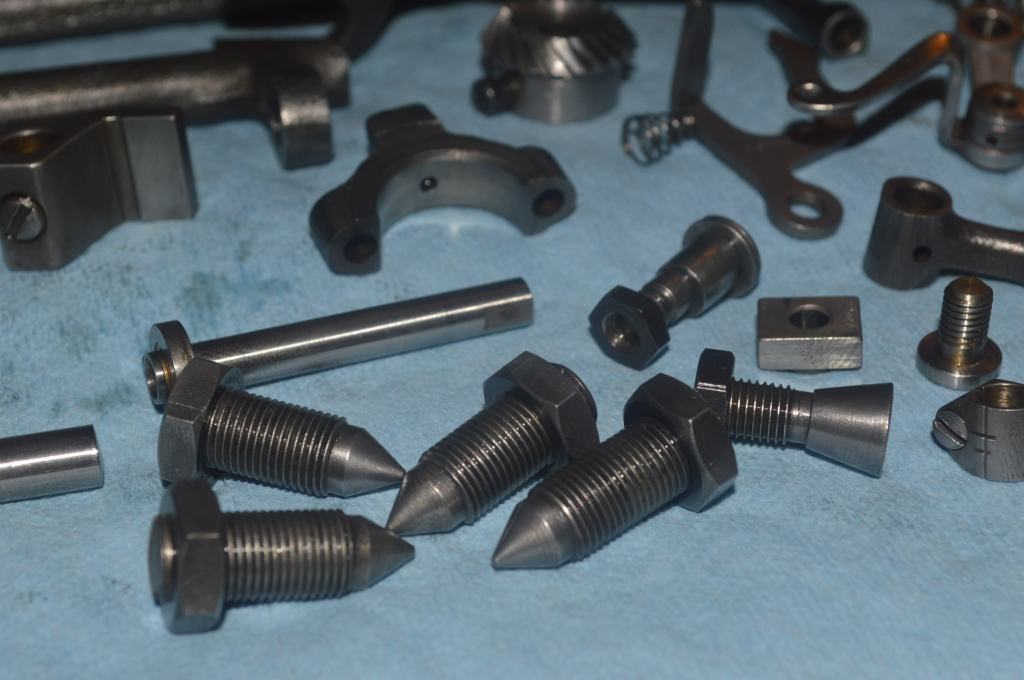
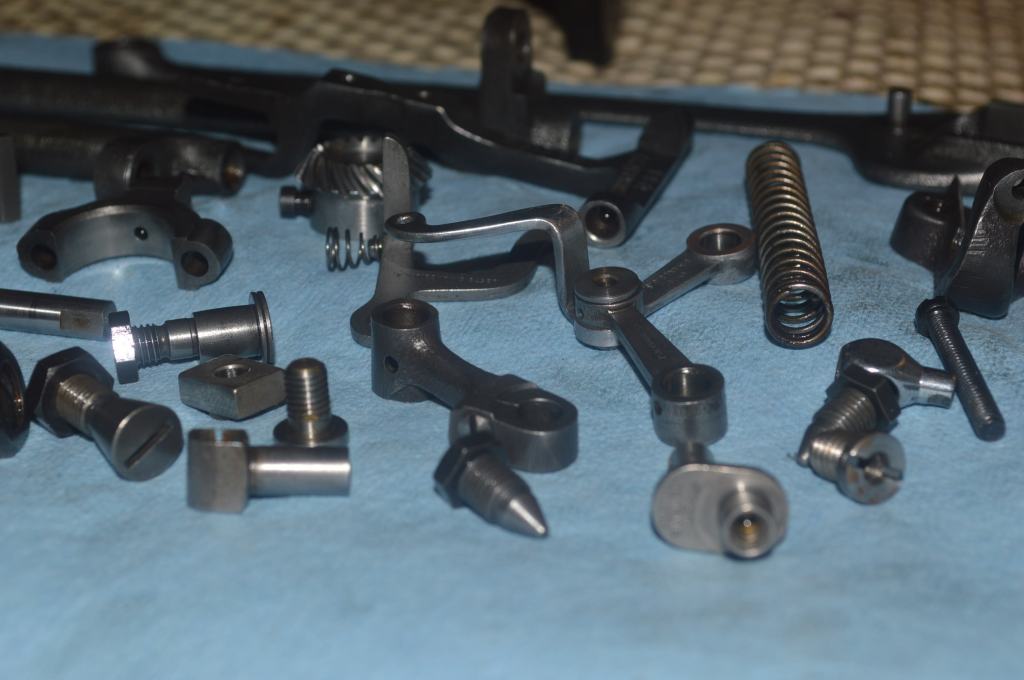
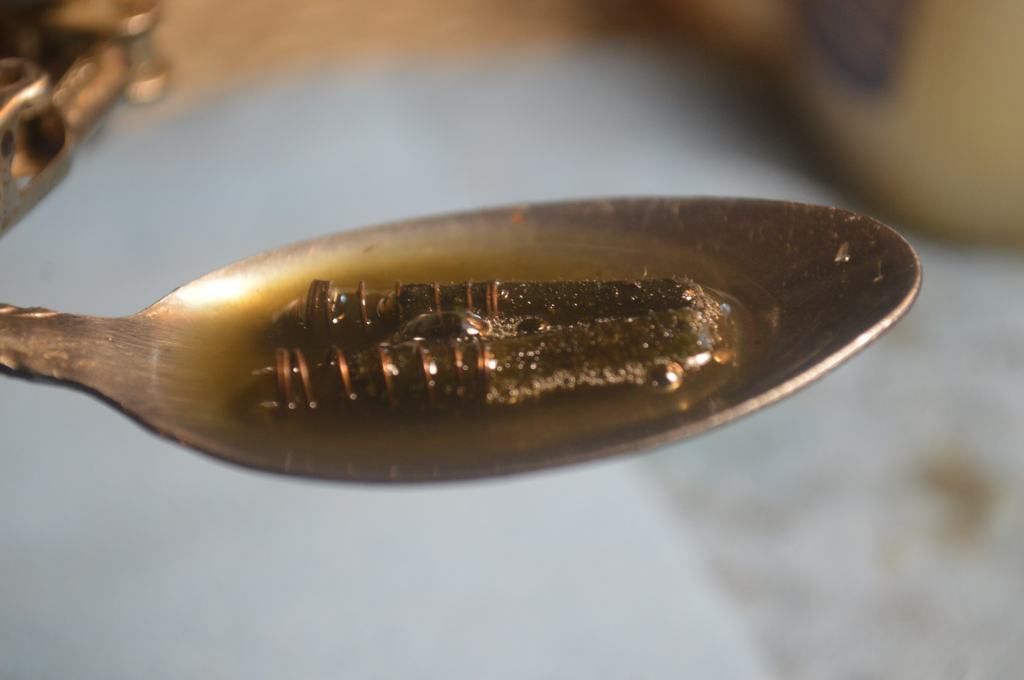
There is a lot of old oil varnish here, and after cleaning the parts are heated in oil to drive out any water remaining and then each part is wire brushed to bright steel.
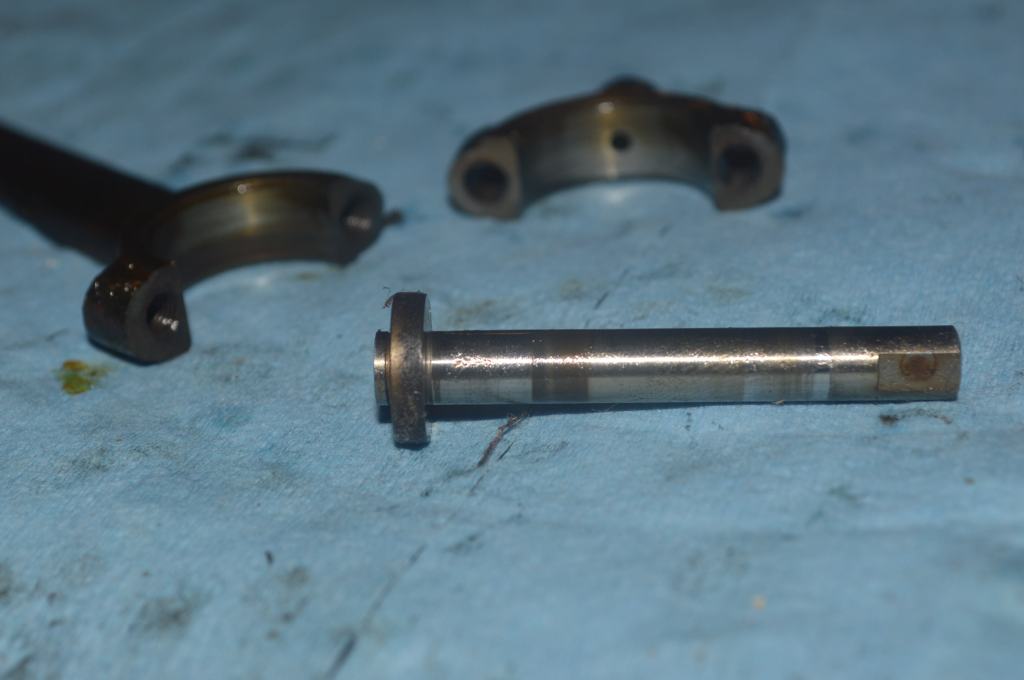
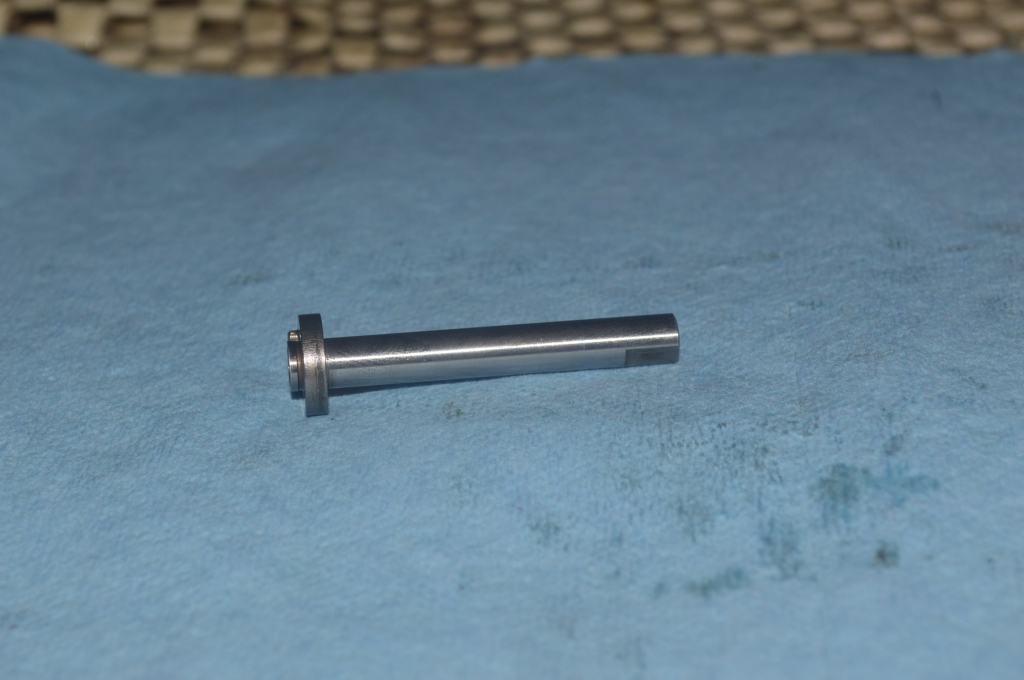
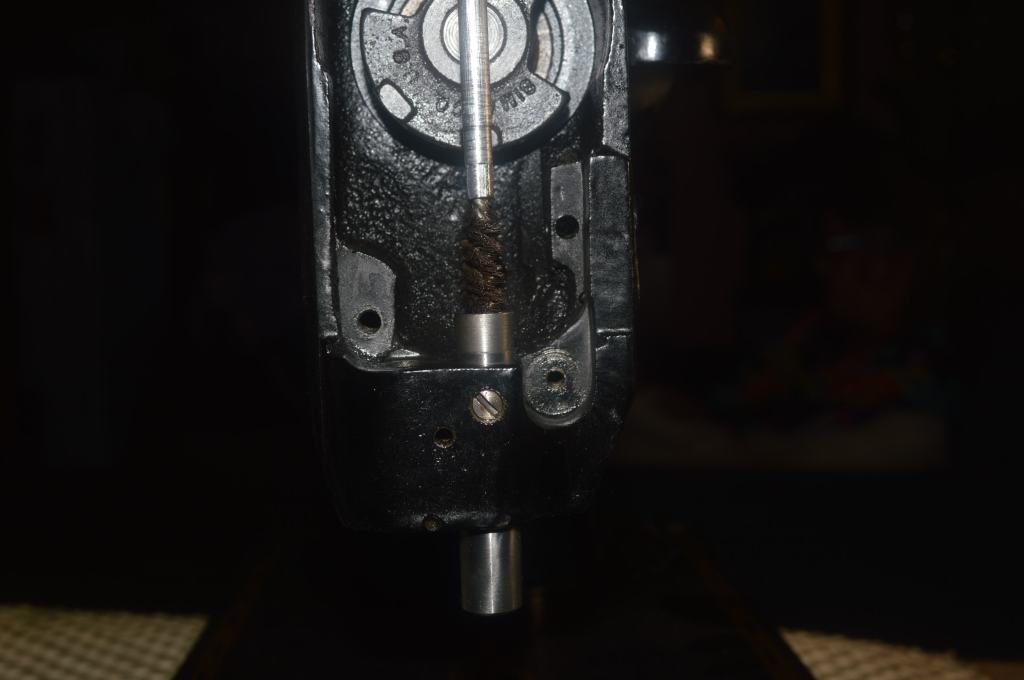
The presser foot bar, needle bar, and bobbin hook shaft are polished.
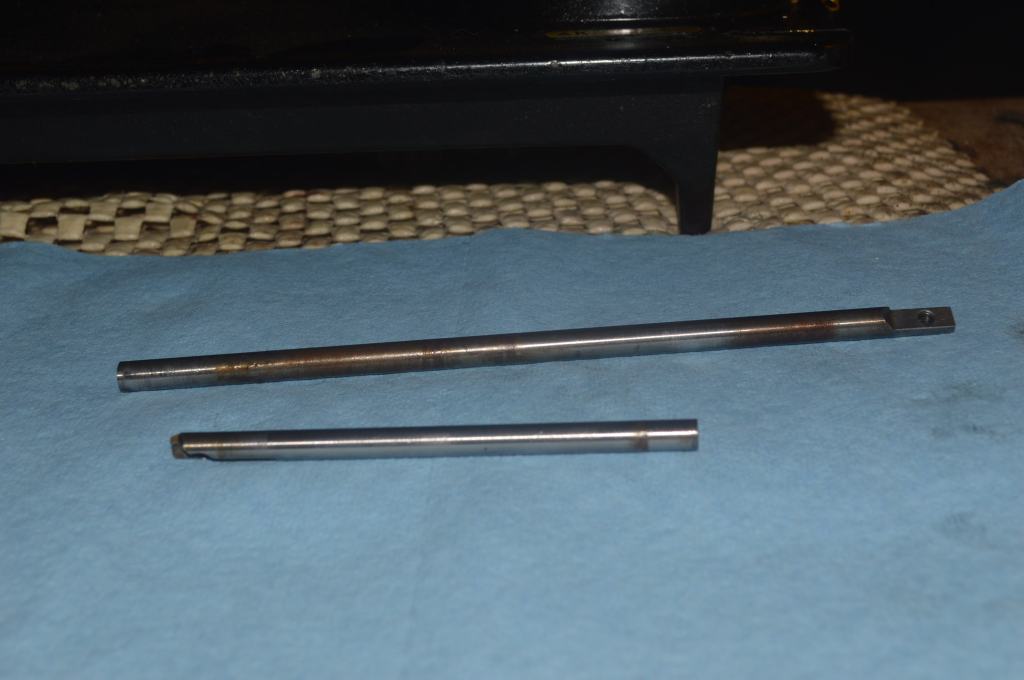
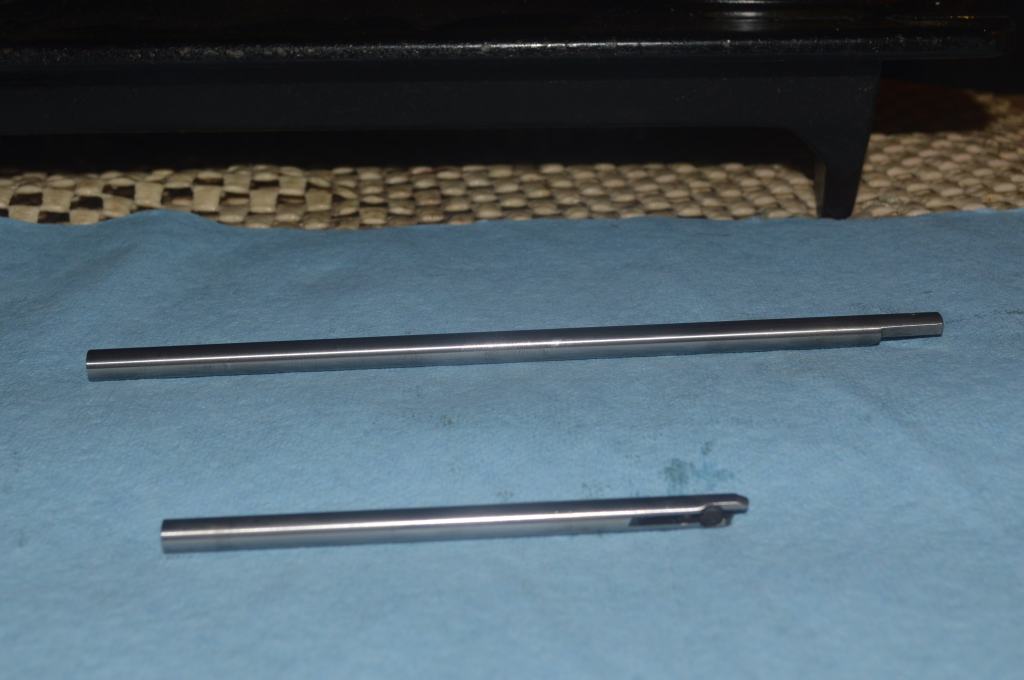
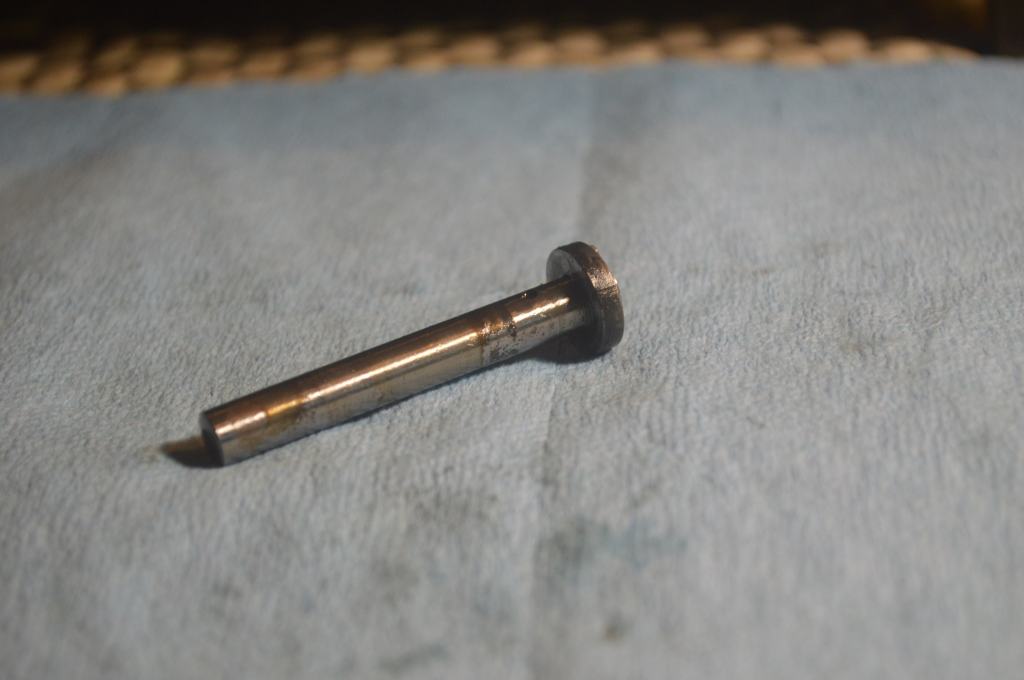
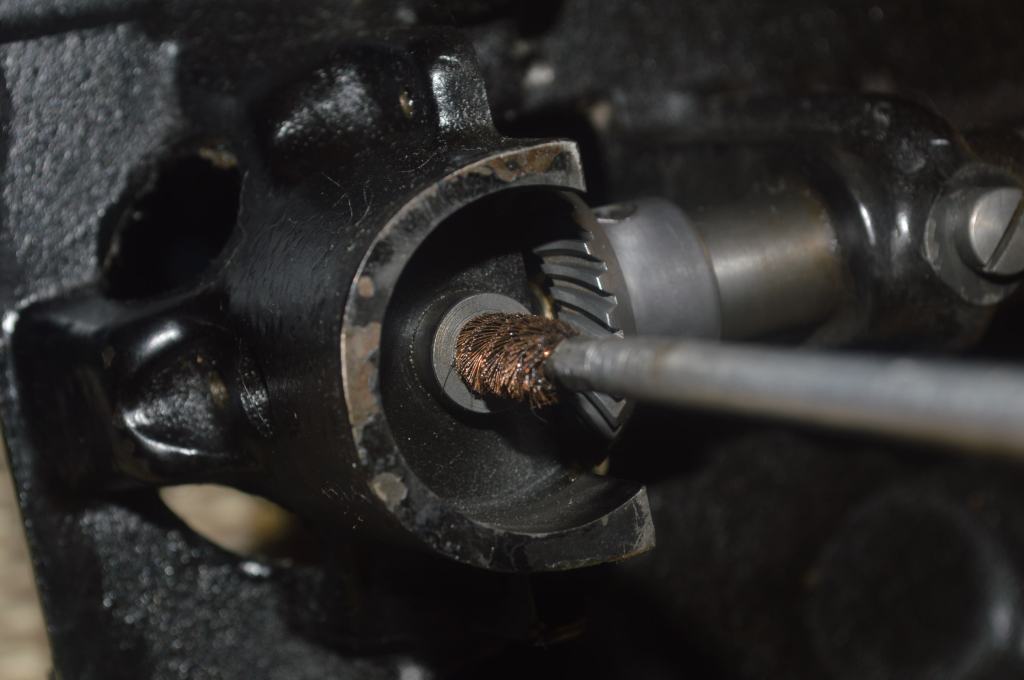
The customer had some concern over the bobbin area of the machine and asked me to check it closely. The bobbin hook shaft rotates at high speed and here the oil varnish can create enough drag to be noticeable. Because these parts move in tight tolerance bores, the bores are cleaned with a brass bristle brush.
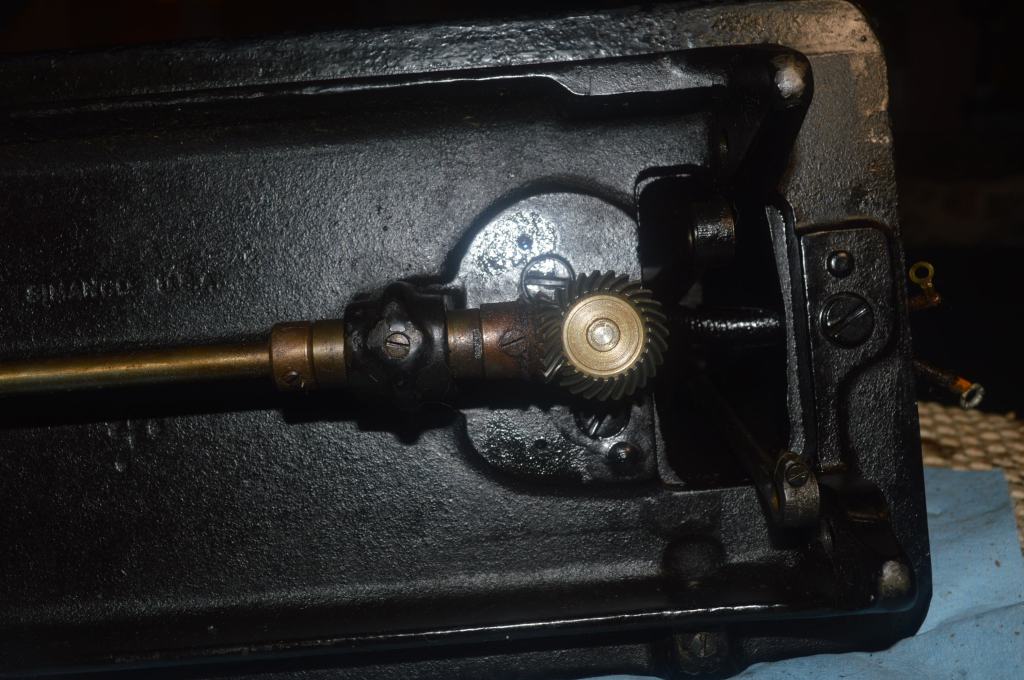
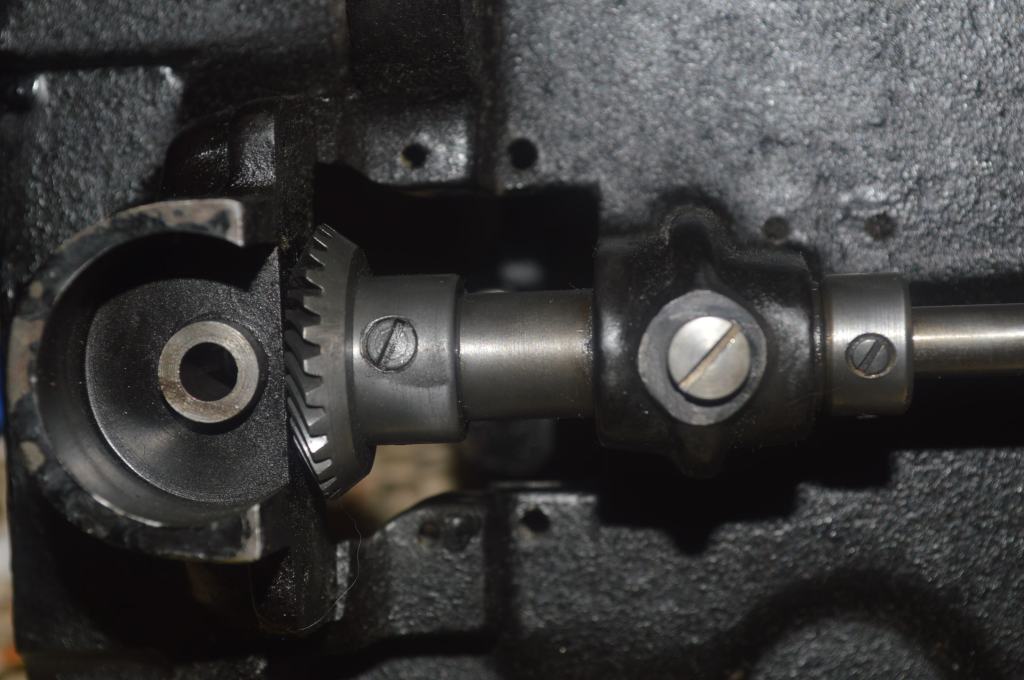
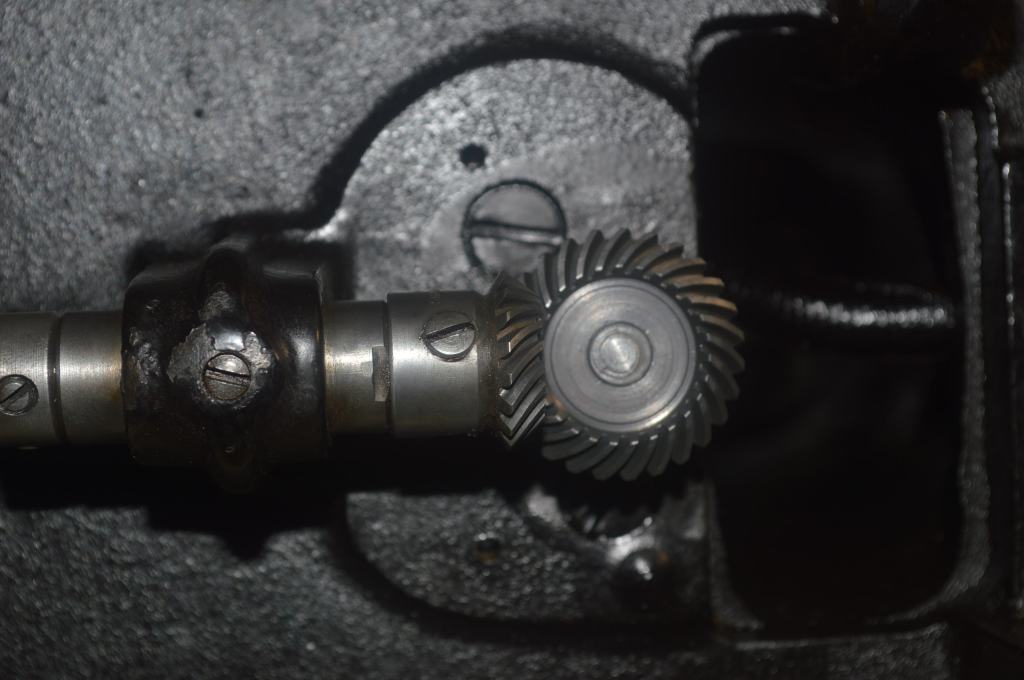
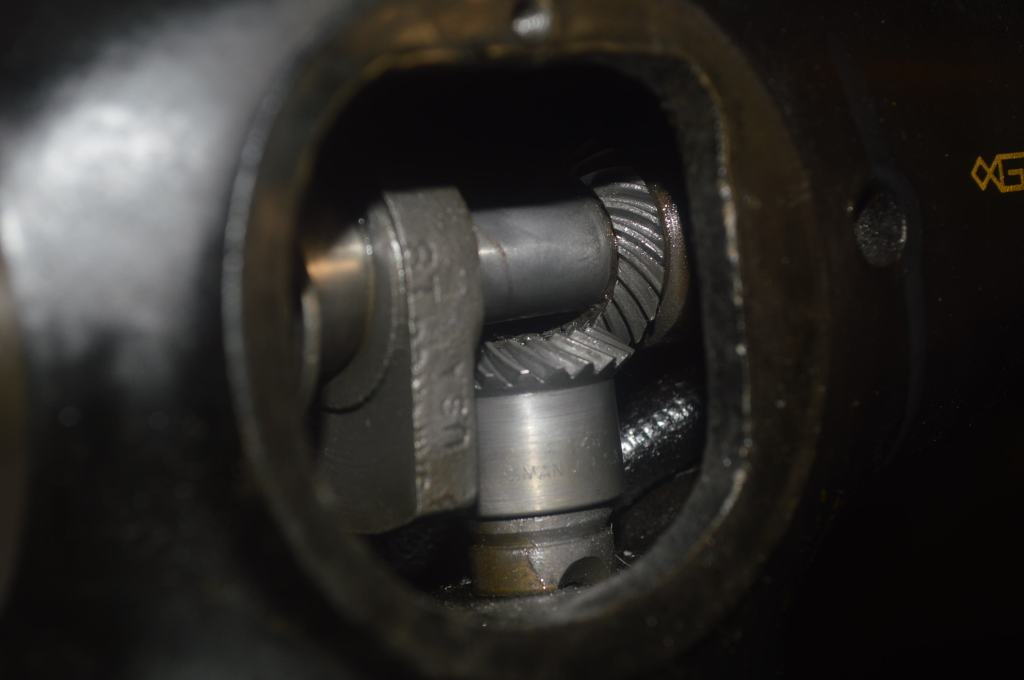
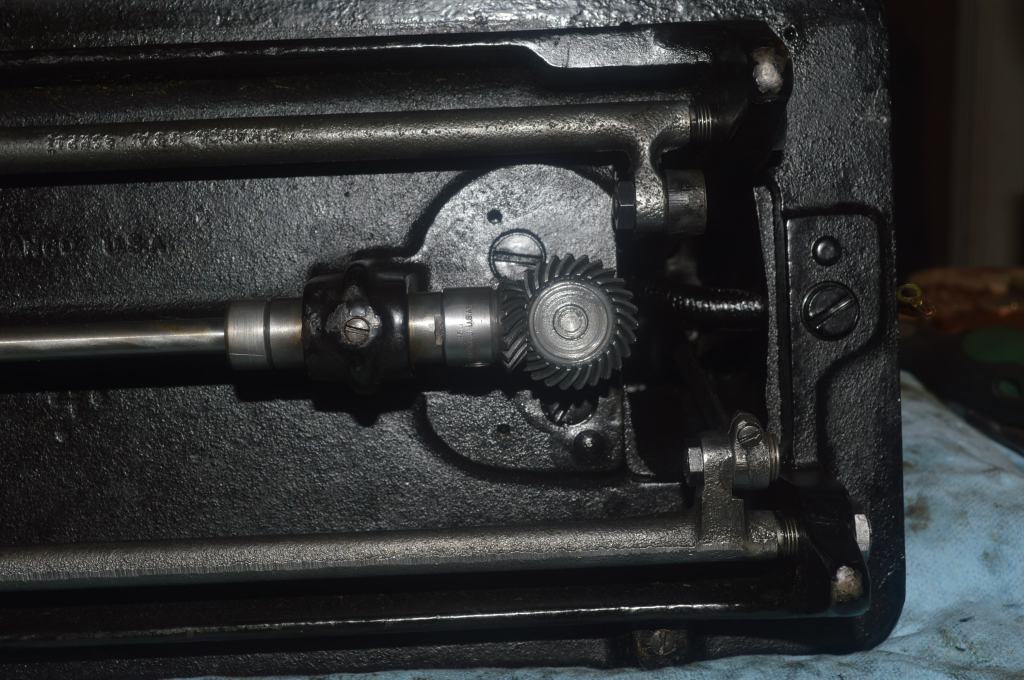
The gears are cleaned and lubricated.
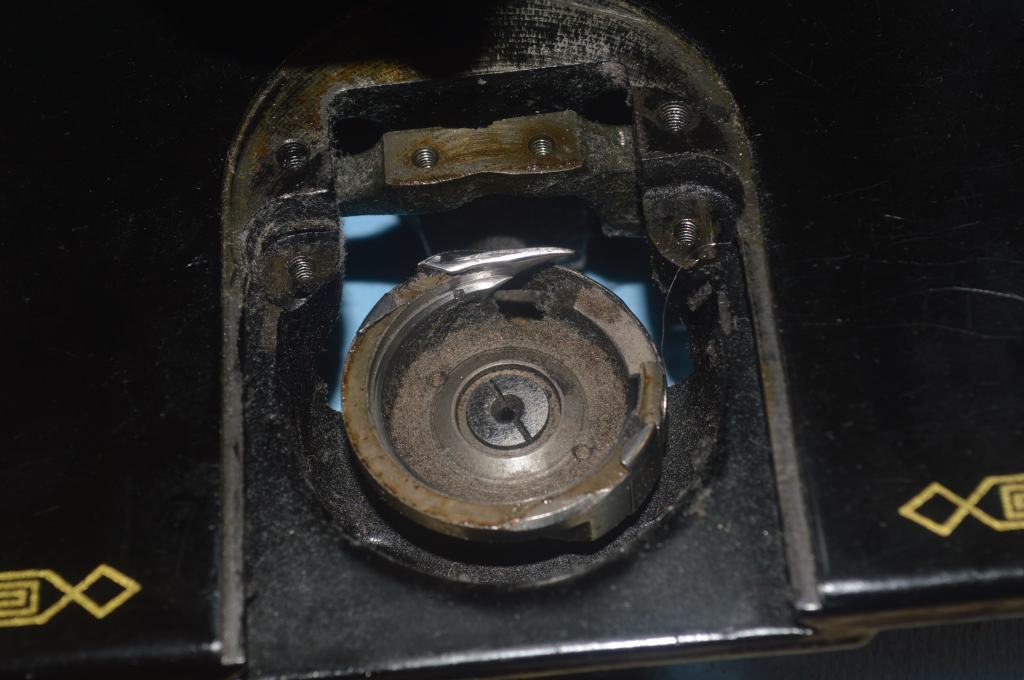
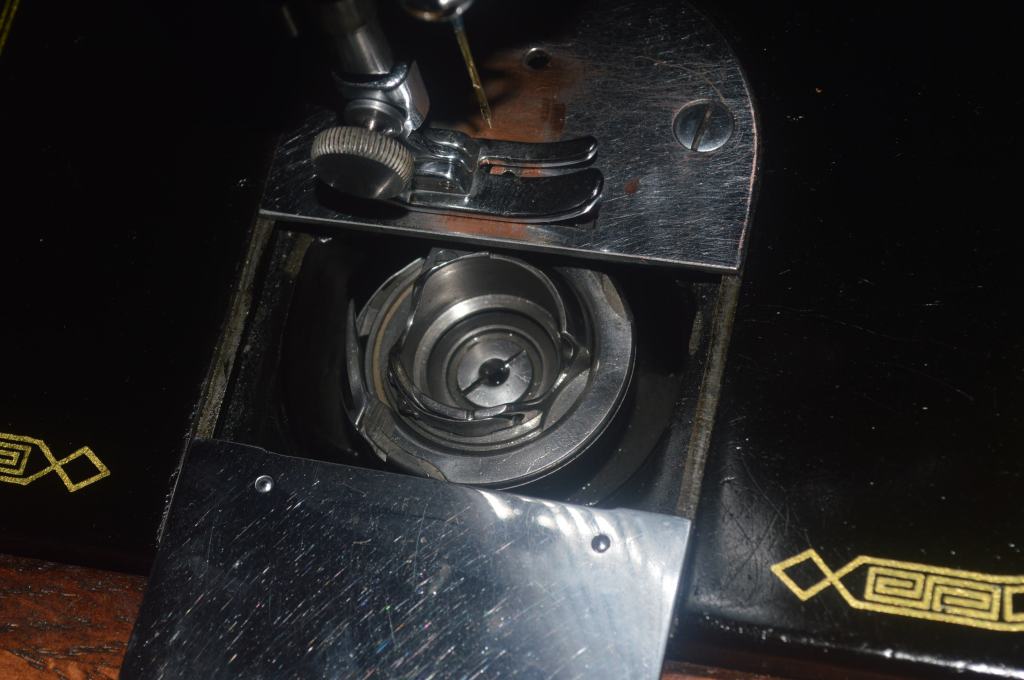
Now is a good time to attend to some details. These include the bobbin case and the bobbin hook race. The bobbin hook race has hidden areas that build up lint. As a precaution, it is disassembled and cleaned.
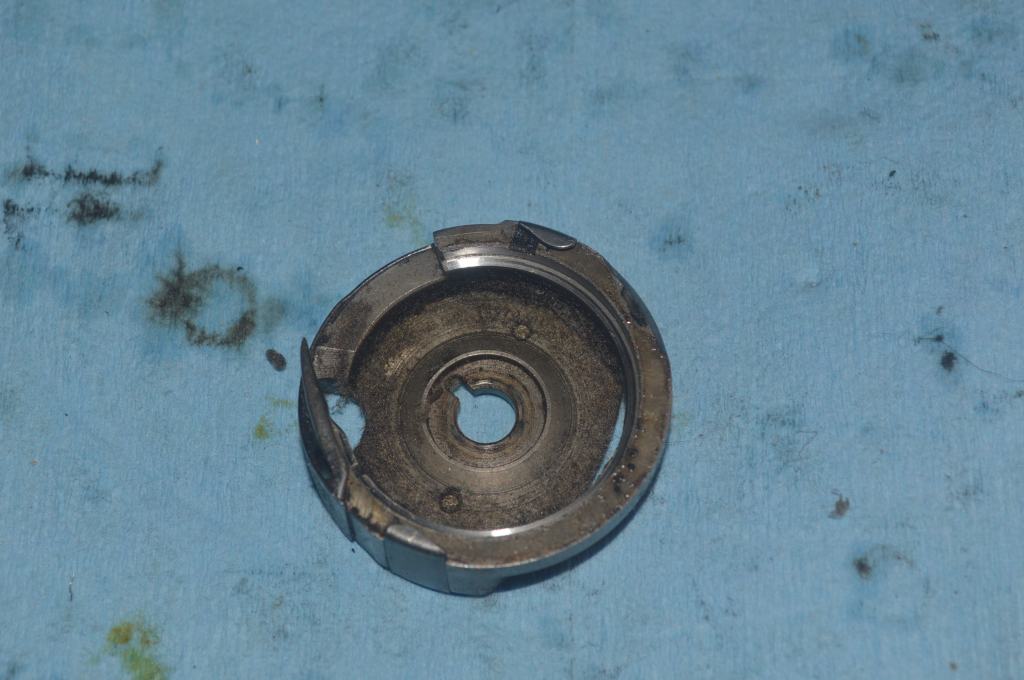
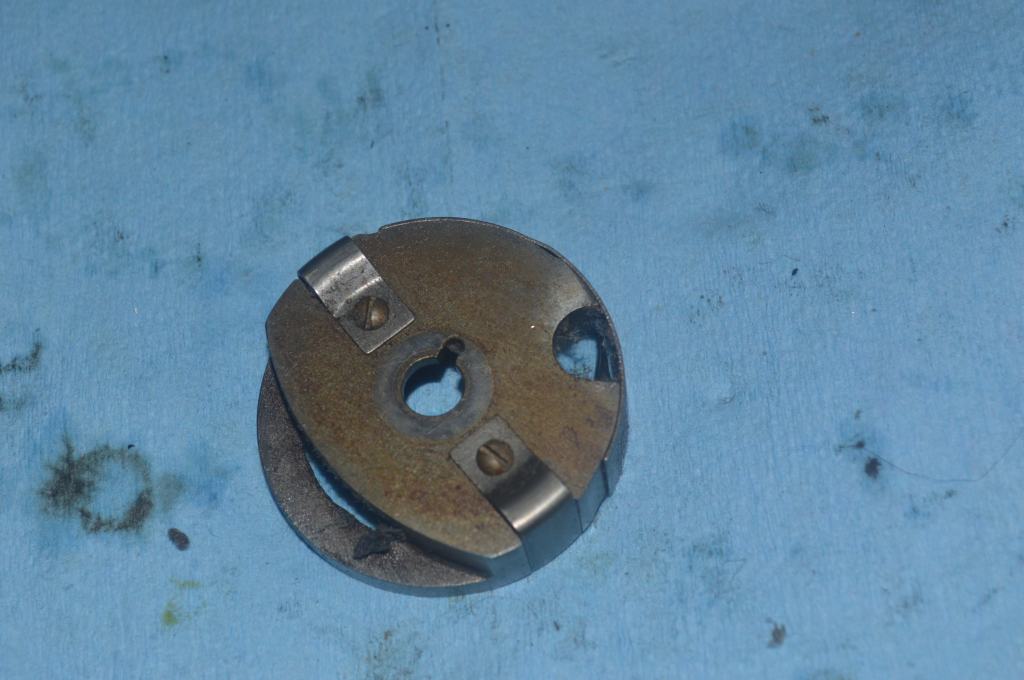
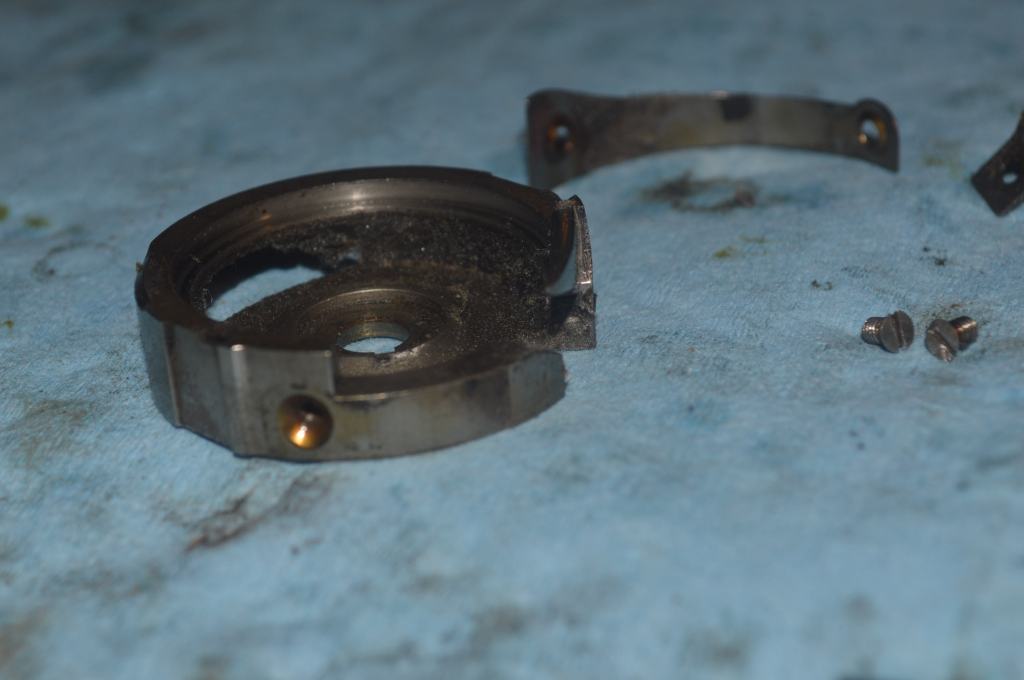
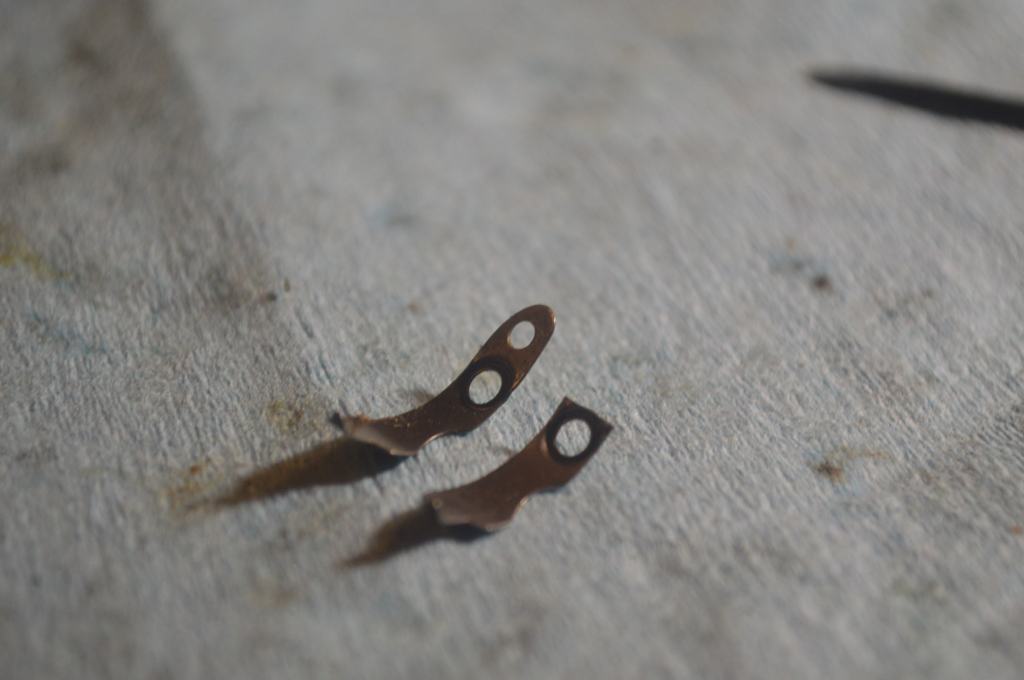
It turns out the bobbin case tension spring on the bobbin case is broken. I replaced it with a spring I found among my “spare” parts. A broken tension spring can cause big problems in stitch quality, and I expect this will make a huge difference in the consistency of the bobbin thread tension.
As you might expect, things like the bobbin hook and bobbin case engage the thread and must be smooth as glass. For the smoothest finish, they are tumble polished.
Besides these, there are a number of other small parts that are easily polished in a tumble polisher. These include the bobbin case, the hook race, and a bunch of other small shiny parts. They were going to get polished anyway…
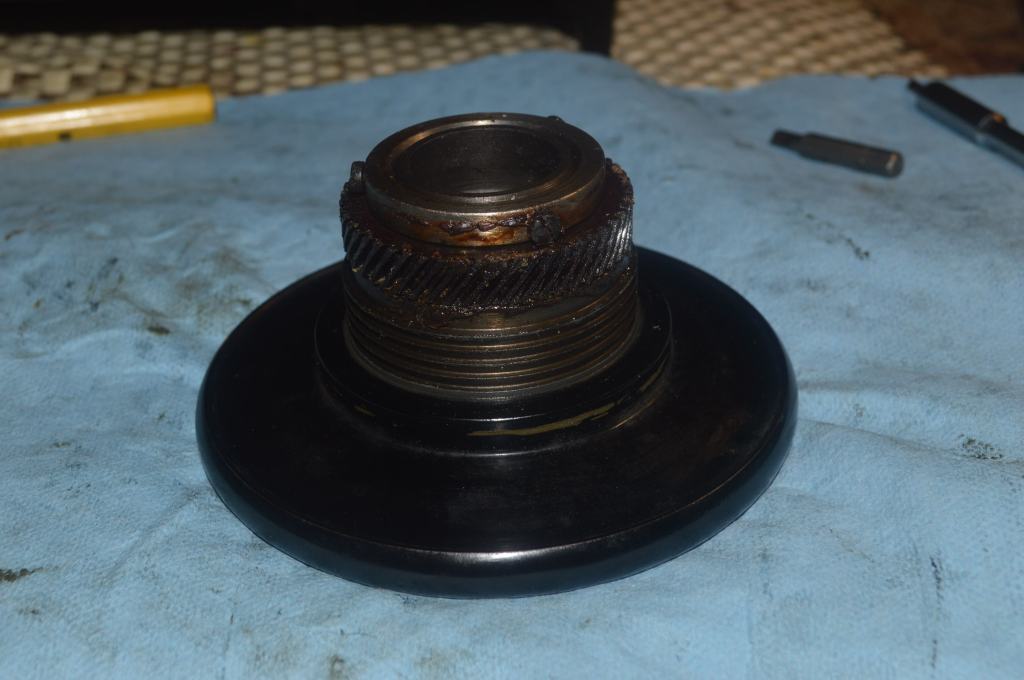
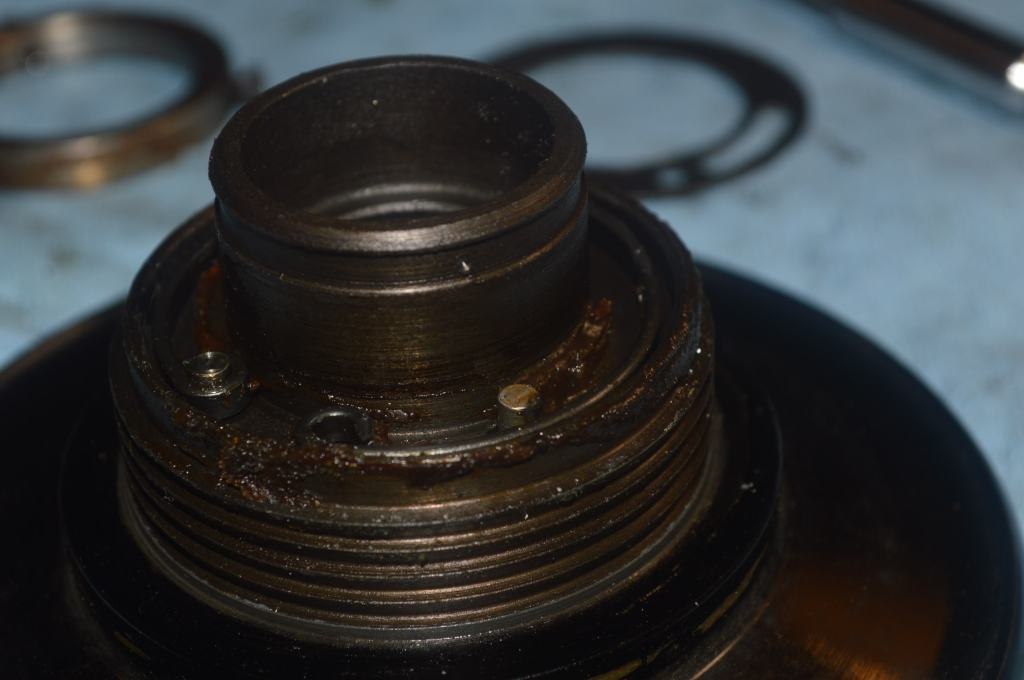
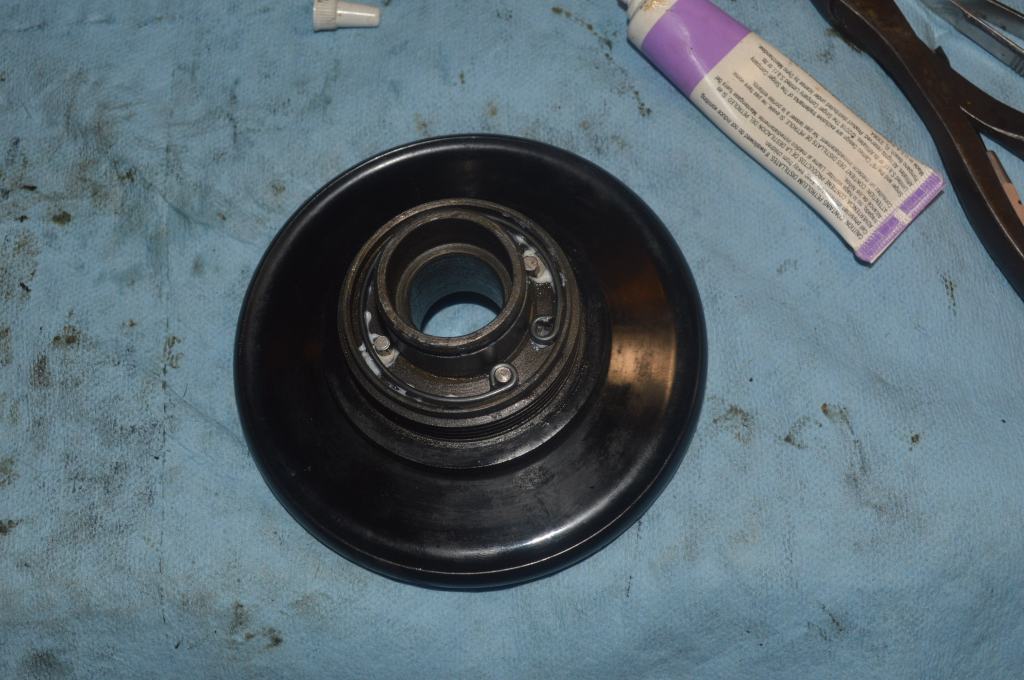
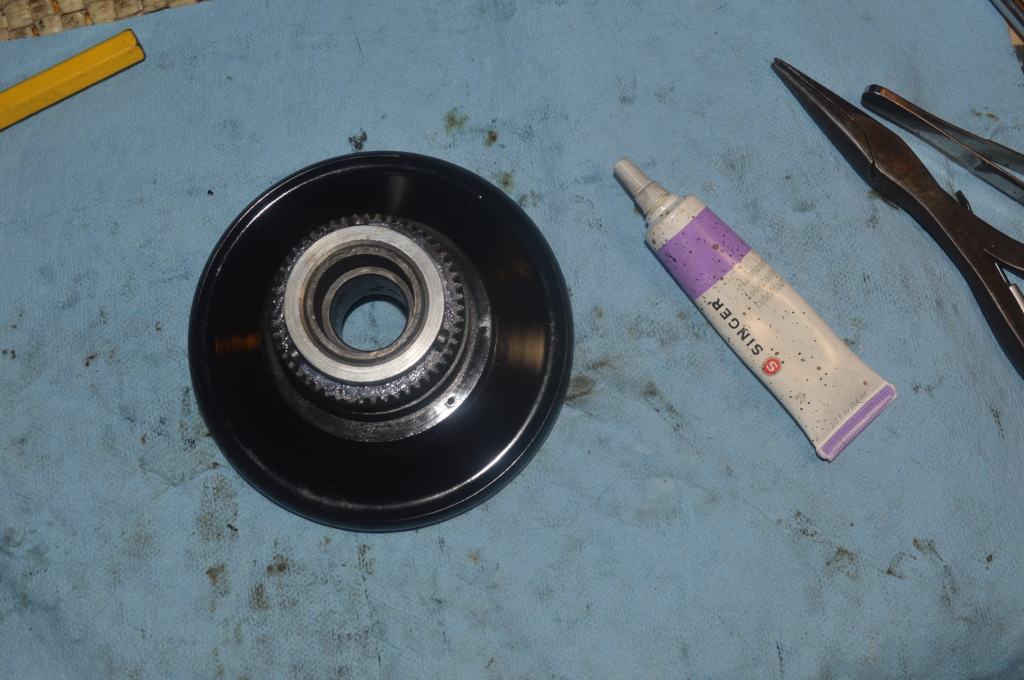
Next comes the restoration of the balance wheel. The textolite gear on the balance wheel has a shock absorbing mechanism behind it. Sometimes it gets frozen with old grease and doesn’t function properly. It is disassembled, cleaned, and re-greased.


The replacement motor was delivered, so it gets restored next. Same steps as before but with much better results!


The motor is run for about 5 minutes to break in, and it makes good power and speed.
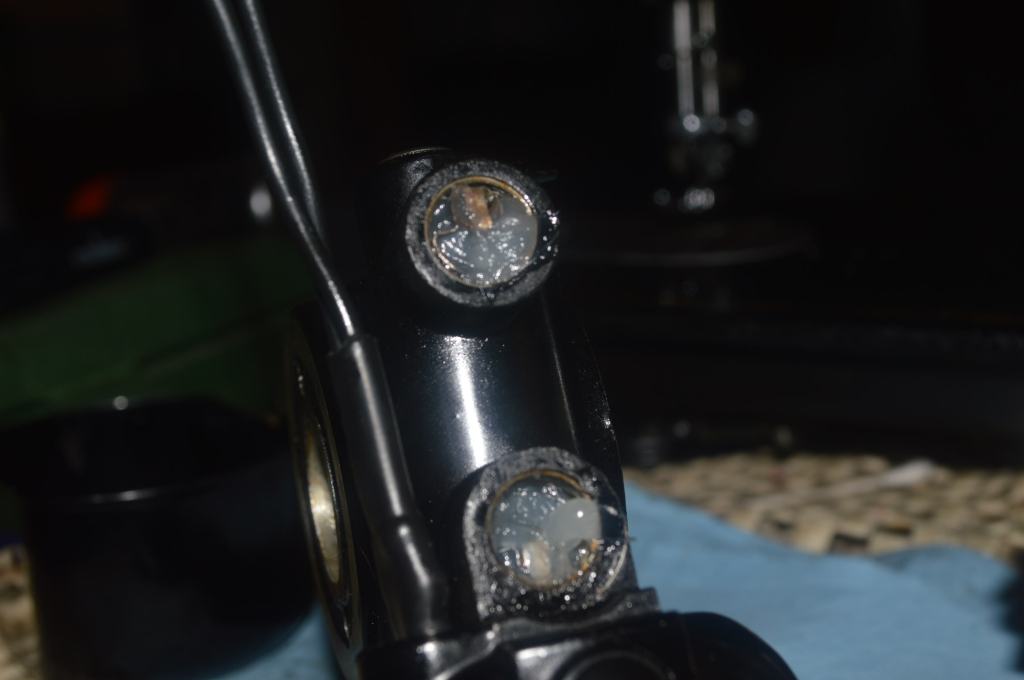
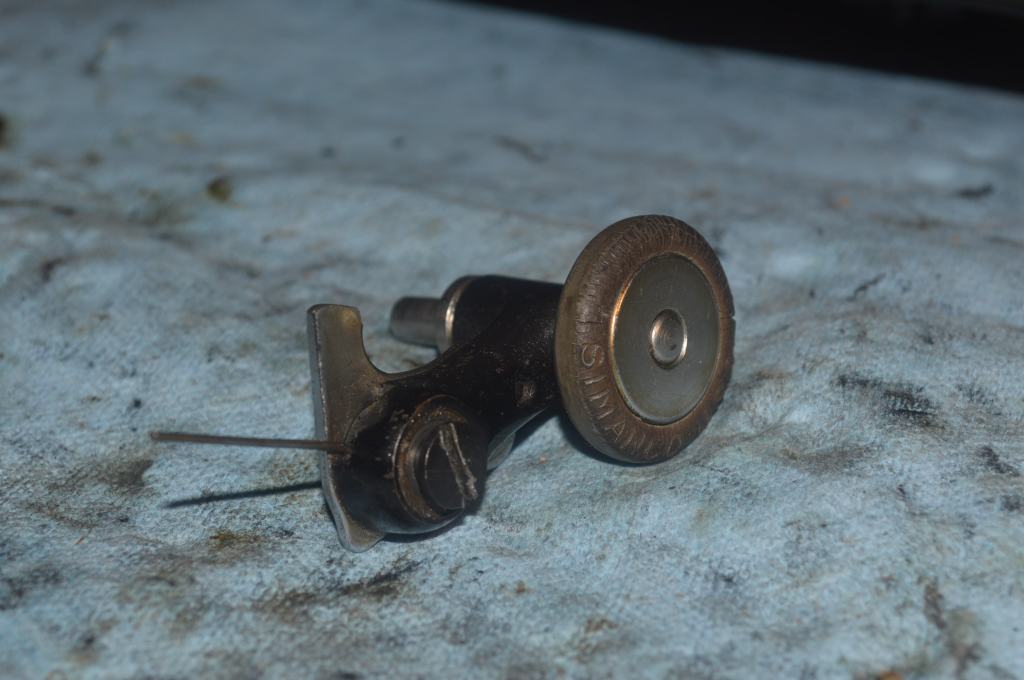
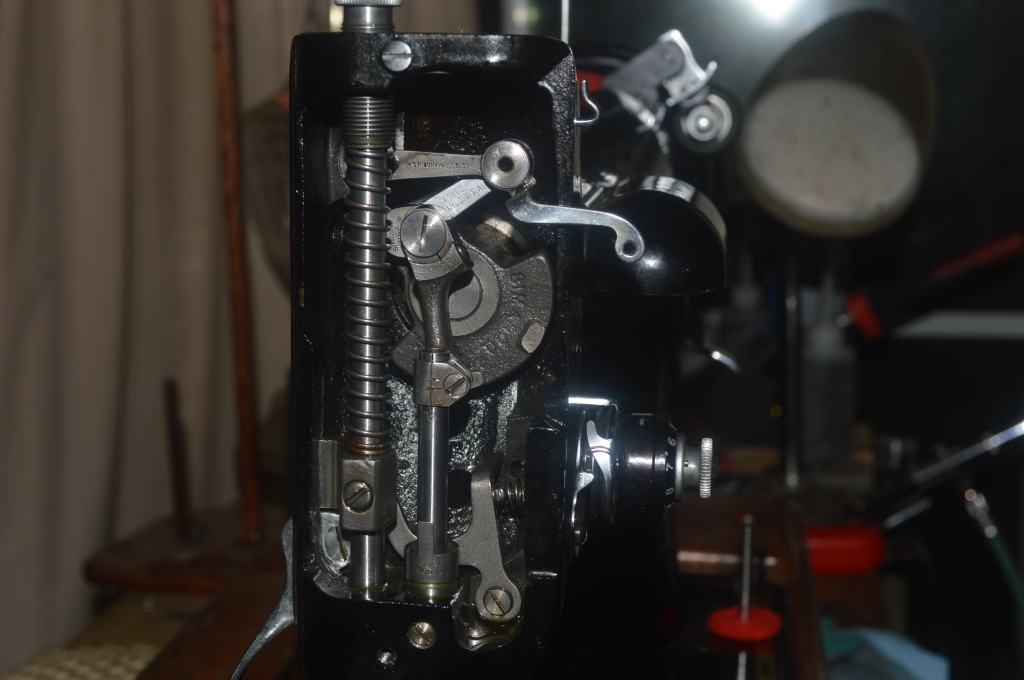
Next, the upper tension assembly is disassembled and cleaned.
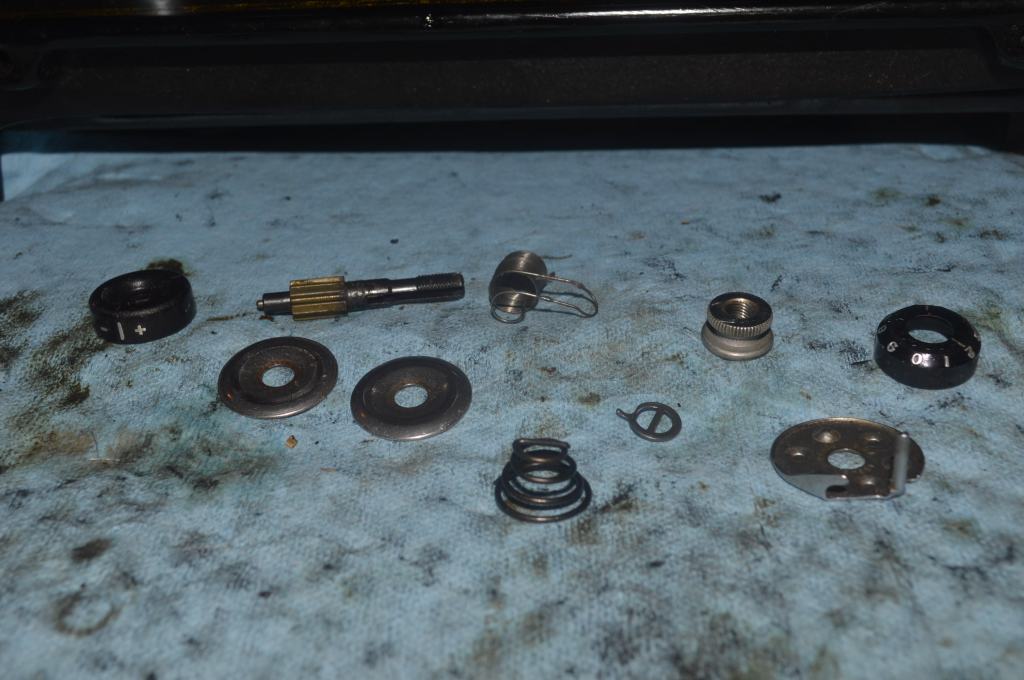
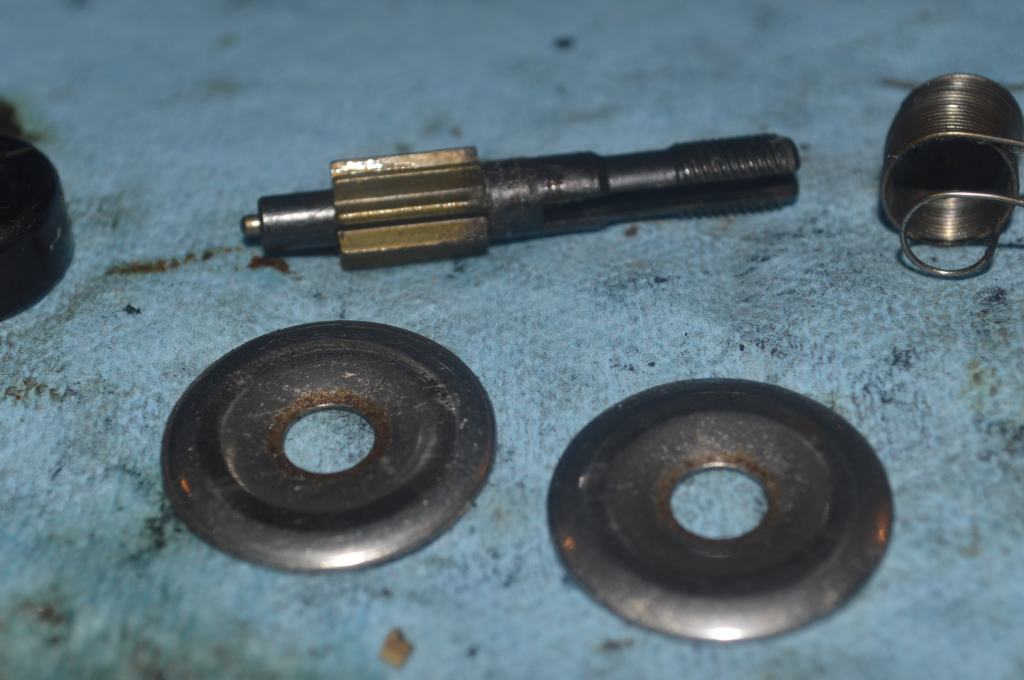
The tension discs have a bit of oil contamination, and the tension stud has picked up some stuck-on lint. Because these parts are directly in the thread path, they must be smooth. They are polished to a smooth shiny finish and reassembled. This will assure consistent thread tension.
Finally, the last component to be restored is the bobbin winder. The bobbin winder is disassembled and the bobbin winder tire is replaced.
Great! That’s everything that needs to be disassembled and cleaned before reassembly and adjusting. The next step is cleaning and detailing.
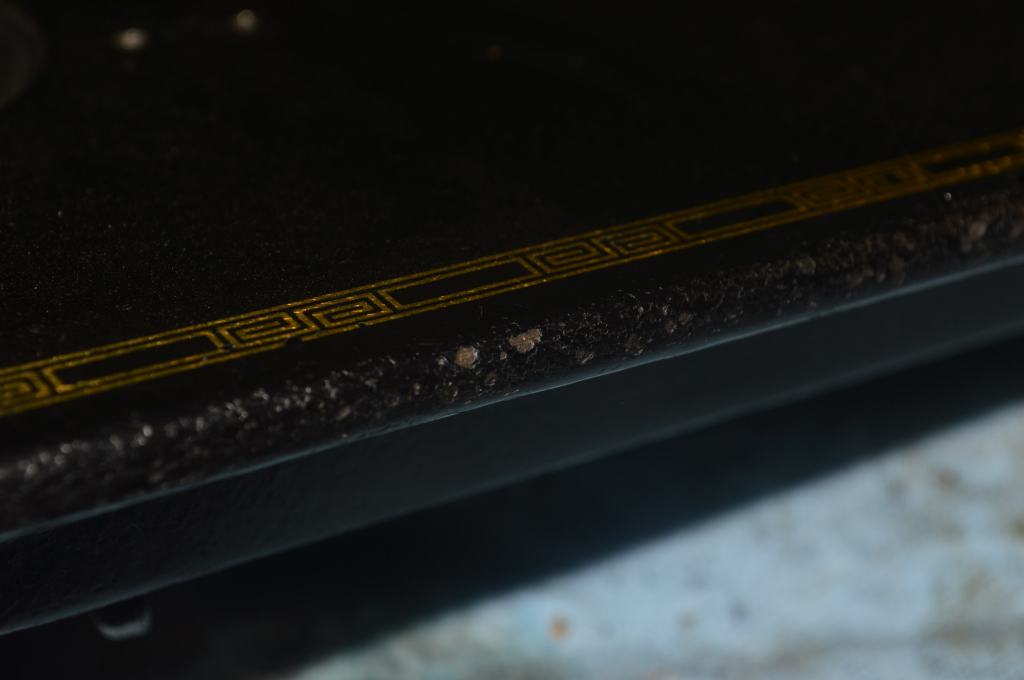
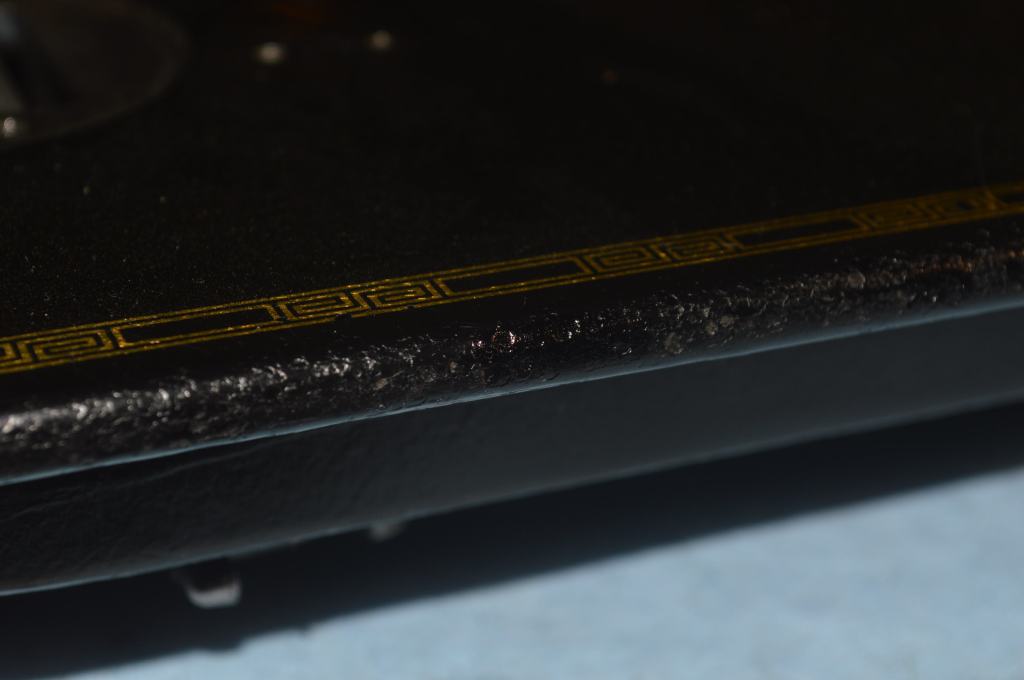
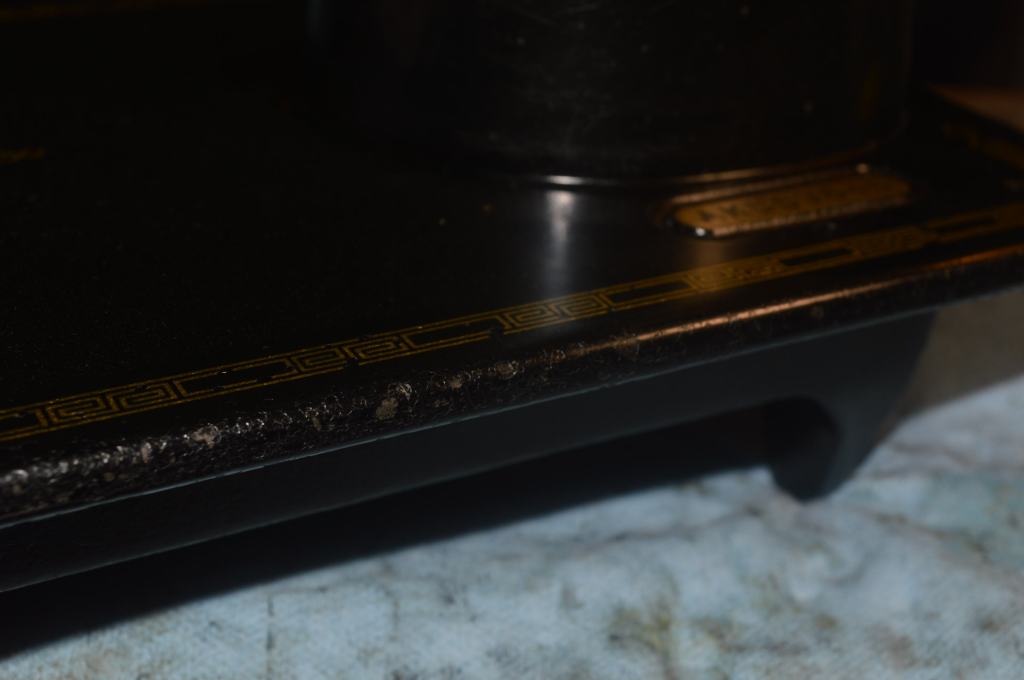
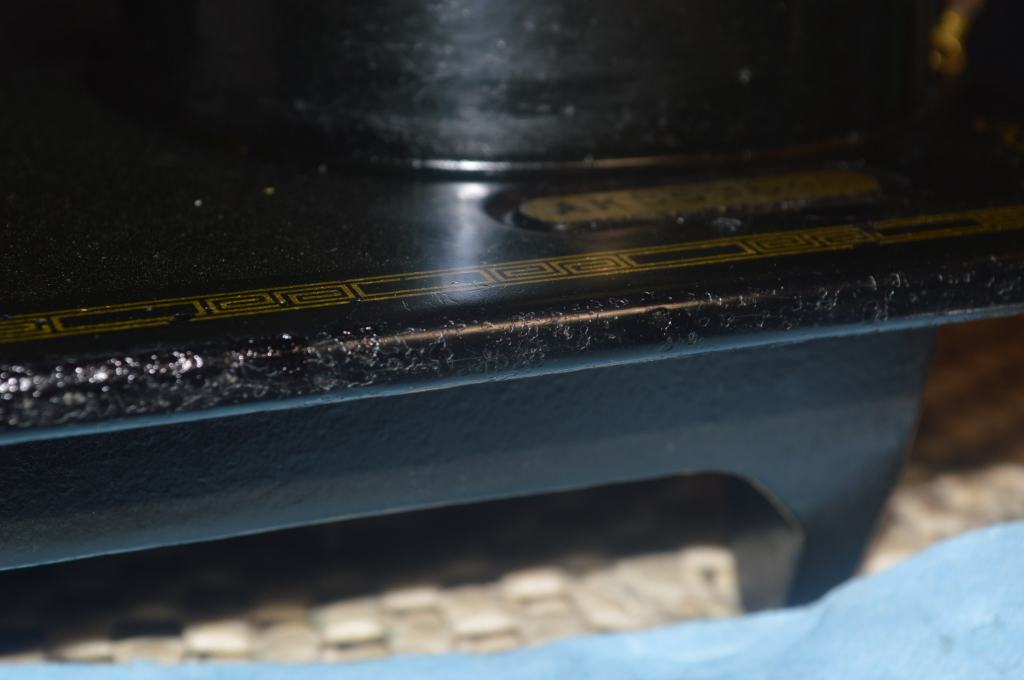
One very unusual thing about Belle is an almost complete absence of paint chips. All sewing machines of this vintage have them. They commonly show up on the leading edge of the bed but are often found on the arm shaft and pillar. Try as I might, I only found one paint chip on the arm, and very few small chips on the edge of the bed. Still, these are corrected with color matched shellac-based paint.

With this done, the machine is ready for reassembly. But there is still work to be done. Belle needs to be cleaned and polished. This step will bring out Belle’s beautiful original finish. She looked good when she arrived, but deep cleaning and glaze polishing removes any “dull” areas caused by oil and dirt, and it brings out the beautiful gold tone of her gold decals.
To finish up, all of the chrome plated pieces are polished, and the machine is reassembled.
After reassembly, I noticed there was still a slight drag in the machine when turning it by hand. As before, it showed itself at the top of the stroke. Turning past it, the machine feels smooth. The drag is not much, but this is not typical for 201’s and it is not acceptable for Belle. Most likely, the drag is caused by a spot of old oil varnish that has formed in either the front or rear arm shaft bushing. The solution? Belle needs to go on the sewing machine treadmill.
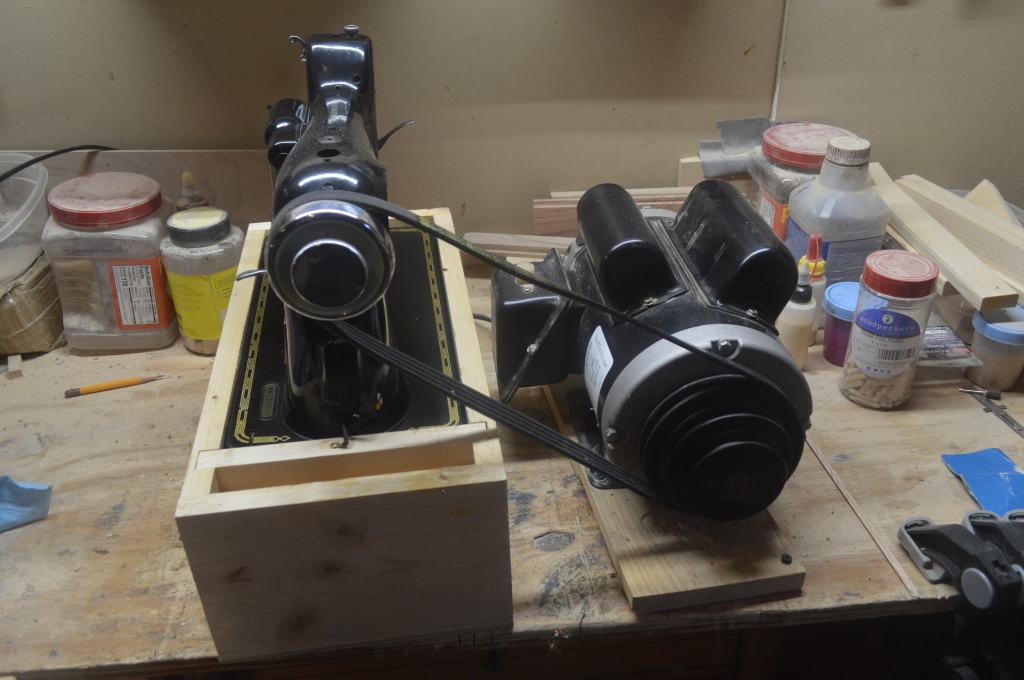
The treadmill is a box the machine fits into, and the machine is attached via a belt to an external electric motor. Rather than rely on the sewing machine motor, I can run the machine at a high rate of speed for 10 minutes or so without concern. This runs all of the sewing assemblies and its perfect for running in and smoothing out any stiffness in the sewing mechanism, it also allows for making all of the final adjustments because the parts all seat together. The cause of the drag was in the front arm shaft bushing and as expected, Tri-Flow oil and the warmth generated by running the machine dissolved the oil varnish. The drag is gone, and the machine has the smooth feel it is expected to have… way to go Belle!
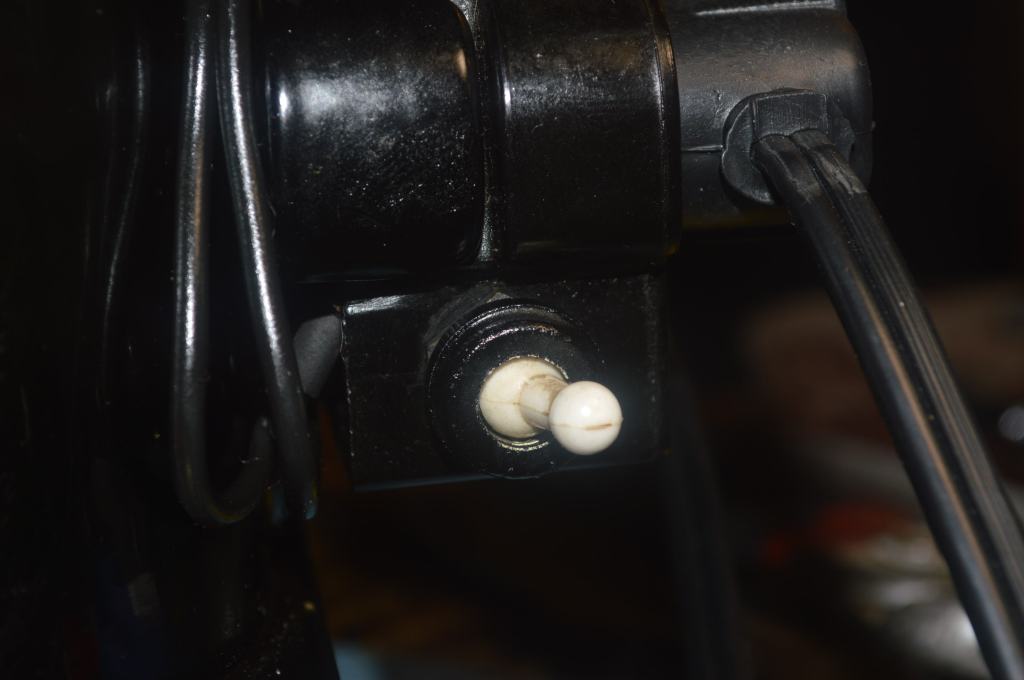
Now the motor and balance wheel are installed and the power plug is wired and reattached to the machine. Because the customer requested a different controller than the Singer “button controller” the machine came with, a new dual lead power cord is wired to a suitable vintage carbon pile paddle style foot controller.
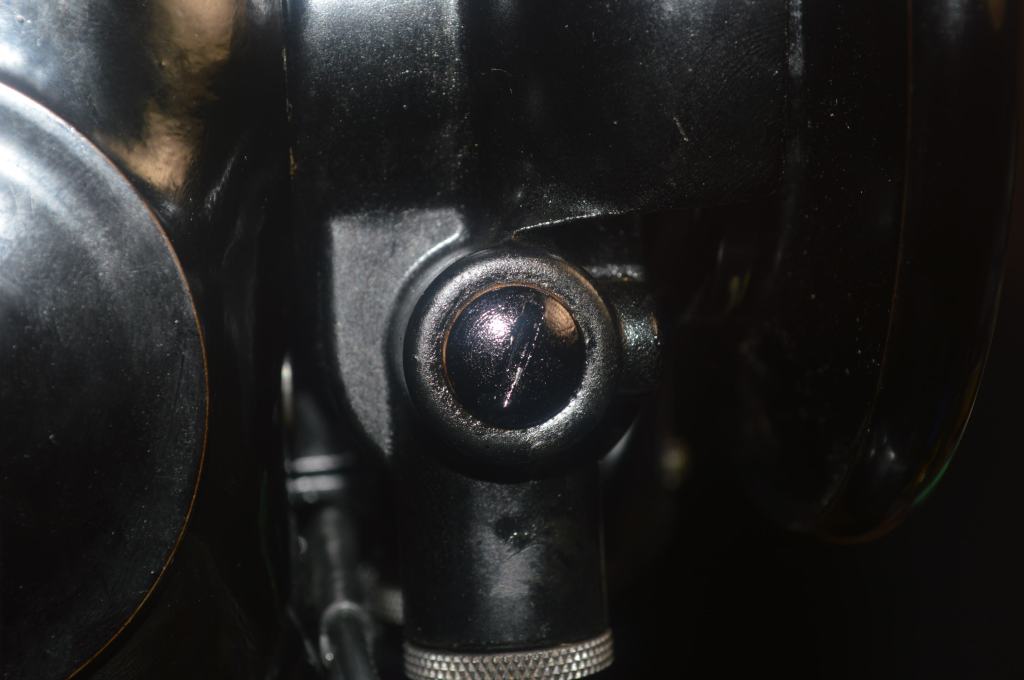
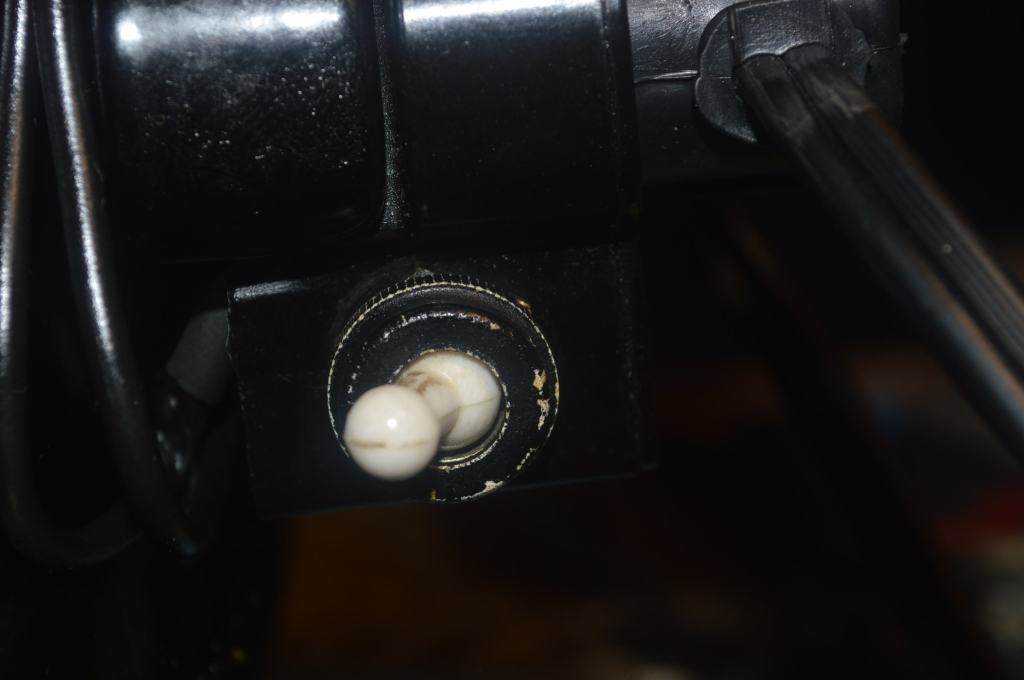
The machine is ready to test sew and make all of the final adjustments. These include the presser foot height, hook timing, needle depth, feed dog clearance (side to side and front to back), and initial tension adjustments for the bobbin and upper tension assemblies. In doing this, I noticed two things that needed a little final paint touchup. Nothing significant, but the armature end cap and the light switch ring needed to be touched up. While this serves no purpose other than appearance, they are details, and details matter. Belle is now ready for final adjustments.

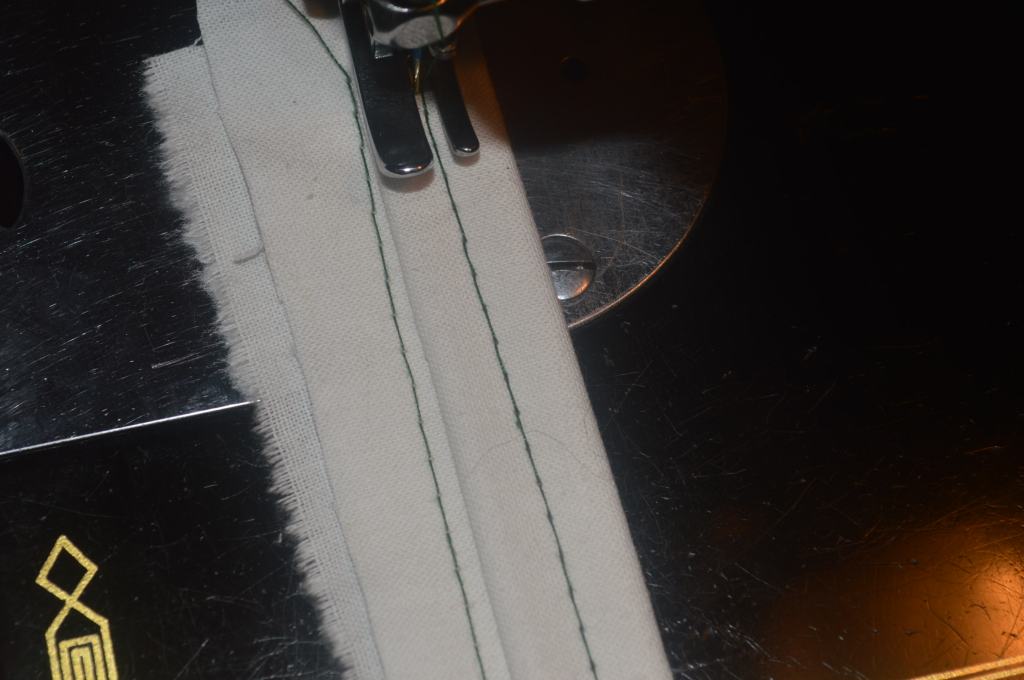
Final tension adjustments are made by sewing to get a good balanced stitch. two layers of cotton fabric is used with a new Singer size 12 universal needle. The following shows the stitch formed thru two layers and then folded to eight layers of fabric. The machine handles it with ease.
Just as I expect from a 201, Belle sews quietly and smoothly. The speed control is good and the new motor has plenty of power to run the machine at right around 1015 stitches per minute… not bad for a 71-year-old machine!
Thats it! the restoration is complete and now Belle is ready to continue sewing for years to come.
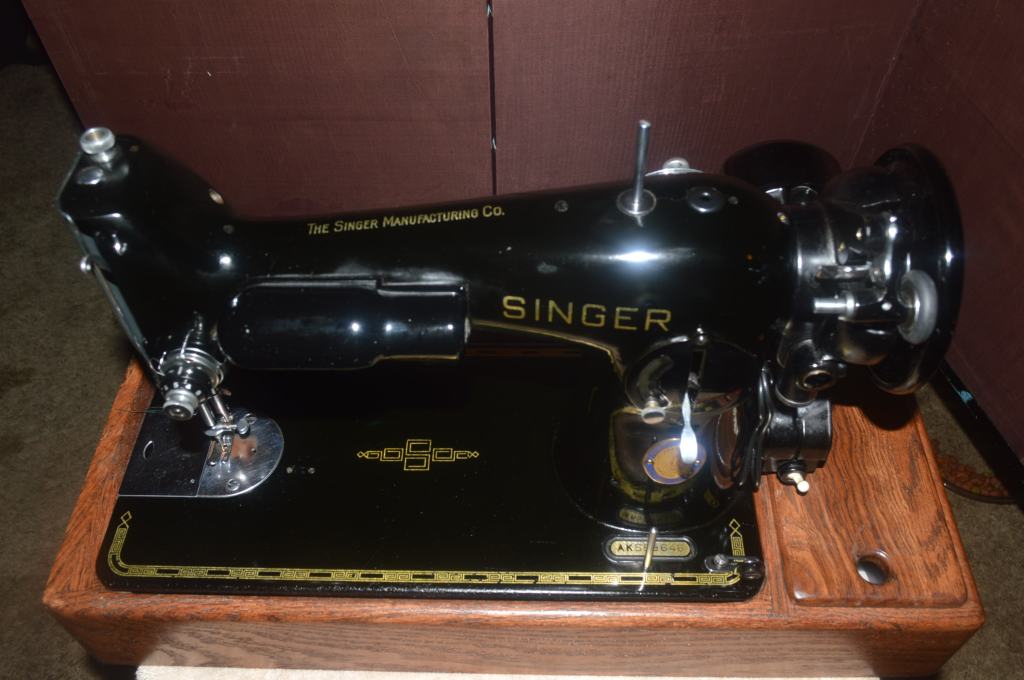
Here is Belle after her restoration…

Well, I hope you like what you see and enjoyed the restoration process as much as I did… Belle’s before and after performance is like night and day. She is a beautiful 201 and runs beautifully as well. Like I always say, some sewing machines need more, some need less, but they all get what they need, and now I can look forward to the next restoration!
Looking for a similarly restored quality vintage all metal sewing machine for your sewing room? Let us know! We specialize in custom orders and are happy to locate and restore the “perfect” machine for you!
As always, if you have any questions, or if I can be of any assistance, please contact me through Etsy or send me an email to Pungoliving@gmail.com.
Thanks for reading!
Lee

Beautiful! a question? what kind of polish are you using to get back the shine after careful cleaning of surface of machine?
LikeLike
Hello Charlotte,
I have found the best results using a product called Meguiars Mirror Glaze 7. Another good polish is a product called TR3. They are both glaze polishes and given a bit of hand rubbing, work very well. Glaze polishes are not waxes and they do not leave a protective finish. After application, use a light coat of sewing machine oil on the surface to keep the finish nourished. Some folks use carnauba wax, but I have found that it can get into small scratches in the paint and is hard to buff out. I hope this helps!
Lee
LikeLike
Thank you Lee! I’m glad I asked, didn’t know anything about these products.
LikeLike