
There is no question among the folks I have talked to regarding the Singer 185K… all agree that it is a “cute” machine. It’s olive (some say mint green) and sea foam colors are very complimentary to the style of the machine. First introduced in 1958, the Singer 185 is a restyled and re-bodied Singer model 99. Manufactured in the US as the model 185, in Scotland as the 185K, and in Canada as the 185J, they are the same machine. Both the model 185 and the model 99 share the same drive components. They are both 3/4 size versions of the venerable Singer model 66, they both are cast iron bodied, and there is no plastic to be found anywhere on the machine (except for the spool pin on most machines)… This is great and what it means to us is that the model 185 is a tough, durable, and powerful machine that makes a great lock stitch. For a comparison between the 99 and the 185, take a look at the next 2 pictures…
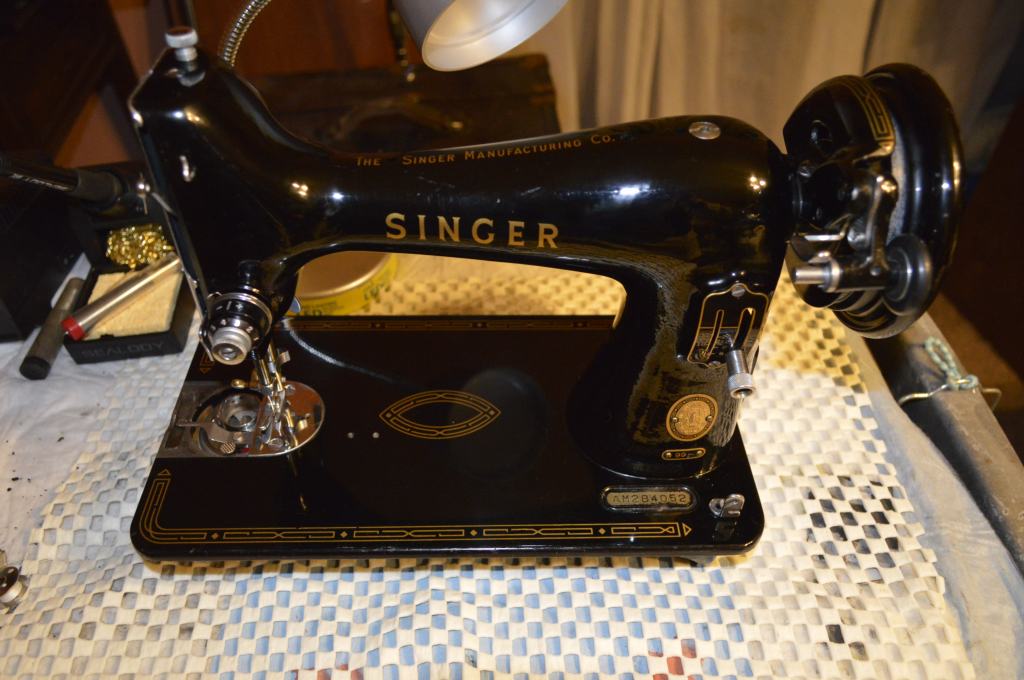
This is a model 99K…
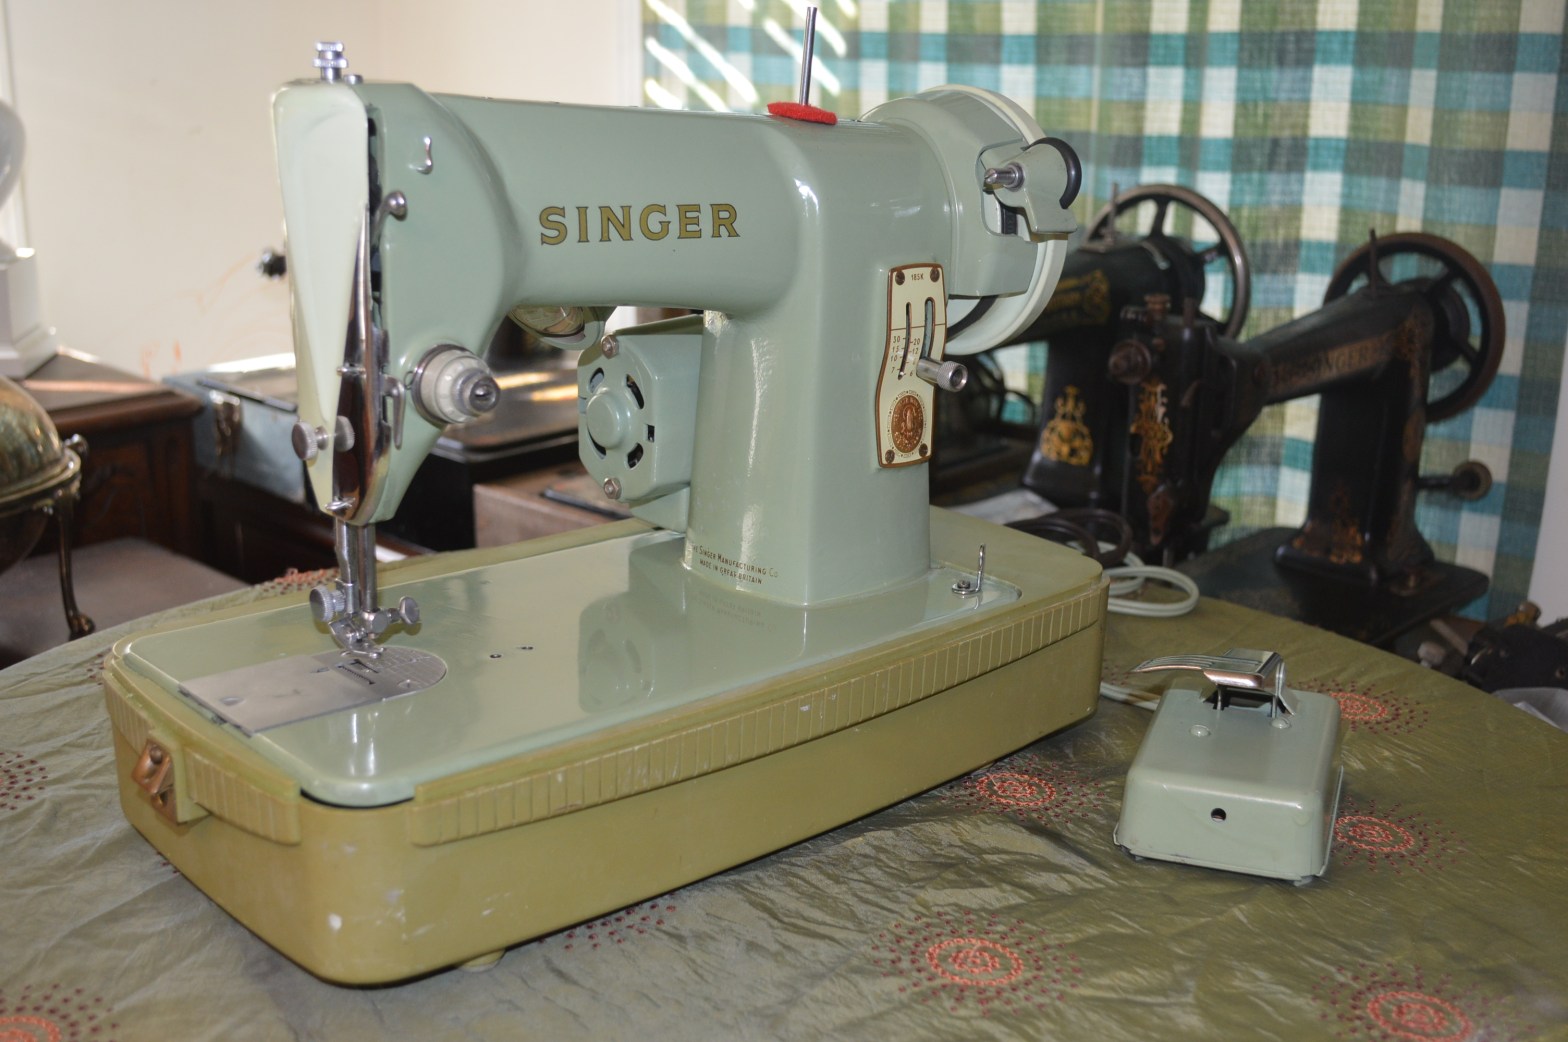
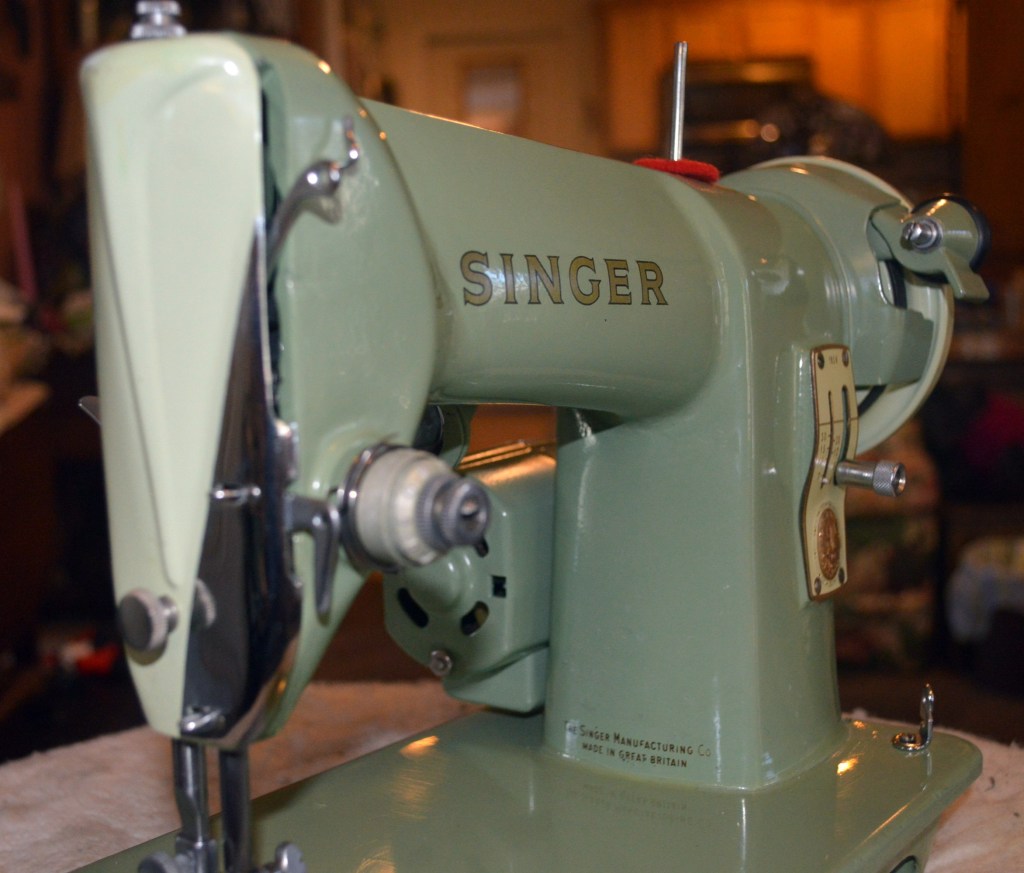
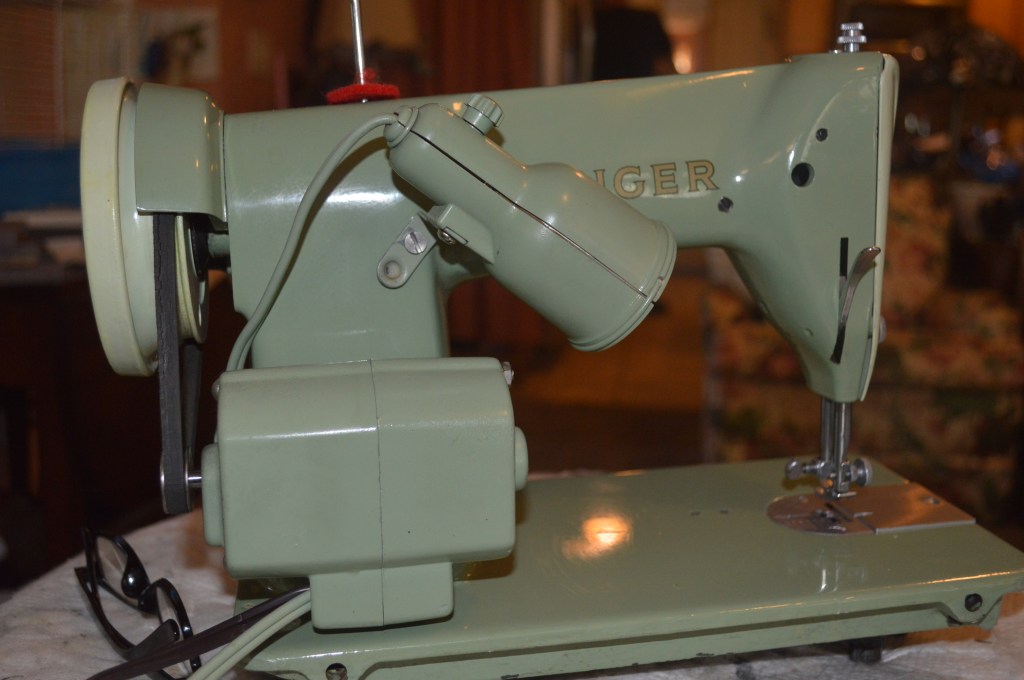
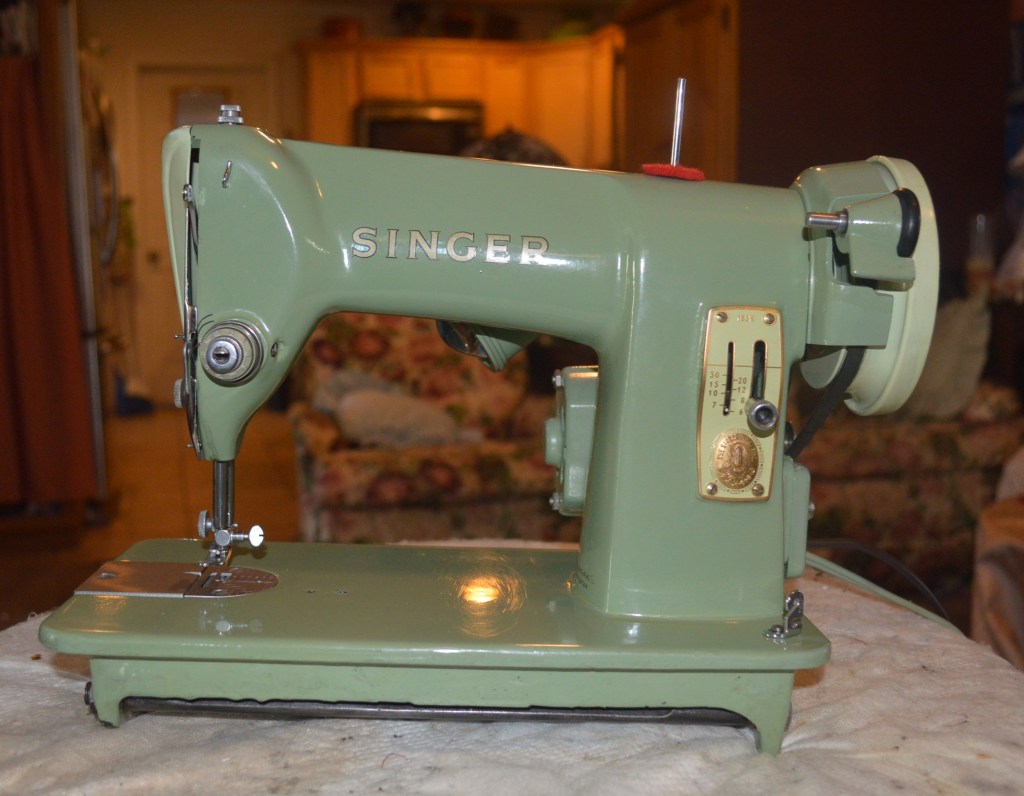
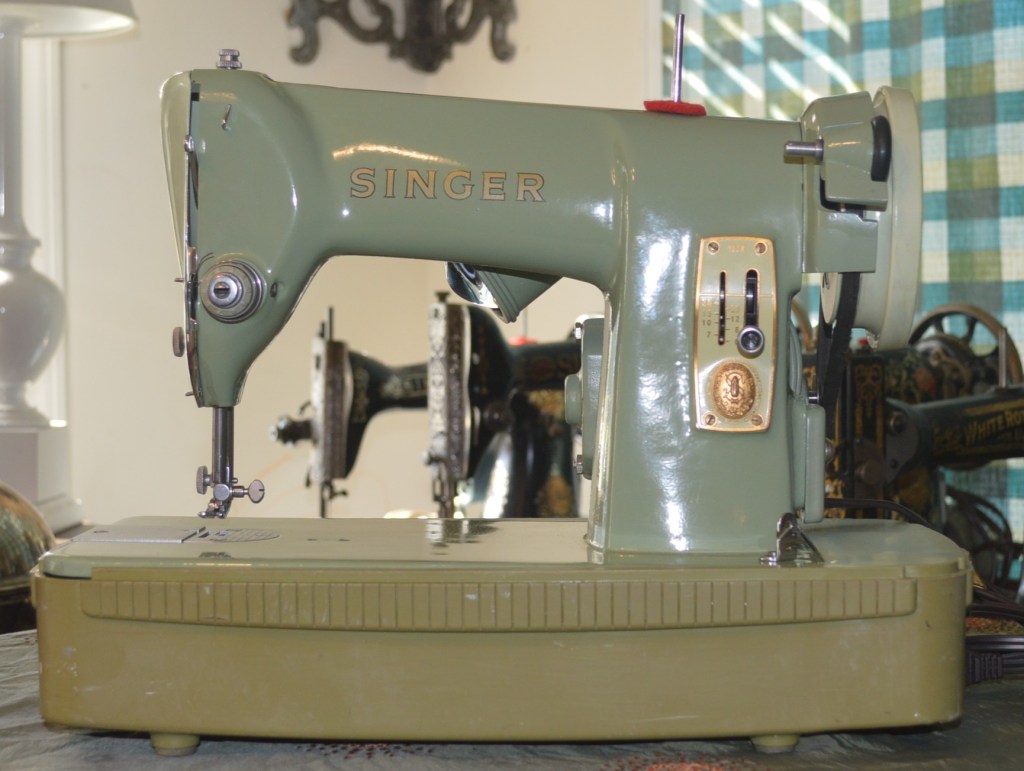
And this is a model 185K…
The differences are cosmetic… the internals are the same. Both are cast iron bodied, both are all steel construction, and both were made to last a thousand years (in my humble opinion) if you keep them out of the rain, oil, and clean them regularly.
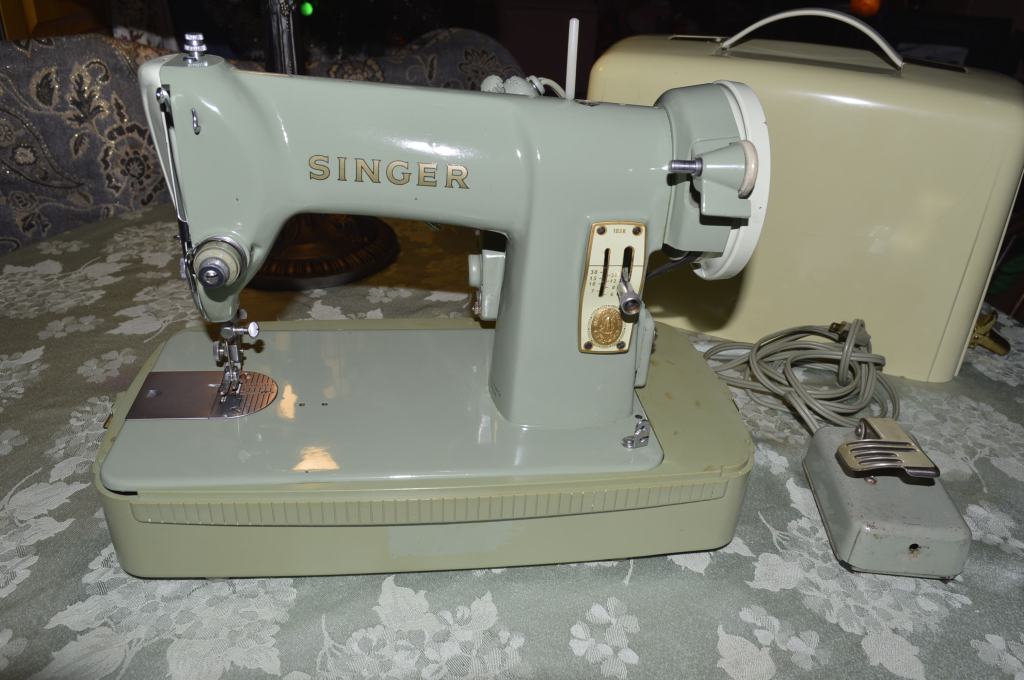
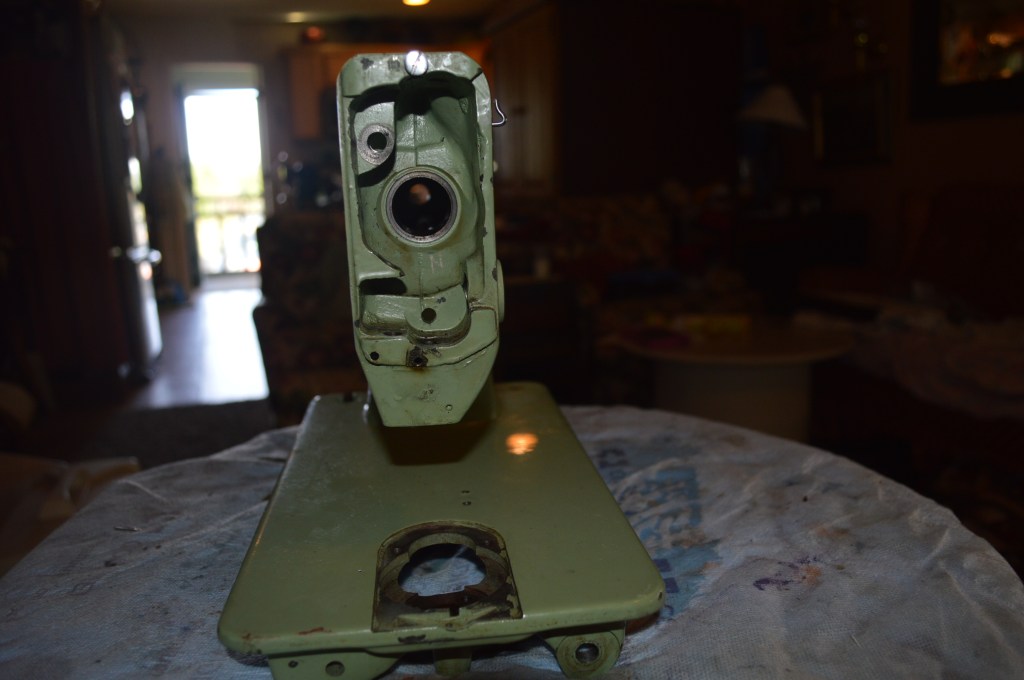
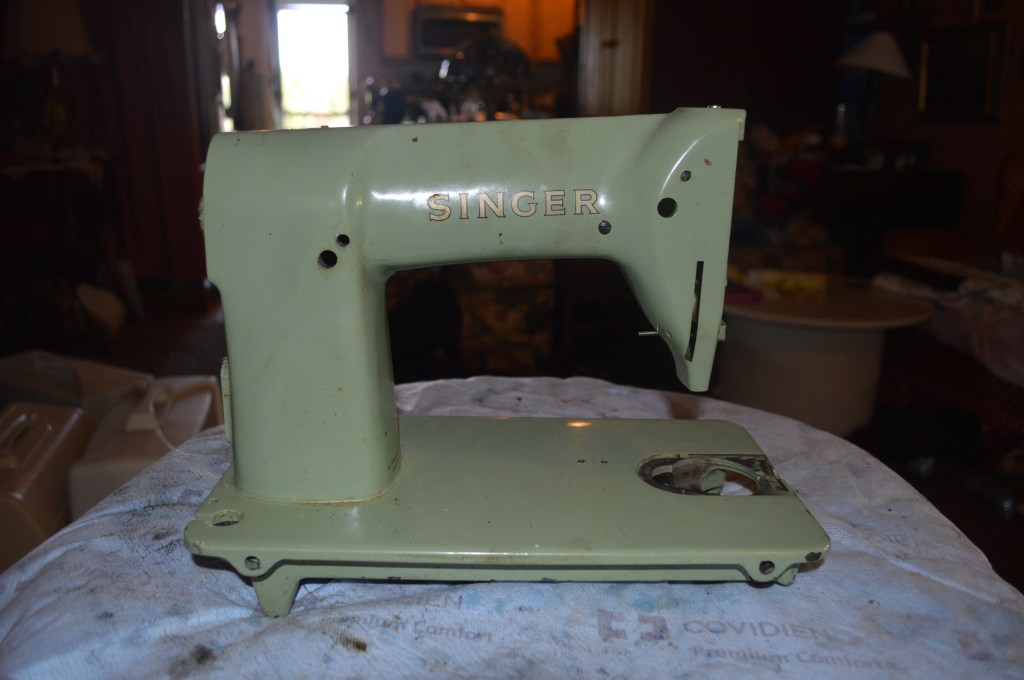
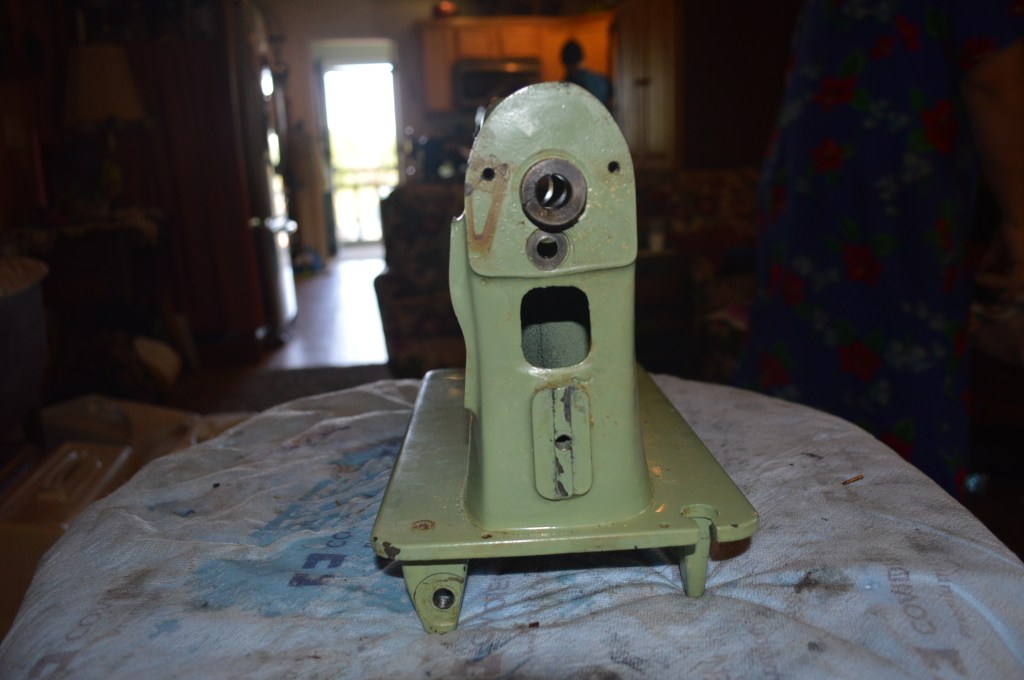
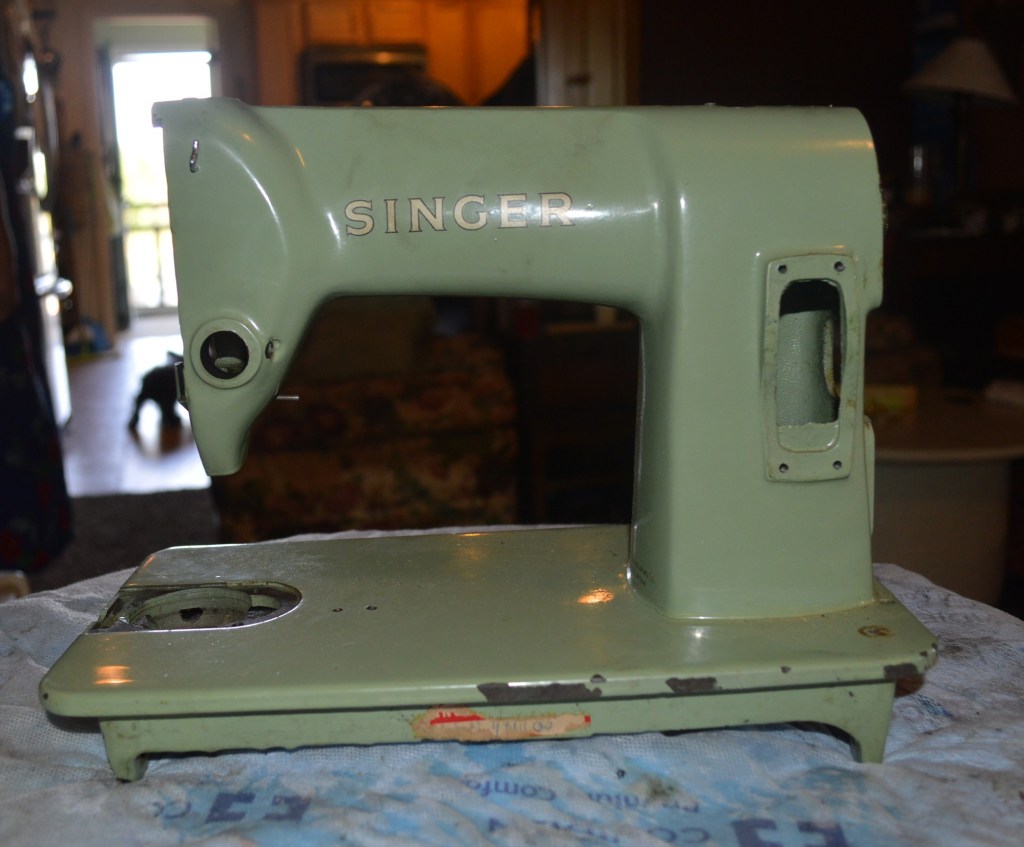
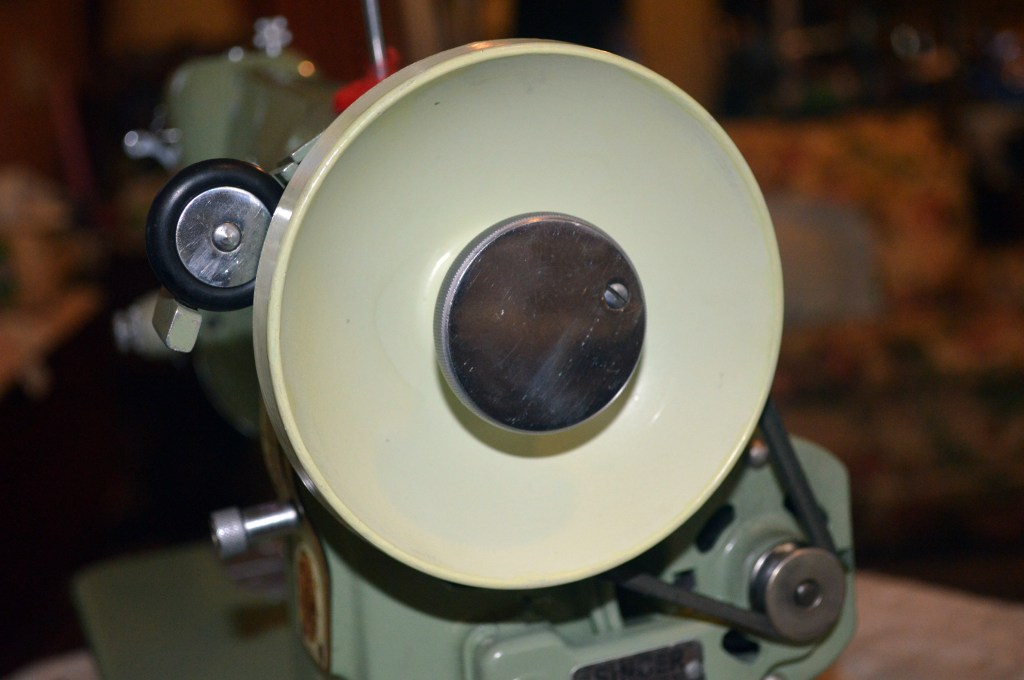
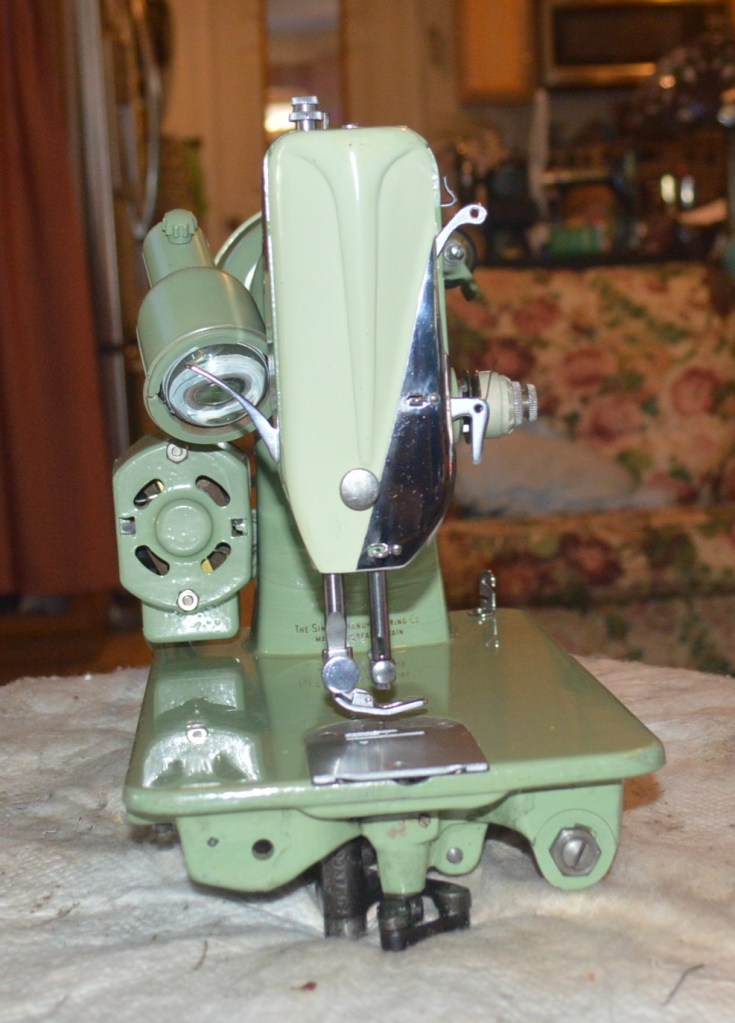
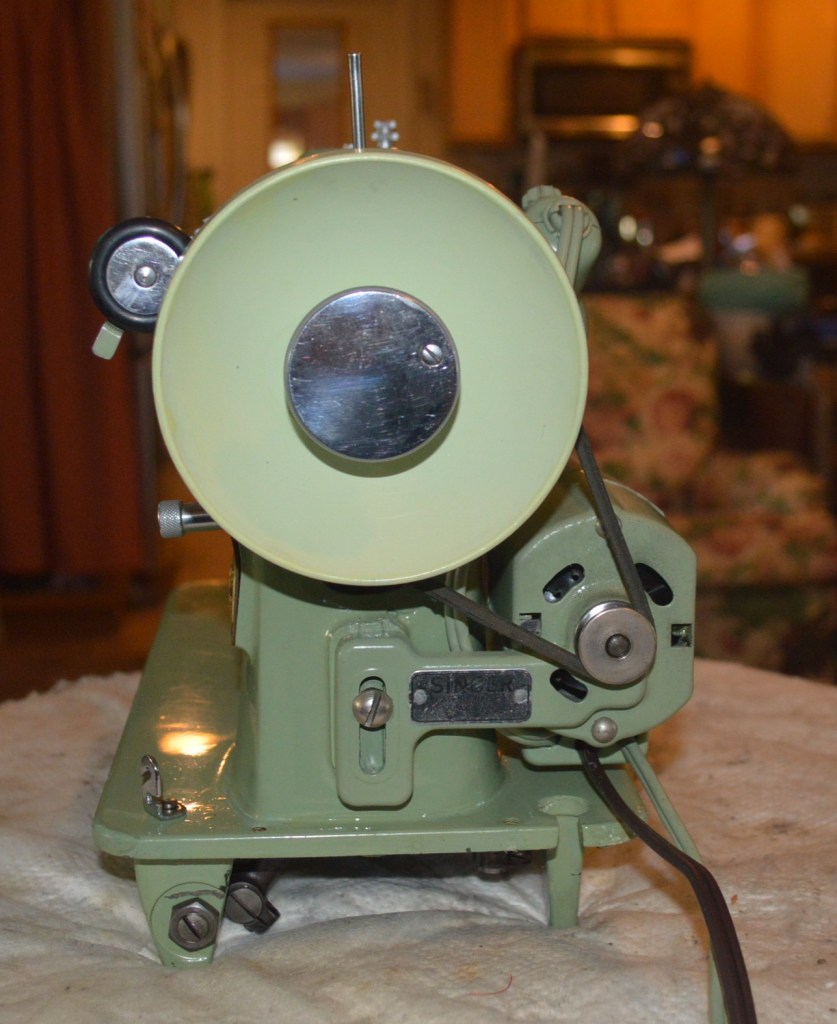
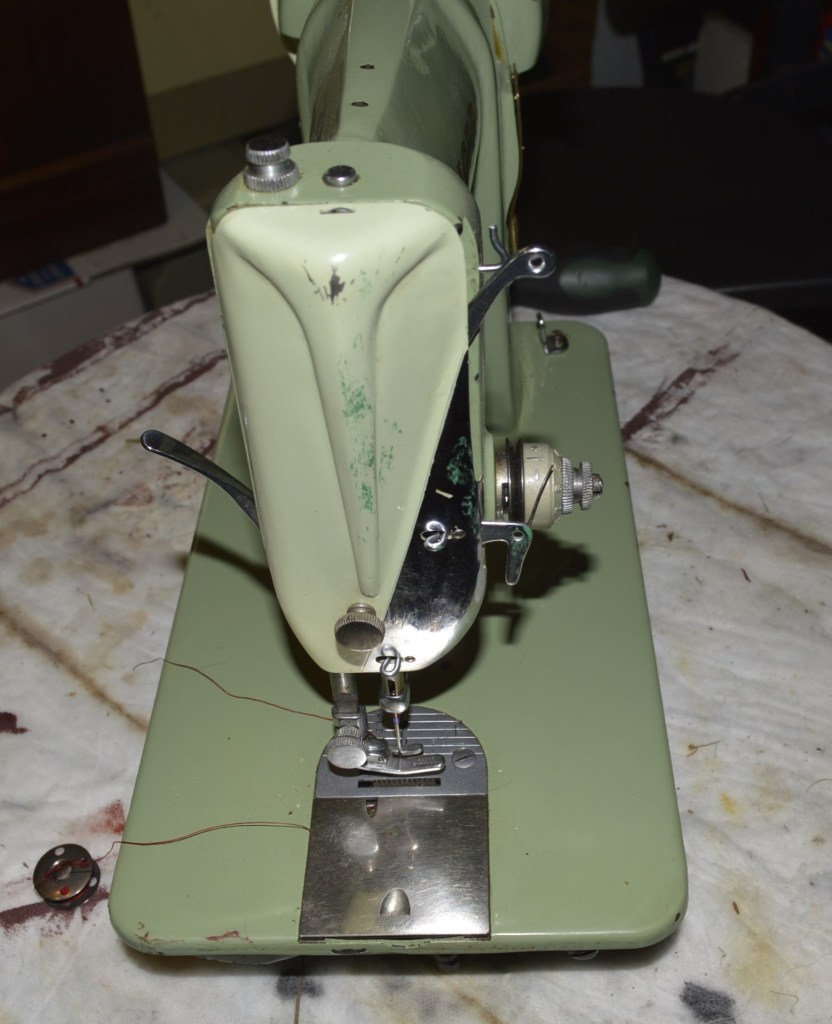
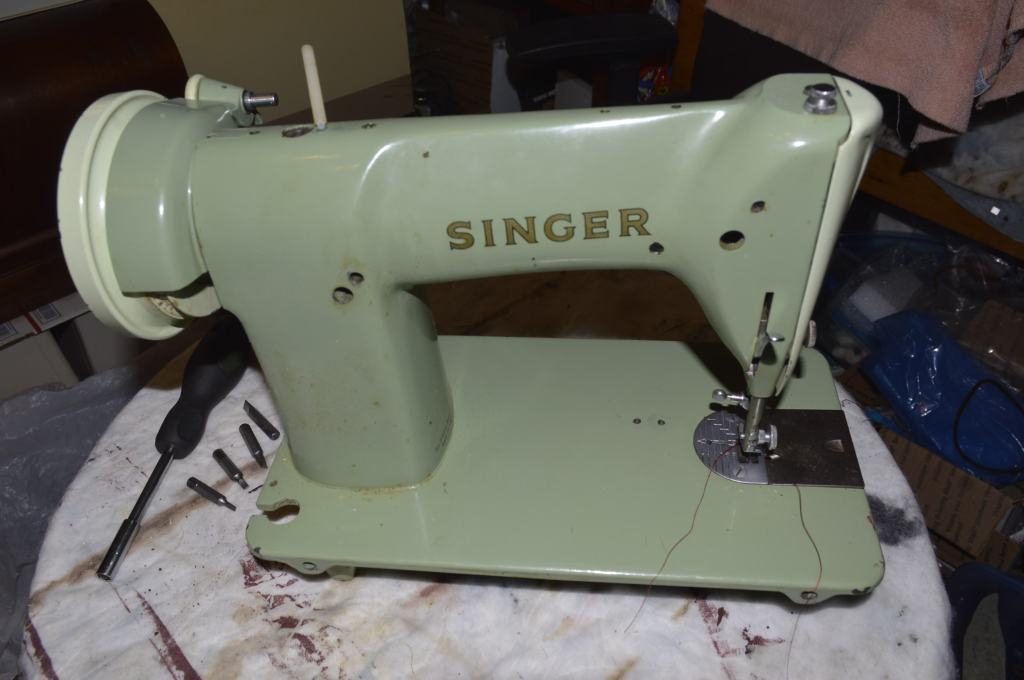
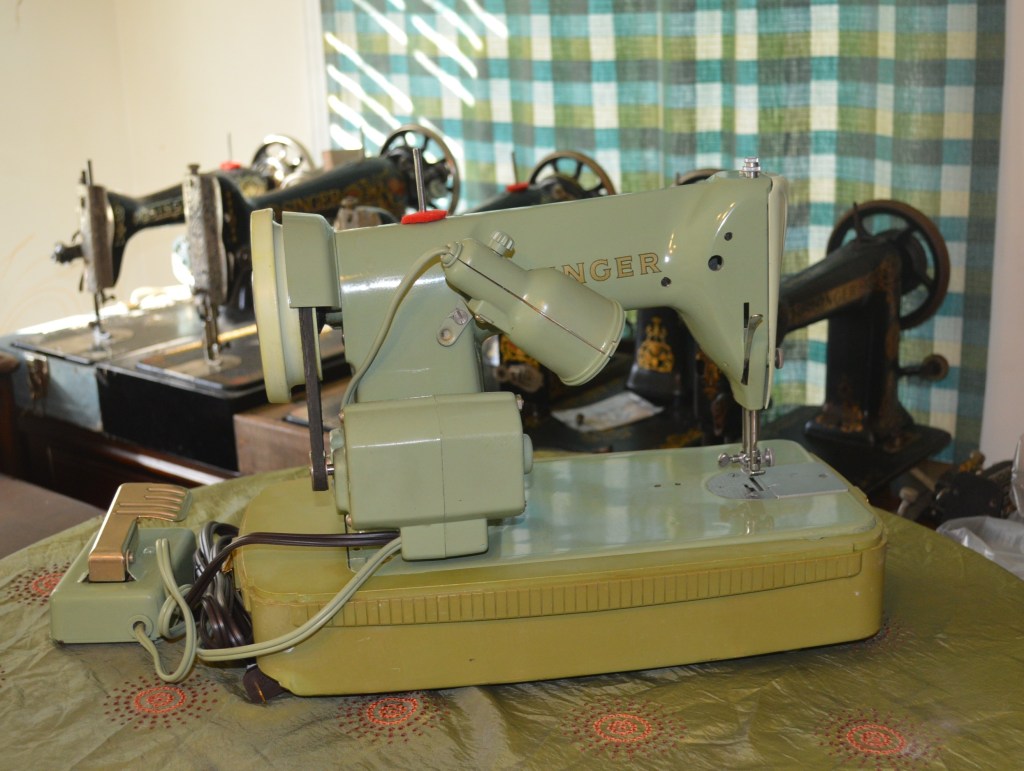
So the plan for this restoration is to go complete… this means total disassembly, motor restoration, cosmetic paint matching, and seeing, and feeling as best as I can exactly how a new 185K sewed way back in 1958. This machine is a perfect candidate for a complete restoration because the paint chips on the edge of the bed would otherwise make it’s condition unacceptable for sale in our shop, Here are pictures of the machine before restoration…
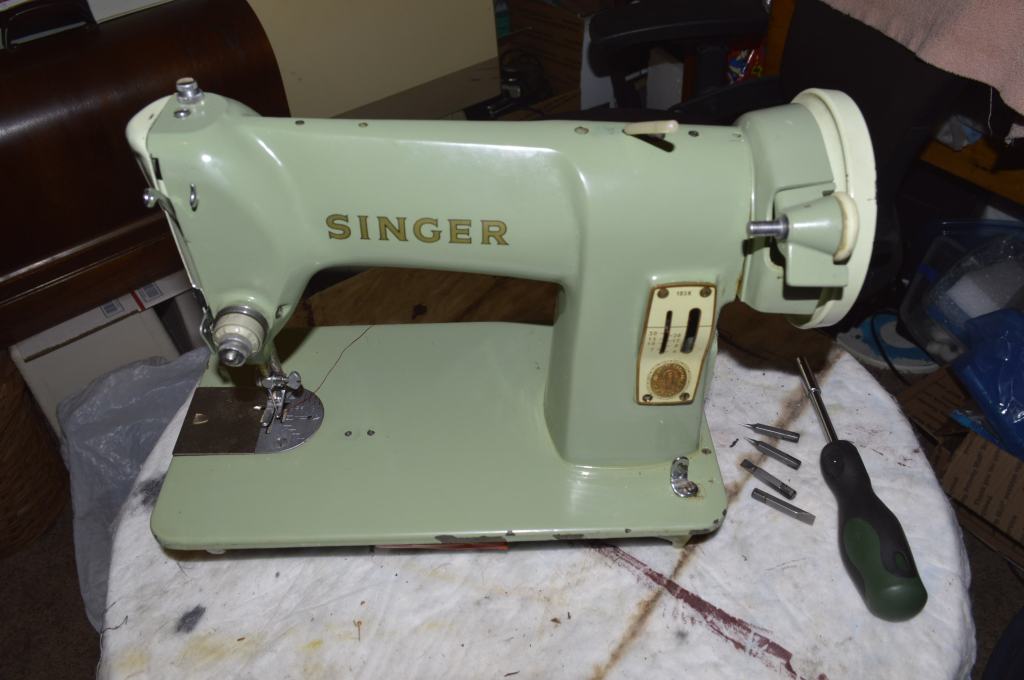
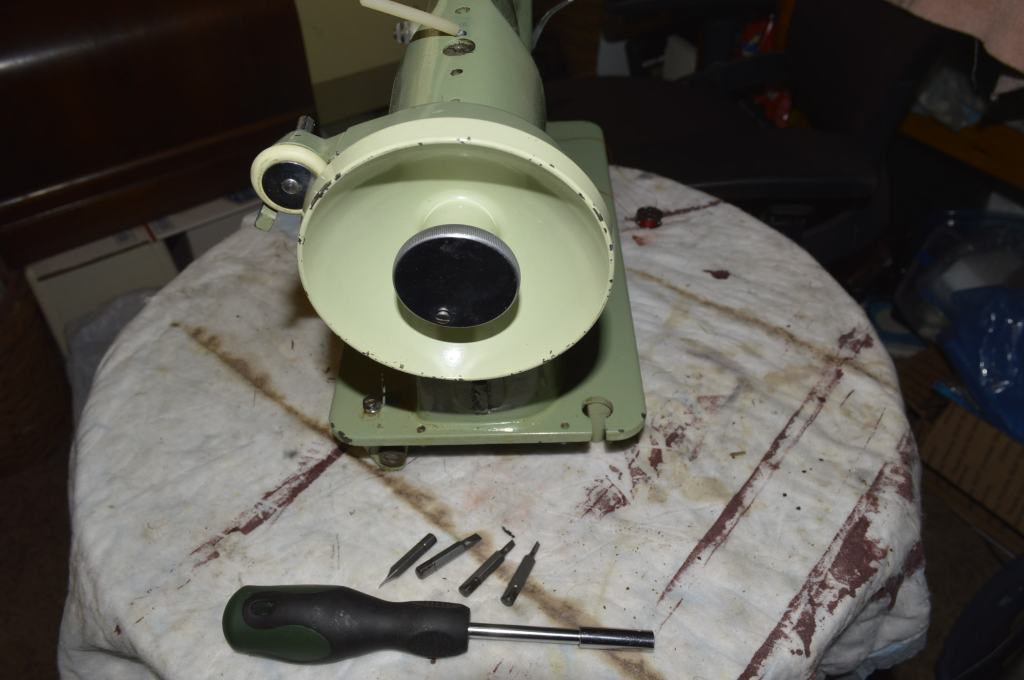

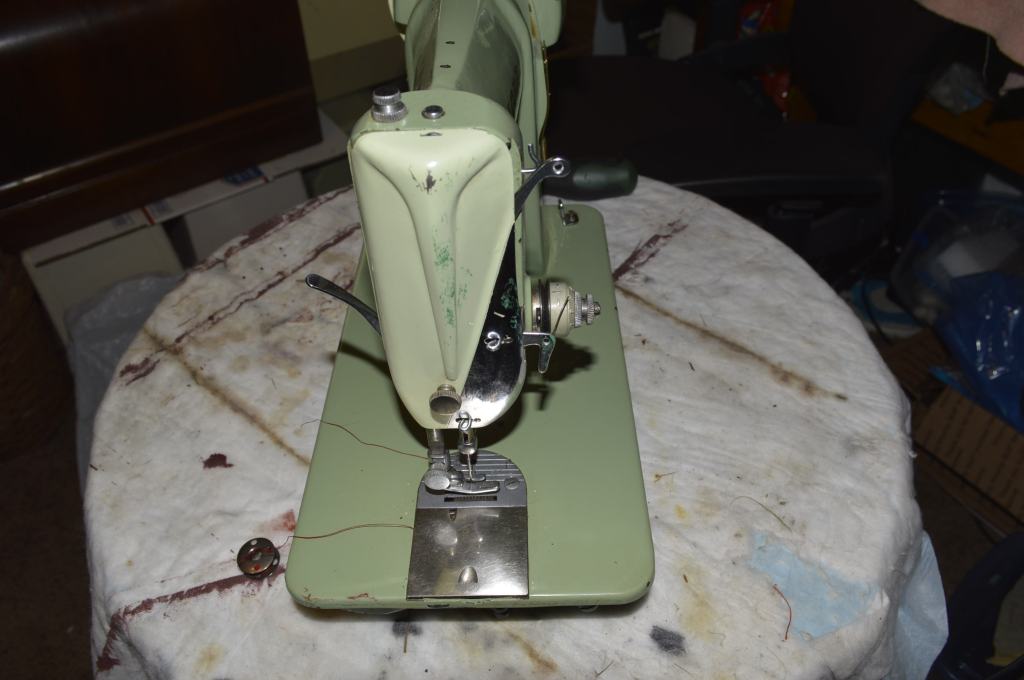
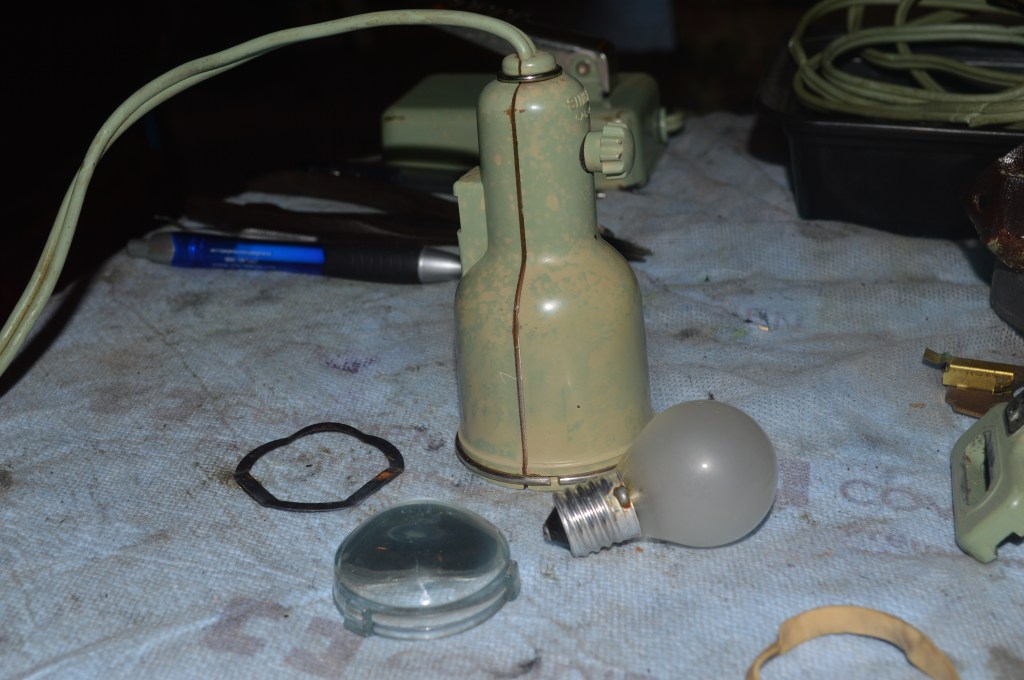
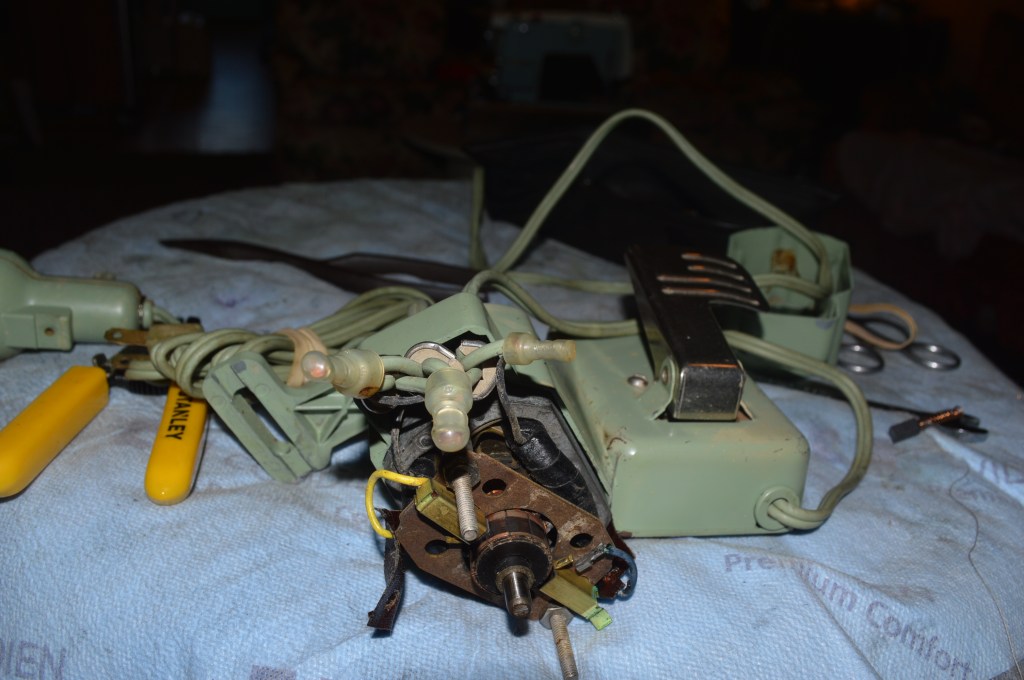
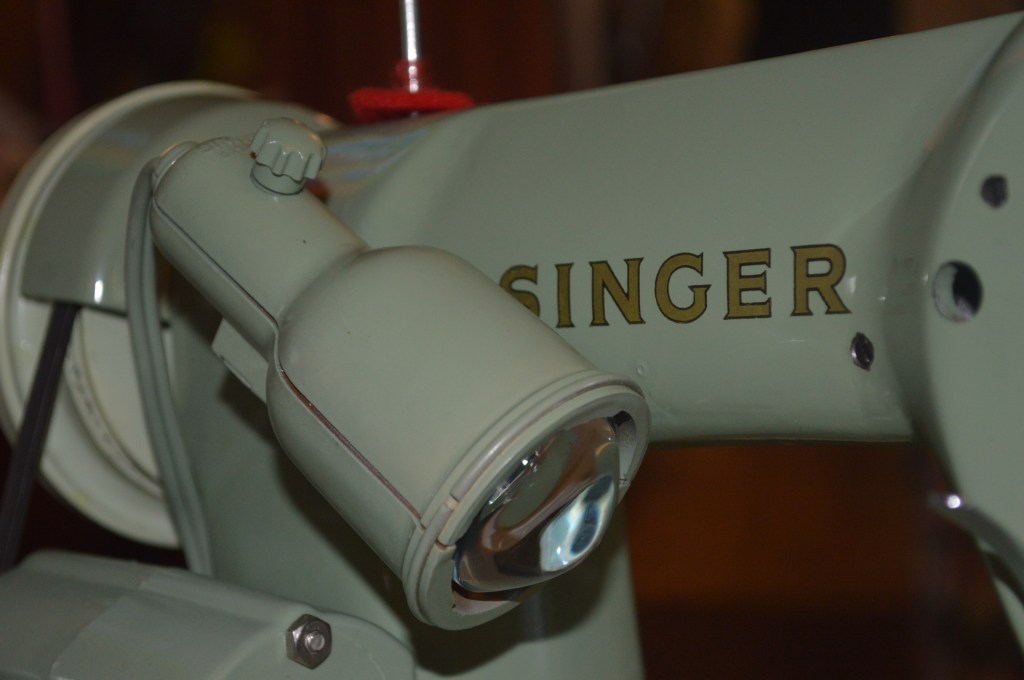
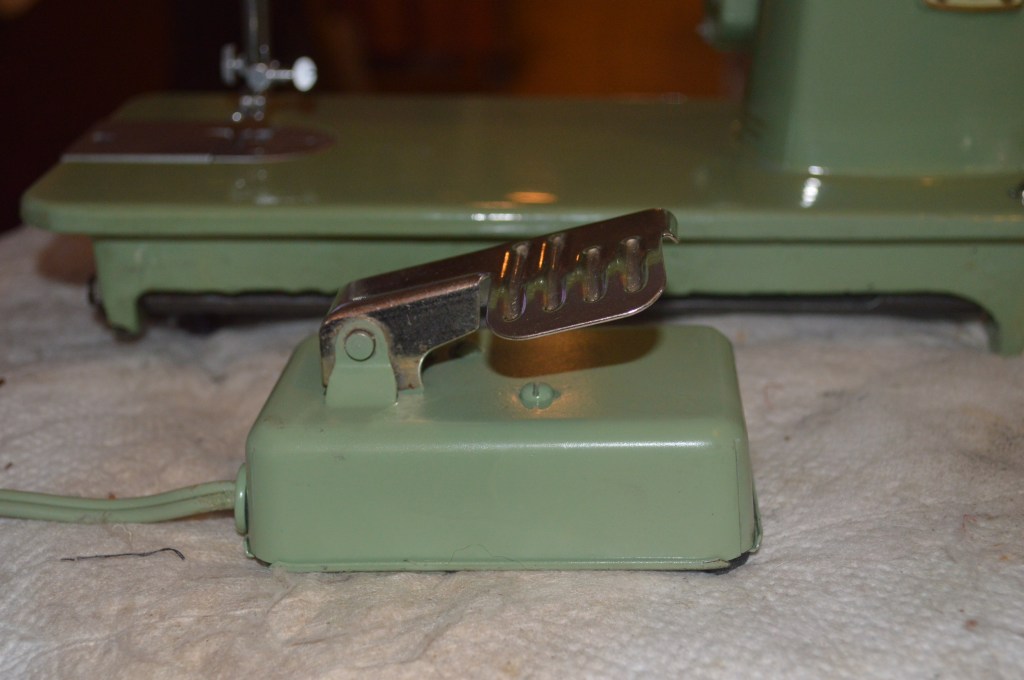
Notice the light, foot controller, and the motor are missing… these came wrapped separately. While they are intact, the paint finish ion them s faded and beyond cosmetic cleaning and polishing to restore the finish. They are shown here disassembled.
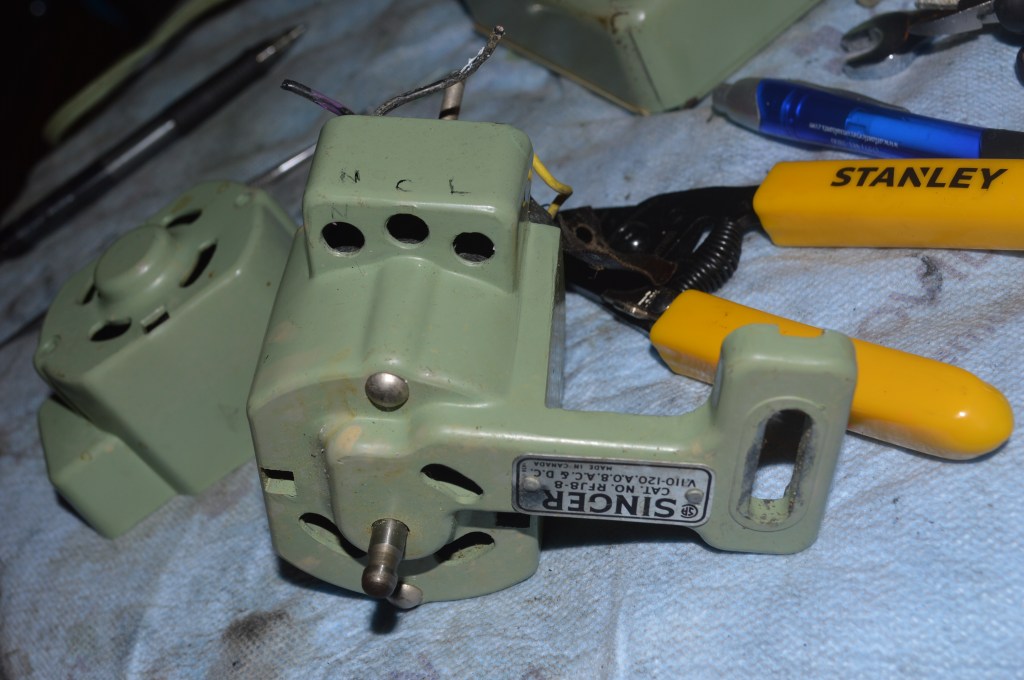
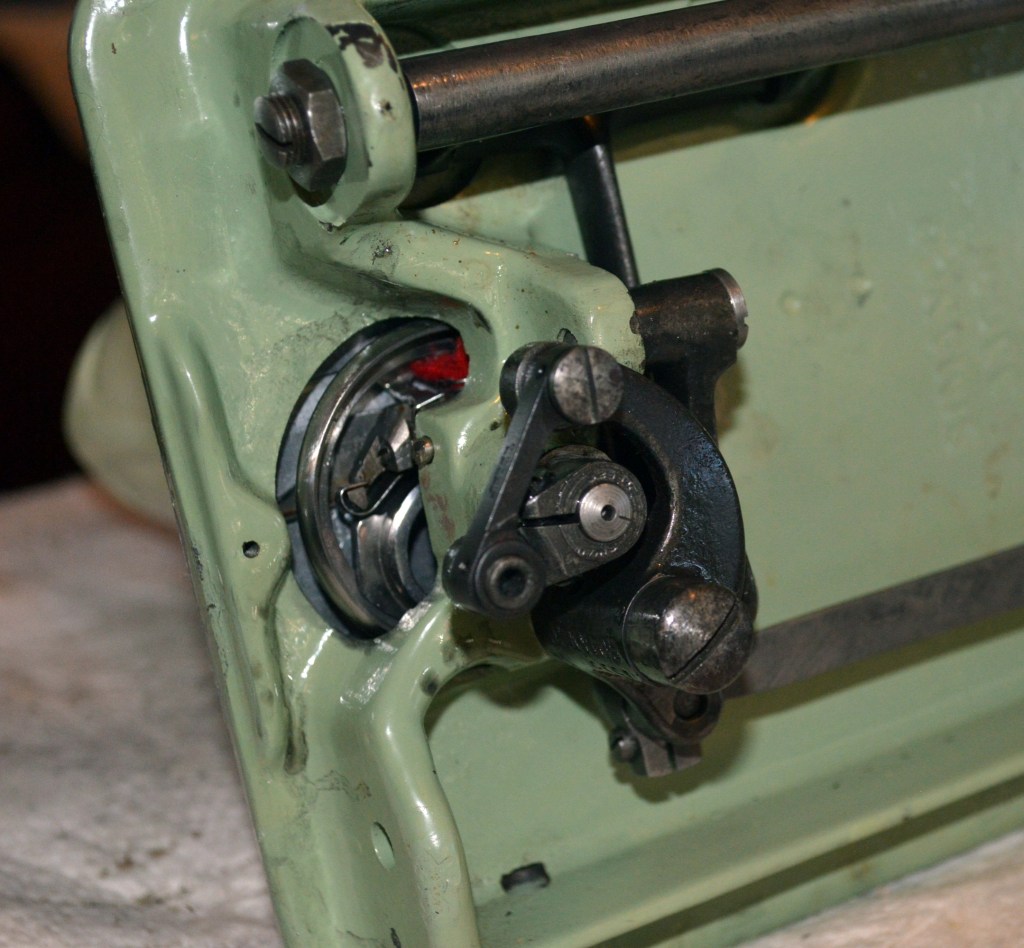
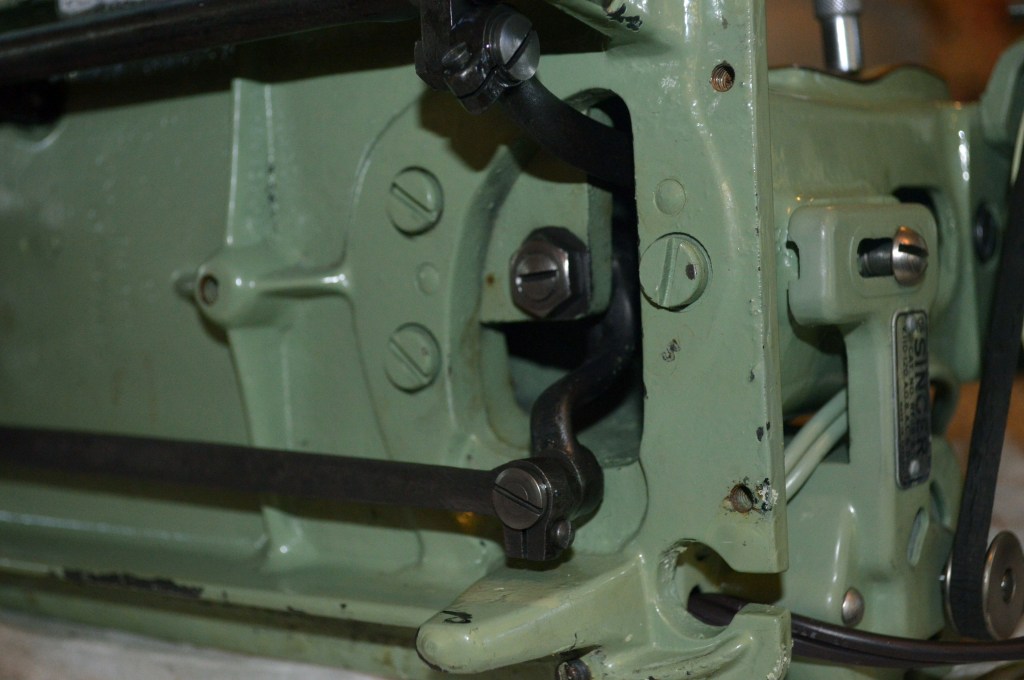
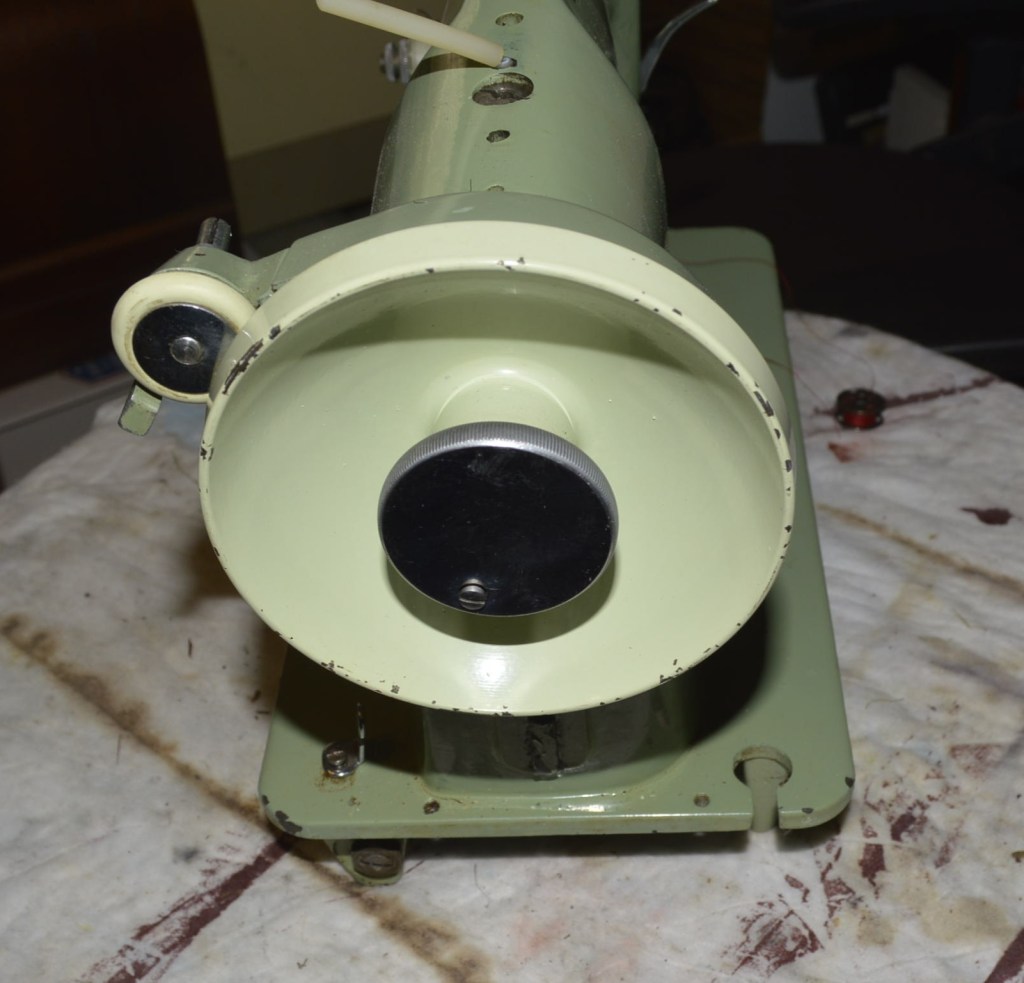
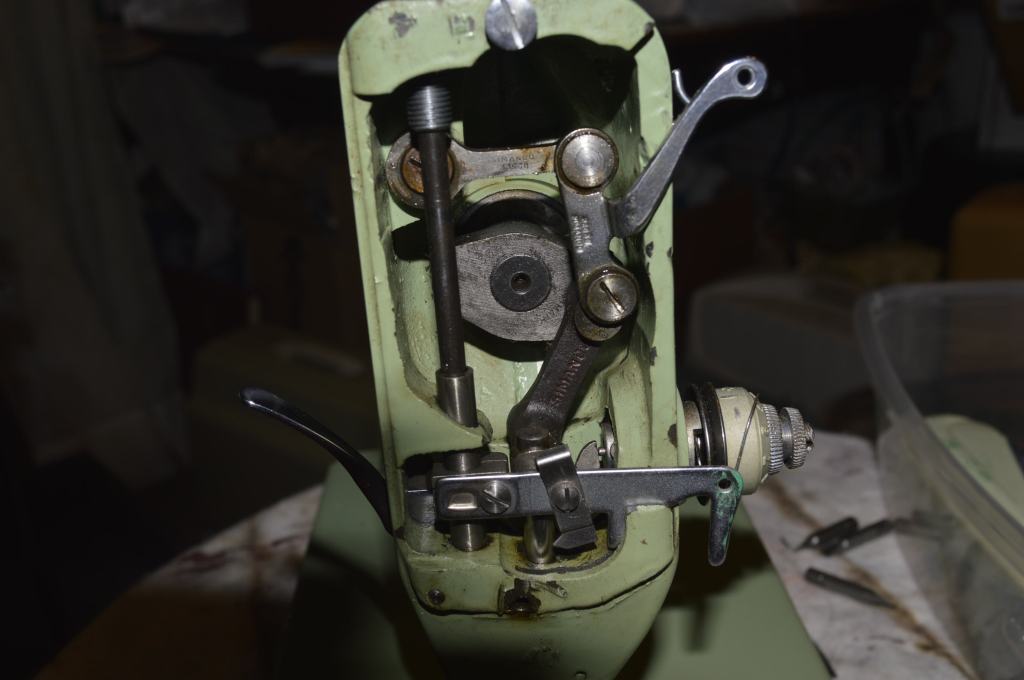
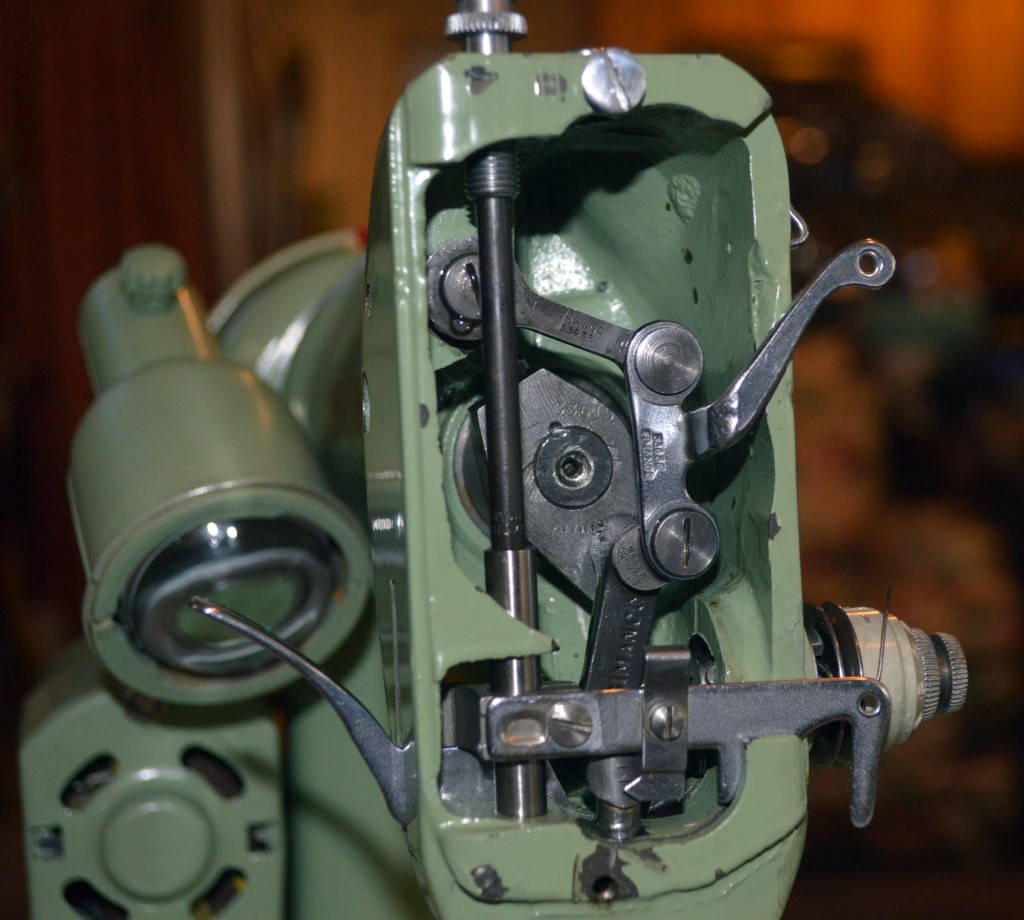
The challenge is color matching, but I decided to remove every not, bolt, shaft, and screw to restore this machine to like new condition. The first step is disassembly of the machine mechanisms.

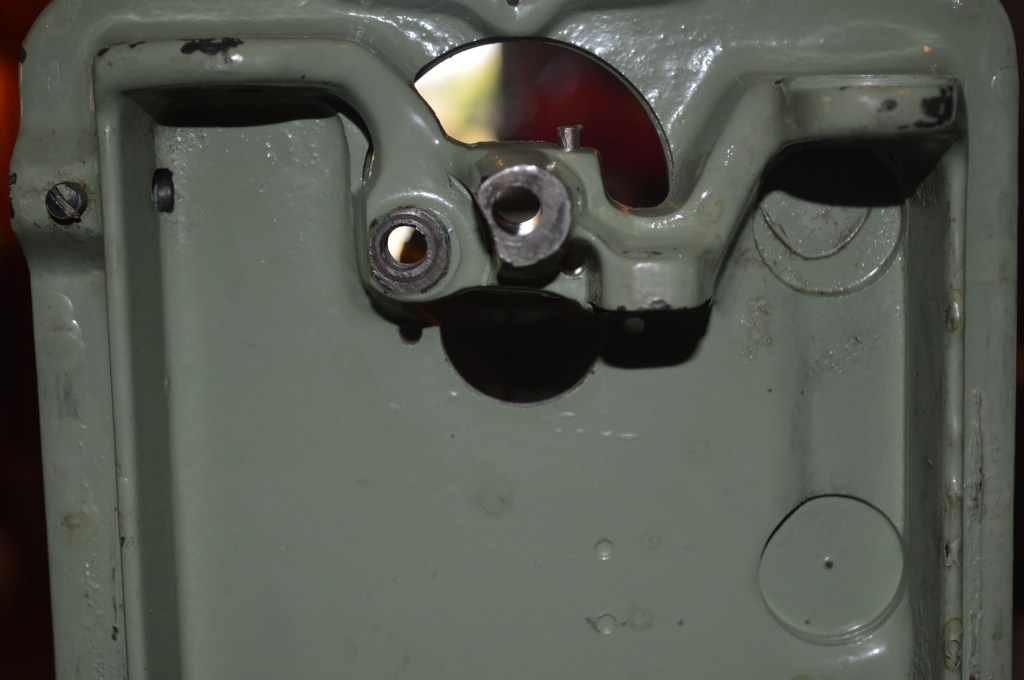
While it is a lot of work, the whole area of the machine is now accessible for cleaning.
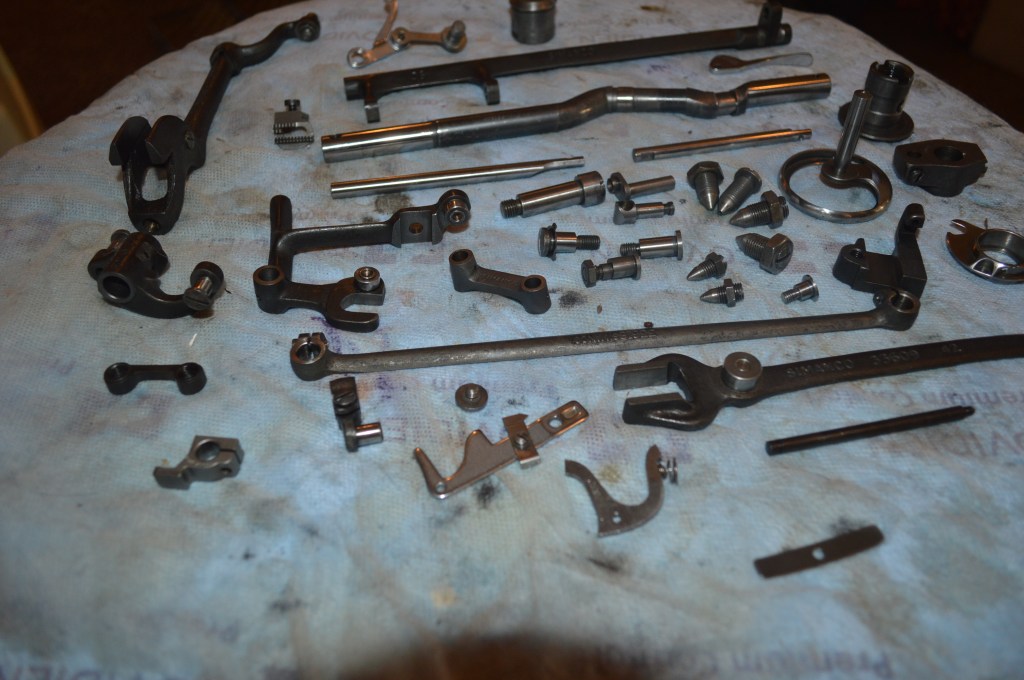
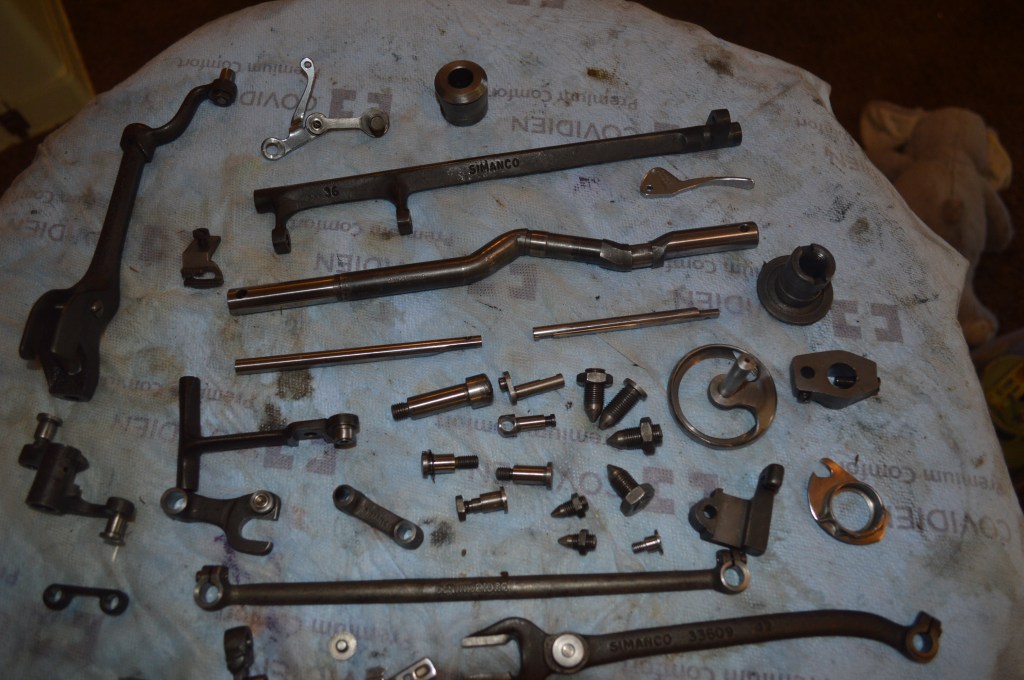
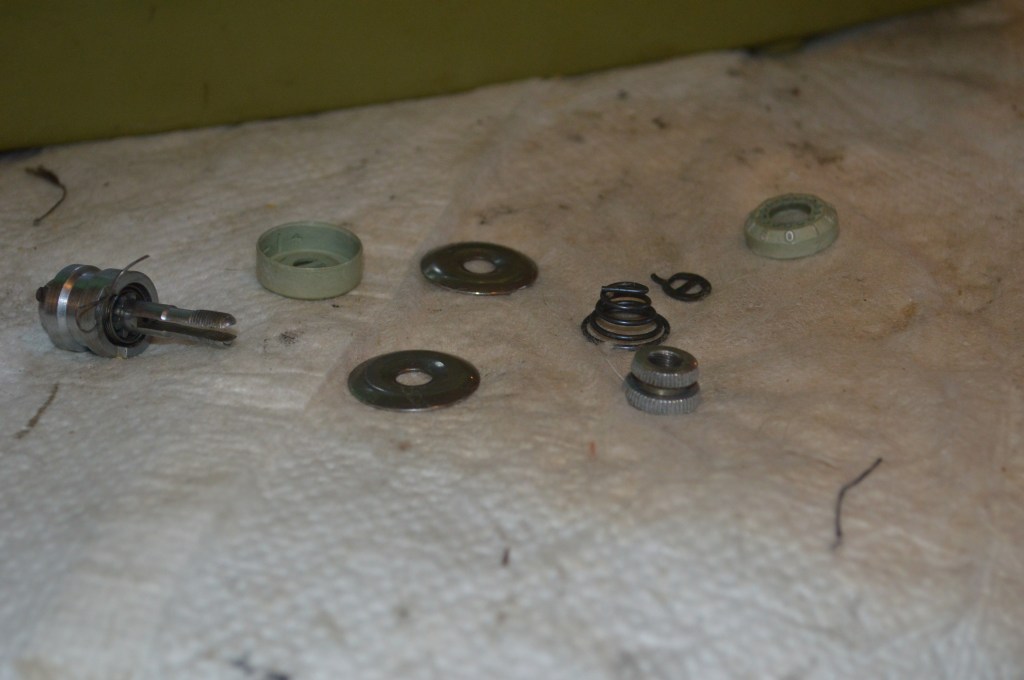
Here are the parts laid for for cleaning…
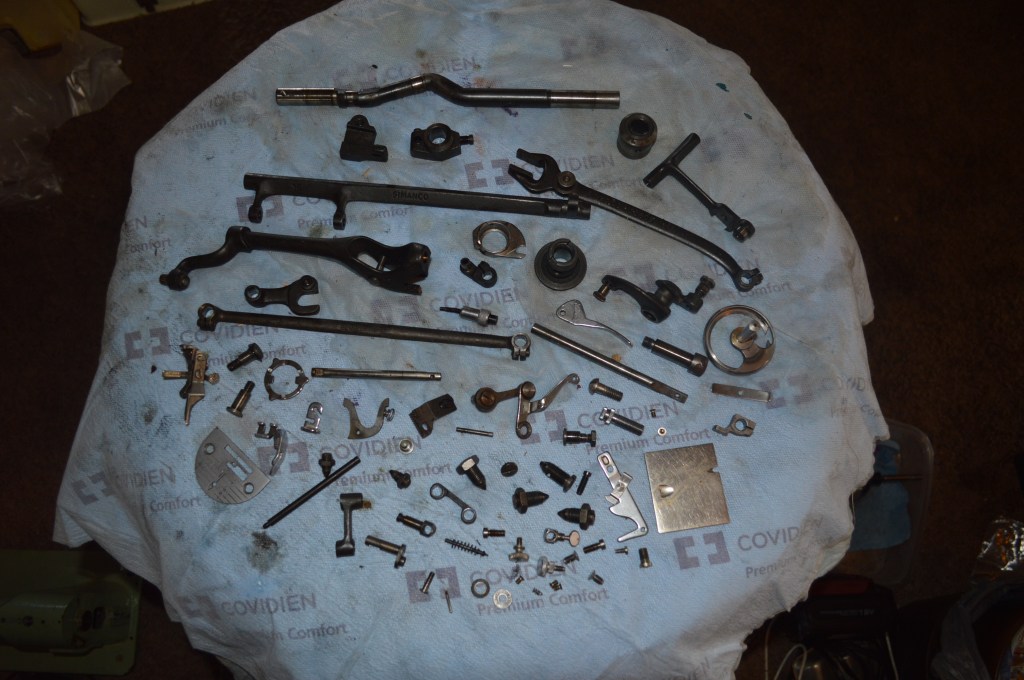
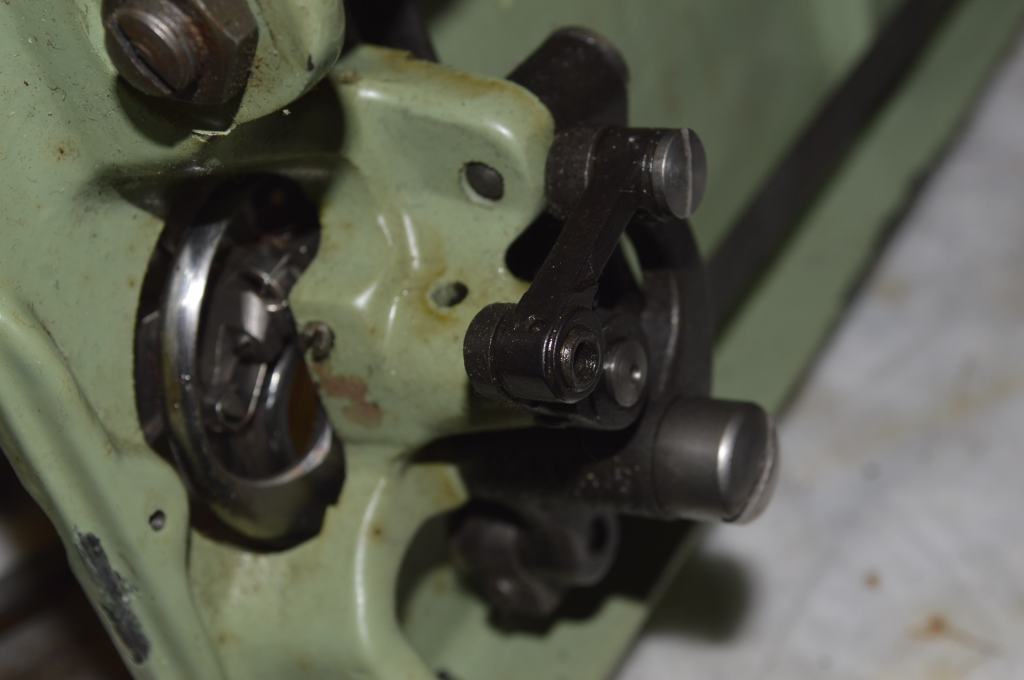
Here you can see the typical oil varnish on the parts. It is on the bearing and contact surfaces I am most interested in. After cleaning, all of the parts are wire brushed to look like new…
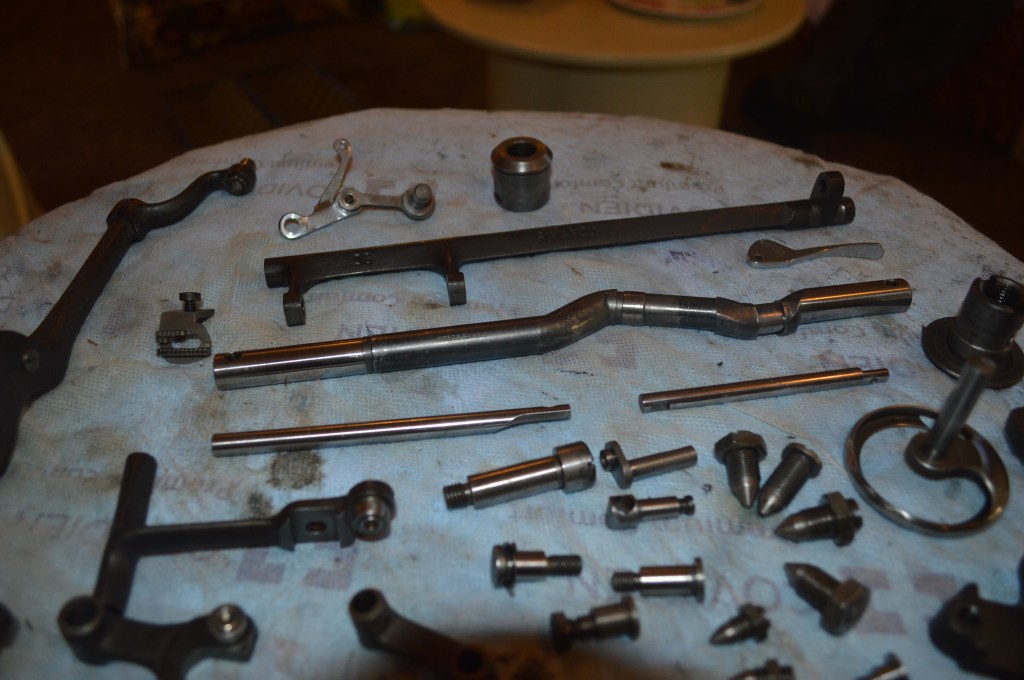

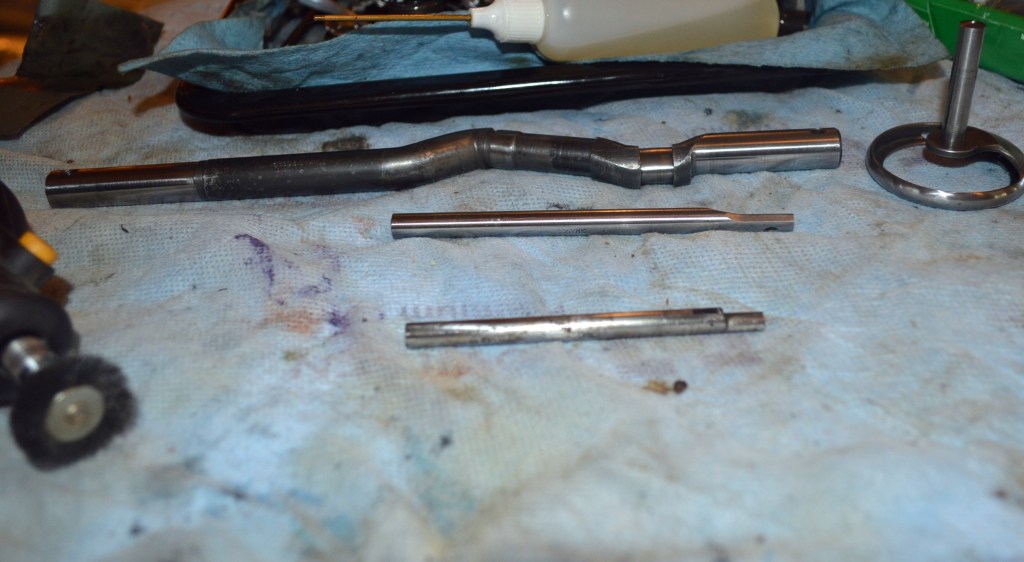
The main shaft, the needle bar, the presser bar, and the hook shuttle is polished to a glass finish…
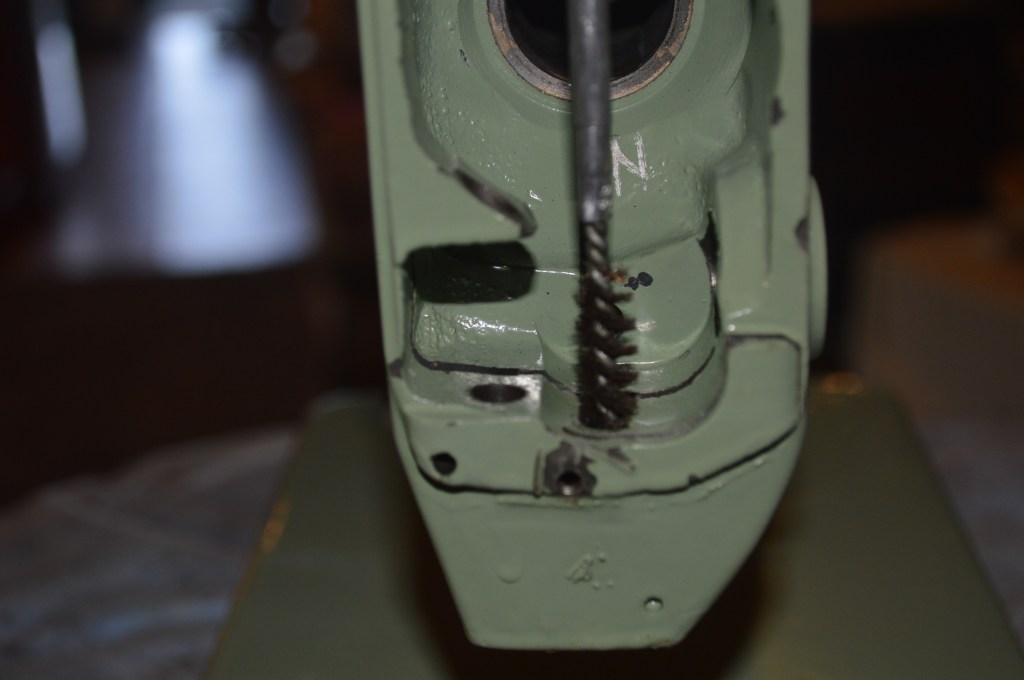
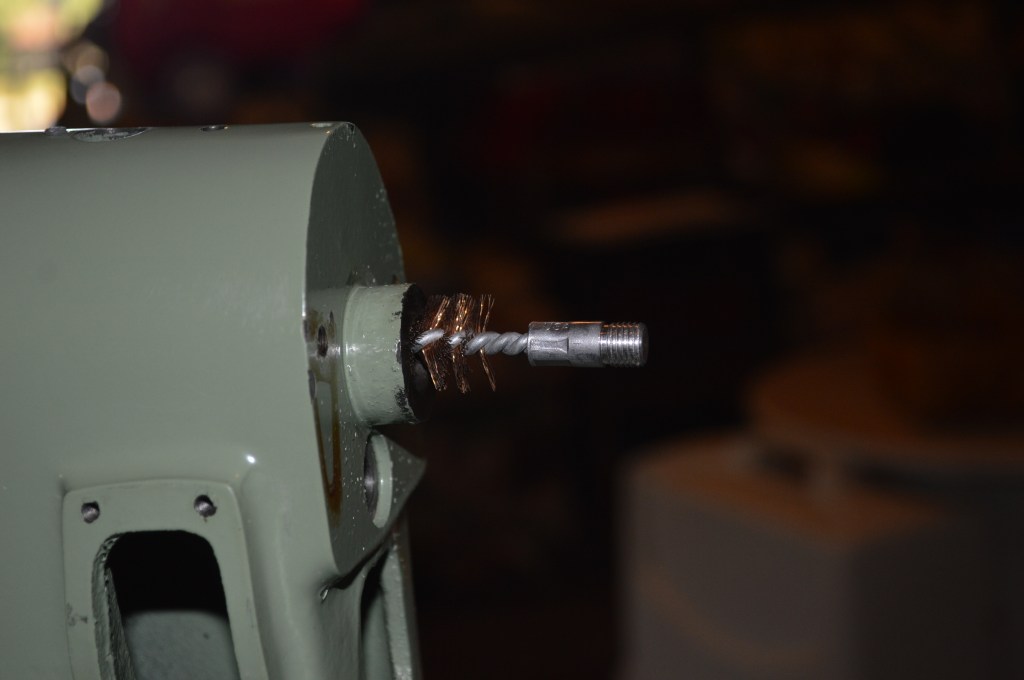
The mating bores in the machine are wire brushed to clean out any varnish residue…

Next, my attention is turned to the motor. It is disassembled and the armature shafts are polished, the commutator is polished, The brushes are reconditioned, and the scintered bronze bearings are recharged with oil.
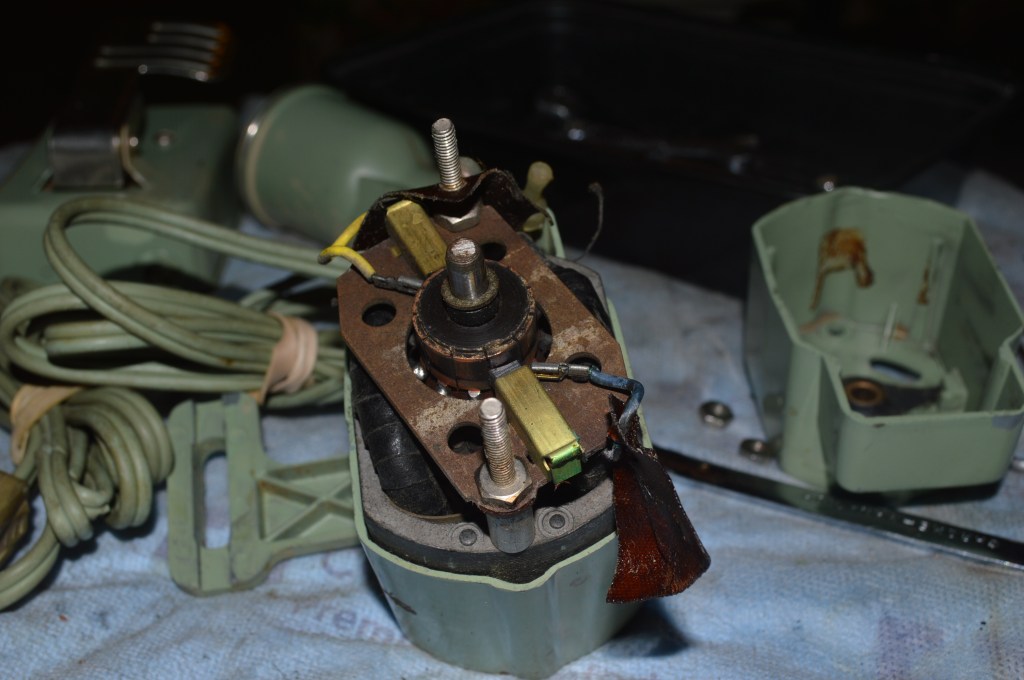

Motor Disassembled 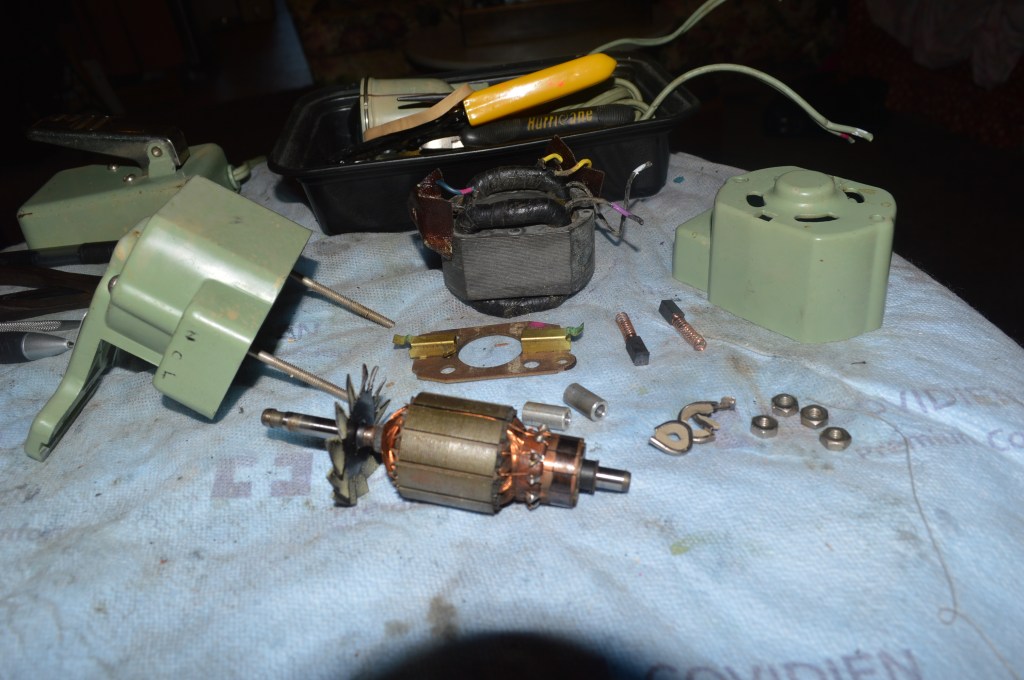
Armature Before Polishing 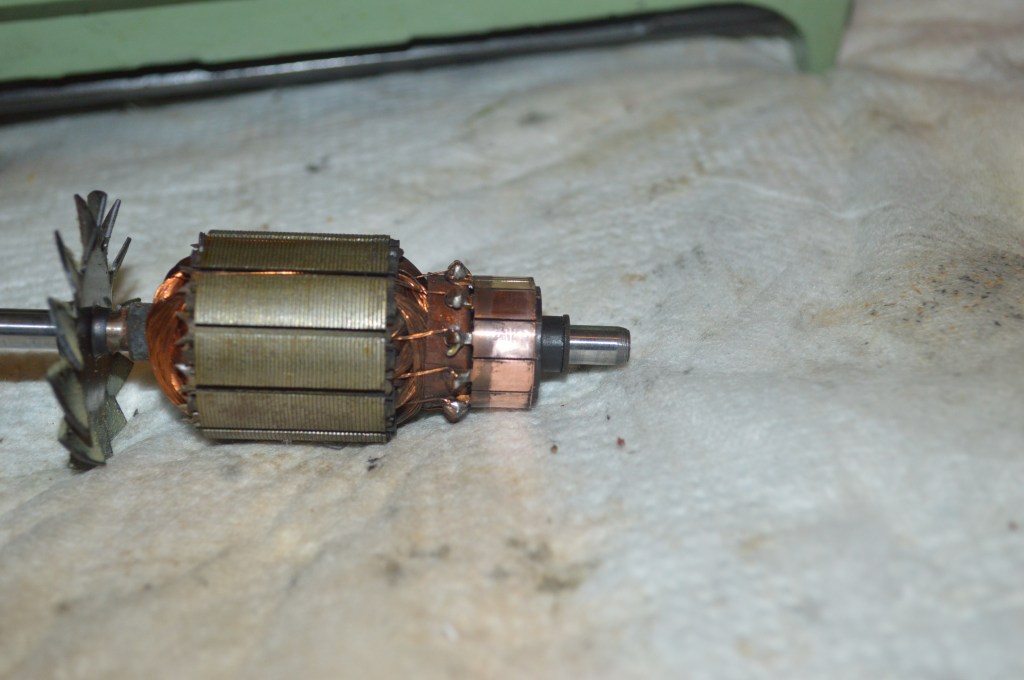
Armature Shafts and Commutator Polished 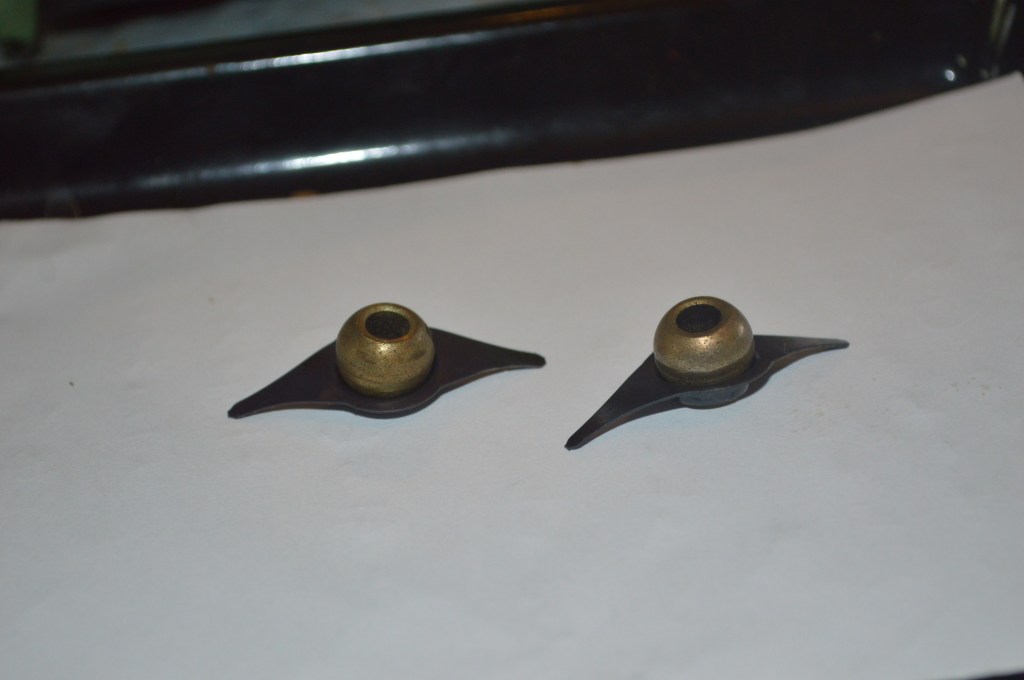
Scintered Bushings Recharged with Oil 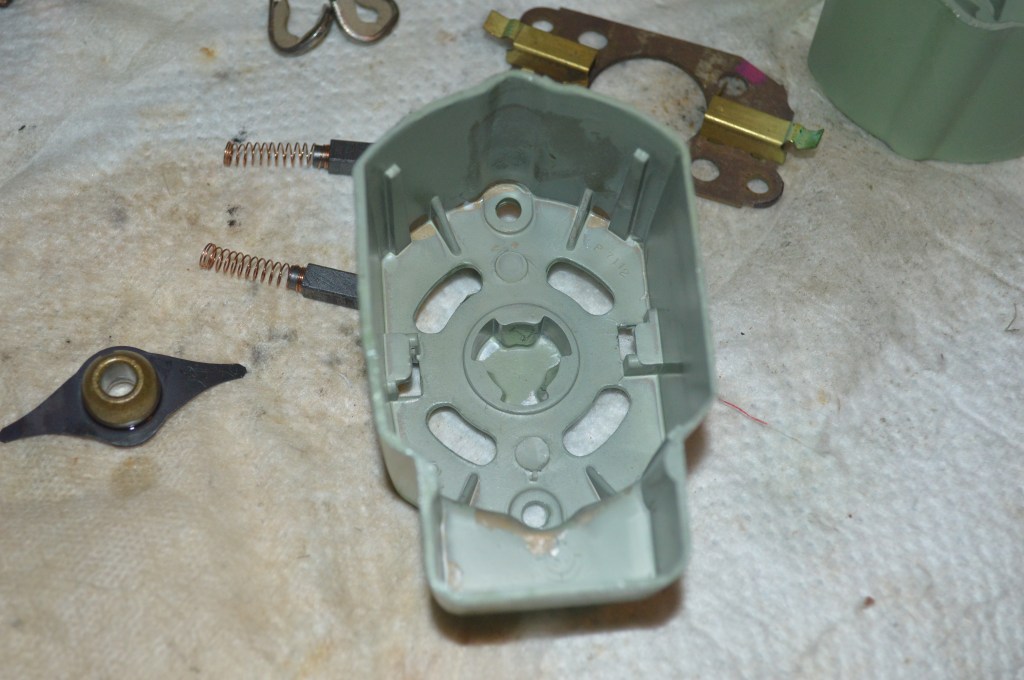
Motor Case Ready for Bushings 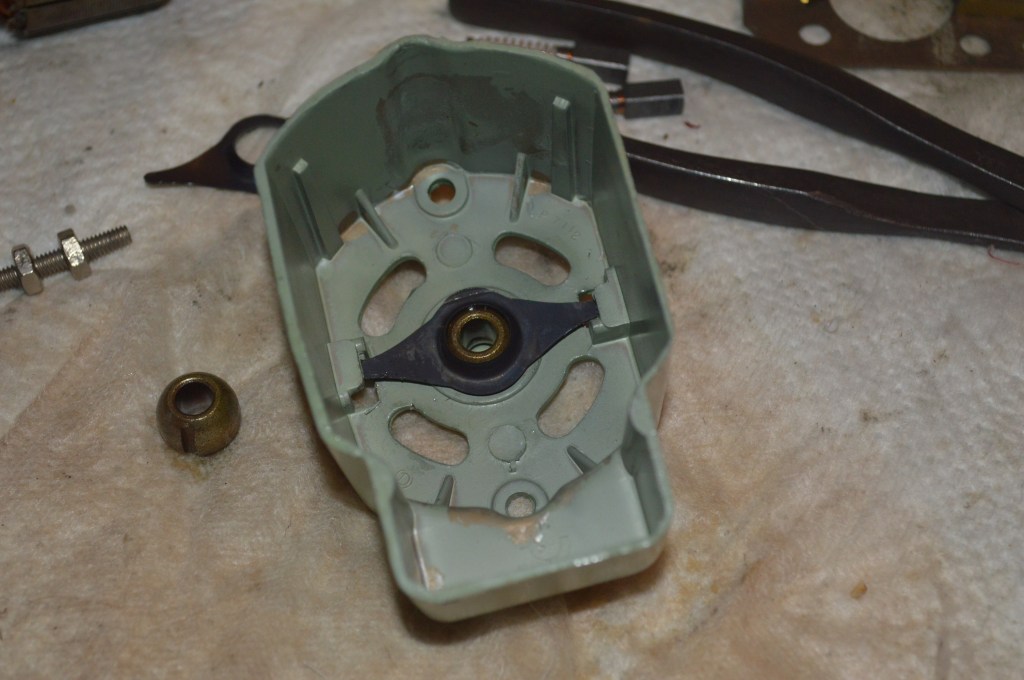
Bushing Re-installed 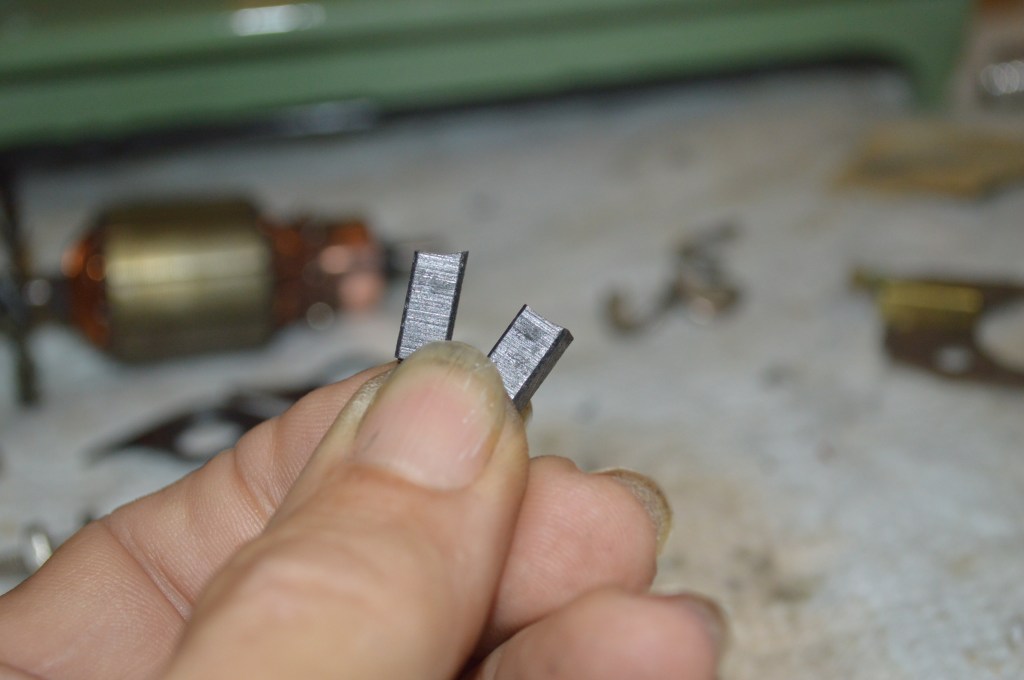
Brushes Before Reconditioning – Note the Curved Edges on the Face 
Brushes Reconditioned – Faces Flattened
The wiring is inspected for cracks in the insulation and pliability. The cord to the light and the controller is dirty, but otherwise in good condition. They will be cleaned and reused. The main power cord has cuts in the insulation in several places, and will be replaced.
Next the tension assembly is disassembled and cleaned…
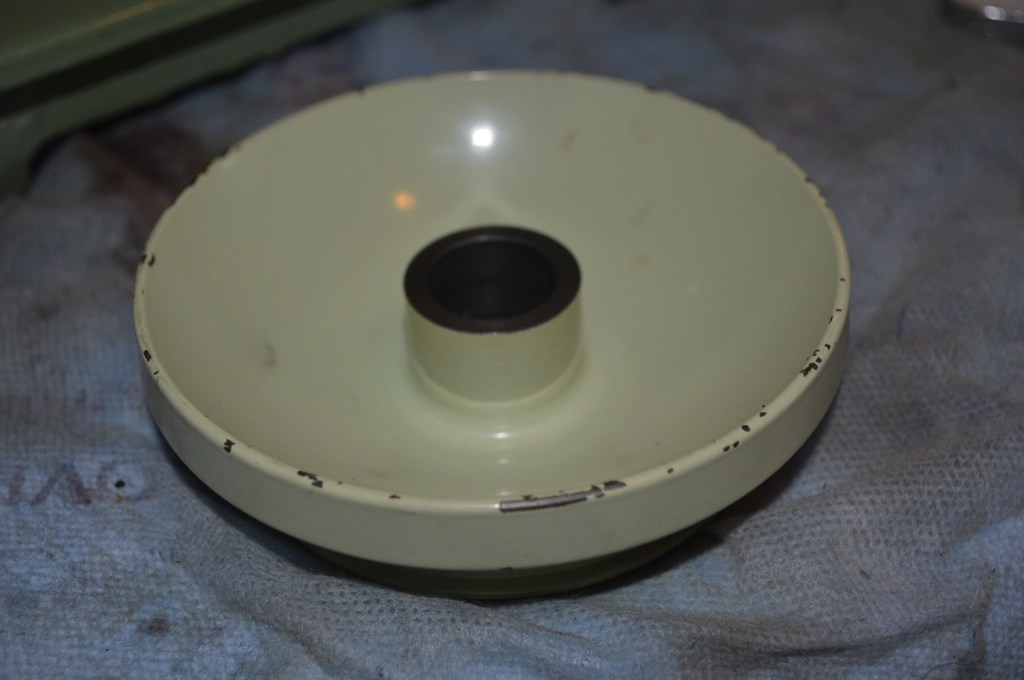
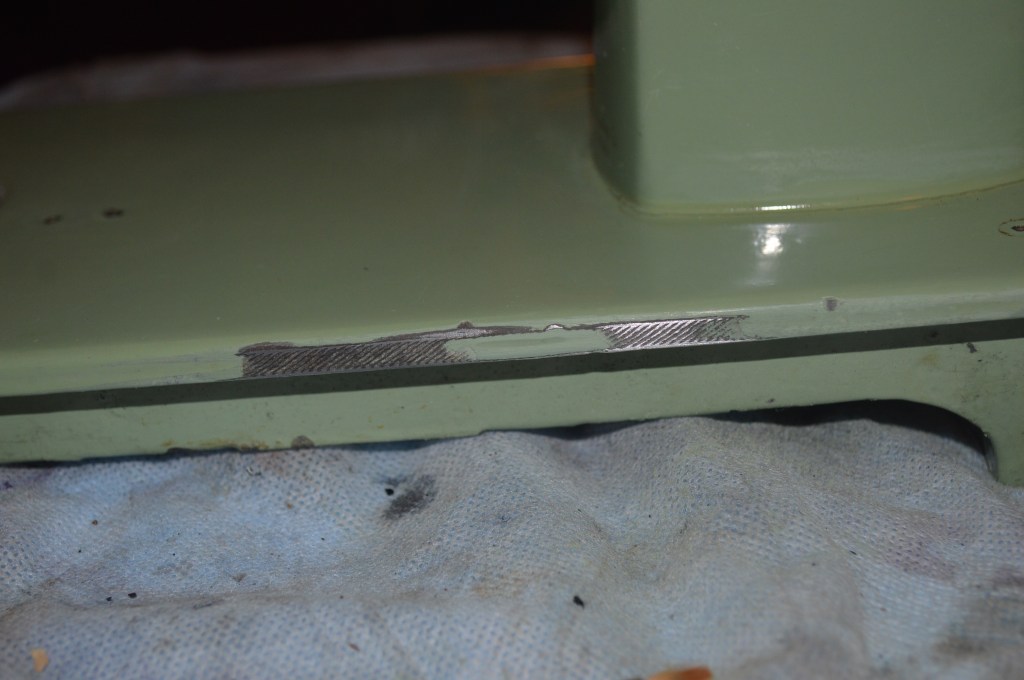
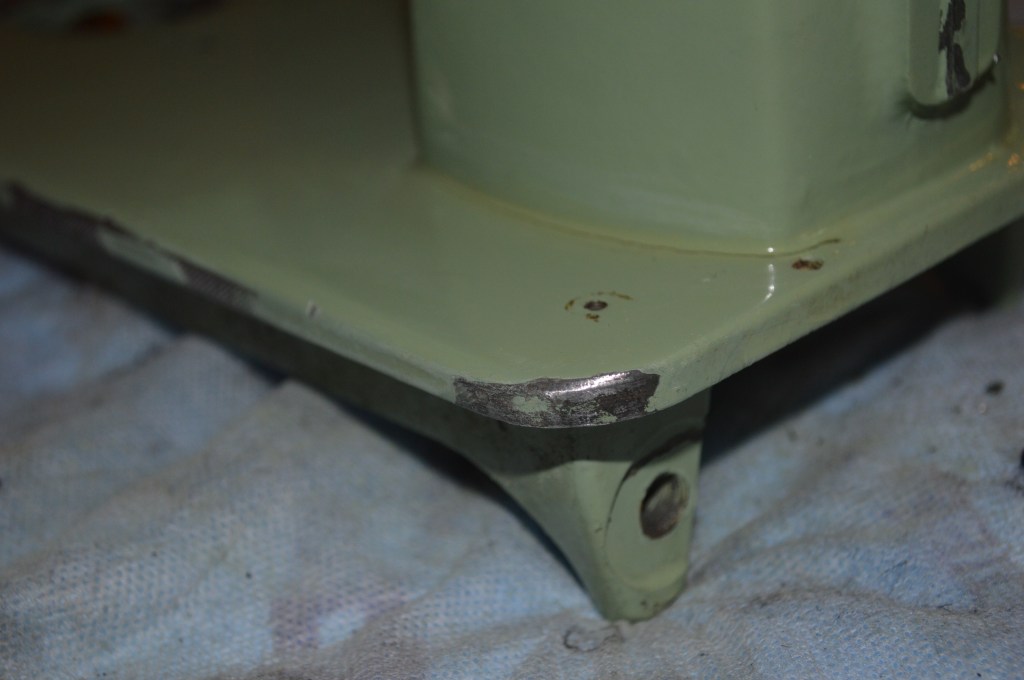
Now it is time for the paint matching. The paint on the bed and the sewing arm are in very good condition. I see the typical superficial abrasions on the bed from use but thats typical and form the “character of these great vintage high quality sewing machines. It is still glossy and will polish very nicely. The decals are in excellent condition. There are however some pronounced chips on the leading edge of the sewing bed. The balance wheel has the typical nicks and chips, and the front cover has a scratch at the top. Because these parts comprise different colors, both will be need to be matched separately…
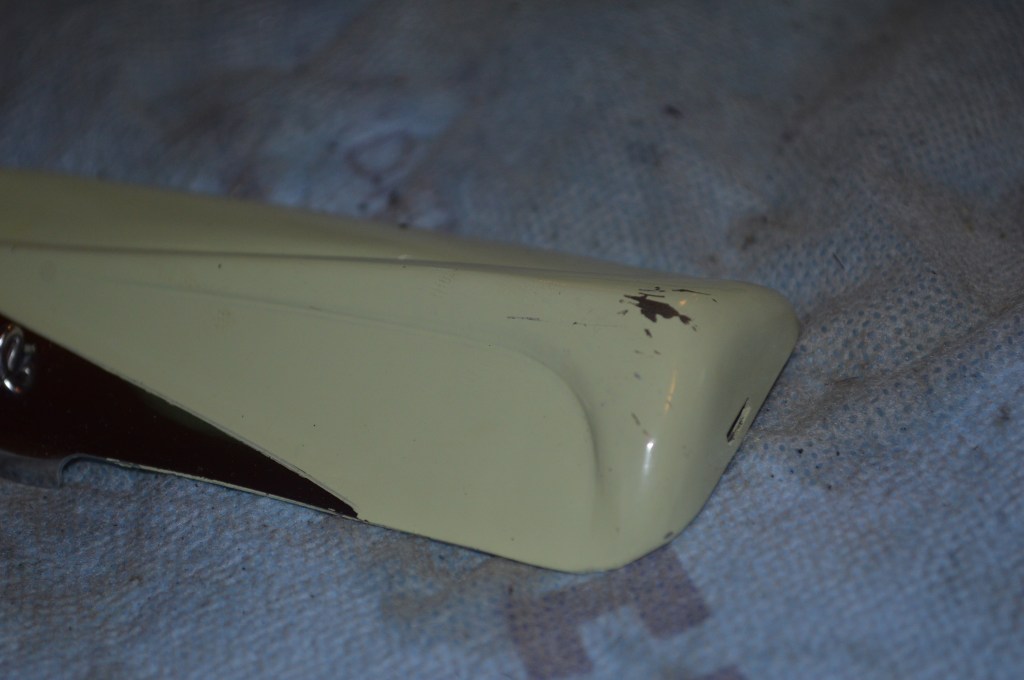
Before Cleaning – Front Edge Chips
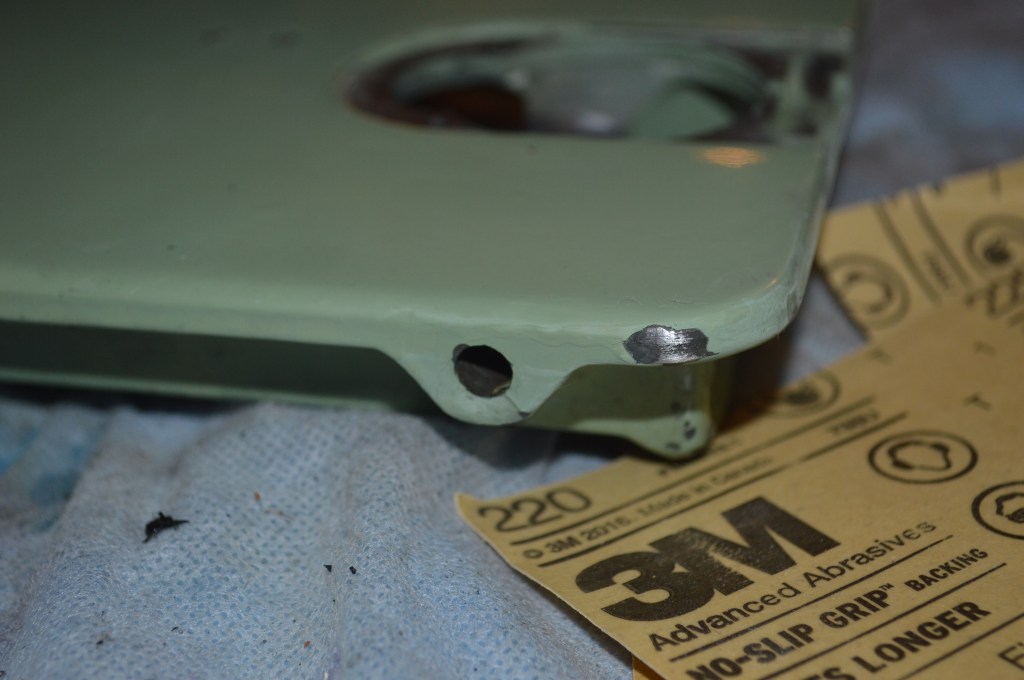
First, the machine is deep cleaned and all of the areas I want to paint match are sanded and feathered into to the paint on each side of the chip…
The same is done on the balance wheel and the nose cover plate. Then the paint patch color is applied with an artists brush. Three coats are needed to blend completely. Then the repaired areas are sealed with polyurethane. While I’m at it, I touch up all of the little spots where they present themselves on the machine… These are the paint matched areas repaired… very close match.
The light, foot controller, and motor are spray painted using the same paint and then sealed. The power cord is replaced, and everything is ready for installation.
Everything is reinstalled, and the machine is glaze polished to get the best finish possible.


At this point, The machine has been reassembled. I have adjusted the needle timing, the feed dogs, and the stitch length. But… because everything has been disturbed, these are only preliminary adjustments. The machine is run off and on for about 30 minutes total time… low, medium, and high speed to seat everything back in. The mechanisms are re-checked for adjustment, The “speed” of the motor is measured at the balance wheel with a digital tachometer. With no fabric under the needle, the machine runs at an average of 1054 stitches per minute. This is only 4% below the 1100 stitches per minute for the model 185 is claimed to produce. I consider this to be well within acceptable limits and I am very satisfied with this result!
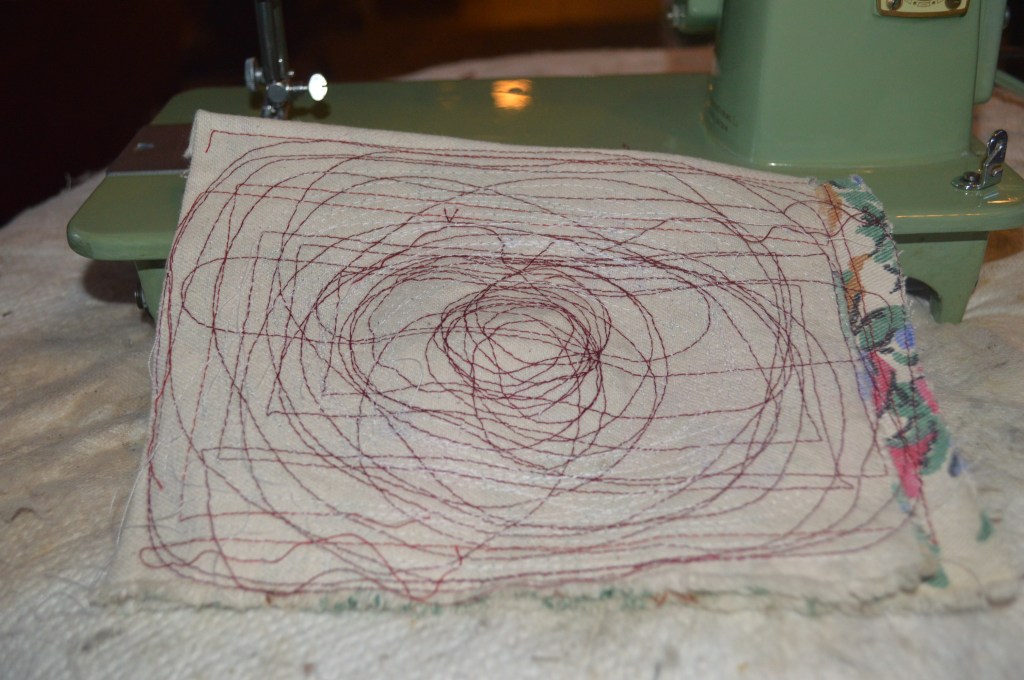
Now the machine is threaded and it is ready to test sew, and sew, and sew. The fabric shown is the top side and the colored thread is the bobbin side… The top stitch and bottom is very nice and they are well balanced… The needle holes are pronounced because I used one honker of a needle… a size 18.

The machine settled in very nicely. Everything is checked again to make sure everything is still tight.
That’s it! The restoration is done and all in all, it turned out wonderfully! The machine looks great, the paint match was close to perfect. The motor runs strong, and every bit and part of the sewing mechanisms have been restored to “like new” finish.
The machine is powerful, sounds great, and make the quality of stitch the 185 is known for. It is a very solid sewing machine!
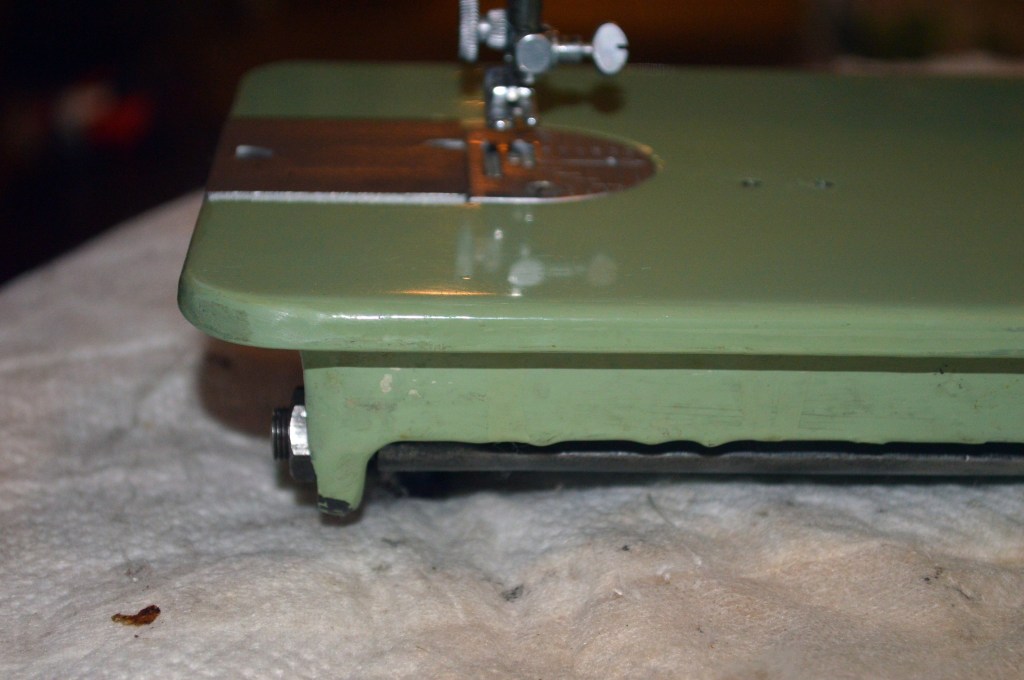
So, as is customary, here is the machine before restoration…

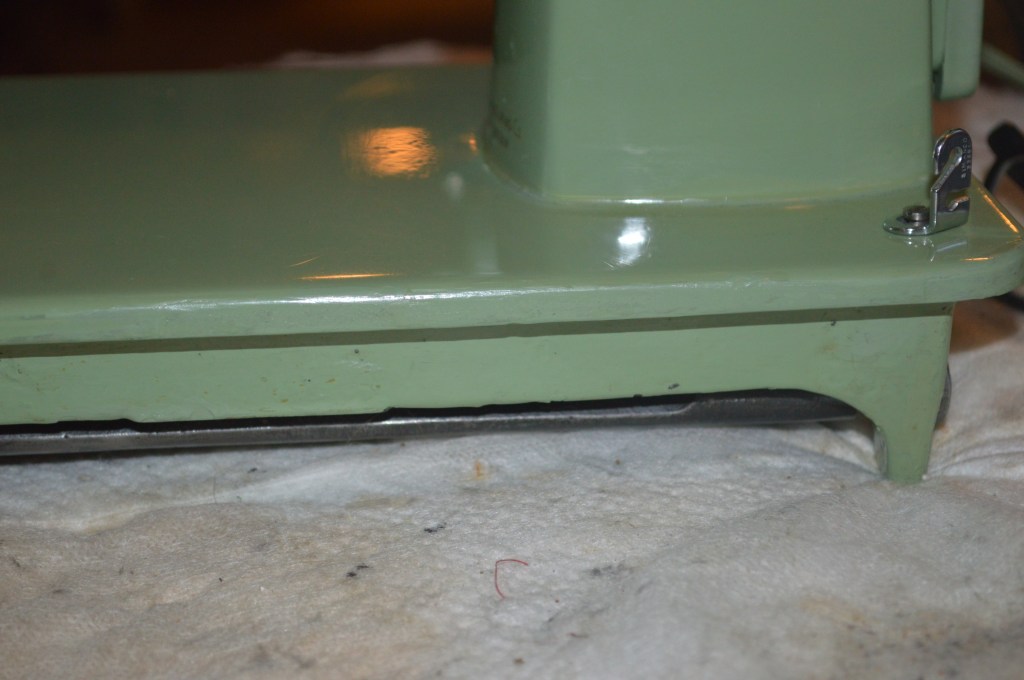
And here is the machine after restoration…


If you like what you see please visit our Etsy store at https://www.etsy.com/shop/pungoliving, and see this Singer Model 185K and all of our other restored fine quality vintage sewing machines. If you have any questions, please contact Lee at Pungoliving@gmail.com.
Thanks for reading!

I just found your blog. I’m amazed with the amount of work you devote to each part of each machine you work on. I have a Singer 185J and have to confess I’m tempted to taking it all apart for a deep thorough cleaning, but I hesitate because I’m afraid I would end up with lots of extra screws, nuts and bolts. How do you keep track of everything? What do you use as a guide (service manual)? Congratulations on your work!
LikeLike
Good morning Miriam,
I’m glad you enjoyed my post. I am of the sort that has always enjoyed taking things apart and putting them back together again…. have been ever since I was a kid. Older vintage sewing machines are perfect projects for me, they are precision manufactured, not too complicated, and not too simple. Since my retirement I have been enjoying restoring them. I try to learn more with each one and expand on what I can do to each. My goal is to experience what a Singer 201 would sew and sound like when it was new.
Disassembling a sewing machine is not for everyone, there are a lot of different screws and assemblies that have to be reassembled exactly the way they were taken apart. I take a lot of pictures to help me keep things in order… That’s why I started my blog. I figured since I have all these pictures, I could share my experience with others. Since I restore and resell my machines, it is also a perfect way to document a machines restoration so someone interested in purchasing it can see what went into each one.
I have found old singer service manuals online and the tolerances and clearances needed to make proper adjustments. They are buried in the internet, but I have spent hours searching and dug deep enough to find them.
The most important part of writing my blogs is to teach. I especially like writing the tutorials. I hope that there is something to learn in each one so folks that own these great quality machines can keep them running… their quality and durability cannot be replaced by anything close to comparable today.
Thanks for reading and please feel free to let me know if I can be of any assistance with your 185J!
Have a blessed weekend,
Lee
LikeLike
Could you share the color you used to match the paint on the balance wheel? My 185j is awesome mechanically, and only has chips in the paint on the balance wheel. Thanks!
LikeLike
Good morning Robin,
Each machine has a slightly different color due to age and environment, so the color you need might could be a slight shade lighter or darker than my machine. You can get an exact color match for your machine at a local hardware store that does computer color matching like Home Depot. Take the balance wheel with you and they will put it in the color analyzer. They offer small sample size paint jars for about $5. Ask for a sample size interior/exterior paint suitable for wood/metal in a water based semi gloss to match your balance wheel. They have quality paint by PPG and Behr that works great. The amount of paint you get will be far more than you need. You will need to top coat with a high gloss water based finish. Polyacrylic works well. Use a small artist brush and just cover each chip. You may use more than one coat to better build it up.
I hope this helps!
Lee
LikeLike
How do you match the paint on these machines? Like the 185j and other colored machines.
LikeLike
Hello Mike,
You can buy computer color matched paint in 8 ounce sample sizes from most hardware stores and have it matched to a part from your machine. You need to make sure the paint sample is suitable for painting metal and it must be applied over a primed surface and clear coated with a high gloss poly acrylic finish. I use a water based semi gloss finish paint and the final gloss finish is provided by the poly acrylic top coat. For application, I use an air brush.
I hope this helps!
Lee
LikeLike
Hello, thank you for your helpful blog! I am in the middle of disassembling my first 185k. Is there a specific article or tutorial you followed to reassemble? I’ve been taking many pictures and labeling the parts as they come off but I’m still nervous about being able to get everything back where it went 🙃.
LikeLike
Hello Emy,
I don’t know the extent of the disassembly of your 185, but I normally assemble the mechanisms in the sewing arm, then under the bed, and then in the needle bar area. Use your photos to make sure the orientations are correct.
Once asembled, place the needle bar plate on the machine and adjust the feed dog side to side clearance, feed dog front to back travel, and feed dog height. Then, before installing the bobbin case, adjust the needle depth and thehook timing. The next thing would be to adjust the presser foot height and make sure it is parallel to the feed dogs.
When these adjustments are made, you can thread the machine and adjust the top and bottom tensions for a balanced stitch and check the stitch quality… don’t forget to use a new needle!
I hope this helps and please let me know if I can answer any questions you may run into.
Have a great evening!
Lee
LikeLike
Thank you!!
LikeLike