

Introduction
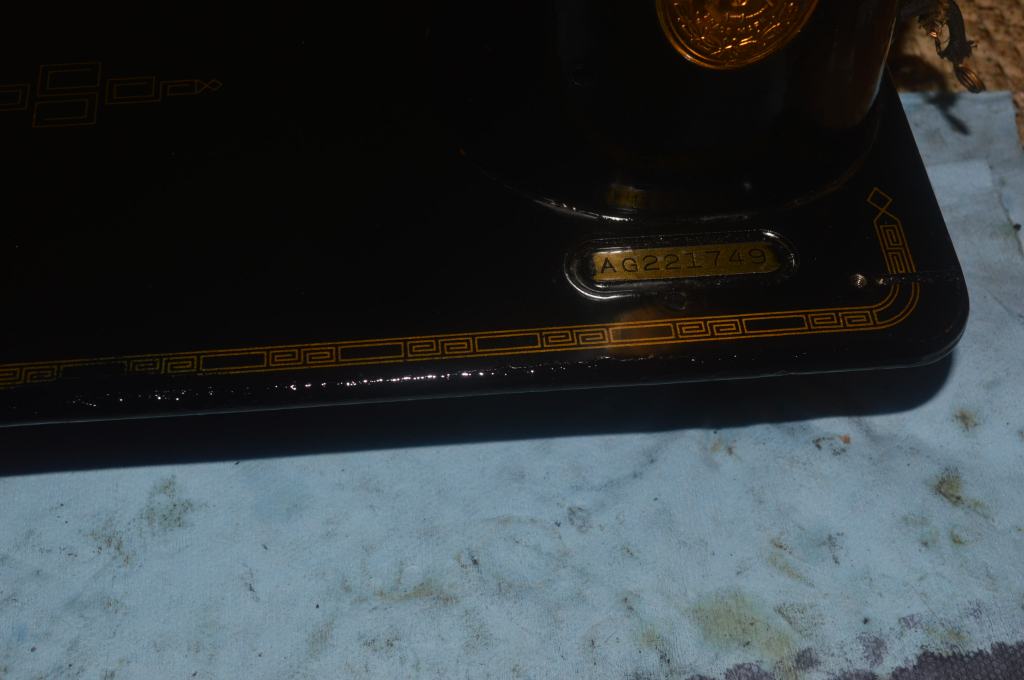
This is a private restoration for another fine Singer model 201-2. This beautiful sewing machine is named Lola. It isn’t surprising to me that folks get so attached to their sewing machines that they name them. Vintage sewing machines like this 201 have been sewing reliably for decades. Often, they become part of the family and passed down thru generations of folks that use and cherish them for decades. When you consider that Lola is 81 tears old and still sewing reliably after all that time, it is a testament to the quality build that is evident in every part of the machine. Cast iron body, precision heat treated steel parts, and a gear driven full rotary hook results in a sewing machine that is durable, reliable, and forms a great lock stitch.
Restoration Plan
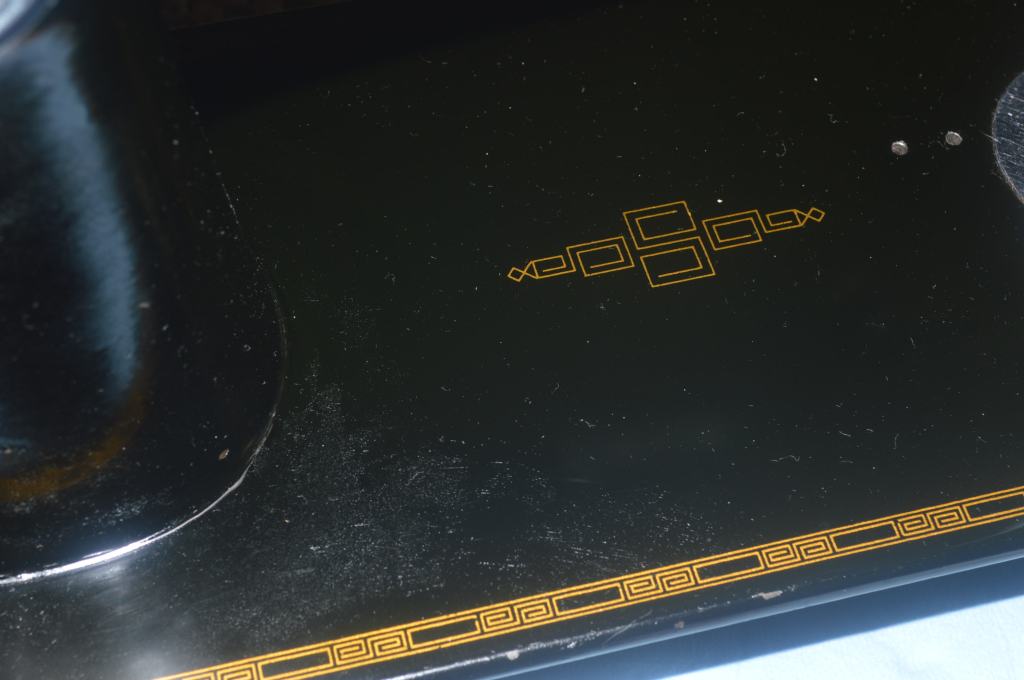
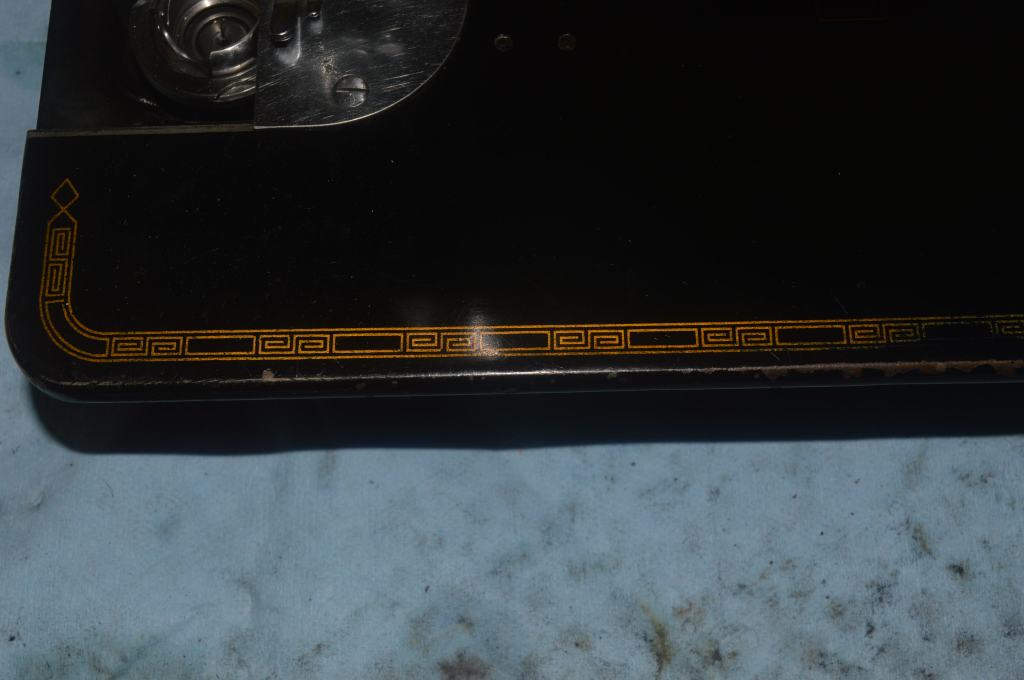
Although Lola is still used regularly, there is a time to restore her to like new condition. Lola has a lot going for her. She has a beautiful original finish and except for some expected decal wear on the front bed, is in great cosmetic condition. She turns smoothly and is used regularly, but at 81 years old, the customer decided to have a full mechanical restoration and bring her back to pristine running condition and the peak performance 201’s are known for. My initial inspection shows some oil varnish and lint buildup that when restored, will improve the overall feel, smoothness, and performance of the machine and prepare her for many more years of reliable and trouble-free service.
The mechanical restoration will consist of disassembly the sewing assembly up to the gears. All of the parts in the needle bar head will be removed. The rocker arms, feed dog mechanism, rotary hook, bobbin case, stitch length fork, and connecting rod will be removed. All of these parts will be ultrasonically cleaned, heated in oil to remove any moisture, and wire brushed to the bright steel finish they had when new. The motor will be restored, and the balance wheel will be disassembled and cleaned. All of the tension mechanisms will be disassembled, cleaned and polished. All of the plated parts will be cleaned and polished. The paint chips on the edges of the bed and the few nicks observed will be covered using color match custom mixed shellac-based paint. The customer has already cleaned and polished Lola, but she will be cleaned again, and glaze polished to bring out her best.
Mechanical Restoration
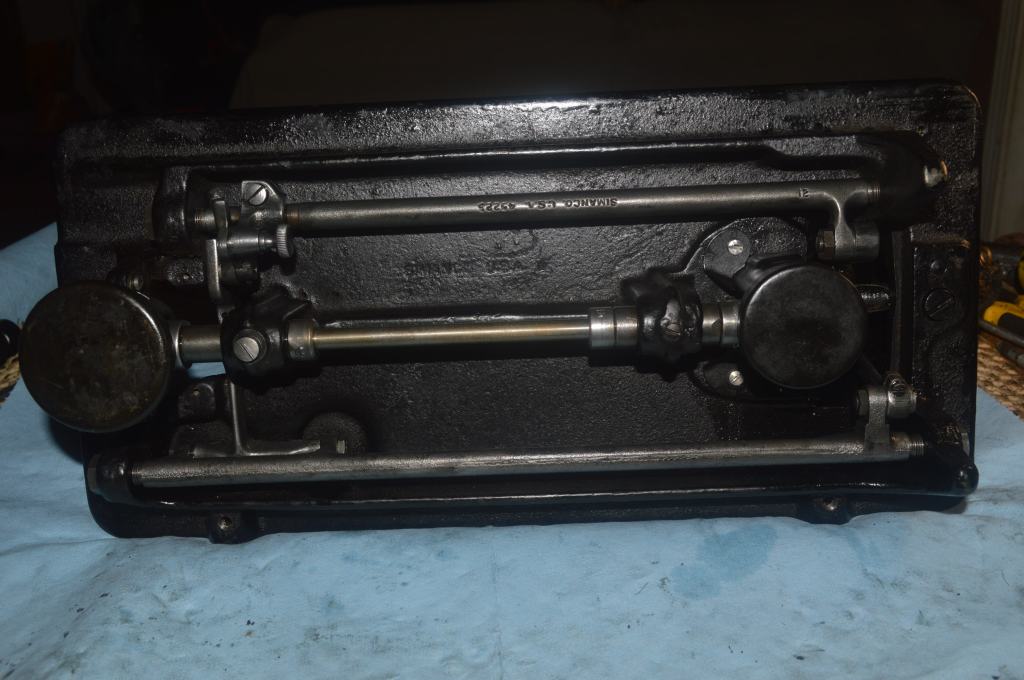
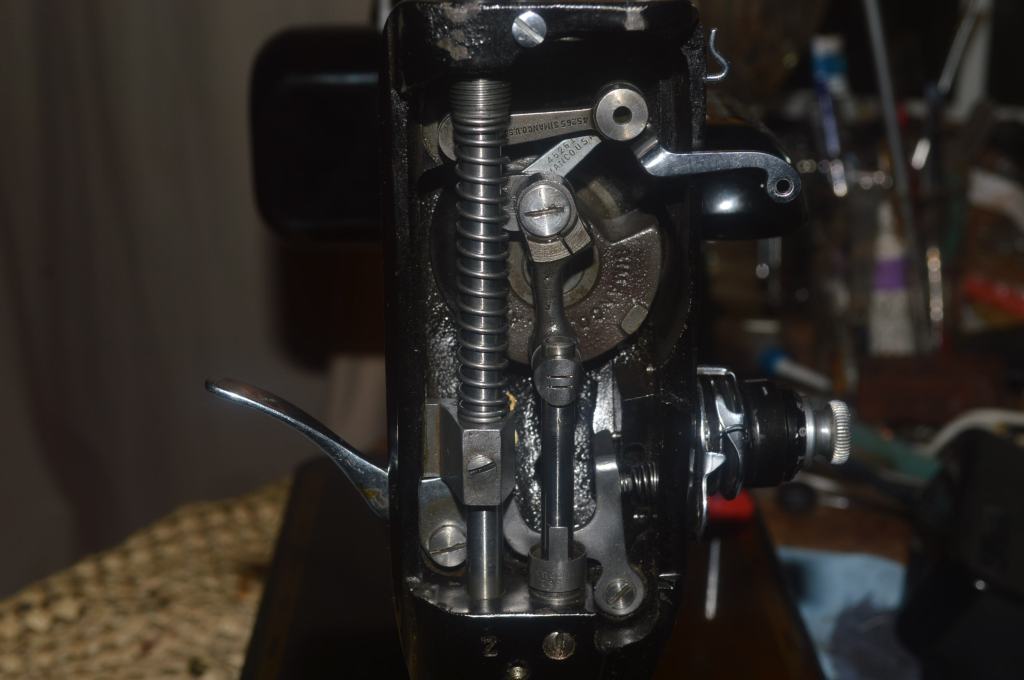
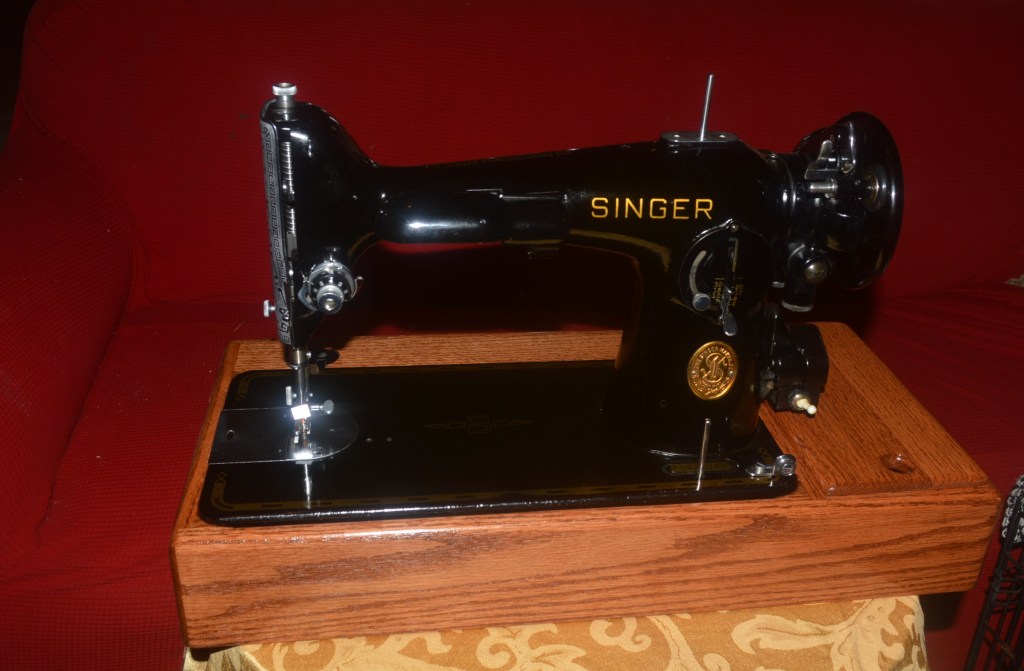
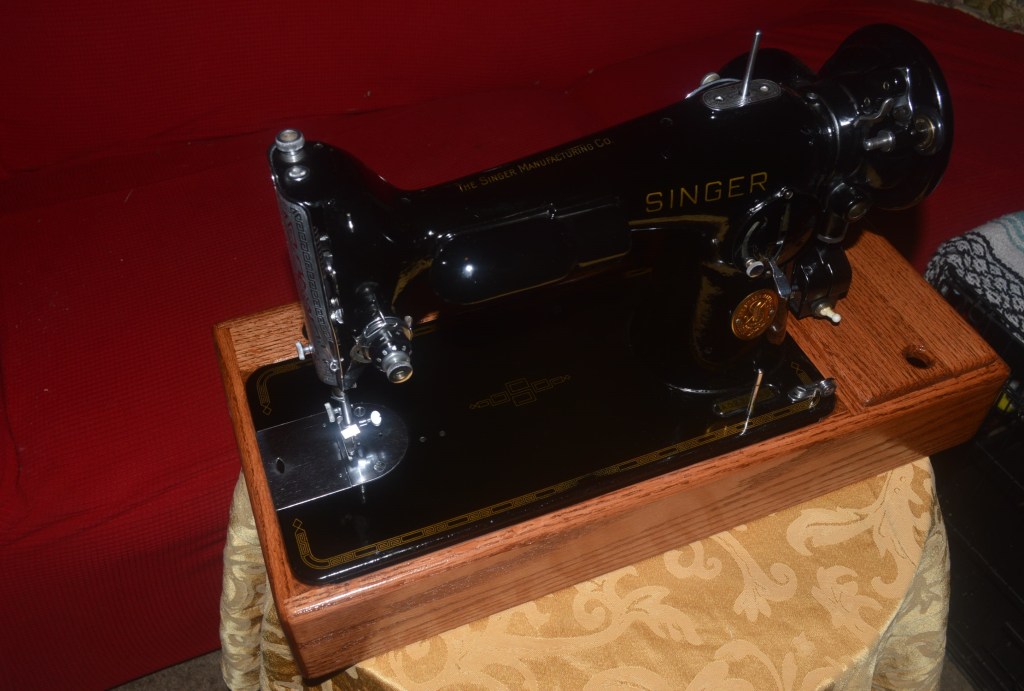
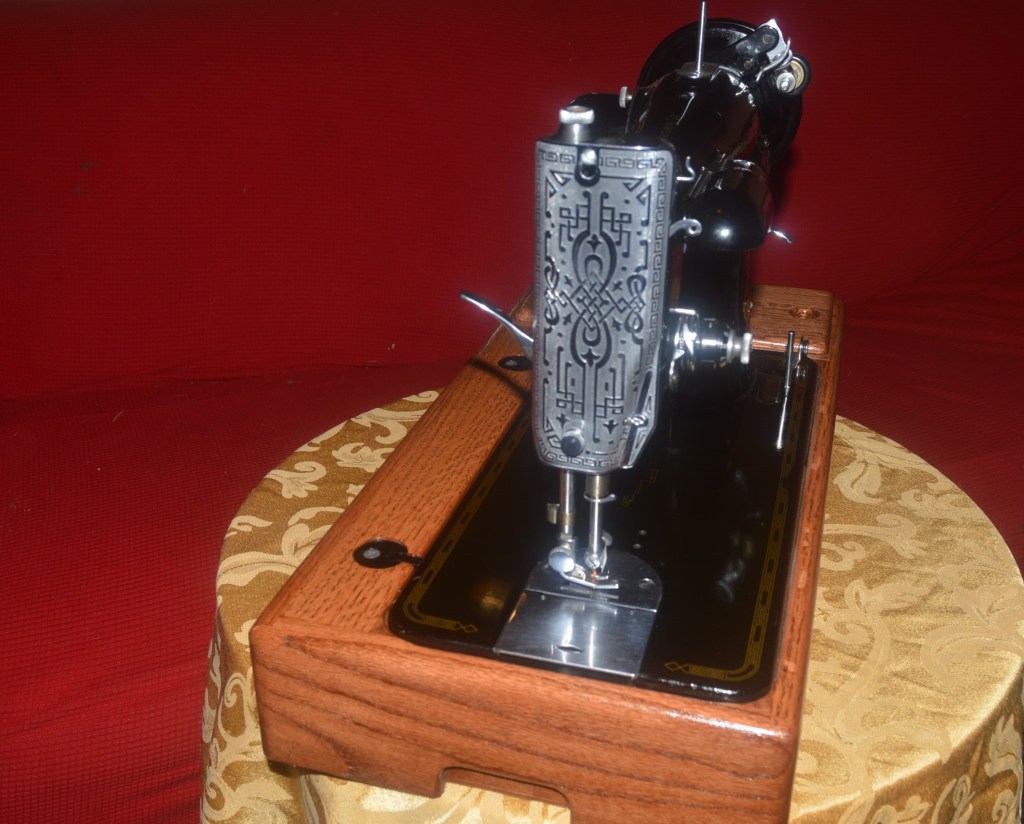
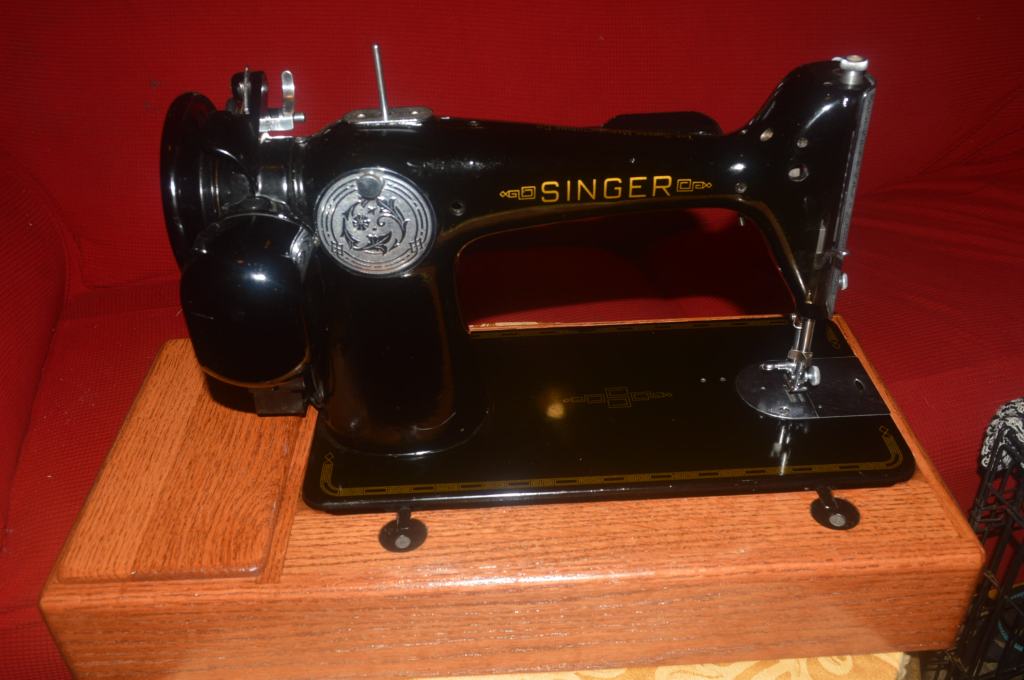
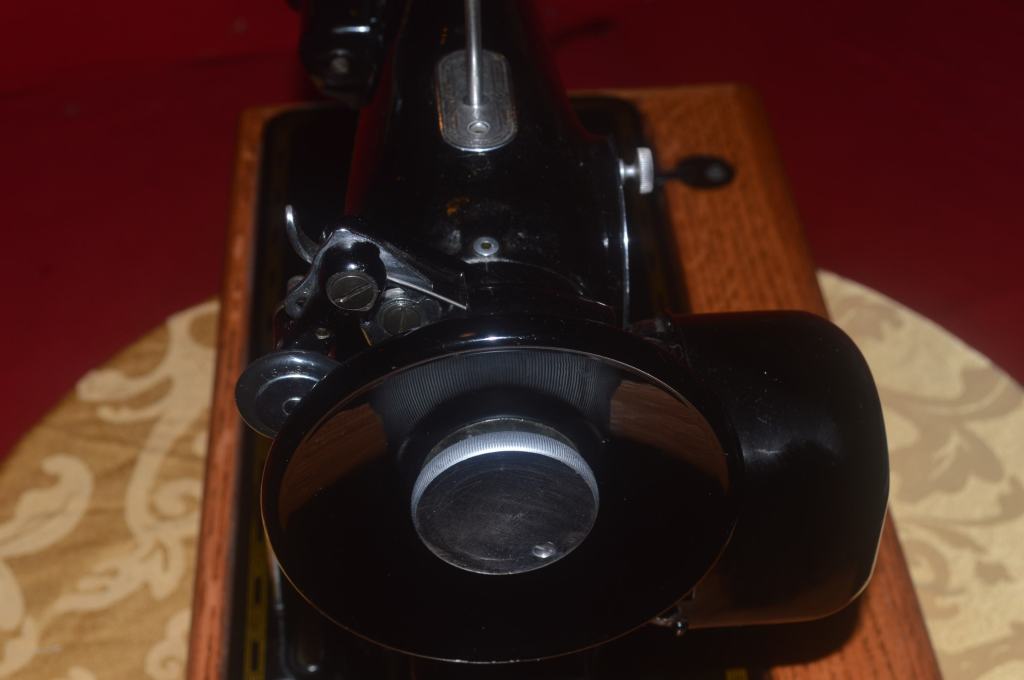
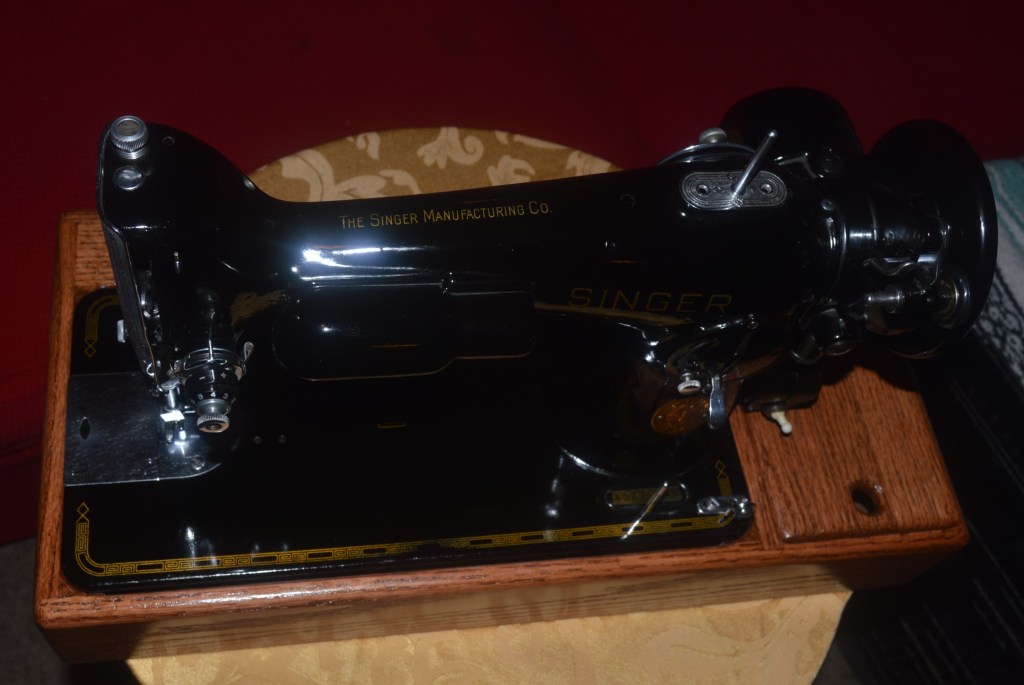
Considering her fine appearance now, let’s look at what the disassembly reveals. The following pictures show Lola before the restoration begins.
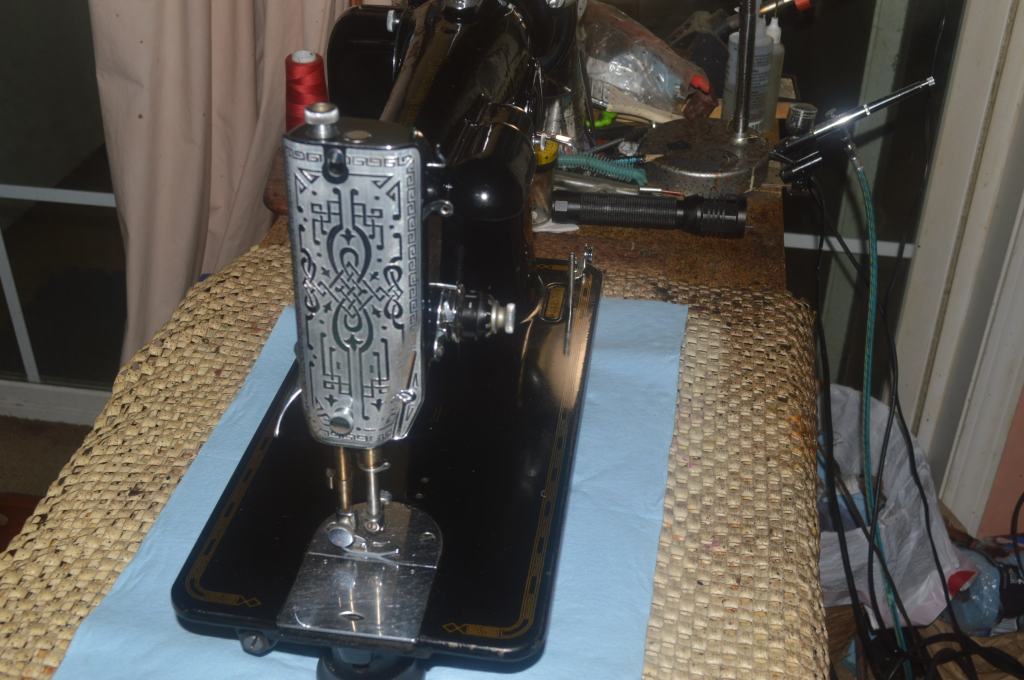

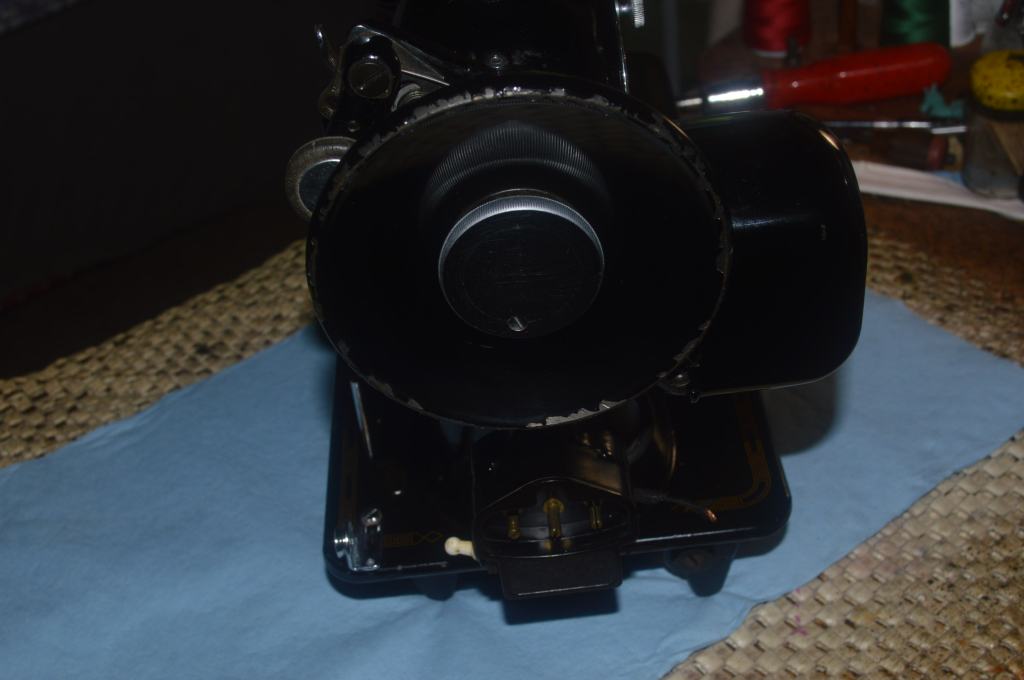
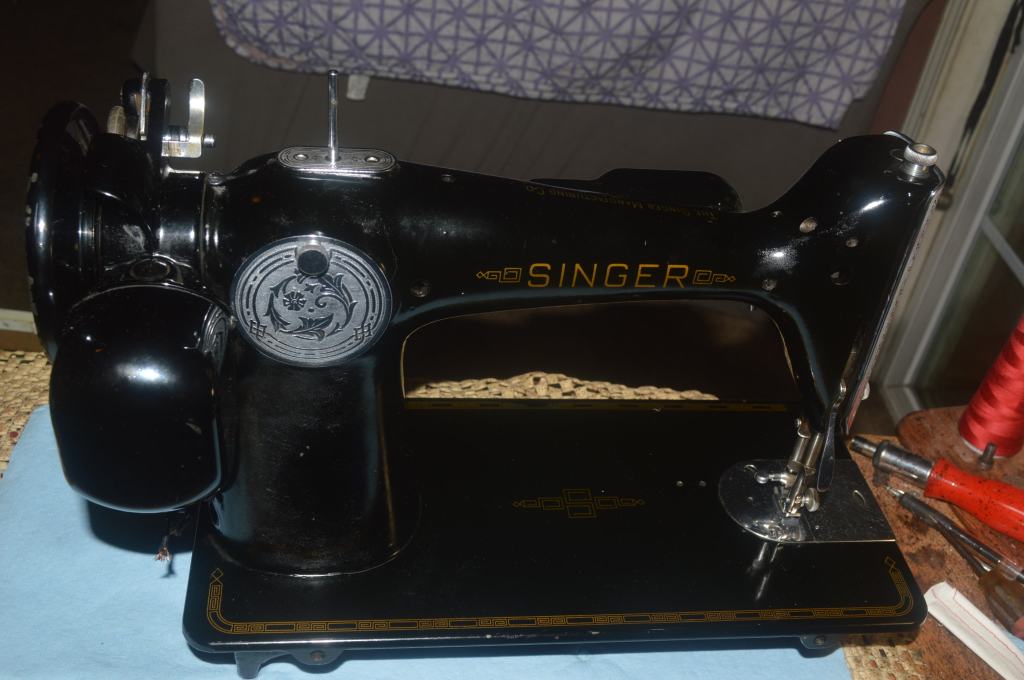
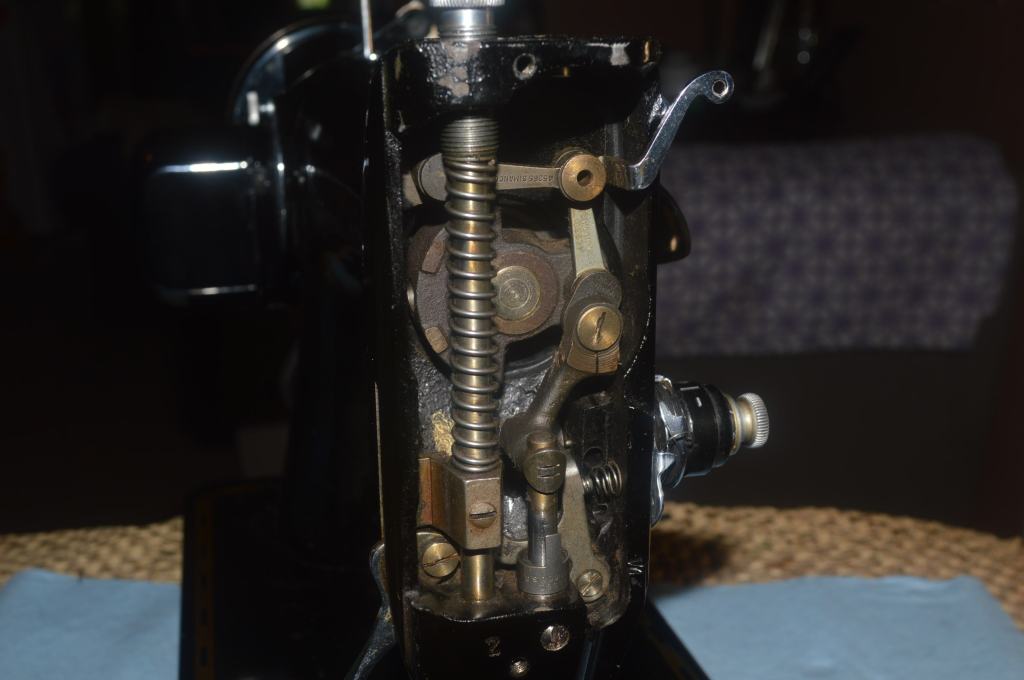
There is some work to do here so let the restoration begin.
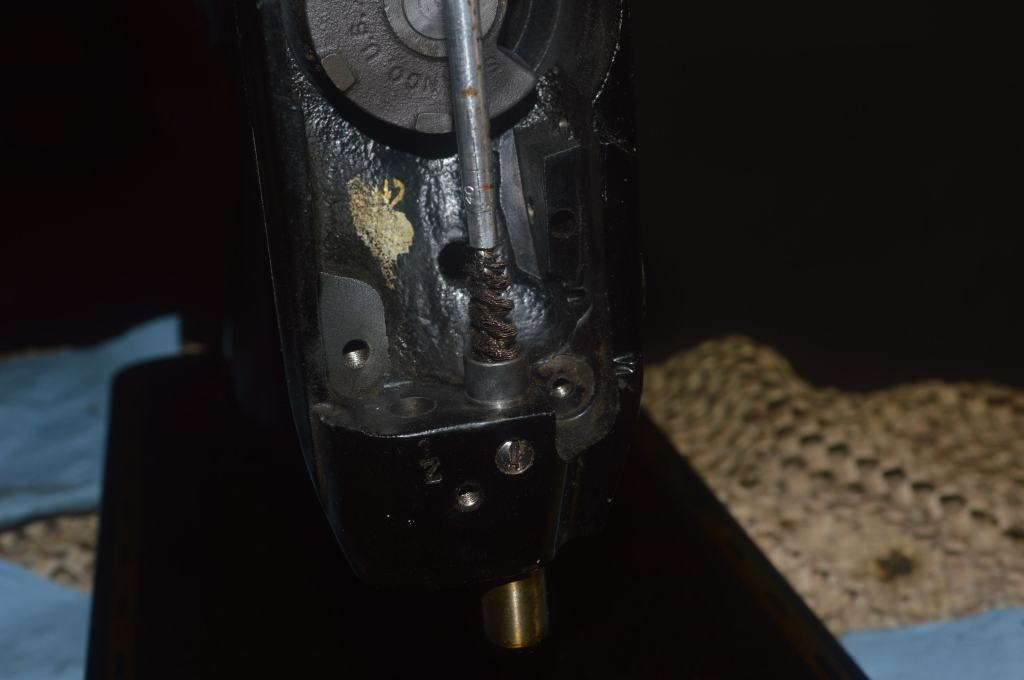
First, all of the parts in the needle bar are disassembled.


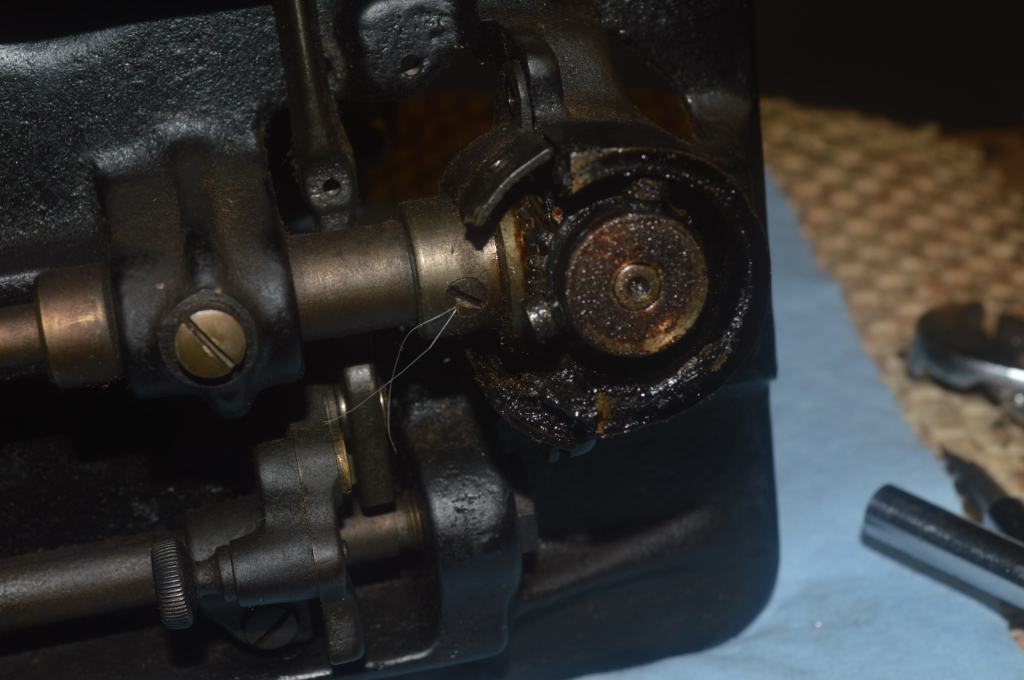
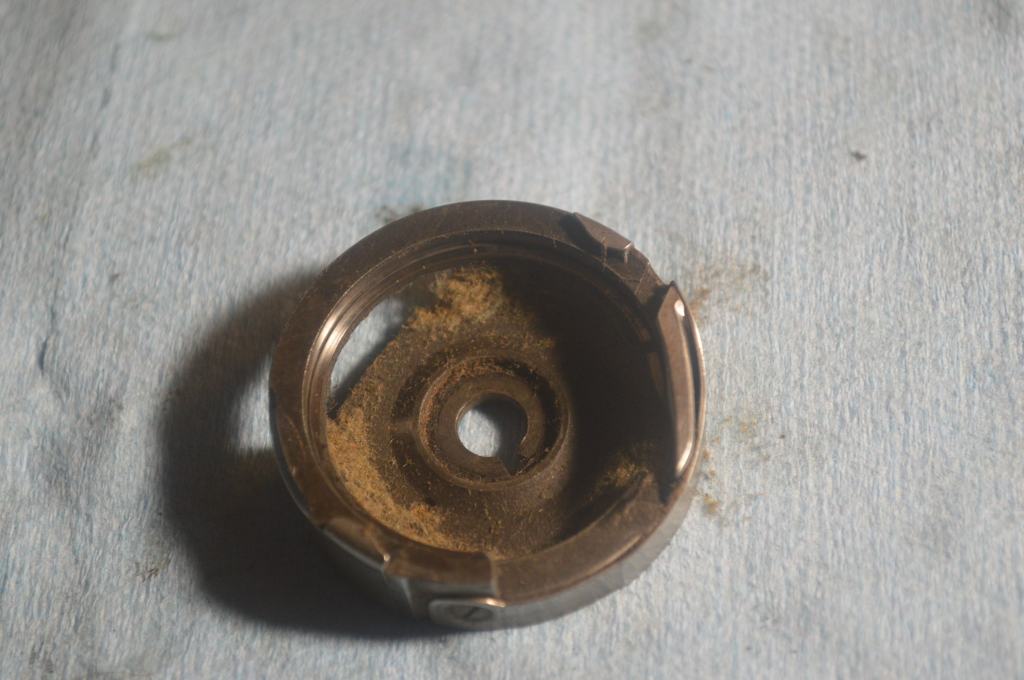
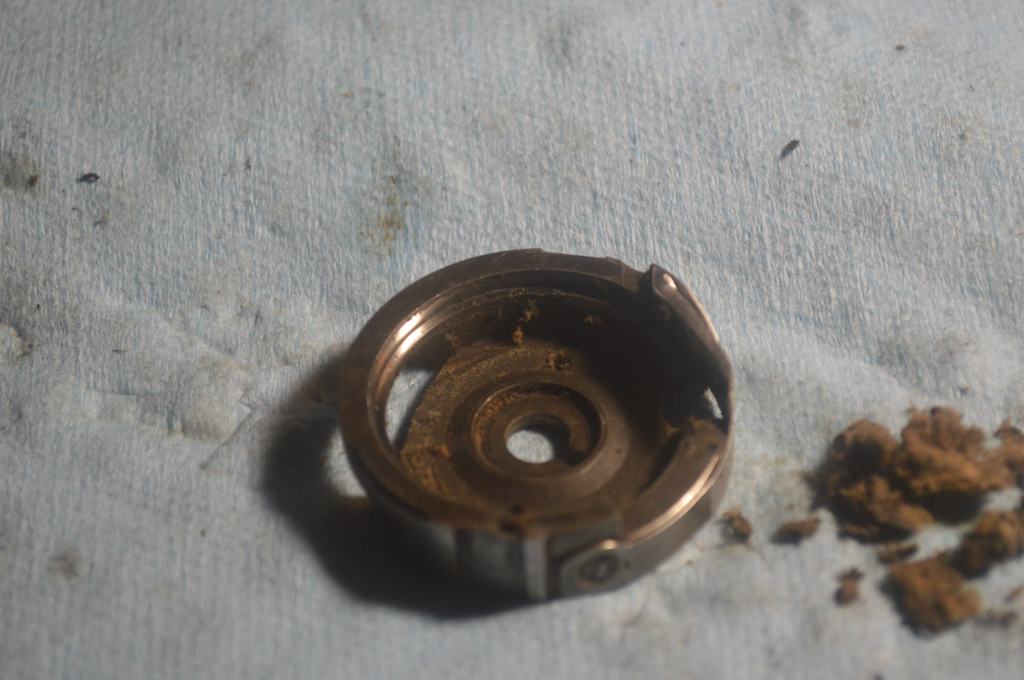
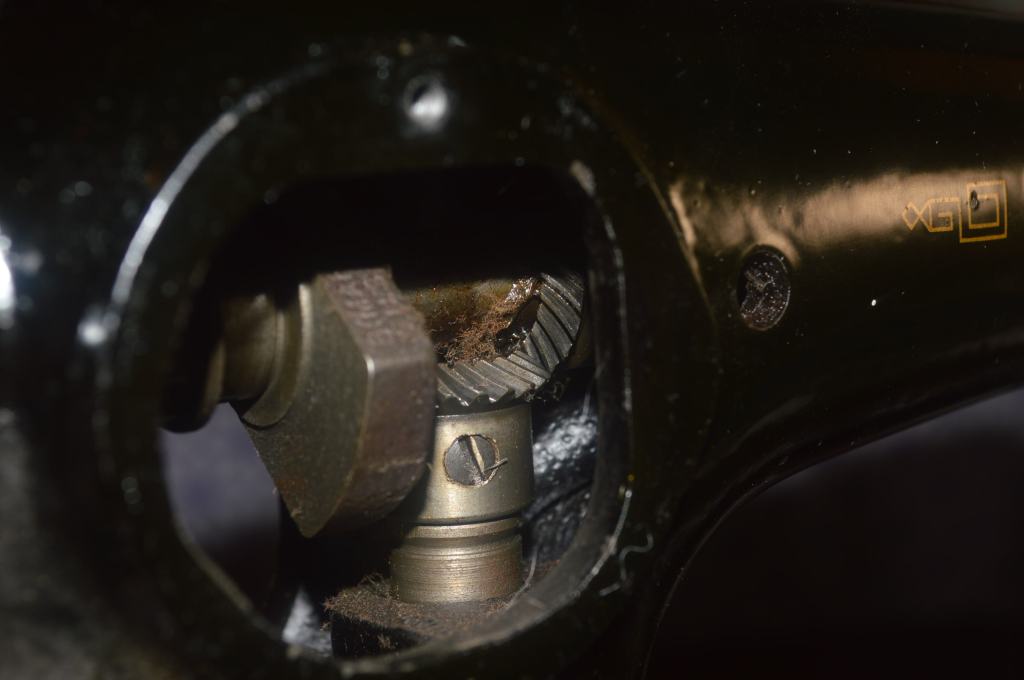
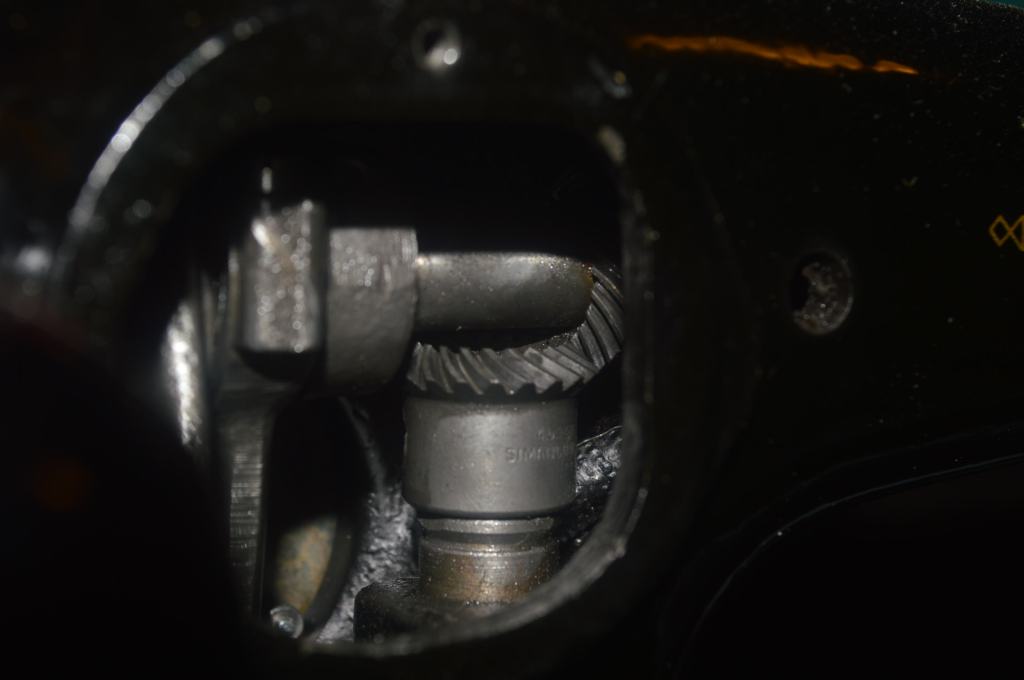
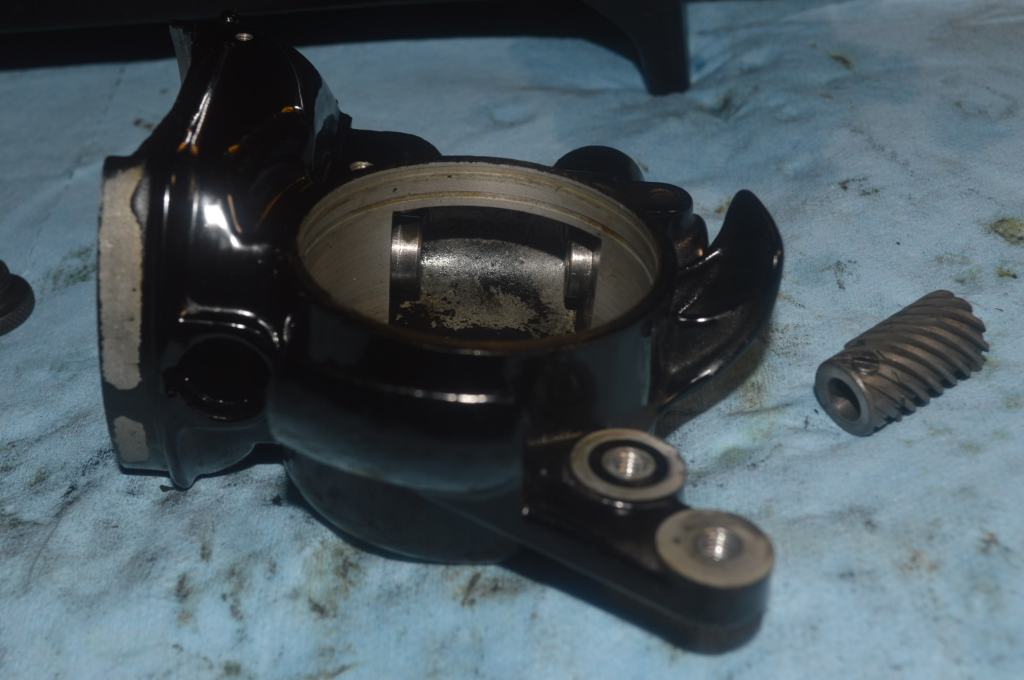
Then the bobbin case, feed dogs, and rotary hook case is removed.
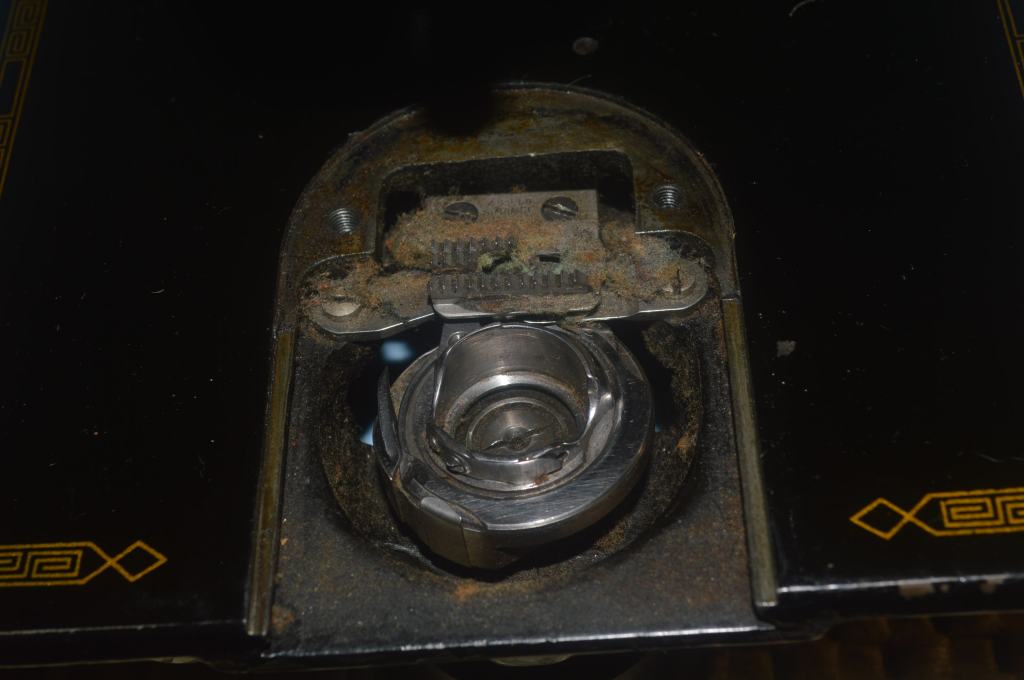
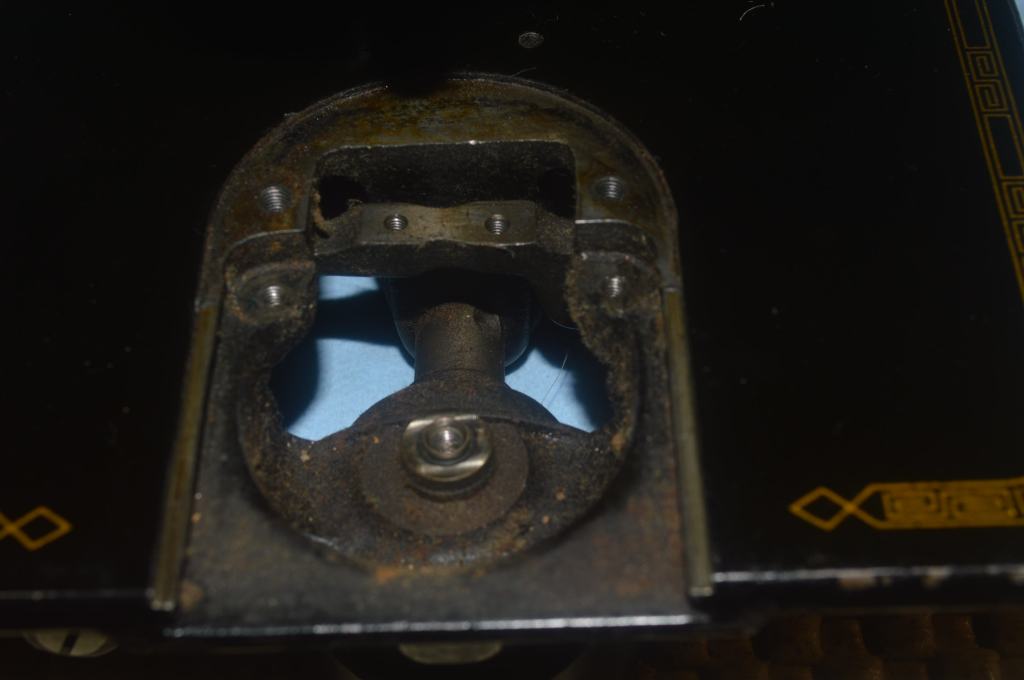
It isn’t unusual to find lint packed here… and I have no doubt it is affecting the machines performance.
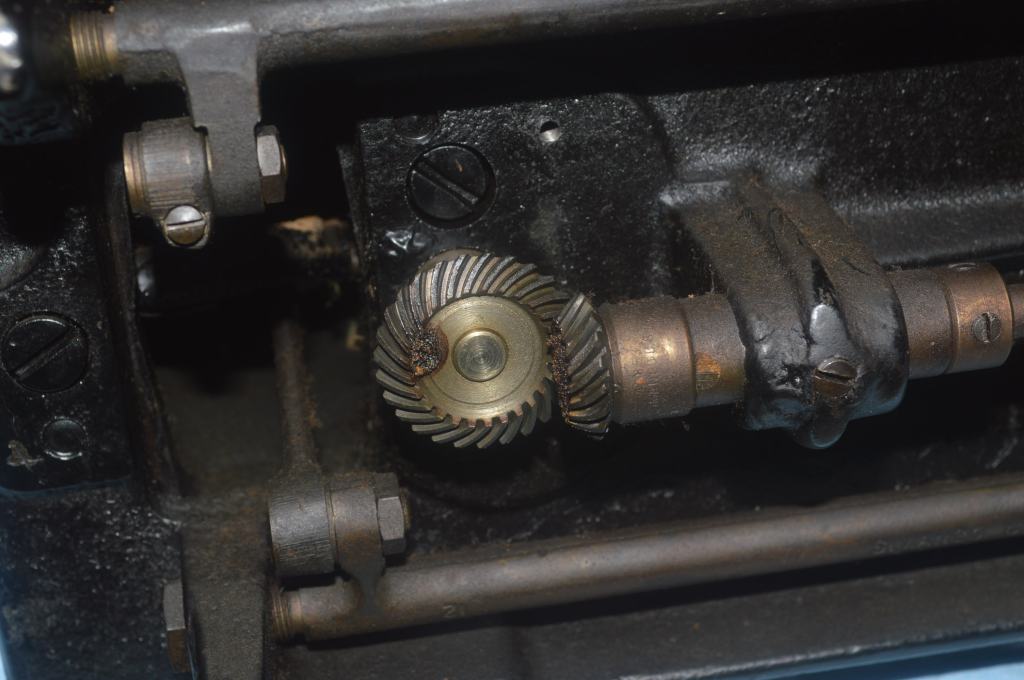
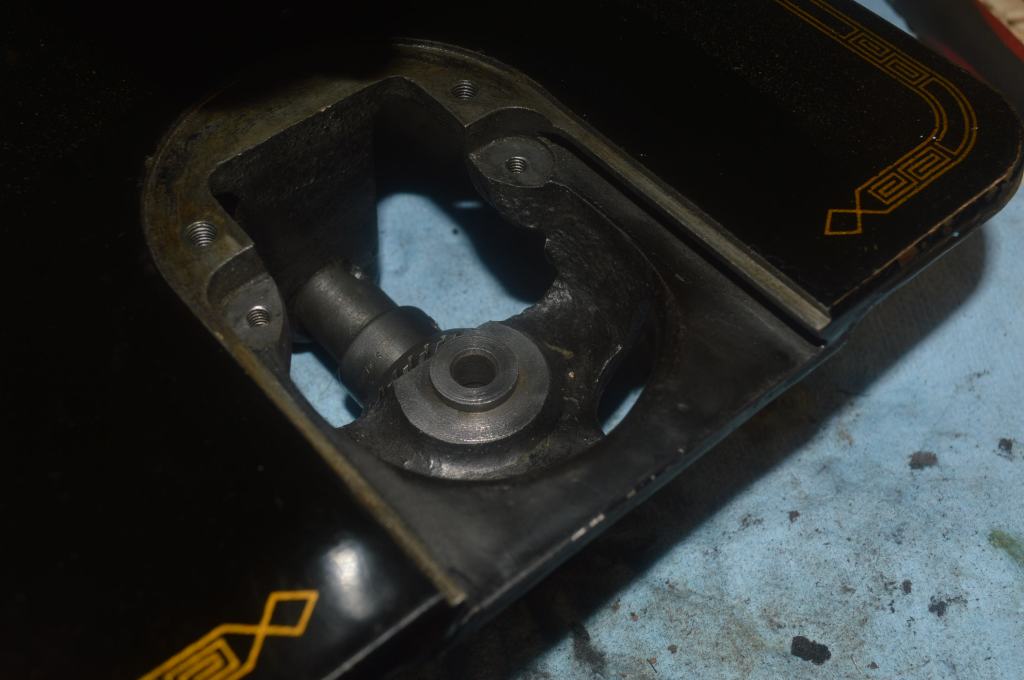
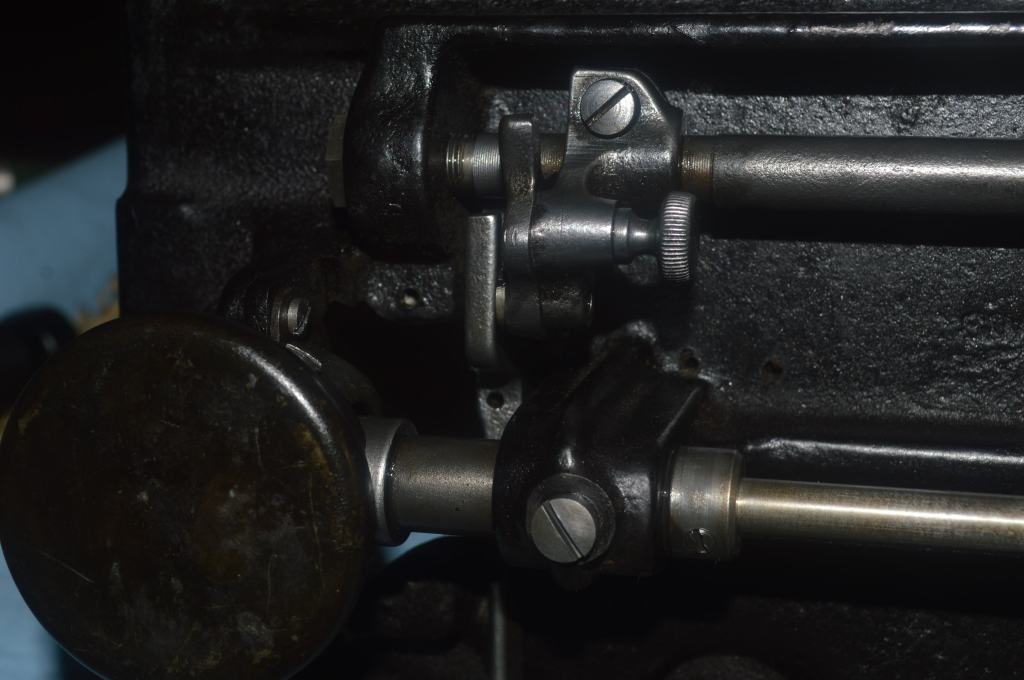
The next step is to disassemble all of the mechanisms under the bed.
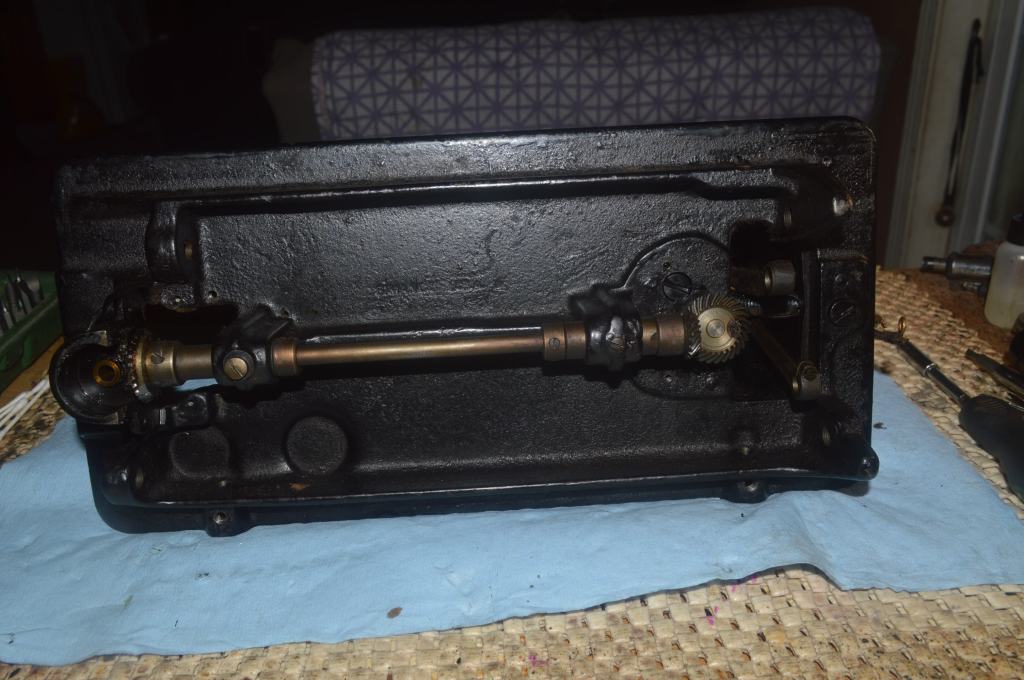
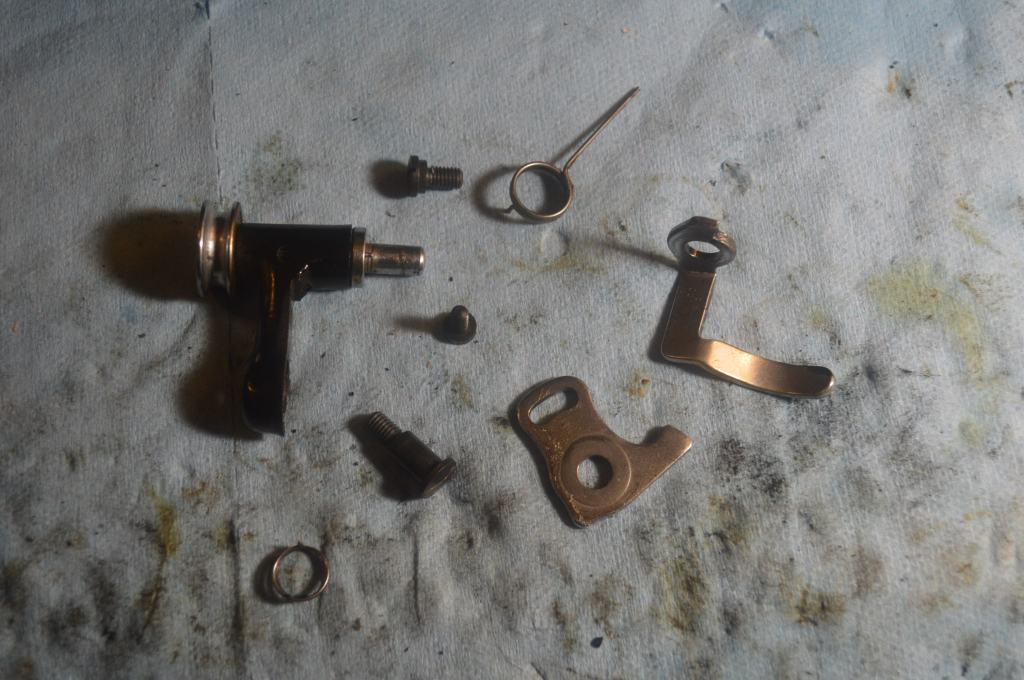
The stitch length fork and connecting rod are also removed.
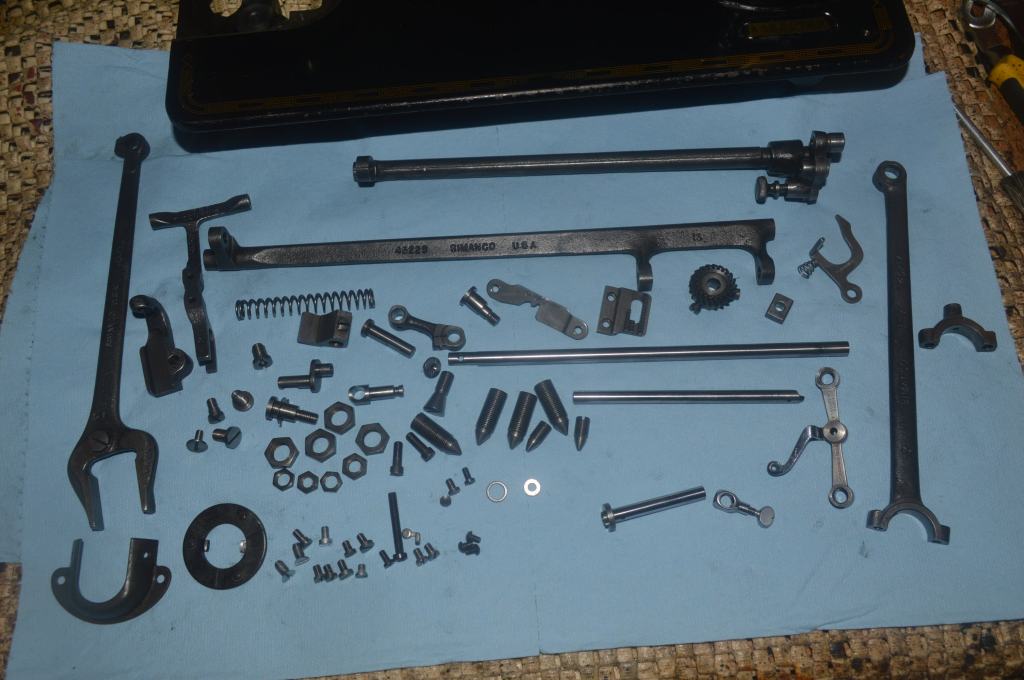
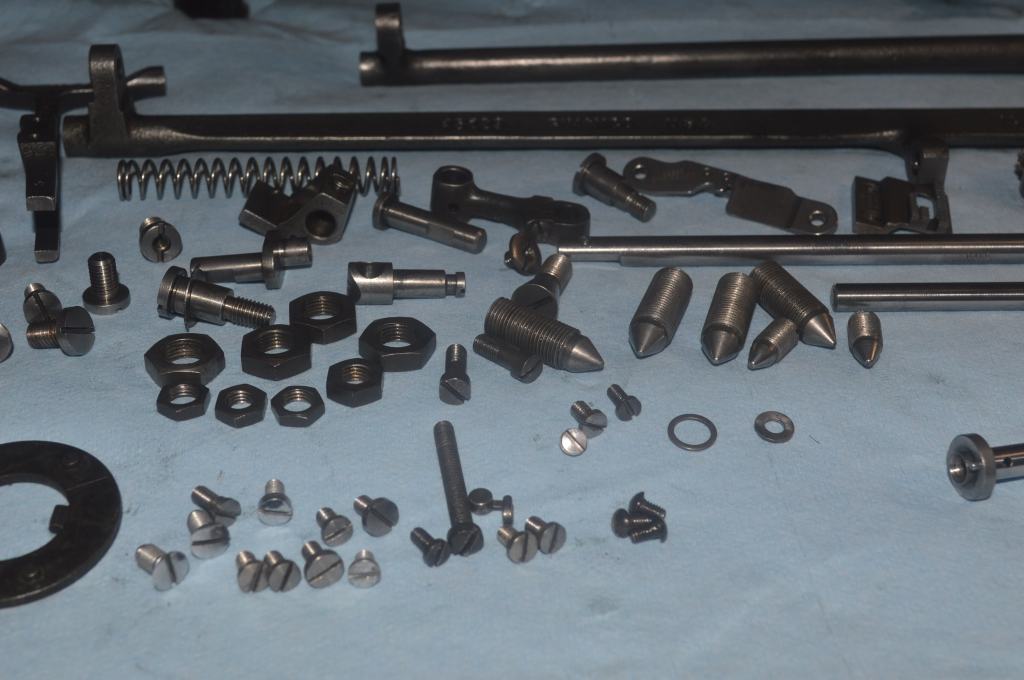
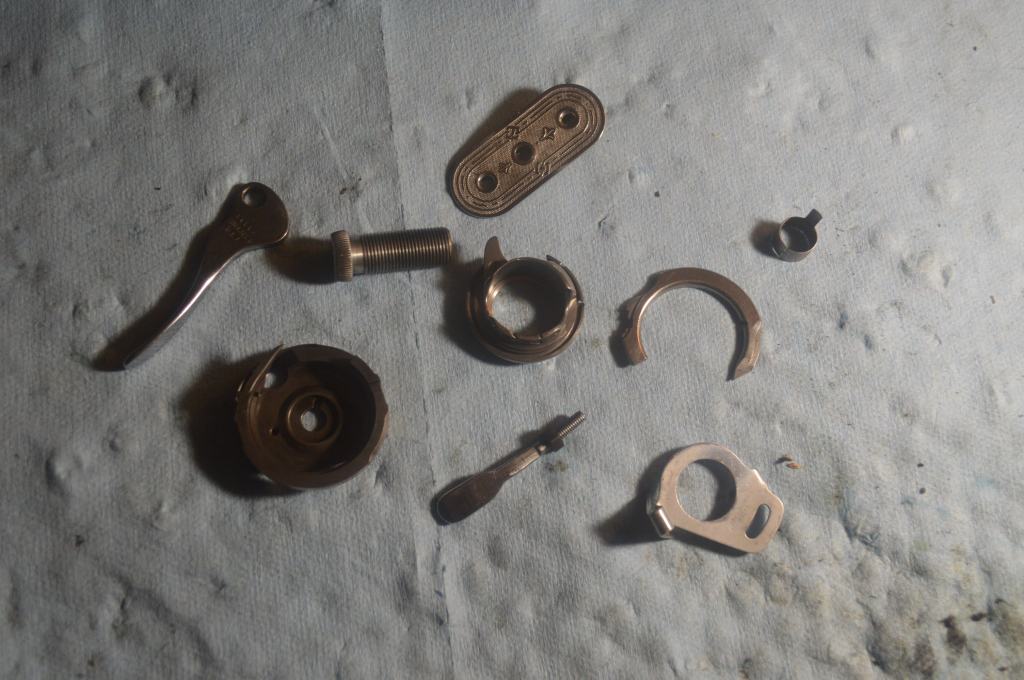
All of the parts are laid out for cleaning.

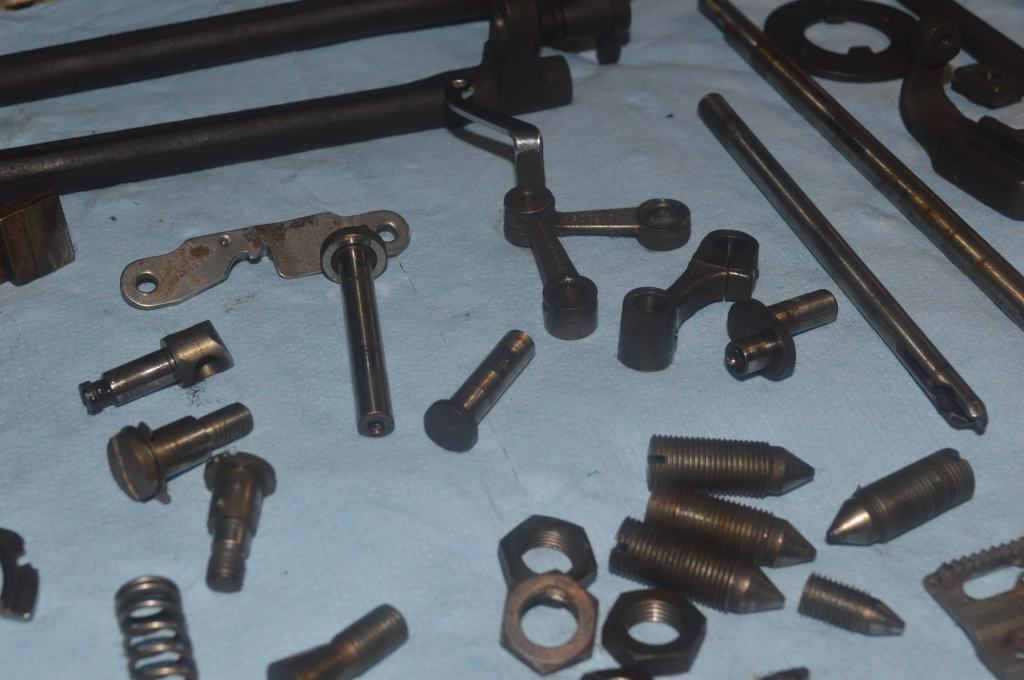
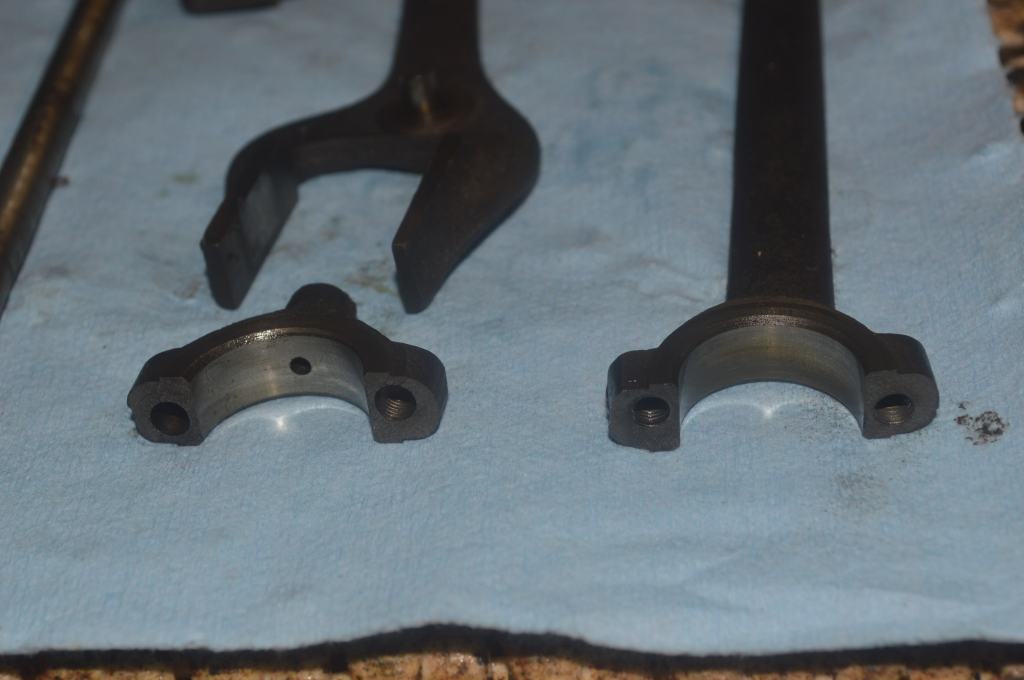
Overall, the parts look pretty good, but the oil varnish present on the contact surface and exterior surfaces of all parts will be removed
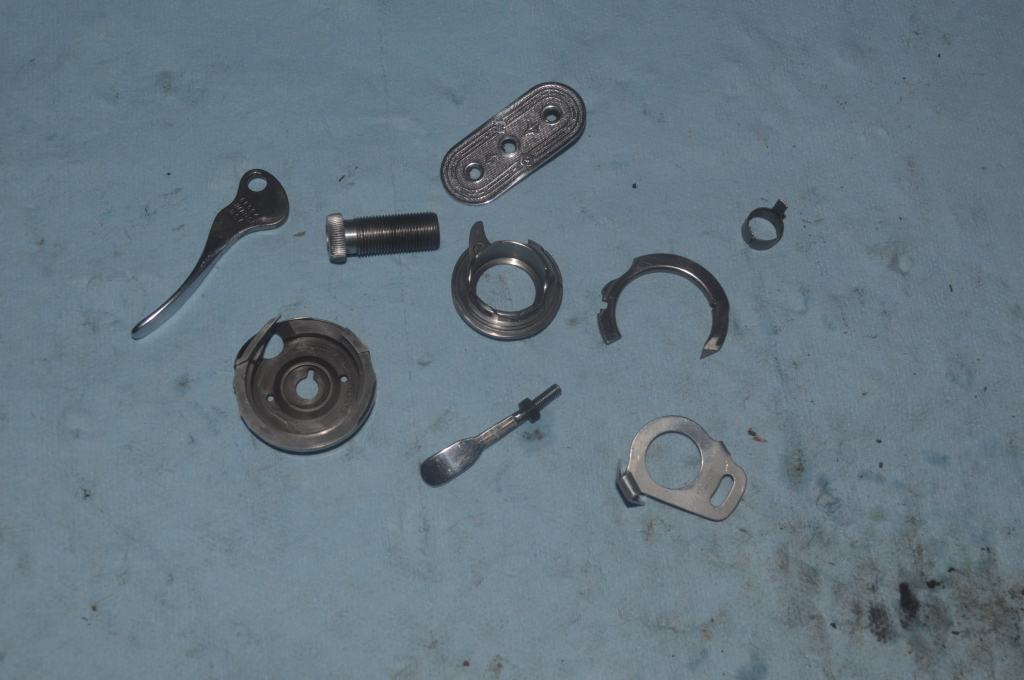
After cleaning, heating, and wire brushing, the parts are renewed to like new condition.
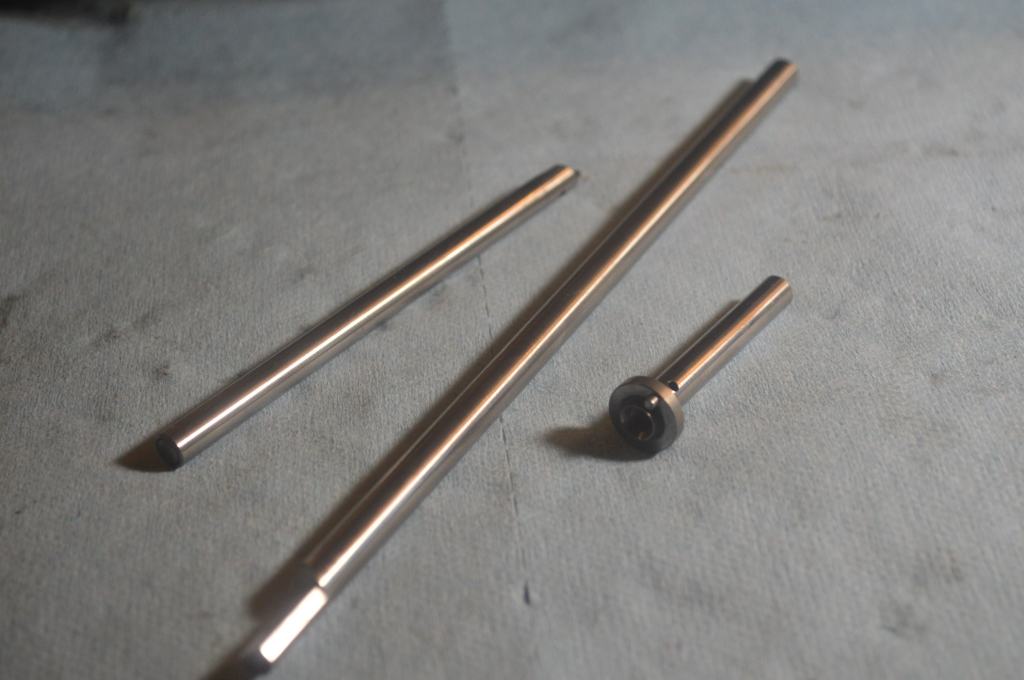
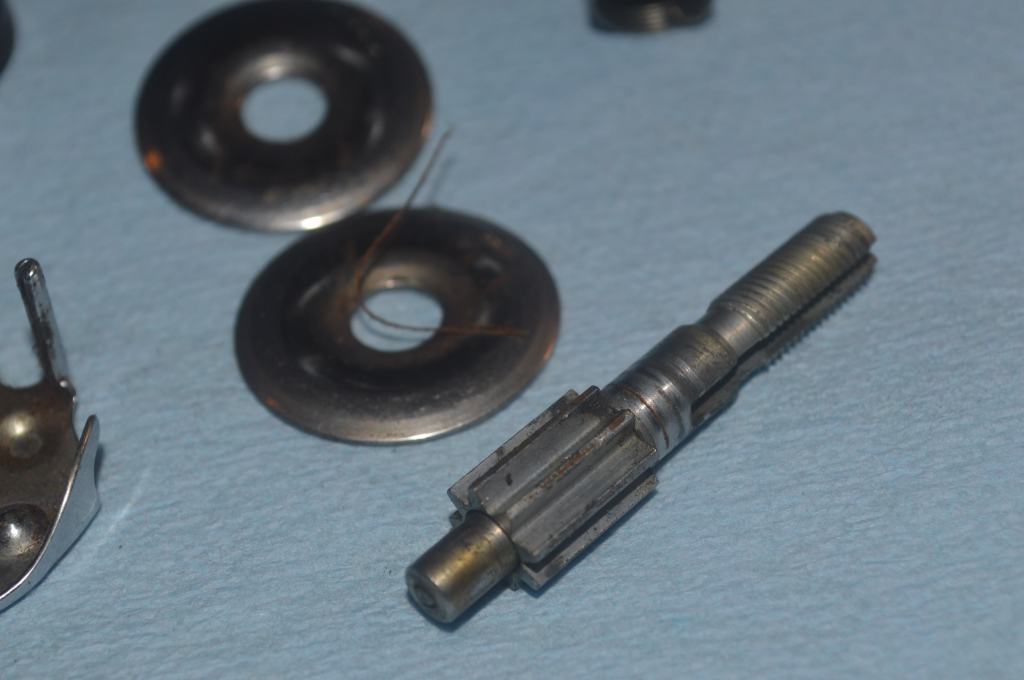
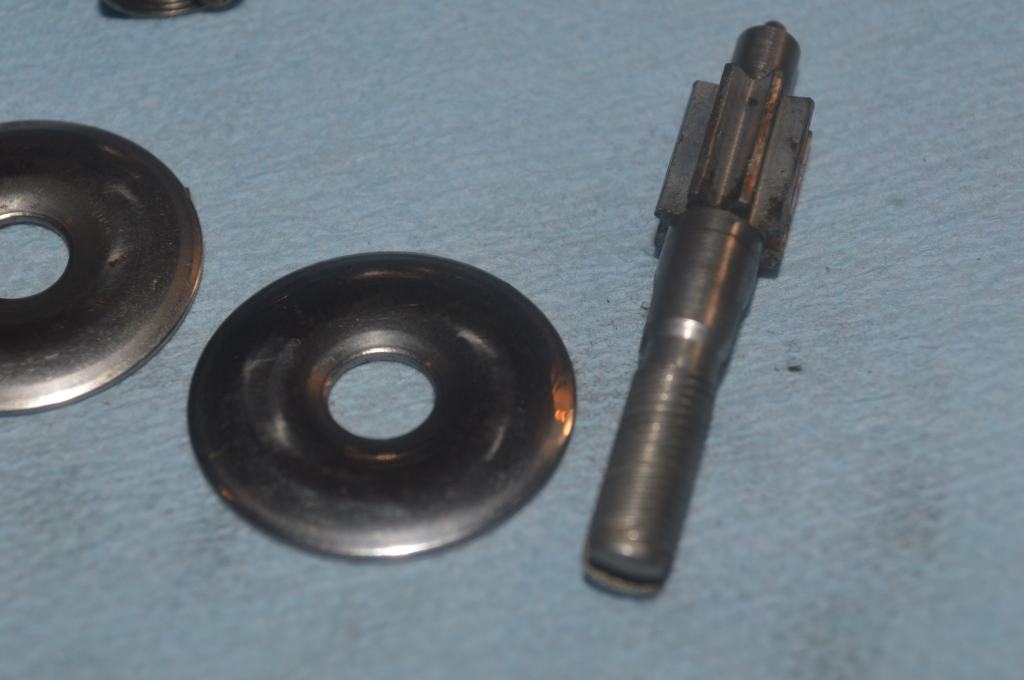
The needle bar, presser foot bar, and the bobbin hook case shaft are polished to as glass smooth finish.
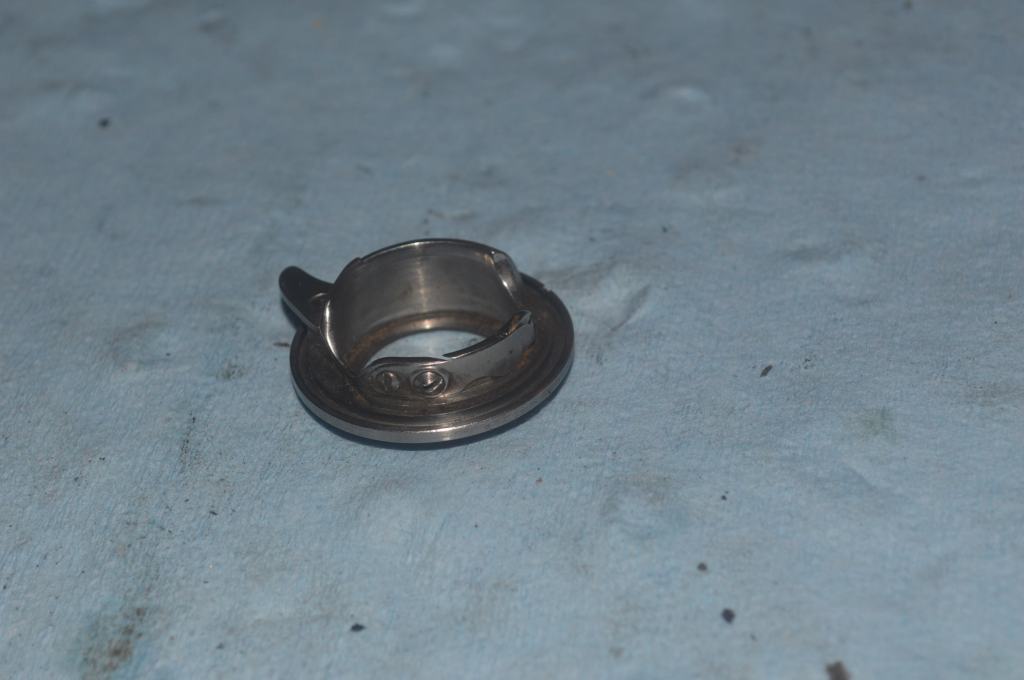
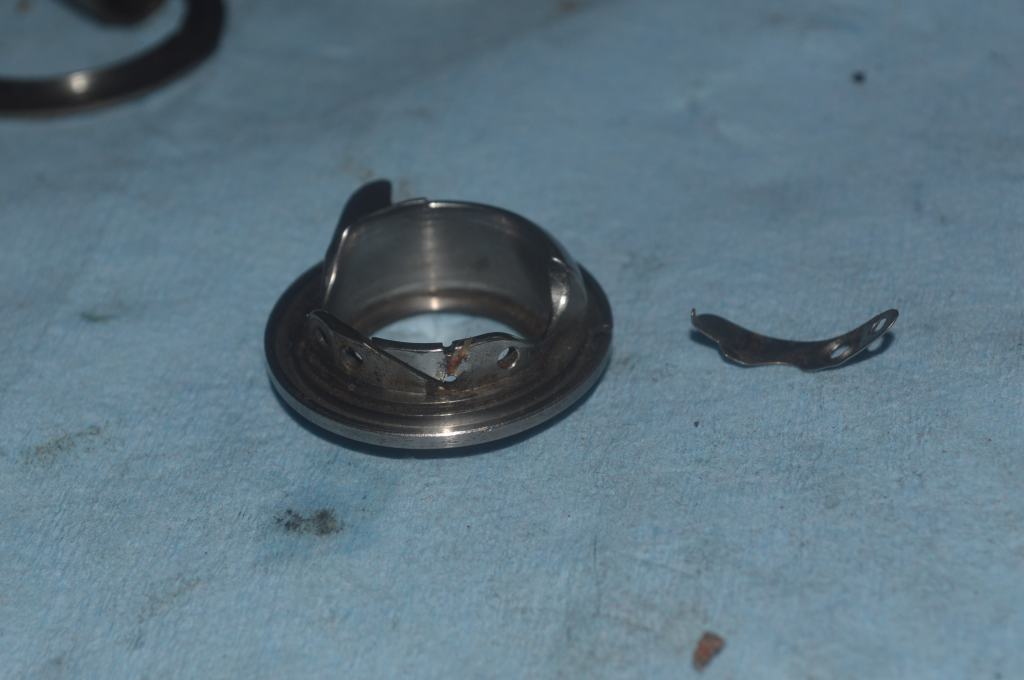
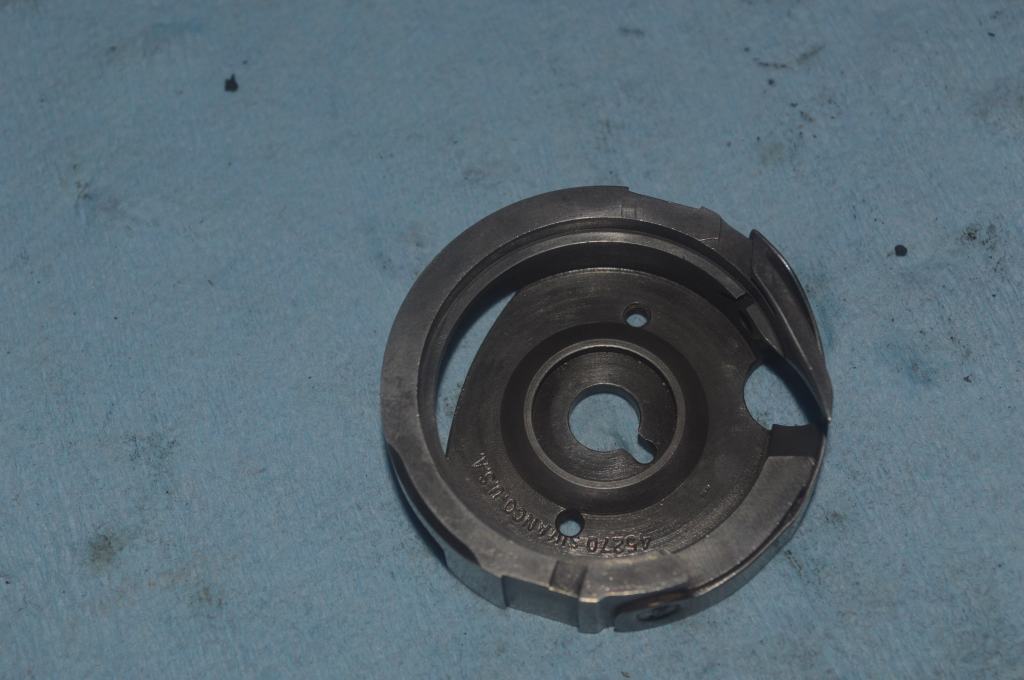
Parts like the bobbin case and the bobbin hook case need to be disassembled to remove any hidden lint or oil varnish.
First, the bobbin hook case is cleaned.

Lint found here can certainly affect performance, and cleaning all of the small slots and holes will allow the hook to operate freely and as designed.
Next, the bobbin case is cleaned.
Lint found here is in the thread path and can cause uneven bobbin thread tension.
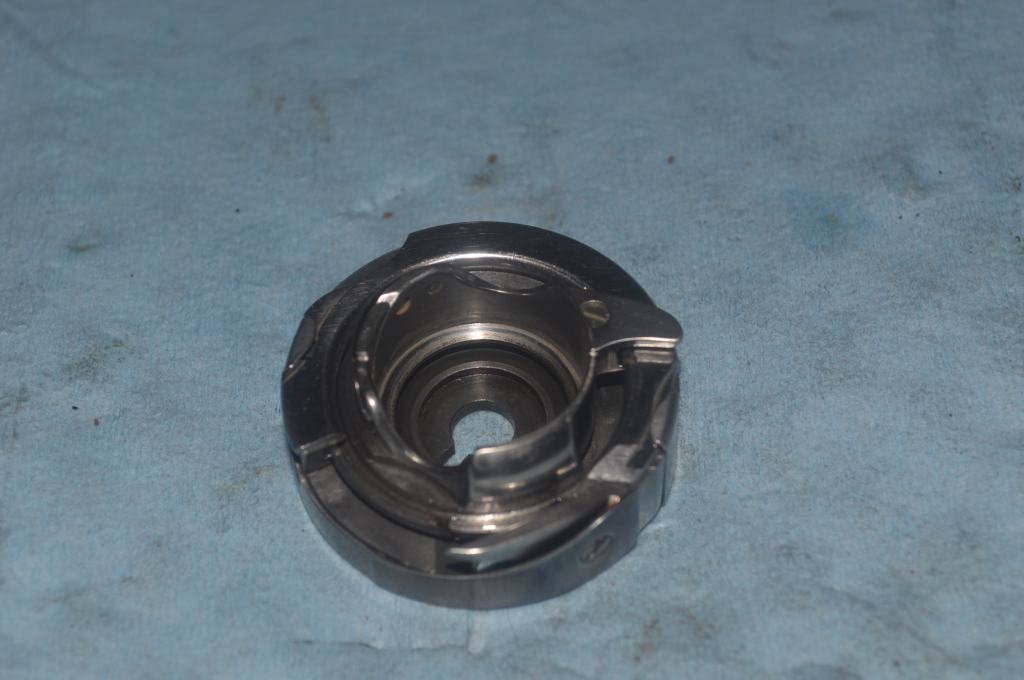
In final preparation, some of the smaller parts of the bobbin hook assembly are rounded up with smaller nickel-plated pieces and tumble polished.
After polishing, the bobbin hook race and bobbin case assembly are reassembled.

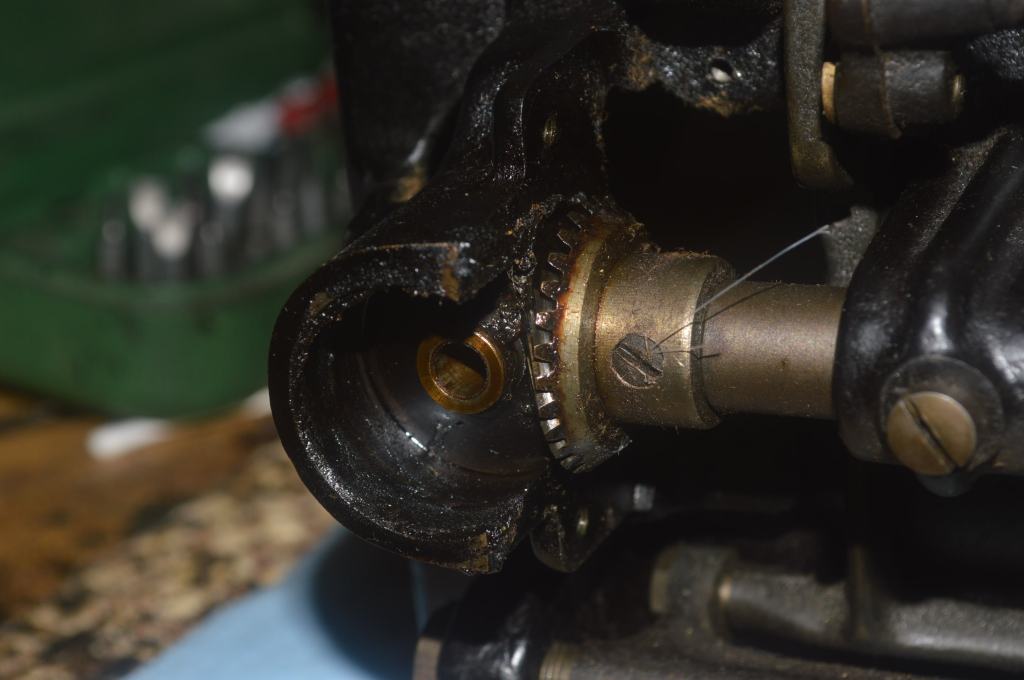
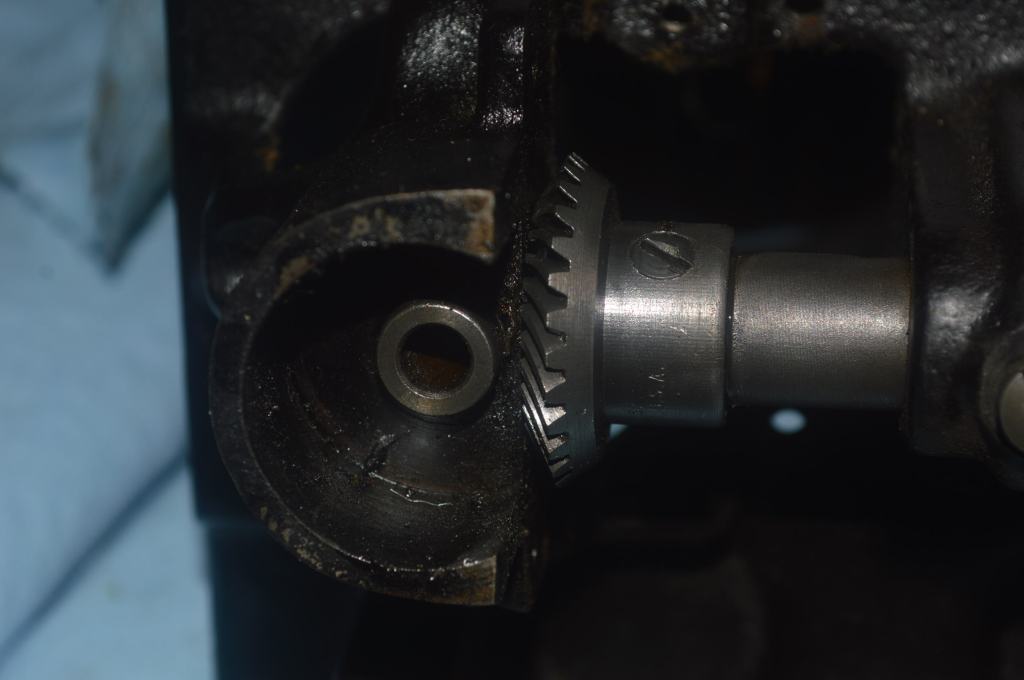
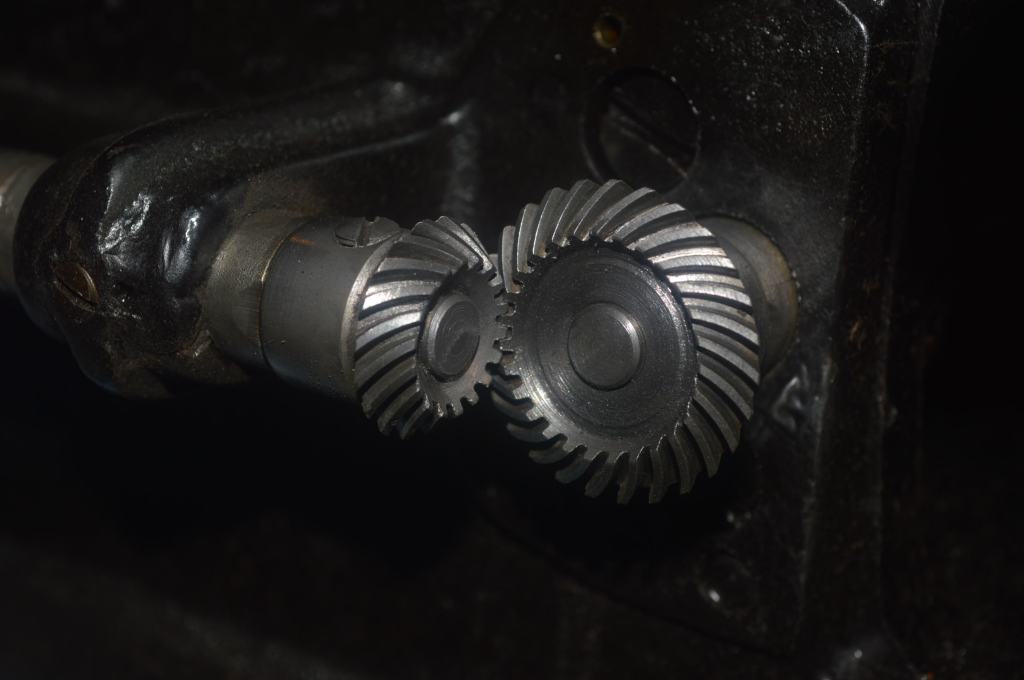
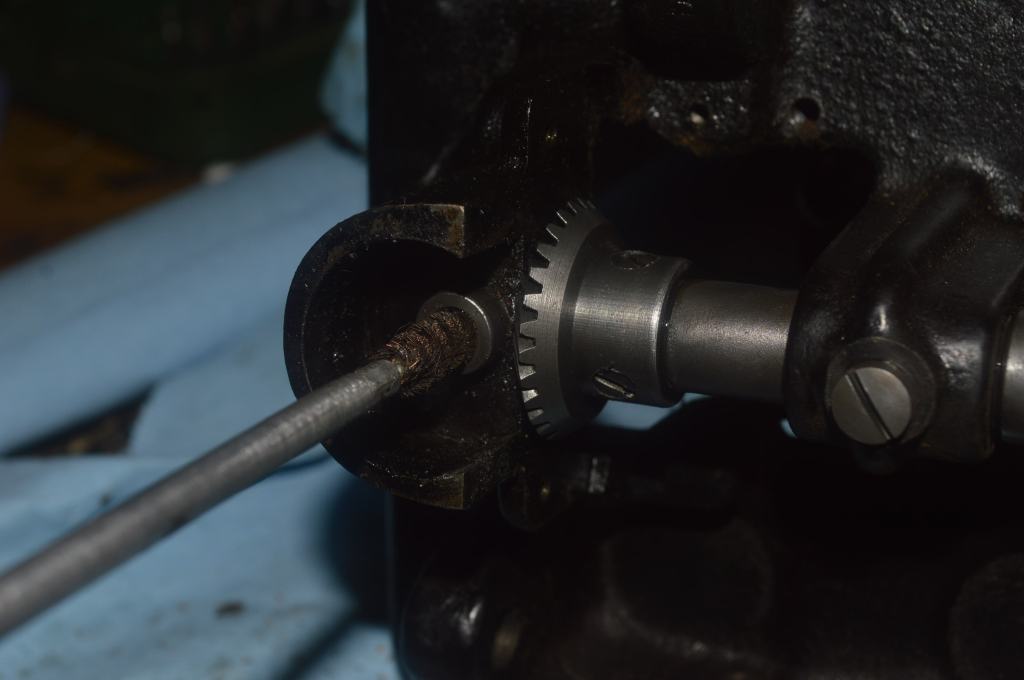
The gears and contact surface for the stitch length fork and connecting rod are cleaned of old grease and oil varnish. Next, the gears under the bed are cleaned of all grease and varnish.
The bores the needle bar and bobbin hook shaft are wire brushed to remove the oil varnish that has undoubtedly formed there.
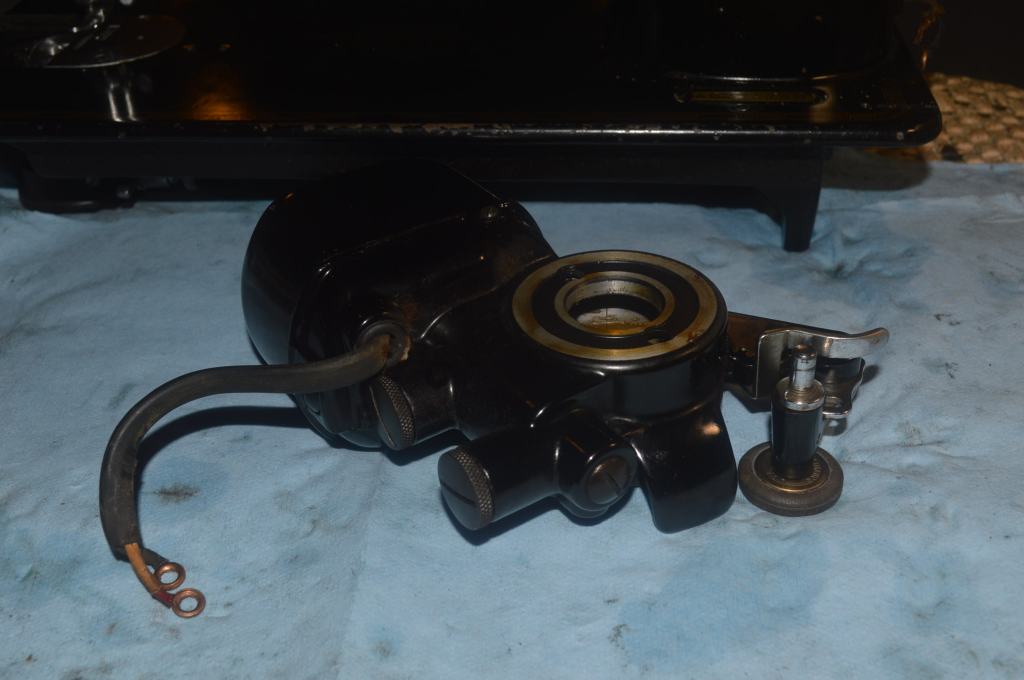
All these mechanical parts are driven by the motor, so the detailed motor restoration is a vital part of the mechanical restoration.
First, the motor is completely disassembled.
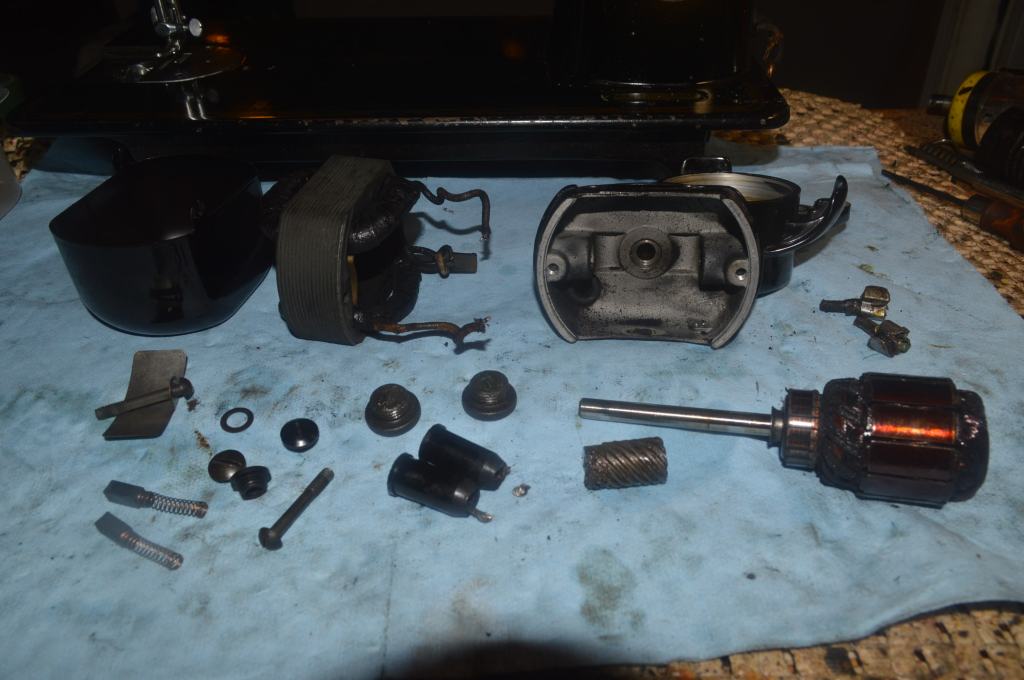
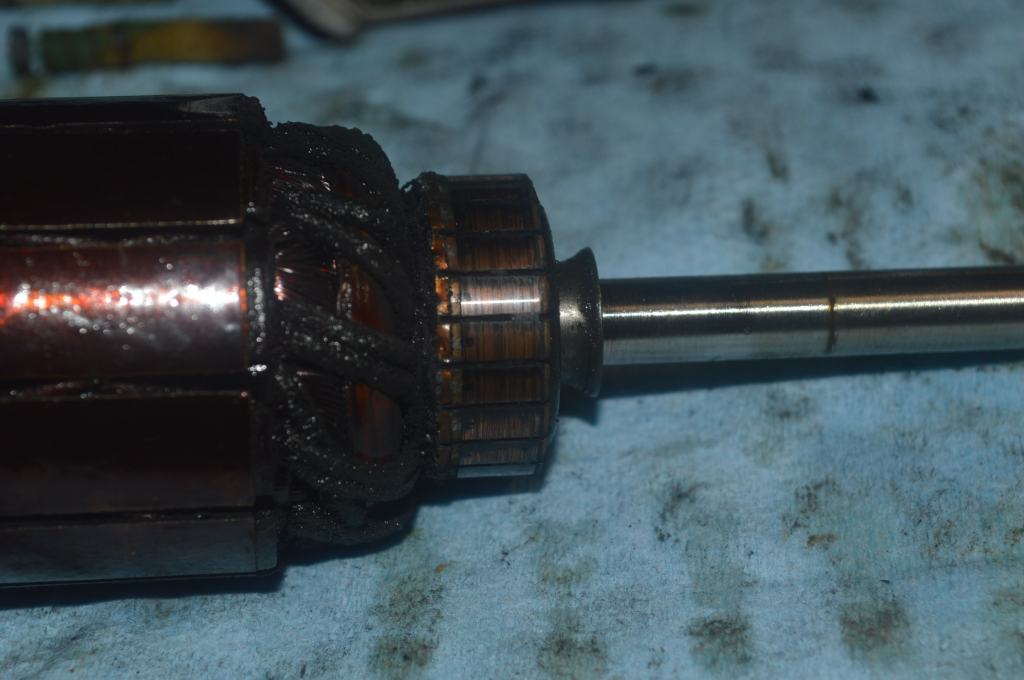
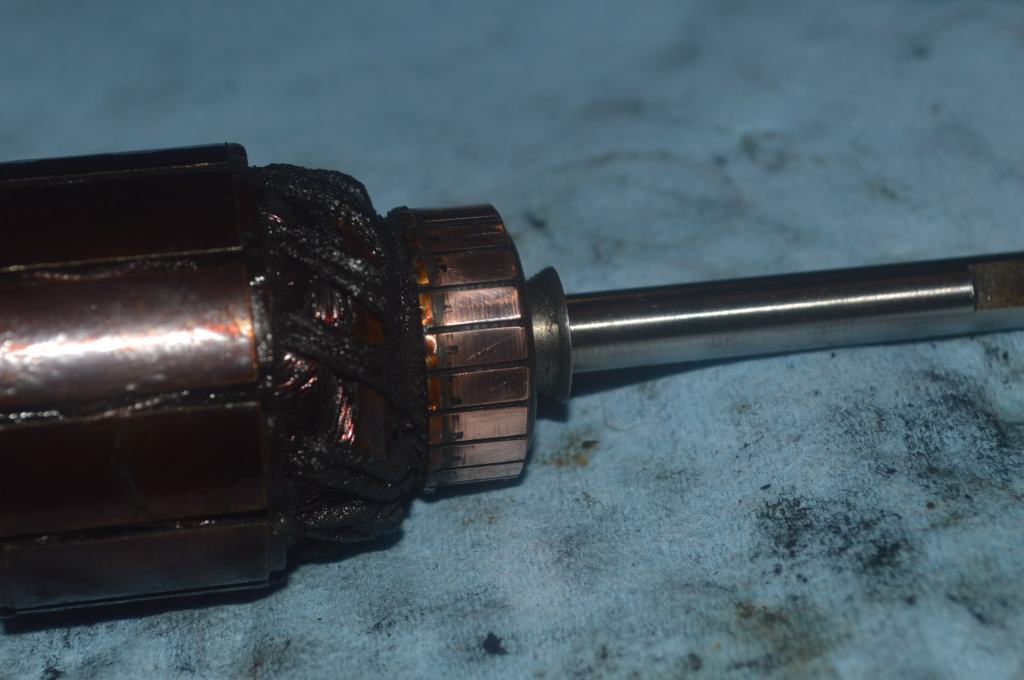
The armature shafts and the commutator are polished.
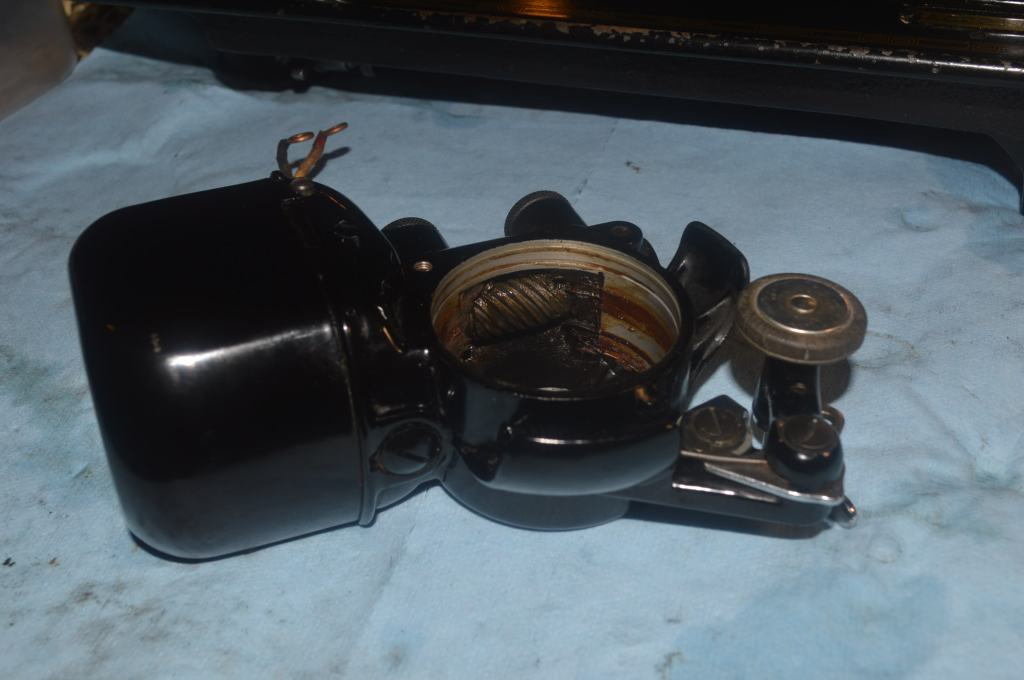
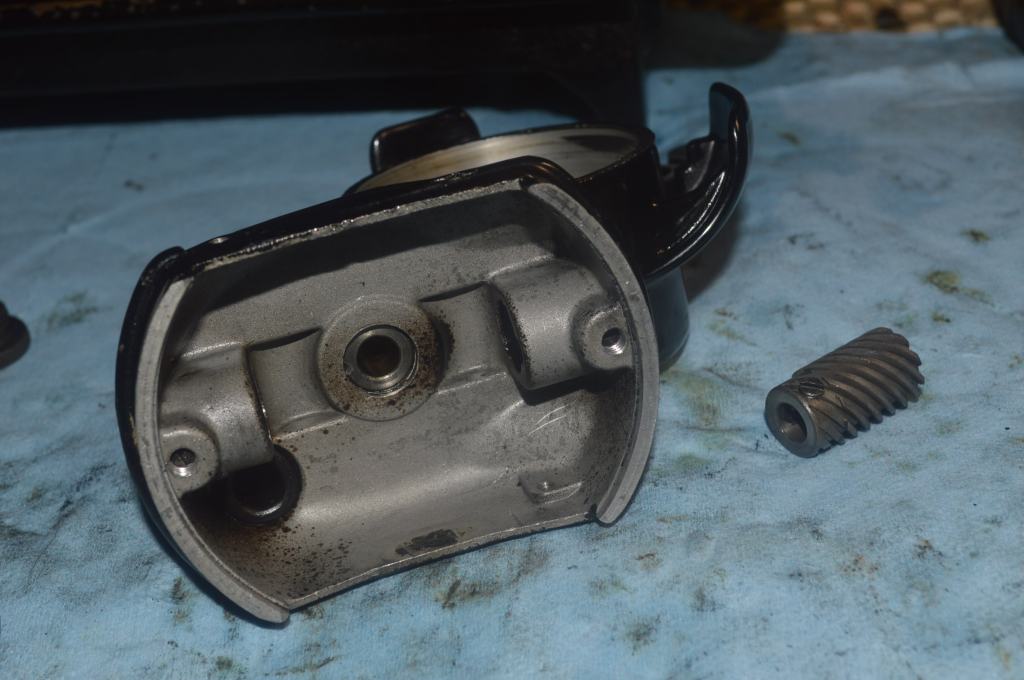
The motor case and worm gear are cleaned.
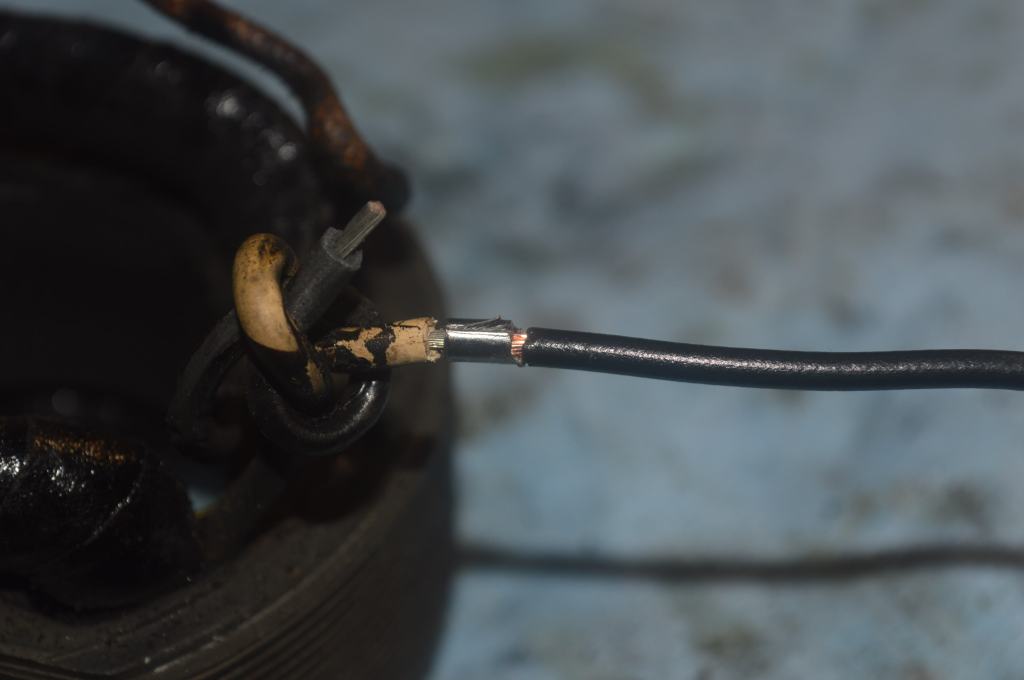
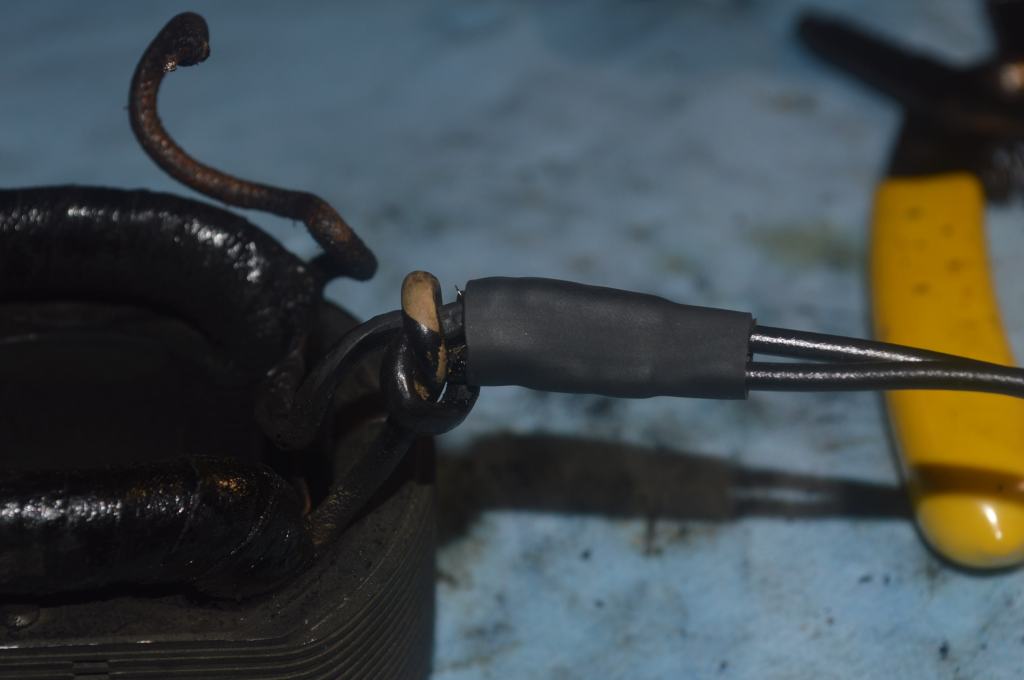
New primary wires are soldered to the field coil.
The grease wicks are cleaned and recharged with lubricant.
The motor is reassembled, new motor brushes and the grease wicks are installed, and the grease tubes are packed with lubricant.
The motor is run in for a few minutes to ensure it is running smoothly and delivering the speed and power expected. The actual performance won’t be known until the machine is assembled and adjusted. It will then be checked for speed. The 201 is rated for 1100 stitches per minute and is quite fast.
The bobbin winder is incorporated in the motor housing, so it was disassembled and cleaned separately. The bobbin winder “thumb” and everything shiny is polished. Then everything is reassembled. The old, cracked bobbin winder tire is replaced.
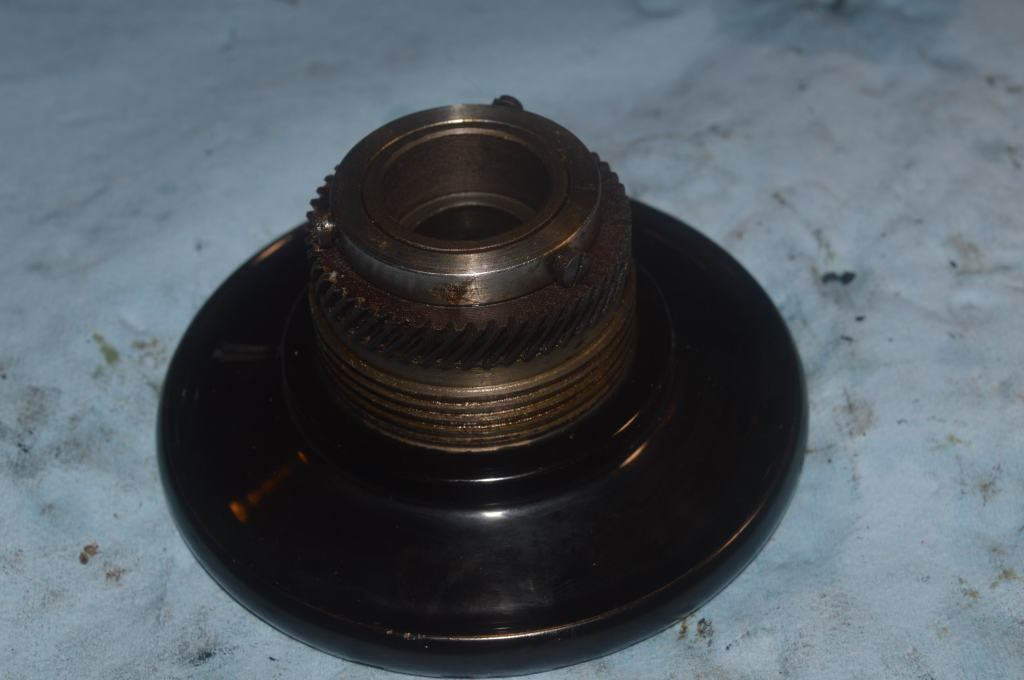
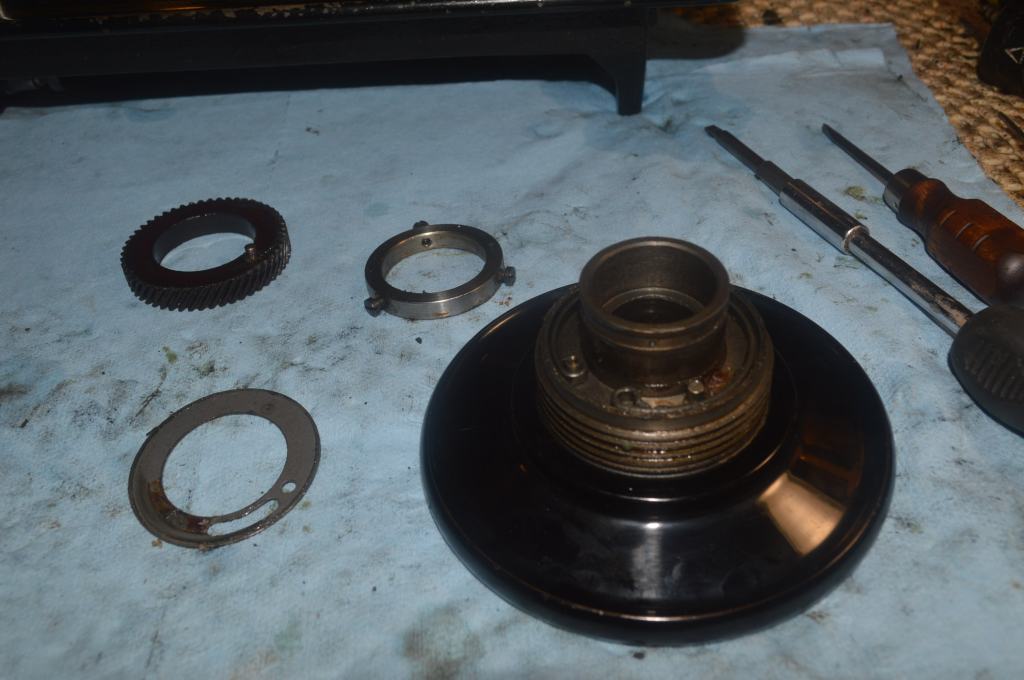
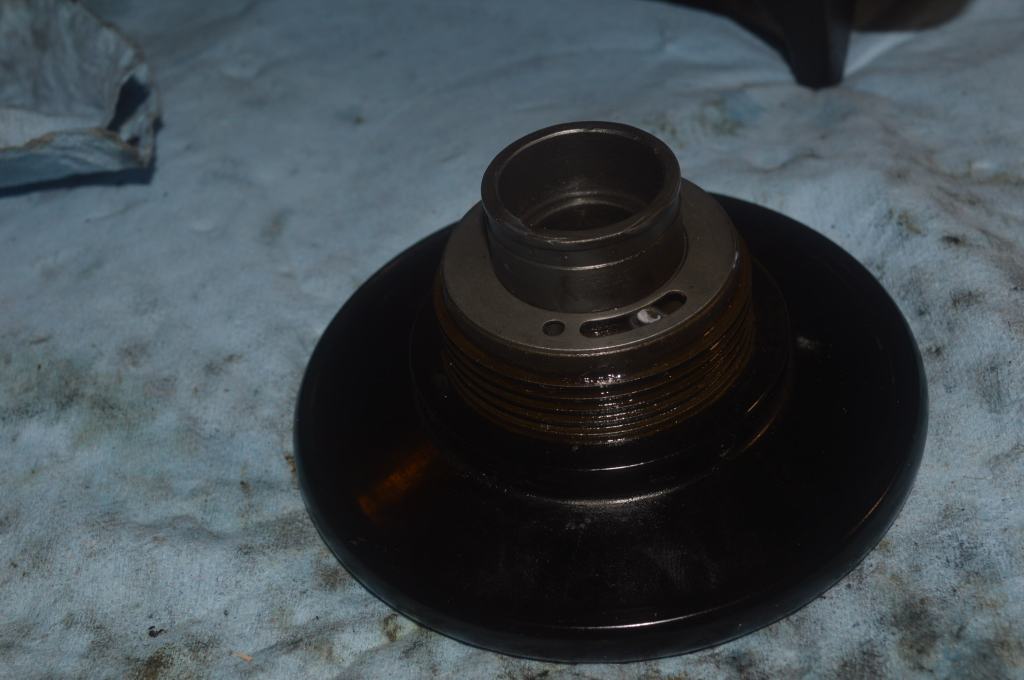
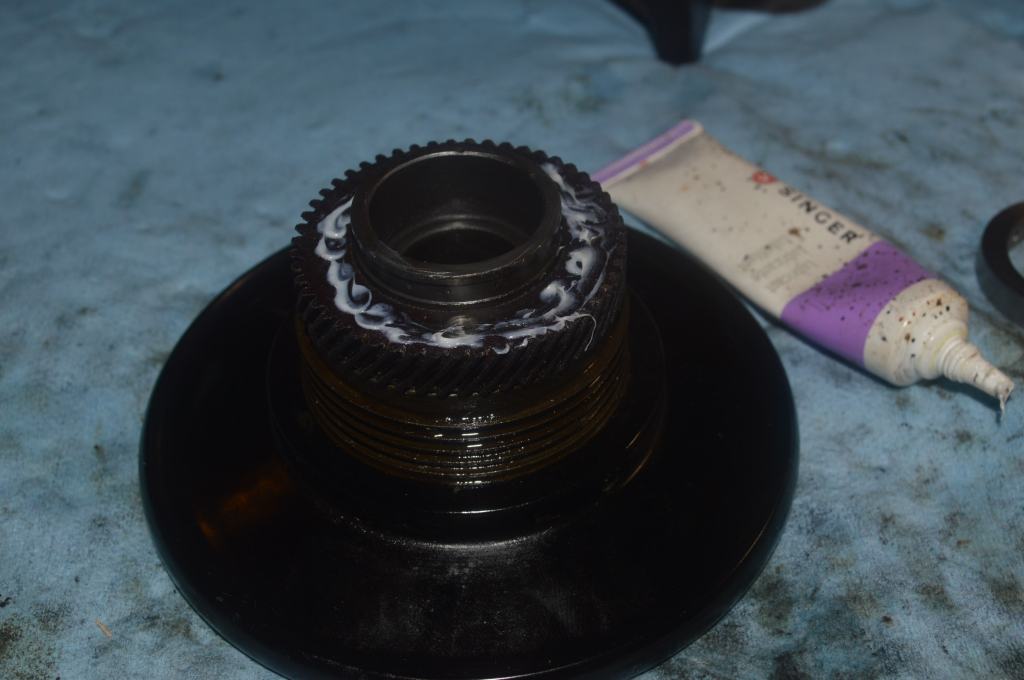
Next, the balance wheel is disassembled and all of the internal parts are cleaned.
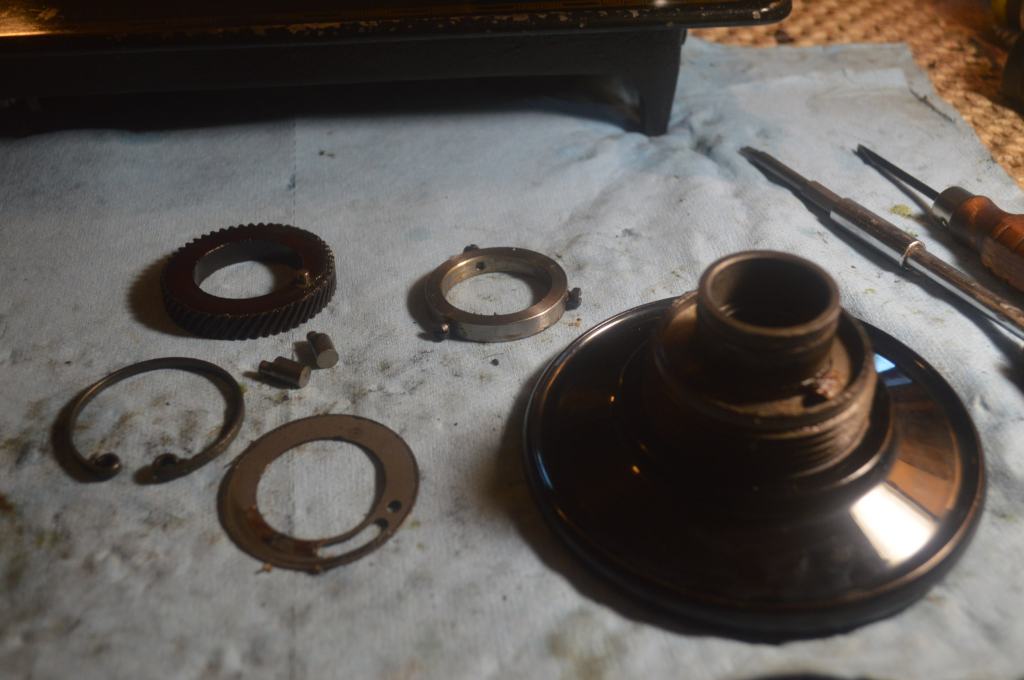
Because the chips on the balance wheel are numerous and deep, they can’t be paint matched and not be noticeable. A replacement balance wheel free of chips is used instead. The donor balance wheel is used in the reassembly.
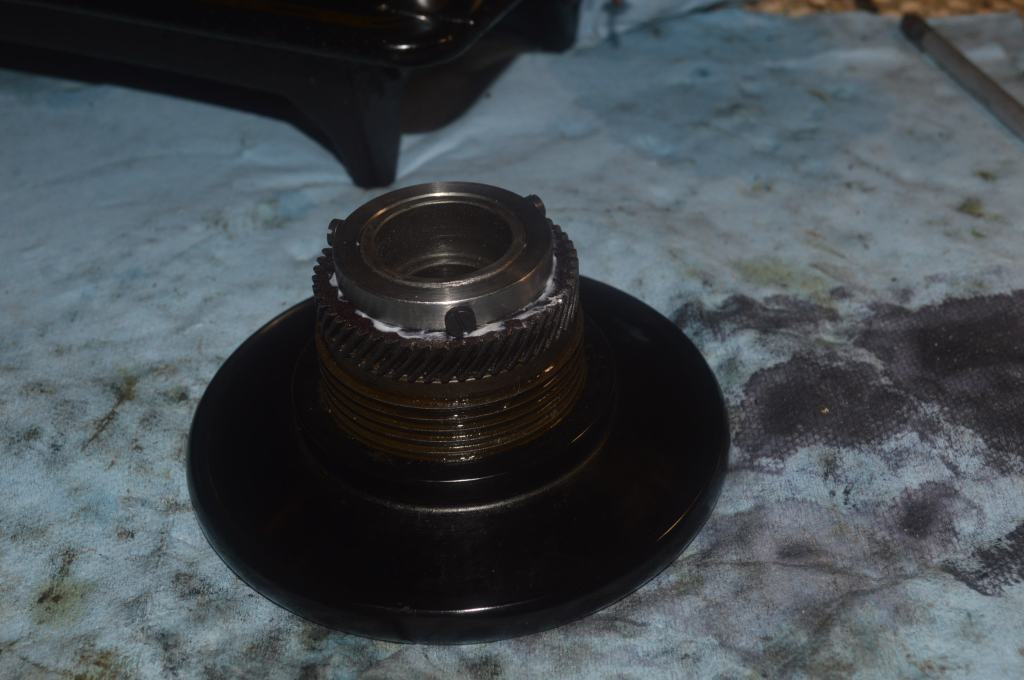
The balance wheel is ready to be put on the machine.
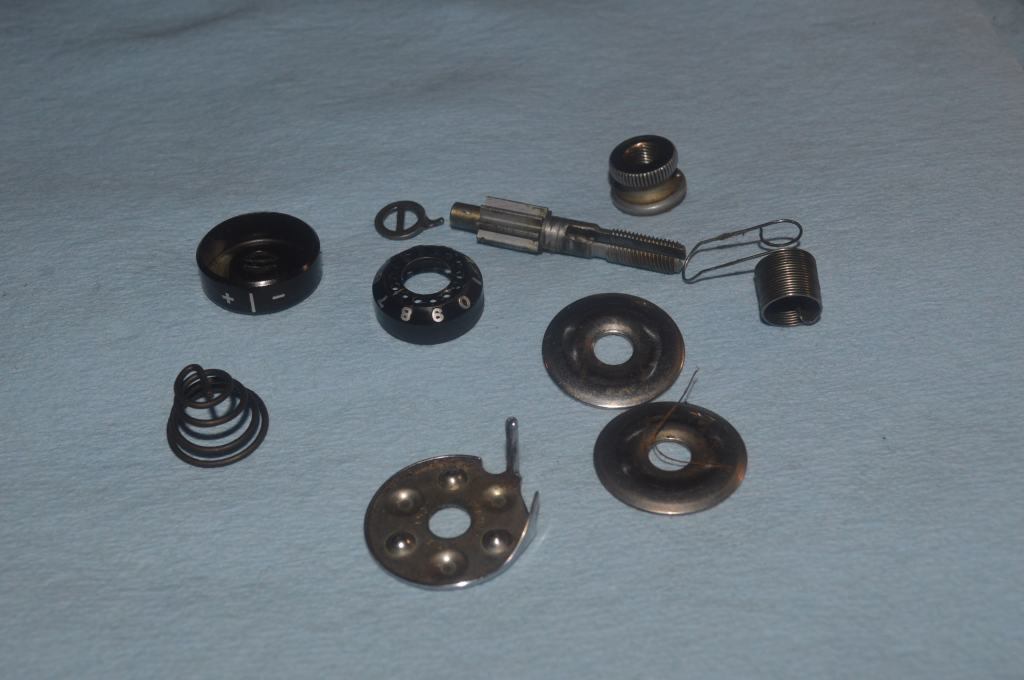
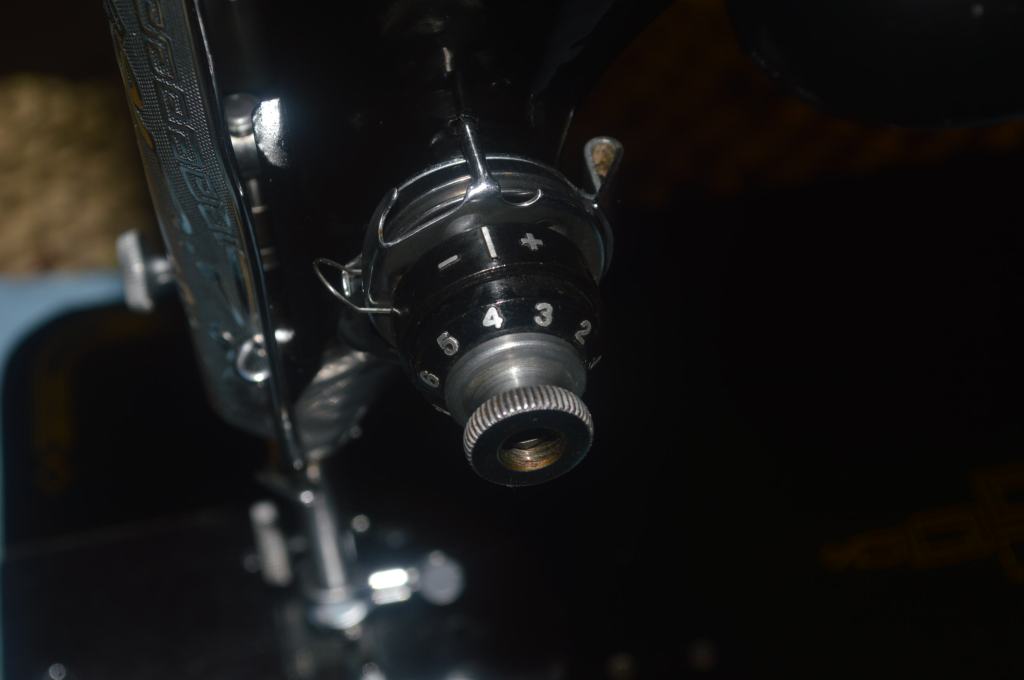
Next, the top tension mechanism is disassembled and cleaned.
That finishes the mechanical part of the restoration.
Next, the paint chips are addressed. They are painted with custom mixed ebony black paint.
The machine is deep cleaned and paint chips on the bed are addressed.

There are a few very small paint chips on the sewing machine body. A sample is shown and they are fixed where they are found.
The small repairs will all but disappear from view when the body of the machine is glaze polished.
The front cover, side cover, bobbin slide plat, needle plate, and the stop motion knob are rouge polished on a 6″ buffing wheel and everything is ready for the final assembly. The camera has a hard time with very shiny surfaces, so the results will be shown in the final pictures.
There is one little cosmetic detail that bothers me… The decals on Lola’s sewing arm are in fantastic condition except for one little chip on top of the sewing arm.
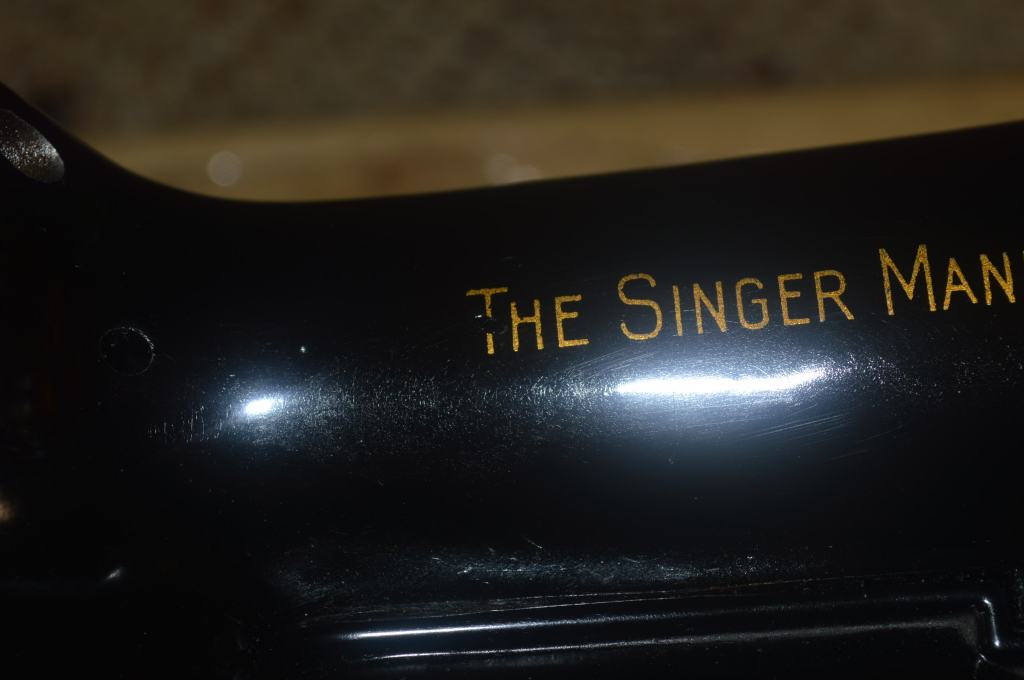
Decal restoration is not normally part of a mechanical restoration, but I am going to fix it. The first step is to mix a gold color to match the decals on the machine. Several gold color paints are mixed on a piece of cellophane on the machine bed to get a comparison.
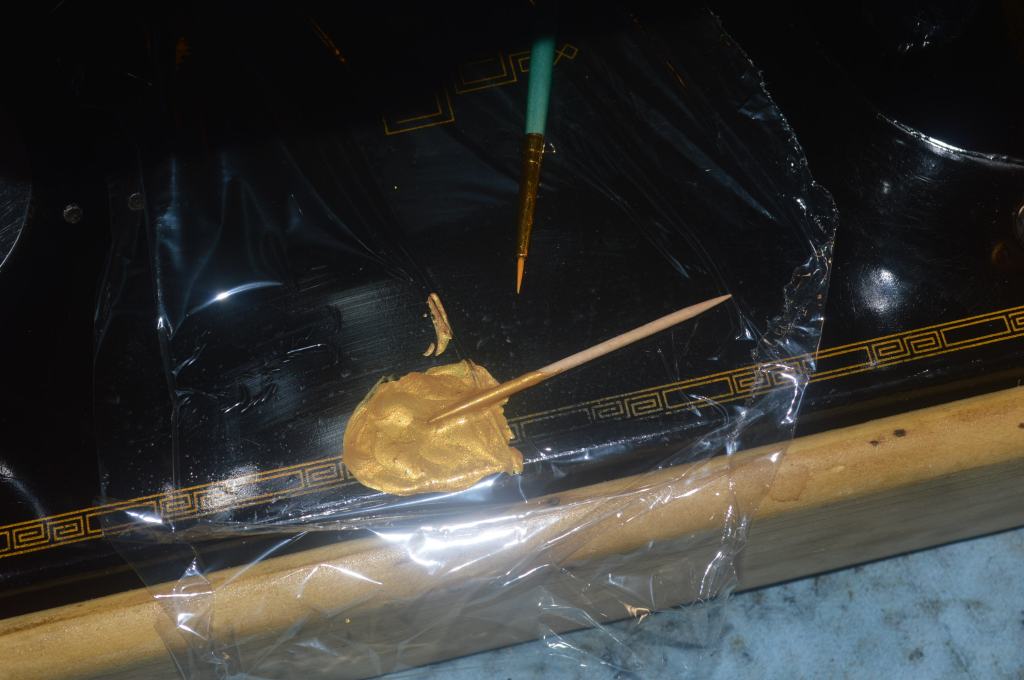
Then the decal chip is corrected using a fine tip artist brush.

It’s a little detail, but I think it makes a difference.
Now, the machine is reassembled.

Lola is glaze polished and is ready for final adjustments. The hook timing, needle depth, and feed dog clearances are set. Sewing is the only way to adjust the top and bottom tensions for a balanced stitch, so trial and error is the only way. It’s time consuming, but worth the effort. From here on out, only minor tension adjustments will be required to match the thread to the fabric for any given project.
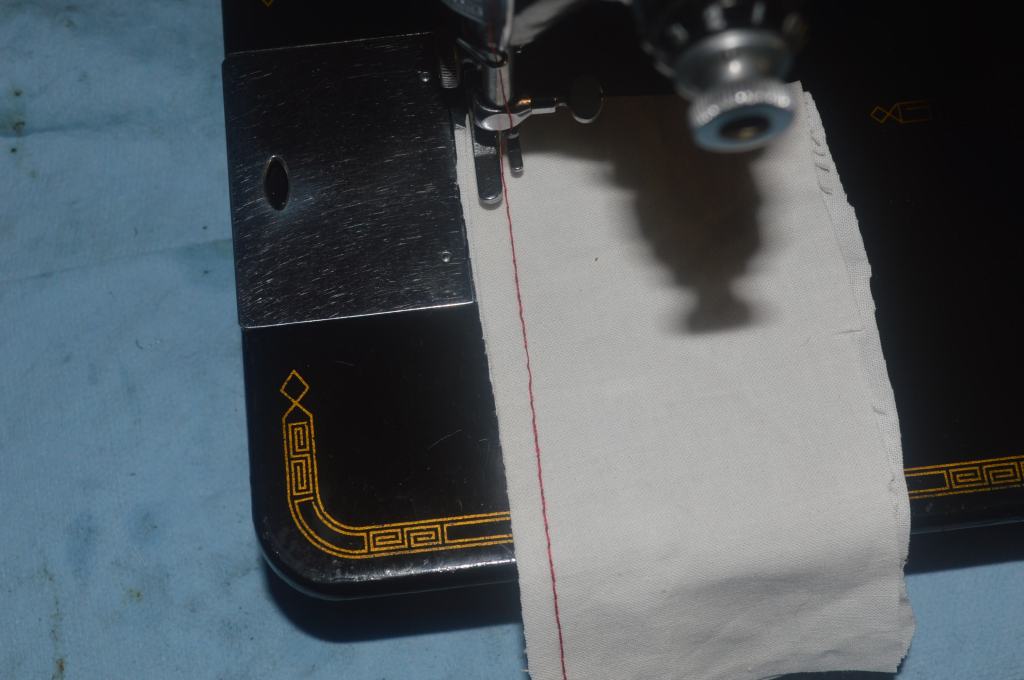
Finally, with the final adjustments made, Lola’s restoration is complete. So, how many stitches per minute will Lola sew per minute? Using a digital tachometer, I measure the speed of the needle clamp going up and down.
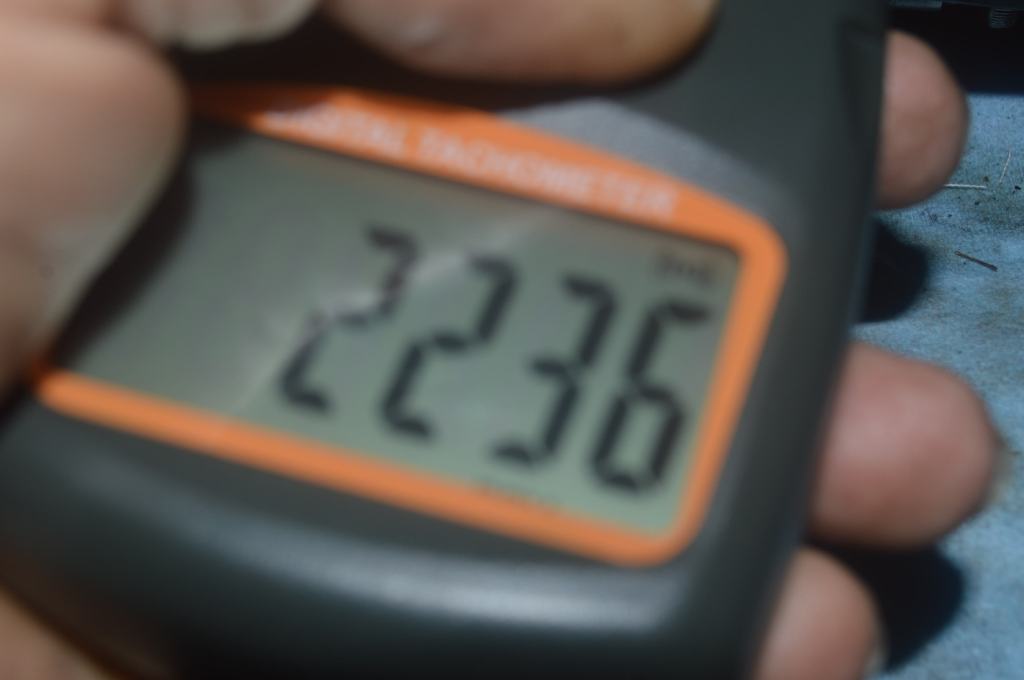
Because the tach measures the clamp both ways, dividing the number by two gives the stitches per minute Lola is sewing. That comes out to 1118 SPM… the machine is rated for 1100 spm so this is a great outcome.
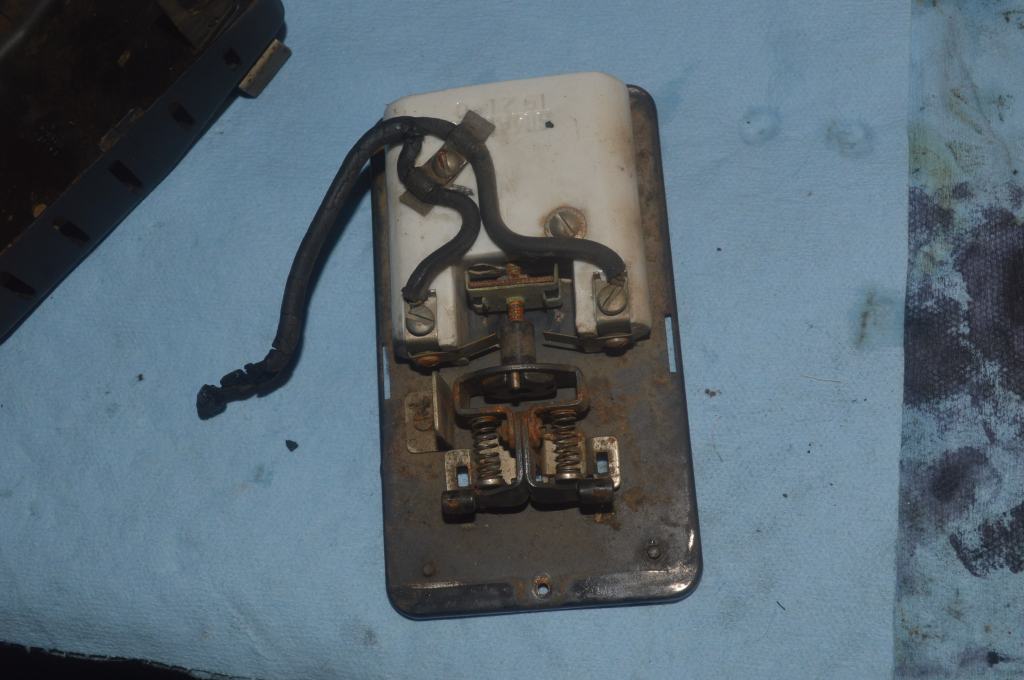
The customer had some questions about the suitability of the original foot controller. It’s impossible to determine if the controller will work properly before it is restored, so that is the next step. I have my suspicion that it isn’t the original controller. because this style was typically found on model 66’s, but there is nothing wrong with the style.
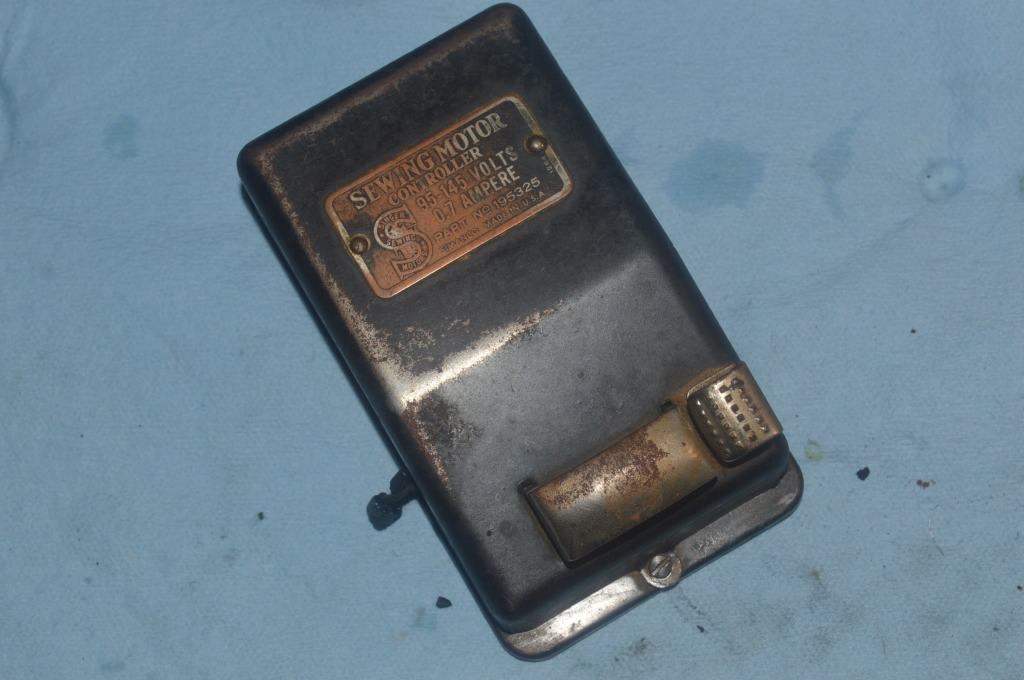
The foot controller was disassembled, cleaned and calibrated.
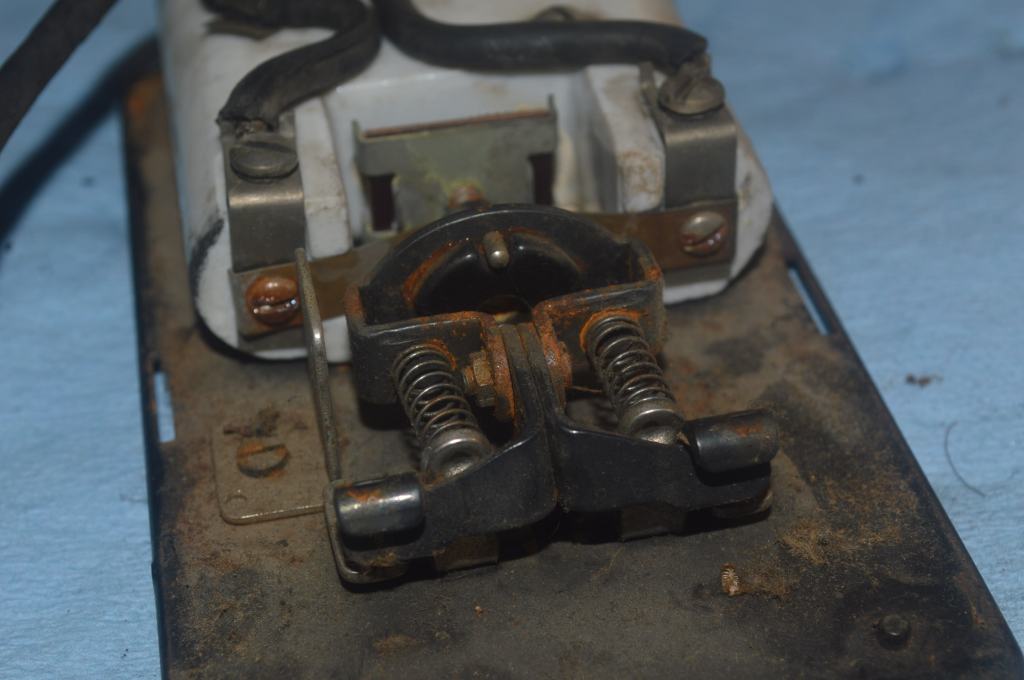
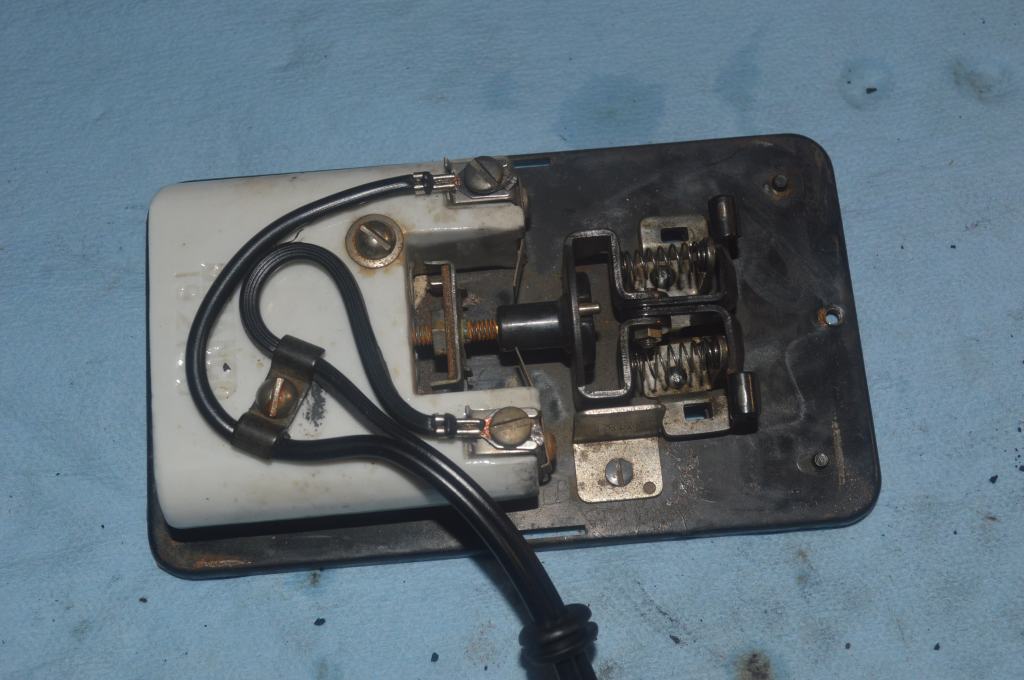
Unfortunately, it proved to have poor speed control and is unsuitable for Lola. It has good slow speed control, but at about 3/4 speed, it goes wide open.
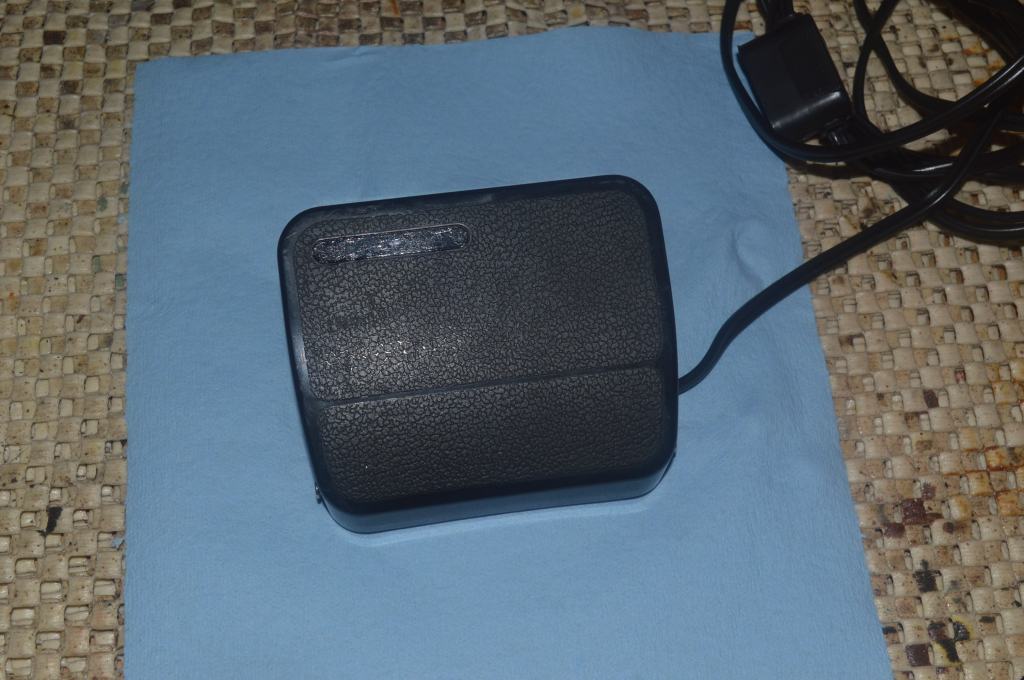
A Kenmore carbon pile paddle controller was chosen as a replacement. Brand loyalty aside… for a paddle controller, I think Kenmore controllers are a great alternative, they are carbon pile controllers rated at 1.2 amps and provide great speed control. A new dual lead power cord completes the ensemble.
Everything is coming together now. Lola is ready to sew. The customer also asked me to build a custom base for Lola to sit in. She chose a red oak stain, and the rich color accentuates Lola’s deep black color and beautiful gold decals. So, let’s see how Lola looks after her restoration…
Looking at Lola now, it is rewarding for me knowing that she looks great and is restored to as near new condition as I can make her. I know that she will continue to sew reliably for the next succession of generations and will be cherished and appreciated for years to come!
Well, I hope you like what you see and enjoyed the restoration process as much as I did… Lola is a beautiful 201 and runs beautifully as well. Like I always say, some sewing machines need more, some need less, but they all get what they need, and now I can look forward to the next restoration!
Looking for a similarly restored quality vintage all metal sewing machine for your sewing room? Let us know! We specialize in custom orders and are happy to locate and restore the “perfect” machine for you!
As always, if you have any questions, or if I can be of any assistance, please contact me through Etsy or send me an email to Pungoliving@gmail.com.
Thanks for reading!
Lee

I have a 201 that came with a foot controller like Lola’s. It had been retired so was it original? Who knows?
LikeLike
Hello Anette,
You said it right… who knows? Machines like the 201 have been around a long time and no doubt noodled with. In 70+ years all of them have been in one way or another. 201’s are great machines and worthy of their reputation. the 201 original configuration had a Singer toe “button controller”.
Thanks for the comment!
Lee
LikeLike
Squeeee! Lola is my lovely girl! I’m going to have to wait until the weekend to go get her. I CAN NOT WAIT! She looks lovely and is apparently sewing like a well tuned machine. I can’t wait to compare her sewing to Charlotte – her 69 year old younger sister (who hasn’t undergone a restoration). I plan to send Charlotte up next spring for her “tune up/facelift”. Lee is an absolute wonder with these lovely ladies.
LikeLike
All I can say is, It is beautiful, Always thrilled to see another wonderful machine restored, Thanks for showing this Lee, take care, Charlotte (Noticed Lola’s owner called her other machine Charlotte *: )
LikeLike
Thank you for your kind words. It is rewarding to me and every machine I restore is an attempt to return it to like new performance. Vintage Singer sewing machines are made to last, and they attain heirloom status. The time it takes to restore them is enjoyable and time well spent!
LikeLike
Hi Lee, I noticed in several of your restoration post it appears like the shiny parts are copper colored following polish tumbling. Does this actually occur or is it a photo artifact?
If the parts to turn copper colored during tumble polish how do you restore the shiny chrome look to the parts?
LikeLike