


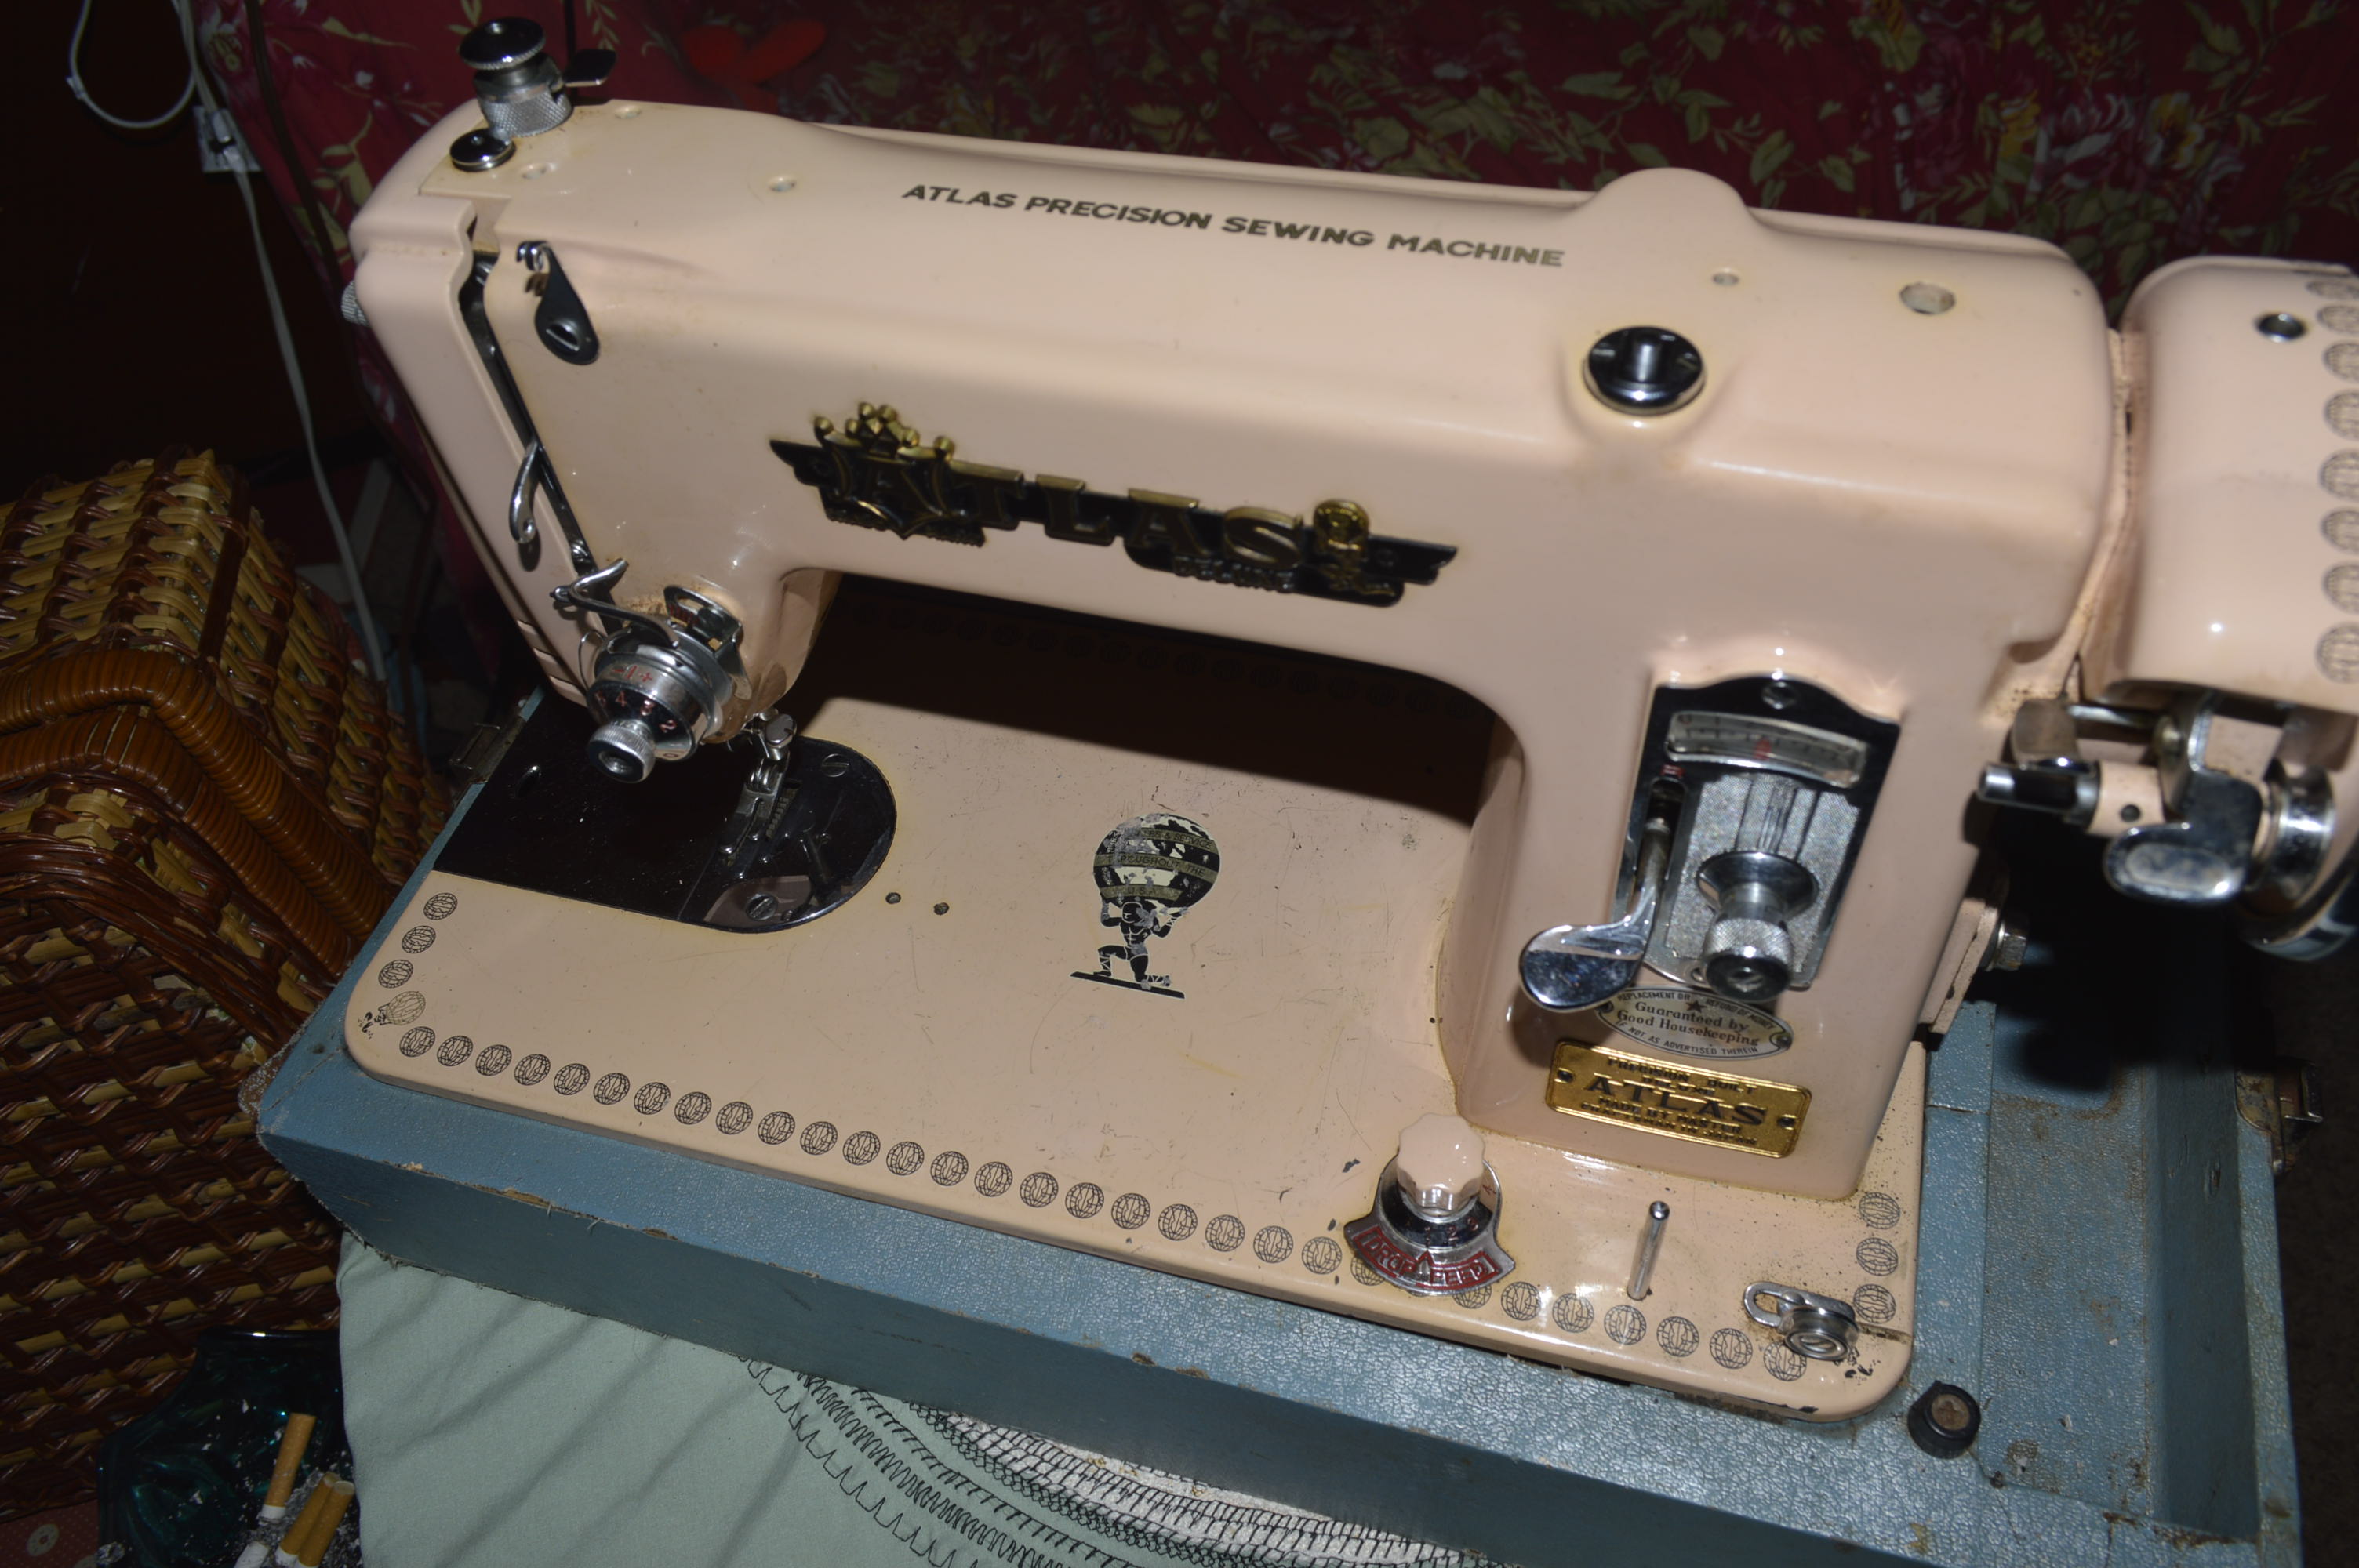
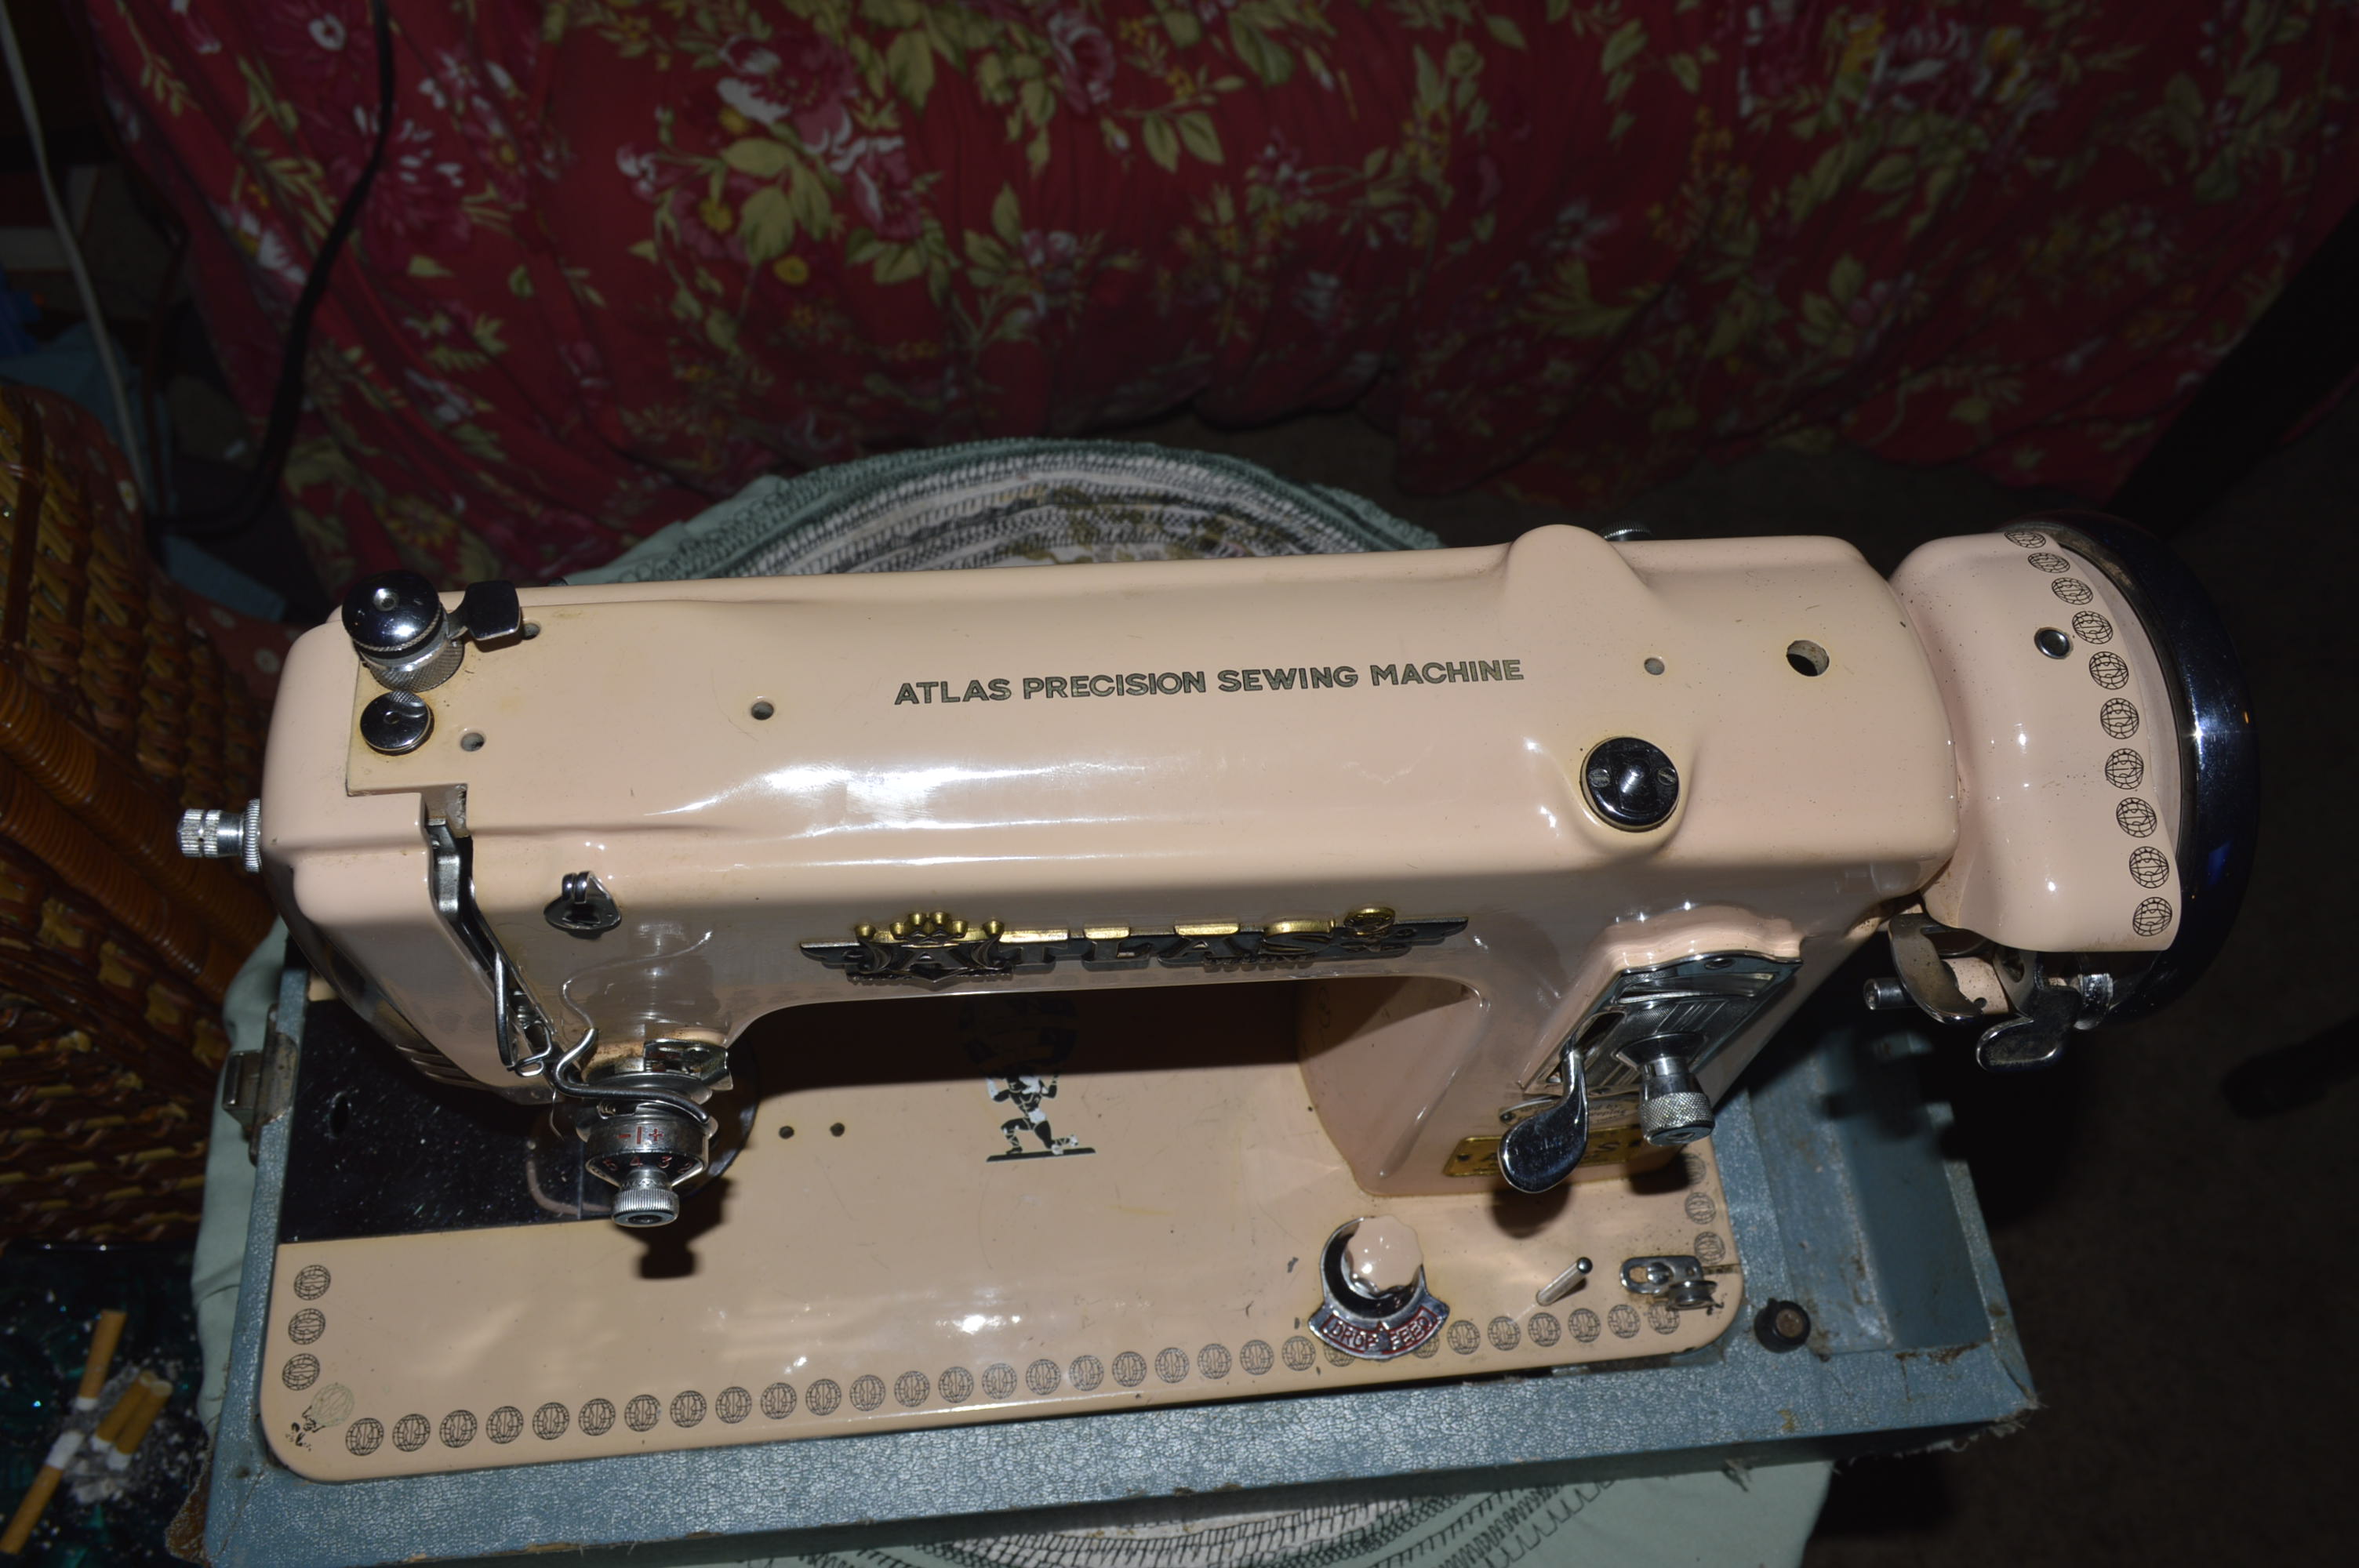
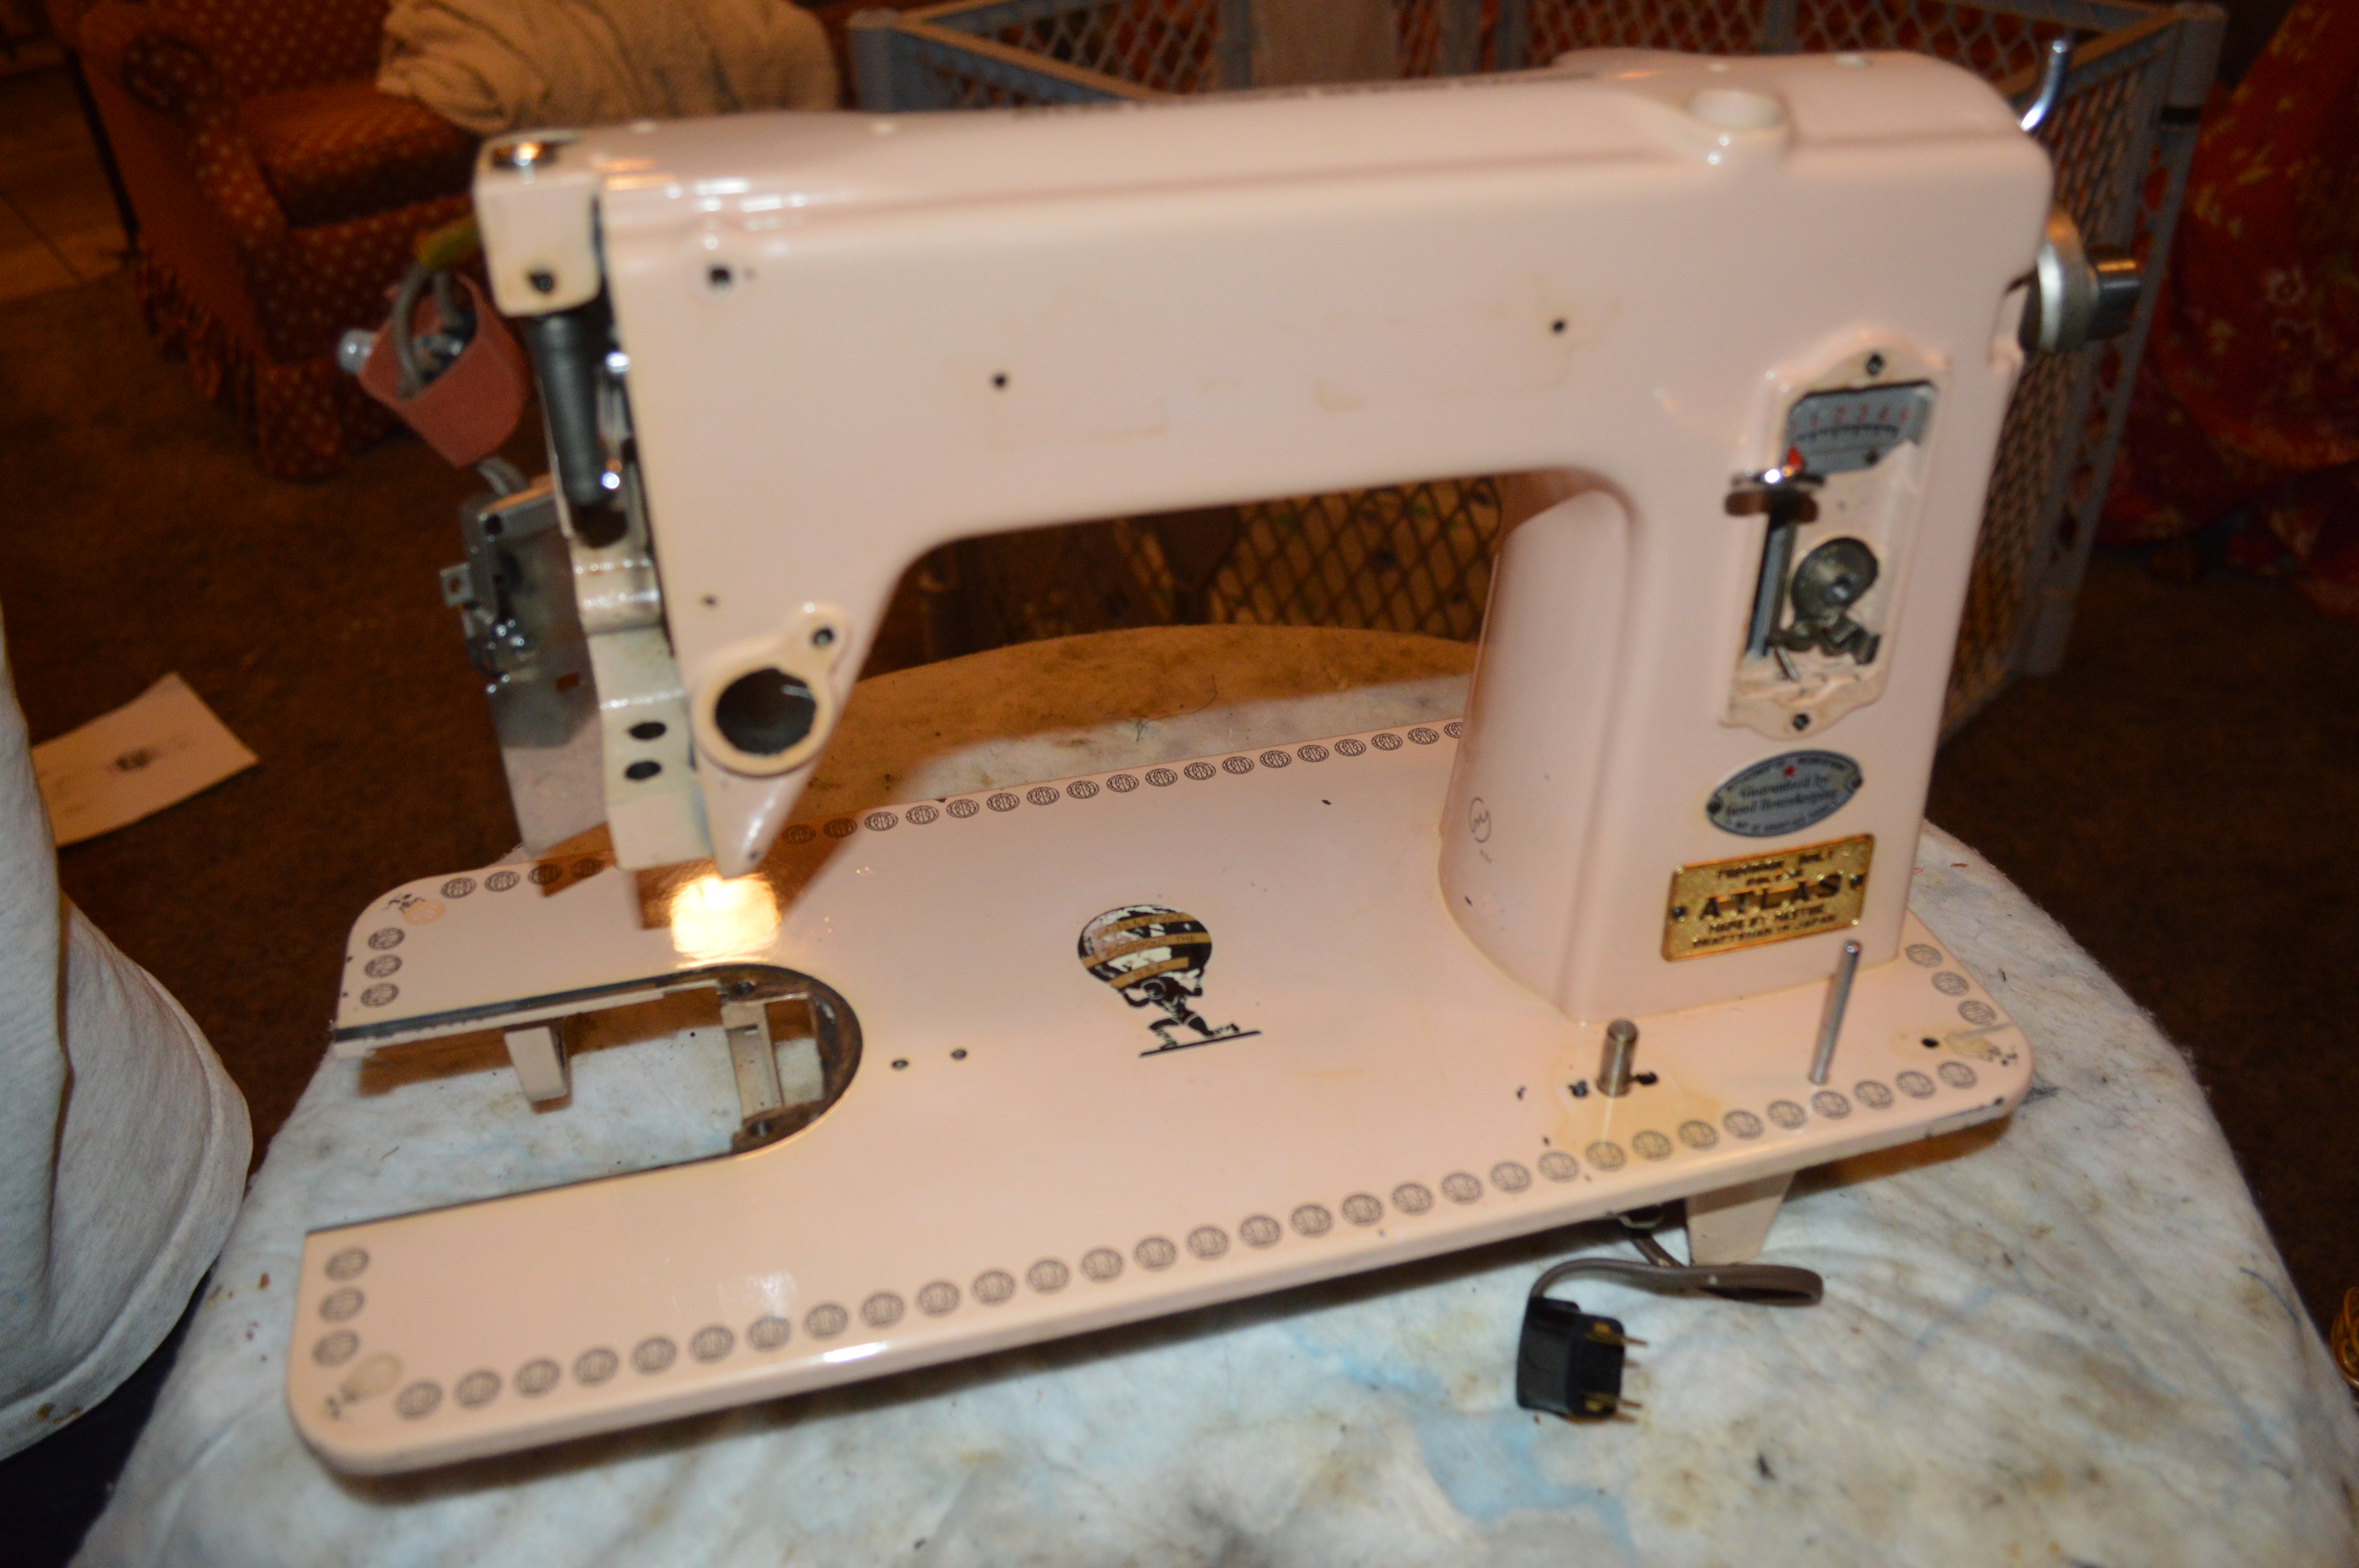
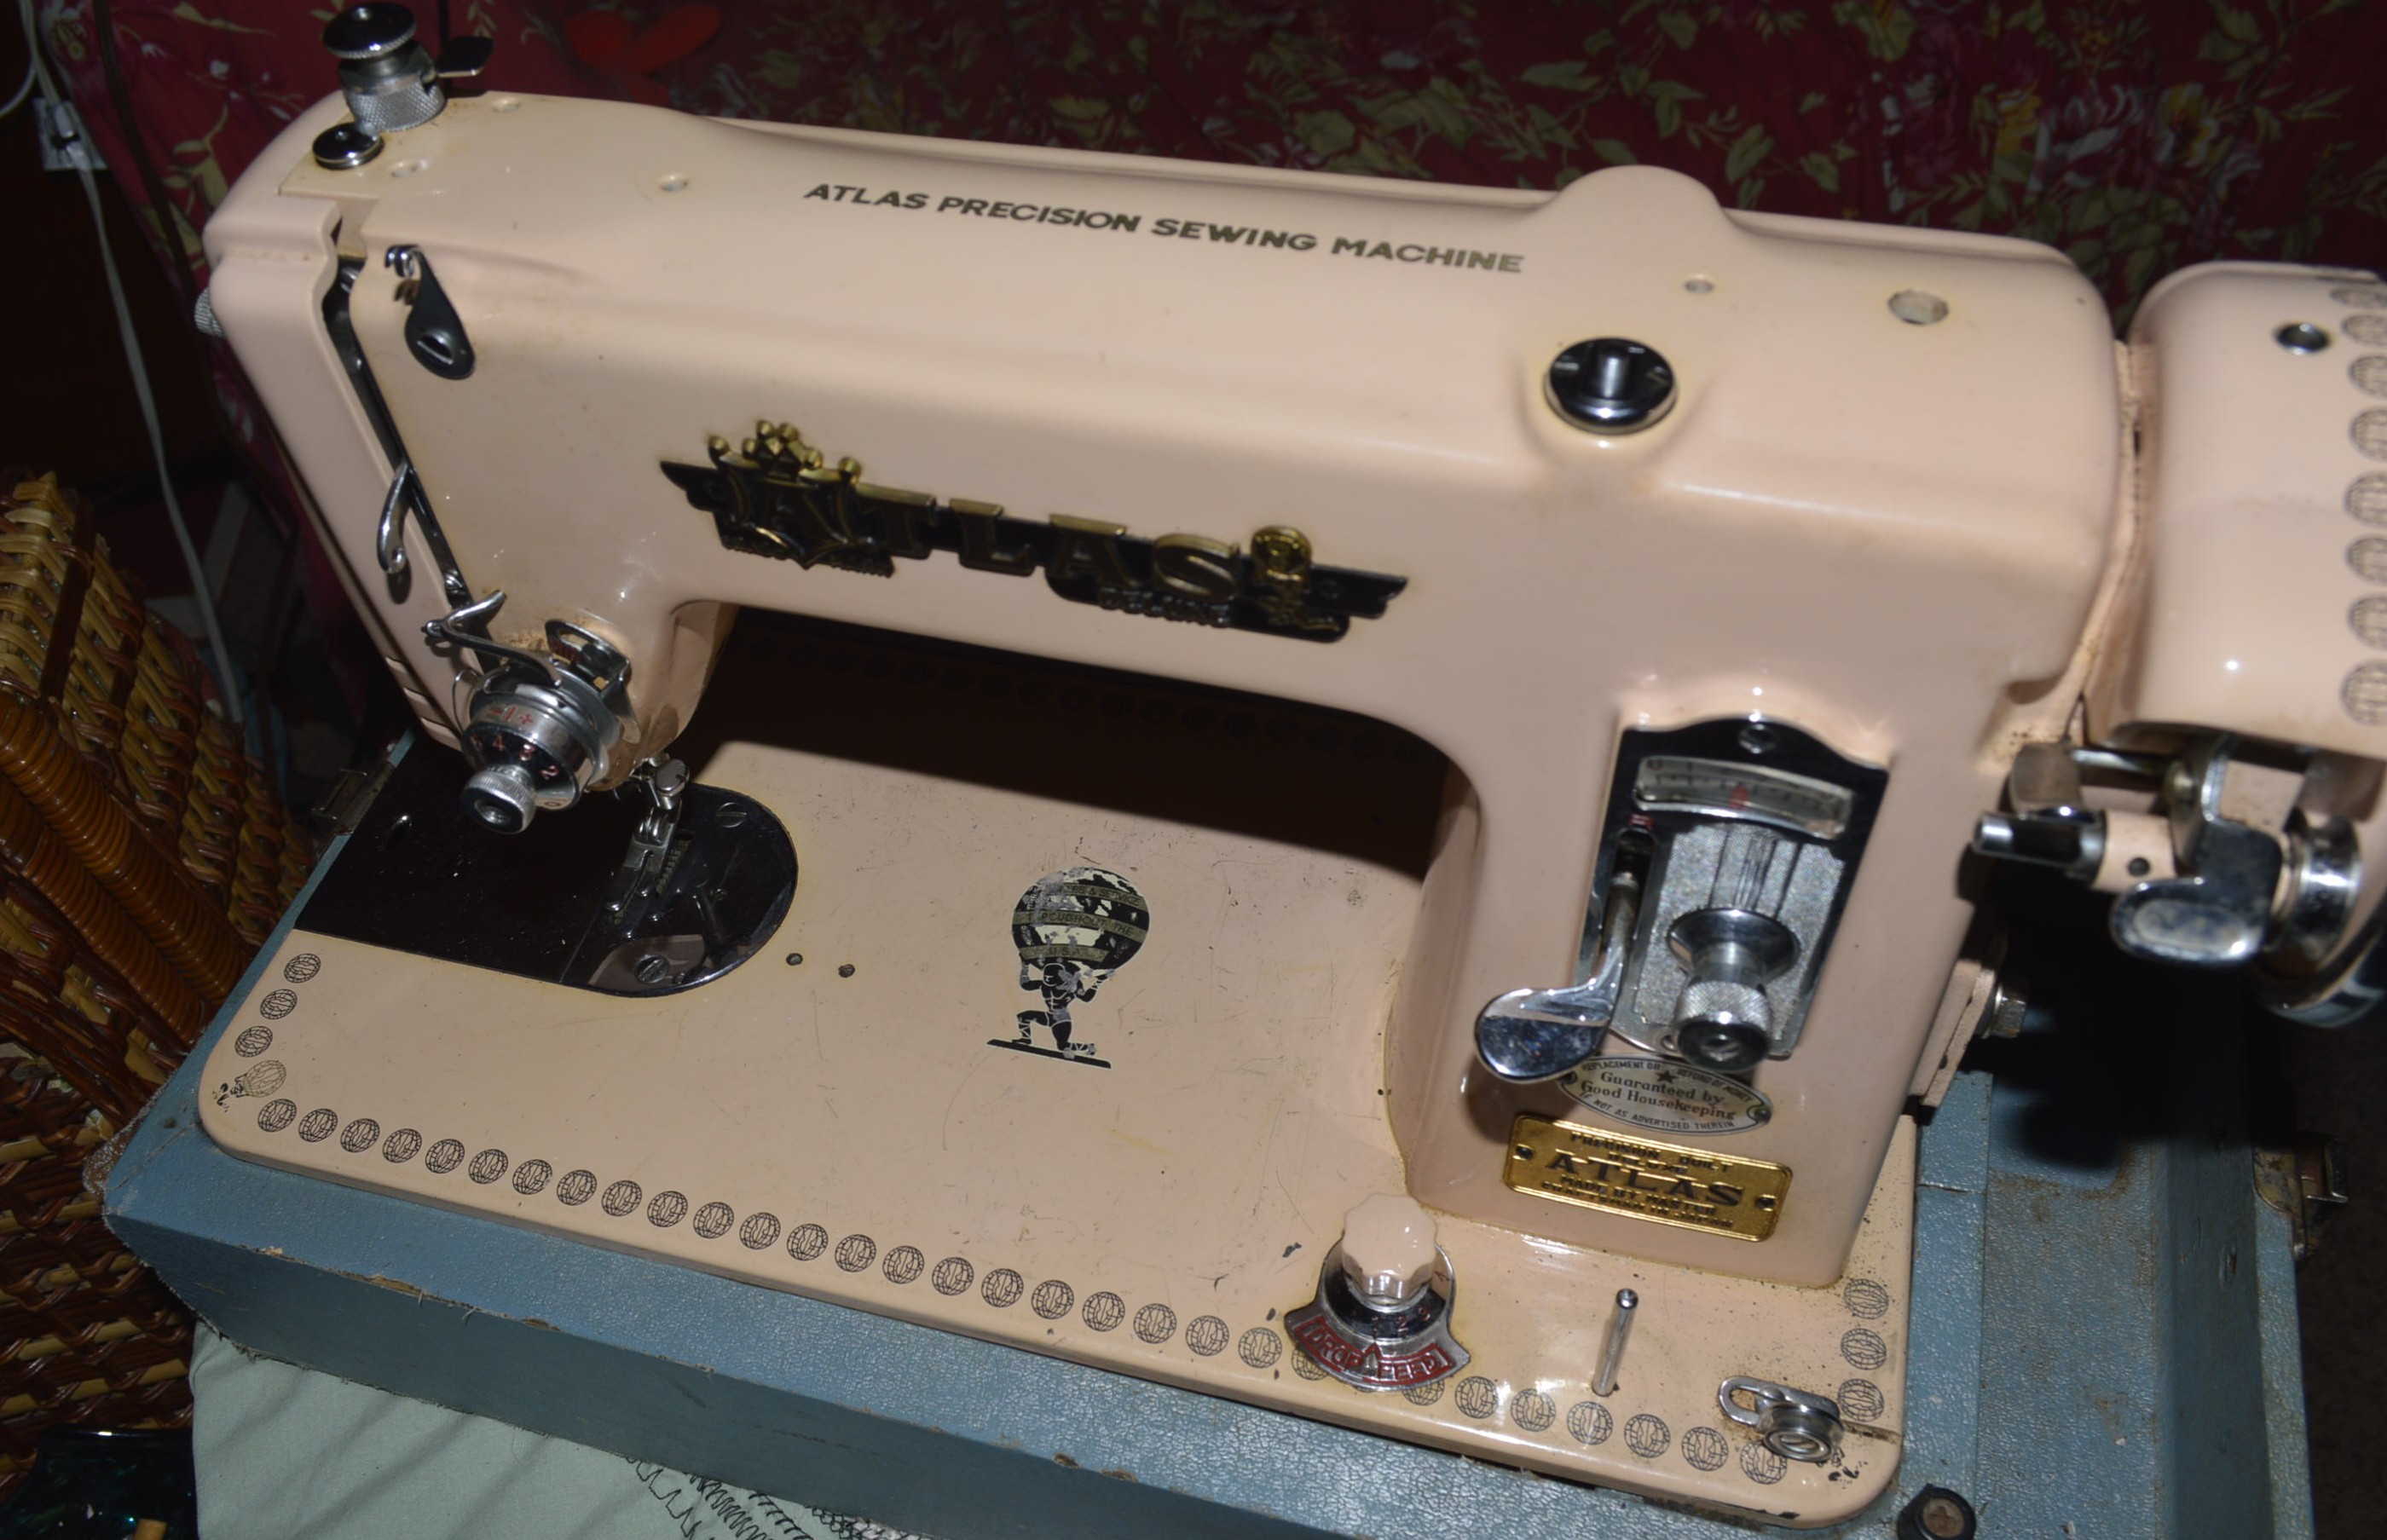
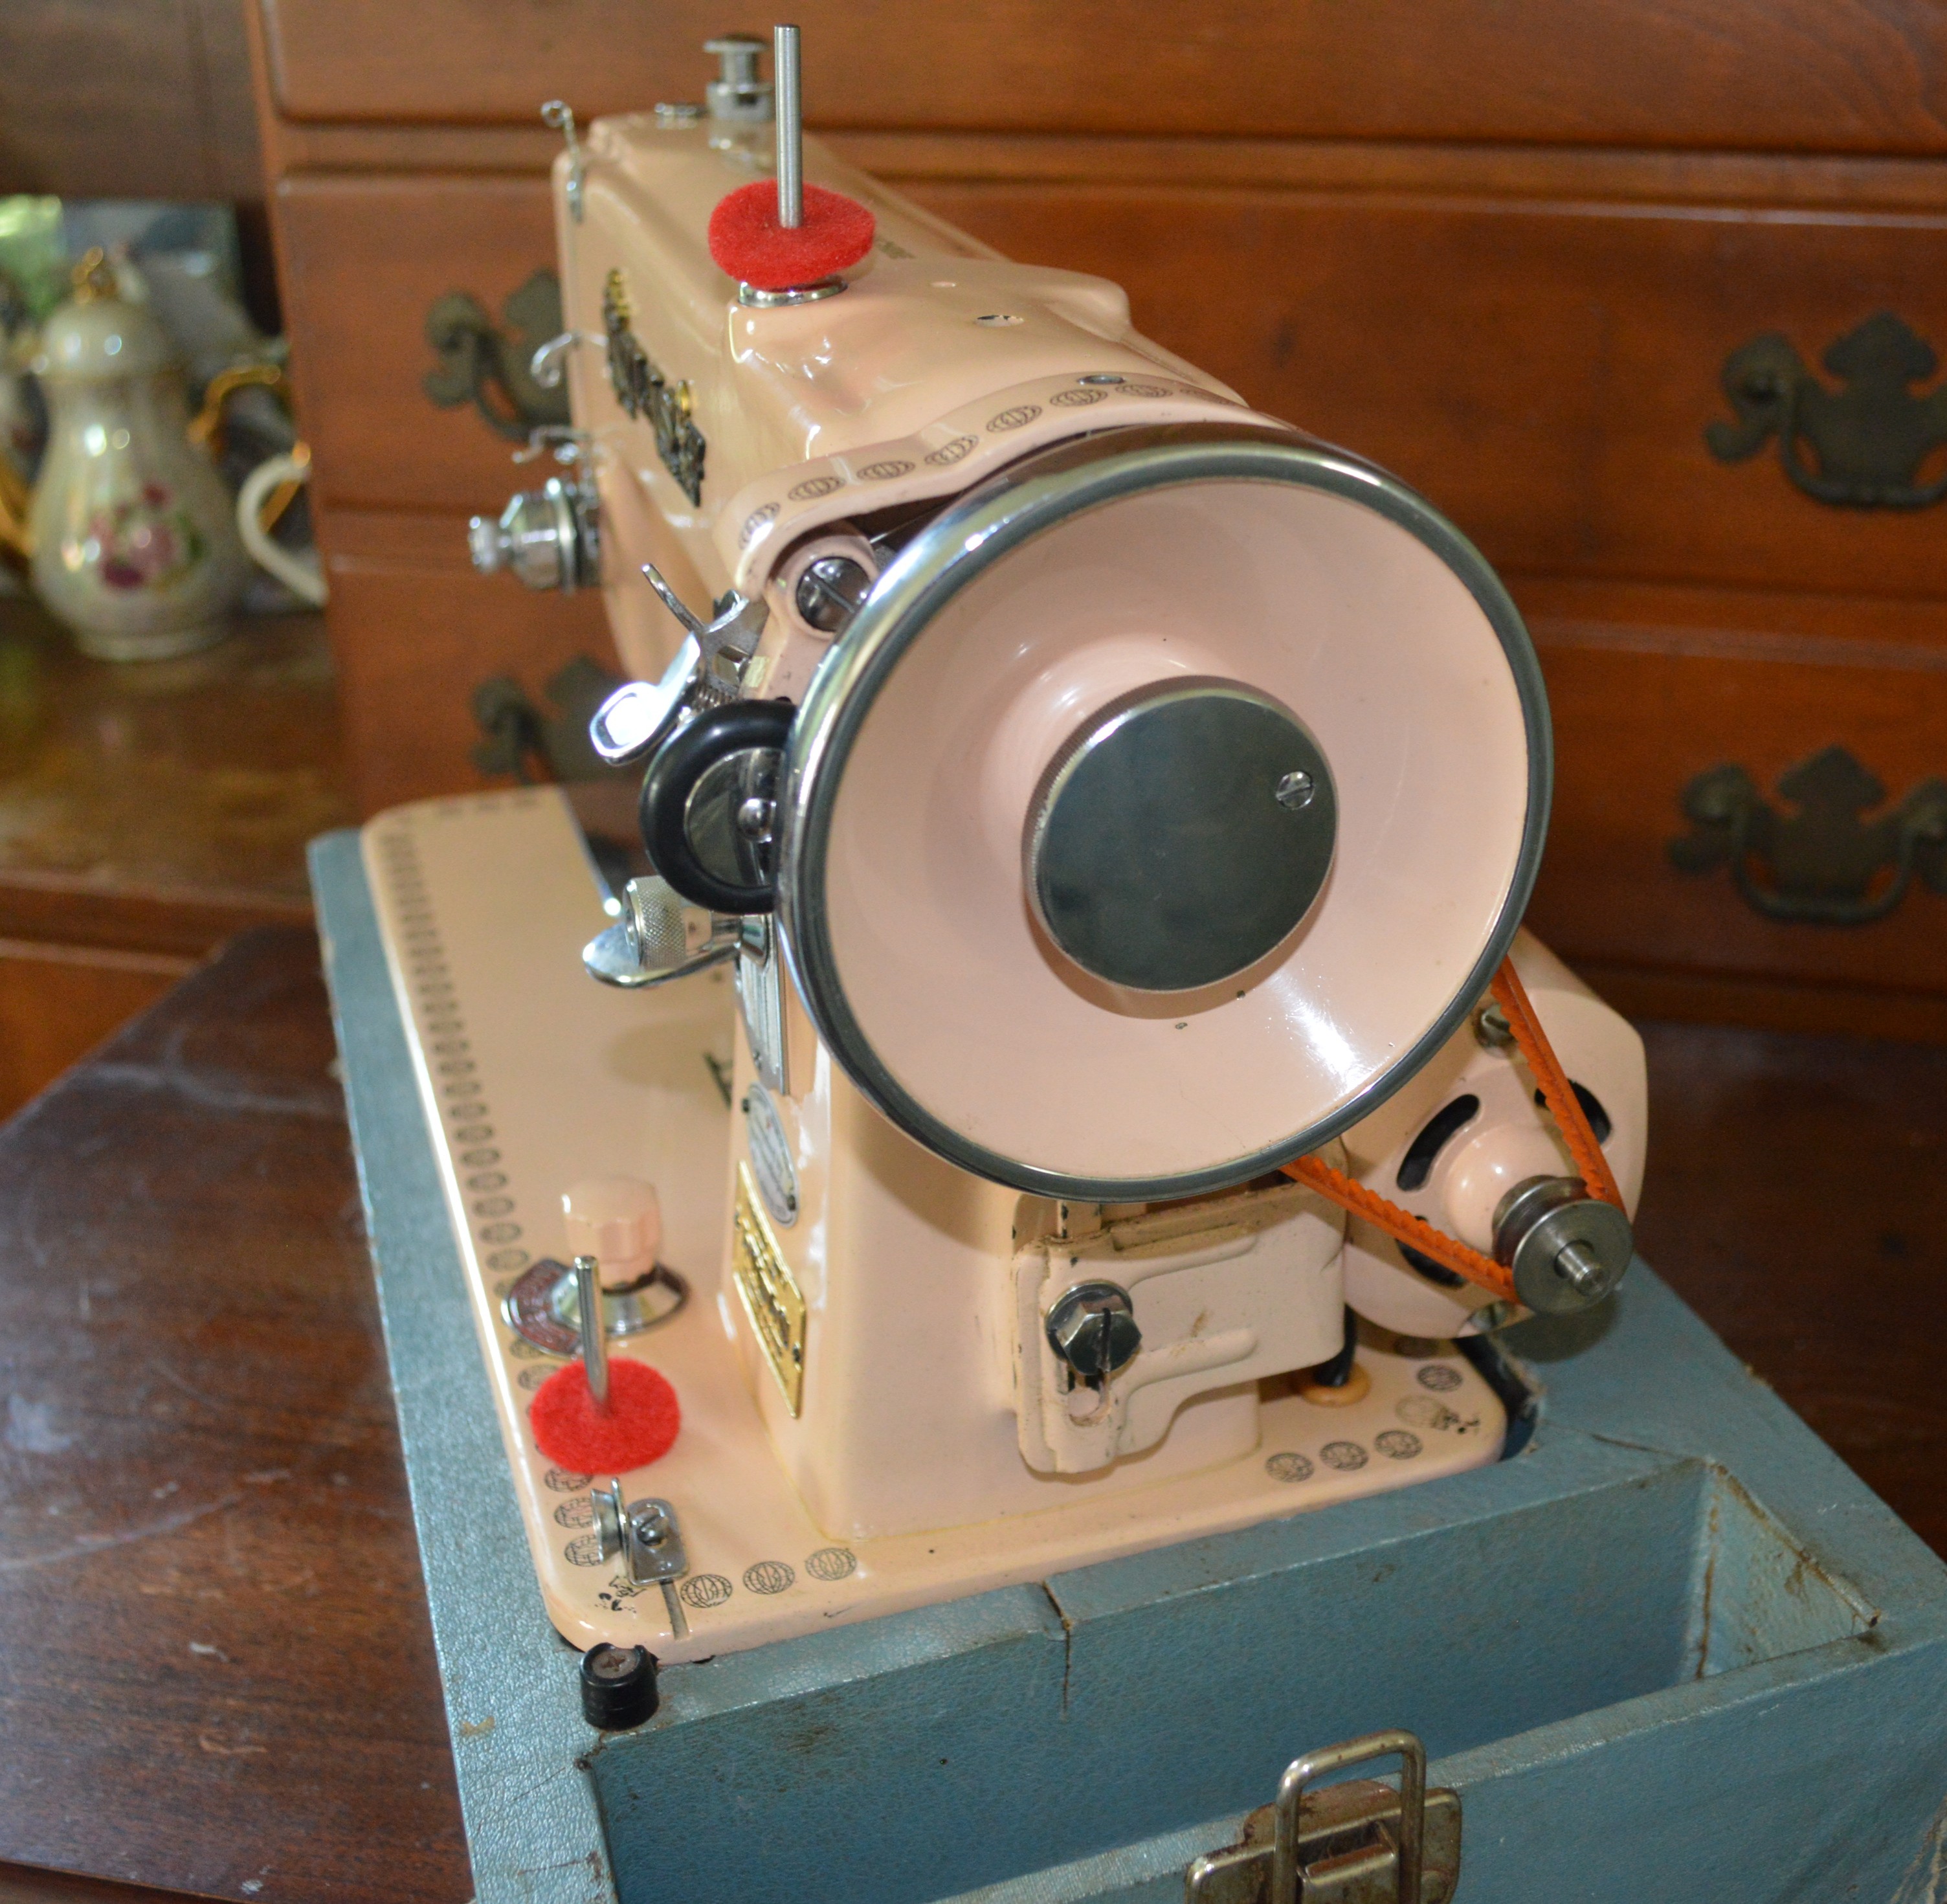
This project is the restoration of a Pink Atlas Precision Sewing Machine… This Atlas sewing machine was manufactured in Japan in the late 1950’s by Brother Sewing Machine Company. With it’s distinctive pink color and bold “Atlas” badge displayed on the front and back of the sewing arm, it is a very high quality, heavy cast iron, and tempered steel precision sewing machine. It is a straight stitch machine with a reputation for it’s sturdy construction and good stitch quality. The plan for this machine is to disassemble, clean, and polished the internal parts and return them to “as new” condition. The motor will be disassembled, the armature polished, and the brushed reconditioned. To bring the machine to the highest level of appearance, some judicious repairs will be made on the decal located on the center of the sewing bed. Otherwise, the decals are in excellent condition, and the paint is in very good condition with only a few paint chips that need to be addressed. This machine is a custom order, and it will be fitted with an electronic foot controller at the Customer’s request. Here is the machine before the restoration begins…
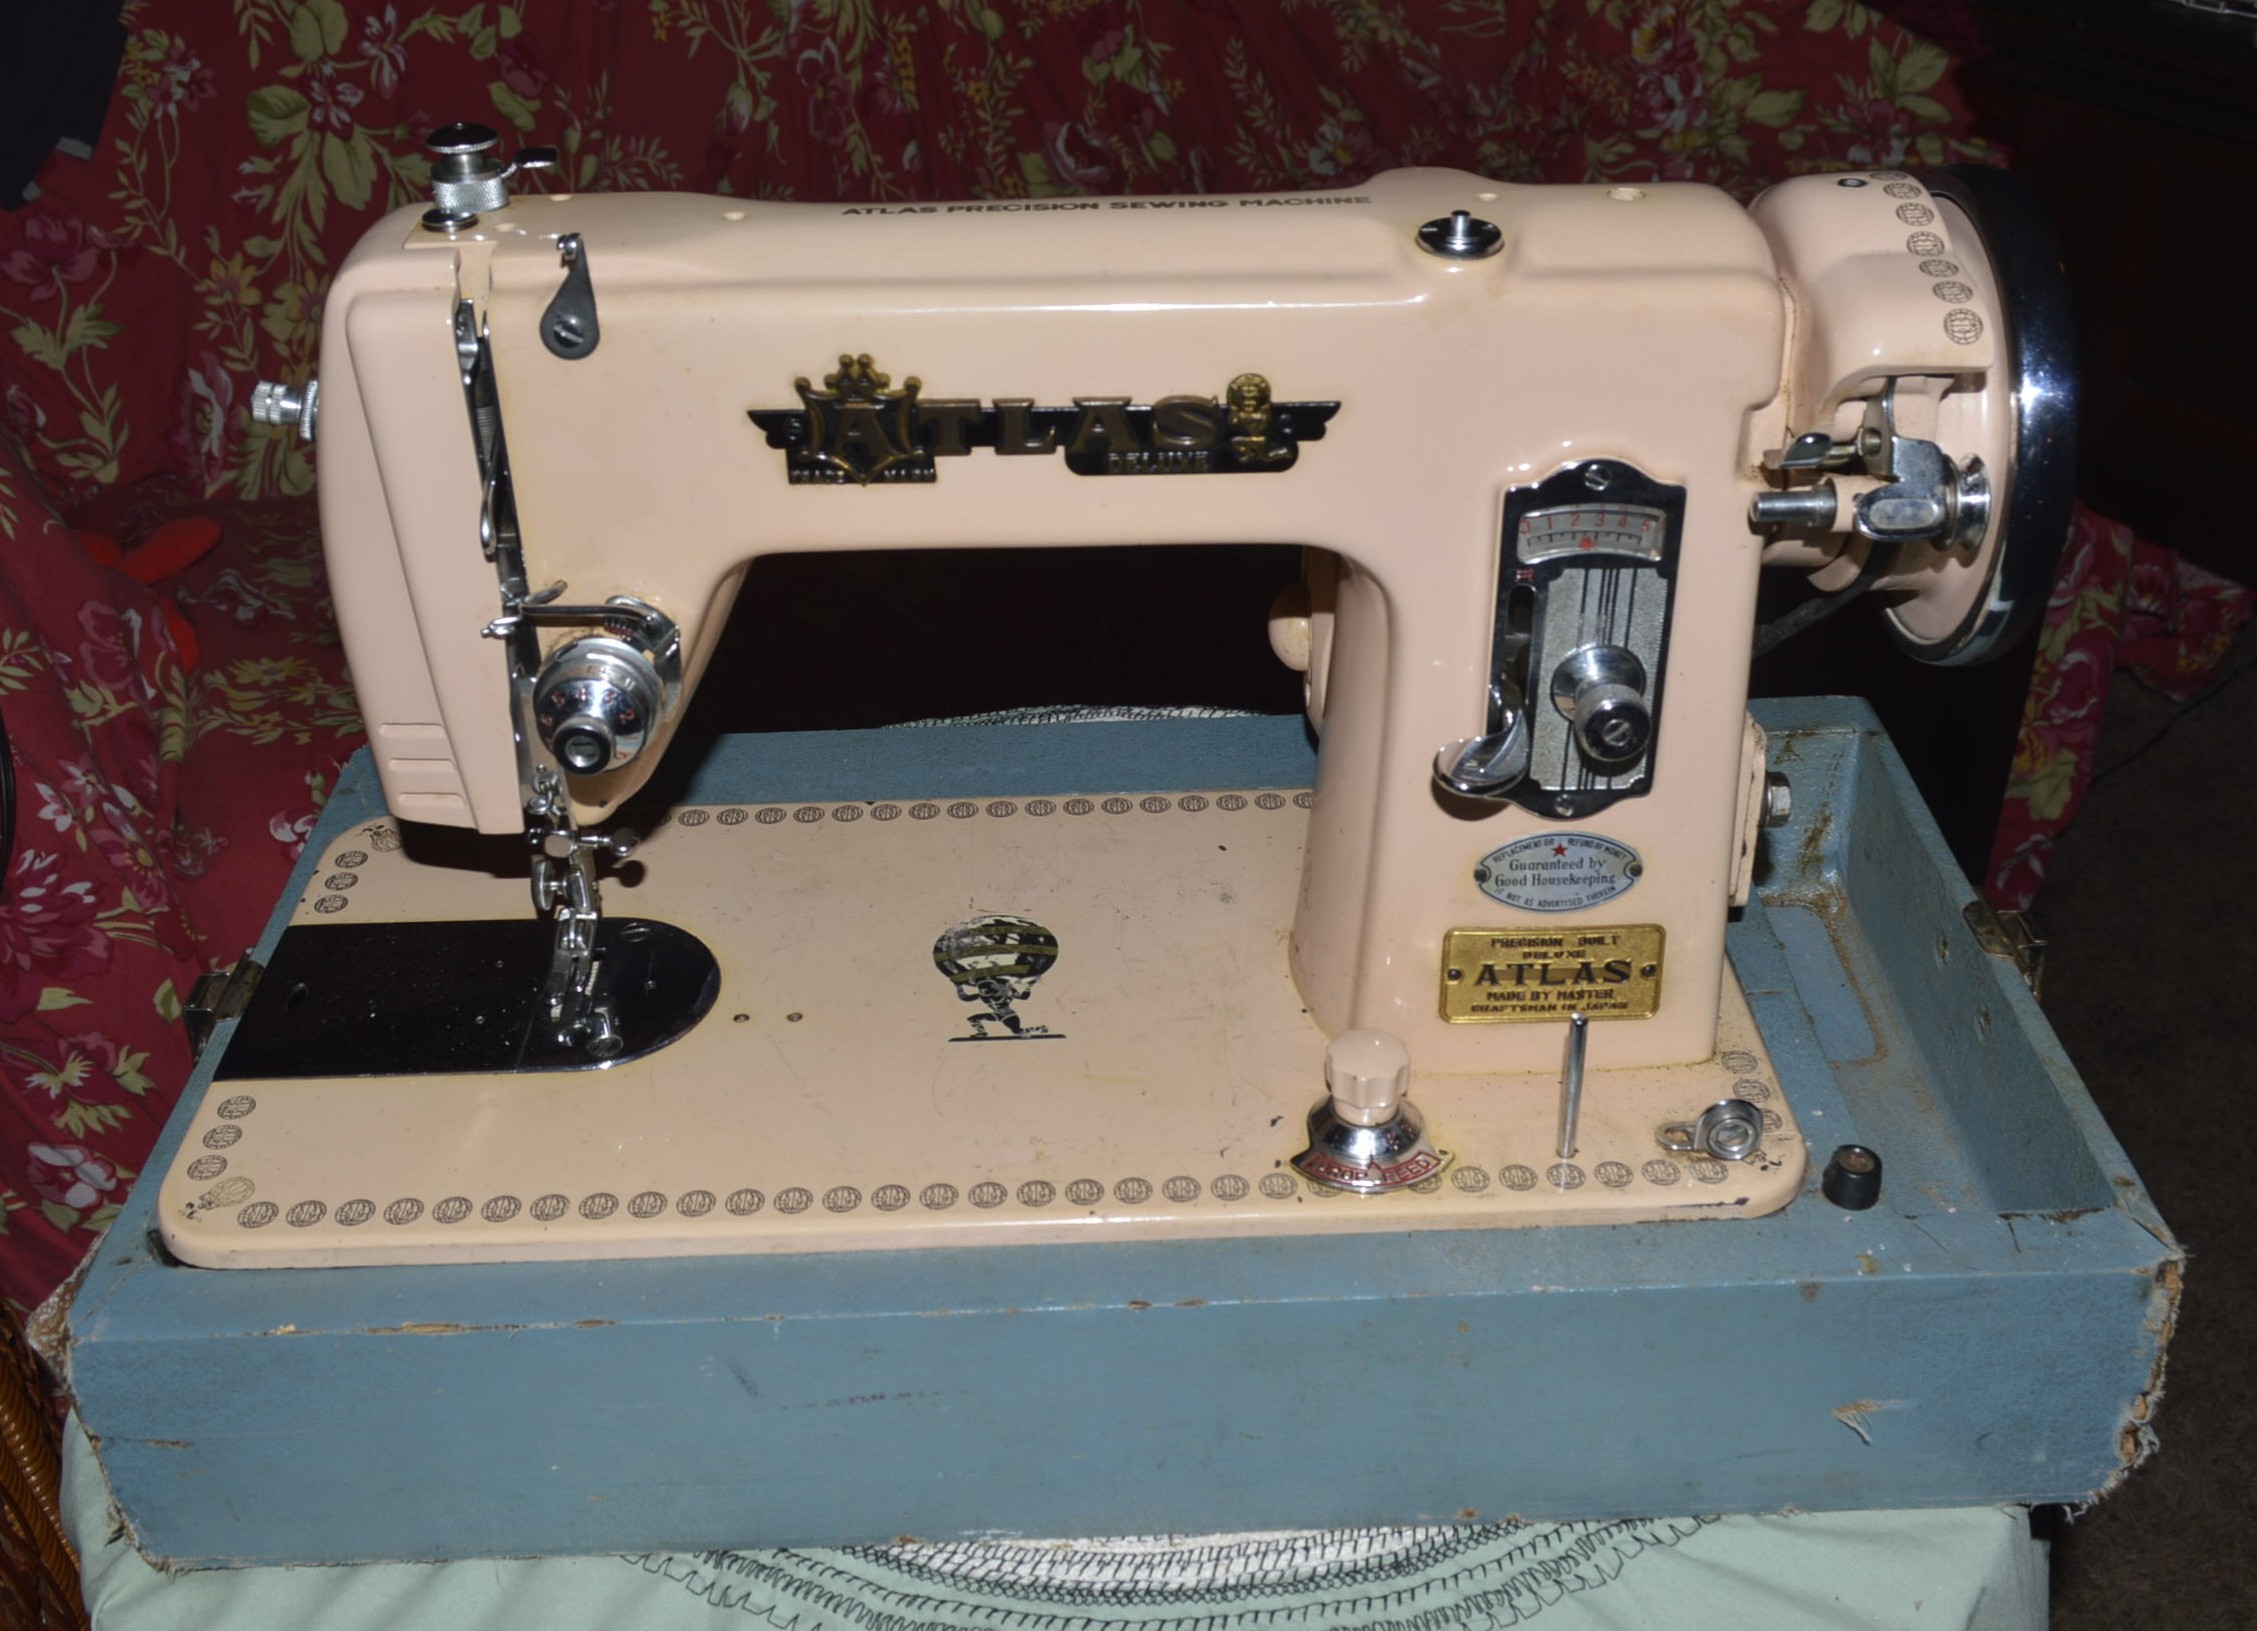

Before we start, there is one thing that is immediately noticeable… the machine rotates, but it is nowhere near as smooth as it should be. These straight stitch machines are well known by their smooth turning mechanisms. This is exactly why restoration is needed… it will return this sewing machine to “feel” and run like new.
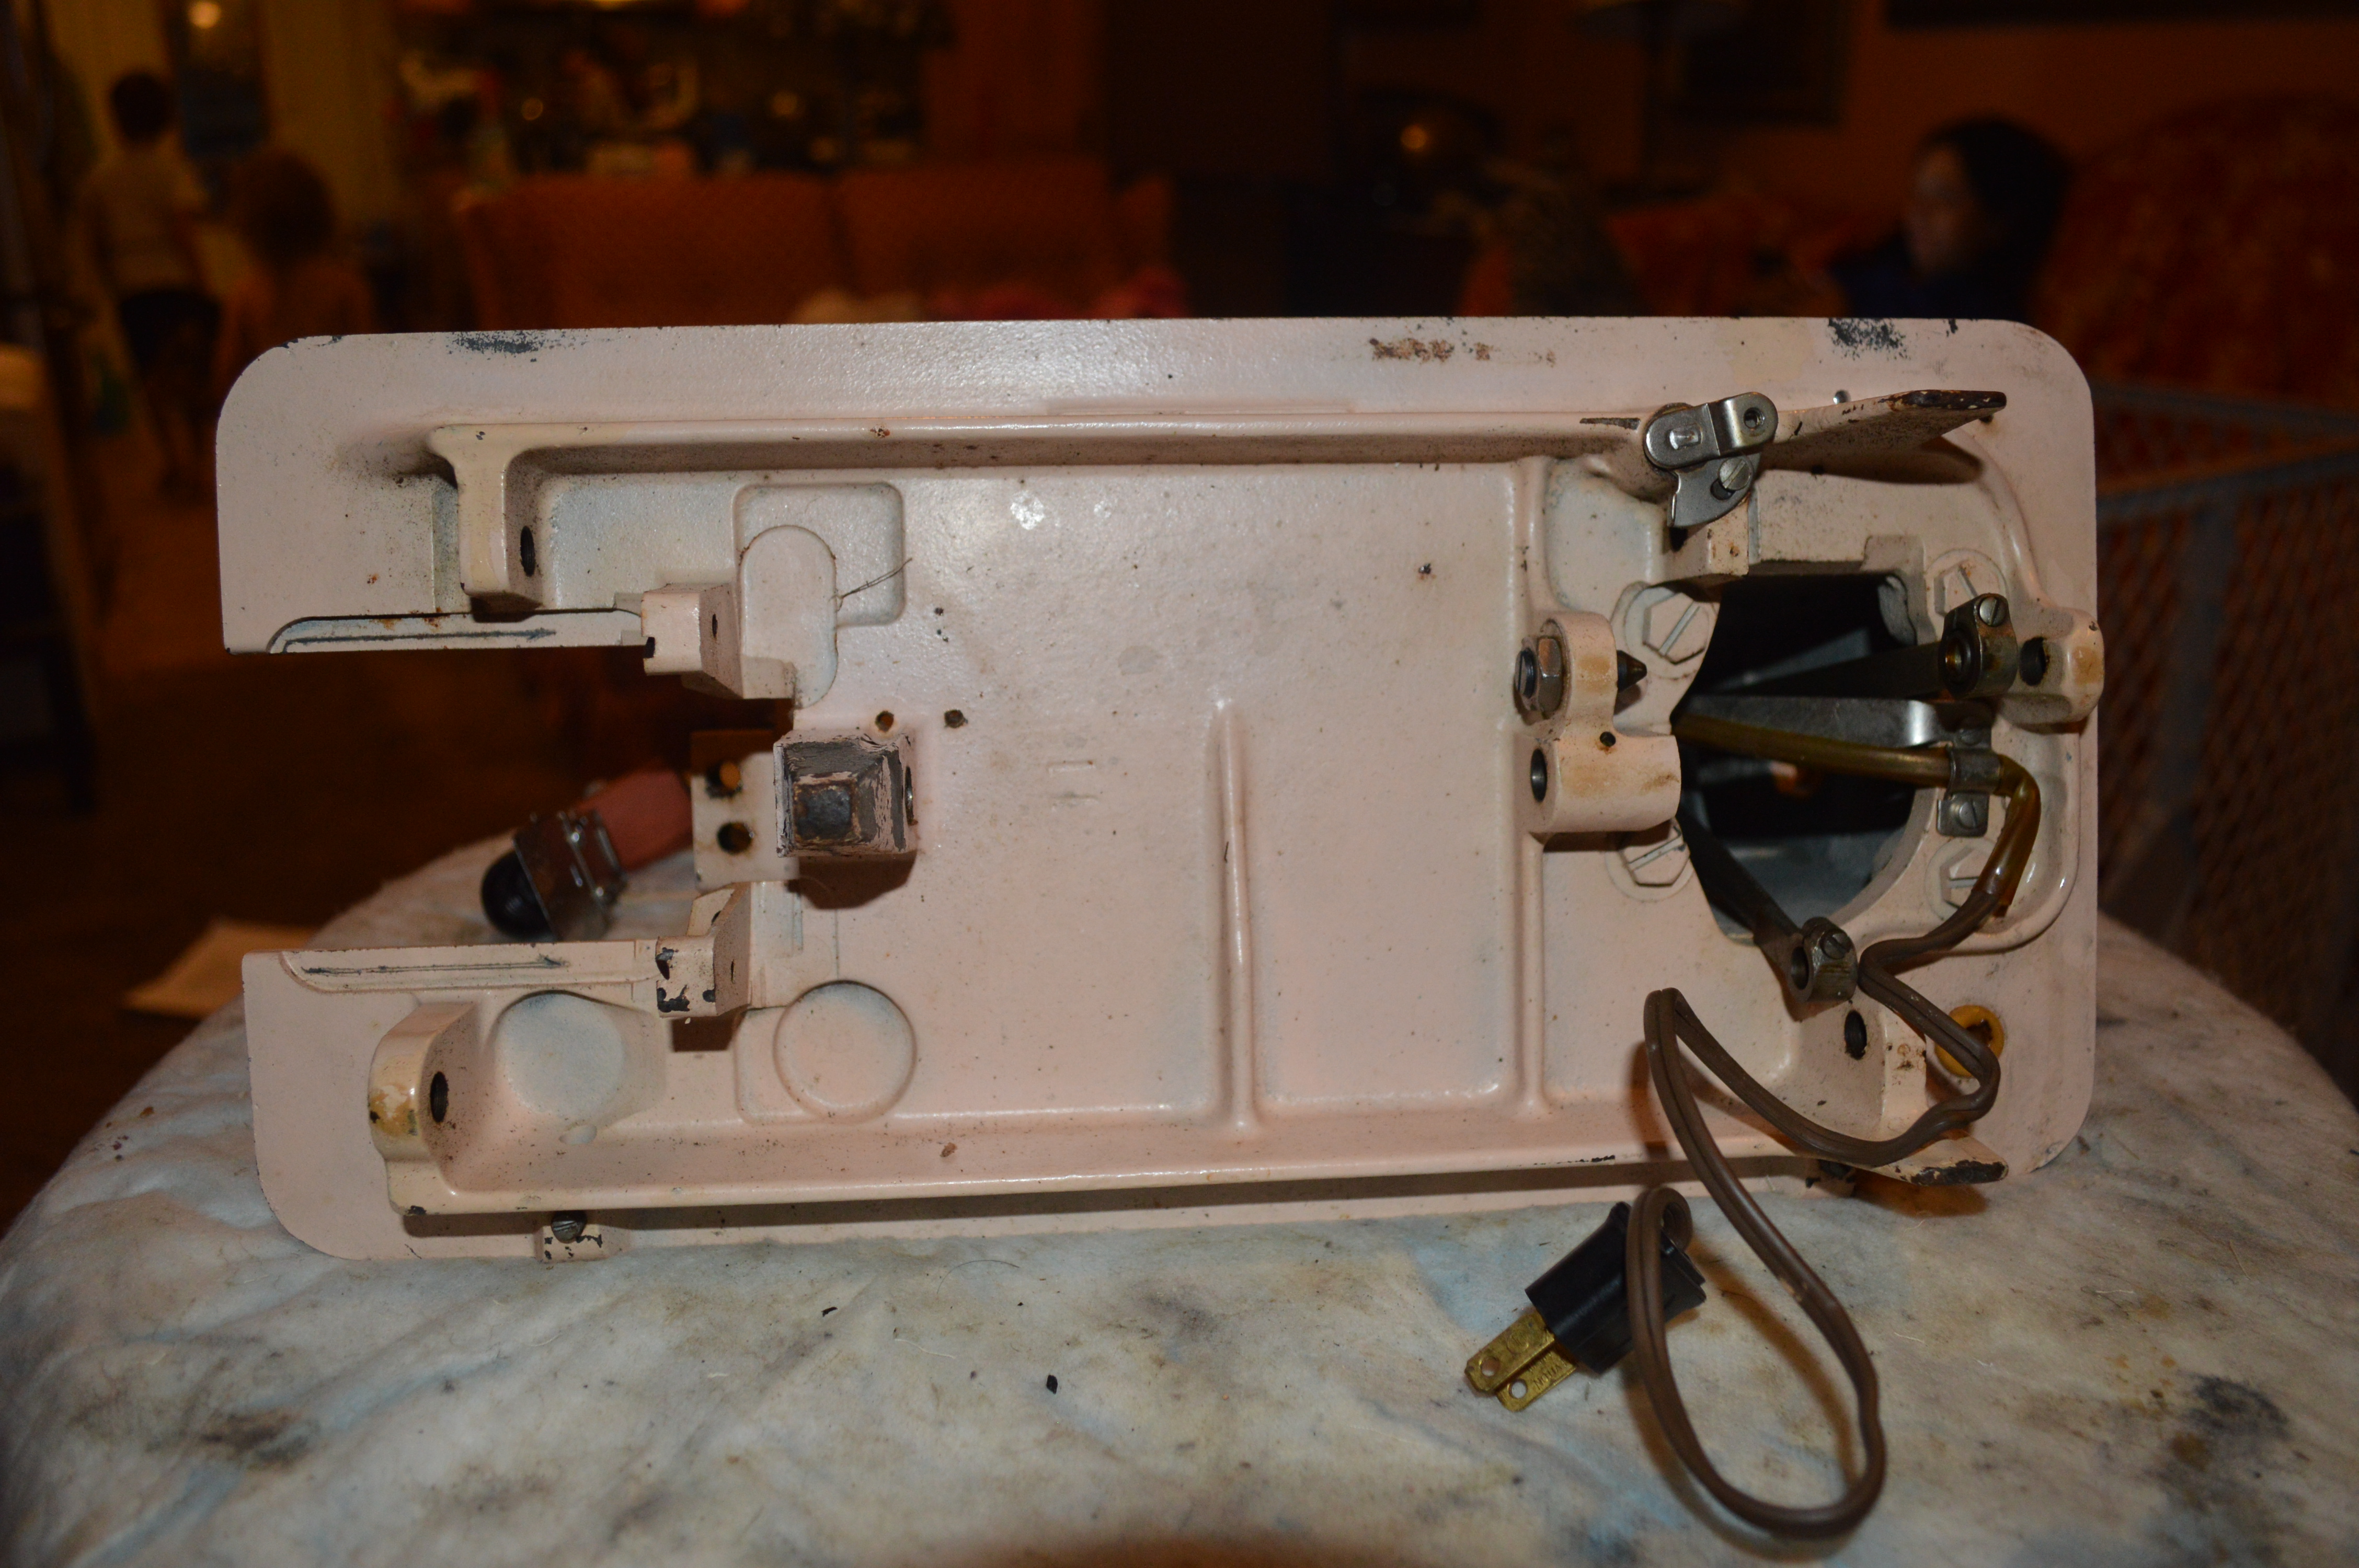
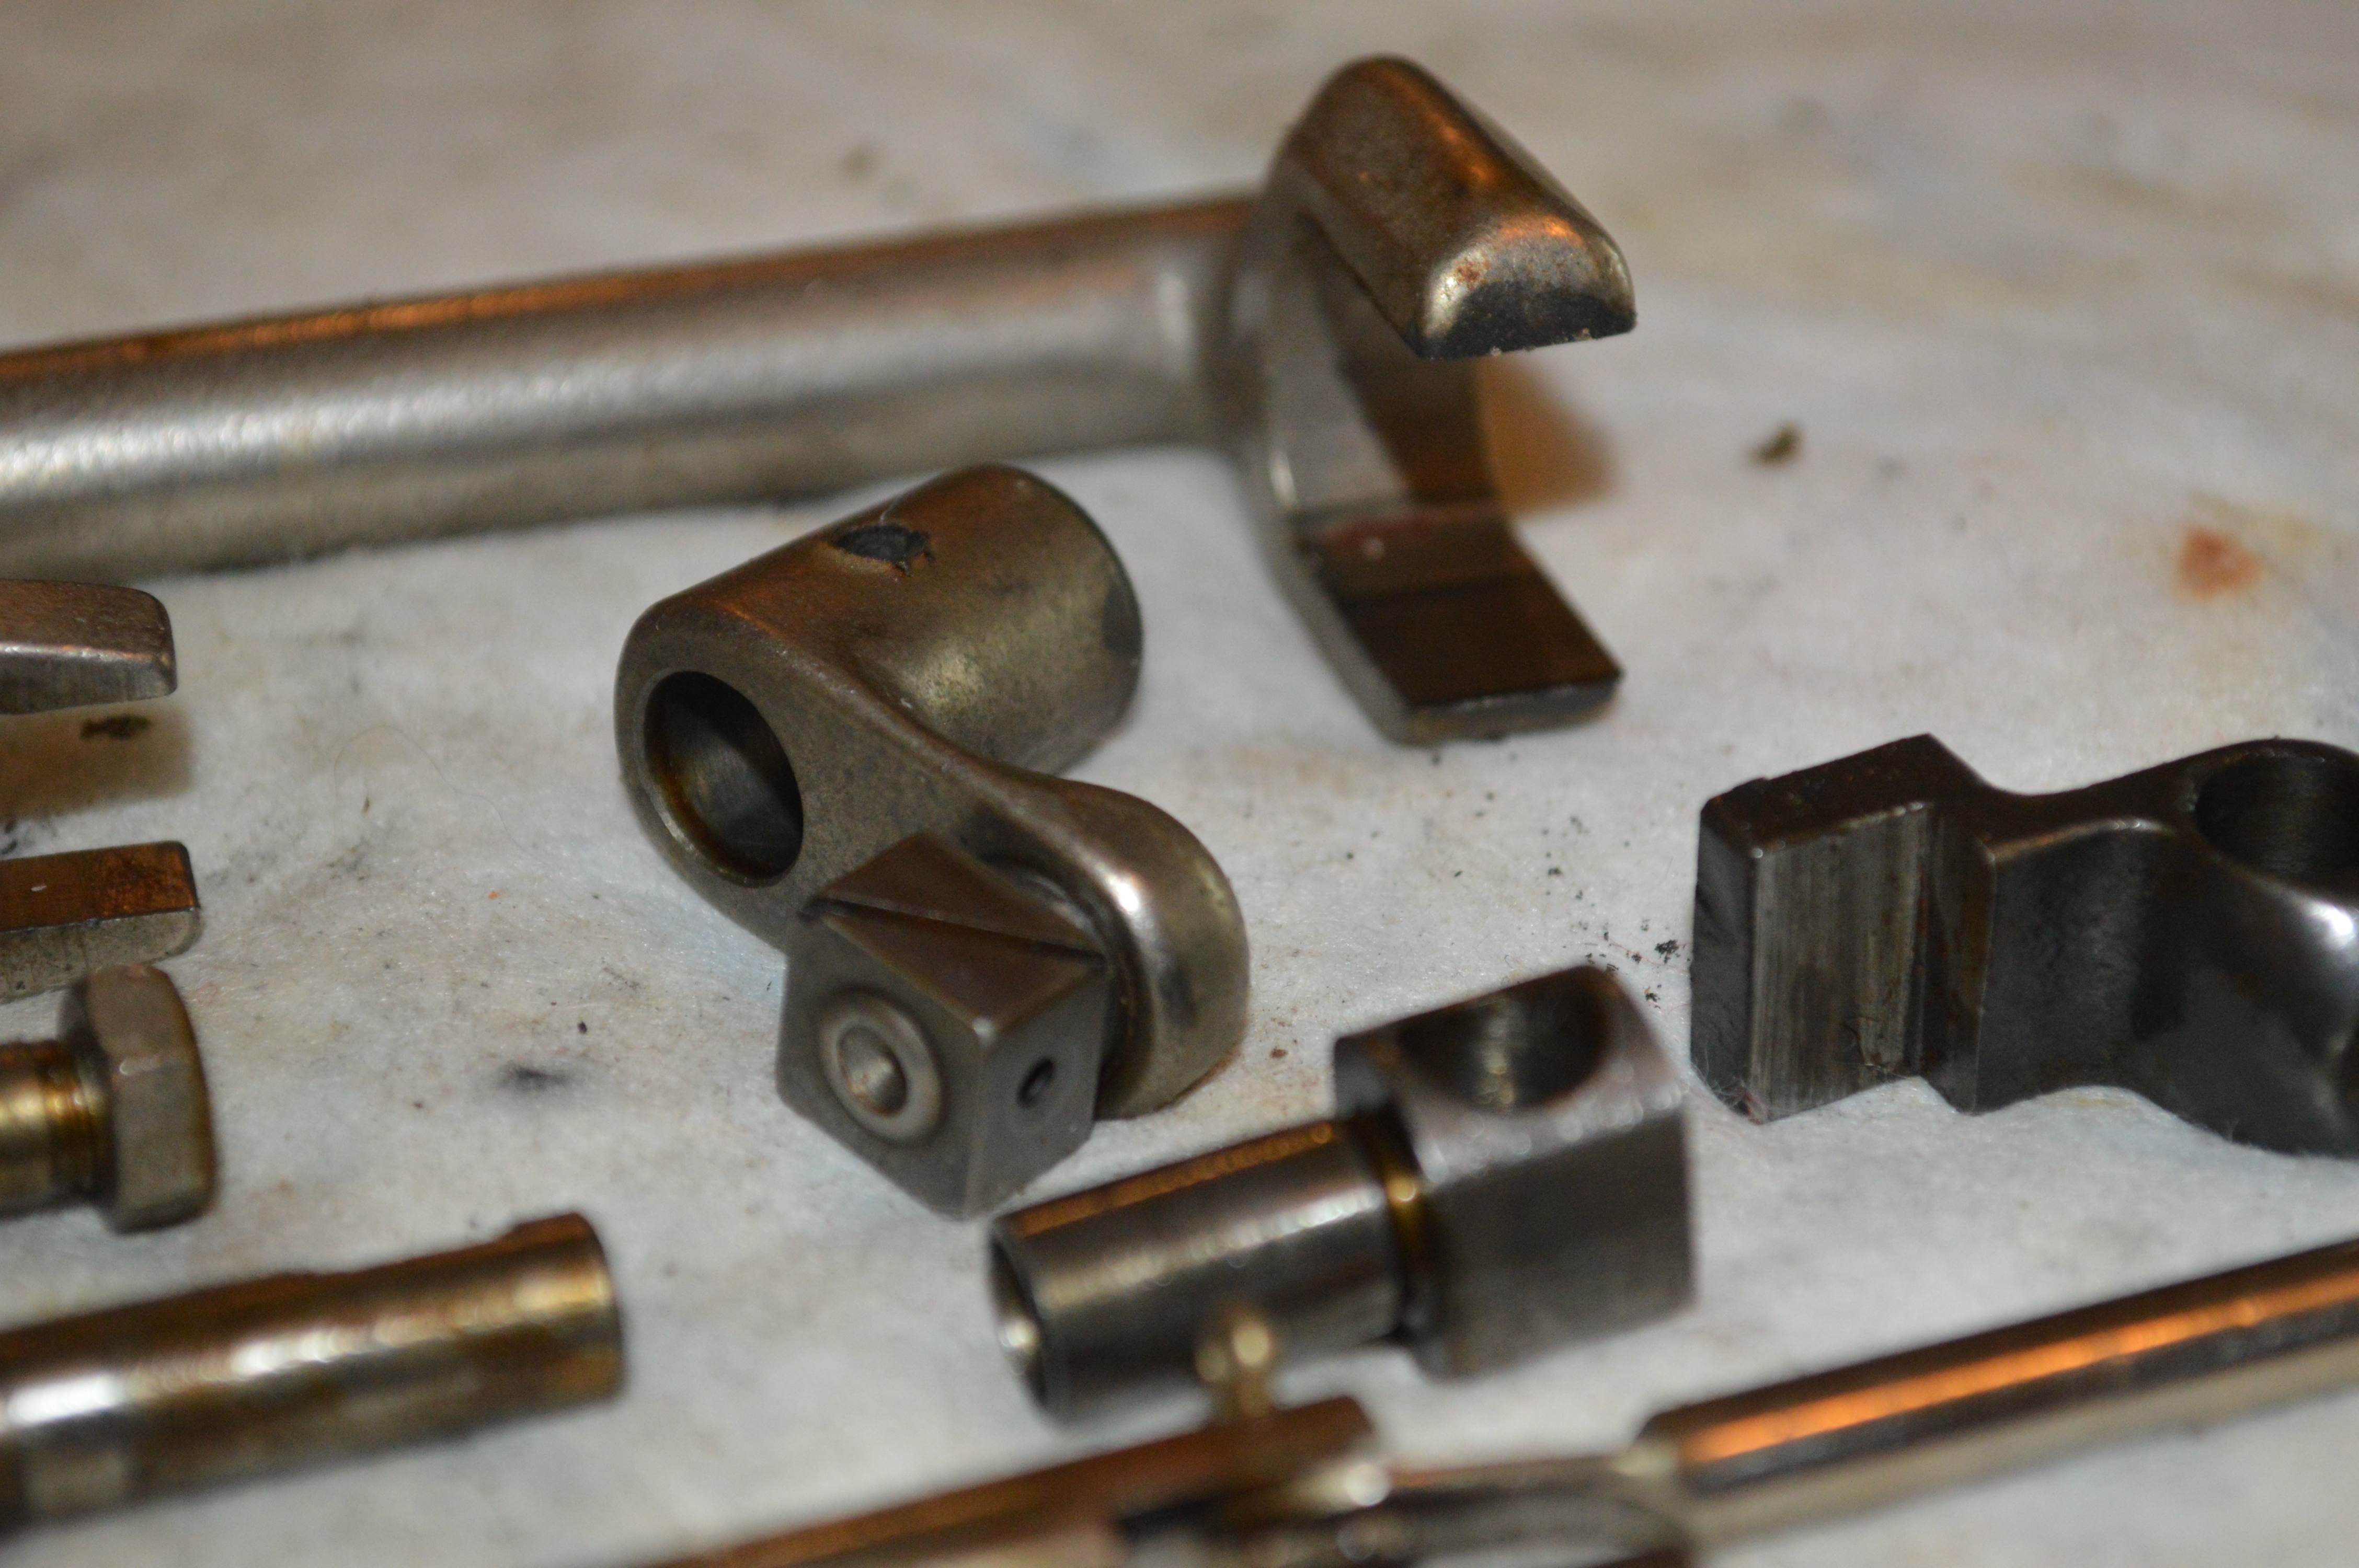
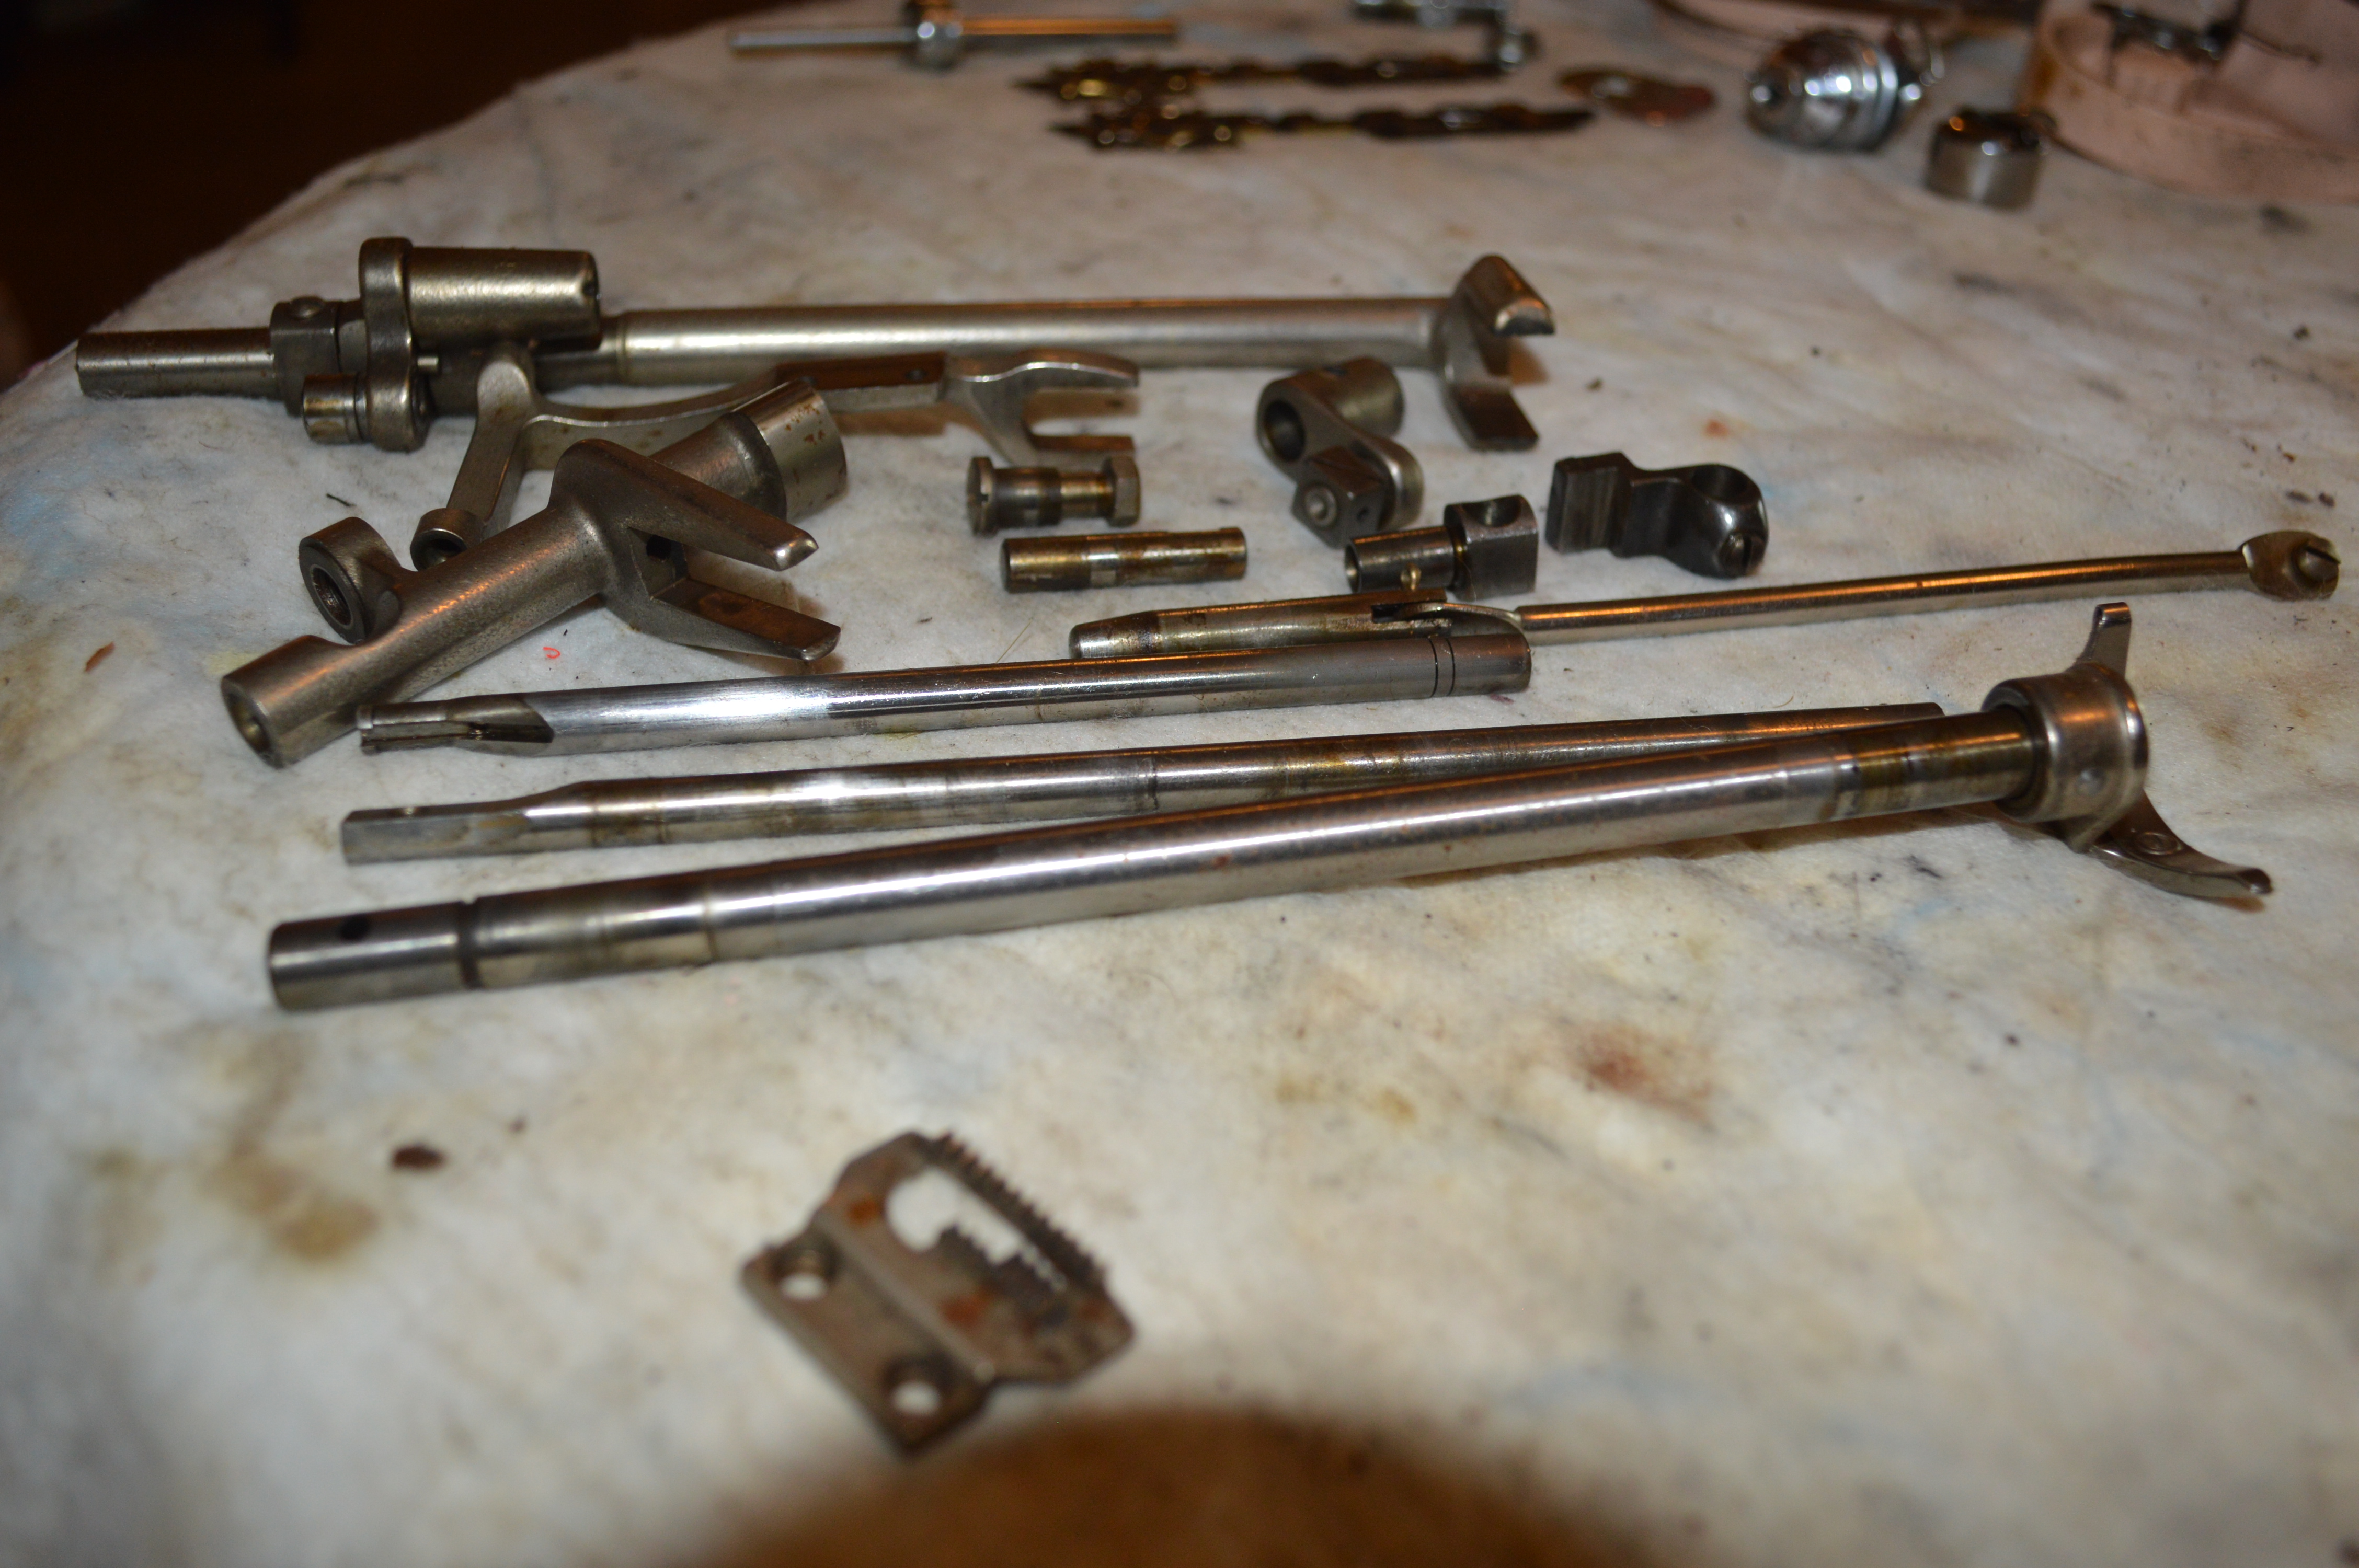
The first step is to remove all of the bits and pieces such as the stitch controls, tension assembly, motor, plates, and thread guides. The purpose for this is to get them as clean as possible, and to have full access to the body pf the machine to clean it without interference. Then the assemblies in the sewing machine head are removed. These include the needle bar, presser foot bar, lift lever, top tension release lever, and the associated linkages. Then all of the mechanisms under the sewing bed are removed.
These parts are laid out for ultrasonic cleaning…

The next set of pictures show exactly why disassembly is so important and is the difference in restoration versus simple cleaning. Notice the coffee colored oil varnish on the outside of the parts… and on the inside of the parts. It is cleaning the inside of the parts that benefit the smoothness of the machine. Returning these parts to “as new condition” ensures the machine will run “as new” again.

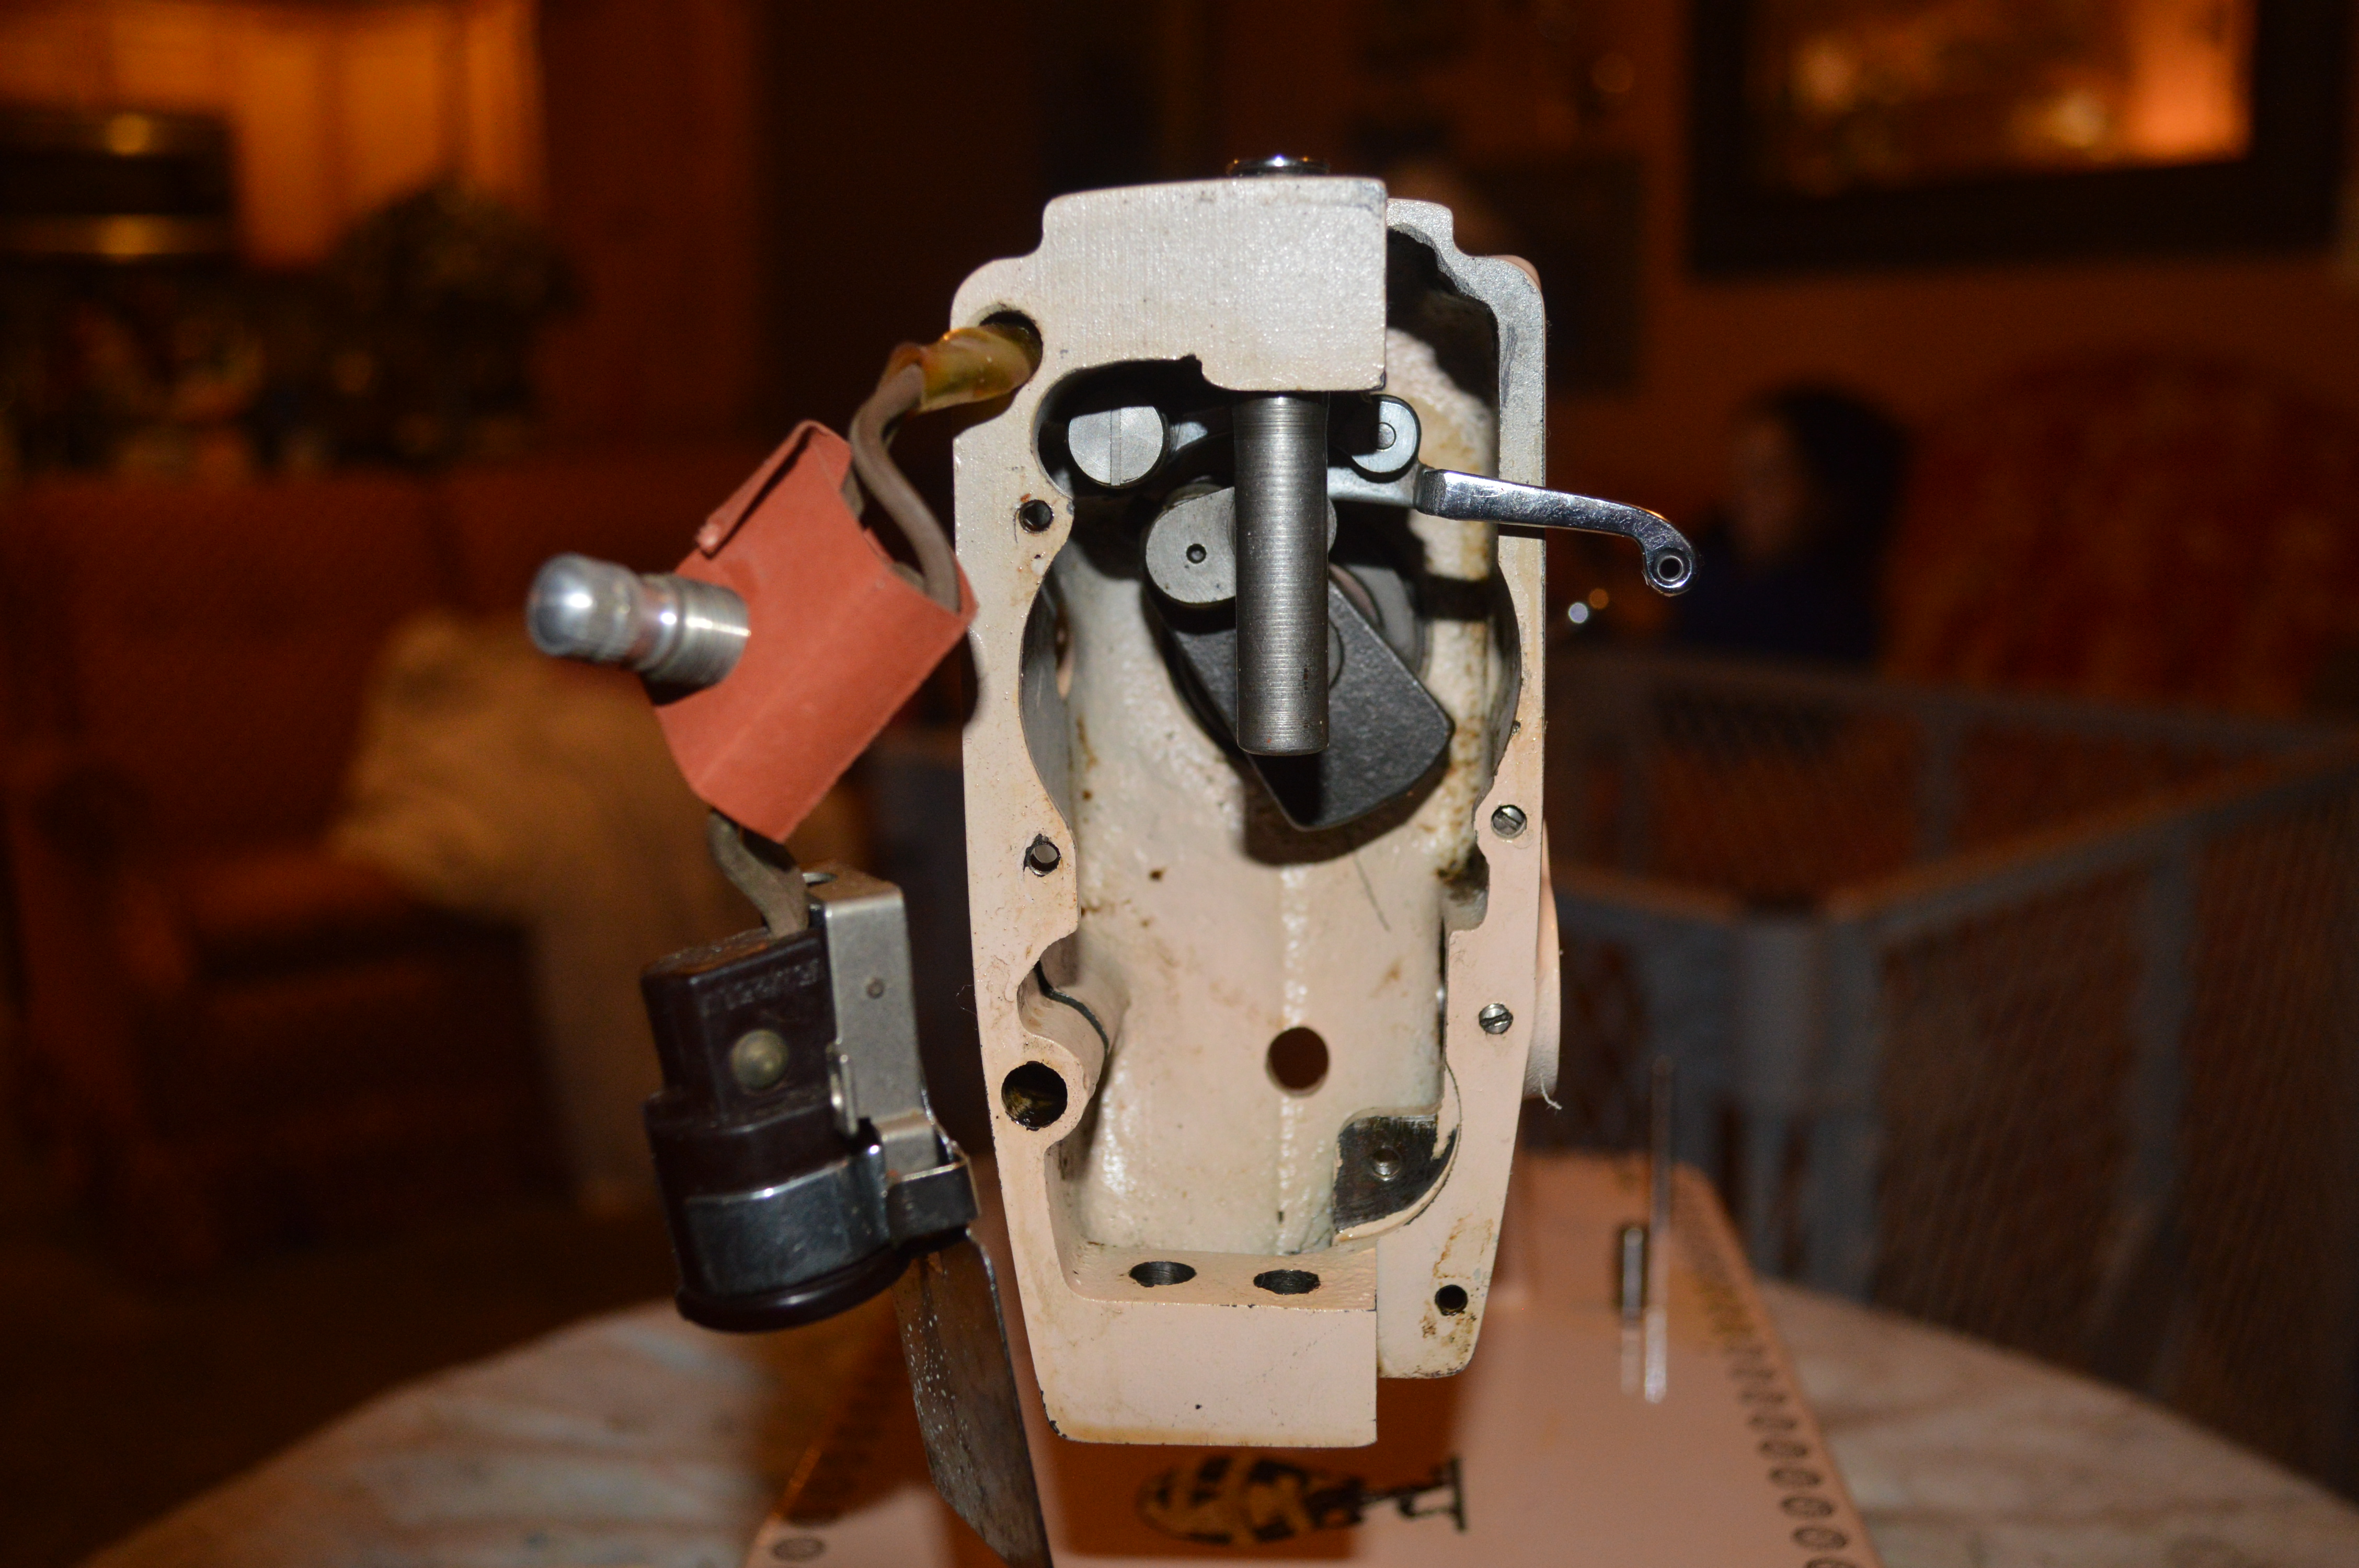
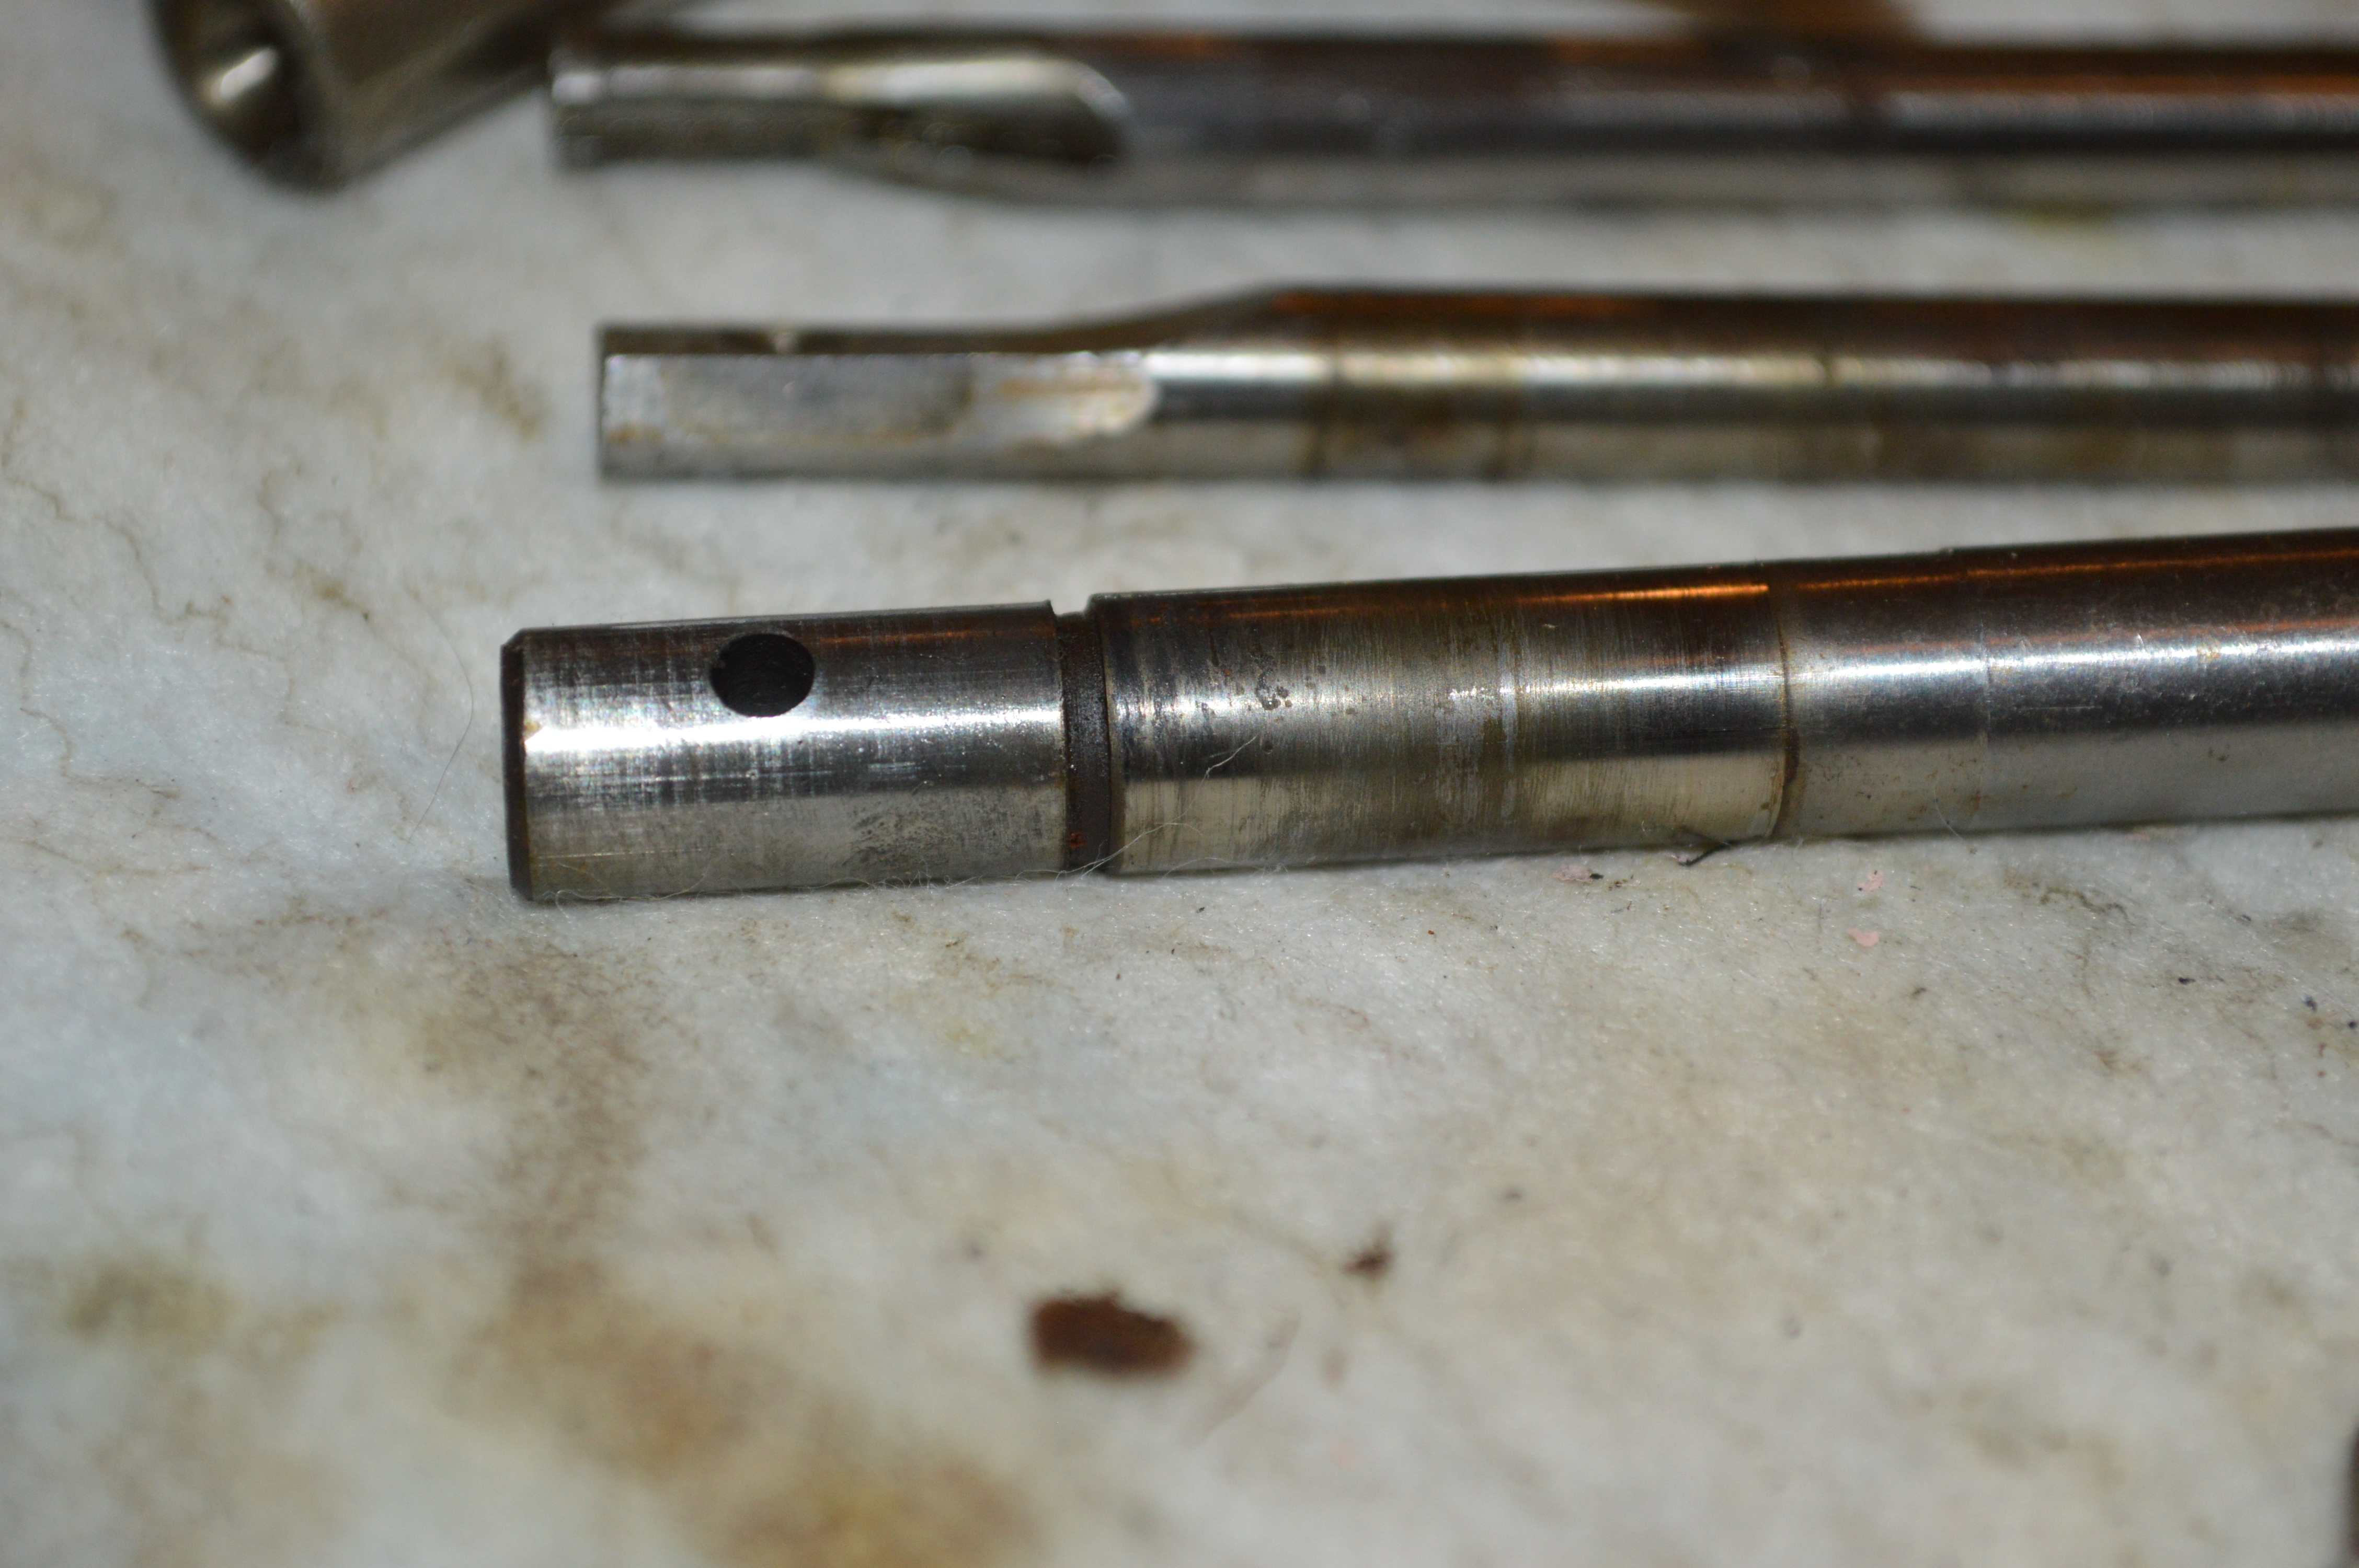
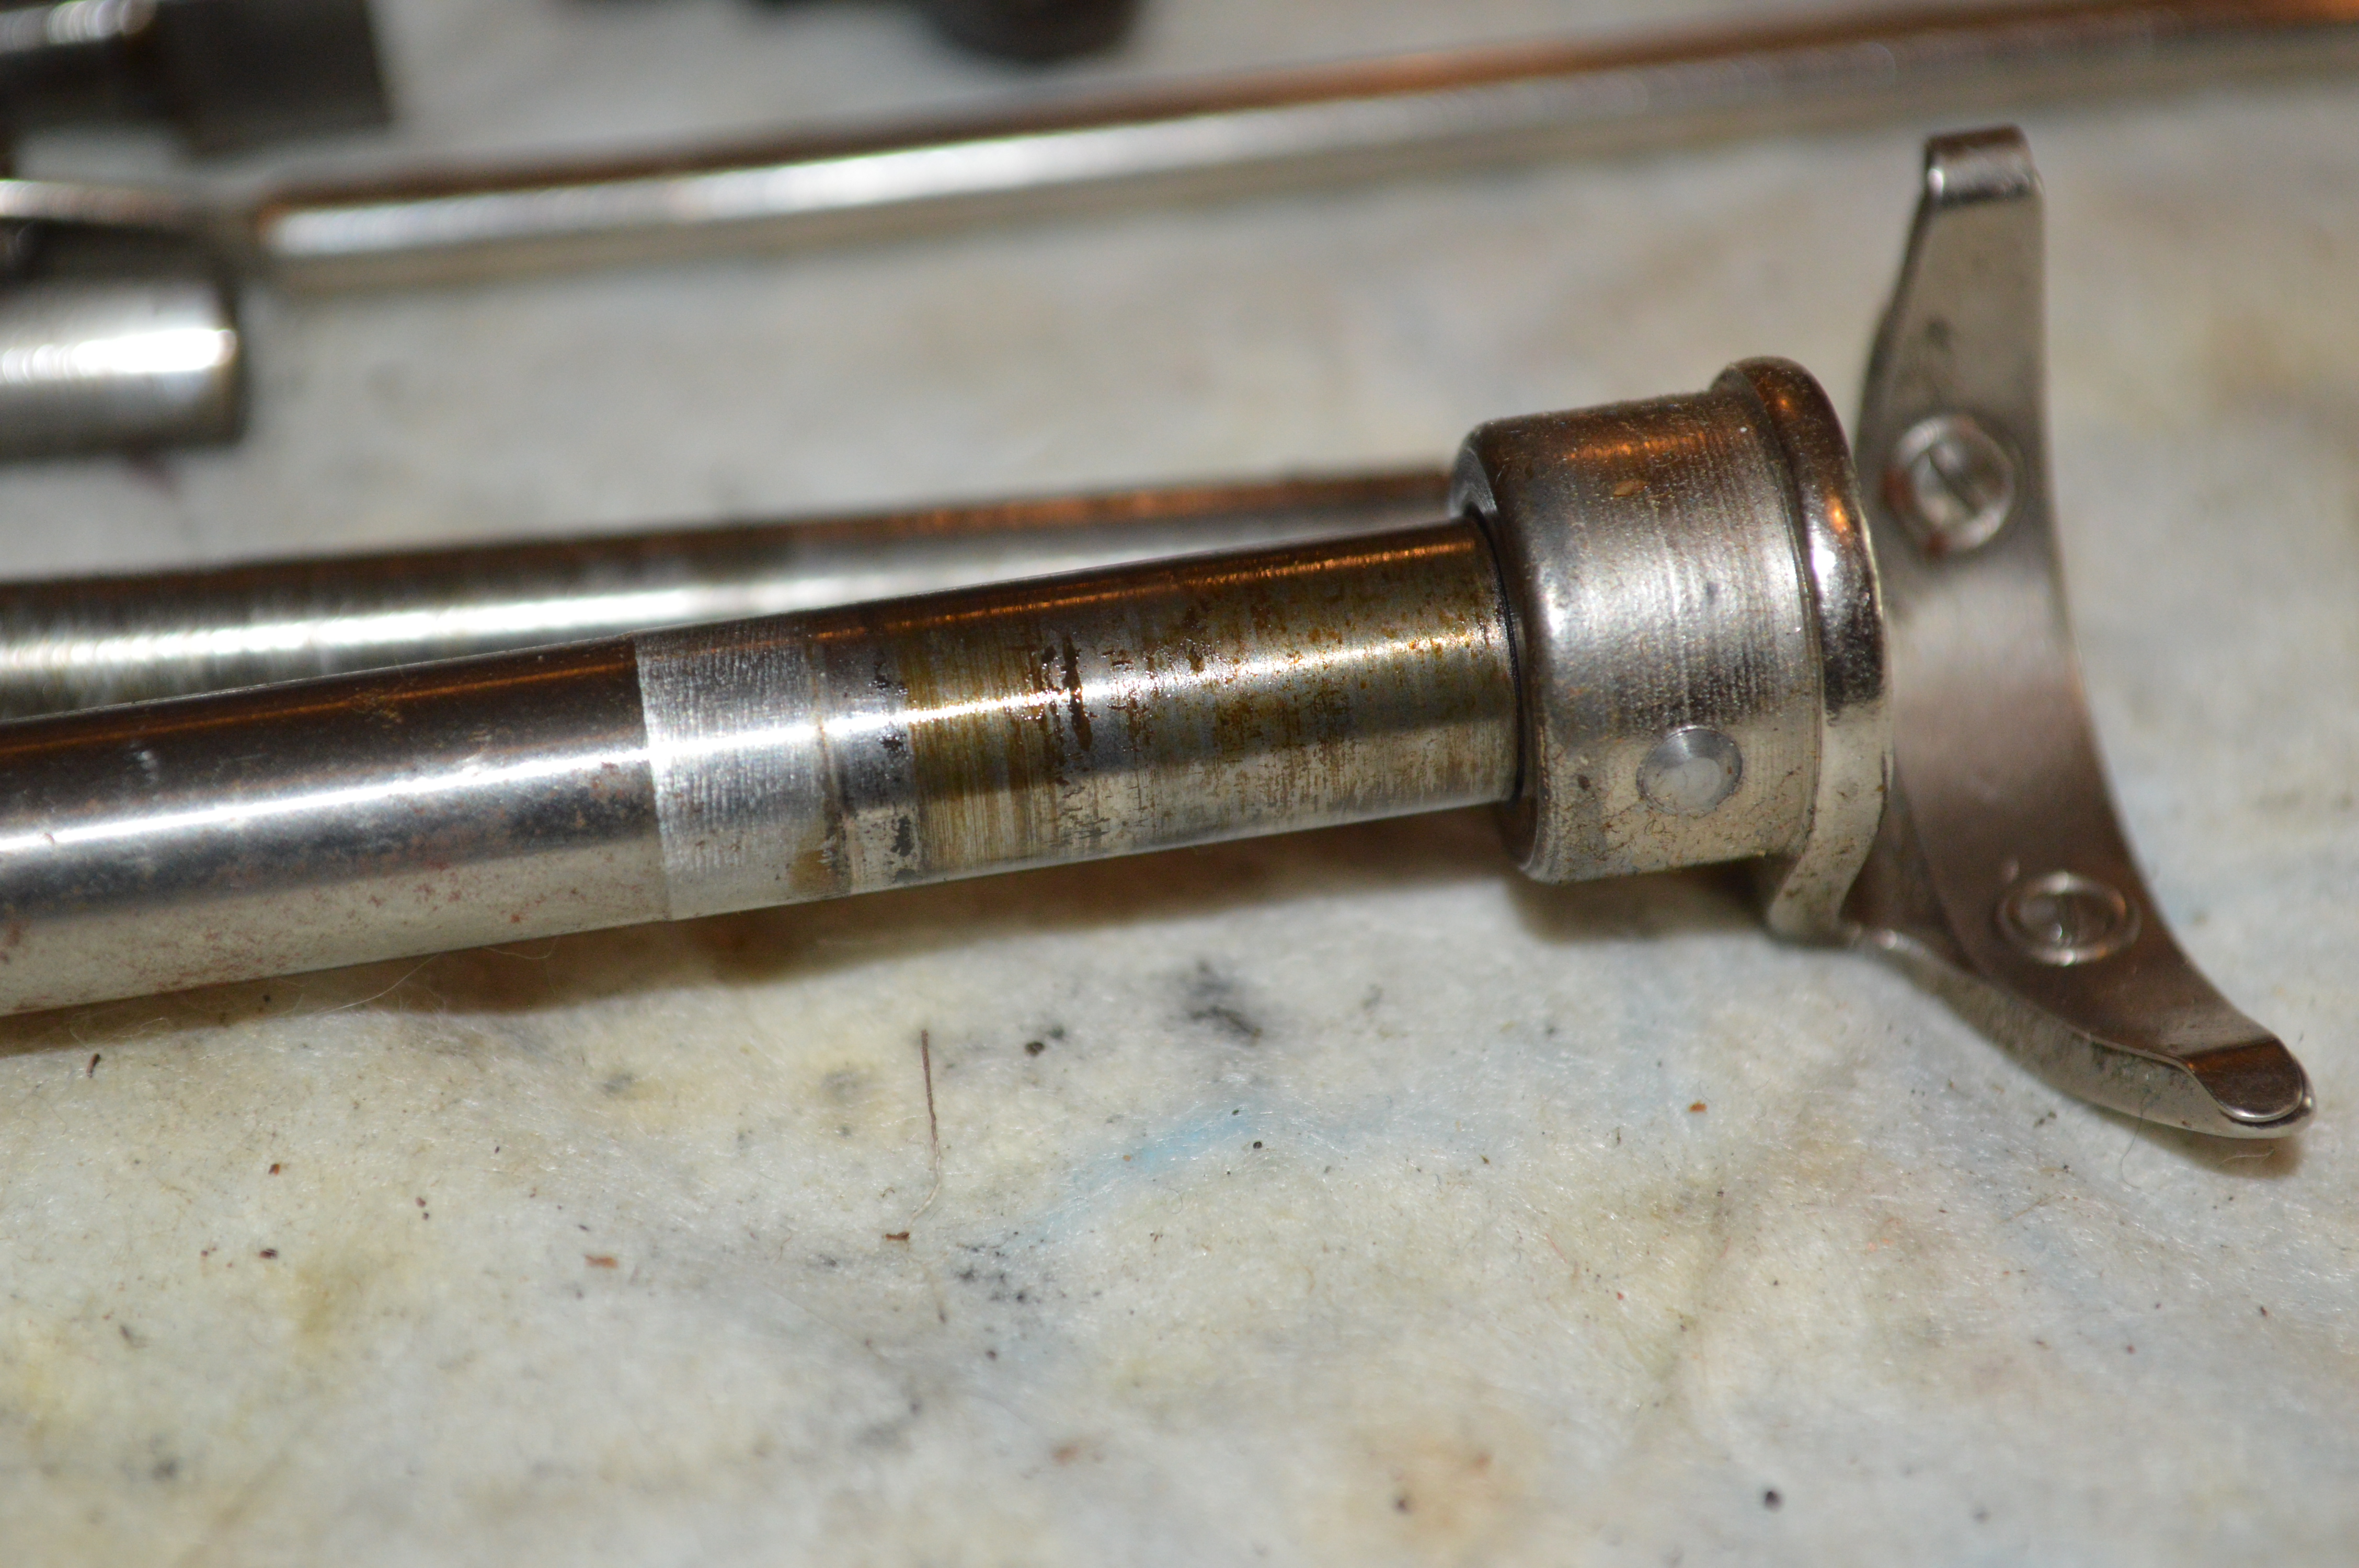
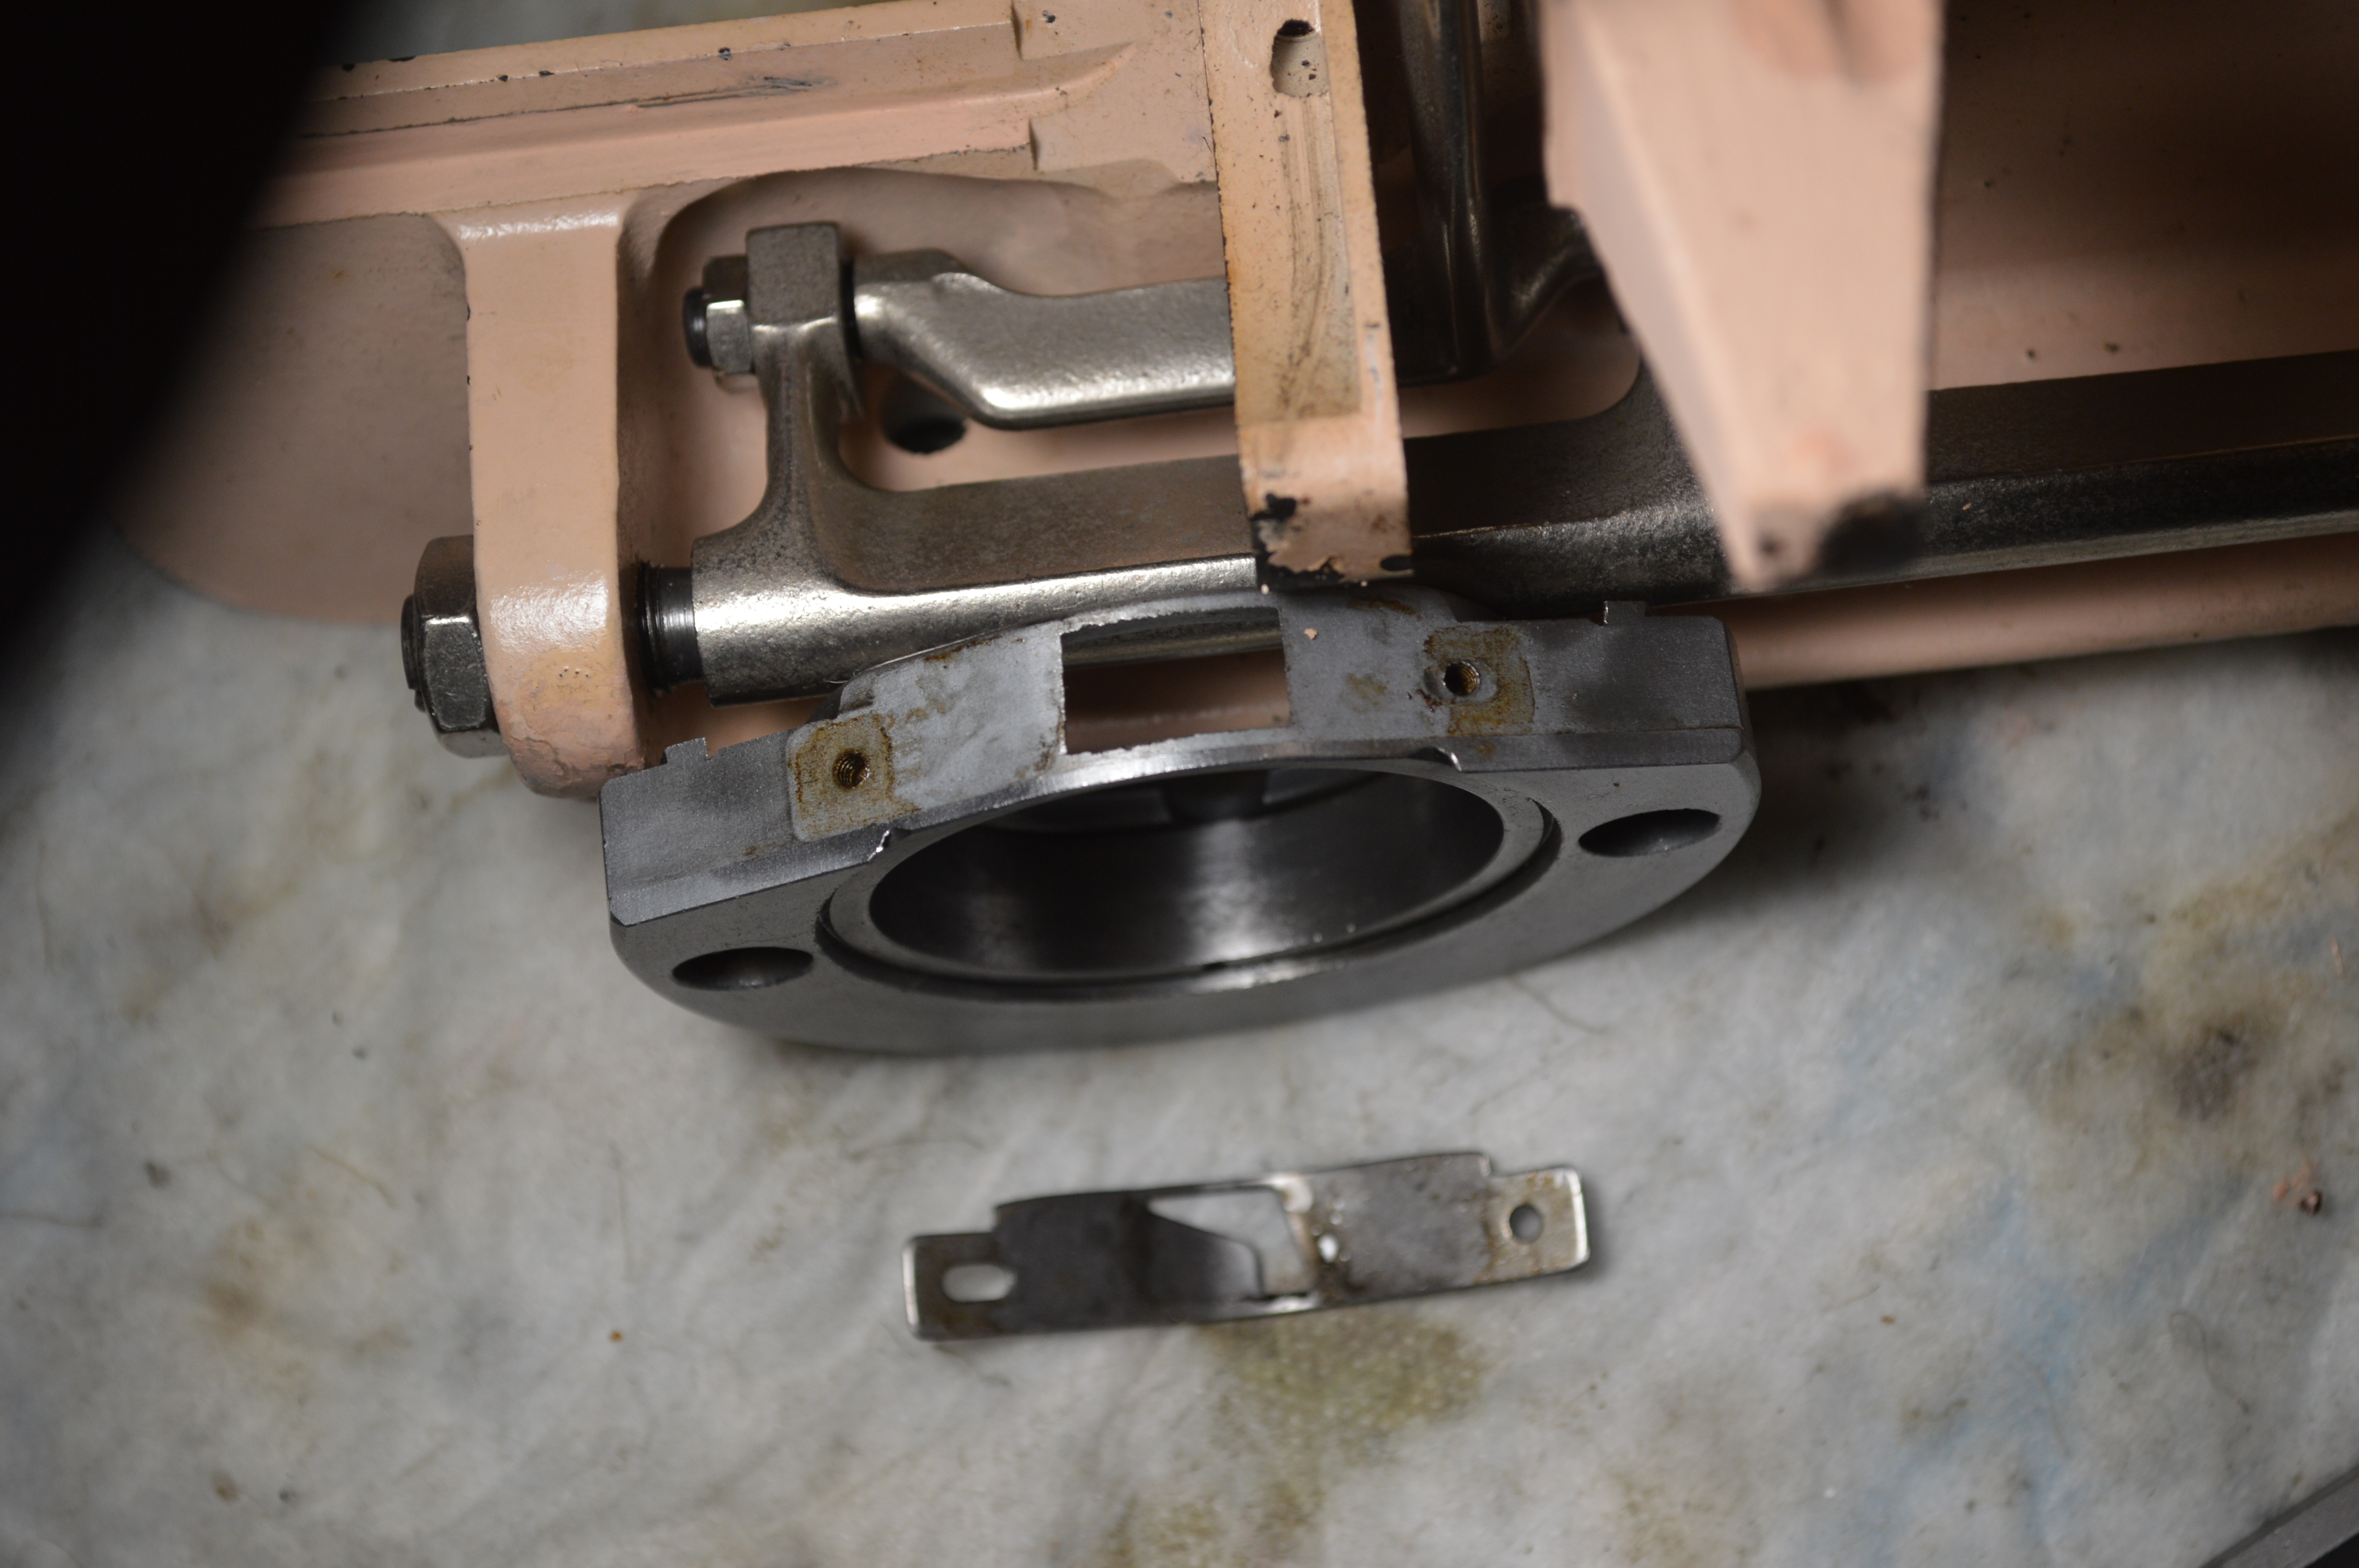
The next picture shows the hook shaft. This part runs the bobbin hook in an oscillating motion and the shaft rotates in two large bushings under the bed of the machine. Any oil varnish here will inhibit smooth running and is responsible (in my experience) for about 80% of the smoothness of the machine. This hook shaft is a perfect example of why it needs to be removed, cleaned, and polished.
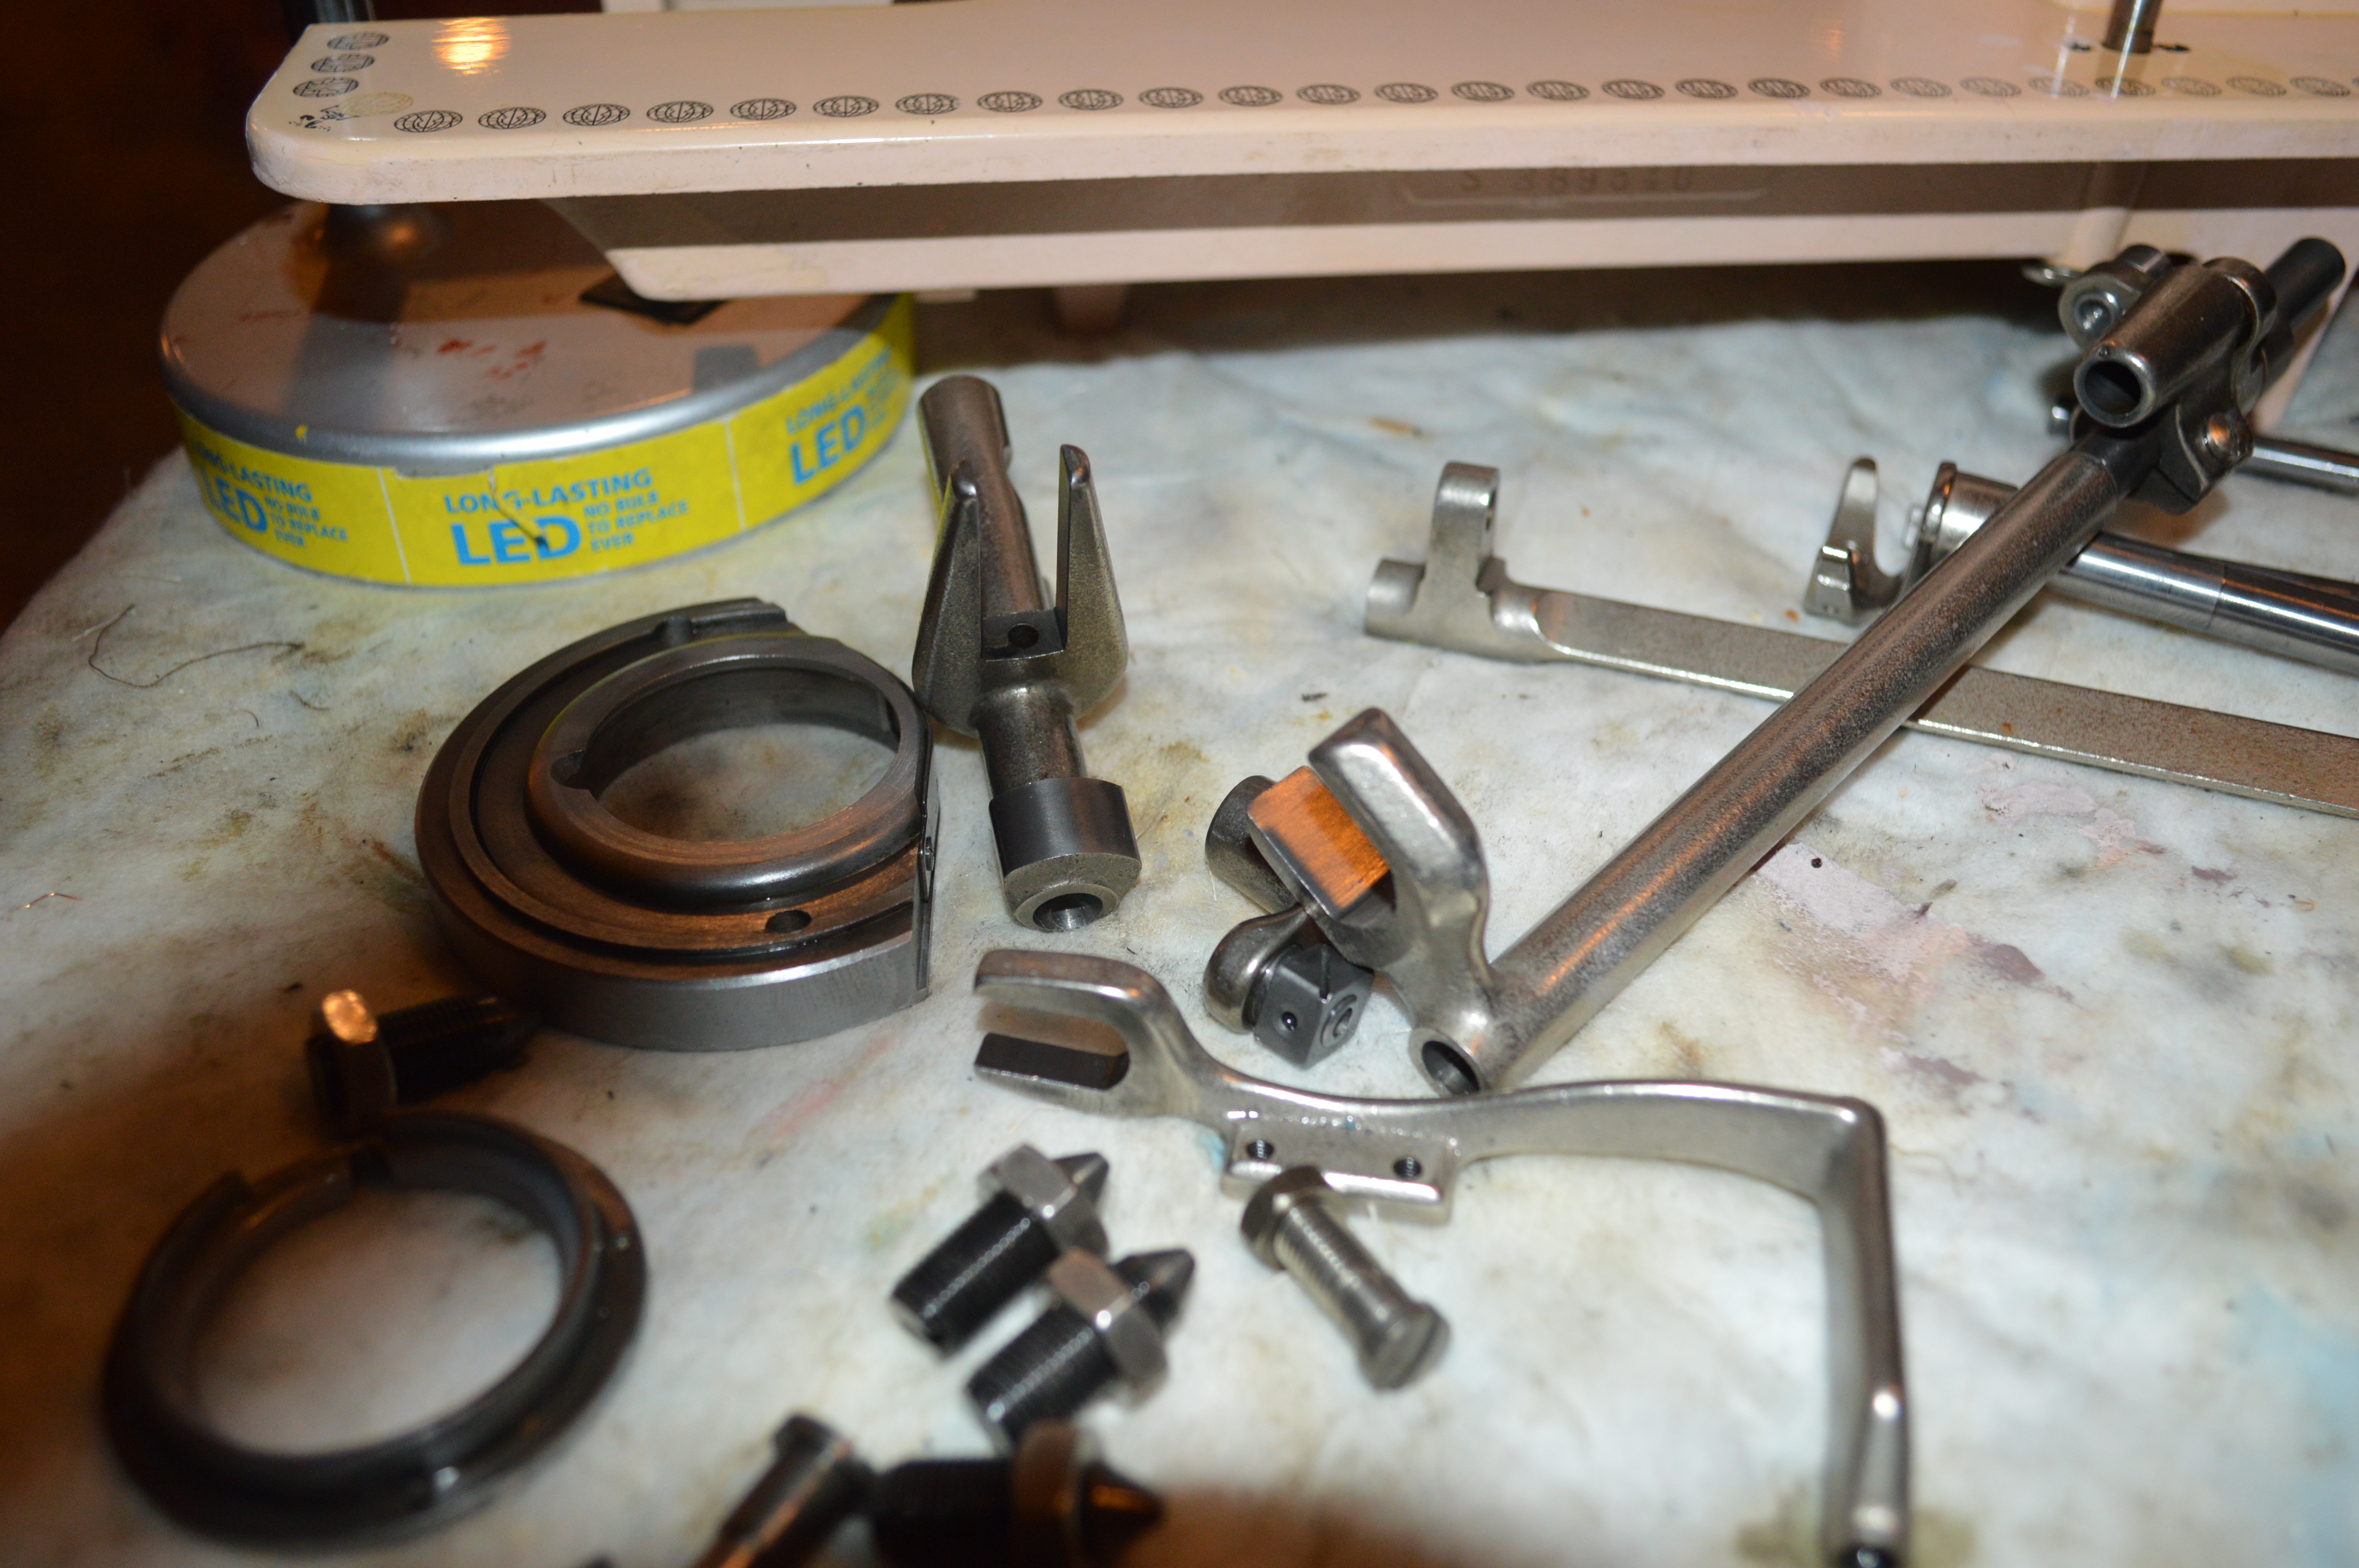
Other parts responsible for smoothness are also cleaned, wire brushed, and returned to “as new” condition…

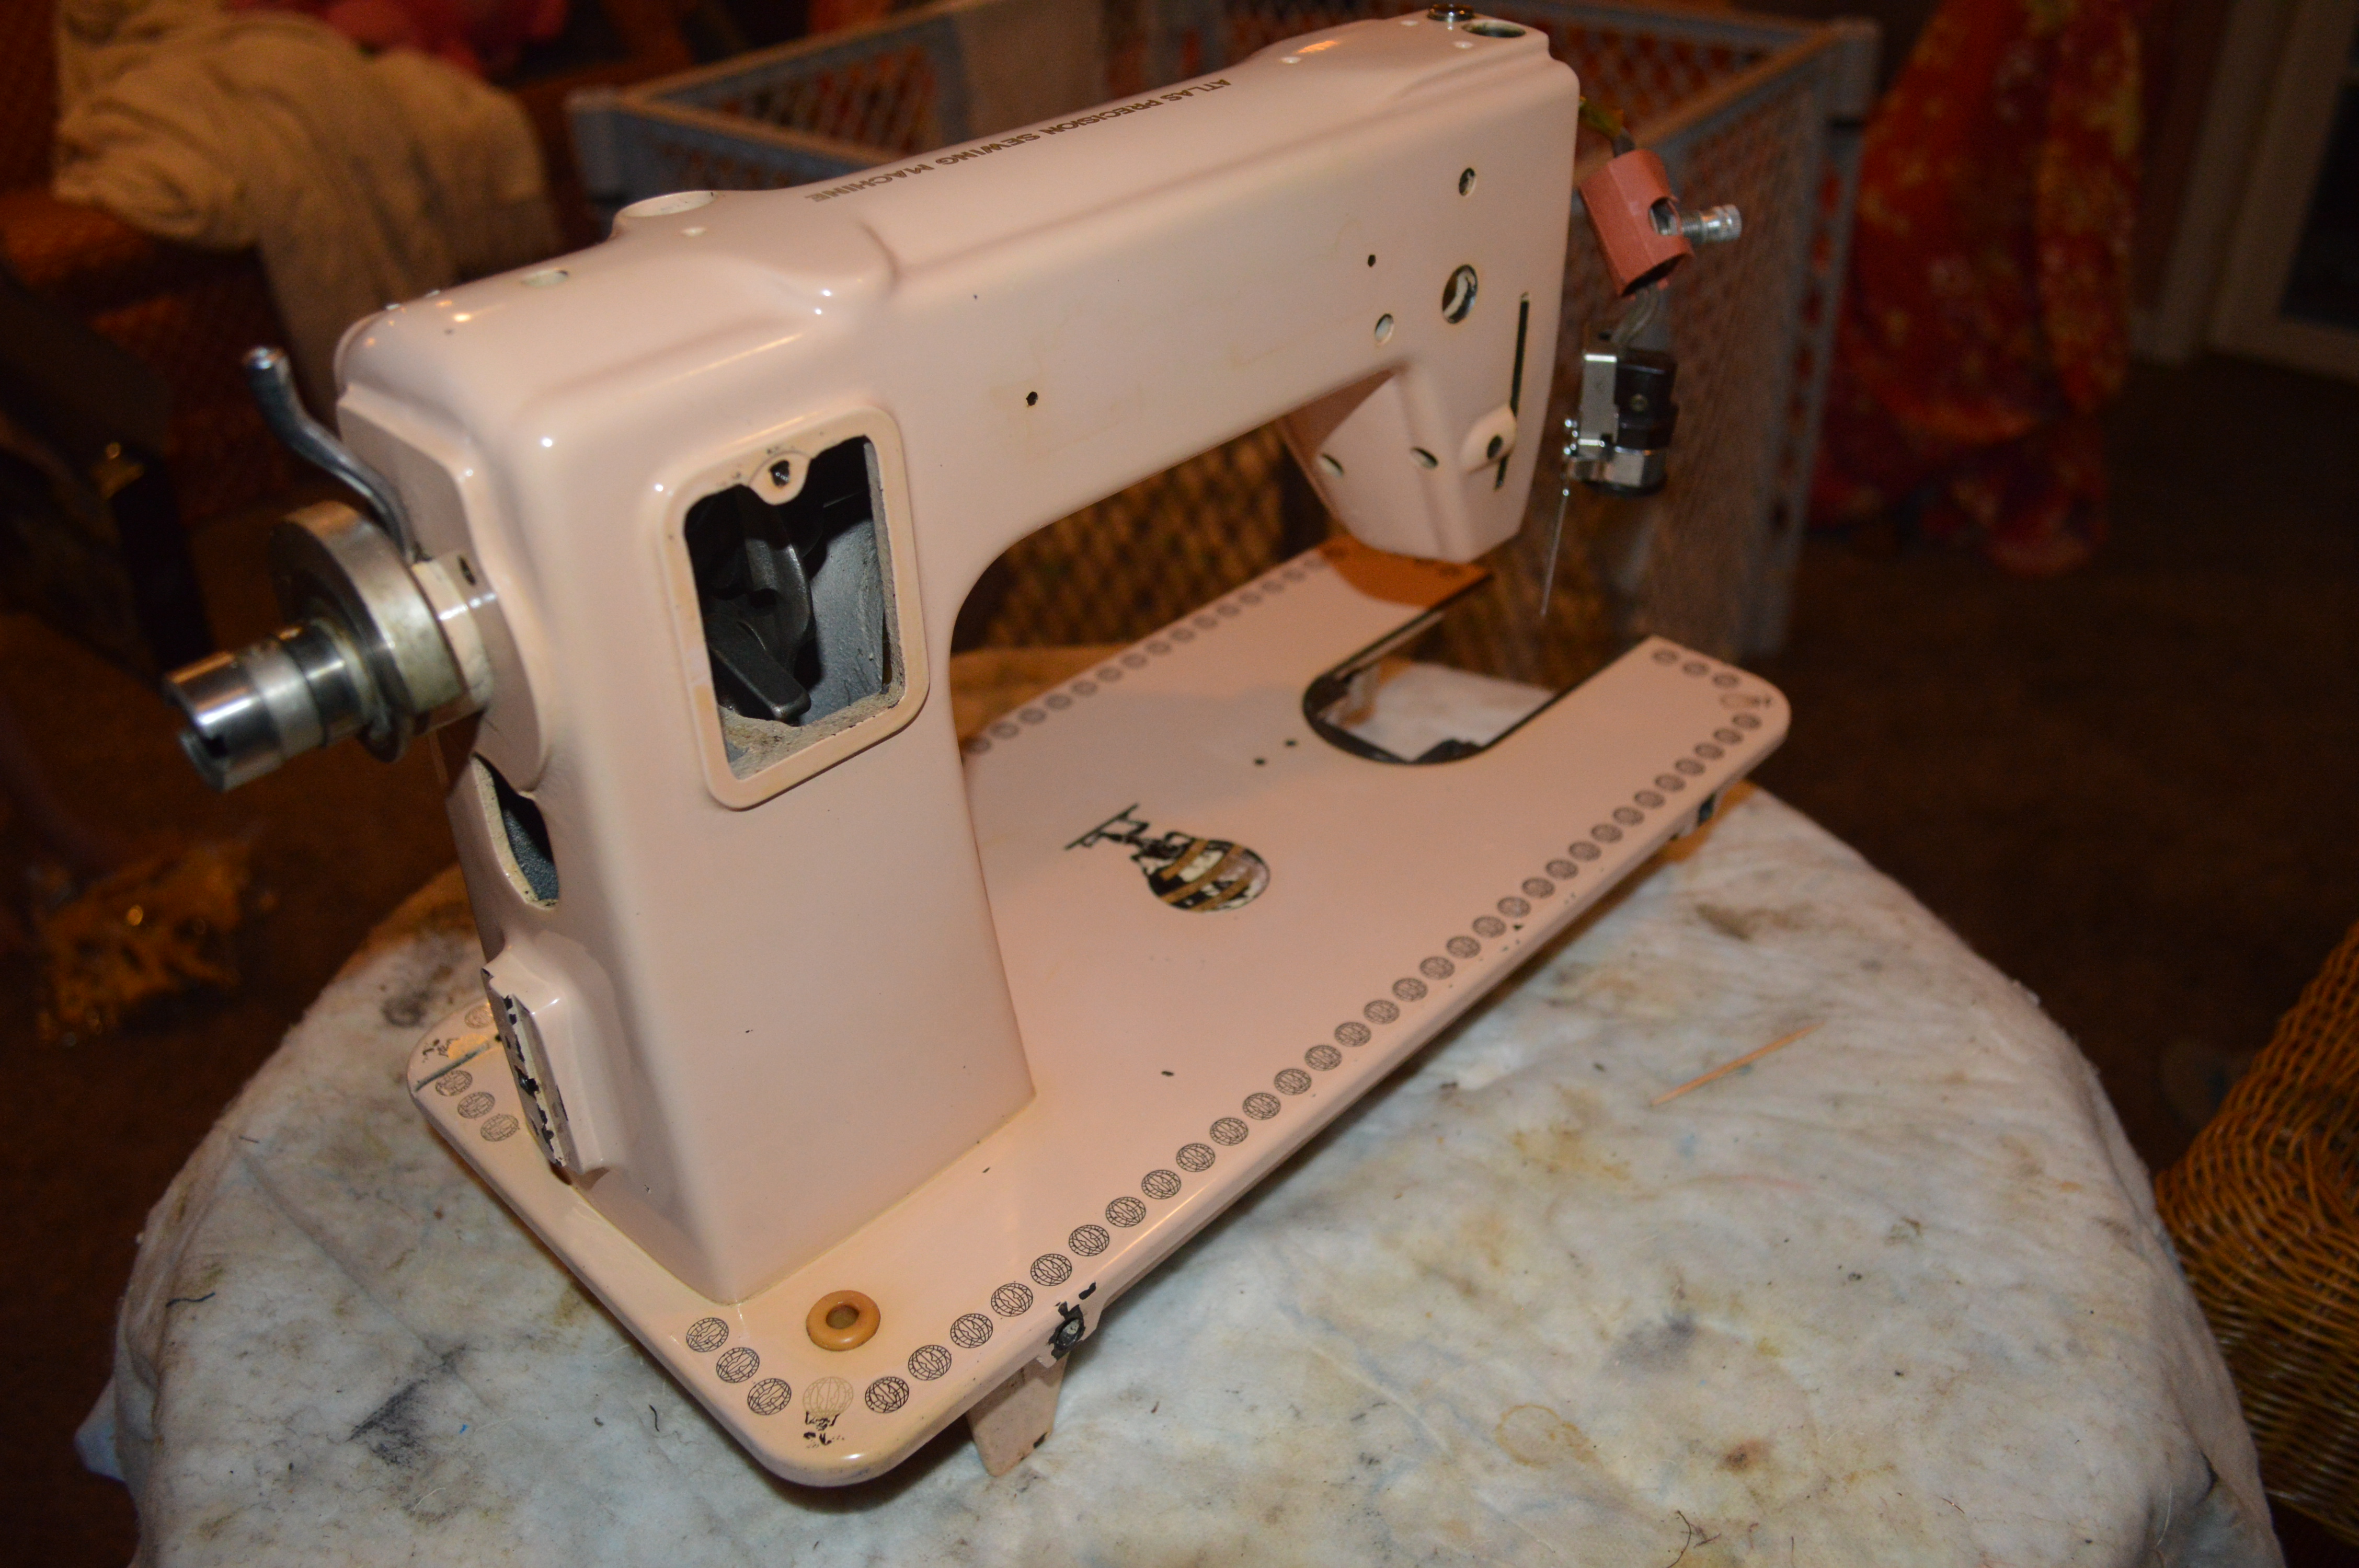
After cleaning and wire brushing, the parts are ready for reassembly…
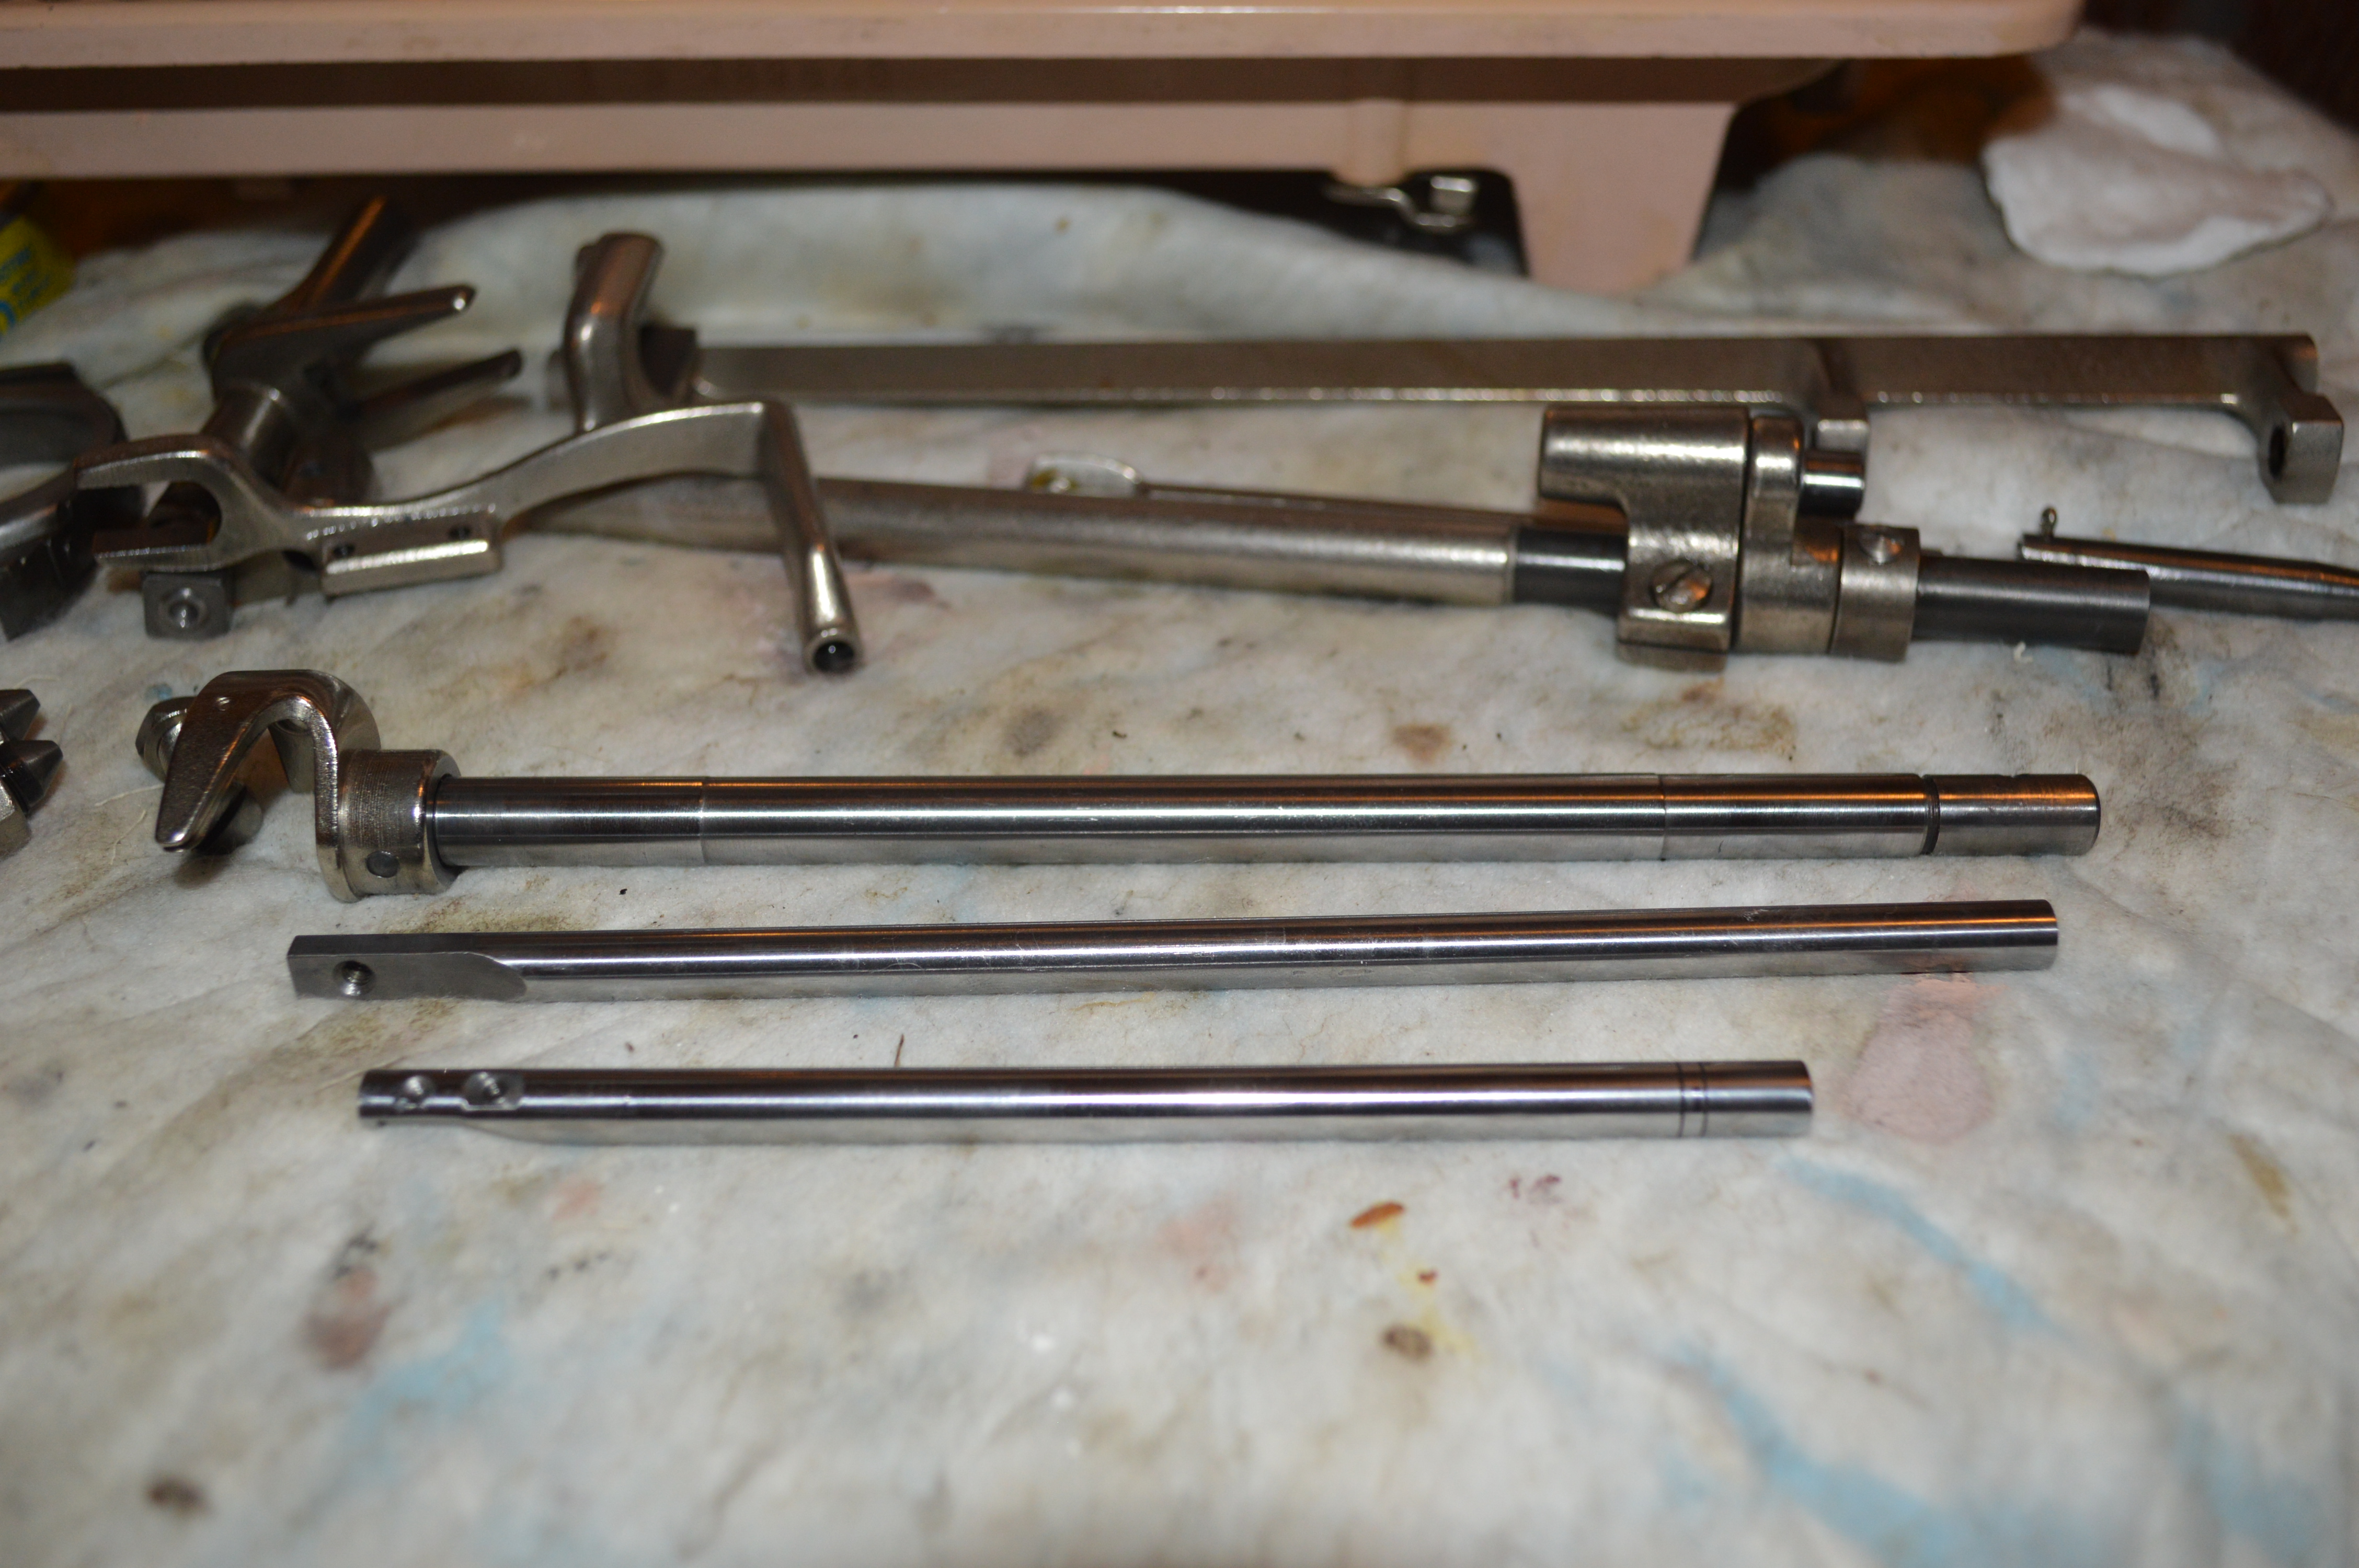
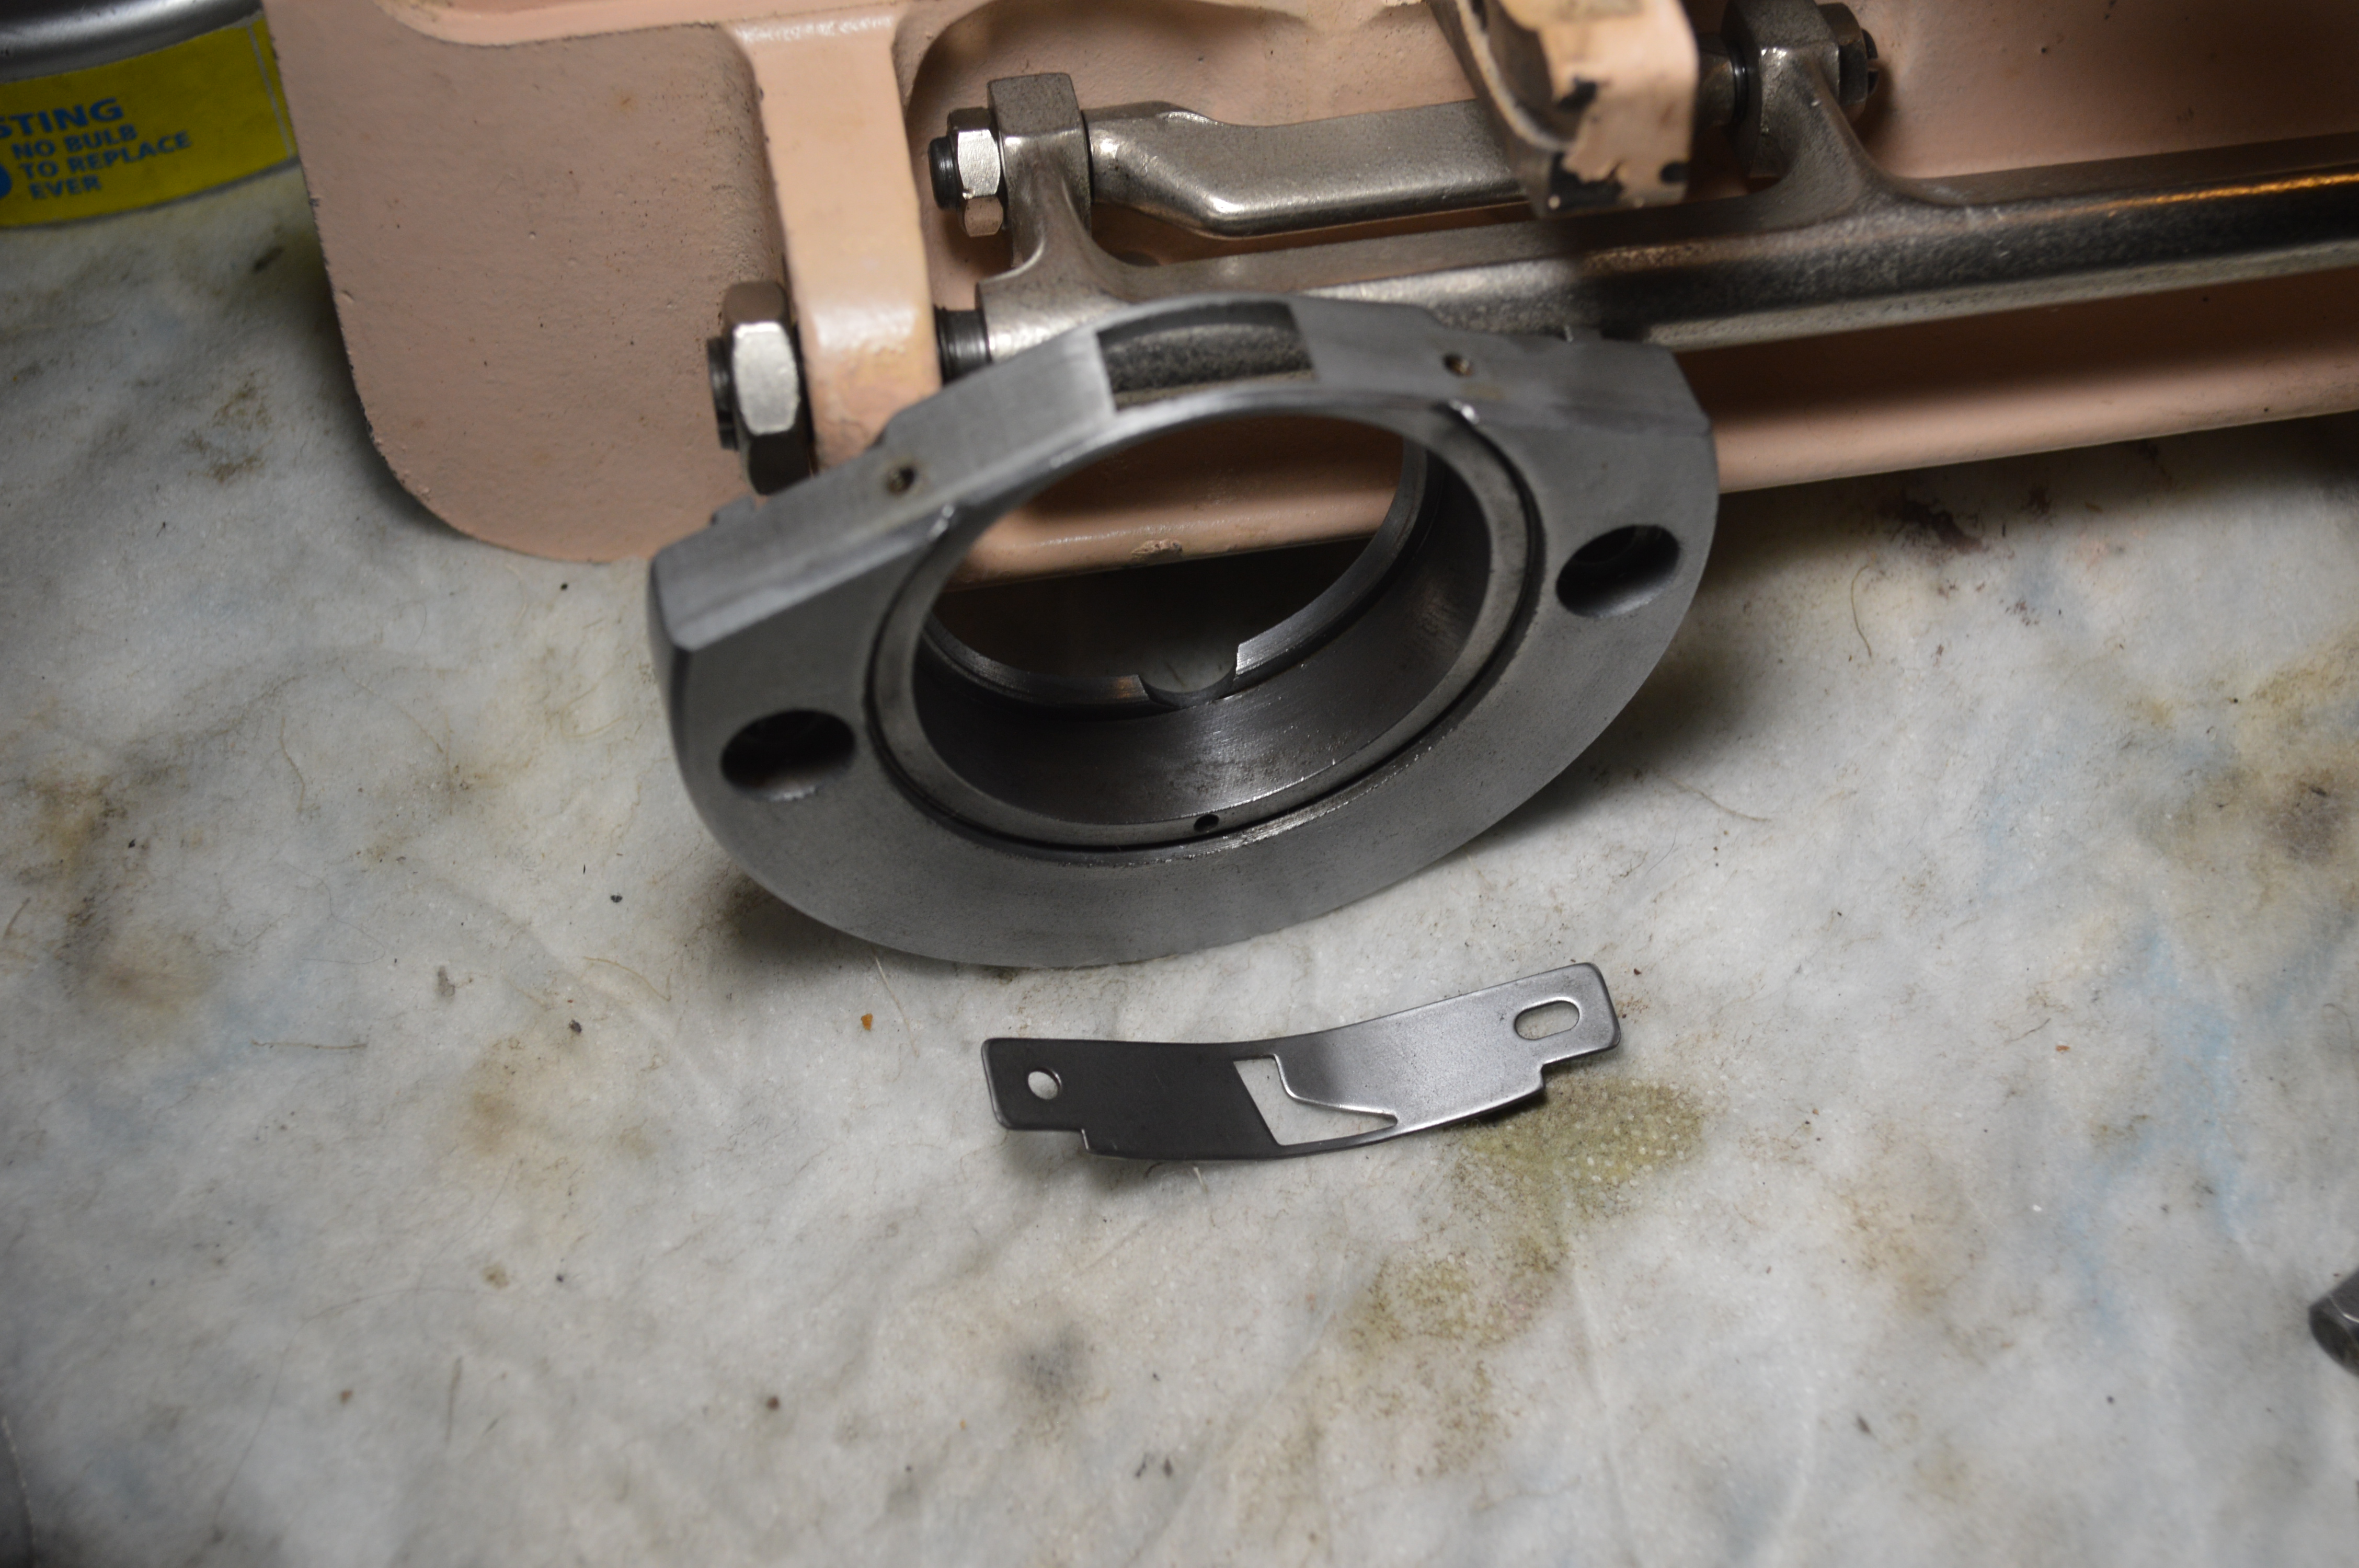
The hook shaft, the needle bar, and the presser foot bar preparation is taken a step further and polished to a glass smooth finish…
It is always a good idea to remove any plate springs and clean underneath… stuff works it way into nooks and crannies like this…
Next, our attention is turned to the cosmetic cleaning. The machine is thoroughly cleaned of all dirt, oil, and debris.


The next picture shows why we remove the badges that are not riveted to the machine… This is easy to clean with the badge removed… impossible to clean otherwise. No matter how hard you tried to clean it, you would always see the dirt under the edge of the badge.

Because this is a “Pink Atlas”, and a custom order, we intend to paint match and restore the bed decal to restore as much of the “awe factor” that this machine garners from people. The paint chips are not really prominent on this machine, but against a pink background, they are objectionable to the finish, and are paint matched.
Now, paint matching is no easy task. There is no “color code” for this color, there is no off the shelf match. The only way to color match this pink is to create a custom color by mixing different color paints. Unfortunately, I don’t know how to do this… but fortunately, my Daughter is a graphics art illustrator and she does know how to do this. If you look closely, there are actually two paint chips on the edge of the bed… one of them has been paint matched… and it’s a good color match.
Paint chips are filled in where we find them…

All of the chips are paint matched, wet sanded, and then stabilized with a clear coat. The same treatment is applied to the center bed decal. Before…

After…

After the decal and paint chips are repaired, they need to be protected with a clear coat. This will stabilize the finish from wear… but the clear coat must be blended. This is done with 2000 grit wet sanding and glaze polishing. The result is a very smooth and glossy finish. On this machine, it is well worth the effort it takes for appearance sake.
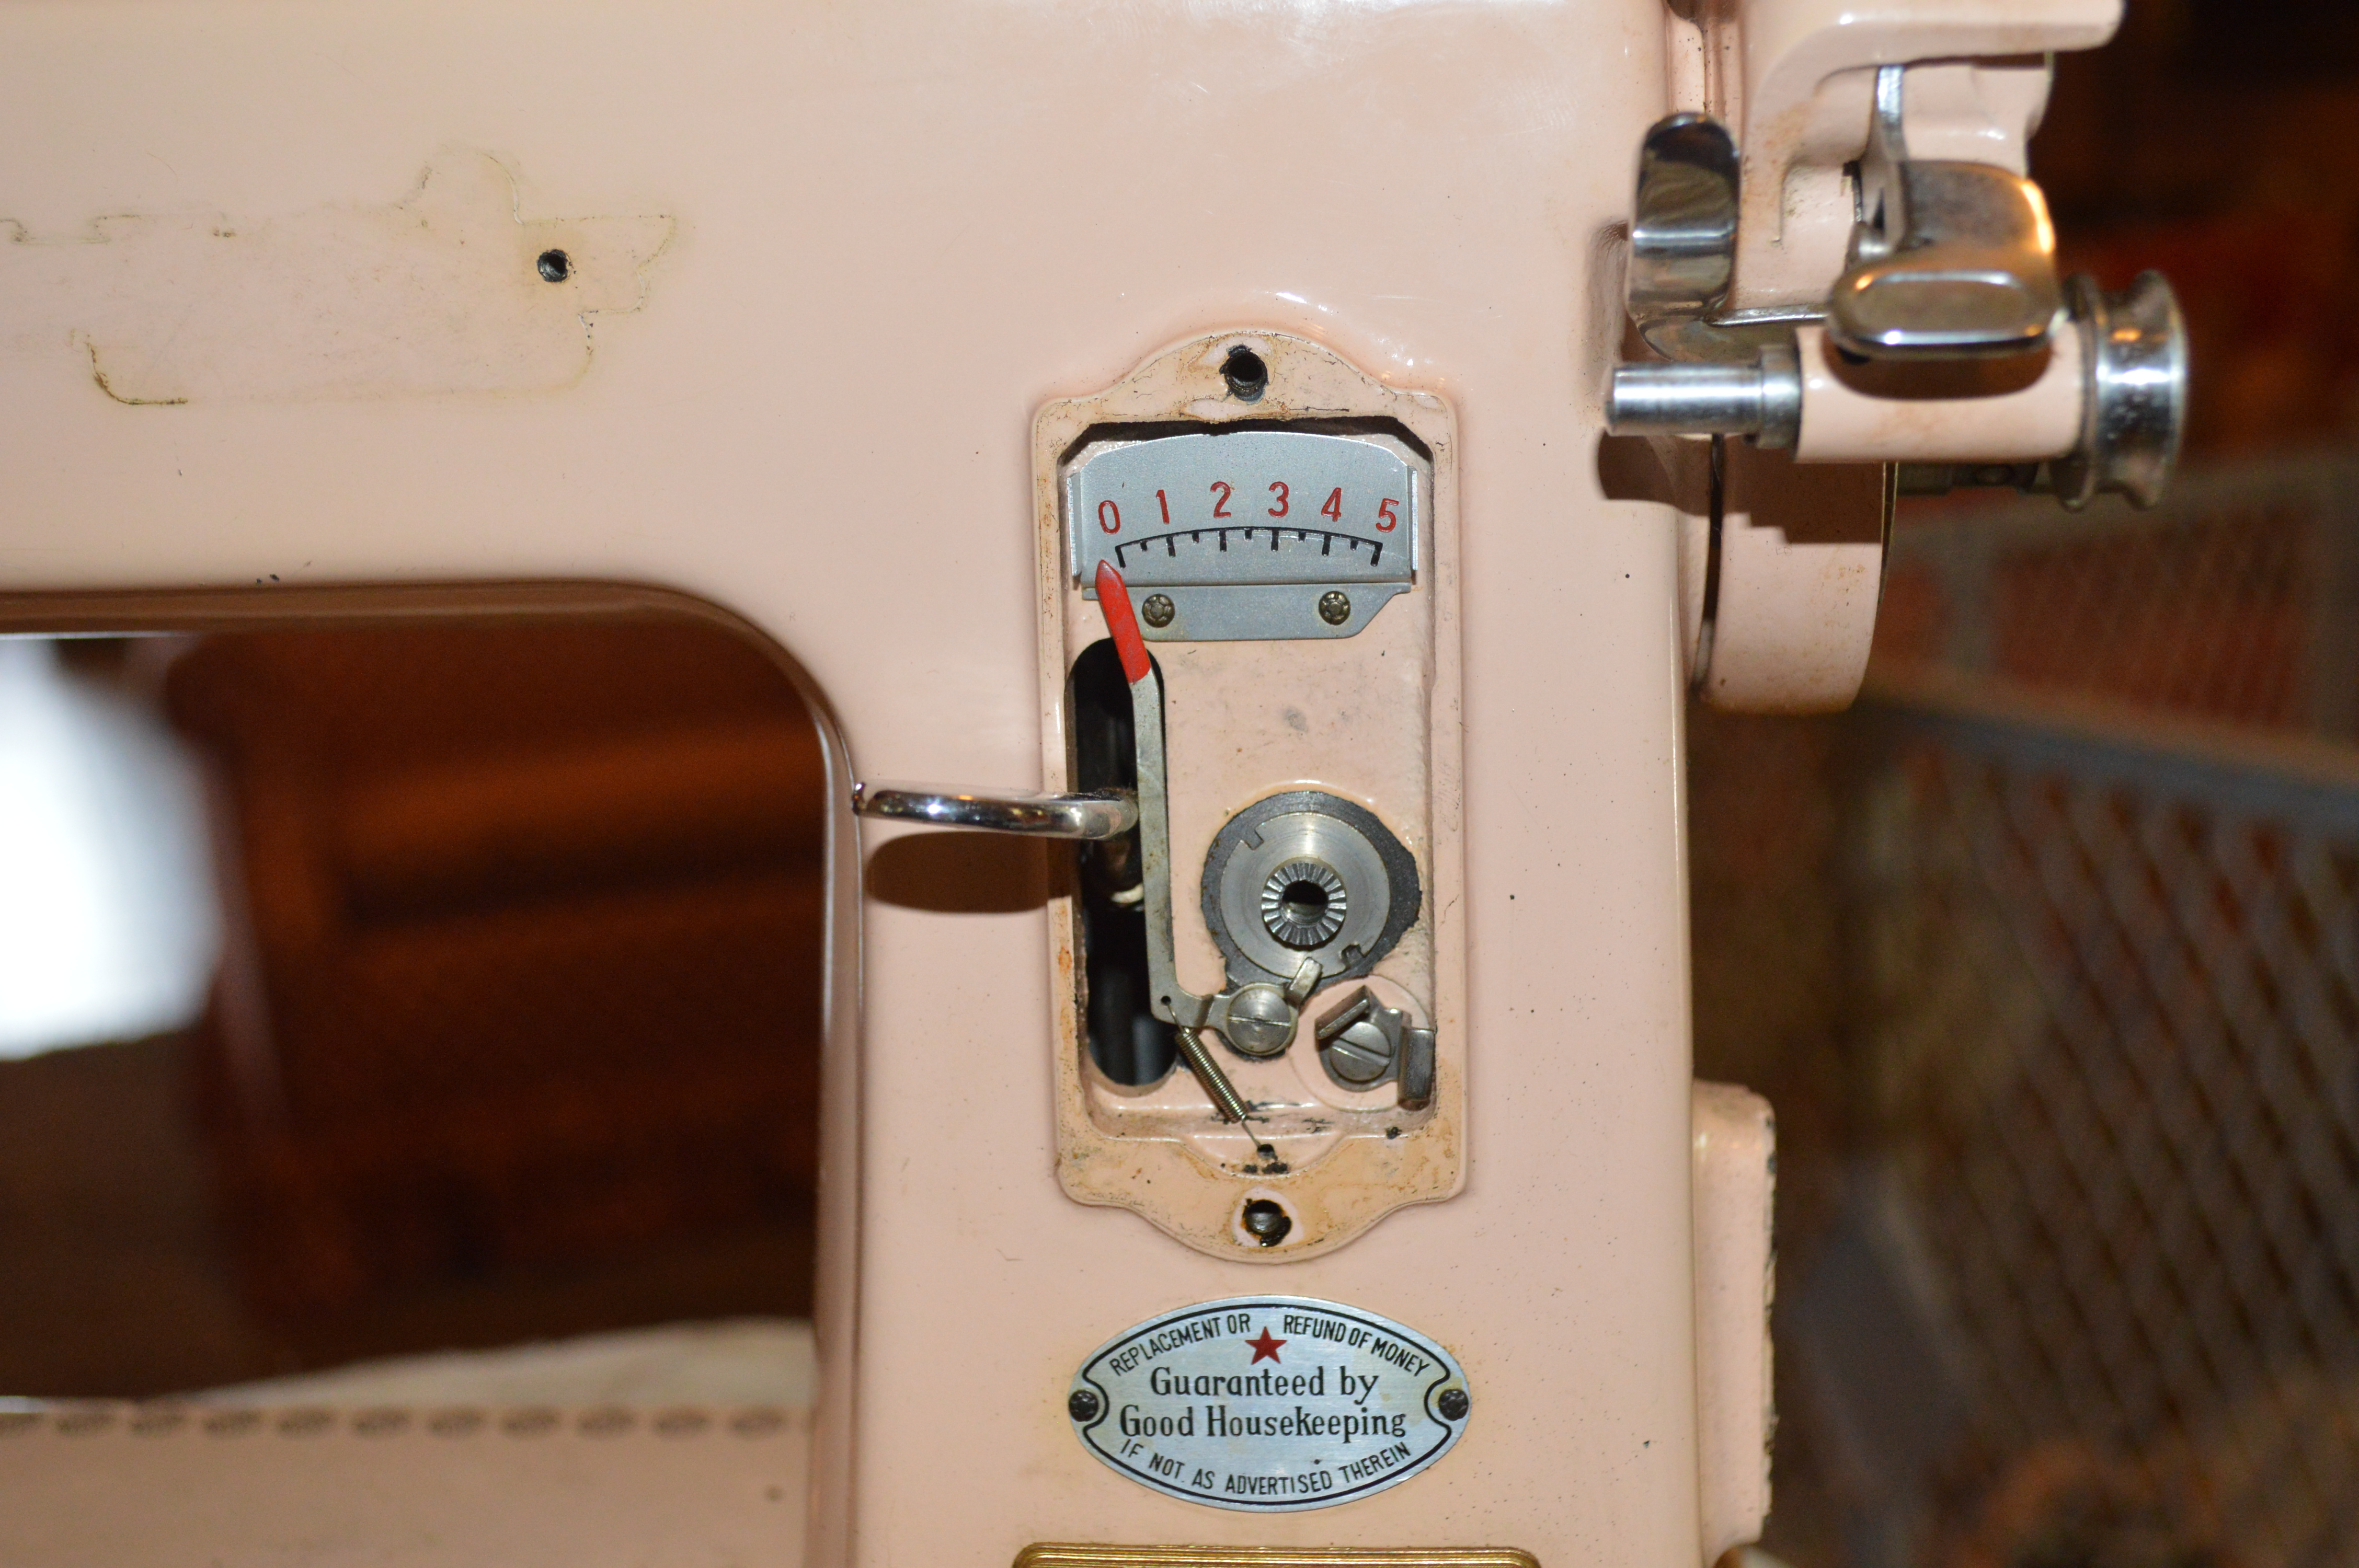
Next, the tension assembly is disassembled for cleaning…
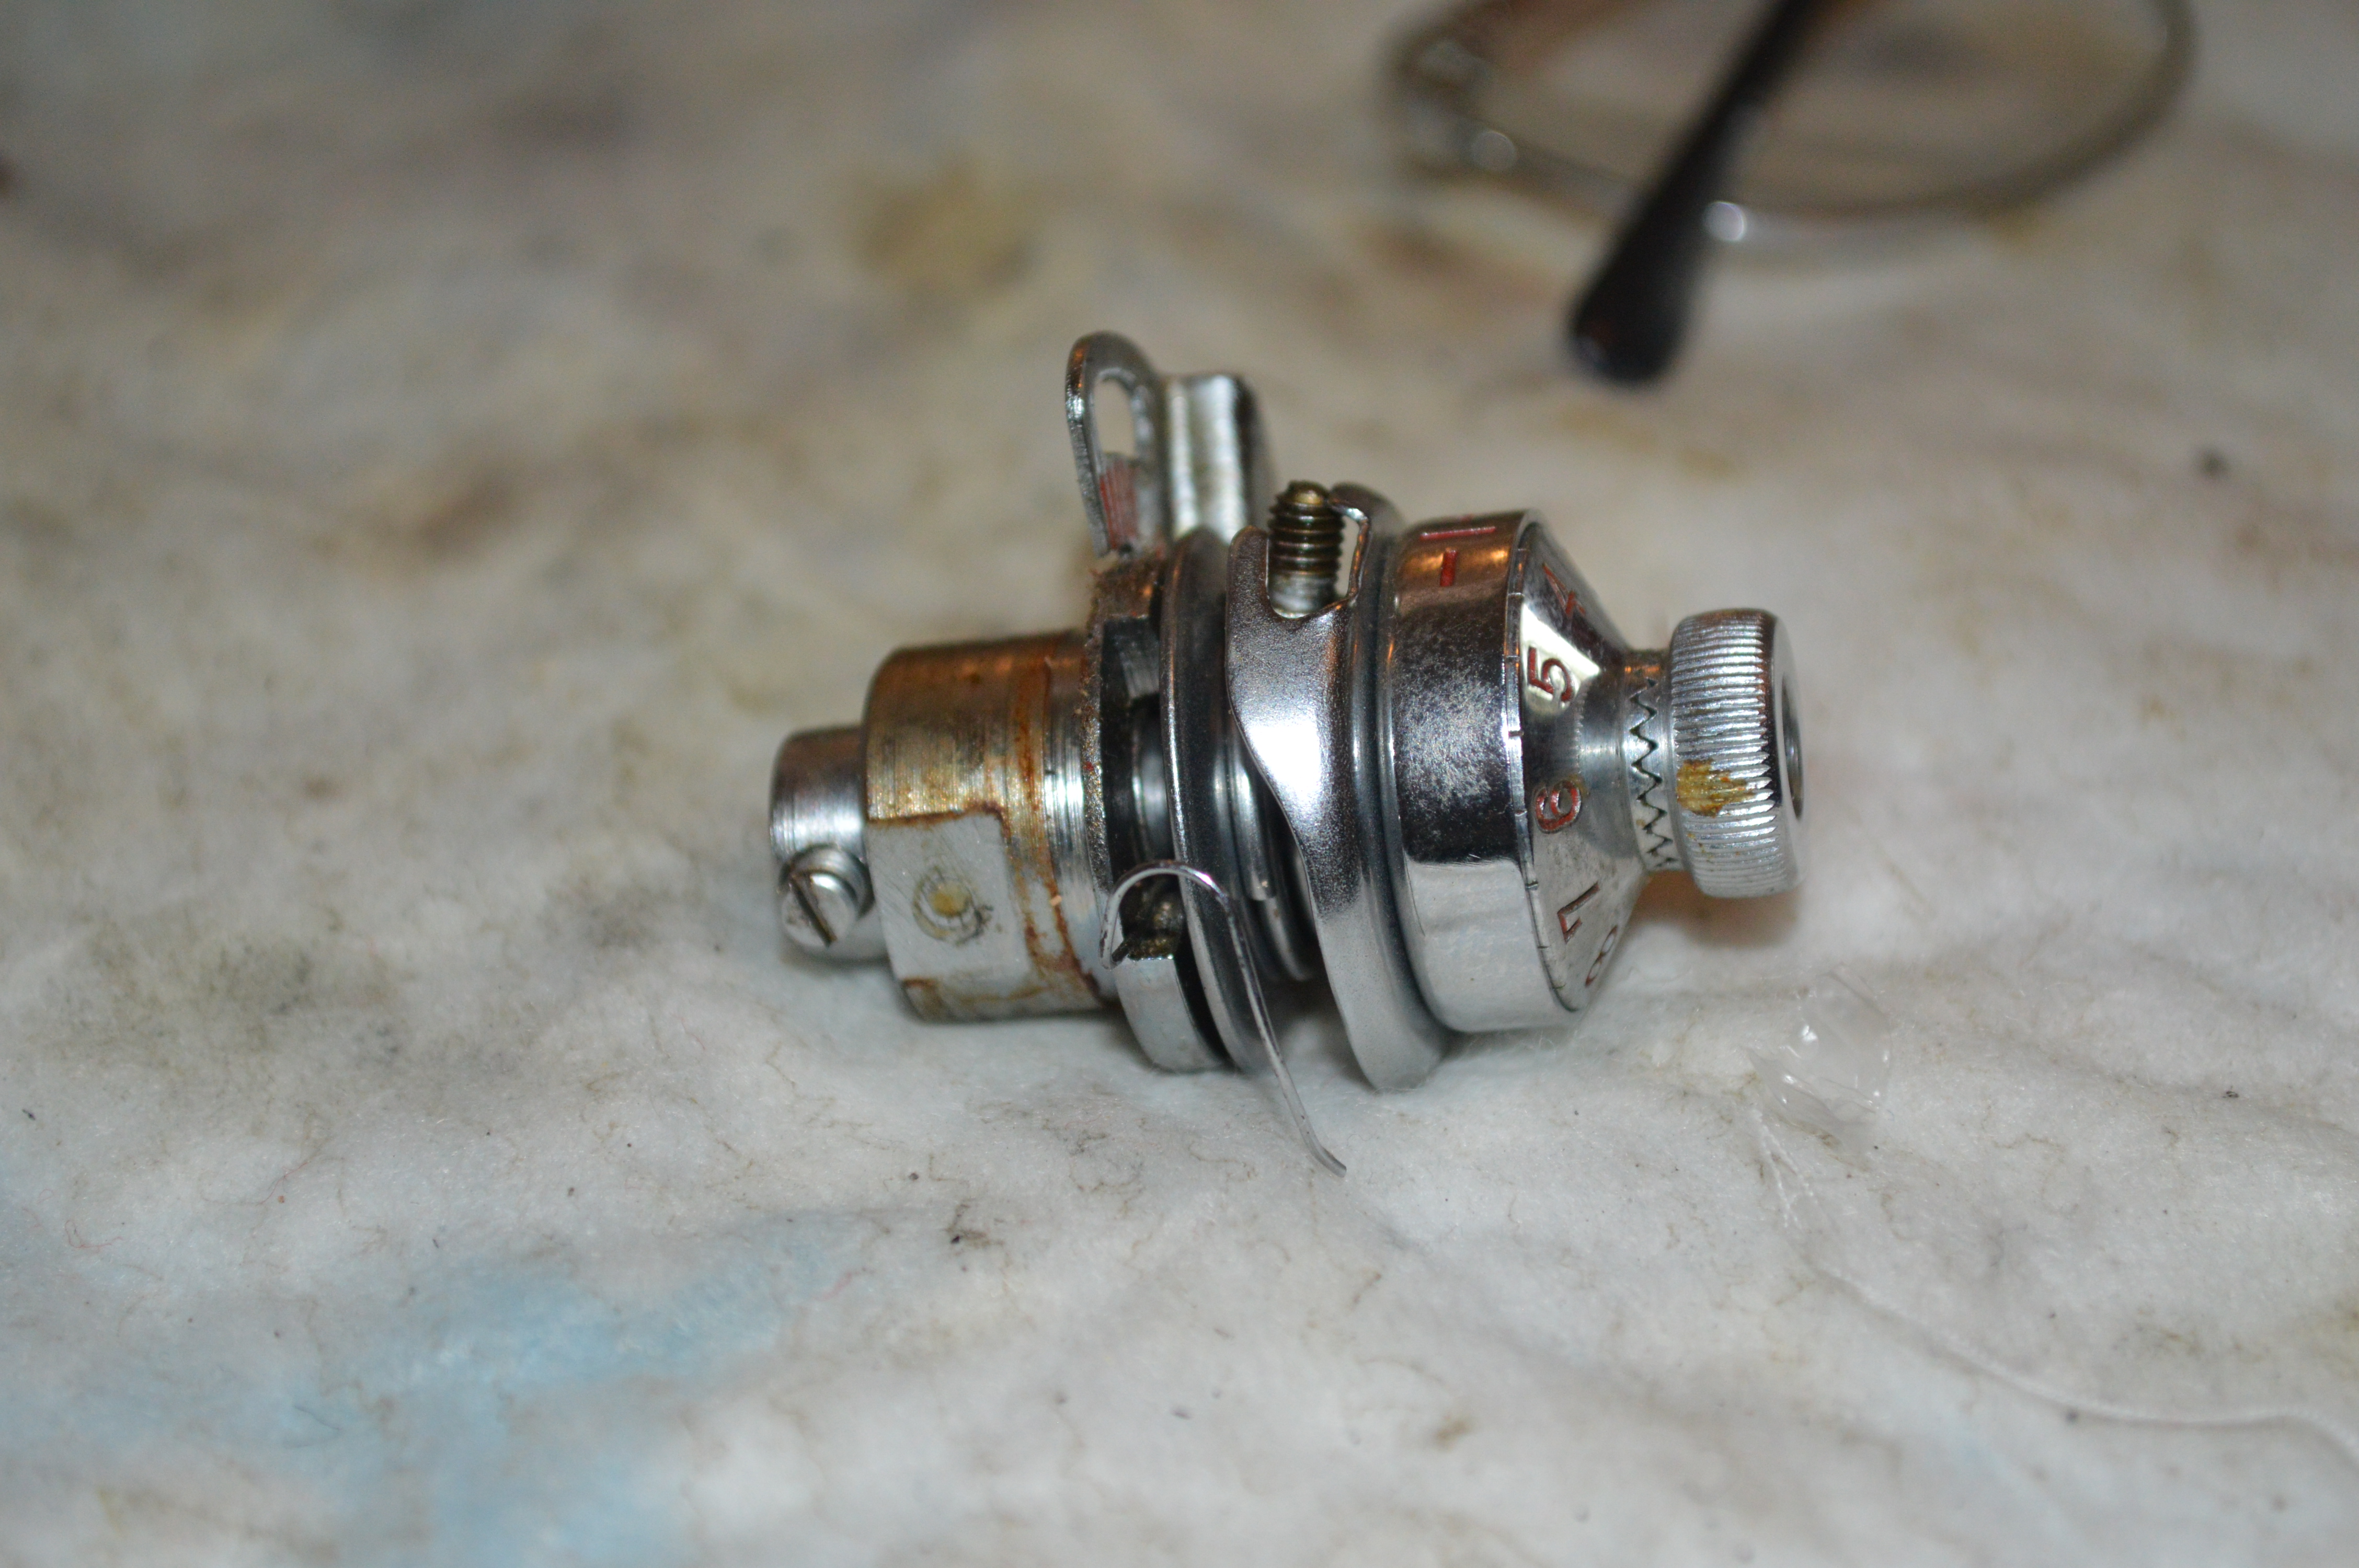
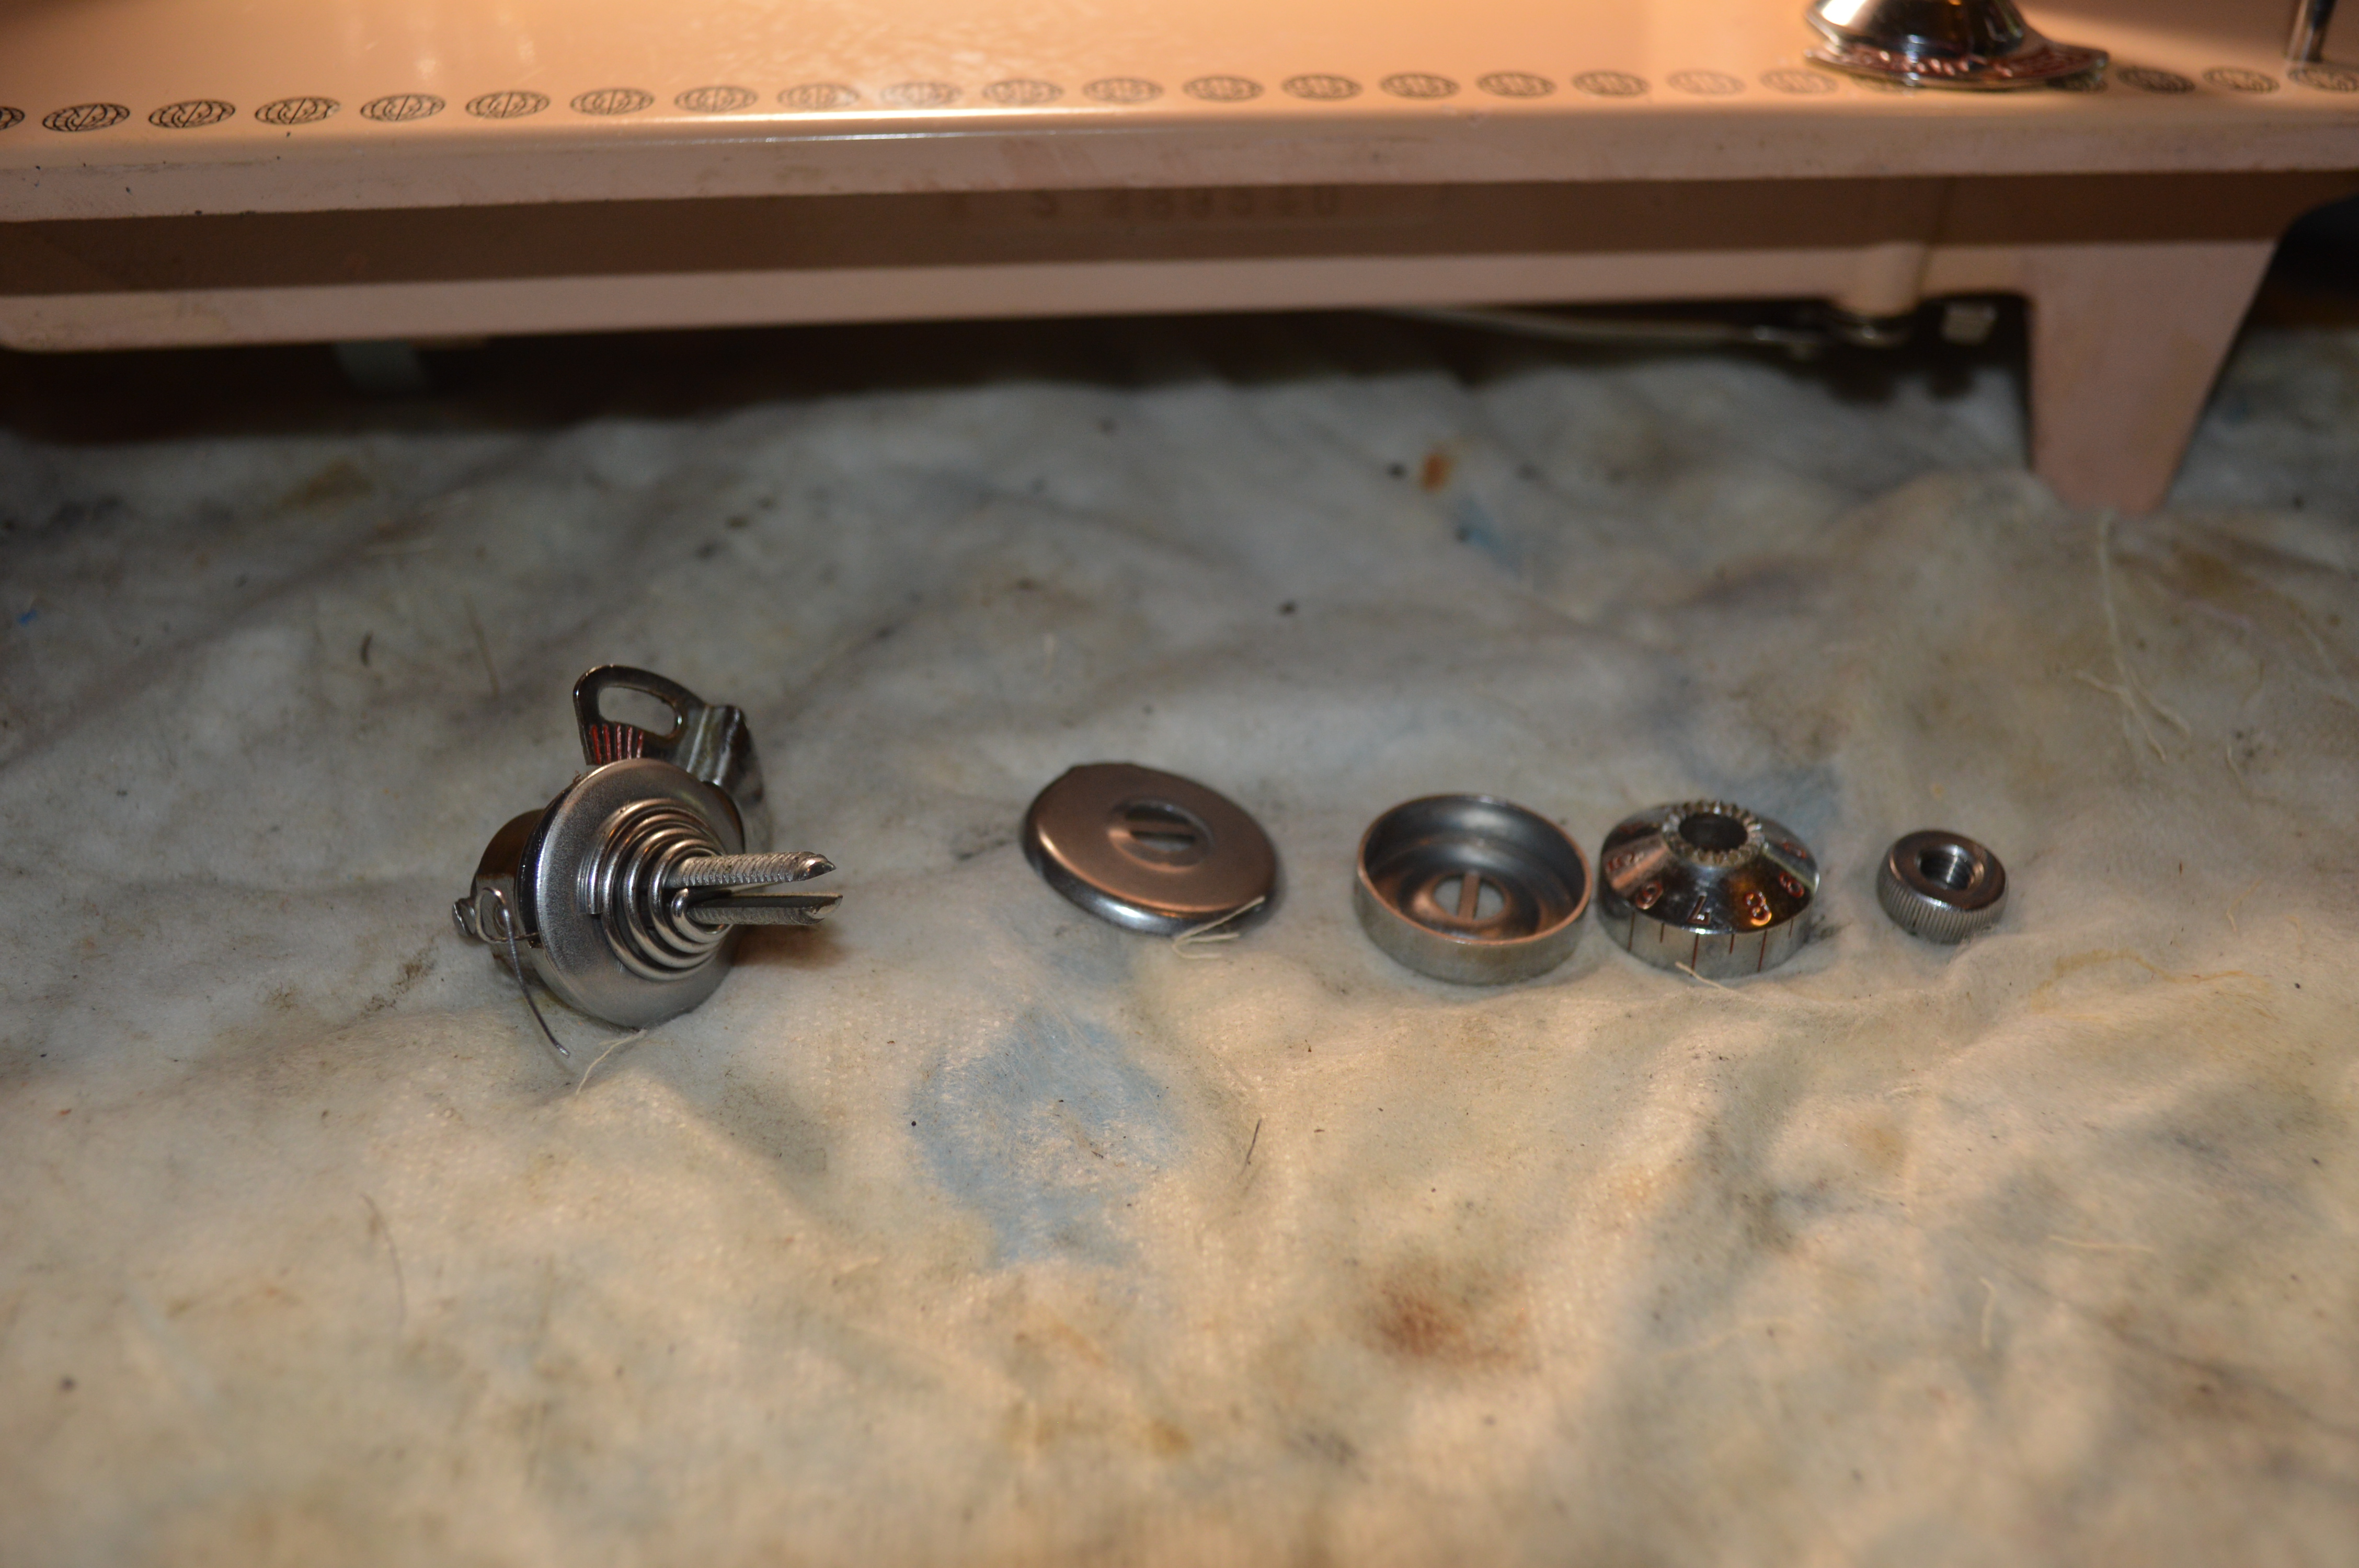
After disassembly, it became apparent that someone got to it before me… the parts were installed backwards, out of order, and upside down… plus, one of the tension discs is missing. No way this was going to sew… Anyway, after cleaning, replacing the tension discs as a set, and proper assembly, it is as good as new.
Next comes the motor. The original Atlas motor fitted to the machine is rated at 1.2 amps. Now, there is a lot of hype about motor amperage and it is my opinion that more is not always better in comparison with a smaller motor for all machines. For machines that use a lot of power to drive other mechanisms, such as cam stacks and zig-zag mechanisms, a larger motor is a necessity. For a straight stitch only machine, 1.2 amps is a very powerful motor, and this power is noticeable at the needle. Cast iron body, heat treated steel assemblies, and a powerful motor make this machine, and machines of similar vintage and construction, capable of sewing some seriously heavy fabric with no hesitation. Now, on to the motor… It is disassembled, cleaned, the armature is polished, the brushes are reconditioned, and it is lubricated. After reassembly, the motor is “run in” to seat the brushes and verify it is running properly.


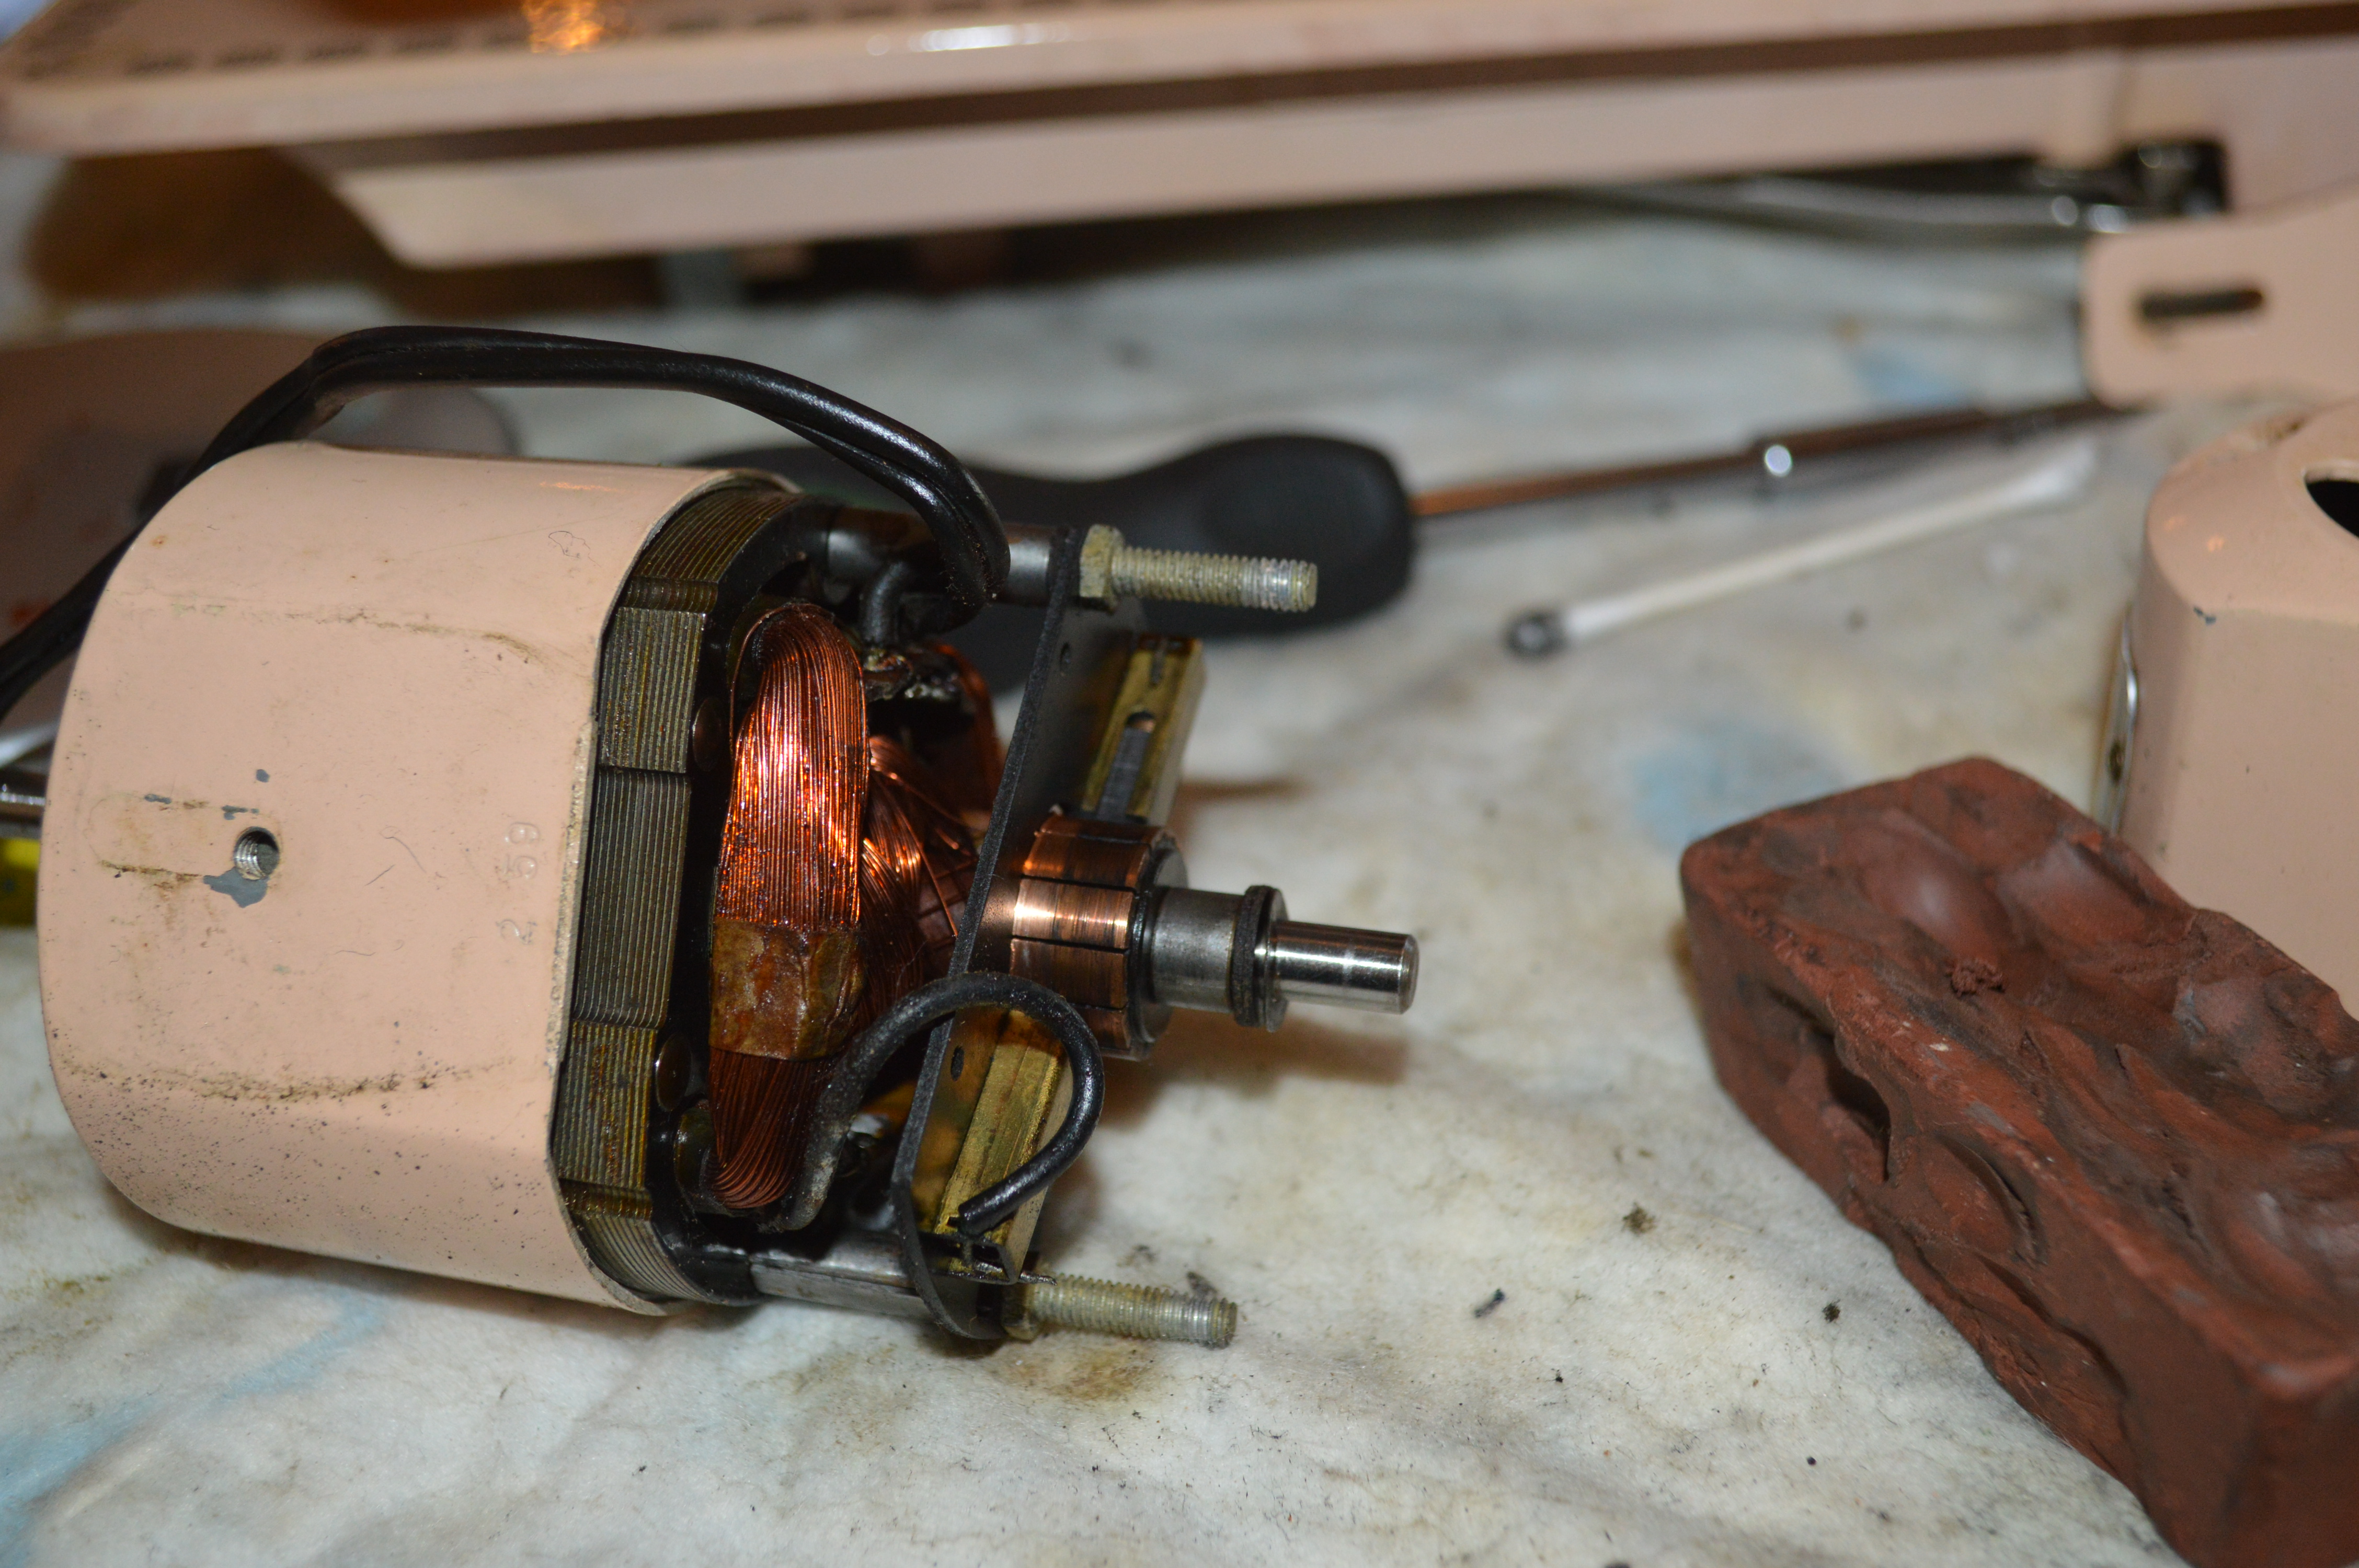
After reassembly, the motor runs strong…
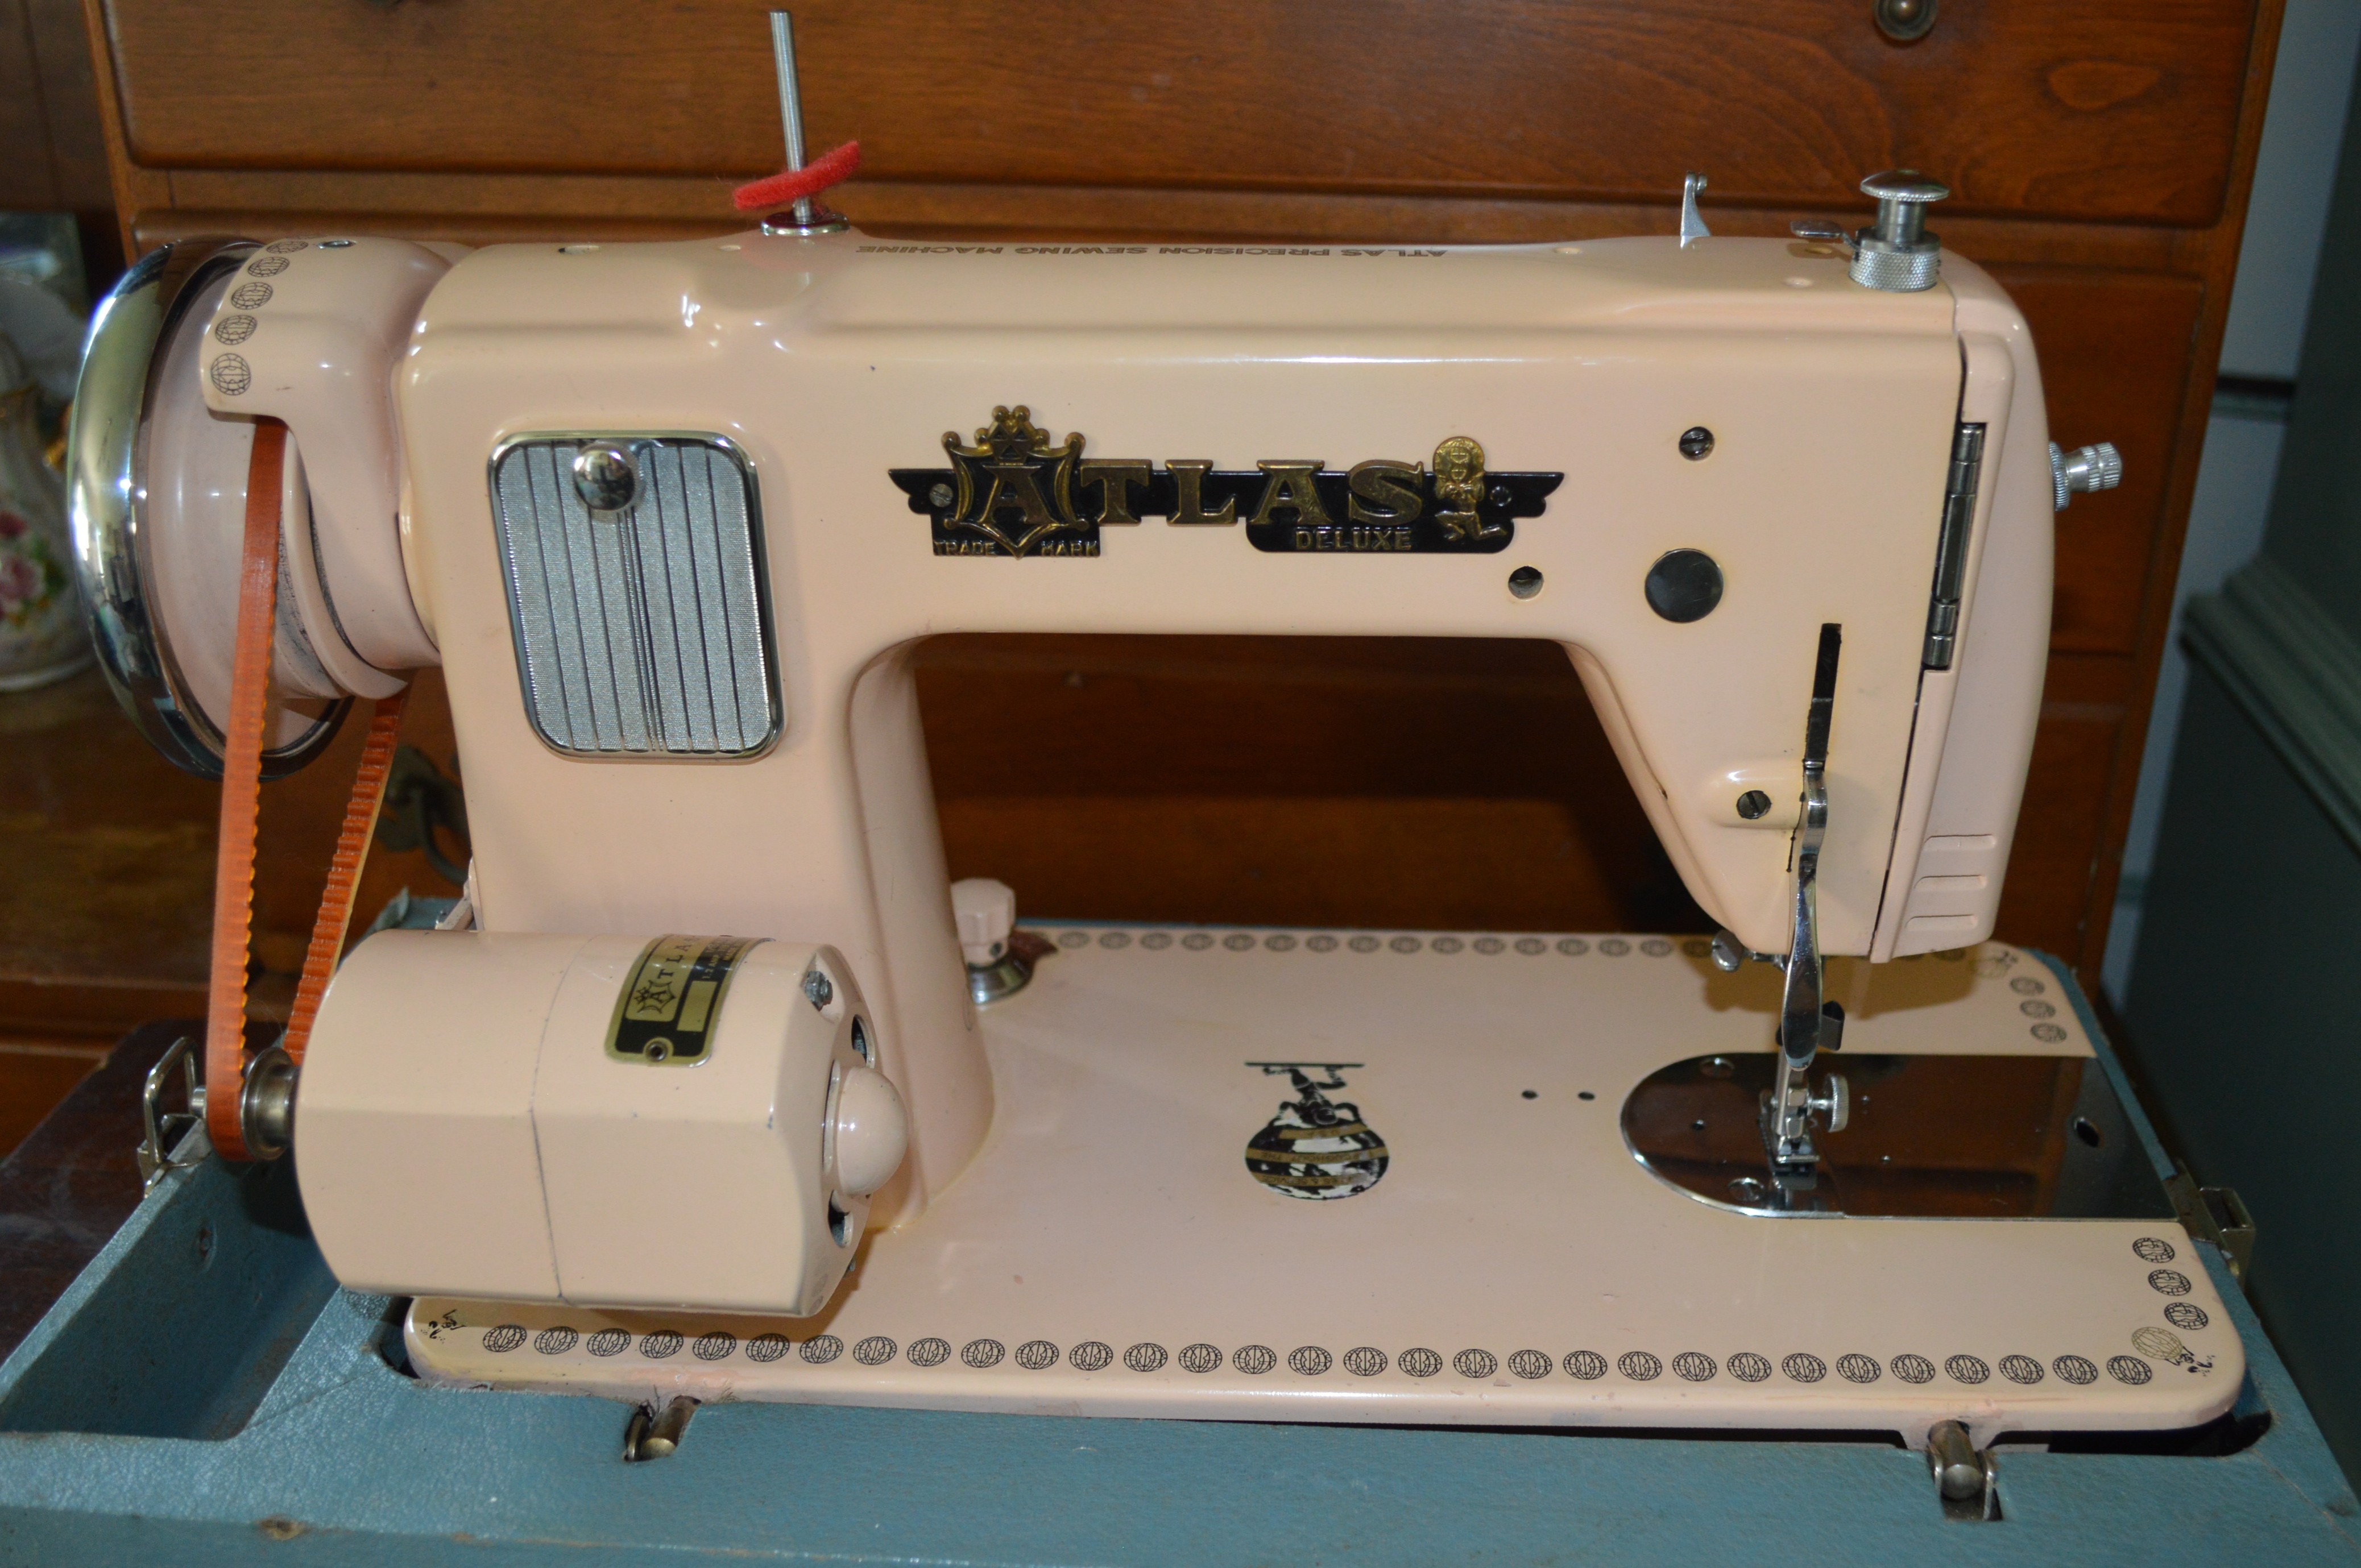
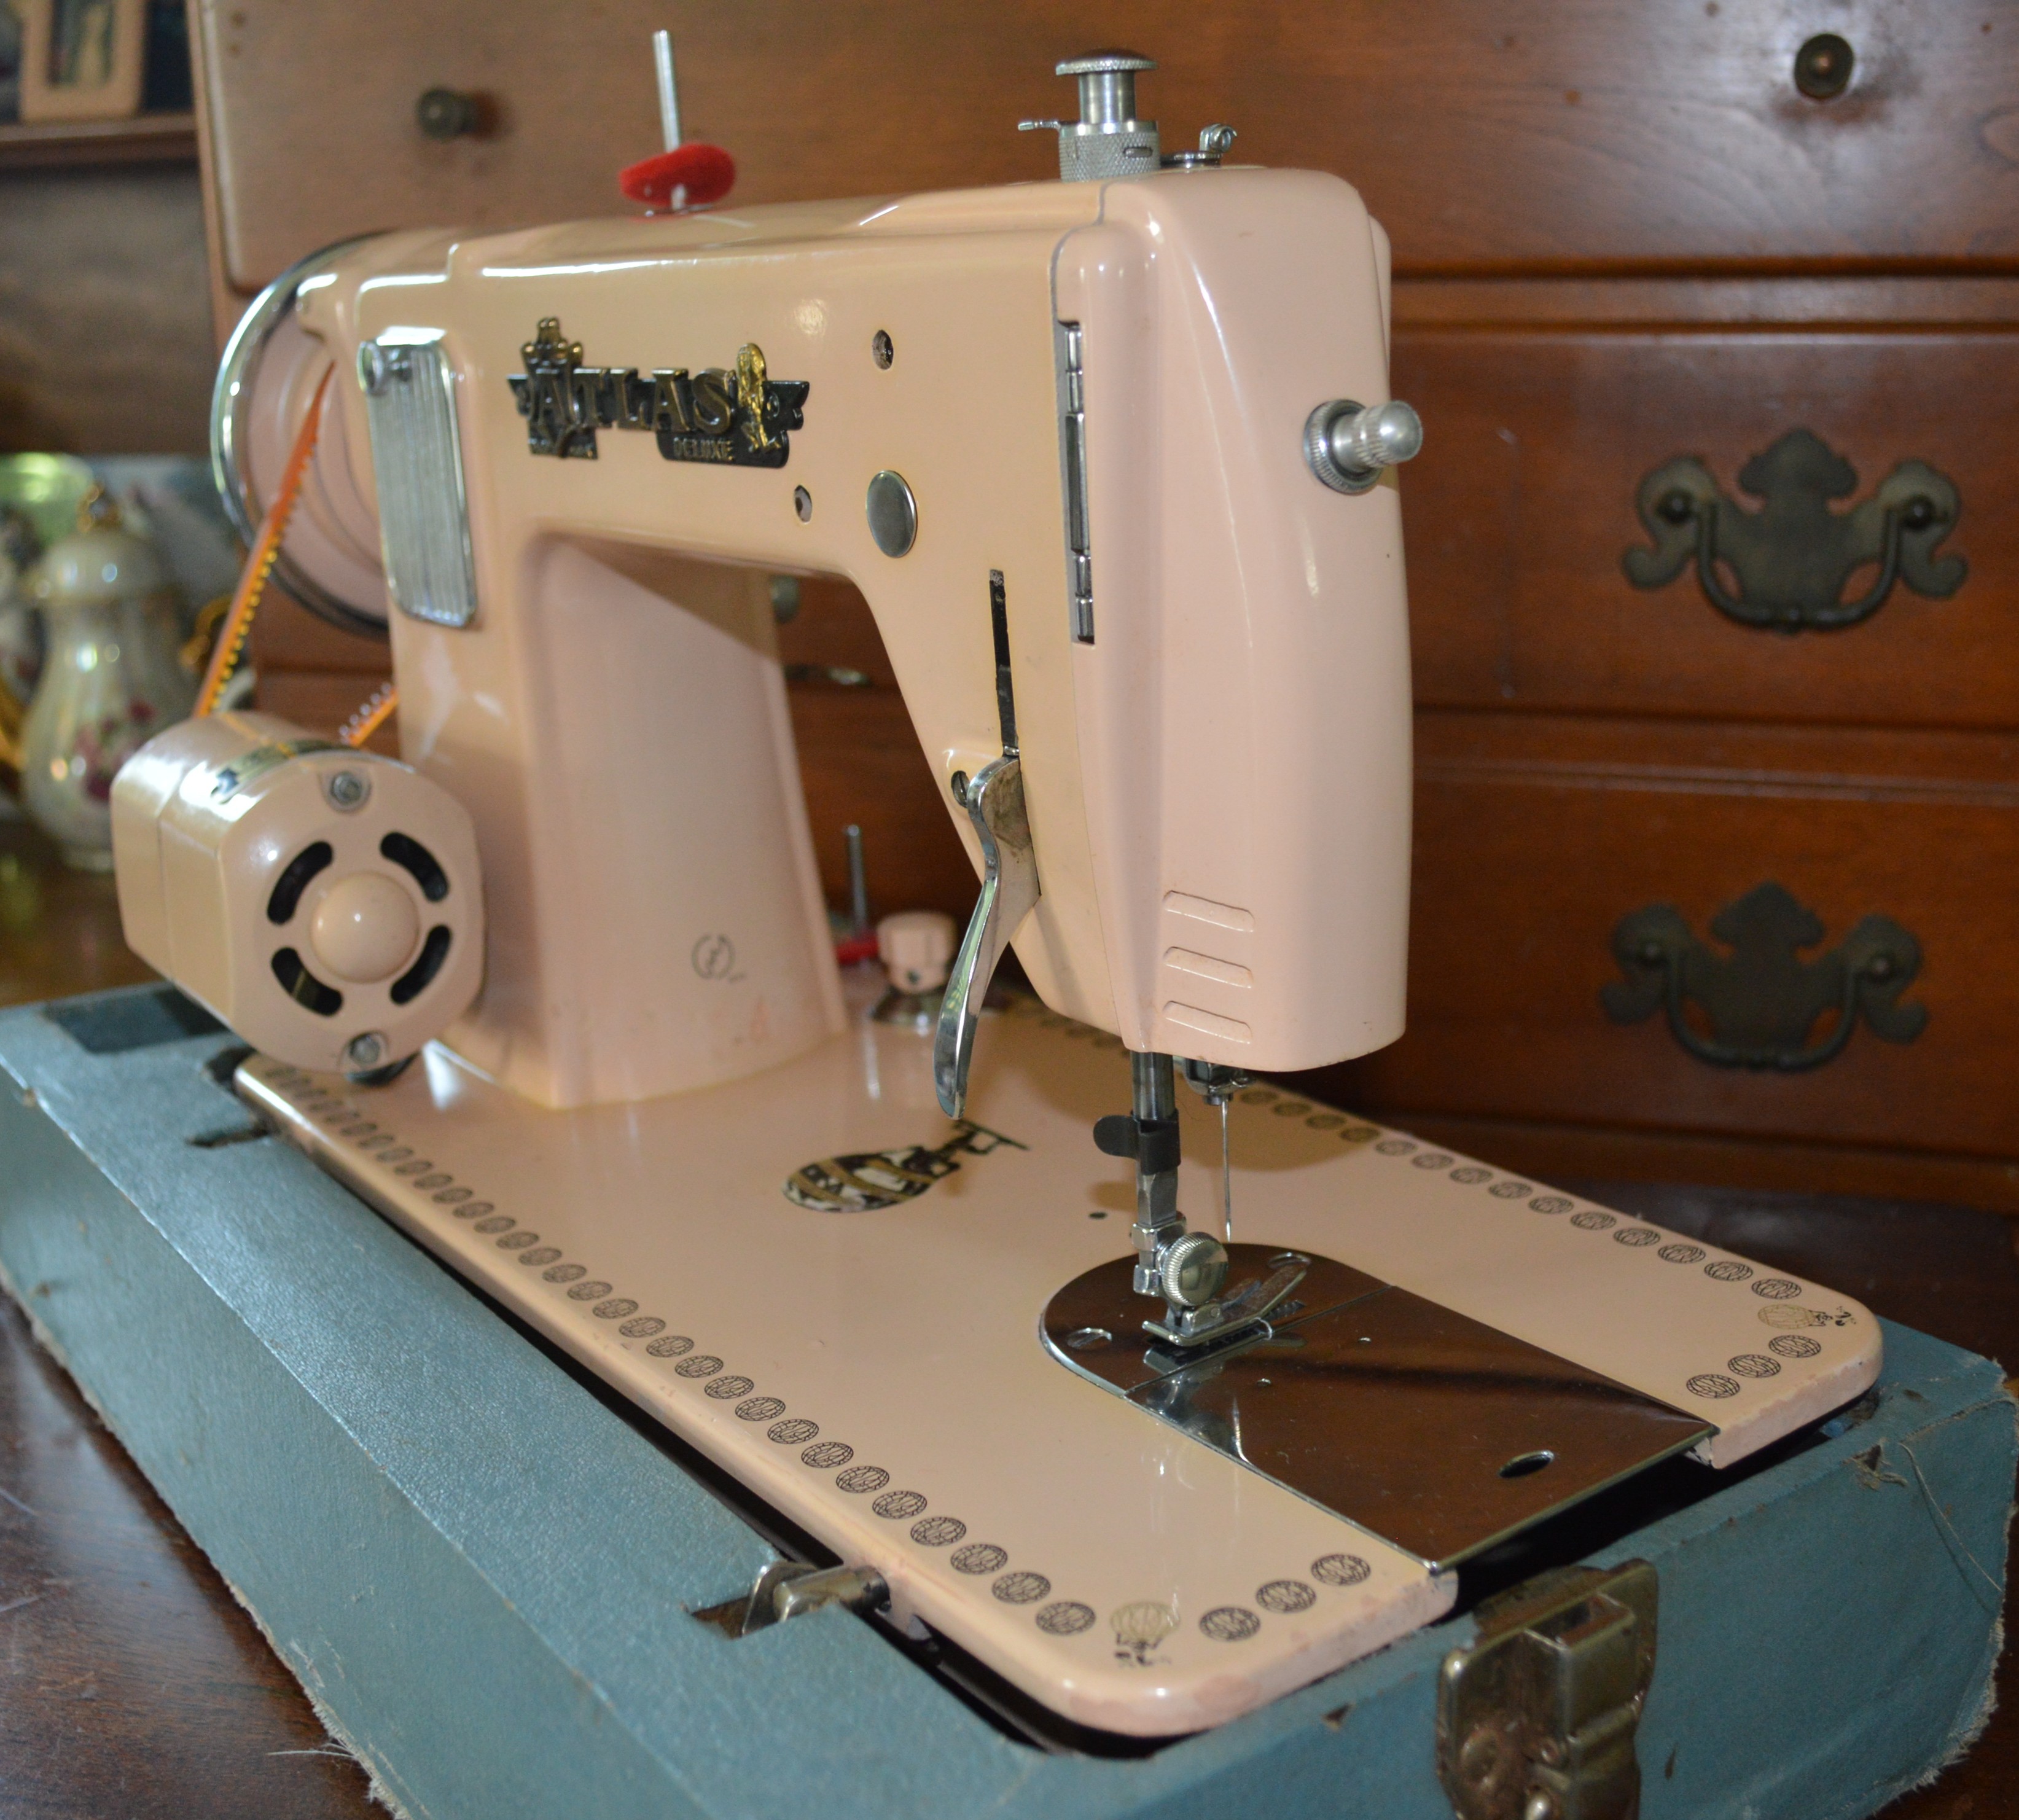
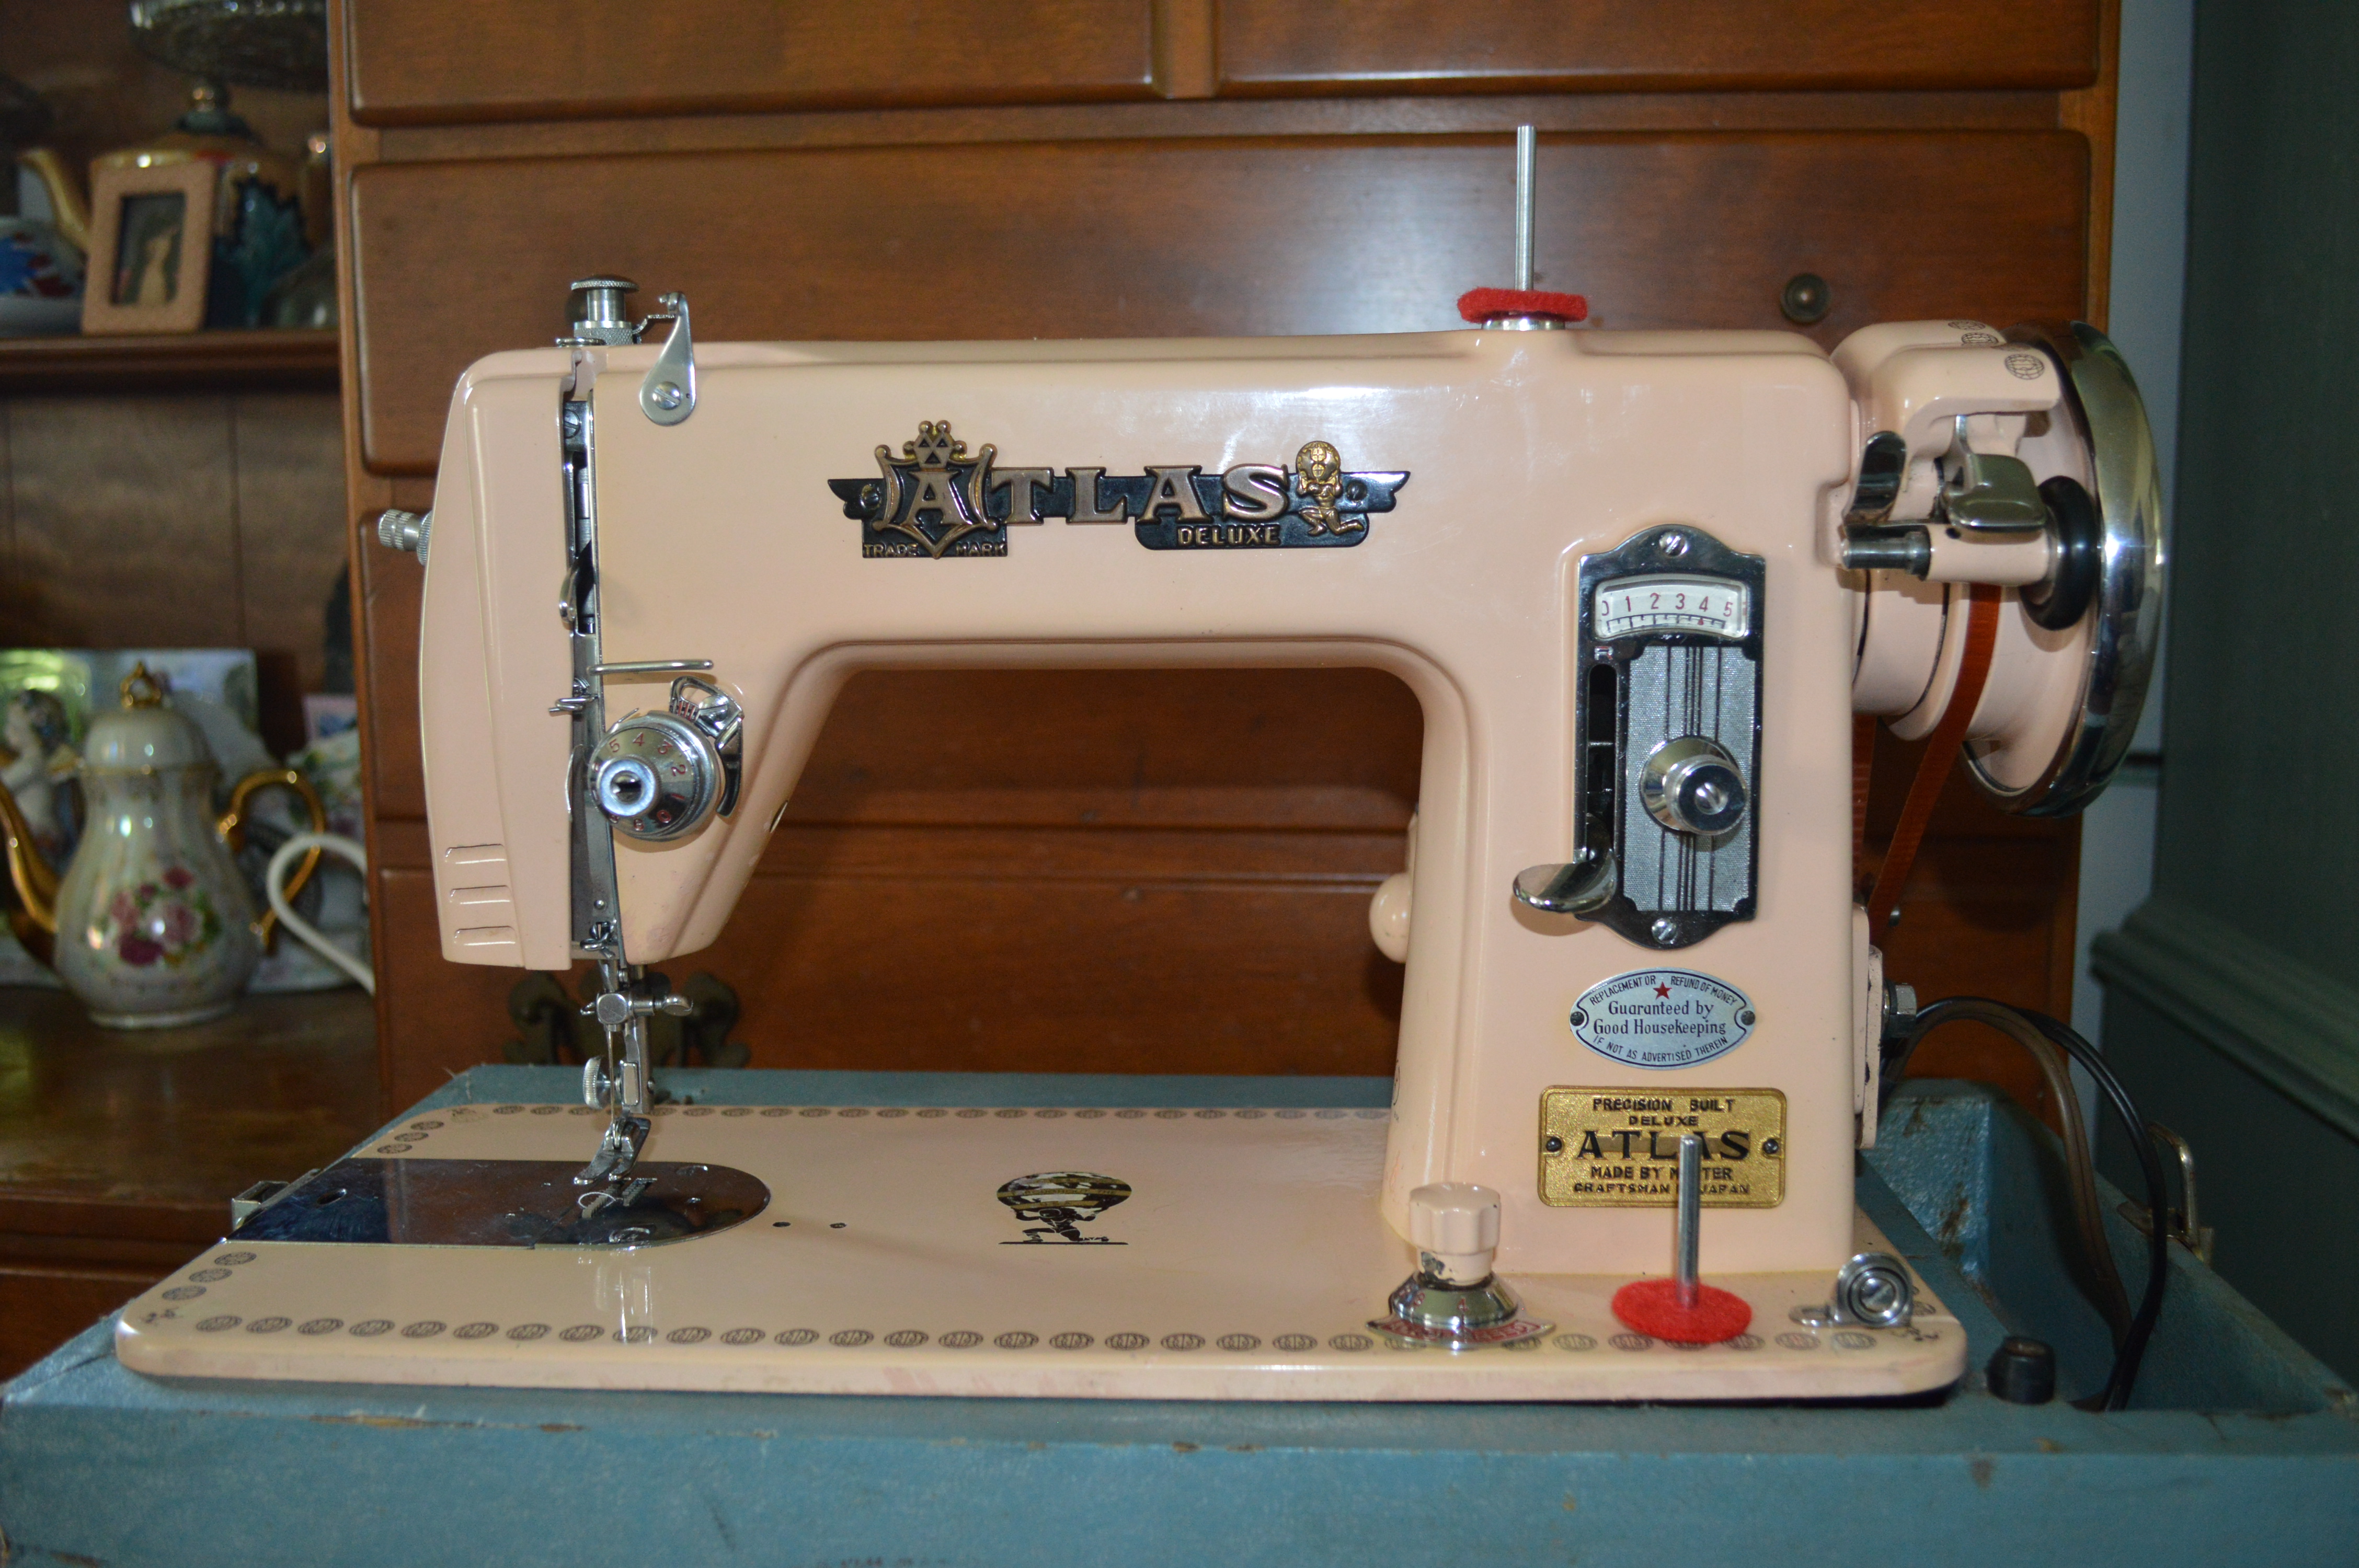
Almost done… Per the Customer’s request, the machine is fitted with an electronic foot control. It is also fitted with a cool LED sewing light. The only work remaining is to reassemble all of the parts, finish wax the body of the machine, polish the chrome plates, adjust the mechanisms, and test sew the machine.
That’s it! This Pink Atlas runs like new, looks great, and is ready to proudly take it’s place in our Customer’s sewing room.
Lets look at before…

And after…

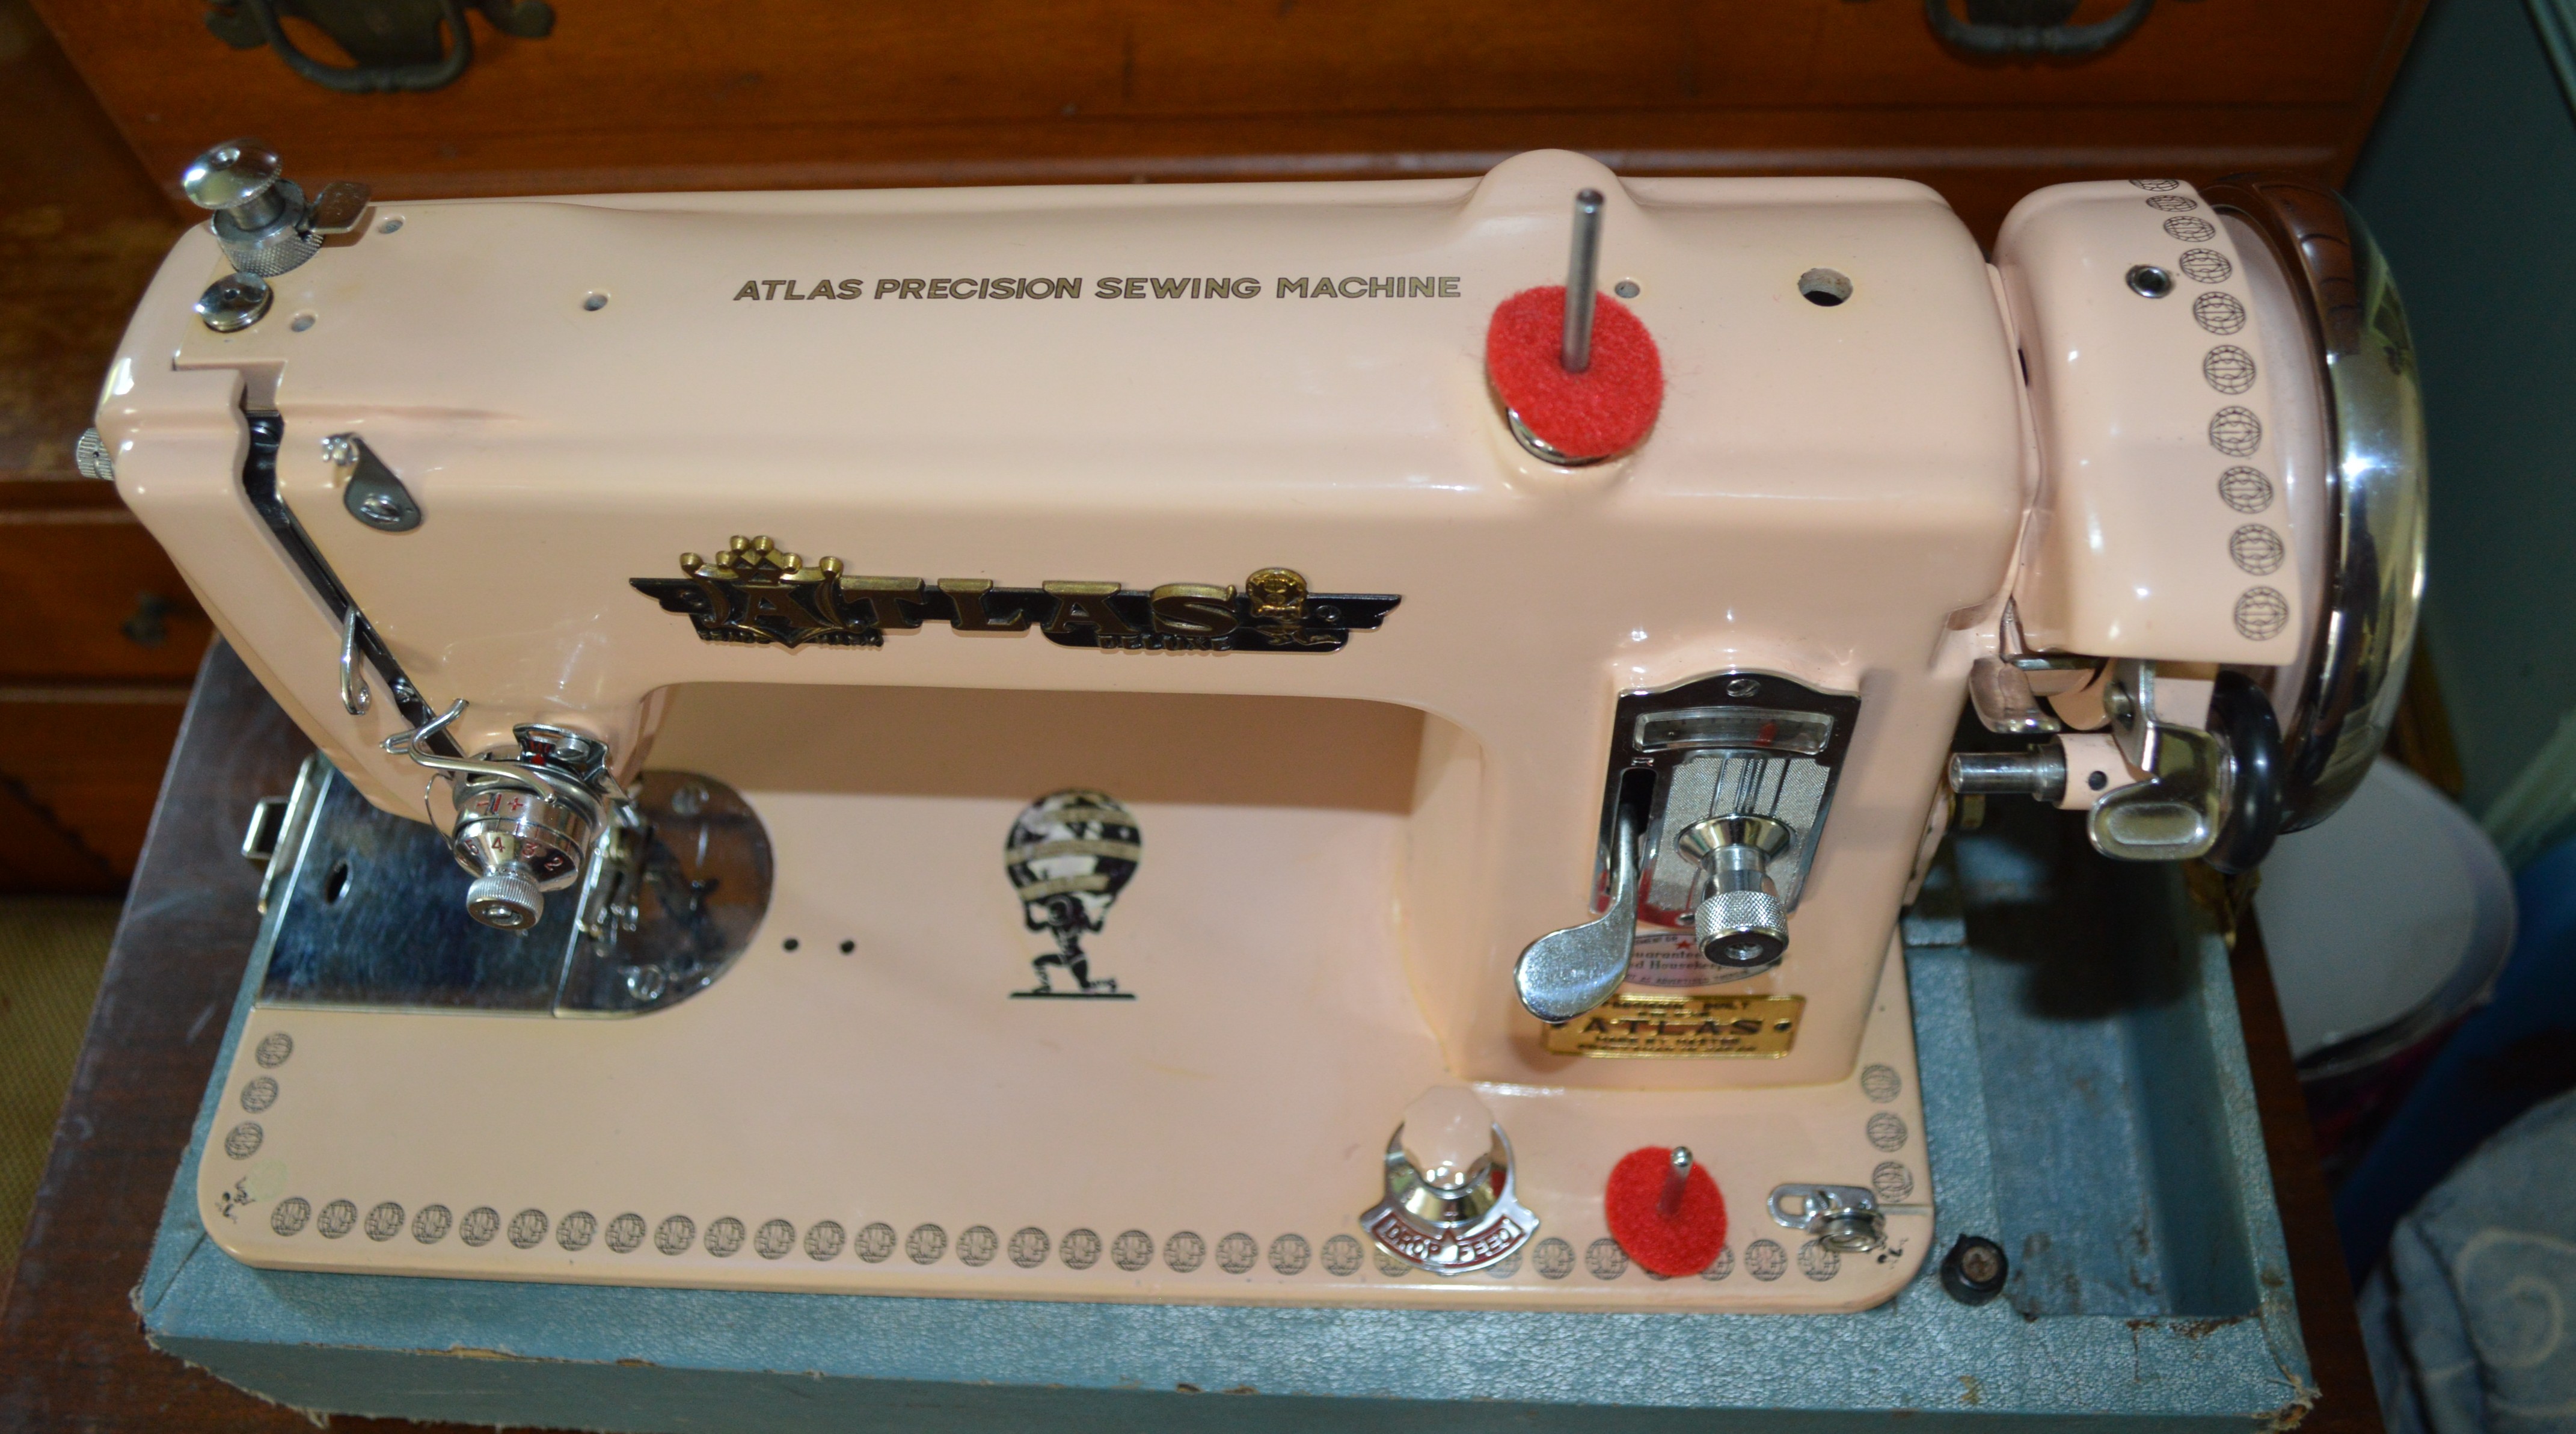
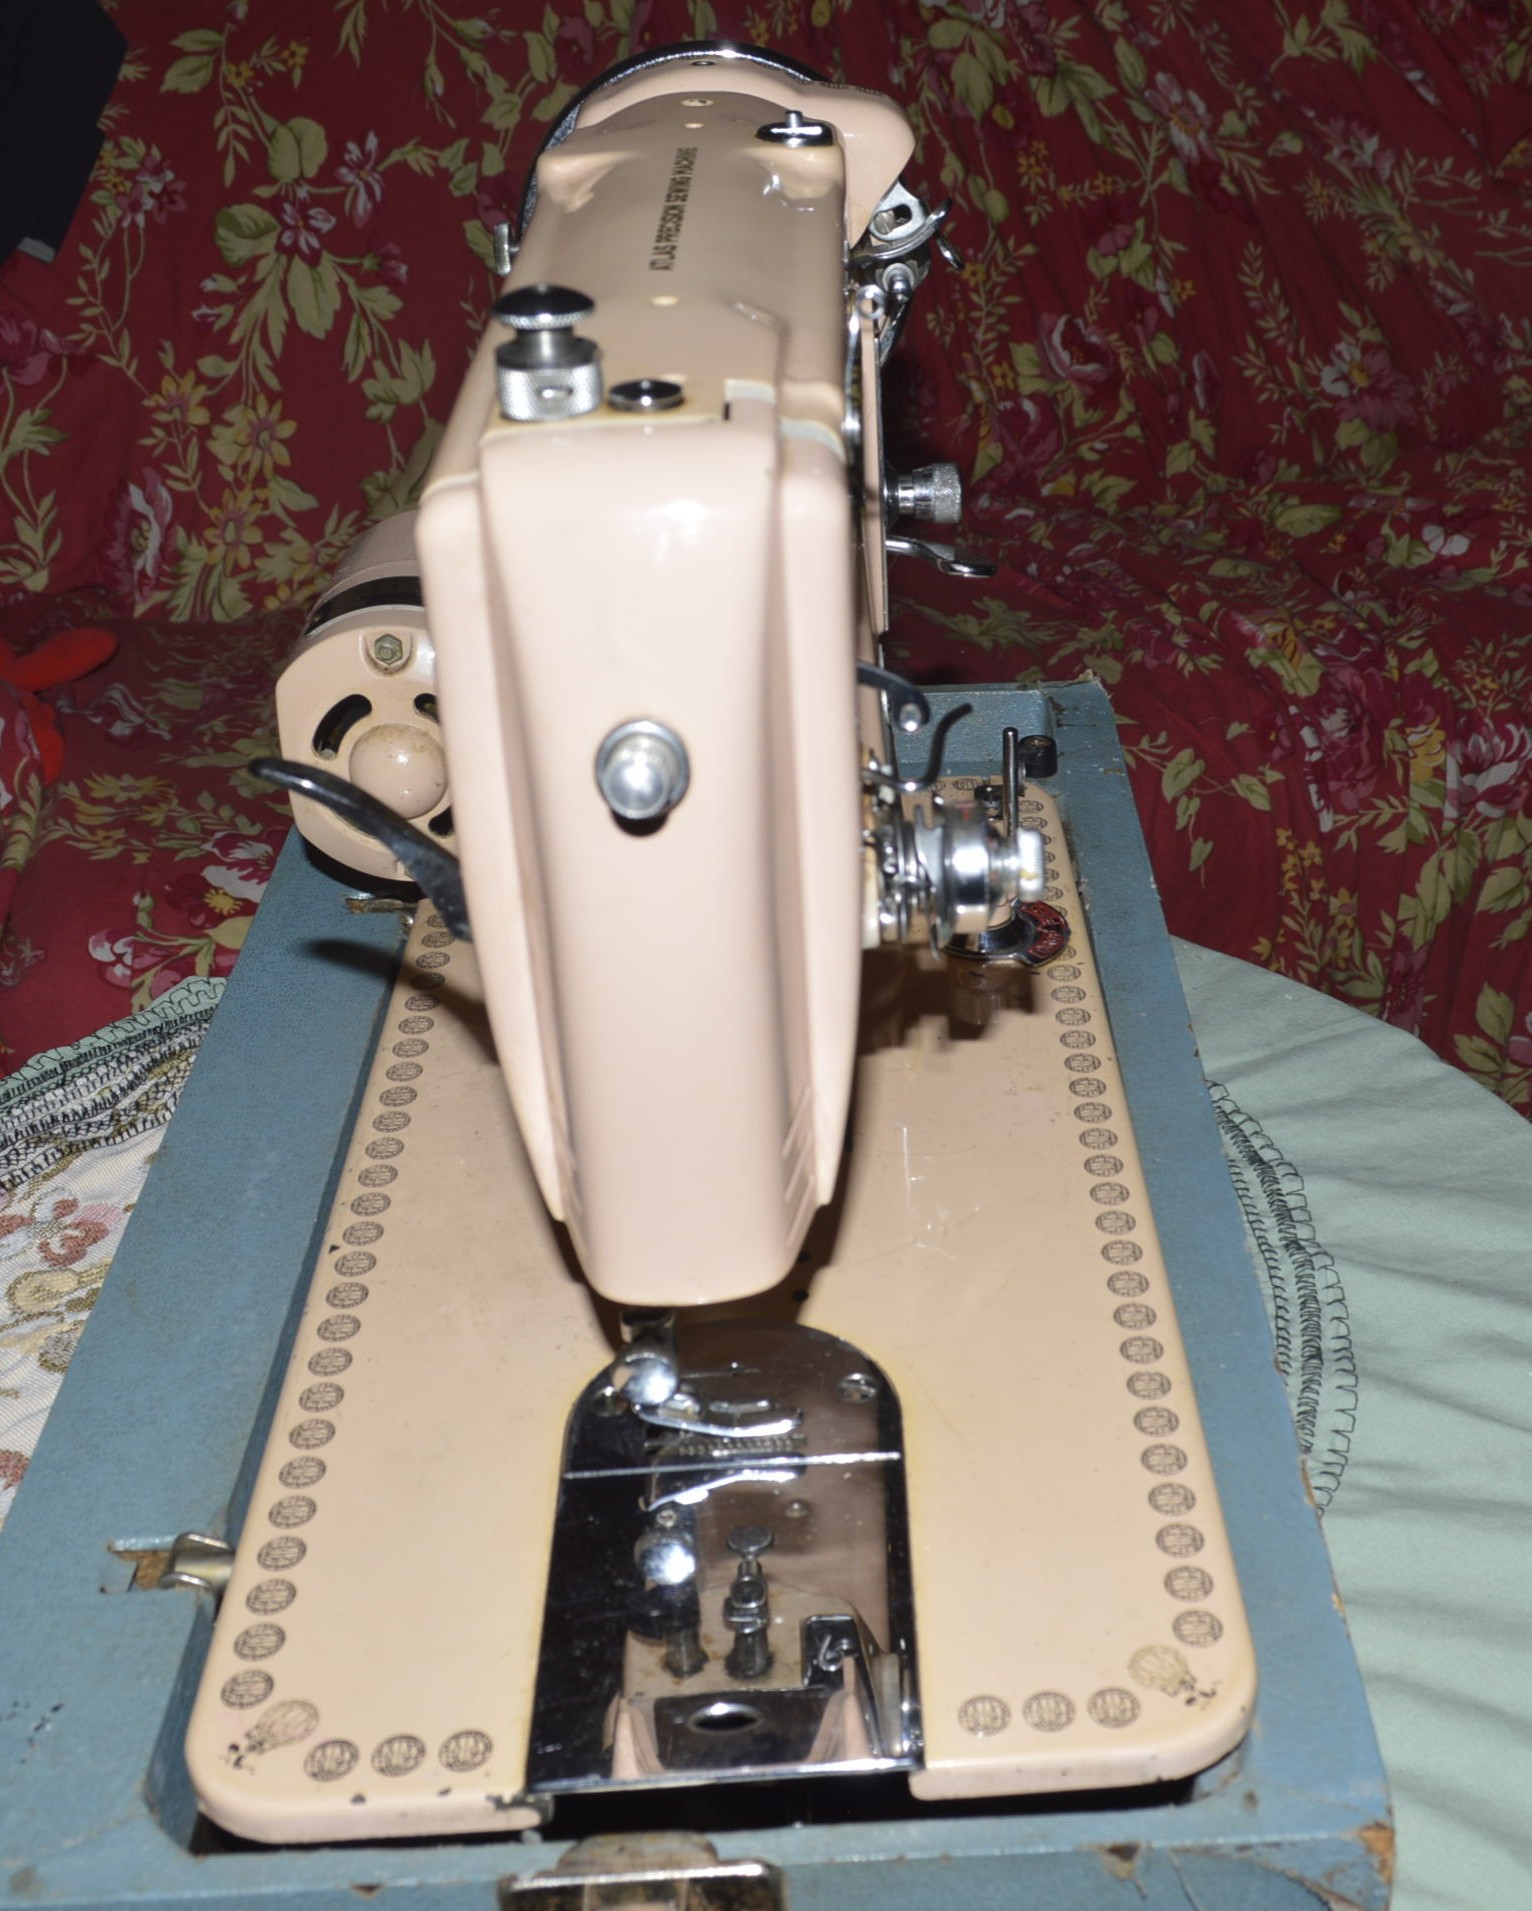
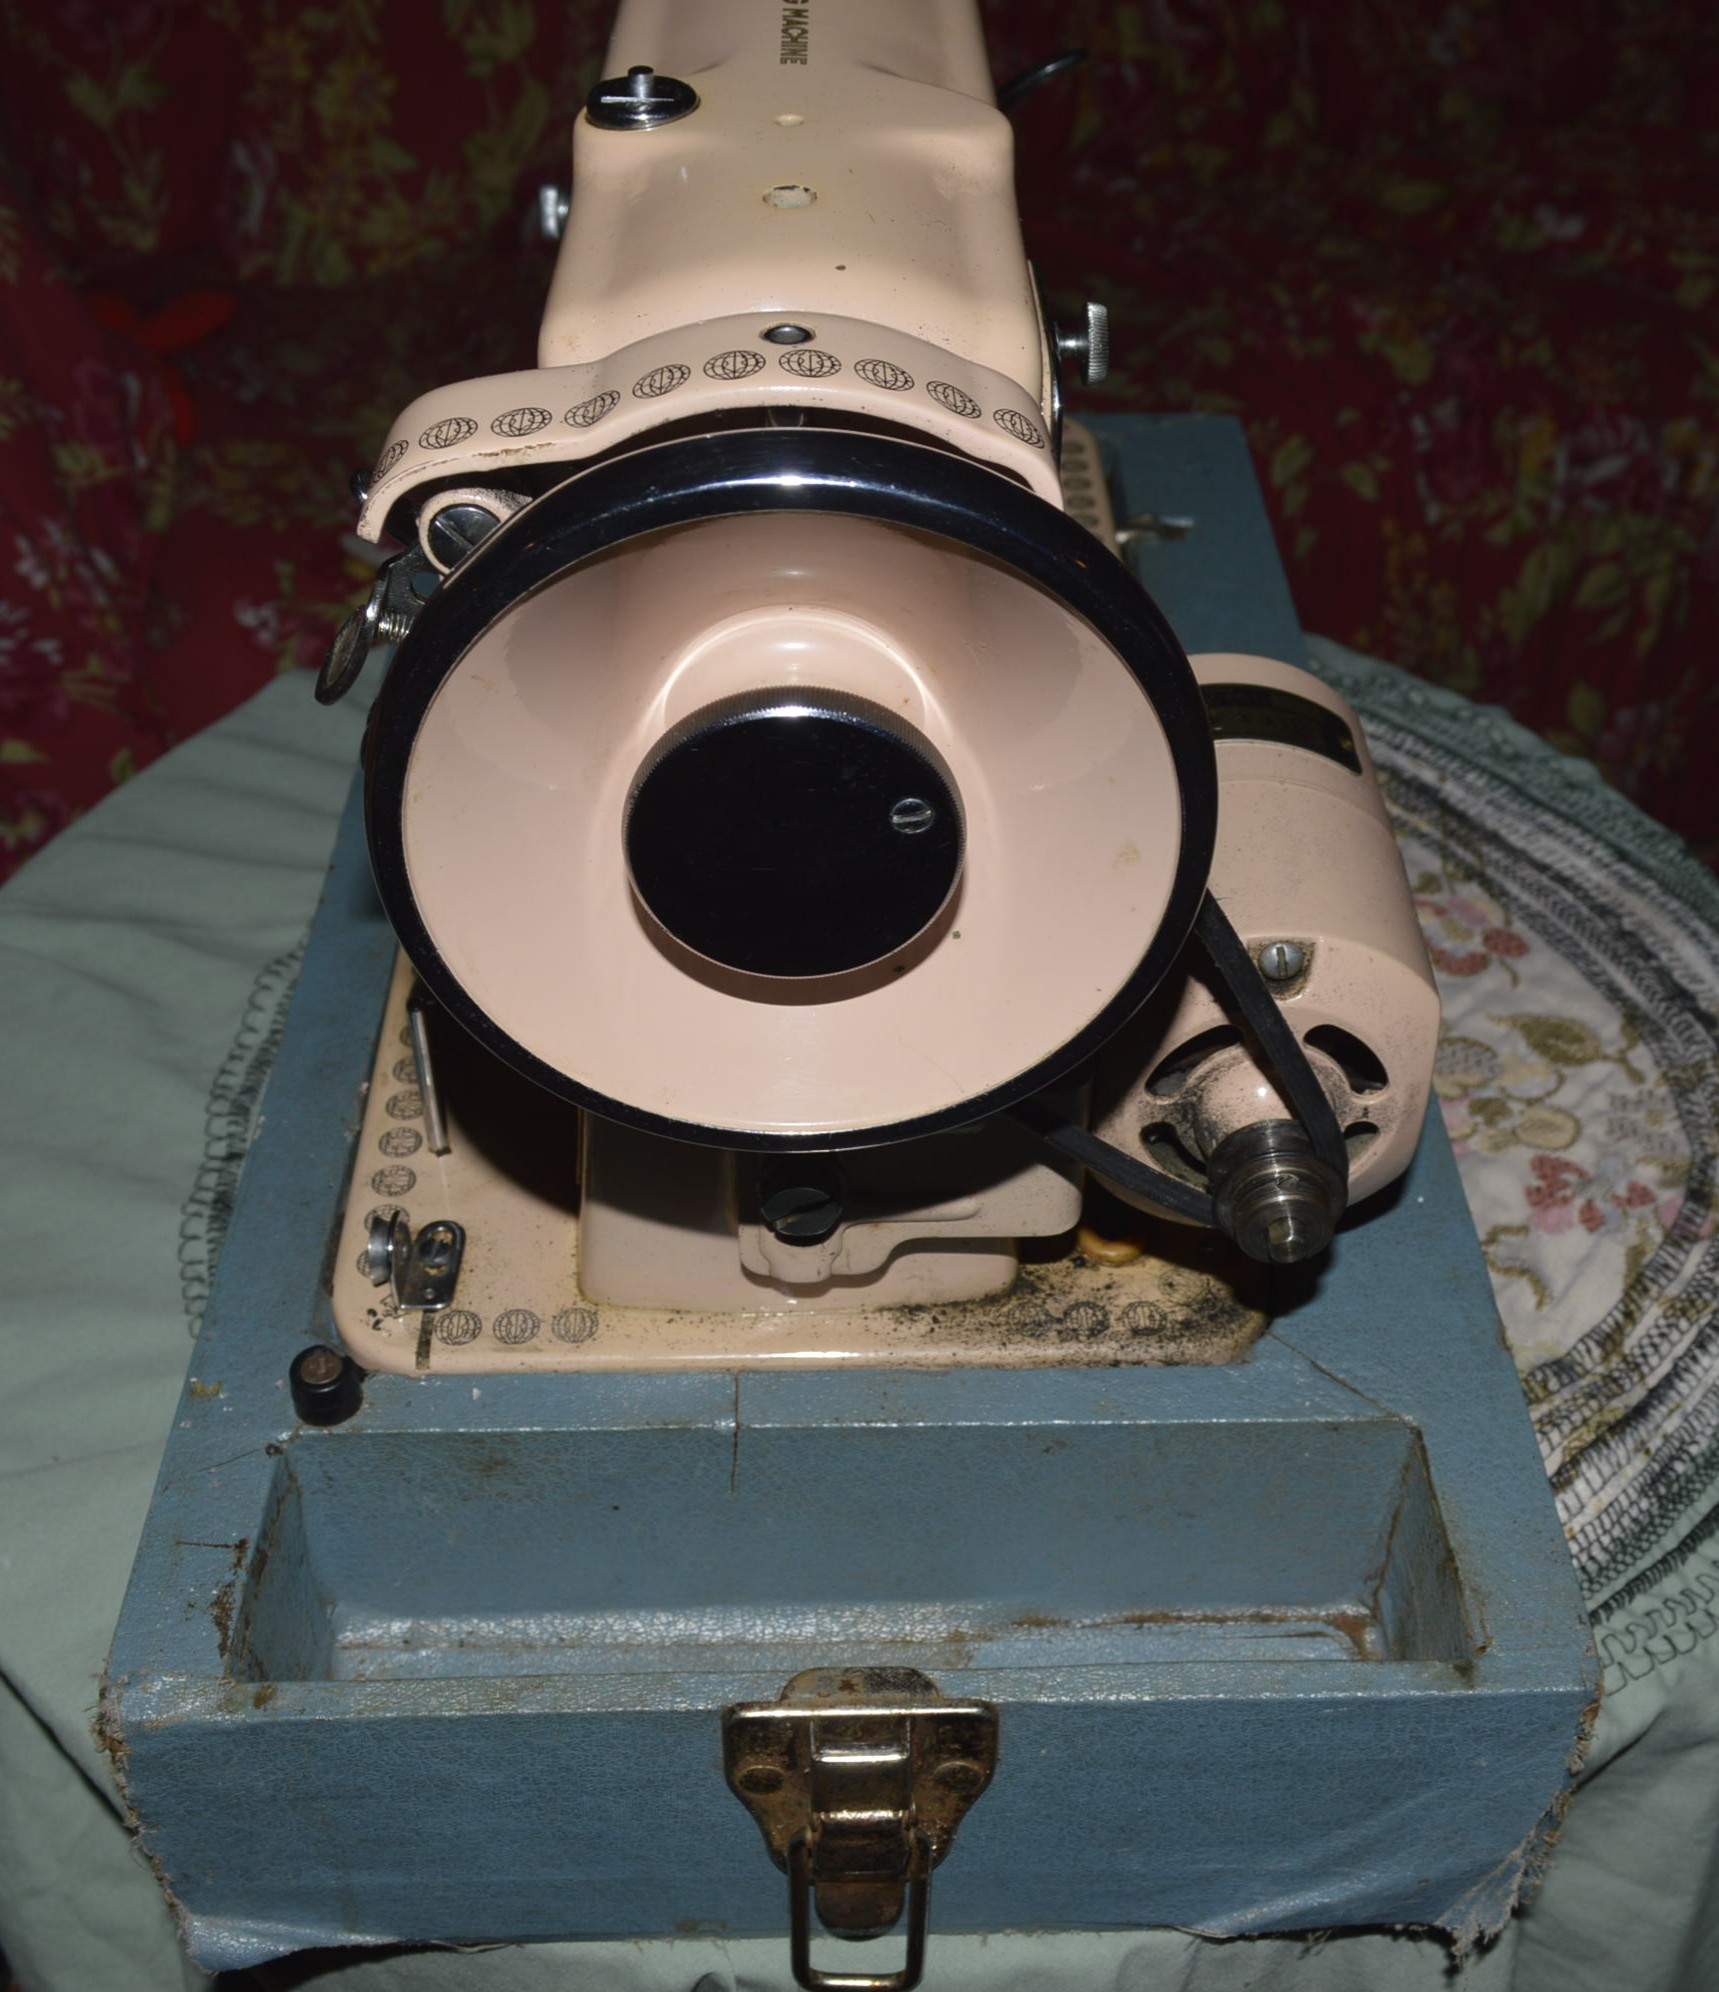
Here is the finished machine from all angles…
This was a very detailed restoration that was a pleasure to perform on this “Pink Atlas”… Vintage all metal sewing machines of this quality are a joy to work on… and thanks to our Customer’s custom order request, I had the opportunity to do it. The restoration is a complete success… If you could see and feel the before and after, I think you would agree.
Tell me what you think!

Beautiful job! I bought one from a thrift store. Body in near perfect condition. Had it rewired, new belt, etc. It runs perfectly. My problem is I’m lacking the throat plate door. Not the throat plate under the foot, but the door. I have no idea how to order one. I have the brackets (with screws) to fit this machine in a cabinet that I would trade or sell. Anybody out there? Thx!
LikeLike
Hello Holly,
Welcome to my world! One of the challenging parts of a vintage sewing machine restoration is finding part to replace those that are missing. Bobbin cover plates seem to be missing the most.
If your Atlas is like mine, the bobbin cover and needle plate are two pieces, and the bobbin cover plate slides to open. This bobbin cover plate is a fairly common size. The universal plate size is 2-7/8″ x 2-1/2″. From my research it is the same size plate used on the Singer models 15, 237, 238, and 239, and Kenmore models 148.12011, 158.13031, and 158.840.
Most aftermarket cover plates are brushed stainless steel… to get a chrome plated cover, you will need to find a vintage plate from a vintage machine. They are abundant on Ebay.
I hope this helps!
Lee
LikeLike
I have this exact machine. Well done :). Can you recommend the correct light bulb replacement? Thanks
LikeLike
Hello Kate!
Your pink atlas uses a 15 watt 7/16″ base screw in bulb. LED bulbs are available but they are quite expensive. Both LED and regular bulbs are available online.
I hope this helps!
Lee
LikeLike
I have this exact Atlas sewing machine. How much is it worth? I’m sure it needs to be restored. Thank you
LikeLike
Hello Bonita,
I really can’t tell you what your machine is worth… it all depends on condition and the right person looking for your machine. I have seen them sell in excellent cosmetic condition for anywhere from $40 to $140… There is no “blue book” for sewing machines like there is for cars.
I hope this helps answer you question!
Lee
LikeLike
I was just wondering, where do you get parts for this machine? I think I need a new foot control and would love to be able to keep using this machine I inherited. It is my favorite!
LikeLike
Good morning Kristen,
Parts for these machines are quite hard to come by. For a machine like this pink Atlas, there is not a good retail supply for parts except things like bobbin cases, belts, and other parts that are generic to other machines. Foot controllers are generic and any type of controller will work (except solid state controllers). They are plentiful on Ebay and online sewing machine parts stores. You can purchase electronic controllers for very reasonable prices. Vintage Kenmore controllers are very good quality and comfortable to use.
I hope this helps!
Have a great day,
Lee
LikeLike
Hello…. Thanks for the great article. I have the exact same Atlas sewing machine puchased at an estate sale. It is in working order as I just plugged it in & ran it for a moment. Being experts could you share with me where to clean/oil/grease my machine before I begin to use it. I’m assuming the small holes in the top casting are for oiling, as well as bearings in the bottom/front cover/bobbin etc. I woul greatly appreciate this info, or a lead on a service manual. Thanks again Mel
LikeLike
Hello Mel,
If you send me a message to pungoliving@gmail.com with your email address I’ll send you a scanned copy of the owner’s manual. I hope that helps!
Lee
LikeLike