
Fortunately for us, most Kenmore sewing machines were either provided with a cabinet or a portable sewing machine case. Also fortunately for us, the plastic cases that Kenmore used have proven to be very durable. Even after 35 or 40 years, the many Kenmore cases I have seen are in good shape. Sure, there may be a crack or some nicks here or there, but they are just good cases!
Occasionally I get a Kenmore that does not have a case. Even though a Kenmore will sew on a table top without a base, it just looks “naked”. Kenmore made some nice looking machines… not as flashy as some, but good clean lines and a good fit between parts. My experience is that Kenmore makes a very fine machine and they are excellent sewing machines for a variety of projects. Add to that to the fact that they are very popular sewing machines, and prior to 1975 or so, all metal construction, and you would agree that there is a lot to like about a Kenmore… but maybe it doesn’t have a case.
Well, I am going to show you how a very durable and quality built base can change that. But first, I want to emphasize what I consider to be good quality… It does not need to made from a hardwood… it can be made of pine to keep it economical. It can be basic in form, but it has to have good joinery and wood dowelled construction. Also, dare I say it, it does not have to have hinges. However, when it is done, it has to look great and fit the machine perfectly.
The base I am building here fits all of my criteria… of course, variations are possible, but I am going with these basics in mind.
Here it goes…
The material for this base is 3/4″ select pine. The joints will be rabbited for strength, Wood dowels and glue will form very strong joints for durability and longevity. Pine does not accept stain well, but it looks great with 6 coats of shellac. It is simple in concept and simple in form, so lets get started.
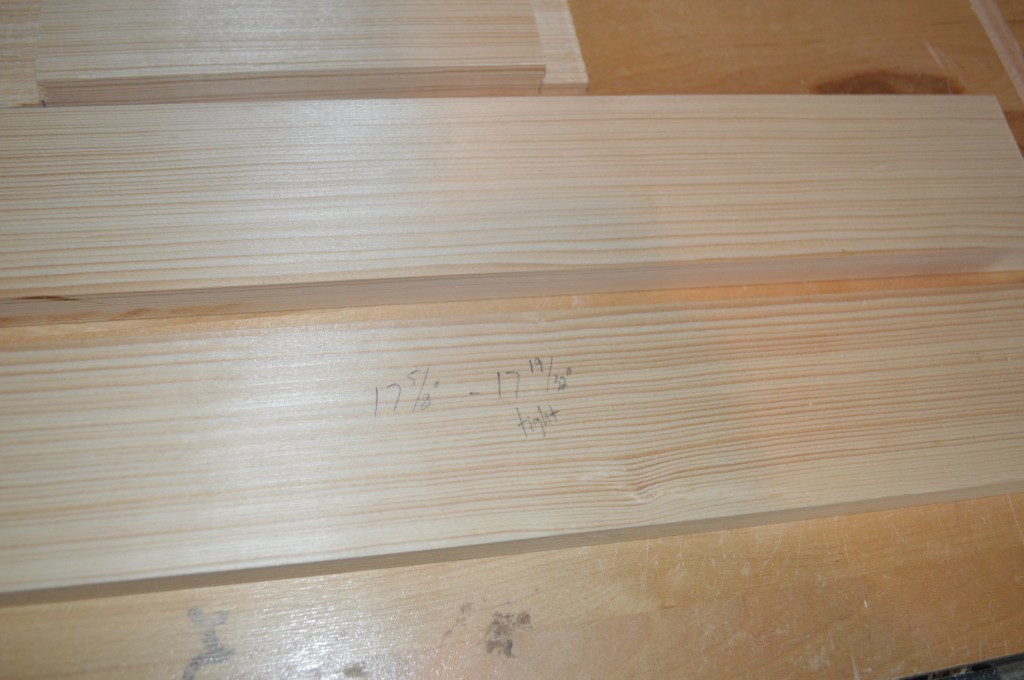
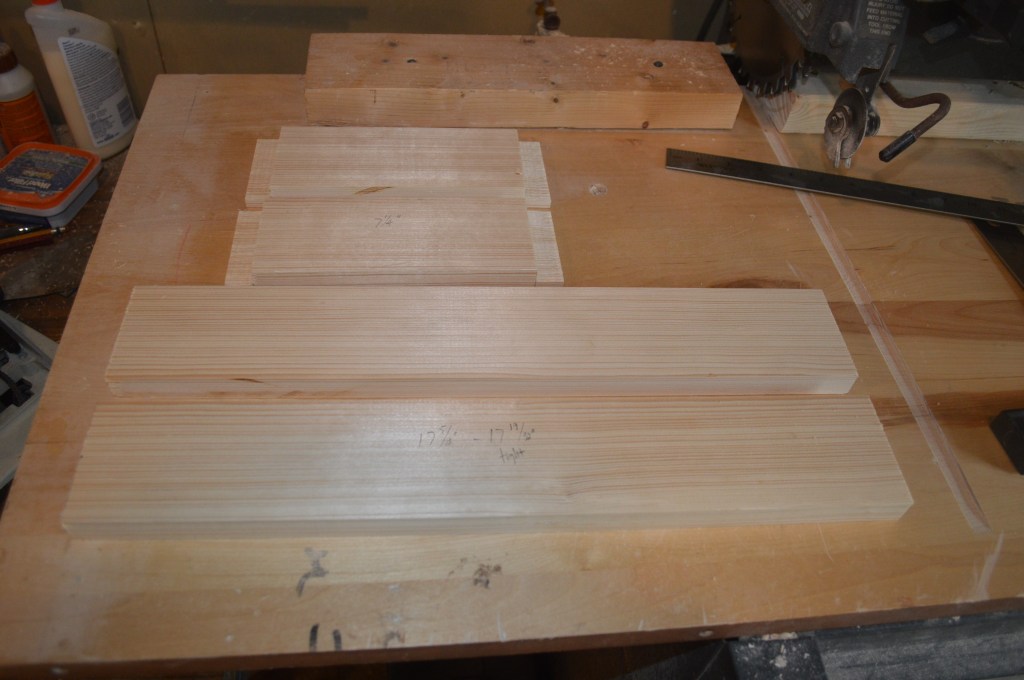
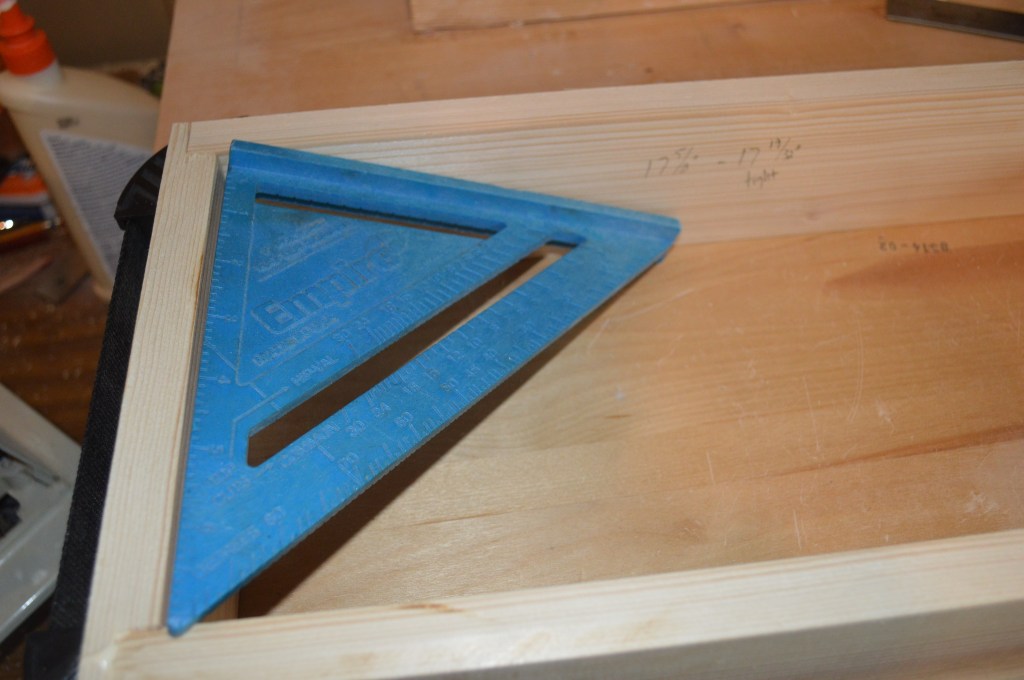
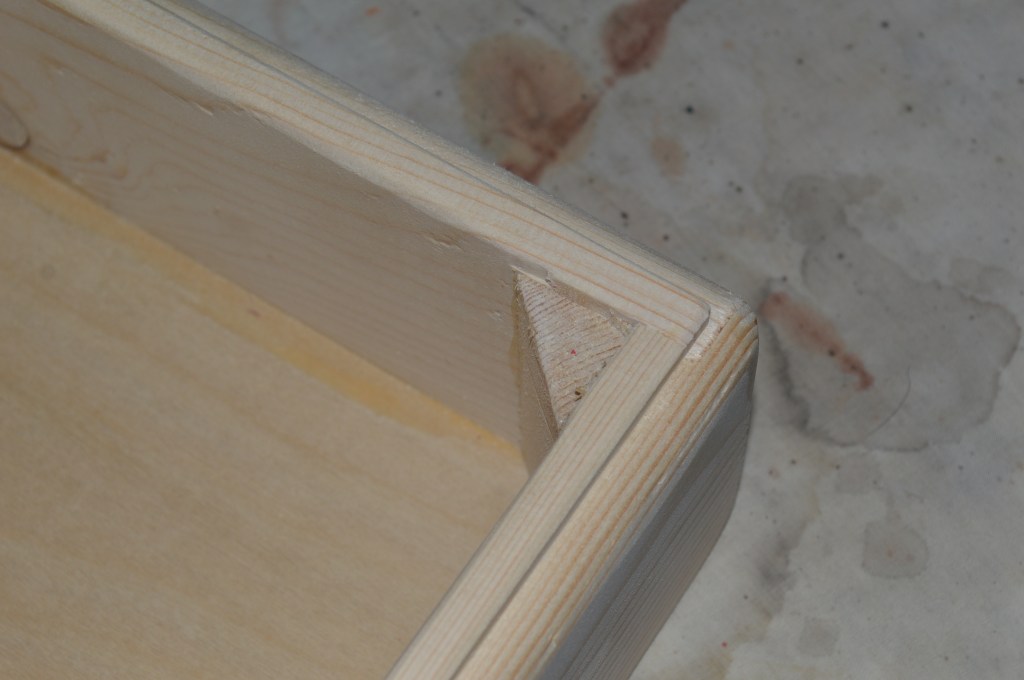
The first step is to measure the board for the sides and the ends for proper length. The ends are then rabbited 3/4″ with a dado blade to make the joints for the sides. The side boards are cut to length as well.
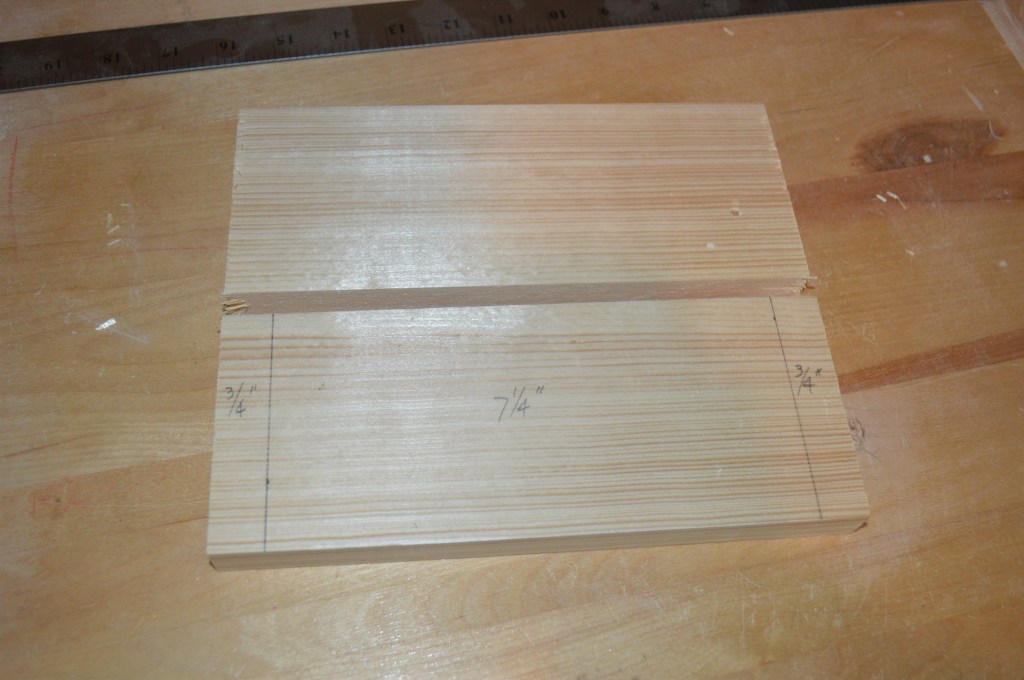
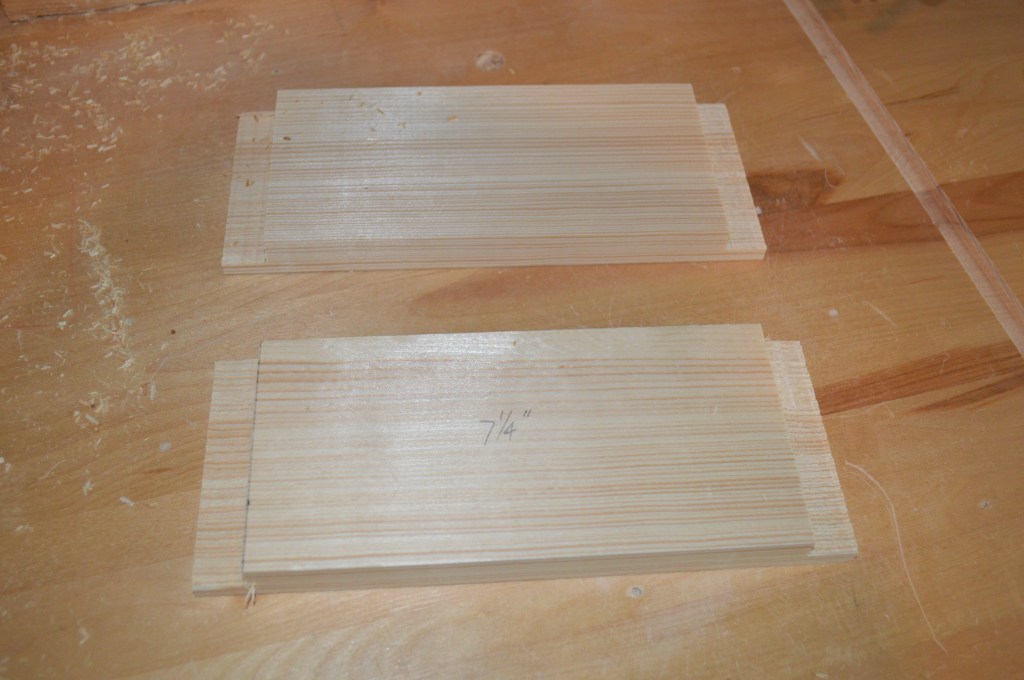
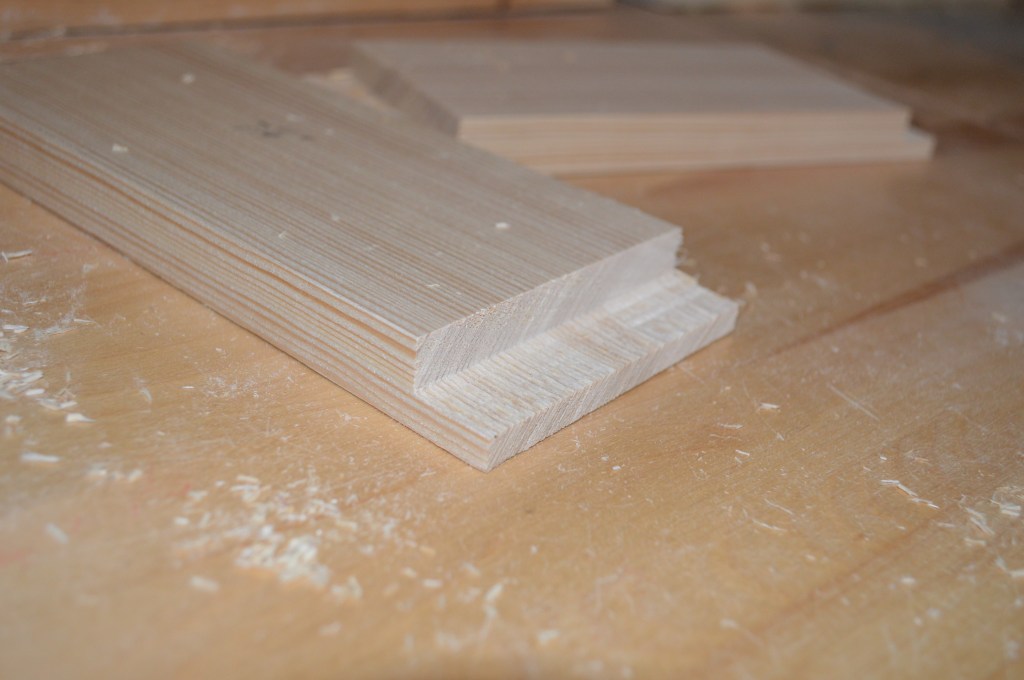
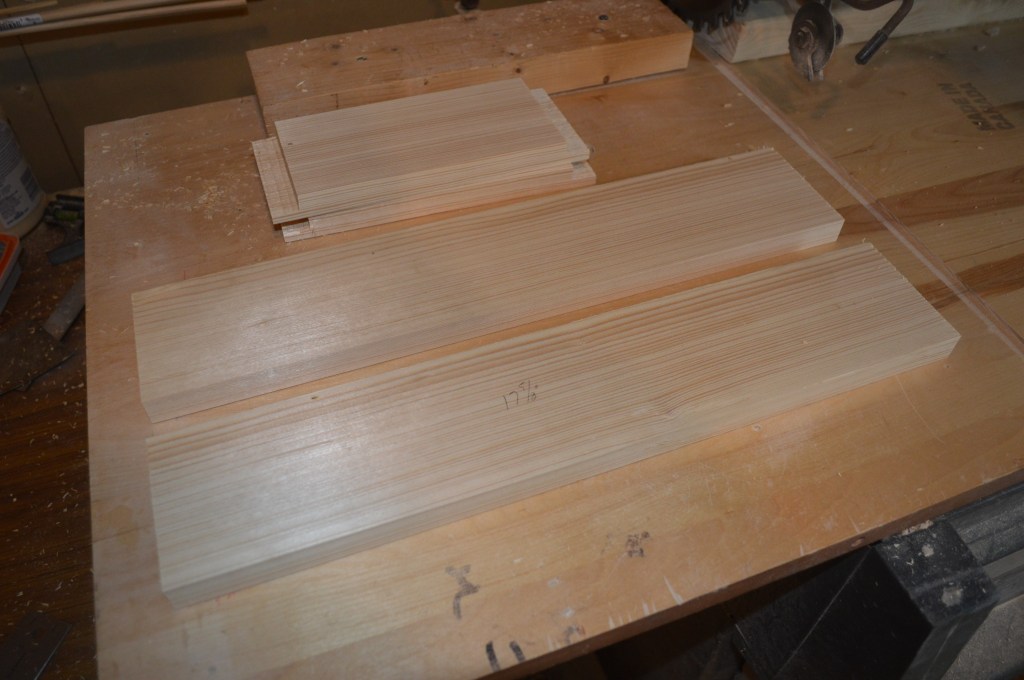
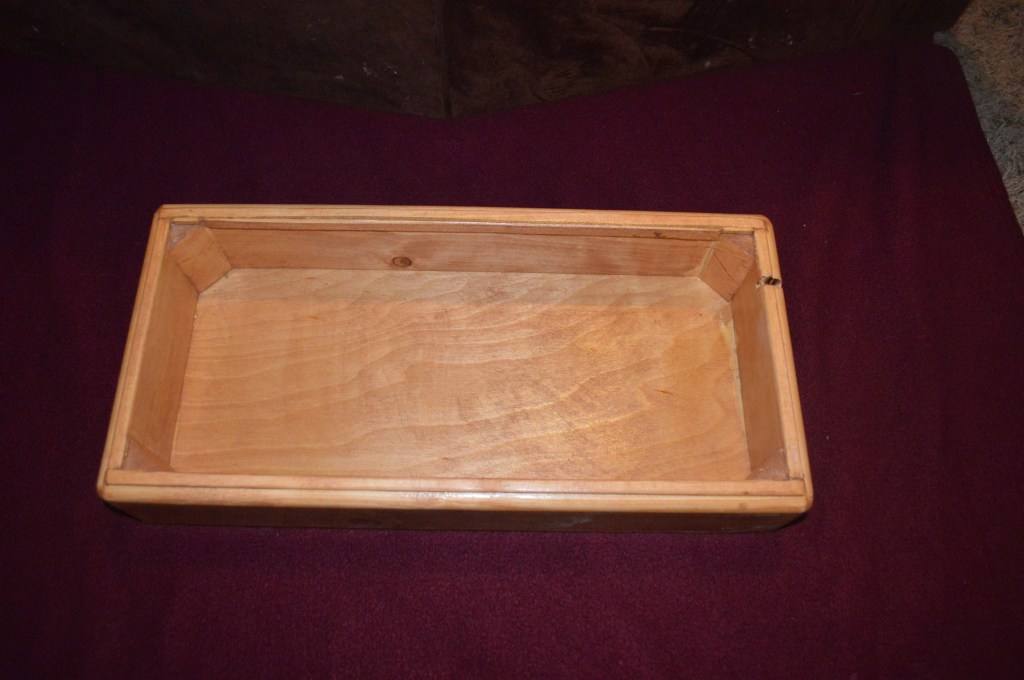
The pieces are then cut to their final height of 2-3/4″
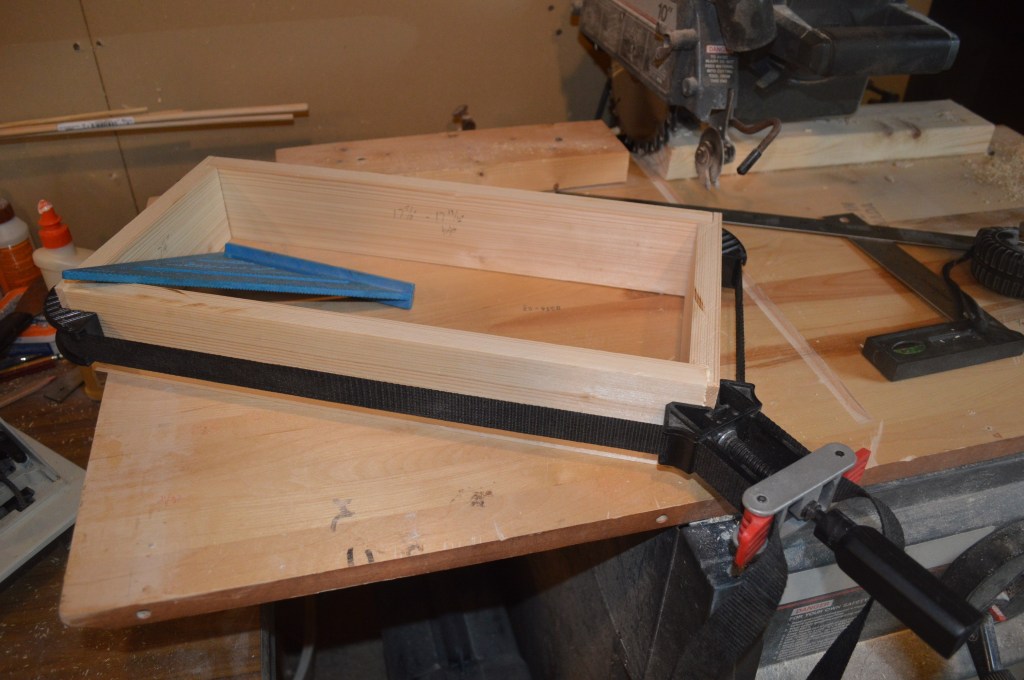
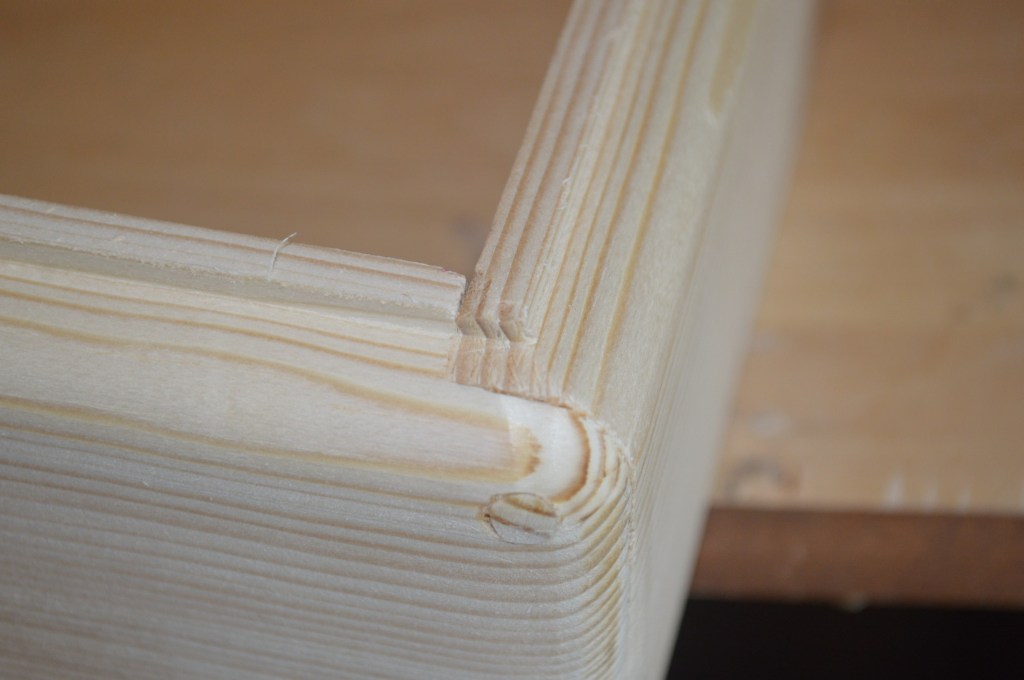
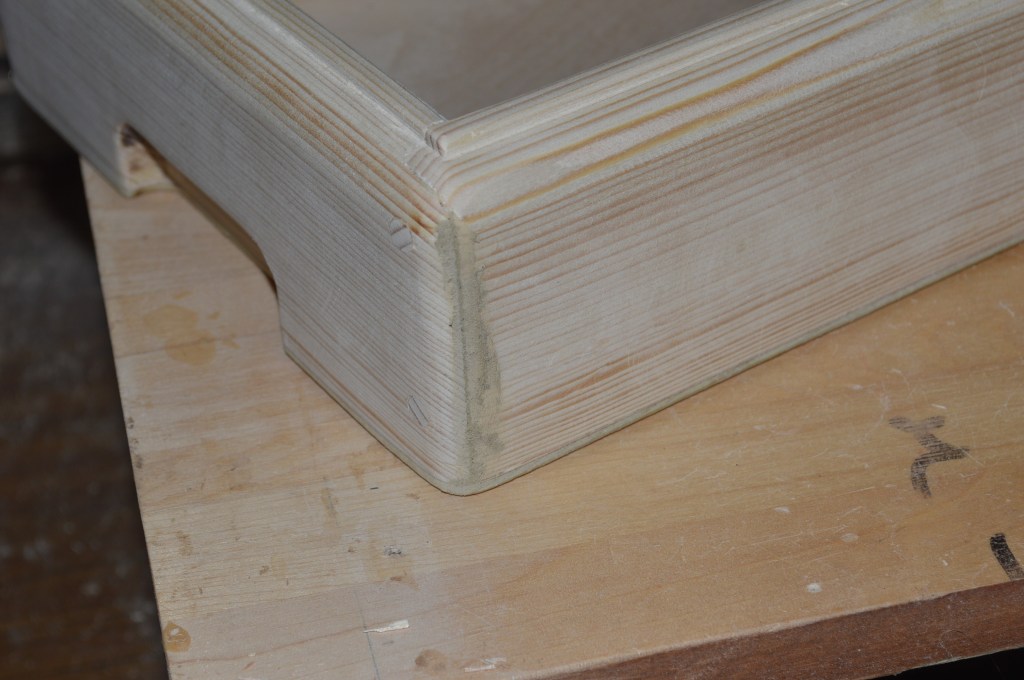
The joints are glued and clamped. The box is checked for “square” and that the corners are true 90 degree angles.
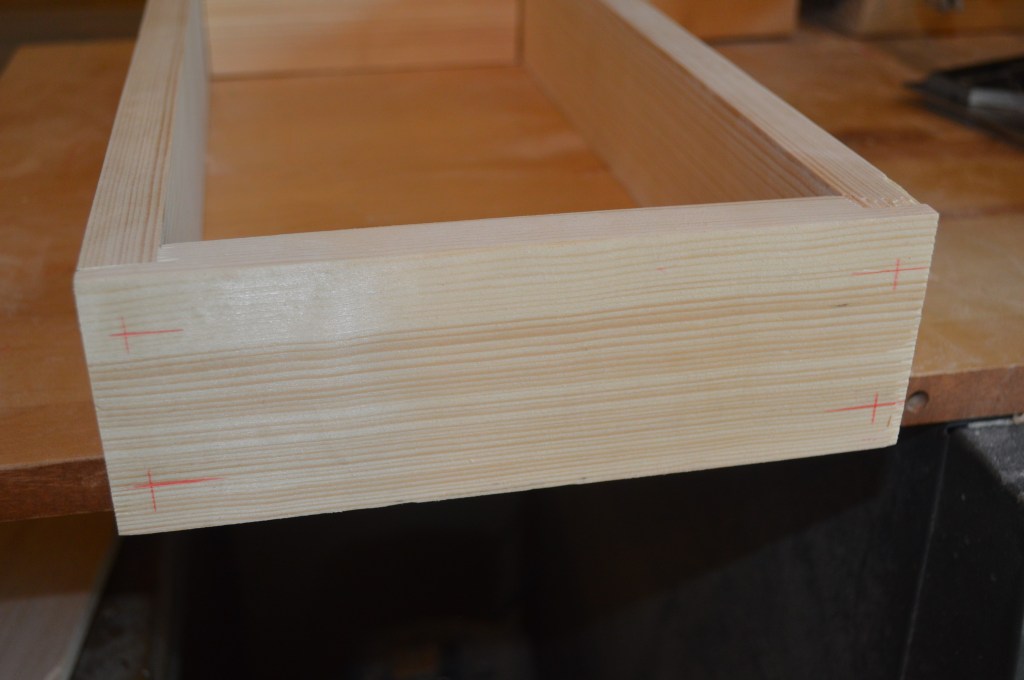
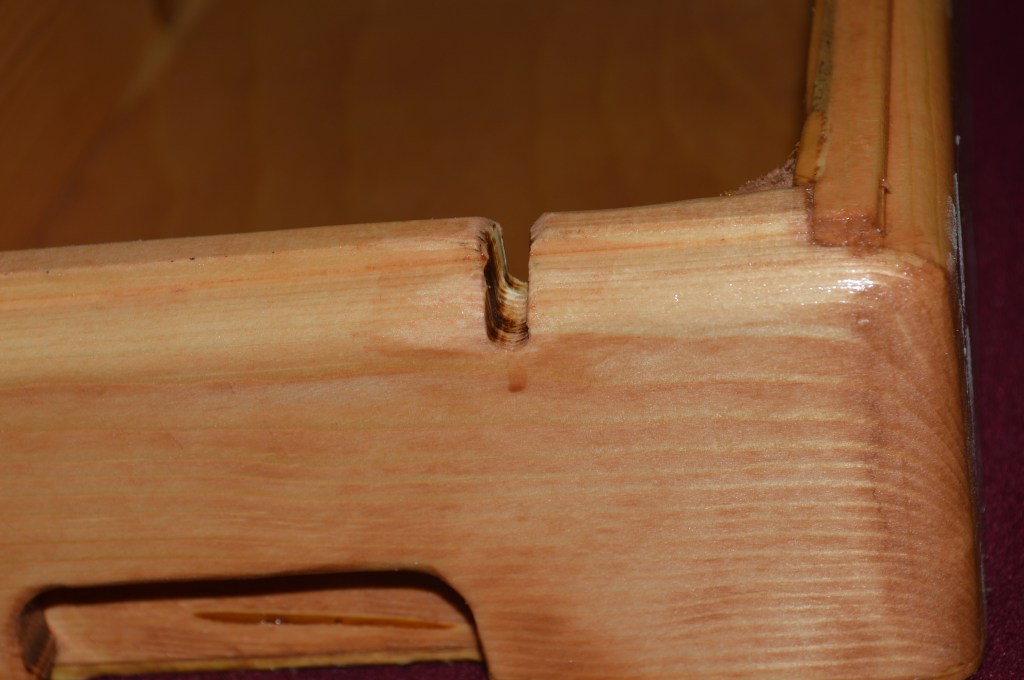
The glue is allowed to cure for 12 hours and then the ends are sanded so all edges are flush. The dowel locations are marked, and the holes are drilled with a 1/4″ forstner bit in a drill press to assure the holes are vertical and plumb. The dowels are inserted and its another 12 hours for the glue to dry.

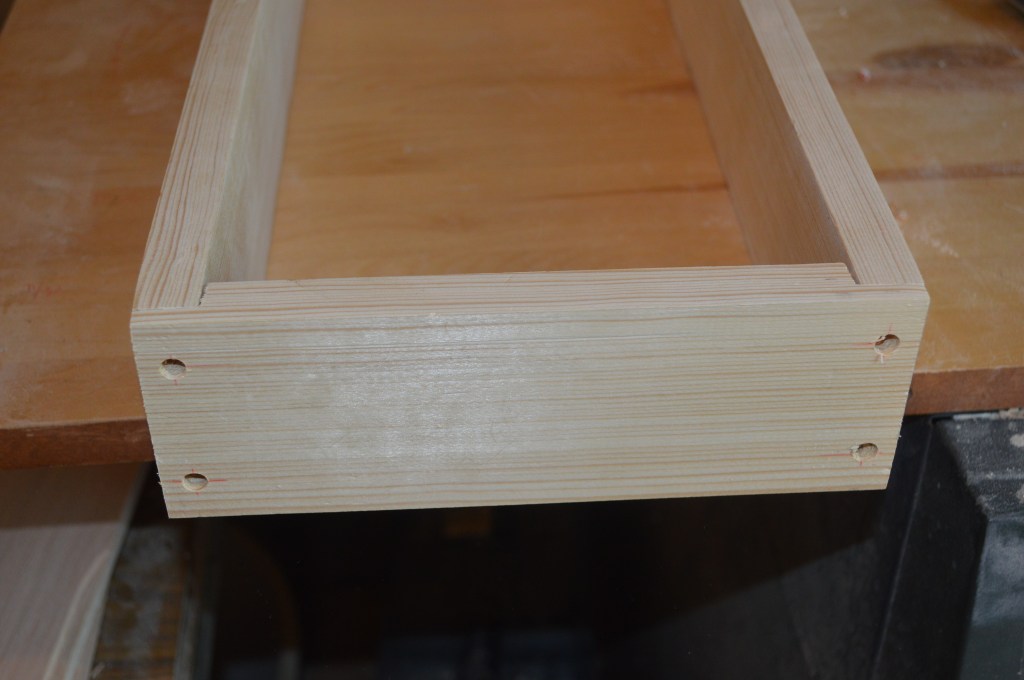
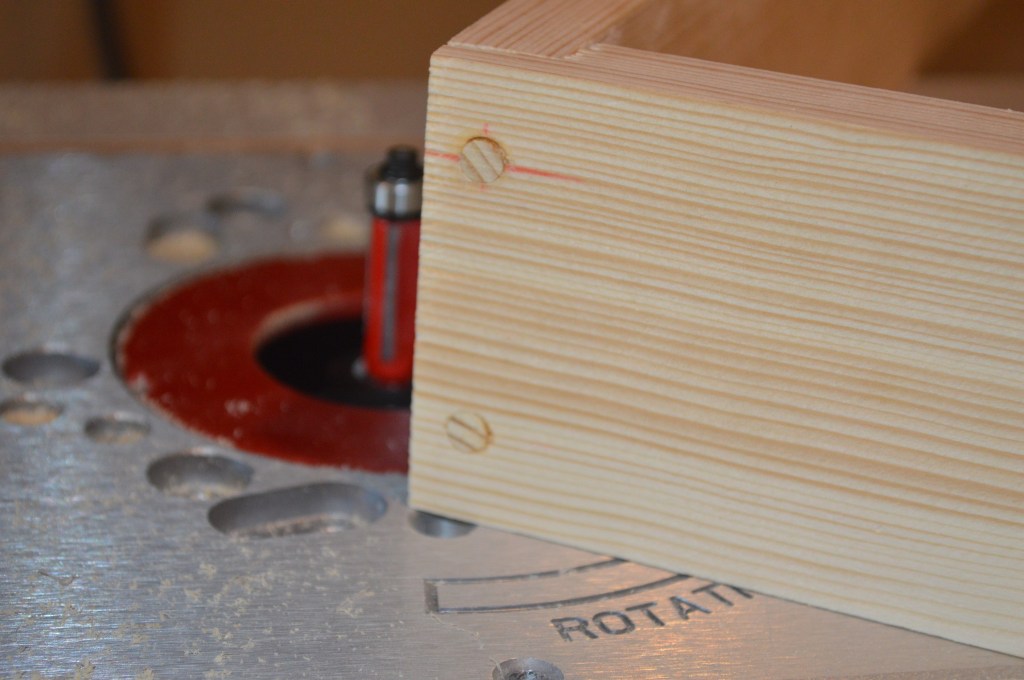
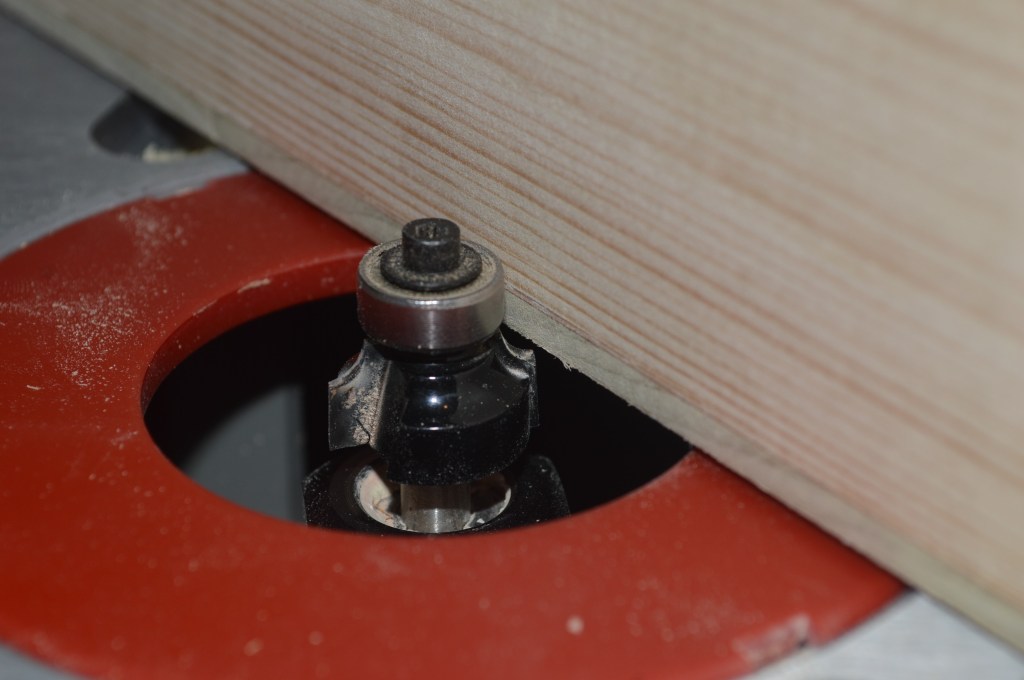
The dowels are cut flush to the base with a laminate bit. Now the base is ready to be contoured.
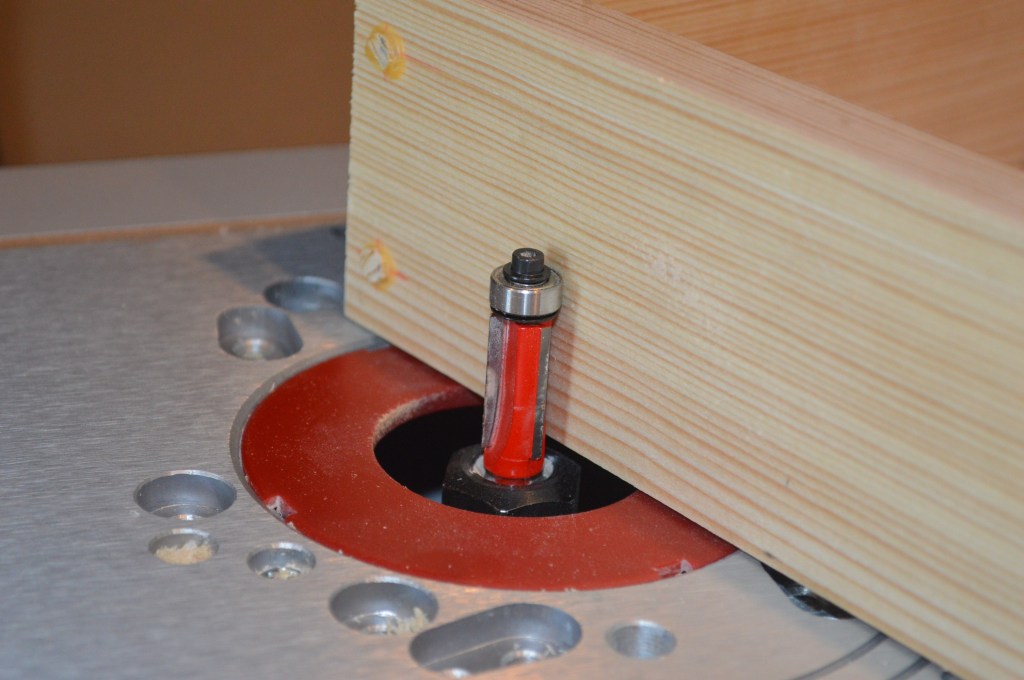
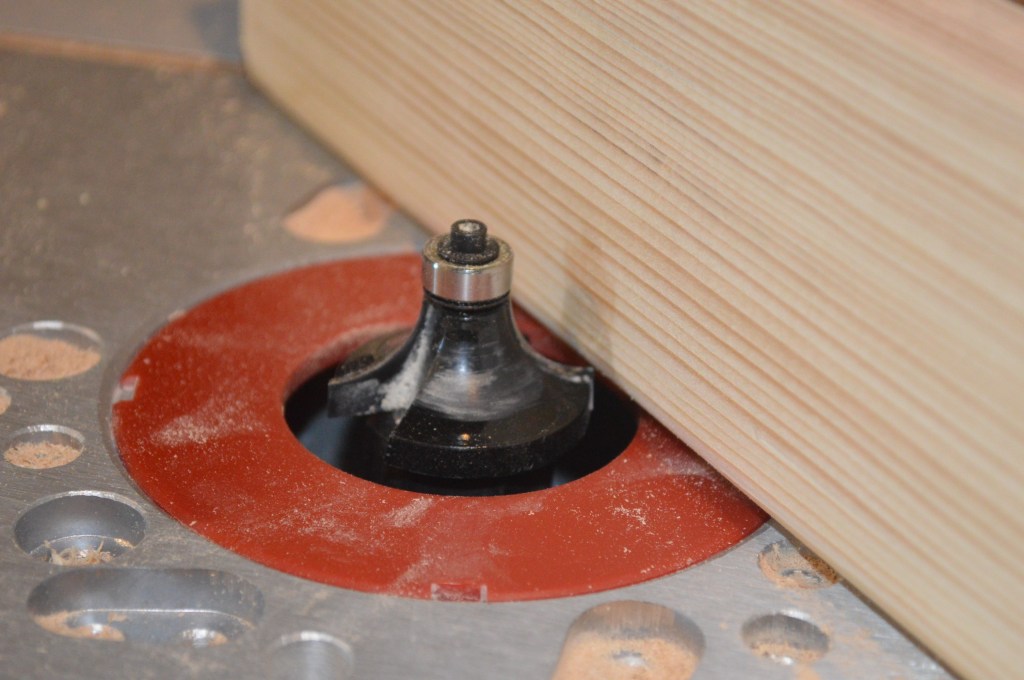
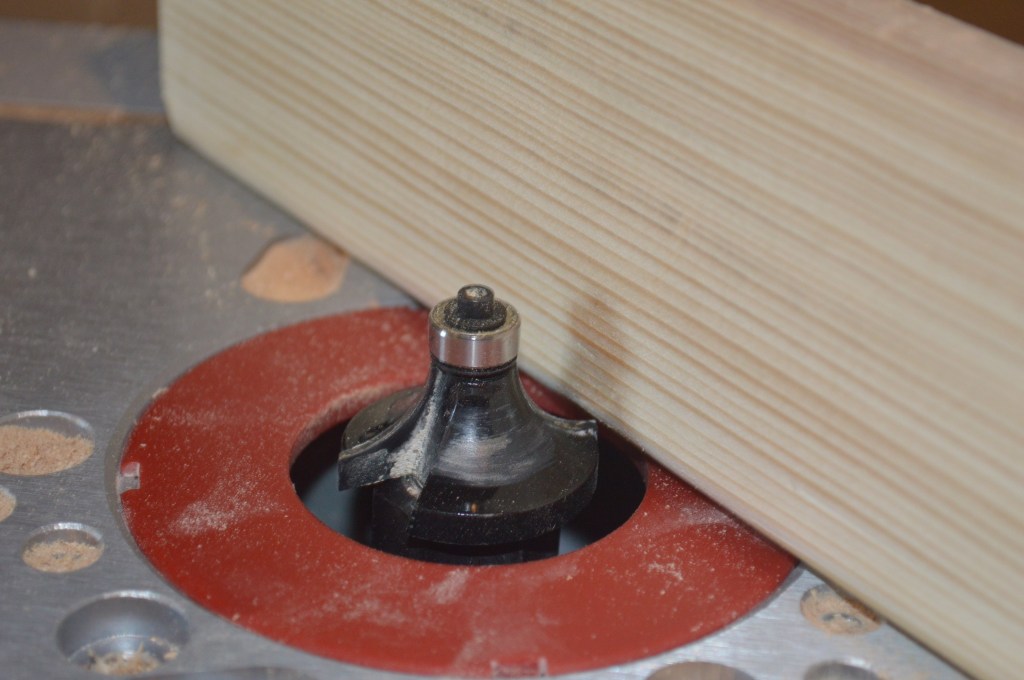
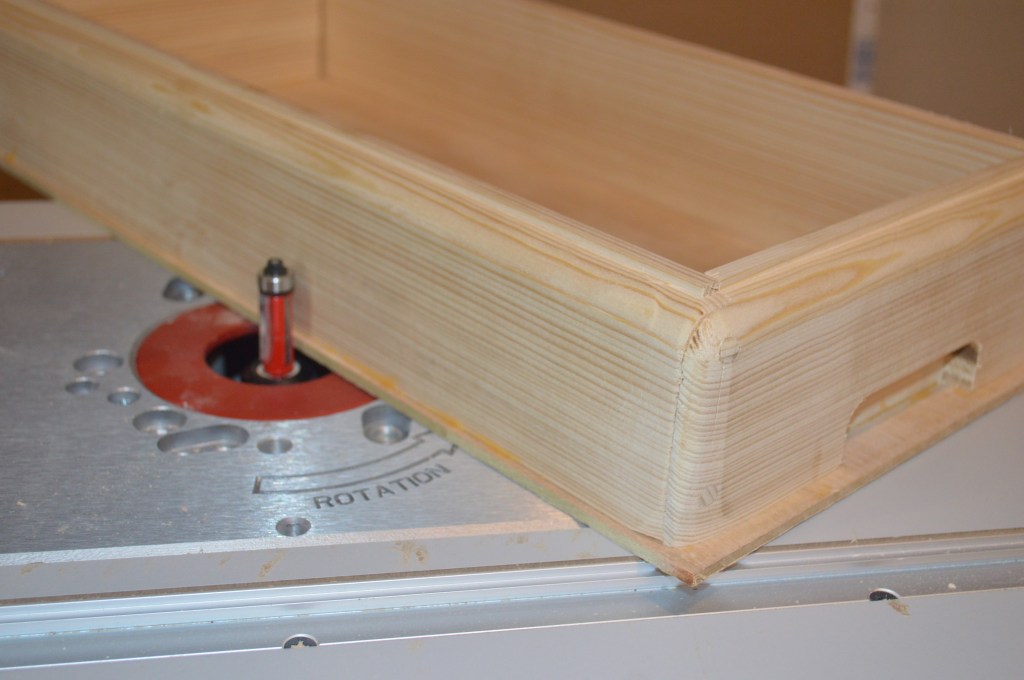
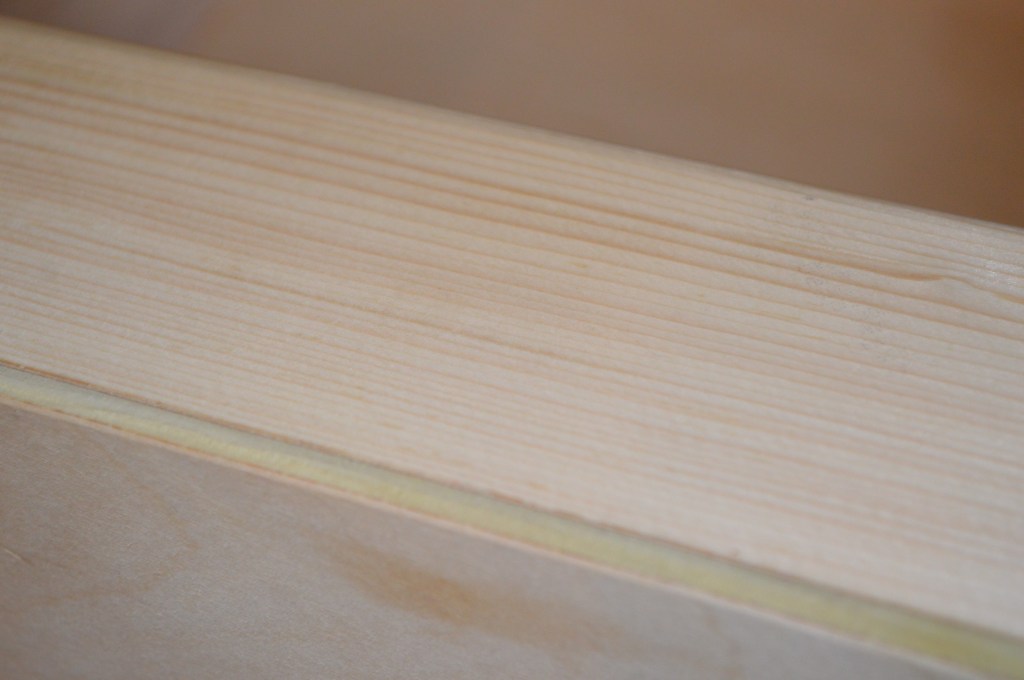
The first pass is with a 1/2″ round over bit on the top edge and to round the corners. Raising the bit about 1/16″ and taking a second pass on the top Not necessary, but I think it adds a nice detail.
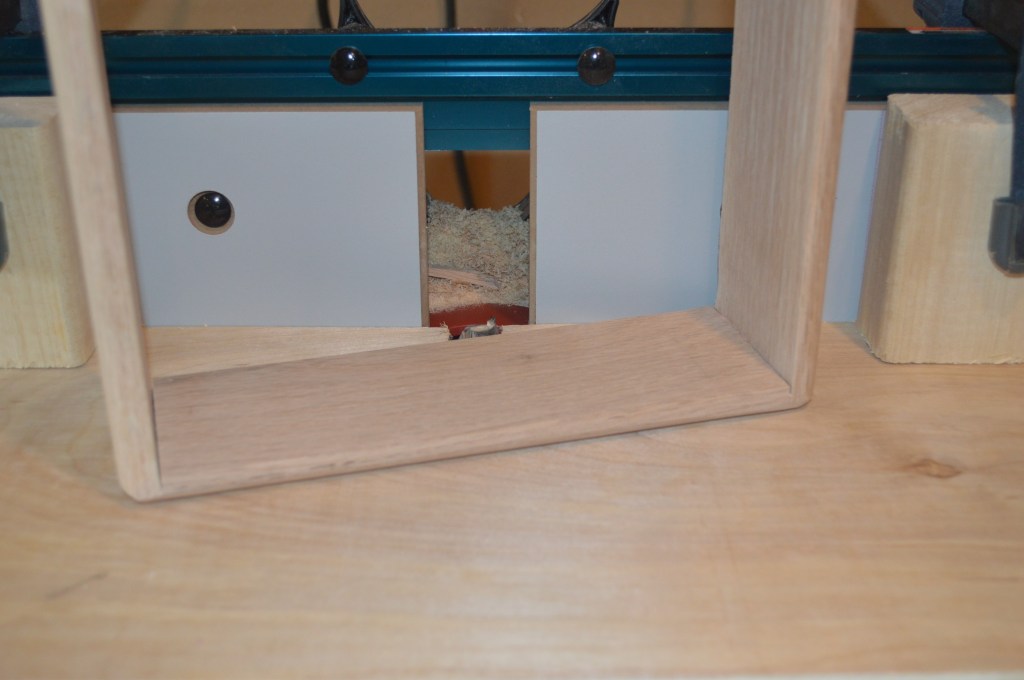
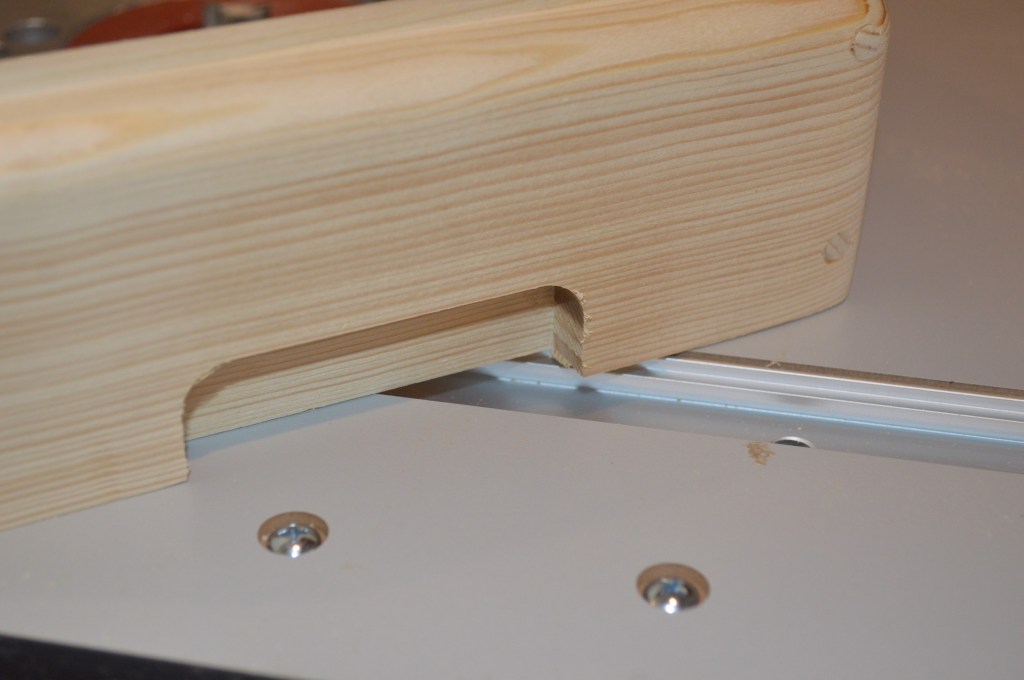
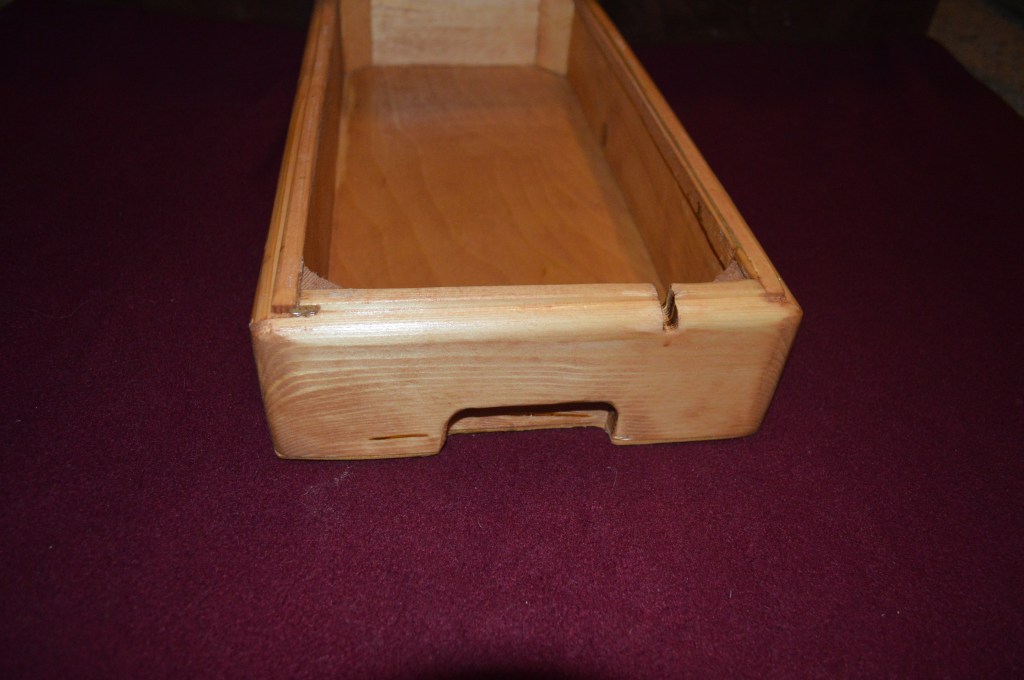
The next step is to rout the hand holds in each end of the base. For this I use a 1/2″ slotting bit. The hand holds in a Singer bentwood case is about 3″ long, so I set my stops at 3″.
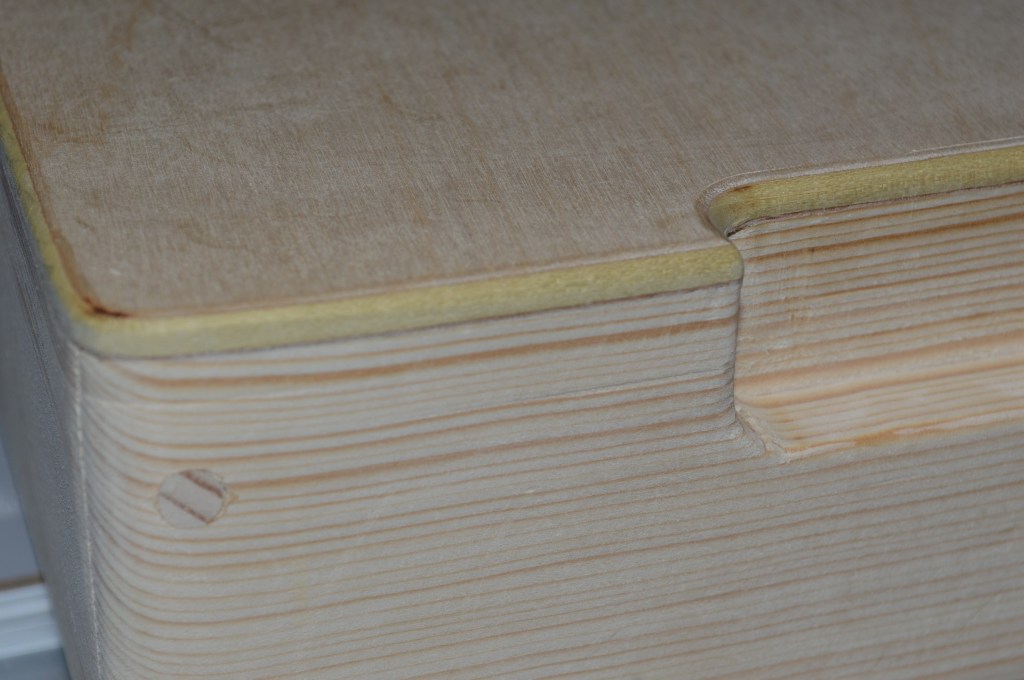
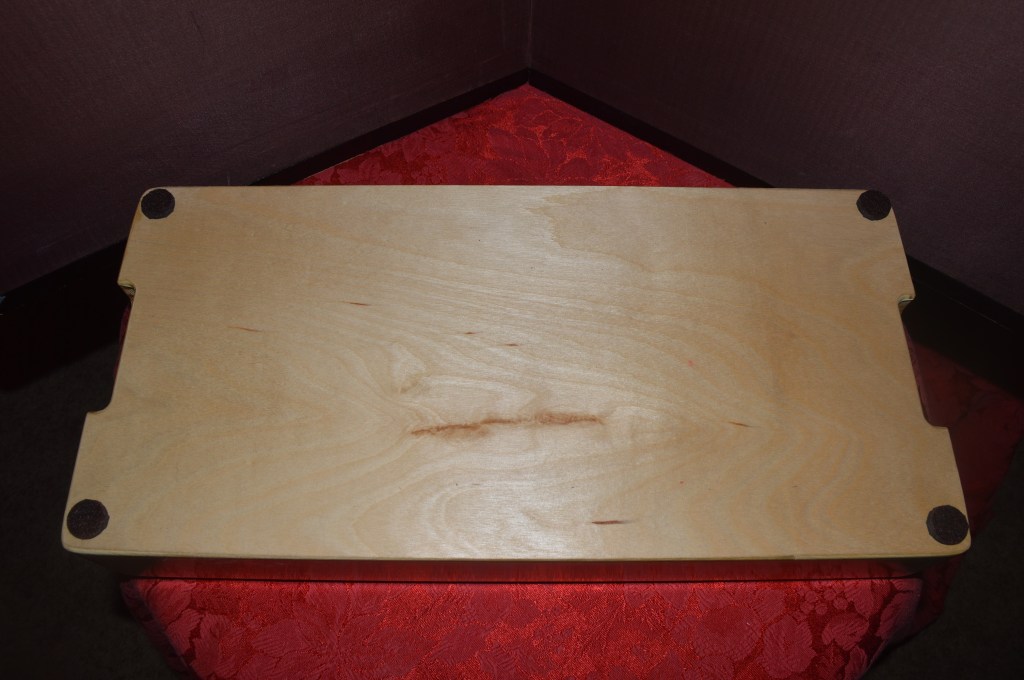
next, the birch plywood case bottom is glued to the underside of the box and set aside for… how long? You guessed it, 12 hours to dry before trimming the edge flush with the base.
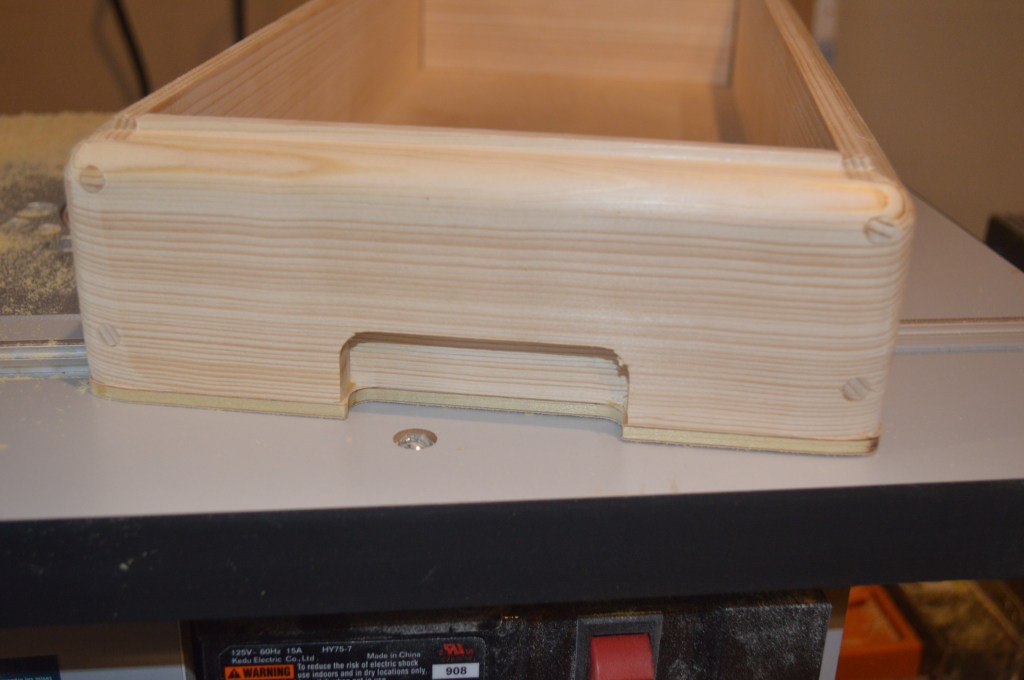
Another detail is adding a 1/8″ round over on the bottom edge. I don’t like sharp edges on wood. This breaks the edge and adds just a touch of relief on the bottom of the box. Not so noticeable now, but it does make the base look better in the end.
Almost ready for sanding, any spots that need it get wood filler to fill in gaps or seams so they disappear in the final sanding.
The next picture shows where I got a little careless with a clamp and left a “dent” in the wood… I guess I’ll need to start over… Nope! Fortunately for me I remember a trick to fix this! and I have the special tools nearby to fix it with.
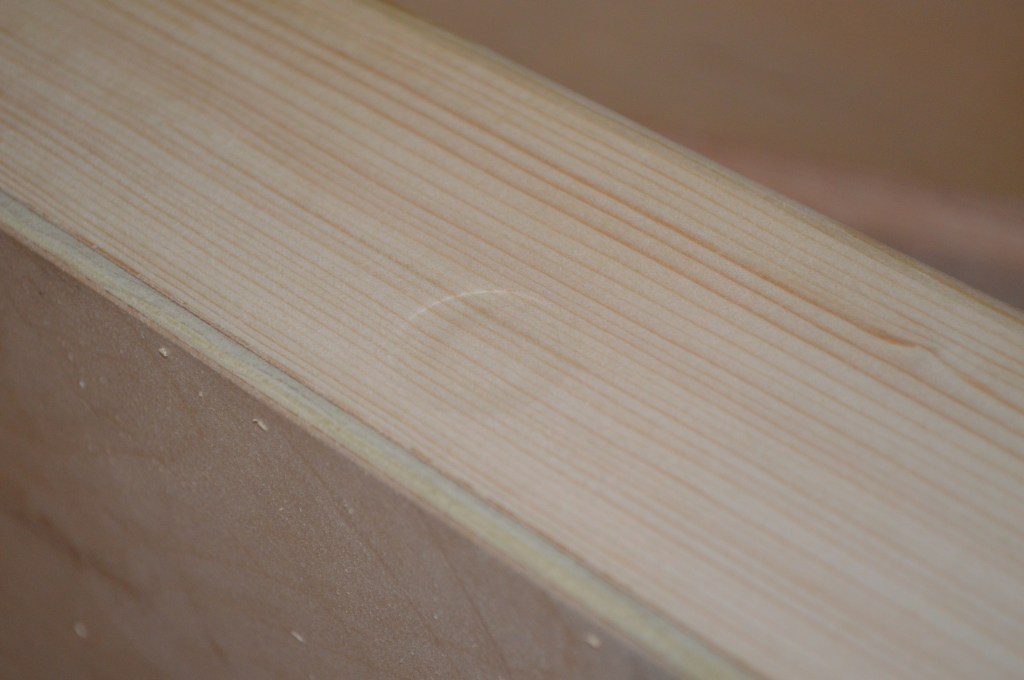
If this happens, it can be fixed with something as simple as a steam iron and a damp piece of cloth. Laying the cloth over the dent and applying heat and steam from the iron raises the grain in the wood. The dent disappears… just don’t leave the iron applied too long and scorch the wood!

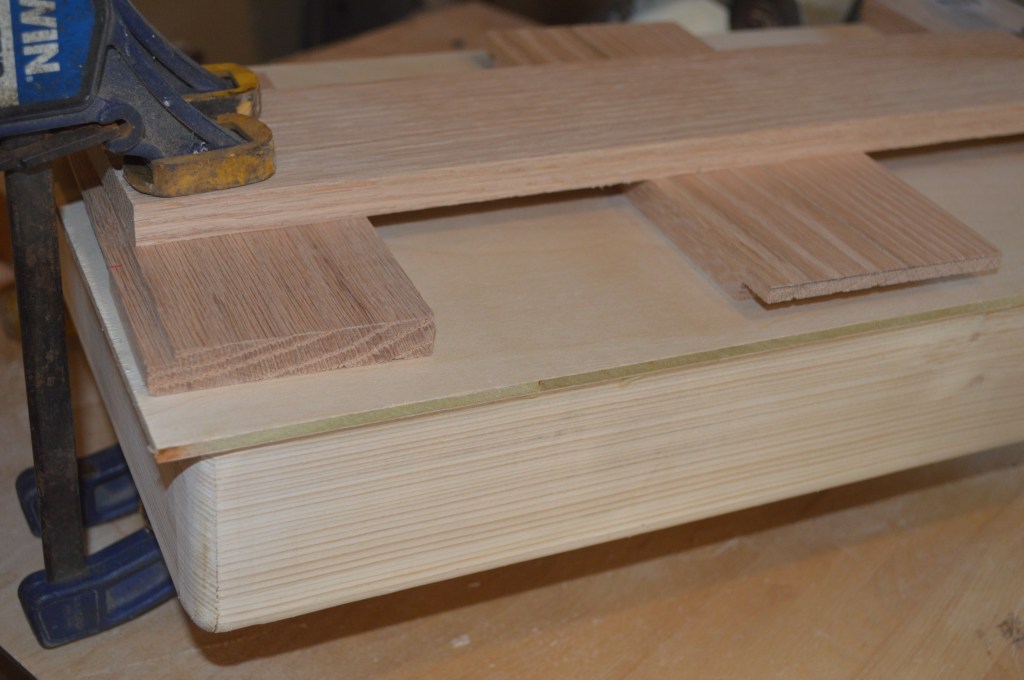
The only steps remaining are to provide support at the corners and provide a notch at the top of the base for the power and foot controller. Unlike a Singer sewing machine, Kenmore’s have a rectangular bed and there is very little radius on the corners. This makes the corner supports easy. No routing is necessary and the supports are cut to be about 3/16″ shorter than the box. This allows the machine to sit in the box ith a nice reveal and is a good fit.

For finishing, pine wood is pretty easy to deal with if you work with the natural wood. Pine does not stain well and I opt not to use darker wood stains for these boxes. I have found that using a pine color stain helps to accentuate the grain and looks better after the shellac finish is applied. Either with pine stain, or no stain, the finish turns out well.
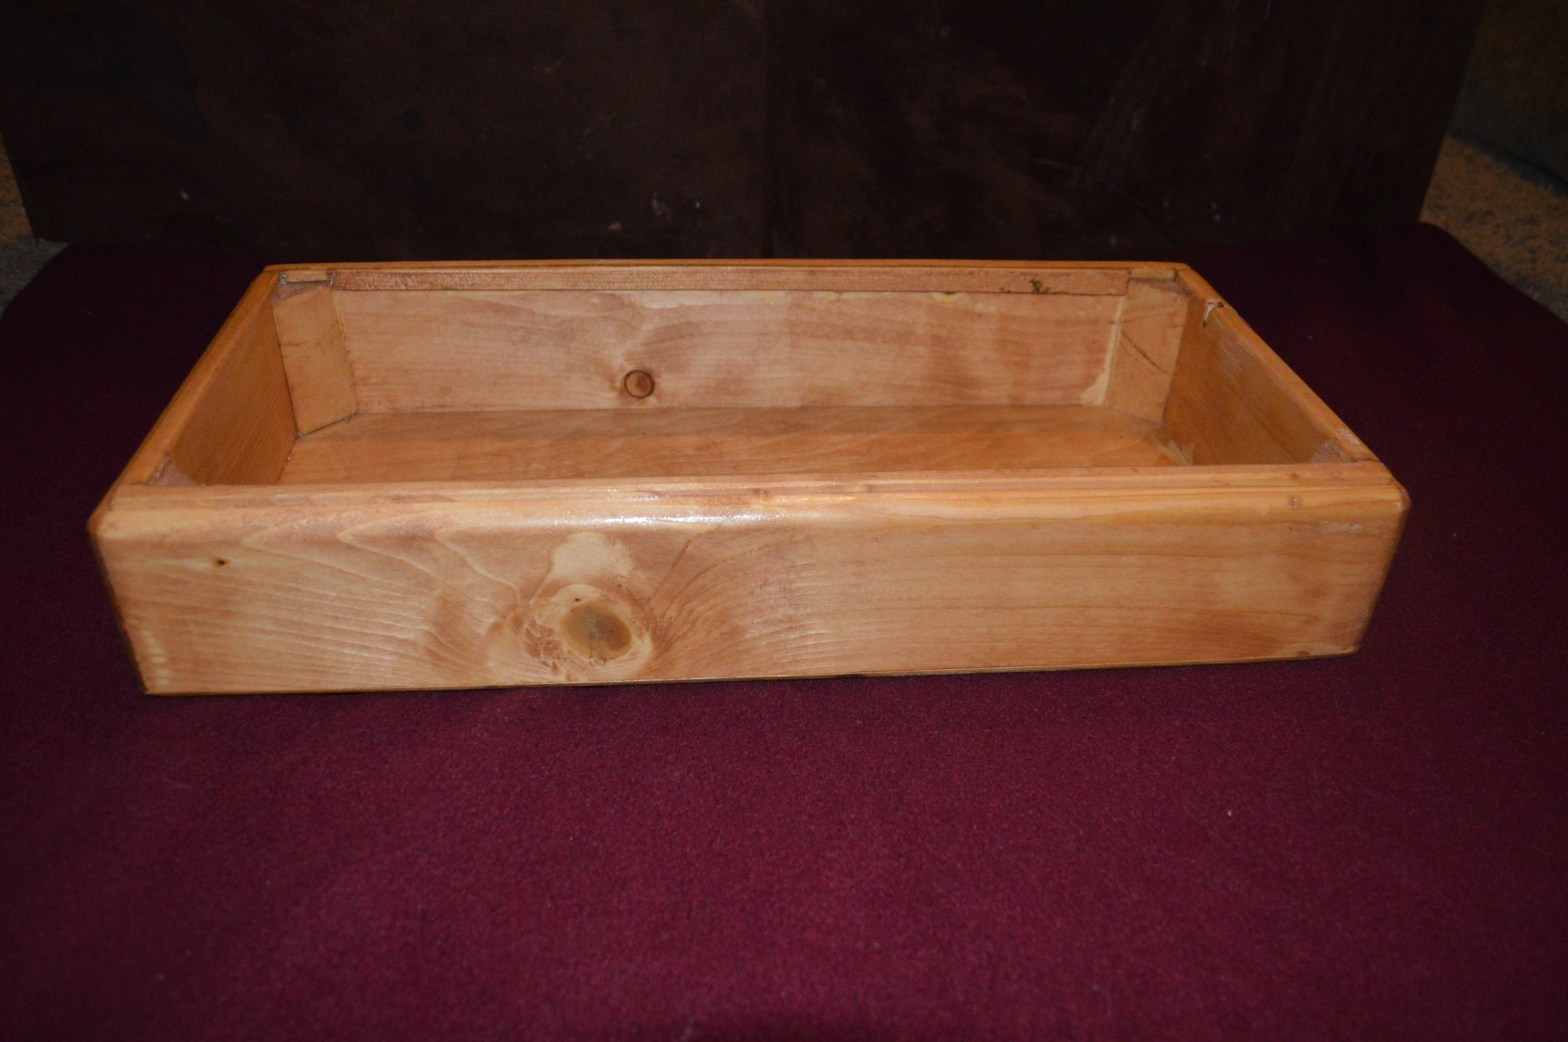
This base has been stained with Minwax Ipswich pine color stain and then finished with 6 layers of shellac. and I think it is a very nice fit for this Kenmore sewing machine. Take a look!


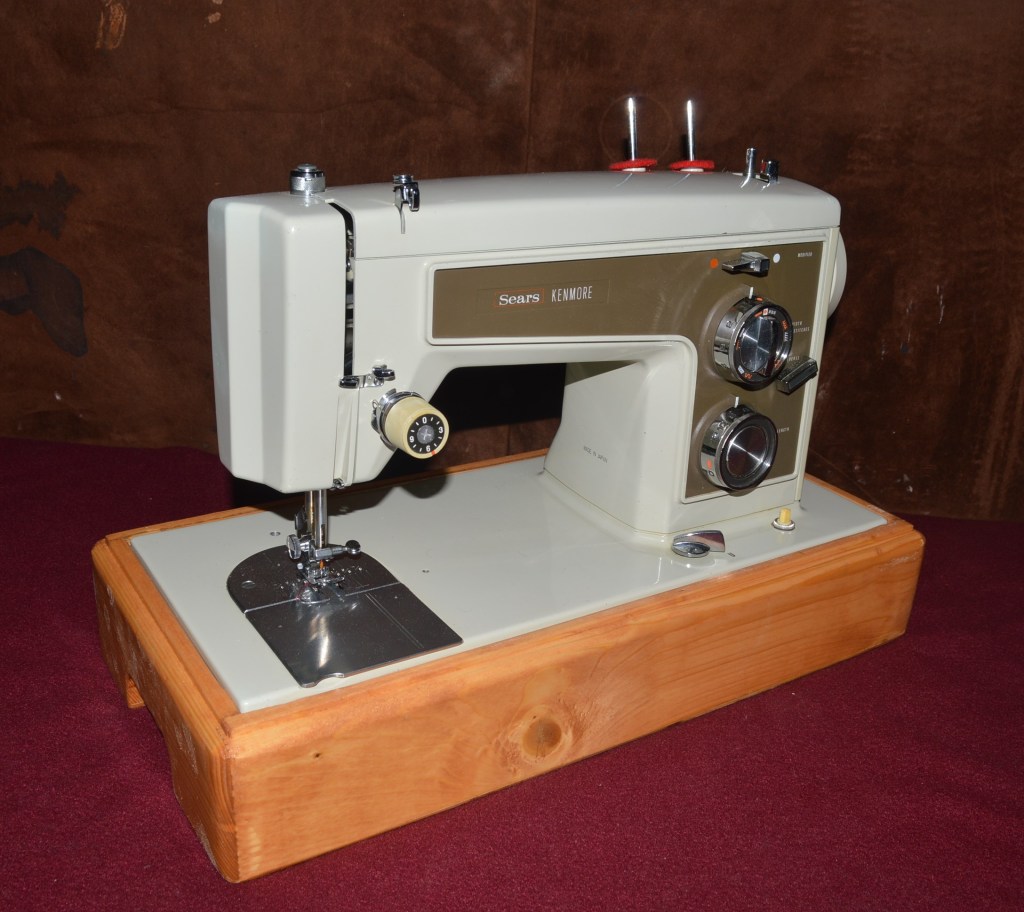
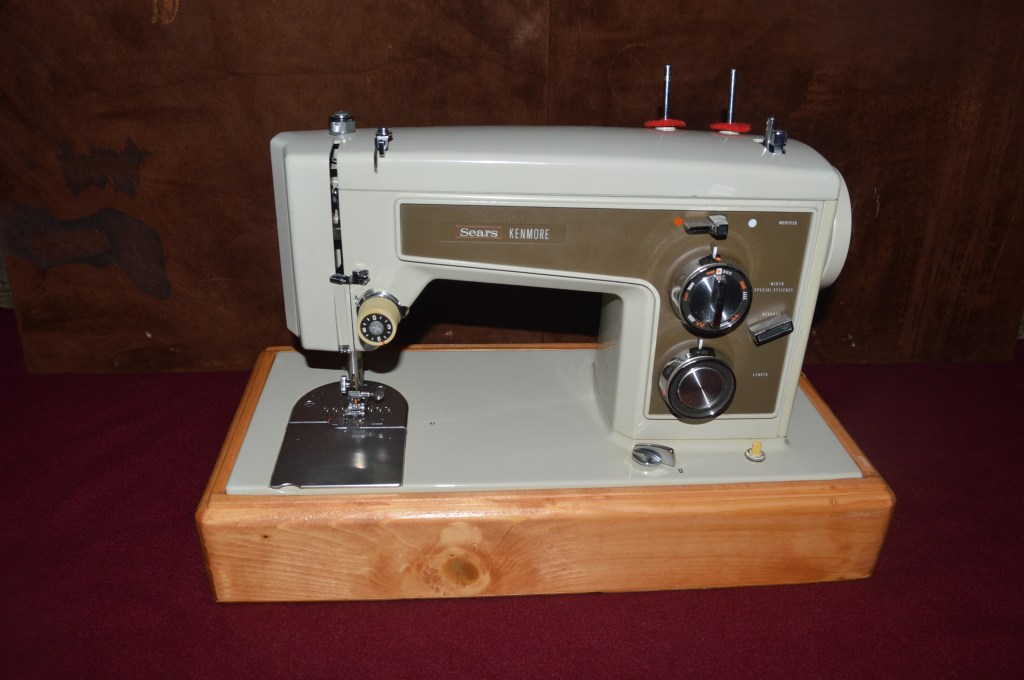
That’s it! A fine quality pine wood base to compliment your Kenmore.
If you like what you see please visit our Etsy store at https://www.etsy.com/shop/pungoliving, and see other examples of some of the beautiful custom made bases we have built for our Customers and offer for sale to you. We do not have bases in stock, and each base is custom made for your special order. Bases can be built to fit Singer or Kenmore machines, as well as a large variety of other vintage sewing machines from other manufacturers.
If you have any questions, or wish to place a special order, please contact Lee at Pungoliving@gmail.com.
