
Introduction
This is a custom order restoration for another great Kenmore model 158.1941 sewing machine! In case you are not familiar with the model 1941, before I get started I will tell you a little bit about the machines history and features.
Kenmore offered three machines in model 158.1941 lineup first introduced 1n 1975/76 as the model 158.19410. The model 158.19411 came out in 1976, followed by the model 19412 in 1977. Manufactured by the Maruzen Sewing Machine Company in Japan, they remained essentially the same machine over their three year production run. The most noticeable difference in the later models was the addition of Kenmore’s proprietary super high shank presser foot and quick detach presser foot clamp. In most other aspects they are identical. Here’s a run down of the machines features.
The 1941 features a 1.0 amp motor that drives the rotating assemblies via a double belt reduction pulley. Kind of like using a lower gear in your car, the reduction pulley amplifies the motor’s power to the sewing mechanisms and gives the machine very impressive piercing power at the needle. The stitch mechanism consists of a class 15 vertical bobbin case and a gear driven oscillating hook. The machine also boasts a super high lift presser foot extension that will accommodate an impressive fabric thickness. This is especially useful when sewing over bulky seams with thick fabric. The 1941 also has a feature to drop the feed dogs for free motion sewing and a spring loaded presser foot button for adjusting the presser foot pressure. The body of the machine and all of the components in the sewing mechanism is made of metal. The only plastic found in the machine is the rear cover and the balance wheel motor belt pulley. The 1941 is built for durability and has proven itself over four decades of use.
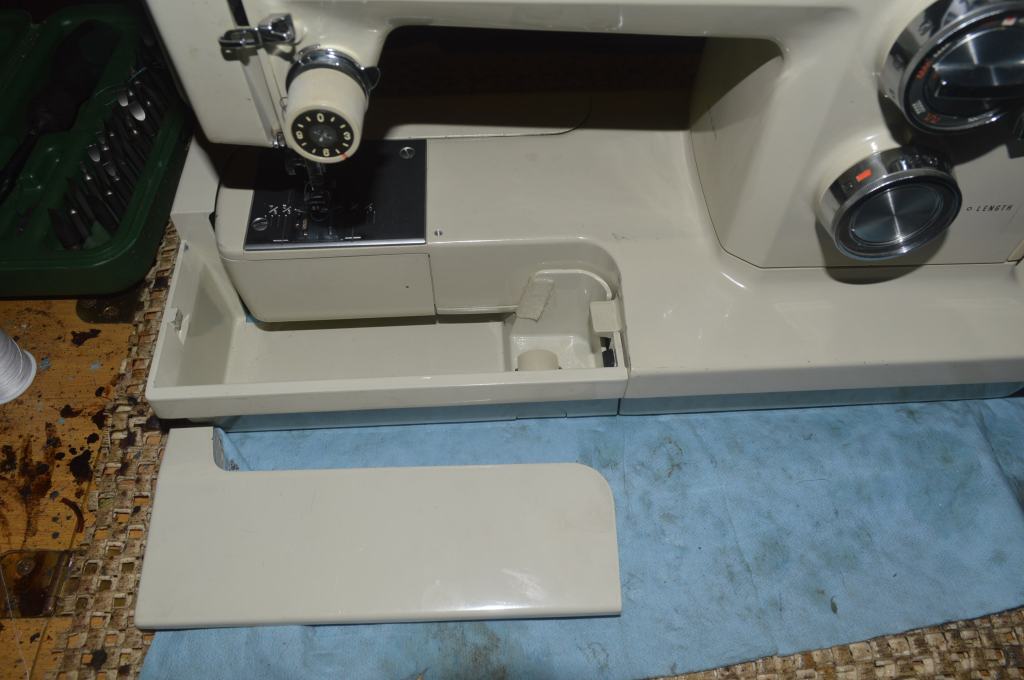
Kenmore designed the 1941 to handle a variety of fabrics and it offers a balanced and useful selection of stitches suitable to a broad application of sewing preferences. The machine offers a selection of 10 utility stitches (including a good mix of stretch stitches) plus a very nice straight stitch. The machine uses standard class 15 bobbins and standard 15X1 sewing needles. As far as the body styling and sewing assemblies compare in the 1941 model series line, they are pretty much the same. All have center homing needles and all are “convertible” sewing machines. This means that the front of the sewing bed is detachable from the machine to reveal a free arm for sewing cuffs, hems, and collars. All of the body parts and panels (except for the rear cover) are made of metal. This makes for a high quality “feel” that plastic simply can’t deliver and enough weight for a smooth and stable sewing experience. The 1941 can utilize Kenmore’s gear driven attachments by swapping out the front cover lid with a lid containing the attachment’s gear drive. This is especially useful for Kenmore’s button hole attachment. The 1941 is a fairly portable machine and sits a case with a flat bottom case tray. The machine is designed for sewing on a table. There are no hinge attachment points and it was not intended for sewing in a cabinet. To sum it up, the 158.1941 is a portable and powerful sewing machine and an excellent choice for garment making and general purpose sewing projects. Heavy sewing projects using denim and upholstery fabrics are not a challenge as the machine’s feed mechanism and powerful motor delivers impressive piercing power smoothly and quietly.
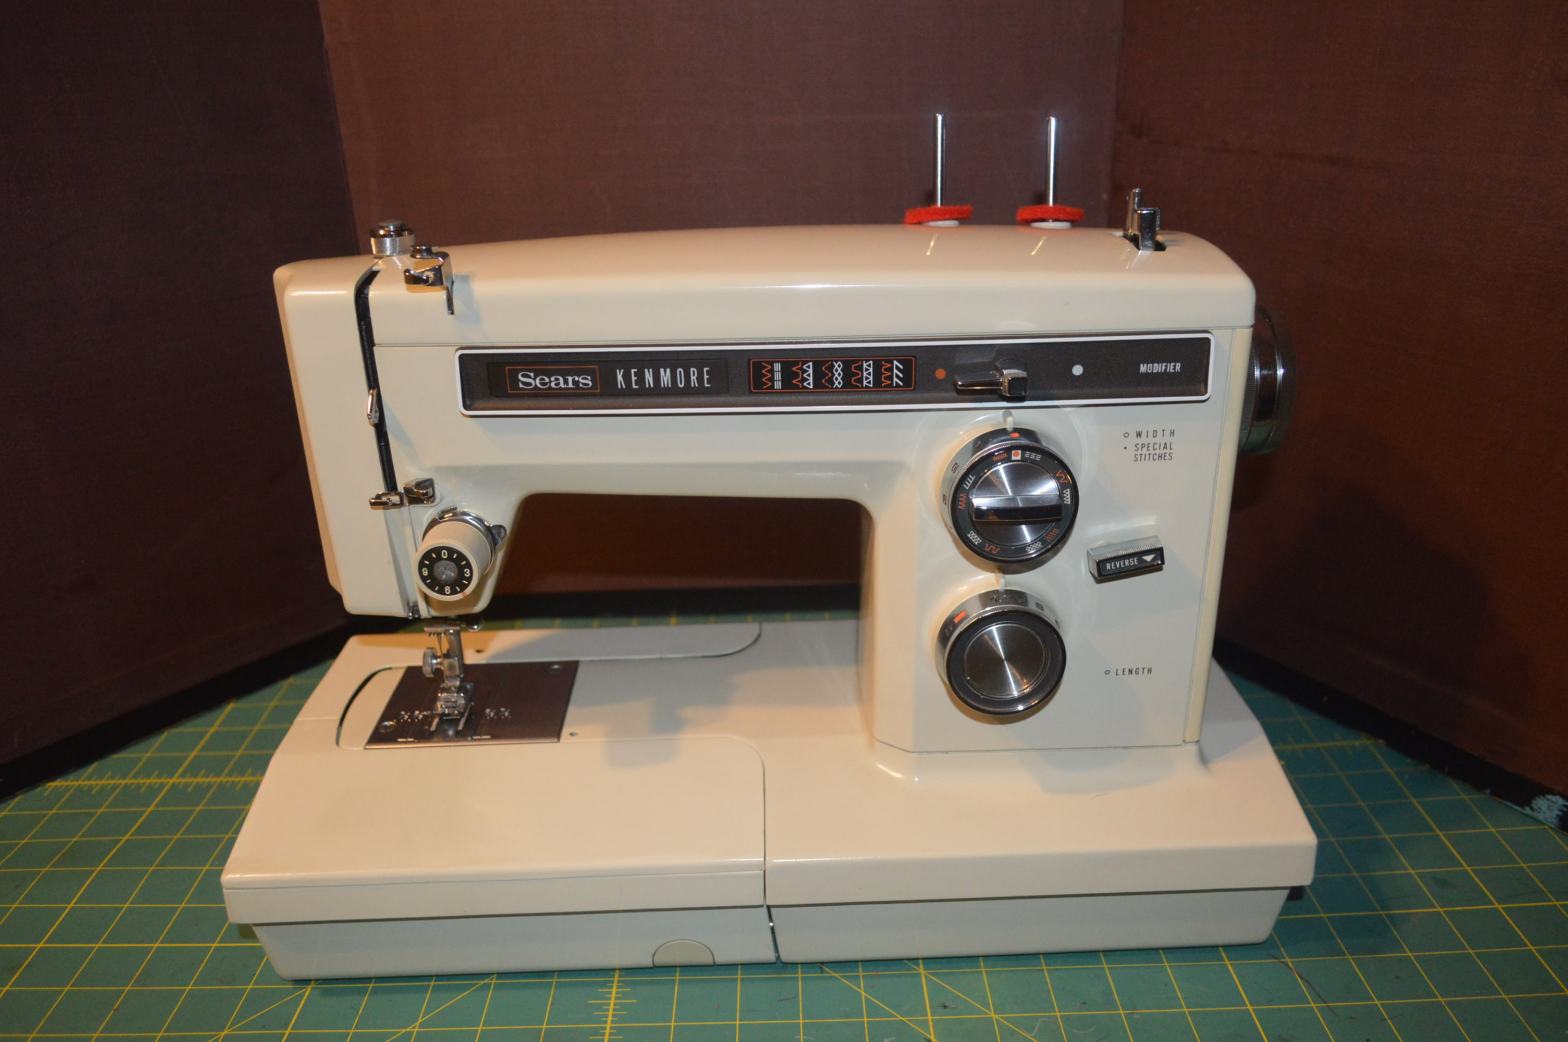
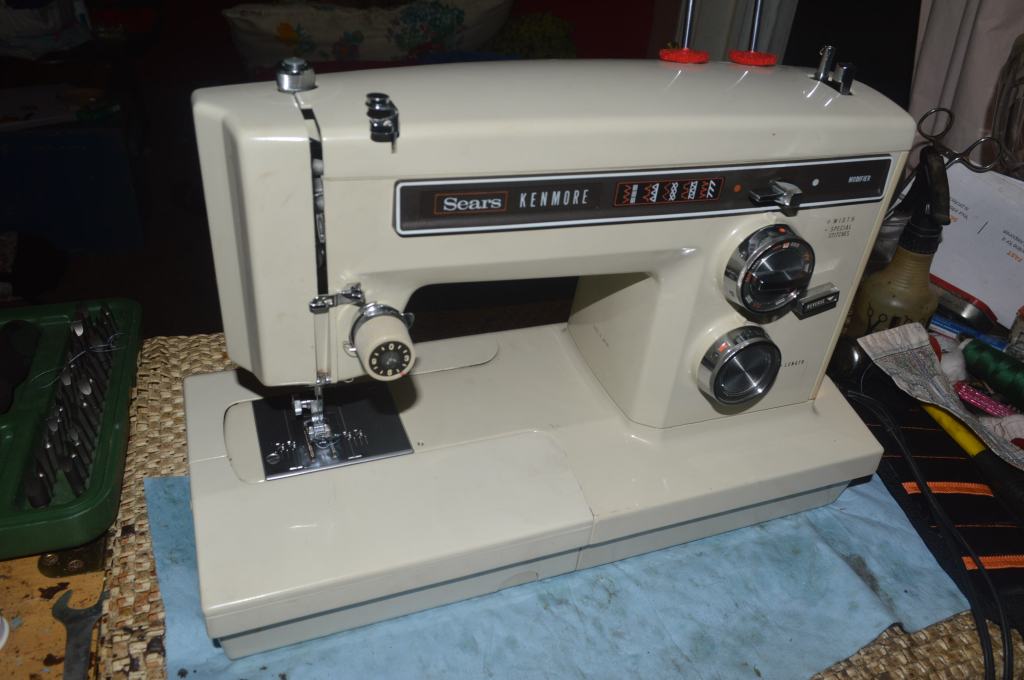
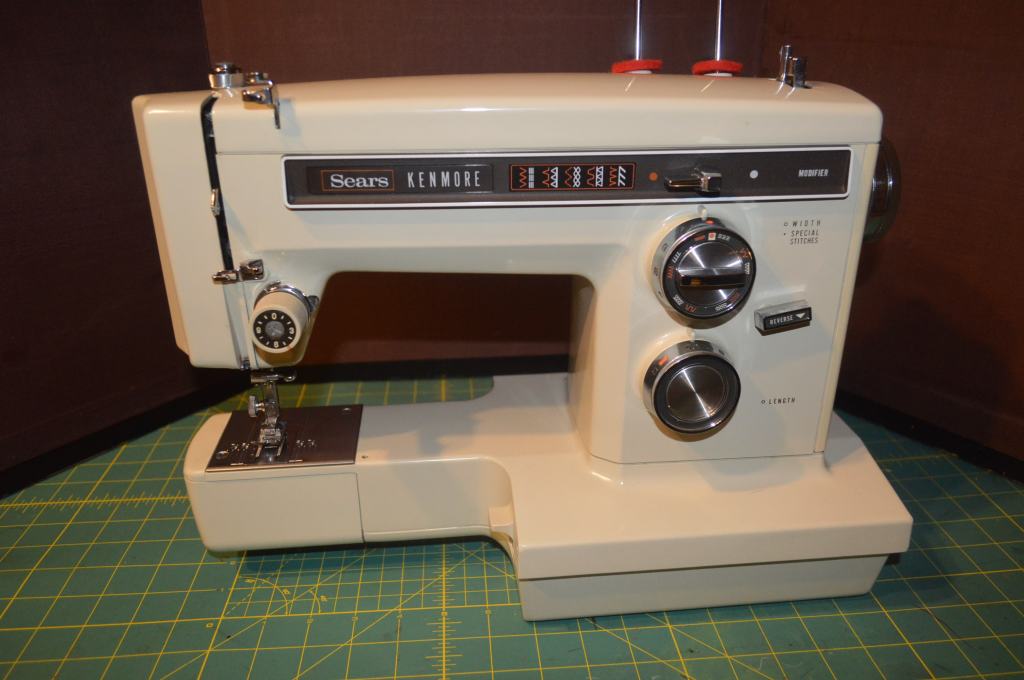
So now you know a little more about the model 158.1941 machine in general, lets take a look at the machine selected for this restoration. This machine is designated as the 158.19410 and it is the first model in the 1941 series. This machine uses standard low shank presser feet while the 158.19411 and 158.19412 machines use Kenmore’s proprietary super high shank presser feet. I chose this model specifically because it uses standard low shank presser feet. I see this as an advantage because It can use any number of standard inexpensive low shank feet that are readily available. On the other hand, Kenmore’s super high shank feet are more expensive, harder to find, and more limited in their application. Lets get onto the restoration…
Restoration Plan
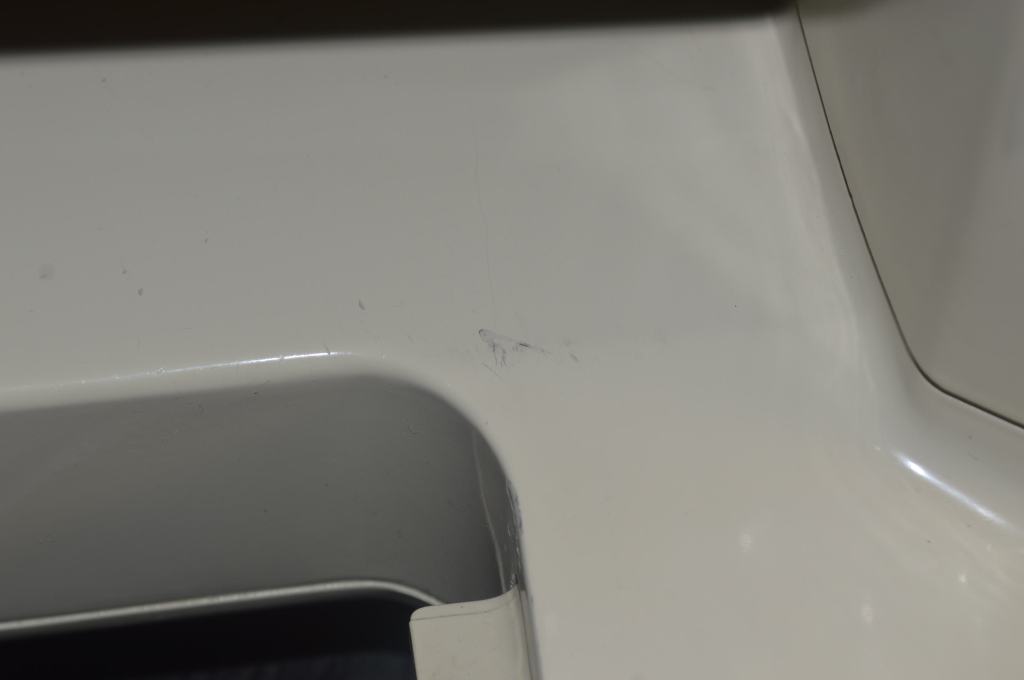
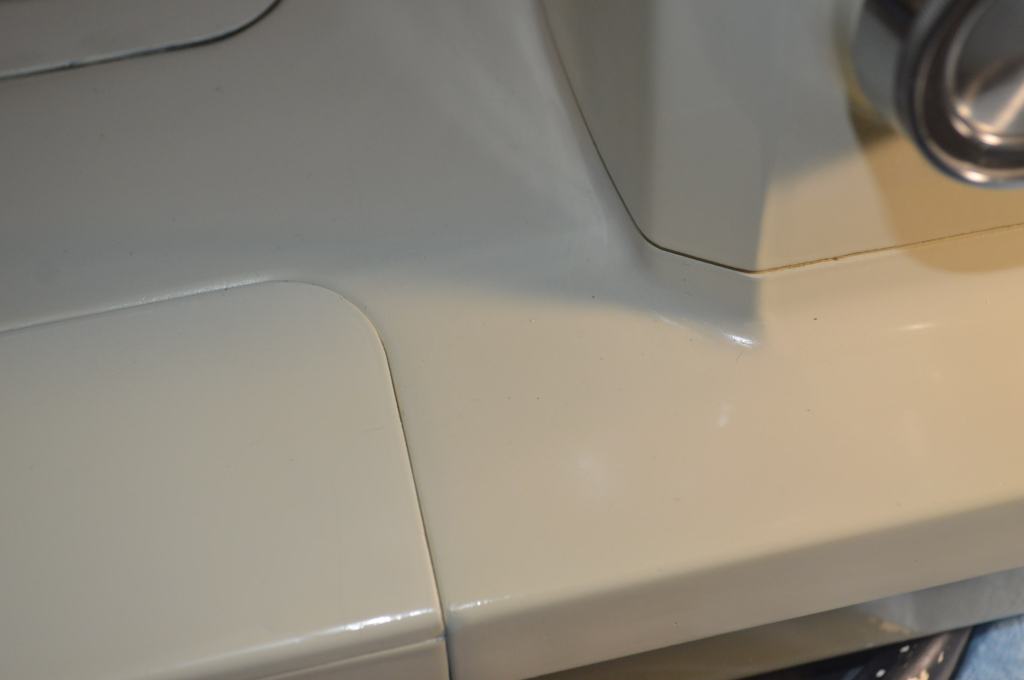
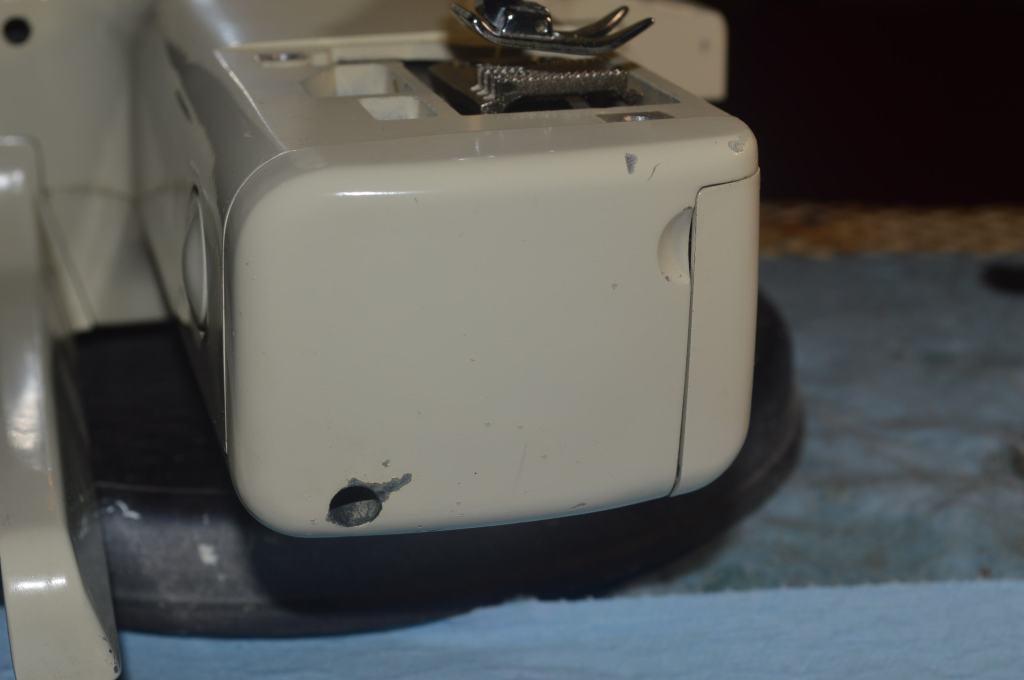
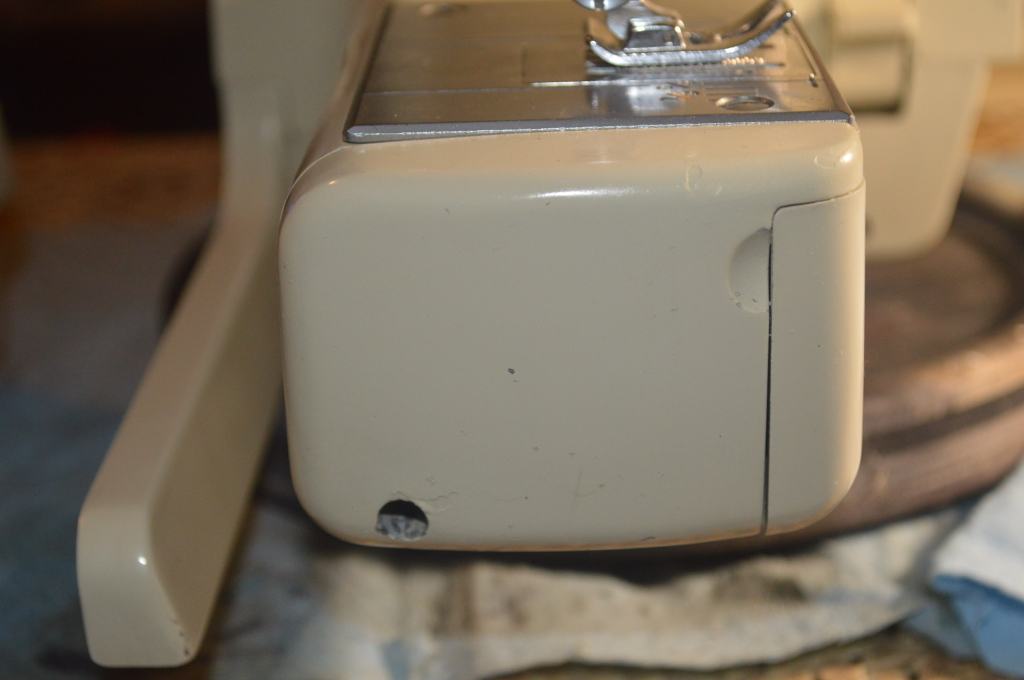
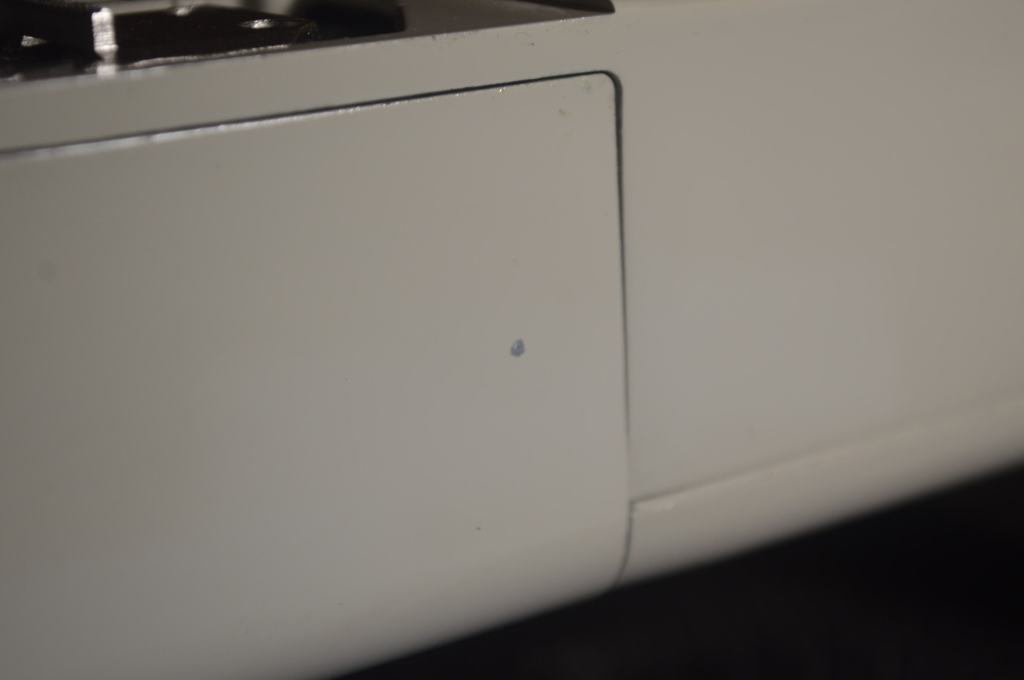
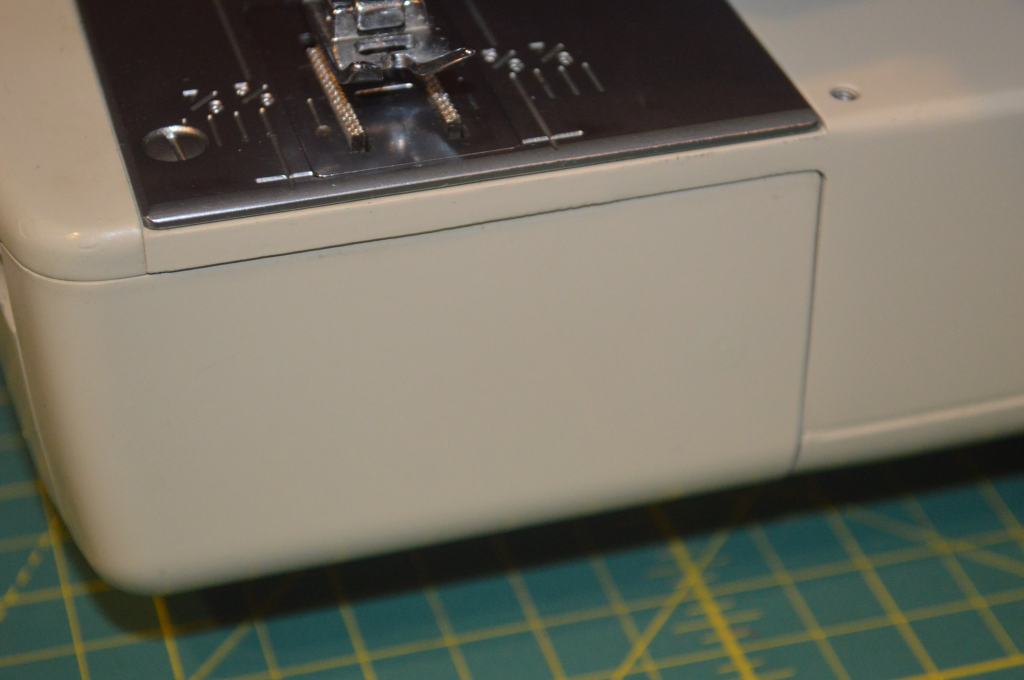
This machine was chosen because it is in good cosmetic and mechanical condition. It’s hard to say for sure how much use this machine had, but there is some marginal oil varnish build up on the sewing mechanisms and the machine is fairly stiff because the oil has dried up in the joints. My guess is that it probably saw some use in it’s early days and was then stored away for a significant amount of time. The few cosmetic flaws include a few minimal scratches and some slight yellowing on the rear plastic cover and tension dial. These are common issues that can be readily restored. The mechanical restoration will include disassembly of all of the assemblies in the needle bar head, and selective in place disassembly of rotating and rubbing parts under the sewing machine bed. The sewing assemblies in the sewing machine arm will be cleaned of all grease, varnish build up, and everything will be oiled and adjusted for quiet operation. Disassembly of mechanisms in the sewing arm is not necessary as oil varnish affected parts and linkages can be readily cleaned in place. The connecting rod will be removed, the motor will be restored, and the grease in the gear case will be replaced. All of the parts disassembled will be ultrasonically cleaned, heated in oil to drive out moisture, and wire brushed to like new condition. The needle bar and presser foot bar will be polished to a glass smooth finish and all bearing bores will be cleaned with a wire brush to provide a smooth running and quiet sewing machine.
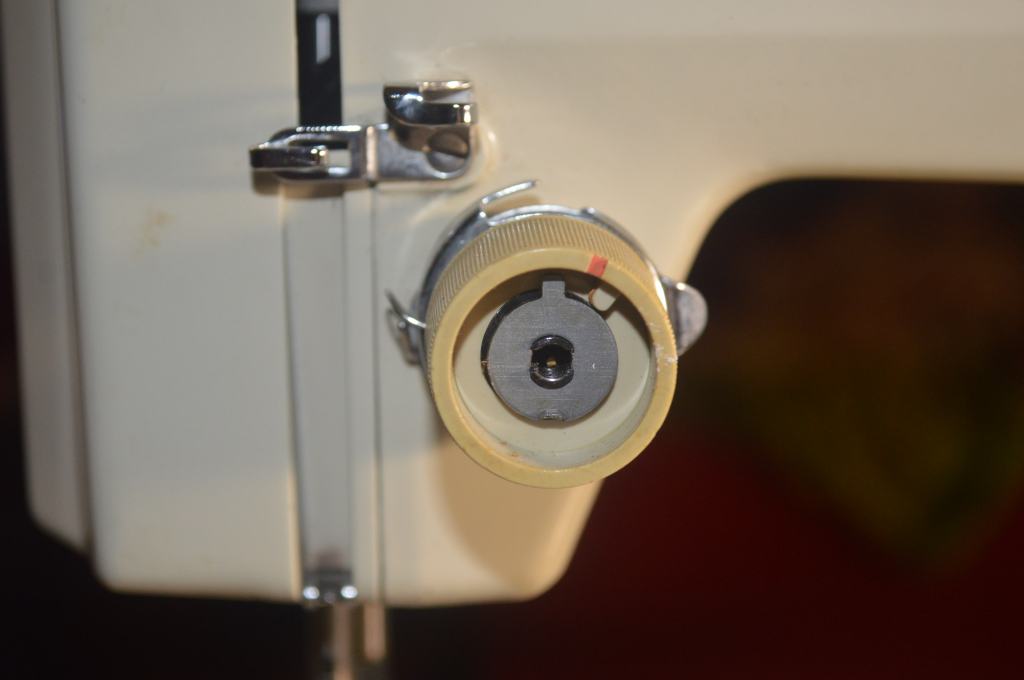
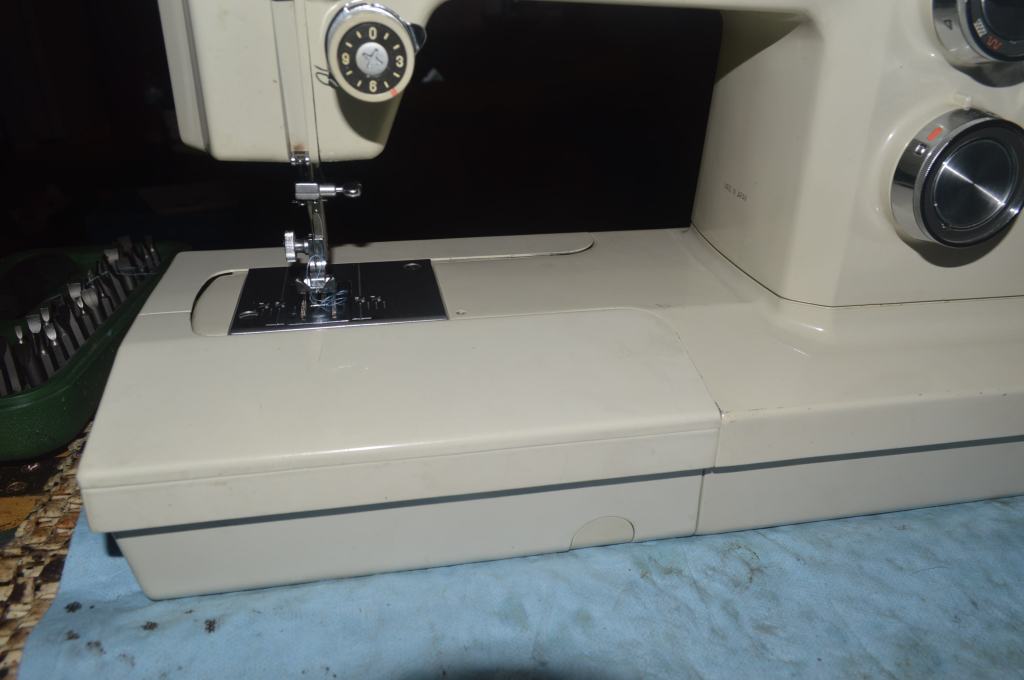
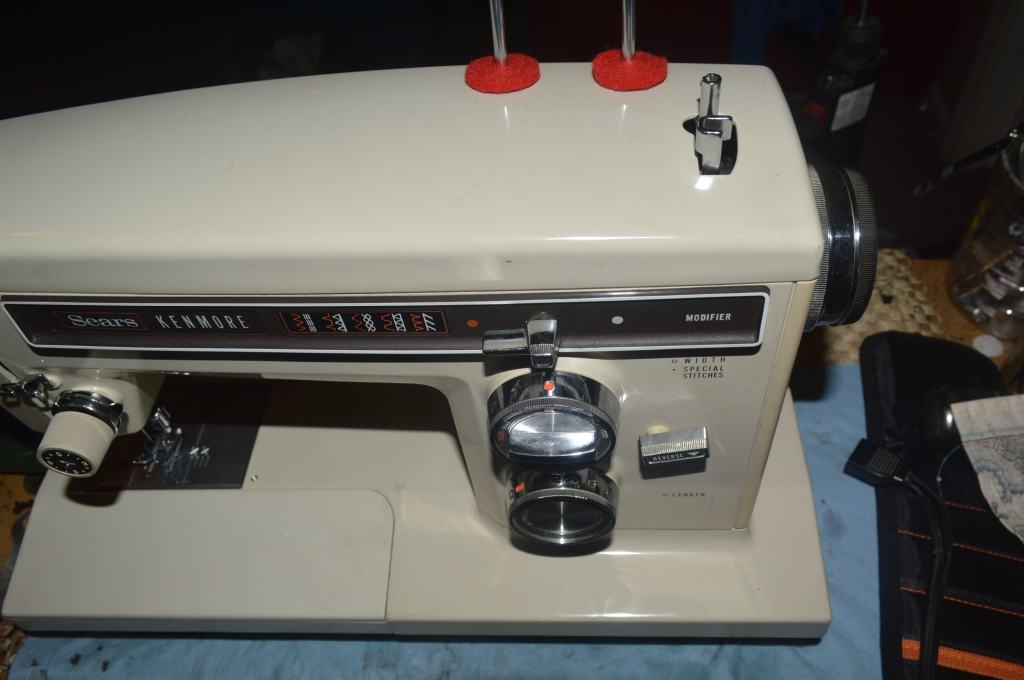
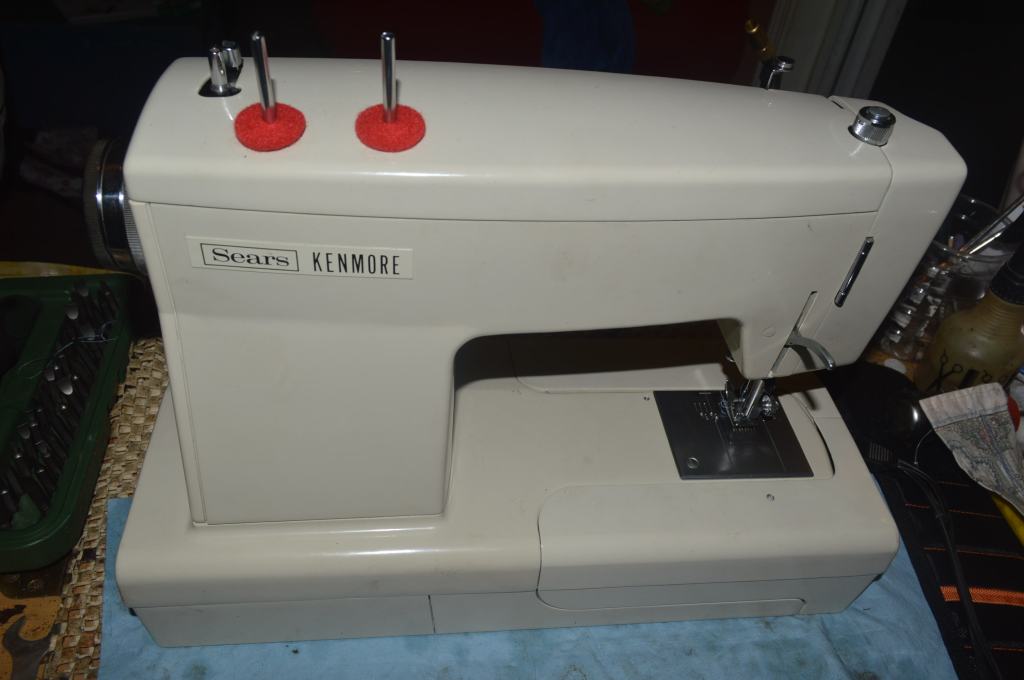
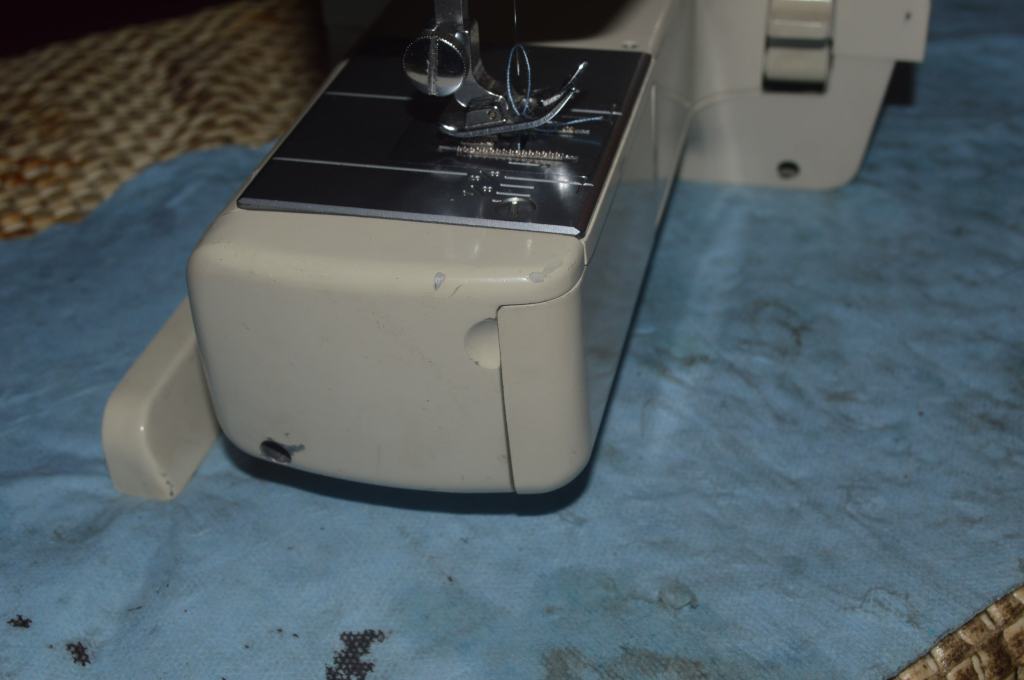
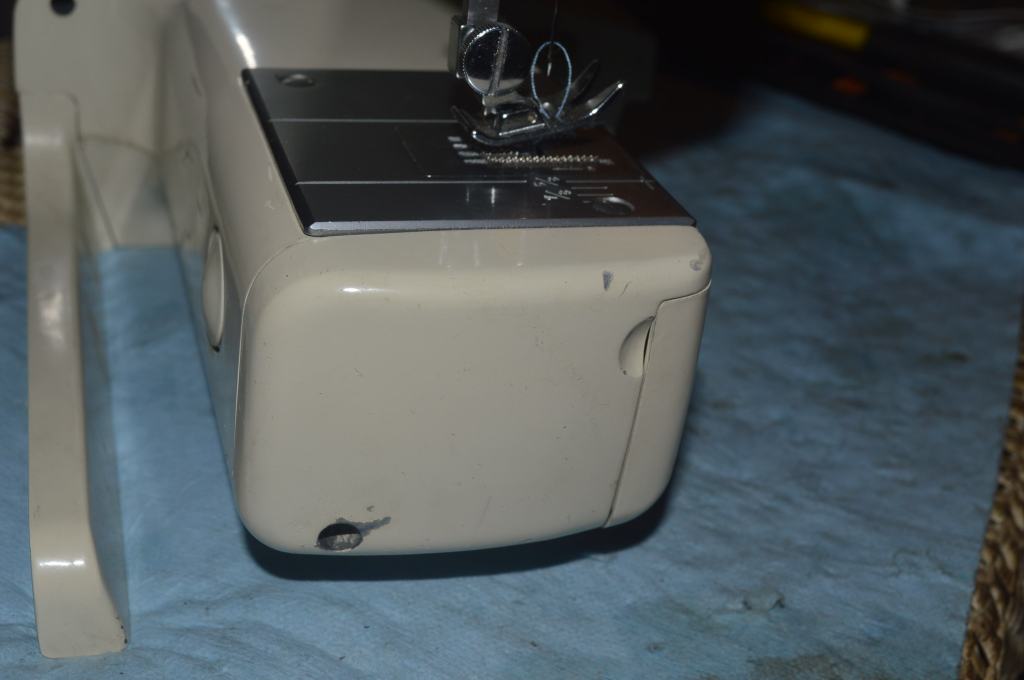
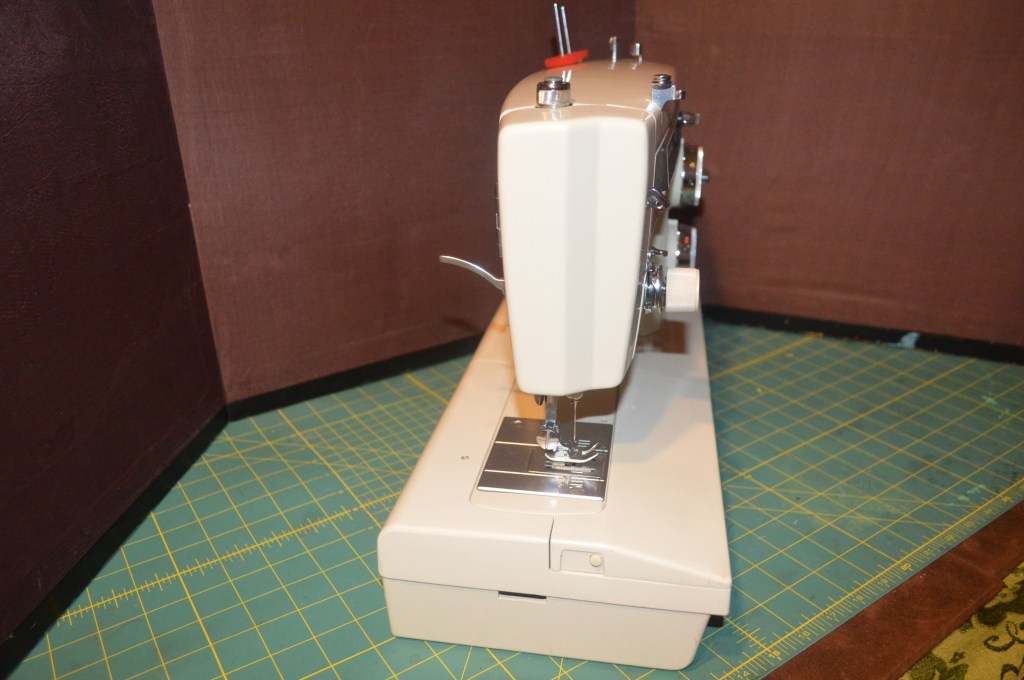
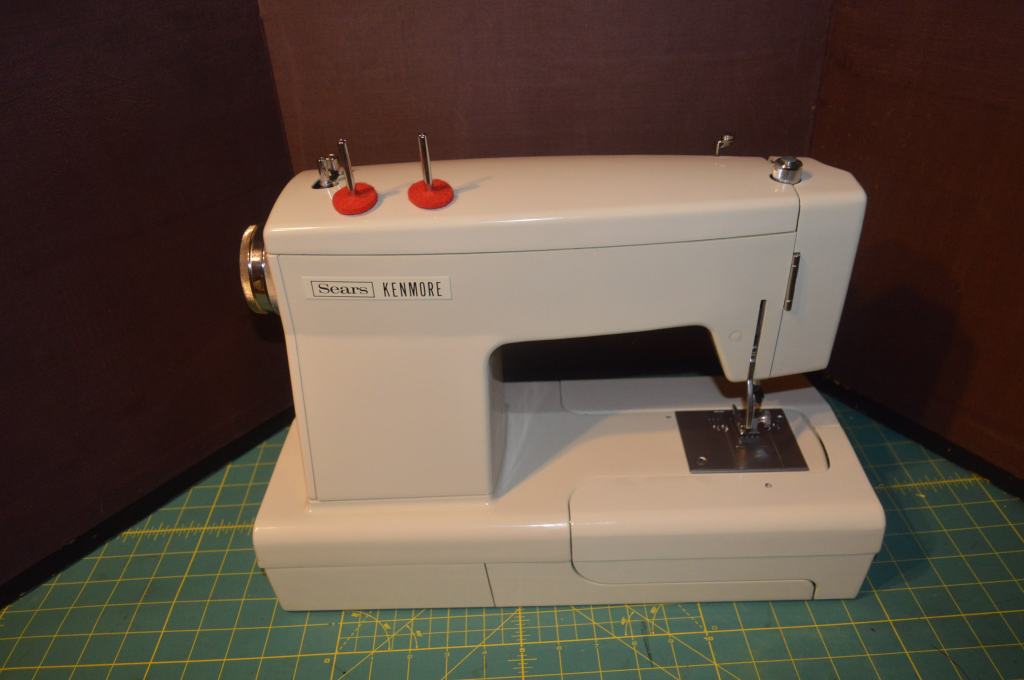
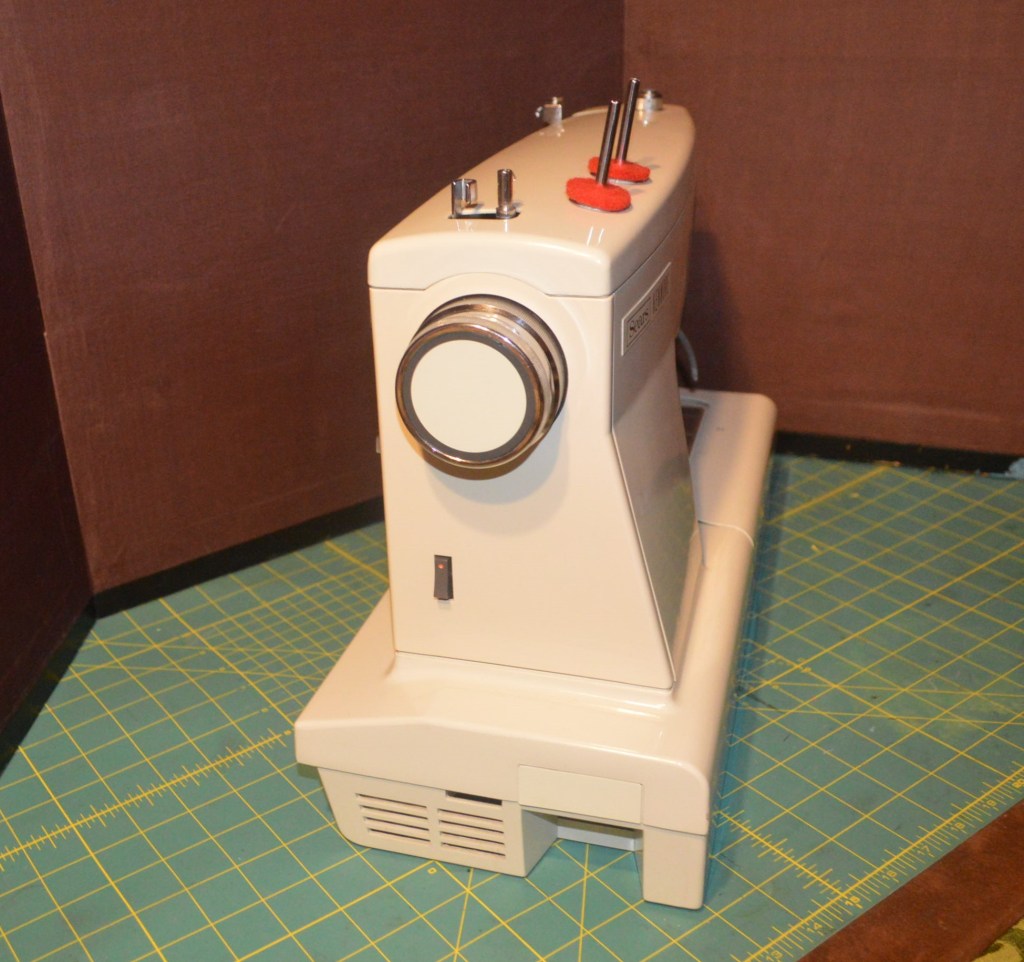
Here are some pictures showing the machine before restoration…
The Mechanical Restoration
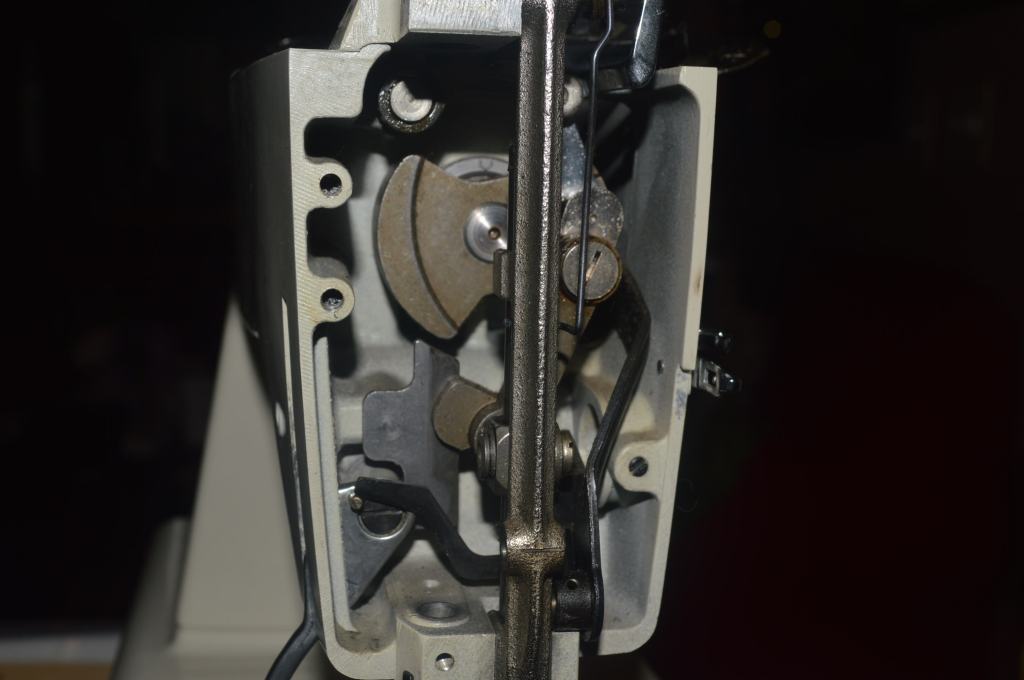
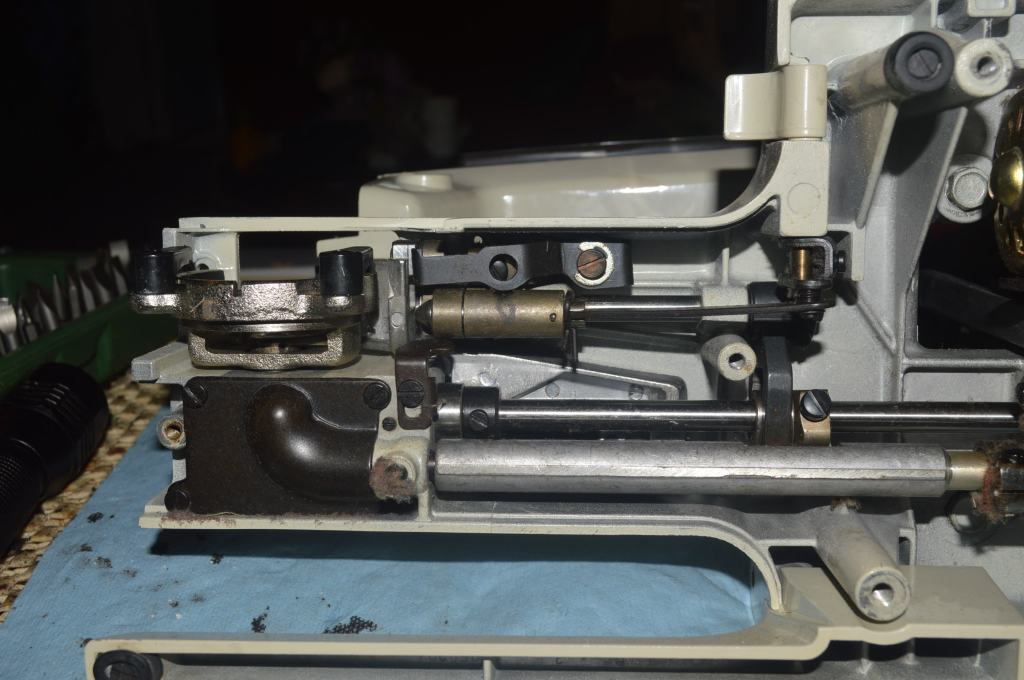
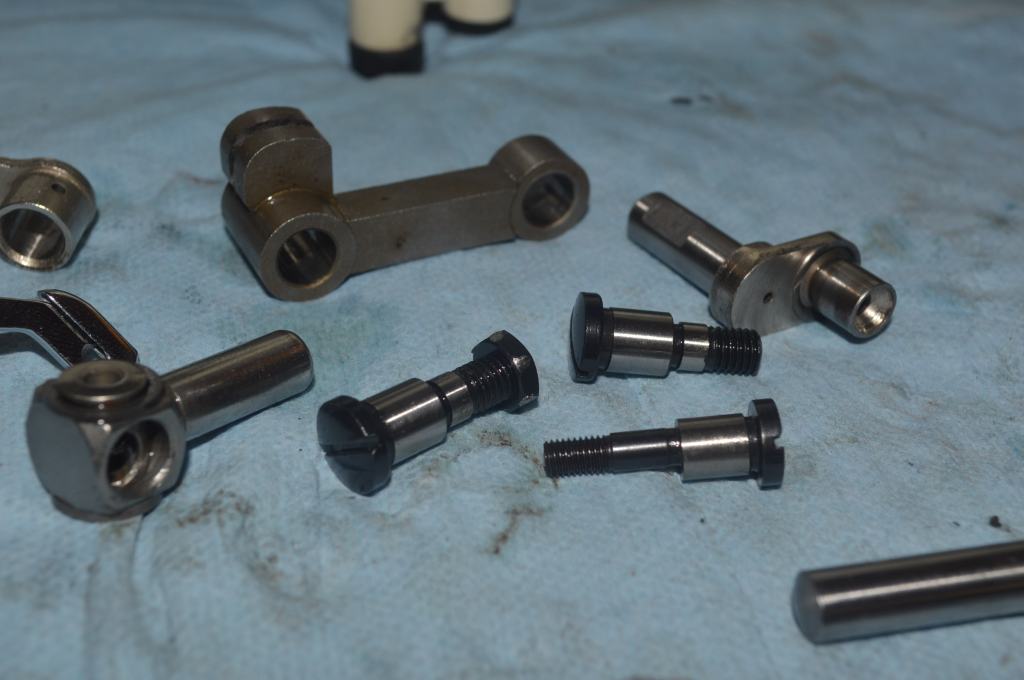
The mechanical restoration begins with removing all of the body covers and disassembling the assemblies in the sewing machine needle bar head. The main connecting rod and the bolts connecting the rocker shafts and connecting rod are removed from under the sewing machine bed. The feed dogs, bobbin case, and bobbin hook assembly are also removed.
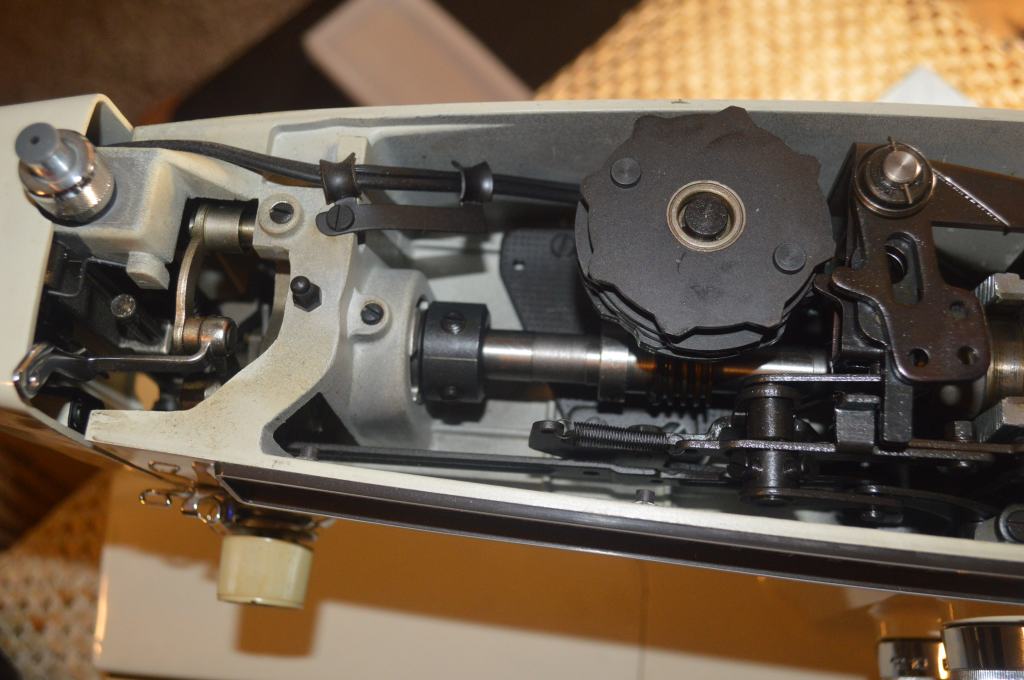
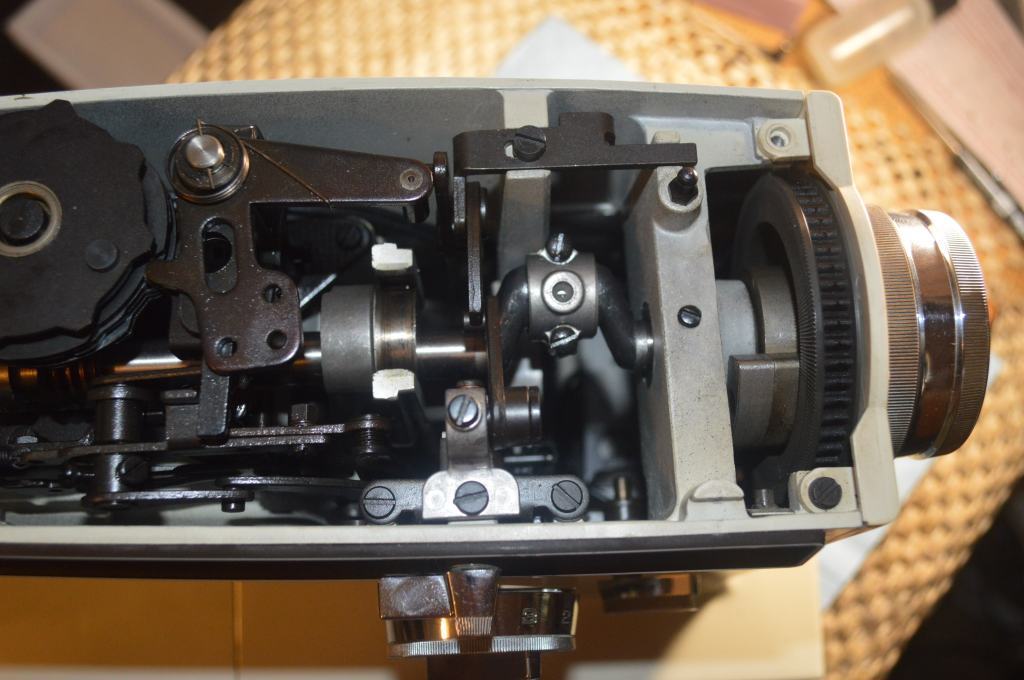
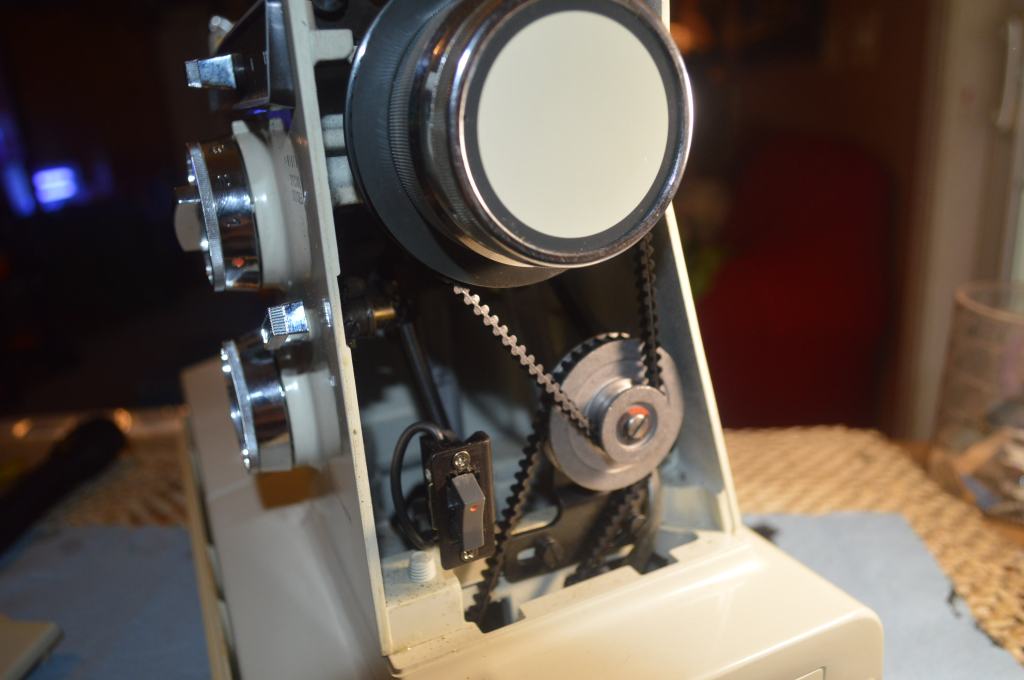
Belt Reduction Pulley 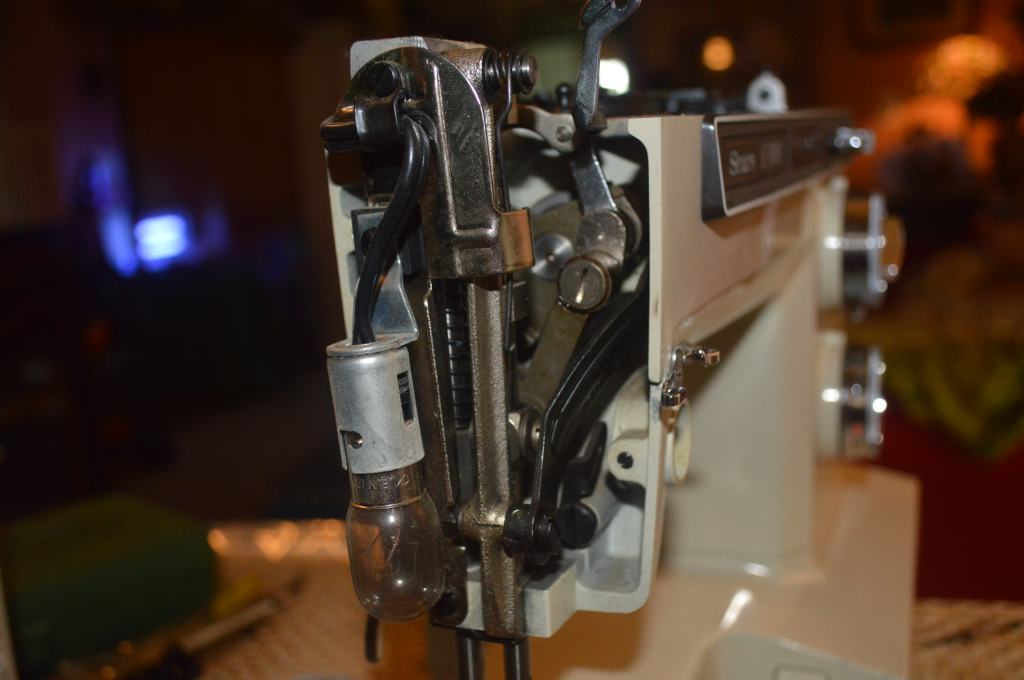


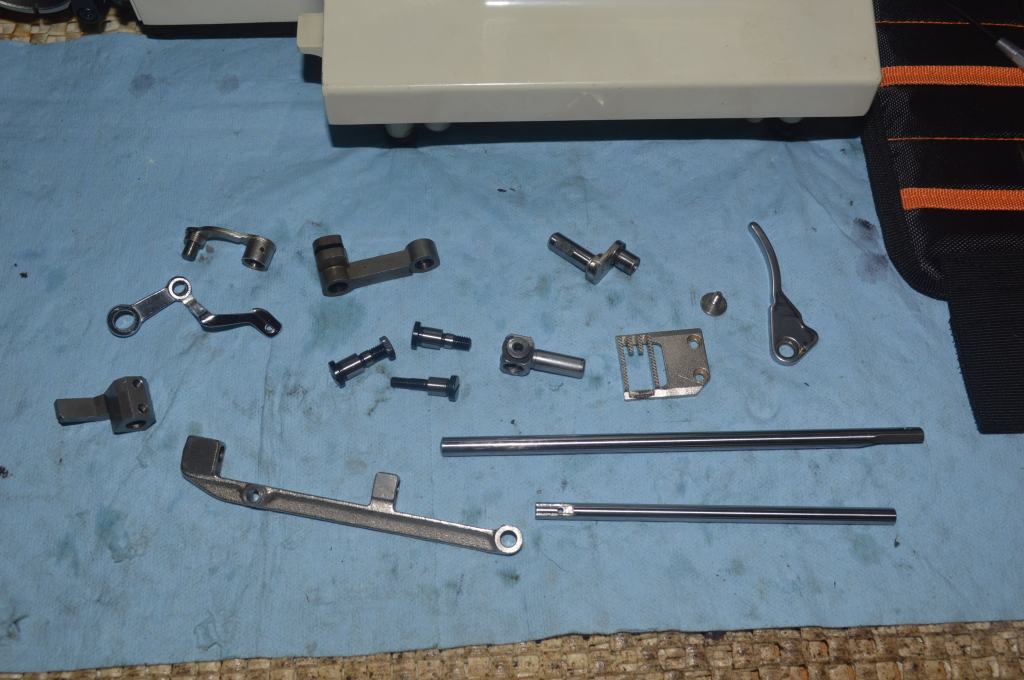
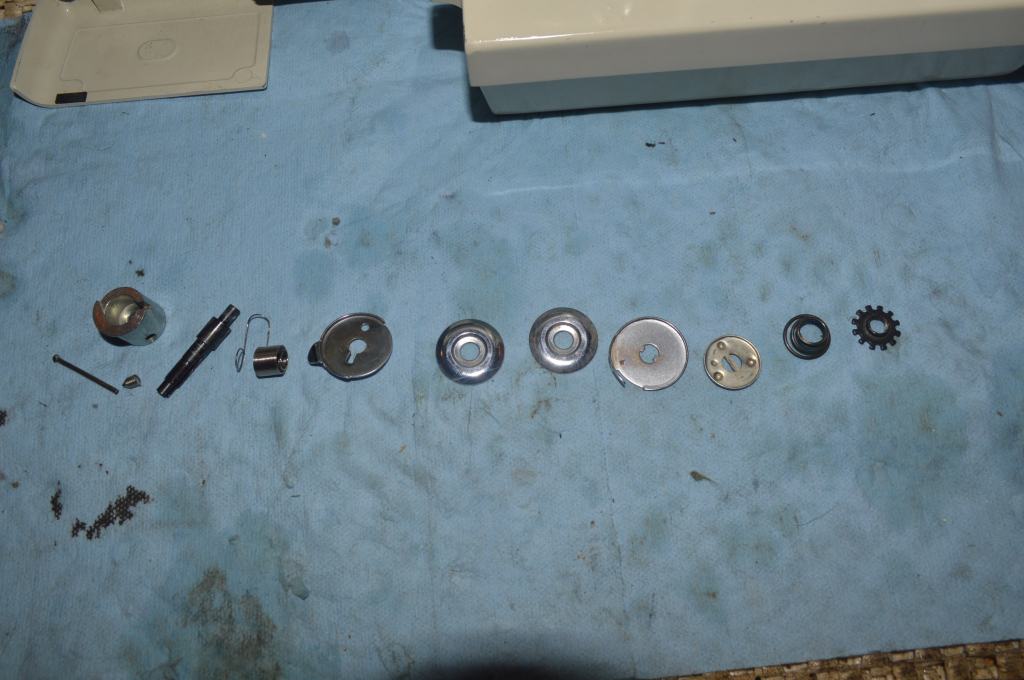
All of the parts are laid out for cleaning…
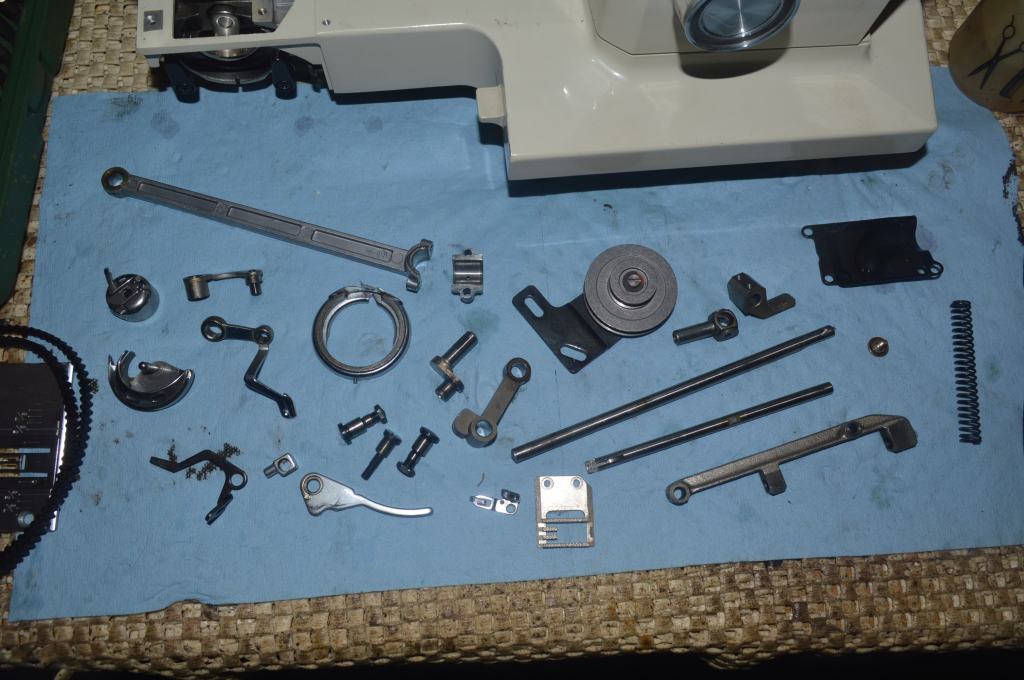
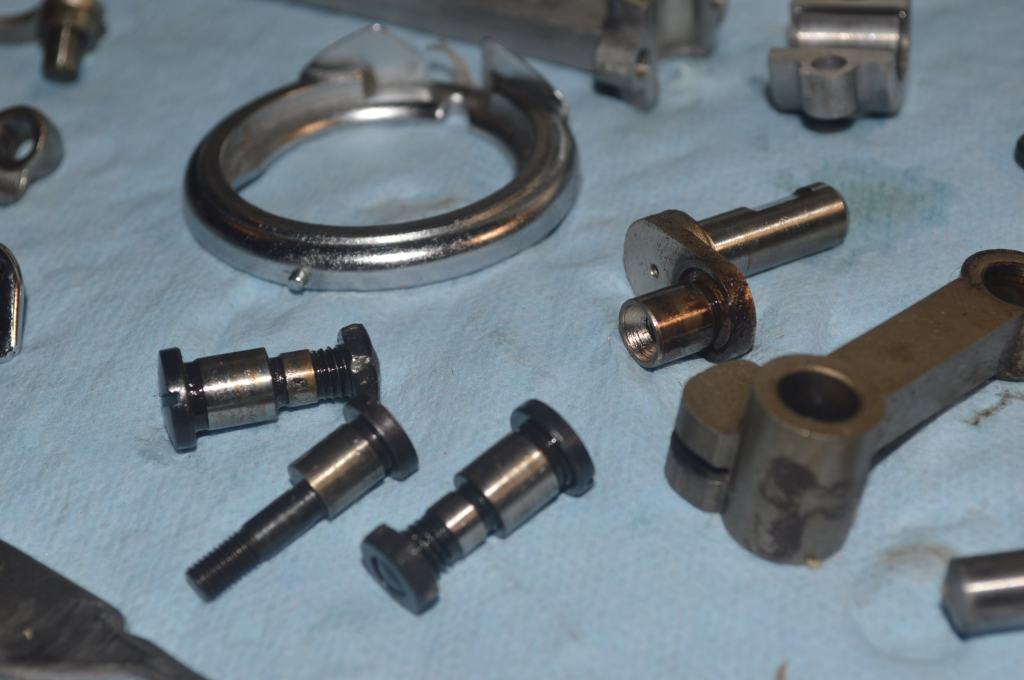
Looking closely at these parts you can see the oil varnish buildup. This varnish is on the inside of mating parts and the only way to clean them completely is by disassembly. The goal is to restore these assemblies to like new condition for like new performance.
All of the parts are ultrasonically cleaned and heated in oil before they are wire brushed to like new condition. The needle bar and presser foot bar are taken a step farther and they are polished glass smooth.

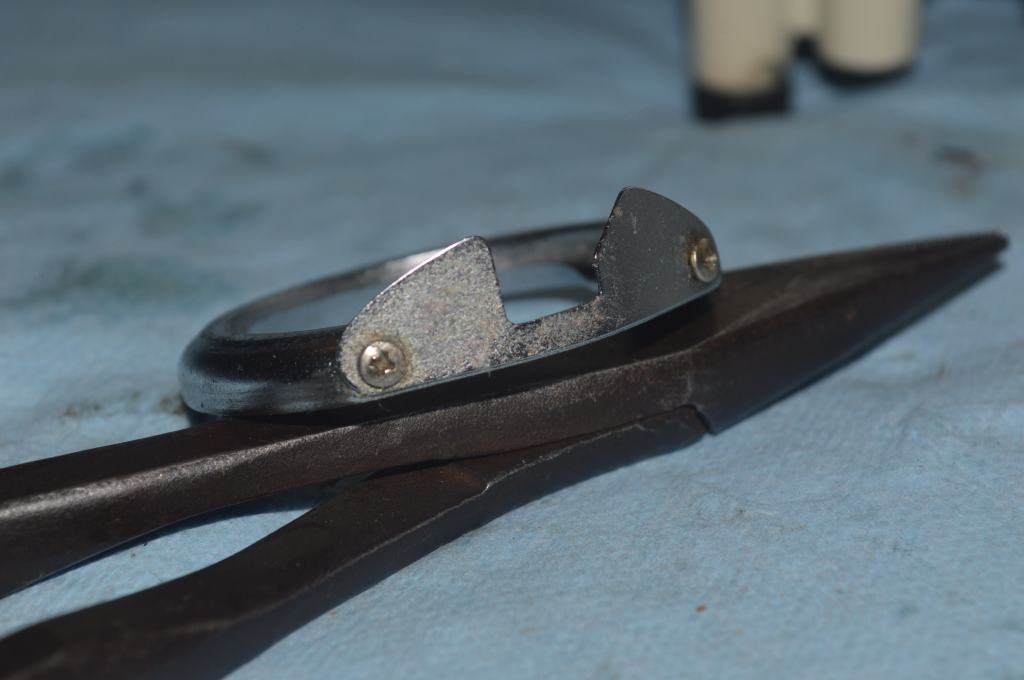
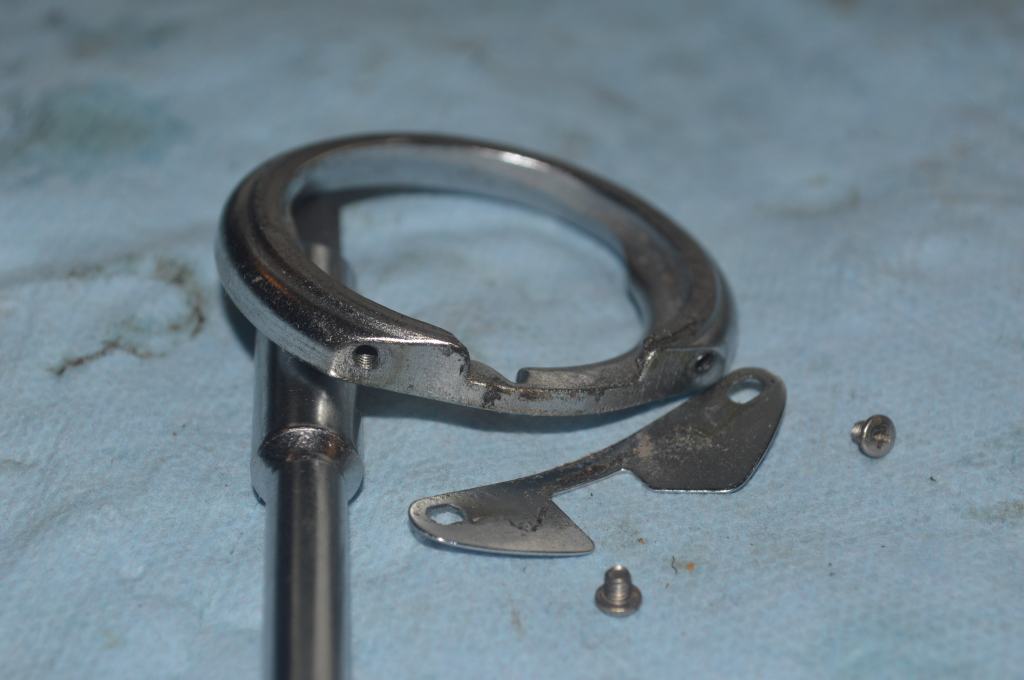
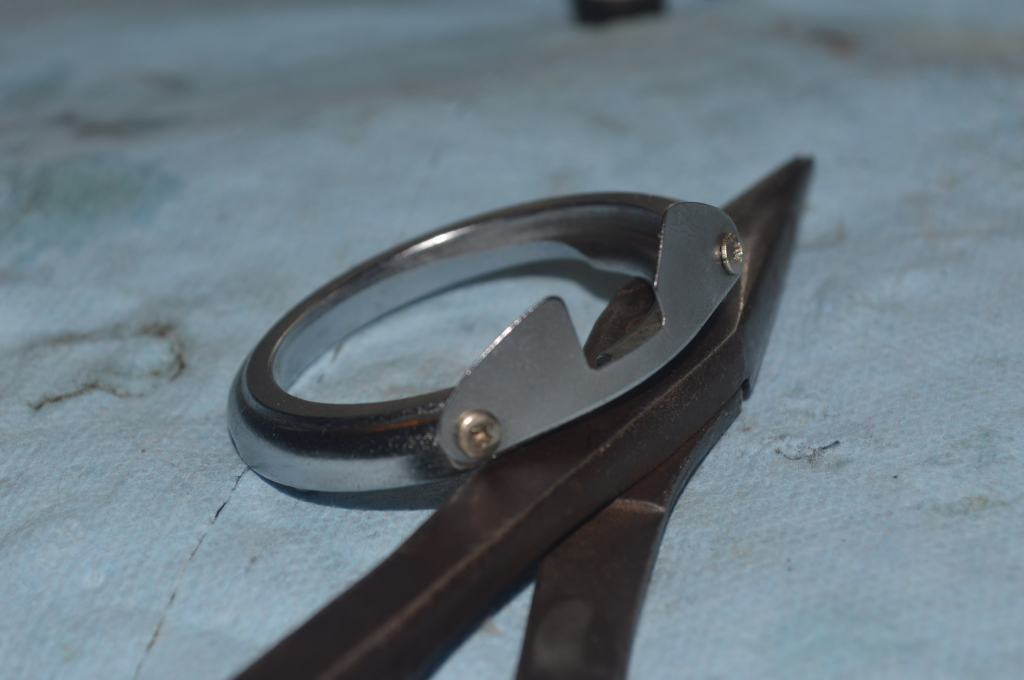
The bobbin race cover has a removable plate. 45 years is plenty of time for dirt and gunk to accumulate so it is disassembled and cleaned.
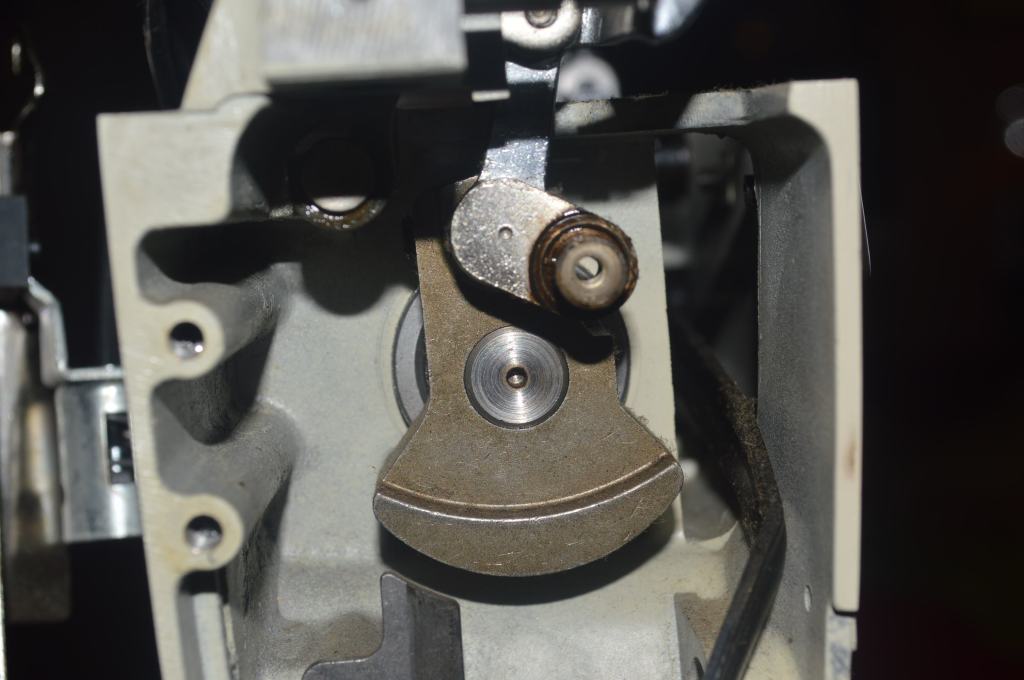
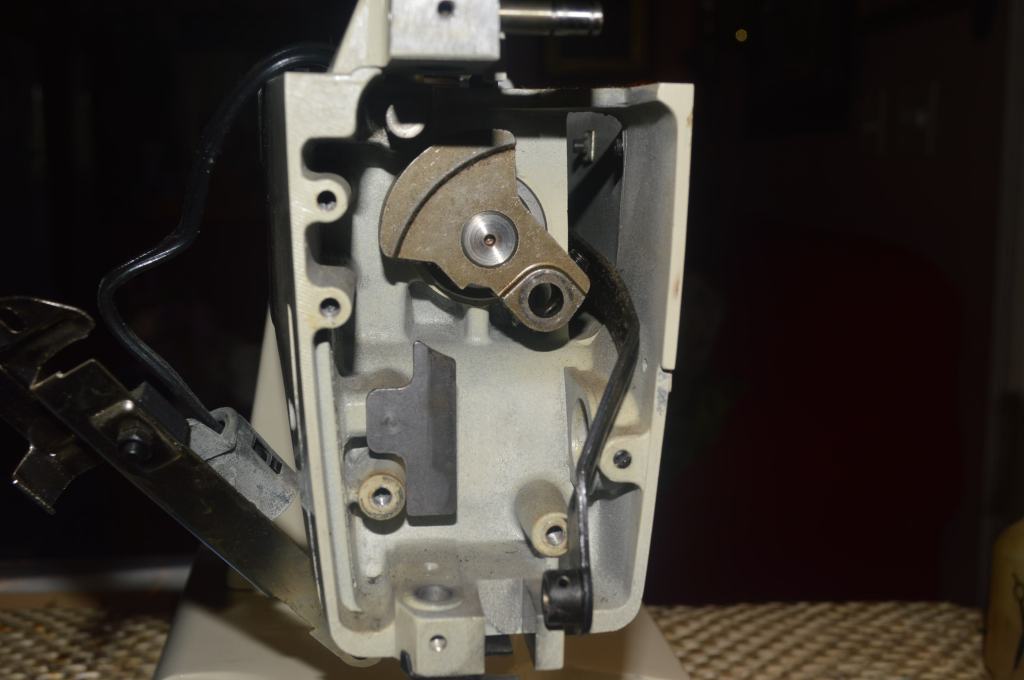
The pins that the rocker assembly rotate on are removed one at a time and then wire brushed. This preserves the rocker shaft adjustment and restores a smooth contact surface.
Where the parts are selectively removed, the oil varnish on the mating assemblies is removed and the bores are cleaned with a round wire brush.

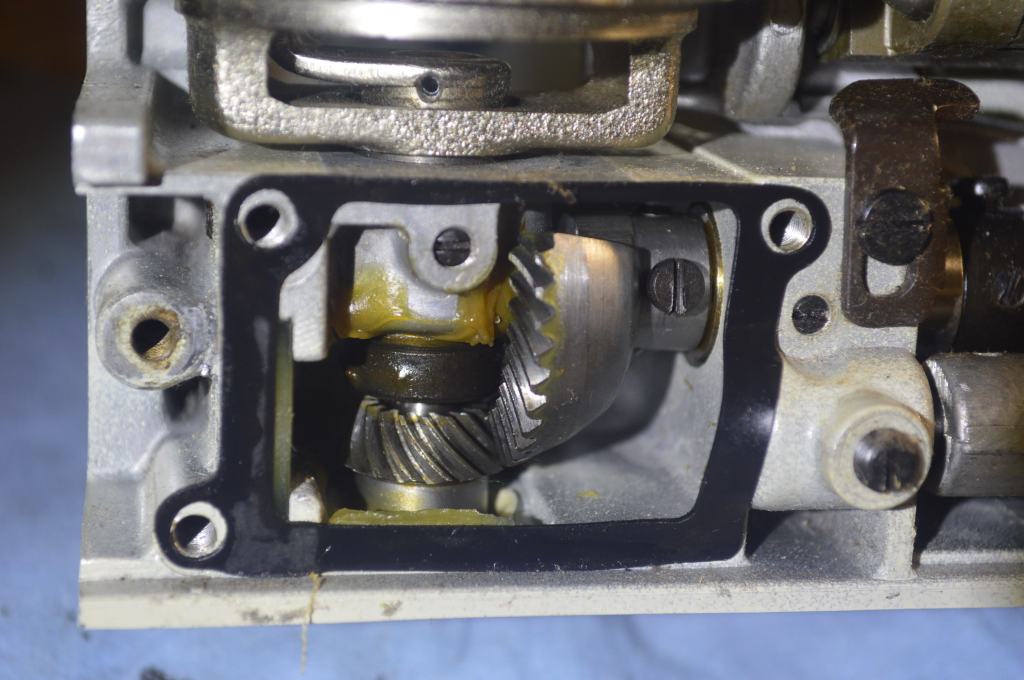
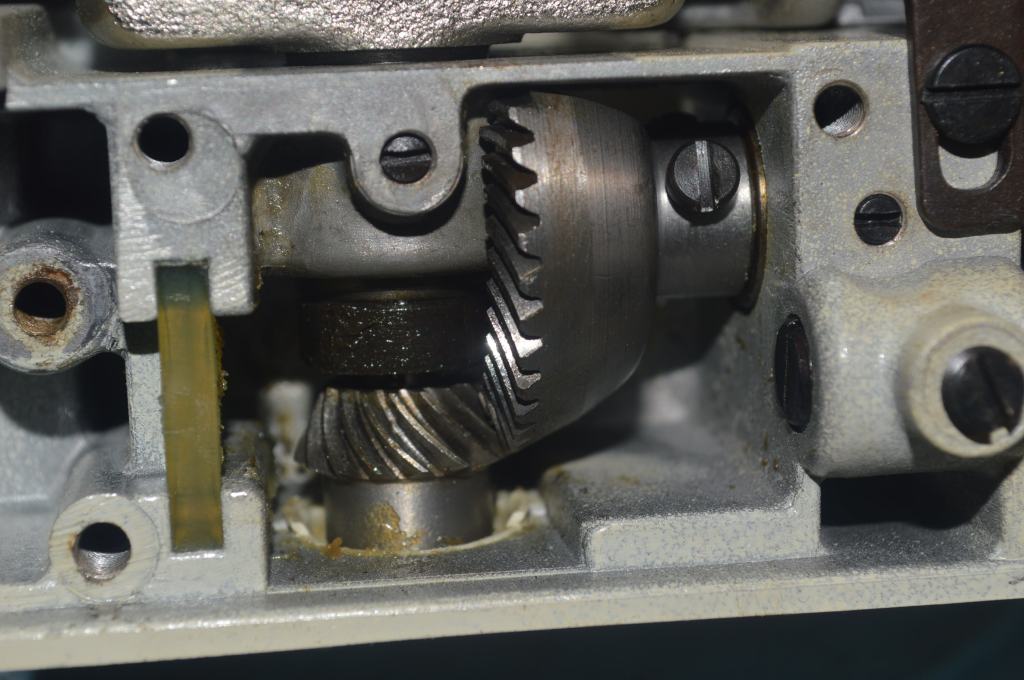
Next the grease in the gear case is replaced. As the pictures show, there is very little grease remaining in the case and none on the gears. The new grease added to the case not only keeps the gears lubricated, but also considerably reduces the amount of noise from the gear case.

Next the motor is disassembled and restored. Kenmore motors are excellent quality and durable and restore nicely. Polishing the shafts and commutator restores them to their peak performance. The motor felts are oiled and the brushes are reconditioned.
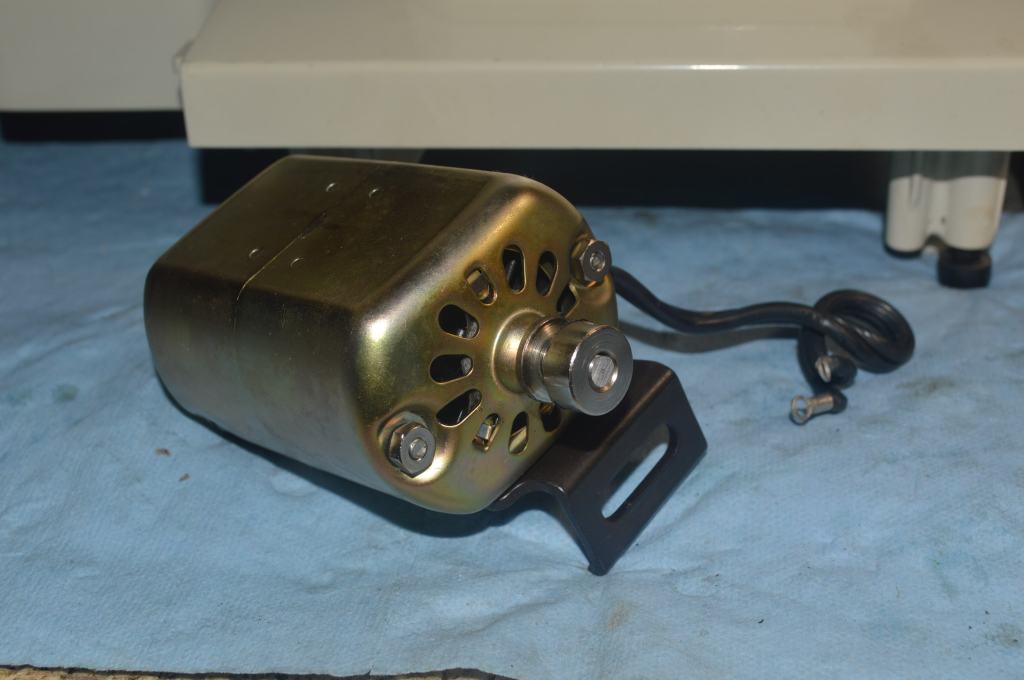
Motor before disassembly 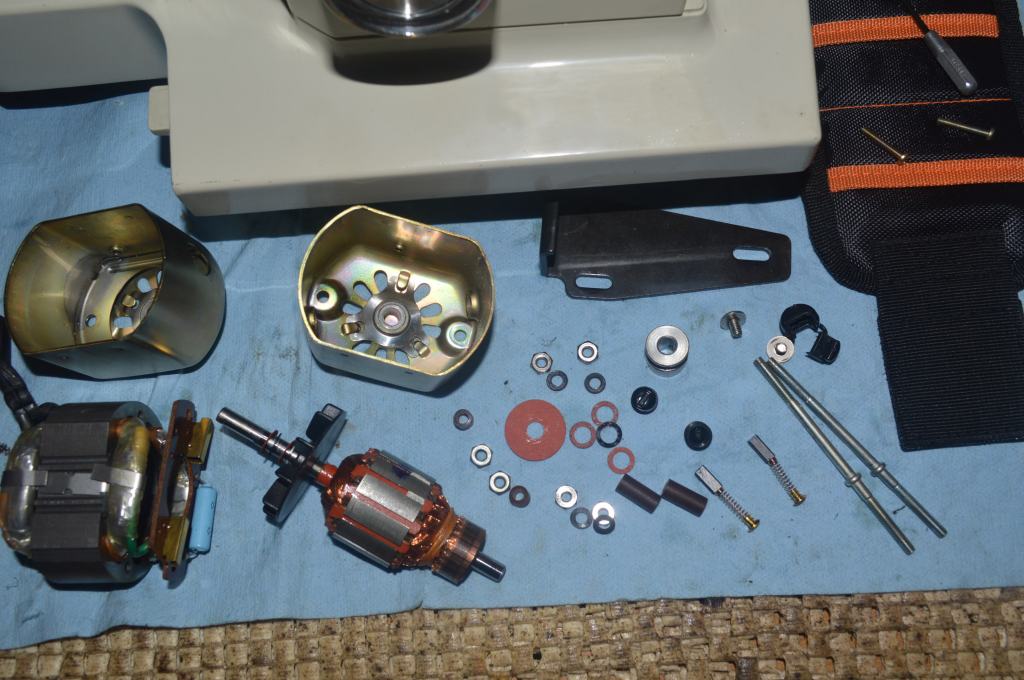
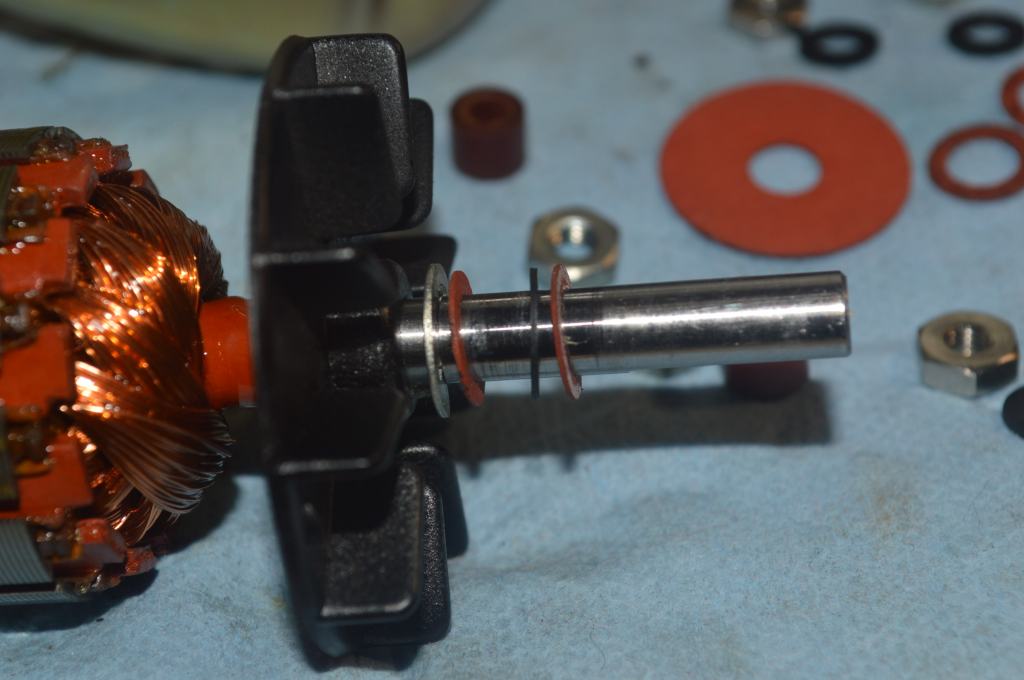
Motor shaft before polishing 
Commutator and shaft before polishing 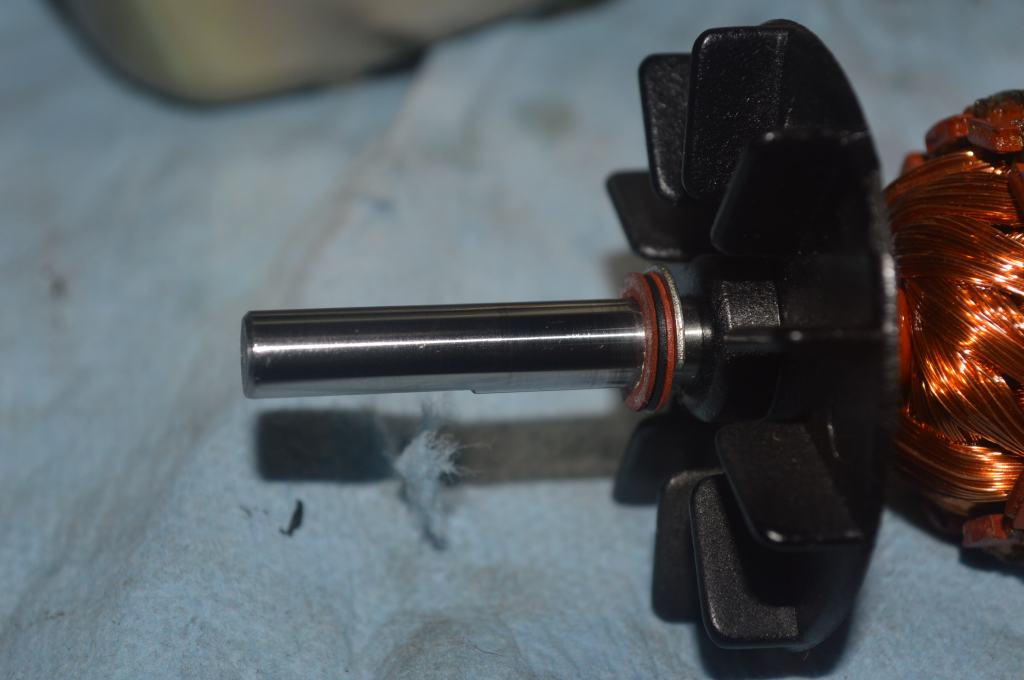
Shaft after polishing 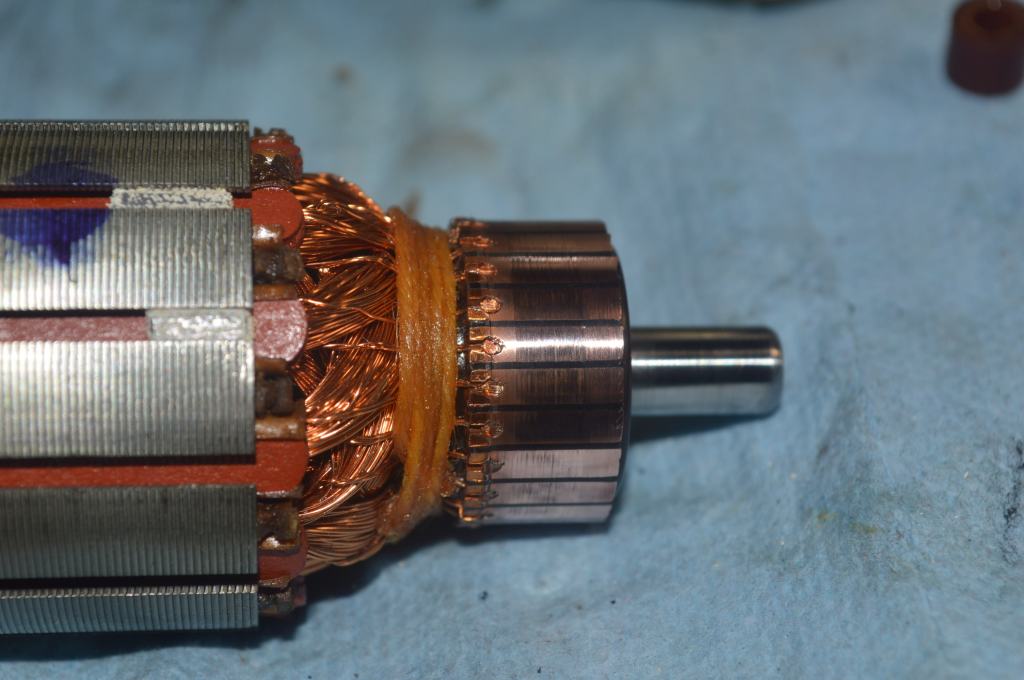
Commutator and shaft after polishing 
Motor reassembled
After assembly, the motor is “run in” at varying speed to seat the brushes and the shafts within the bores and to ensure the motor runs powerfully and smoothly… It does and Kenmore motor never disappoint me.
Now the tension assembly is disassembled and cleaned.
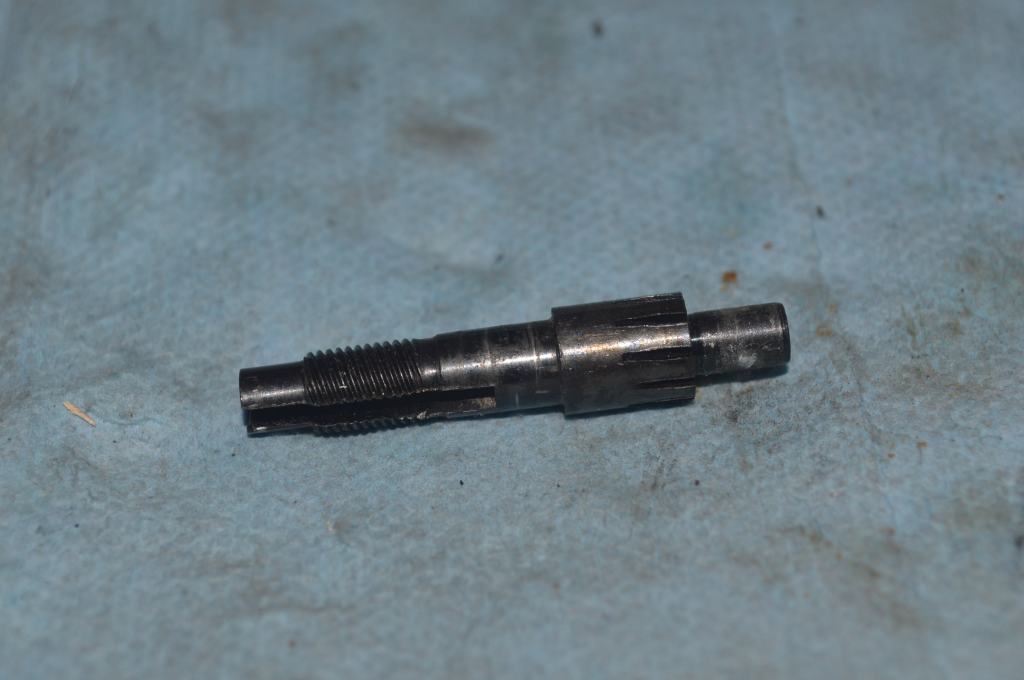
Notice the wear and buildup on the tension shaft in the picture above? Like the face of the tension discs, it is in direct contact with the thread and must be as smooth as possible. It is wire brushed smooth before reassembly.
The next step in the mechanical restoration is the bobbin winder assembly. Unless a spring is broken, it is seldom necessary to disassemble and simply requires cleaning and oiling.
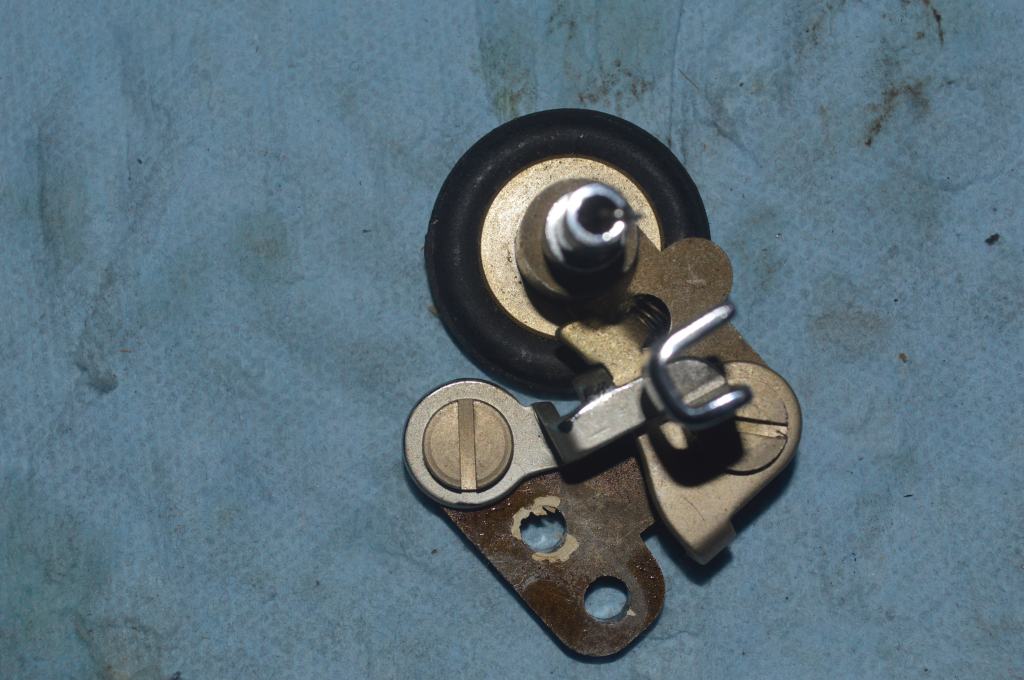
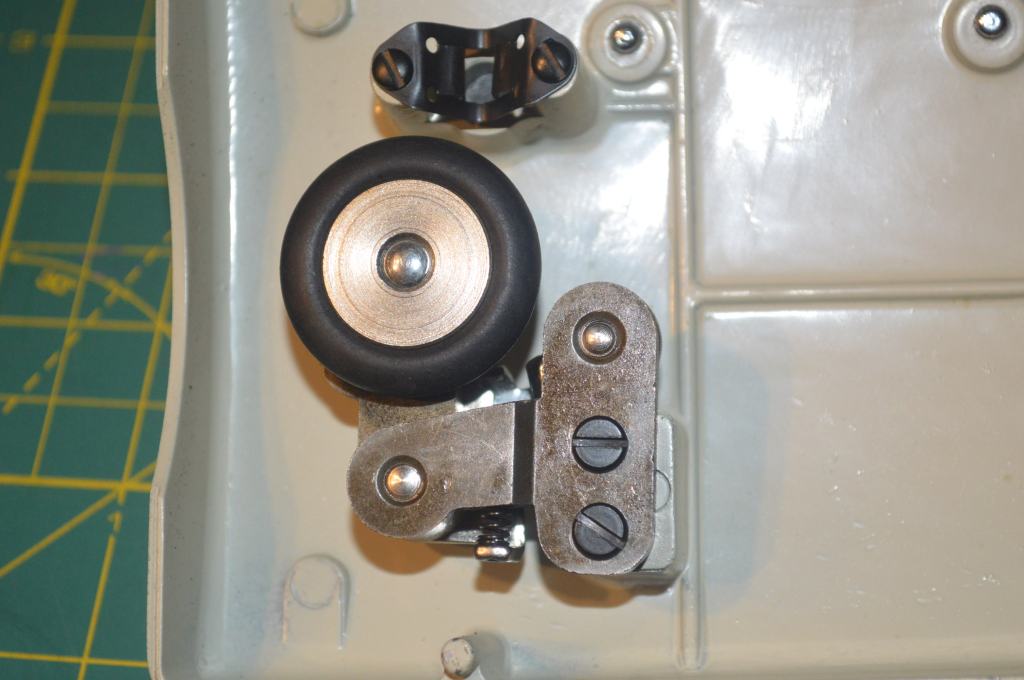
Following reassembly, it is adjusted to wind a tight and even bobbin.

With all of the assemblies cleaned and reassembled, the mechanical restoration is complete and the next phase is the cosmetic restoration.
Cosmetic Restoration
As I mentioned before, the machine is in good cosmetic condition. It needs to be cleaned and there are a few paint dings and scratches that can be addressed. Simple and straight forward, the cosmetic restoration begins with a deep cleaning.
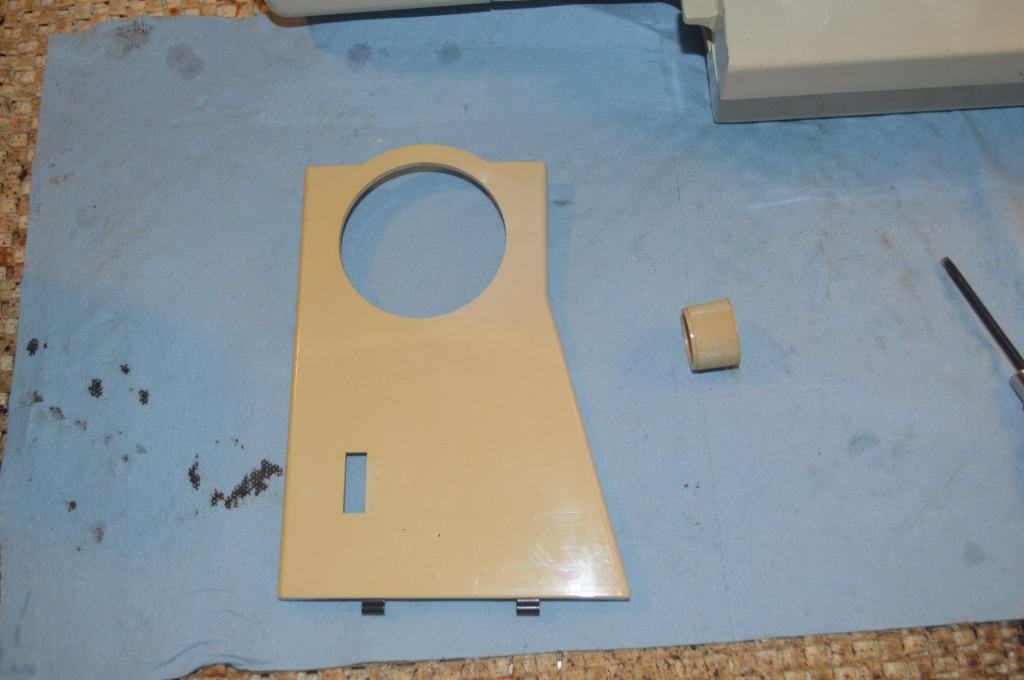
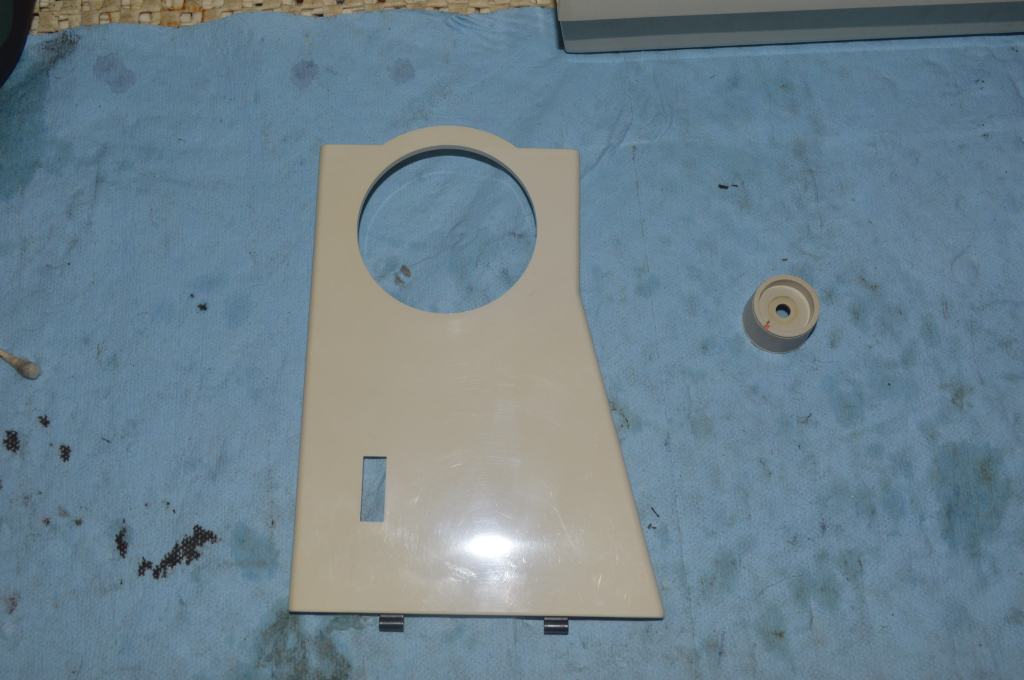
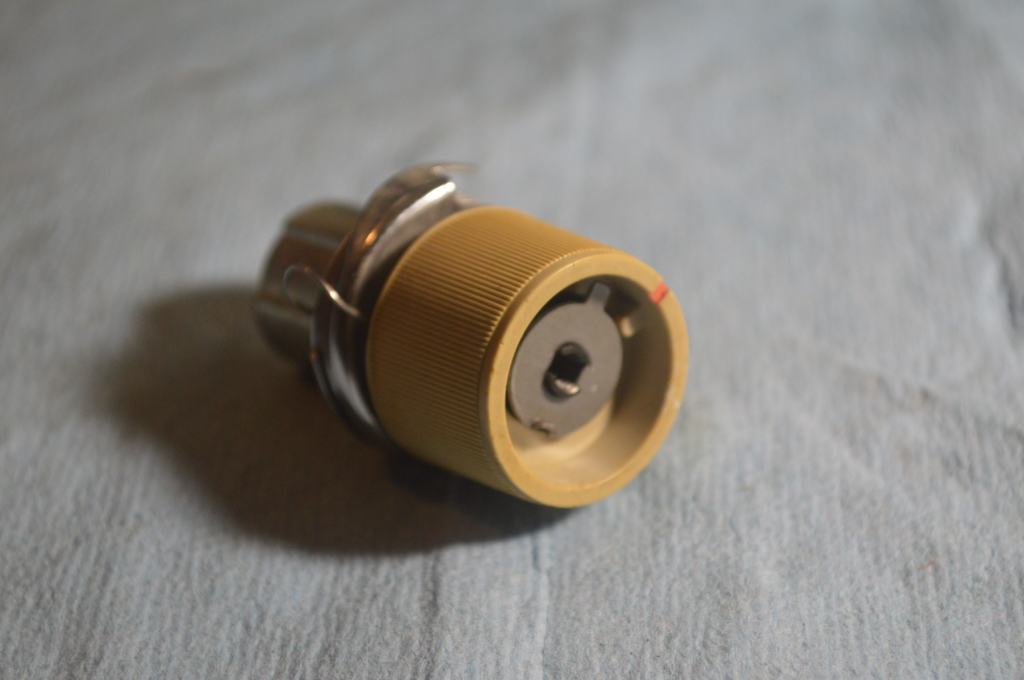
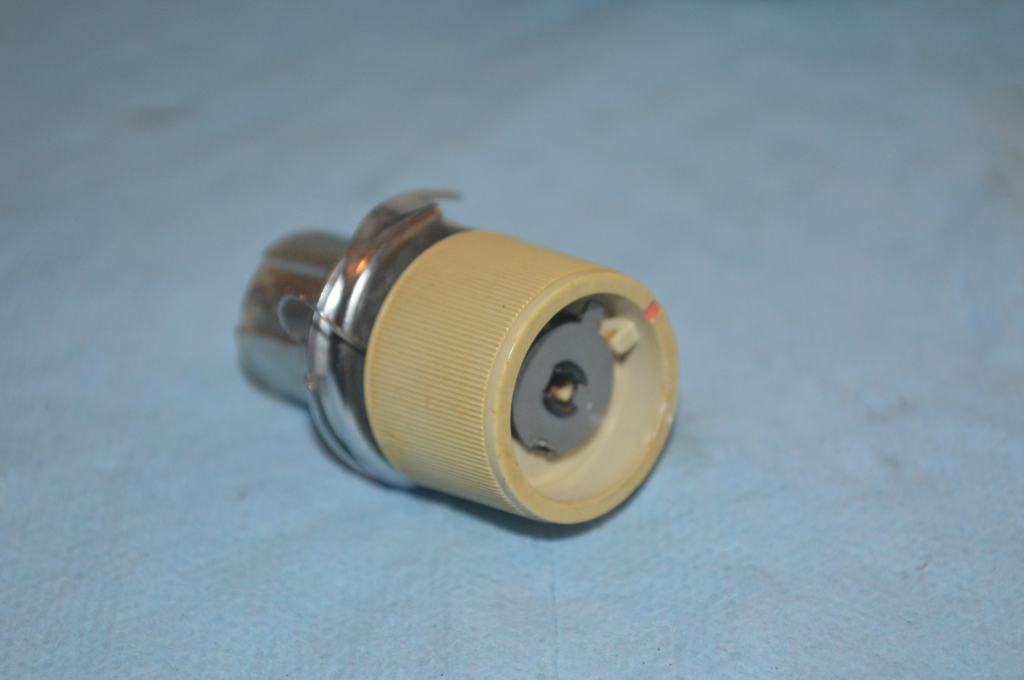
Typical of Kenmore sewing machines of this vintage, the rear cover and tension control knob are made of plastic. I call it Kenmore plastic because as it ages it turns yellow. This is commonly found on Kenmore machines of this vintage and it is so on this machine. Fortunately, the yellowing can be reversed and in doing so, the original color is restored.
Next step is to color match the paint defects. The paint defects are identified and then they are corrected with a color matched paint using an air brush. The repaired area are then coated with clear polyurethane to provide a durable finished surface.
The only thing left to do is polish the spool pins… and with this done the cosmetic restoration is complete.
Conclusion
With the machine cleaned and assembled, the tensions are adjusted and the machine is run to ensure that all of the stitches are balanced and properly formed. As expected, the machine runs much smoother and quieter than it did before the restoration and all of the controls turn smoothly as they should. But… there was a surprise inside! It was kind of like finding some loose change stuffed deep in the sofa cushions. I didn’t expect to find it and it was probably there a long time. Hidden inside the front needle bar cover I found the original sticker price tag affixed to the inside needle bar cover! It’s unexpected because it is a little paper sticker and I certainly didn’t expect to find it after 46 years. It’s presence is part of the machines provenance and I left it in place.
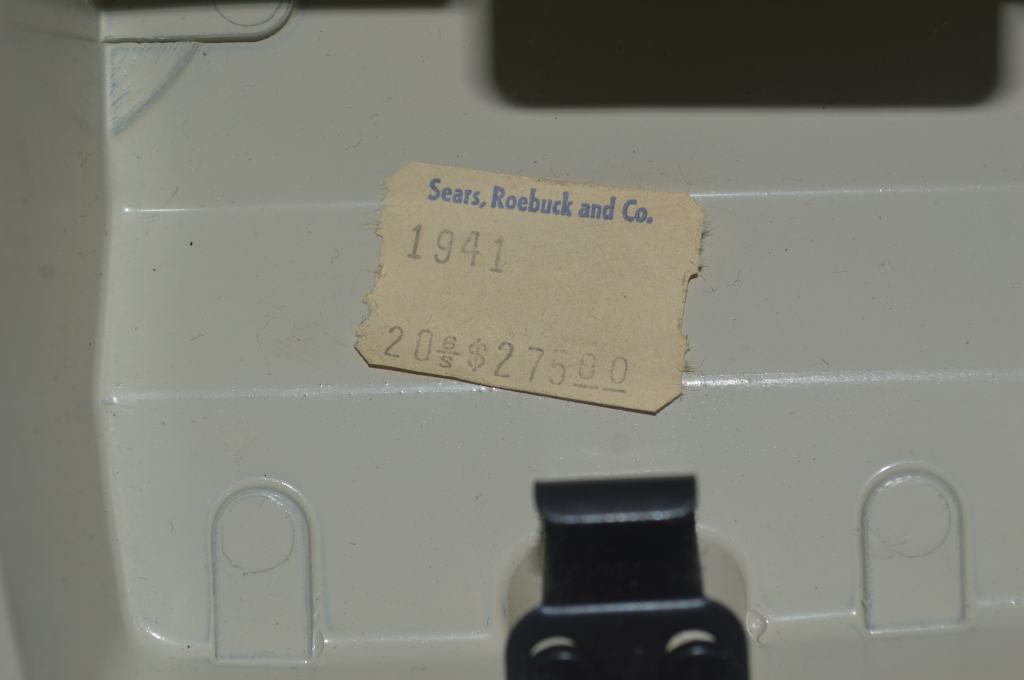
So… now we know that a new Kenmore model 158.1941 cost $275.00 in 1975, but how much would it cost today if we adjust for inflation? I remember 1975 well because it was the year of graduation from High school and $275 was a lot of money back then, so I looked it up. Using the inflation calculator from the U.S. Bureau of Labor Statistics, something that cost $275 in 1975 would cost $1,440 today!
Well, that’s pretty much it and the restoration of this 1941 turned out beautifully… here is the machine after restoration…

Well, I hope you enjoyed the restoration process as much as I did… It is satisfying to know that a durable high quality machine made some 46 years ago is now running as smoothly and reliably as it did then. Not only that, I have every reason to expect that with proper oiling and maintenance this machine will run reliably for many more years to come.
Looking for a similarly restored quality vintage all metal sewing machine for your sewing room? Let us know! We specialize in custom orders and are happy to locate and restore the “perfect” machine for you!
As always, If you have any questions, or if I can be of any assistance, please contact me through Etsy or send me an email to Pungoliving@gmail.com.
Thanks for reading!
Lee

Dear Lee, are you still in Virginia?
I now live in Northern Virginia. When we moved to Northern Virginia, my 1975 Kenmore sewing machine with Stretch stitches and free arm were accidentally sold. I am looking to replace it. I am not sure of the model number, but I believe it was the 158.19411. Any assistance from you would be appreciated.
Many Thanks,
Lynde
LikeLike
Hello Lynde,
I responded to your message via email and I deleted your personal information. Plerase let me know if I can be of any assistance!
Lee
LikeLike
Hello Lee:
What a great post, thank you for taking the time to create it.
I have three questions that I would like your guidance on, and I hope I”m not imposing. I recently acquired a Kenmore 158.17600 and it looks to me like the machine was used for a bit when new and then sat in a closet until now. The machine pretty much looks new and after an oiling and changing the grease it runs beautifully. I am truly impressed with the quality of this machine. It has the feel of a Swiss watch.
My first question is this. The machine has a feed dog drop feature that doesn’t seem to work. I’m not adverse to dismantling whatever mechanism needs to be dismantled, but before I do, I’m wondering whether you have any guidance.
My second question has to do with the cosmetic condition of the machine. As mentioned, it really does look new. It pretty much looks like it came out of the box except for one paint chip right on the front. And because it’s just the one chip it really stands out. How do I go about finding the right paint to try to touch up this spot and do you have any guidance as to how to do that? You mention that you used an airbrush and then coated the repairs you did. I don’t have an airbrush and this is the only project I intend to tackle that might need one. Will a fine paint brush do? Do you have any thoughts as to how to fix this one flaw without an airbrush?
My third question has to do with the feet on the machine. For whatever reason, the previous owner must have decided to try to open the bottom of the machine and managed to lose one of the rubber feet. The rest of the feet could use replacing as the rubber they’re made of is just beginning to show its age. Do you know of a good source for something like that or am I best advised to roam the aisles of my local hardware store?
Stay safe,
Jeffrey
LikeLike
Hello Jeffery,
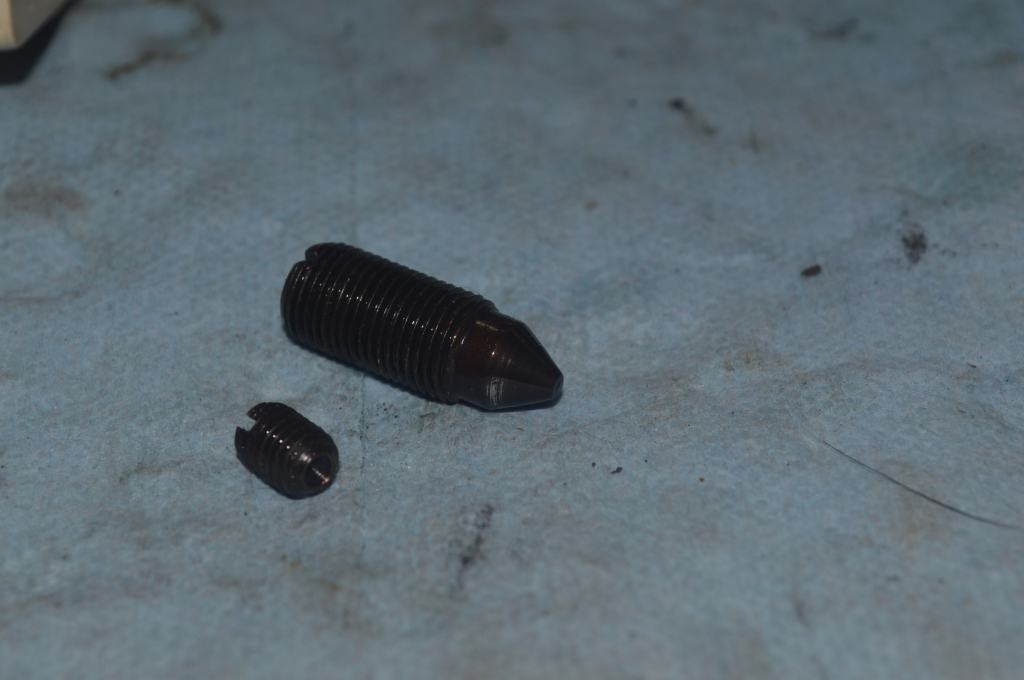
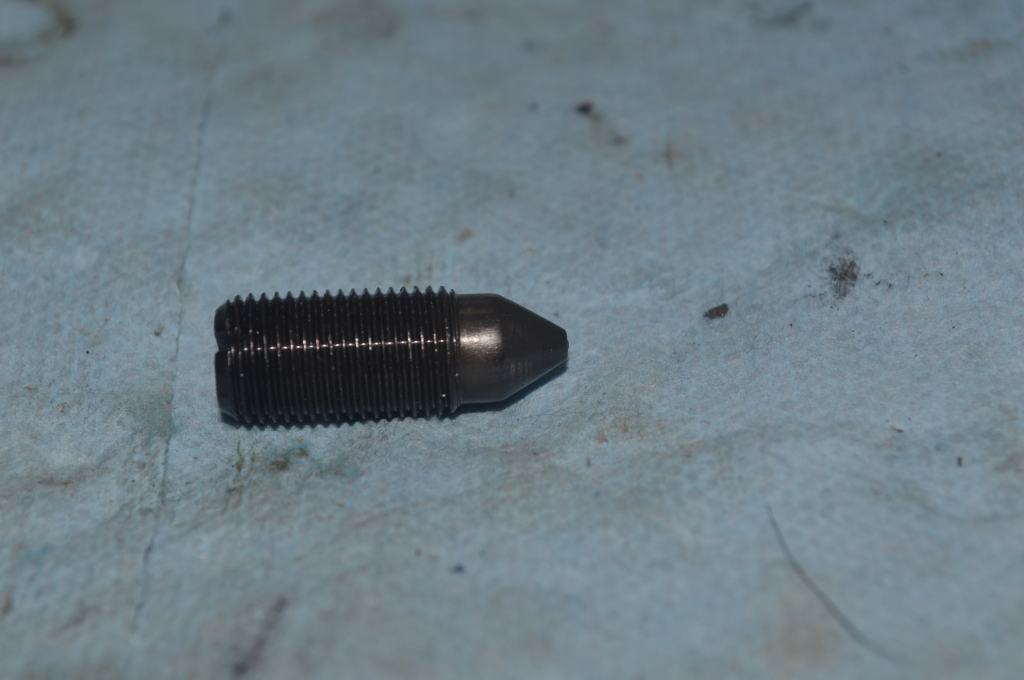
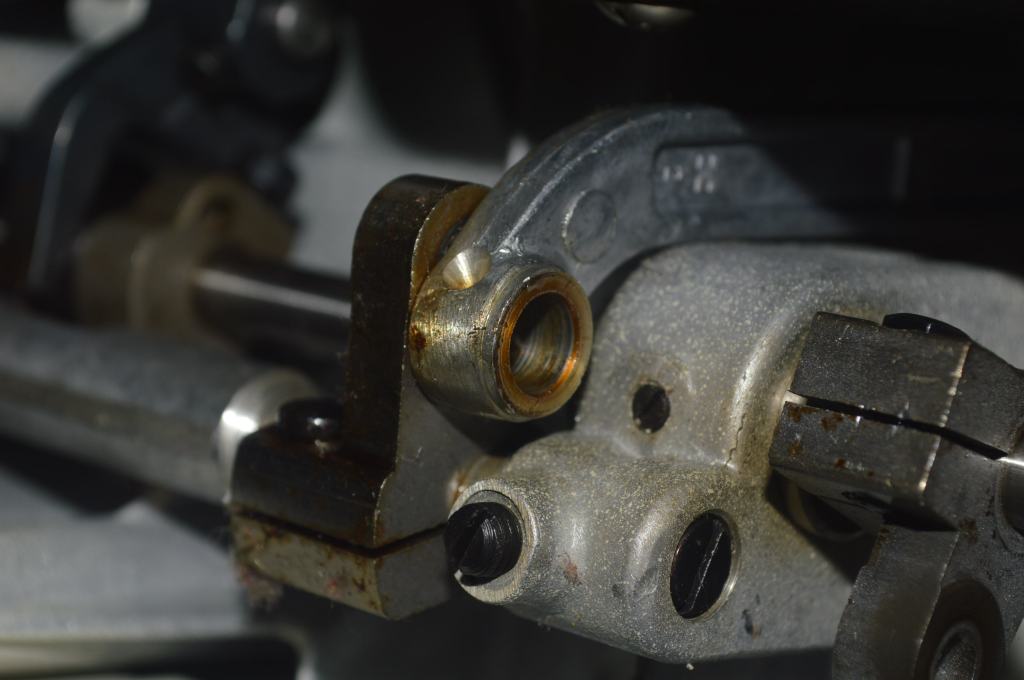
Sorry I’m so late getting back to answering your questions. I think though that I can help. I have not had the opportunity to work on a model 1760, but being a convertible, I am assuming the basic mechanisms are the same. The drop dog mechanism is prone to seizing up because it often sits unused much longer than any other mechanism in the machine. There is plenty of time for the old oil to dry up and leave oil varnish. Unfortunately, it is buried deep in the machine and very difficult to get to. The feed dog drop mechanism uses a cone shaped rod that works very similar to a door bolt latch. The mechanism is split. When engaged, the cone extends across the split and engages a ring. It then moves the mechanism as a unit. When retracted, the cone disengages from the ring and the split side is independent and does not move in unison with the mechanism. This side is lightly loaded with a spring to keep it so.
The problem is the shaft that both sides are attached to. Because the feed dogs move in a very slight arc, there is not much rotation on the shaft. When oil varnish forms here, it seizes both sides to the shaft and can no longer move independently. You can see how this all works by looking at the mechanism closely. The fix is to dissolve the oil varnish on the shaft to free it up. Unfortunately, the shaft side of the mechanism is buried deep and there is very little room for disassembly. Without disassembly, the mechanism must be moved back and forth by hand until penetrant oil can work into the shaft and dissolve the oil. This can take quite a bit of time and multiple applications of penetrant oil. Proceed as follows… Disengage the cone by retracting it (drop feed dog position). Spray penetrant oil liberally where the mechanism splits. Gently (or with sufficient force) to move the mechanism up or down. As I said before, there is only a small amount of movement in the mechanism. Repeat this (a million times if necessary) until the split side (opposite the cone) move freely and the spring keeps it retracted.
This can take minutes or days. The penetrant is not easily applied to the area on the shaft seized up and multiple sprays are needed. If you are patient, the varnish will eventually dissolve, and the mechanism will work properly. In the worst case, scenario, directed heat can be applied with a small butane torch to the split side of the mechanism. The oil varnish will melt from the heat and the penetrant will be drawn into the mechanism. Great care must be used. heating with a flame has the potential to damage the finish on the machine if it gets too hot or is applied to an unintended surface. The heat must be applied gradually and at the same place (Where the mechanism is split. This process is quite effective, and the results are quick. Once the varnish is dissolved, the mechanism can be exercised easily. It sounds sketchy, and I wish there was an easier way to disassemble and clean the mechanism. If you attempt to do this, let me know if you have any questions before or during it.
The cosmetic repair is surprisingly simple. I use color matched paint. Take a small part of the machine of the color you want to match (like the needle bar nose cover to Home Depot. Ask them to make a color sample size of paint (Behr Dynasty is a good paint brand). They will computer color match an 8-ounce jar of semi-gloss (not flat) paint. Last time it cost me $6. The results are excellent. You can prep the chip by feathering it out with 800 grit sand paper. The air brush allows a smooth transition, but a small artist paint brush will work. You can smooth the edges with sand-paper. Use 1000 grit, 1500 grit, 2000 grit, and 2500 grit to smooth, blend, and polish the repair. Finish off with a good automotive glaze polish and then apply a thin coat of polyurethane over the repair, and glaze polish again after it has completely dried. It may be that you find the repair acceptable simply by painting the repair. If so, apply a thin coat of poly over the repair. This will restore the gloss over the repair.
Finding feet is hit or miss. Check online sewing machine stores, Ebay, and Etsy. You might find them. Scouring your hardware store is not a bad option.
I hope I have helped and answered your questions, don’t hesitate to let me know if I can be of any further assistance!
Lee
Star
LikeLike
Hello Lee:
Please, no need to apologize, I’m very grateful for your help.
After reading your very thorough instructions, I took a good look at the mechanism, and I now understand it. The cone shaped rod (which I think of as a “bullet”) only came part way out of the “barrel” and after some penetrating oil, it now comes all the out. The mechanism is still frozen solid and is now bathed in penetrating oil. You’re absolutely right that this is an awfully awkward connection to get to. I’ve been wiping down the pivot points and refreshing the penetrating oil every few hours and trying to move the left end of the barrel using finger pressure. On my last go round it seemed to move a fraction of a millimeter. But that may be wishful thinking on my part.
I’ll keep at it and let you know how I make out.
I may be wrong but it looks to me like the 158.17600 is very similar, and at least as far as the bottom mechanism is concerned, I think even identical to the 158.1941 series. The machines look an awful lot alike and from what I can see, the major difference is the way that the cams are set up, otherwise, I believe they’re the pretty much same machine.
LikeLike
Hello Jeffery,
You are on the right track… if you get it to move at all, exercising it will free it up quickly. It means you have oil in the right place!
Kenmore’s of the same “style” are often very similar. I know the drop mechanism is similar.
When it finally frees up make sure you oil it with sewing machine oil. It should stay working free for a long time to come.
Enjoy your evening!
Lee
LikeLike
Hello Lee:
It’s fixed. I want to put at least two exclamations points after that two word sentence. It may be two words, but to me it speaks volumes.
You were right, it took maybe a million cycles of trying to exercise the unit, but after about two hours of gentle coaxing, and more than a drop of two of penetrating oil, it did work! At first it moved perhaps a fraction of a millimeter, then a millimeter then a few more. Eventually, my thumbs were sore and I used the flat of a wide screwdriver to help move the unit and little by little it moved through it’s range of motion, slowly and really sticky and then suddenly, it came completely free. A fair bit of dark brown goop leaked from the pivot points, showing me that the oil varnish had dissolved. The spring unit was also sticky and moved sluggishly, but after a drop of penetrating oil in the spring unit’s pivot points, it too suddenly moved freely. Those pivot points are just as difficult to get to as the ones on the feed dog unit. Your advice, as always, was right on the money thank you for taking the time to provide such a clear and complete explanation.
From what I can see, there were three keys to success, your advice, penetrating oil and patience. Penetrating oil I can buy, your advice on the other hand, I couldn’t afford to buy, so I know the value of your generosity. And as for patience; patience is one of those things that cannot be taught, but it is something that can be learned. One can’t buy it, but one can acquire it. For me It’s a heaven sent gift that came to me from restoring vintage sewing machines.
On the topic of the cosmetic restoration, I got in touch with my local paint store, an outlet of a national brand, and they told me that they used to do colour matching, but no longer. They told me that they can sort of scan an item and provide as close a match as they can, but they can’t colour match paint. The store clerk actually used the words “We can sort of scan the item.” I must admit to being utterly astonished. This is a paint store. That’s all they sell. This store has been in the neighbourhood for decades, they’re a paint store and they can’t colour match paint.
My local hardware store told me that they can colour match paint, but all they have is house-brand house paint that they can provide in an eggshell finish. So here I am, a paint store cannot colour match paint, but a hardware store can.
Given that you mentioned Behr Dynasty which is an interior house paint, I suspect that my hardware store’s paint will do with an eggshell finish. Otherwise, it’s off to Home Depot for some Behr, which I might not be able to get to for a while.
Lee, thank you again for your generosity in sharing your knowledge. I don’t have words enough.
Have a blessed evening.
Jeffrey
LikeLike
Hi Jeffery,
I am more than happy to help if I can. Vintage all metal sewing machines are an endangered species. The more folks take the time to keep them working is a win. Sharing information makes it a win-win! The 4th key to success is experience. Now that you have conquered the problem, you have more experience and more knowledge on how your machine works!
Behr Dynasty is an enamel paint, but it is also compatible with metal. I assumed you had a Home Depot nearby. An “almost” color match will not match. The home depot sample is $6 and unless you can get a small quantity computer color matched from your hardware store, it might be better to wait. The Behr Dynasty is a brand I use, I have also used PPG. As long as it’s a good quality paint compatible with metal, it should be fine!
Keep me posted and let me know how it turns out!
LikeLike
Hello, please forgive me if you answered. I am having a difficult time getting the bottom cover back on. Any pointers? I’m worried about cracking it.
LikeLike
Hello Jennifer,
Try installing the cover by tilting it up slightly on the front, then as you close it towards the machine, press slightly backwards… it should fit tightly.
I hope this helped!
Lee
LikeLike