
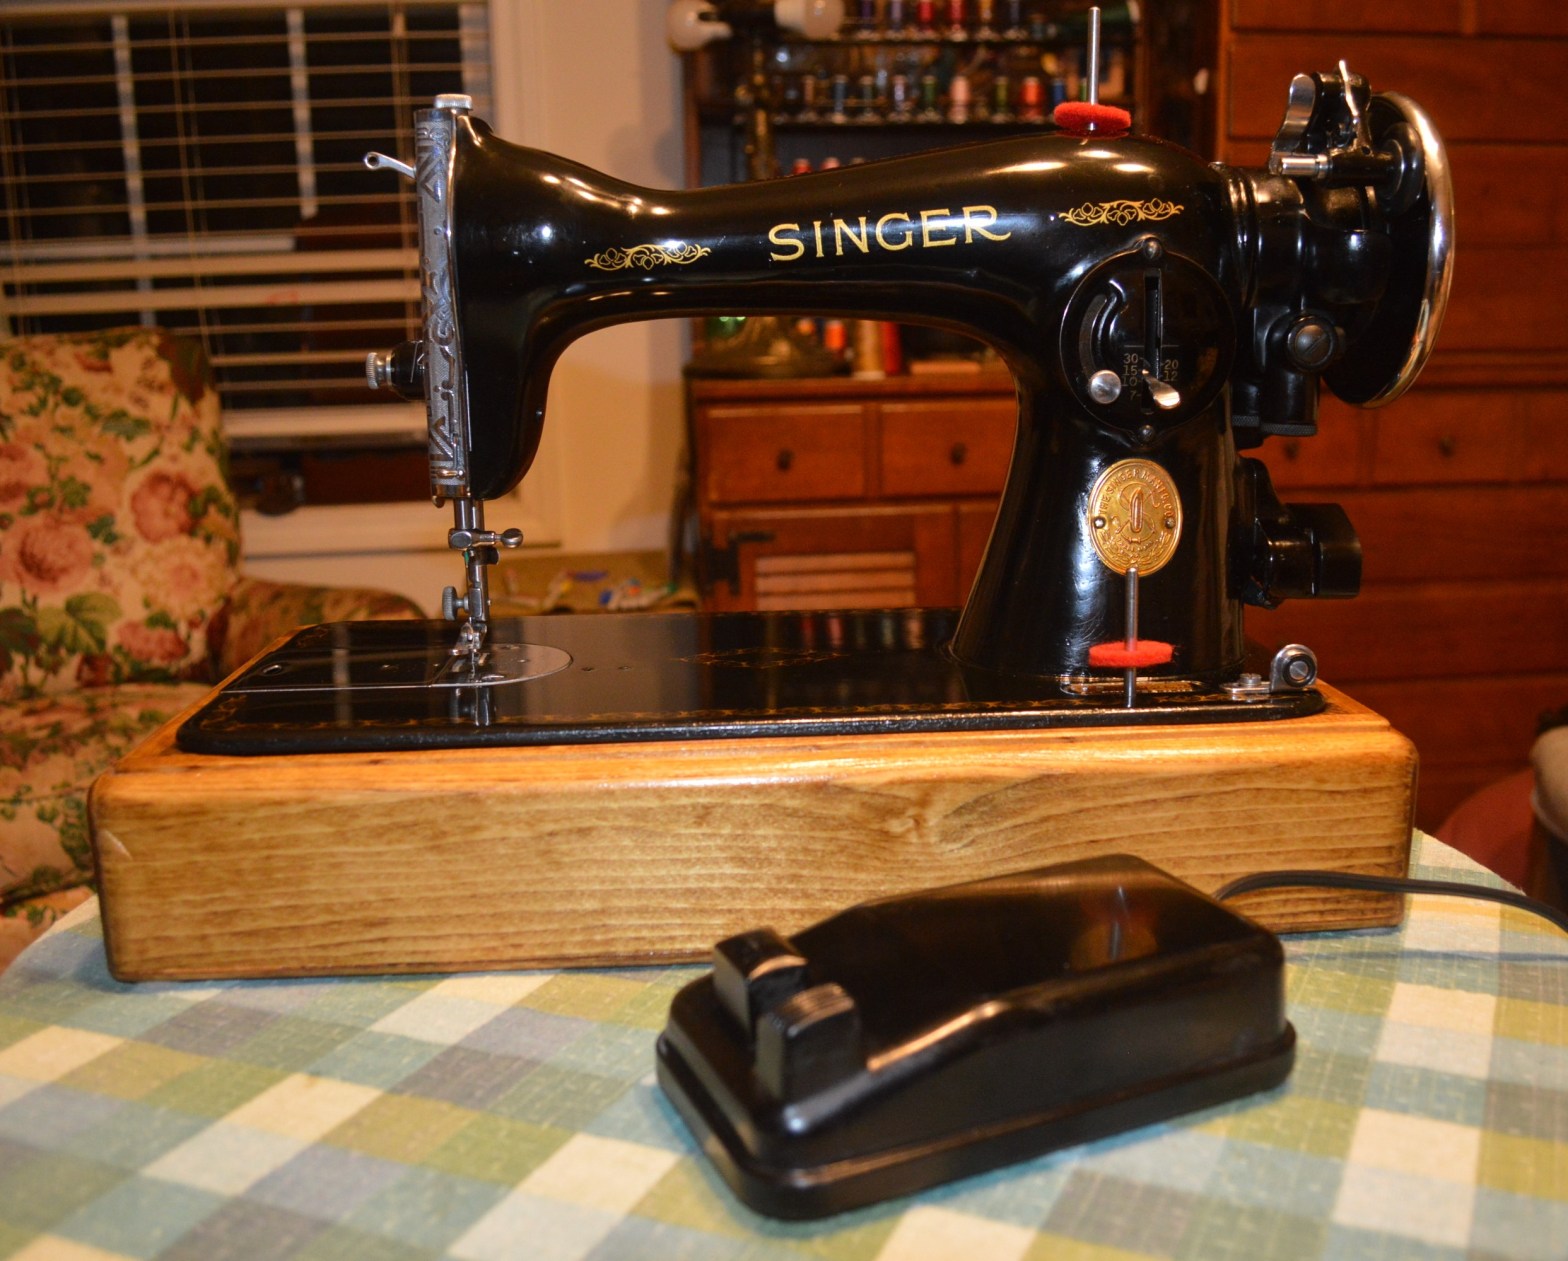
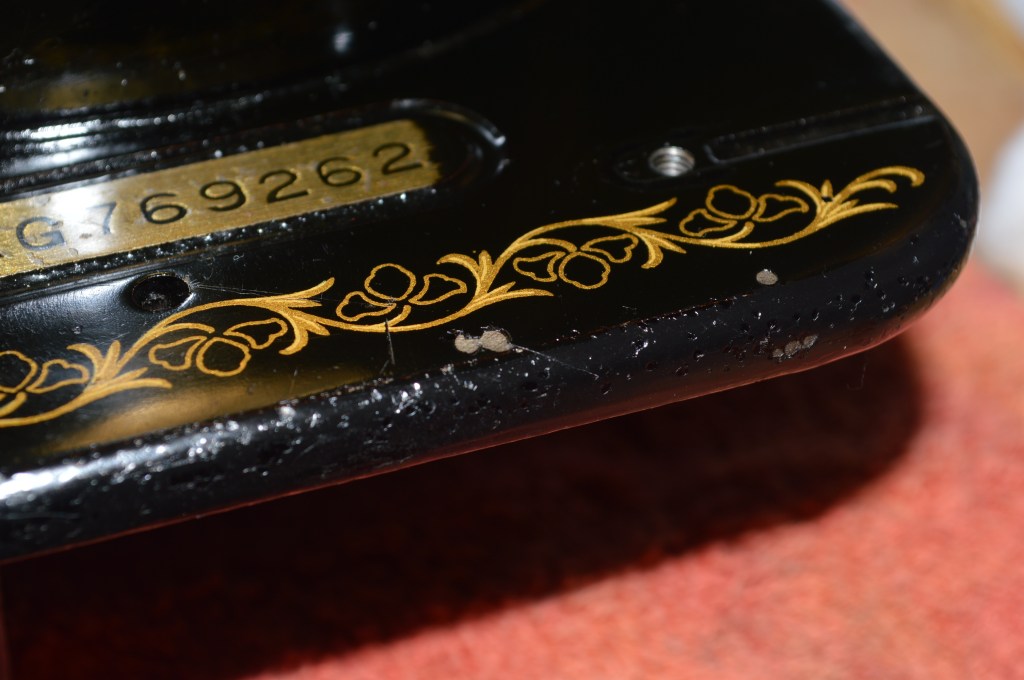
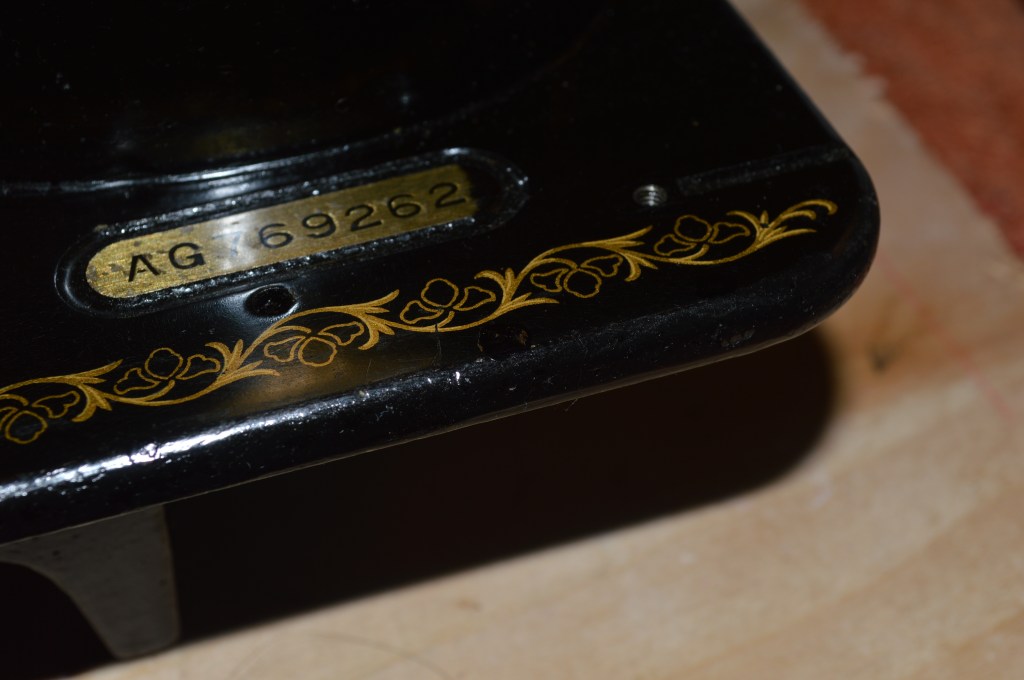
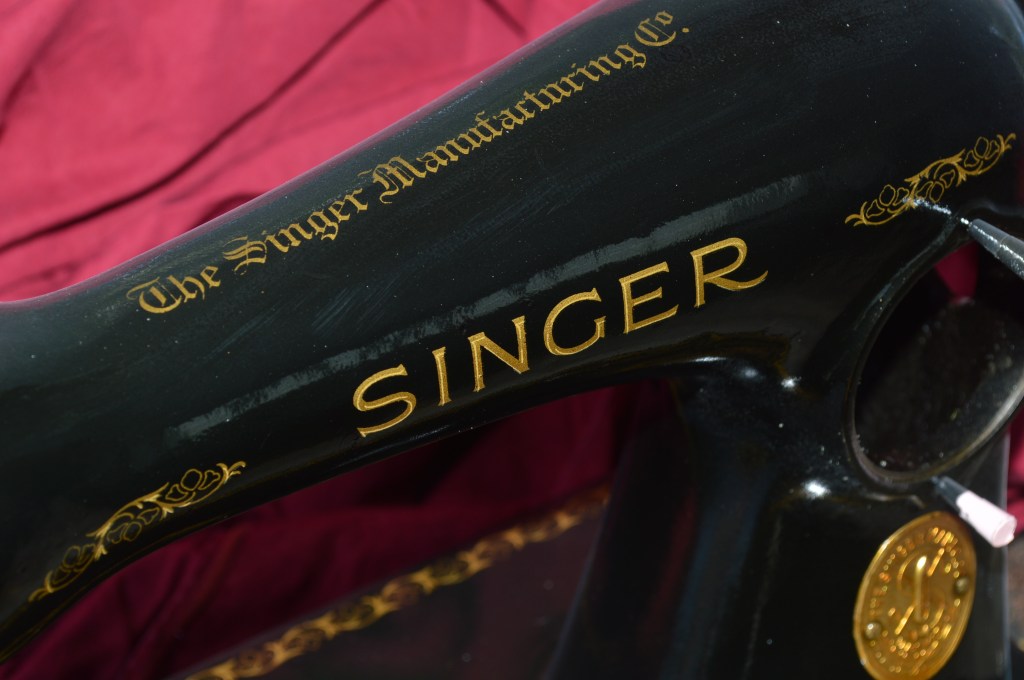
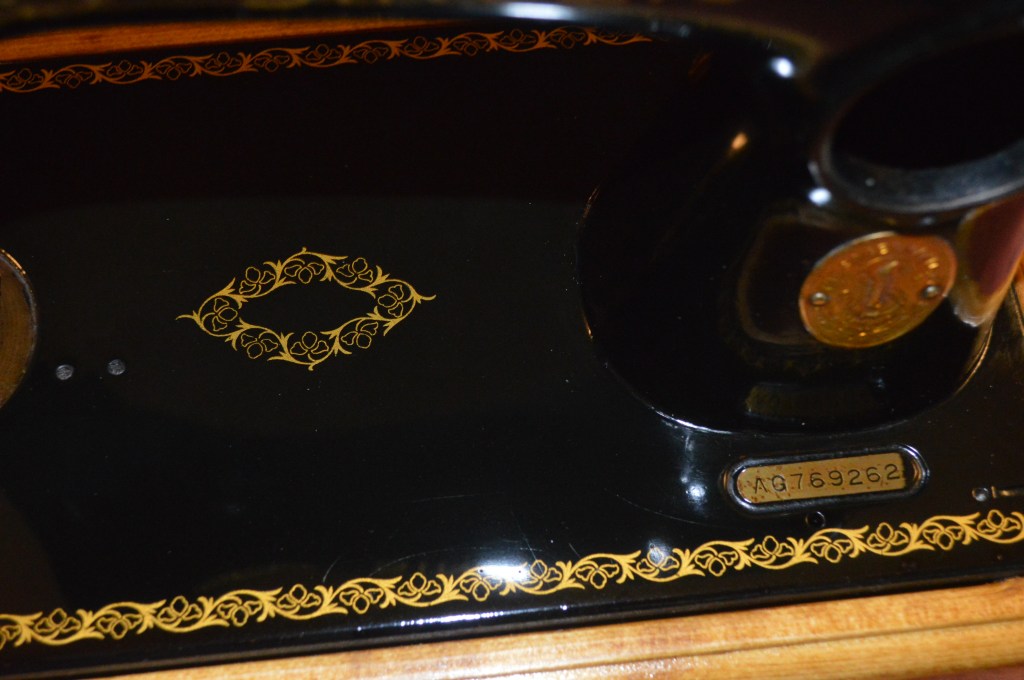
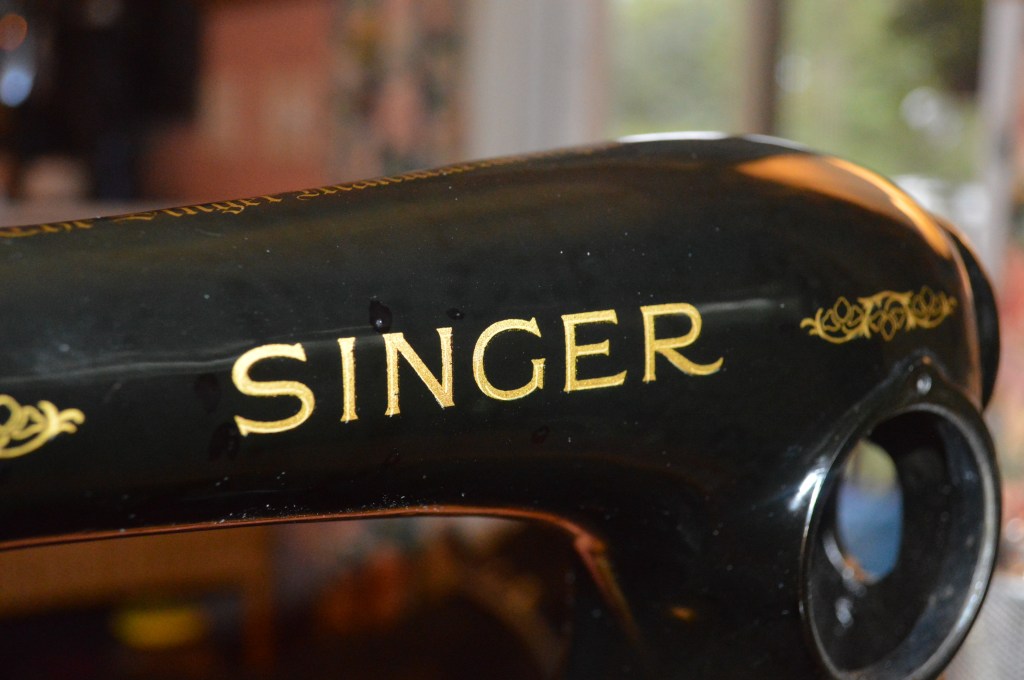
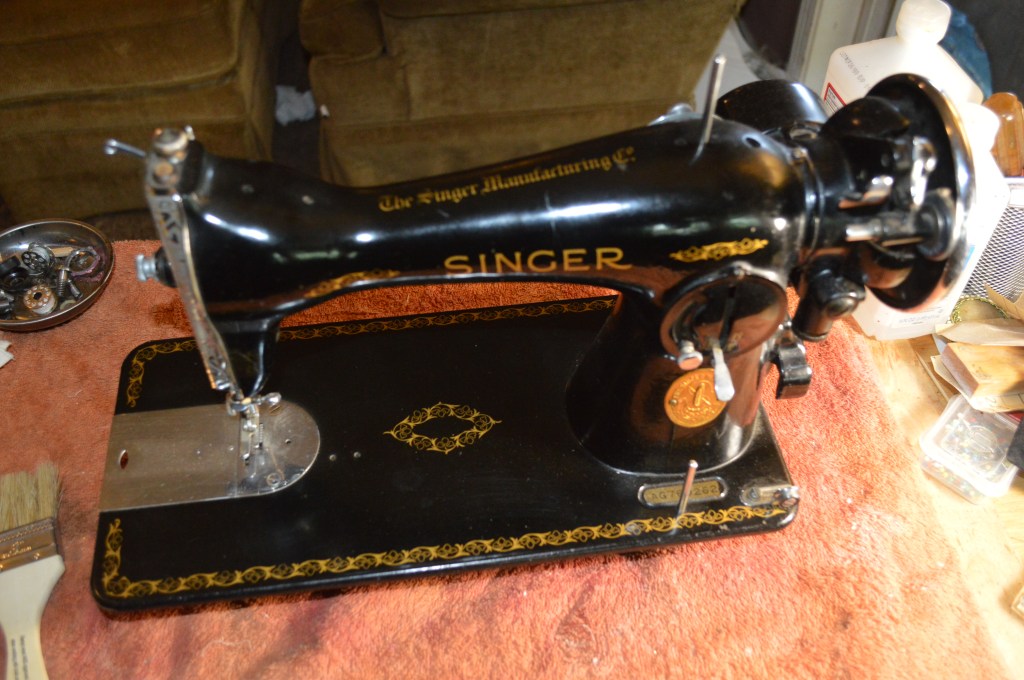
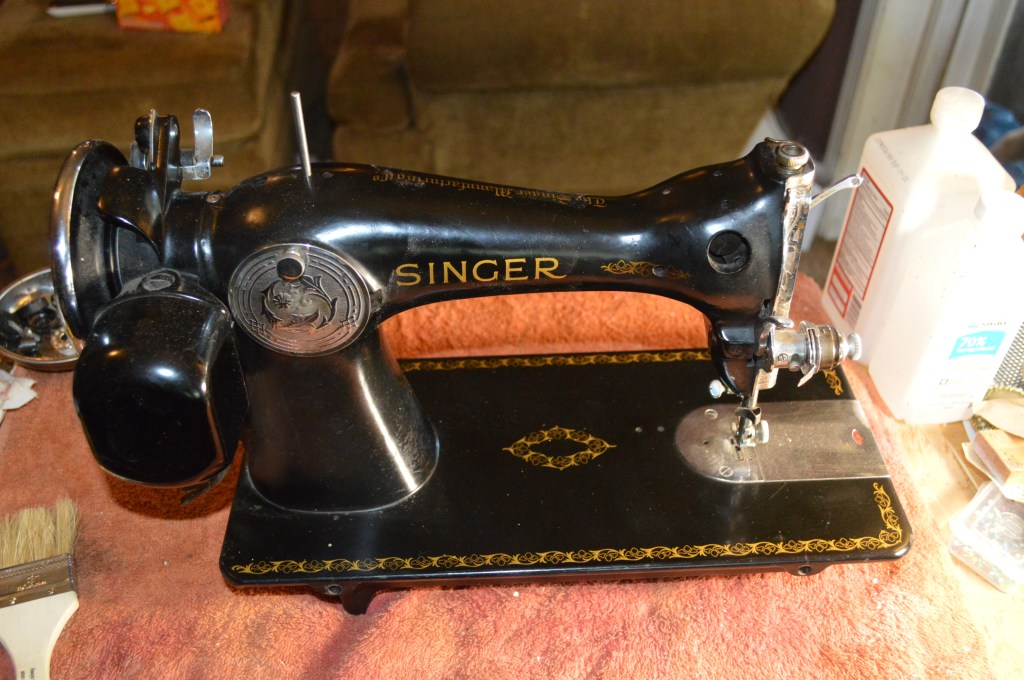
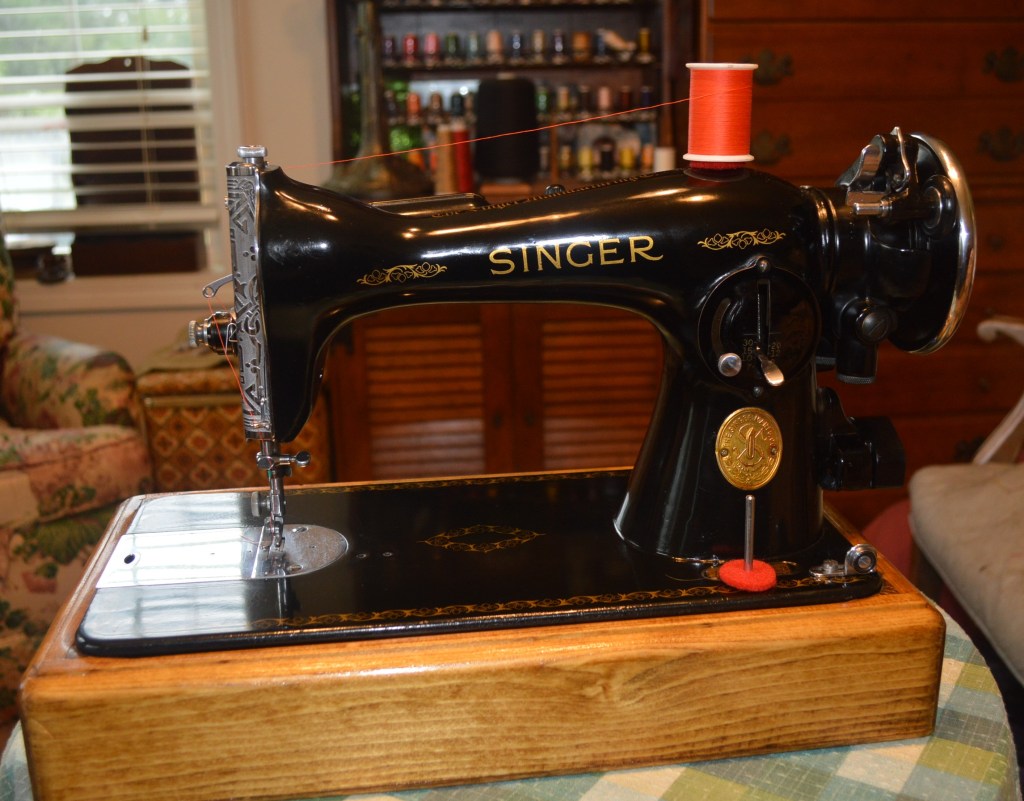
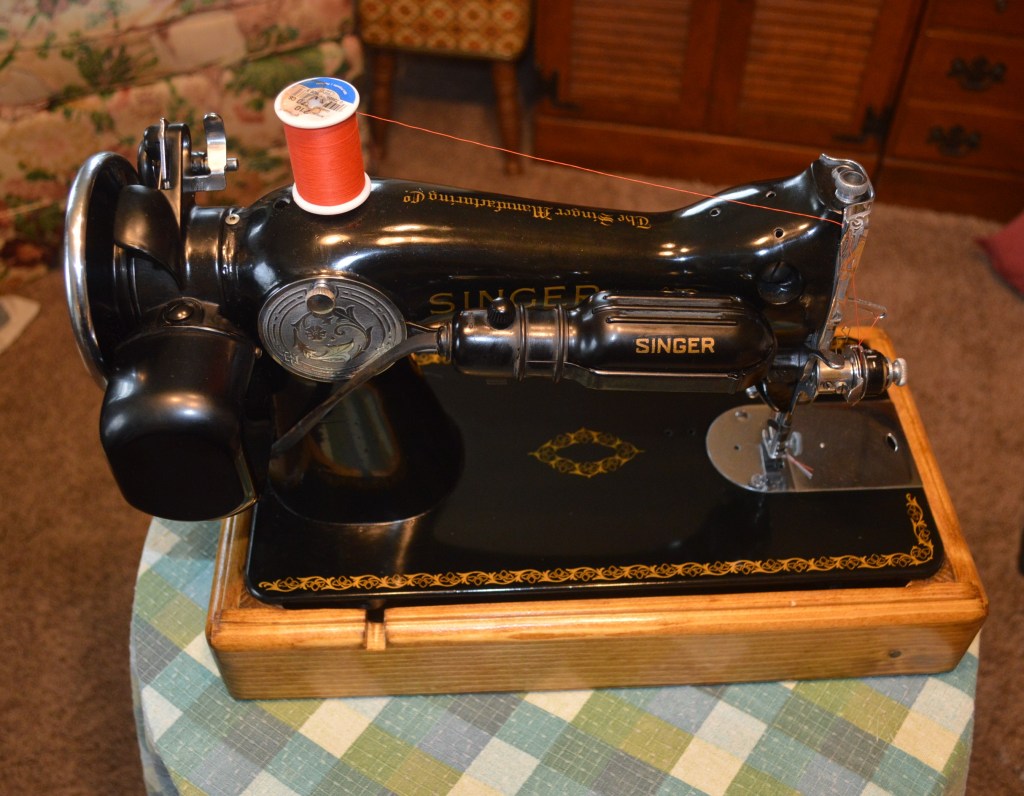
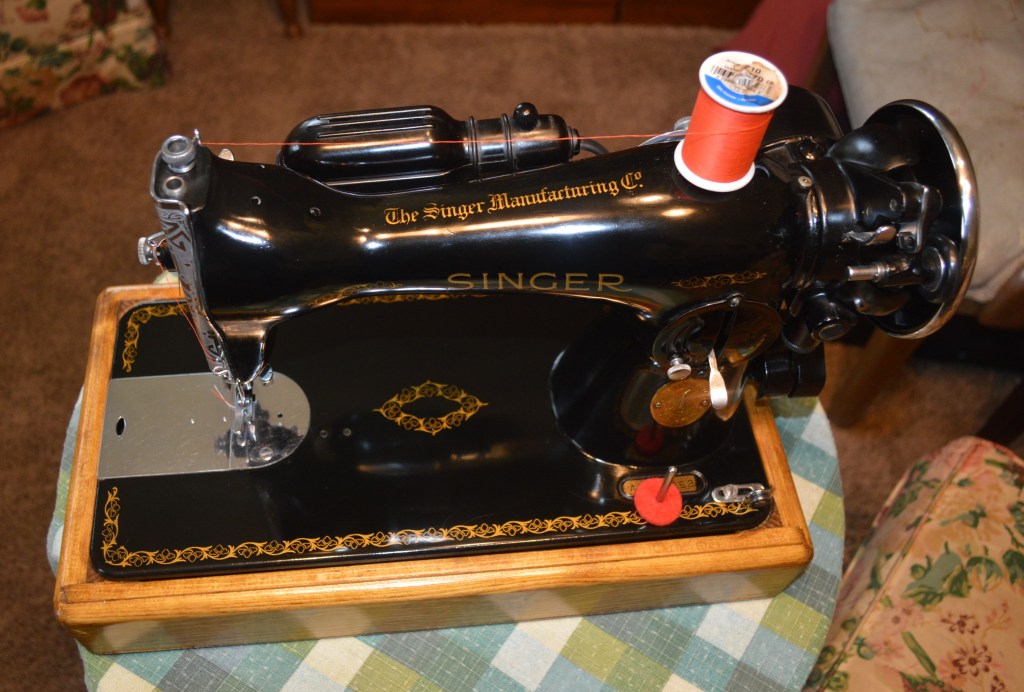
This restoration is a vintage Singer model 15-91… made special by her date of manufacture. The serial number of AG769262 places the date at July 31, 1946. To me, this means two things… First, it was the first production year Singer began making sewing machines following World War 2. Why? Singer stopped sewing machine manufacture between the years 1942 to 1946 to turn it’s immense manufacturing capacity to aid in the war effort. Instead of sewing machines, they made 45 automatic pistols and bomb sights. The second is that it is a “shiny bits” machine. This isn’t any kind of Singer designation specific to the model 15… it’s just my observation that the machine has a lot of chrome bits and pieces. Looking at the machine it wears fancy scroll plates (Egyptian scroll) and a nickel plated ring around the outside rim of the balance wheel, and other shiny bits that just adds something to the machine. It’s fancy!
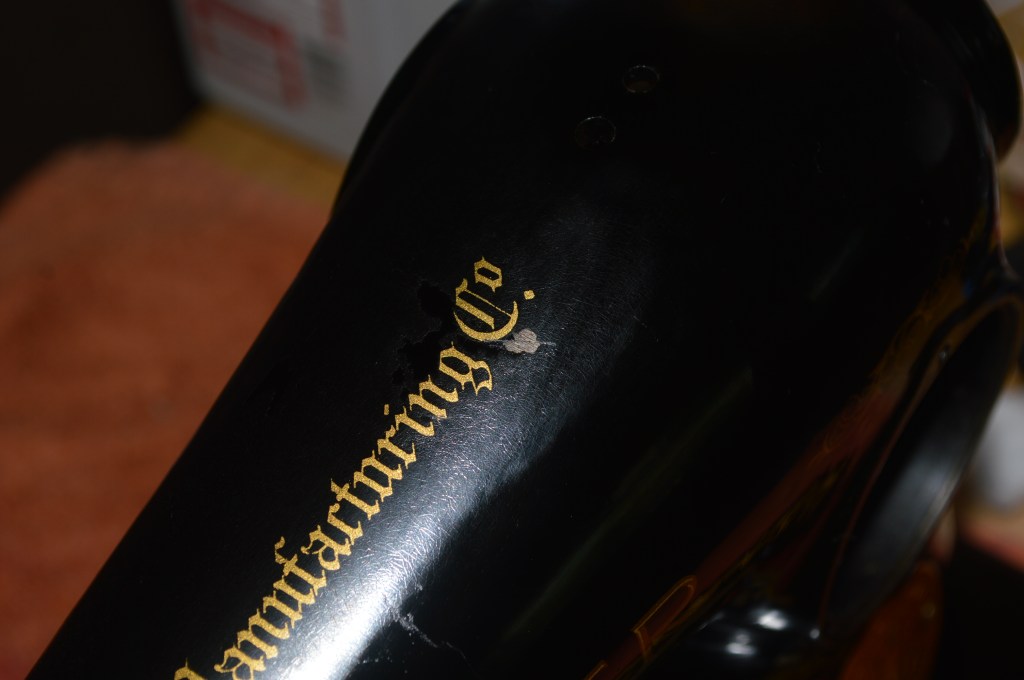
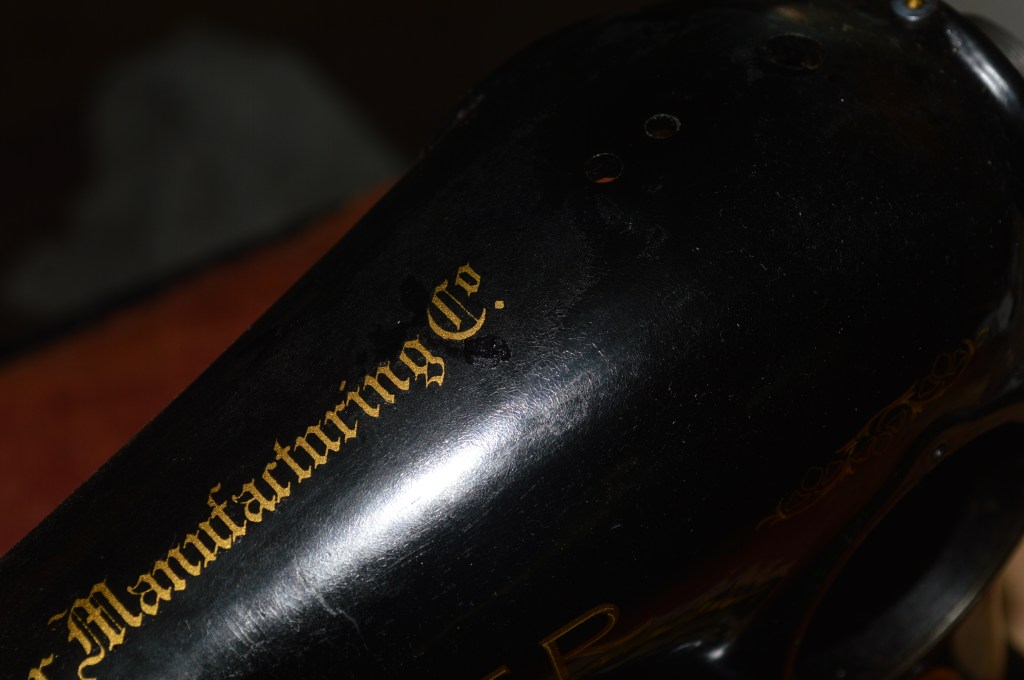
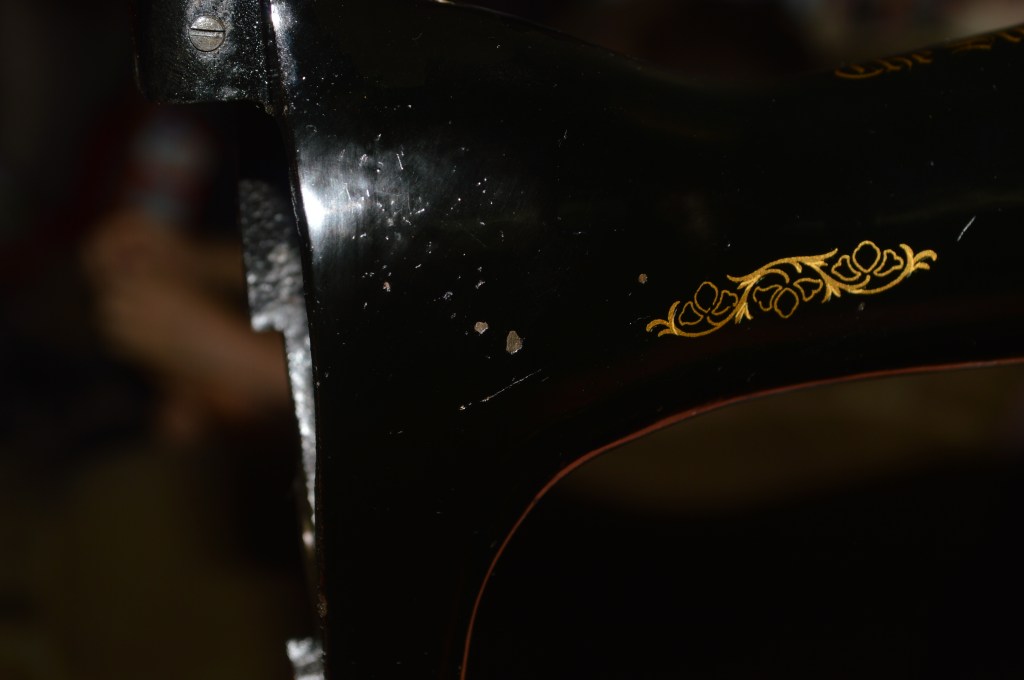
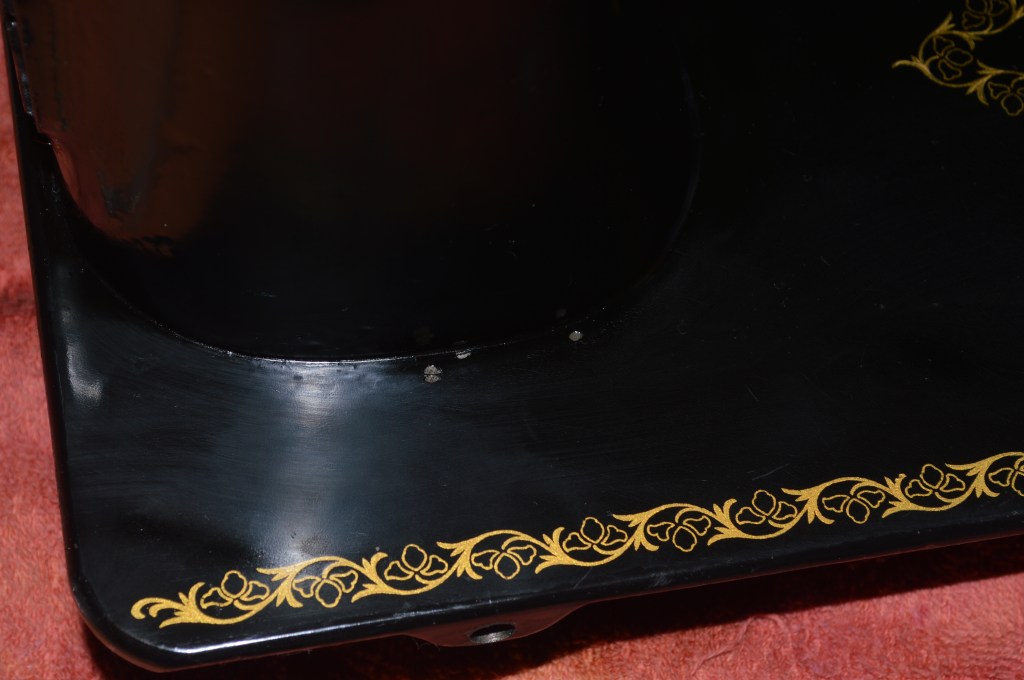
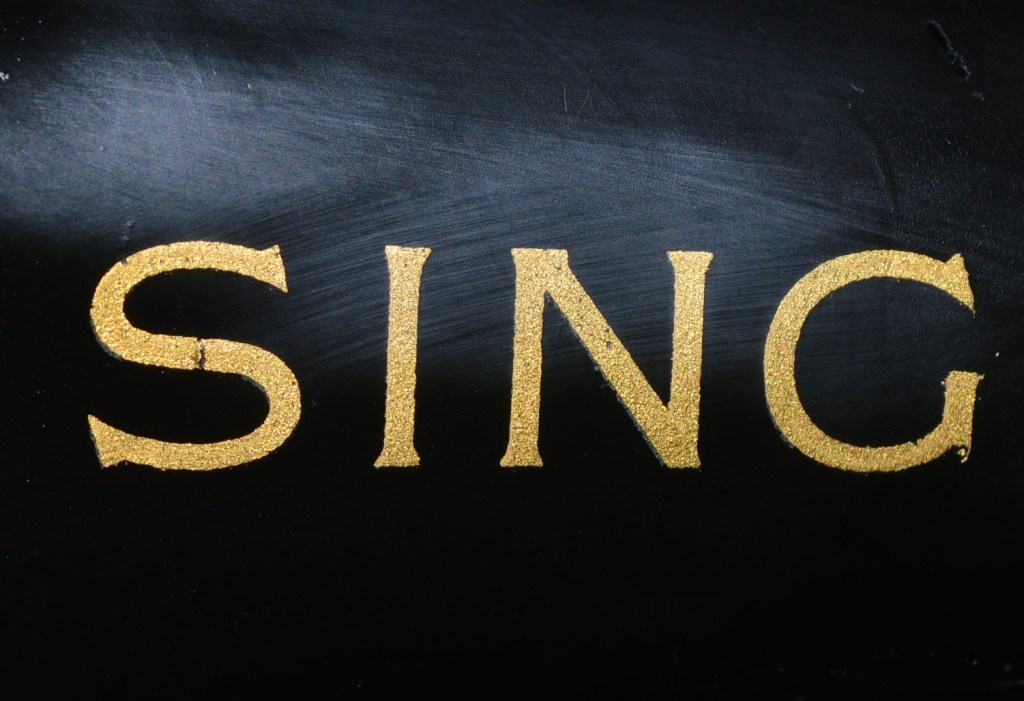
Cosmetically, it is in very good condition… the decals are in great condition, the paint is in good condition, and there are only a few instances of scratches in the paint. For this reason, I am going for an original finish restoration. Aside from a total disassembly and complete mechanical restoration, the machine will have a detailed cosmetic restoration to preserve the original black paint and erase the wear marks normally seen on these machines. I prefer this because the black Japanned lacquer paint Singer used is extremely durable, extremely black, and worth saving except under all but the worse condition. Even if the paint is missing over small to medium areas over the machine, it can be matched and restored. The few slight paint defects on this machine will be paint matched with a custom mixed shellac based carbon black paint to blend into the original finish and any defects in the decals will be corrected. The machine will be coated with a new coat of shellac and when the new shellac coat has been sanded and polished, the finish will be beautiful.
Mechanically, it is pretty dirty. There is a lot of oil varnish coating the parts, and the resistance from oil varnish in the rotating mechanisms is noticeable. This condition is expected and the reason the machine is due for a complete restoration.
The goal for this restoration is to restore the machine to as close to new condition as I can. What was it like to sew with this machine when it was new? My ultimate goal is to find out, or at least imagine to the greatest extent possible how it sewed and sounded. The only way I can reach this goal is to completely disassemble the machine and ultrasonically clean and wire brush every nut, screw, and every mechanical part in it. The motor must be disassembled, the wires replaced, and all of the plated parts and pieces must be polished. The body of the machine must be deep cleaned, paint chips color matched, decals repaired where needed, and a new coat of shellac applied to stabilize the original finish for many years to come. Will it be mechanically perfect? Yes… every part and piece will be as shiny as new and oiled for smoothness. Will it be cosmetically perfect? No… That’s not the goal of the restoration, it is still the original paint and there will be a blemish if you look close enough to notice it. But it will be a beautiful machine in excellent condition. Then again, even though all of the parts will be restored to like new condition, the machine did not have a hand rubbed shellac finish or polished chrome fittings when new, so in the end you can decide if the machine could look any better.
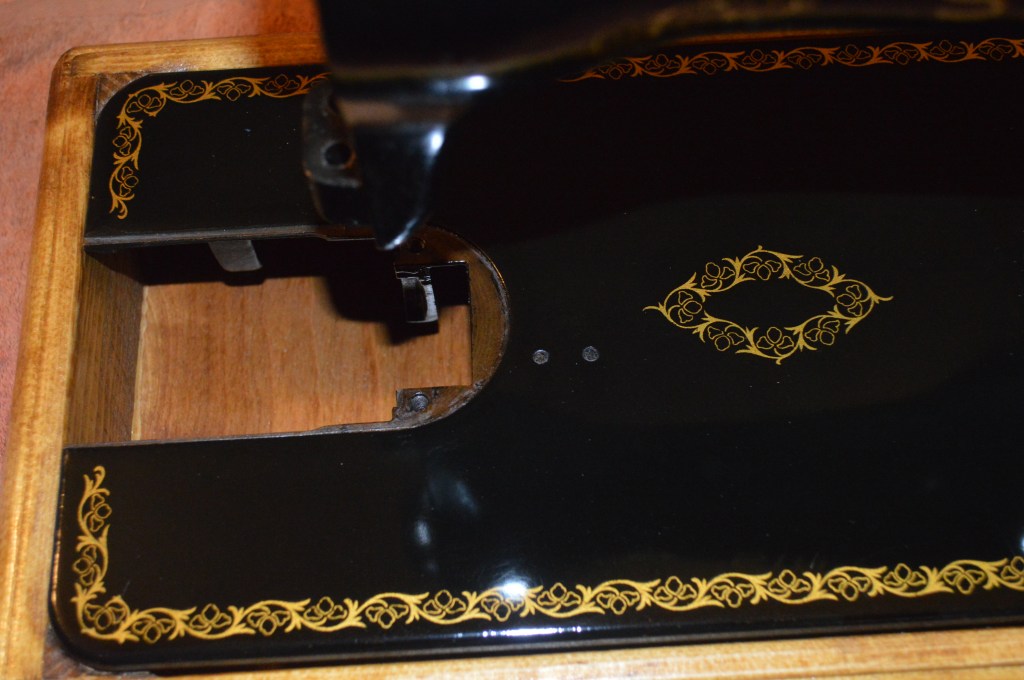
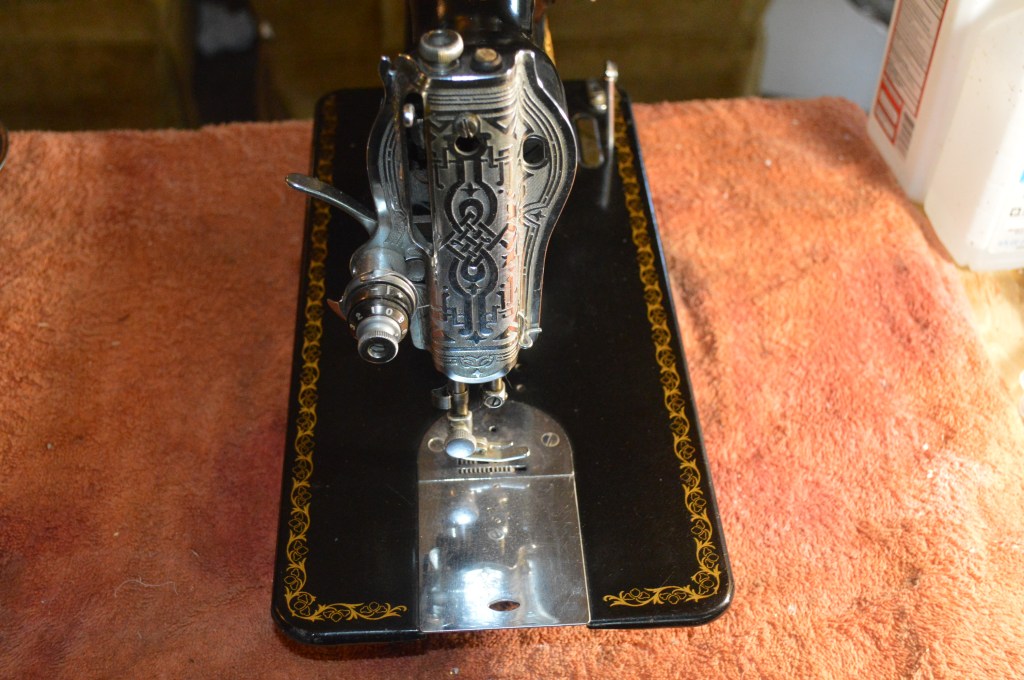
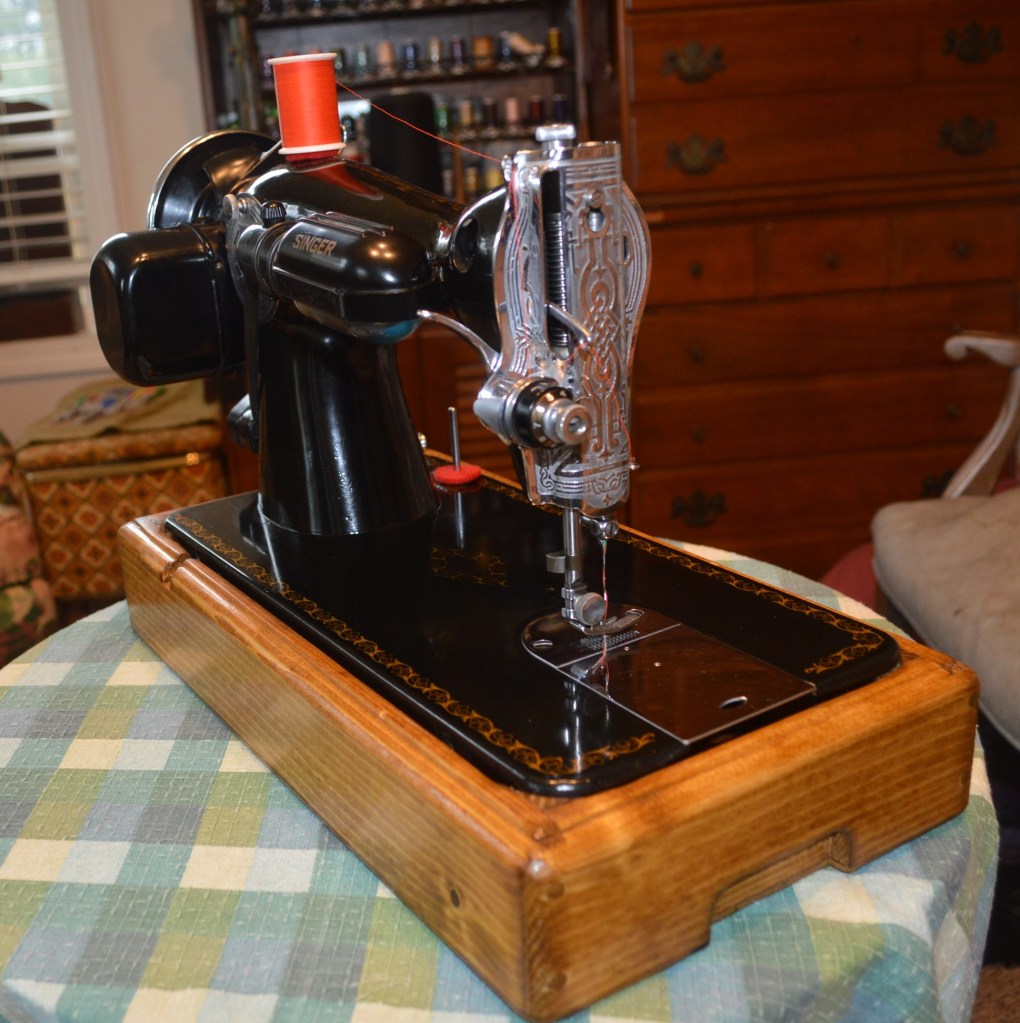
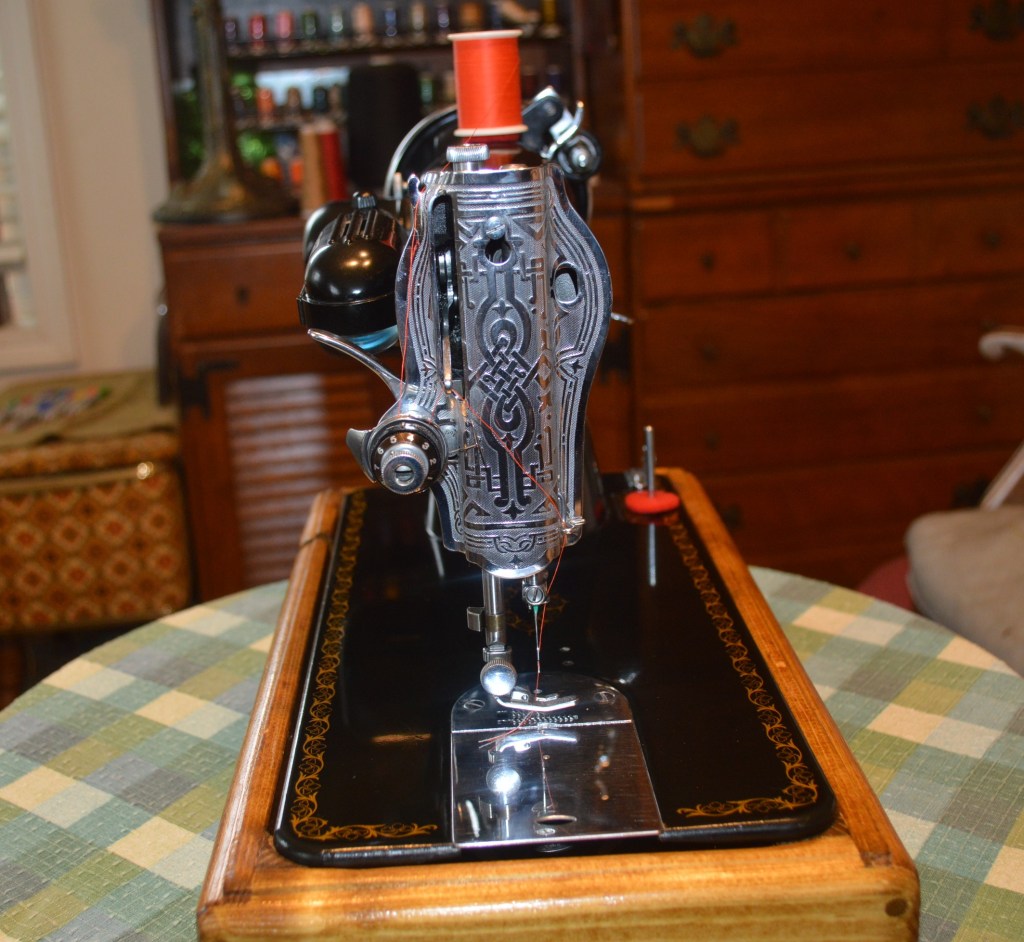
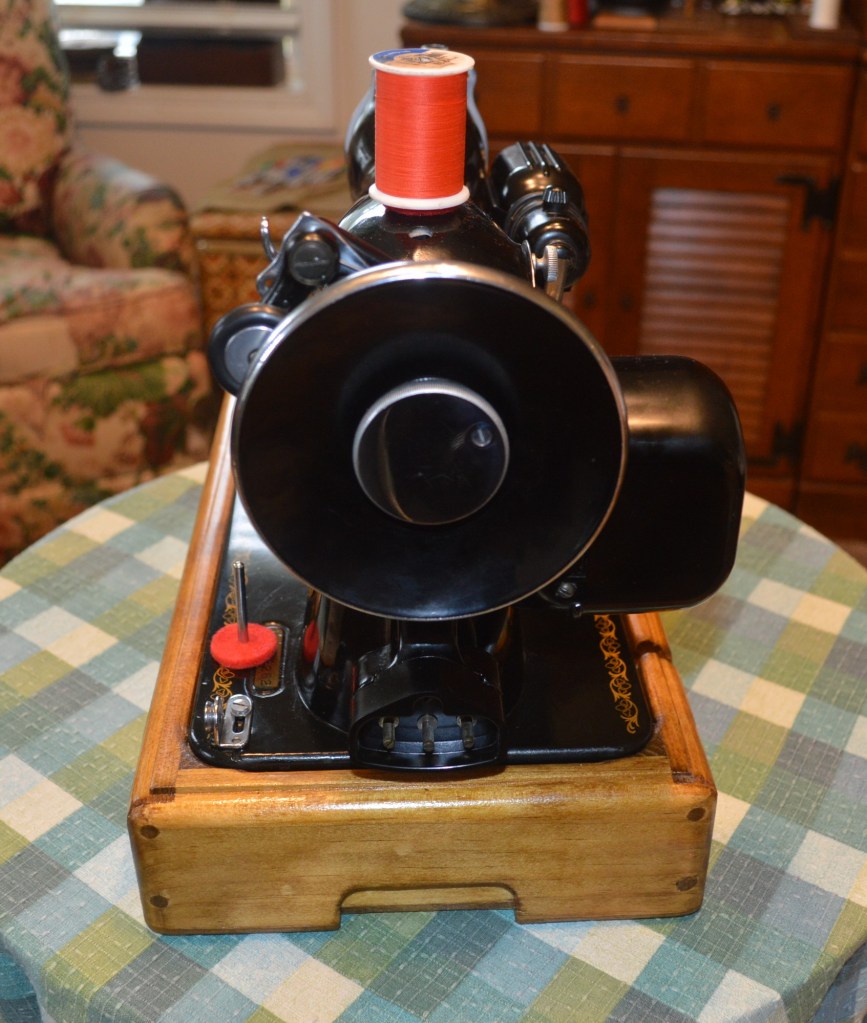
Let’s get started… here is the machine before the restoration begins…


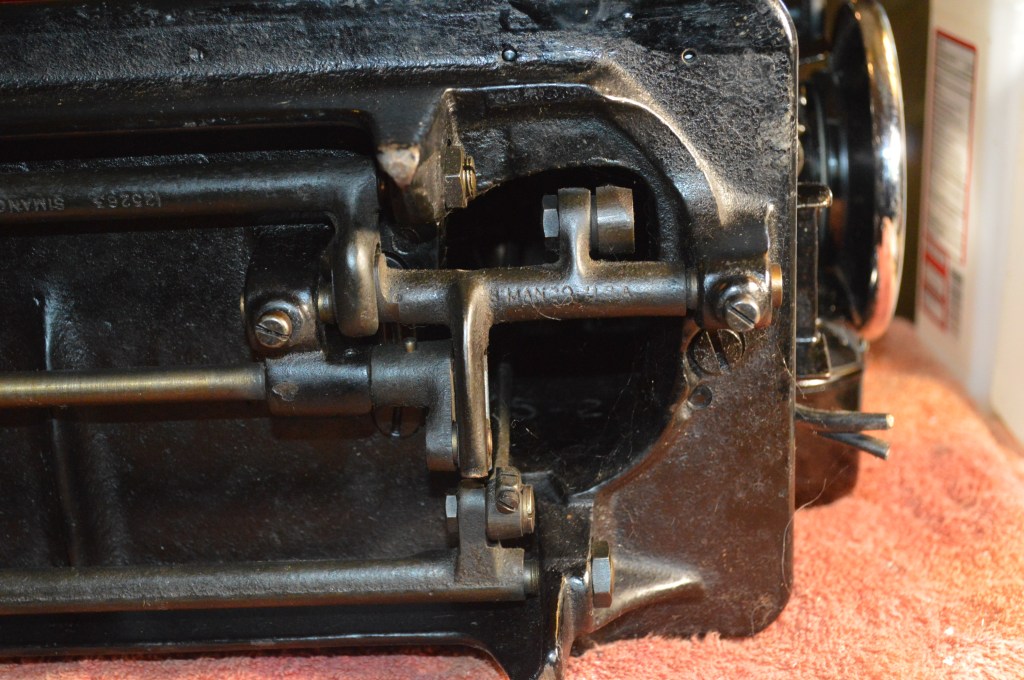
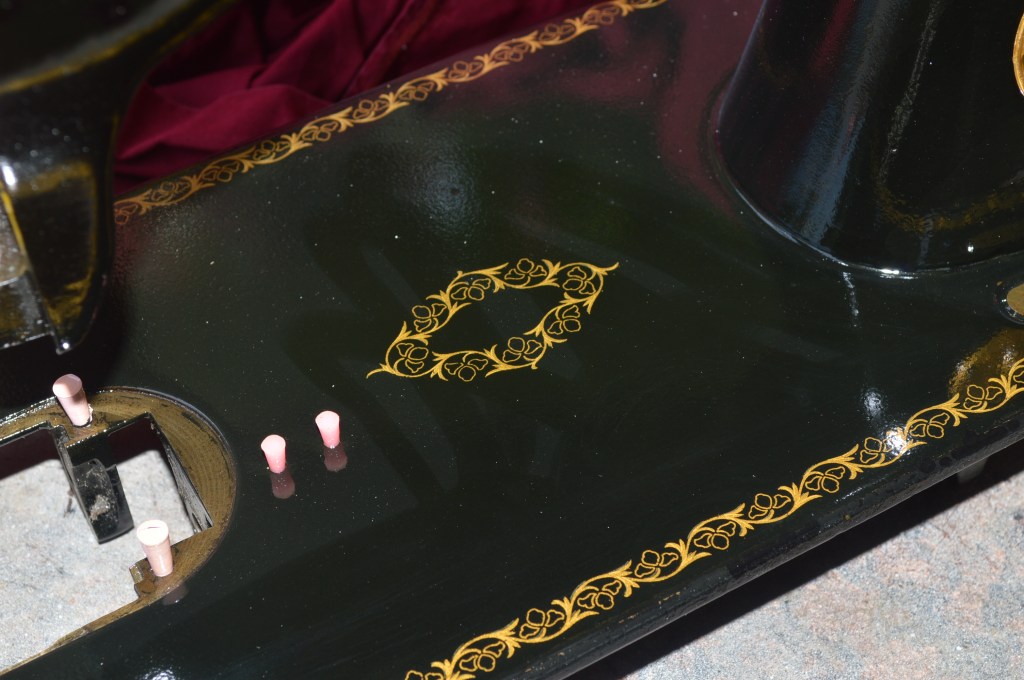
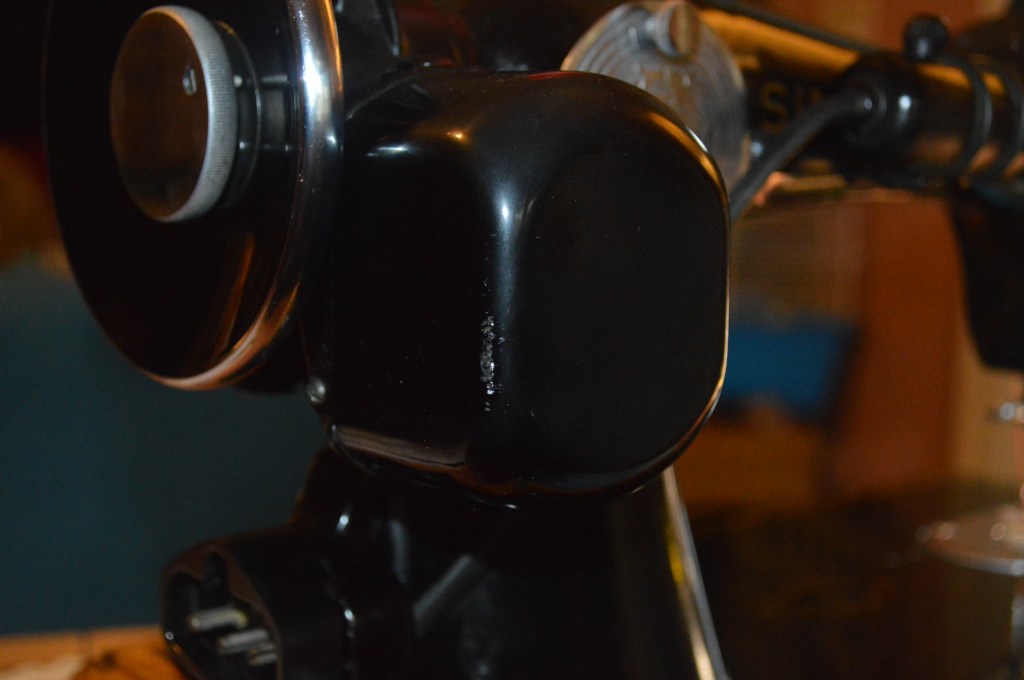
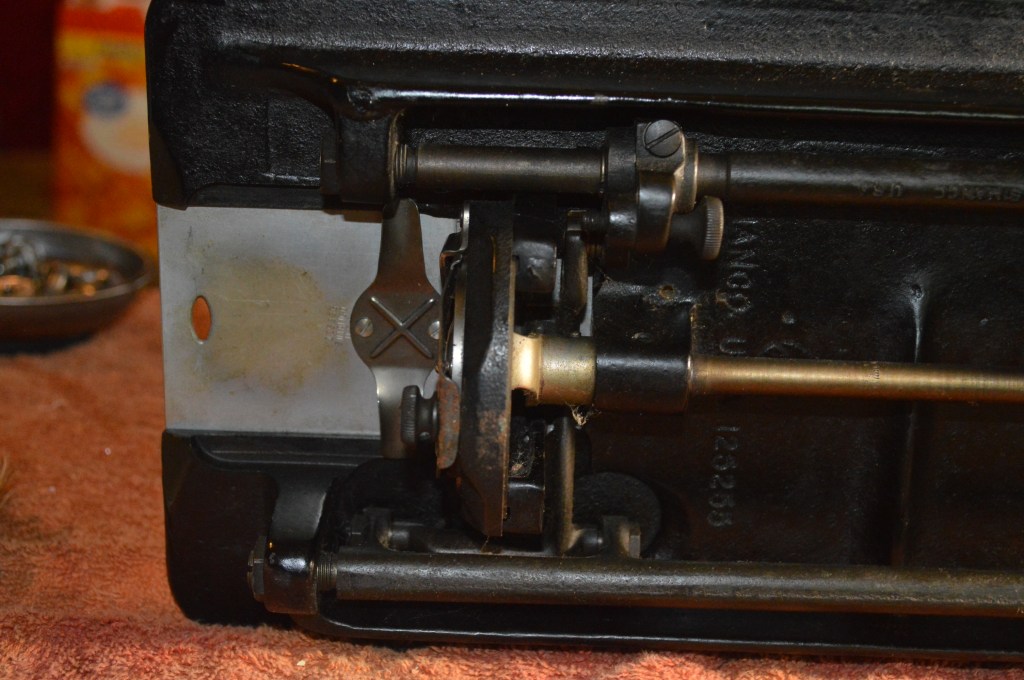
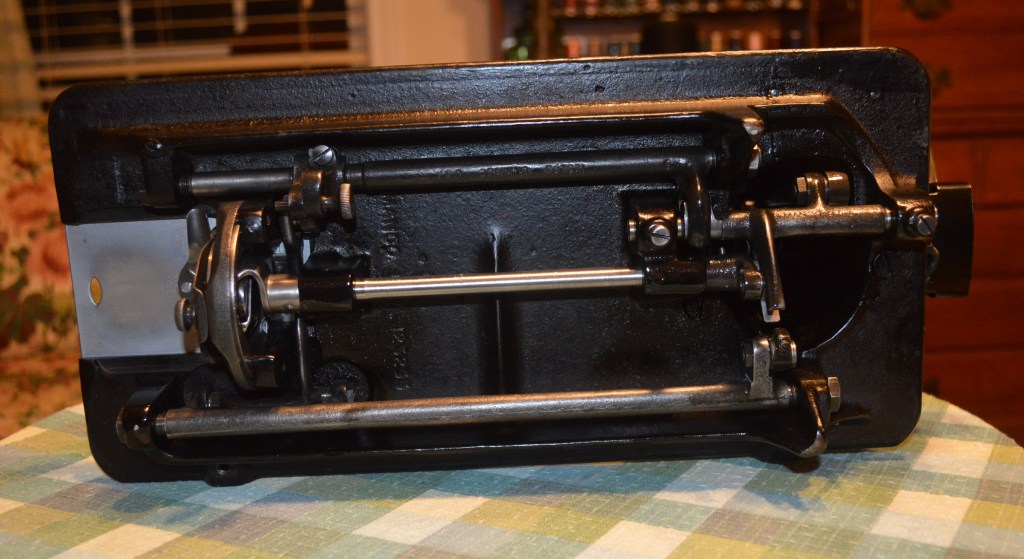
Looking under the machine, the mechanism is full of oil varnish…

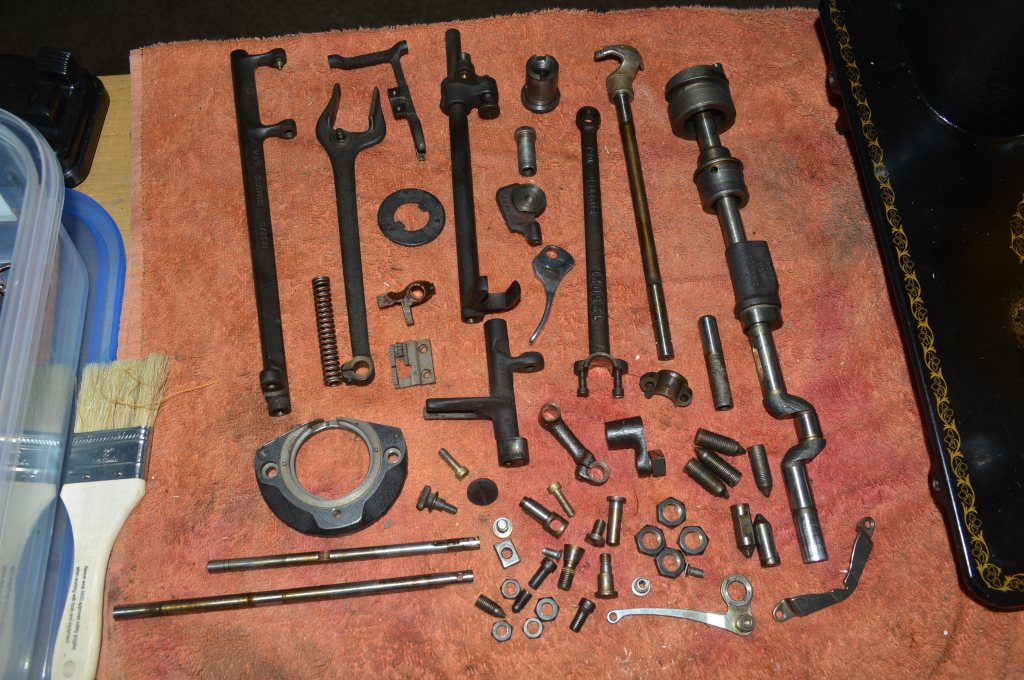
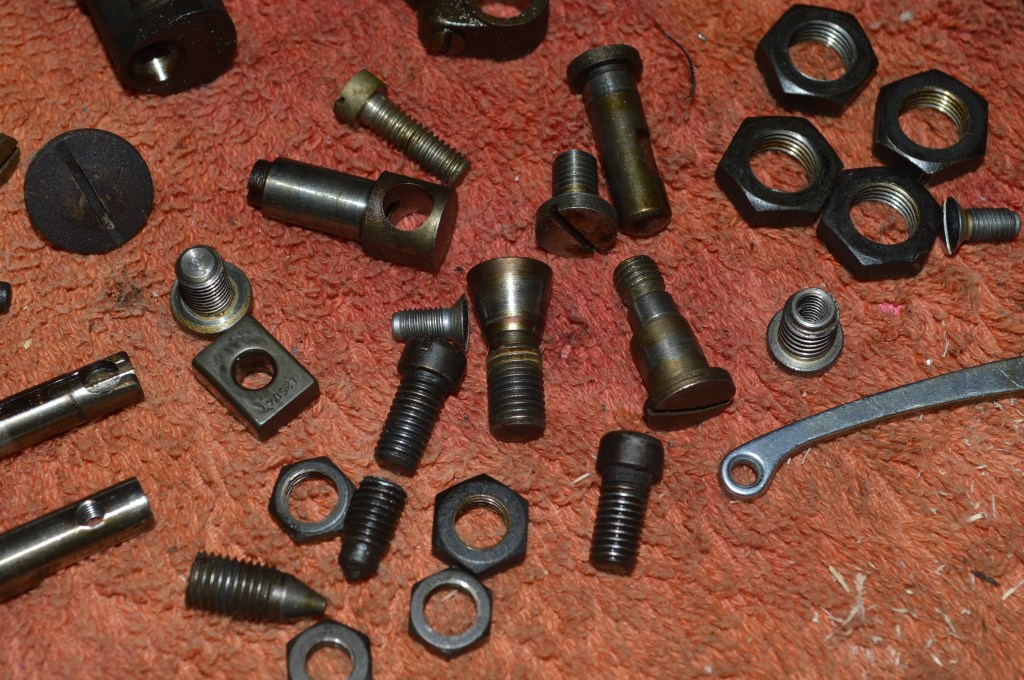
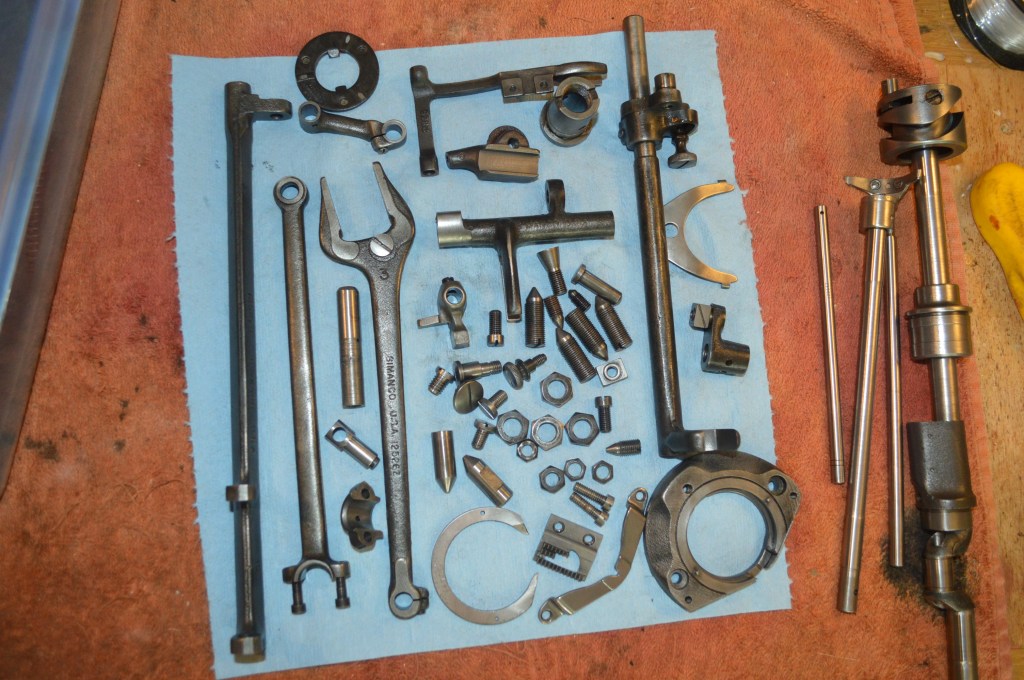
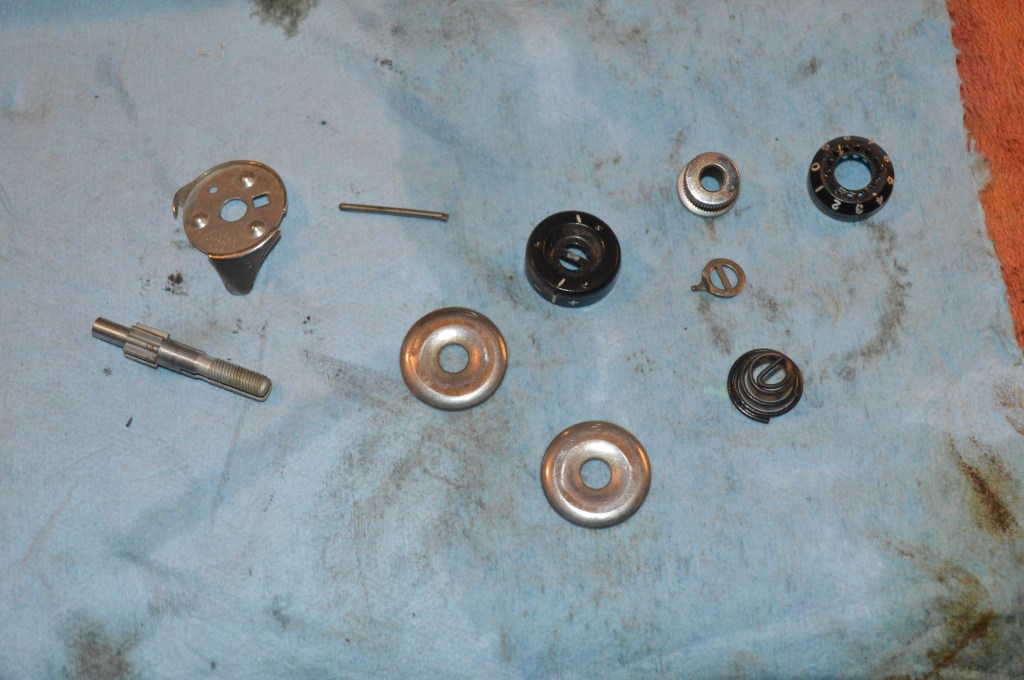
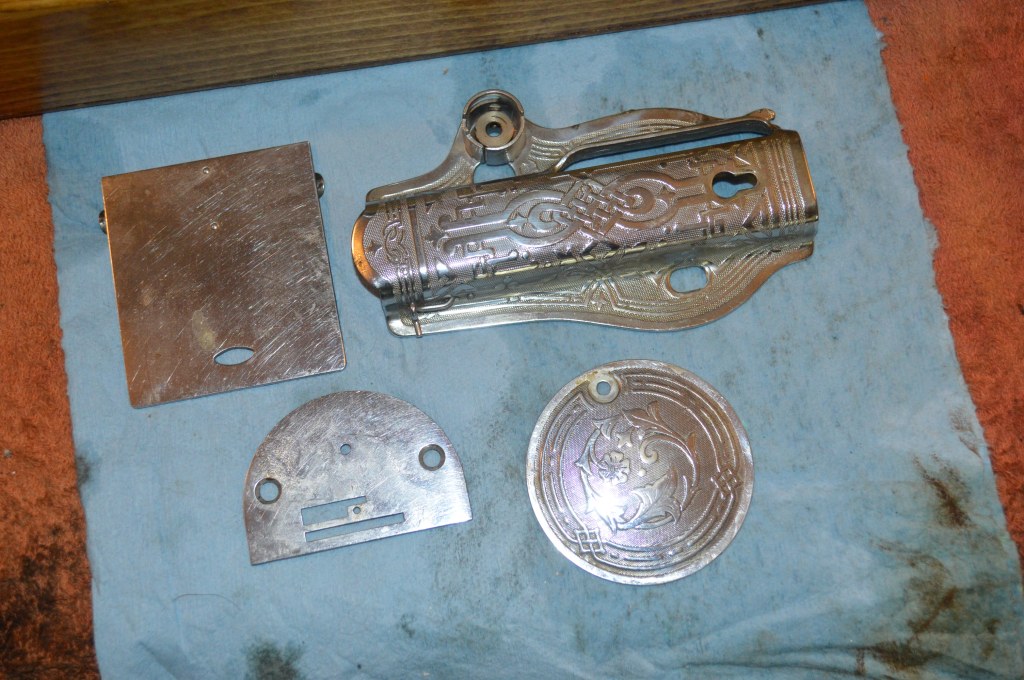
The first step is to disassemble all of the parts, bits, and pieces. The balance wheel and motor are removed, along with the plated parts. The disassembled parts are laid out for cleaning…
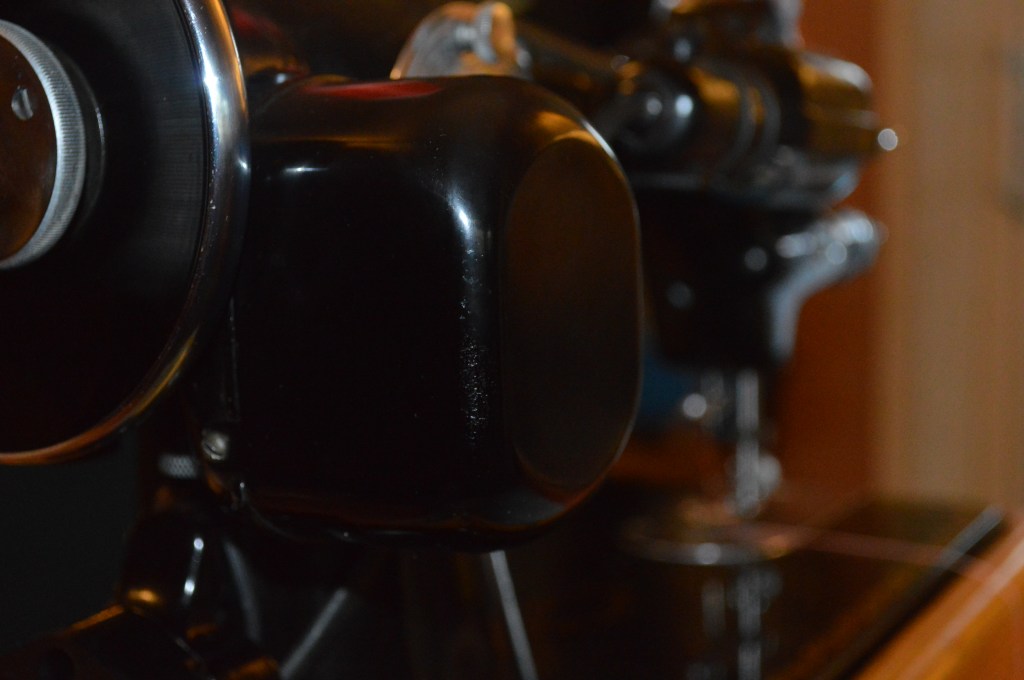
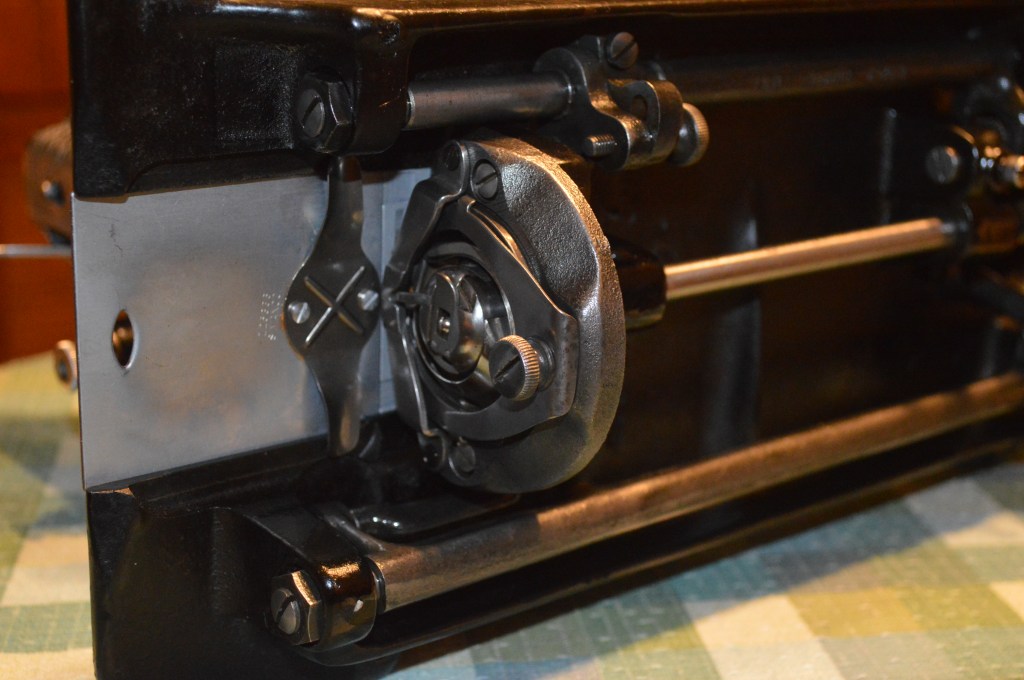
A closer look reveals the oil varnish coating the mating surfaces of mating parts… this is where disassembly makes a difference. It allows all of these surfaces to be cleaned and brushed to like new condition.
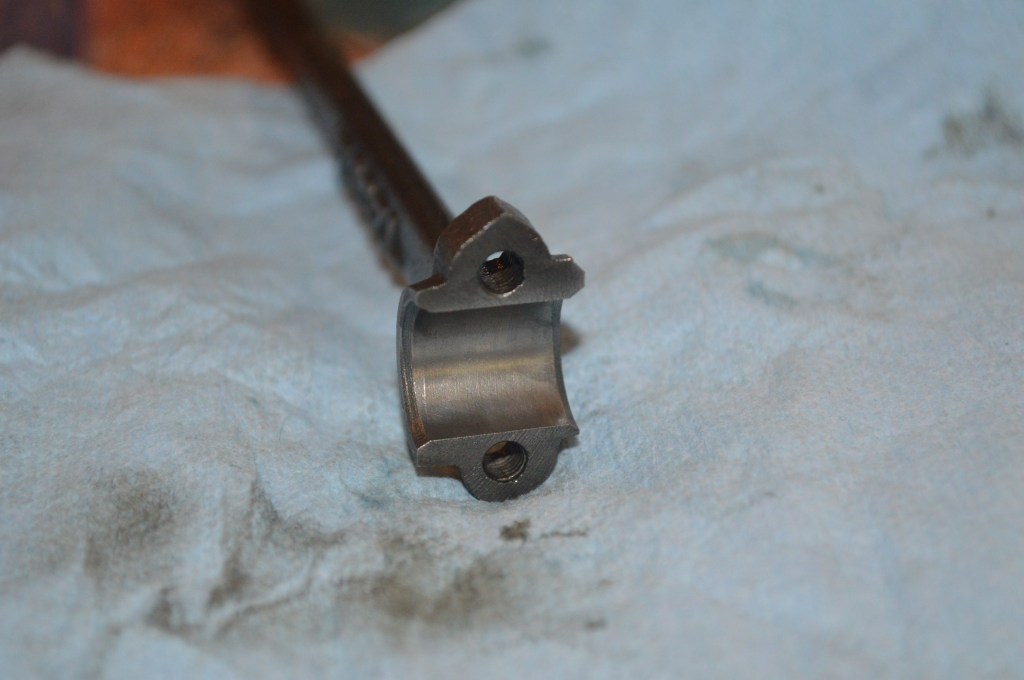
All of these parts are ultrasonically cleaned, heated in oil to drive off moisture, and wire brushed to “as new” condition.

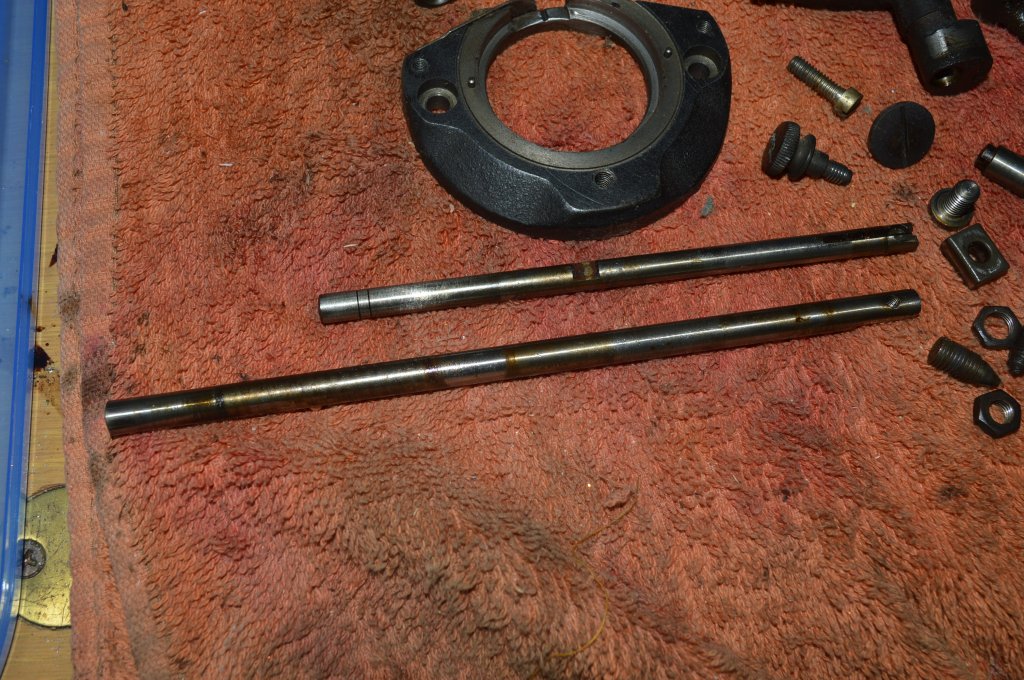
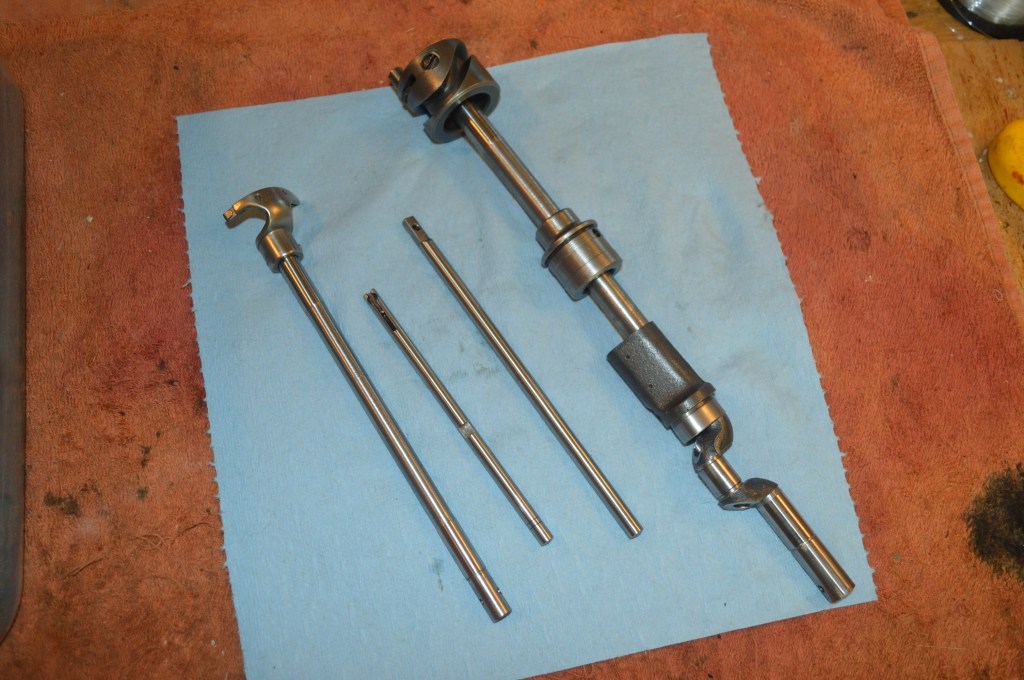
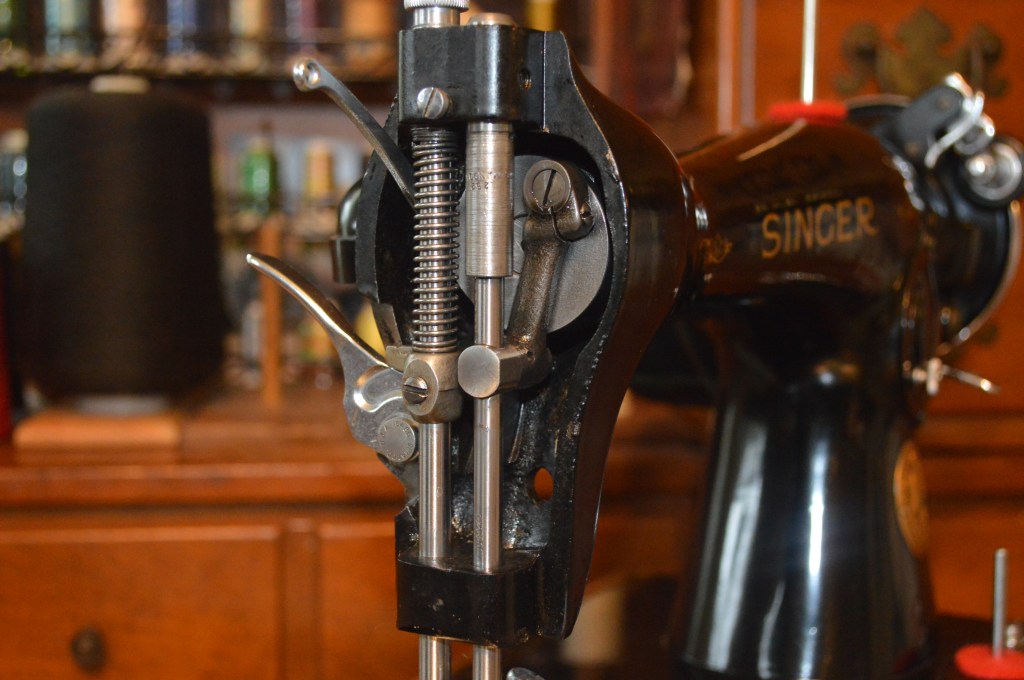
The Needle bar, presser foot bar, the bobbin hook shaft, and the upper arm shaft are precision parts that rotate or move in bearing bores. The precise fit of these parts is adversely affected by oil varnish and they must be extremely smooth to spin and move as smoothly as possible. For this reason, these parts are polished after wire brushing. Similarly, all of the bearing bores are wire brushed to remove any varnish coating the bores.
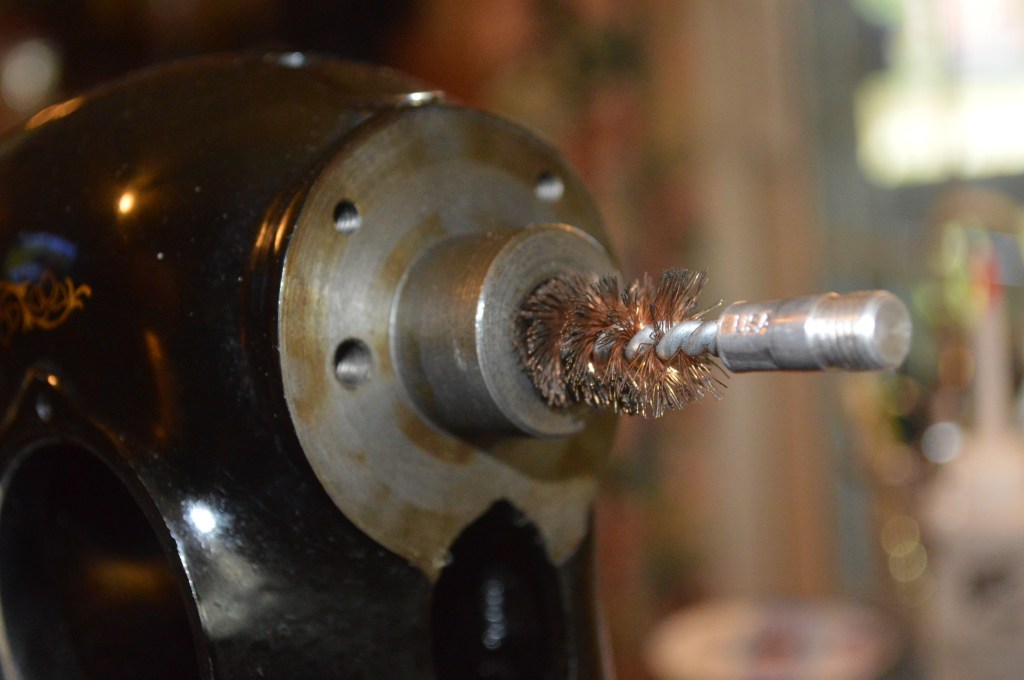
Bearing bores are also wire brushed.
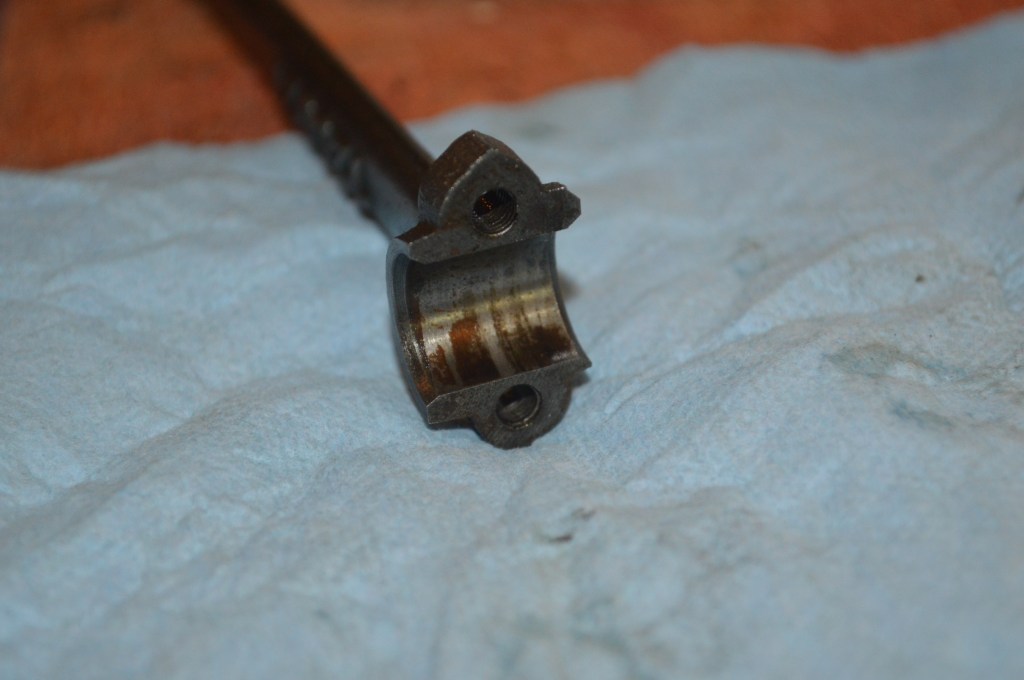
The connecting rod is one part that must turn smoothly. It links to the bobbin shaft under the machine and needs to turn very smoothly. Notice the build up of oil varnish on the bearing end of the rod.
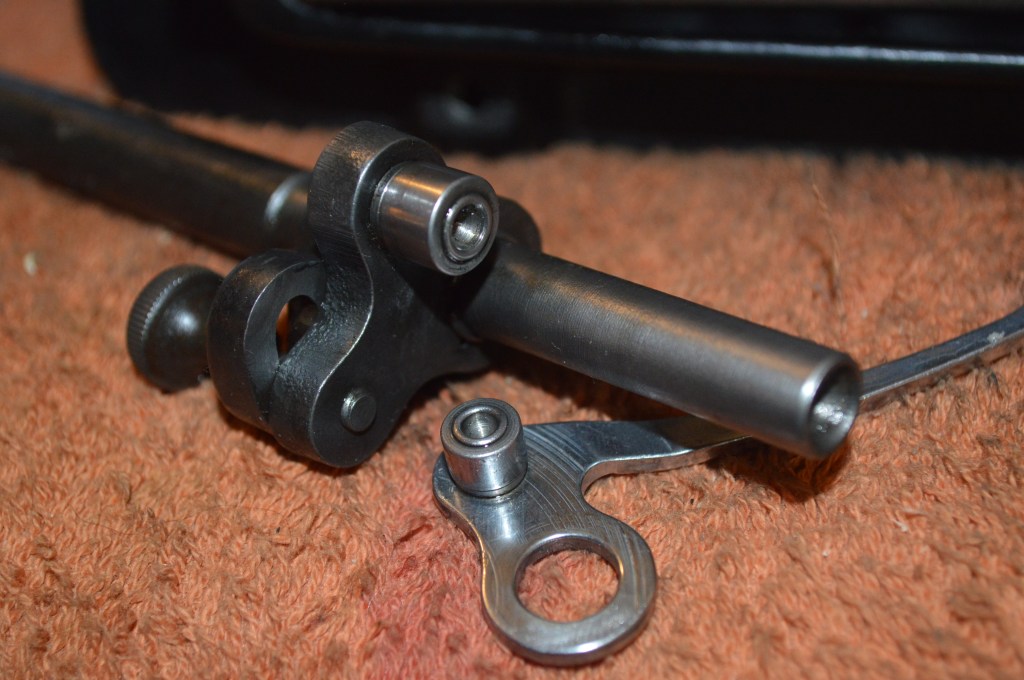
For those interested in the details, there are a few parts to look at closer. Some of the assemblies that move in a “fork” mechanism on this machine have small rollers. Easily overlooked, these are usually stuck and slide rather than rotate in operation. These need to be freed to turn smoothly.
Some parts have covers… the bobbin race assembly has a cover plate that hides gunk. This is disassembled and cleaned.
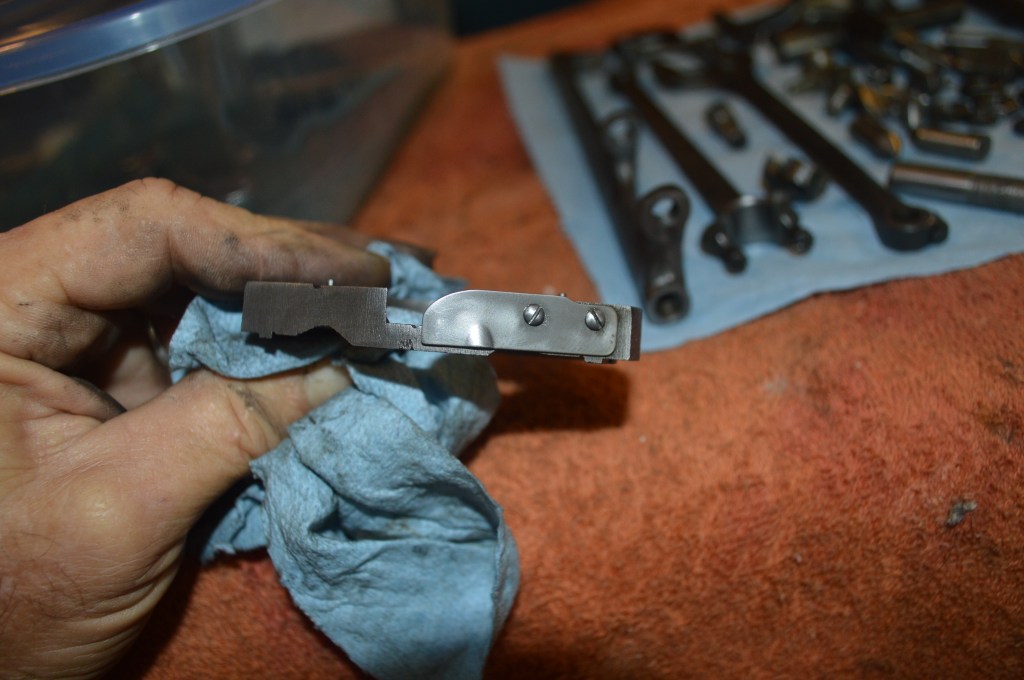
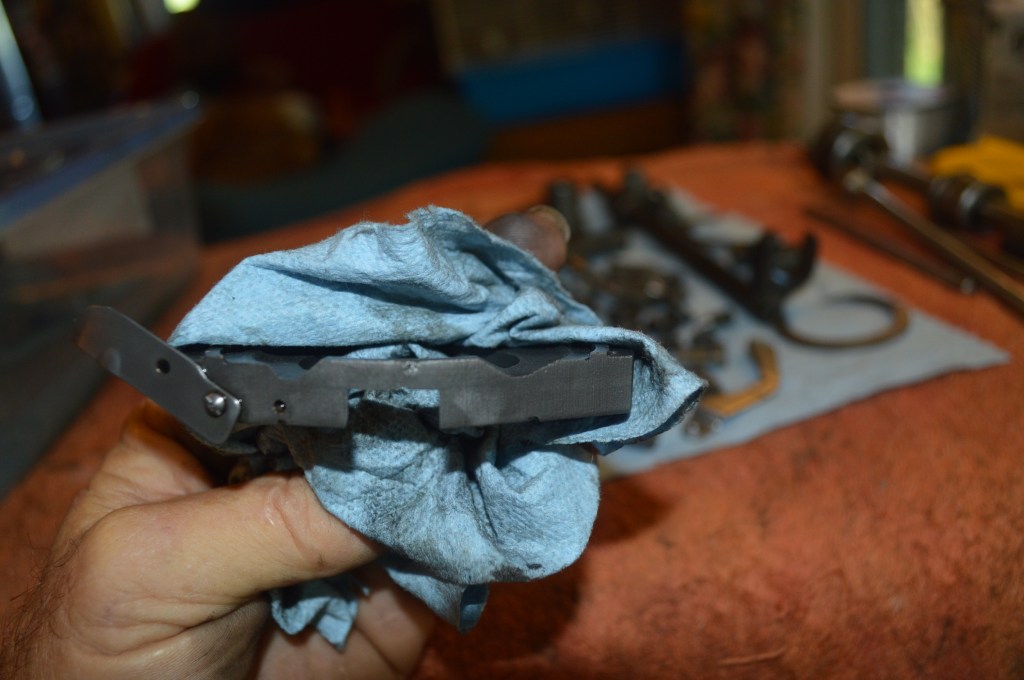
Then there are things you don’t expect. It’s a detail that shows craftsmanship and attention to detail during manufacture. The next picture shows why I think this.
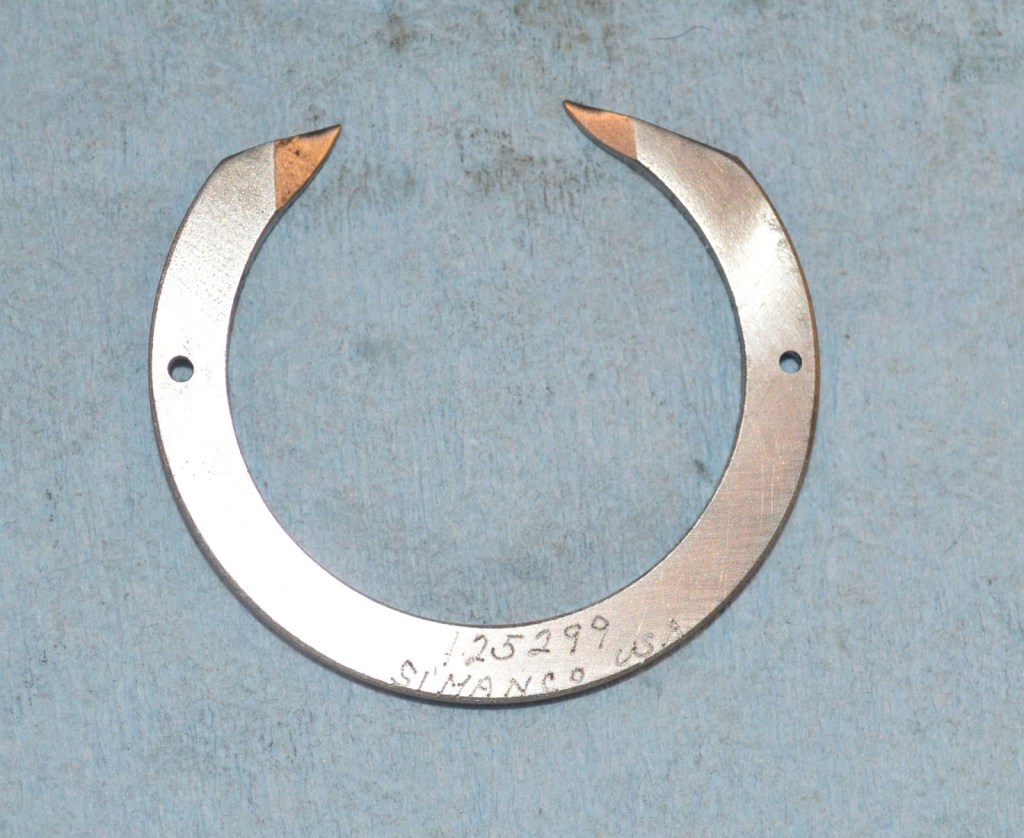
It’s a part of the bobbin case assembly. If you look at the bottom, it is etched by hand… not only the part number, but the person who did this also added “SIMANCO USA”. I can understand etching the part number, but adding the company name and origin? That’s pride of manufacture and attention to detail. Probably his or her full time job!
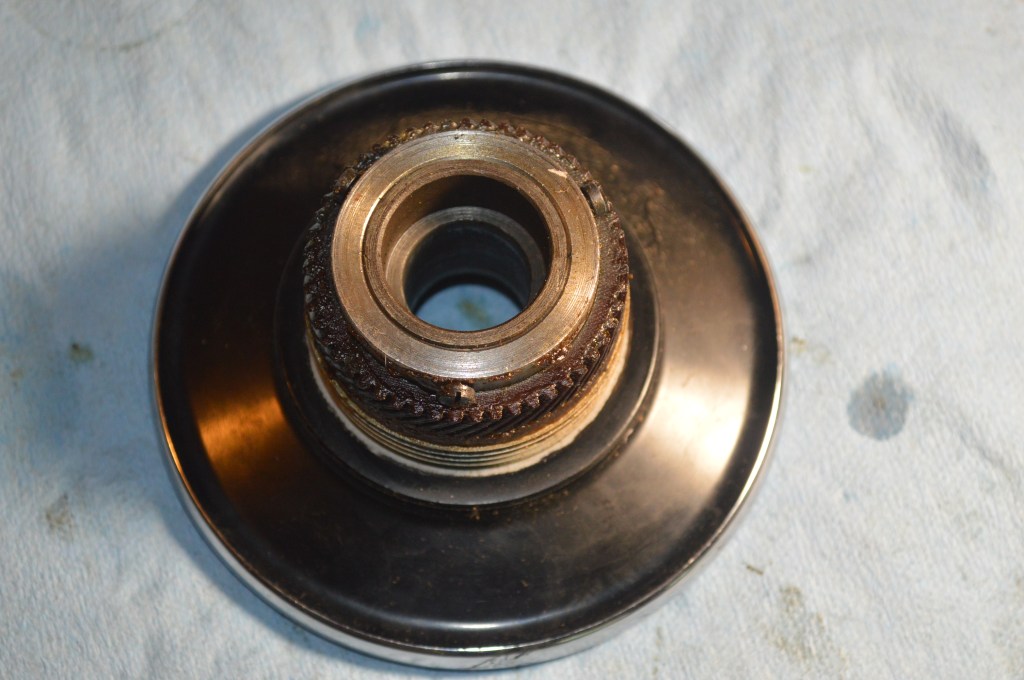
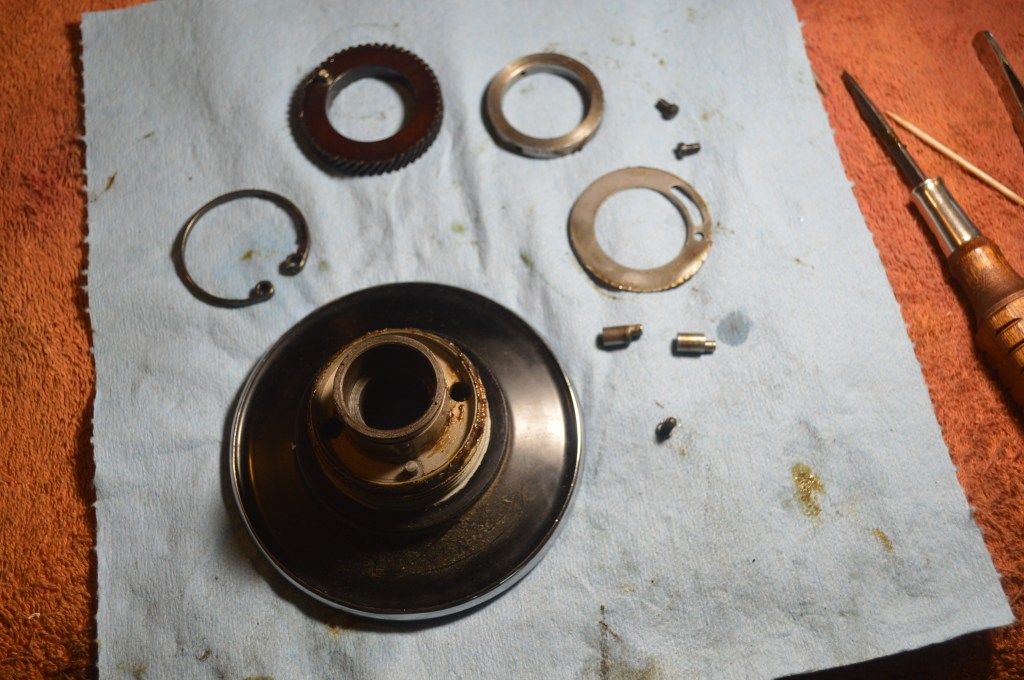
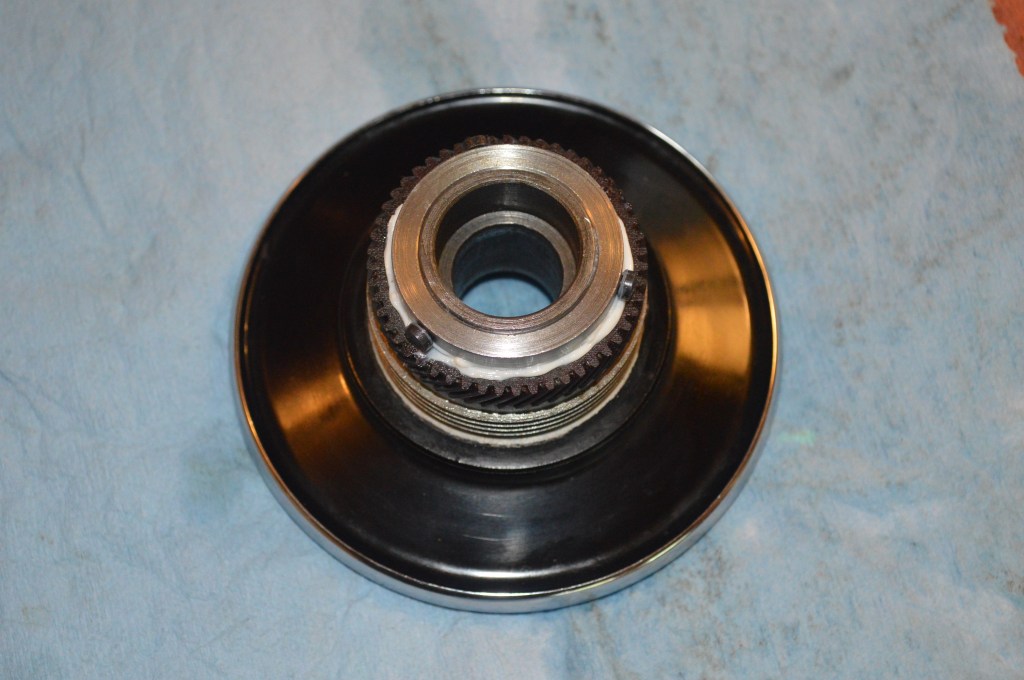
Next is the balance wheel restoration. Behind the “textolite” gear found on this machine (and the only part that is not metal), there is a spring mechanism to absorb shock. It is often neglected, but it must be free to move to operate properly. Over decades, the mechanism gets sticky from old grease and it must be cleaned. Easy to do, the balance wheel is disassembled, cleaned, and re-lubricated. Performing this step makes a noticeable difference in operation of the machine.
The tension assembly is disassembled, cleaned, and the take up spring is replaced.
With all of the parts cleaned, they are ready for reassembly. They are set aside for now and the next step is the motor restoration.
The “potted motor” found on the 15-91 and the 201-2 are wonderfully durable motors. Unfortunately, they all have the same problem… the main wires are prone to hardening and cracking. So much so that there are quite a few videos and write-ups on the internet describing how to replace these wires… including a comprehensive tutorial on this topic in the blog section of our web site.
The complete restoration of this motor is more involved than other Singer sewing machine motors and fairly complicated. To ensure this motor lasts for the longest time possible (they are not manufactured anywhere today) it will be completely disassembled and cleaned. The commutator will be polished, the motor shaft polished, the brushes reconditioned, and the grease wicks replaced. Because the bobbin winder is integral to the motor housing, it will be restored along with the motor. New wires are soldered to the motor field coil wires using solder sleeves. The solder joint is covered with shrink tubing, and the intersection of the new wires to the field coil is coated with liquid insulation. Designed to insulate and protect wires, this is a precaution to prevent more cracking and isolate the wires to prevent further deterioration. This is shown in the next series of pictures.
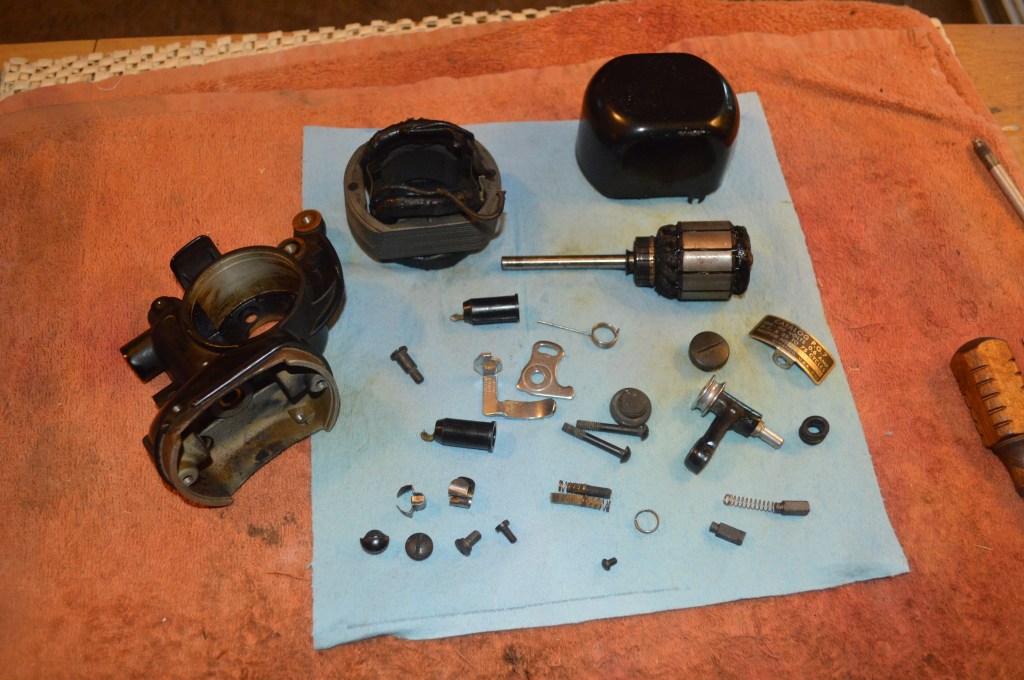
Motor disassembled for cleaning 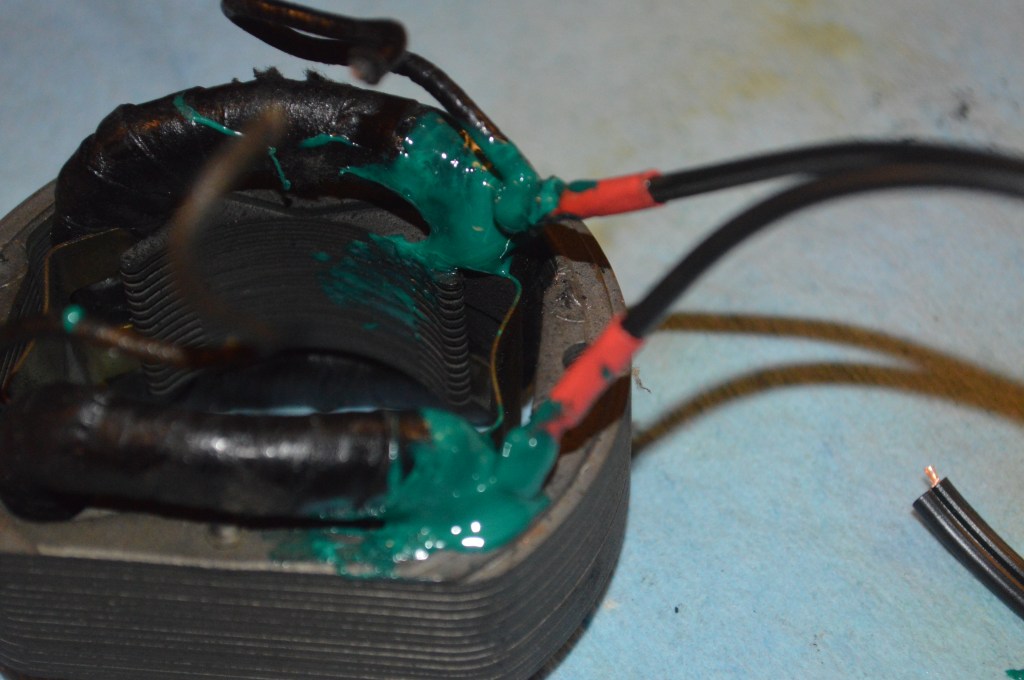
New wires and old wires coated with liquid wire insulation 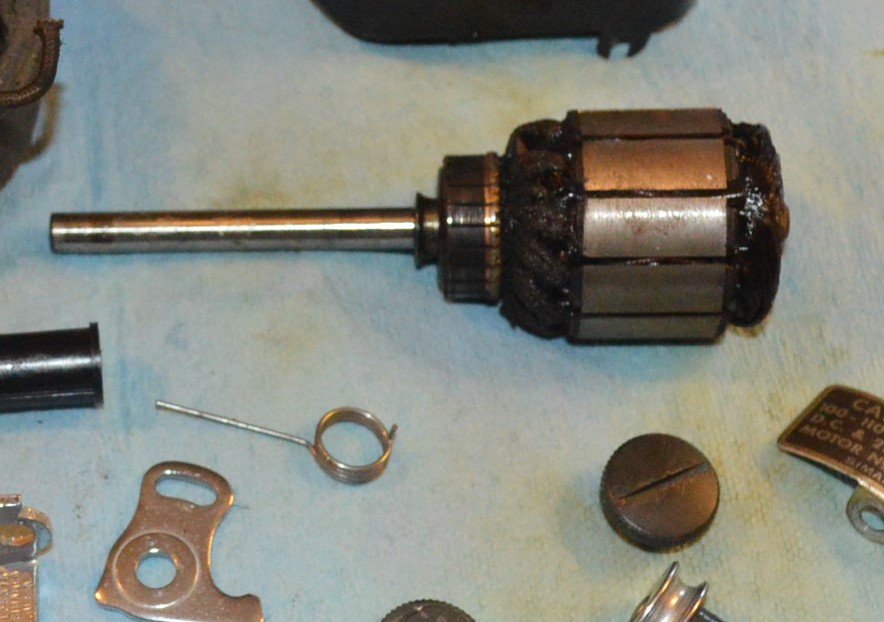
Commutator before polishing 
Commutator after polishing 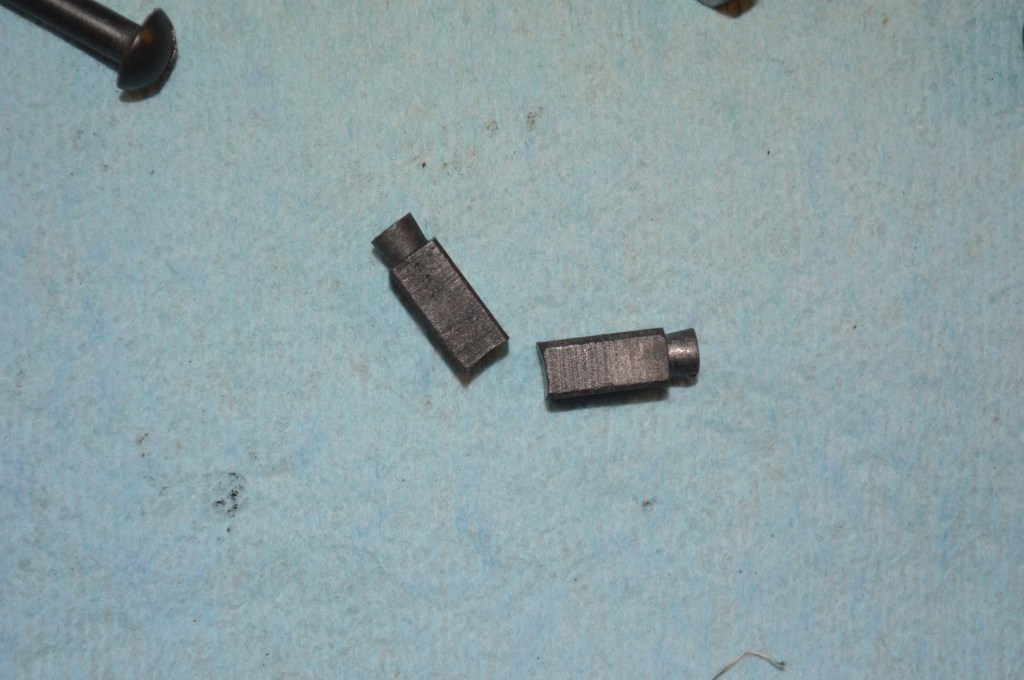
Brushes before reconditioning 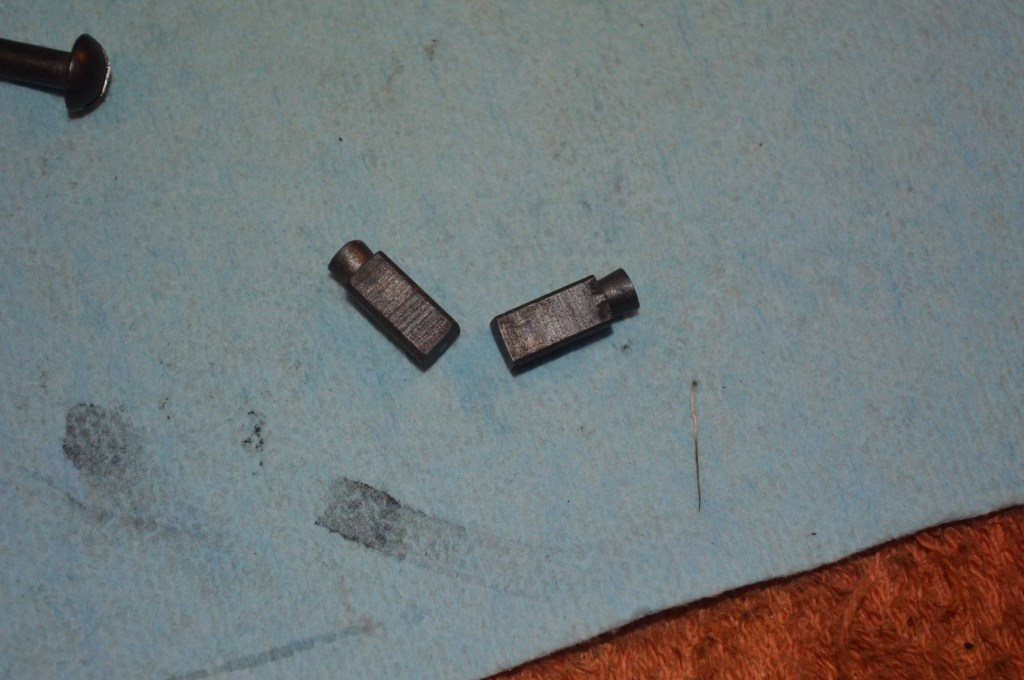
Brush faces reconditioned 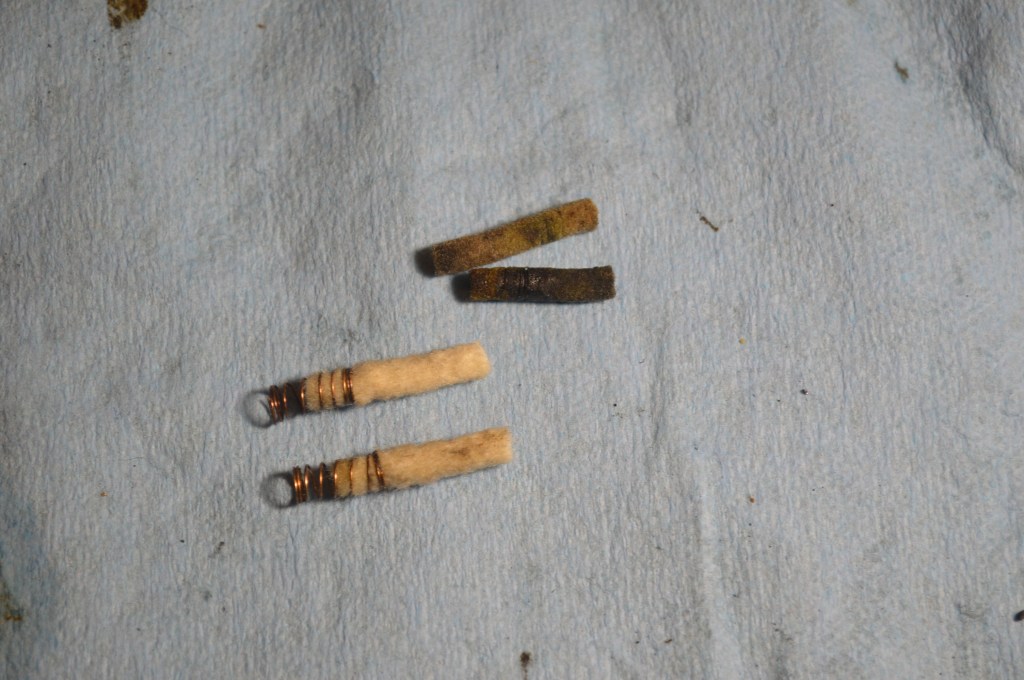
New grease wicks
With these steps taken, the motor is reassembled and tested. and except for reassembly, this completes the mechanical restoration.
Now for the cosmetic restoration. This starts with a deep cleaning to assess the original shellac coating remaining on the machine. Despite the smooth appearance of the finish, there is a lot of dirt embedded in the finish. After cleaning, the machine looks nice… the paint is generally smooth and the shellac is intact on the sewing bed and over all of the decals.
There is some shellac missing on the sewing arm and on portions of the pillar. These will be restored with the new shellac coat. The body of the machine is coated with a boiled linseed oil and left overnight. Linseed oil is compatible with the shellac and will nourish the finish of the machine in preparation of the new shellac. But first, there are come cosmetic repairs to make on small paint chips.
After wiping off excess linseed oil, the pain chips are touched up with color matching paint. The chips are small and disappear… The best way to see the difference is before on the left… after on the right.


There is only one small defect in the decals… it is on the back of the machine and would be hidden by the light, but there is no better time to correct it.

It’s a small detail and it will blend and vanish under the new shellac.
In preparation for new shellac, the machine is coated with a thin layer of boiled linseed oil. It is then wiped off of the surface. Fortunately, shellac melts shellac and the sole objective for the linseed oil is to nourish the old shellac and “draw” the new shellac into the old… if that makes sense (it works better than I can explain it).
The machine is prepared for spraying by plugging holes with silicone plugs. Several layers will be sprayed to get enough buildup to allow sanding and polishing without fear of polishing down through to the decals.
The machine took four coats on the sewing bed and three coats over the pillar and sewing arm. The machine is allowed to cure for a minimum of four days before sanding and polishing.

After curing, the new finish is progressively wet sanded with different grits of sandpaper. Linseed oil is used as the wetting medium. The first step is sanding with 1000 grit paper, then 1500 grit paper, then 2000 grit paper, then 2500 grit paper, and finally by two rounds of glaze polishing. The second glaze polish is finer than the first. The final finish is smooth and deep black.
All sanding is done by hand and this is the single most labor intensive part of the restoration. I think the outcome is well worth the effort.
Notice the slight green haze in the last picture? This is the shellac coating revealed by the camera flash. Here’s a tip (and I think a great Trivial Pursuit question)… If you want to evaluate the shellac finish on a Singer sewing machine, shine a flashlight close to the surface of the machine and the shellac coat will present itself as a light green hue. Any place this hue is not seen is where the shellac has worn away and the black lacquer paint is exposed… hopefully not over the decals!
The motor housing is not coated with shellac, any paint repairs here are simply paint matched.
The final step in the cosmetic restoration is polishing the chrome plates and shiny bits.
I’ve given up on trying to show before and after pictures for polishing… the camera simply cannot focus on the before and after. After assembly, the polished parts look fantastic and complete the new finish on the machine. Parts not shown, including the rim of the balance wheel, The balance wheel stop motion knob, the bobbin thread winder guide, the presser foot lift lever, the feed dog tension knob, the stitch length lever, the needle bar foot clamp screw, and the rear cover screw are also polished… that’s what makes them shiny bits!
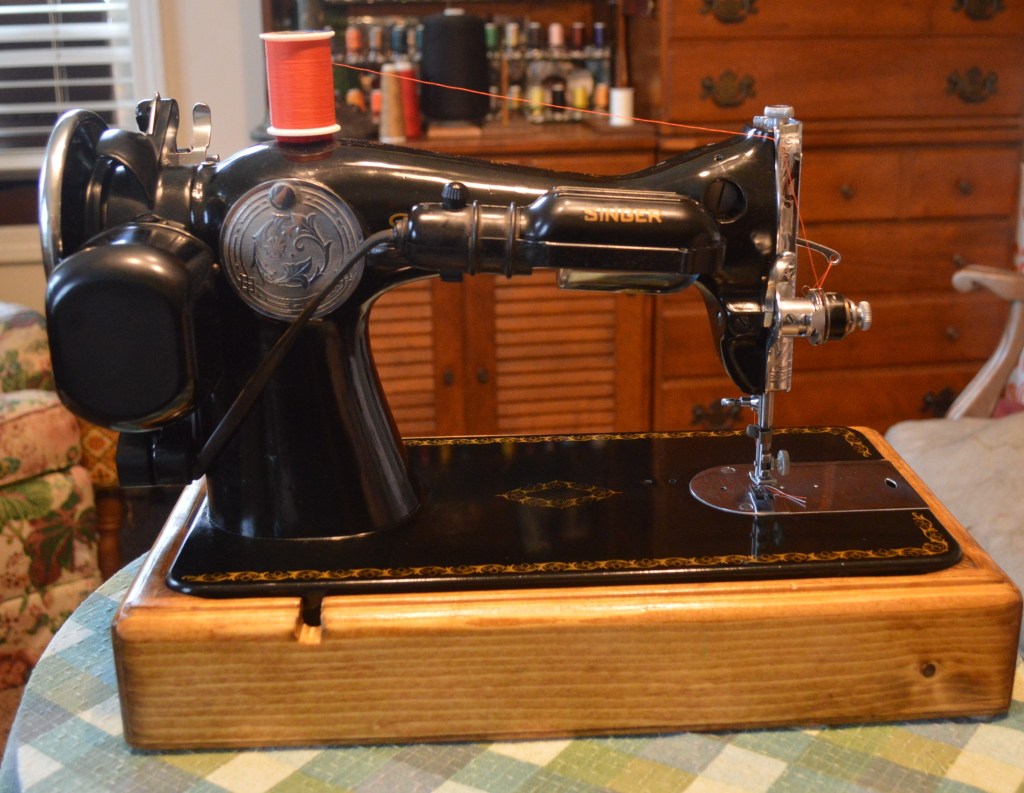
This machine came into the shop without a light…. a Singer model 15 made in 1946 needs a light! A vintage Singer light was added to the machine and wired to the terminal plug.
After the machine is reassembled, the feed dogs, presser foot bar, needle bar depth, and needle timing are adjusted. The upper and lower tension is balanced by test sewing, and the machine is run to allow the parts to reacclimate to each other. Following this “run in”, all of the assemblies are rechecked and if necessary, readjusted.
That’s pretty much it… at least I can’t think of anything else I can add to a restoration… well except for a base for the machine to sit in (so I made one).
As usual, the before and after pictures tell the story.
Before:

After:

If you like what you see please visit our Etsy store at https://www.etsy.com/shop/pungoliving, and see this 15-91 and our other restored fine quality vintage sewing machines. As always, If you have any questions or if I can be of any assistance, please contact Lee at Pungoliving@gmail.com.
If you don’t see a machine you love and would appreciate owning a similarly restored quality vintage all metal sewing machine for your sewing room, let us know! We love custom orders and are happy to locate and restore the “perfect” machine for you!
Thanks for reading!
Lee

Do you believe my mother had this same machine? I am 33 years old and when I saw this article, I felt the smell of the machine I got from my childhood again. It’s a great machine. My mom has used this machine for about 30 years and I’ve never seen it go to the mechanic.
Your work has been great. It has been a very nice maintenance. With good maintenance, I think these machines will work for another 100 years.
I also read a good article on the page at the link below, but the work on this blog has been much more detailed and useful.
https://sewingarea.com/which-singer-treadle-sewing-machine-is-right-for-you/
Thank you….
LikeLike
Thank you Giselle,
I appreciate you letting me know that you enjoyed my blog posts. It is a special characteristic that these vintage sewing machines possess… they have stories and evoke fond memories from the past. That is what I find so special about them and one of the reasons I chose to do vintage sewing machine restorations. Properly cleaned and oiled, except for the motor and perhaps a take up spring, I doubt one of these vintage precision made machines will ever wear out.
If you have any questions, please let me know if I can be of any assistance.
Have a blessed evening,
Lee
LikeLike
I have just acquired a singer 15-91 machine and it looks like its been well used..I wanted to see if it would make a stitch before I fell in love to quickly. Well the bobbin case was broken and it had no foot pedal. I ordered both and the motor runs the bobbin fits but I am unable to get it to lock a stitch. I don”t know much about the workings of a machine except you thread it and sew unfortunately. The bobbin thread does pull to the top but that”s about it. Any suggestion about where to start looking for help.
LikeLike
Do you have a users manual? It is usually something simple or overlooked when a 15 won’t sew. Could be it is not threaded properly, or threaded with the presser foot down (it must be up when threading the machine), you are threading the needle from the wrong direction, or the needle is in backwards.
If you don’t have a manual, please let me know and I will send you a PDF copy.
Have a blessed evening!
Lee
LikeLike
Dear Lee,
Thank you for all the details about your restoration work, this is very inspiring.
I use a 15B88 machine from the Bonnières-sur-Seine Singer factory (http://www.lamachineacoudre.net/singer/visite_bonnieres.html).
It is mounted in a treadle cabinet. This machine is very nice and in a near-mint condition. I’d like to restore it and pay a particular attention at the oil residue as you do.
I got it almost completely disassembled, but following the 15-91 adjuster’s manual, I am stuck with the two “pin” steps, namely the oscillating crank shaft pin (K, fig. 22) and the clamp stop motion bushing pin (Z, fig. 30).
I’d like to correctly clean and polish those shafts, as you can do on your machines.
Are those pins conical and is there a specific direction to drive them out, or are they regular cylindrical pins?
Is a classic drift punch a correct tool to use for this operation?
Best regards from France,
Gwenaël
LikeLike
Hello Gwenaël,
Thank you for the history of the Singer manufacturing plant your machine came from. It is a very interesting story! I just acquired a 1924 Lotus model 66, and the green Singer user manual is in French… perhaps it was manufactured in the same plant!
It sounds like you have made a great deal of progress disassembling the mechanisms in you Model 15. You will be rewarded when you have cleaned all of the parts and reassembled and adjusted your machine. The other benefit is that it will make detailed cleaning of your machine much easier.
The two pins you want to remove will allow much access to clean the assembly in the sewing arm and clean the bobbin hook shaft.
There are some precautions you need to take in removing these pins… first, they will either come out grudgingly or they will not come out at all. What I mean is, if you find yourself deforming the heads of the pins, then stop. This is something I deal with regularly and every machine is different.
Removing the pins is straight forward. The pins are not tapered, but because they were driven if from one direction, they need to be driven out from the other direction, opposite from how they were inserted… kind of like pulling a nail. You can usually tell by looking at each end of the pin. The side that shows the pin not quite all of the way through the bushing is generally the side you want to remove the pin from. If you see a side with the pin flush, or even ground flush, this is the site it was installed from and you need to remove it by striking it from the other side. You will need a 1/16″ steel punch and a metal hammer.
To remove the pin from the bobbin hook shaft, it is very important that the shaft is in a position so the pin can be hammered out straight down and perpendicular to the bed of the machine. This is the thickest part of the casting. Trying to remove the pin from is any other position puts the stress on the thinnest part of the casting and it can break, ruining your machine. Center the punch directly over the pin and give it a sharp rap with the hammer… not too hard though, you are not driving a nail. I find a lighter smaller ball peen hammer works best. Look to see if the pin has moved. If it has, that’s great, you are in the right direction so hit it again. Once the pin moves, you can tap it out fairly easily. If the pin does not move, and after a few attempts using sharp blows with the hammer it begins to deform the top of the pin, then you will need to stop. At this point, the only option is to drill the pin below the surface of the bushing and this is difficult without a drill press and proper support.
The procedure for removing the pin in the balance wheel bushing is the same. The difference is that it is much less risky to remove.
Once the pins are removed, you may or may not be able to reuse them. Normally they are okay, but of not they can be replaced with 1/16″ roll pins.
When you remove the pin from the bottom hook shaft, take pictures of the orientation of the bushing to the hook shaft so you don’t inadvertently install it 180 degrees out of place. You will need to use some fine grit sandpaper (I use 800 grit) to dress the end of the hook shaft so it is easier to install the part on the shaft. It is a very tight fit and you will need to oil it and then tap it on such that the holes line up. If the hole is slightly off (as is usual) you can use an awl in the hole to center the holes for the pin.
Before you remove the shaft from the upper arm, take plenty of pictures before you remove any parts. These parts have a range of adjustment that needs to be maintained when it is reassembled.
The good news is that if you have any difficulty, you do not need to remove them at all… if they are turning smooth you can simply apply a few drops of kerosene to break down any oil varnish and re-oil with sewing machine oil. While this is not going to remove all of it, this is acceptable to me if I feel it there is a risk of damaging the machine simply trying to remove the pins.
There are a few other things you may find information lacking in reassembly, but if this is the case, please contact me and I can do my best to assist you.
Have a blessed day!
Lee
LikeLike
Hello Lee,
I don’t know if 66s were build in Bonnières, but my 15B has a decal “Fabrication française” (“product of France”) on the top of the arm, under the Singer Co decal.
I’ve seen other machines for the french market that were labelled “Fabrication anglaise” (“product of England”), I guess they were K’s… According to ISMACS, it seems that the UK catalogue was made there: http://ismacs.net/singer_sewing_machine_company/just-another-singer-128.html
The factory is still in place, with its “S” water tower.
About my machine, it took me a couple of days to find the appropriate tool, a 3 mm drift punch.
The main shaft pin would not come out even after some heating, so as it is said in english, “better safe than sorry”.
I forgot to mention this is a 1951 centennial edition, hence I really don’t want to mess it up.
Thank you for the reminder about the brittle risk around the oscillating shaft. I put a wood board on the bed, turn the machine upside-down and put 2 other pieces of wood under the supporting board to make a good working surface. The pin came out quite easily.
I didn’t even need to sand the axle, with some oil I could reassemble it correctly.
The treadle as been cleaned and adjusted, now I just have to reassemble and adjust the beast. I think it will be ok following the manual.
Thank you for all your wise advice!
Gwenaël
LikeLike
Hello Gwenaël,
I think the different decals found on Singer machines from different parts of the world. In the USA they are predominantly “Made in Great Britain” or “Made in Canada” It is good to know that Singer personalized their machines for the regions they were sold in.
I’m glad you were able to het the hook shaft pin out. I have found that they are the most difficult to remove, and give the best result when cleaned to bright steel. I expect you will notice a big difference in the sound and smoothness of your machine when you are done.
You are right to leave the other pin alone. My cardinal rule is “Do no harm…). Fortunately the arm shaft is a larger diameter bore and you can get a smooth action by simply applying oil to the shaft and run the machine. If it feels sticky, use a drop of Kerosene and run the machine for a minute at slow to medium speed then apply a few drops of sewing machine oil to wash out the kerosene. Even though my restorations are generally for sale, I feel I must completely disassemble the machine, I will stop and change course if I think that I will damage it. Unfortunately I have broken parts that I then needed to locate and spend too much money to replace.
When you finish your restoration I would love to see some pictures of your machine! I’m glad that some of the information you got from my blog was useful and please don’t hesitate to ask if I can be of any assistance.
Have a great evening,
Lee
LikeLike