
This is a simple tutorial with a lot of pictures. While it is pretty simple to do, there are enough parts that it can get confusing when putting them back together and remembering how the parts fit together. To complicate the topic, two different tension assemblies may look the same, but they are fixed to the machine differently.
In their basic form, all tension assemblies work the same. Two convex steel discs on a round steel post are pressed together by a coil spring and the tension is achieved by compressing the spring against the discs with a nut. A light thread take-up spring keeps slack out of the thread as the machine forms a stitch.
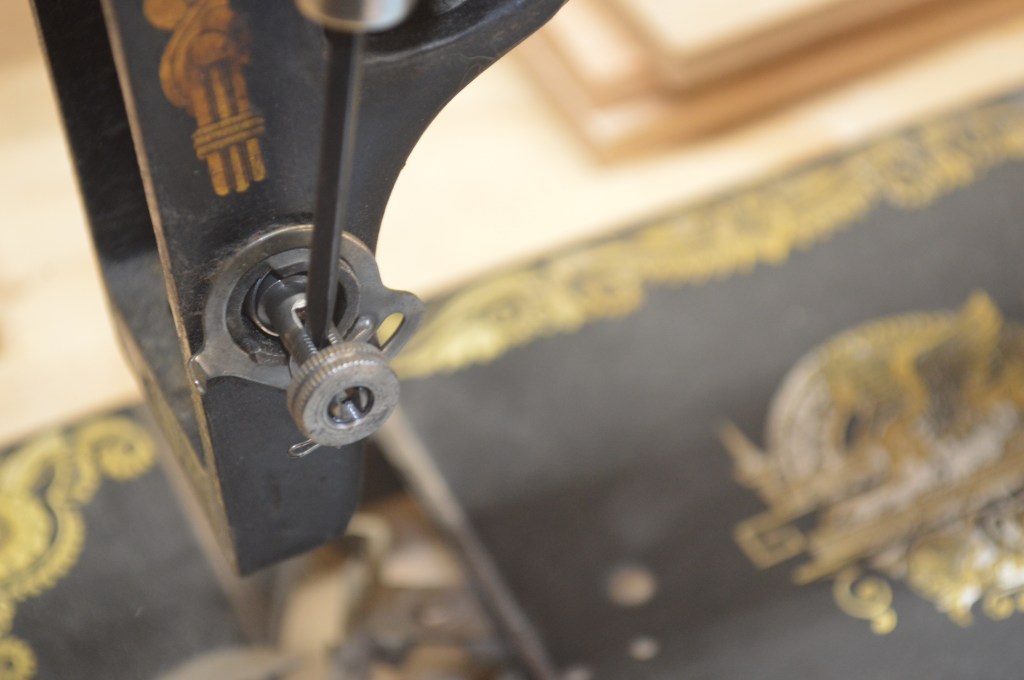
How the tension assembly is fixed to the machine can be different from machine to machine. On some antique machines, the steel post threads directly into the body of the machine. In others, the tension assembly is held into the machine by a set screw. Depending on how it is fixed to the machine will determine how to remove and disassemble it. How do you tell? the next two pictures show if your machine has a set screw or if the post screws in.
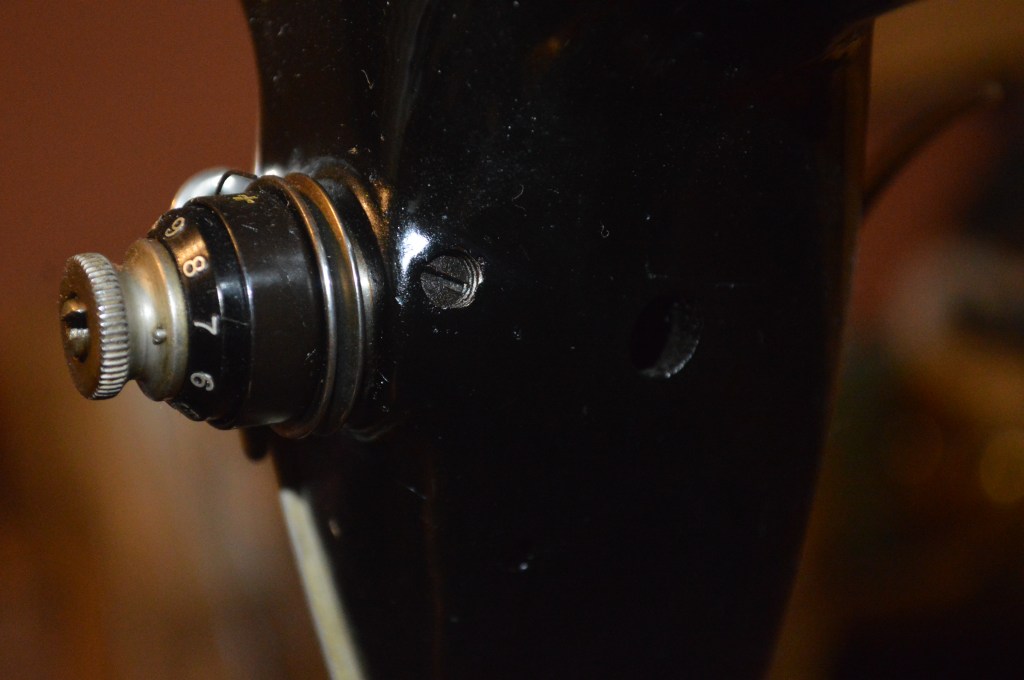
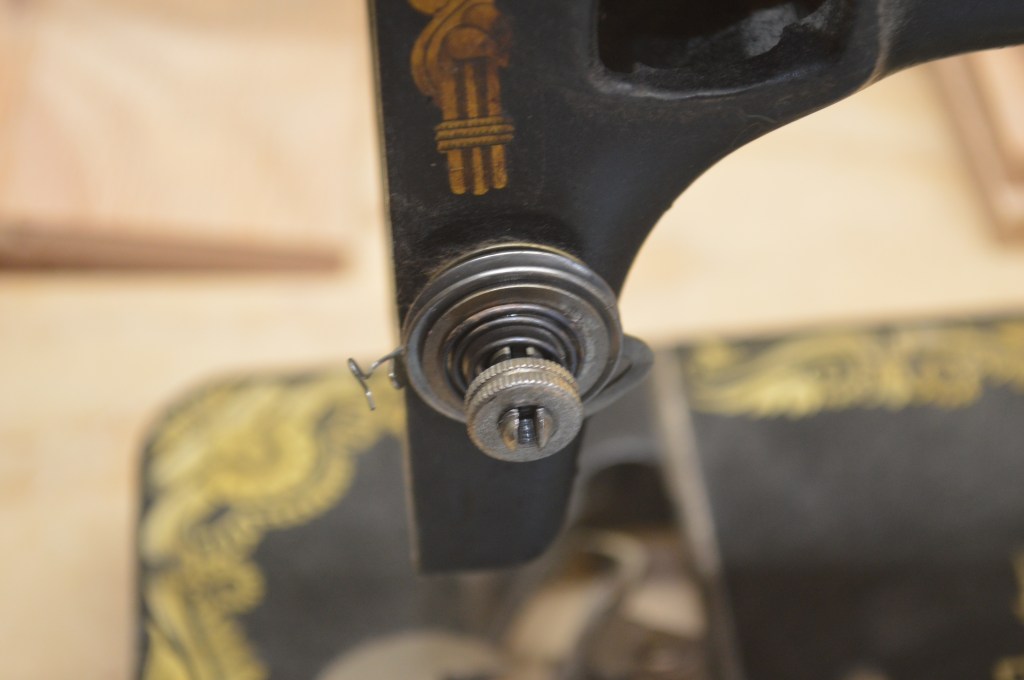
This tension assembly has a set screw and the assembly is removed as a unit 
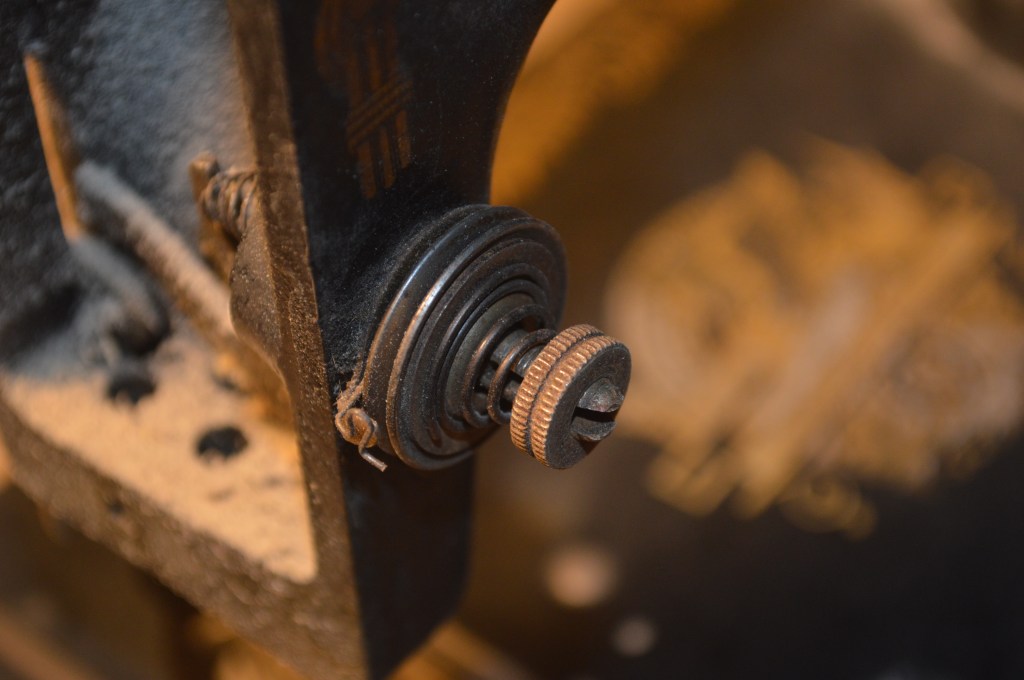
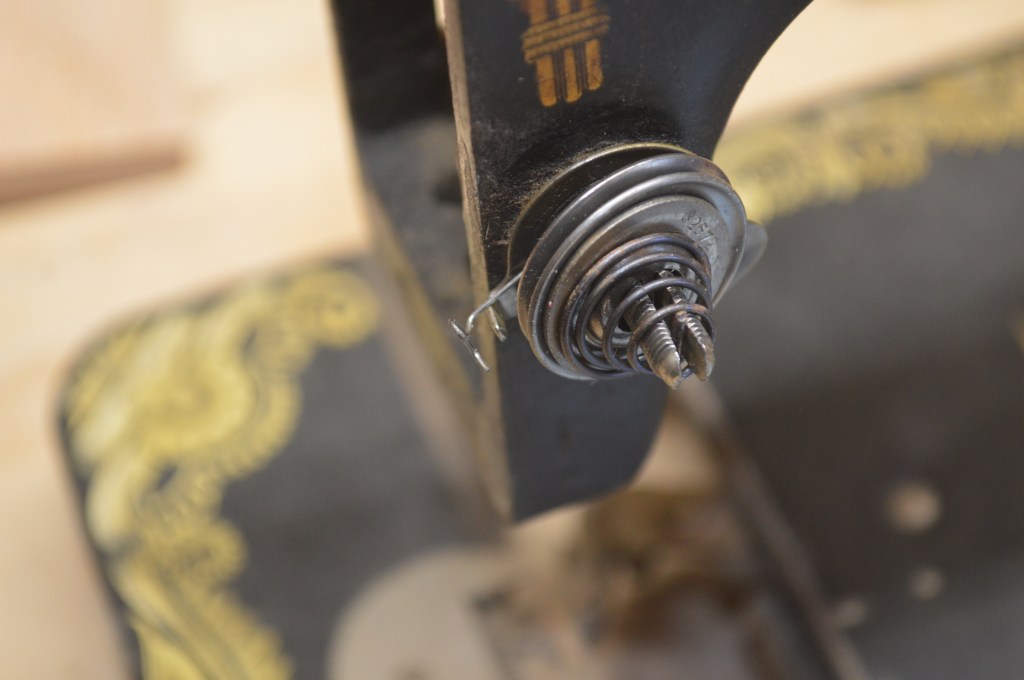
This tension assembly does not have a set screw and threads into the machine
The tension assembly I am disassembling does not have a set screw and the post screws directly into the machine. A tension assembly with the set screw has a barrel that is removed from the machine by loosening the set screw. In either case, care must be exercised in removal. The same technique can be used for both.
To remove the tension assembly (like this 27) that has the tension post screwed into the machine, follow these steps:
- Remove the nut
2. Remove the beehive coil spring, the backing plate, and both tension discs.

3. STOP! The next step is to remove the post and it needs to be done using the following technique… try anything else and you will probably damage the post and ruin it. Remove the post as follows and whatever you do, don’t use pliers!
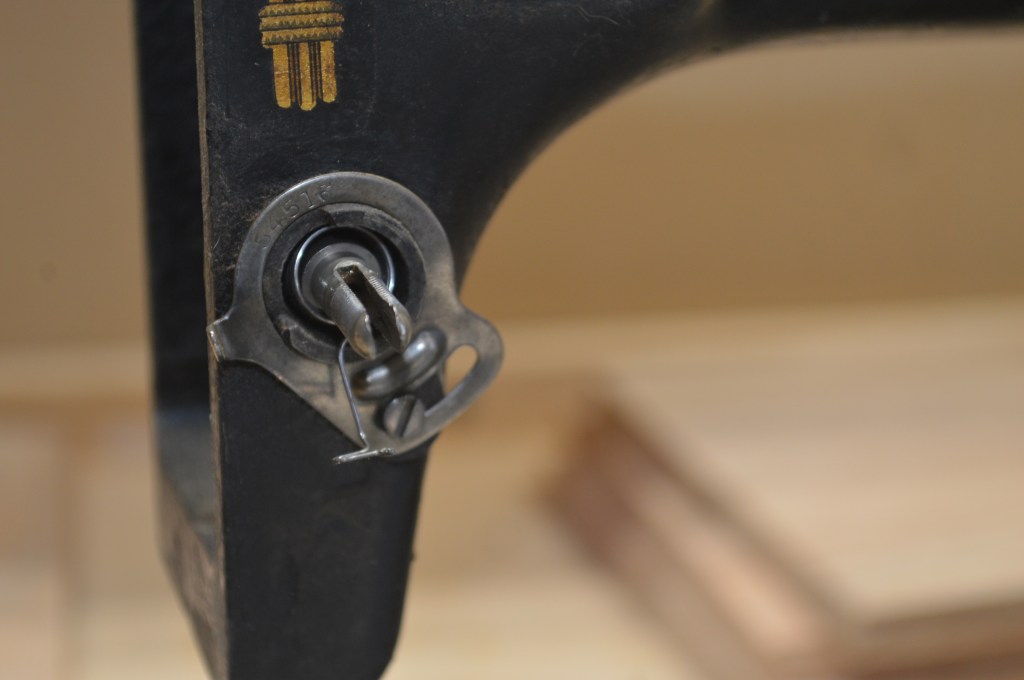
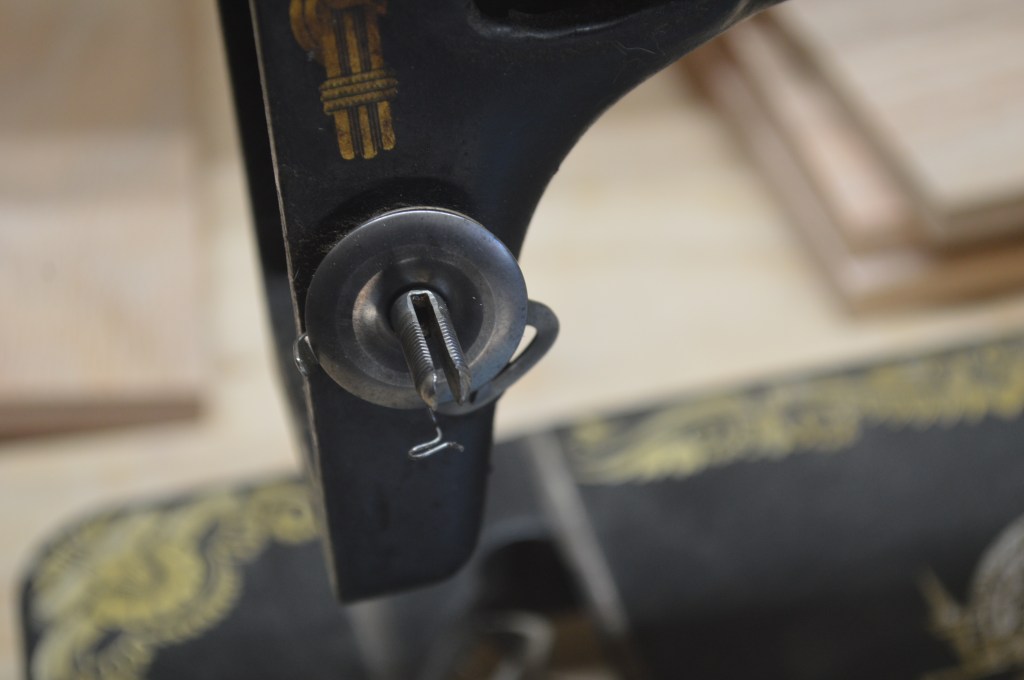
4. Screw the nut back on the post but leave enough of the slot exposed to insert the blade of a small screwdriver. This will prevent the slot from expanding each side of the post when unscrewing it and allow the nut to screw on properly when it is reassembled… If the post expands, it will be very difficult to put the nut on.
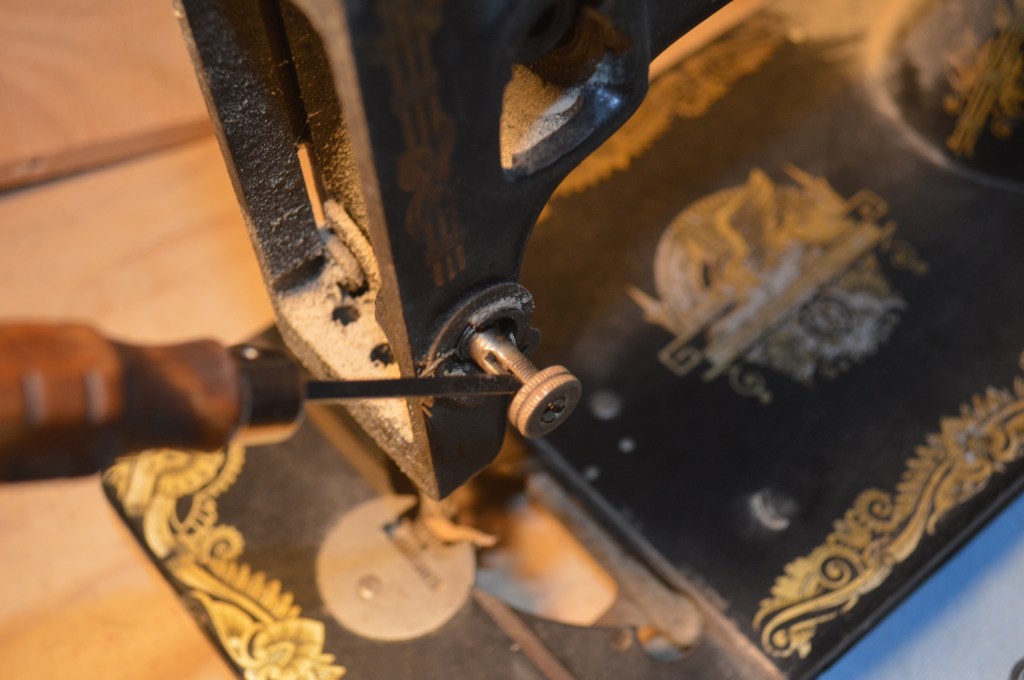
Using the screwdriver as a lever, unscrew the post from the machine.
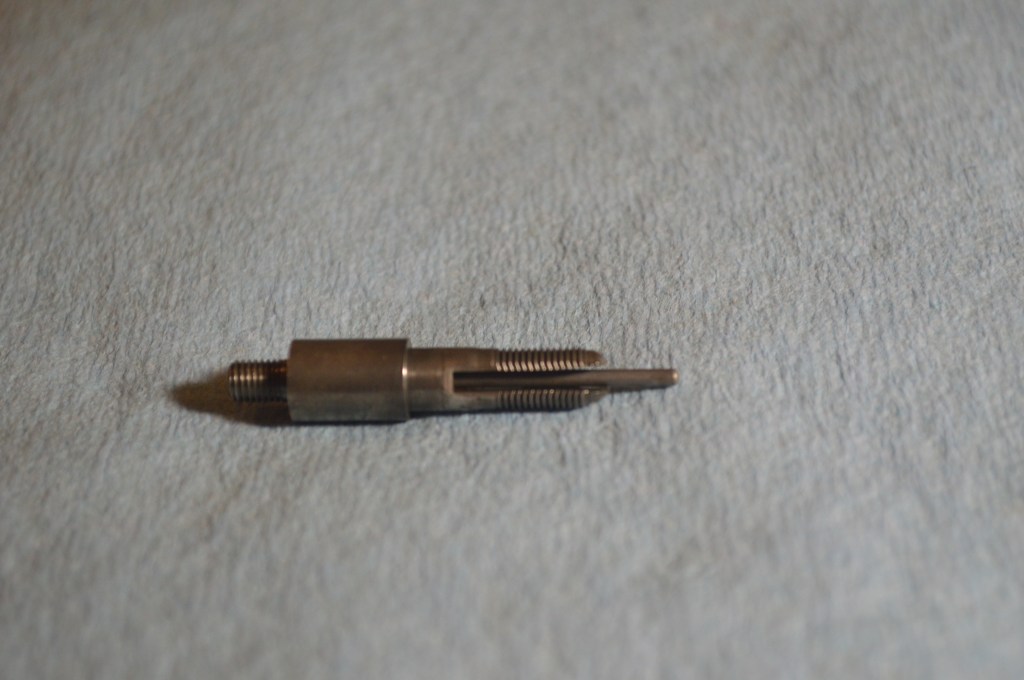
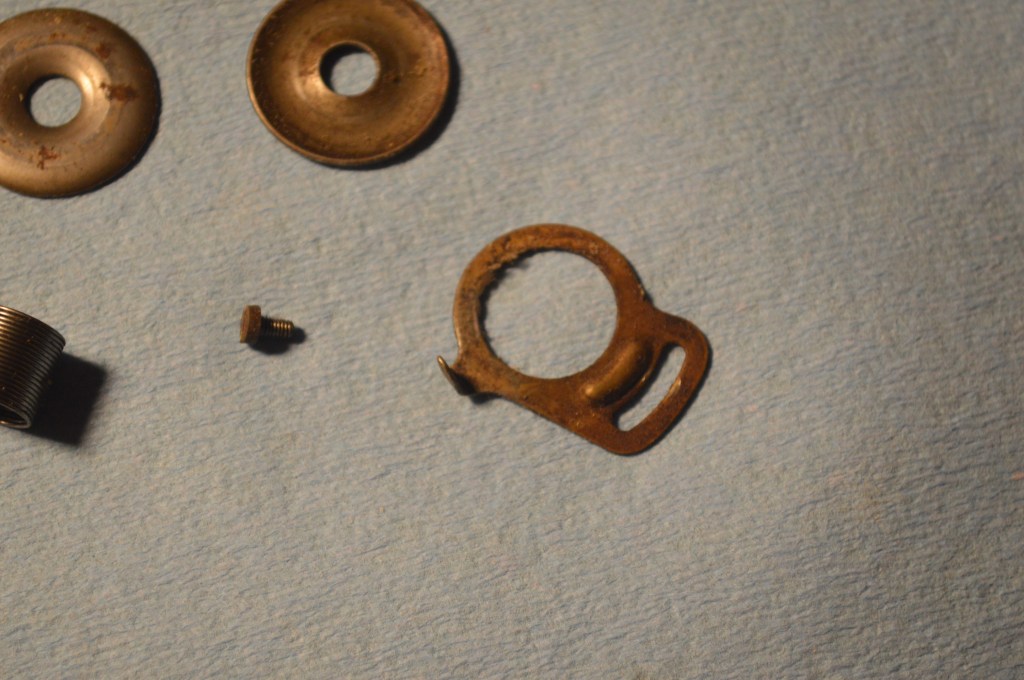
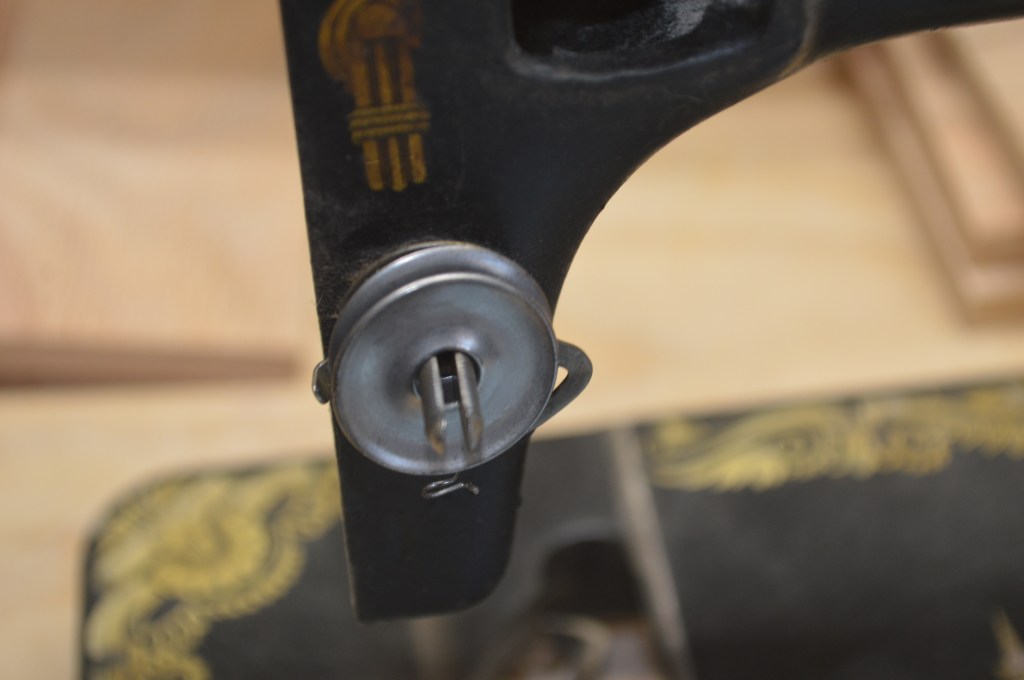
5. The post has a small pin in it that releases the tension when the presser foot lever is raised… look for it and don’t lose it!
6. Remove the thread take up spring.
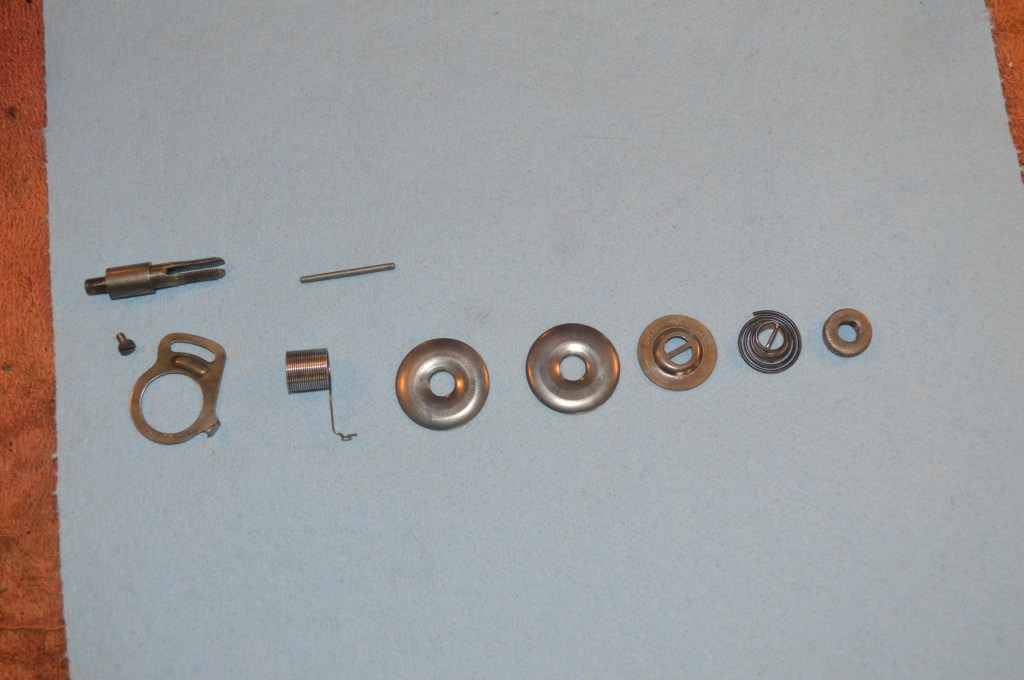
7. The thread rest backup plate does not need to be removed, but I remove it just to shine it up. Lay out all of the pieces for cleaning.
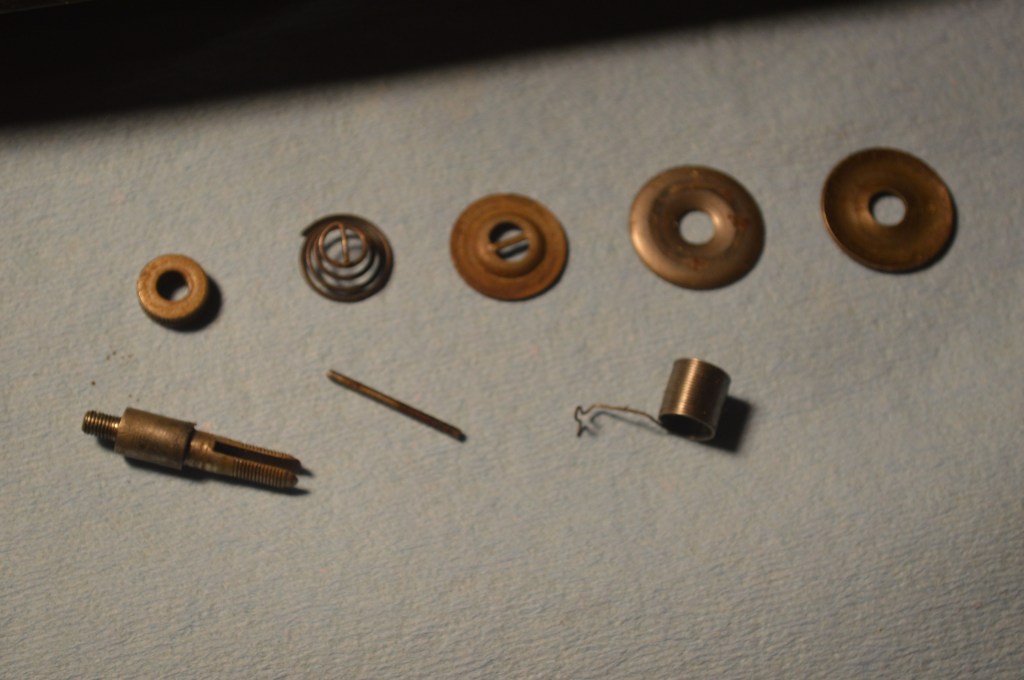
8. Clean the parts with a brass wire brush and they are ready for reassembly.
Follow these steps for reassembly.
1. if you took off the thread take-up spring rest plate, put it back on.
2. Insert the thread take up spring into the machine with the end of the spring at the 6 O’clock position.
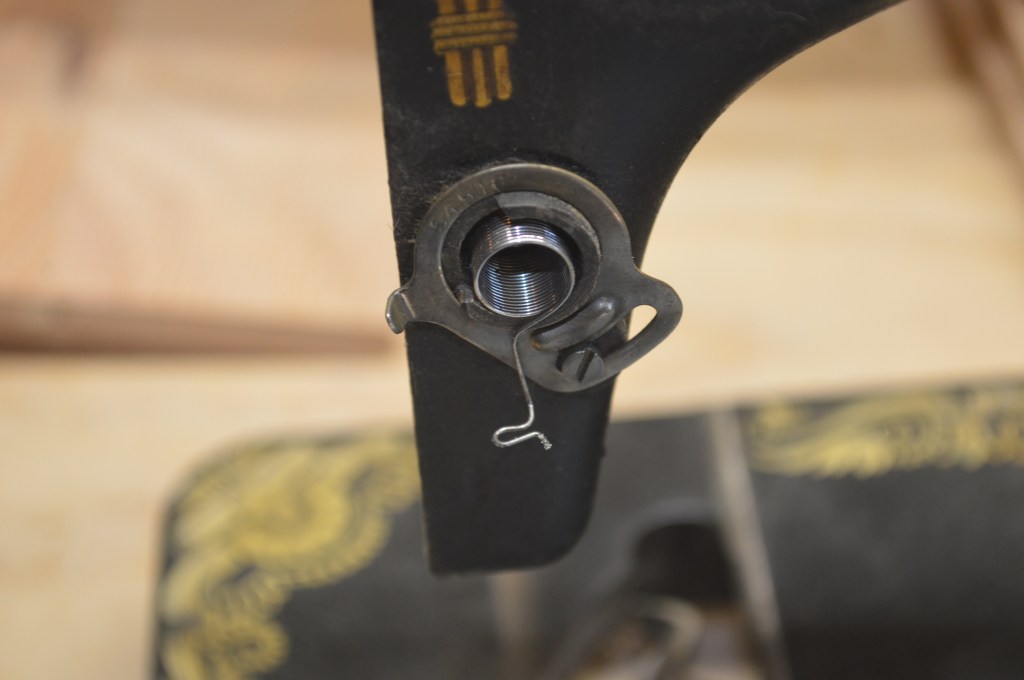
. 3. The spring is held in by the end of the post. Screw the post into the machine until it is finger tight. Put the nut on the post and using the same procedure used to loosen it, use a small screwdriver in the slot to tighten it snugly. Make sure the spring stays at the 6 O’clock position and put the pin into the post.
4. Put the first tension disc on the post convex side out.
5. Put the second disc on the post convex side in.
6. Put the beehive spring back-up plate on the tension post with the raised side facing out.

7. Put the beehive spring on the post.

8. Rest the thread take-up spring on the rest and put the nut on the post.
That’s it! Run the machine and adjust for proper tension. You should see a big difference in the before and after!
Help Support our Site…
Make a one-time donation
Make a monthly donation
Make a yearly donation
Choose an amount
Or enter a custom amount
Your contribution is appreciated.
Your contribution is appreciated.
Your contribution is appreciated.
Please let me know if I can answer any questions or if I can be of any assistance by emailing me at pungoliving@gmail.com.
Thanks for reading!
Lee
