

This restoration is for a 1950’s or 1960’s “pink” Atlas precision sewing machine. I have done several of these and they are just that… very high quality precision all metal sewing machines. Made by Brother, they are cast iron bodied and all metal sewing machines that have an oscillating hook and uses class 15 bobbins..
This particular machine is a little different than the others I have done, and this difference is the reason I acquired this machine from the other pink Atlas’s I regularly come across. It is a little detail, but I thought it was interesting enough to set this machine apart from the others… it’s in the bed decals. So far, I have seen four different variations in the bed decals and I suspect it is a detail that would date the machine. I wish I knew more about the production years, but for machines of Japanese manufacture there are no production records that can be compared against a serial number to establish a production date. Pink Atlas’s were made in the 1950’s and the 1960’s. Regardless of the date they were made, they are all very high quality machines and worthy of restoration.
This restoration will be very detailed. The machine will be completely disassembled except for the arm shaft. The arm shaft will be left in place because it is:
a. tricky to remove after 60+ years, and
b. it spins smoothly.
Following my cardinal rule of “do no harm” in a sewing machine restoration, the risk damaging something trying to disassemble the arm shaft far outweighs the benefit. (Think: “I gotta use a hammer to get this part out” and the expression on my Wife’s face when I say it and you will better understand my caution).
Everything else will be removed. All sewing mechanisms will be ultrasonically cleaned, heated in oil, and wire brushed to like new condition. Chrome plated parts will be polished and the badges will be removed and cleaned. The motor will be disassembled and restored and the motor wires will be replaced. The light wiring is in good condition and will be reused. The body of the machine will be deep cleaned and any existing paint chips will be color matched and blended into the original paint. Small defects in the decals will be repaired under magnification. The machine will be sprayed with a poly acrylic finish, then sanded and polished. The end result will be a pink Atlas precision sewing machine that runs like new and looks fantastic.
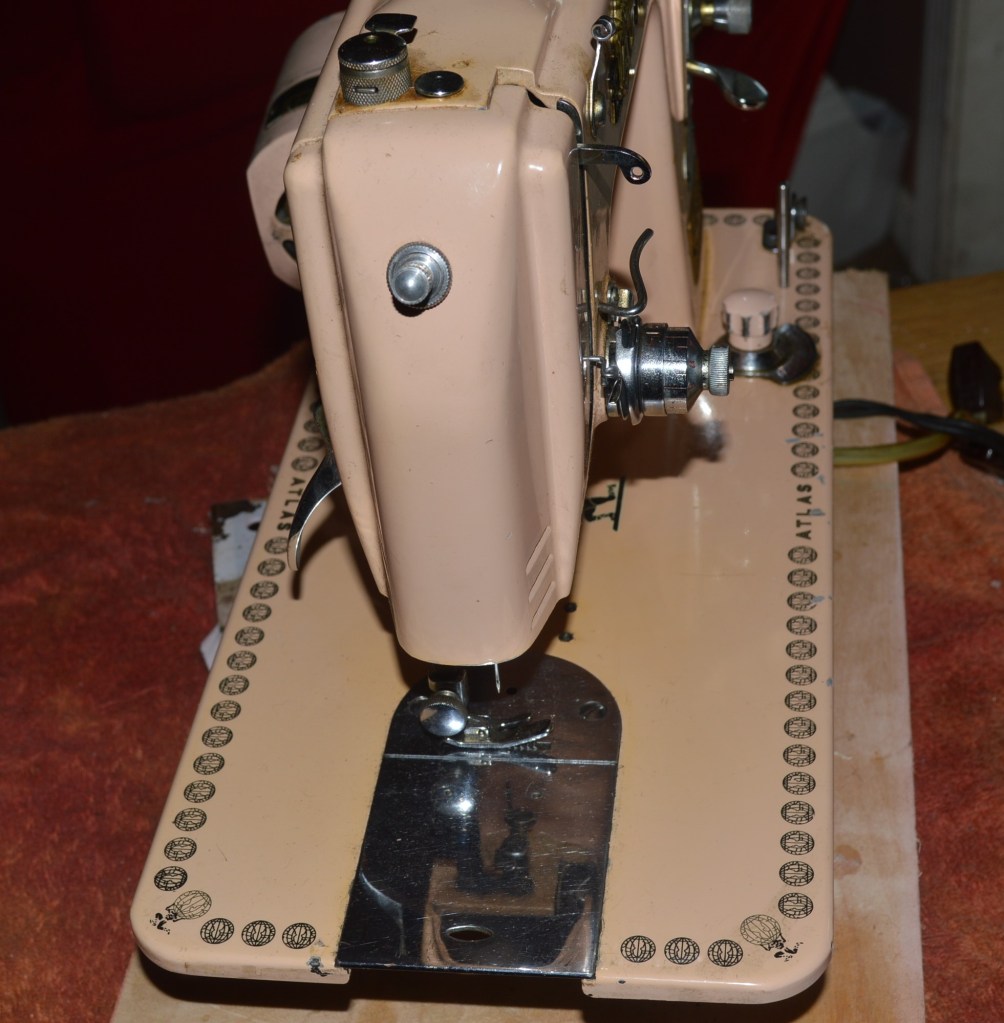
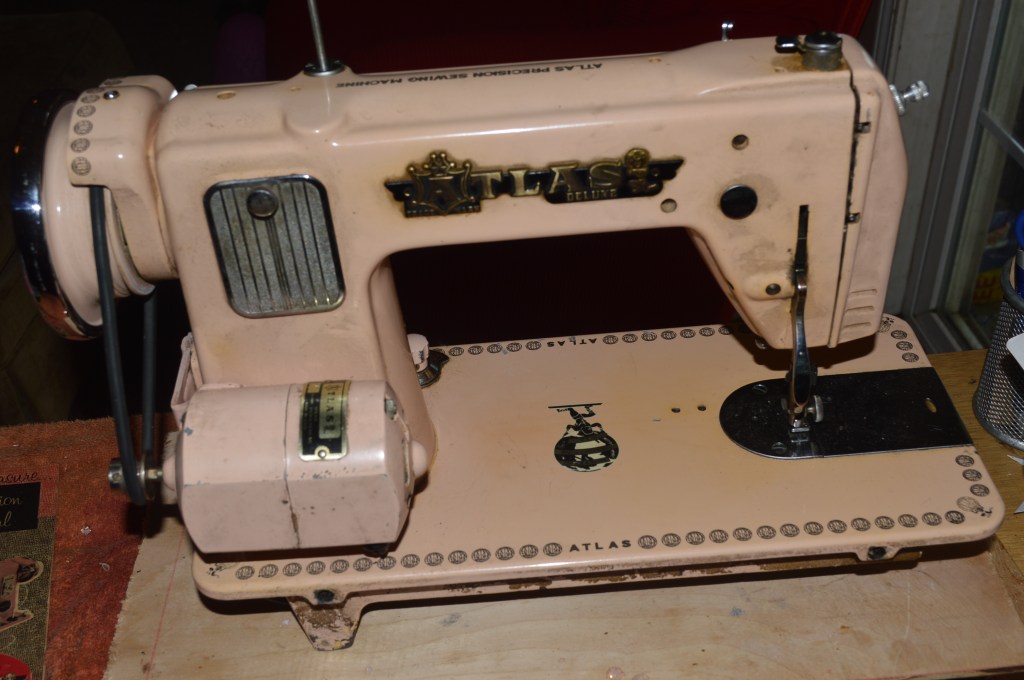
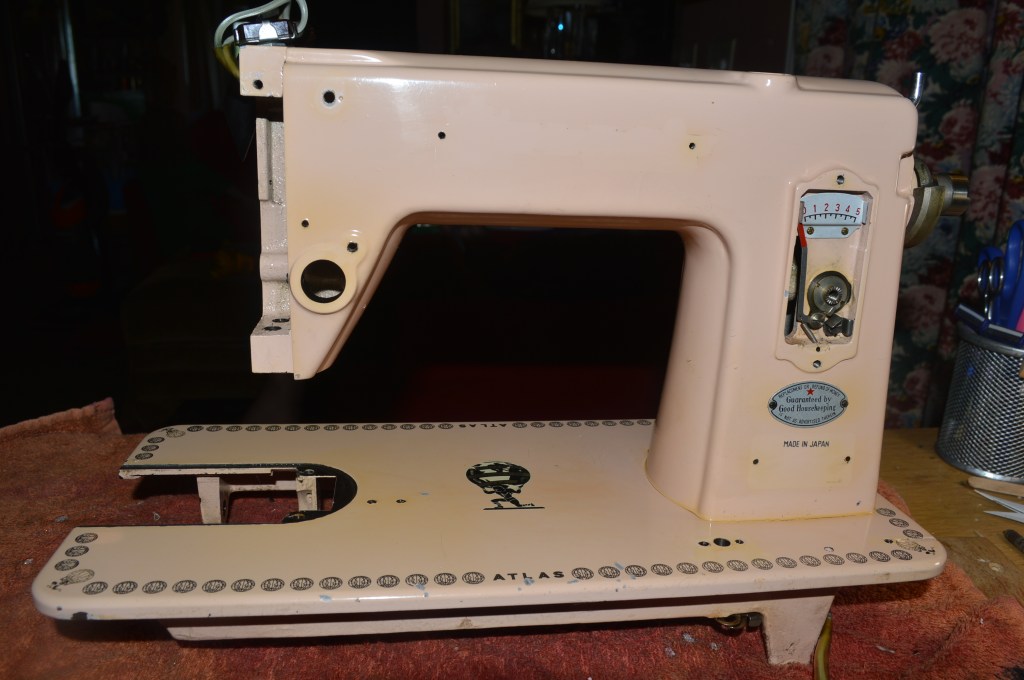
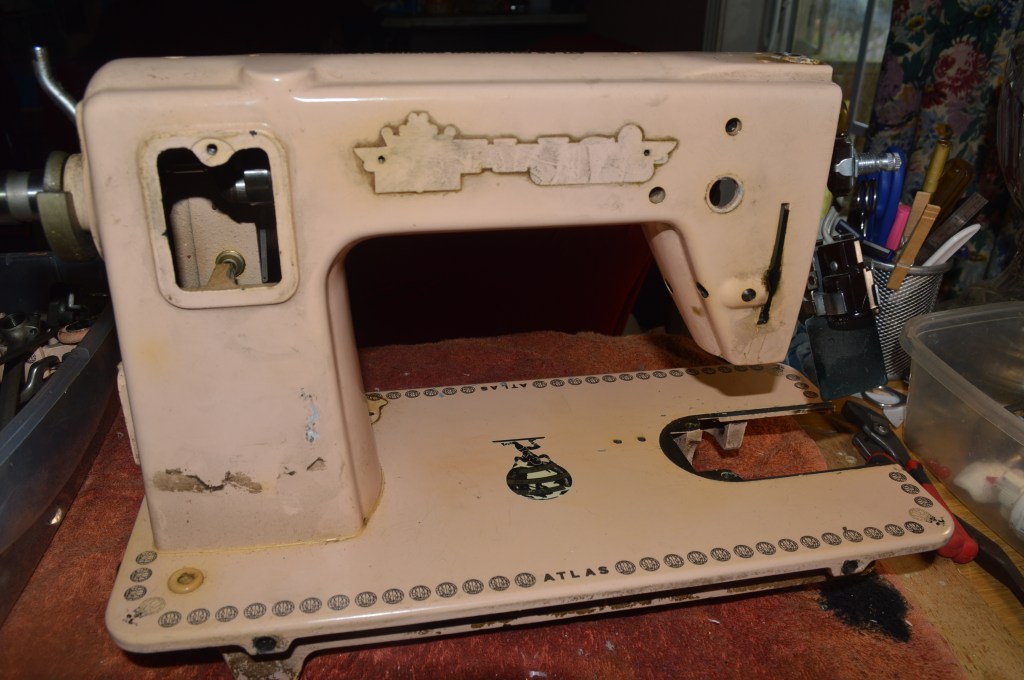
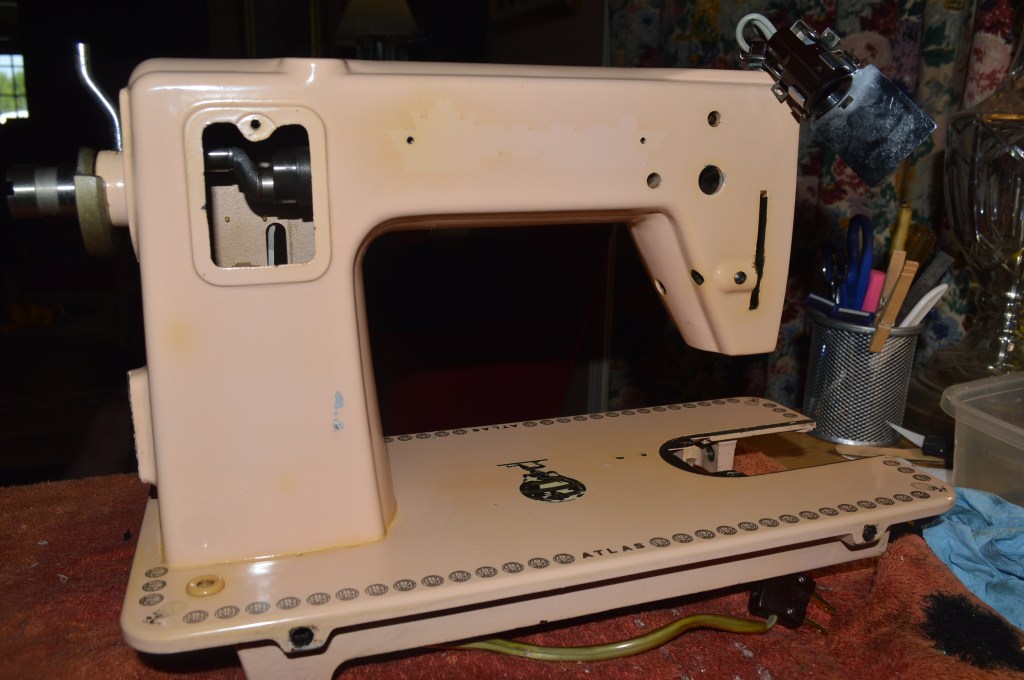
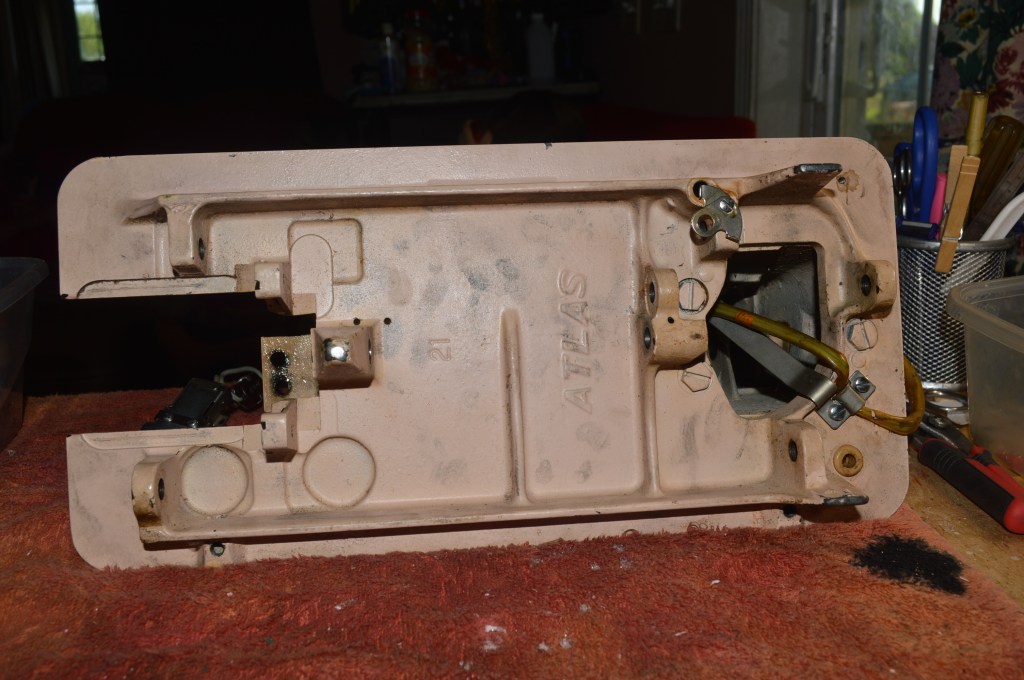
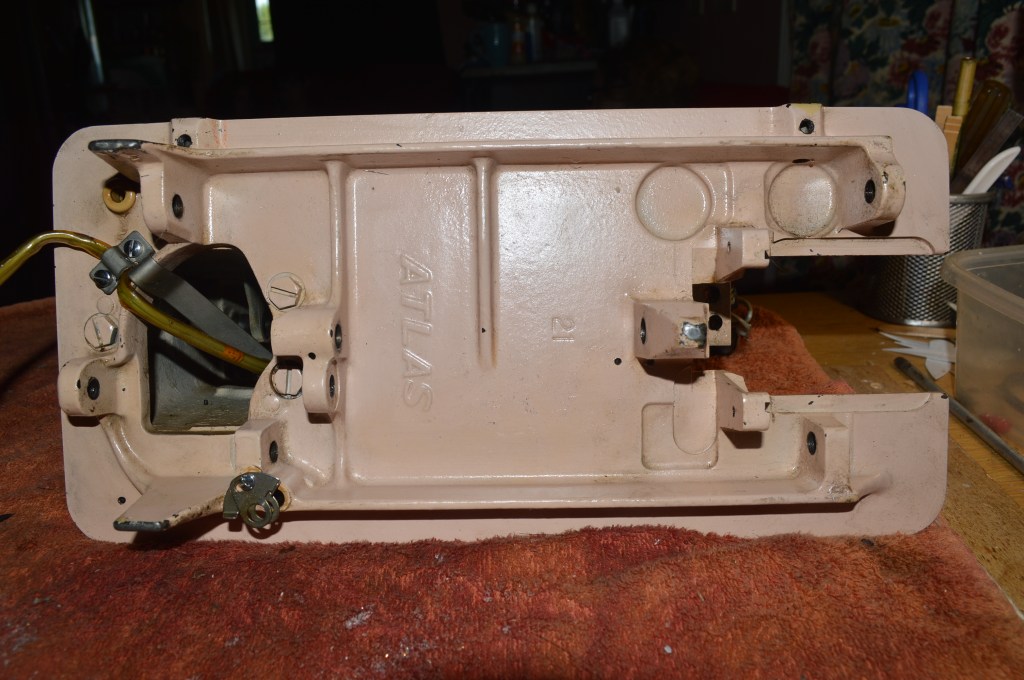
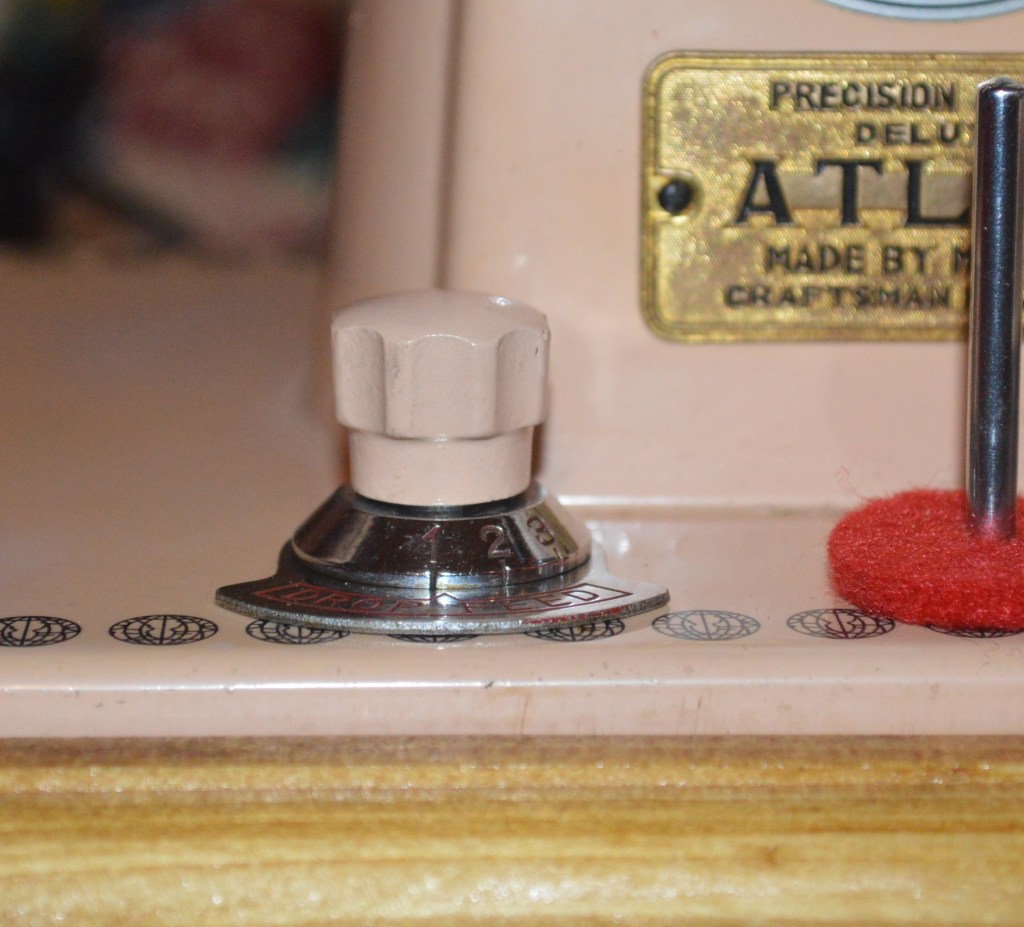
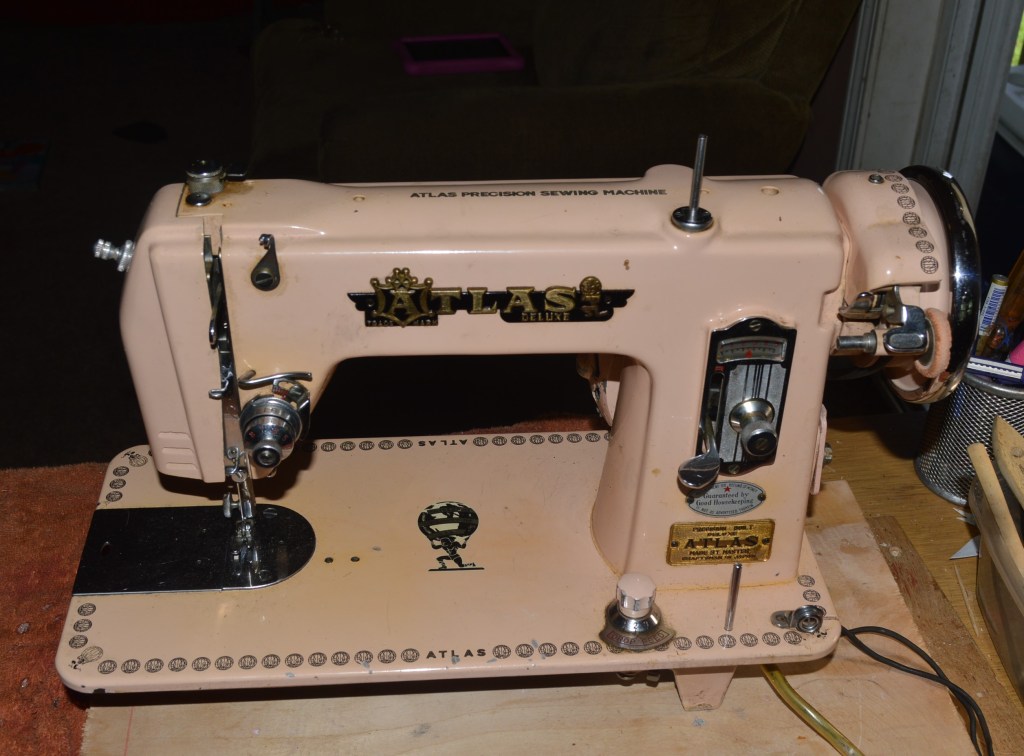
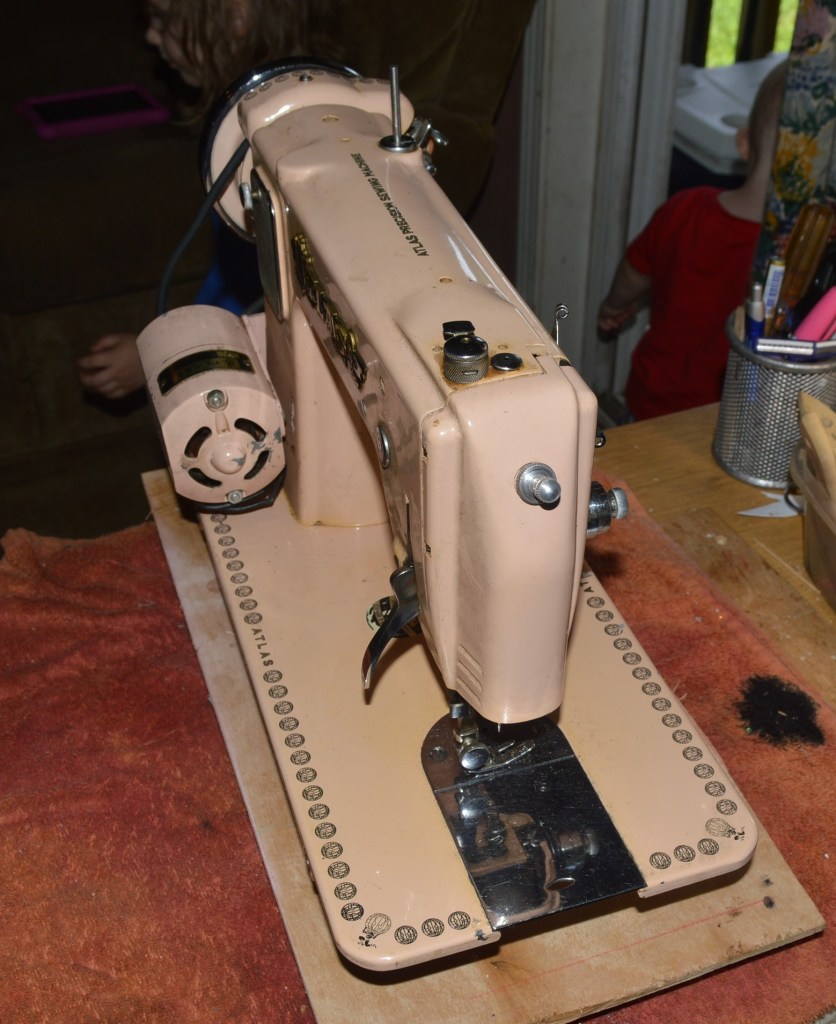
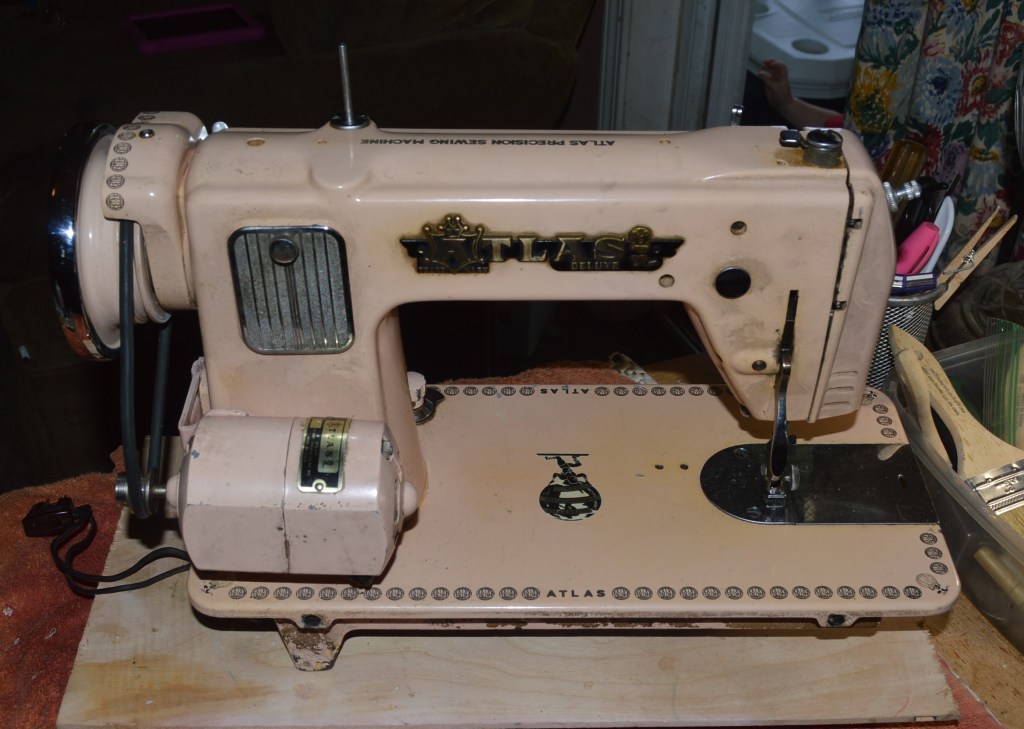
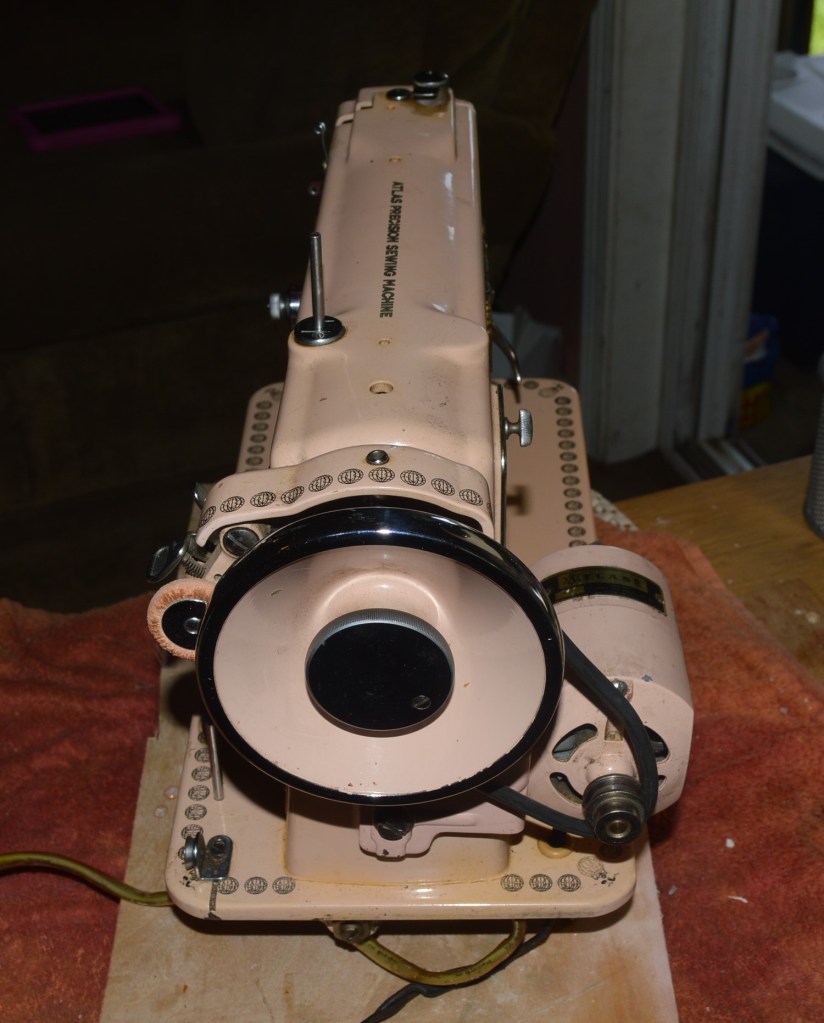
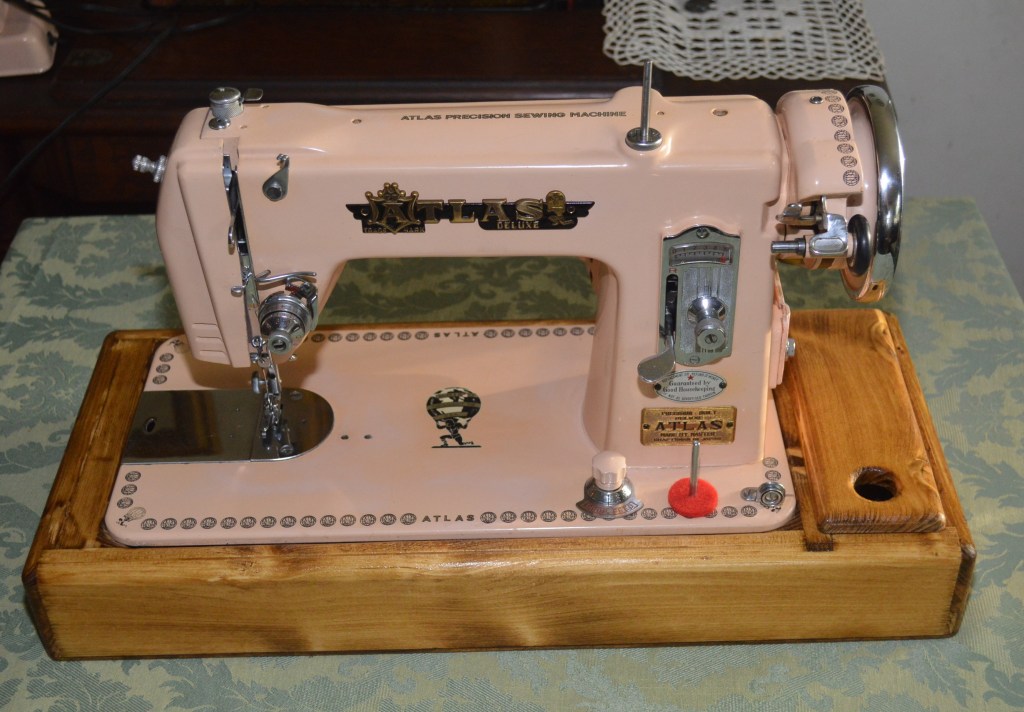
Here is the machine before the restoration…
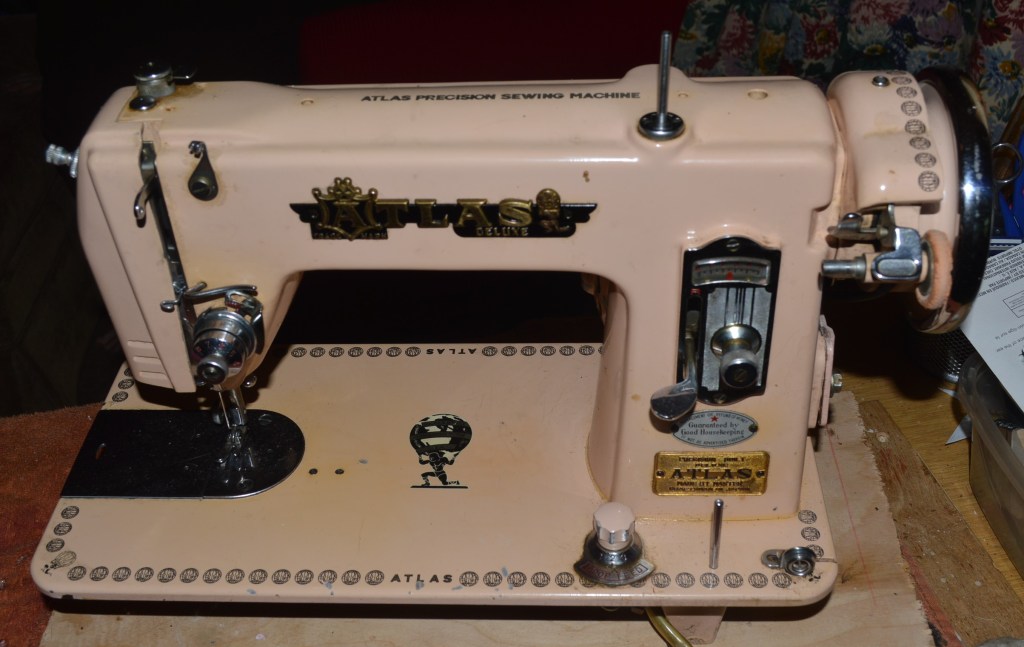

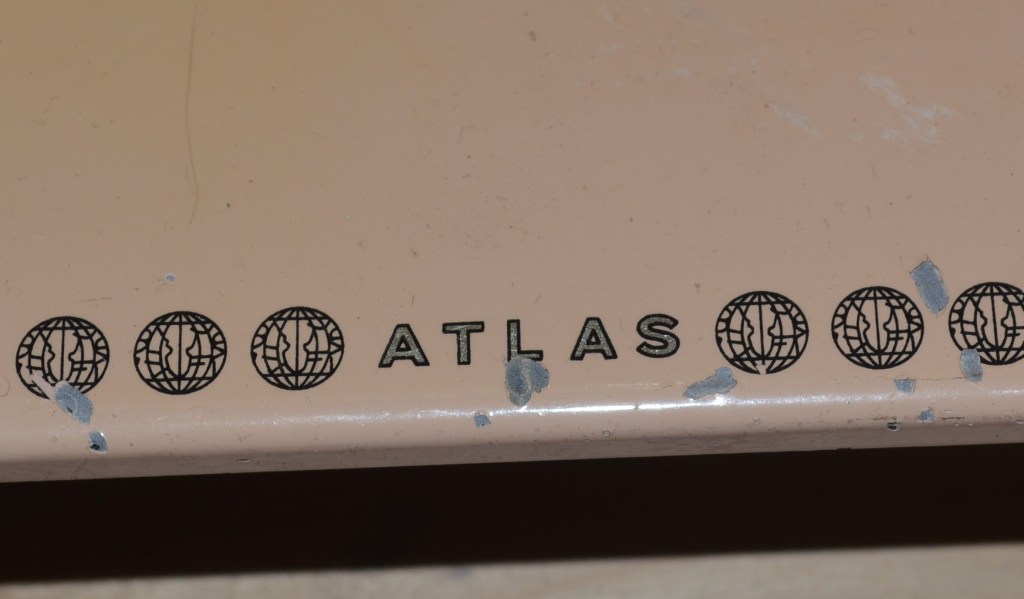
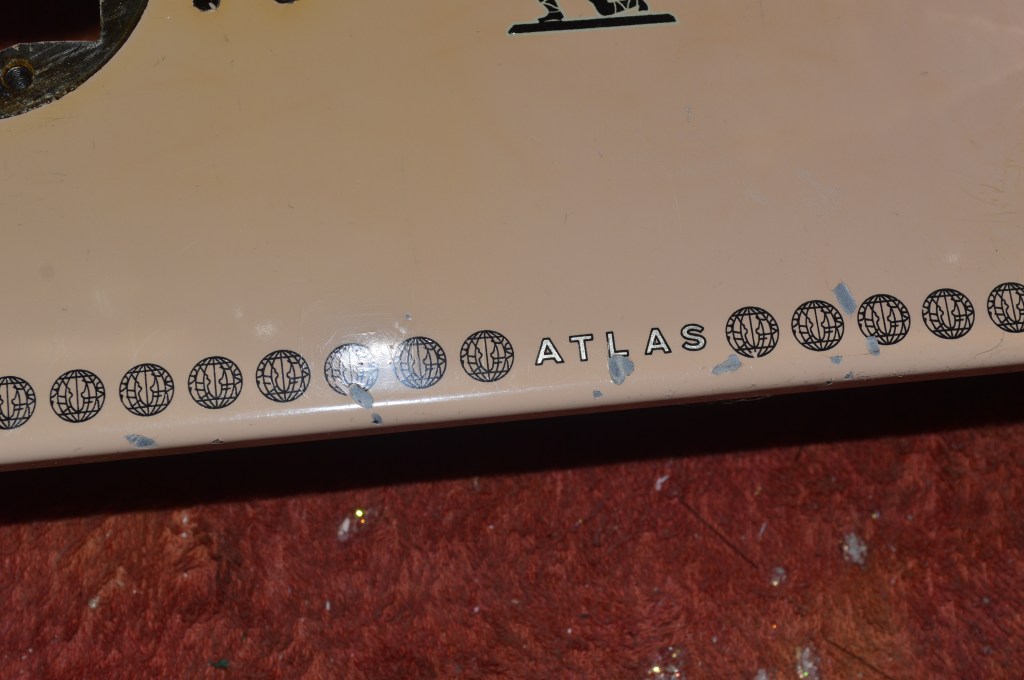
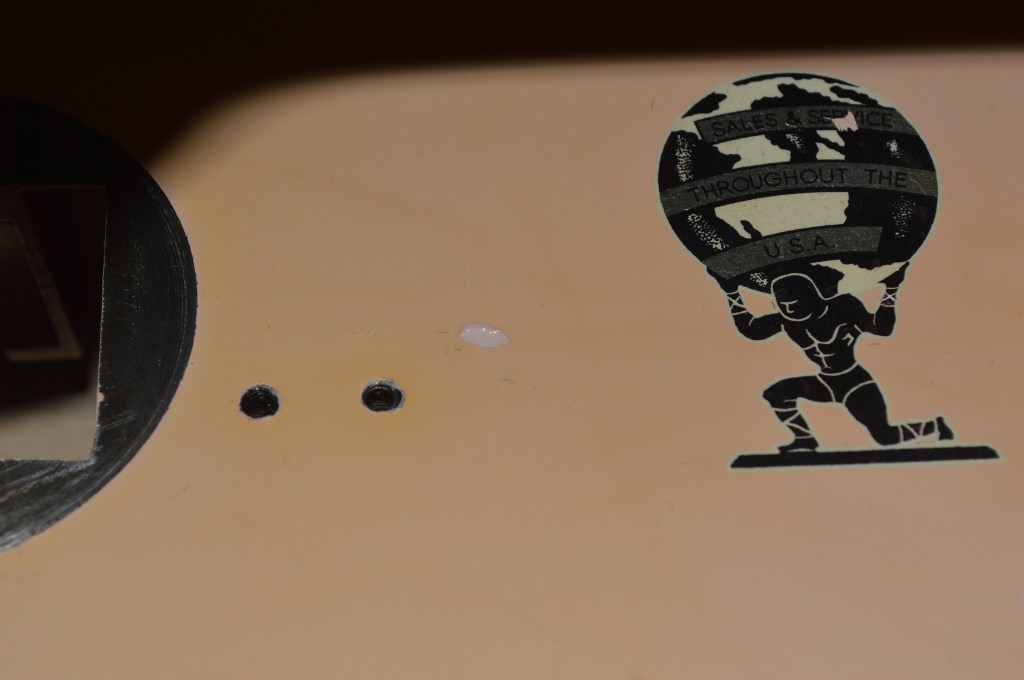
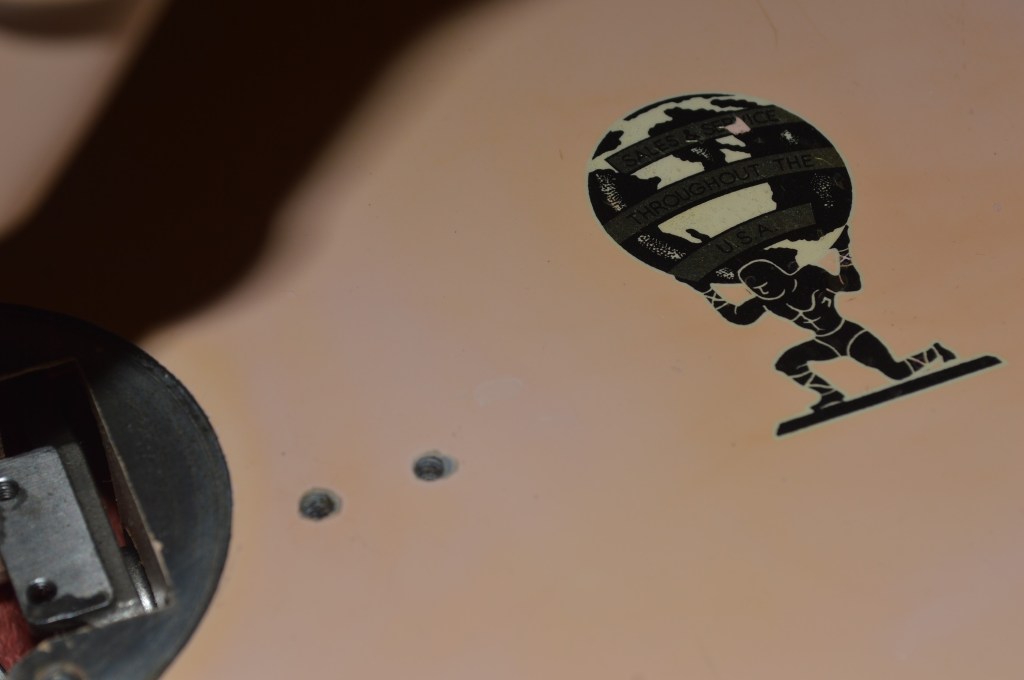
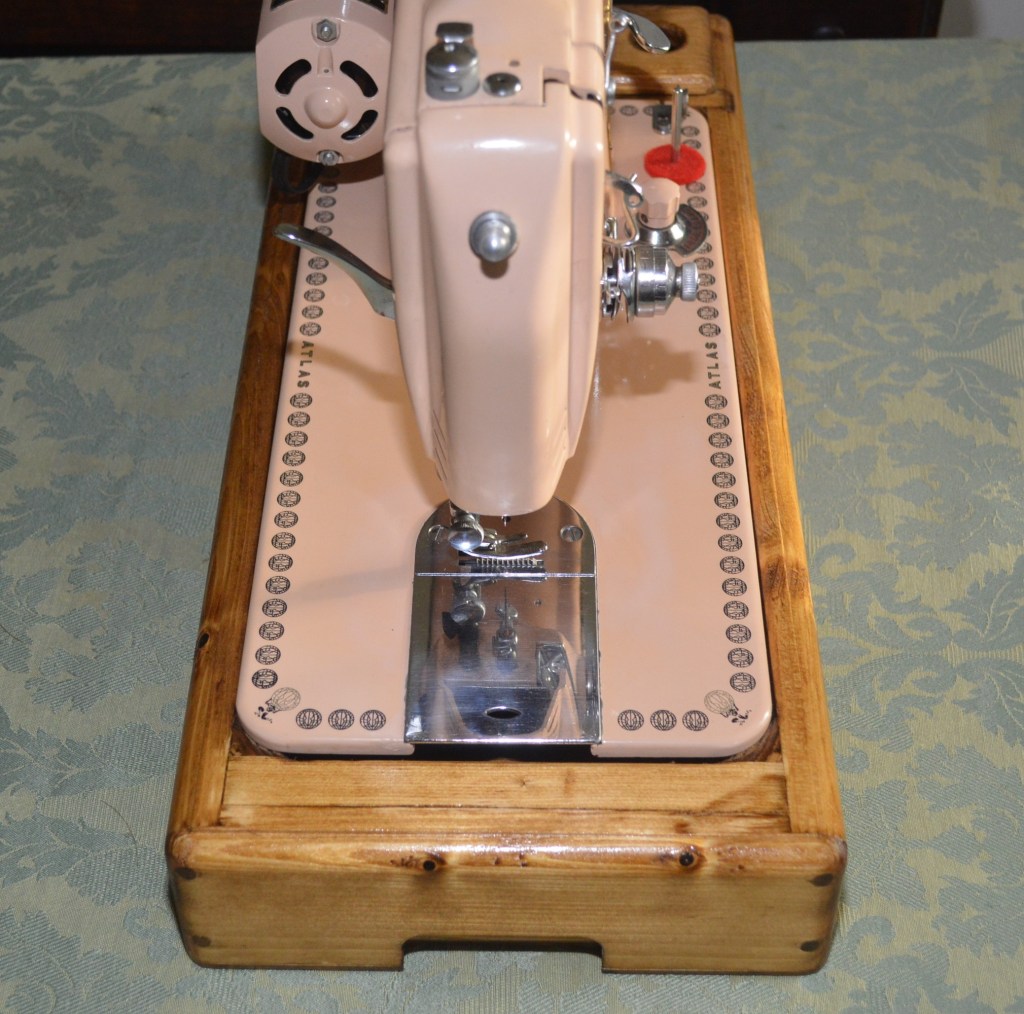
I mentioned a slight difference in the bed decals… the next pictures show the bed decals I look for on these machines, and the bed decals on this machine.
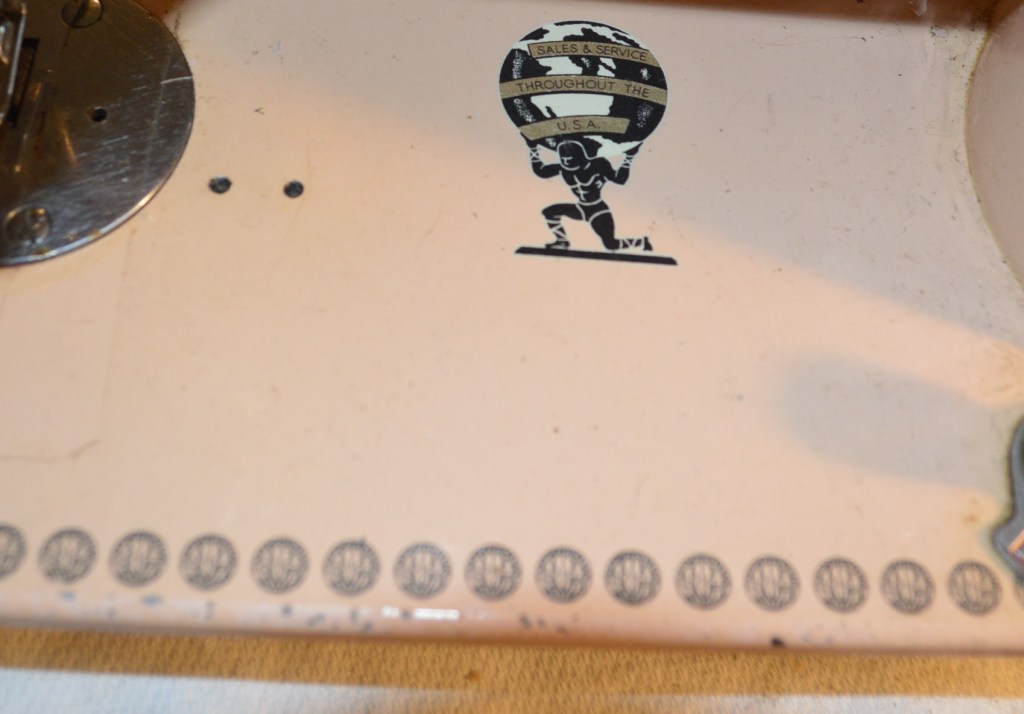
Commonly found bed decals 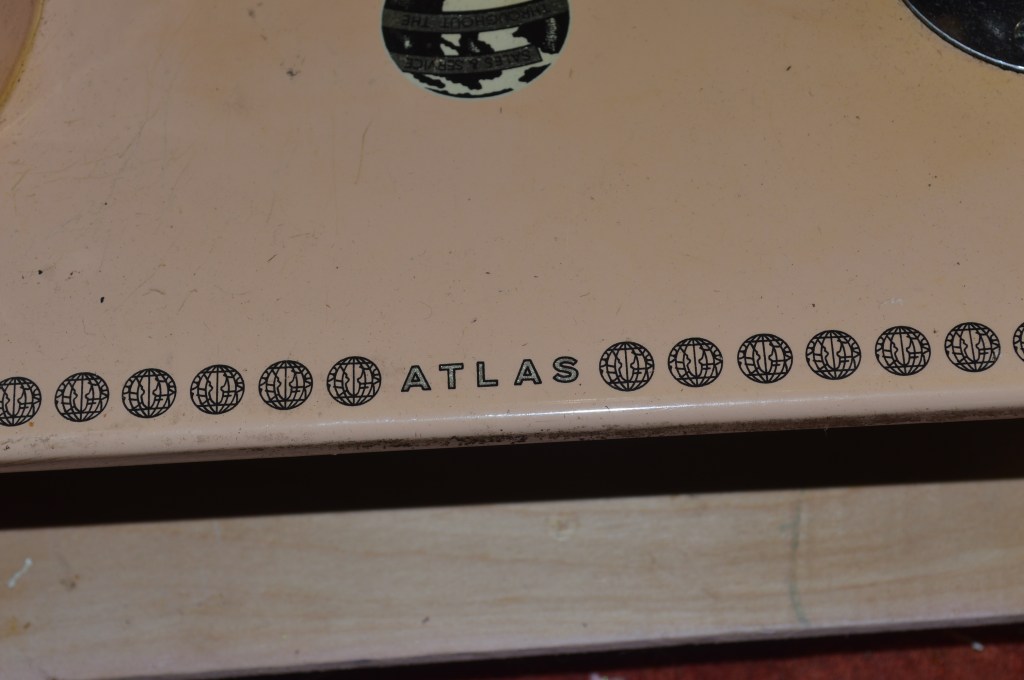
Bed decals on this machine
It’s a small detail, but I like it, and to me it’s the details that matter and it adds interest to the machine.
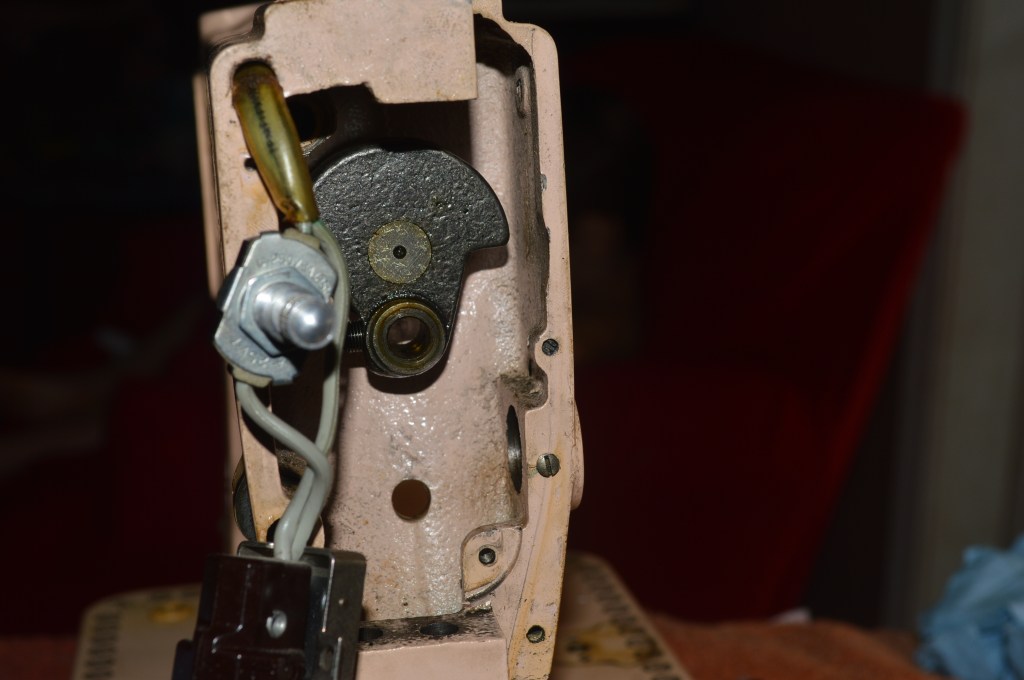
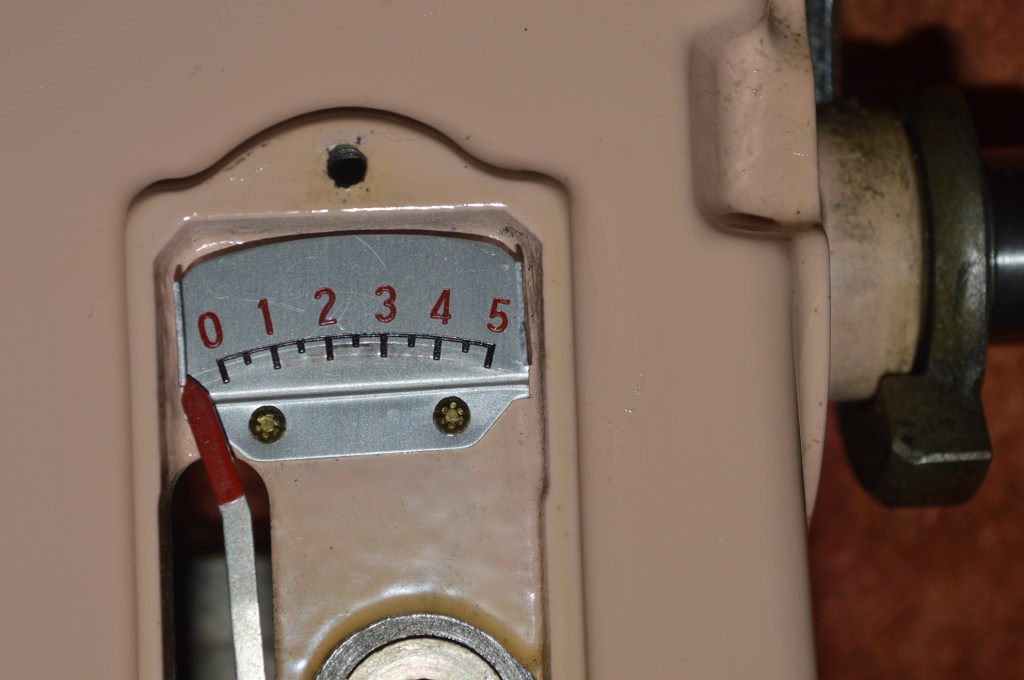
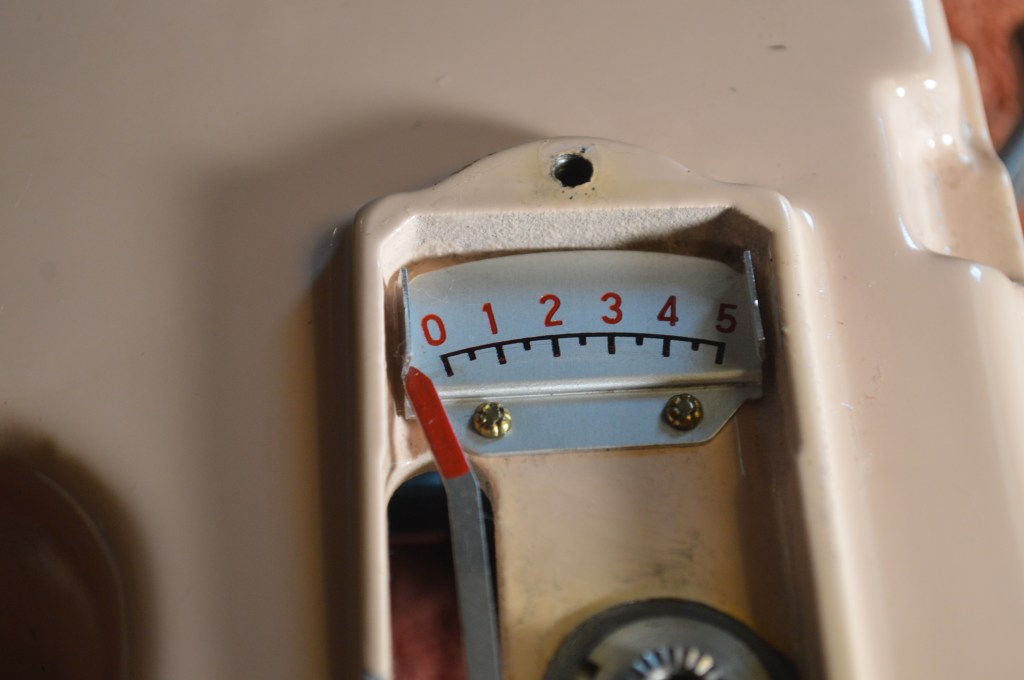
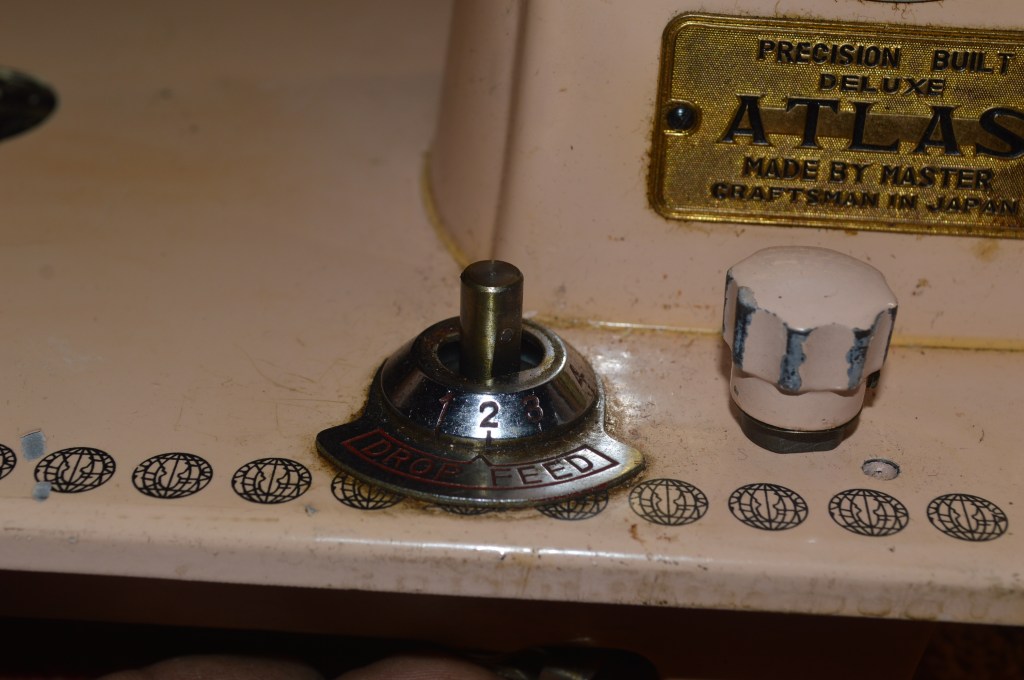
Getting started, the first step is disassembling all of the sewing mechanisms and the fiddly bits and pieces… The “Good Housekeeping” badge and the stitch length dial is riveted in place and cannot removed so I will preserve and clean around it.
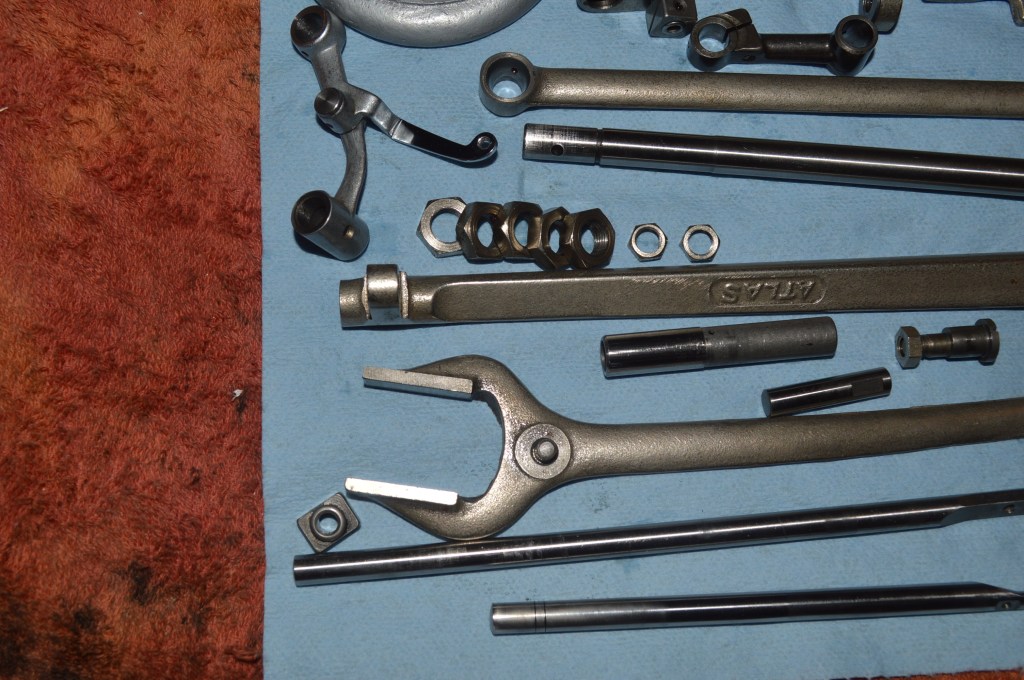
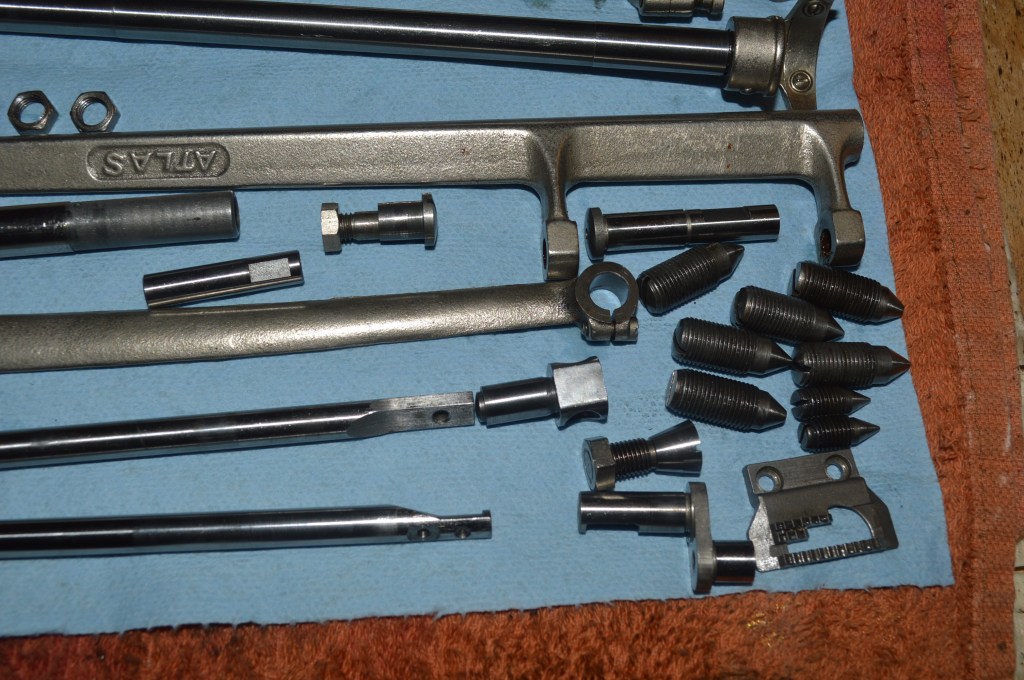
The disassembled parts are laid out for cleaning…
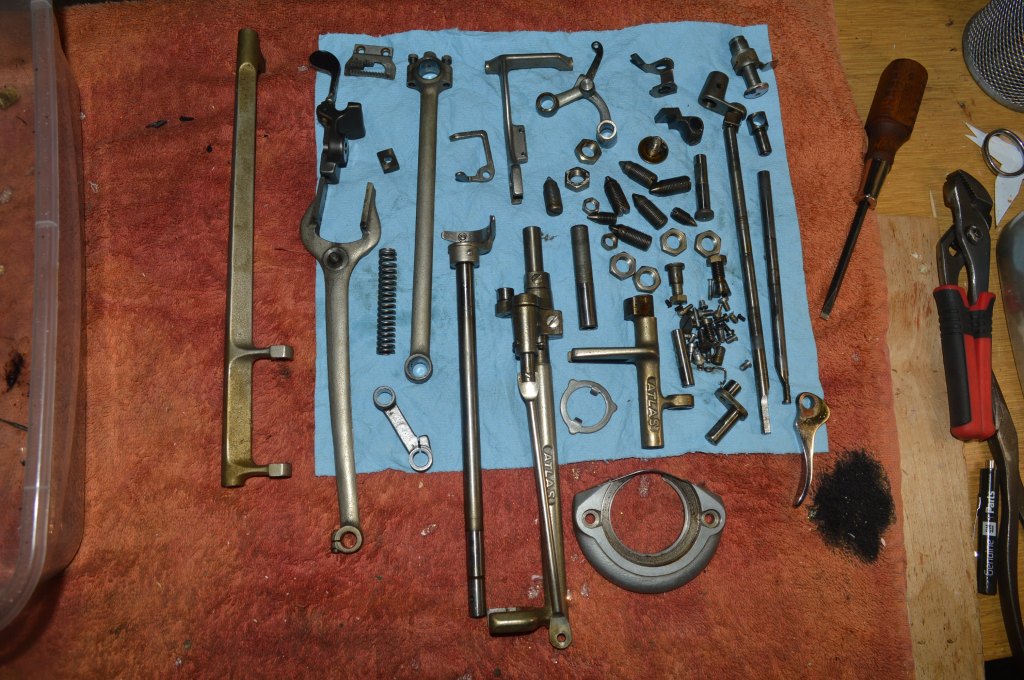
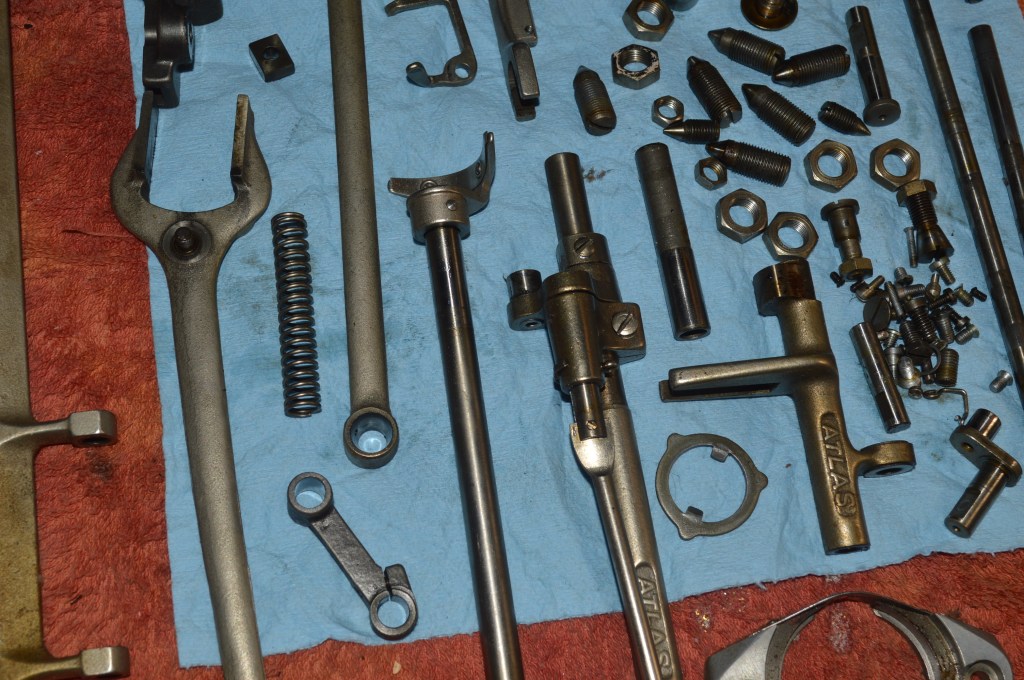
The parts have heavy deposits of oil varnish that hinders the smoothness of the machine and removing this varnish, inside and outside of mating parts can only be done by disassembly.
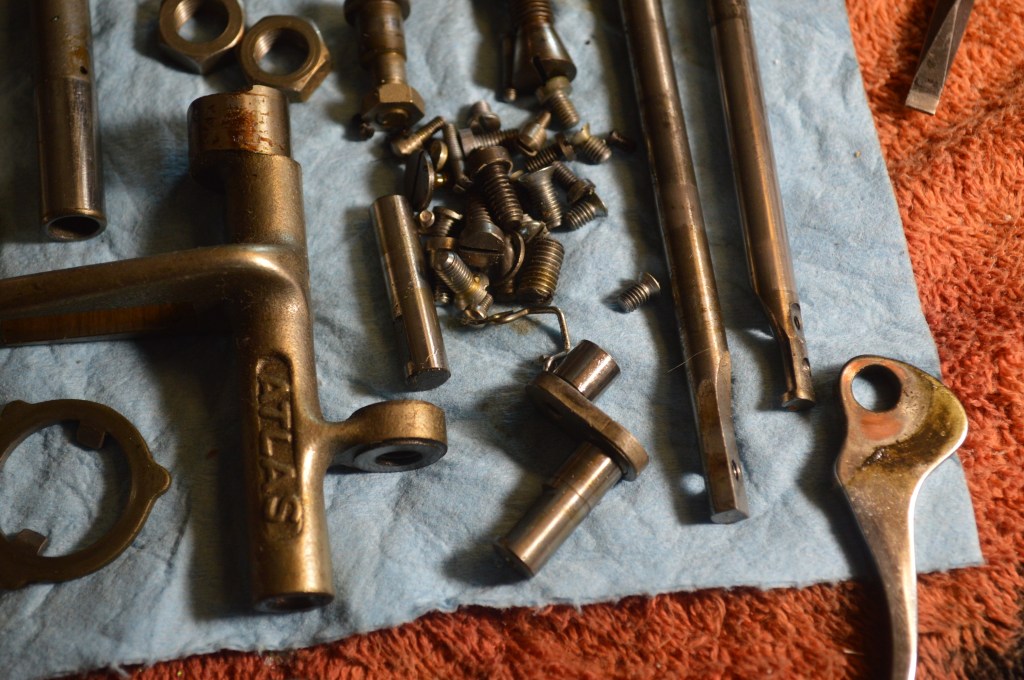
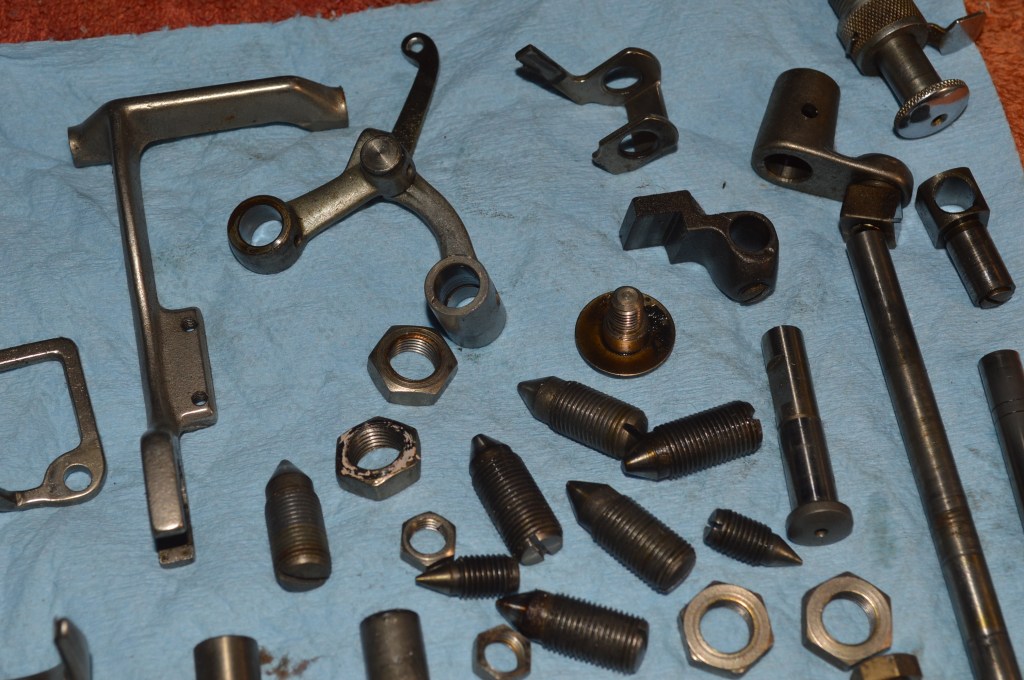
After ultrasonic cleaning, the parts are heated in oil to remove any residual moisture. Then the parts are wire brushed to like new condition. Taking the cleaning a step further, the bobbin hook shaft, presser foot bar, and needle bar are polished.
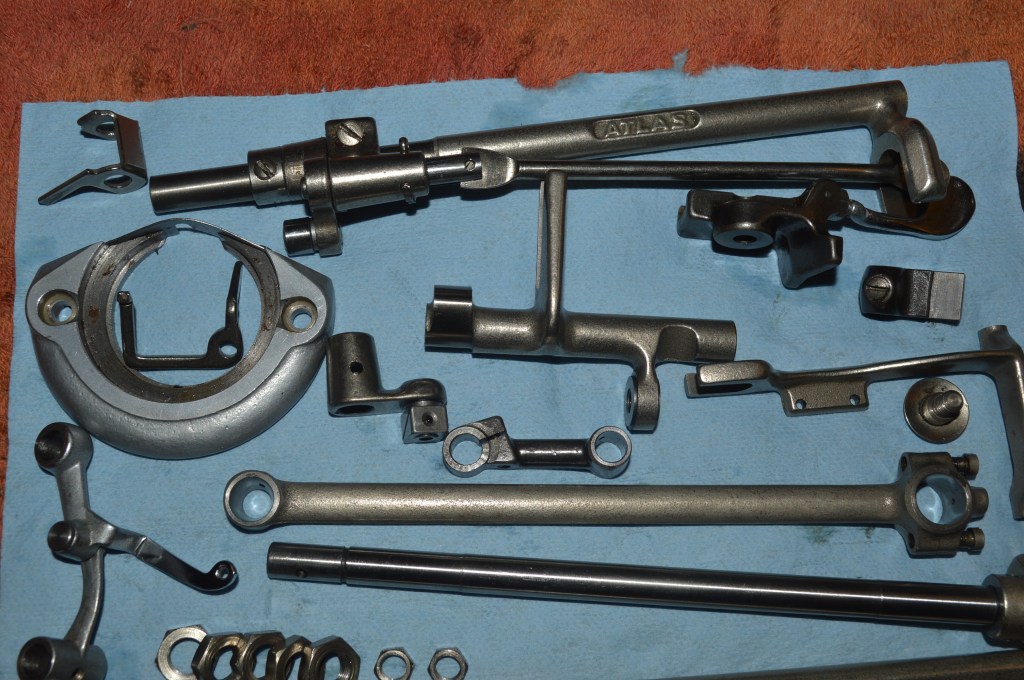
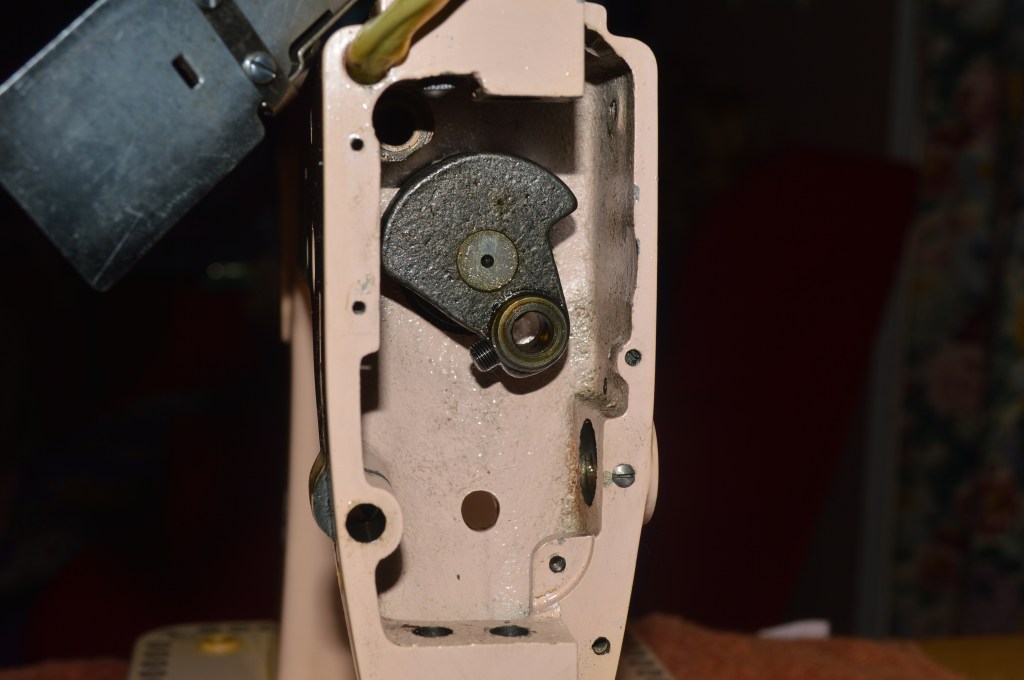
Some of these parts can be be disassembled and cleaned further. Any part that has a screw in it can be disassembled further. For this machine, the bobbin race cover has a metal top cover. When disassembled, dirt and gunk is commonly found… but cleaning it is easy. Did I need to do it? Eh, probably not, but it is dirt… I can get to it… and for the best outcome details matter. If you are taking pointers from this blog to help you restore your machine, I encourage you to pay attention to details such as this and don’t miss anything…. but don’t fret, all of these parts will reveal themselves when the parts are inspected and cleaned anyway.
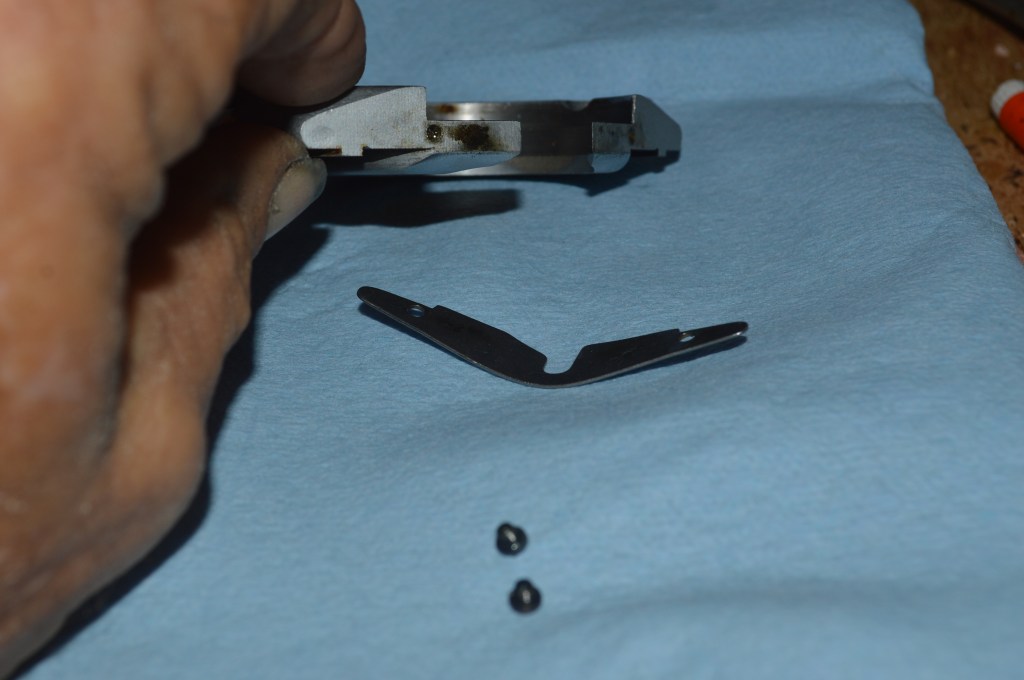
Notice the dark smudge? It’s easily removed 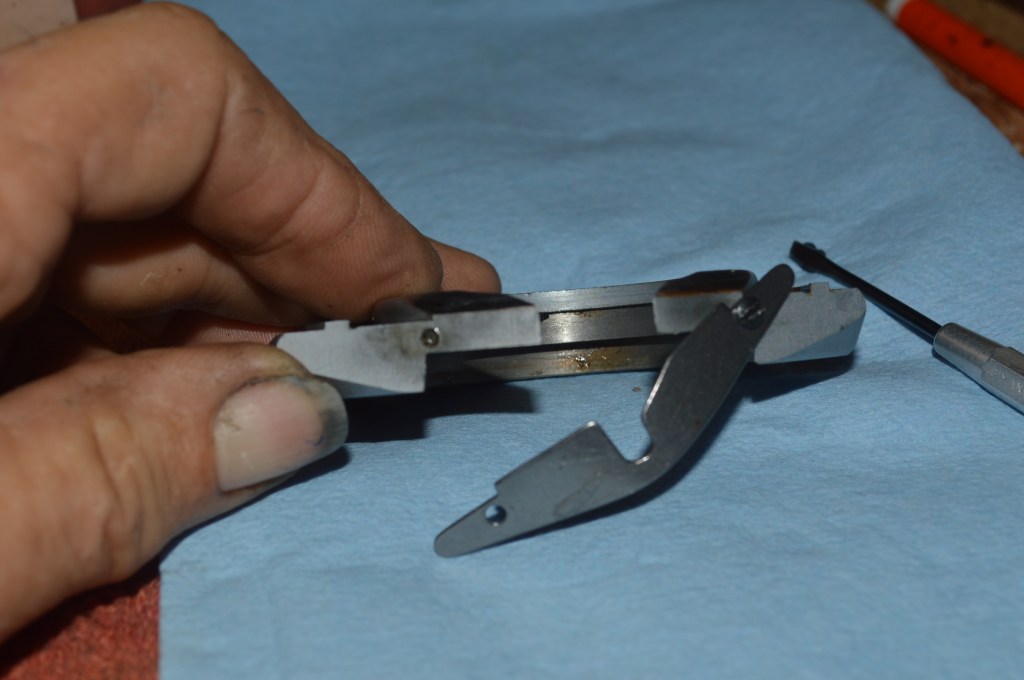
Does it make a difference? You decide… It does to me
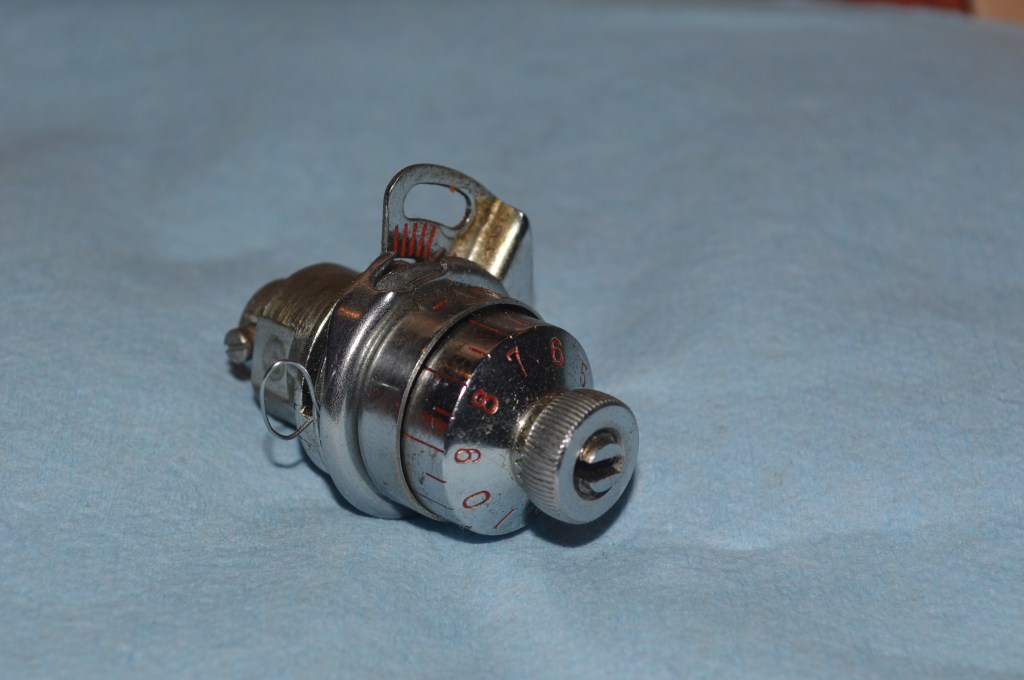
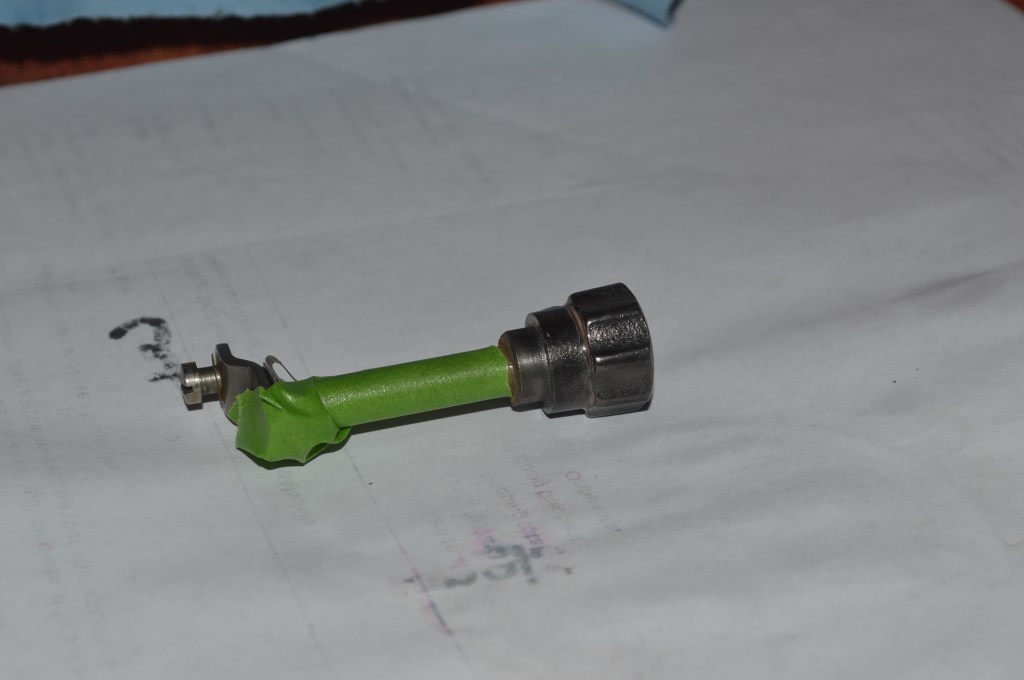
The only assembly left to disassemble is the tensioner. It is disassembled, cleaned, and adjusted.
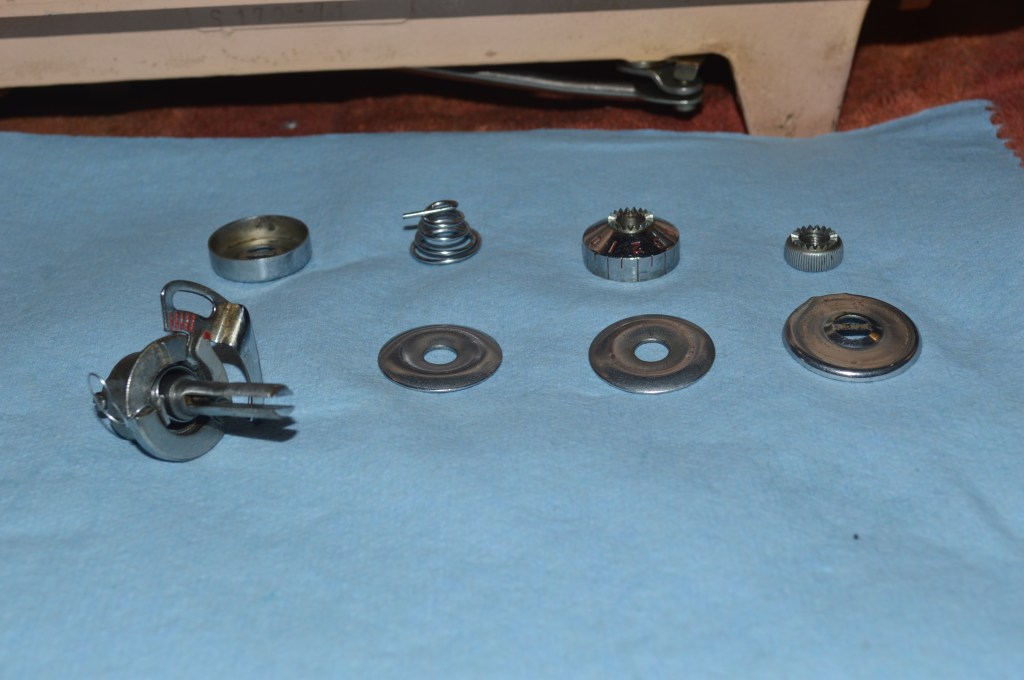
Finally, all of the parts are set aside until reassembly.
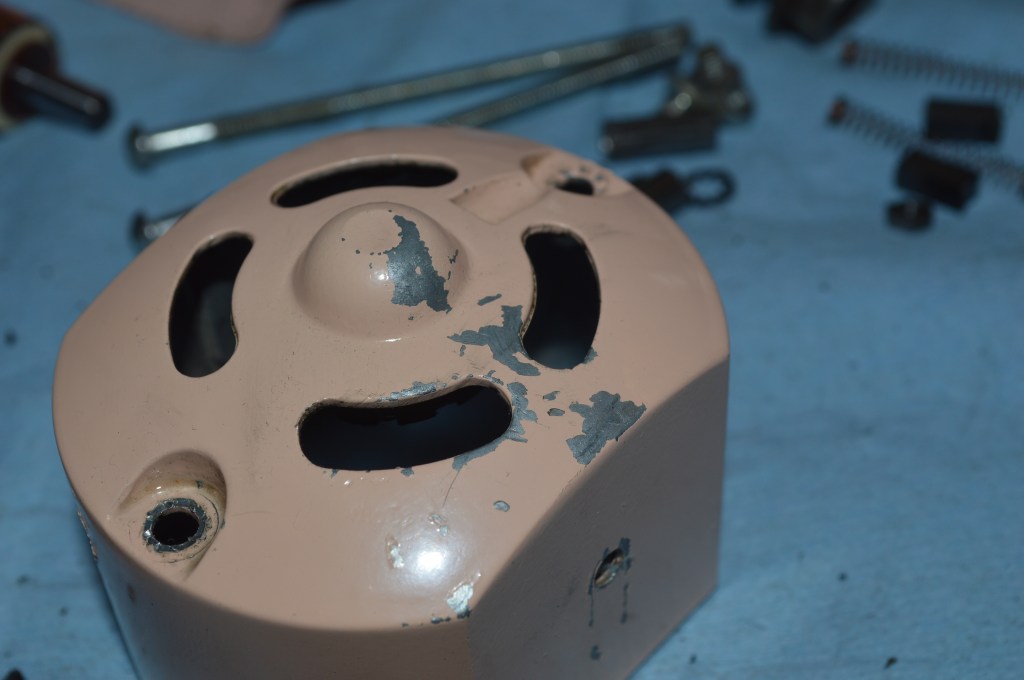
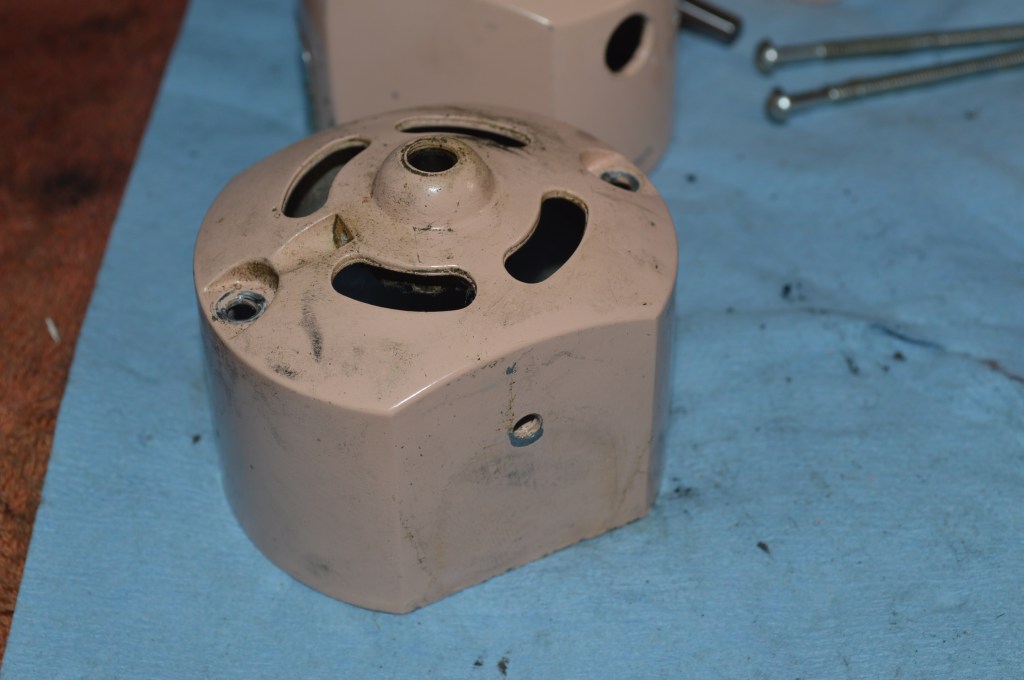
The next step is to restore the motor. It is disassembled, the commutator is polished, the motor shafts are polished, the brushes are reconditioned, and the wires are replaced. The motor case has some paint chips that are paint matched before reassembly.
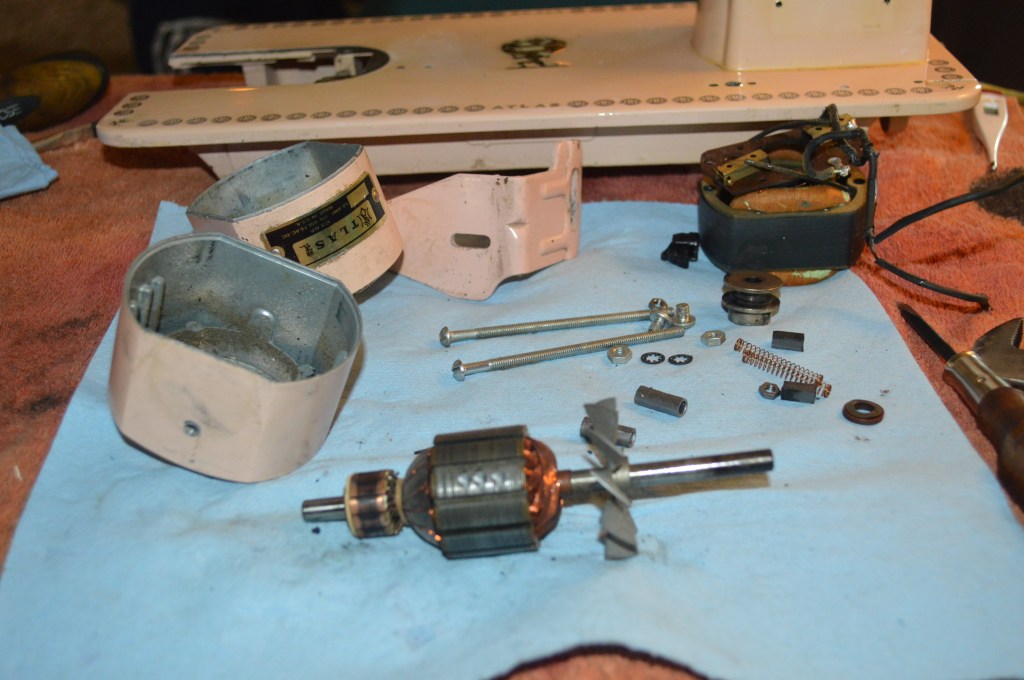
Motor disassembled 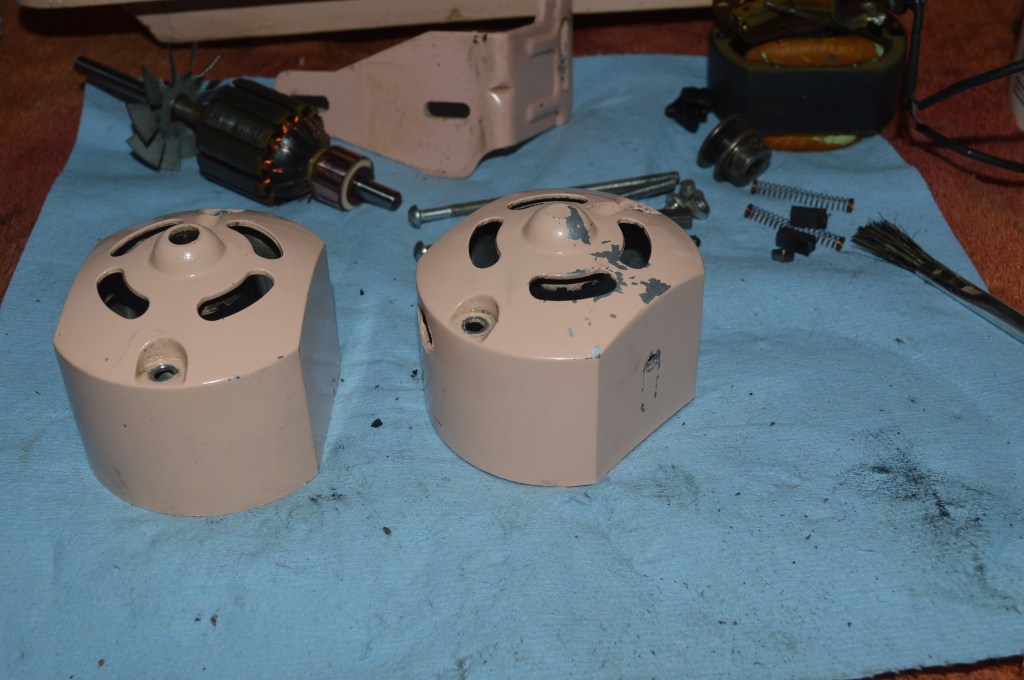
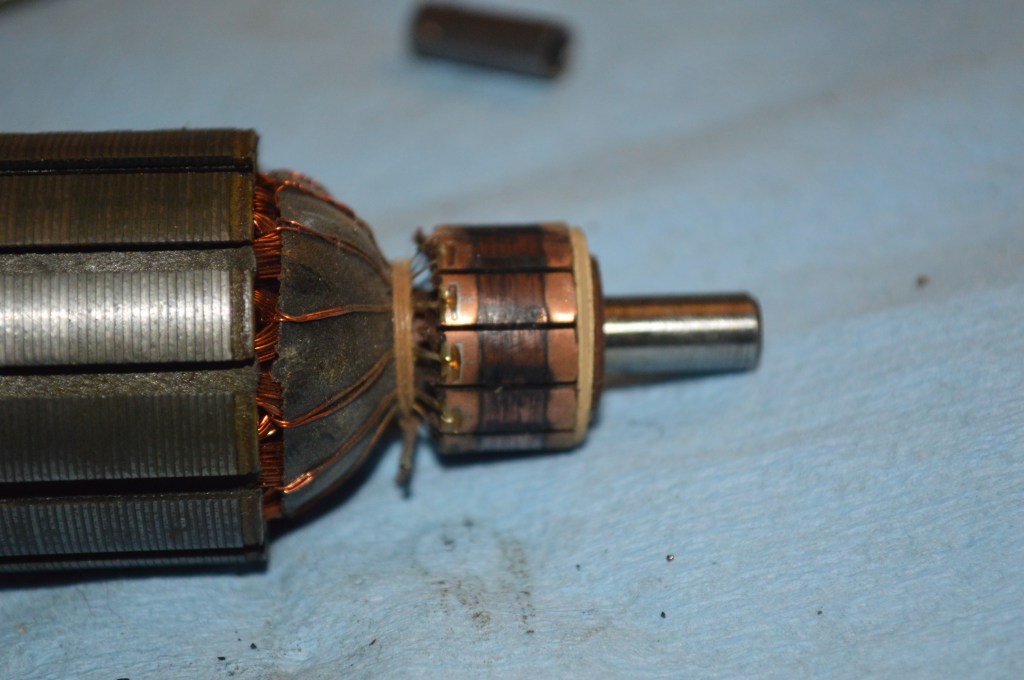
Armature before polishing 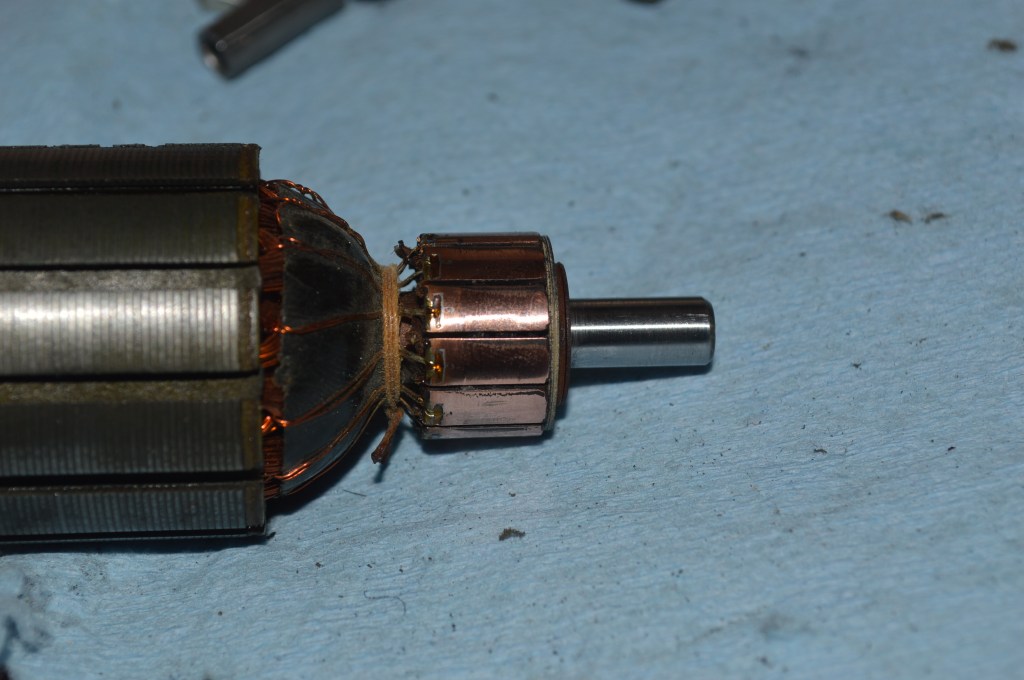
Armature after polishing 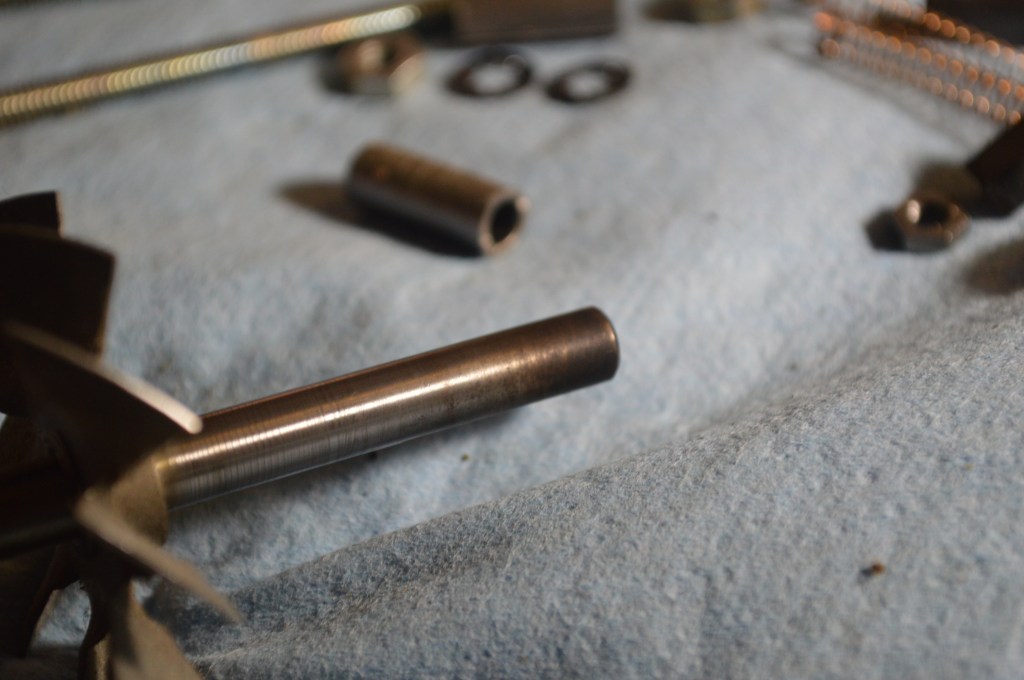
Shaft before polishing 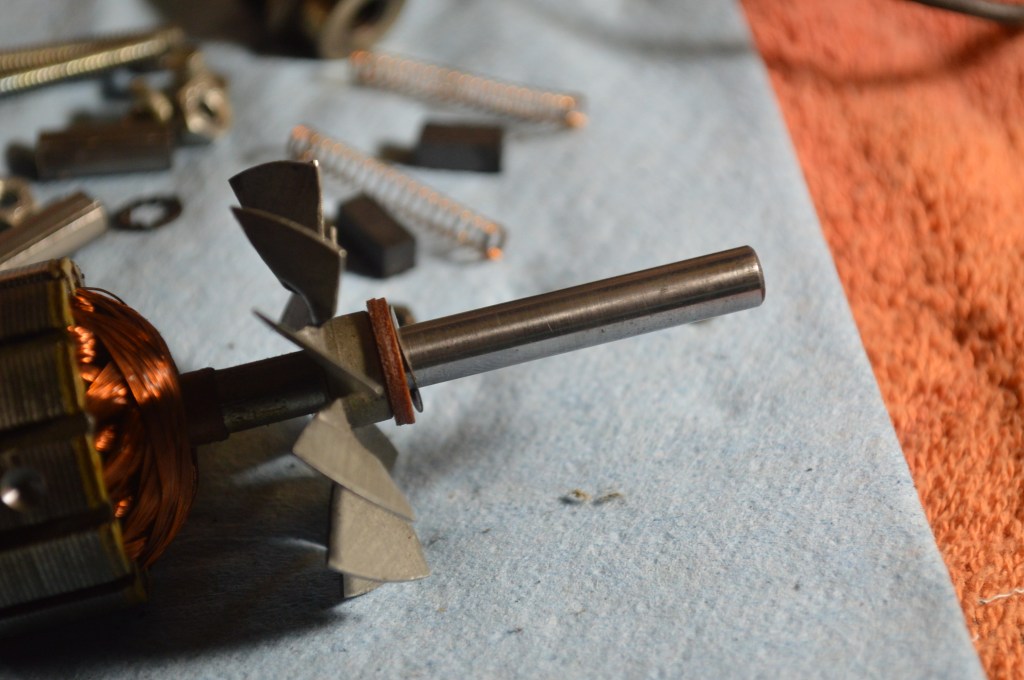
Shaft after polishing 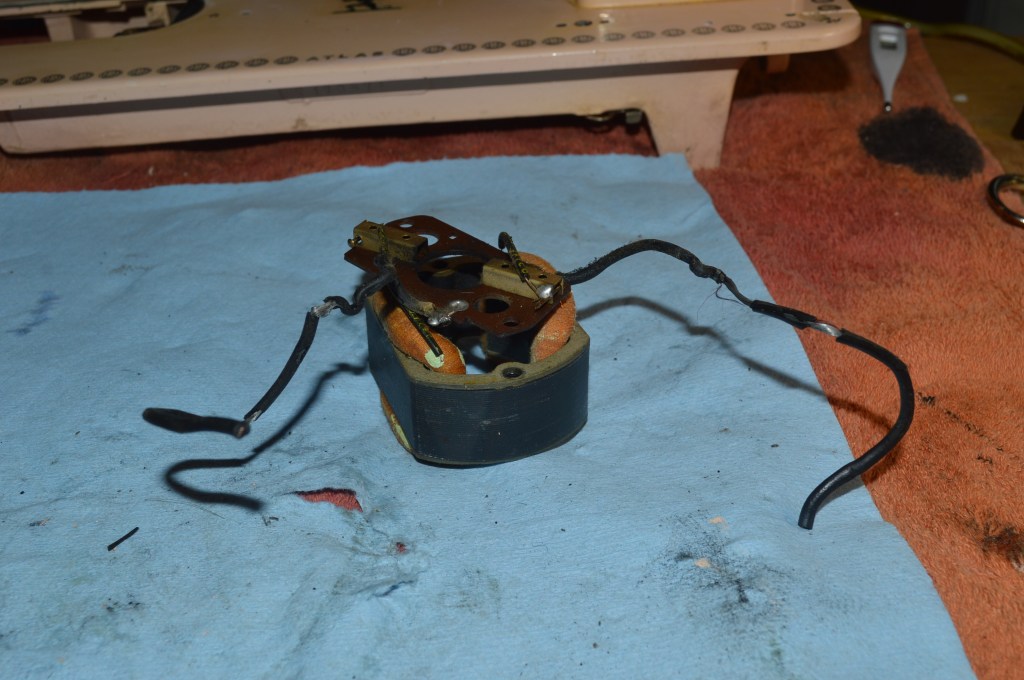
Old wires before replcement 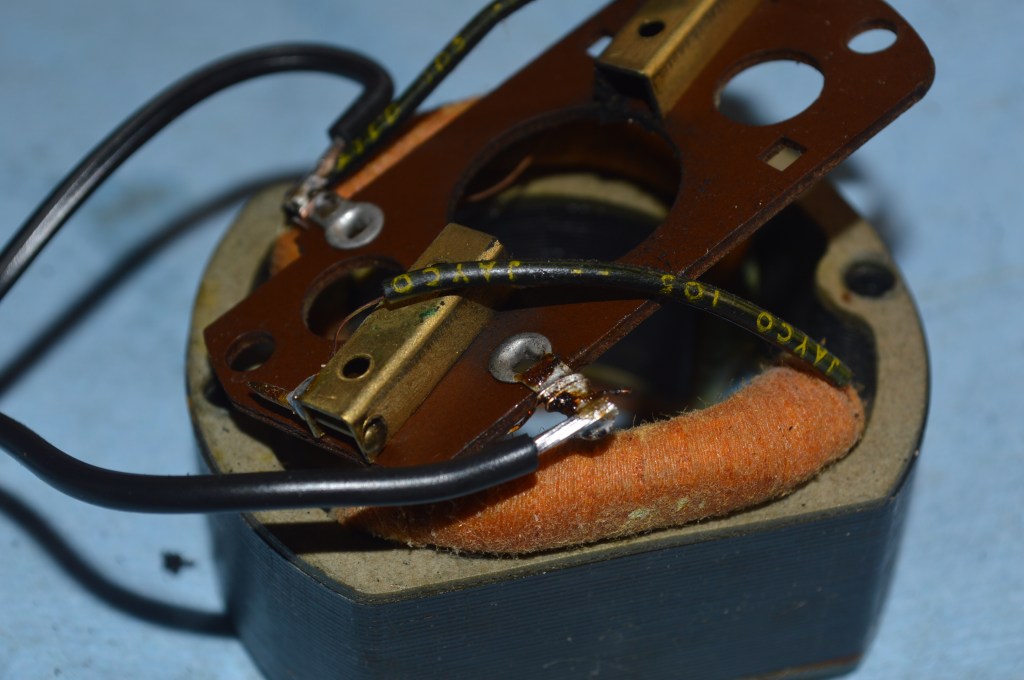
New Wires attached
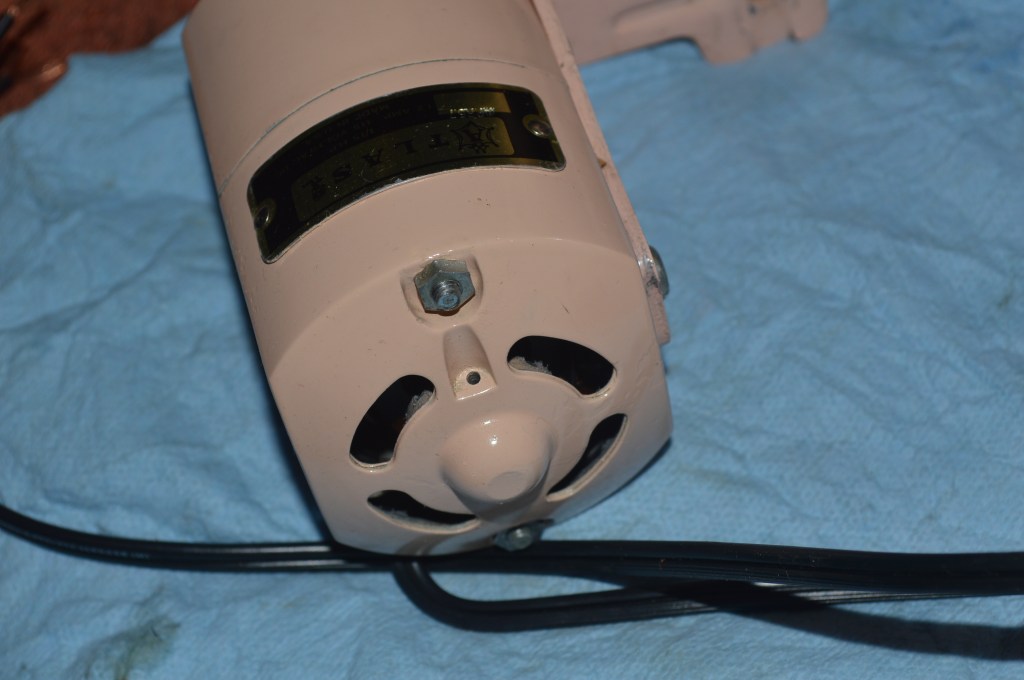
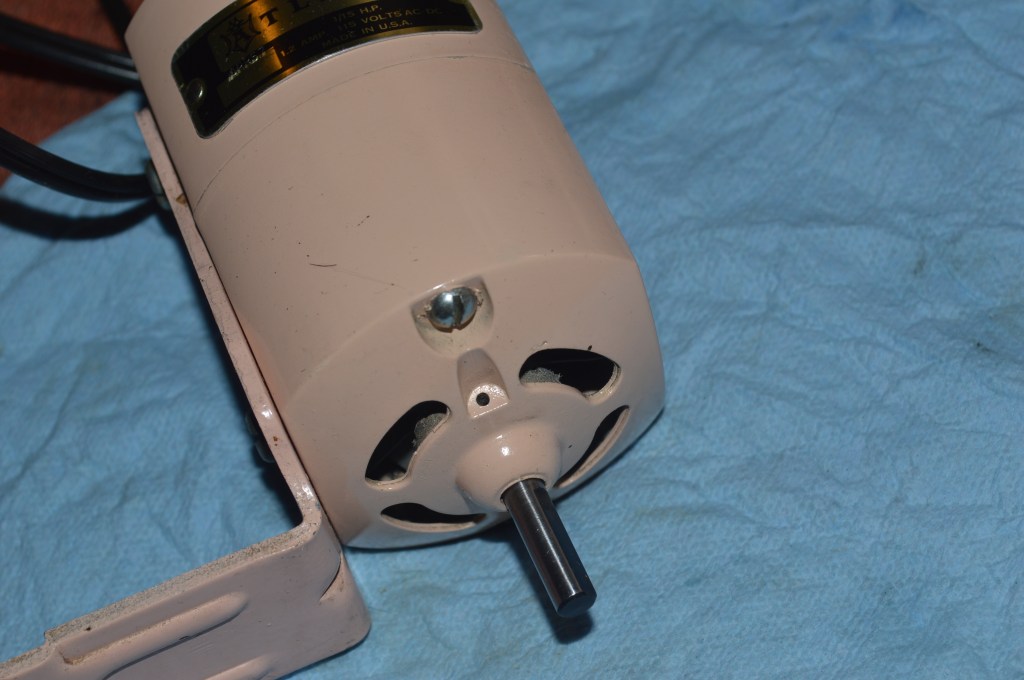
After restoration, the motor is reassembled and run for 10 minutes to assure it is “broken in” and no problems present themselves. The motor housing is repainted and it looks and runs great!
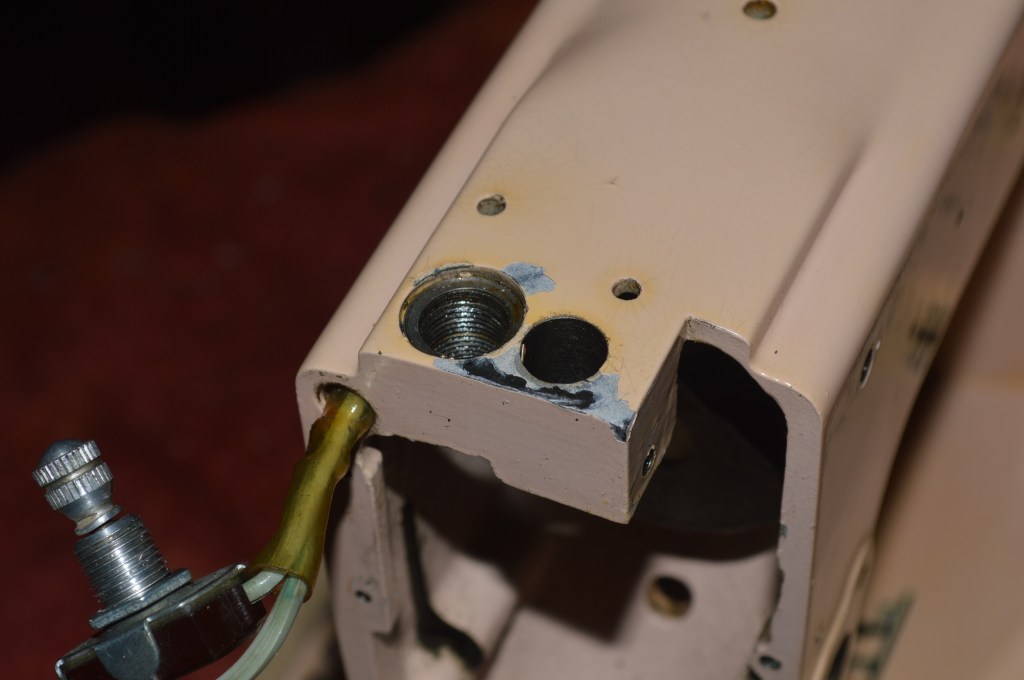
Now the cosmetic restoration begins. With everything removed, the machine can be deep cleaned much more thoroughly. The result is noticeable, and cleaning in itself results in a presentable machine. The next few pictures are side by side before and after for comparison.

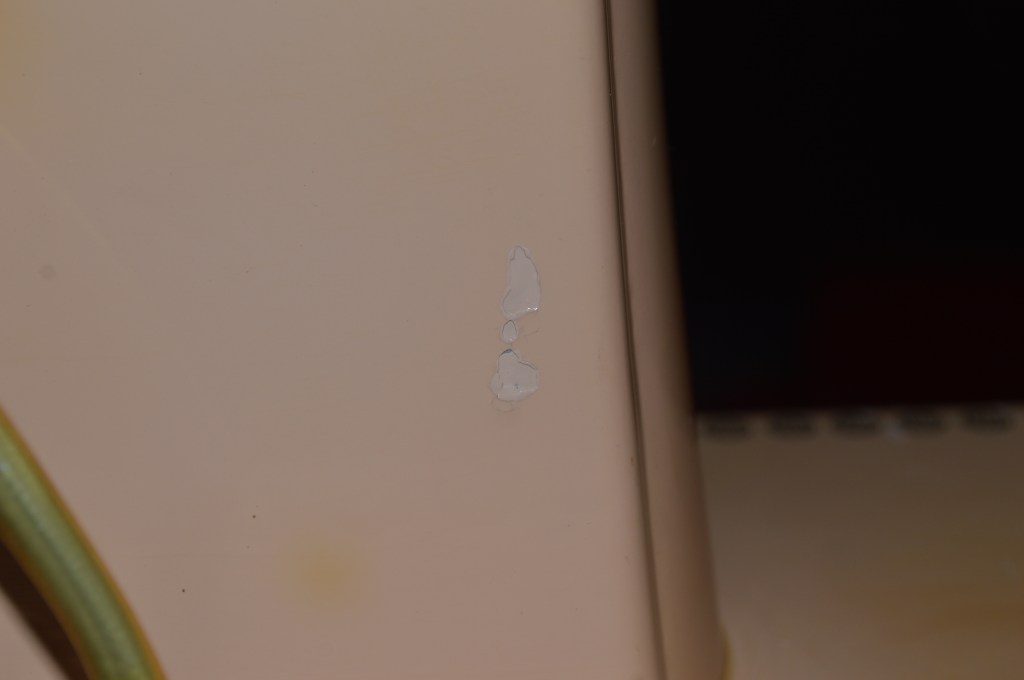
But, presentable is not the goal of a detailed restoration… a great cosmetic condition is. To accomplish this, much work must be done and defects paint matched. Paint matching is a multi layer process. Paint chips are relatively deep and require a “volume” of paint to fill and smooth flush with the surface. Otherwise, it will just be a painted chip. I want these repairs to disappear as completely as possible, so each chip is filled within the chip borders, allowed to dry, and the step repeated until the chip is slightly raised. It is then smoothed flush.
Decal repair must be done under magnification. The lines are very thin and intricate. For this machine, to maintain the borders and fill in the lost detail on the decal repair, I used a 20x gemologist stereo microscope to get the needed magnification. It provides a stable foundation, and gives a field of depth to accomplish the repair. Without depth of field, it is impossible to see how far the paint tool is from the surface of the decal (to understand the difference, cover one eye and try to write your name on a piece of paper with a pencil… you can’t tell how far the pencil tip is away from the paper until you hit it). Three colors were needed for the repair… pink, black, and gold. Finding an tool to apply the paint was a trial and error process. All but several bristles removed on a fine tip artist paint brush was too flexible. The tip of a fine gage syringe needle was to big. The tip of the finest sewing needle I could find was too big. In the end, the paint was applied with a tooth pick with the end shaved to a very thin point and smashed flat. Like a tiny quill pen tip, this worked quite well. With proper bracing of my hand (any tremble at 20X look like swings) the decal lines and infill were completed. It might seem excessive, or even comical to go to this extent to make a repair this small, but it was necessary and the outcome is worth the effort. The repair is virtually un-noticeable with the naked eye. The clear coat will stabilize and protect the repair from wear. Only time will tell if my hand coordination will allow me to continue this level of repair.


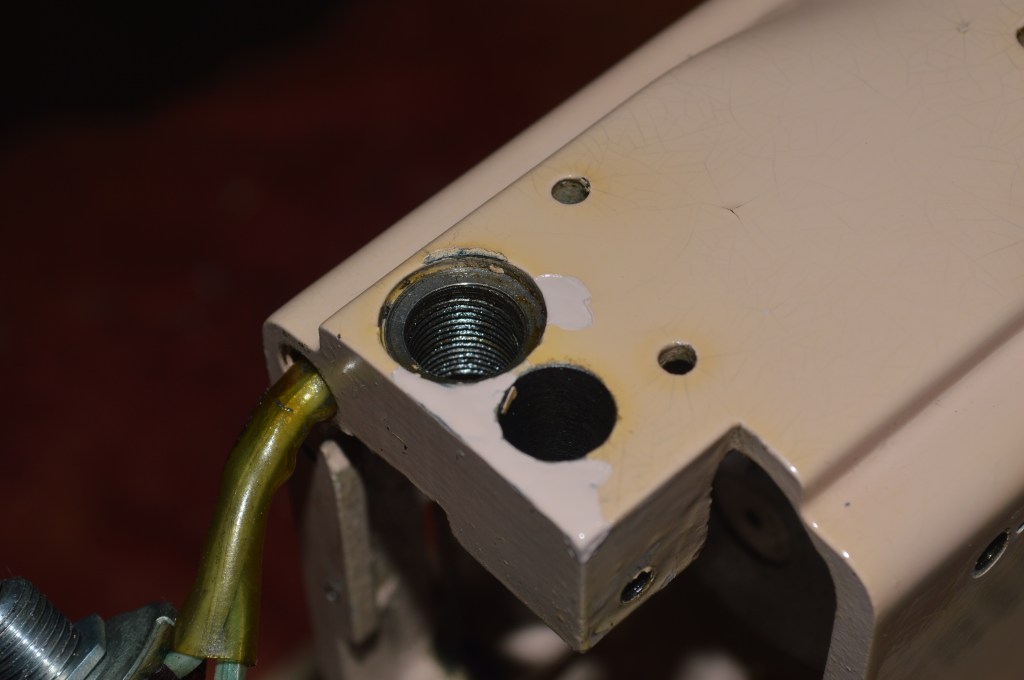
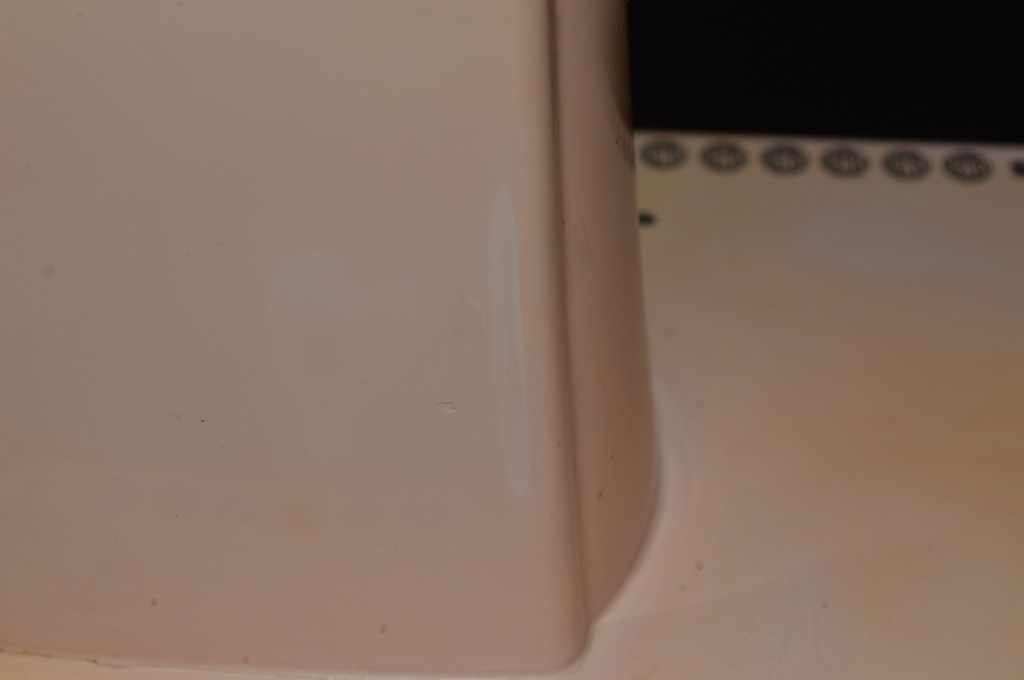
Paint matching is a multistep process. As you can see, the initial paint match repairs stand out from the surrounding field of pink. The paint match is actually very good, and it will be almost un-noticeable when done. The difference in color is caused by aging on the existing clear coat on the machine and this is highlighted by the camera flash (the paint is not high gloss, (the gloss comes from the clear coat). After deep cleaning, I could tell that the finish on the machine had yellowed over time and this yellowing makes the machine darker than it was when new. To the restore best cosmetic appearance possible, and get the proper paint match, this yellowing must be removed. The only option to do this is by wet sanding to remove the yellowed top layer of the clear coat. Because of the risk of hitting decals (add the fact that I am a scaredy-cat), I will not sand over the decals… this means that some yellowing will not be removed, but it will be diminished in the final clearcoat. To start, I use 1000 grit paper and get as close to the decal borders as I can. Of course, taking this route will require I do this over the entire body of the machine and then progressively sand smooth with 2000 and 2500 grit papers. After sanding, as much of the yellowing in the old top coat as possible will be restored with polishing compounds. Unanticipated work, but as I’ve learned, every machine is different. Some need more, some need less, but they all get what they need. As I said, to get the best outcome possible, a cosmetic restoration is a multi step process… Sometimes, more steps are needed. The next series of pictures shows the outcome.
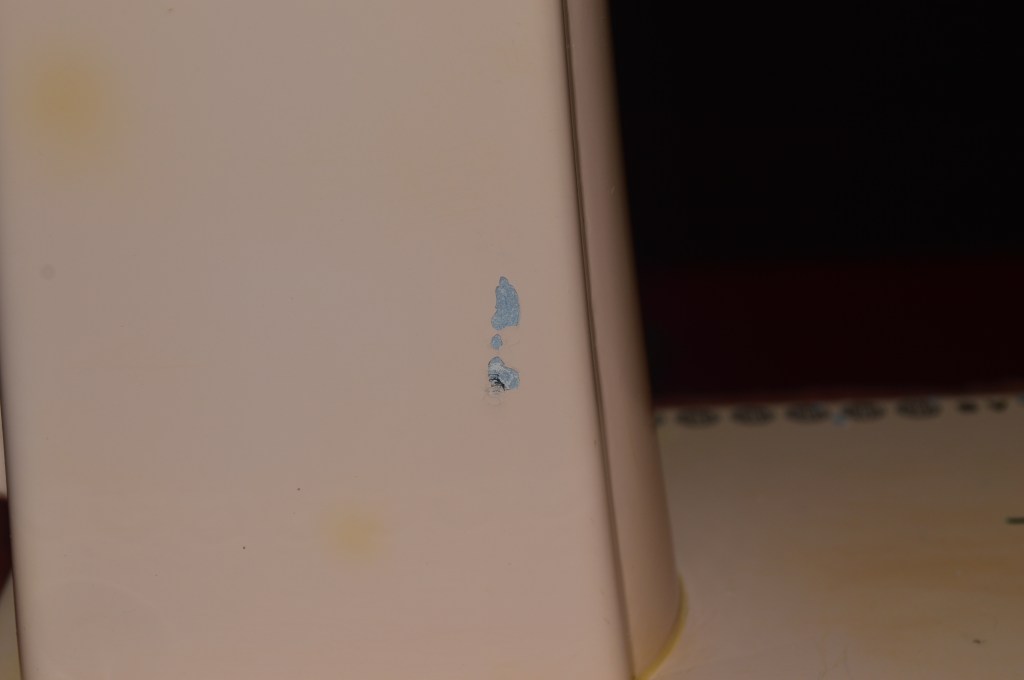
Chipped decal 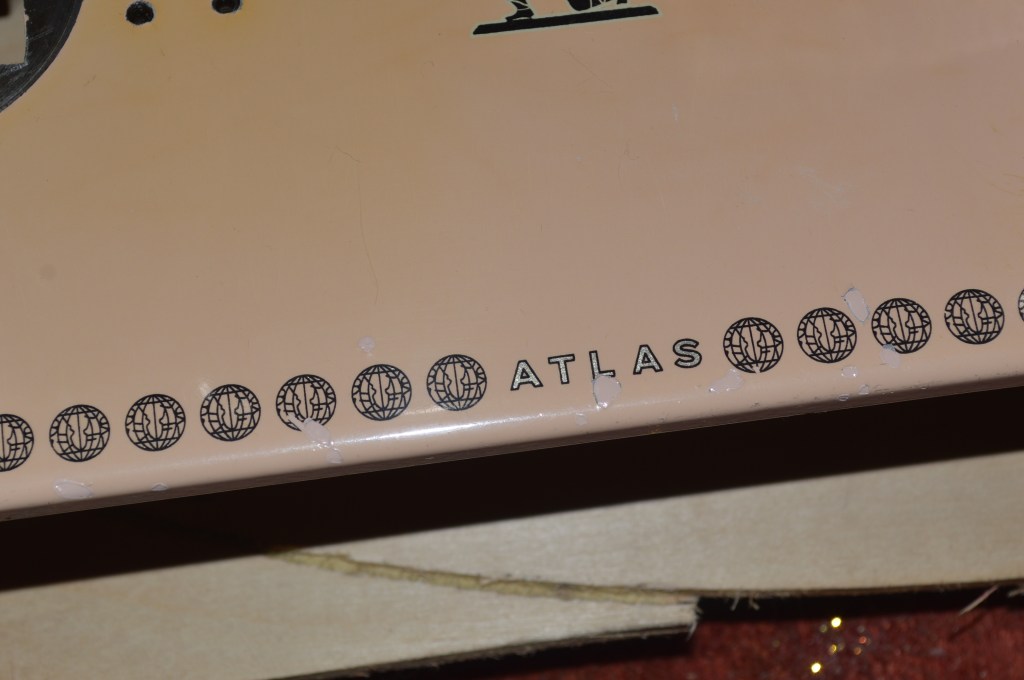
Filling in chips 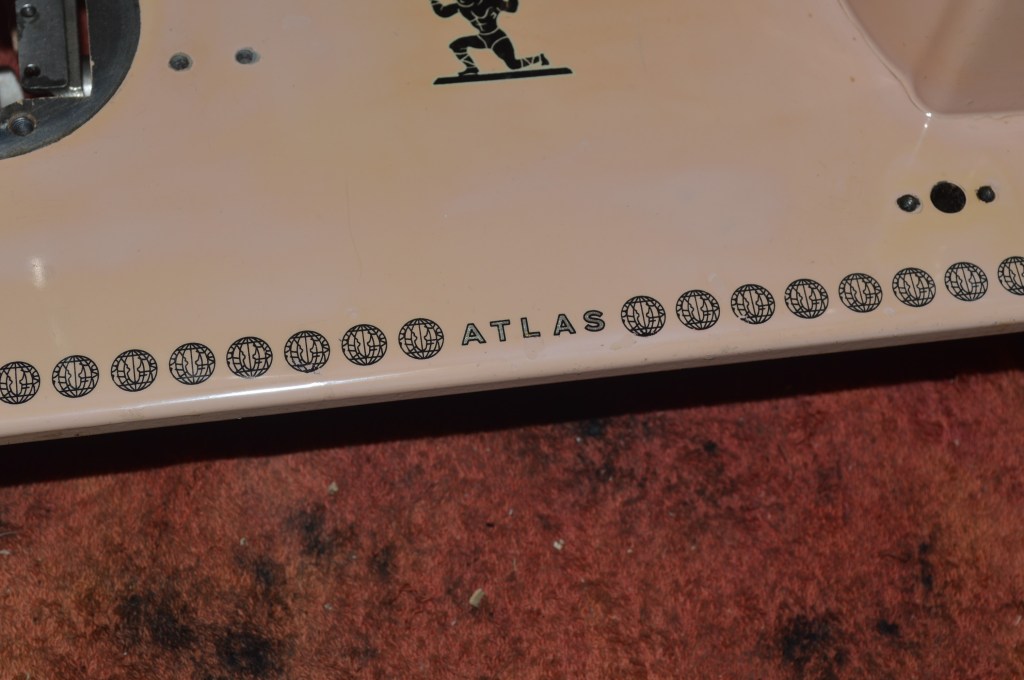
Ready for final clear coat 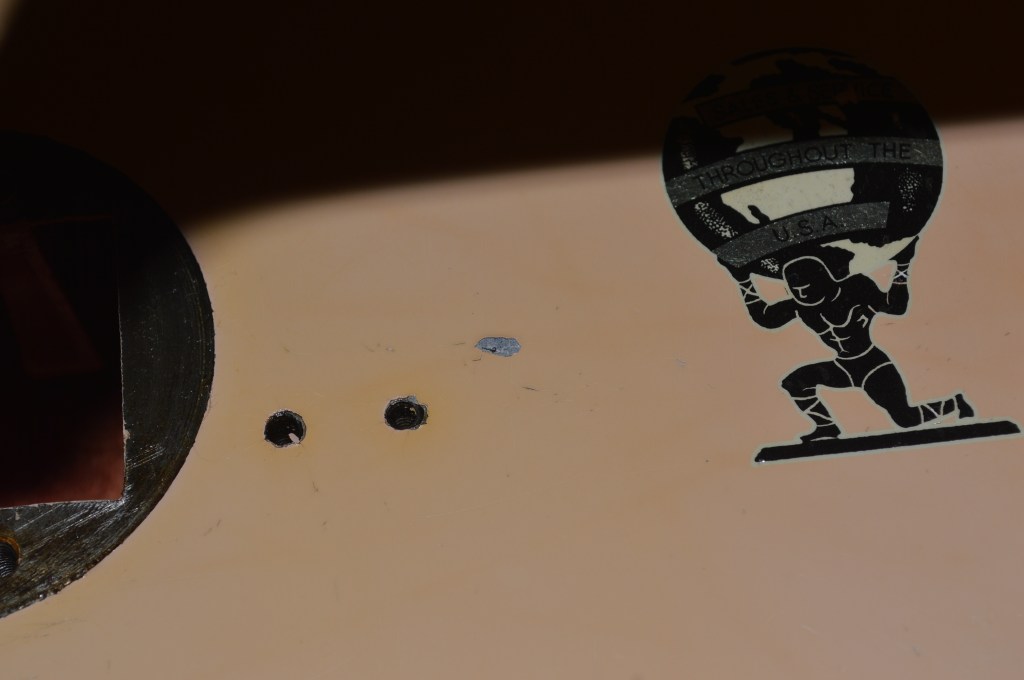
Following sanding, the final step to finish the clear coat and blend the color matched blemishes is glaze polishing.
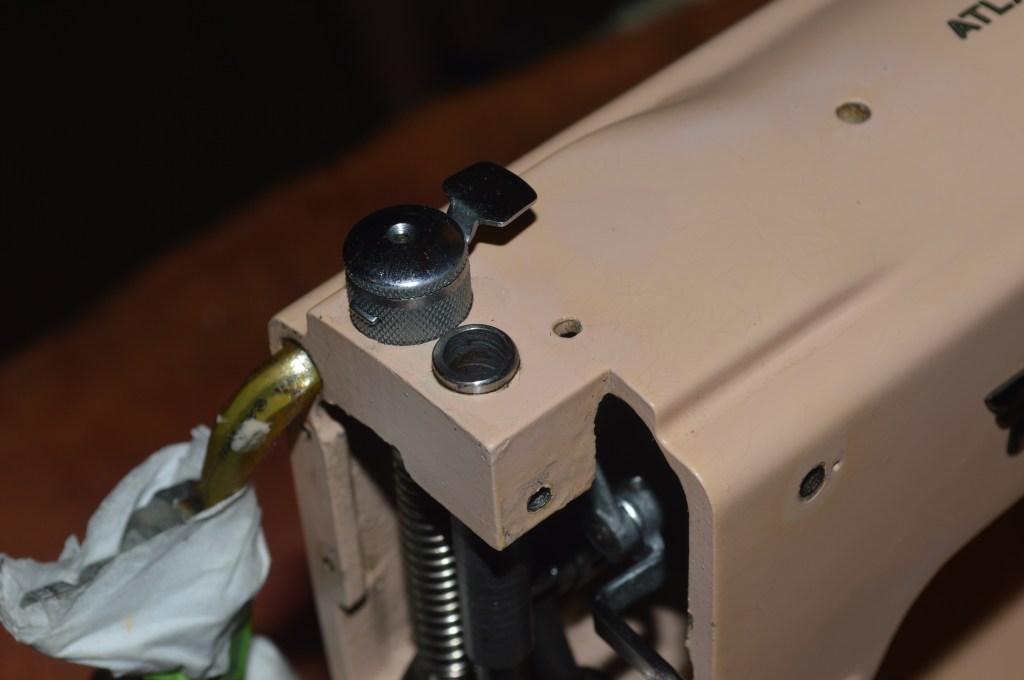
There are other pieces that need paint matching. The feed dog drop knob was chipped beyond smoothing, so it was stripped and repainted.
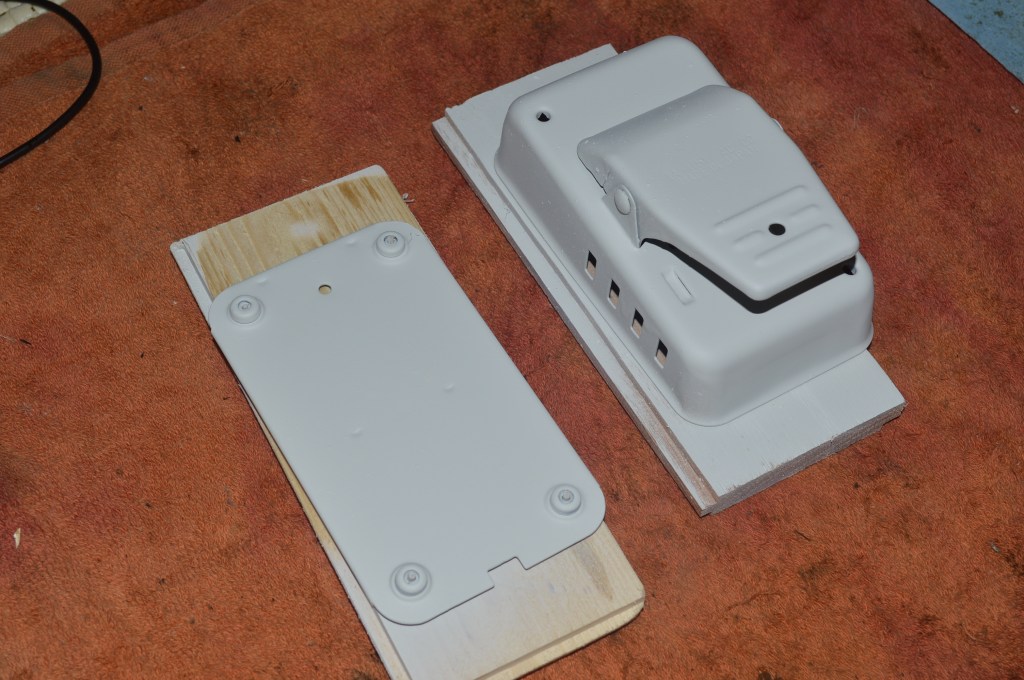
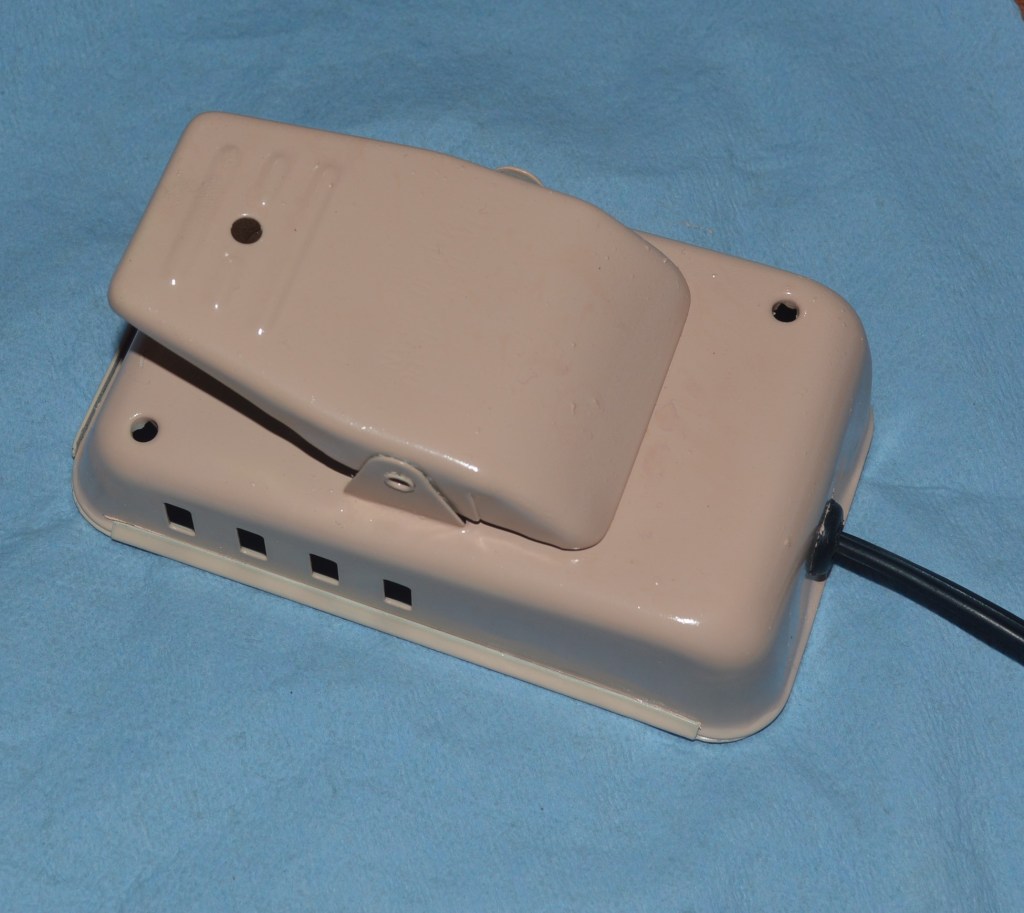
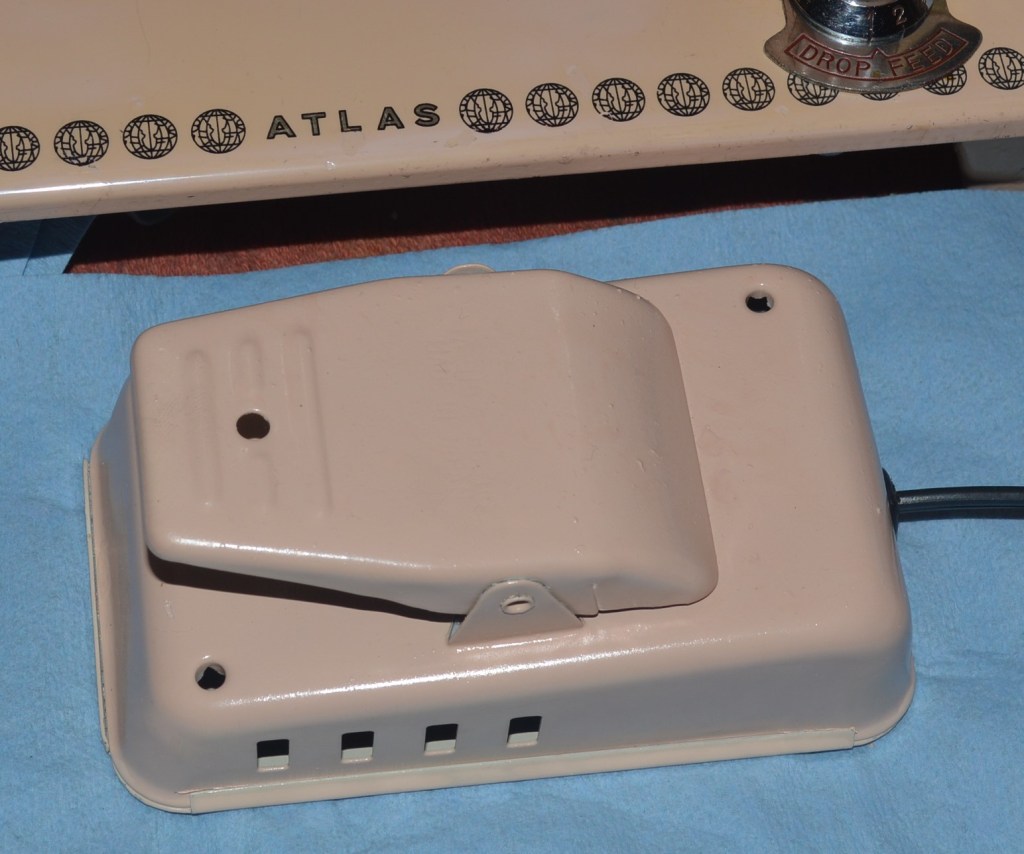
The foot controller is another story… The original machine had a foot controller painted pink to match the machine. Unfortunately I don’t have the original controller. The solution is to use a controller very close in appearance to the original and paint it pink… fortunately, I have the right color of pink! The controller is primed and painted and attached to a motor terminal block cord set.
After the cosmetic reconditioning is done, the restoration nears completion. The remaining tasks are cleaning the badges, disassembling and cleaning the tension assembly, and polishing the chrome pieces. On this machine, the chrome is in great condition, and polishing is done more as a step in the process of the restoration as it is a necessity… the camera cannot catch a discernable difference and I’ve stopped trying to take a picture that measured the before and after… but the eye can tell. I can only explain the difference by saying the chrome looks brighter than it did, the smaller scratches disappear, and any aging and oxidation is removed.
That’s it! The hard part is done and the only work left is reassembly and adjustment of the top and bottom tension, needle timing, needle transport, feed dog height and clearance, and presser foot height. These adjustments assure the machine sews as it did 60 tears ago.
Absent a case or base for the machine to sit in, I decided that this machine needed a sewing machine base to use and display the machine. Because the machine is retro and reminds me of arts and craft style, I decided on a pine base stained to show contrasts and distress in the wood grain. After experimenting with different stain colors, I decided that a light oak stain provided the best balance of both.
So that’s it! Truth be told, this project took far longer than anticipated… but that’s not the machines fault. Despite the time and effort it took, I think the machine’s restoration turned out beautifully… Here are the before and after pictures.
Before:
After:


This machine is a custom order, but if you like what you see please visit our Etsy store at https://www.etsy.com/shop/pungoliving, and see our other restored fine quality vintage sewing machines. Looking for a similarly restored quality vintage all metal sewing machine for your sewing room? Let us know! We love custom orders and are happy to locate and restore the “perfect” machine for you!
As always, If you have any questions, or if I can be of any assistance, please contact me through Etsy or send me an email to Pungoliving@gmail.com.
Thanks for reading!
Lee

Beautiful machine and very fine restoration – inspiring.
LikeLike
Thank you!
I enjoy the time spent and knowing that after 60, there is another lifetime for these great machines. They don’t make them like this anymore!
Lee
LikeLike
Wow! The detailed repair of the decals is amazing! What type of paint did you use to repair the pink paint (and for painting the foot pedal)? Is it difficult to get such a close color match?
LikeLike
Hello Scott,
The cosmetic restoration of a sewing machine is all about details. That’s why paint matching is so important to me. Each machine is slightly different so the approach must be different as well. The decal repair on the pink Atlas took several hours over several days… the longest time in the process is to allow the paint to cure sufficiently before proceeding.
Except for black vintage Singer’s, paint matching is simple. If you take a part from your machine (I often use the nose piece cover) to a hardware store that does computer color match paint mixes. I use Home Depot. For less than $5 you can get an 8oz color sample of paint mixed to the color of your part. This is plenty.
Ask for a semi-gloss latex enamel suitable for painting metal. I have used both Behr and PPG and they both work very well. Allow the paint to cure for a few days and spray with a poly acrylic high gloss clear coat.
If you are thinking about paint matching on your machine I would offer the following from my experience. Paint matching makes a huge difference in the overall look of a machine, but the paint must be applied by spraying. It is impossible to use a brush and get an acceptable finish. For larger parts (motors and foot pedals for example) I use an HVLP paint spray gun. For small paint chips scratches, or small areas, I use an air brush. It leaves a nice edge and it allows blending the new paint to blend into the old paint. Paint chips can be filled with a small artist brush, but not scratches.
I hope this helps and let me know if I can be of any further assistance.
Have a blessed night,
Lee
LikeLike
Thanks for the response, Lee. Your recommendations are very helpful. I will add an air brush to my tools wish list. Right now, a good soldering iron for rewiring is the next priority on my purchase list.
Kind regards.
Scott
LikeLike
Hello Scott,
A good soldering iron is a valuable tool to have. If you get the pencil type, make sure it is at least 60W… 80W is better!
Soldering guns work okay, but a bit bulky for my hands to use without straining to use it.
Regards!
Lee
LikeLike
Are you still in the business of restoration. Just picked up a beauty……Pink Atlas machine. Do you still work on them?
LikeLike
Hello Karla,
Your Atlas is a very nice machine. Good quality and a great stitch! I do restorations for folks that are local to Hampton Roads, Virginia. The cost and risk of damage in shipping a vintage sewing machine is a risk that limits me to machines I can pick up in person.
Do you live in the Hampton Roads area? I enjoy restoring these Pink Atlas’s and their kin Morse straight stitch machines. They are wonderful machines!
If not, please let me know if I can be of any other assistance..
Have a great weekend!
Lee
LikeLike