
Today I am restoring a 1941 Singer model 66. This restoration has an interesting story. Not the machine. it’s story is well known… anyone who has, or knows someone who has a model 66 probably knows a little bit about the machine, or at least made the observation that it is a solid, heavy, and high quality sewing machine. They may not know that it was first introduced in 1902, or that it featured the then revolutionary drop in bobbin and a smooth oscillating hook mechanism that produced a near perfect stitch. They may not know that it was introduced at a time when it was transformative to peoples lives and so well built and admired that it was produced until 1956 in the US. In the UK, it was manufactured as the 66K between 1907 and 1948. Suffice it to say, there are a lot of people who purchased and used this machine for good reason. Did you know that the model 66 was the template for the Singer model 99 and later 3/4 size machines? Mechanically, these machines are the same as the 66. Not to mention the class 66 bobbin used on so many subsequent machines. The bobbin derived it’s name from this machine. Anyway, I said an interesting story that I would like to tell. This machine is a custom order. The gentleman who contacted me was looking for a vintage machine to give his Wife for Christmas. His Wife is new to sewing but liked vintage things. He very much liked the look of the Singer 66 but didn’t know if trying to learn to sew on an older machine would be too difficult for her since she doesn’t have experience.
Now that’s a great question to ask. Although there may could be a raging debate about the best machine to learn the art of sewing on, the Singer 66 would certainly rank near the top in the debate. In fact, I don’t think there is any question that it is a top contender. It is a simple machine to learn due to it’s drop in bobbin, simple threading, simple controls, and simple mechanism. Add to this it’s ability to sew anything from chiffon to horse blankets, handle a wide range of threads, have very good tension control, and do it for generation after generation… The answer is yes, the Singer 66 is a great machine for someone to learn to sew on. And that is as true now as it was then.
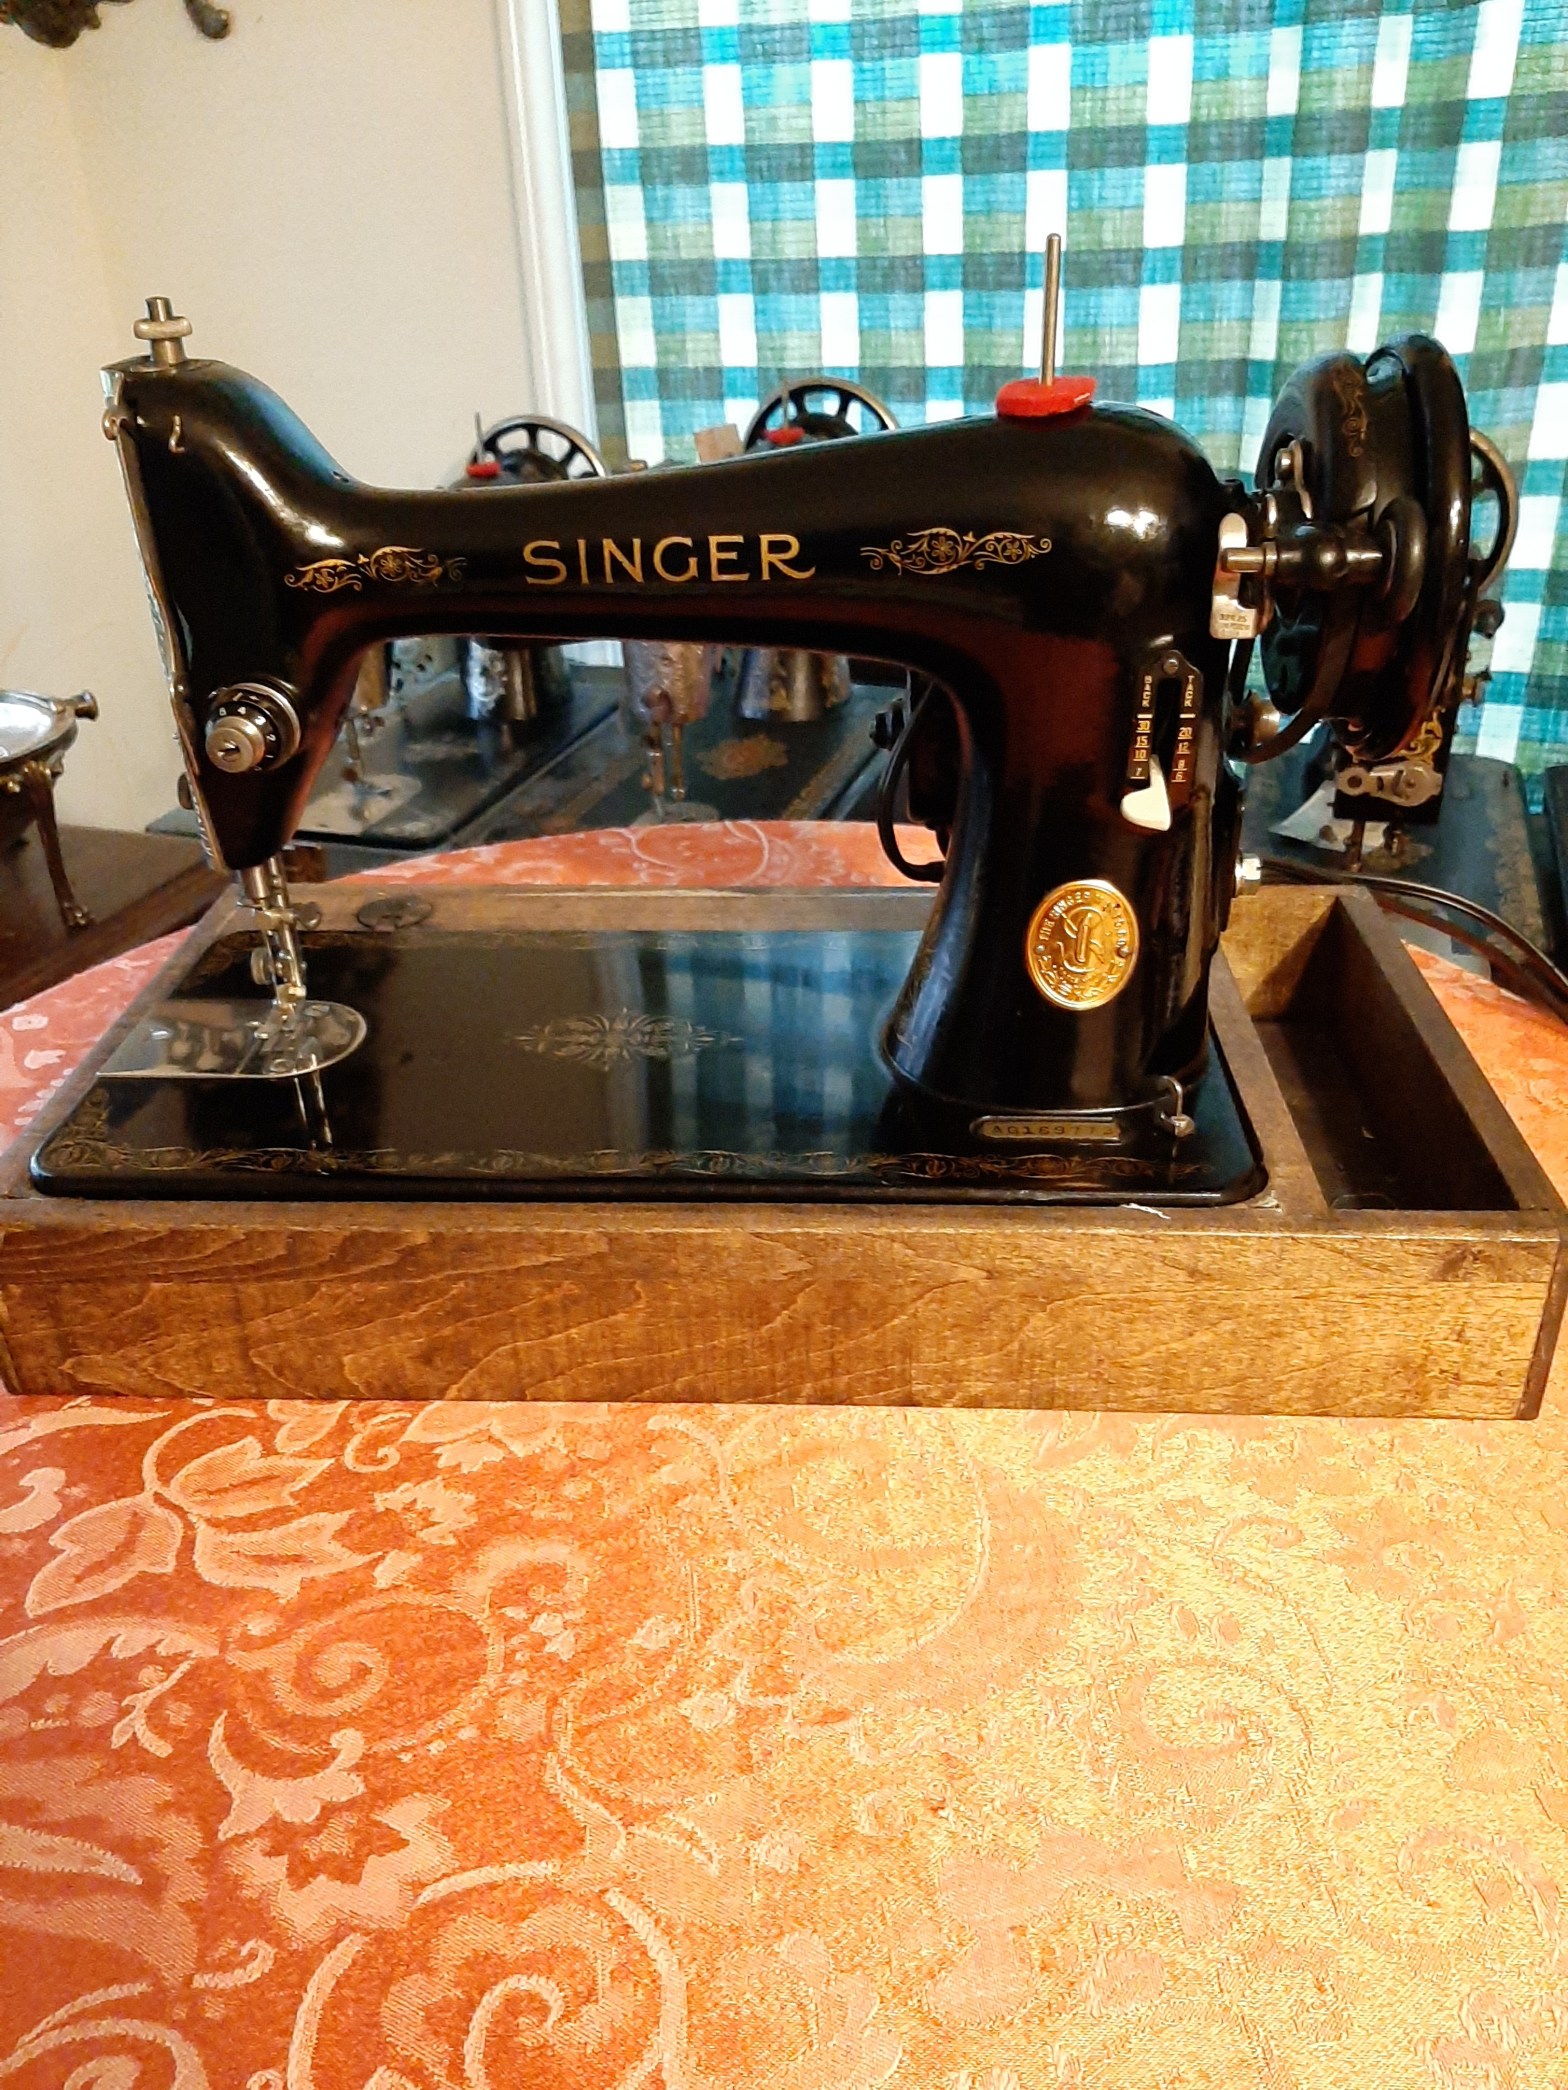
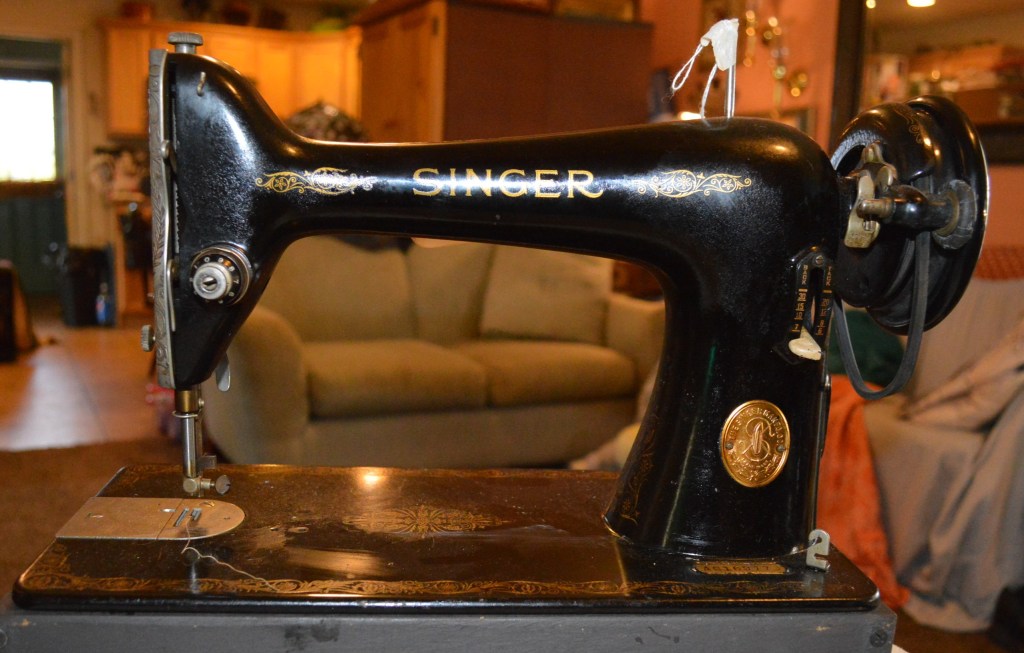
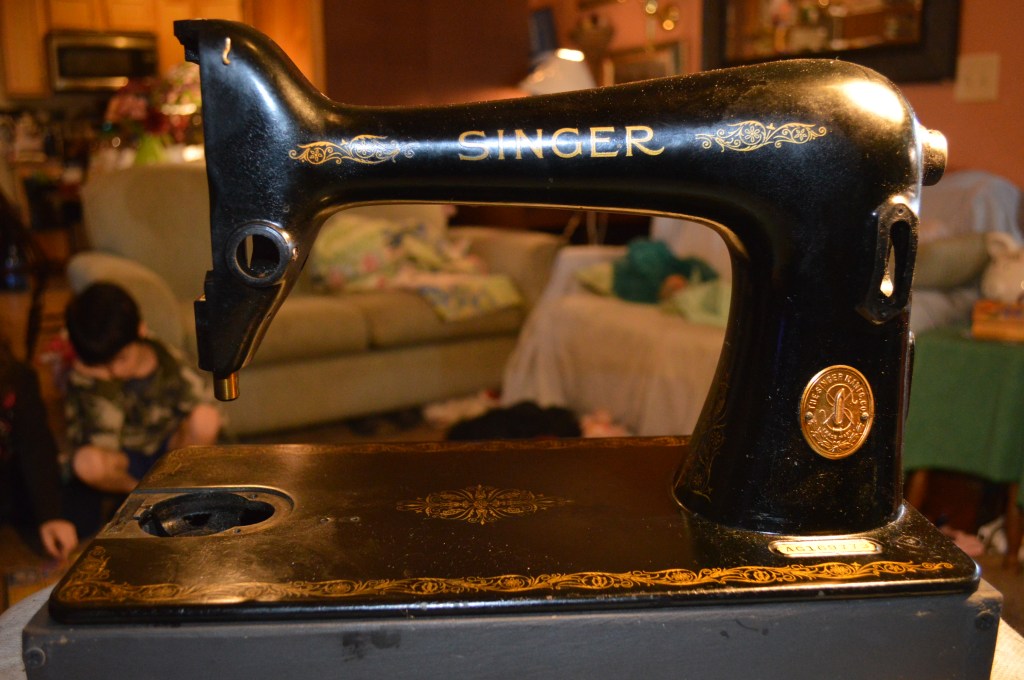
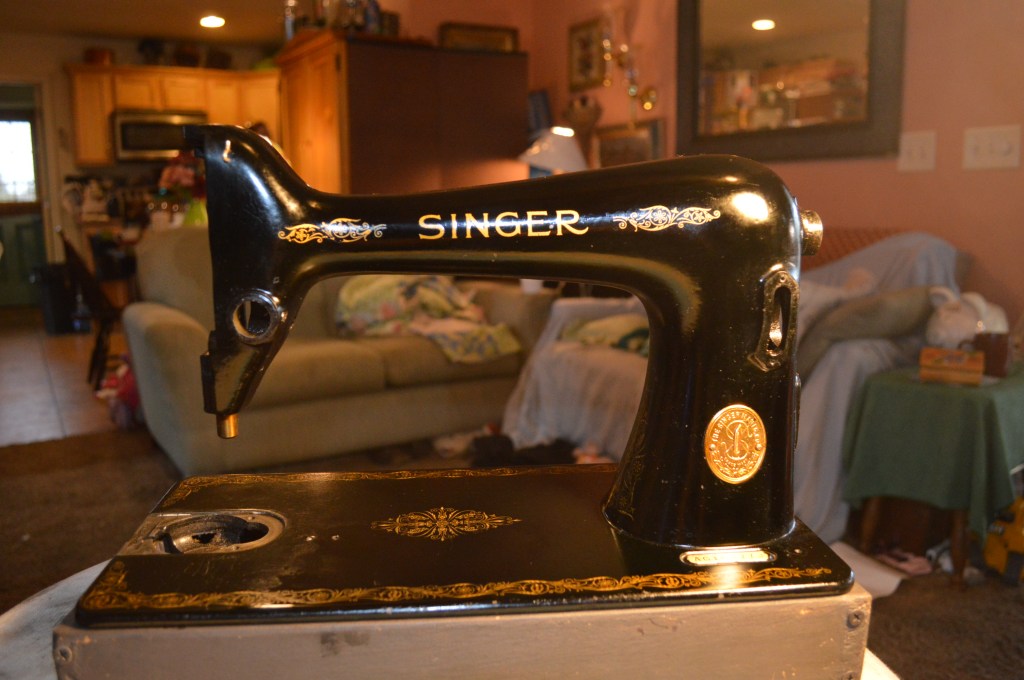
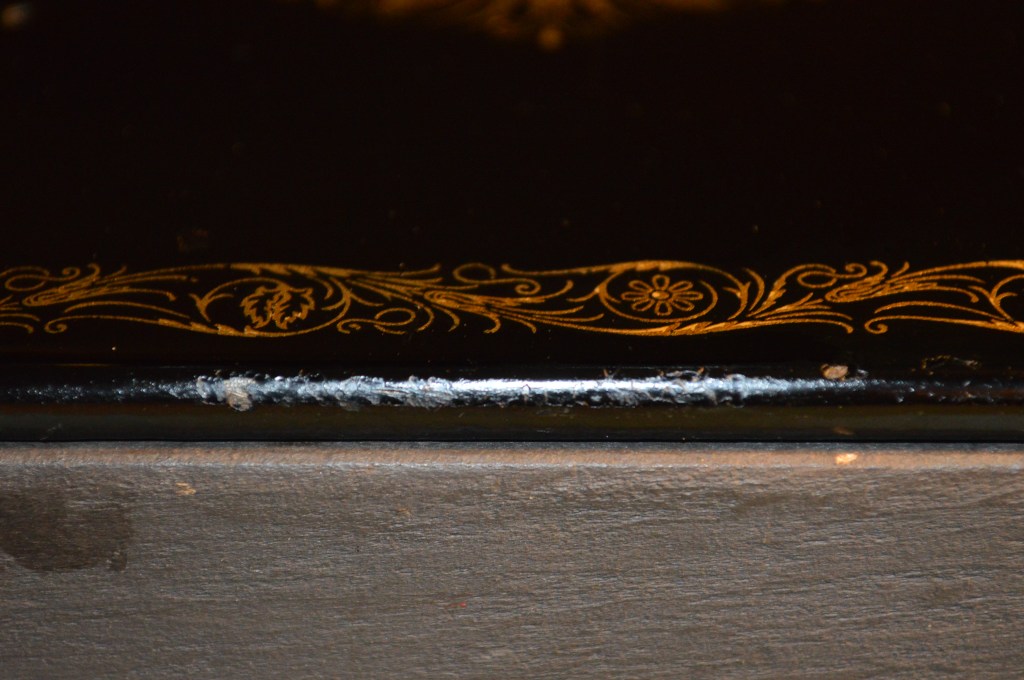
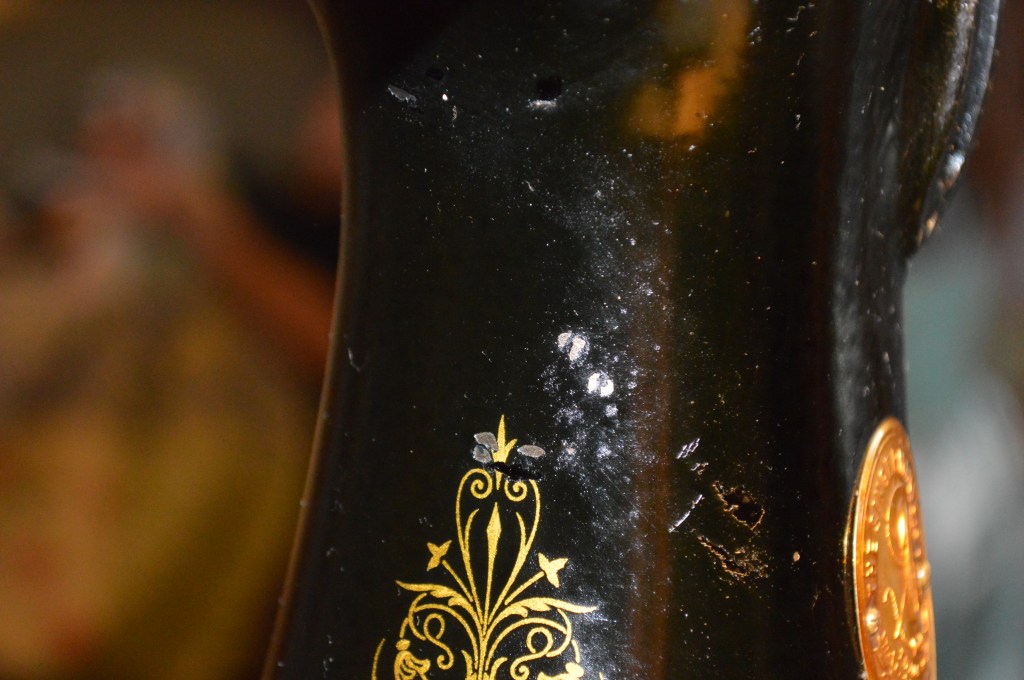
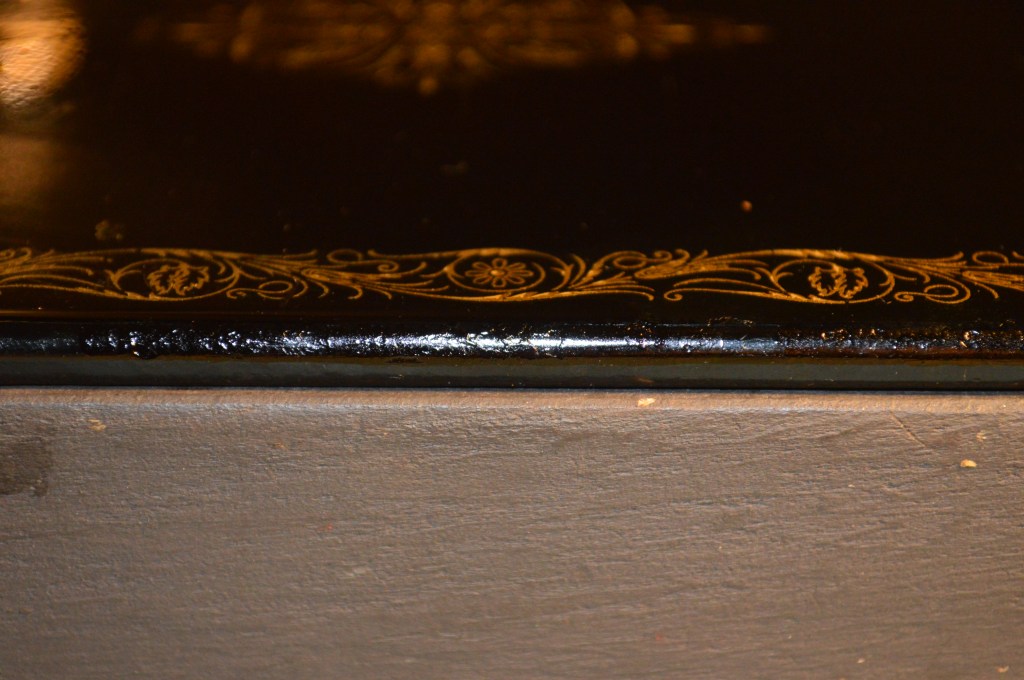
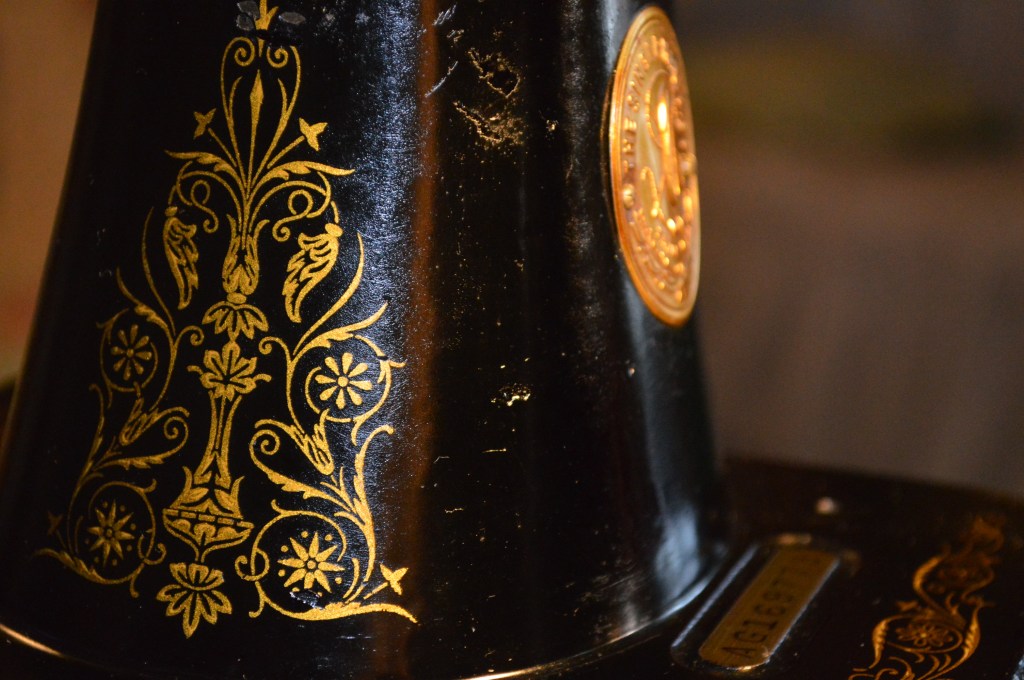
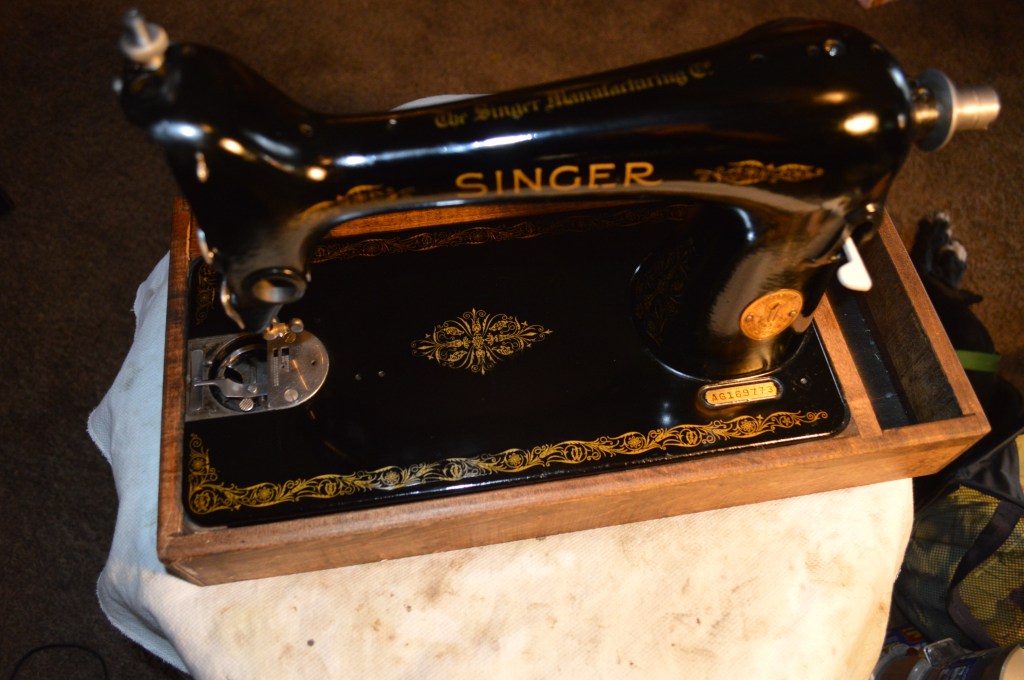
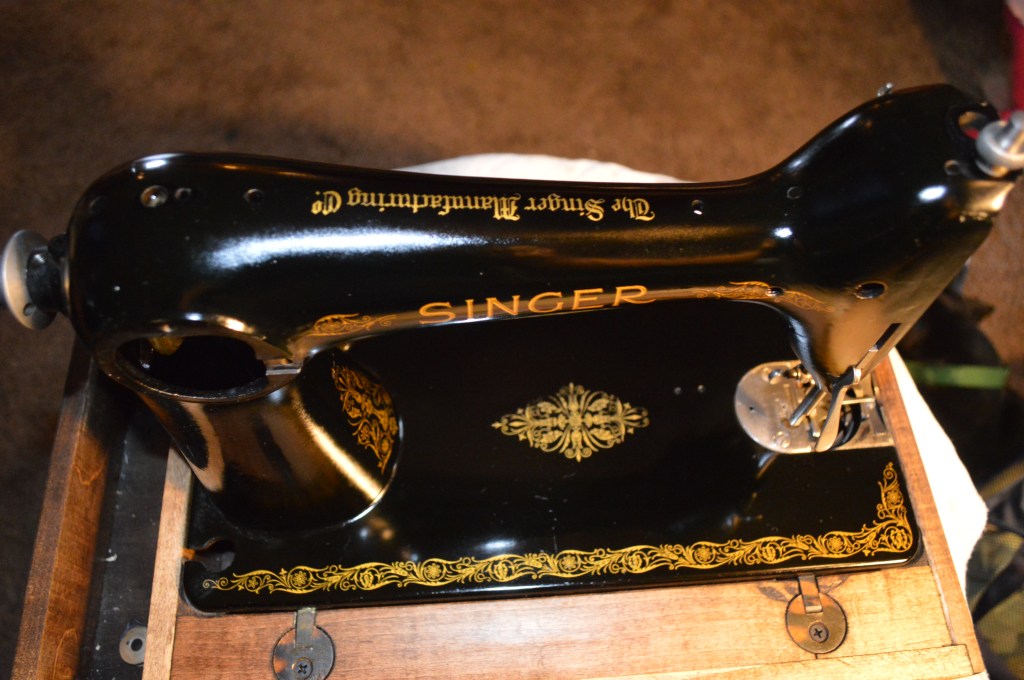
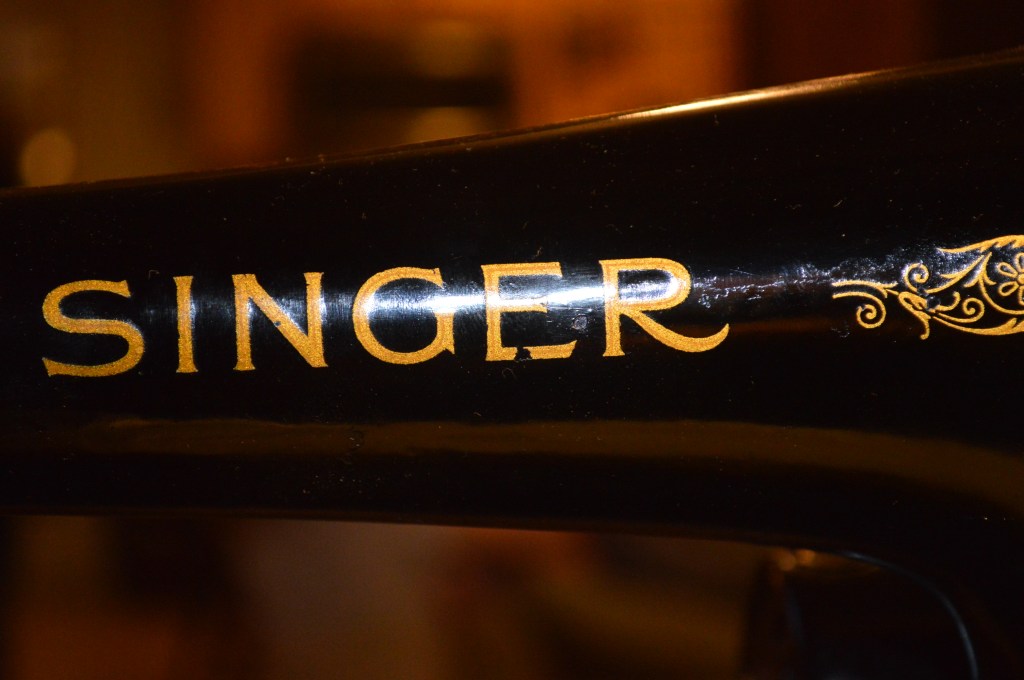
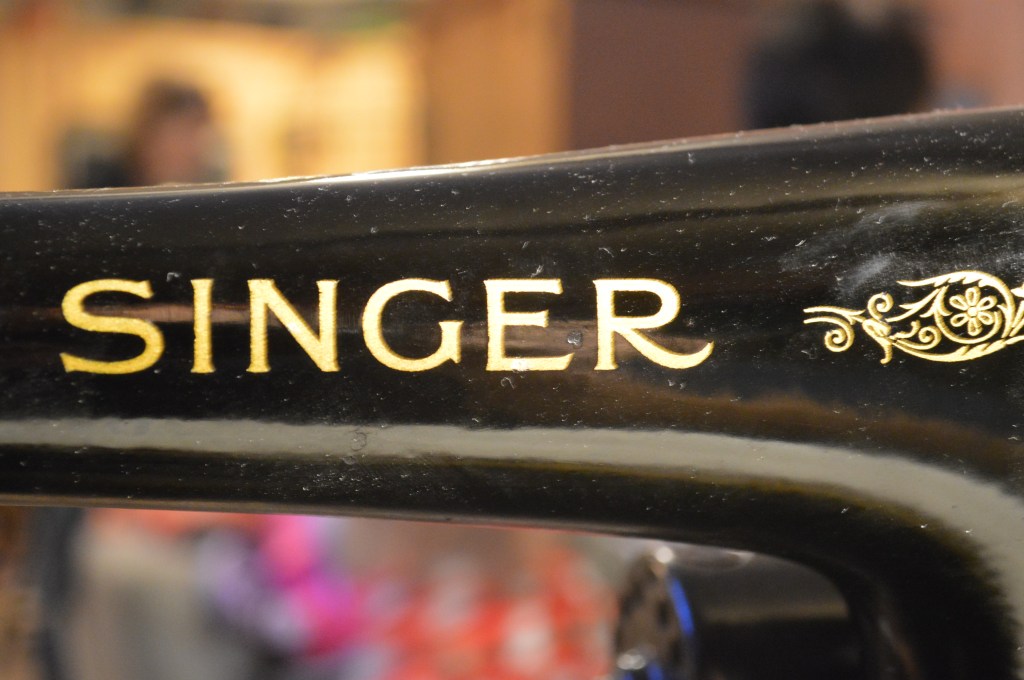
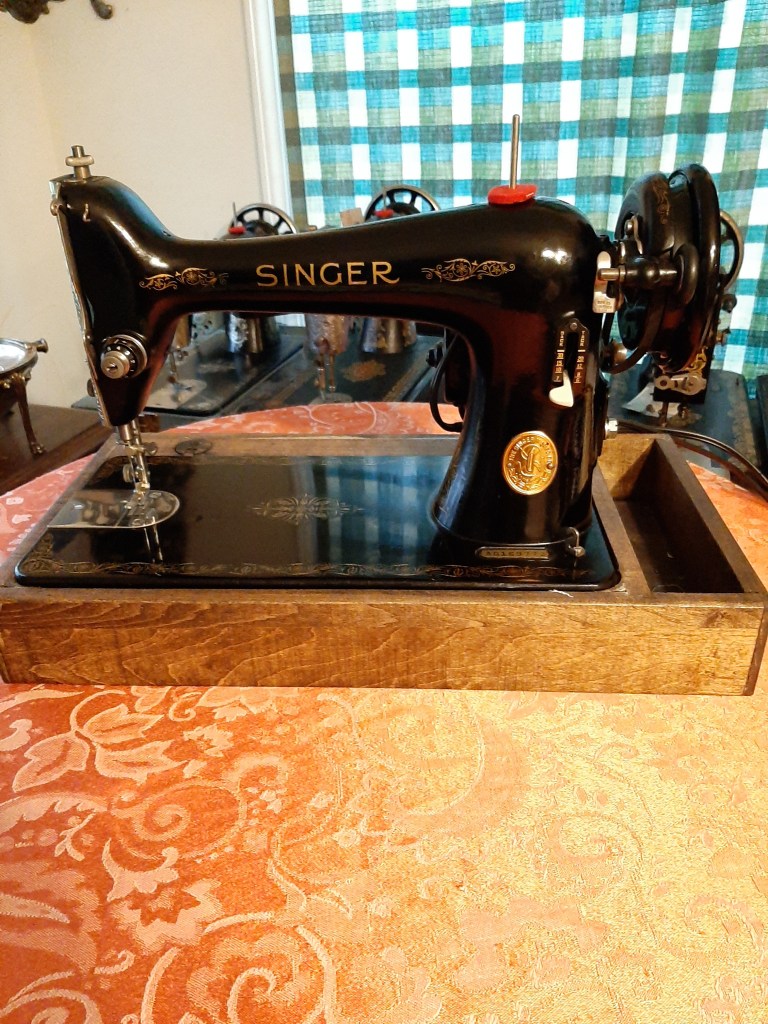
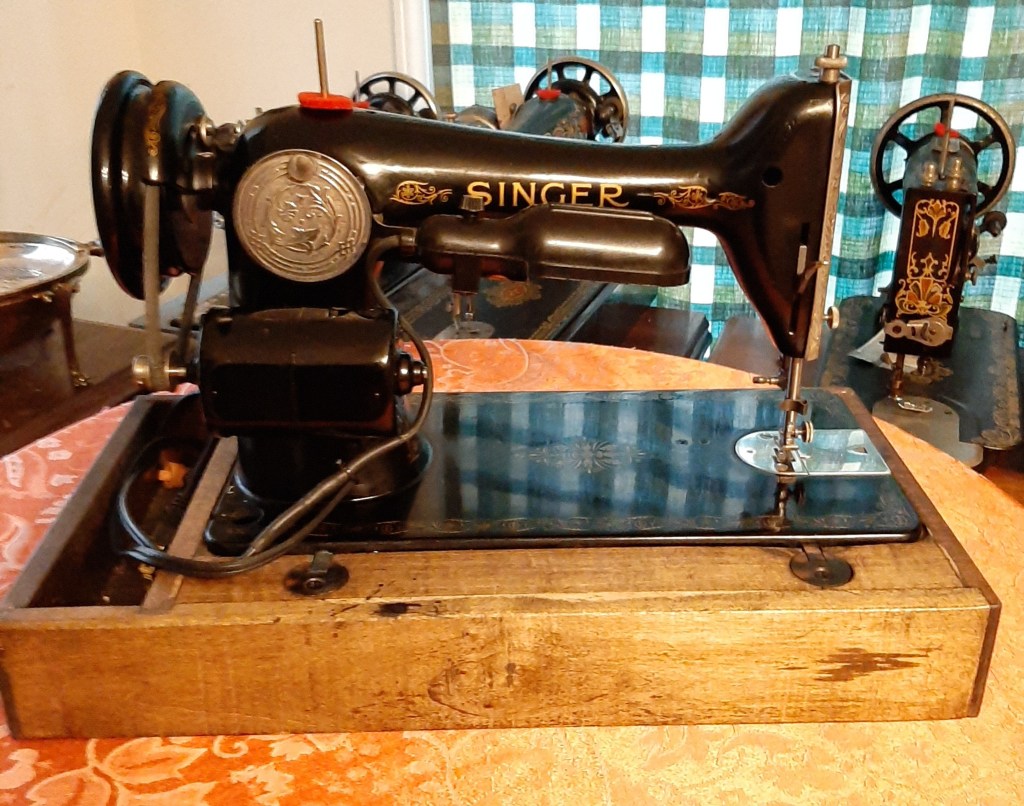
Now a little bit about the machine…With the serial number AG169773, it was one of 35000 model 66’s commissioned on September 30, 1941. This machine is a great candidate for restoration, and is indeed in much need of it. Overall, the condition is good. The machine needs to be cleaned and polished, there are a few nicks that need to be paint matched, and the decals are in very good condition. The biggest issue I see with the cosmetic condition on this machine is a few scuffs on the bed and an area where the shellac has worn worn away with use. This area shows in stark contrast to the adjacent shellac areas. The finish on the sewing arm shows some wear as well.
The mechanical restoration is very straight forward. Complete disassembly… removing and cleaning of every part in the machine. This will also include polishing the main shaft, needle bar, presser foot bar, and shuttle hook shaft. The motor will be disassembled and cleaned. The motor commutator and armature shafts will be polished. The old wires will be replaced with new wires, and the brushes will be reconditioned. The light fixture, damaged on this machine, will be replaced with a vintage light which too will be rewired.
The reason for complete disassembly is simple… the parts were shiny and smooth when the machine was manufactured, so they need to be shiny and smooth now. I want this machine to sew like new, and that’s the only way I can think to achieve my goal.
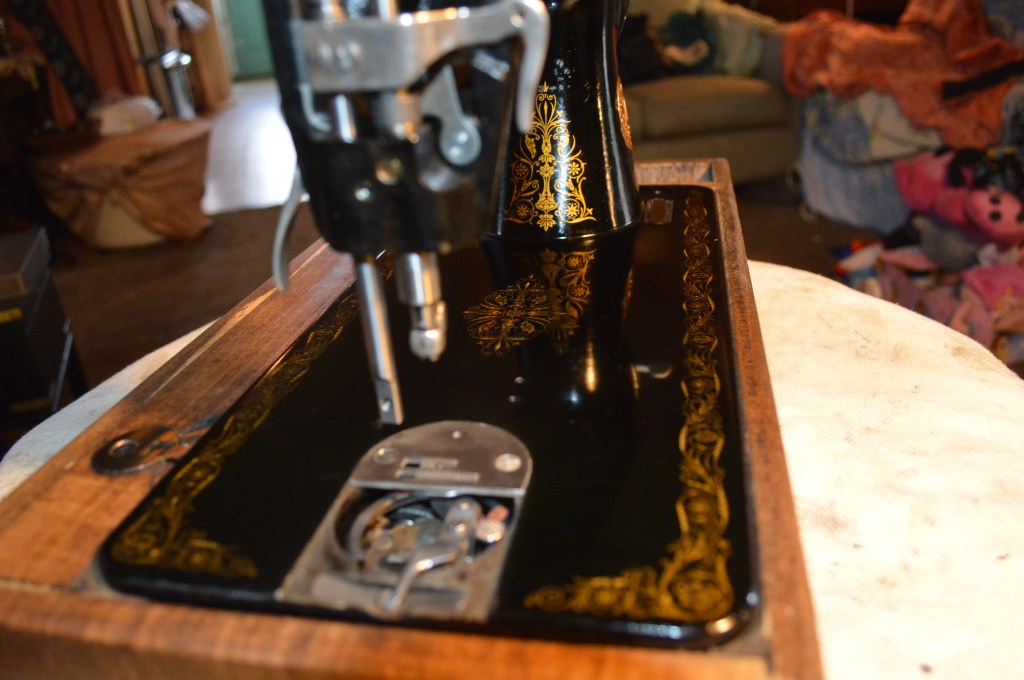
The cosmetic restoration is a whole different story. The decals are in great shape and the paint is in great condition with no crazing or cracking. But if you look closely at the pictures, you can see an area on the bed where the shellac has worn away. Blending this into the bed so it is barely noticeable, and fixing the scuff marks will be a tedious undertaking. The condition of the paint on the sewing arm and pillar will result in a beautiful outcome, but here too it will take a lot of work to bring it to it’s best condition. Yet, it is a machine that deserves a home where it will be treasured and make new fond memories for generations, and that is enough reason for me to take the restoration to the extreme so it will look it’s best when it gets there.
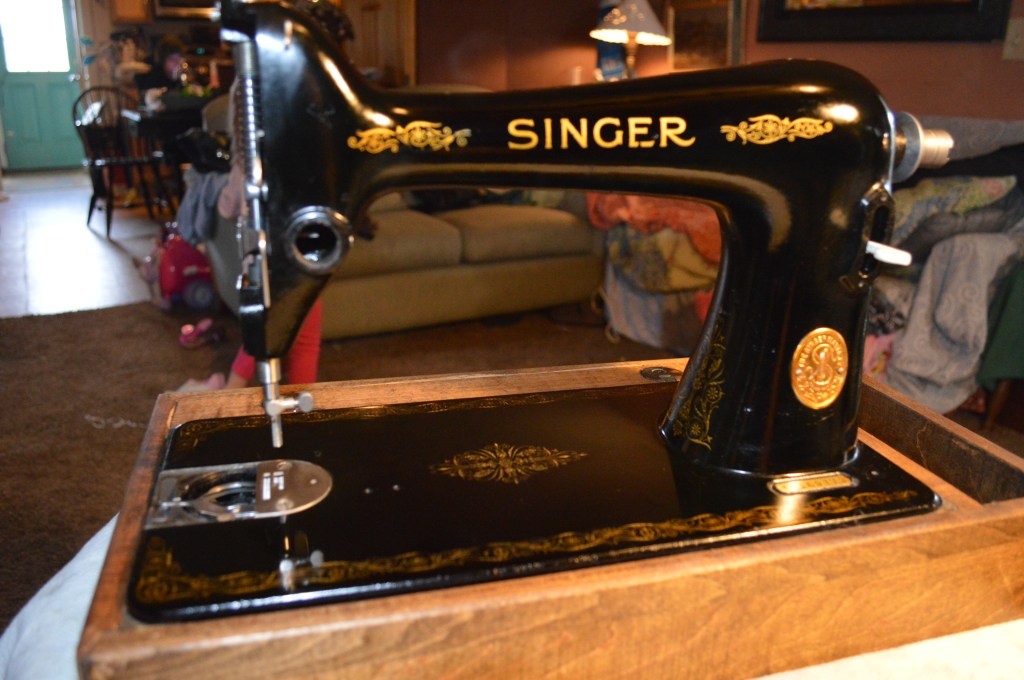
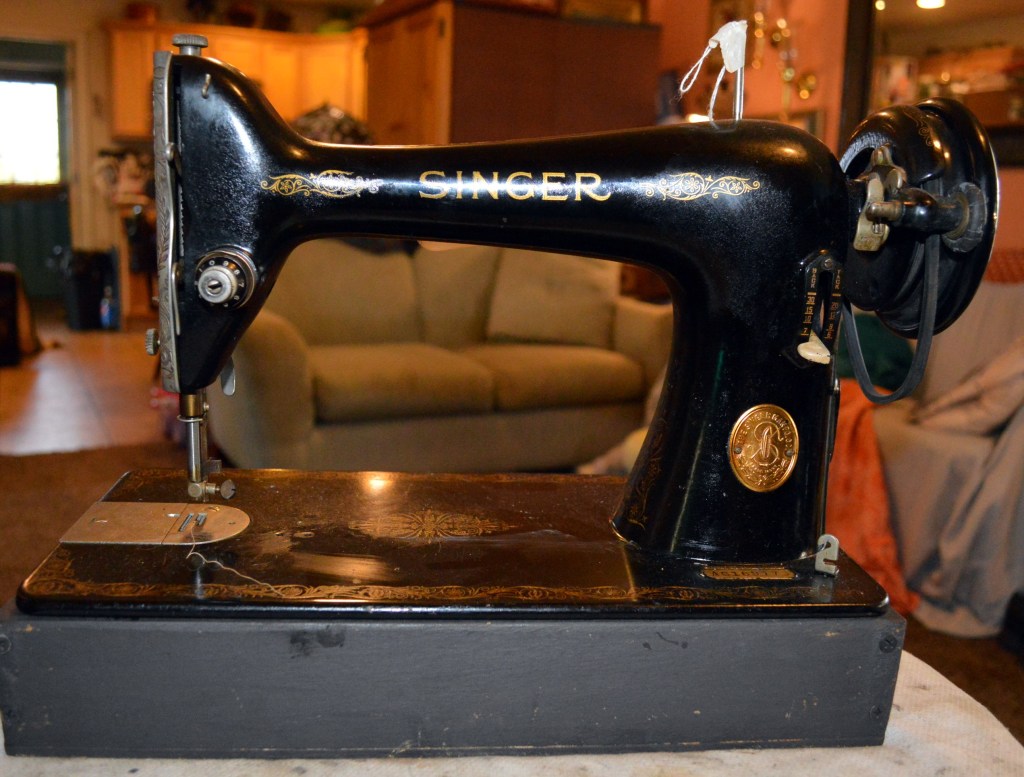
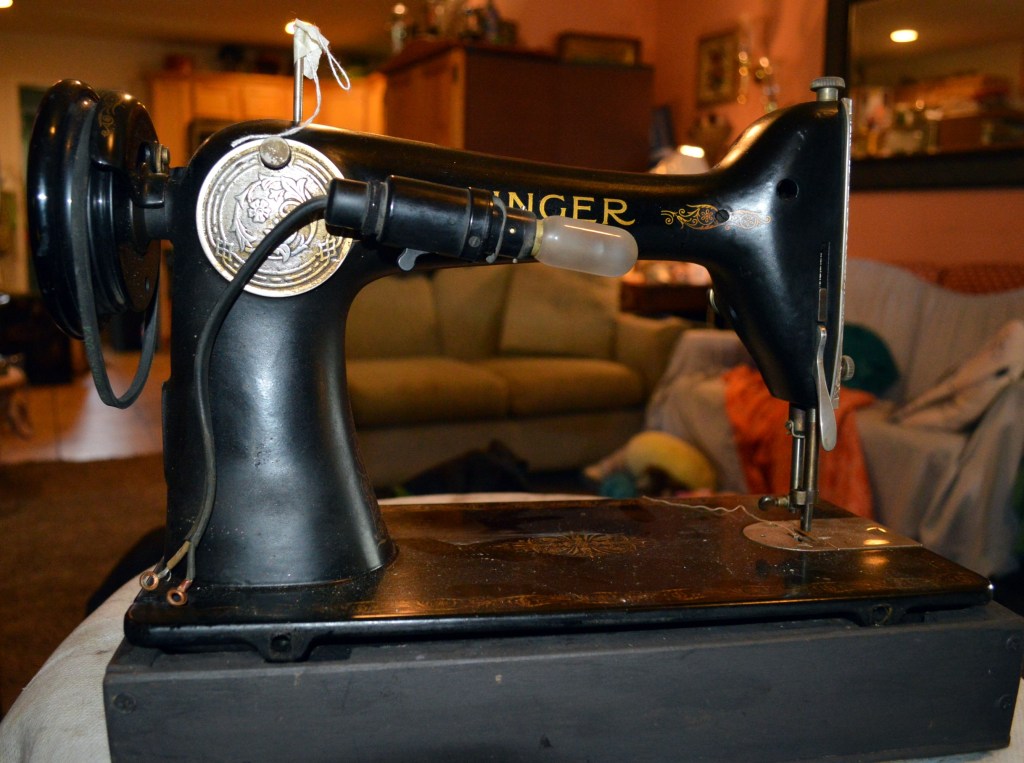
If you are interested in seeing how this restoration progresses, and think the pictures and discussion at each stage of the restoration may help you fix or restore something on your machine, I invite you to continue reading… Here is the machine before restoration.

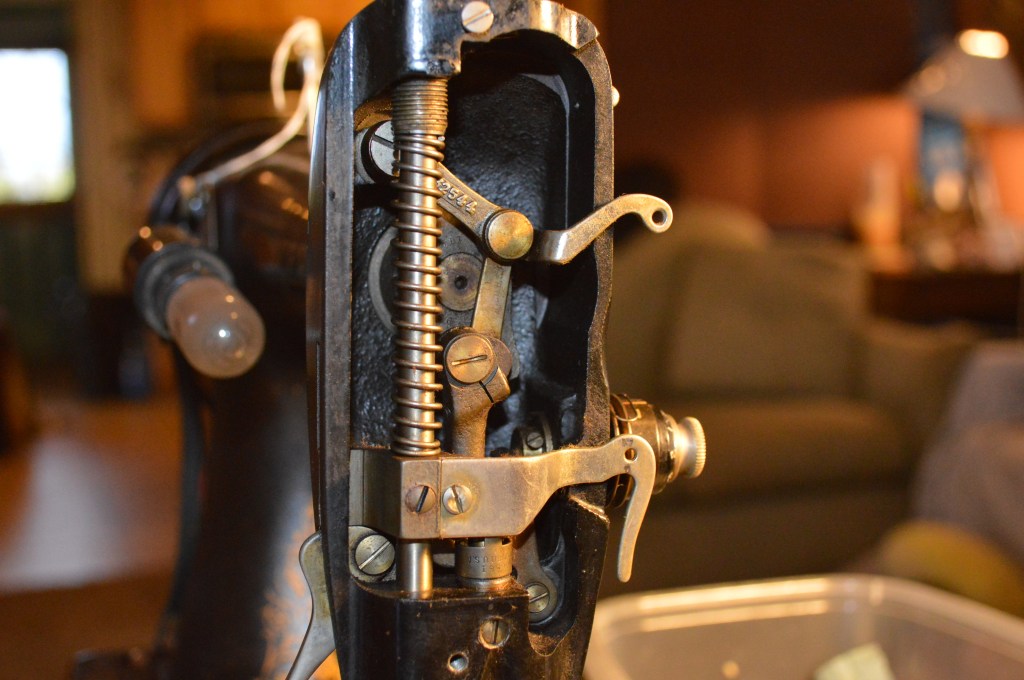
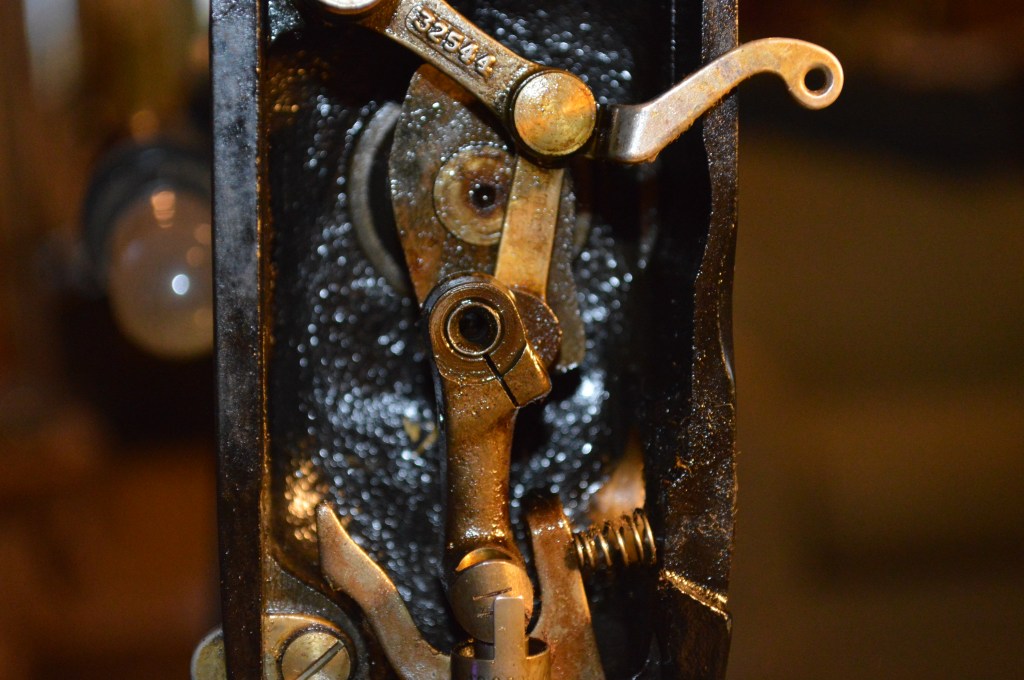
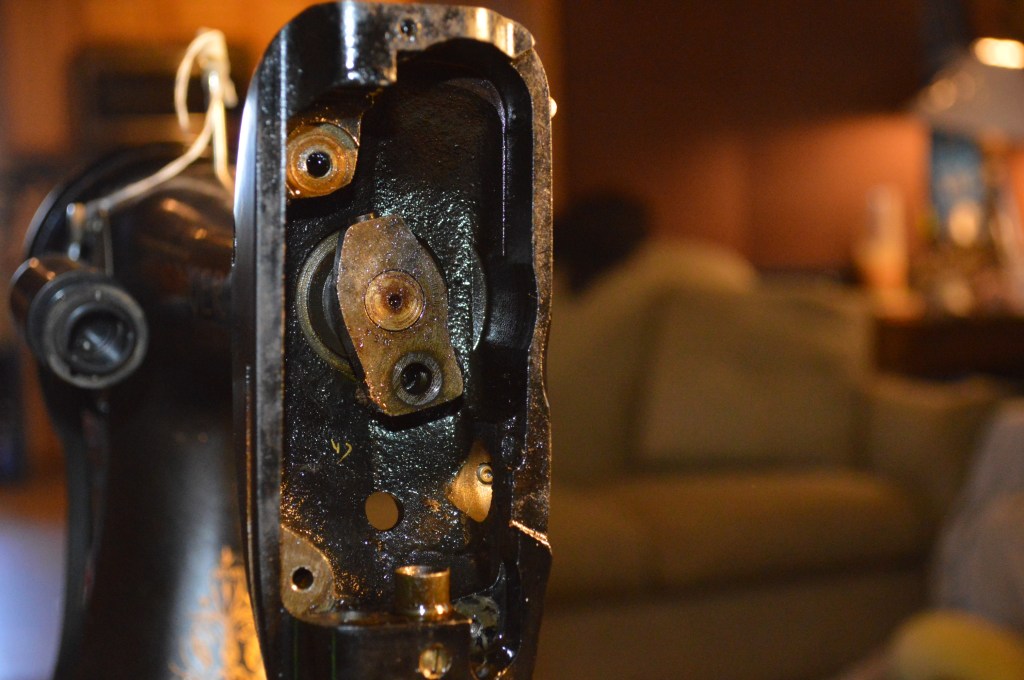
The first step is to disassemble the machine. This starts in the head. All of the parts are removed for cleaning.
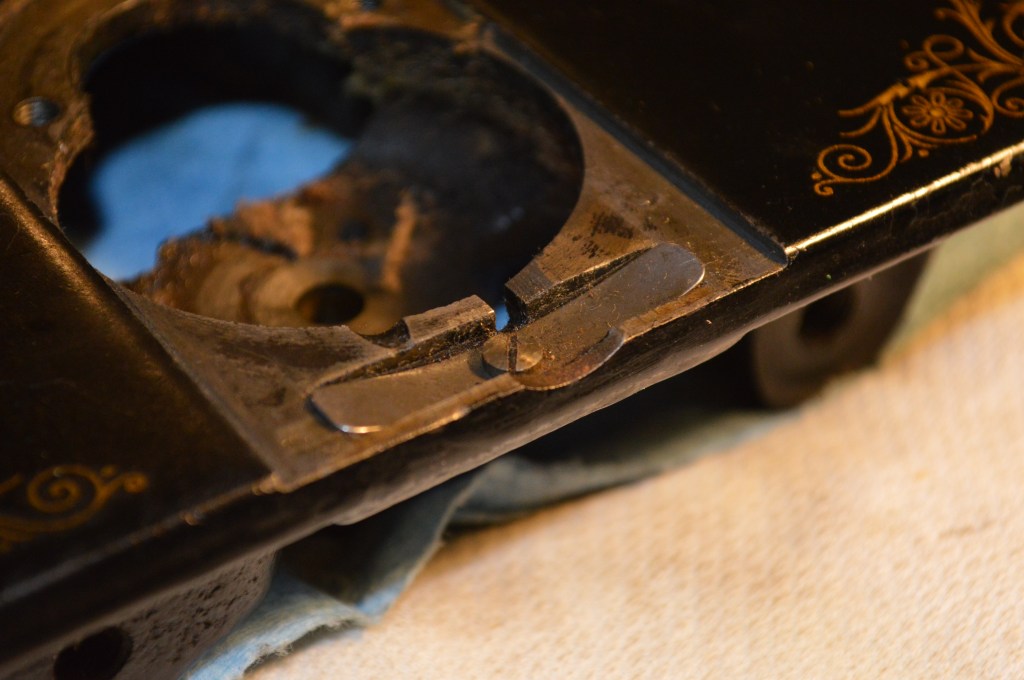
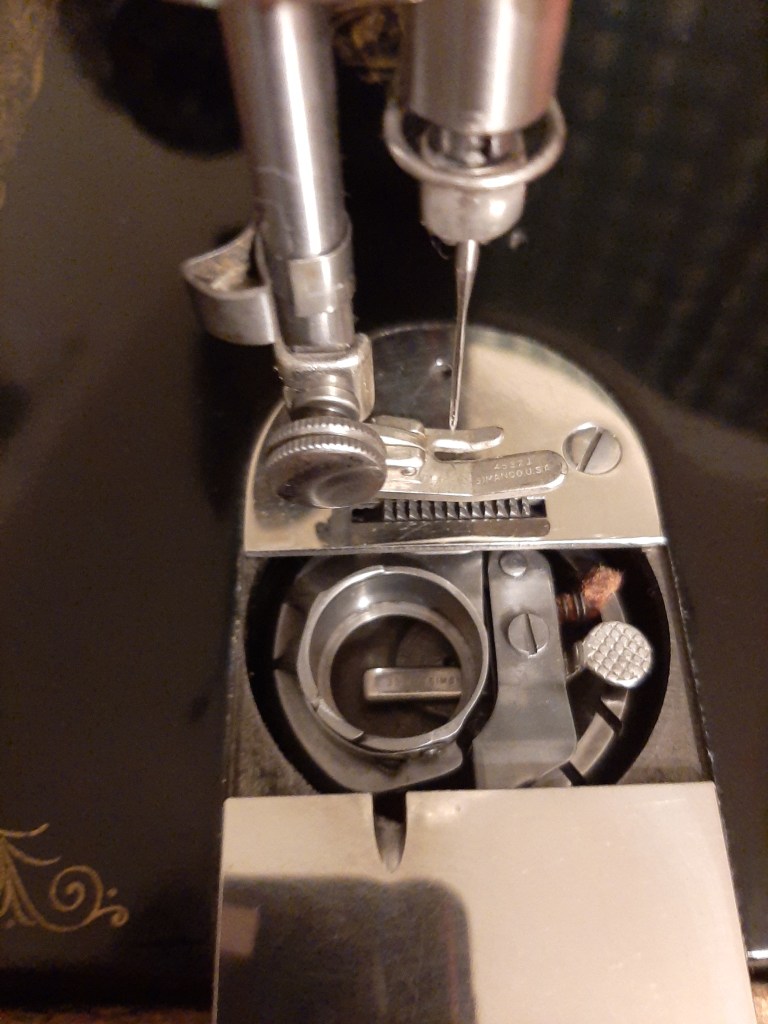
The next step is to remove the hook and thread clearance guide. The feed dogs are removed to allow access for removal.


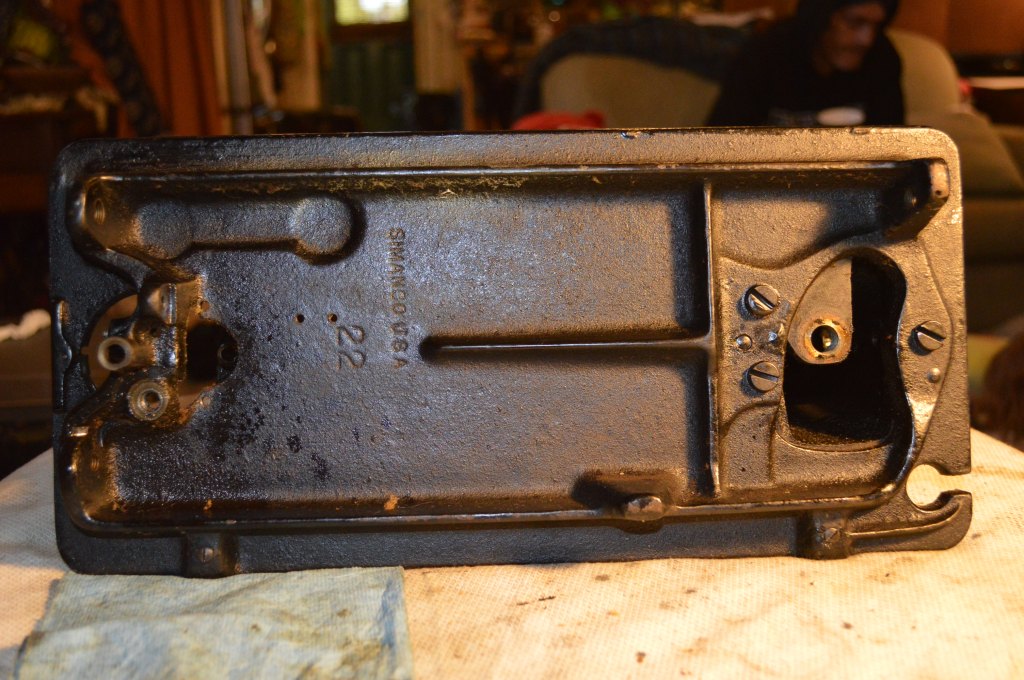
The oscillating hook mechanism and feed dog rocker shaft is removed from the underside of the bed. The stitch length rod is also removed at this point.
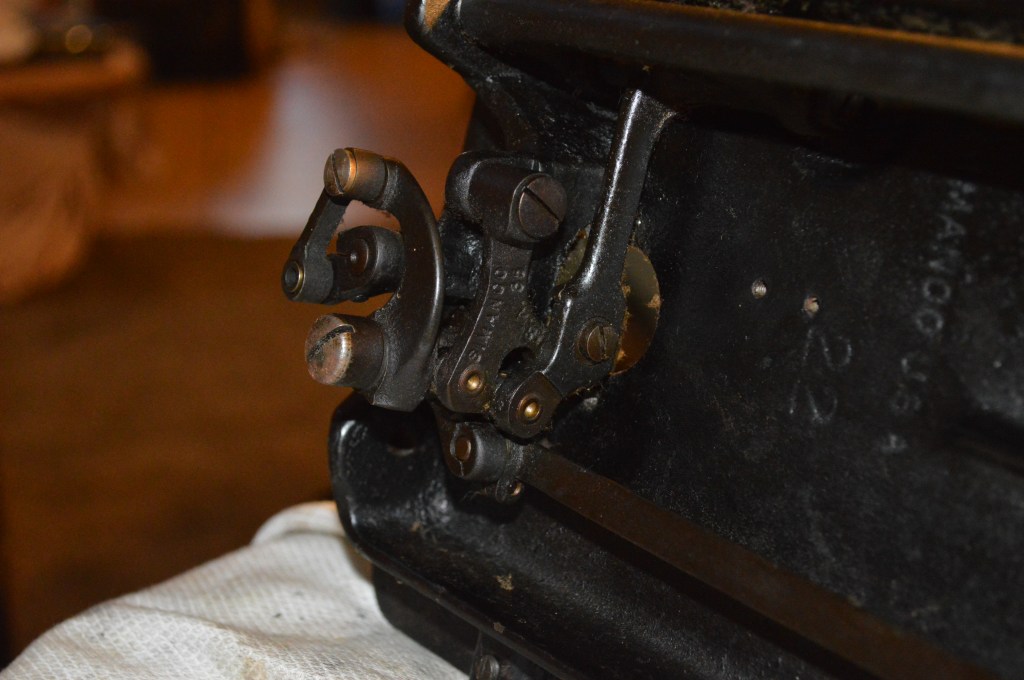
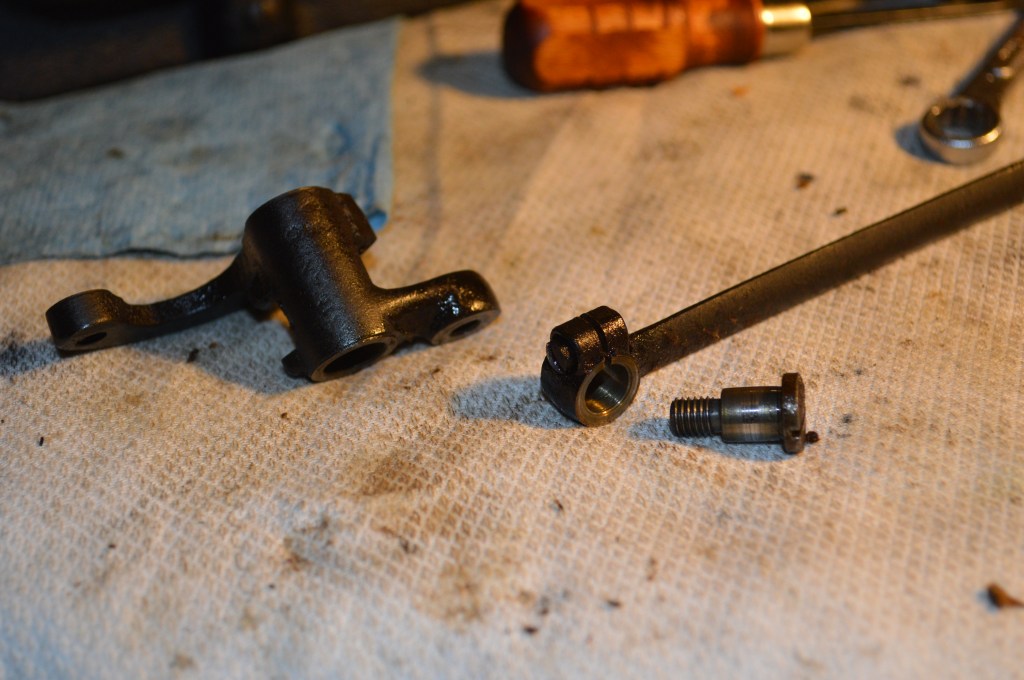
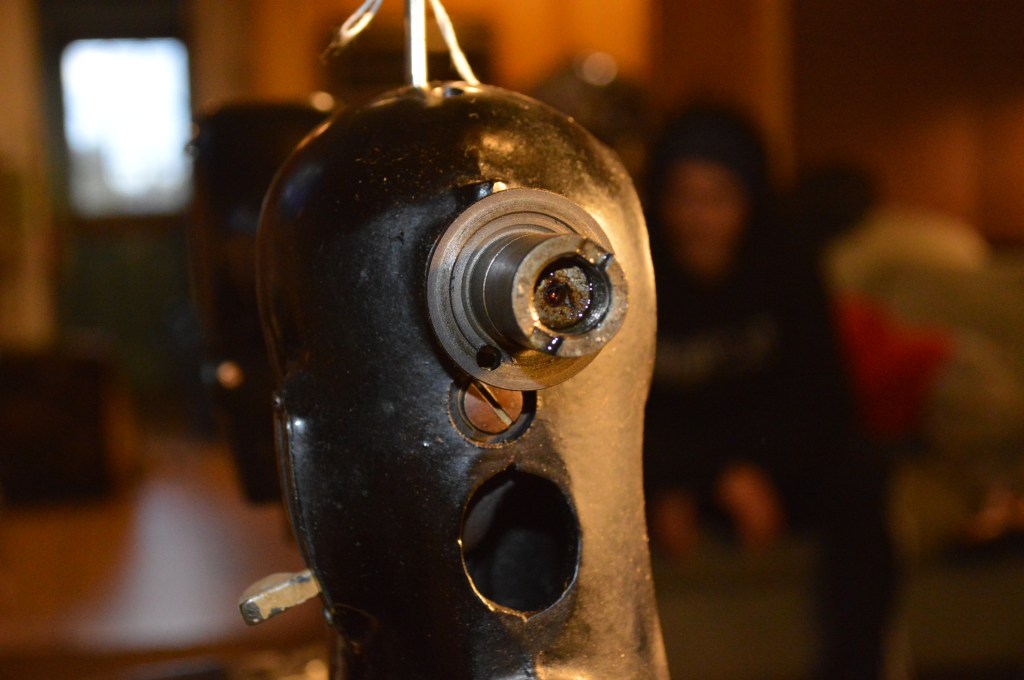
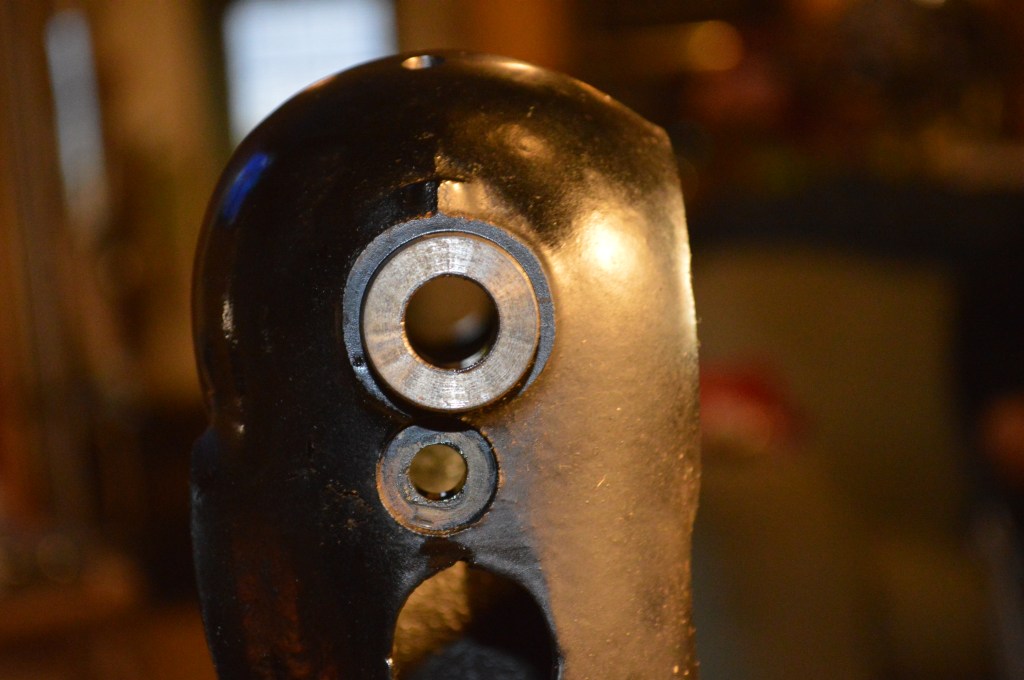
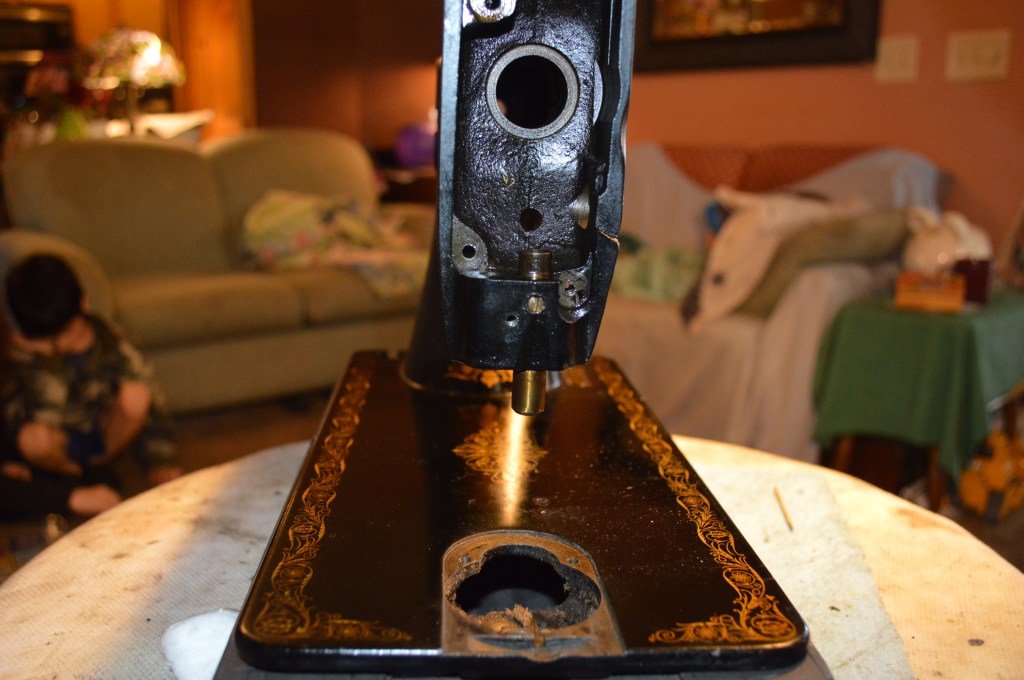
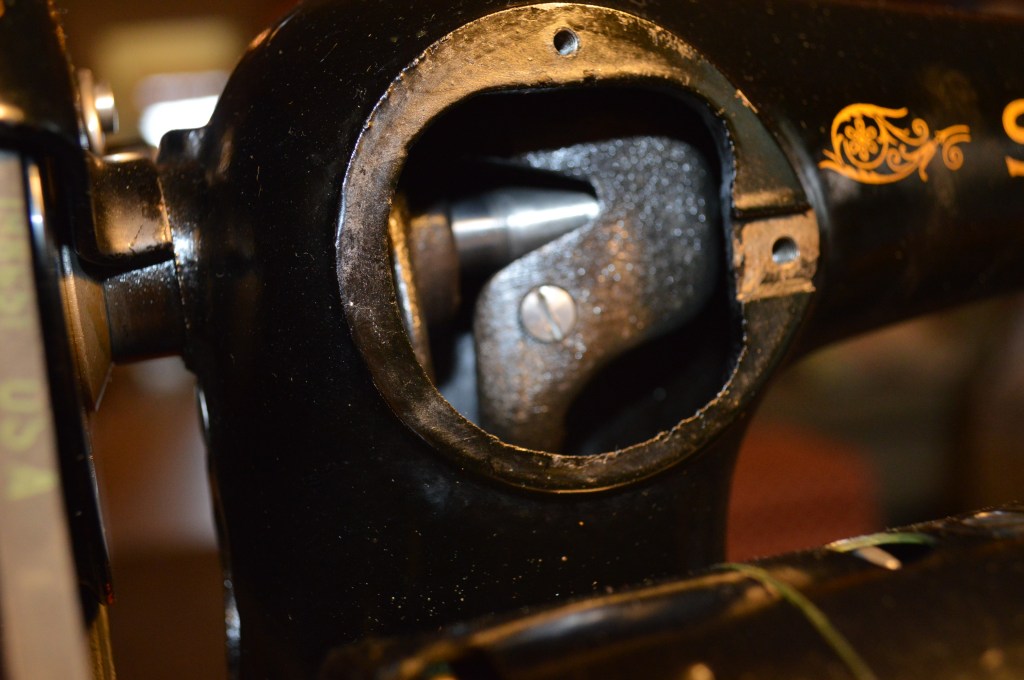
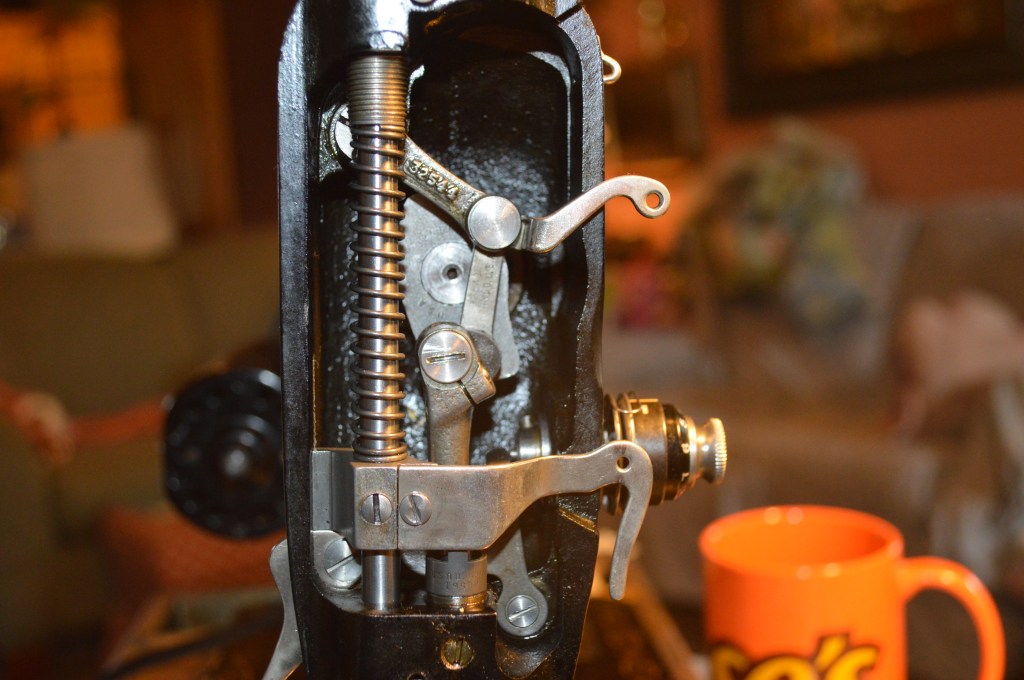
Next, the main shaft and feed dog rocker arm in the sewing machines arm is removed. This starts with removing the bushing from the end shaft of the machine. Please note, if you are doing this, the bushing must be removed with a gear puller… do not be tempted to drive this out with a hammer… as I have seen in several youTube videos. The bushing sets the allowable play in the arm shaft. Damage can result and the precision of fit in the shaft can be ruined. Once the bushing is removed, the shaft is driven out with a punch to remove the front bushing.
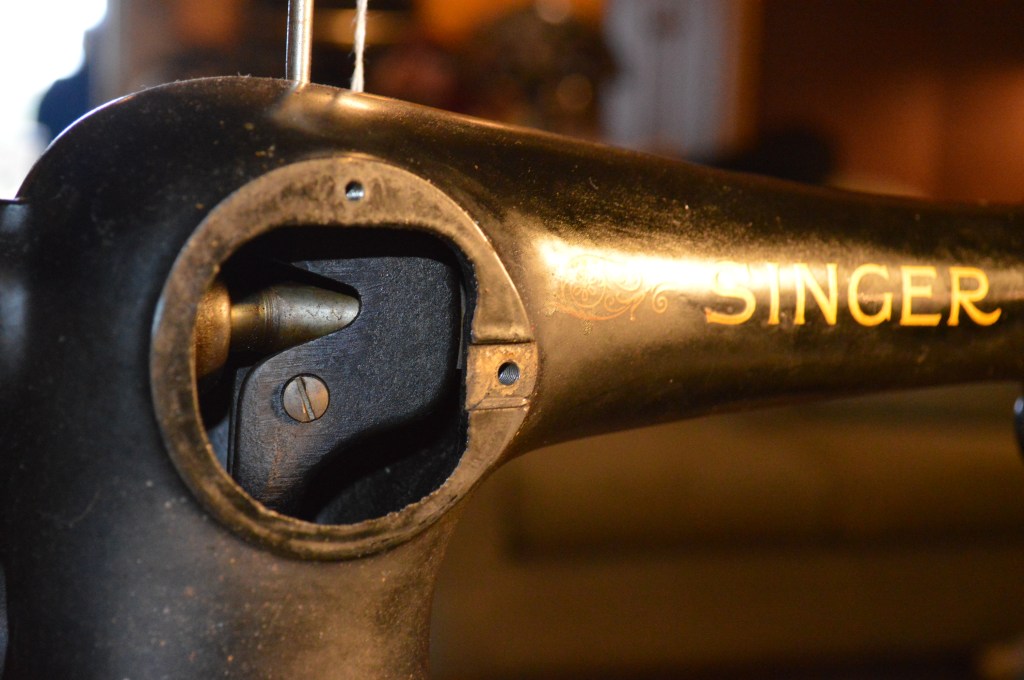

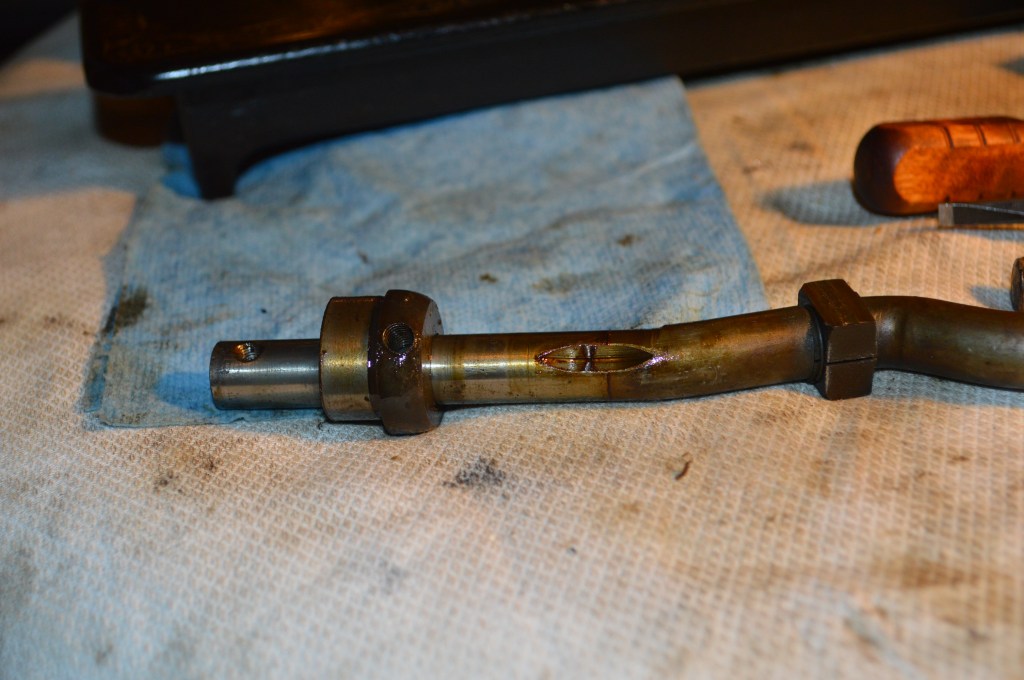
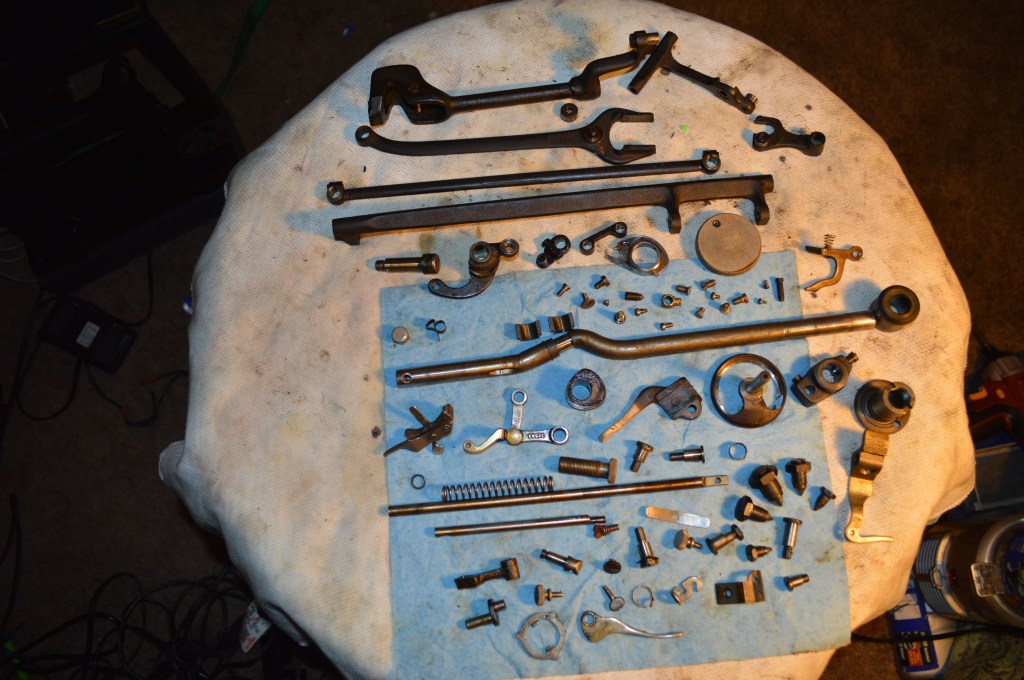
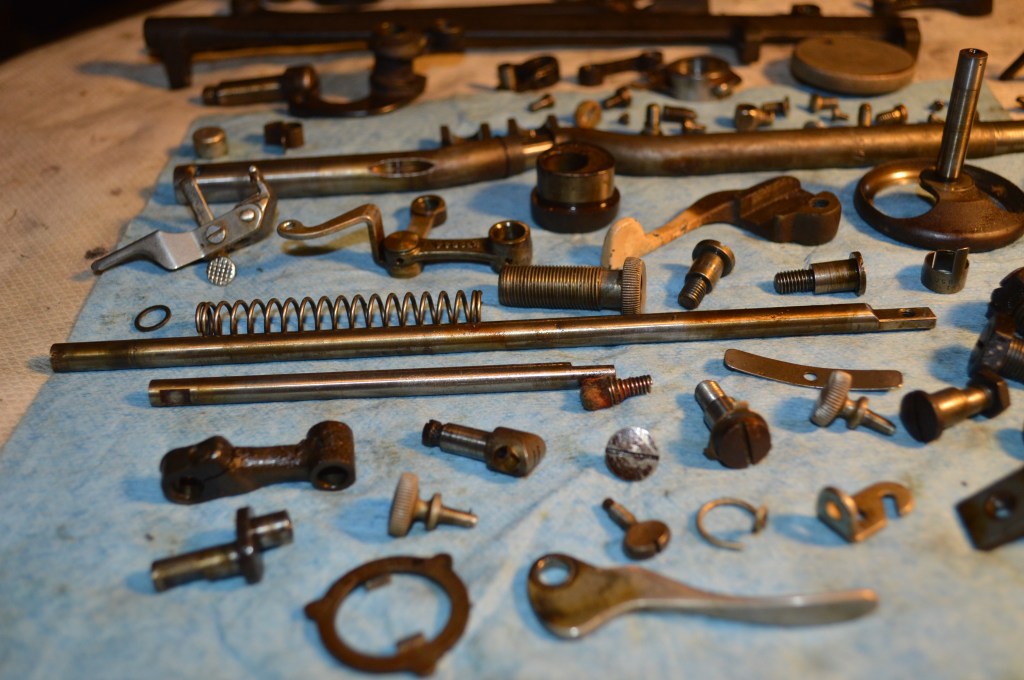
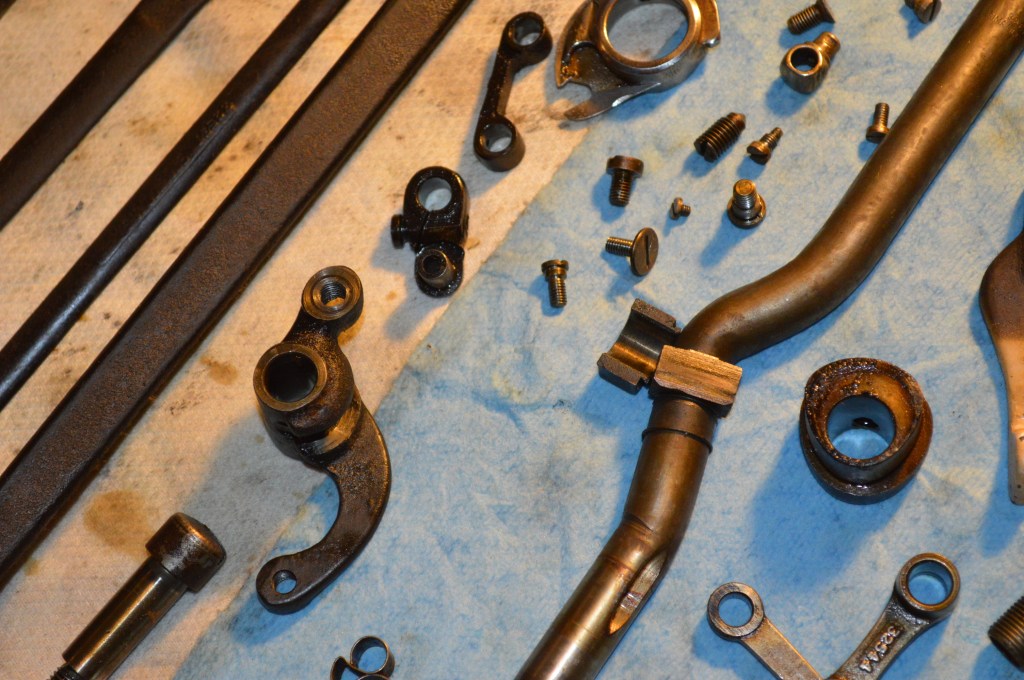
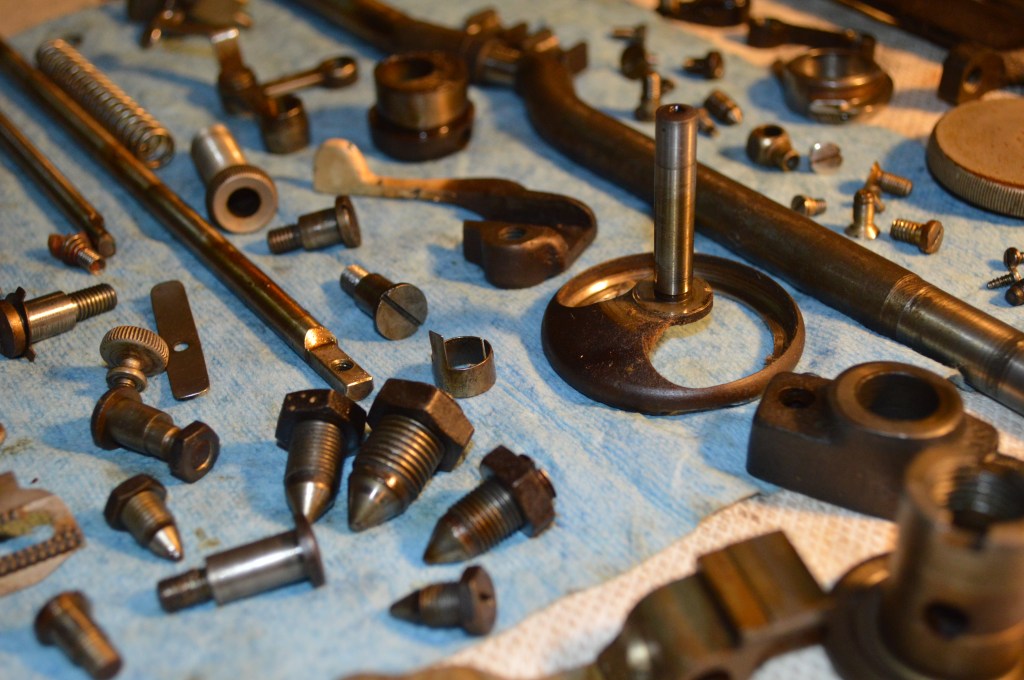
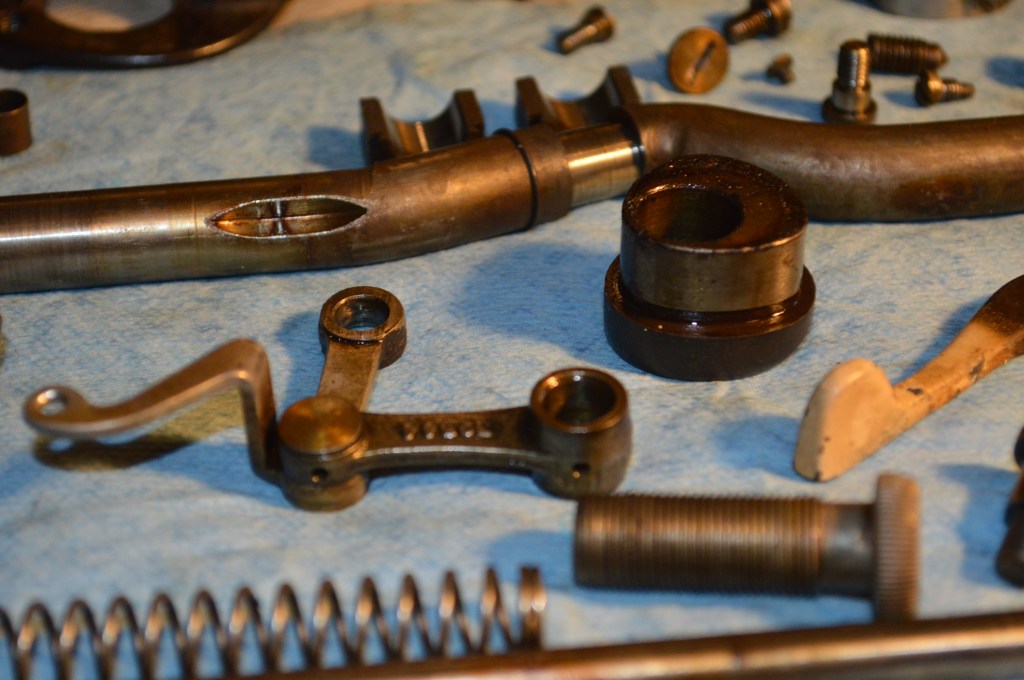
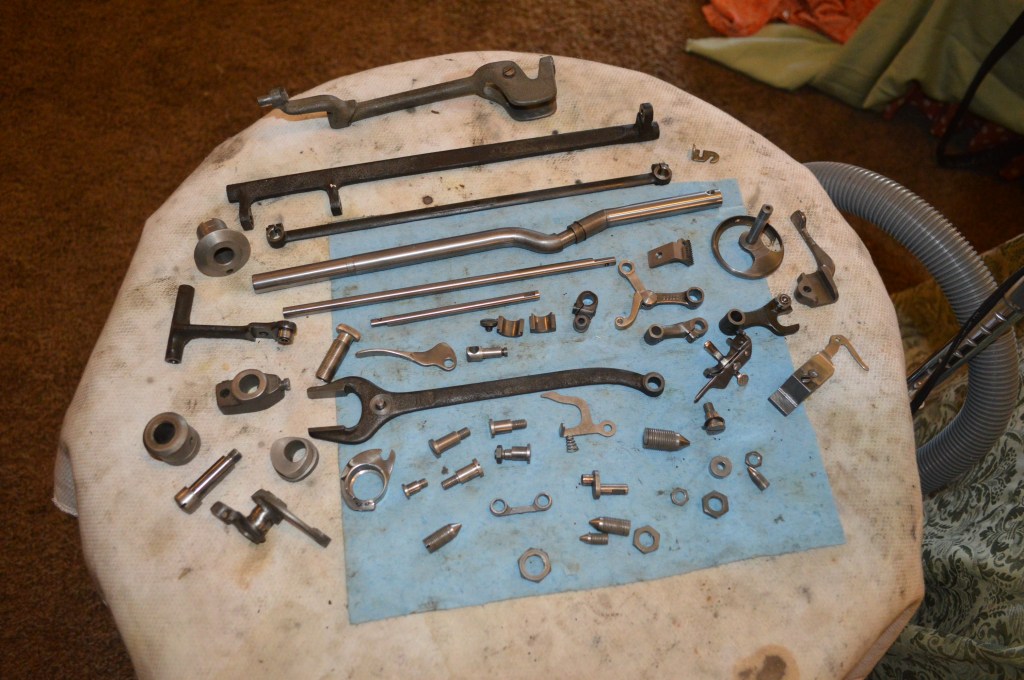
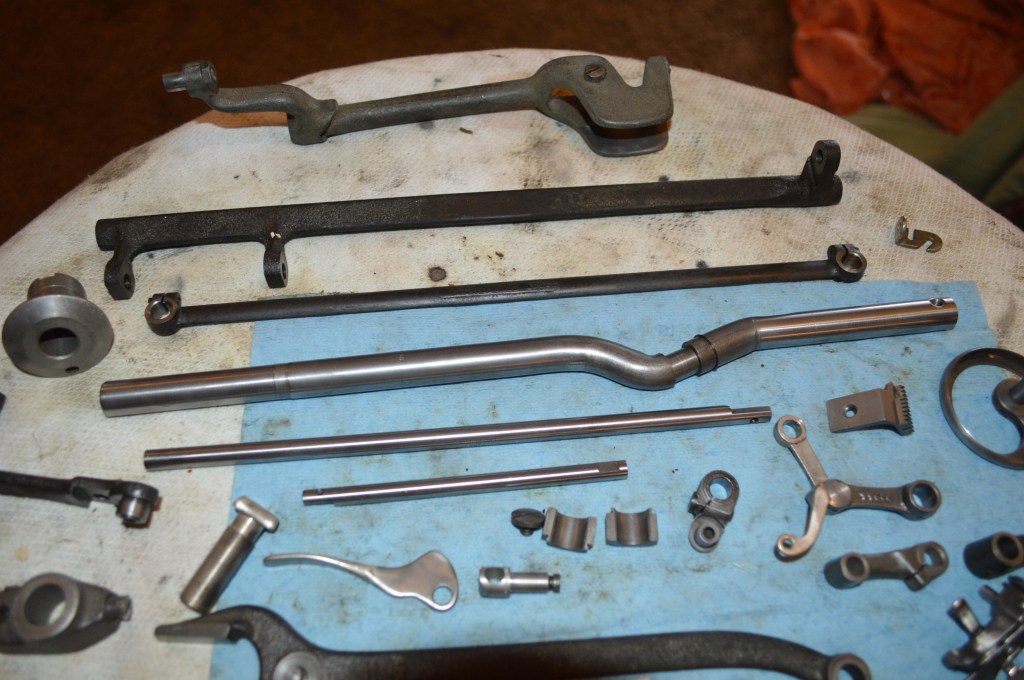
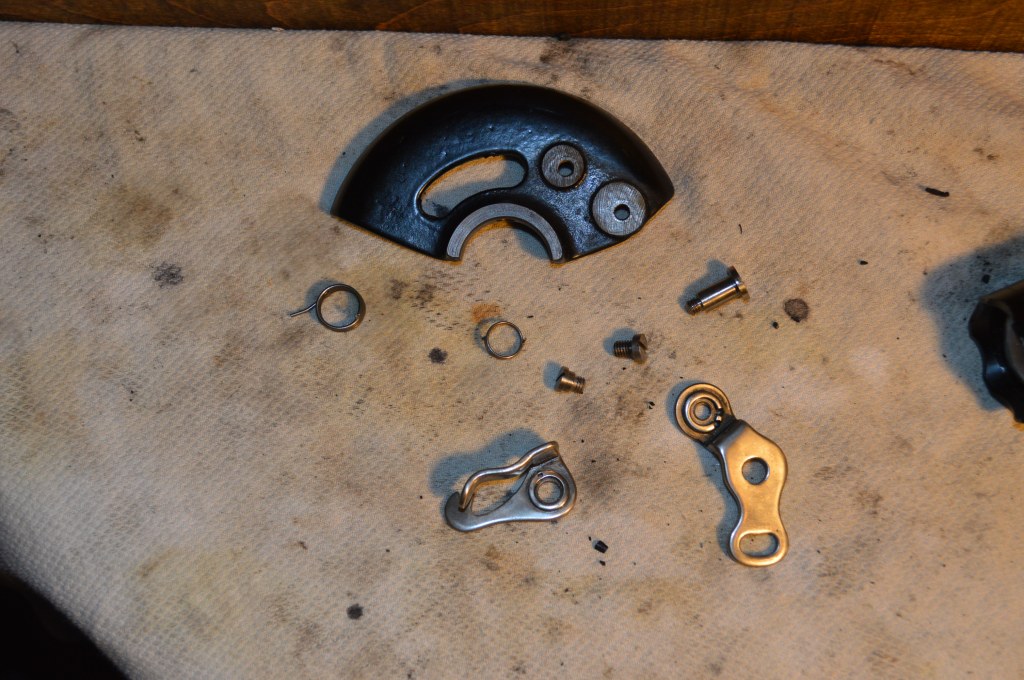
Now that all of these parts are removed, they are laid out for cleaning. Looking at the pictures, it becomes clear why I am going to this level… the brown oil varnish has accumulated over the years on the shafts and in the rotating parts. This is not shiny and smooth as new, and it inhibits the smoothness of the machine 80 years later. The point is to remove all of this varnish.
After cleaning, wire brushing, and polishing, the same parts look like new and are ready to reassemble.

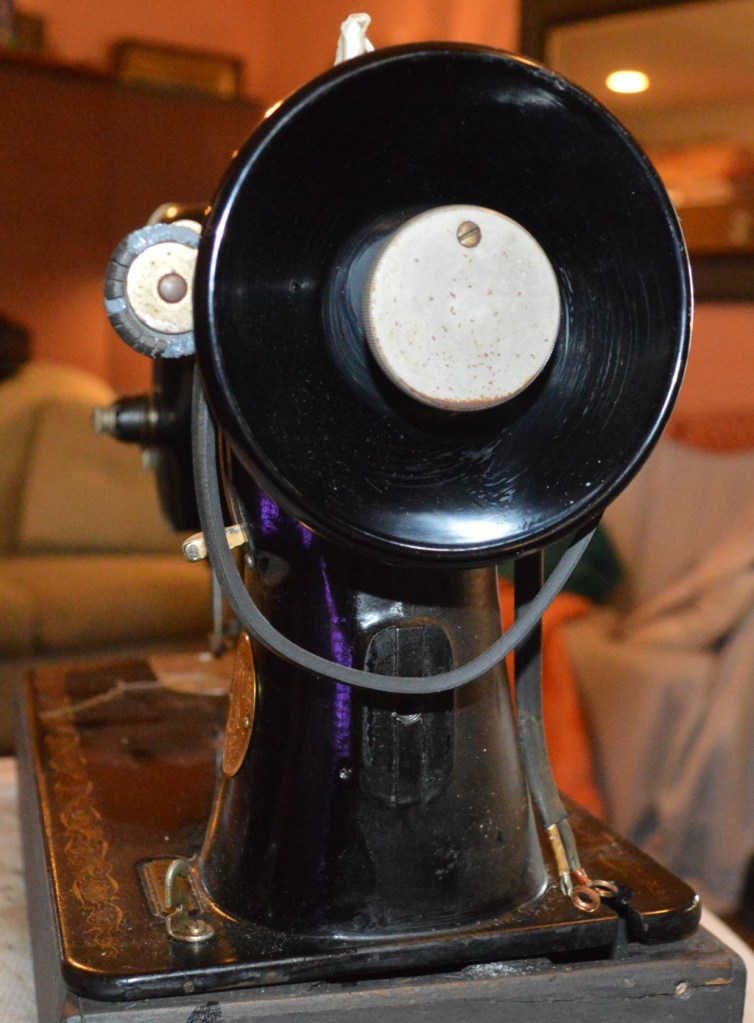
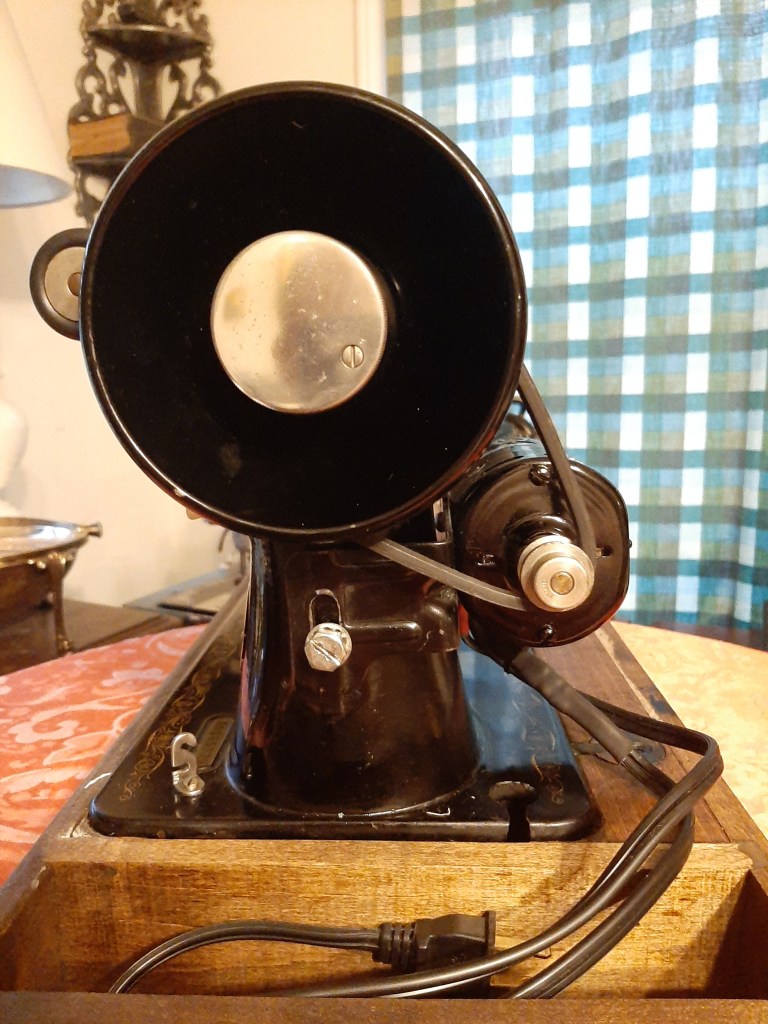
Next comes the restoration of the motor. This is not the original motor the machine came with, it was probably upgraded for a more powerful motor sometime later, probably in the 60’s. But the steps are the same. The motor is disassembled, the commutator is polished, the shafts are polished, the wires are replaced, the oil wicks recharged, and the brushes are reconditioned.
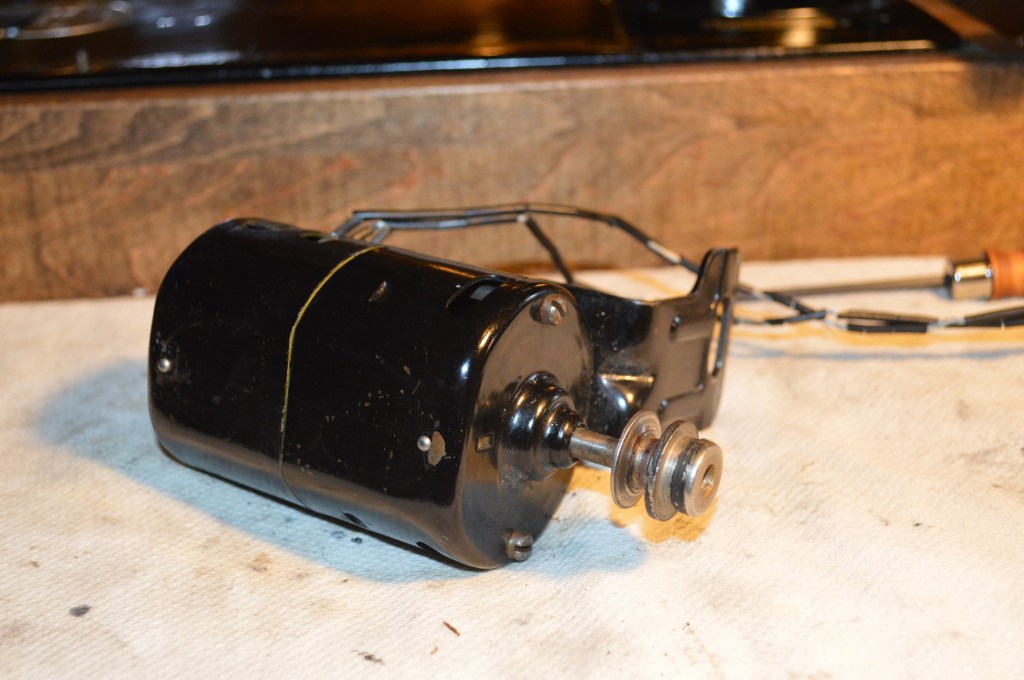
Motor before disassembly… note the cracked wires. 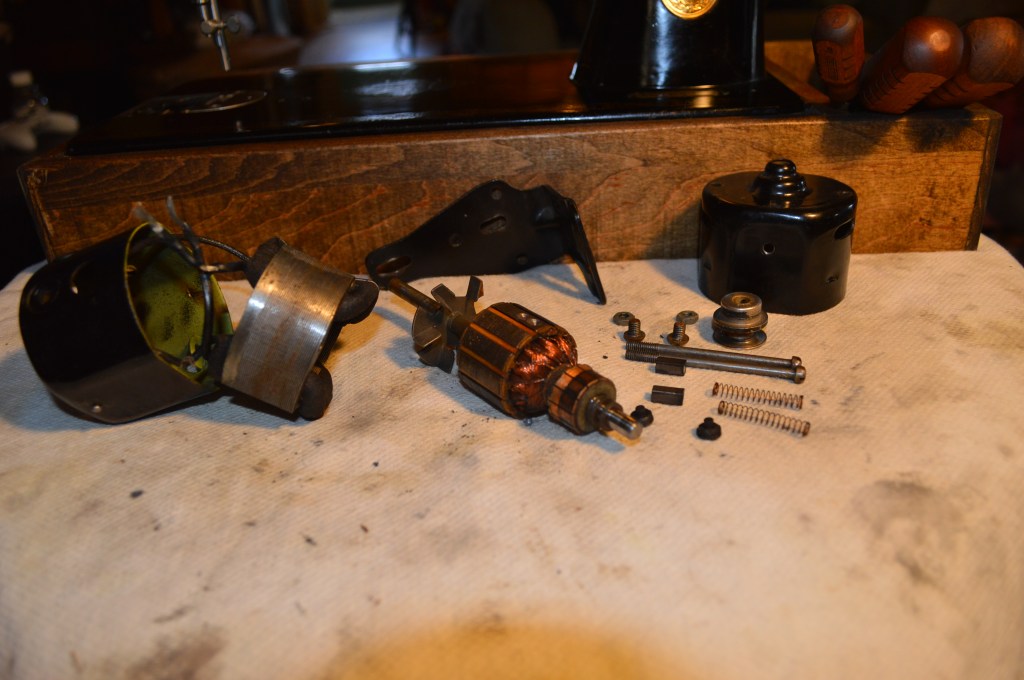
Motor disassembled for cleaning and polishing 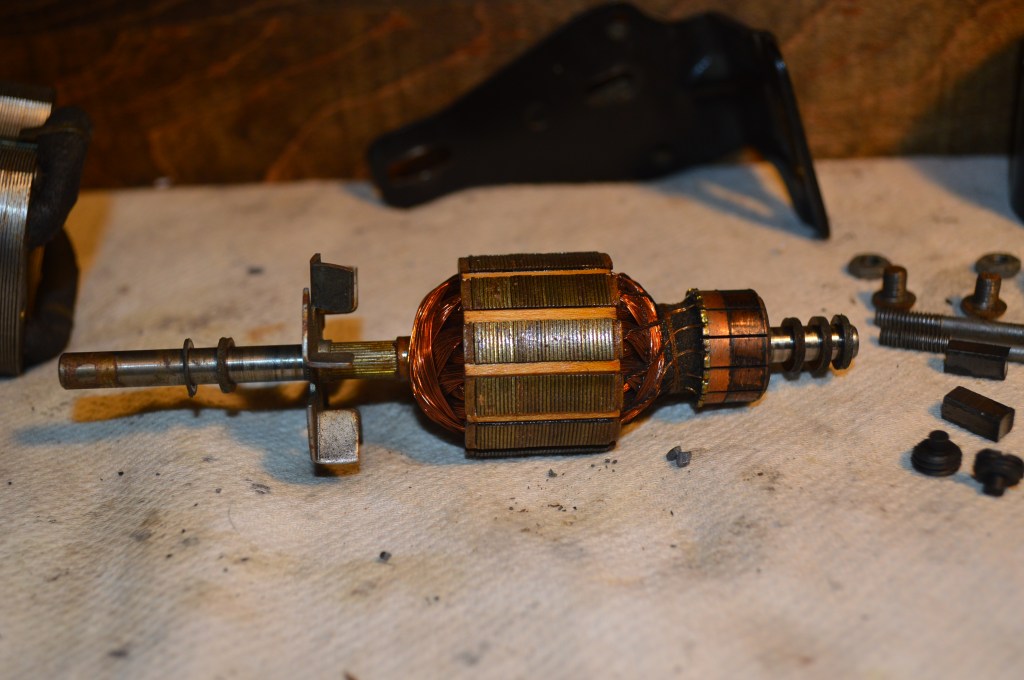
Commutator and armature shaft before polishing 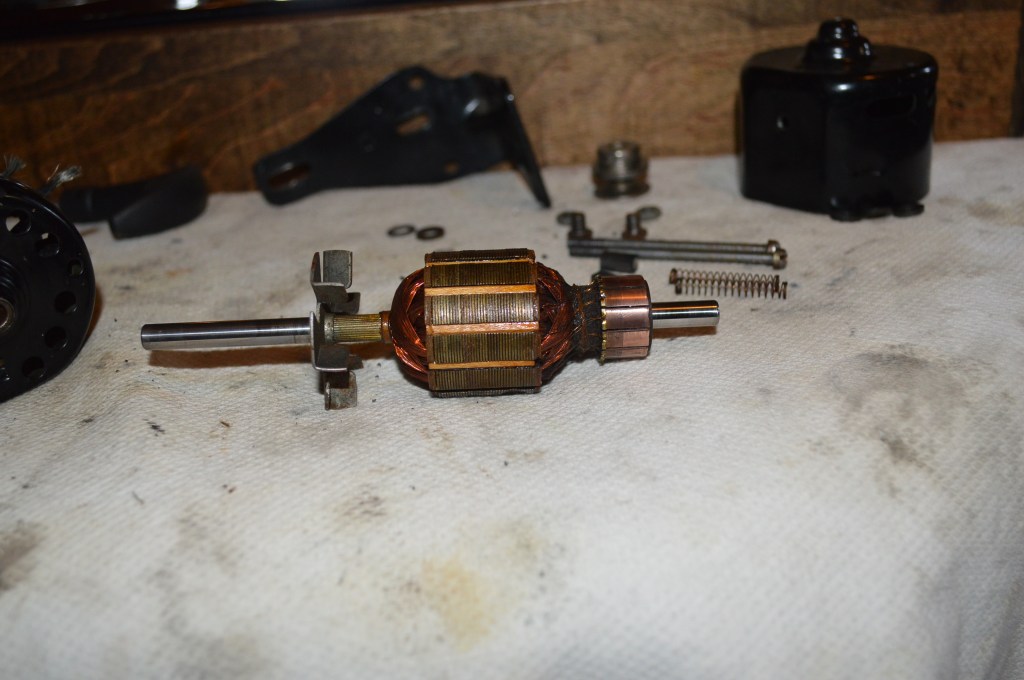
Armature shaft and commutator after polishing 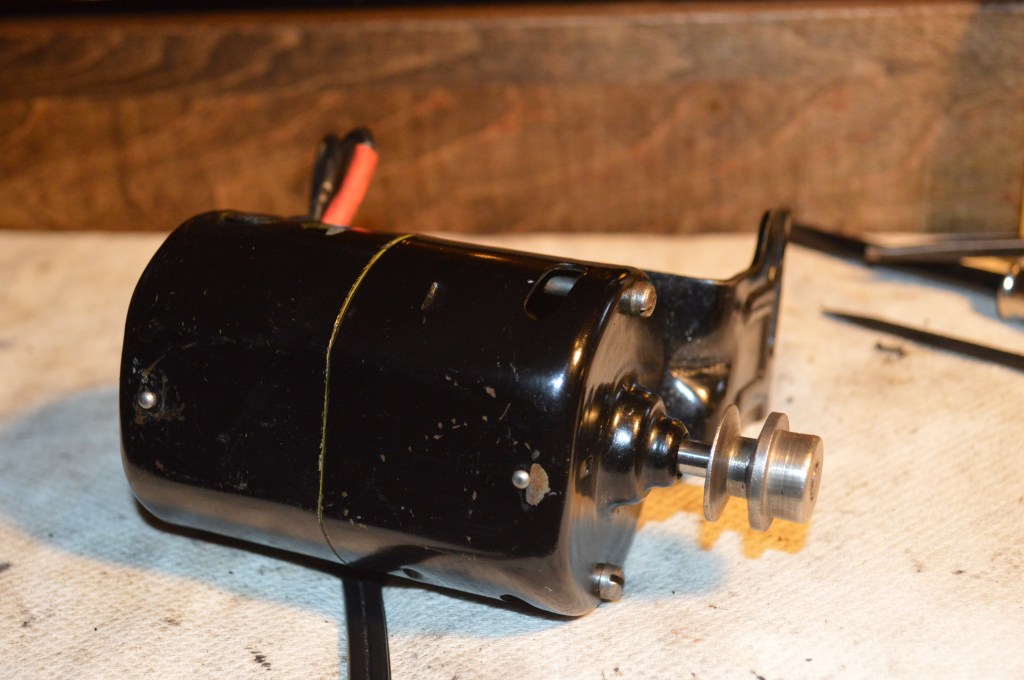
New wires soldered to field coil and motor reassembled
The motor runs very strong, and I am guessing it is close to twice the power of the original motor.
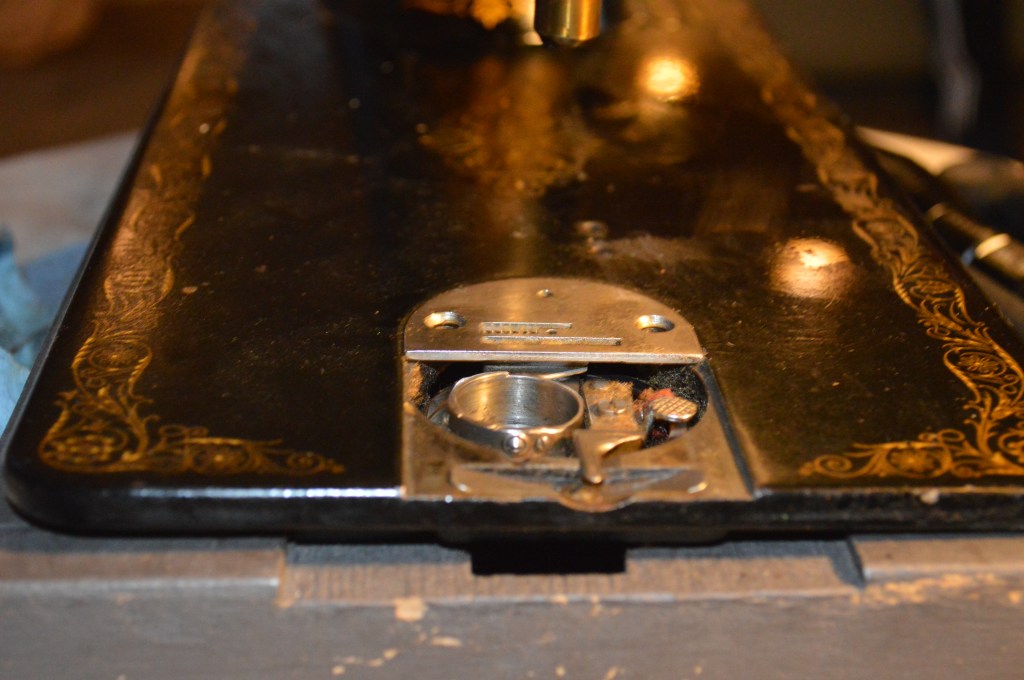
With the motor done, the tension assembly is disassembled and cleaned. In this assembly, the presence of oil varnish indicates that it was lubricated with oil… a big no no for tension assemblies on any machine. Even if you have only thought of it, please don’t put oil here.
Now the bobbin winder assembly is disassembled… for the same reason… oil varnish. So the parts are cleaned. Again, this is not a mechanism that desires, or requires oil. Only the winder shaft should be oiled in the oil holes provided for that purpose.

These steps pretty much complete the mechanical cleaning and they are ready for reassembly. With the machine stripped down, it is easier to complete the cosmetic restoration. This starts with deep cleaning. Remember the machine before we started?
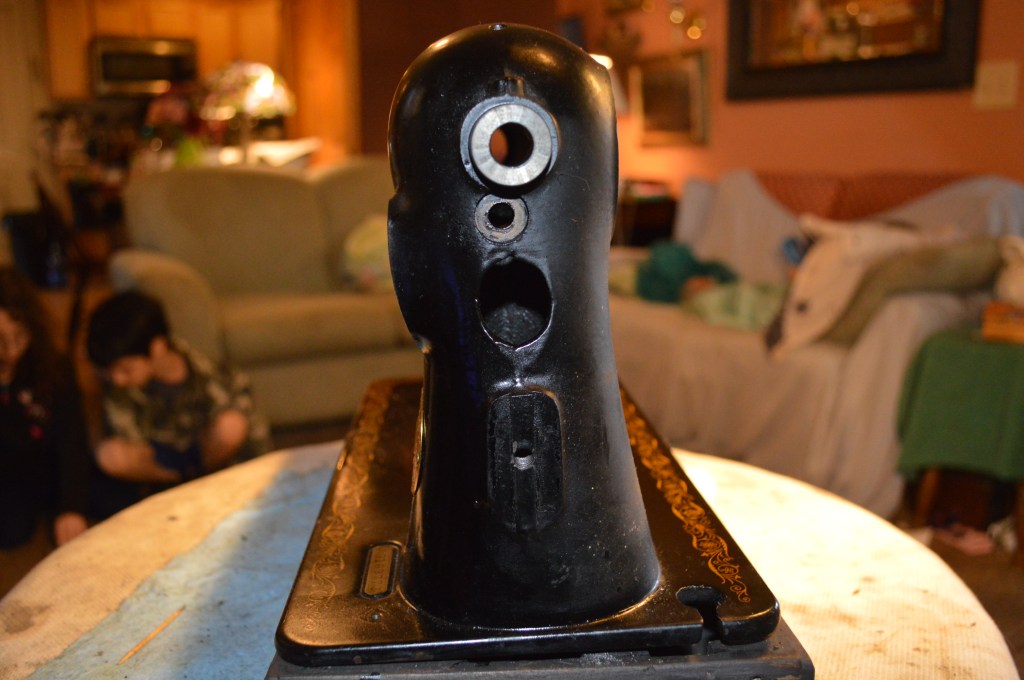

Well, the first step is to deep clean the surfaces with GoJo. Because of the concern I have with the missing shellac, I am going to apply the GoJo with my finger, wiping it off with cotton balls. I want to feel the surface and concentrate on any rough or stubborn dirt that I can’t feel with a cotton ball… Here is the result.

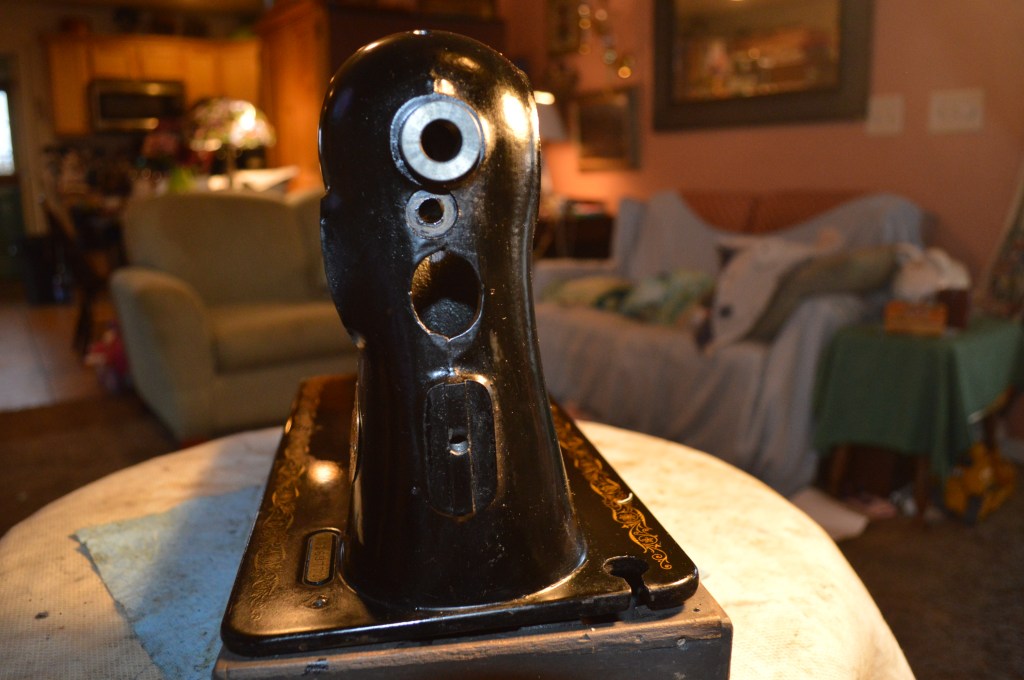
This is much better, but there is much to do and much to be gained. Before I get to the final founds of polishing, now is a good time to touch up the paint. These pictures show the places I want to paint match. They are in the usual places… on the bed edges (front and back), the sewing arm, and on the pillar.
A touch of paint, a custom mix of lamp black, alcohol, and shellac is a good match. The nicks are still there, but they are not readily visible.

Before the final founds of polishing, the machine is reassembled and the feed dogs and drive mechanisms adjusted. This minimizes the fingerprints from handling the machine which would simply require more polishing.
Now comes the final rounds of polishing. For this I am using a fine cut glaze polish. The final result was achieved with four rounds of polishing. This is what it took to blend the finish, and the result is an extremely smooth finish and deep color.
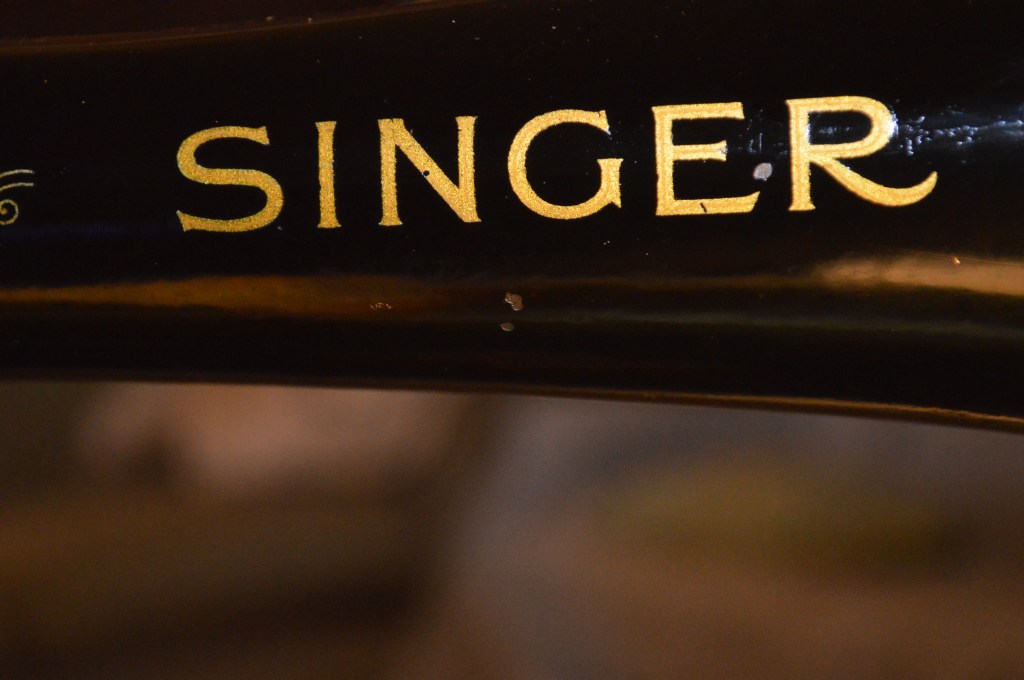
The front “Singer” decal has a small loss, so this is repaired with gold paint.
The covers and all of the nickel plated pieces are polished, the top tension assembly, balance wheel, and motor is put in place, and the machine is ready for “break in”. This is necessary to properly seat and adjust all of the mechanisms that were disturbed by disassembly. Kind of like a reorientation to allow the newly cleaned and installed parts to settle in. This is done by running the machine at varying speeds with no fabric and the presser foot up. Three runs ranging from three to five minutes each is sufficient. All of the adjustments are rechecked at any location in the drive mechanism that has movement or play.
The next step is to insert a new needle, set the needle timing, wind a bobbin, load the bobbin, thread the machine, and test sew to set the tension and check the feed and stitch quality. This is the only way I know to check and adjust the thread take up spring for proper tension and make any adjustments to the feed dogs and bobbin winder. These fine adjustments will assure the machine is sewing at the peak of performance and is ready to offer my Customer… who waited patiently for three days for me to complete this restoration. The final step is to apply a carnauba wax finish and hand buff to a deep black shine and beautiful finish.
So as usual, here are pictures of the machine before restoration…


And here are the pictures after the restoration…


That’s it! This 66 is ready to sew for another 100 years with the simplest oiling and cleaning. It took time and effort, but I think it was worth it! The result is a very quiet, very smooth, and very strong sewing machine. This 66 makes a beautiful stitch at all stitch lengths , and the restoration turned out beautifully.
If you like what you see please visit our Etsy store at https://www.etsy.com/shop/pungoliving, and see this Singer Model 66 and all of our other restored fine quality vintage sewing machines. If you have any questions, please contact Lee at Pungoliving@gmail.com.
Tell me what you think!

How do you remove the shaft? I’ve got everything off but the shaft and some insides. You said gear puller. Is it used I assume on the end where the hand wheel goes?
LikeLike
Hello Mike,
The balance wheel end of the shaft has a bushing that is pressed onto the shaft. I use a gear puller to remove the bushing. You need to be careful removing the shaft because it passes thru fork inside the pillar that drives the feed dogs. The shaft is bent such that it engages the fork as it spins acting like a cog.. The front bushing has a set screw on the back of the sewing arm near the front. After loosening this, the bushing can be tapped out using a 3/16″ rod (Singer says brass, but a mild steel rod works fine…). The rod is inserted into the access hole on the back end of the pillar to the back of the front shaft bushing. I remove the pintle pin holding the bottom of the fork so it is free to move as the shaft is being tapped out. Otherwise, the shaft can bind in the fork and break. Once the bushing is free, the shaft can be removed through pulling it out from the front of the machine.
Sometimes the bushing is frozen and won’t budge. If this is the case with your machine, it is better to stop and leave it in place.
I hope this helps and let me know if you are successful or need any other assistance.
Have a great day!
Lee
LikeLike
The most surprising part of this post is when you said you did this in three days. That is an amazing turnaround for such a thorough job!
LikeLike
Hello SS,
The time it takes completely depends on the machine. Typically, the process of disassembly doesn’t take as much time as the cleaning and polishing. Sometimes, a machine is very disagreeble and fight every step of the way…
Thanks for your comment!
Lee
LikeLike