

The Singer featherweight is one of Singer’s iconic sewing machines and it has a well deserved reputation Diminutive in size and weighing in around 10 pounds, it looks like a toy. In reality, it is a very fine sewing machine and has a full rotating hook and gear driven sewing mechanism. The featherweight is known for it’s beautiful straight stitch. Adding to it’s portability, the front of the sewing bed flips up and the machine fits in a small sewing case. It is great for quilting piecework and any sewing project that does not require much harp space.
There are two styles of featherweights. The model 221 that has a fixed flip up bed, and the 222K that has a removeable flip up bed. Removing the bed reveals a free arm. One other feature that distinguishes the 221 from the 222 is the 222’s ability to drop the feed dogs. The sewing performance is the same, but the complexity of the sewing mechanism is vastly different.
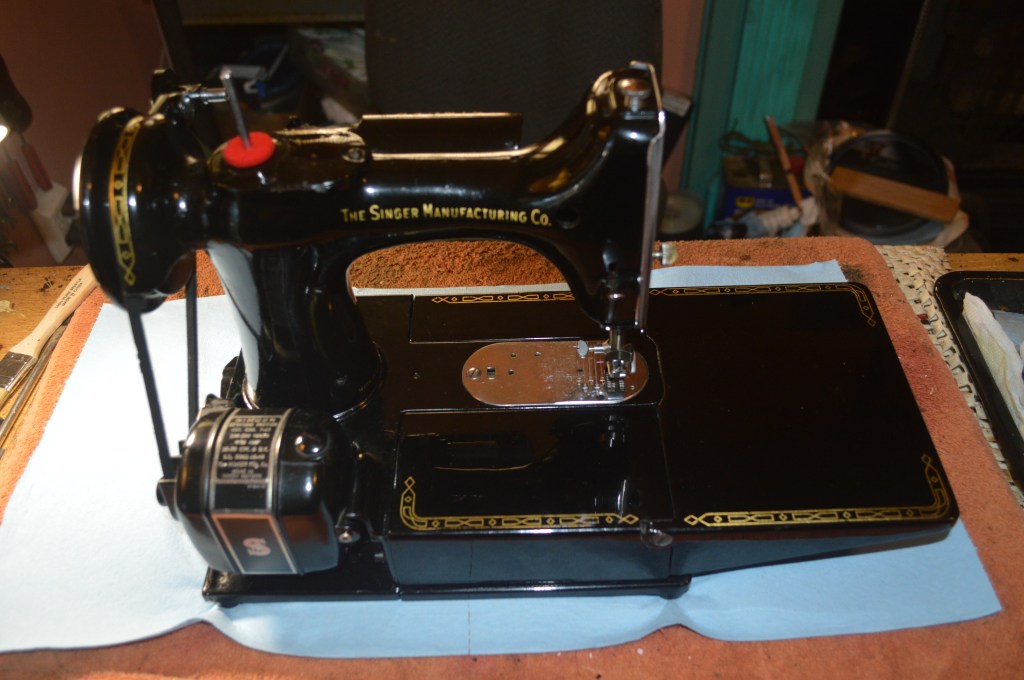
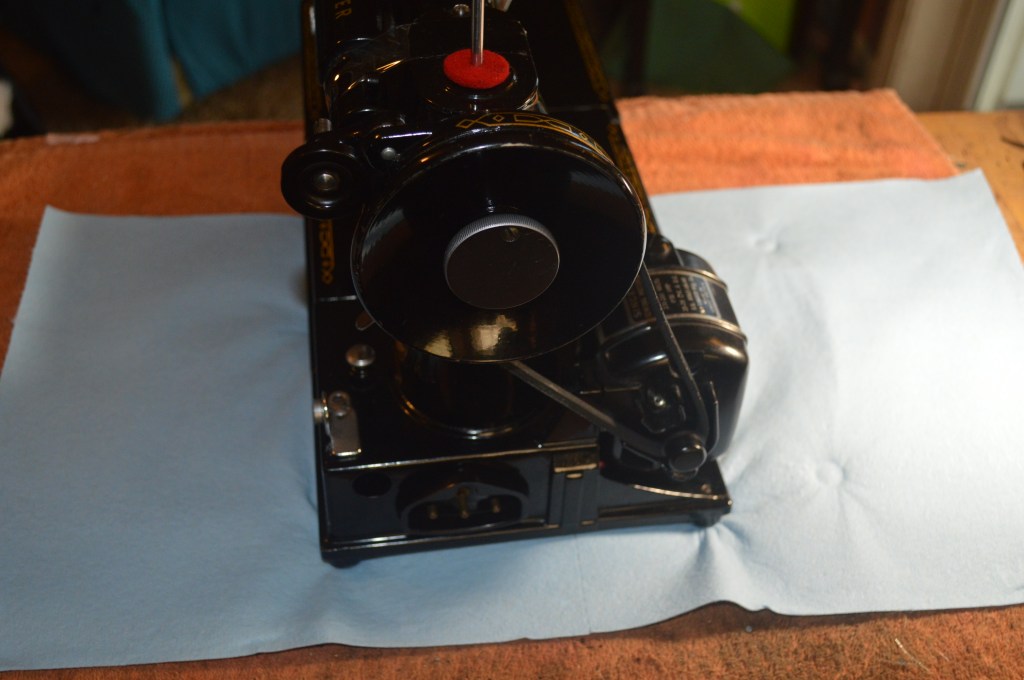
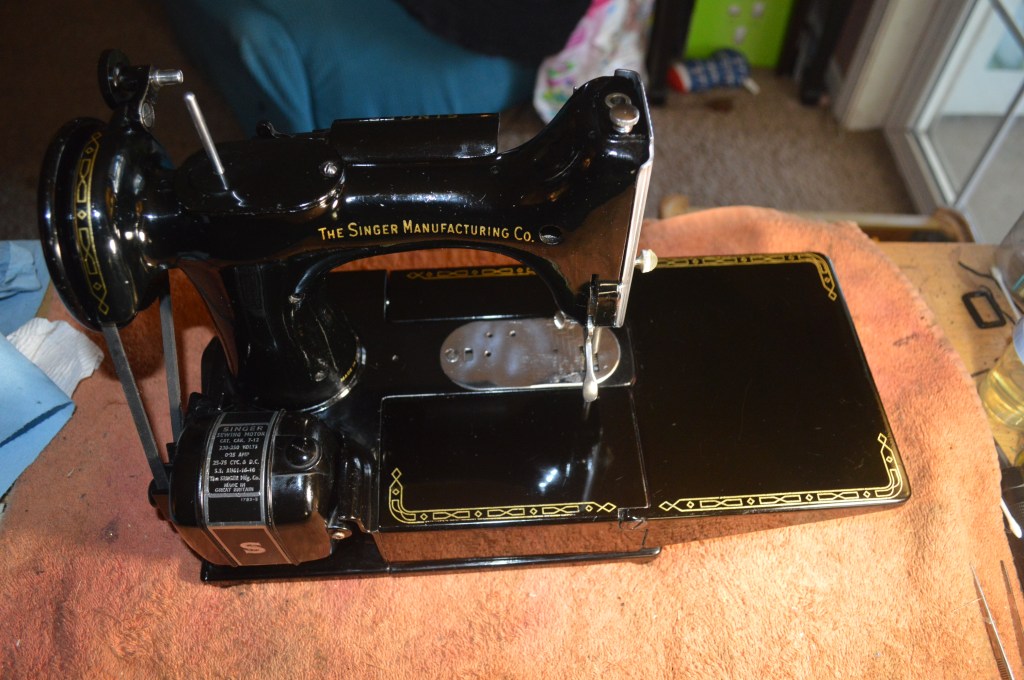
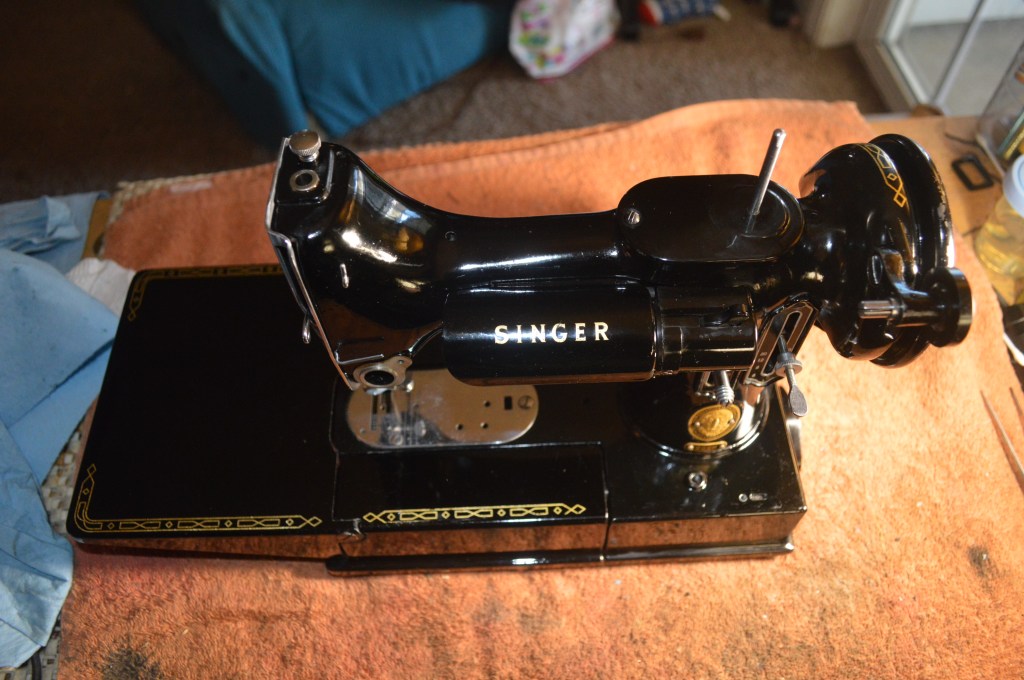
The serial number of this machine is EM957251 and dates it’s manufacture to November 15, 1957. This is a custom restoration for one of my customers who wants to use the machine for sewing classes. On close inspection his 222K is in very good condition. The paint is shiny and free of chips on the edges of the bed. The decals on the front of the bed show some wear, but overall the decals are in very good condition. The machine assemblies look pretty clean and it is obvious to me that it has been well maintained.
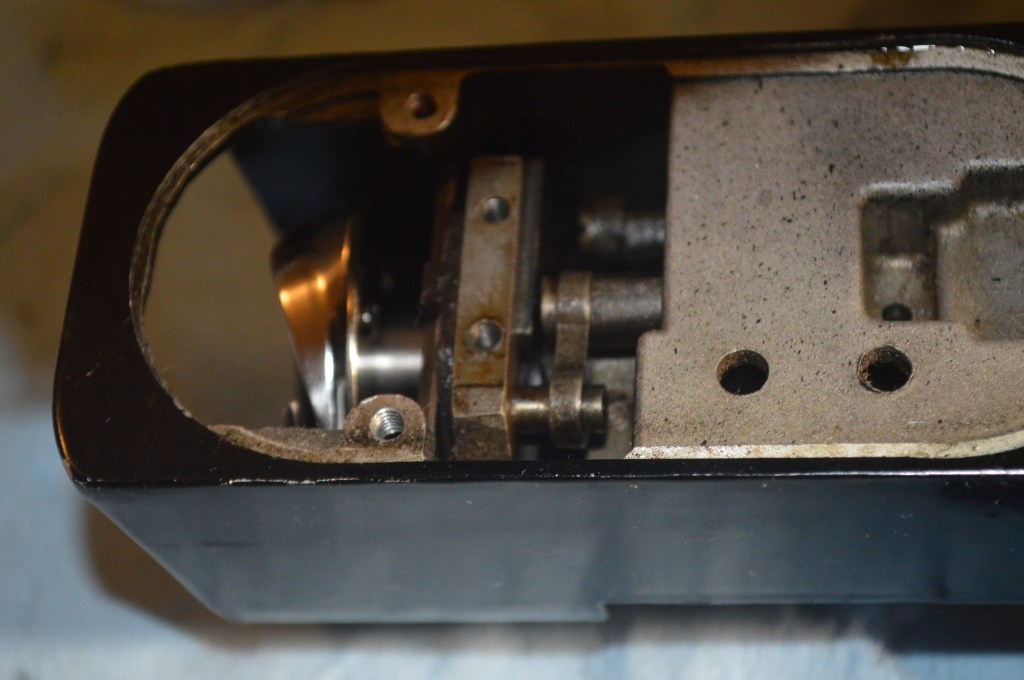
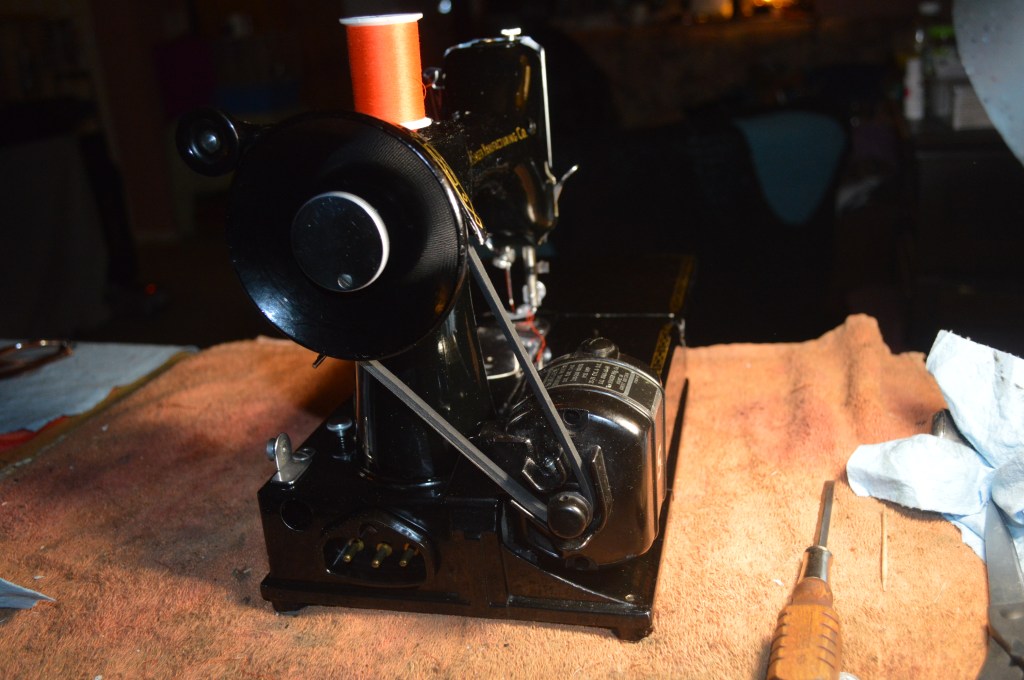
Here is the machine before restoration:


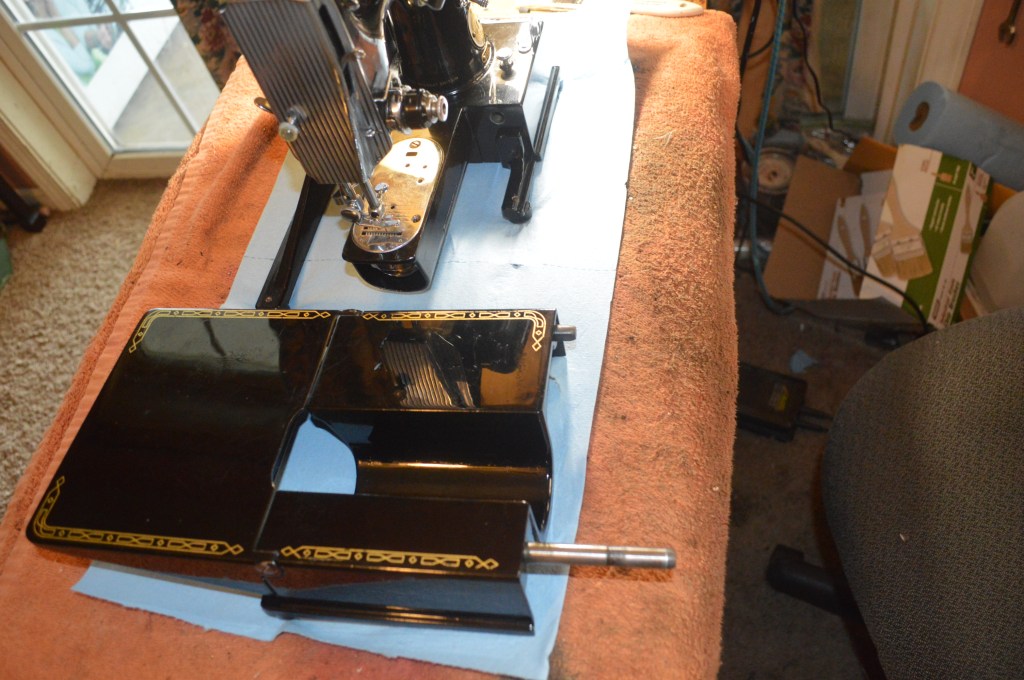
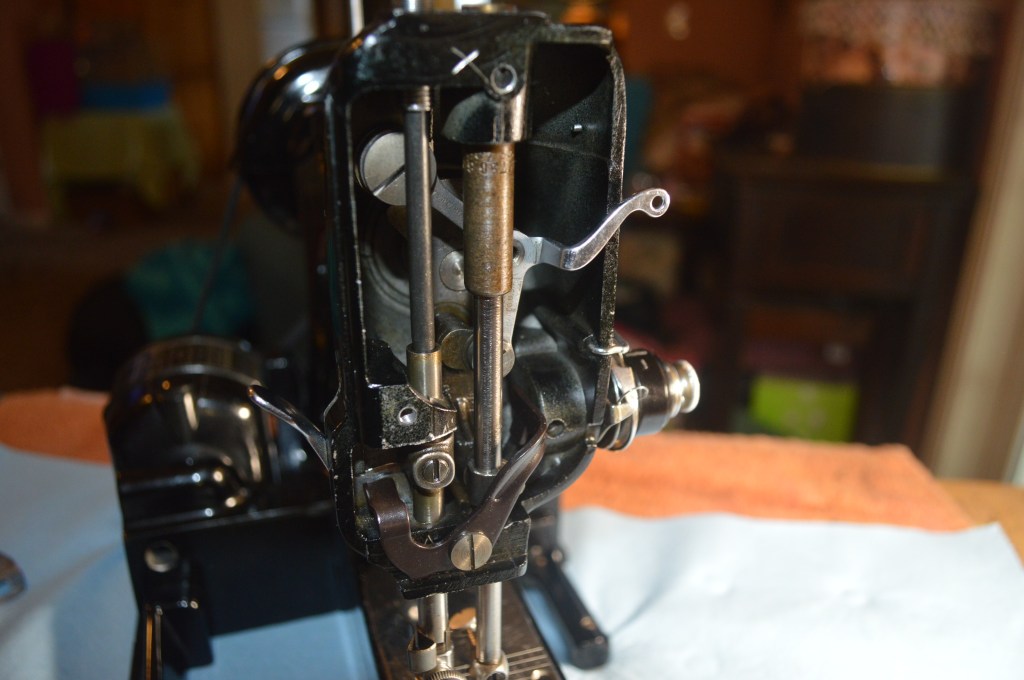
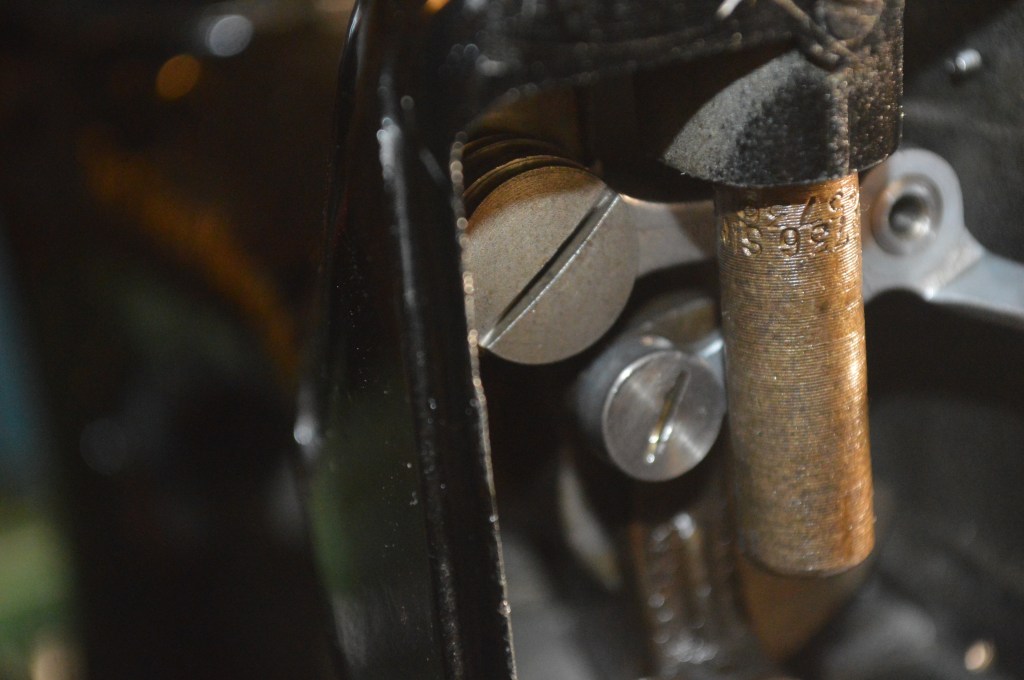
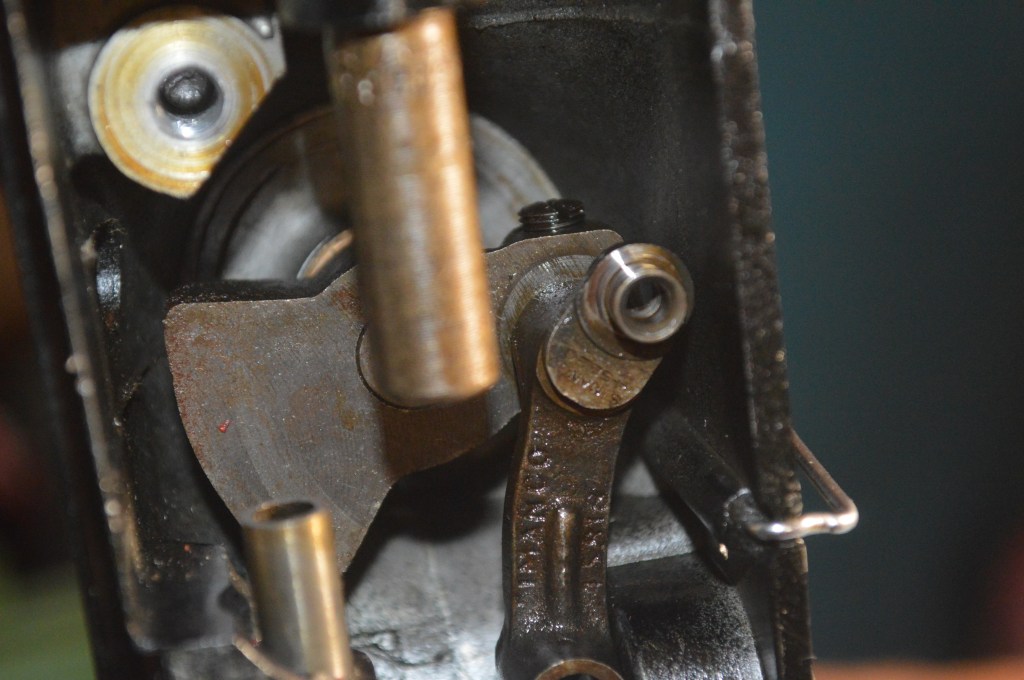
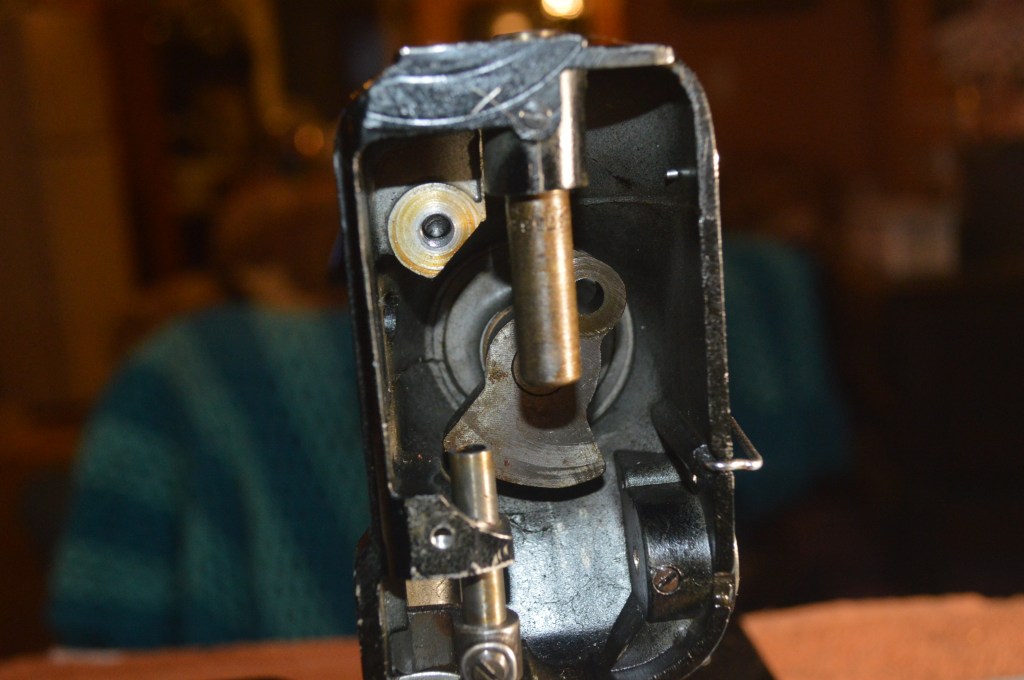
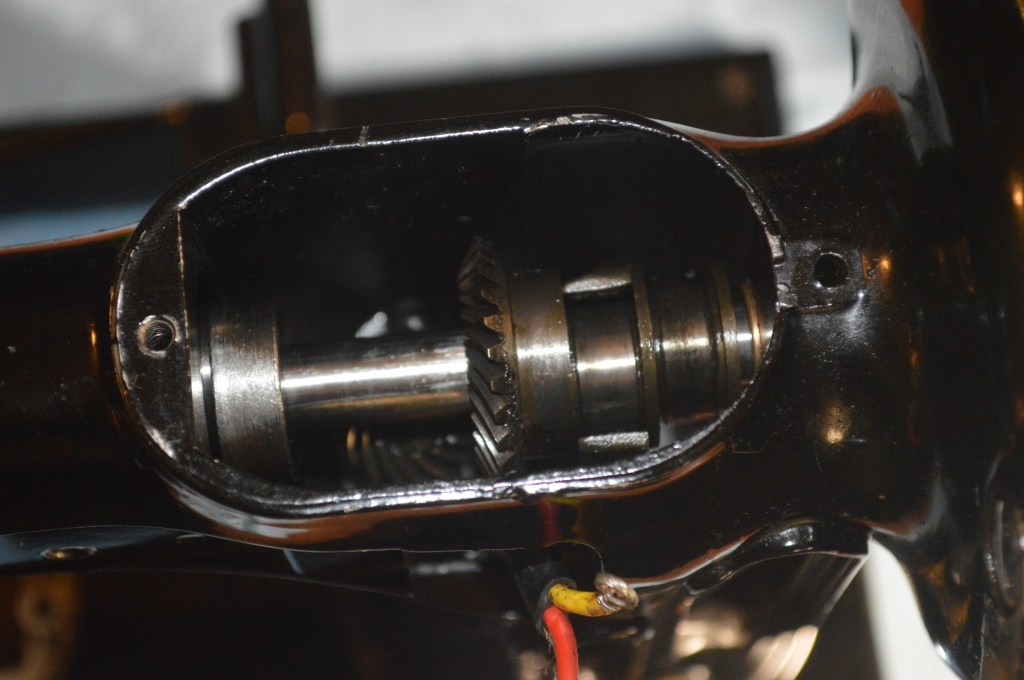
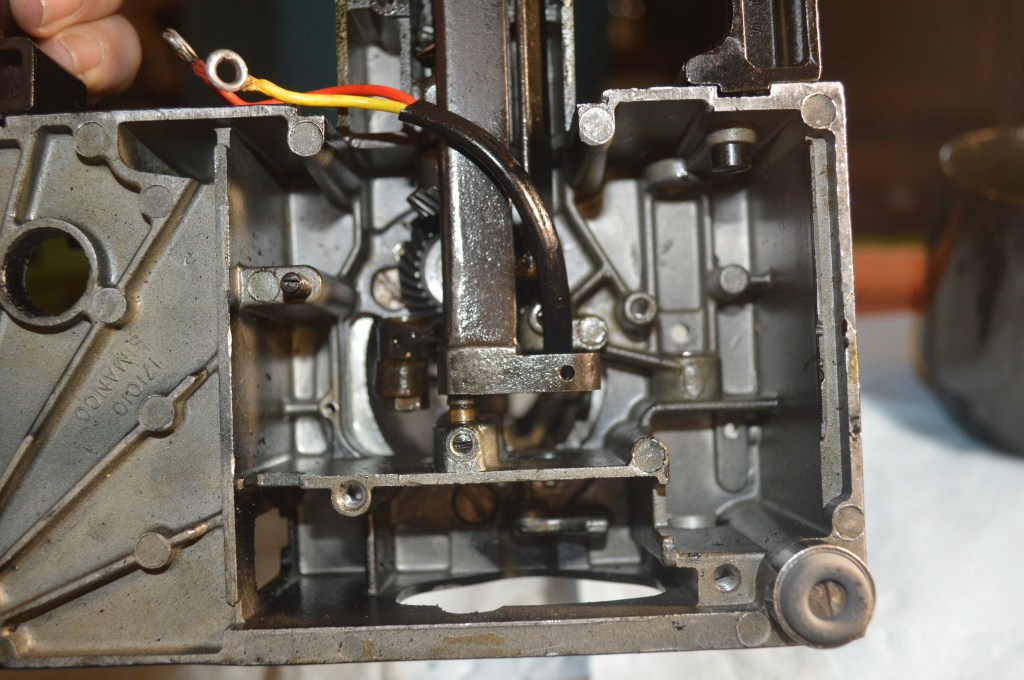
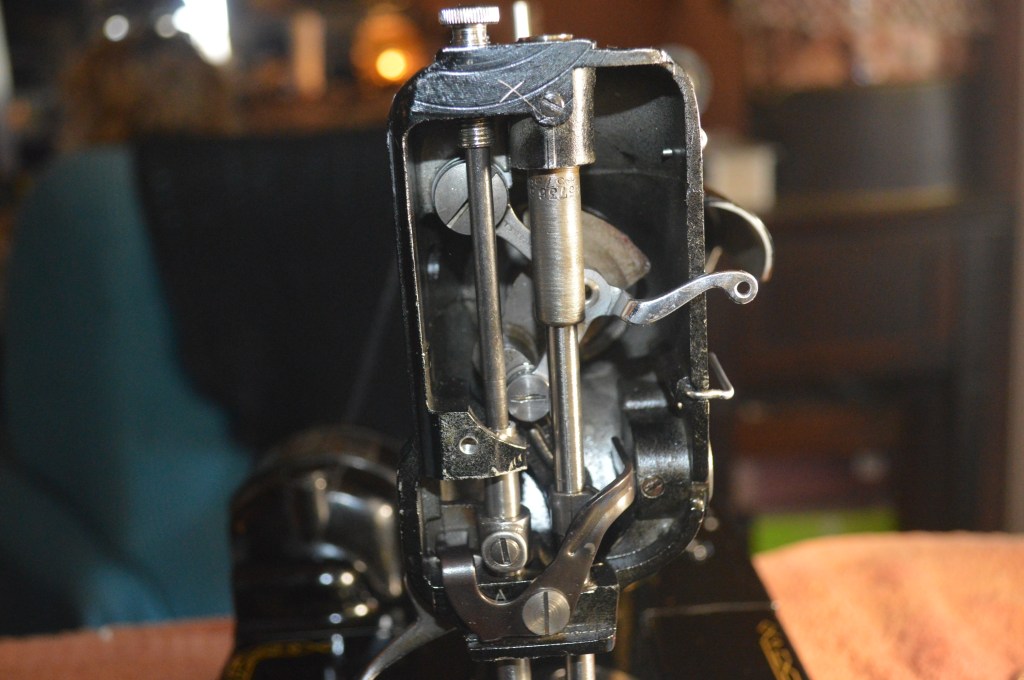
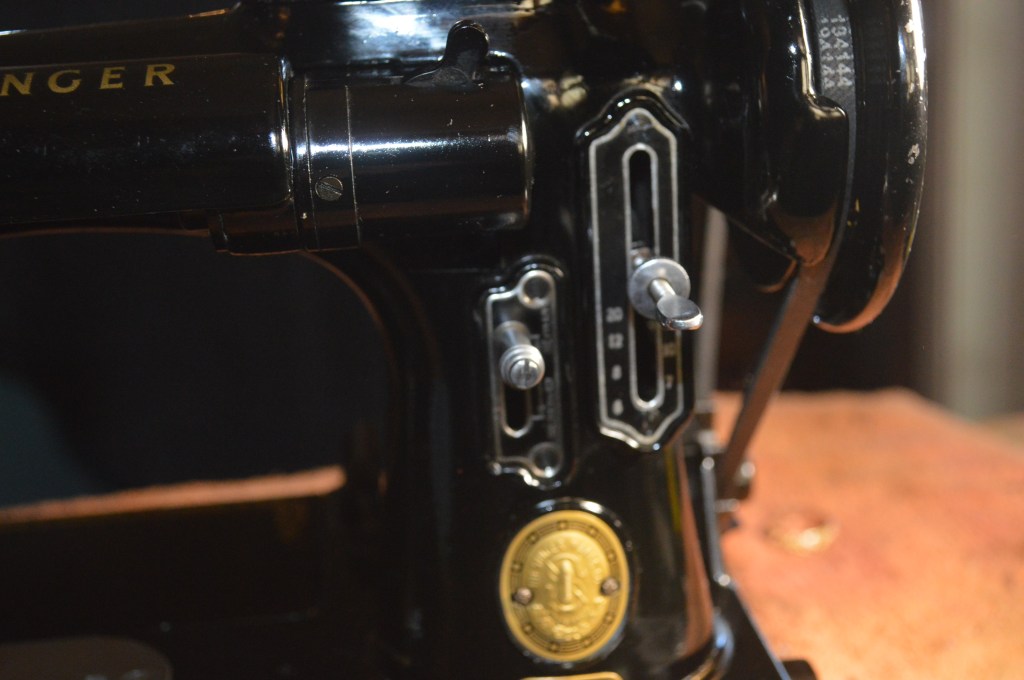
The restoration of a featherweight 222 is challenging. There are parts that have to be removed and reassembled in a particular orientation and order. It is easy to run into trouble if not documented and the disassembly approach needs to be carefully thought out. That said, the object of this restoration is to remove as much of the sewing assembly as possible to clean the rotating parts inside and out. This machine has a lot of parts assembled together in a very small space. There are some assemblies that I will not disassemble due to access for fear of compromising my ability to properly reassemble them. The gears are matched and balanced on their shafts. Disturbing them would be a mistake because I could never get them properly rebalanced. I don’t see this as a big problem because all of the parts will be cleaned in place and adjusted. It is actually a lot more time consuming to do it this way, but I know the machine will remain balanced and sew as well as a featherweight should.
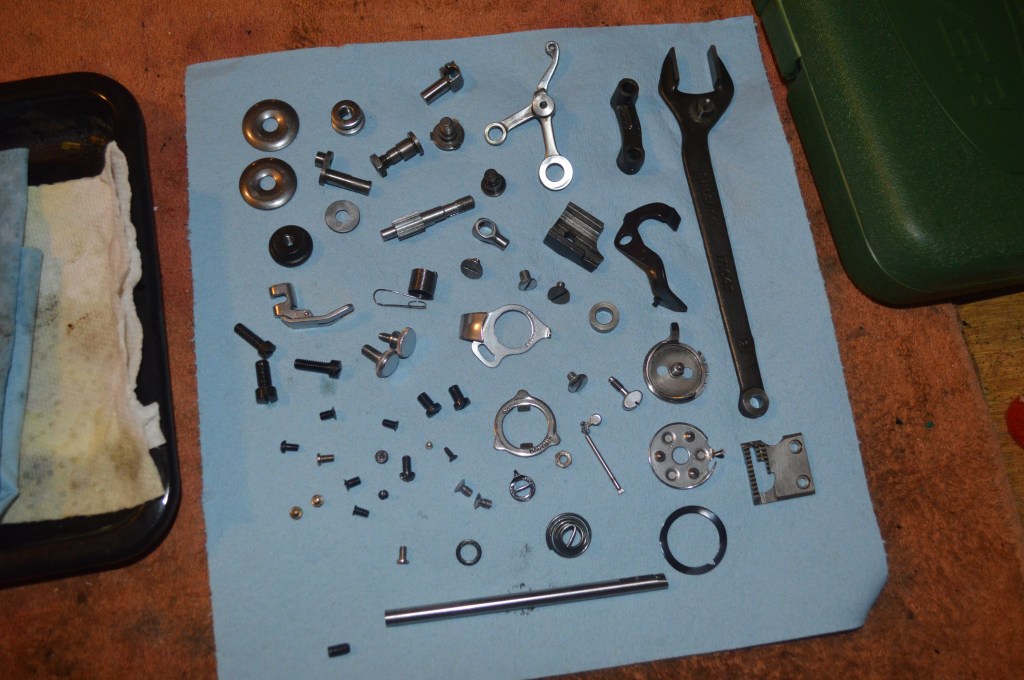
So, starting the restoration, all of the parts I can disassemble are removed.
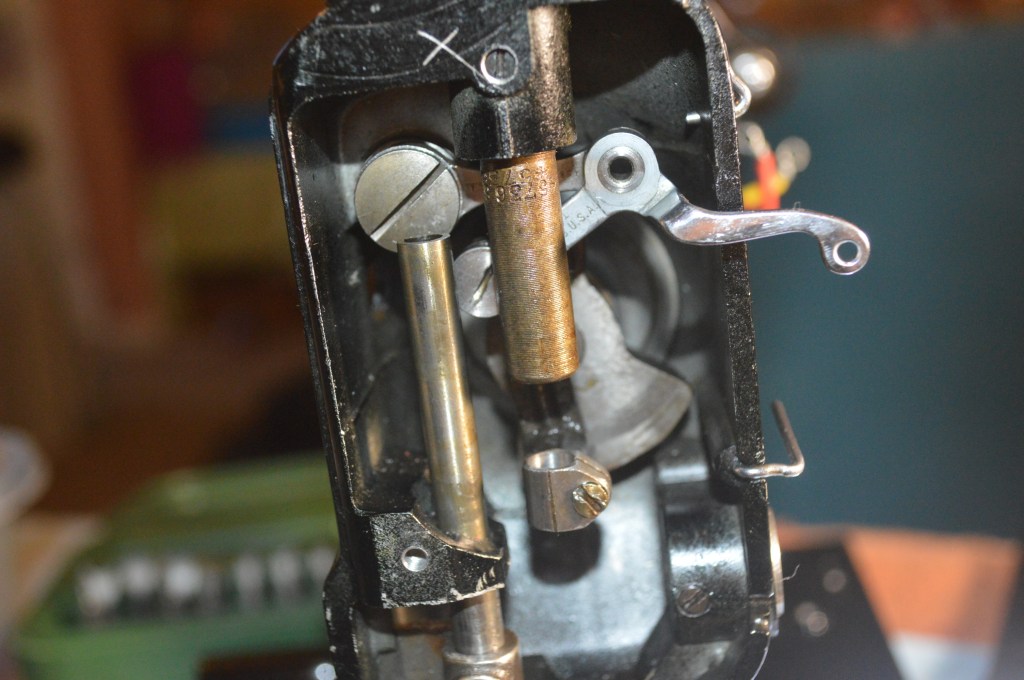
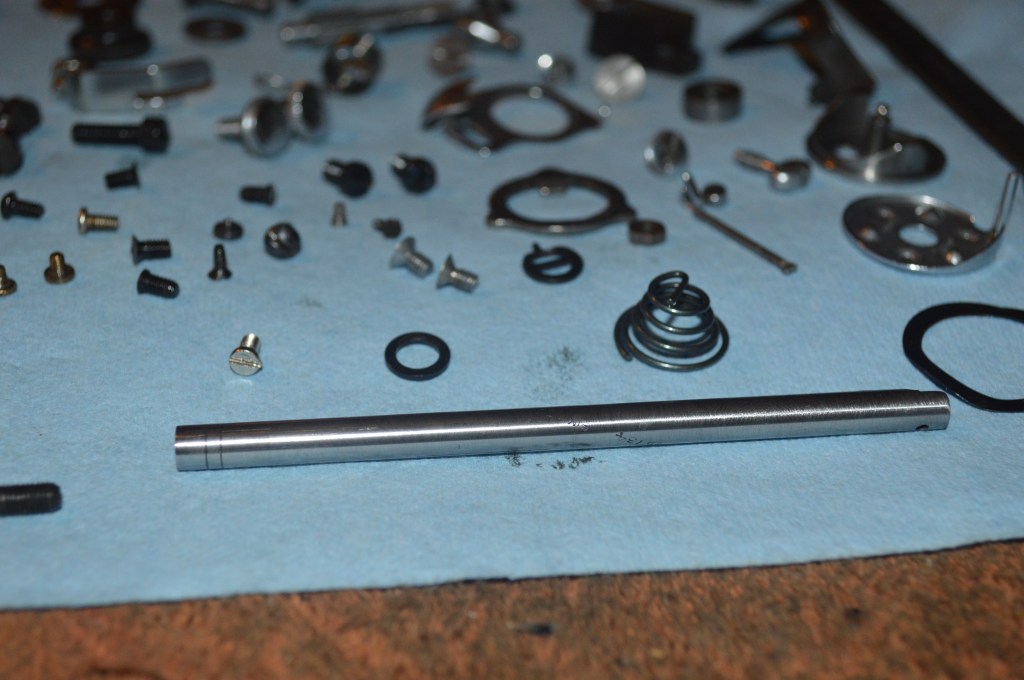
The parts are laid out for cleaning…
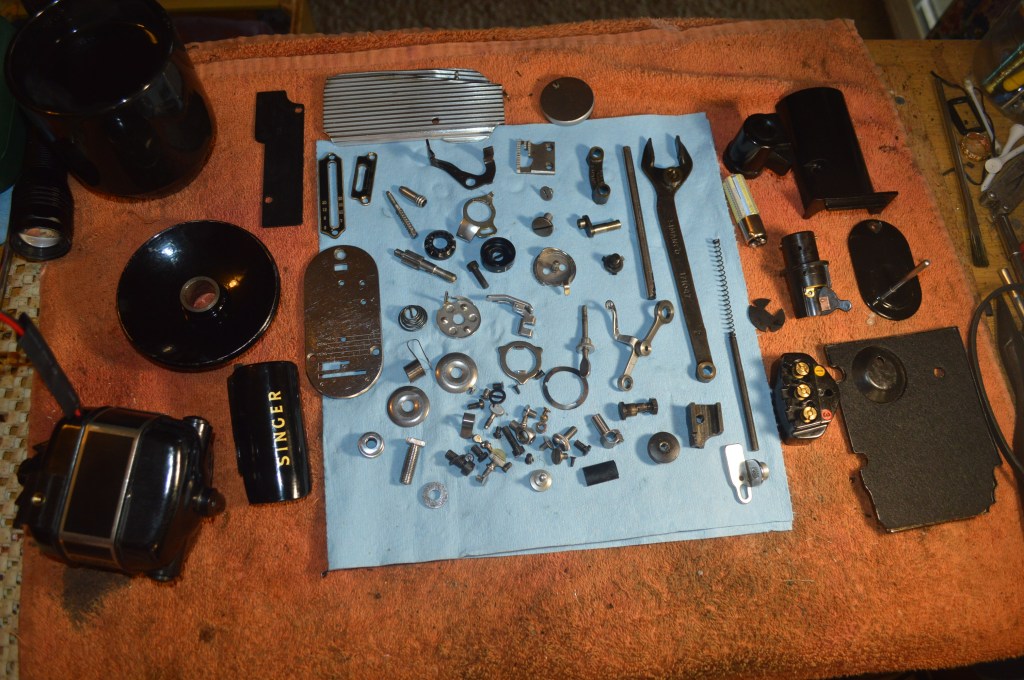
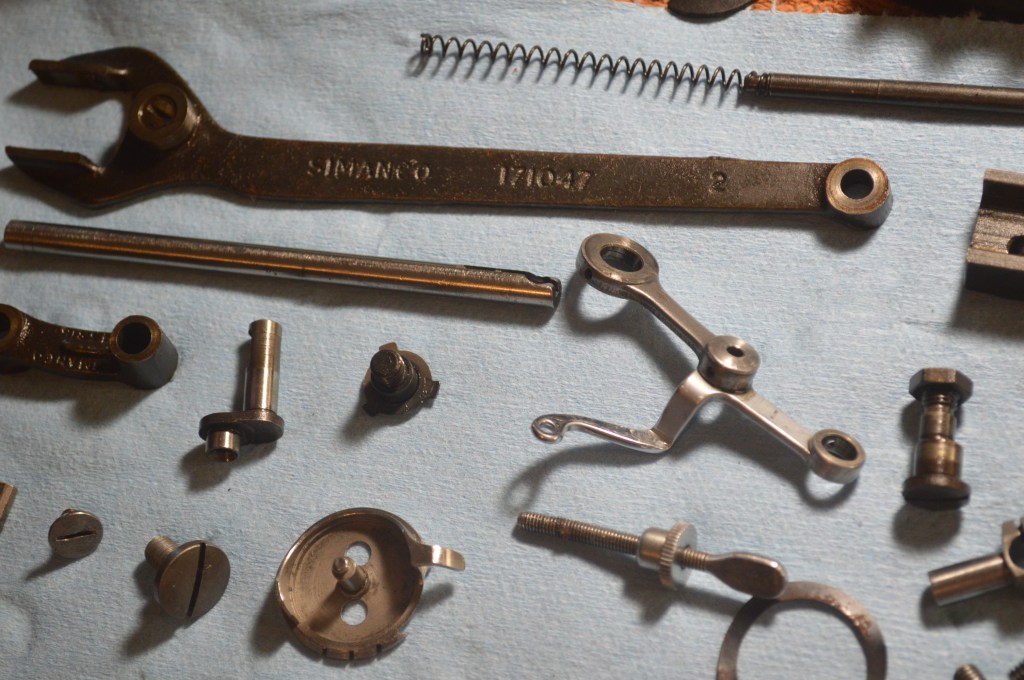
As you can see, there is plenty of oil varnish in these parts that needs to be removed. The parts are ultrasonically cleaned and then heated in oil to drive out any water. They are then wire brushed to a bright steel condition.
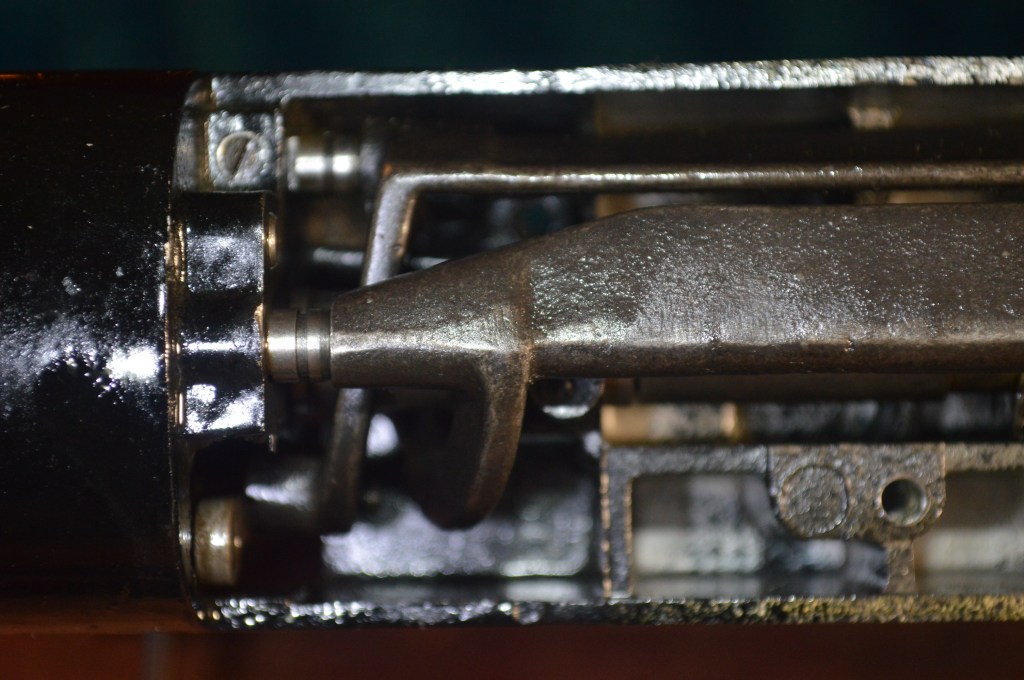
The needle bar is polished for a glass like finish. The presser foot bar cannot be easily removed so it is polished in place.
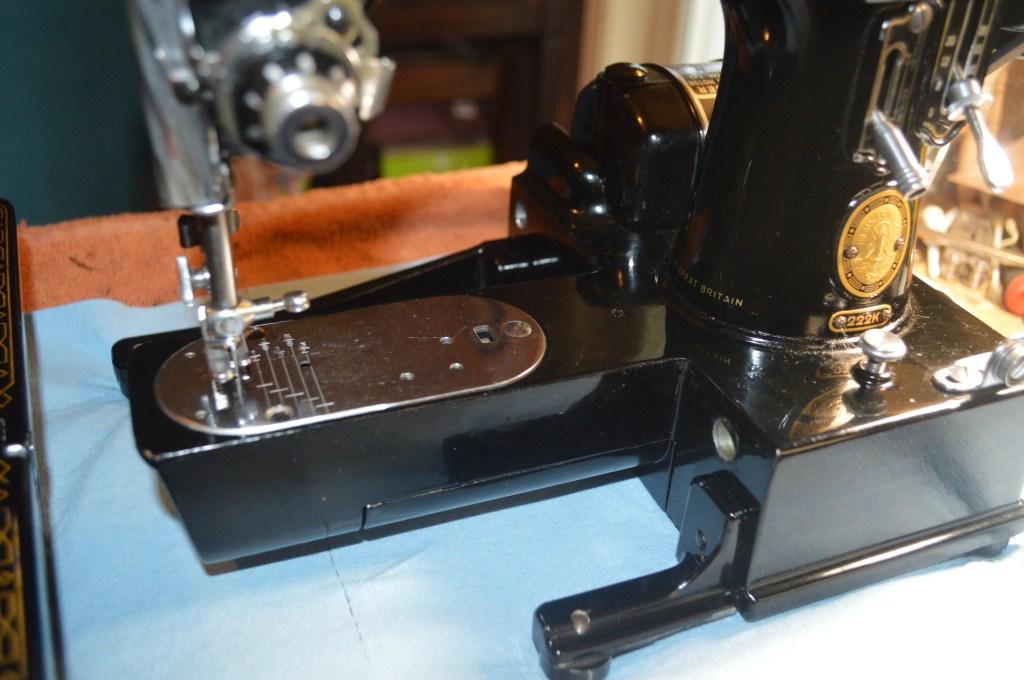
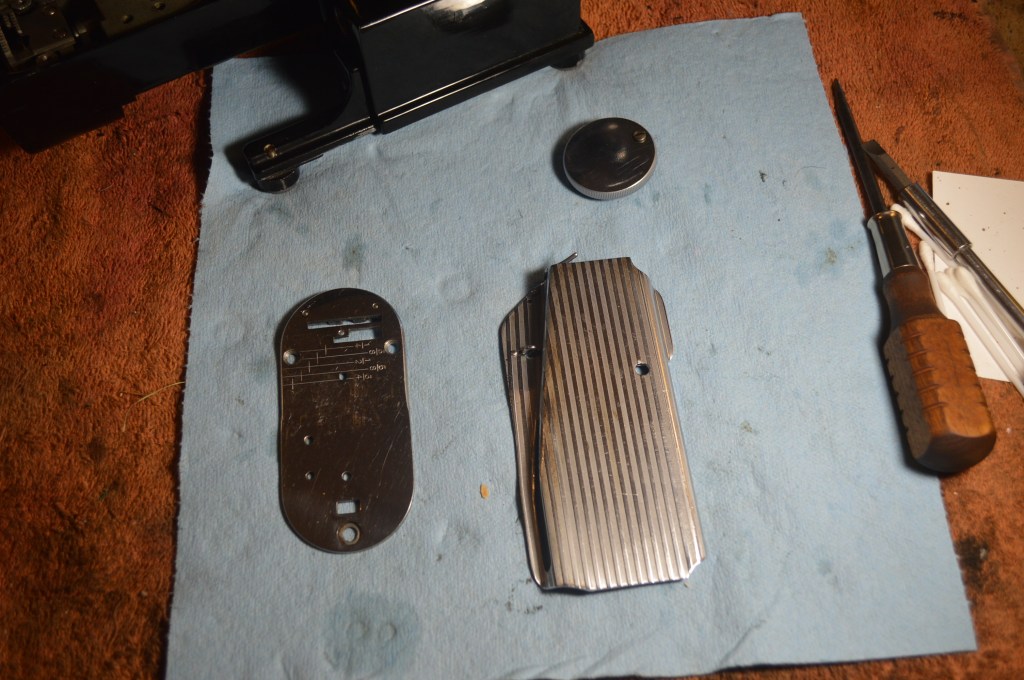
The body of the machine is thoroughly cleaned and waxed using a heavy bodied carnauba wax and the chrome plated pieces are polished on a buffing wheel and jewelers rouge. The smaller shiny bits are polished on a small buffing wheel on a dremel tool.
Before polishing 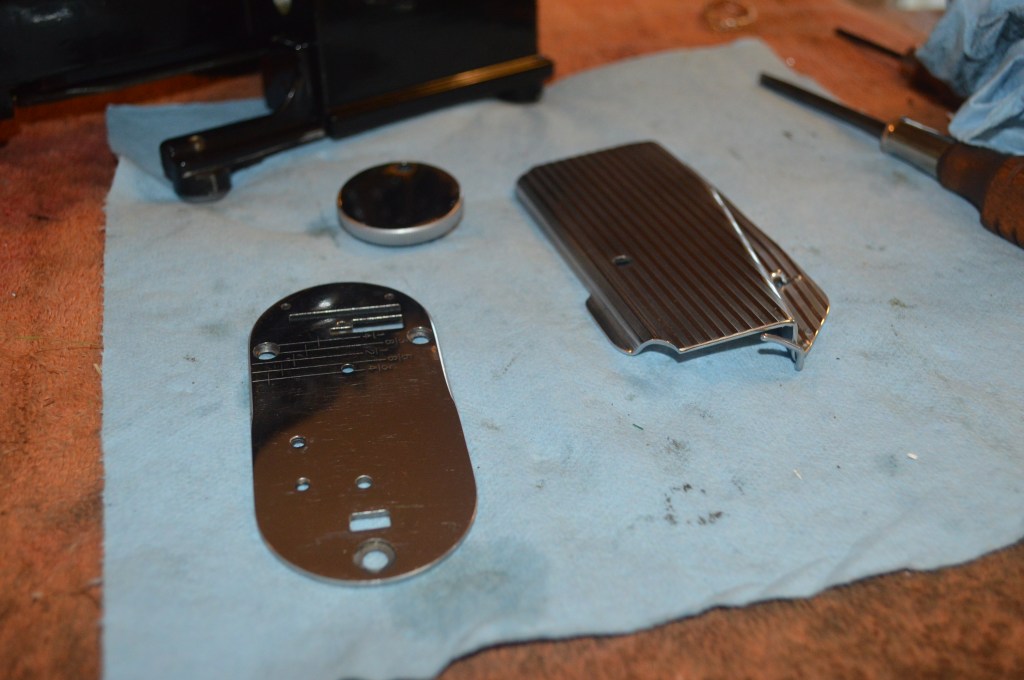
After polishing
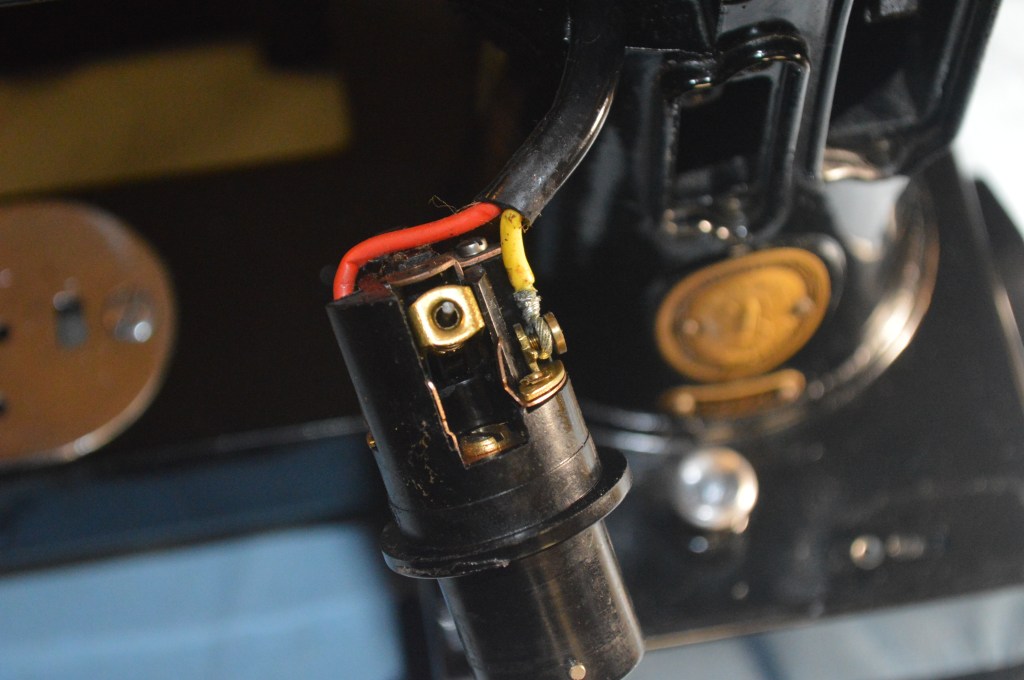
The sewing machine motor on this machine was originally wound for 220 volts for use in the UK. The customer had it rewound for 110 volts. The motor was inspected and found to be in excellent condition… but that was no surprise!

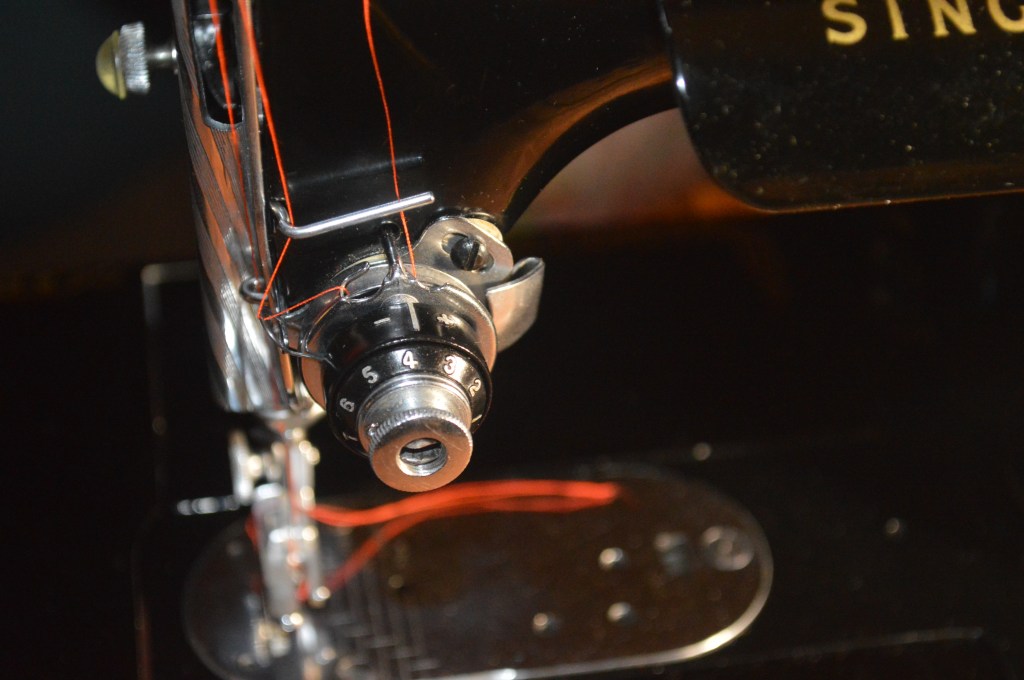
The tension control assembly is disassembled and cleaned…

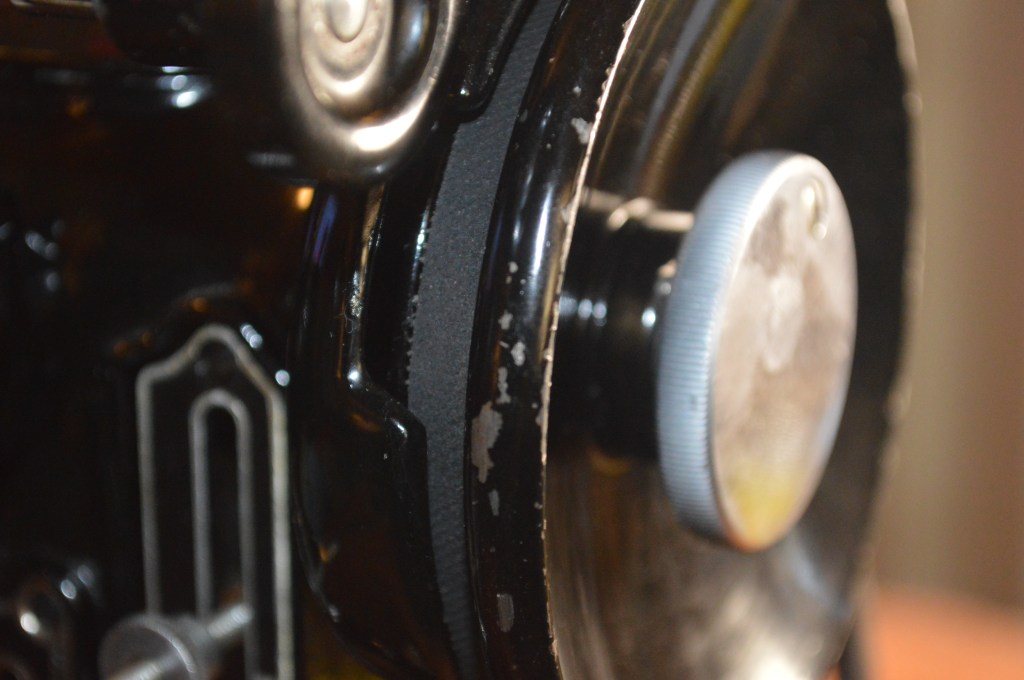
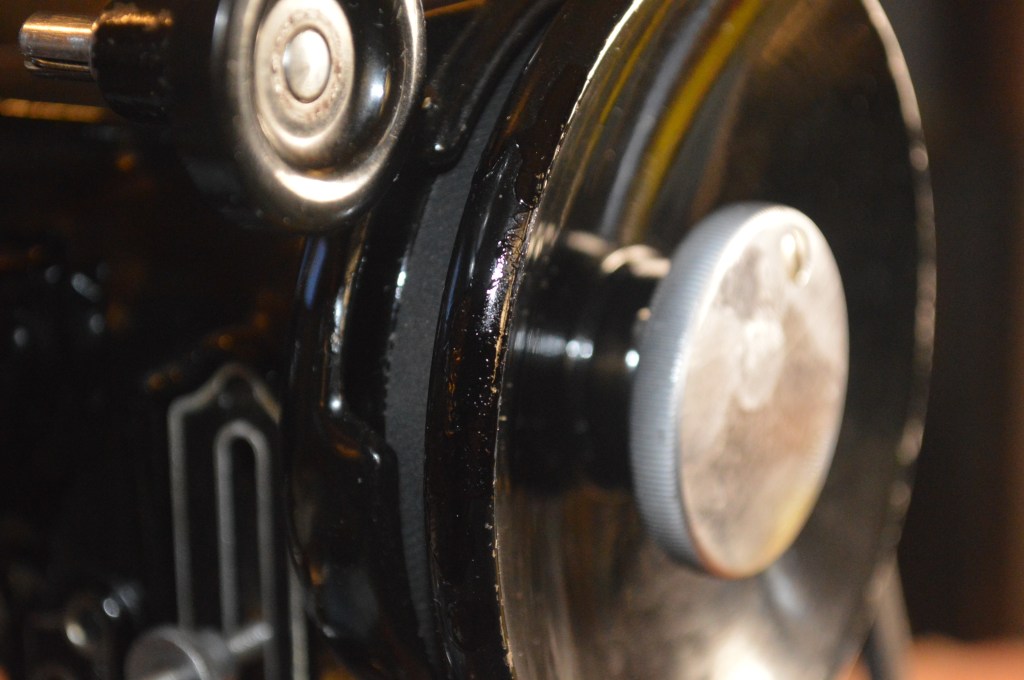
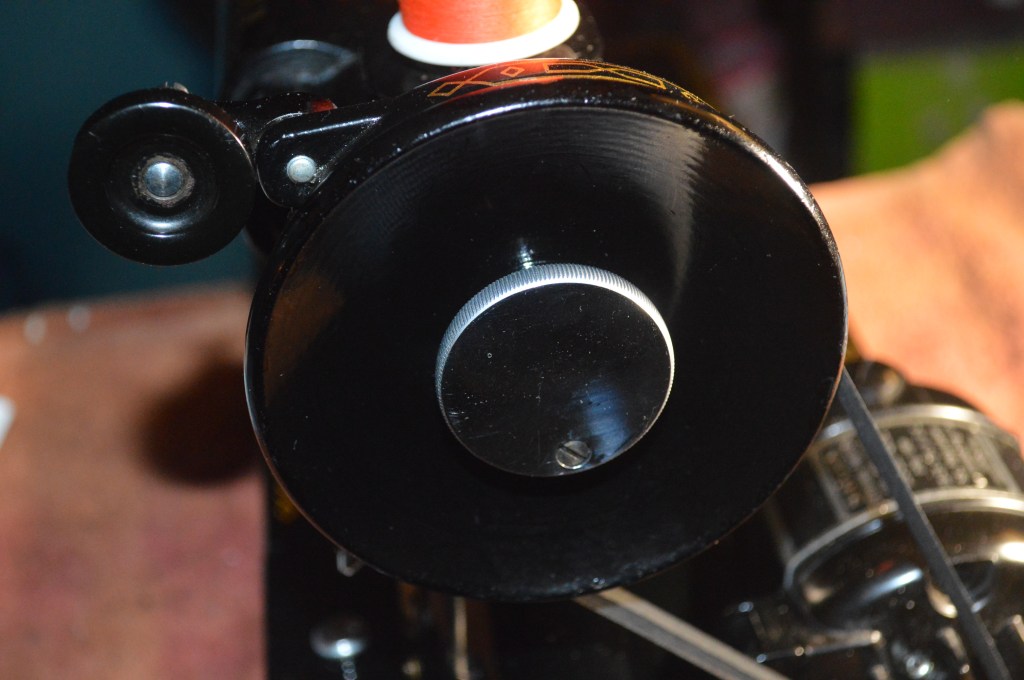
The only place I found any paint chips was on the rim of the balance wheel. These were repaired with custom mixed matching paint.

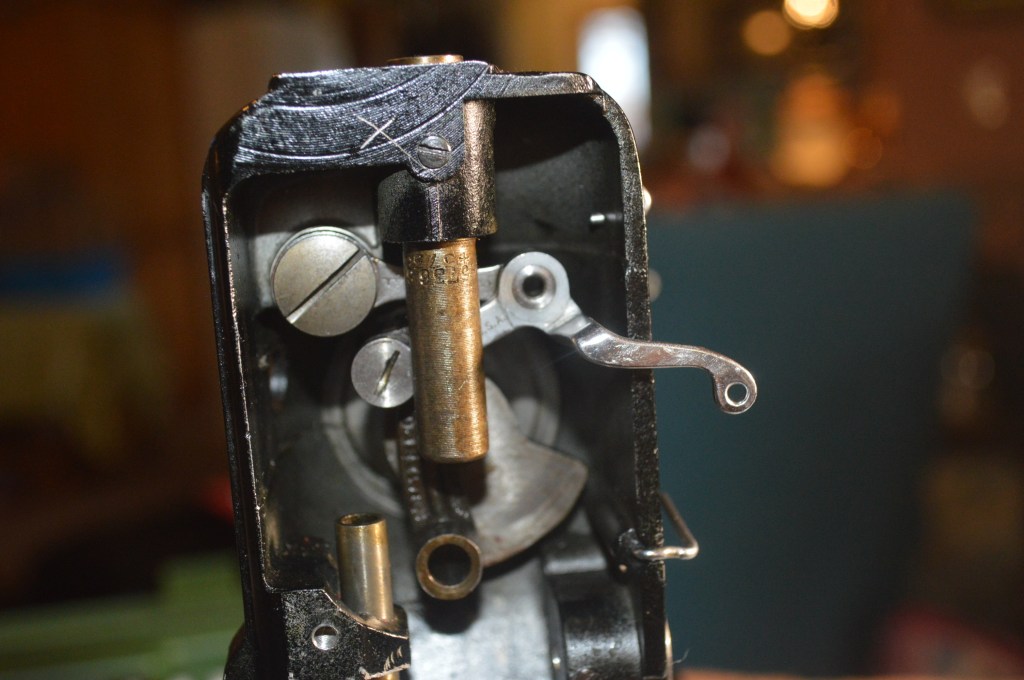
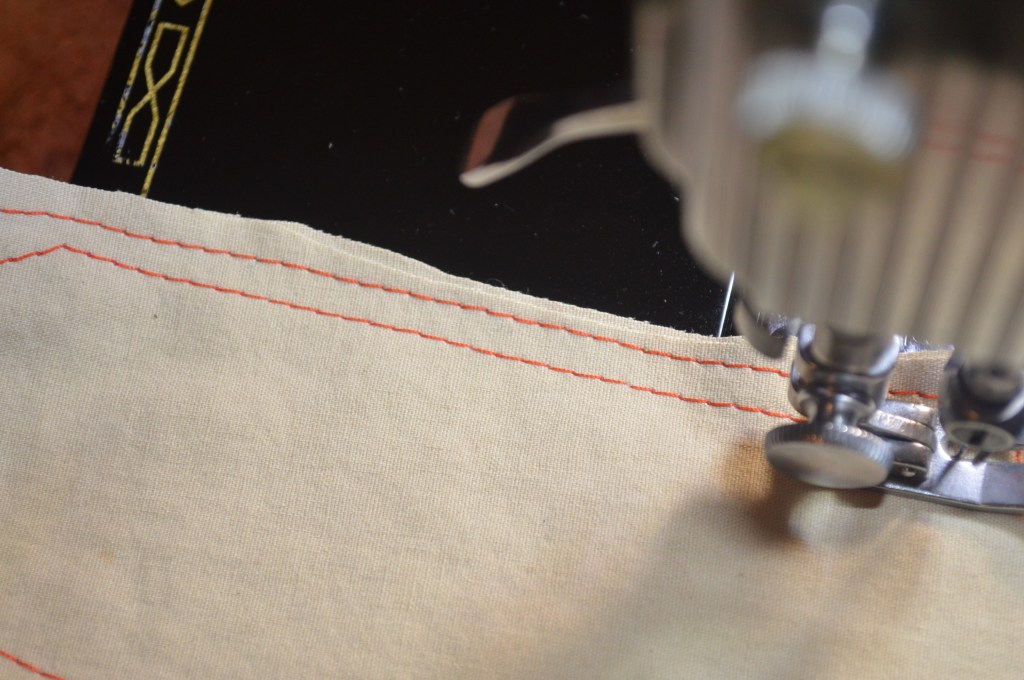
The machine is reassembled and adjusted for hook timing, needle bar depth, presser foot height, and feed dog clearance. Following these adjustments, the machine is run to adjust the tension and stitch quality… As expected, it sews great and makes a beautiful stitch.
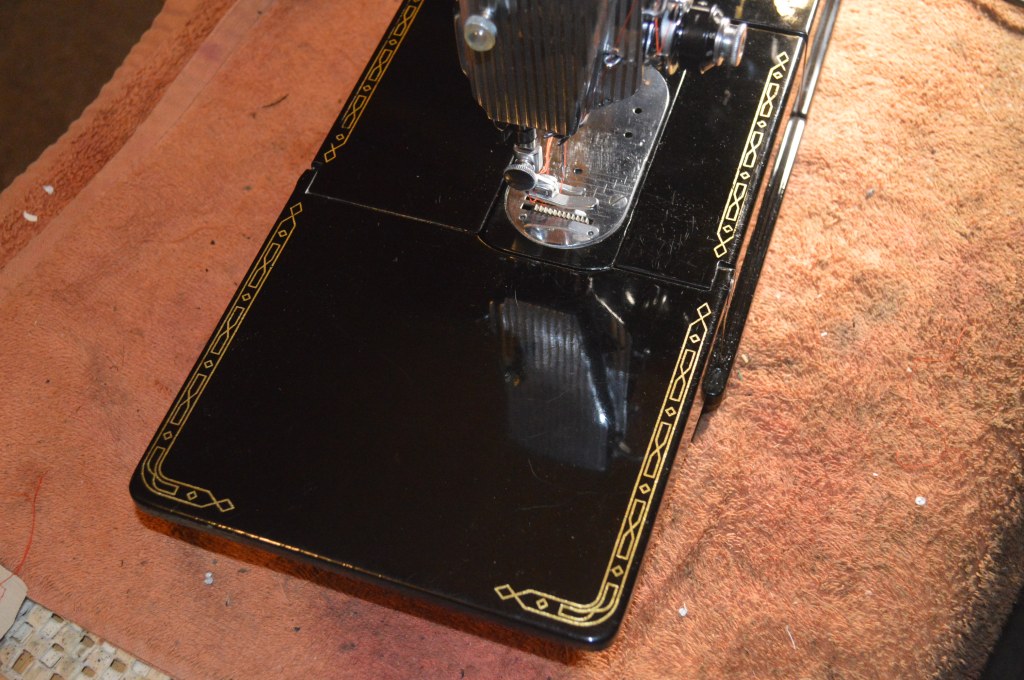
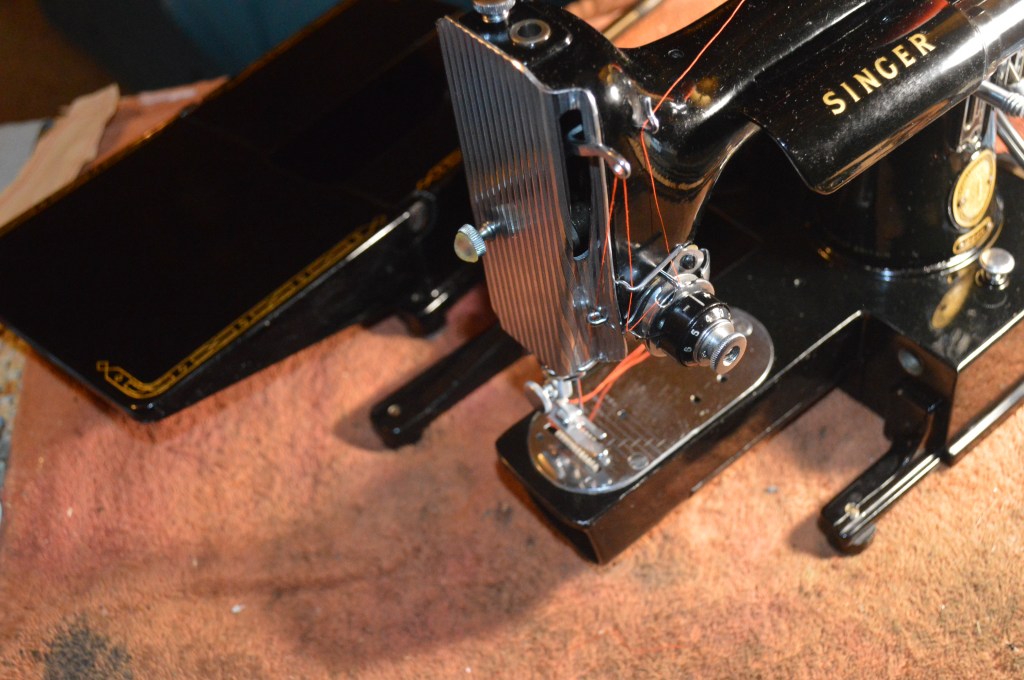
The machine began the restoration looking good, and it looks great now! Take a look…
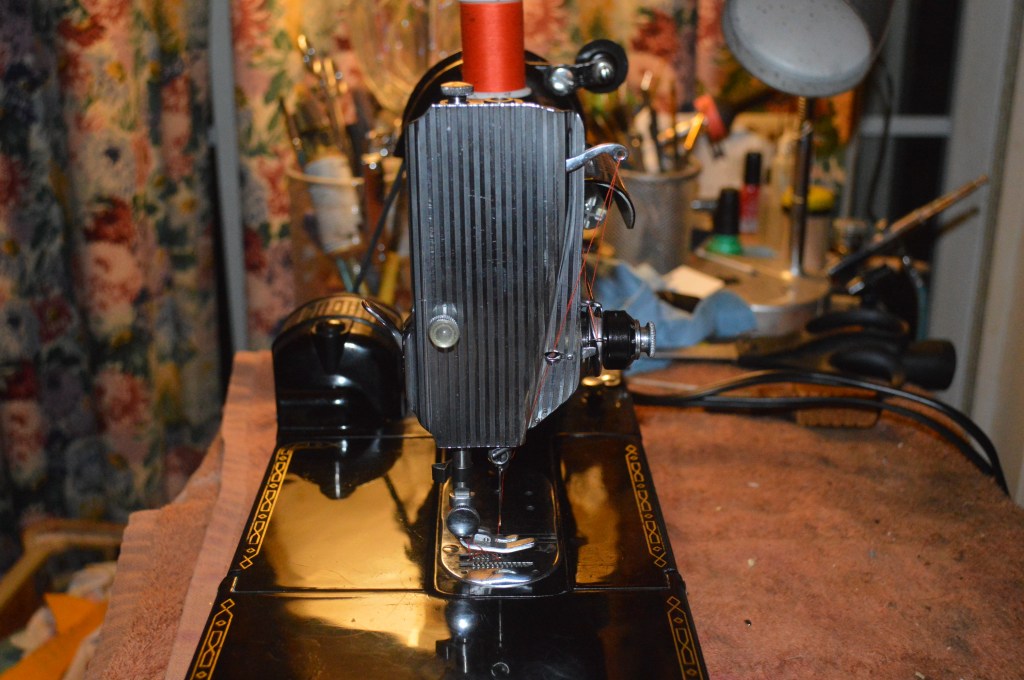
That’s it! The restoration of this Singer 222K is complete and it runs smooth as silk. I hope you enjoyed the restoration process as much as I and I look forward to the next!
If you have any questions or comments please contact me at pungoliving@gmail.com and let me know!
Thanks for reading.
Lee
