
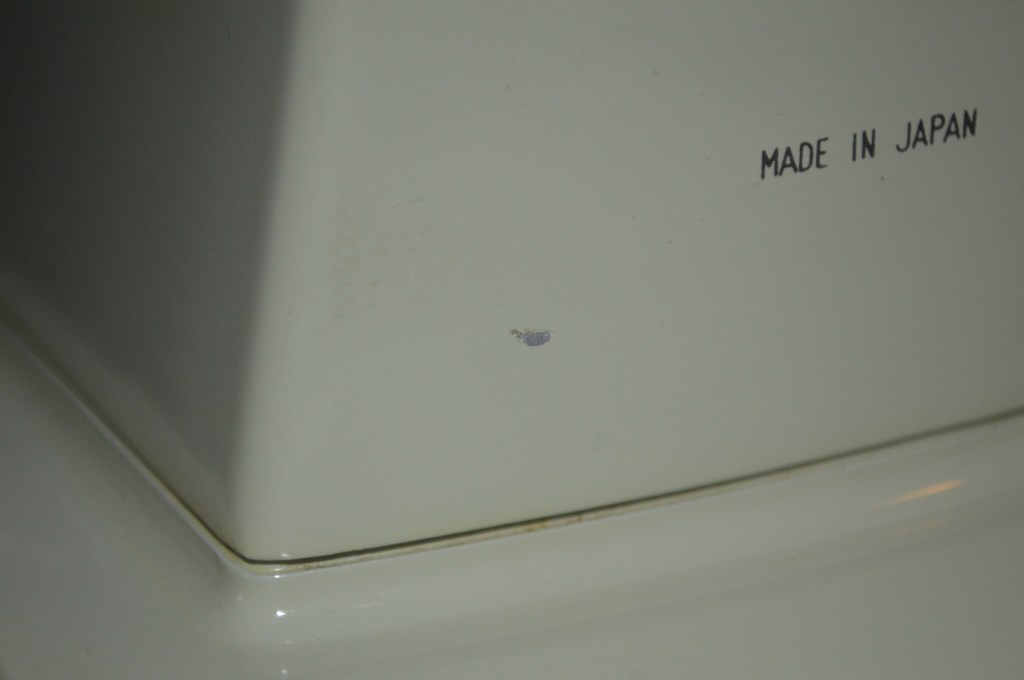
Here’s another 1601! This is one Kenmore machine that seems to be slightly overshadowed by the venerable model 1802. That’s unfortunate because they are both fantastic high quality and well made sewing machines. Given the 1601 is a center homing needle machine and otherwise nearly identical to the 1802, I think it actually has an edge on the 1802 for those who use their machines for quilting.
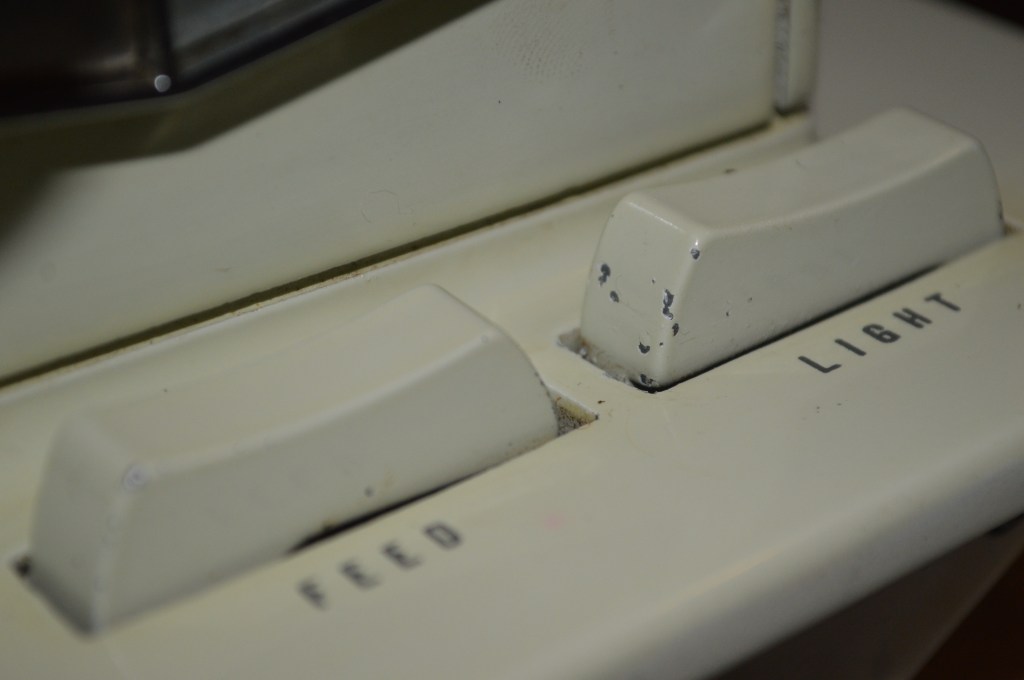
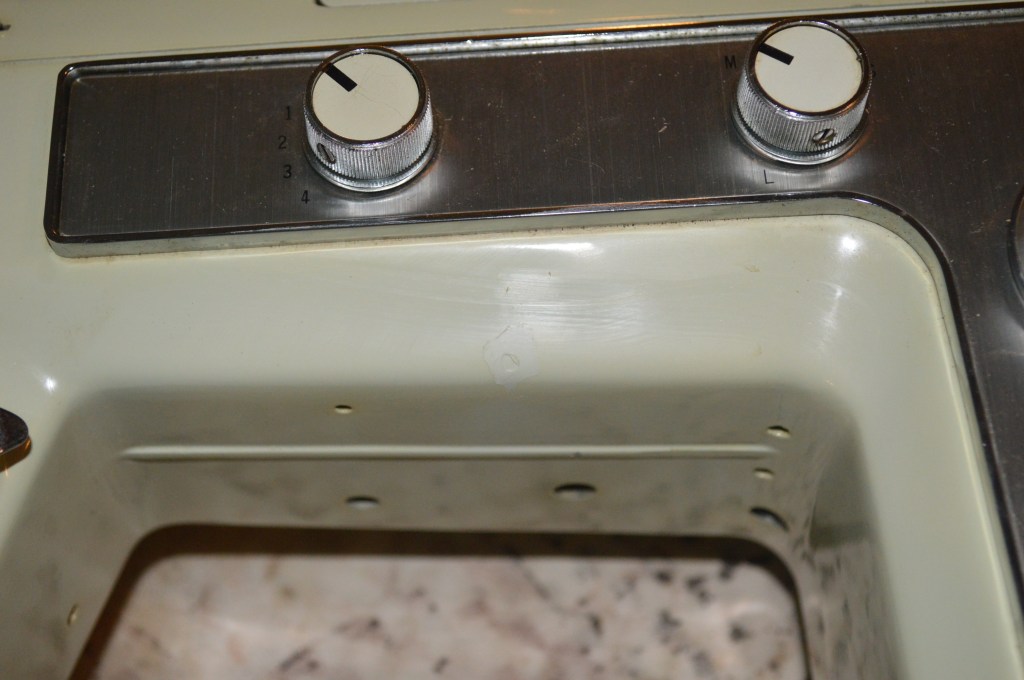
Aside from some slight differences in the cam assembly in the upper sewing arm, these machines are identical. They are both have Kenmore’s proprietary super high shank feet and attachments, they both use the same selection of cams, the sewing controls are the same (except for the background color of the dials), and they are both all metal throughout. Both machines use the same 1.2 amp motor and double belt reduction drive to power the machine.
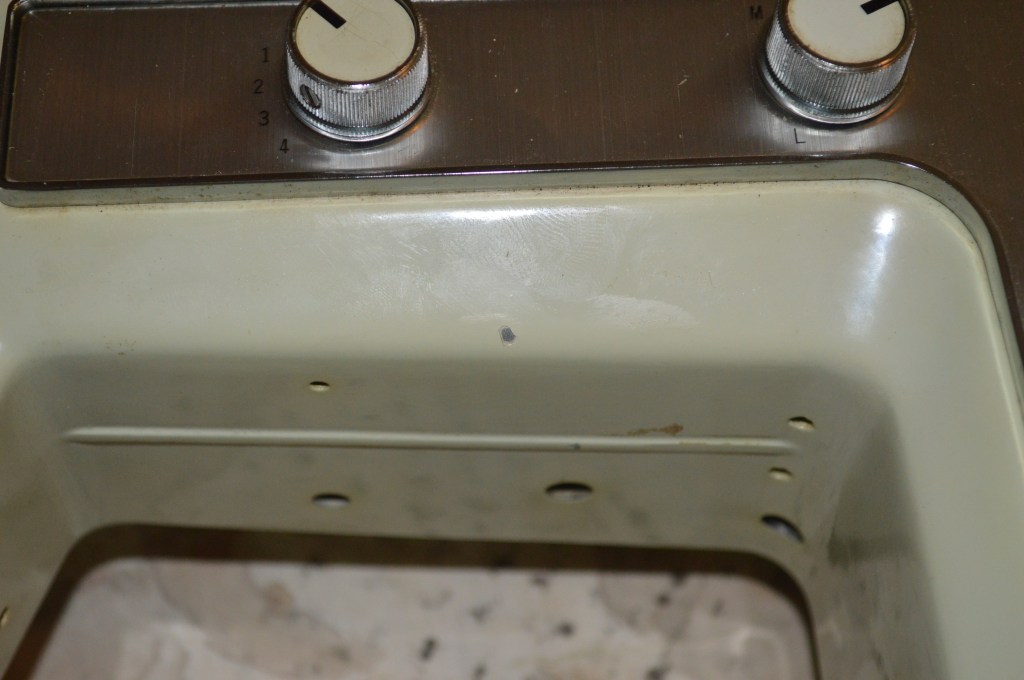
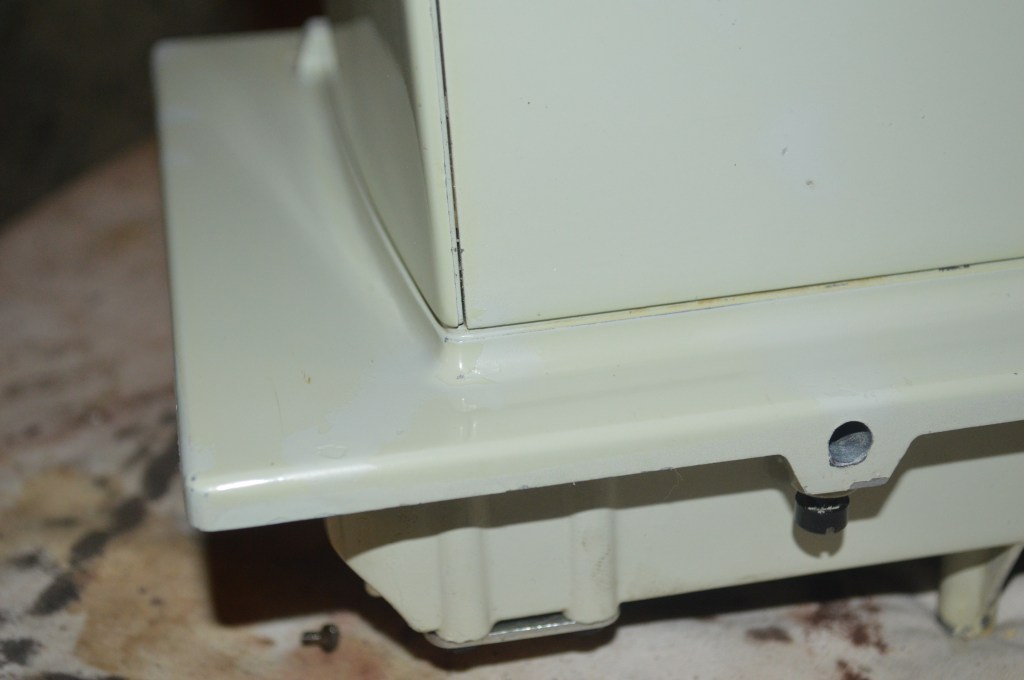
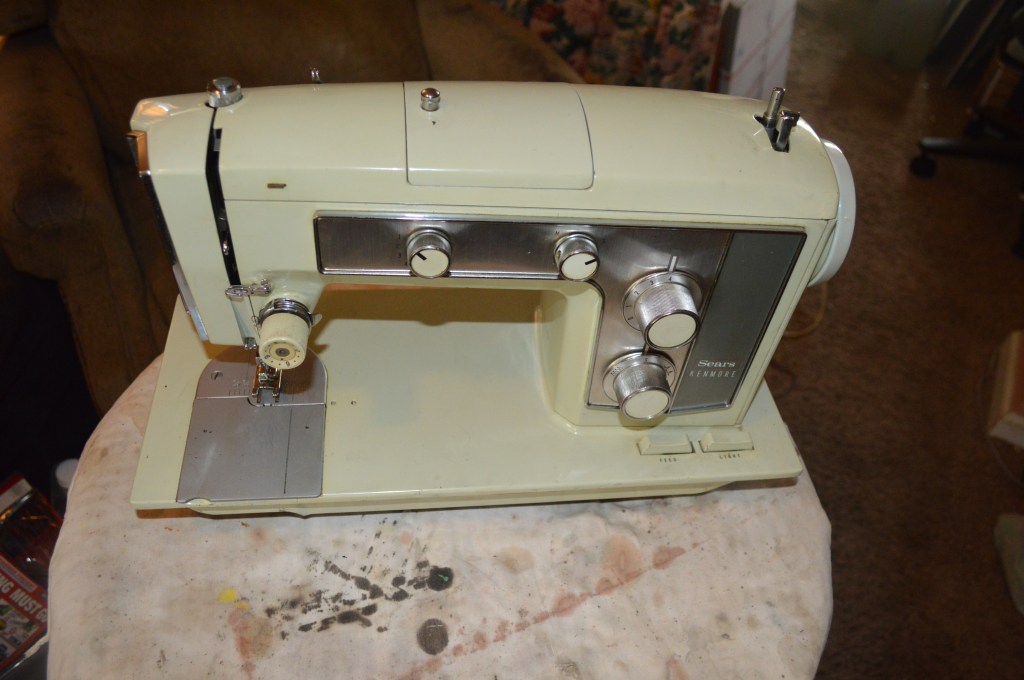
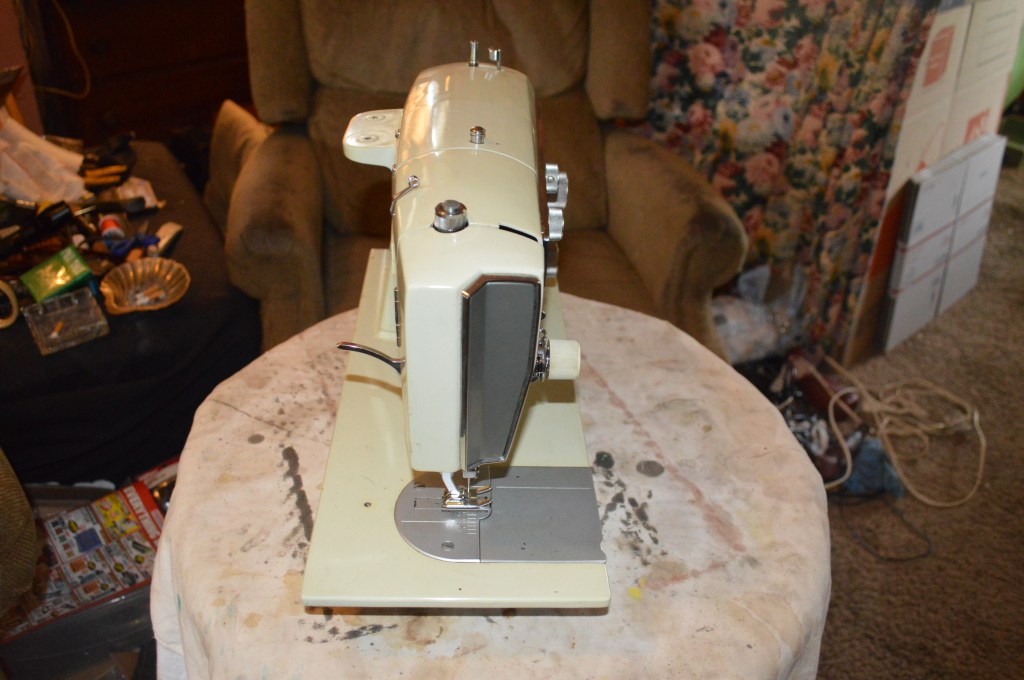
This machine is in pretty good condition, The body is pretty clean but the machine is a little tight in turning the sewing assembly. Two of the thread guides are bent and need to be replaced. A spool pin has broken off in the spool bracket that will need to be extracted. There are a few small chips in the paint that need to be corrected as part of the restoration. It does have it’s share of oil varnish in the sewing head on the needle bar and linkages that will be removed in disassembly of the affected moving parts. All in all, I expect it will turn out to be a great restoration both mechanically and cosmetically!
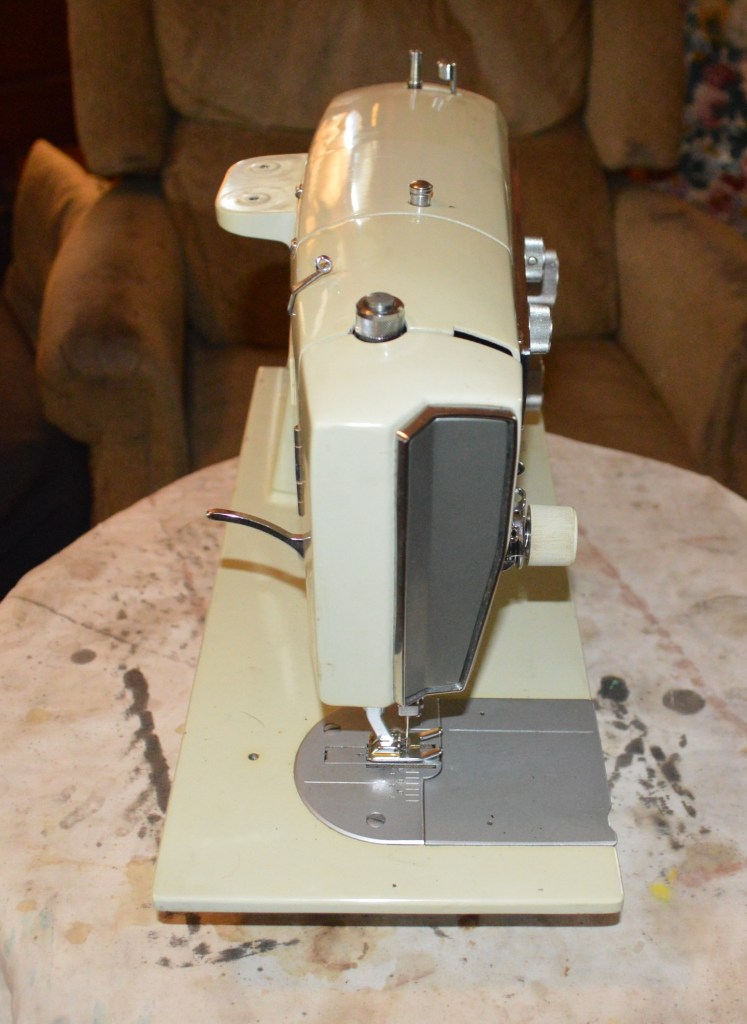
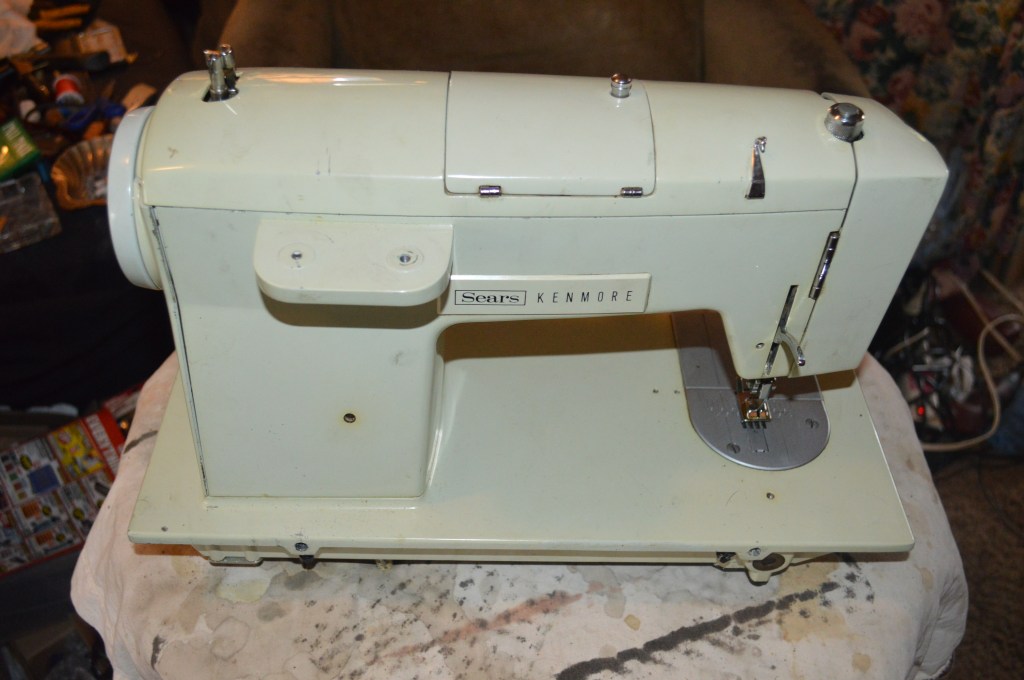
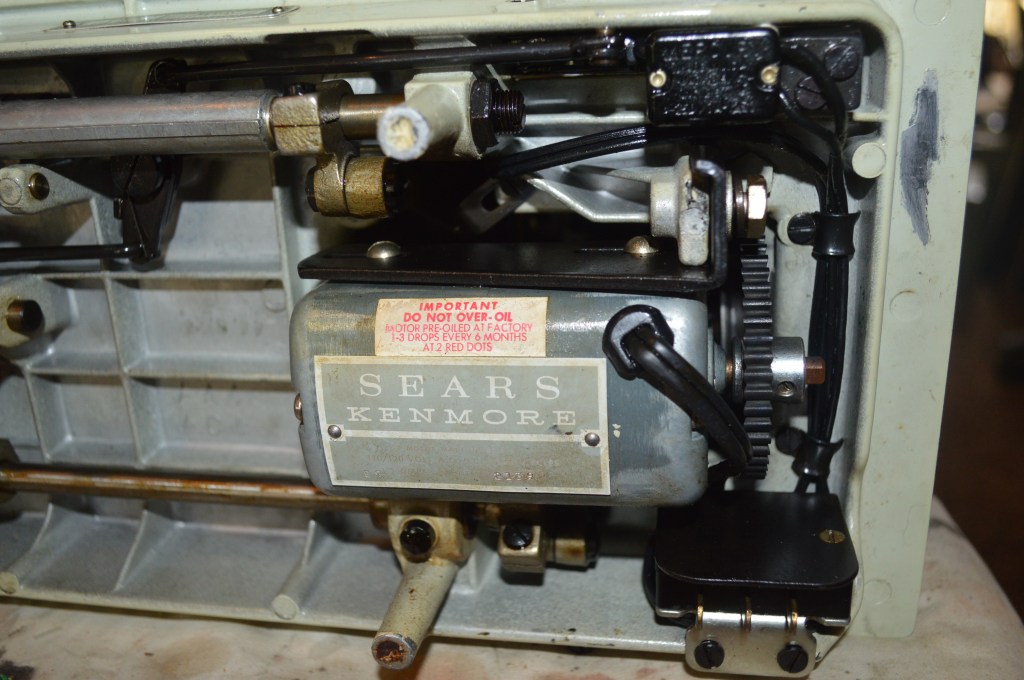
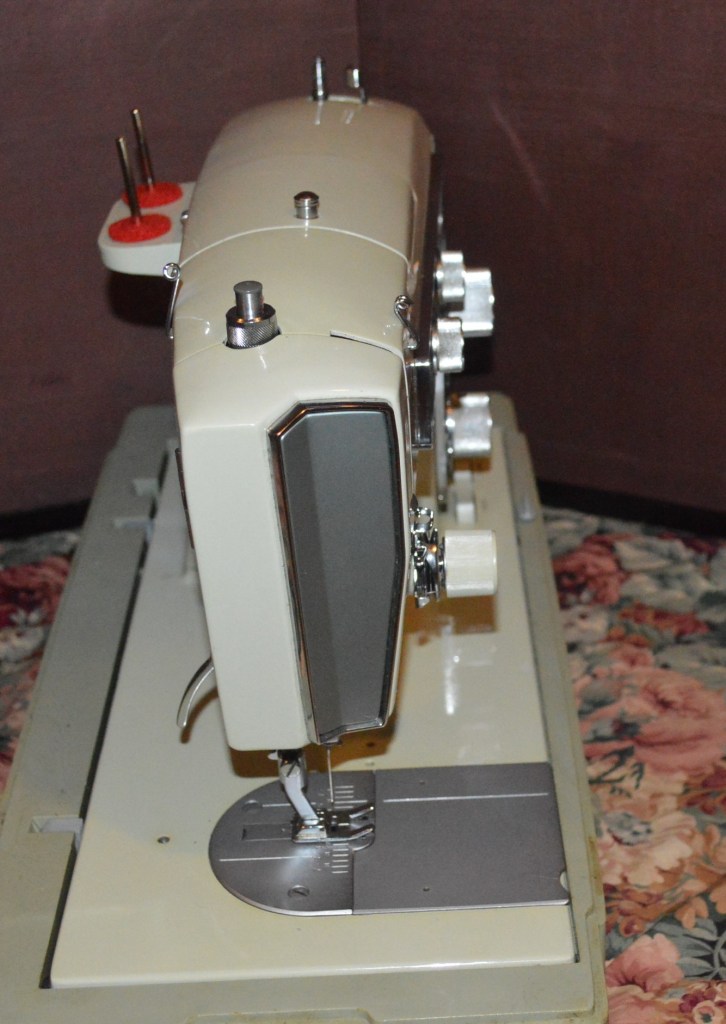
So, moving into it, here is the machine as found…


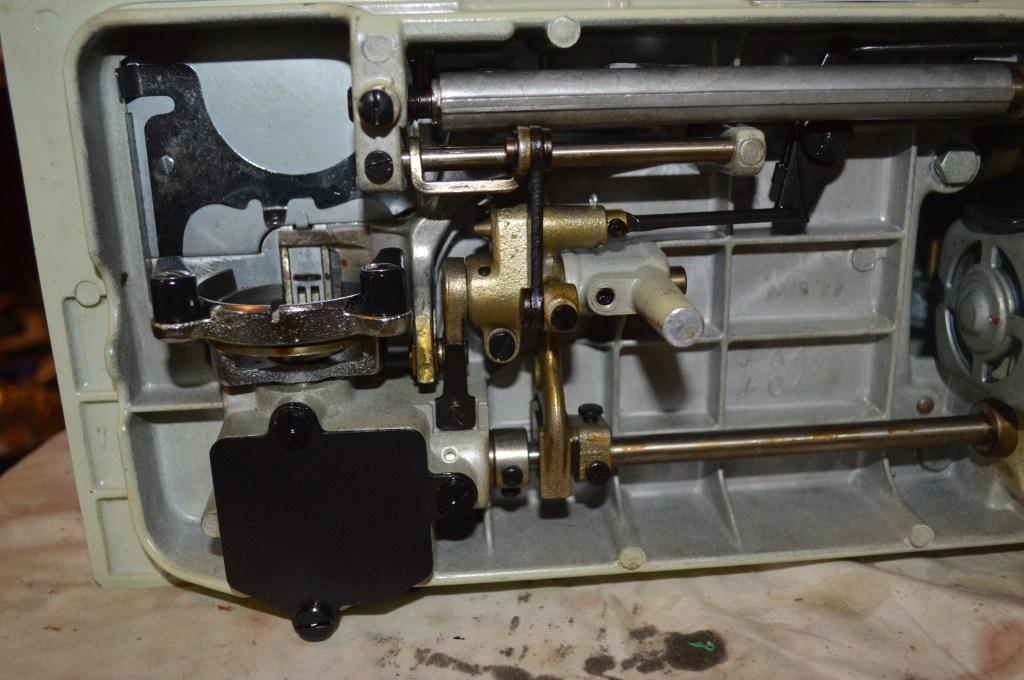
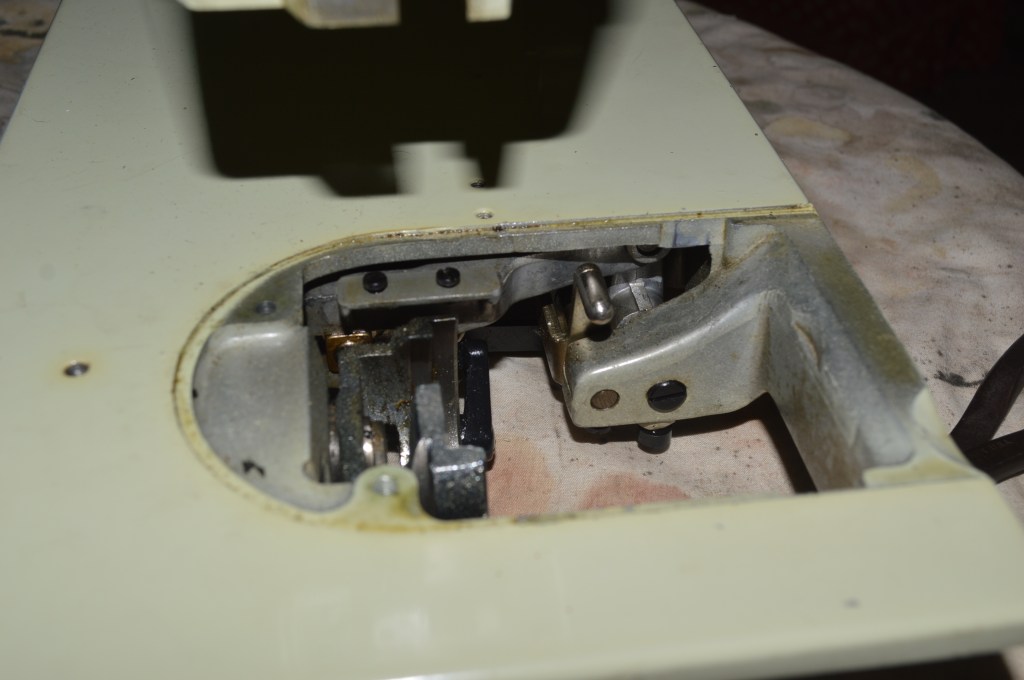
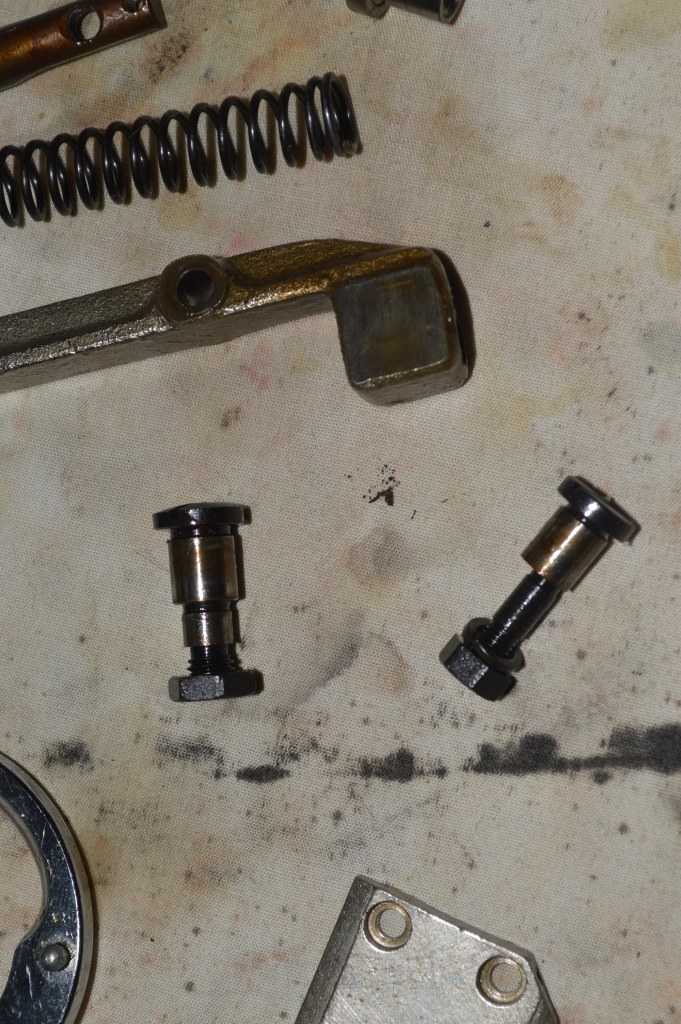
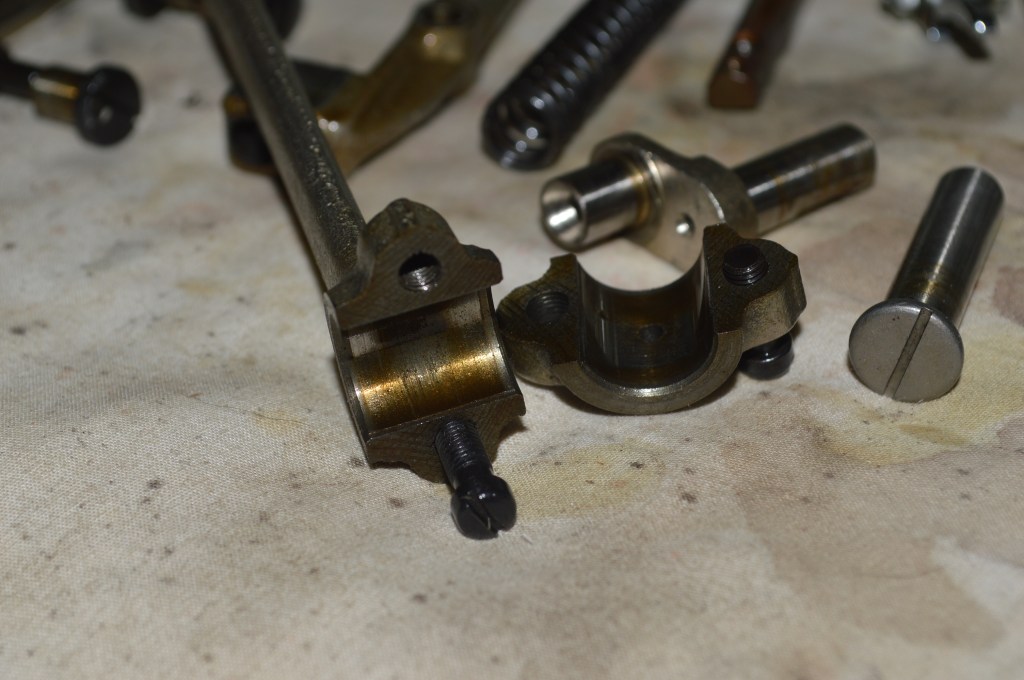
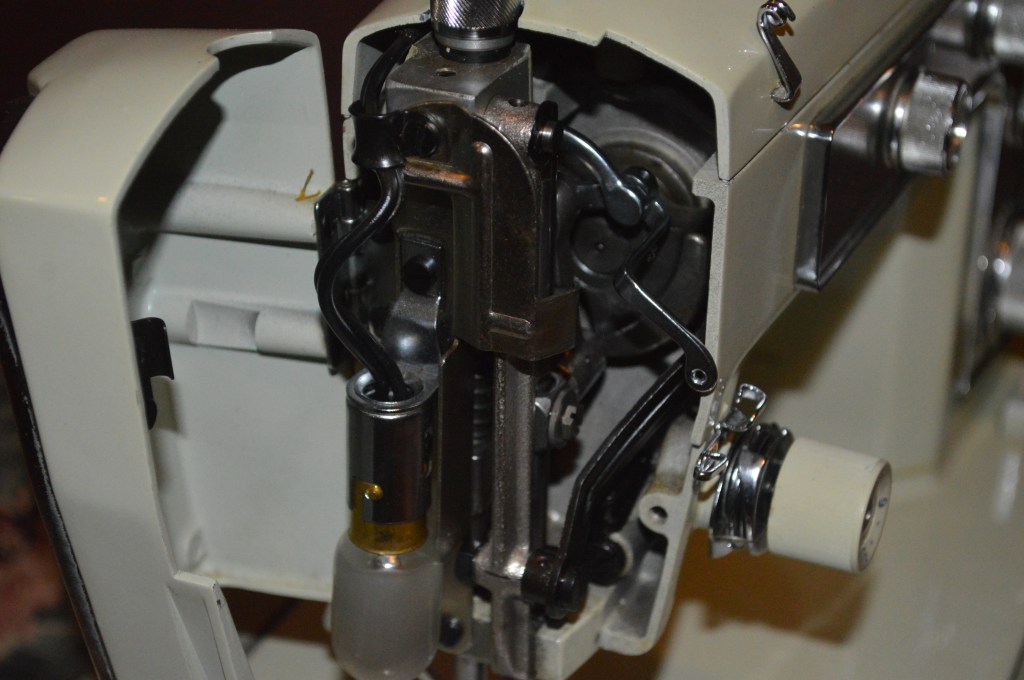
The first step is disassembly of all of the parts and linkages that get gummed up with oil varnish.

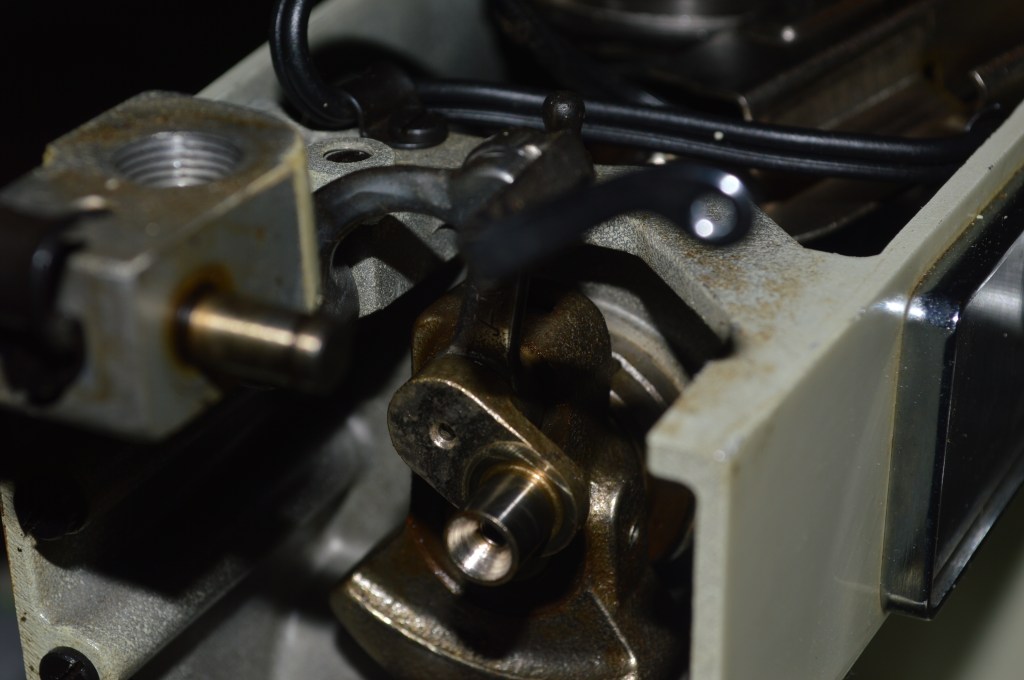
Same for the parts under the machine to include the main connecting rod.
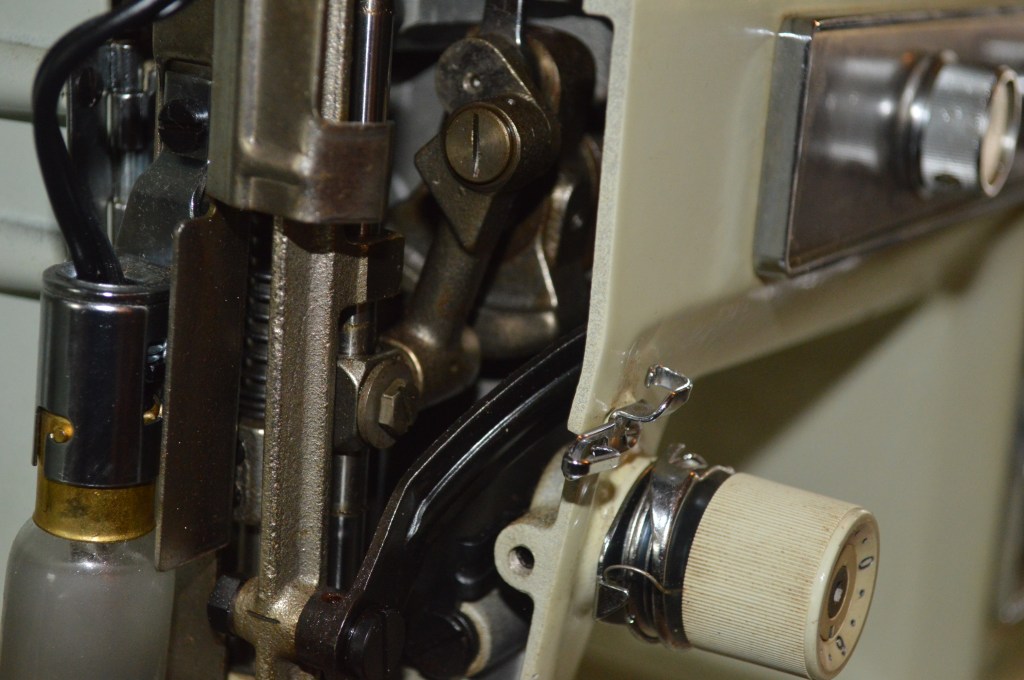
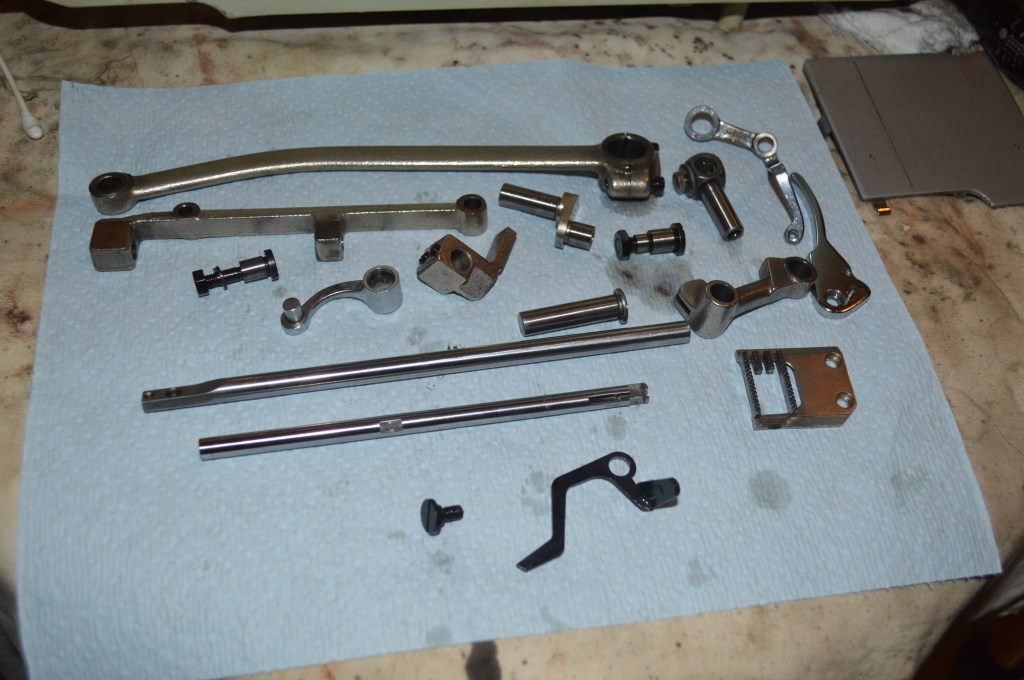
Everything is laid out for cleaning… The brown film is the oil varnish and you can see it is on the outside and it is also on the inside of these parts. You can feel the effect in the sewing mechanism. I suspect this is why the machine feels tight.
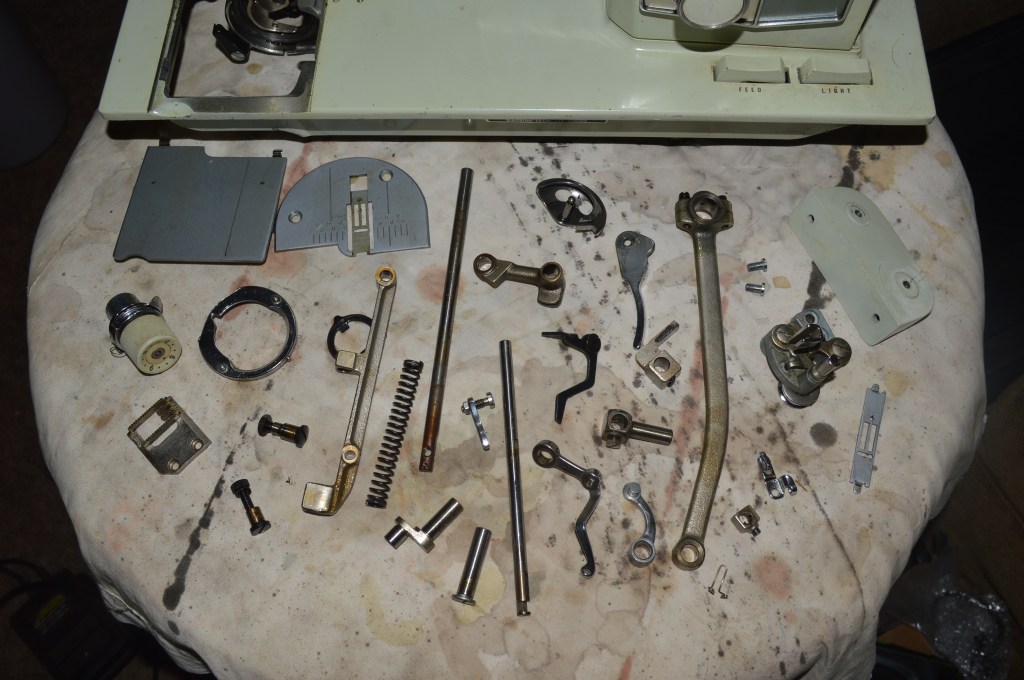

These parts are ultrasonically cleaned and heated in hot oil to remove residual moisture. All of the parts that rotate together are wire brushed to shiny condition. The needle bar and the presser foot bar is polished smooth as glass. Setting these aside for now, I can move on to servicing the motor and the oscillating gear case.
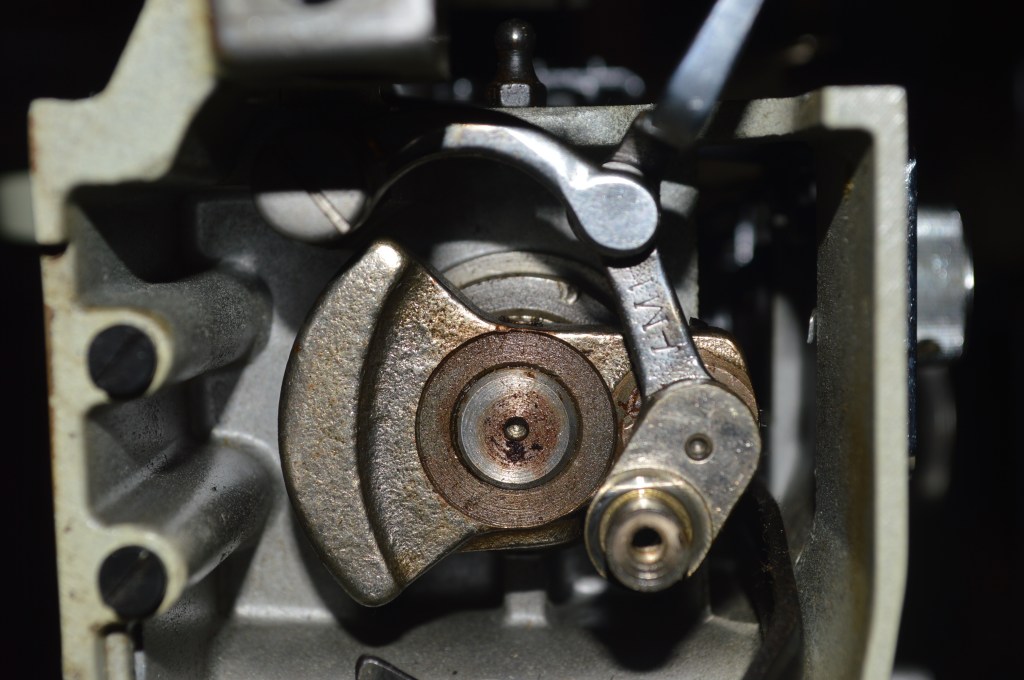
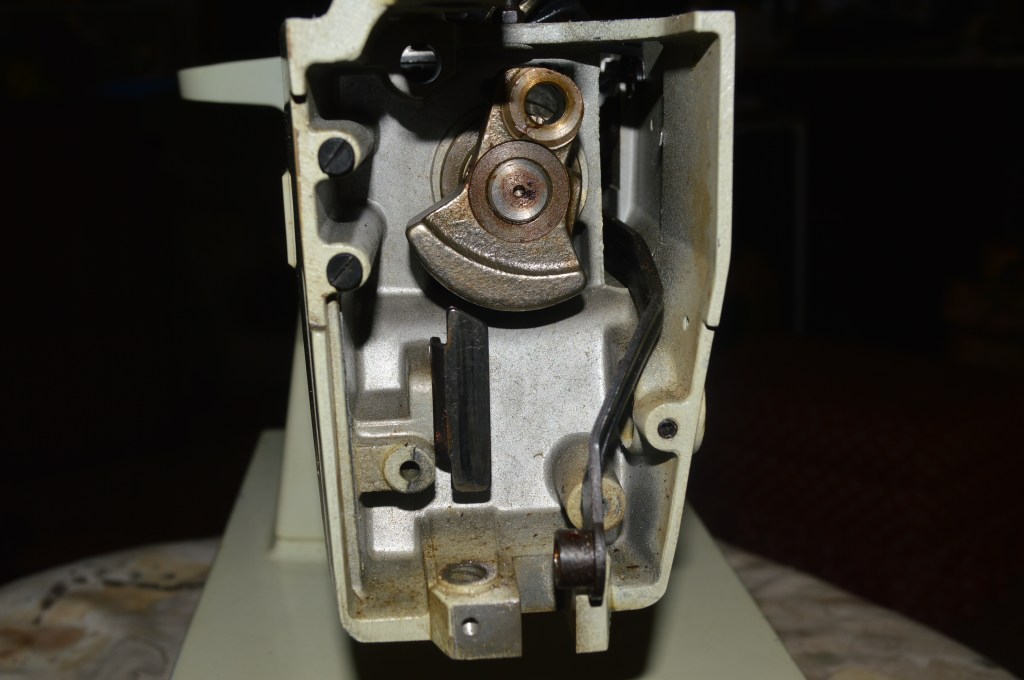
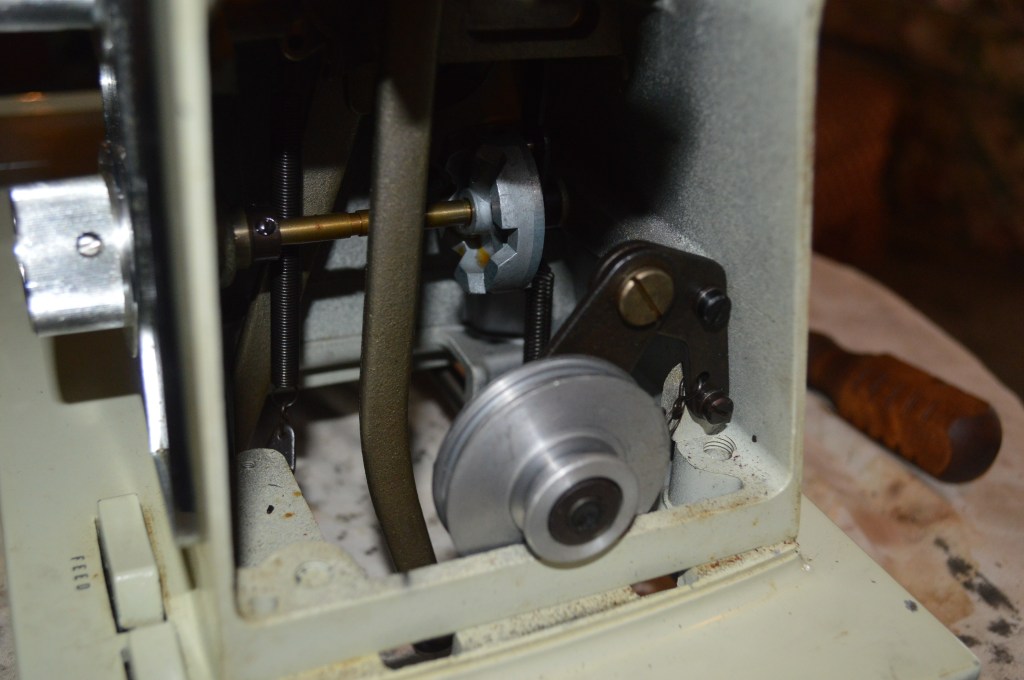
The oscillating gear case is full of old grease that has broken down and is no longer lubricating the gears. Just by looking at the next picture I can tell the condition of the grease…
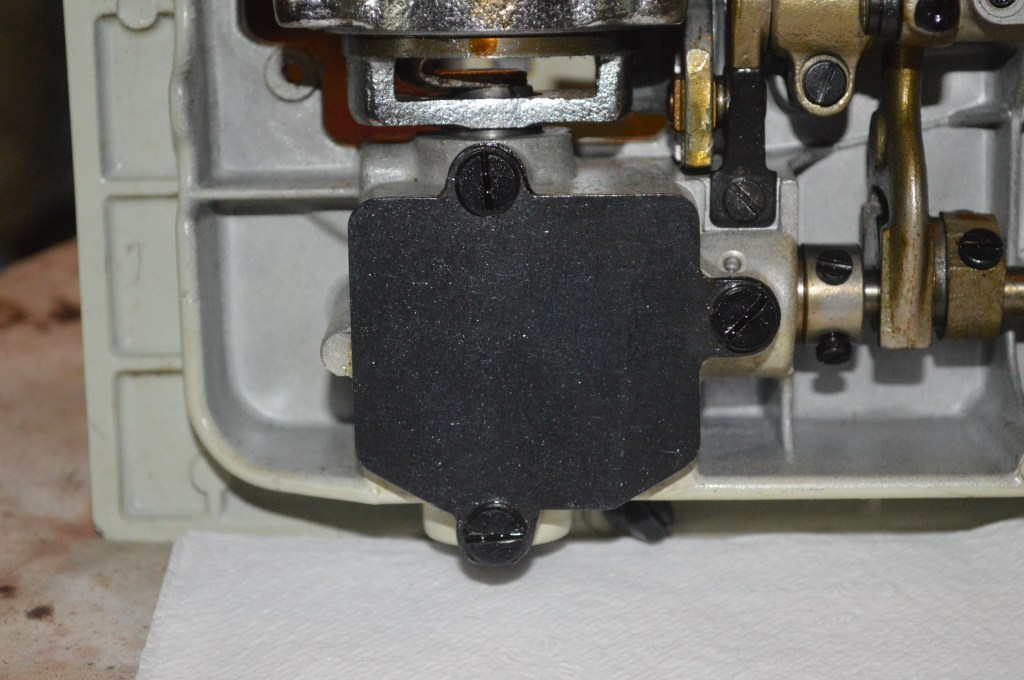
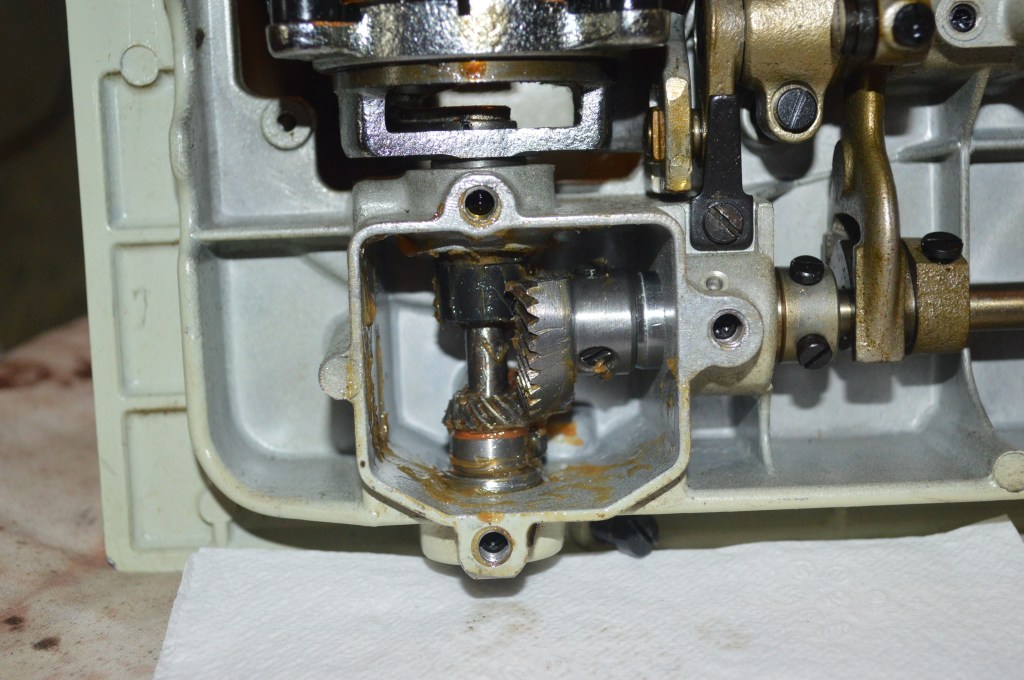
Well, you can’t see it yet, but if you have a vintage Kenmore, I can predict your is in the same condition… they all are. Here is what it looks like behind the cover.
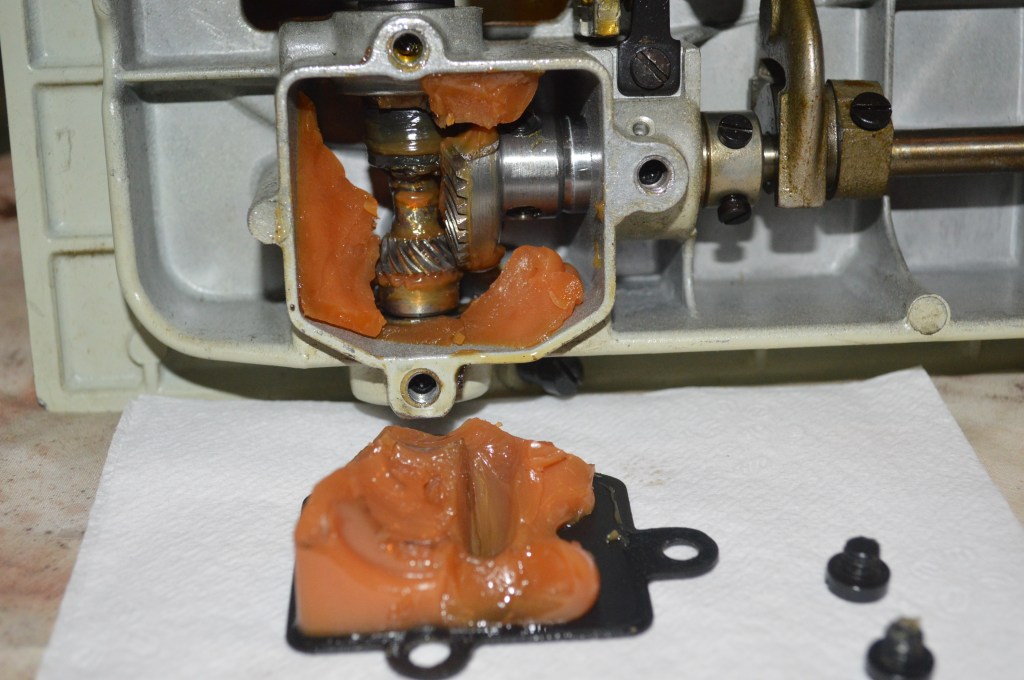
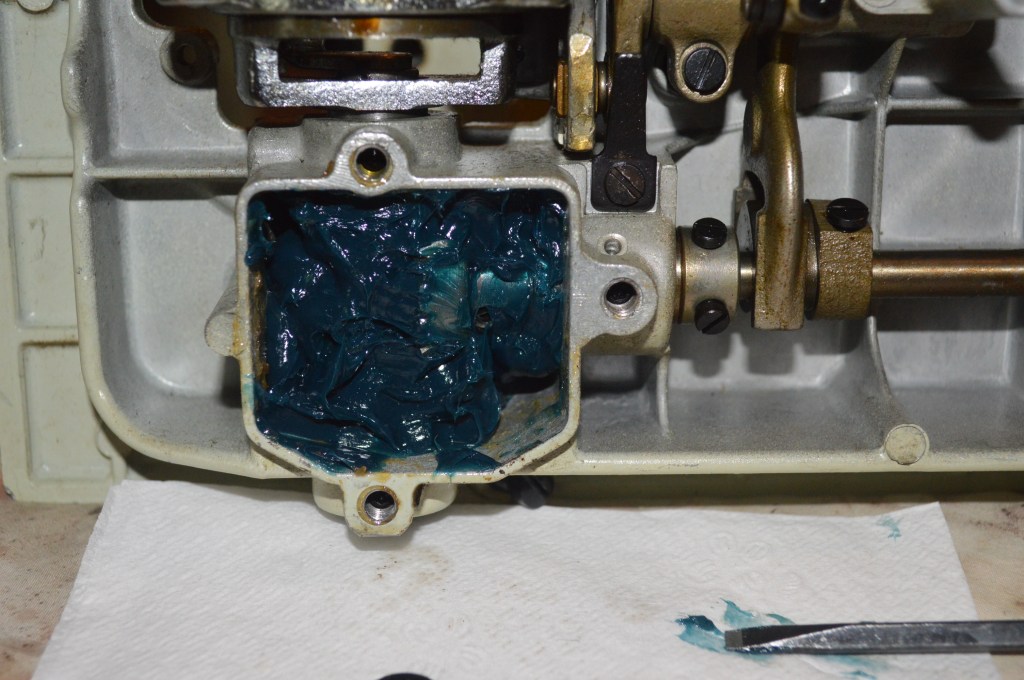
As you can see, the gears are shiny and do not have any grease on them. You can see the outline of the gears is imprinted in the grease because it is now the consistency of bees wax. If you do have a vintage Kenmore, I have posted a tutorial on how to clean and replace this grease. It is easy to do and it will make a difference in the sound and smoothness of your Kenmore. Anyway, the old grease is removed and cleaned out, and then re-packed with new grease.
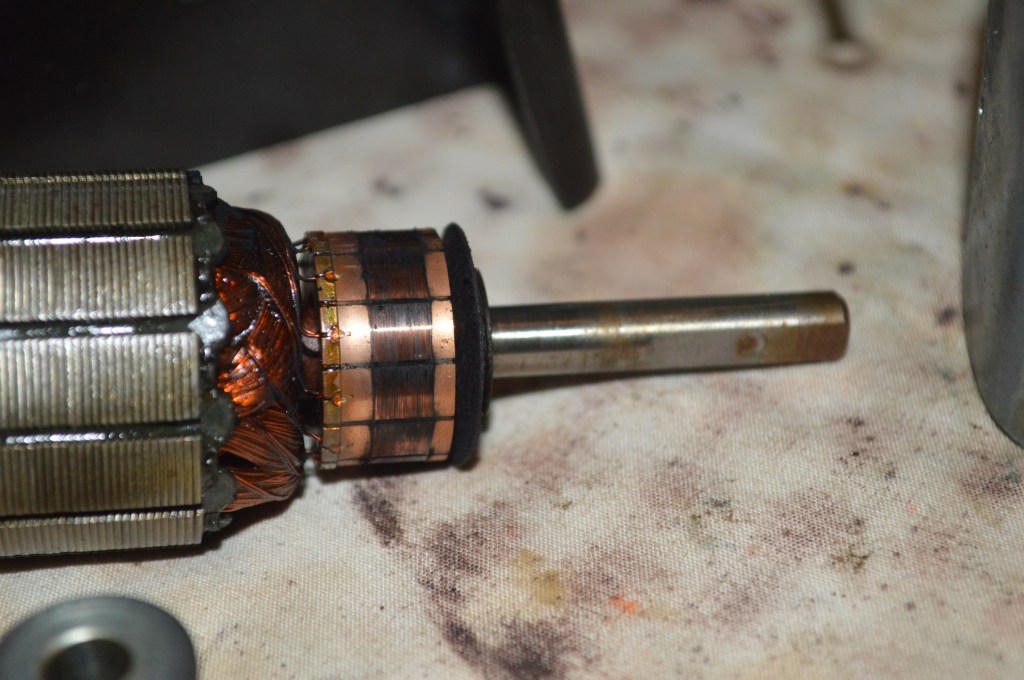
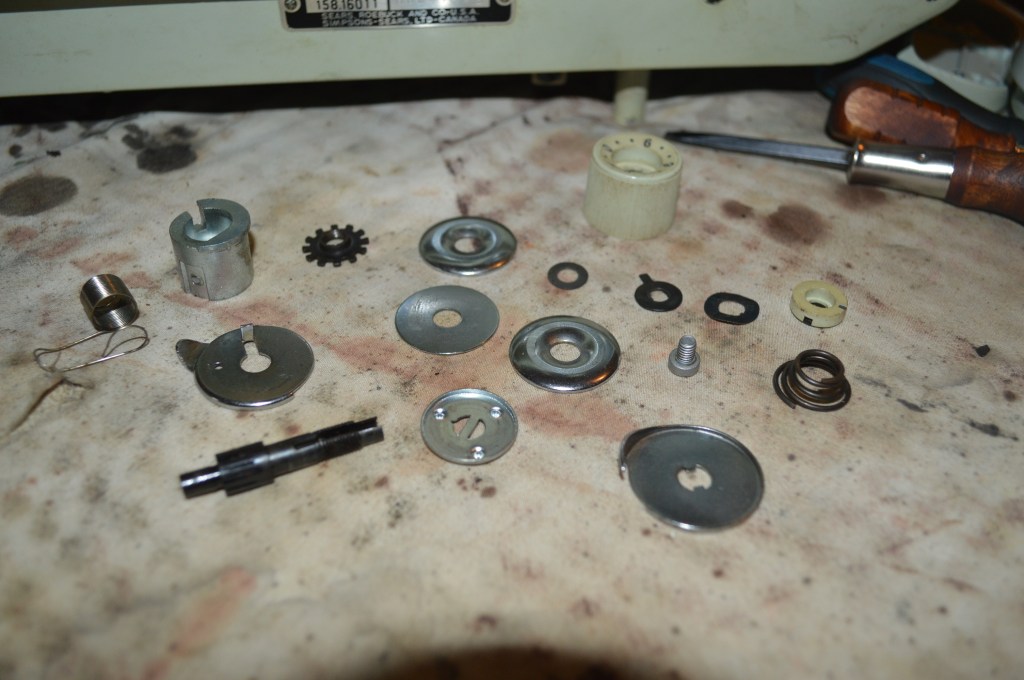
A critical part in any restoration is restoring the motor. Kenmore motors are great motors. If I could fit them to a bracket and use them as an external motor for any external belt driven machine I have, I would. They are durable, strong, and very reliable sewing machine motors. They do respond well to disassembly to clean the shafts, recondition the brushes, and polish the armature commutator.
The motor is disassembled and laid out for cleaning…

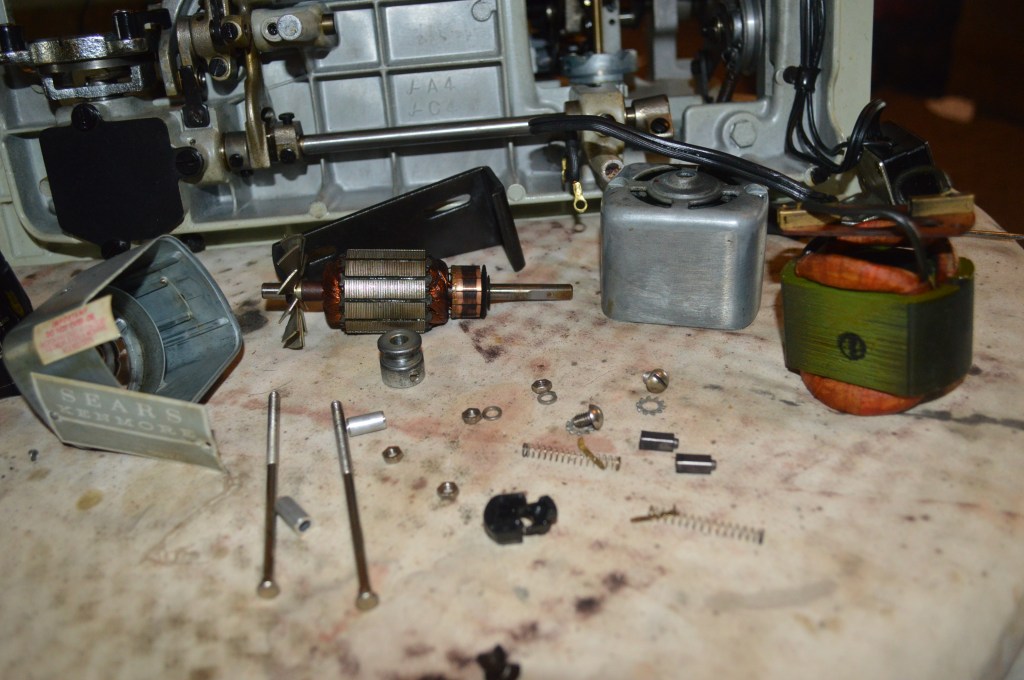
The shafts and commutator are polished…
Before 
After
The brushes have normal wear and the contact have assumed the curvature of the commutator. The ends are sanded flat to renew them.
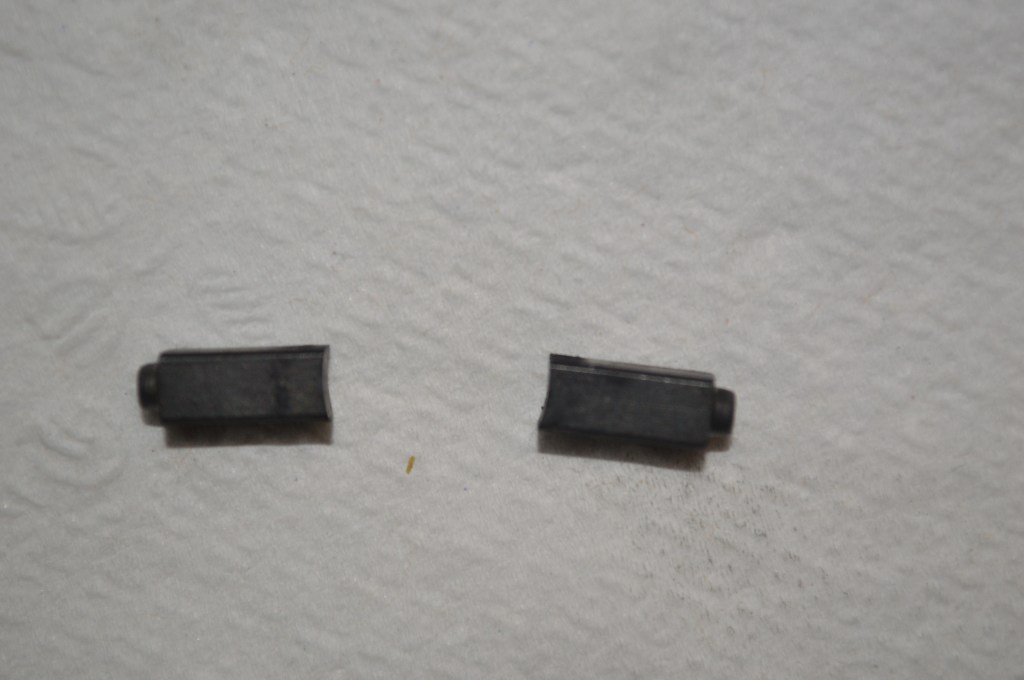
before 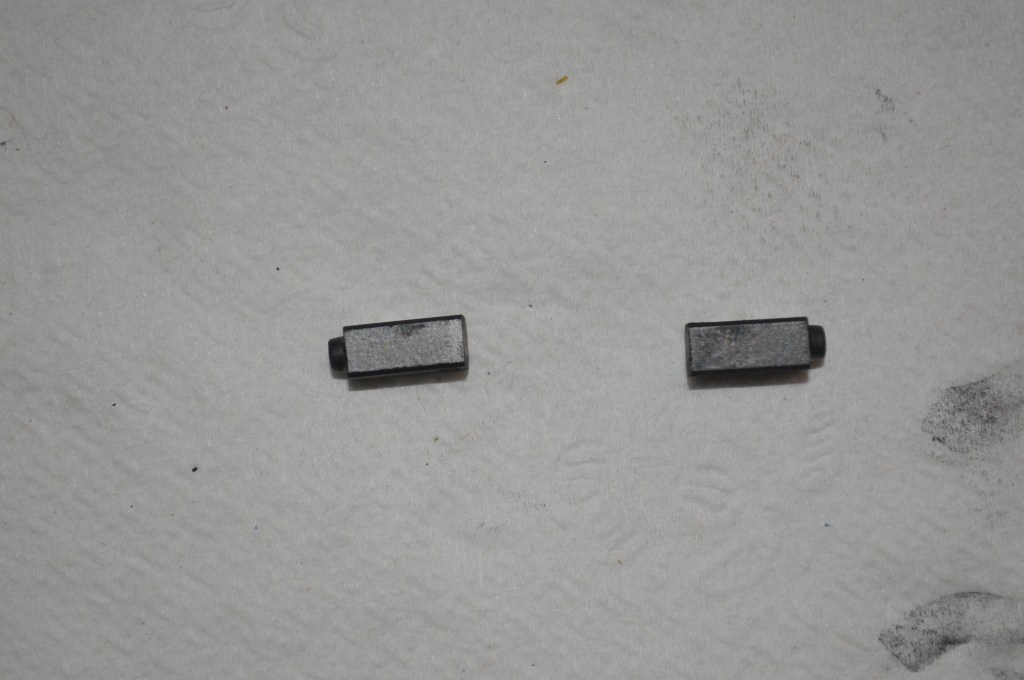
after
The bearing felts are oiled and the motor is reassembled and tested. It runs smoothly and powerfully as it should. Remember, these are 1.2 amp motors and are very strong motors for domestic sewing machines of any manufacture.
Prior to reassembly, only one other mechanism needs to be disassembled and cleaned… the tension assembly. The individual parts are ultrasonically cleaned and reassembled.
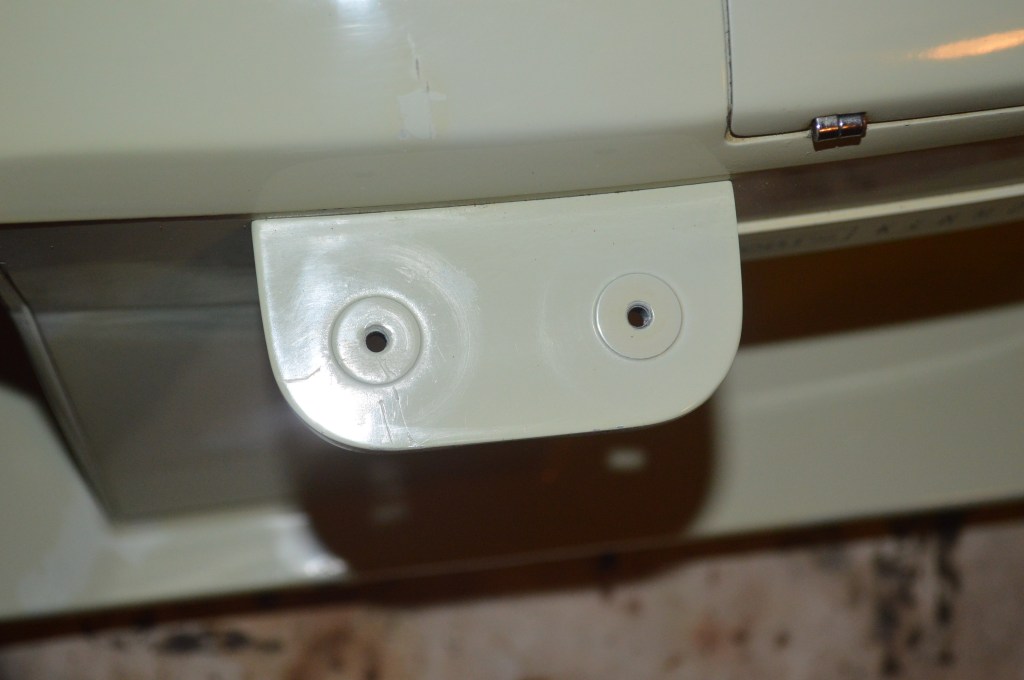
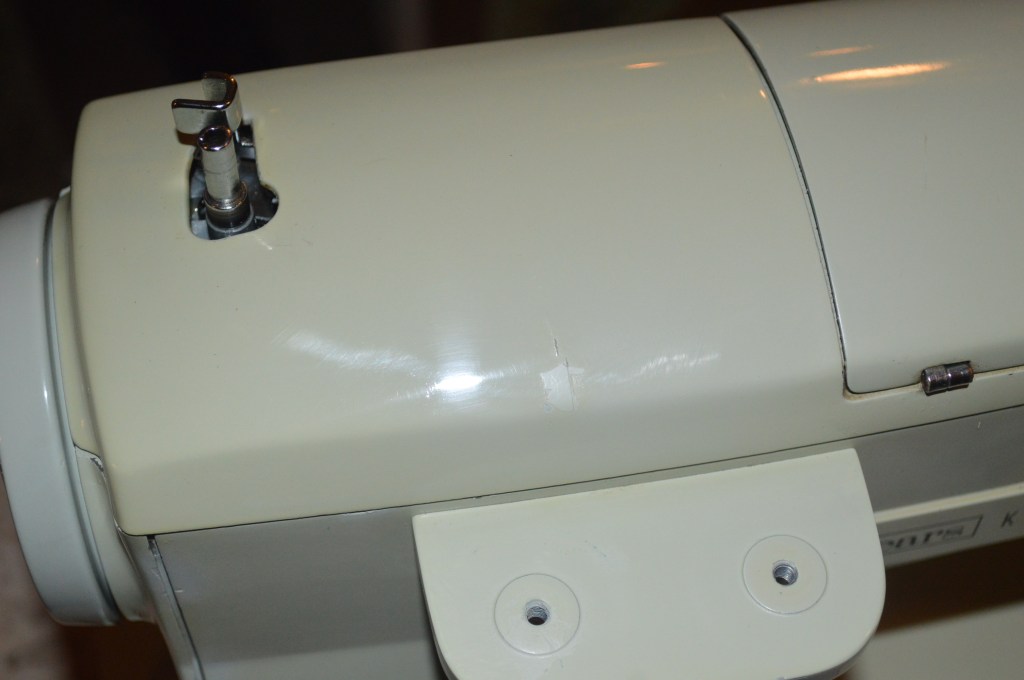
The machine is reassembled and any cosmetic oil varnish (on the outside where it has no effect) is cleaned off. Attention is now on the cosmetic restoration. I pointed out that there were some small paint chips that needed attention. These are the spots I will paint match and blend them into the surface of the machine. While I admit that these defects don’t jump out as a distraction from the machine, I think a restoration should address any issues that can be corrected. For this, I have paint matched the color to repaint the chips using an air brush… small repair, small spray, and easy to blend into the surrounding area, so why not? Here are the chips I am focused on.
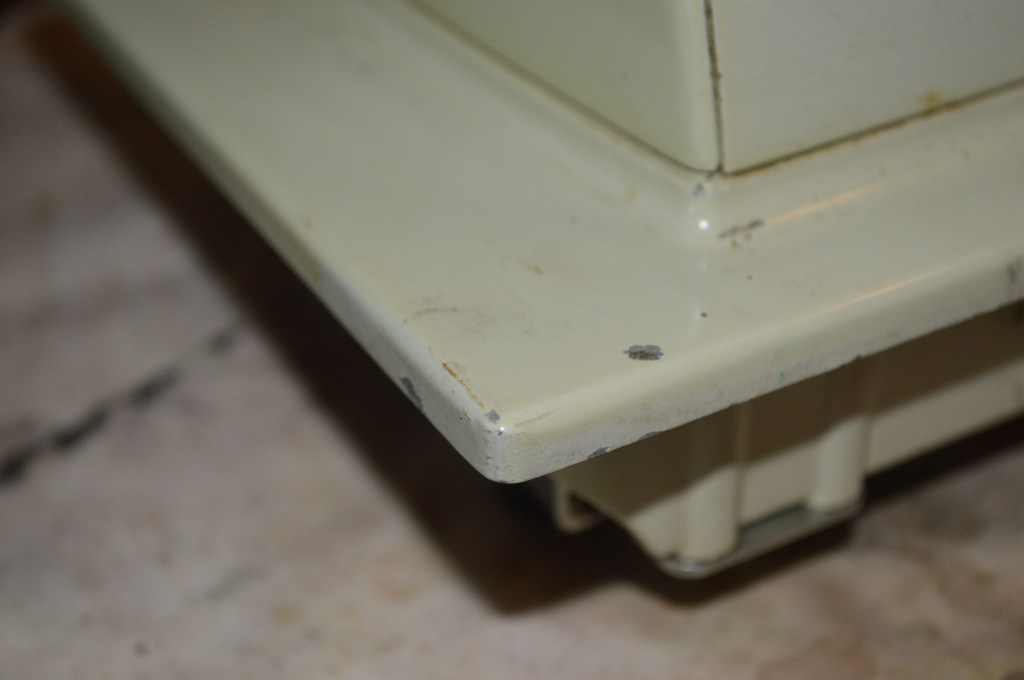

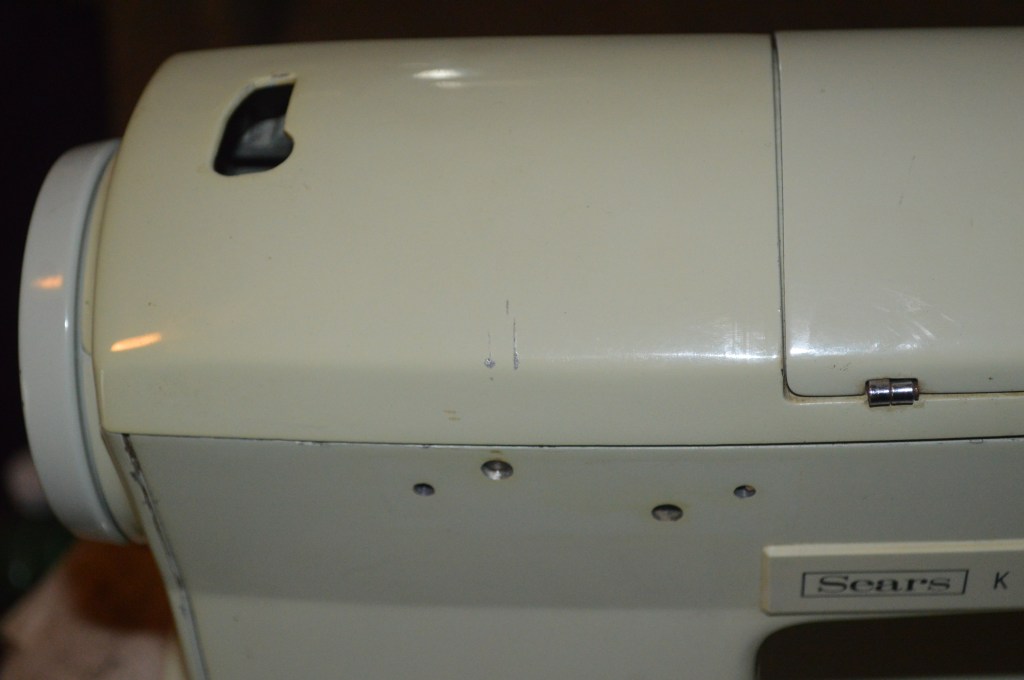
First, the body of the machine is deep cleaned and the chips are sanded to provide a feather edge for the paint. The broken spool pin is also extracted and the paint chips are repaired.

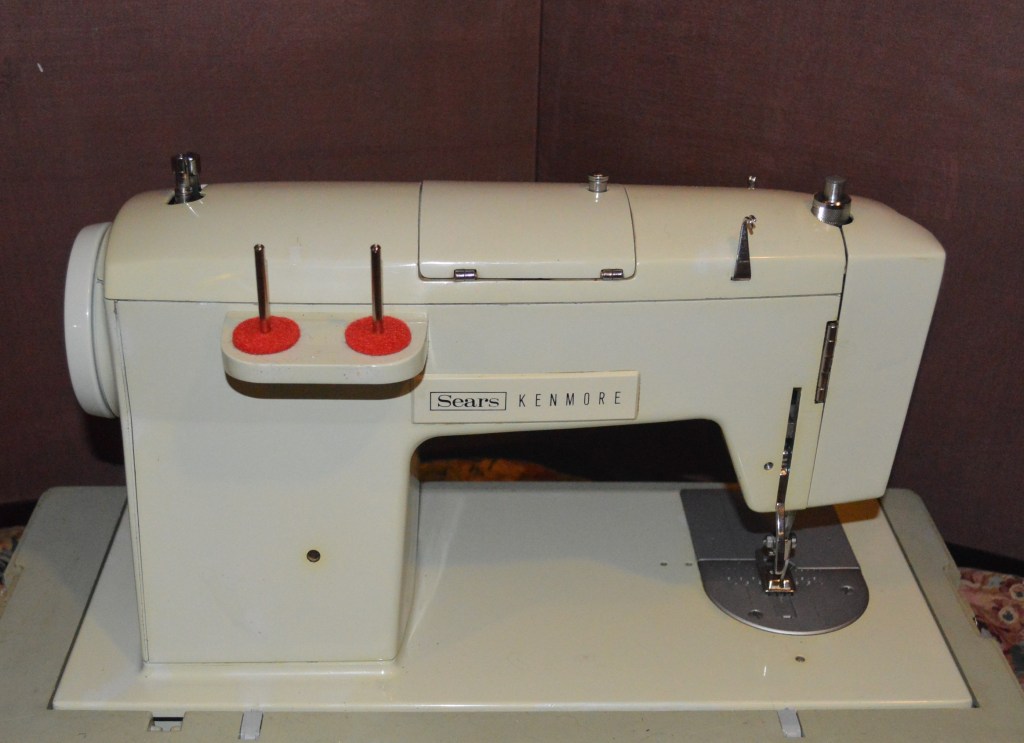
Following the cosmetic restoration, the machine is completely assembled and adjusted. This completes the restoration of this 1601! The difference between the before and after is best appreciated in contrast. The sewing mechanism is greatly improved. The stiffness caused by the old varnish is gone, the machine has very good piercing power, and it offers great speed control. The stitch quality is good and typical of a properly tuned Kenmore, very well balanced.
So, here is the machine before restoration…


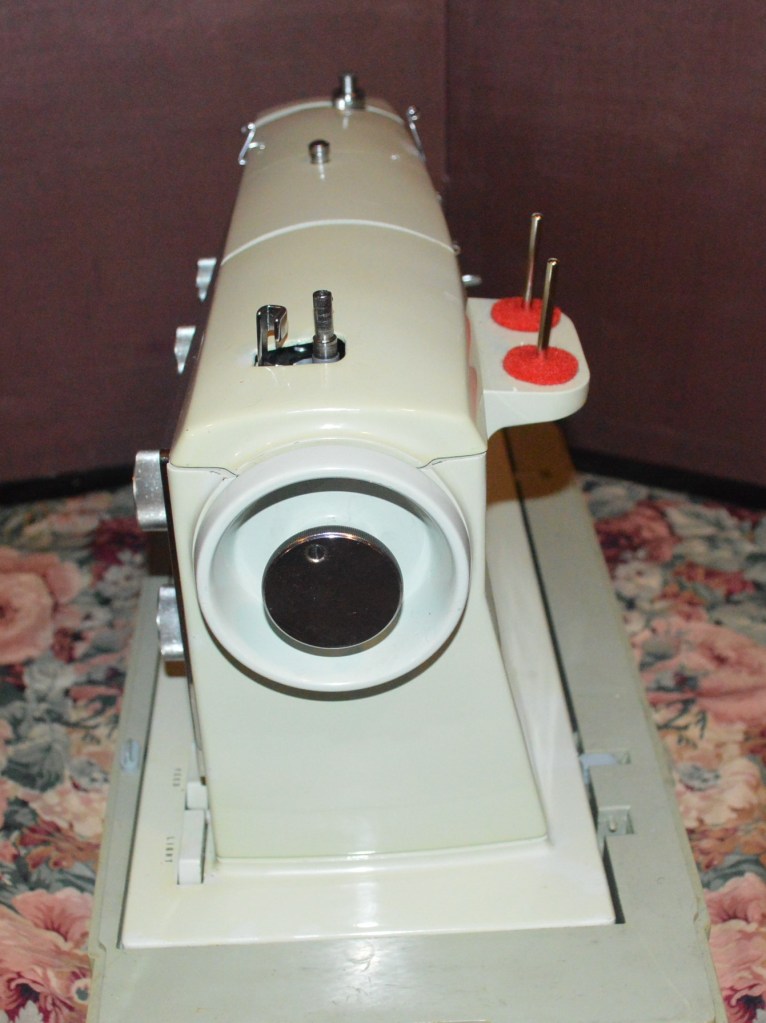
And here is the machine after restoration…

If you like what you see please visit our Etsy store at https://www.etsy.com/shop/pungoliving, and see this beautiful model Kenmore 158.16011 and all of our other restored fine quality vintage sewing machines. If you have any questions, please contact Lee at Pungoliving@gmail.com.
Thanks!

awesome what’s you did with the sewing machines, so I need a timing belt for a Kenmore model
158.16801 you know where I can find them online? I appreciate any help you can bring to me…Thank you!
LikeLike
Hi, I’m so glad I found your site!
I recently bought a Kenmore 1602 (like a 1601 but without cams) from a thrift store, and it’s cosmetically in great shape. The motor is very strong, but I cannot figure out why it skips stitches randomly on the left side, especially at the widest setting. I’ve clean and oiled everything and checked that no mechanisms are sticking. I’ve also changed needles and tried loosening and tightening the tension. Nothing seems to work.
From researching sewing machine timing, it looks like the timing might be off, but these machines seem to have a proprietary bolt that I don’t know how to loosen to set the timing. I tried lowering the needle bar just a bit and thought I had fixed it. But it sewed well for a bit and then went right back to skipping stitches on the left side. Any ideas of what I could try next? At this point I’m thinking of giving it back to Goodwill.
LikeLike
Hello Sheri,
I don’t think its a timing issue timing is set and it is not likely to change. You can check the timing by removing the bobbin race and bobbin case. With machine set to straight stitch and the needle all the way down, move it just slightly up (maybe 1/8″) the needle should appear right behind the hook. If it does, the timing is set correctly.
It may be the needle swings too far to the left. With the machine set to the longest zig-zag stitch, check to see if the needle clearance is the same on the left side as it is on the right.
If it is, I would suspect the bobbin case hook is the culprit. You might try replacing it and they are available for a reasonable price from any number of online sewing machine parts stores.
Please let me know the outcome and please let me know if I can be of any further assistance.
Have a wonderful evening!
Lee
LikeLike
Thank you so much for your suggestions!
It looks like the timing is ok, as you said, and, yes, I did notice right away that the needle swing isn’t the same on both sides, but I thought it wasn’t going far enough to the right. It sounds like it’s too far to the left, though. On the right, on the widest zigzag, the needle goes down about a millimeter from the edge of the stitch plate, and on the left there’s almost no space. It doesn’t hit the needle plate, but it’s right there beside it. I can’t see that any mechanism is sticky, and the needle is dead center when it’s on straight stitch. Is this a fairly easy adjustment? Thanks again!
LikeLike
Good morning Sheri,
Its not a hard adjustment to make.
Send me a message to pungoliving@gmail.com and I will send you the adjusters manual showing how to adjust the needle position.
Have a great day!
Lee
LikeLike