
Free motion embroidery. To begin, I have to confess upfront that I restore vintage sewing machines… I don’t sew on vintage sewing machines. I would, but I don’t. The most sewing I do is balancing and tuning a machine after restoration. I then pass it over to my Wife, who loves to sew, and she sews with it long enough to make sure all of the adjustments will suit every day type sewing tasks.
My wife is a natural born artist. Where I think in numbers and shapes, she thinks in forms and colors. Complete opposites, but they say opposites attract and after 37 years of marriage, she still amazes me. My wife loves to create things, not always for a purpose, but simply because she loves to create things, She is a doodler, she will doodle on paper, cloth, glass, she loves to paint, draw, twist wire, bead, crochet, just about anything she sees, she sees art, and recently she discovered she could doodle with thread… it’s three dimensional, it’s sewing, and the texture really pleases her.
After watching many YouTube videos of folks doing free motion embroidery, we set out to find a machine she could use and fit it with the dodads folks use such as an embroidery foot, drop feed dogs, good straight, narrow zig-zag, and satin stitch. She set out right away practicing without the dodads… She has tried different machines from antique singer 15’s, and 66’s, to Kenmores of different models… 158.12511, 1400, 1755, and 1802’s. She has tried several White sewing machines, including an antique White’s Family Rotary, all of them with good results. After a couple of weeks, she has progressed with a recipe of using an open toe zig-zag foot, drop feed dogs, and no presser bar pressure… forget all the other stuff. Can’t drop the feed dogs? No problem, set the stitch length to zero and pull a little harder.
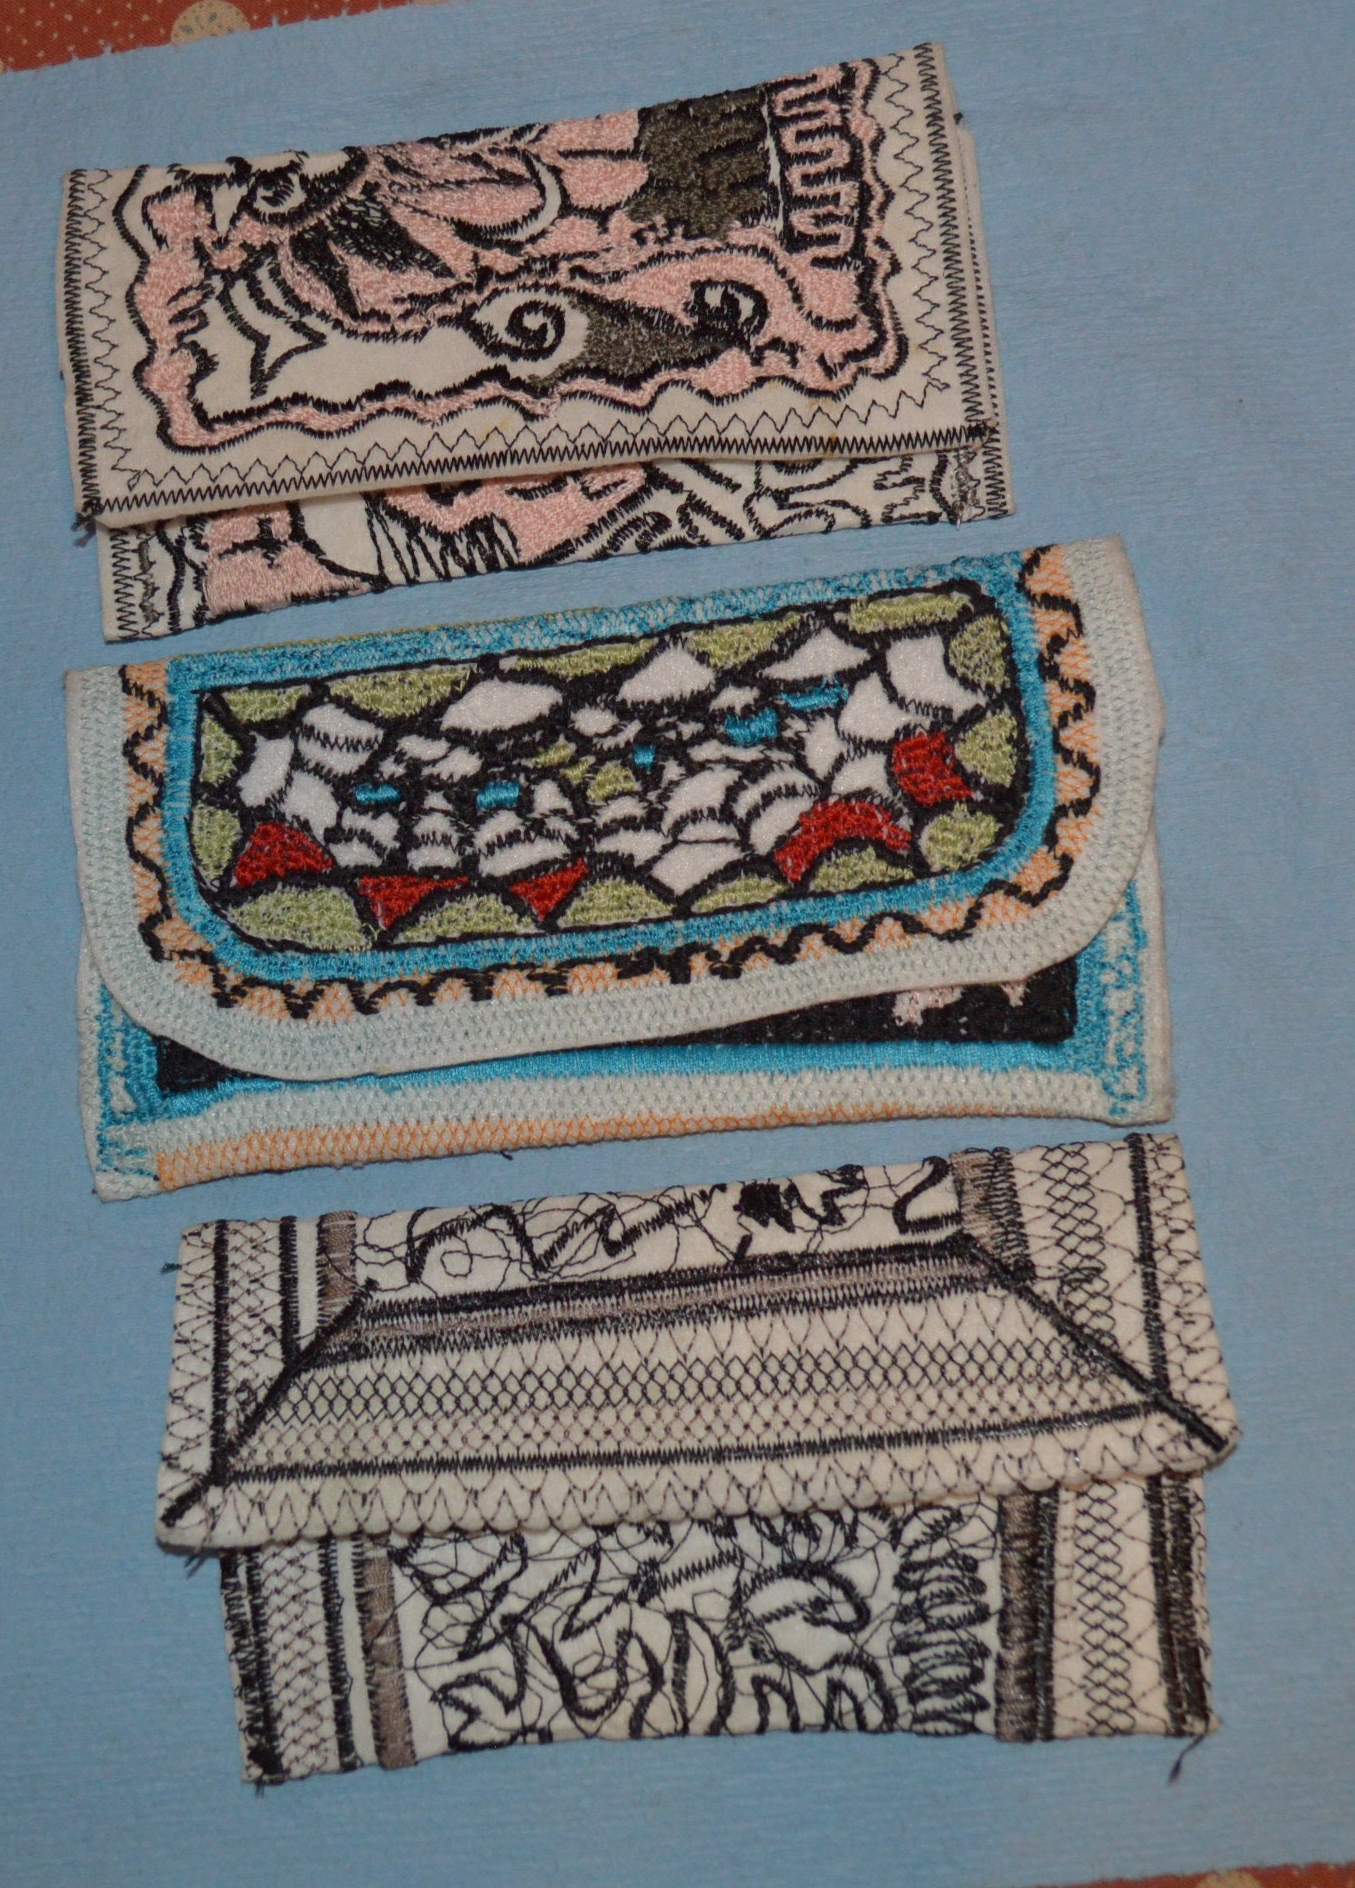
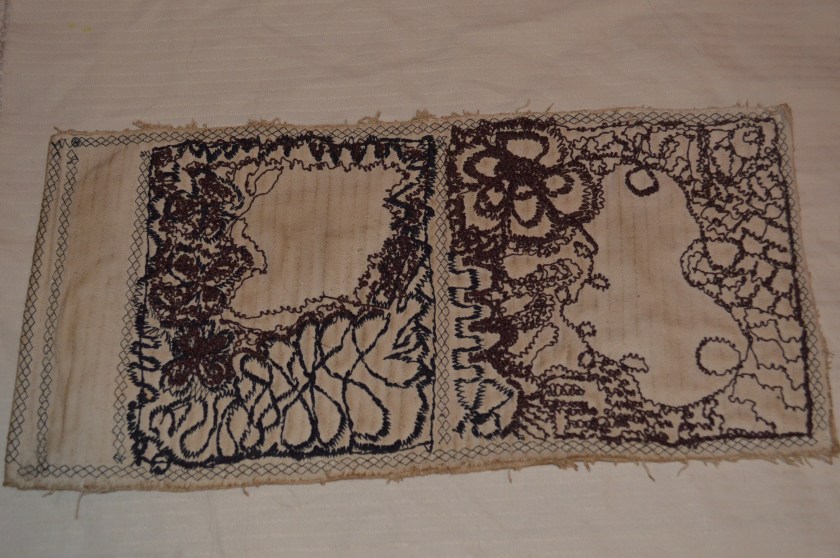
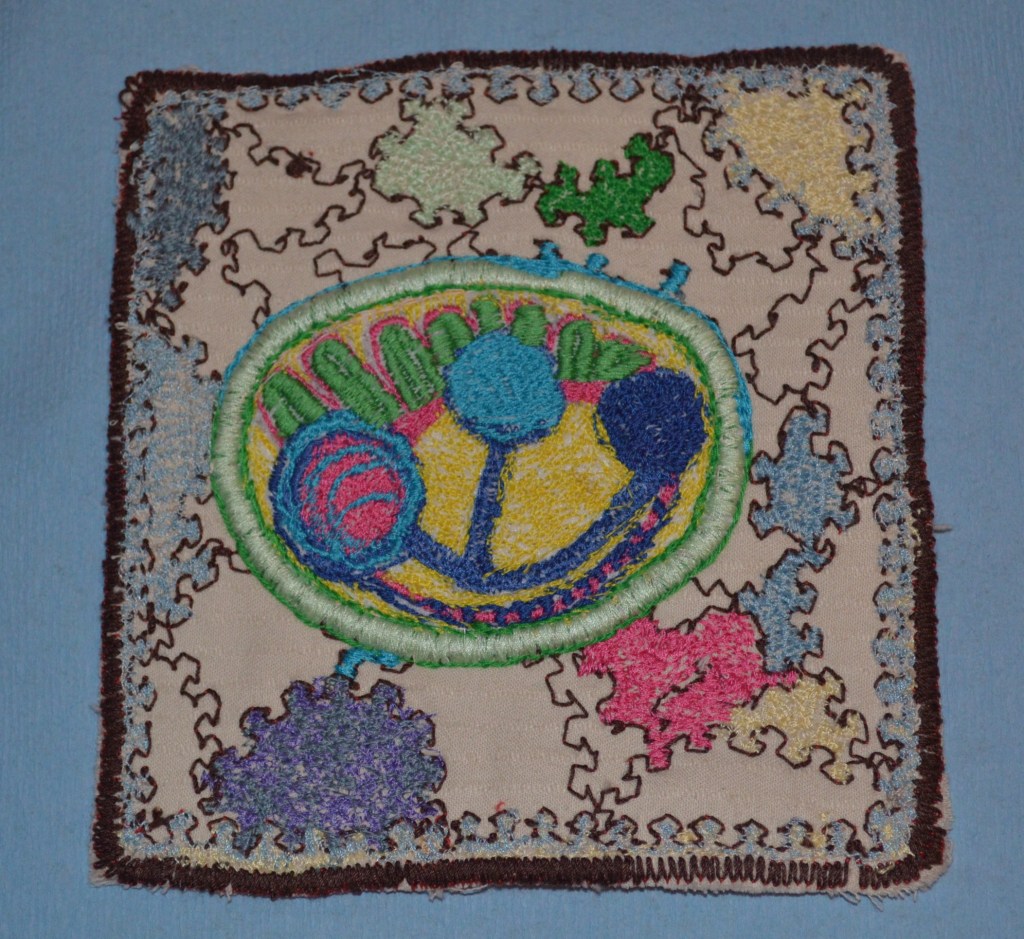
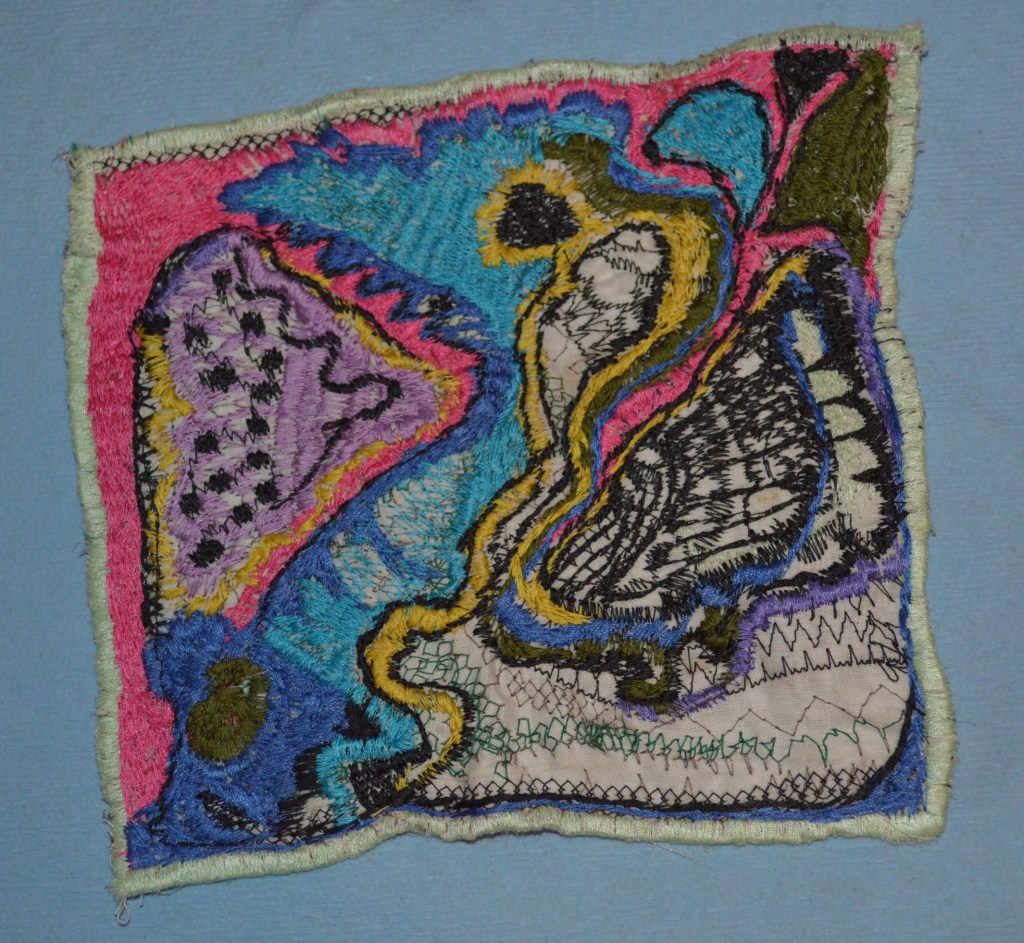
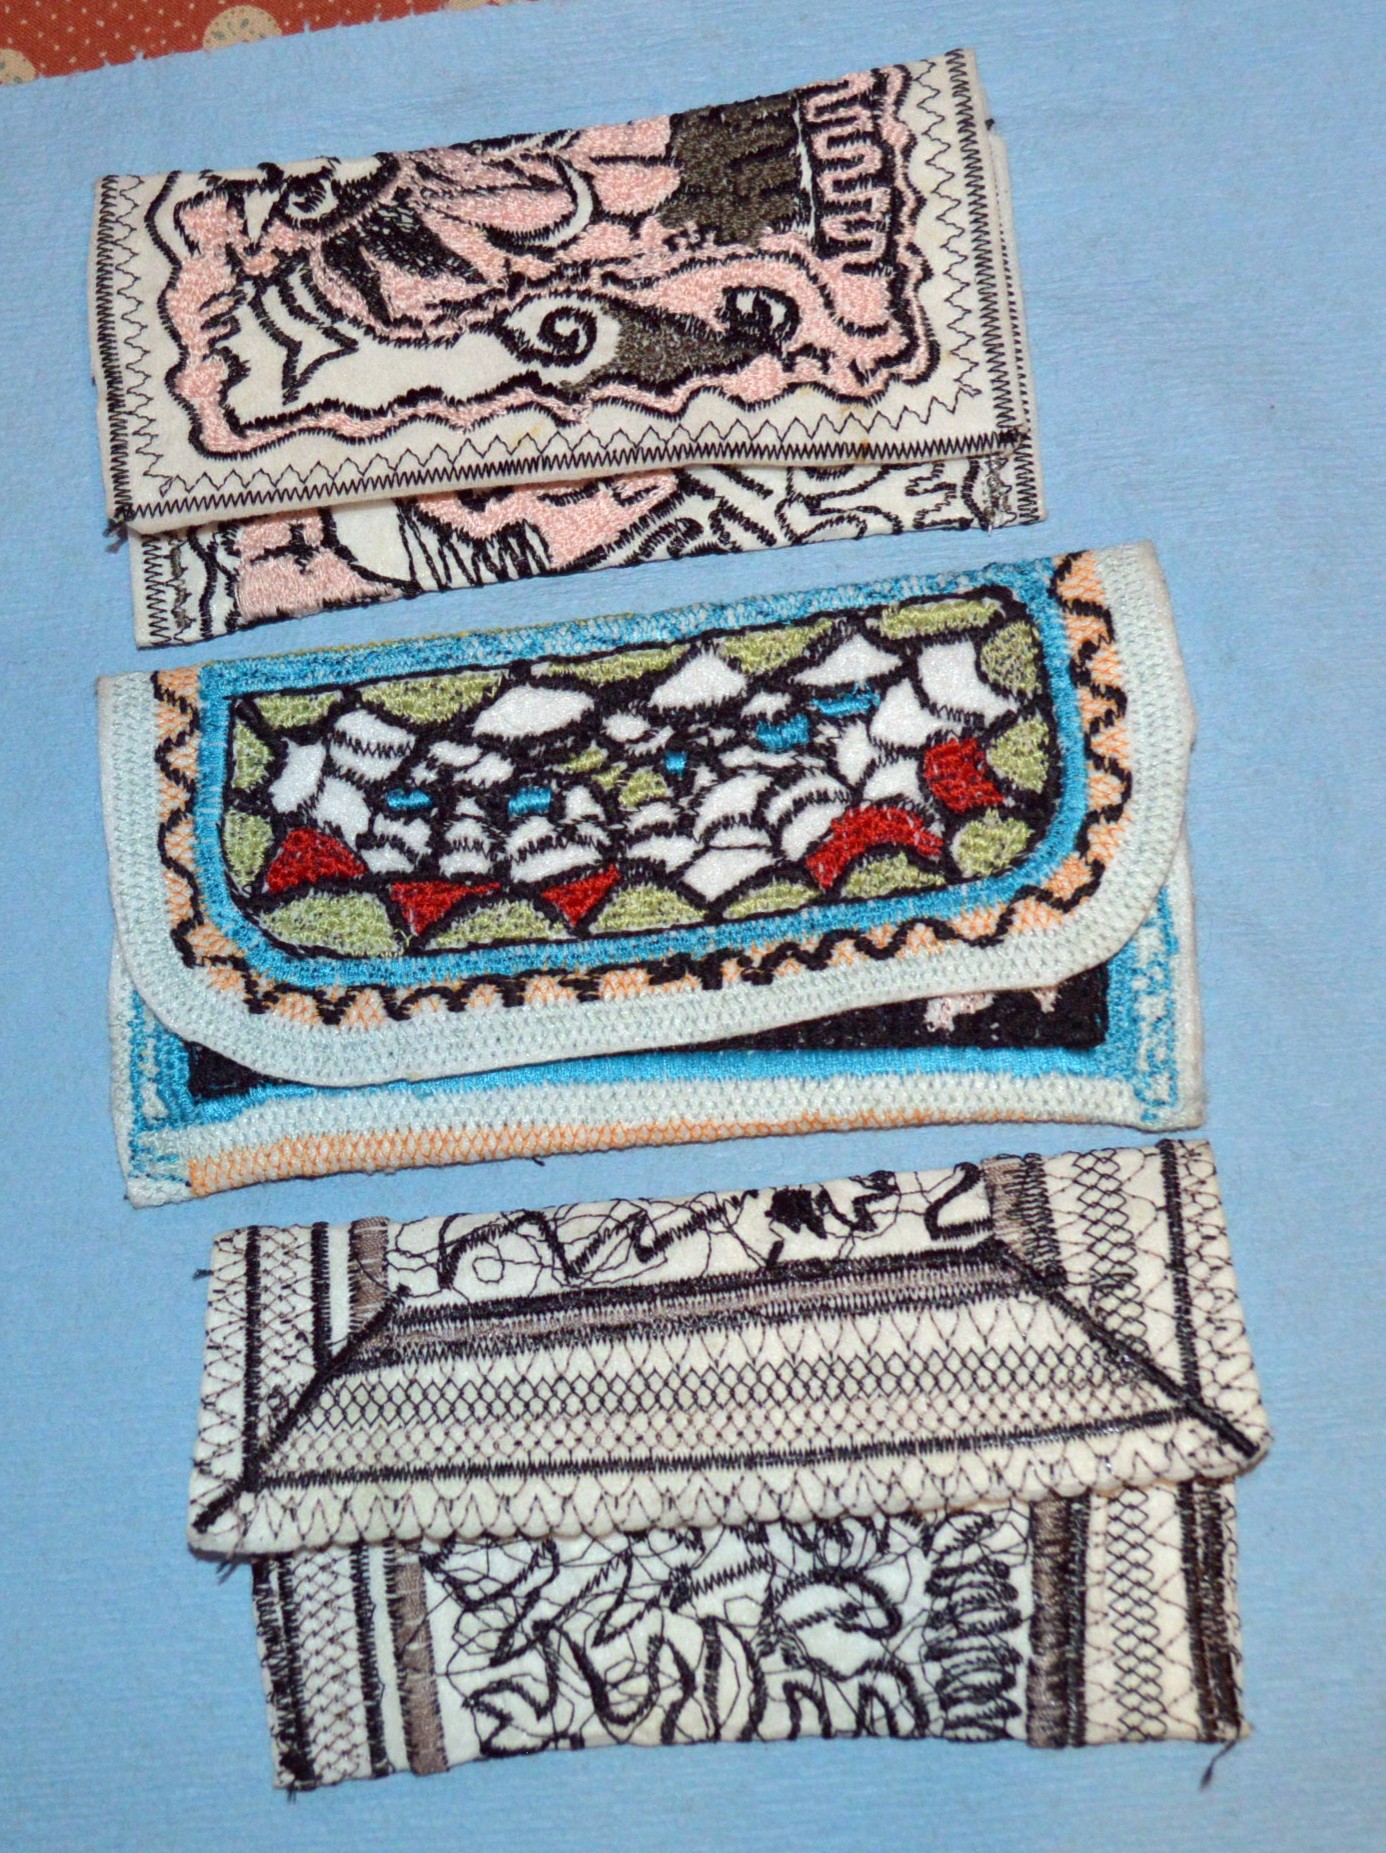
Here are a few examples of her practice work…

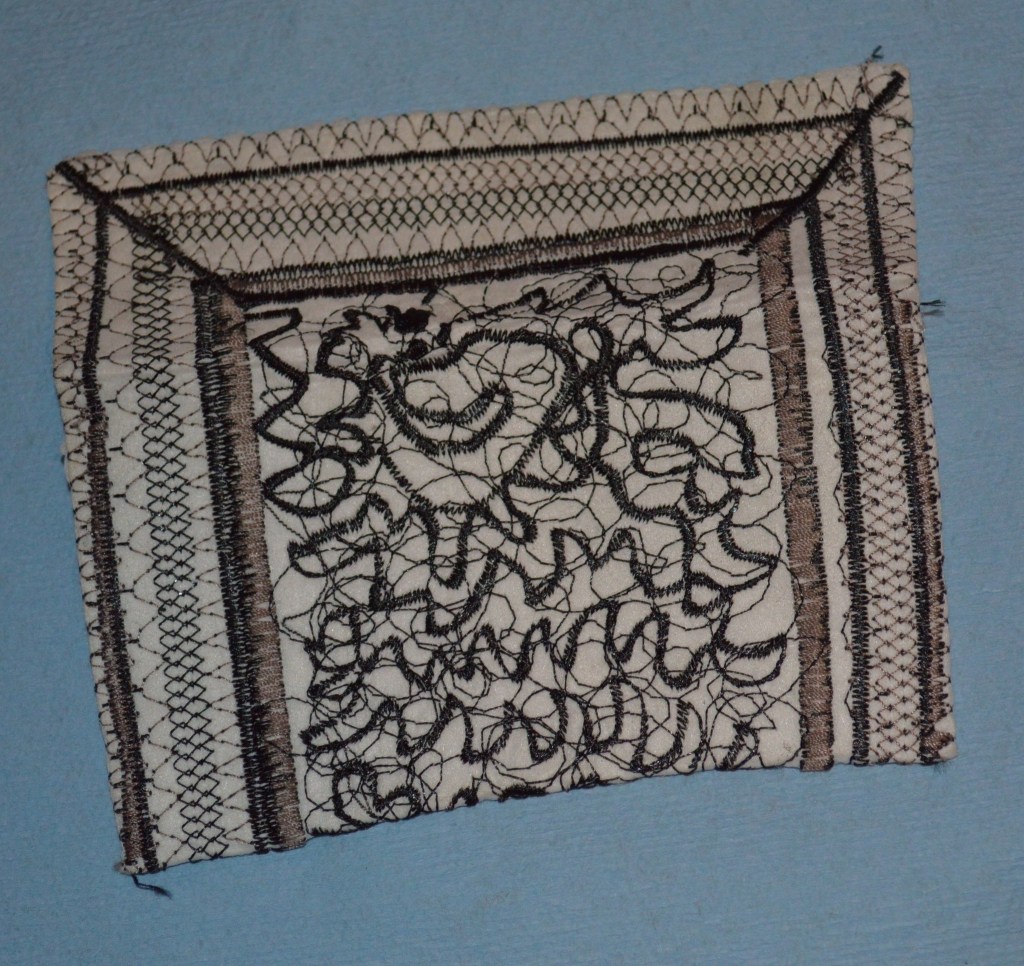
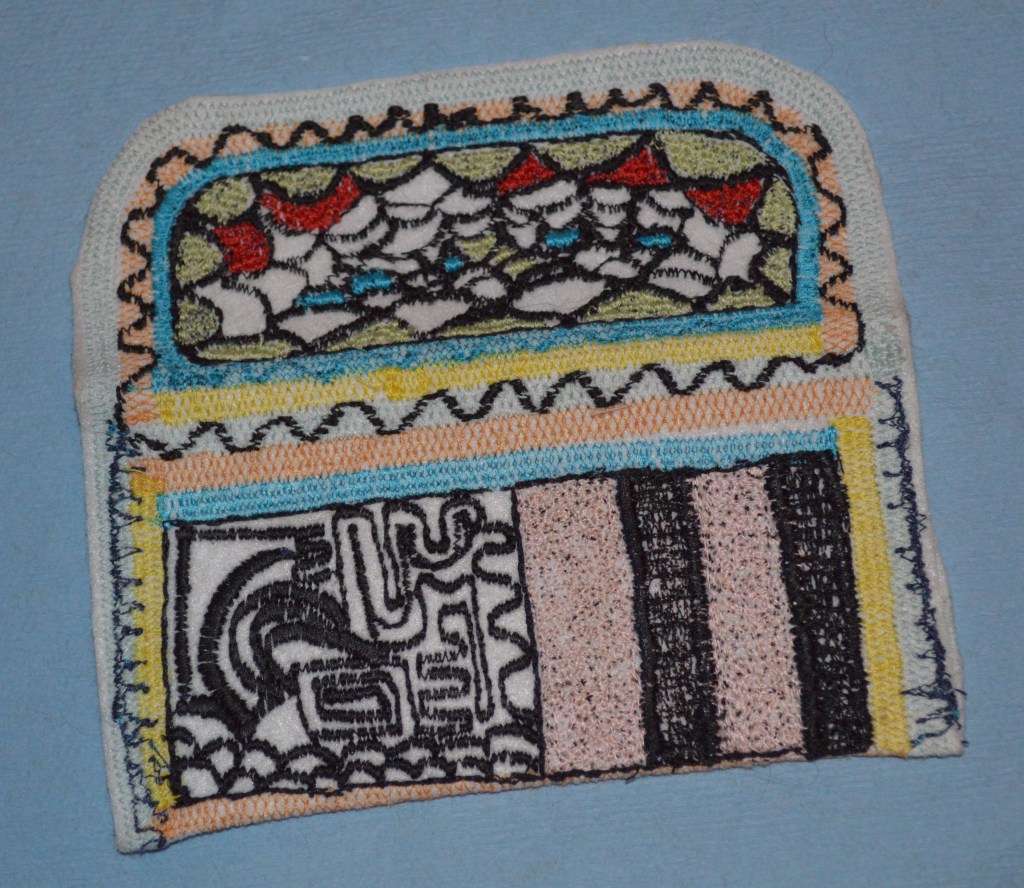
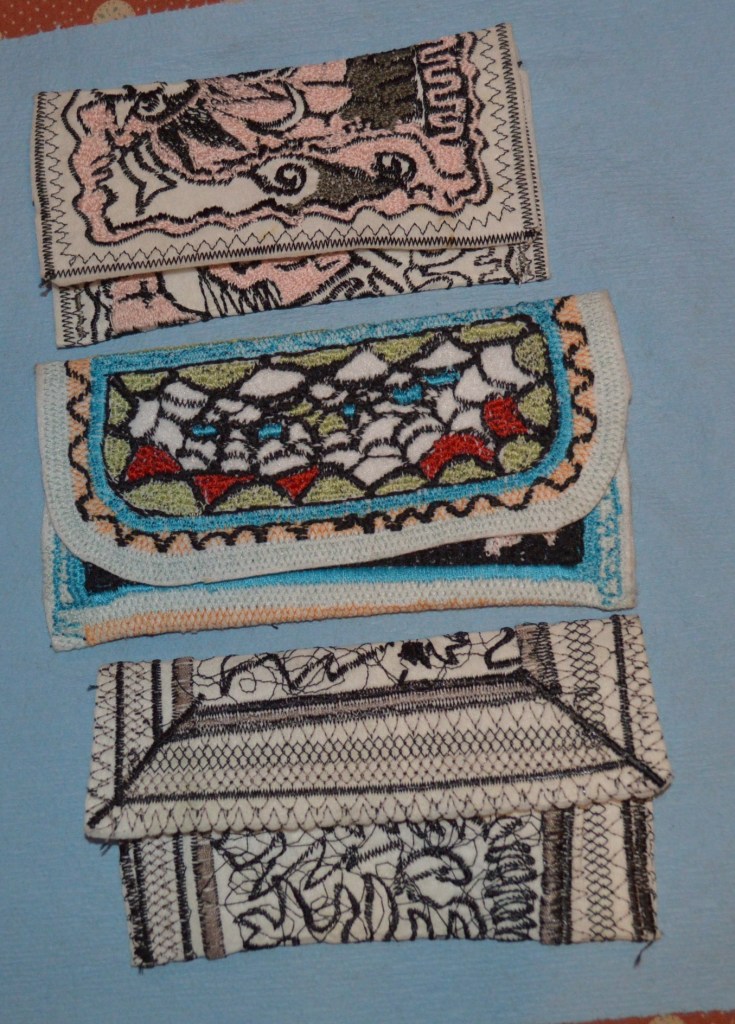
They are change purses!
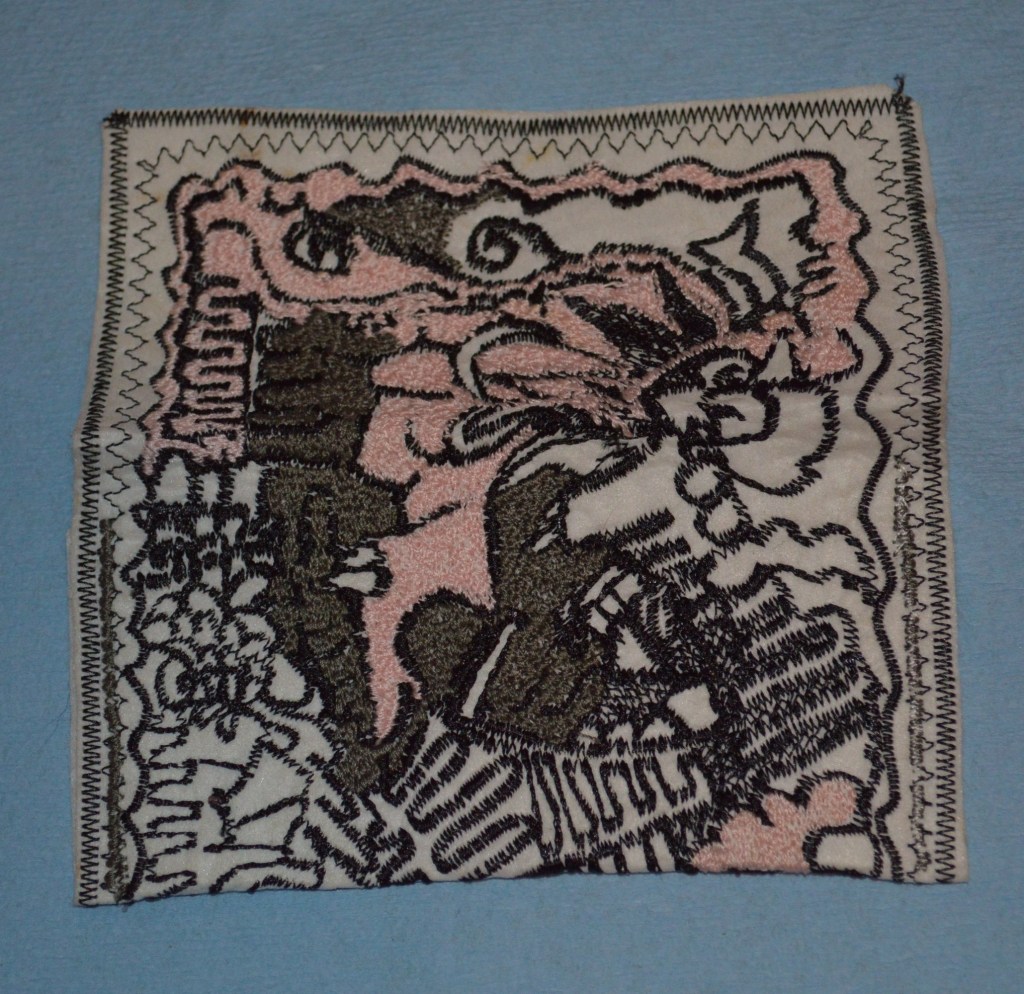
Now, These are just free style doodles… no theme in particular… But that’s not the purpose of this blog. The topic is really more about what sets vintage all metal machines apart from the rest. You see, she doesn’t use a hoop, so the fabric has to be layered so it will not flex when moving freely under the needle. For multiple layers, you need precision, power, and stiffness in your sewing machine. How thick can the layers be? Well I’ll show you…
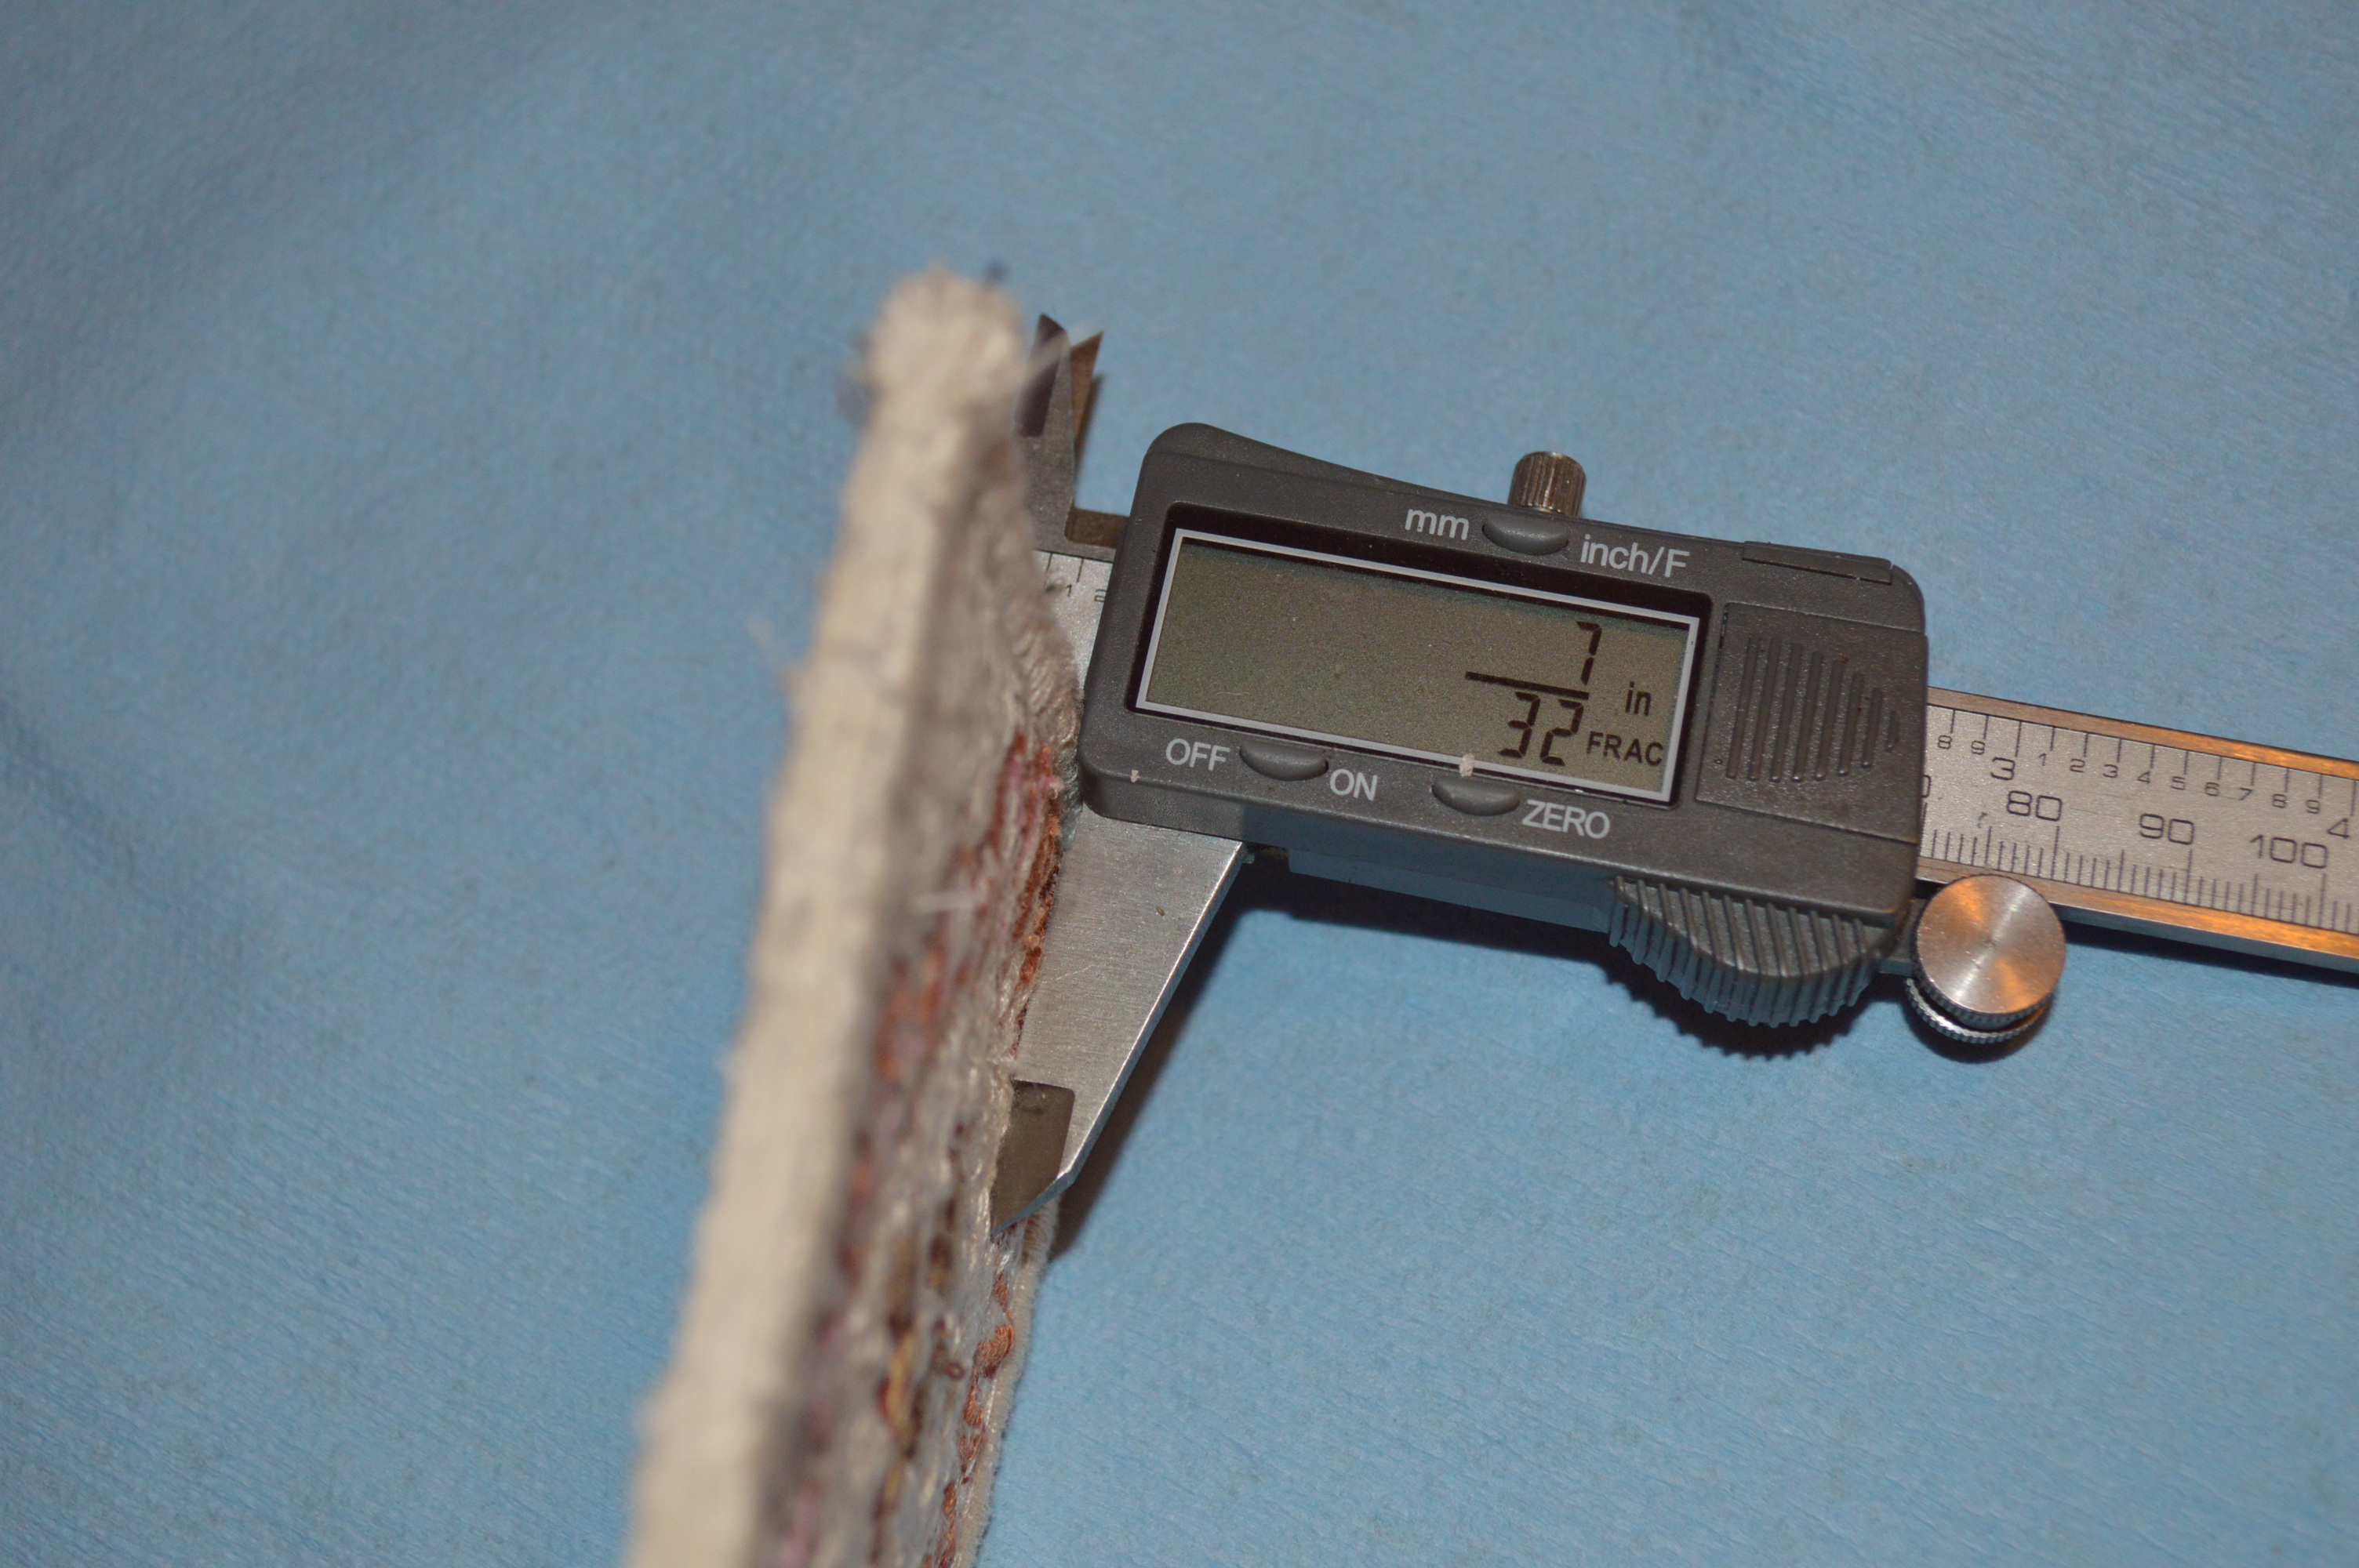
Not all of her work is this thick, but for a domestic sewing machine, it is quite impressive. Stiffness, precision, and power. All of these qualities is abundant in a good high quality vintage sewing machine… The machine she used? Well I’ll show you…
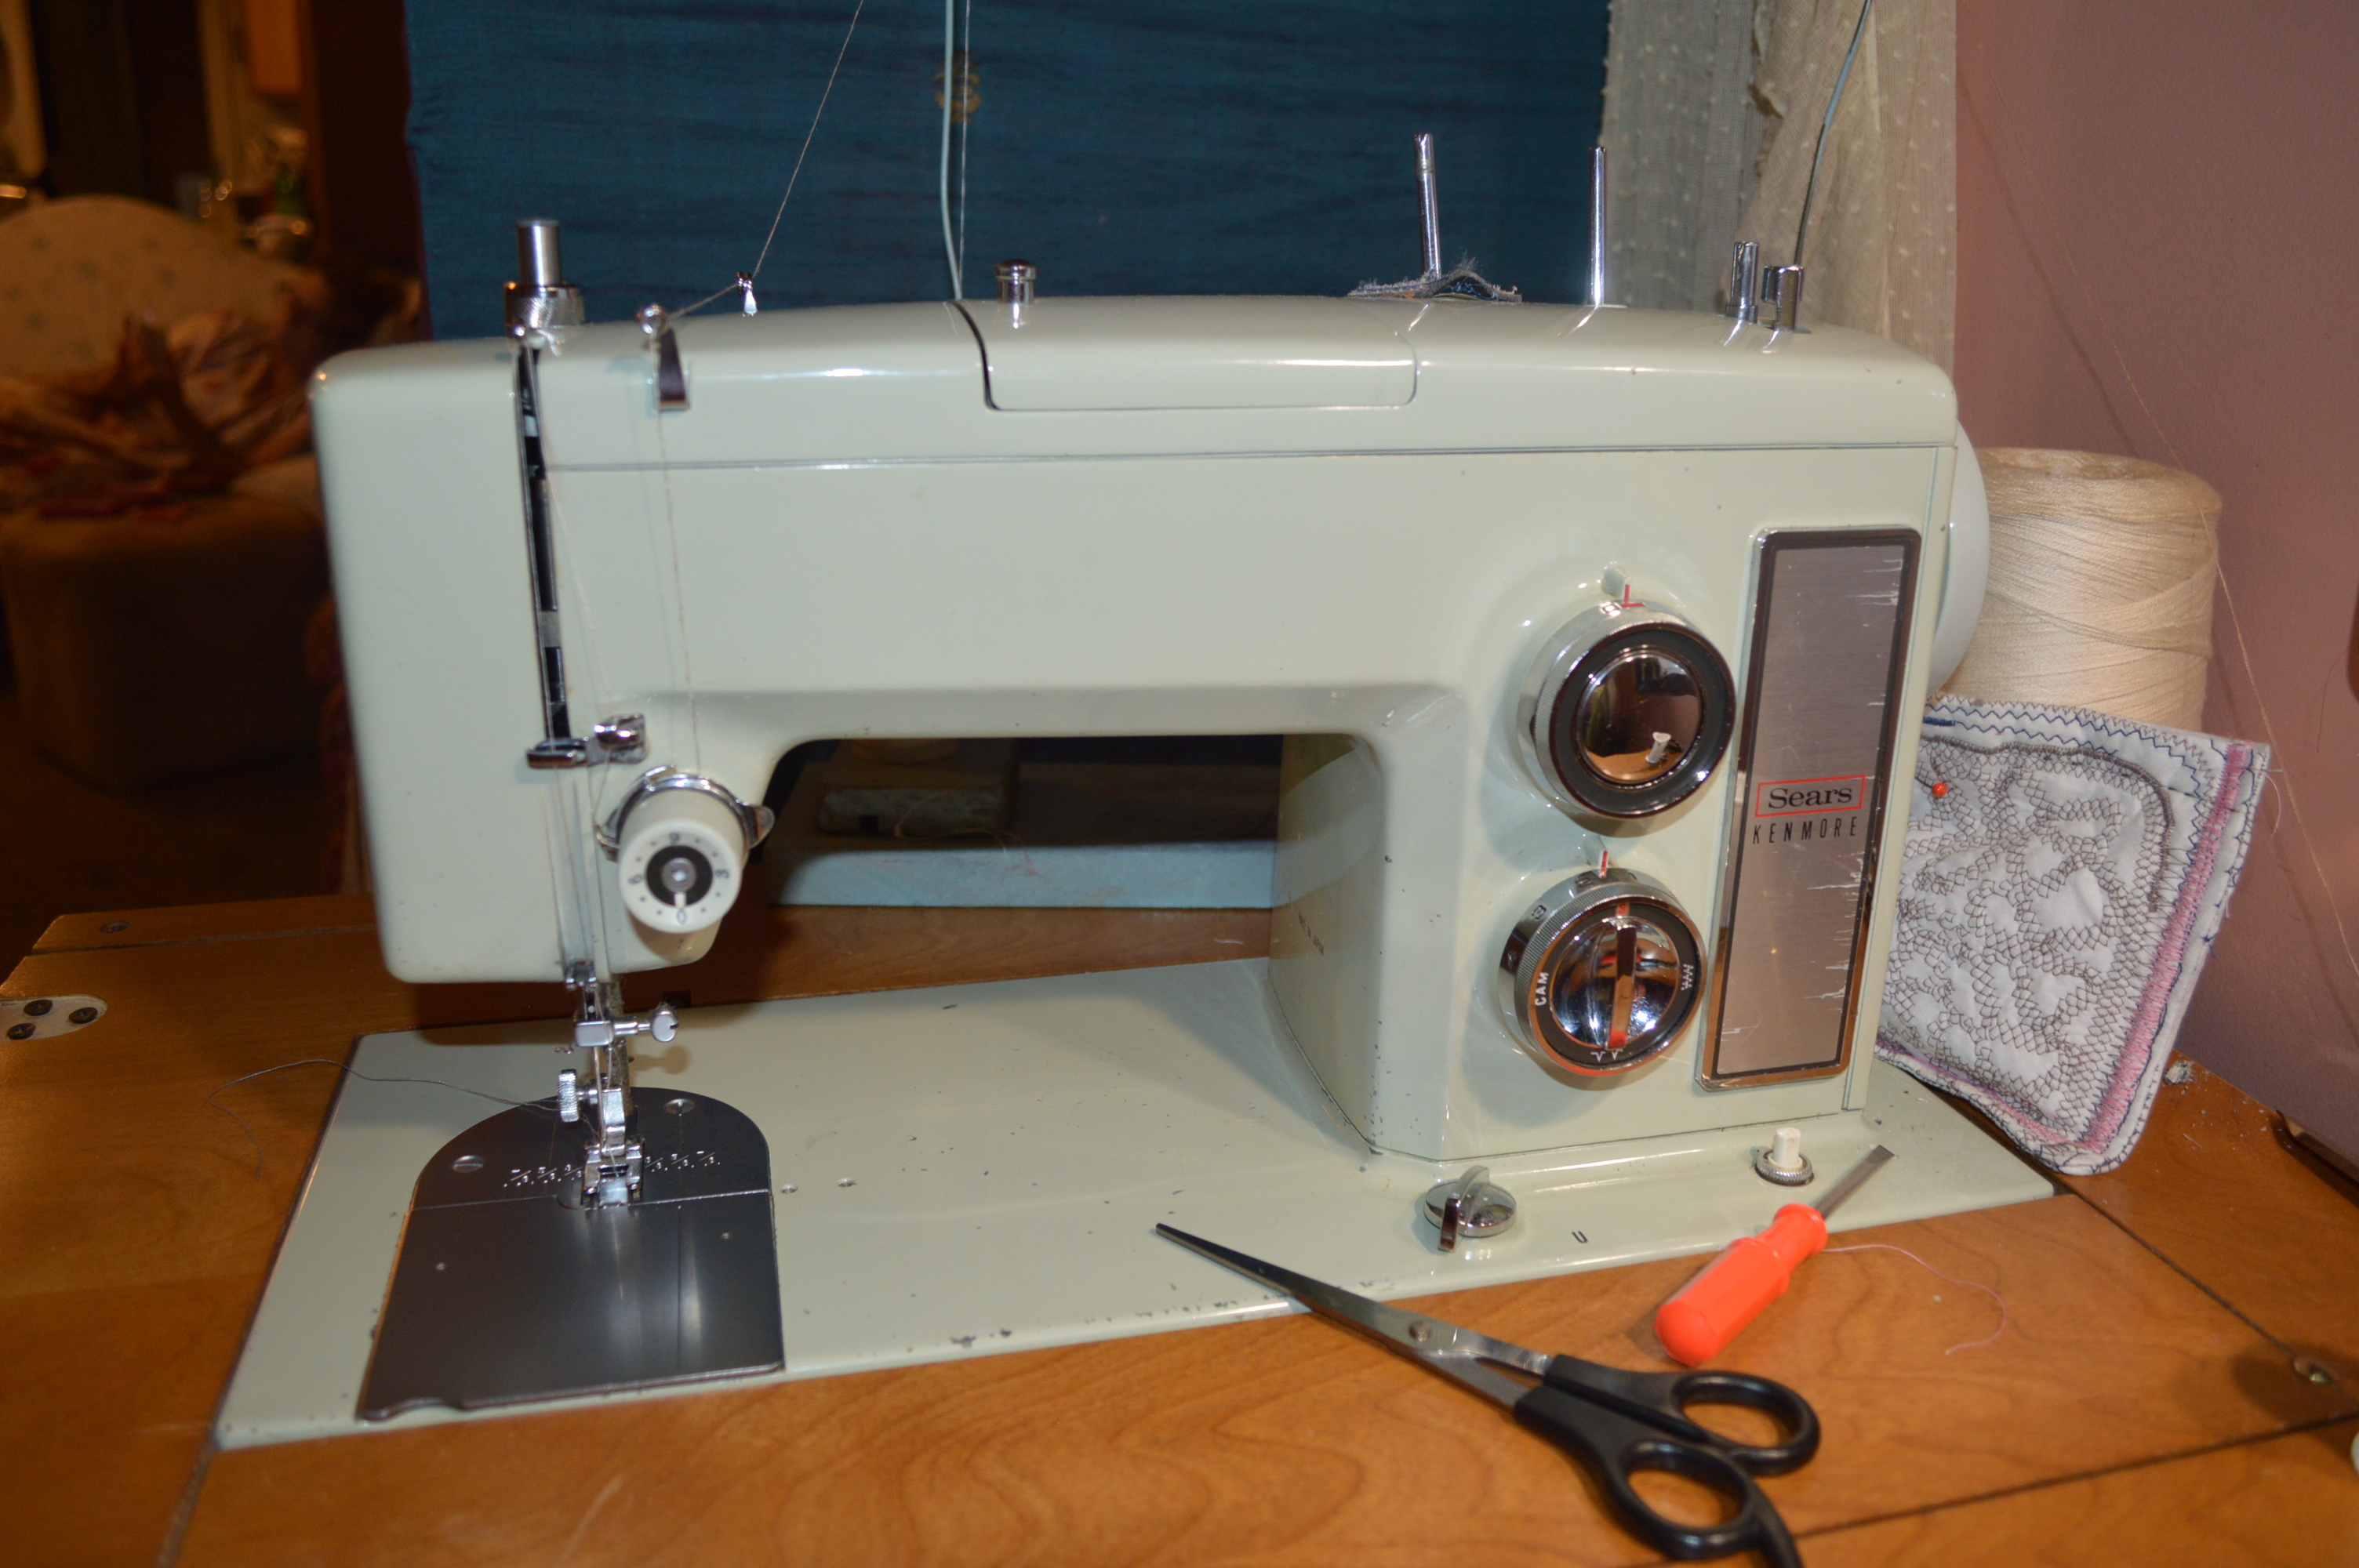
It’s a Kenmore 158.1755 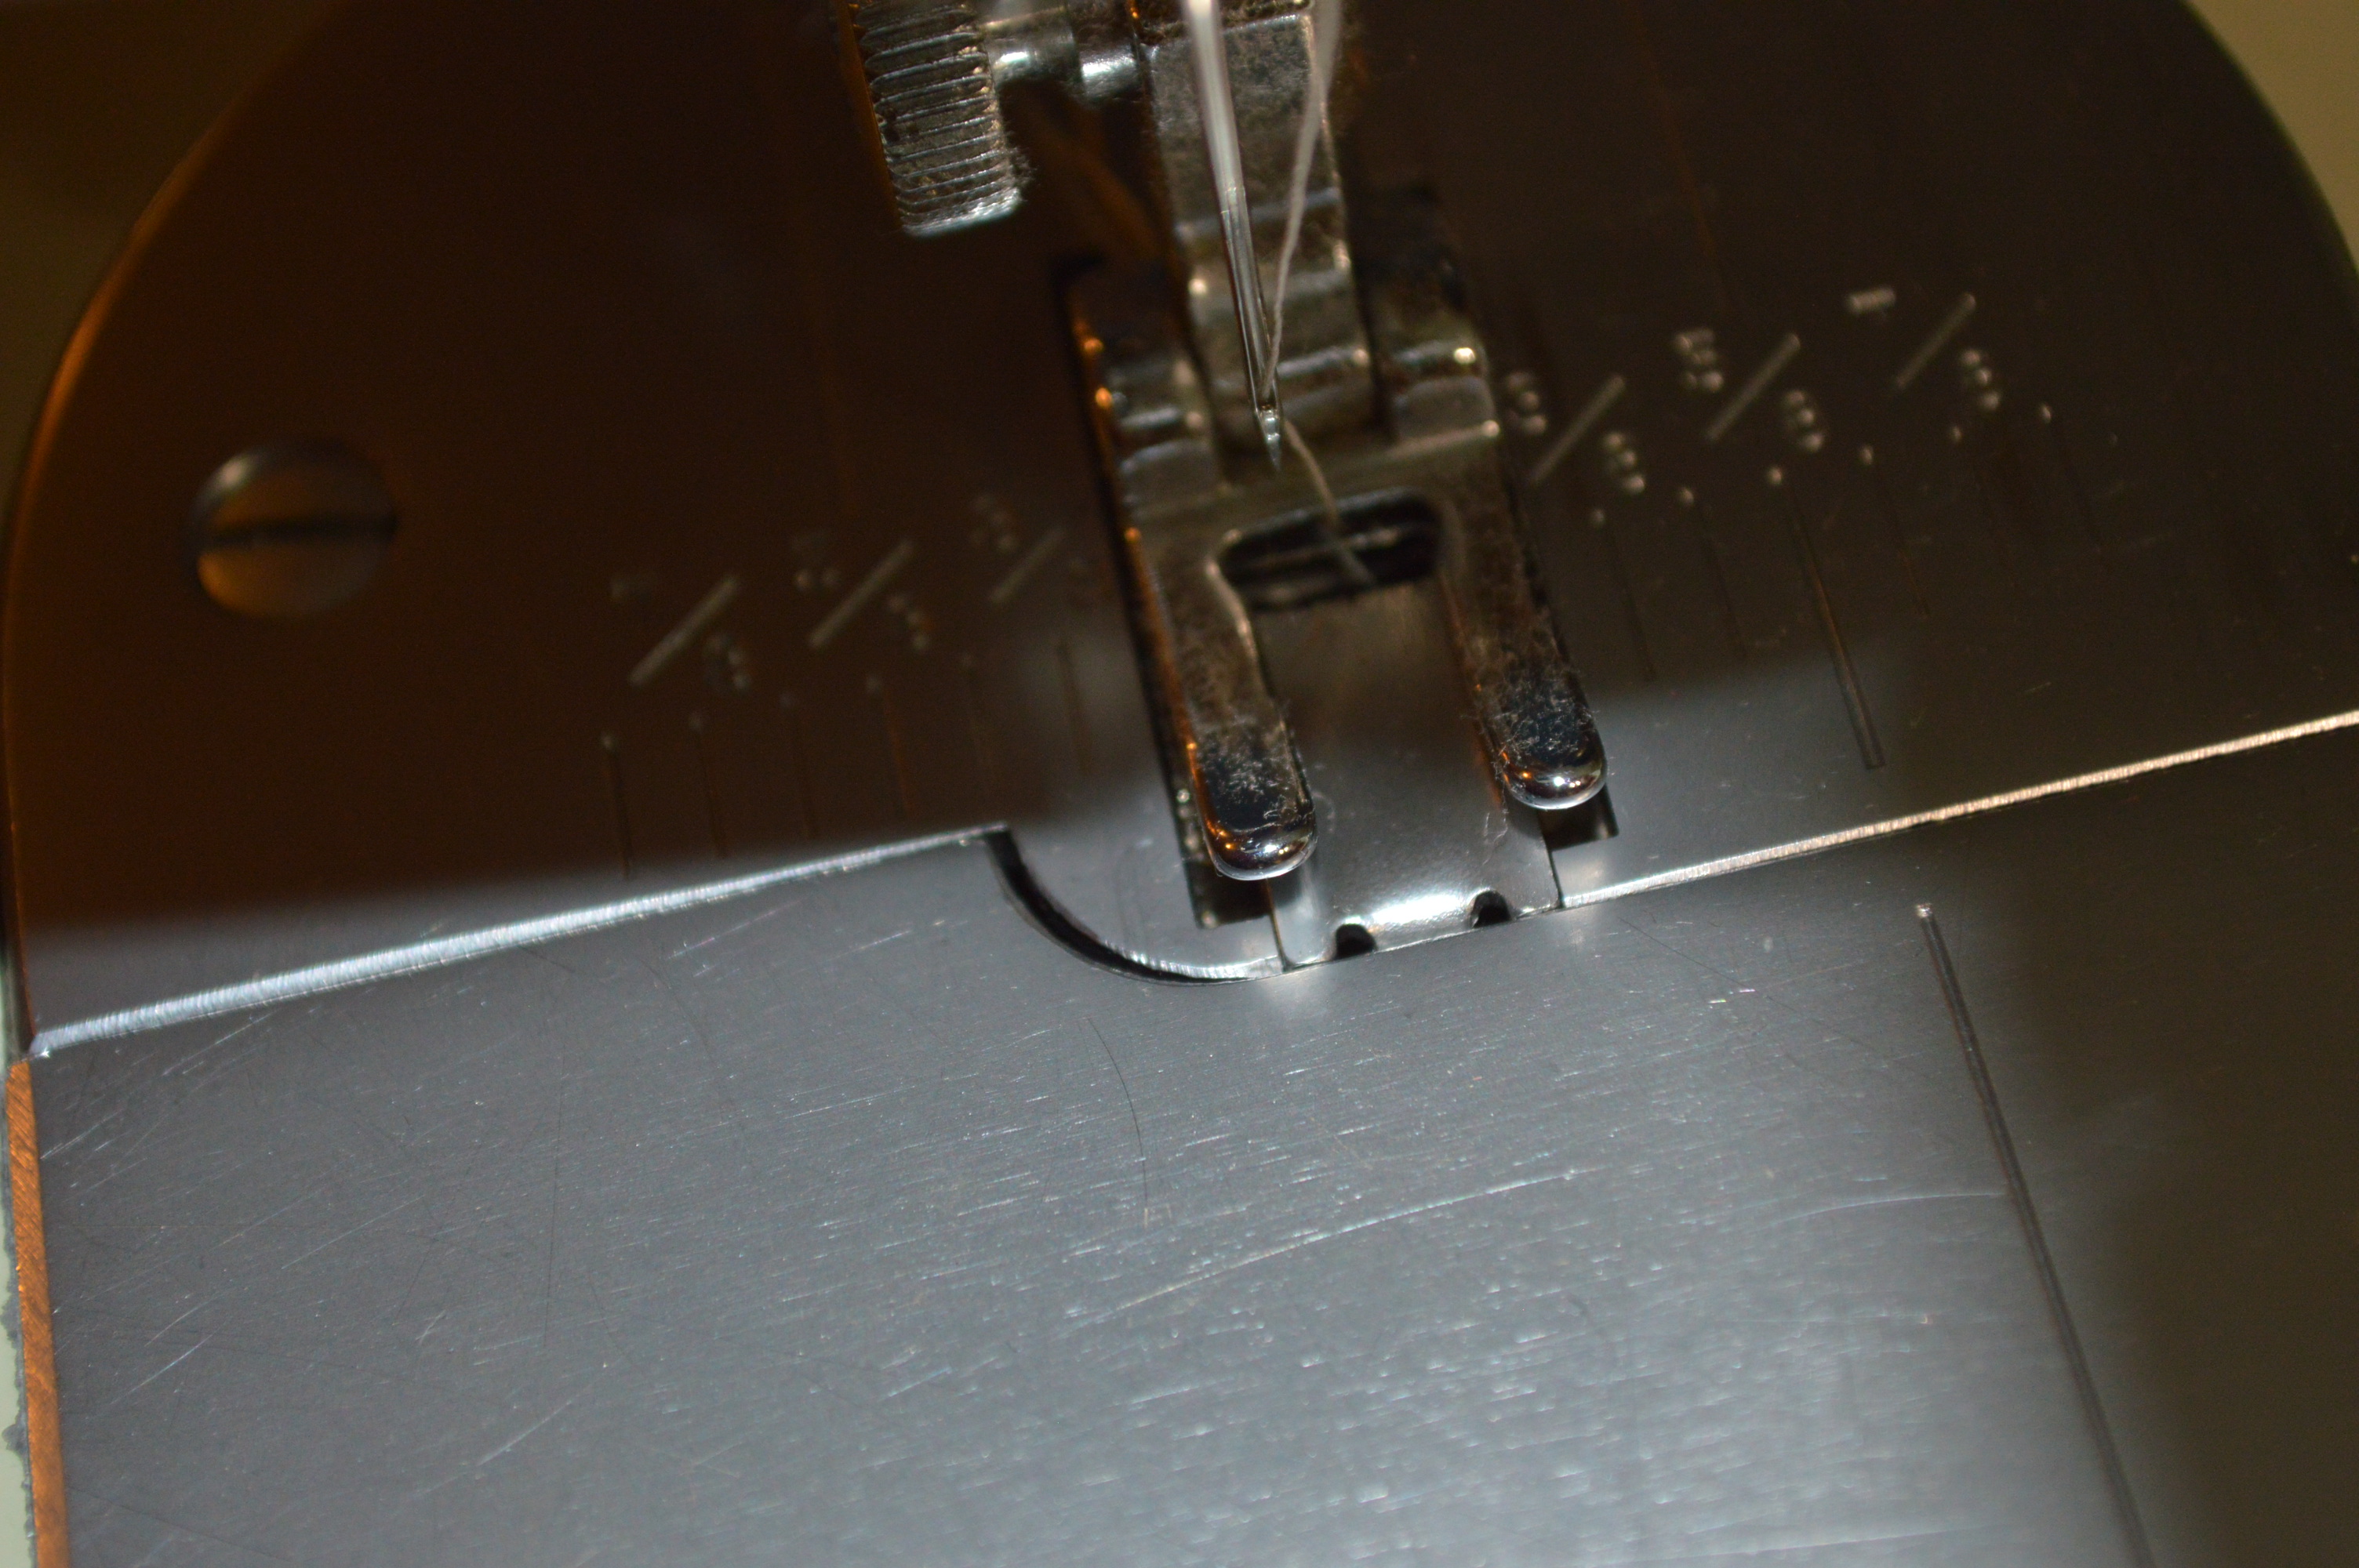
Using an open toe foot
It’s amazing to me. I’m not amazed that she is learning so quickly because I expected that. I’m amazed that the machine can do it without complaint. All three samples sewn using the same needle. So here’s my point… What domestic sewing machine can you afford to buy today that will do that for several hours at a stretch and survive… if it could even make it thru a 1/4″ of fabric in the first place. Her Kenmore can do it because it is a high quality precise sewing machine made of all metal, it has a powerful 1.2 amp motor, and double belt reduction… all built in. And she usually does all of her other sewing with the same machine!
Now, I don’t recommend using any domestic sewing machine to regularly sew thru a quarter inch thickness of fabric… that’s not what they were made for. I can tell you that these machines will stand the stress everywhere in the drive train. I see the quality of construction and material in every machine I restore. I have seen adjustments out of whack, but never a worn or bent shaft. Sure, it can be hard on the motor… thats the weak link in any vintage all metal machine, but it will break or bend a needle before anything else breaks or bends in the machine. As I said, amazing…
Tell me what you think?


What beautiful work!! I cant believe how detailed these are! Thank you so much for sharing!
LikeLike