
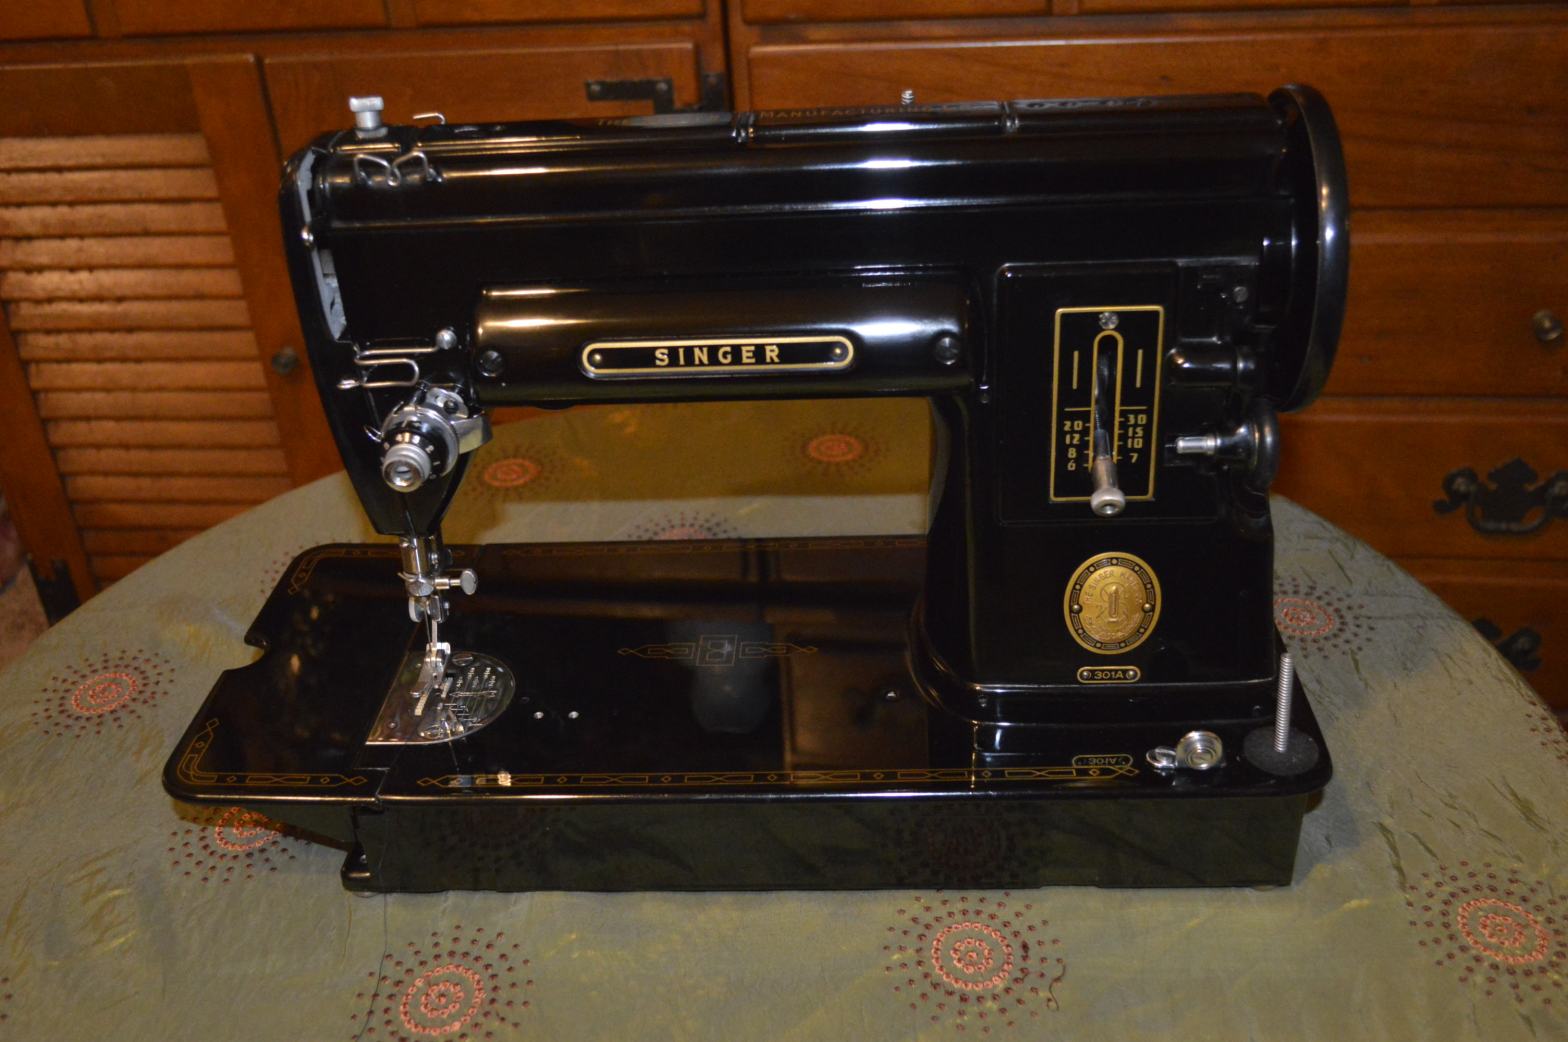

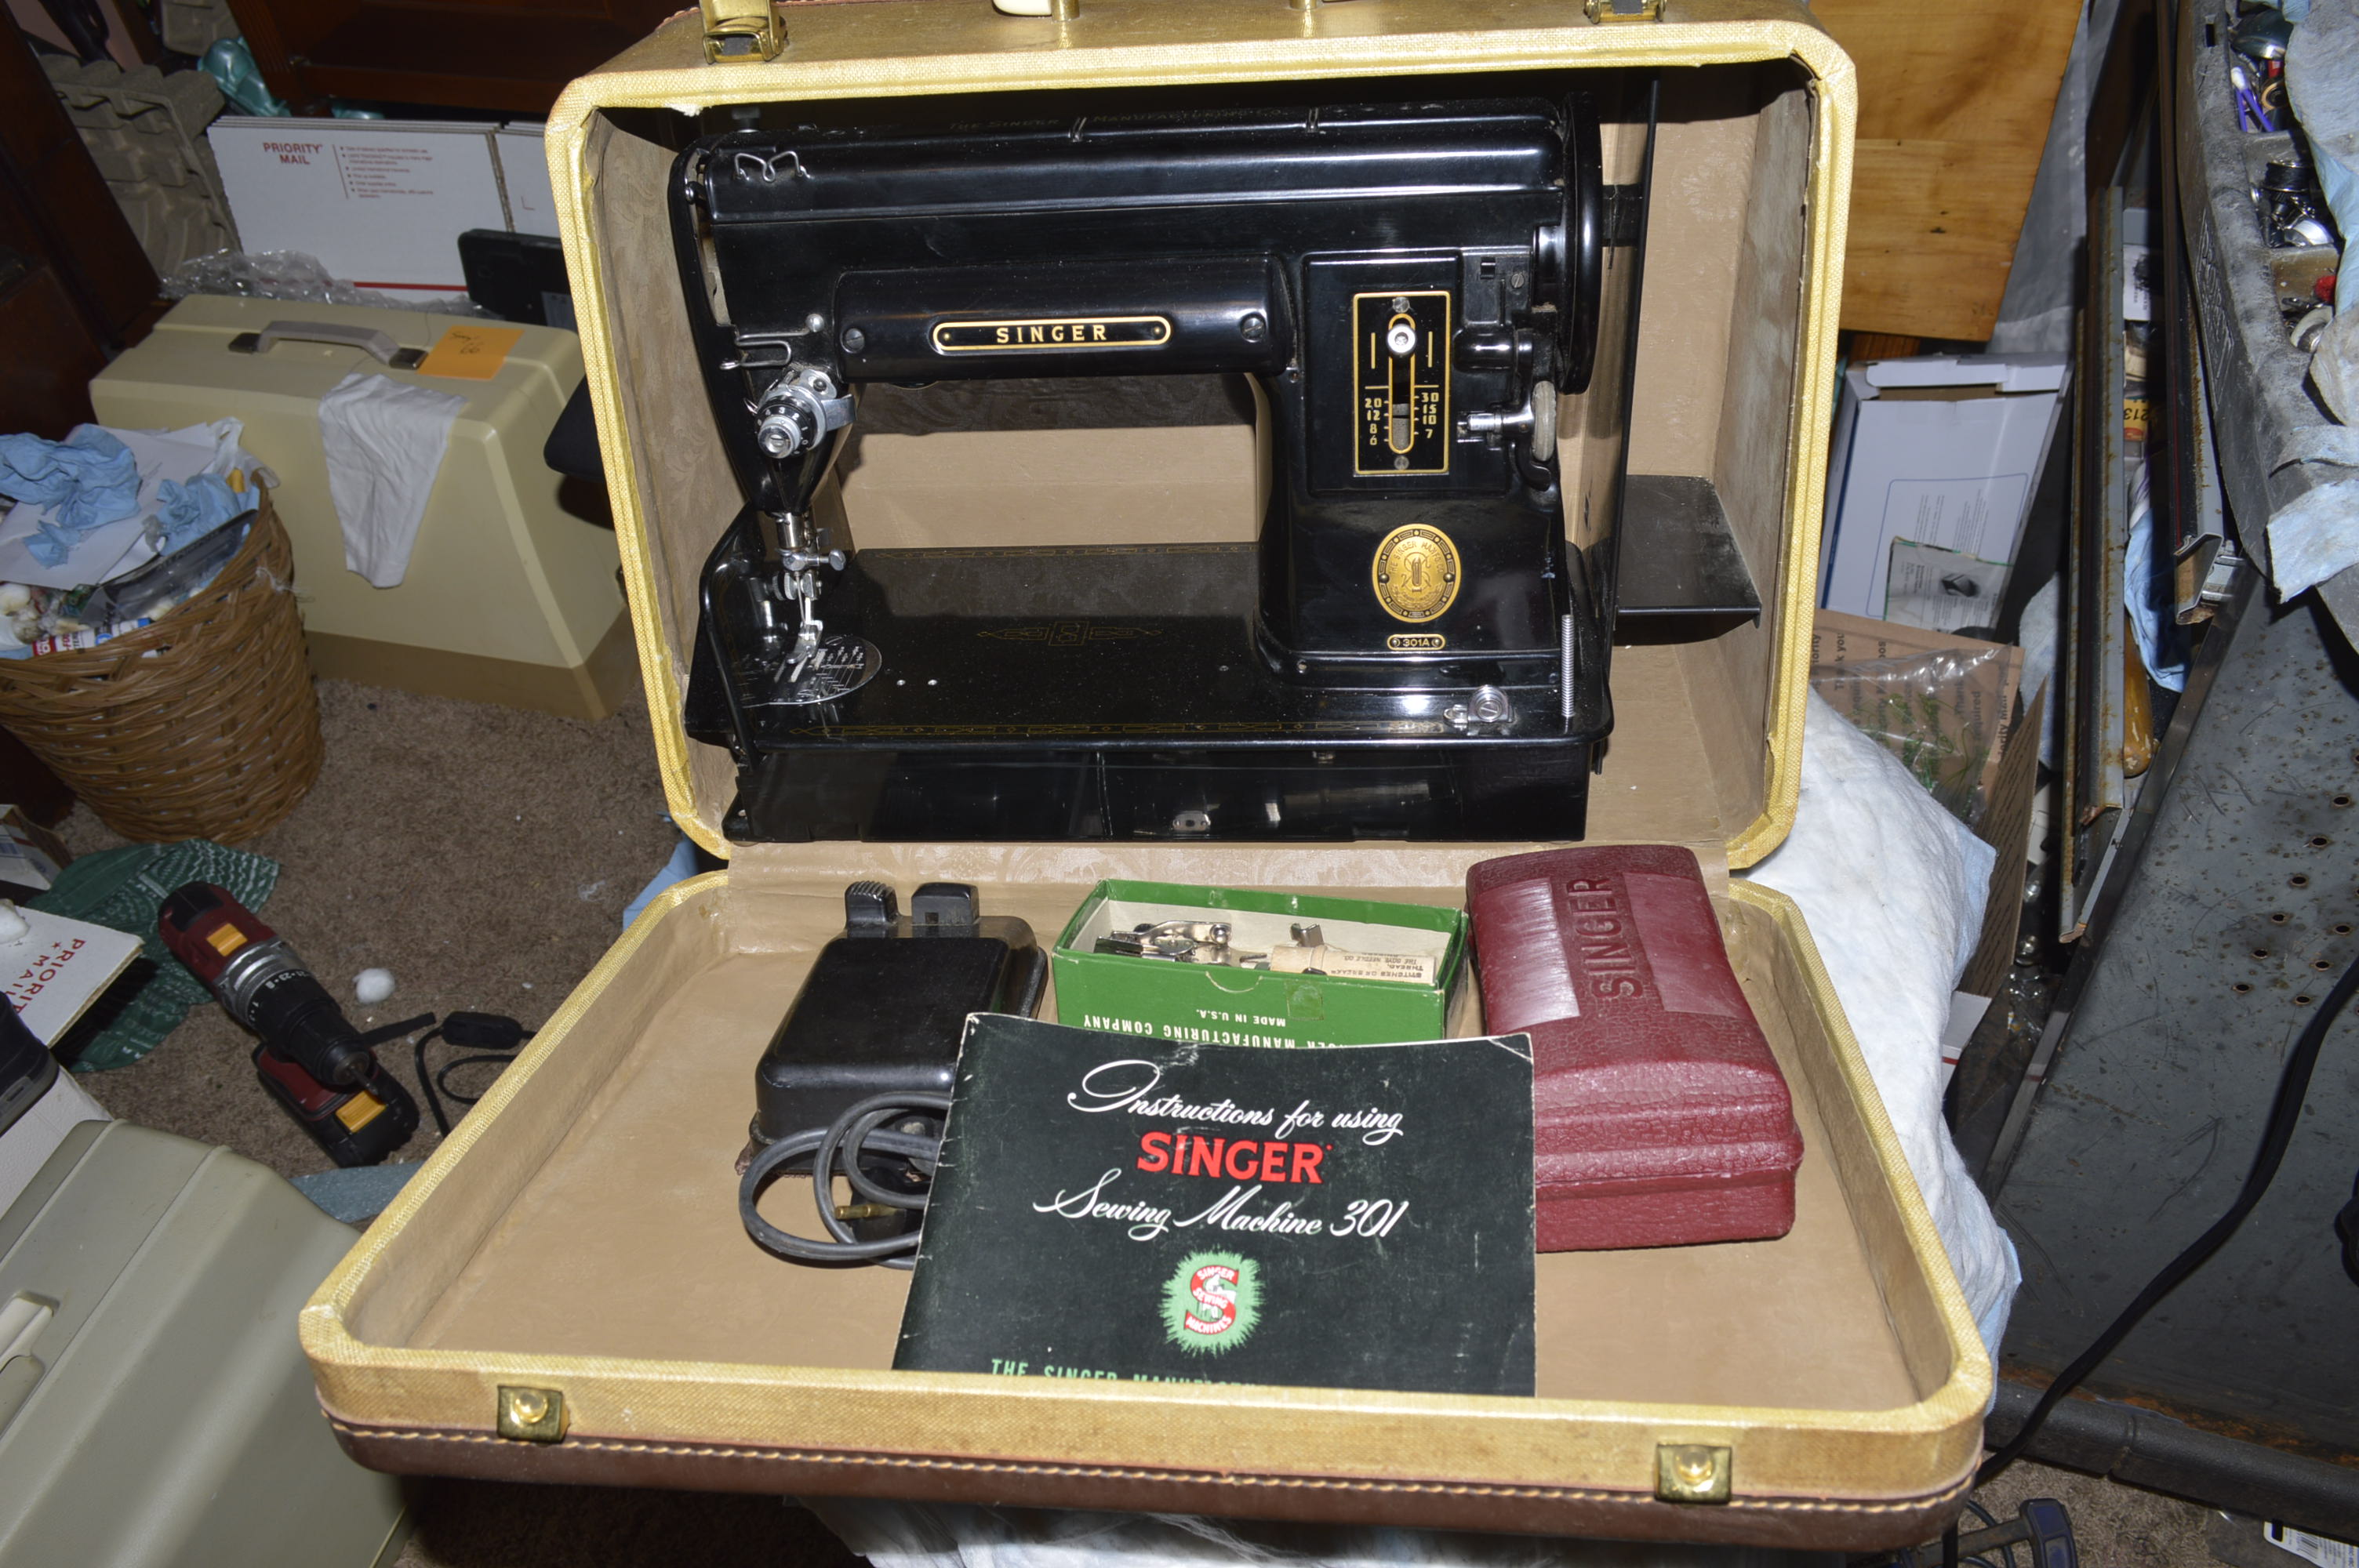
This project is the reconditioning of a 1956 Singer 301A, serial number NB0713555. One of my dear customers asked me to find and recondition a 301 or 301A for her. She wanted a machine in excellent condition and I told her that it might take a while to find a 301 with that potential. She said she was willing to wait. Well it did take a while but I think her patience paid off. But first, a little info on the 301.
The 301 and the 301A are both 3/4 size machines, similar in size to the Singer model 99 and model 185. These machines are smaller in size but not in performance. They are every bit as sturdy and powerful as their full size cousins, and remain popular today. The market for 3/4 size machines was wide open. The world was waiting for a smaller “portable” sewing machine and Companies like Singer and White answered the call. The 301 was a new model that Singer introduced in commemoration of their 100th anniversary. Singer built a plant in Anderson, South Carolina to manufacture the 301A, while the 301 was manufactured in Singer’s Elizabethport factory located in New Jersey.
The 301 was designed to be portable and lightweight. The body is cast from aluminum, it has a short folding bed, and a built in carry handle. The sewing mechanism is all steel, an internal direct gear drive motor drives a twin set of heat treated gears and the side loading full rotary hook . The biggest difference between the 301 and every sewing machine before it was Singer’s introduction of the first slant shank machine. Given a choice between a 301 and a 301A, I would be satisfied with either. So, in order for me to satisfy my Customer’s request, the challenge wasn’t whether to find a 301 or 301A, but to find a machine in great cosmetic condition to start with.
Here’s some trivia regarding the model 301 that I bet you didn’t know…
The Singer Model 301 sewing machine shares the same number as the stitch type it sews. Well, I didn’t know stitches had numbers, but it turns out they do.
The “Stitch Type 301” is defined in the United States Government Specification DDD-S-751, Stitches; Seams and Stitching. The 300 series of stitches defines the 301 stitch that we refer to simply as a “plain stitch”, “straight stitch”, or a plain “lockstitch”. In the 301 stitch, the needle thread is fed from a spool, then passes through the material and is carried around a bobbin that has been wound with thread. The needle thread is then pulled up into the middle of the material carrying the bobbin thread with it. The ratio of needle thread to bobbin thread used in the 301 stitch is 1 to 1 in a balanced stitch. I got this information from a web page dedicated to the 301 at “www.singer301.com”. If you want to know everything about a 301 there is to know, they are the place to go.
What’s the difference between a 301 and 301A? Well, for the life of me, I can’t tell a bit of difference, except for where they were made. Here is a side by side comparison of each. Maybe you can tell the difference between the two besides the decal pattern.
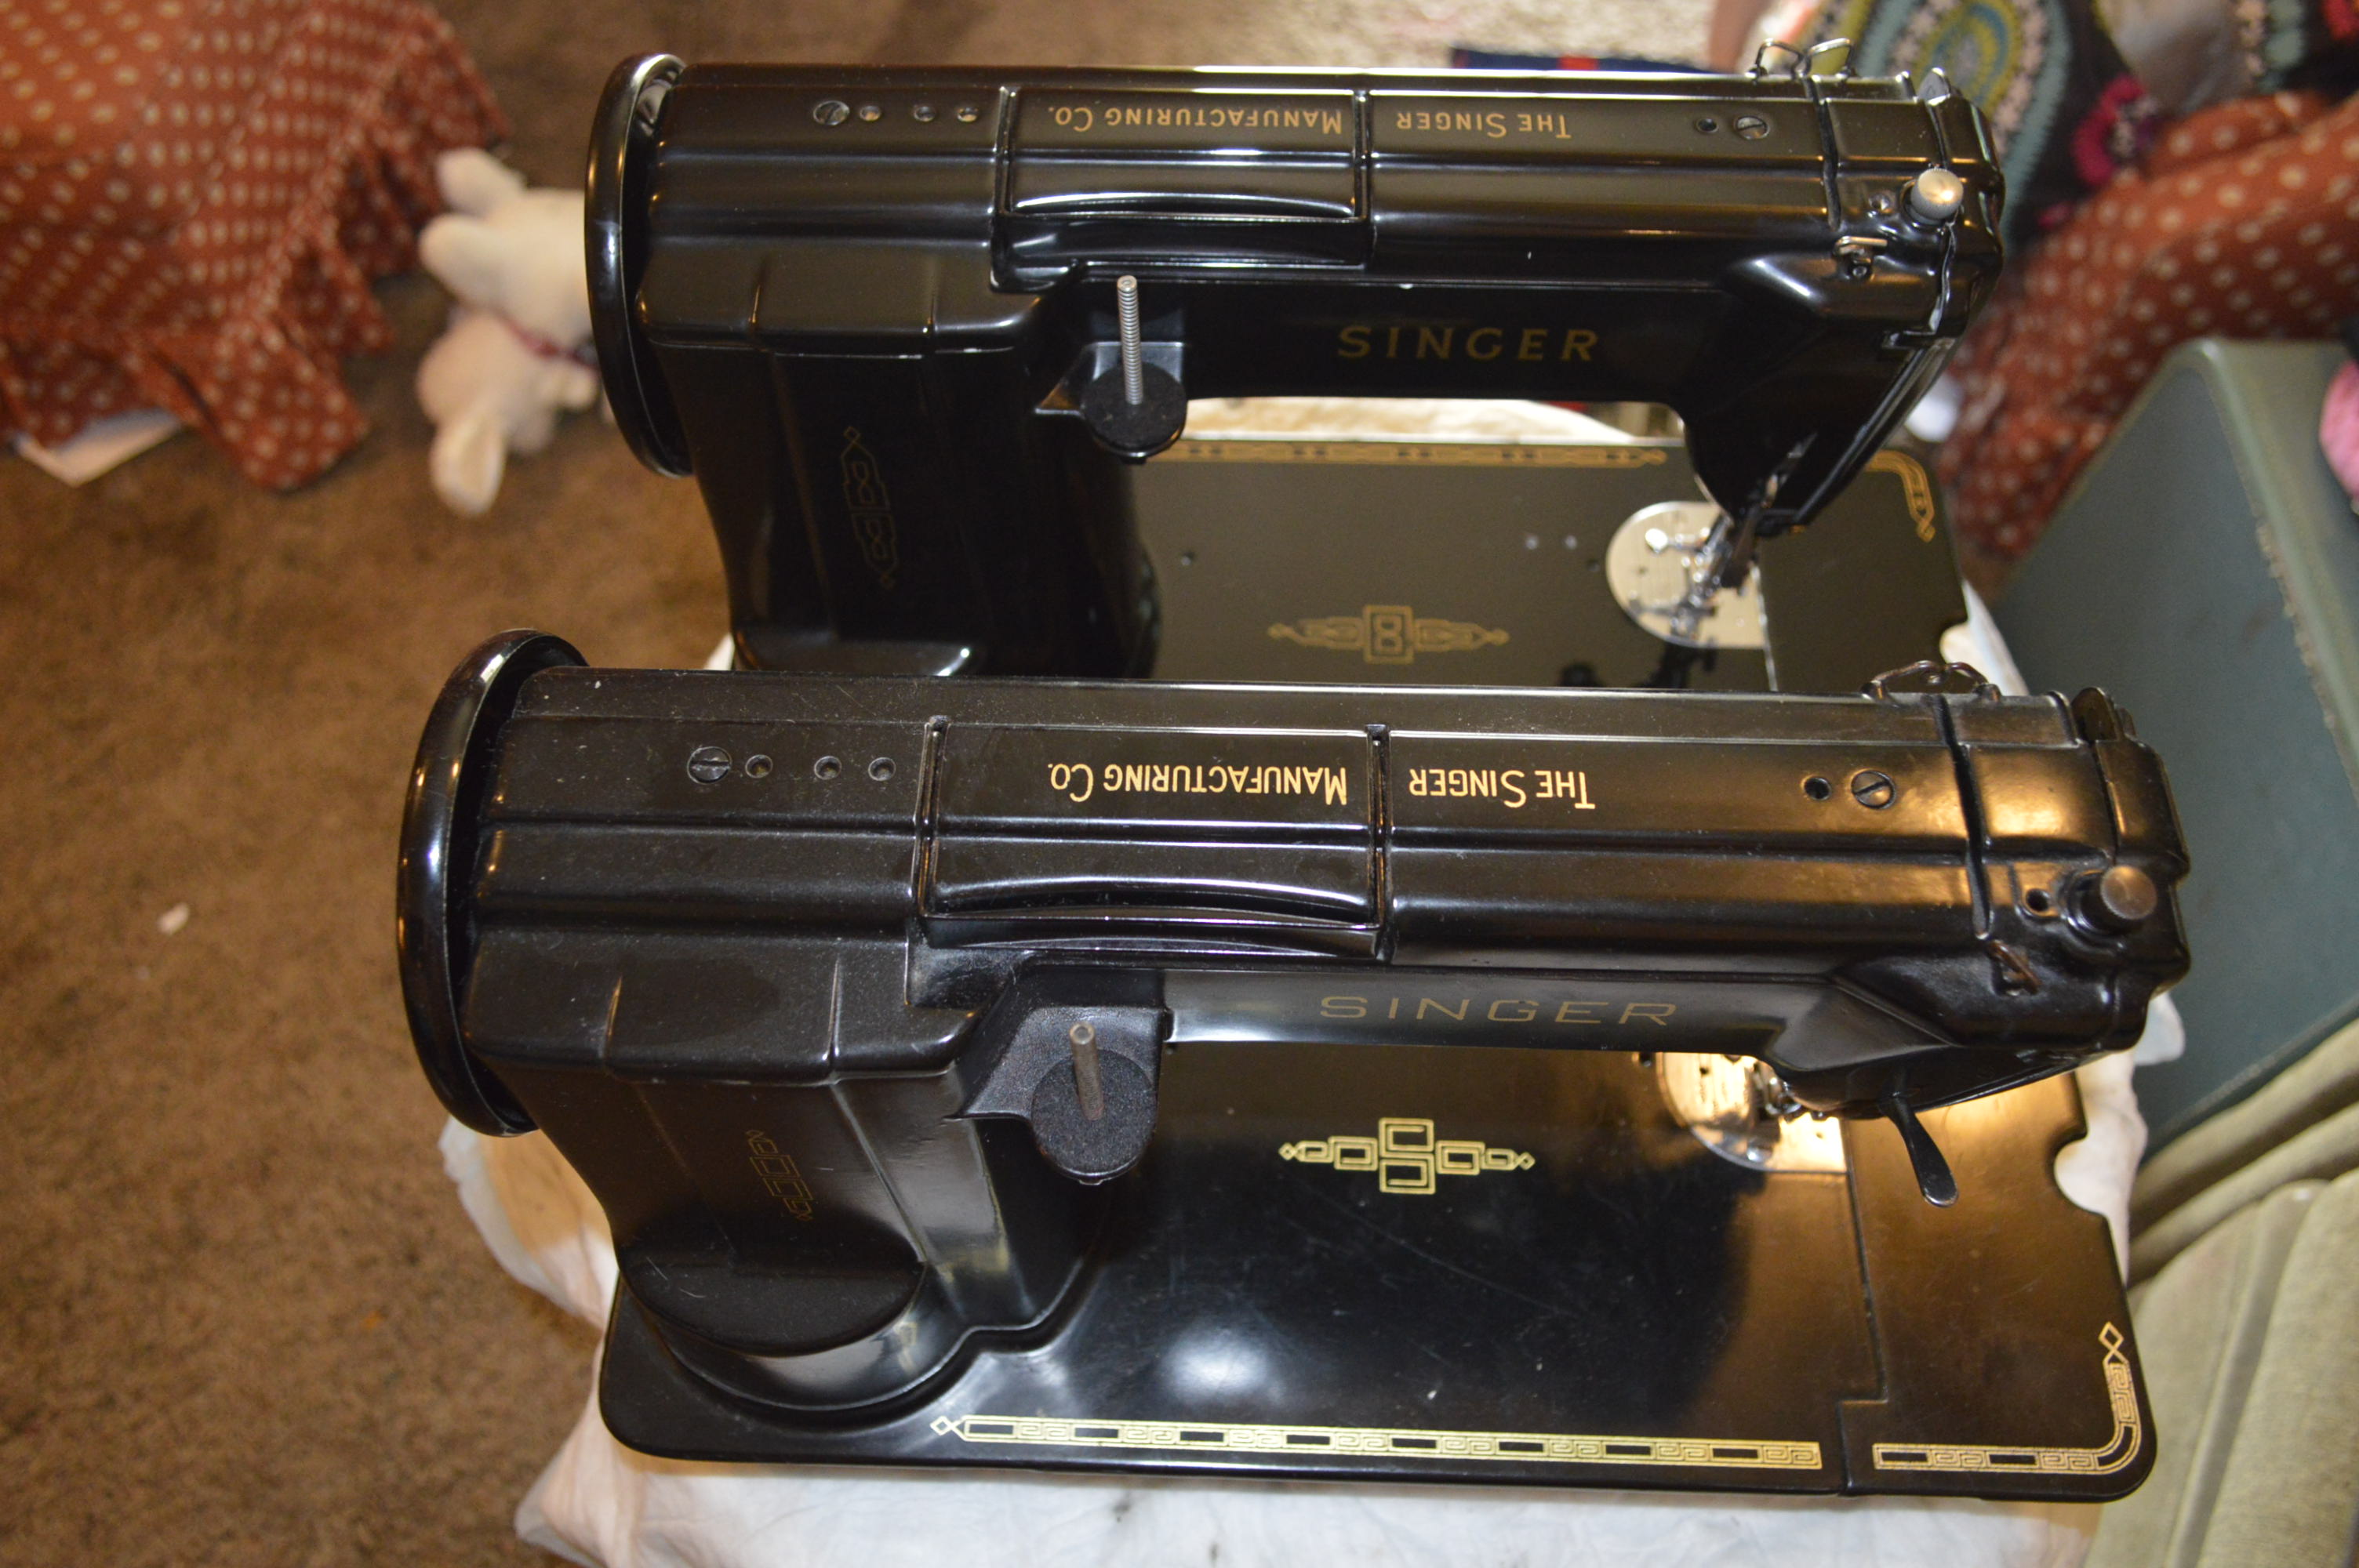
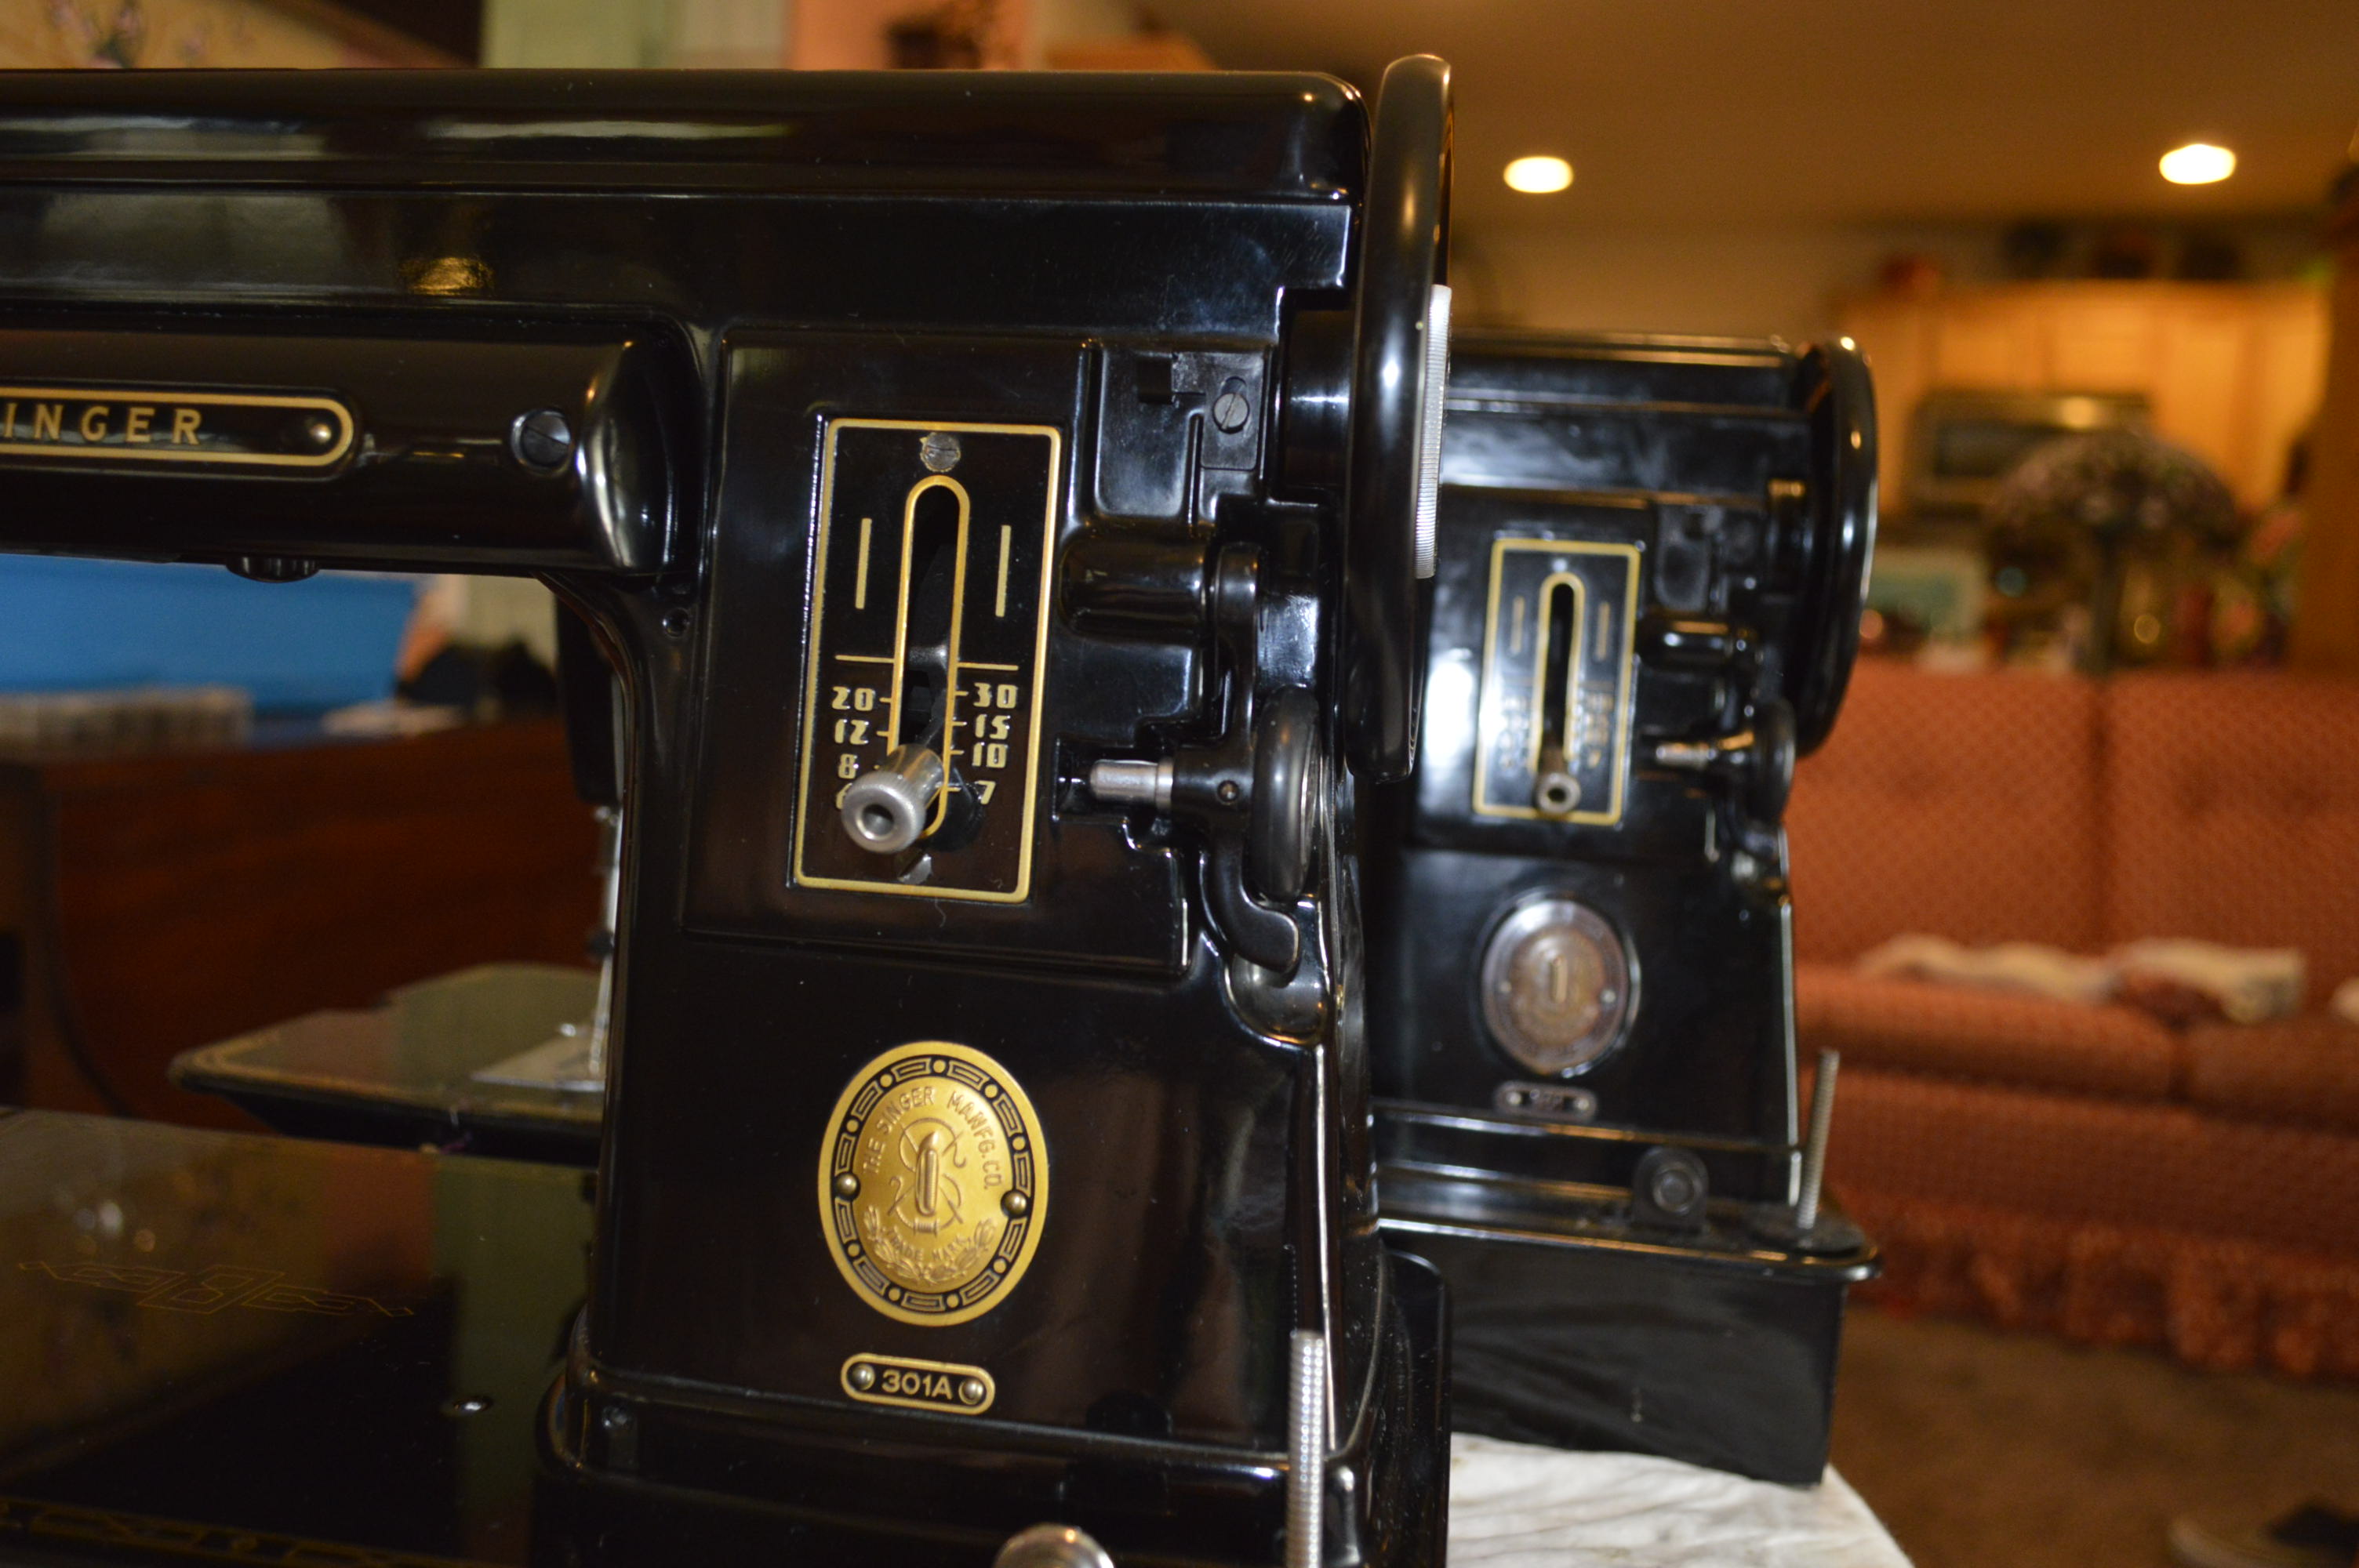
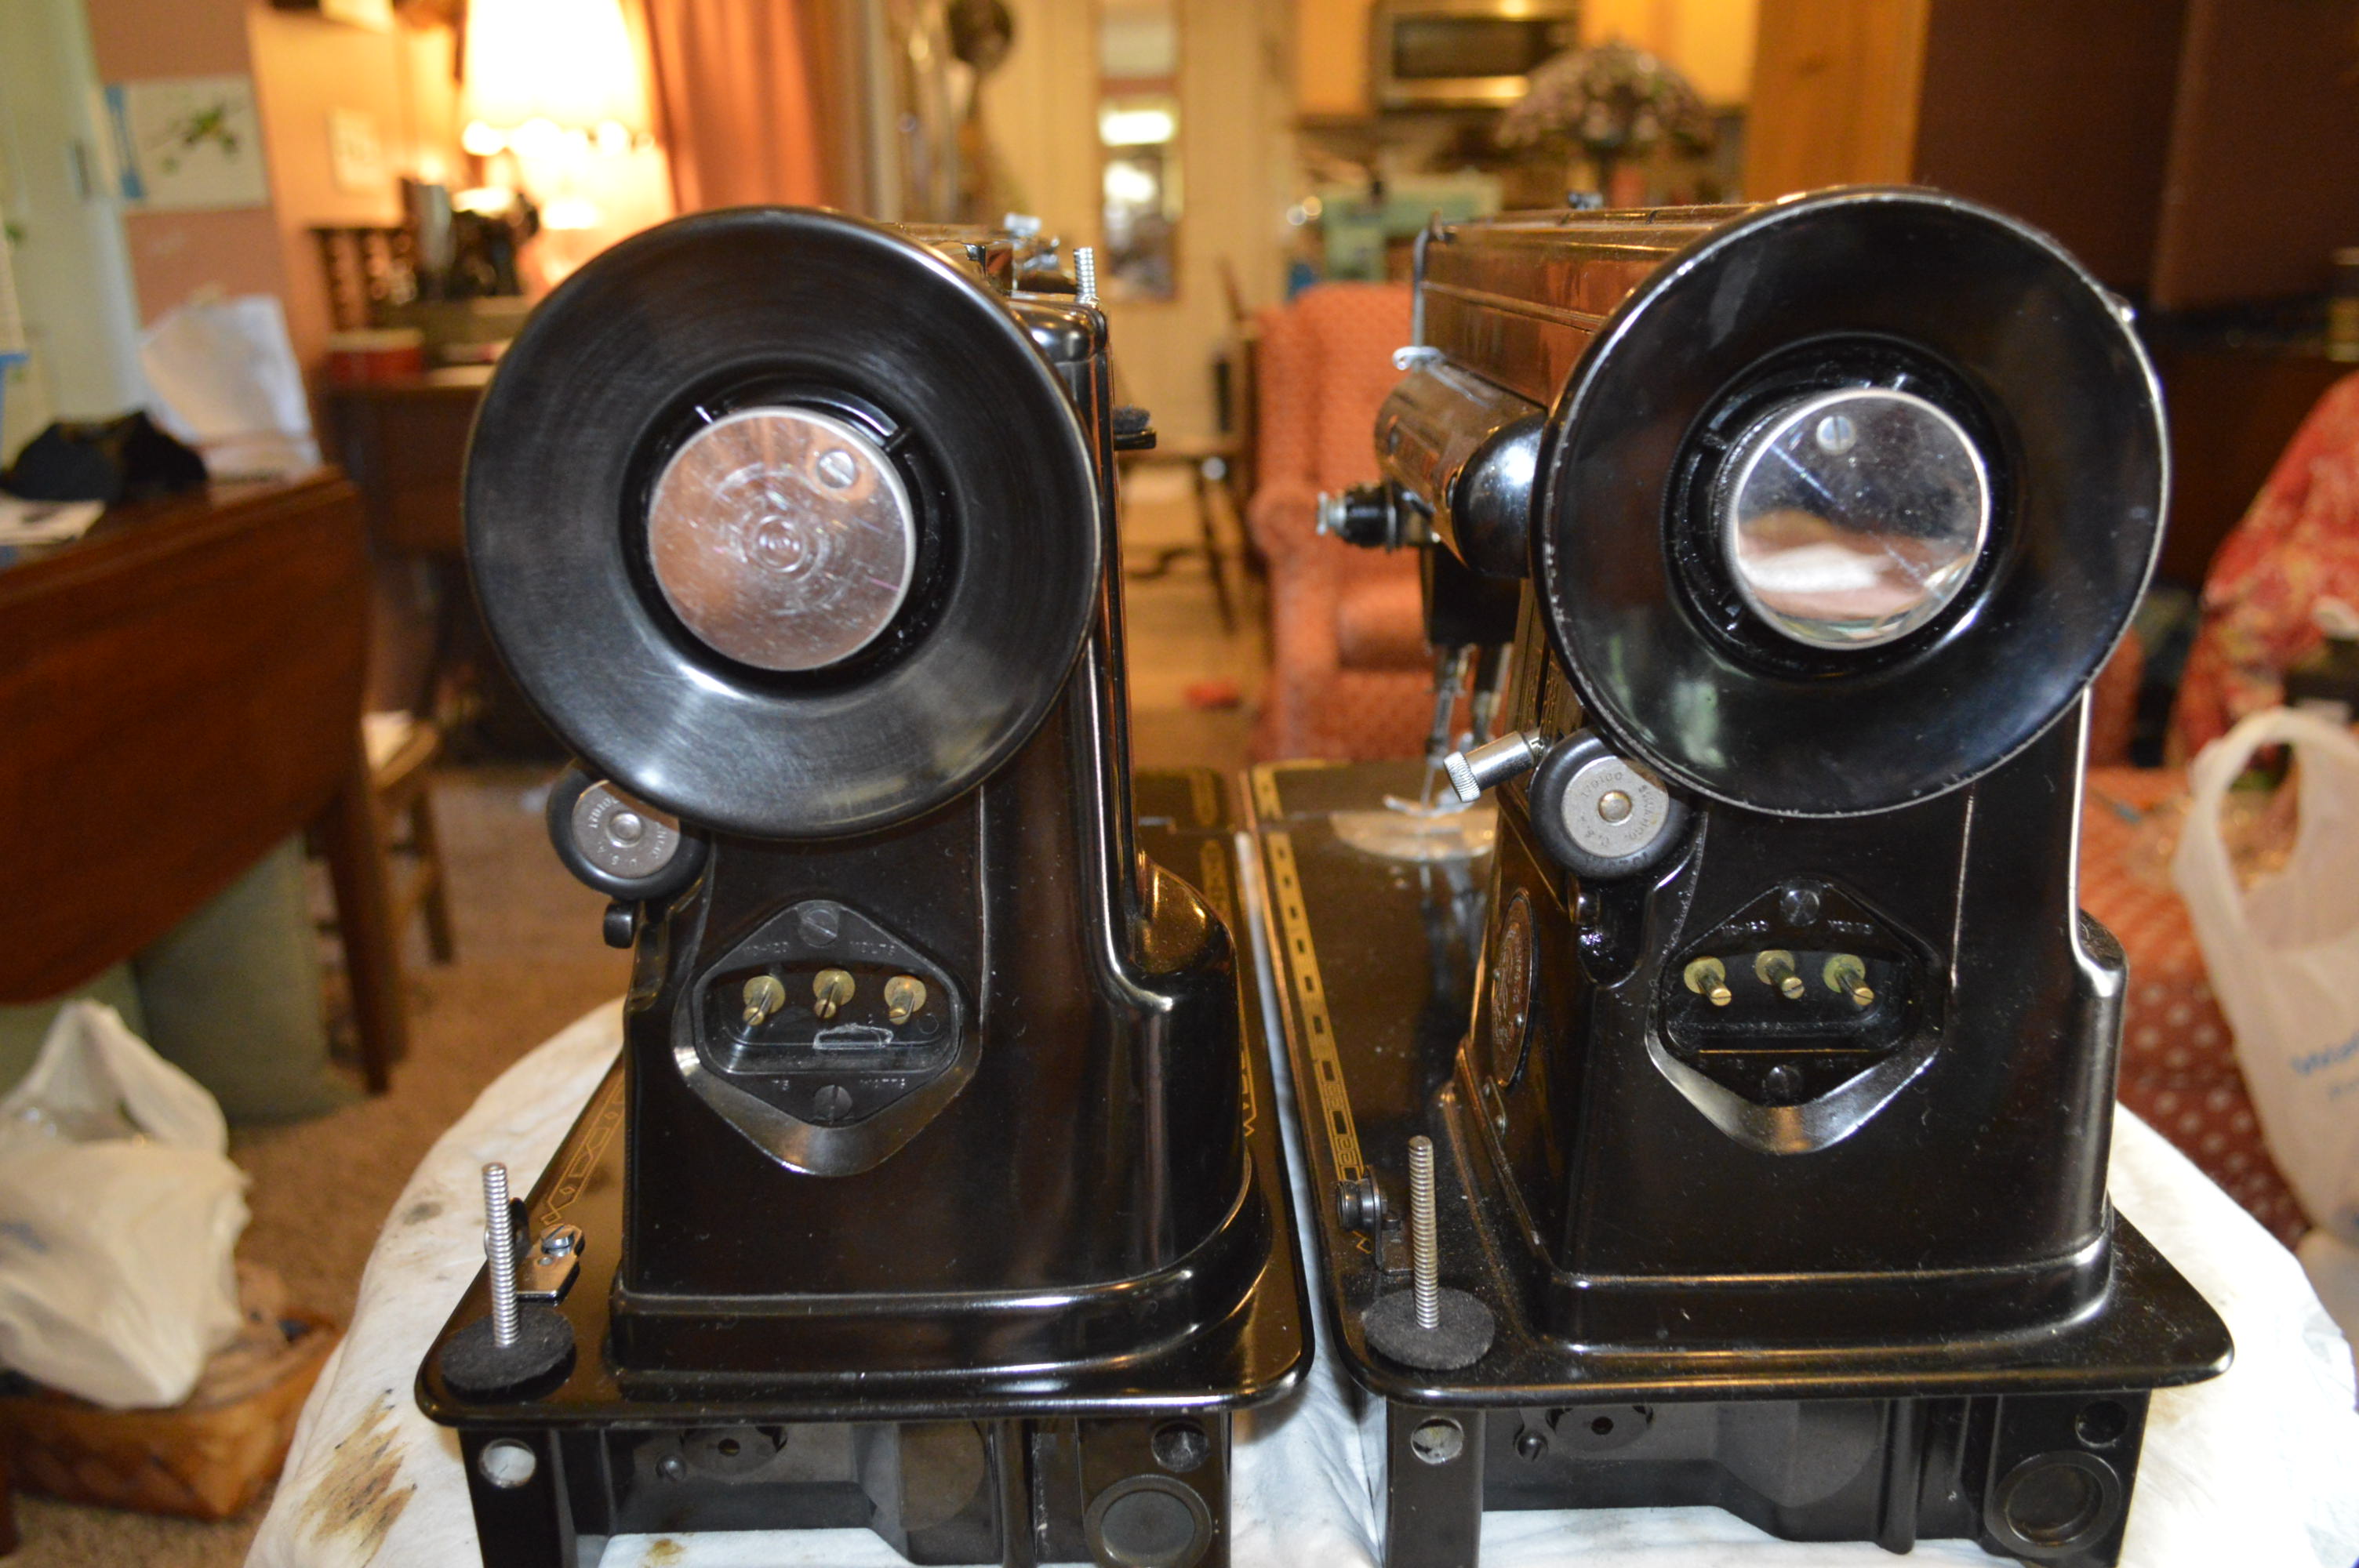
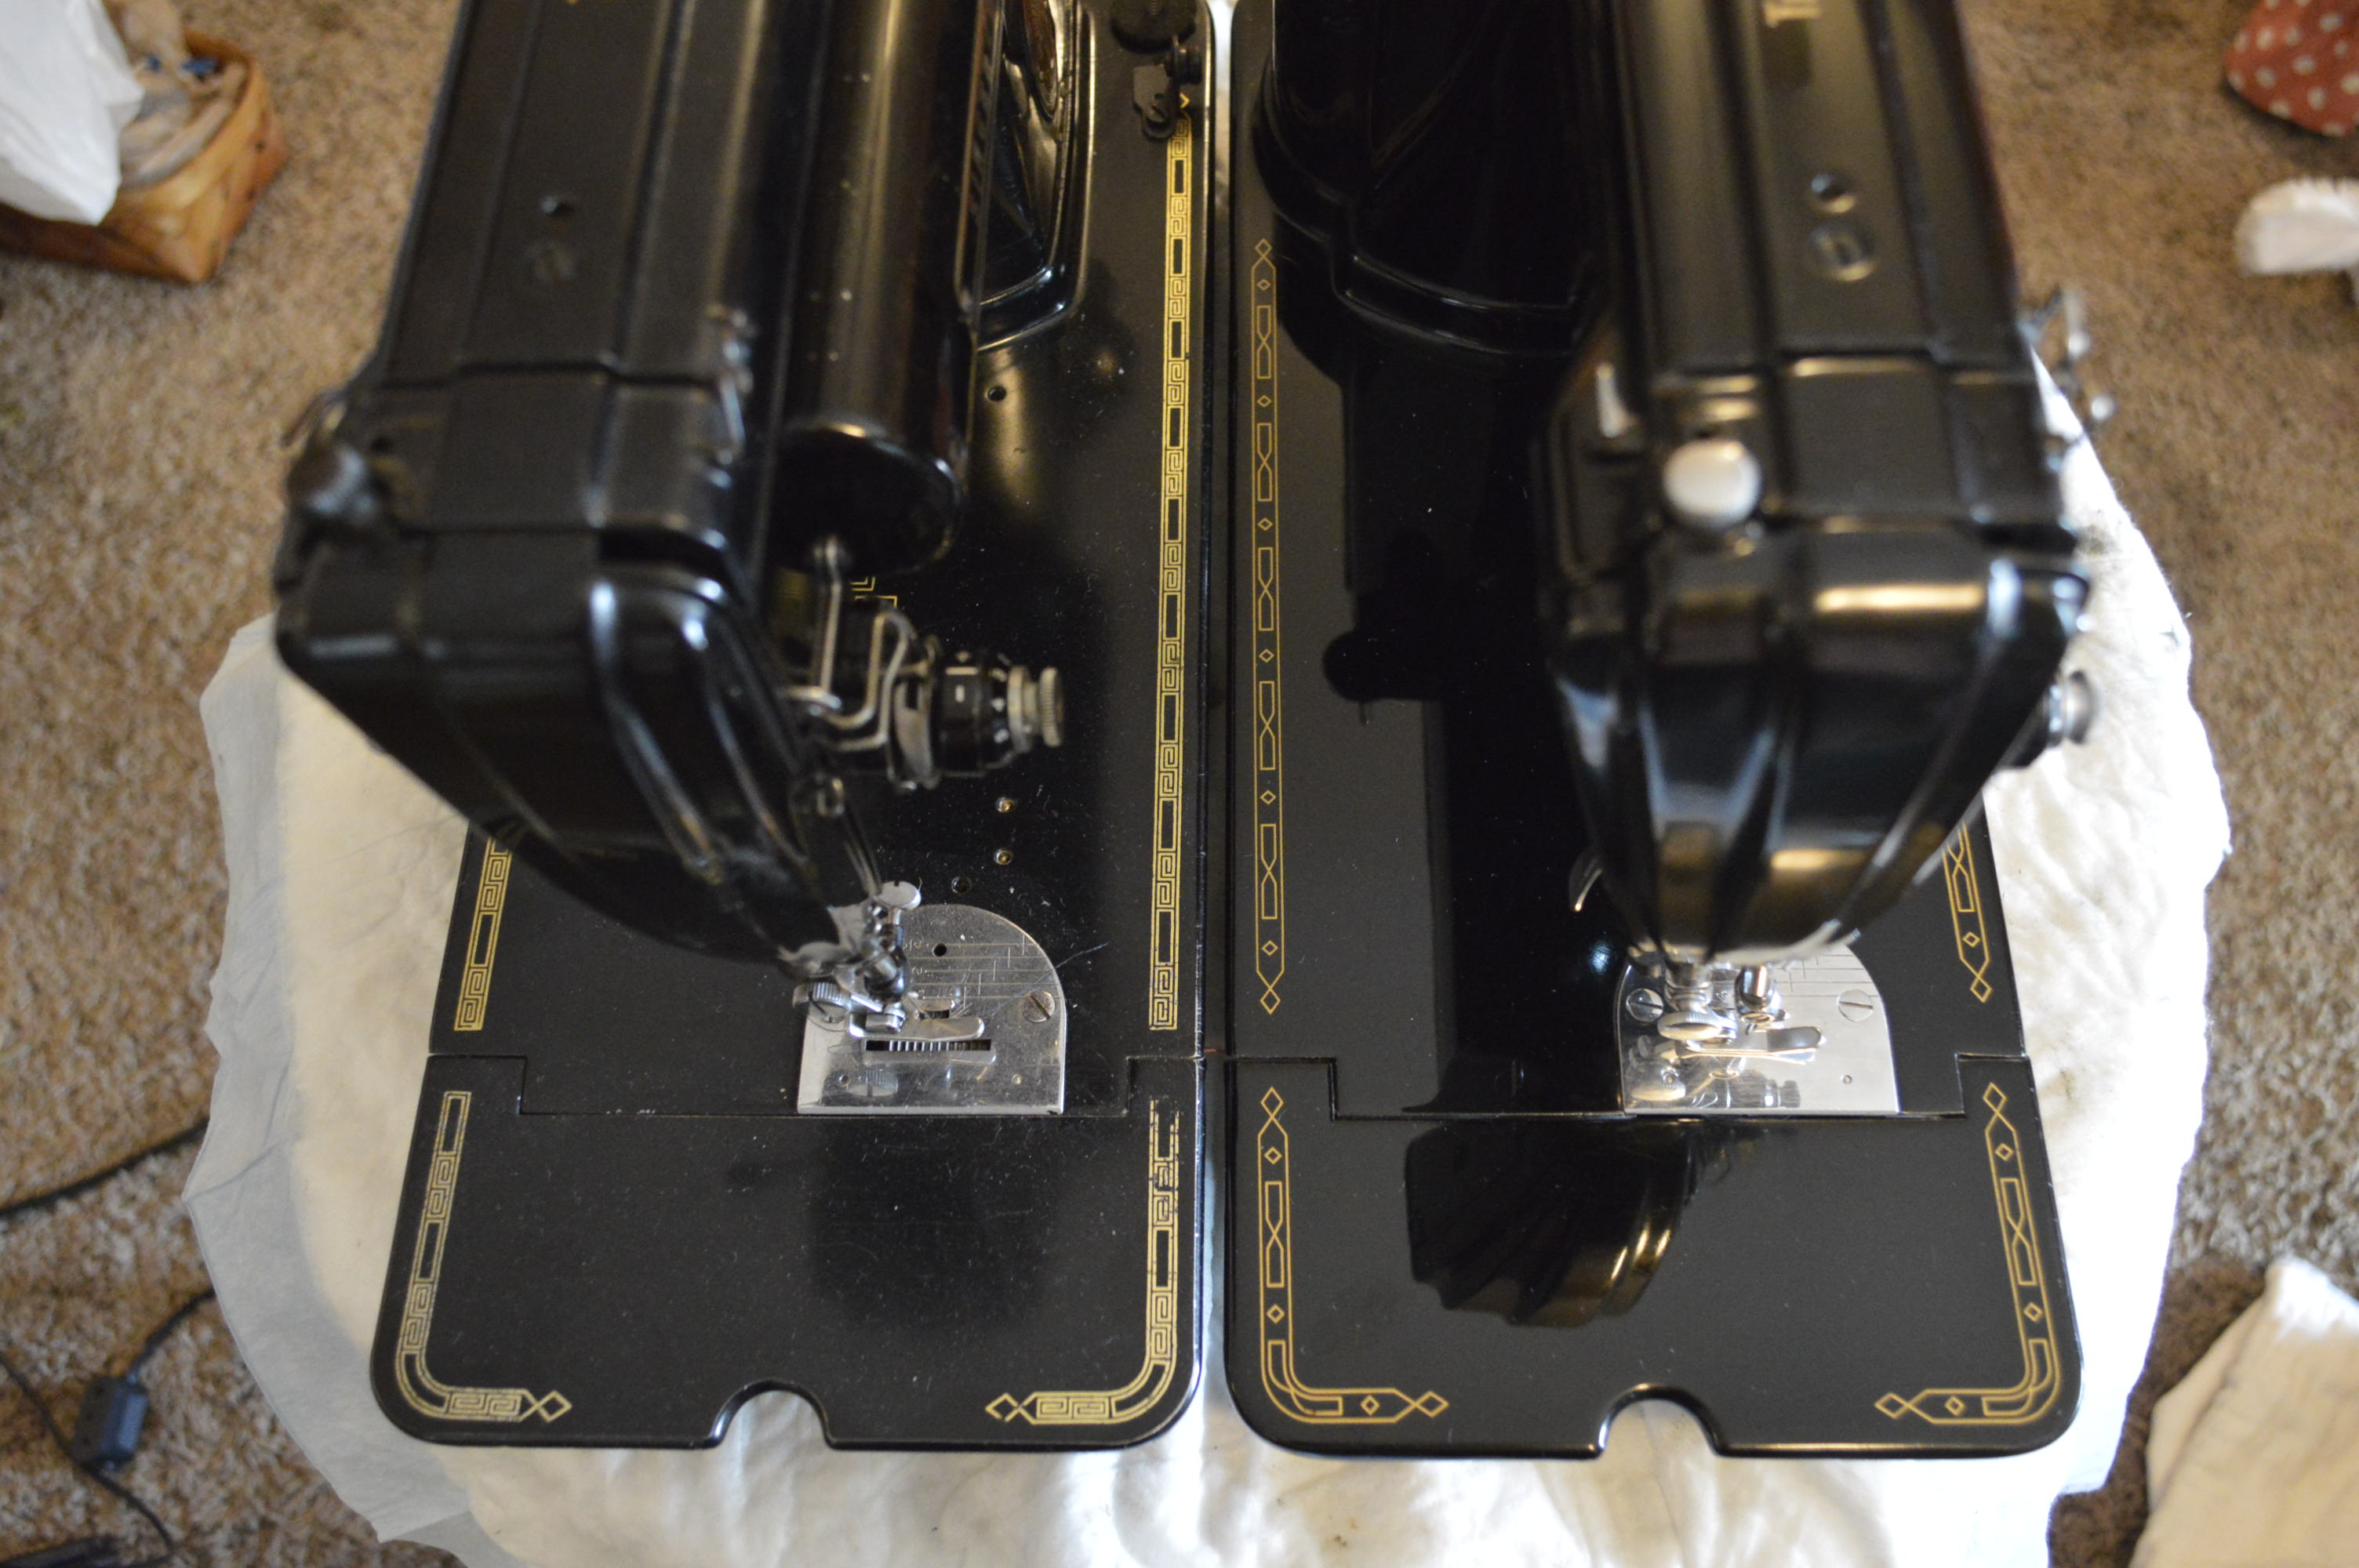
Can you See a Difference?
Like featherweights, there are plenty of 301’s around. Machines with excellent decals and a paint finish that will result in a reconditioned machine in excellent condition are much harder to find. Considering the 301 was manufactured between 1951 and 1957, and the fact that they were as popular then as they are now, most of the 301’s I come across are “well used”. Typically, the decals on the leading edge of the sewing bed are worn to an extent that takes them out of consideration for us. Our store policy is to acquire only machines that will be in great to excellent condition when the reconditioning is done. This means the decals must be in excellent condition to start with and the paint must be in at least very good condition. Lets face it, I don’t see much sense in spending 3 to 4 days reconditioning a machine unless she runs “like” new and looks “almost” like new. I call these 1 foot machines. From one foot away, cosmetic defects are not noticeable. I prefer 6 inch machines. These machines are worth every hour it takes to get the most out of the finish. Not an excuse by me, but damaged decals, at least as of today, are beyond my abilities to repair. There is a lot that can be done to minimize paint chips and shallow scratches, but lets face it, I don’t think it is possible to have both paint and decals in “perfect” condition…such a machine may exist, but not in the stream I fish in. But, at least the decals must be in excellent condition for starters, or the finished project will not be worthy of selling in our store. If it was your machine, condition is not the top criteria, so the steps we take to recondition a machine can be used to get the most out of your machine!
Hmmmmm… I live in the real world too, and I understand that condition is always a compromise, but if we can find a machine that is between 60 to 70 years old where the decals are “almost” perfect, and the paint is “almost” perfect, the final product will be “almost” perfect, and that to me is excellent condition. Eh, enough rambling about that… turns out, this one is “almost” on both fronts and it will be a beautiful example of a Singer Model 301A when the reconditioning is done.
The mechanical and cosmetic reconditioning process will be the same as it is for all of our vintage black Singer sewing machines. She will be completely disassembled, all parts will be cleaned inside and out, the motor will be disassembled and serviced, the tension mechanisms will be disassembled, cleaned, and adjusted, and the body of the machine will be cleaned, and polished to a smooth deep shine.
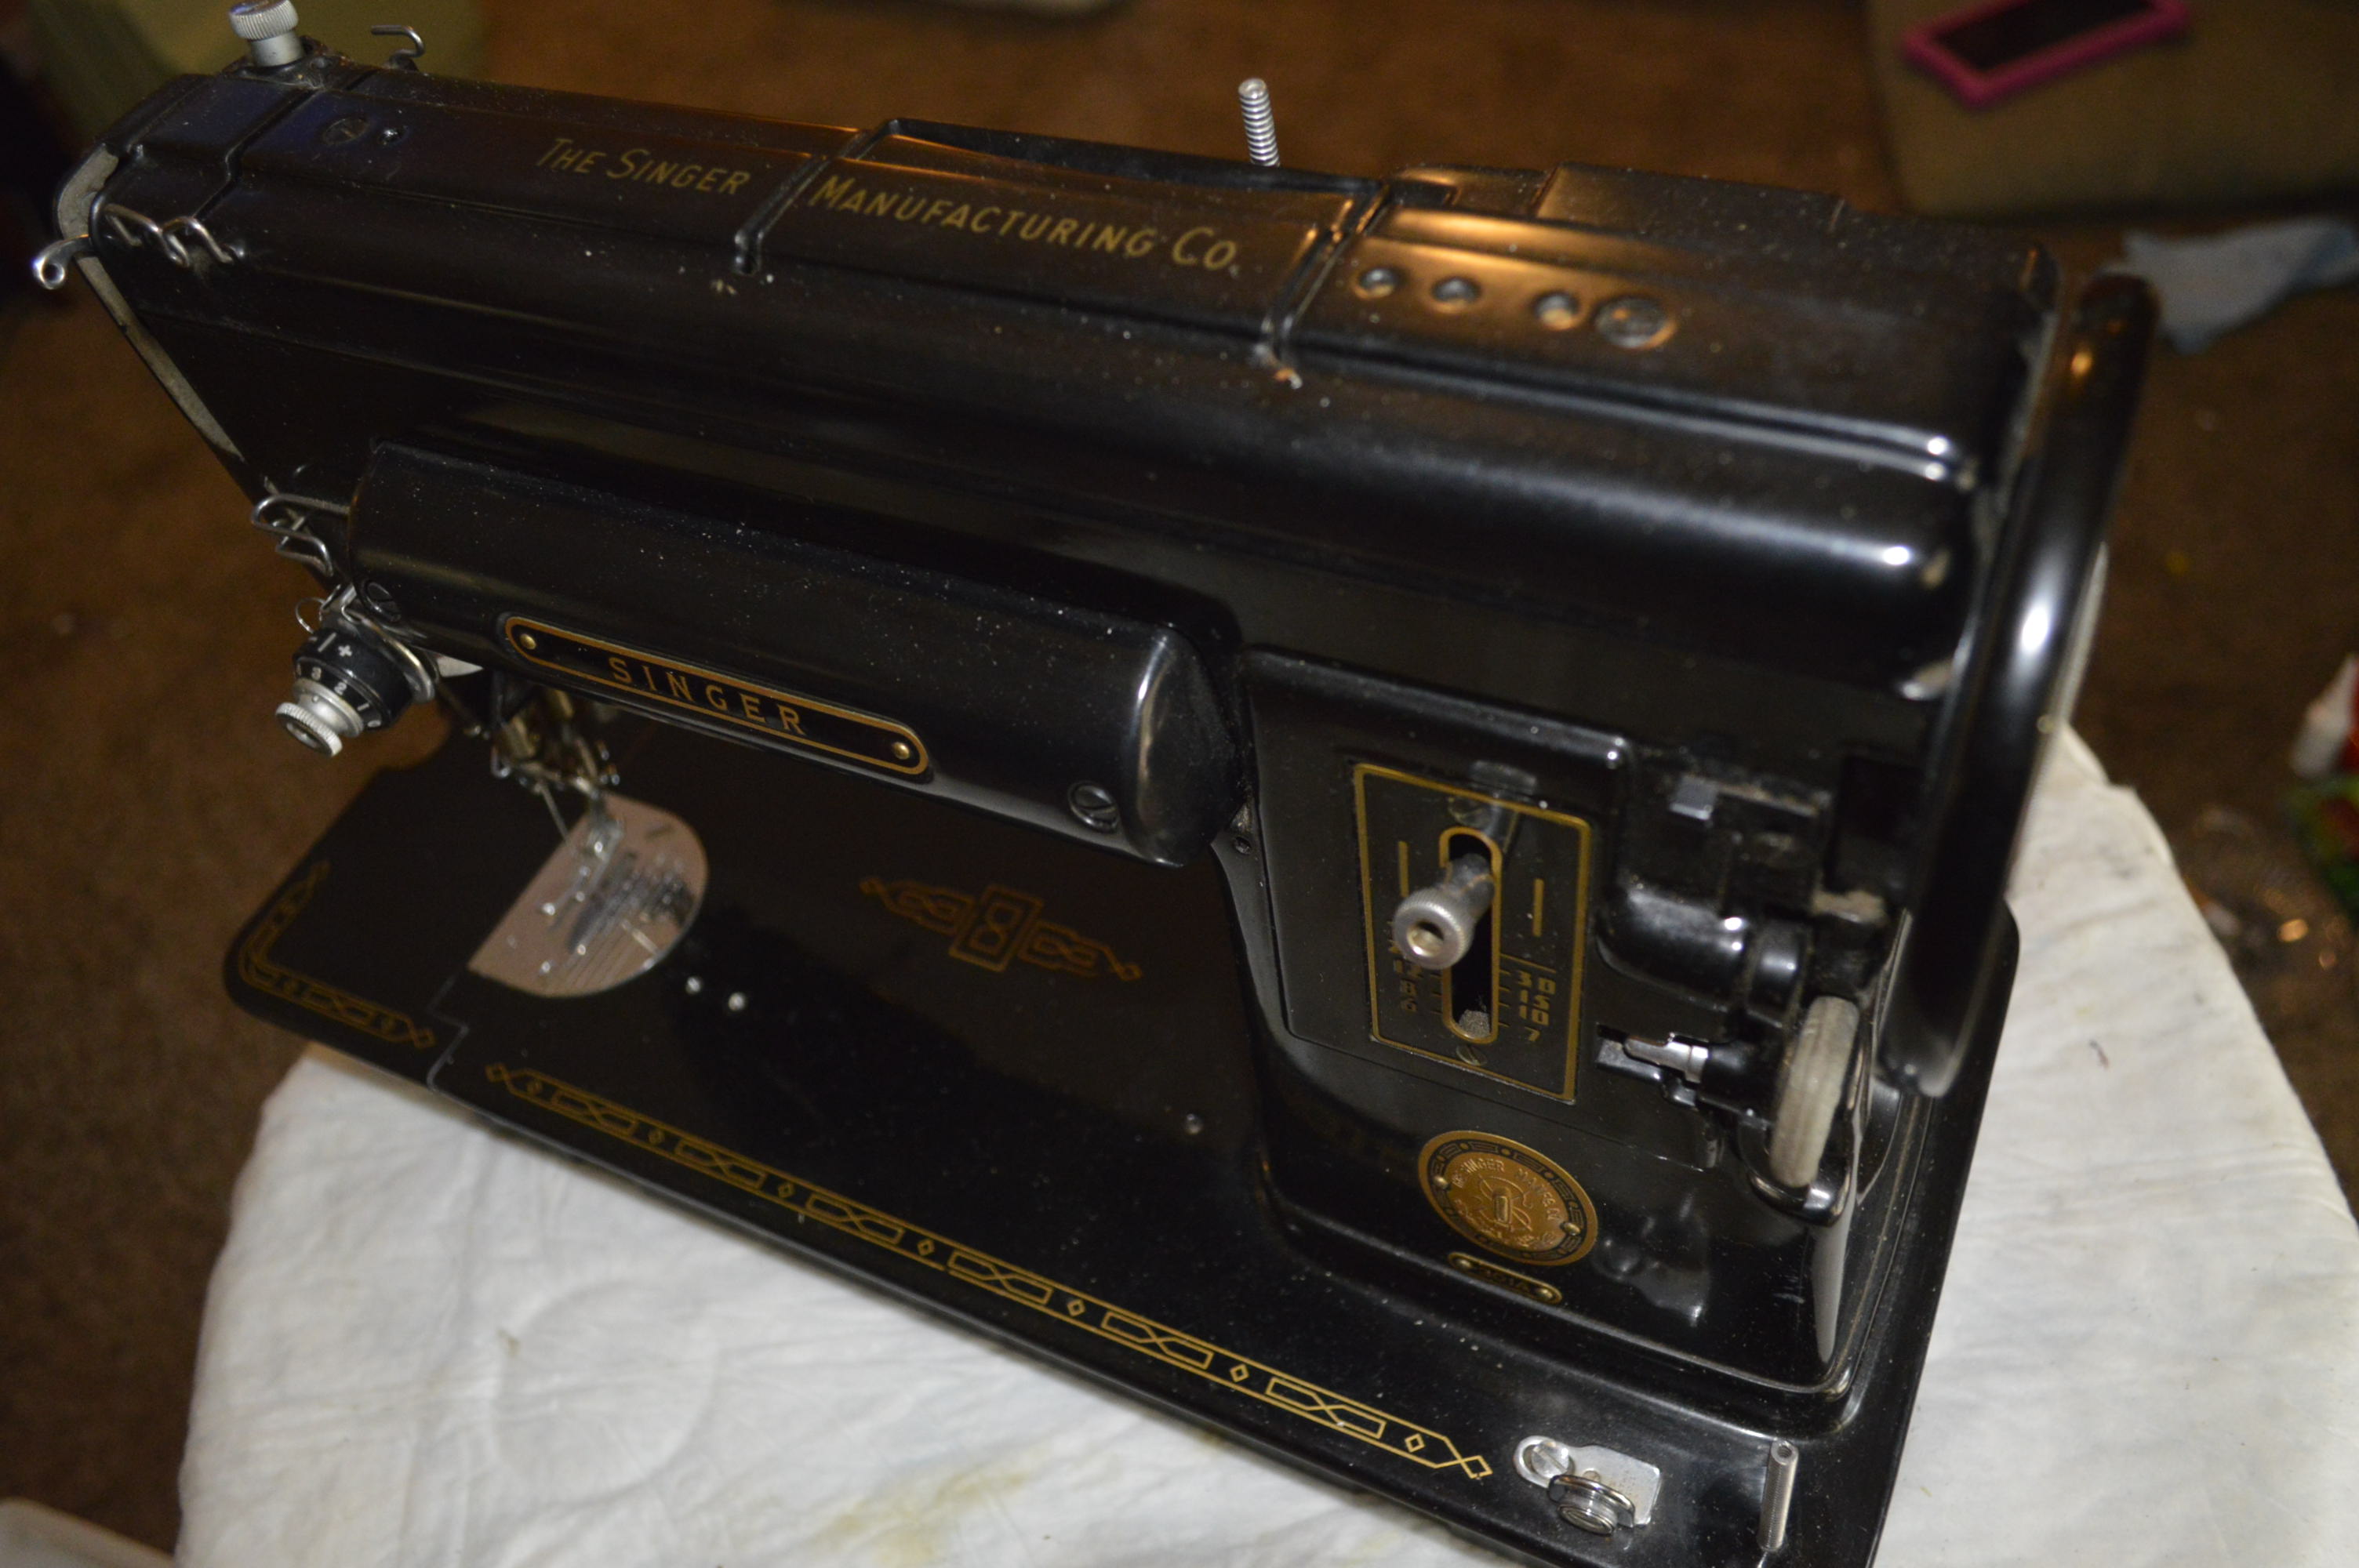
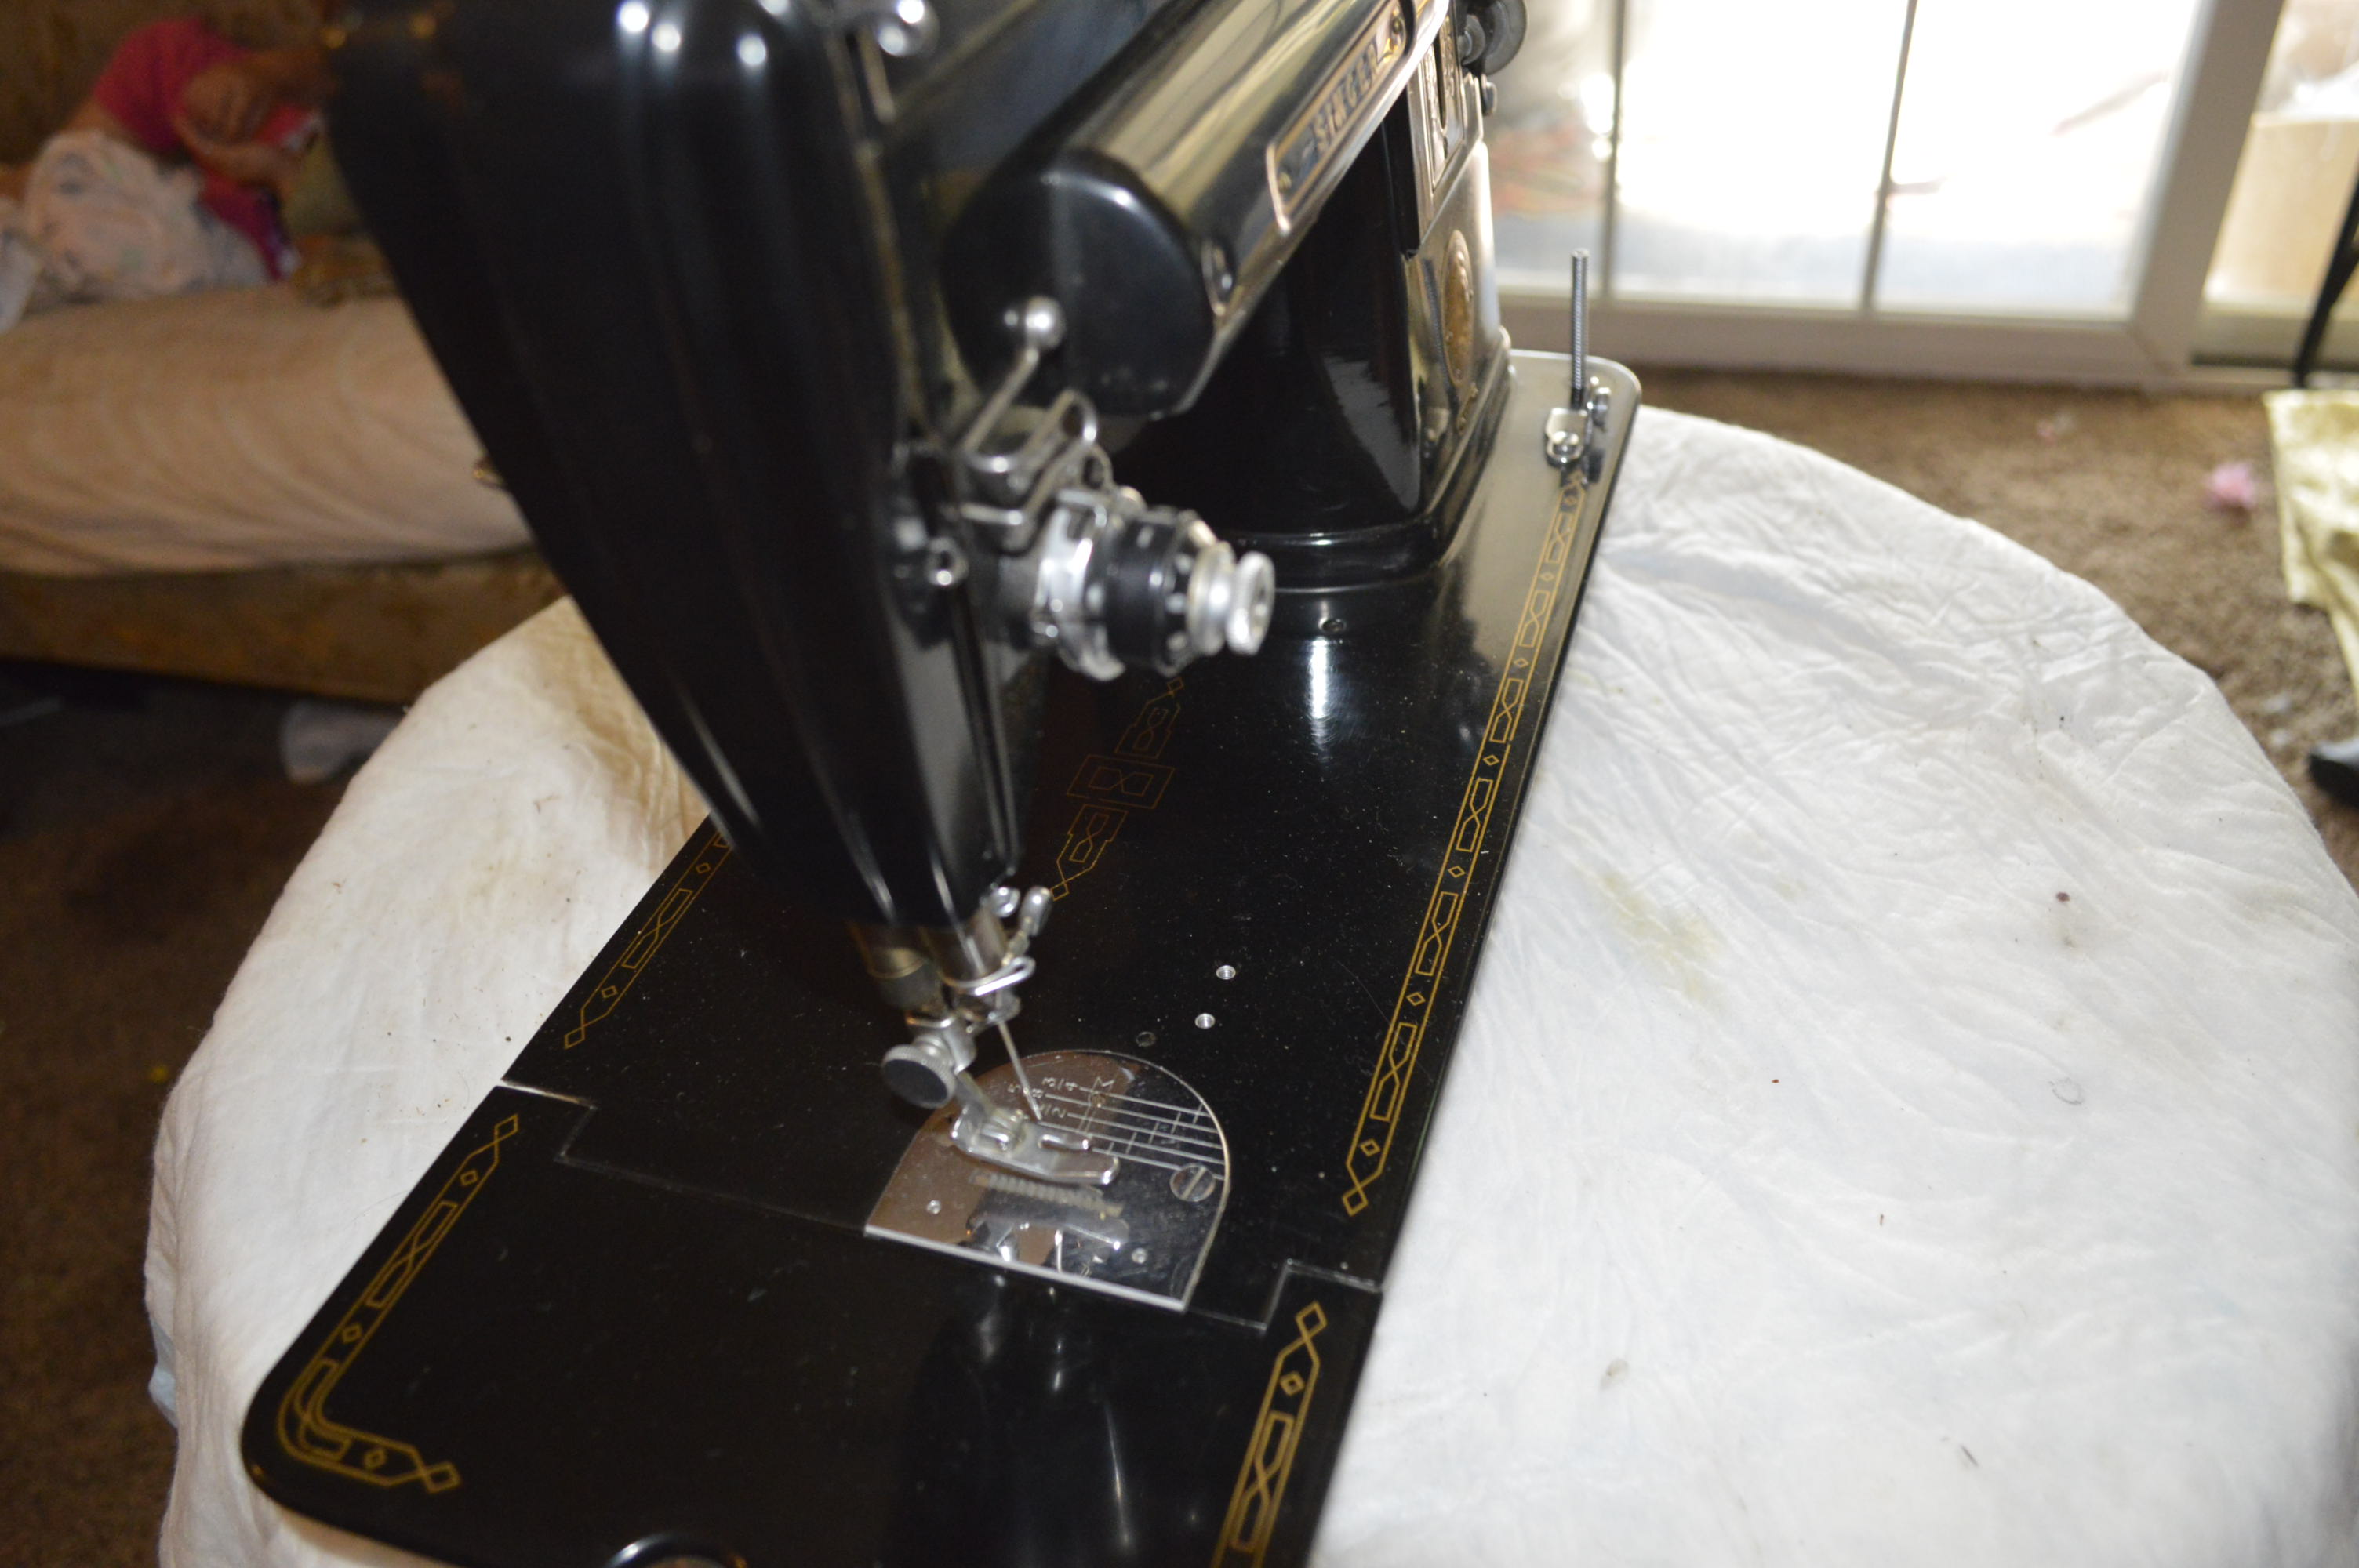
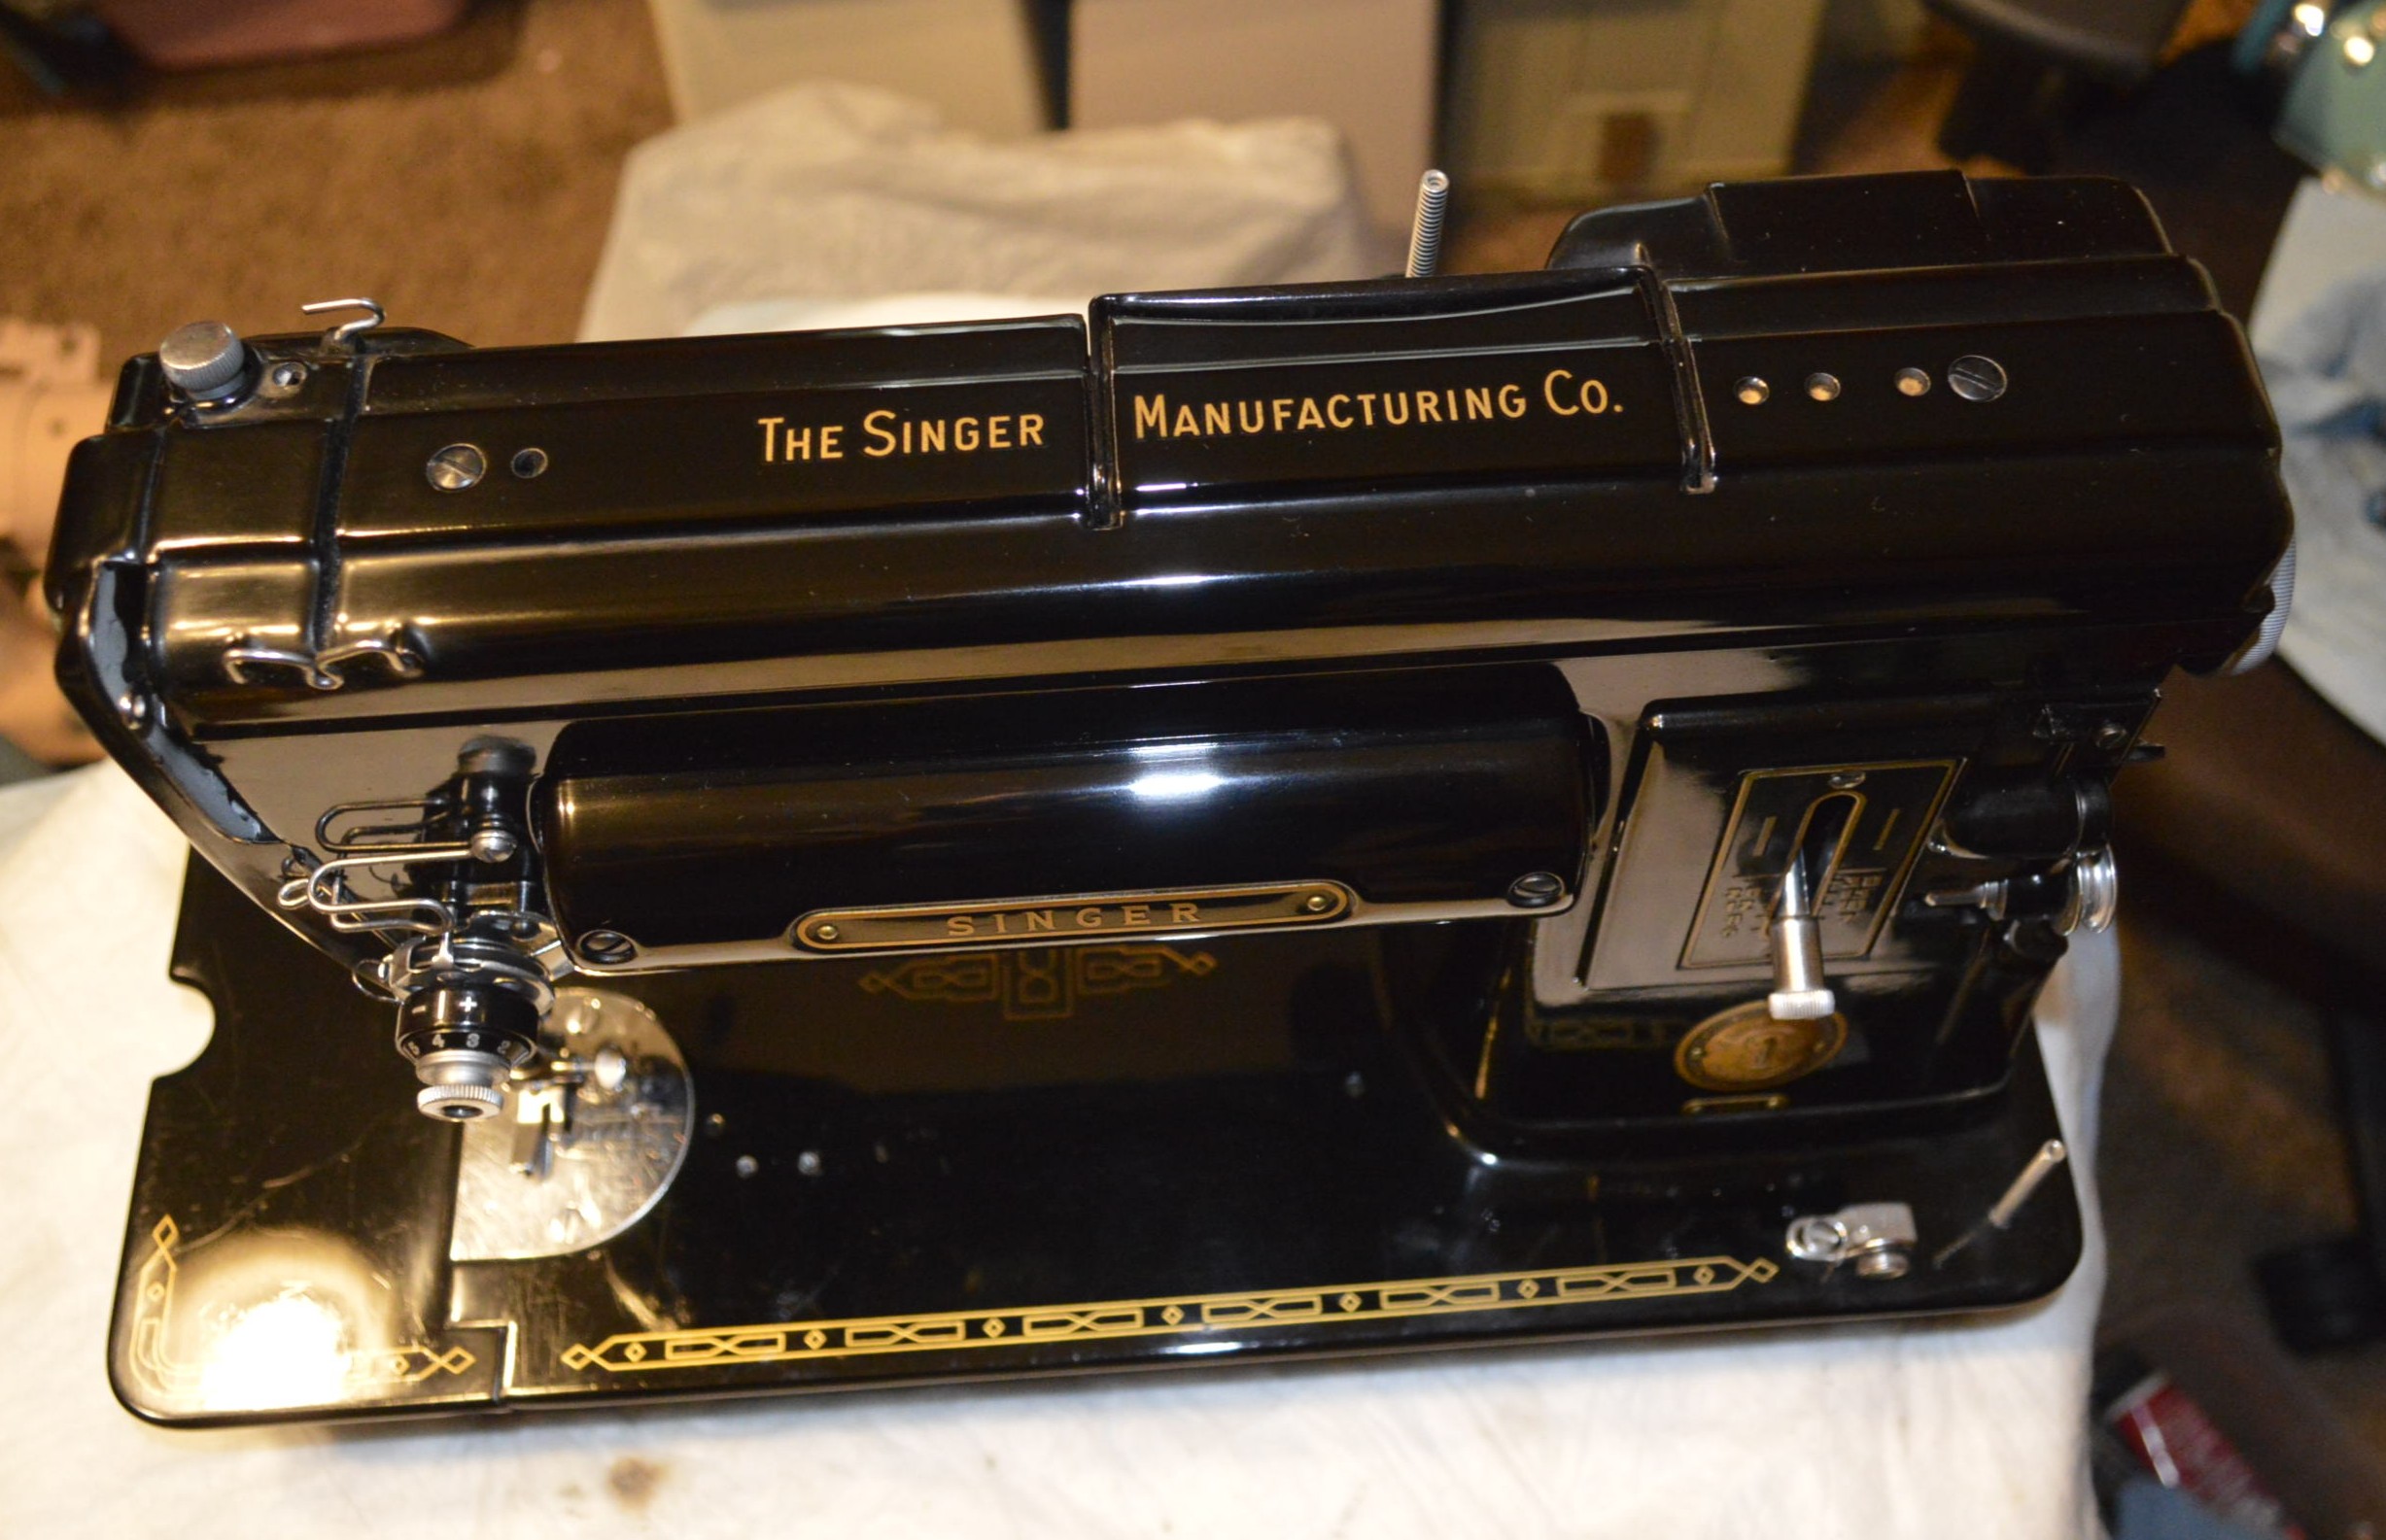
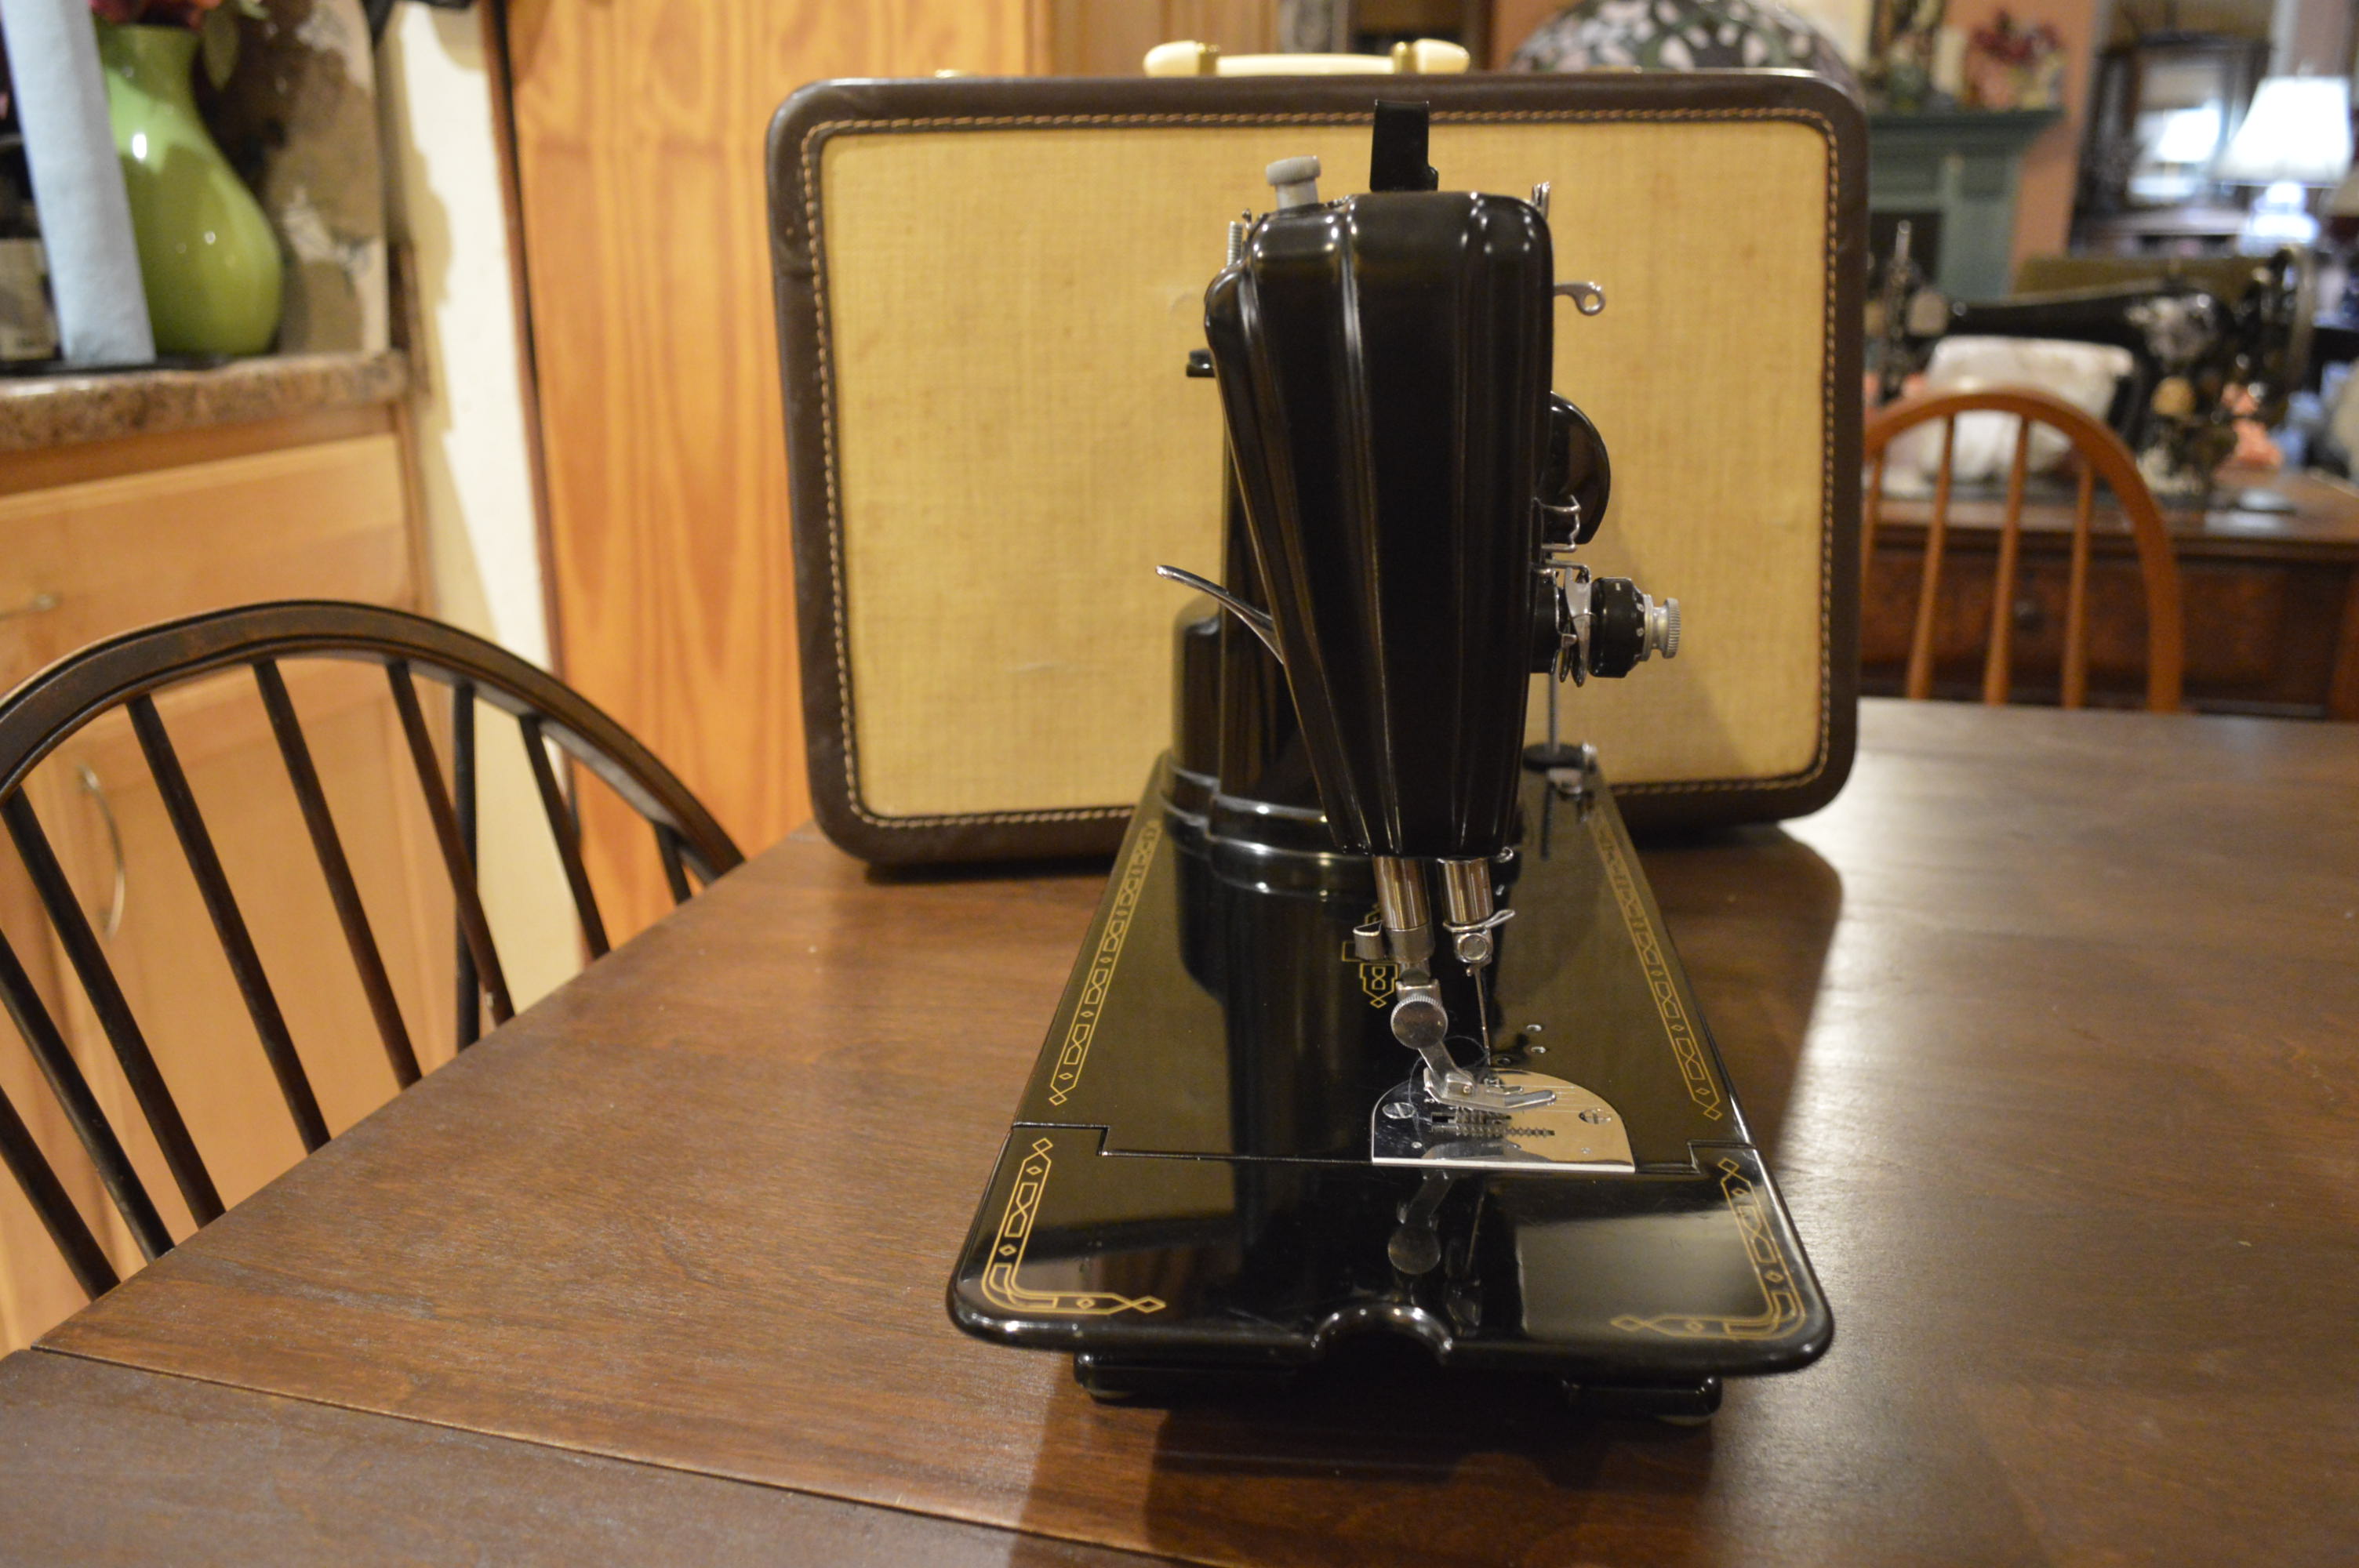
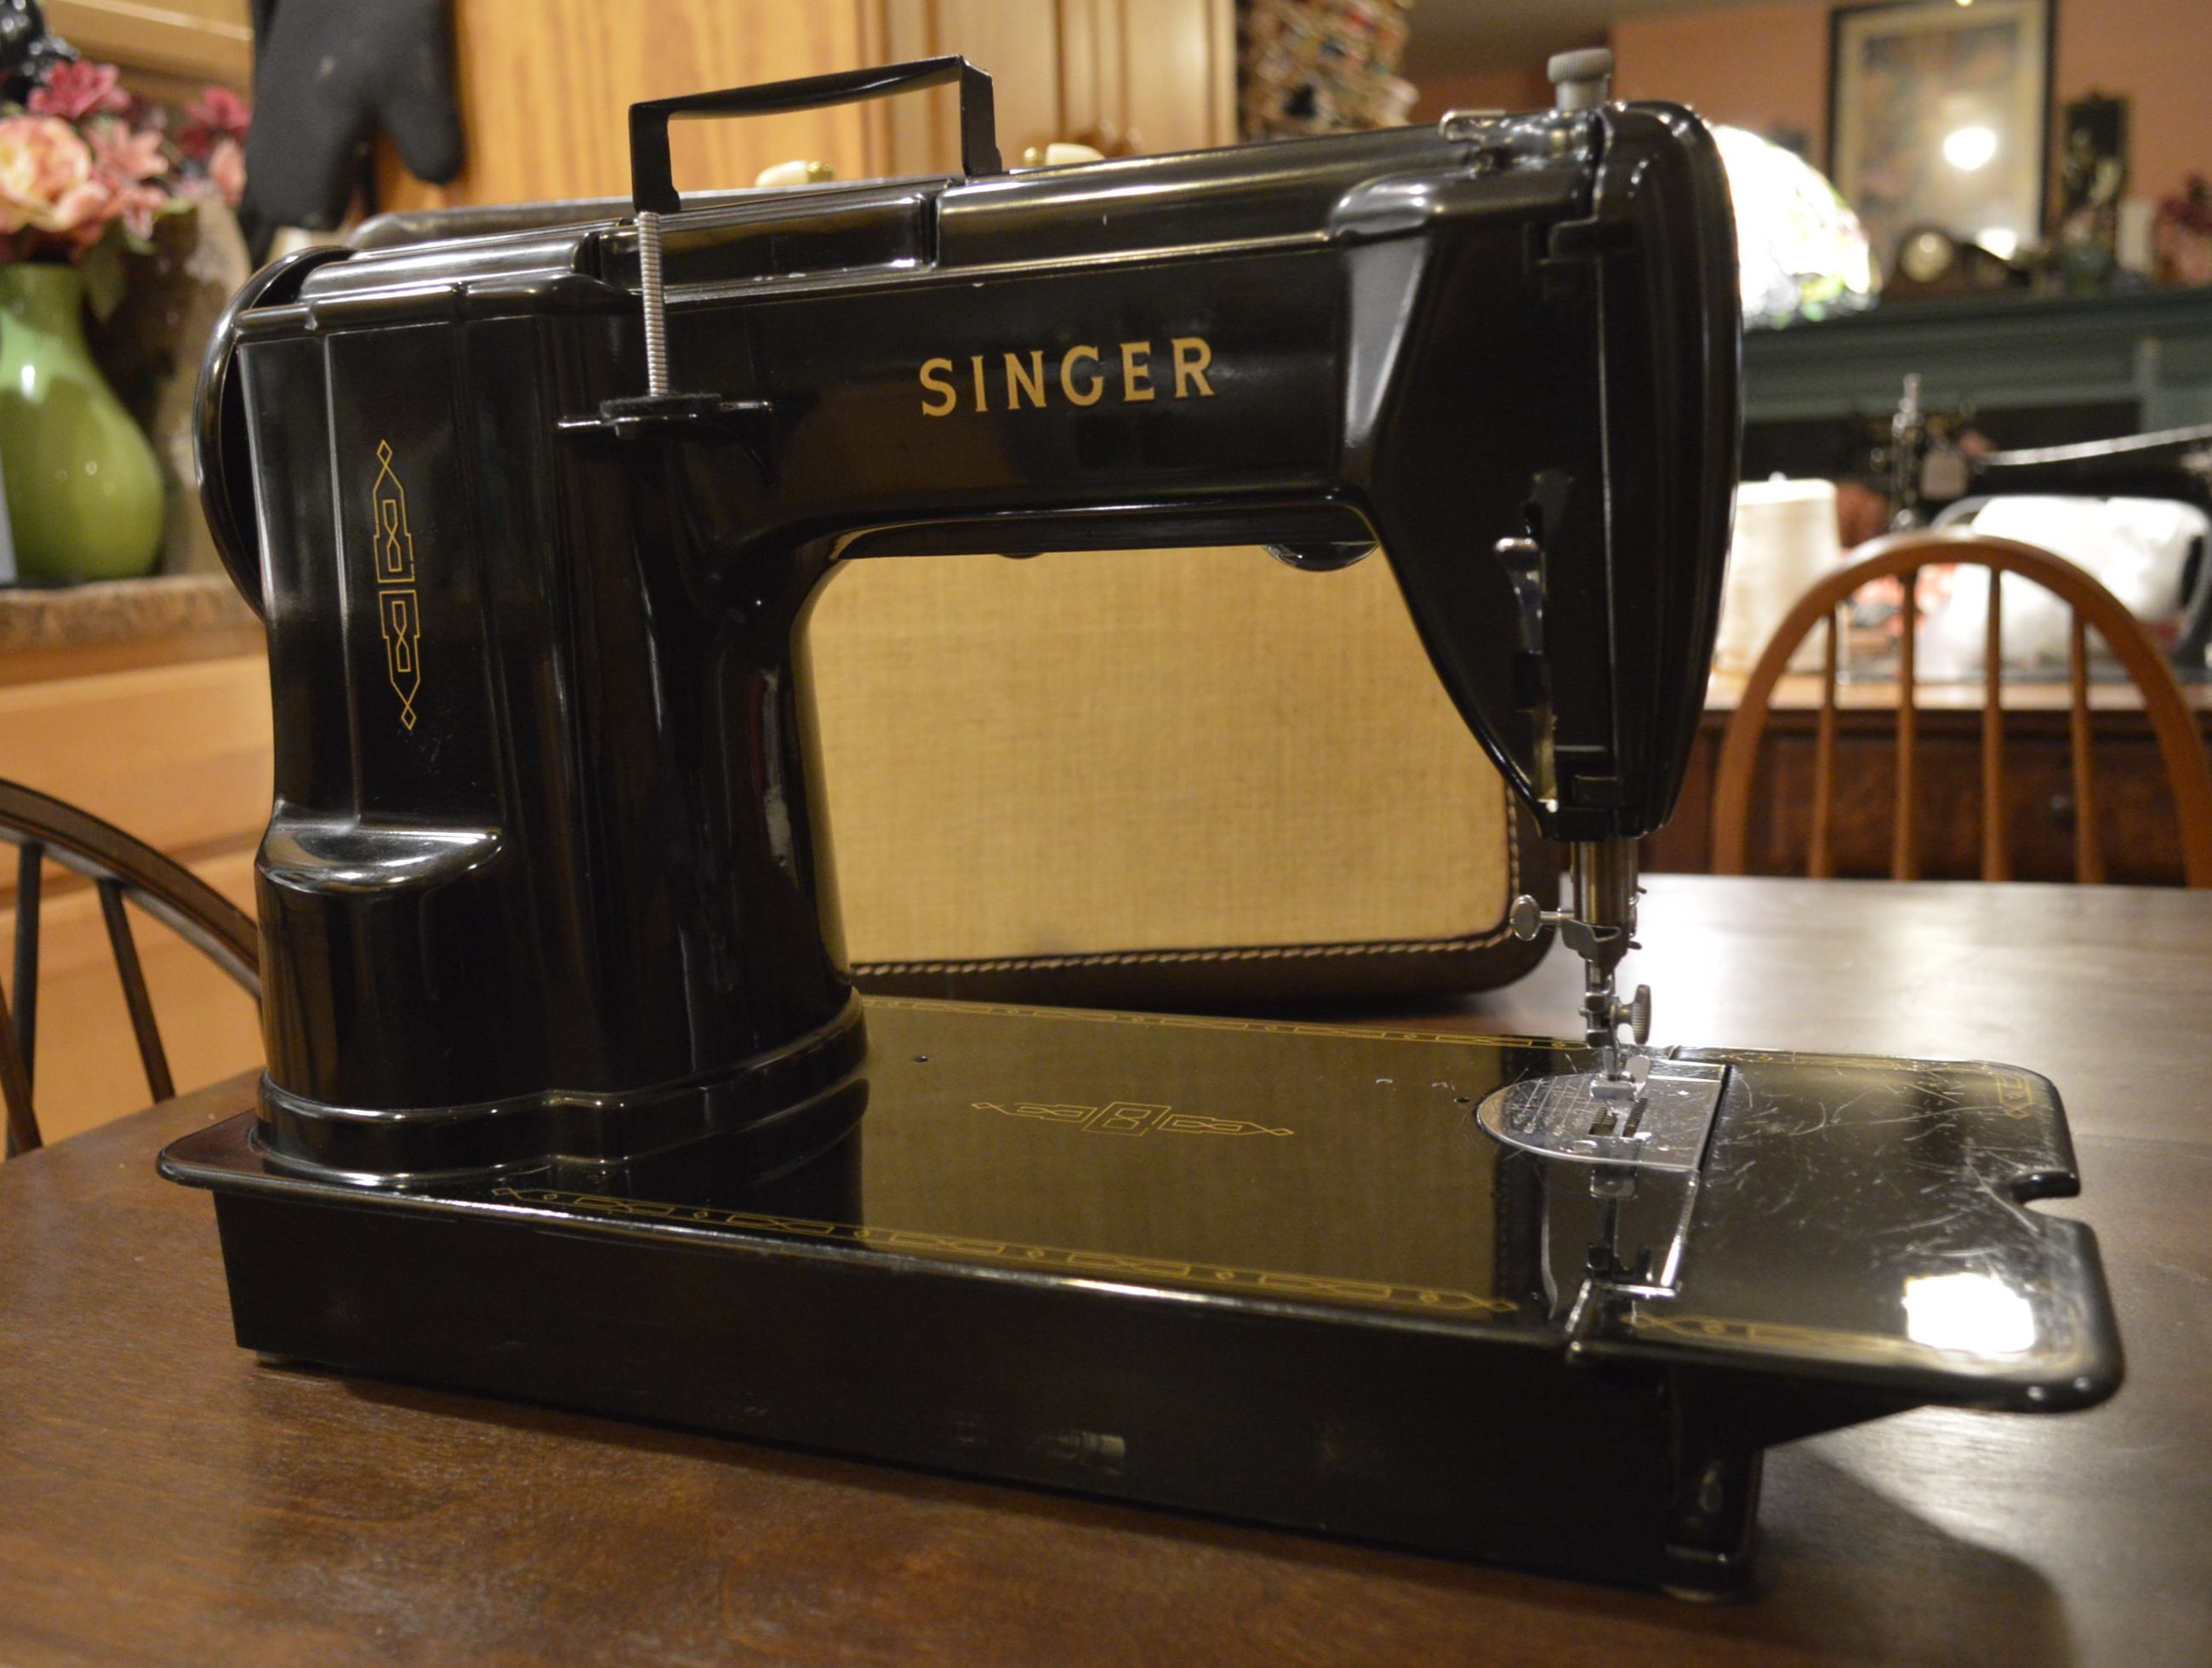
Here is the machine before we have done anything except dust it off…
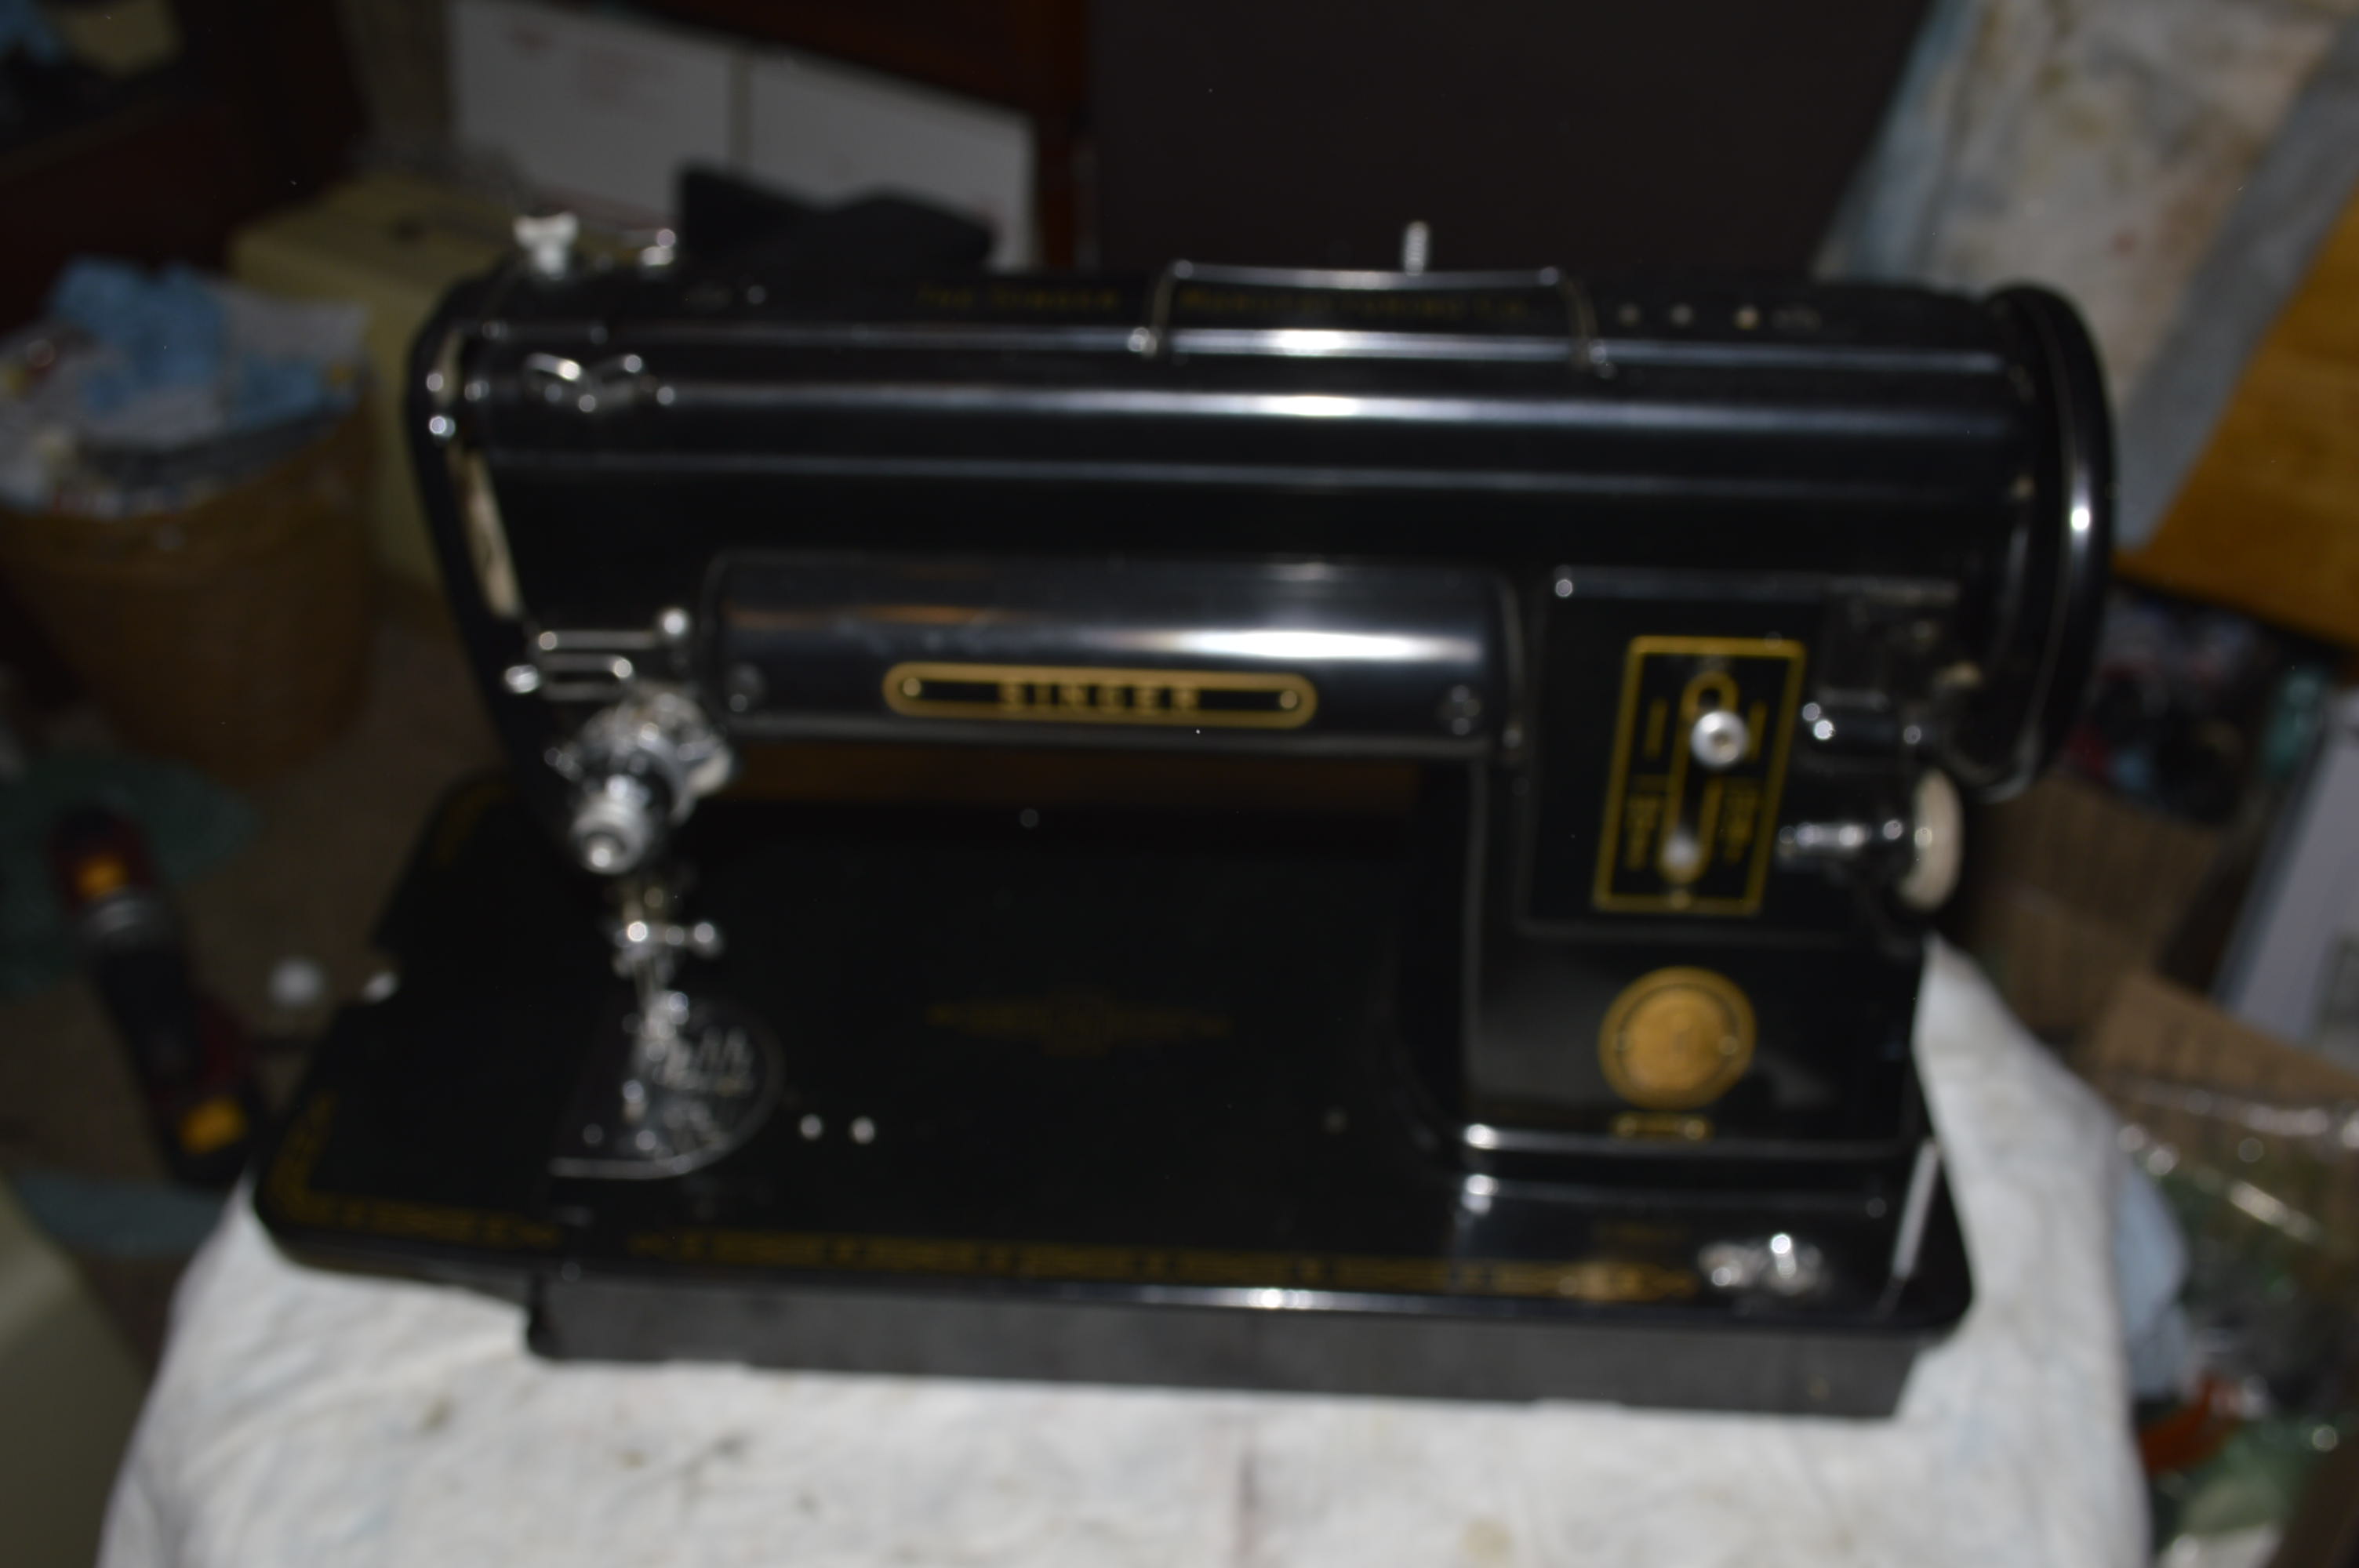

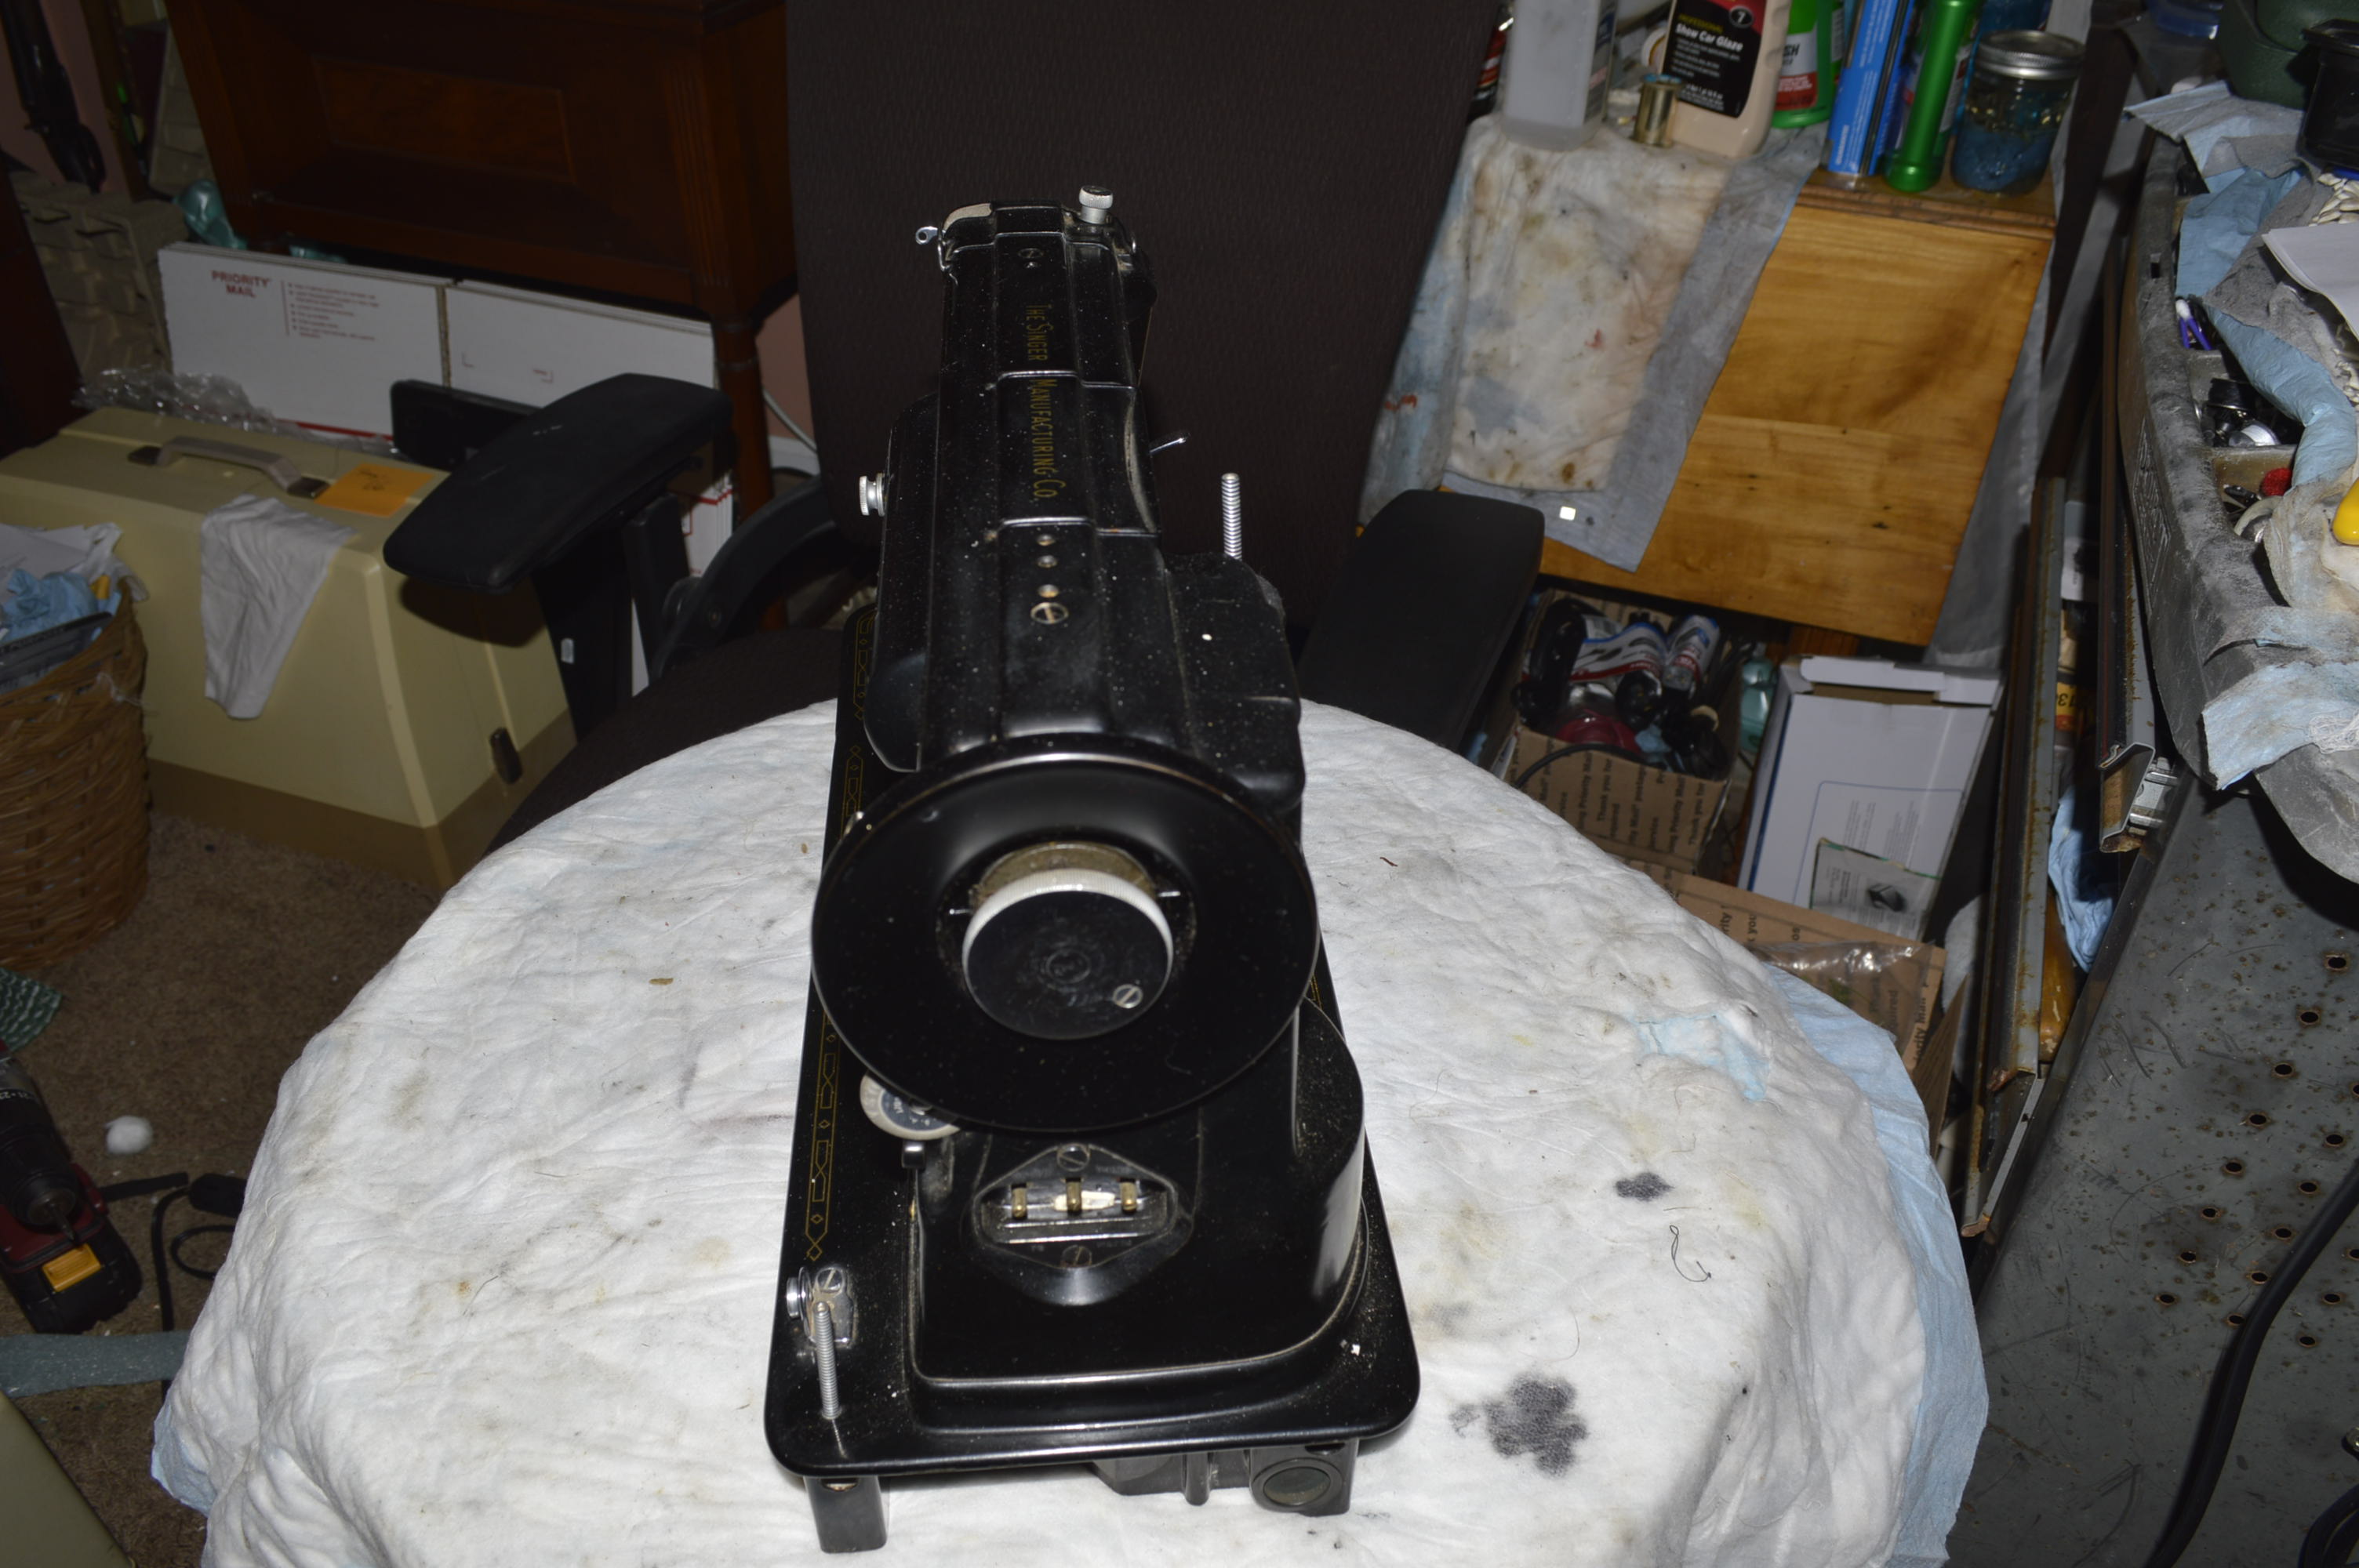
She looks pretty good as-is, but there is much more depth in her finish that can be be brought out. As always, the reconditioning begins with a first cleaning with sewing machine oil. This is a safe method that gently removes dirt build up and dust without the chance of damage to the paint or decals.

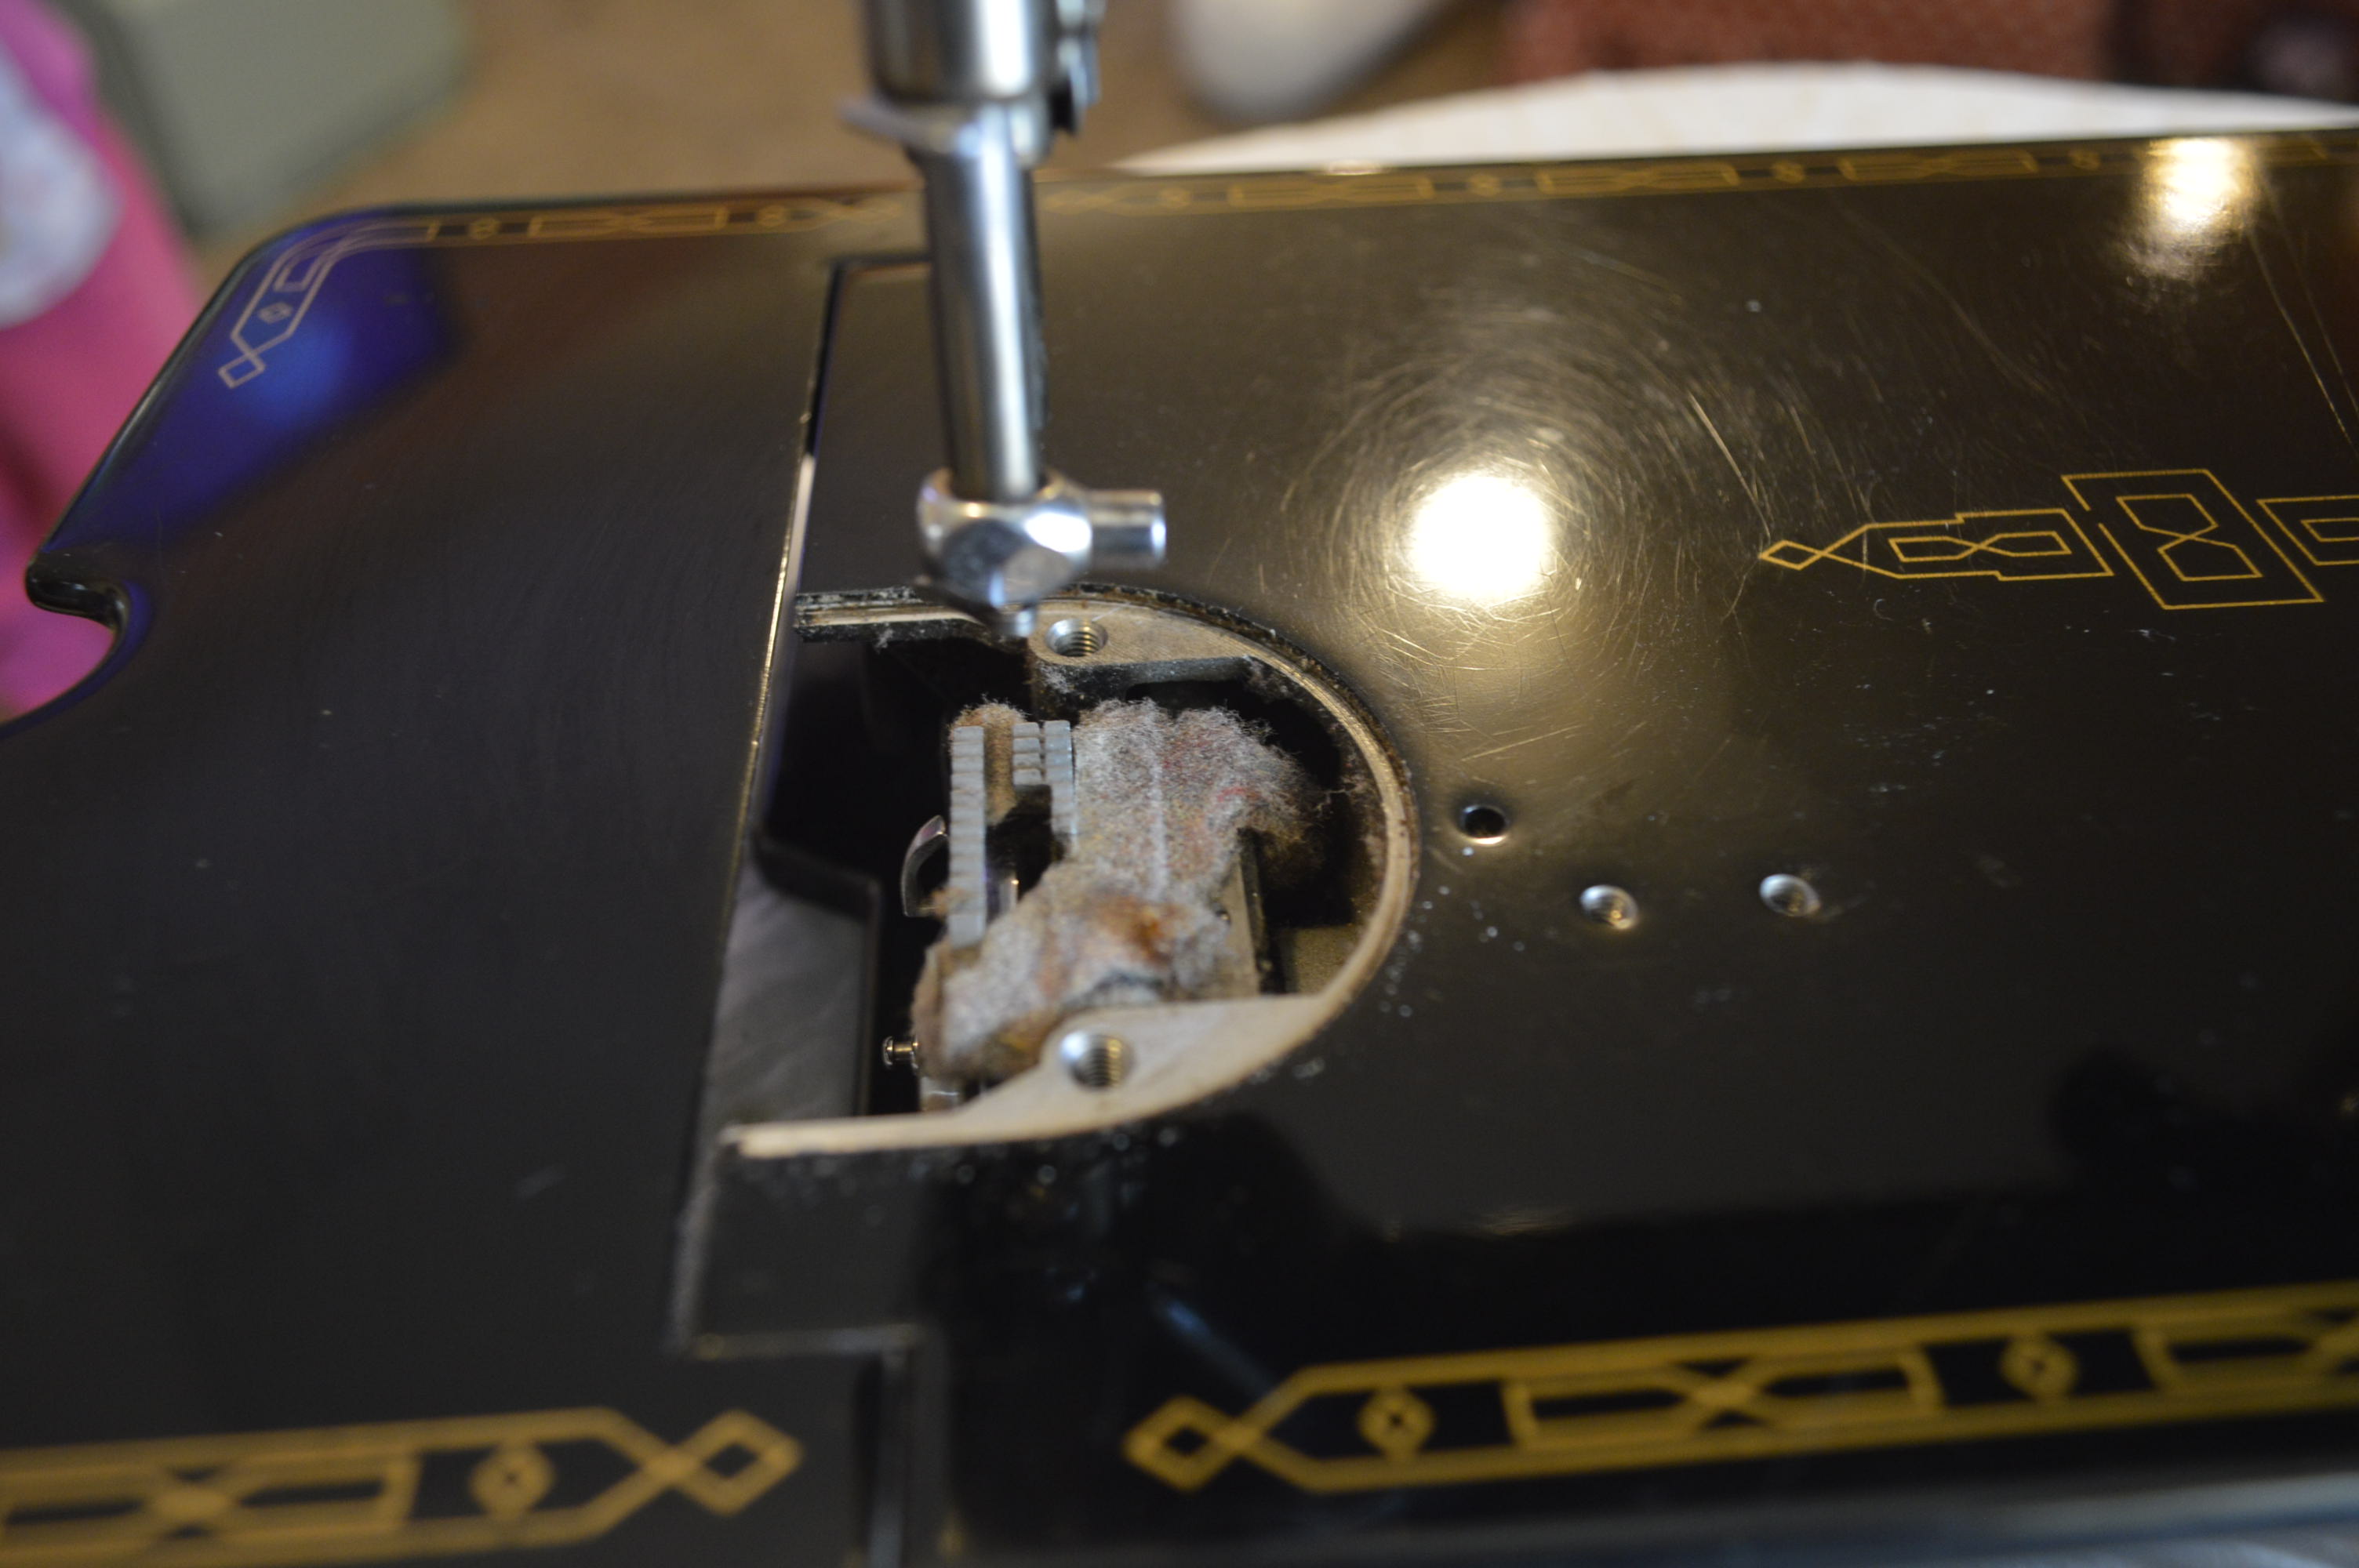
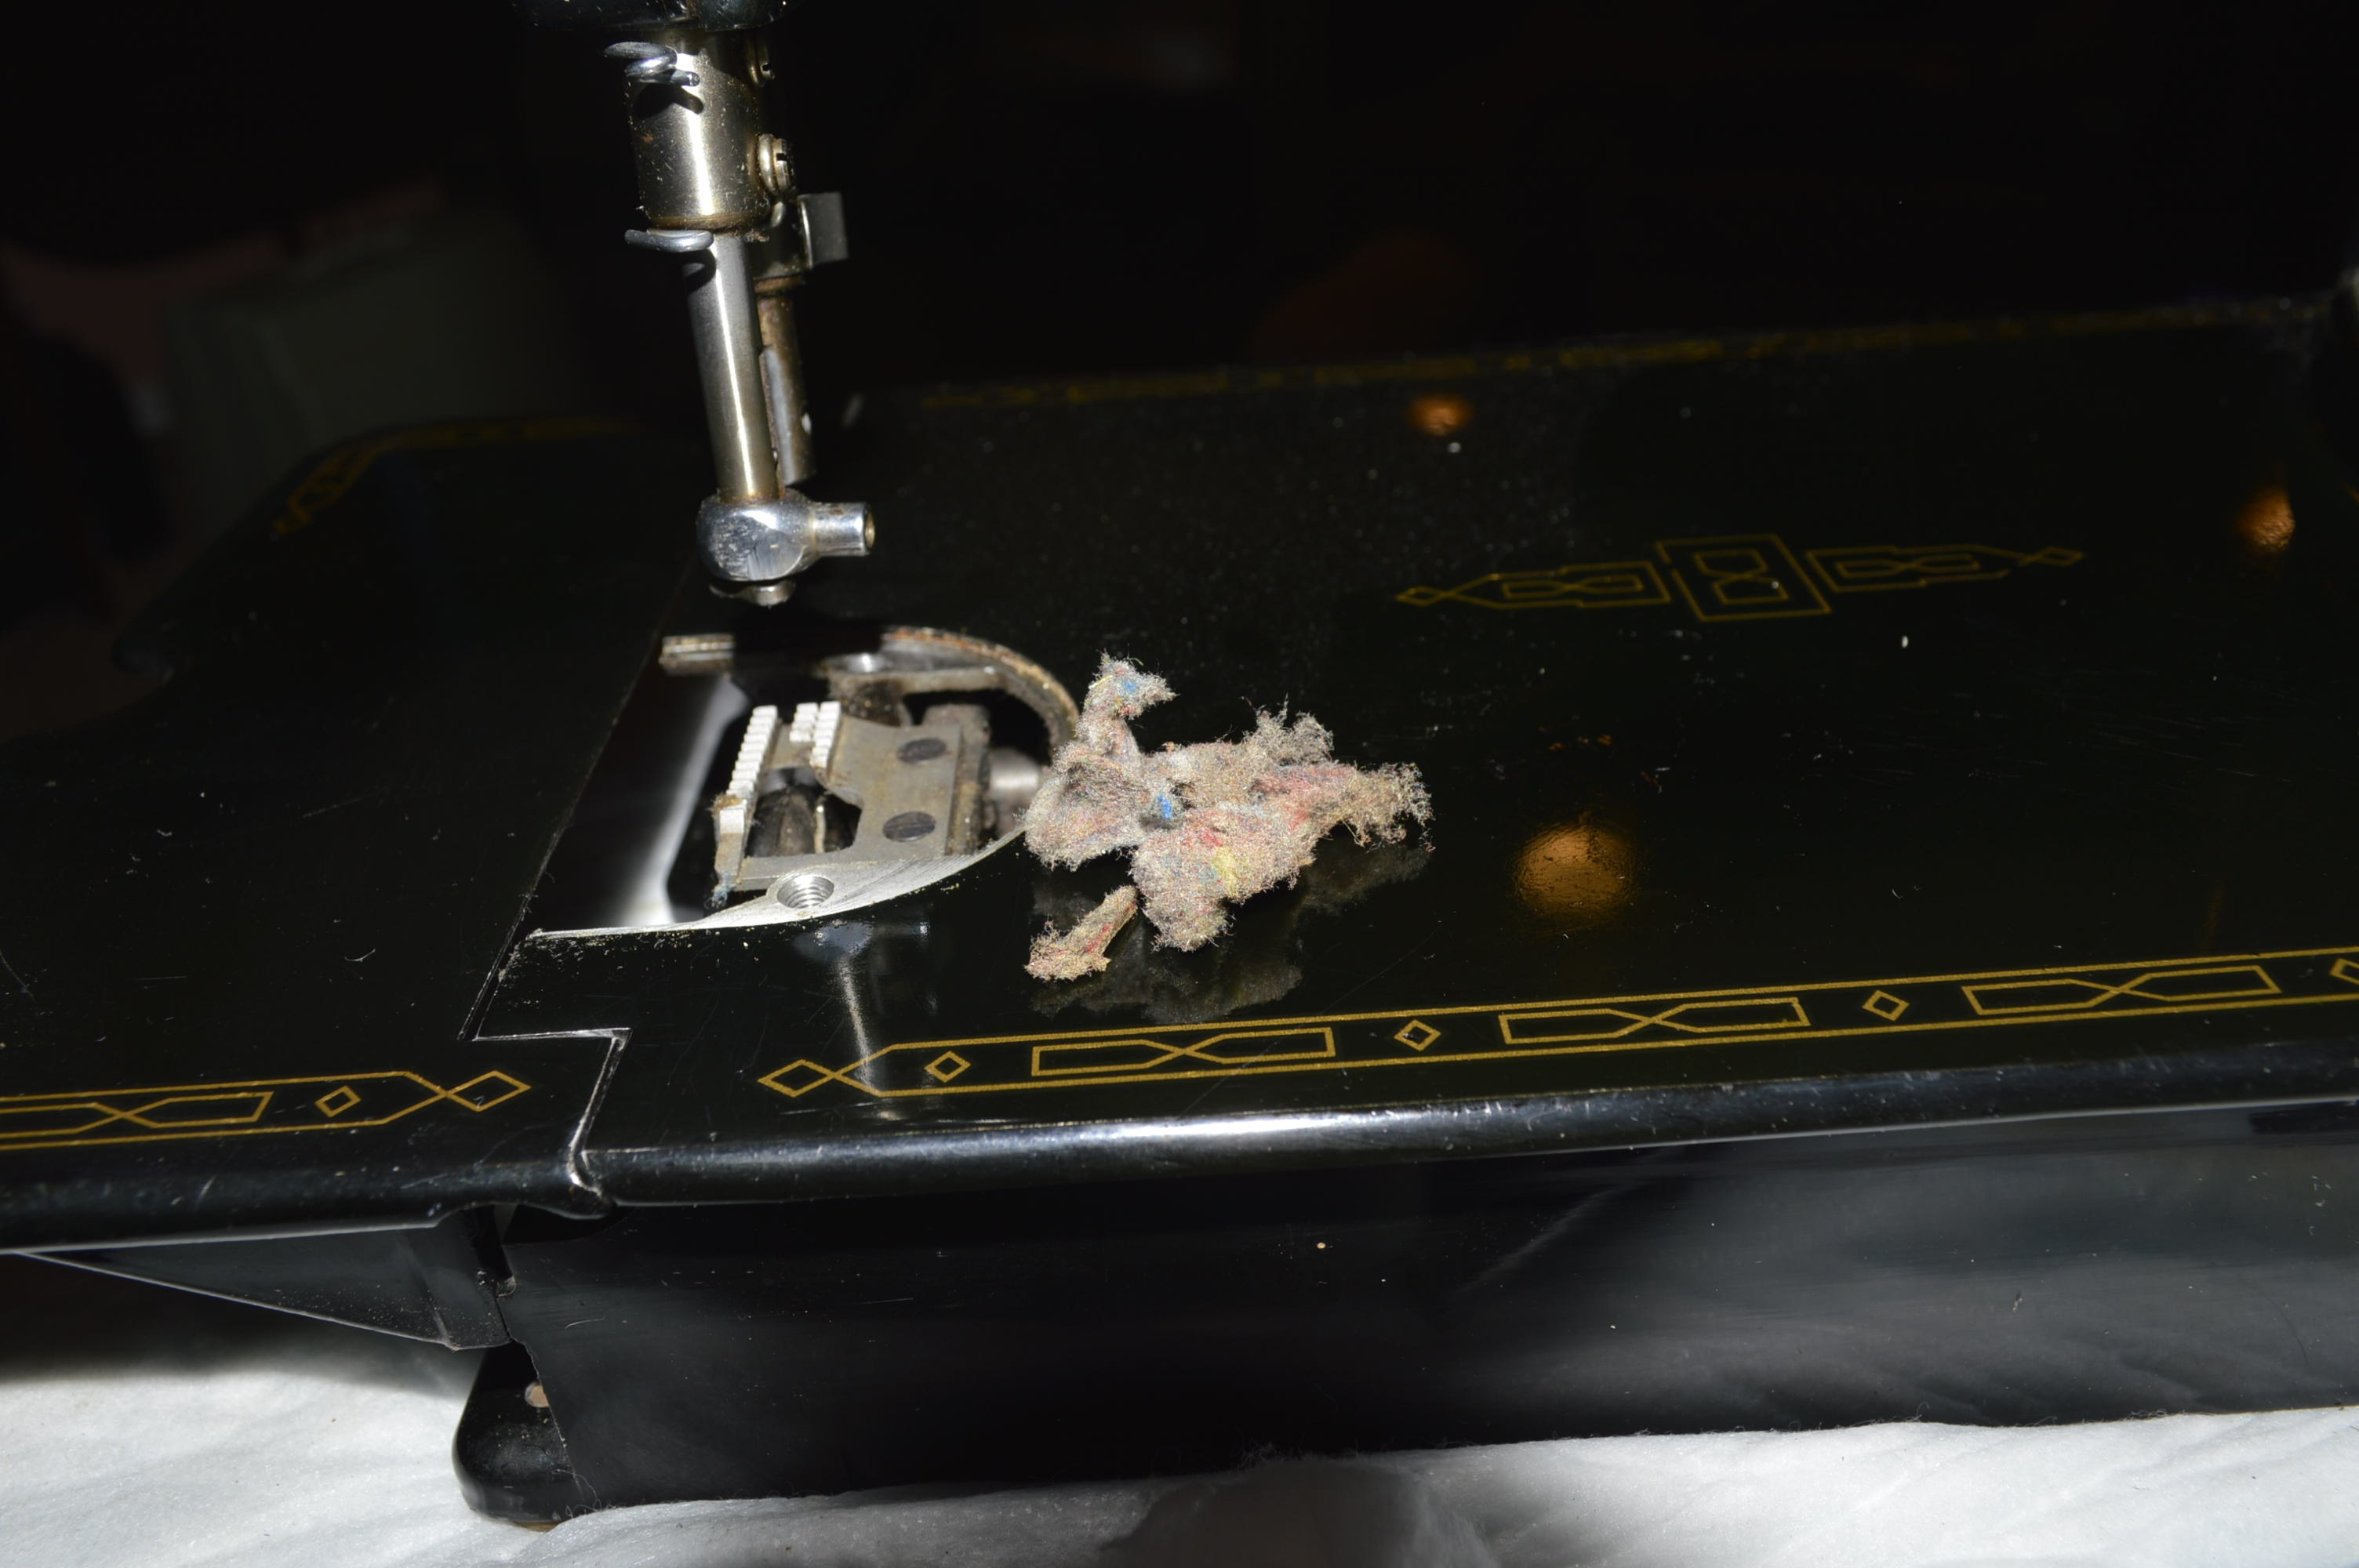
There is a lot of lint in the feed dogs… This is a perfect example of why the feed dogs should be cleaned occasionally. This amount of lint could affect sewing performance.
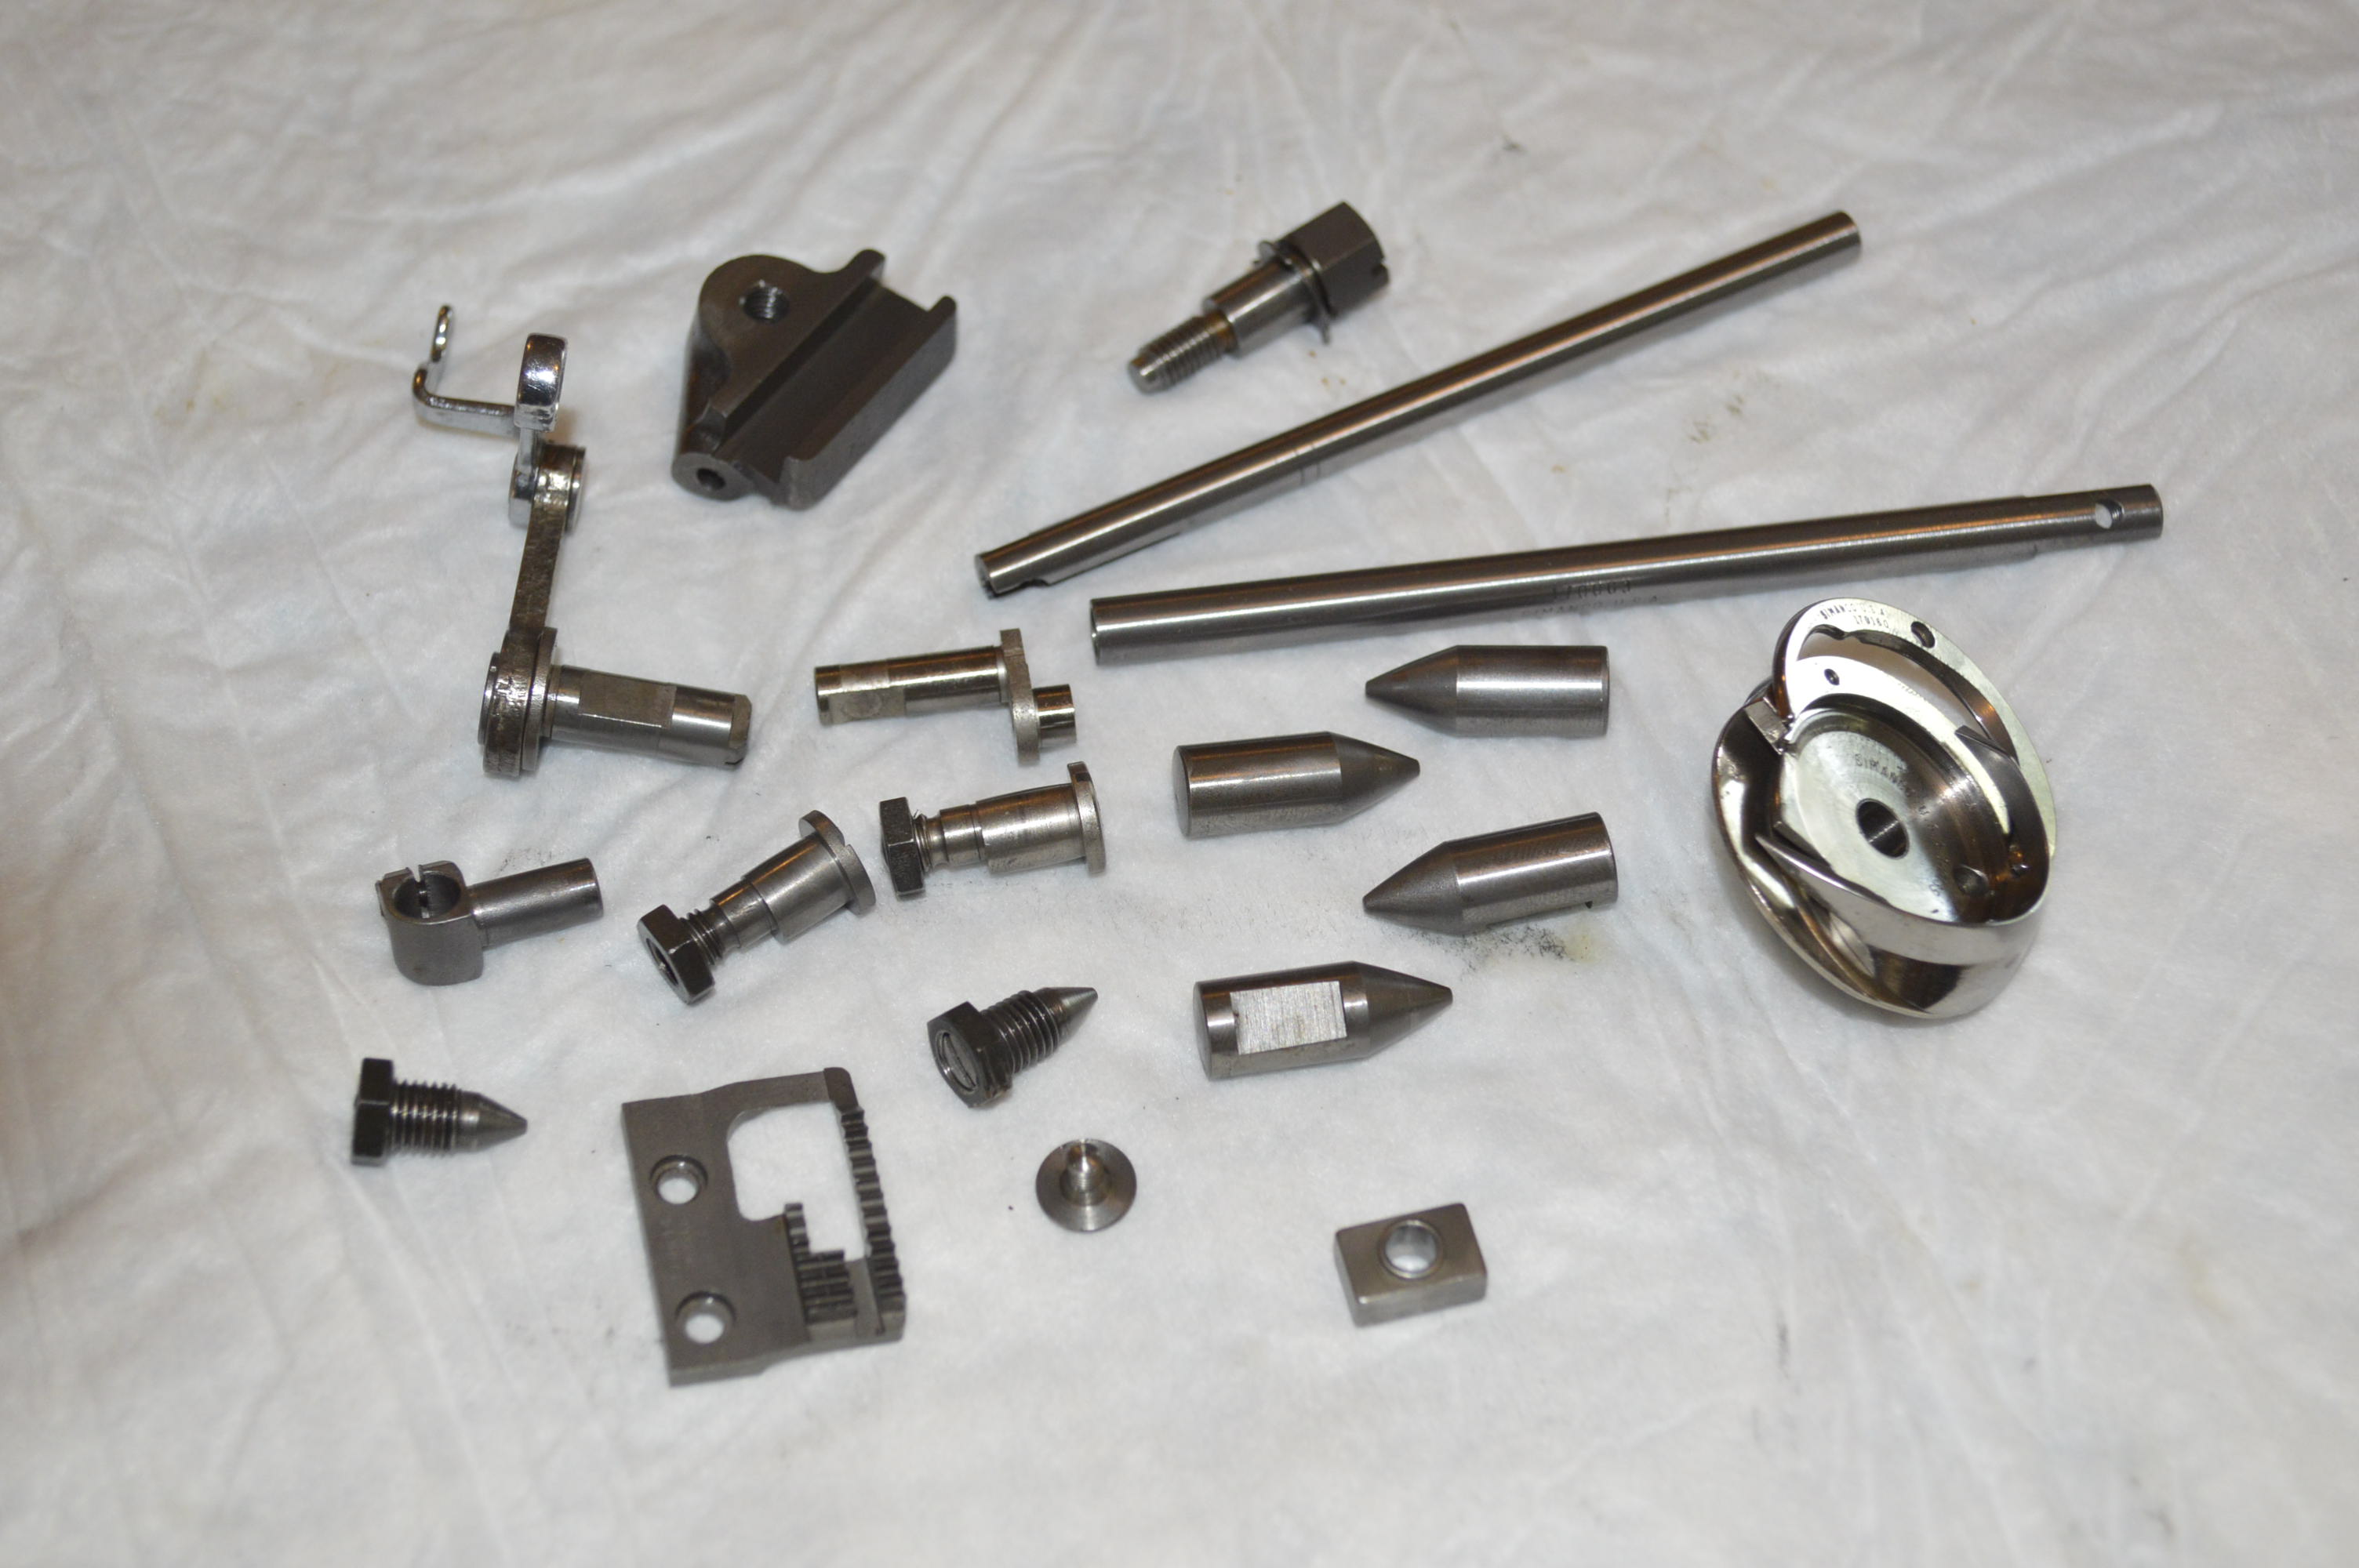
The rotating assembly in the sewing head is removed for cleaning. This includes all of the parts shown, except for the needle bar and presser bar bushings.

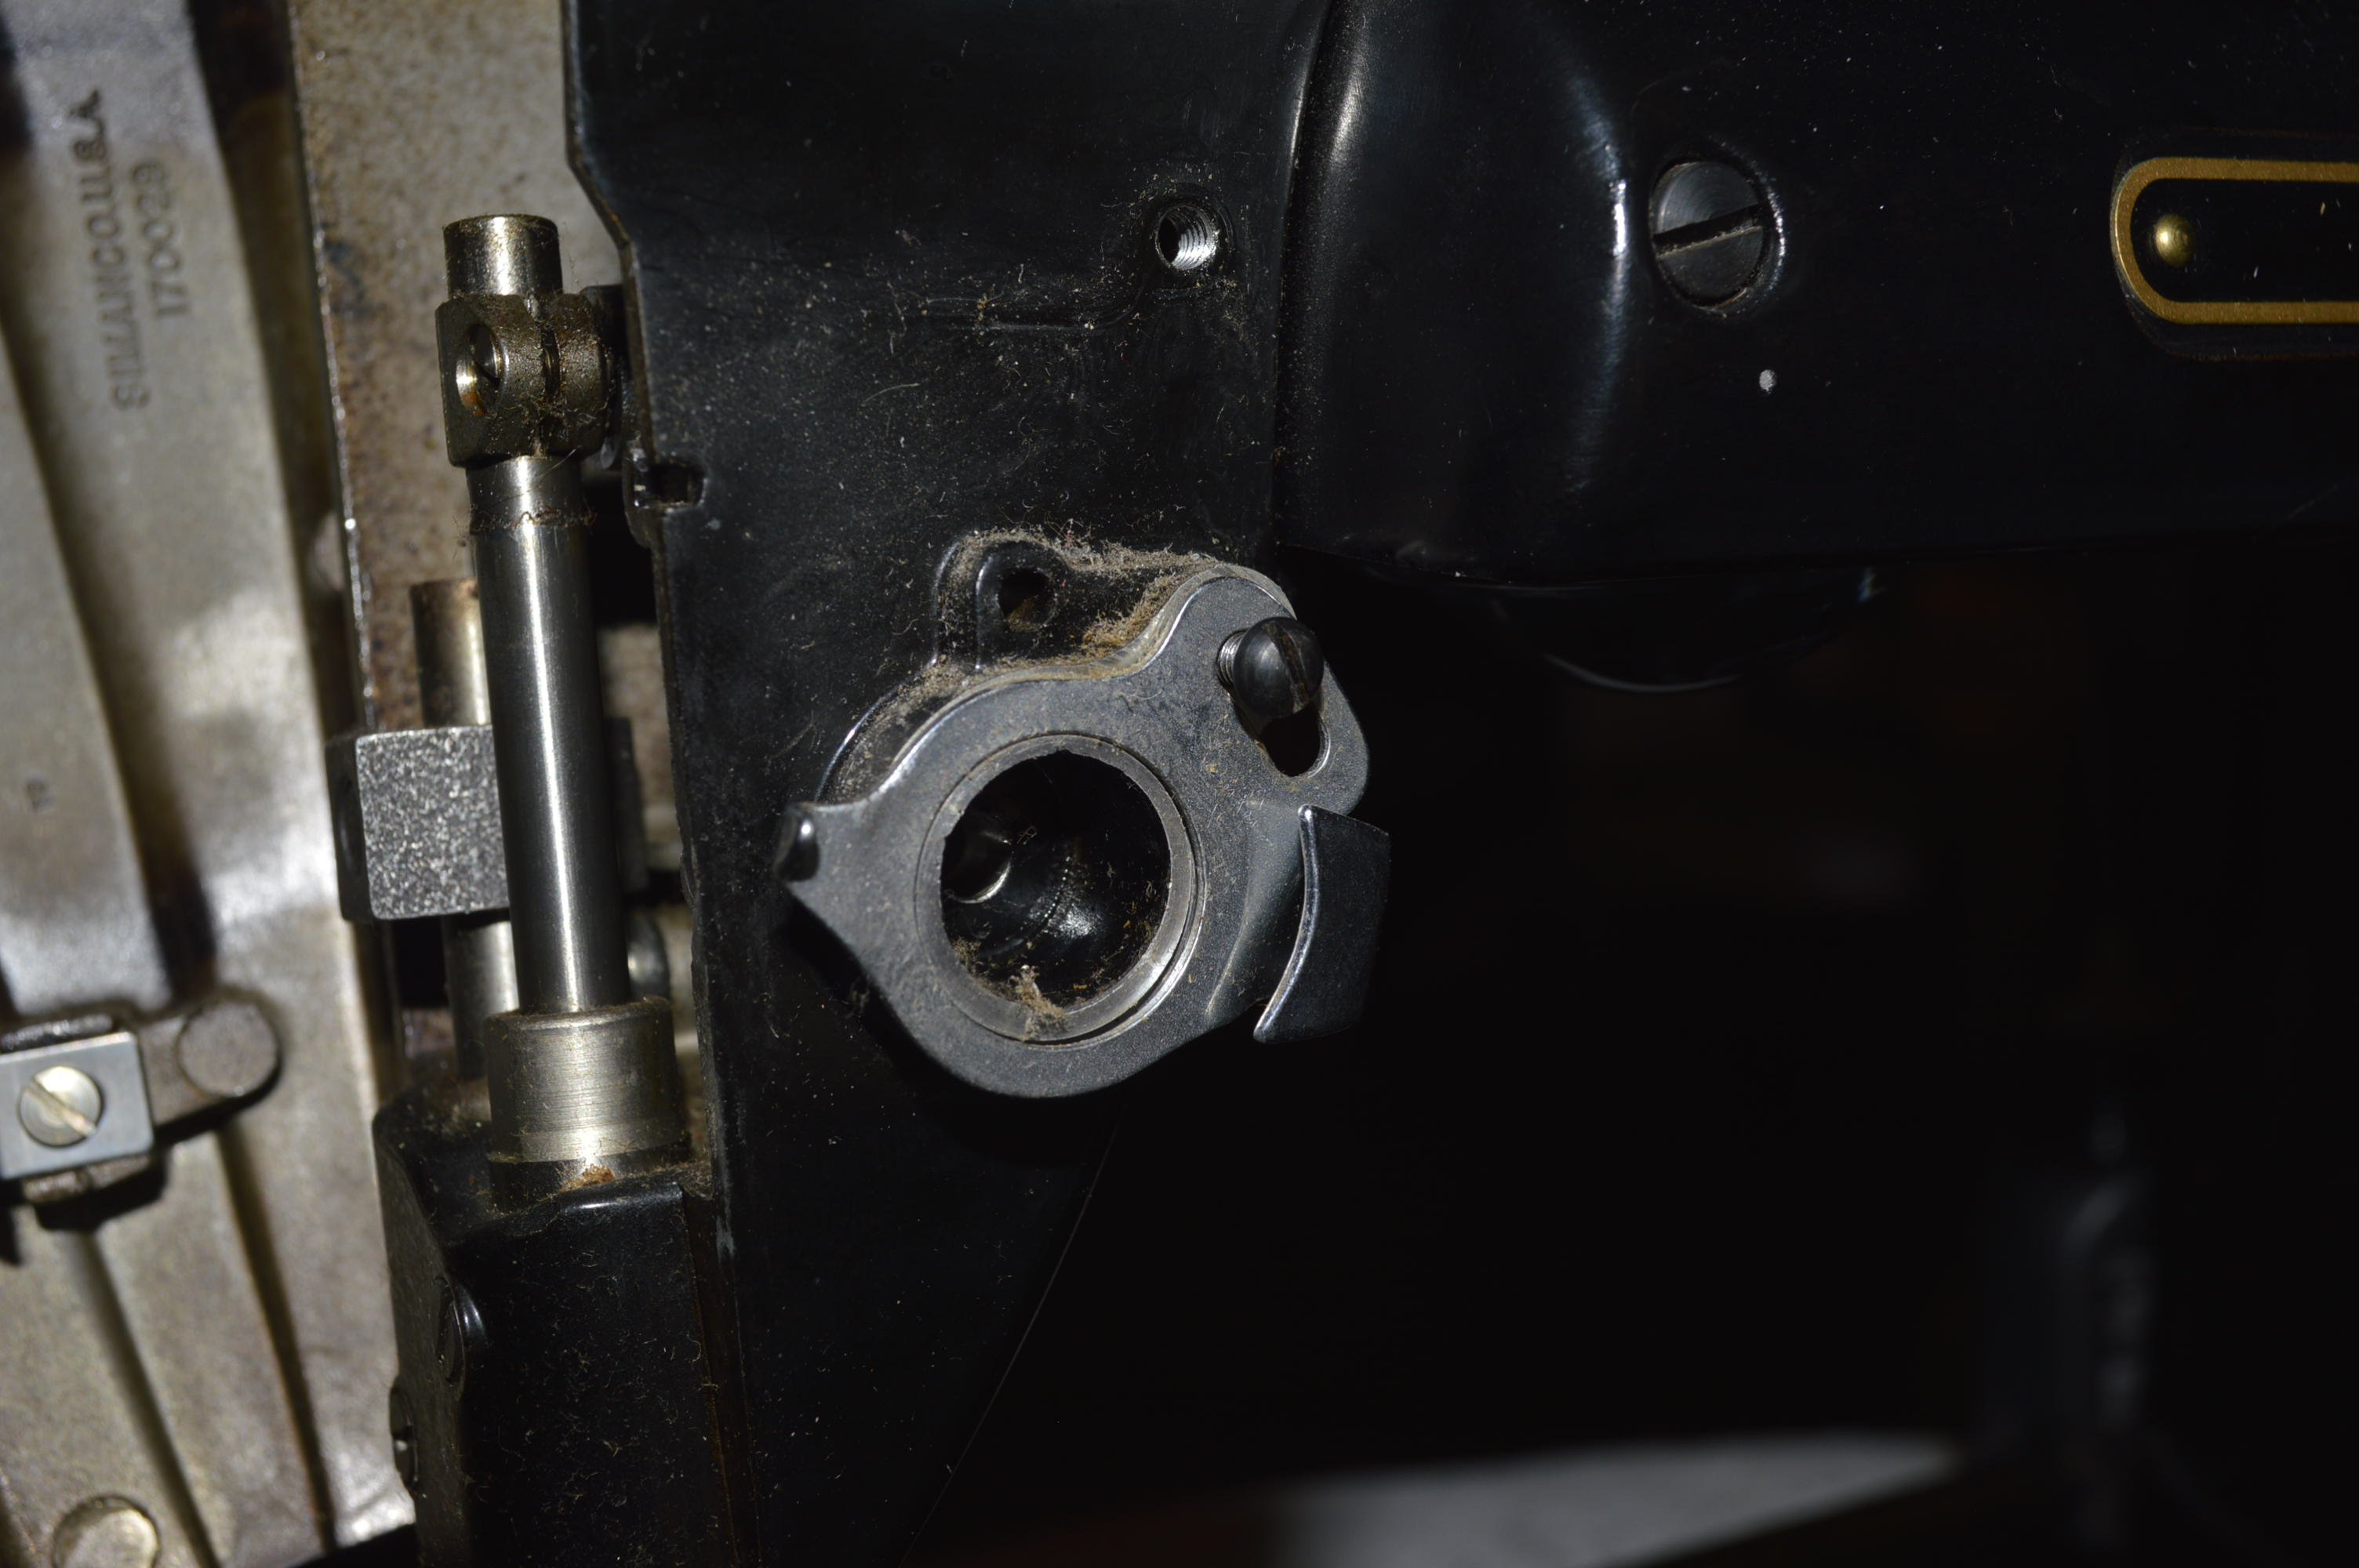
The bushings need to be cleaned… but they set critical adjustments for needle timing and presser foot height. After considering the pros and cons of removing them, I decided that there was nothing to be gained by removing them as they could be cleaned thoroughly in the machine.

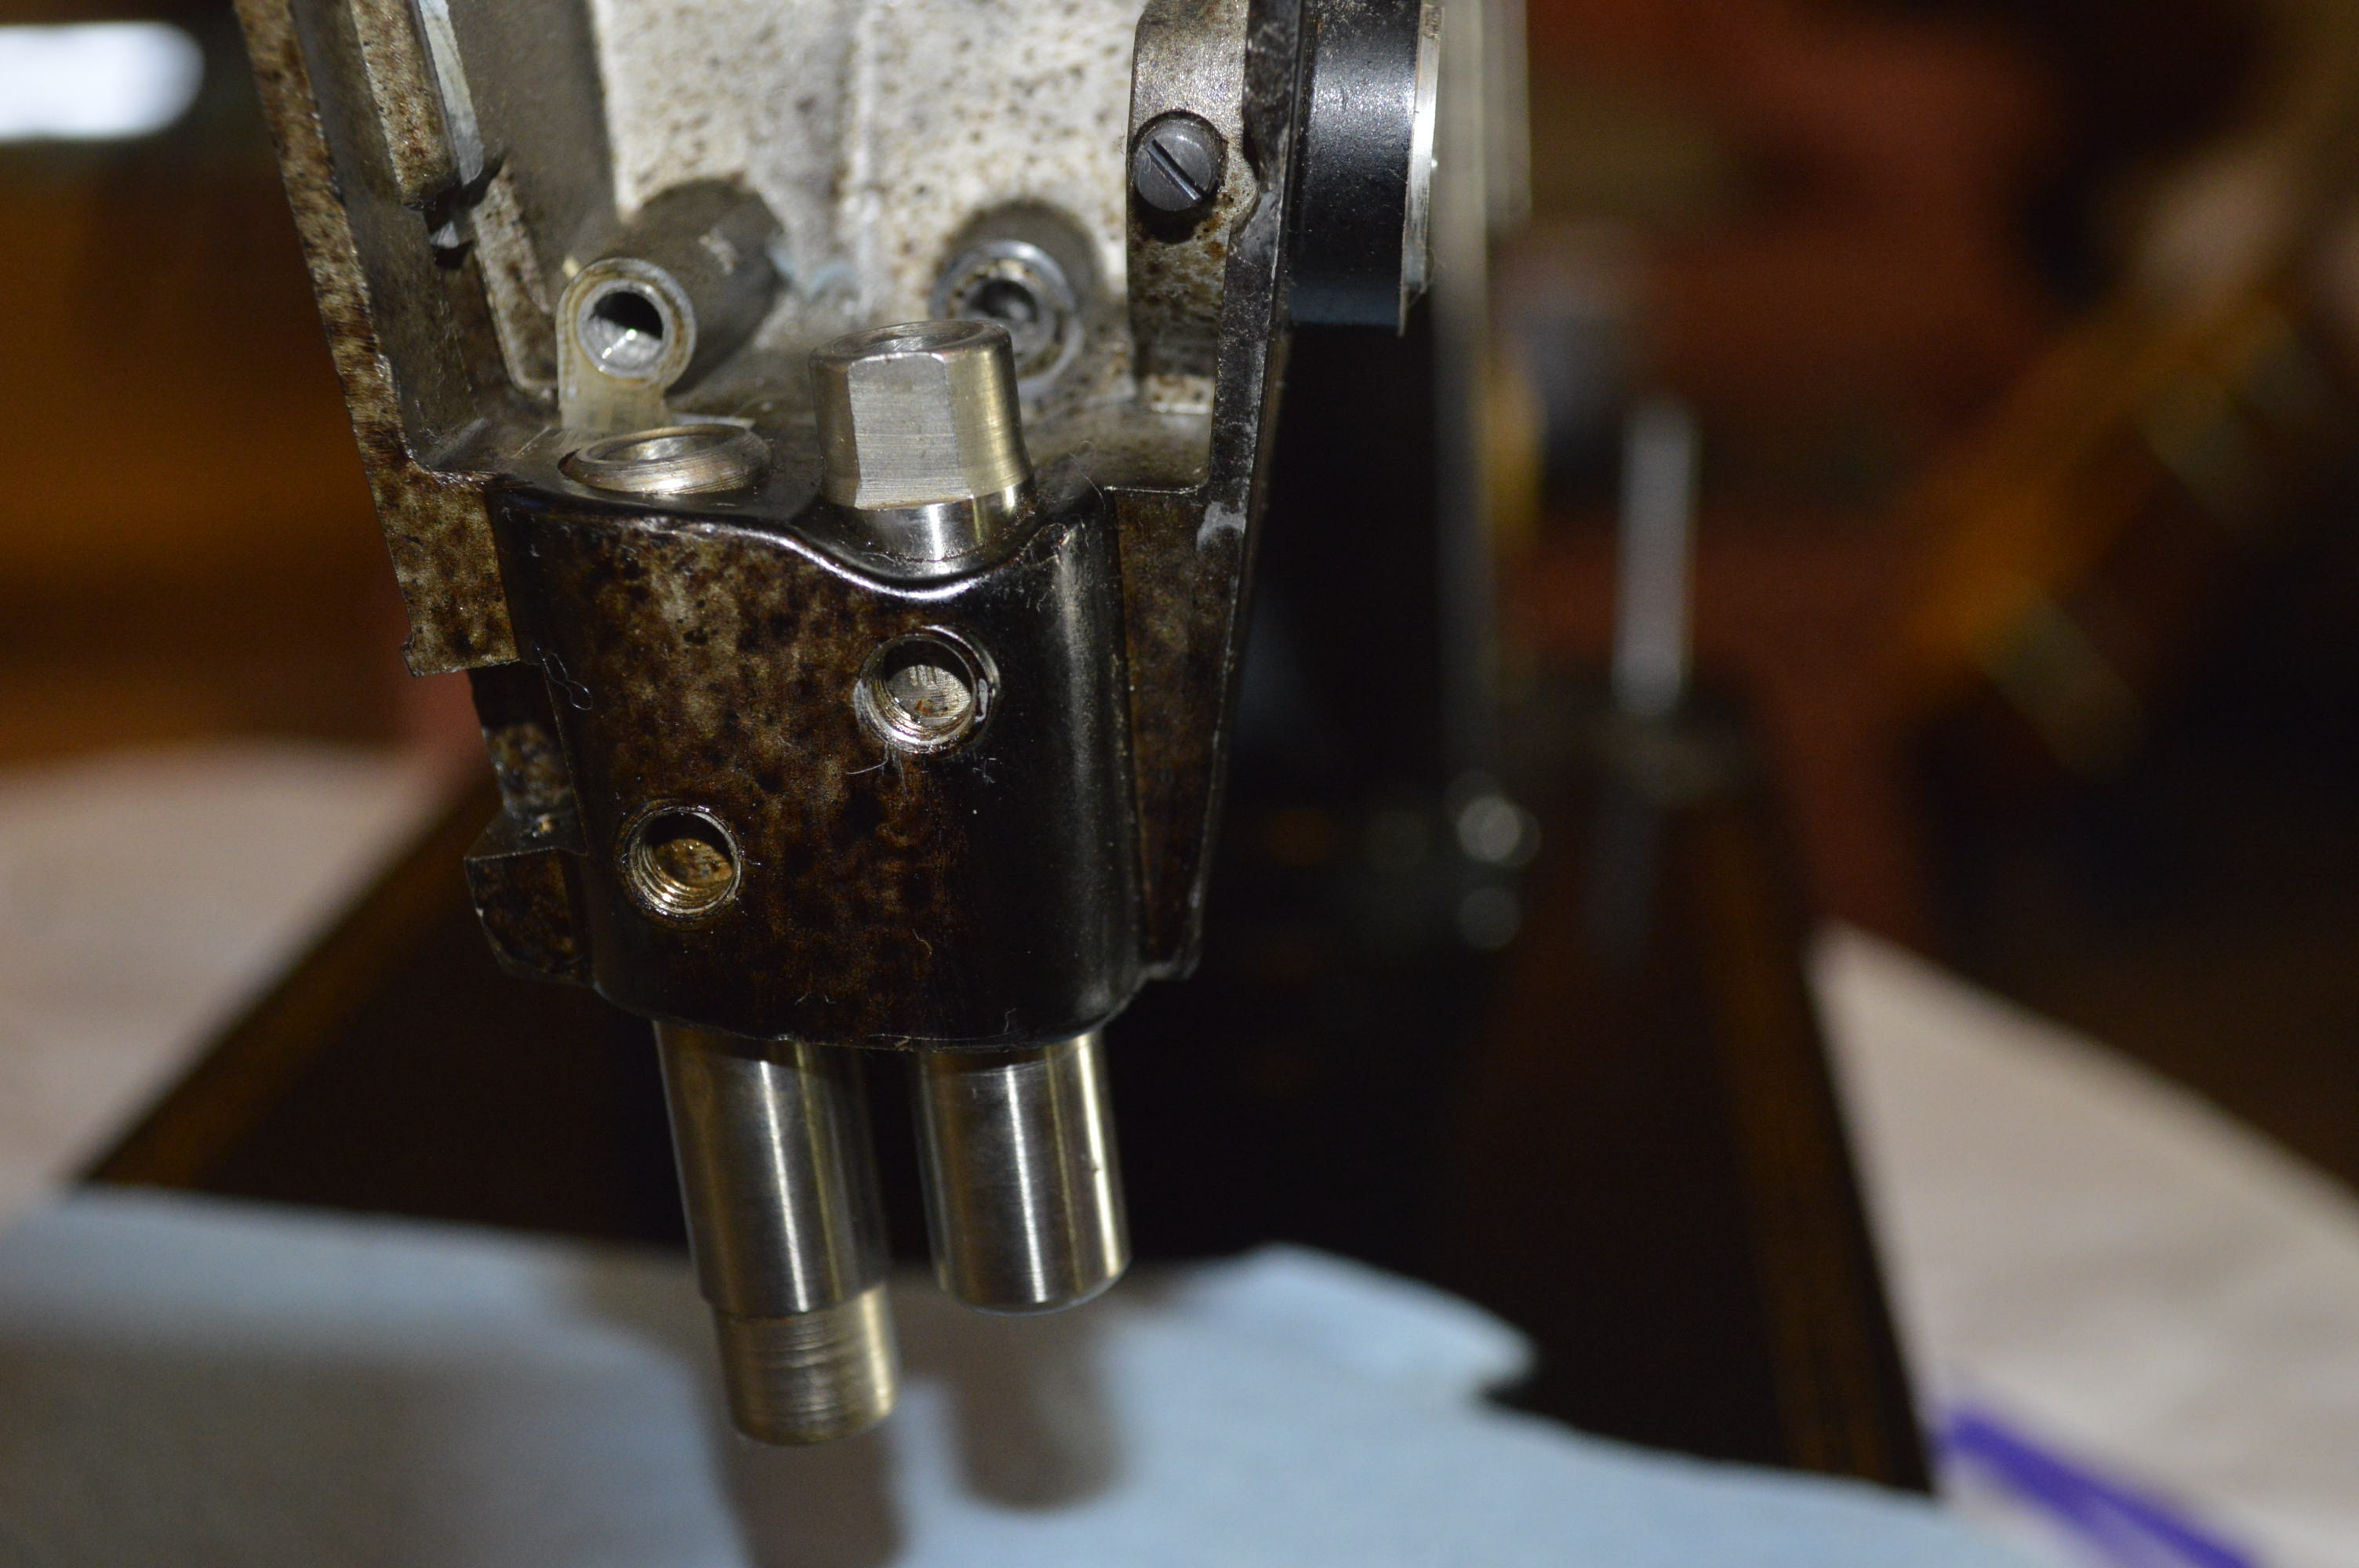
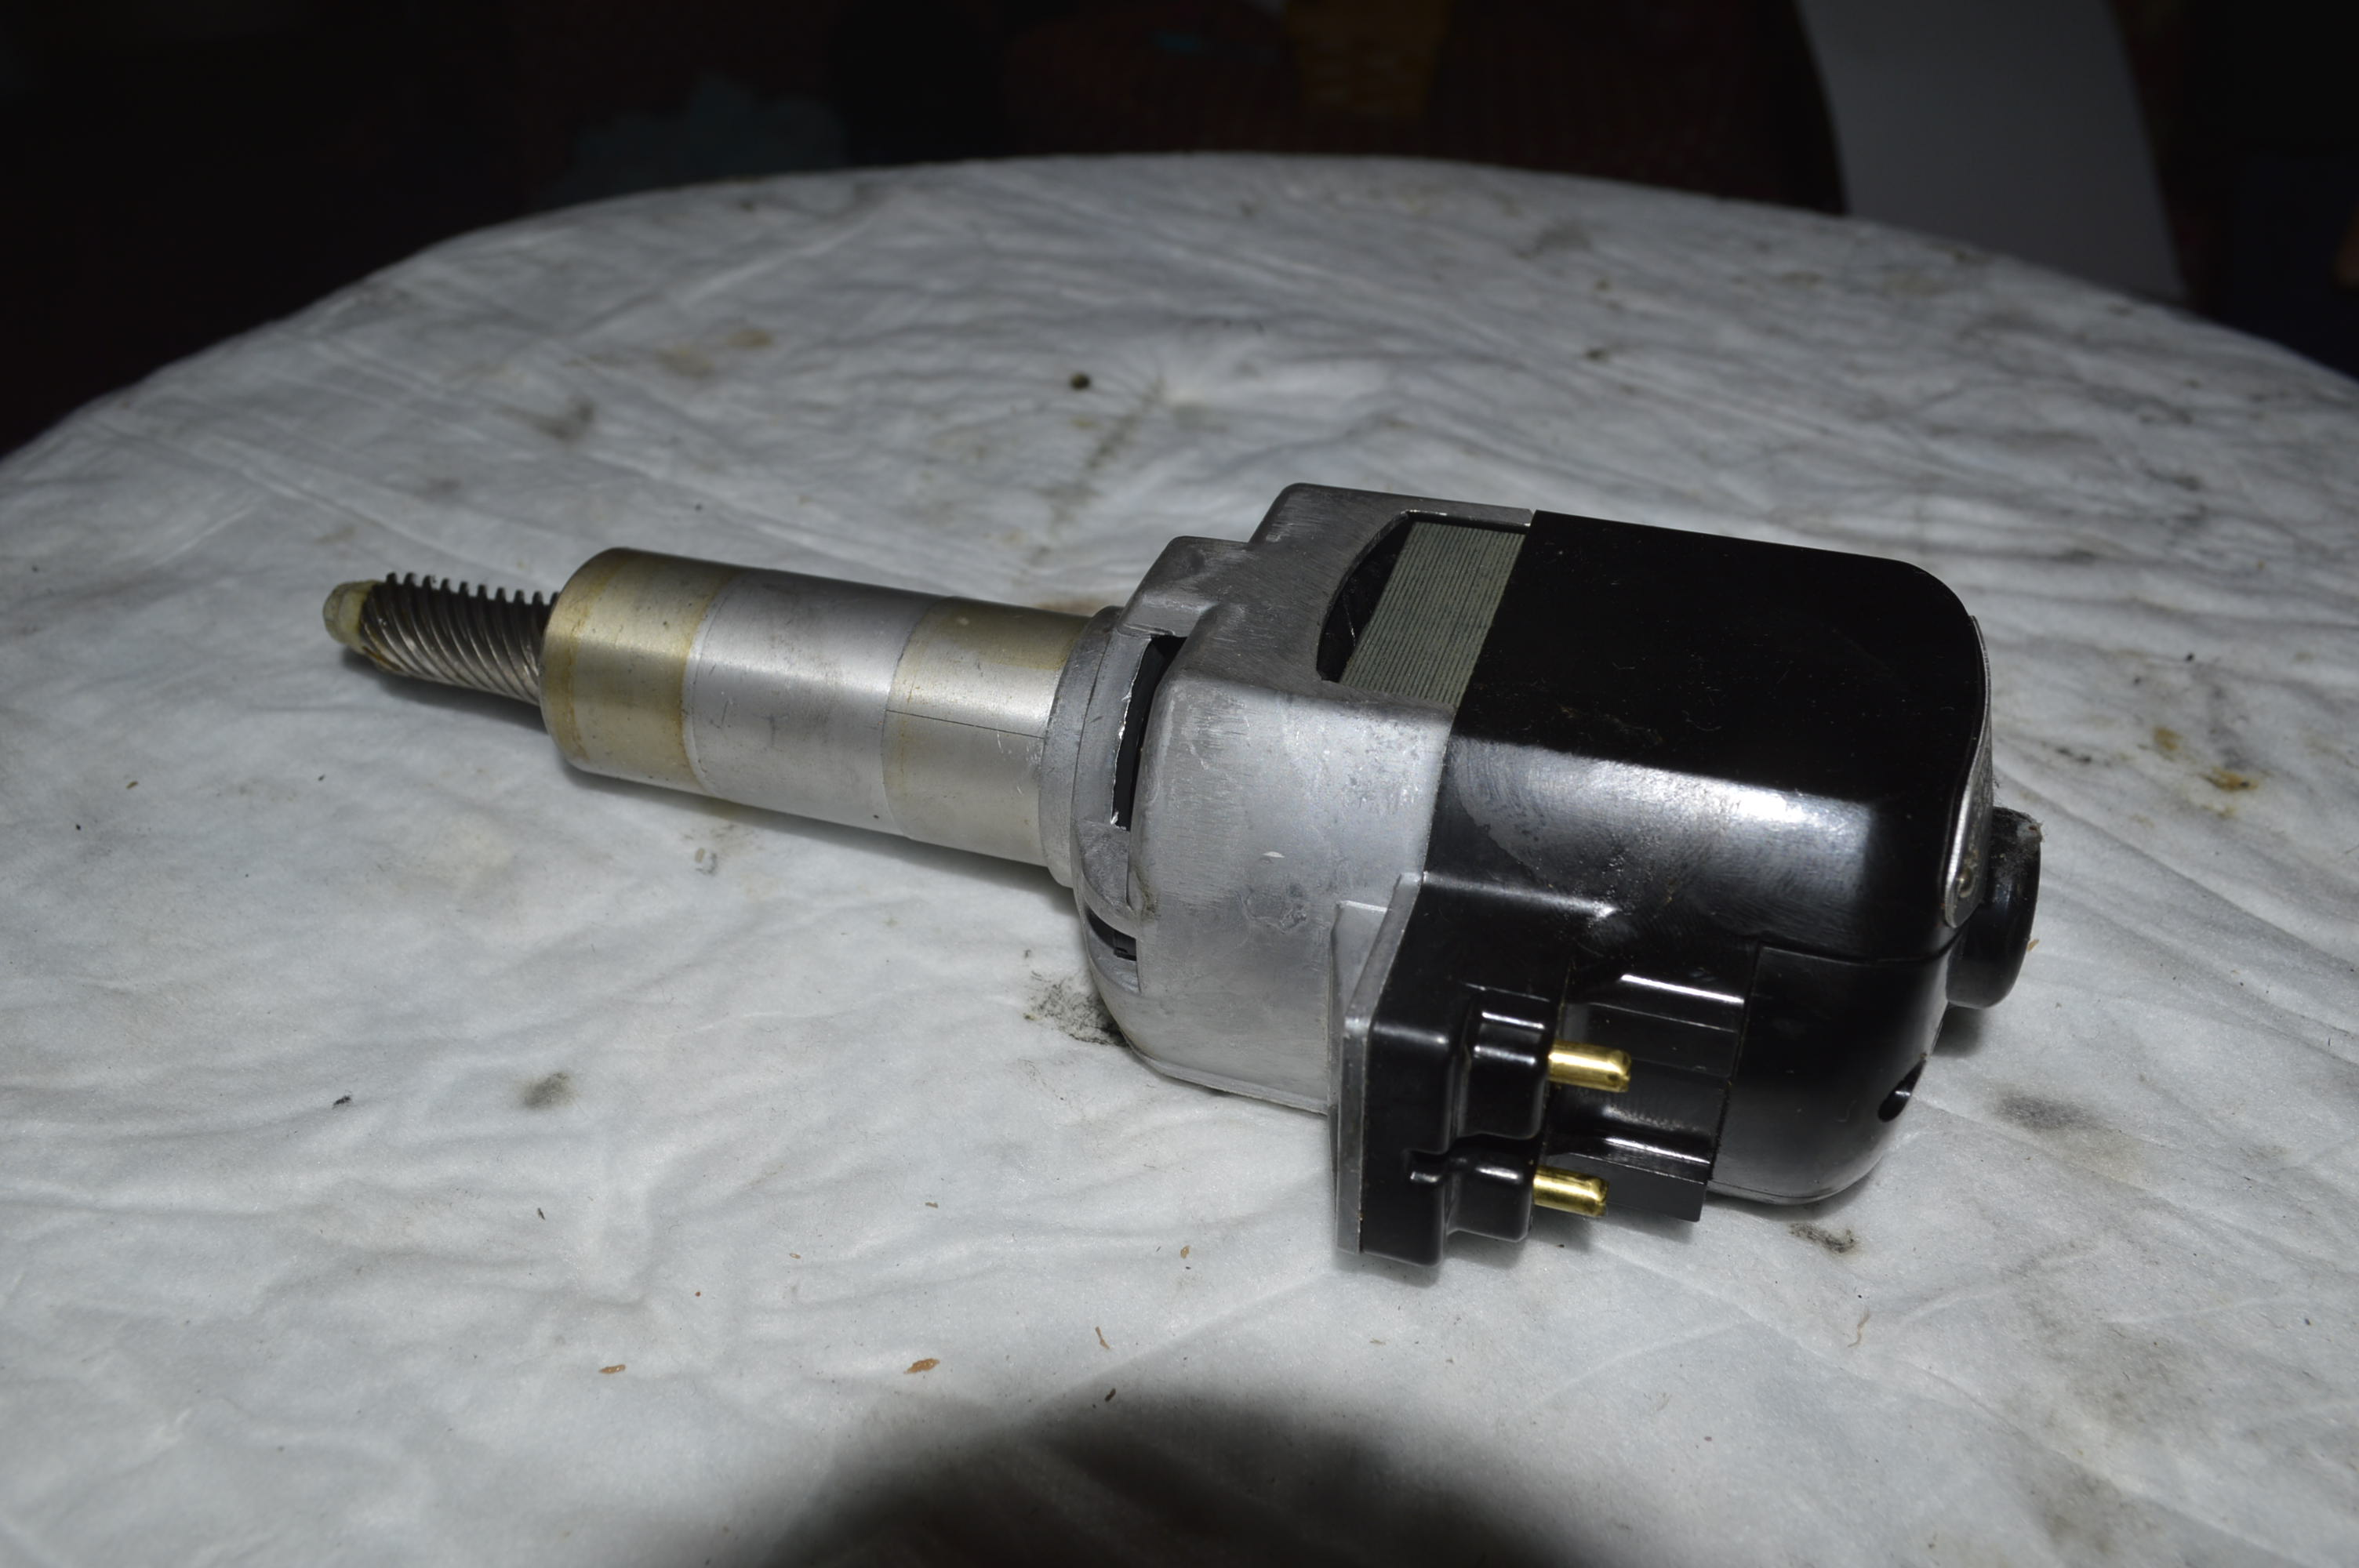
Next, the bottom assemblies and motor are removed…
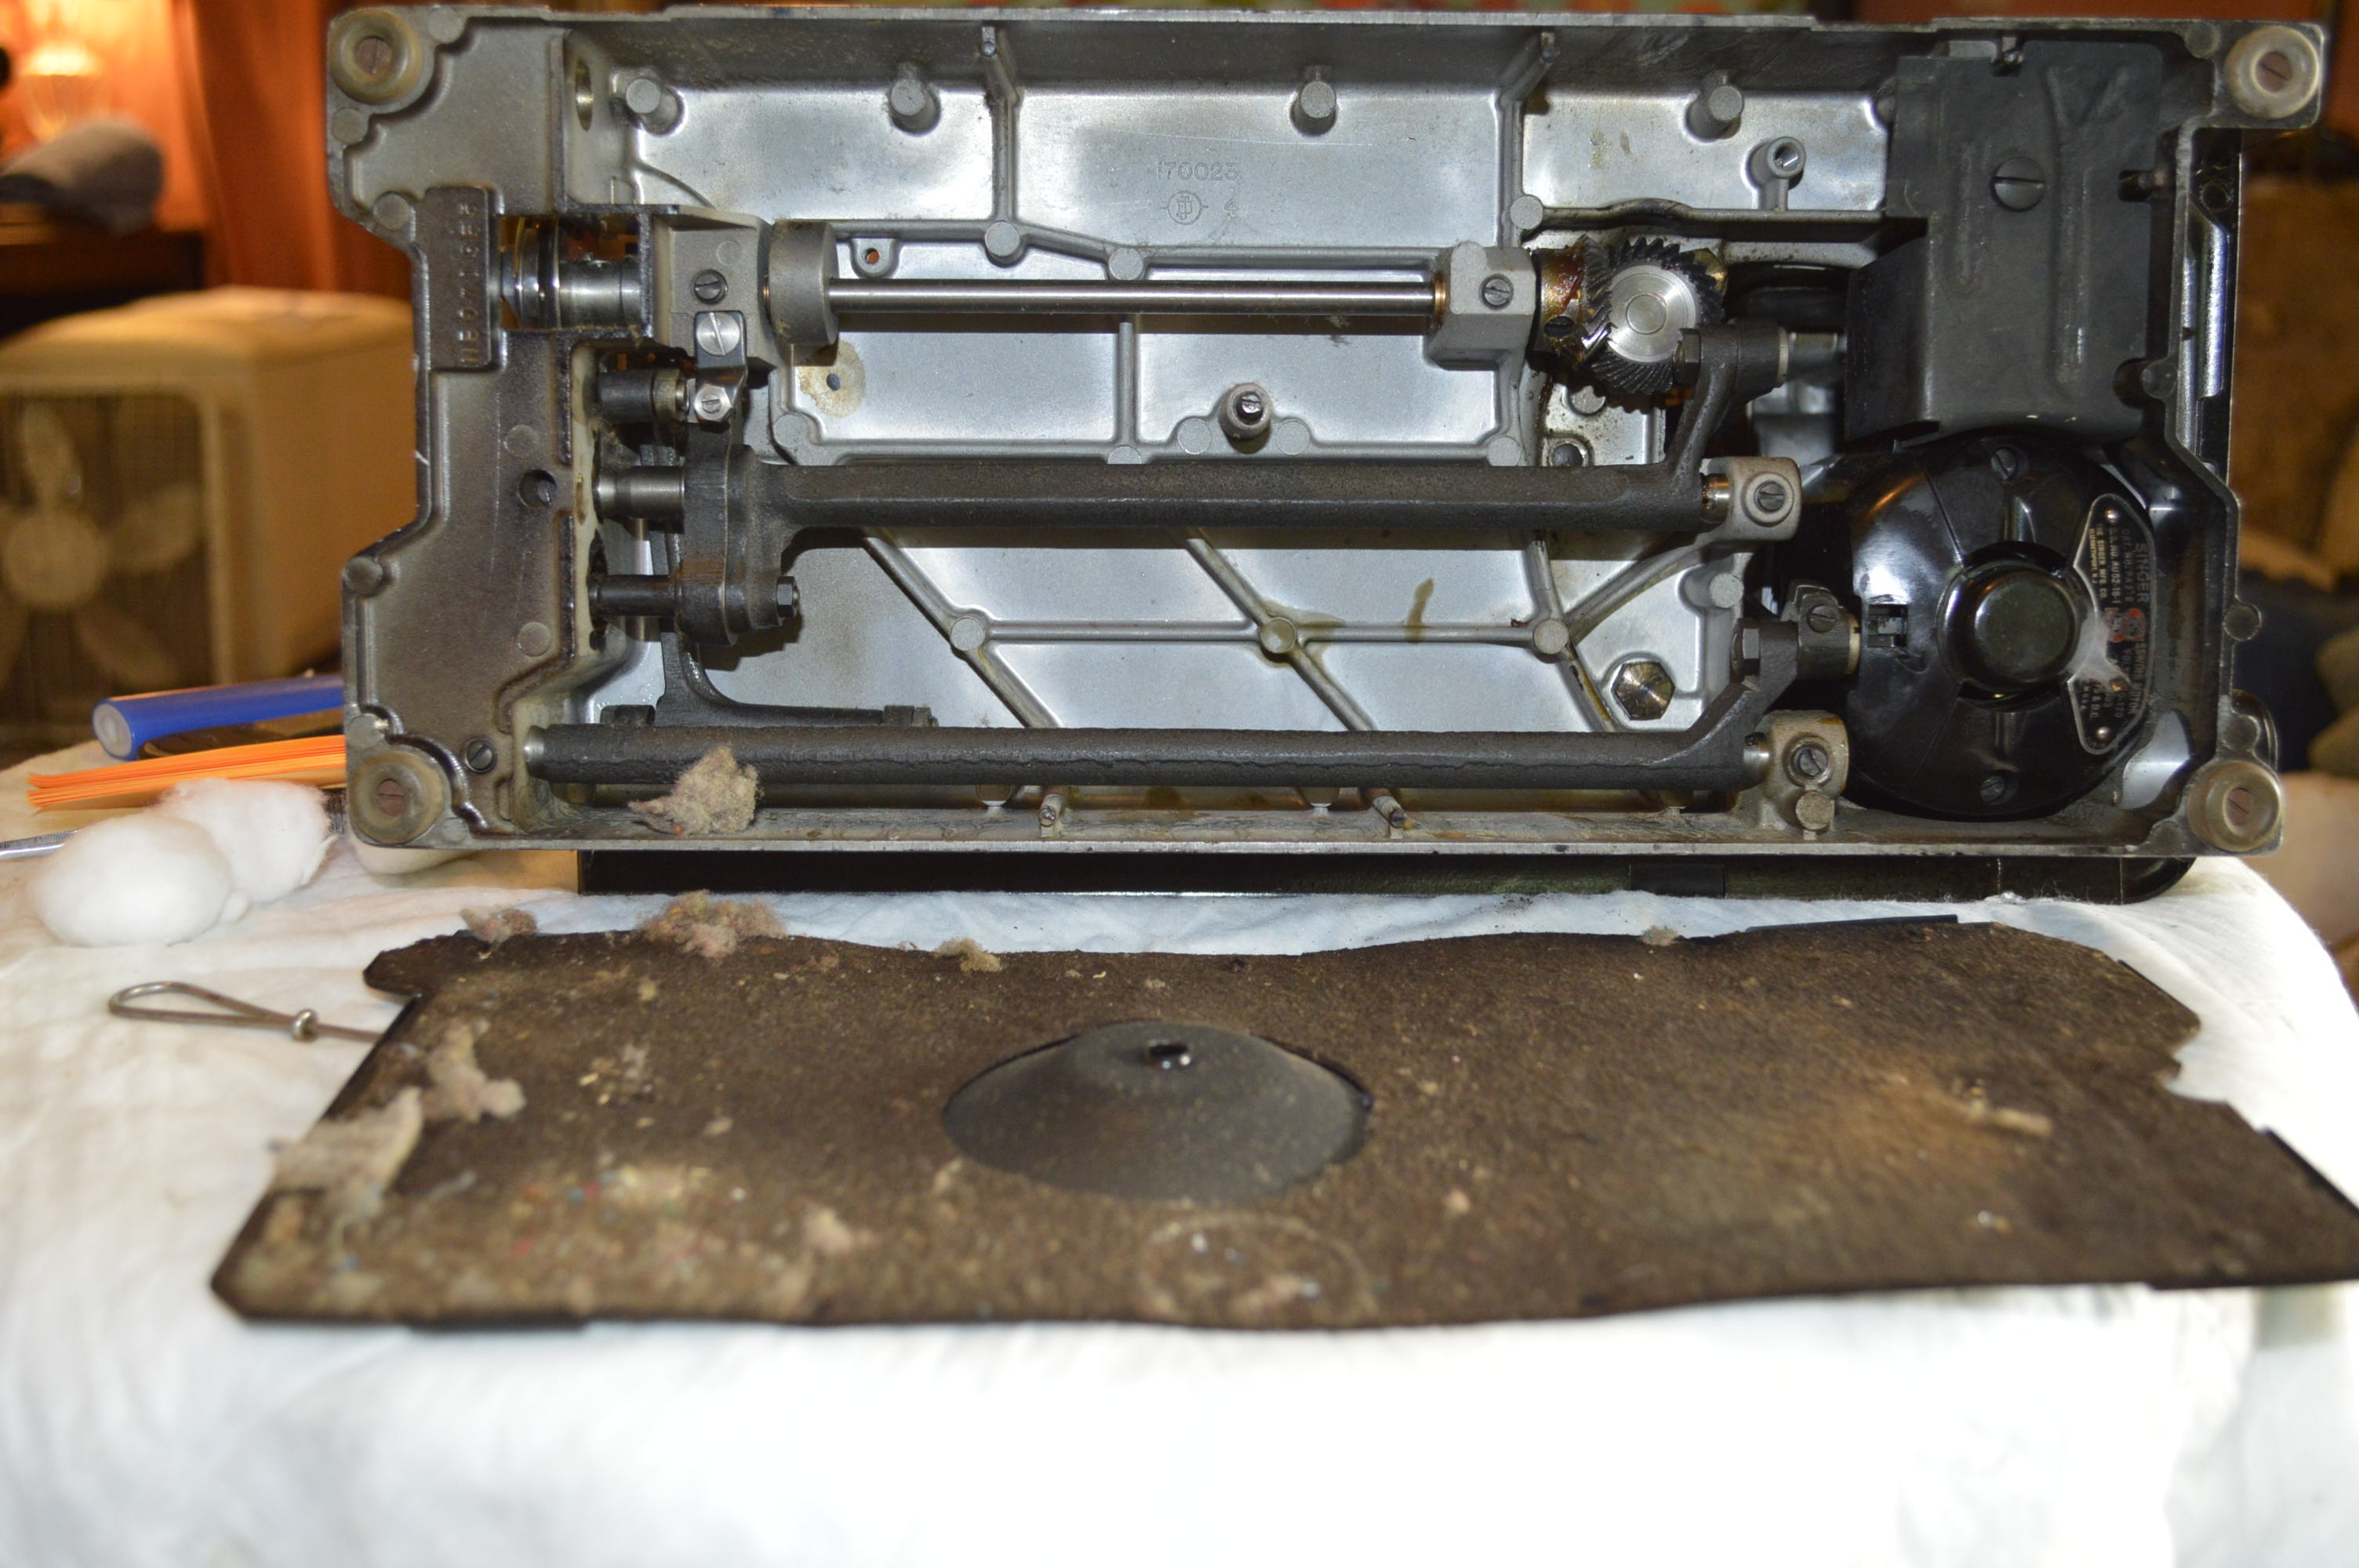
Not as Much Lint as Expected 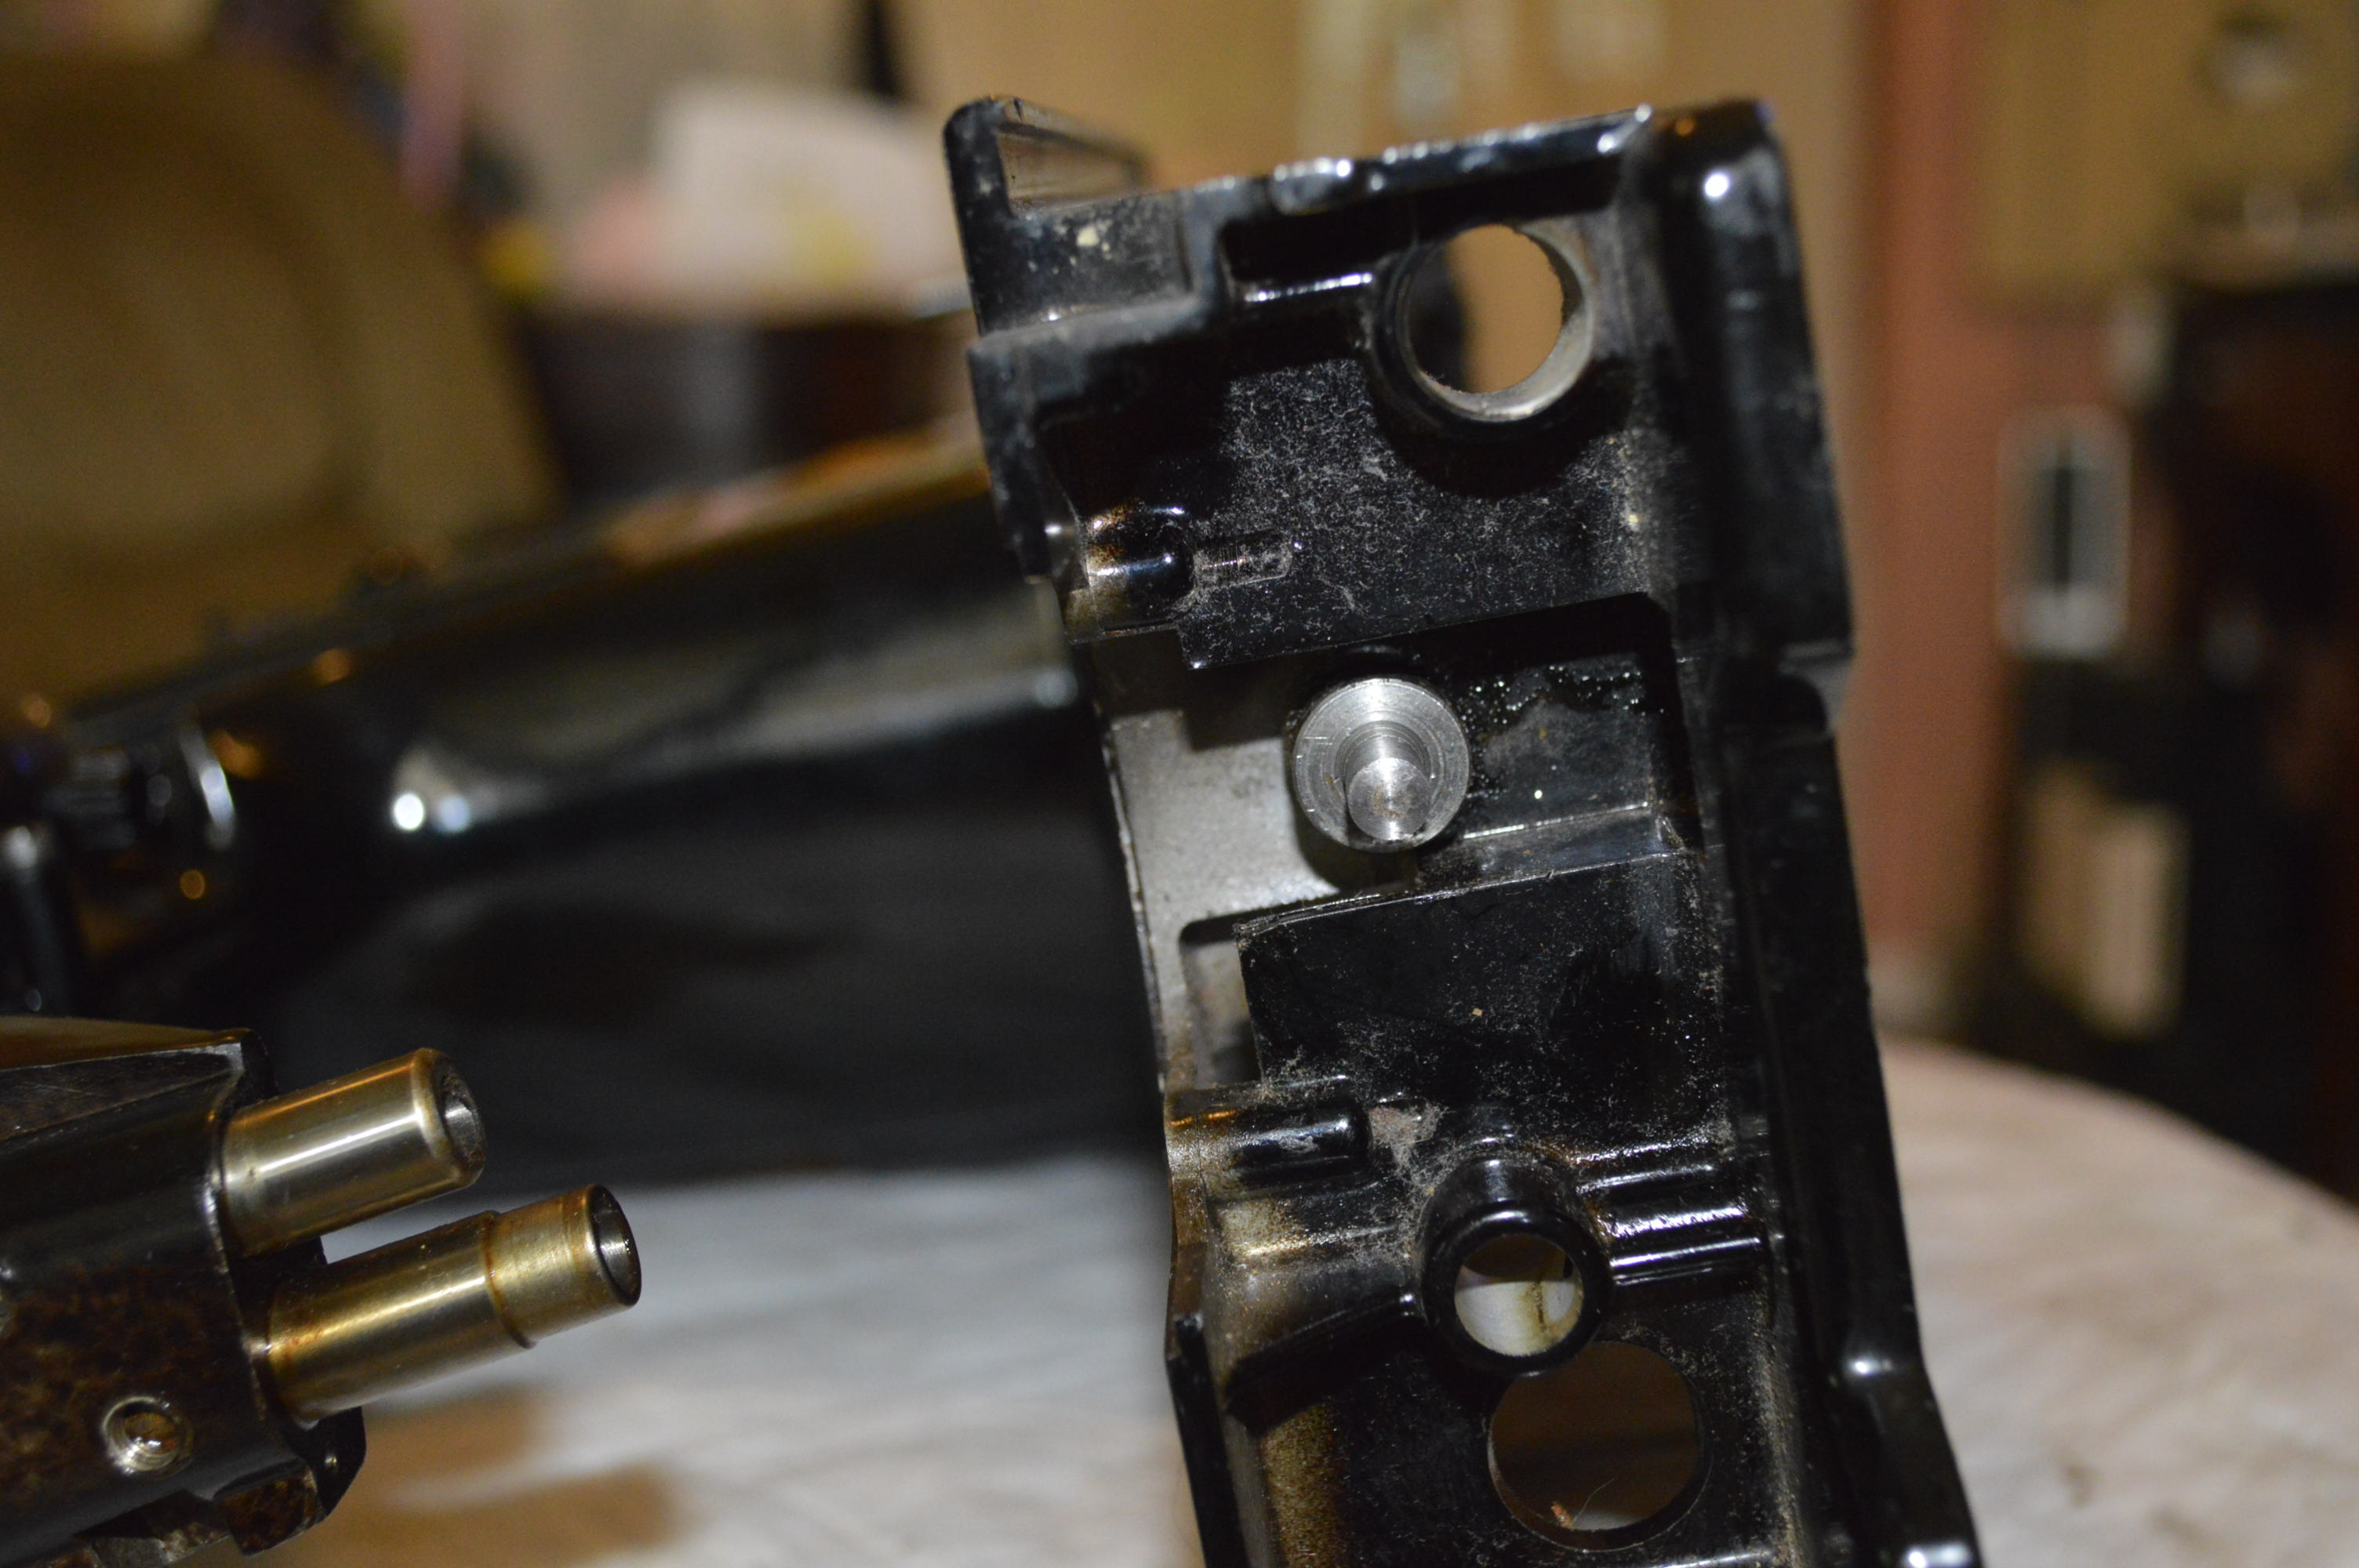
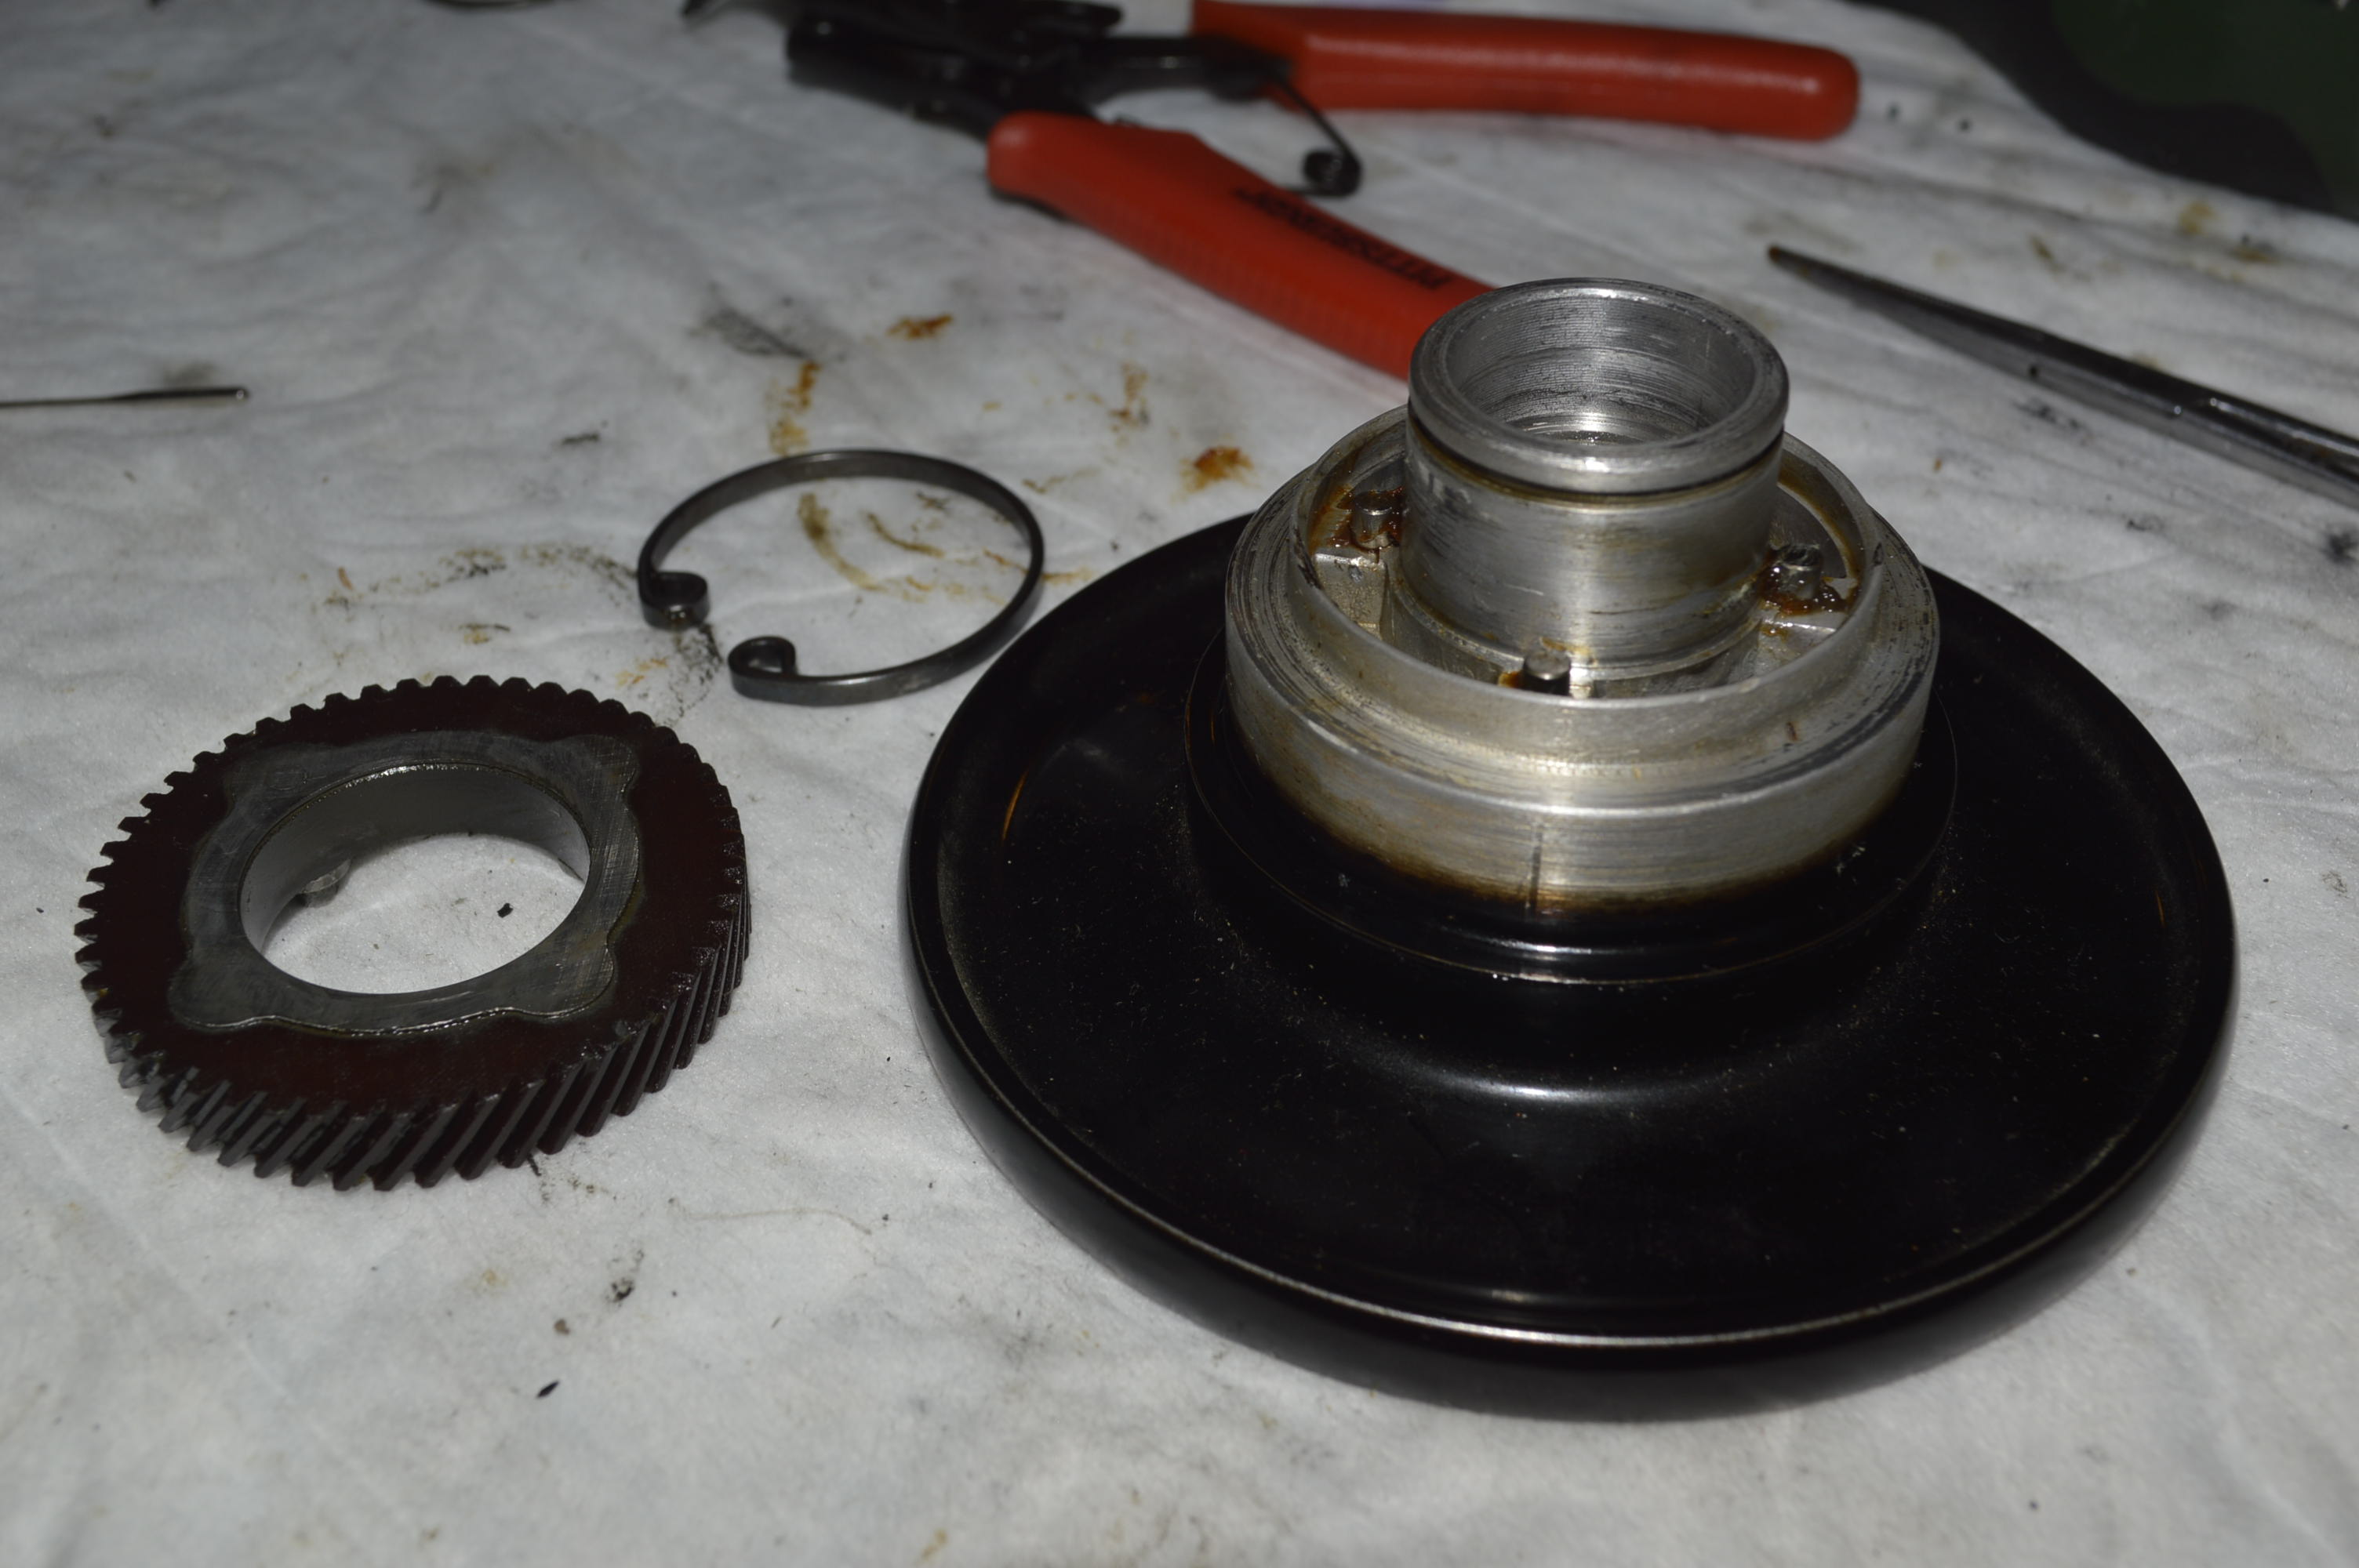
Note the Bobbin Case is Removed 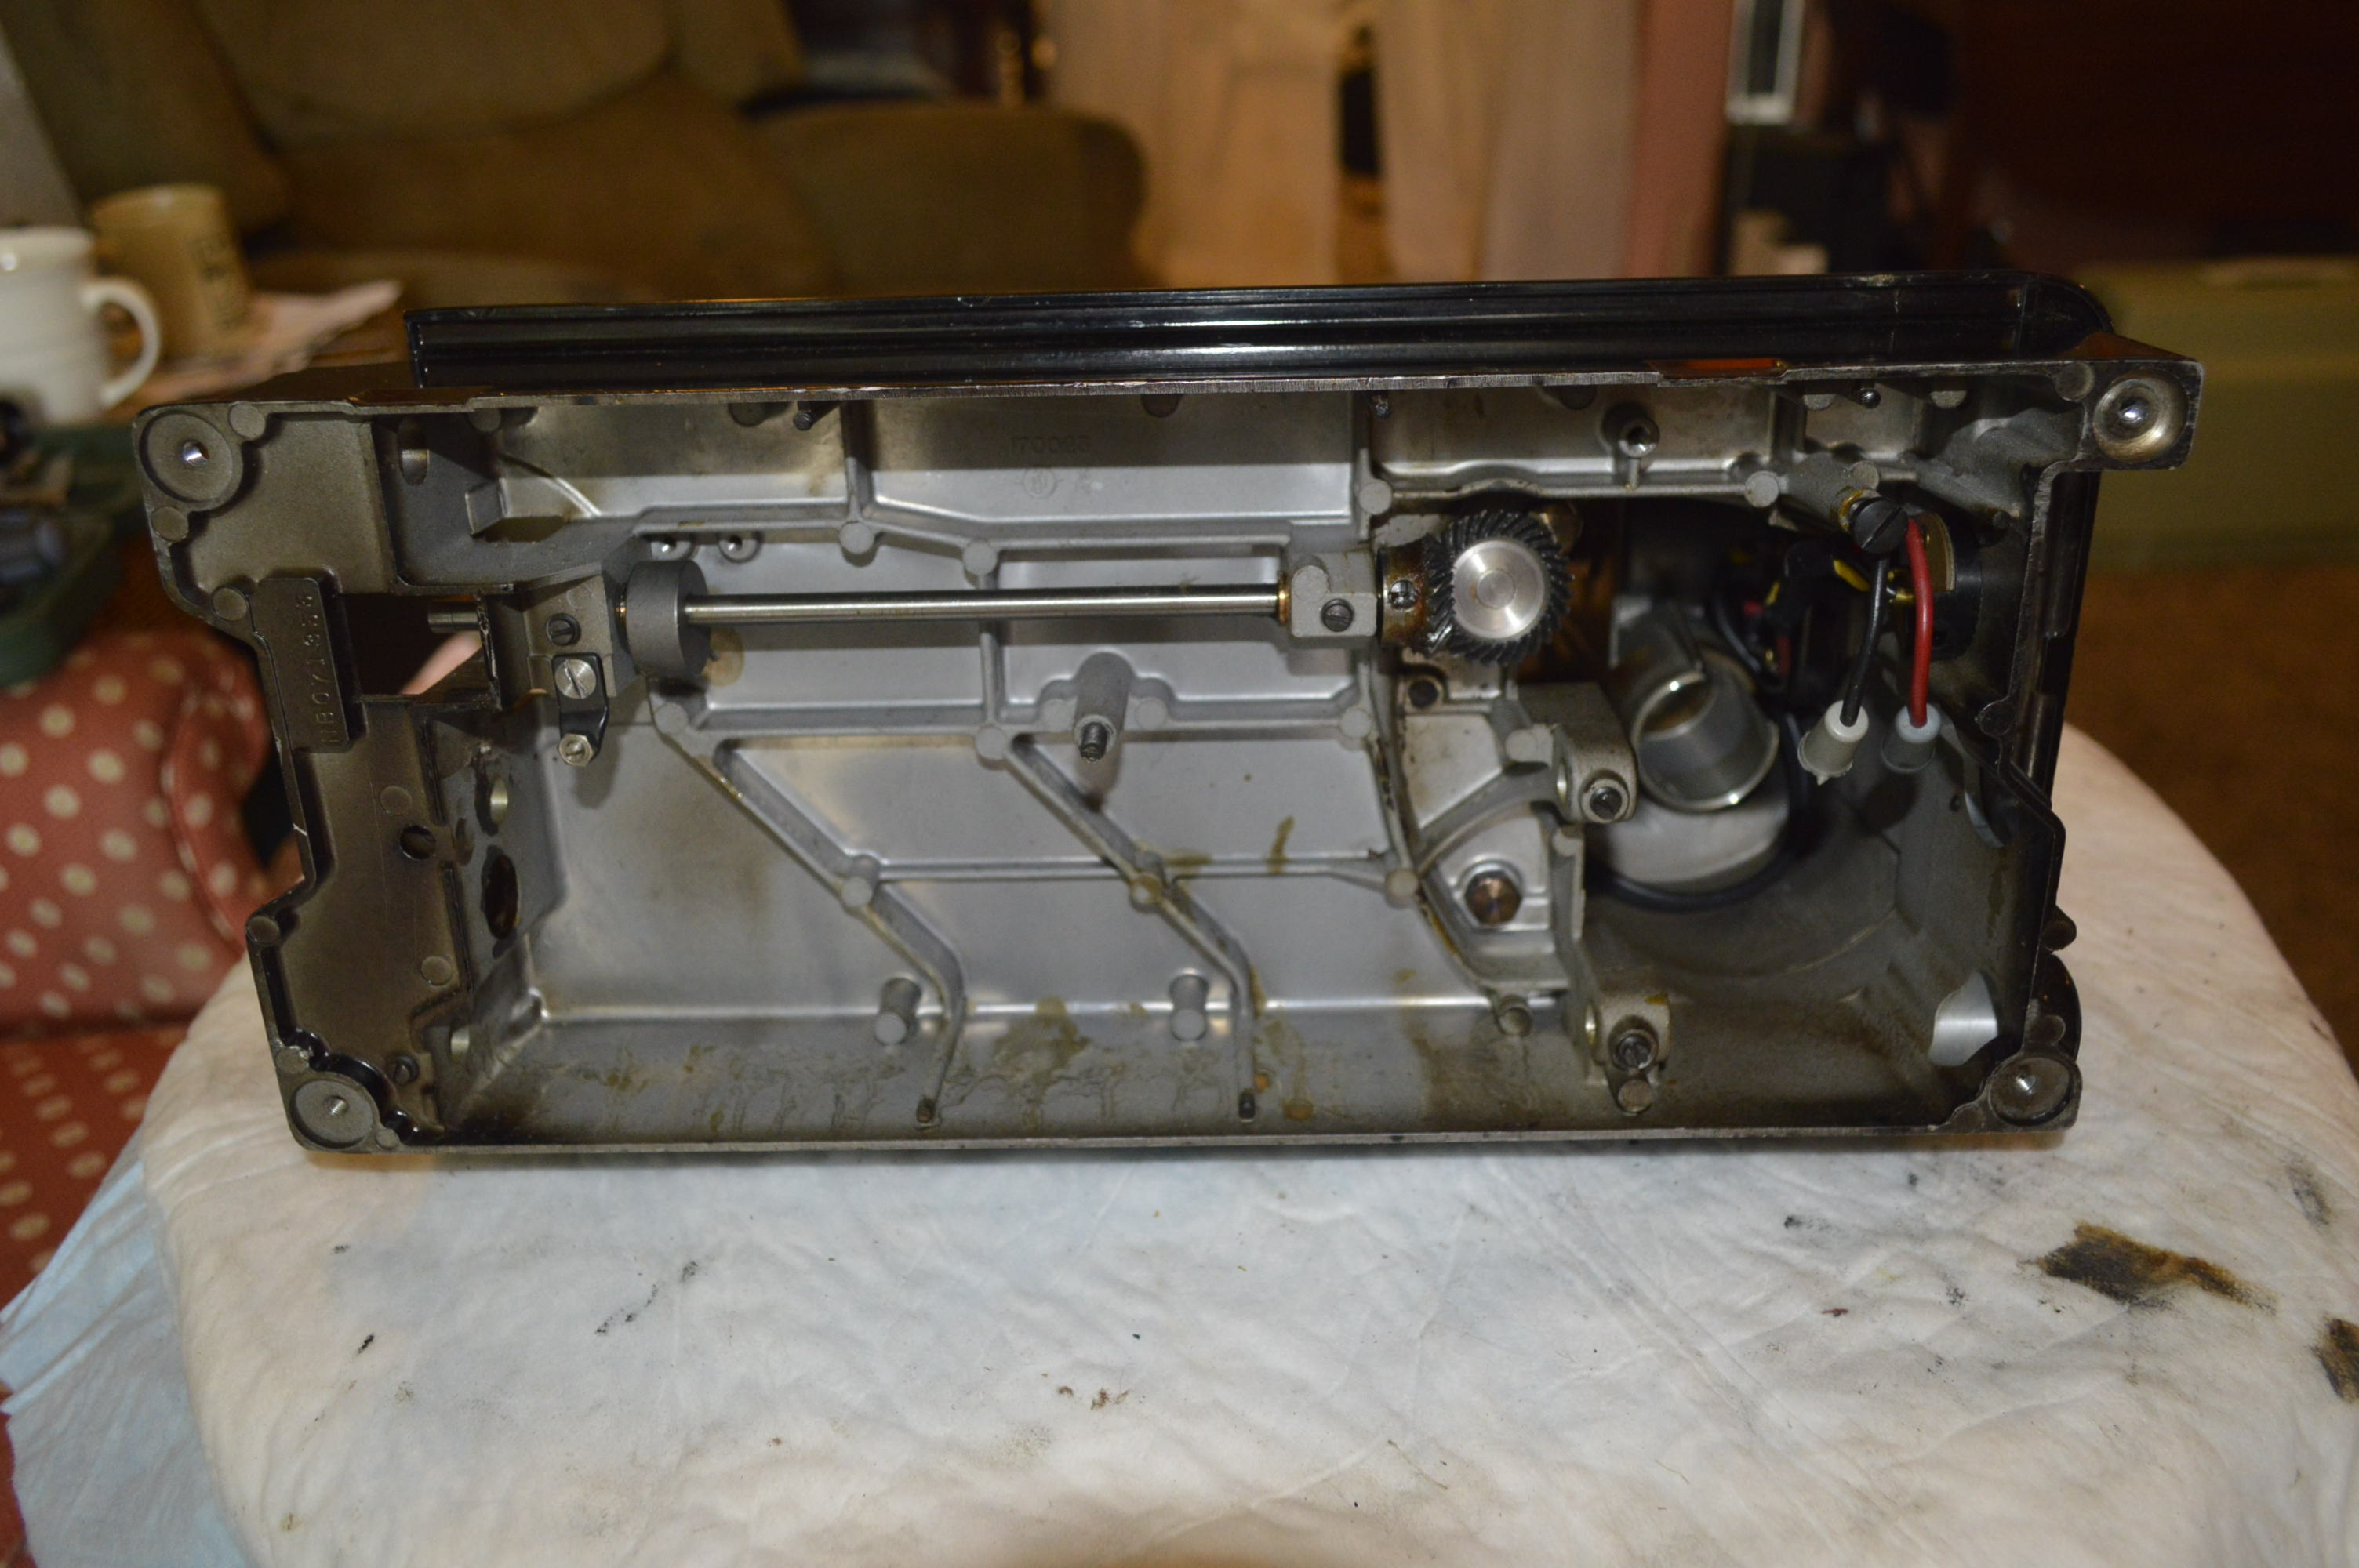
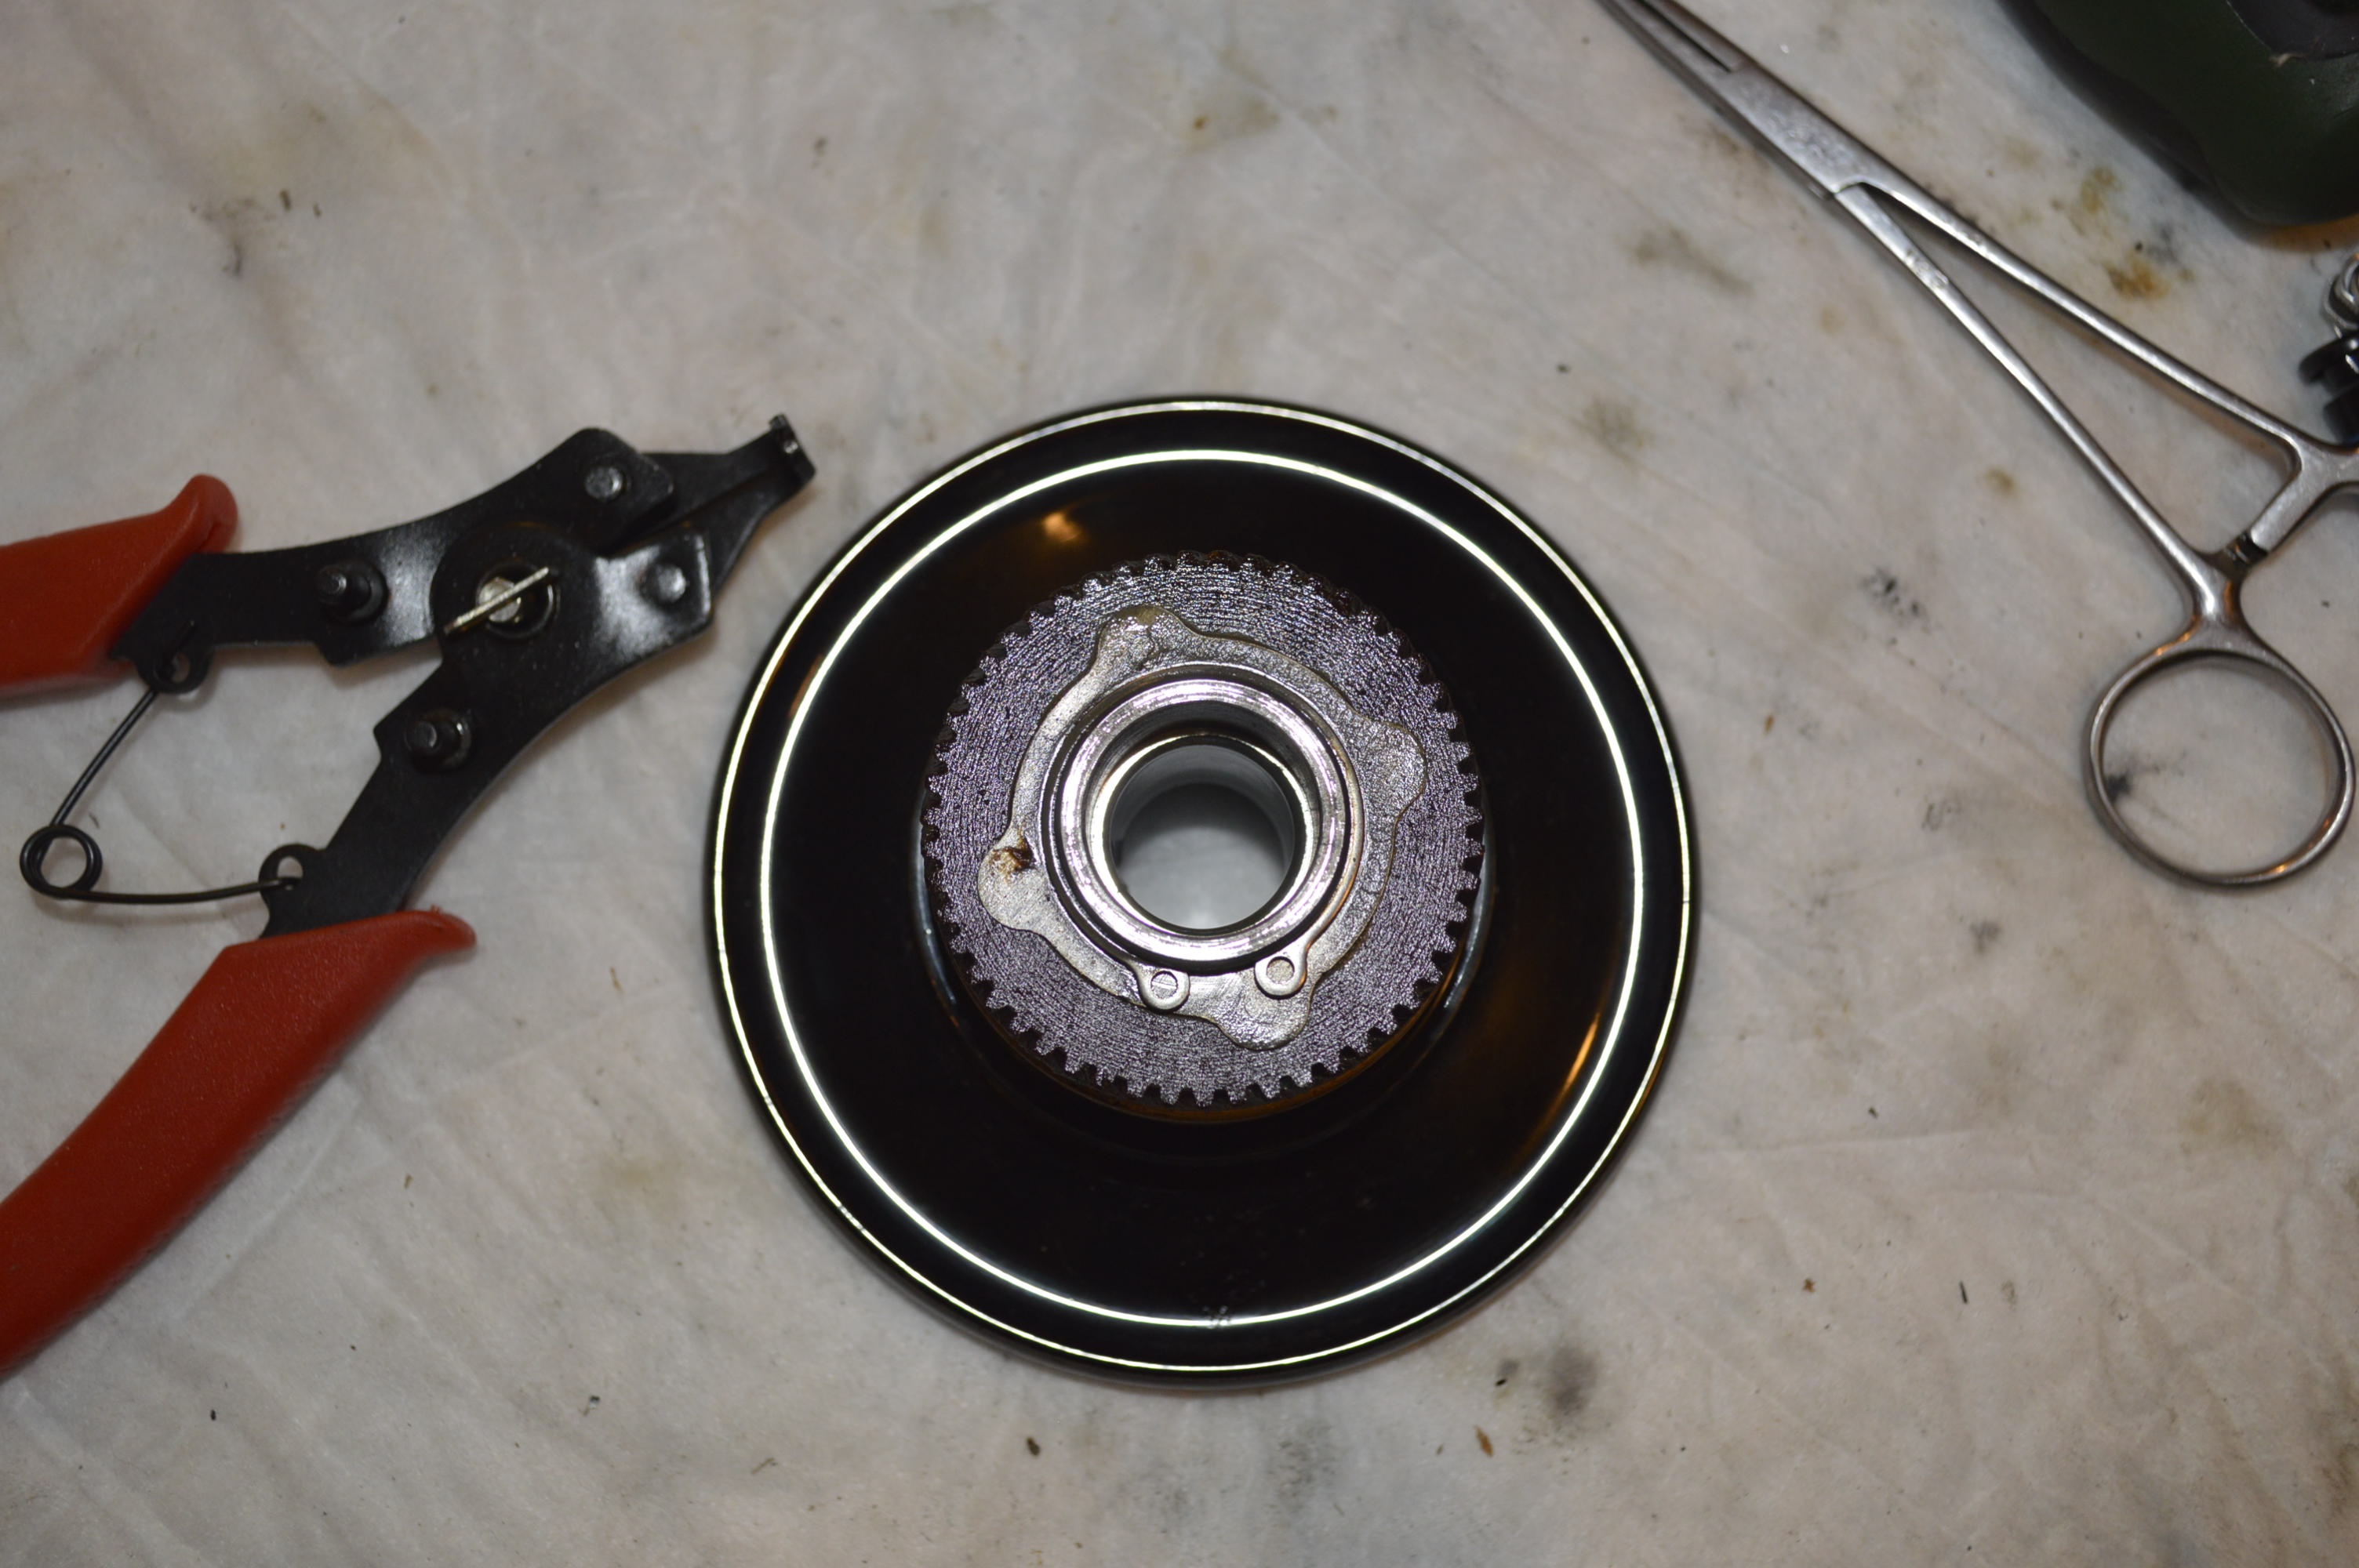
Everything but the Gears Removed
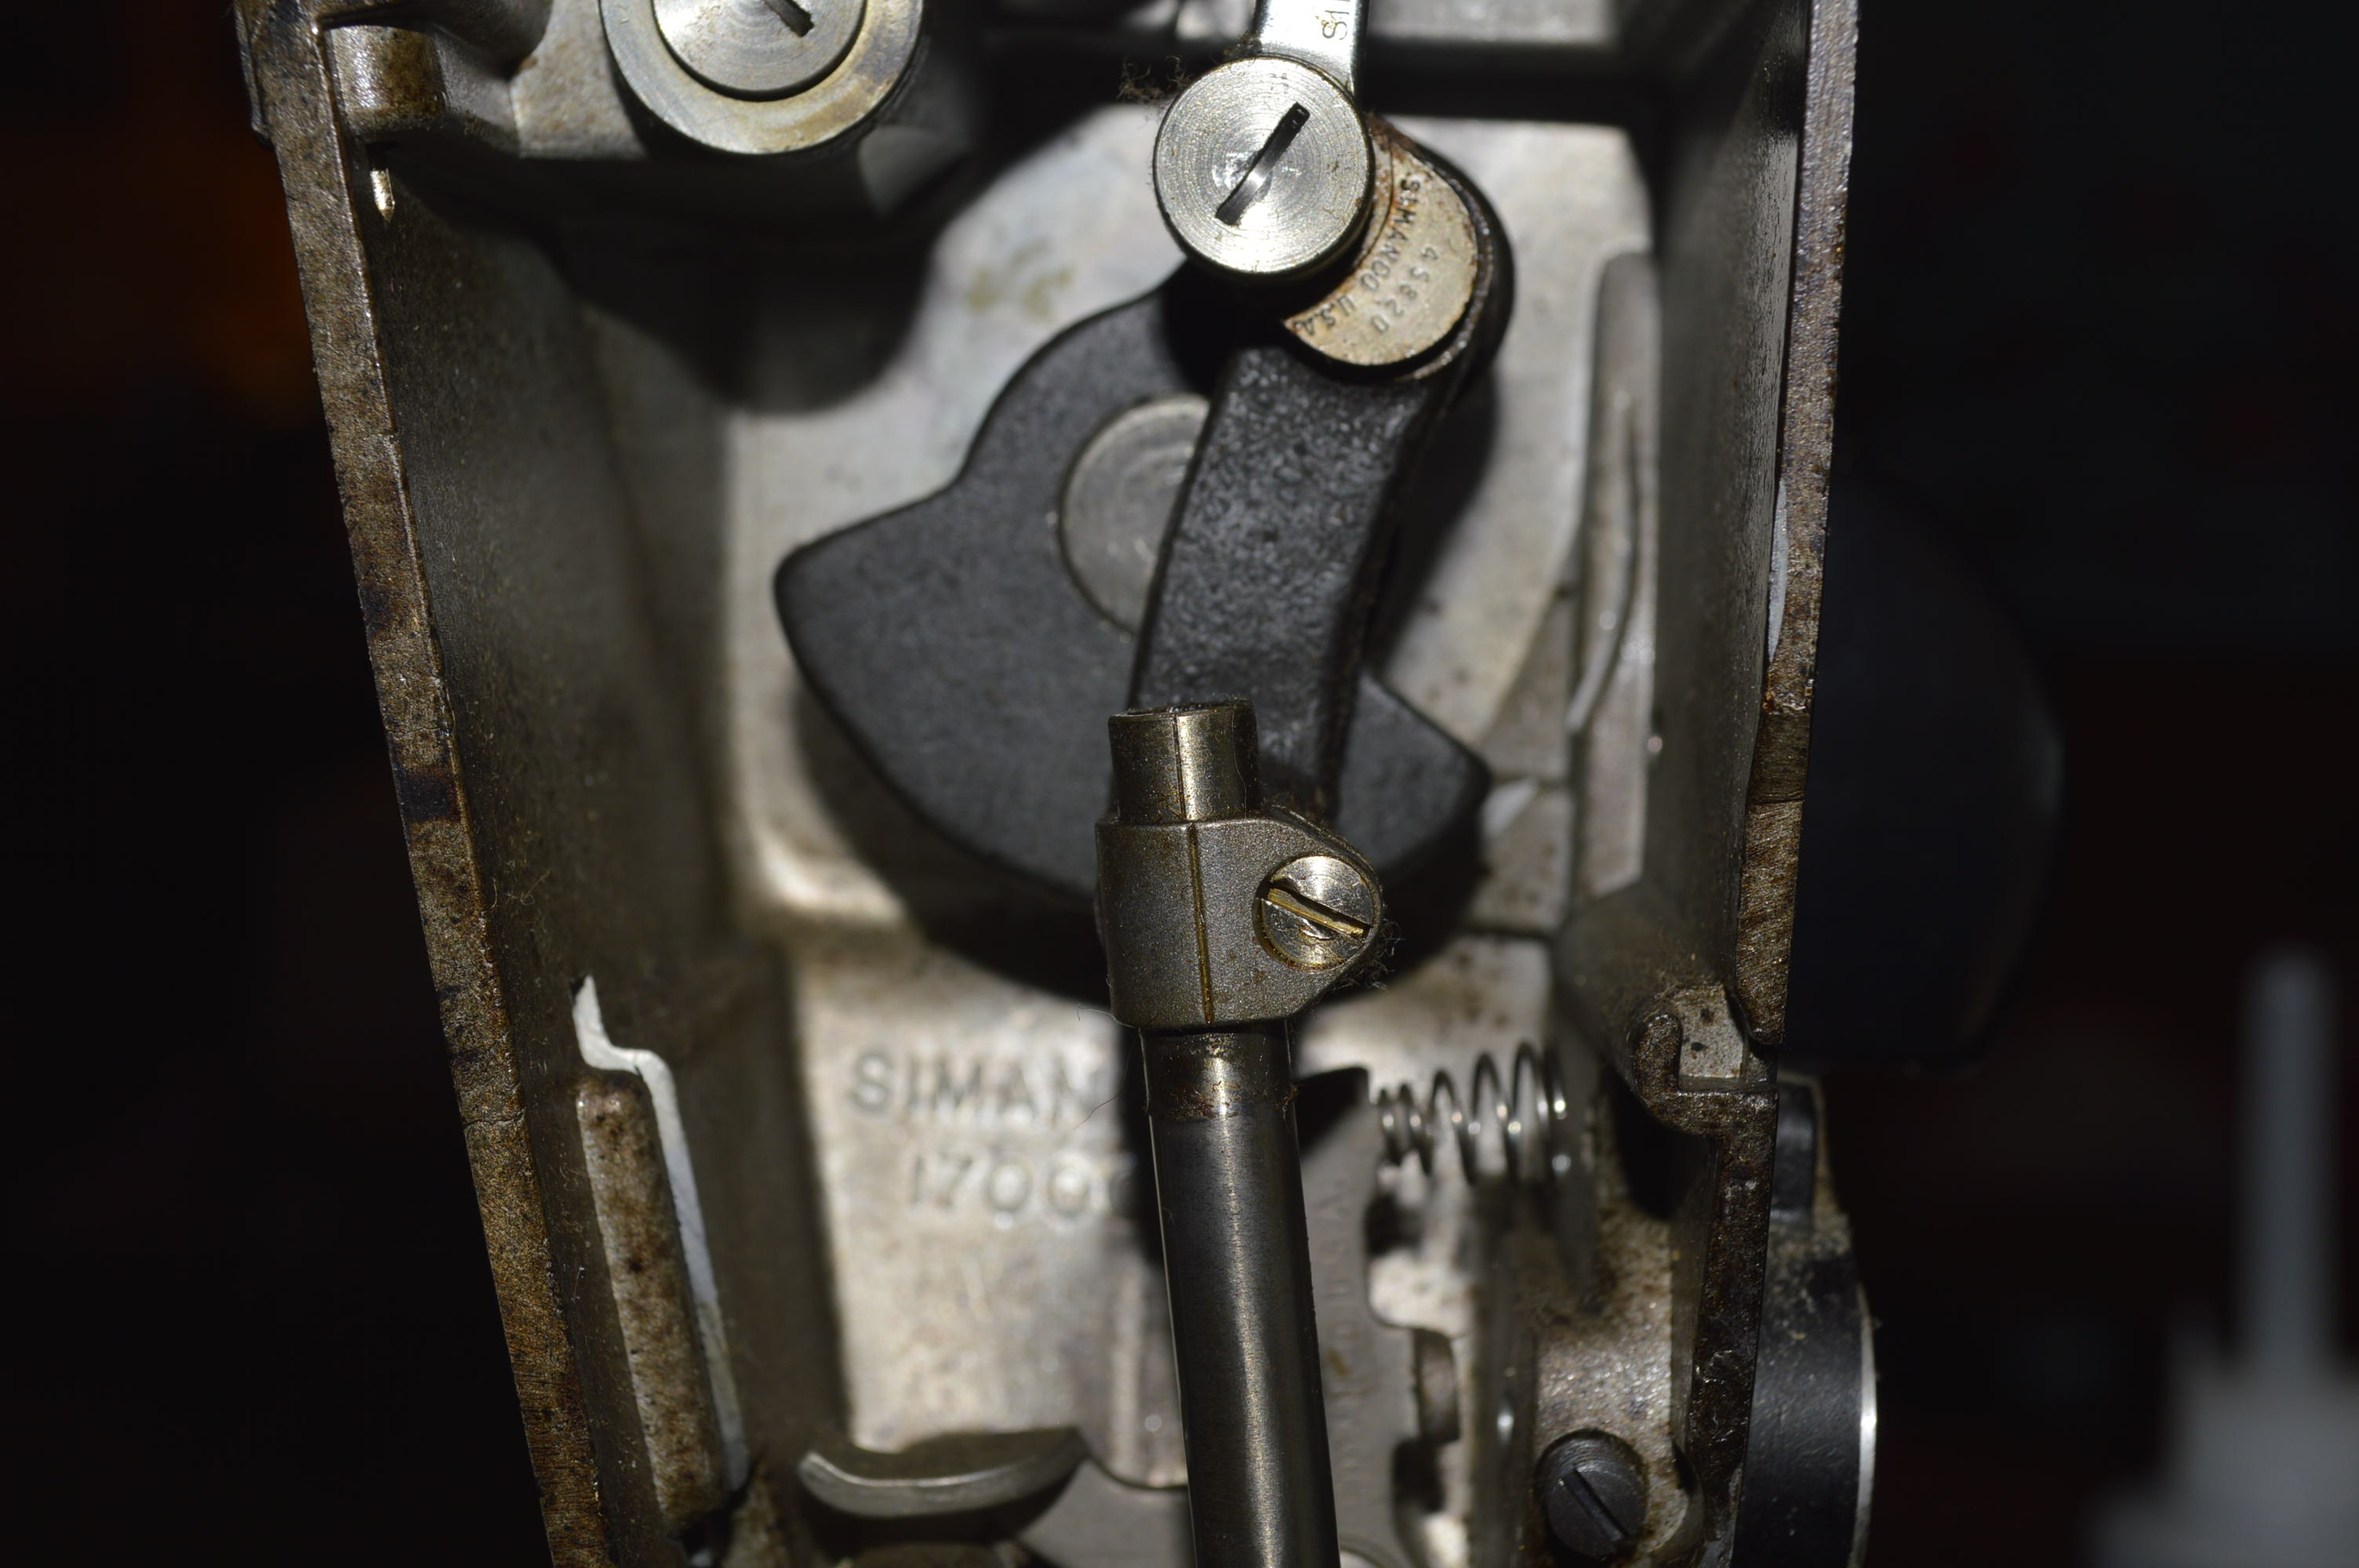
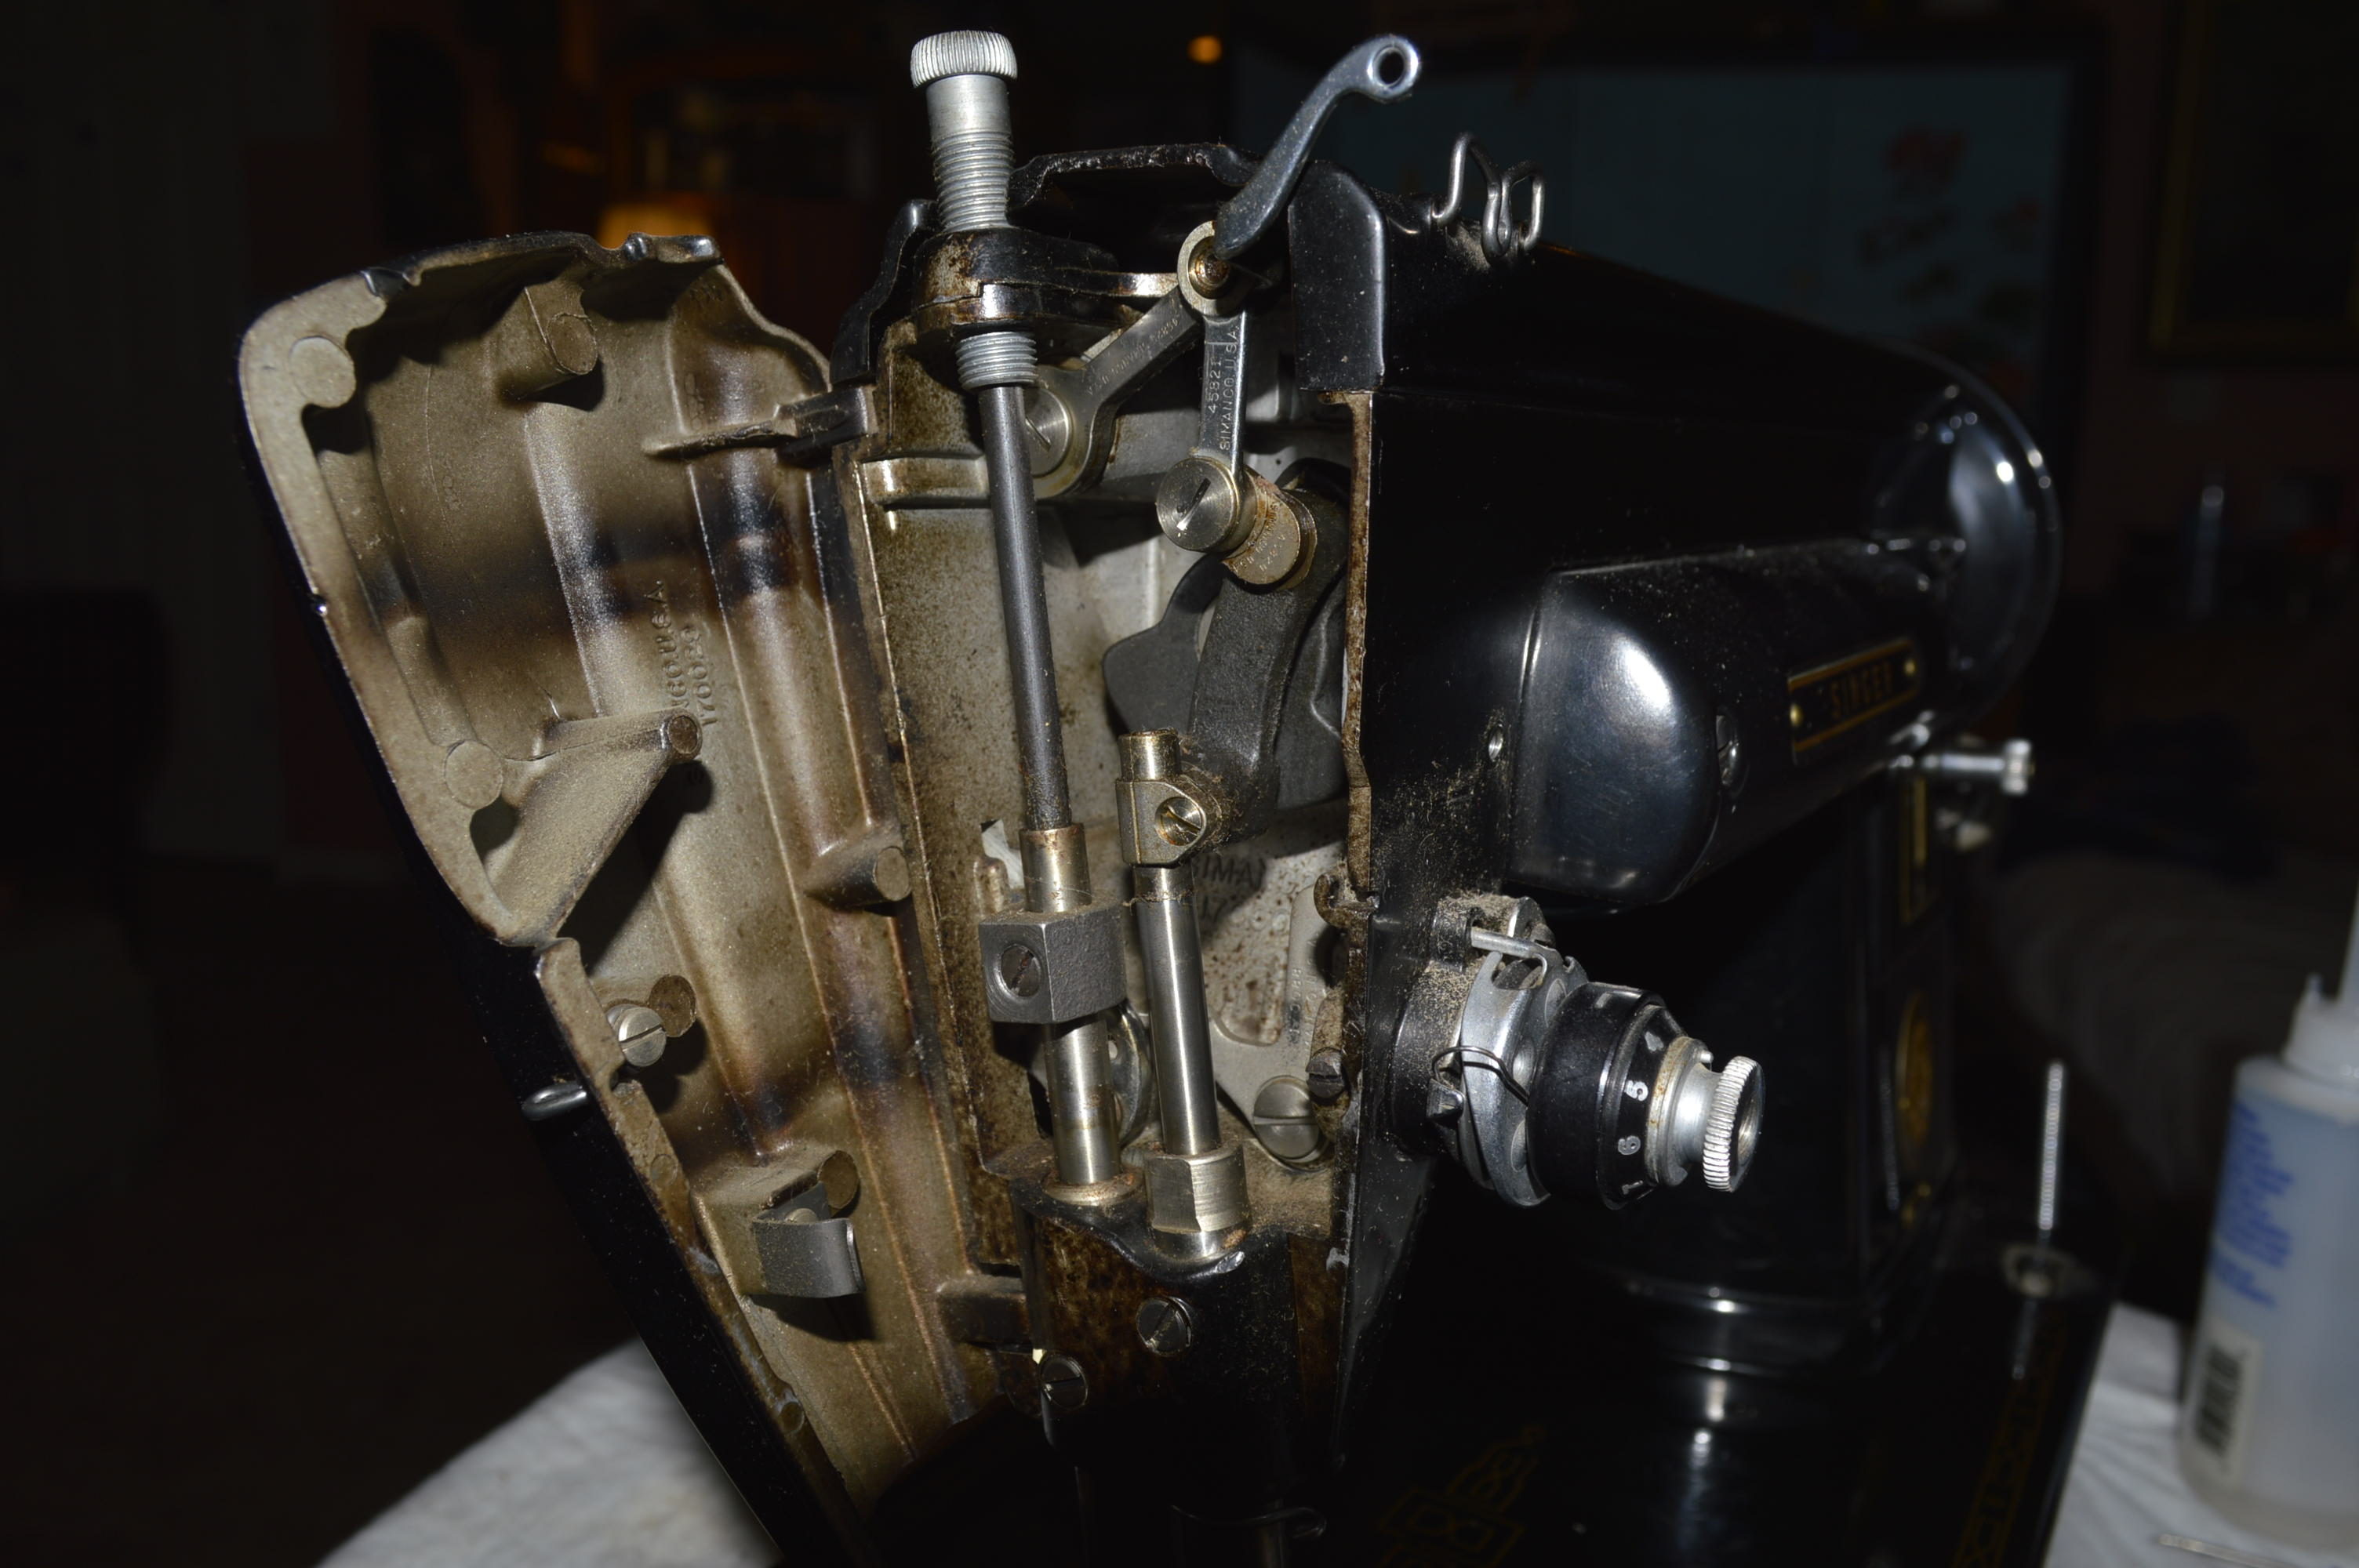
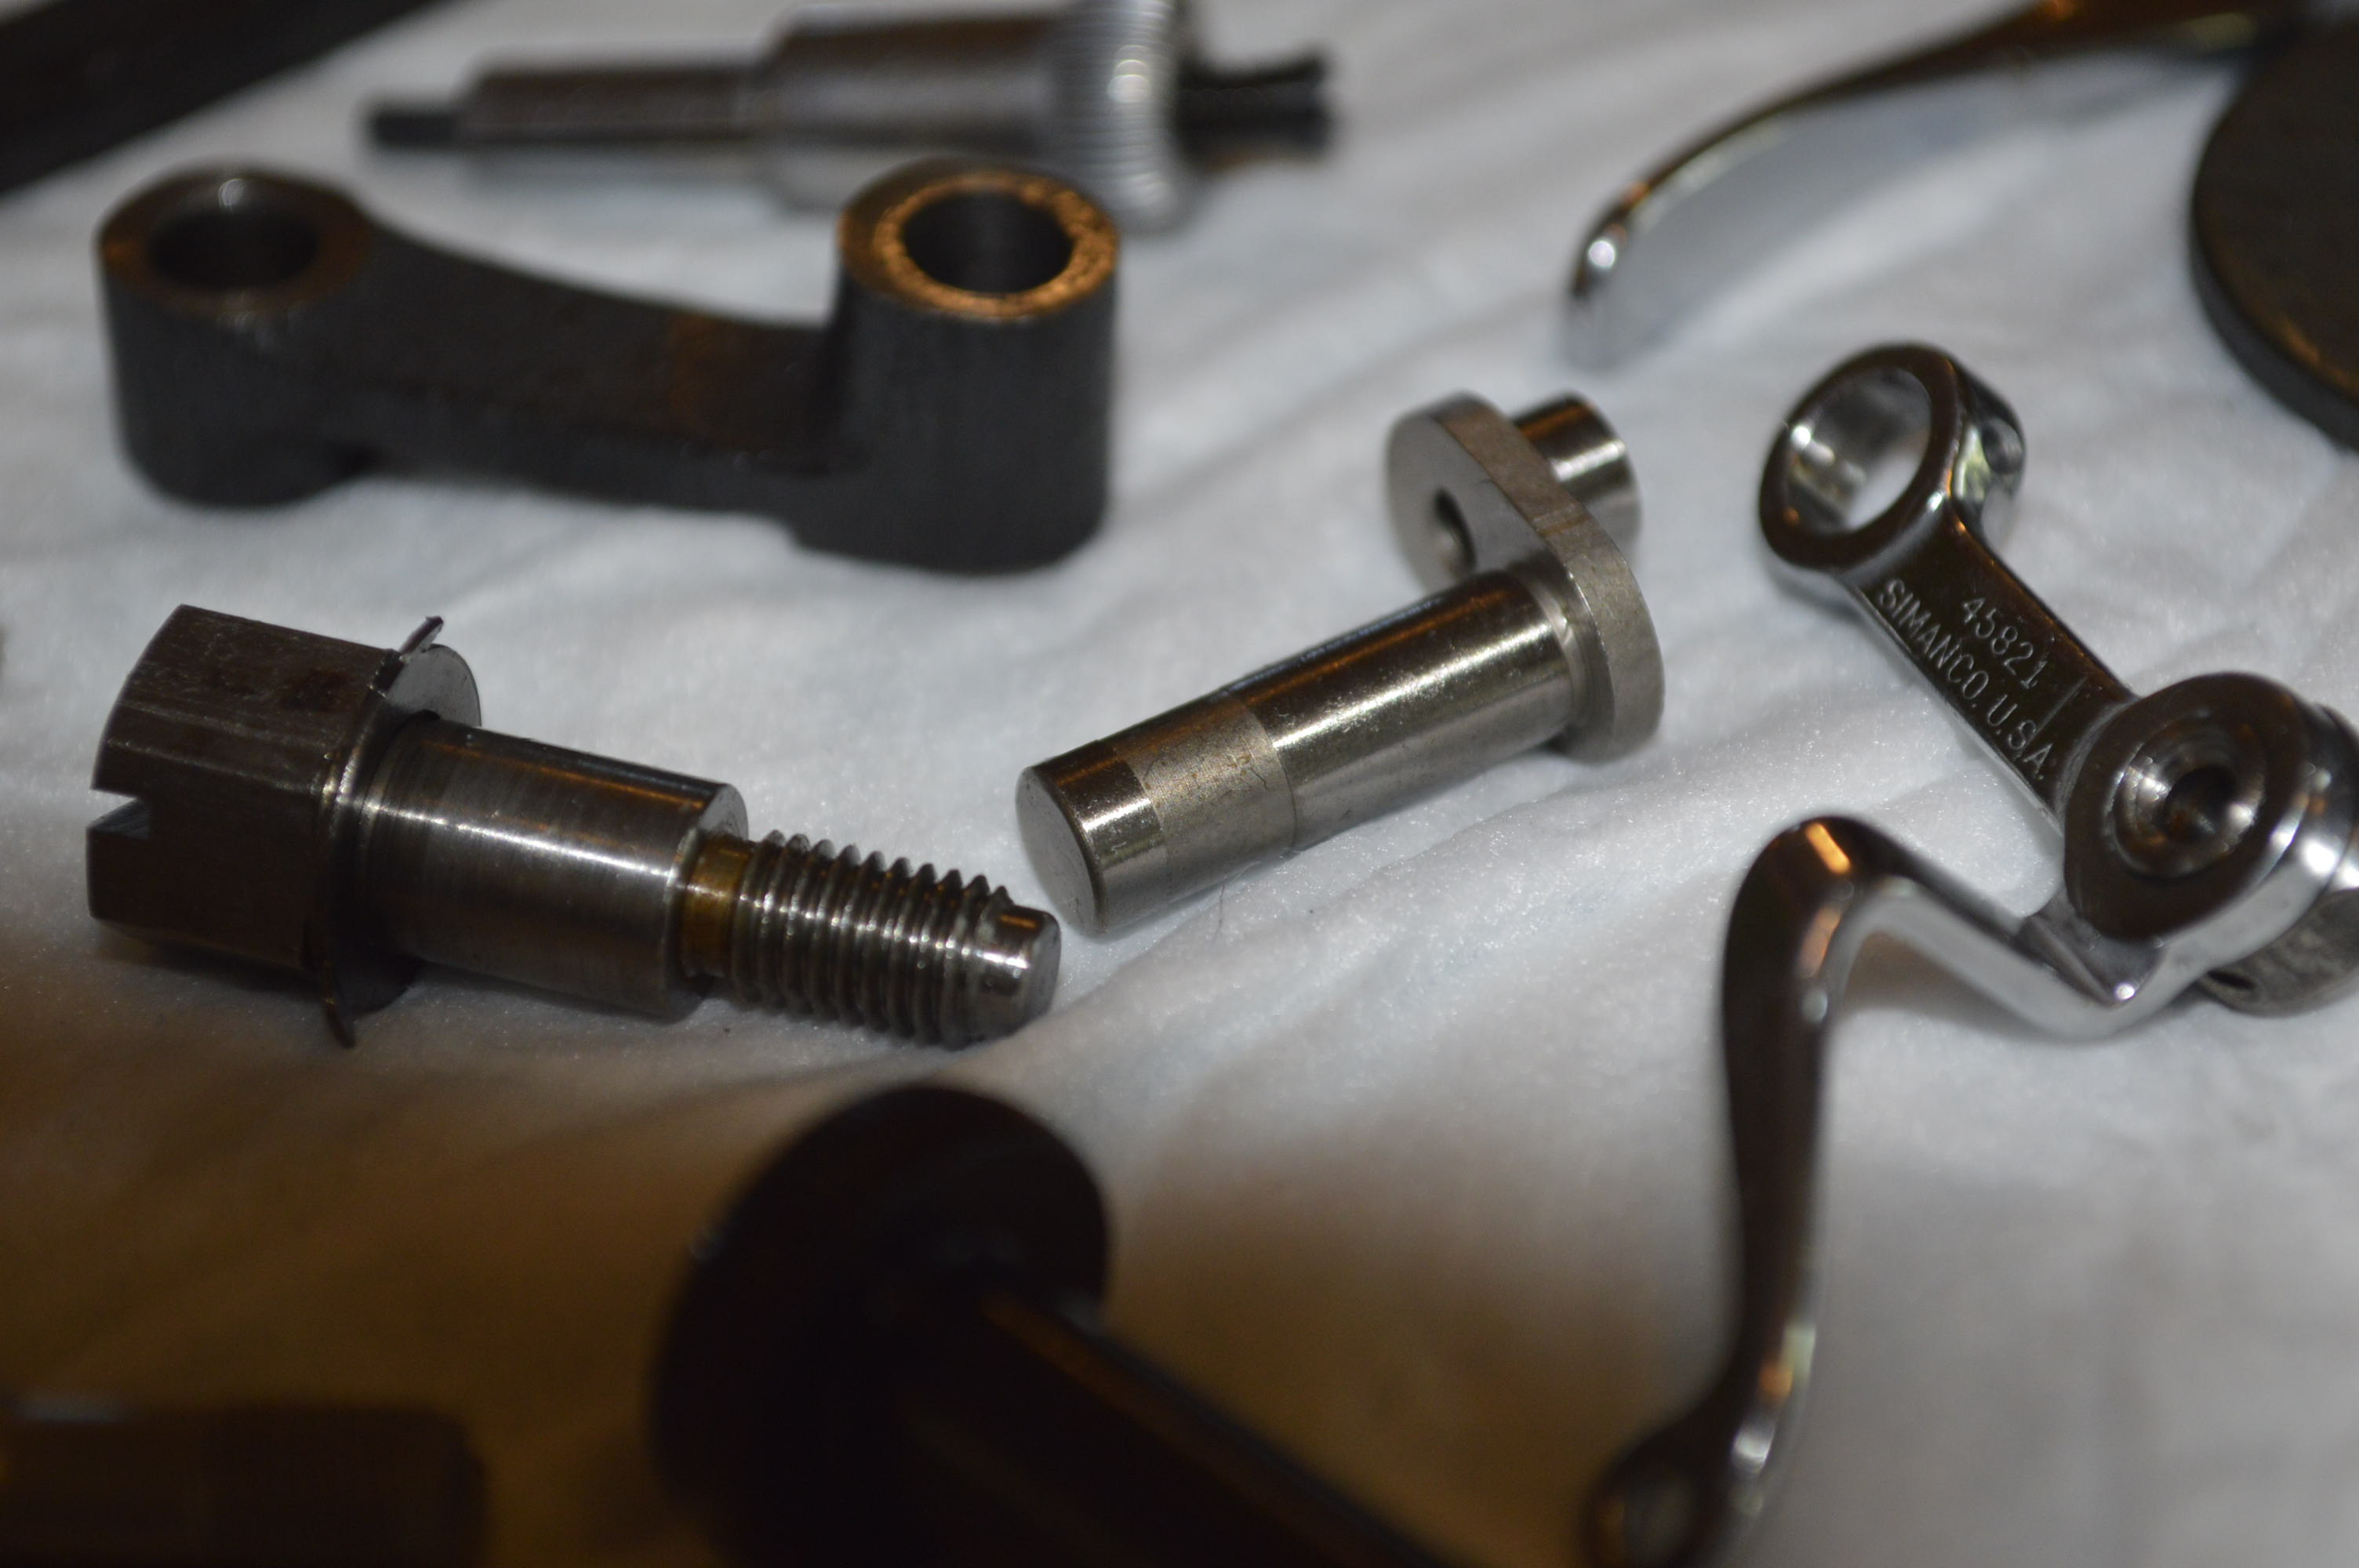
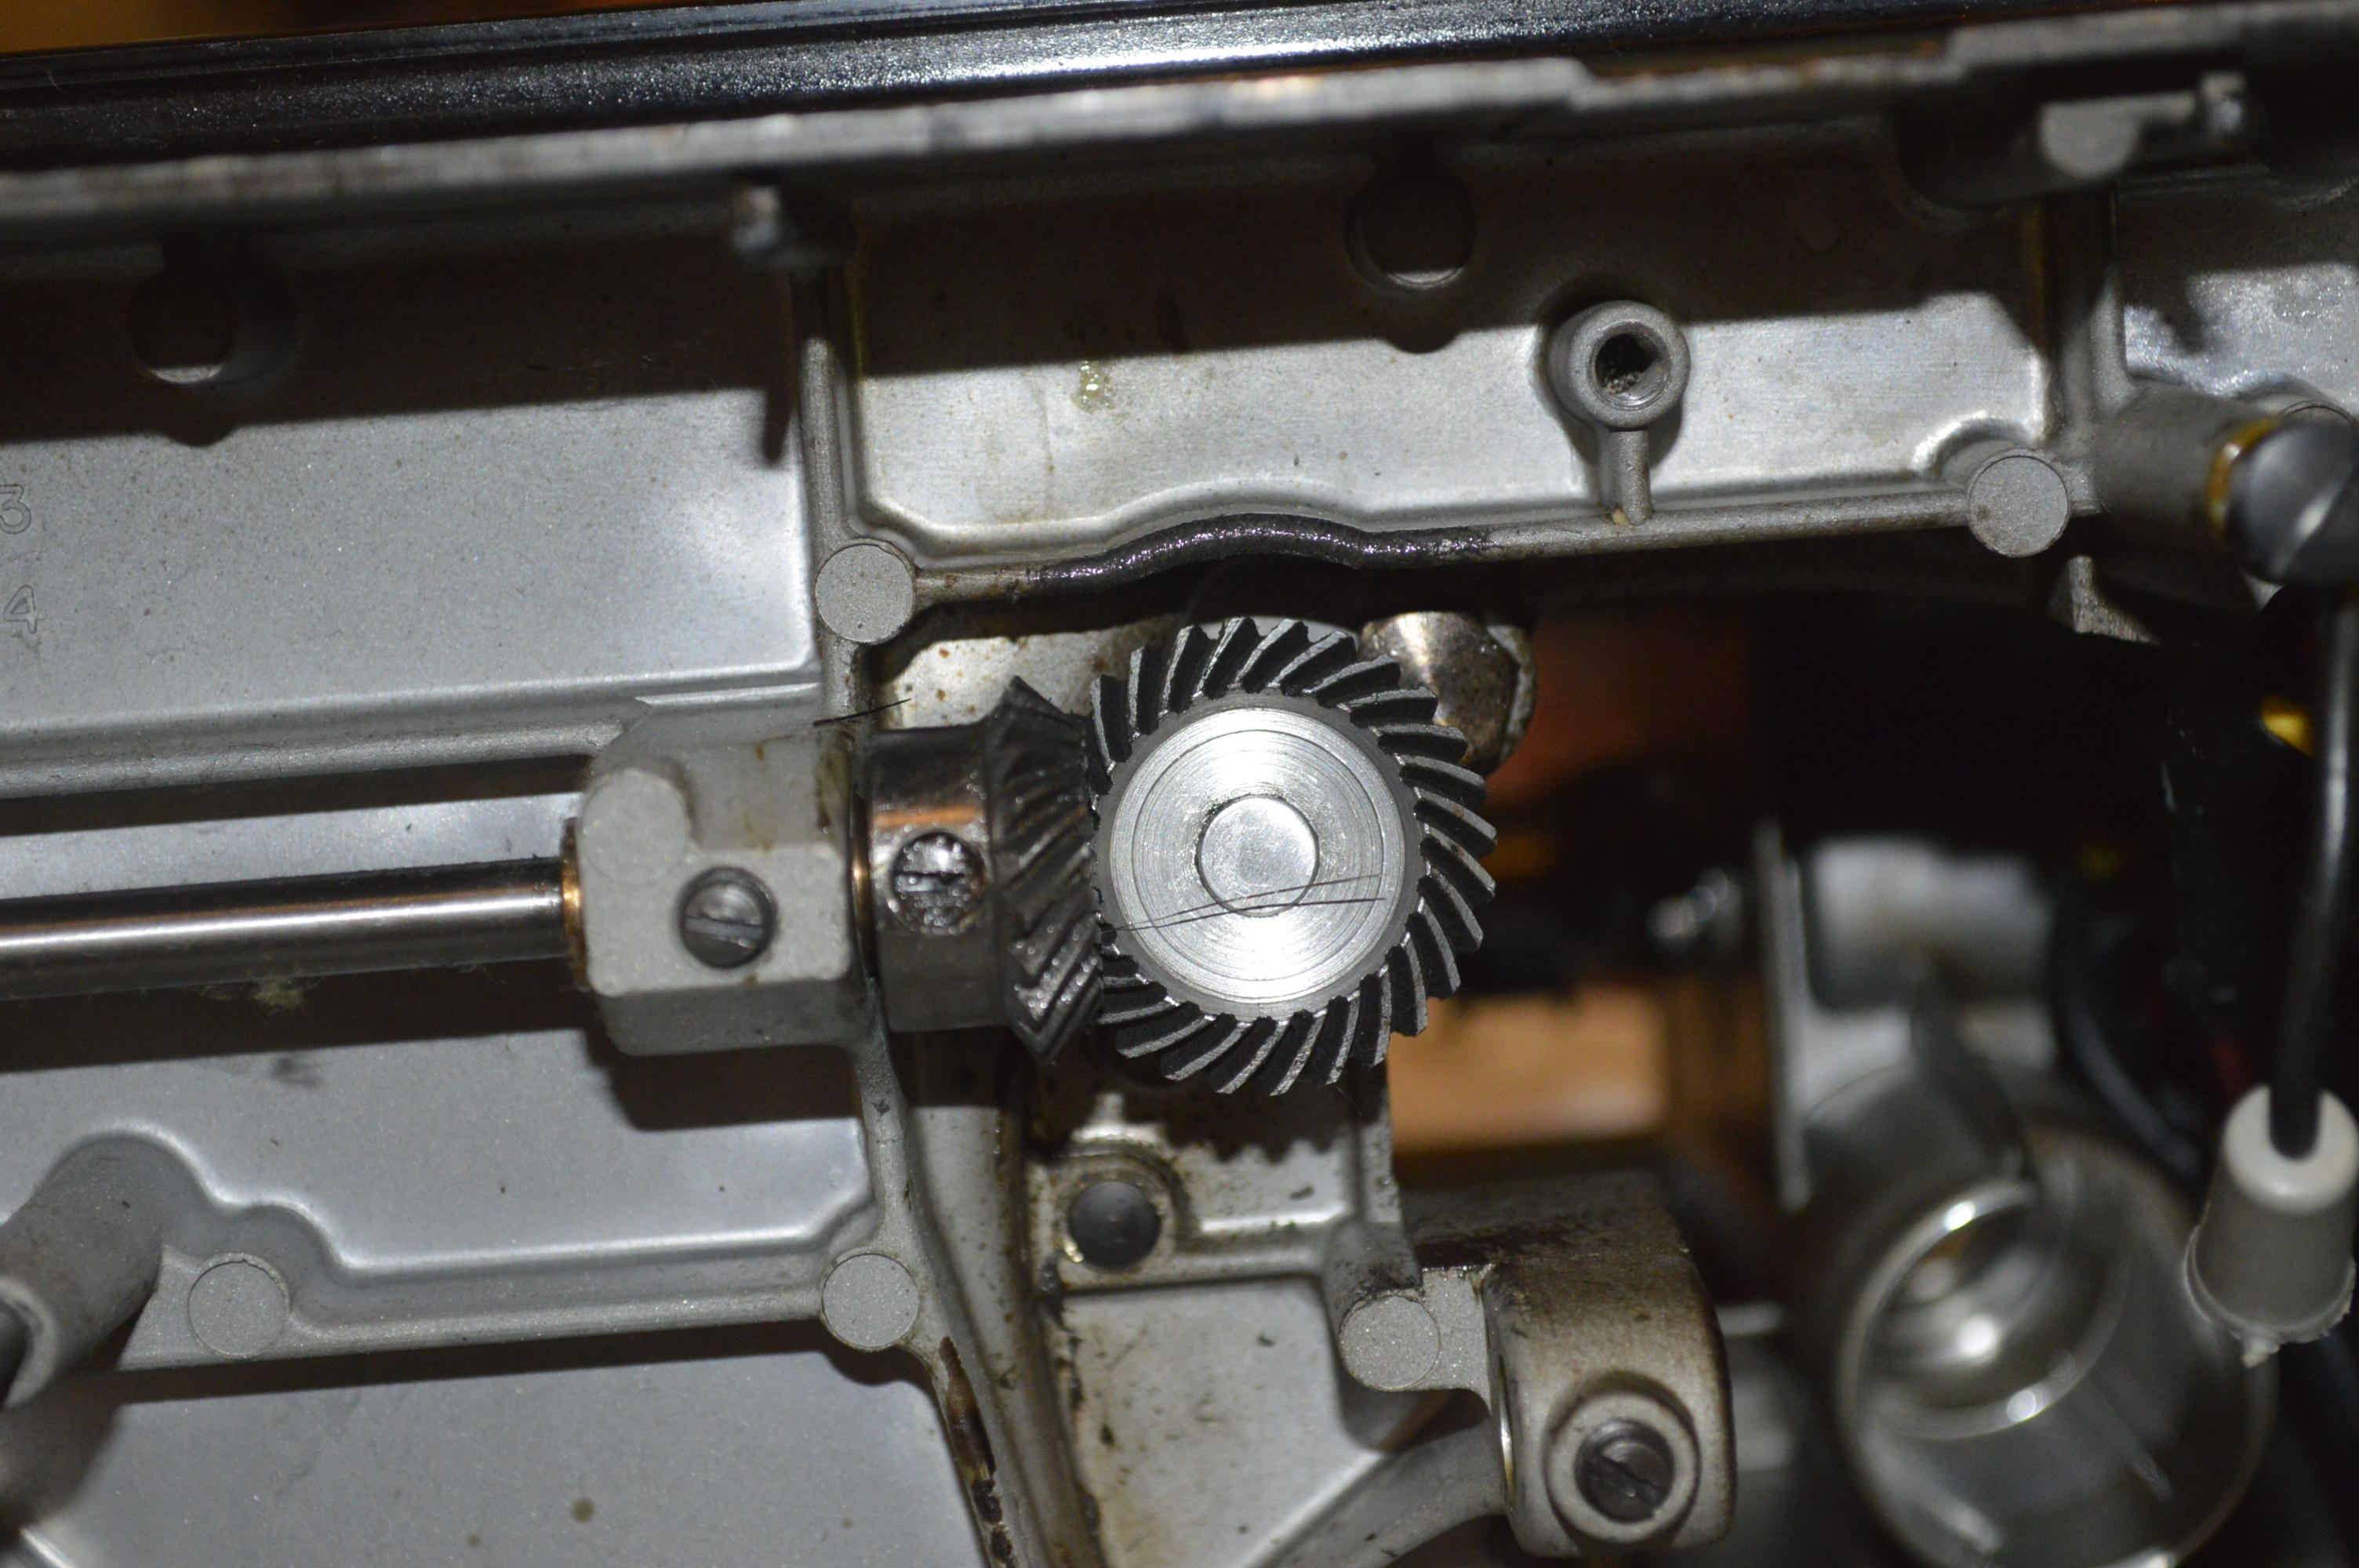
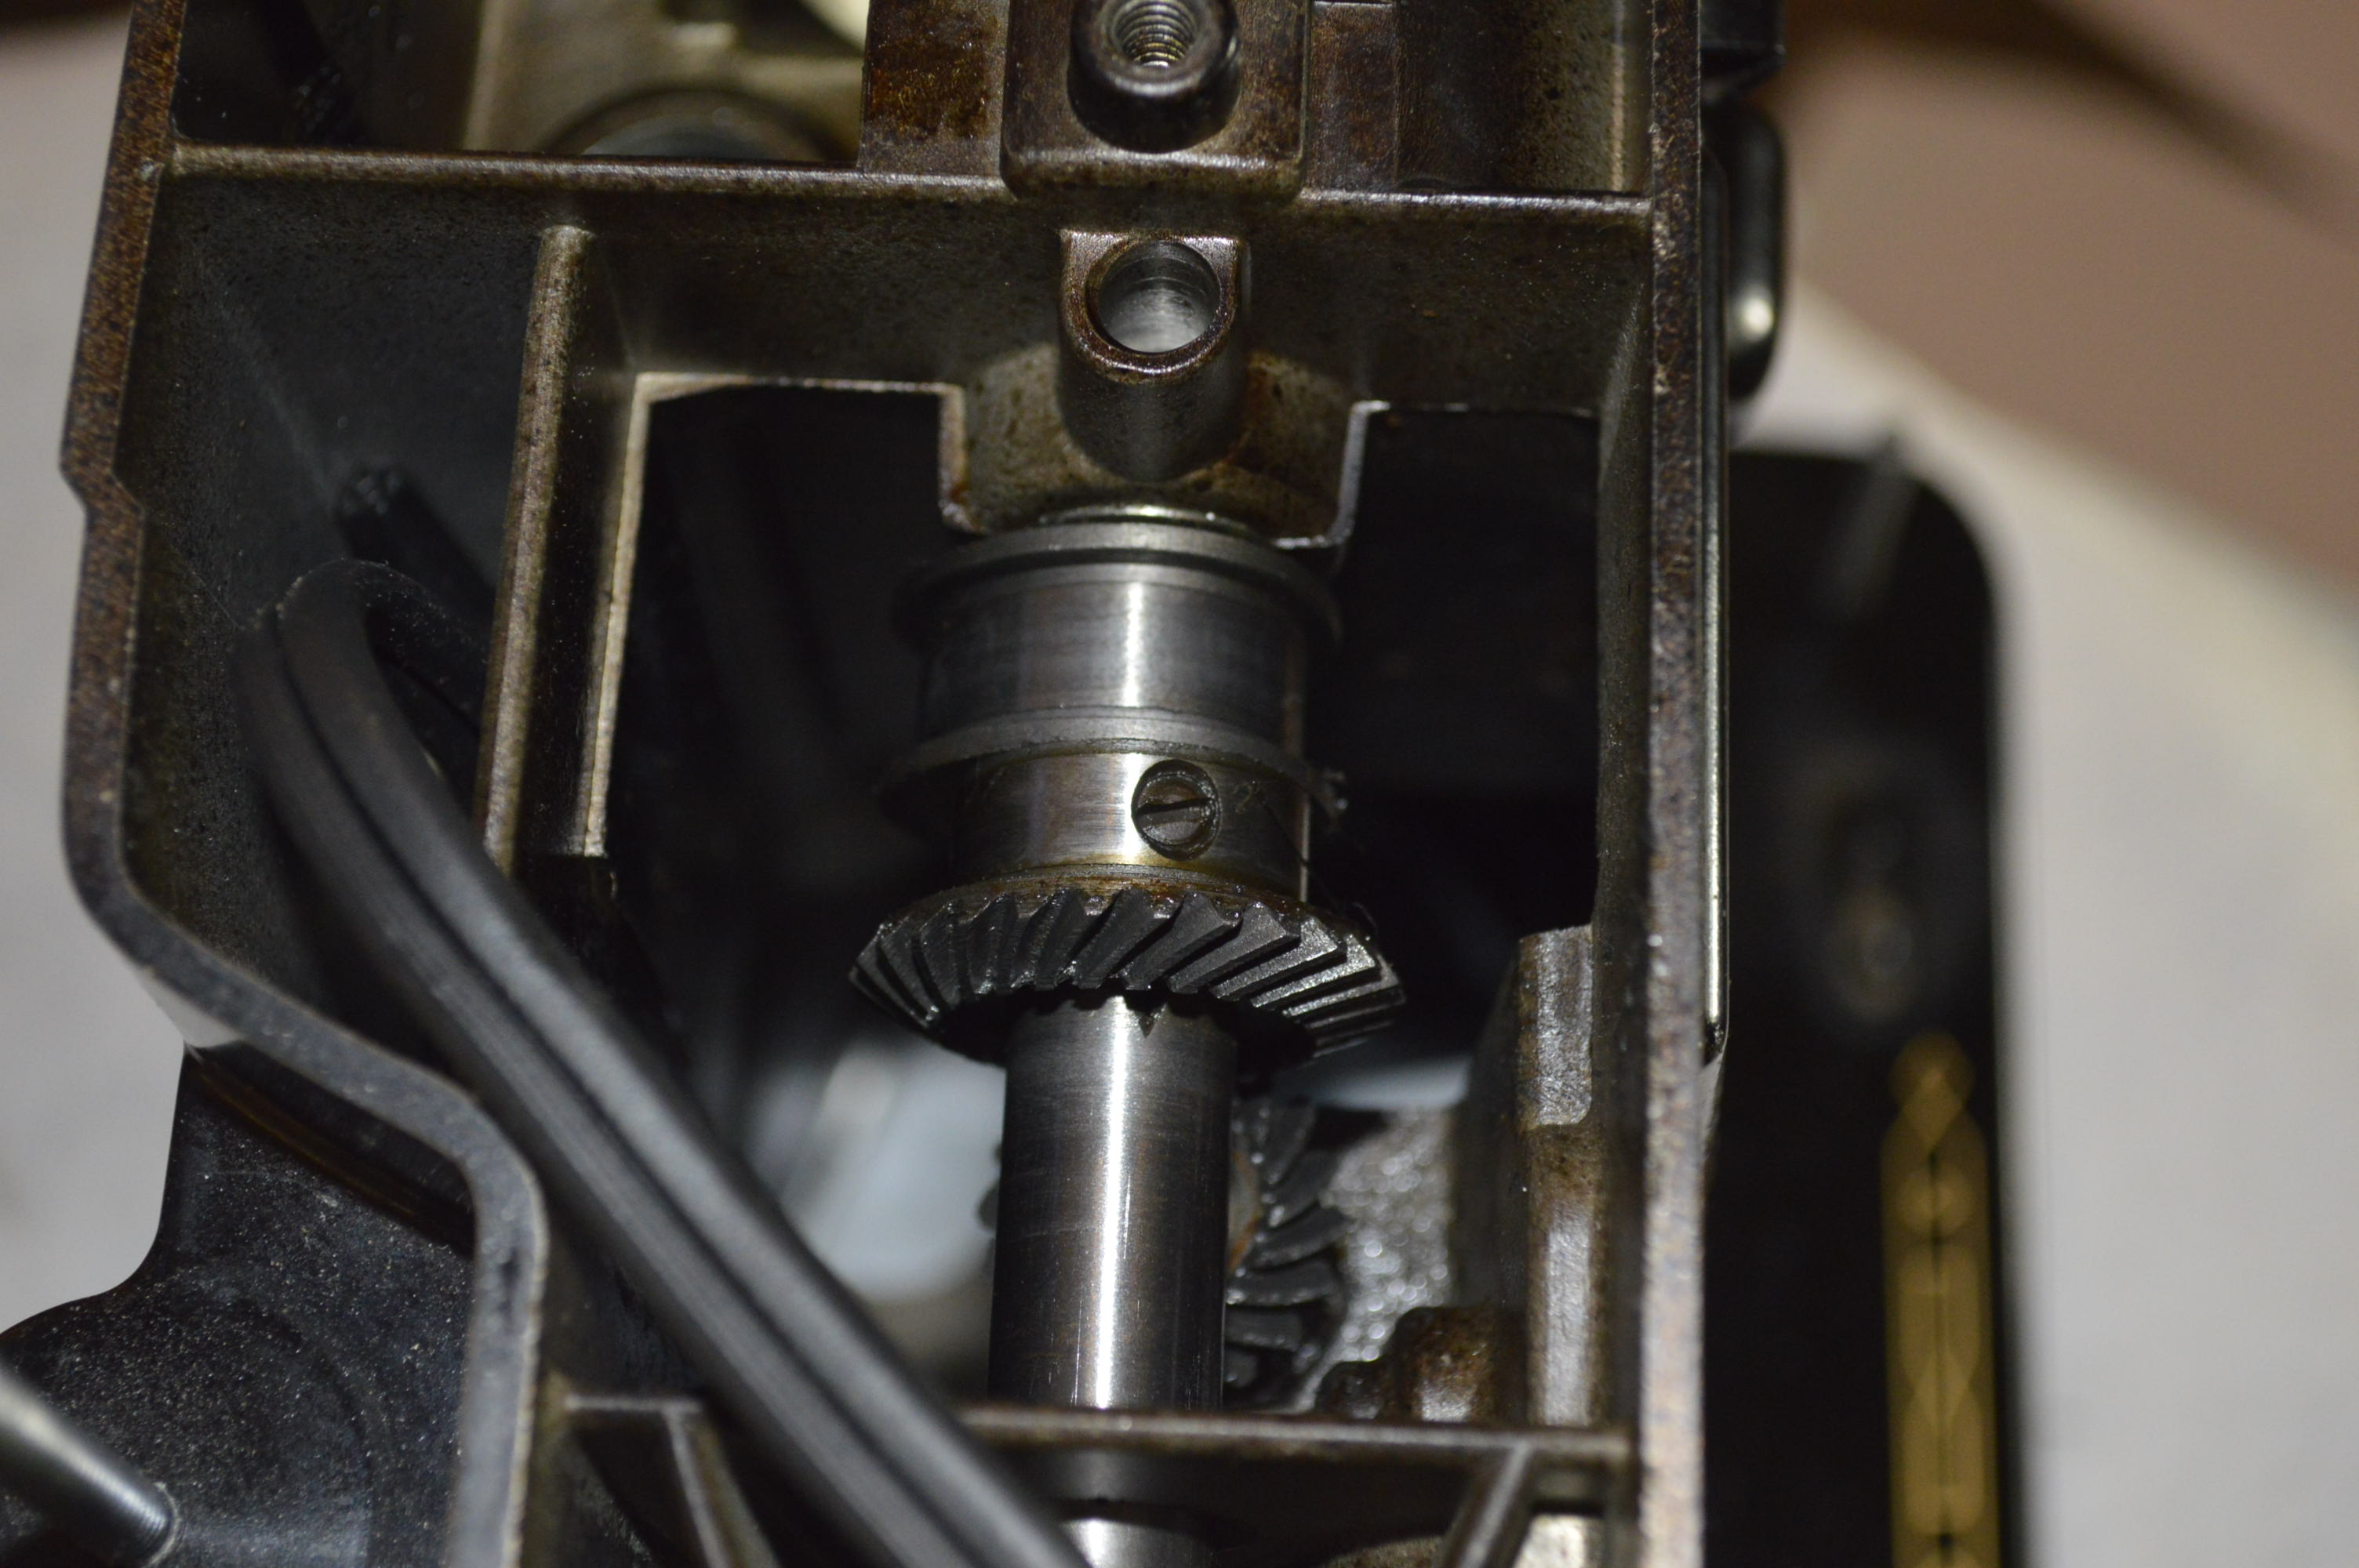
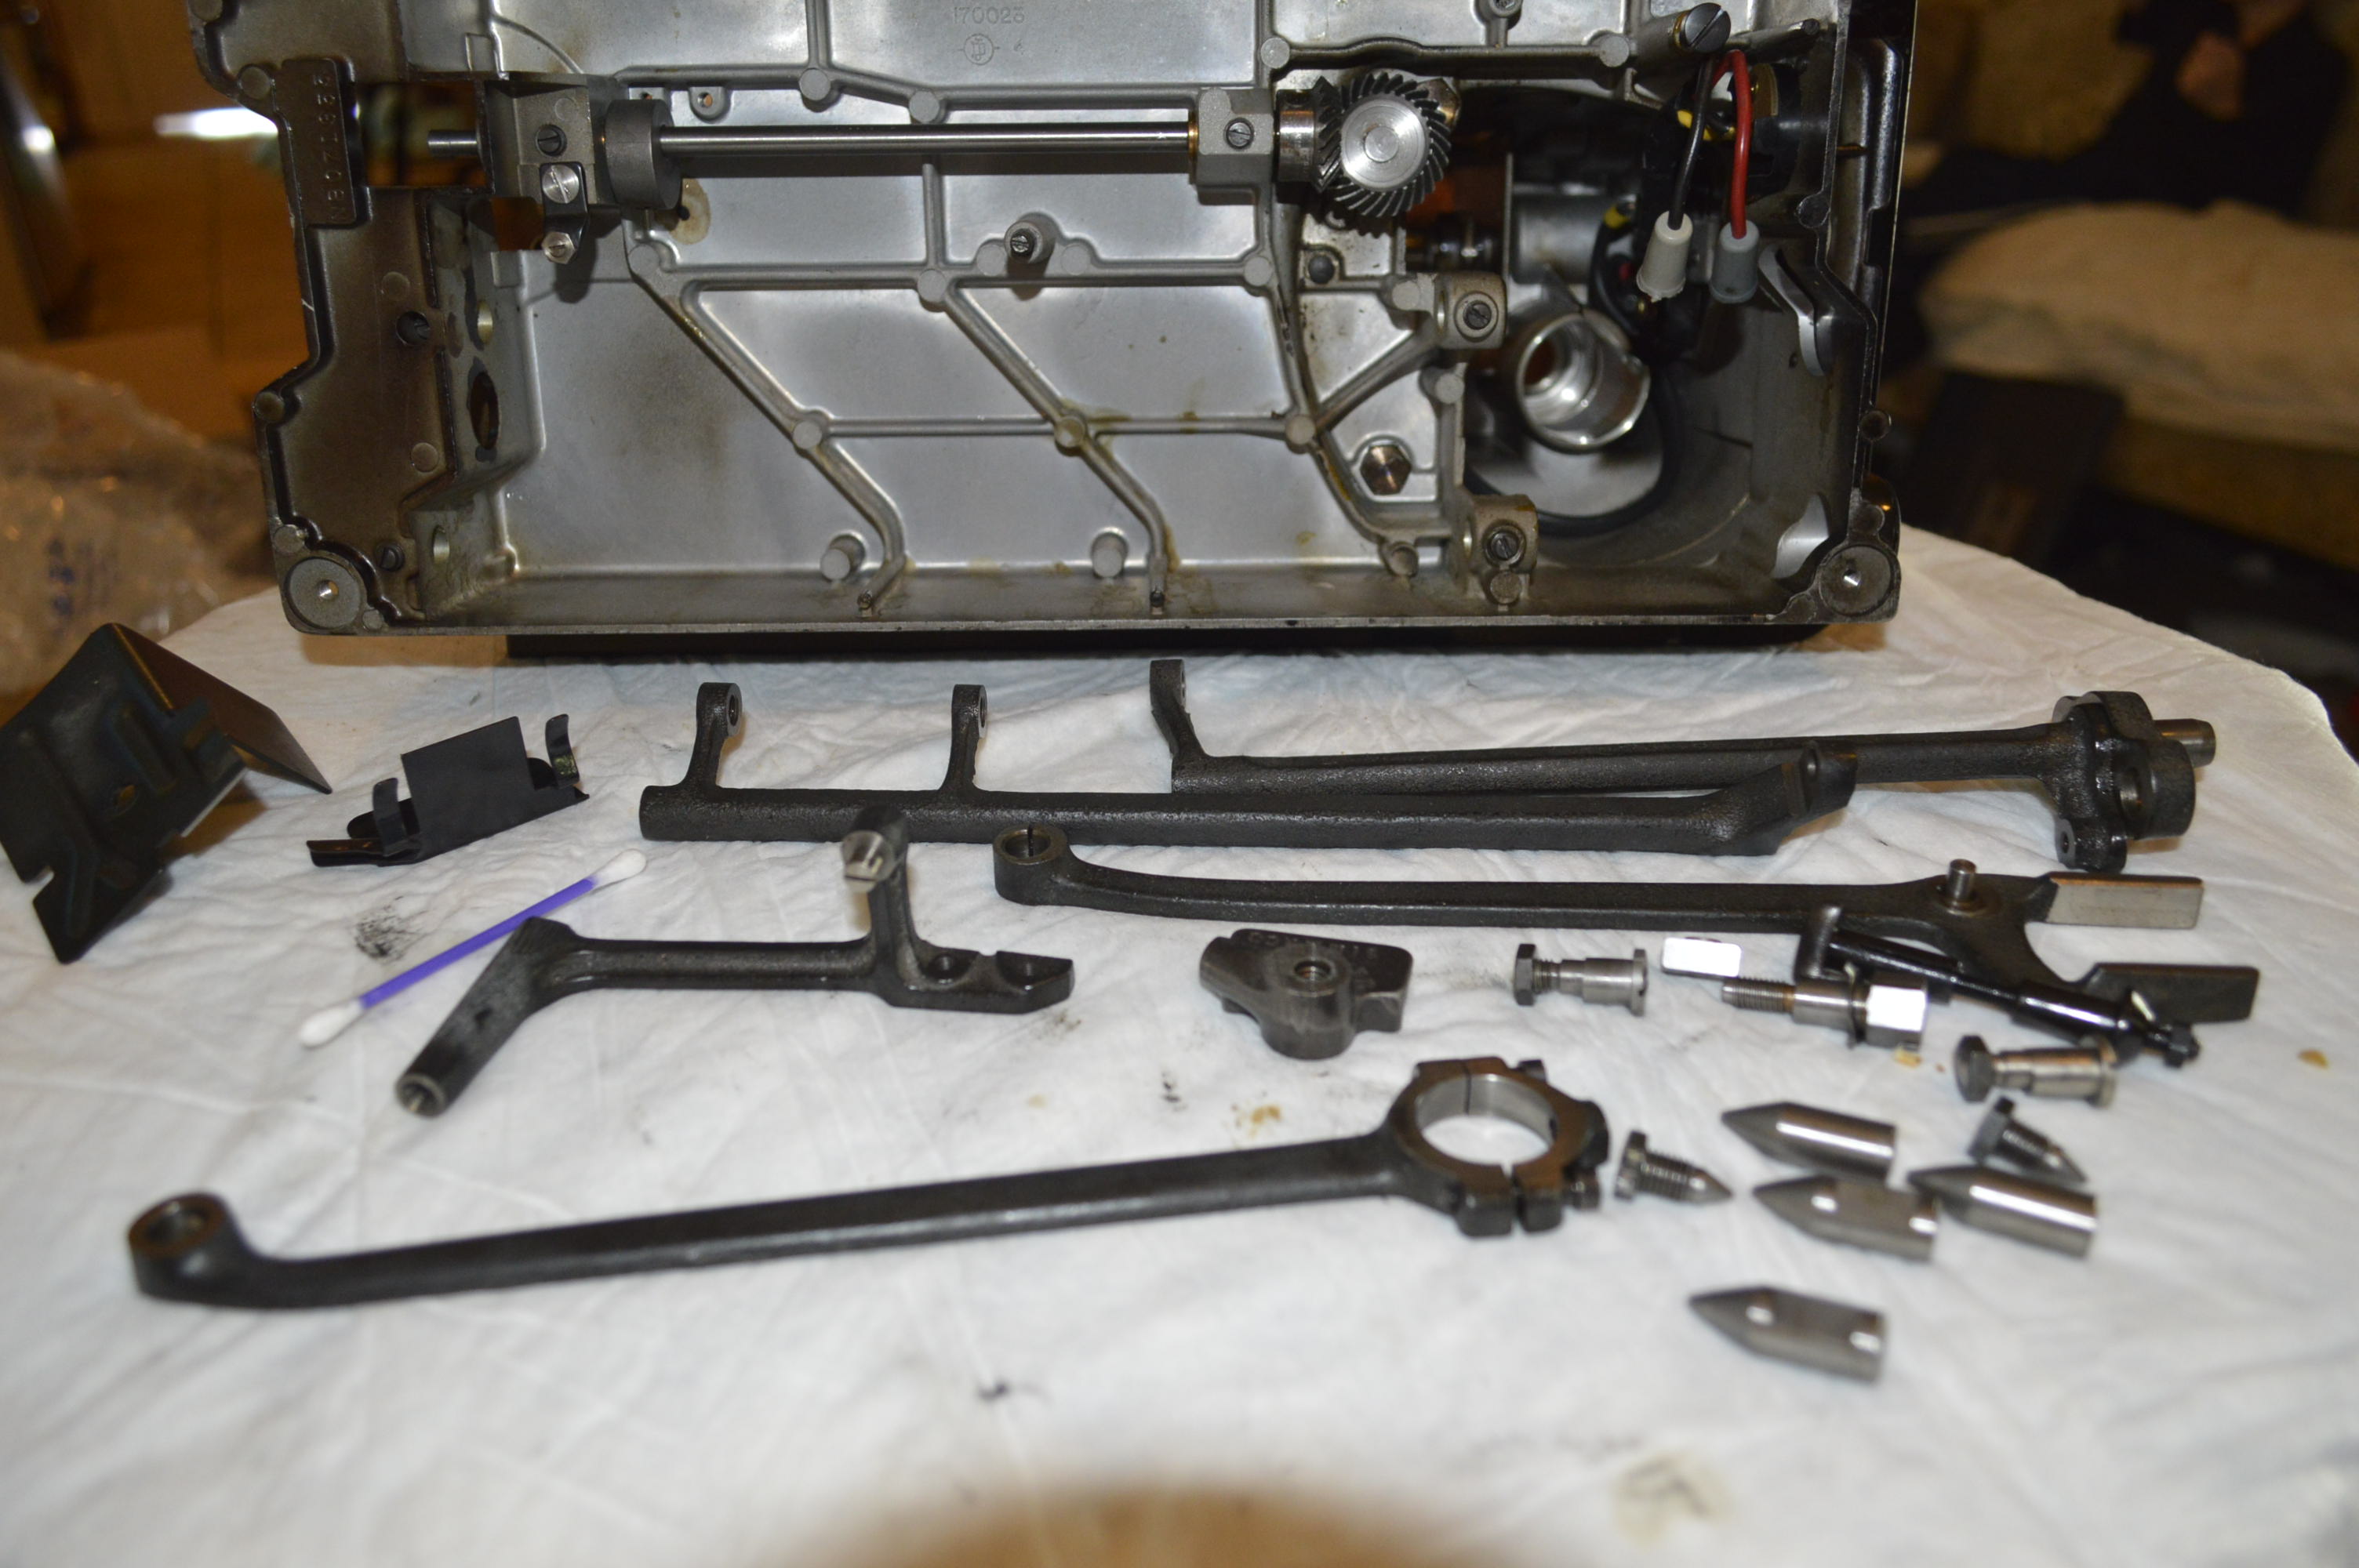
All of the rocker assemblies, feed dog drop assembly, stitch length fork, the stitch length slide regulator assembly, and the main connecting rod are removed. Particular attention is paid to any assembly or part that rubs against, or turns inside of another part. Our goal is to remove any old oil varnish hidden within these parts. It is important to note that the gear assemblies are NOT removed.
The 301, like the model 221, has a fully gear driven drive train… two gears in the sewing arm, and two under the bed of the machine. But that’s not why I am leaving them in the machine when I take everything else out. The reason I am leaving them alone is that like the Singer model 201-2, this machine has tooth matched heat treated steel gear sets. Tooth matching means that each gear set was run together for perfect fit before assembling them in the machine. This is a process called “gear lapping”. That is, each tooth in one gear meshes perfectly with the corresponding tooth in the other gear. This was done to ensure the smoothest operation possible and it explains why these machines run so smoothly. These gears are also precisely set for the proper clearance between them. This is called “gear lash”. Perfect adjustment of the gear lash allows for the most efficient gear tooth load and area of contact between the gears teeth. In fact, per the Singer service manual, there is only one gear in this machine that should be loosened, and it is a particular gear, and the reason for loosening it is to adjust the hook timing. For any other reason, if a near needed to be removed or replaced, it meant a trip back to the Singer factory (obviously not possible today). If you try to follow this blog to recondition your 301, I encourage you to do so. I post this information to help, but please follow my advice and leave the gears alone… they will be cleaned in place.
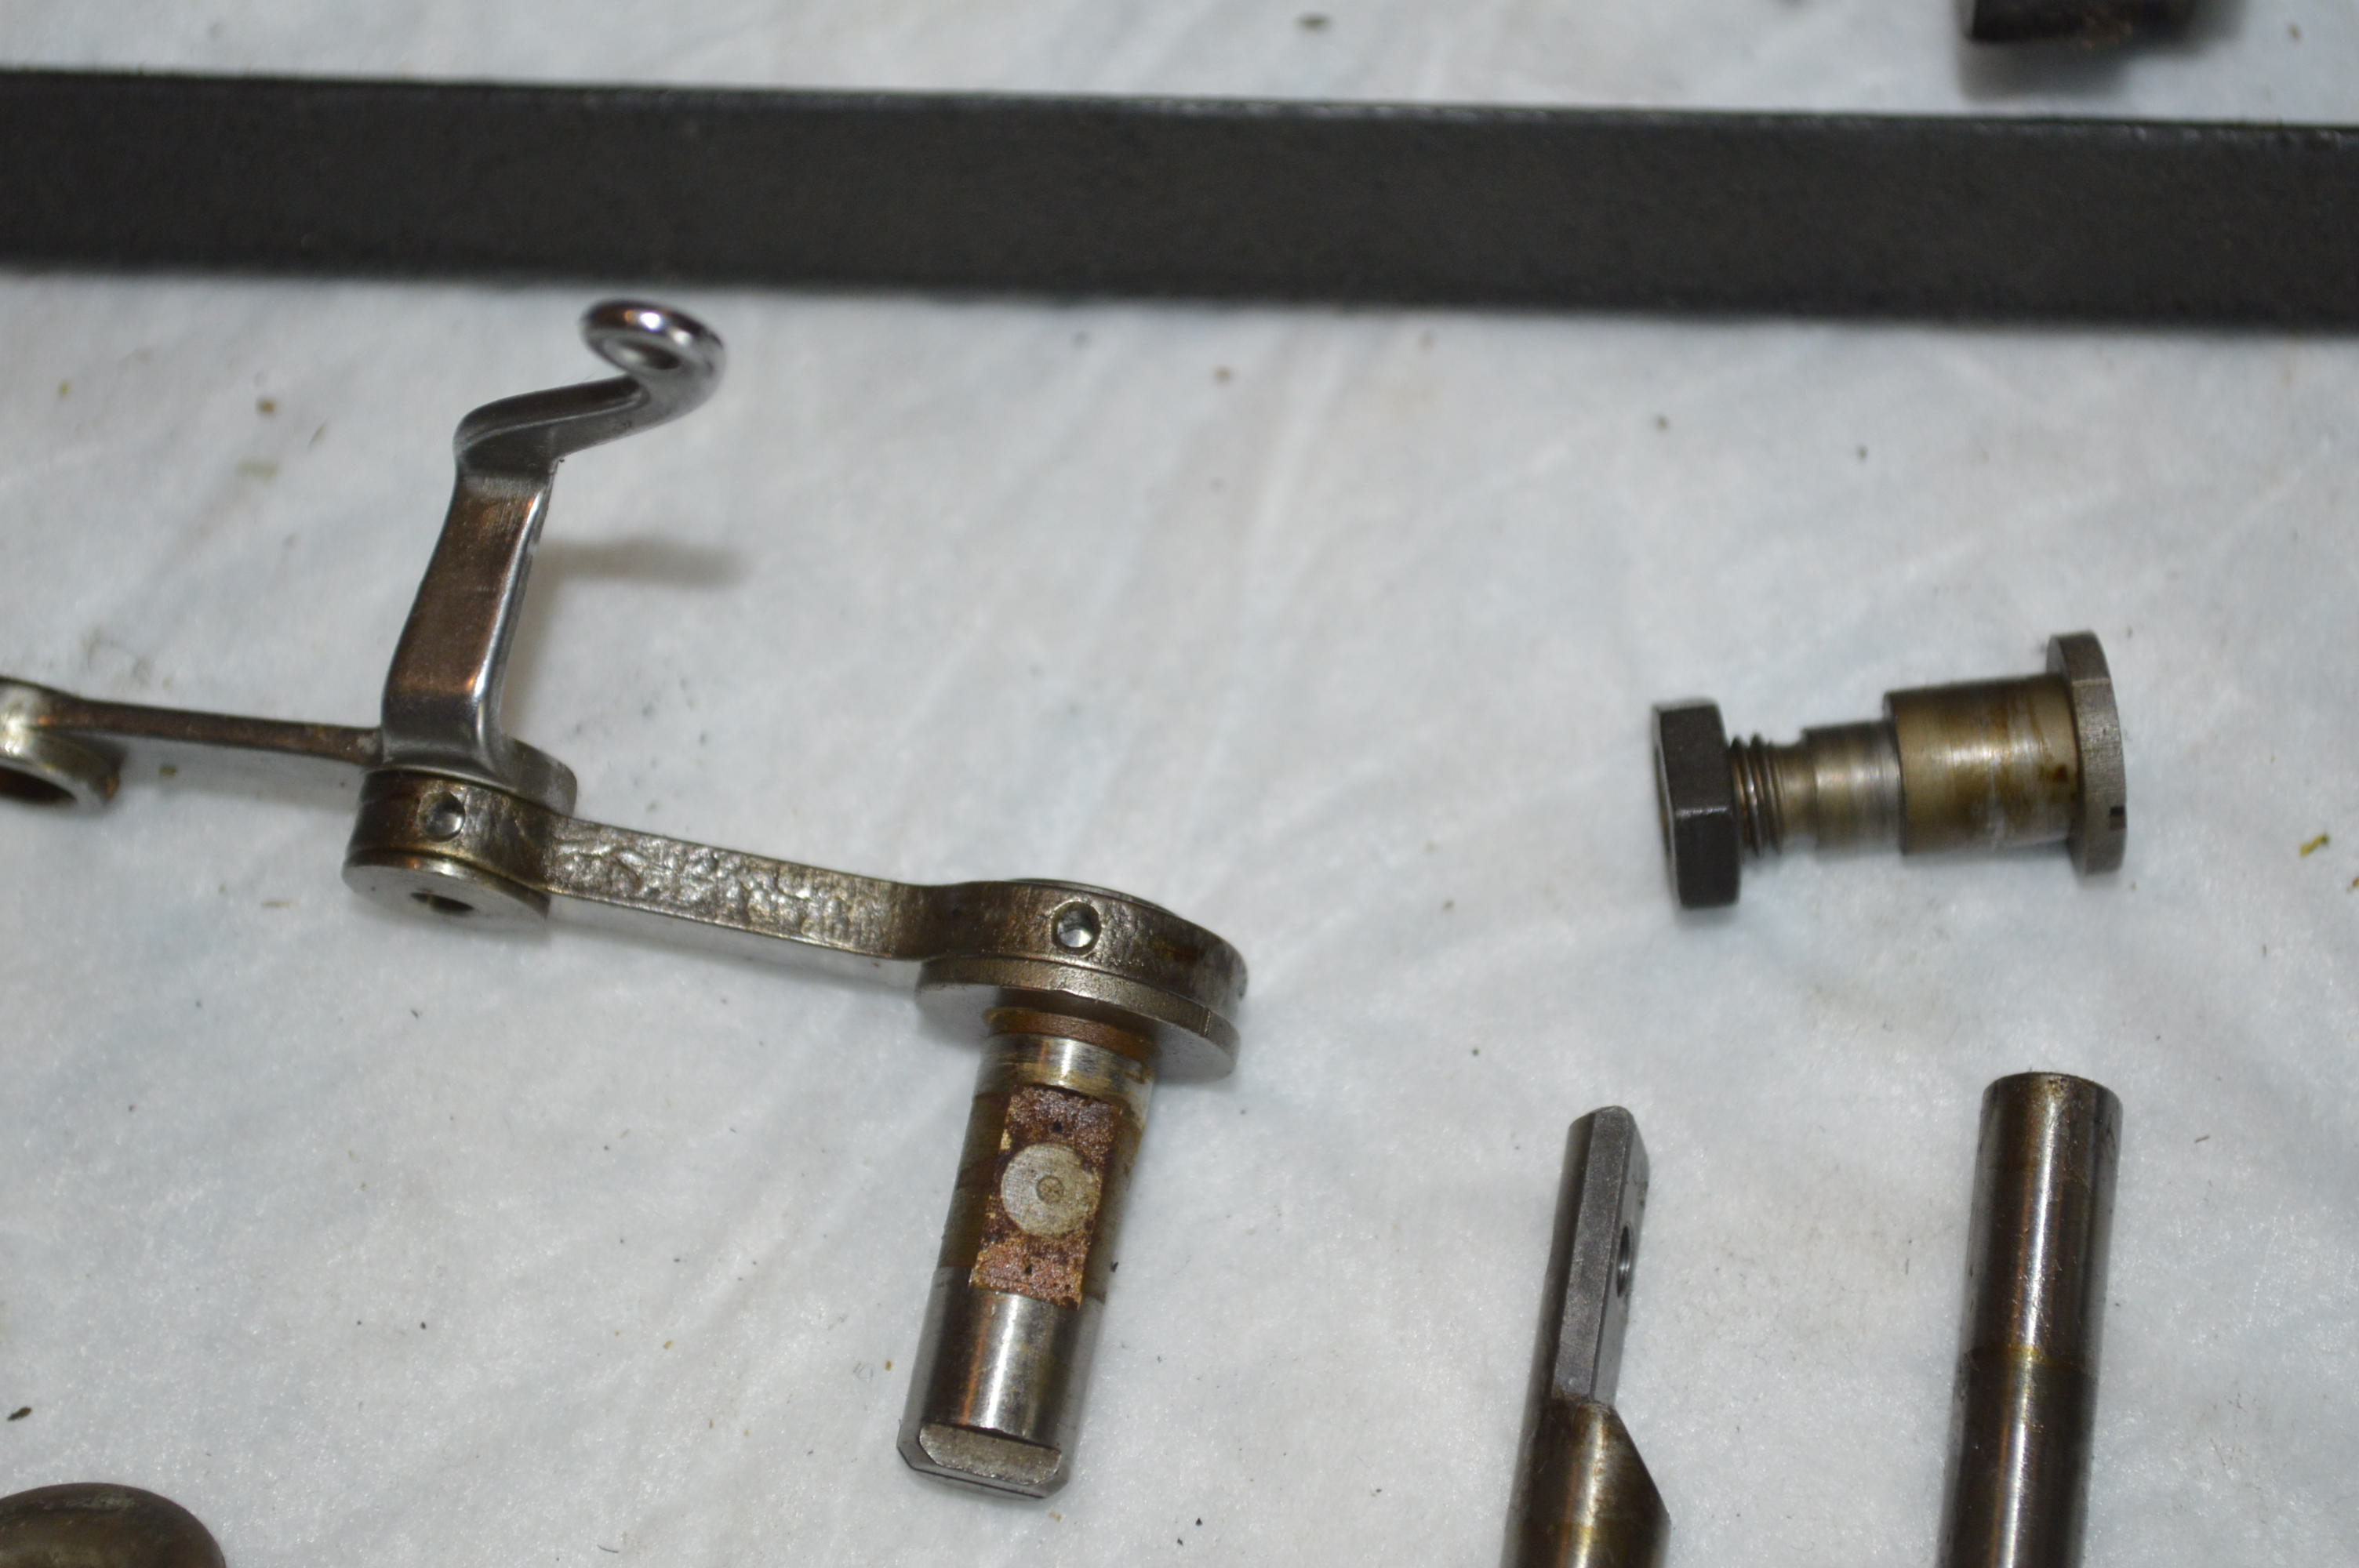
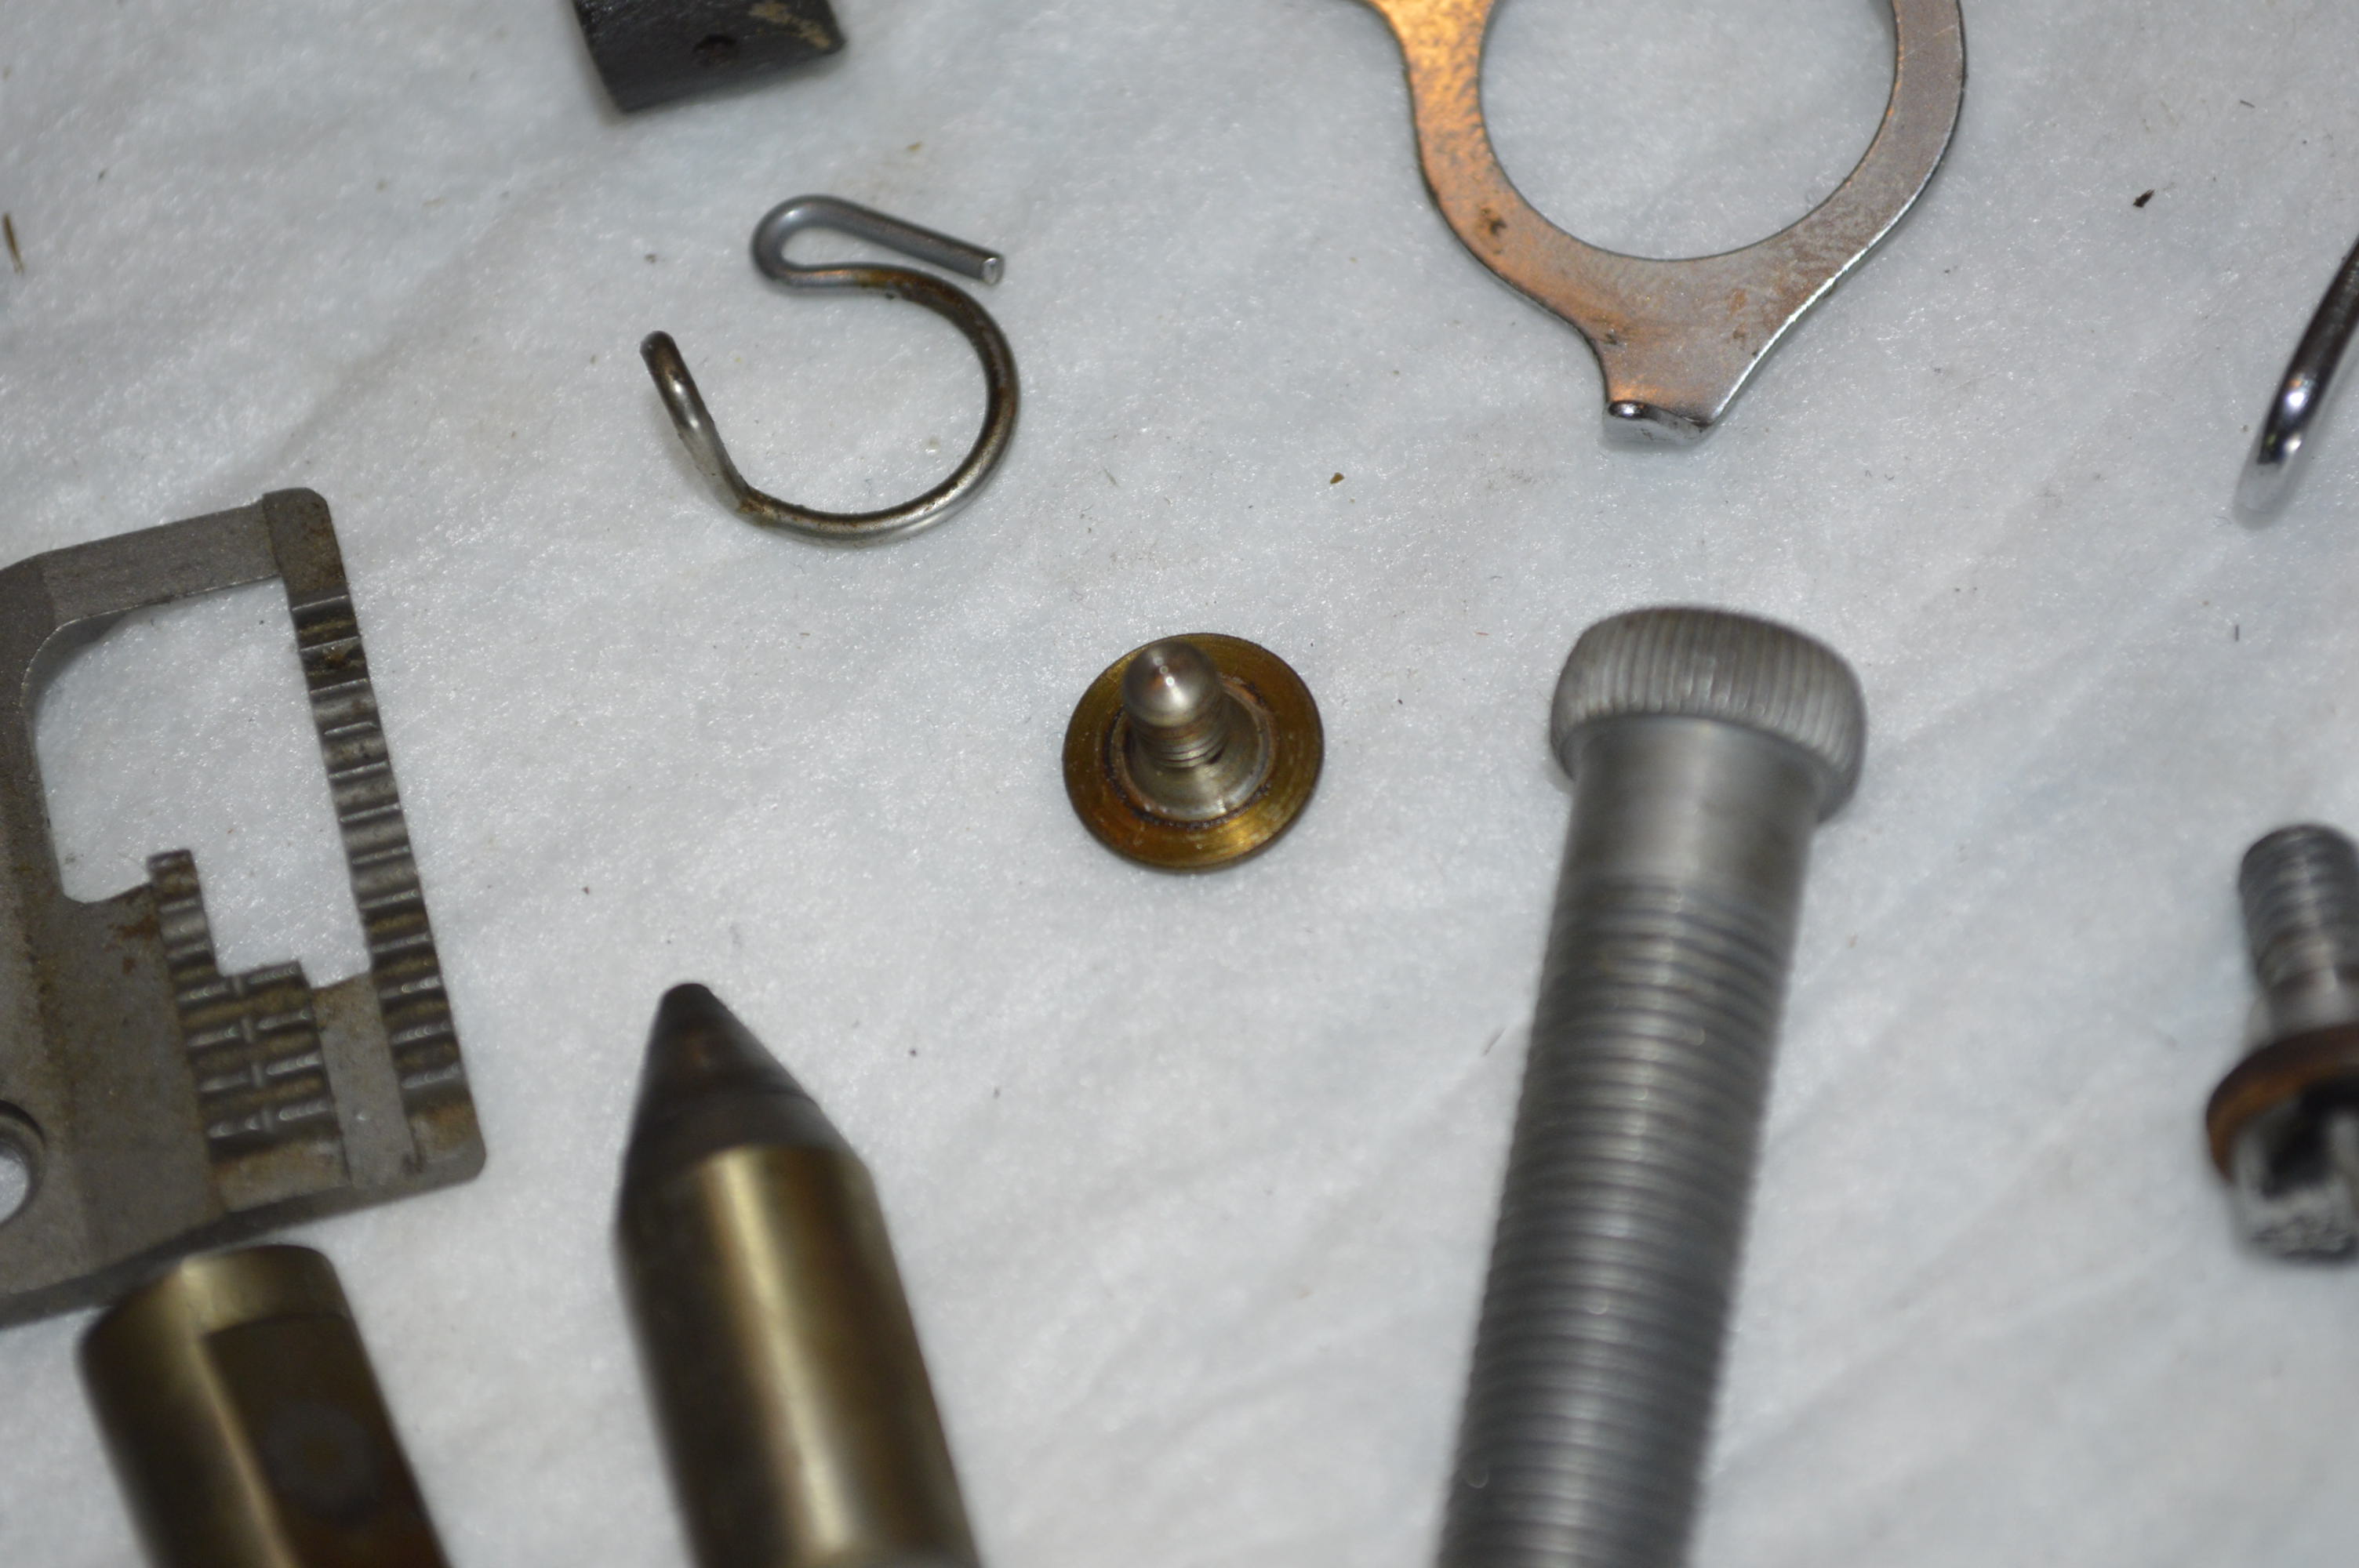
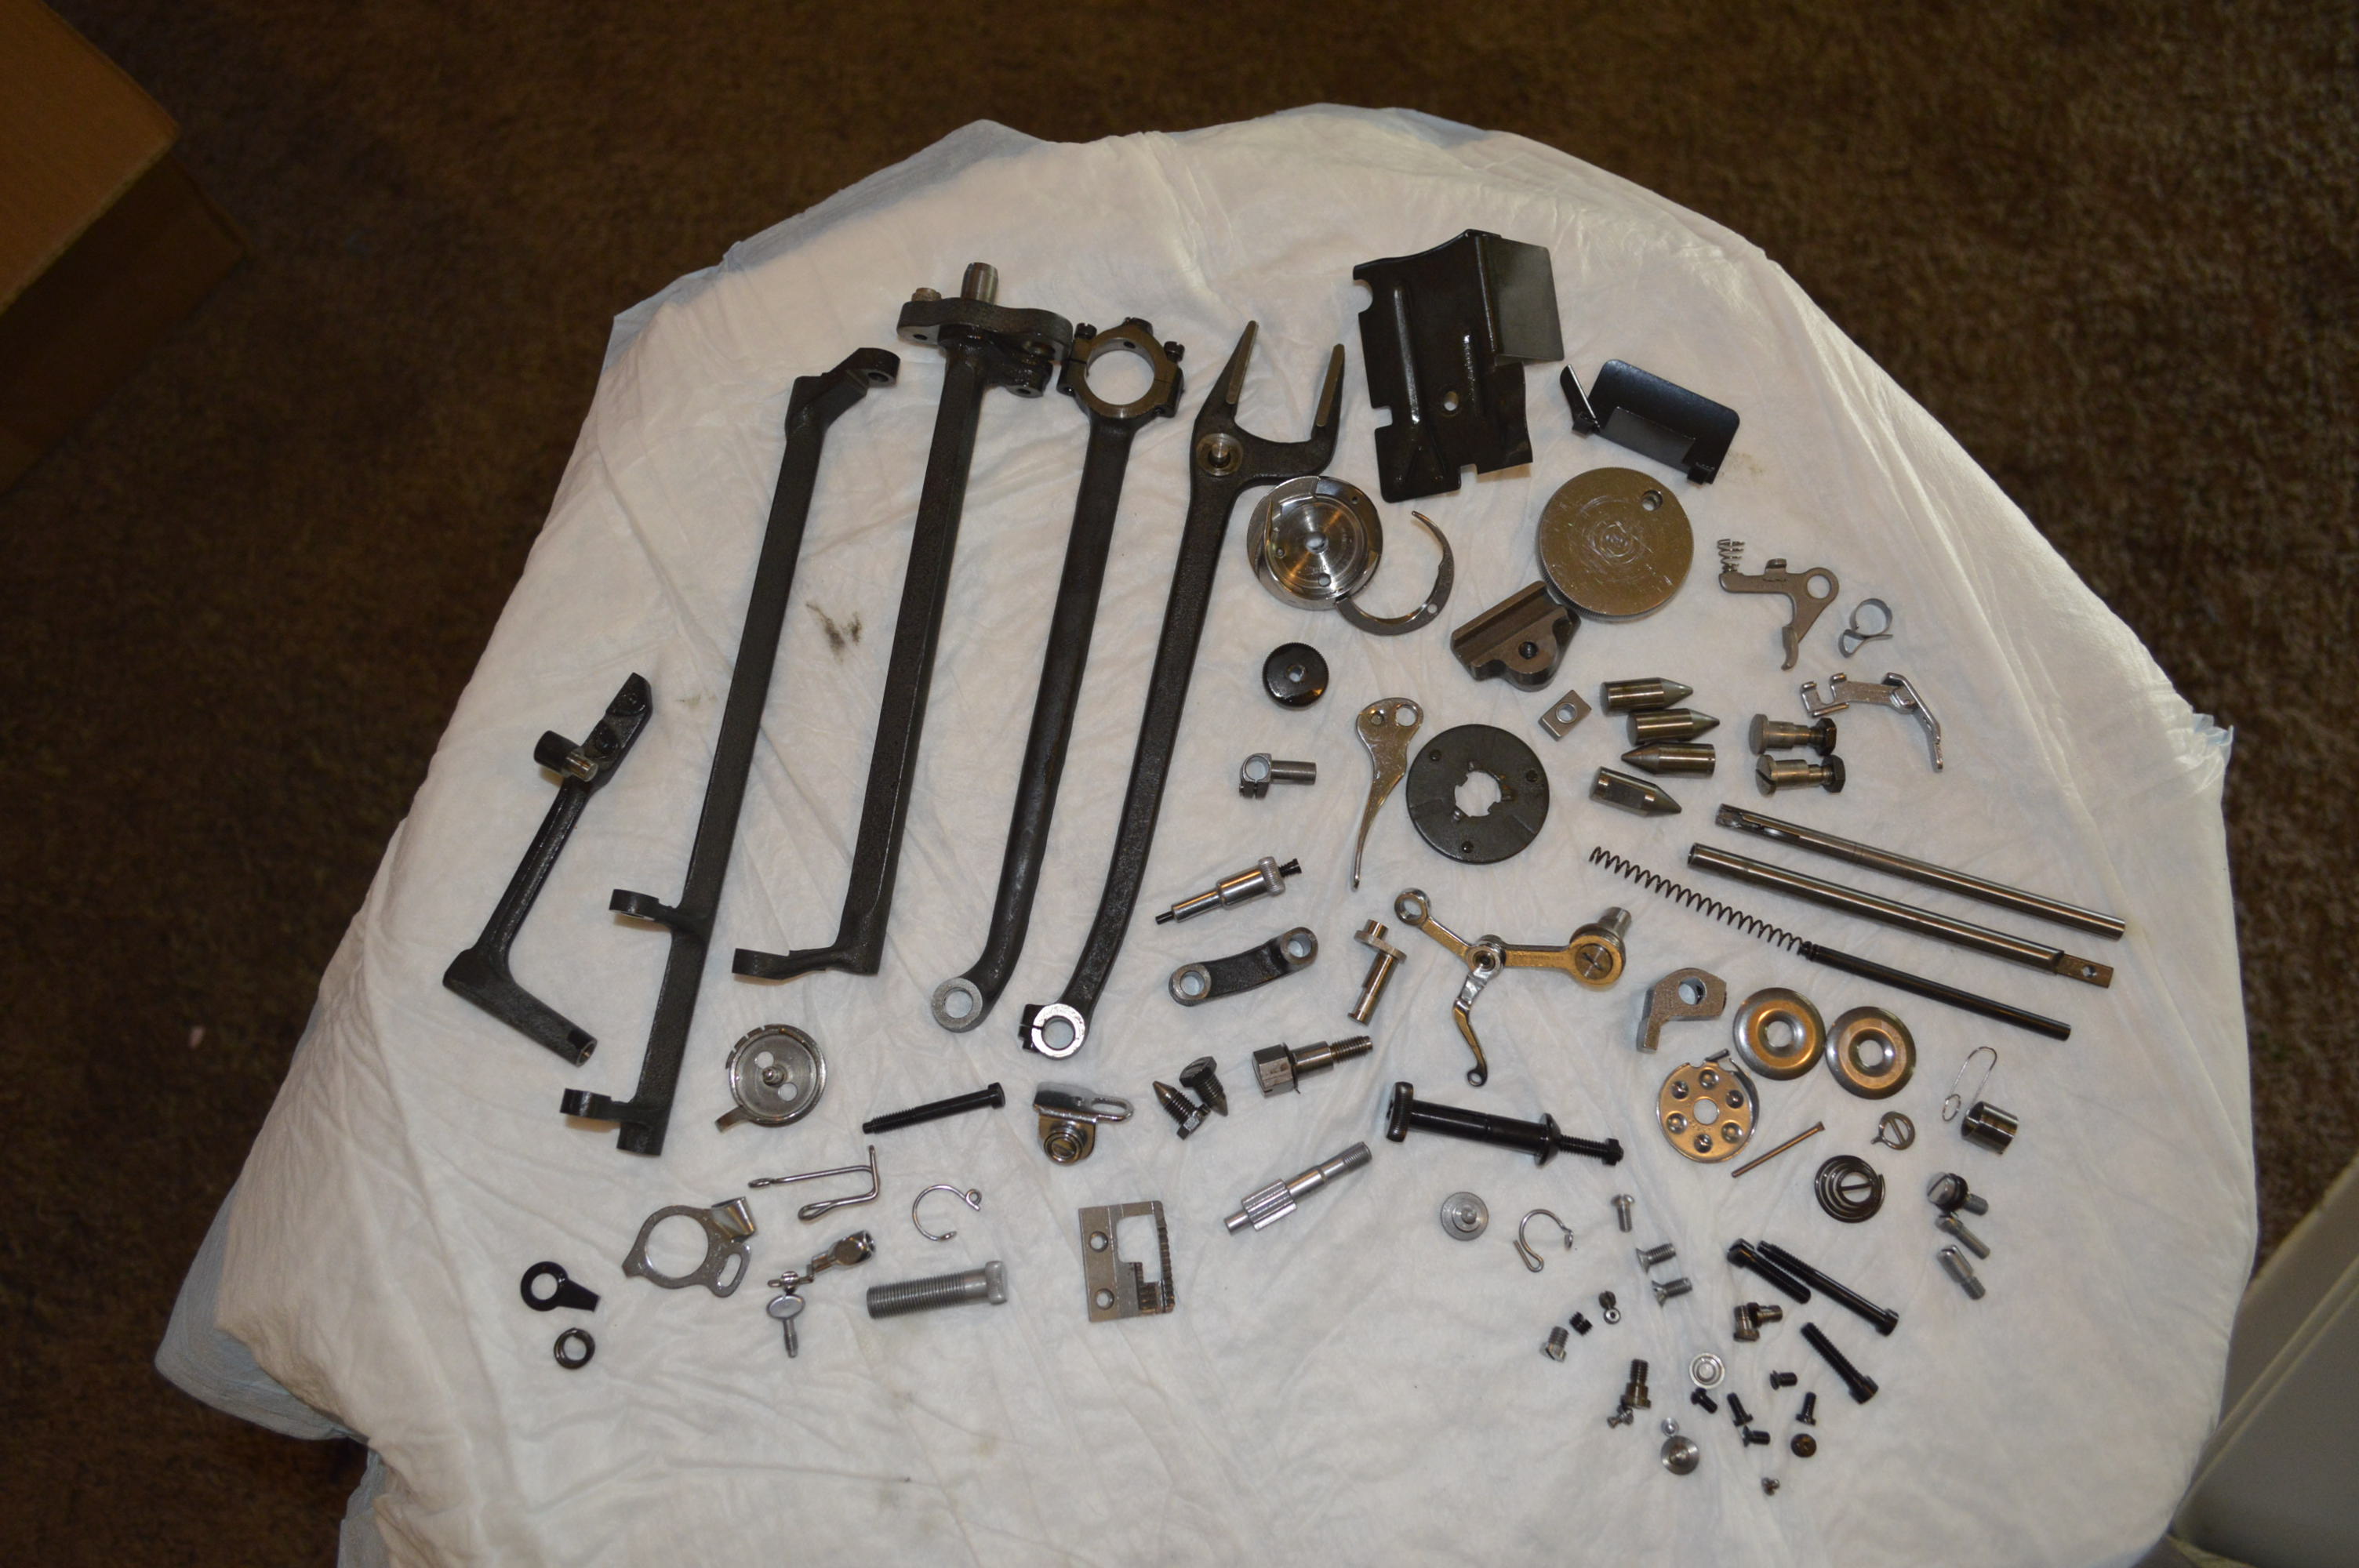
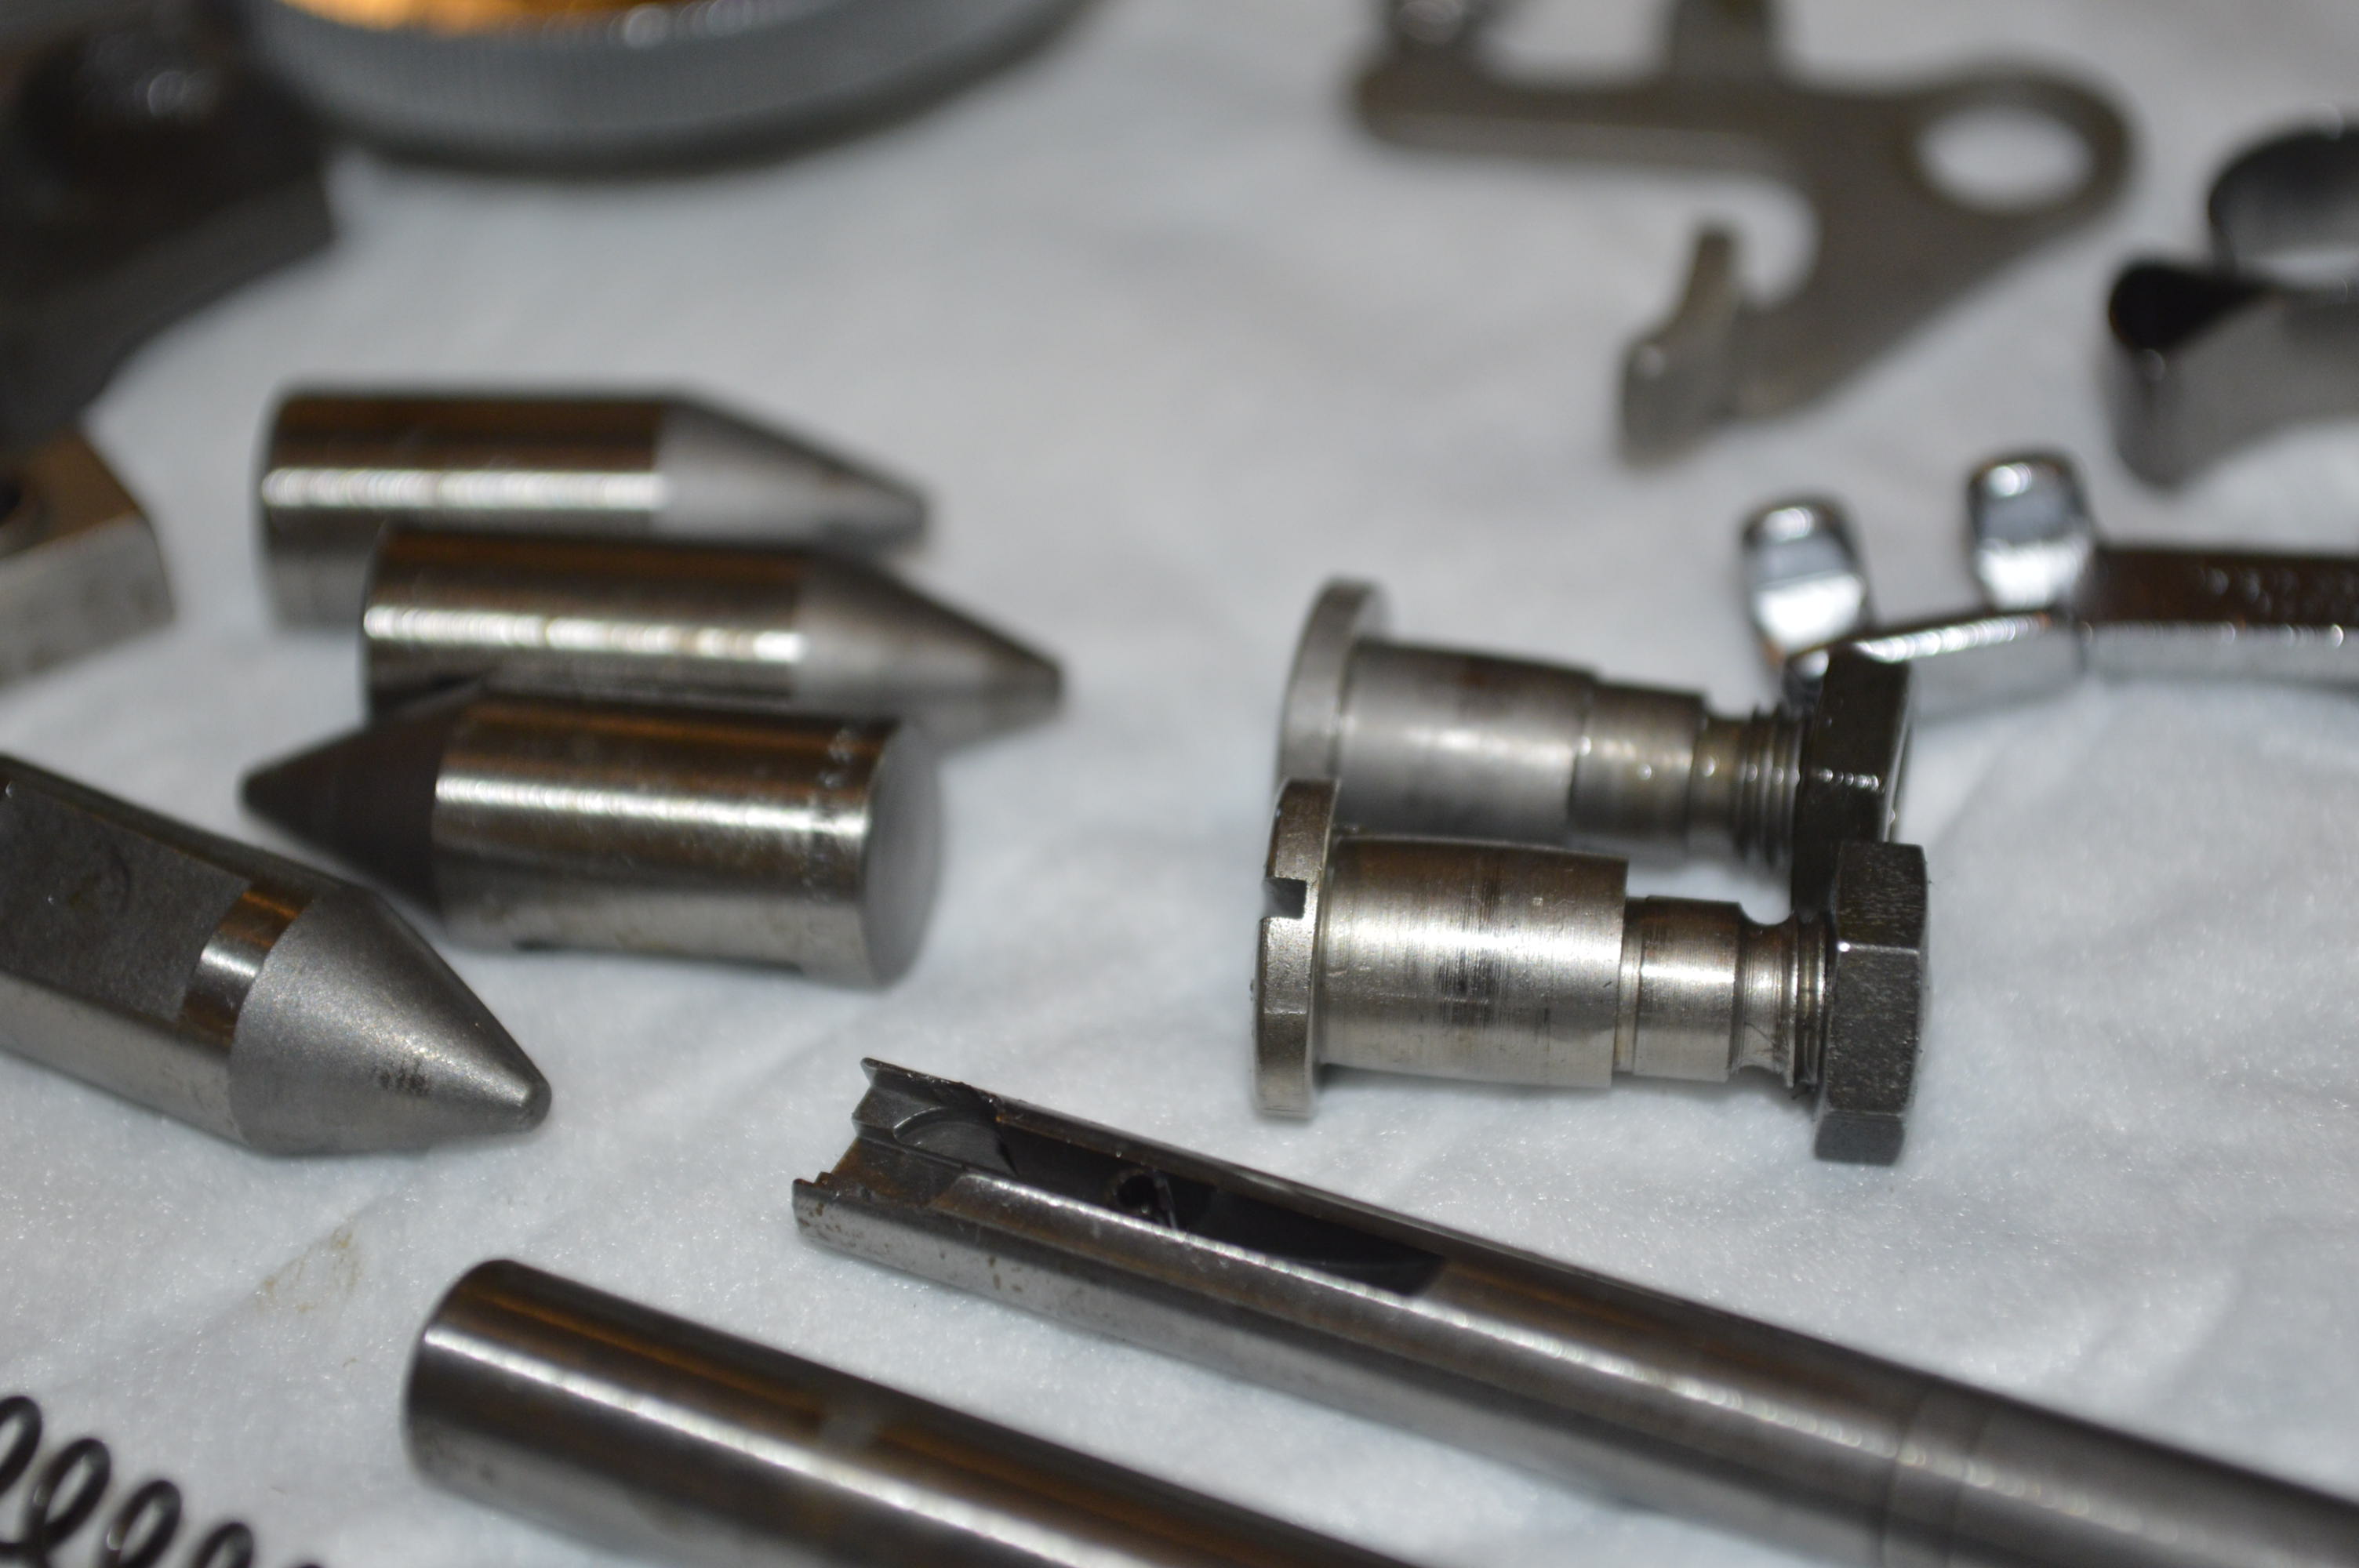
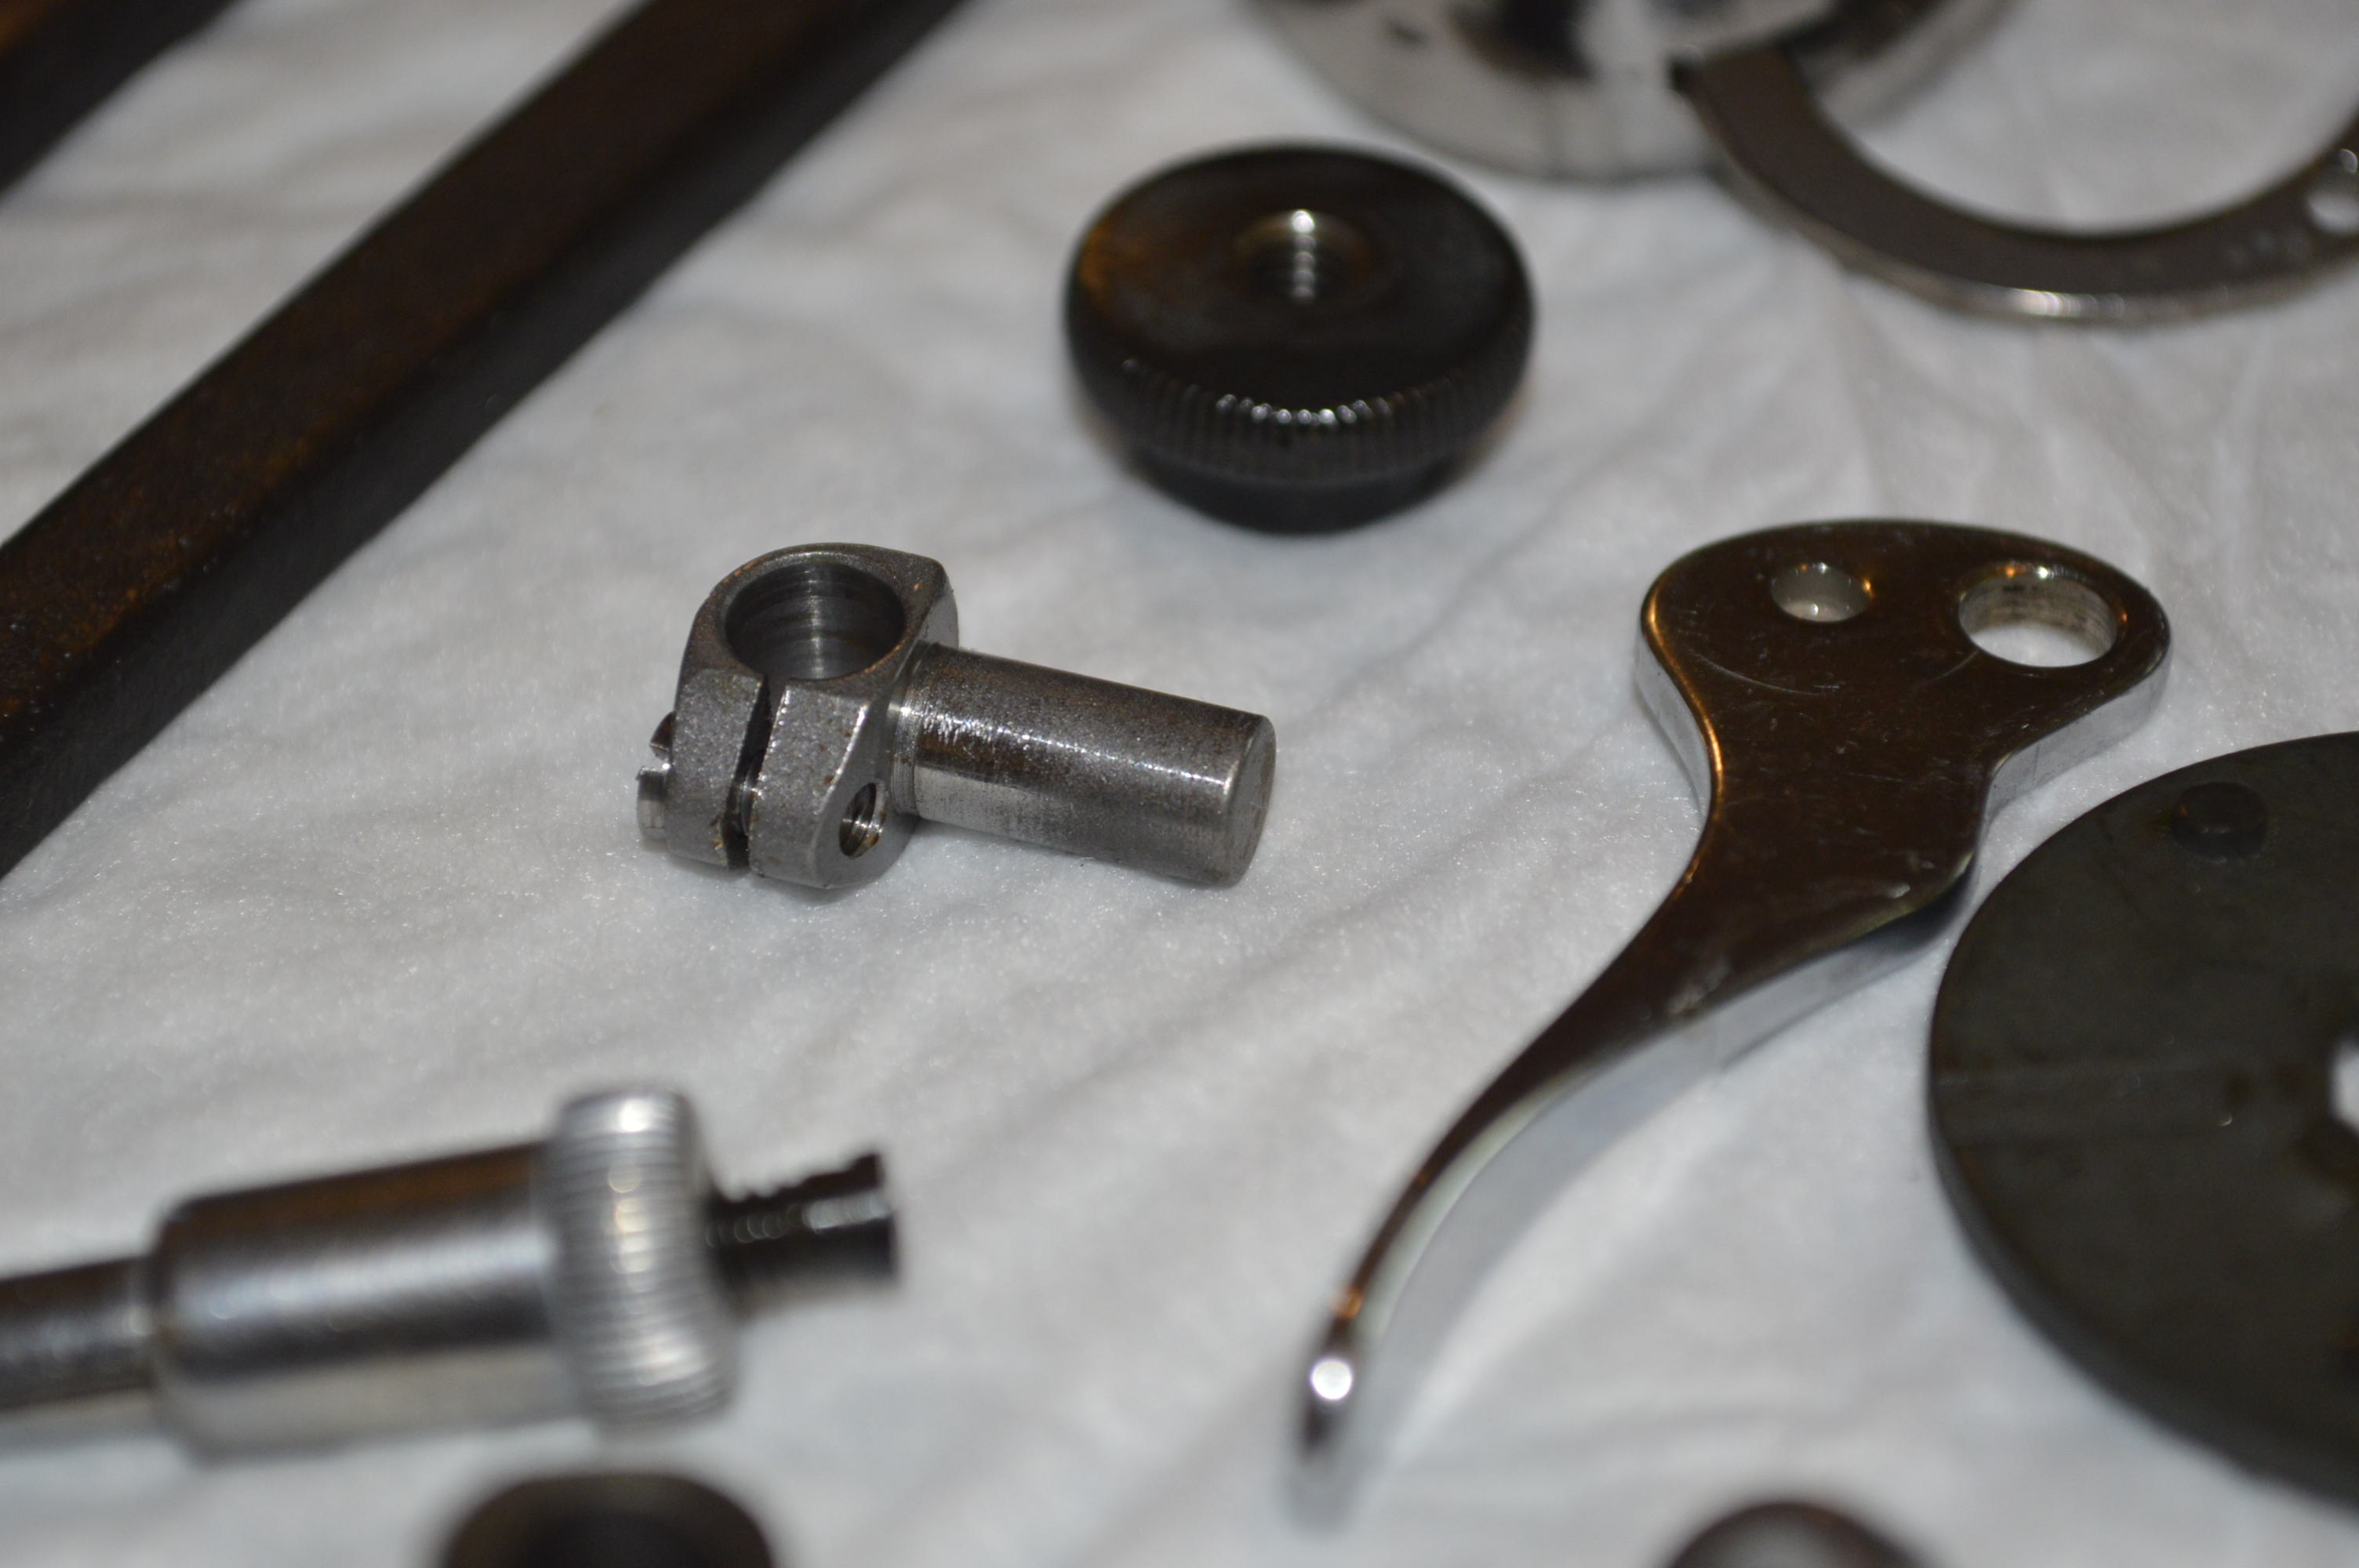
The parts removed are laid out for cleaning…
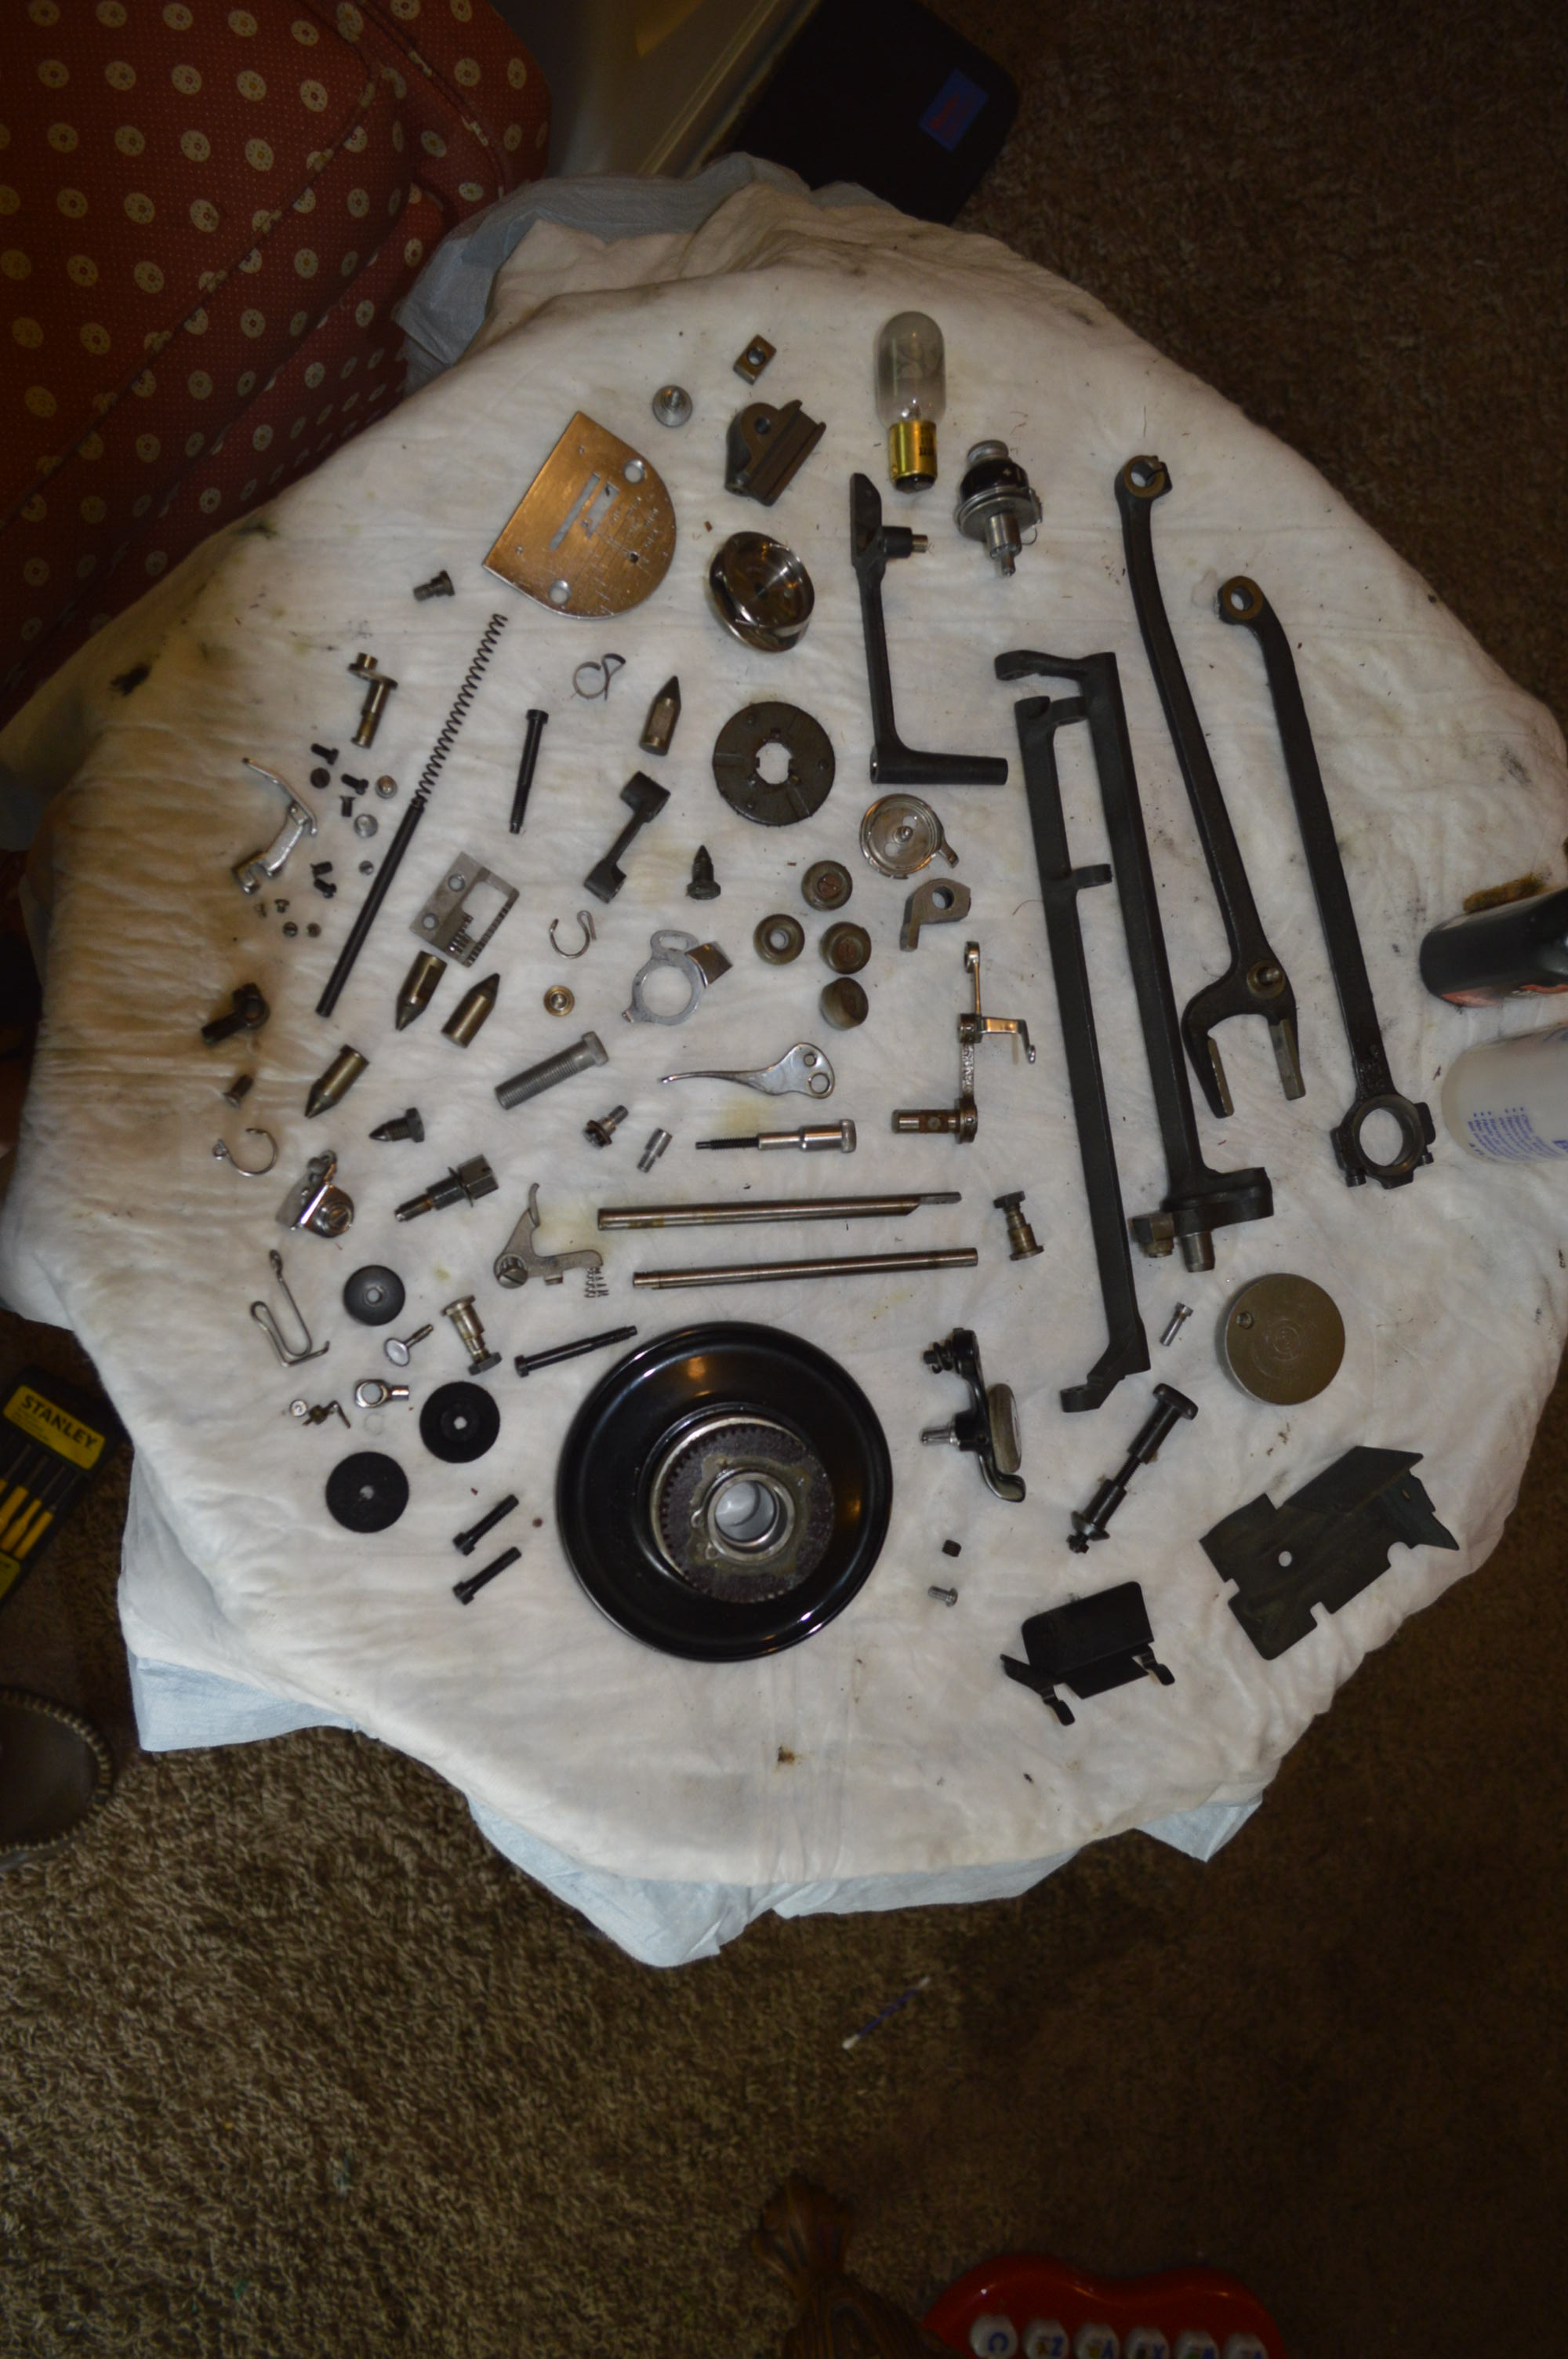
Note in the close up pictures, the coffee colored coating on these parts. This is old oil varnish that is inaccessible to surface cleaning. Removing this film from the bearing and rubbing surfaces can only be accomplished by disassembly, and the end result will be a much smoother operating machine when these parts are moving against its mating part… like when it was new.


Here are the parts after cleaning…
Ultrasonic cleaning is very effective at removing the varnish, but some parts need to be cleaned further… remember, if it moves against something else, it has to be as smooth and clean as possible… Like it was when it was new. These parts are wire brushed with a soft wire wheel on a dremel tool and are shown in the next few pictures.
Even cleaned with a wire wheel, the needle bar and the presser foot bar need to be polished as smooth as glass. This is done with metal polish and a drill to turn the bar. For the other mating parts, such as the forks and the connecting rod, the inside bearing surfaces are cleaned by hand with acetone and cotton swabs.
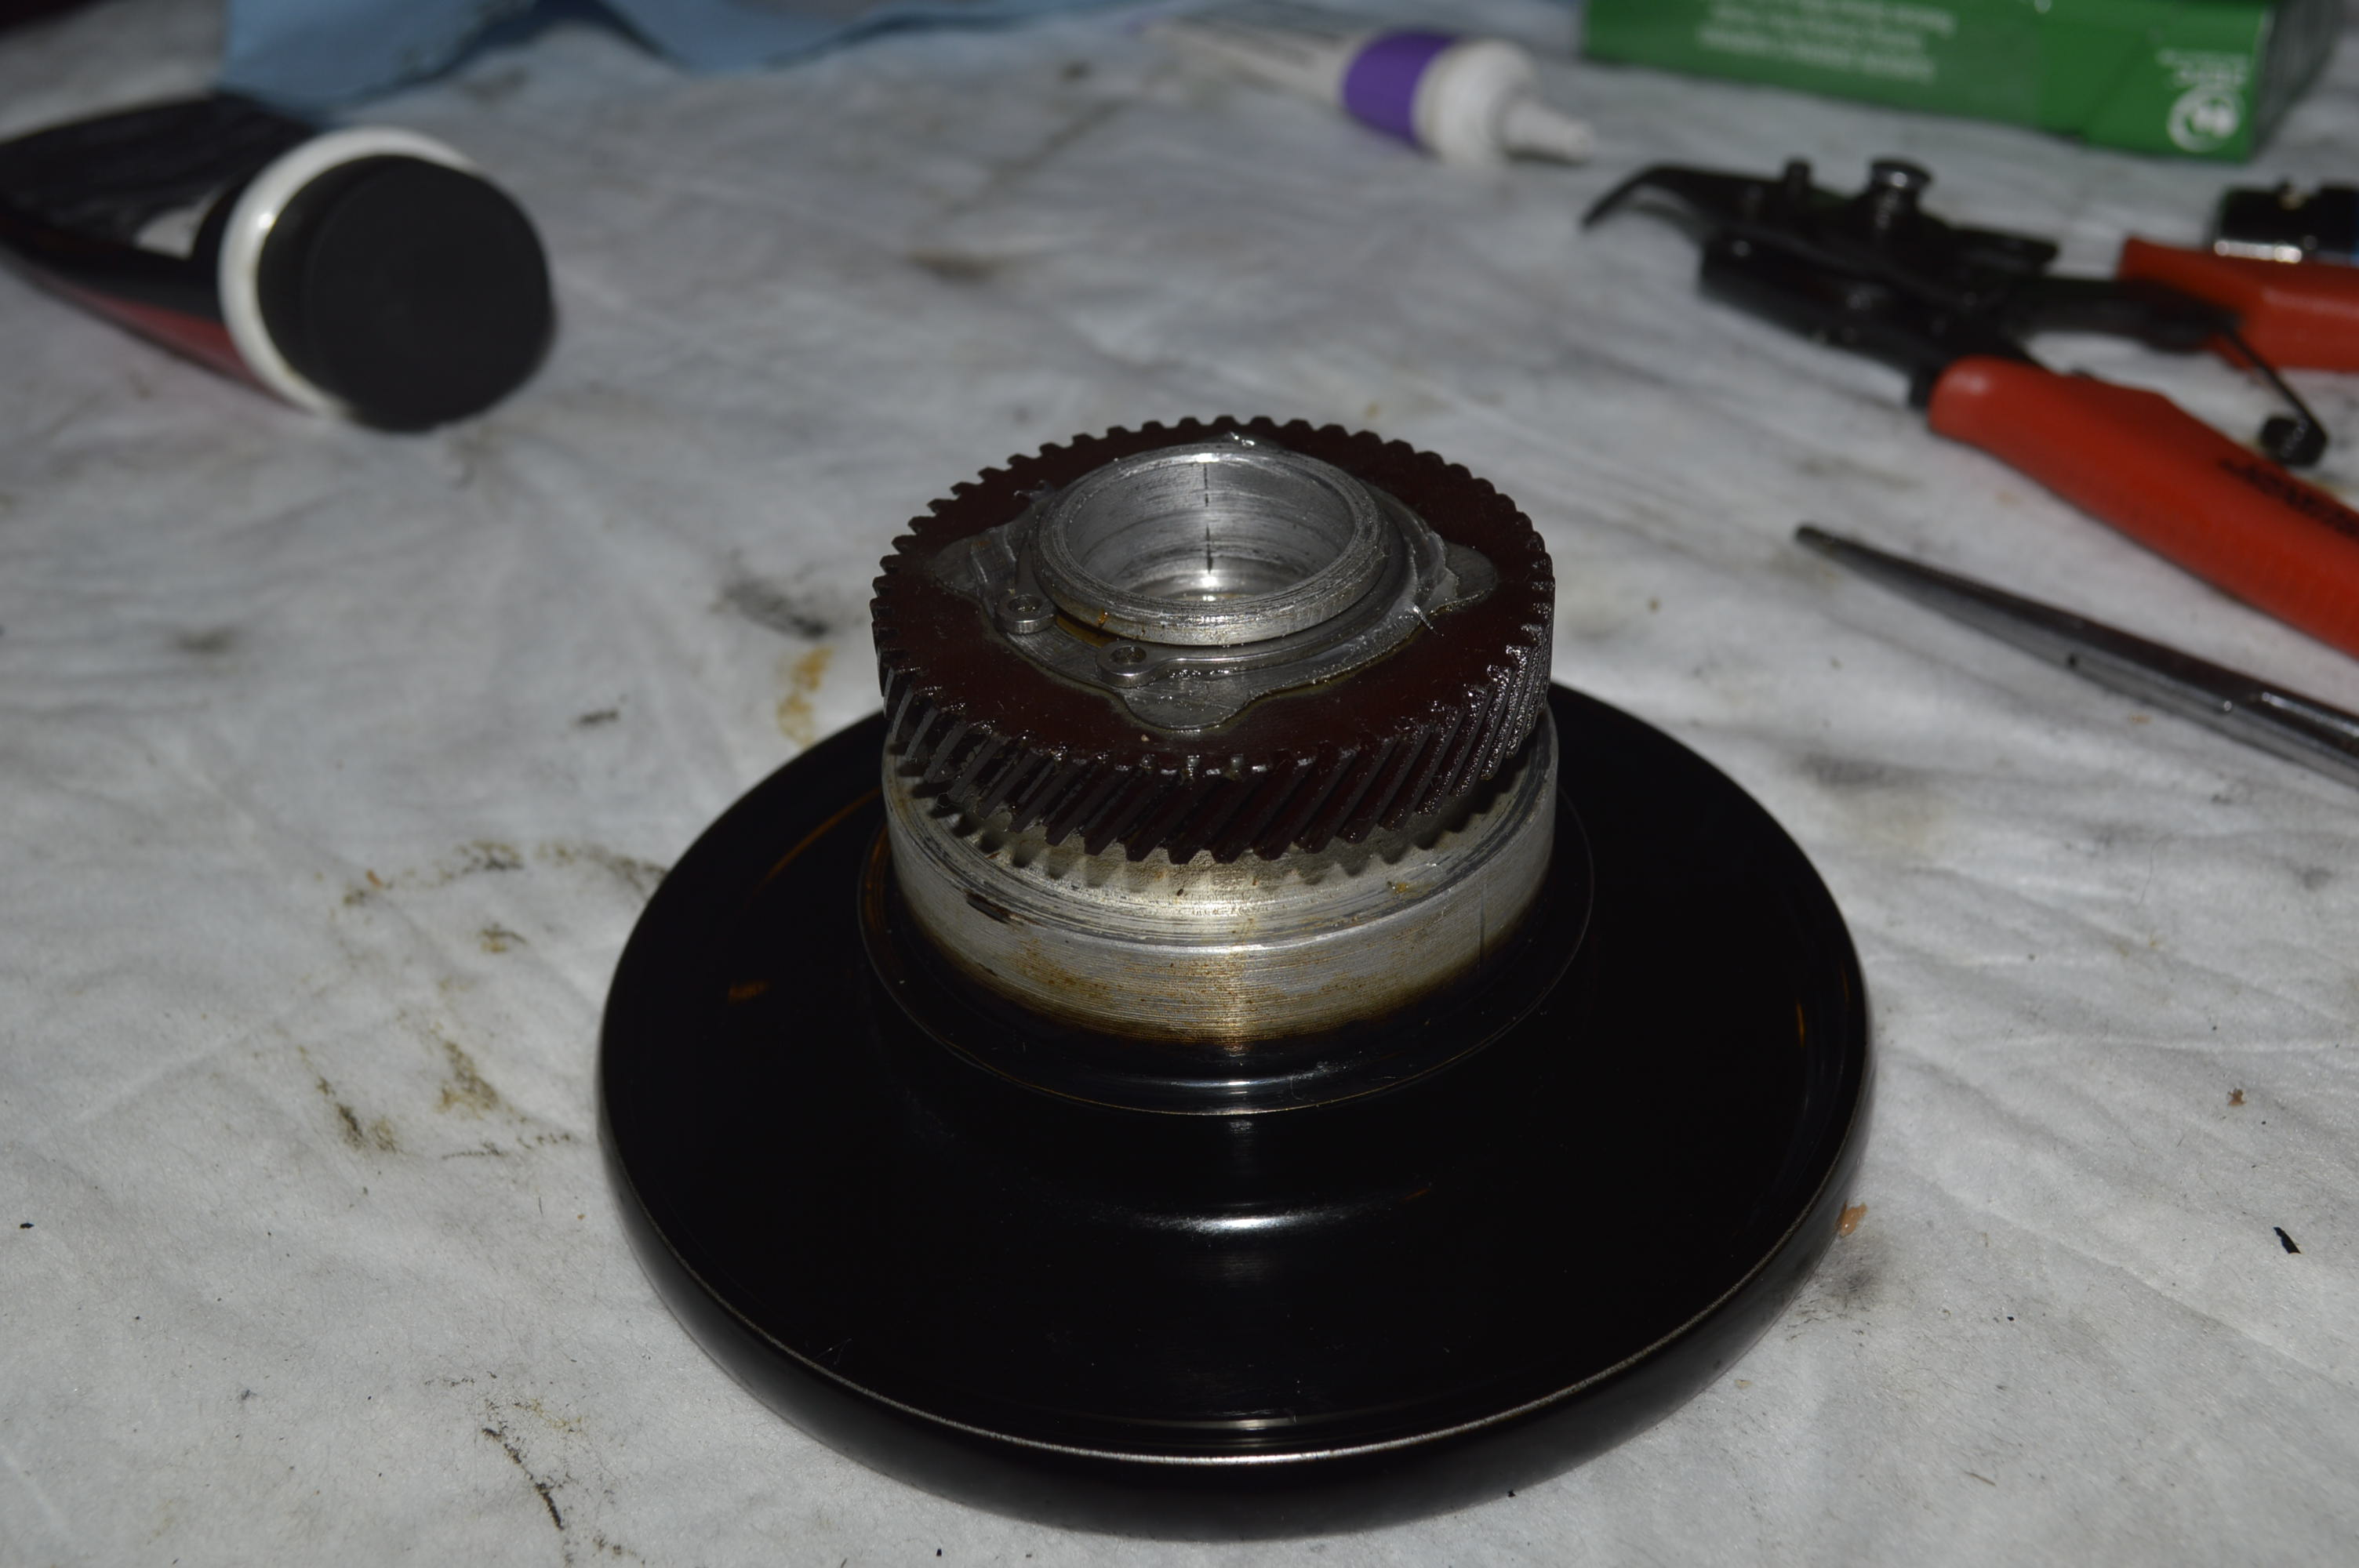
The bushings are cleaned by hand, as are the gear sets…
Now the parts are cleaned. They are laid out for assembly…
The parts are then assembled, but left “loose” until the machine is completely assembled and ready to be adjusted.

The parts are assembled in the sewing head…
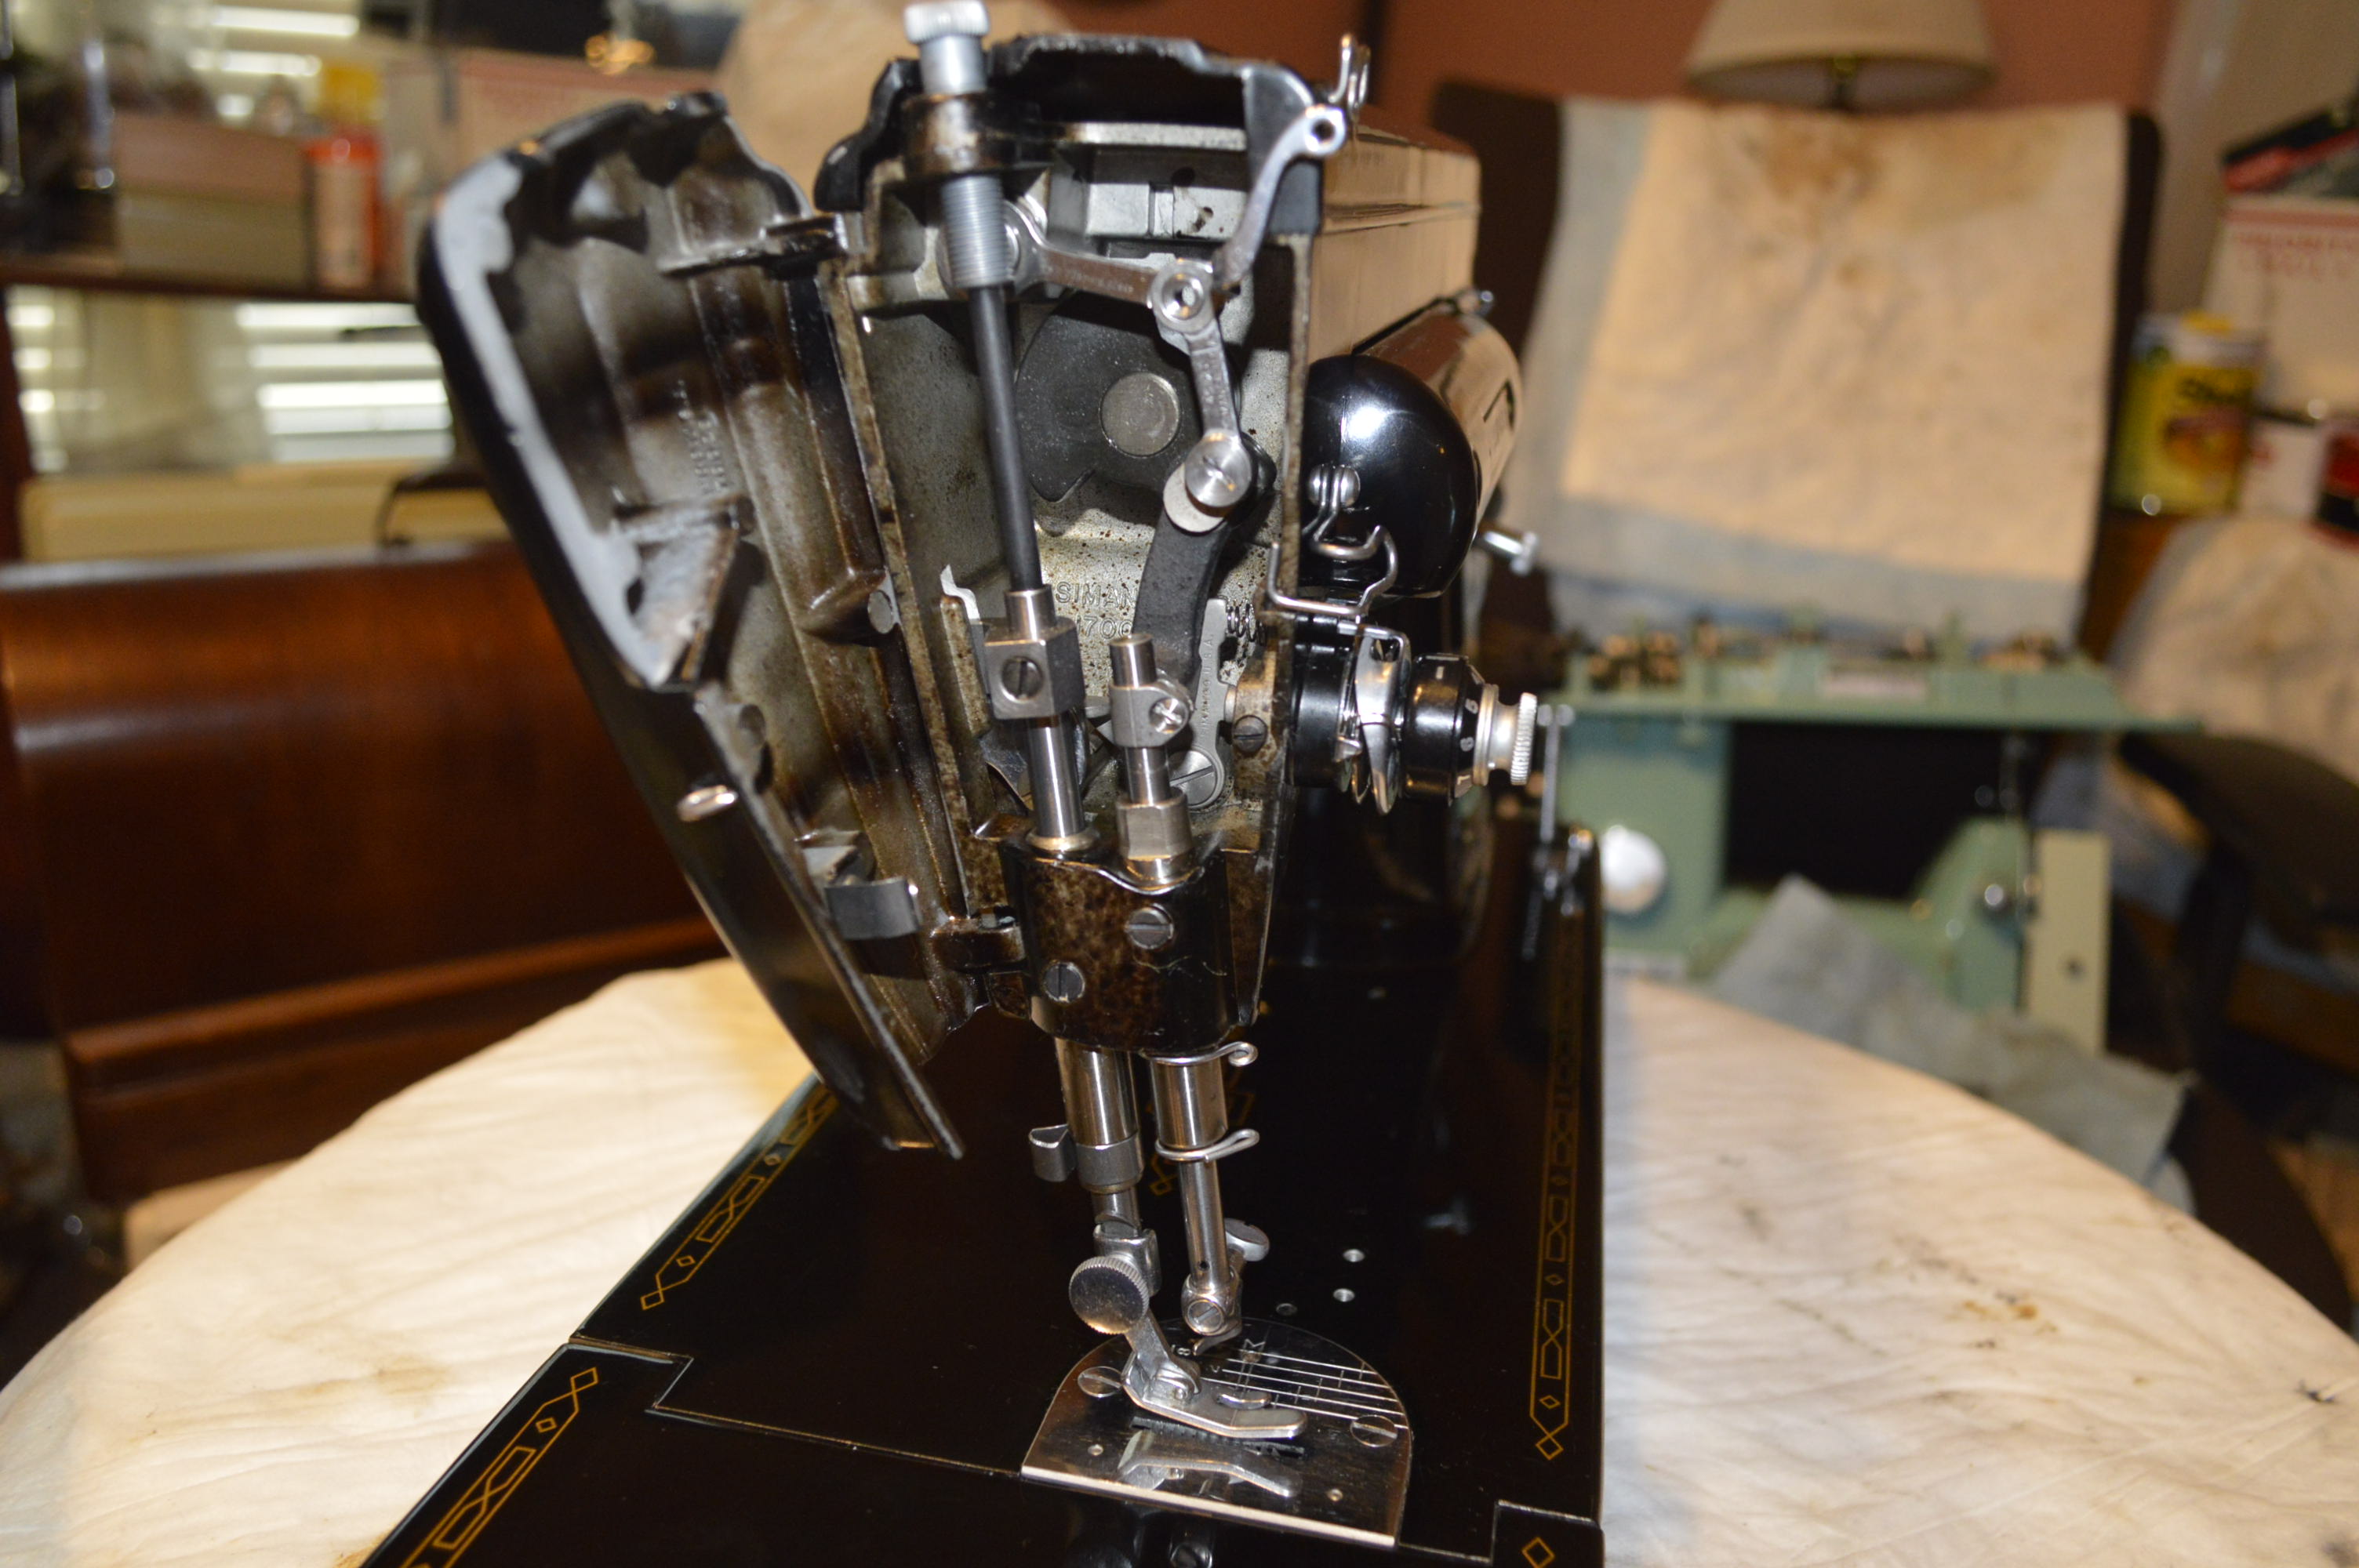
Before we continue, this is a good place to pause and give you my “Tip of the Day”… If you decide to disassemble your machine, please don’t skip this part because it is important. Before attempting to remove the thread take up assembly, look closely at the next picture.

The screw shown in the middle of this picture must be removed as part of the thread take up assembly… but it holds a hidden secret. Unlike every other screw or bolt in the sewing machine, it has “right hand” threads. This means that you loosen this screw by turning the screw driver clockwise, as if you were tightening it instead of loosening it. If you attempt to loosen this screw by turning it counter-clockwise, like you would normally do, you are actually tightening it. If too much force is applied, it will shear off and “break”. If this happens, your day will be ruined and you will need to find some replacement parts before the machine is usable again. Good to know huh?… Now, on to the next step.
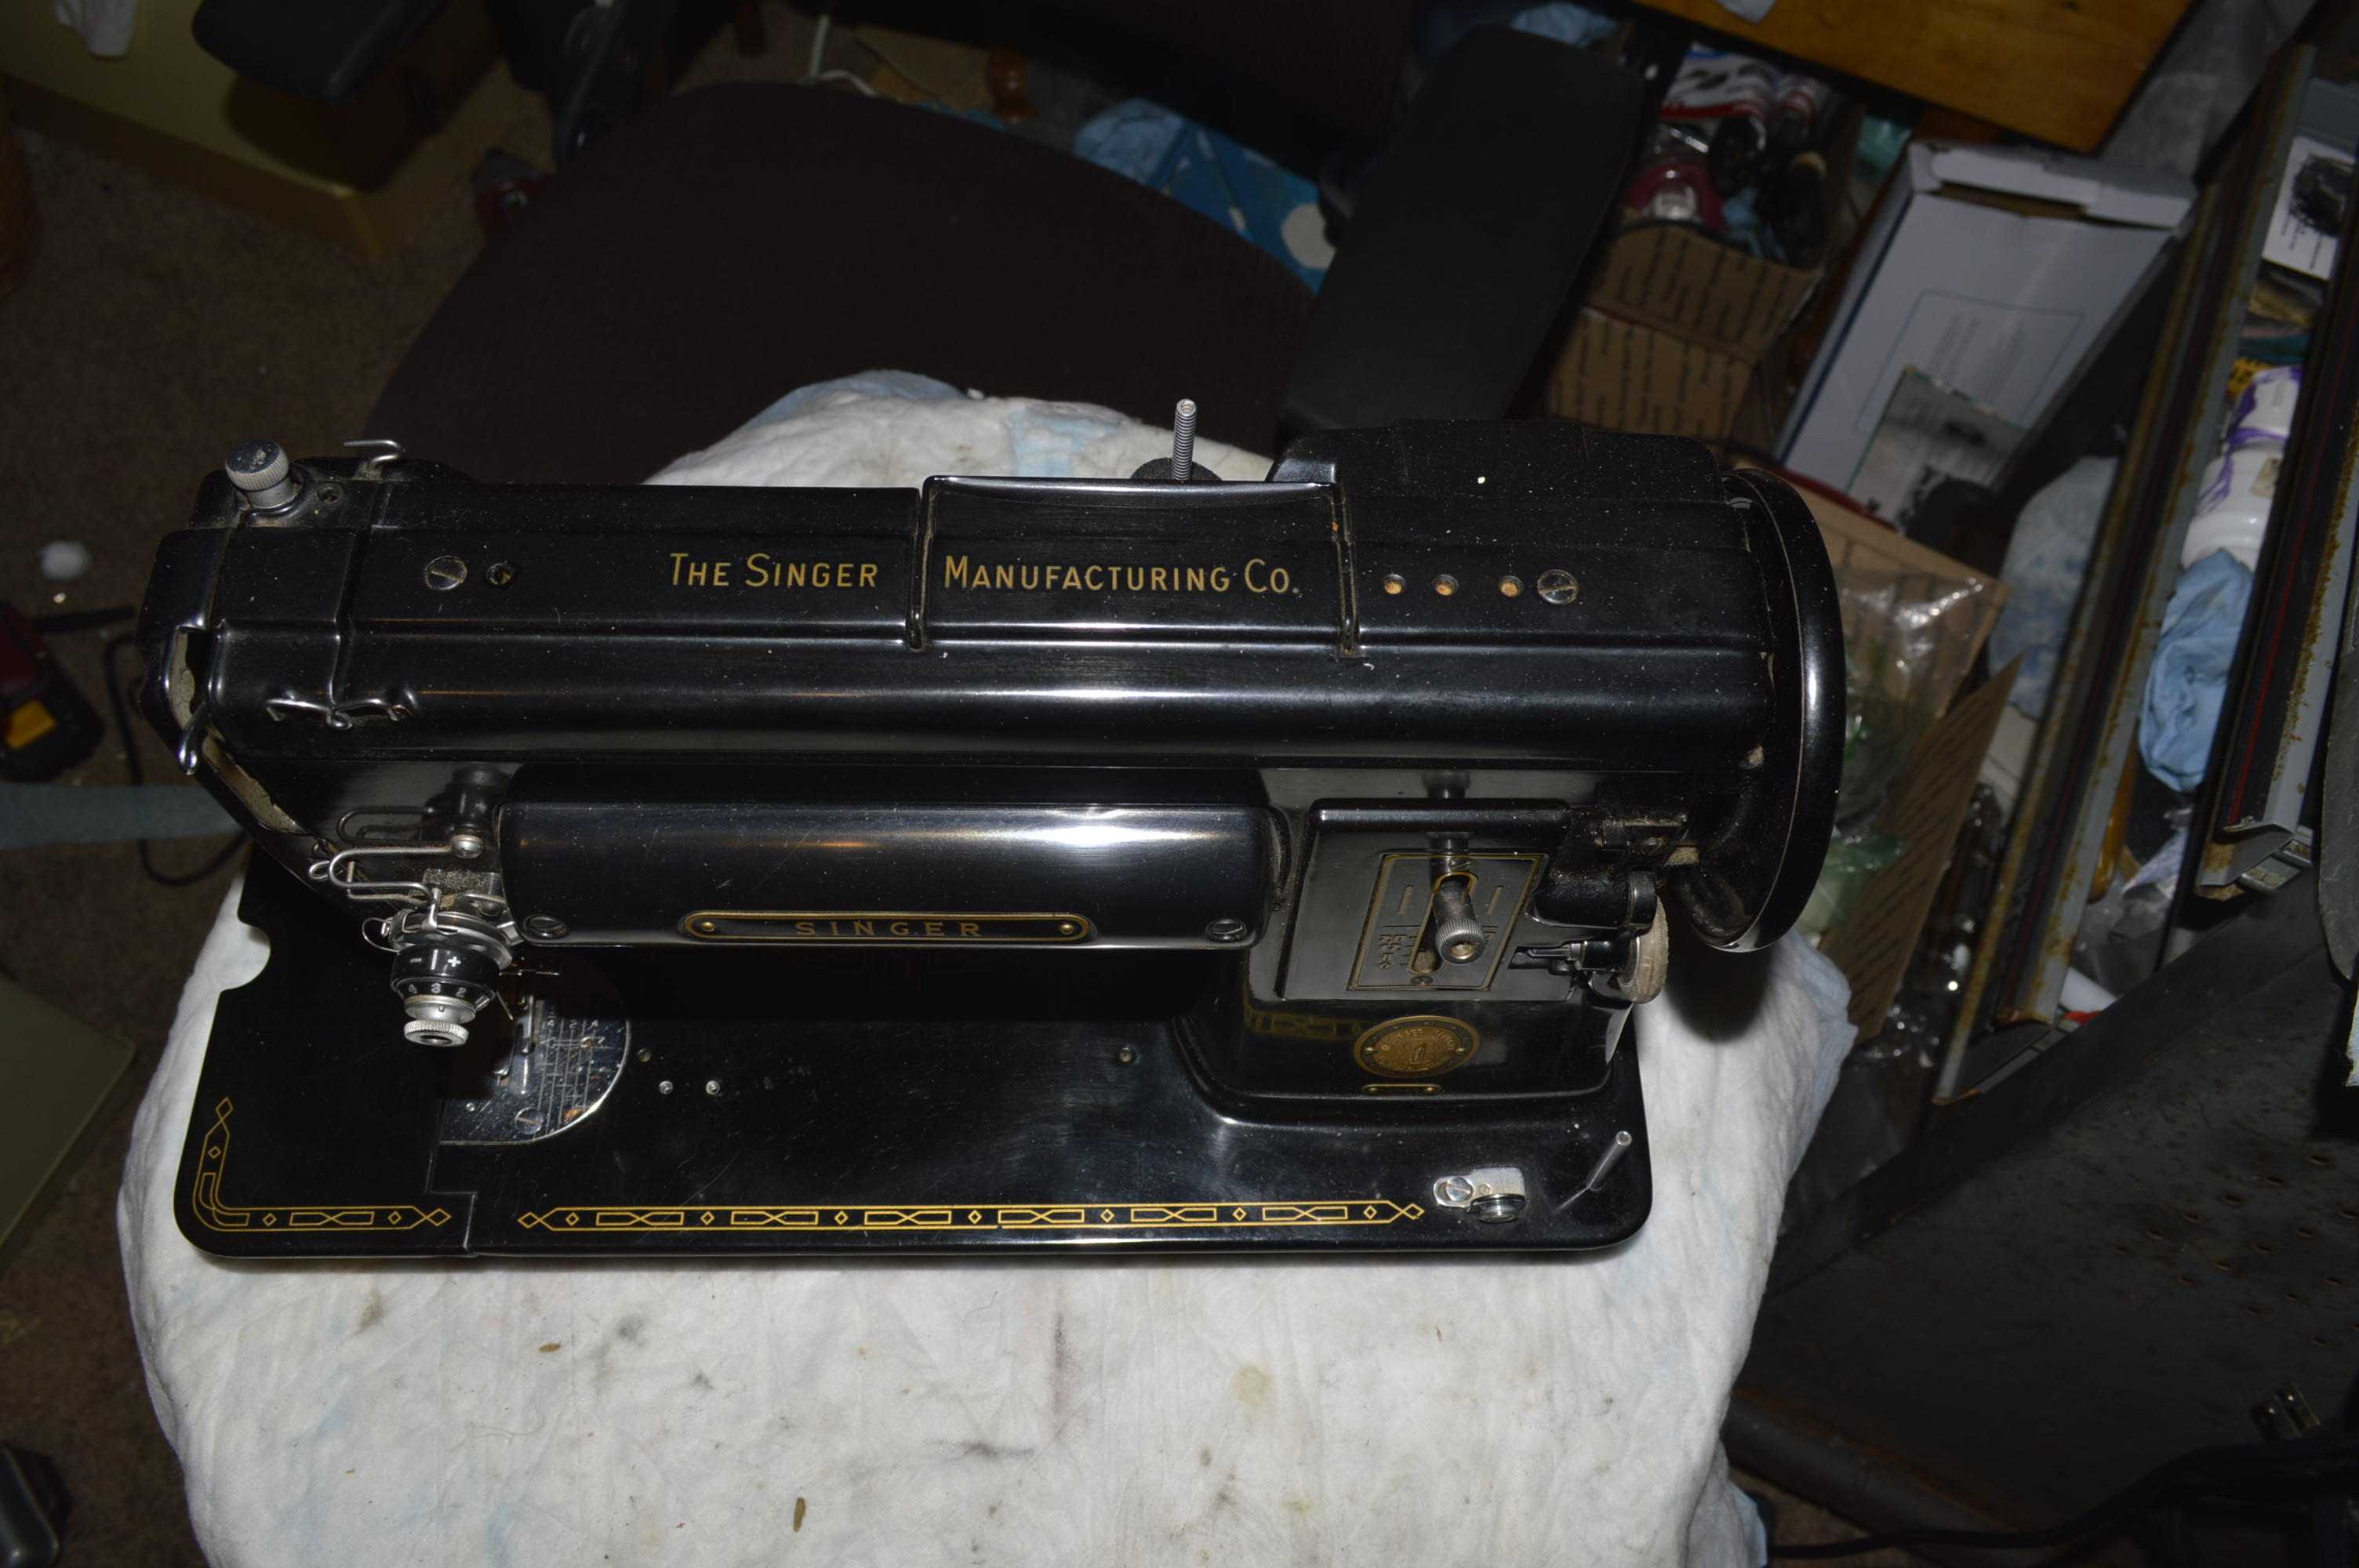
The protective shellac coating was inspected and is intact over the body of the machine, so now the machine is ready for deep cleaning. After it is cleaned with GoJo, it is glaze polished with TR3. Following the glaze polishing with TR3, it is glaze polished a second time with Meguiar’s “Mirror Glaze” polish. I have found that this achieves spectacular results. The Meguiar’s seems to be a finer “cut” polish, and when it is used on the surface polished with TR3, the finish is even smoother and it brings out a mirror shine.
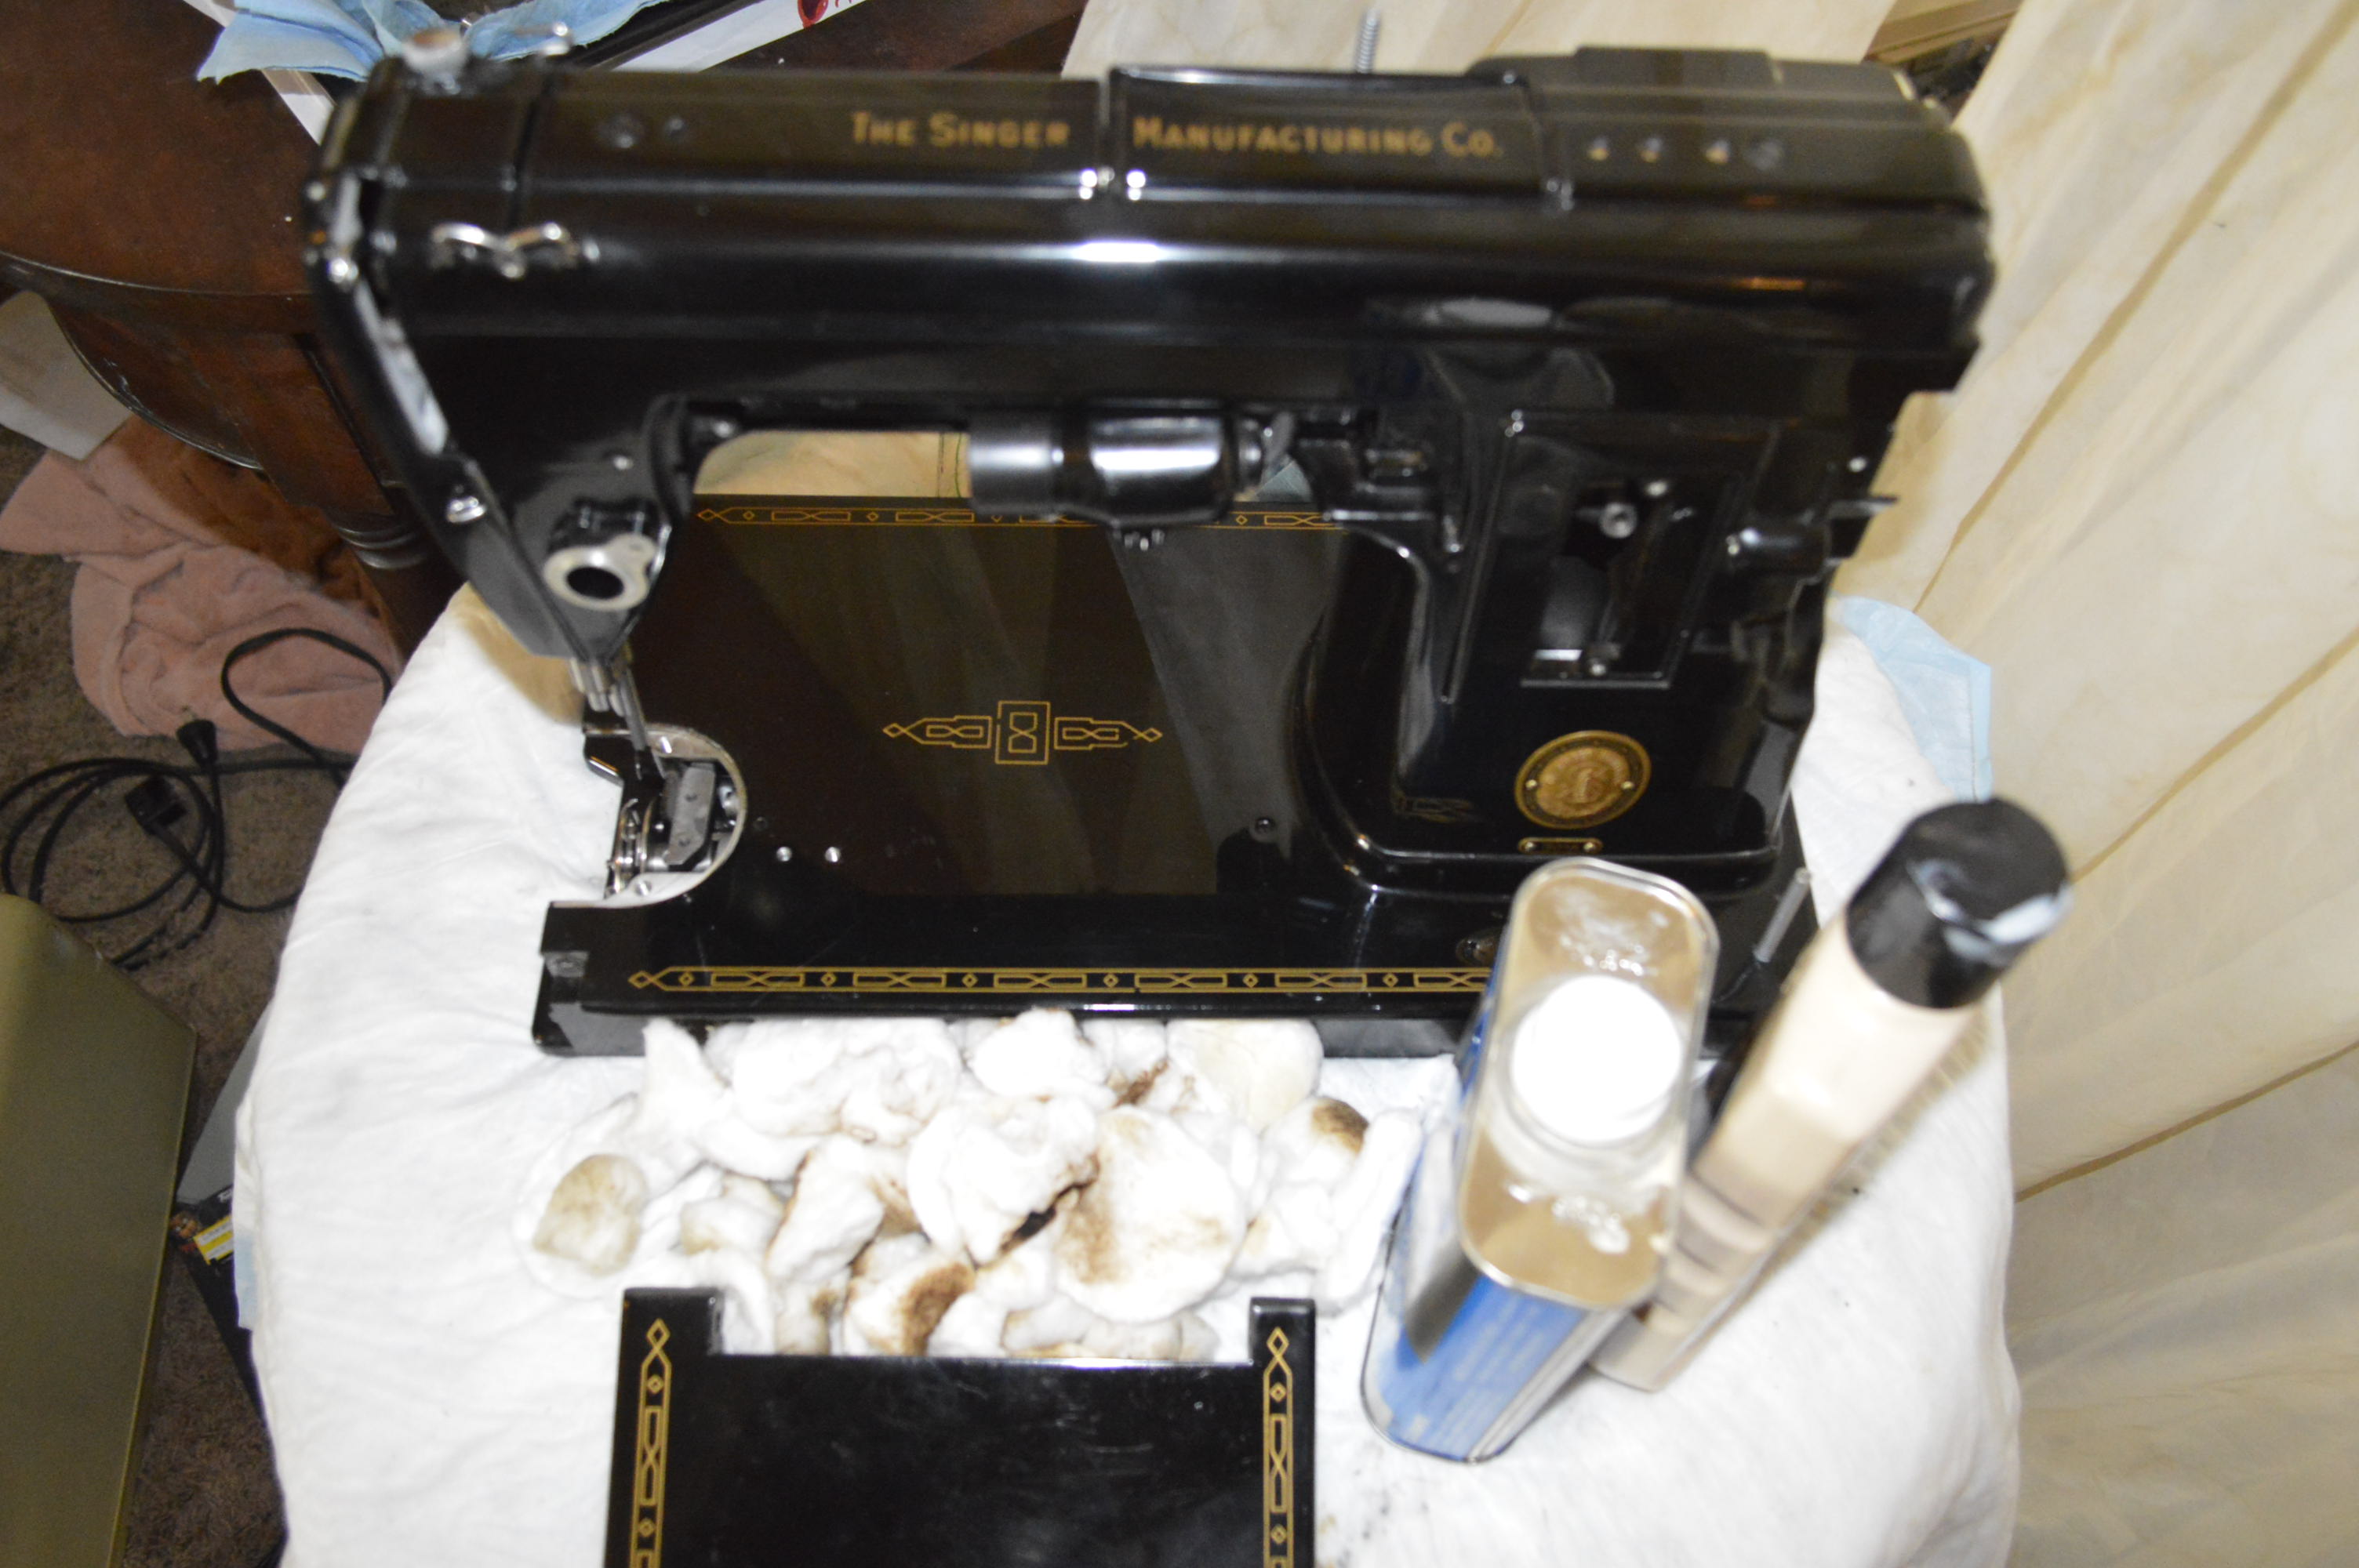
I show the cotton balls for effect… be prepared to use a LOT of cotton balls cleaning and polishing your machine. The quantity you see here is about a third of the number used throughout the cleaning process. While ultrasonic cleaning is great for mechanical parts, all cosmetic cleaning is done by hand, and it requires patience, time, and attention to detail… But the results are worth it!

Here the machine is cleaned, polished, waxed with carnauba wax, and it looks like it is ready to sew. But not quite yet, there is more to do. The next step is to disassemble and service the motor.

The armature is polished and the brushes cleaned and checked for condition.
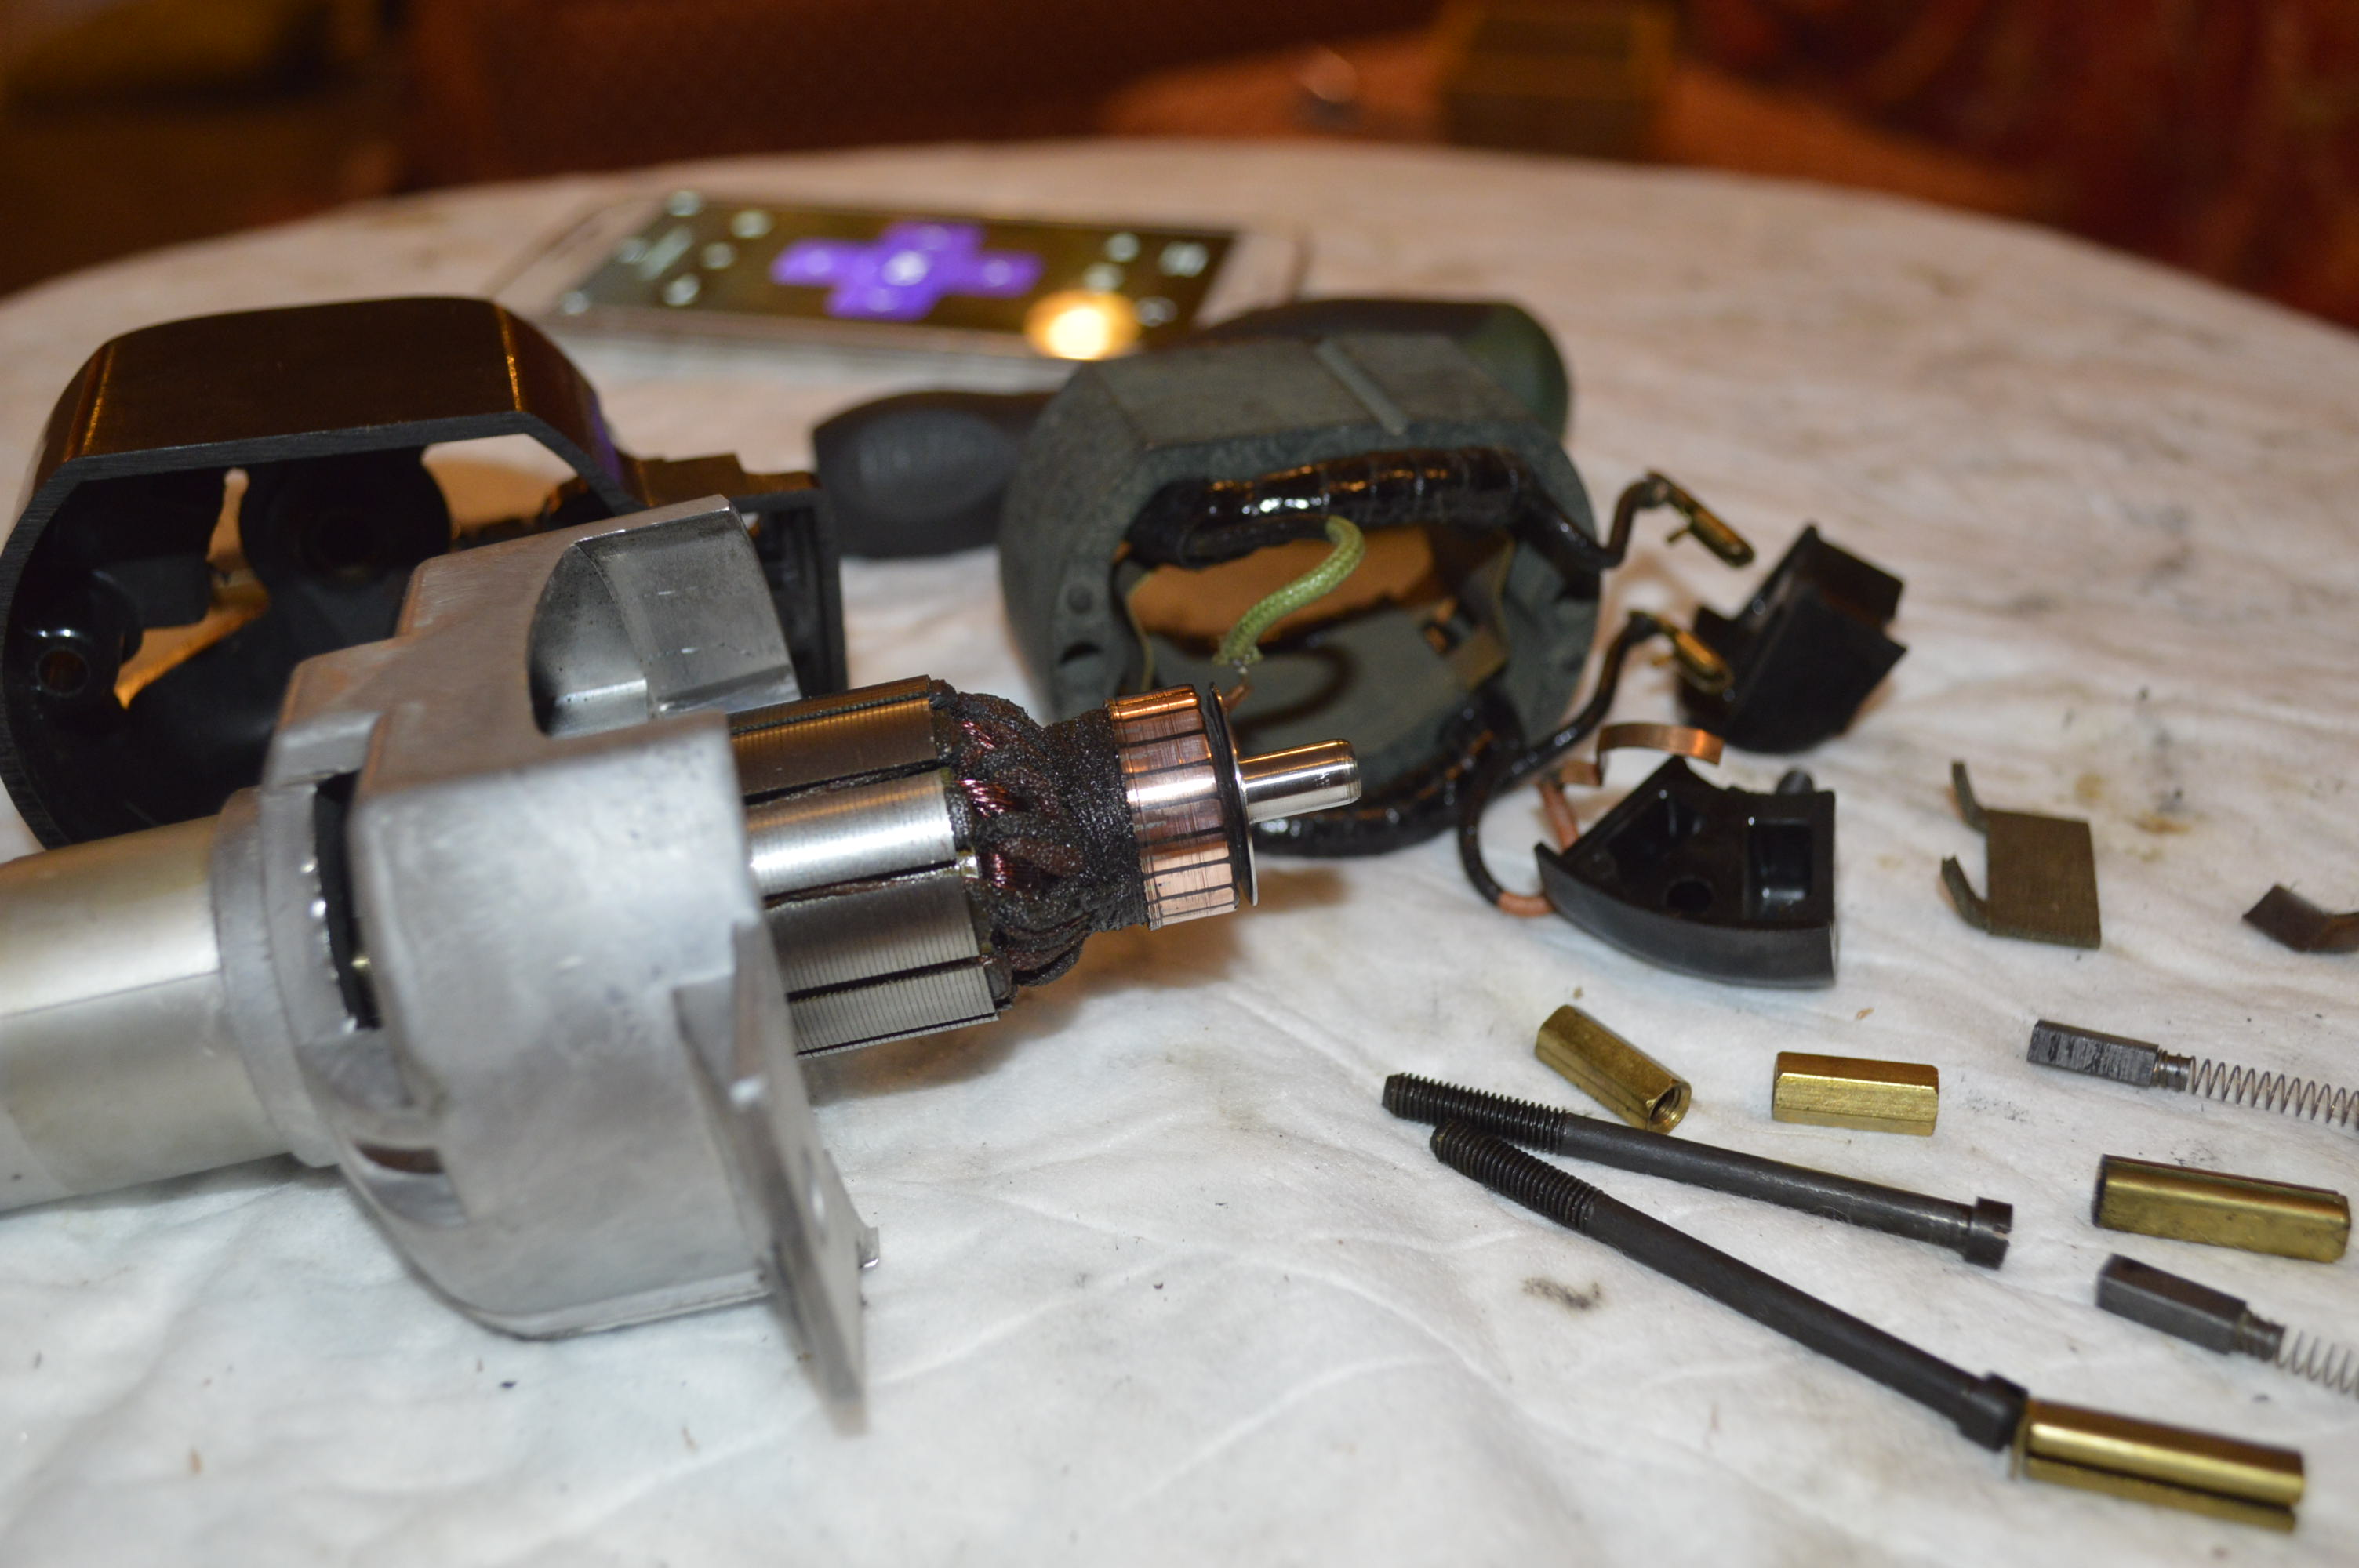
Now done, the motor is reassembled and is ready to be reinstalled.
The next step is to service the balance wheel… yep, it can be disassembled.
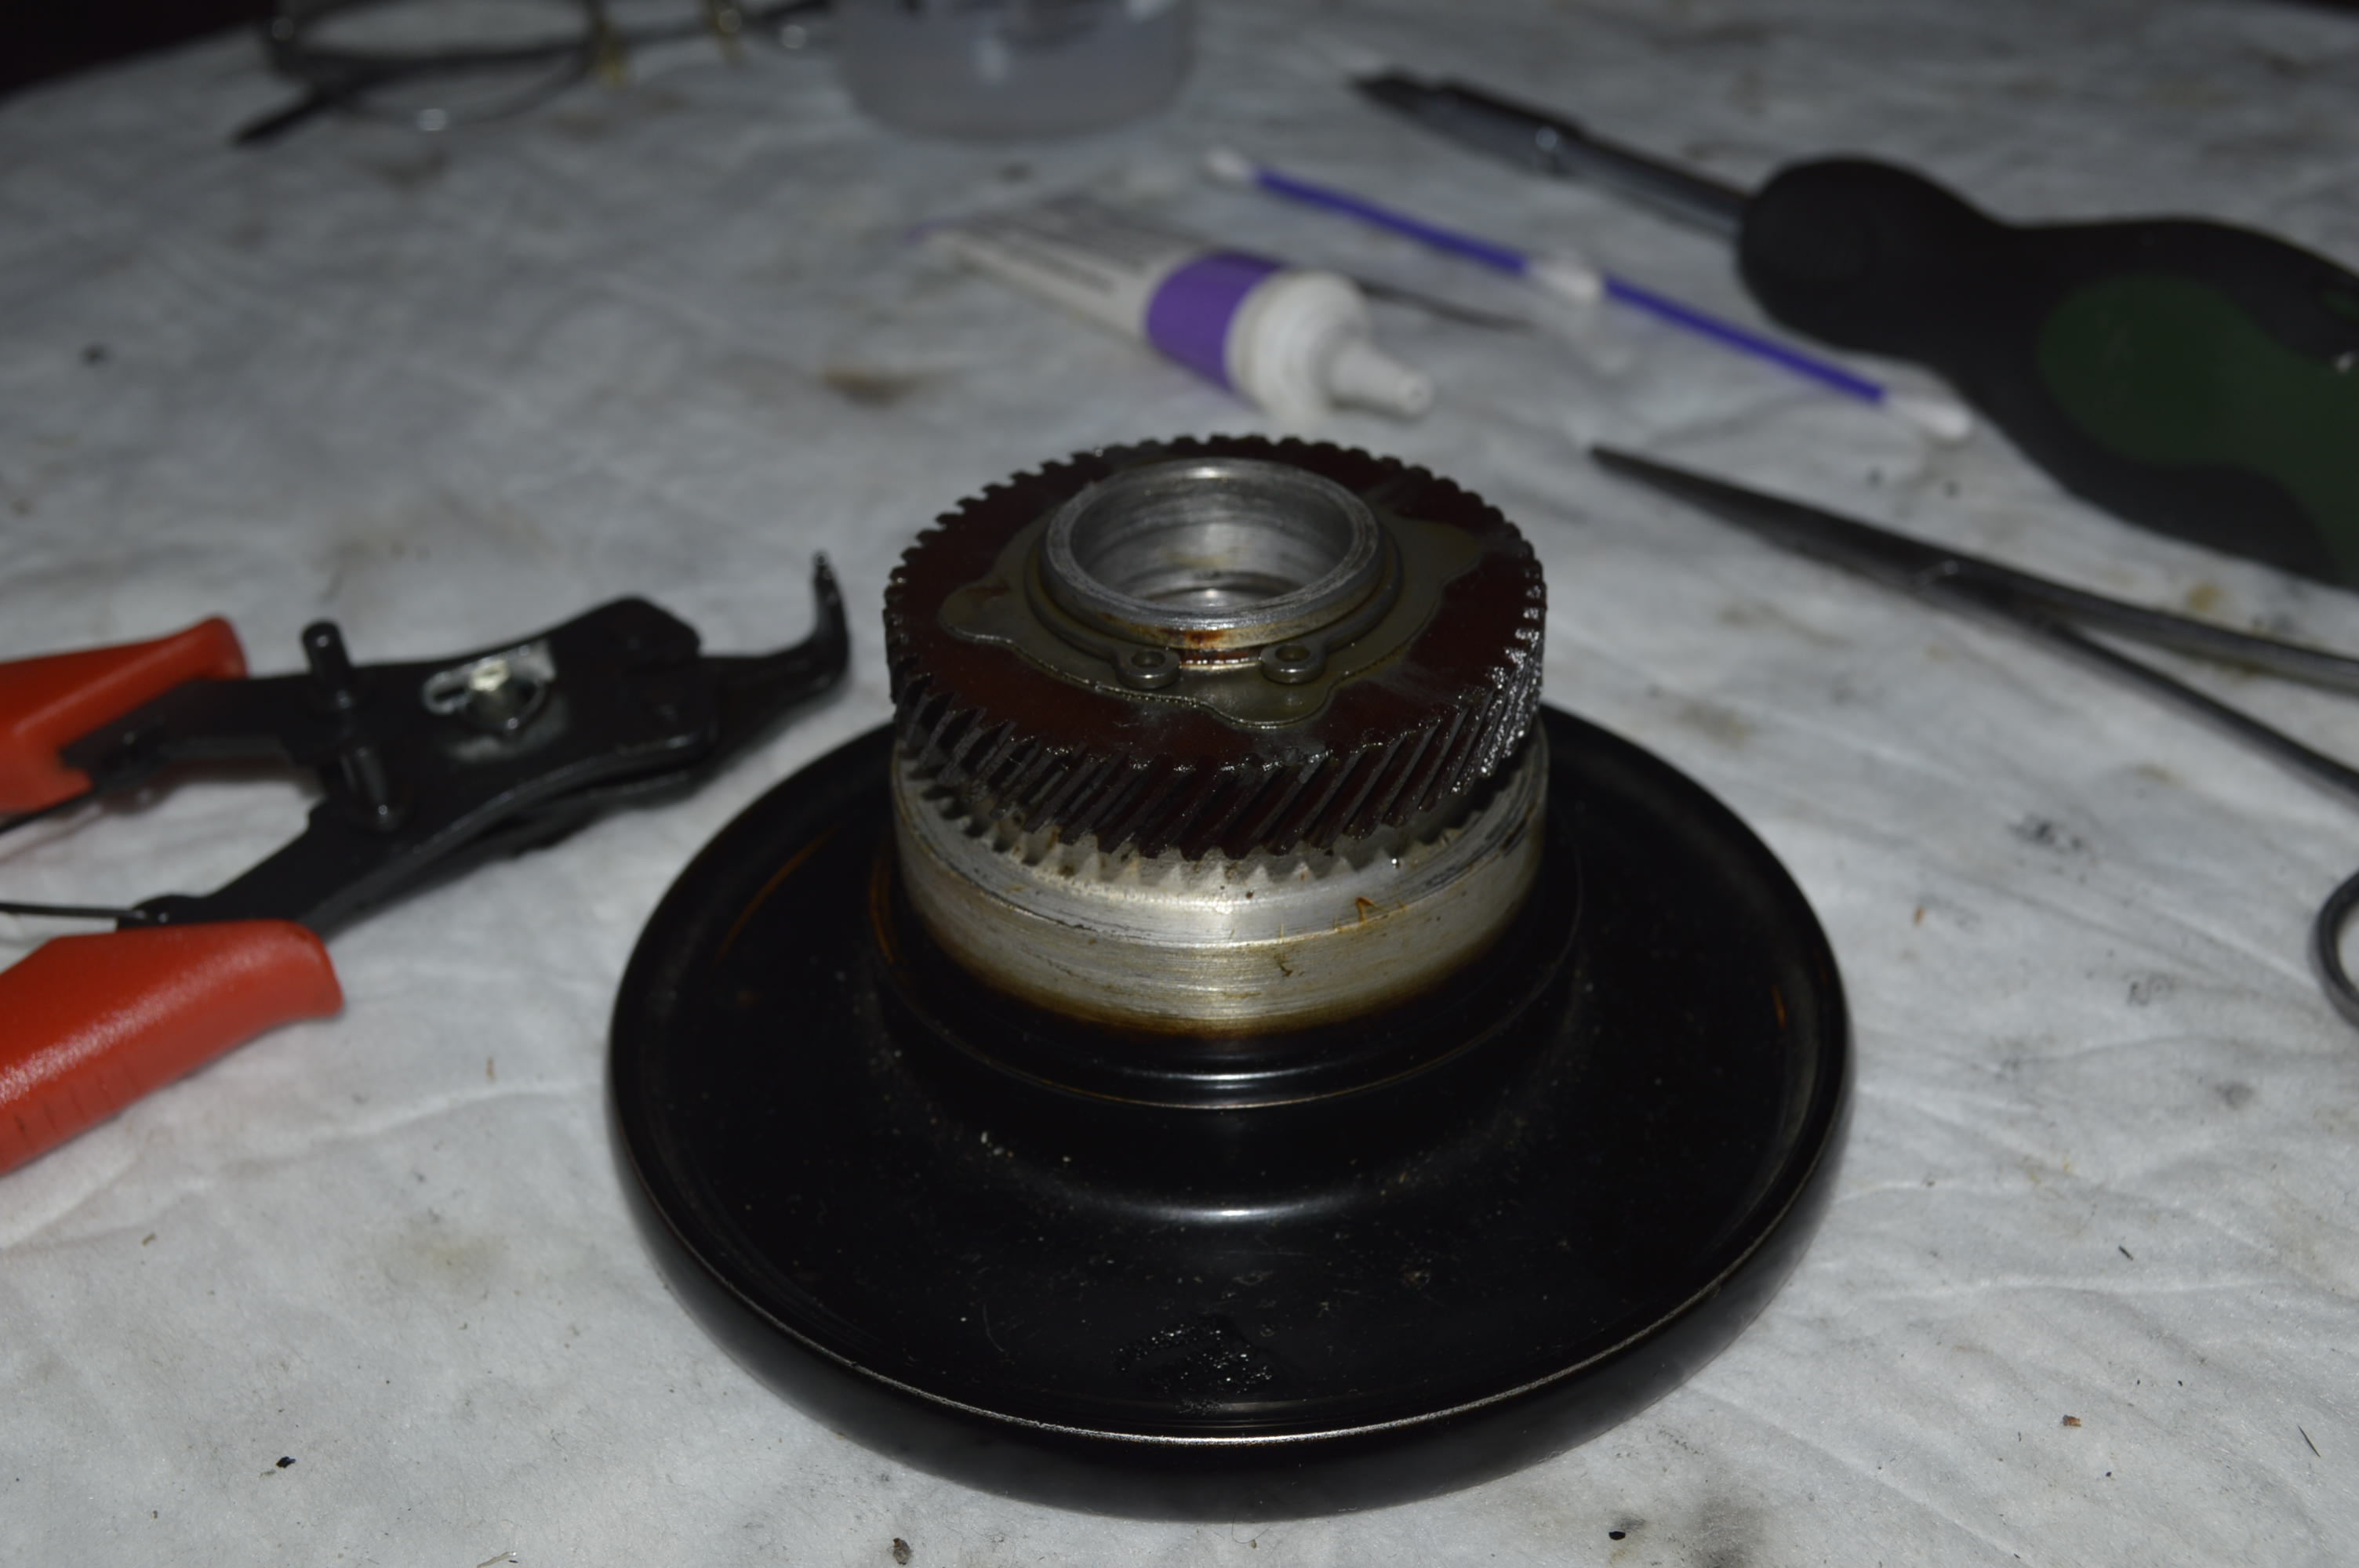
The parts are cleaned, greased, and reassembled.
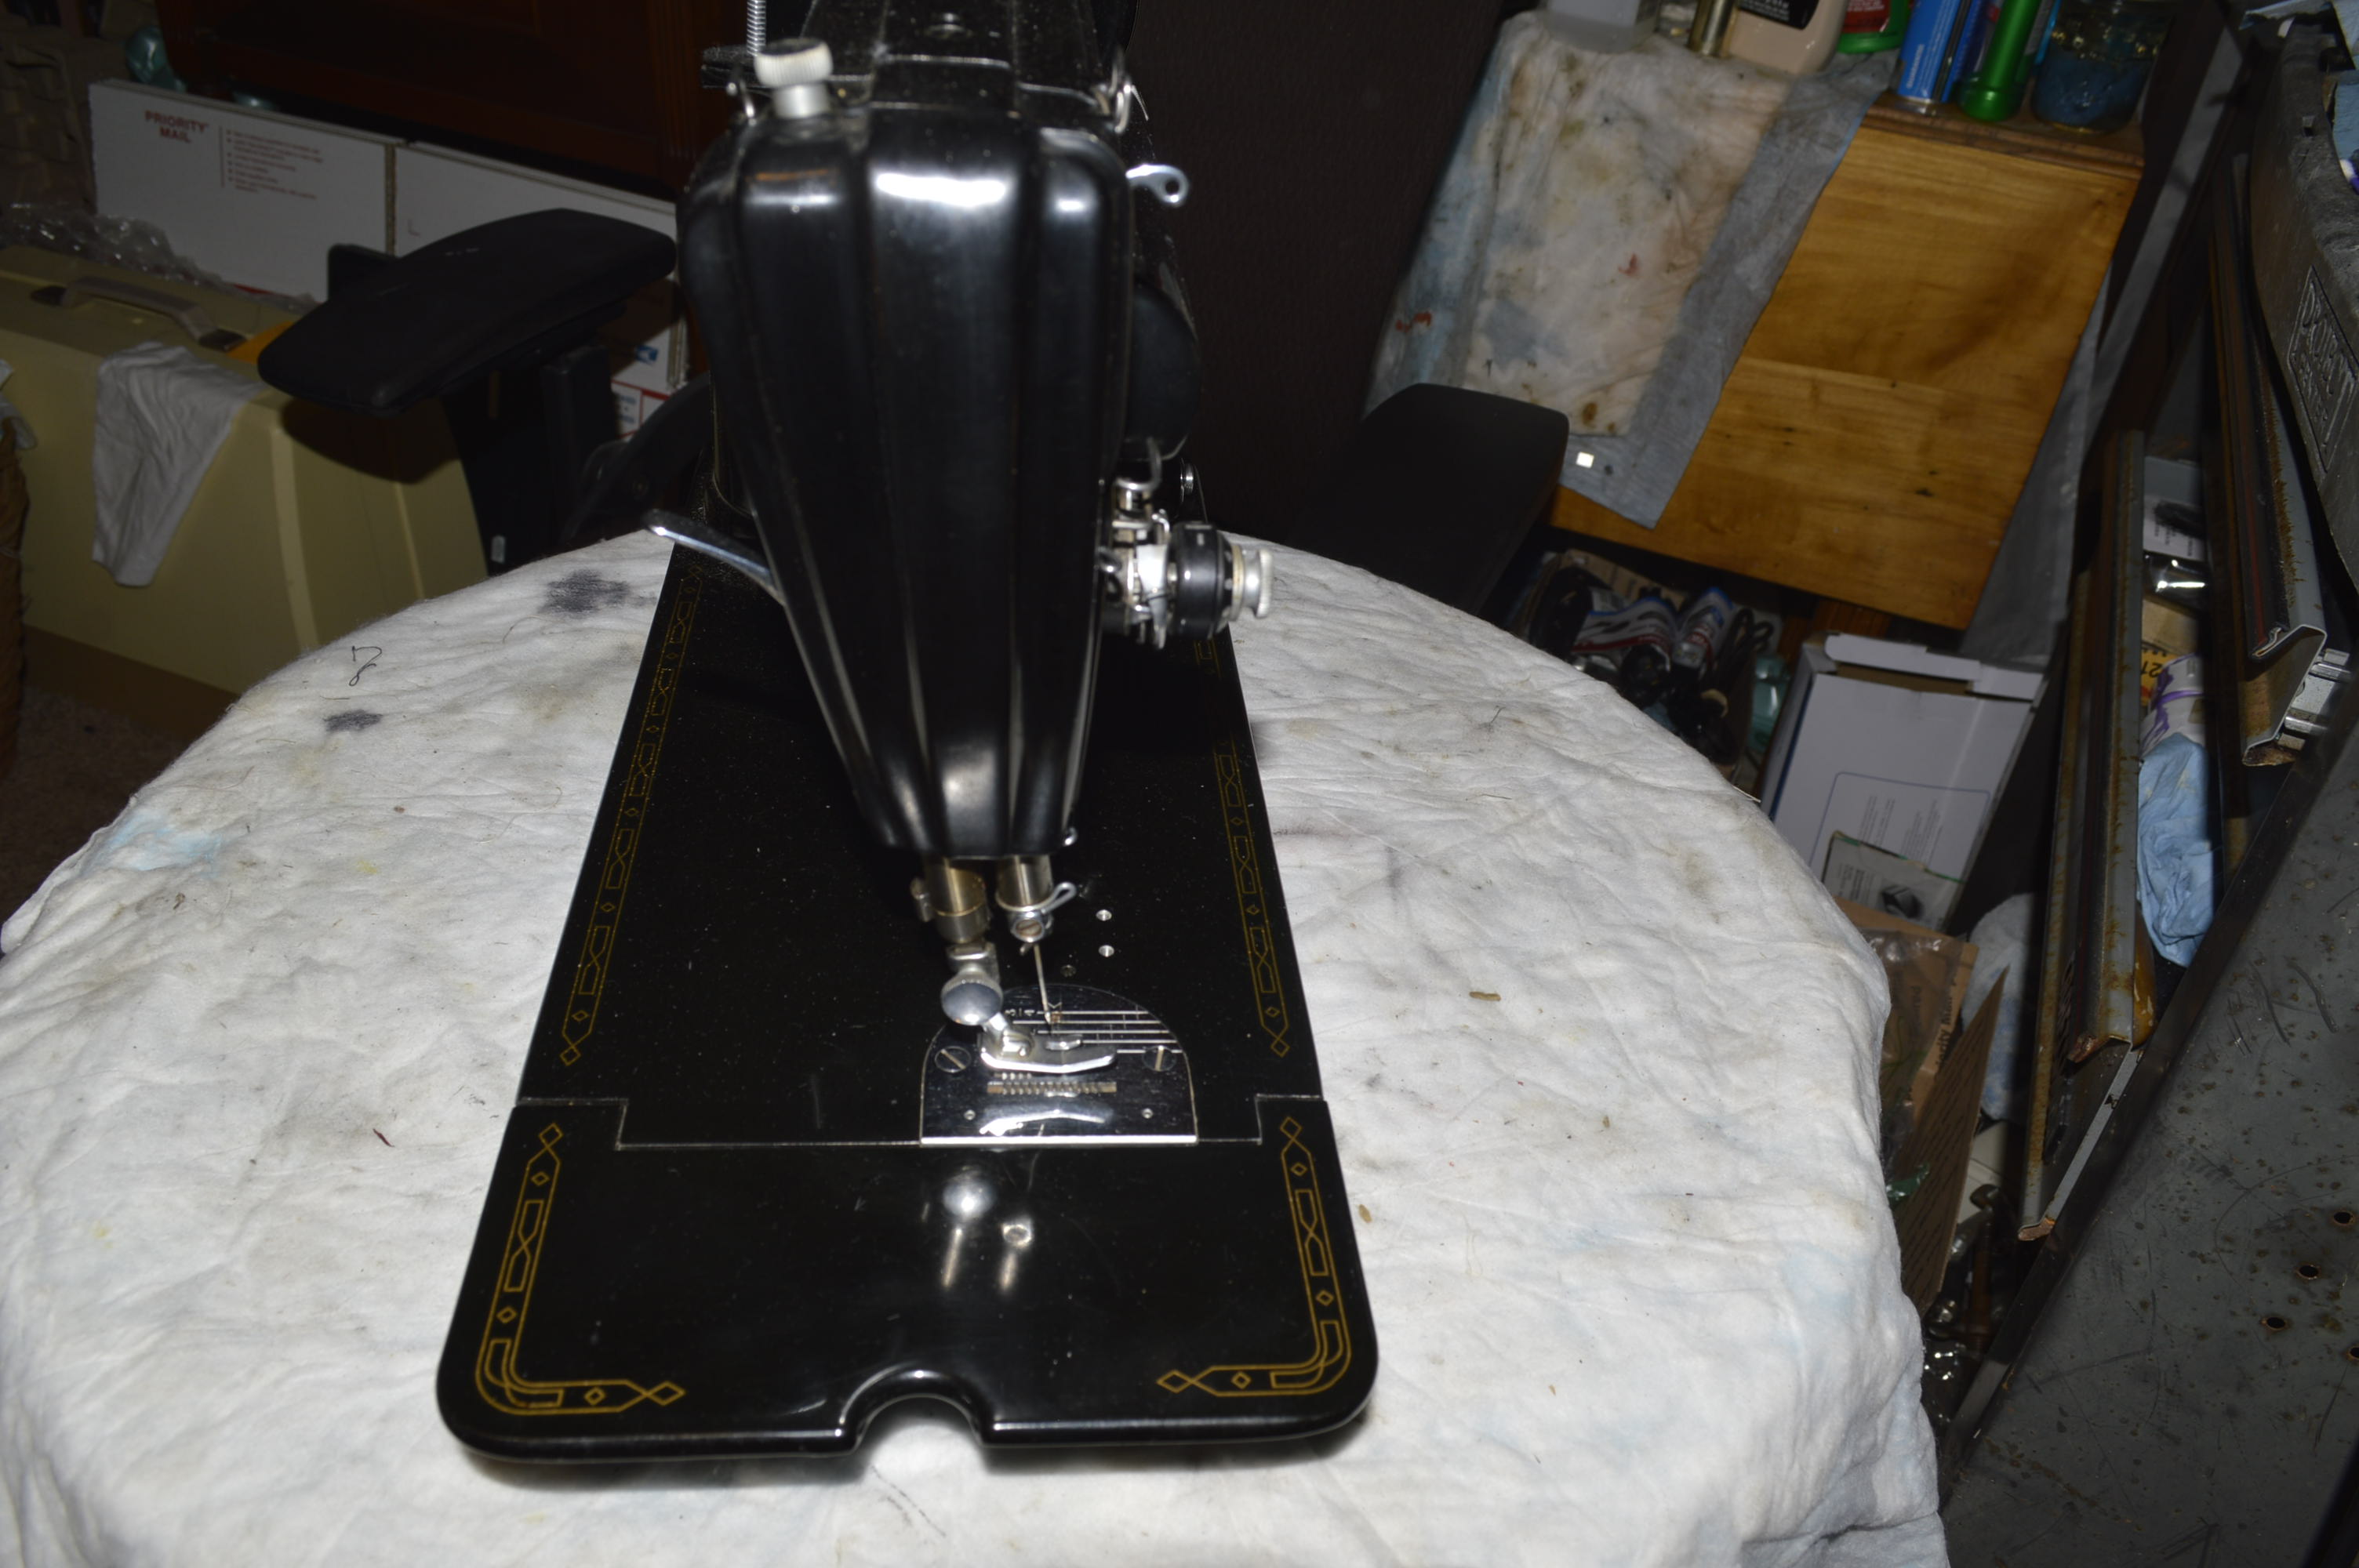
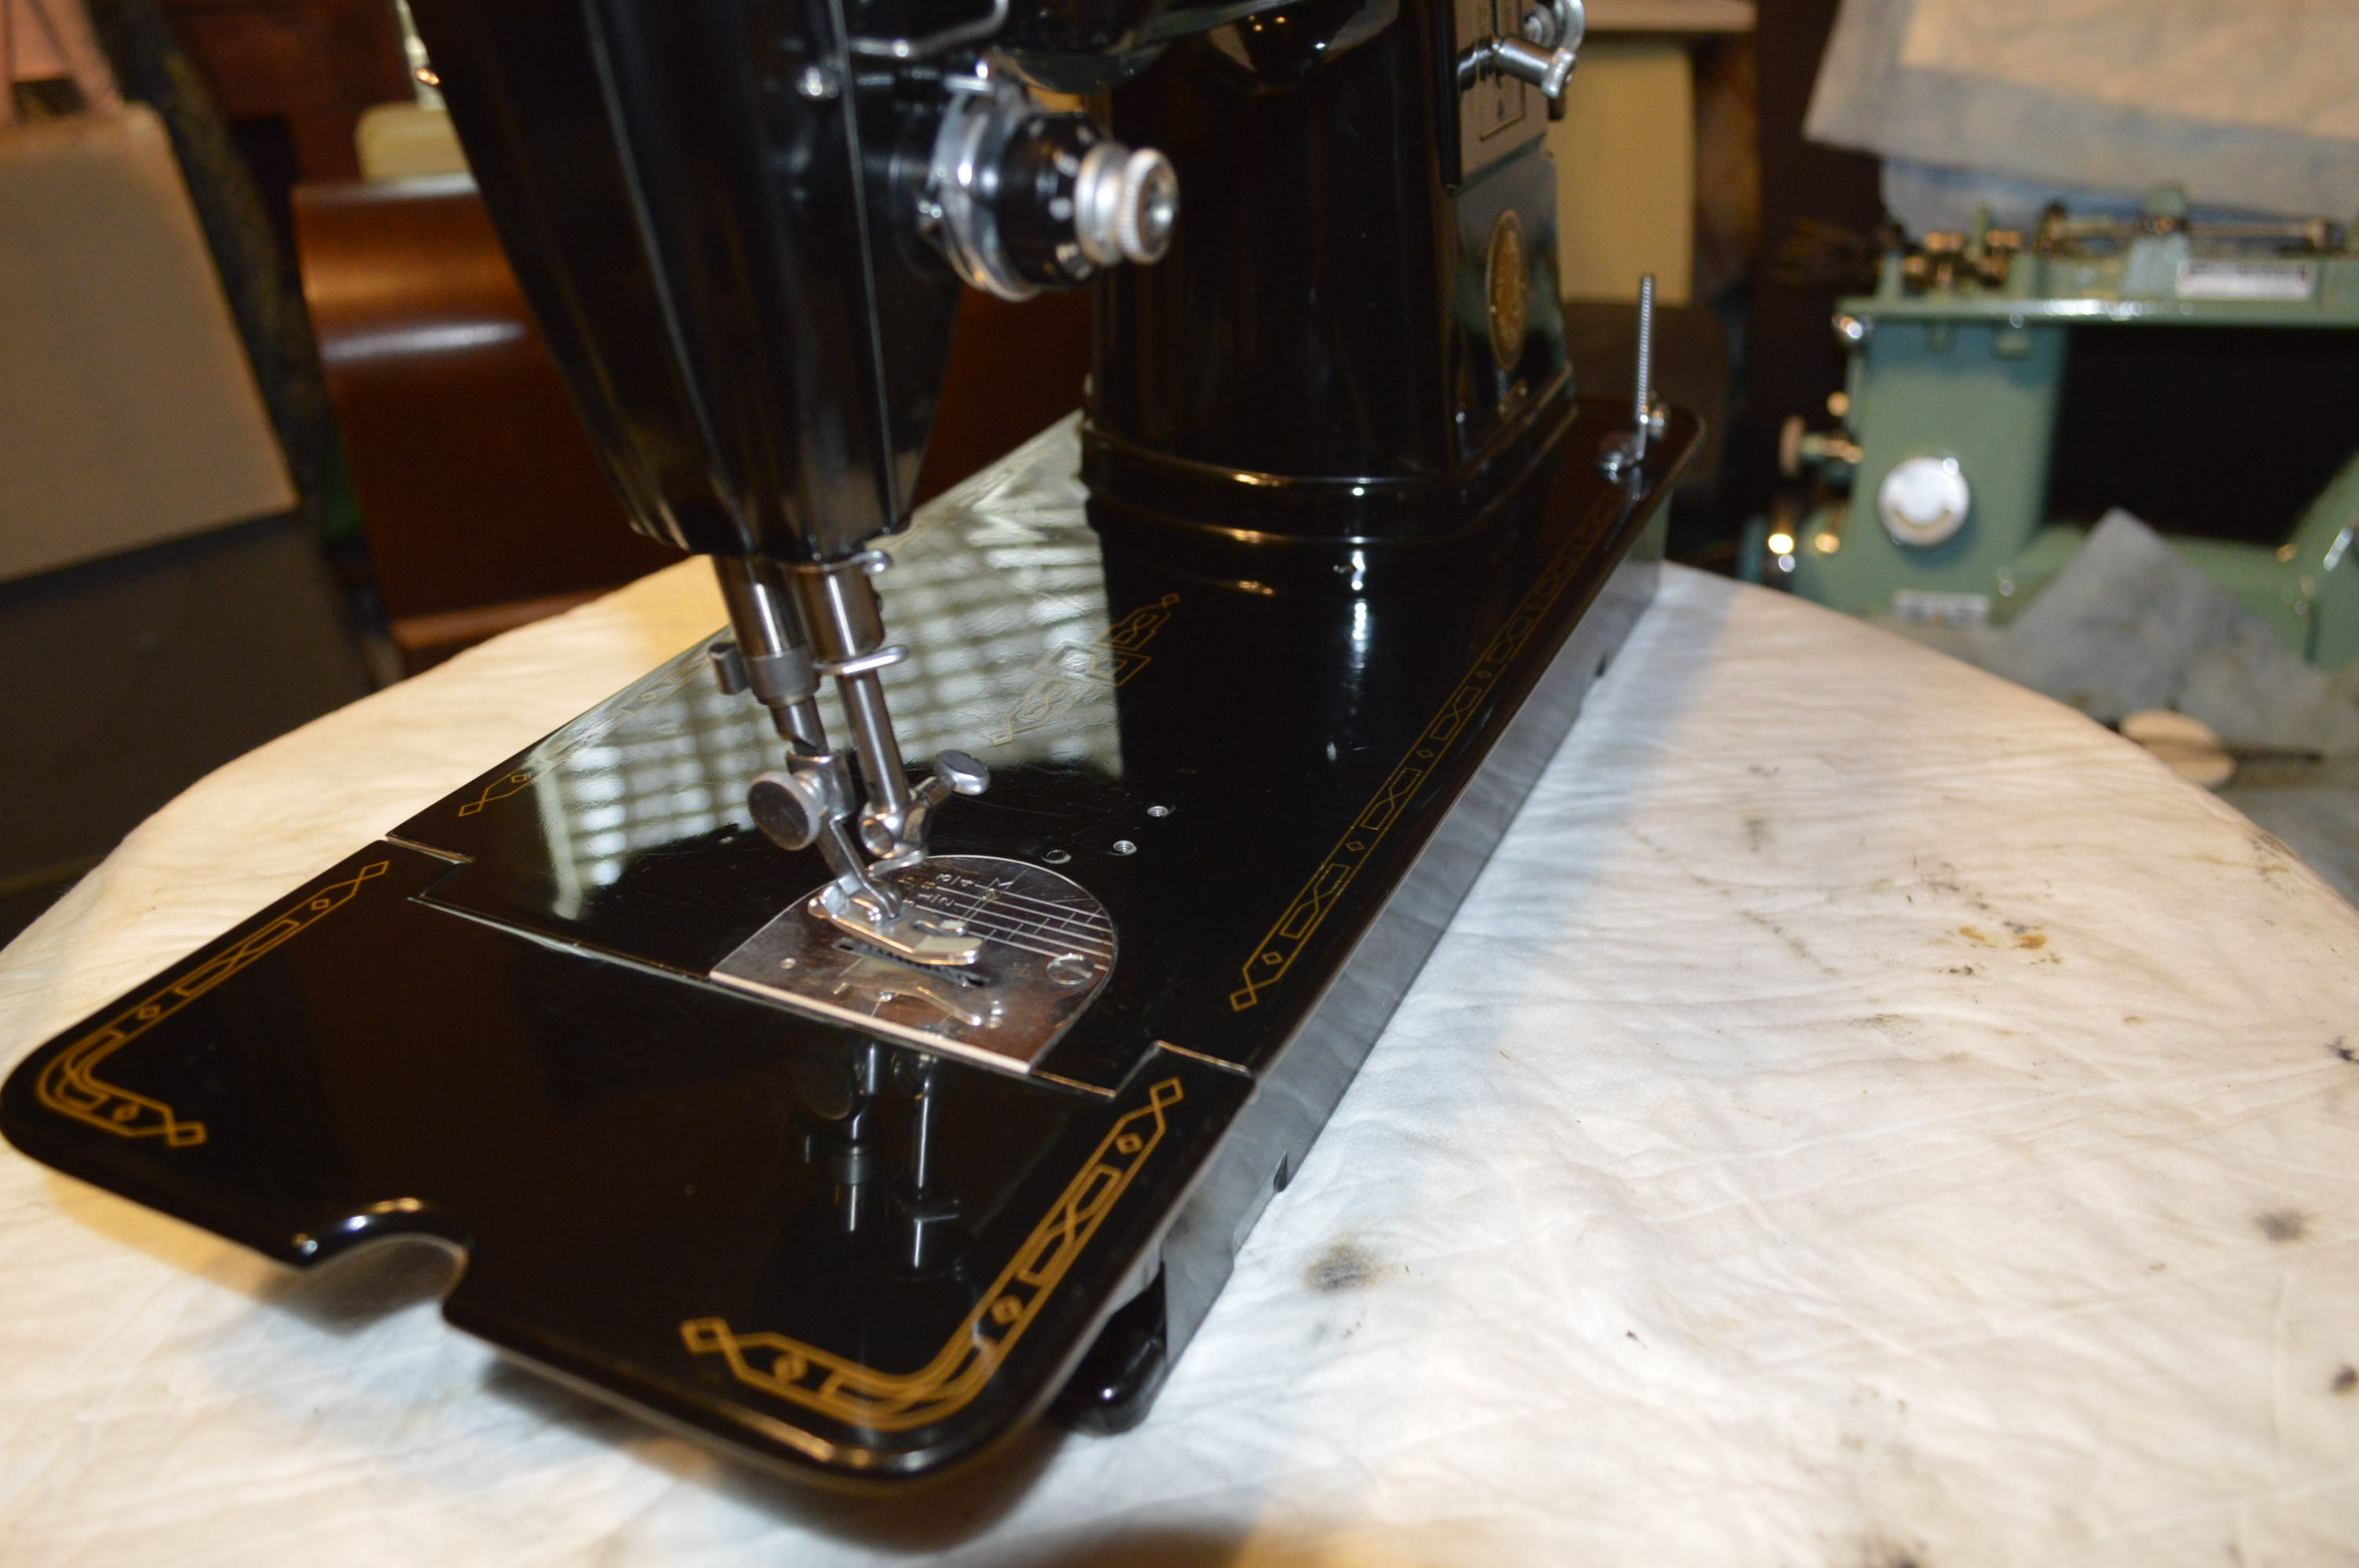
Finally, The needle bar plate and the balance wheel stop motion knob are polished with jewelers rouge on a 6″ buffing wheel. These are the last parts to be cleaned, and after assembling in the machine, the feed dog presser bar height, needle bar height, and rocker assemblies are adjusted and tightened. This done, the reconditioning is complete. The only thing that remains is to run the machine, and make all final tension adjustments.
Here’s a surprise! The following picture is the stitch this 301 produced with no additional adjustments made whatsoever… not even a tweak of the tension dial, and believe me, it is a balanced stitch. Oh, please forgive the finger prints on the surface… it happens.

Now for the machine…
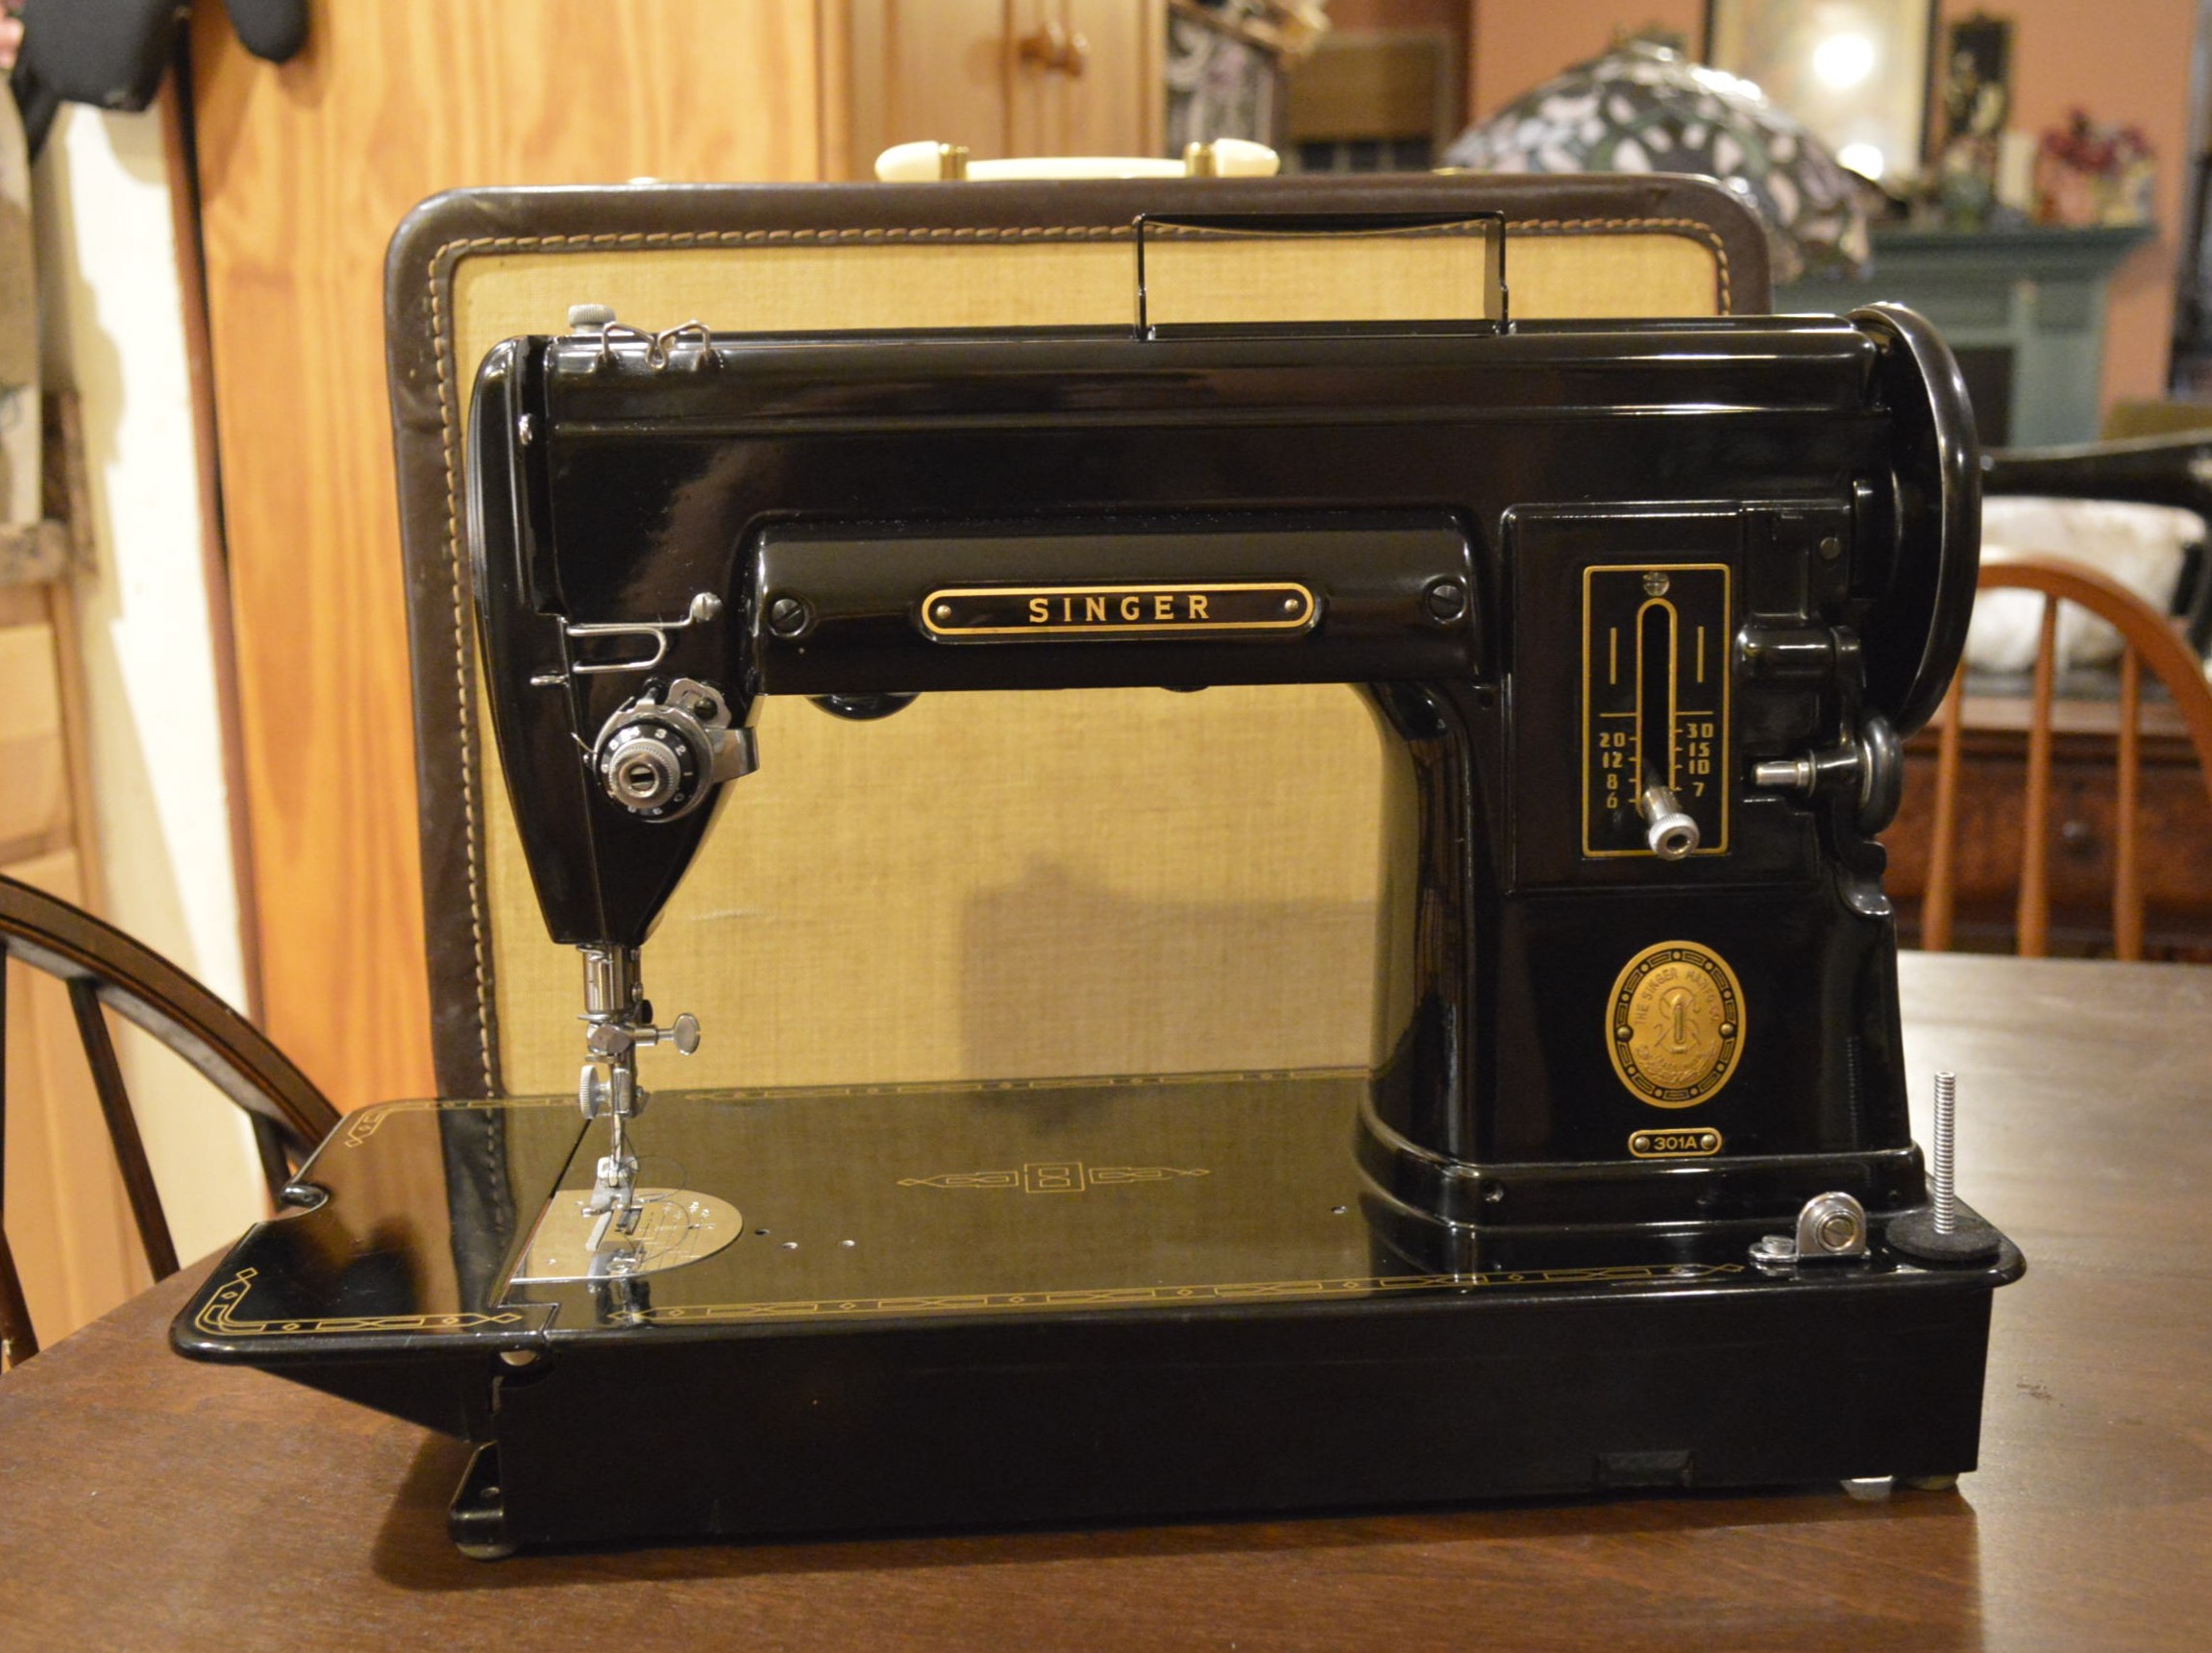
Beautiful machine, beautiful stitch… beautiful end to a beautiful story.
Let me know what you think! Don’t hesitate to contact me if you have any questions, and please visit our Etsy store at https://www.etsy.com/shop/pungoliving, to see our restored fine high quality sewing machines.

Hey, thanks for posting this detailed procedure! I’m using it along with the adjusters manual to restore my moms 301A from 1954. Your post has given me confidence to tackle this intimidating looking task.
Cheers,
John Gates
LikeLike
Hello John,
I’m glad you found the information useful! The adjusters manual has all the info you need and a good set of hollow ground screwdrivers and SAE wrenches will get you through the mechanical part. Good luck and let me know if I can be of any assistance.
Lee
LikeLike
Thanks, Lee. The motor on my machine has a bad top bearing. They are a common size and I replaced mine with an NTN Model 627LLB/1K. It went in perfectly. Just waiting on new brushes now. The mechanisms are so smooth now! It has been an enjoyable experience taking this thing apart and actually being able to get it back together after cleaning and polishing!
I do have one small (1/4”) stainless flat washer apparently left over, though I’m not sure if it’s even from the machine. I don’t see it in your photos above. I always have something left over!
John
LikeLike
Hello John,
I agree that the difference in feel is night and day… You have essentially returned to like new condition. Unfortunately, many people won’t experience how smooth these machines can be without taking the time to make it so! I’m glad you did. The small flat washer likely fits under the head of the screw that tightens against the bobbin winder guide located on the bed (rear front).
Congratulations for keeping this fine machine in the stream!
Let me know if I can be of any other assistance and have a blessed evening,
Lee
LikeLike
Thank you for taking the time to tutor those of us with less know-how on these machines! I think you’re right about where the washer goes since it’s the one piece I haven’t reinstalled yet. Cheers!
LikeLike
I just picked up a 301a and am starting with the carrying case. It’s a bit beaten up and I wondered how you cleaned yours. Any tips would really be appreciated! Thank you for your post!
LikeLike
Hello Kathy,
I would like to help you with specific steps to take for cleaning your vintage 301A case. I generally try to avoid cases altogether. But they are a part of the package for your 301 and I think it is worth cleaning them if possible. These cases are covered with fabric so care is needed when choosing a product to clean it with. Like any fabric, it is susceptible to staining and any cleaner you use to remove the stain has the potential to damage the glue holding the fabric to the case. Not knowing the condition of the glue, I avoid using water or chemicals like ammonia or bleach.
One option you have is to use a product called K2R. It is a dry cleaning spray and it works by removing the stain on the surface of the fabric without penetrating it. It dries to a powder and captures the dissolved stain in the powder, then brushed off. It does not work on all stains though. If all else fails and depending on the severity of the damage and condition of the case , you may consider painting it with a matching color.
If your case have an old musty smell, you have some options. You can try moth balls or baking powder. Placing a porous bag filled with a few moth balls or an open box of baking powder closed up in the case for 1-2 weeks may help. If this fails, the sure option is to spray the inside of the case with a coat of shellac. Shellac will form a barrier that will kill the musty odor. This is not much different that deodorizing luggage and there is a lot of information online about how to control or eliminate odors.
I hope this helps and please let me know if I can be of any further assistance!
Lee
LikeLike
I have singer 301A 1956 I believe with cabinet and stool, wood need service but all the parts are there, anyone know the value of this machine? Am selling it
LikeLike
It’s hars to value a machine. It depends on condition both cosmetic and mechanical, the local market, and what someone is willing to pay. 301’s command higher prices than some other models but sewing machines don’t command high prices unless they are restored or have a demand market.
I can’t give you even a ballpark estimate for a reasonable prie to ask. You might look at sold listings on Ebay to see what folks are actually paying for a machine in similar condition to yours.
I hope this helps!
Lee
LikeLike