
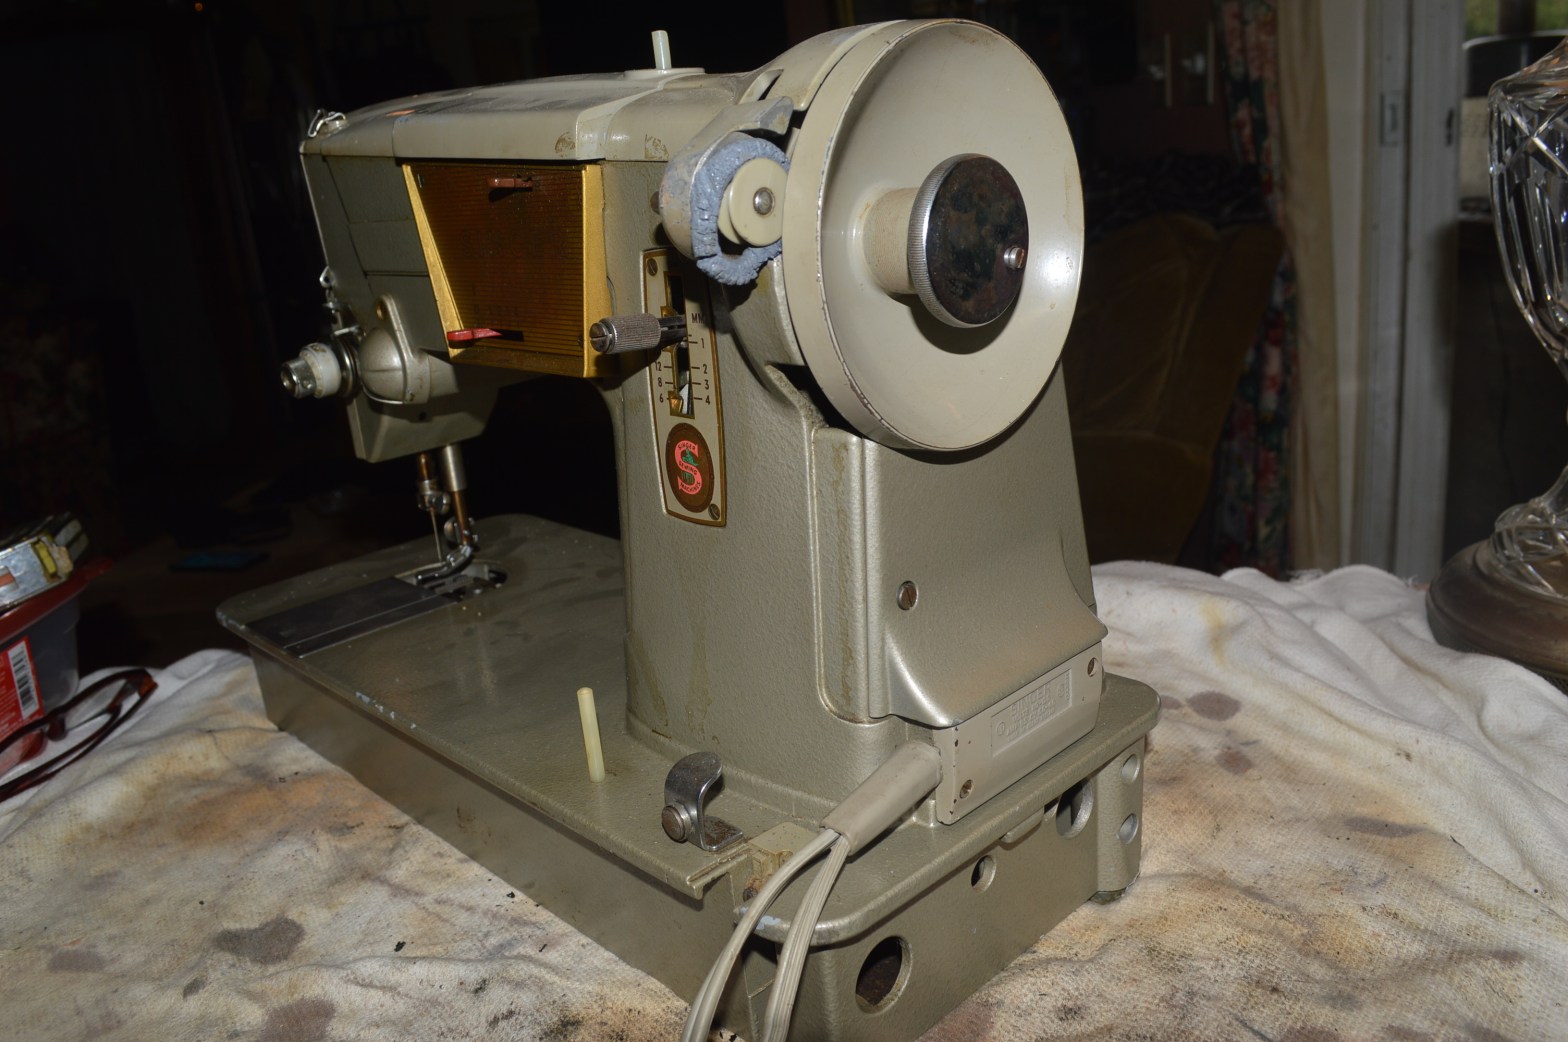
Introduced in 1963 and produced through 1965, the Singer Model 328K “Stylemate” is an all metal machine that represented Singer’s budget line of sewing machines. But “budget” didn’t mean “cheap” . The 328K is a full size sewing machine made with an aluminum alloy body construction and an all metal drive train. It featured a horizontal oscillating hook, useses flat cams for decorative and utility stitches, and an enclosed motor. The 328K is in fact a very capable and strong sewing machine.
The machine uses a belt to power the balance wheel, and like any belt driven sewing machine, belts need to be replaced from time to time. Because it is an enclosed motor, it is not quite as easy, or intuitive to access the belt to replace it. This tutorial will walk you through the steps and show you how easy it actually is to replace it.
The replacement belt size is 15-3/4″ and for this machine, a black full robber reinforced v-belt is needed… the thinner orange ribbed belts do not grip as well and are prone to slipping.
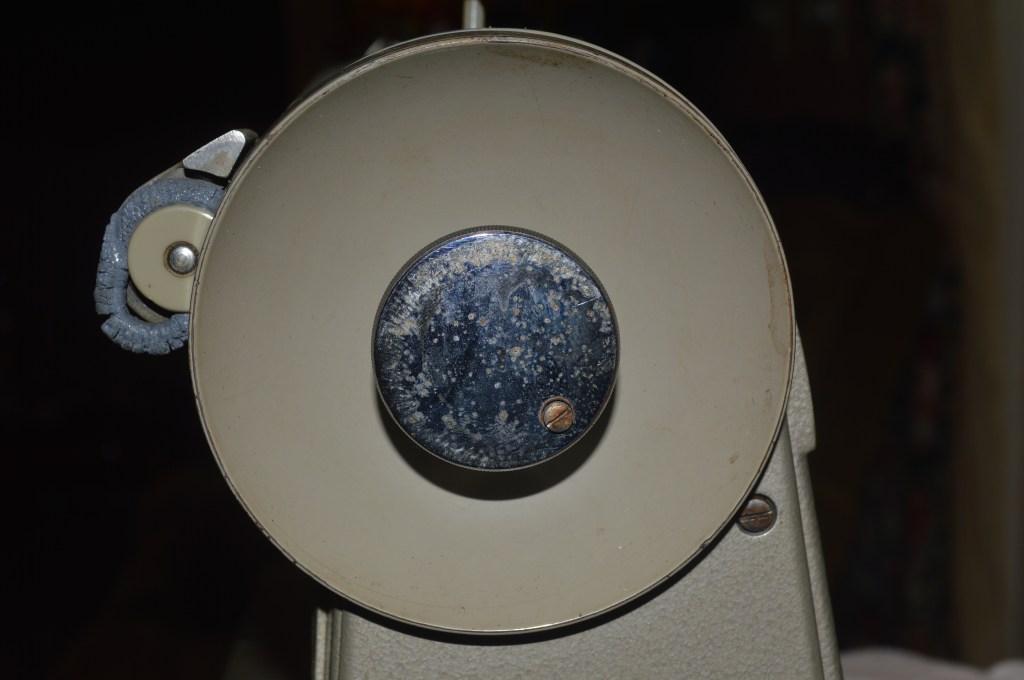
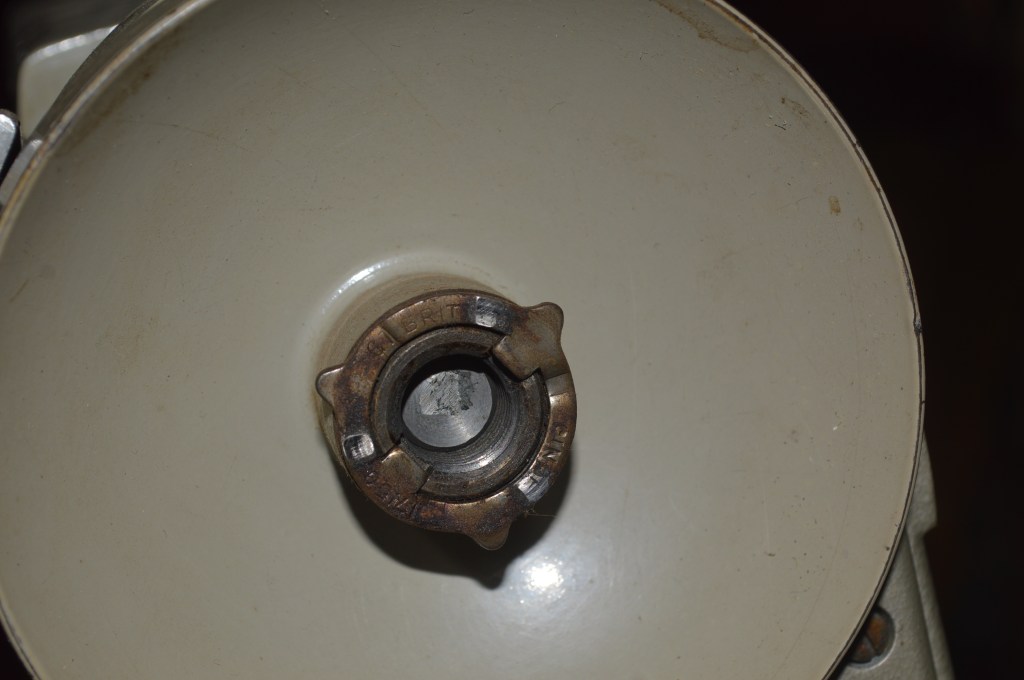
To begin, Remove the stop motion screw and washer. The small set screw in the stop motion knob needs to be loosened before the stop motion knob can be completely unscrewed…
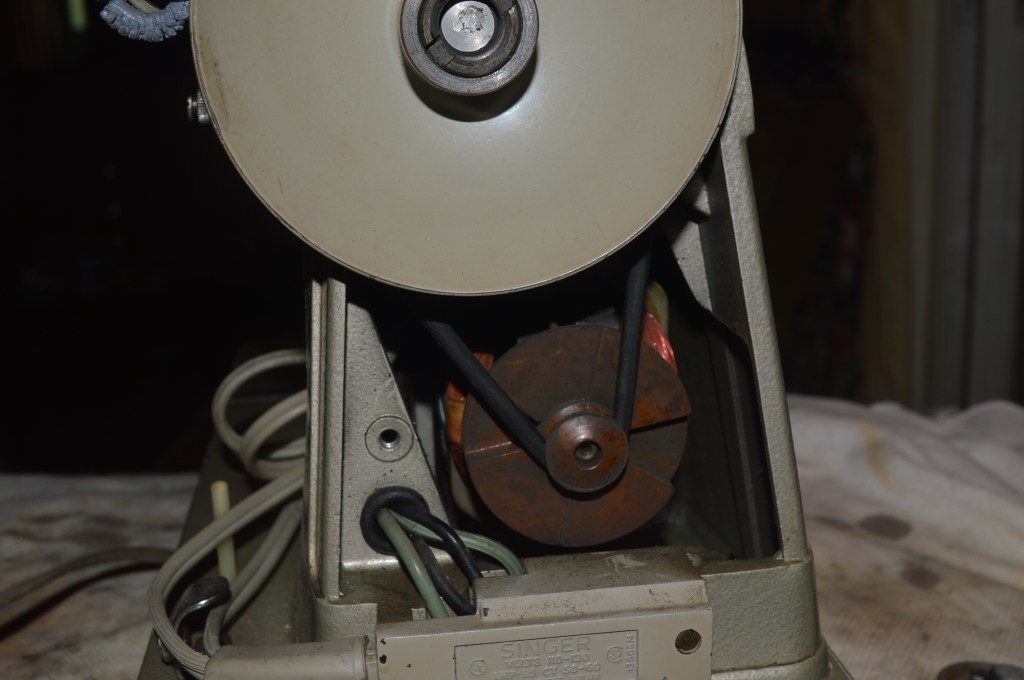
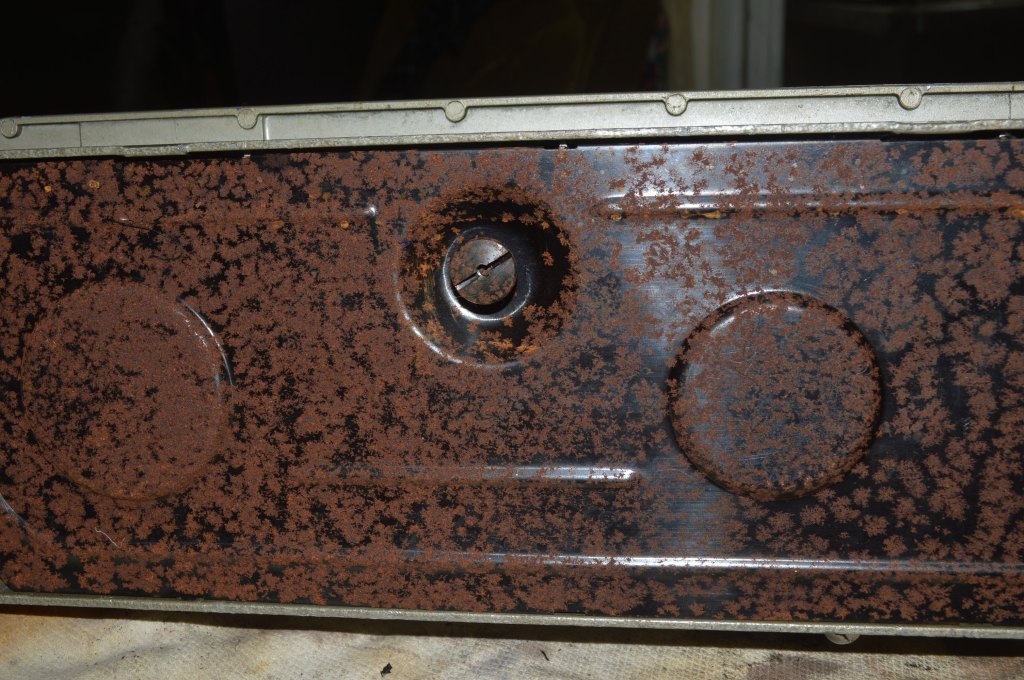
Now, remove the 2 screws from the rear cover and remove the cover from the machine… this will reveal the motor and belt pulley.

After the rear cover is removed turn the machine on it’s side and loosen the bottom cover nut and remove the bottom cover.
With the bottom cover removed, you will see the motor bracket at the back of the machine. It consists of a plastic eccentric cam with the motor tightening bolt going through the center of it. The screwdriver in the picture is positioned to loosen this bolt.
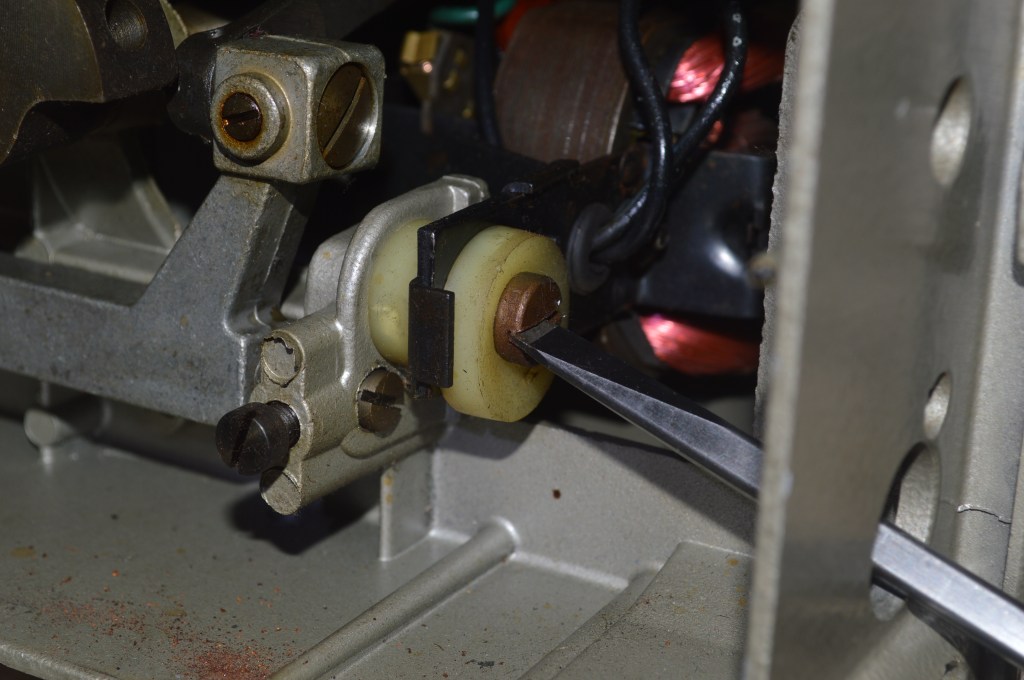
Loosen the bolt only a turn or so it is loose enough to turn the eccentric cam. Looking closely at the back of the plastic cam, you will see a screwdriver slot in the cam.
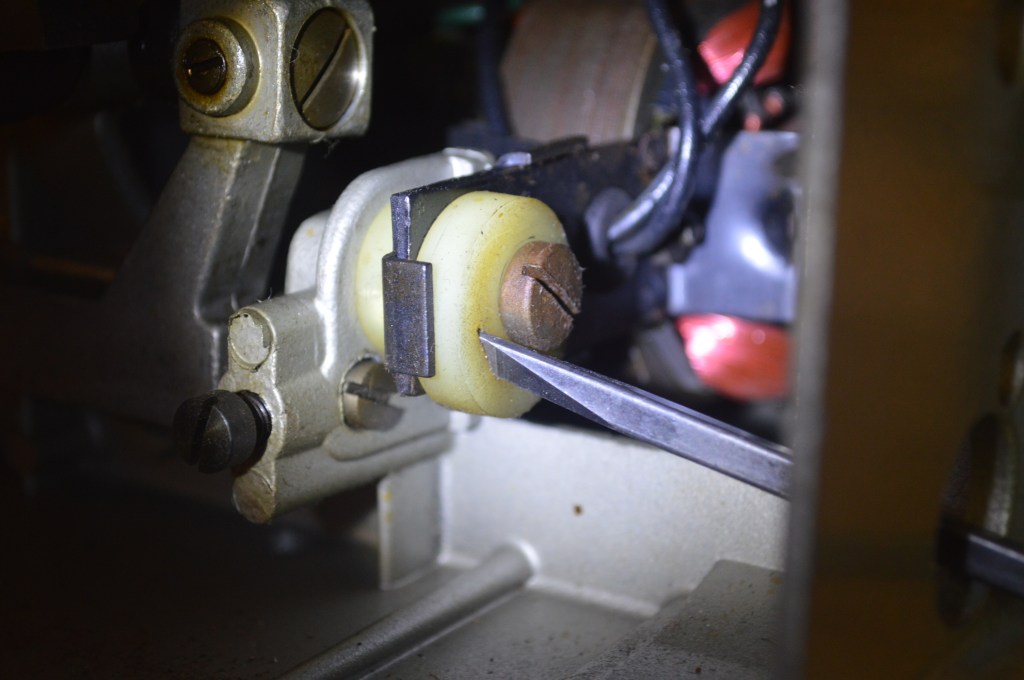
With the tip of the screwdriver in this slot, turn the eccentric cam to loosen the belt… turning it one way will tighten the belt, turning the other way will loosen the belt.
With the belt loosened, remove the belt from the motor pulley…
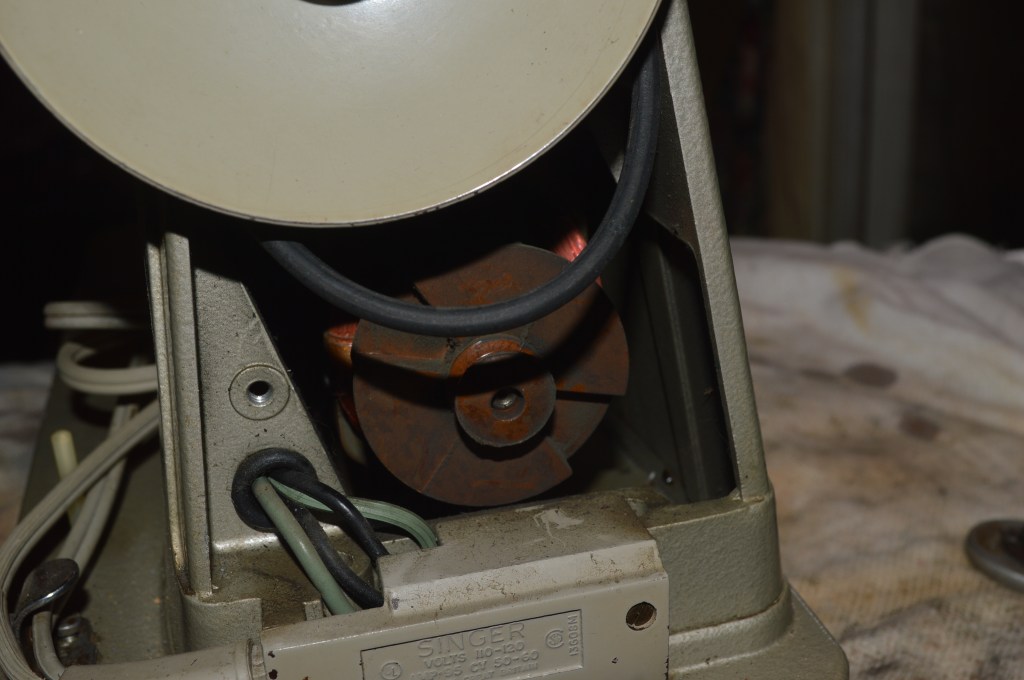
Pull the balance wheel away from the machine to allow the belt to be removed from the belt groove in the balance wheel . You do not need to remove the balance wheel completely.
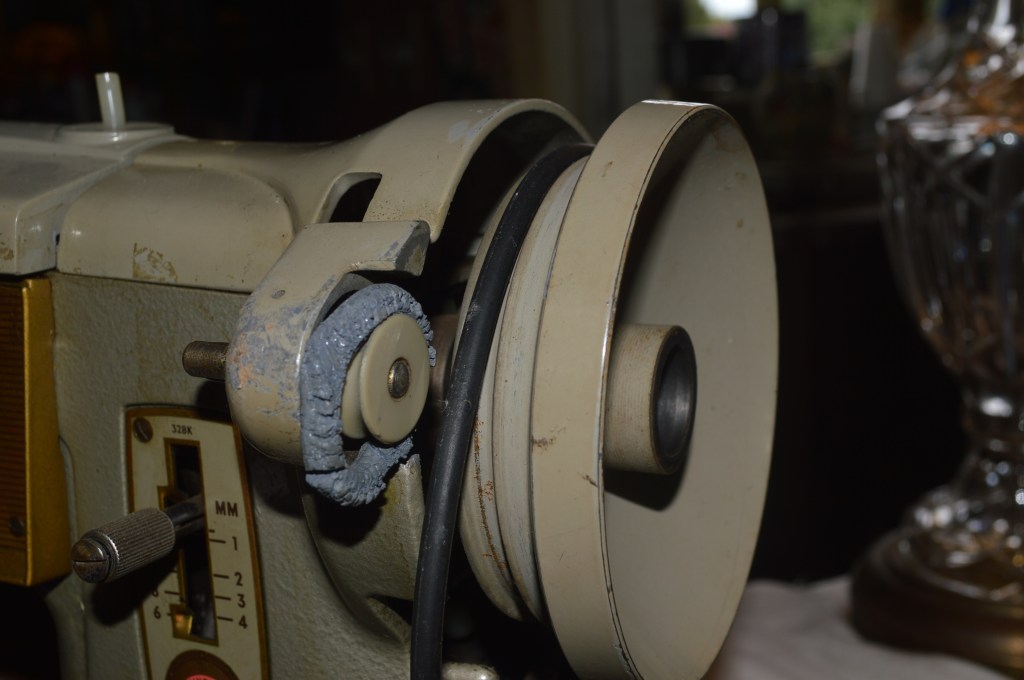
Remove the old belt and replace it with the new belt.
Push the balance wheel back into position on the machine making sure the belt stays in the belt groove.
Position the belt over the motor pulley.
Turn the eccentric cam to tighten the belt. Do not over tighten the belt, it should have some “give” if you push against the side of the belt. Overtightening the belt will create undue strain on the motor and cause the motor to run slow.
Tighten the motor tightening bolt.
Put the bottom cover back on the machine.
Put the rear cover back on the machine.
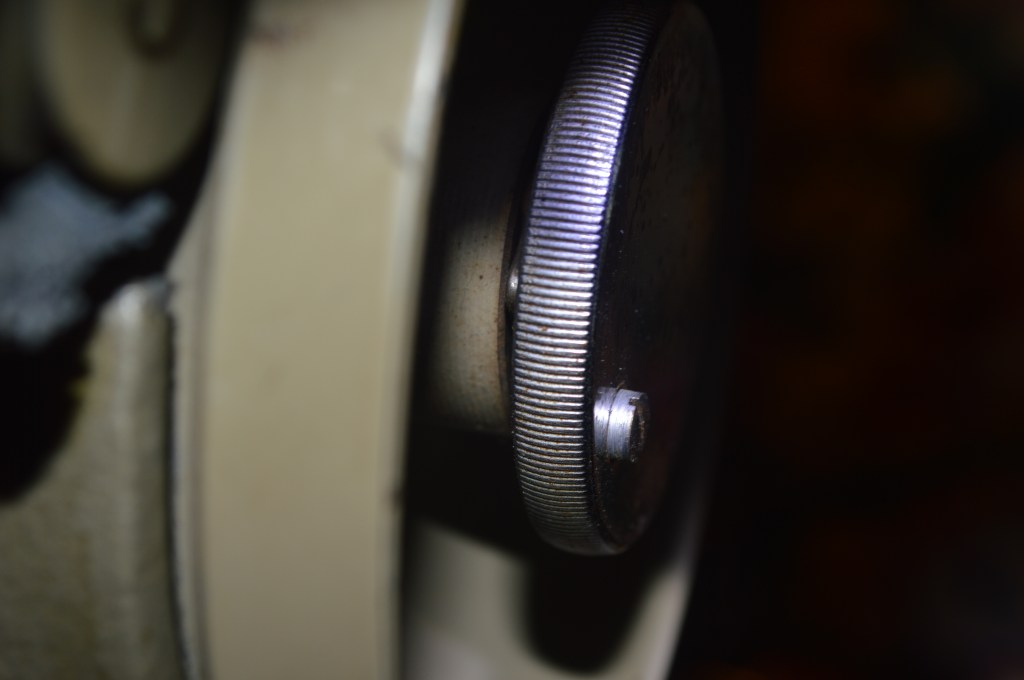
Tilt the machine on it’s nose to make it easy to reinstall the washer and the stop motion knob and tighten the set screw.
Once the stop motion knob is tightened, take a close look at where the set screw and the “ears” on the washer end up. The washer can fit in one or two different positions. If the washer is placed in the “wrong” position, the set screw will sit on top of one of the washer ears and the stop motion knob will not allow the machine to disengage properly to wind a bobbin… With the stop motion knob tightened, make sure the set screw clears the washer as shown in the picture (you can see the ear ofthe washer in the center of the picture between the balance wheel and stop motion knob). If not, remove the stop motion knob and rotate it 180 degrees and then tighten the stop motion knob.
That’s it! It’s a simple fix and it takes much less time to replace your belt than it did to write this blog… so if your 328K needs a new belt, you can follow these steps and be sewing again in no time…
I hope you found this information useful!
Please feel free to visit our Etsy store “Pungoliving” to see our fine quality restored vintage sewing machines and the work we do to restore them. They all have links to their respective restoration blog, or follow the link below:
https://www.etsy.com/shop/pungoliving
As always, our tutorials are provided as a free resource to help you learn and maintain your vintage sewing machine. As our site has grown, so has the cost to keep and maintain it. Despite these cost, I will strive to continue posting tutorials and other relevant content for the benefit of the sewing community. If you found the content of this tutorial useful, please consider making a small donation to help me grow the site and help defray my costs… every little bit helps.
Make a one-time donation
Make a monthly donation
Make a yearly donation
Choose an amount
Or enter a custom amount
Your contribution is appreciated.
Your contribution is appreciated.
Your contribution is appreciated.
As always, if you have any questions or if I can be of any assistance to help you with your machine, send me an email to pungoliving@gmail.com
Thanks for reading!
Lee

Thanks for this. The machine you have here to work on is much worse than the one we’re using for the past 30 years. Still, the information you’ve provided in invaluable. Aided with your information and instructions, we have a new belt and it’s like a new machine once again. Best to you.
LikeLike
Thank you!
LikeLike
Thank you so much for this excellent post—I was able to replace the belt on my 328 w ease thanks to you, and saved myself the hassle and expense of bringing it to a repair shop. Cheers!
LikeLike
You’re welcome! That’s what being part of the sewing community is all about.
Have a blessed day!
Lee
LikeLike