

This restoration is a Singer Model 15-90… it is the same machine as the 15-91 but with an external motor. I have done several of these machines, both 15-91’s and 15-90’s. In my opinion, aside from the 15-91’s direct gear drive potted motor versus the 15-90’s belt drive external motor, there is no difference in the sewing experience between the two. In construction, features, function, and feel they are the same. Both create a beautiful laser straight stitch.
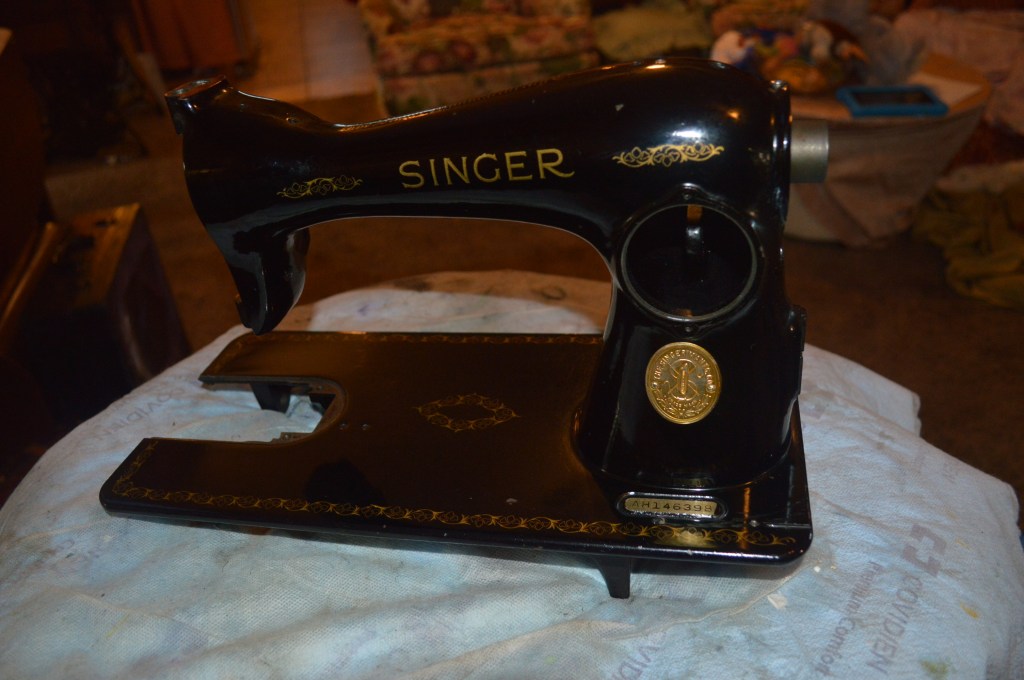
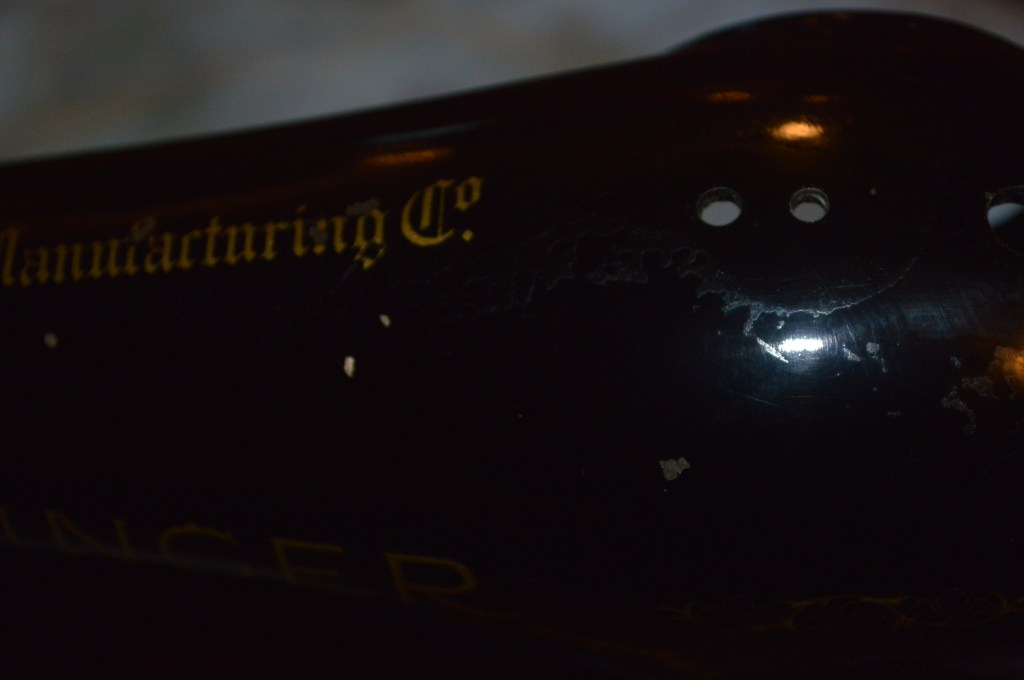
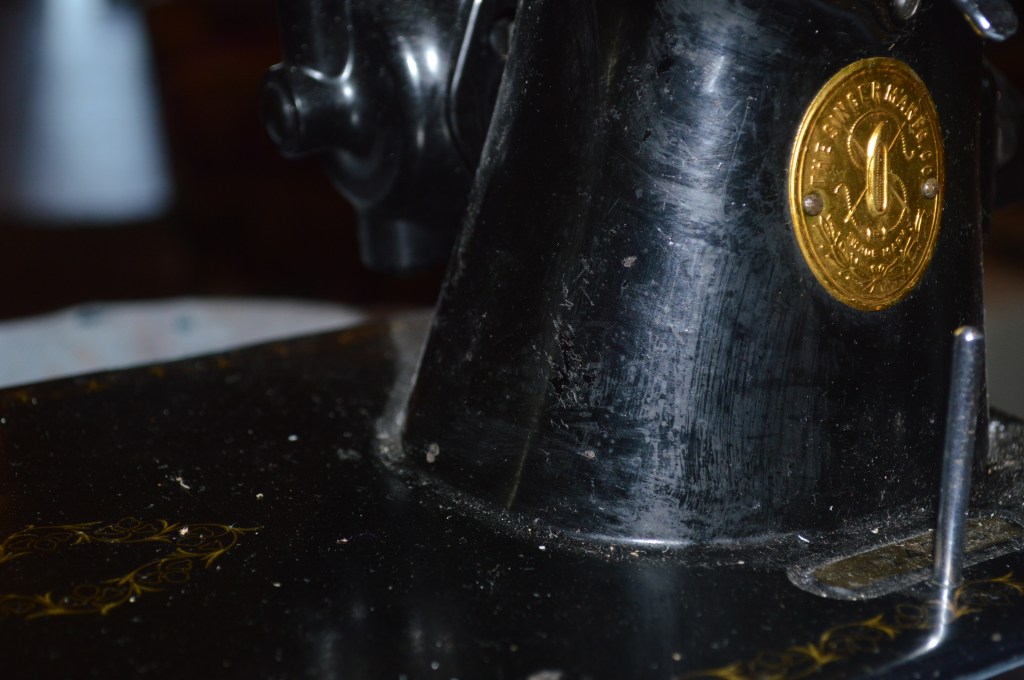
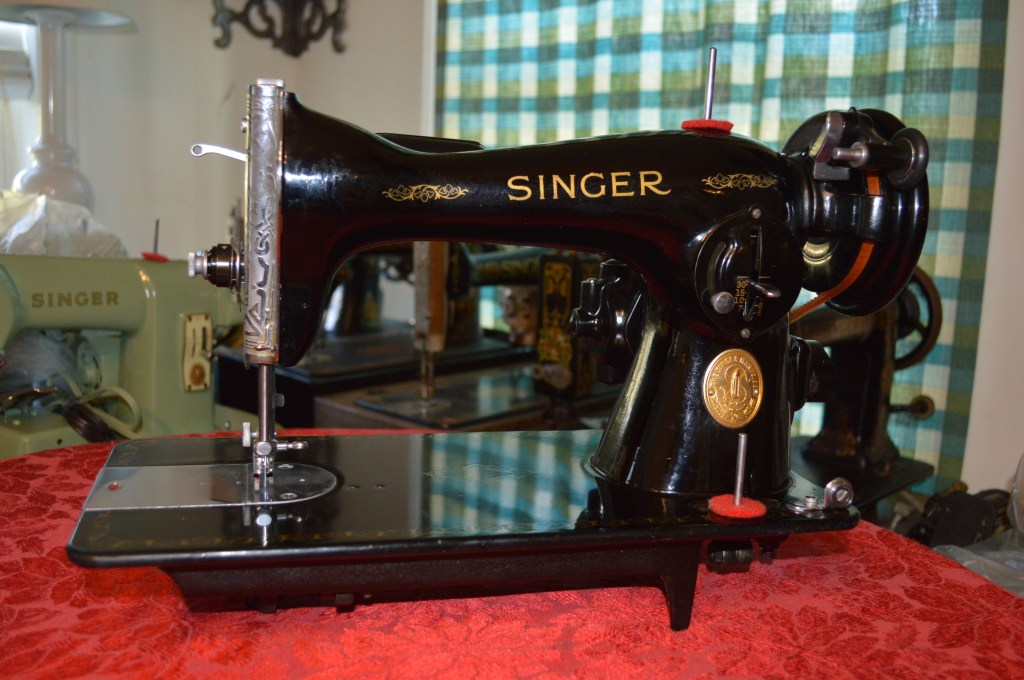
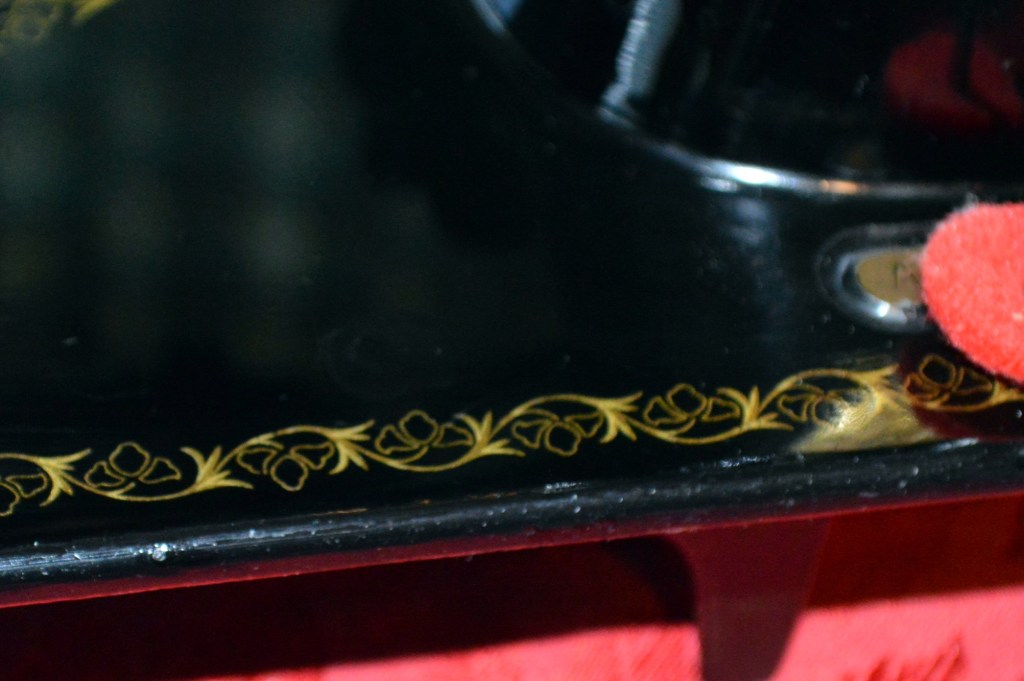
To start with, this machine is in good condition. The decals are excellent, The machine’s paint finish is good. The shellac is intact on the sewing bed, but this has more of a smooth “matte” finish in the paint compared to the smooth clear finish I dearly love. There is nothing wrong with this. I attribute this to use and I suspect that this machine was used often. On first inspection, I noticed that the finish on the pillar of the machine had been dulled from improper cleaning. portions of the shellac coating is worn off of the sewing arm and the pillar. The decals are still protected by shellac and that accounts for their condition. The challenge in this restoration is cosmetic reconditioning, and it will rake a lot of work to get the best it can be. In any event, I expect that the finish can be brought out to a very good condition. The rest of the machine will be completely disassembled and the machine will have a detailed restoration. This post will be a little different, and I hope you bare with me because I lost many of the pictures I took when working on this machine. Normally I take a bunch of pictures and I sort thru the pictures to show as best I can what is going on in the restoration. Please bear with me on this project, I am using some pictures I would normally discard (blurry, dark, angle, etc.). All of the steps are shown, but not as clearly as I would like for you to see. I may also use the same photo to show different steps taken on the same area because these steps are performed at different stages of the restoration. Still, there are enough to get thru! That said, here is the machine before restoration…
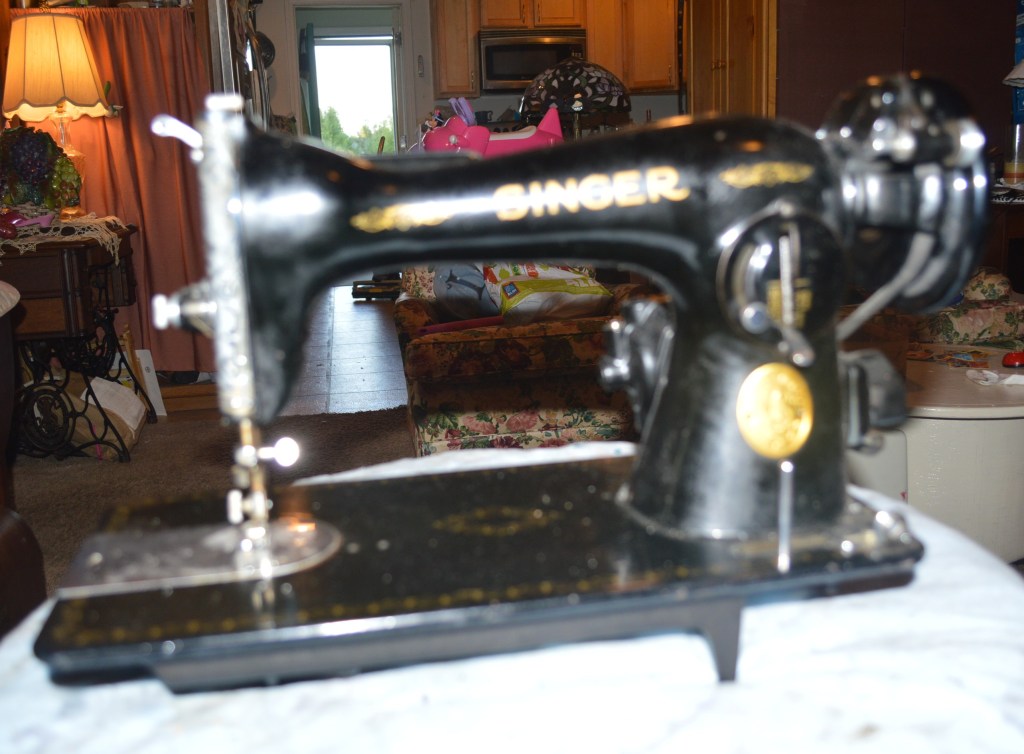
Sorry for the blurry picture… the haze on the finish shows enough… 


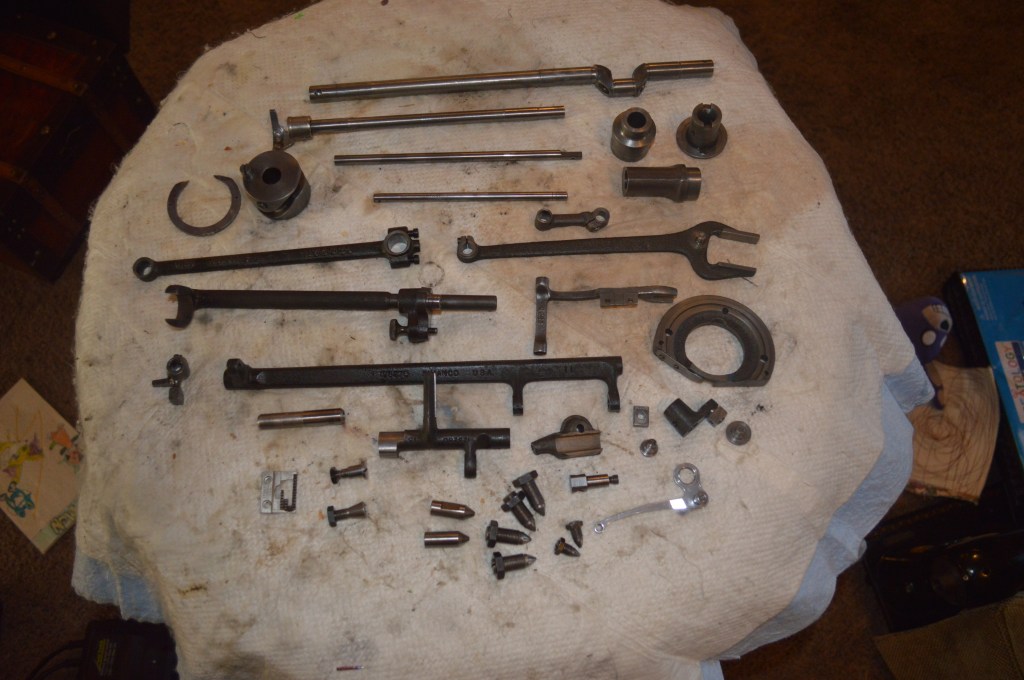
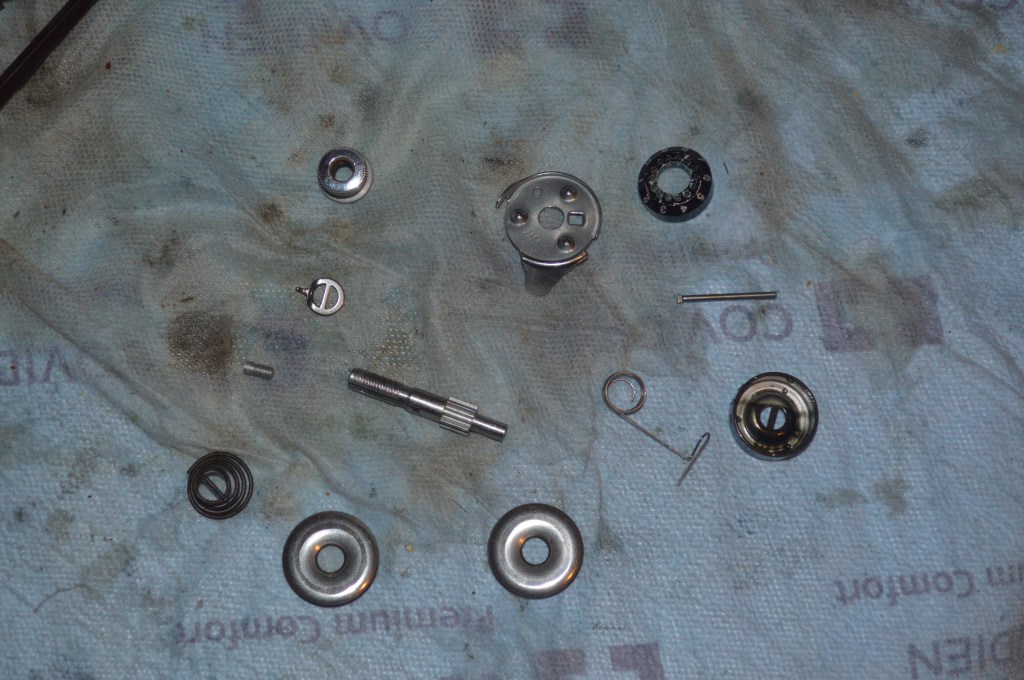
Now the machine is completely disassembled… everything is removed from the body of the machine, All of the removed parts are either hand cleaned or ultrasonically cleaned. All of the parts and pieces laid out below have been ultrasonically cleaned and ready to be wire brushed.
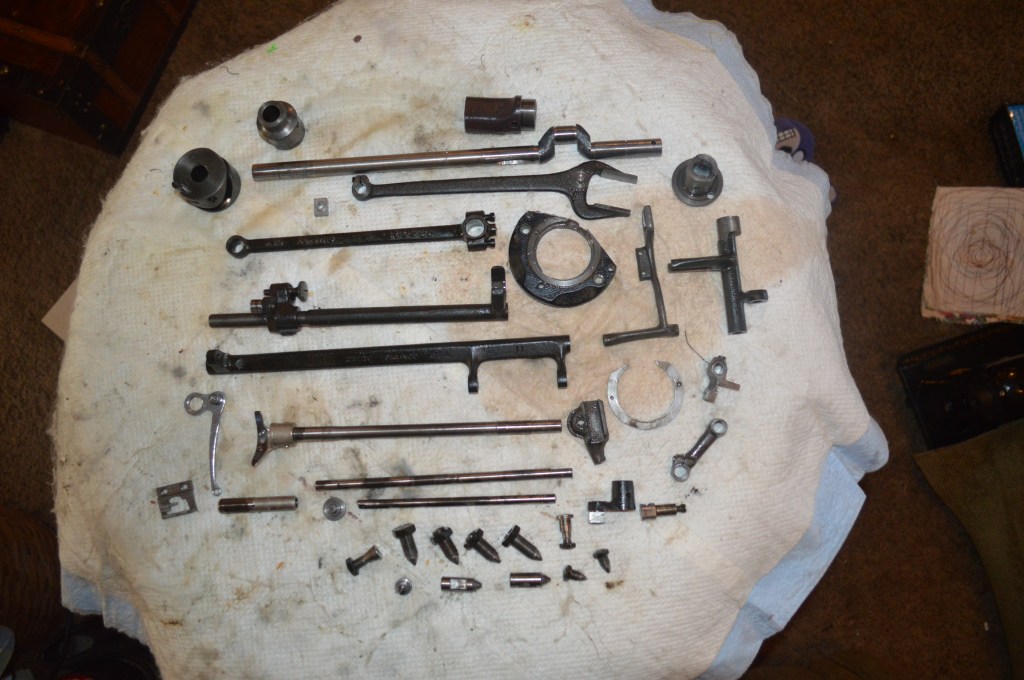
All moving parts… 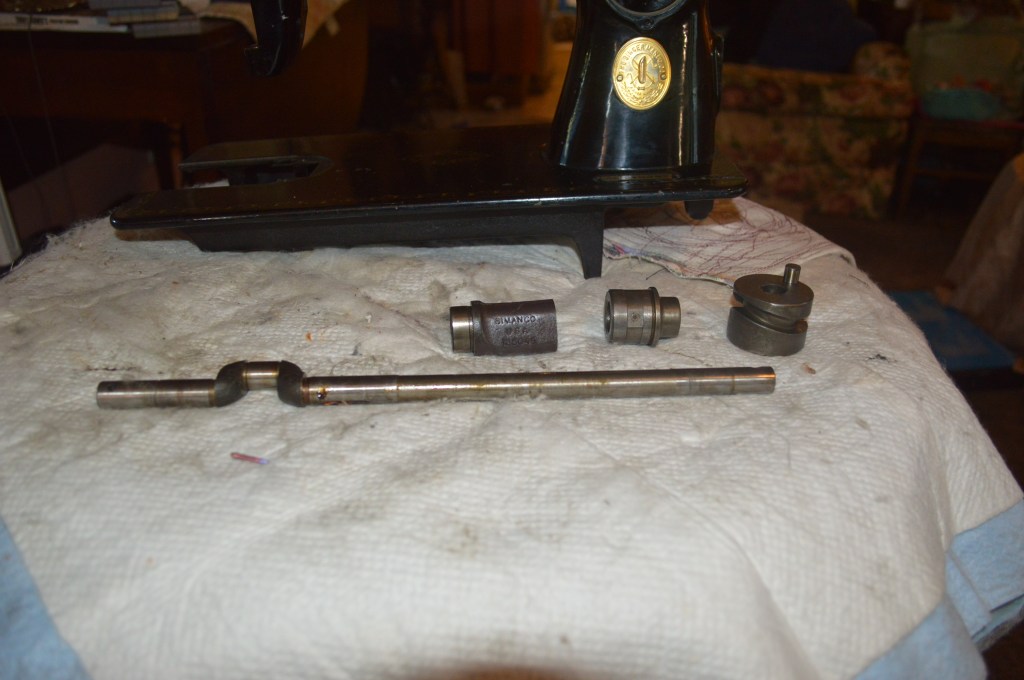
Top arm shaft and bushings
The parts are restored to like new condition by wire brushing…
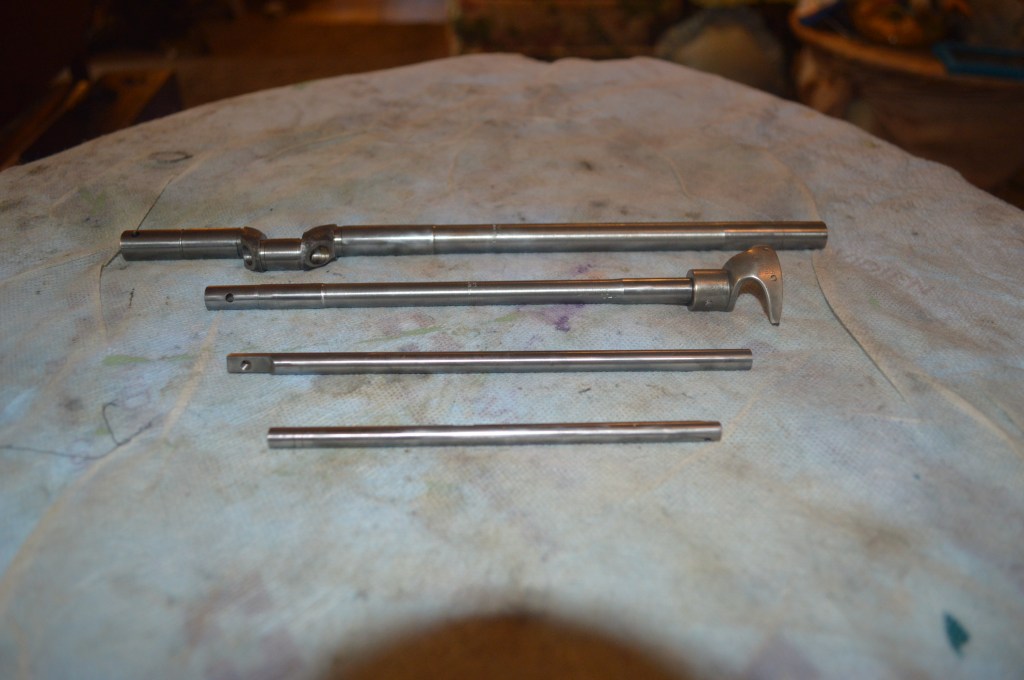
Clean, but need to be polished
The top arm shaft, the hook shaft, the needle bar, and the presser foot bar are polished to be glass smooth…
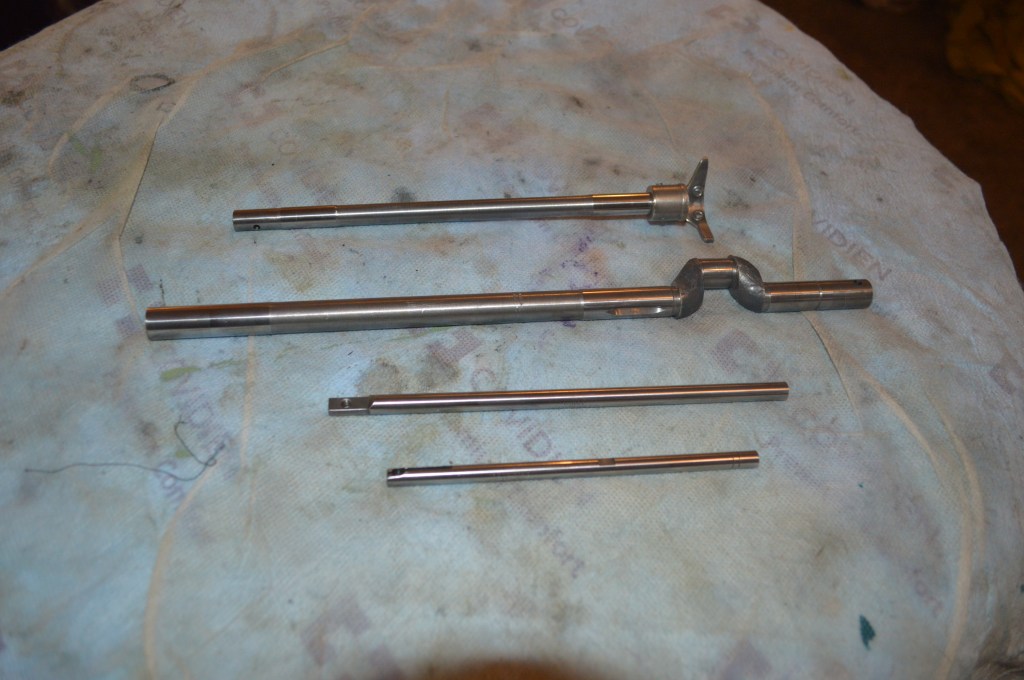
The bushing bores where the shafts rotate or move up and down are brushed and cleaned… When reassembled together, these will move smoothly.
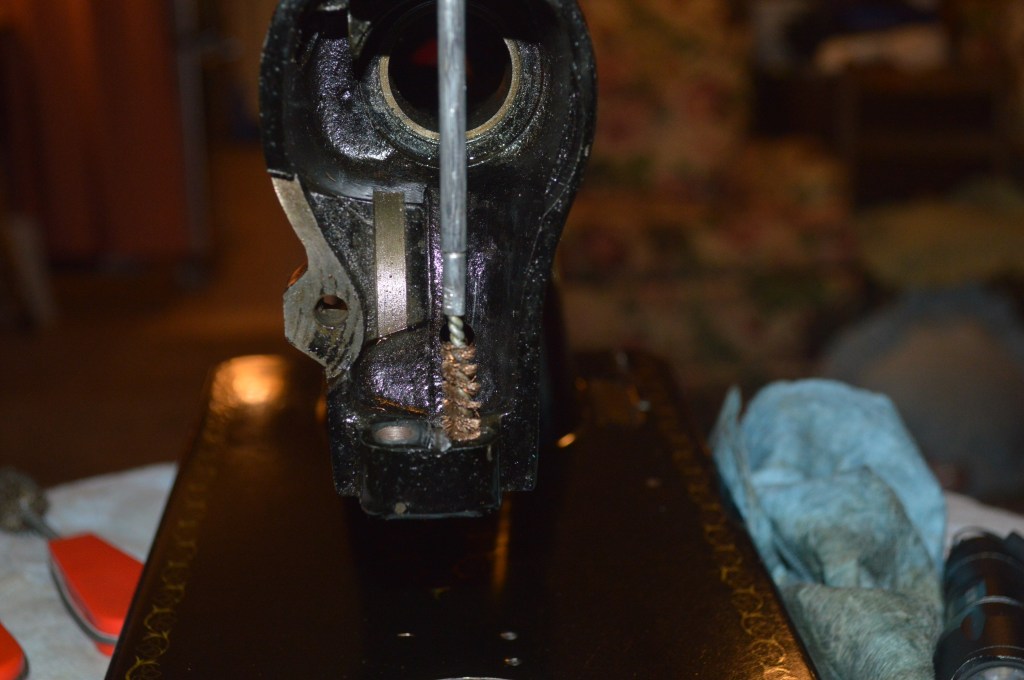
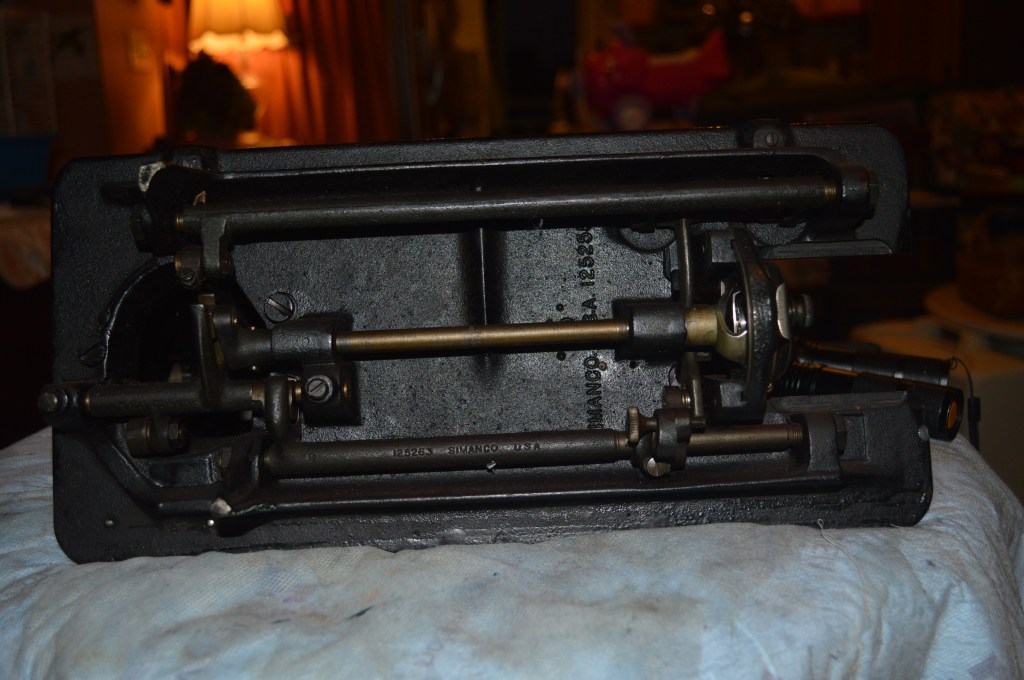
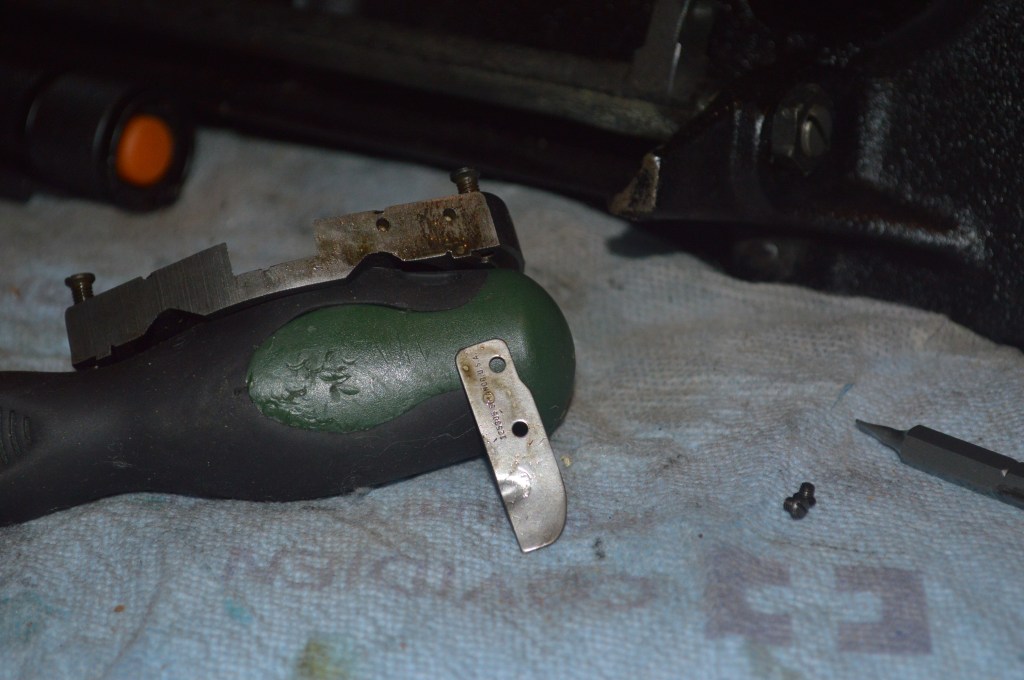
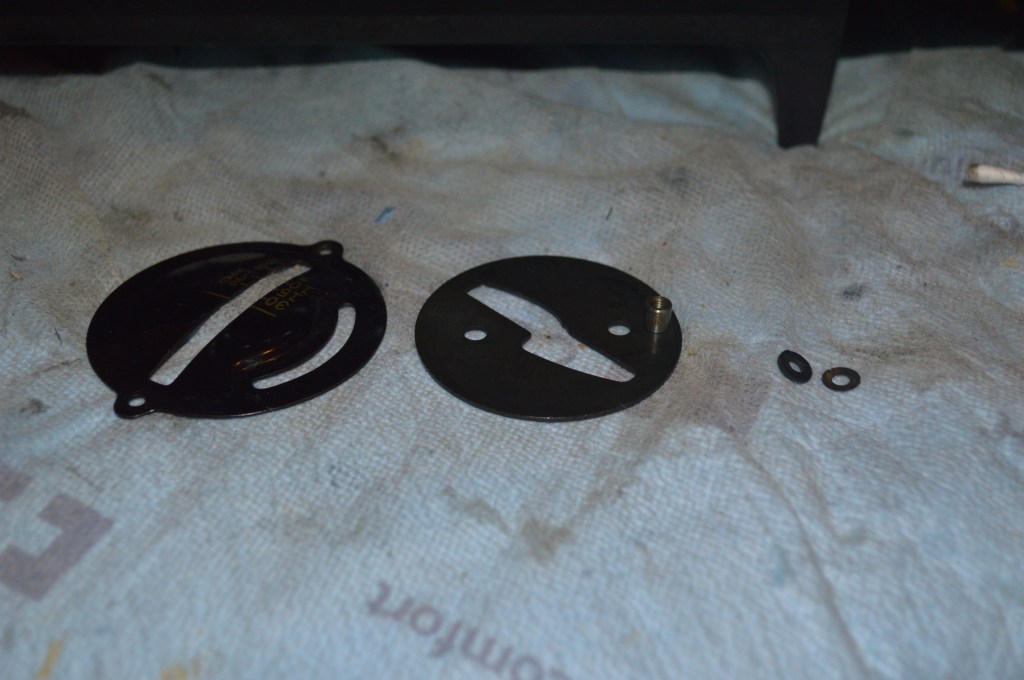
There are parts that are removed that have cover plates on them. It is important that these covers are removed for cleaning…

Now my attention is turned to the body of the machine. The plan here is to deep clean as usual, but to use glaze polish to level the shellac and remove any oxidation in the finish. The goal is to get a deep rich finish. Glaze polishing is not very aggressive, and progress is slow so it done over multiple sessions. The first few sessions are done with TR3. TR3 is a glaze polish that is slightly more aggressive than the final polish I use. Although it is a fine grade polish, I use it for the first polishing because I like it’s slightly rougher cut to smooth out imperfections faster. The final few polishing sessions are done with a product called Meguiar’s Mirror Glaze to finish it off.

Much of the haze is gone, but there is more polishing to be done… 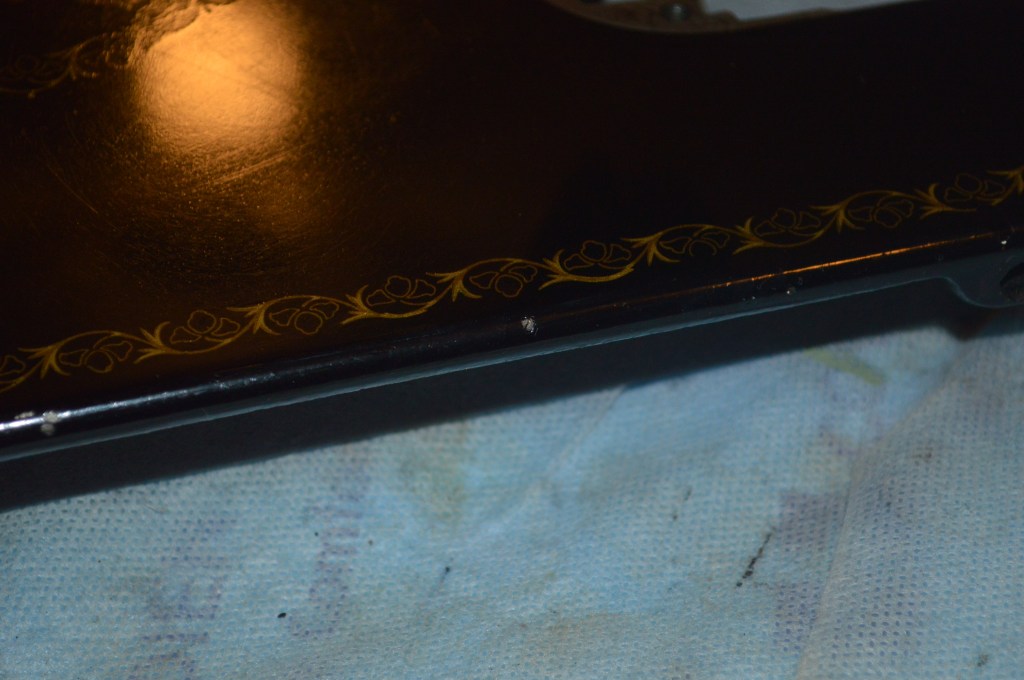
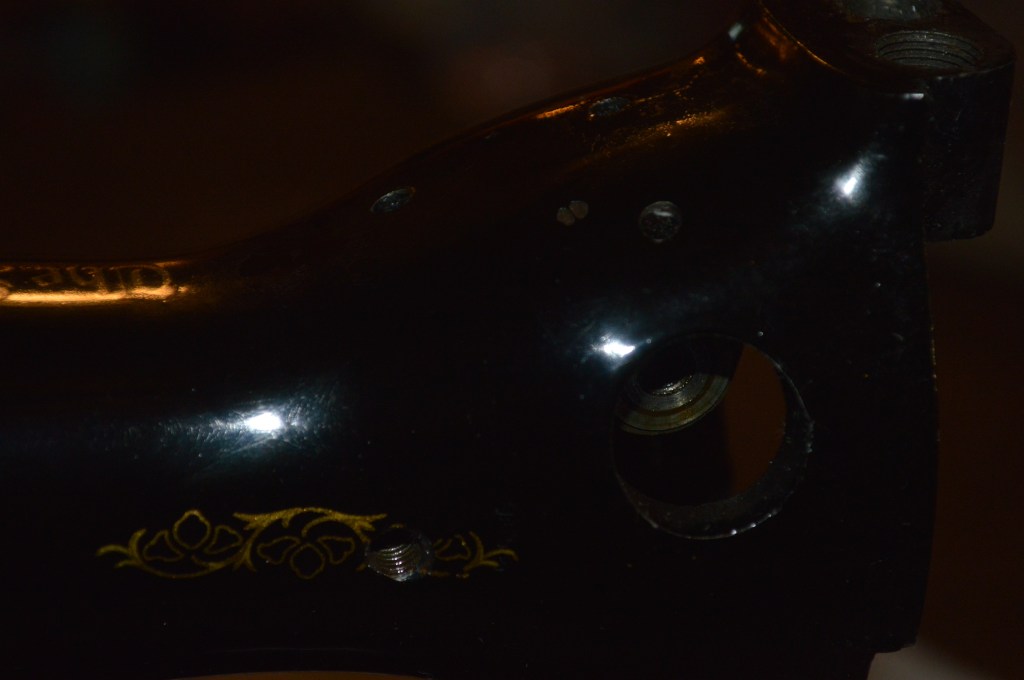
The result is a much “blacker” finish, and it is getting pretty smooth. This will be repeated until it is a good as it can be. But, now is a good time to repair any chips, since subsequent polishing will also smooth out any repaired areas. The chips are pretty small and I debated doing it at all, but with this much time in a restoration it seems appropriate. There is plenty of time to work. The painted areas will need to cure for at least 24 hours before a second reapplication, and 2-3 days before it is leveled and polished.
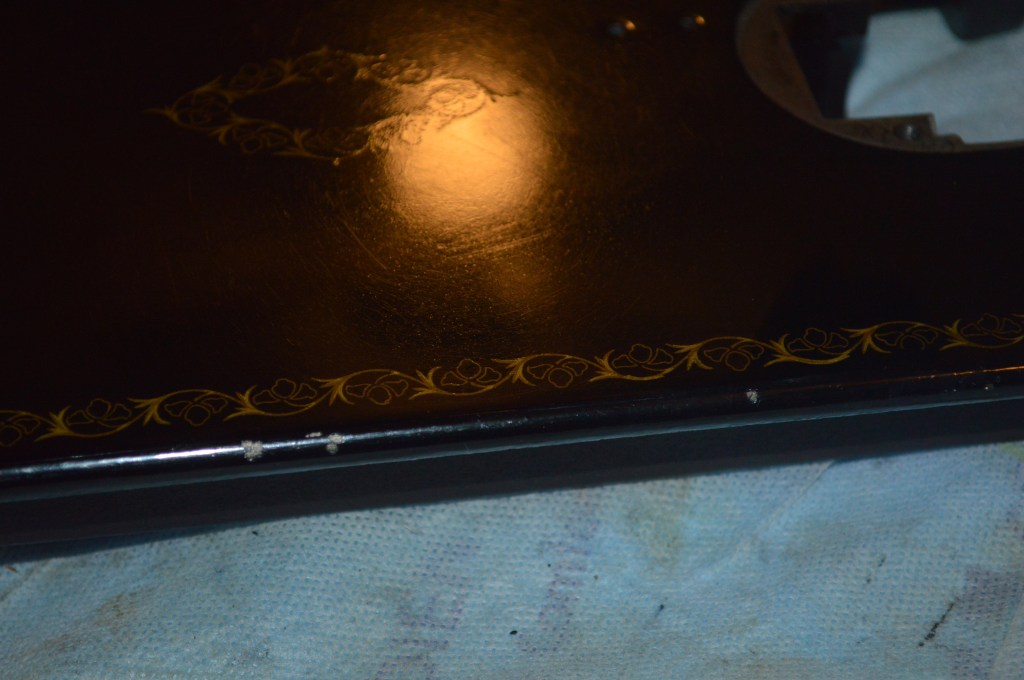

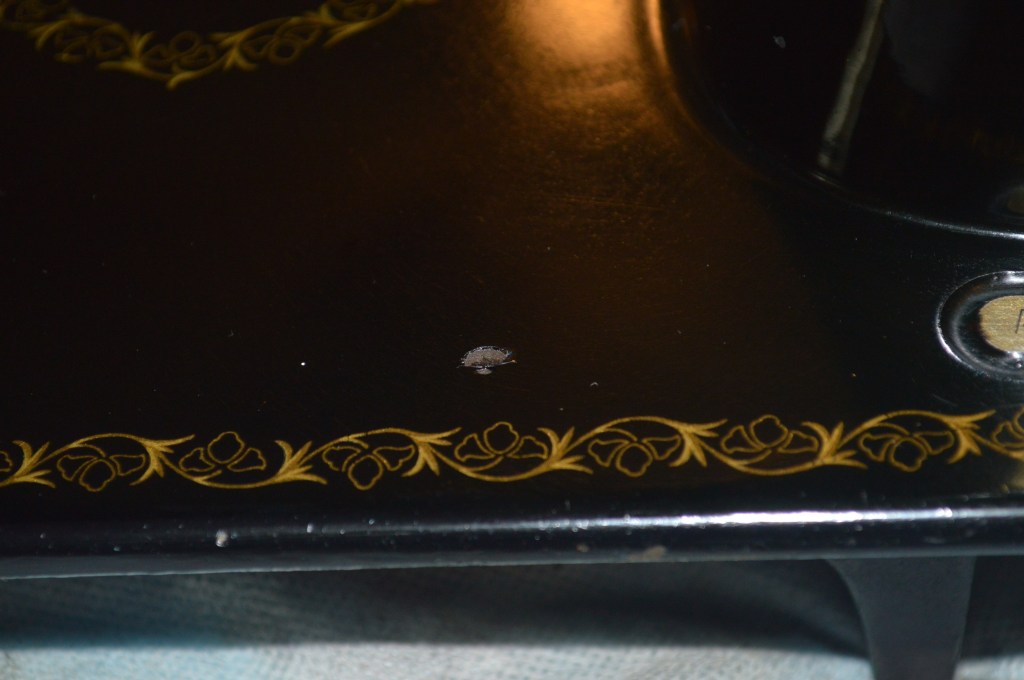
Note that the paint matching will not remove a chip, but it will make it blend into the machine and be far less noticeable. This is shown in the next series of photos.

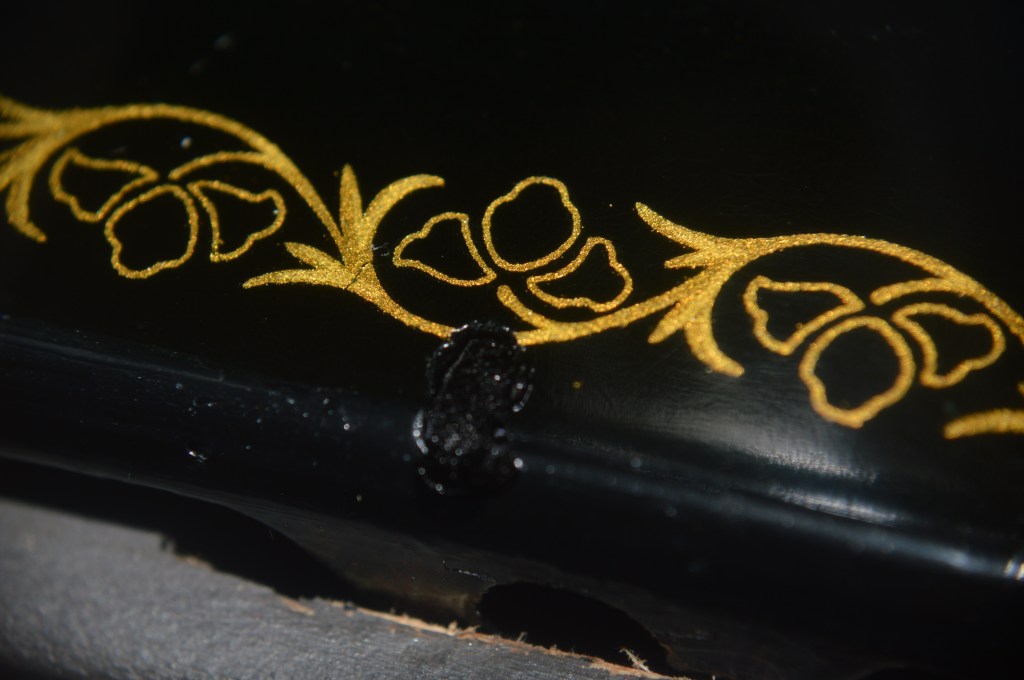
Edge Chip Repaired 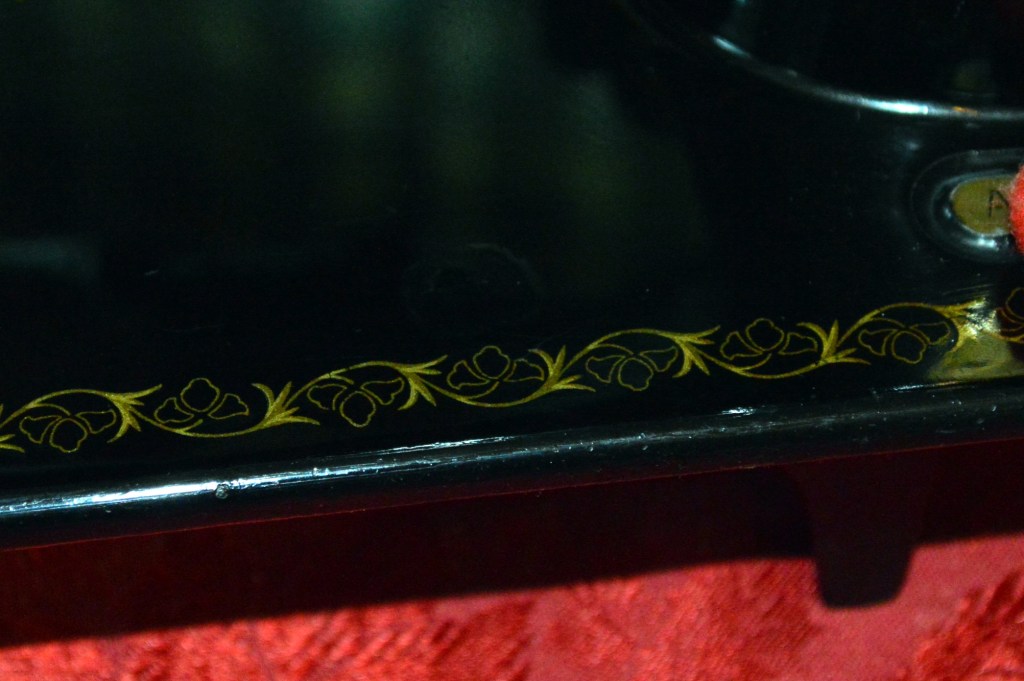
Bed Chip Repaired
There are a few small defects in the decals, and I decided it would be good to try and fix these areas… more because I am trying to stretch my boundries in my restorations and improve my skills more than it is anything else. Fixing decals is something I shy away from, but on this machine, the defects were so small and so few, I decided to give it my attention.
Singer developed dozens of decal sets over the years to adorn their machines, Generally they are ornate and finely detailed, and the older the machine, the more ornate the decals were! You will find machines with decals that are multicolored, gold, and even combinations of both. It would seem that the decals on this machine are not to hard to fix because the decals are gold. But, now I need ask myself, which color of gold is it? Singer decals, like the machines they adorn, mellow with age. Some machine have bright gold decals, some have a mellow gold tone, and some have decals with gold shaded “highlights” that are a combination of the two. Each machine is unique and different in the way the decals present themselves. This makes color matching difficult. The first thing I need to do is to try and match the decals to different shades of gold to get best color of I can and go from there. To compare colors. I use a piece of scotch tape to act as a pallette… the “U” is where I tried mixing the colors. If you look at the bottom right of the pictures, you will notice a “bright” spot on the decal. This is an area I repaired using the far left color it is the closer match.
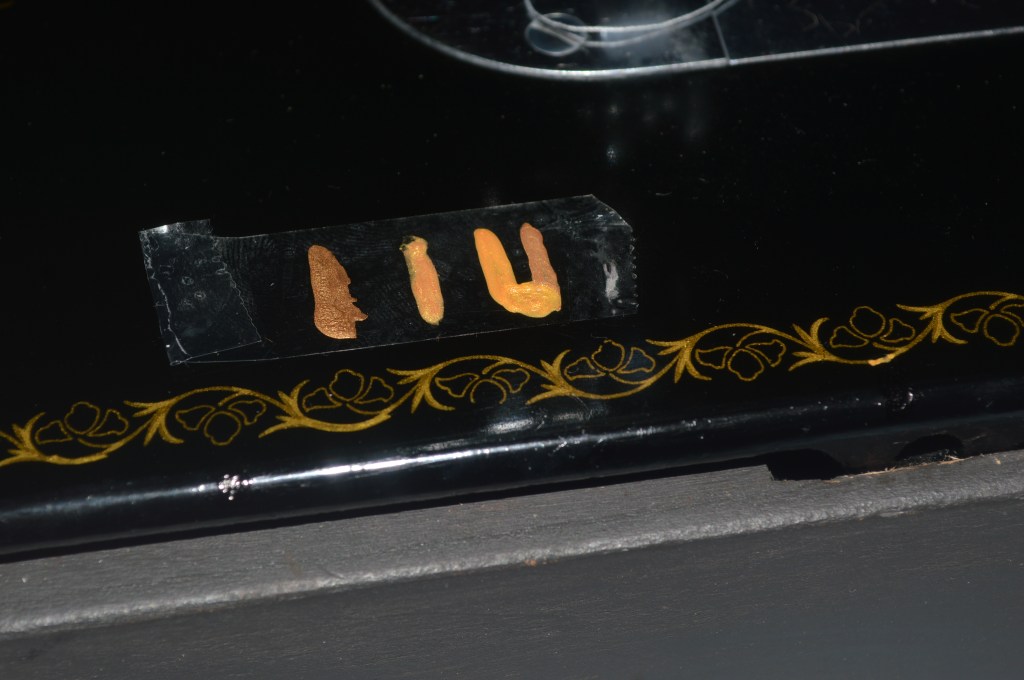
Proceeding with this color, I am correcting all of the areas I see.

Before Repair 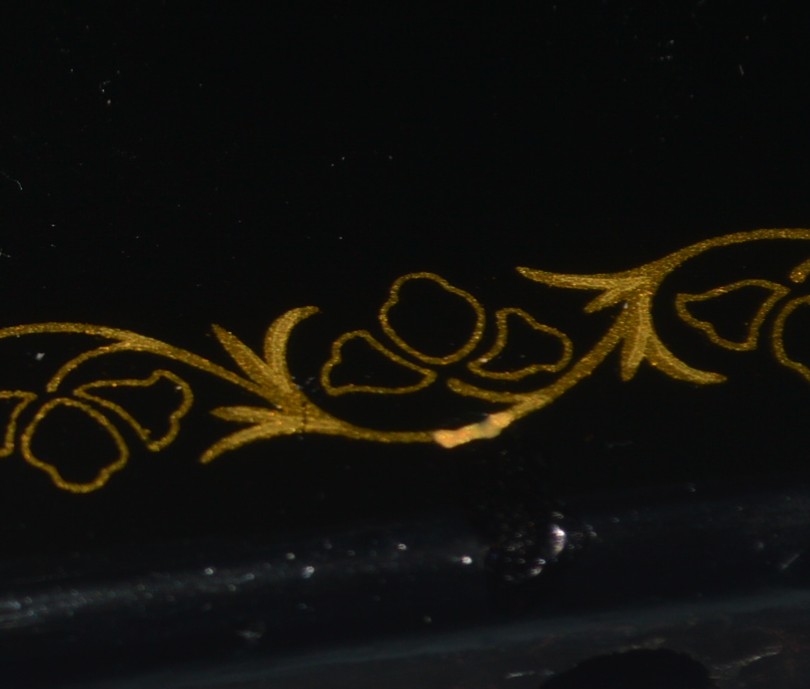
Repaired 
Finished Repair 
Before Repair 
Repaired 
Finished Repair 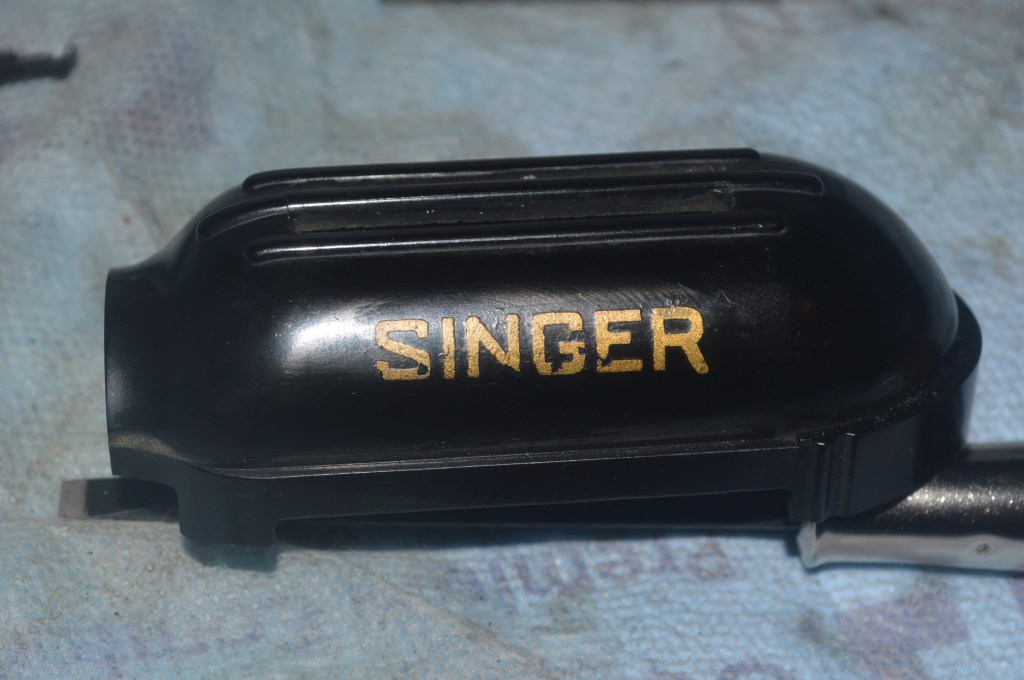
Before Repair 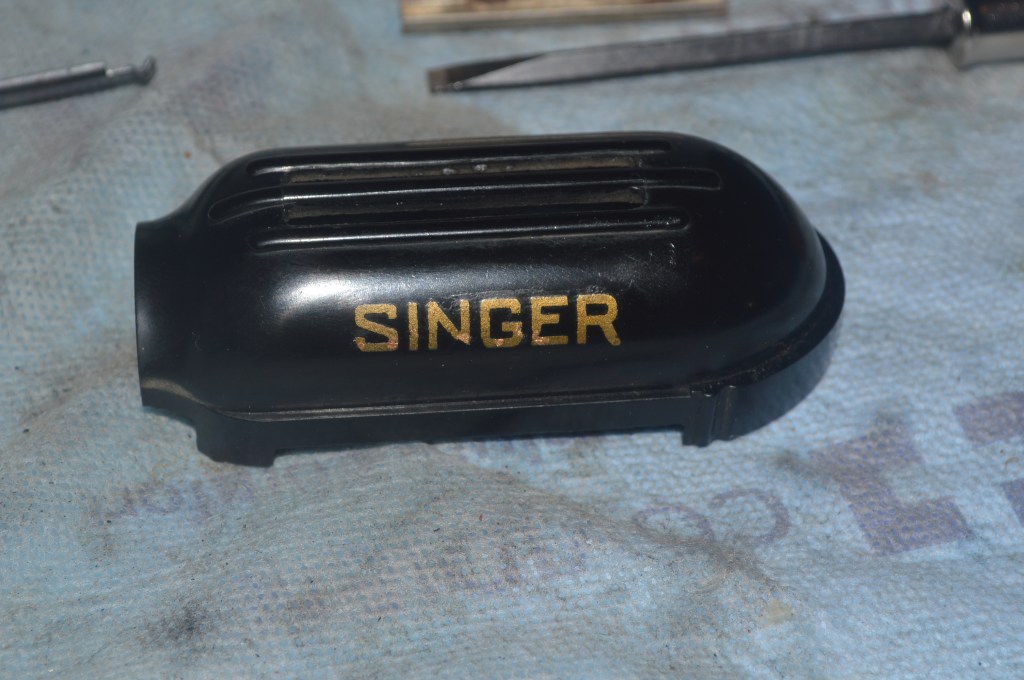
After Repair 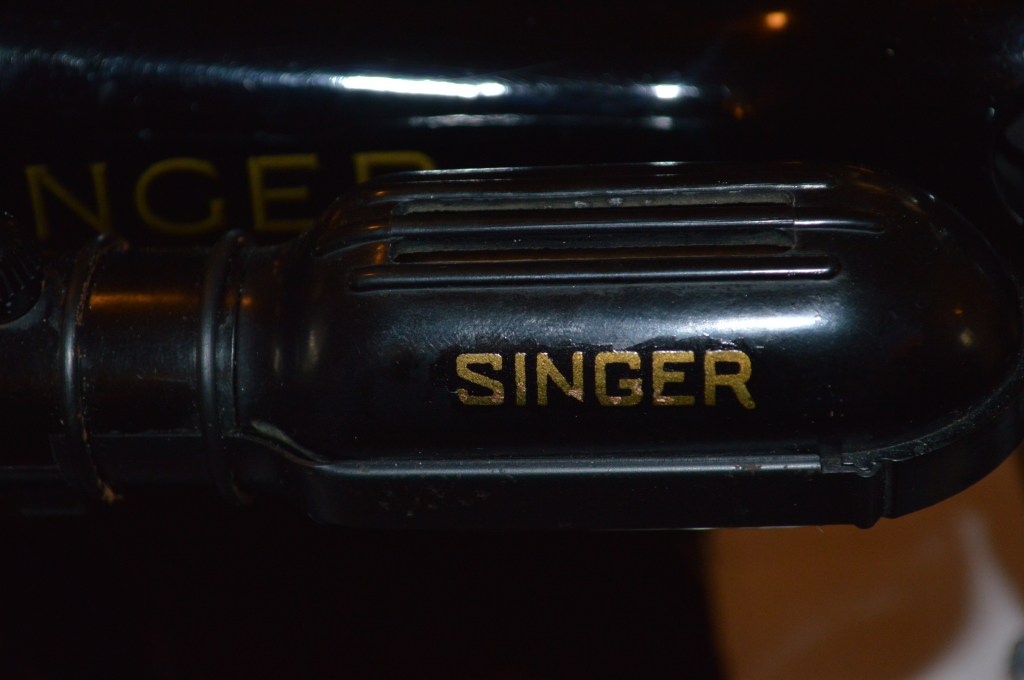
Final Finish
Keep in mind, the decal lines are very thin. Using a fine tip artist brush with the bristles trimmed even finer, the repair is done using a 20X jewelers loupe… For the light shroud, I used a 40x gemologist microscope. But… my hands are only so steady, and the margins of the decals are not precise… yet. Everything is trimmed to the margins of the decals. A coat of shellac is applied over the repairs to seal them. These areas will be left for now, and the restoration moves to the motor.
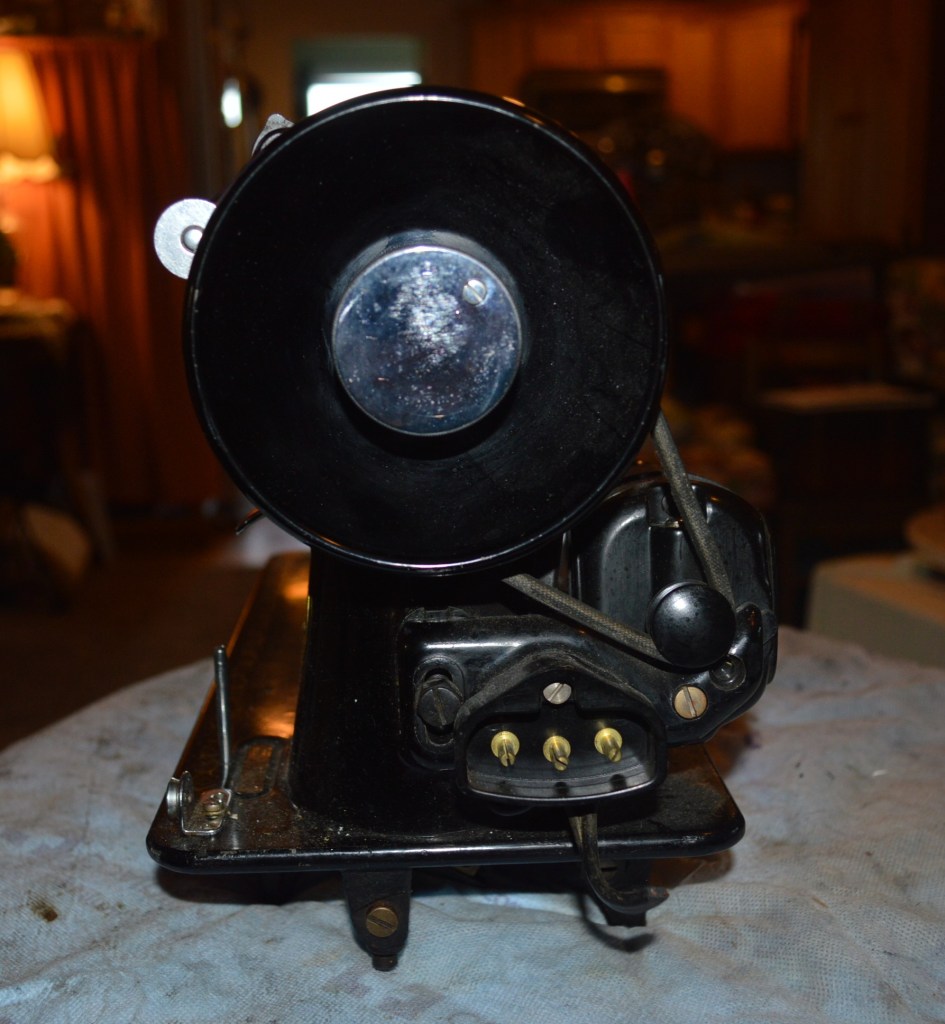
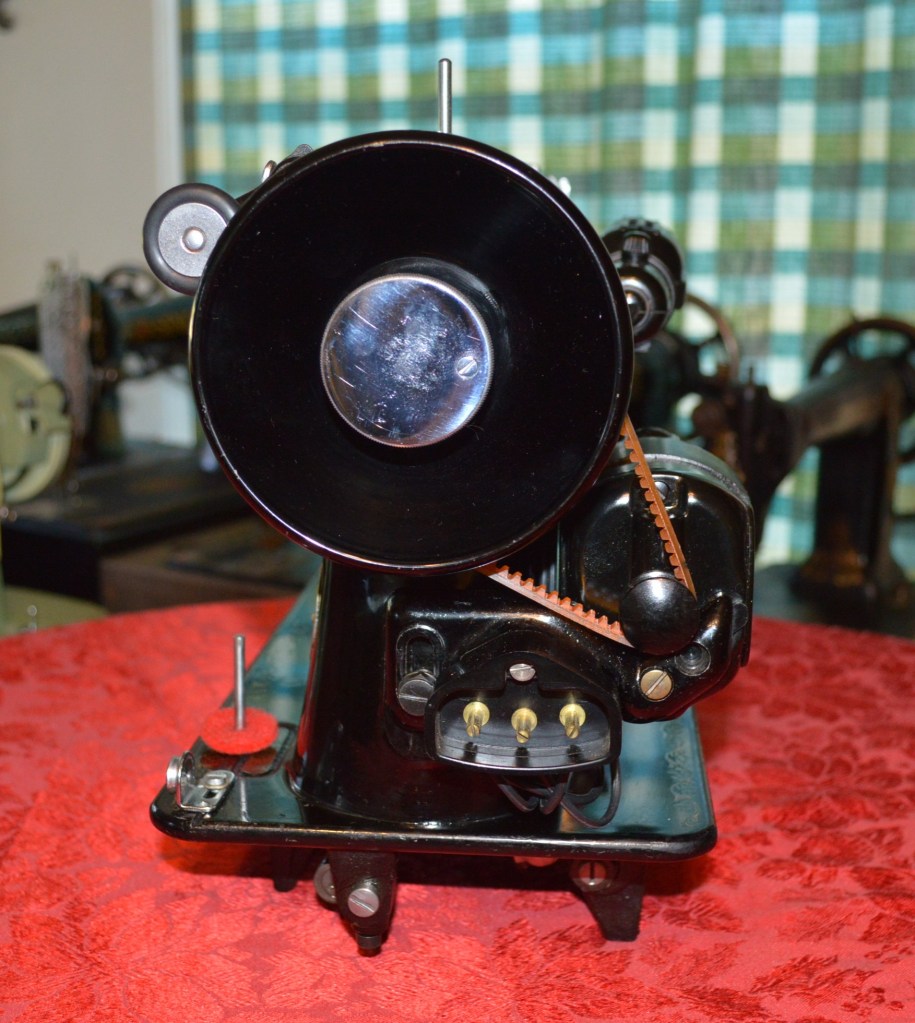
The motor on this machine is a 0.5 amp vintage Singer motor. For a straight stitch machine, despite manufacturers offering more and more powerful motors, this motor is quite adequate for this machine. The wires are cracked and need to be replaced, the armature shafts will be polished, the commutator will be polished, and the brushes will be conditioned if needed. Because this motor uses grease wicks instead of oil, the grease wicks will be replaced. After performing these steps, there is nothing else that can be done to restore these motors, and if it doesn’t run, it never will, and if it does, it will run great!
The next few pictures show these steps with captions…
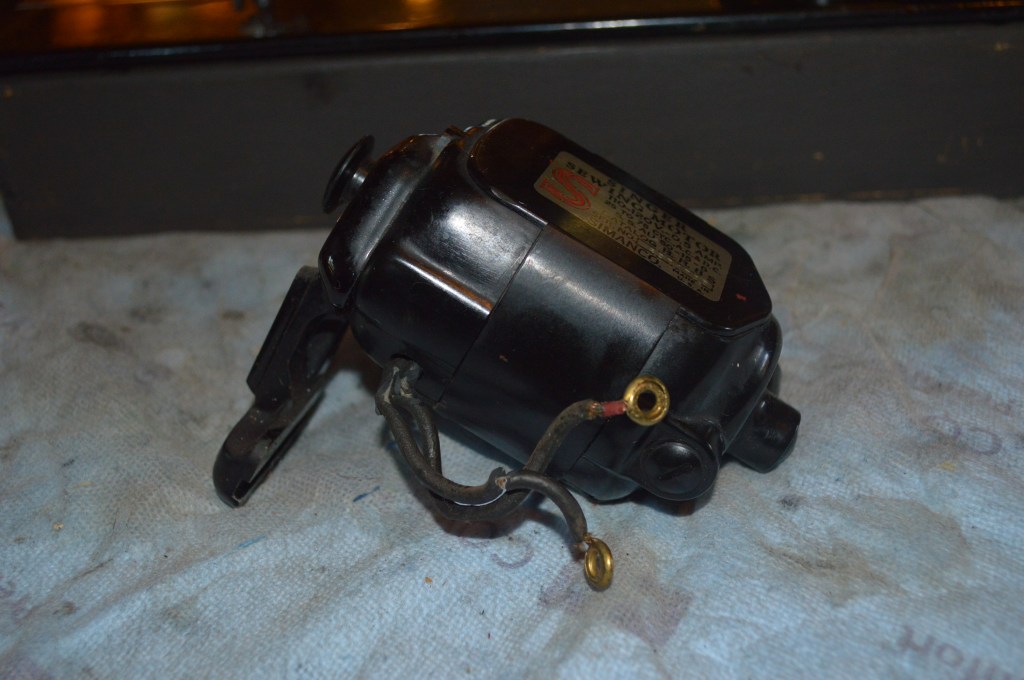
Motor before disassembly. 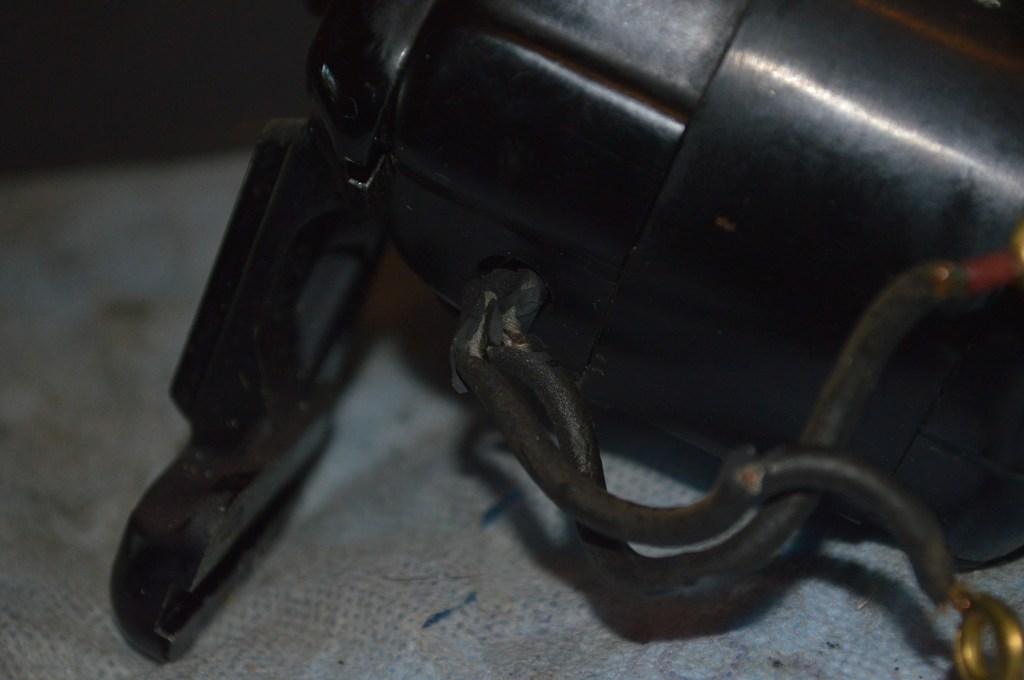
Notice the cracked wires… 
Motor disassembled 
Old grease wicks removed for replacement. Brushes are in fine condition. 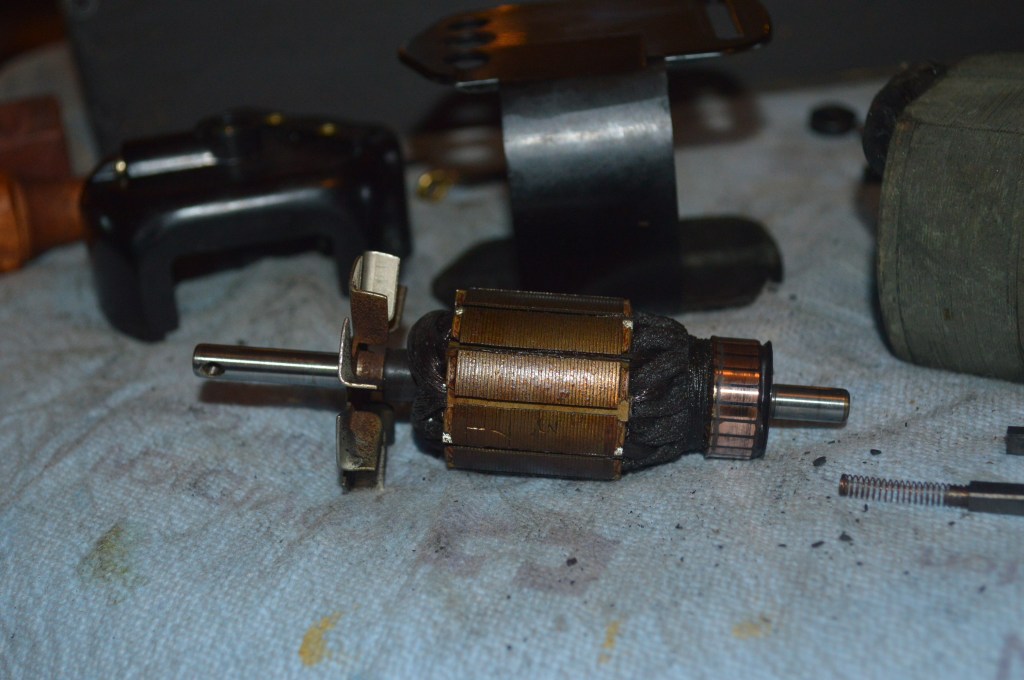
Commutator and armature shafts are polished.
After replacing the wires, the motor is reassembled and bench tested. Fortunately, the motor runs great!
Now comes the restoration of the light fixture. The wires are cracked and need to be replaced… now, this type of light fixture uses metal rings that snap and hold the shroud together. In addition, to replace the wiring, I need to cut the new wire to the exact length of the old wire, de-solder the contacts from the old wire, and solder them to the new wire… I hate disassembling these light fixtures because the circle clips are a pain to remove. I would advise avoiding it if at all possible. Here it can’t be avoided, so enough whining about it. Here are pictures of the light restoration with captions…
Light disassembled. 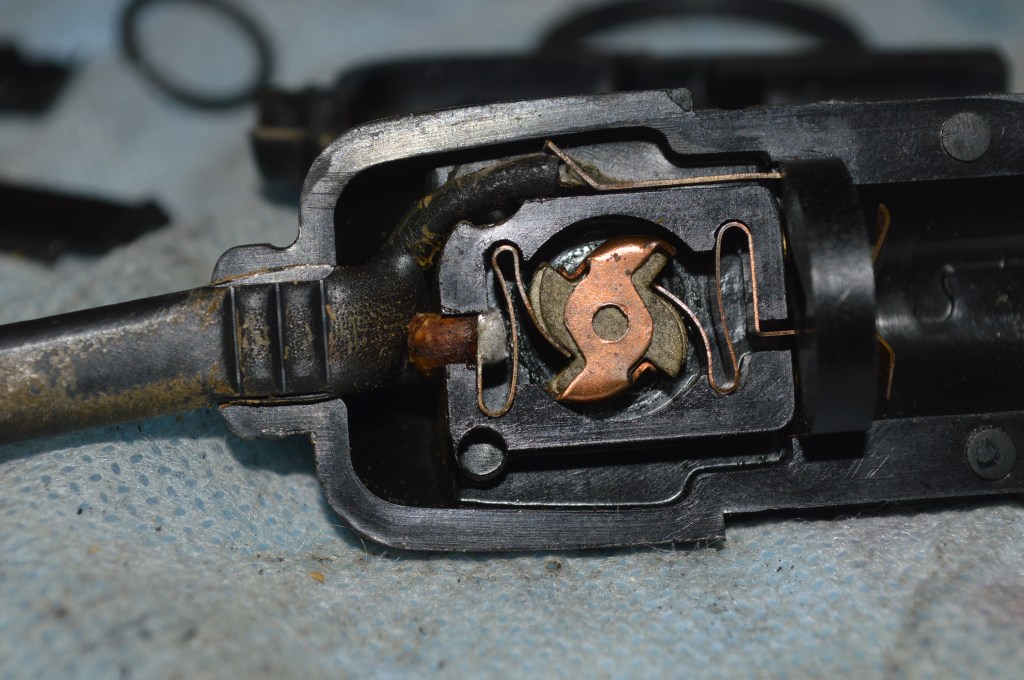
Old wire soldered to the switch contacts… these need to be de-soldered. 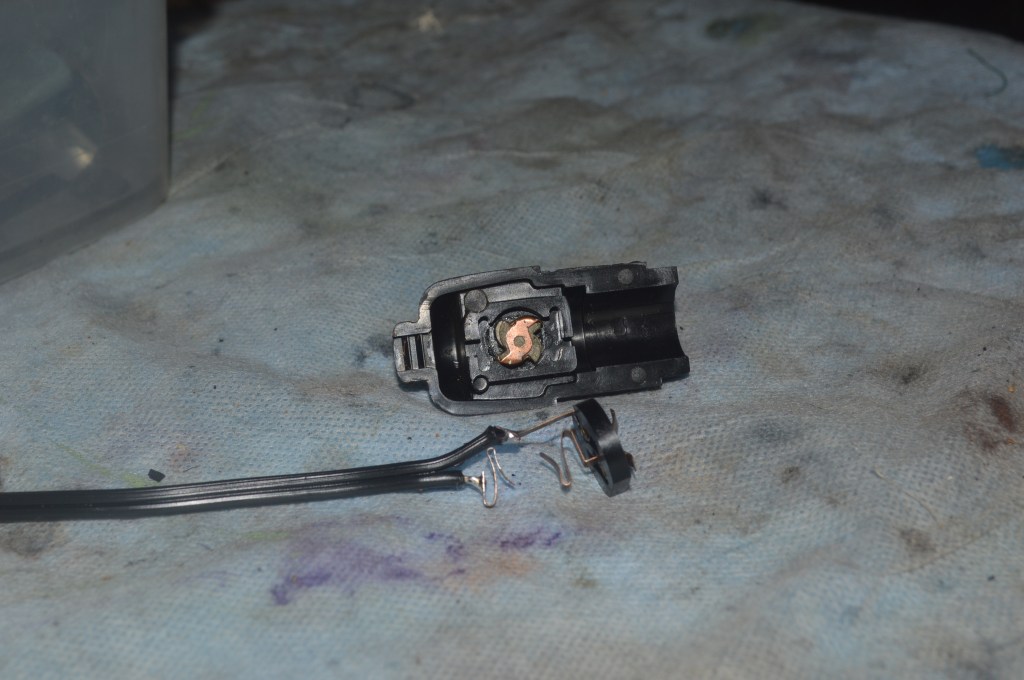
New wires cut to proper length with contacts soldered and ready for reassembly 
New wire installed in fixture housing.
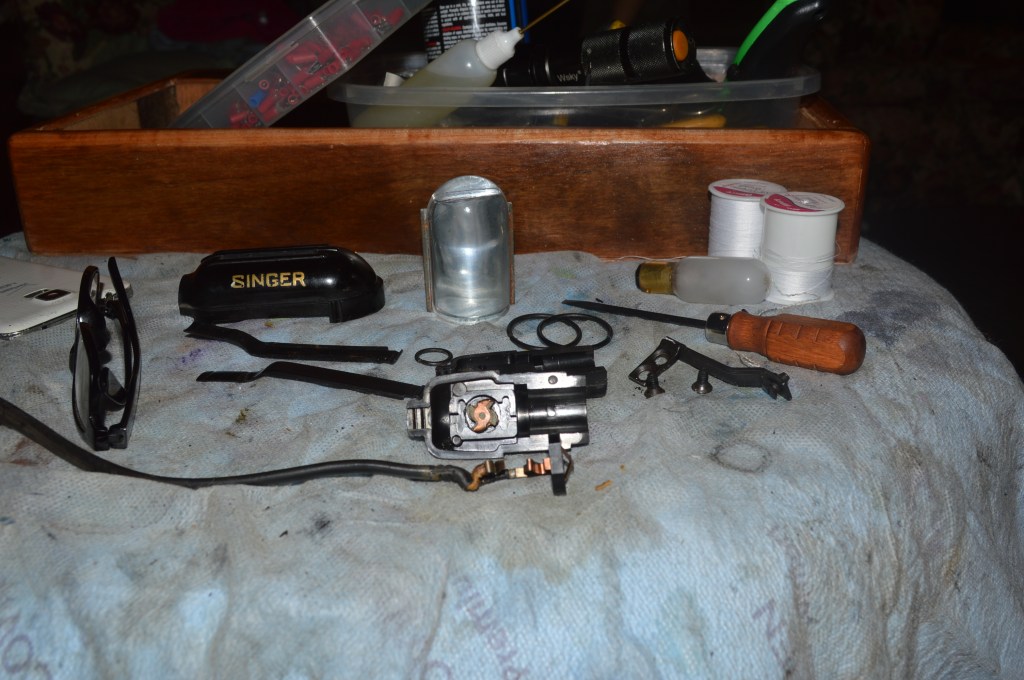
After reassembly, the light fixture is set aside and the next step is the top tension assembly… It is disassembled and cleaned… The take up spring was bent so it was replaced.
Tension assembly disassembled 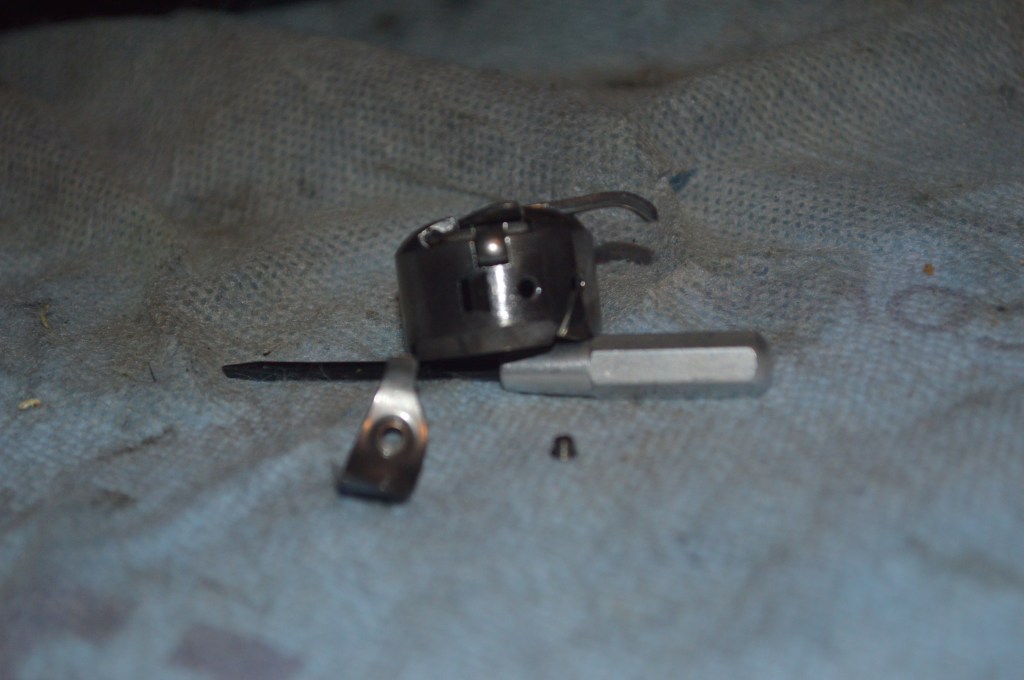
Bobbin case spring removed and cleaned
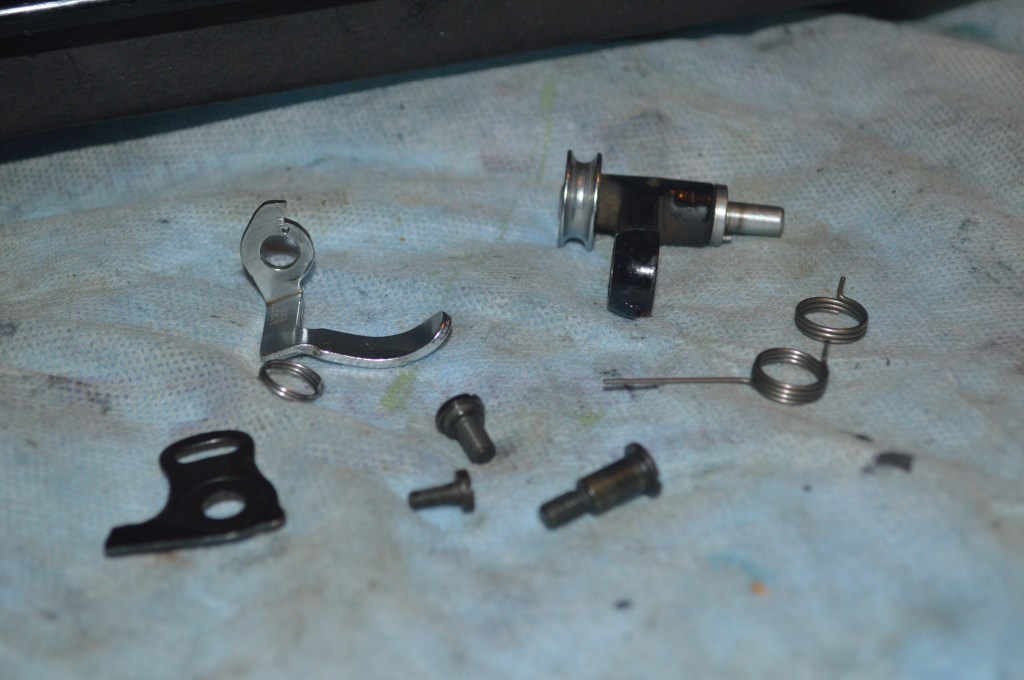
Next is the bobbin winder assembly. The main bobbin winder spring was broken and it is replaced.
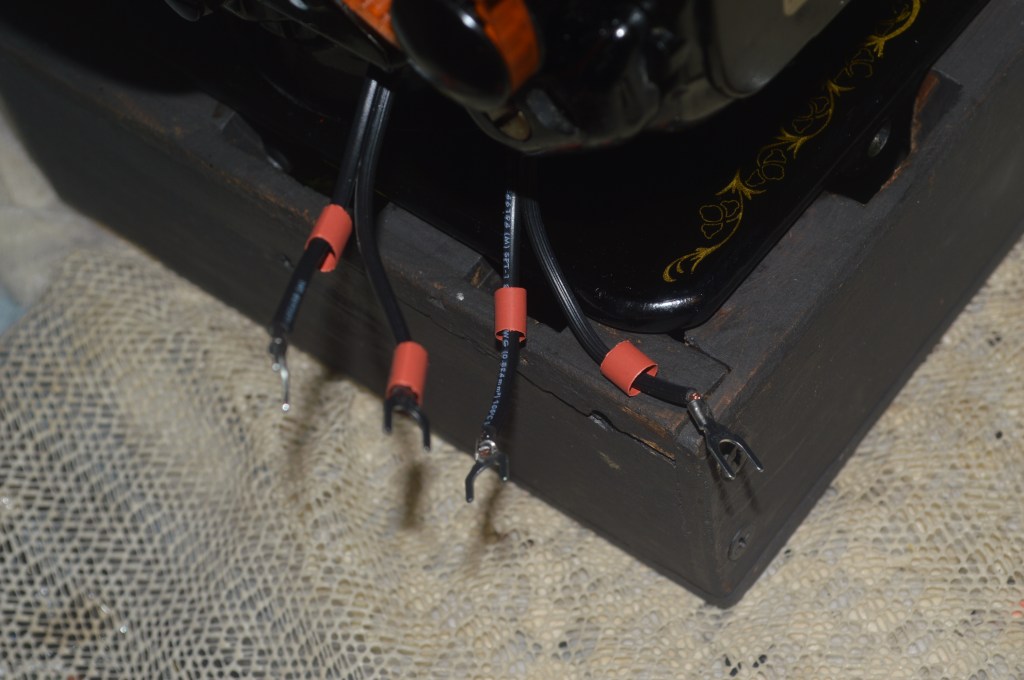
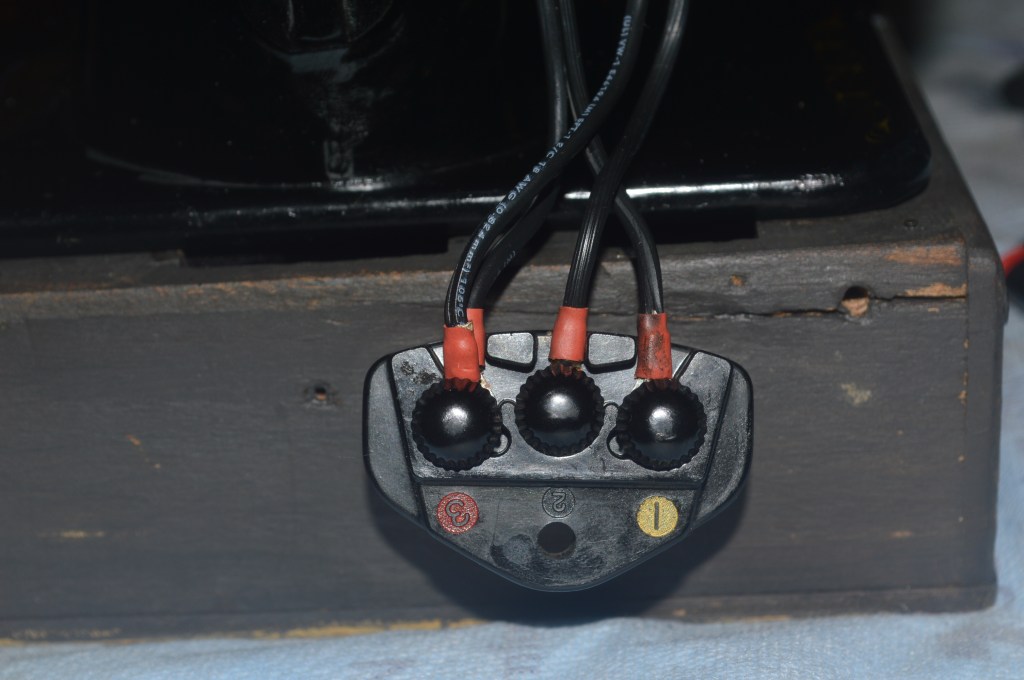
Because the cosmetic restoration will take a few more days to complete, there is plenty of time to put the machine together, make the proper adjustments, and figure what else I can do to this machine… The first thing to do is attach the light and motor. The plug terminal needs to be wired with the new wires from the light and the motor. These in turn need to be cut to length and have terminals soldered to the ends. Shrink tubing is used to insulate the terminals.
The front cover, the rear cover, and the balance wheel knob is polished…
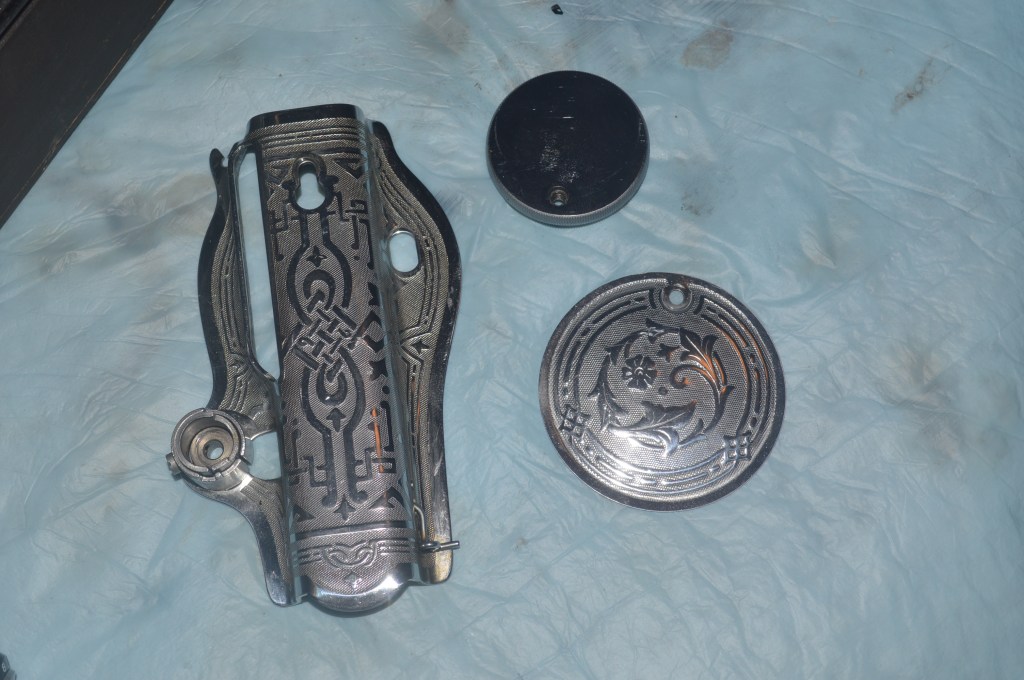
Before 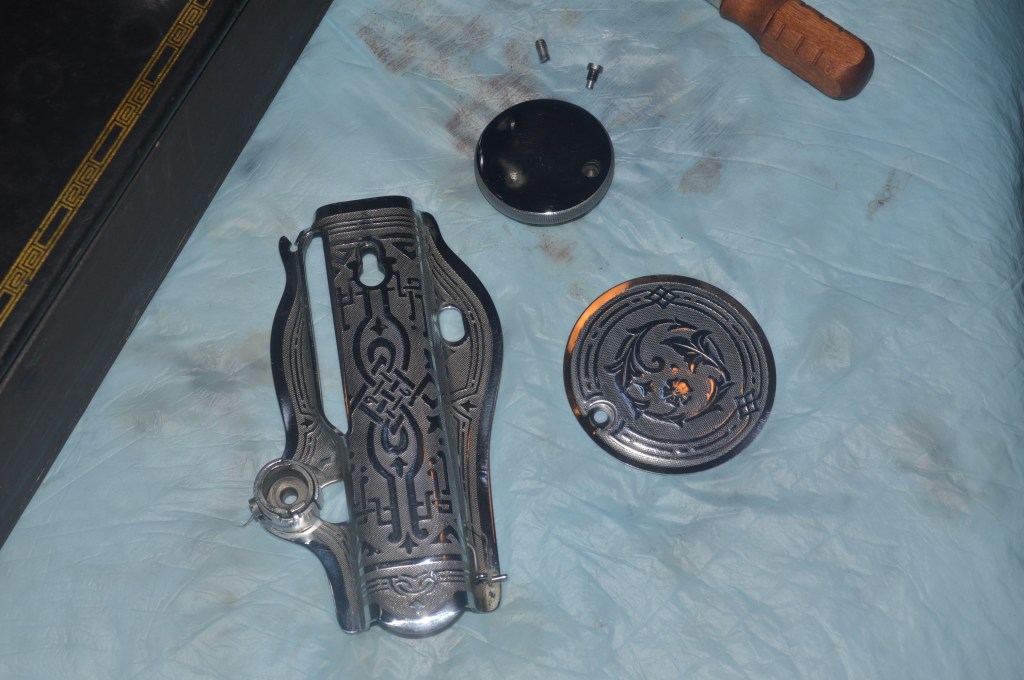
After
Can’t see the difference clearly in photos, but the micro scratches are polished out.
The machine is assembled, adjusted, and run. The last bit of details to complete the restoration is another application of glaze polish, and for this machine, a coat of carnauba wax.
Now, The machine is finished. The mechanical restoration was from the ground up, so there isn’t much to say except the machine sews and feel like it must have felt 72 years ago. It is silky smooth, quiet, powerful, and has a fantastic stitch.
As I said in the beginning, the biggest part of the restoration was to get the machine looking as great as possible. The decals were in great condition, but the paint needed a lot of work to restore the best original finish possible. For this machine, this meant multiple applications of different grades of glaze polish. The cosmetic restoration took days to complete… more than any other. The results however show me that it was worth the work. The japanned finish on the bed looks great. The mottled and dull finish on the sewing are and pillar look really good as well, keeping in mind the desire to preserve the original finish and character of the machine. The following pictures show what I mean.

Before Finish 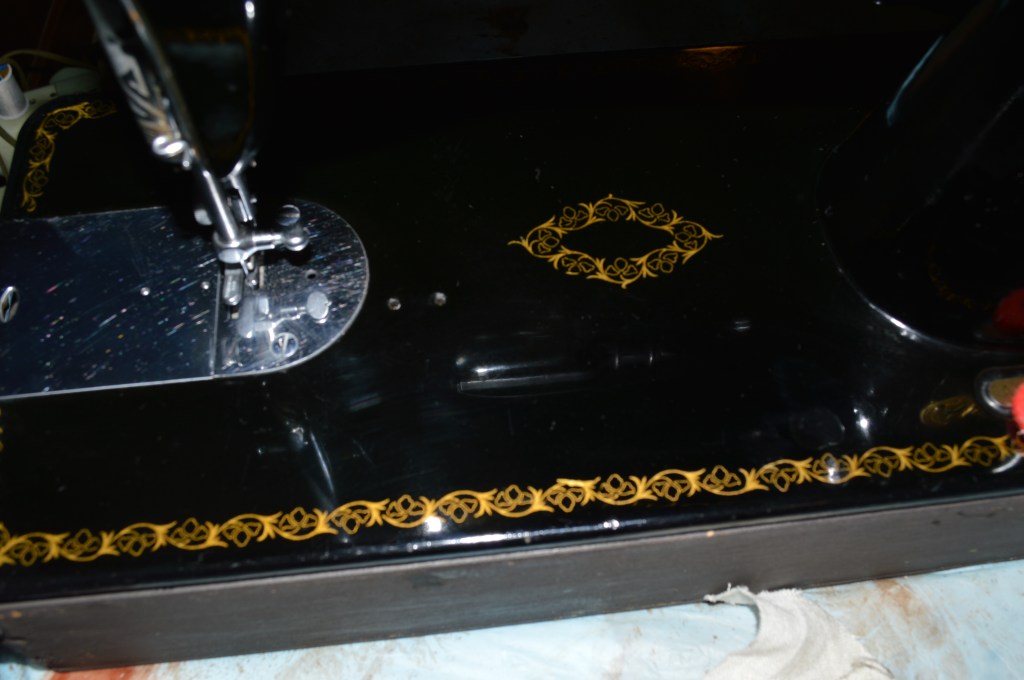
Final Finiish – Note the reflection of the Light and Sewing Arm on the Bed 
Final Finish 
In Between Polish Steps – Note the Chip Repair is Blended in the Finish 
Before Finish 
Final Finish 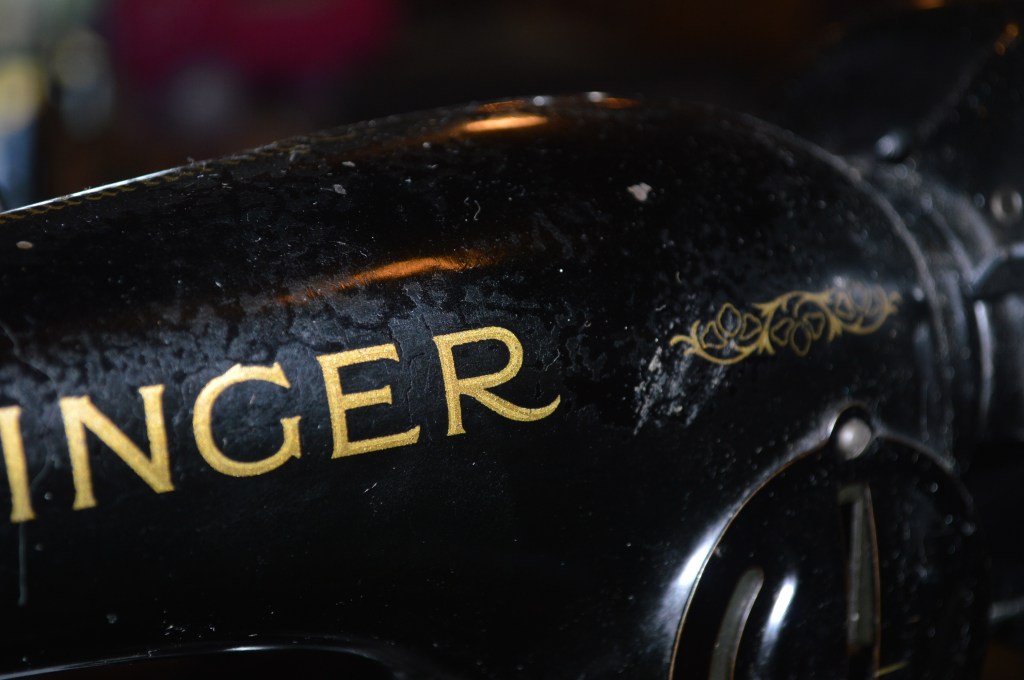
Before Finish 
Final Finish 
Before Finish 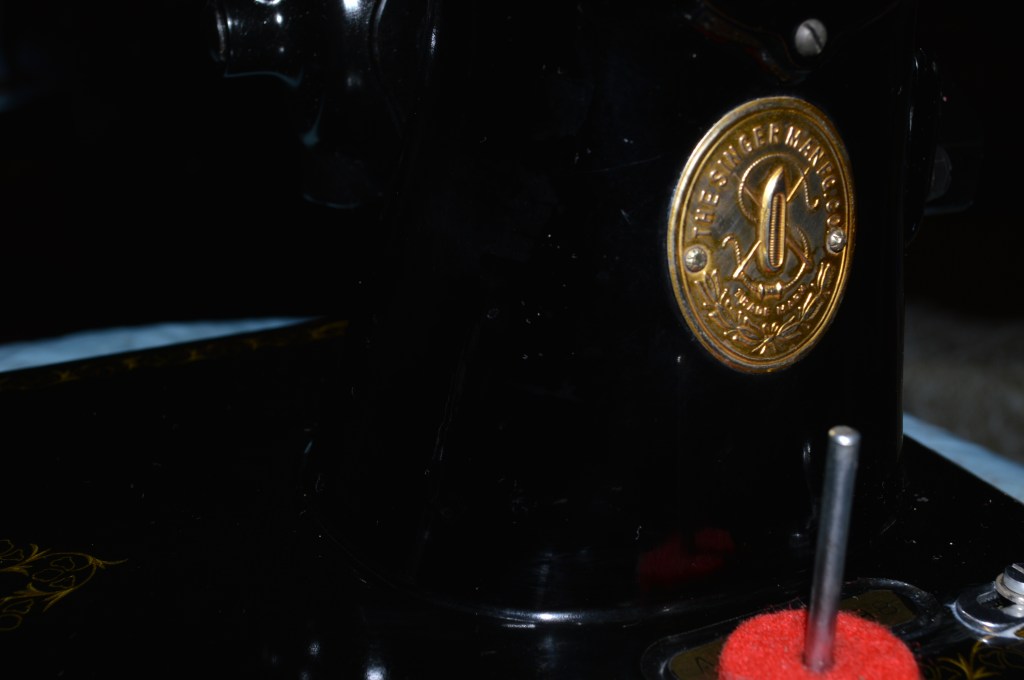
Final Finish
I often talk about expectations when looking at what to expect from a restoration. In this case, I thought I would end up with a “3 foot” machine… That is, any defects would be indescernable from 3 feet away. What I ended up with is a great “2 foot” machine, or if your eyesight is like mine, a good “1 foot” machine. The only way to show a comparison is before and after.
Before Restoration…


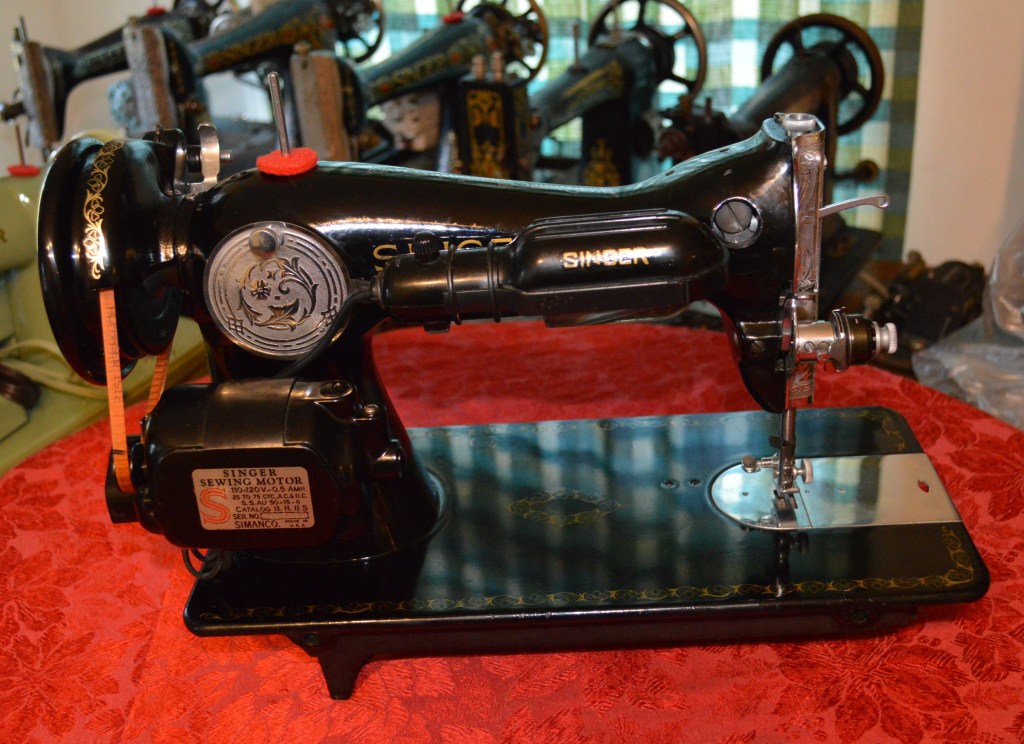
After Restoration…


And then there is the stitch…
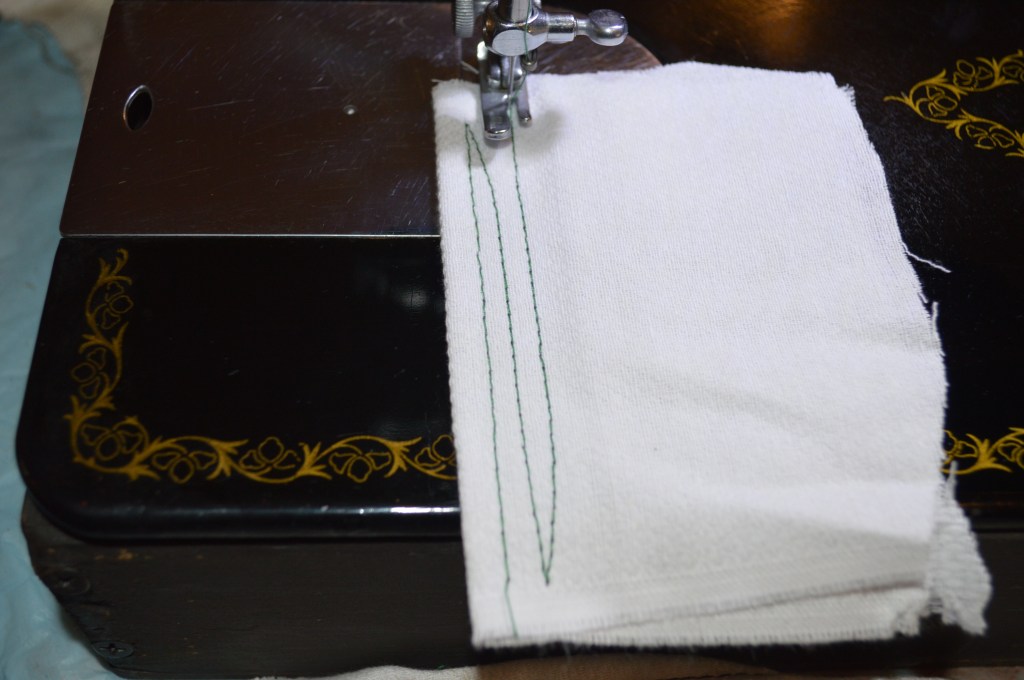
So there you have it… The restoration is complete and I could not be happier with the results.
If you like what you see please visit our Etsy store at https://www.etsy.com/shop/pungoliving, and see this Singer Model 15-90 and all of our other restored fine quality vintage sewing machines. If you have any questions, please contact Lee at Pungoliving@gmail.com.
Thanks for reading and tell me what you think!

I have a 15-90 that I need to rewire. Do you have any references you could direct me to? Many thanks!
LikeLike
Do you need to rewire the motor or plug terminal?
LikeLike
Good morning Carolyn,
I have posted a new blog on rewiring a vintage Singer motor. Maybe it will help you with your 15-90.
Have a great day!
Lee
LikeLike
Thank you so much for this post. I have a 1947 machine I am looking to restore and repair. The details and photos are helpful and provide hope I can do this! The motor on mine gets stuck and now I can take it apart and fix it with confidence. Thank you
LikeLike
Hello Chrissy,
I’m glad you found the information useful! The goal is to provide information so folks can keep their vintage sewing machines running properly. Your 15-90 is a worthy machine and will last a very long time with a little maintenance.
Please let me know if you run into any problem that I can help and assist you with.
Have a wonderful weekend!
Lee
LikeLike
Your posting is wonderful! I am learning so much from my researches. Here is my short version on my story. My husband’s mother left us a machine from 1940’s, my remembrance of one my mom taught me on. then I found a wonderful one from 1946 with a belted motor, like the one you posted. I suddenly realized that the belted one IS exactly like what my mother had. I am thrilled to find it, needs some cleaning an rewiring. My question is– the belted one is newer (1946) than the one with motor only (1940), I would think the belted is an older way of doing things, so was the belted version cheaper? Thanks in advance for your answer Lee
LikeLike
Hello Charlotte,
Your machine is a model 15-90. This machine is exactly like the model 15-91 that has the potted motor (the motor built into the machine). Singer produced different variants of the model 15, but aside from how they are powered, a model 15 made in 1940 is the same as a model 15-91 made in 1940. Using a belt is certainly an older way of doing things, but Singer offered machines with potted motors beginning around 1920. This means it is not technology that determined what machine got what type of motor, it was more a matter of preference.
To answer your question, the model 15-90 was cheaper than the model 15-91 when new. But because it has a belted motor, I think this is an advantage. The potted motors found on the 15-91 are irreplaceable. They are not made or available new anywhere. The only option with a bad potted motor is to replace it with another vintage potted motor. If the motor goes bad on your machine, it can easily be replaced with a new motor. Fortunately for folks that have machine with the potted motor, i.e. the 15-91 and the 201-2, the motors can generally be restored and at least for now, vintage potted motors can still be found.
I’m glad you found a machine that is familiar to your early experience and with oiling and cleaning, it will run beautifully and last many more years.
I hope I have answered your question and have a wonder and blessed day!
Lee
LikeLike
Lee, Thank you so much for your kind reply! I will certainly enjoy this machine for a long time, I was thrilled to find it!
LikeLike
I would like some help learning about a 15-90. What are its strong points, is a strong and consistent sewer, does it need to be serviced often. What are its down falls. Will it fit into other cases and tables 🤔
LikeLike
Hello Carson,
The model 15 was in constant production for almost 100 years. To my knowledge, it is the most cloned sewing machine in the world. Singer 15 clones are made even today and imported from China and India.
It is a very tough and well built machine, and some say it is the toughest domestic sewing machine Singer ever manufactured. I can’t say that from my opinion, but it certainly is in the top two. It is heavy, made of cast iron and hardened steel, and weighs about 32 pounds.
The model 15 uses a vertical bobbin and an oscillating hook mechanism. The class 15 bobbin was introduced with the model 15 and is popular because it holds a generous amount of thread compared to other bobbins. More thread means more sewing between bobbin winding. An oscillating hook is not quite as smooth running as a full rotary hook, but it sews with very little vibration due to it’s weight. Oscillating hooks are the predominent style found in many machines even today. Properly adjusted, it makes a beautiful stitch.
It is certainly a strong and consistent sewer and is a favorite among quilters who prefer vintage machines. Of course, everyone has a preference here. You can do some research on the model 15 and see what people think of them, but you won’t find anything bad regarding the machines abilities (except is is a straight stitch machine). Again, folks have their favorites.
I think one advantage it has over the model 15-91 (which has a gear drive motor) is the fact that the motor can be replaced, and aftermarket motors are readily available.
They are simple to service. because it is a precision all metal machine, it needs regular oiling and will sew reliably with simple cleaning to remove dust and lint. You can believe me when I say that you will not live as long as a 15-90 will sew. I purchased a model 15 a few years ago made in 1893 and with oiling and lint cleaning, it overcame it’s stiffness and sewed quite well with no other adjustment. The model 15 is what I call an heirloom machine. with simple care it will operate for many generations and with sentimental attachments, be passed down through more.
The model 15 is a fairly heavy machine and as such is best suited in a cabinet. However, because most machines use the same bed dimensions and hinge spacings as most vintage Singer machines (there are exceptions), it is easy to fit in a case if you want to lug it around.
What are it’s downfalls? The earlier model 15’s did not have the ability to back tack or run in reverse. Later model 15’s did. Some folks don’t consider this a downfall, while others might. Afterall, folks did quite well without a machine that back tacked for a hundred years. It is a convenience. Is the model 15 my favorite Singer? No… I reserve that for the model 201. Is it a dependable, strudy, and capable machine? Yes, without reservation.
I hope this helps and have a great evening!
Lee
LikeLike
I would like some help learning about a 15-90. What are its strong points, is a strong and consistent sewer, does it need to be serviced often. What are its down falls. Will it fit into other cases and tables 🤔 What vintage should I look for?
LikeLike
Hello Carson,
If back tacking and reverse are important to you, look for a 1950’s vintage machine.
LikeLike