
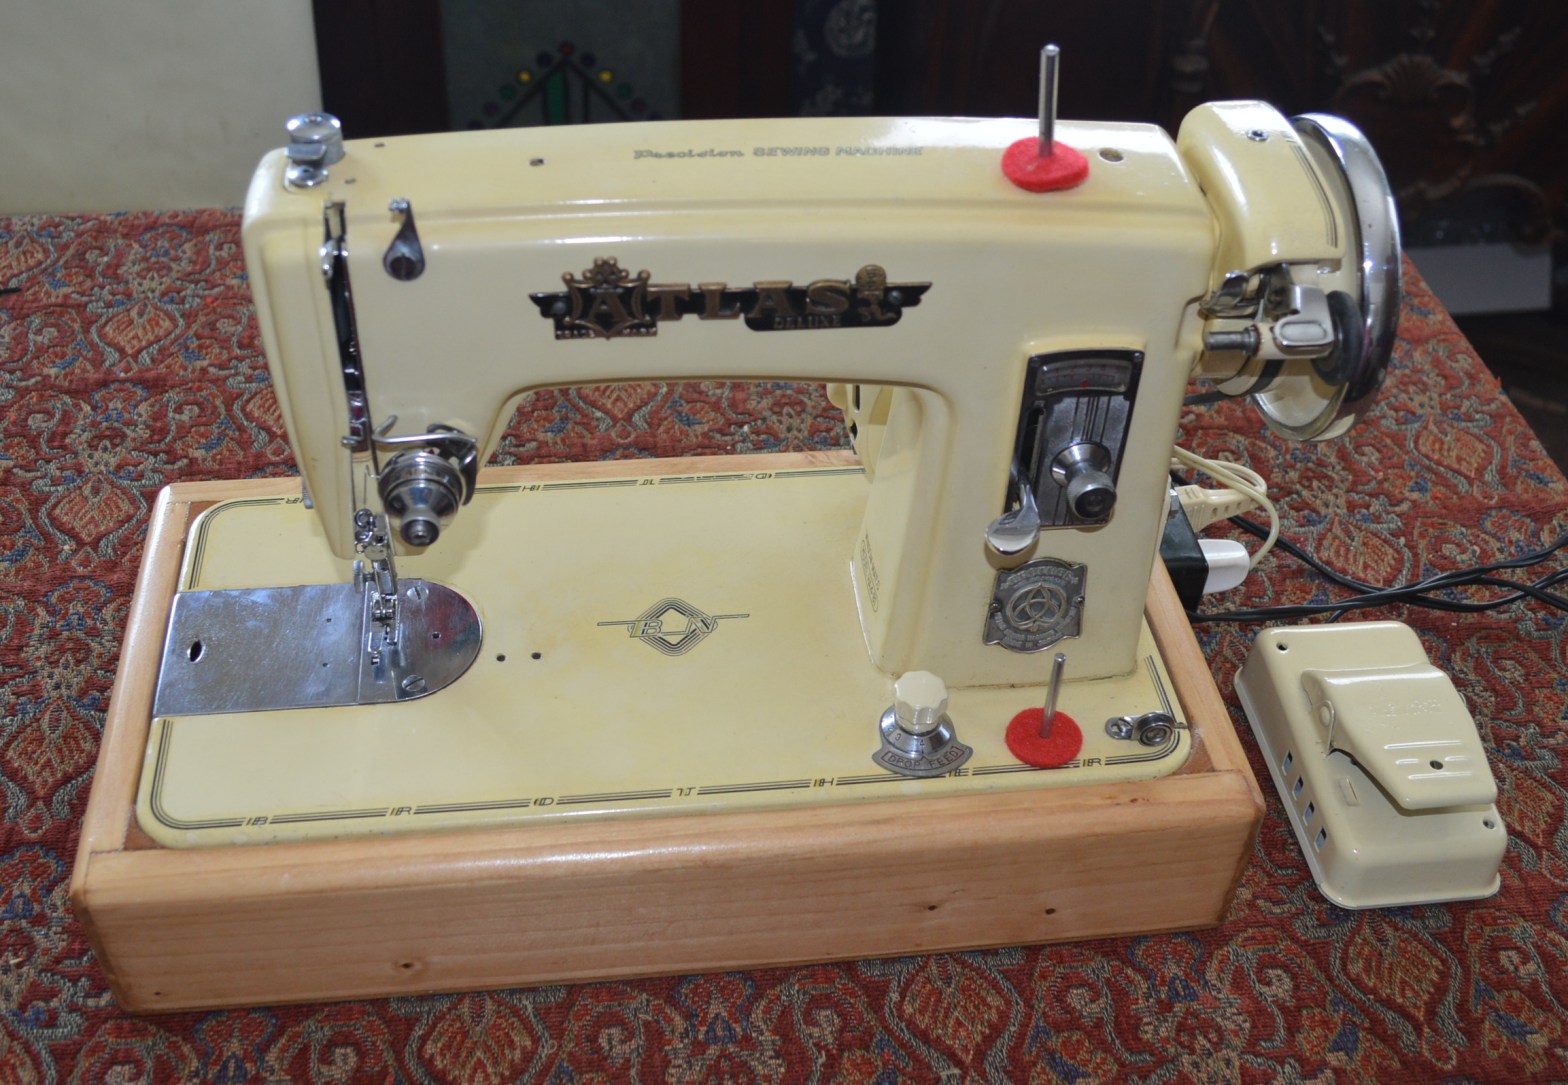
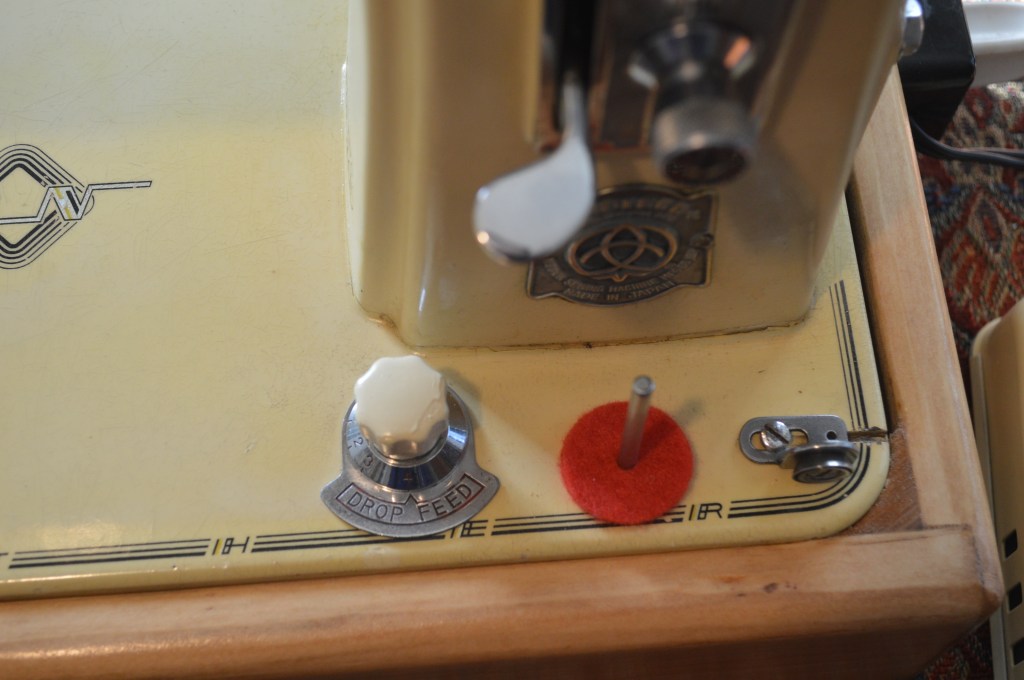
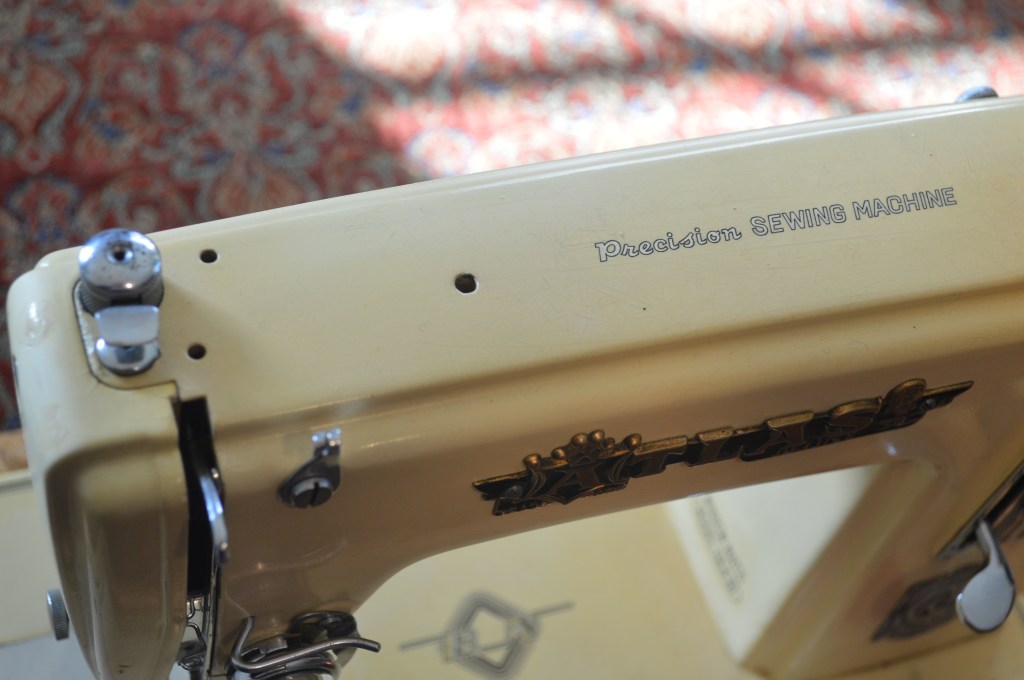
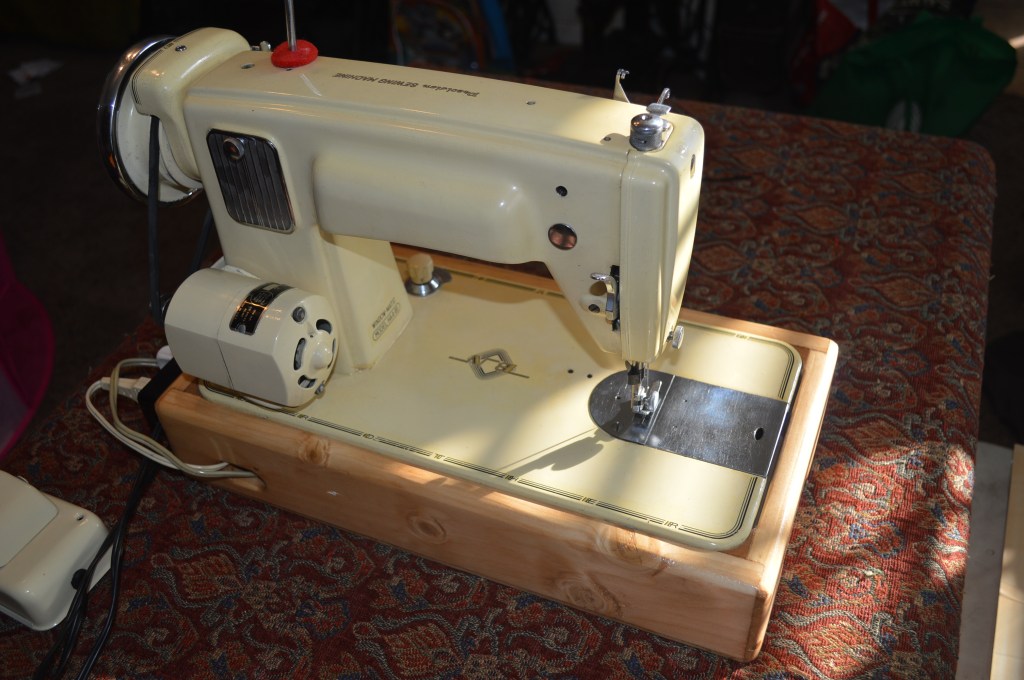
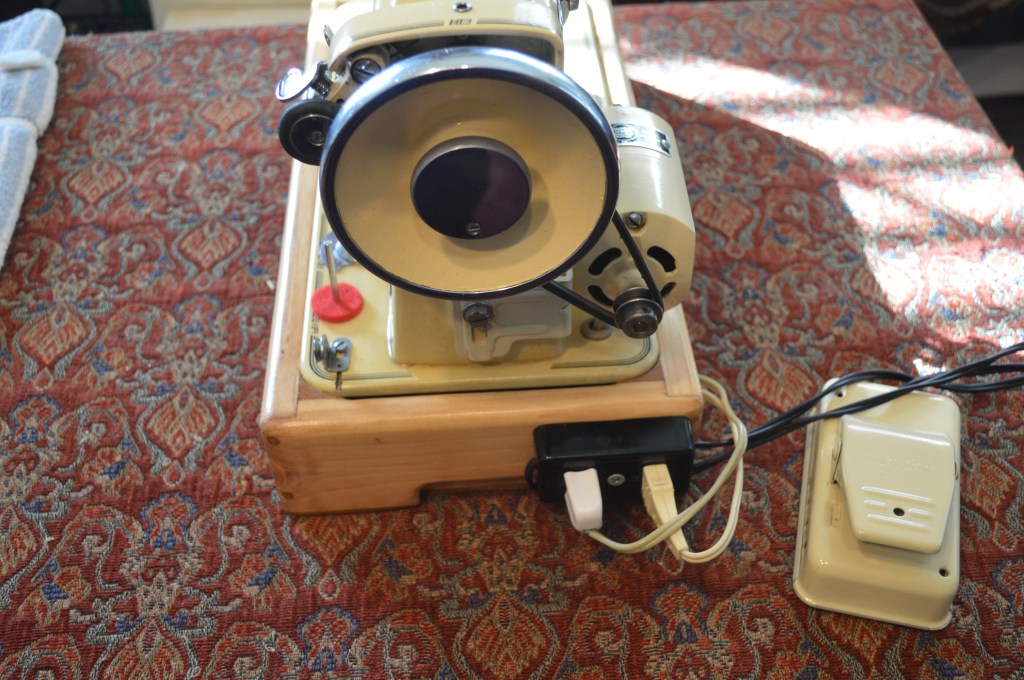
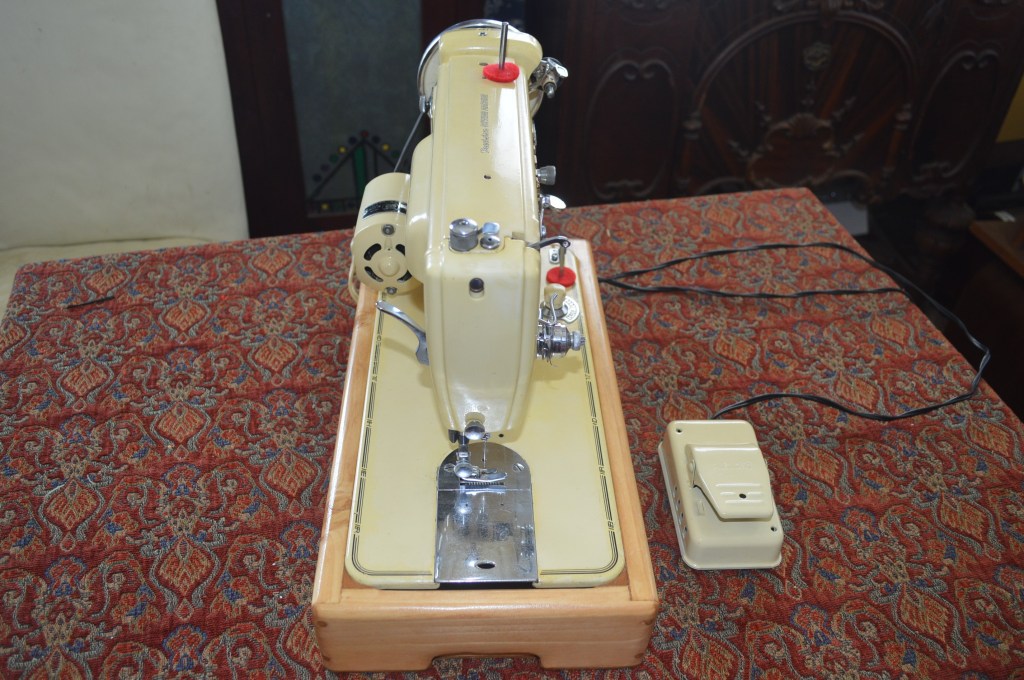
I have come across these distinctive machines in pink, but this is the first one I have seen in yellow… It is an Atlas badged sewing machine with Brother written all over it. I guess I shouldn’t be too surprised since Brother manufactured the Atlas line of sewing machines, but it is a little bit of a mystery. The Morse Super Dial is very similar in style and manufacture, and I have seen these in blue, green, and red.
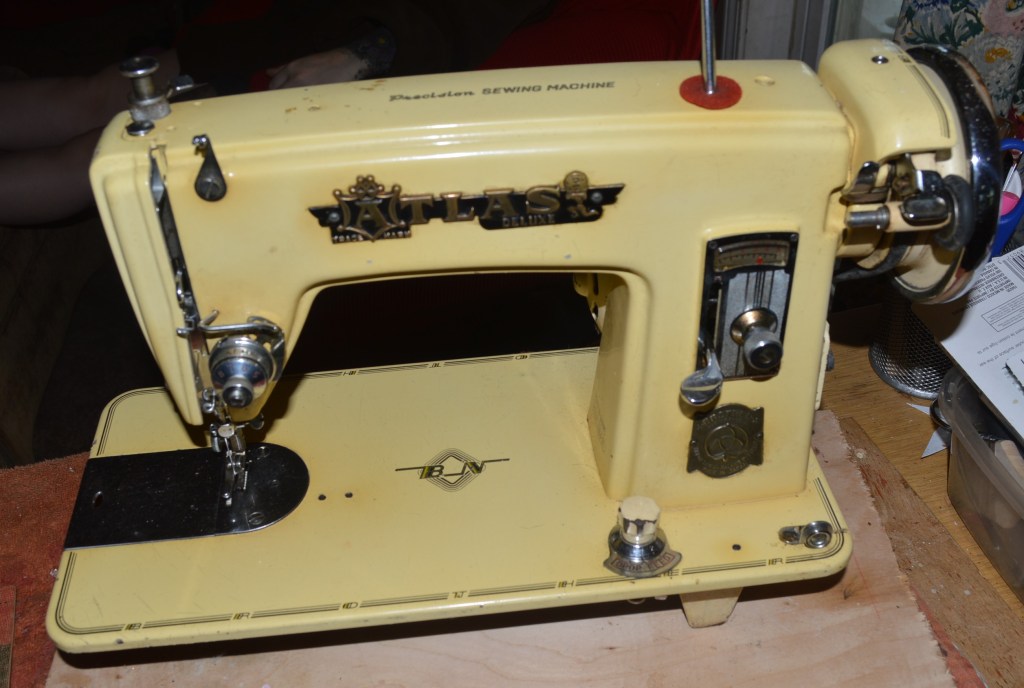


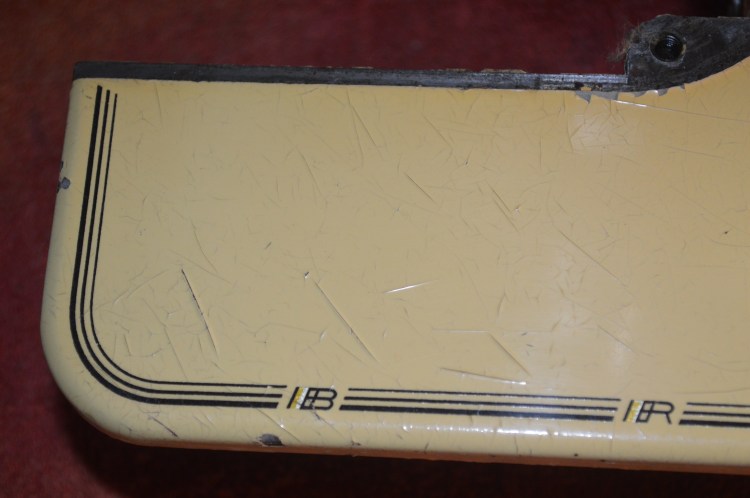
Very similar to the “Pink” Atlas, this machine has a body style more similar to the Brother machine, the decal set on the bed edge spells “brother” in a retro style font, and the center bed decal is “BN”, which stands for “Brother Nippon”. What distinguishes this machine from a Brother machine, is the bold “Atlas” badge fixed to the front of the sewing arm. My research on this machine didn’t turn up much information. Most of what I learned about this machine is from the vintage Japanese sewing machine forum. These folks are wealth of information on vintage manufactured machines of all types and from my inquiry, this machine was manufactured by Brother and badged as an Atlas. It was manufactured in three colors… Pink, yellow, and black. Pink is common, yellow is reasonably rare, and black is very rare. I am hesitant to describe any sewing machine as rare, but there are machines that are scarcely found. Black certainly in this category, and yellow follows close behind. Hmmmm… looks like I have a gem here, but what to do with it? It is certainly worth a detailed restoration.
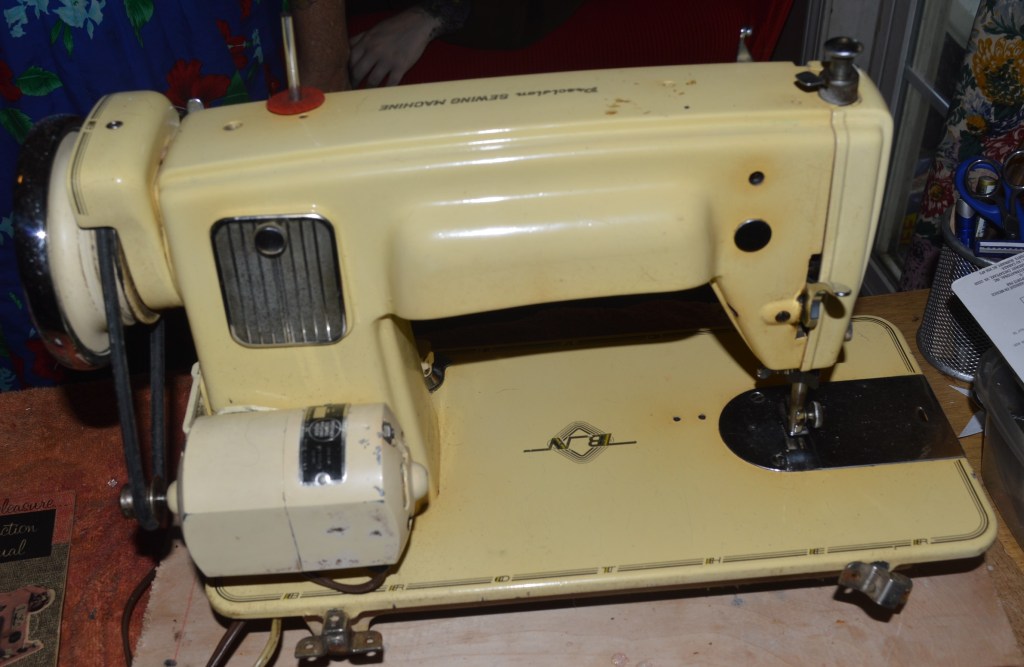
This machine has a number of things that are going to be a challenge in it’s restoration. The machine is very stiff. My guess is that it has been sitting for so long the oil has dried in the joints. That’s not a problem here because disassembly and cleaning will restore the moving parts to like new condition. The motor wiring is cracked, but that’s no problem because it will be replaced when the motor is restored. The decals are in very good condition. There are a few nicks in them, but they look very good and I am going to leave them alone and they will be stabilized with a new topcoat. The biggest challenge in restoring this machine is going to be the paint. The original yellow paint has yellowed in some areas more than others. This may be the result of the top coat absorbing oil or nicotine. This is difficult to correct because paint matching is problematic with blending to the adjacent areas and where the stain extends over the decals. There are some chips in the paint that will be paint closely matched, but the biggest problem is that the original enamel paint has micro cracked (crazed) over the sewing arm and bed. This cannot be corrected without repainting the machine. It can be improved, but this is a character of the machine that will remain after the restoration. To me, the scarcity of this machine justifies the effort needed to return this machine to the best condition possible.
Before beginning any restoration, the most important thing to do is set an expectation for the outcome. Cosmetically, I expect that it will be a “one foot” machine… in other words, from a foot away it will look fantastic. I also expect that it will be a smooth running machine and produce a good quality stitch. To meet these expectations this machine is going to be a lot of work.
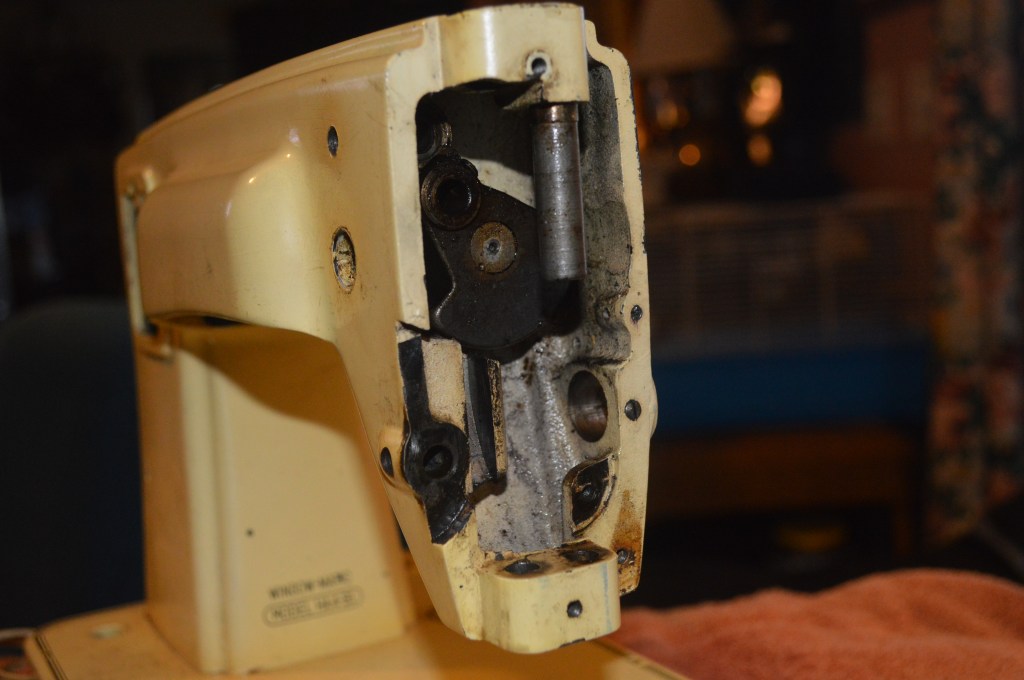
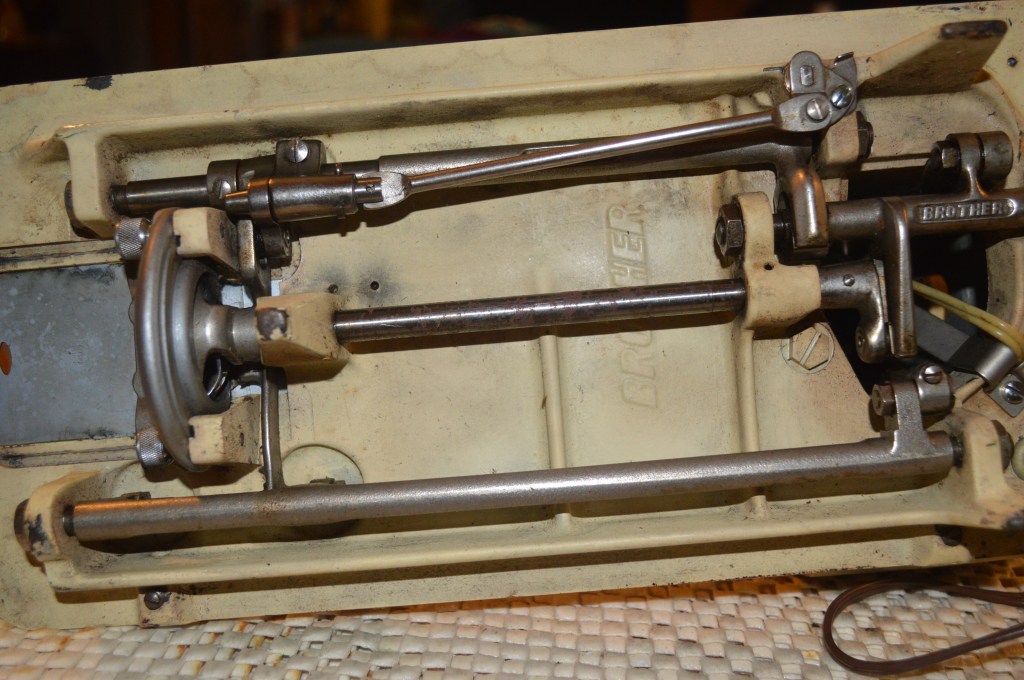
To address the cosmetic issues, the machine needs to be disassembled to the greatest extent possible. For this machine, this will include everything but the upper arm shaft. Removing this shaft has a high degree of risk for damage, and I will work around it. Everything else will be removed, cleaned, wire brushed, and critical parts and chrome plated parts polished. So lets get started.
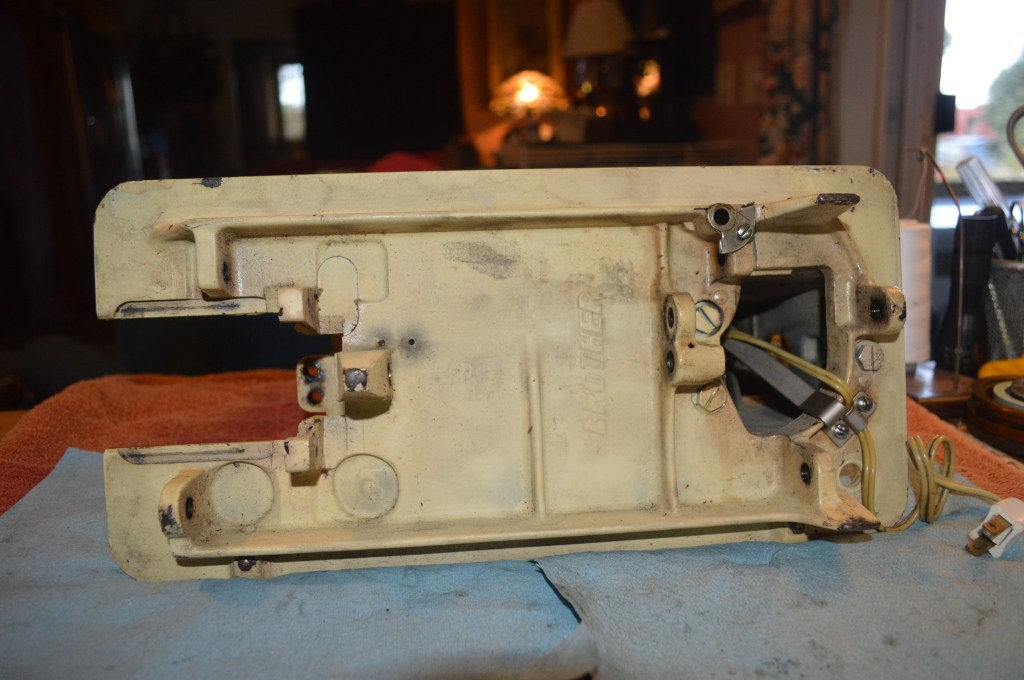
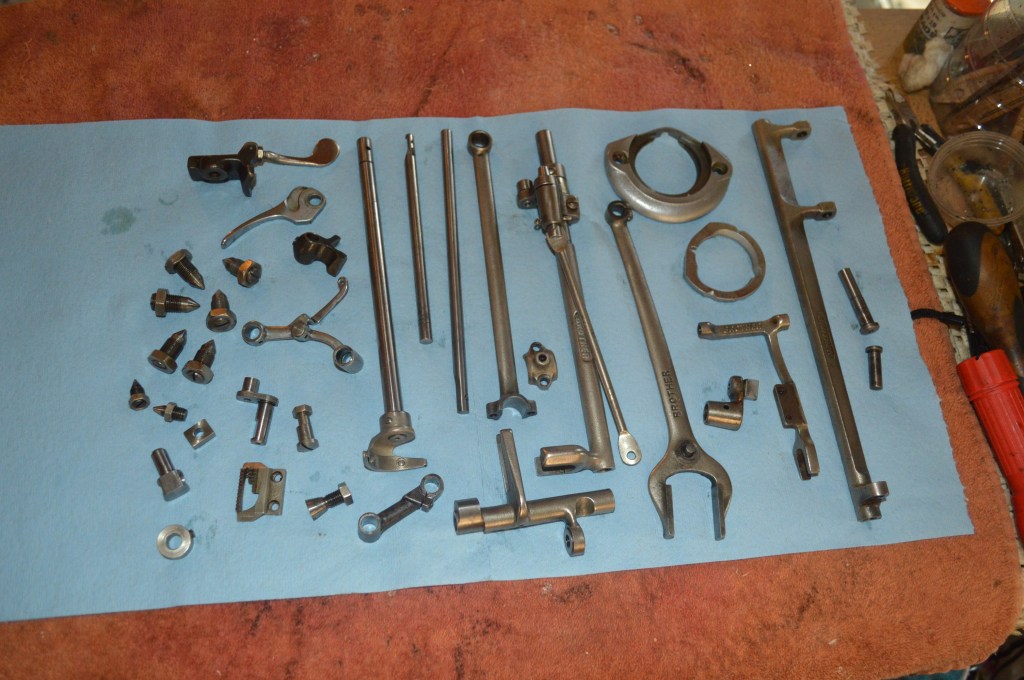
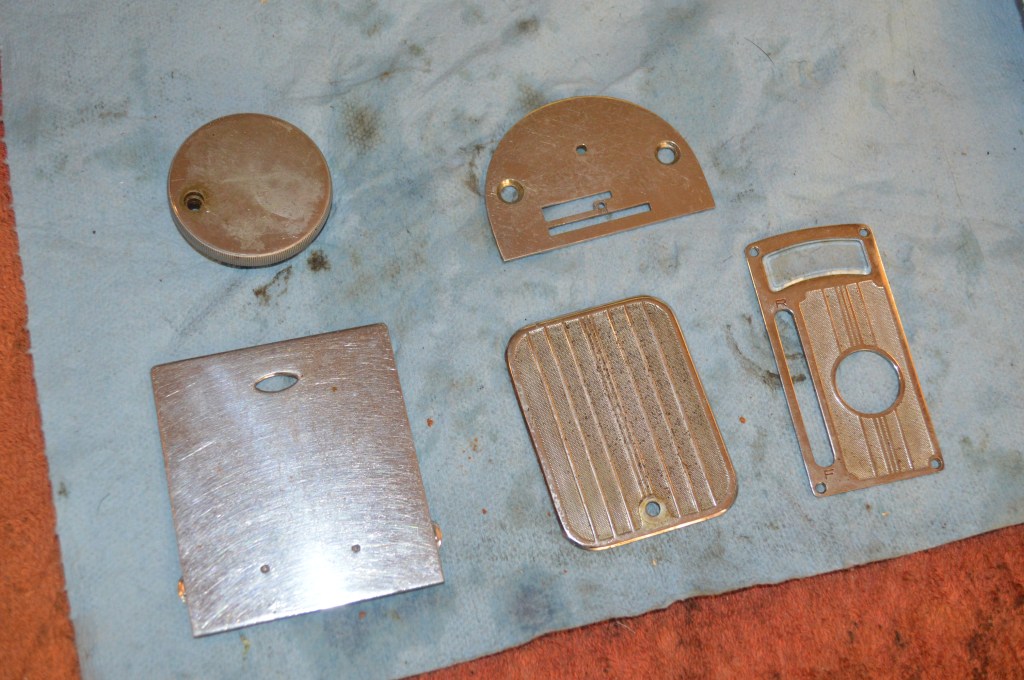
All of the badges, plates, and assemblies are removed.
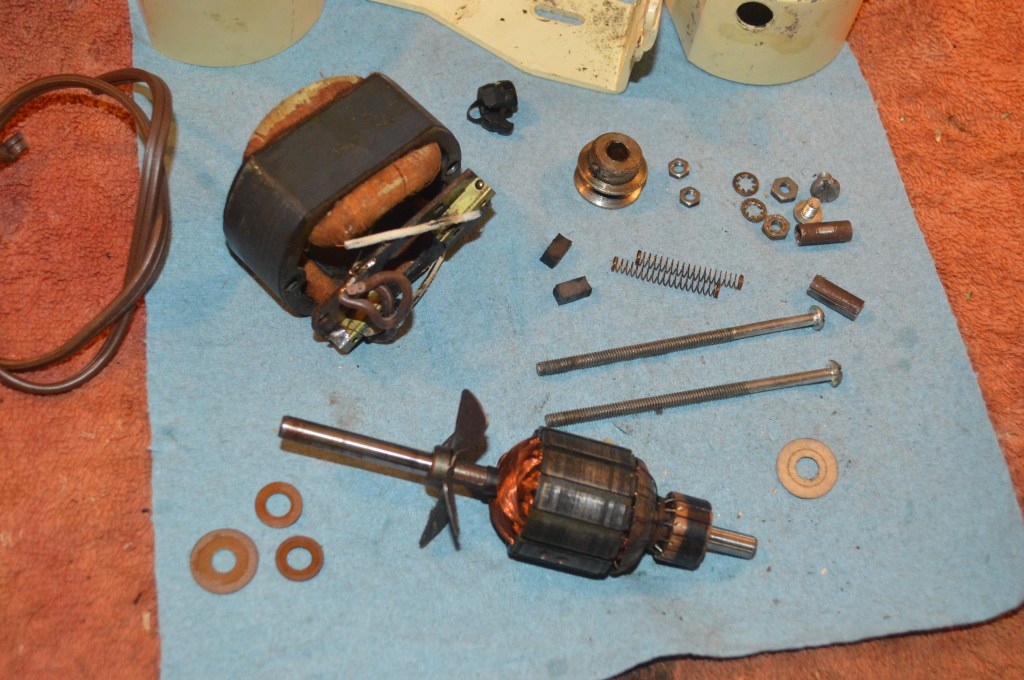
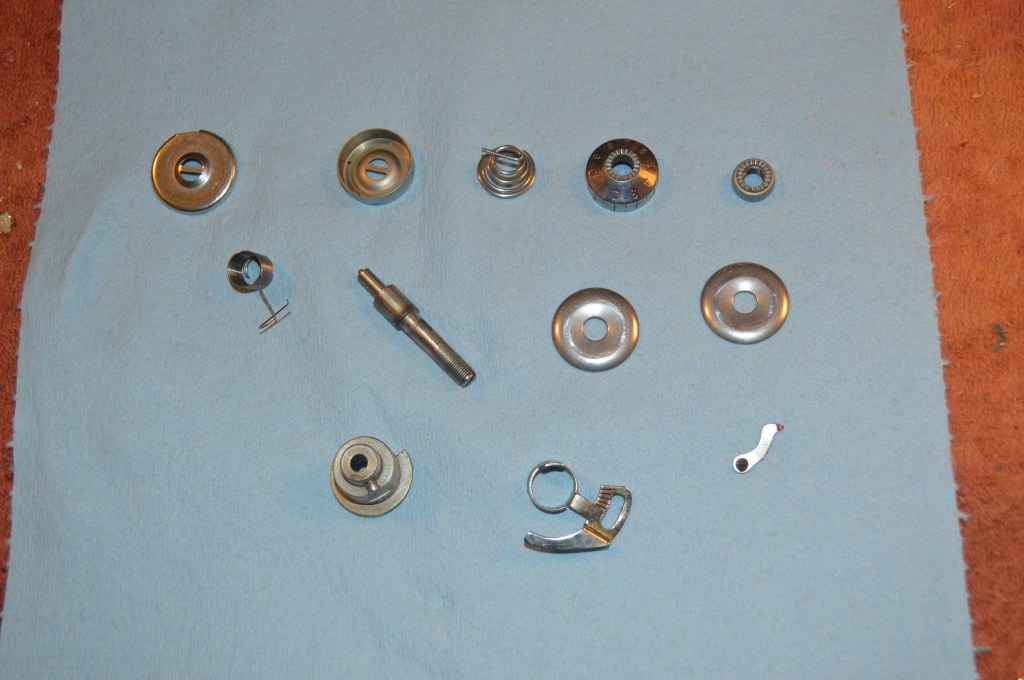
The parts are laid out for cleaning.
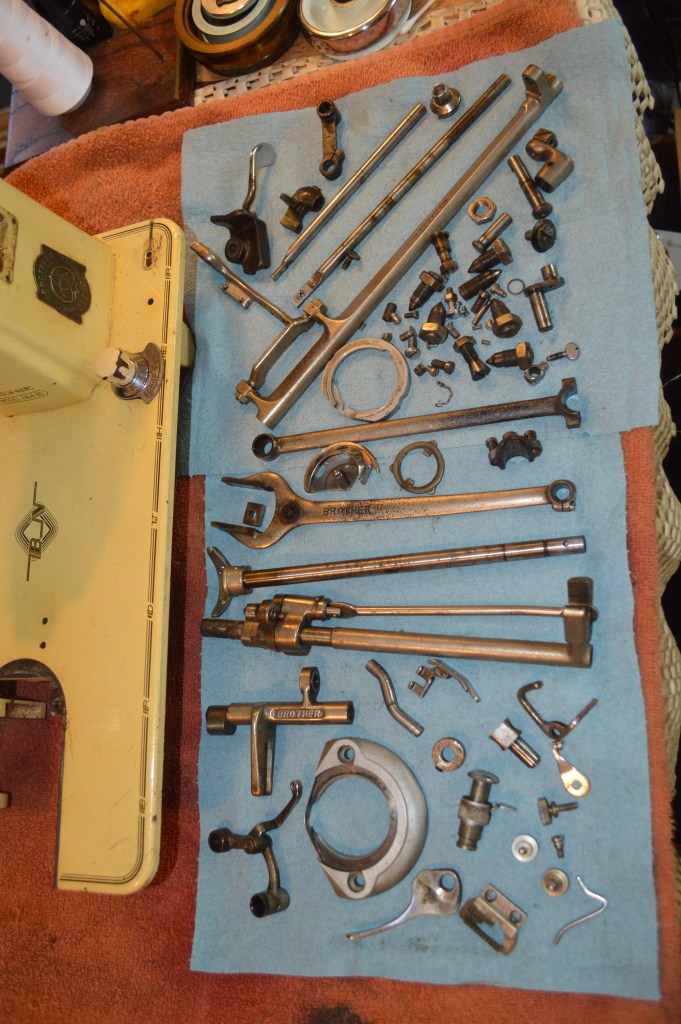
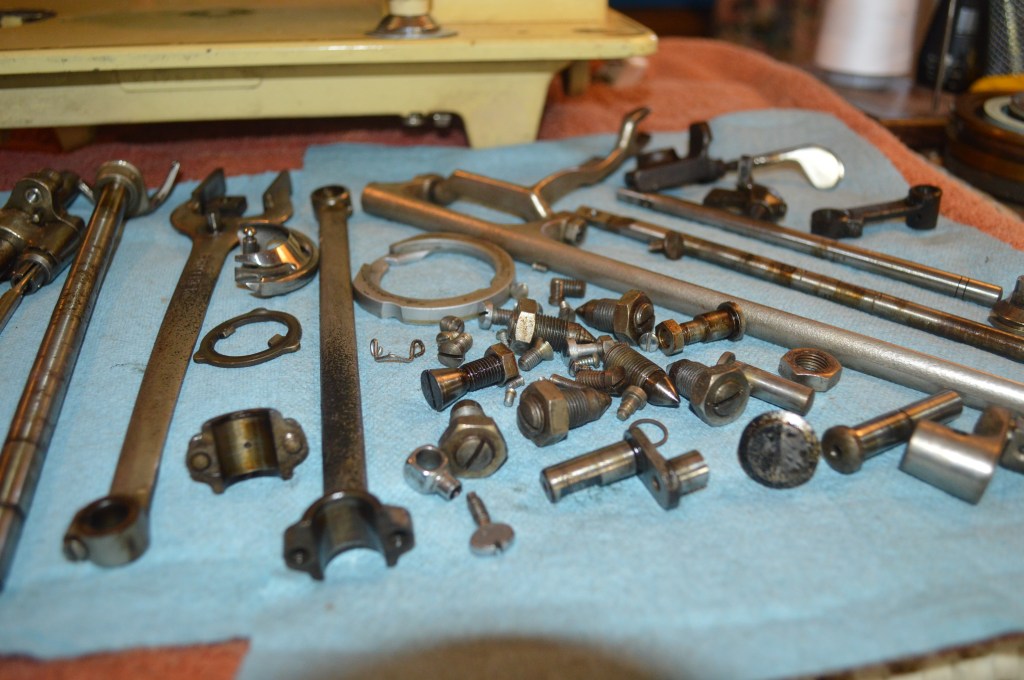
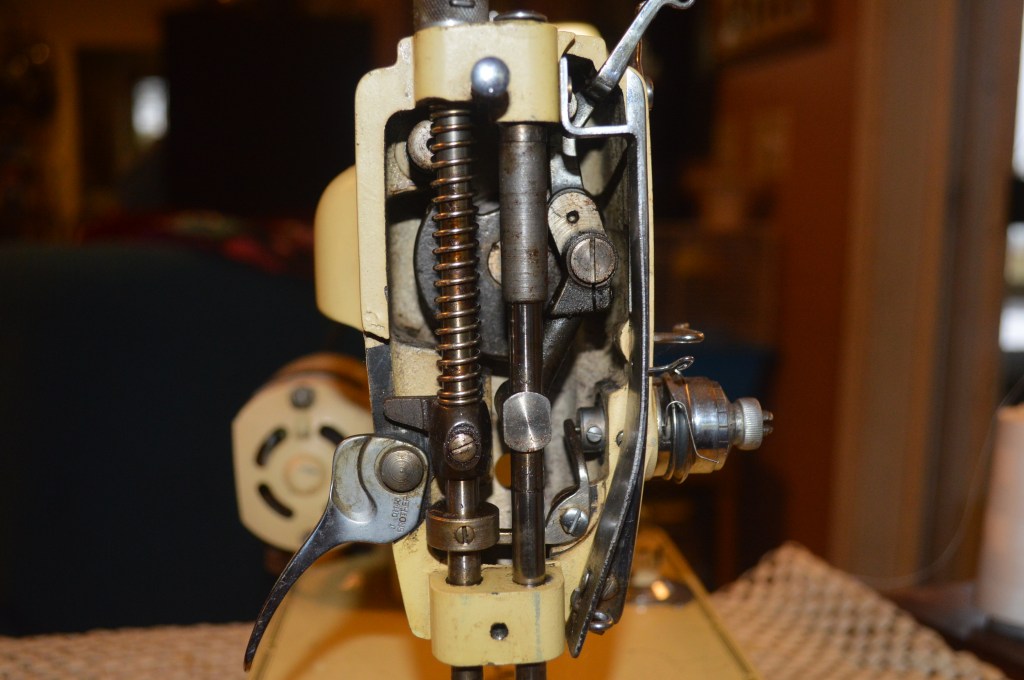
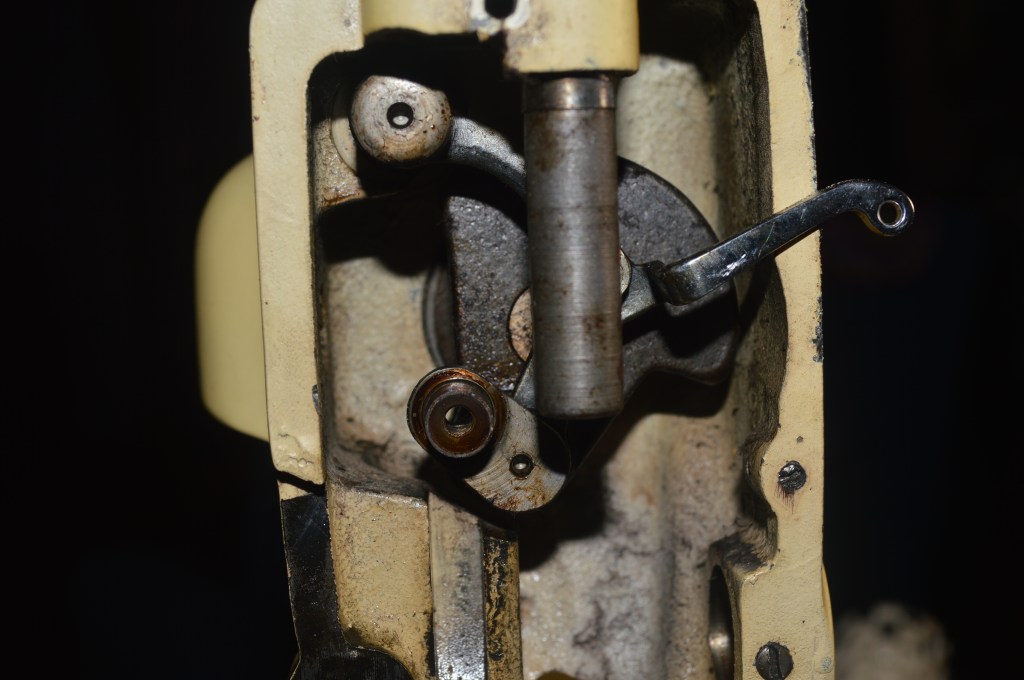
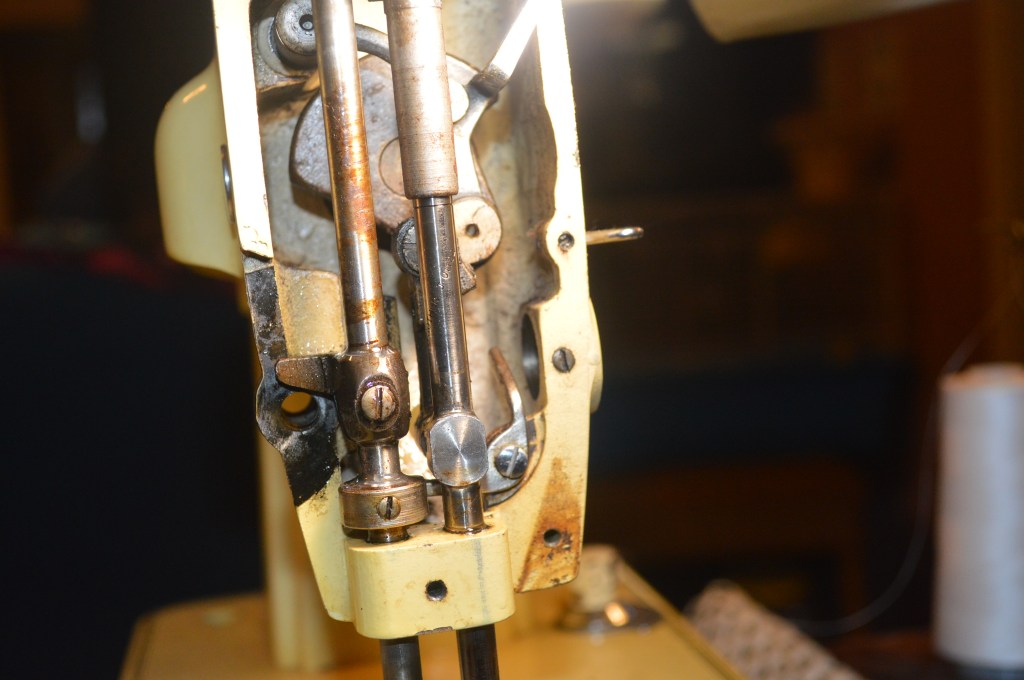
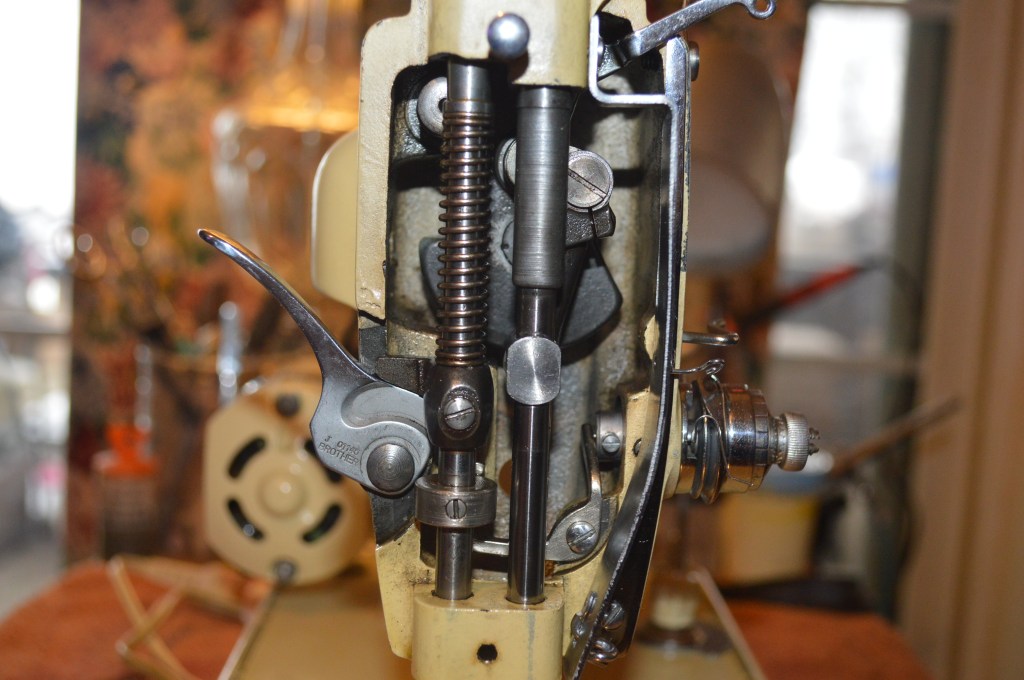
As expected, there is a lot of old brown oil varnish on the moving parts. I have no doubt this is the reason the machine is so stiff.
After ultrasonic cleaning, the parts are soaked in heated oil to drive out any moisture and wire brushed to like new condition.
The bobbin shaft hook, needle bar, and presser foot bar is polished to a glass like finish.
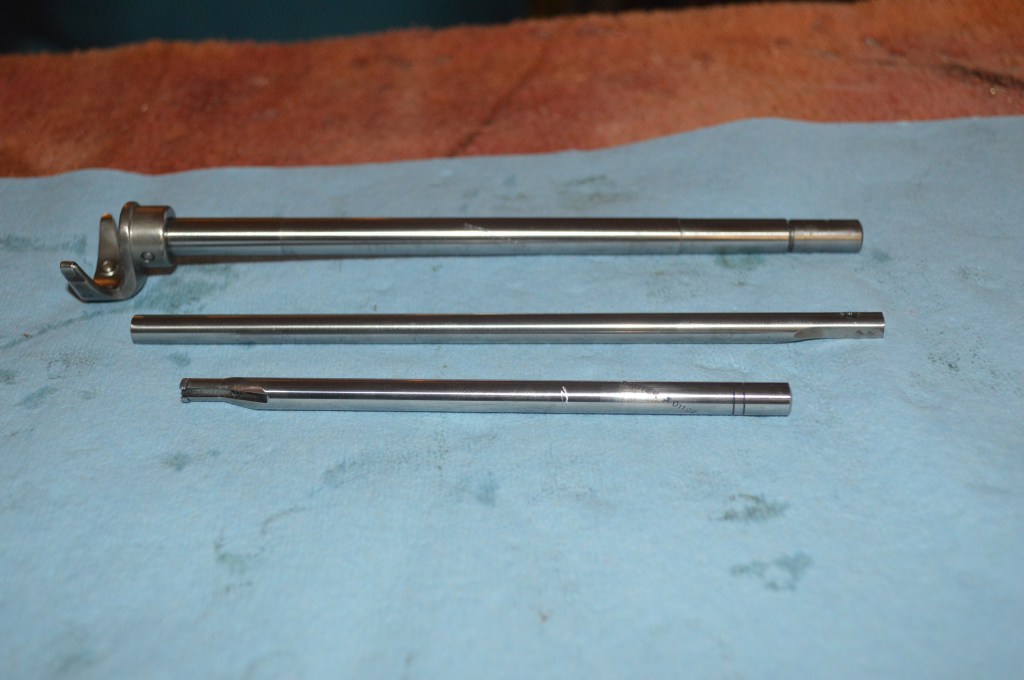
I mentioned before that the machine was stiff, and the arm shaft was not going to be disassembled. To ensure the top shaft runs smoothly, it is placed in a cradle and with a properly sized balance wheel and an external motor, the top shaft is rotated at about 900 rpm for 15 minutes. Oiled frequently during this process, it reduces any old oil, replenishes it with new oil, and the result is smooth turning top shaft.
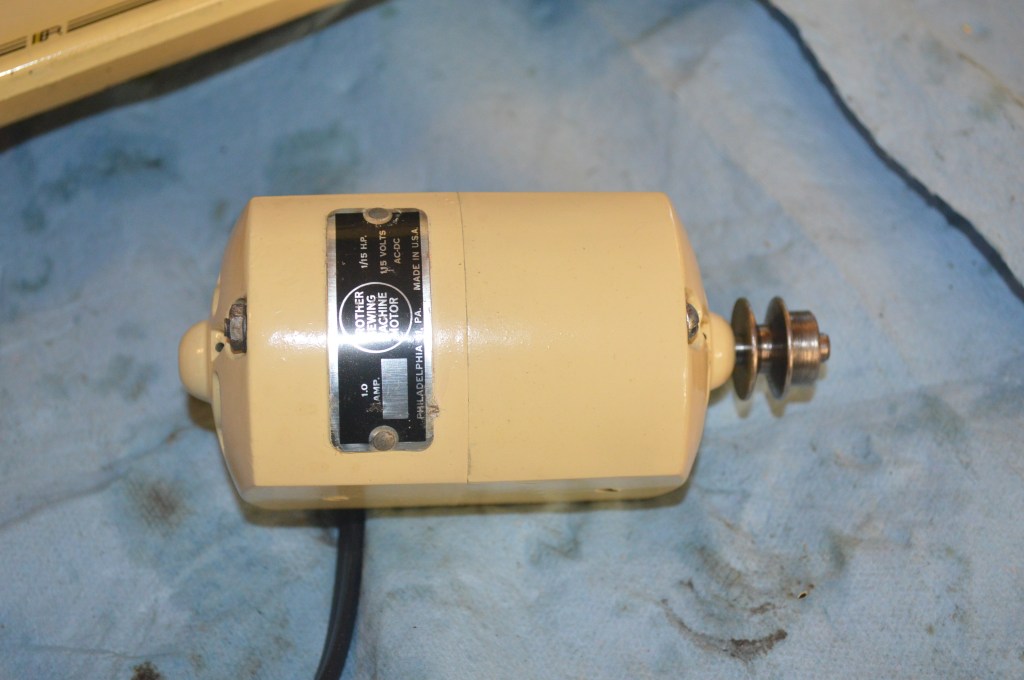
The restoration of the motor is next. The motor is disassembled, the armature and shafts are polished, and the brushes are cleaned, and the wires are replaced.
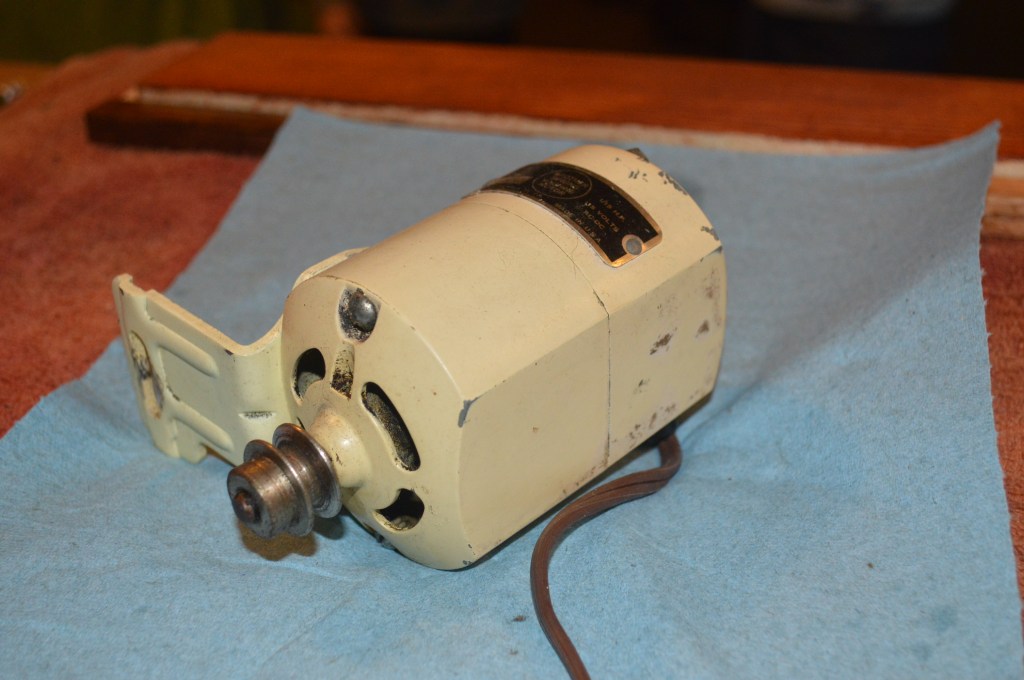
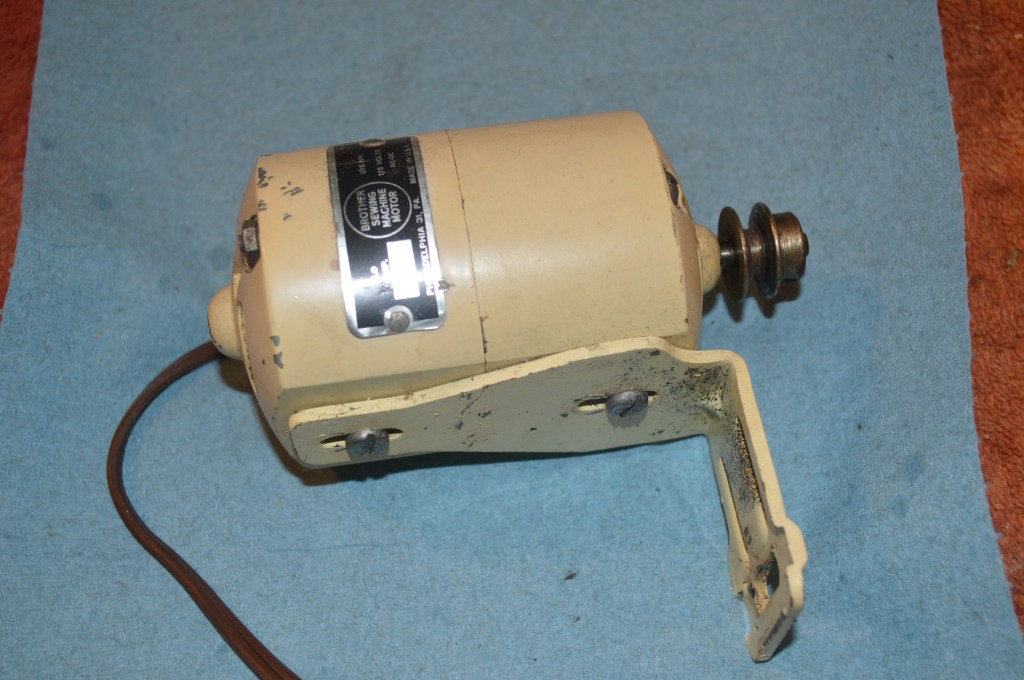
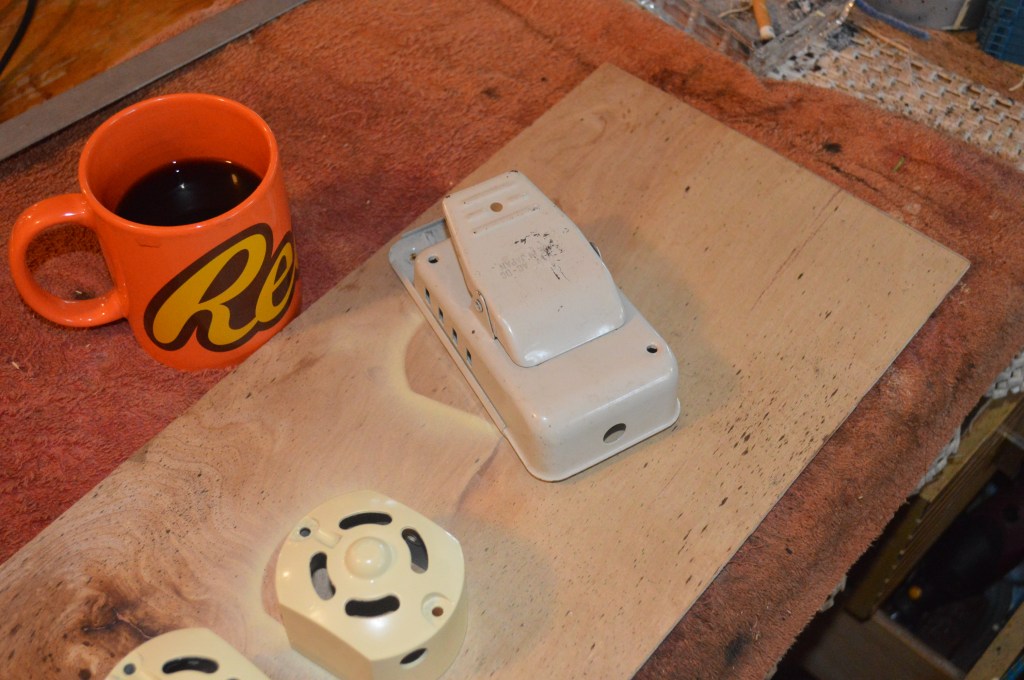
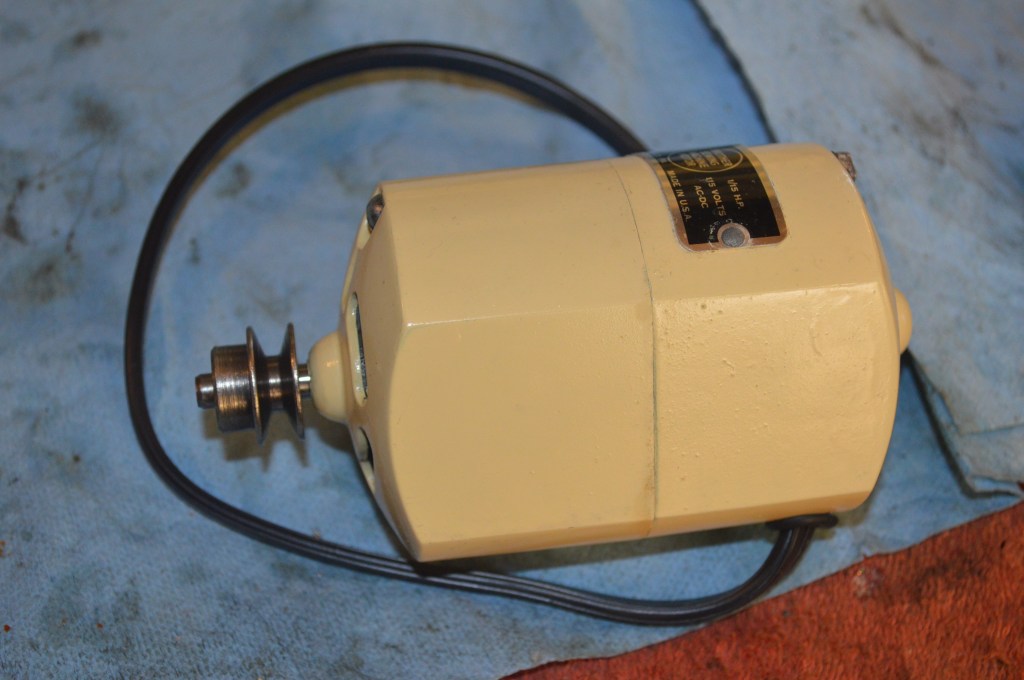
Now is the time to repaint the motor housing. It is also time to paint a foot controller yellow to match the machine. After painting, a polyurethane top coat is applied for gloss and durability.
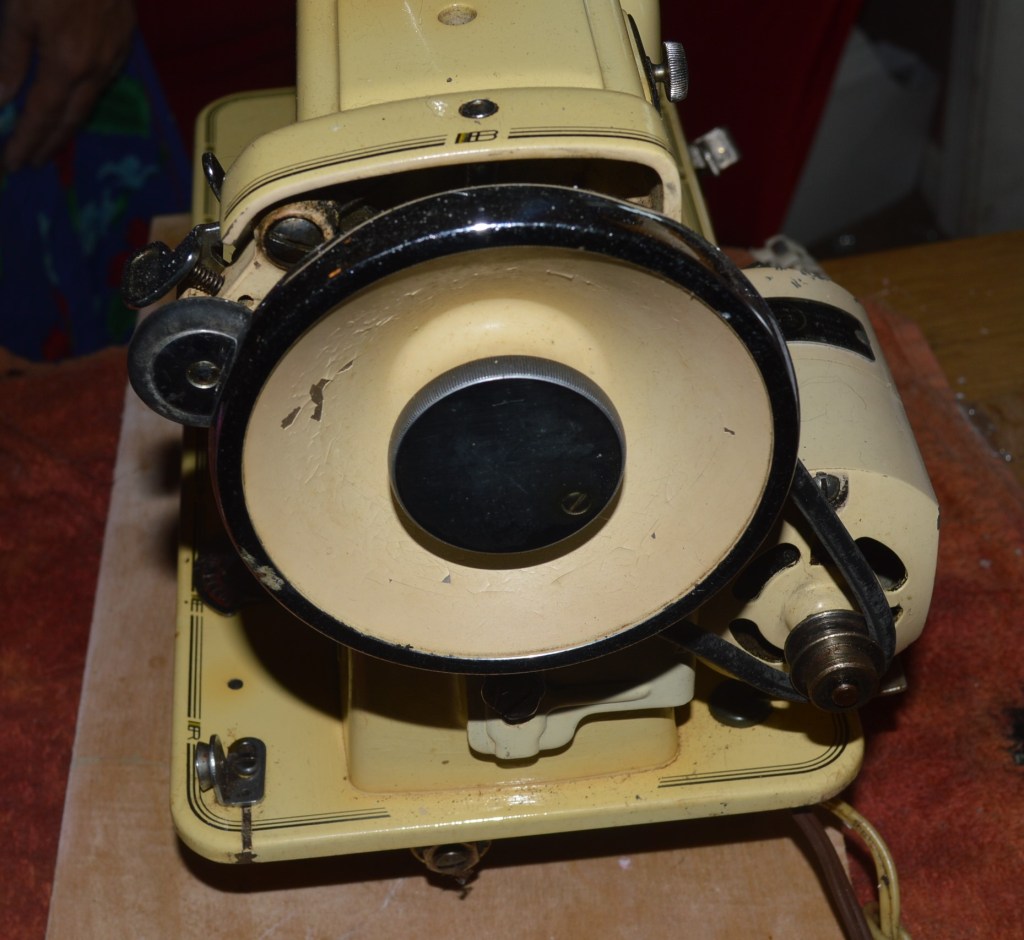
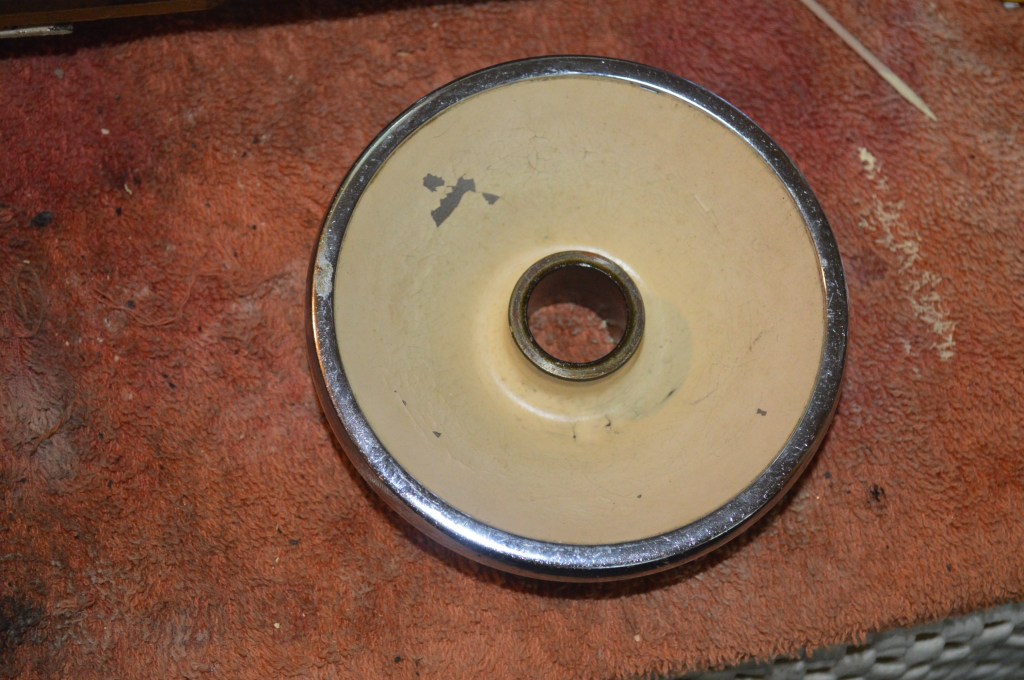
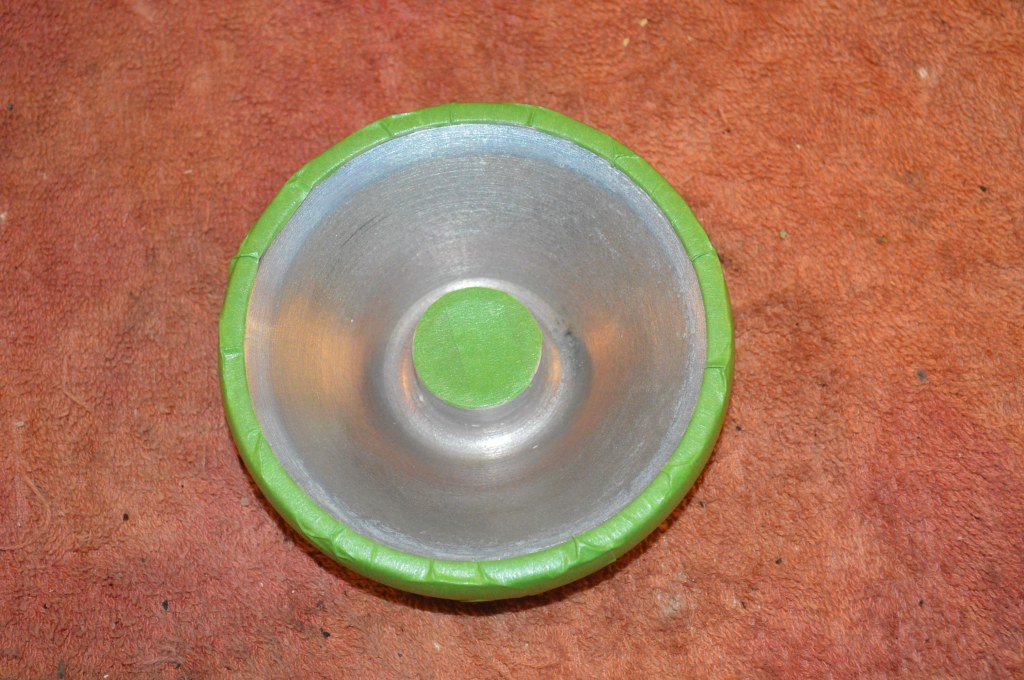
The balance wheel has more paint defects than I can touch up. It is stripped of paint, primed, painted, and top coated.
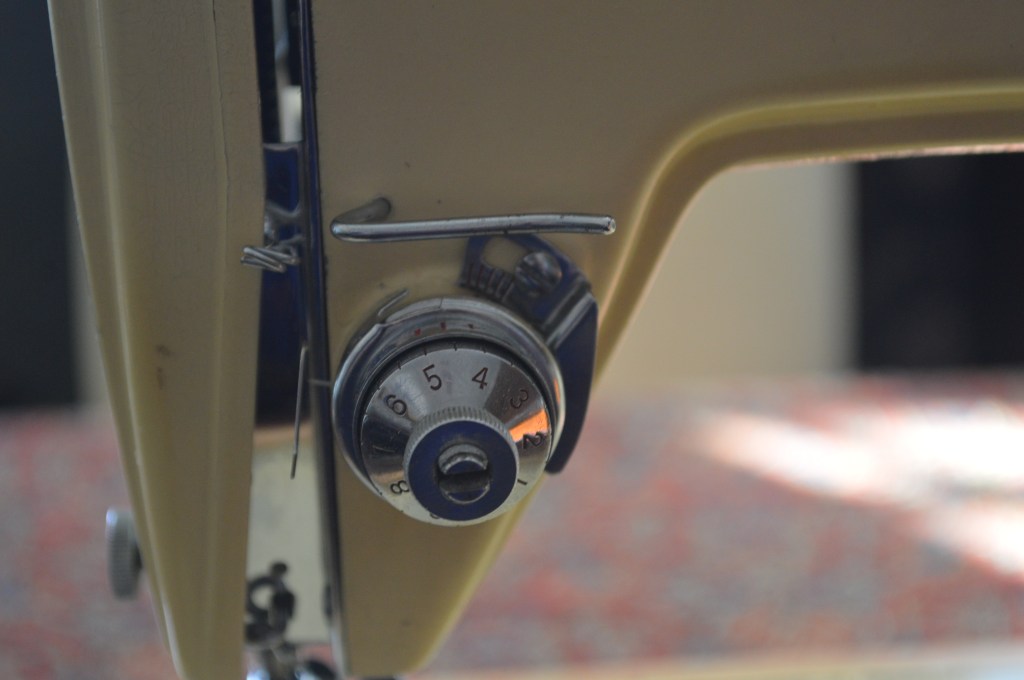
The tension assembly is disassembled and ultrasonically cleaned.
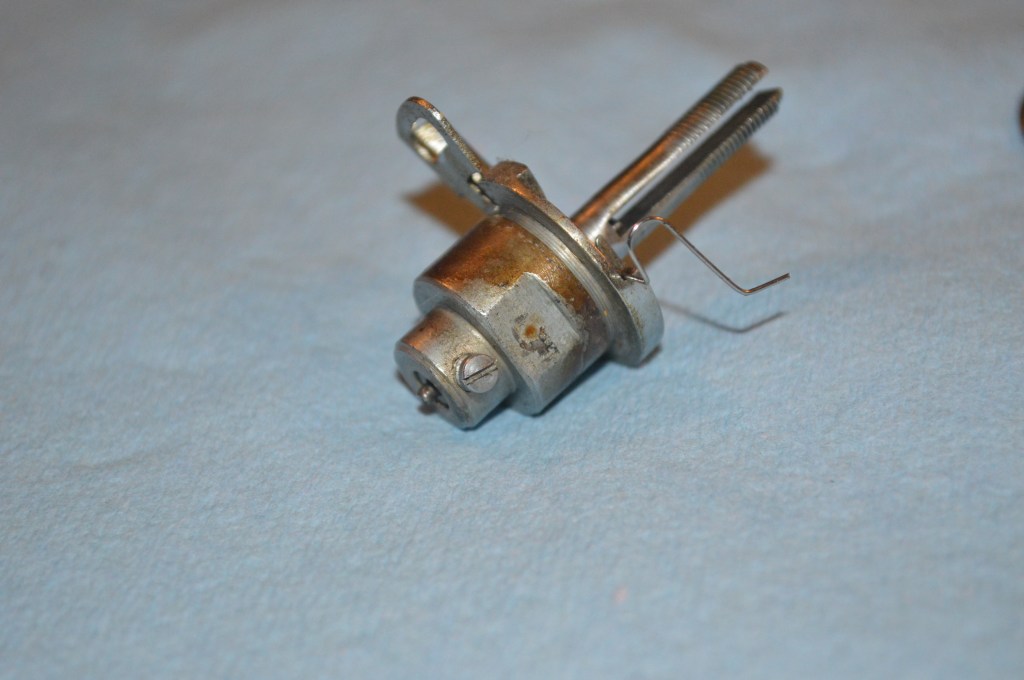
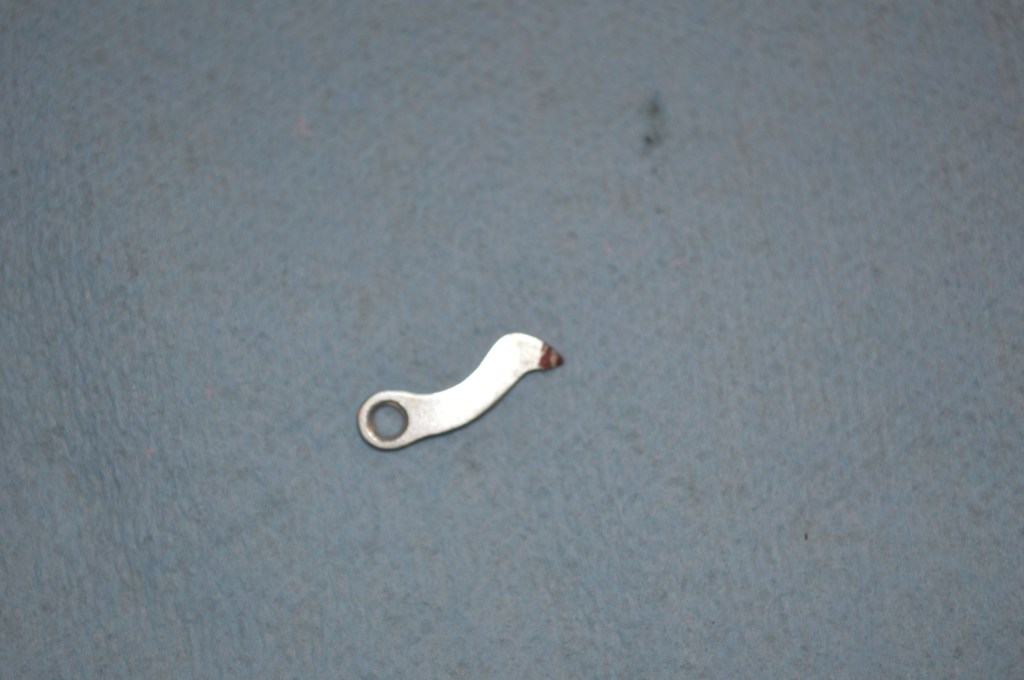
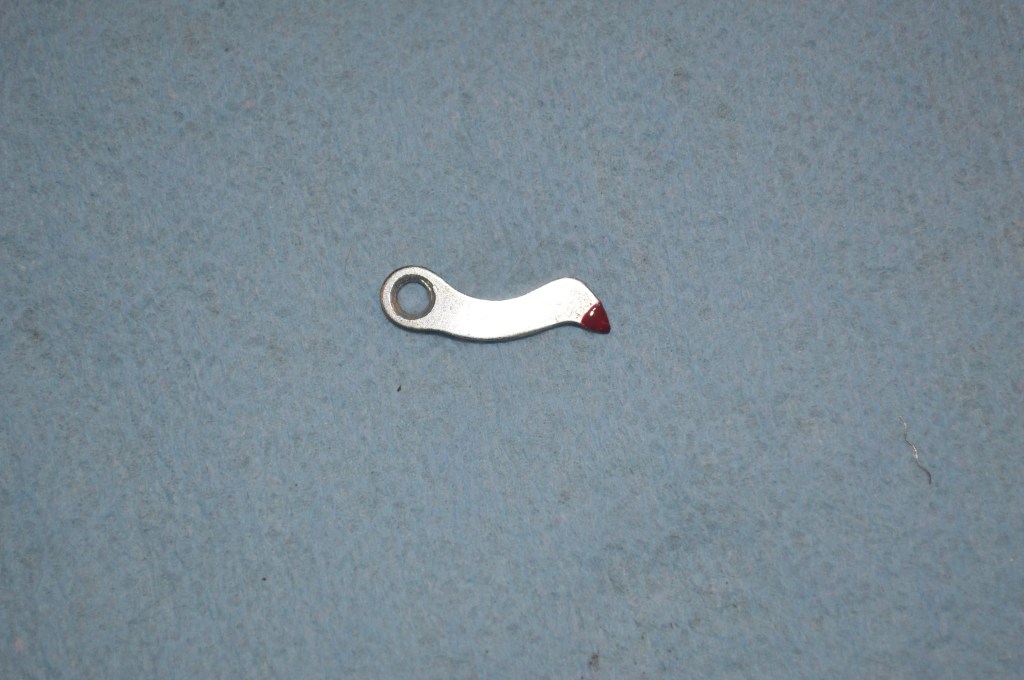
This tension assembly has a scale to set the clearance for the thread take up spring. The proper setting is for the take up spring to be at rest against the stop at the point the needle touches the fabric. Well, the pointer on this scale has a point that is painted red. The paint has worn off, so it is repainted. This is not necessary, but it’s a detail that can be easily corrected now.
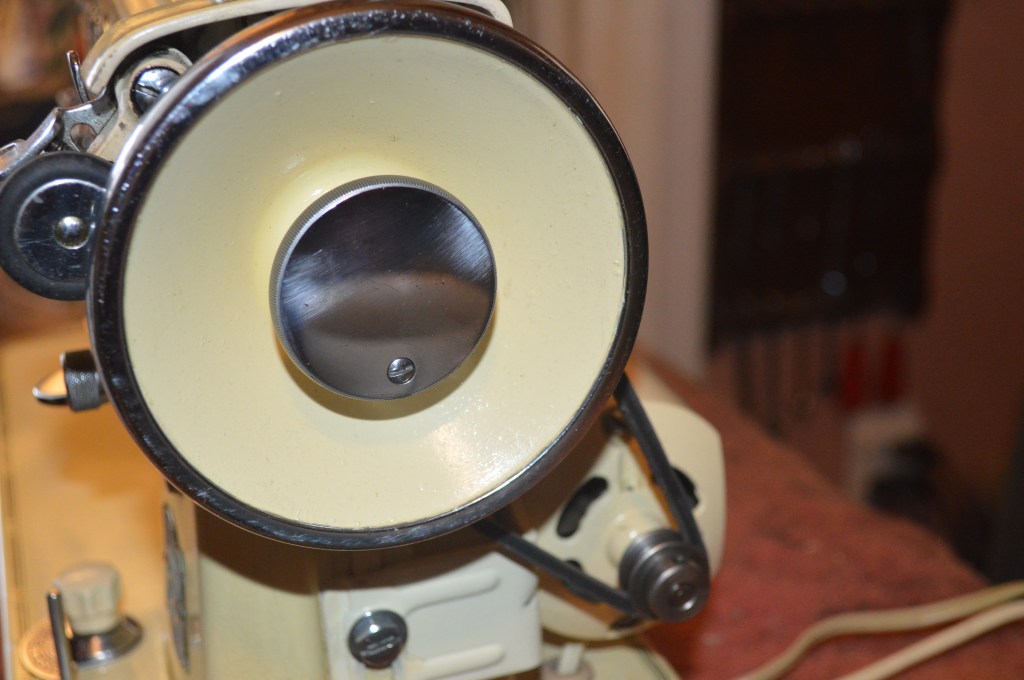
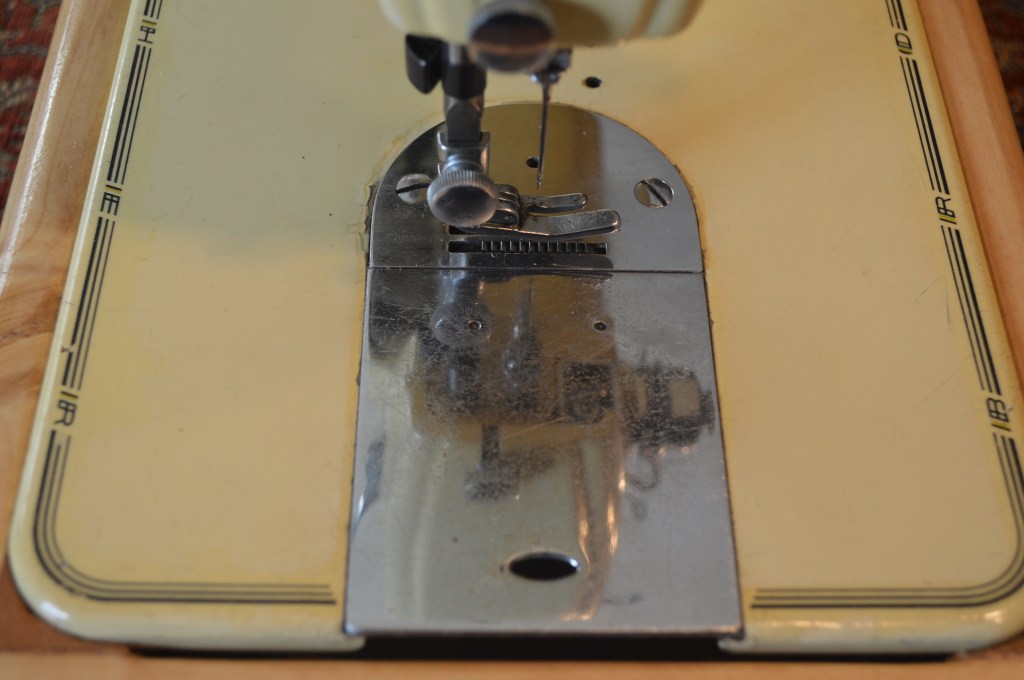
The first step in the cosmetic restoration is to clean the body of the machine. This makes the machine look pretty good as is as far as most people need to go. All of the old oil is removed from the paint and the surface is prepped for paint matching. After cleaning, the bed is fine sanded with 1000 grit sandpaper to remove the brown staining in the top coat. This is only done to the margins of the decals for fear of sanding down through them.
These are the areas that are the most prominent.
Before 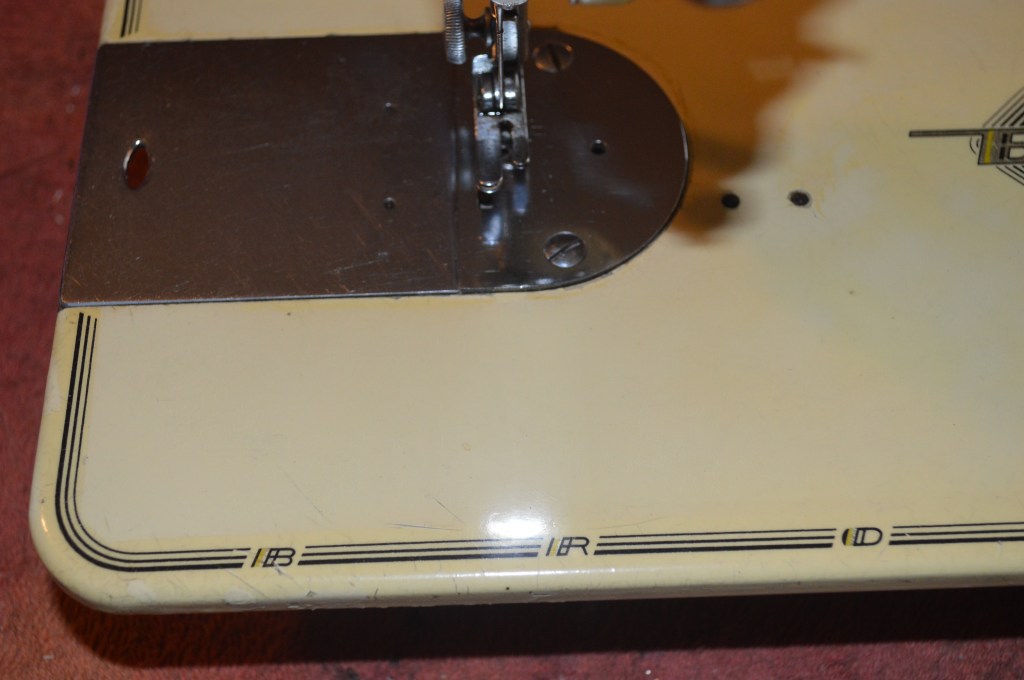
After 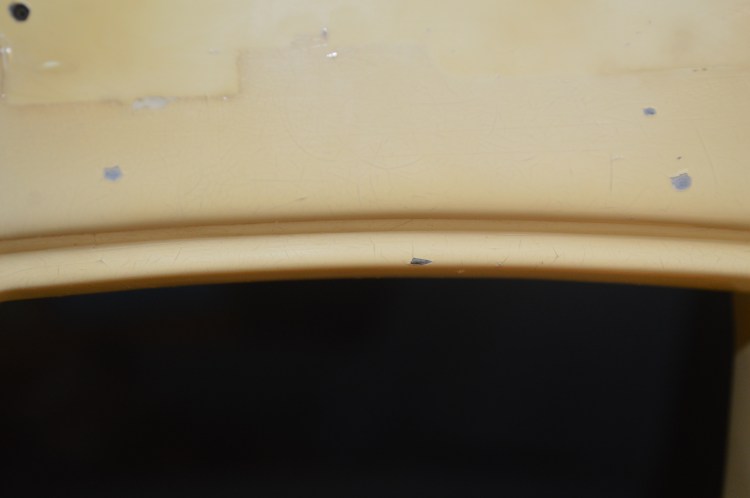
Before 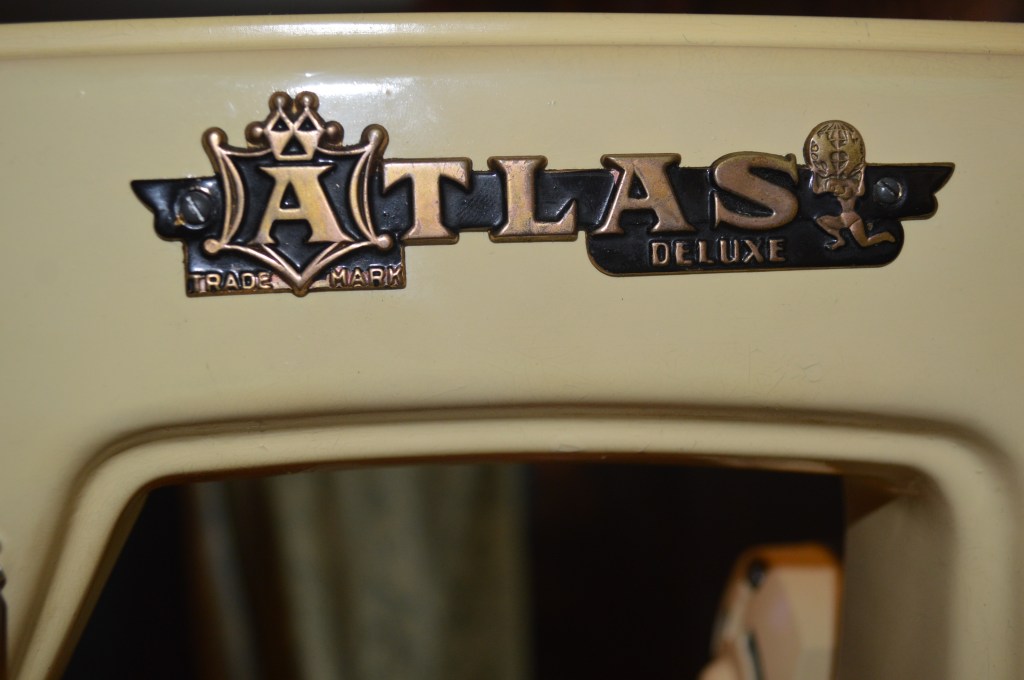
After 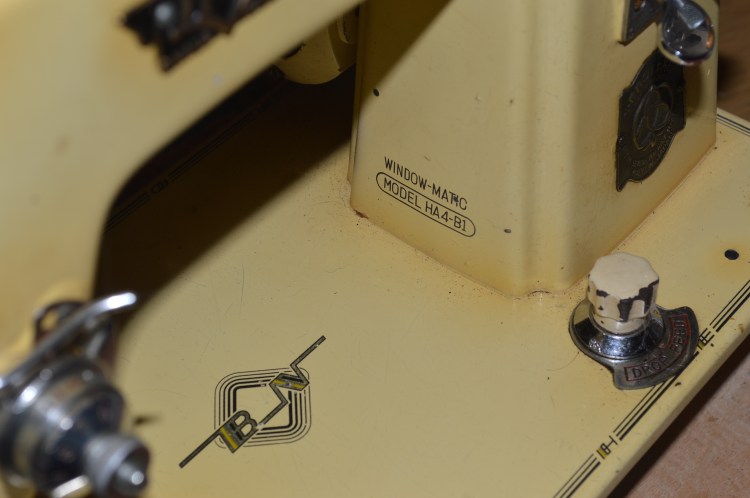
before 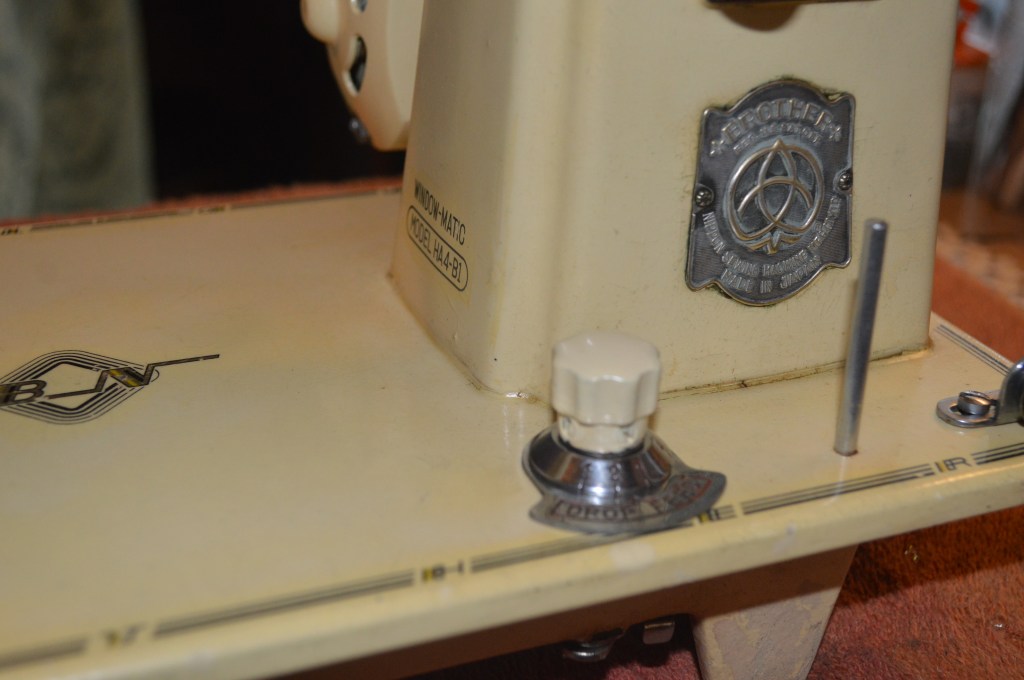
After 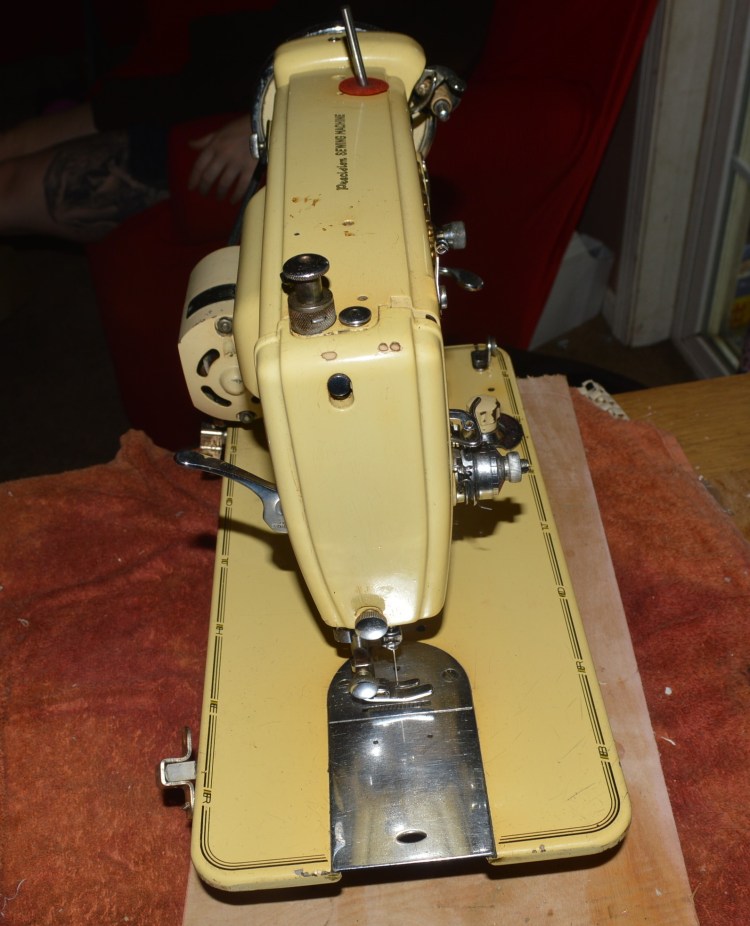
Before 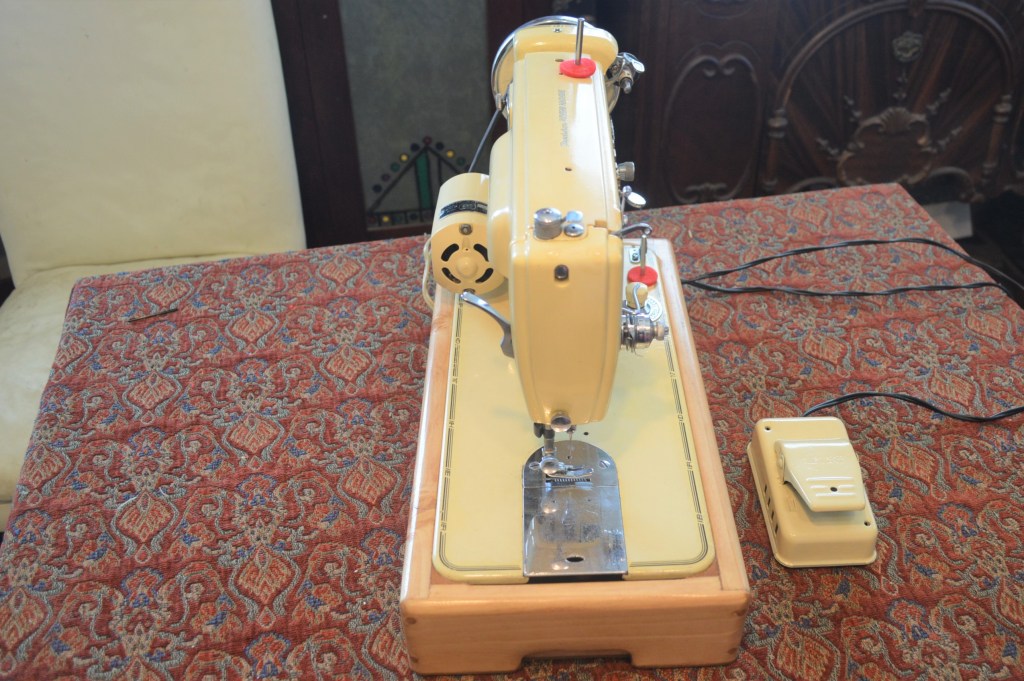
After
Next, the machine is sprayed with a poly acrylic clear topcoat, sanded with progressive grits of sandpaper (1000, 1500, 2000) and glaze polished for the final smooth gloss finish.
The machine is reassembled and adjusted to complete the restoration.

All of the chrome plated pieces are polished on a buffing wheel and rouge polish.
With everything cleaned, polished, and assembled, the restoration is complete. Overall, the restoration turned out nicely. The paint matching was largely successful, the machine has a new topcoat, the sewing assemblies are clean and smooth, and the machine runs and sews great!
Matched to a custom pine base, this “Yellow Atlas” is ready to return to the stream and sew reliably for years to come!


Well, I hope you enjoyed the restoration process as much as I and look forward to the next!
If you have any questions or comments… or if you happen to have a yellow or black Atlas, contact me at pungoliving@gmail.com and let me know!
Thanks for reading,
Lee

This is fascinating.
I’m only an “amateur refurber” if you will; I’ve successfully cleaned and oiled a number of vintage machines which now work very well, but they were in reasonably good shape to begin with. I don’t have enough knowledge to take a machine apart and clean it so thoroughly as you, but I’m learning. I have a bunch of vintage Kenmores that I love tinkering with and have learned a lot from the internet posts such as yours. I thank you for all the exceptional knowledge you’re willing to share. I’ve cleaned commutators and replaced brushes or grease wicks, but not armatures and shafts. Would you please tell me what you use to polish them?
LikeLike
Hello!
I use red rouge polish on a small buffing wheel in a dremel tool to clean the armature. For the shafts, I put one end of the motor shaft in an electric drill and polish it with oiled 1500 grit sand paper. Repeat with both ends of the shafts. It doesn’t take much time to polish the shafts and it works well.
I hope this answers your question, but please don’t hesitate to ask!
Have a great evening,
Lee
LikeLike
I’ve had success putting the armature onto an electric drill good and tight, spinning the drill and using a soft pencil eraser held gently against the commutator. I think either a pink or a white would work fine. That way I don’t risk risk any of the copper plates going out of true by polishing a flat spot into any of them. I also don’t own a Dremel or any jewelers rouge so polishing a flat spot is a worry for me. IAbout 30 seconds with a pencil eraser and a very dirty commutator came out more than reasonably clean.
LikeLike
As they say, there’s more than one way to skin a cat! Let me know how it runs when you’re done!
LikeLike
It works really well. The motor is now very quiet and powerful. Now, the pencil eraser did not get the commutator anywhere as shiny as your method. But it is clean, the motor runs like a charm. I figure I can give it another wipe when I change the brushes which on this motor is about a 5 minute job start to finish so it shouldn’t be too much of a problem to clean it again. So until I can get my hands on some jewelers rouge, I’m more than satisfied with the results.
LikeLike
That’s great!
I would prefer a restored vintage motor made in the USA or Japan over a new motor made in you know where. The balance and quality is much better. I wouldn’t get too concerned about re-polishing your commutator. The real purpose of doing this is to provide a new smooth surface for the brushes to ride on. It extends their life.
It is surprising how much power and smoothness is restored when all of the shafts are cleaned and polished! It will run cooler too…
LikeLike
Hello, I just bought a Brother that looks just like that machine. Every time I push the peddle a puff of smoke come out of the motor? It came from a smokers home, but geez… I love the old sewing machines, they were made to last. Gave her a good cleaning, nothing like you but, it’ll do in a pinch, at least it’s cleaner… I haven’t taken the motor off yet to look at what might make it smoke. Thought I’d see if I could find some info before I try to take it apart . Any help would be much appreciated!
LikeLike
Good morning Wendy,
A puff of smoke coming from the motor can be simply dust burning from the brushes off over years of sitting, or it could be caused by something going on with the motor wiring. In either case, it needs to be investigated. I don’t know and can’t know what is causing the smoke without seeing the motor, but I suspect it needs to be cleaned and inspected. Even if it is dust, you need to err on the side of caution… if you see smoke then something is burning, and it can ruin an otherwise good motor. If it is electrical, it can pose a shock hazard and shorted wires.
If you are comfortable with taking it apart, I have several tutorials on restoring motors, and it is similar to the motor used by Kenmore. The tutorial is https://pungolivinghome.com/2021/10/12/a-tutorial-restoring-a-kenmore-sewing-machine-motor/. You can use it as a guide.
Please let me know if you do, and I will try to help you as much as possible.
Lee
LikeLike
Another question, is there a manual for it anywhere?
LikeLike
Hi Wendy,
Send me a message to pungoliving@gmail.com and I will send you a manual that covers your machine.
Thanks!
Lee
LikeLike