

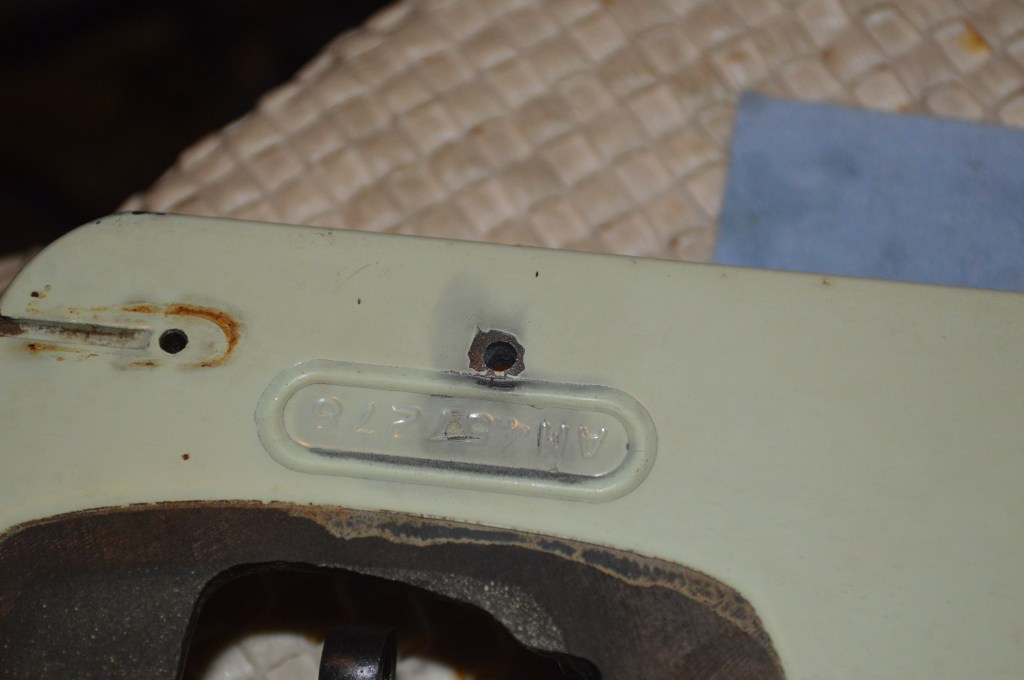
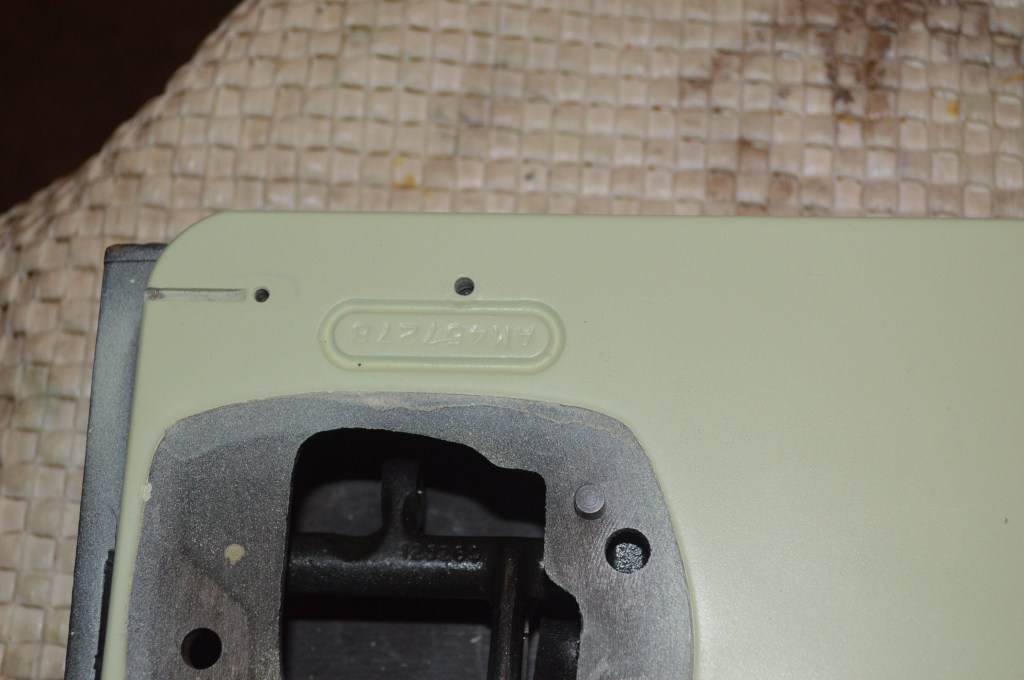
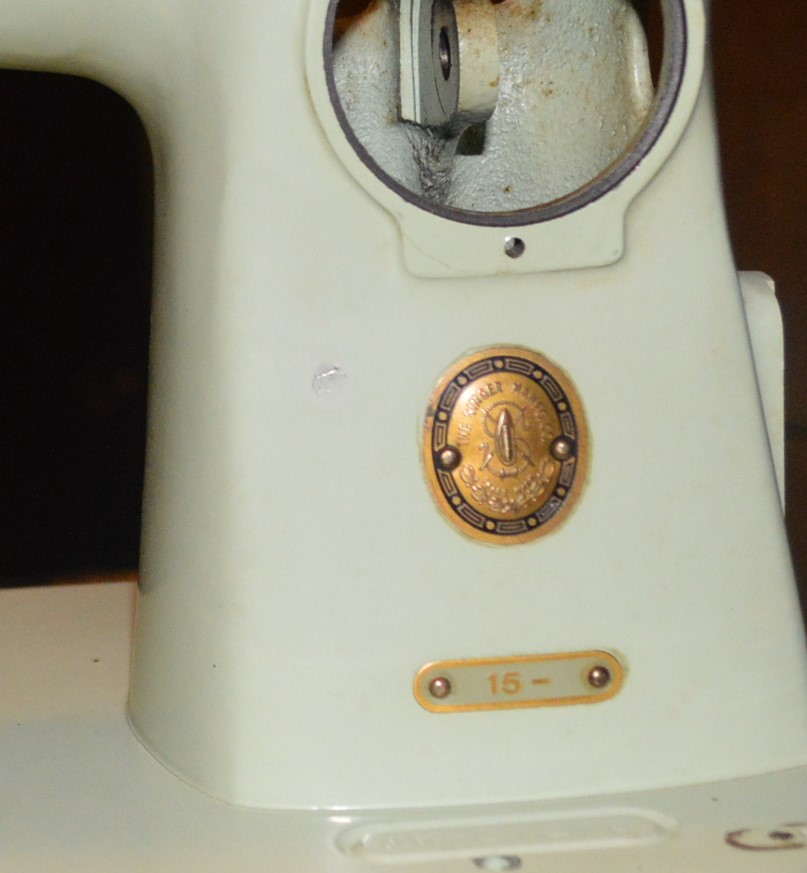
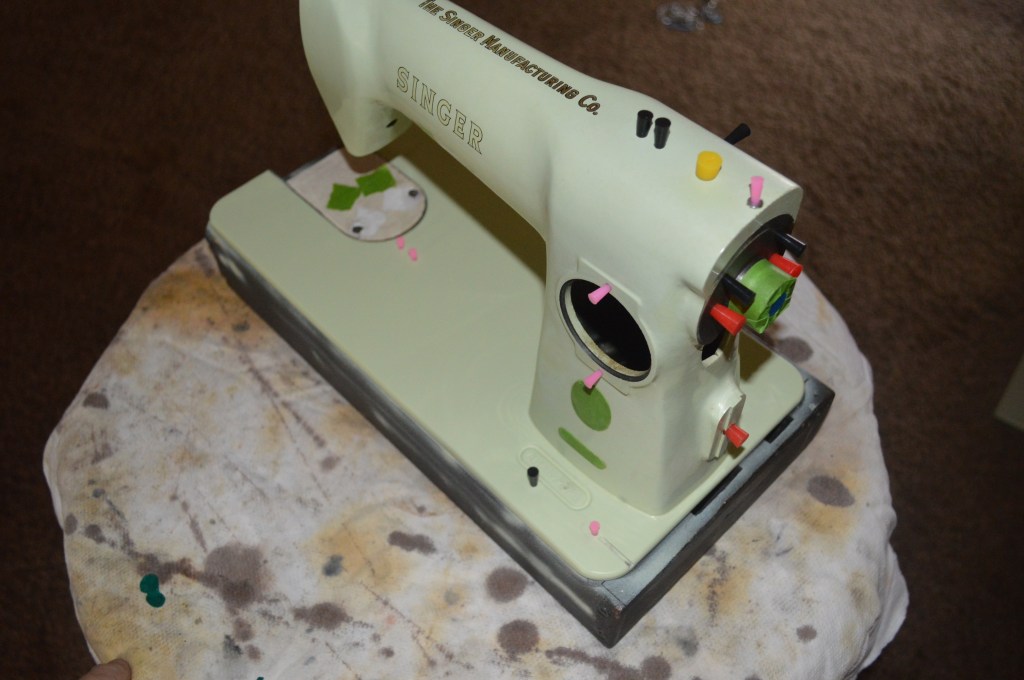
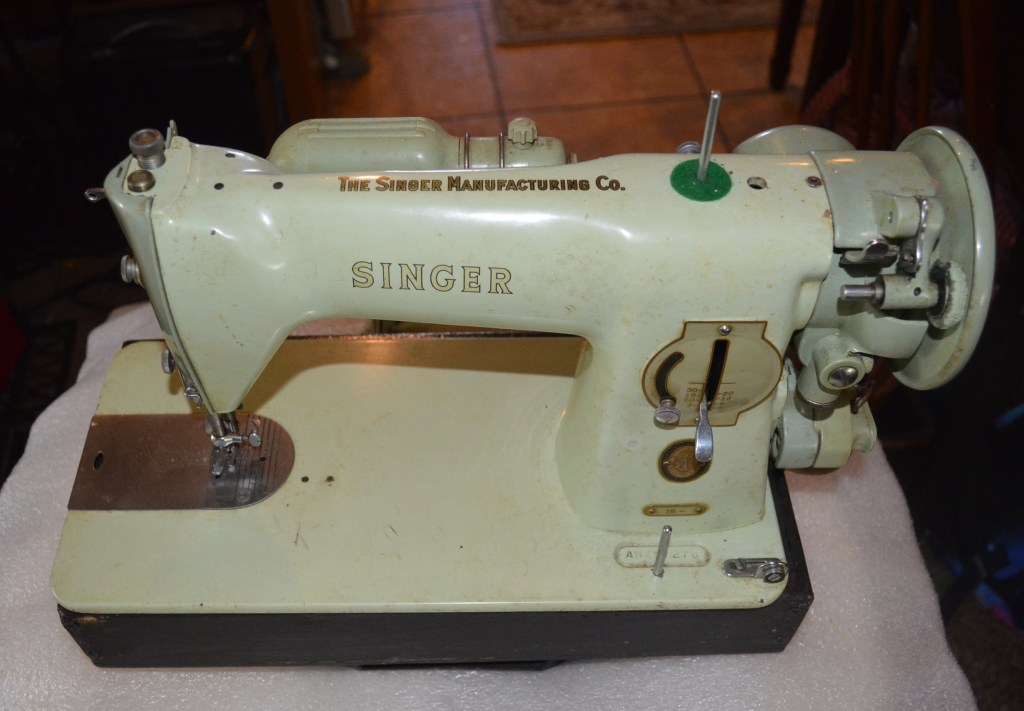
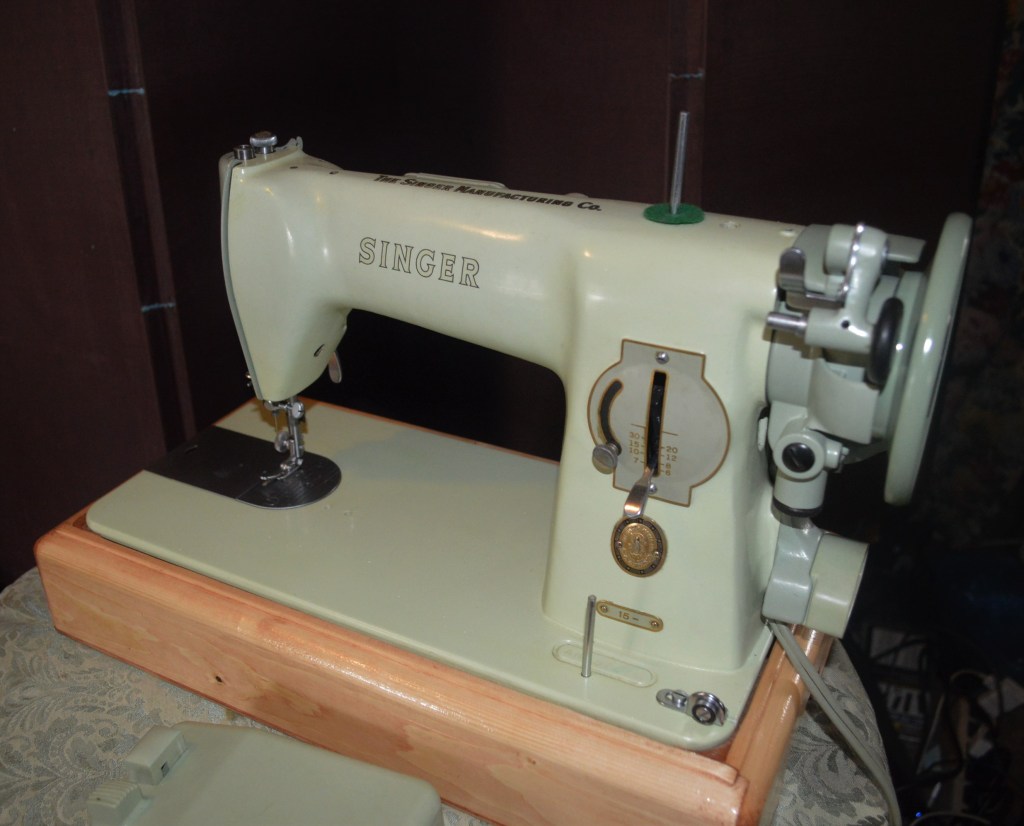
This restoration is for a Singer Model 15-125 with serial number AM457278 manufactured on March 8, 1956. Under the surface, the model 15-125 is the same machine as it’s model 15-91 predecessor manufactured from 1932’s until 1956. Mechanically, there is no difference between the two. They both use the Singer PH Potted motor, both are fantastic straight stitch machines, and they both are cast iron body all metal heirloom quality machines. Just as the Singer model 185 (also green) is a restyled Singer model 99, the model 15-125 is a re-styled Singer model 15-91. The only difference between the 15-125 and the 15-91 is the restyled body and mint green color… some say celery green, some say seafoam green… honey dew melon perhaps? I don’t know… its green! Unlike the model 15-91 which was only manufactured in black, the 15-125 model was had in black, green, and in white.
The only challenges faced between restoring one over the other is the paint. The paint used on the 15-125 is enamel instead of lacquer. This means that careful paint matching needs to be done for the cosmetic restoration and a durable polycrylic finish can be used instead of shellac to protect the finish. Like all Singer restorations, the machine will be disassembled to the greatest extent possible. For this machine that means complete disassembly. All parts will be cleaned to like new condition, the motor will be restored, and in the end, the machine will look great and sew like new. Depending on the condition of the light wiring, it may or may not be replaced. On this machine I would like to use the original controller wire, motor wire, and light wire… I won’t know f I can until I clean and thoroughly inspect it. The power wire will need to be replaced. Thing is, I can’t match this green color wire! But I’ll come up with something…
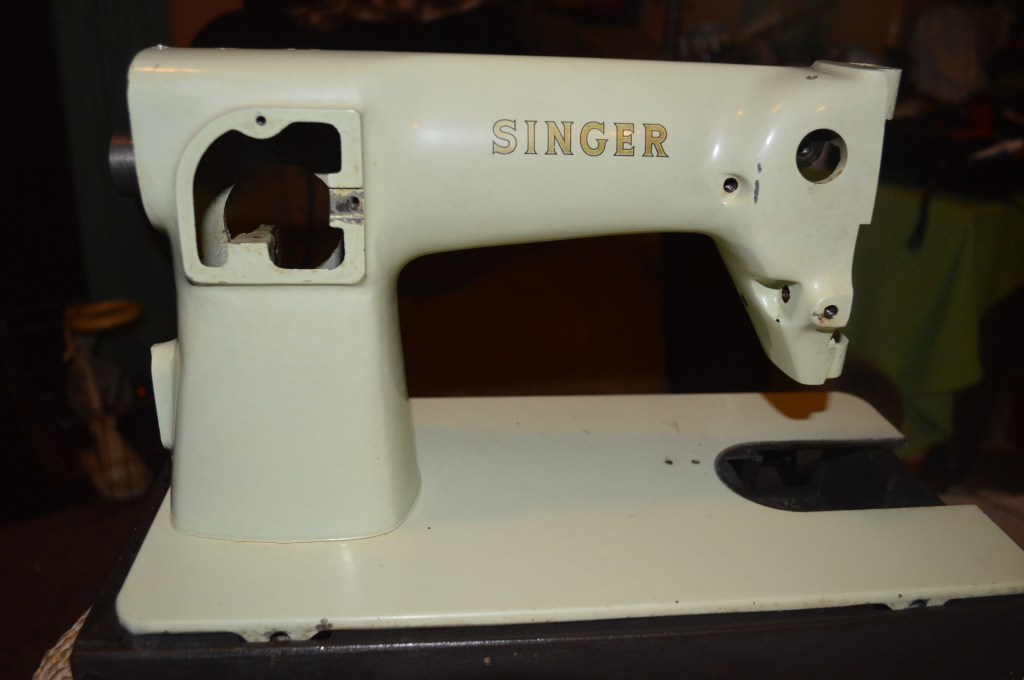
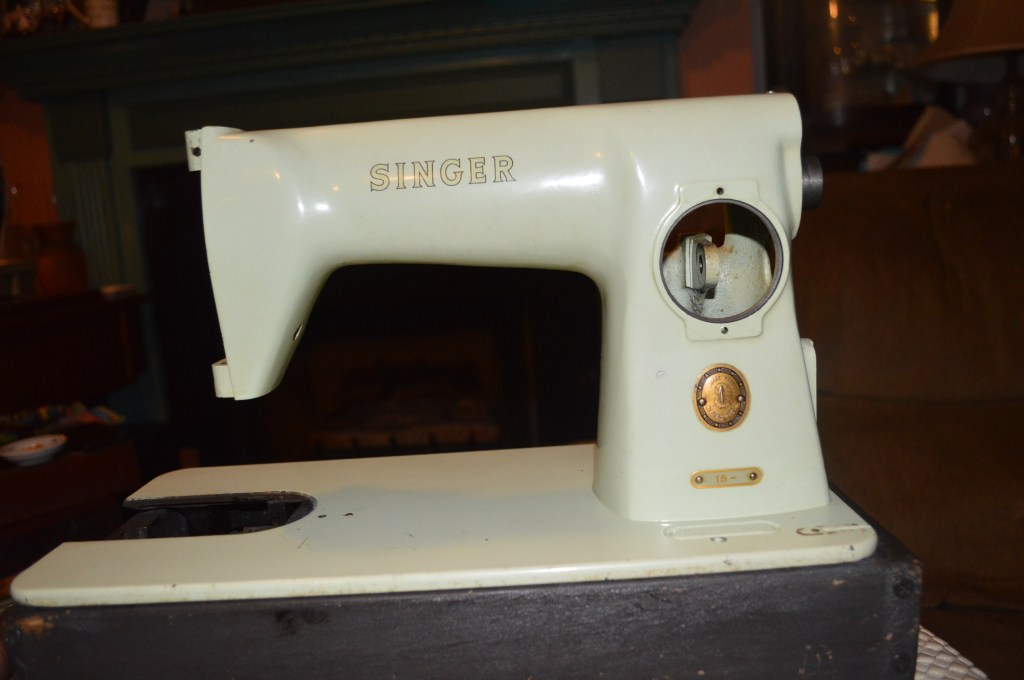
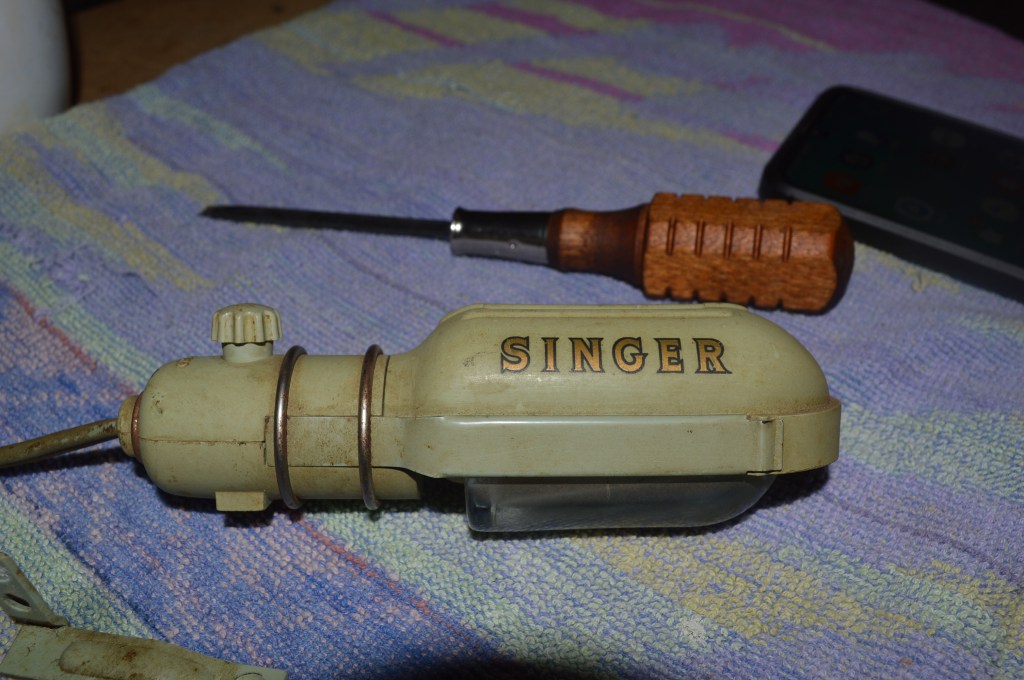
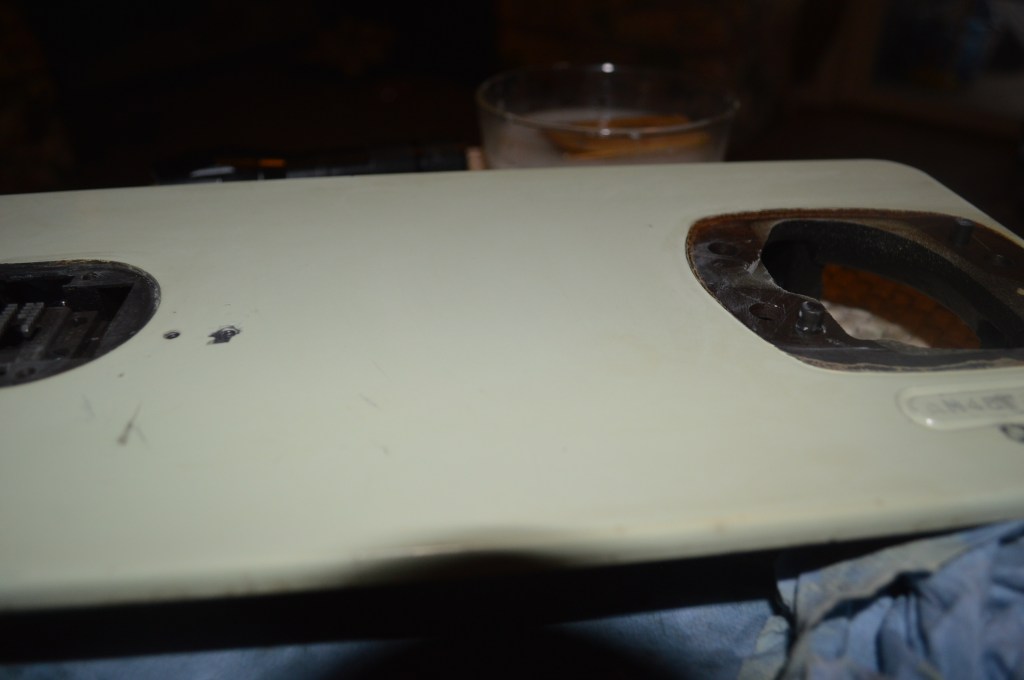
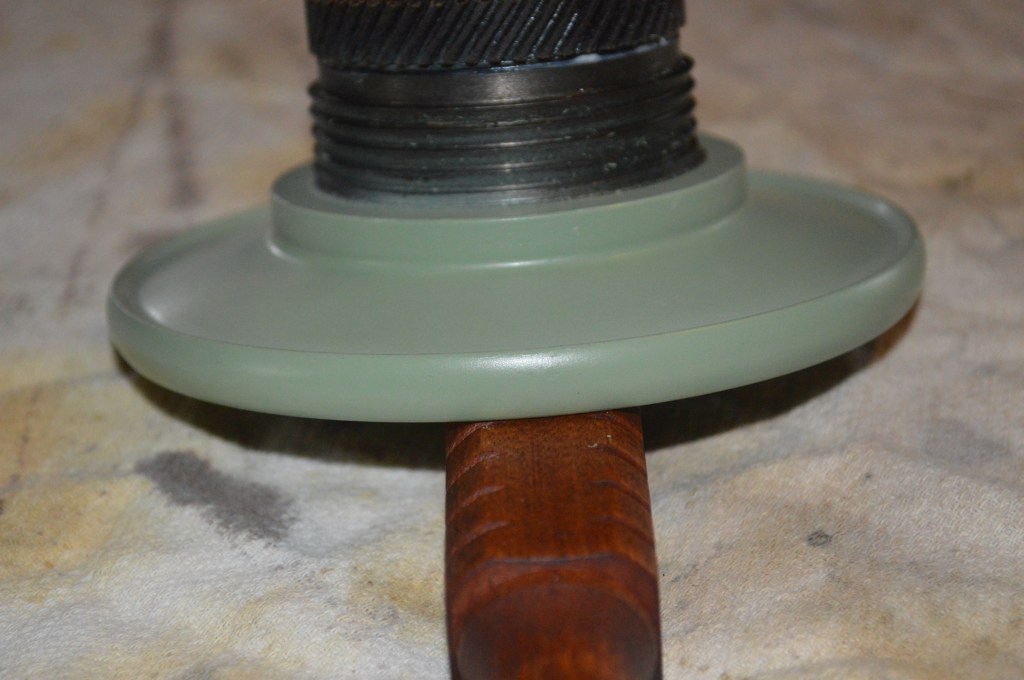
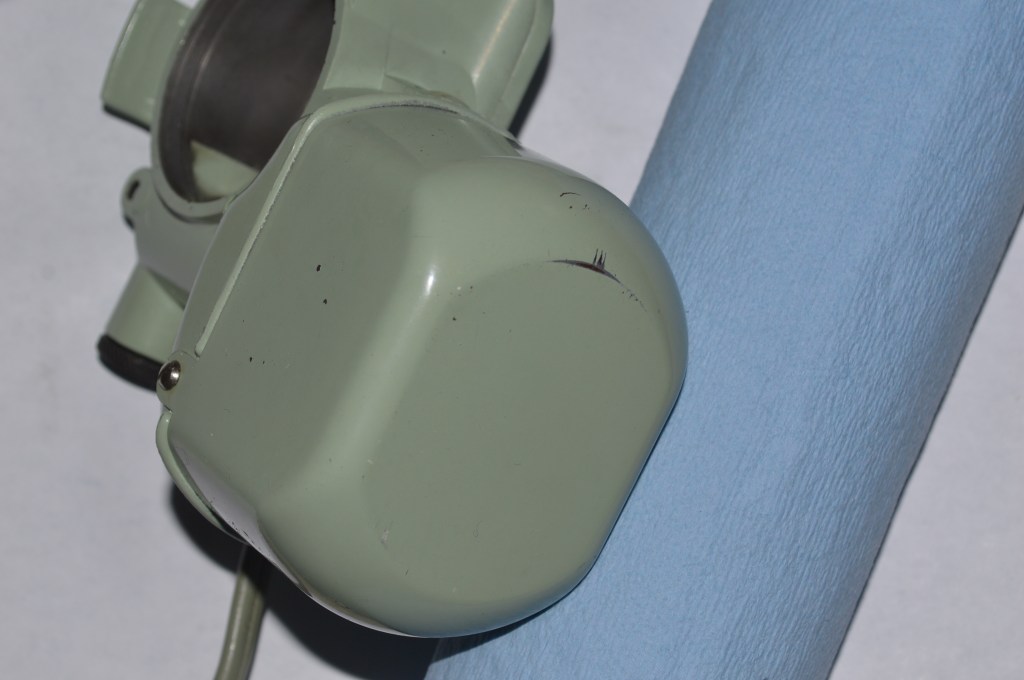
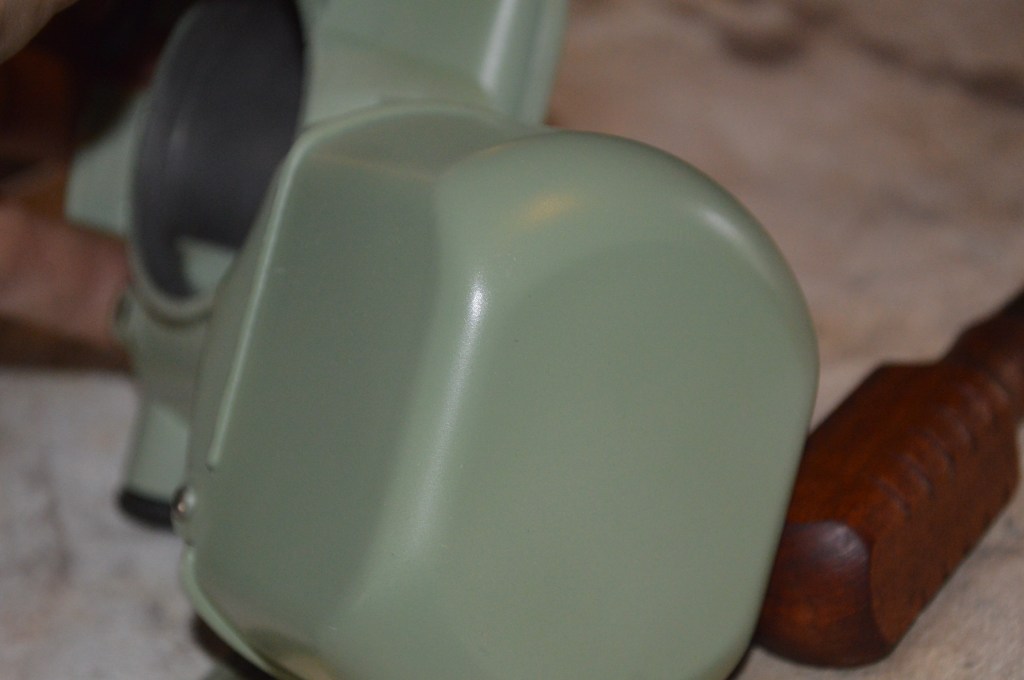
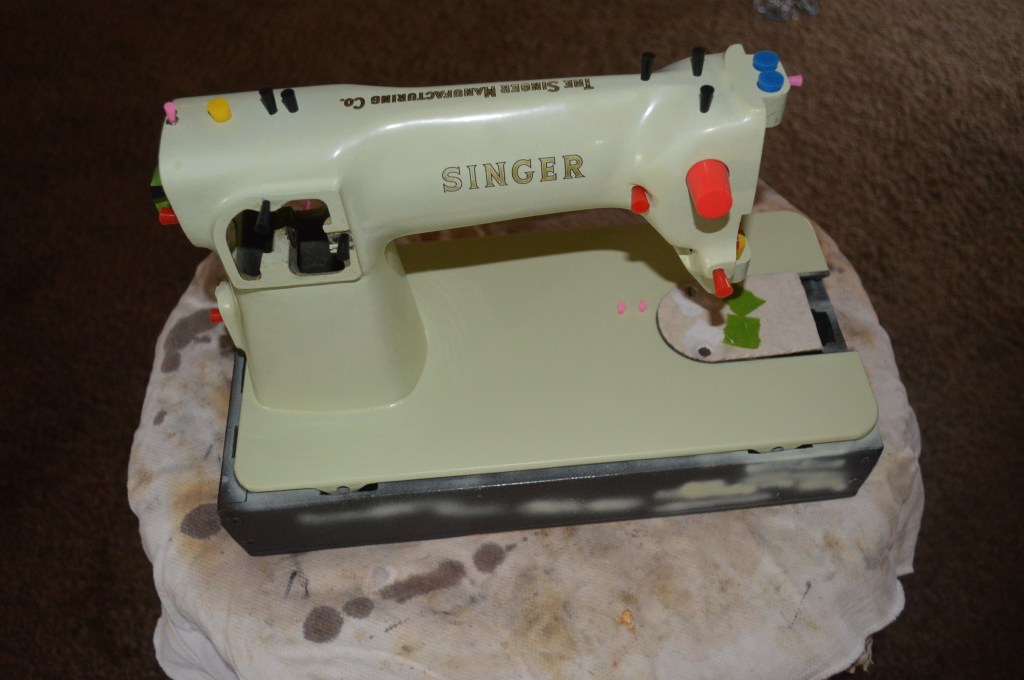
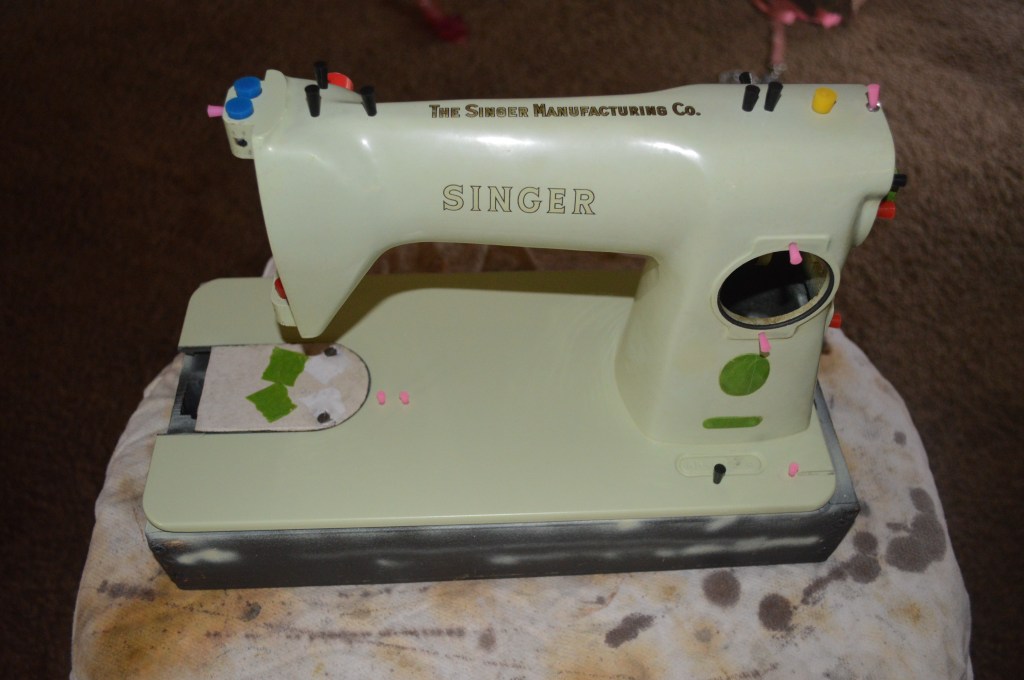
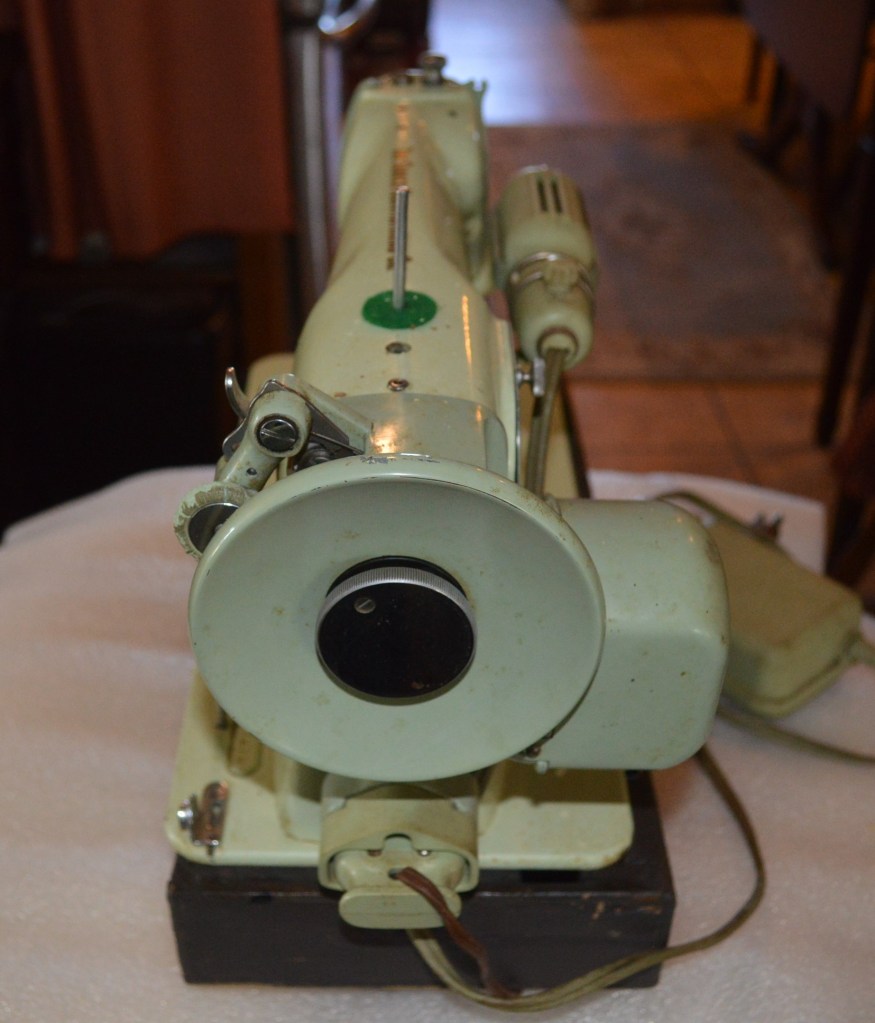
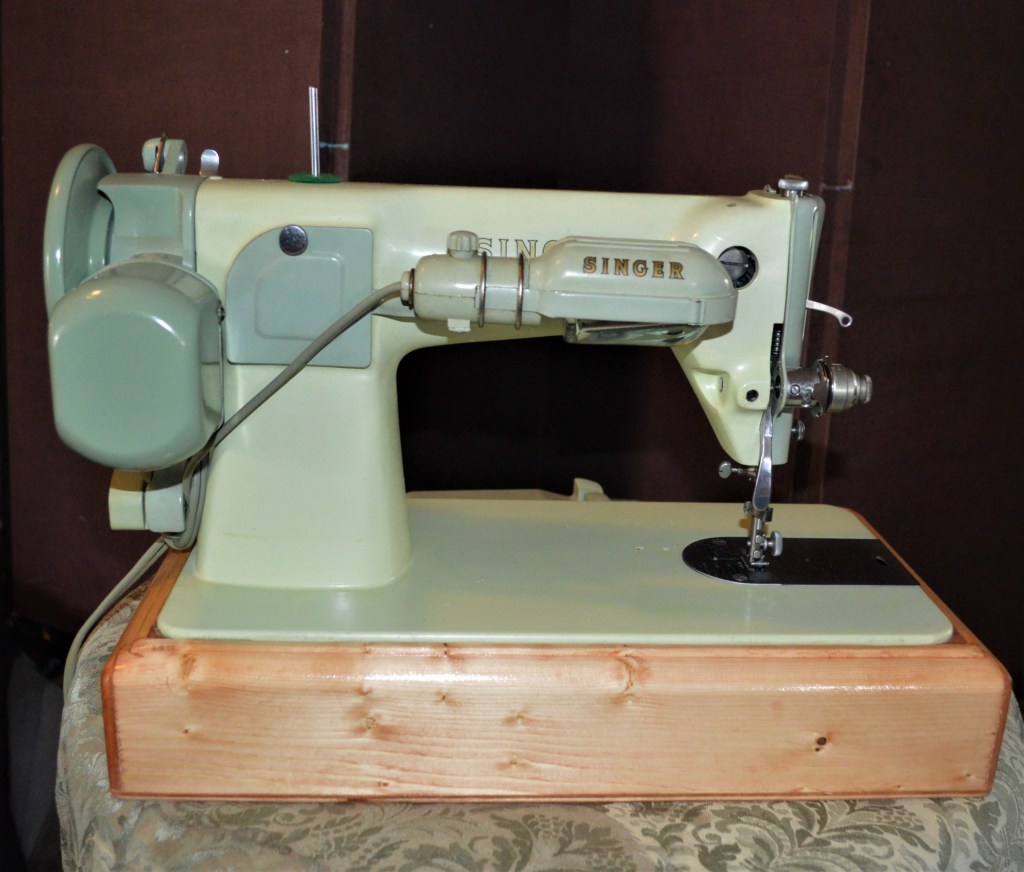
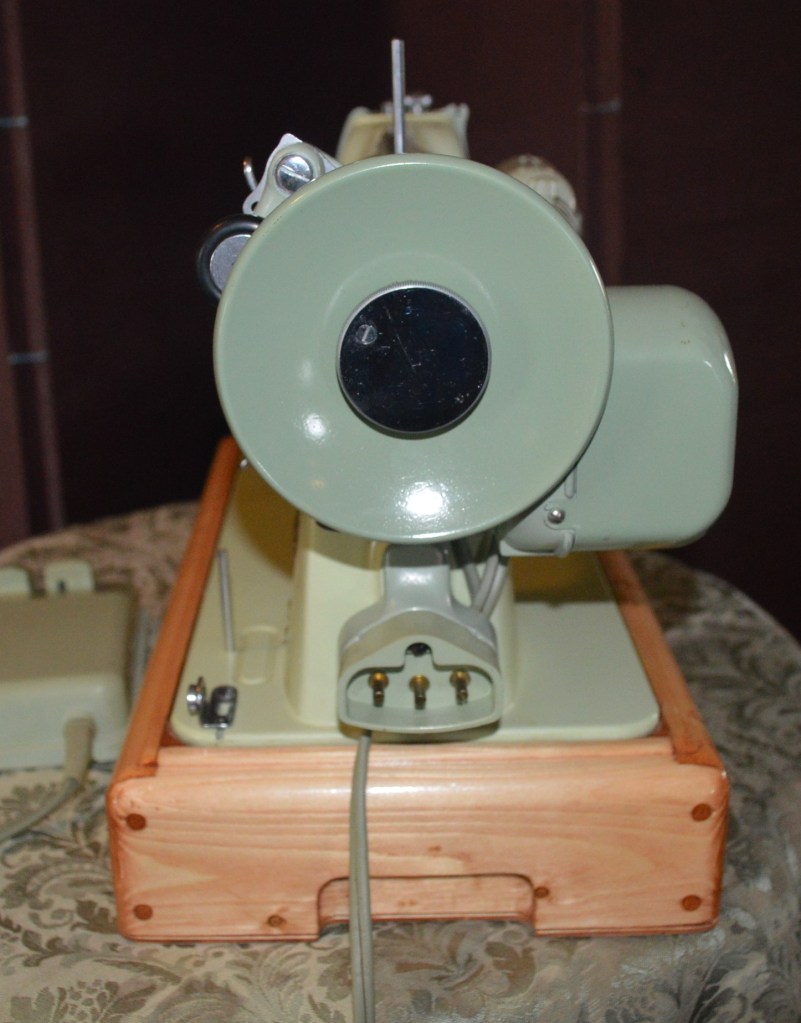
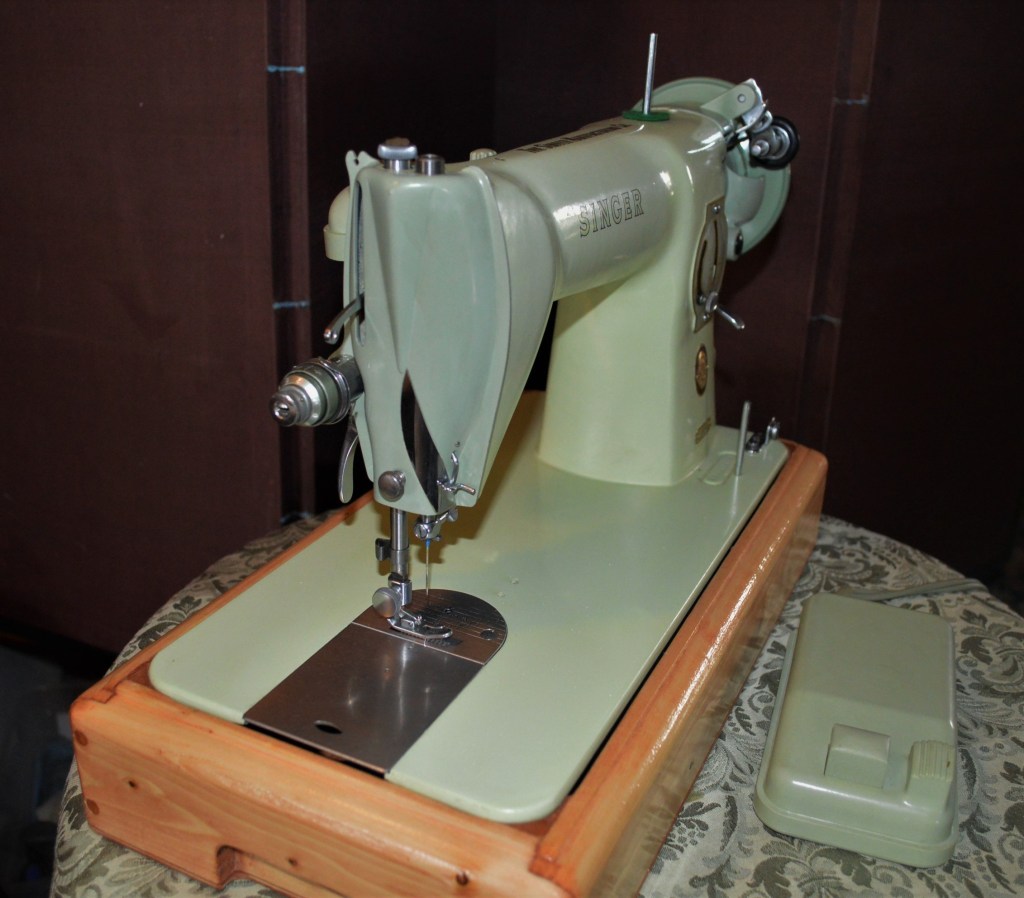
Here is the machine in as found condition… I’m not sure the pictures really capture the color.


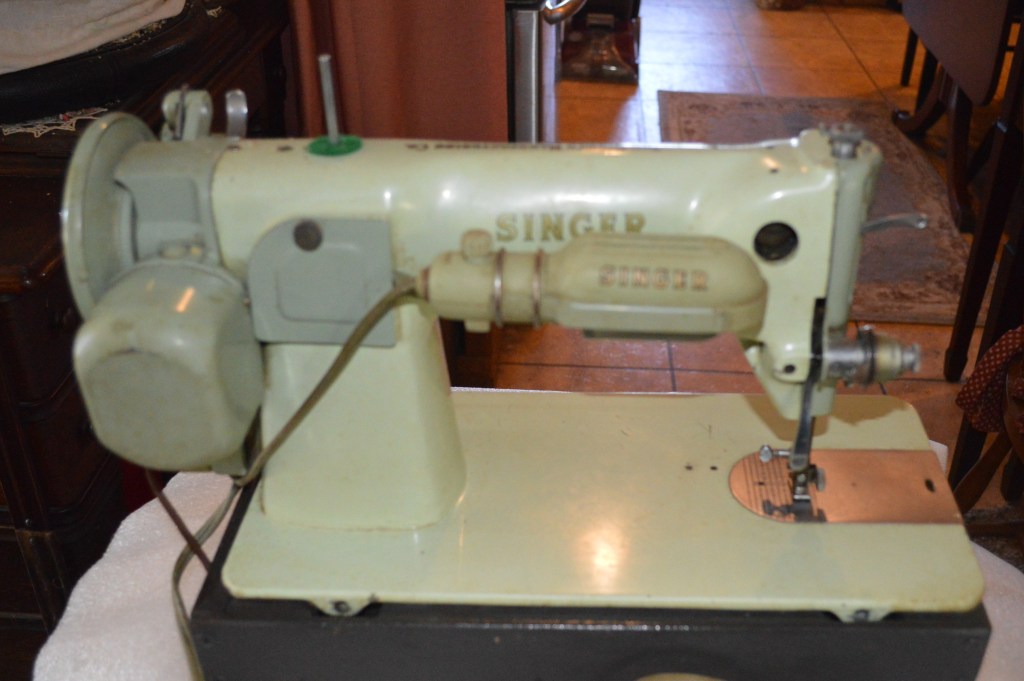
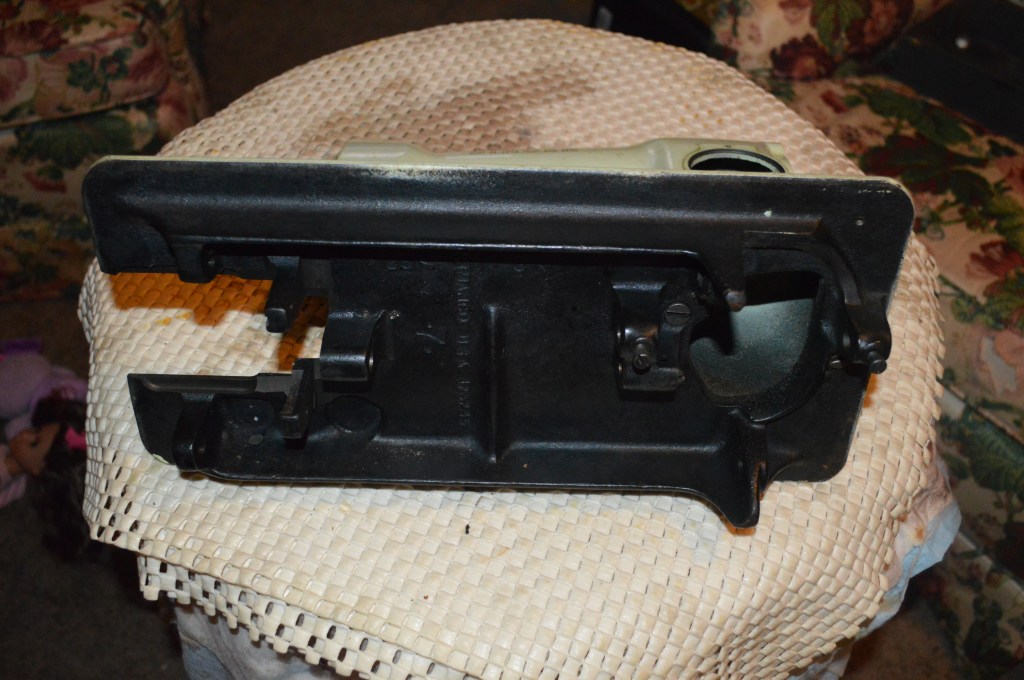
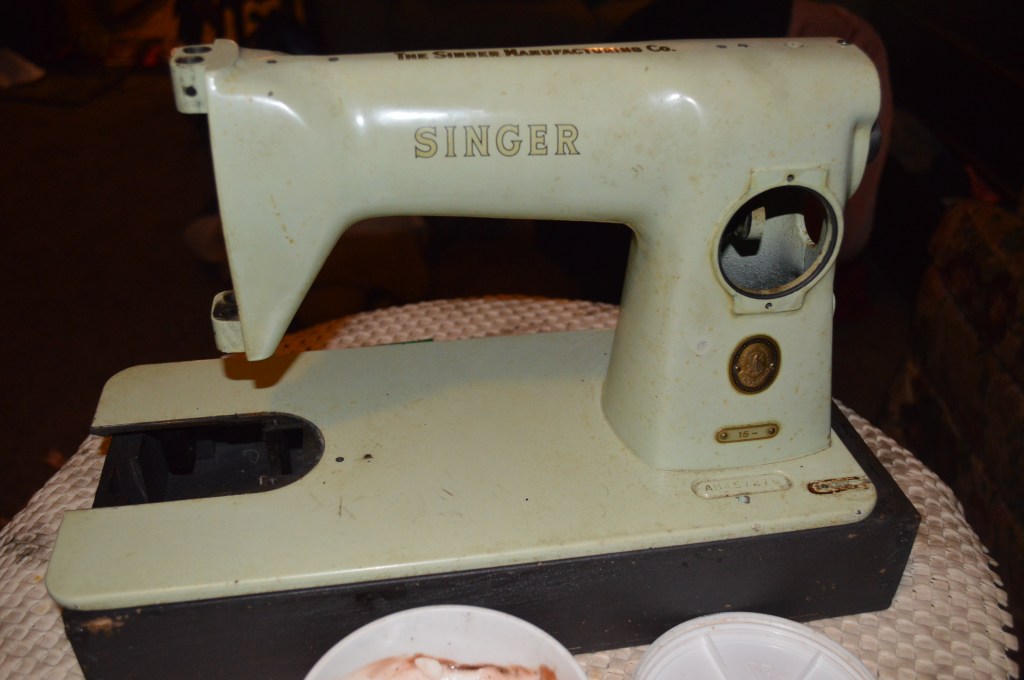
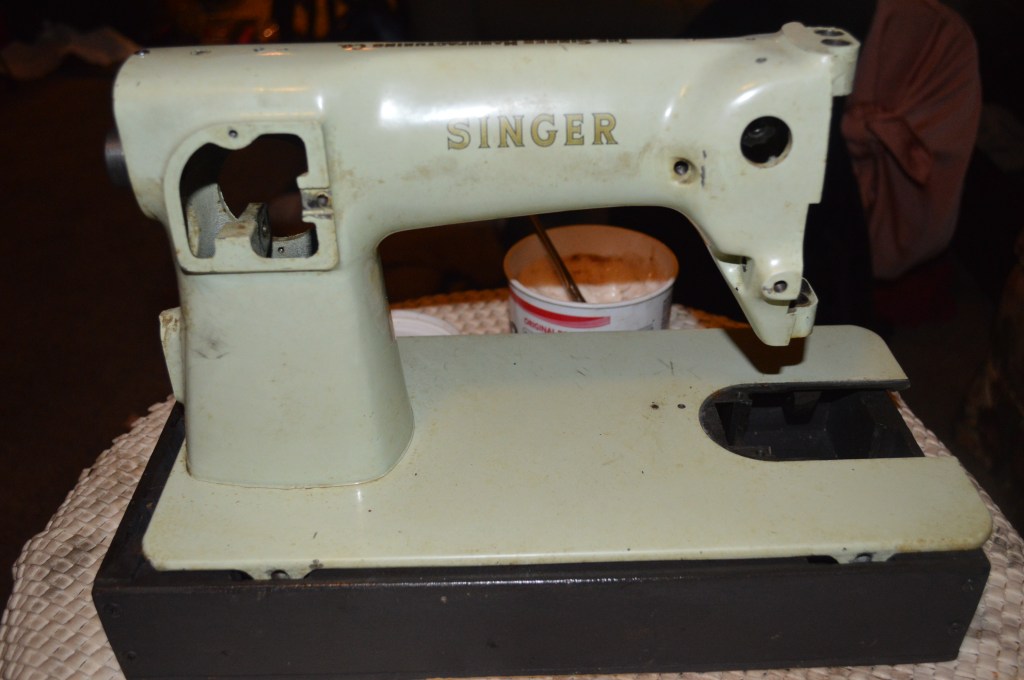
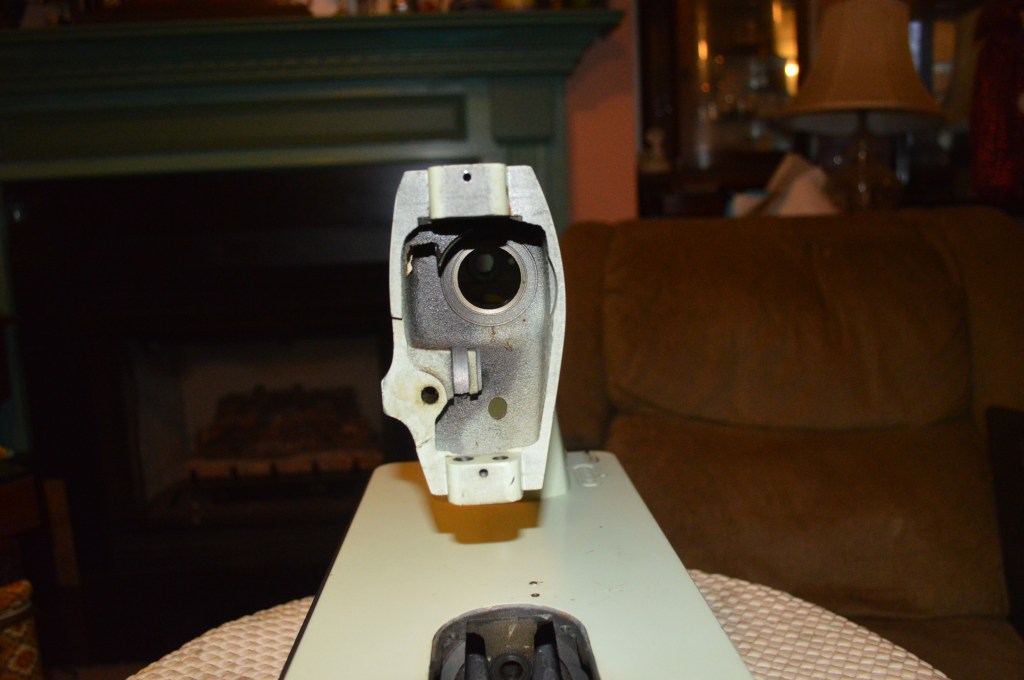
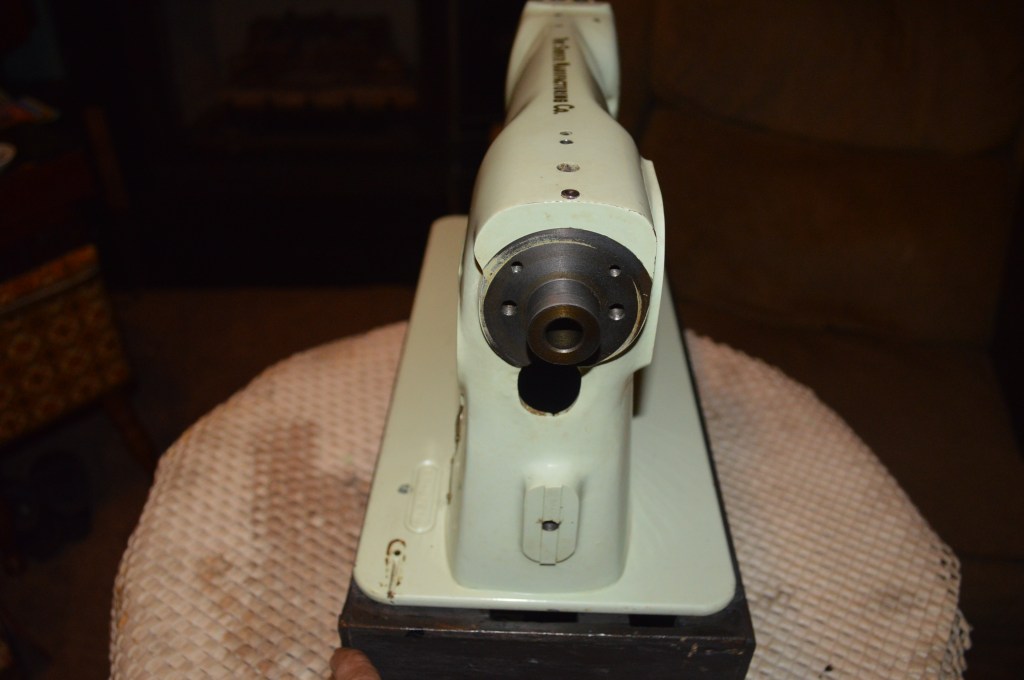
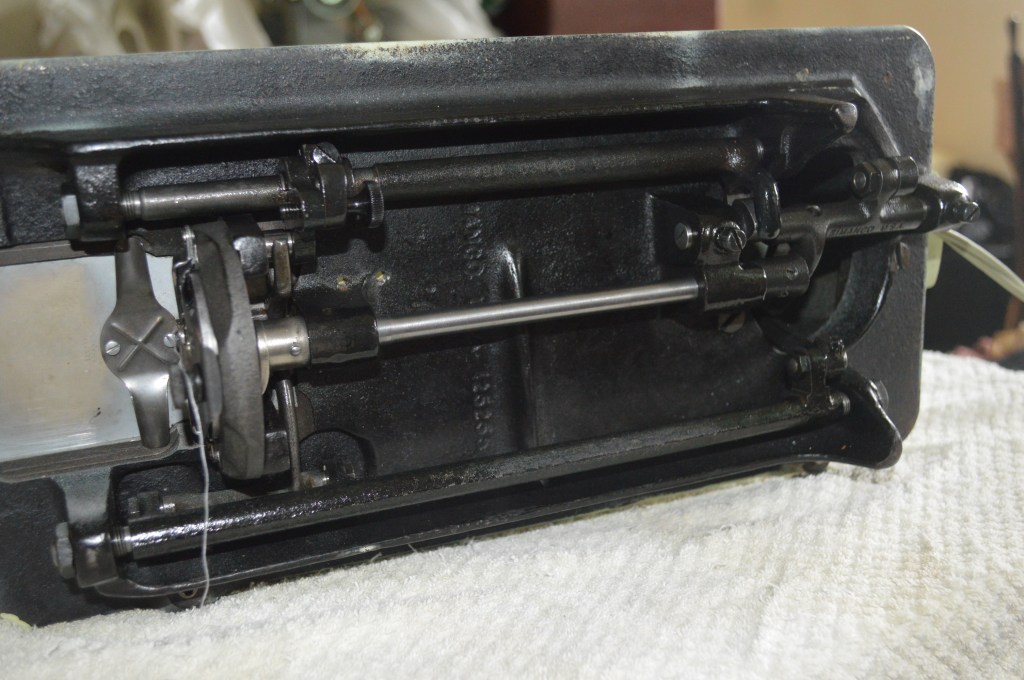
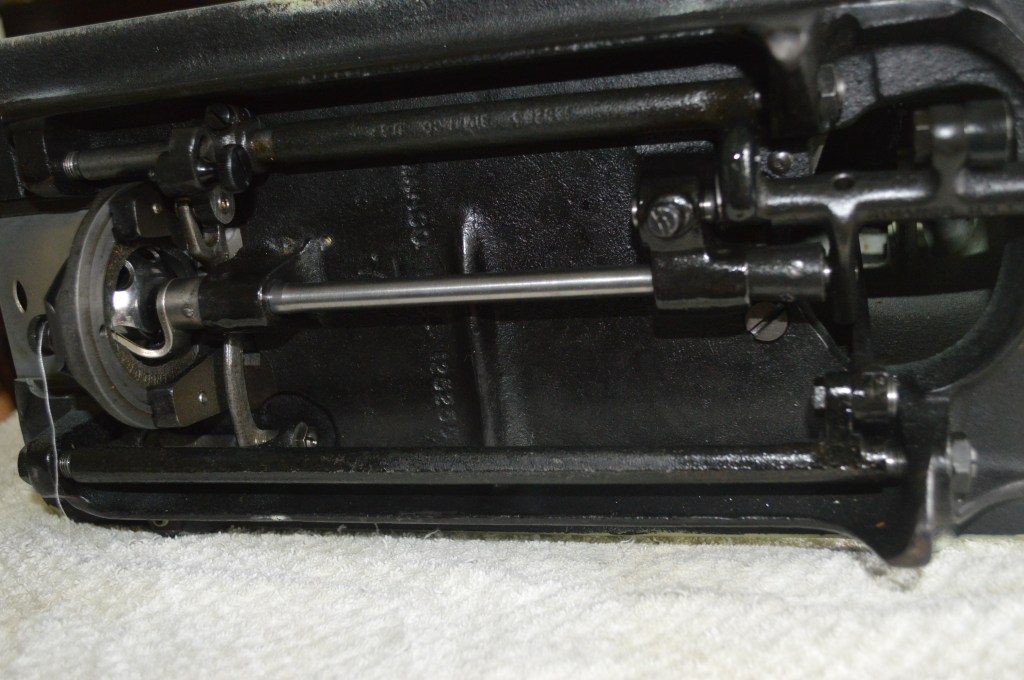
The machine runs but is noticeably dirty and needs adjustment. There are a few paint chips and scratches that need attention, and I expect the restoration will be pretty straight forward. The first step is to remove the balance wheel, motor, light and the sewing mechanisms. This will allow me to clean the machine without obstruction. After all of the mechanisms are removed, only the shell remains it is so much easier to clean.
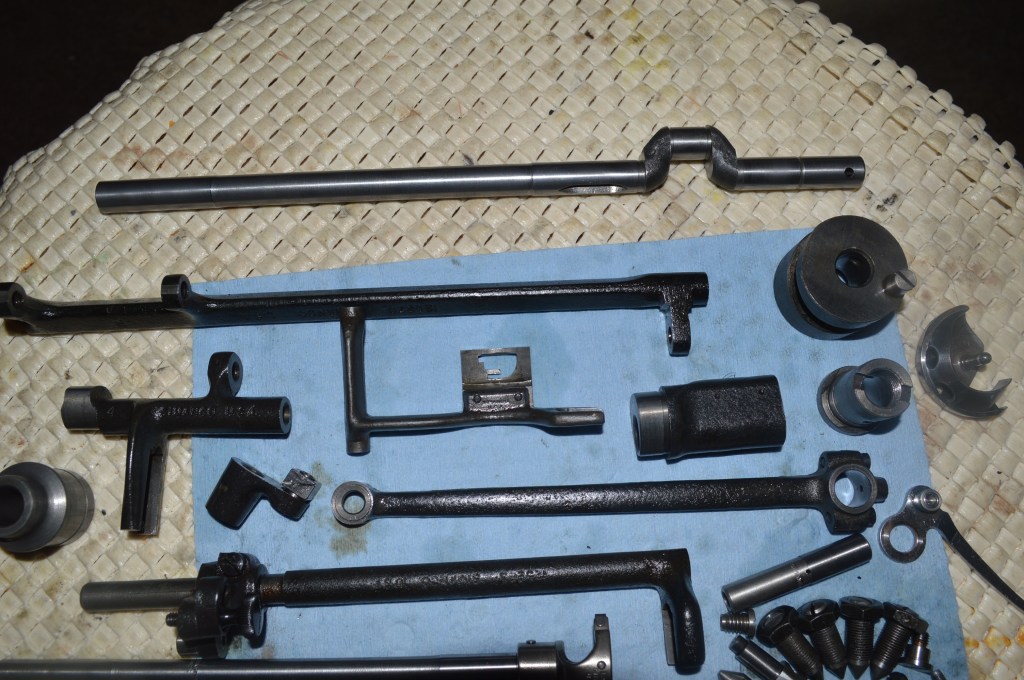
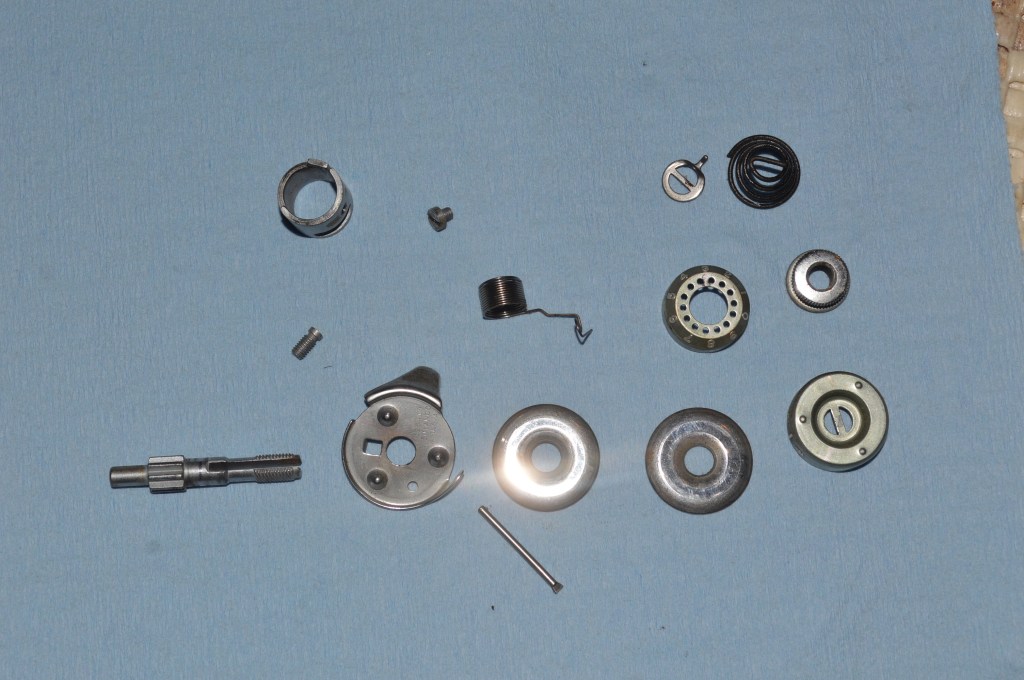
All of the parts removed are laid out for cleaning. Cleaning is a two step process. Everything is ultrasonically cleaned and heated in oil to 250 degrees F to drive out any trapped moisture. Then they are wire brushed with a soft wire wheel on a roto tool. The results are parts that are bright steel and in “like new” condition. The needle bar, presser foot bar, arm shaft, and hook shaft will have a third step and be polished to a glass smooth finish. The bearing bores are cleaned with a round wire brush to assure the smoothest contact possible.
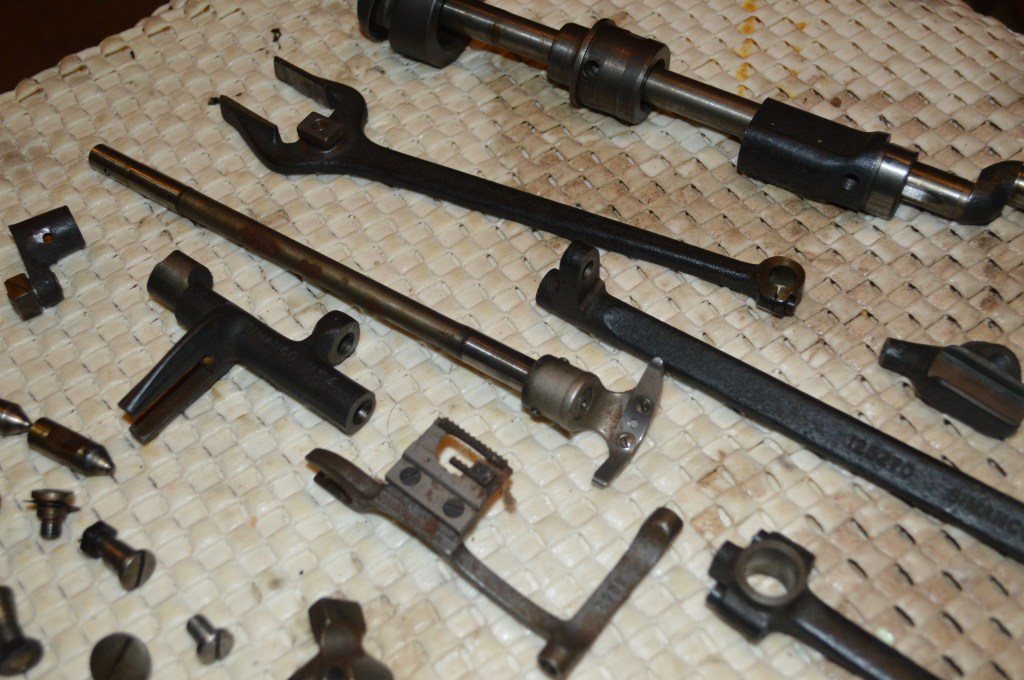
Oil varnish shows as a coffee color film 
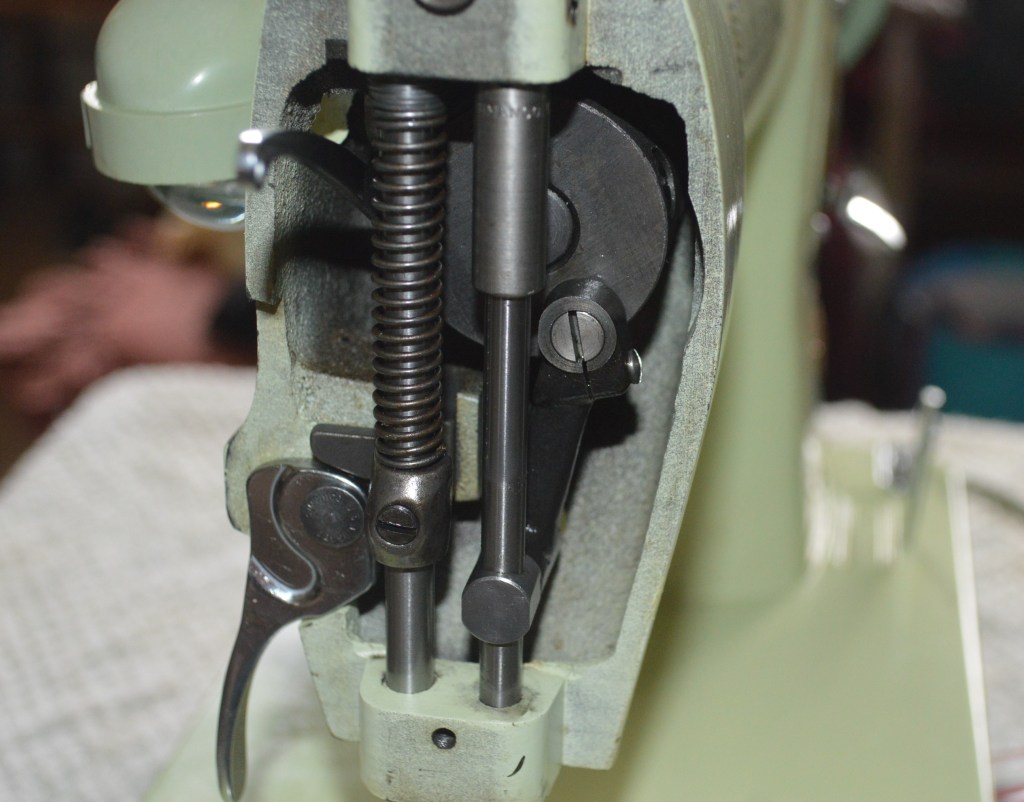
Presser bar and needle bar 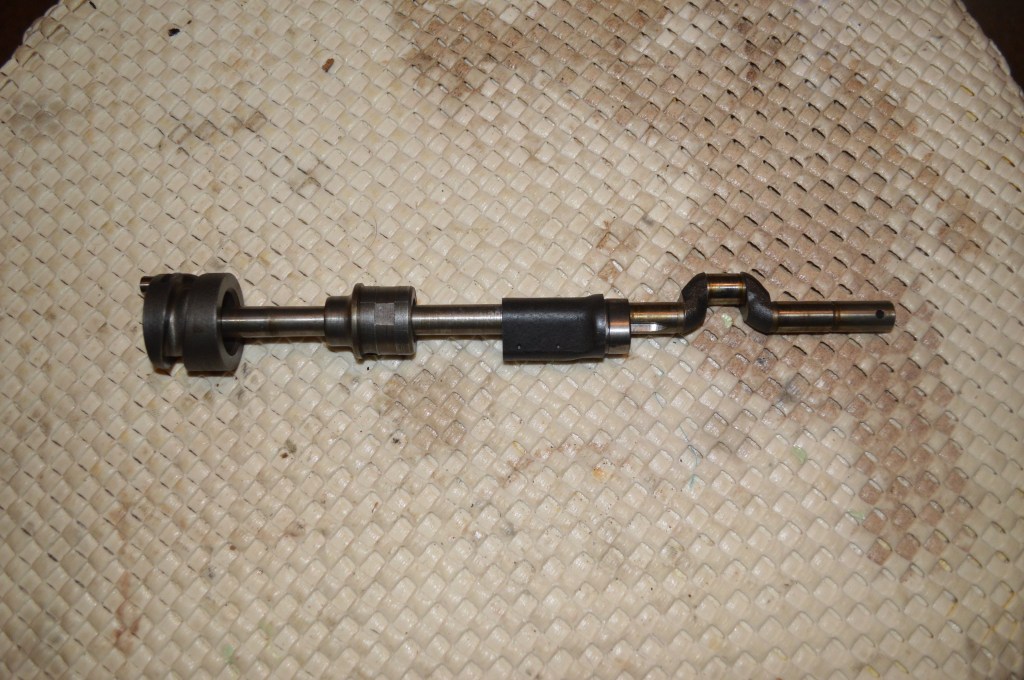
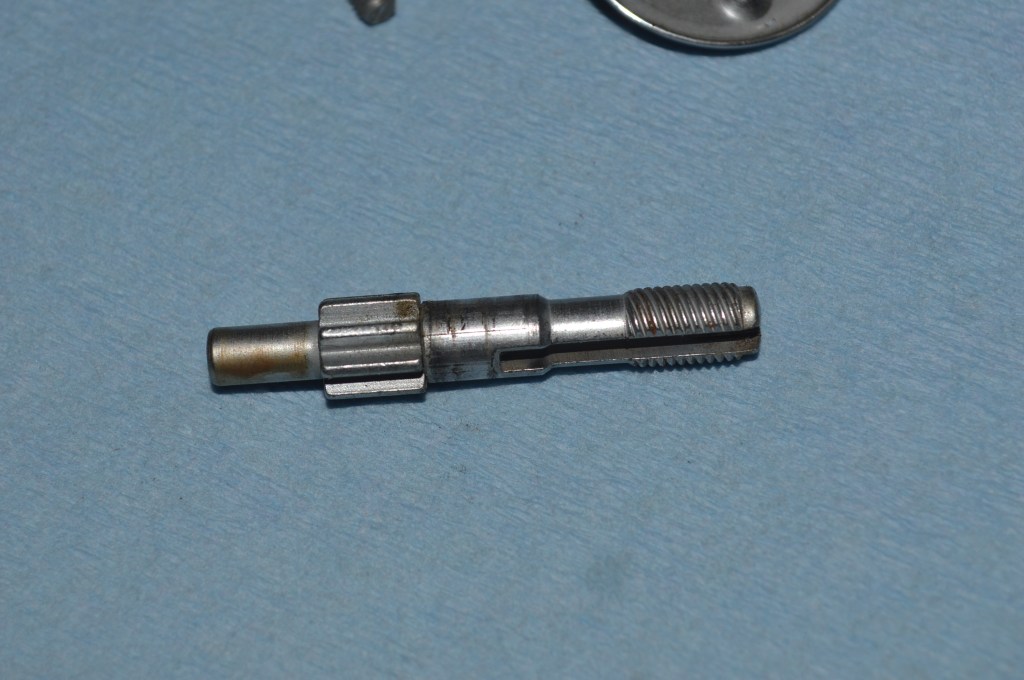
Top arm shaft 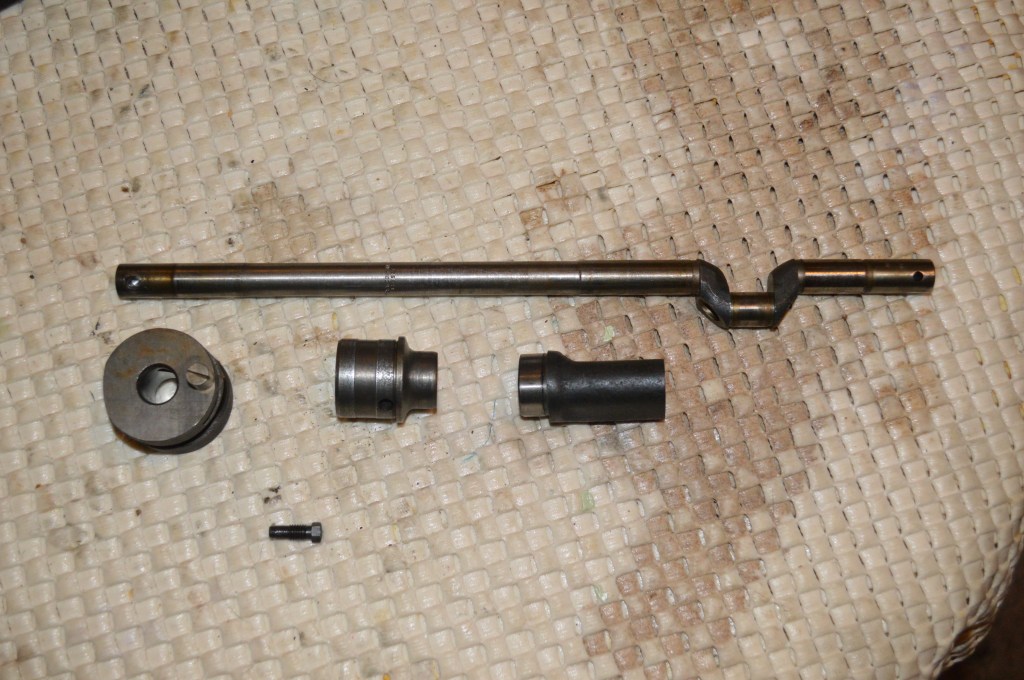
Top arm shaft disassembled
After cleaning and wire brushing to bright steel, they are set aside until I am ready to reassemble the machine.
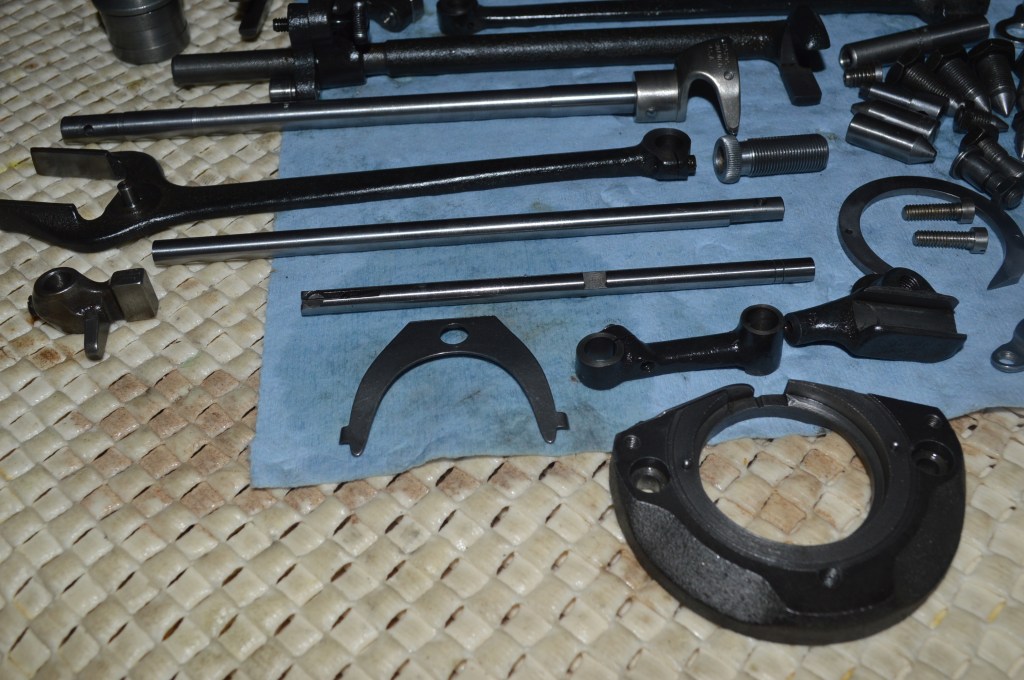
Needle bar, presser foot bar, and hook shaft polished 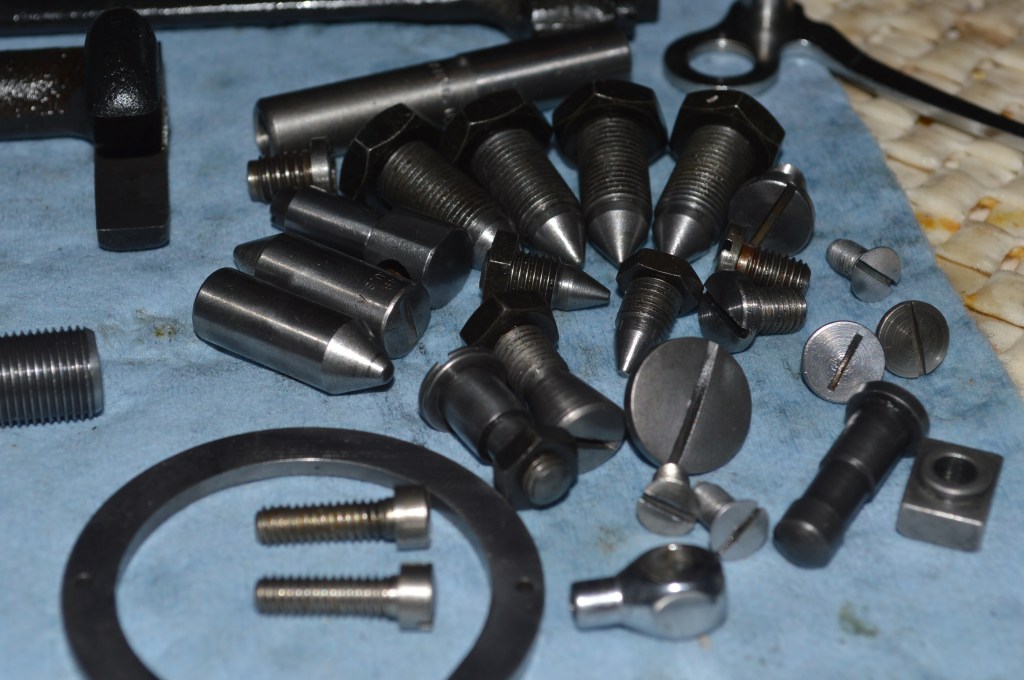
Top arm shaft polished 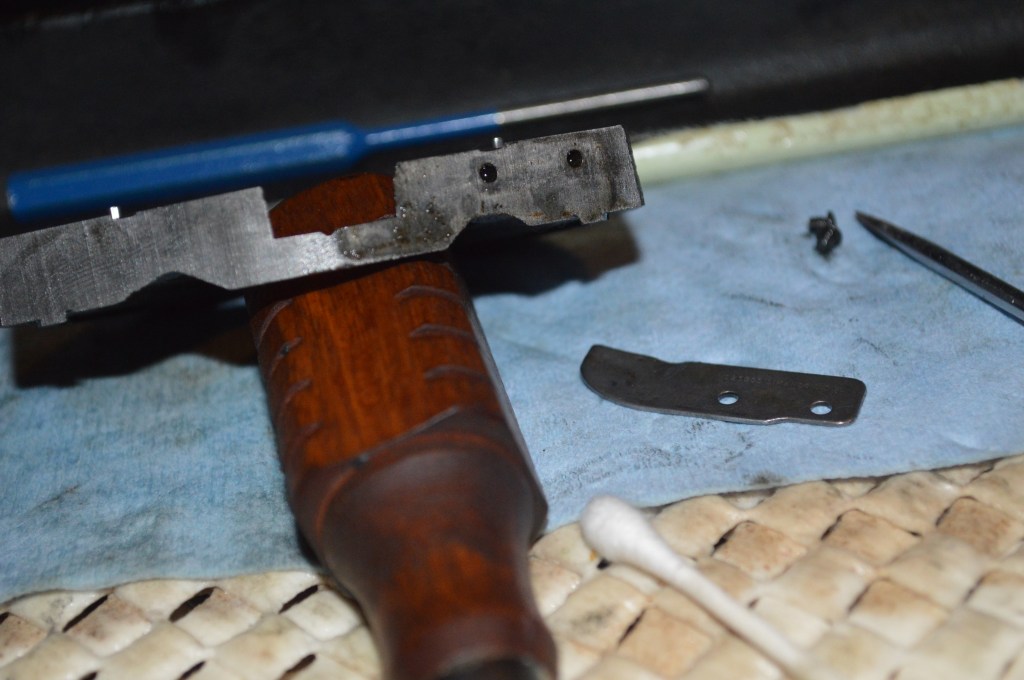
You need to look under the covers… dirt hides here too
With the body stripped down, it is deep cleaned. It looks much better, but there are some paint conditions that need to be repaired with color matched paint. To prevent any damage after the cosmetic work is done, I will put the machine aside until all of the other parts of the restoration are done and the machine is ready to reassemble.
The next step is to restore the potted motor. This is a pretty extensive process and I will only highlight the major steps in captioned pictures. If you would like to see the complete motor restoration process, I have posted a detailed tutorial you can find by following link… https://pungoliving.home.blog/2019/12/31/a-tutorial-restoration-of-a-vintage-singer-potted-motor/. Please return here to pick up where I left off. Because the bobbin winder assembly is integral to the motor housing, it is disassembled, cleaned, and reassembled along with the motor.
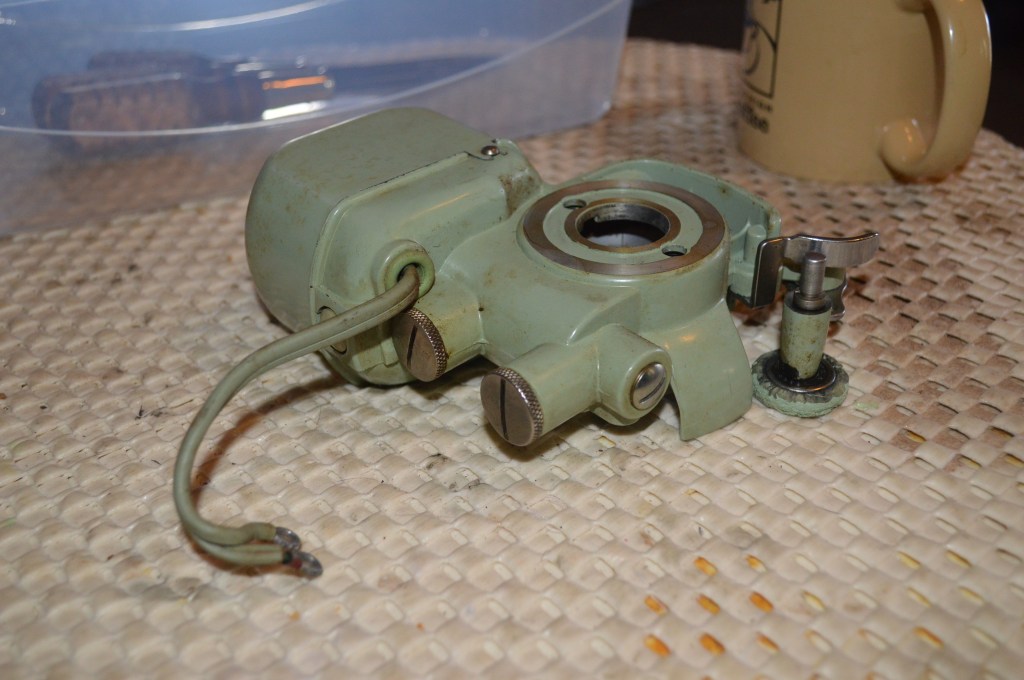
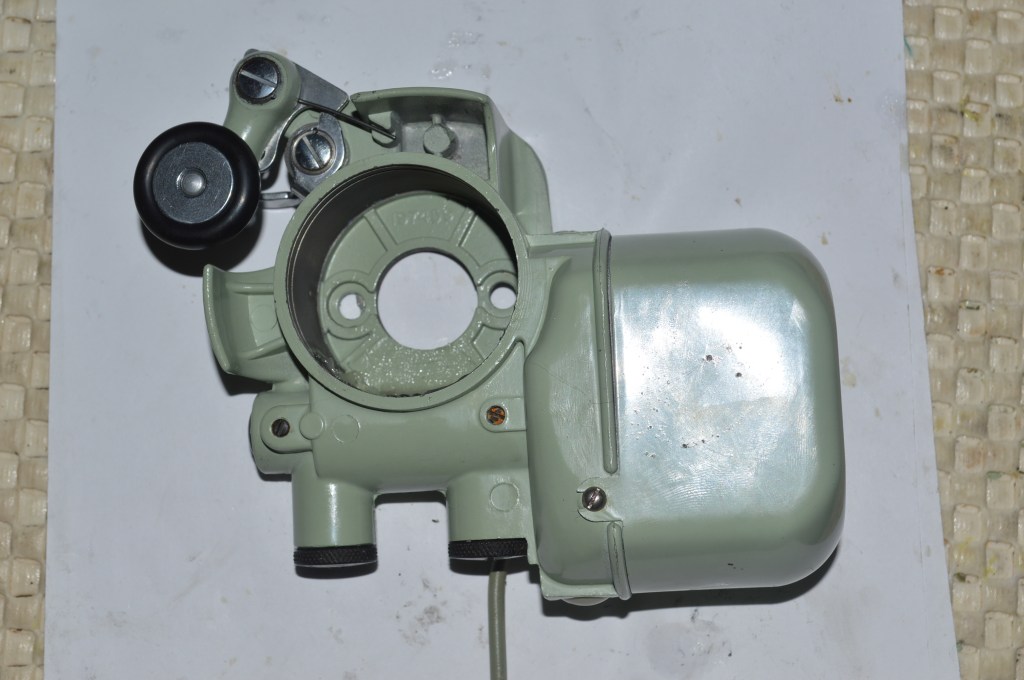
Motor before disassembly 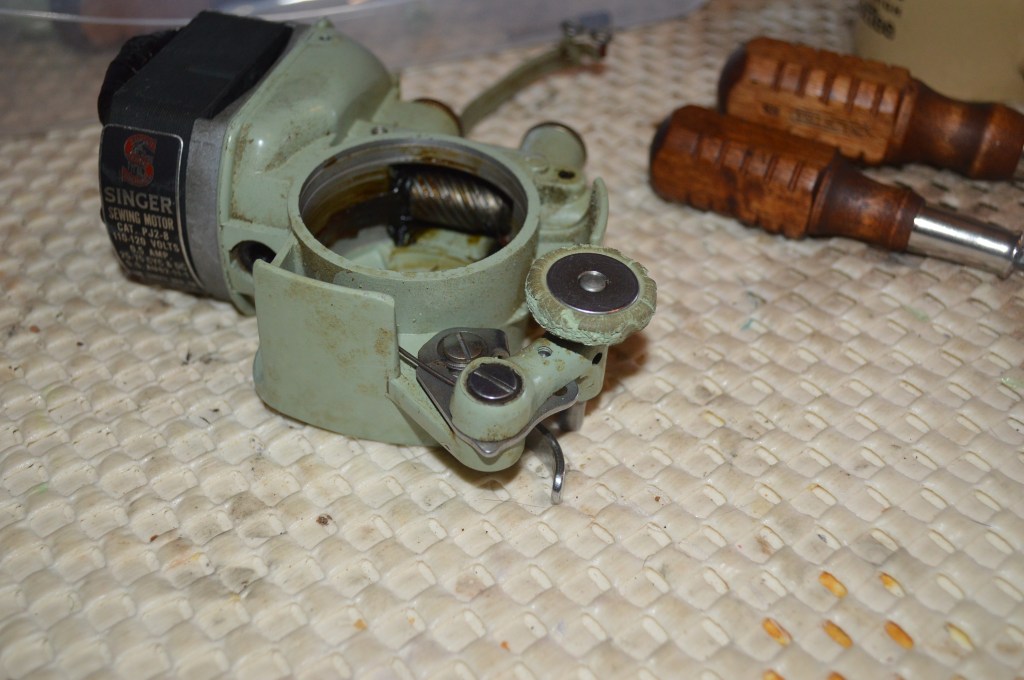
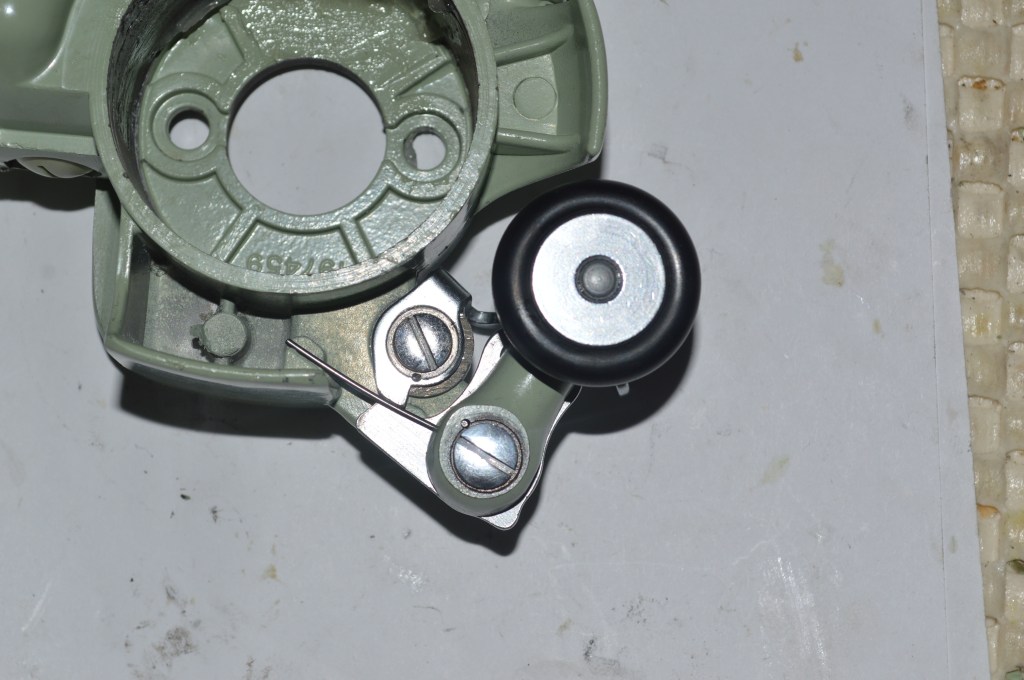
Note steel worm gear
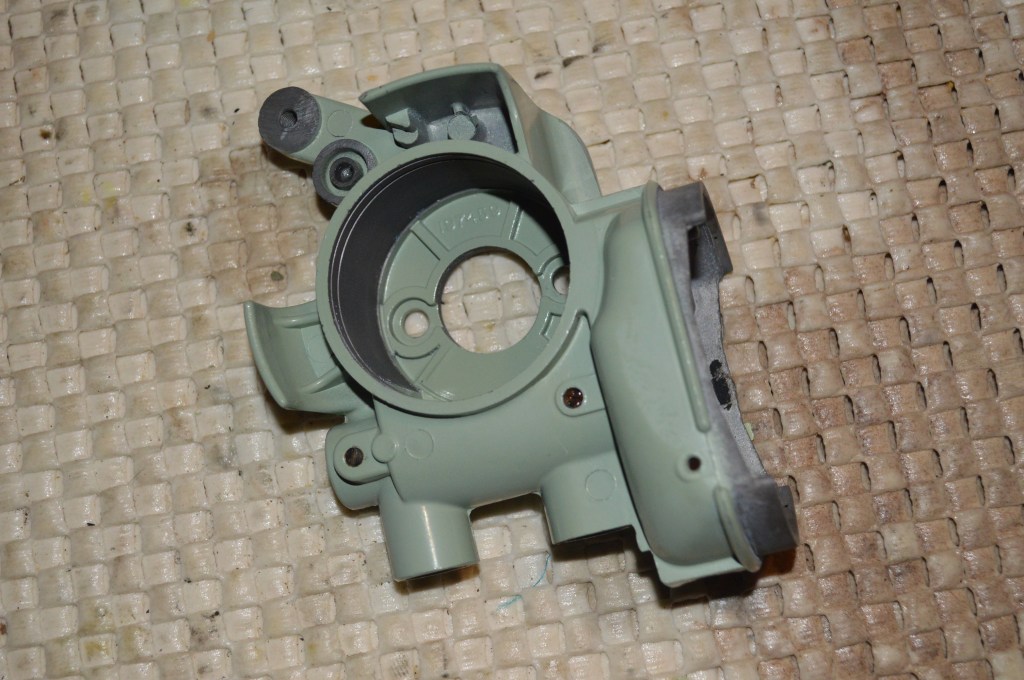
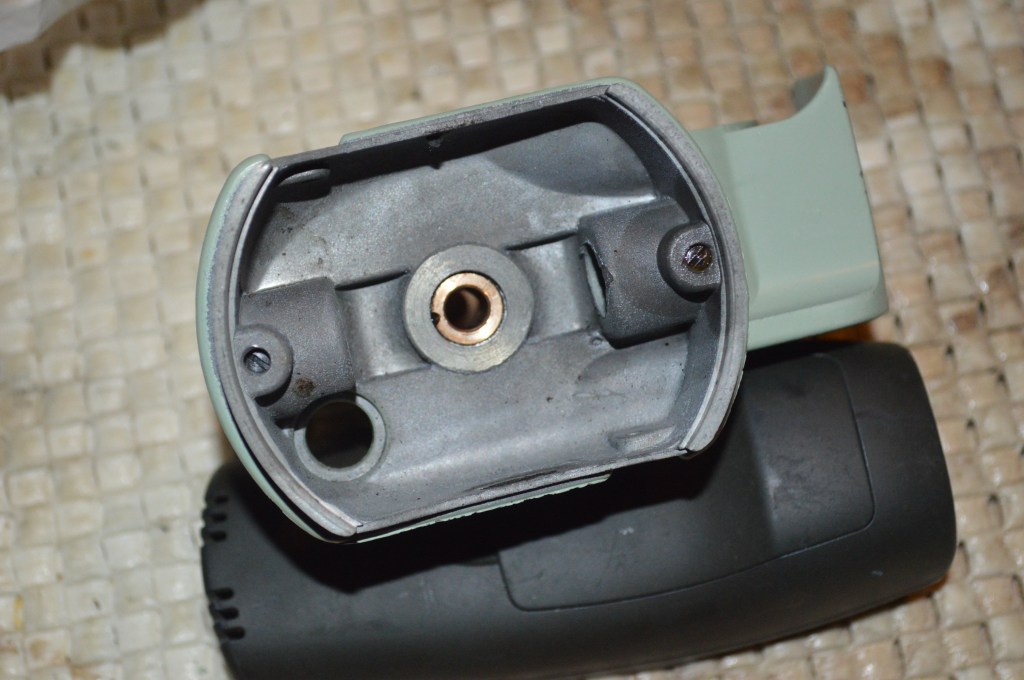
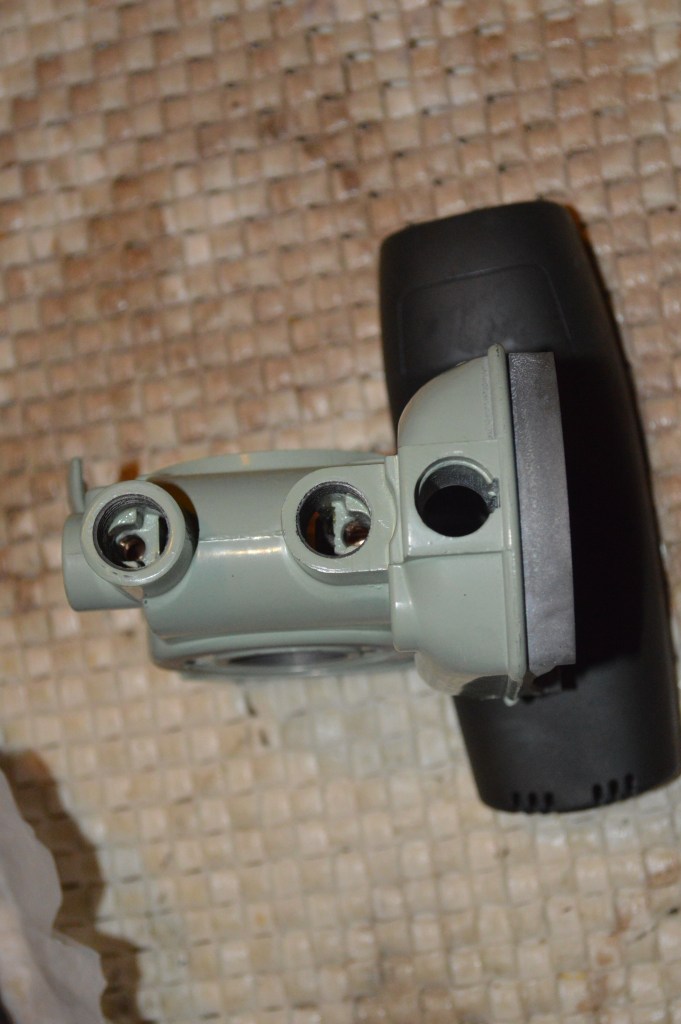
The motor is completely disassembled and all of the parts are cleaned. The motor housing and steel worm gear are cleaned in kerosene to remove all old grease packed in the grease wick tubes and in the housing. Compressed air ensures that any grease remaining in hard to reach places inaccessible by hand. Then, ultrasonic cleaning removes any remaining trace of grease and the film of kerosene.


The armature commutator is turned in a lathe to resurface the motor brush contact area. The shaft is measured with a dial indicator to ensure the shaft is centered and runout eliminated, and then the new surface is cut. Only a very small depth of cut is required… less than two thousands of an inch, but the result is a smooth and perfectly round contact area for the motor brushes. This ensures long brush life and a balanced motor.
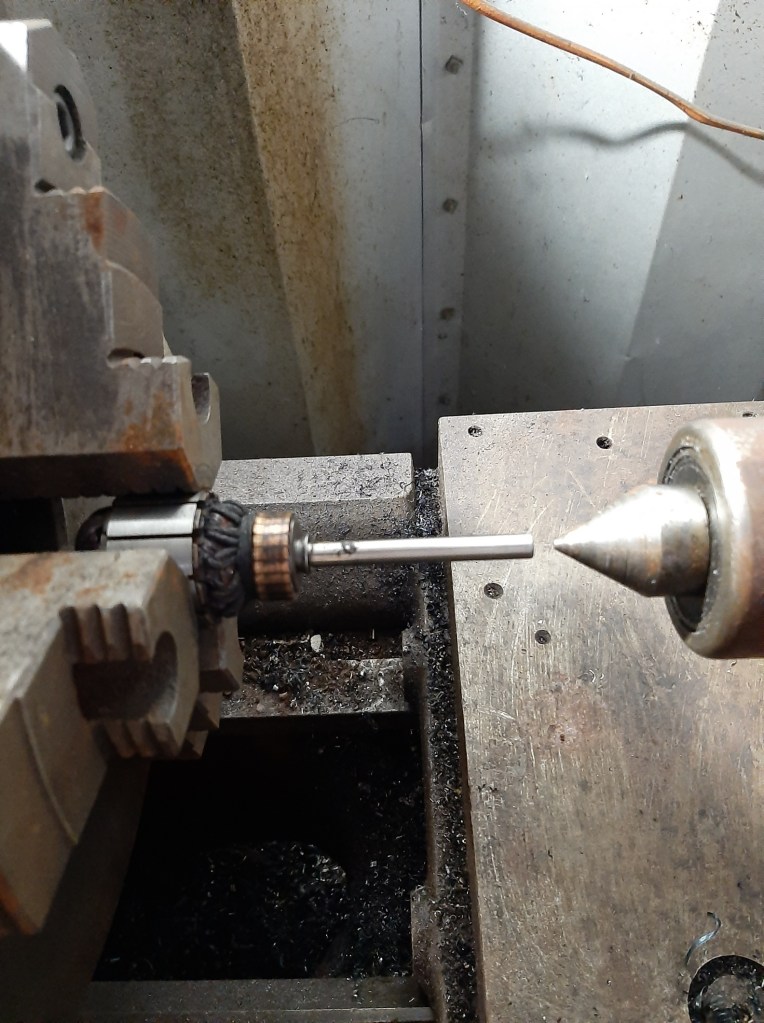
Setting up for cut 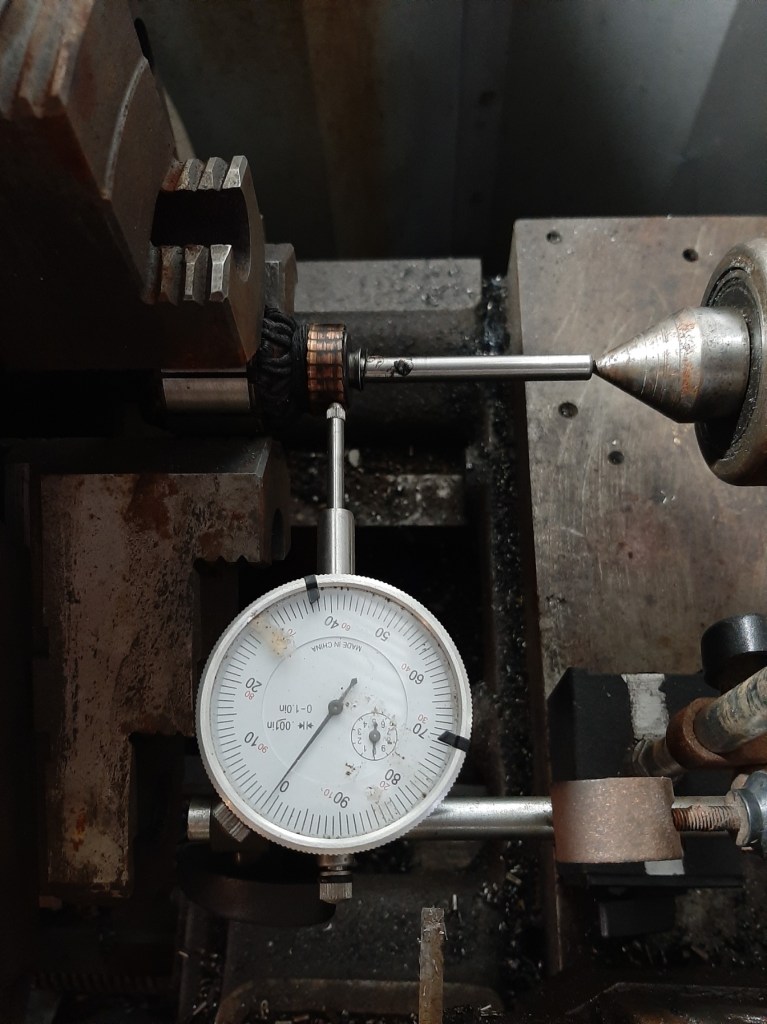
Measuring runout at commutator, and then at end of shaft 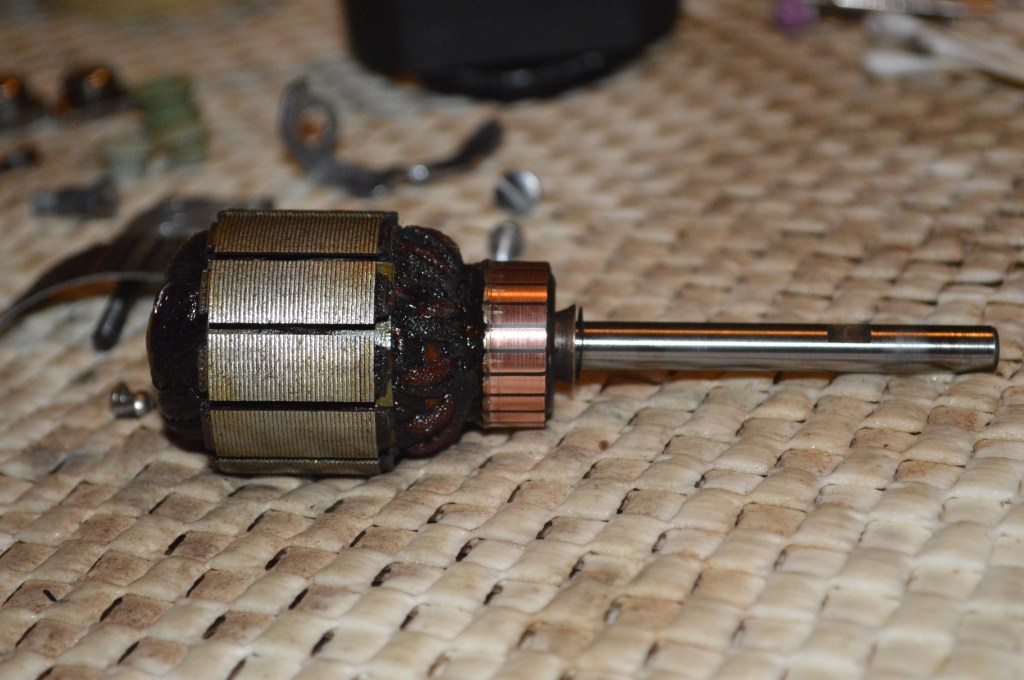
Resurfaced commutator
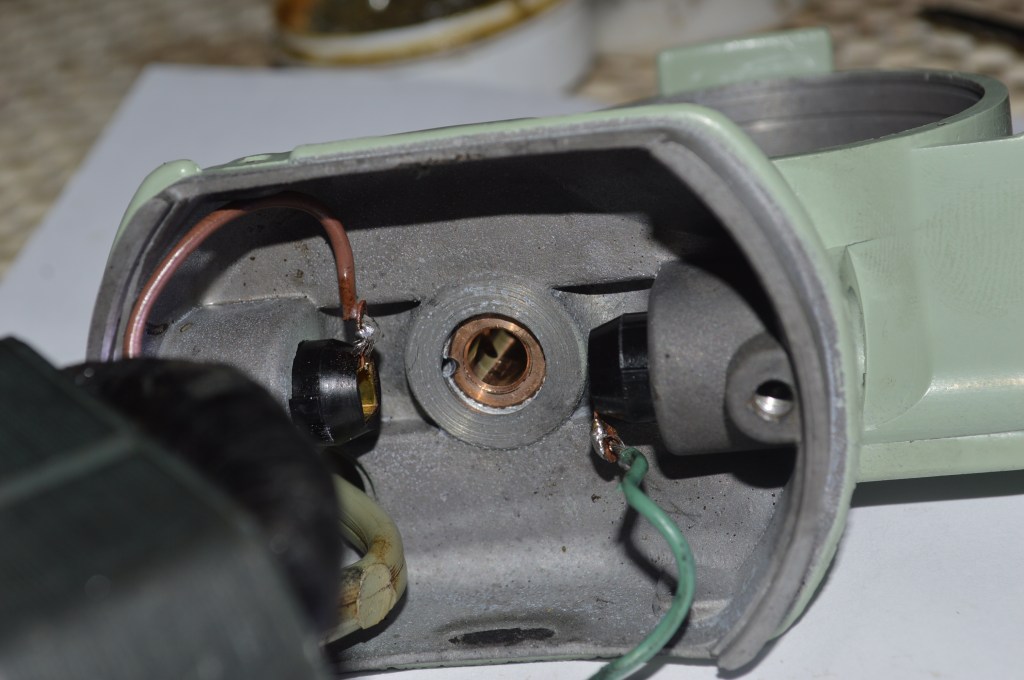
The motor power wires are still supple and it is not necessary to replace them… same with the wire grommet. This is great because the green wire color is correct for the machine and very difficult to match prior to reassembly. All that needs to be done is to clean them.
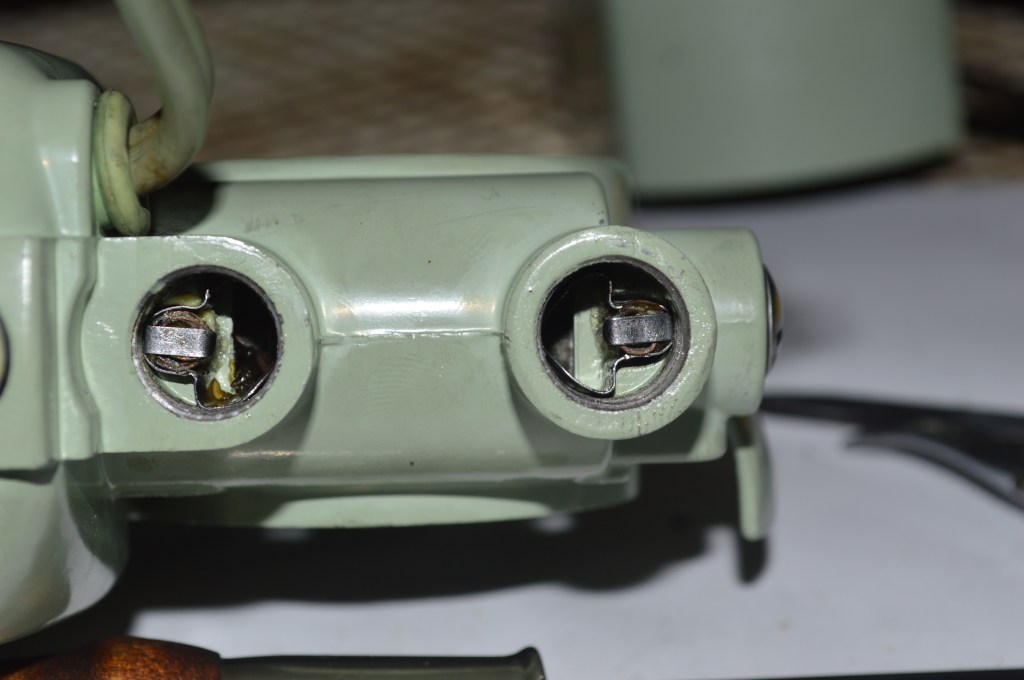
The brush tubes are reinstalled and the field coil wires are re-soldered to the brush tube contacts.
Because the motor commutator has been turned down, the motor brushes must be reconditioned. This simply means that the curve worn into the graphite composition brush must be made flat. This is the surface it would have if new.

Before reconditioning… the curve on the brush end is normal wear 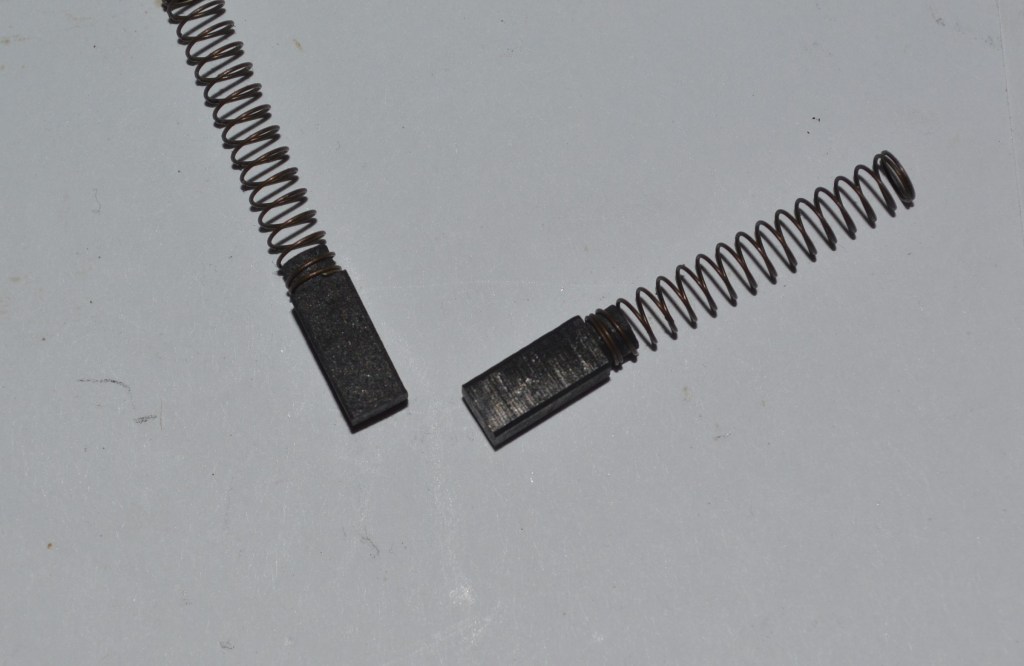
After reconditioning, the end of the brush is ground flat
The motor and bobbin winder assembly is reassembled.

The grease wicks are reinstalled and the grease tubes are then filled with lubricant.
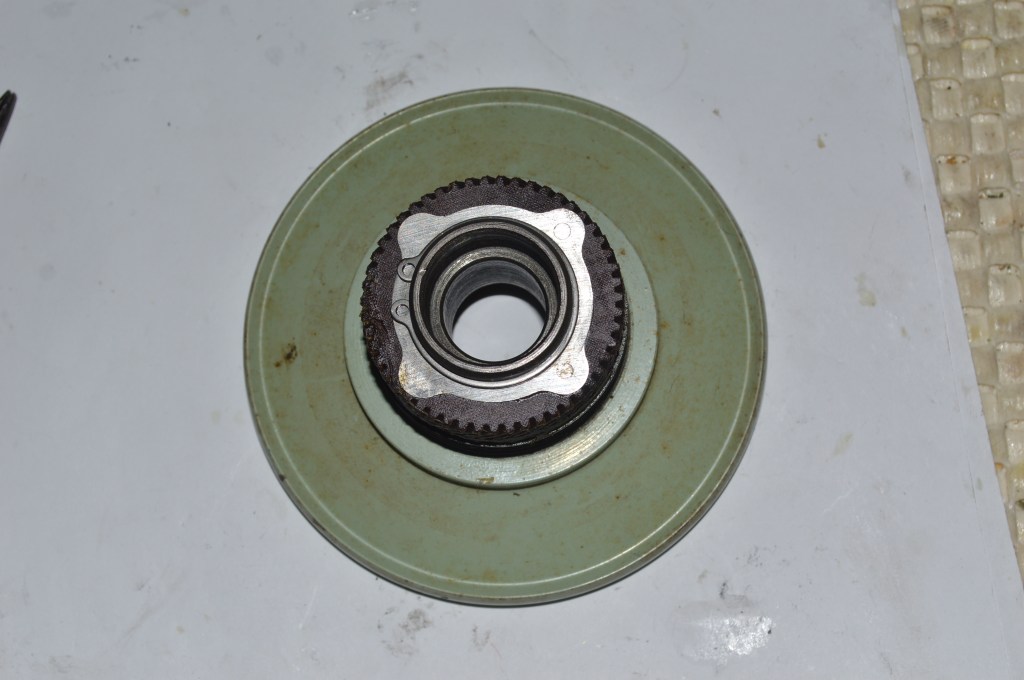
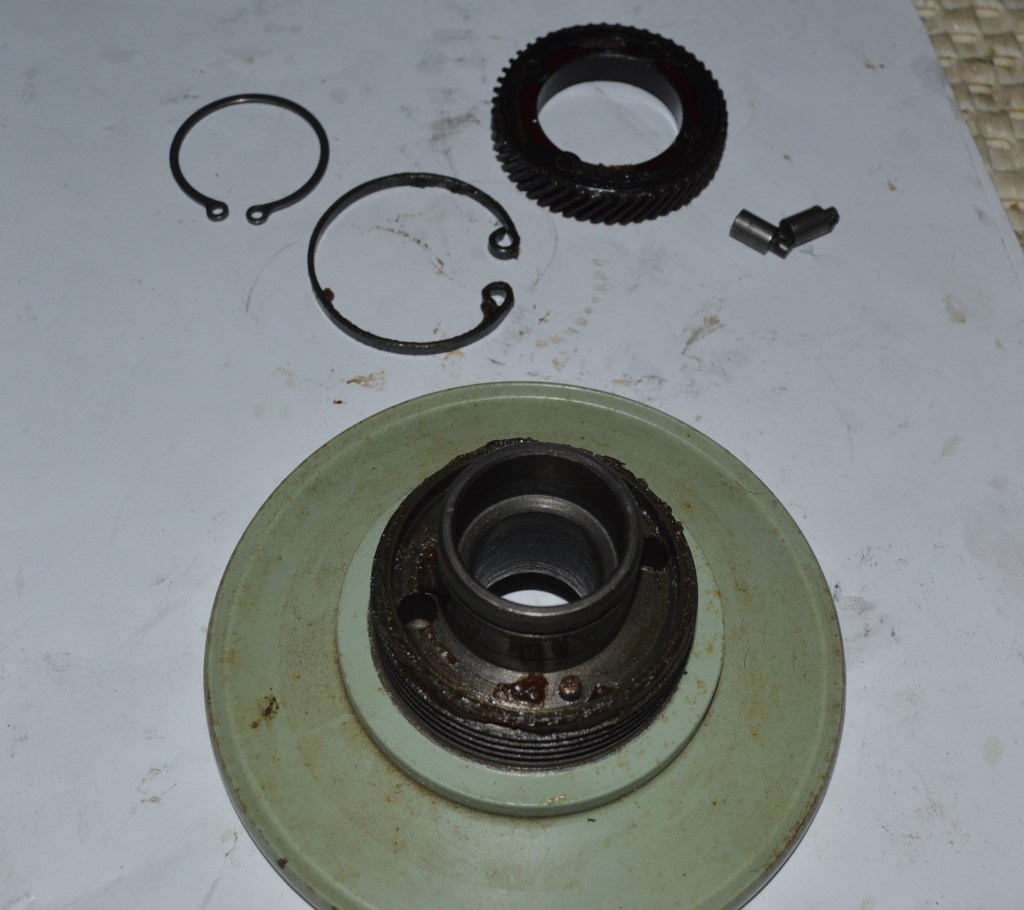
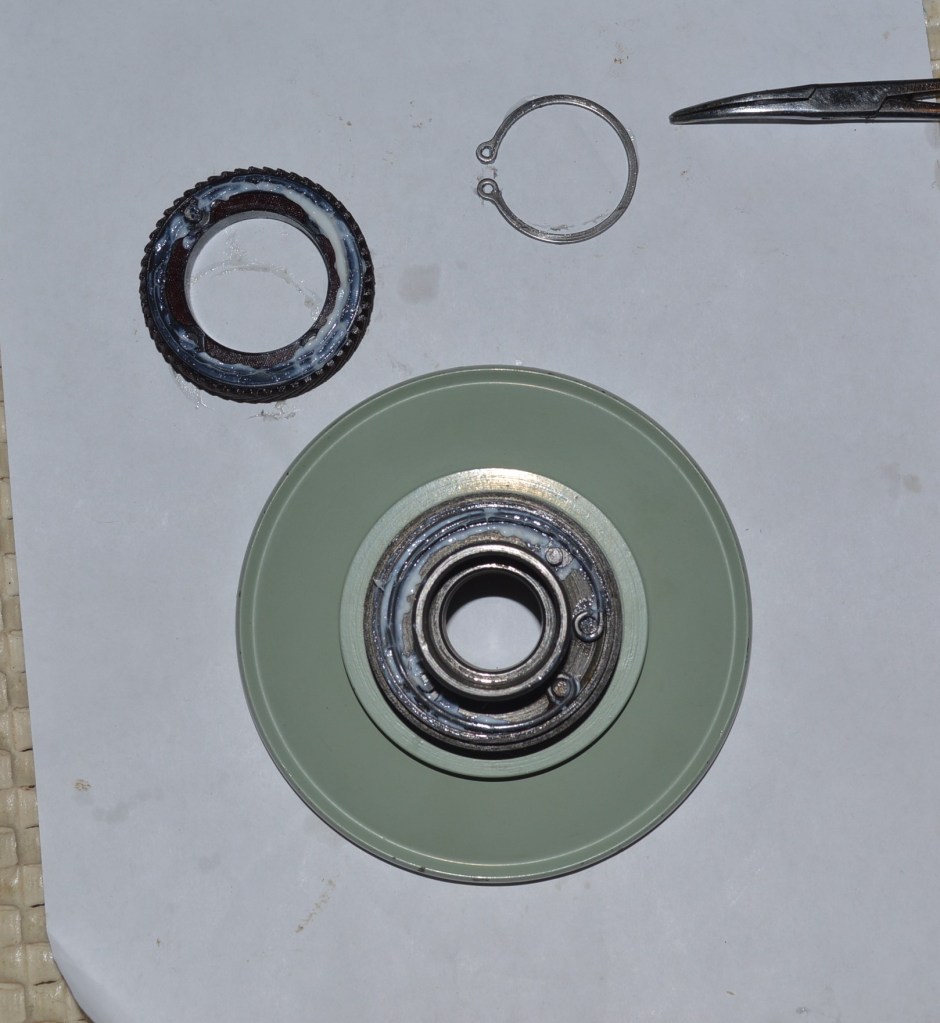
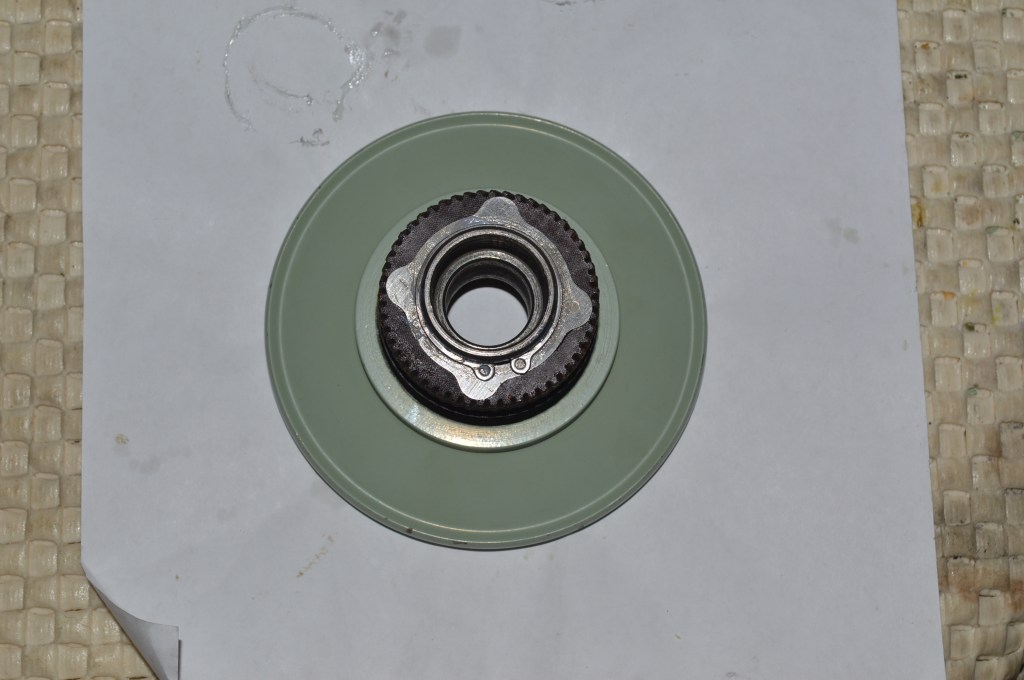
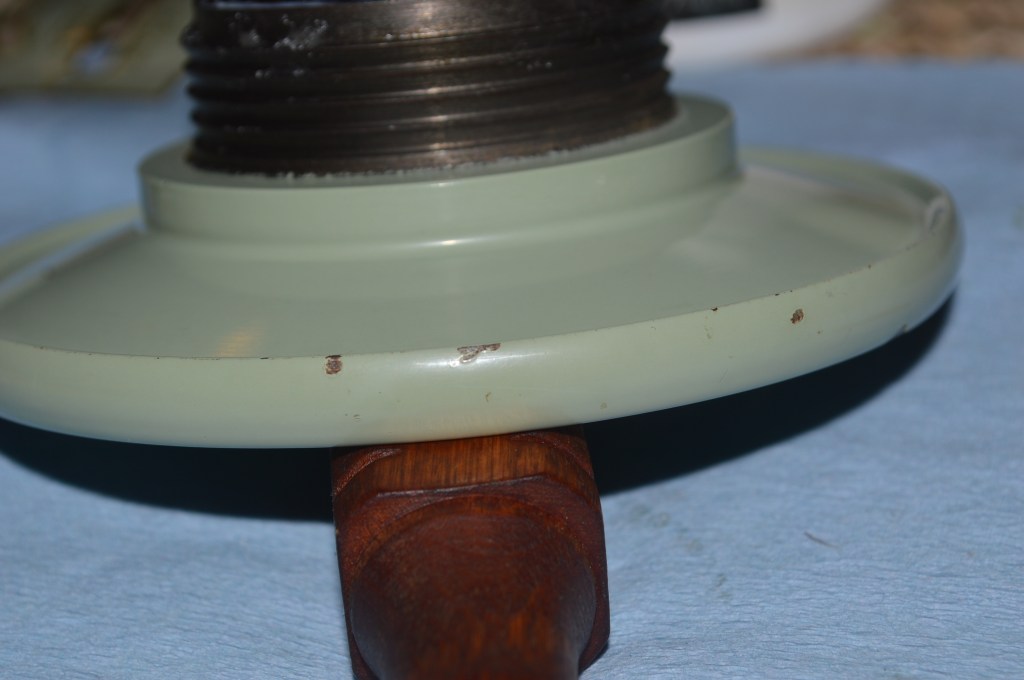
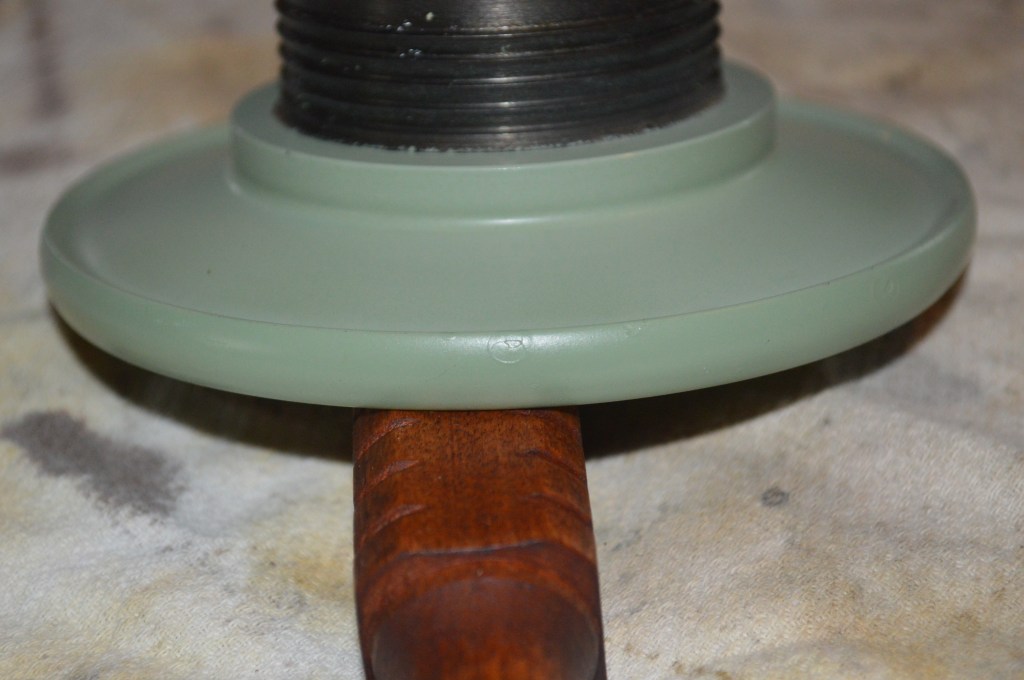
An important part of the motor restoration, the balance wheel is disassembled, cleaned, re-lubricated, and reassembled. Again, it is shown and captioned in pictures, and a detailed tutorial can be found at this link… https://pungoliving.home.blog/2020/01/08/a-tutorial-restoring-a-singer-201-2-or-singer-15-91-balance-wheel/.
There are only a few components to disassemble, clean, and re-lubricate, but this is a part of a potted motor equipped machine restoration that is important to do…
Now the tension assemblies are disassembled and cleaned. There are two tension assemblies… the top tension control we are all familiar with, and the bobbin tension assembly you may not be familiar with. This is simple and straightforward, but a very important part of any restoration.
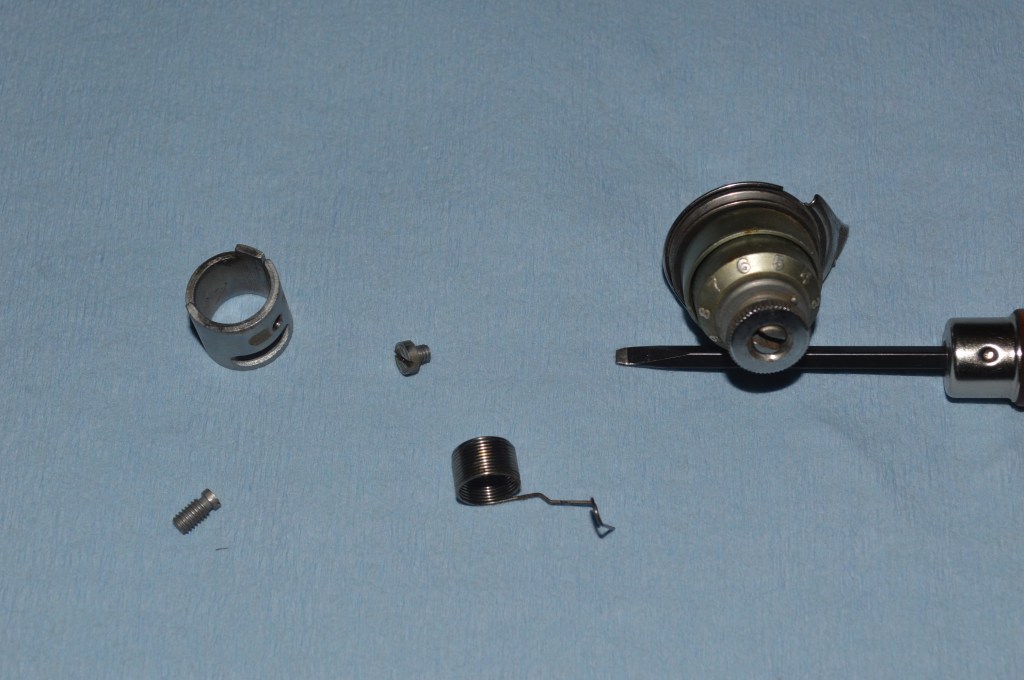
Tension post has a groove in it… 
The groove is polished out 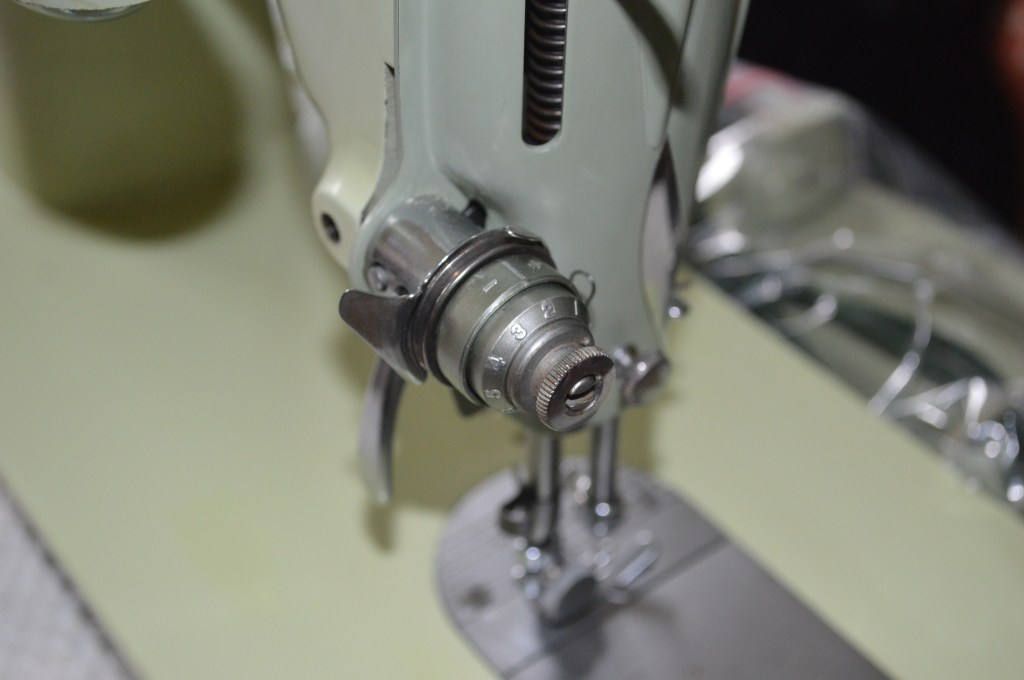
If you look at the picture of the tension post, you will see that it has dirt and a slight groove in it. This is important because the tension post is directly in the thread path. Any obstruction to the smooth passage of thread can result in uneven tension. Not only is the thread pinched between the tension discs, it also has to wrap under the post. The thread changes direction here, going from down to up. The thread post must be smooth to allow the thread to slide smoothly against the post as it changes the direction of the thread. While it is not often I see any problem with a tension post, it is necessary on this machine and so it is polished smooth. It is often recommended to clean the tension assembly by passing a piece of cloth between the discs. While this is better than nothing and is worth doing, keep in mind it will not clean the post.
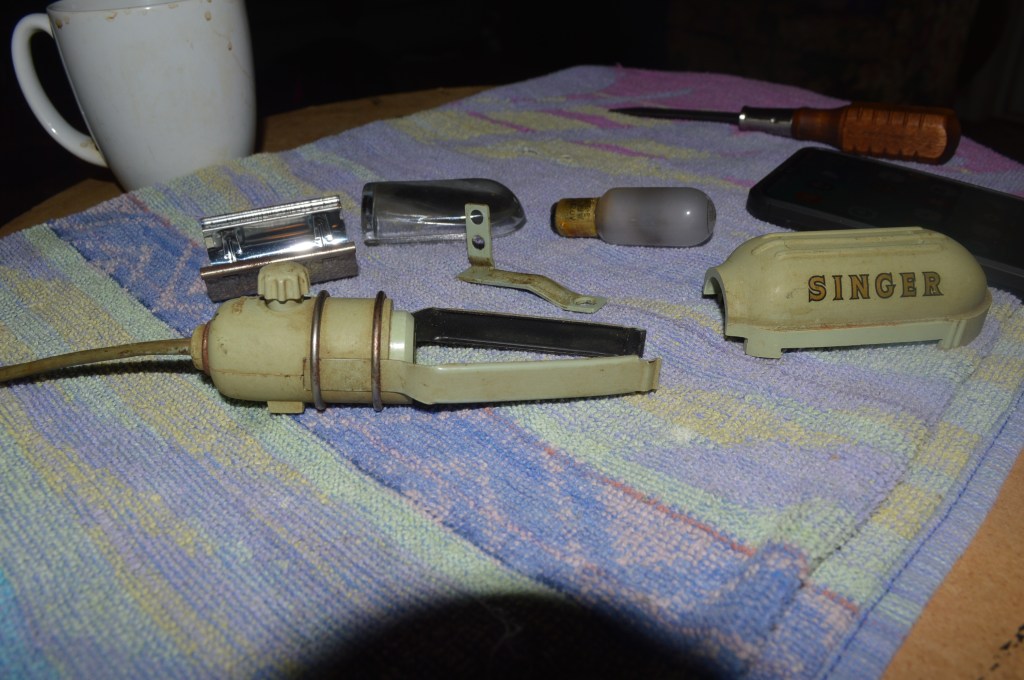
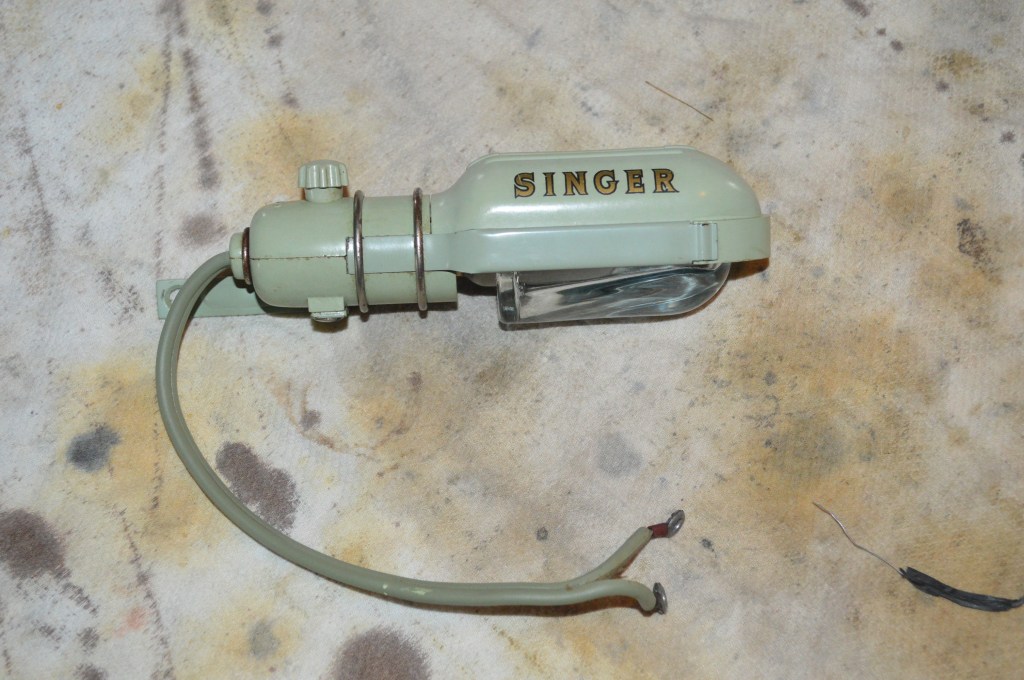
Next comes the light. Like the motor, the wires are in good condition and I am going to reuse them. There is no practical reason to disassemble the light completely so it is cleaned by hand.
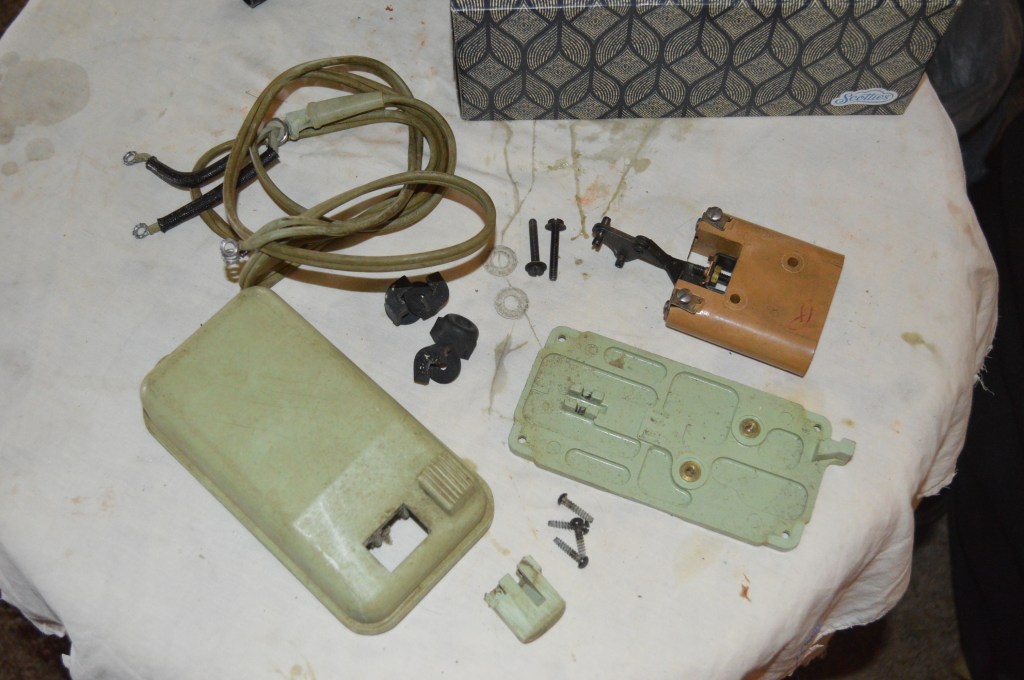
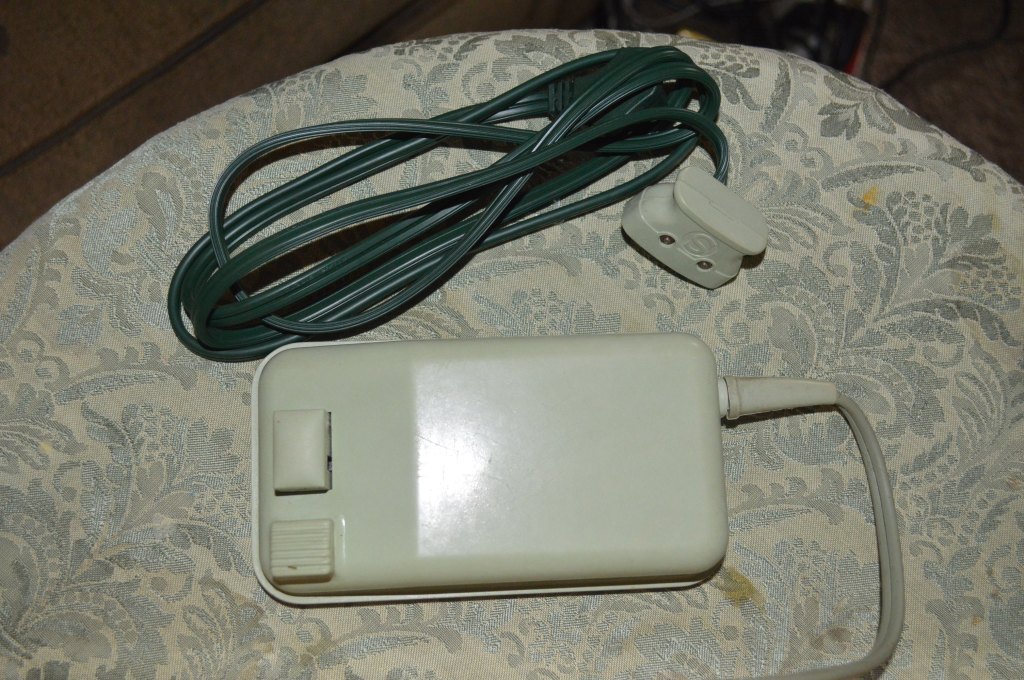
The last item to clean is the foot controller and to replace the power cord. The foot controller is disassembled and thoroughly cleaned. The original mint green controller cord is in good condition but needs to be cleaned. Unsuccessful at matching the mint green color for the power cord, I opted for dark green… white was my other option. The carbon pile controller is inspected and checked for proper adjustment. Finally, everything is ready to reassemble on the machine.
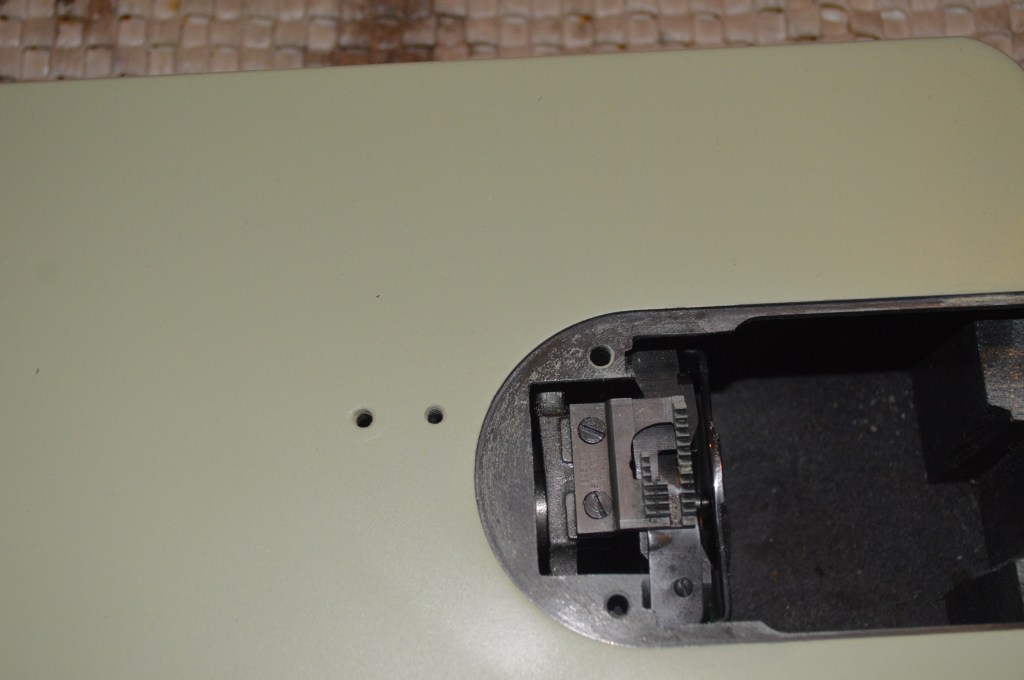
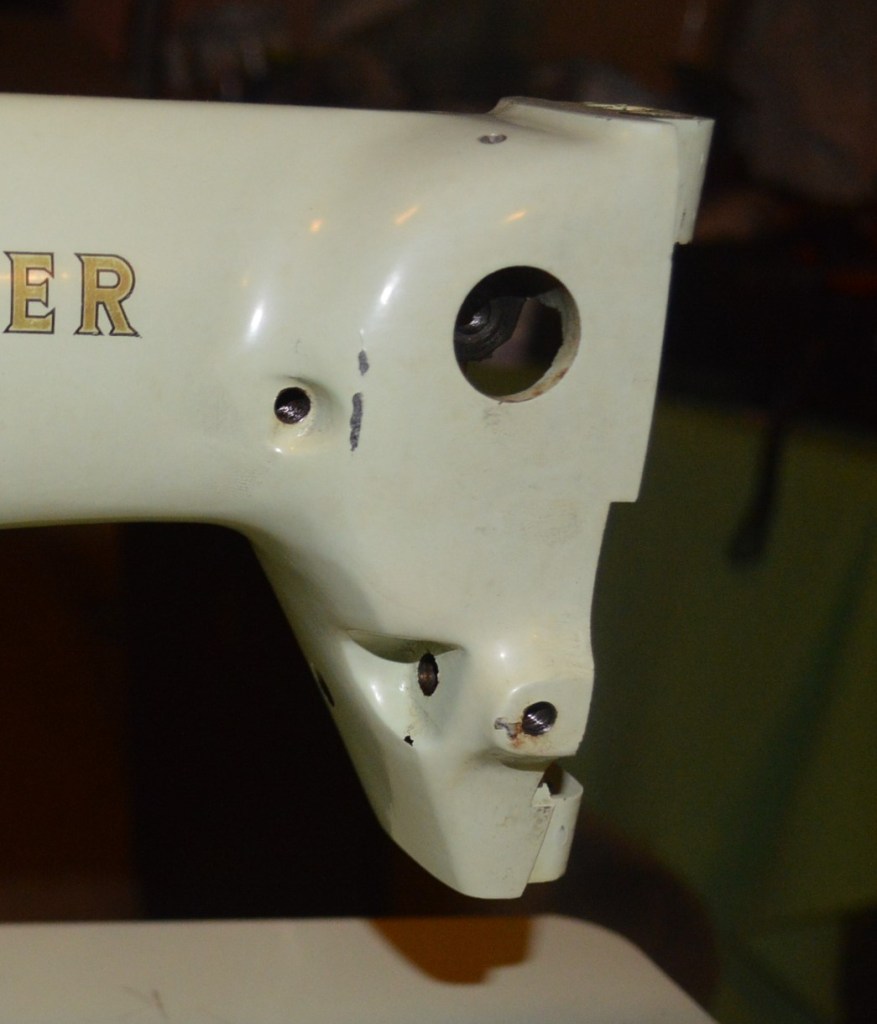
Now comes the fun part! In preparation for the cosmetic restoration, I noticed that a screw had twisted off in one of the threaded holes on the bed of the machine. In order for me to remove this without damaging the screw hole threads or the bed, I decided to separate the sewing arm from the bed of the machine. While this is certainly NOT something that needs to be done in a normal restoration, it will make it easier to correct the cosmetic defects in the bed… so I’ll take advantage of it. Fortunately, the two halves are indexed with dowel pins, so proper alignment is assured when they are mated together again.
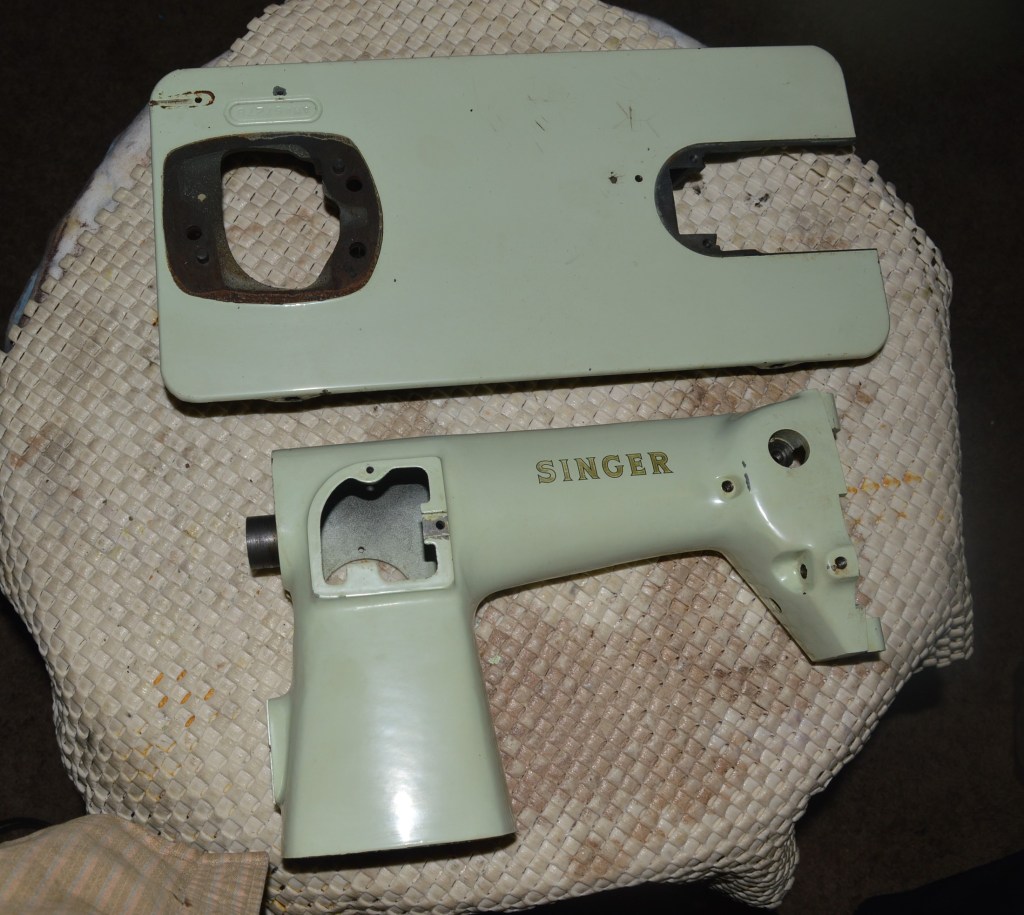
Machine separated at pillar 
Alignment dowels 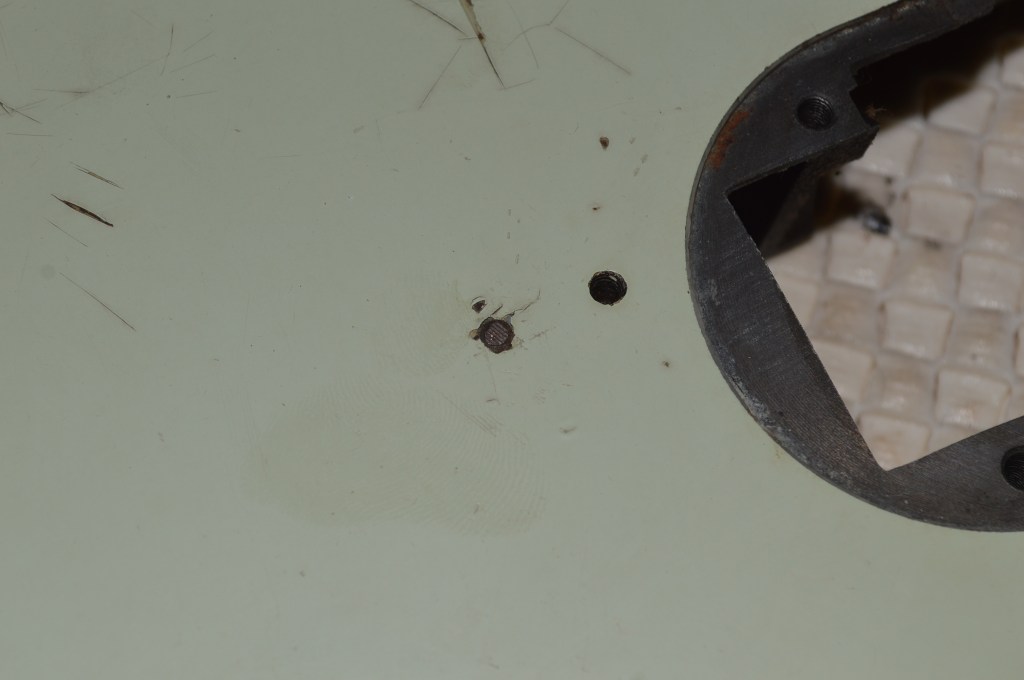
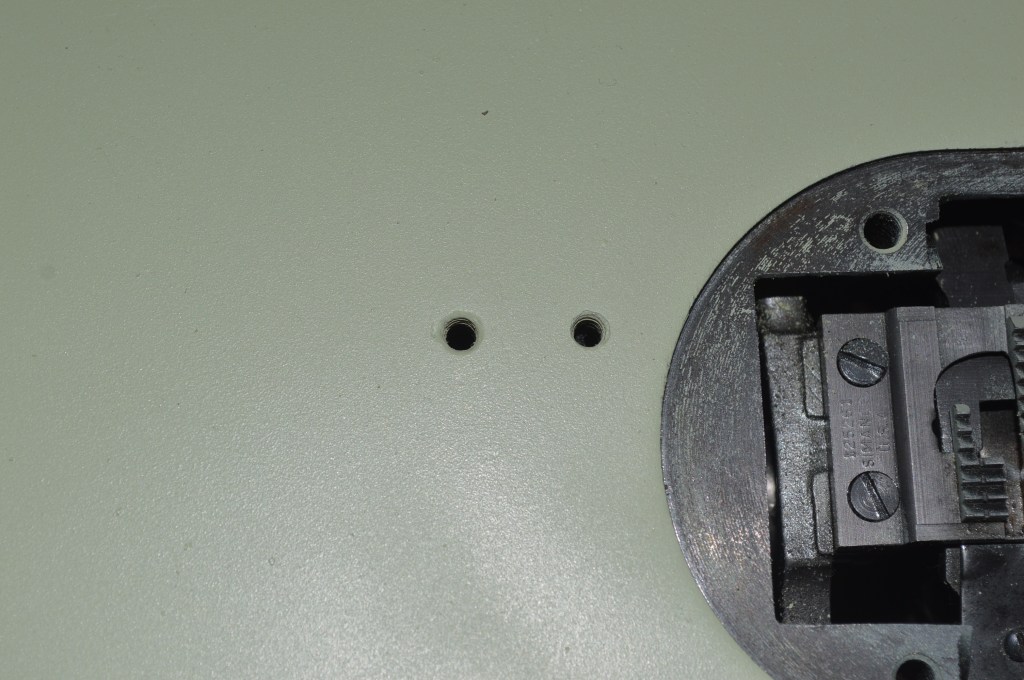
Screw needs to be drilled out and the hole re-tapped
Once the screw is drilled out and the hole re-tapped to renew the screw threads, I can take steps to begin the cosmetic restoration. While I did not anticipate taking the next few steps when I started, you have to keep in mind that every sewing machine restoration needs something different, and in this case, it is going to an extreme to get it.
The next step is to assemble the sewing mechanism under the bed of the machine. These assemblies won’t get in the way of the cosmetic restoration and it will minimize handling later. The motor and front sewing machine head assemblies are saved for last. Because the bed is separated from the pillar, it is easily accessible for color paint matching. Starting off, the entire bed surface is wet sanded with 800 grit sandpaper. My paint match is extremely close, so I am looking for an invisible repair. While paint chips on the edge of the bed and larger chips can be filled using a brush and leveled with wet sanding, hiding scratches and chips on the bed needs a finer application technique. To achieve this, I use an air brush to apply the paint. The result is a near perfect match with no lines in the paint to spoil a smooth finish.
Bed sanded and prepped for paint…

Bed repairs after paint matching…

This is the bed after paint matching but before top coating… eh, I said top coating. While I always strive to keep the original finish intact, the bed on this machine was sanded. The whole machine will need to be top coated to make it look uniform.
Other chips are similarly repaired. Here are the other places that repairs are done with prep and paint matching.

For some reason this spot really bothered me… 

Anyway, now the cosmetic repairs have been done, it is on to the final top coat and finish. The machine halves are reassembled, and the seam at the pillar and the base are touched up with paint. An artist brush is used here.

Before 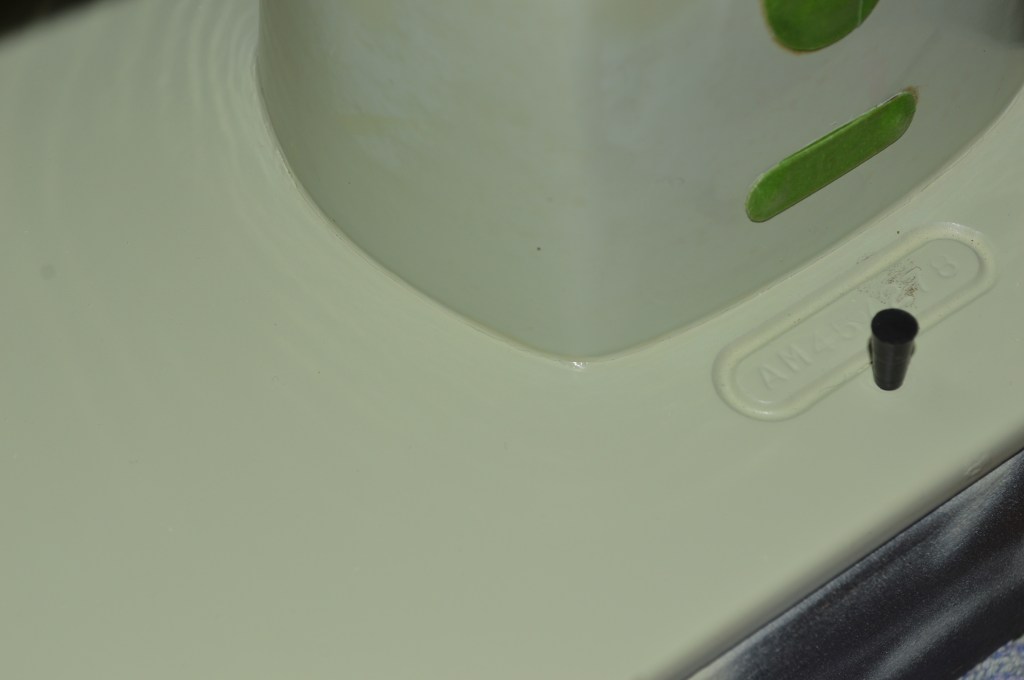
After 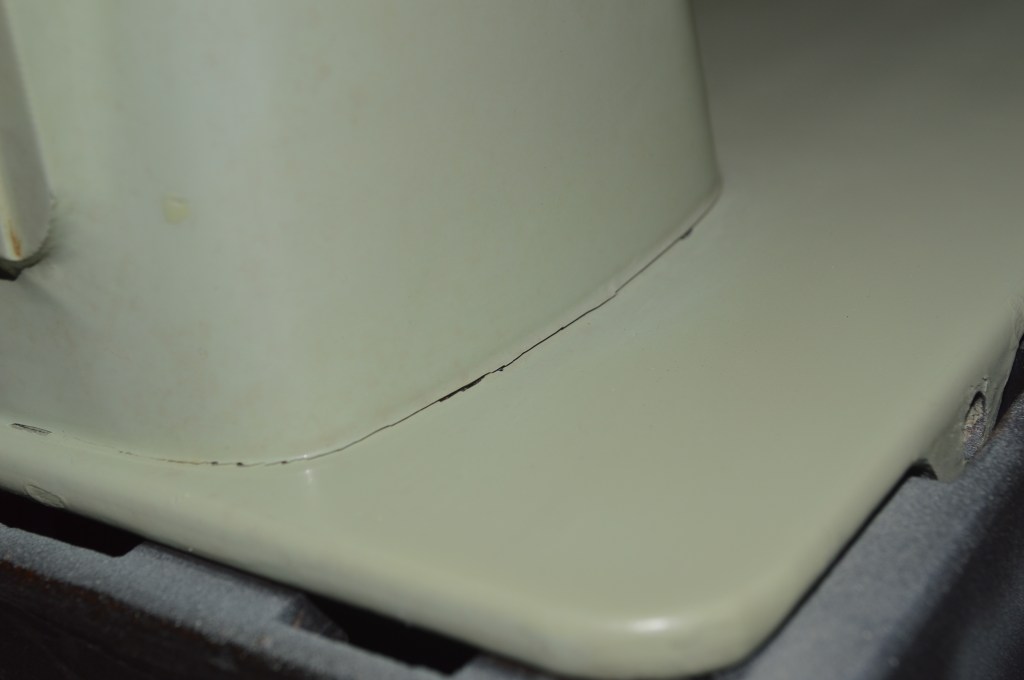
Before 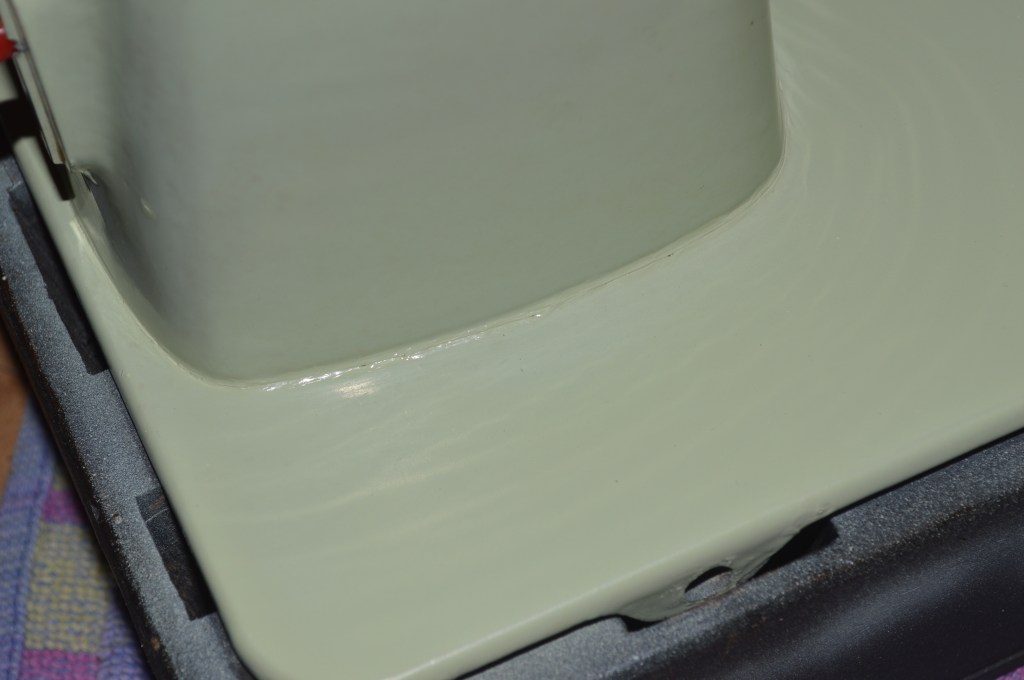
After
Finally, the machine is prepped for the top coat. I am using a water based polycrylic finish, because it is extremely durable and drys crystal clear.
The plan is to apply two coats. The first will level any imperfections and wet sanded with 800 grit sandpaper. Because this the last chance to correct any defects. Again, I need to manage my expectations… the purpose of color matching is to fix any imperfections that take away from the look of the machine, not to repaint the machine. Even after all of this preparation and work, there will be some very small defects remaining… I do not want to erase 62 years of this machines history. I will evaluate the machine before the final coat and make any final touchups I want to make( if any) before the second coat. The second coat should require no additional finishing except for glaze polishing.
With the cosmetic restoration completed, the machine is completely reassembled and all necessary adjustments are made… almost done.
Like the Singer model 66, the model 15 needs to be used in a sewing cabinet or a base. Because this restoration is for resale, my option is pretty much limited to a base. The base is constructed with select 3/4″ clear pine and finished with a light color stain to accentuate the machine’s mint green color.
That’s it! This machine has had a complete restoration and it looks and sews great! For comparison, here is the before pictures…


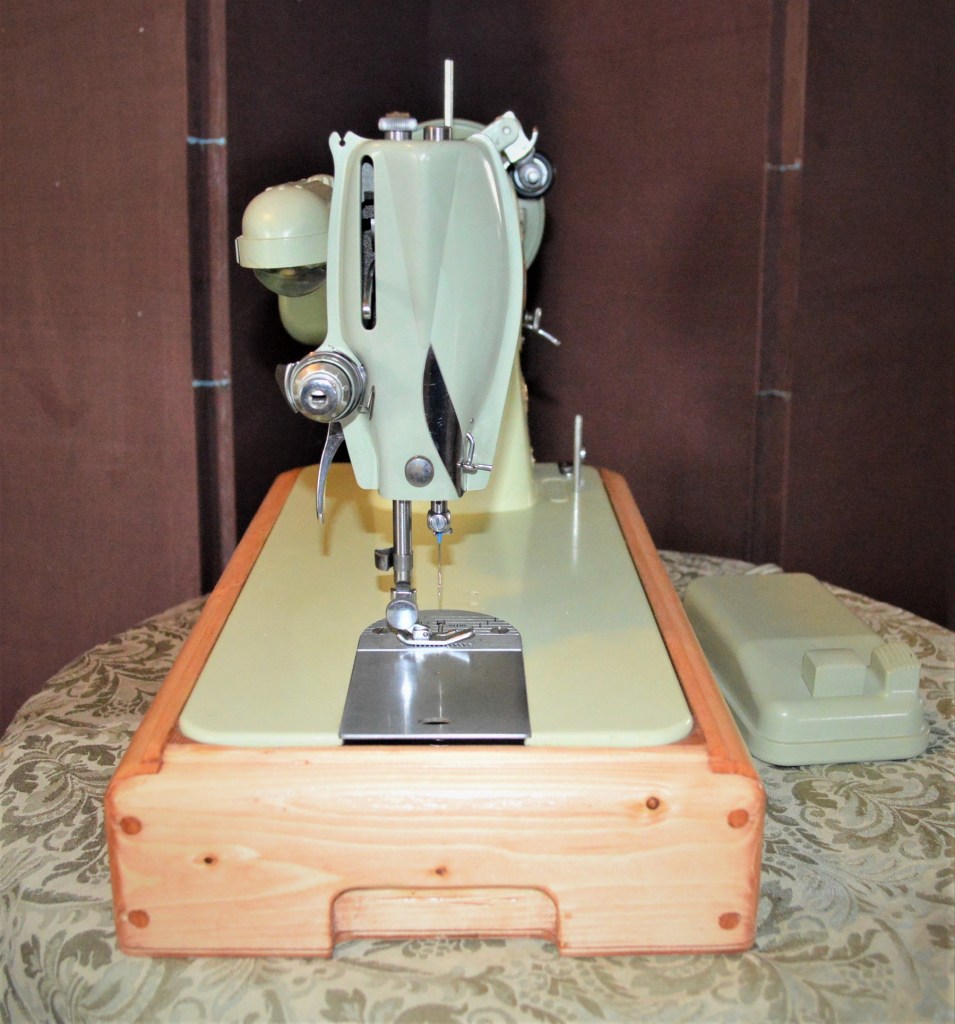
And the pictures after restoration…
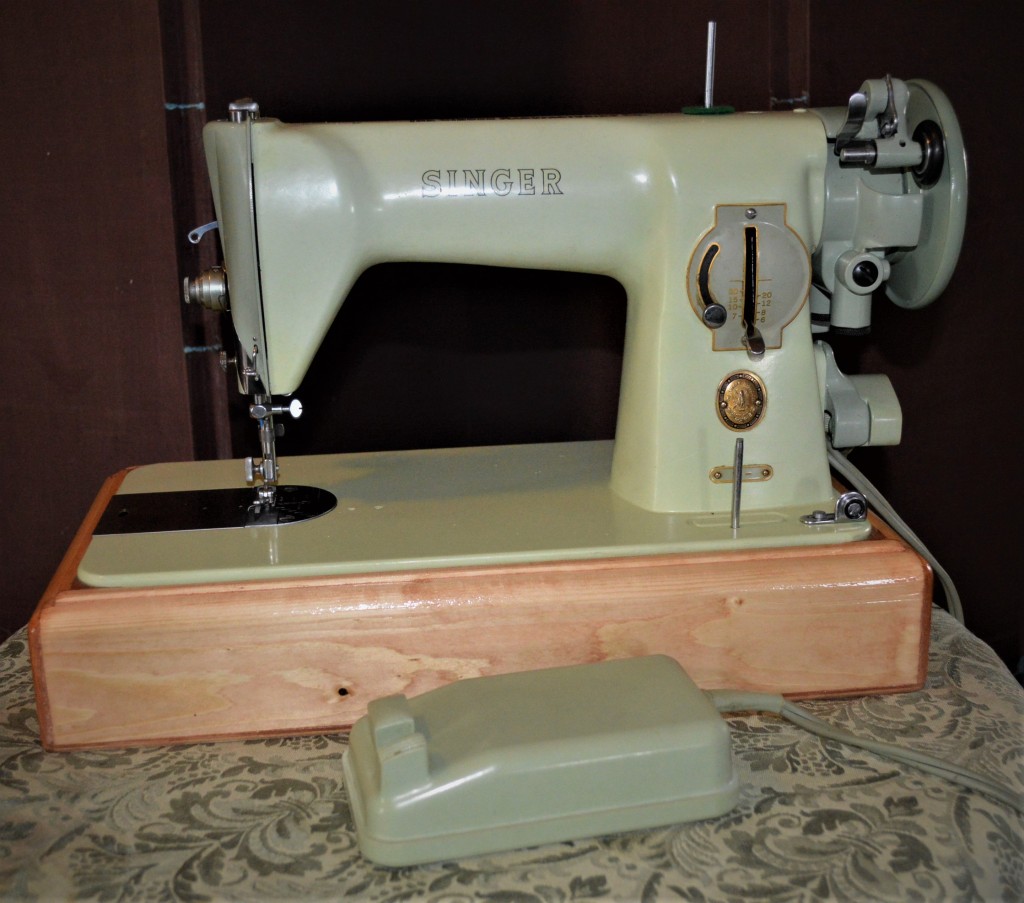
Oh… almost forgot. Lets take a look at the stitch… like all properly adjusted Singer Model 15’s, the stitch is great… straight and well balanced.

While this restoration involved much more work to complete than I initially expected, every wonderful Singer sewing machine of this vintage needs something different. This machine is no exception, but my philosophy is to give each machine what it needs… I don’t really know going into it what that will be, but if it requires extra attention, that’s just fine with me. The end justifies the means and I look forward to this Singer Model 15-91 getting back into the stream to be used and passed down for generations.
If you like what you see please visit our Etsy store at https://www.etsy.com/shop/pungoliving, and see this beautiful model Singer Model 15-125 and all of our other restored fine quality vintage sewing machines. If you have any questions, please contact Lee at Pungoliving@gmail.com.
Thanks!

Really, really beautiful! I have this machine and adore it. I have many vintage machines and really admire the craftsmanship you put into restoring this. I have never seen paint matching done so well. Very impressive!
LikeLike
Thank you! I’m glad you enjoyed my reading my blog. I’ve done about 100 restorations on various machines, and I have learned something from each. Each machine is a little different, some need more attention, some need less, but they are well worth the effort. Your machine is of unmatched quality from any sewing machine you could purchase today.
I’ve got some other restorations lined up and I invite you to come back from time to time and visit us again.
Have a blessed day,
Lee
LikeLike
Hello! Do you restore sewing machines as a business? I have this same model, plus a few others (including my grandmother’s) that I’d like to restore. I know a lot about them but don’t have any idea about paint and stuff like that. You can email me privately, if you prefer garfieldcali@yahoo.com -Thanks!
LikeLike
Hello, I do a limited number of restorations for machines that are local. Unfortunately, shipping damage is a great liability and packing and shipping to expensive to justify the cost.
Thanks for asking and have a great day!
Lee
LikeLike
Wow, what a wonderful restoration! I just obtained a Singer 15-125 that needs some love, but is mainly in good condition. Husband is presently working on it right now. I found your blog just by luck.
LikeLike
Thank you Deborah,
A little oil and a little TLC and your 15-125 will sew great! I’m glad you found our blog useful. I have some tutorials on the motor and the balance wheel that you might find useful, so please feel free to search on the topics.
Have a great day!
Lee
LikeLike
What a great job.
I am restoring and painting a Singer 301 and need to figure out how to mask all of the holes. I noticed all your little pink pegs and other doodads that you used for this purpose. Could you please share some advice on how you did this.
Thank you.
Anita
LikeLike
Hello Anita,
I use silicone plugs that are available in size assortments on Ebay or Amazon. They are used for plugging holes for powder coat painting.
I find them invaluable and recommend using them for their low cost. Go with an assortment of 40 or more that has smaller sizes… 1/16″ to 3/4″. Many will not be used, but the ones you do use are perfect for painting sewing machines!
Let me know if I can be of any further assistance and have a blessed day.
Lee
LikeLike
Your blog post on the restoration of your 15-125 inspired me to start hunting for a 15-125 of my own. I was lucky enough to locate one recently, and brought it home last weekend. It had a few beauty marks on it and was VERY dirty, but seemed fine mechanically and was only missing the top thread post. Of course, cleaning it and performing a complete service became my top priority, and I’m about ready to thread her up and do a test drive.
I notice that before you restored your 15-125, its top tension assembly was cocked 45 degrees to the right, and during the restoration you moved it to the straight up position (slot being horizontal). Before I began my overhaul, my 15-125’s tension assembly was also cocked 90 degrees to the right. During the reassembly of its tension assembly, I also moved it to the straight up position – the same as my 15-91. I didn’t do any testing before my overhaul. Did you do any pre-restoration testing on your machine? If you did, did you notice any difference with the tension assembly straight up?
Oh, and thanks for your other post on overhauling the balance wheel on potted motor machines. I hadn’t even thought about doing that, and haven’t done it for my 15-91, 15-125, or 201-2s.
…Scott
LikeLike
Hello Scott,
The 125 is a nice machine and is mechanically the same as the 15-91. The orientation of the slot in the tension assembly is not important to the function of the tension assembly. For me, I put it horizontal because it just looks netter to me in that direction. If you think about it the way I do, a vertical slot has more potential to accumulate dust that turns into grime over time.
The orientation of the thread take up spring is important. The spring has a tab that fits into slots milled into the end of the tension shaft. I normally set the spring so it hangs at 6 the O’clock position when I assemble it. You can set a little looser without a problem, but more than 6 O’clock tends to make the spring too stiff. This is something you may want to play with because it does have a direct affect to the straightness of the stitch.
I hope this helps and answers your question, and please let me know if I can be of any further assistance.
Lee
LikeLike