

Once again I find myself in front of a Singer 201-2 sewing machine. I also have a cup of coffee that I am nursing as I evaluate it… yep, coffee and sewing machine restoration goes together like peas and carrots. I always enjoy going over these machines to figure out what they need to be as beautiful as they can be. Every old vintage Singer 201 sewing machine is a little different, not unlike other models but like a cat they all have nine lives (maybe more) and will live for many generations to come. They are all wonderful sewing machines and some need more, some need less, but when a restoration begins, they all get what they need.
Before getting to this machine, let me add a little history of the 201. Introduced in 1929 the 201 is considered to be the finest sewing machine Singer ever produced… arguably, some would say it was the finest sewing machine that anyone ever produced. The 201 is considered to be a “professional grade” machine for tailors and seamstresses, even considering its high cost for the time, women found that they could buy the 201, pay for it with Singer’s innovative for the time installment plan, and generate income from the machine at the same time. During the Great Depression, the 201 raised a cottage industry that did just that and helped keep families fed. Also referred to as the “Rolls Royce” of Singer sewing machines, it is said that Rolls Royce used the 201 in some of its upholstery fabrication. While I have seen differing accounts regarding this, it isn’t hard to believe. Need more accolades? The 201 is fit for the Queen! In 1947 the Singer Company presented Princess Elizabeth with a Singer 201. Such was it’s reputation. But what about this 201?
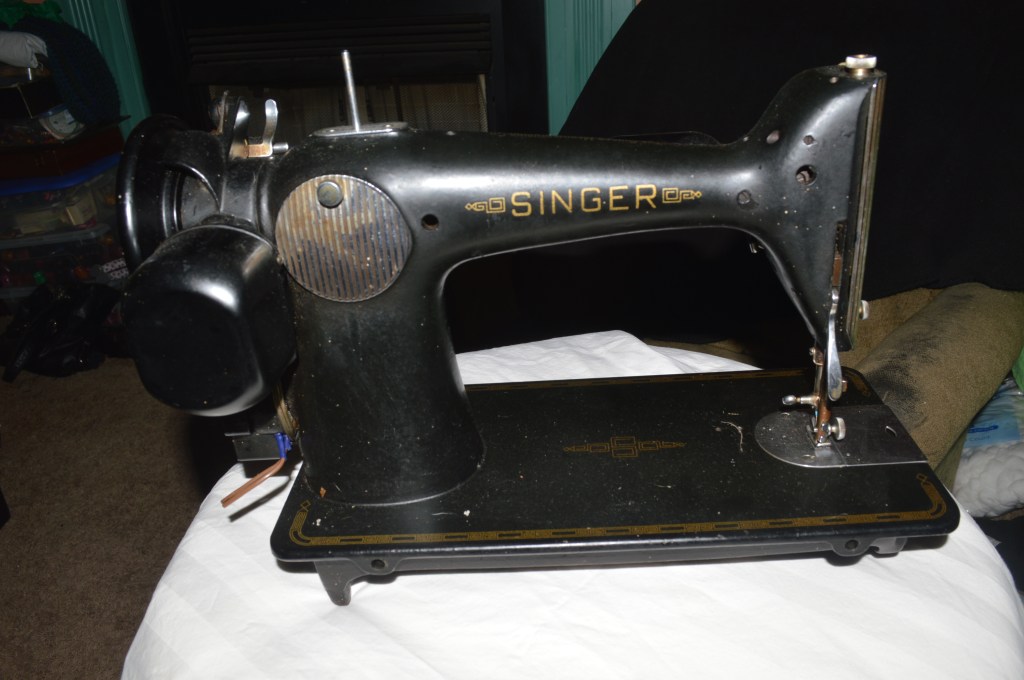
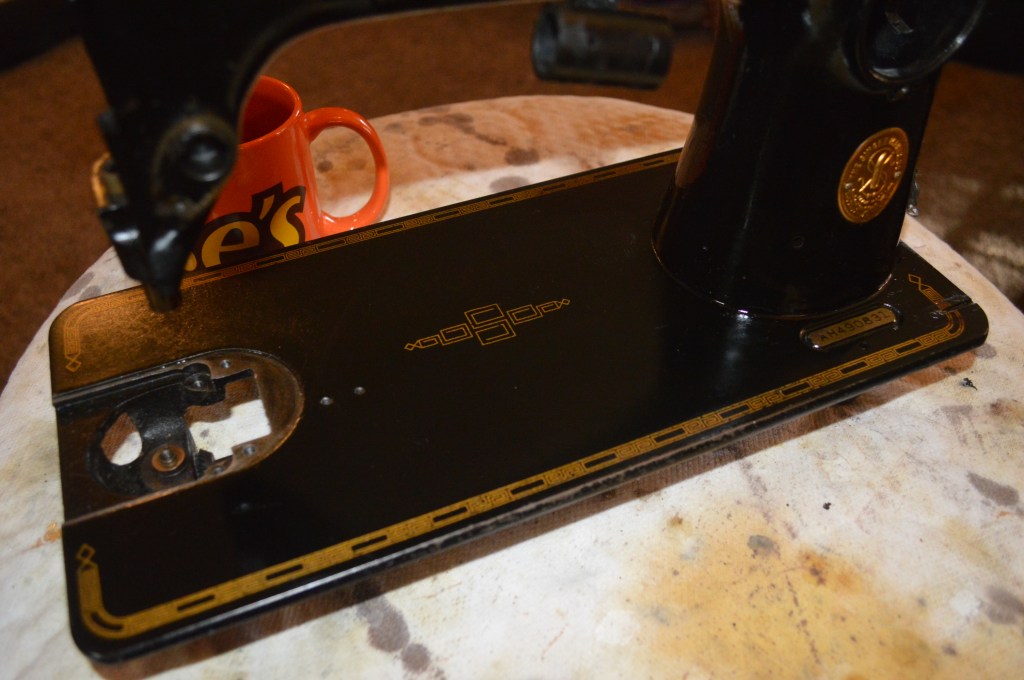
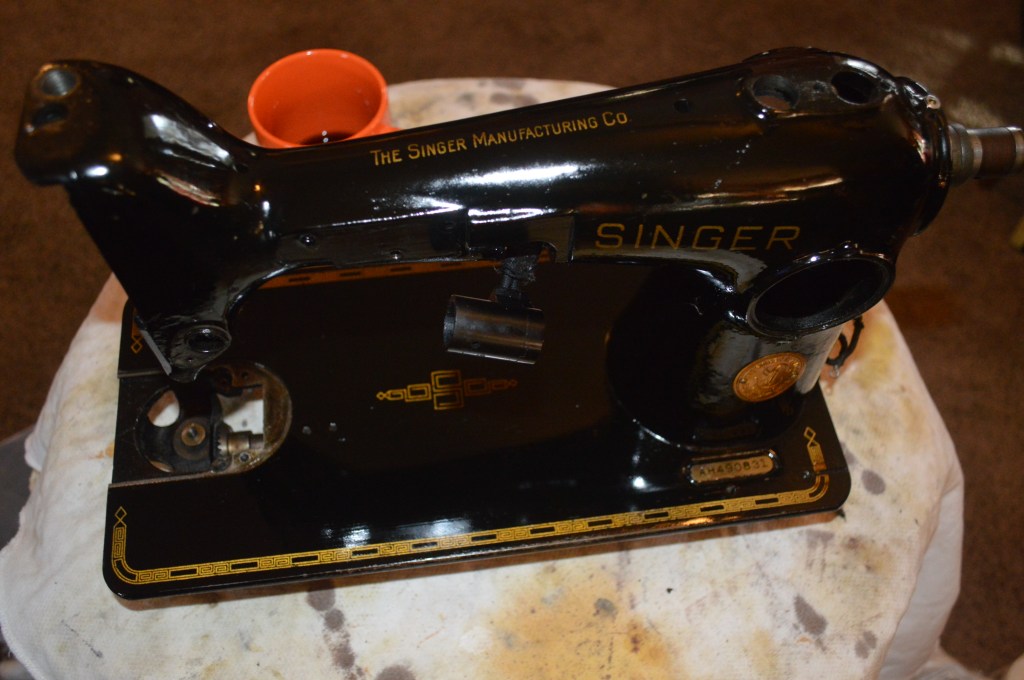
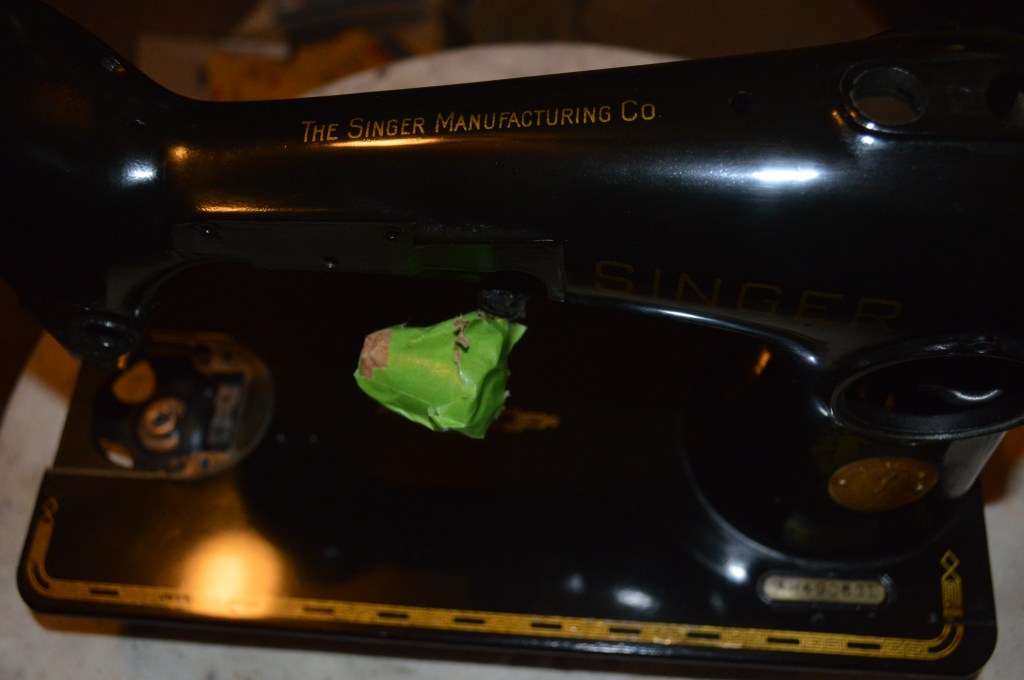
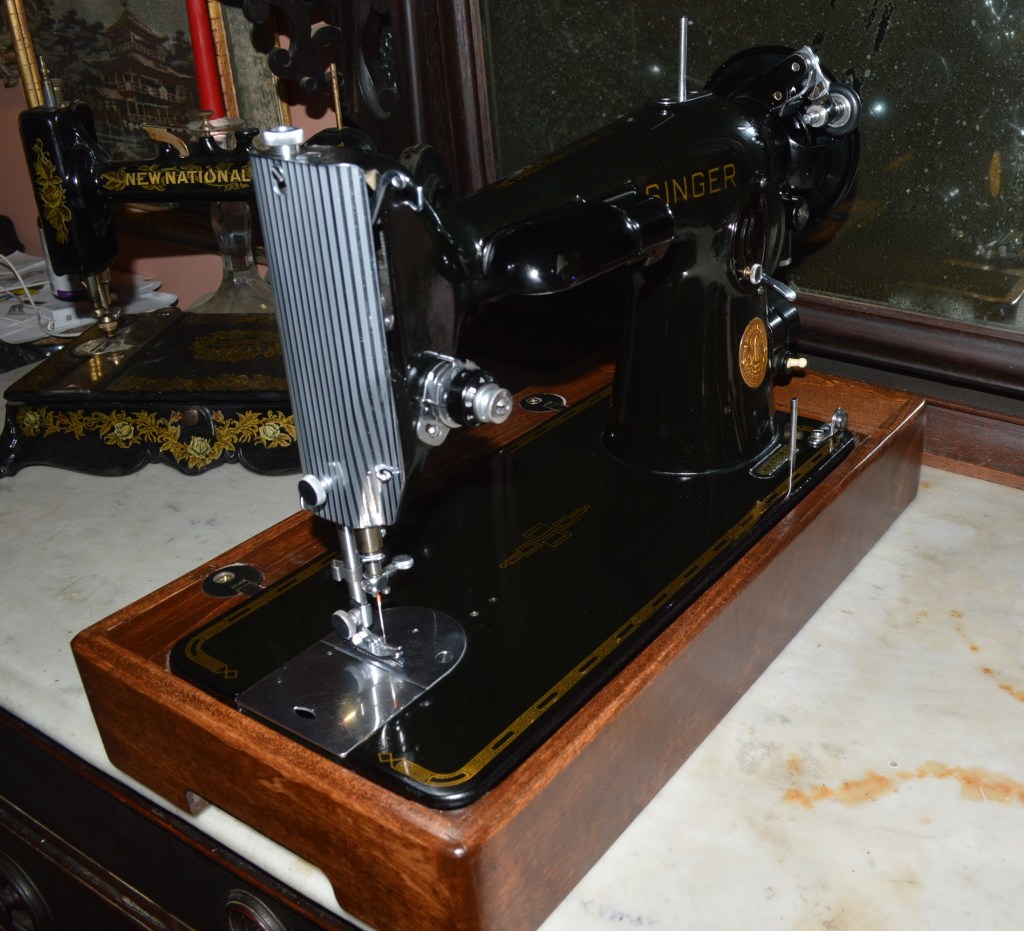
The serial number AH490831 indicates this Singer Model 201-2 was one of 15,000 201’s commissioned for manufacture on February 27, 1948. My initial evaluation is that it falls in the middle of cosmetic condition for it’s age, the paint is good but the shellac has oxidized. Most importantly, the decals are in very good condition. This assures that it has an above average potential to achieve an excellent cosmetic condition when the restoration is complete. Mechanically, there is no concern… I have never had a 201 not sew beautifully after a restoration. The sewing mechanisms rotate freely and look like they were maintained over the machines life. I don’t think this 201 was used much because there is very little fabric wear or the small scratches commonly found on the sewing machine bed. There are the typical paint chips on the edge of the machine and the original shellac is almost entirely intact. The shellac has lost its glassy smooth appearance, and has a dull texture. This condition indicates that the machine was stored for long periods of time and the shellac coating oxidized. Like the finish on fine furniture, shellac needs to be nourished with oil or wax periodically to preserve it’s finish. The decals are in very good condition with very small irregularities in the decal borders. The nickel plating on the covers are dull and dirty, but the plating is in good condition. This is a great machine with great potential and all of these issues will be attended to in this restoration. This 201 will be brought back to “near new” condition with a complete mechanical and cosmetic overhaul. Lets see how it turns out!
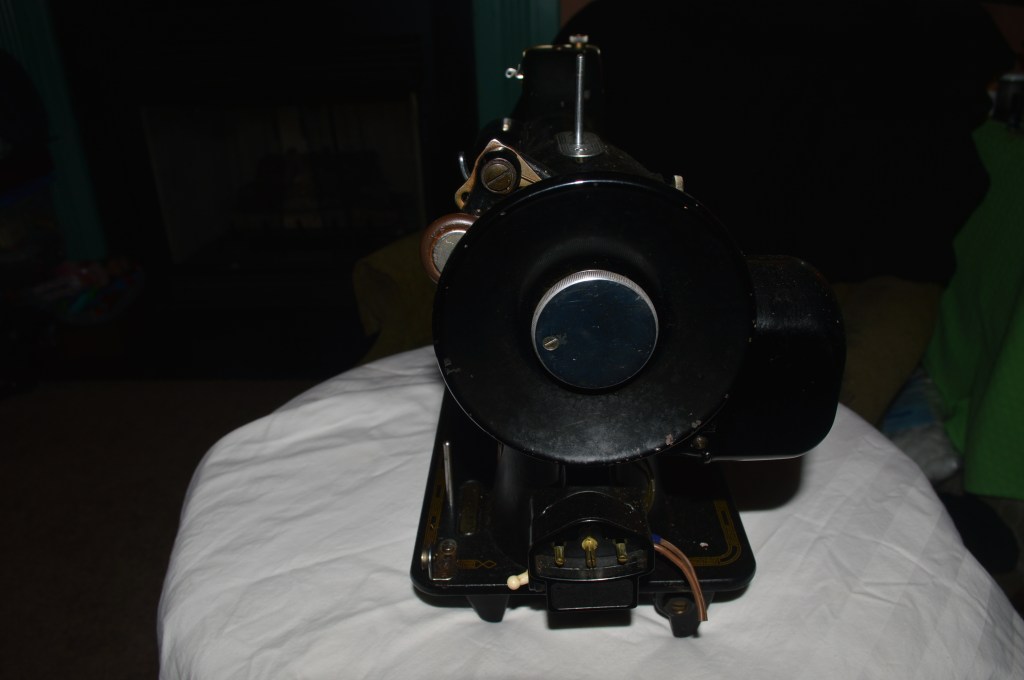
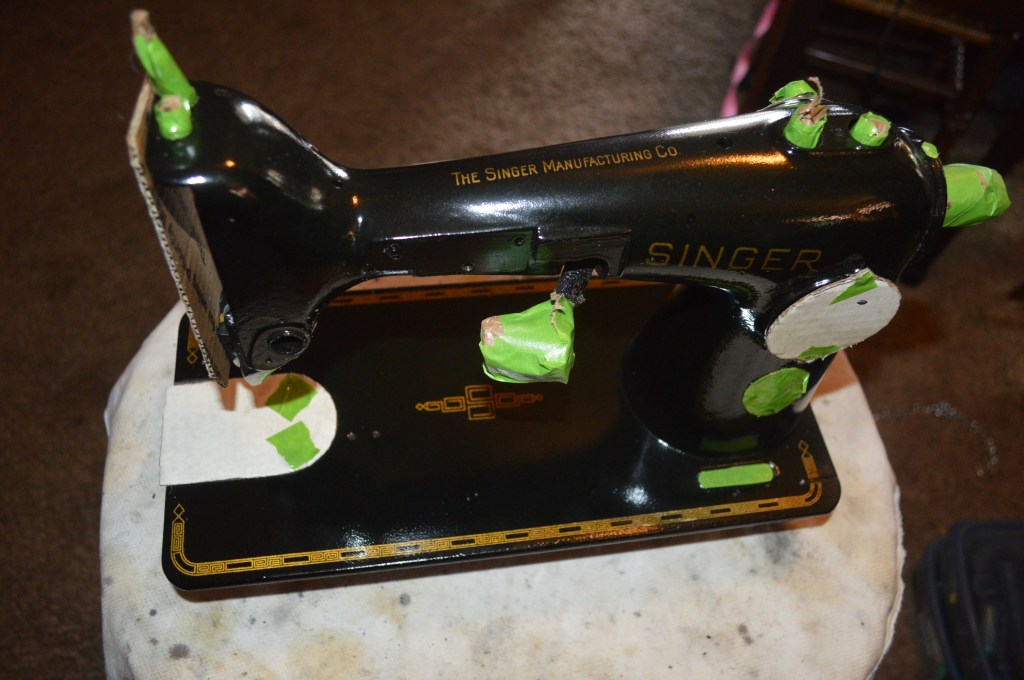
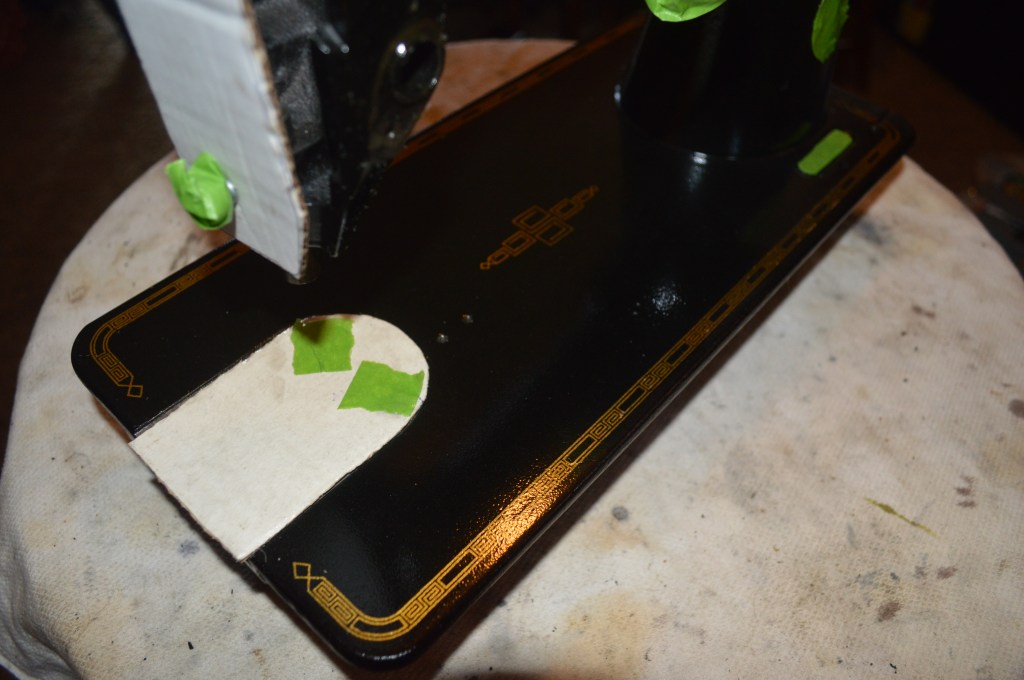
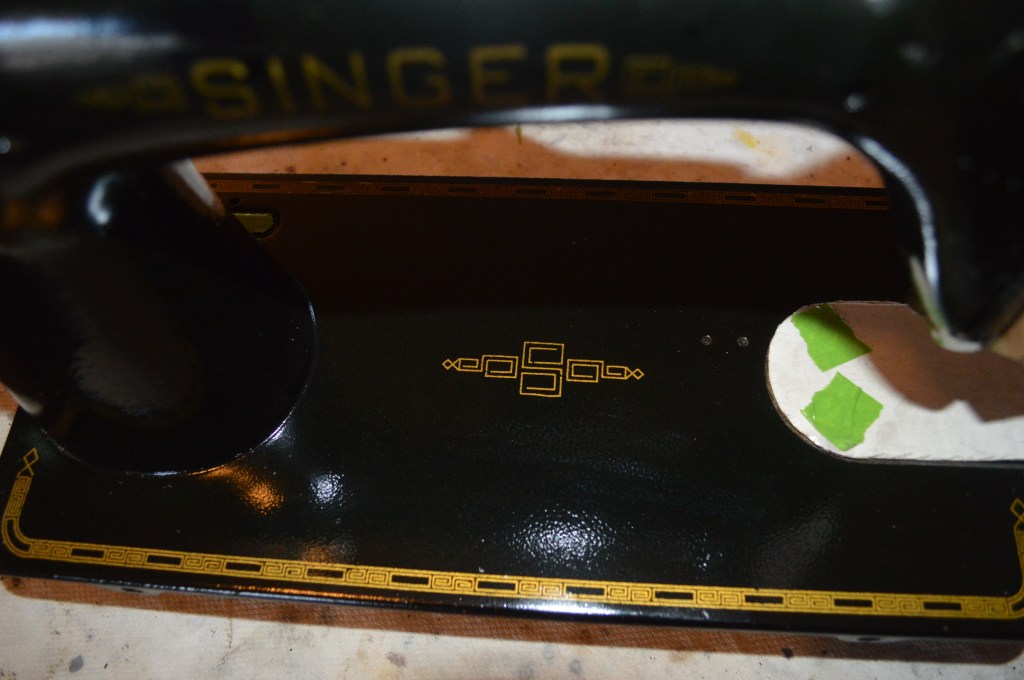
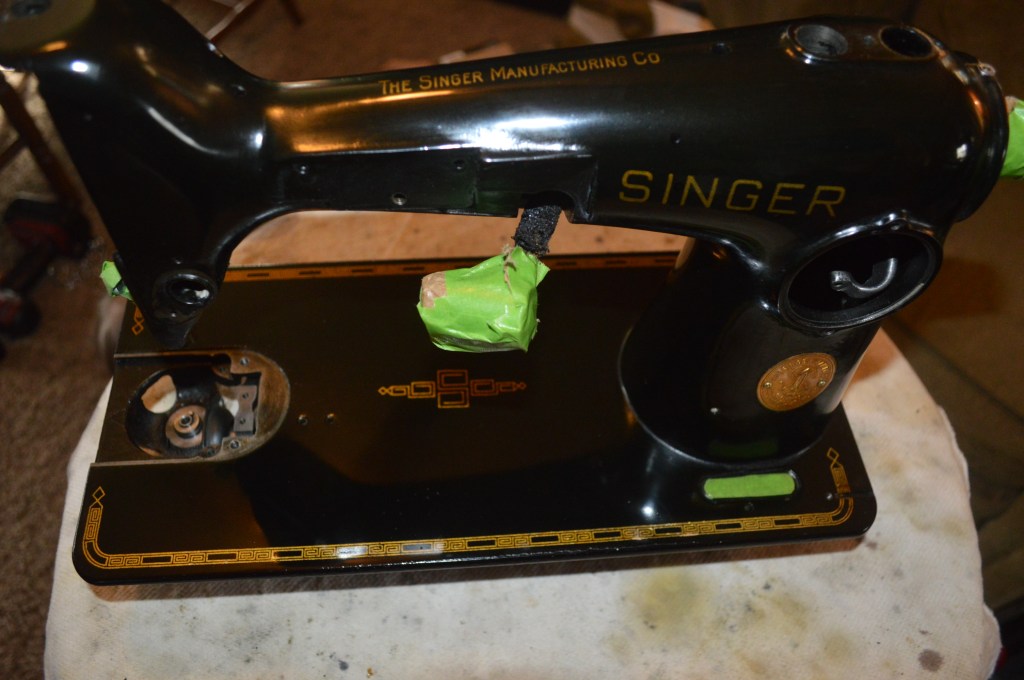
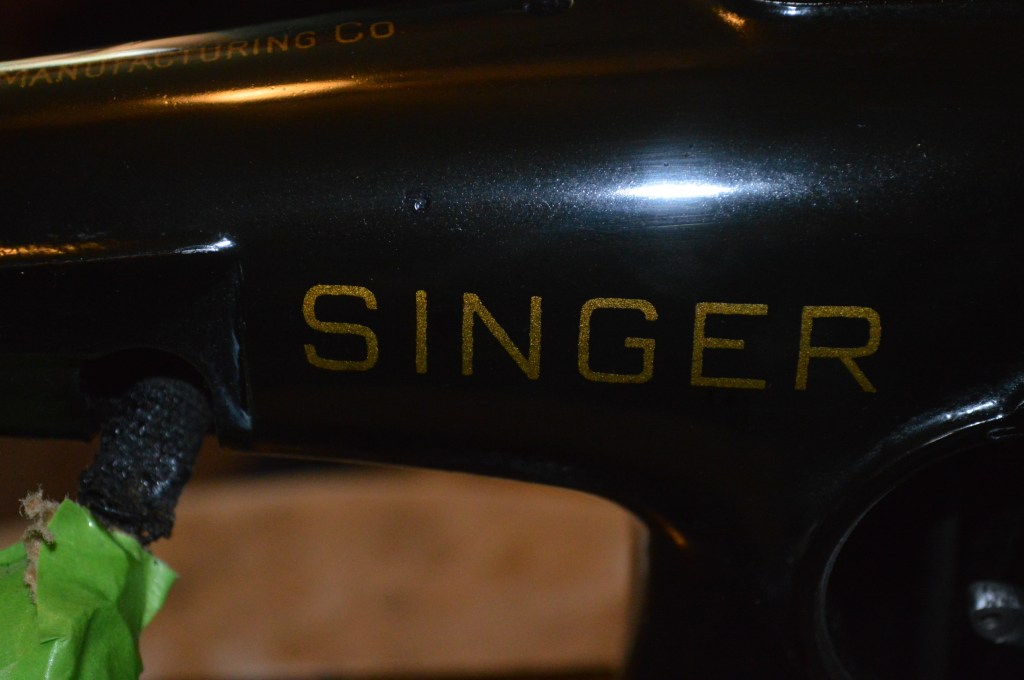
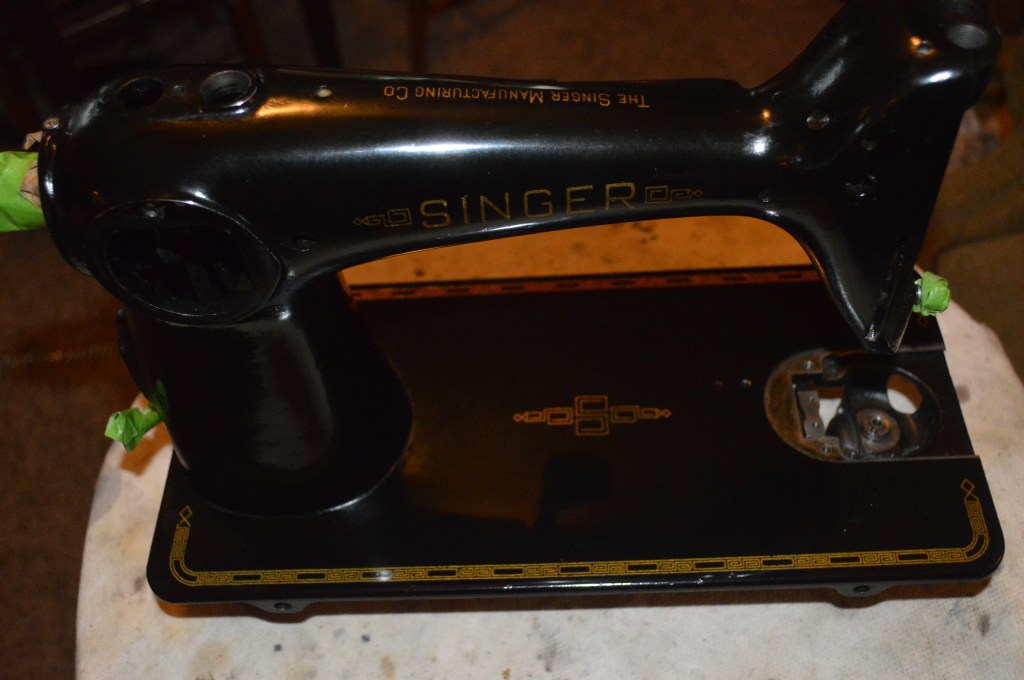
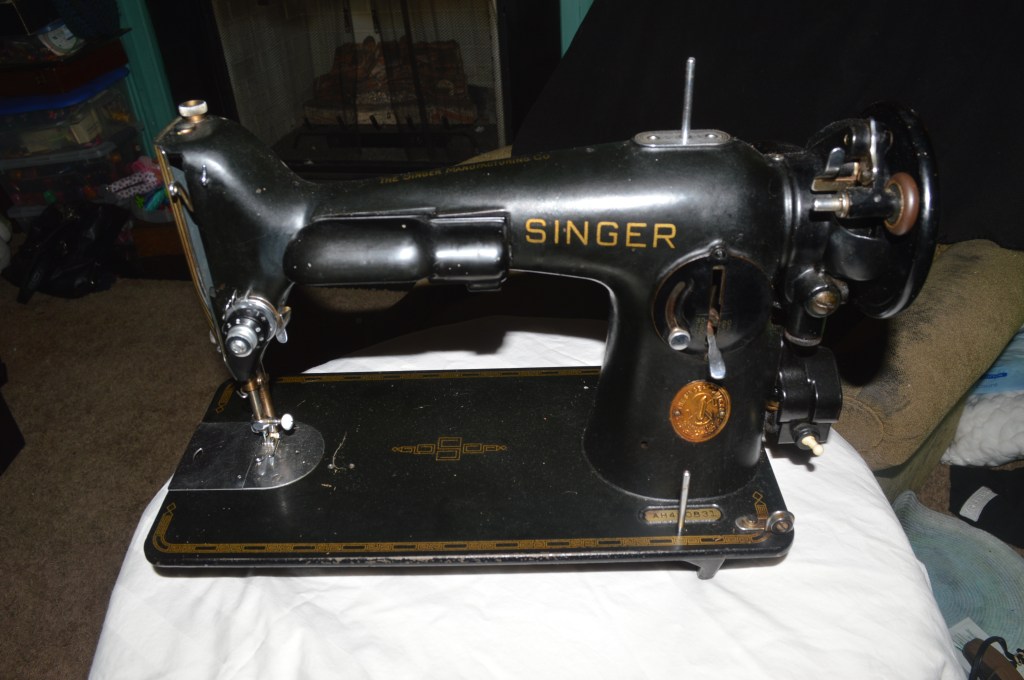
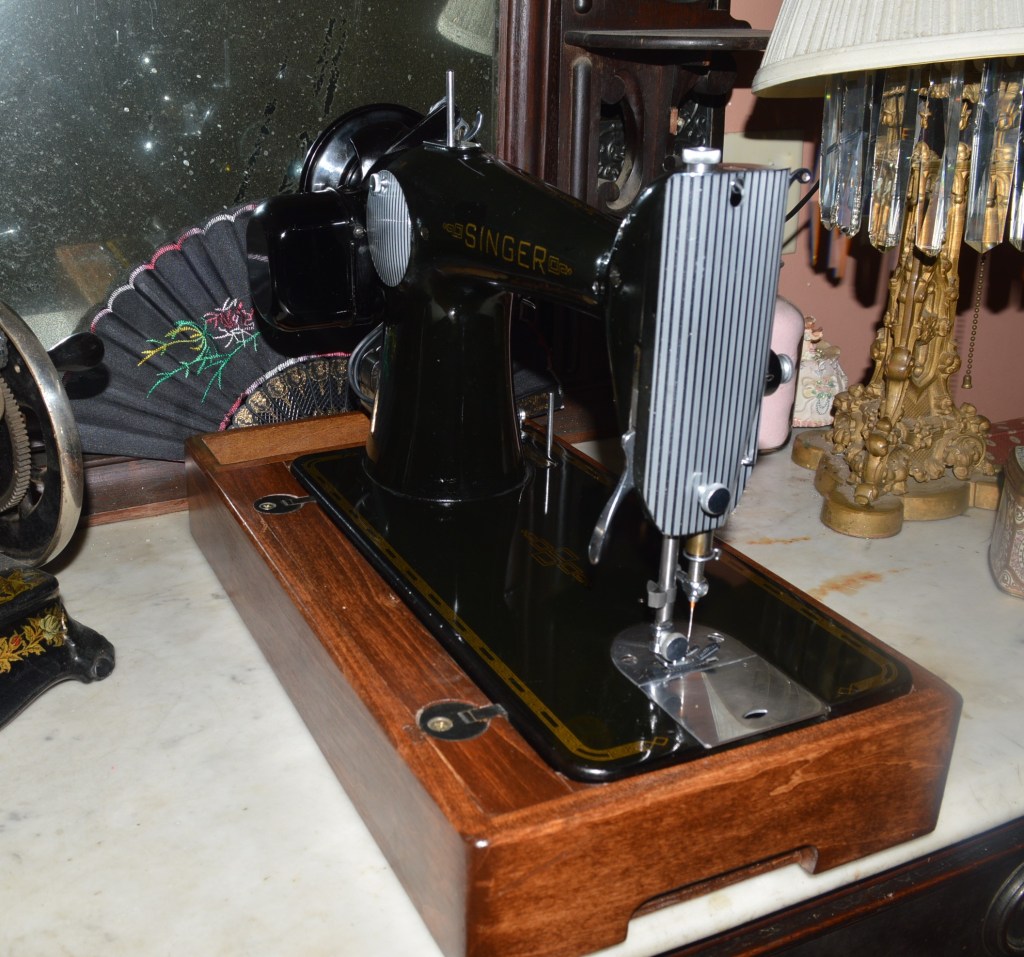
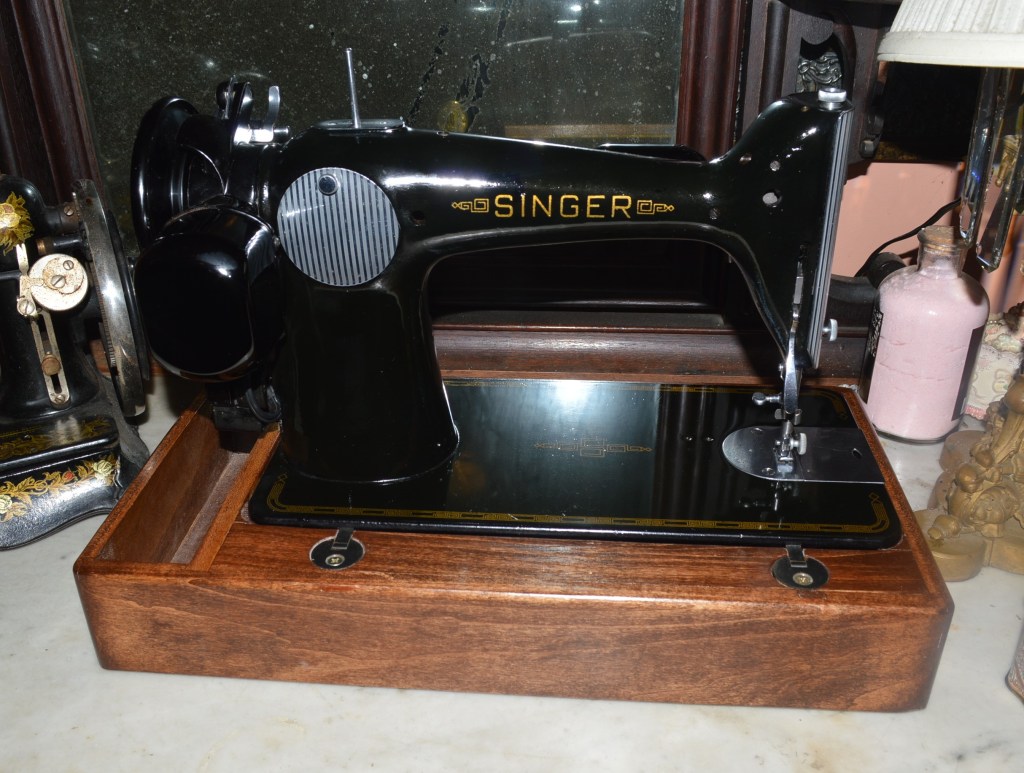
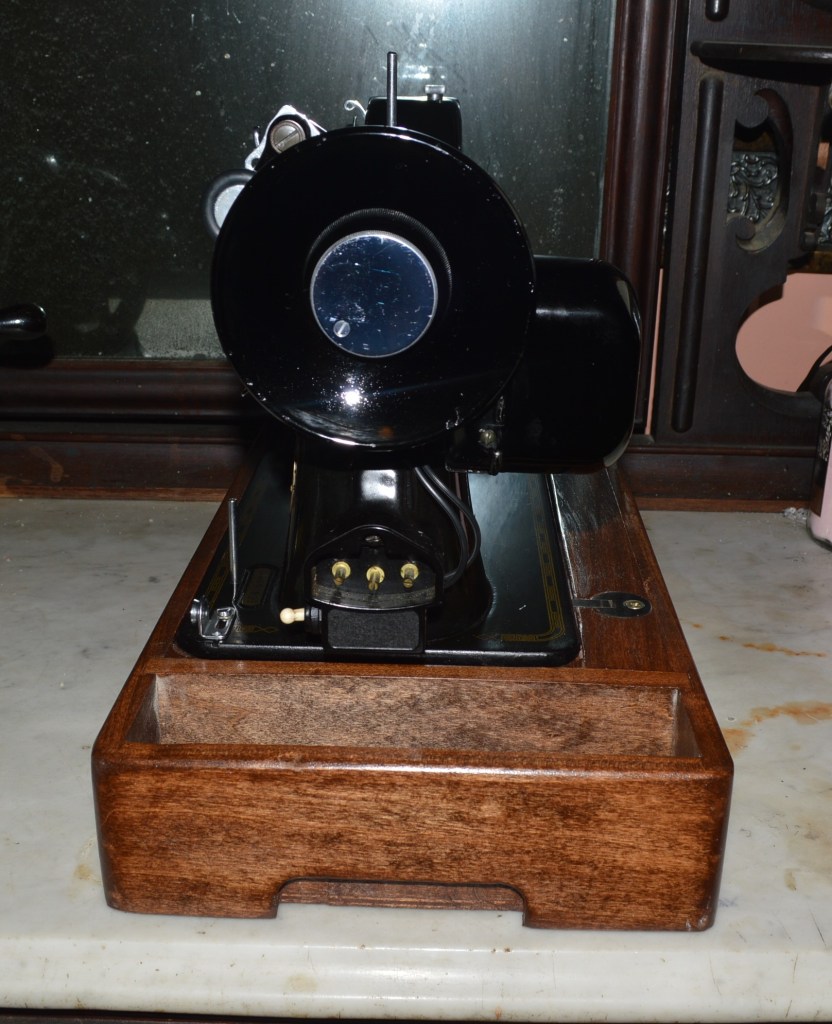
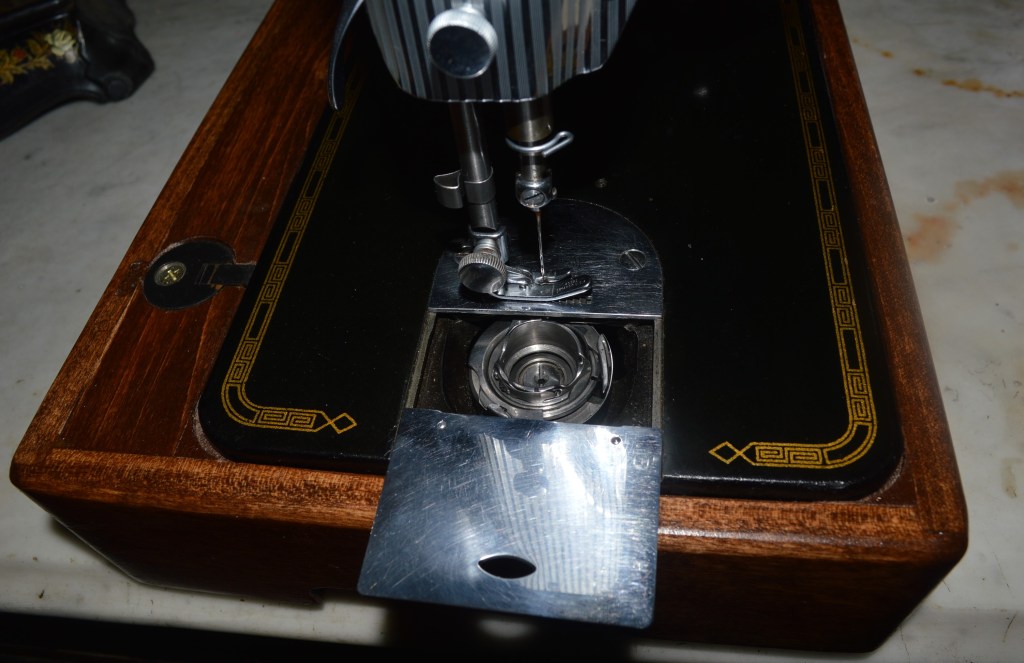
Here is the machine before restoration…


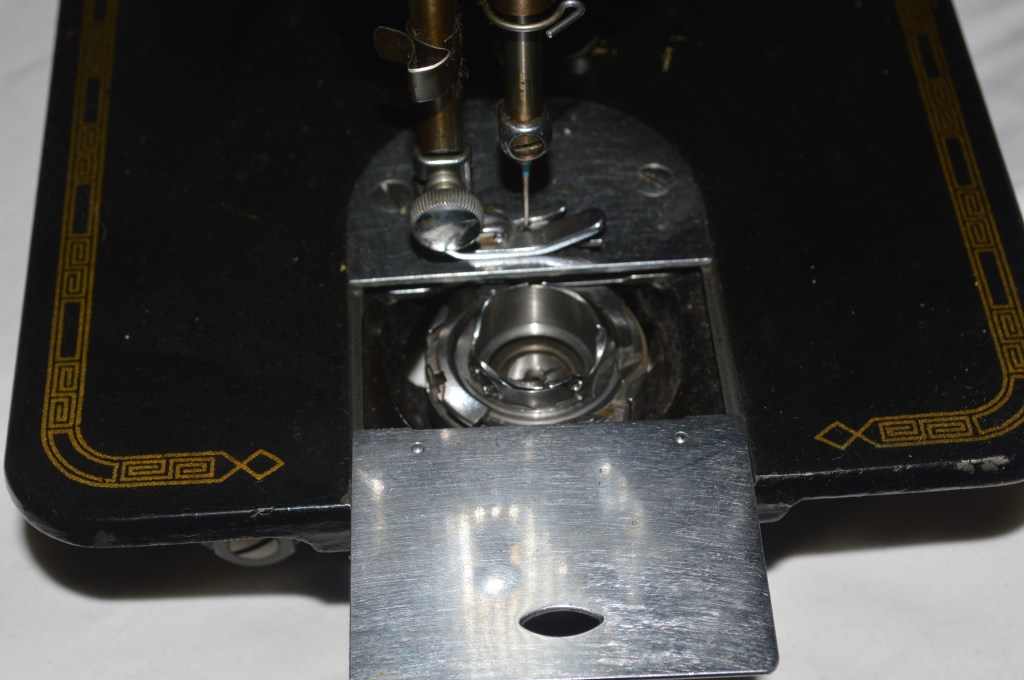
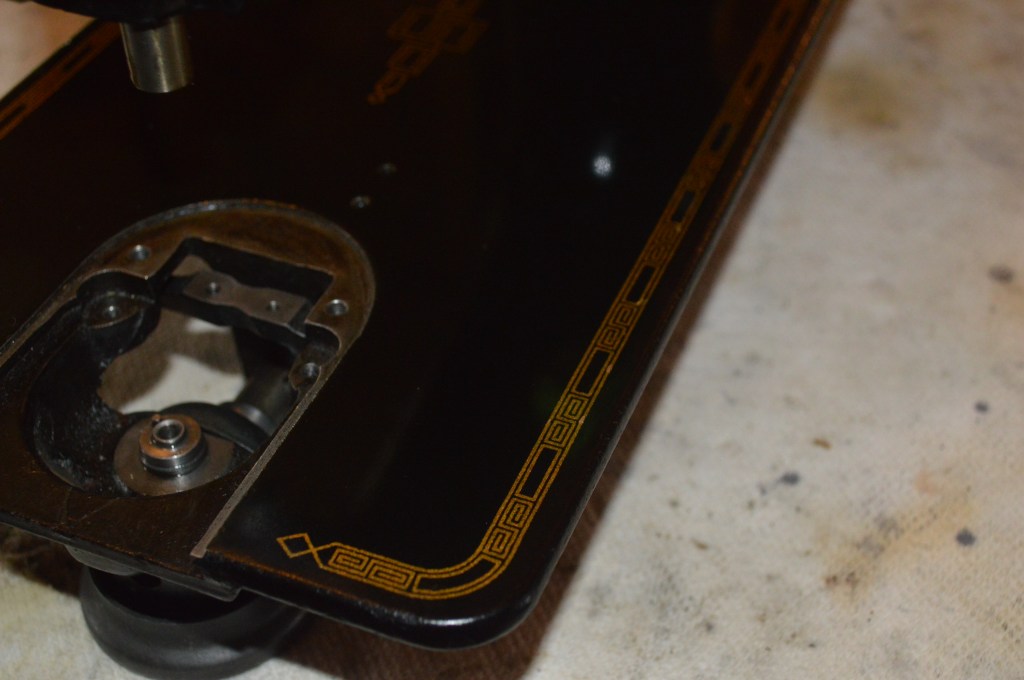
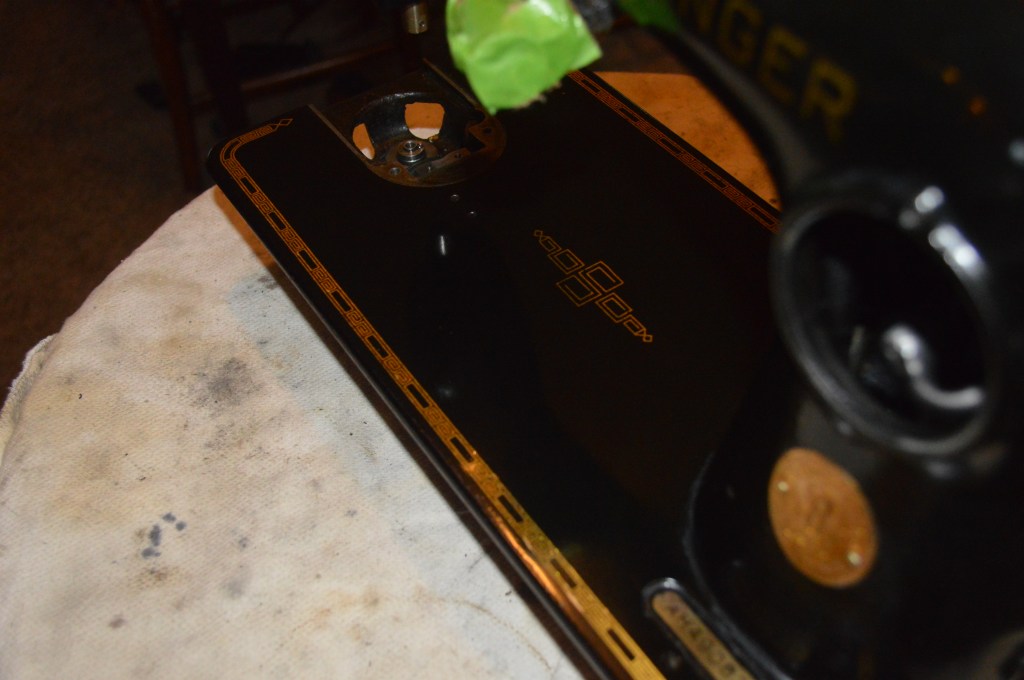
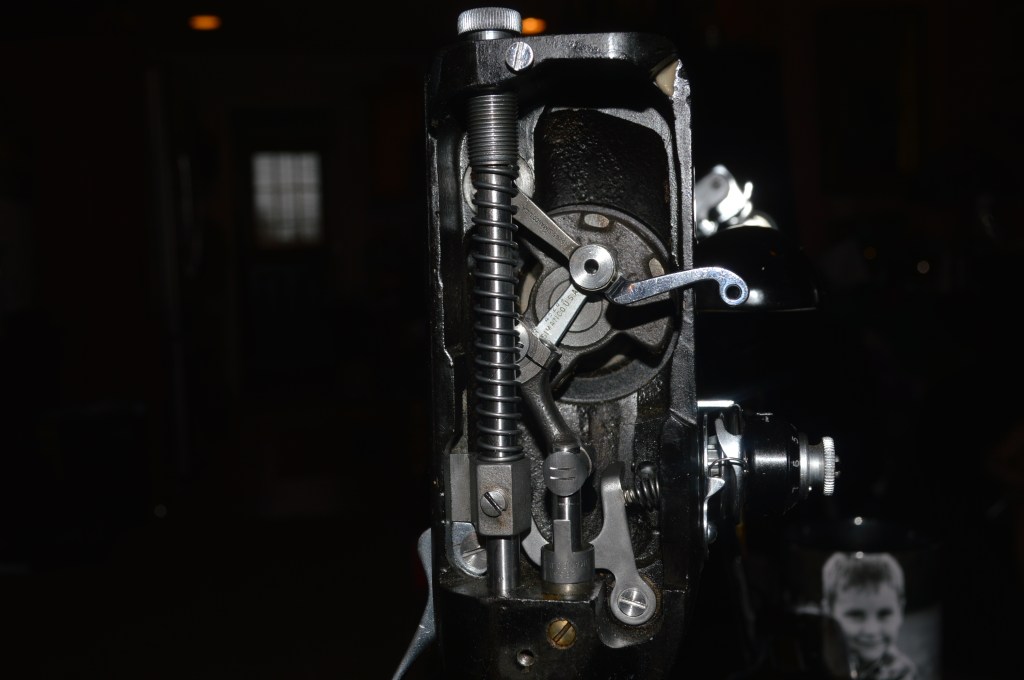
The bobbin area is in surprisingly clean 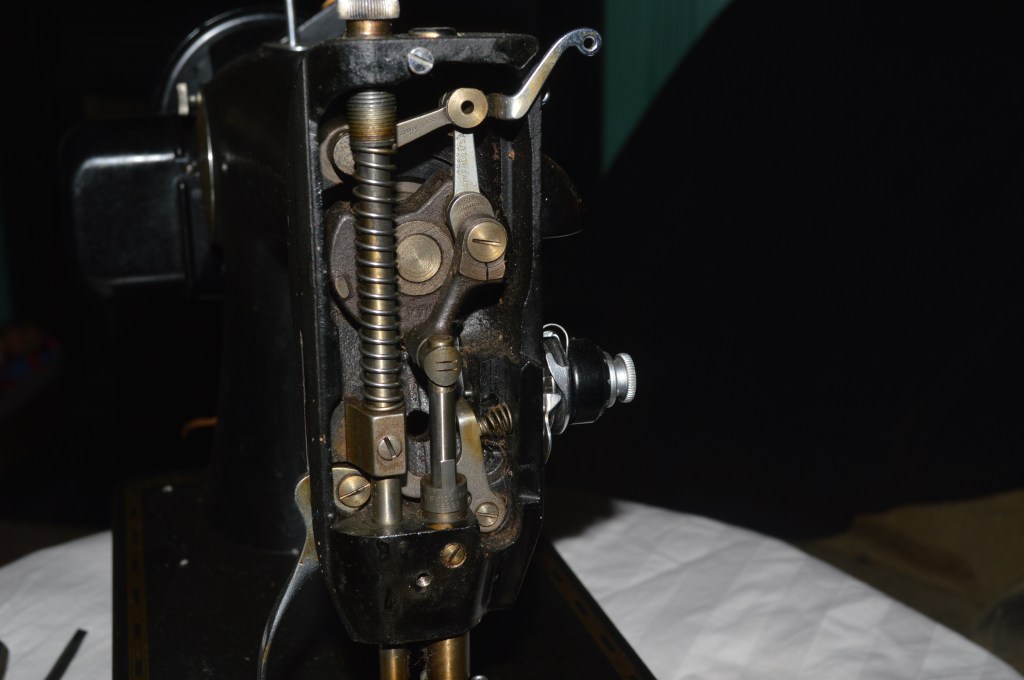
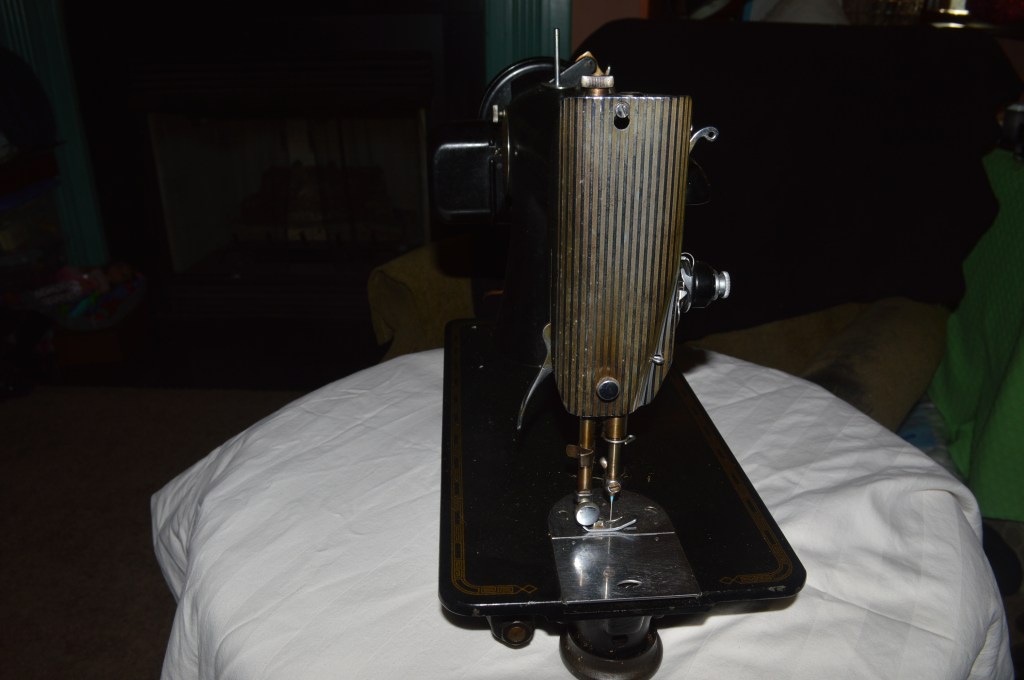
As is the needle bar area 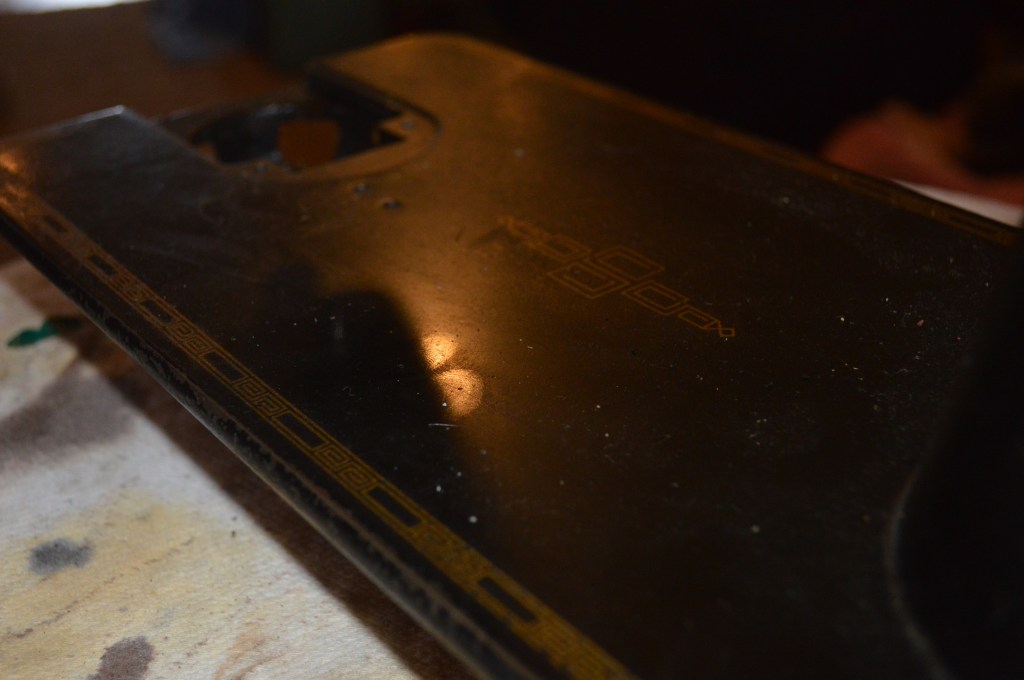
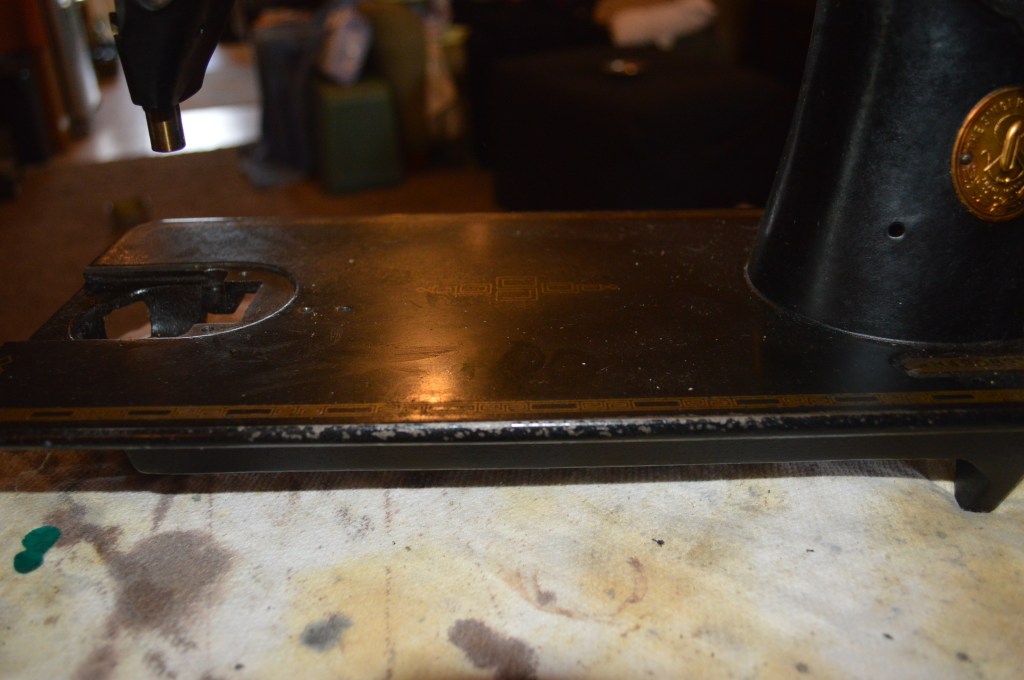
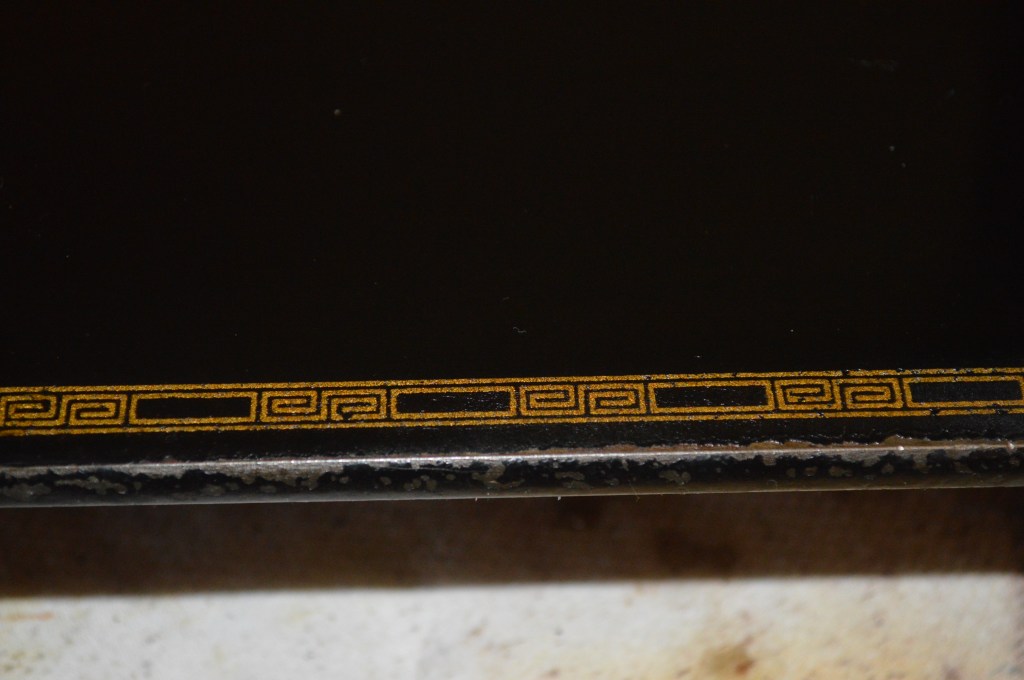
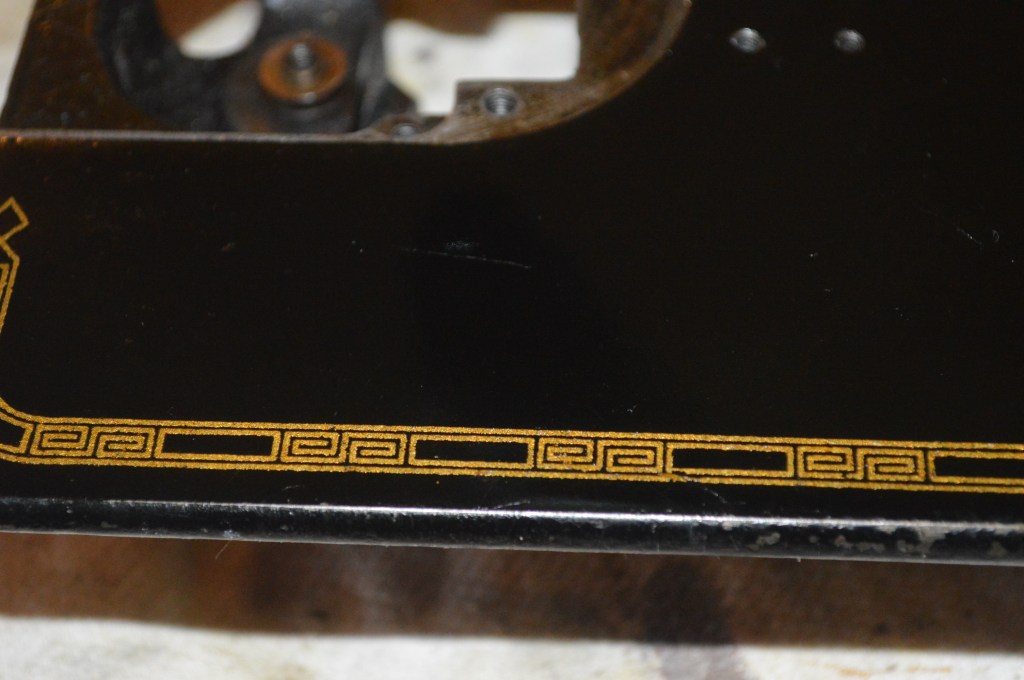
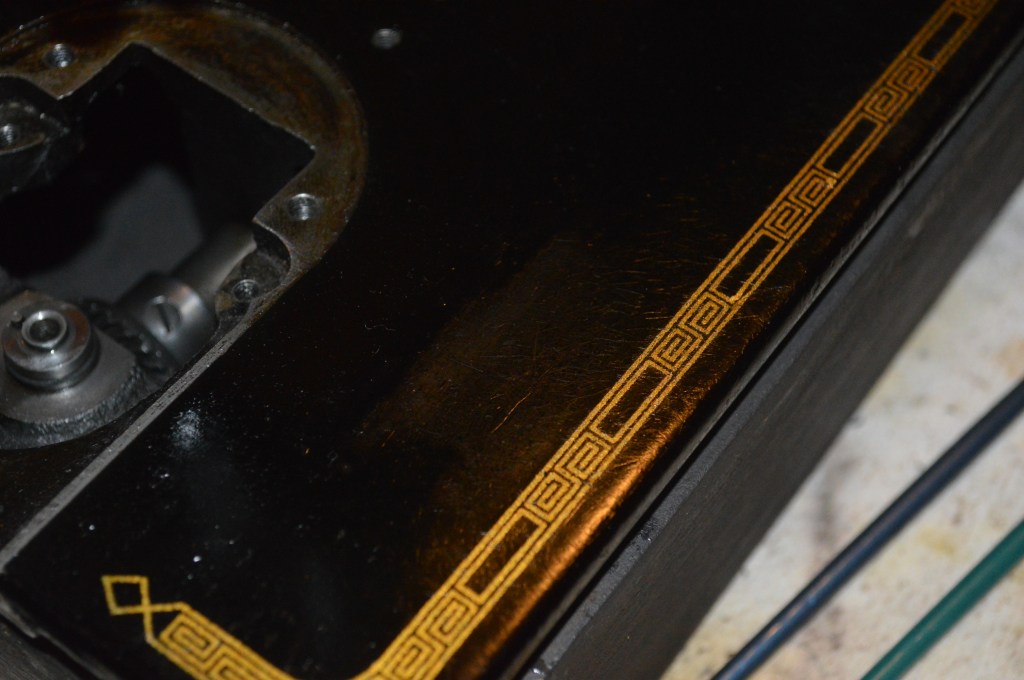
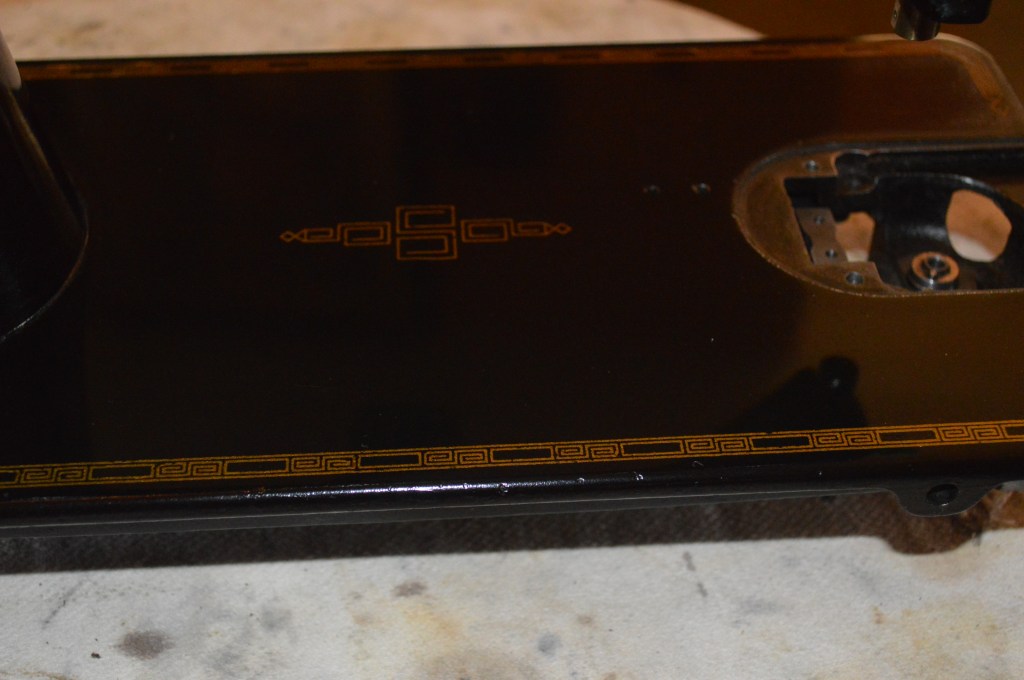
Notice the oxidized shellac and edge chips… but surprisingly, there is almost no surface wear.
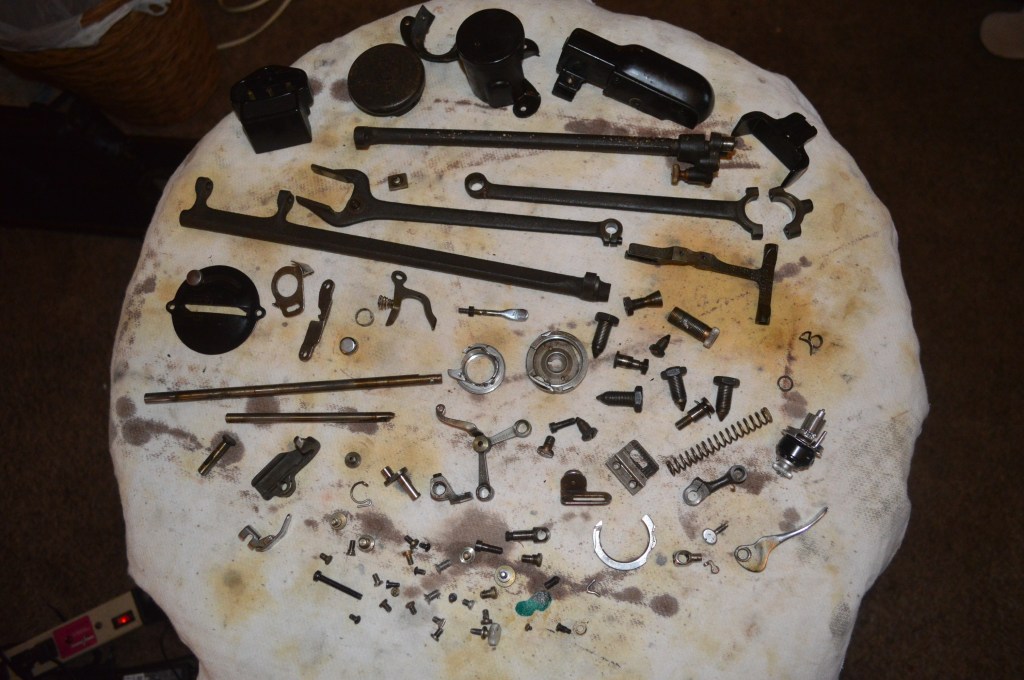
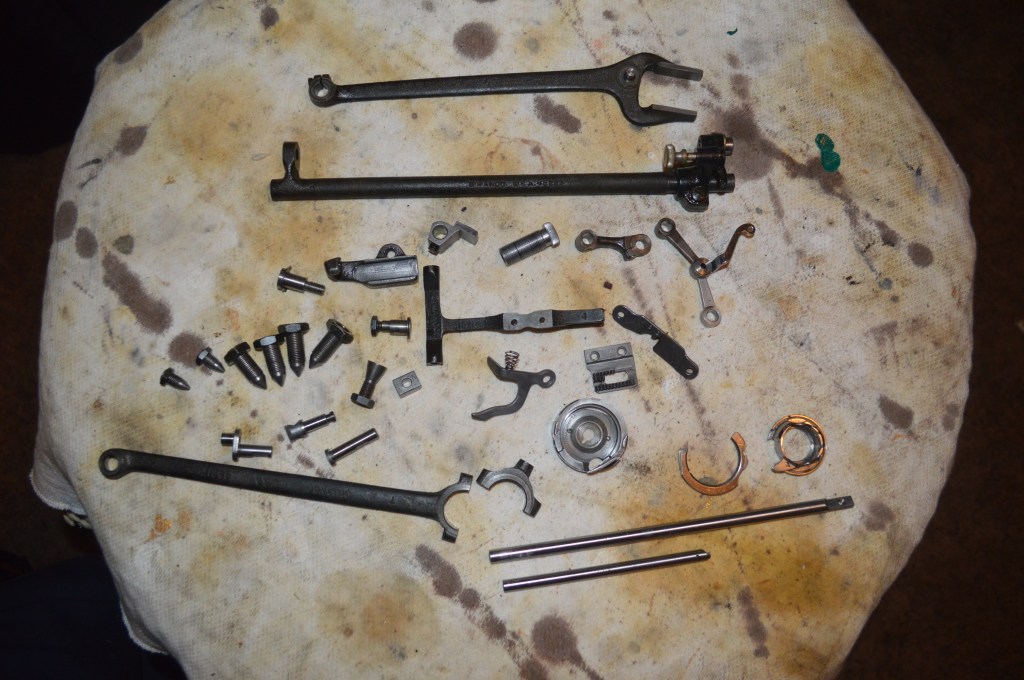
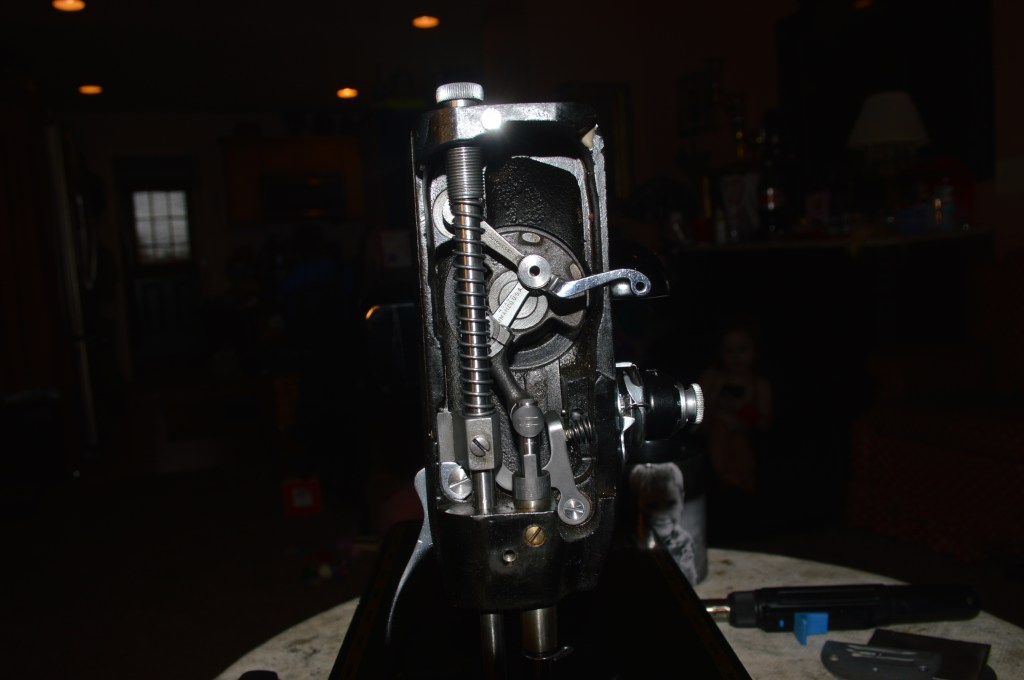
As with all 201 restorations, the machine is disassembled to the greatest extent possible. The only parts that will remain in the machine are the gears and the shafts they are attached to. There is a reason for this… the 201 is a gear driven machine. The machine has a full rotary hook and six gears that transmit power from the motor to the upper arm shaft, the bottom bobbin shaft, and to the rotary hook shaft. These gears are heat treated steel and were lapped to each other at the factory. The machine is balanced with these matched gears and except for the gear responsible for setting the hook timing, any repair requiring disassembly of the gears meant a trip to the Singer factory. In other words the gears in a 201 need to be left alone. At least that’s what the service manual says. The gears will be cleaned in place and only the hook shaft gear will be removed. Although this is tedious and time consuming, it is necessary to preserve the “feel” and performance this 201 is legendary for. After disassembly, the parts are laid out for cleaning. Although there is much less detrimental “oil varnish” (coffee color film) on these parts than I normally see, these parts will be cleaned and polished like new.
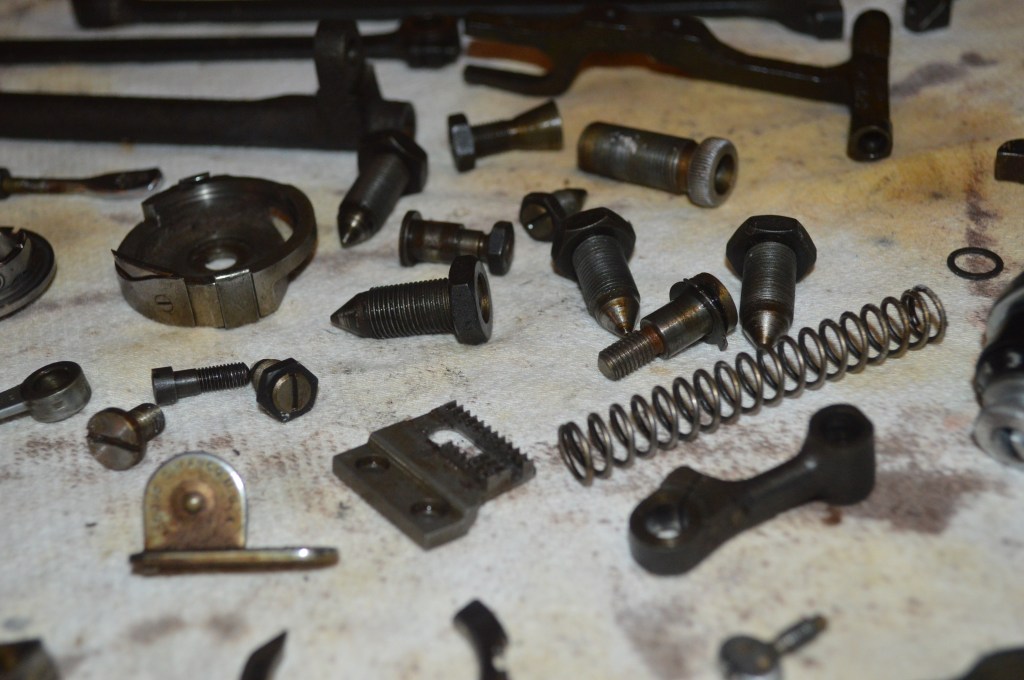
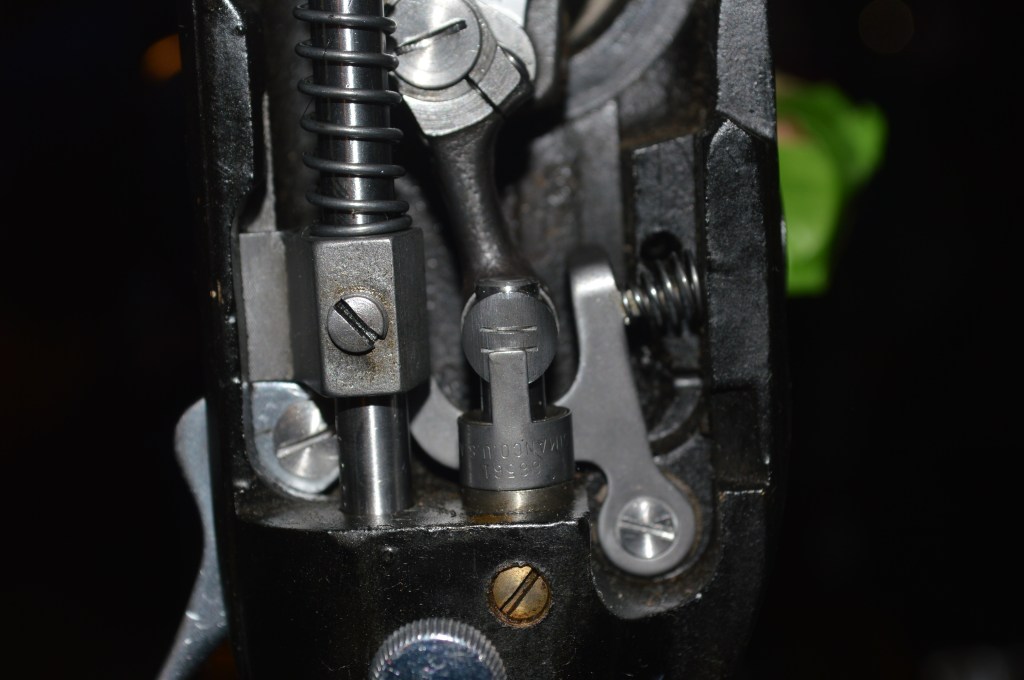
Notice the oil varnish… it is not only on the outside, but inside the parts as well 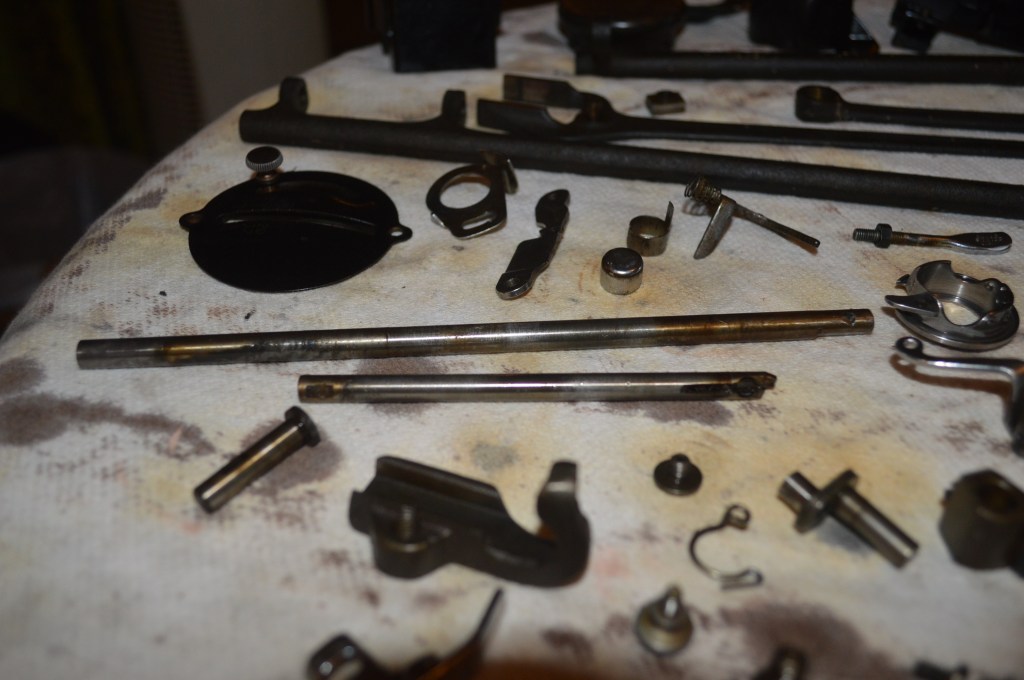
Definitely on the needle and presser foot bar 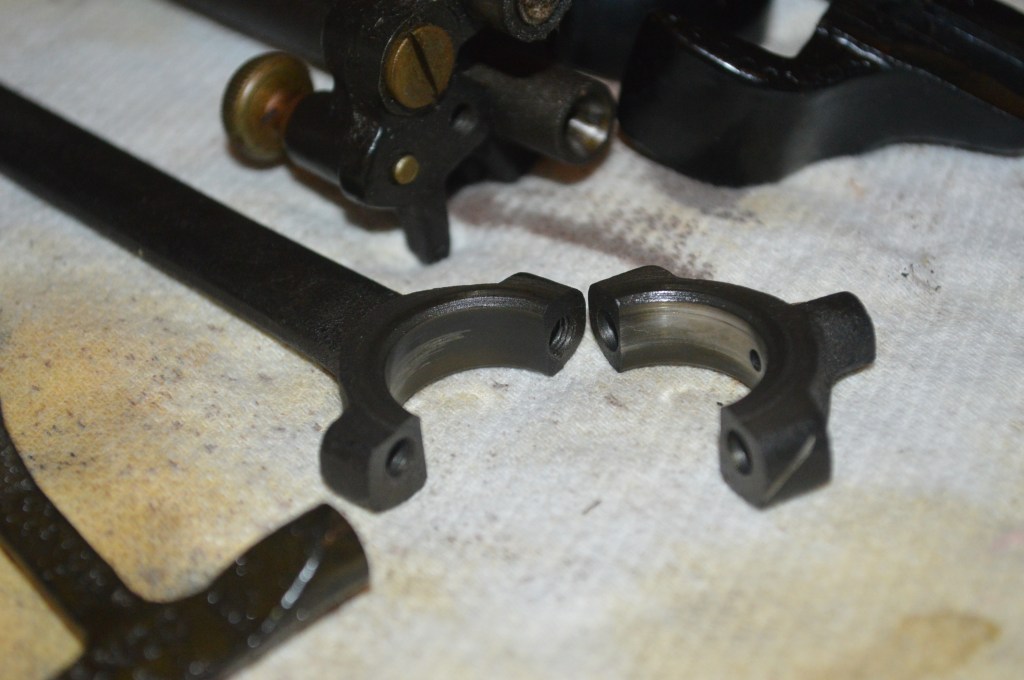
And in the connecting rod journal 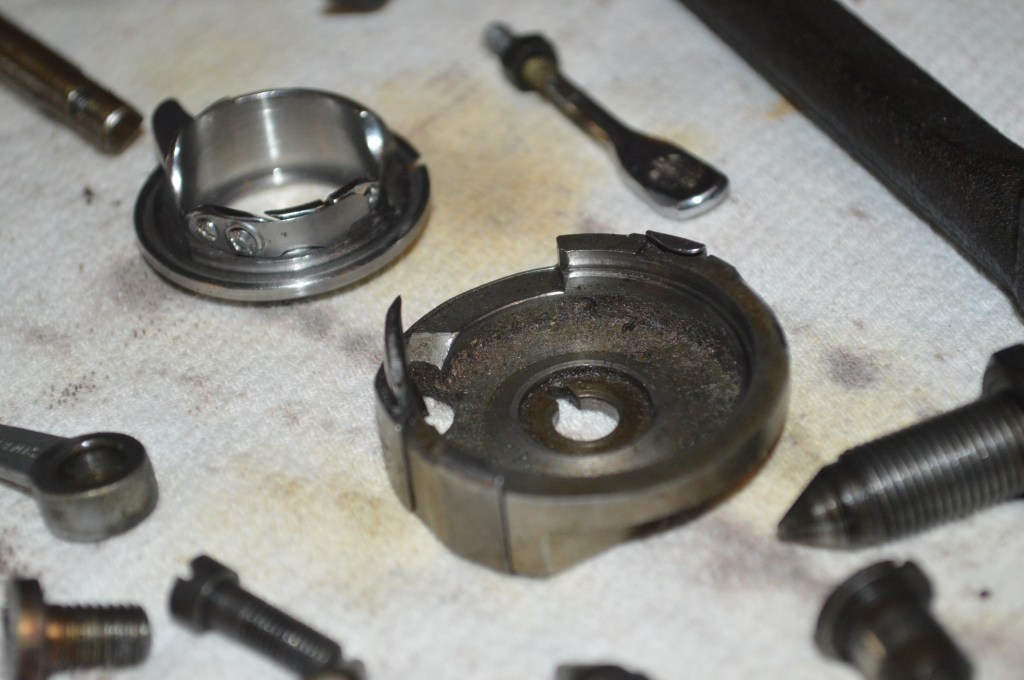
Mostly dust and lint in the bobbin hook
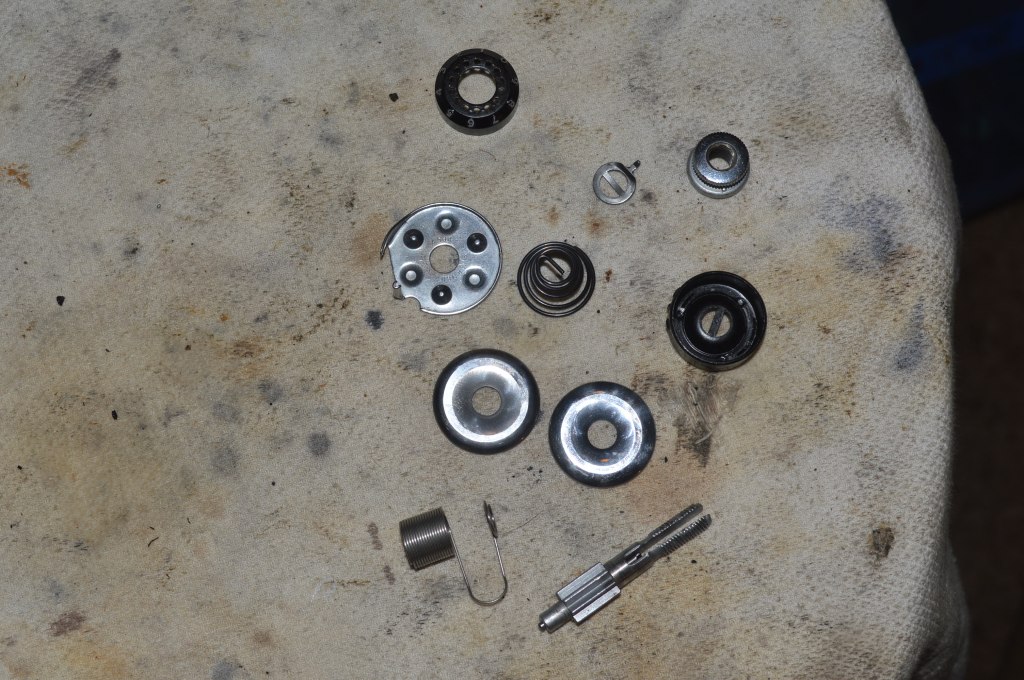
All of the parts are ultrasonically cleaned, but the parts in the next picture need to be cleaned further. Each of these parts rub or rotate in or around another part. The contact surfaces need to be “shiny as new” This is accomplished with a roto tool and a soft wire wheel. The needle bar and presser foot bar are polished smooth as glass.
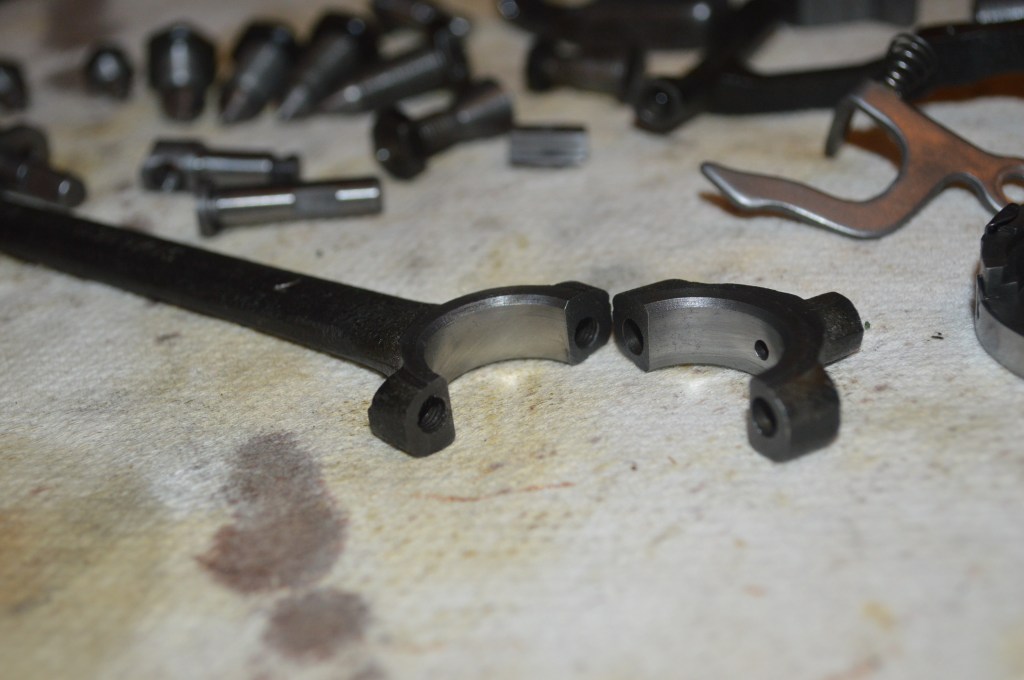
Connecting rod journal polished 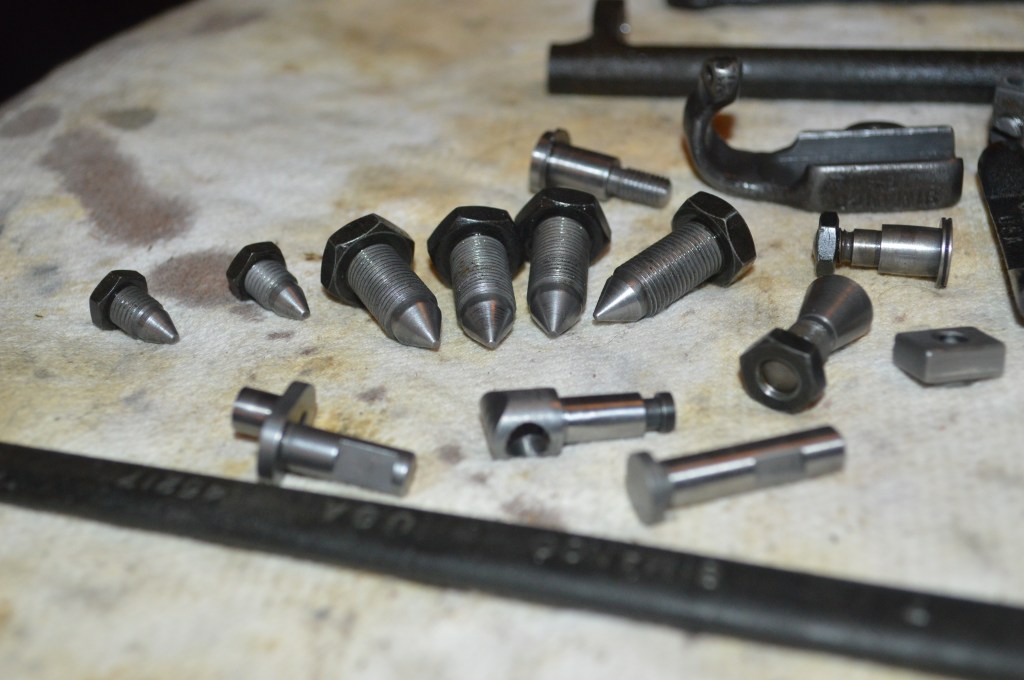
brushed to bright steel 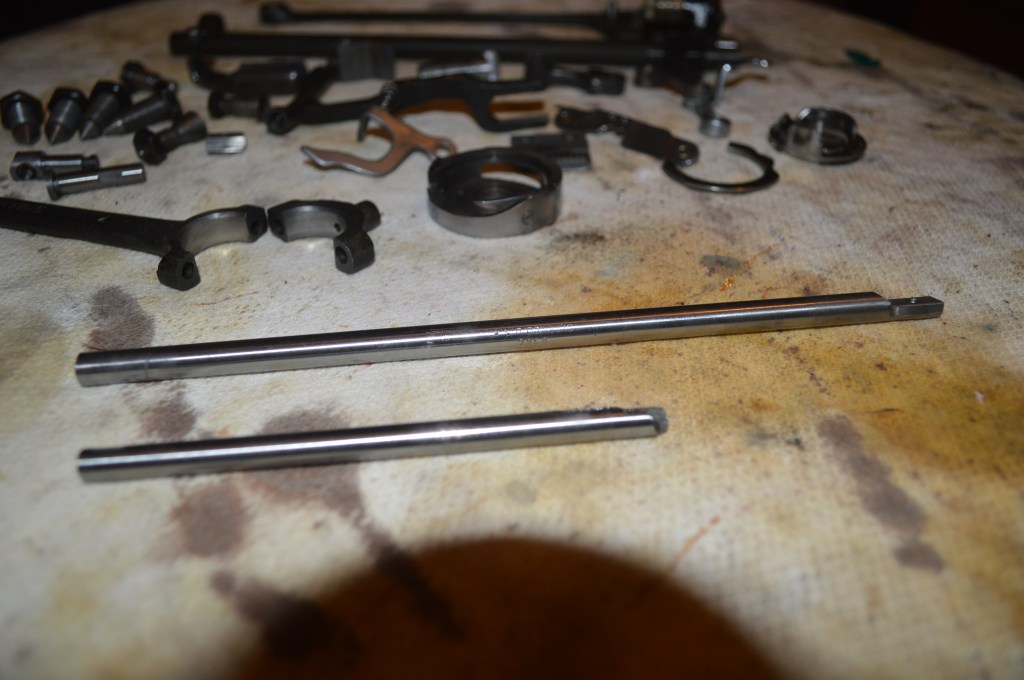
Needle bar and presser foot bar polished
The gears are cleaned in place…
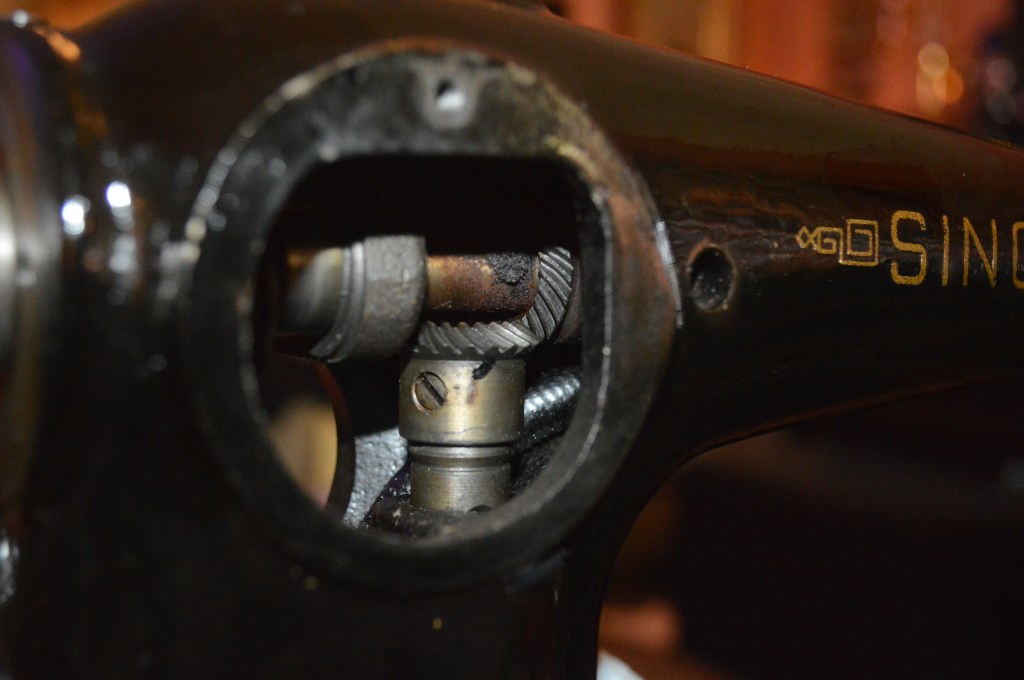
Top gears before cleaning 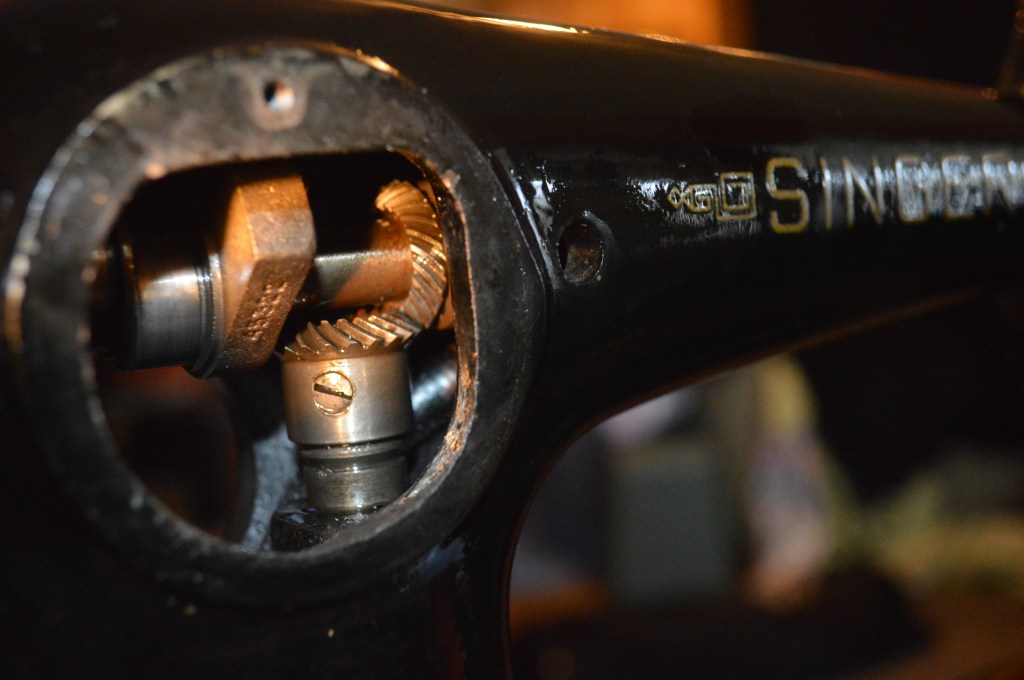
Top gear after cleaning 
Rear bobbin shaft gears before cleaning 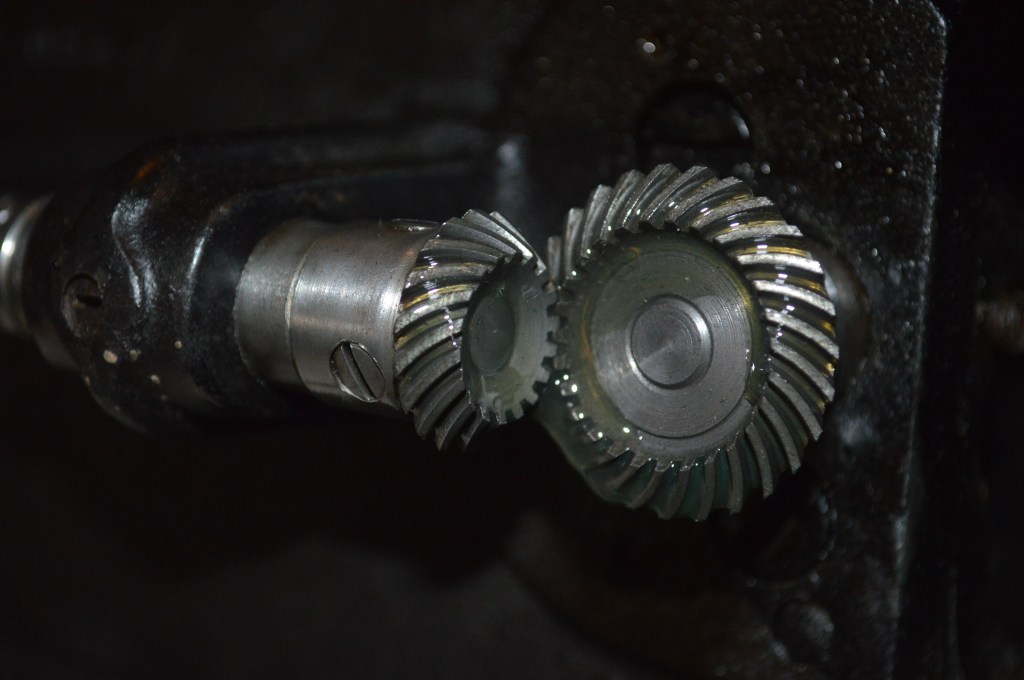
Rear bobbin shaft gears after cleaning
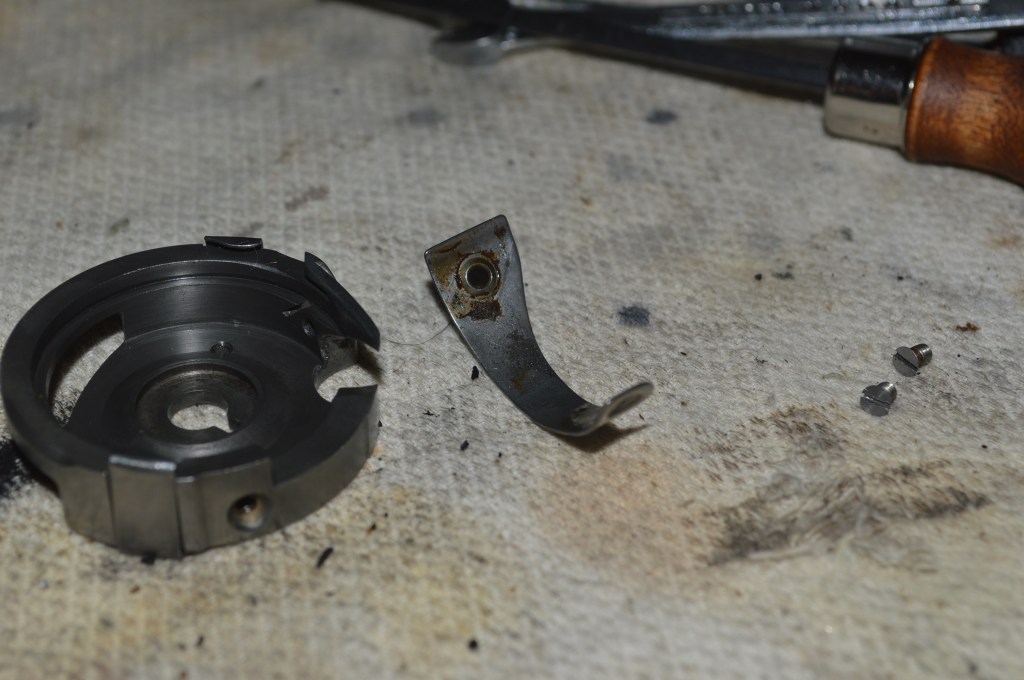
The front bobbin shaft gear is removed for cleaning. Remember I said that only one gear was intended to be disturbed? Well, here it is. The bobbin hook shaft is attached to this gear and it needs to be removed so the hook shaft can be removed, cleaned, and polished. The bobbin hook shaft has a flat milled into it so the gear can only go on it one way. First, the gear is marked where the teeth match. Care is taken not to rotate the gear train until this gear is reinstalled. This allows the gear teeth to match each other when reassembled. The gear and bobbin hook shaft are removed. Like all other parts that spin in a bore, the bores are wire brushed and cleaned. The hook shaft and gear are reinstalled as soon as they are cleaned and polished.
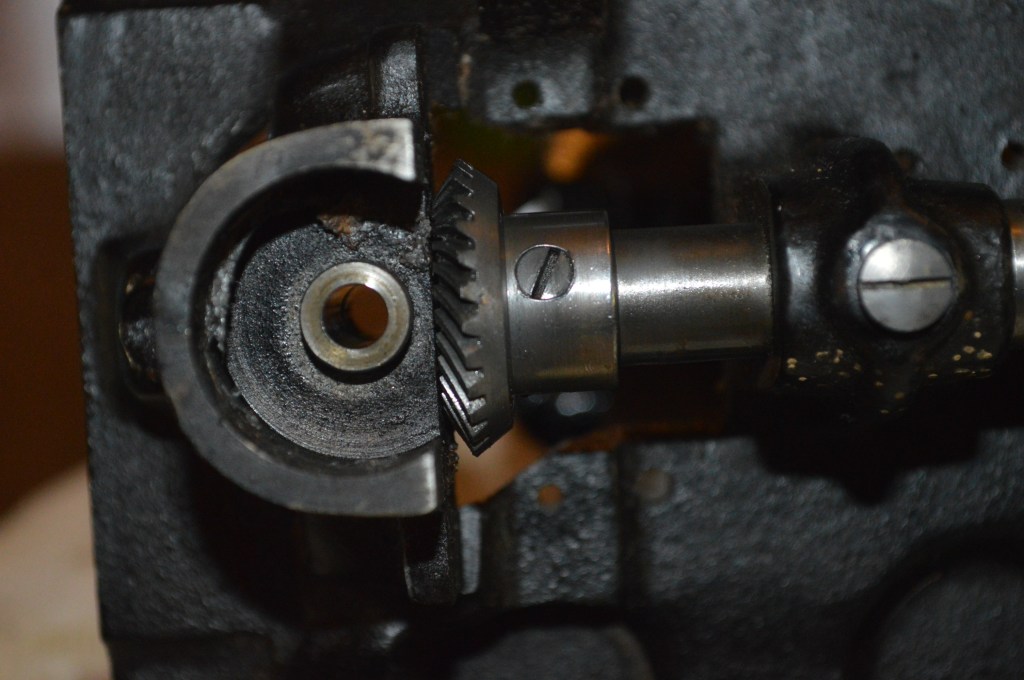
Gear and hook shaft removed and shaft bore cleaned 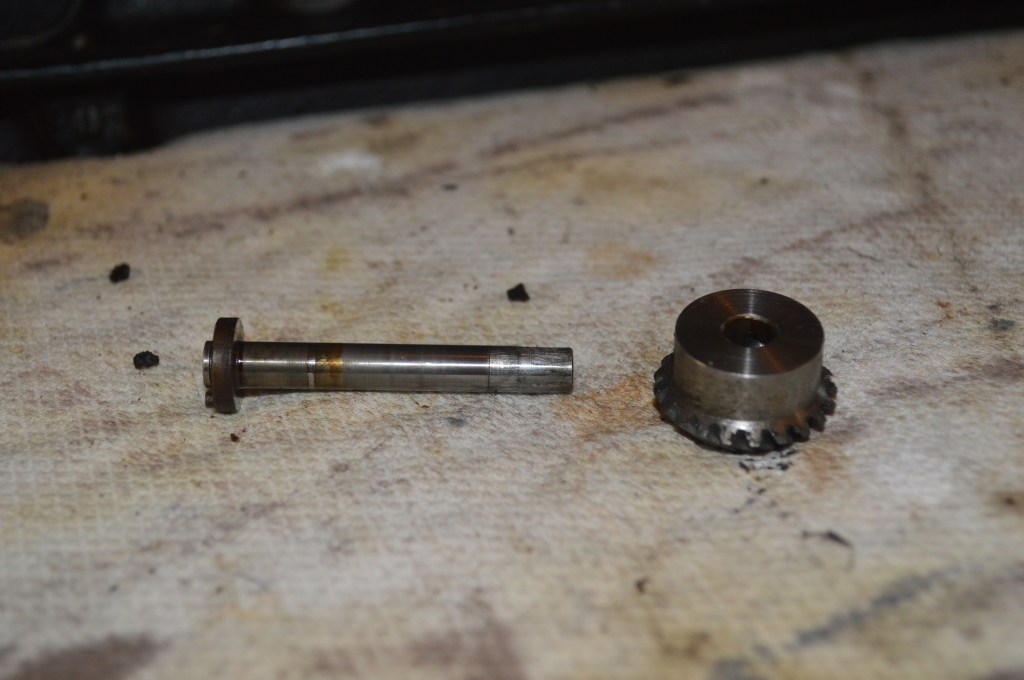
hook shaft before cleaning and polishing 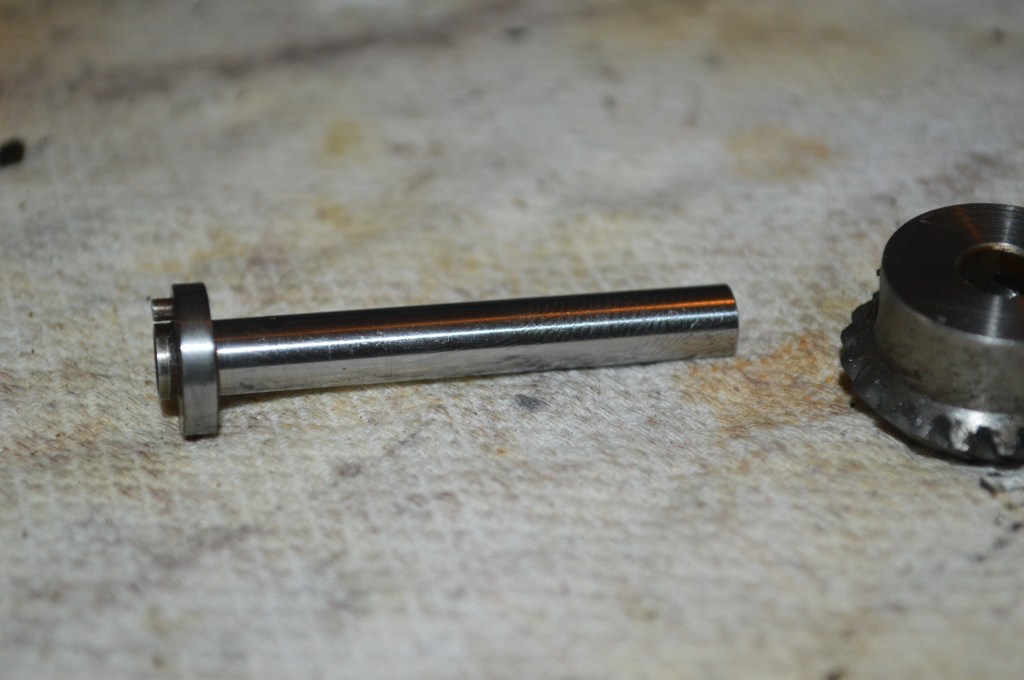
hook shaft after cleaning and polishing 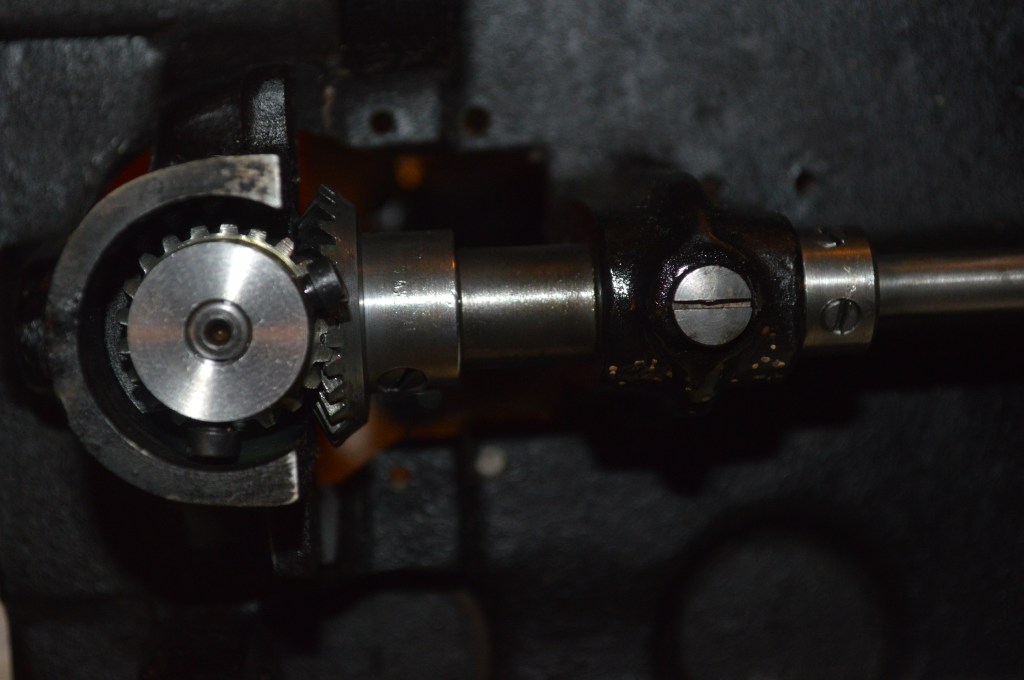
Shaft and gear reassembled to matching gear teeth
The next step is to restore the “potted motor”. This motor has had the wires replaced at some point, but it will be done again. To properly restore this motor, it needs to be completely disassembled, cleaned, and the armature polished. The following pictures will show the restoration steps in a somewhat abbreviated fashion but a complete tutorial detailing the steps to do this can be found in my blog post: https://pungoliving.home.blog/2019/12/31/a-tutorial-restoration-of-a-vintage-singer-potted-motor/, just click on the link. Because the bobbin winder is part of the motor housing, it is disassembled and cleaned as part of the motor restoration.

Motor before restoration 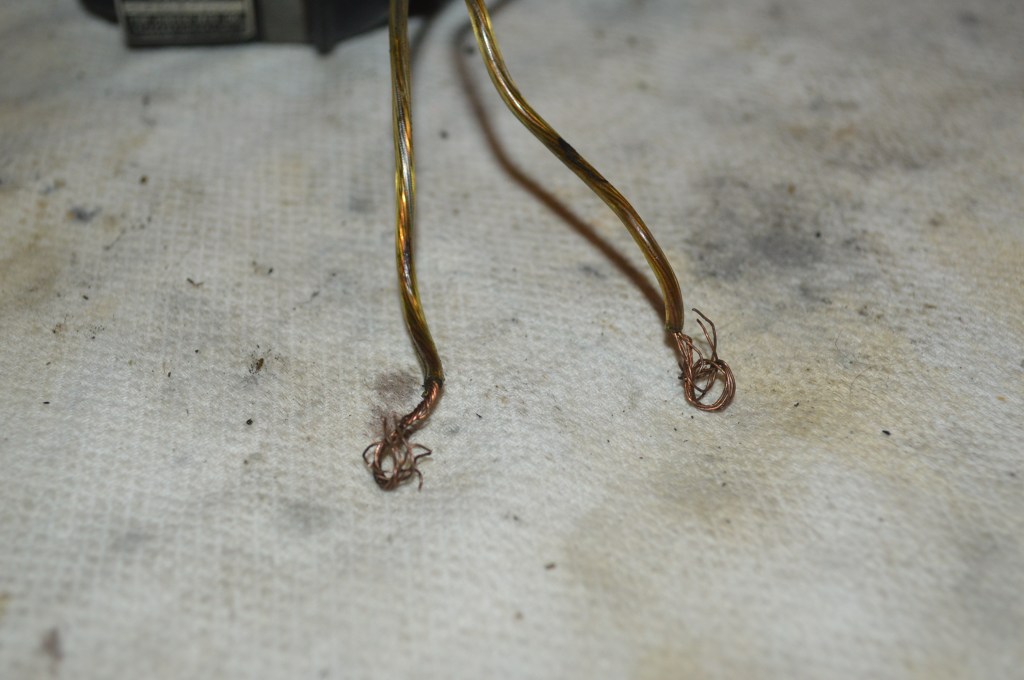
Wires not proper guage and terminal ends not soldered… not good 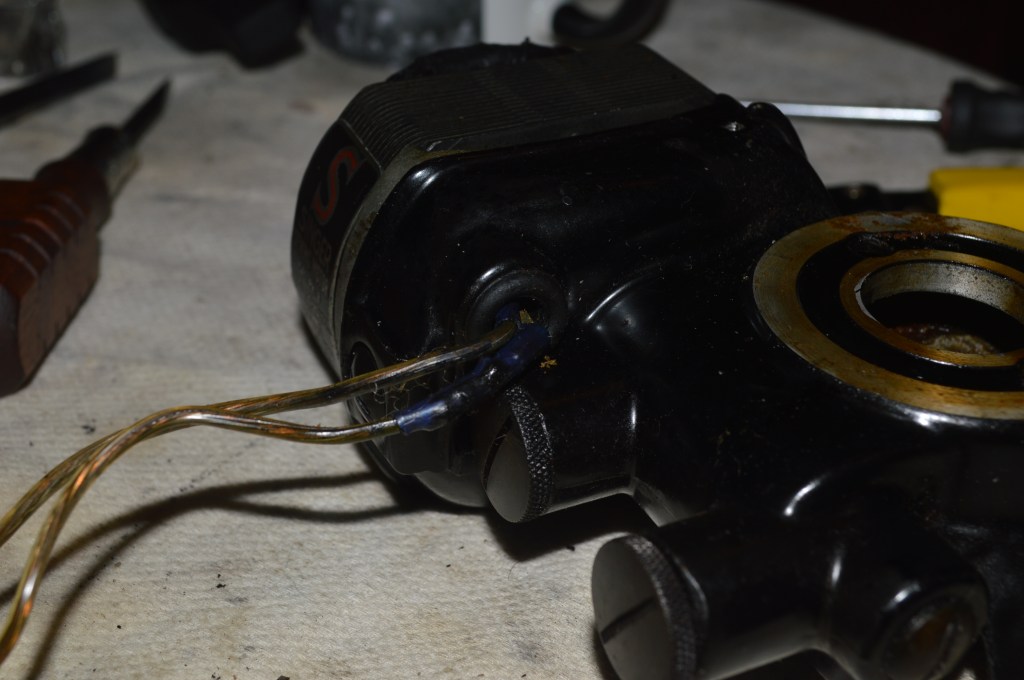
Wire needs replacement 
Motor disassembled and ready for cleaning 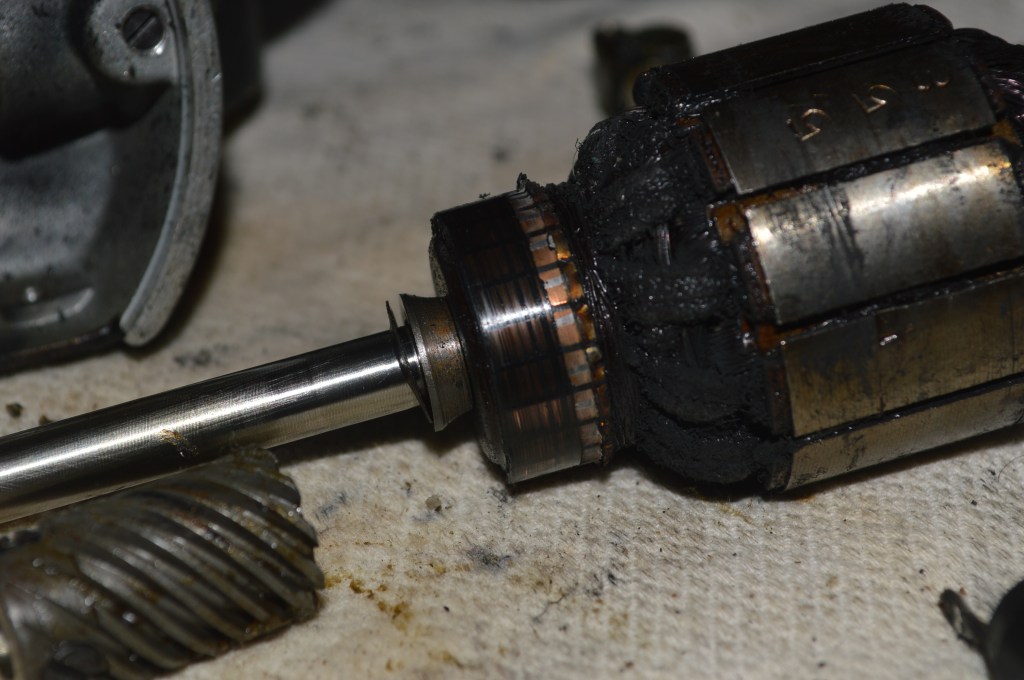
Armature before polishing 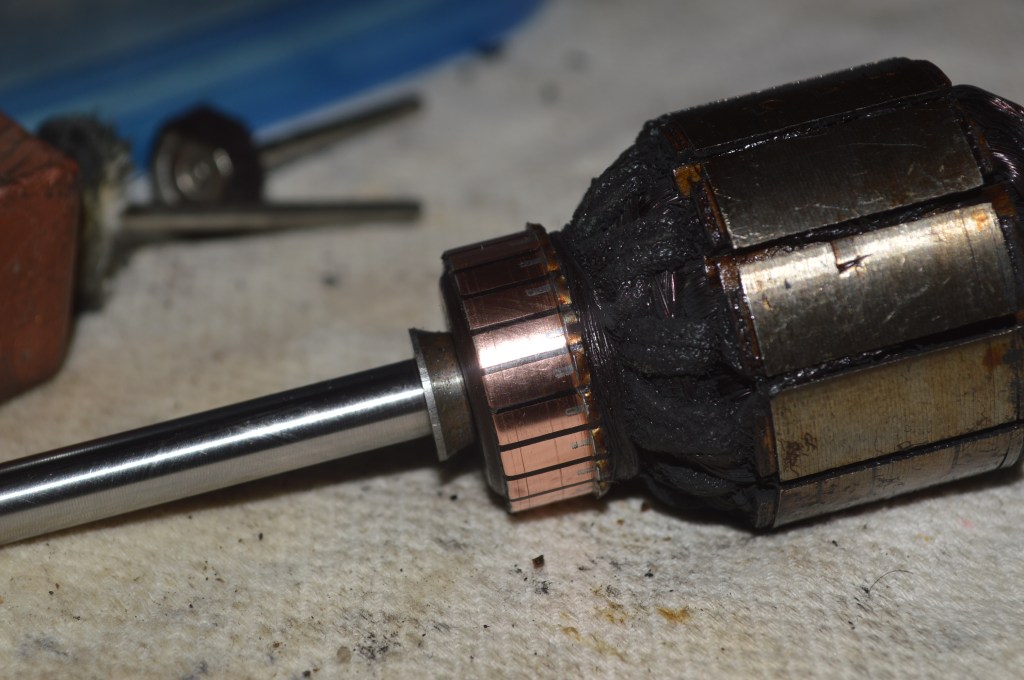
Armature after polishing. 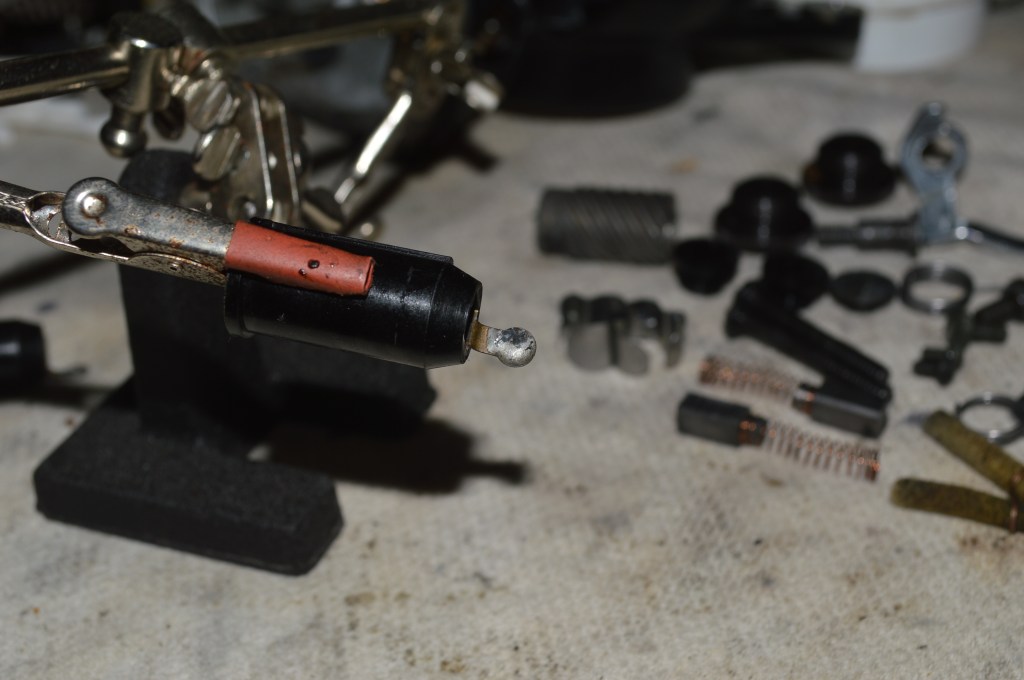
desoldering brush tubes 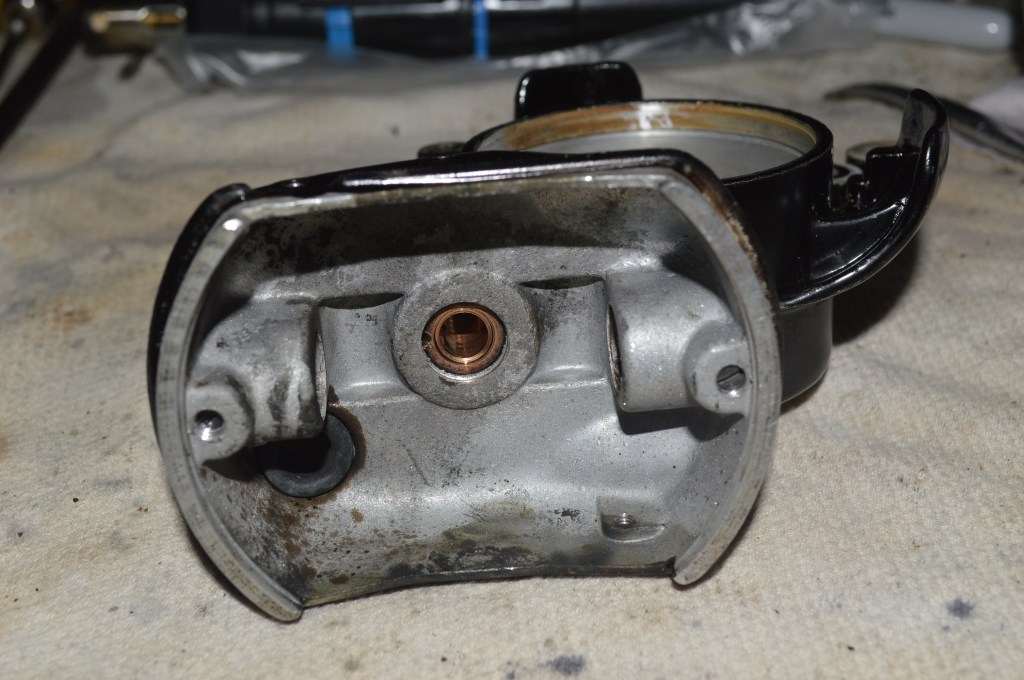
Cleaned motor case front view 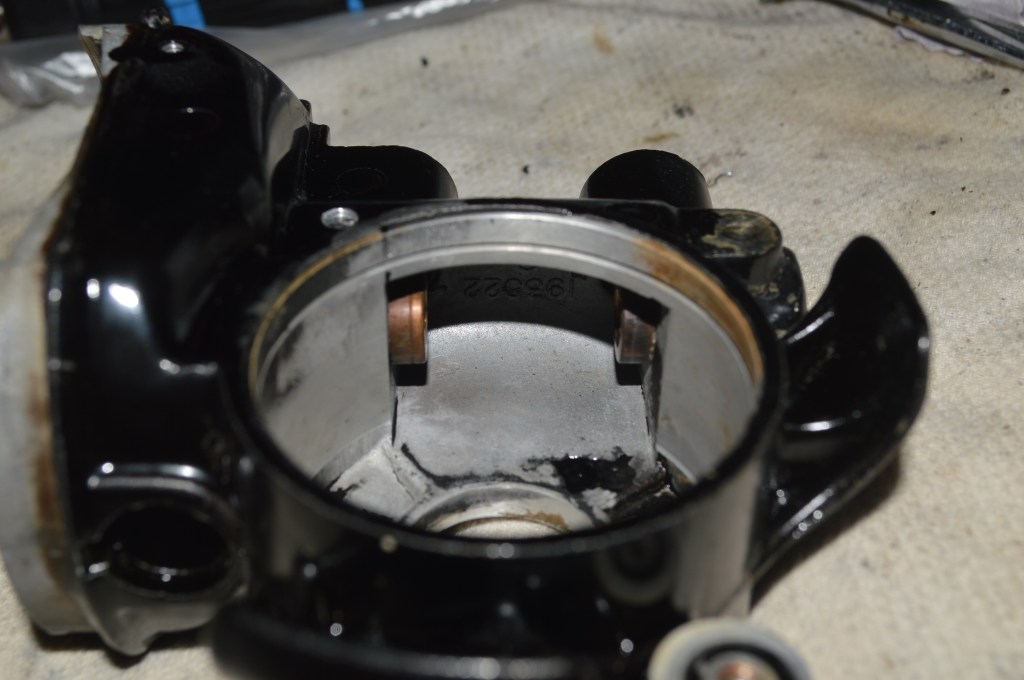
Cleaned motor case gear housing 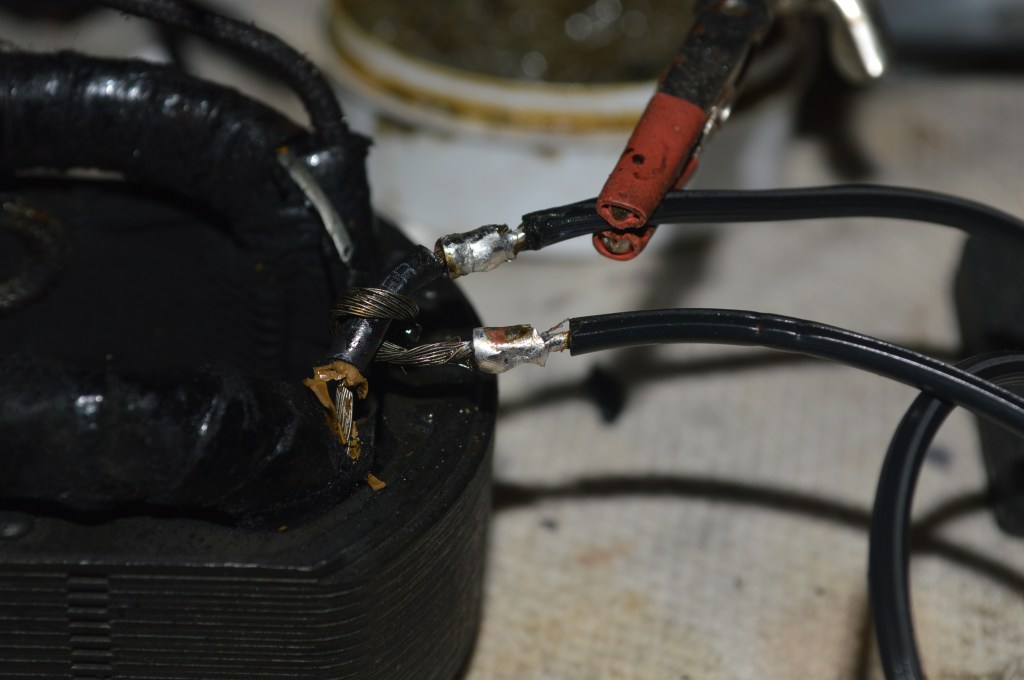
solder connectors to new wires… solder sleeves are used for a good solder joint 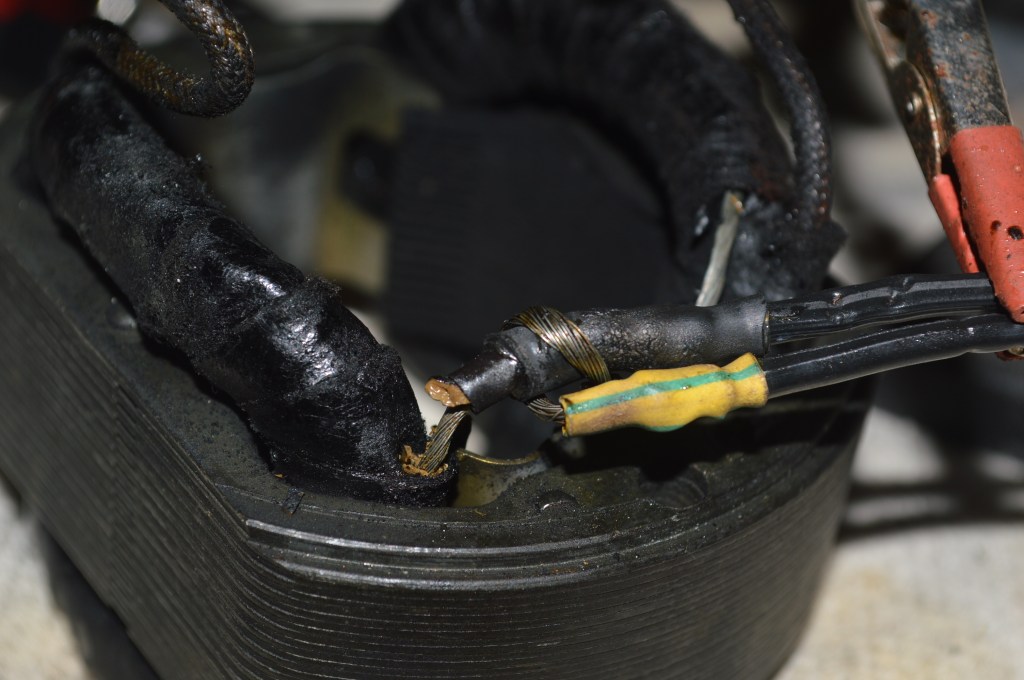
new wires with shrink tubing… notice the cracked wire insulation to be re-coated 
liquid insulation to re-insulate, reinforce,
and stabilize field coil wires this cures for 24 hours before reassembly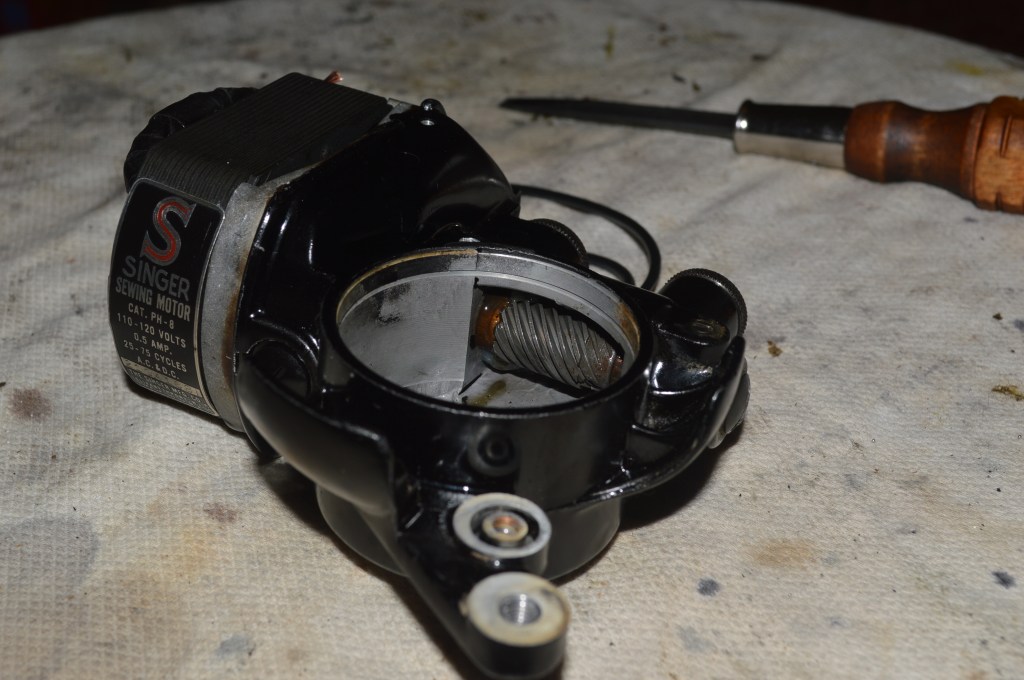
Motor reassembled 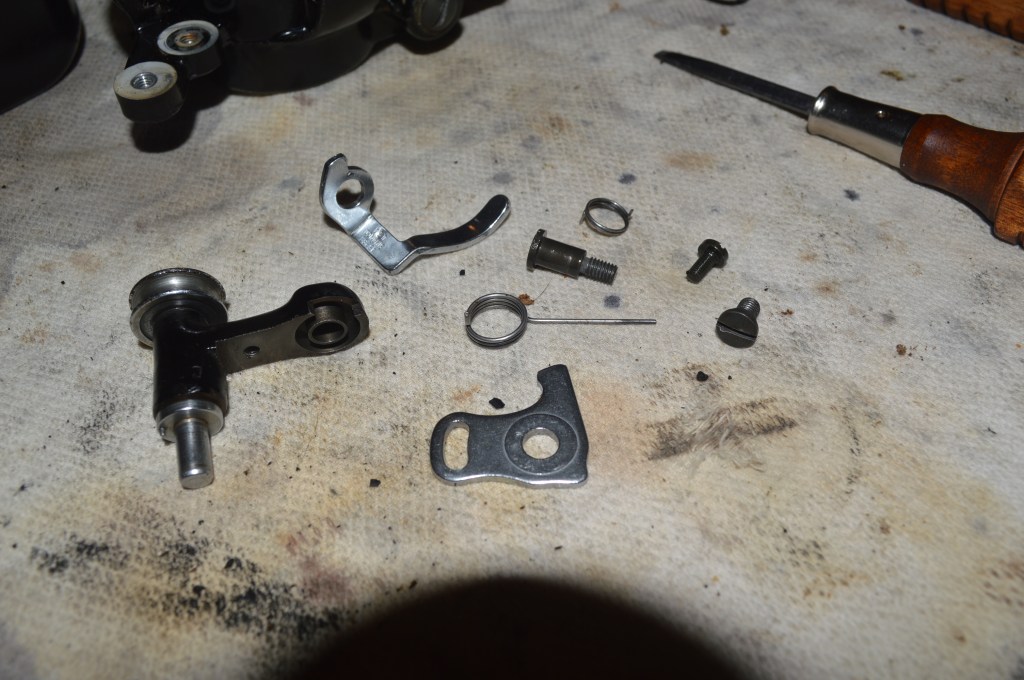
Bobbin winder parts cleaned and ready for assembly 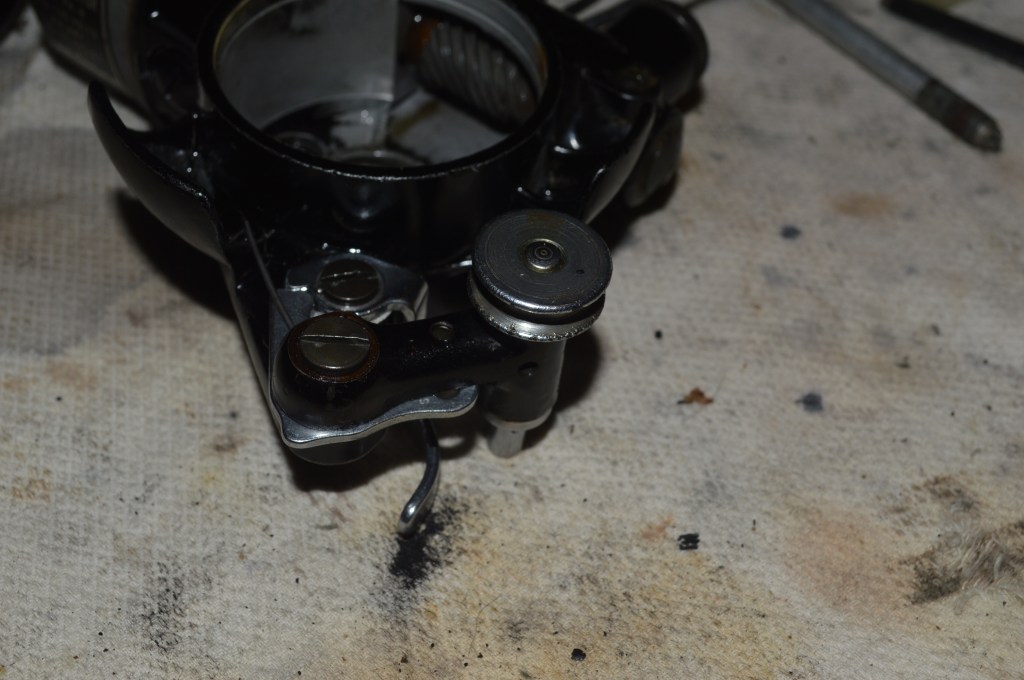
Bobbin winder assembled 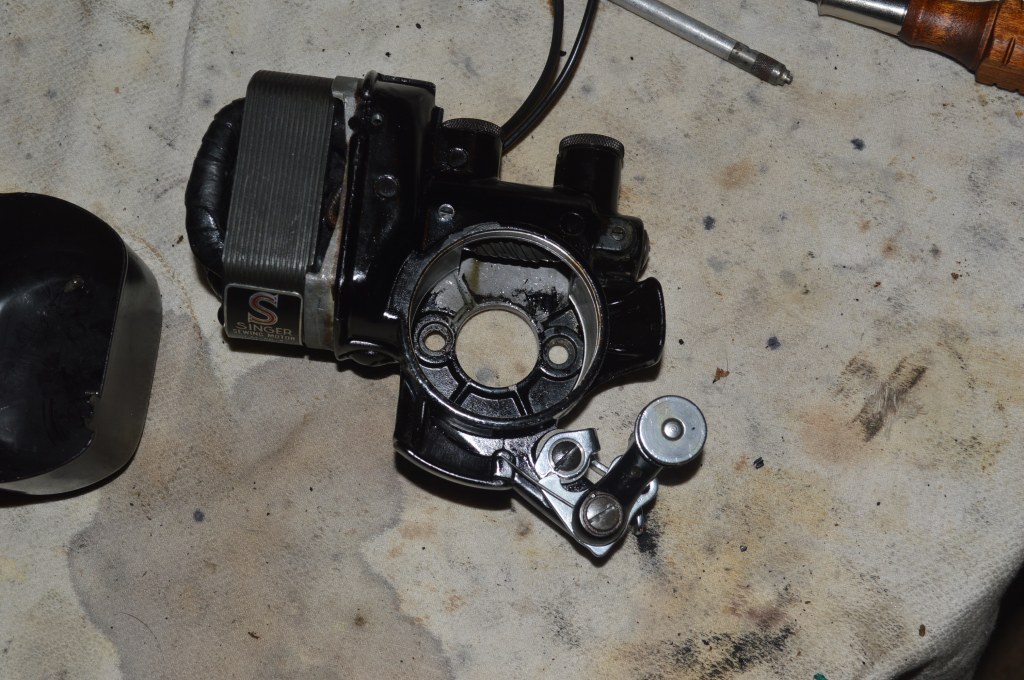
Motor ready to bench test
The motor is run for about 10 minutes to break it in and make sure it is running properly. Setting it aside, the next part to disassemble and clean is the balance wheel. The steps are shown, and again, for a complete tutorial on the process to restore a Singer 201 or 15-91 balance wheel, check out my blog post on the subject at https://pungoliving.home.blog/2020/01/08/a-tutorial-restoring-a-singer-201-2-or-singer-15-91-balance-wheel/. This is what the process involves.
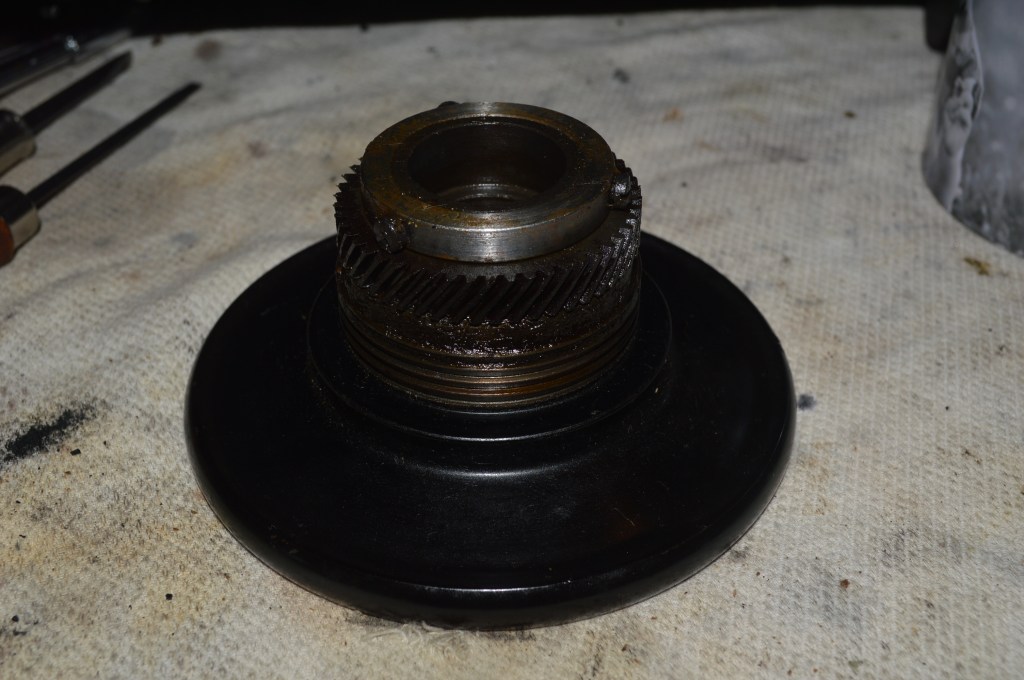
Before 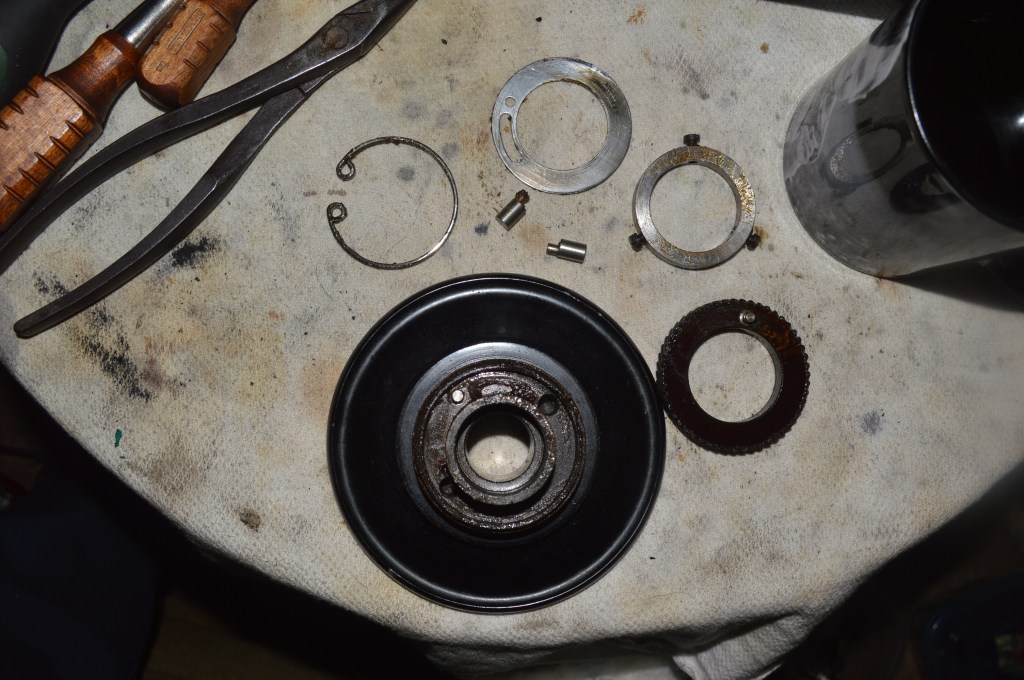
Disassembled and ready for cleaning 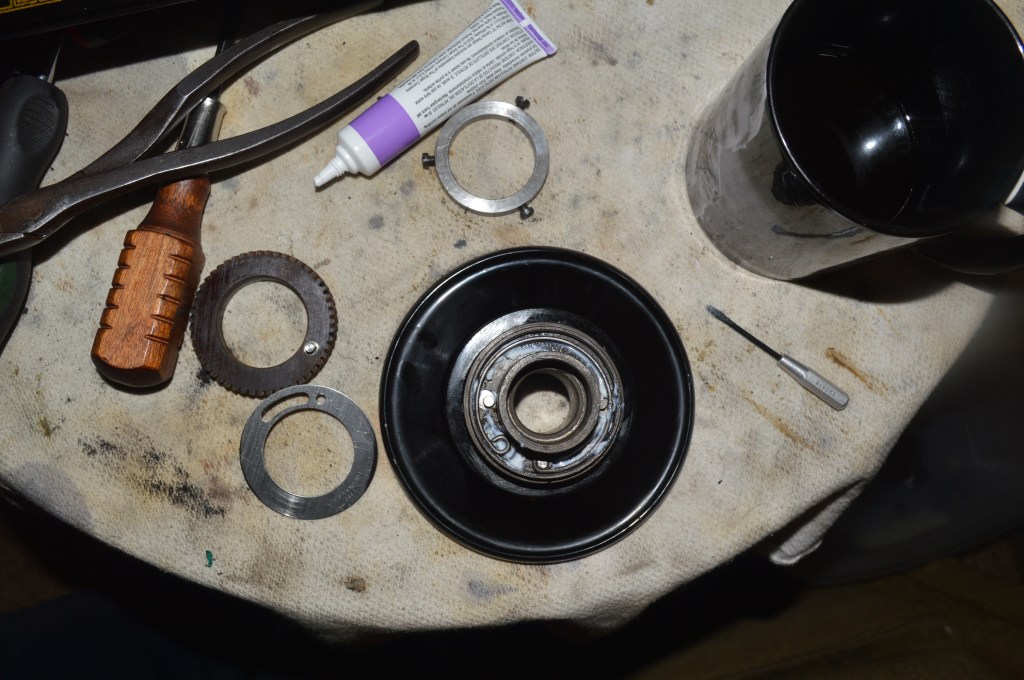
Spring and eccentric studs installed and lubricated with grease 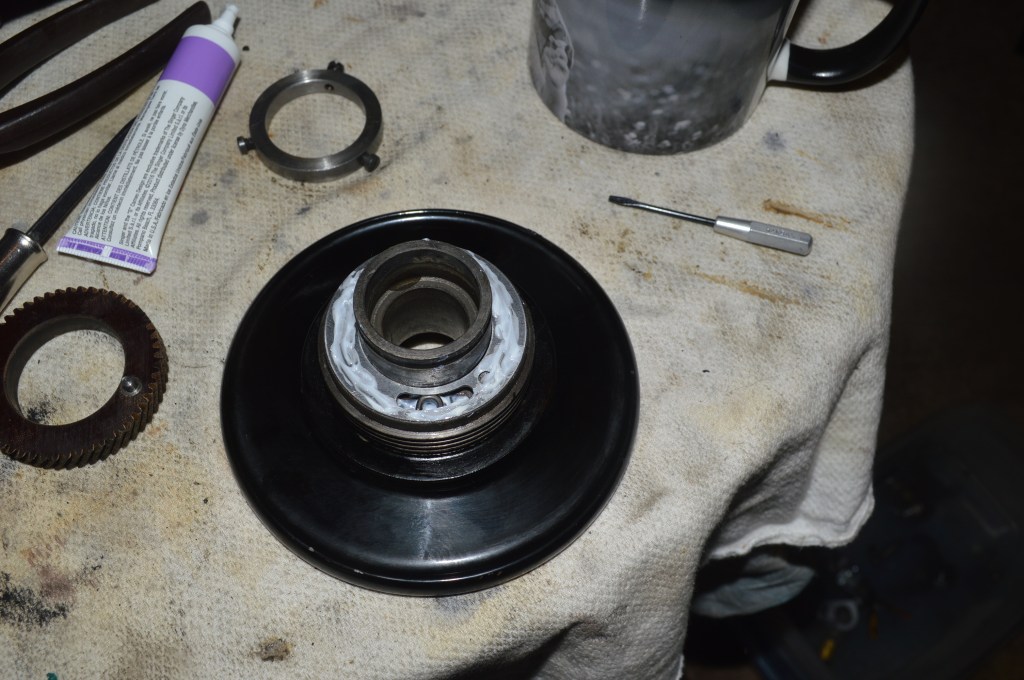
Cover plate installed and lubricated 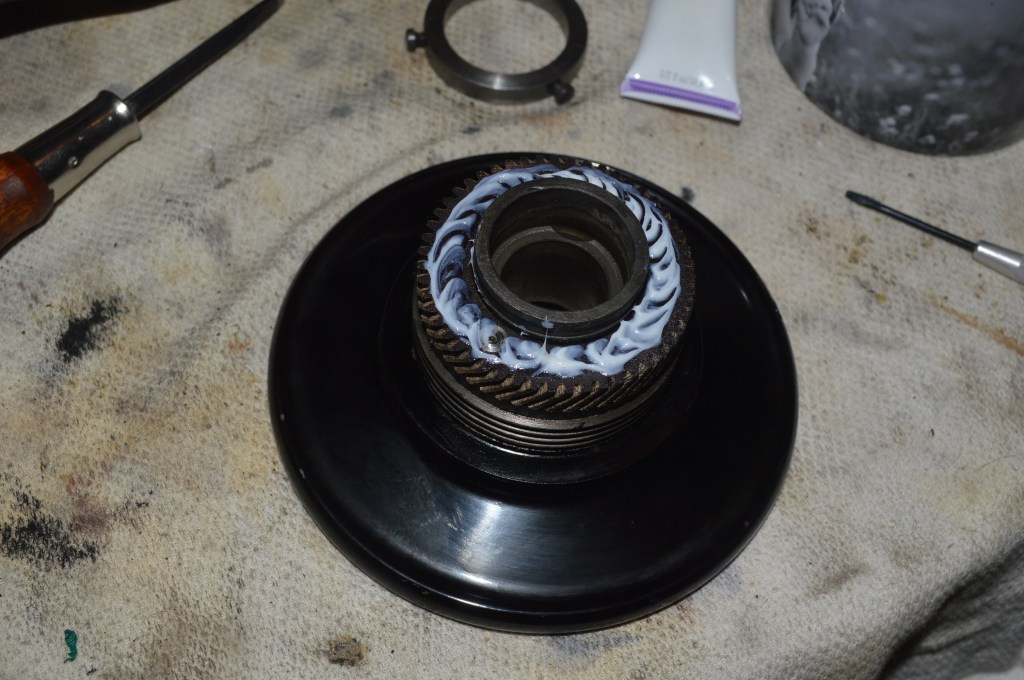
Textolite gear installed and lubricted 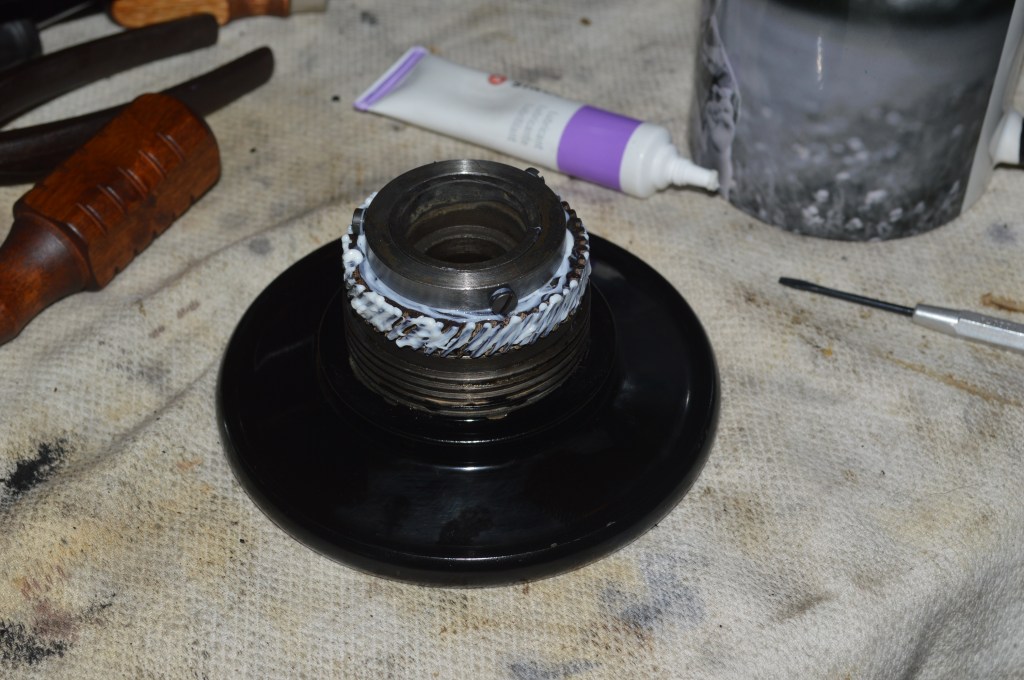
Balance wheel assembled, lubricated, and ready to be installed.
The tension assembly is disassembled and cleaned… This tension assembly was in great shape to start with!
Now on to the cosmetic restoration. As I pointed out earlier, the original shellac finish has oxidized over many years. Before addressing this, the machine is deep cleaned. The cleaning results in a much better looking finish but no where near what it can be.

The next step is to prepare the machine for paint matching the chips, make the small decal repairs, and a provide a new protective coat of shellac. This starts by applying boiled linseed oil over the entire surface of the machine. The linseed oil will be left for 24 hours to nourish the old shellac where it can, and prepare the areas needing repair.
After this “cure” time, the residual linseed oil is removed and the paint and decal repairs are done. This includes the edges of the bed and a few little chips where I find them. The black paint I use is a recipe of carbon black, alcohol, and shellac that is mixed for each individual machine. This is an excellent color match and the shellac base is compatible with the original finish.
The edges and decals before touch up…
Notice small loss inside decal borders 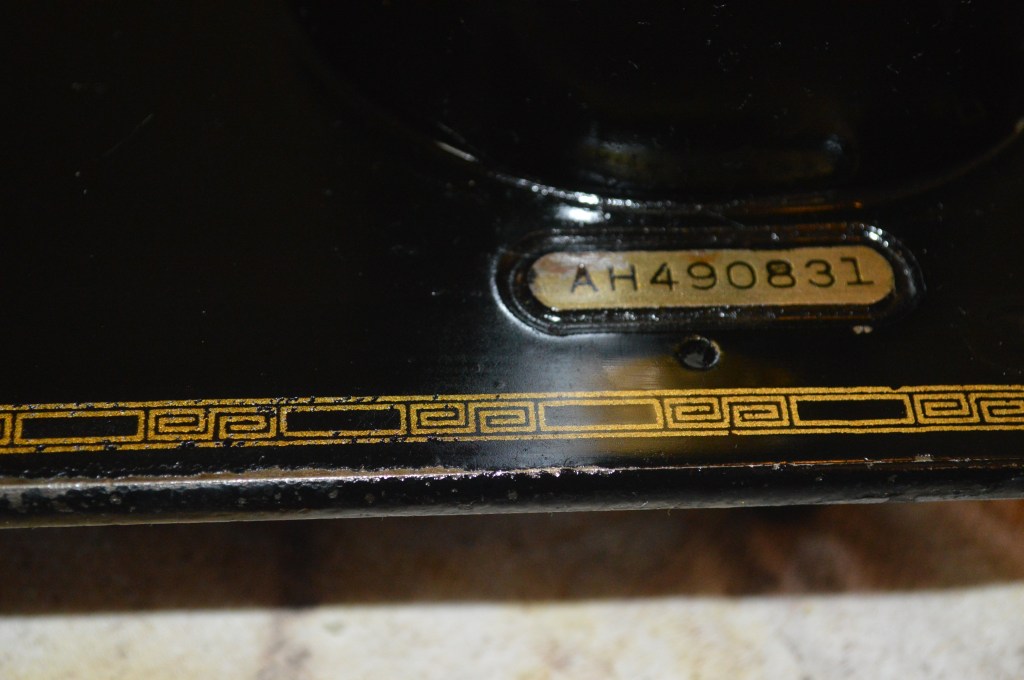
The decals on each black vintage Singer ages differently. The best repair includes matching the gold as closely as possible.
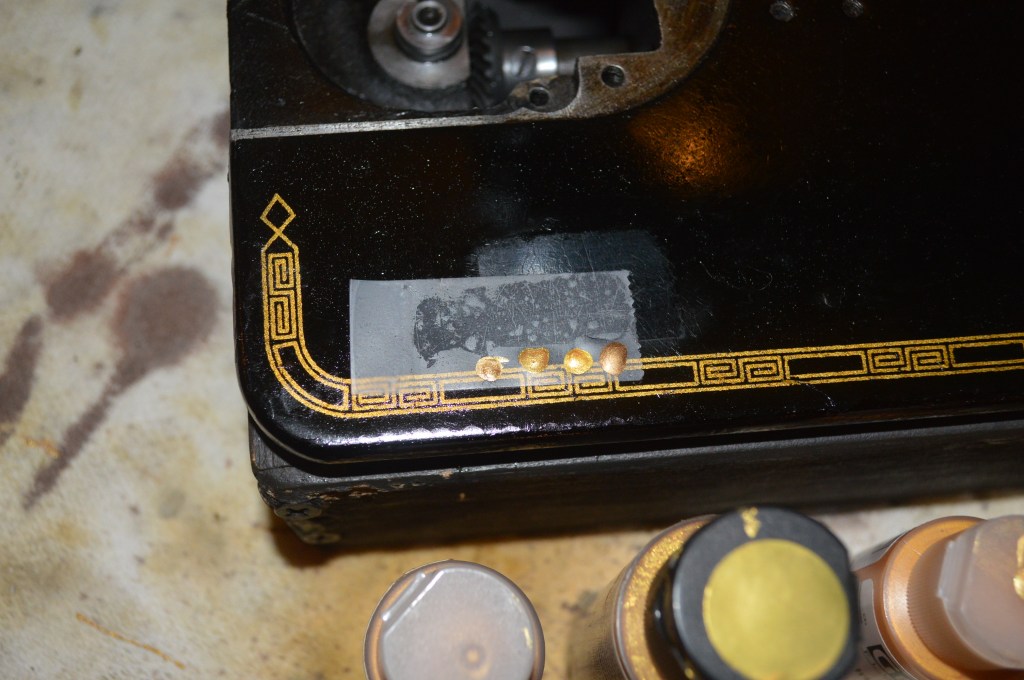
The borders of the decals are very thin, so I need to use a 10X loupe and a very fine artist brush trimmed to leave only a few bristles.
After repairs 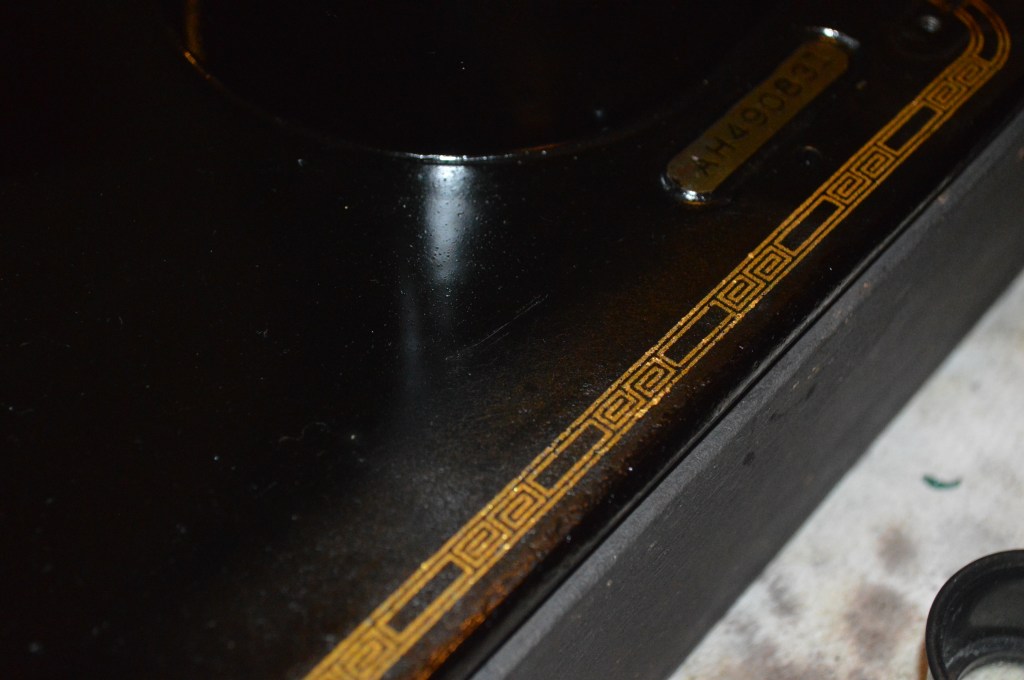
After repairs
Next the machine is masked off and prepared for the new shellac coat. The machine is sprayed with four coats of shellac and set aside to cure for three days before sanding and polishing.
The texture looks rough, but look at the color! Any defects in the original finish have vanished. The next few steps make all this effort worthwhile. First, the machine is wet sanded with 800 grit sandpaper using linseed oil as the liquid medium. This is followed by sanding with 1000 grit paper, then 1500 grit paper, and then 2000 grit paper. The advantage of re coating with shellac is that not only do you get a beautiful smooth finish, but the original oxidized shellac is dissolved by the new shellac. Any roughness or oxidation melts away under the new shellac and restores a very smooth finish with no hint of previous wear. The following pictures shows the finish achieved with progressive sanding to 2000 grit. The final glaze polishing will complete the finish and it will look near perfect.
The final finish achieved with three rounds of glaze polishing… two with TR3 and the third with Meguiar’s mirror glaze polish.
It is finally time to complete the reassembly of the machine and make adjustments. But wait, there is still some disassembly required. A 201 has some hidden places that need to be cleaned on the bobbin hook case and the bobbin case… These parts have covers that hide lint and grunge. These are further disassembled and cleaned.
Bobbin hook cover plate removed and cleaned 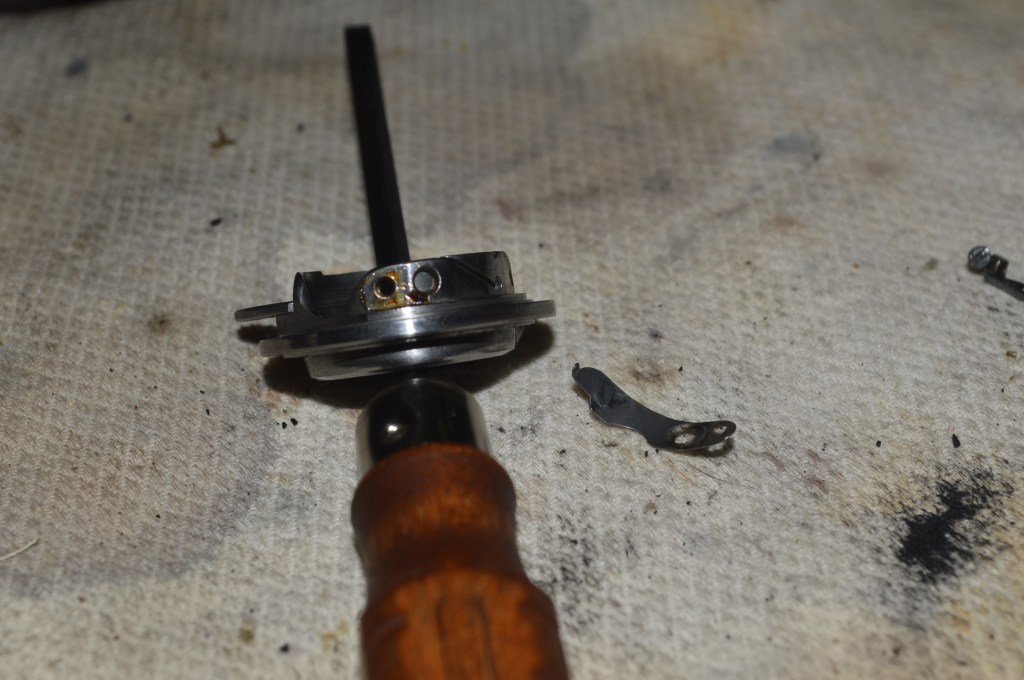
Bobbin case tension spring removed and cleaned
After reassembly, the original wire terminals are soldered to the new wires
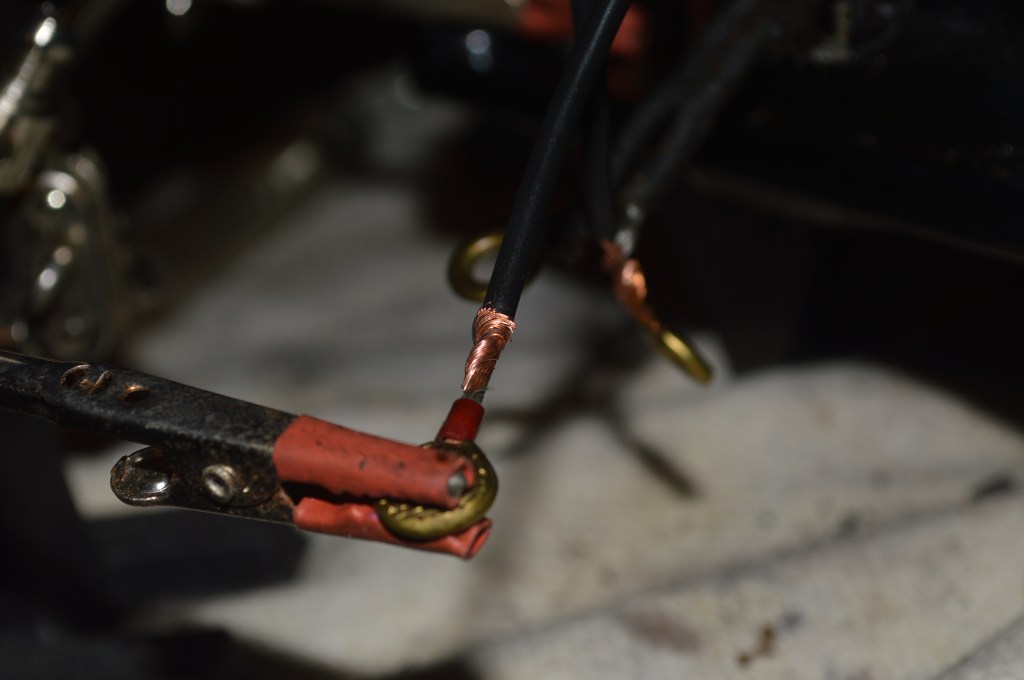
Original terminal ends are soldered to the new wires 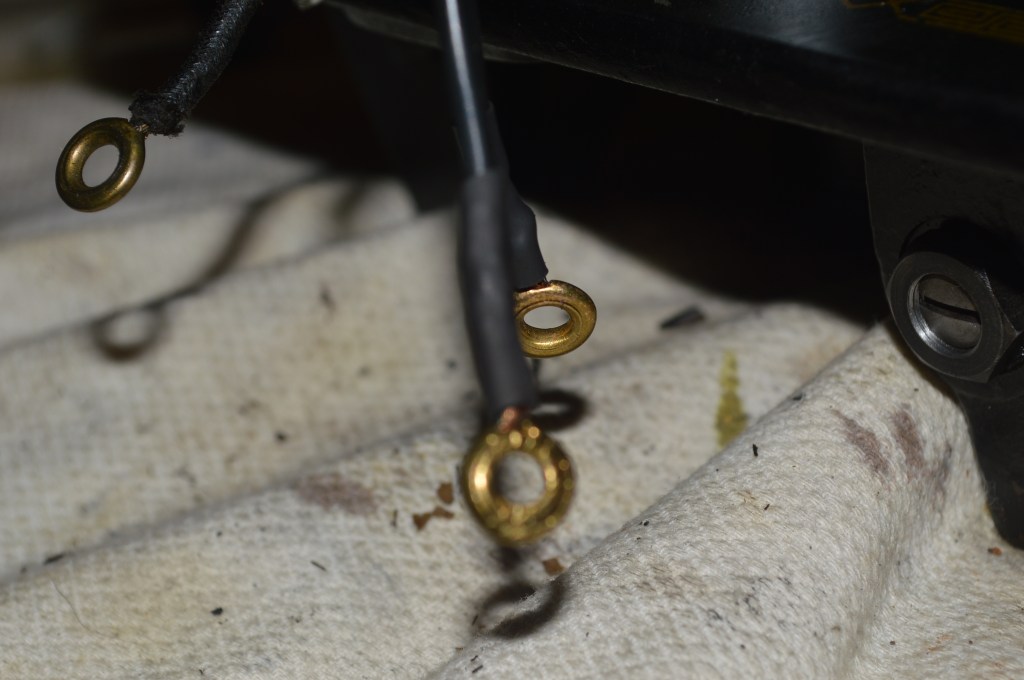
Shrink tube insulates the solder joint
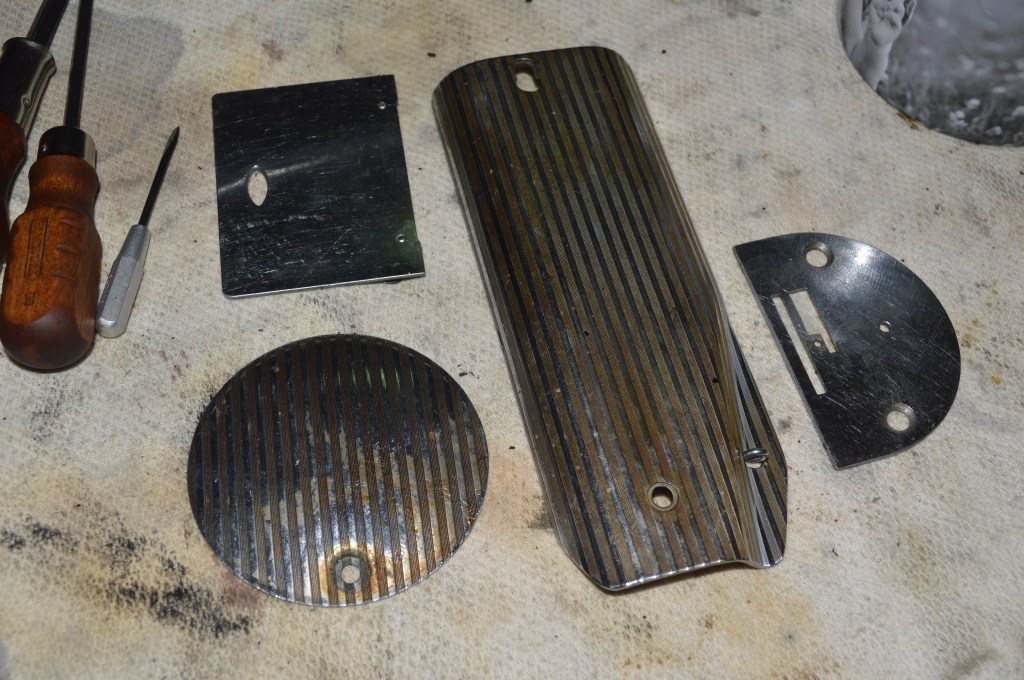
The cover plates are cleaned and polished…
Everything in the needle bar area is reassembled…
The hook timing is set…
Needle bar set at timing mark 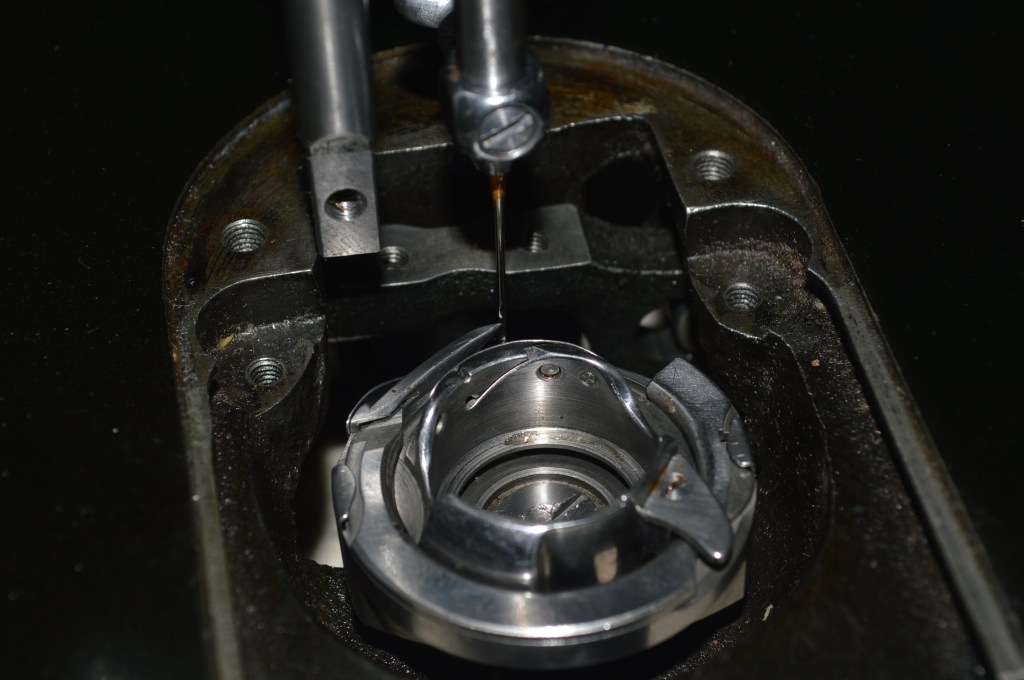
End of hook is centered behind the needle… here timing is perfect
And finally… all of the miscellaneous bits and pieces are reassembled on the machine and it is ready to adjust and sew. After minor adjustments on the feed dogs, the machine runs quiet, powerfully, and smooth.
Now, this machine needed a very involved and detailed cosmetic restoration. Despite the time and effort required to do this, it is the perfect compliment to the involved and detailed mechanical restoration. It’s a complete package, and as I said before, some machines need more, some need less, but they all get what they need. In conclusion, this vintage Singer 201-2 was born on February 27, 1948, and was re-born on February 12, 2020, and it still has seven lives to go! It is a beautiful outcome.
For comparison, here is the machine before restoration…


And here is the machine after restoration…
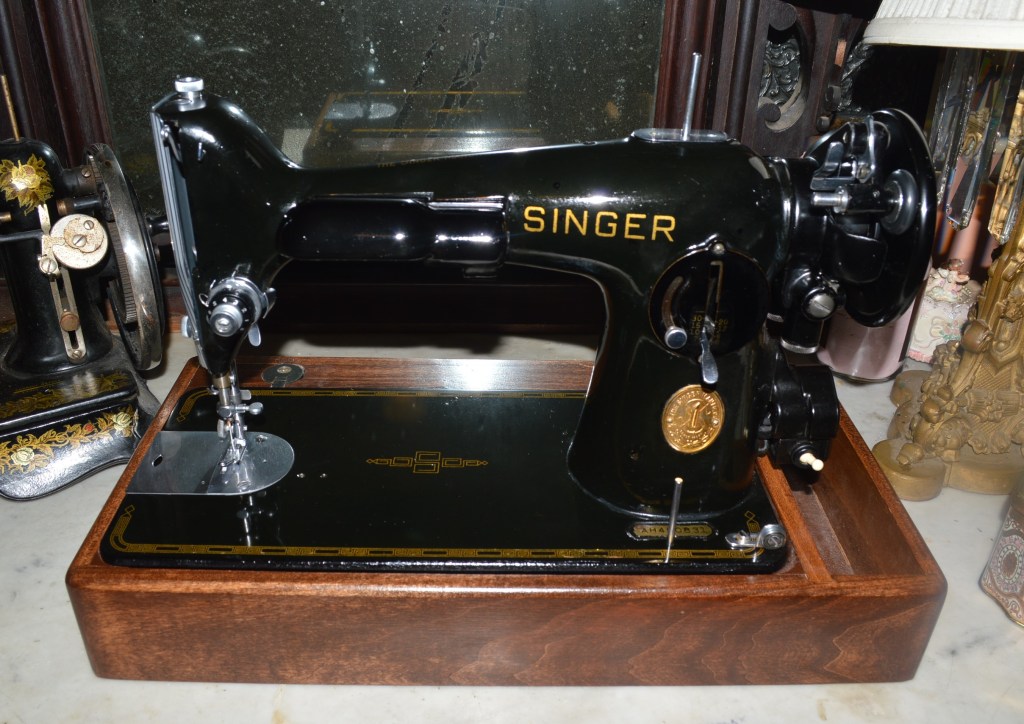
A new cord set, an electronic foot controller, and an LED sewing light bulb and the package is complete! The only thing left for me to do at this point is to get another cup of coffee…
If you like what you see please visit our Etsy store at https://www.etsy.com/shop/pungoliving, and see all of our other restored fine quality vintage sewing machines. If you have any questions, please contact Lee at Pungoliving@gmail.com.
Tell me what you think!
