
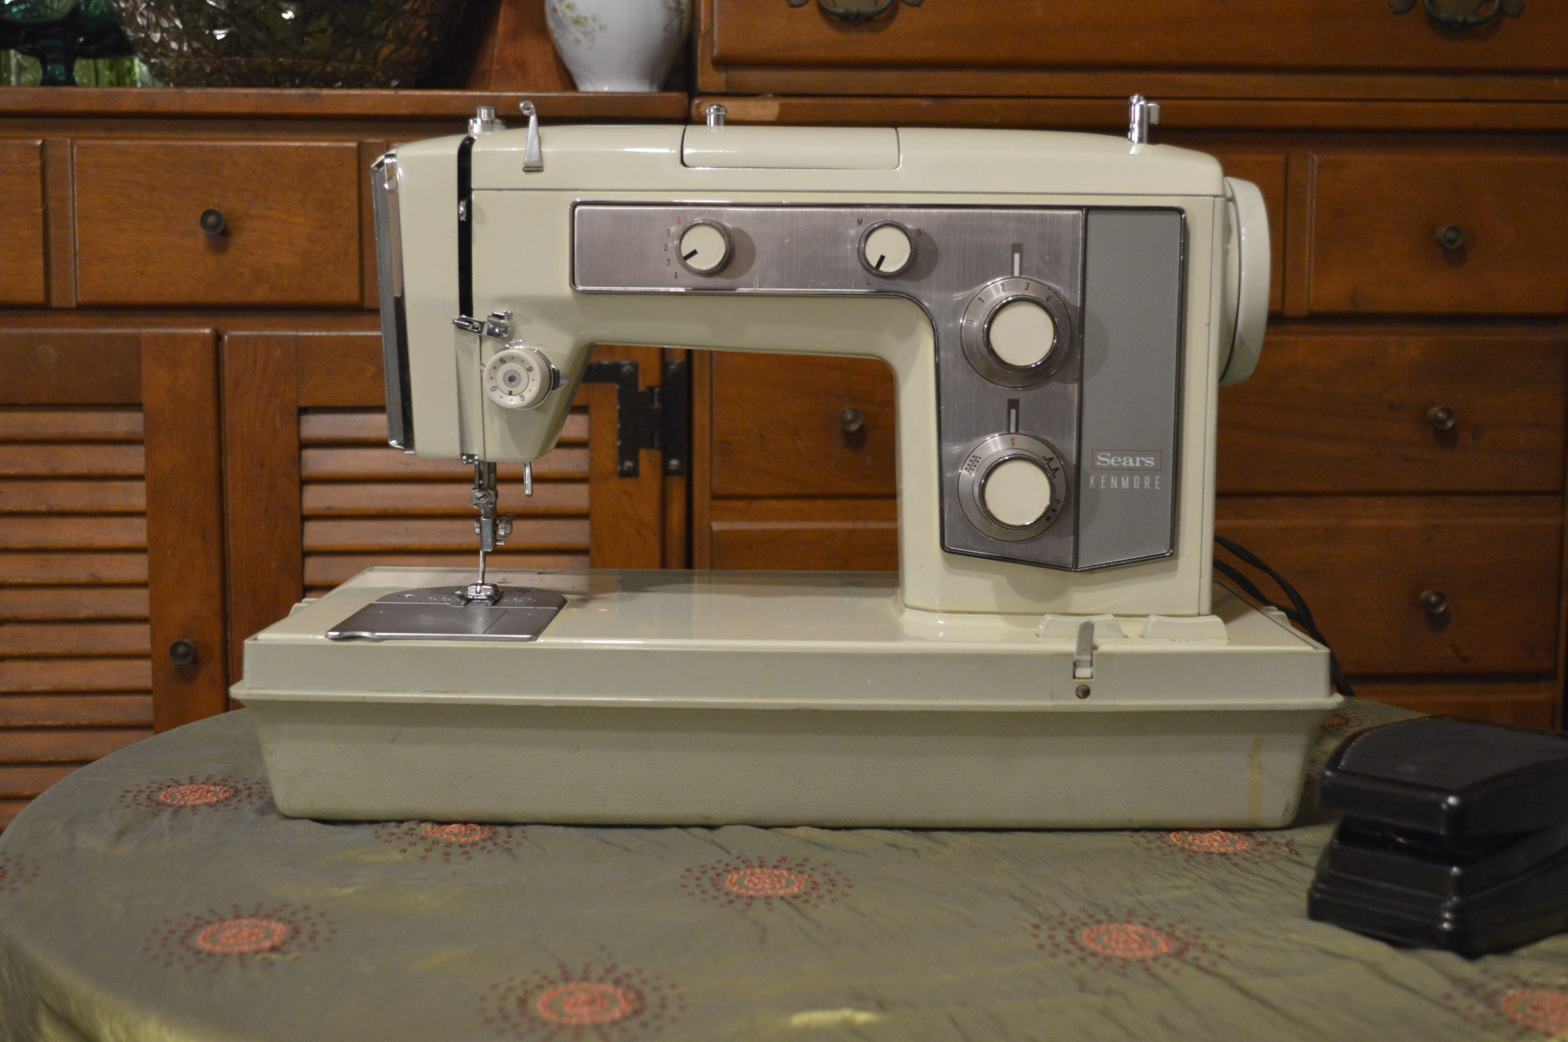

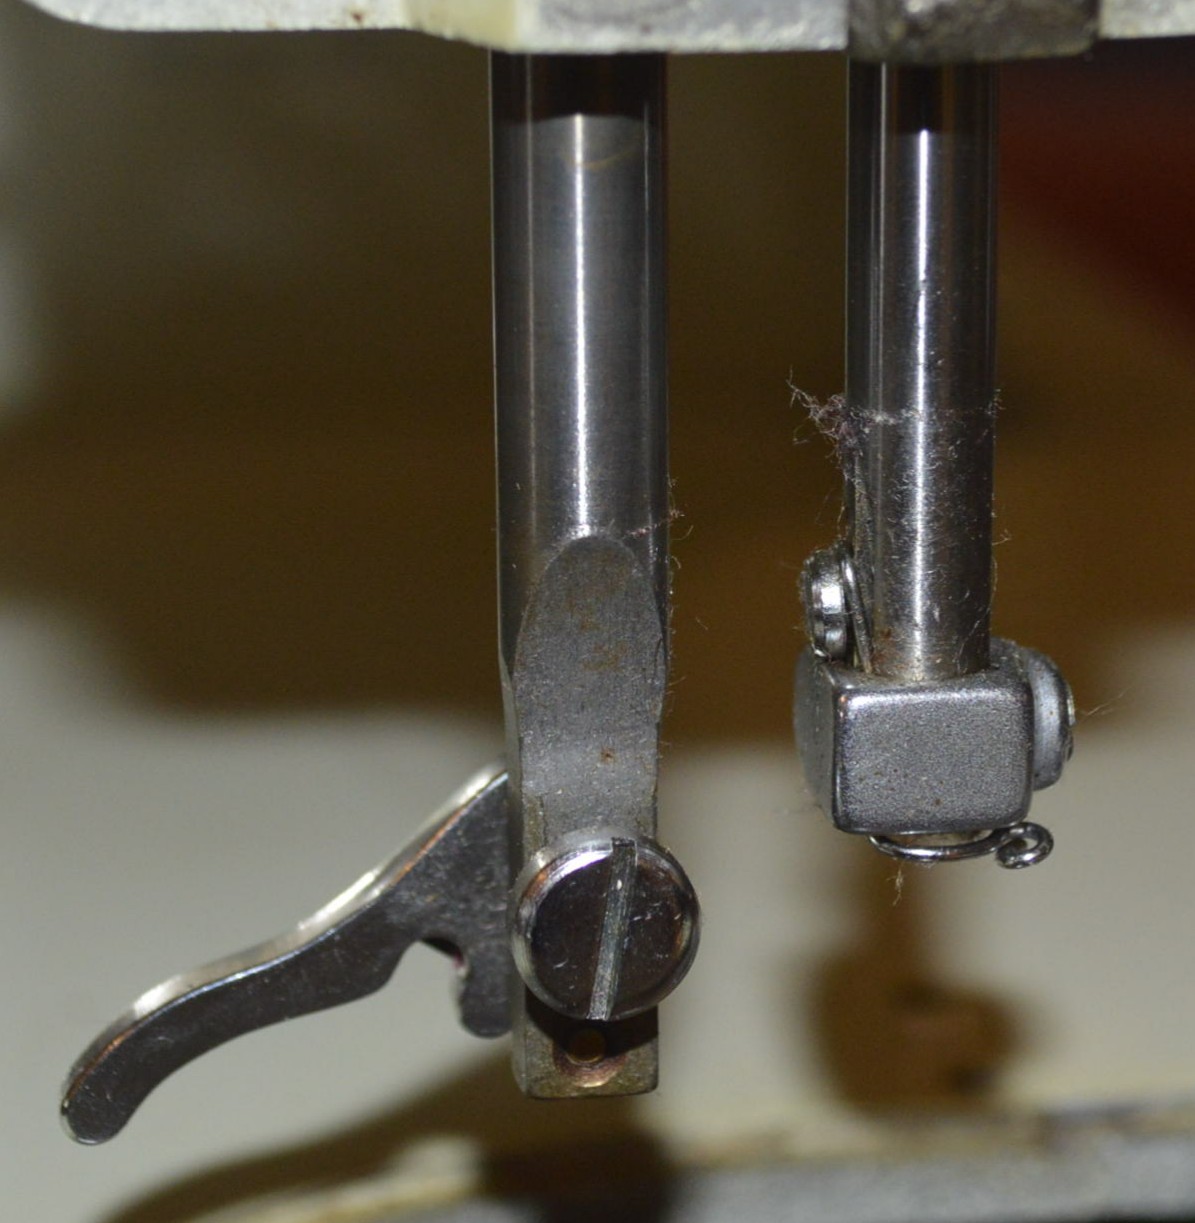
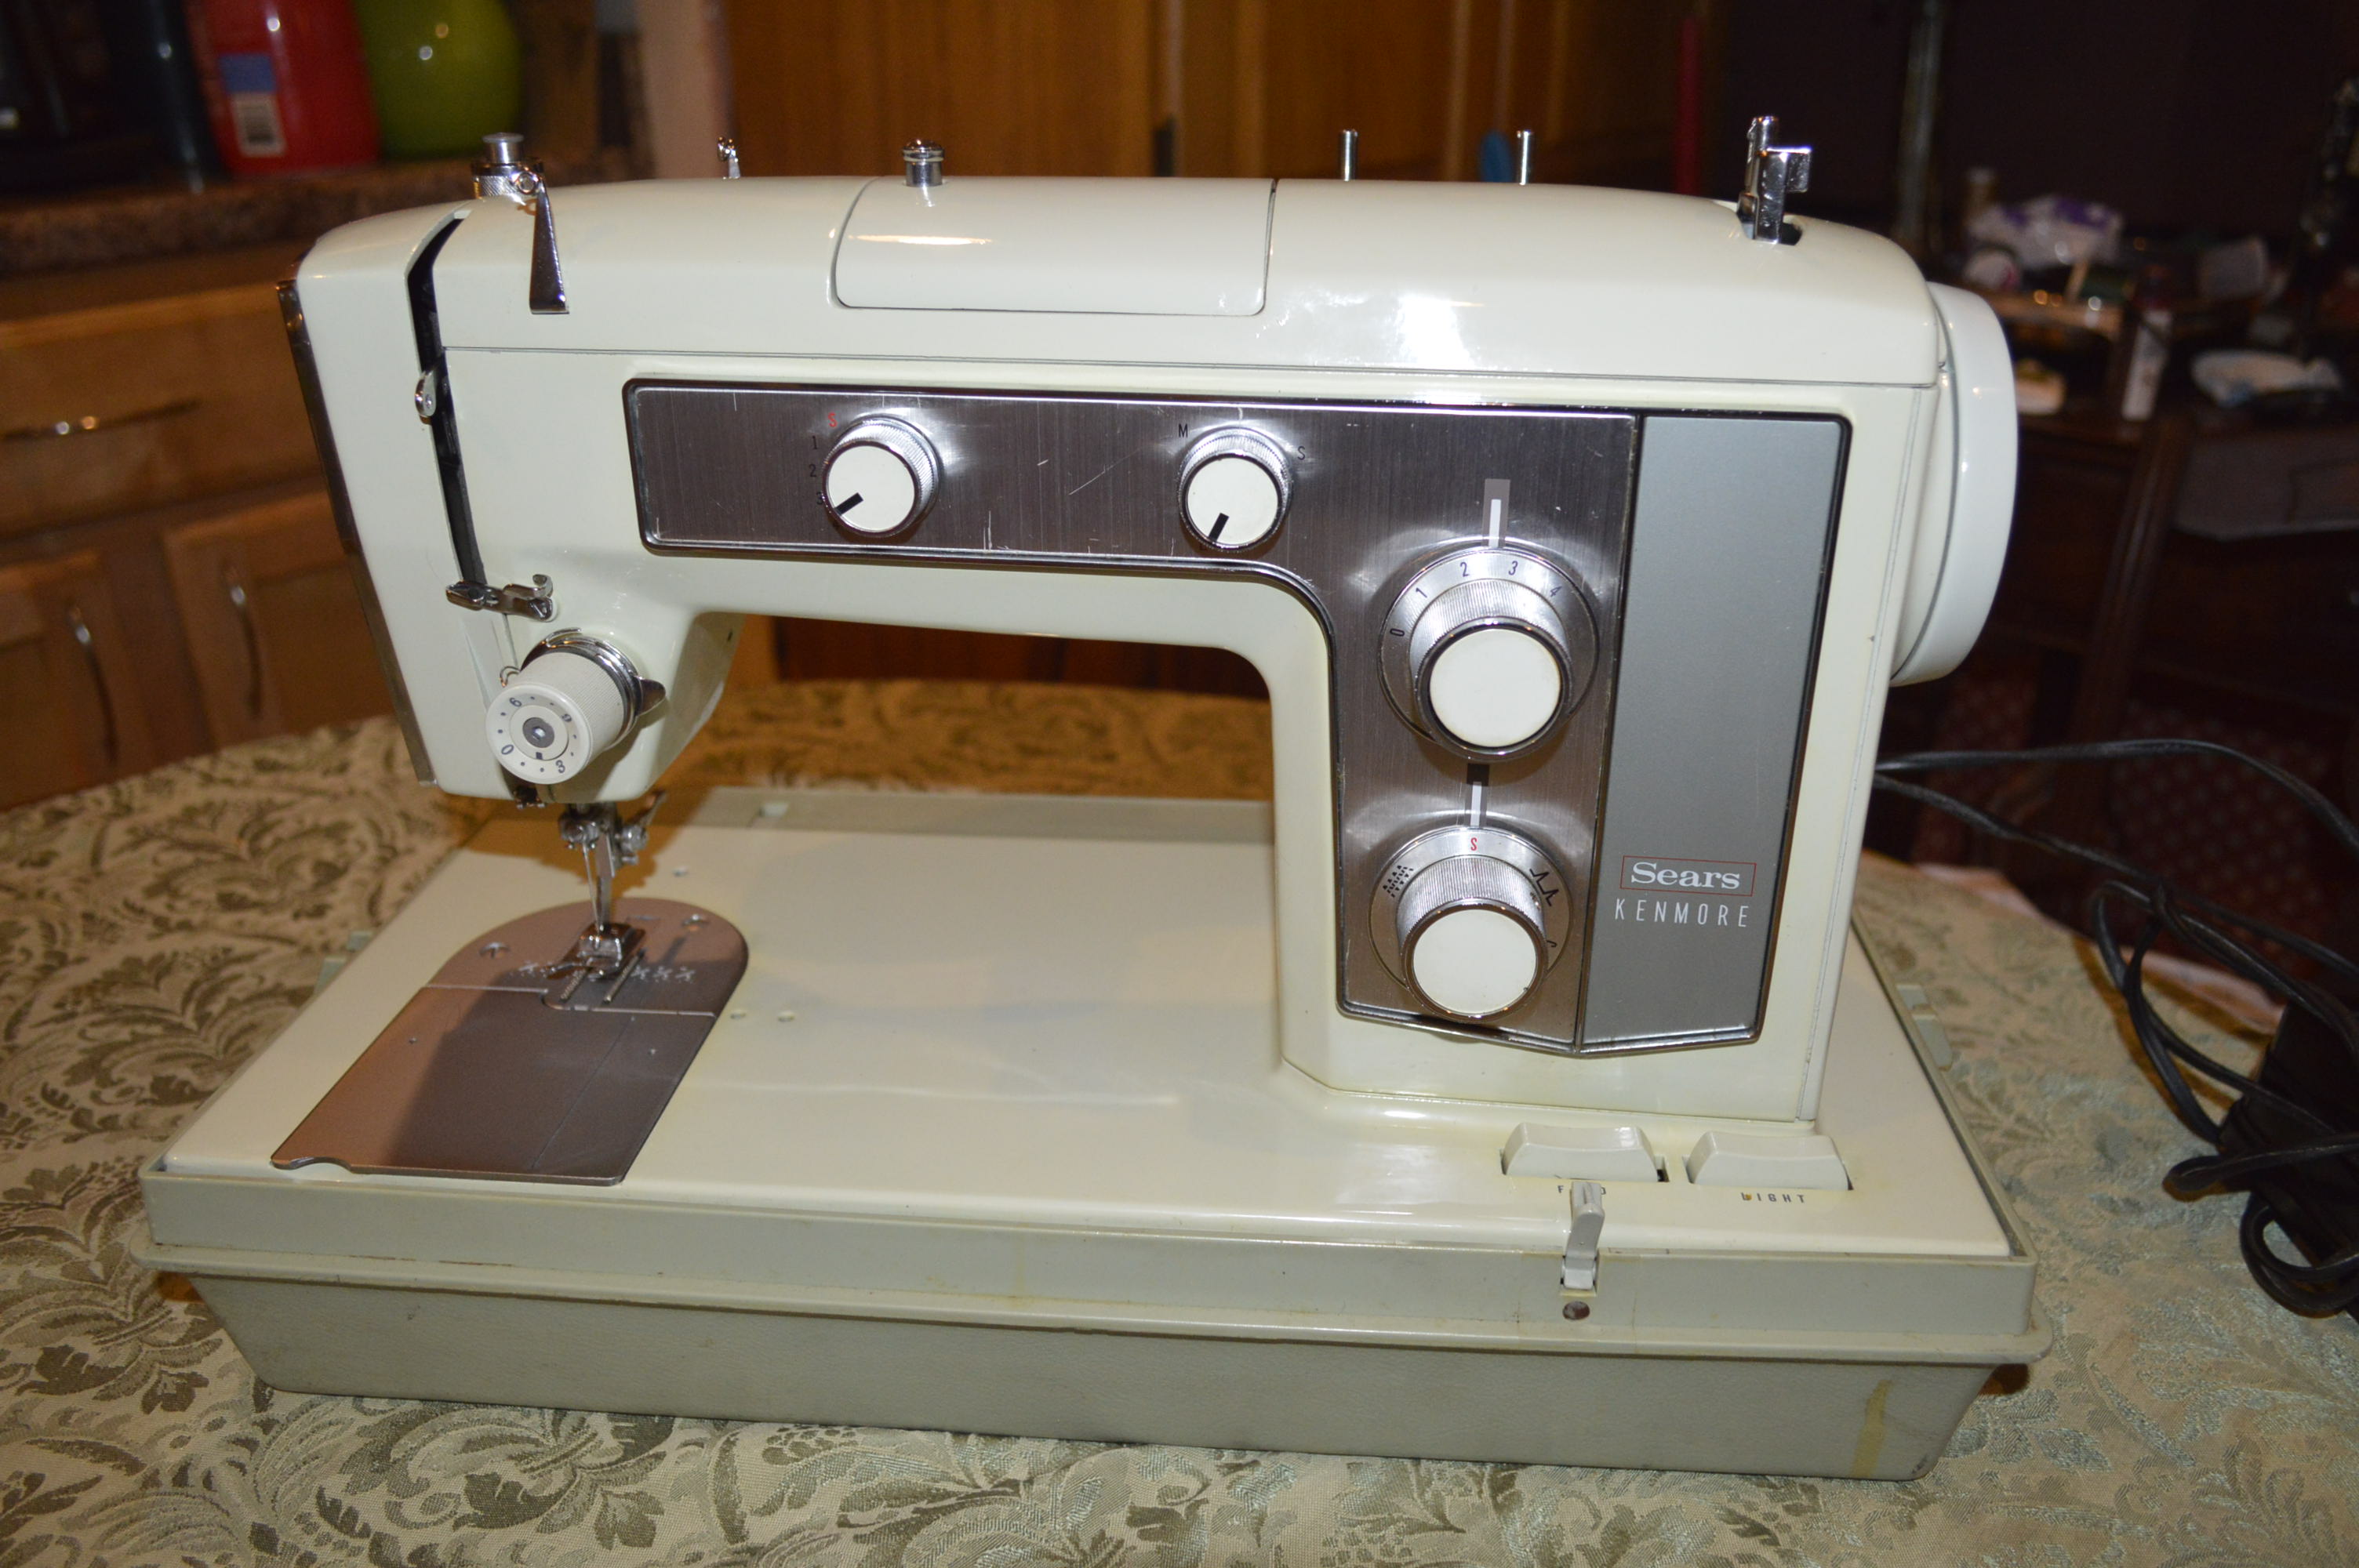
This project is a Kenmore model 158.16011. Funny how things work, I did not intend on buying this machine… in fact, I thought I was buying a Kenmore model 158.1802! That’s the problem with trying to find the right machines to offer you in our Etsy Shop. I have a list of machines I try to keep in stock… machines like the 1802. I have so many sources for acquiring machines that I don’t always have the luxury of seeing a machine in person, as was the case here. From all outward appearances, this machine is an almost identical twin to the 1802. They are both super high shank cam compatible machines, they both have the same presser foot quick detach and needle clamp screw, they both share the same stainless steel needle plate and bobbin cover, as well as the front panel. The only visual difference I can see is the pattern on the stitch length and stitch selector knobs. It wasn’t until the machine arrived that I realized it was a 1601. I also realized that it is in really great cosmetic condition. Except for a slight discoloration on the sewing machine bed and a small defect (as yet undetermined) on the top cover, and a few very slight scratches, it looks near perfect.
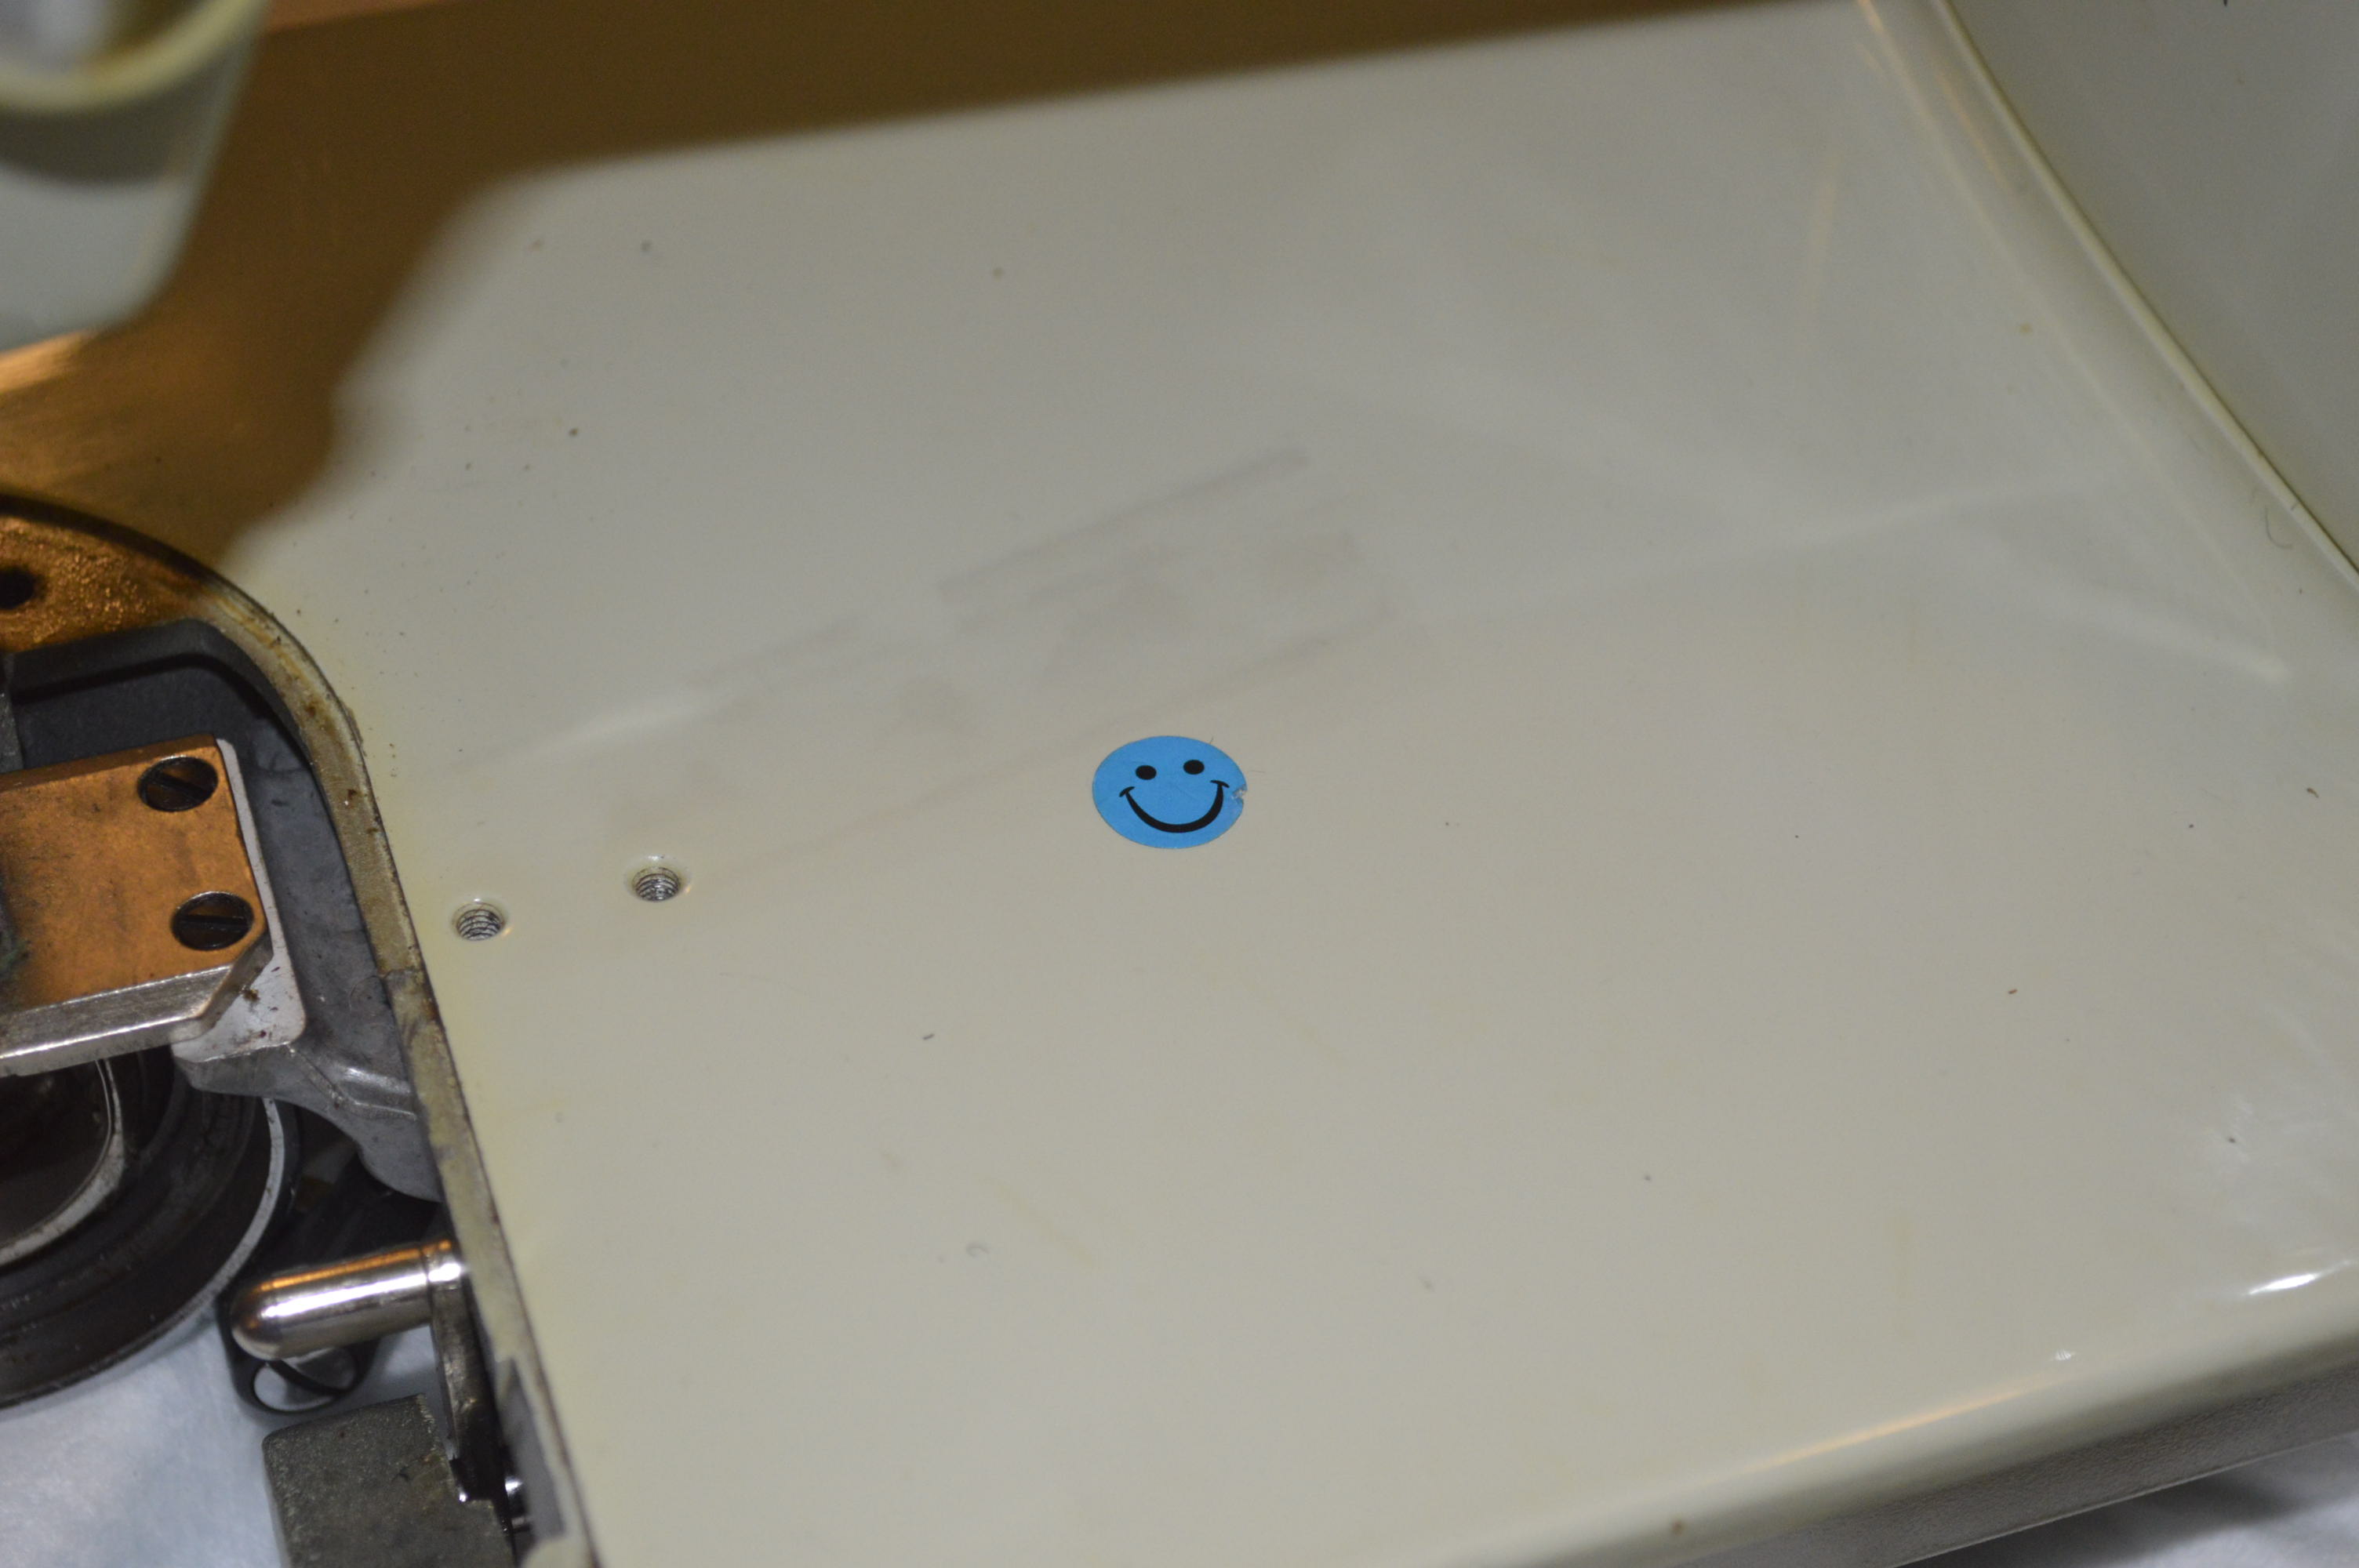
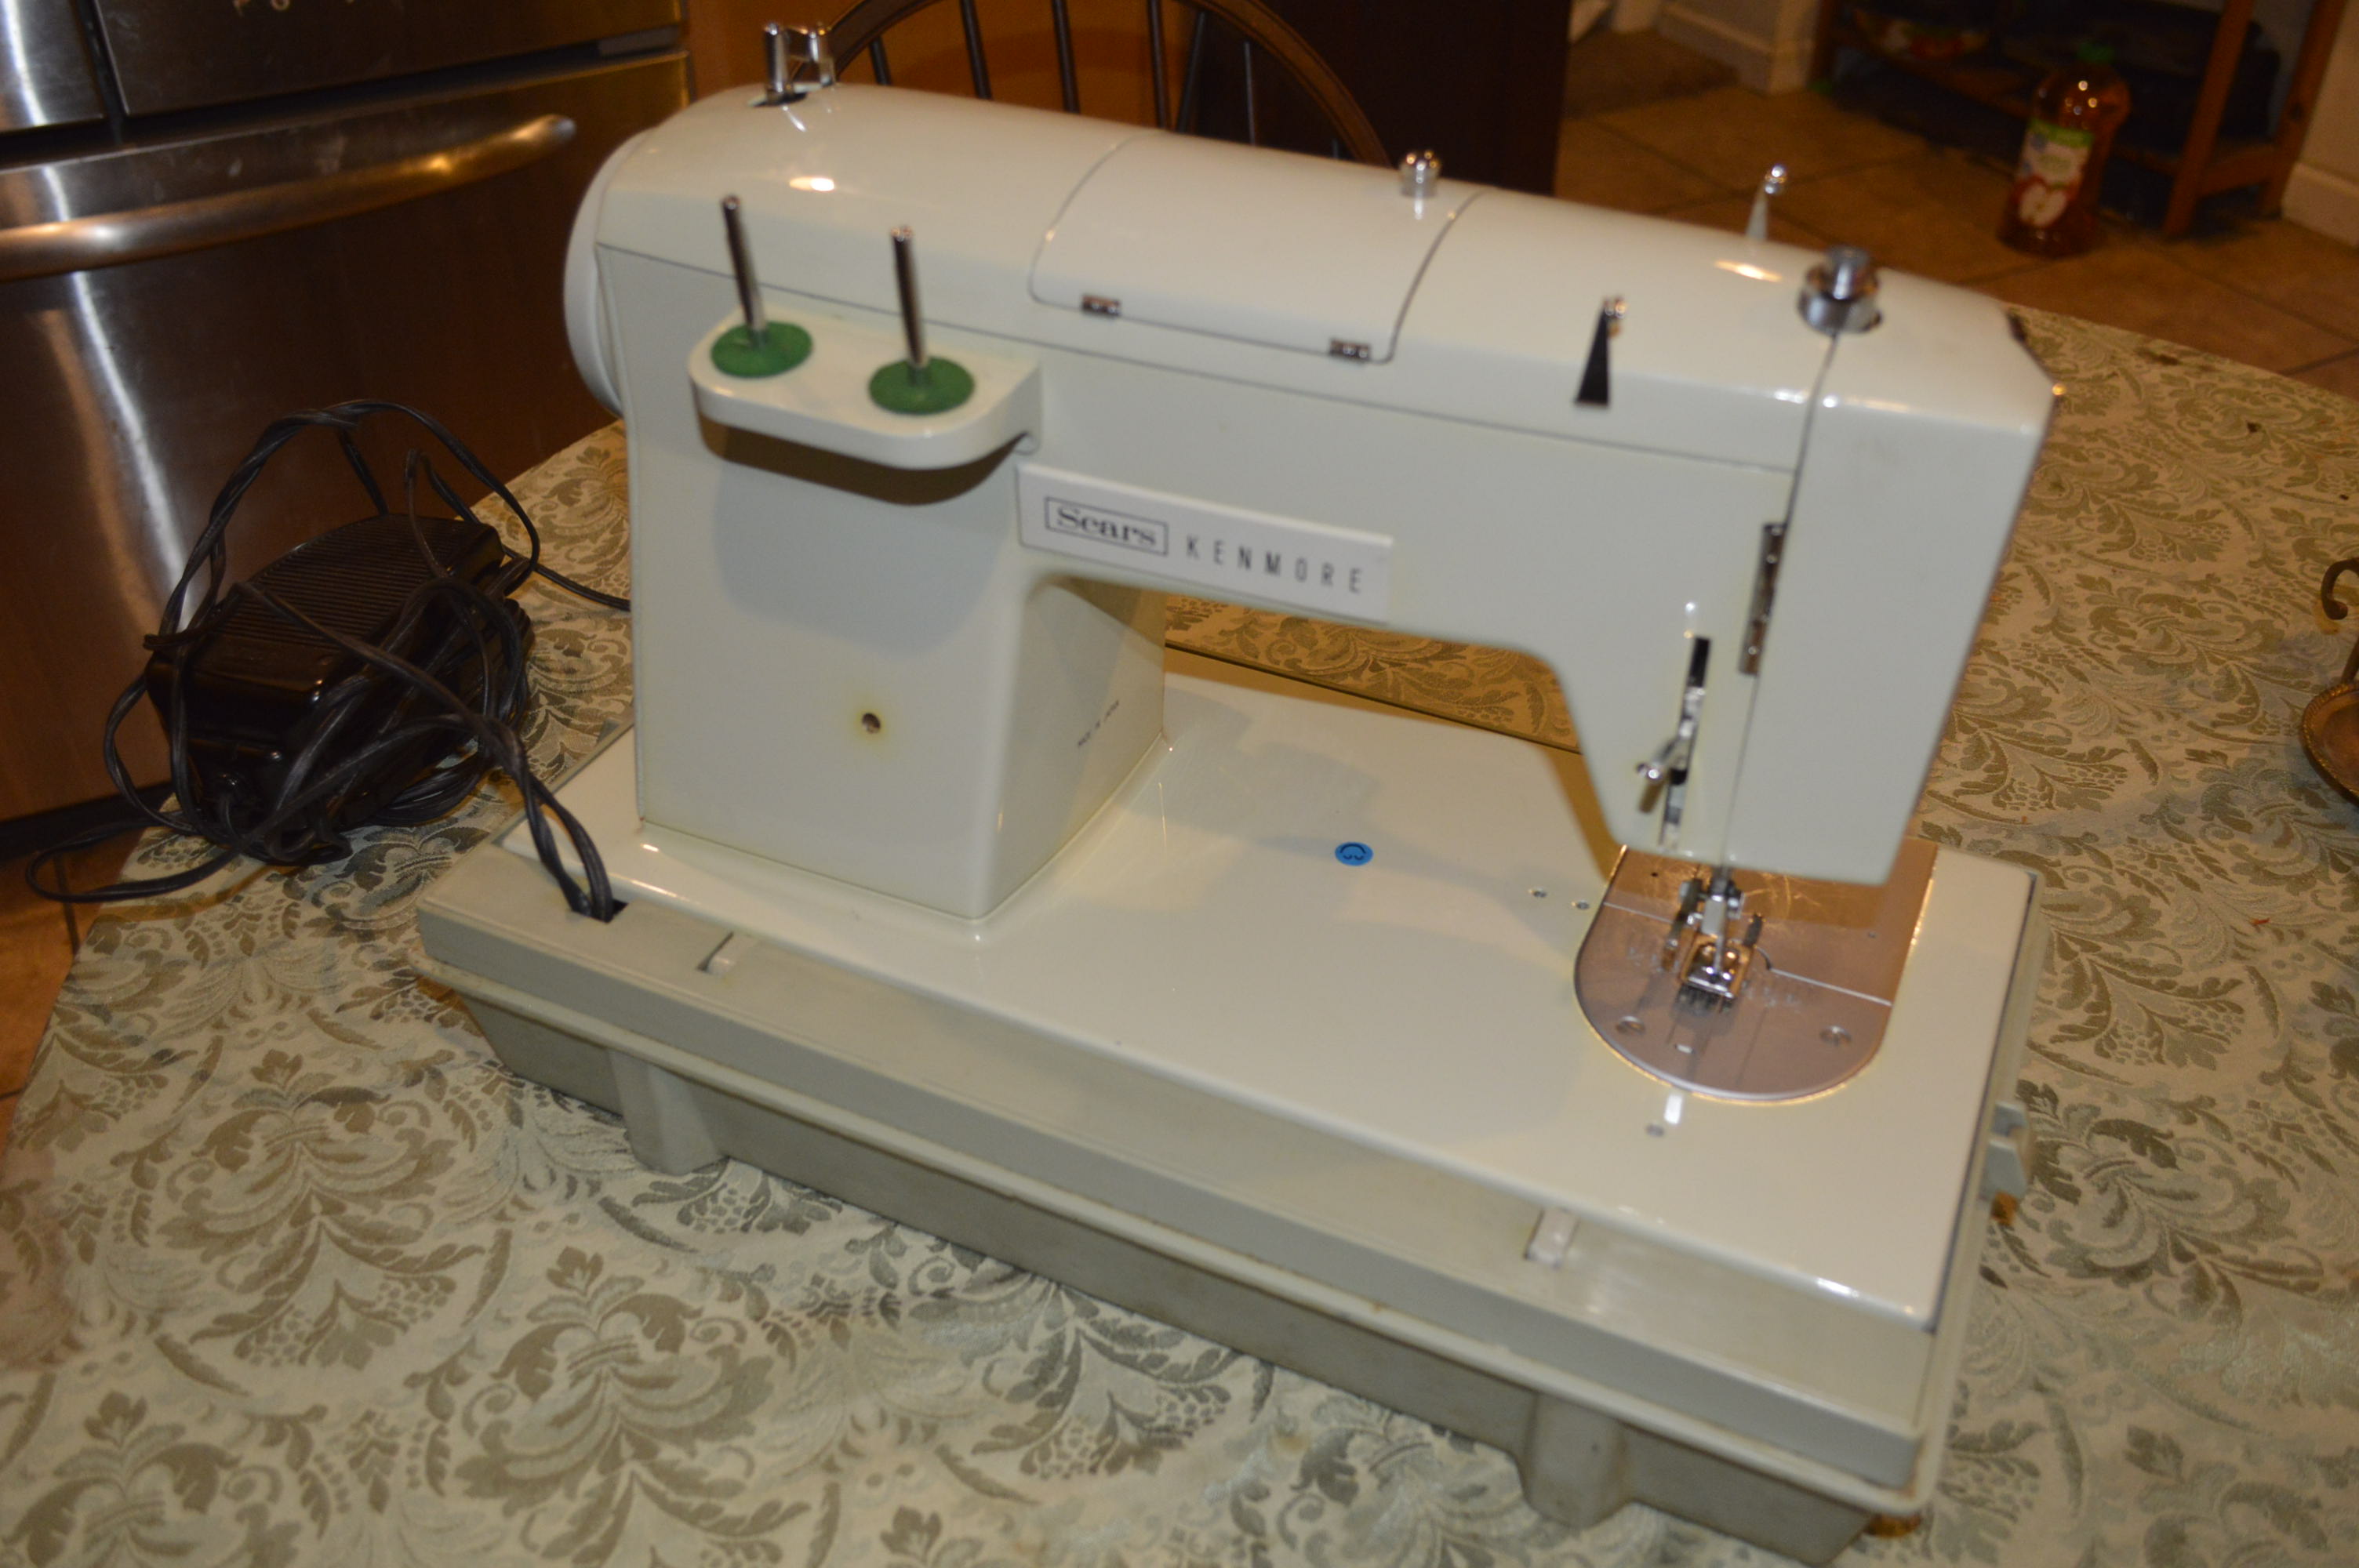
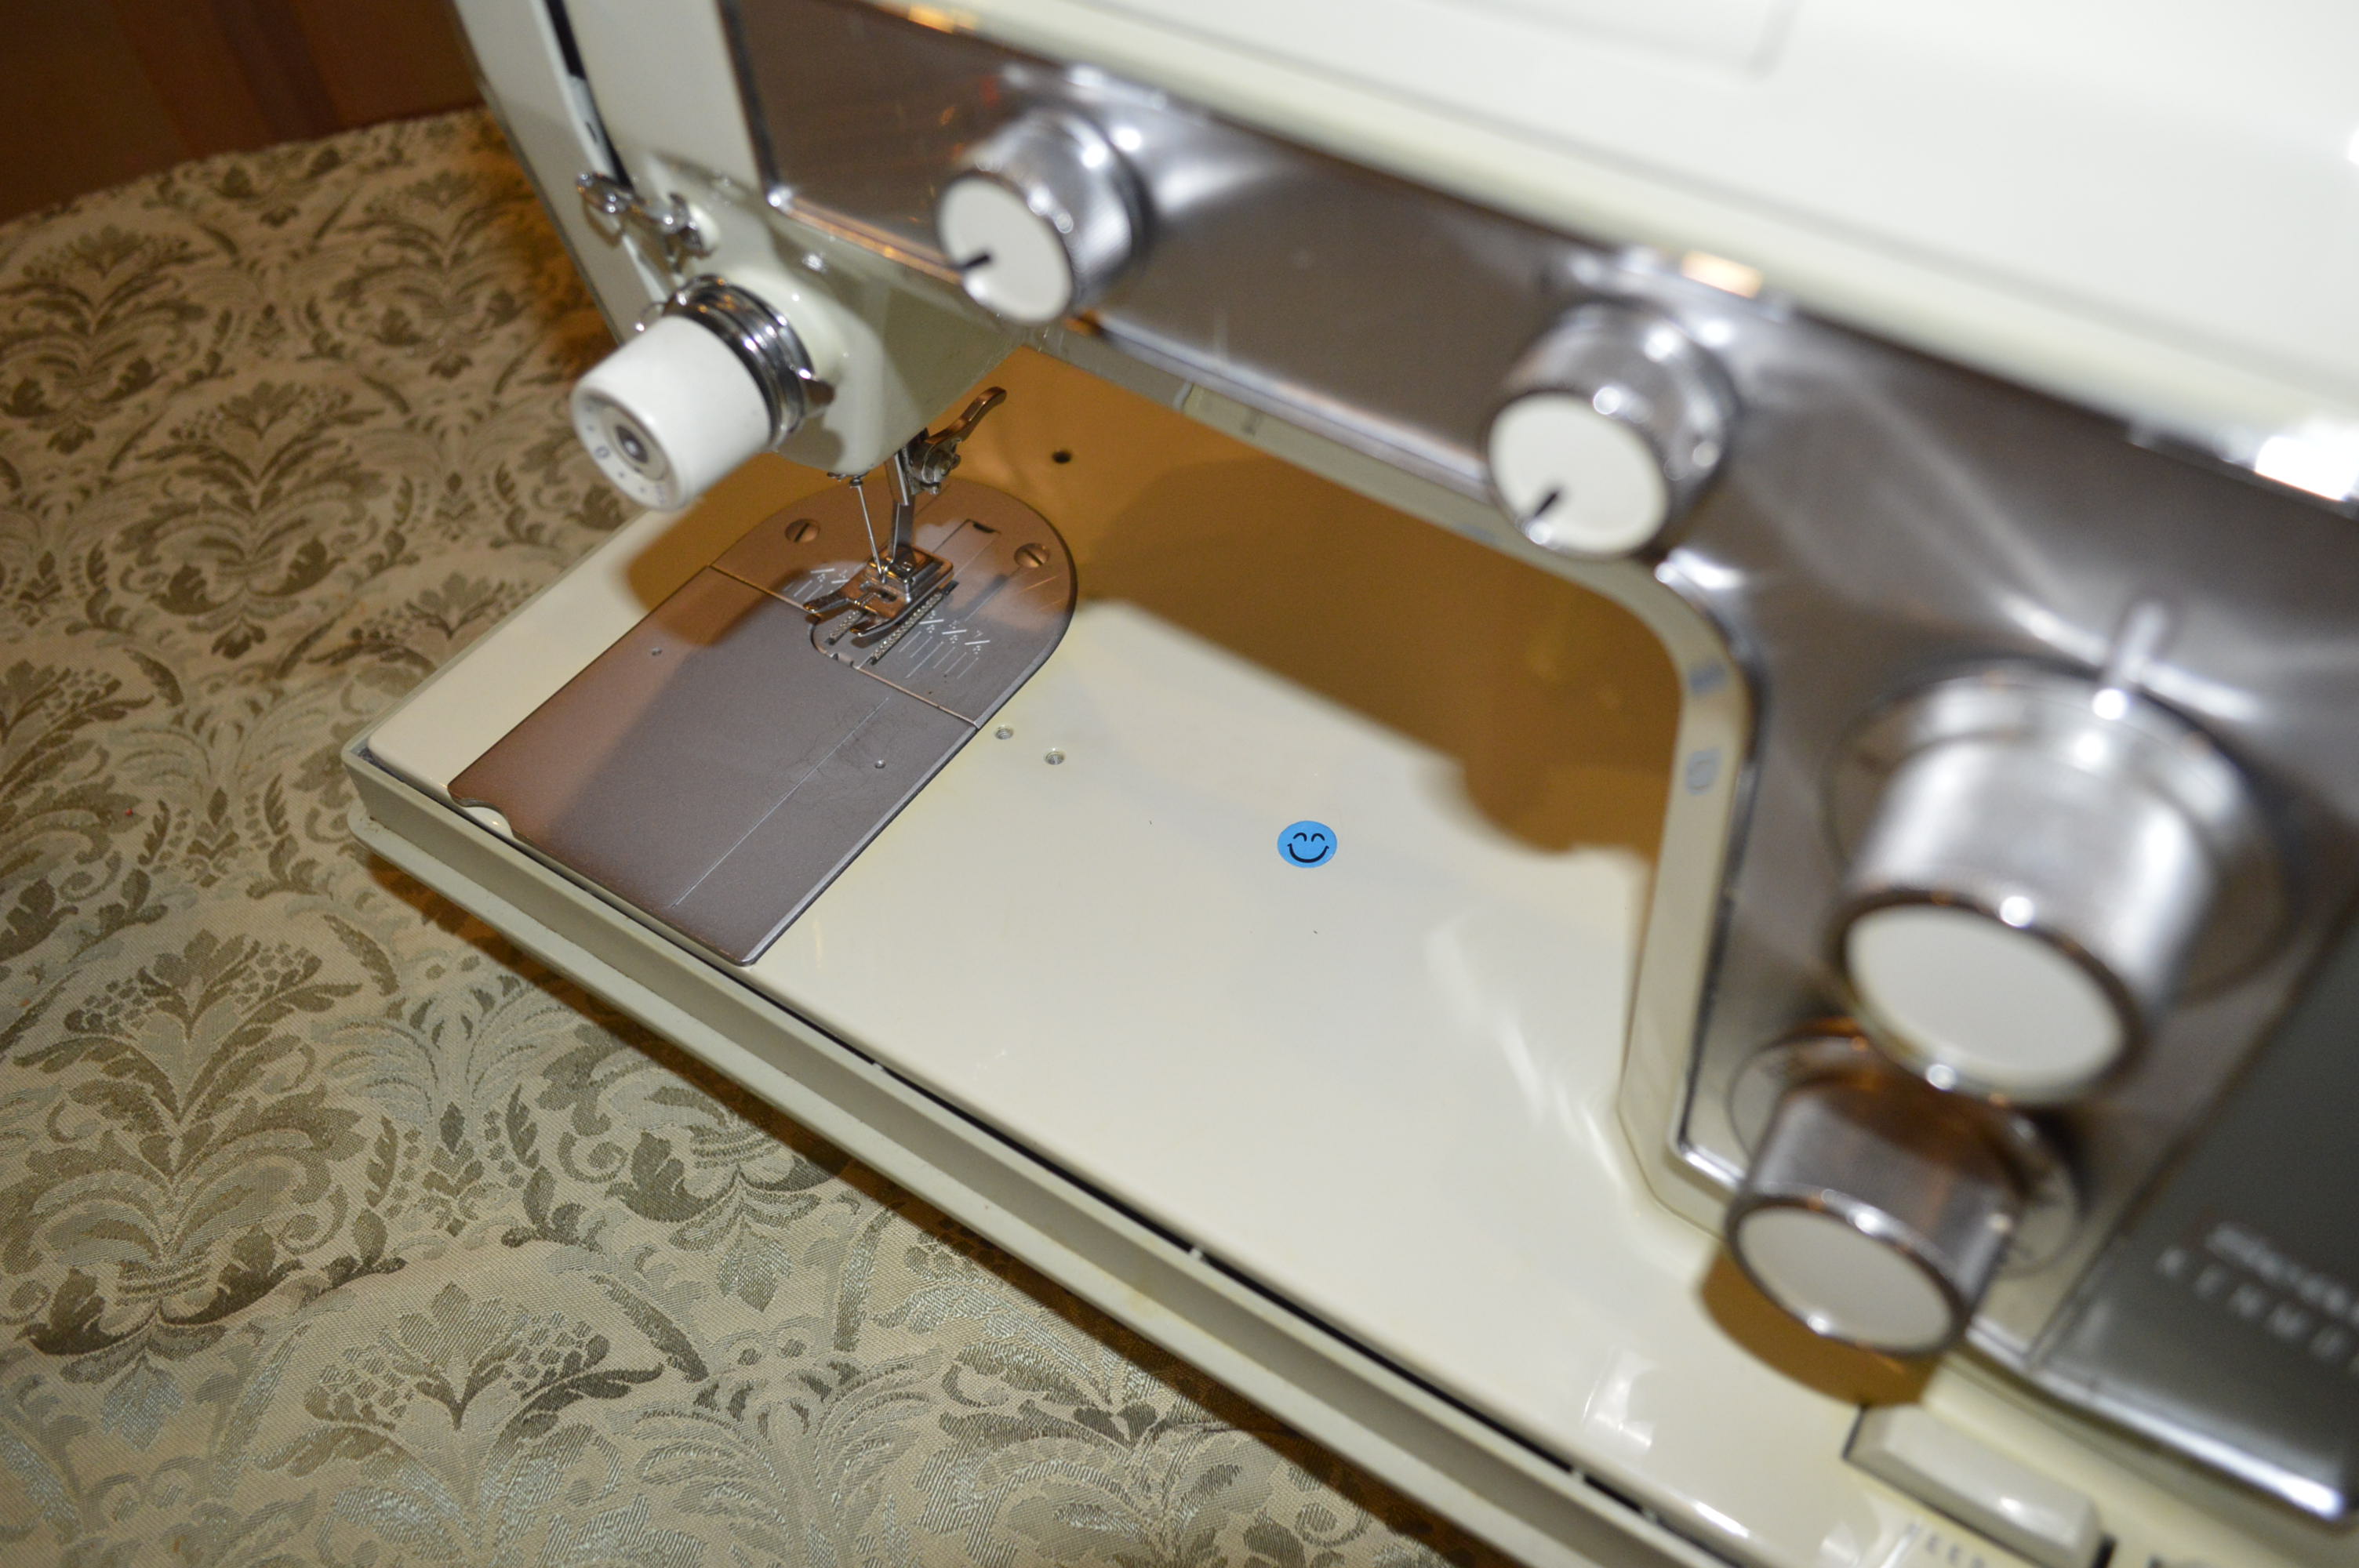
The smiley sticker was put in the picture to focus on… I’m am very optimistic that I can remove these defects and restore the machine to mint condition. It gets even better… the machine shows almost no visible sign of use. Except for a little lint in the feed dogs and some very small areas of old oil varnish discoloration, all of the mechanisms are very clean on the front, top, and bottom. It is in fact very unusual to find a machine in this condition, especially considering it was manufactured in 1969 to 1970. This is how it looks fresh out of the box…


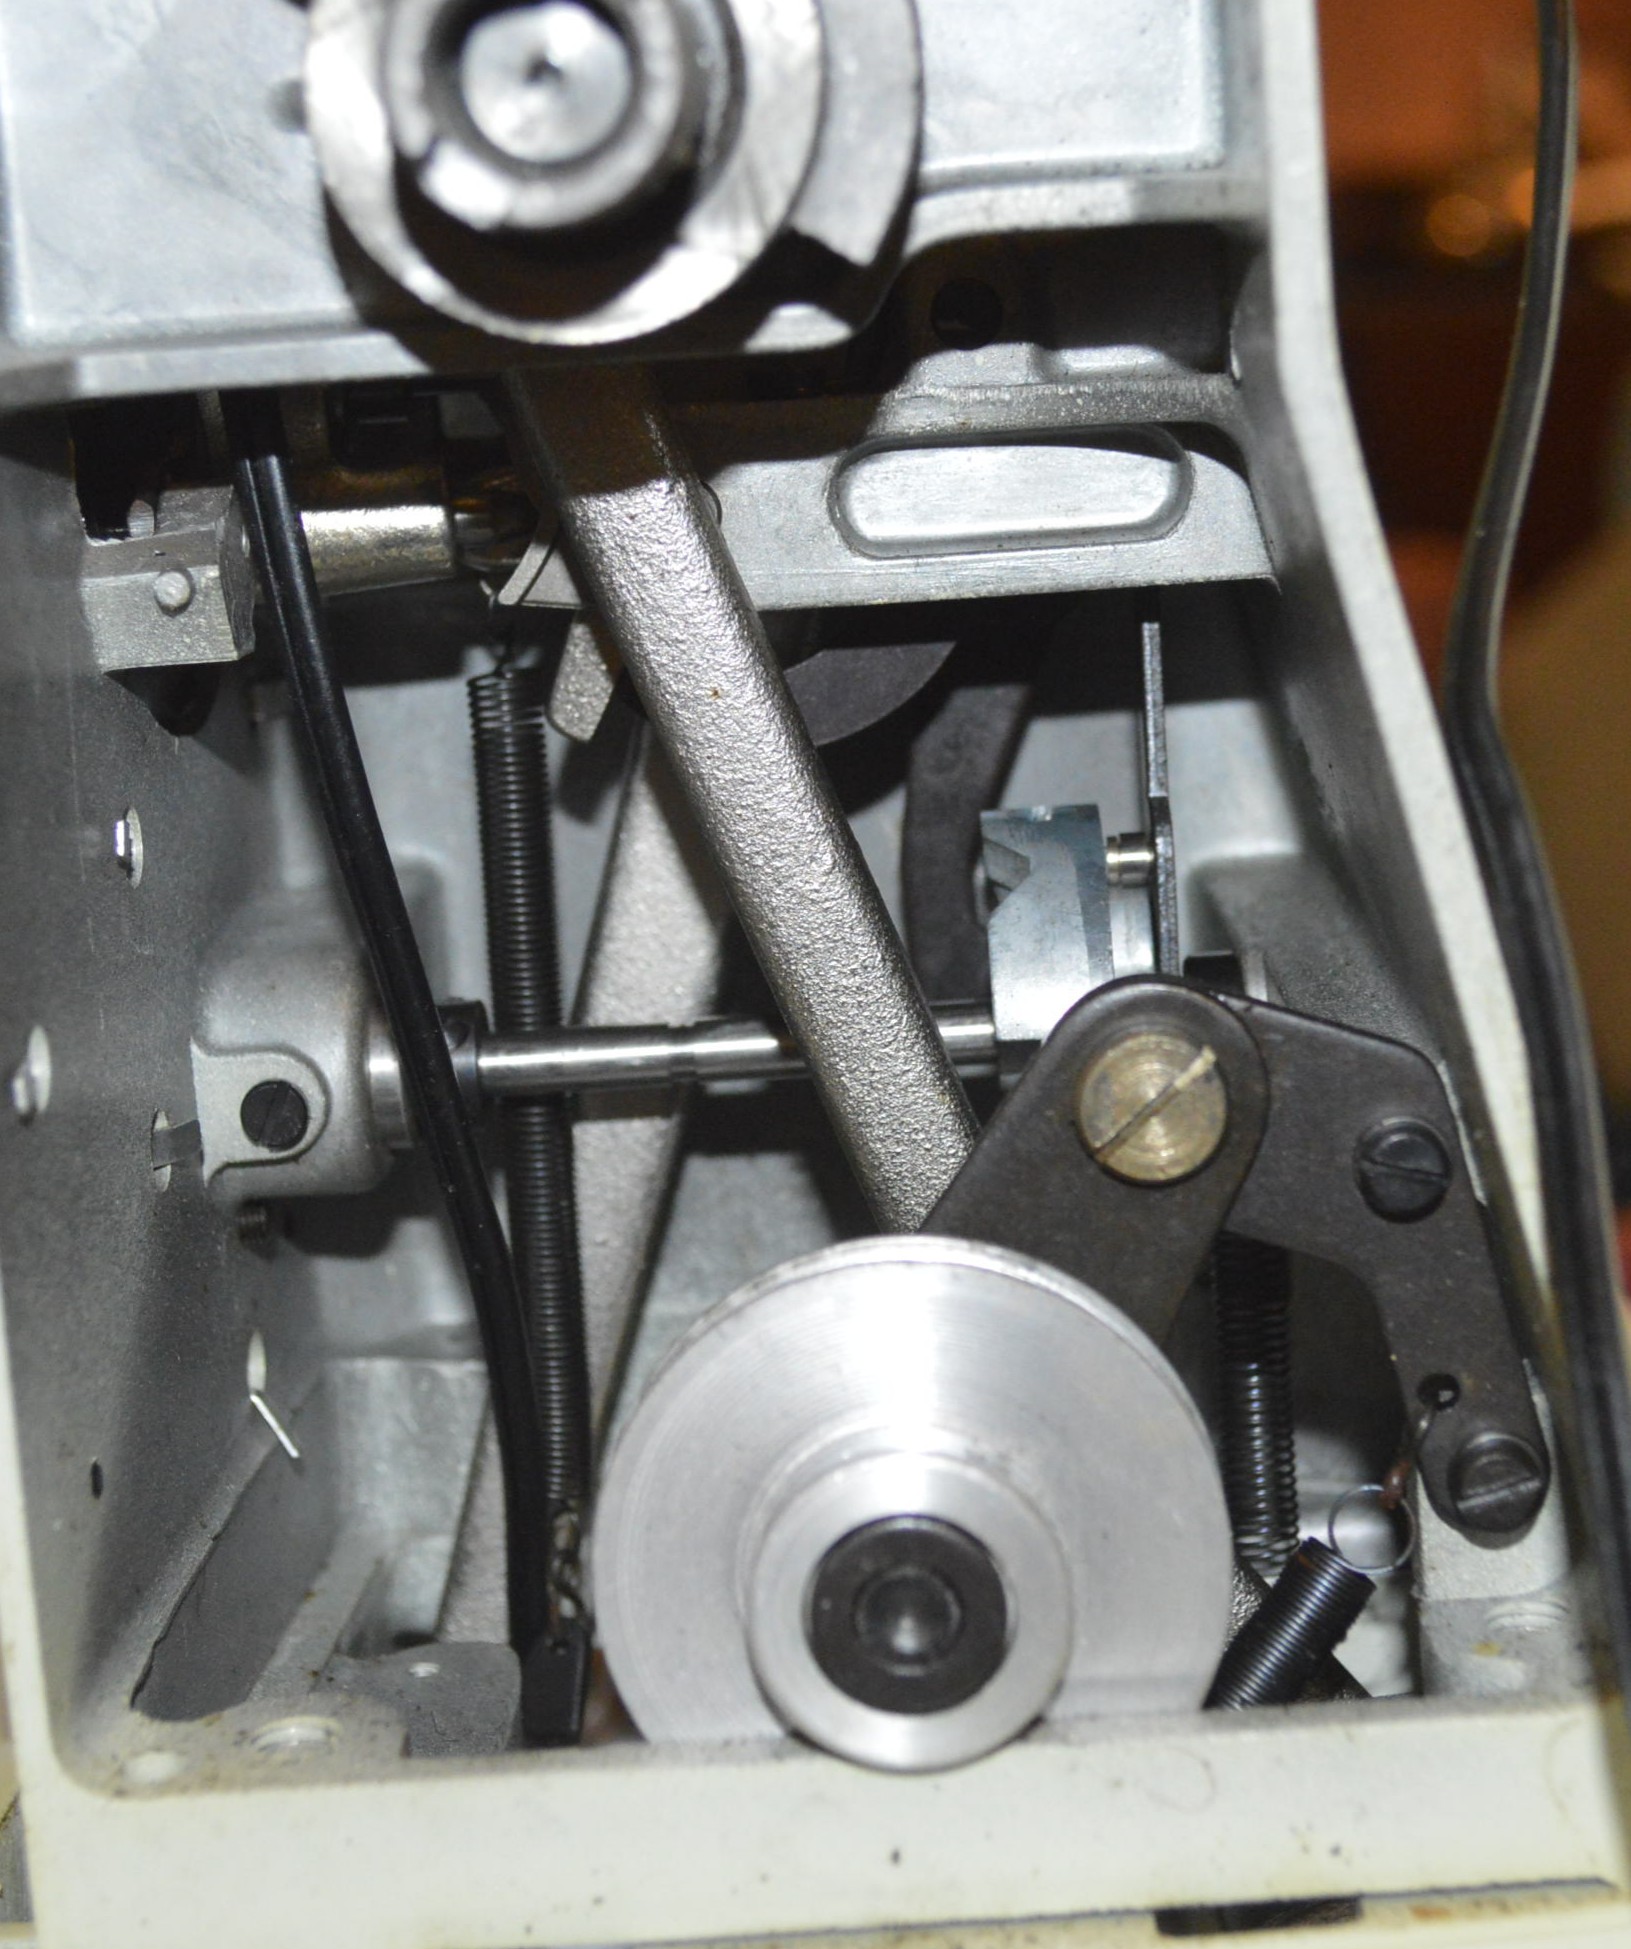

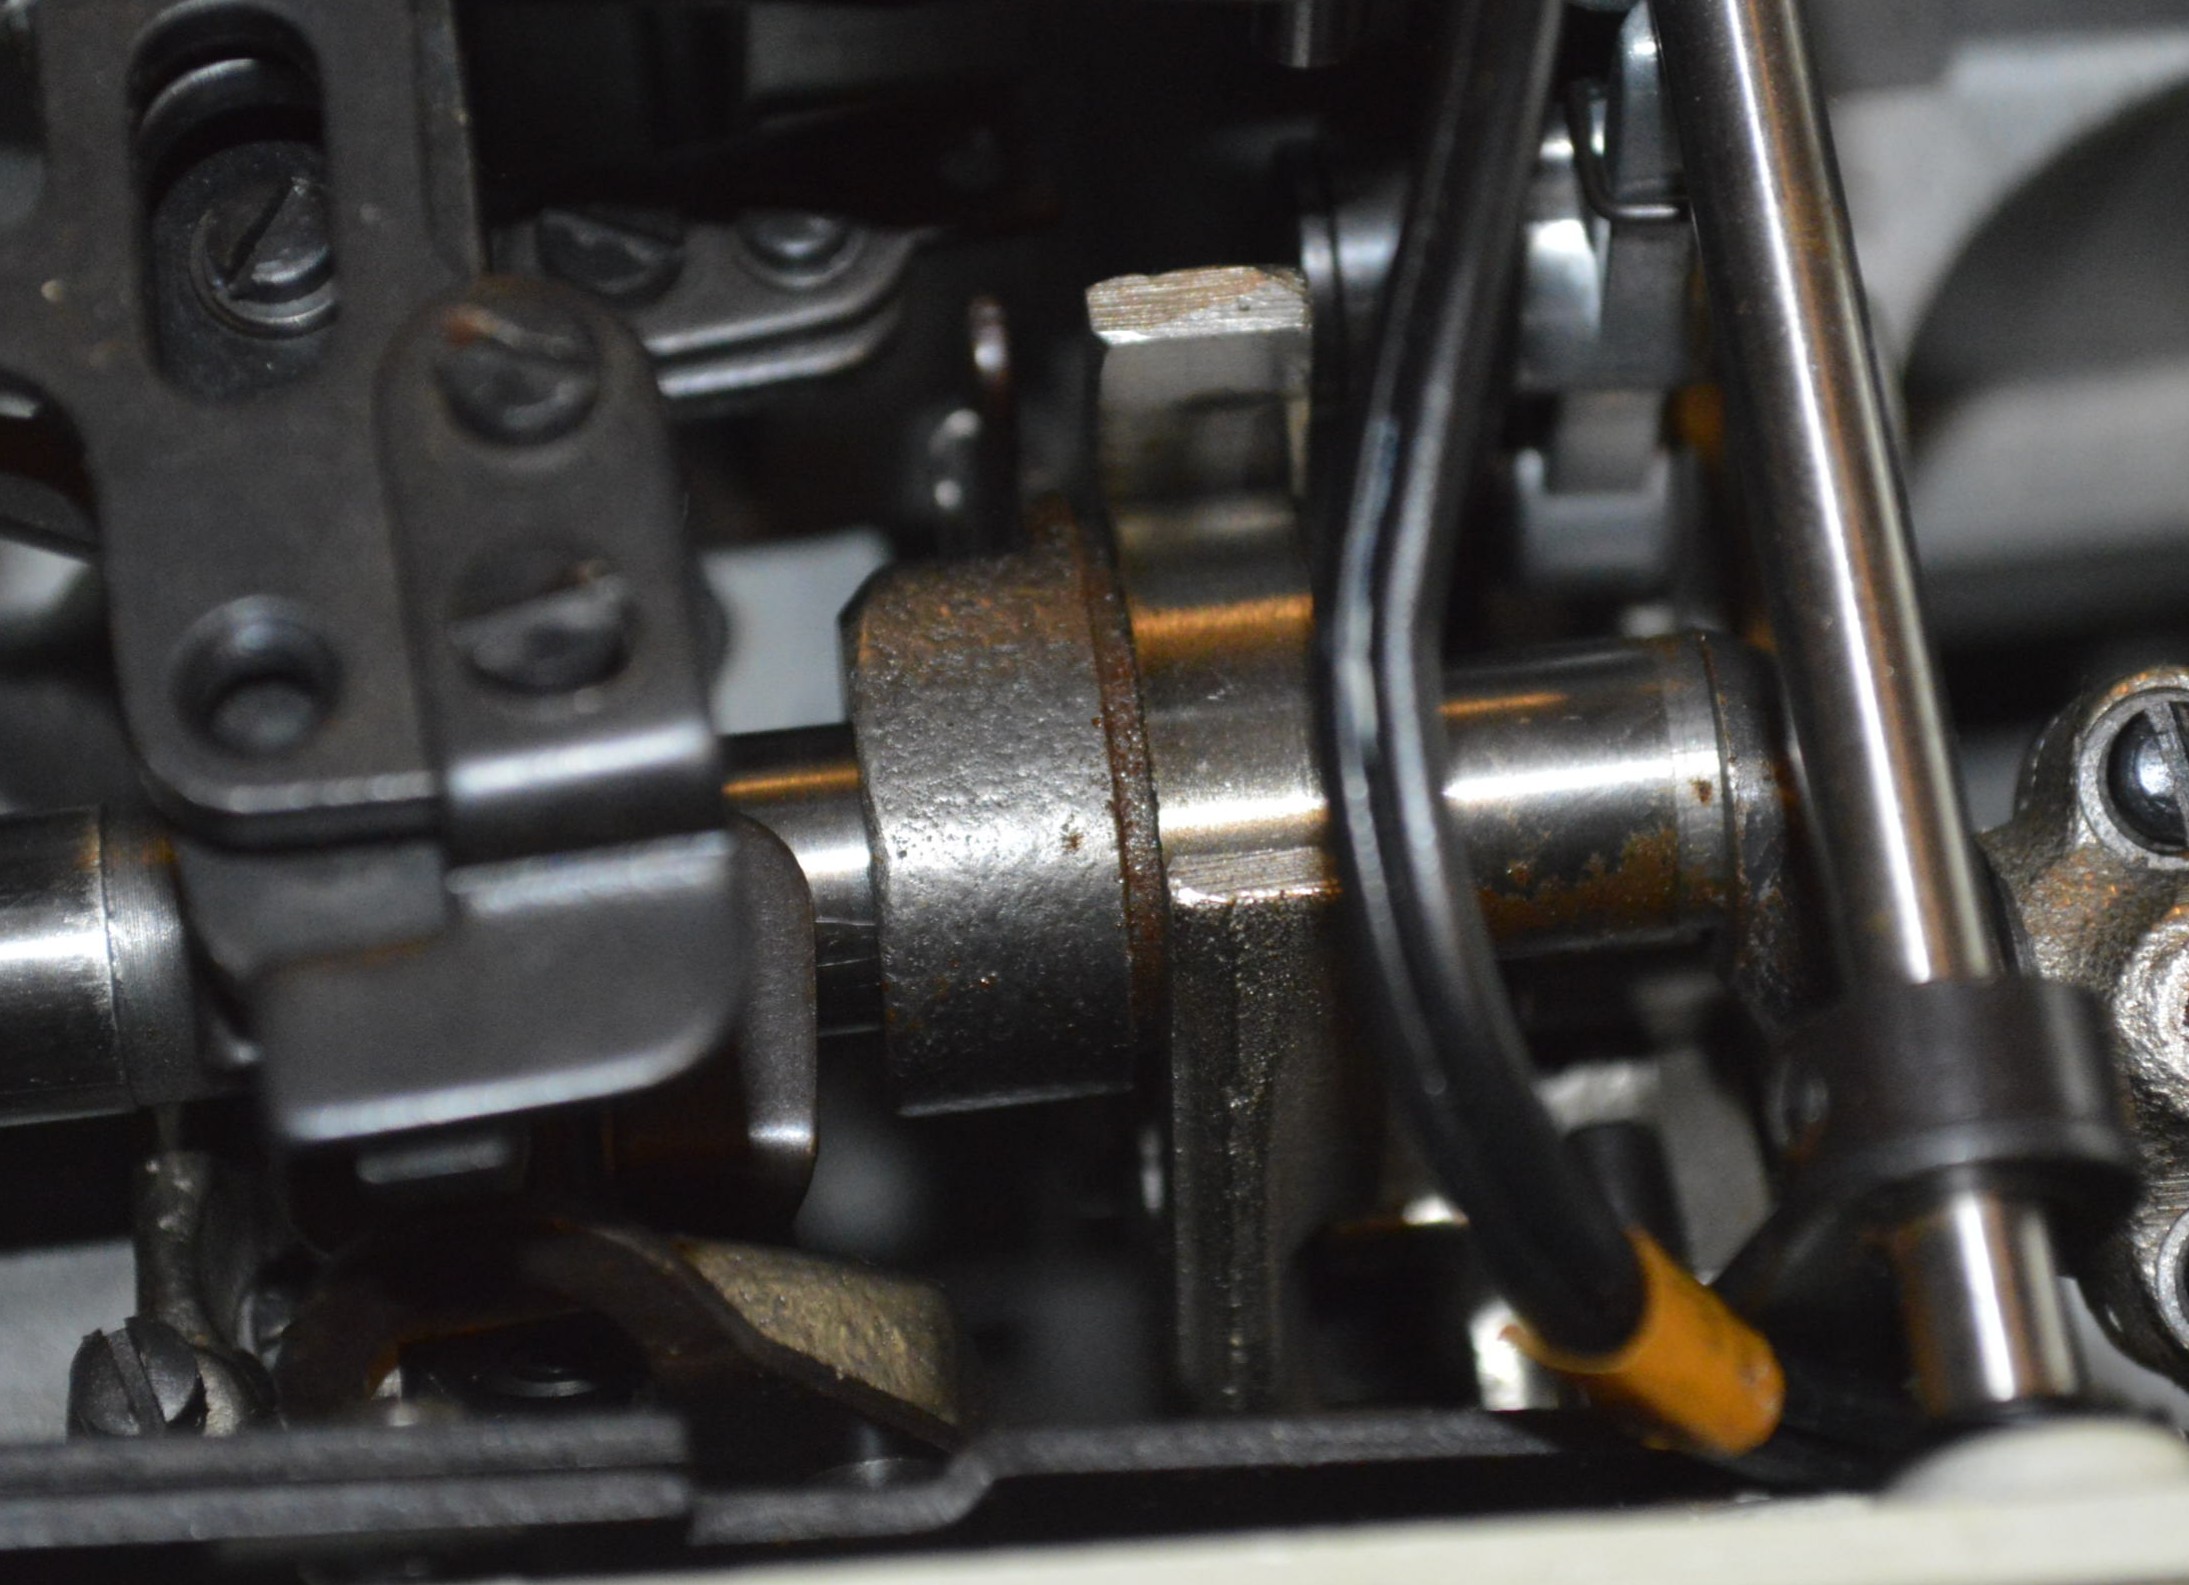
Notice the condition of the worm gears in the top sewing arm? One gear is bronze and the worm gear is heat treated steel. You may also notice that these gears are absent any indication of grease ever being applied.
Now, here’s where I digress and wonder (rant) how sewing machine manufacturers convinced everyone that plastic drive gears were actually a good thing. The claim was that nylon gears are quiet and because they are self lubricating, they are easier for the end user to maintain. Well… guess what… it turns out that bronze gear teeth rubbing on case-hardened steel worm gear threads provides strength and a lubricity not found in other metal combinations. In simple terms, they are self lubricating. Another fact to consider in debunking the myth that nylon gears were a “good” thing, is that bronze and steel worm gears run quiet and are used in industry because they reduce maintenance and lubrication. Huh… anyway, back to this machine.
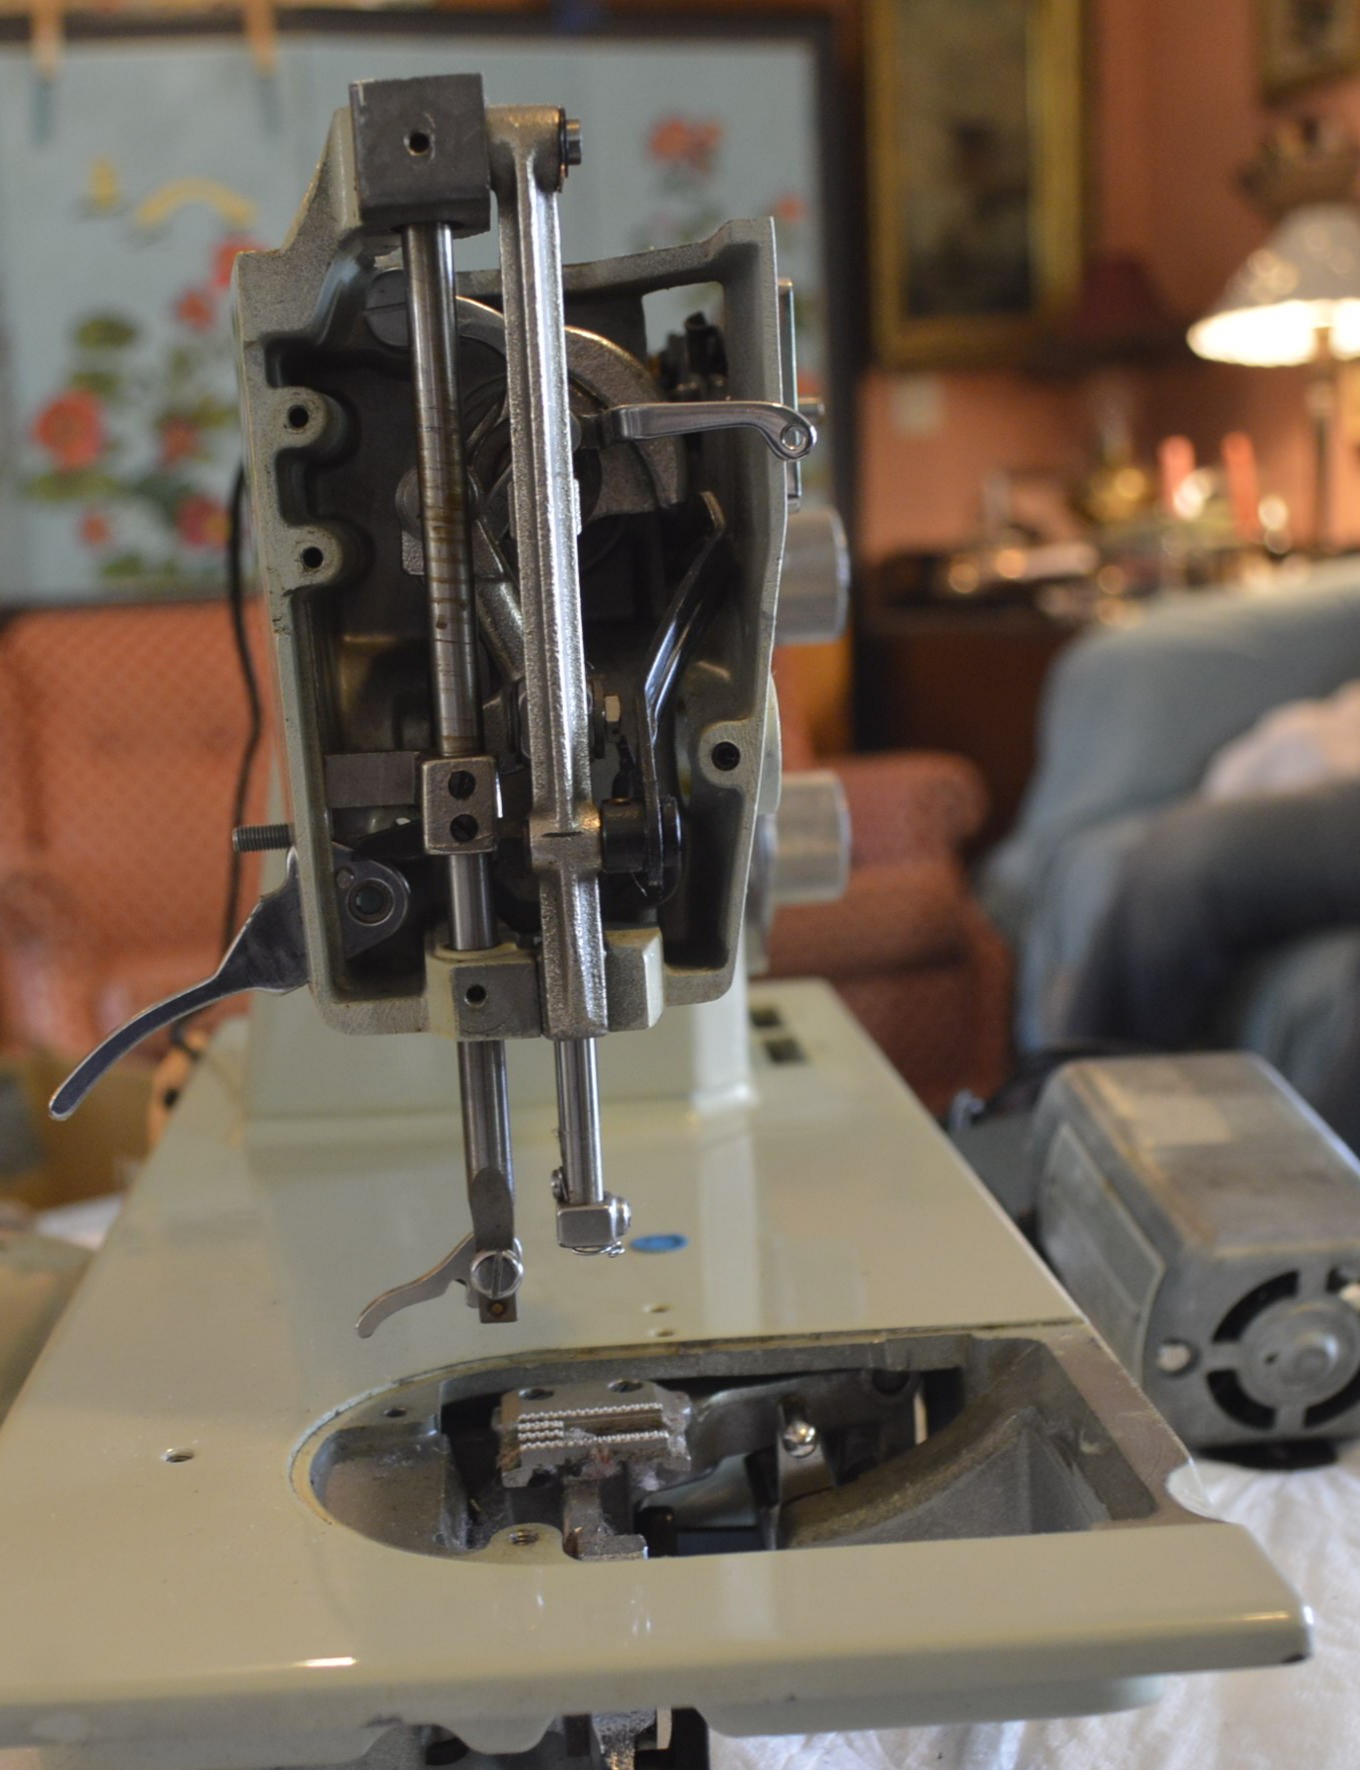
After my evaluation, I decided that the machine needed only minimal cleaning and a complete servicing. Of course, the motor will be disassembled and serviced, all of the moving mechanisms cleaned, the top tension control and bobbin case will be disassembled and ultrasonically cleaned, and parts such as the plates, screws, clamps and such would be removed and ultrasonically cleaned. Removing all of the parts makes it much easier to clean the body of the machine. I have decided that this machine deserved an additional step to remove the “defects”, and this will be accomplished with two applications of glaze polish followed by the application of carnauba wax. This is the machine stripped for cleaning.
Front cover Removed 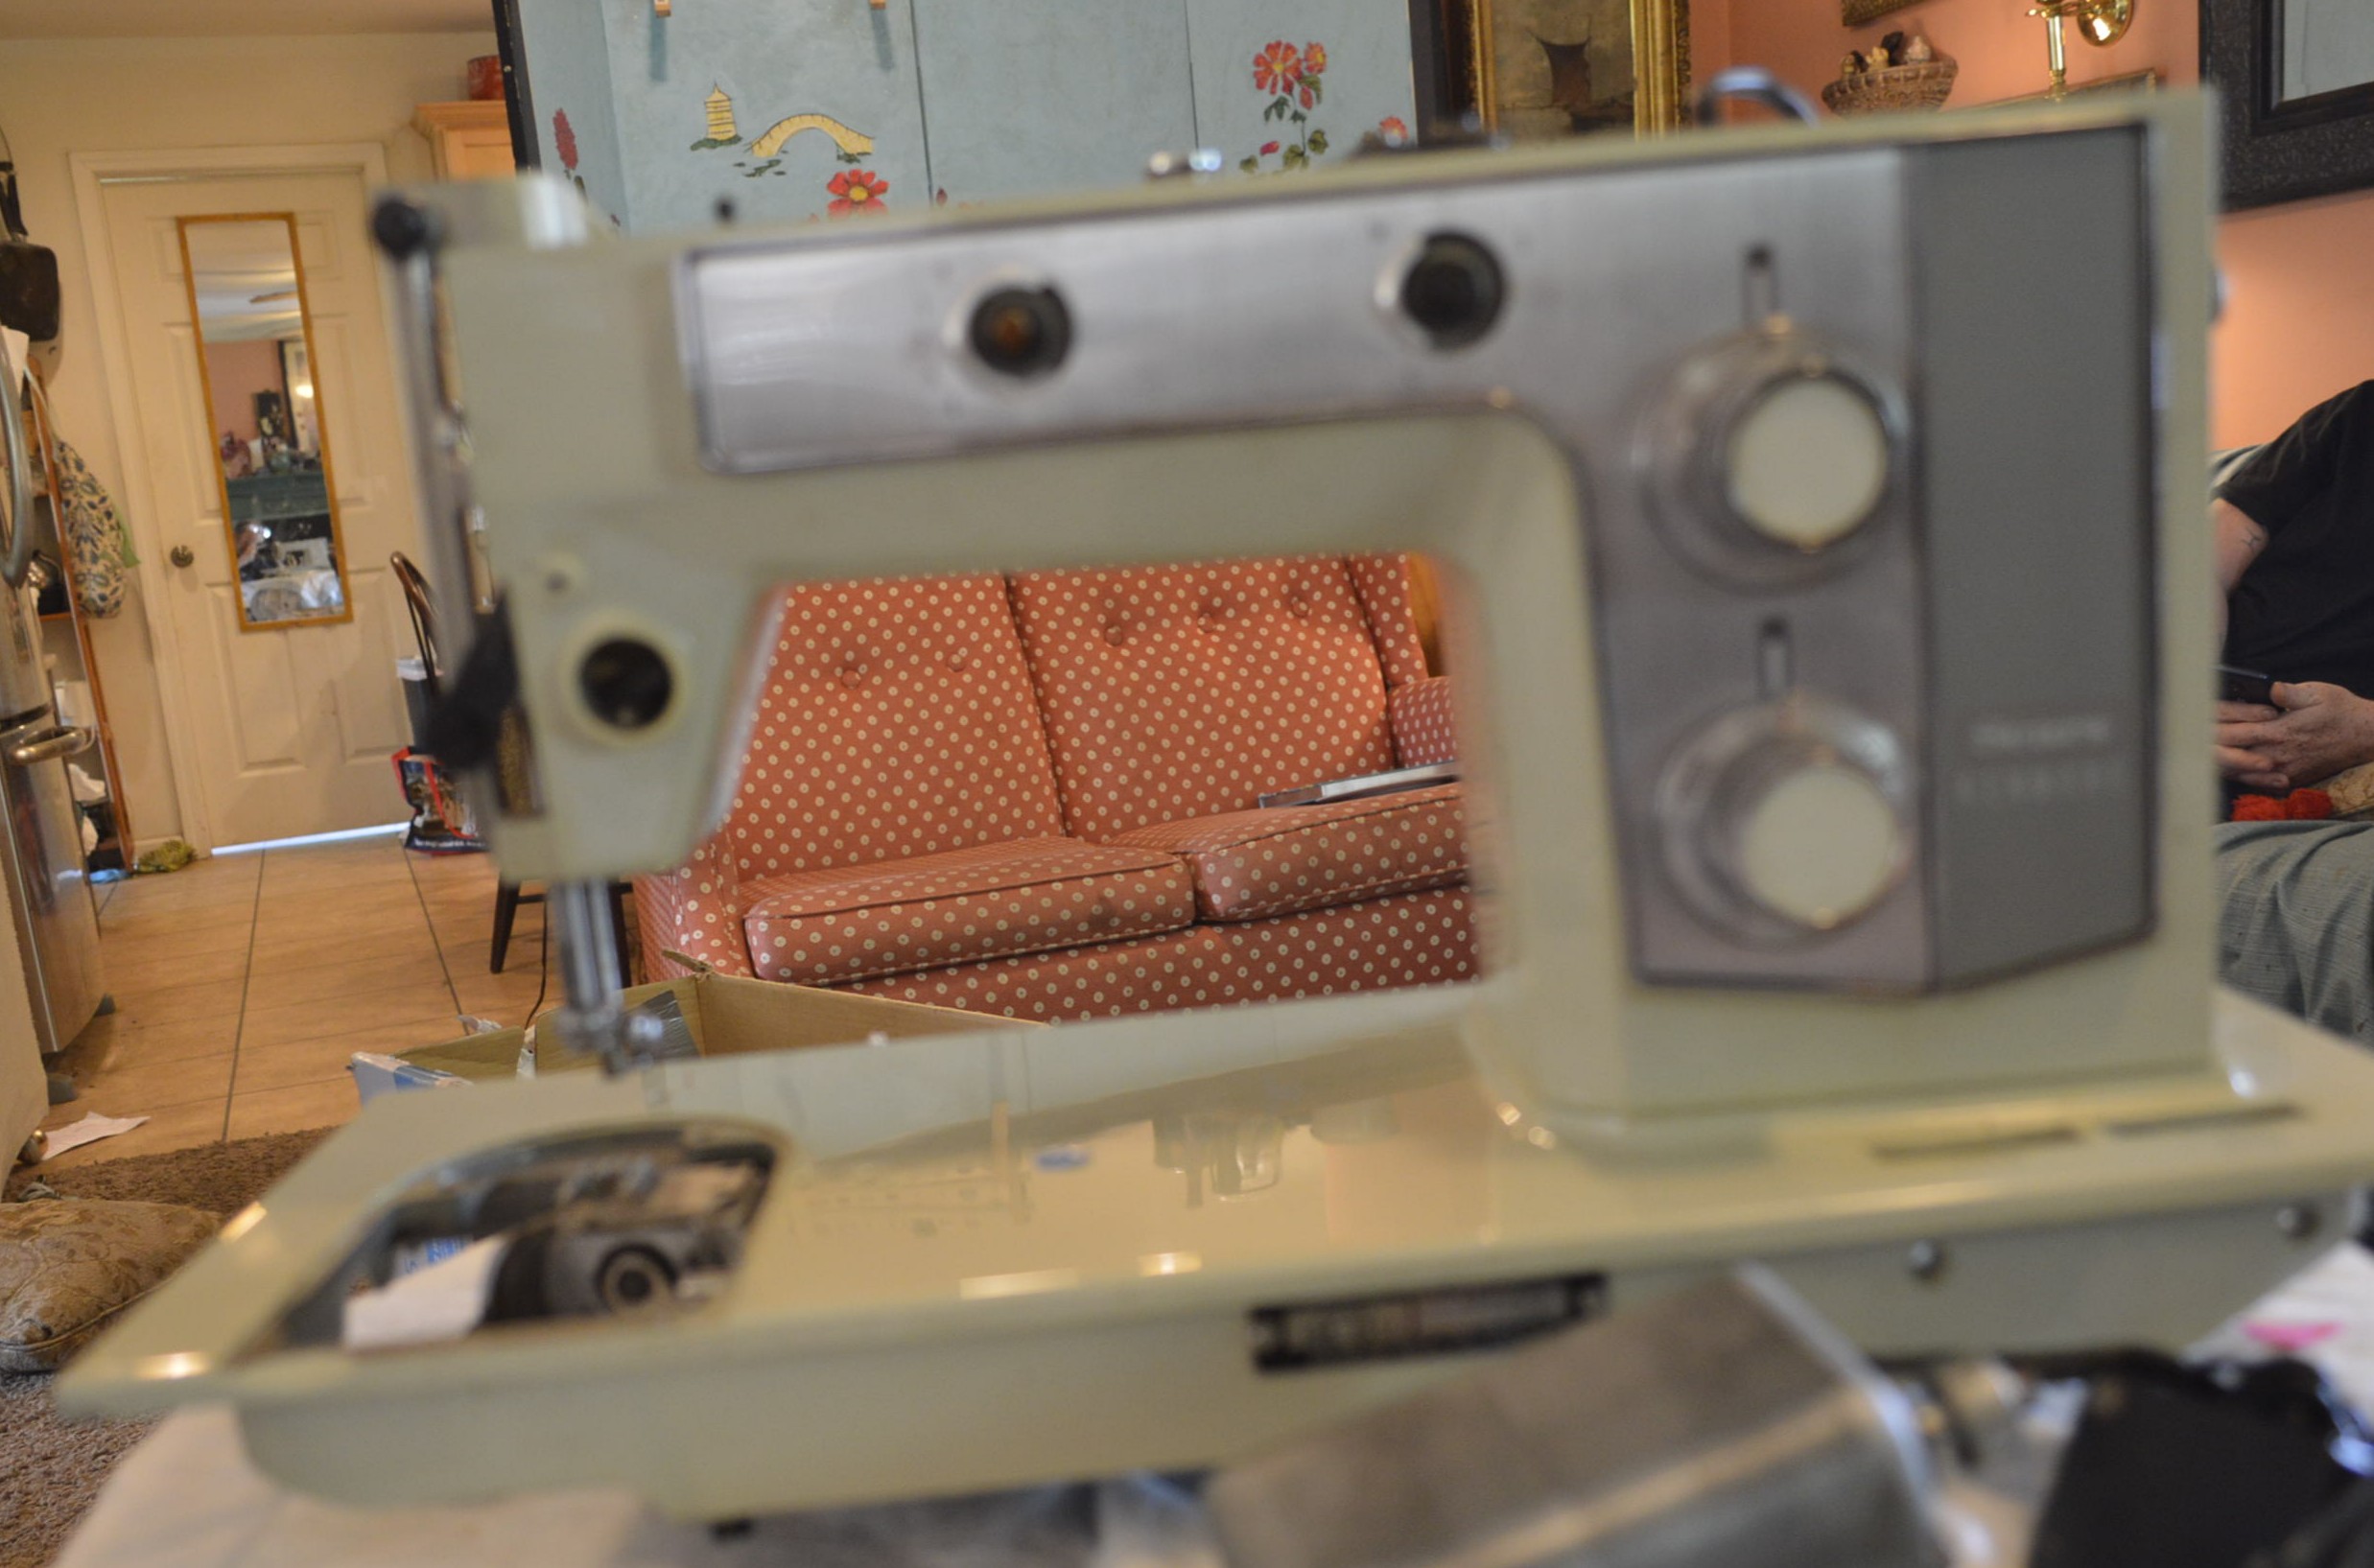
Knobs Removed 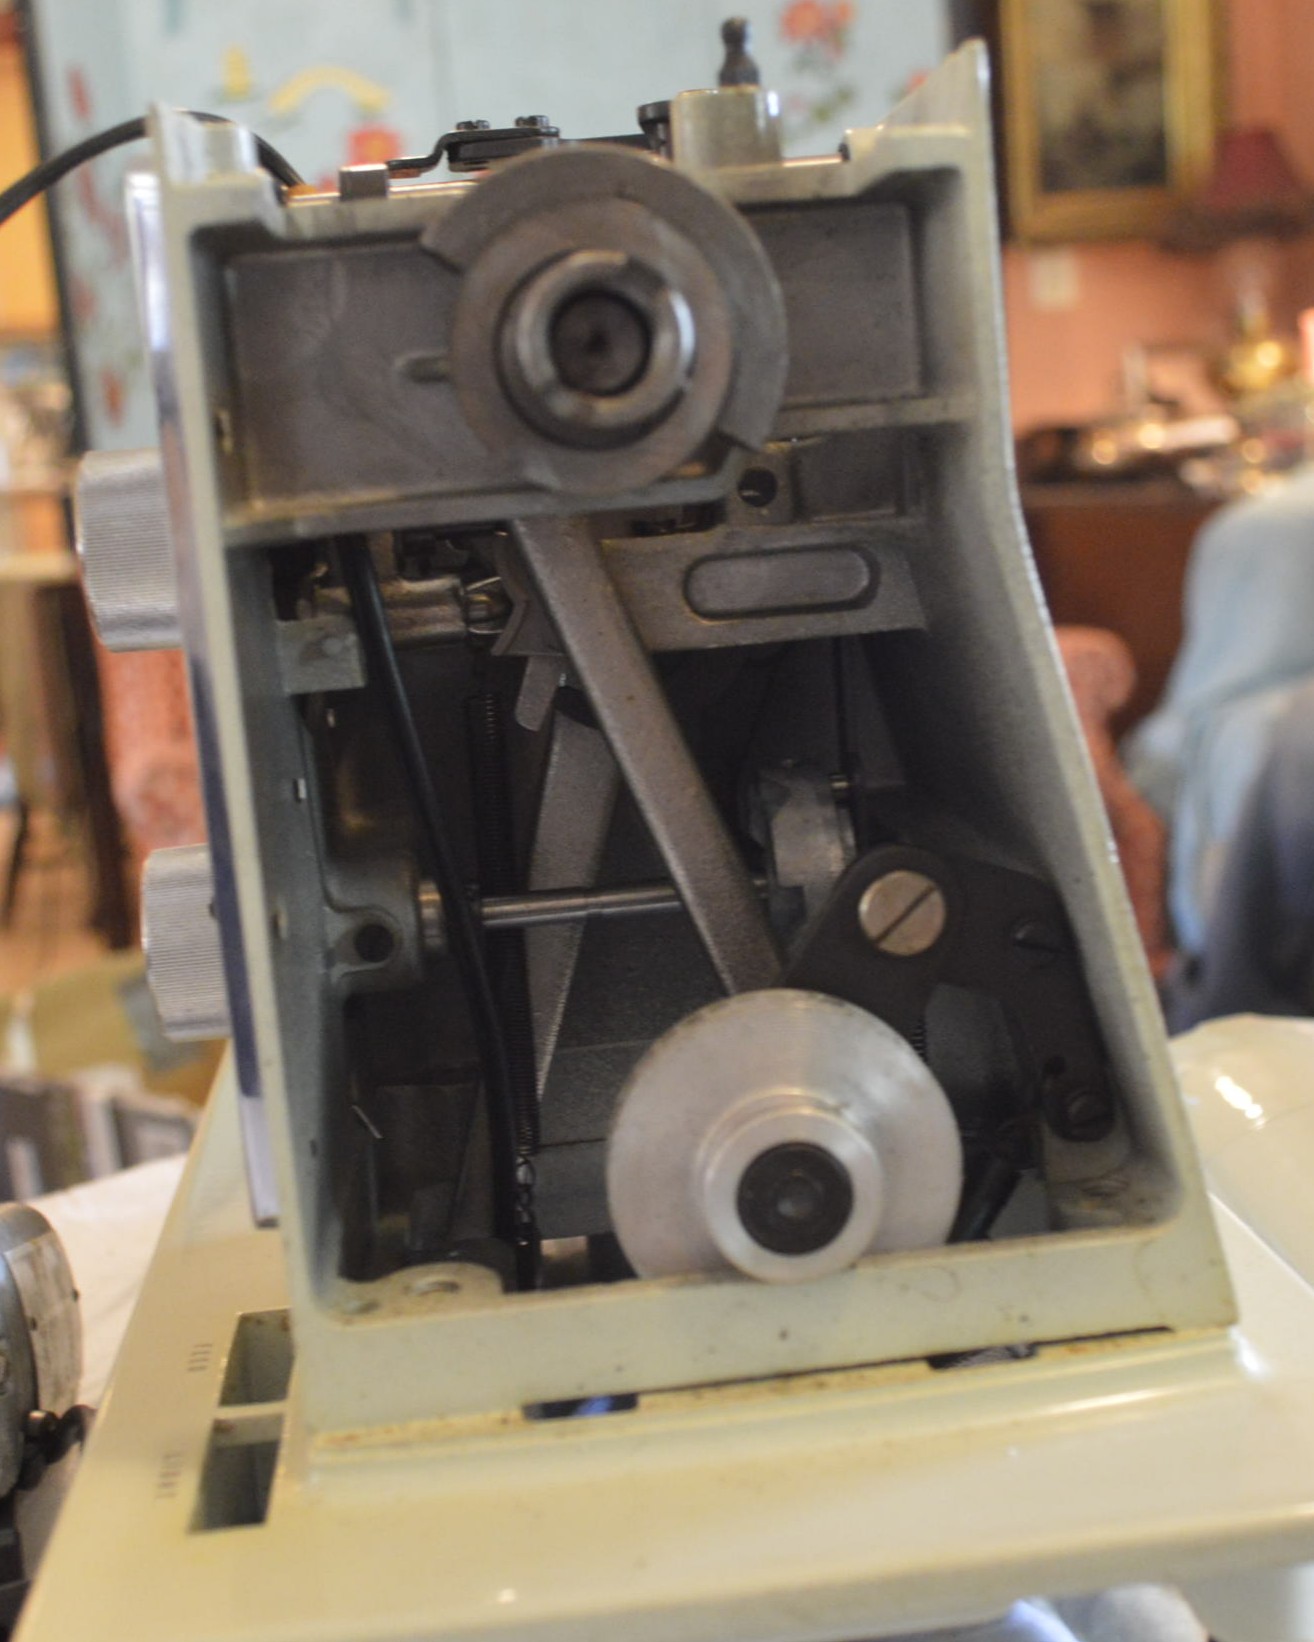
Rear cover Removed 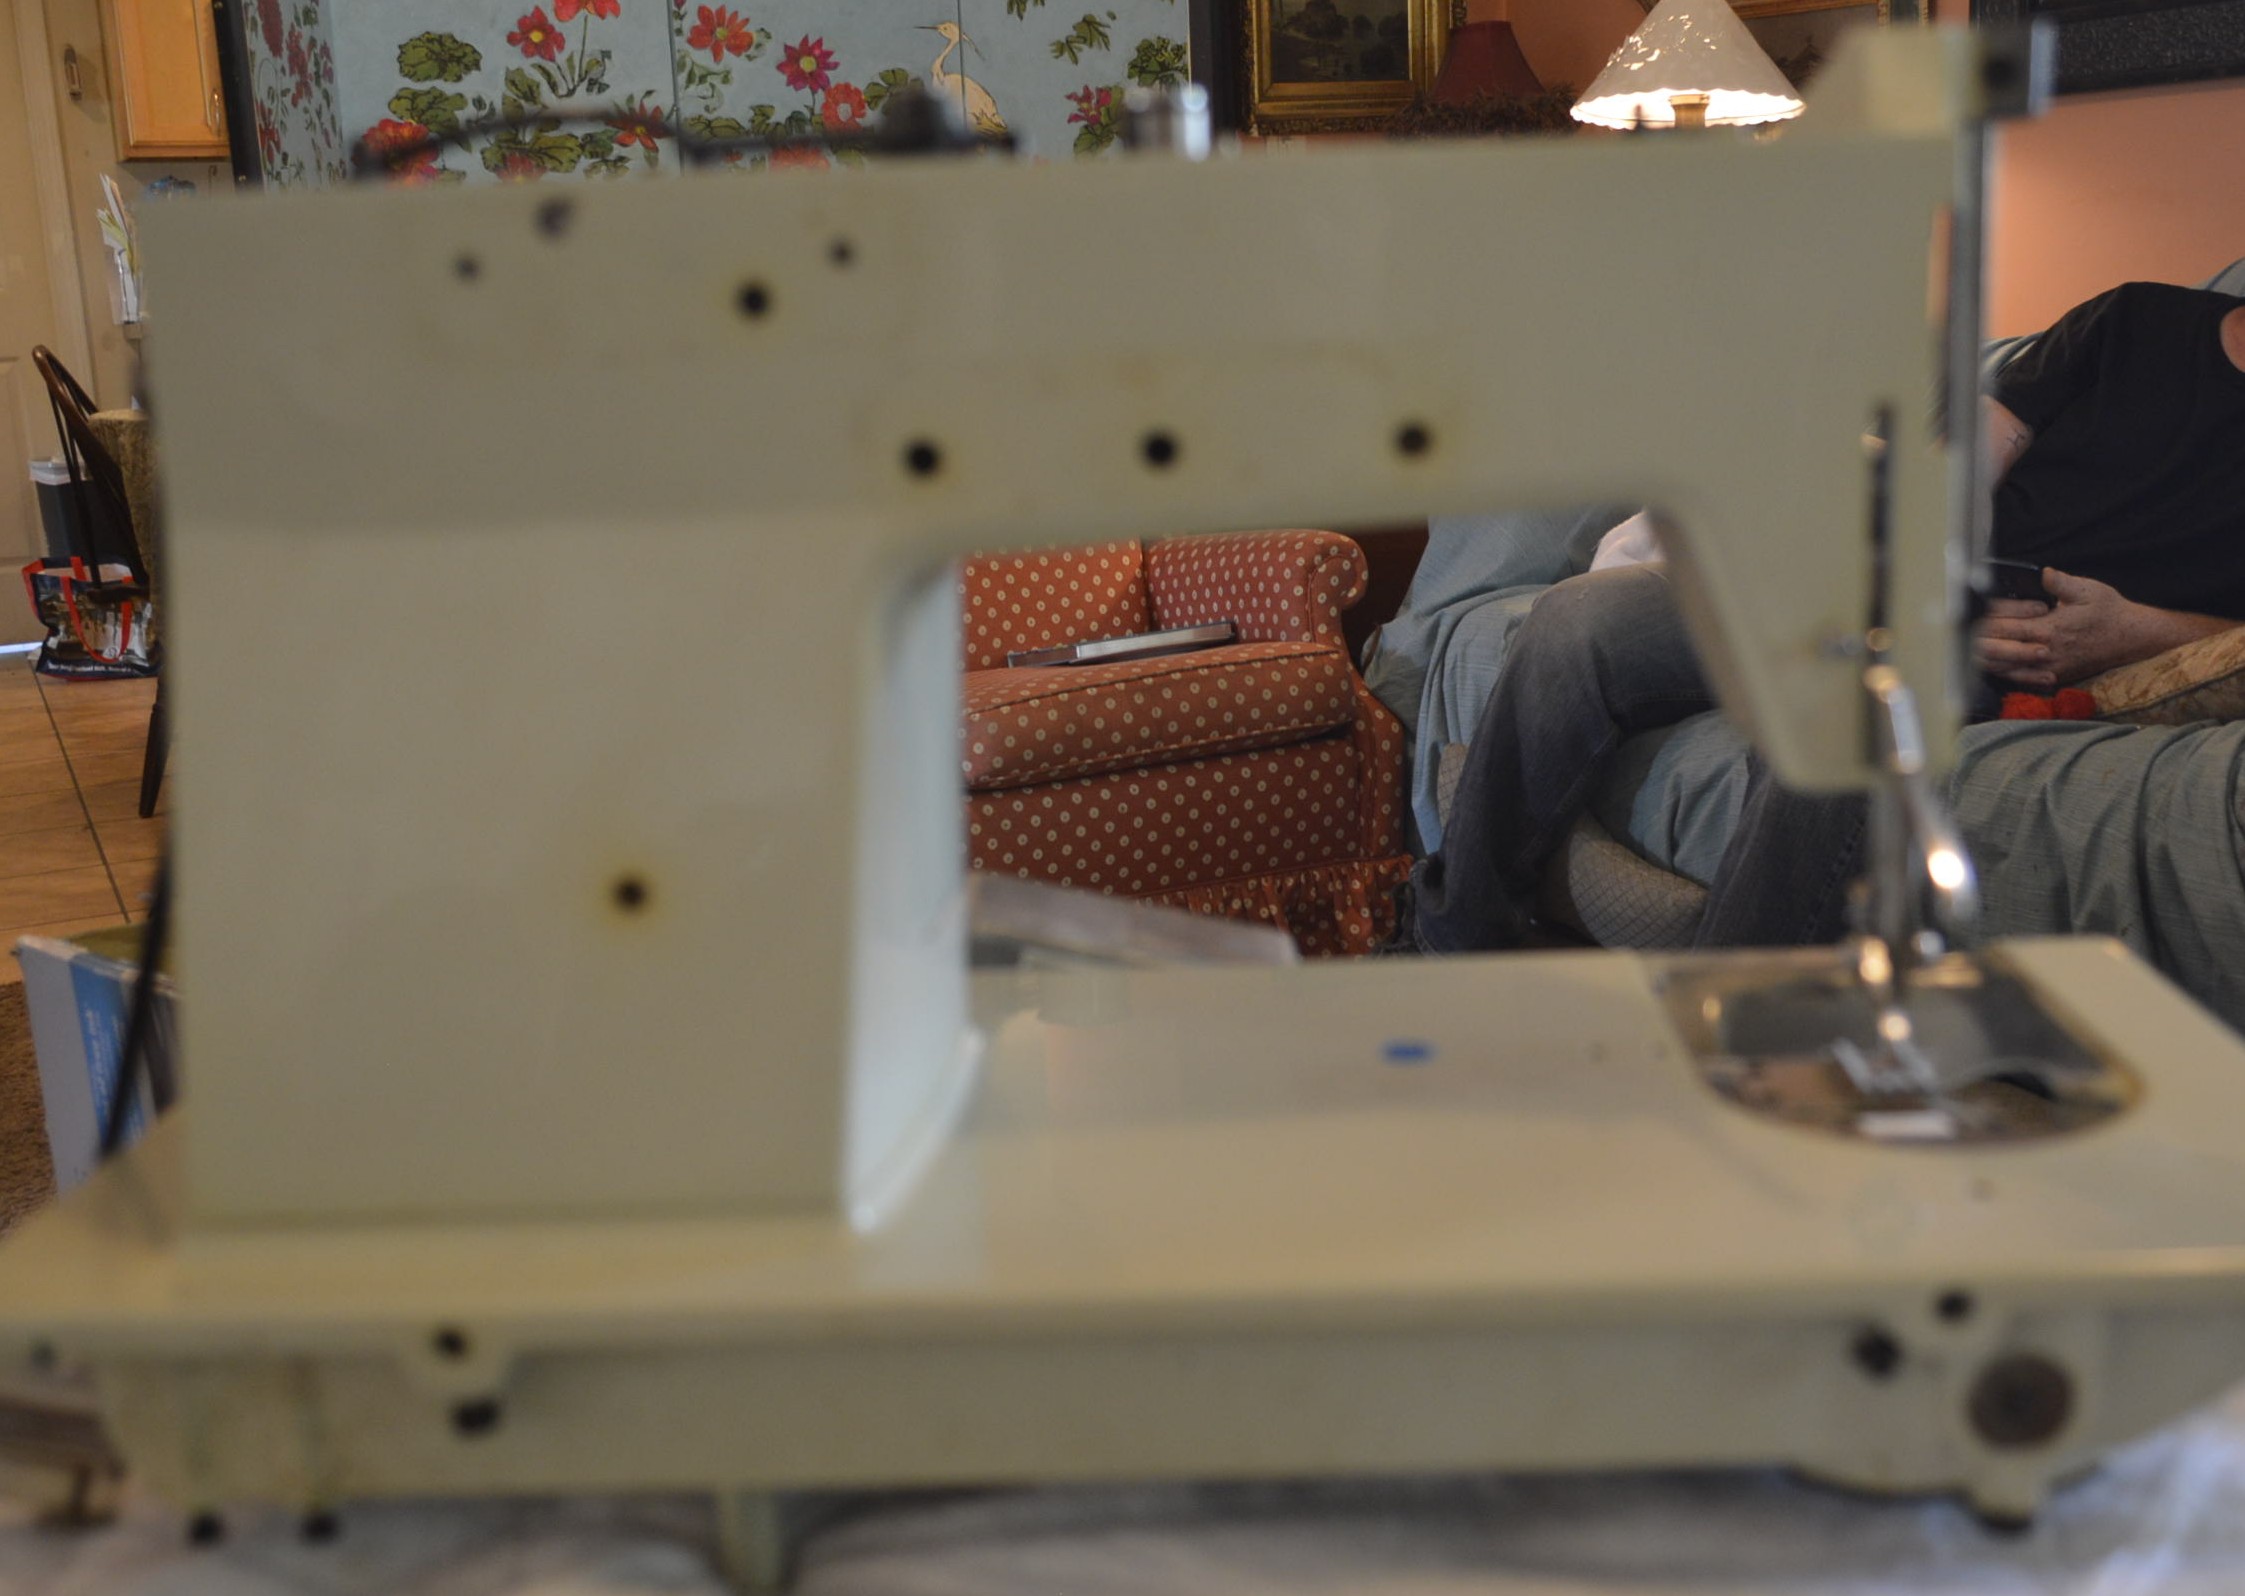
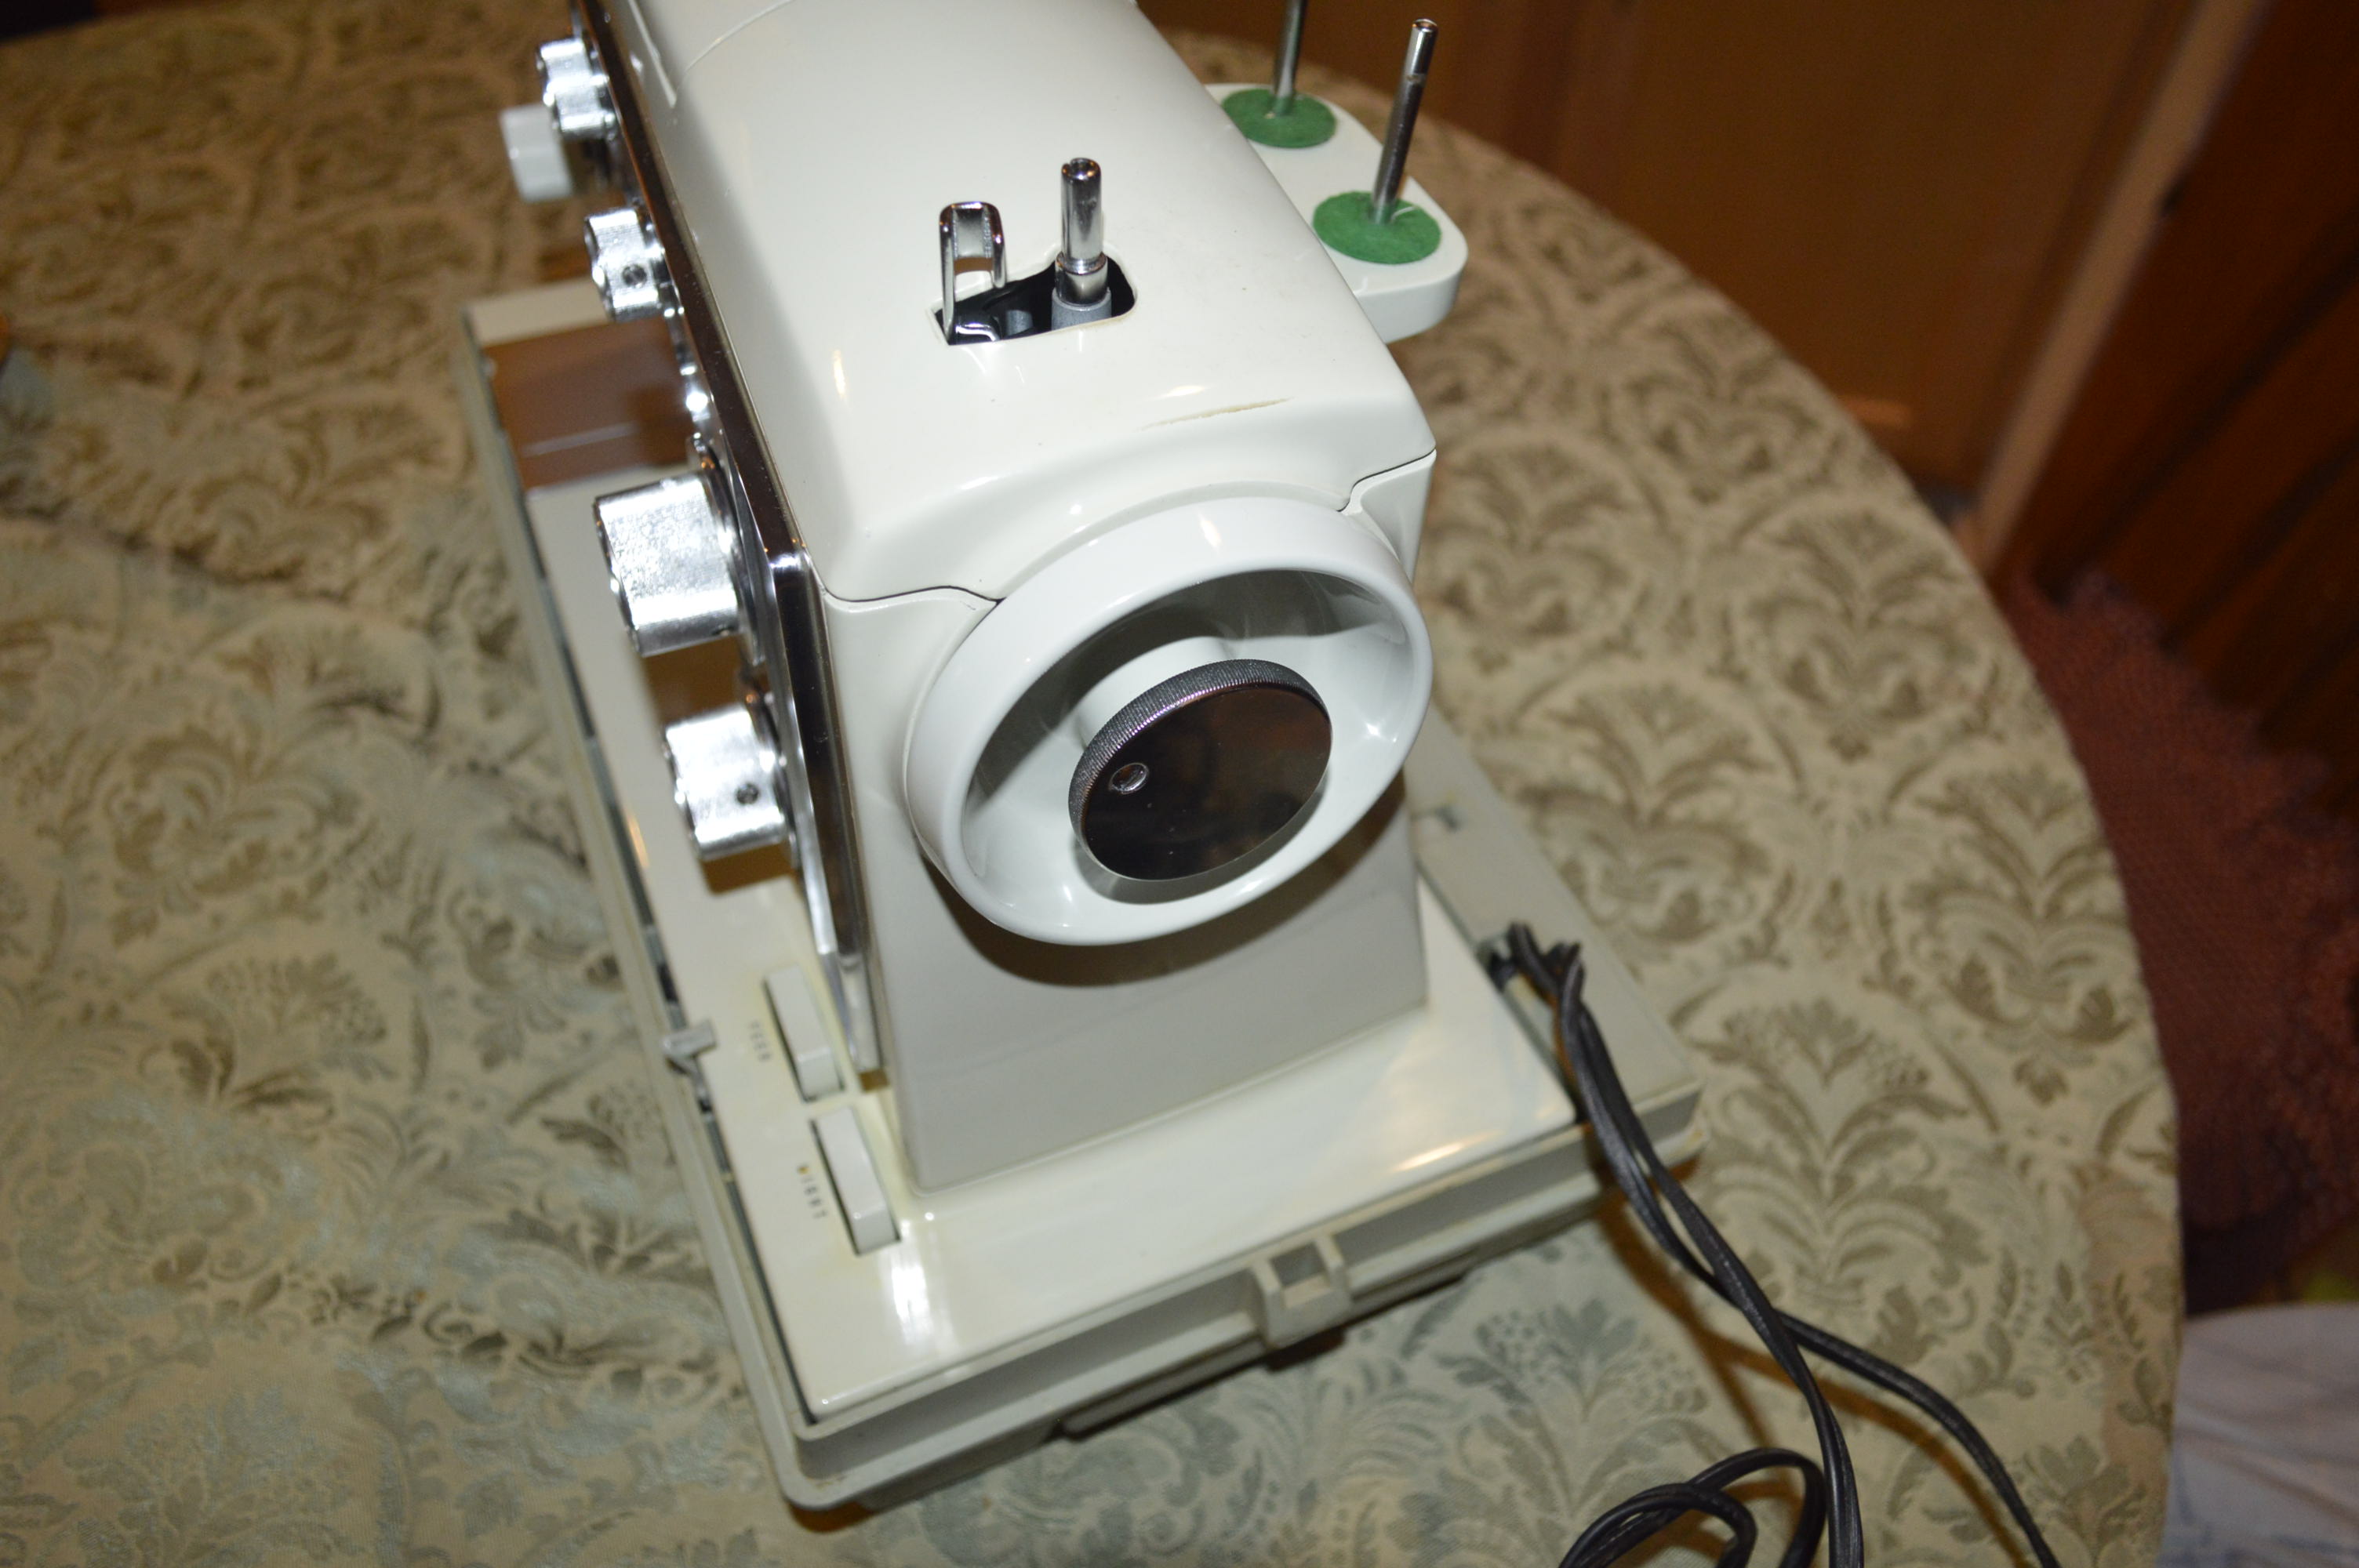
Spool Pin Bracket, top, and Badges Removed
The next step is to ultrasonically everything that was taken off, except for the top tension assembly… that will be cleaned separately, and of course for the covers. The cleaned parts are soaked in WD-40 to remove water, and the bobbin winding assembly is soaked in 99% alcohol to remove the WD-40. These parts are set aside while the few areas on the mechanisms are cleaned. Here, I used acetone and cotton swabs.
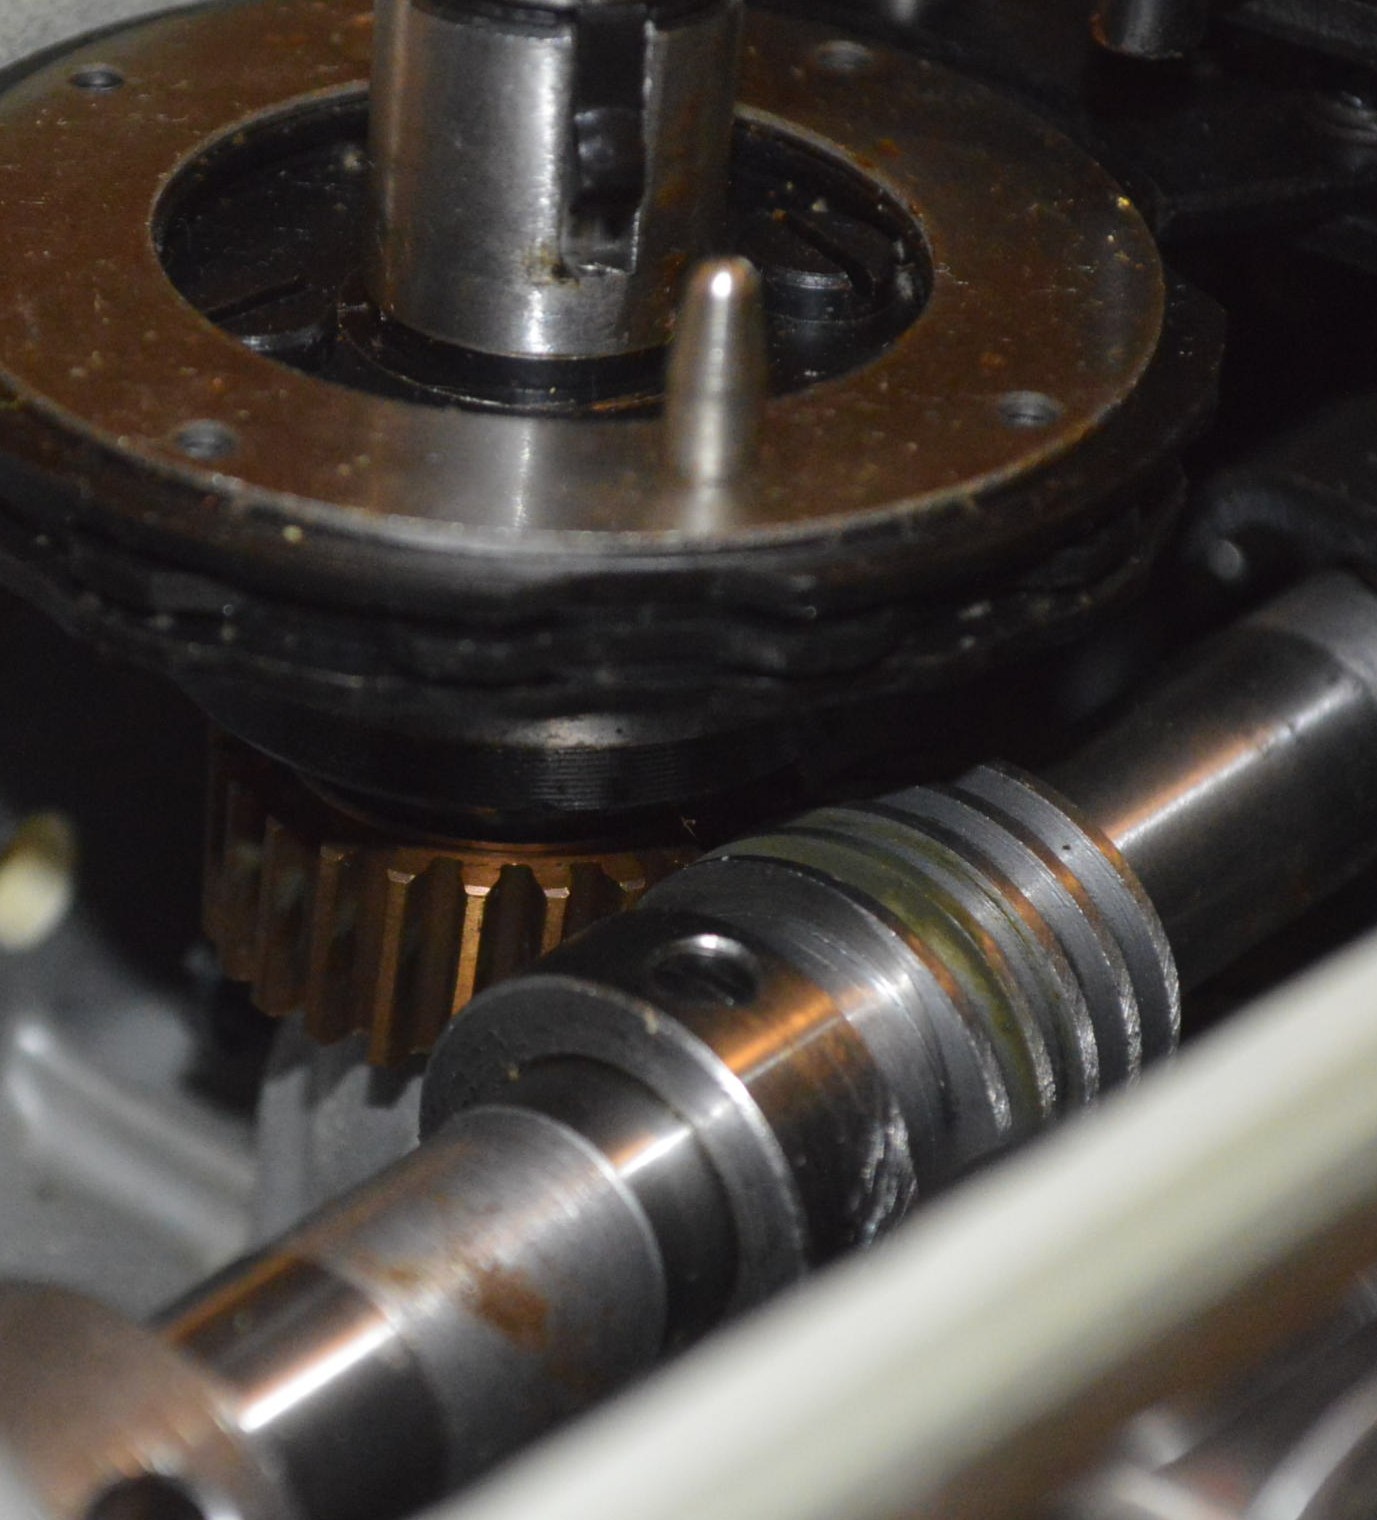
One area that always needs cleaning is inside of the shuttle hook gear case.
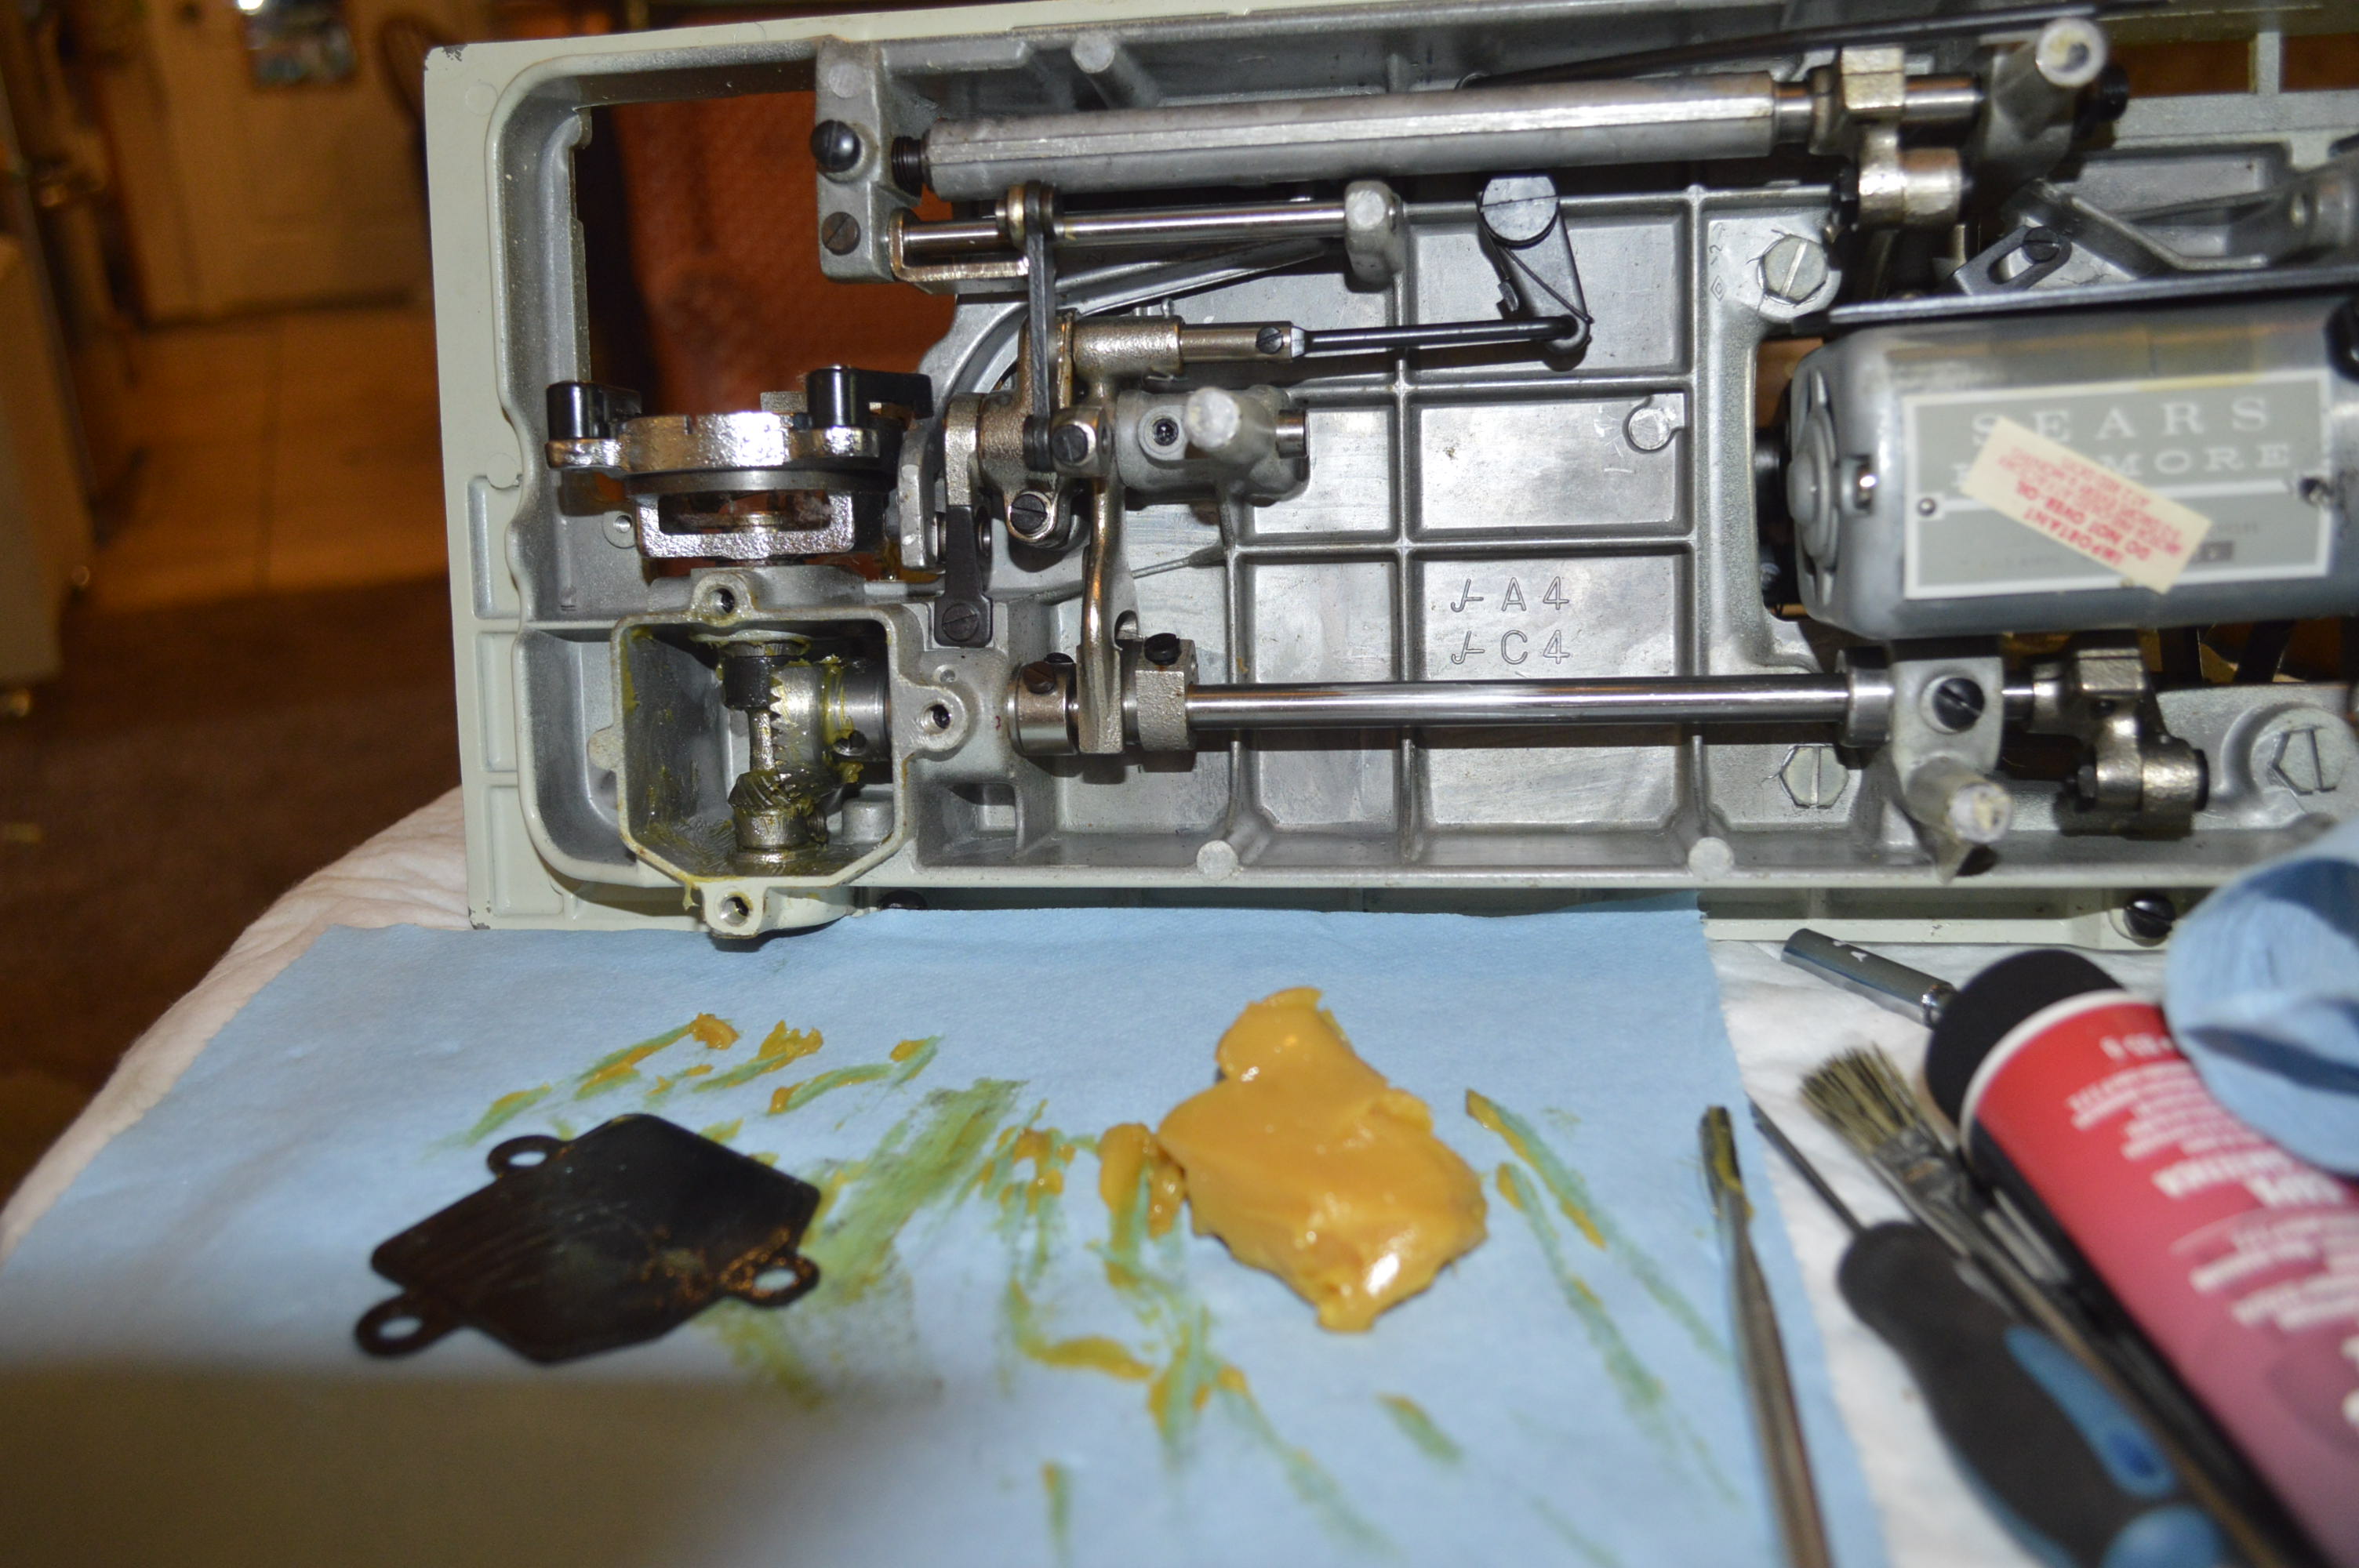
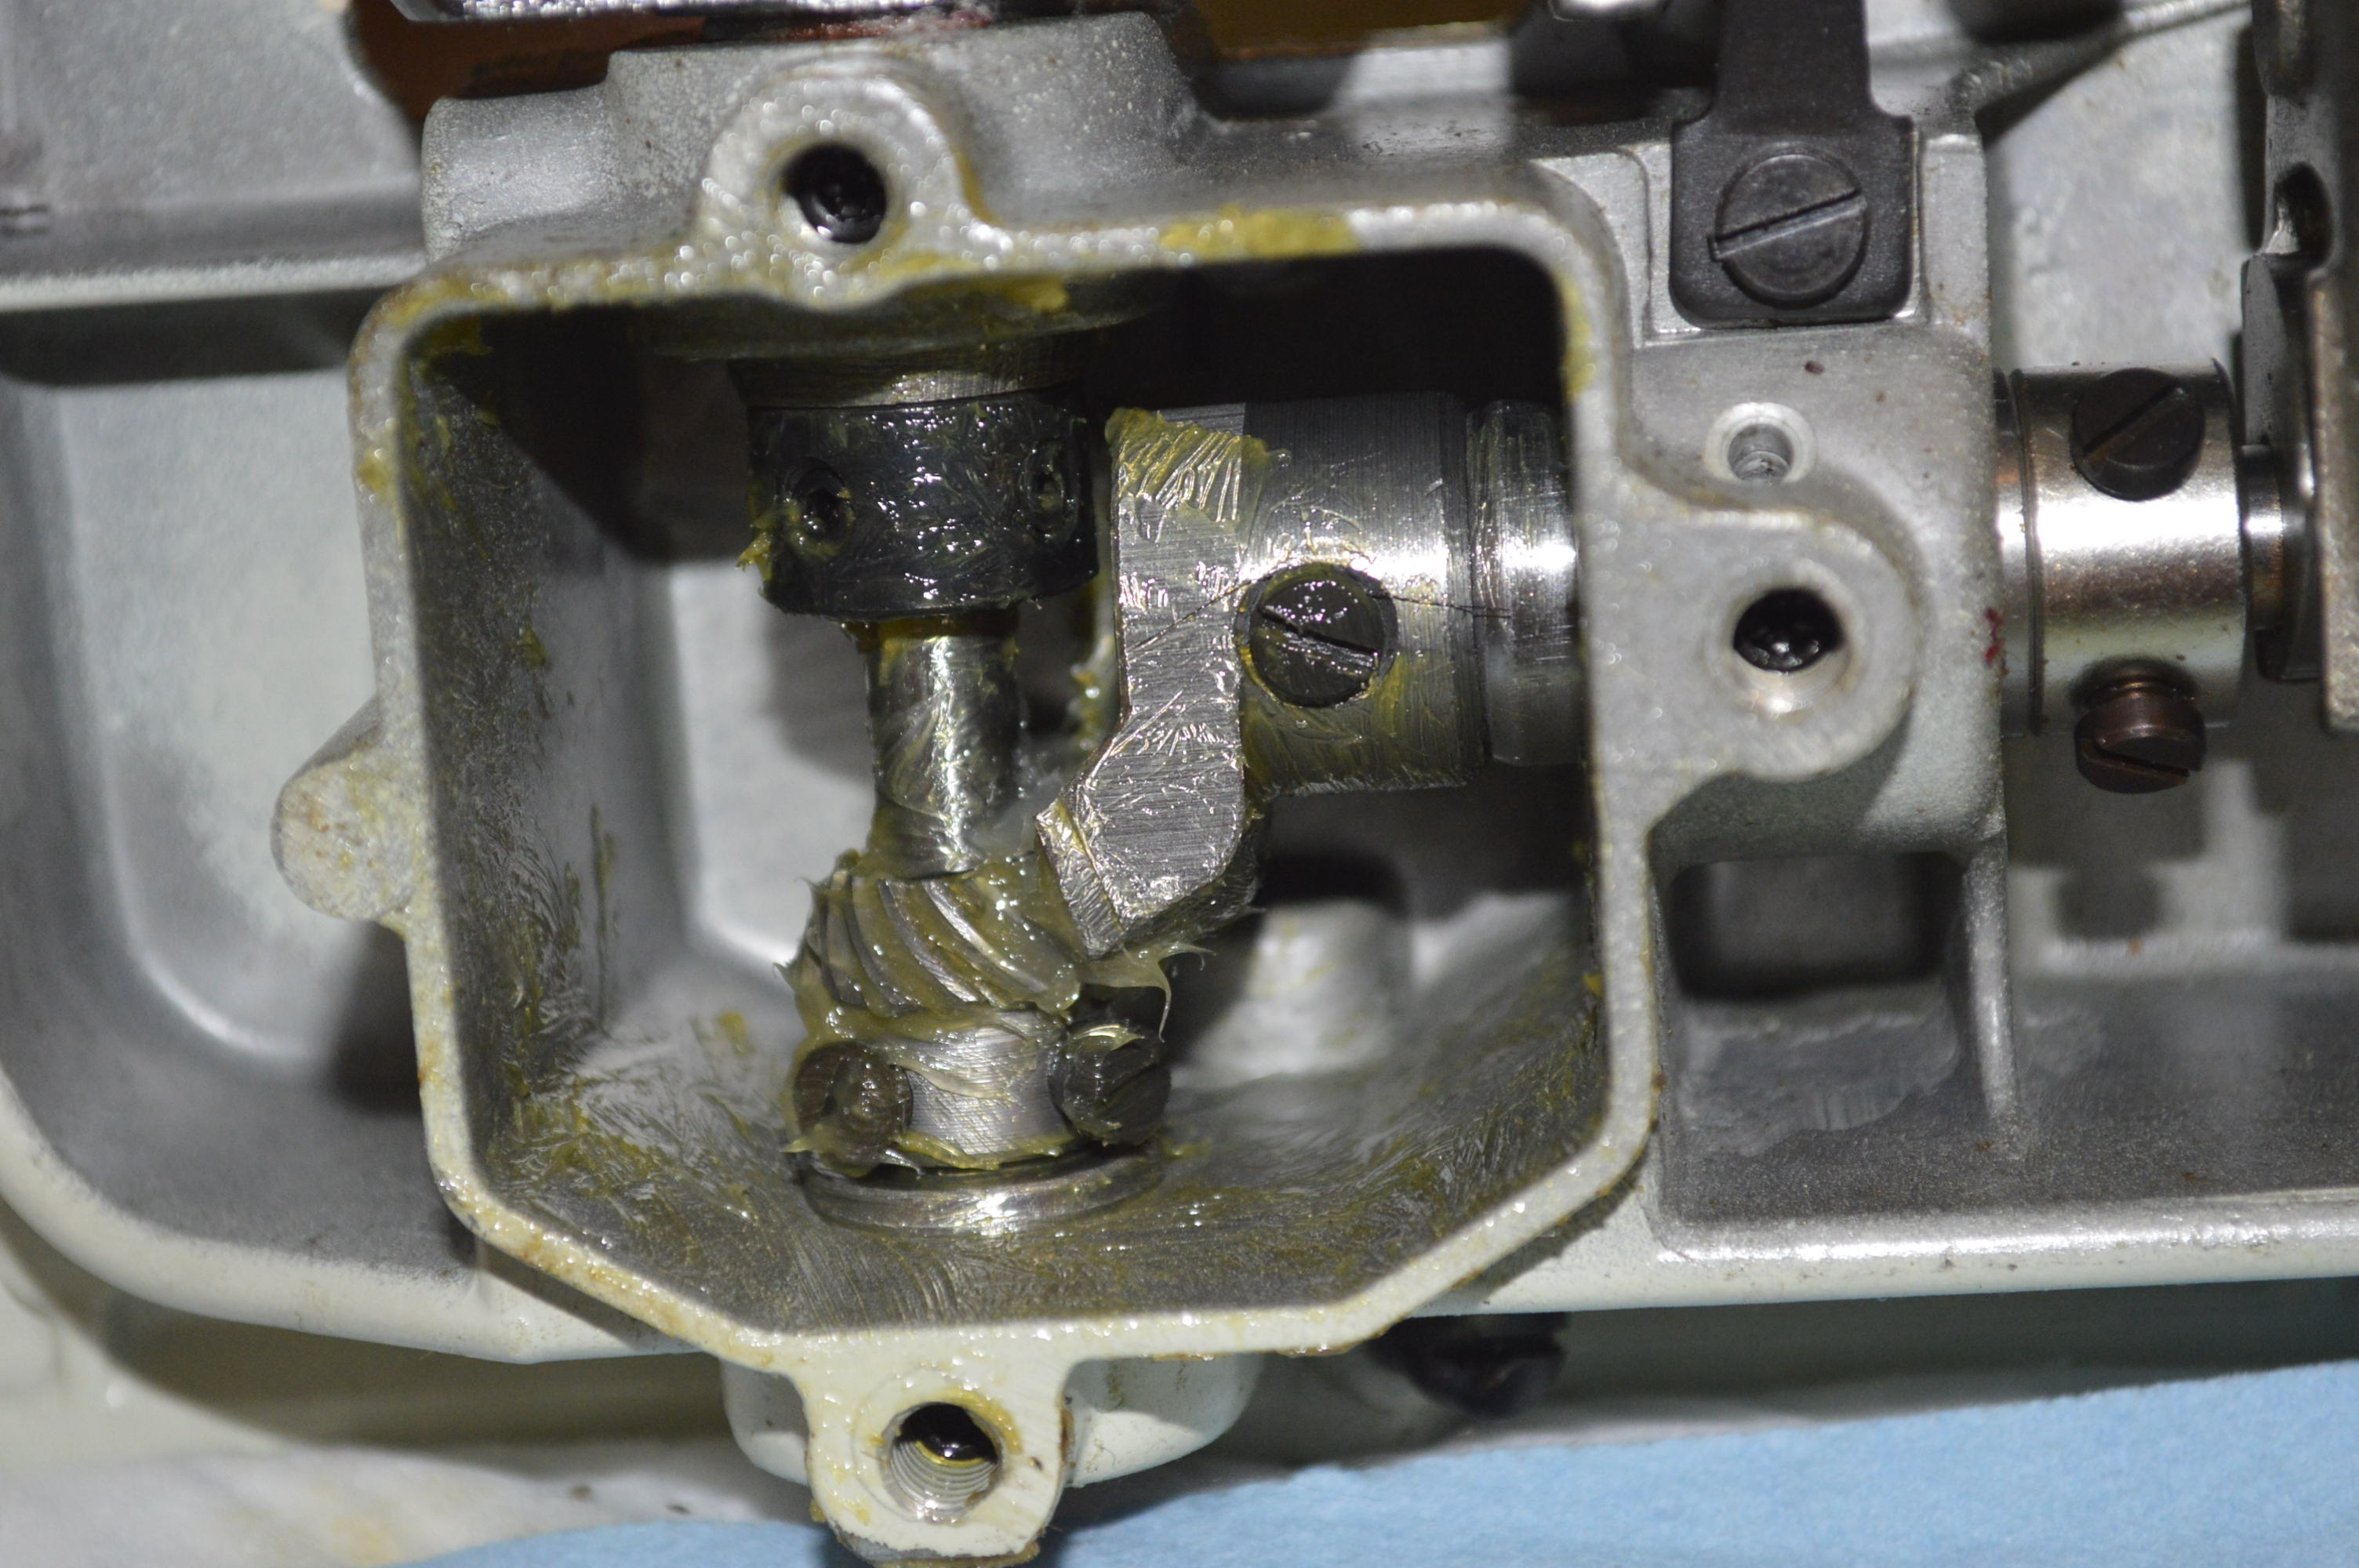
This aged yellow grease is the consistency of bees wax and requires manual removal with dental picks and a small screw driver to scrape it out of the crooks and crevices between and behind the gears. The final remaining grease is removed with a small utility brush. The gears are then greased with Tri-flow grease. Note… I have found this in every Kenmore I have ever serviced, but I guess no one ever looks…
With this step complete, the next step is to partially disassemble the motor to polish the armature and clean or recondition the motor brushes.
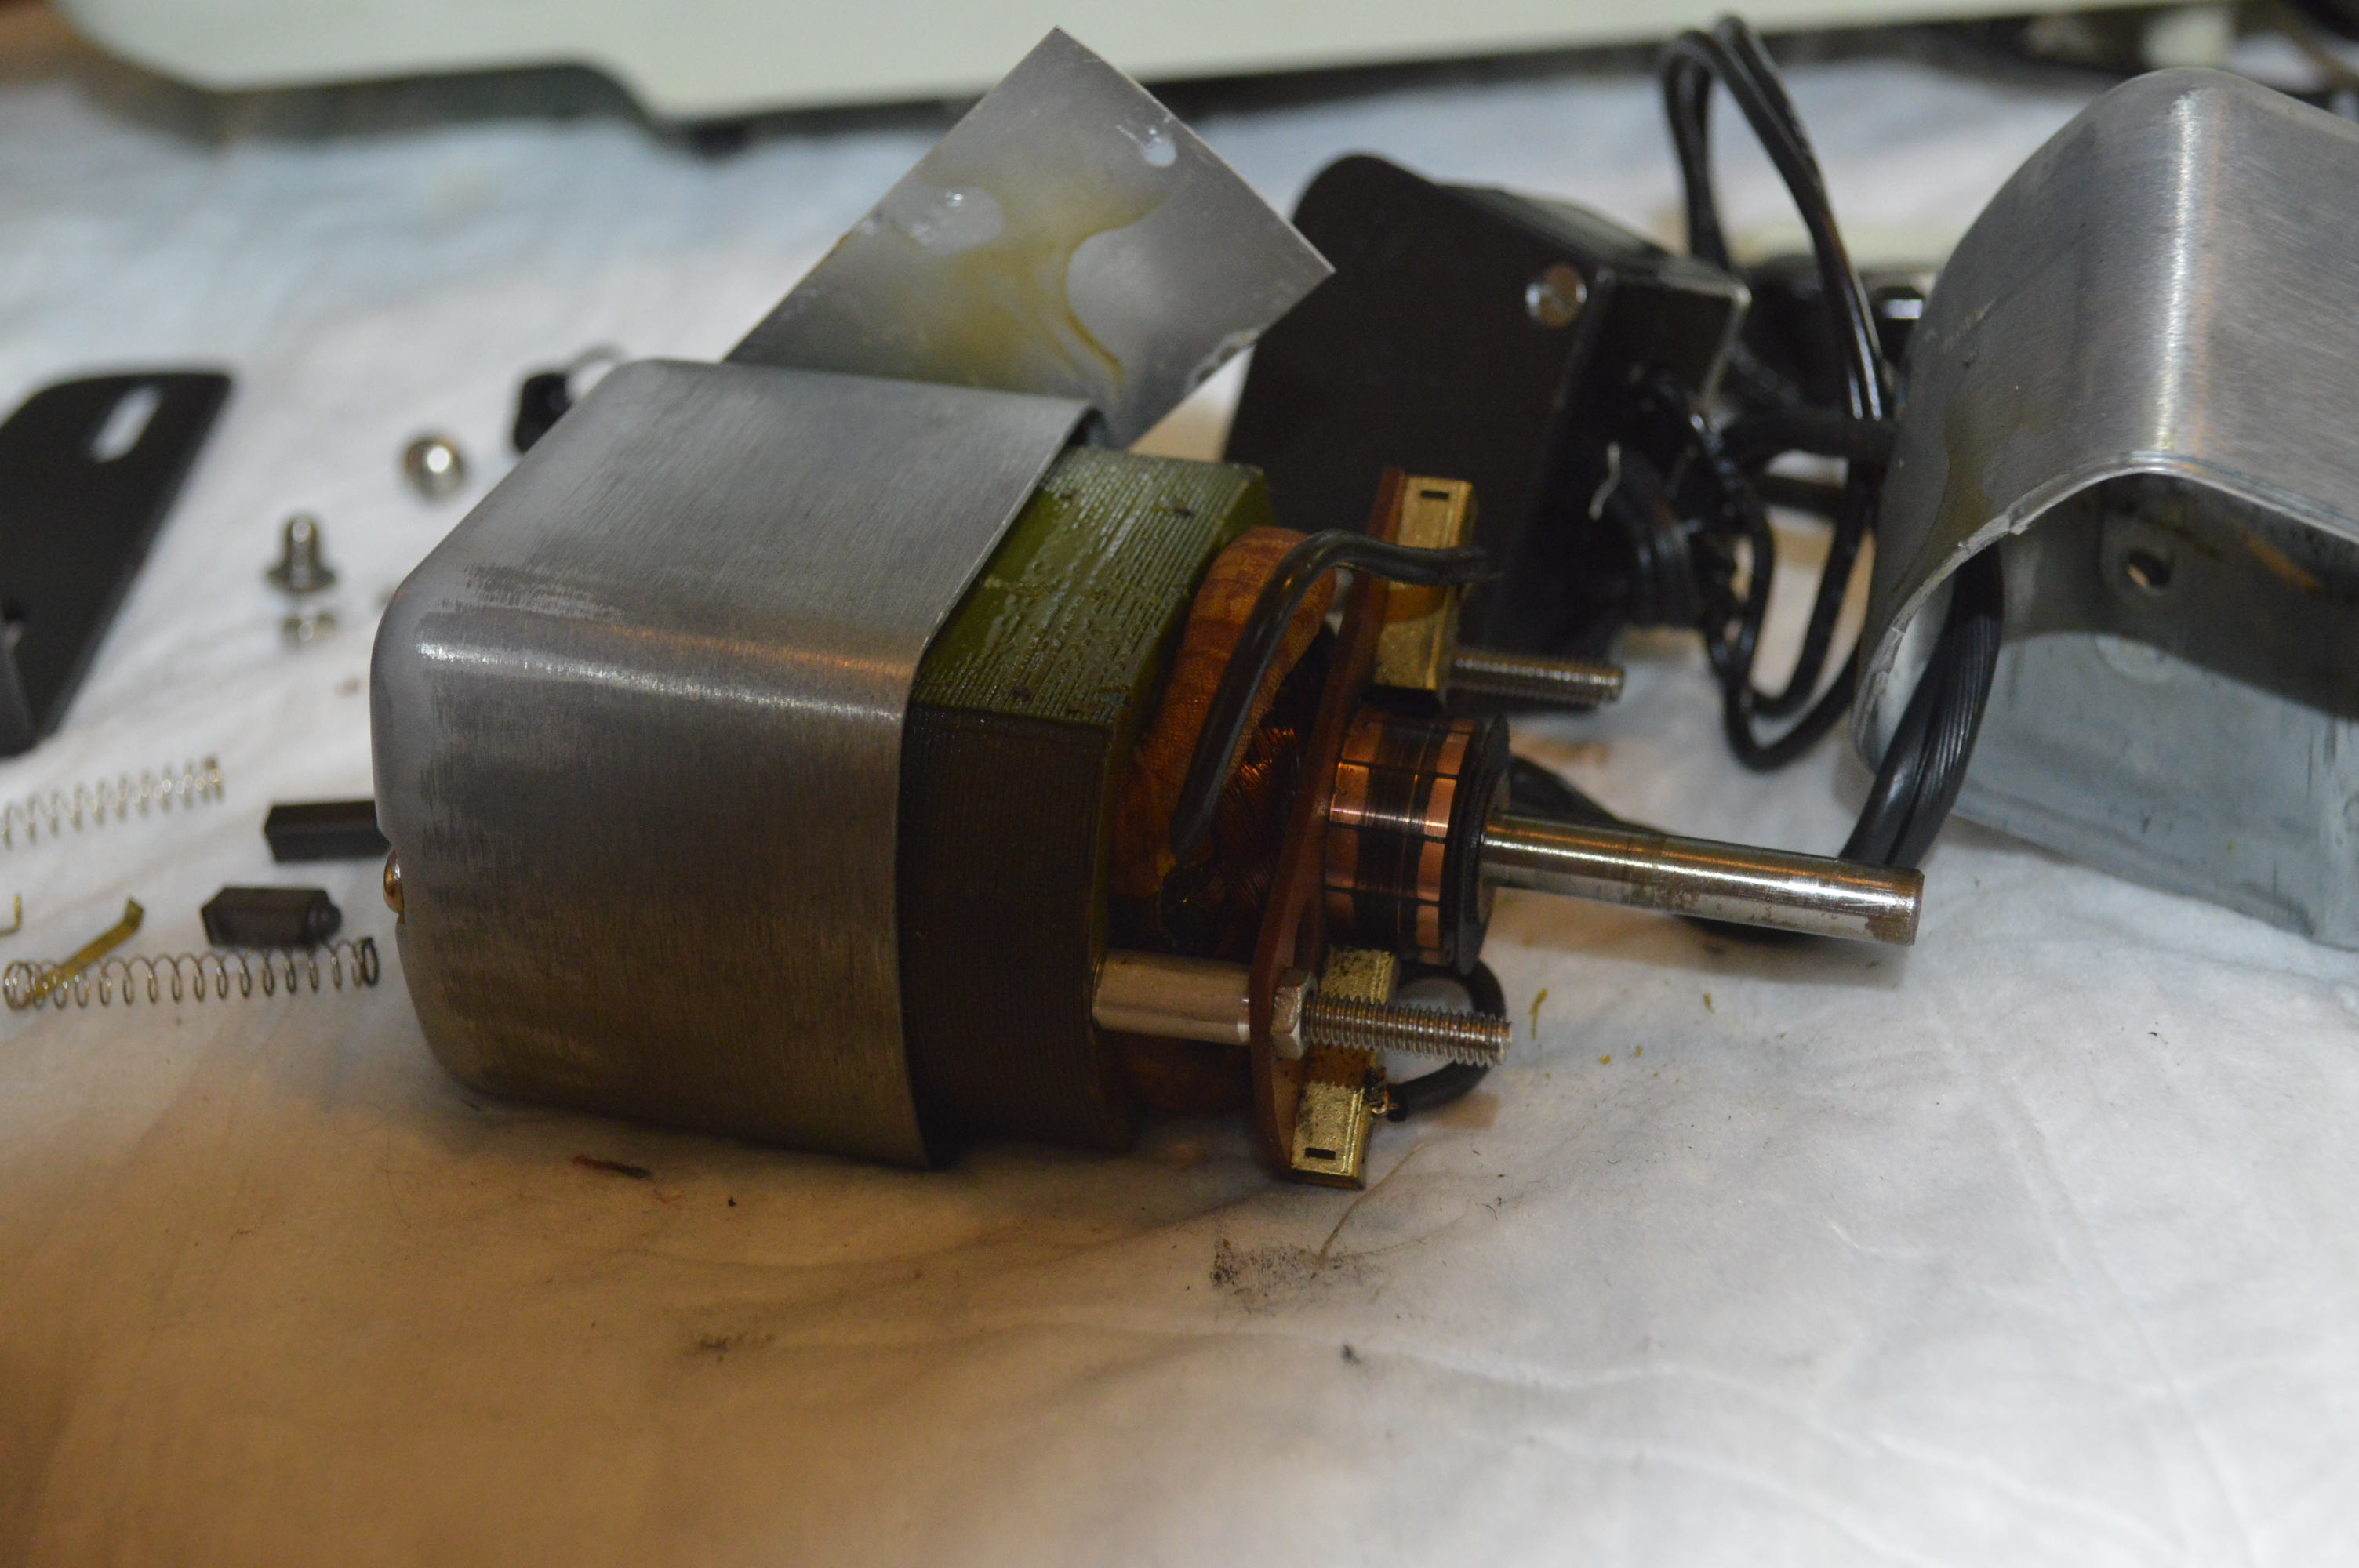
Before… 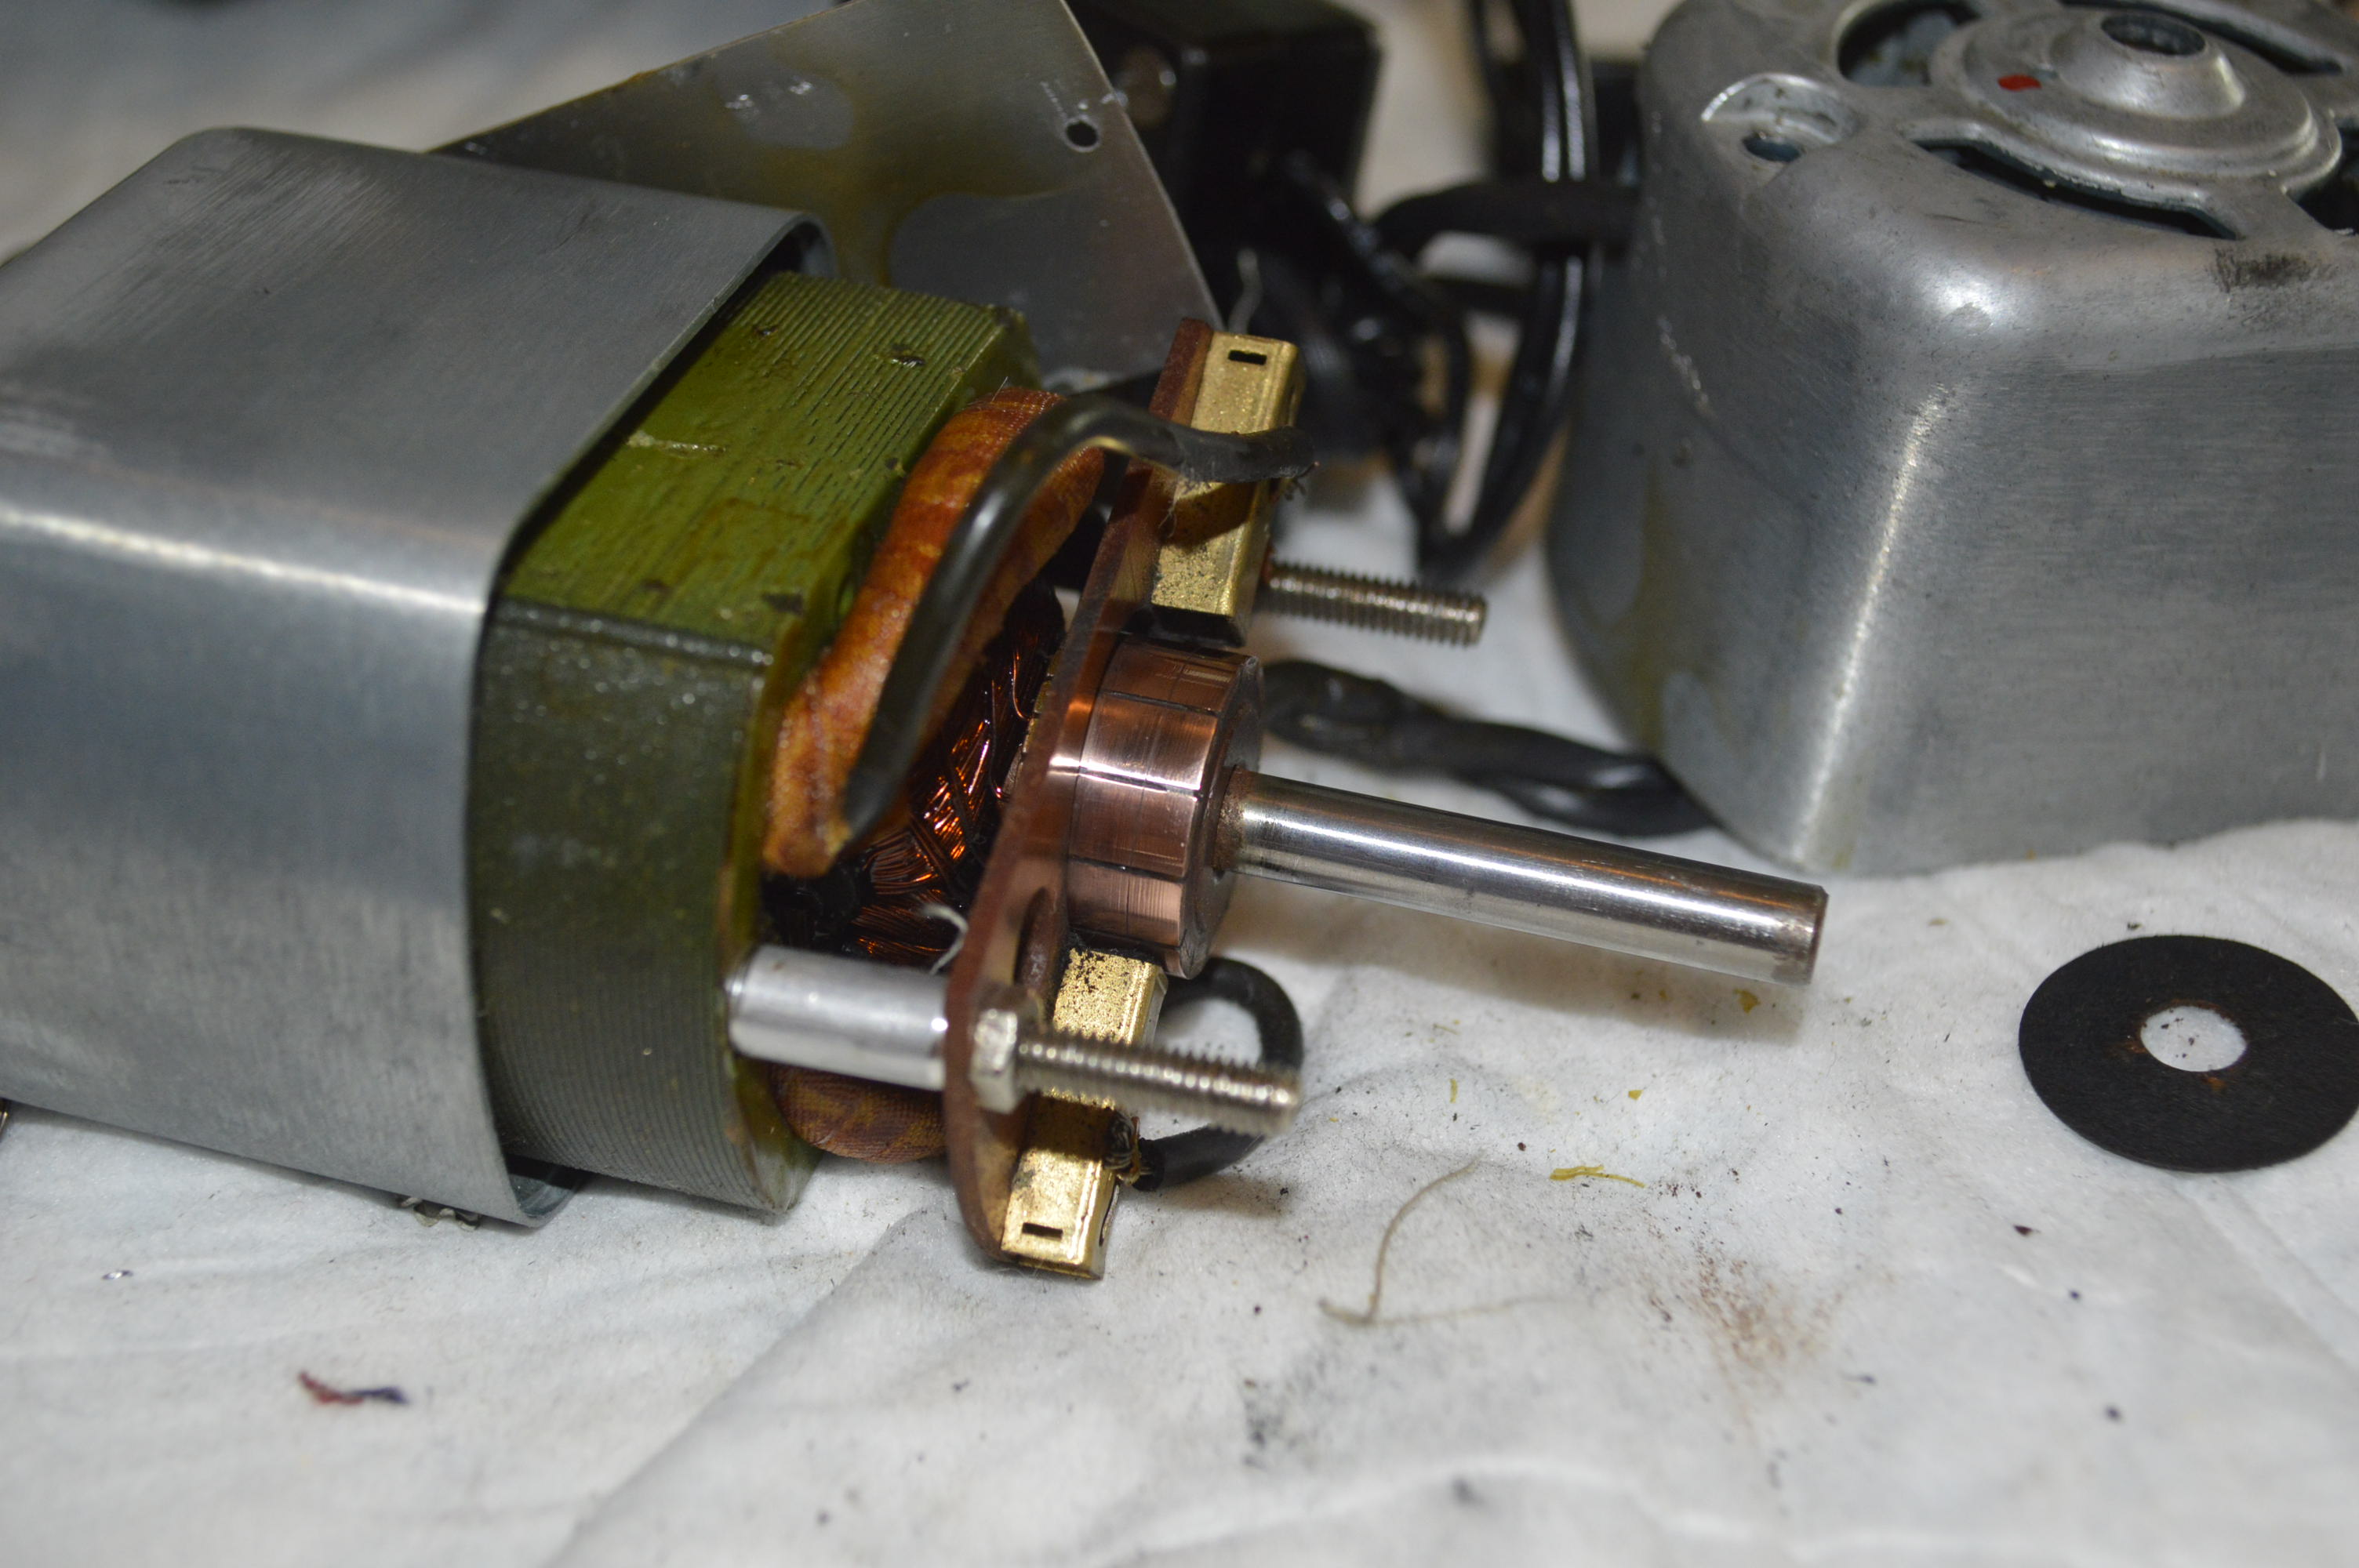
After 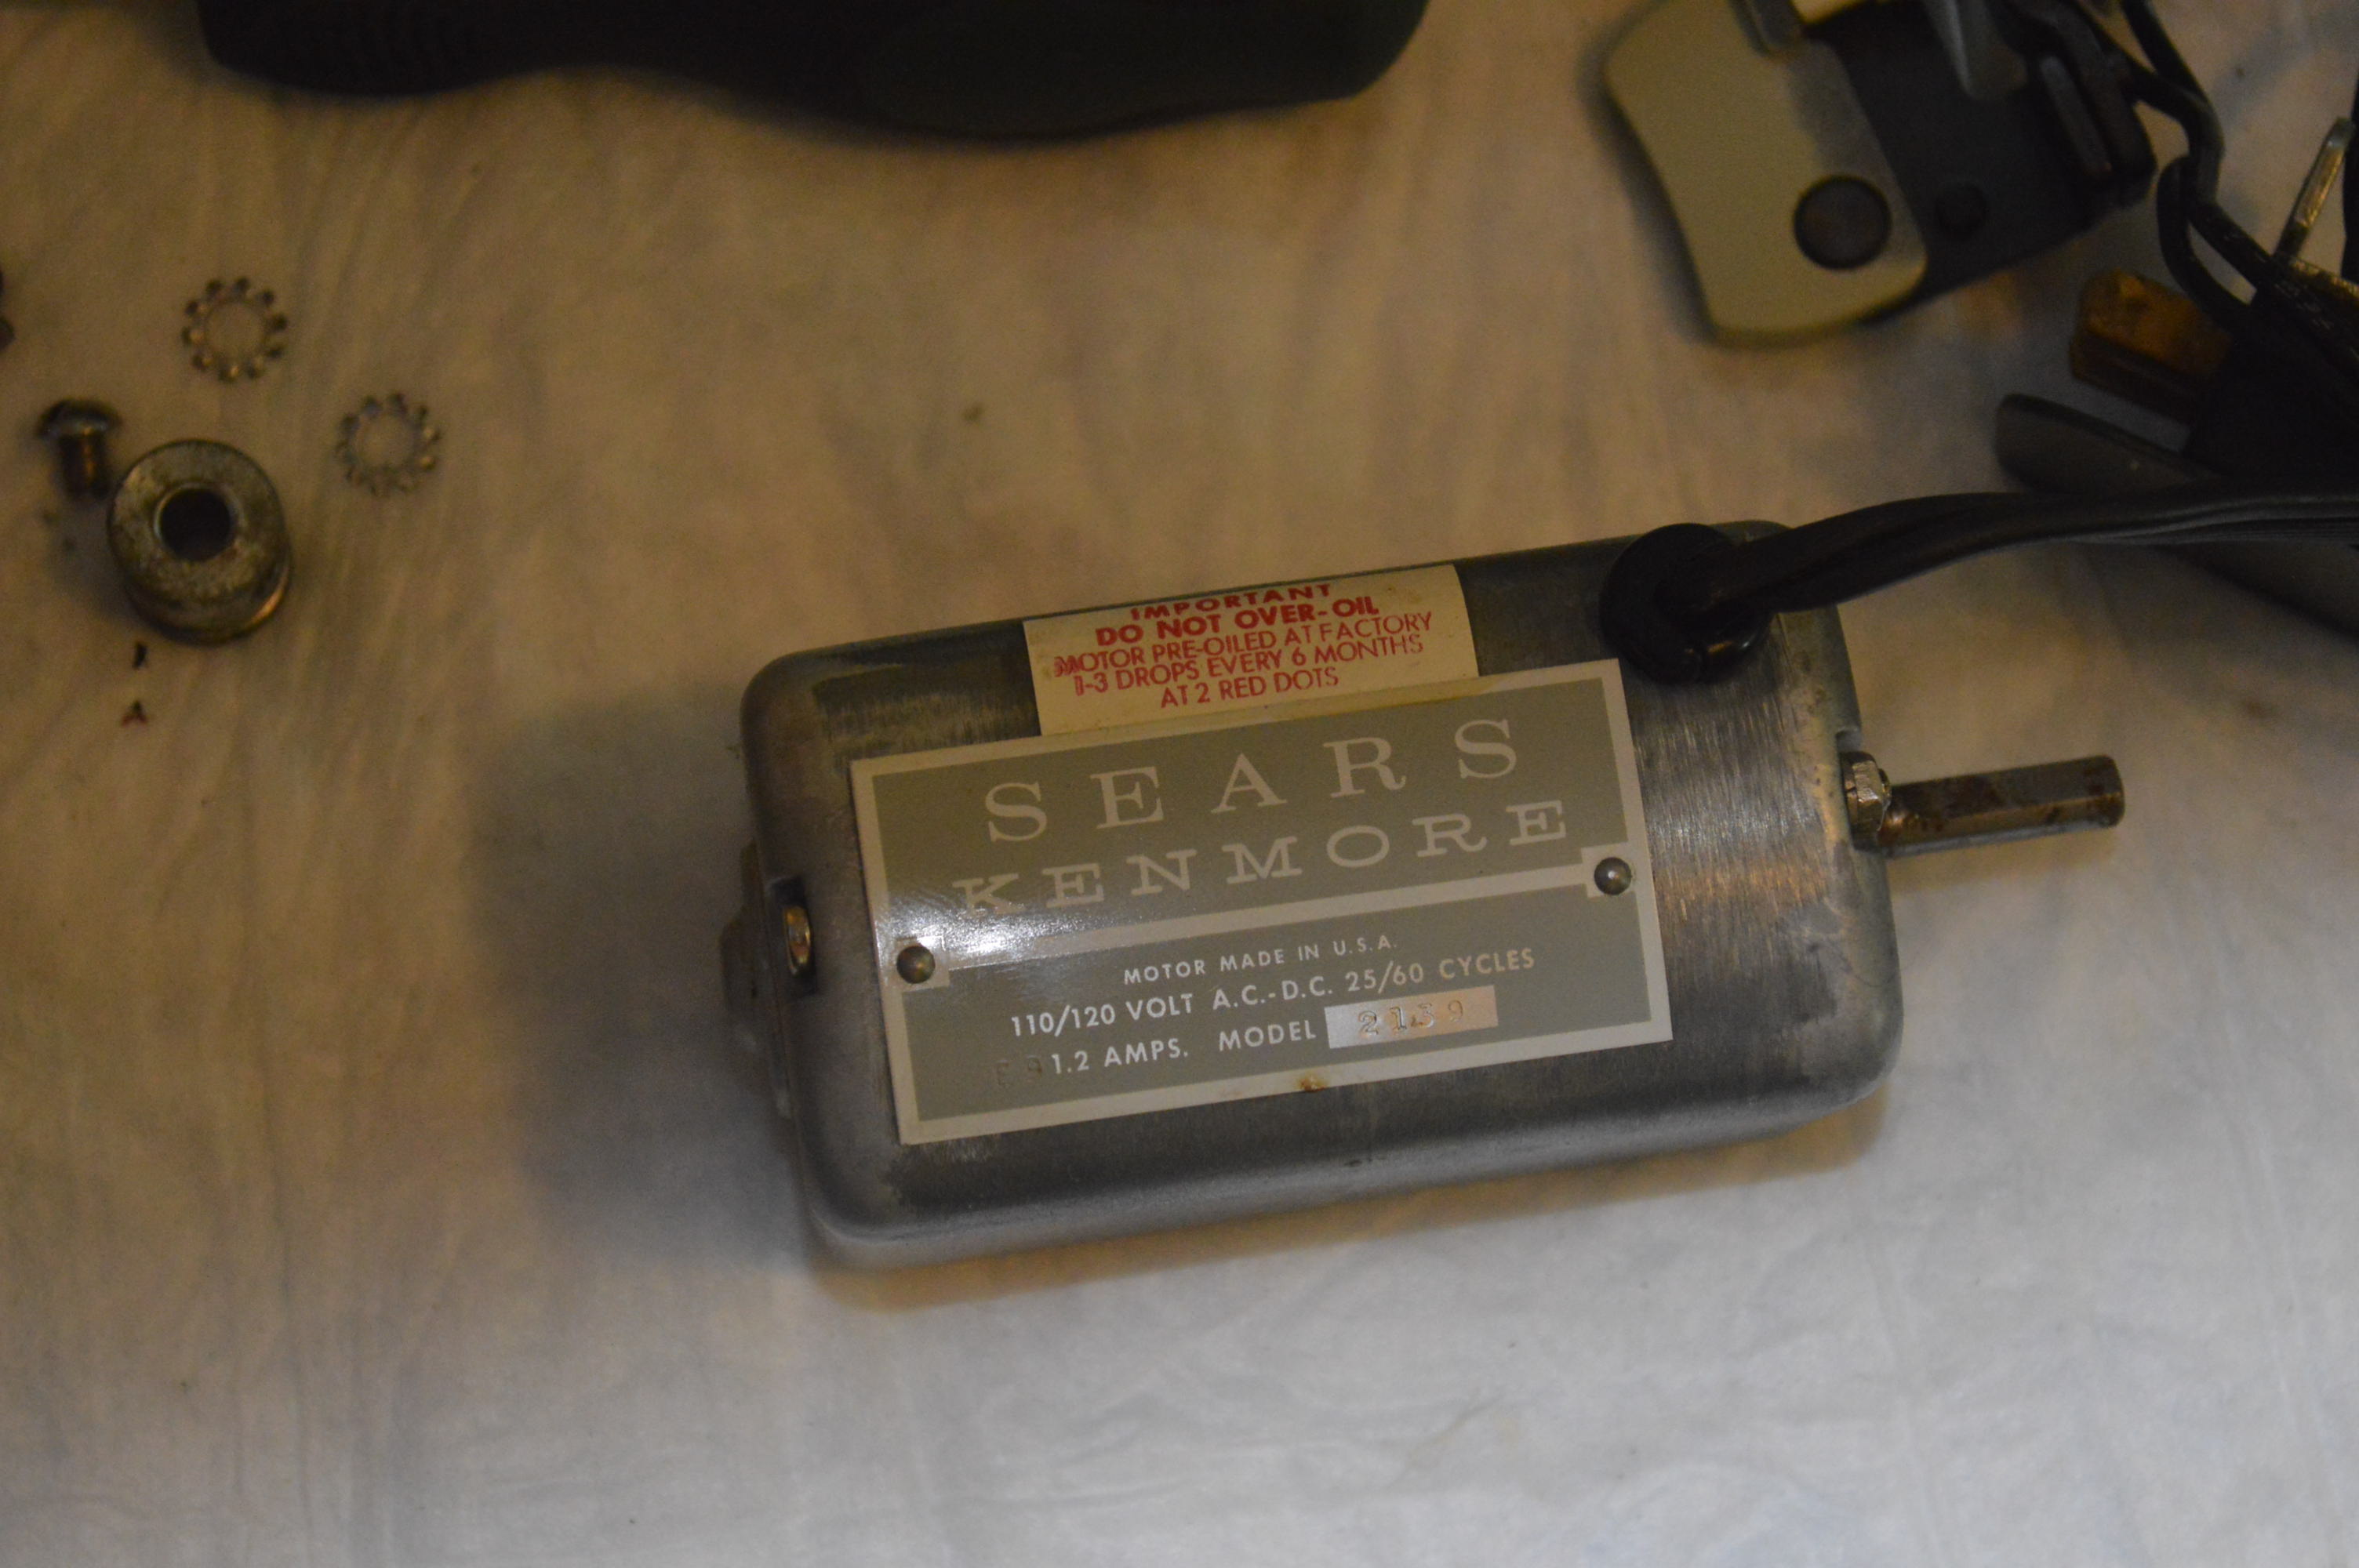
Assembled
The motor is re-assembled, lubricated, and installed.
Now the top tension assembly and the bobbin case is disassembled. The top tension mechanism is ultrasonically cleaned, and the tension discs soaked in 99% alcohol to remove any trace of water. The tension mechanism is reassembled and ready to be installed.
The back plate, top cover, front cover, balance wheel and the body of the machine is cleaned. Then the body of the machine… here I am going to tackle the previously mentioned “stain” in the next step of glaze polishing.
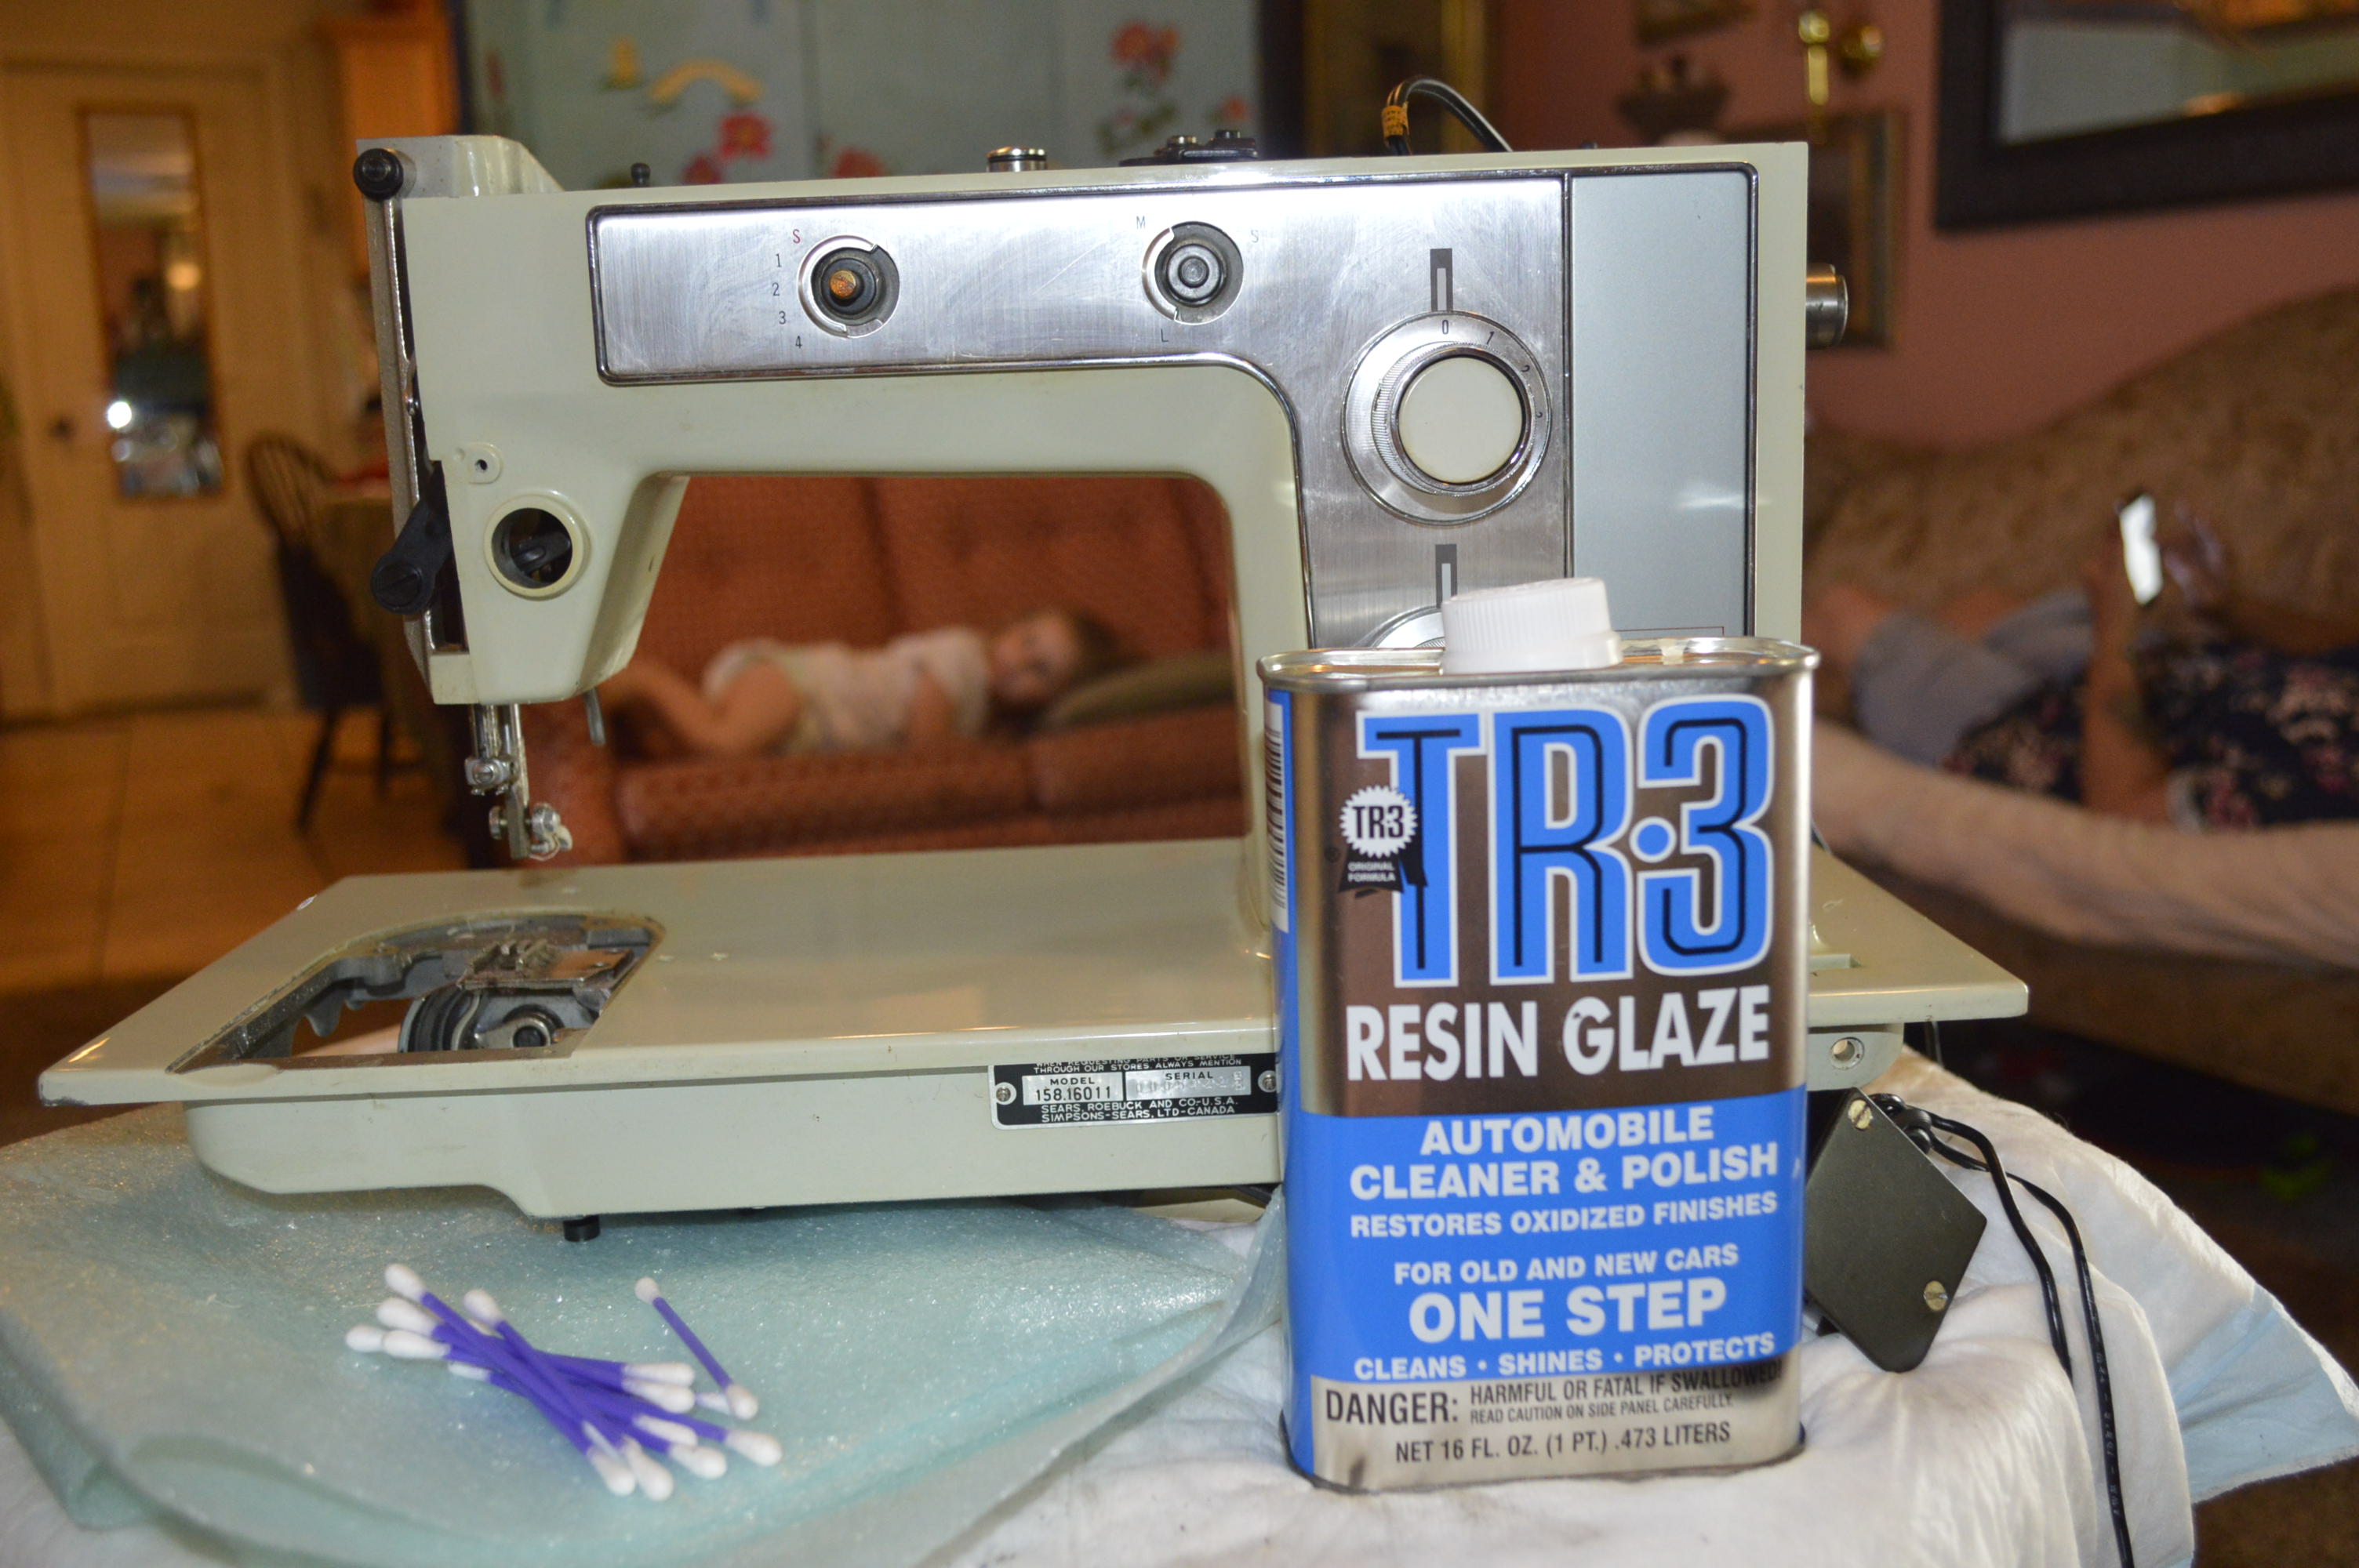
Now the machine is glaze polished with TR3 and then followed by glaze polishing with Meguiar’s Glass Finish polish. The reason I decided to glaze polish the finish twice is in the results. The TR3 is a good glaze polish that provides a very smooth finish on the painted surface of the machine. The Meguiar’s seems to be a finer “cut” polish, and it does a fantastic job of smoothing out the already smooth TR3 finish. The result of each is noticeable, and that alone makes it worth the extra effort in polishing. As expected, the “stain” on the bed, and the “defect” on the top cover was removed in polishing. Again, except for some very small blemishes, the cosmetic appearance is excellent.
All of the parts are reassembled and the moving mechanisms are checked for adjustment. The machine is tested to adjust the tensions and the servicing and cleaning of this Kenmore Model 158.16011 is complete!
Notice the Stain? I bet you can’t! 
So, the machine turned out beautifully, and it runs extremely well!
Tell me what you think?
