
Every Singer sewing machine of this vintage has a story to tell. Most of the time it is clouded in memories of generations past and based on stories retold over several generations. Some will remember their Grandmother mending a dress for a special occasion and share that special memory with their son or daughter, who will then pass the history on to their son or daughter. Sometimes the story is rooted only in believable supposition based on usage, only told by the wear and patina on the machine. Kinda goes like this… “I remember that old sewing machine in the basement belonged to my Great Grand Mother, I bet she sewed a mile with it…” In any case, The quality and beauty of these machines is unequalled by any sewing machine you could ever purchase today. It’s a strong statement, but I would challenge anyone to give me an example to prove me wrong.
My introduction for this restoration is sort of long because of the circumstances leading up to it. I consider this story a continuing and memorable part of the machines history, so please bear with me as I explain how this restoration came to be.
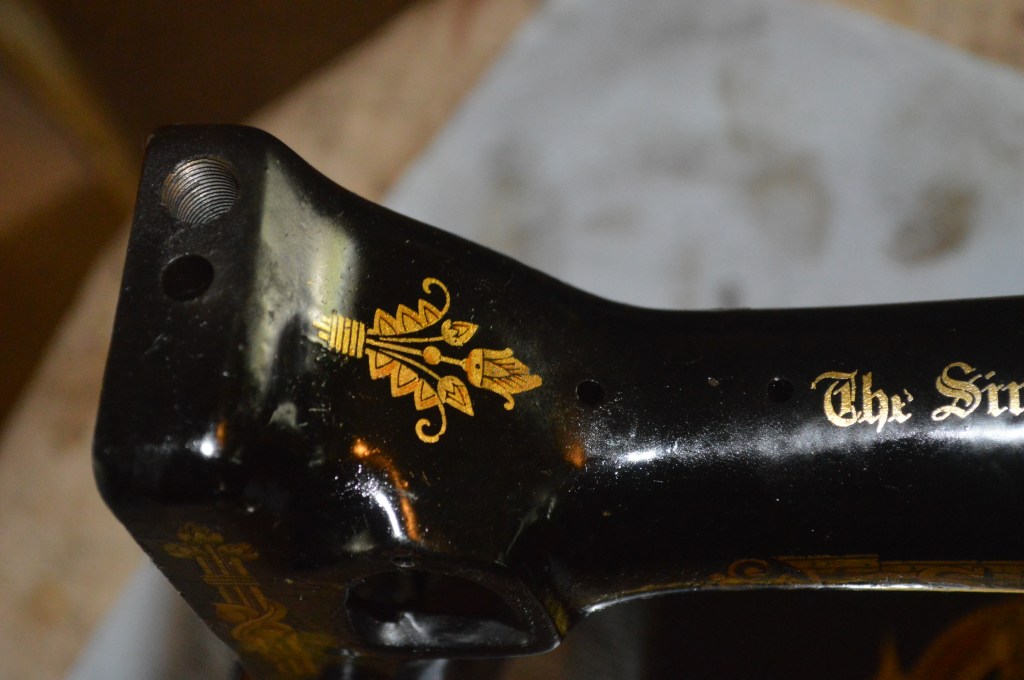
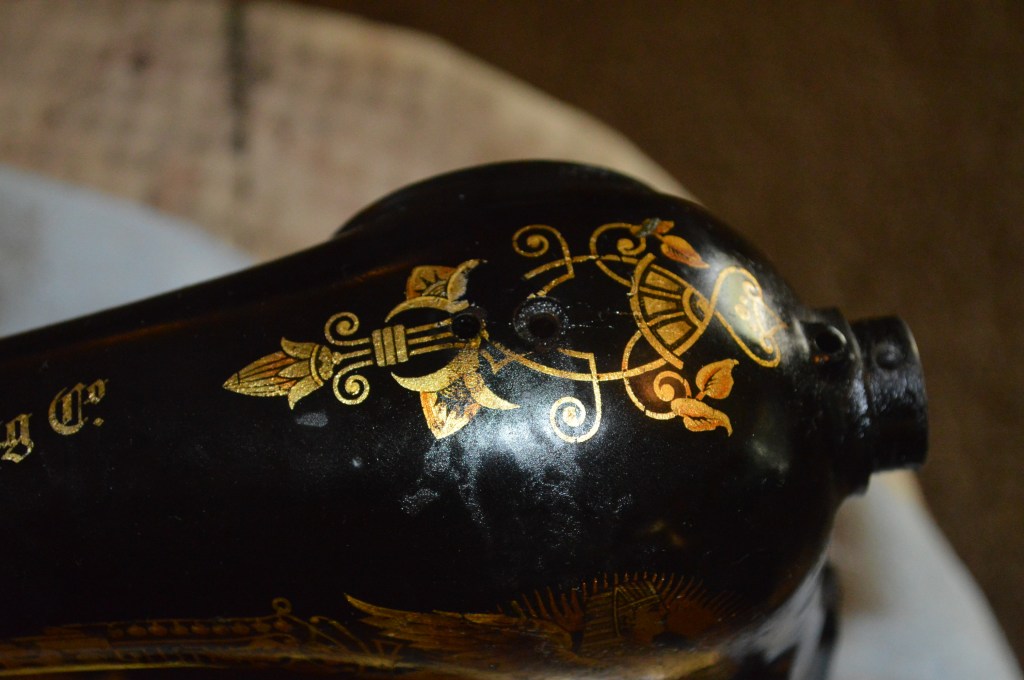
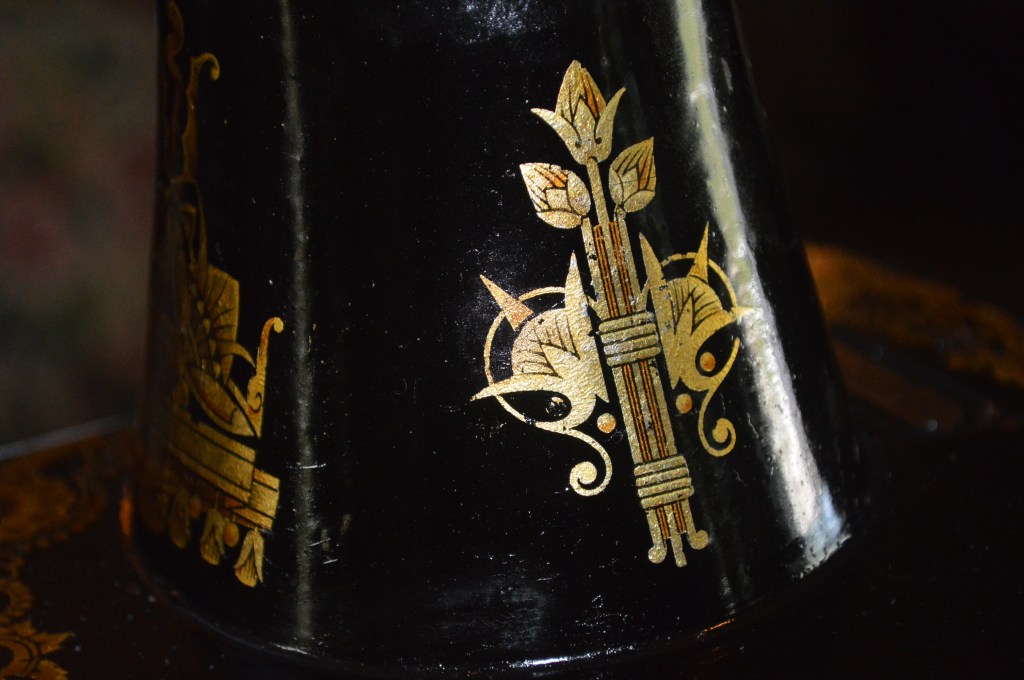
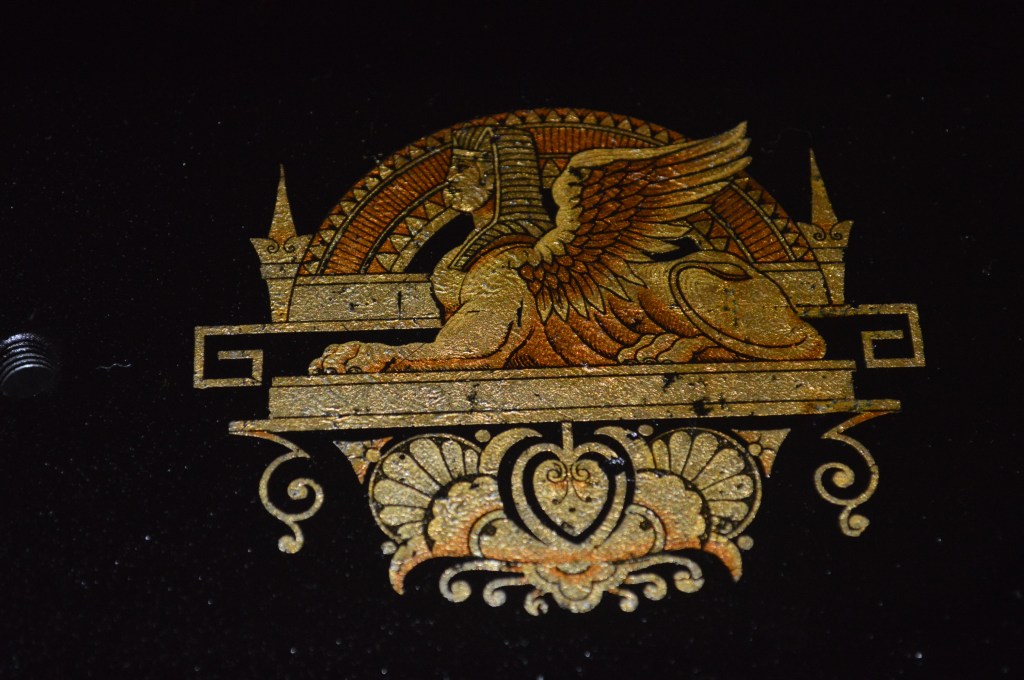
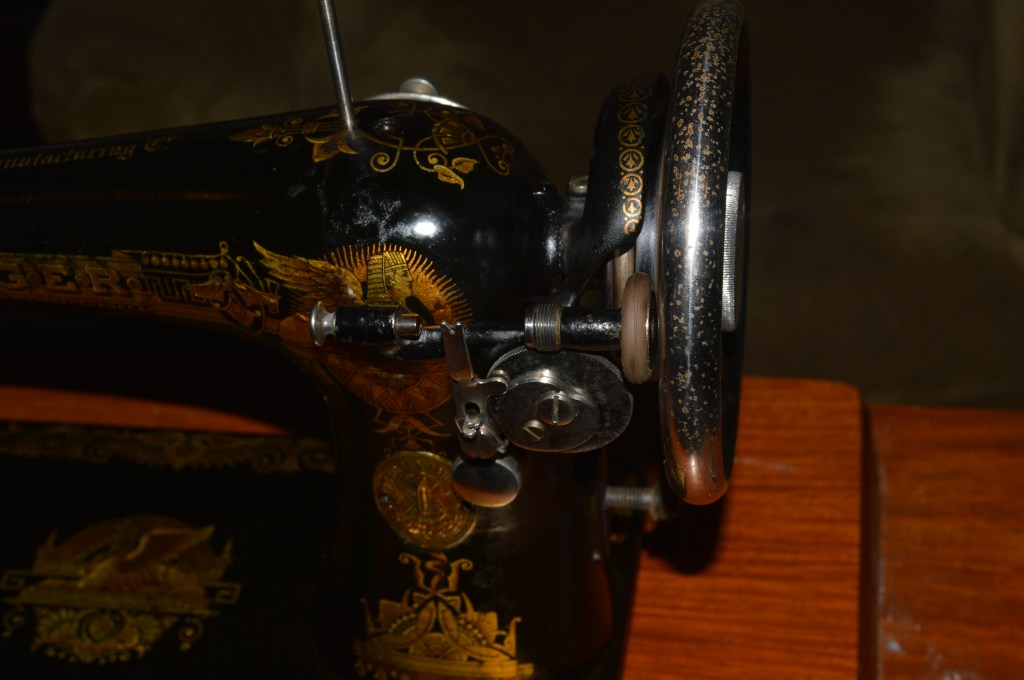
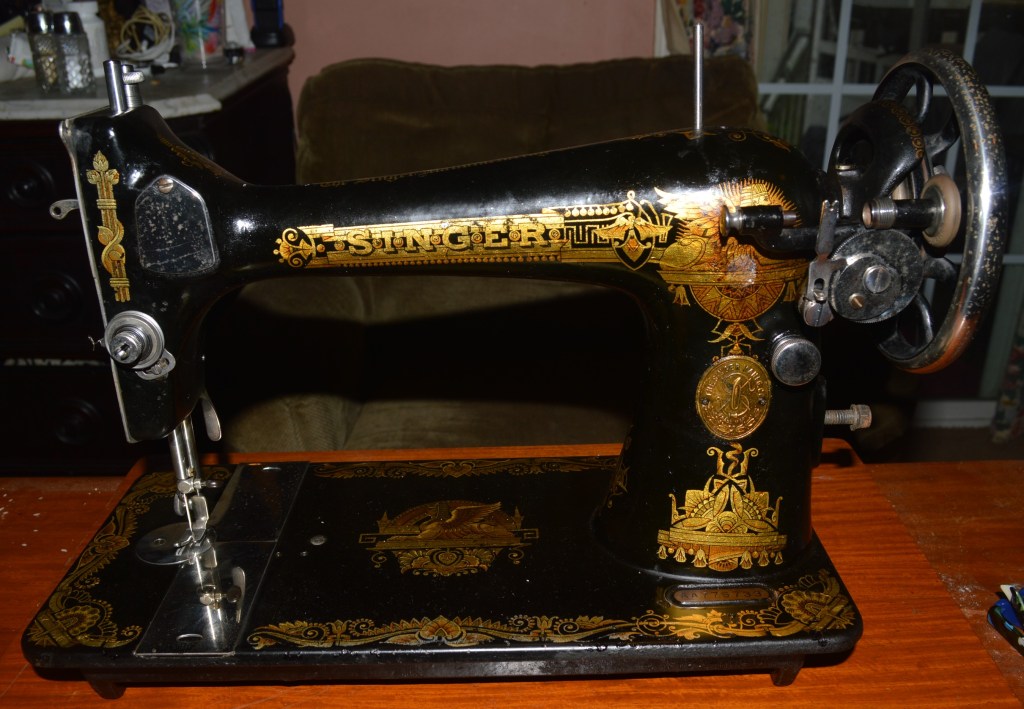
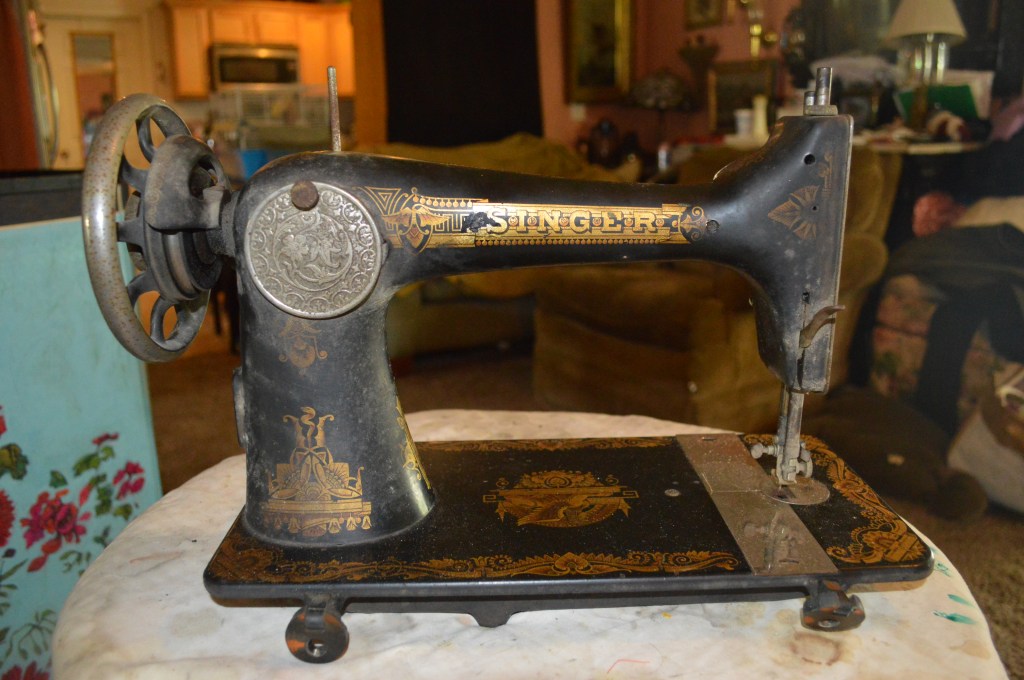
This Singer Model 127 was “born” on December 8, 1925. That’s just about the time small conveniences like electricity and indoor plumbing became available to the average household in America. This machine has lived it’s whole like as a treadle machine… absent a motor or a light (both of which were luxuries in it’s day). The Sphinx decals on this machine are in remarkably good condition for their age. These decals, also known as the “Memphis” or “Egyptian” decal set, first appeared in the 1890’s. They were used as ornamentation for the Singer Model 15 and Model 27 into the 1950’s. So, what’s the story on this machine? Well, this machine came to me as a consequence of the horrible covid pandemic ravaging the World today. There are heroes in every crisis, and this pandemic is no exception. On the bright side of things, events like this brings out the best in people, who by some small measure make a real difference. One of these heroes brought this machine to me.
Since the beginning of the pandemic, personal protective equipment for health personnel has been in short supply. In response to this, there are groups of individuals who have come out to make face masks. To make face masks, they need sewing machines. Realizing that many of these folks do not have a sewing machine up to the task, I offered to provide a couple of good vintage sewing machines to support their cause. One of the recipients of a machine happened to have their Grandmother’s old sewing machine. She asked me if I could get it sewing again and being the cautiously optimistic person I am, told her I might be able to help. She brought it with her to pick up her “new” machine and I was surprised to see she had a wonderful Singer Model 127… and it has beautiful decals! Longer story short, I offered to restore it for her in gratitude for her wanting to sew masks to support the many, many folks that need them. Mostly because she deserves it for the great work she is doing, and partially because the machine deserves it.
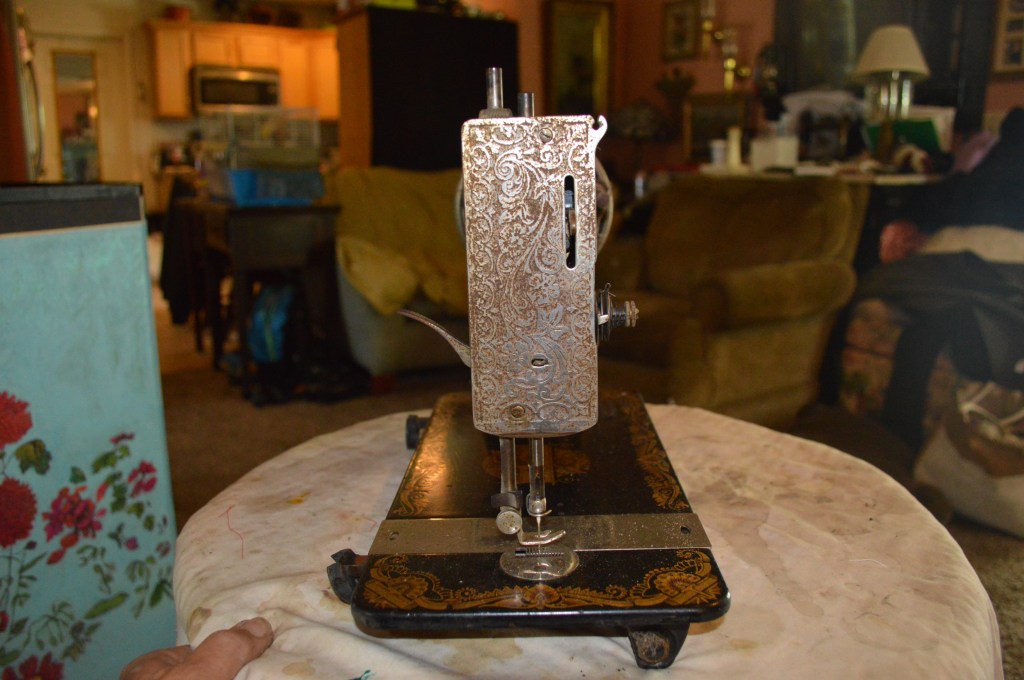
That’s the story so let’s get started… here is the machine in the before condition.
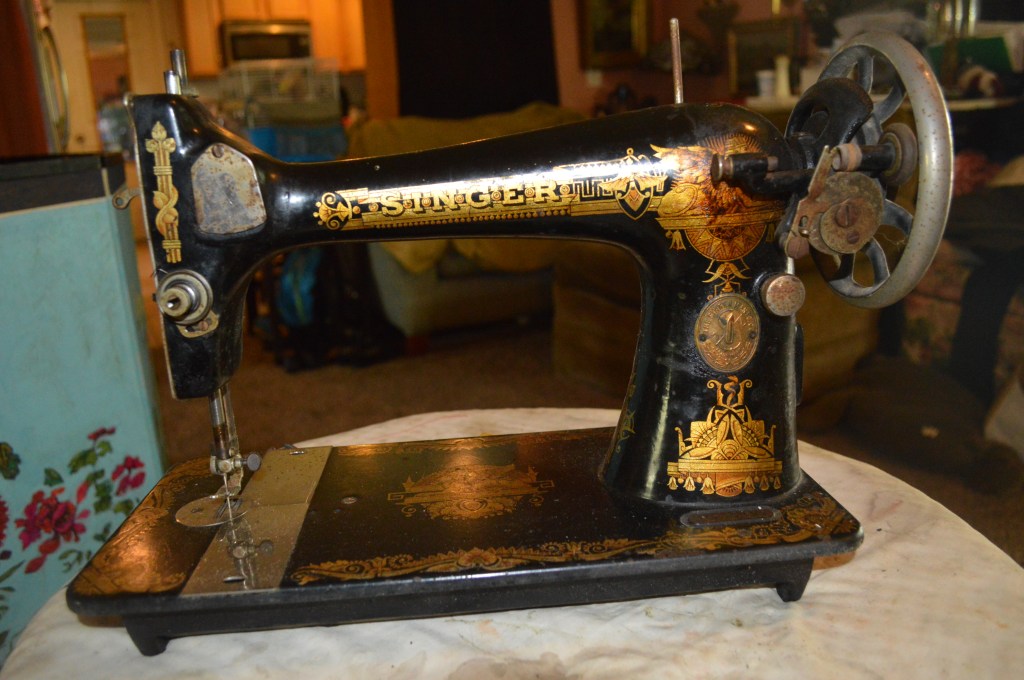


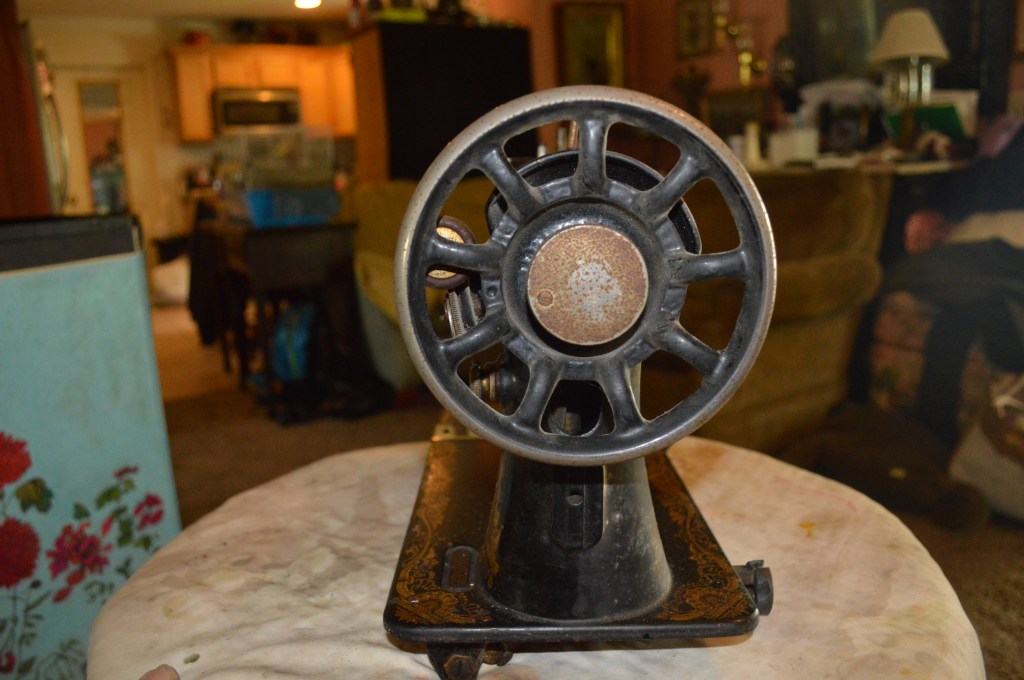
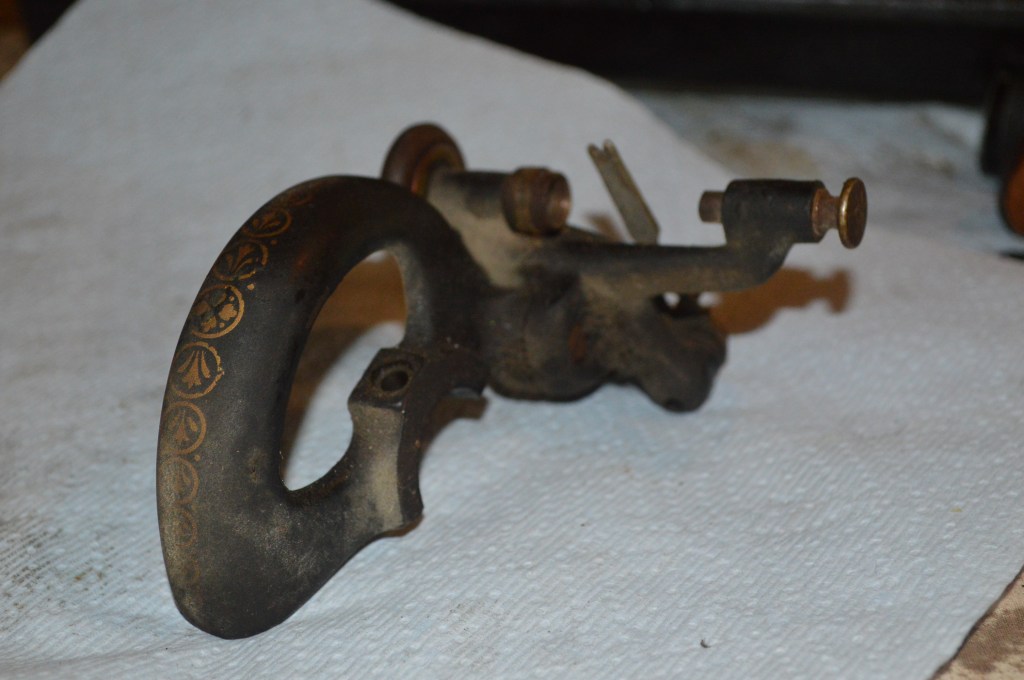
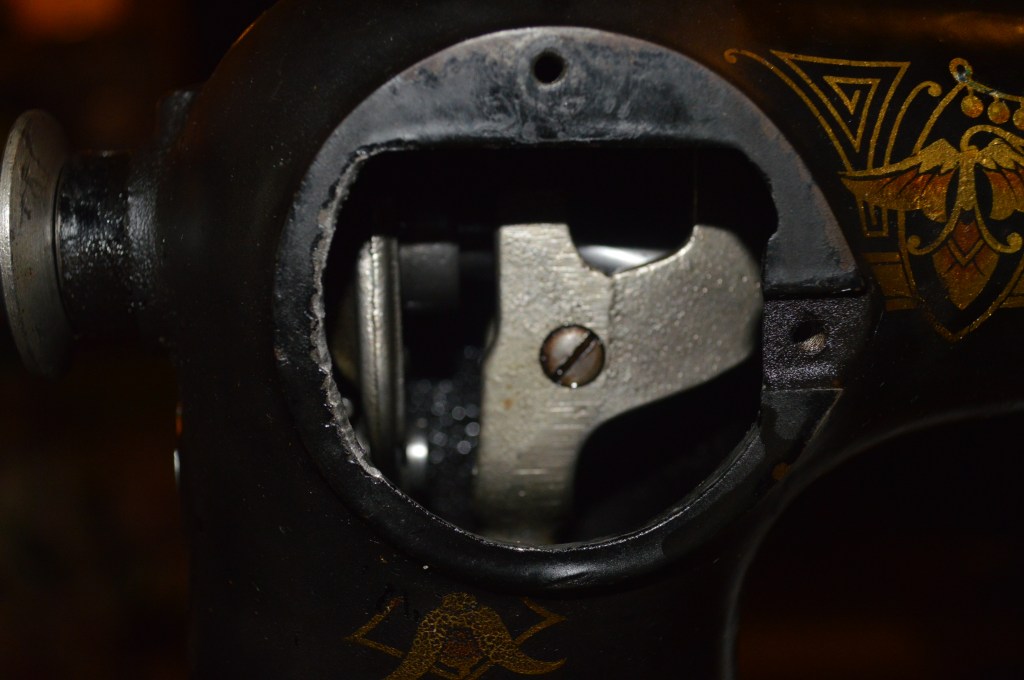
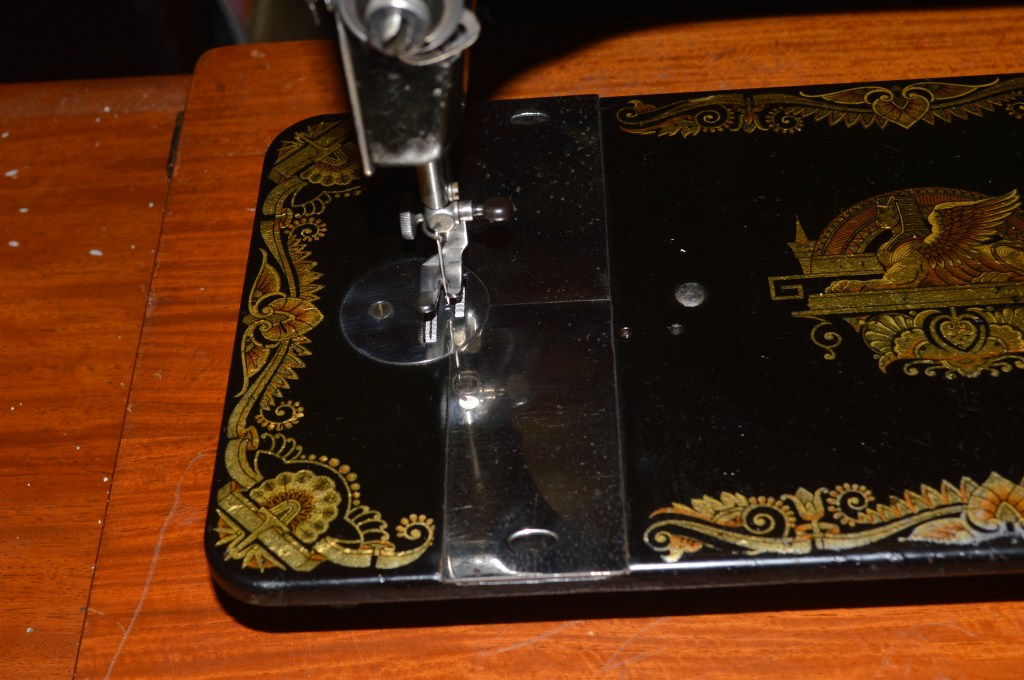
The machine is dirty, and the sewing mechanism is devoid of oil and coated with oil varnish… But look at the decals! Perfect for restoration. Before worrying too much about the look of the machine, I start with completely disassembling the machine. What makes this restoration so interesting to me is the fact that the 127 is a vibrating shuttle machine. This is a completely different bobbin style than must folks are familiar with. Instead of a round bobbin where the thread is caught by a rotating hook, you find a pointed shuttle bobbin (shaped like a boat or a bullet) where a shuttle carrier swings in a sideways arc to catch the thread. In action, the bobbin case is also the hook! Believe it or not, these vibrating shuttle machines make a beautiful straight stitch and will do so regardless of the fabric used.
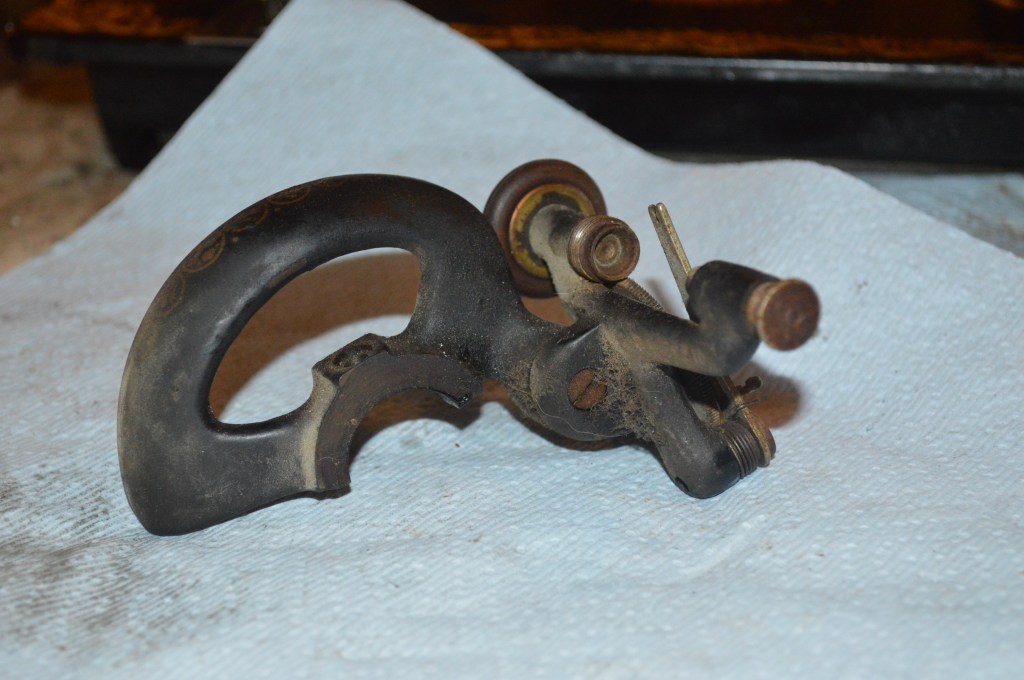
Here is what a vibrating shuttle and bobbin look like.
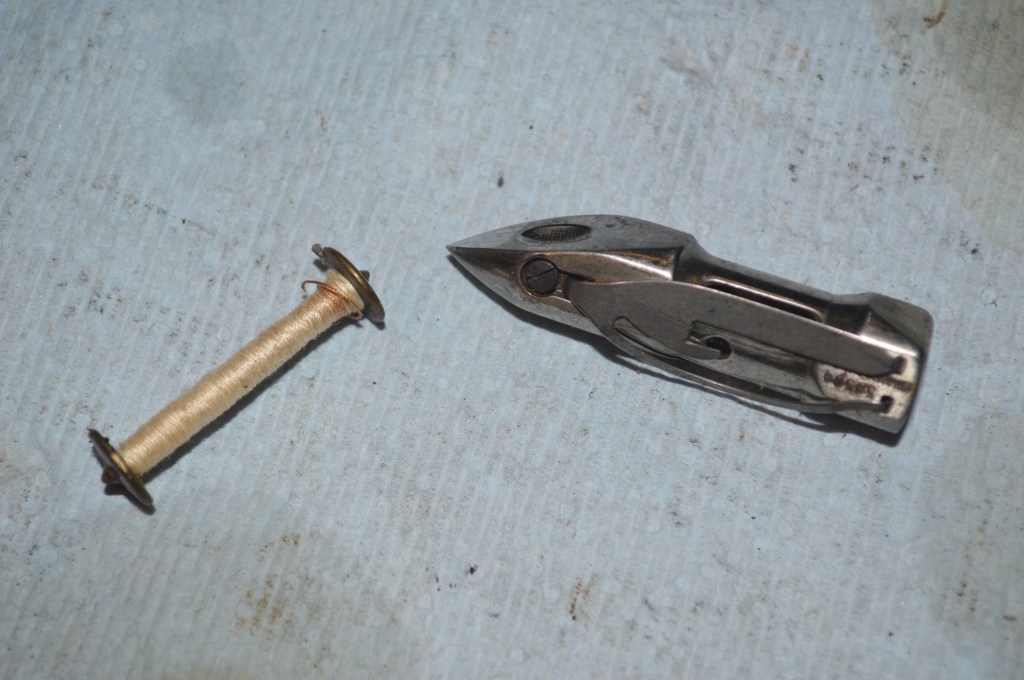
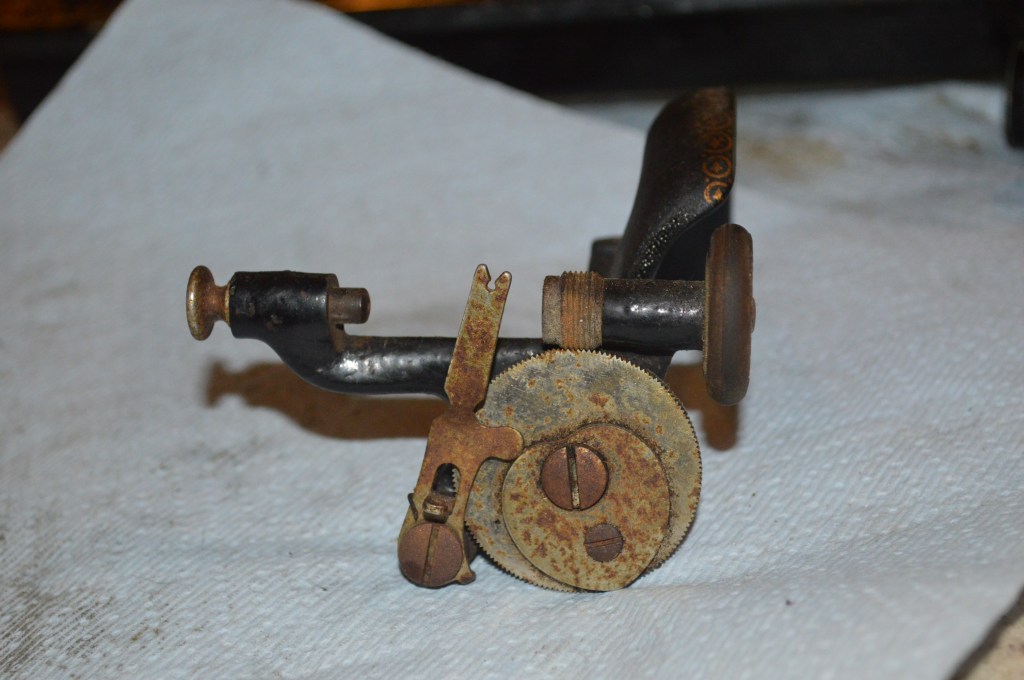
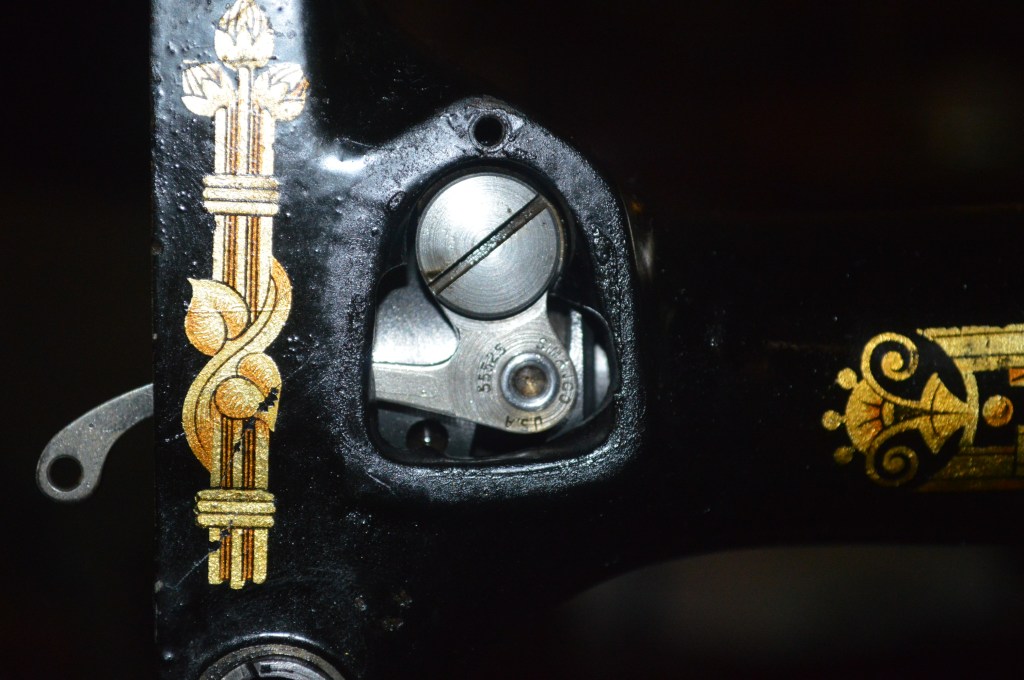
Now is a good time to see what gunk has worked itself into the shuttle case. It is easily disassembled and cleaned. As you can see, there is gunk beneath the tension spring and because this is in direct contact with thread, it affects the tension and often causes tension problems.
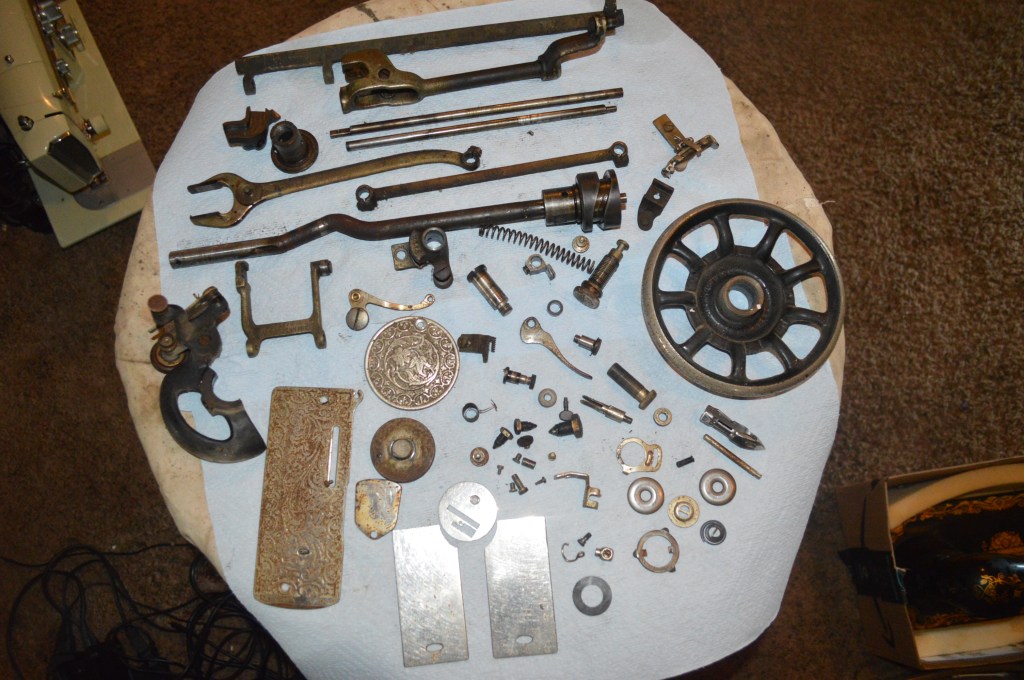
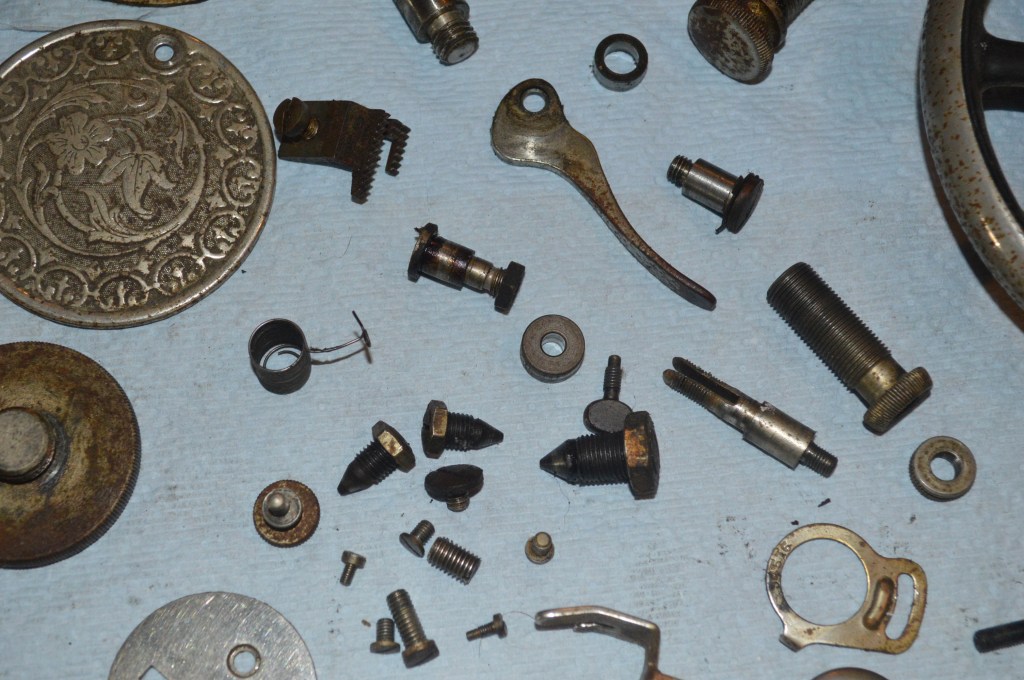
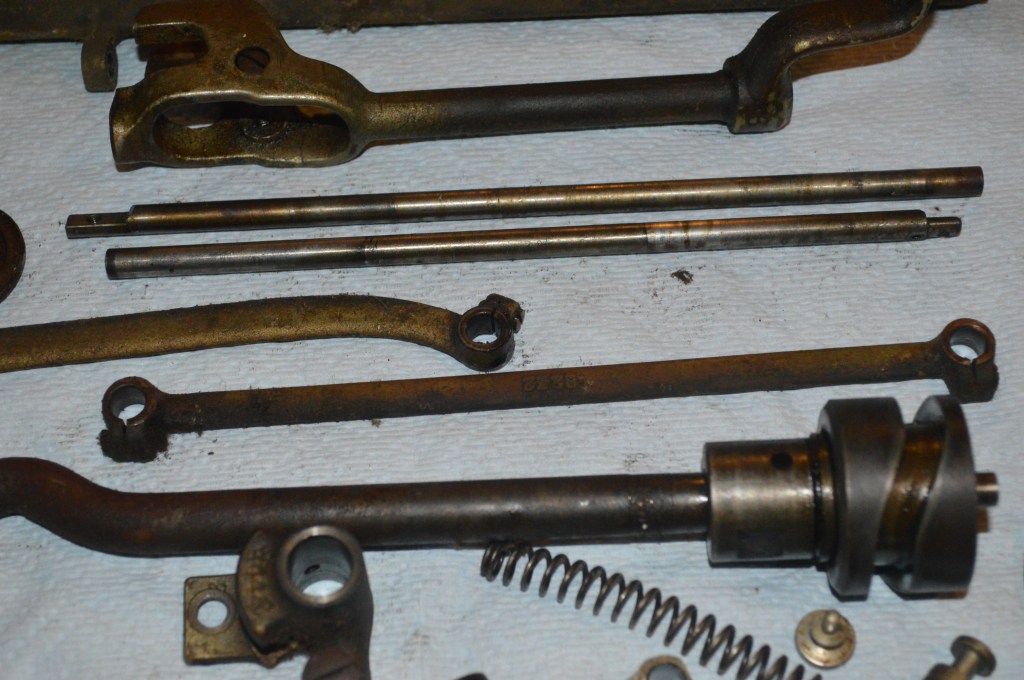
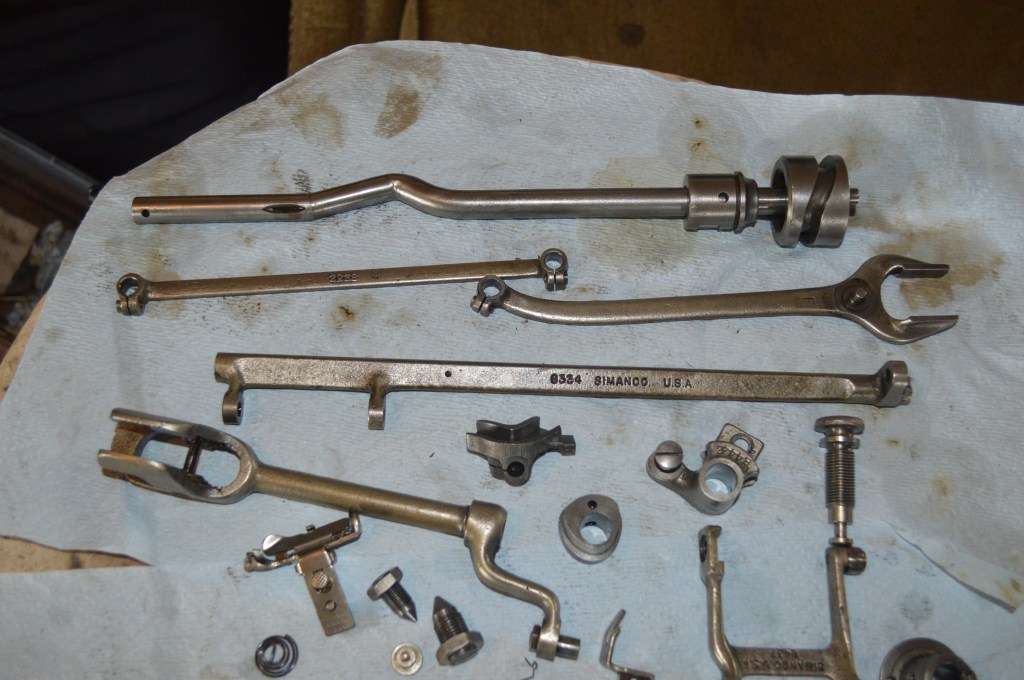
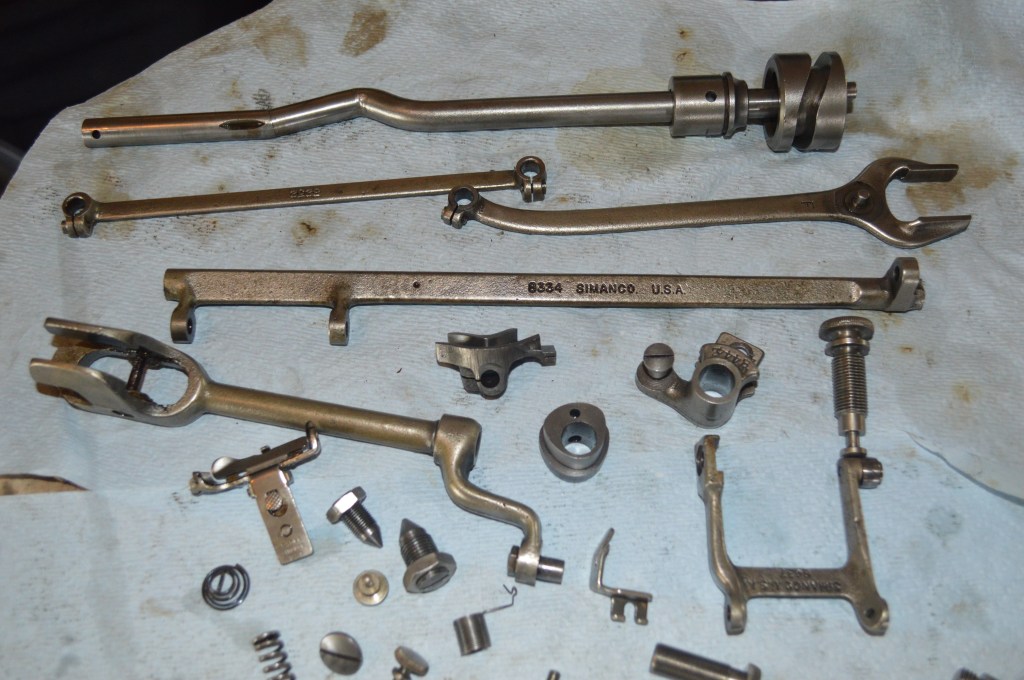
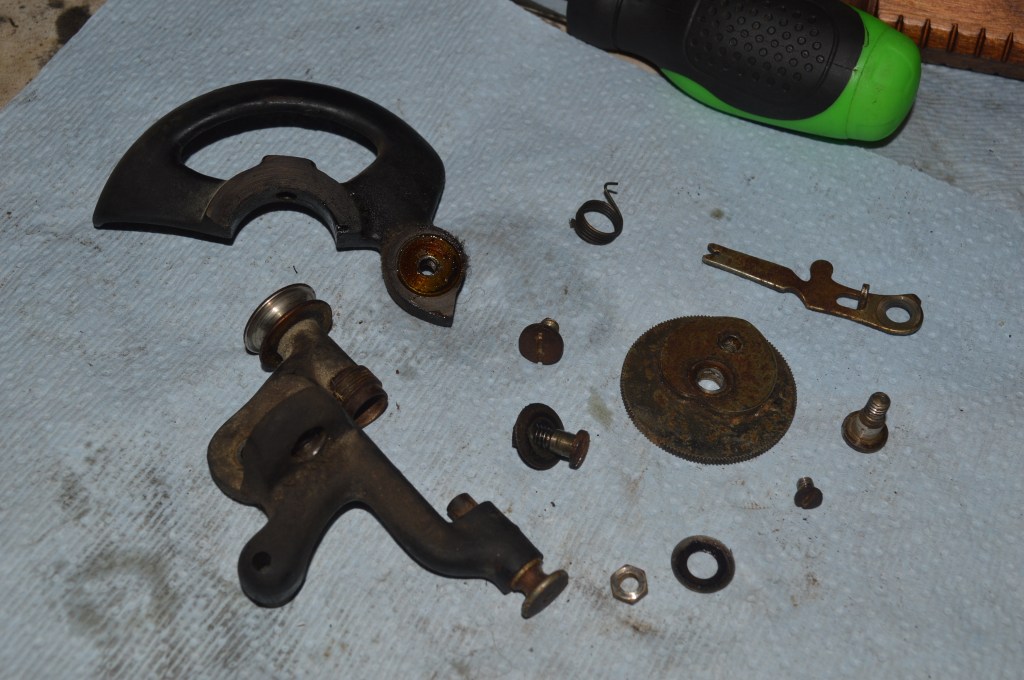
Anyway, the disassembly of the machine is straight forward. After disassembly, the parts are laid out for cleaning.
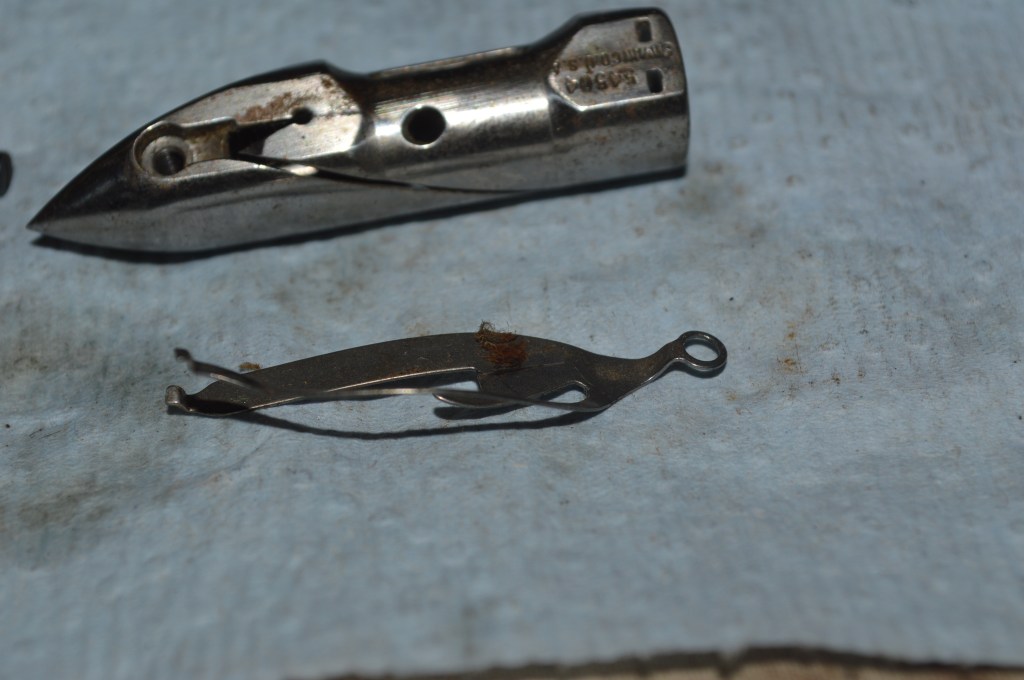
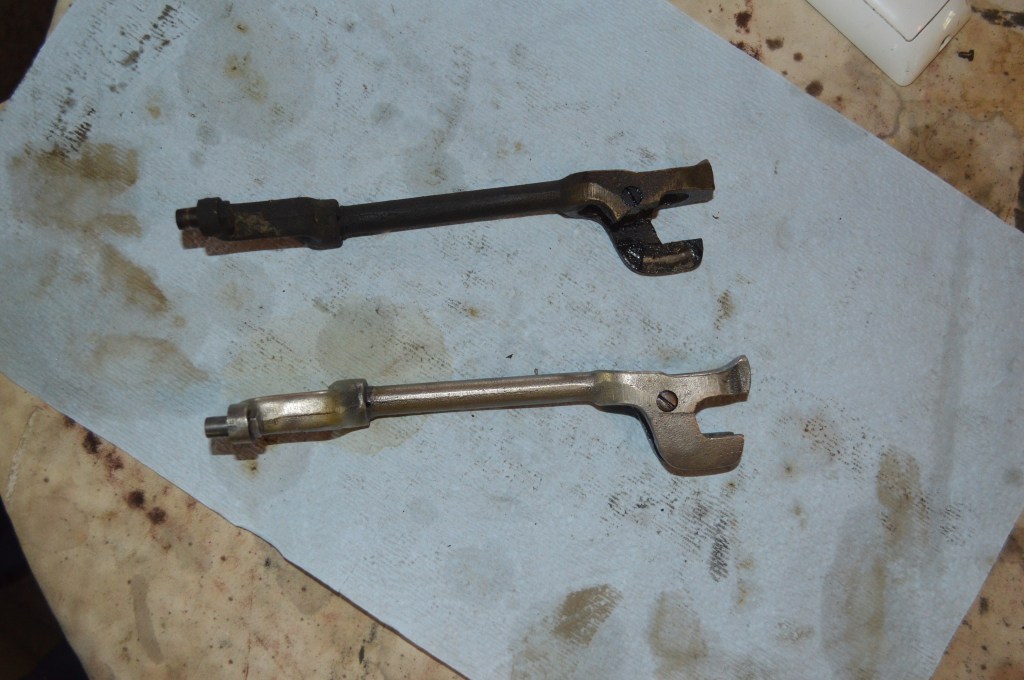
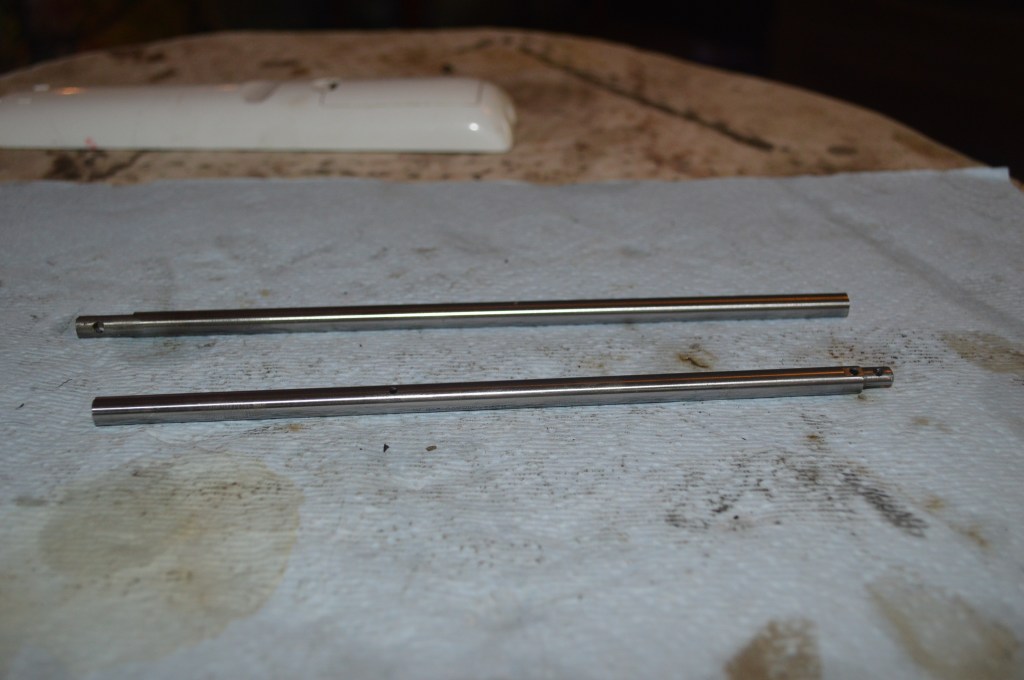
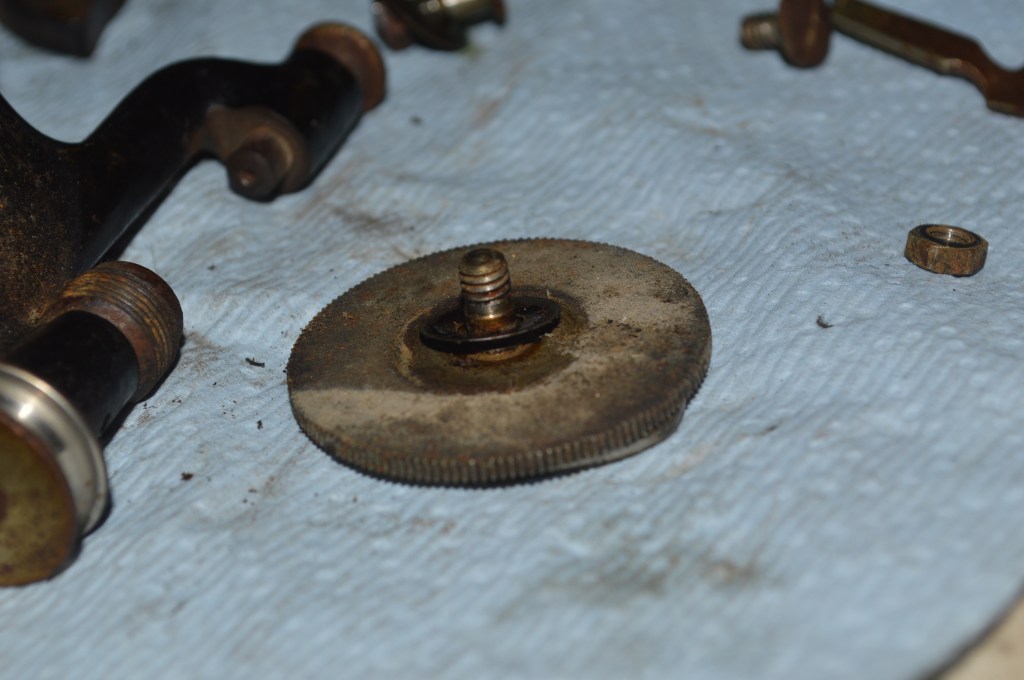
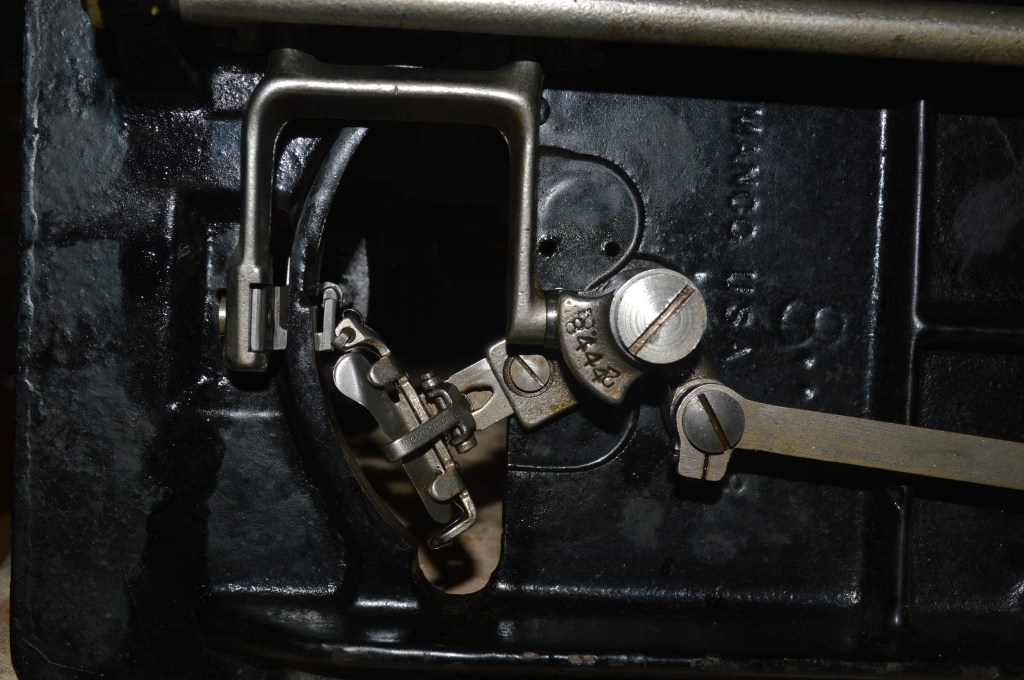
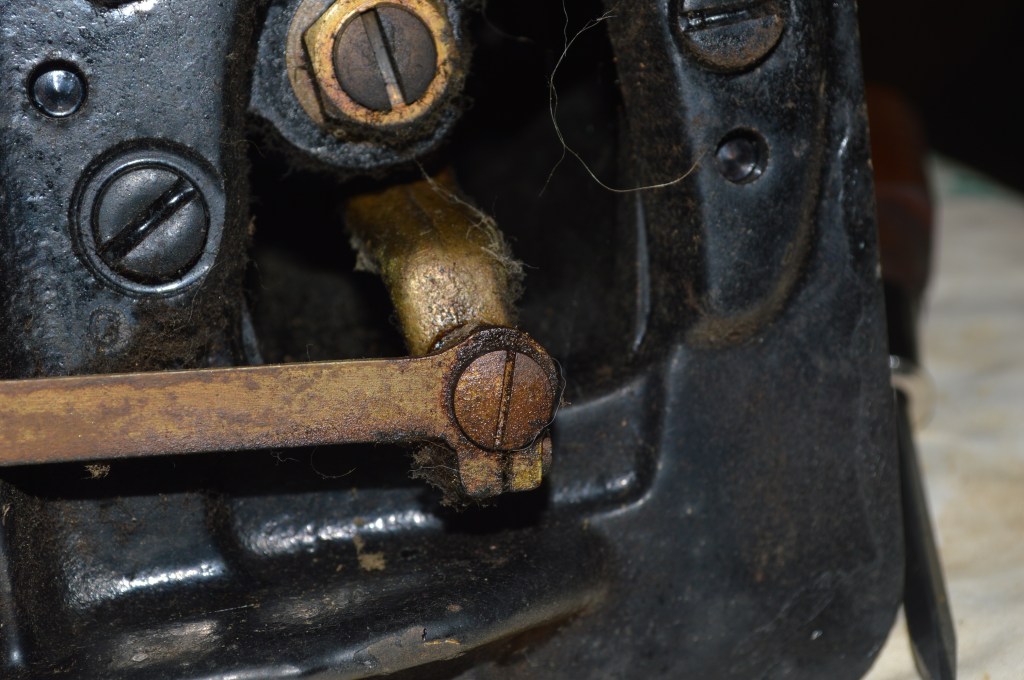
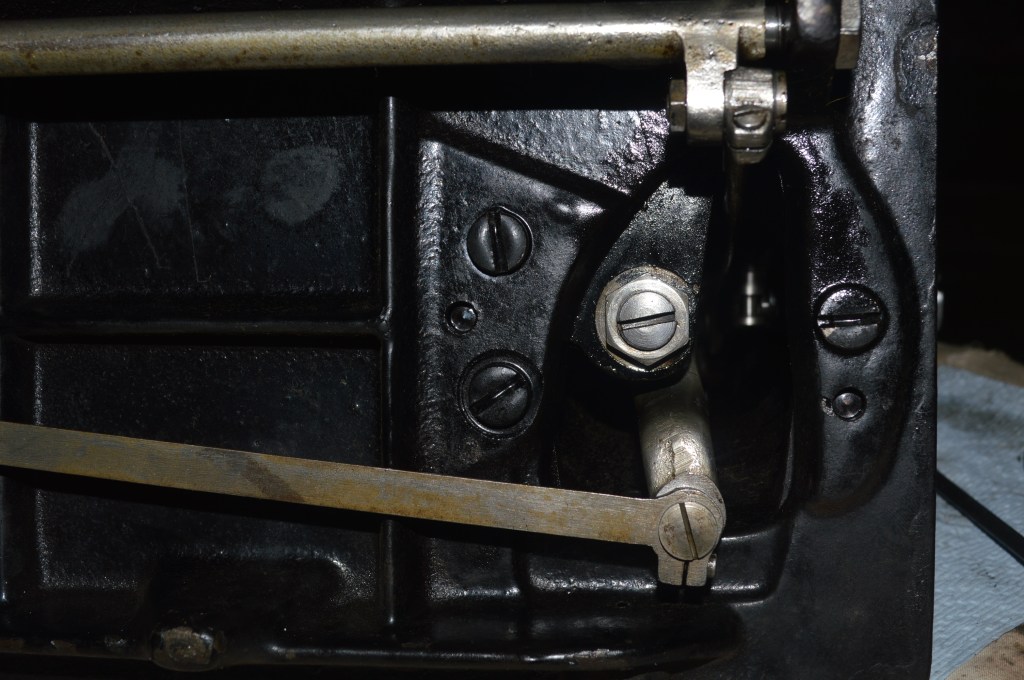
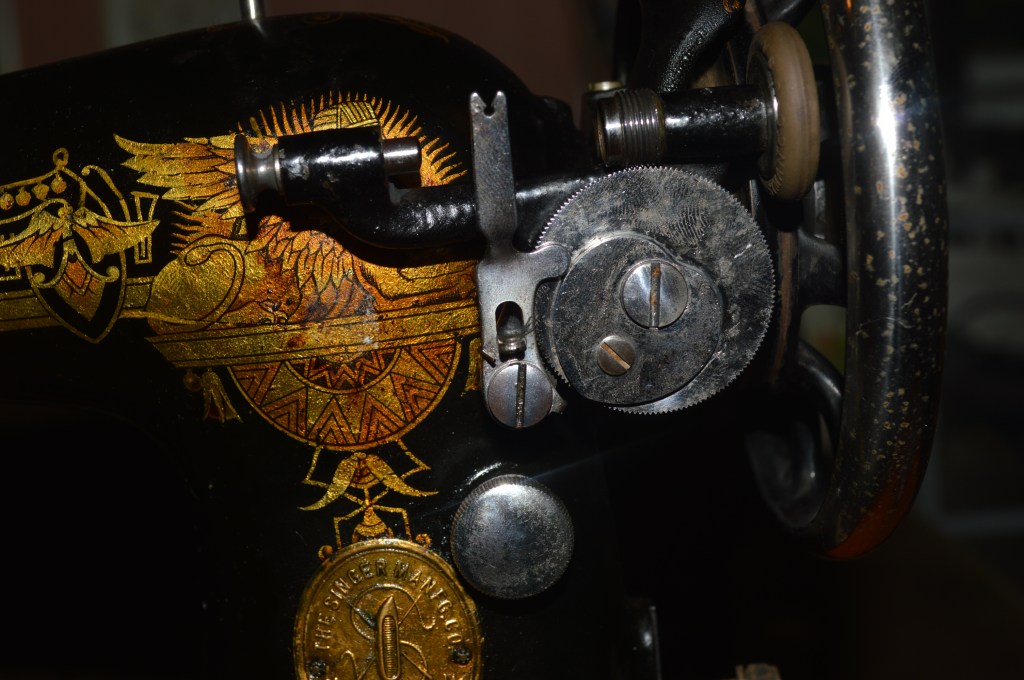
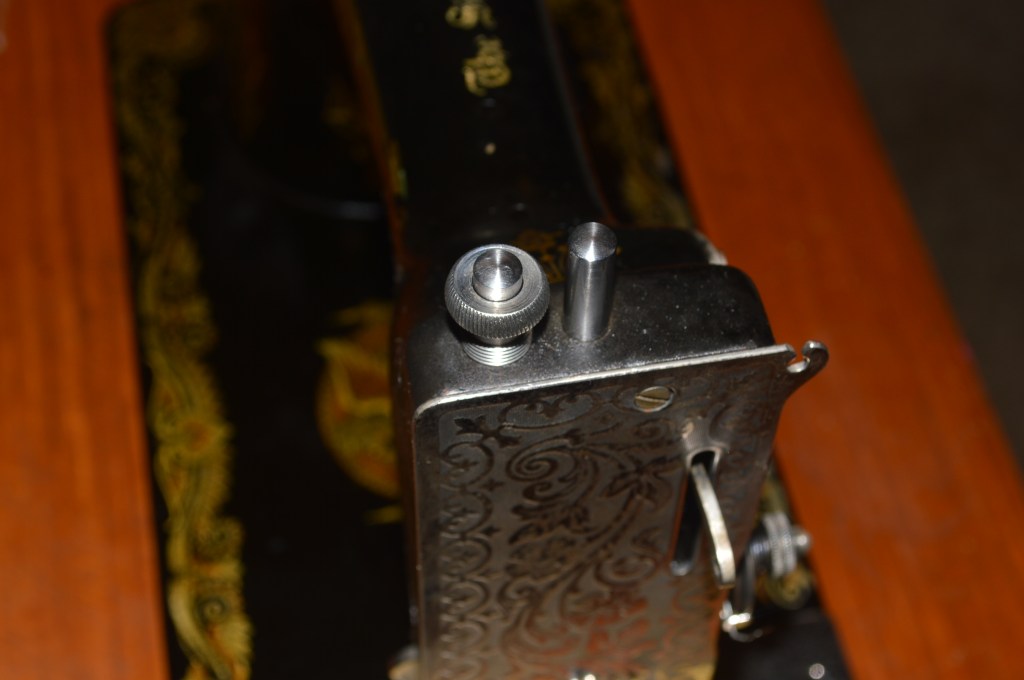
During the disassembly, I discovered that the fork mechanism in the arm shaft was broken. I can’t say how or why it broke, but the machine could not sew in this condition, and a replacement part was needed. Believe it or not, finding parts for this machine proved to be much easier than most newer machines… hmmm, I wonder if that is a symptom of planned obsolescence… a condition these machines are immune to. Replacement of this part is difficult and requires disassembly of the horizontal arm shaft, but that’s going to happen anyway. The broken part is shown below.
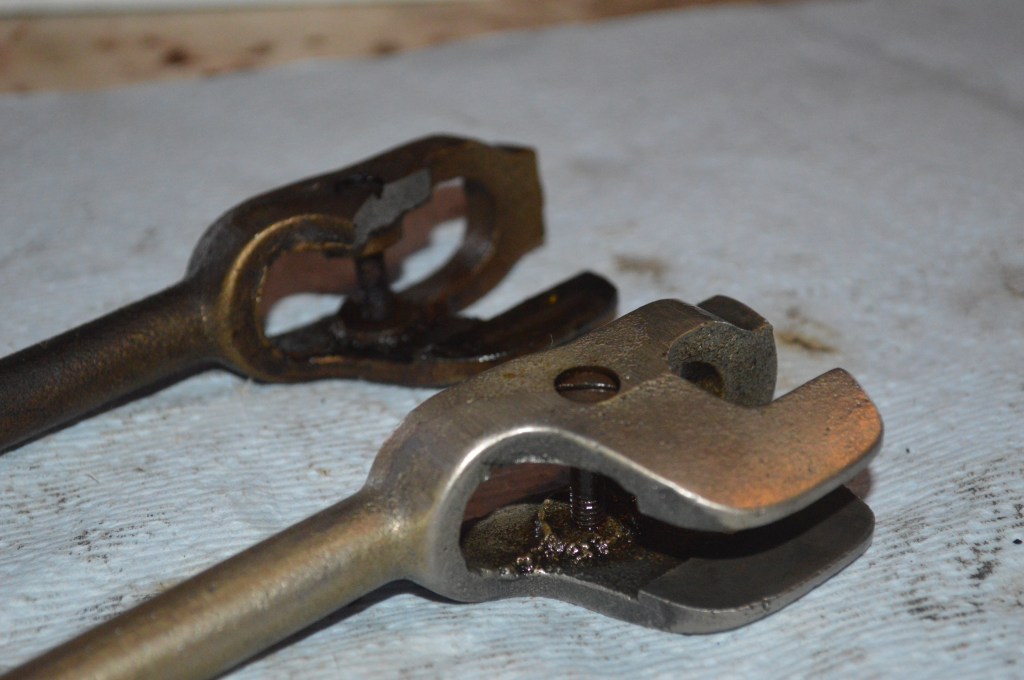
One advantage of disassembling a sewing machine to this level is that you can see every previous attempt to fix it… meaning that something got bunged up. Looking at the tension control housing in the following picture. It looks like someone tried to turn it with a hammer. The gouges left are proof of some attempt to “fix it”. Fortunately they stopped because it is cast into the body of the machine and can’t turn. Had it chipped off, I doubt if the sewing machine would still be with us today instead of being discarded in the trash. I wonder if that’s what happened to the fork mechanism? Still, it’s clues like this that make you wonder about it’s history and the stories it could tell.
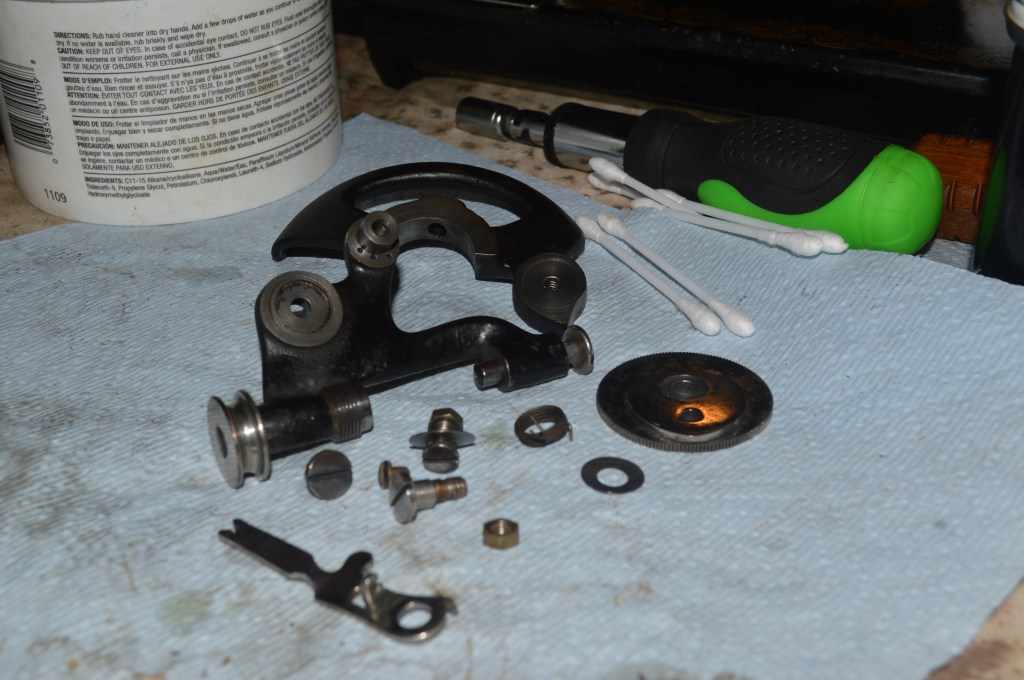
After the parts are cleaned, they are wire brushed to return them to like new condition.
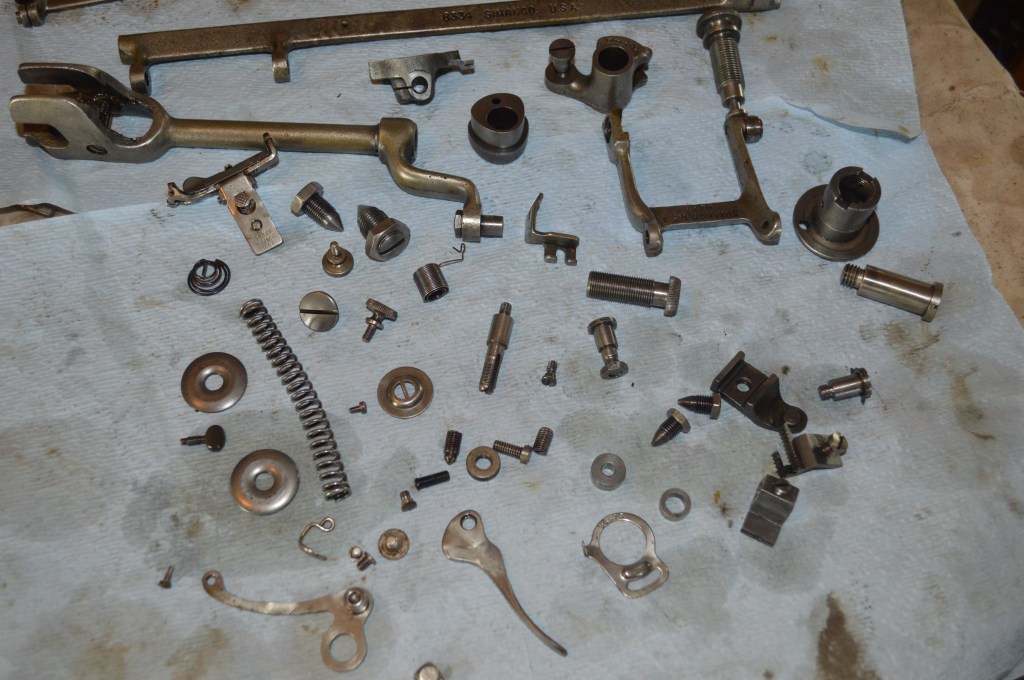
Looking closely at some of the parts, you notice that there are some that have small rollers to reduce friction. Sometimes they are overlooked because they are not obvious, but they are always frozen and need to be freed to turn.

The needle bar and presser foot bar are polished as smooth as glass.

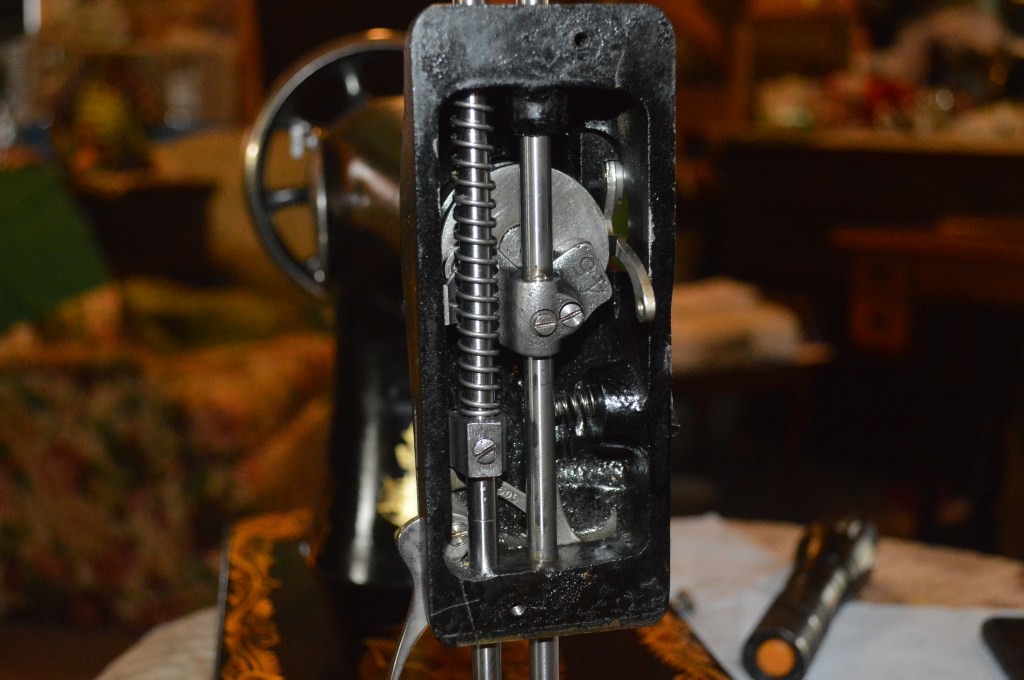
Restoration of the bobbin winder assembly is a “mini-restoration” in itself. The bobbin winder is disassembled, cleaned, the plated parts polished, and reassembled for reinstalling it on the machine. For now, the finished assembly is set aside.
Unbelievably, the rubber “Singer” bobbin tire was in great condition! I don’t think it is original, but it is certainly vintage. I’m going to reuse it!
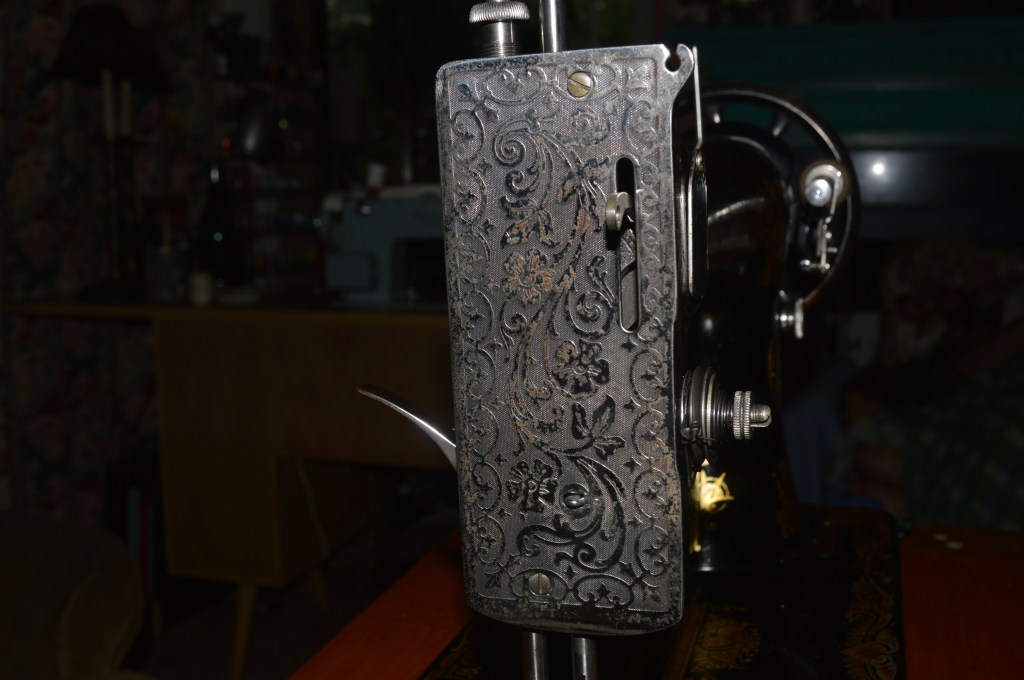
The cosmetic restoration is focused on bringing out the maximum amount of detail in the decals. The paint is in overall great condition. These decals have a beautiful deep gold that sparkle with depth. Cleaning is the first step. I use GoJo. For this machine, I opted to do the majority of cleaning with my finger instead of cotton balls. I have found that on machines like this, I can feel the surface… and the dirt. Aside from the benefits of a clean finger, I know where the decals are vulnerable and I can prevent damaging them by rubbing too hard with a cotton ball. Cotton swabs do the detail work where deeper cleaning can bring out the detail. Following the cleaning, the body of the machine is coated with linseed oil and left overnight to absorb the oil and help nourish the shellac that has dried out and help to rejuvenate the finish. The following pictures show what is possible by simply taking your time and focusing on details.

Before 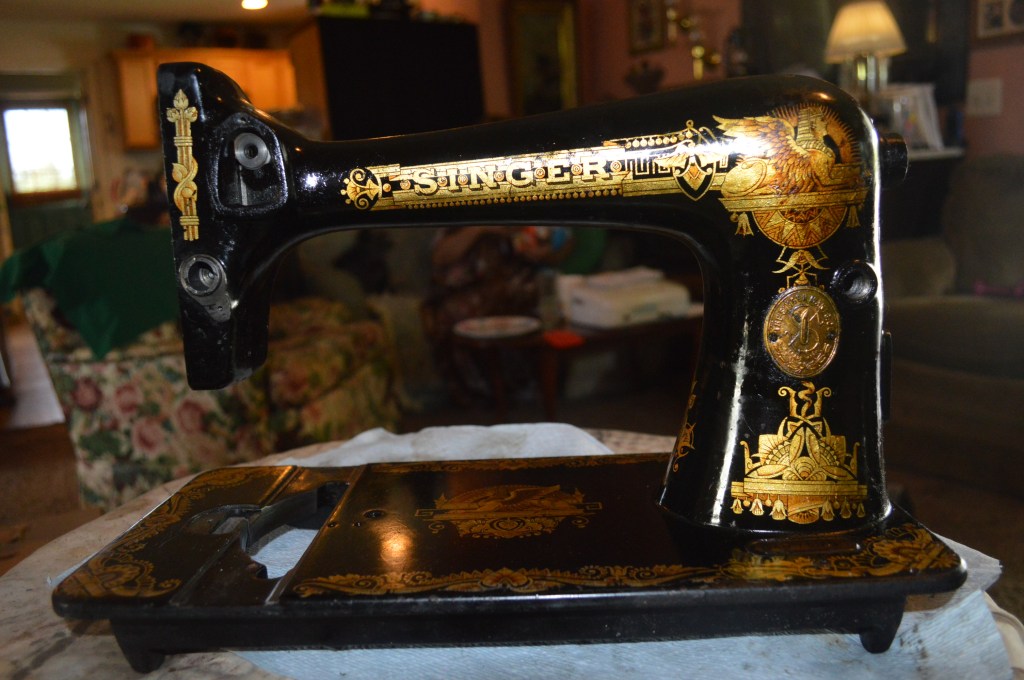
After 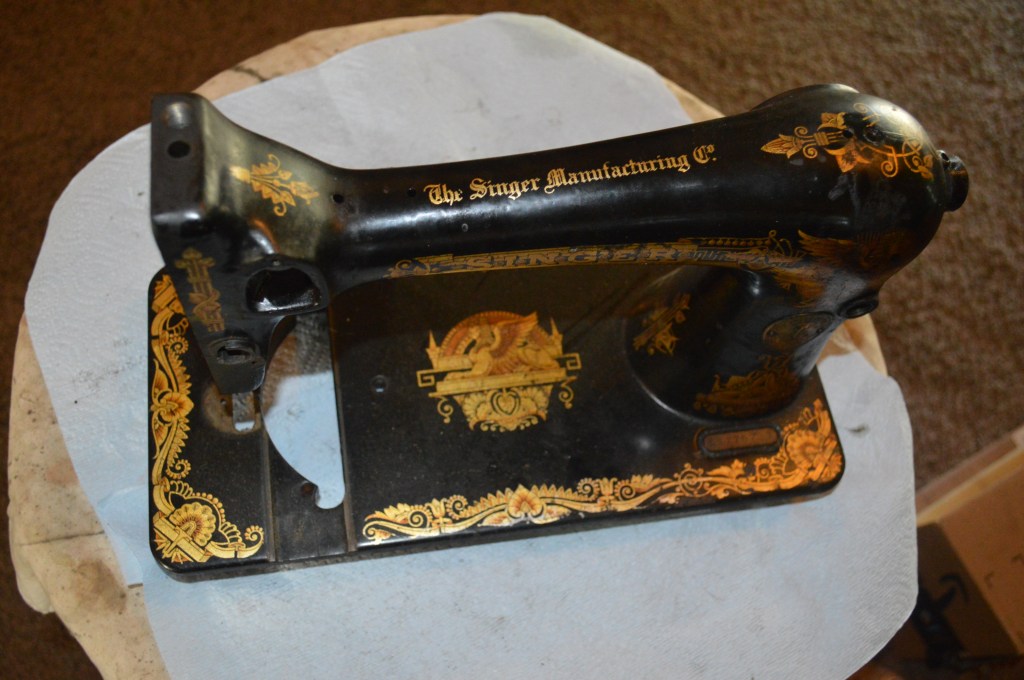
Before 
After 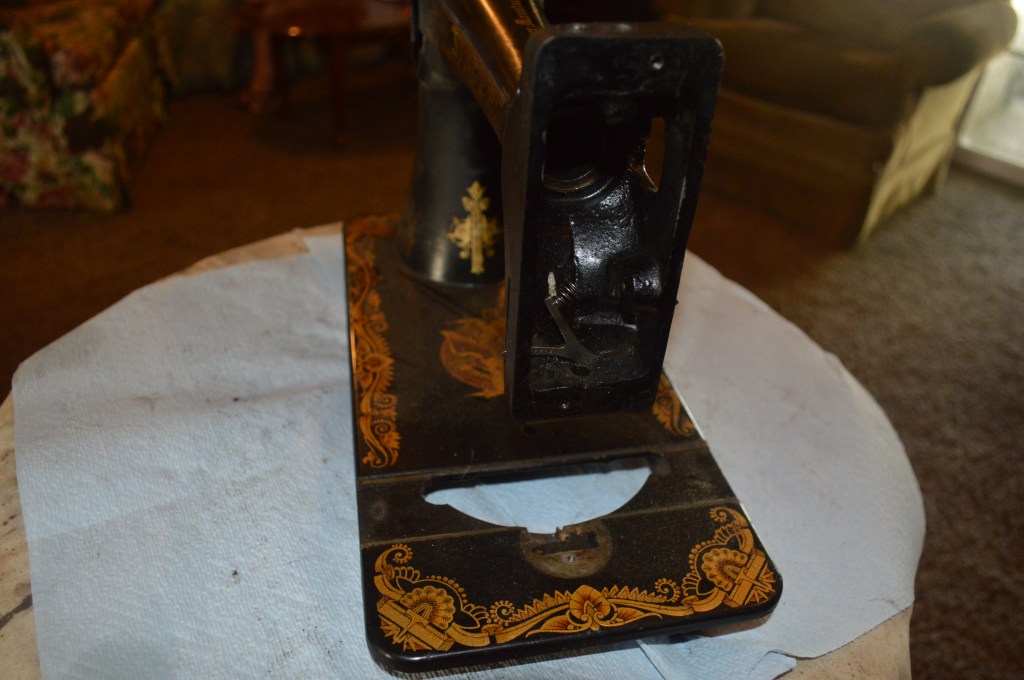
Before 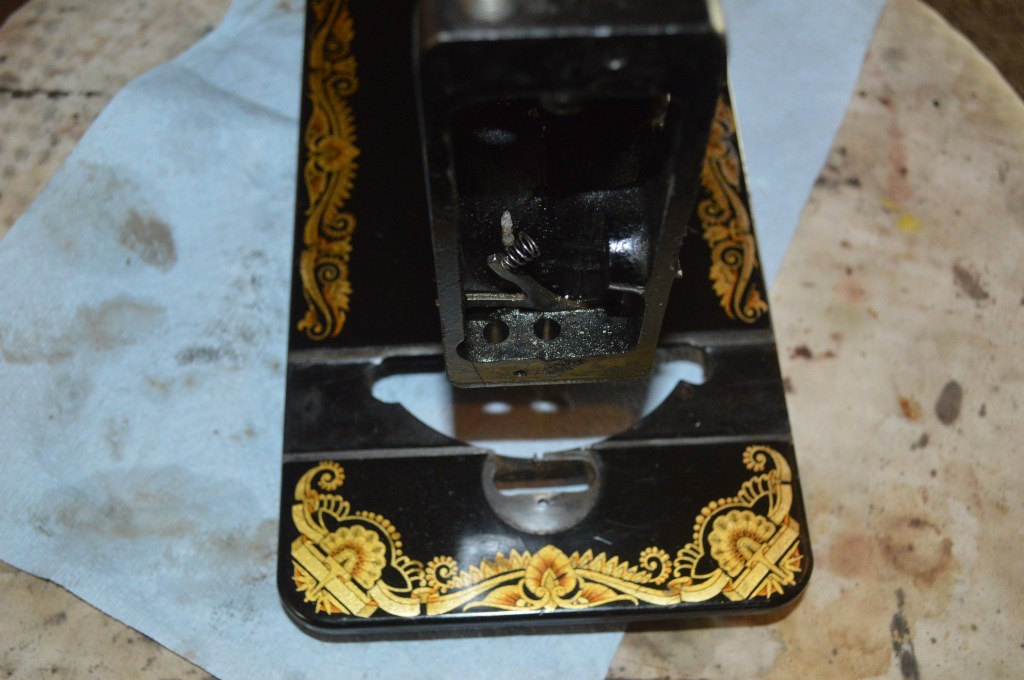
After 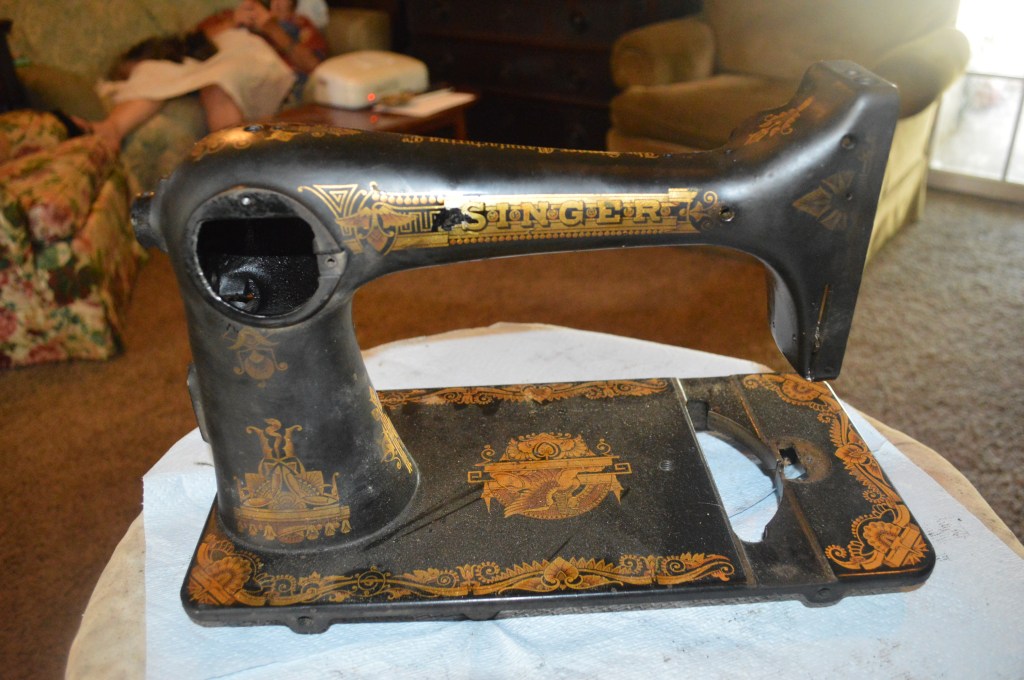
Before 
After 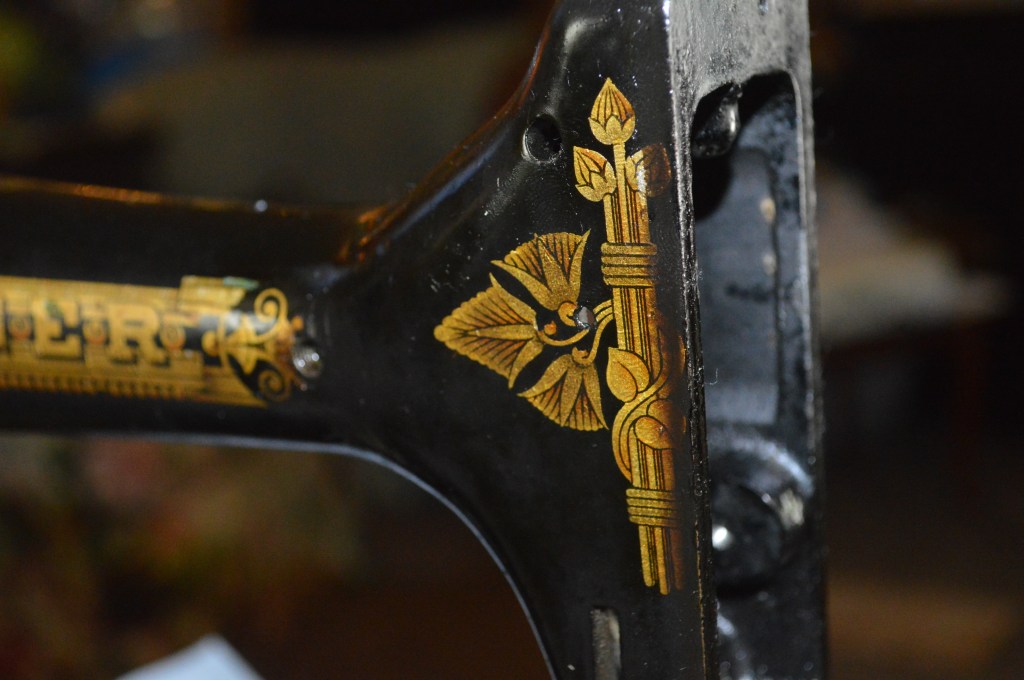
I considered making some judicious repairs to the decals, but decided that any attempt I made would stand out like a sore thumb in contrast to the patina these decals have acquired with age. Better to leave them alone! Paint chips? That’s another story. For areas where the black japan lacquer has chipped, the chips are paint matched… The chips are still there, but they are not noticeable.
Now the machine is ready for reassembly! For comparison, I’ll show the before and after pictures.


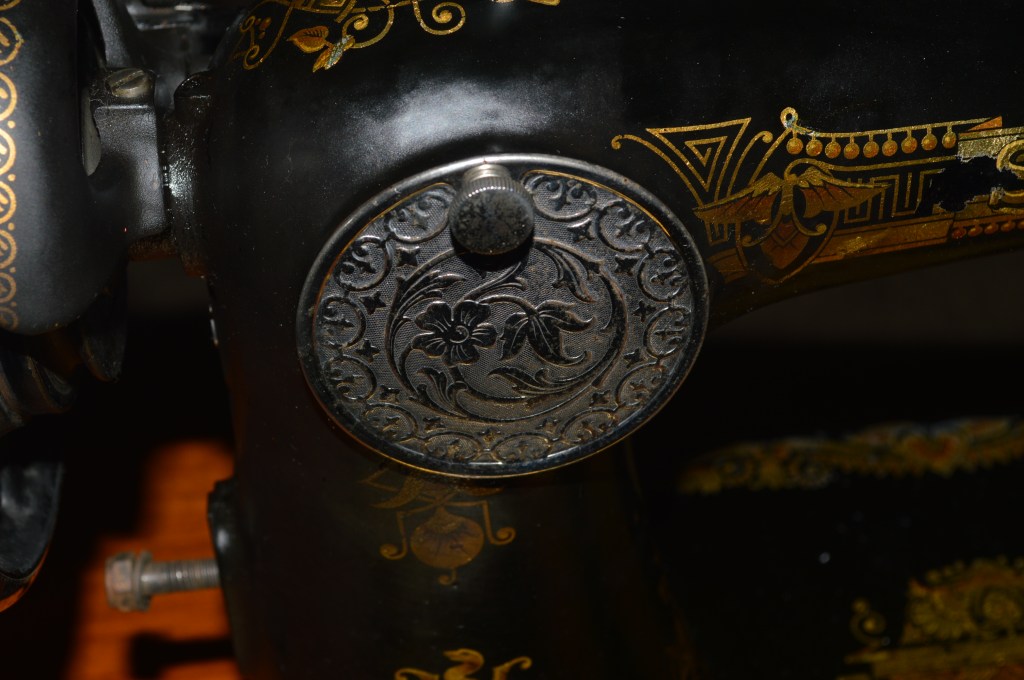
The restoration is going smoothly now, so it is time to polish the plates and the shiny bits. The plates are shown below, the shiny bits are polished as they go on the machine.
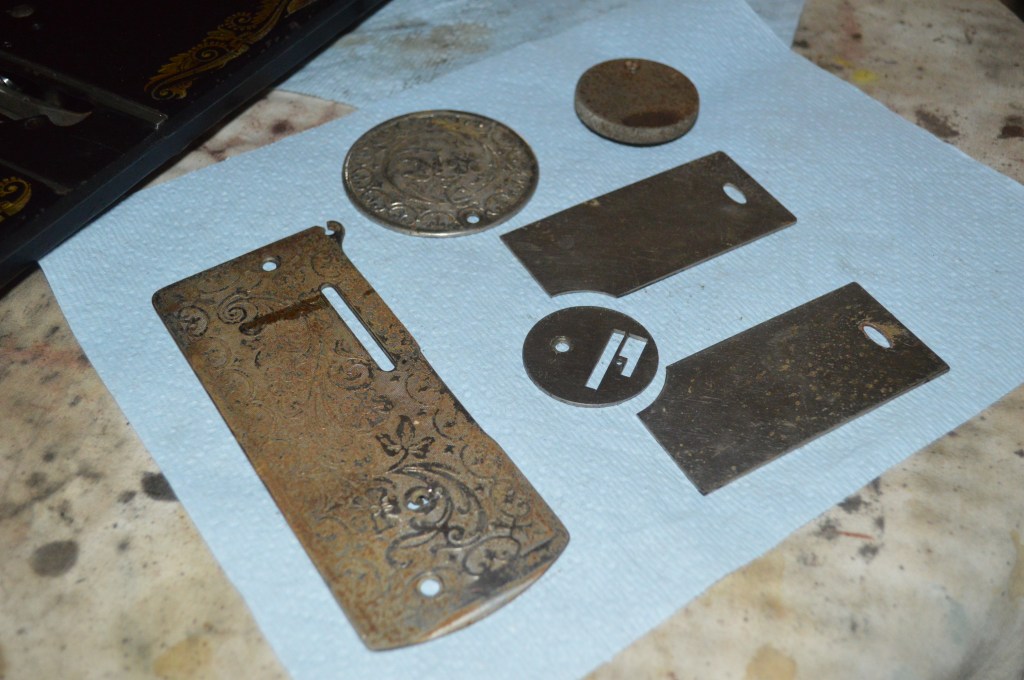
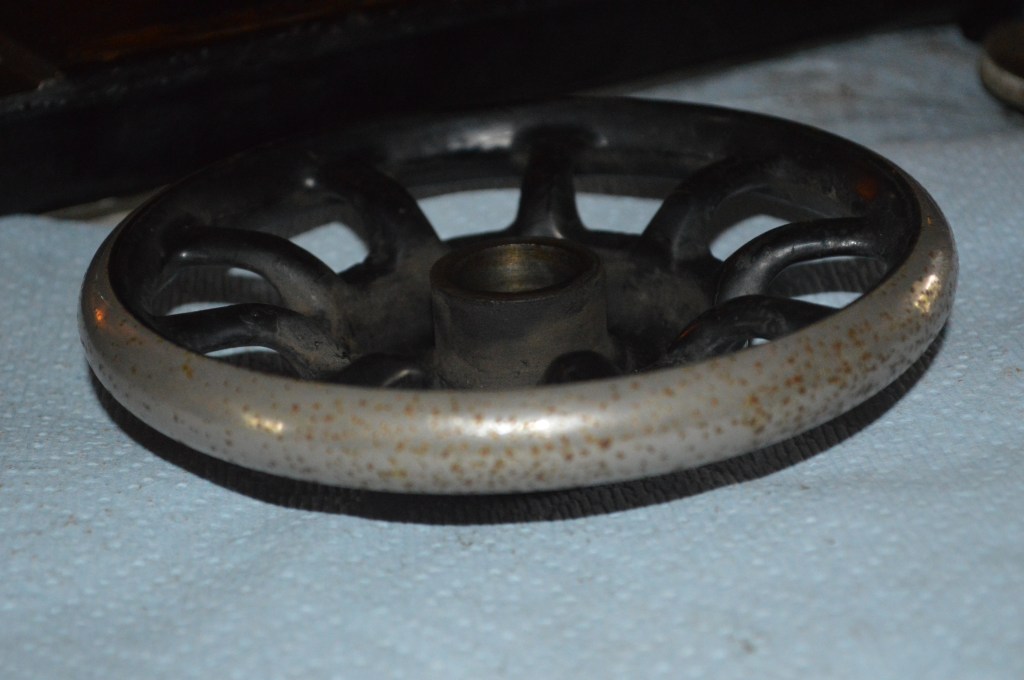
If you noticed the pitting in the plates and the balance wheel, it is where rust has penetrated the plating. The parts are dipped in Evaporust to kill the rust, but this will not remove the pits. Polishing will provide a mirror shine on the plating… but pits are history that can’t be erased. The parts look as good as they can… and I’m good with that.
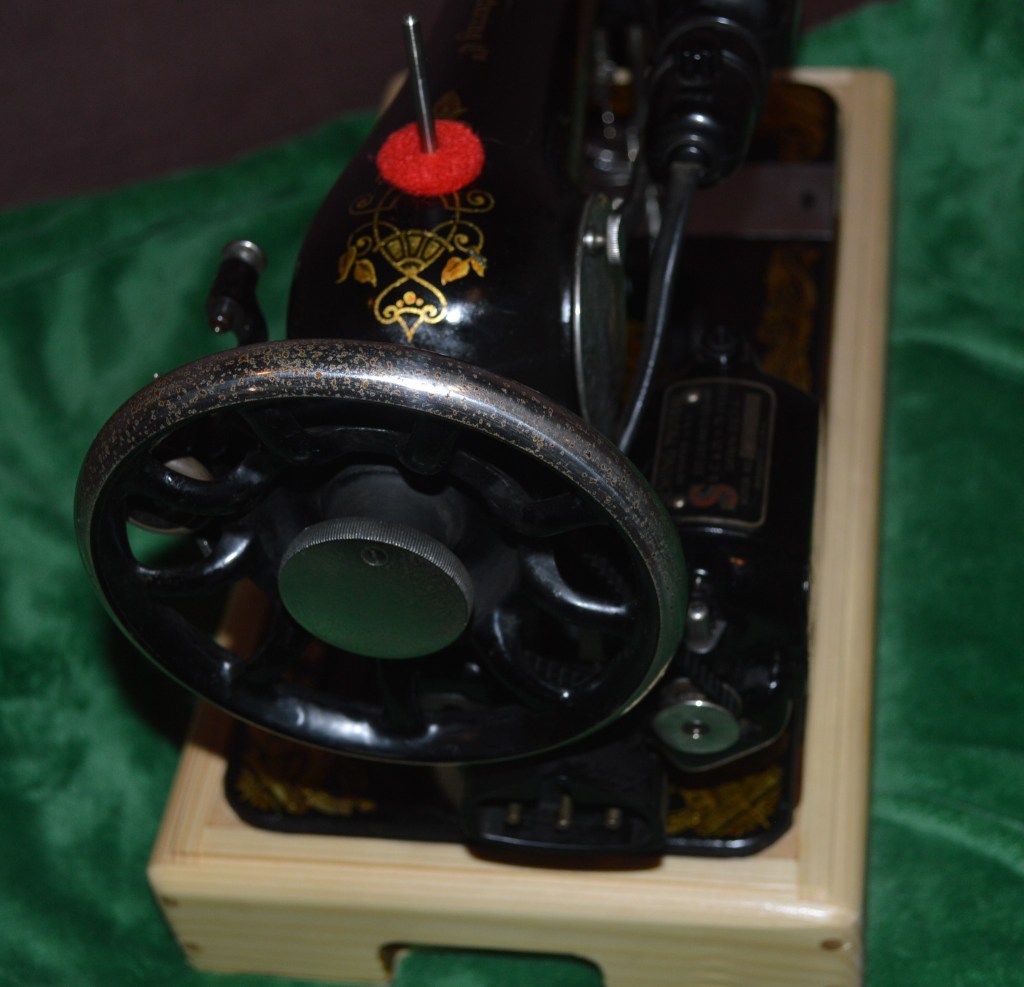
Reassembling the plates on the machine finish the machines restoration… and the polished plates and shiny bits installed, the project is really coming together.

Except for oiling the surface to remove finger prints and handling smudges, the machine’s restoration is done… but I’m not.
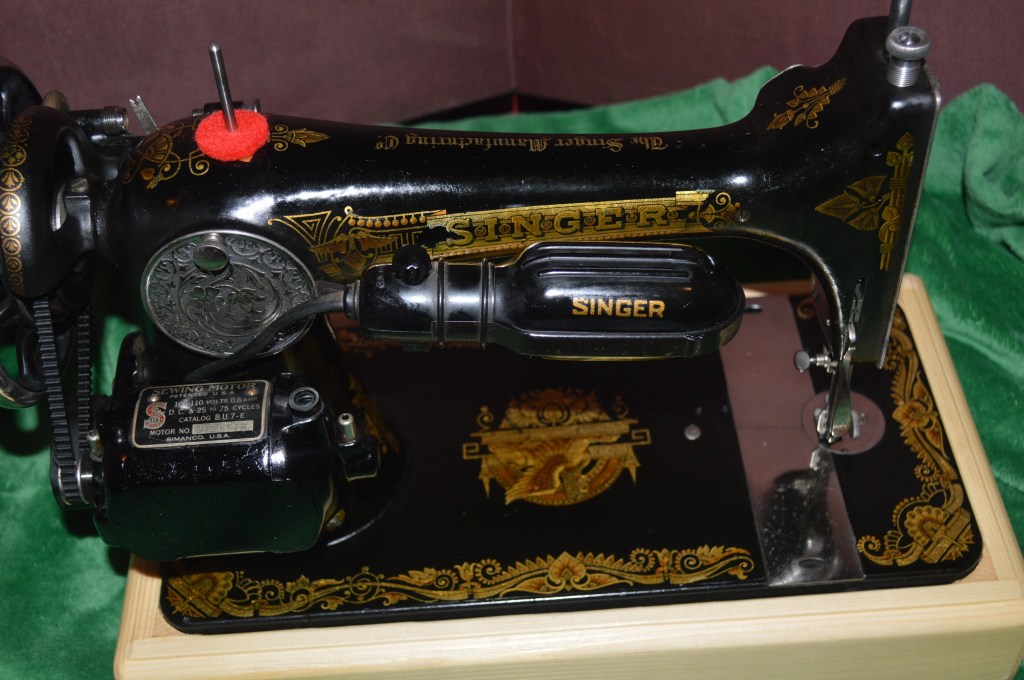
In our modern times, a treadle sewing machine is quaint. But only a small group of people still prefer to treadle. Let’s face it, if this machine is ever going to be used again, it needs a motor and a light.
I sourced a compatible vintage Singer motor to add onto the machine, and I also sourced a vintage singer light. I decided to choose a light of later vintage because I think they are better than the earlier lights used on these machine… this is a decision I made for practicality more so than correctness… so please forgive me. Before either can be installed, they in turn need to be restored.
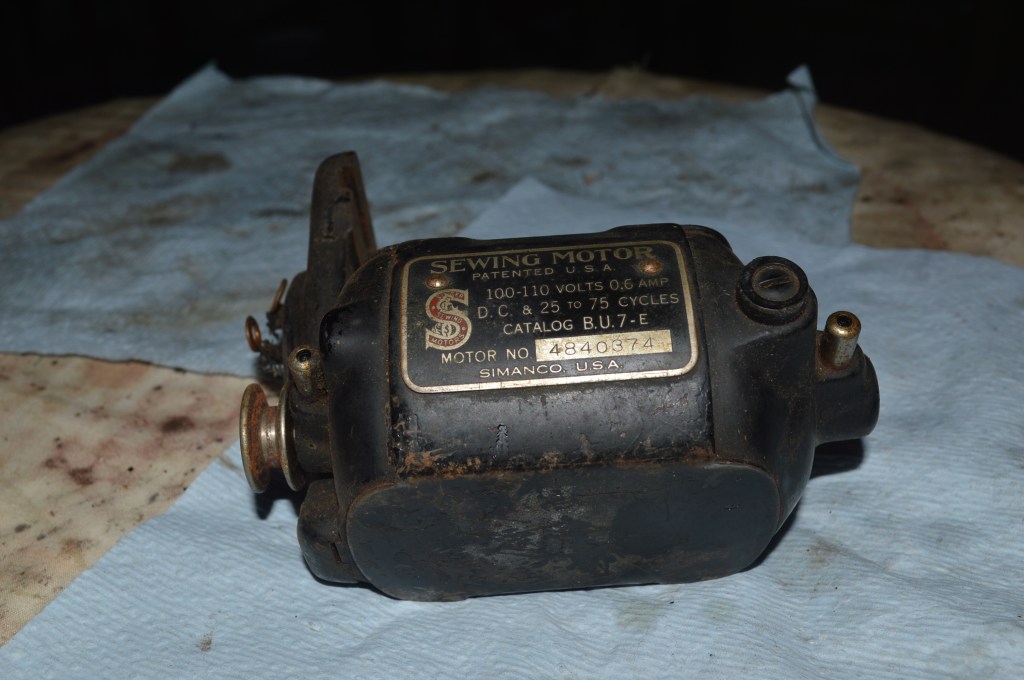
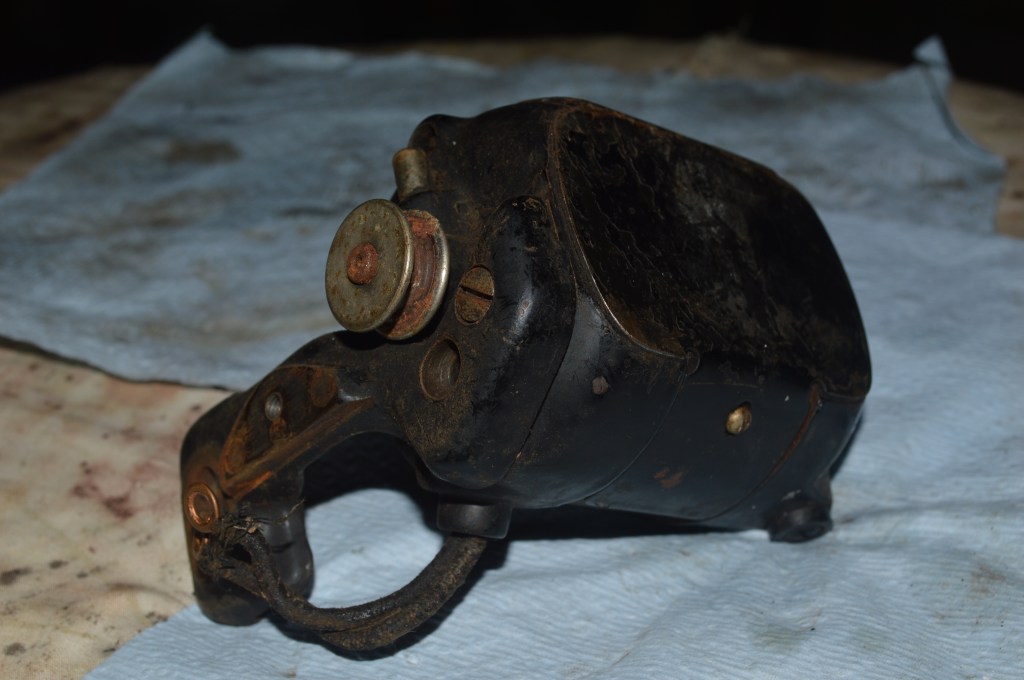
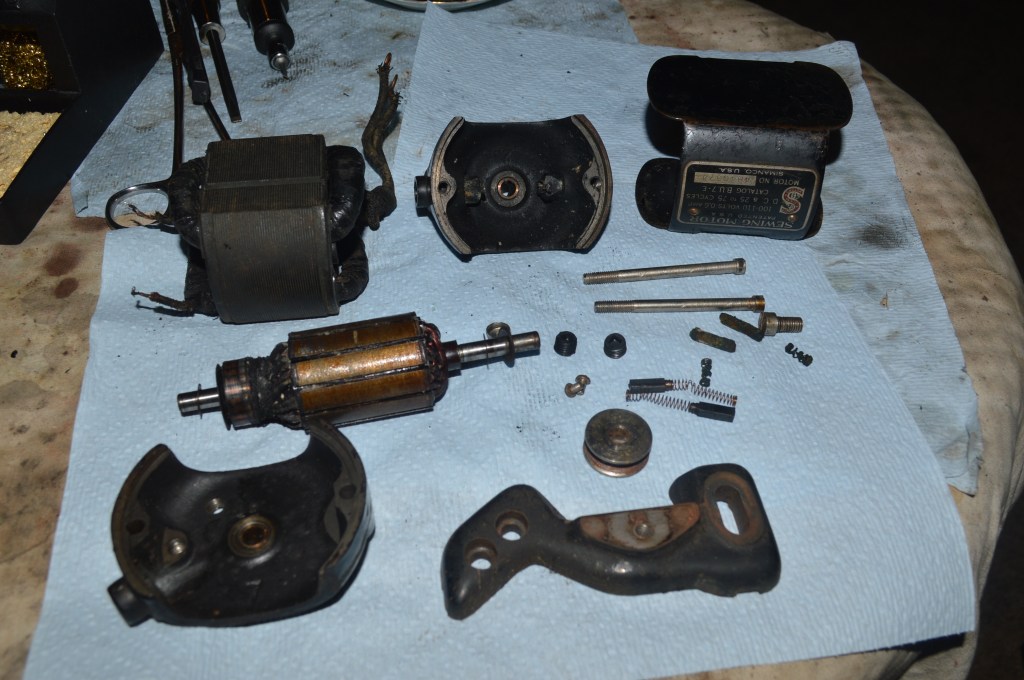
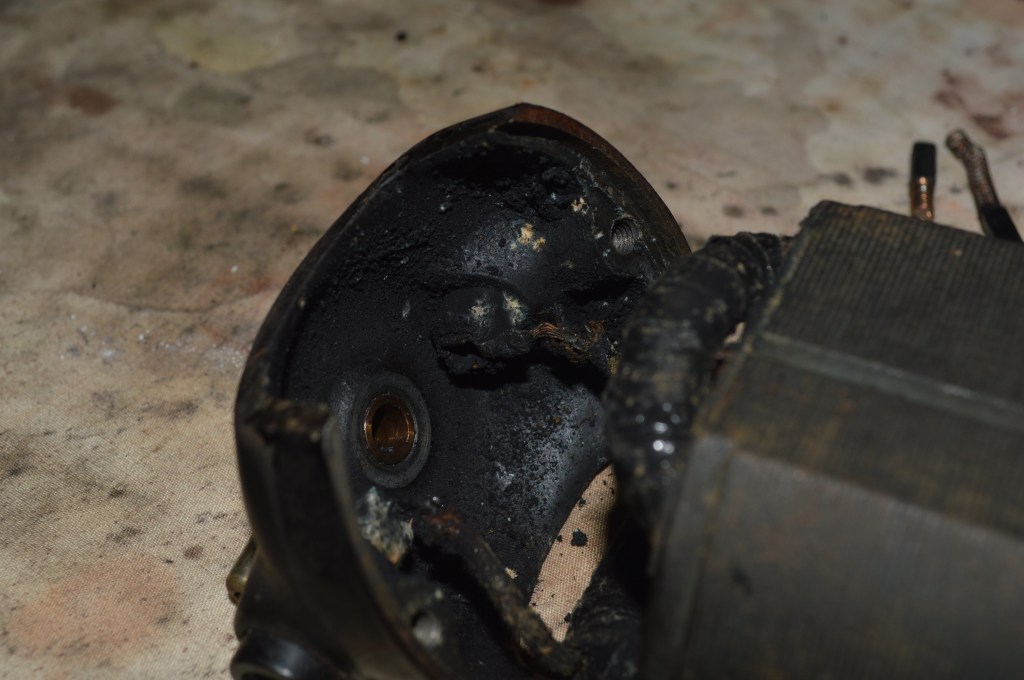
First, the motor… For the motor, I chose a Singer B.U.7 0.6 amp motor. This is a good motor for this machine and will provide plenty of speed and power. The motor was bought with the caution “runs good”. Well, we’ll see. It looks like it fell off the bed of a truck. It is about as dirty as a sewing machine motor can get. The shafts are coated with oil varnish, the wicks are frozen in the grease tubes, and the inside of the case has a lot of carbon buildup. Surprisingly, the main wires are in good condition. Sounds bad huh? Well, I will continue the restoration with the knowledge that these Singer motors are durable and very well built. I am going to bet that it will run great! I know that I will need to replace the grease wicks and recondition the brushes. The shafts and commutator are polished for smooth running.
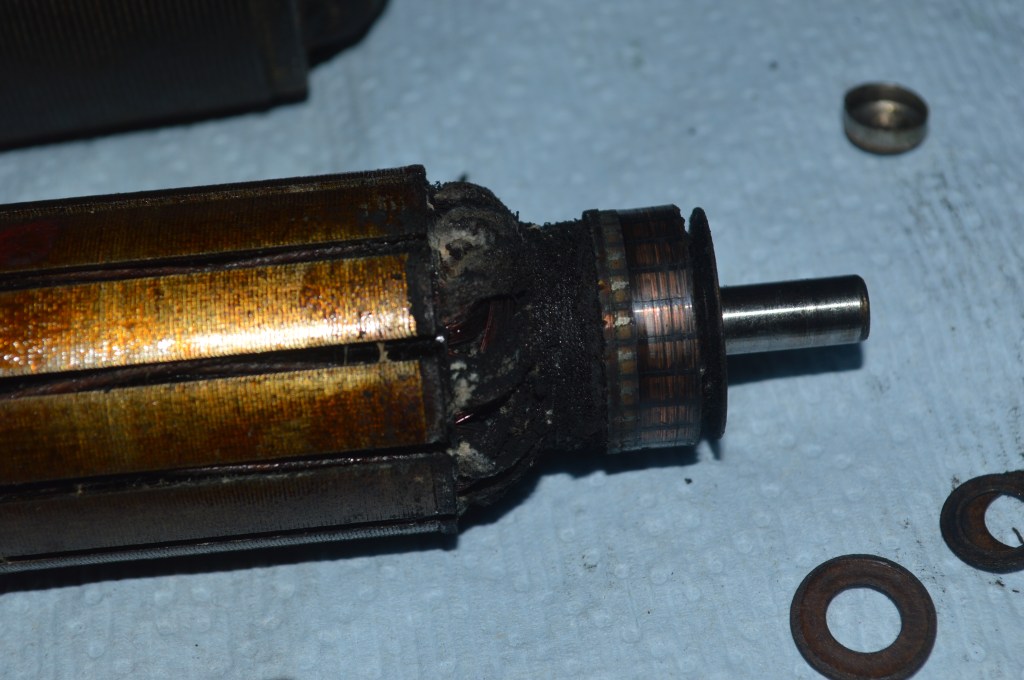
Before Polishing 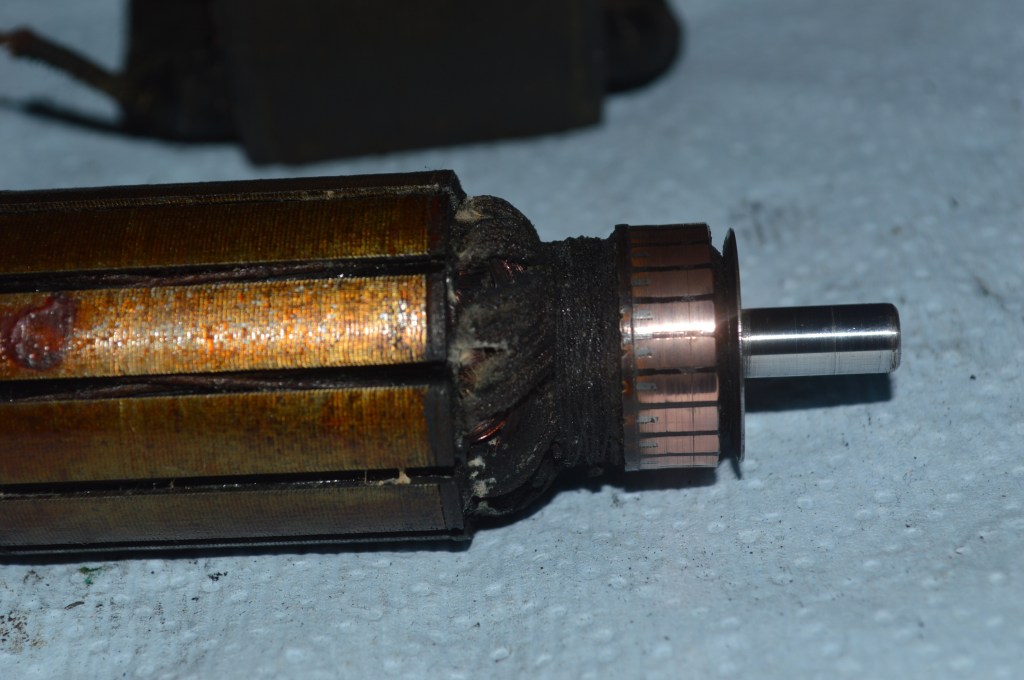
After Polishing
All of the parts that can be cleaned are put into the ultrasonic cleaner and hot cleaned. Afterwards, the wicks are replaced, the brushes are reconditioned, and the motor is reassembled. As expected, after a 5 minute break-in, it runs smooth and strong… sigh of relief.
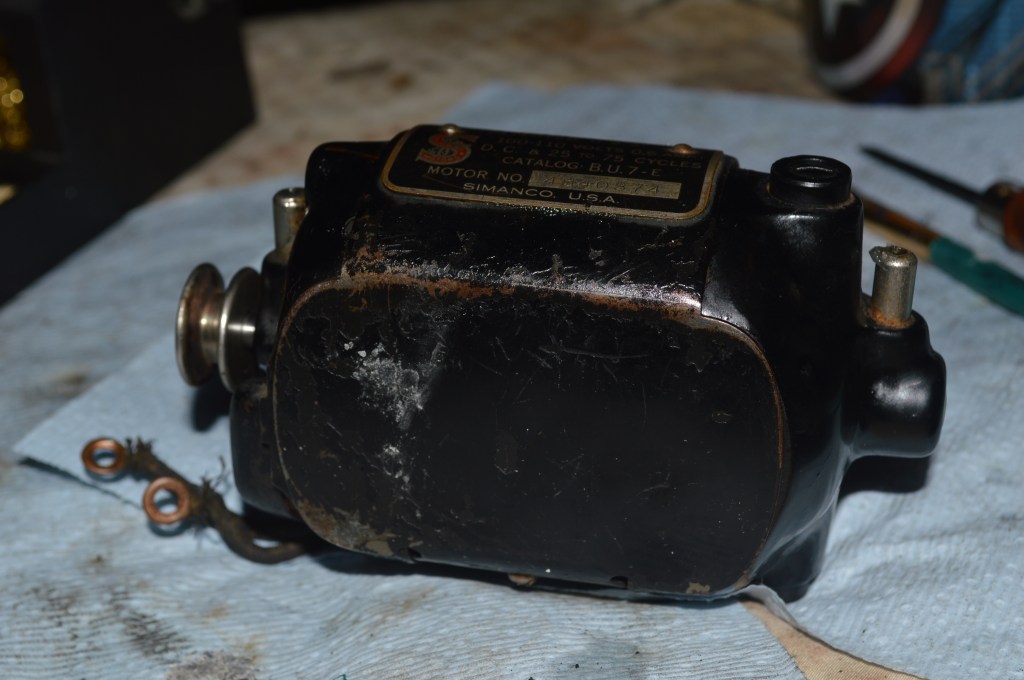
While it runs great, it’s appearance leaves a lot to be desired. to refresh the look, I will repaint it with the same paint I used for paint matching the chips.
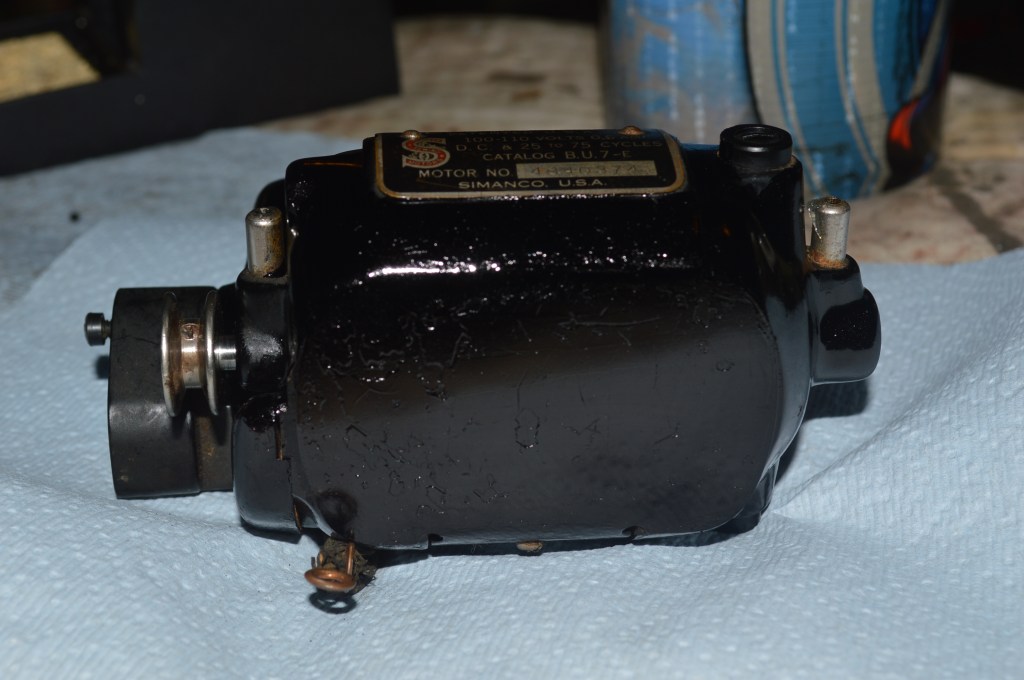
It looks much better… and from 2 feet away it looks great!
The light is in good shape and just needs cleaning before it is attached to the machine… and afterwards, it is done! All that is really left to do is sew with the machine, make final adjustments, and return it to it’s rightful owner.
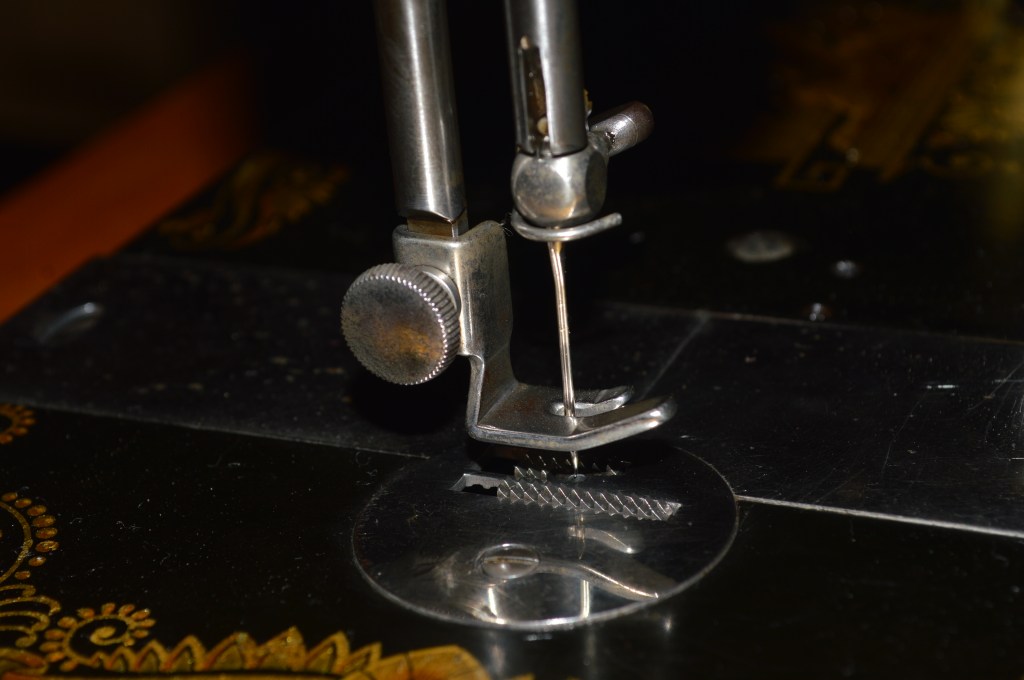
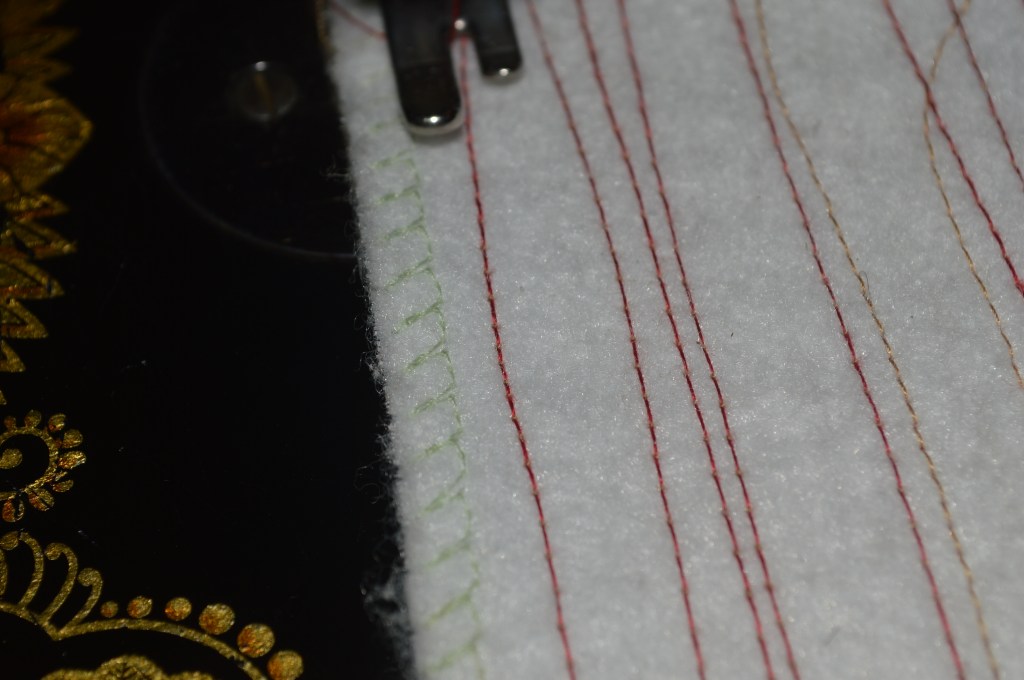
How does it run? Well, it is quiet as can be, only a slight whir of the motor and the click-click of the sewing mechanism punching fabric… the stitch? It is so straight that it is hard to tell where one stitch ends and the next stitch begins… don’t believe me? Here’s proof.
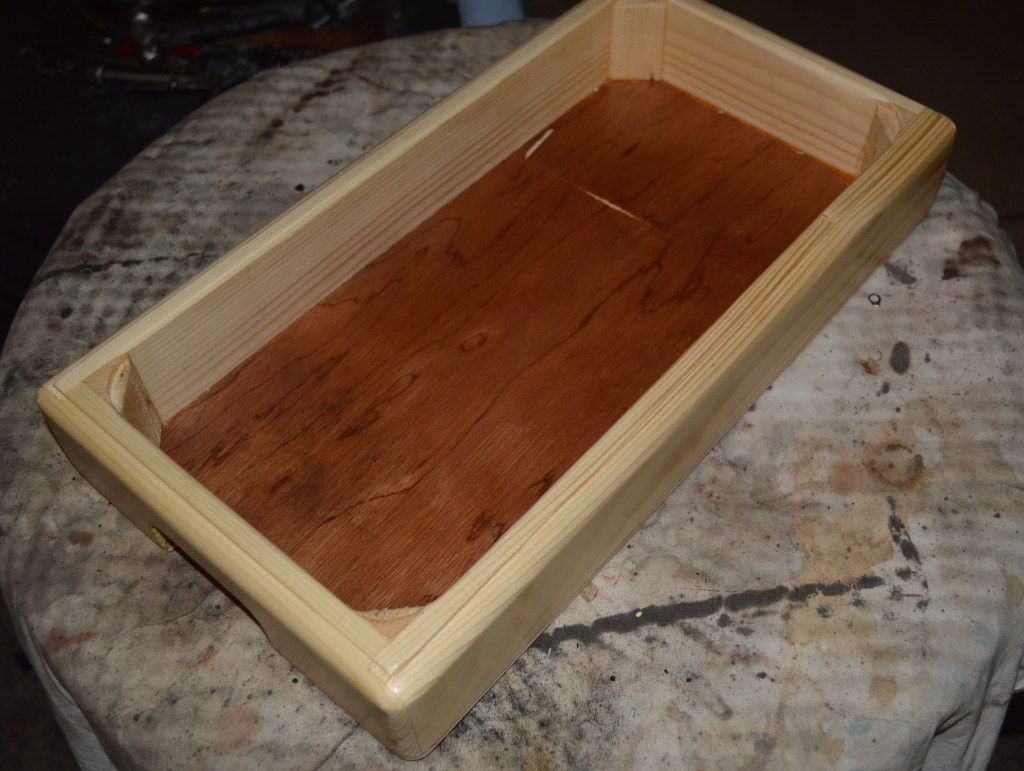
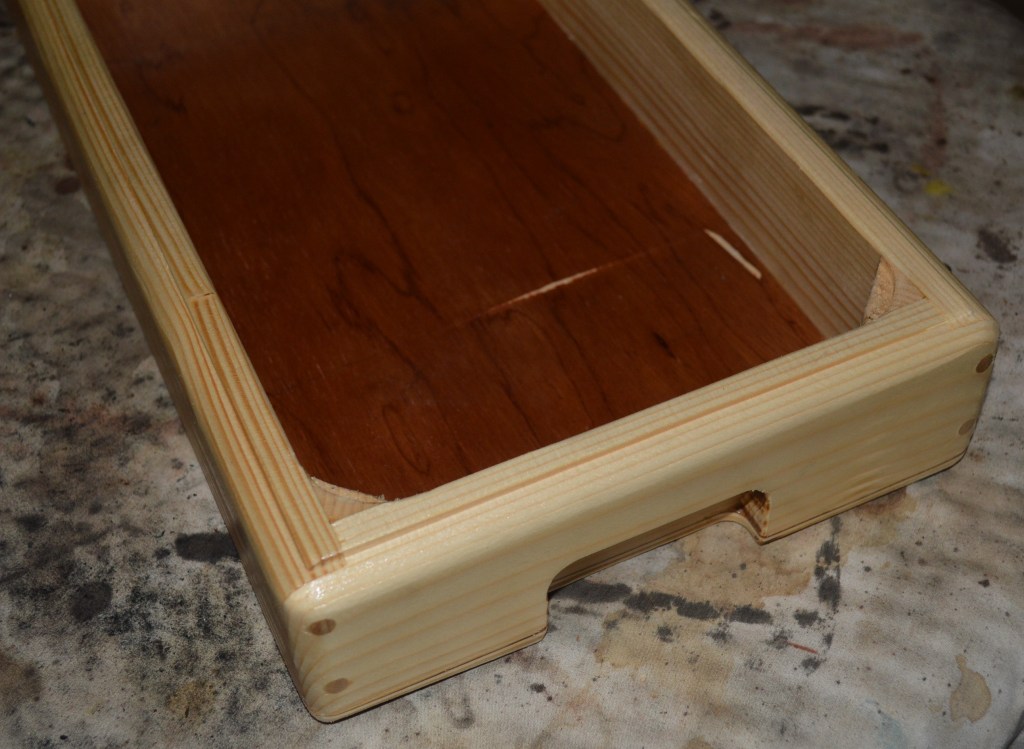
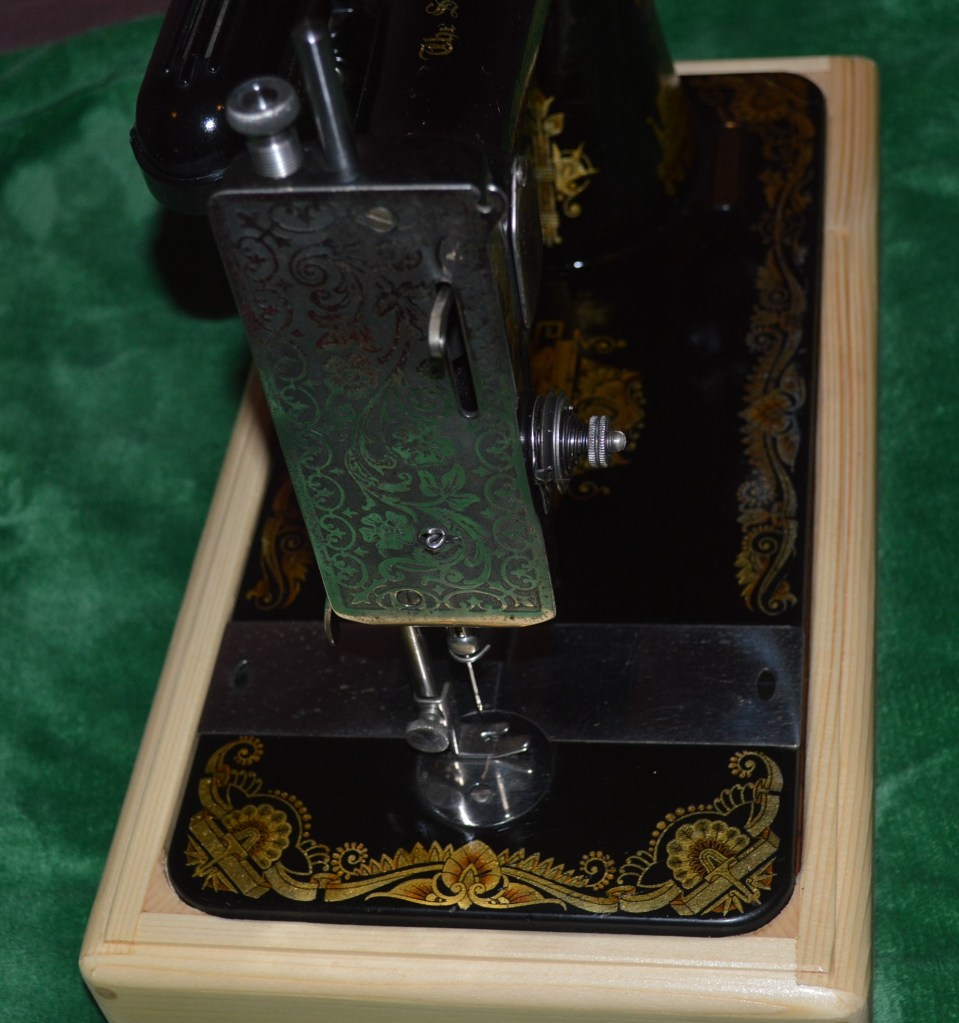
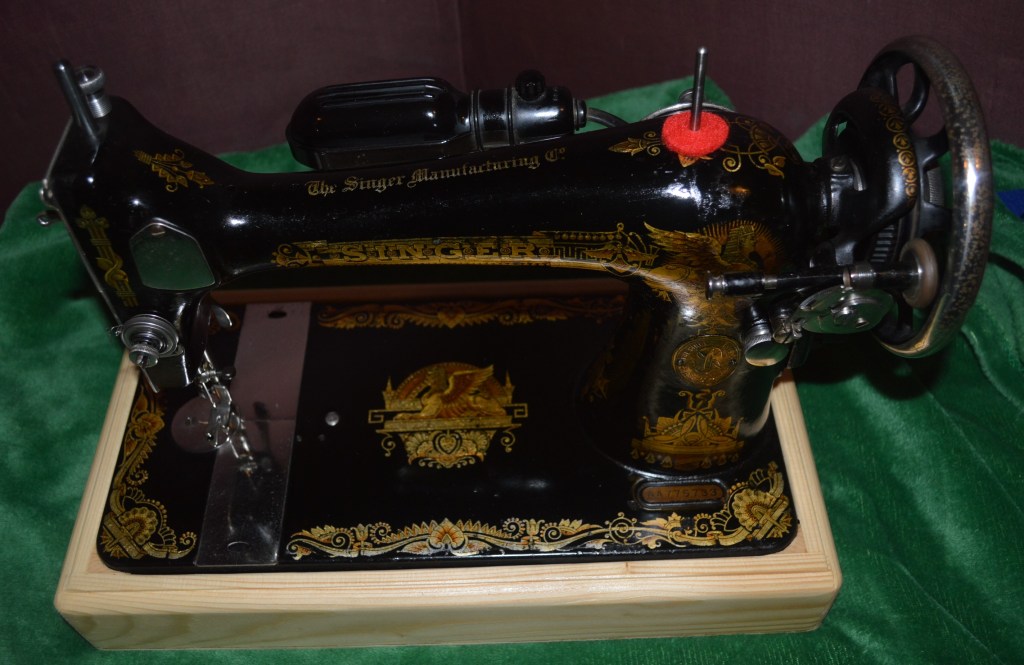
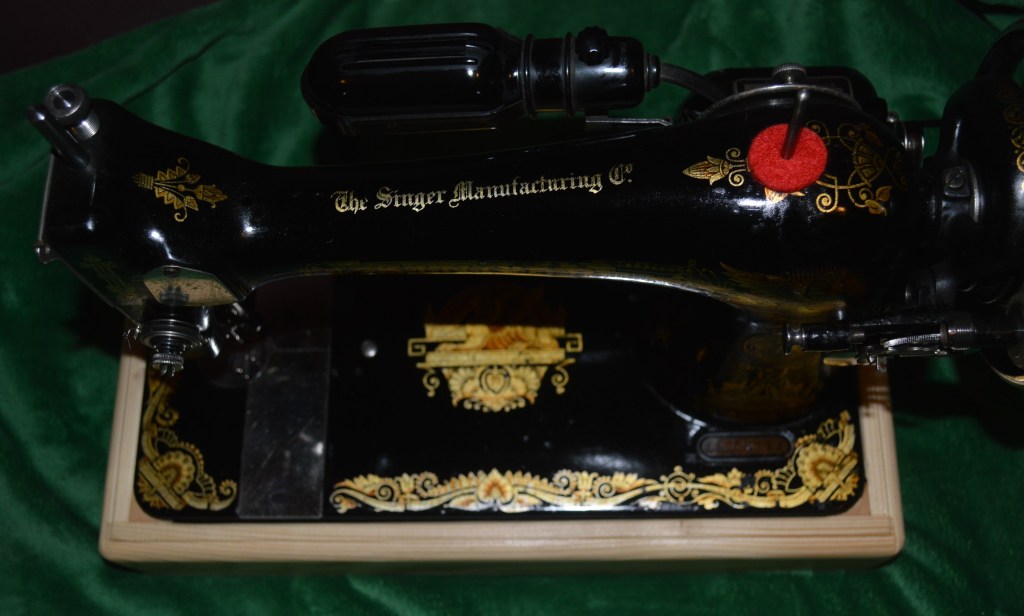
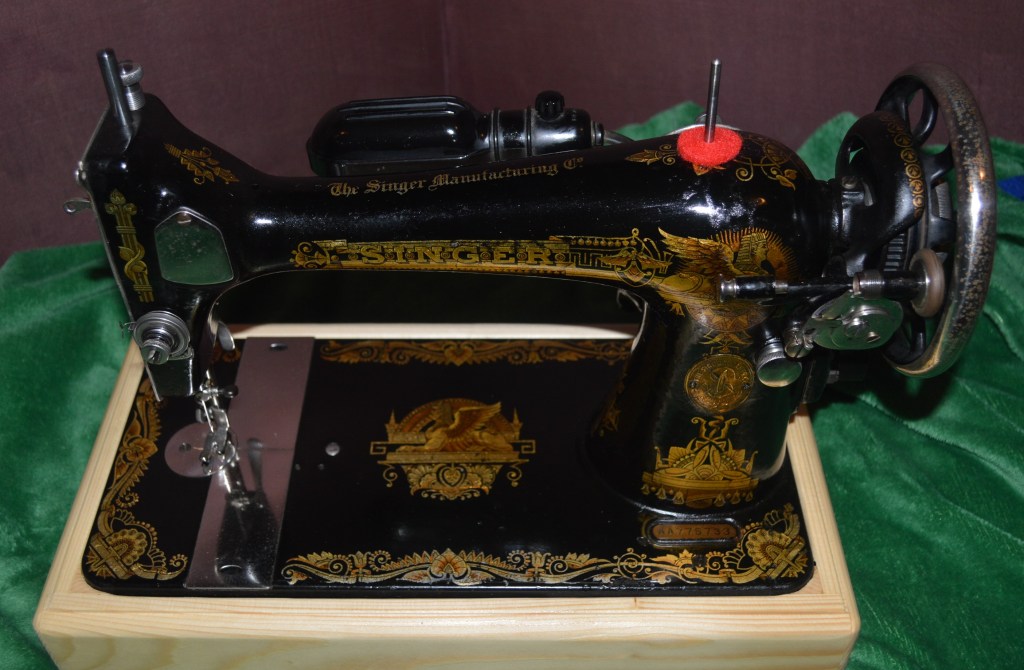
She (the owner) has a treadle cabinet the machine called home for 95 years, but just in case, I built a custom pine base for the machine so she can use with more convenience and portability.
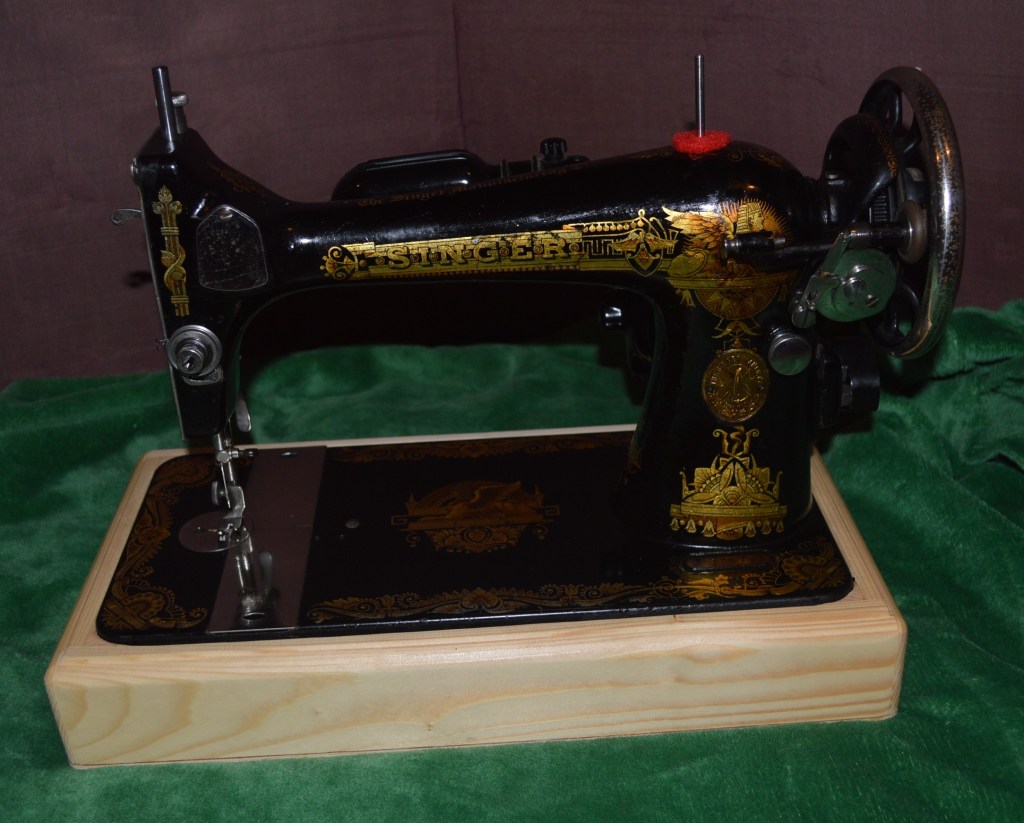
The restoration is done… The machine has been “modernized” with a motor and a light. It is clean, smooth, and sews a fantastic straight stitch. I could not expect any better outcome than this. For comparison, here are the “before” pictures…


And here are the “after” pictures…
Hopefully, the young lady that owns this beautiful Singer 127 will spend some time with the machine and figure out how to properly wind and load a bobbin… it’s not hard but it is different. Just in case, I have a printed manual to go with it. Need a good sewing machine to sew masks in the fight against Covid-19? This machine will do the job today, and god forbid, a hundred years from now.
Hopefully, she will use the machine to keep it running in top condition.
Hopefully, she will pass this machine down to her son or daughter and it will be used for generations to come.
While this machine will never be sold, and it’s restoration is token of my appreciation for the volunteer work to make masks to help fight off this terrible virus, it is an example of the potential these wonderful old Singer sewing machines possess.
If you like what you see please visit our Etsy store at https://www.etsy.com/shop/pungoliving, to see all of our other restored fine quality vintage sewing machines. If you have any questions, please contact Lee at Pungoliving@gmail.com.
Thanks for reading!
Lee
