

Introduction
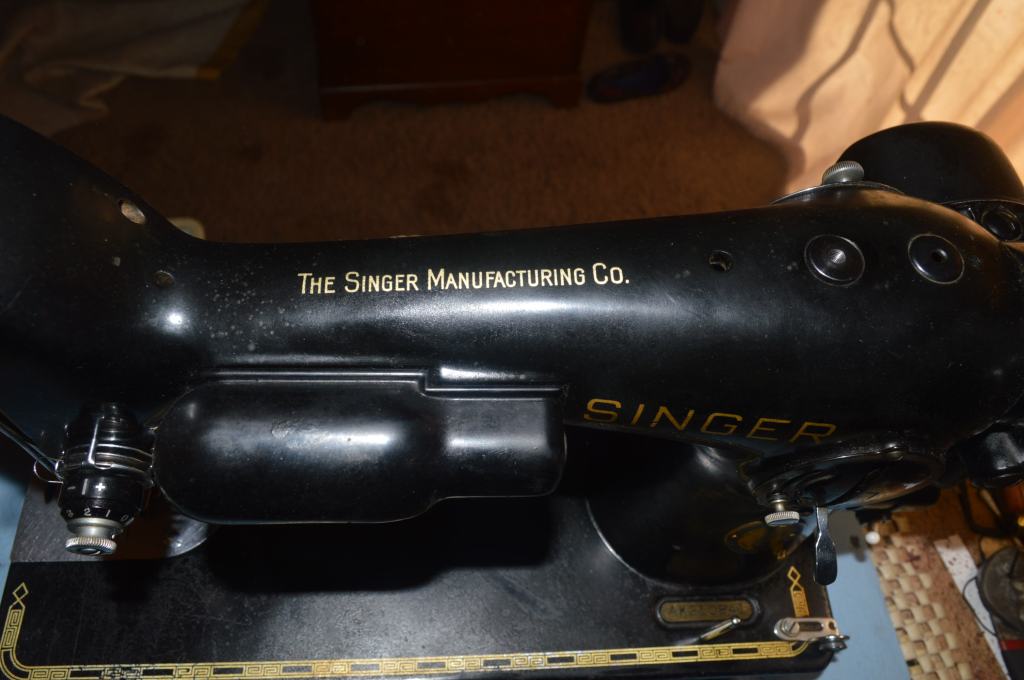
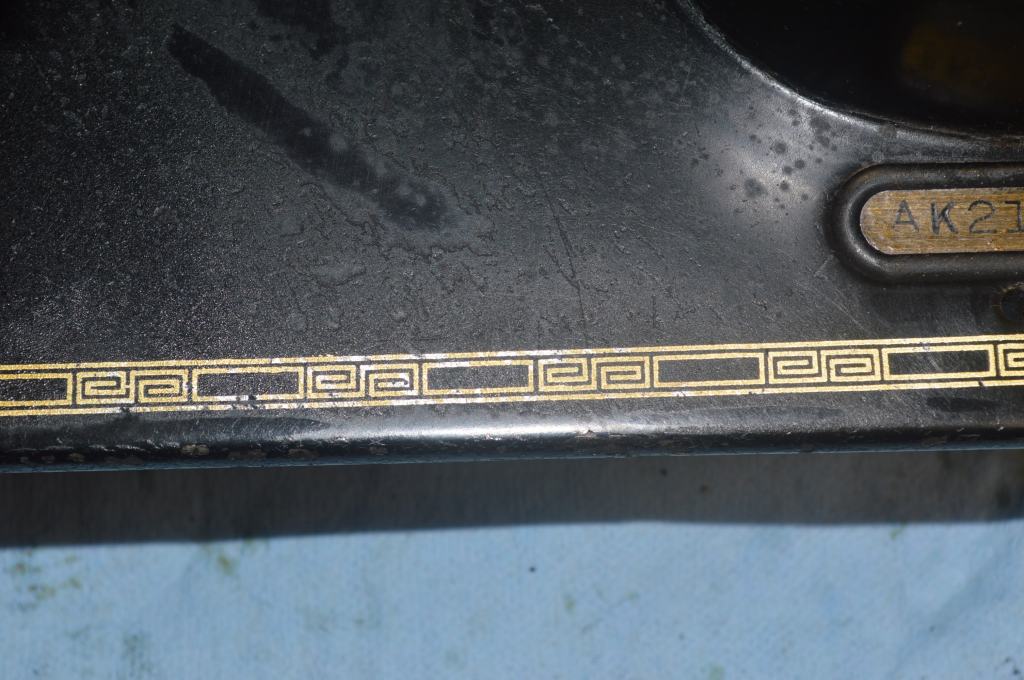
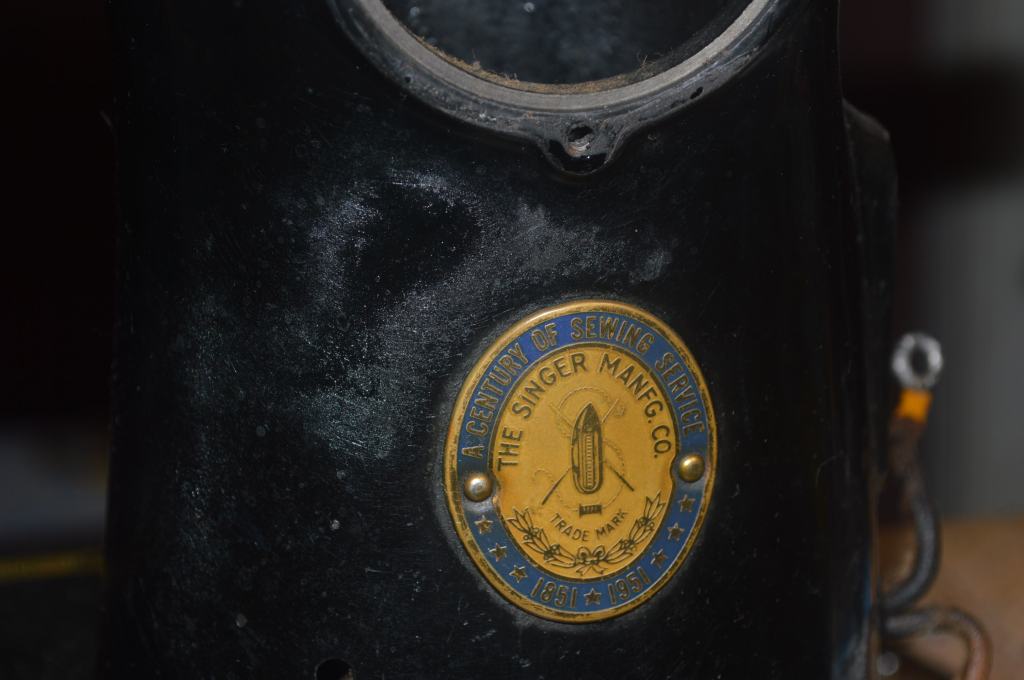
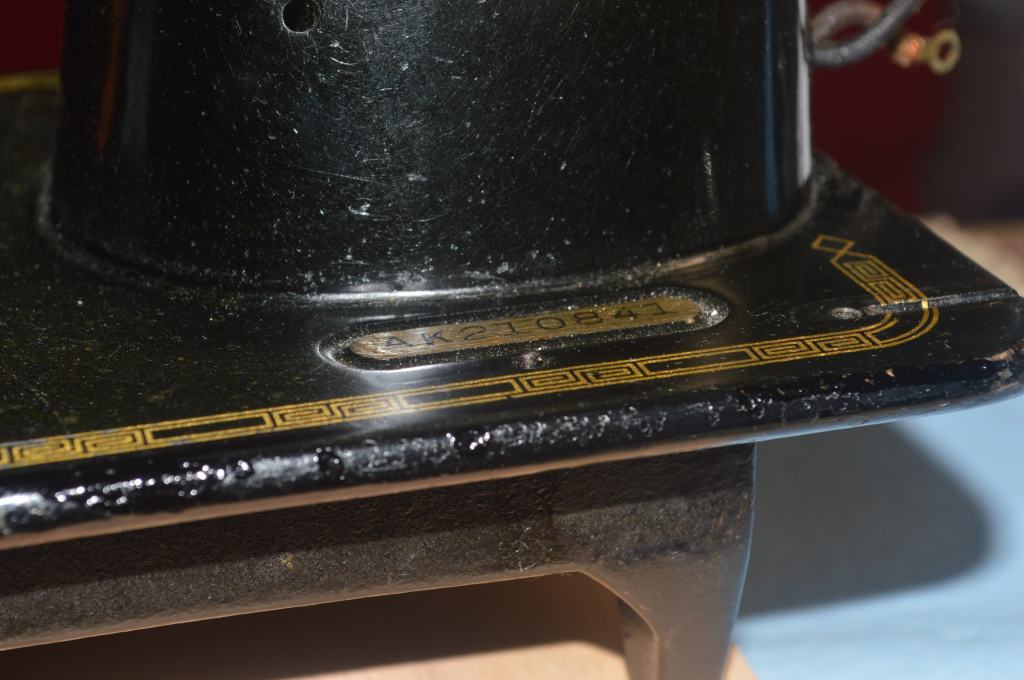
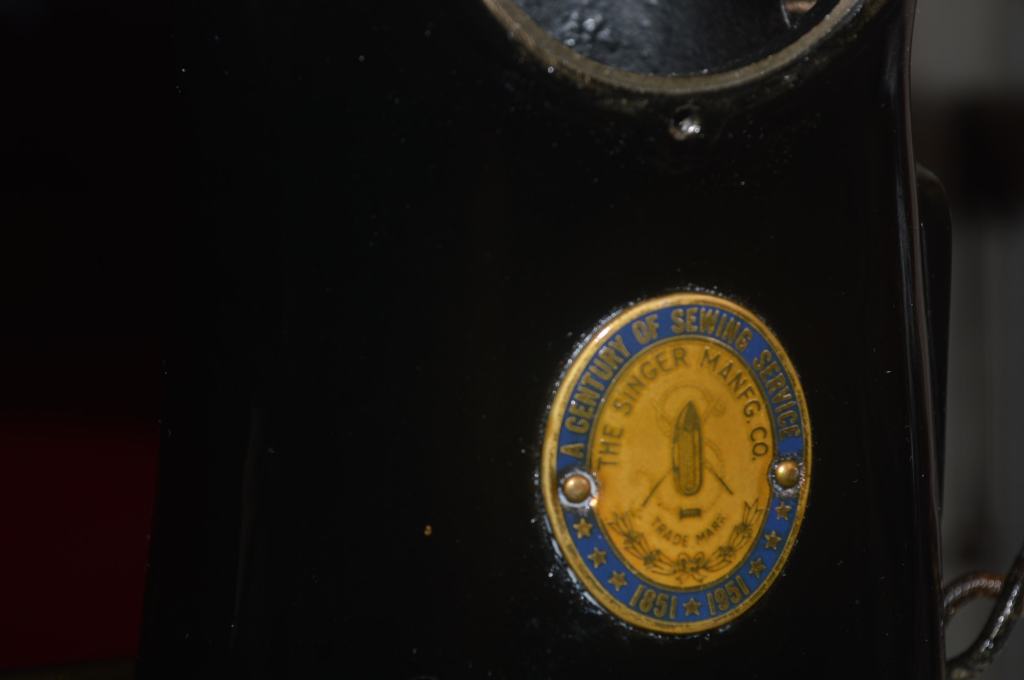
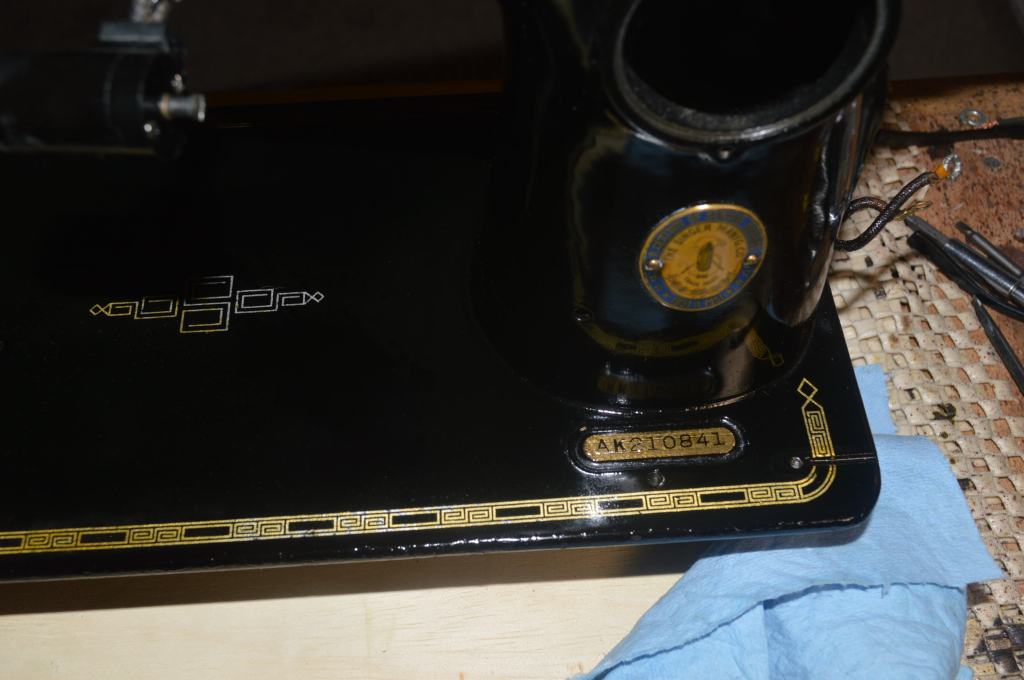
The serial number of this machine is AK210841 and Ismacs dates it to 1951. It was one of 25,000 201’s commissioned for manufacture on February 20, 1951. The blue badge marks that it is a “Centennial” machine. Celebrating Singer’s 100th anniversary, machines were produced with a blue centennial badge. There is an interesting part to the story… there was such a demand for the centennial badged machines that Singer grabbed older surplus inventory and gave them a blue badge! I had a 201 with a centennial badge that was made in 1948! I have seen centennial badged machines produced in 1948!
Being a 1951 machine, this 201 is a true centennial machine. As for the 201, I can’t add to anything already said about the machine. It is regarded as the finest machine Singer ever manufactured. So good in fact, that it defined a new “professional” class of sewing machines. It is not an industrial or commercial grade machine, and it is not a domestic machine. Designed for tailors and seamstresses, it was intended to sew reliably for long stretches on various weights of fabric.
According to the customer, her son bought this Singer 201 in a cabinet at an estate sale. The machine appeared to be working, but as she checked it over she told me that it looked like it had been badly mistreated. She was concerned that some of the bobbin parts may have been damaged, and she wanted to know if it was possible to restore the machine.
Truth be told, I am excited to have the opportunity to do so! I truly enjoy restorations on these fine Singer vintage sewing machines. Why? well, they are so well built that they are a pleasure to disassemble and clean, and I know the outcome will result in a machine that will sew as close to new as possible… I would dare to say it will sew like new, but unfortunately, I wasn’t around when this machine was new. For this 201 mechanical restoration at least, that is my minimum expectation! Even before I remove a single screw, turning the balance wheel tells me that the machine is smooth, and as hard as it is to imagine now, I know it will be appreciably smoother when the restoration is done. I have not run the machine, but I also know that as long as the motor runs, it will be quiet and almost vibration free while making a great stitch for any sewing project.
Restoration Plan
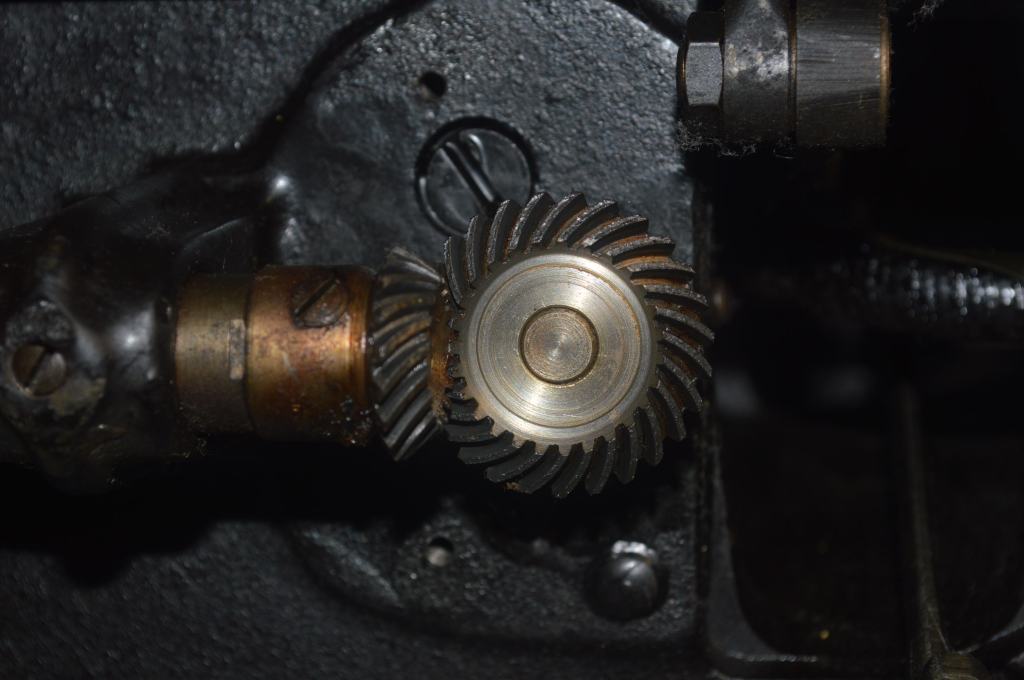
The mechanical restoration will include disassembly of all of the parts found in the sewing mechanisms to the greatest extent possible. For a 201 restoration, this will include everything up to the gears with one exception. The gears on a 201 should not be disturbed. They are balanced in sets and tooth matched for smoothness. Everything else in the machine is fair game. All of the parts disassembled will be ultrasonically cleaned, heated in oil to remove any moisture, wire brushed, and some critical parts will be polished. The gears will be cleaned in place. The motor will be disassembled, the armature and motor shafts will be polished, new main power leads will be installed, and the grease wicks cleaned and relubricated. The balance wheel and bobbin winder assembly will be disassembled and restored. All of the plated parts will be buffed and polished. The foot controller will be cleaned, and new foot controller wires and main power cord will be provided.
This machine is going to have an original finish cosmetic restoration to preserve the original paint and decals. In addition to the mechanical restoration, it will be deep cleaned I will make judicious decal repairs with color matched gold paint. The typical paint chips will be repaired with paint matched black paint. The machine will be top coated with shellac followed by hand rubbing and polishing to a smooth and rejuvenated finish. Following the cosmetic restoration, everything will be reassembled and adjusted for the best performance possible.
The goal of this restoration is to attend to every detail possible and to obtain the best cosmetic condition possible. One thing I have learned in sewing machine restoration is that some machines need more, some less, but all of them get what they need.
The Restoration
Typical of all restorations, the outcome of the original cosmetic restoration can be judged by before and after pictures. The outcome of the mechanical restoration requires a leap of faith. The before and after condition of the parts and motor can be seen in pictures, but not felt. Still, it is easy enough to imagine the improvement imparted in the process.
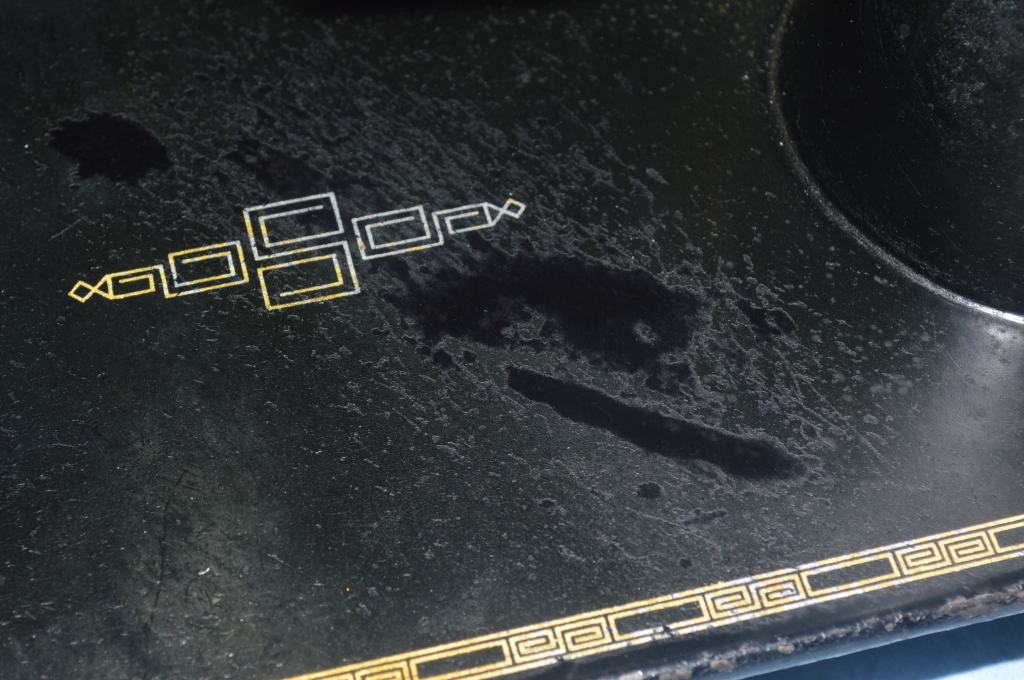
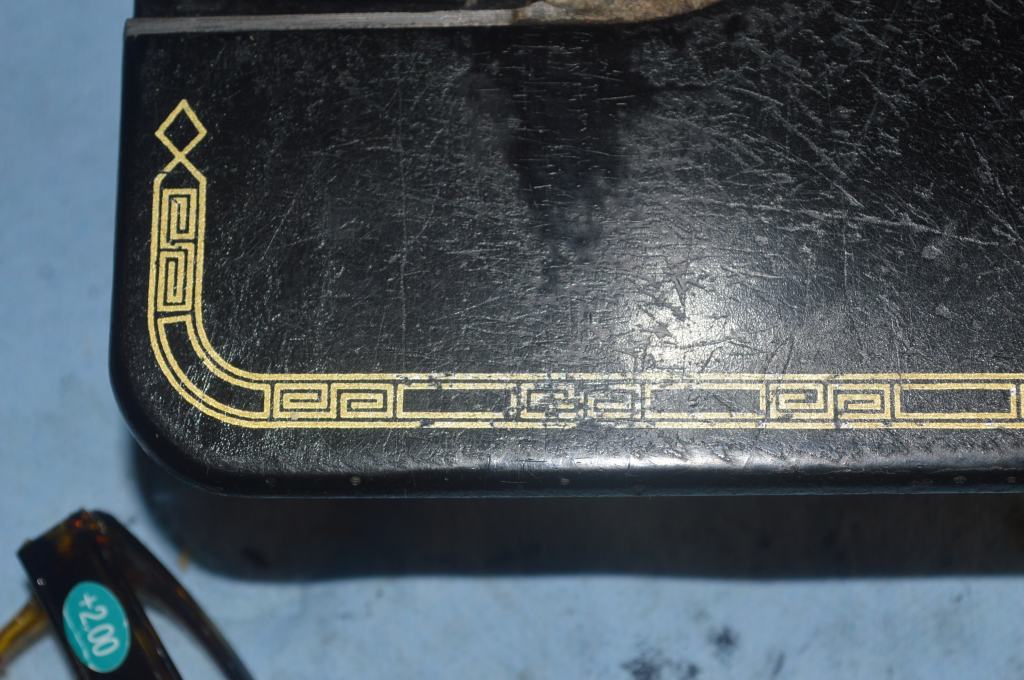
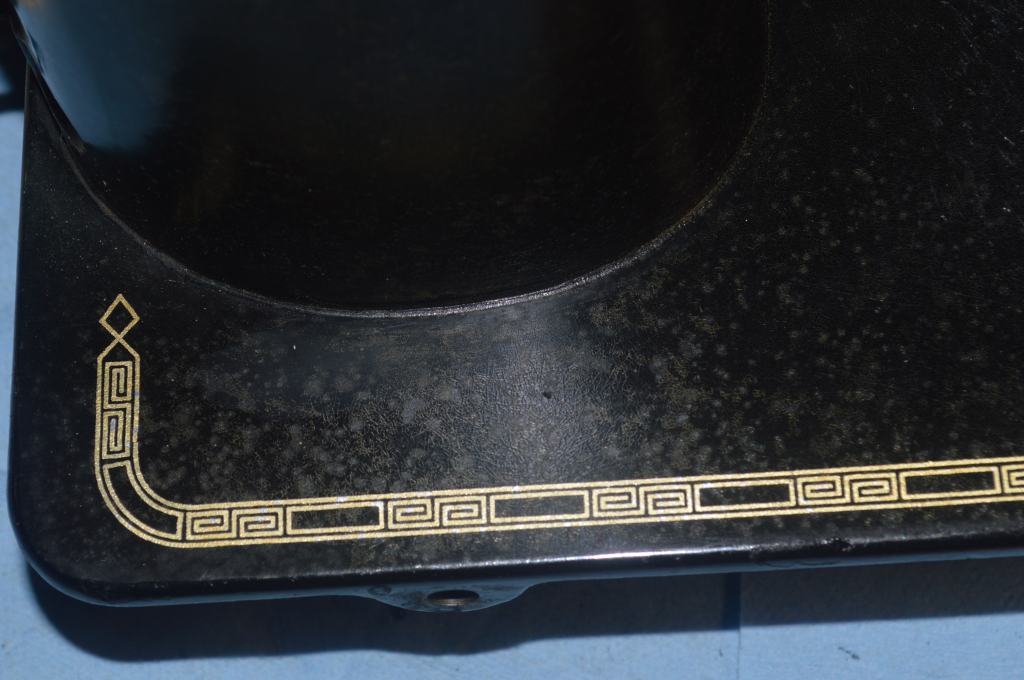
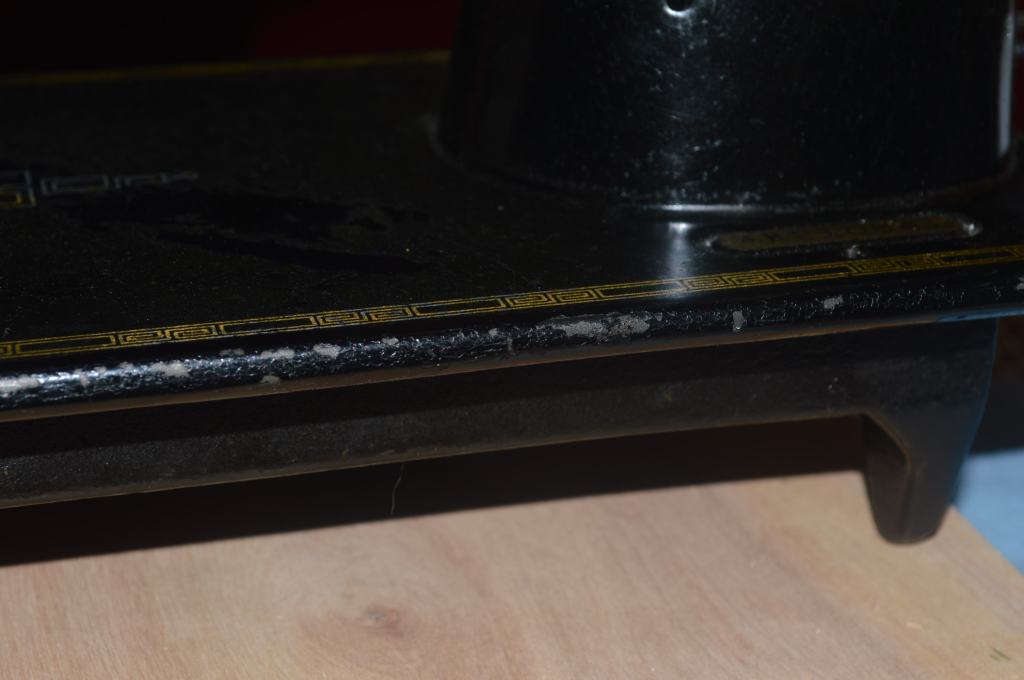
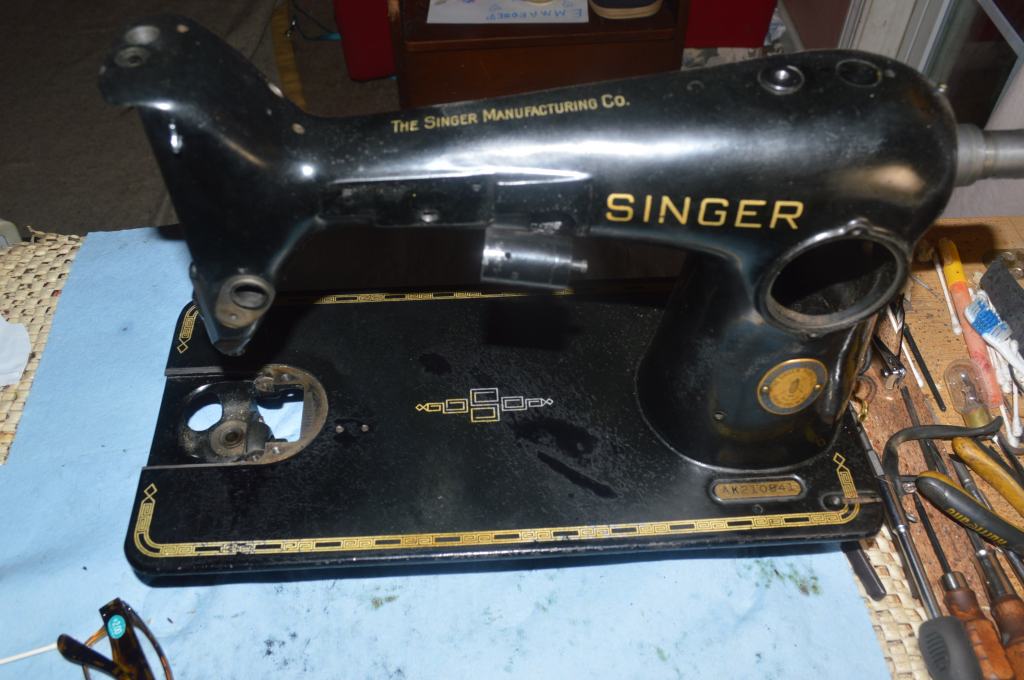
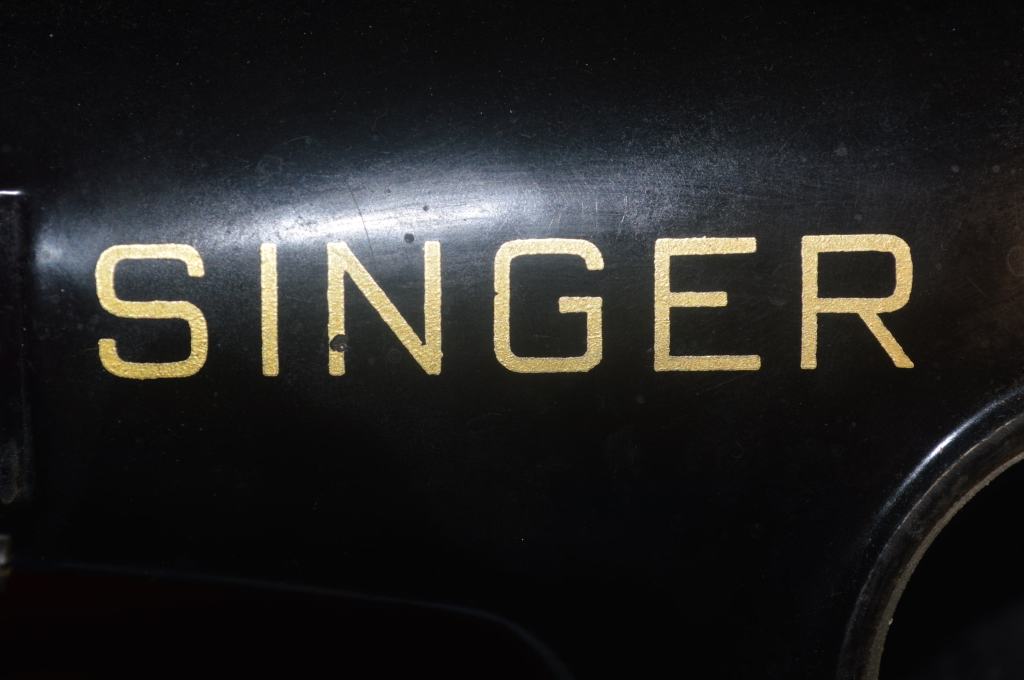
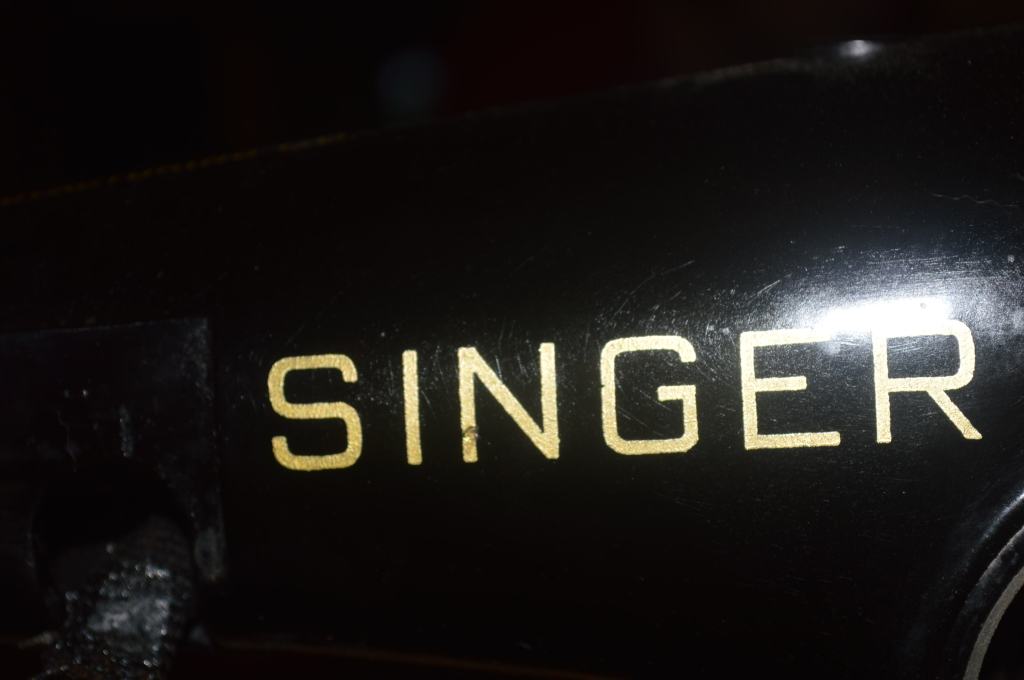
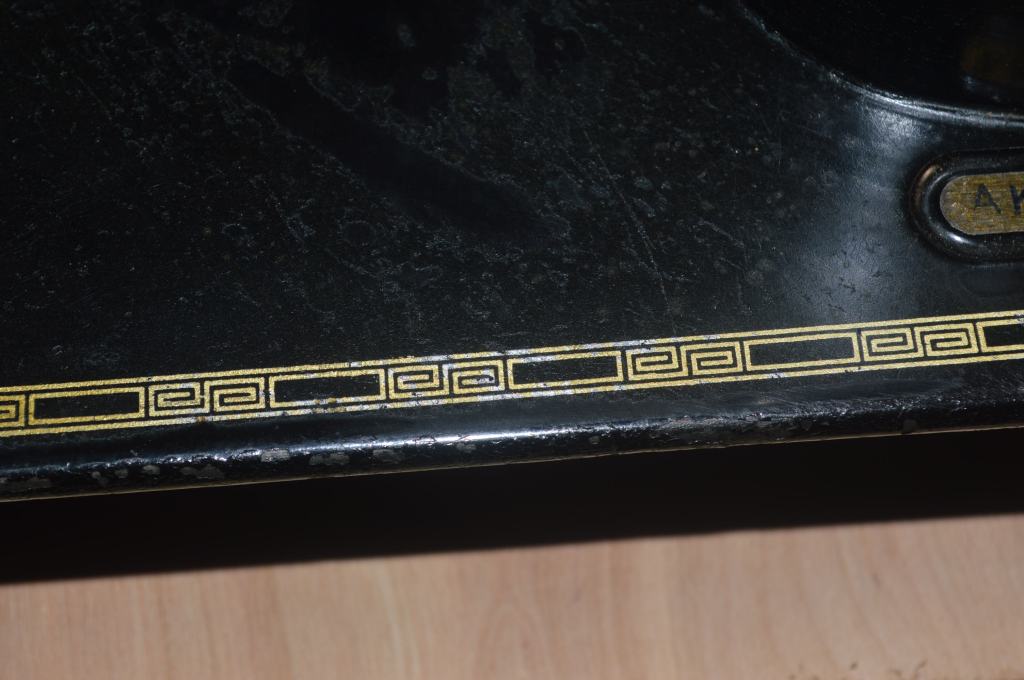
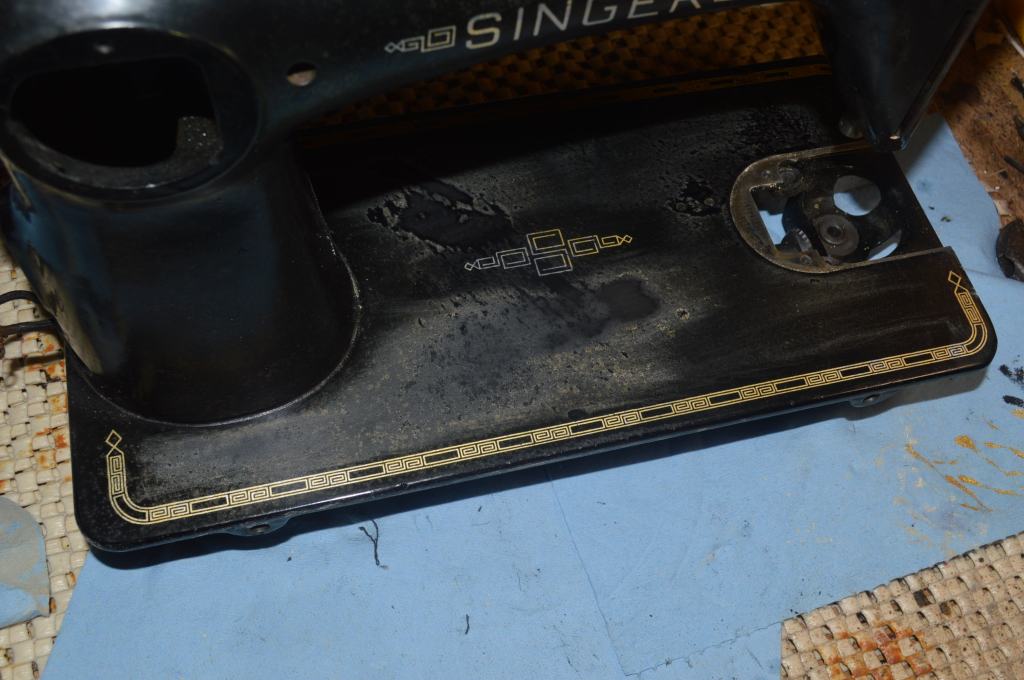
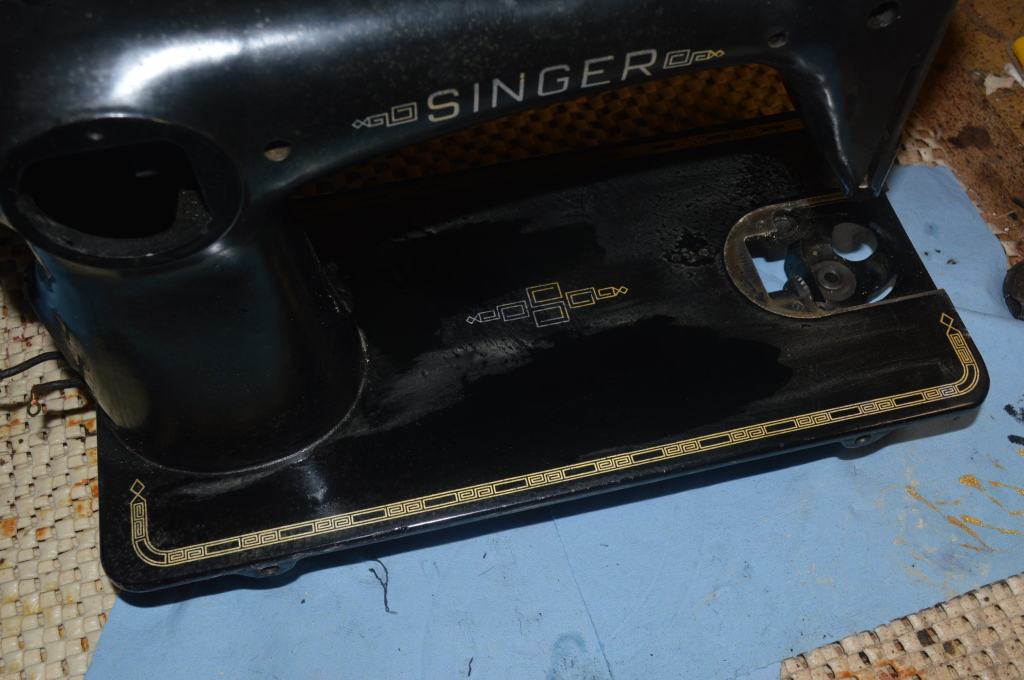
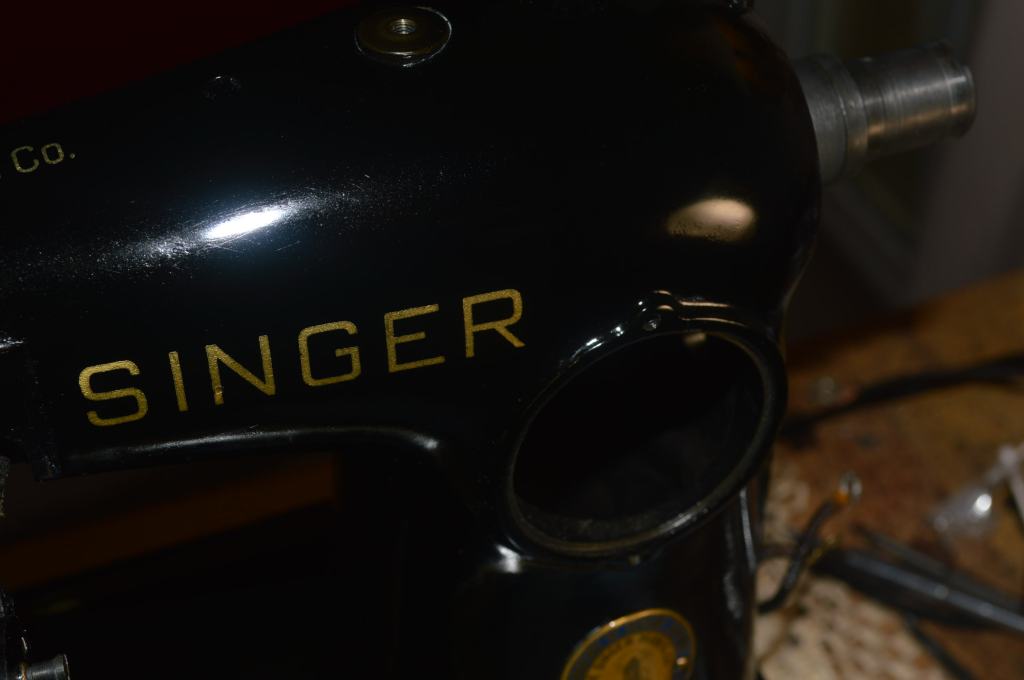
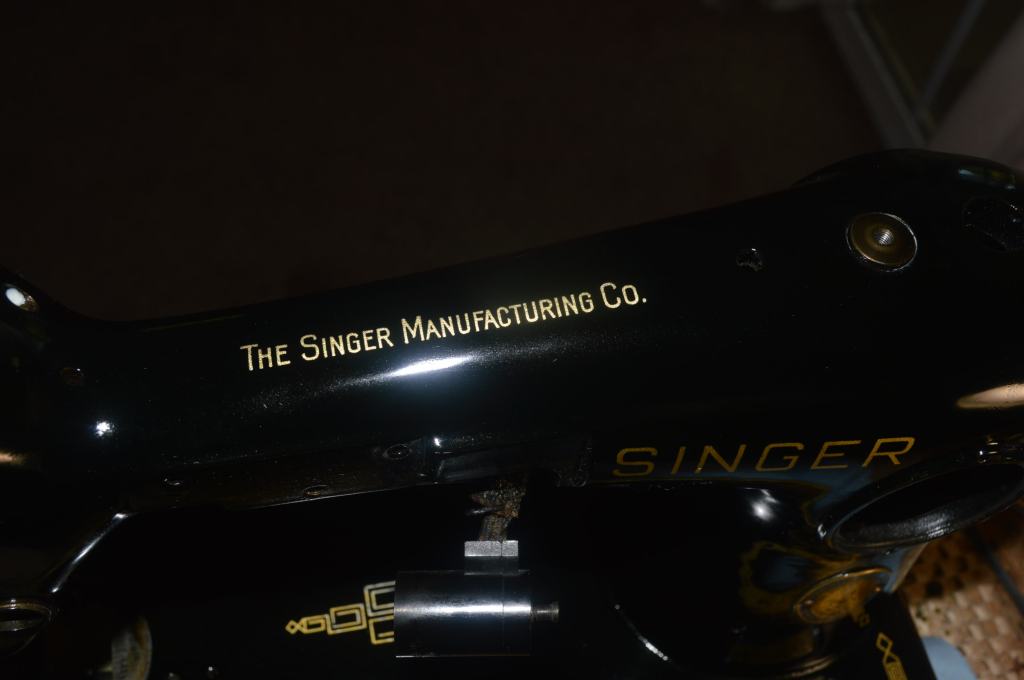
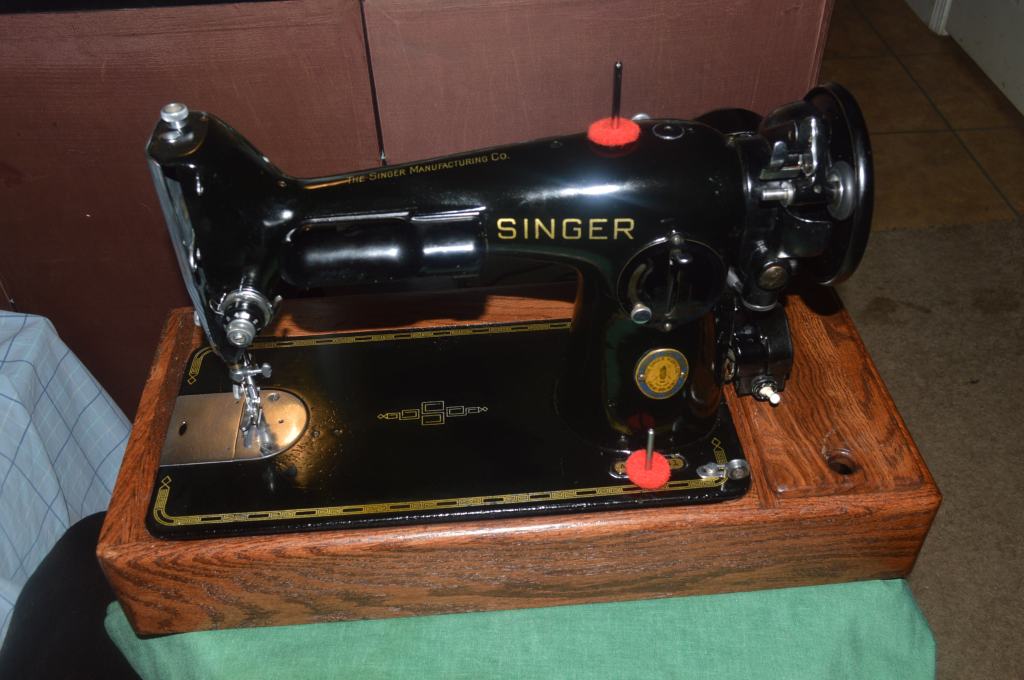
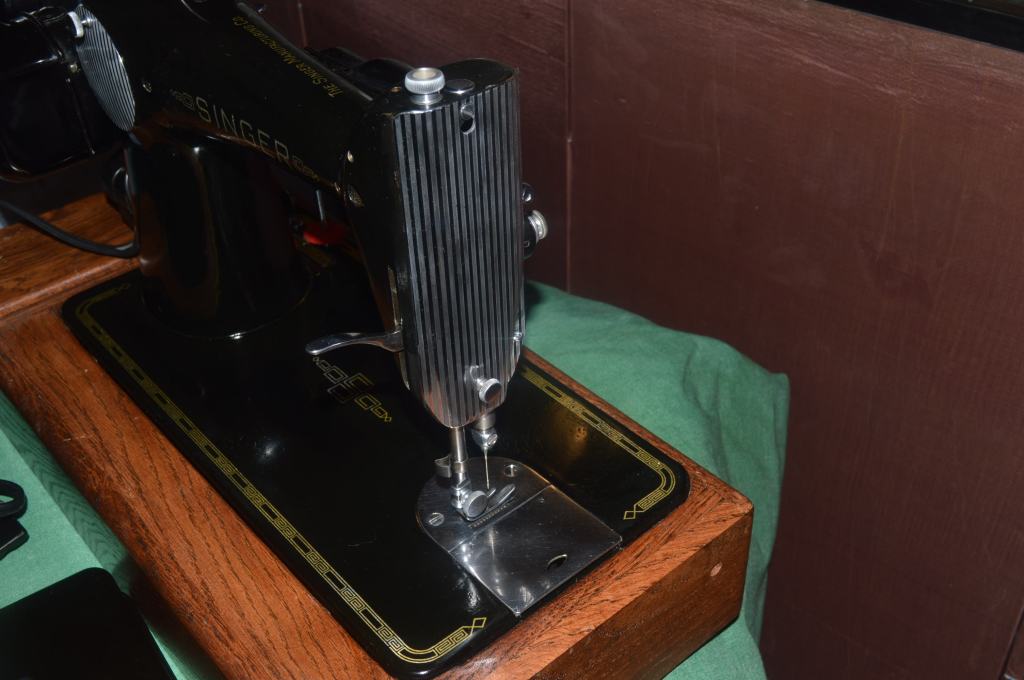
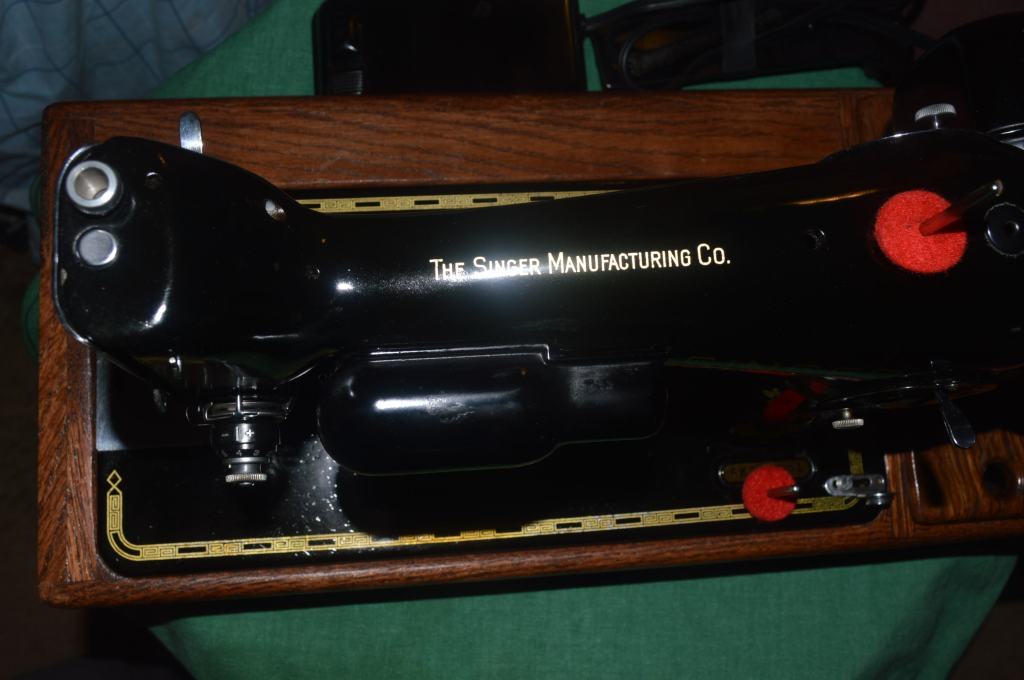
This is the machine in its original condition:

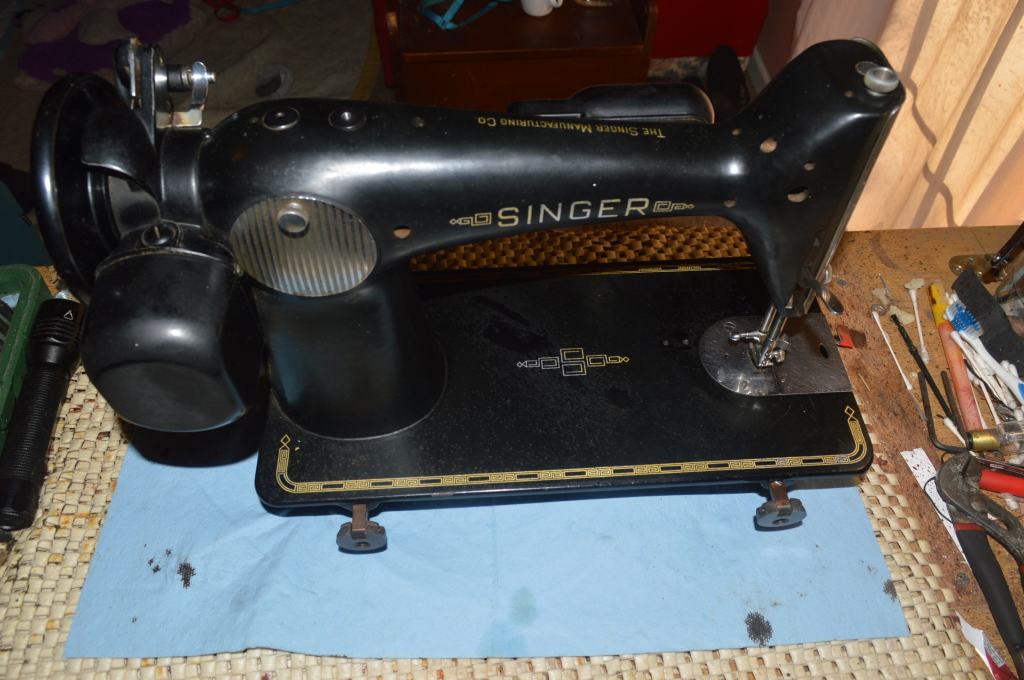


As you can see, the shellac on the bed is worn and there is some slight silvering of the decals. Overall, the decal condition is fair. There are some breaks in the decals lines that will be repaired. Deep cleaning will improve the existing finish on the machine, but the new topcoat will blend in the original shellac and restore the original deep black color of the original paint. Moving on, the first step is the mechanical restoration.
Mechanical Restoration
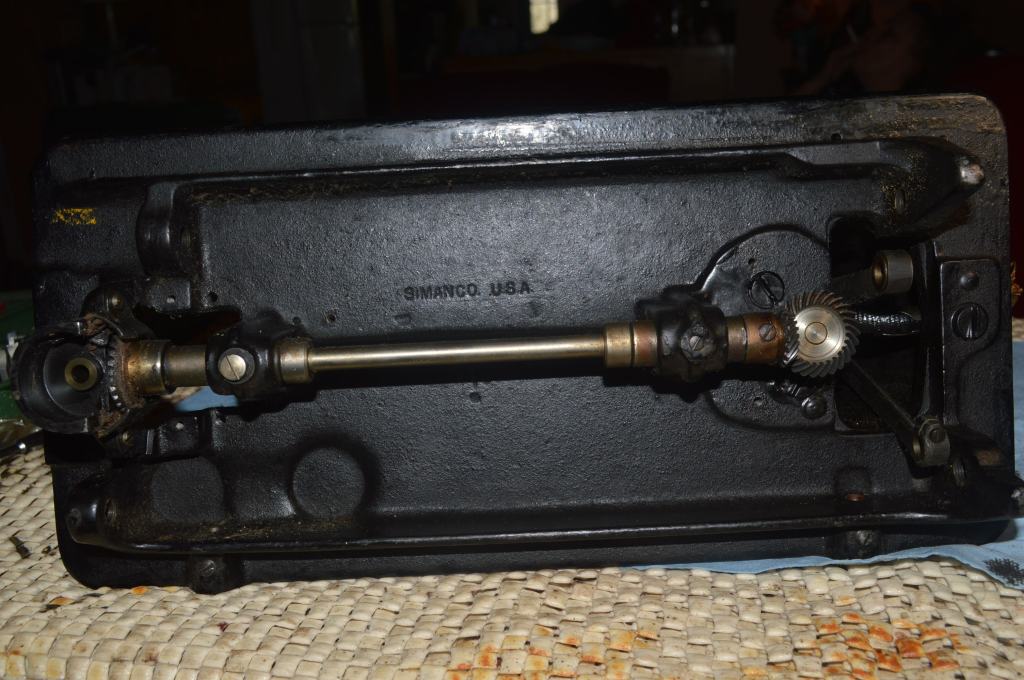
The mechanical restoration begins with removing all of the parts and assemblies in the sewing machine head.

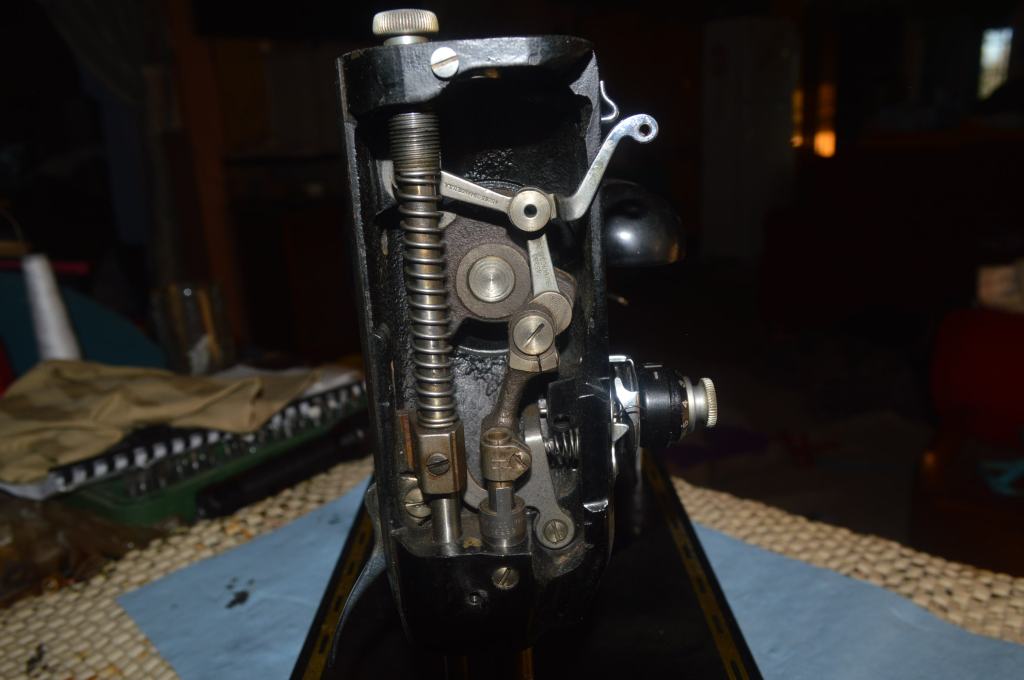
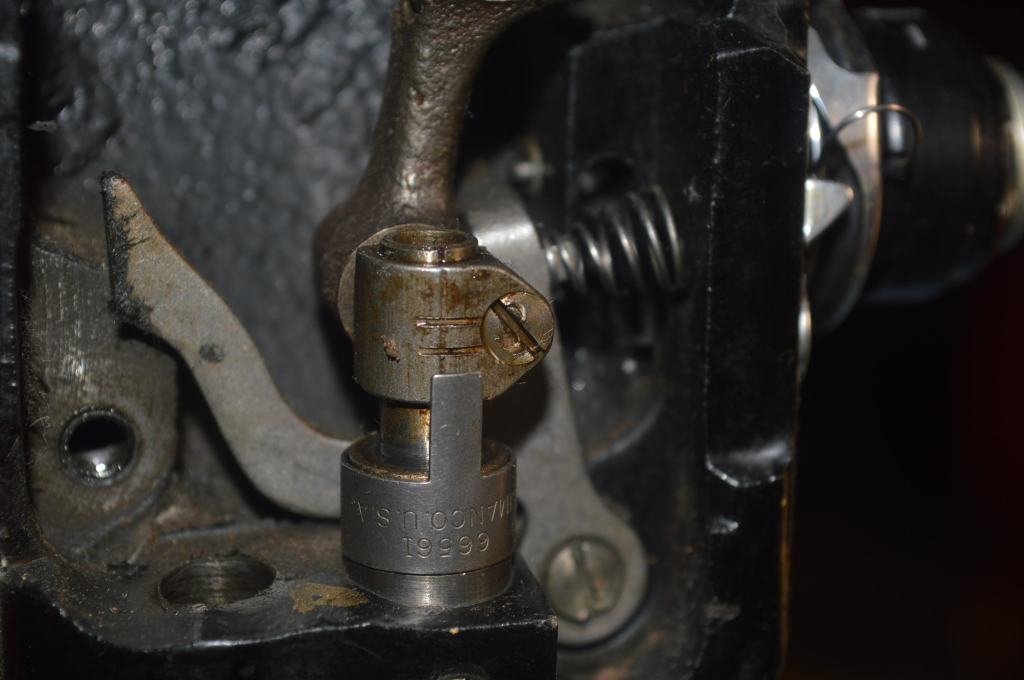

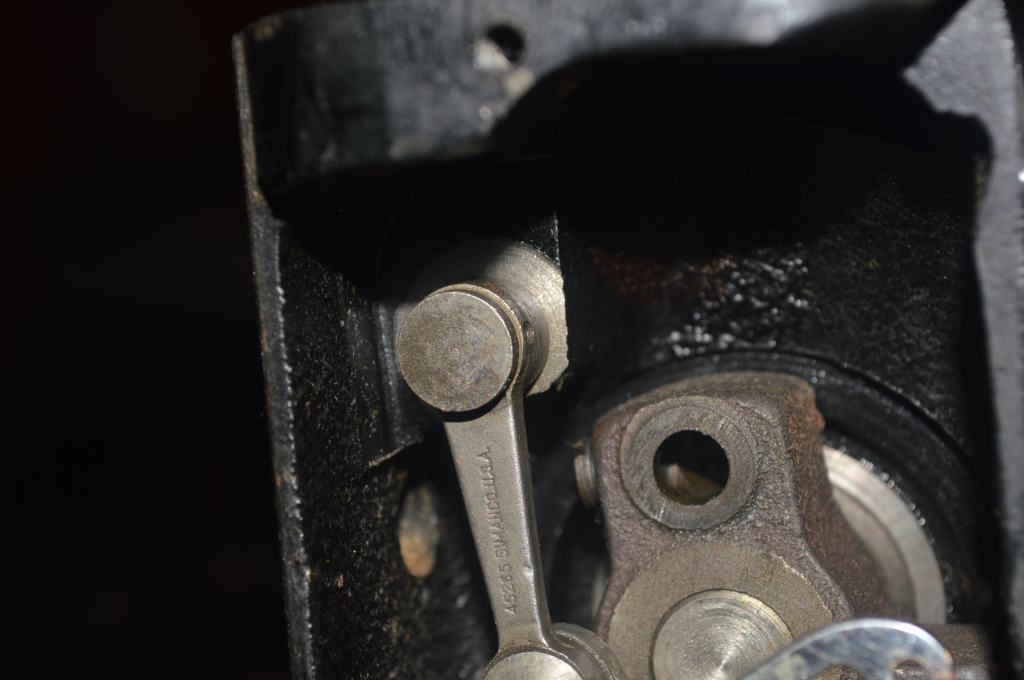
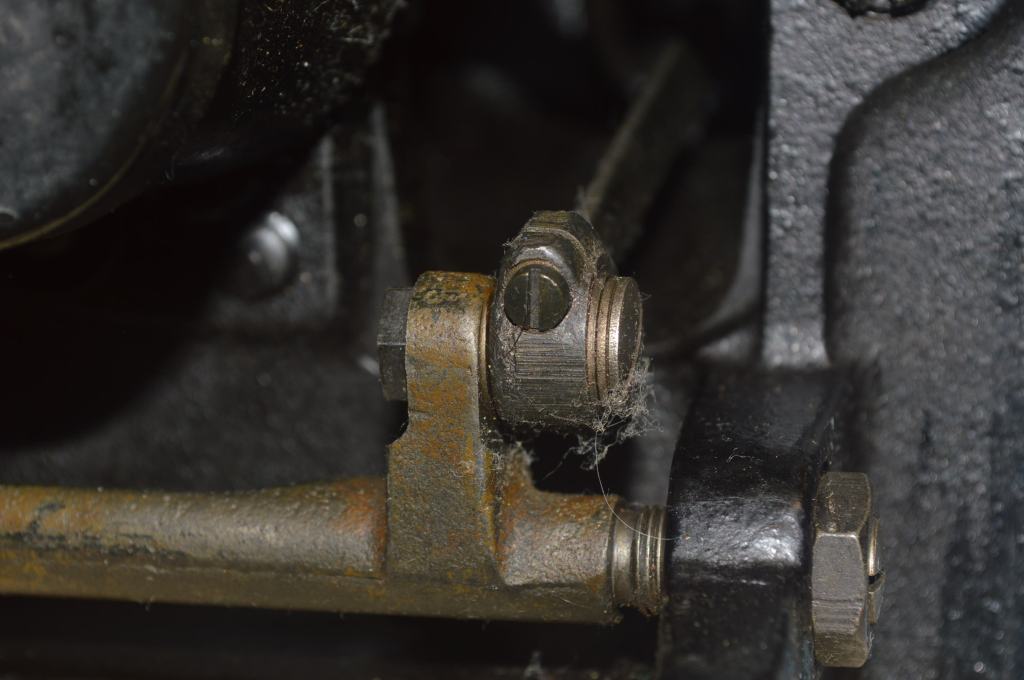
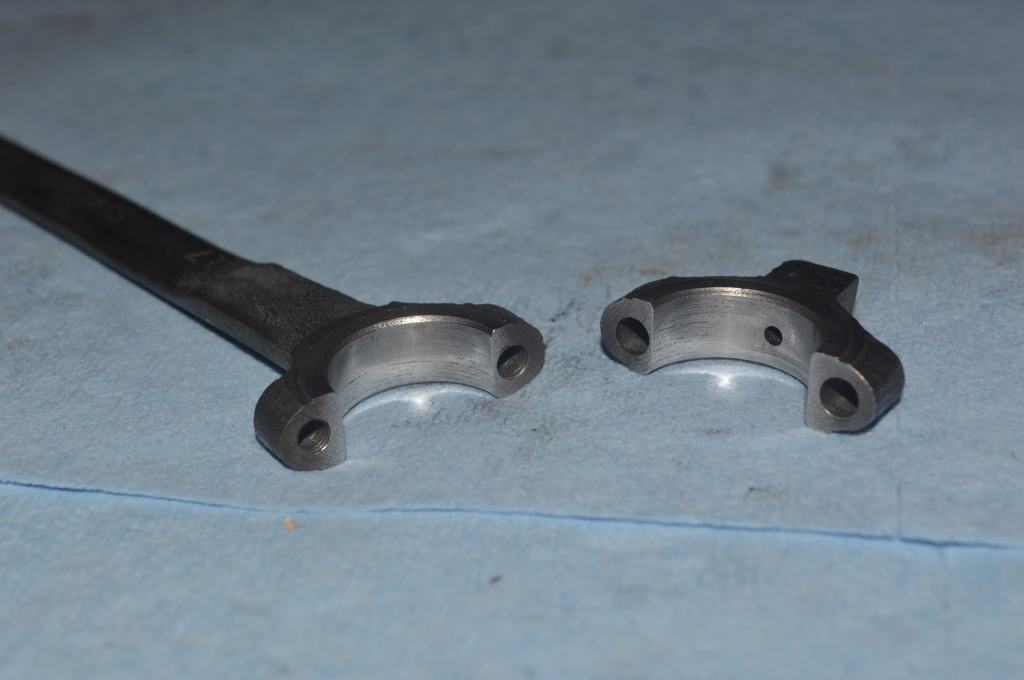
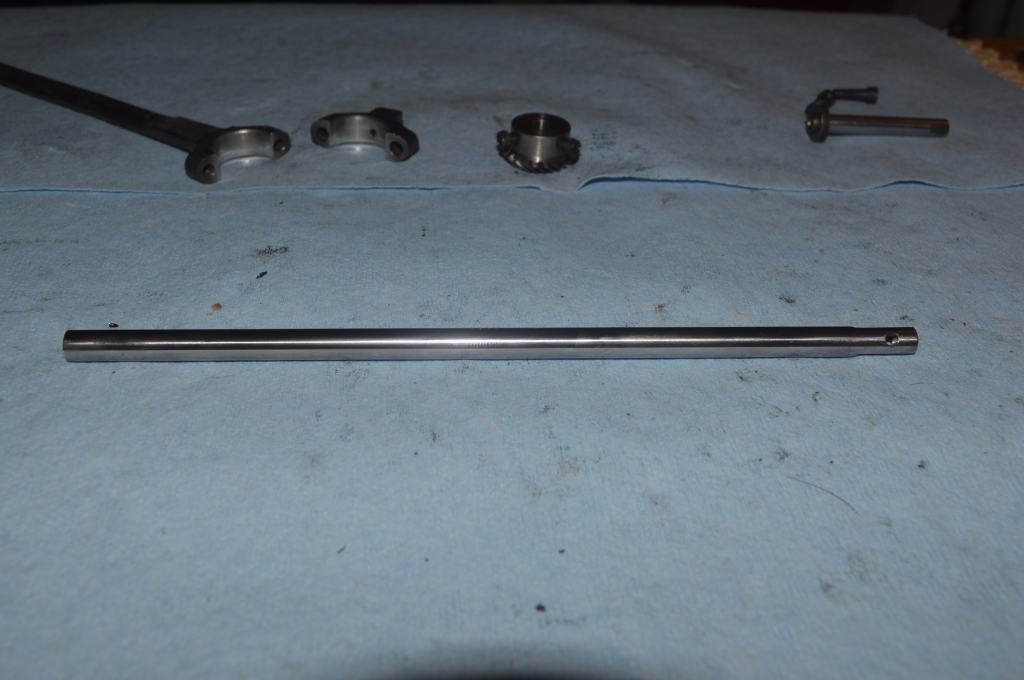
One end of the thread take-up assembly is pinned by the shaft shown in the above picture. It is secured by a small set screw in the body of the machine. On this machine, the set screw was frozen and refused to budge. Despite all attempts to loosen it, it refused to budge. Rather than damage the shaft or linkage trying to remove it, this part will remain in the machine. The cardinal rule in any sewing machine restoration is “do no harm”. If attempting to remove a part ends up damaging it, the repair it harder than it is to leave it alone. Fortunately, this part has minimal rotation in the assembly, and it is easy to clean it in place.
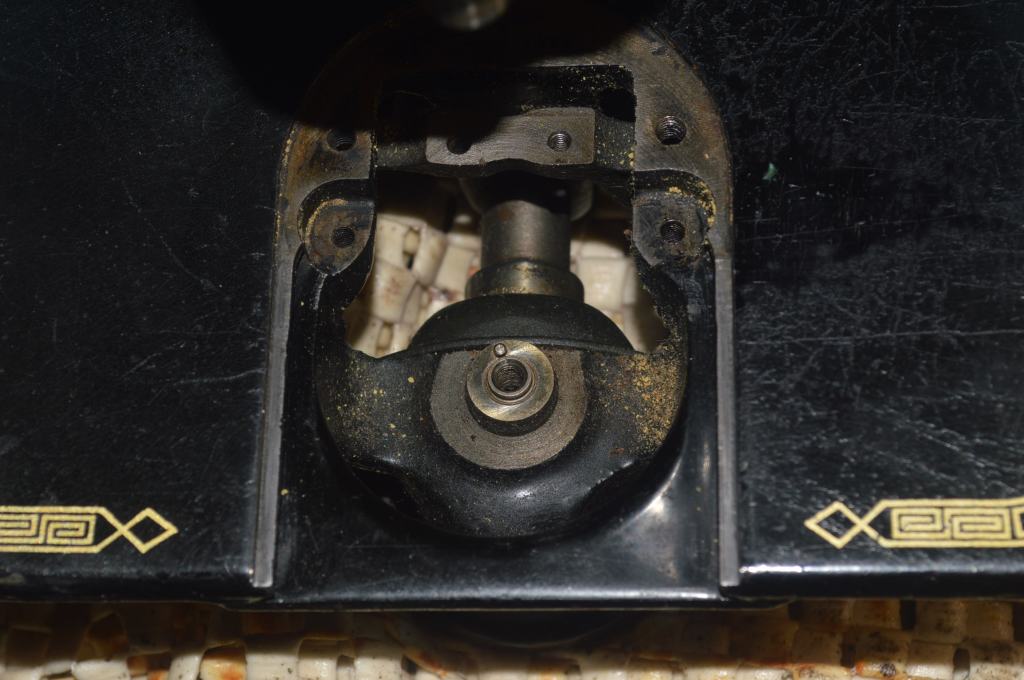
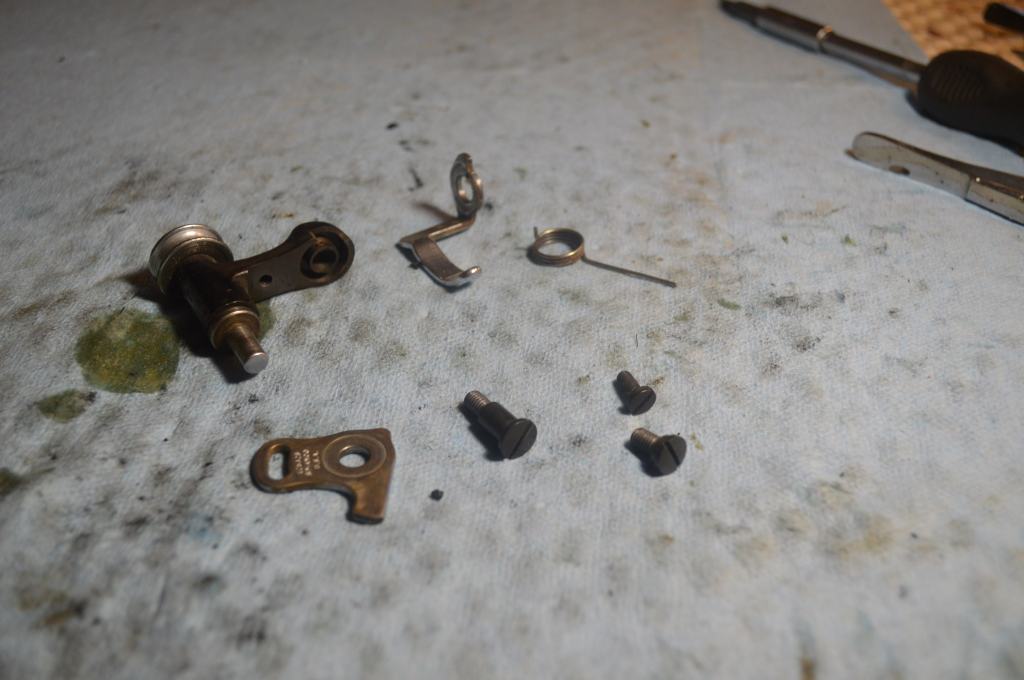
Next, the parts in the bobbin area and underneath the sewing machine bed are removed.

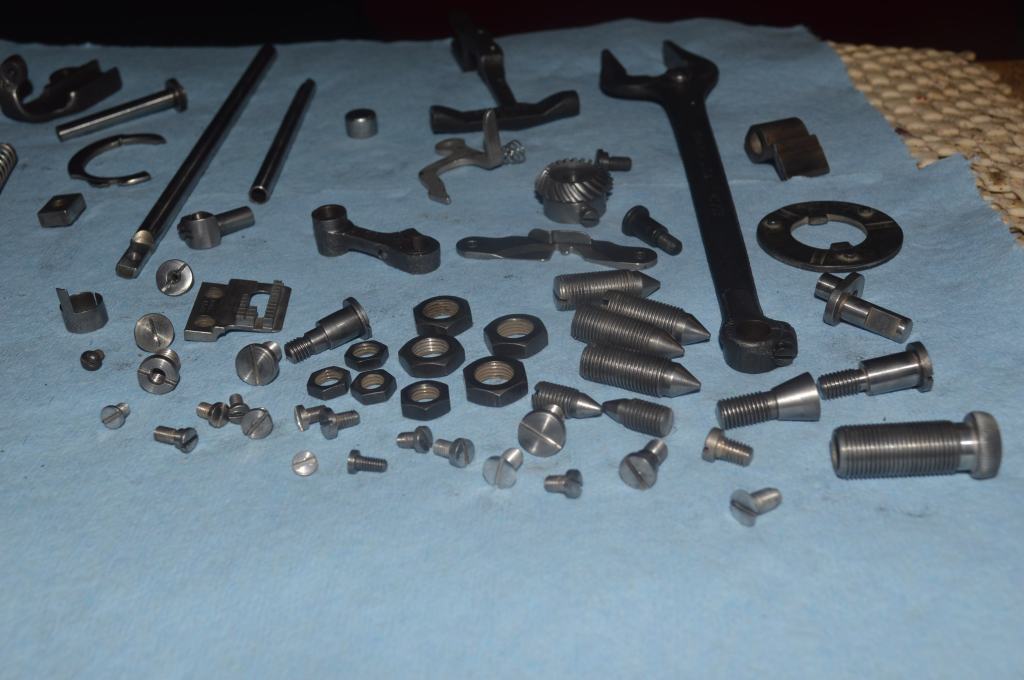
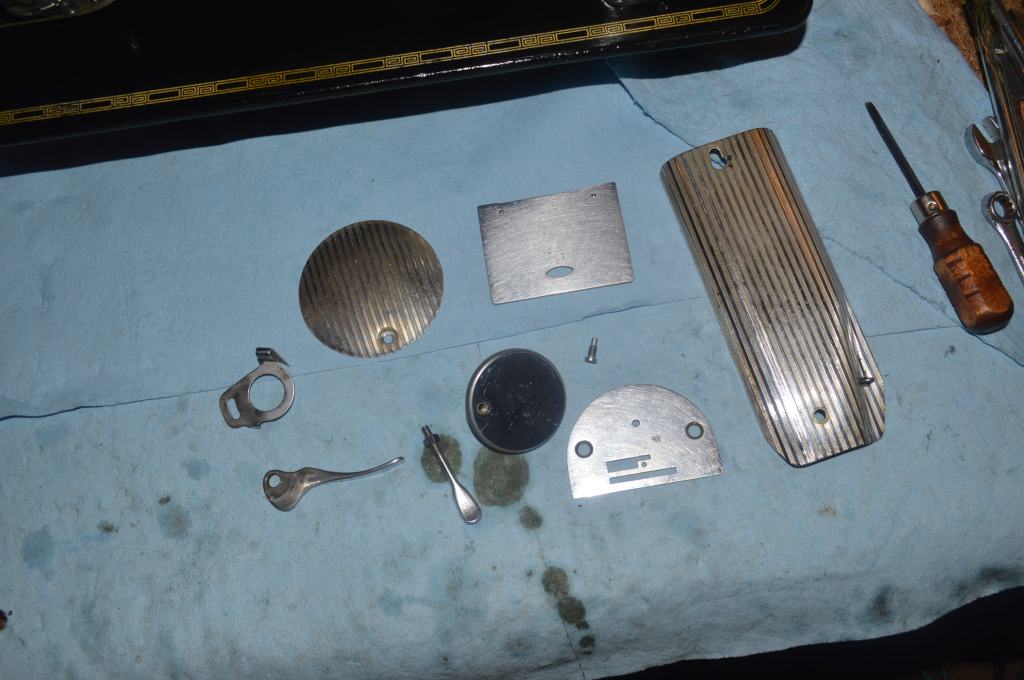
The feed dog rocker assemblies, the stitch length fork, and the connecting rod, along with the stitch length fork guide is removed. These and all of the parts disassembled are laid out for ultrasonic cleaning
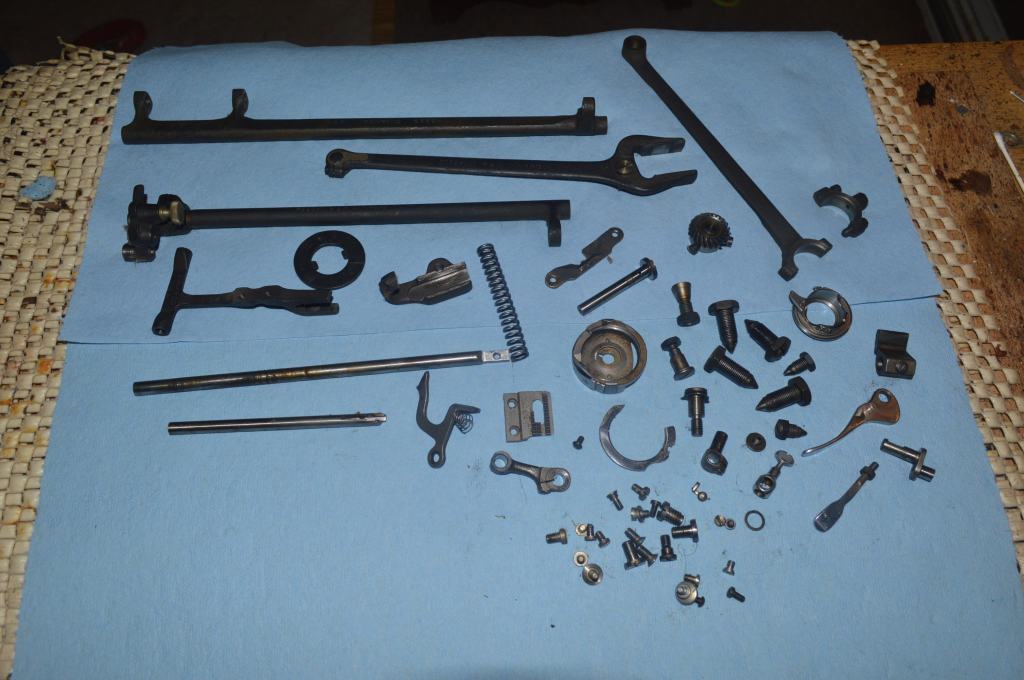
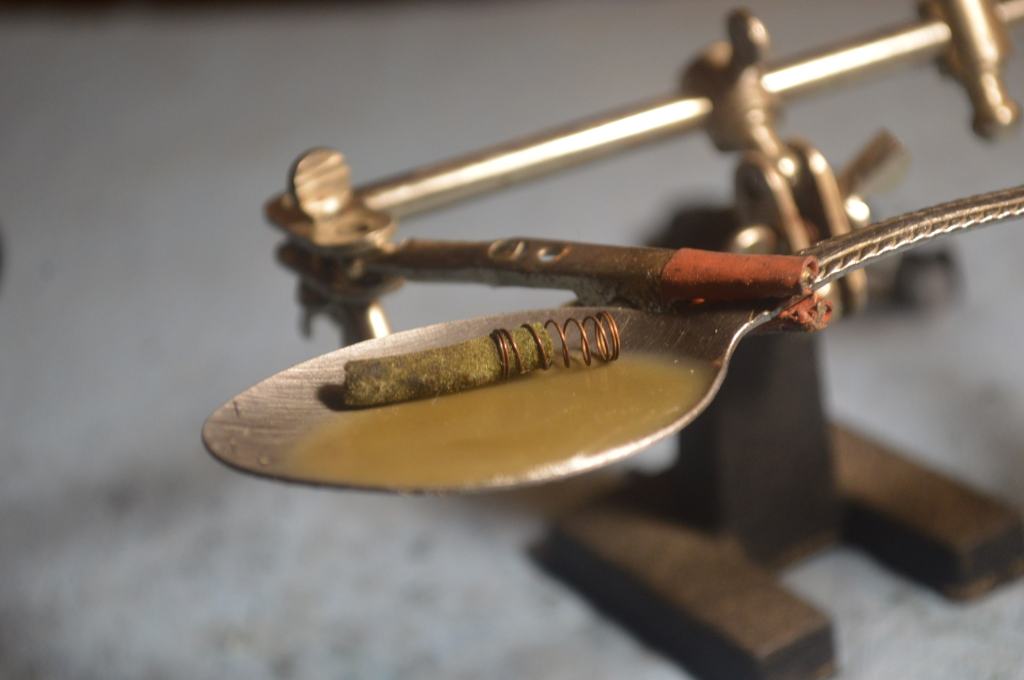
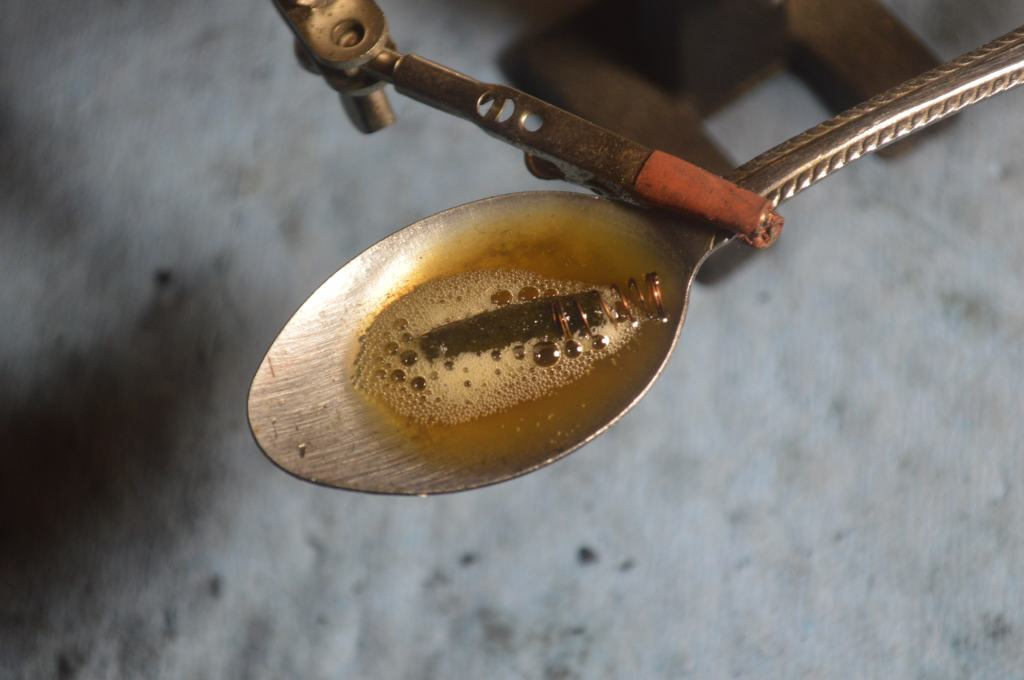
The parts show a fair amount of old oil varnish that must be removed. This coating adds friction and inhibits the smoothness the machine is capable of. After ultrasonic cleaning, the parts are heated in oil to remove any moisture from the ultrasonic cleaning, and the parts are wire brushed to complete the cleaning.
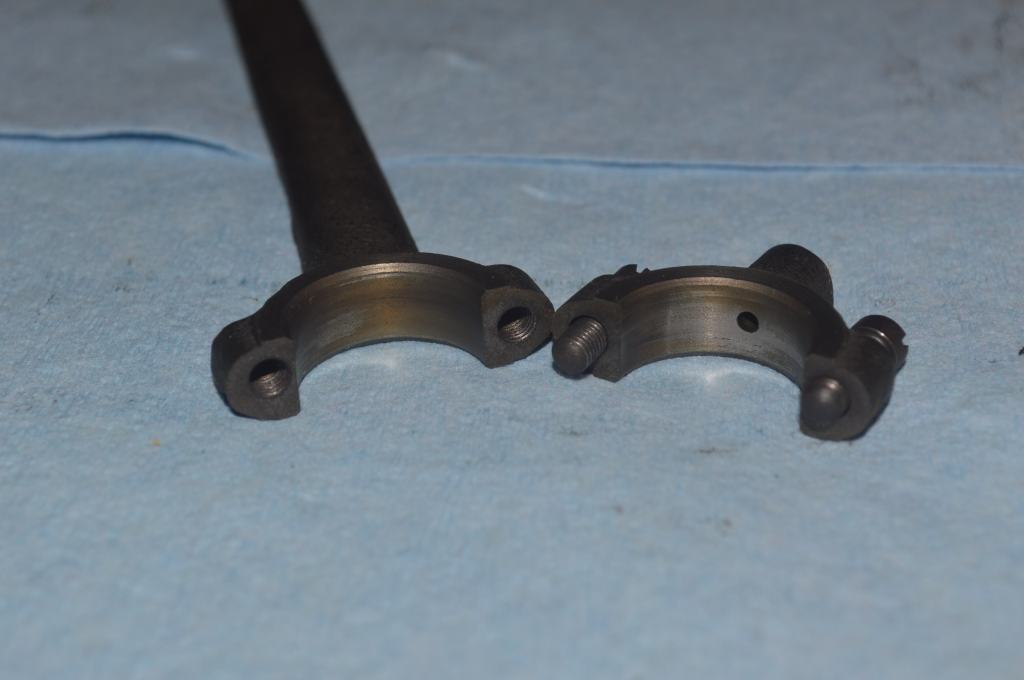
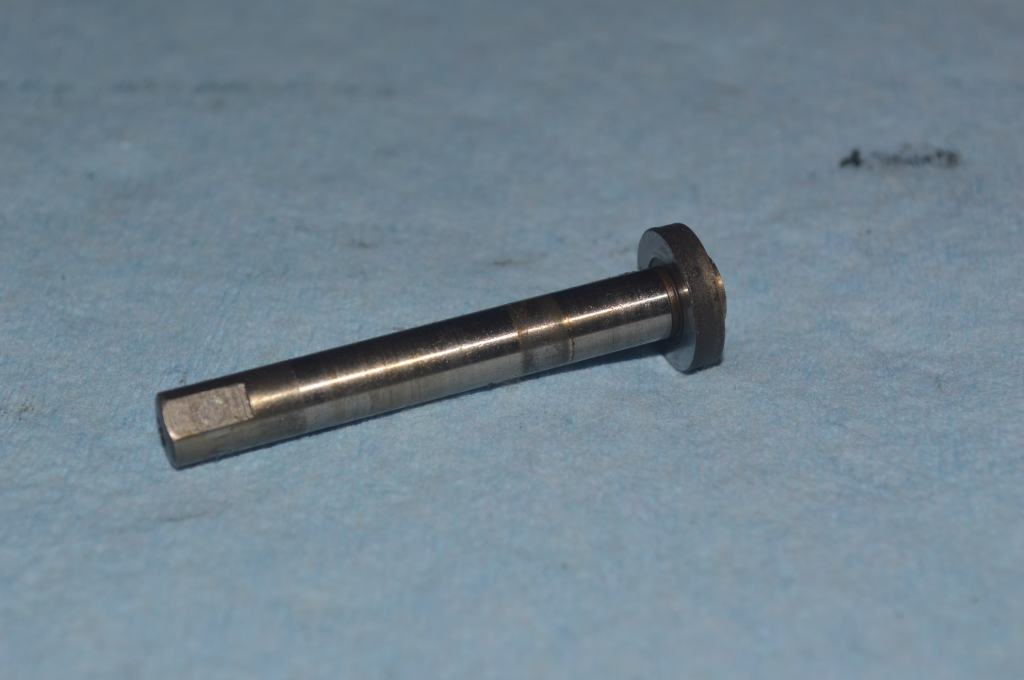
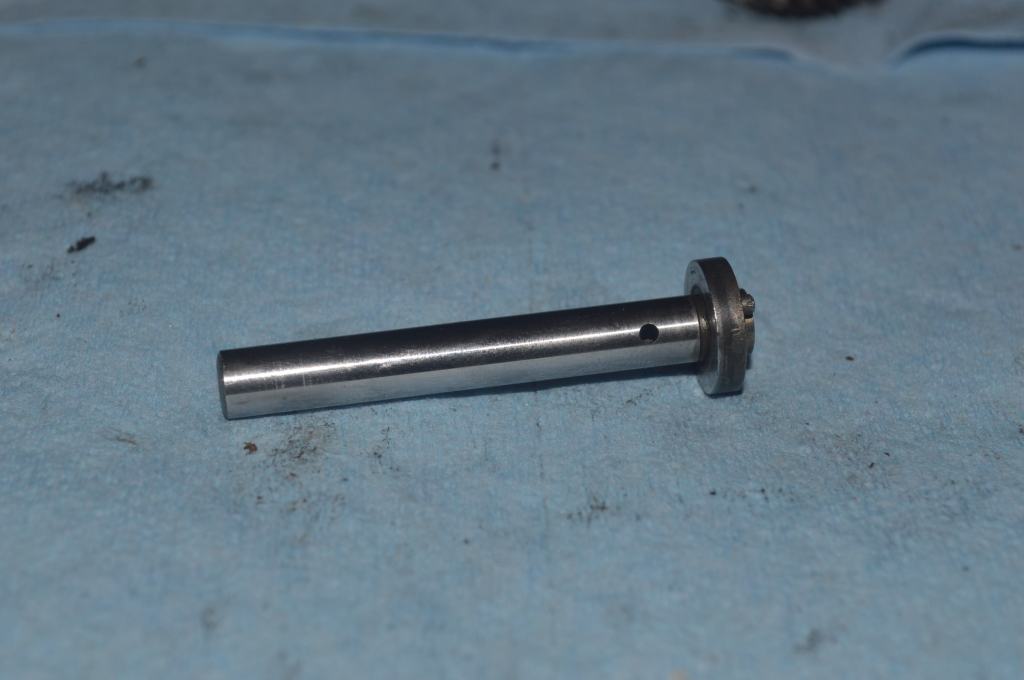
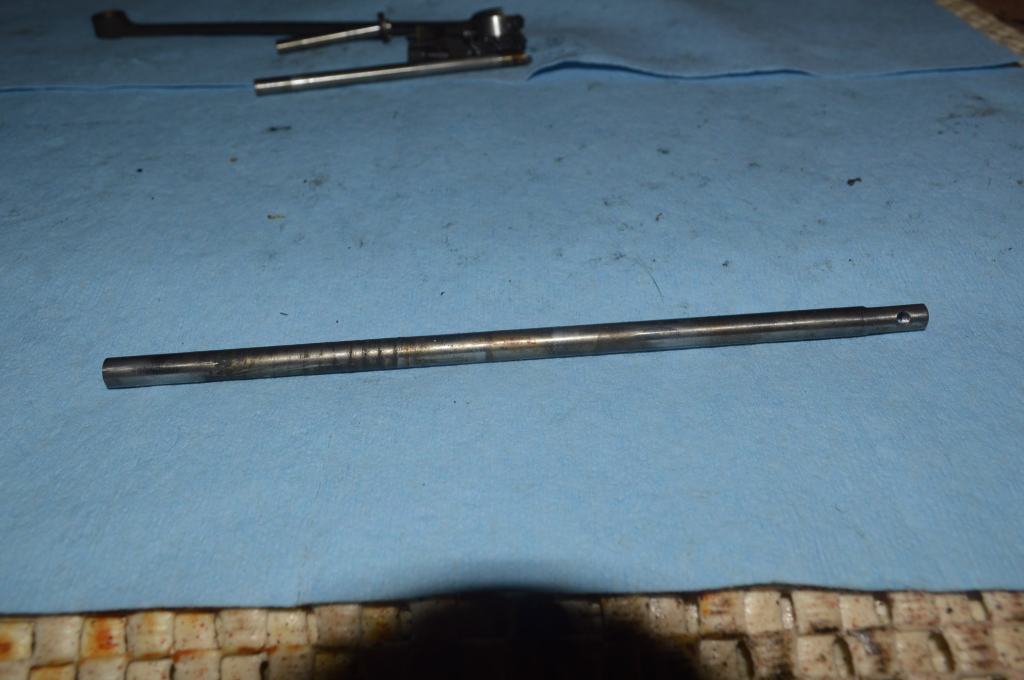
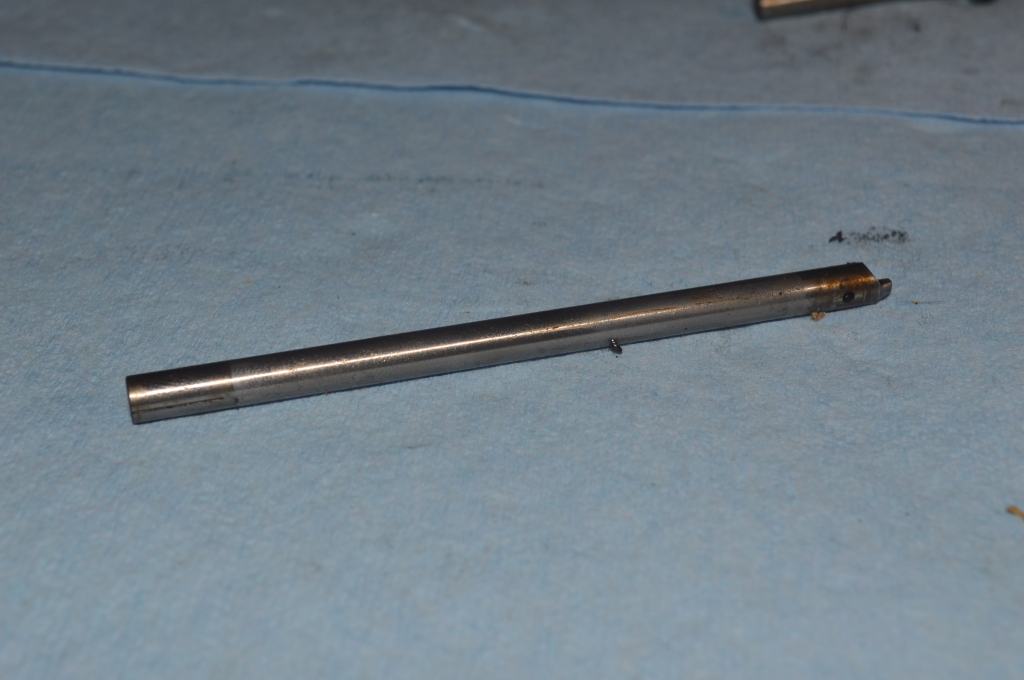
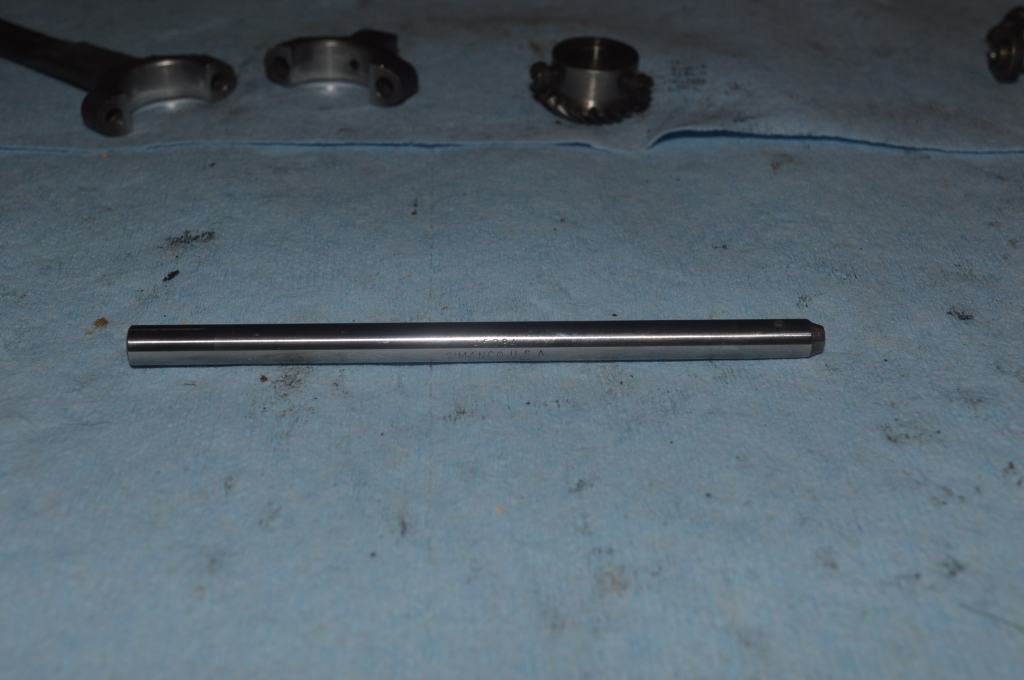
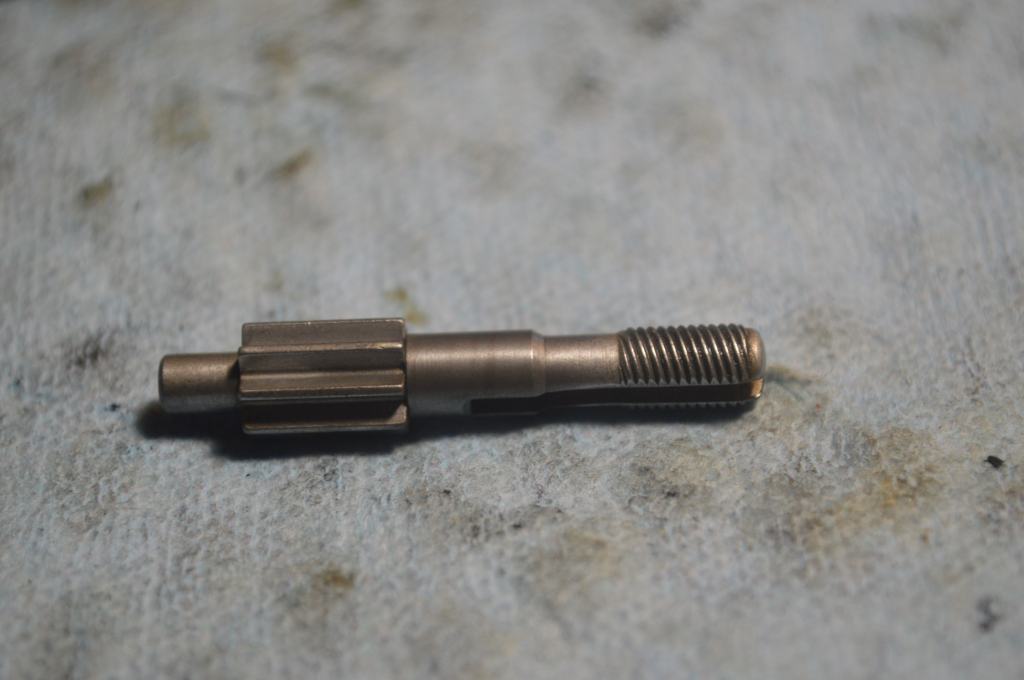
Some parts need an additional step and are polished. These include the needle bar, the presser foot bar, the bobbin case shaft and the connecting rod bearing surface. Side by side, you can see the difference.
After cleaning the parts look like this.

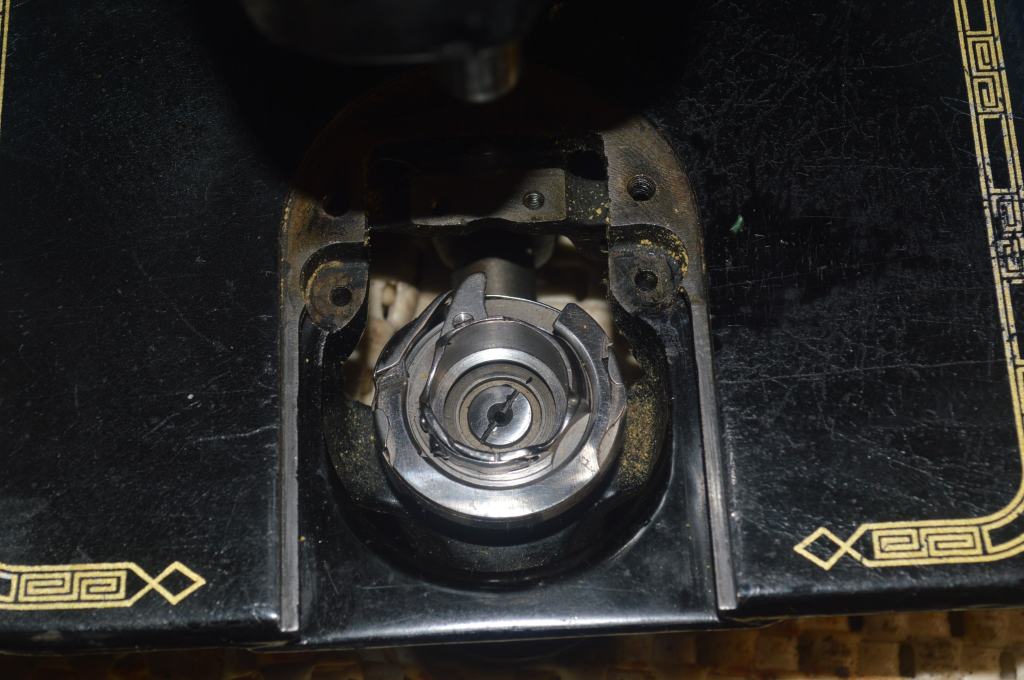
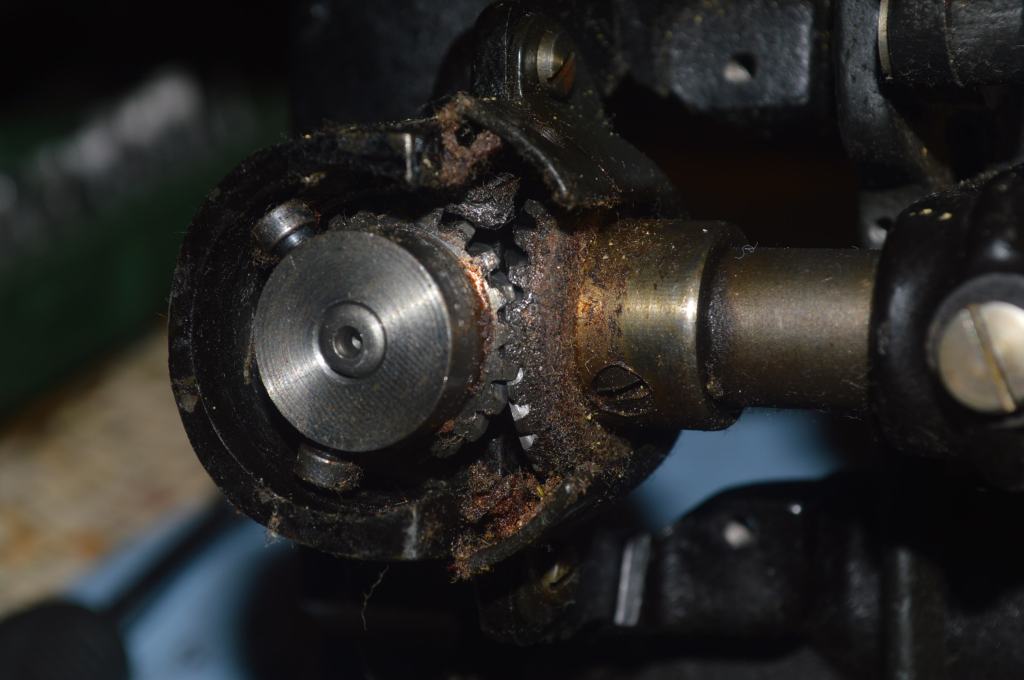
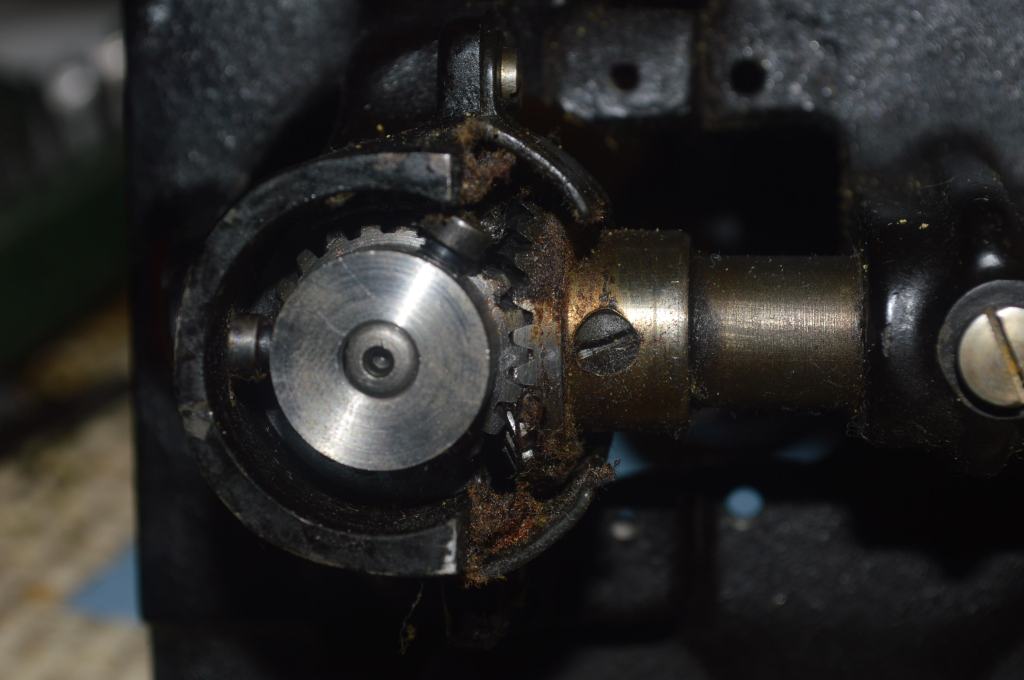
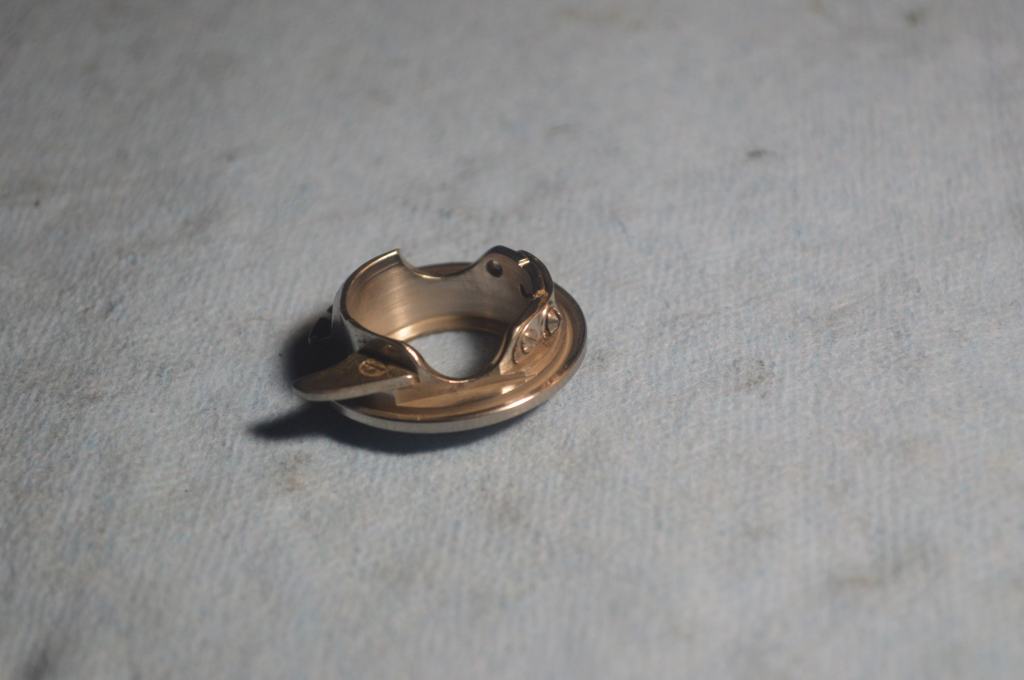
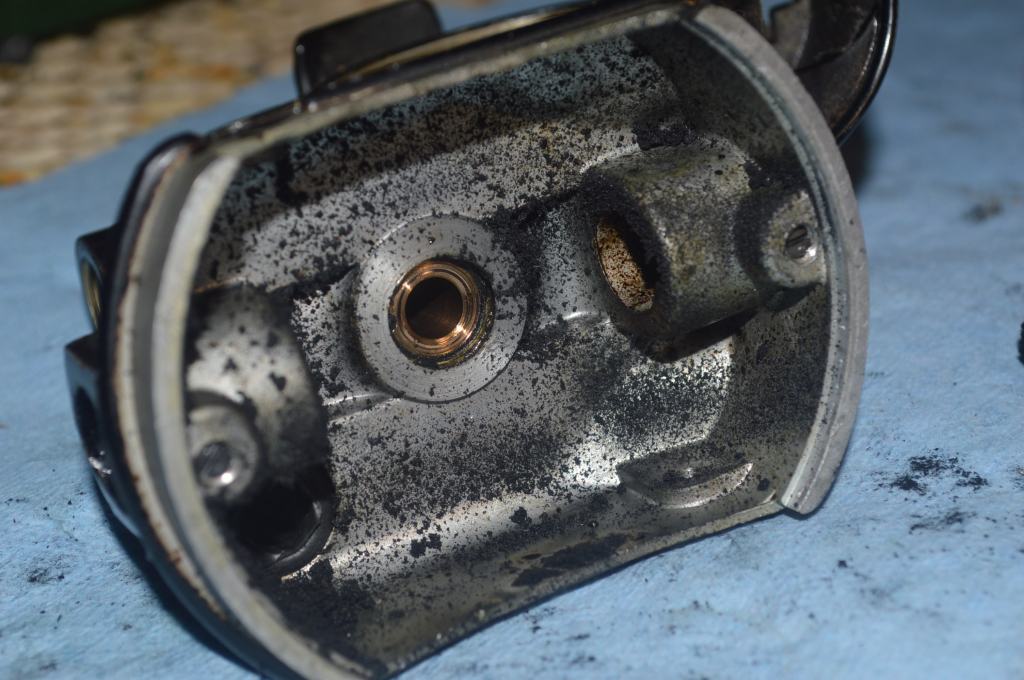
In a 201, the rotary hook assembly and bobbin case must be as clean as possible. The rotary hook design is responsible for the stitch quality, and attention to detail is important. There are covers, nooks, and crannies that collect gunk over decades of use that need to be cleaned… starting with the bobbin case.
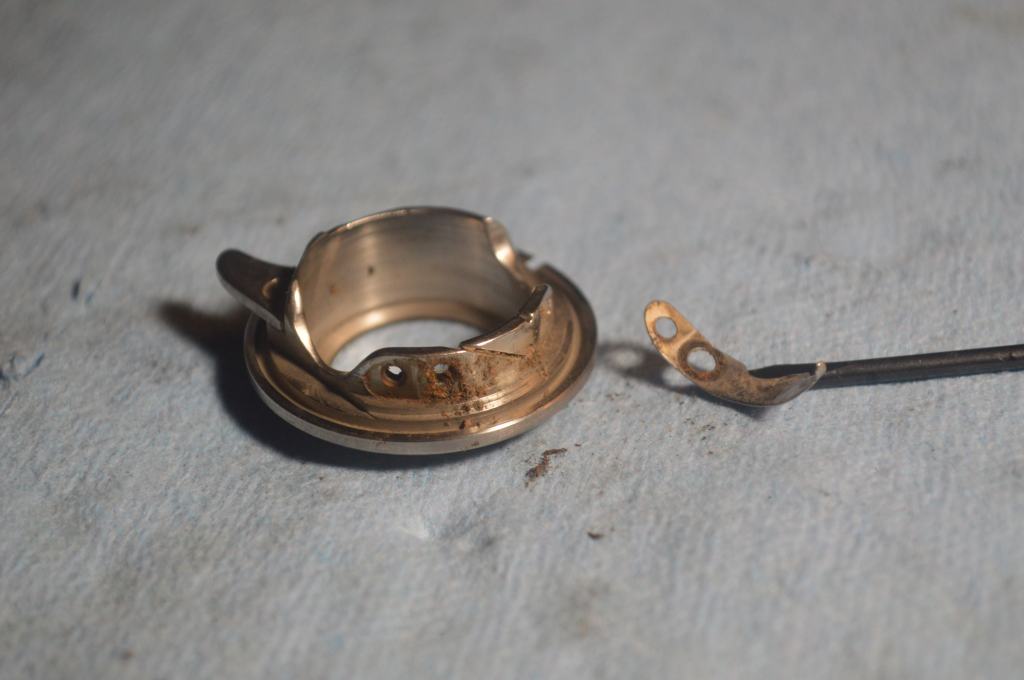
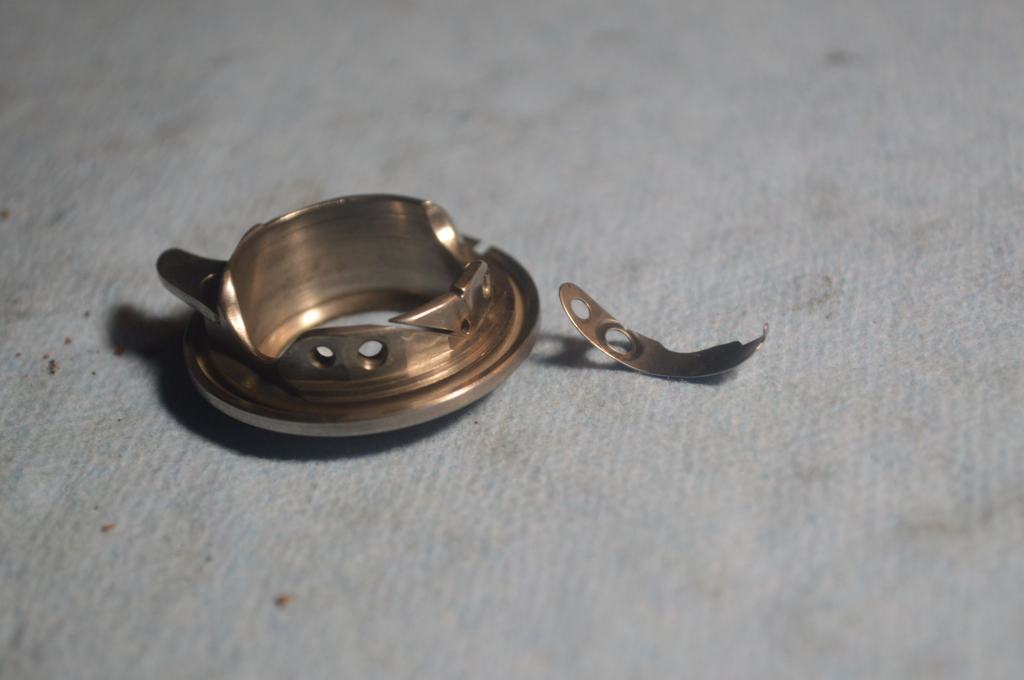
Then the bobbin hook race…
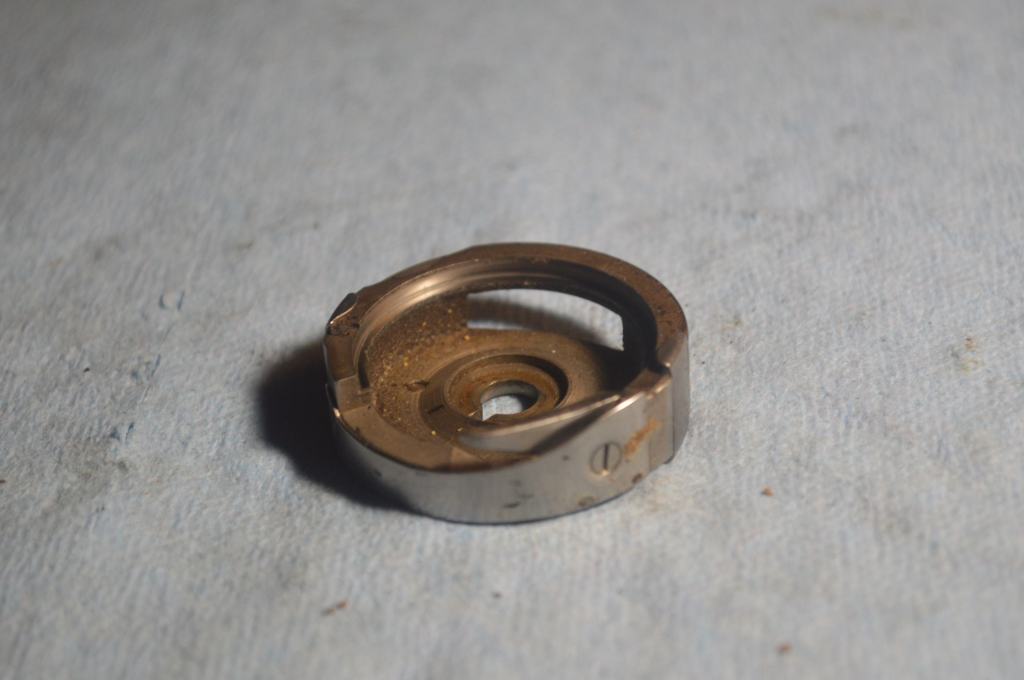
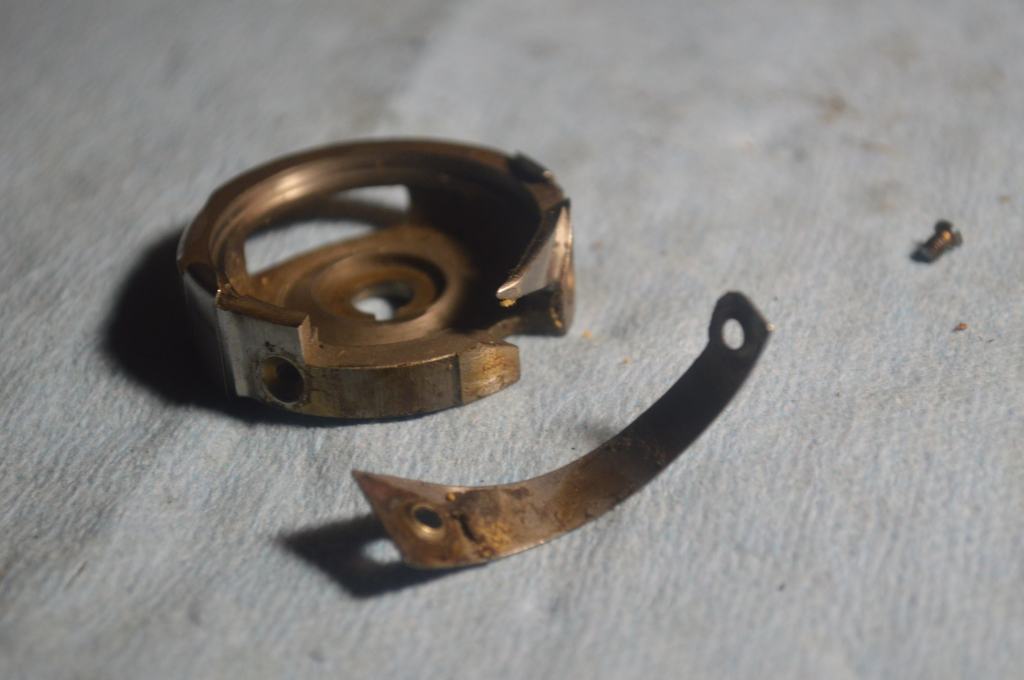
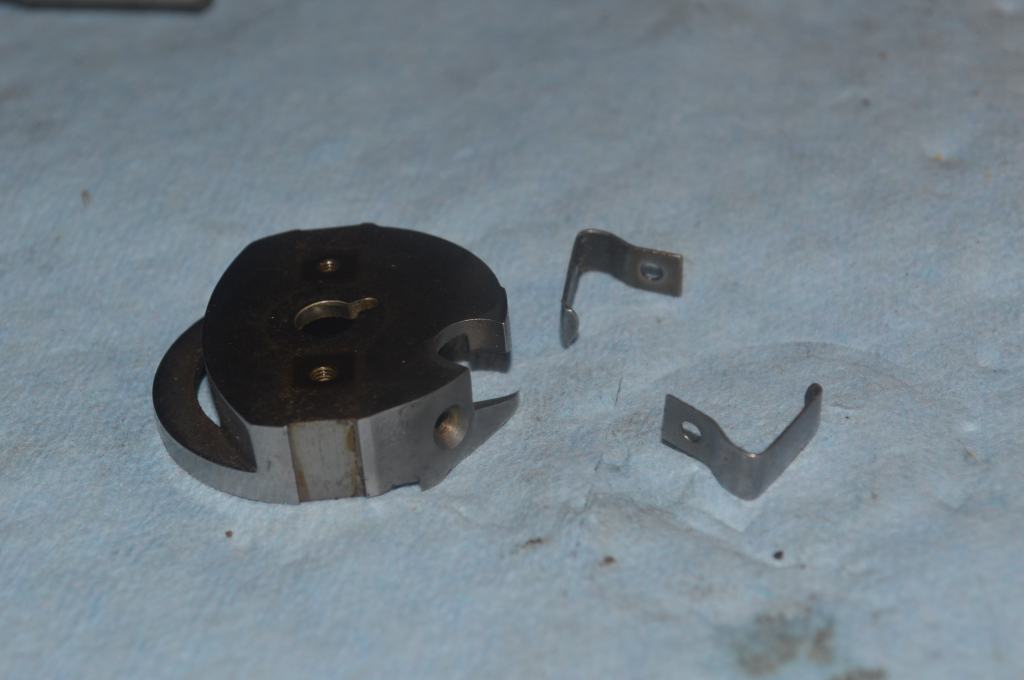

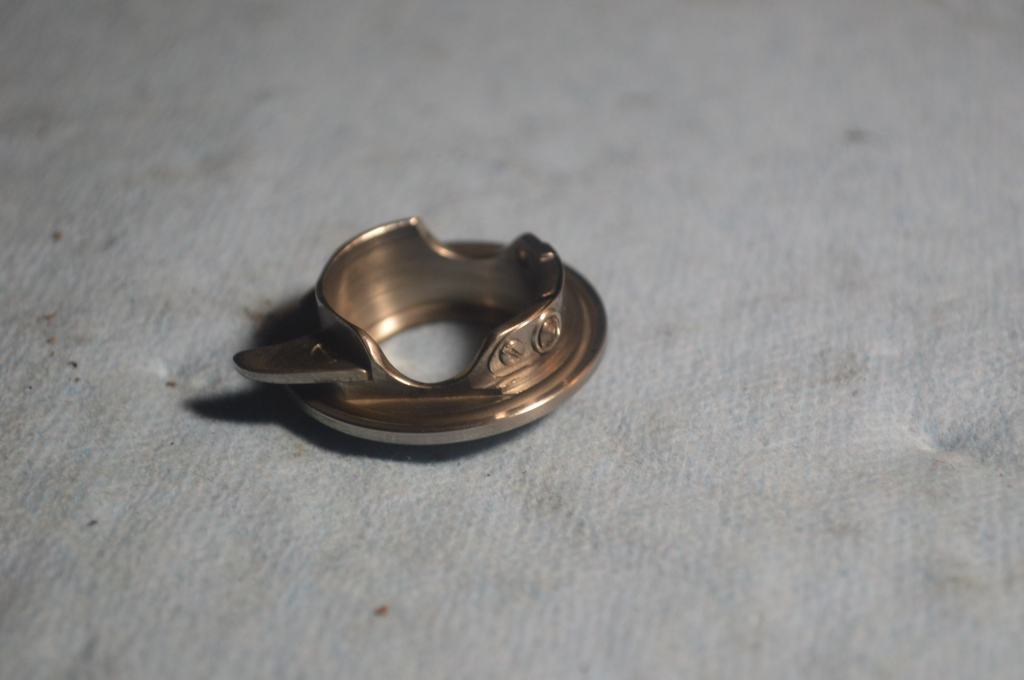
The bobbin case and bobbin hook race was pretty dirty on this machine. There will certainly be an improvement in the bobbin thread tension and stitch quality.
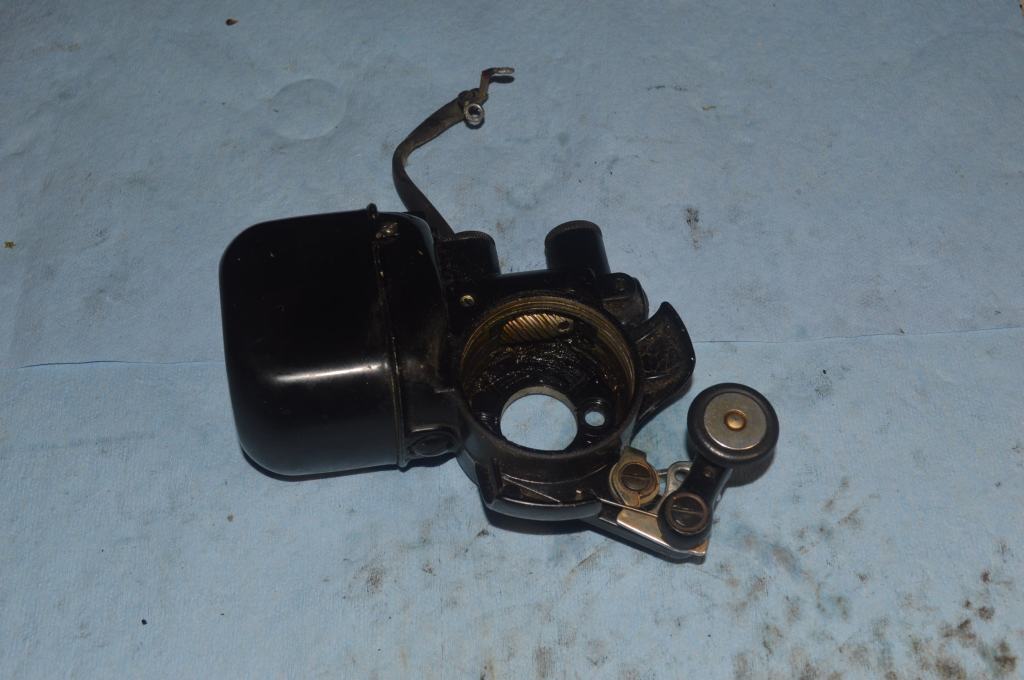
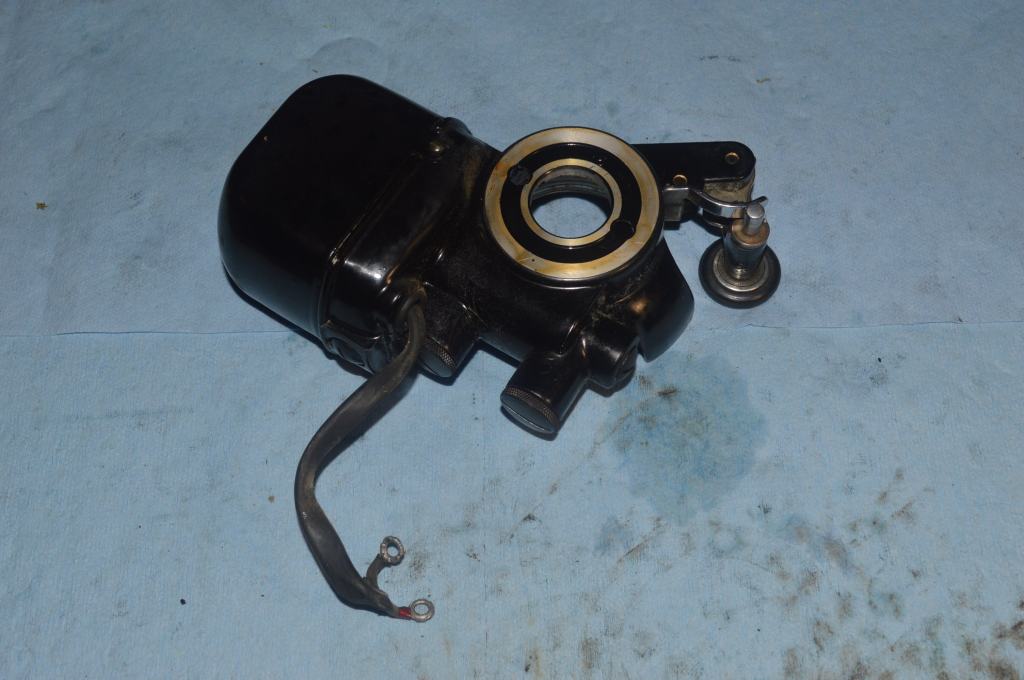
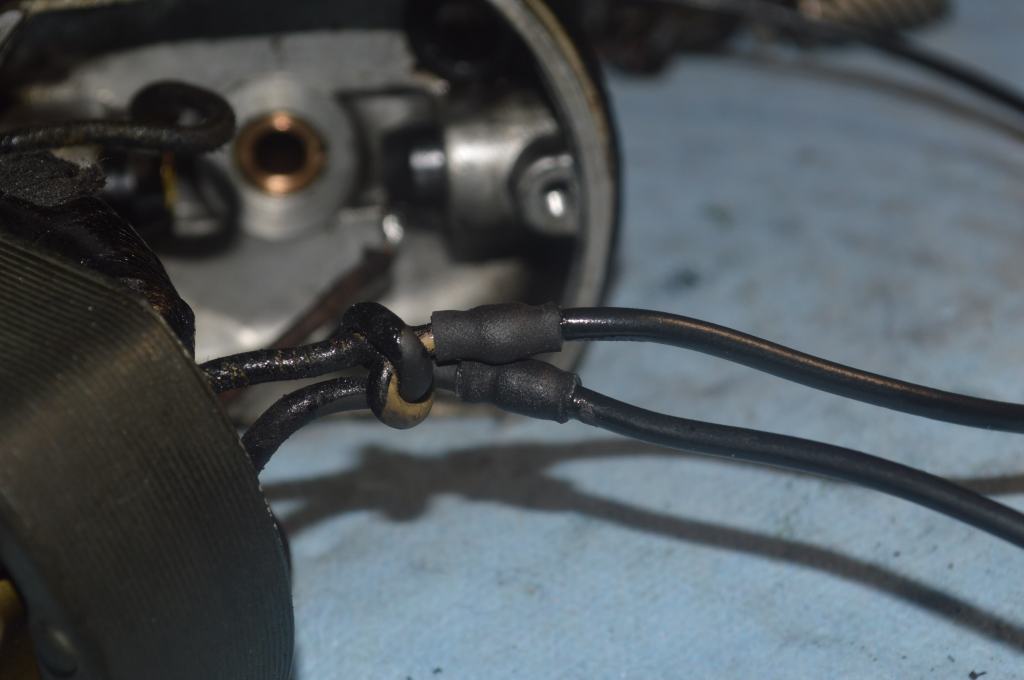
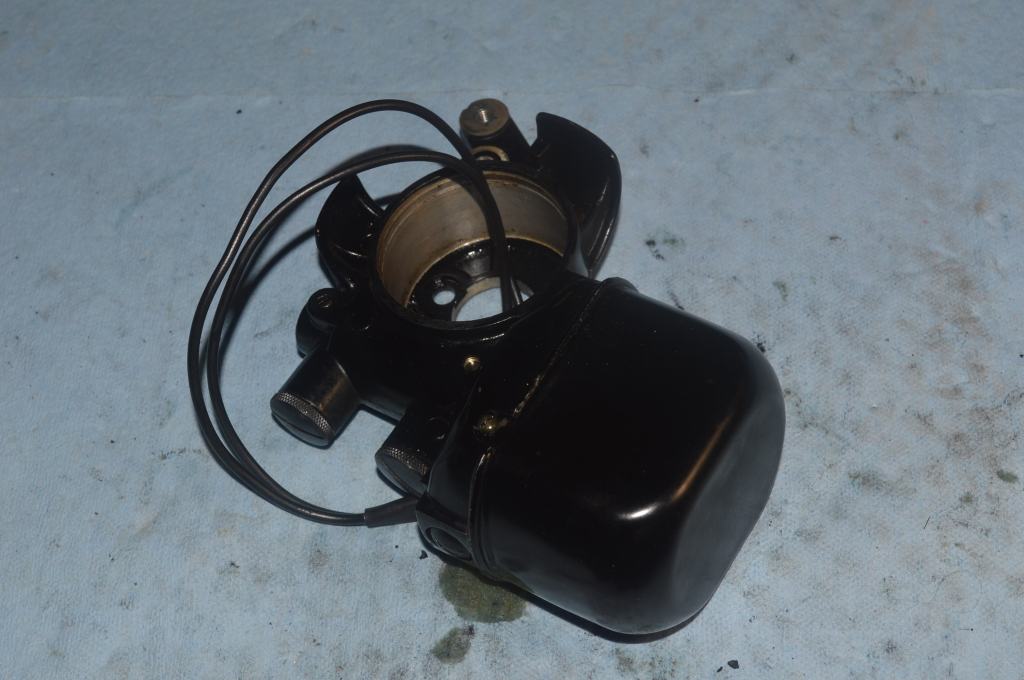
The one unknown in any 201 restoration is the condition of the motor. Is it good or is it bad? I don’t know because I don’t attempt to run the motor before restoring it. Why? 99% of the time the main power leads are cracked and the condition of the armature and brushes is unknown. The motor is going to be completely disassembled and cleaned, the armature and shafts are going to be polished, the wicks are going to be cleaned, and the brushes are going to be reconditioned. I will know if the motor is good only after it is restored. Due to the quality of these motors, I am confident it will run just fine. If not, it will be a bad motor in extremely good condition! Here is the process shown in pictures.
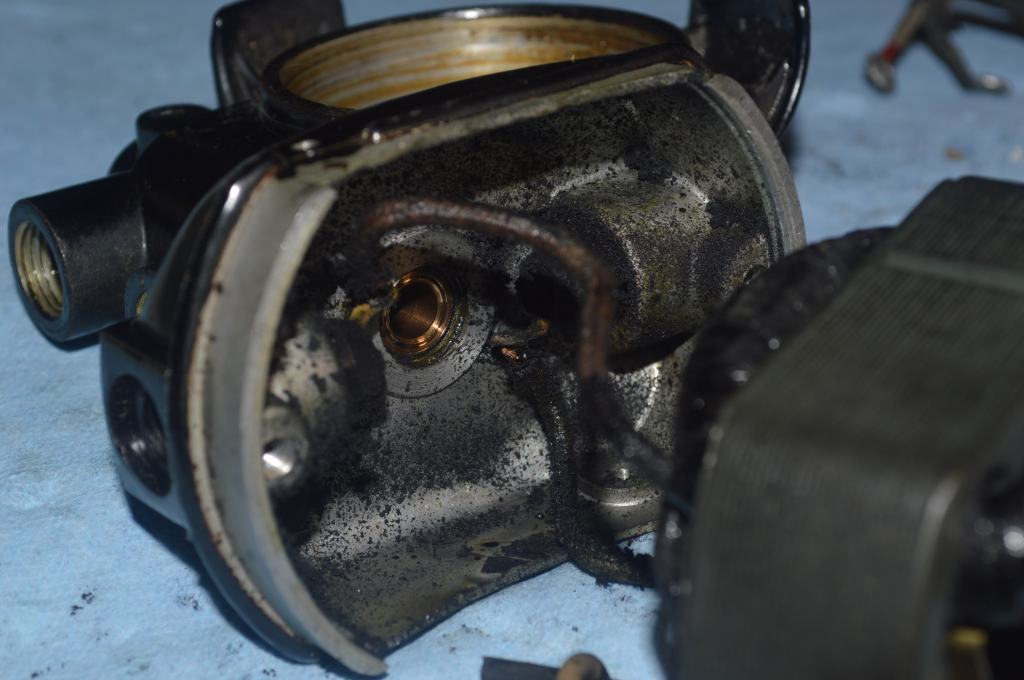
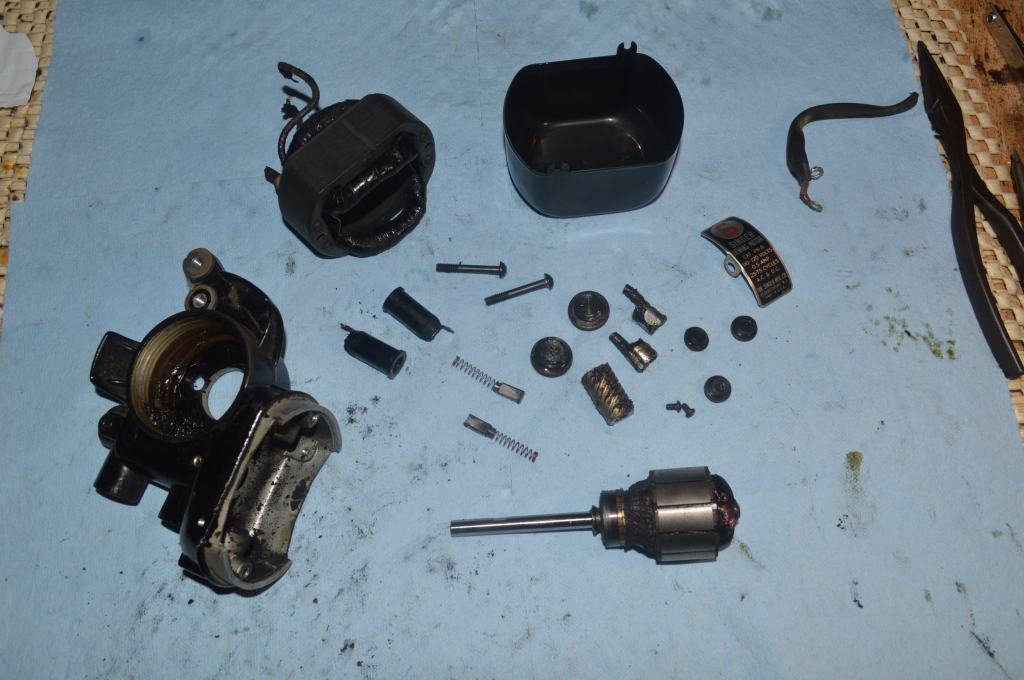
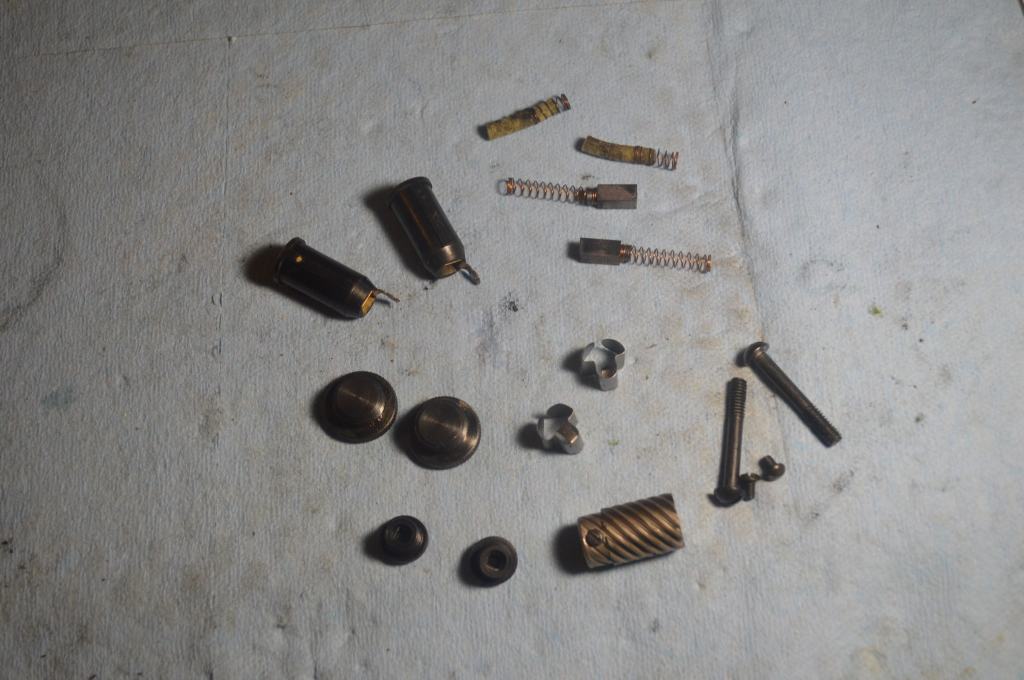
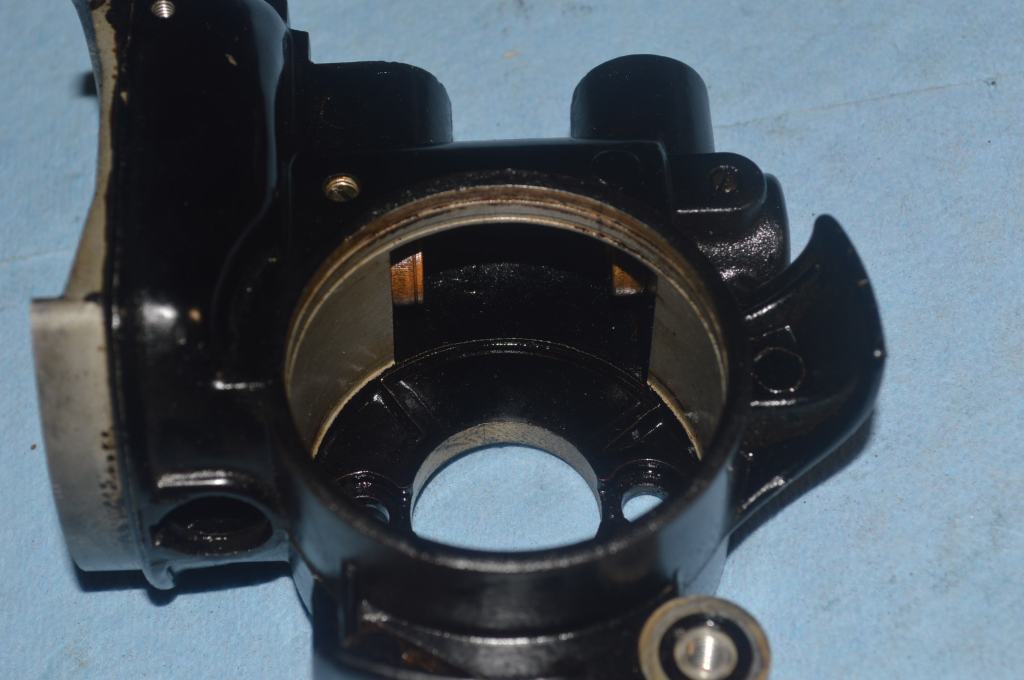
The restoration process begins with completely cleaning all of the motor bits and pieces.
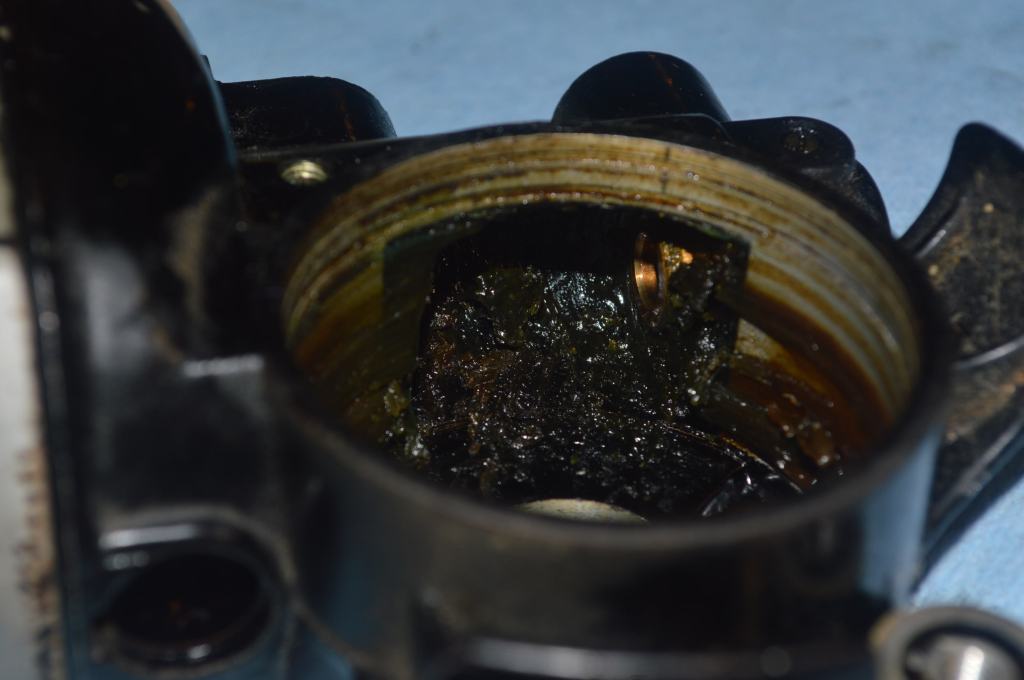
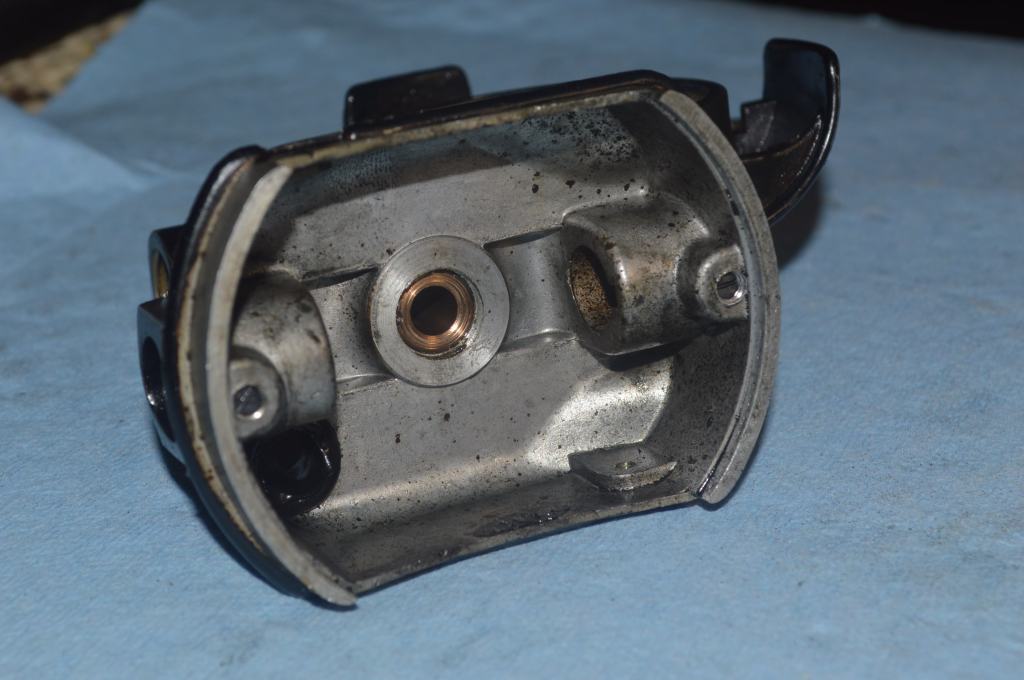
The old grease and residue from the motor housing is removed.
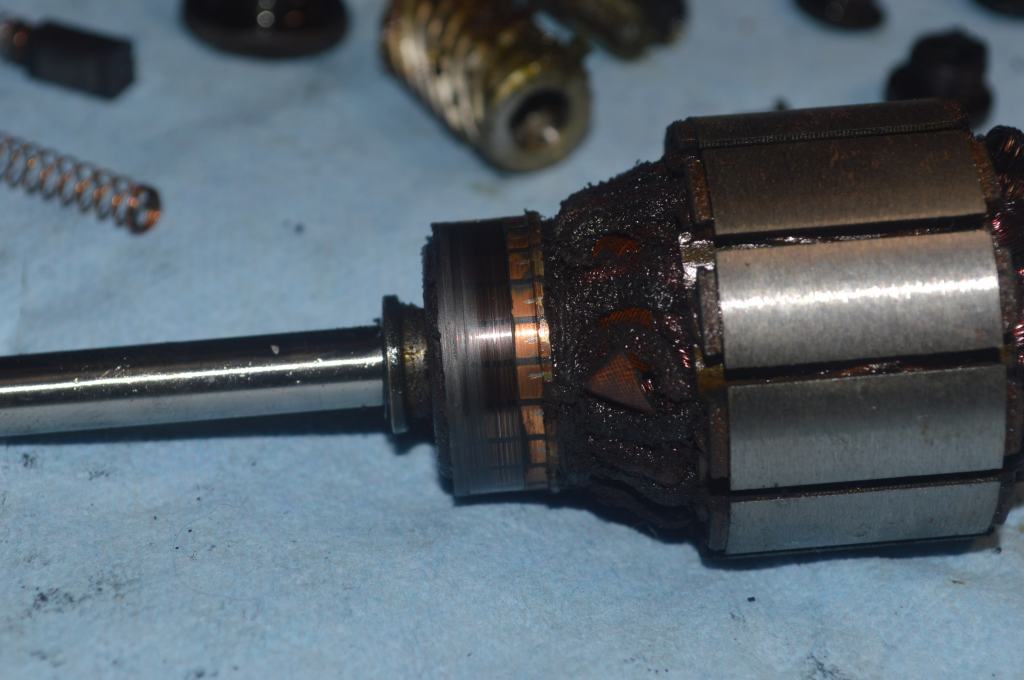
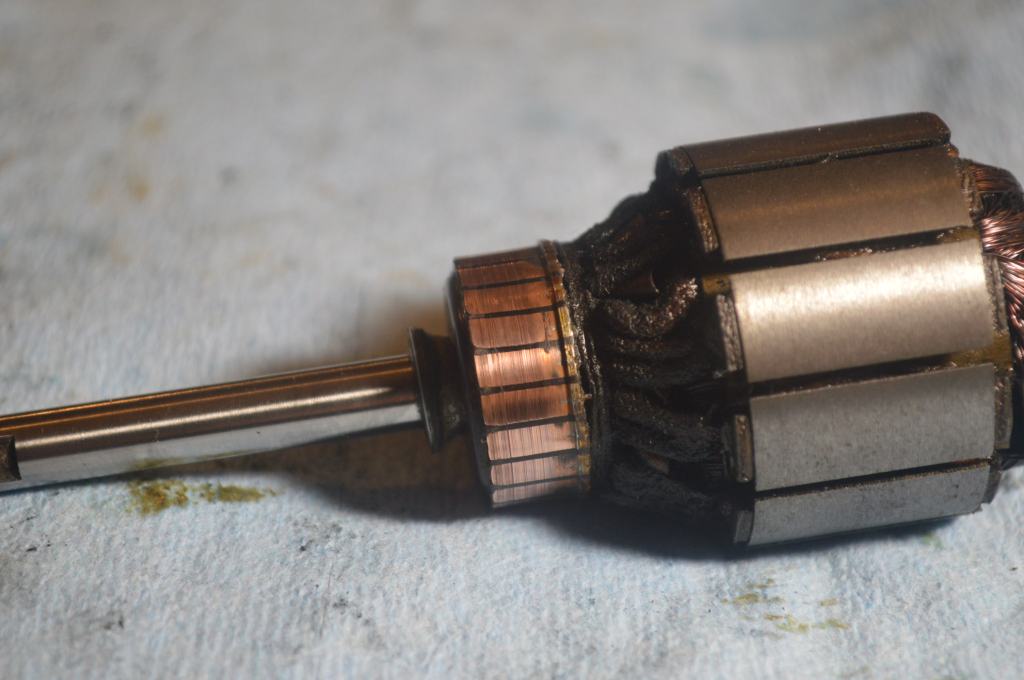
the armature and shafts are polished.
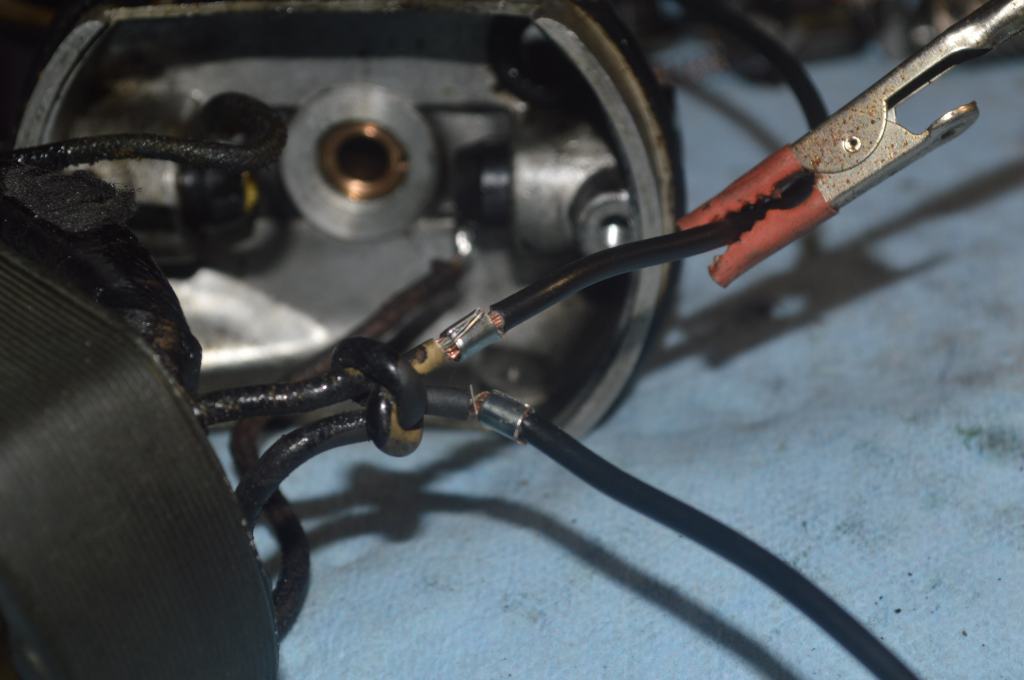
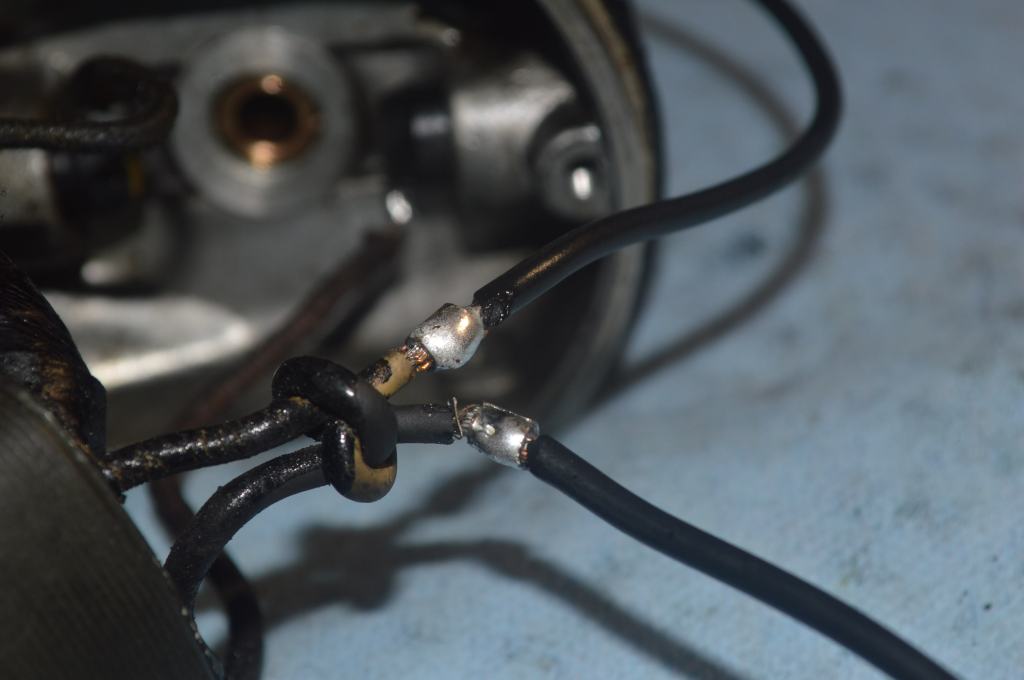
the brush tubes are cleaned and resoldered to the field coil, and the new power wires are soldered to replace the old wires
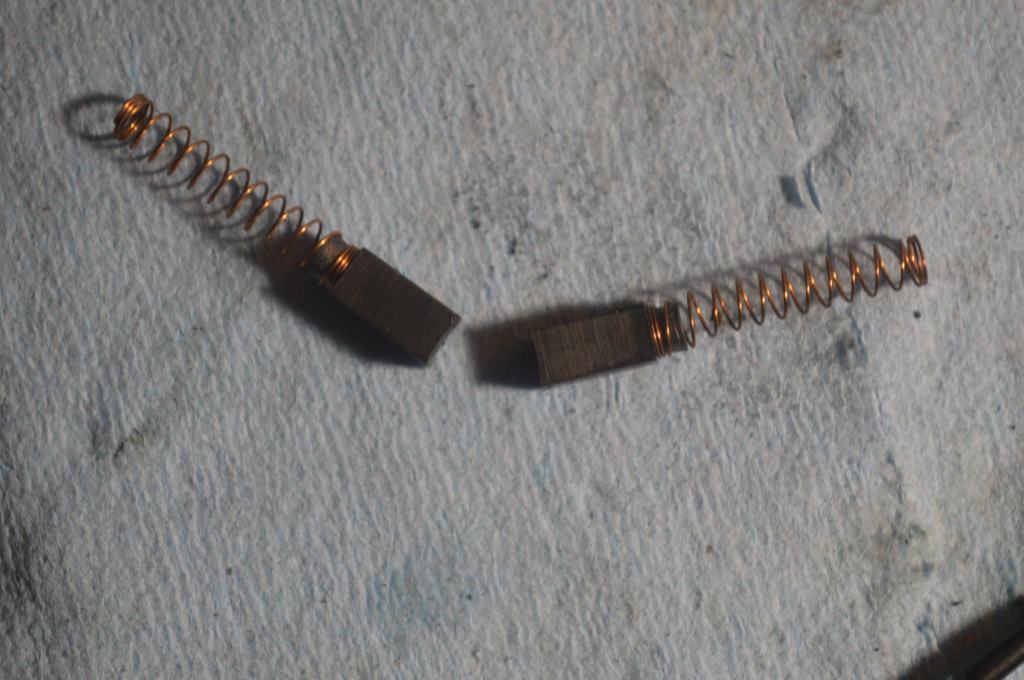
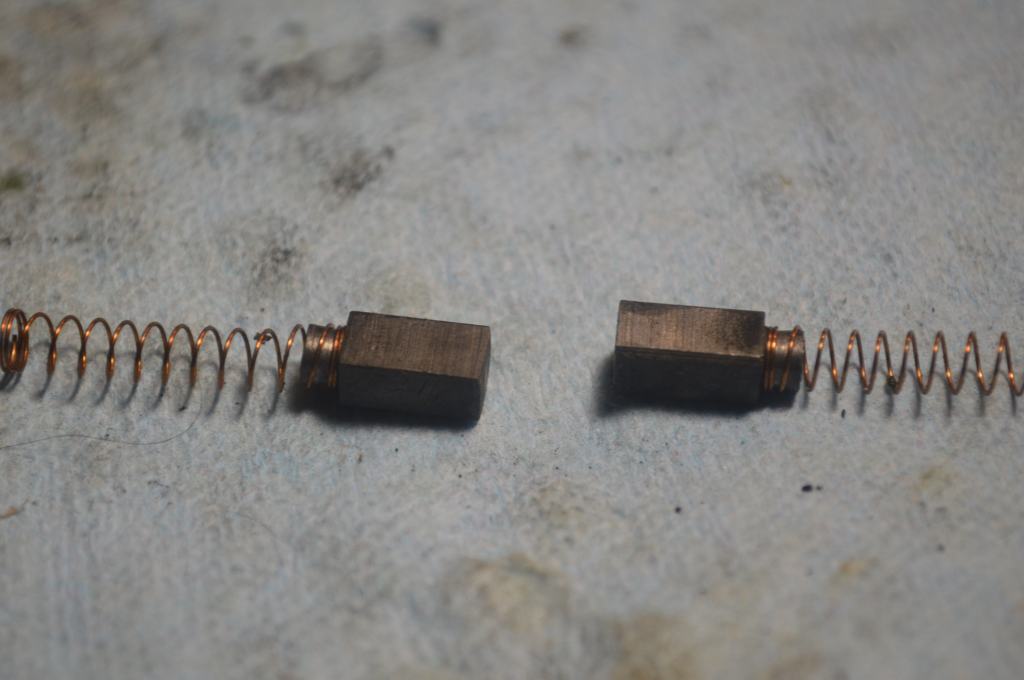
The brushes are reconditioned
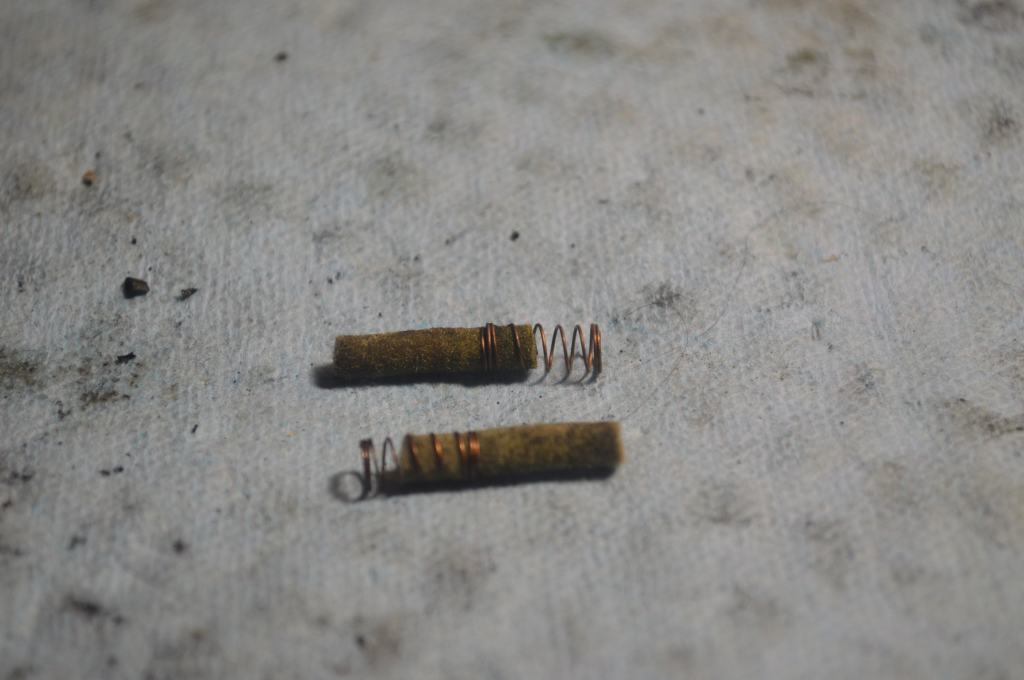
After cleaniing, the wicks are recharged with grease.
Then, there was a diversion. I have a young but attentive student observing each step of this process. She stopped in to check my progress and offer assistance… her name is Pepper.

Concentrating on the task at hand, the motor is reassembled.
Only now will I know if it runs… and run it does! It is smooth, quiet, and quite powerful. But then, I kinda knew it would.
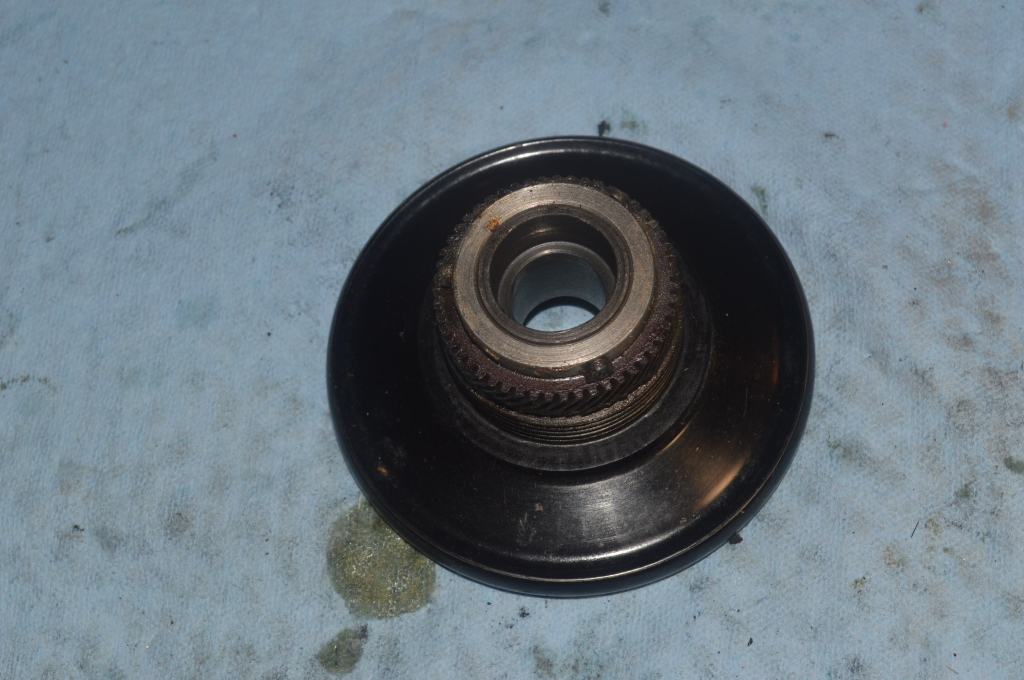
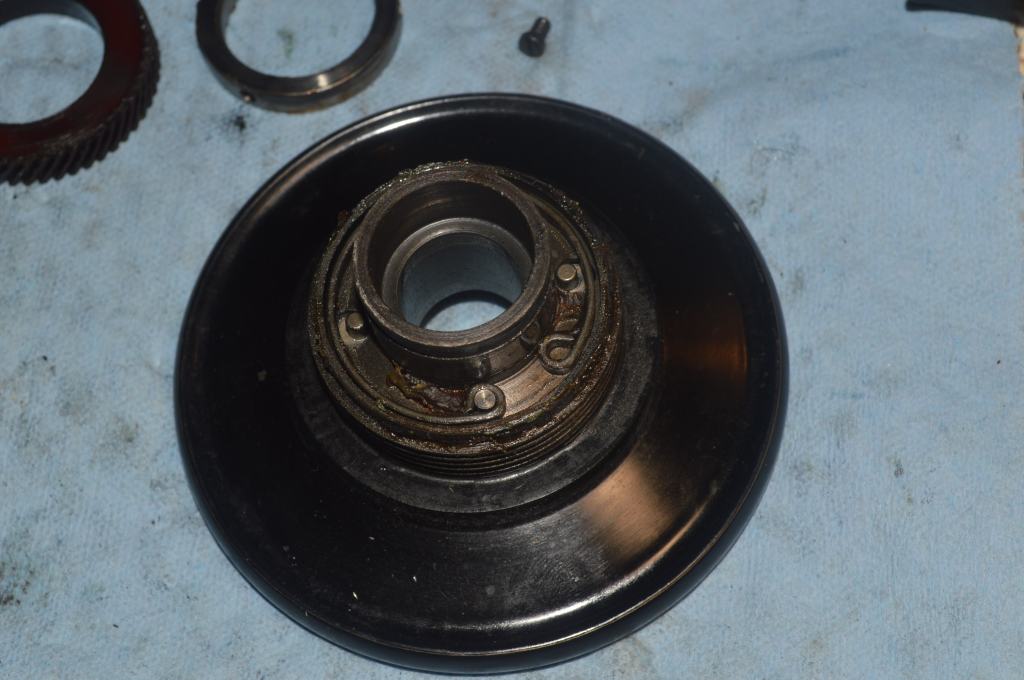
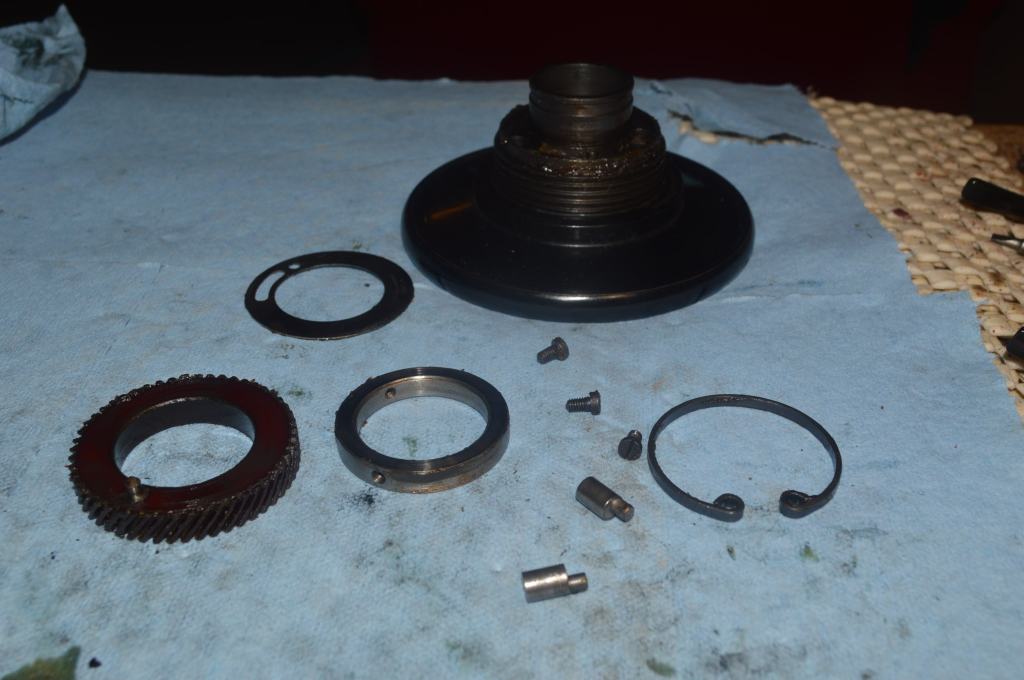
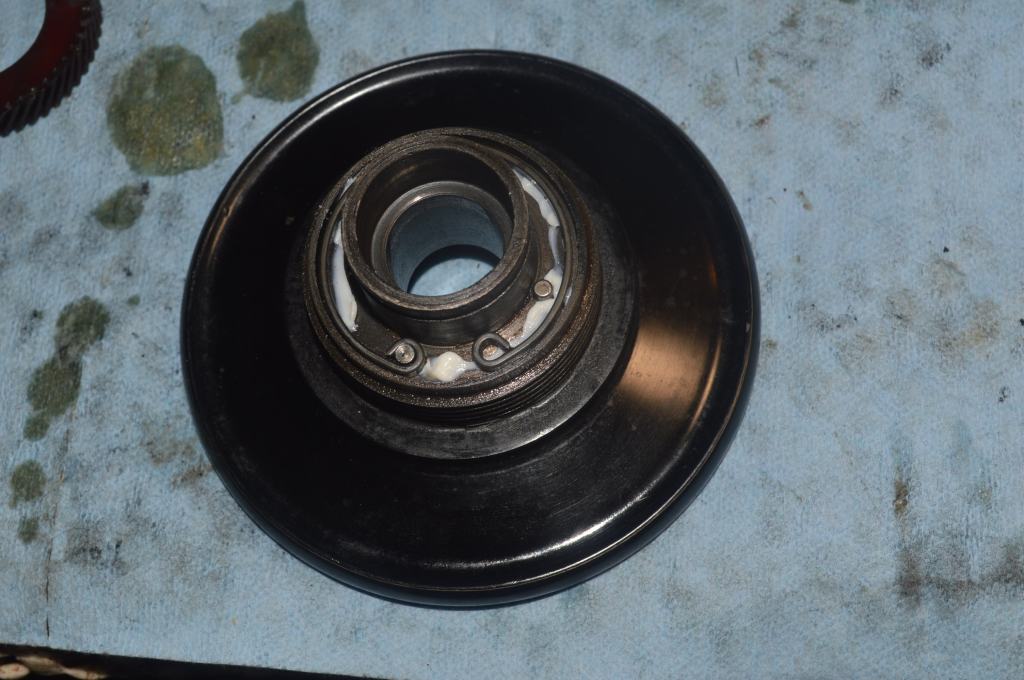
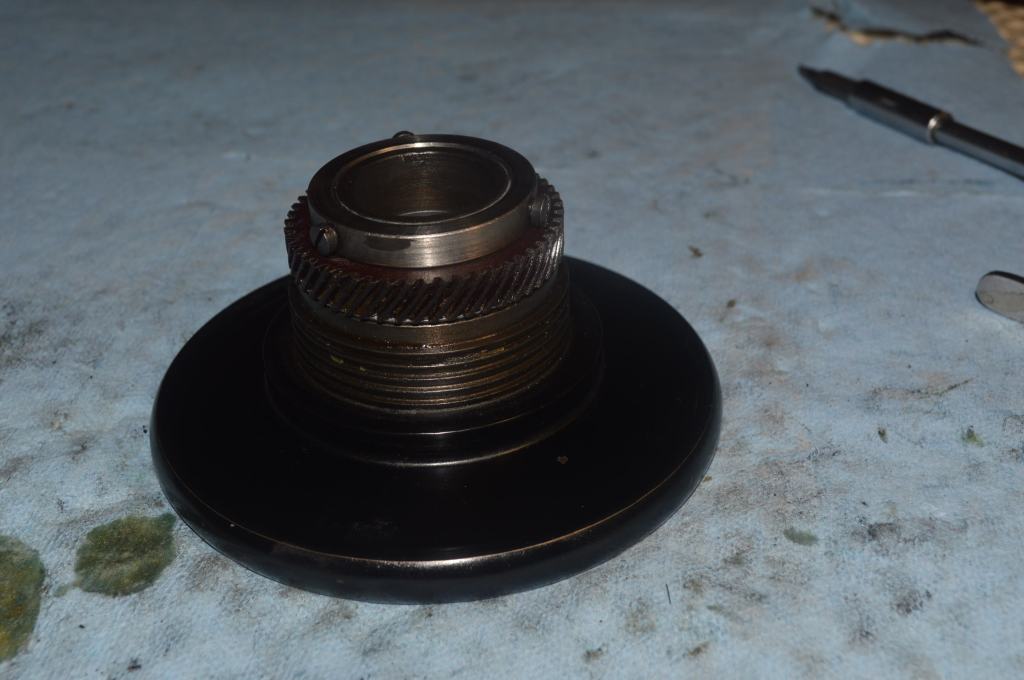
Next, the balance wheel is disassembled, cleaned, and regreased.
The bobbin winder is disassembled, cleaned, and re-attached to the motor.
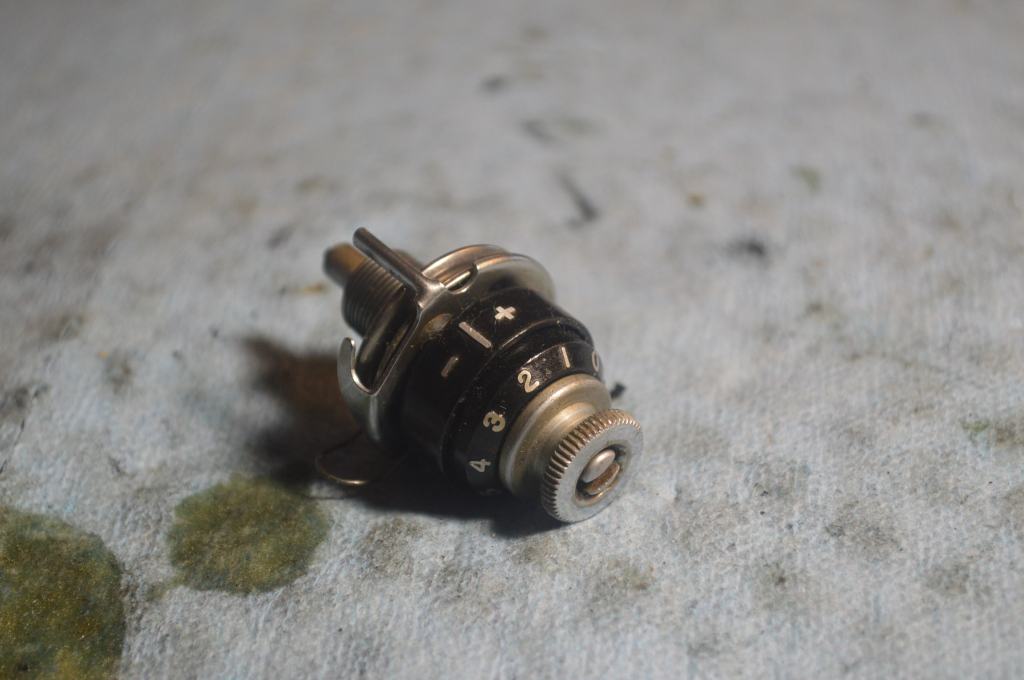
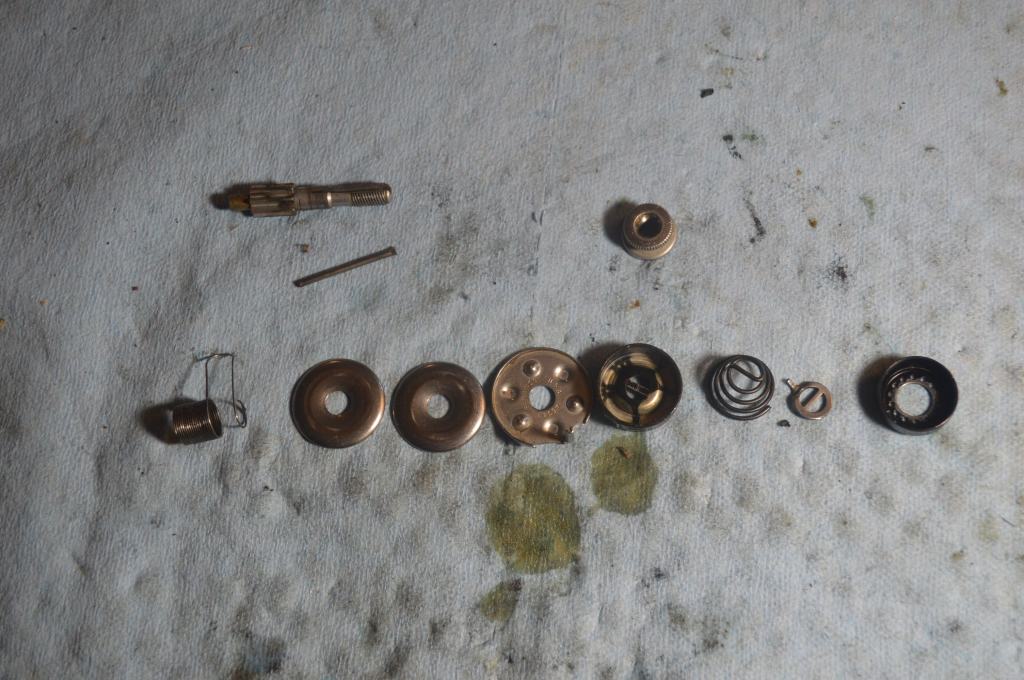
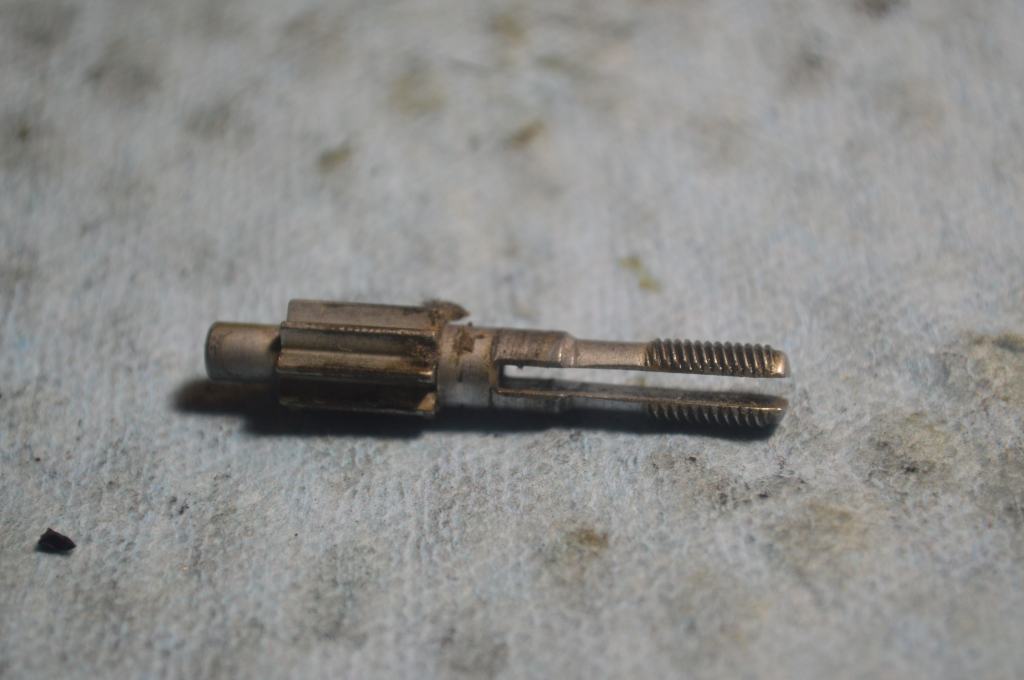
The final step in the mechanical restoration before reassembly (which will be after the cosmetic restoration) is the top tension assembly. It is disassembled and cleaned. There is a lot of gunk on the tension shaft and because it is in the thread path, is cleaned and polished.
Cosmetic Restoration
The goal here is to protect the original paint and decals and get the best cosmetic condition I can. This doesn’t mean making it look perfect, but to accentuate its strengths and diminish its weaknesses. For example. There is some slight silvering in the decals. This cannot be reversed, but the slight breaks in the decal pattern can. These will be repaired with paint matched gold paint. The typical paint chips will be repaired with color matched shellac base paint. The old shellac finish is quite rough and there are signs of degradation in the coating that will need to be removed before the new top-coat finish is applied. This will require quite a bit more preparation to accomplish, but the goal is to restore the beautiful black color of the original paint to the machine, and to get a silk-smooth finished surface.
While the process is straight forward, care is taken at every step to preserve and rejuvenate the finish. After all, the purpose of applying a new topcoat is to protect the decals and the paint. The steps taken to prepare the machine for the new finish are unique to each machine. The process is shown in the following pictures.
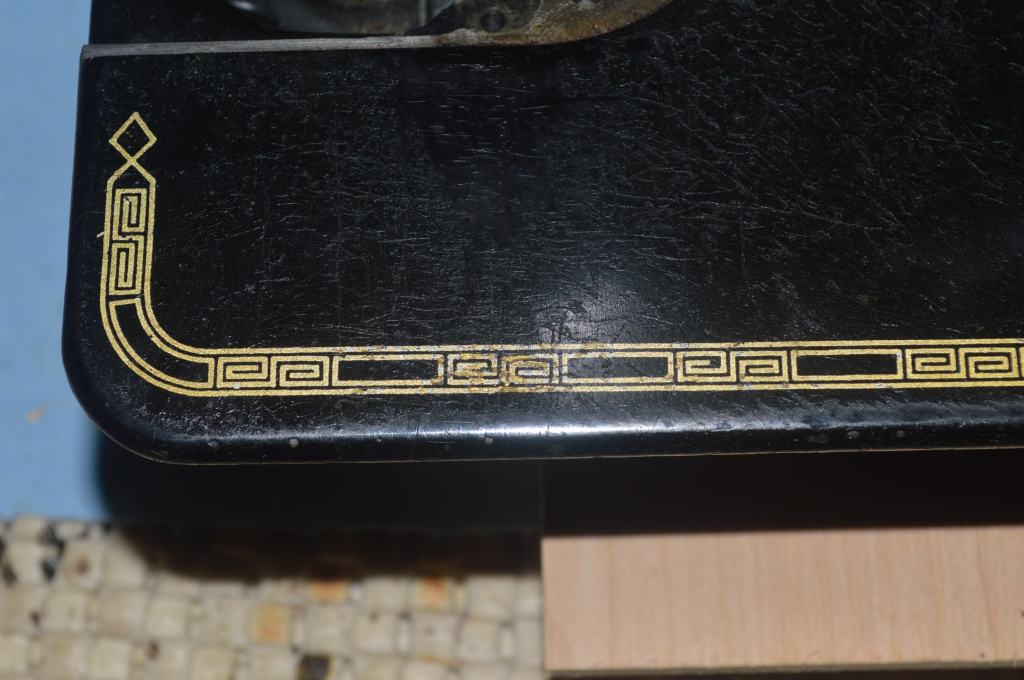
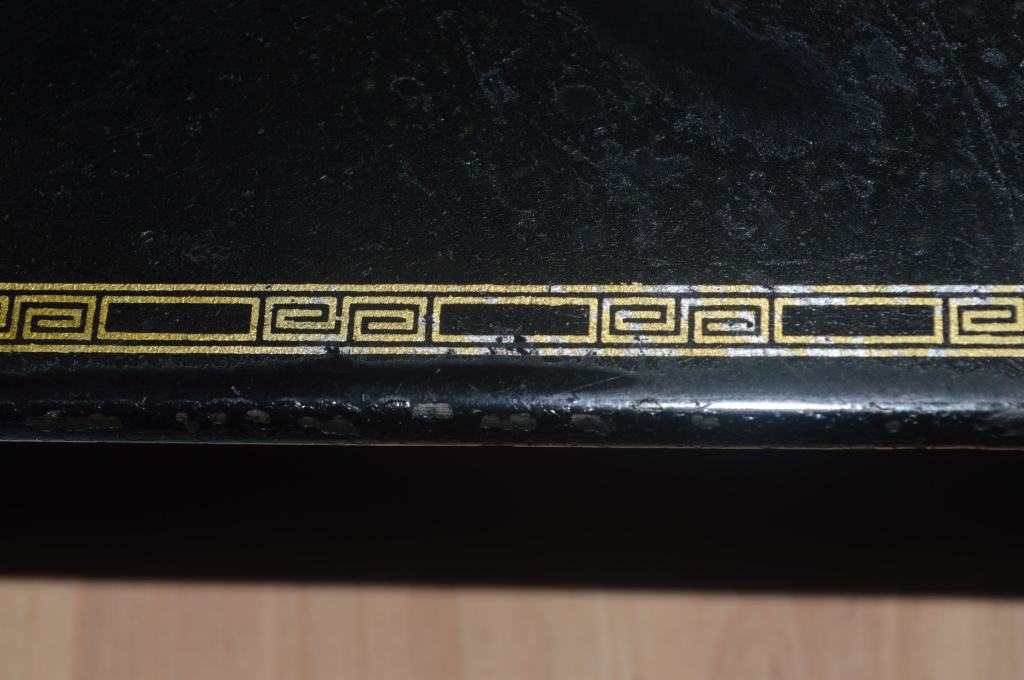
The original finish of the machine before preparation.

The paint chips are repaired first.
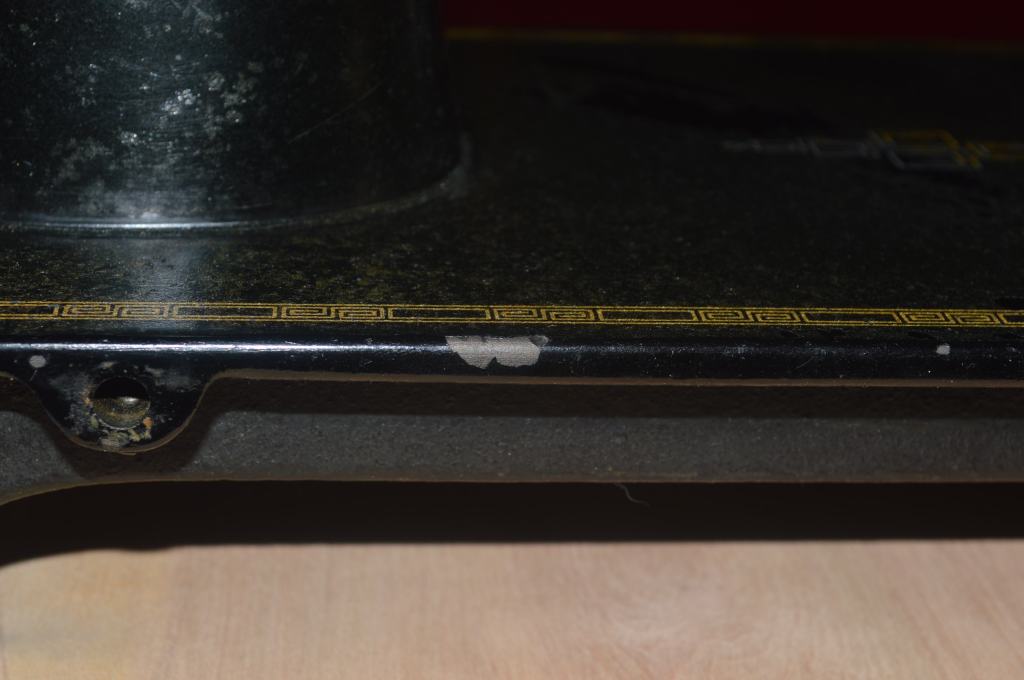
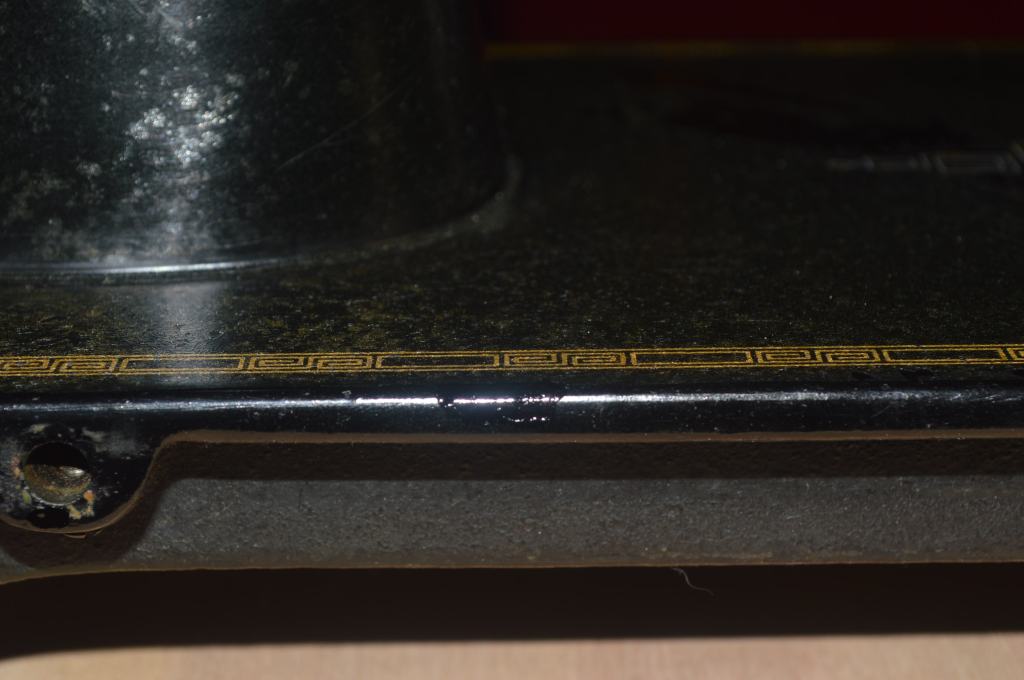
Similar chips are repaired along the bed. Then the decal repairs are made. First, a small quantity of paint with different gold colors is mixed to match the gold decal color of the machine. A piece of clear tape next to the decal provides a test palette. The chosen mix is applied with a fine tip artist brush under magnification.
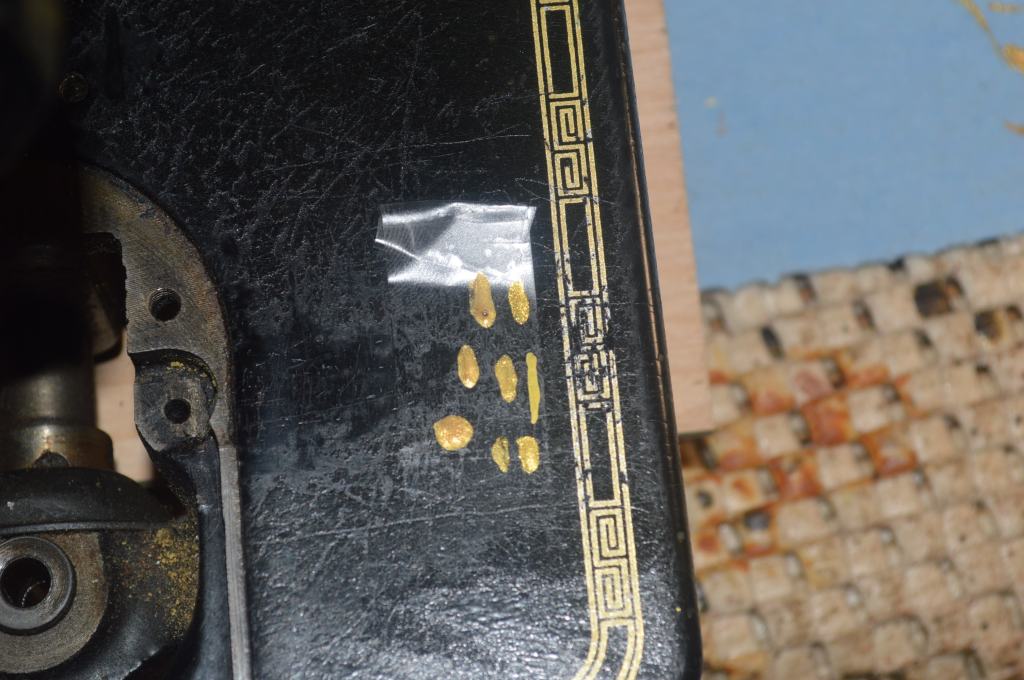

I don’t try to correct every defect, but I want the machine to look good at a 6″ distance and great at a 12″ distance (my 1-foot rule). It is as important that the machine look consistent over an area. Attempting to correct every small defect is actually more noticeable than not.
Preparation of the bed requires that the bed be sanded with 500 grit paper to smooth out the irregular patches of the shellac, remove degraded shellac, and any other discolored areas that may prevent the new topcoat from bringing out a uniform color in the black paint. It isn’t possible to remove all of the old shellac, but don’t worry, shellac dissolves shellac and the final finish will be uniform in appearance
Next the machine is cleaned, and a thin layer of linseed oil is applied over the body of the machine in preparation for the new shellac topcoat. Now the machine is masked off and sprayed with six coats of new shellac.


The new shellac topcoat is allowed to dry for a minimum of four days before the finish is rubbed out with multiple grits of fine sandpaper and glaze polished. polishing will be done twice… Once now and again after the machine is assembled and adjusted. The first polish brings out the luster and the paint and decals look great the second will remove any handling marks from the reassembly and further smooth the finish.


Now the reassembly and final adjustments are made. The reassembly is pretty straight forward, and the restoration is getting close to the end. The needle depth is set, the hook timing is set, and the feed dog clearance and feed dog stitch length adjustments are made. The machine is run for about 10 minutes to seat all of the parts and afterwards all of the adjustments are checked and readjusted if needed.
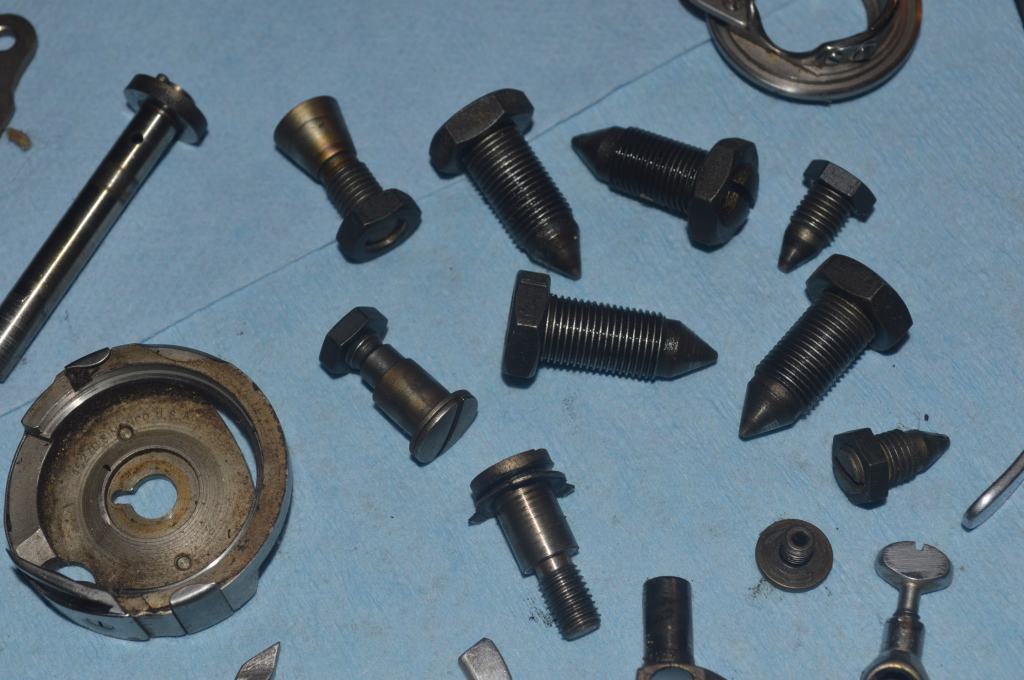
The final step is to polish all of the chrome plated pieces and other little shiny bits. the following picture shows the parts to be buff polished.
The polished pictures will be shown on the machine when the restoration is complete. The camera has a hard take taking a picture of a polished part… but before I can show the completed pictures, I need to wire the controller to the machine, run it, and adjust the machine for a balanced stitch.
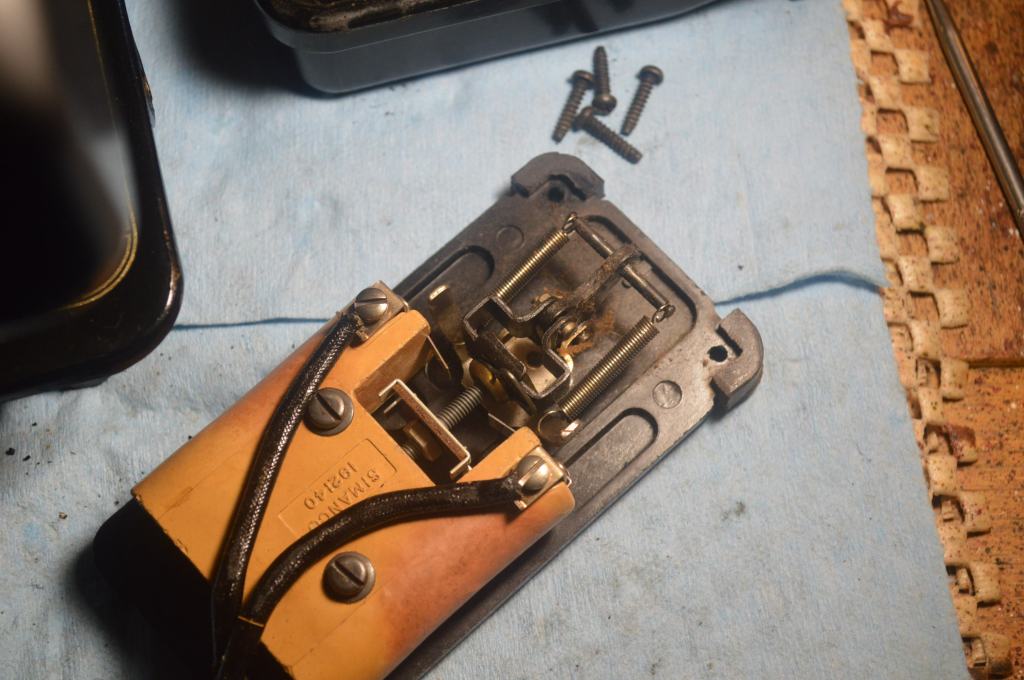
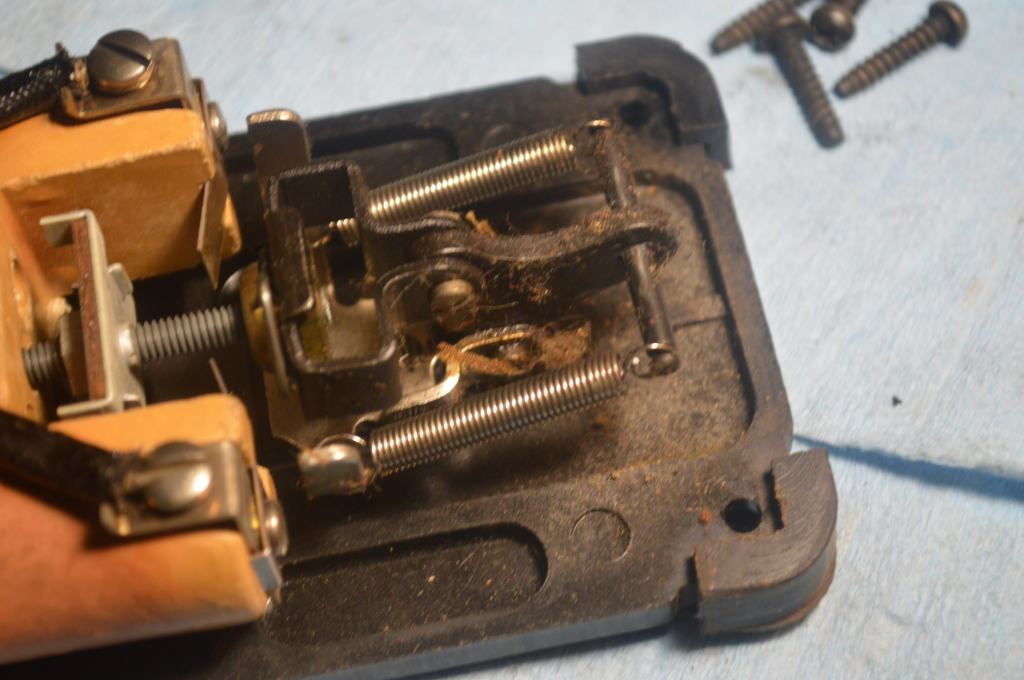
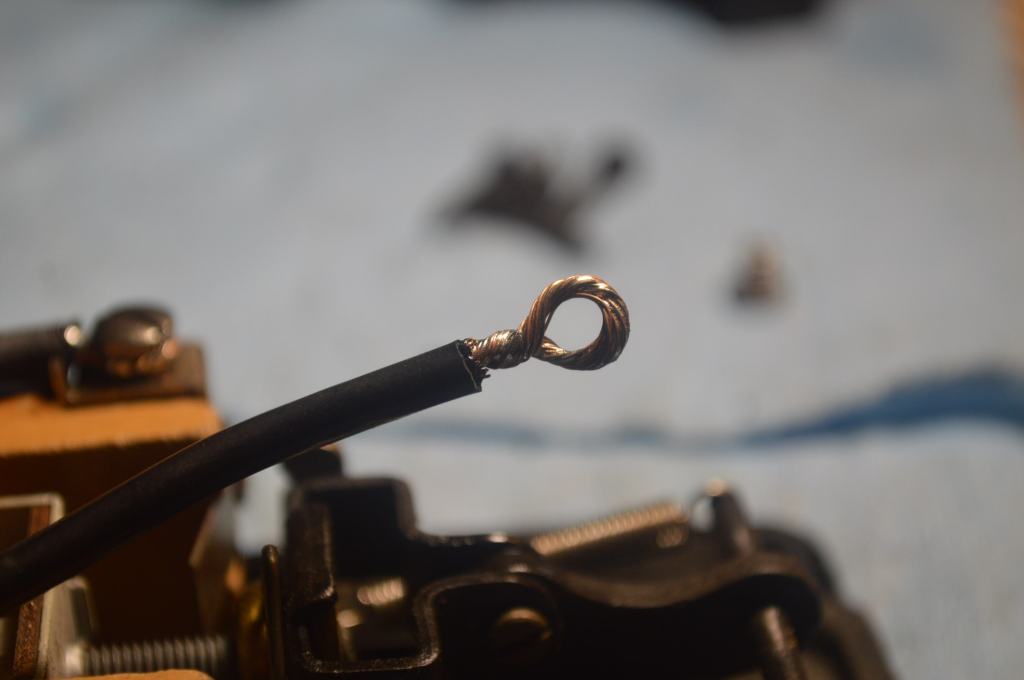
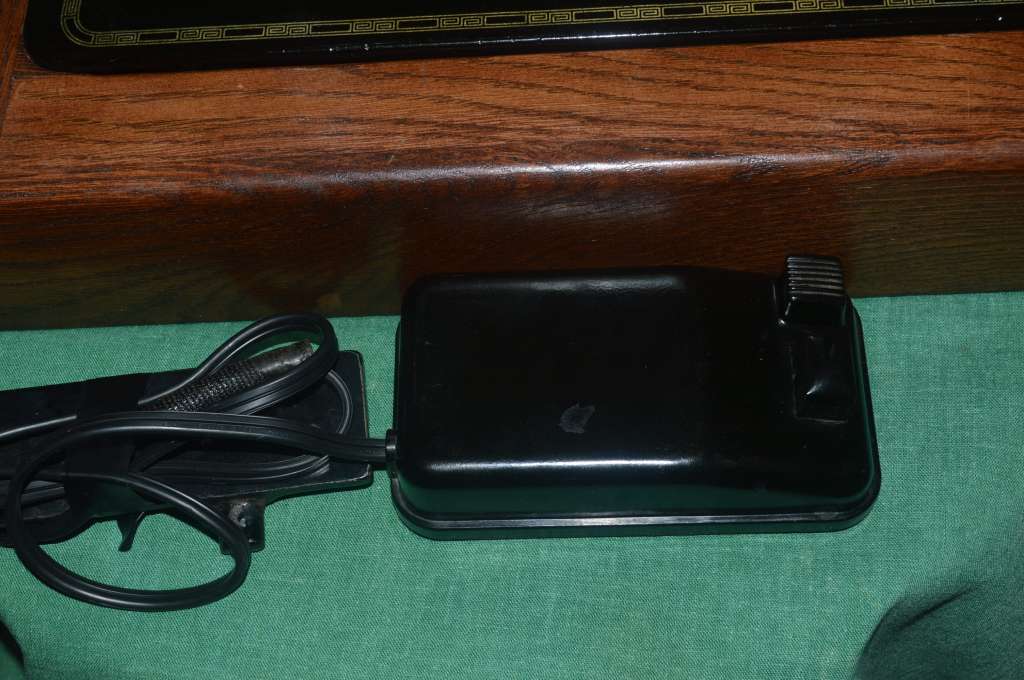
This machine is getting a new power lead and new foot controller wiring. The foot controller is cleaned, oiled and adjusted and the new wires attached, because this machine is going to be installed in a sewing cabinet, the foot controller is hard wired to the machine.
The machine is set up to run and is threaded and adjusted until a good balanced stitch is achieved.
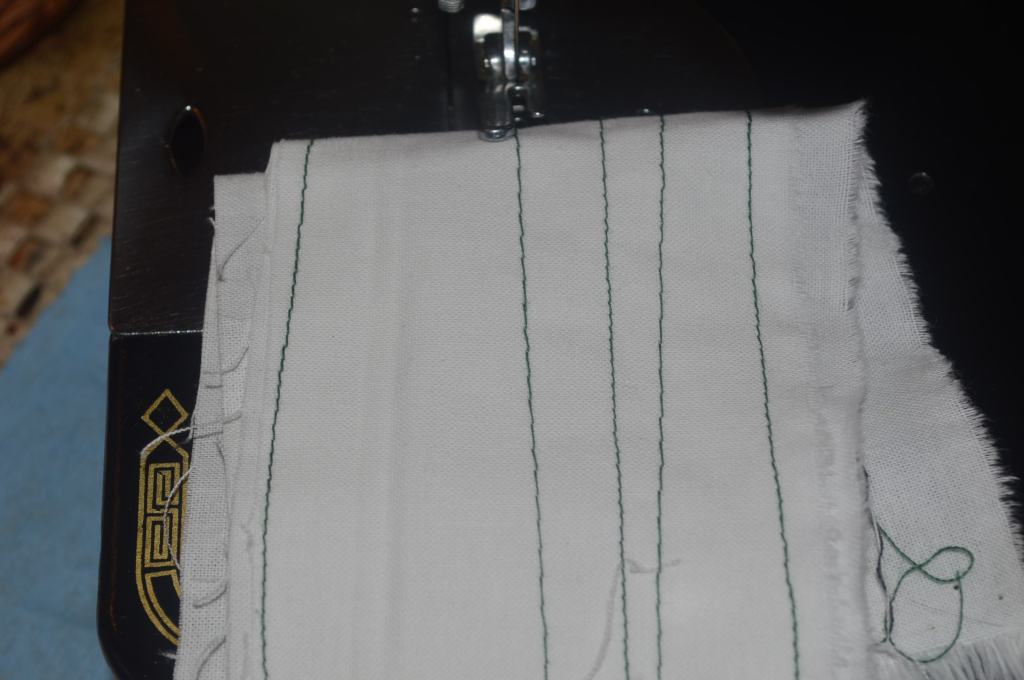
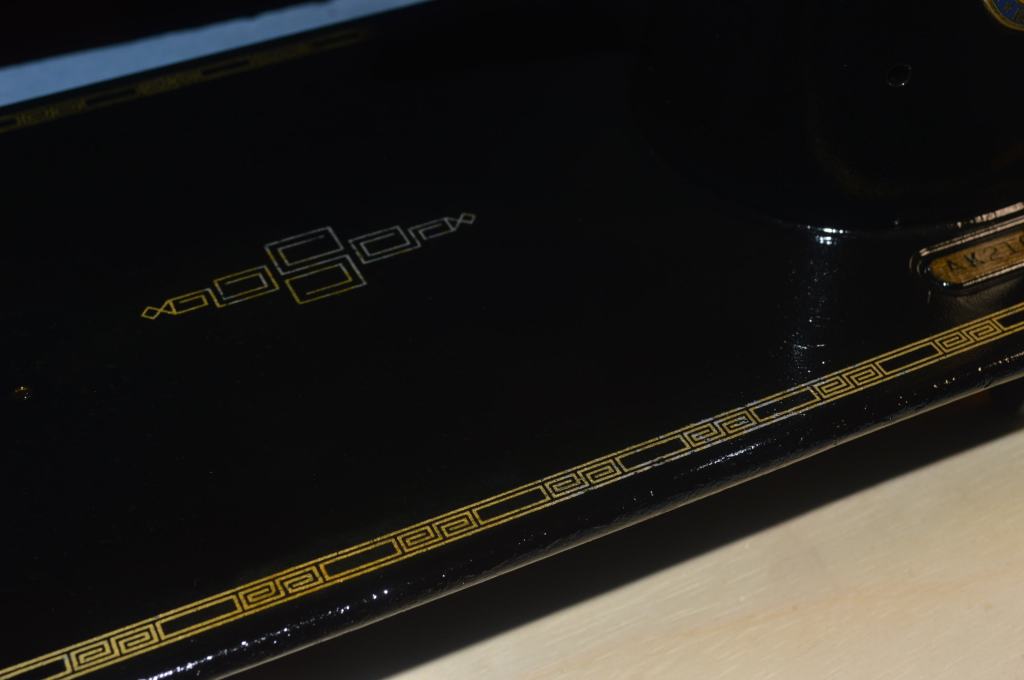
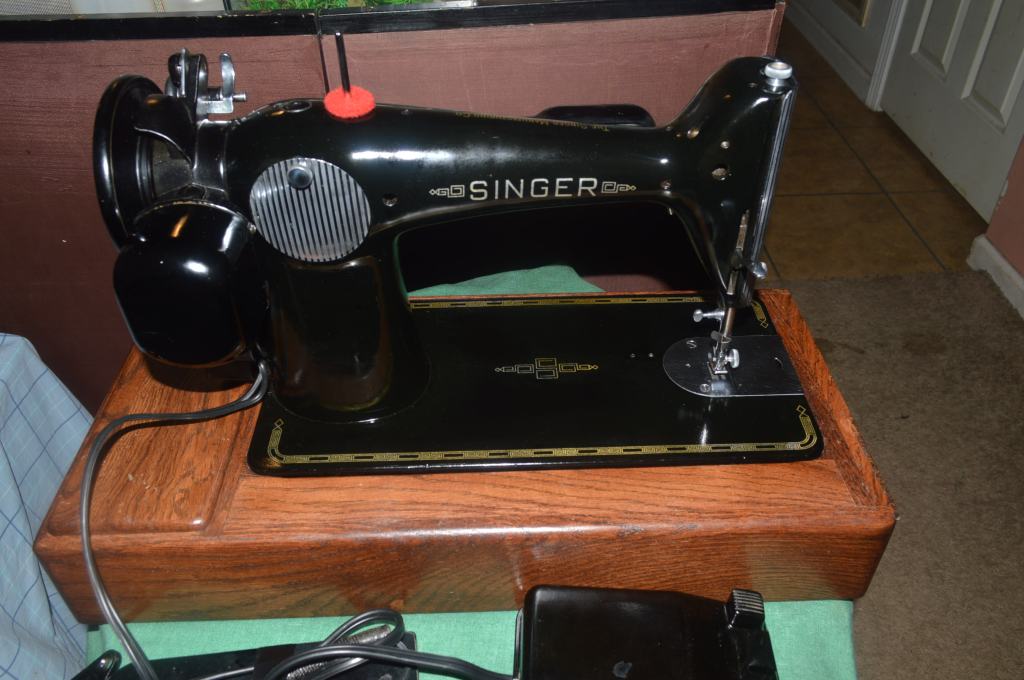
Thats it! The machine is polished a second time and is ready to sew for many more years to come. For comparison, this is the machine after the restoration is complete.
Before…

After…
Well, I enjoyed this restoration… it allowed me to learn a bit more by addressing the shellac degradation and how to correct it. I hope you like what you see and enjoyed the restoration process as much as I did… this 201-2 looks and sews great! Now I can look forward to the next restoration!
As always, if you have any questions, or if I can be of any assistance, please contact me through Etsy or send me an email to Pungoliving@gmail.com.
Thanks for reading!
Lee

About as interesting as a light pole!! Your killing me!! Seriously!!!???
LikeLike
Hello Andrea,
Like most of the restoration blogs on my site, this blog is for the machines owner showing the process of their restoration. I try to add a little history and detail for context. I’m sorry you found it boring, but I do hope you learned something from the blog.
If you have a topic you would like to see in a blog, please let me know and I’ll try to make a blog post on it.
Let me know if I can be of any assistance!
Lee
LikeLike
Hello Andrea. This is actually quite sad. With respect, was it really necessary to say that? You have every right to speak your mind, but why did you need to disparage someone who offers help and information to others who need it? I notice he responded graciously, respectfully, and without rancor.
I wish you well and hope you find it in your heart to be kinder in future.
LikeLike
What an absolute beauty!
After looking for a long time, I finally found a 201-2 I could afford. She was built in 1941 and is in surprising condition for her years. I bought her from a grandson of the original owner and it appears someone took pretty good care of her.
She was dusty and dirty on the outside, but has a clean motor and relatively clean gears on the underside. The motor brushes were in good shape. The grease pots did need cleaning as well as new grease plus I had to take apart the balance wheel and clean it all up. And no surprise, the worm gears needed cleaning and regreasing. Her wiring was good, but it had been replaced once already. I did have to buy a new plug/foot pedal assembly; an easy find. Once that arrived, I was able to test her out even prior to finishing all the cleaning – she purrs. There was a significant amount of grunge on and under the bobbin case but that came out easily. No rust, thank heaven. Lastly, I need to adjust her timing, and she’ll be ready to go!
I’d like to do a little extra cosmetic work on this lovely “old lady”, so would you consider sharing what type of paint you used as well as the shellac?
Without wonderful, helpful, and generous people like you, I would never have the courage or knowledge to do this, let alone successfully (of course I haven’t finished the timing yet!😁) So I’m saying THANK YOU SO MUCH for providing so many terrific videos!!! Because of you, I’ve achieved my dream of owning a functional 201-2.
LikeLike
without a doubt the most exquisite work I have ever seen. I would like to know if you have a 202-2 for sale. I have been looking at some of the machines for sale on various sites and so far have been disappointed and after discovering you and your work and reading your story. I hope this is my lucky day. Please let me know what your situation and time availability is at present. I am so excited to hear from you. Hope this finds you and yours in good health and enjoying a wonderful happy life.
Sincerely, Beverly s. French
Contacts: bsfnc@aol.com – (828) 667-5360 – 66 Chestnut Creek Road, Candler NC28715
LikeLike
Hello Beverly,
I have two 201-2’s ready for restoration. The better of the two cosmetically is a 1940 vintage and has the scroll design on the nose and side plates. The decals are in good condition and the machine will be in good cosmetic condition when the restoration is completed. The mechanical restoration will result in an excellent running machine. If you would like to know more, please send me an email to pungoliving@gmail.com and I can give you a more complete description.
Thanks and have a wonderful evening!
Lee
LikeLike
Hi, I only recently found your site. I wish I’s found it sooner as you offer so much knowledge about these older Singers It’s a sign of the times I suppose, but when I looked for some support for small home sewing projects I was unable to find someone to help me. So I made the decision to purchase an older model Singer on ebay to do some of these home projects. I’m encouraged that you give the Singer Centennial model good marks.
If I’ve a problem with it, I will definitely contact you for service. Thanks so much for the work you do.
LikeLike
Hello Jill,
Sorry for the late reply but I have been unavailble to answer questions for the past few weeks and I am trying to catch up.
I would be happy to assist you anyway I can so please don’t hesitate to ask if you have a question.
Have a great evening!
Lee
LikeLike