

Old black vintage Singer sewing machines are a testament to the concept of quality lasting over time. Every Singer restoration convinces me of that. Like their machines, Singer also built high quality cabinets for their machines, and their portable Bentwood cases are still in circulation in good condition today… I’m talking 100 years or more.
Singer’s Bentwood cases were sturdy and well built because they had to support the weight of their beautiful cast iron and steel sewing machines while moving them from place tp place.
Singer sewing machine cabinets were made as pieces of furniture. Prominently placed in peoples homes they were beautiful, functional, and built to a high quality standard. Singer didn’t cut corners in their cabinet construction. Likewise, their Bentwood cases were built like their cabinets and made to accentuate the beauty of the machines sitting in them pleasant to look at.
Unfortunately, oftentimes a wonderful vintage Singer sewing machine becomes divorced from it’s cabinet or case. Usually, the Singer machines we acquire for restoration do not have a base, or case, and cabinets are too difficult and expensive to ship. To make matters worse, I have not found a source for a sewing machine base that is a correct fit for the machine, or of the quality I require to house one of our beautiful machines. I don’t want to sound like a snob, but it true. So, what’s a person to do… I know! I’ll build one. Well, I’ll build the base… I don’t have the capacity or tools to recreate a Bentwood case top. That I’m afraid is lost to history, but I’ll use the same joinery Singer used for the base section of their Bentwood cases, I’ll use a quality hardwood, I’ll adhere to the same type of corner supports to follow the rounded ends of their sewing machine beds, and I’ll show you how I do it.
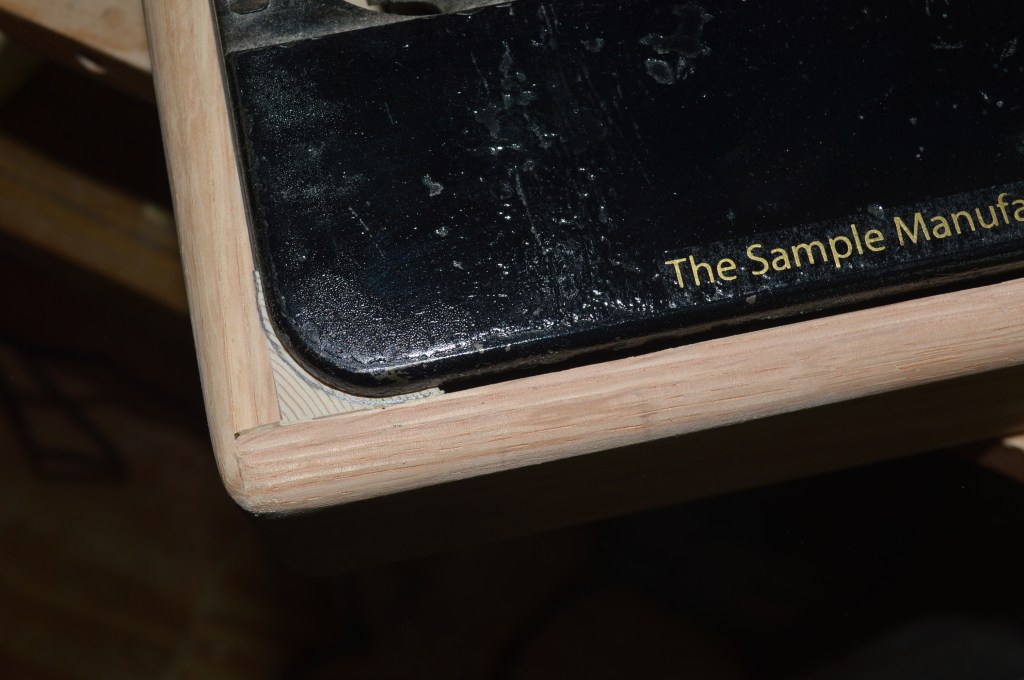
My goal is to build a base using the same joinery techniques Singer used in their Bentwood case construction. Here are some pictures showing some of the details found in a Bentwood base. I highlight to explain some of the highlight that I copy, and some of the constraints that require me to deviate from an exact copy.
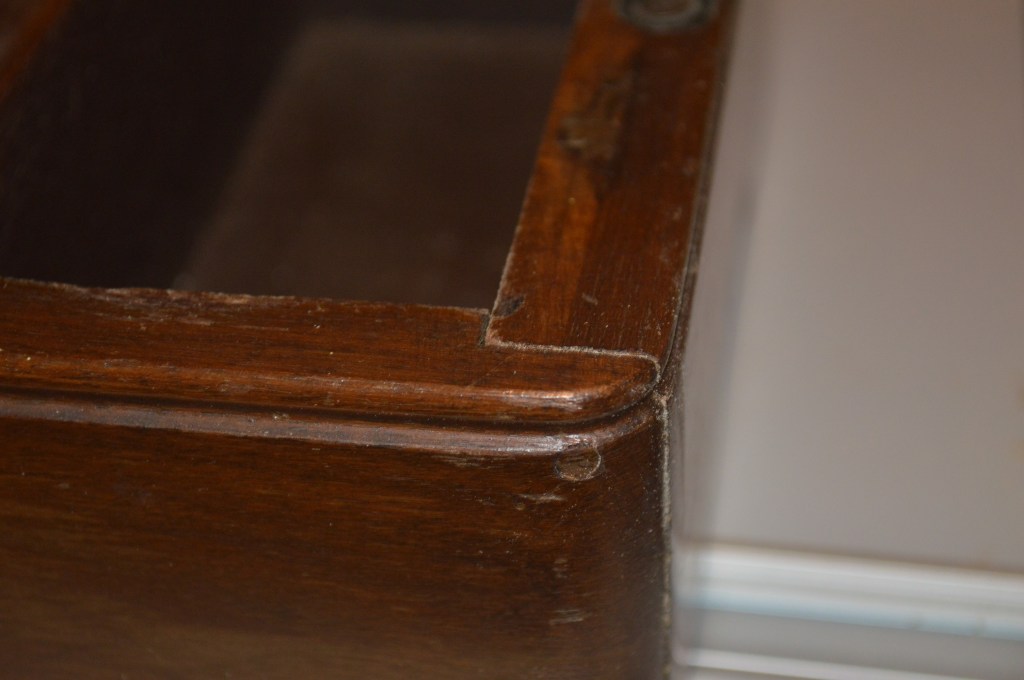
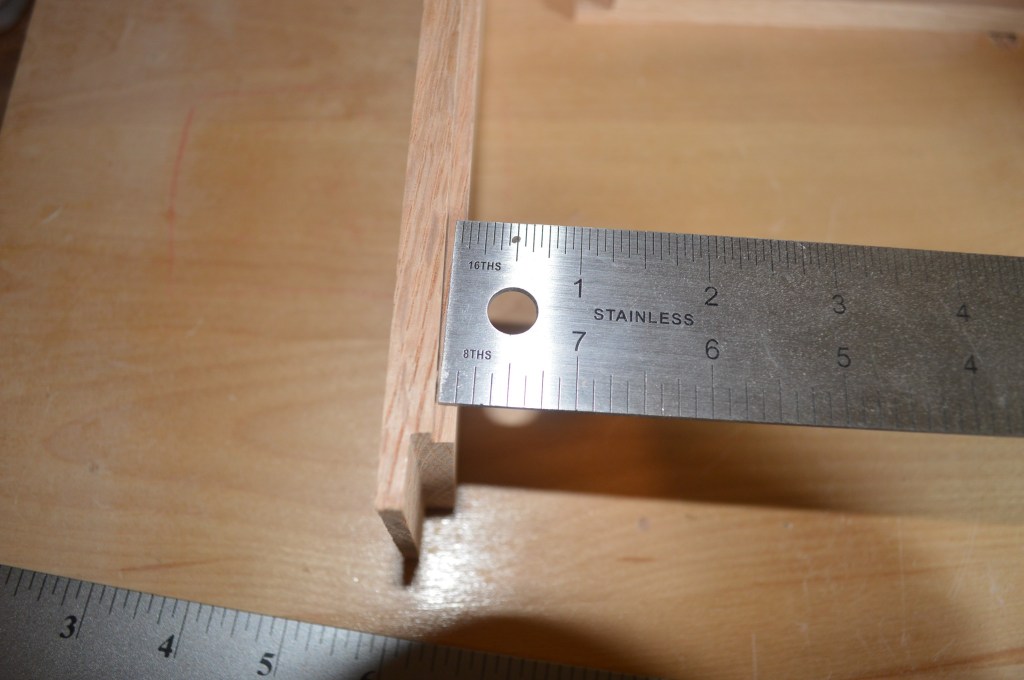
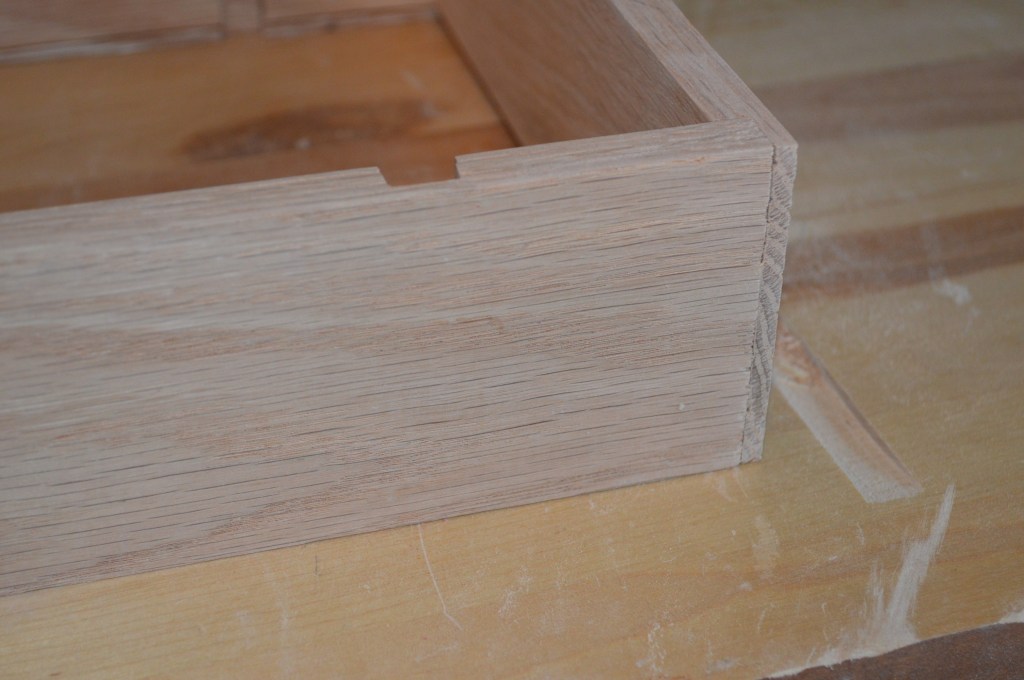
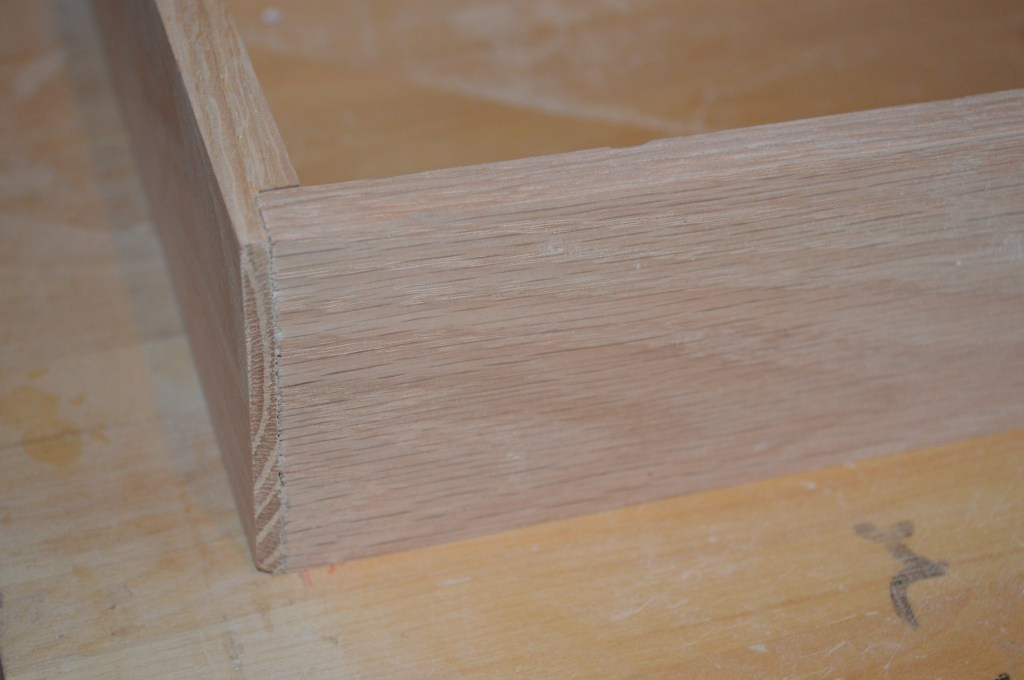
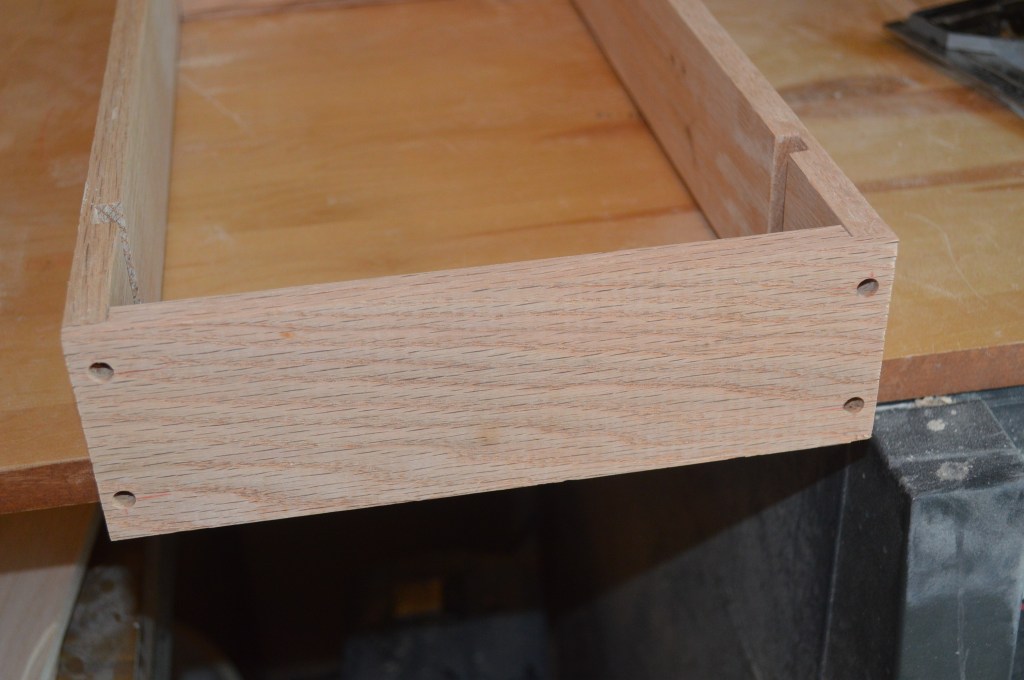
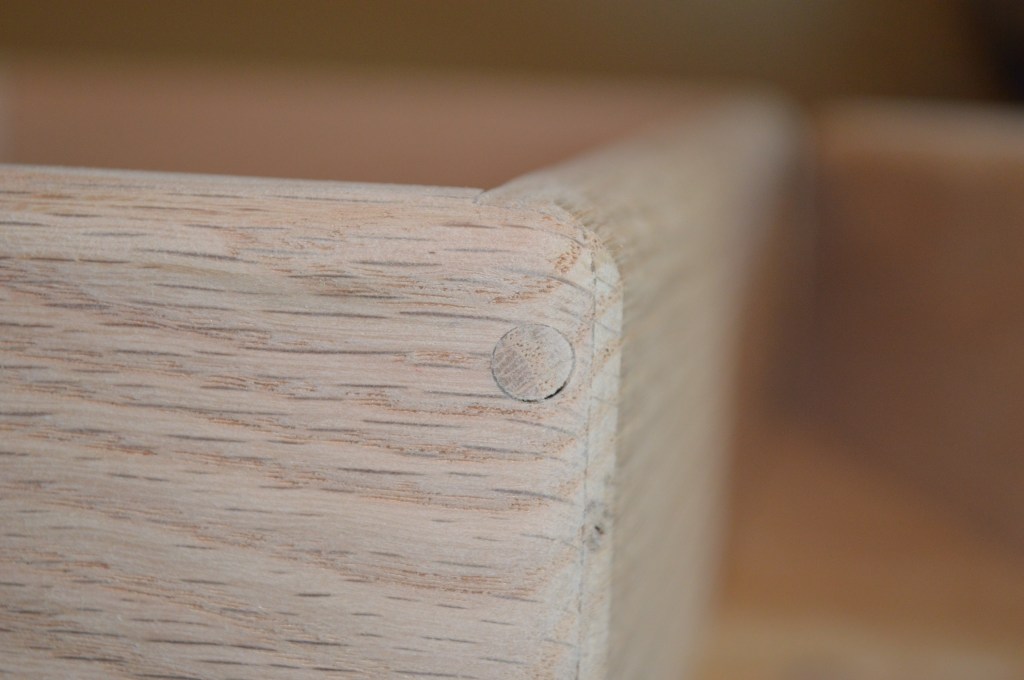
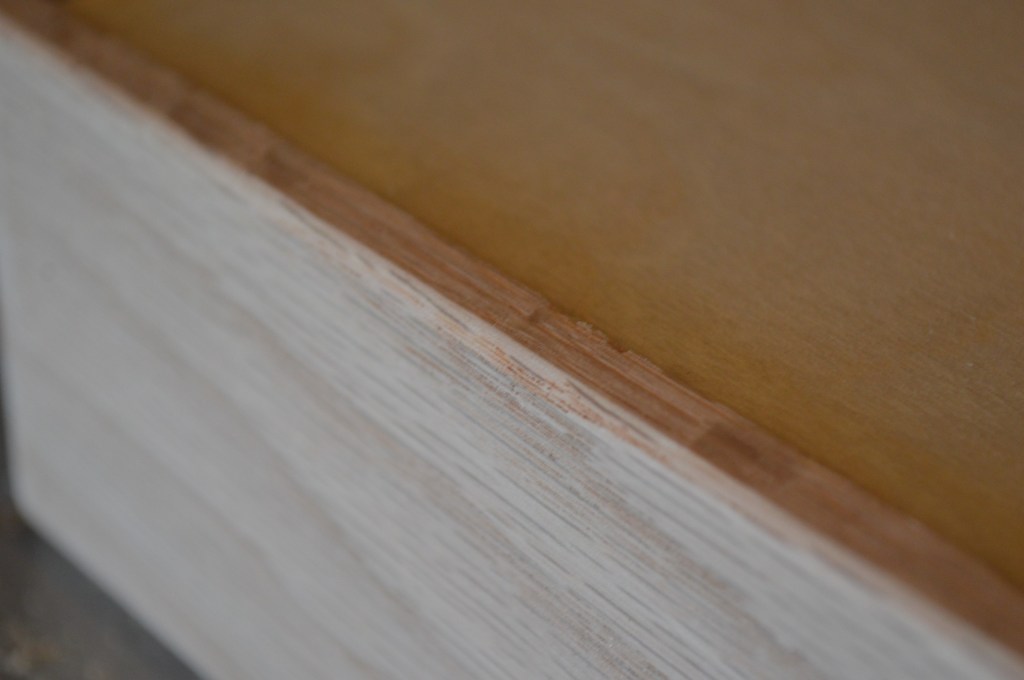
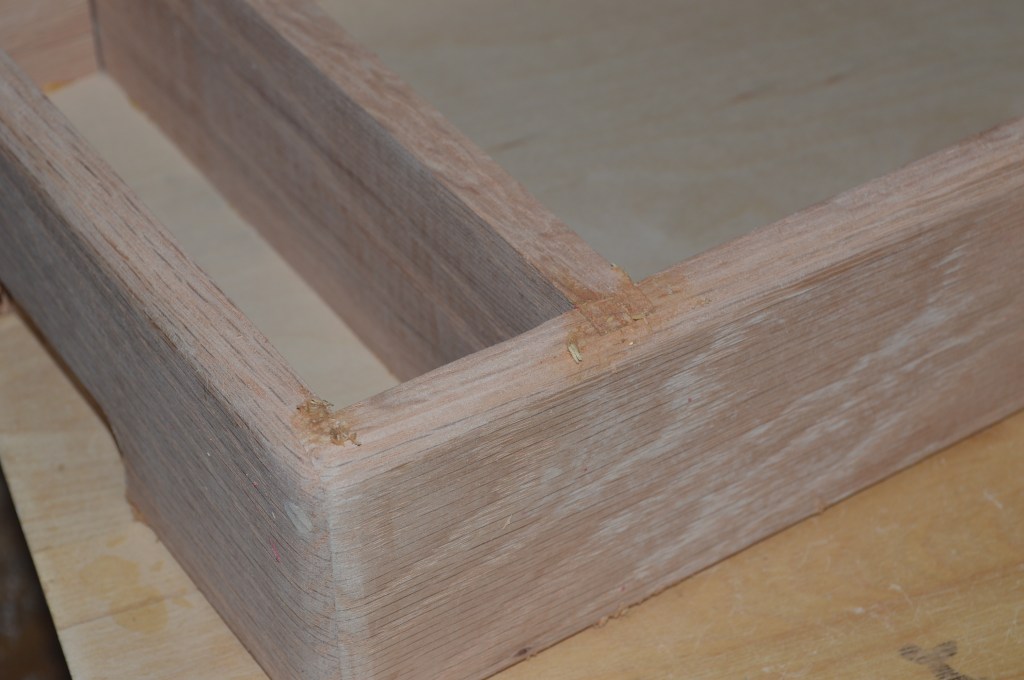
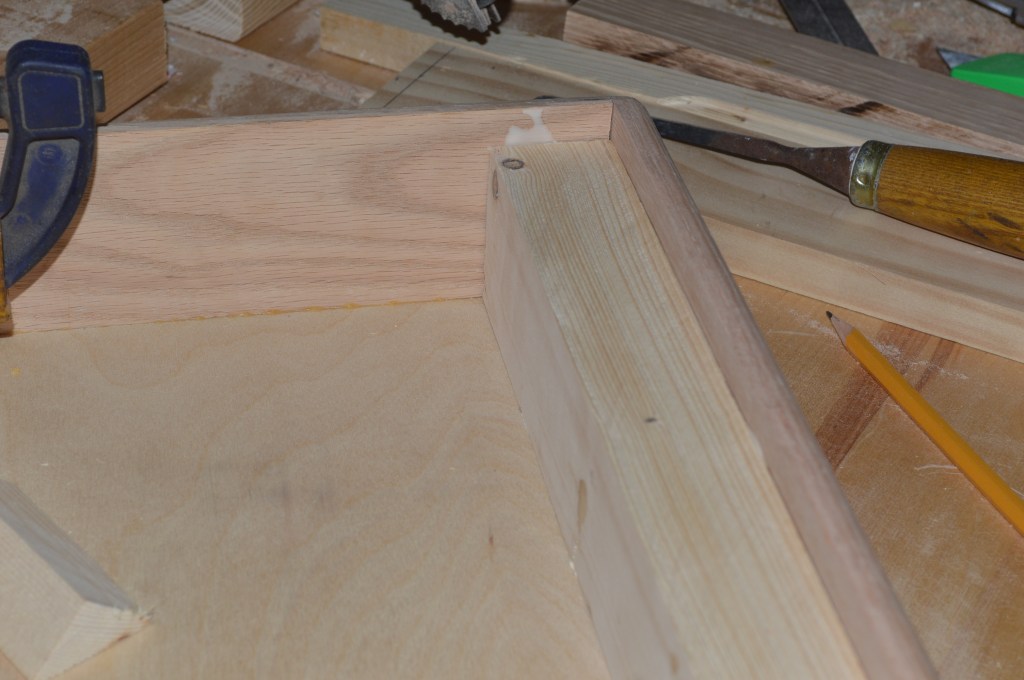
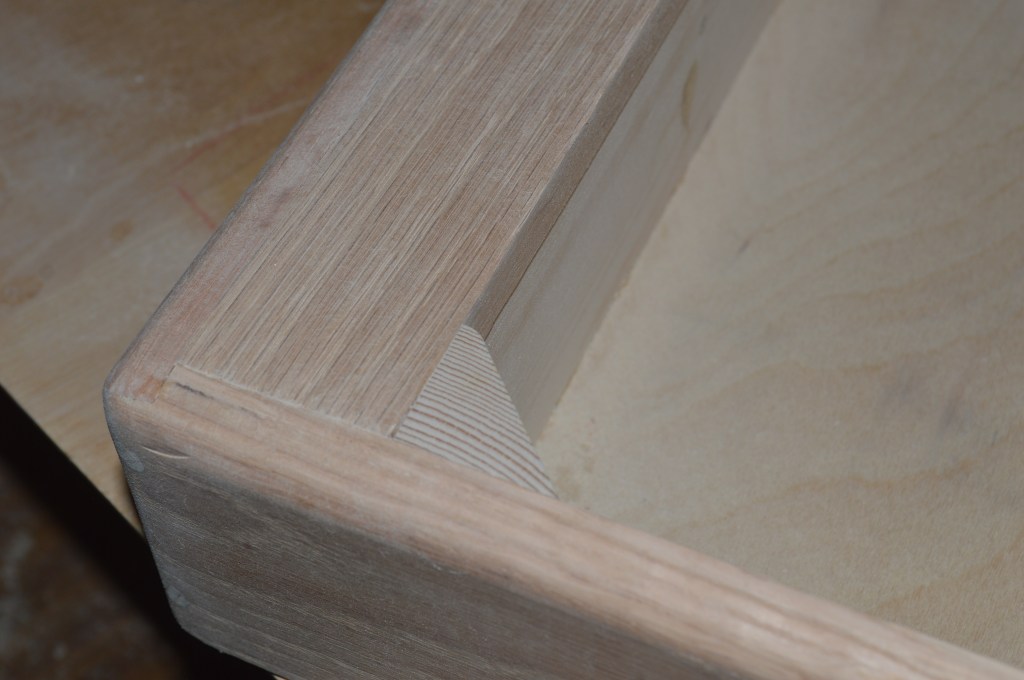
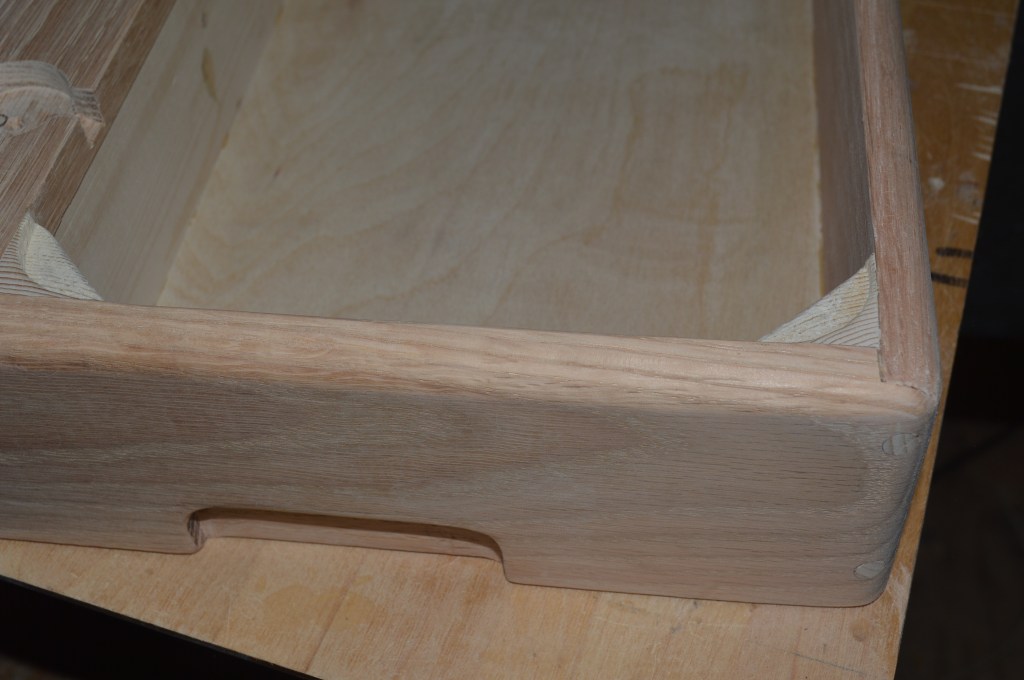
Rabbit joints and dowels in the base ends 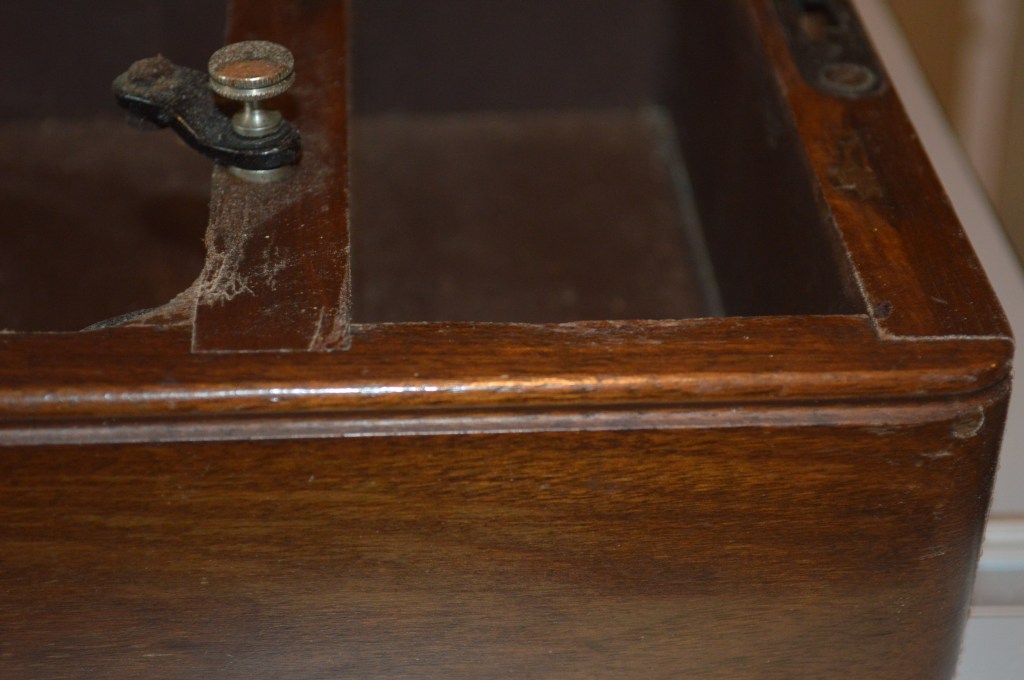
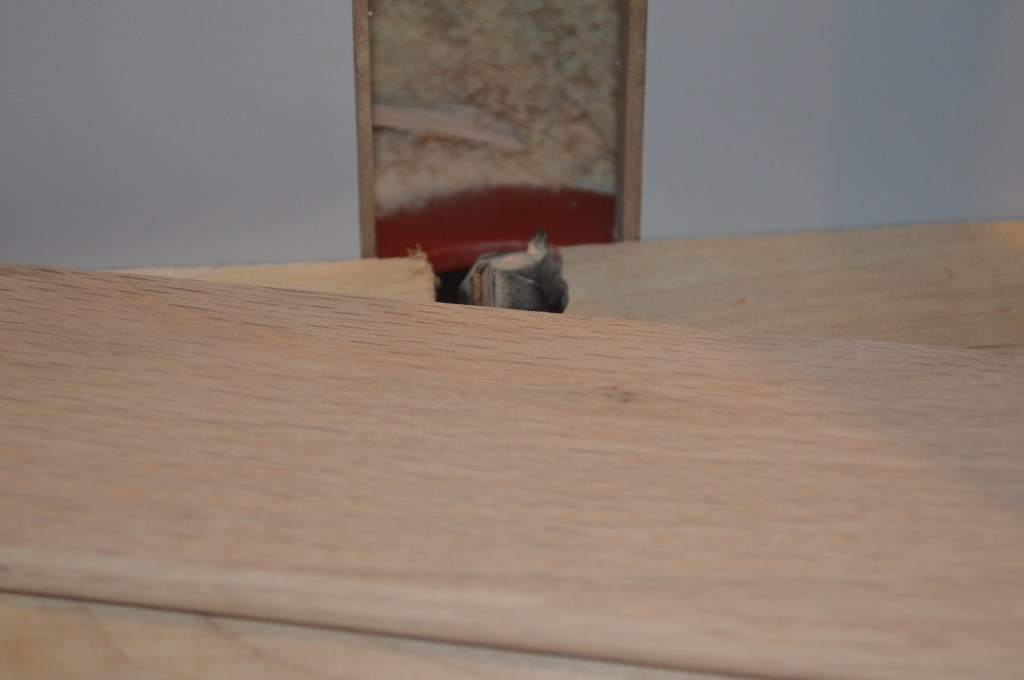
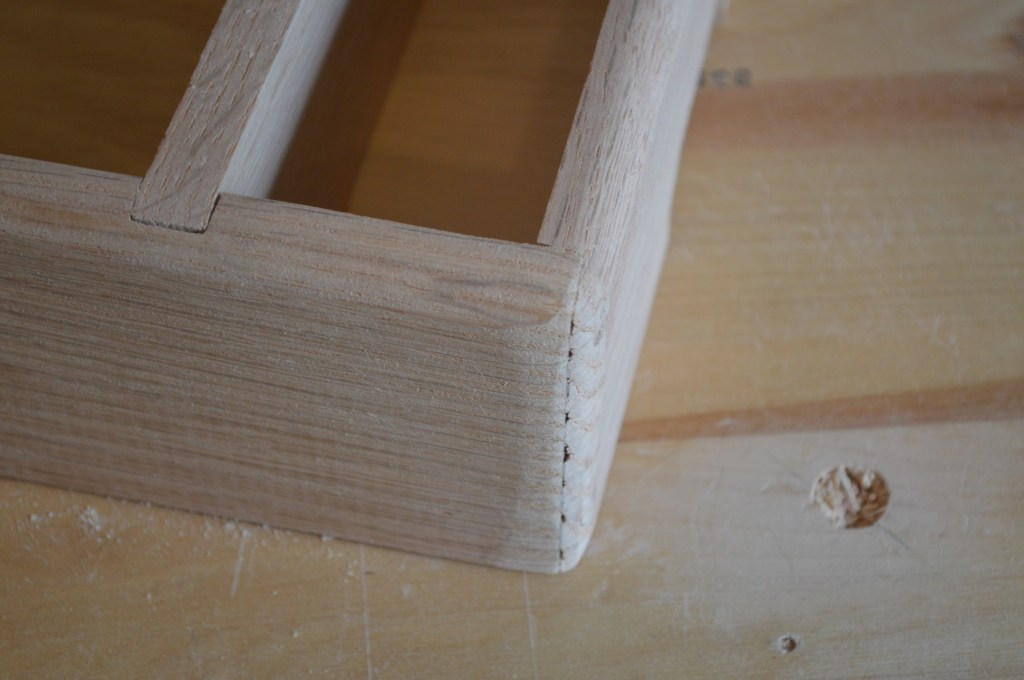
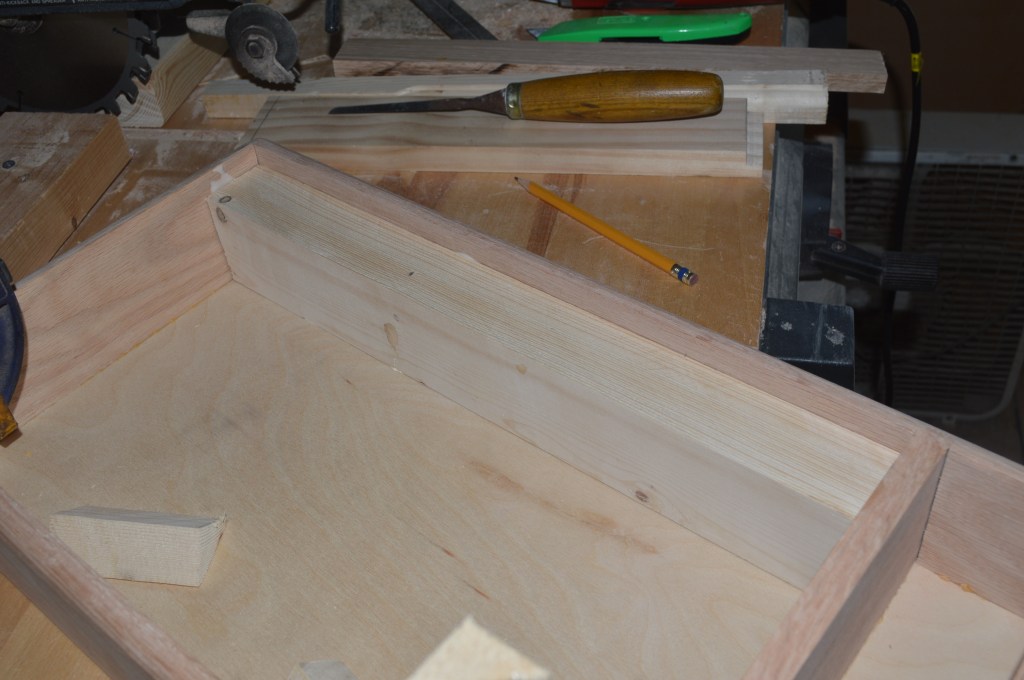
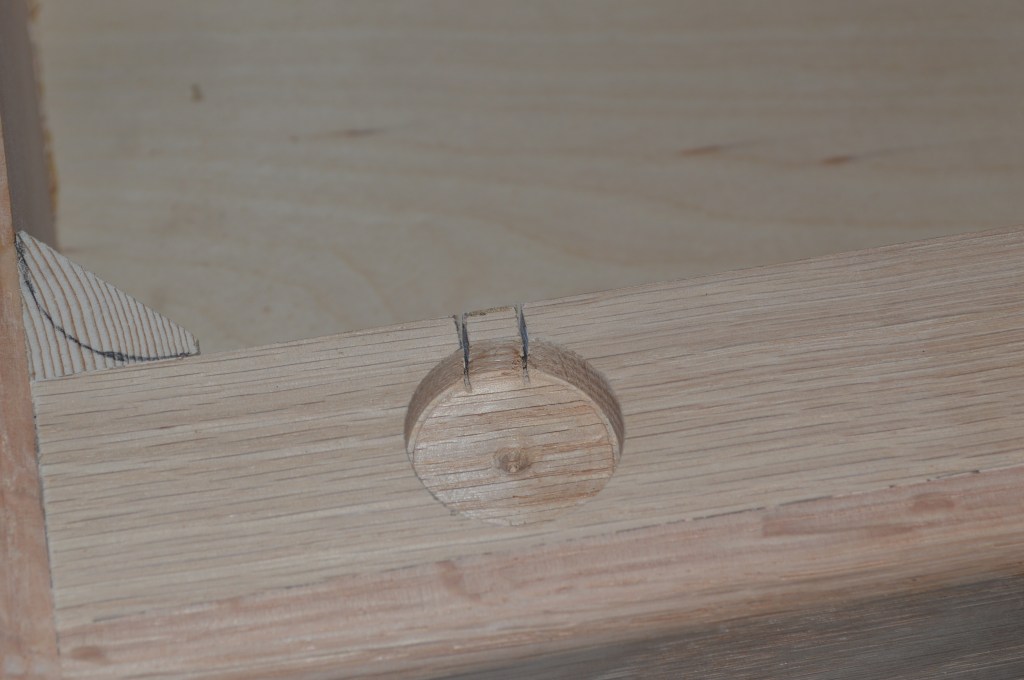
Tennon slot for base divider 
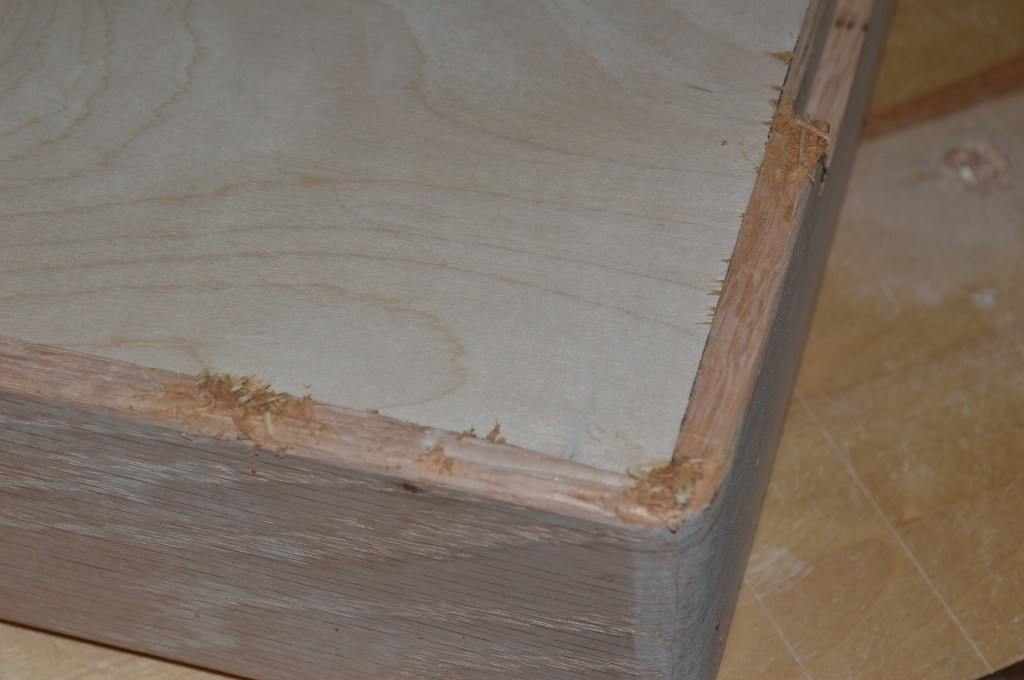
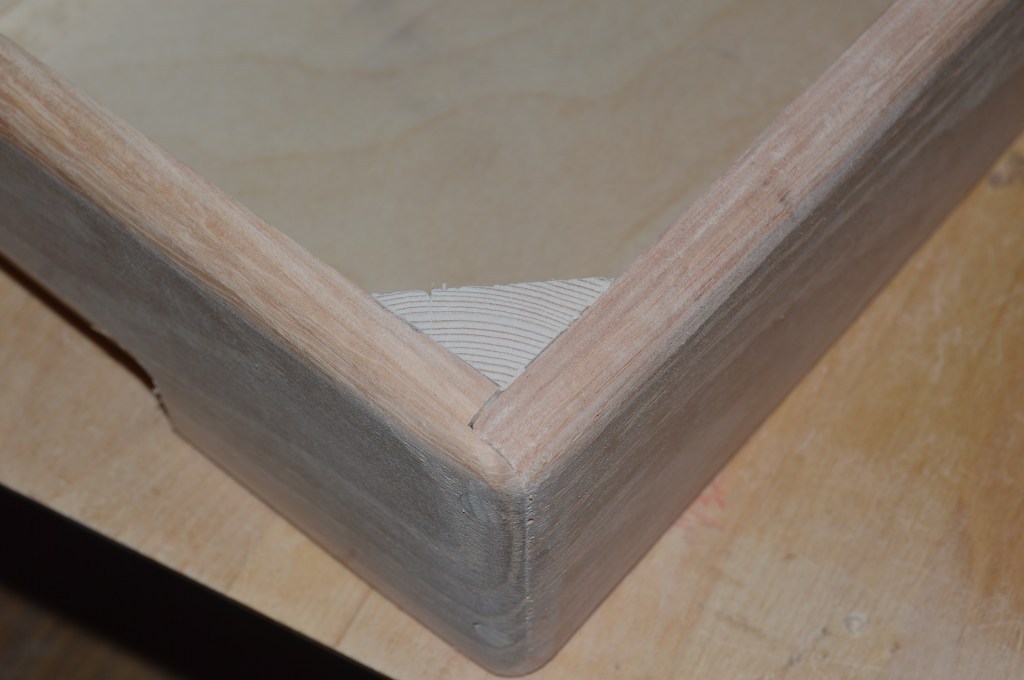
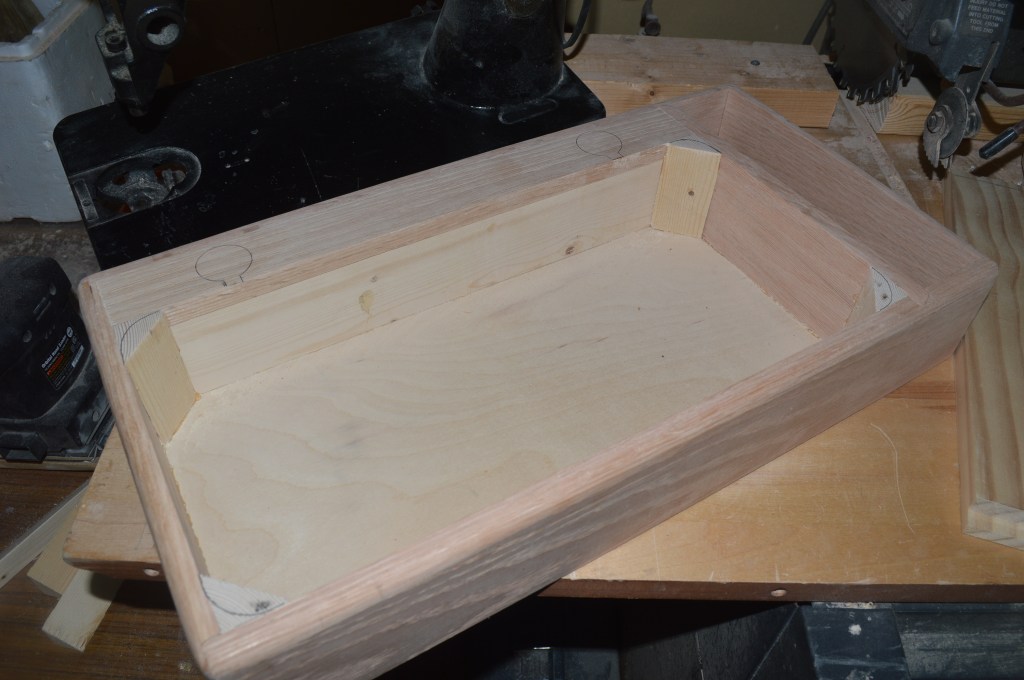
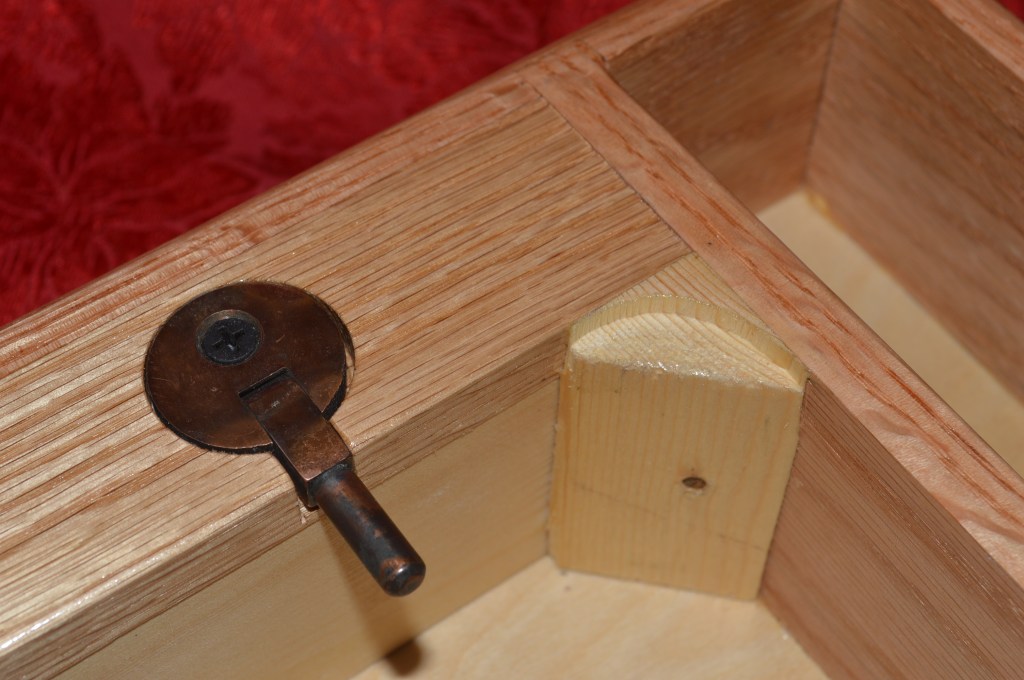
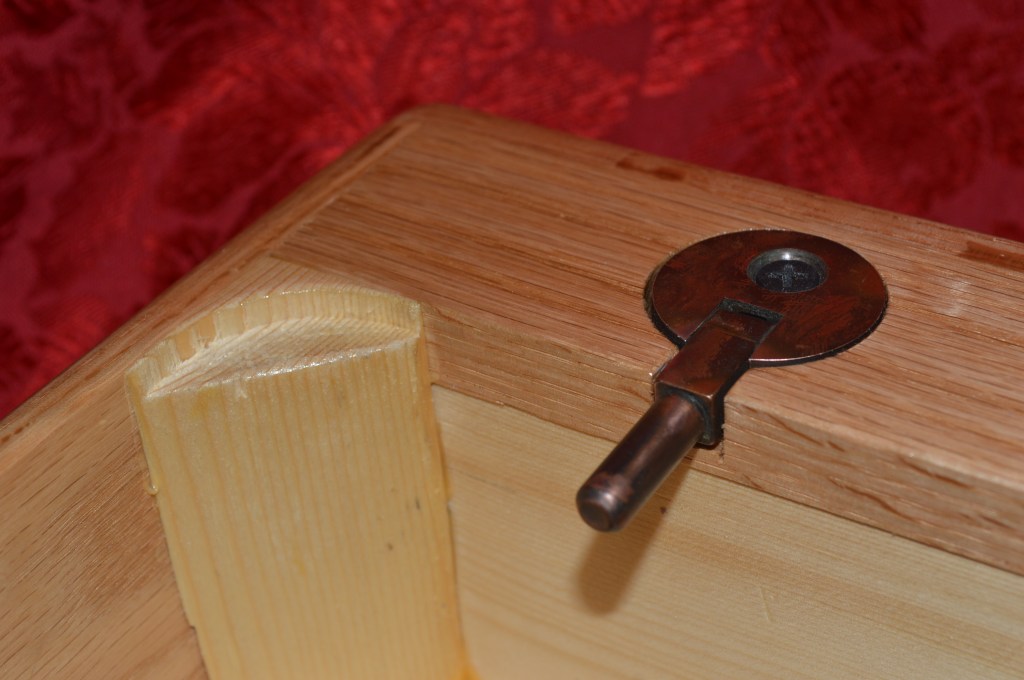
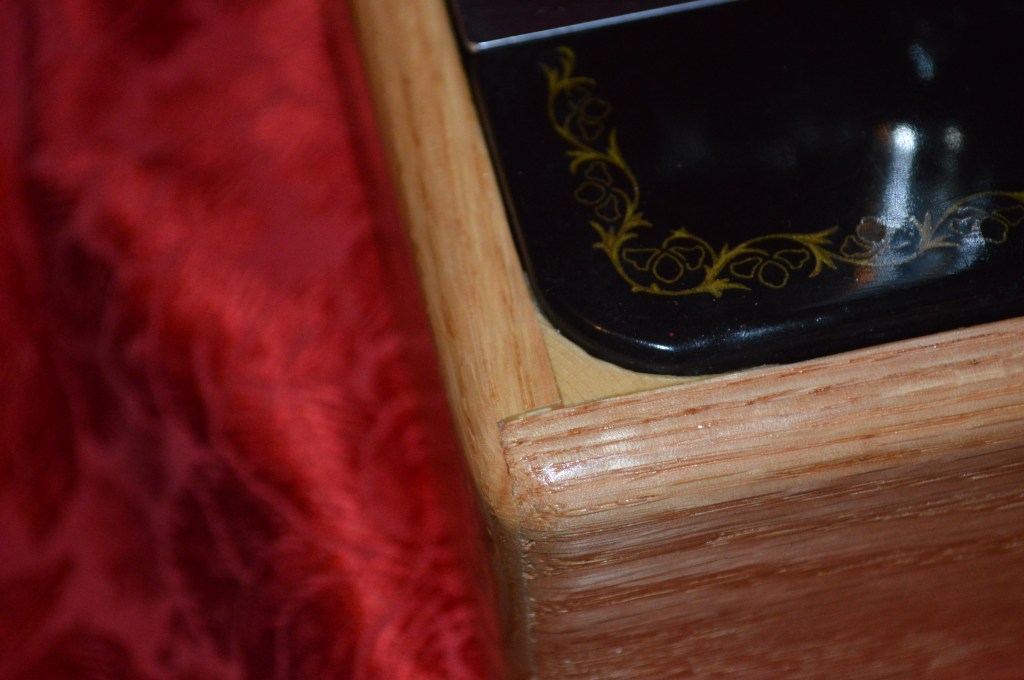
Corner blocking countersunk to the radius of the rounded corners of the sewing machines bed 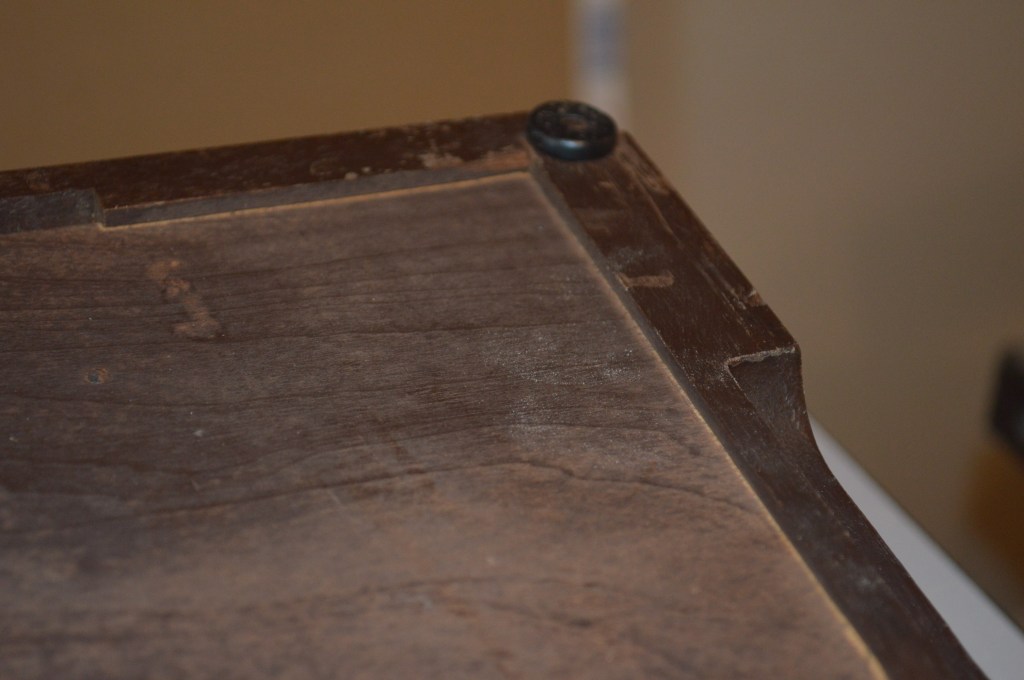
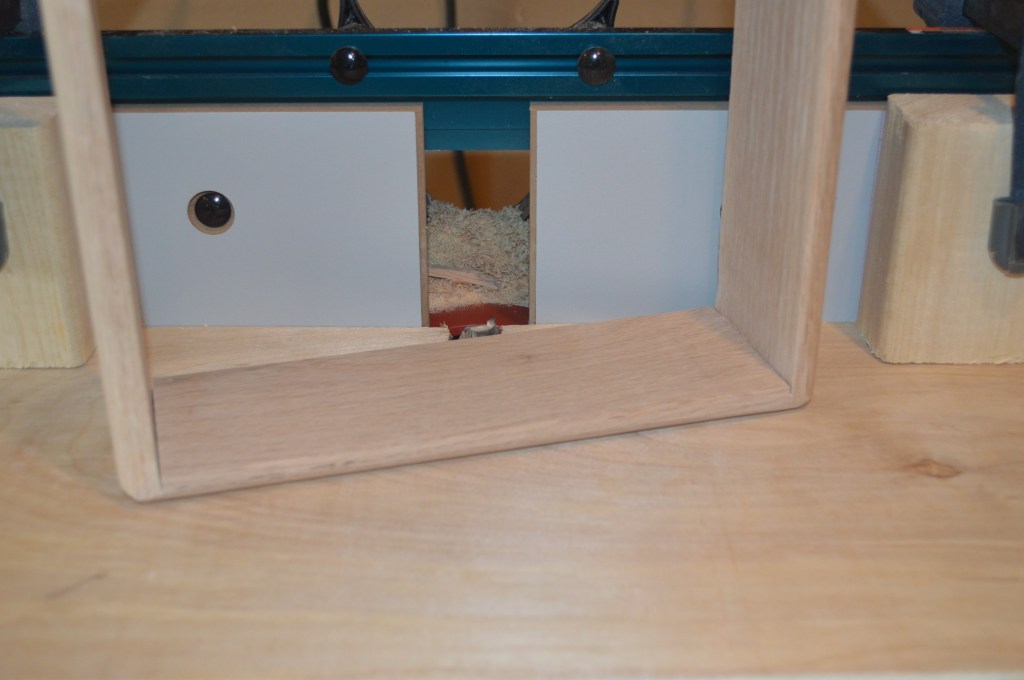
Recessed Base bottom 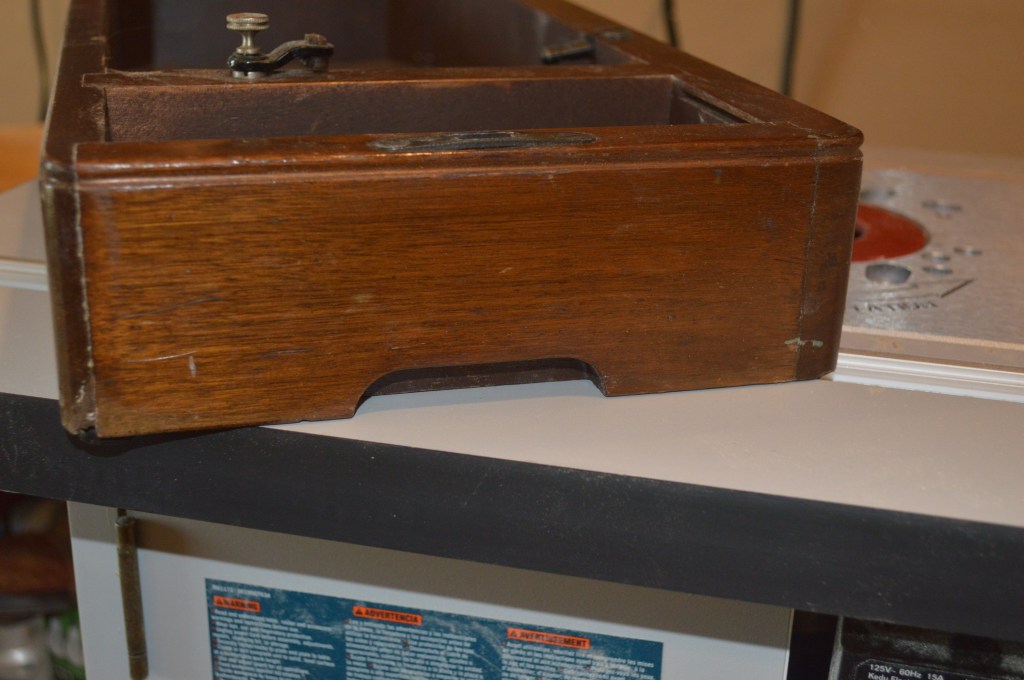
Inset hand grips
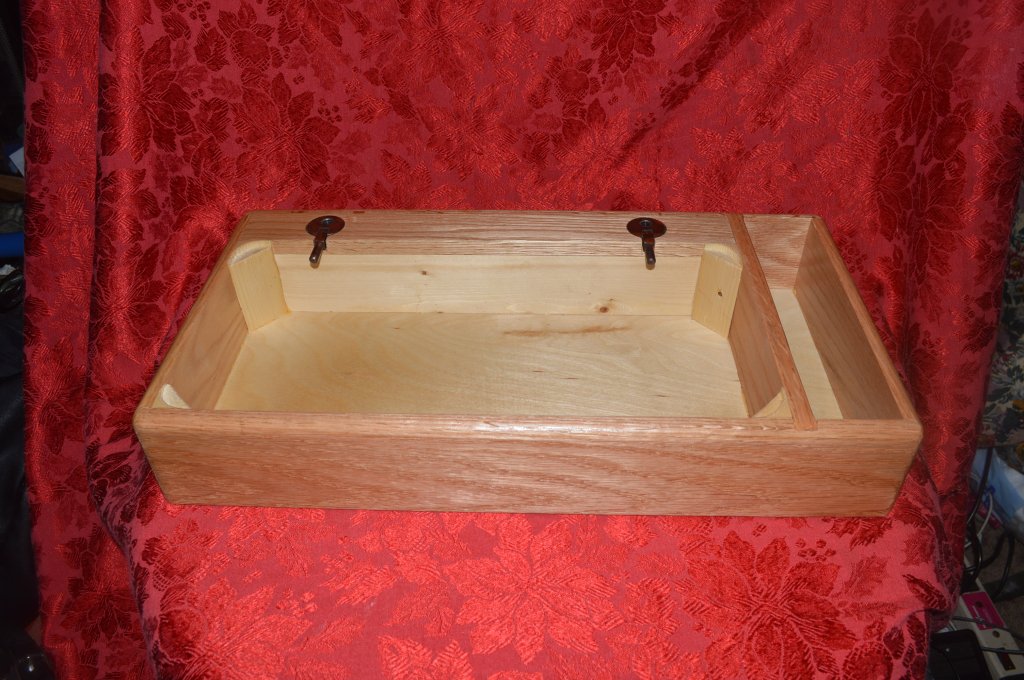
The front face of the base is 1/2″ thick American walnut. The ends are 3/4″ thick to accommodate the case latches and hardware, the divider is 3/4″ thick, the case bottom is 3/16″ plywood. The hinges a post and barrel that are drilled thru the 3/4″ back face and held in by bolts that extend thru the bottom of the case to secure the hinges. The base is finished in a walnut stained and shellac. The base height is 2-3/4″
For my base, I need to make some alterations necessitated by the availability of material and hardware. The base I am building is constructed with 1/2″ red oak, the case bottom is 3/16″ birch plywood. Because the barrel hinges are scarce, I added a 1-1/2″ wide hinge top plate to accommodate the Singer style “button” cabinet hinges that are more readily available. The base color is limited to preference, and the final finish is shellac.
Lets get on to the construction!
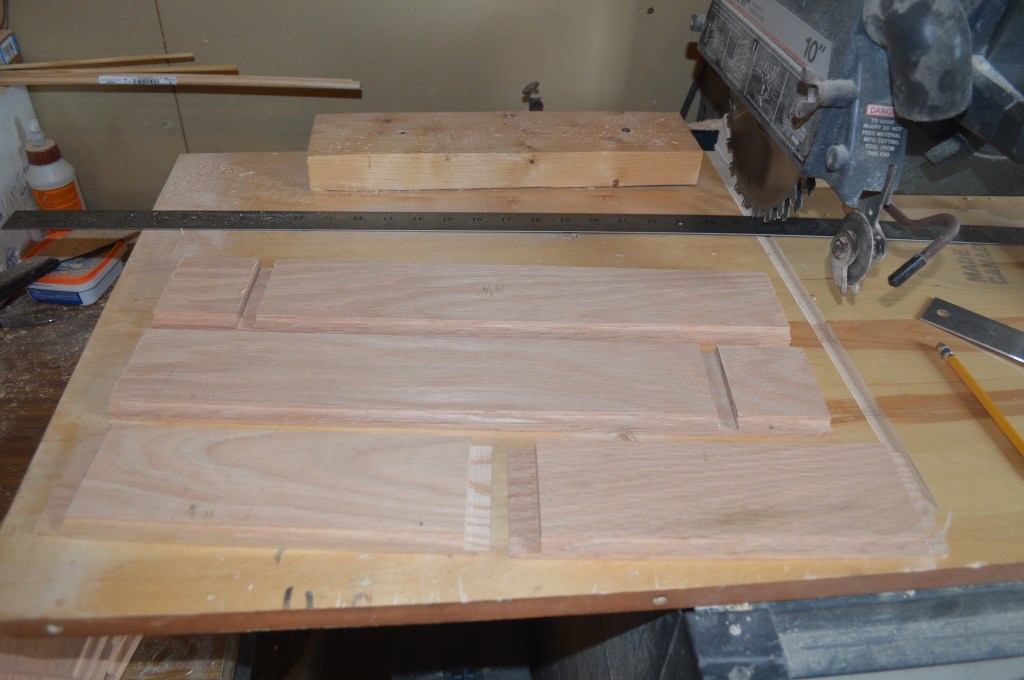
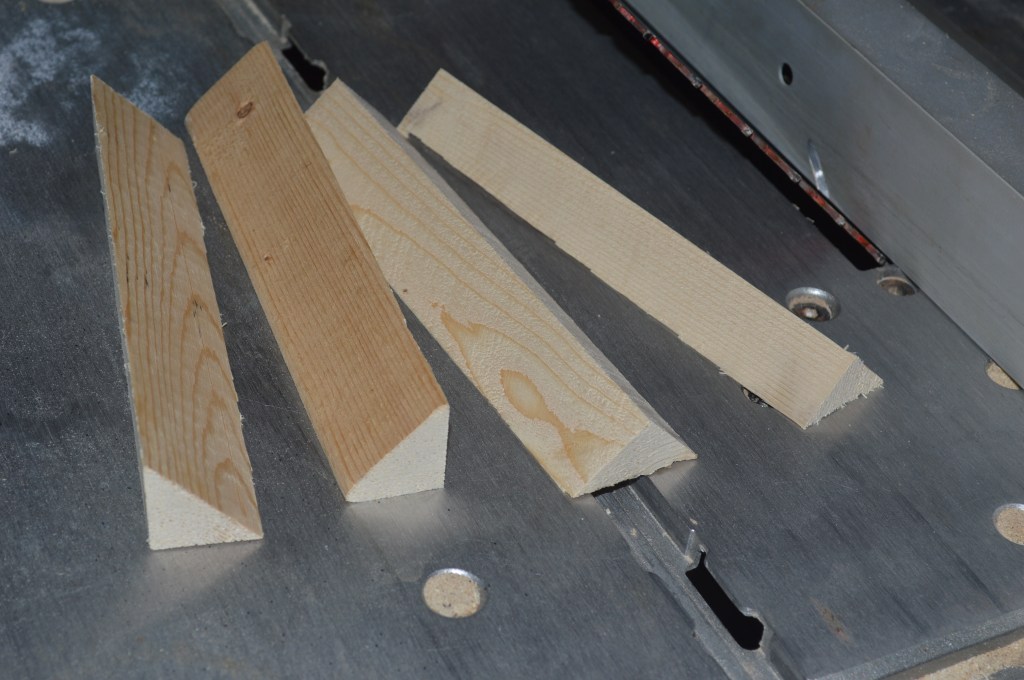
The first step is to select the wood. Wood is a natural product. Even within species there are variations in grain and color. The first step is to layout the wood to match as color and grain. I will need 3 pieces for the base so I sort it from lighter to darker.
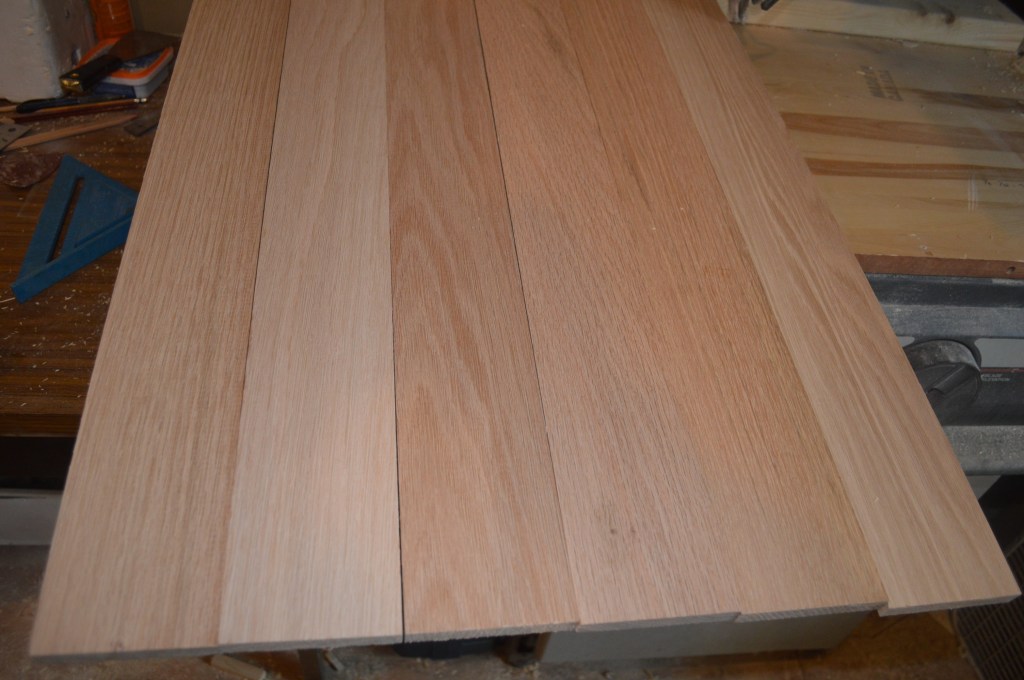
Before sorting 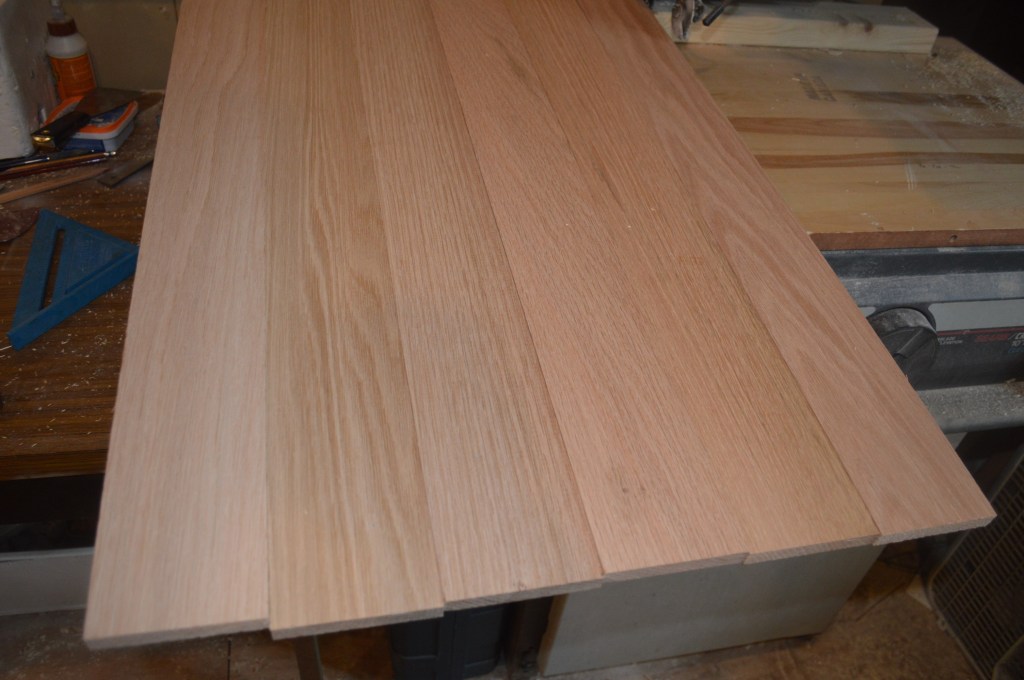
After sorting
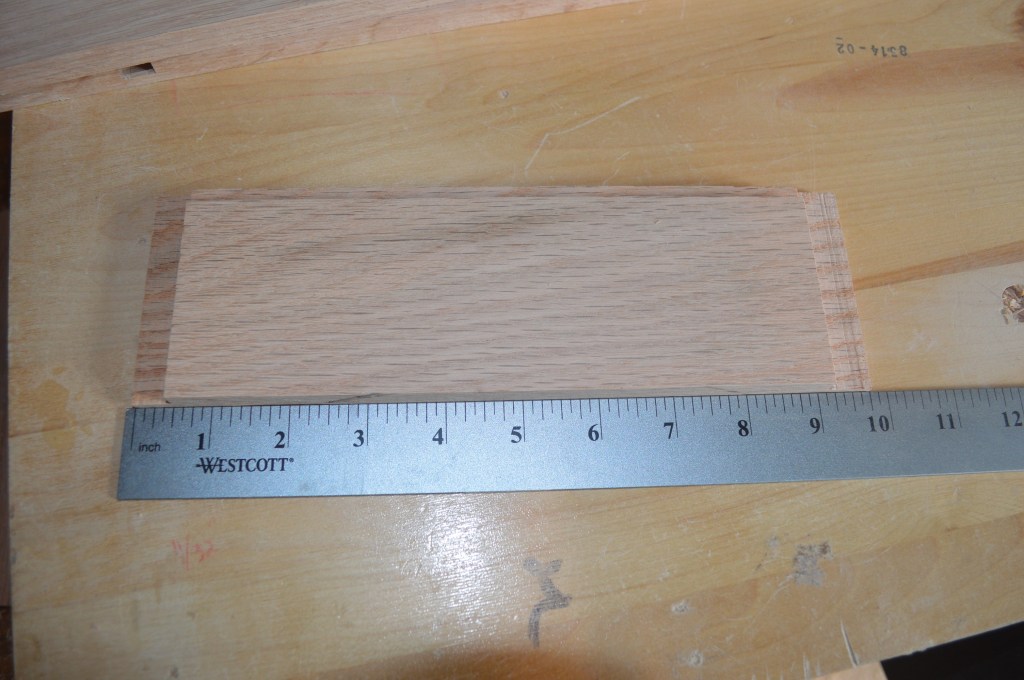
The next step is to measure, cut to dimension, and cut the rabbit joint in the end pieces. A stacked dado blade makes the 1/2″ cut.
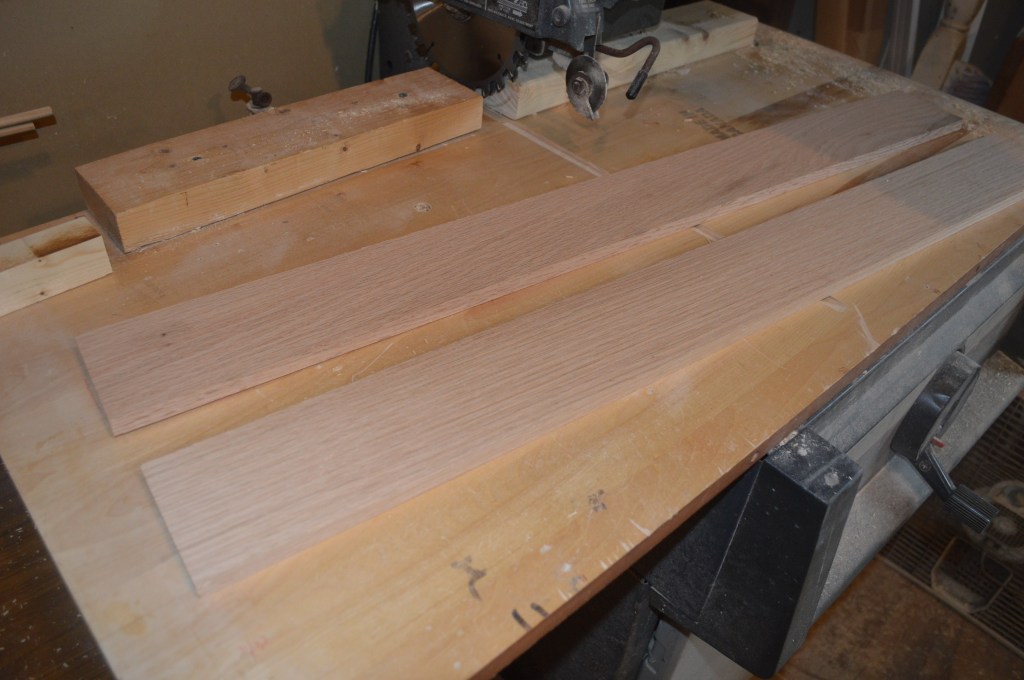
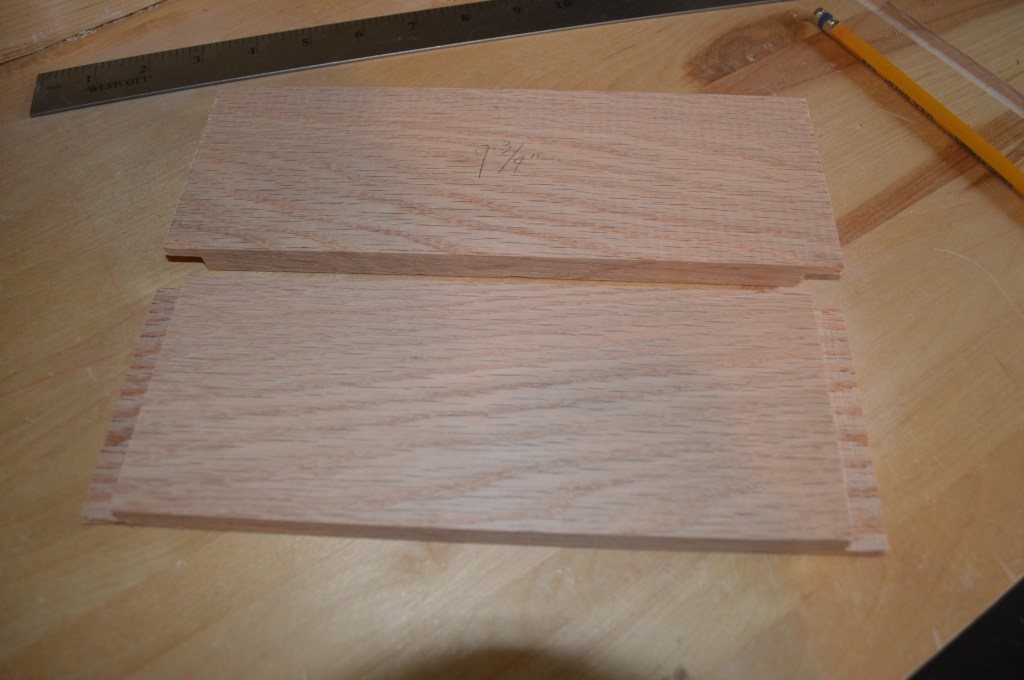
End pieces cut to 9-3/4″ to allow for depth of joint 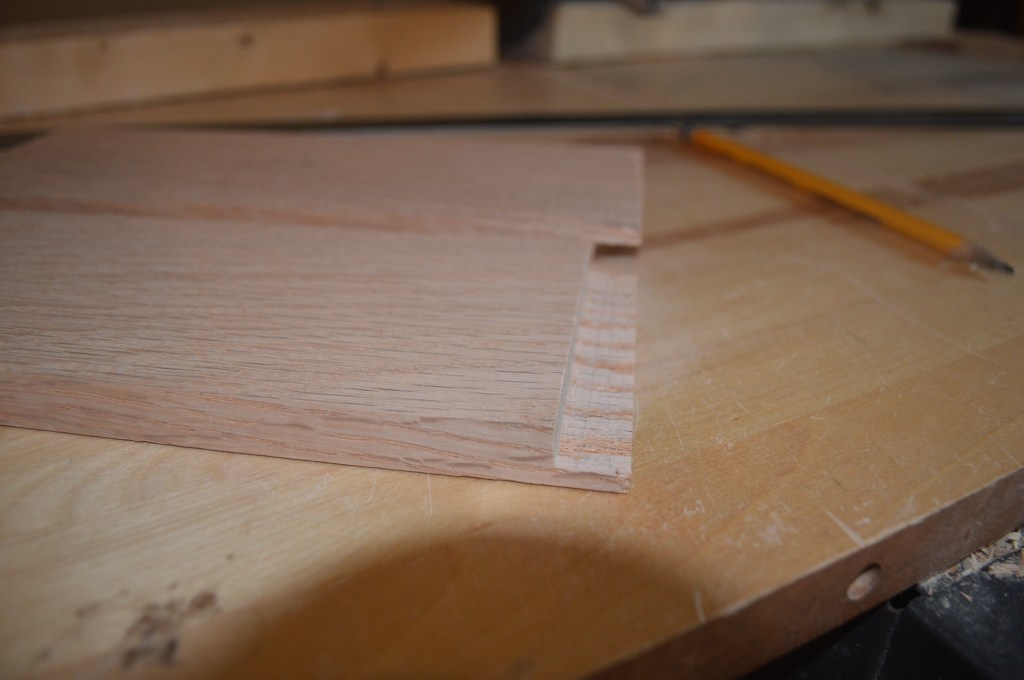
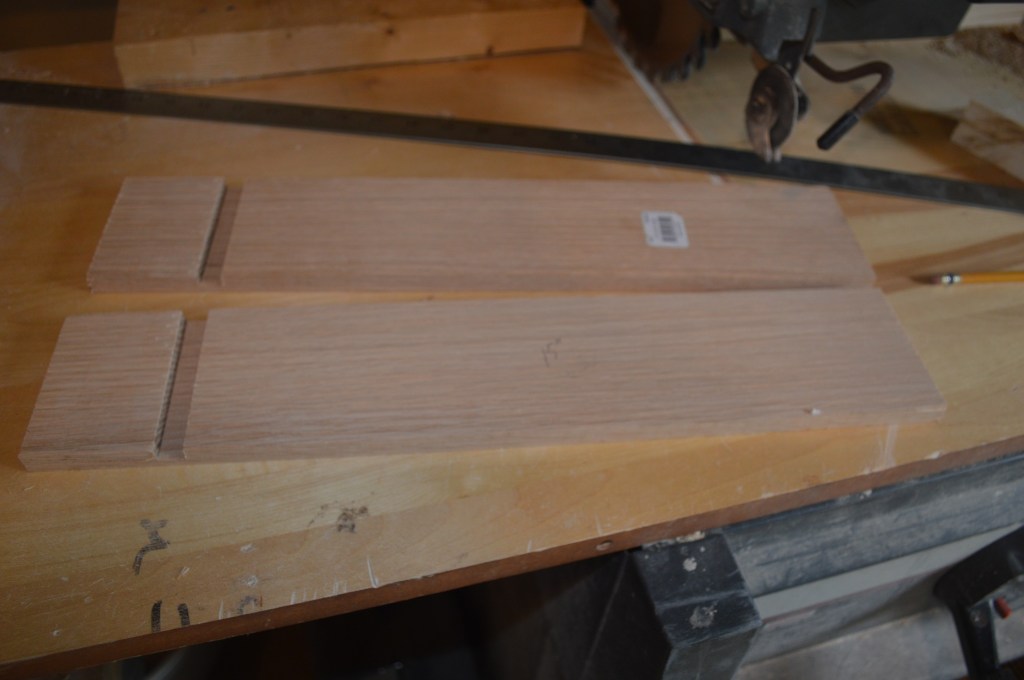
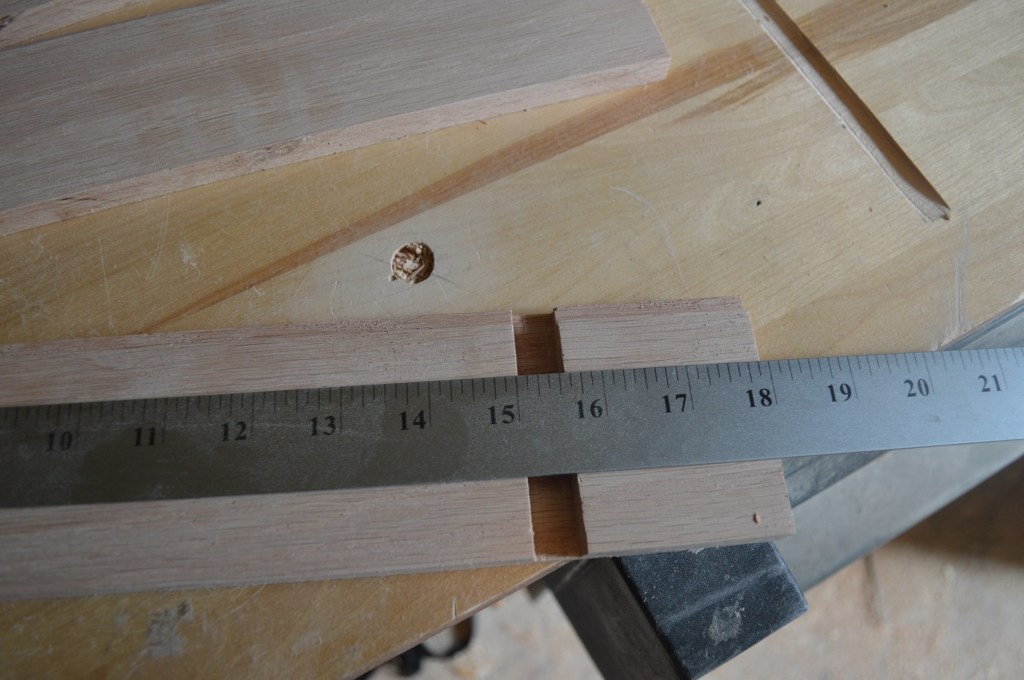
Base face boards are cut to 18″… 1/2″ wide slot is cut to allow inside base length of 15″

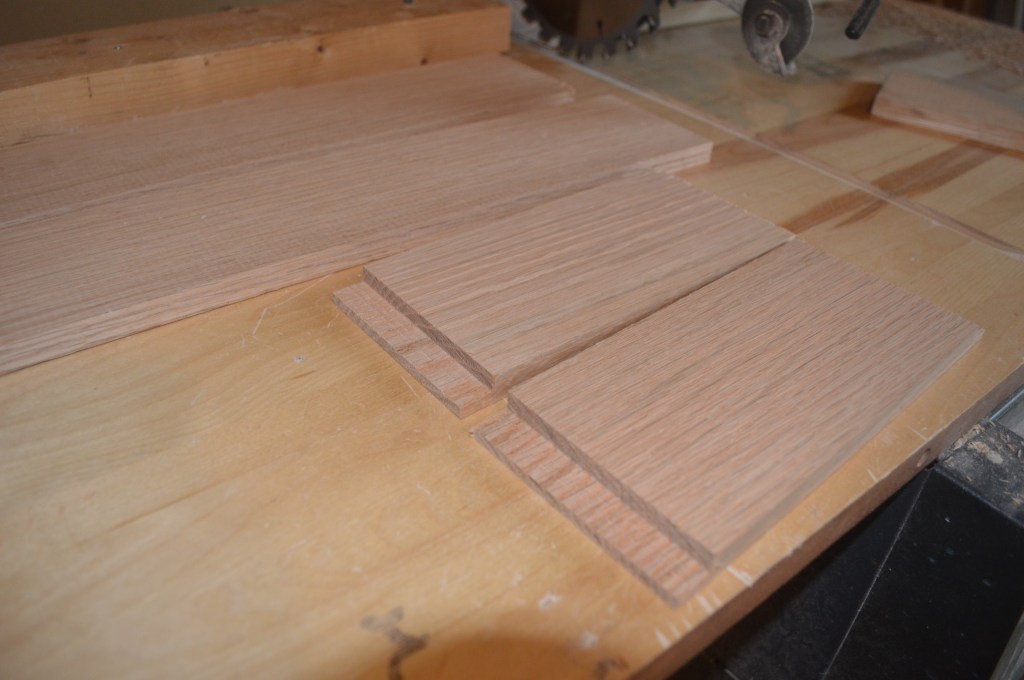
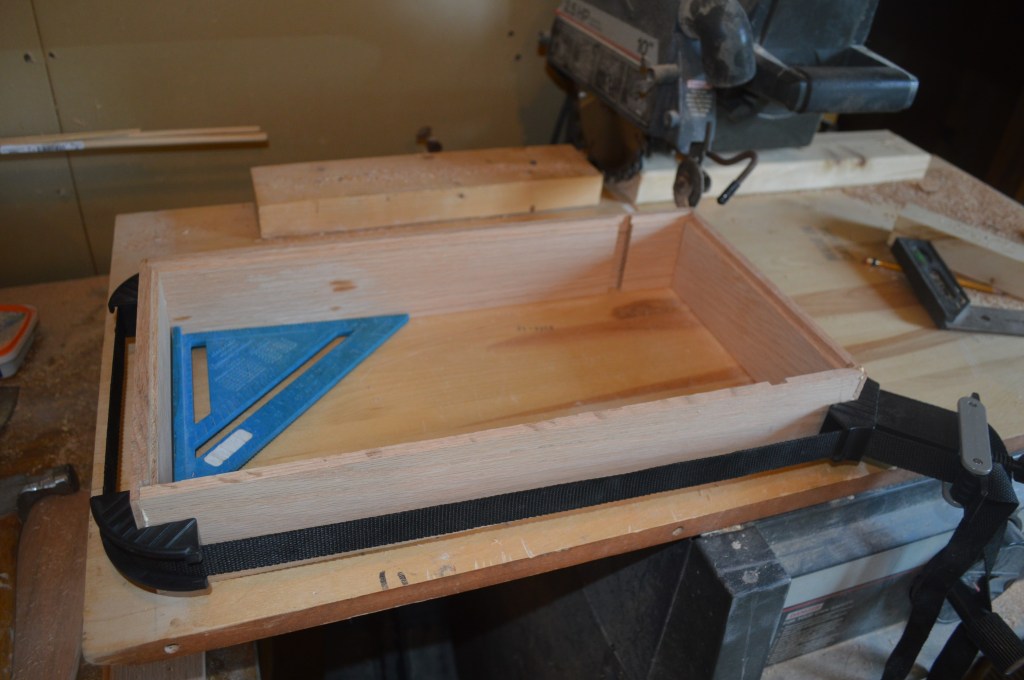
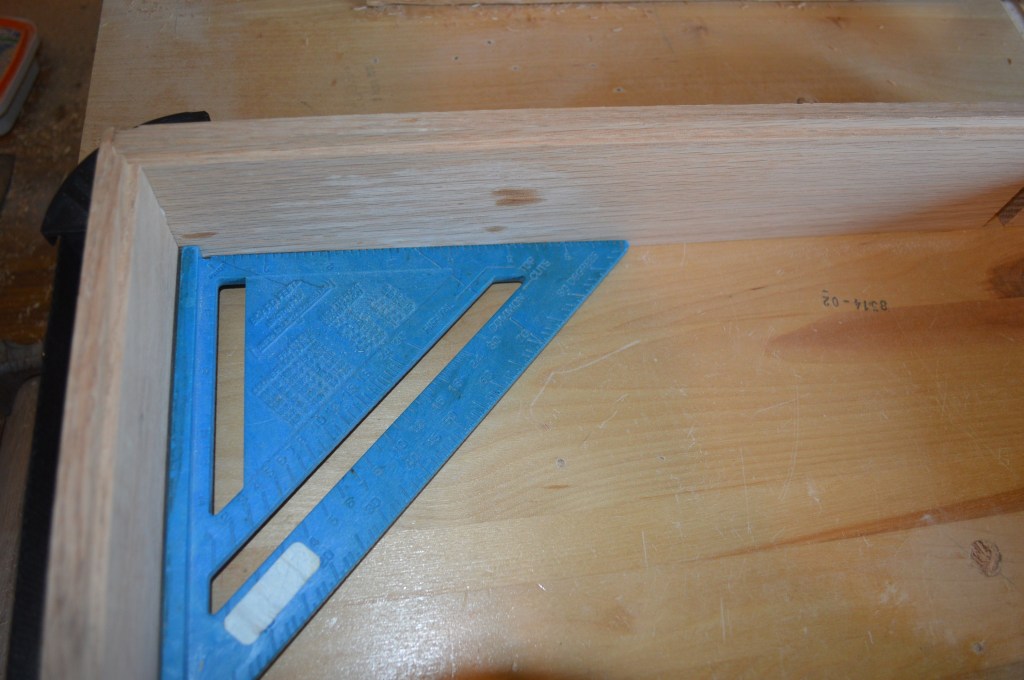
Boards laid out and checked for exact length… a mistake here will result in a base that is not “square”
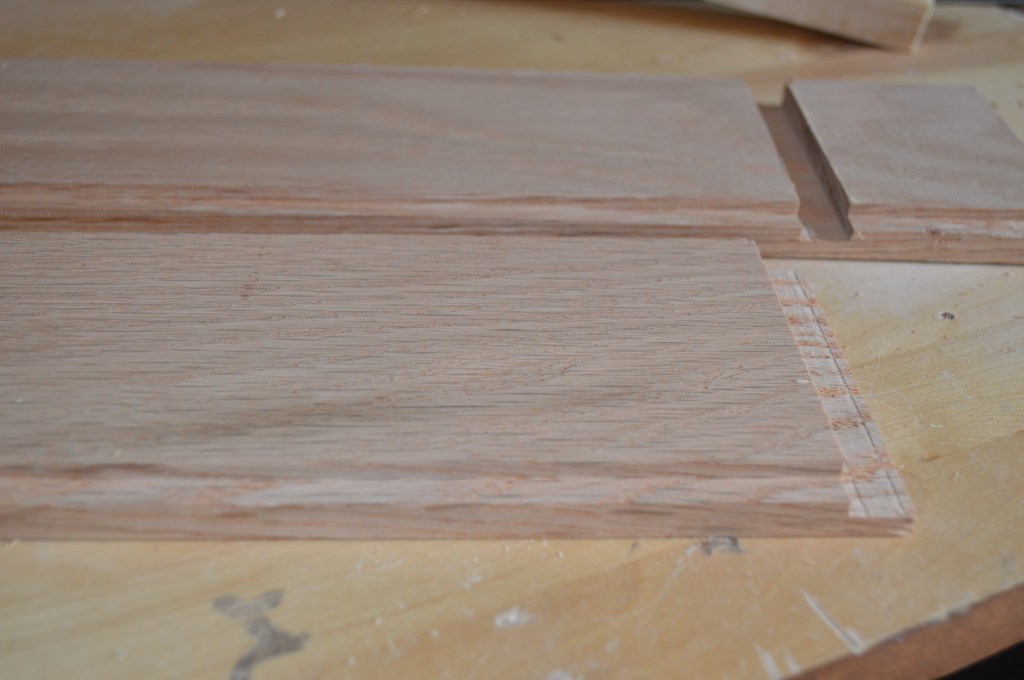
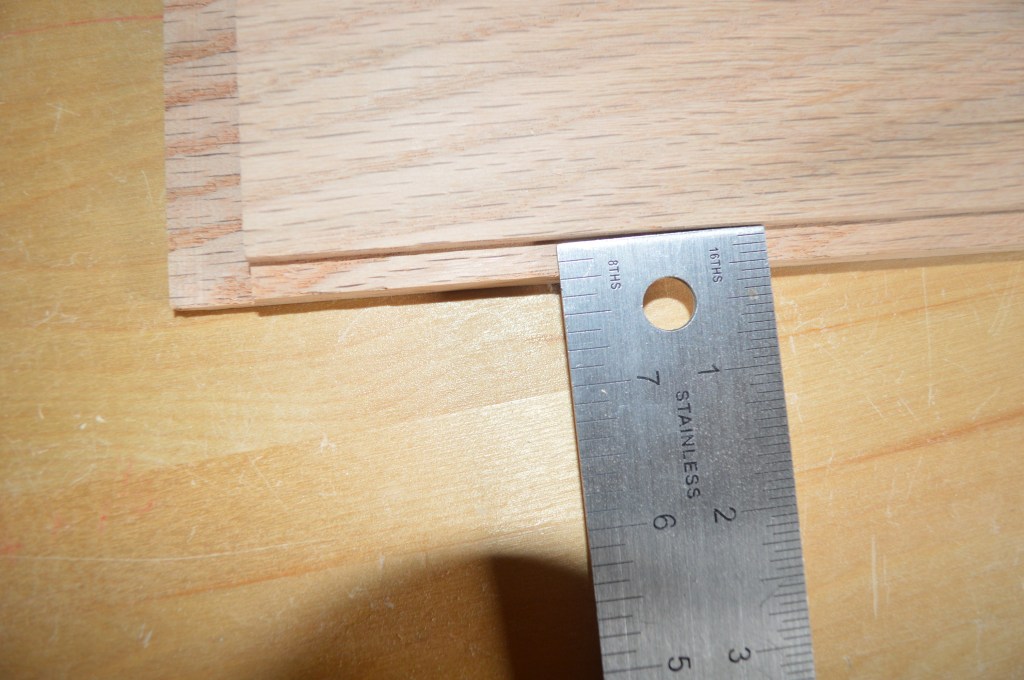
A 1/8″ dado blade cuts the slot in the bottom of the board 1/4″ deep to set the base bottom in and allow for 1 1/16″ recess between the base and the plywood bottom.

The dimensions are checked again before the base pieces are glued and clamped. The base is checked to make sure it is square and the corners are 90 degrees. The glue is left to dry overnight (about 12 hours ).
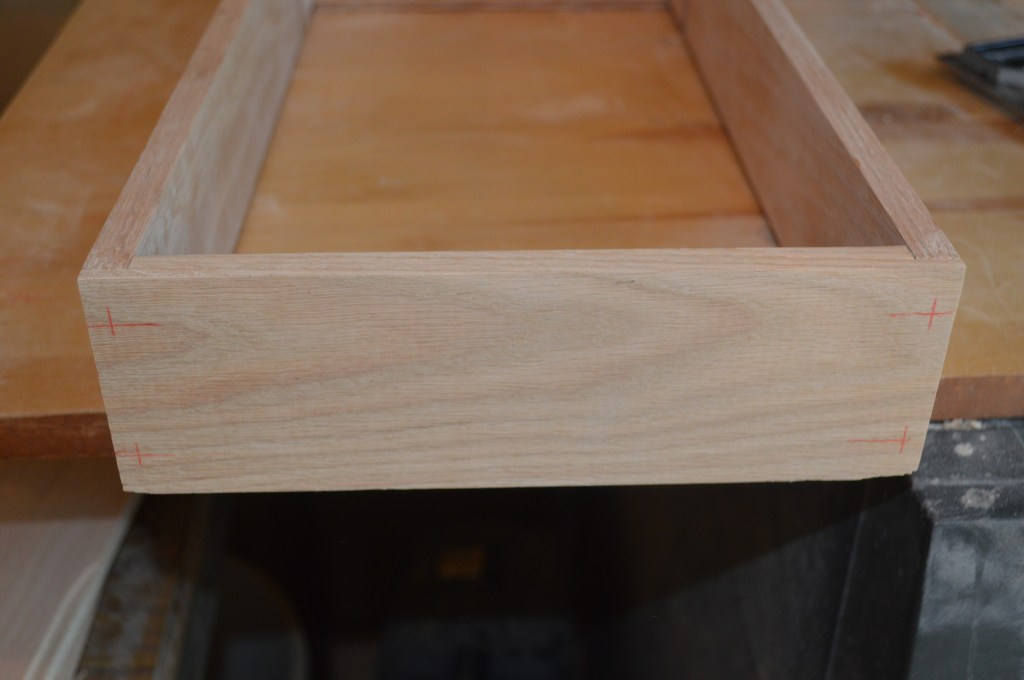
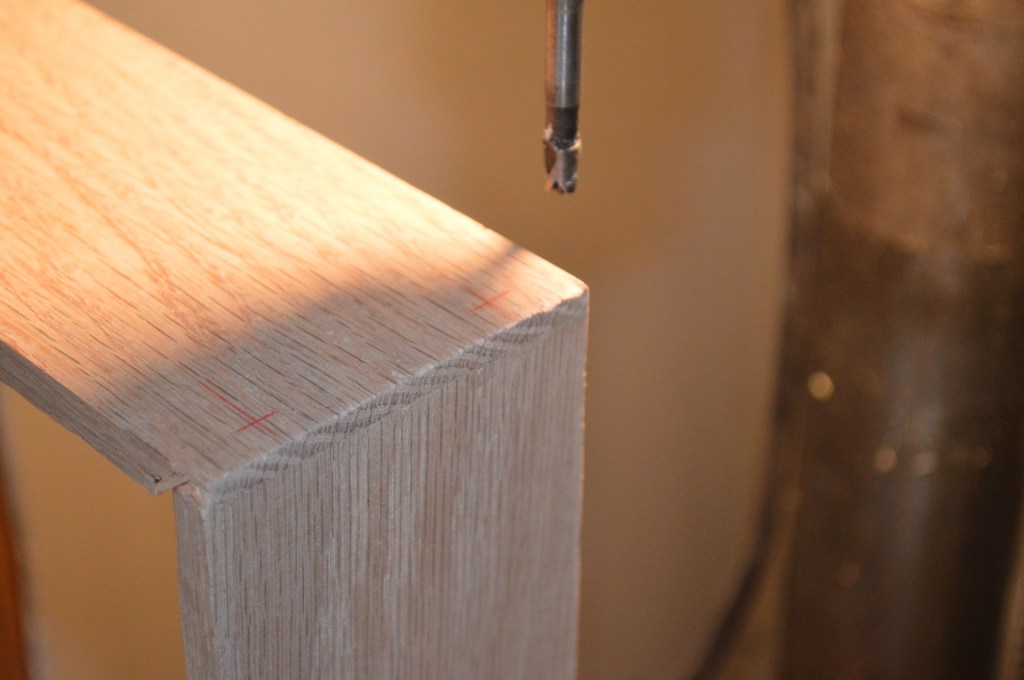
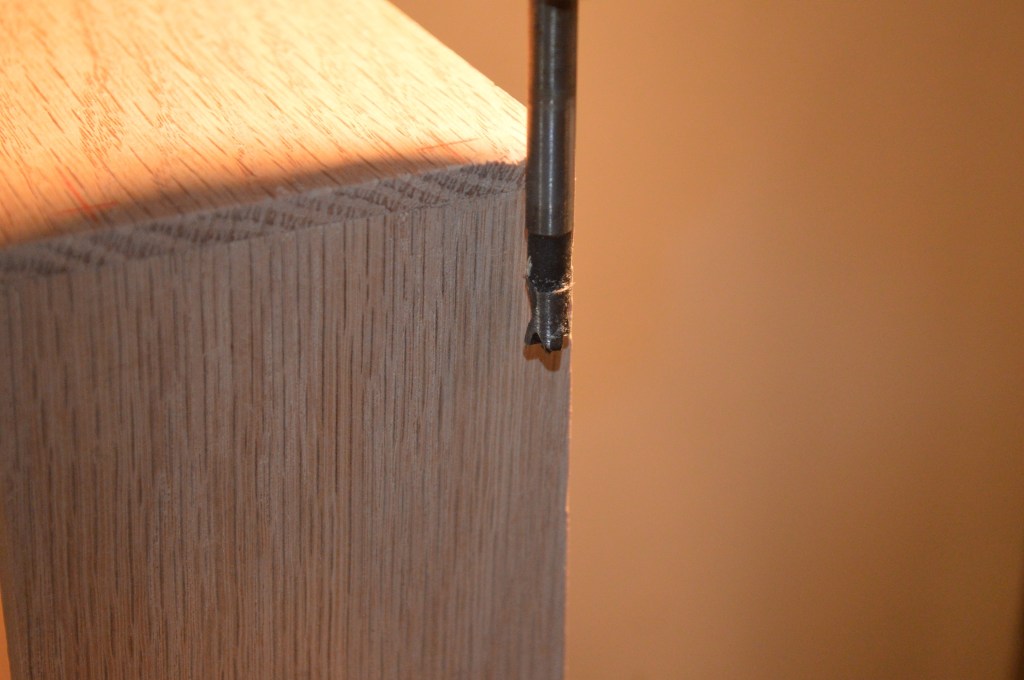
After the glue is dry and the clamps removed, the location of the edges are sanded smooth at each edge and the dowel locations are marked. These are I/2″ from the top and the bottom, and 1/4″ from the edge of the board. The dowel holes are drilled with a 1/4″ forstner bit. A drill press is used to assure a vertical and plumb hole.
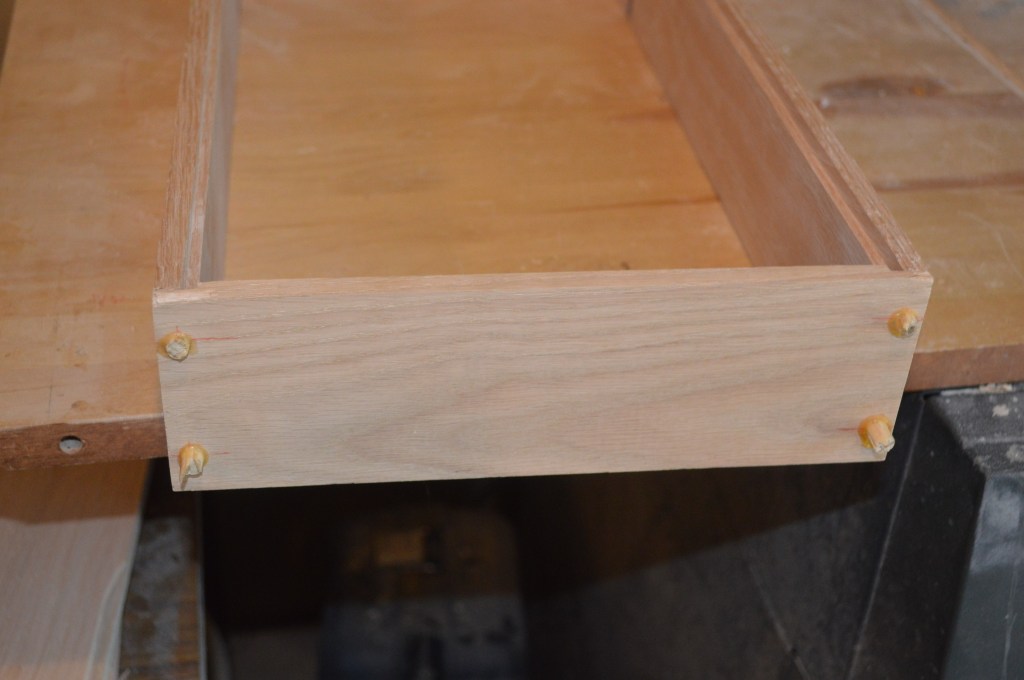
Next hardwood dowels are glued and bottomed in the holes. I don’t worry about the excess length of the dowels or the glue at this point, it will be addressed in the next step. Again the glue is allowed to dry overnight (about 12 hours).
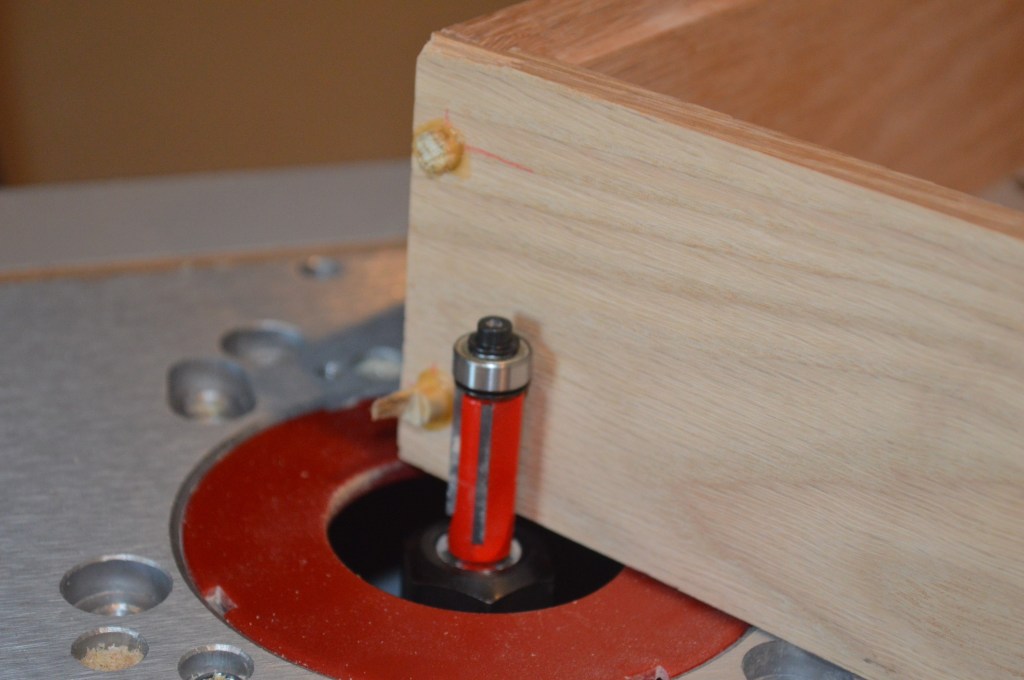
The dowels are cut flush with a flush finish laminate bit on a router table. This cuts the dowels flush with the base and removes the raised dried glue in one step.
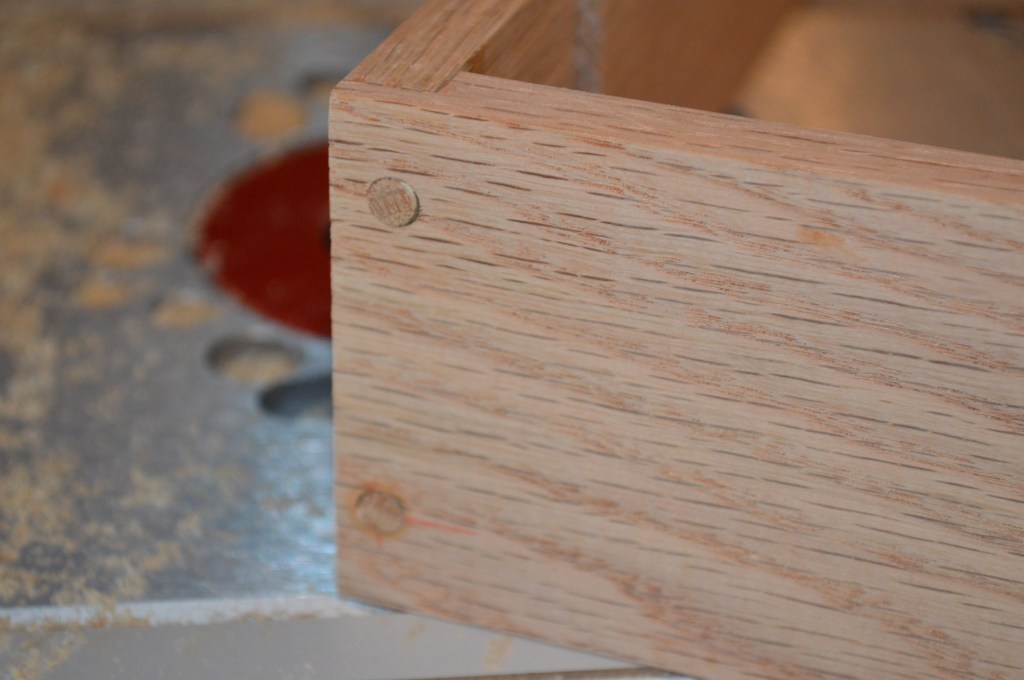
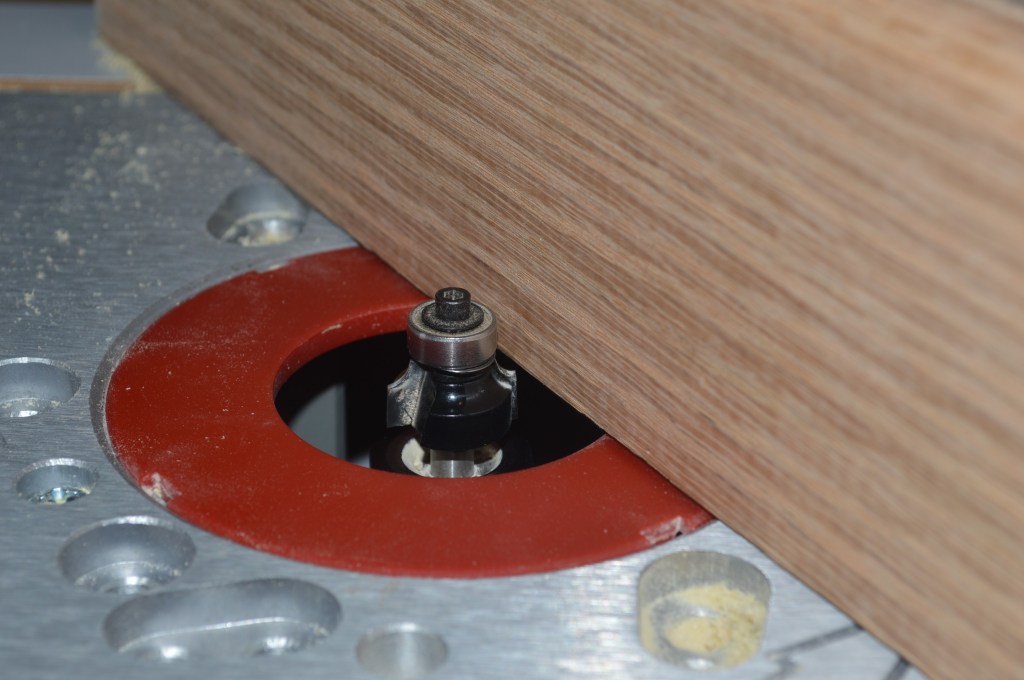
The top edges and corners of the base is contoured with a 3/8″ round over bit.

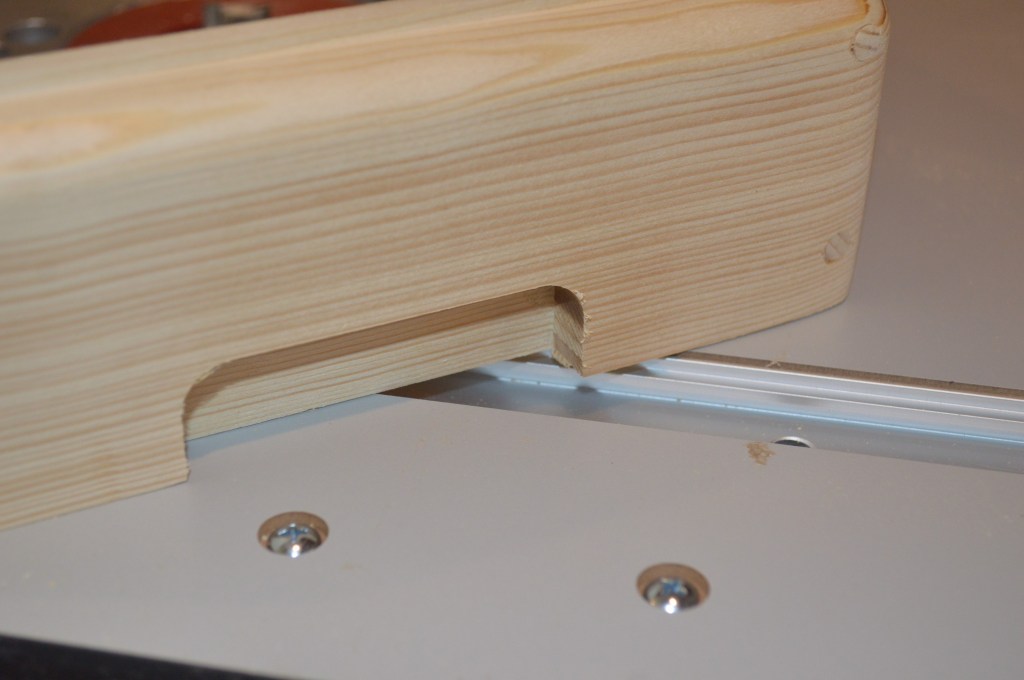
Next step is to cut the hand grips. This is done with a 1/2 slotting bit. Blocks are clamped to the router table fence to set stops for the hand grip length. This is a time consuming process, the base must be fed into the bit slowly to prevent splintering the wood, or binding the bit.
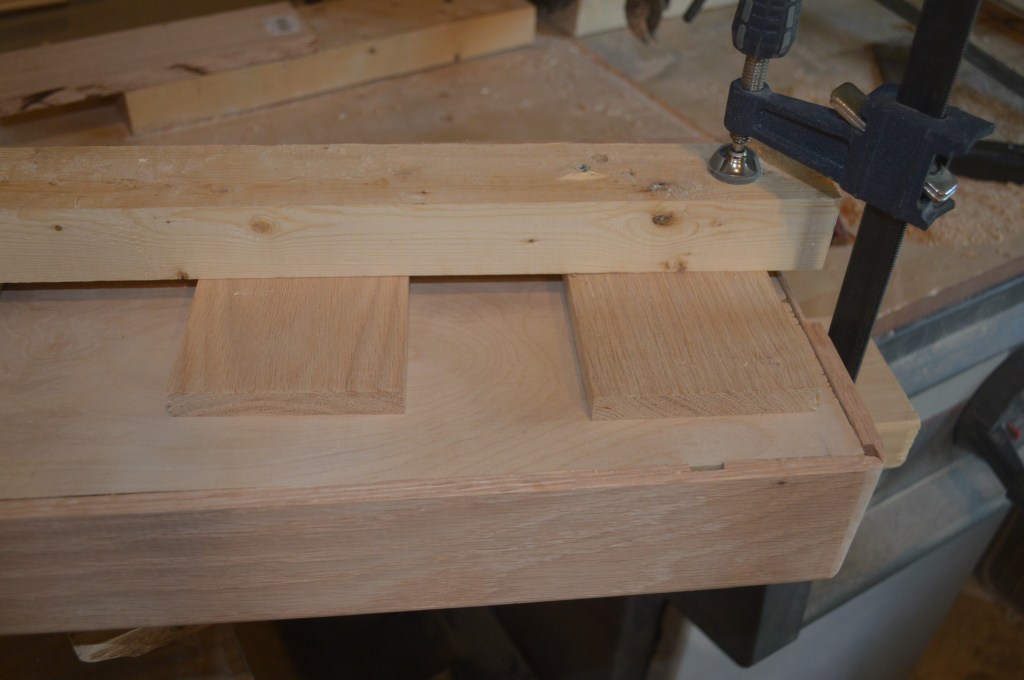
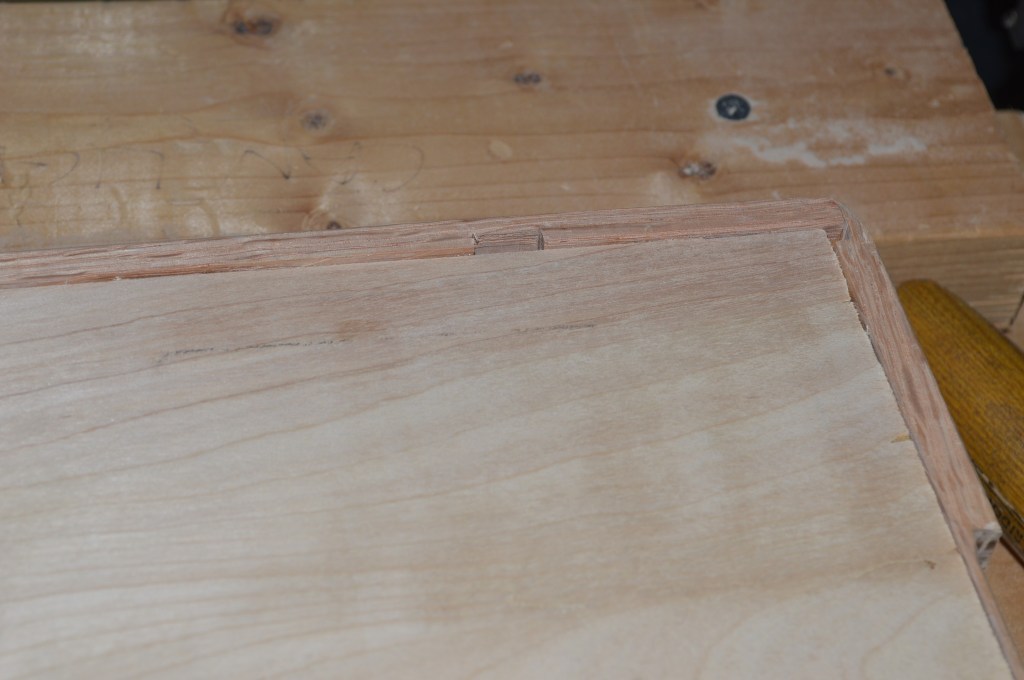
The next step is to cut the plywood bottom and glue it into the base. Clamps and spacers are used to evenly apply pressure to the plywood and form a tight glue joint to the base.
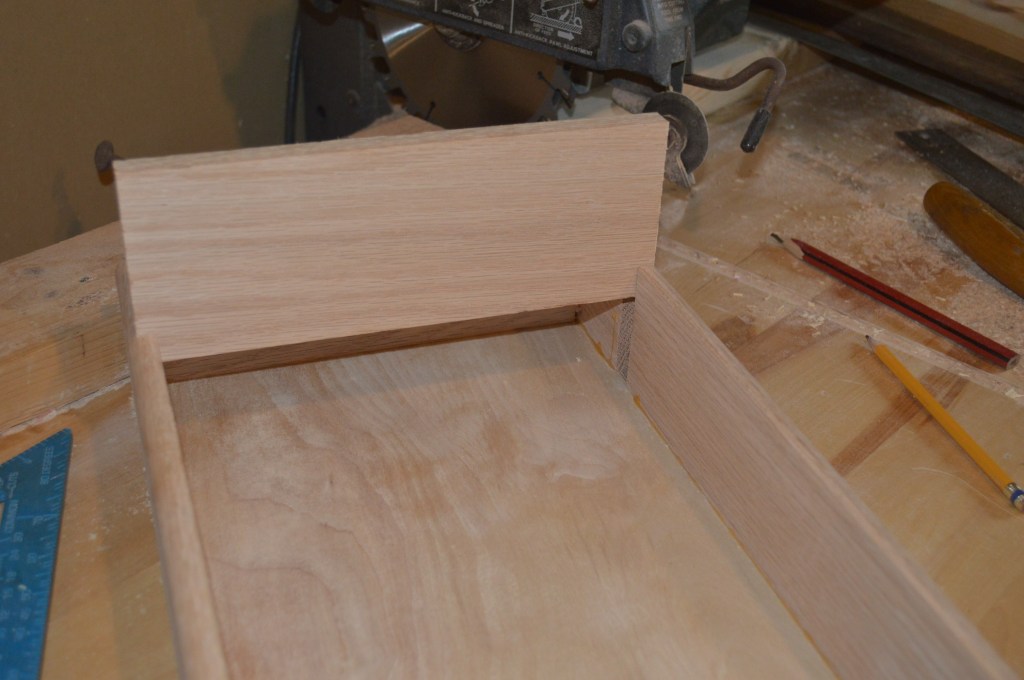
The divider is cut to fit the slot and glued into place… again, the glue is allowed to dry before the top of the base is again routed with the 3/8″ round over bit. This profiles the divider into the top rounded edge of the base
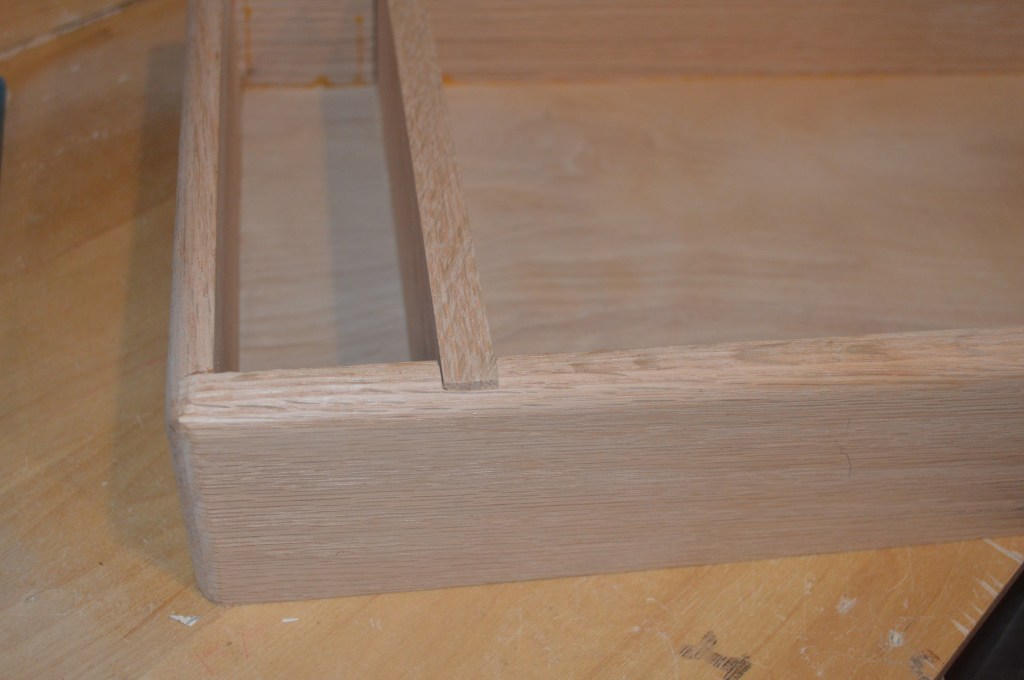

The bottom edge of the base is rounded with a 1/8″ round over bit. This is a cosmetic detail and I don’t like any sharp edges… I know what you’re thinking, it’s all about me…
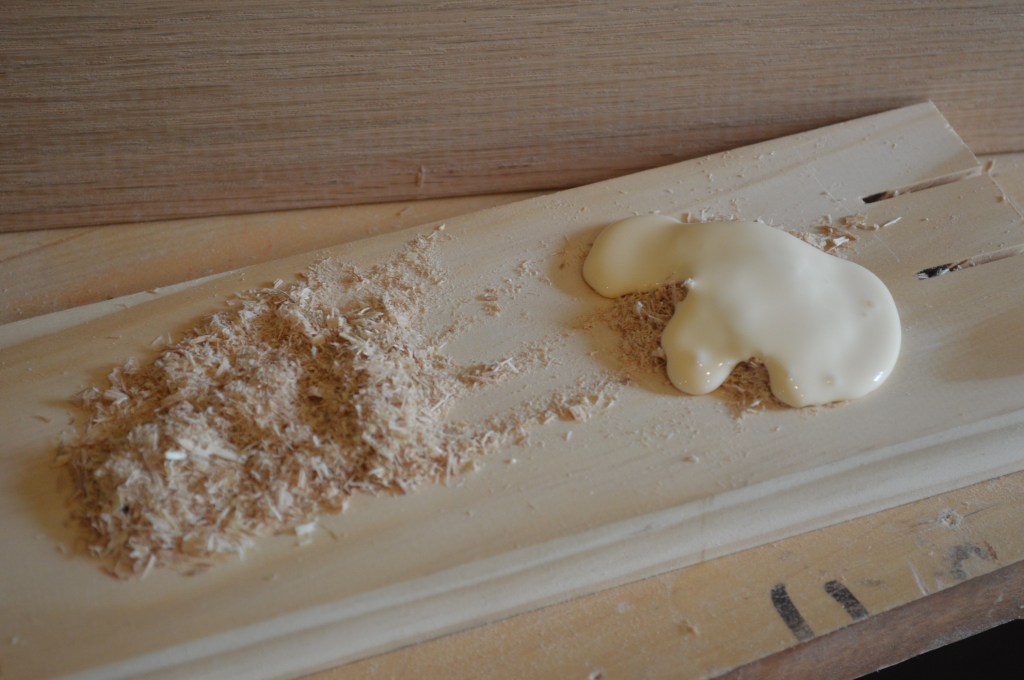
After a preliminary sanding to make sure all of the contours and edges of the base are profiled uniformly, any spots requiring wood filler are attended to. To match the color of the wood. Wood filler is made from saw dust and glue. This is applied to all areas needing to be filled… specifically the ends of the slots cut for the divider and base bottom recess groove. When sanded, these areas will be sanded smooth and blend in with the natural wood color.
The top hinge plate is supported with a pine block 1-1/2″ wide and 15″ long. It is cut to a height 1/2″ below the top of the base to allow the 1-1/2″ wide oak hinge plate so it ends up flush with the top of the base.
The 90 degree corner supports are cut and measured to height Plus a little bit and set aside to glue into place when the hinge plate is cut and glued into the base.

After the hinge plate and corner supports are glued into place and allowed to dry, the supports are sanded flush to the base. The reason for cutting them long is because sanding them flush to the top of the base closes the grain in the coarse cut corner supports.
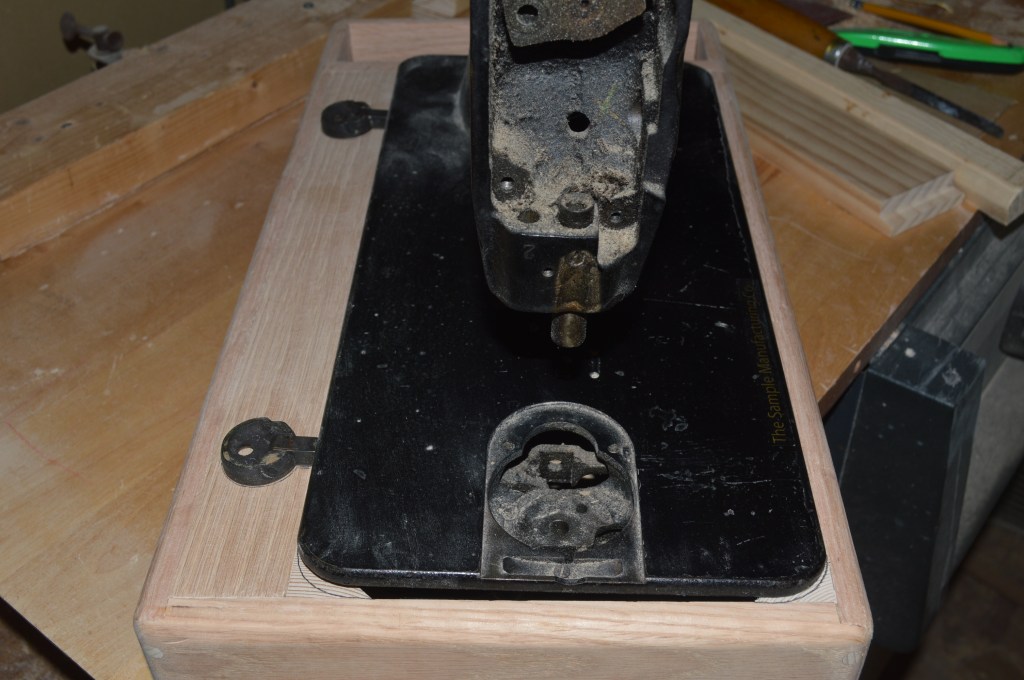
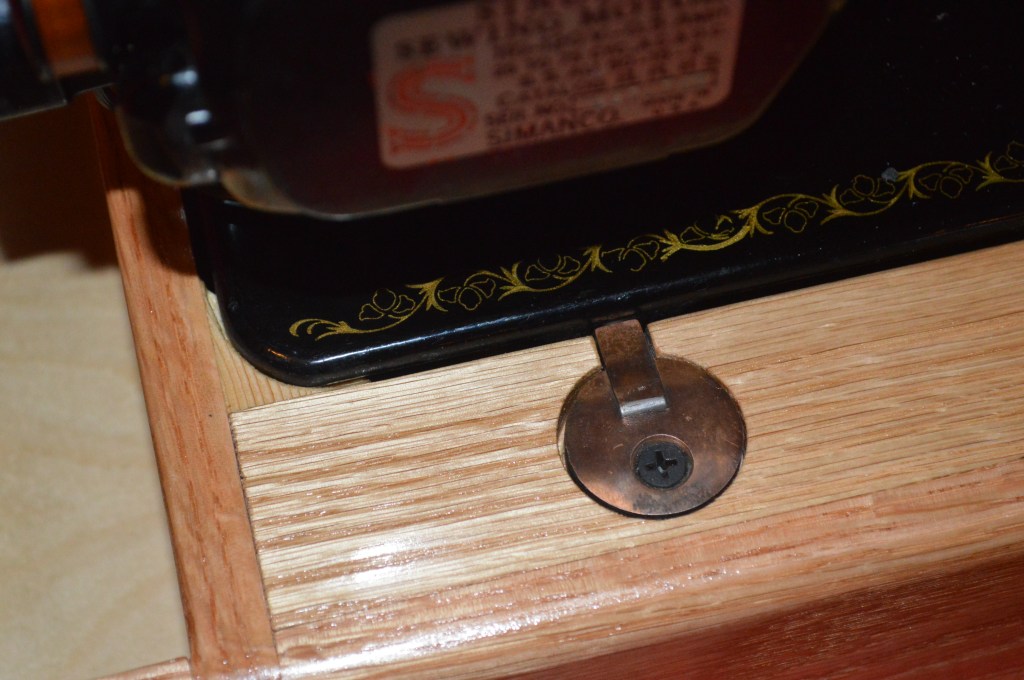
Meet Gertie… The next step is to use a Singer sewing machine (that’s Gertie) with hinges to set on the base, position it so the clearances are even, and transcribe the outline of the hinges and corner radius to the hinge plate and corner supports.
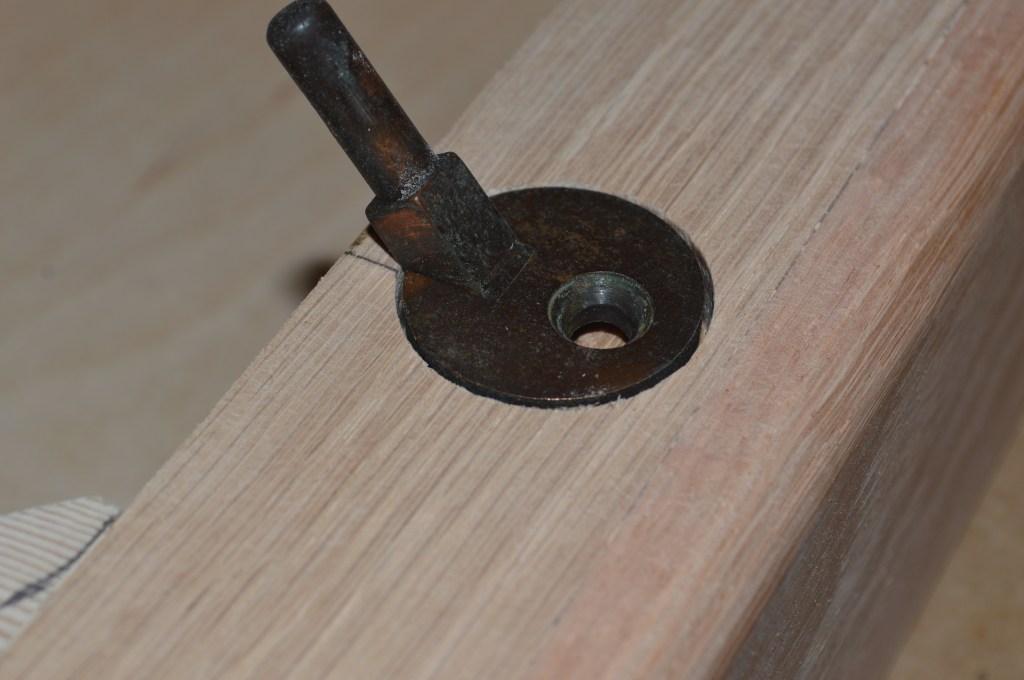
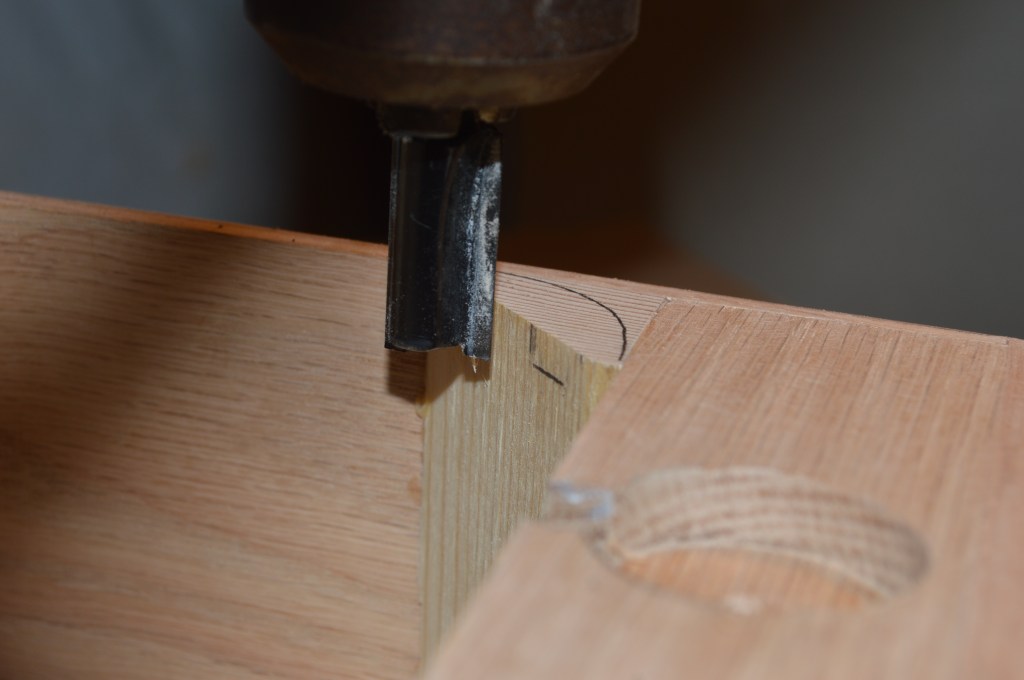
The hinge recesses are made using a 1-3/16″ forstner bit and are drilled just deep enough for the hinge to sit flush with the hinge plate. For those of you wondering what a forstner bit is, it is a special type of wood bit that leaves a flat bottom. The hinge pins are marked, cut, and removed with a chisel to allow the hinge pin to sit flat with the hinge.
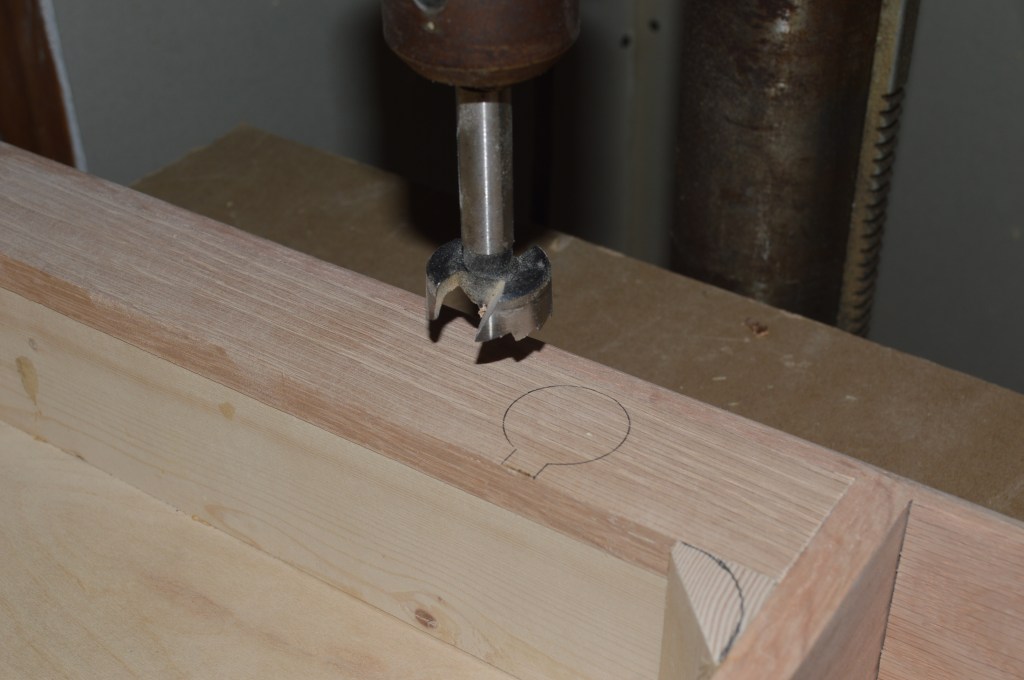
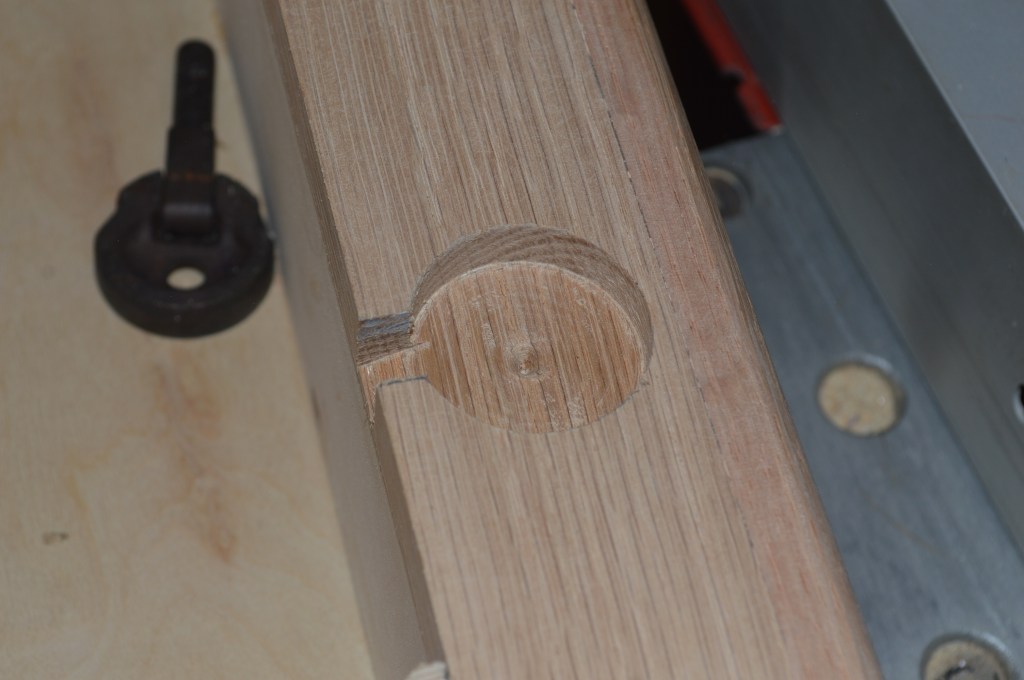
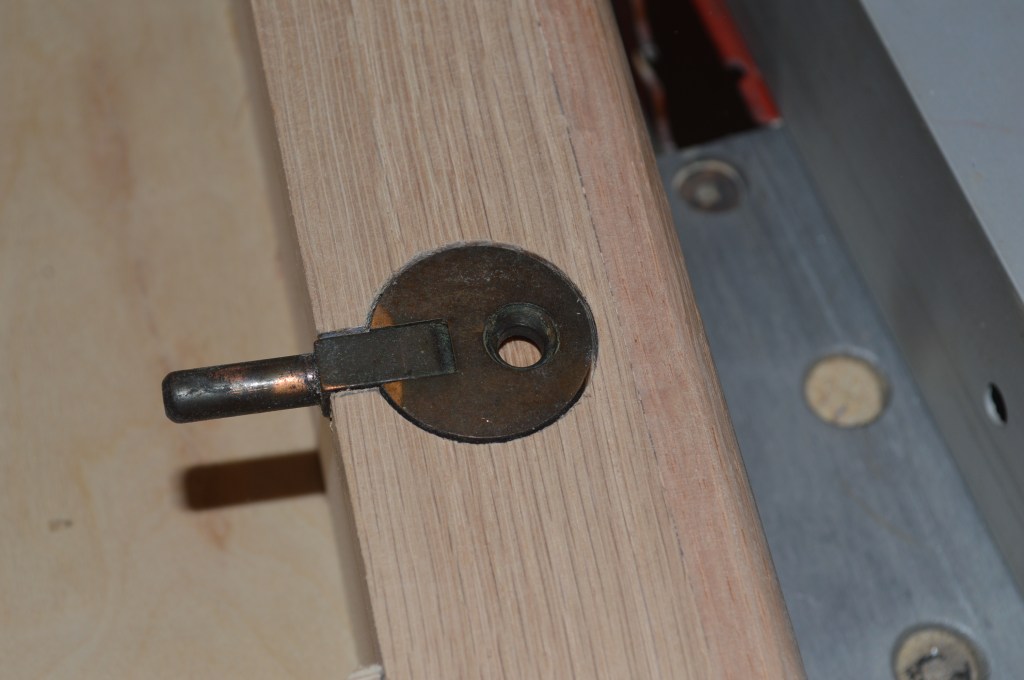
The final part of the construction is to recess the corner supports. Here the 1/2″ slotting bit is used in the drill press. The base is fed into the bit to the outline of the curve. For a nice seat and good clearance to open the bobbin plate slide, the recess is cut 1/8″ deep. The center hole in the hinge marked in the hinge recess is then pre-drilled for the hinge screw.

The construction of the base is complete and it is on to sanding. Before applying the final finishes, the base is sanded on all surfaces. All of the sharp edges on the top surface are sanded to “break” the edge. This just means that they are rounded over. everything is smoothed and contoured. Now the base is ready for finishing.
This base is being finished in its natural wood color. The base is set into the spray box and 4 coats of shellac is applied over the course of 2 hours.

Following a 24 hour cure time, the base is sanded again with 220 grit paper. This smootes the raised grain in the finish and the base is returned to the box for the final 2 coats of shellac. Following another 24 hour cure time, the shellac finish is smooth as glass. The base is set aside for 48 hours to the final cure to allow the shellac to harden.
The hinges are installed and 3/4″ round felt pads are fastened to each corner under the base.
That’s it! The base is complete and ready to a wonderful vintage Singer sewing machine for many years.

It takes a considerable amount of time to construct a base, the steps for gluing and finishing require patience, attention to detail. Careful measurements, fitting, and sanding are all important to the quality of the finished product. I think the time spent progressing slowly in building a base is time well spent. After all, the appearance and quality of the base needs to compliment to the appearance and quality of the machine sitting on it… at least that’s what I think.
If you like what you see please visit our Etsy store at https://www.etsy.com/shop/pungoliving, and see other examples of some of the beautiful custom made bases we have built for our Customers and offer for sale to fit your machine. We do not have bases in stock, and each base is custom made for your special order. Each base can be finished to suit you preference for color or finish. Bases can be built to fit Singer or Kenmore machines, as well as a large variety of other vintage sewing machines from other manufacturers.
If you have any questions, or wish to place a special order, please contact Lee at Pungoliving@gmail.com.

Truly amazing
LikeLike
Thank you!
LikeLike
I just bought a 1946 Singer 201-2. Do you ever make these bases out of exotic hardwood, i.e., wood with really interesting markings and grain, or wood with irregular markings (like Ambrosia Maple)? Thanks.
LikeLike
Hello Trish,
I would love to use exotic wood, the problem is the quantity and size I need for a base and the extremely high price of many furniture grade and unusual wood. It is also hard to come by. I tried maple, mahogany, and poplar. I just can’t find it in consistent quantity and it is multiples of price of oak.
I have found that red oak is inexpensive enough in quantity and easier to get. It has a good variety of grain, is hard, works well, and it looks great in various stain colors.
If I ever come across a good supply of an alternate hardwood, I will certainly use it!
Thanks,
Lee
LikeLike