

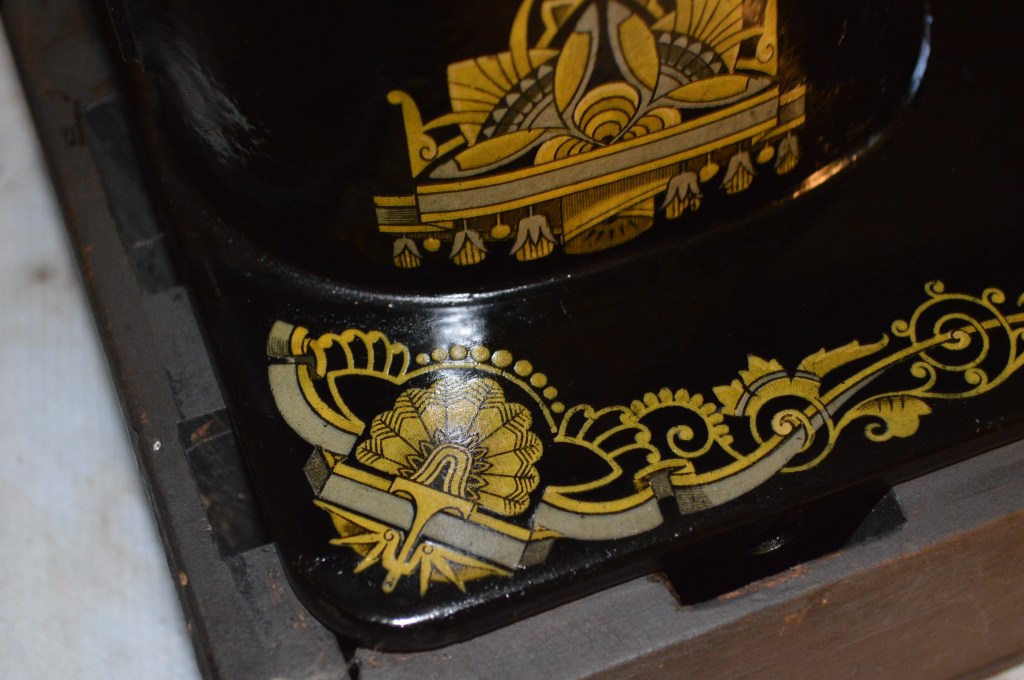
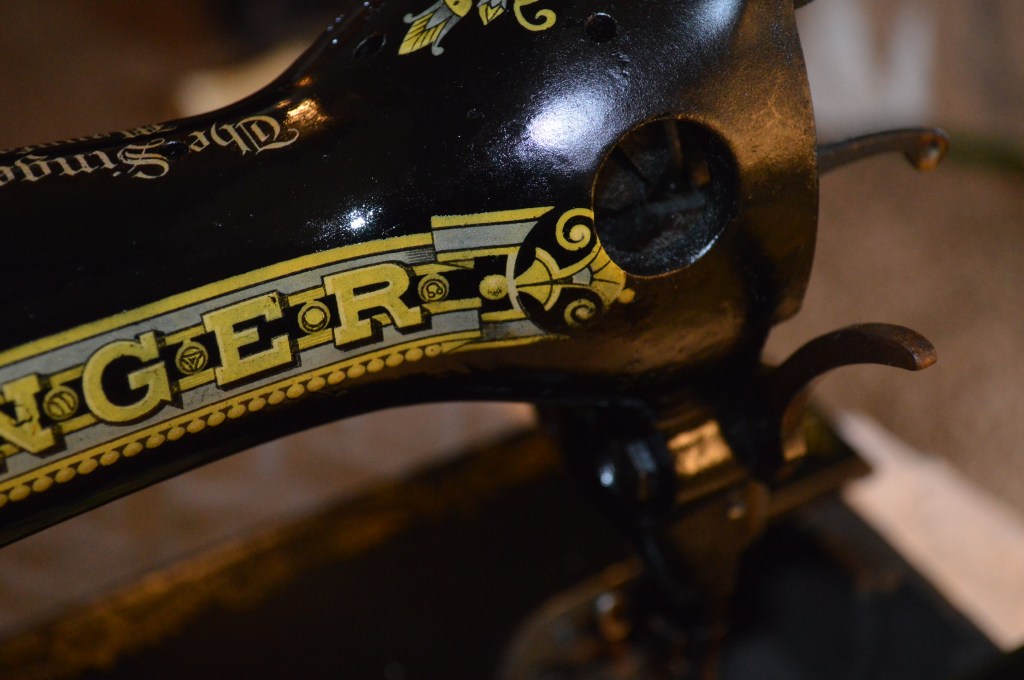
I previously posted a blog on cleaning a vintage Singer sewing machine, but I did not show you what kind of results you can expect to obtain. Well, I thought that this Singer Model 15K was a perfect example to show you. Manufactured in 1918 this machine has achieved antique status. It is kind of unusual in its condition because the decals are in fantastic condition for its age. There is some slight decal wear, but the full panorama of the “Sphinx” decals keep your brain busy enough to fill in the loss… it is not readily noticeable. It is not unusual in that almost all of the shellac Singer applied to protect the lacquer paint and decals is gone. This means that the decals are highly susceptible to damage if the machine is cleaned too aggressively. The machine can still be cleaned to an acceptable level with a few simple steps.
I previously mentioned that any cleaning project needs to have a reasonable expectation for the outcome. This is no different, I already know that I cannot polish or rub any defects out of the surface. So I am going to go over the steps I took to complete the cleaning and feel satisfied with the result. Lets take a look at the condition of the machine before cleaning…
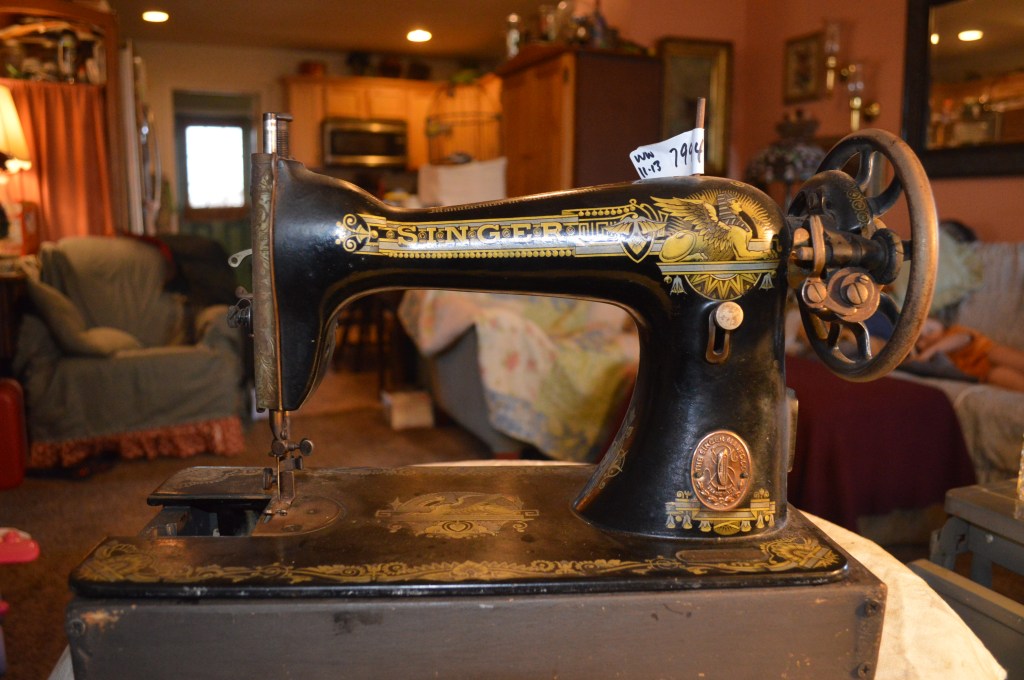
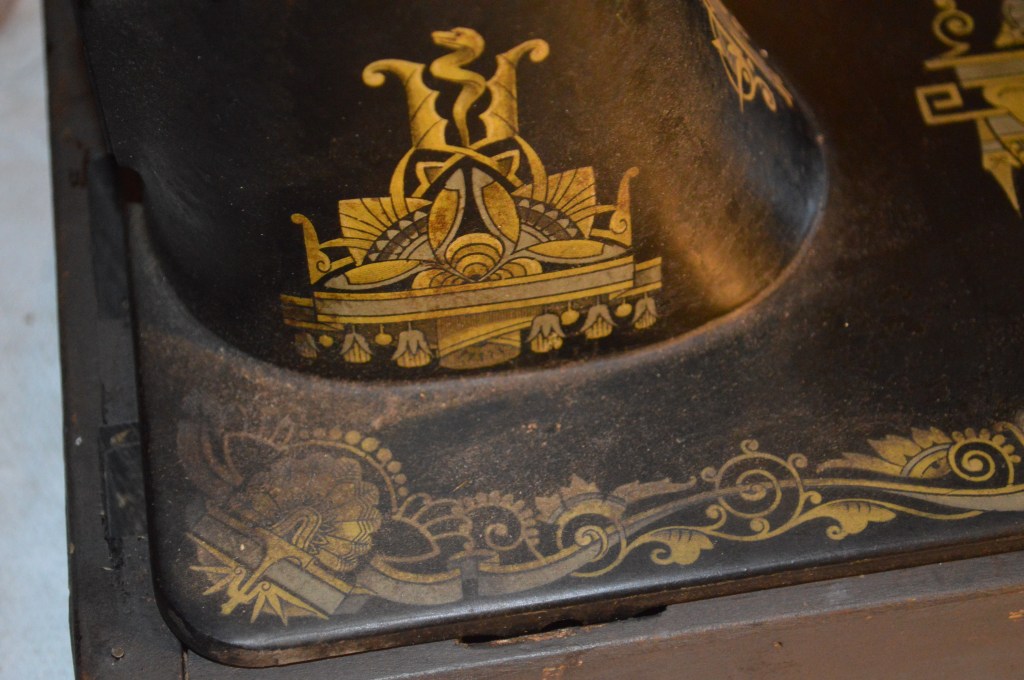
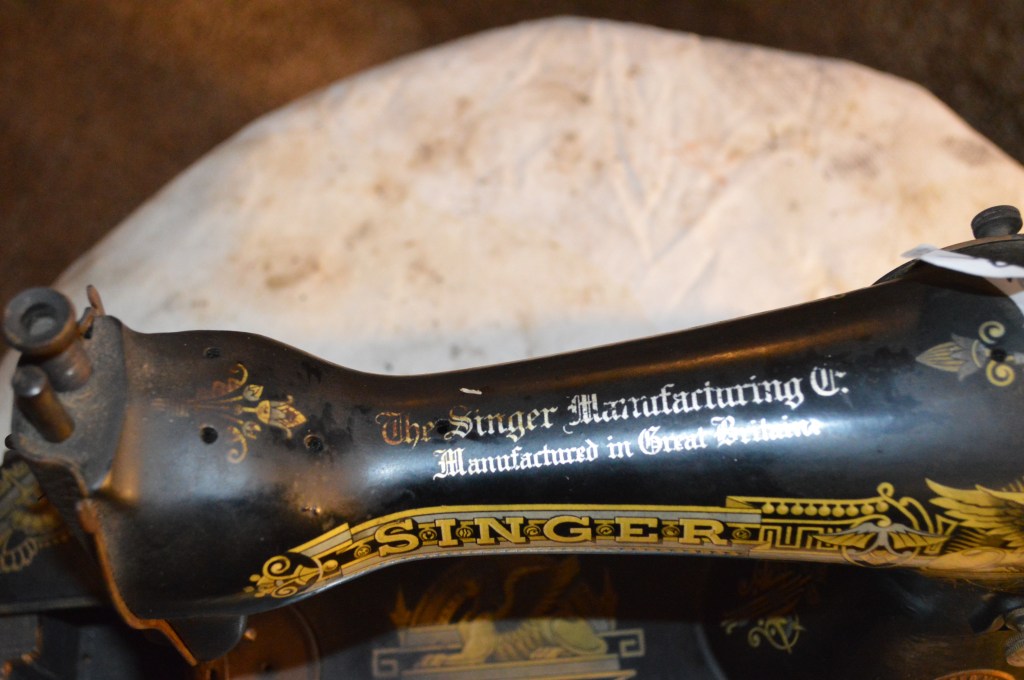
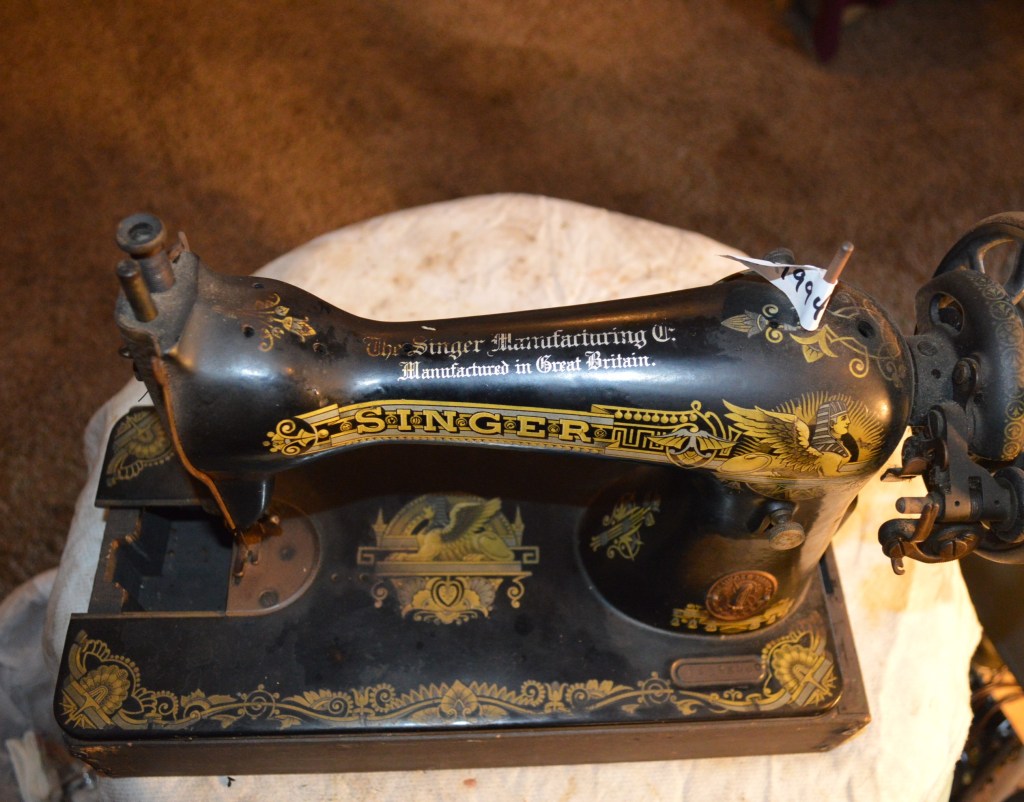
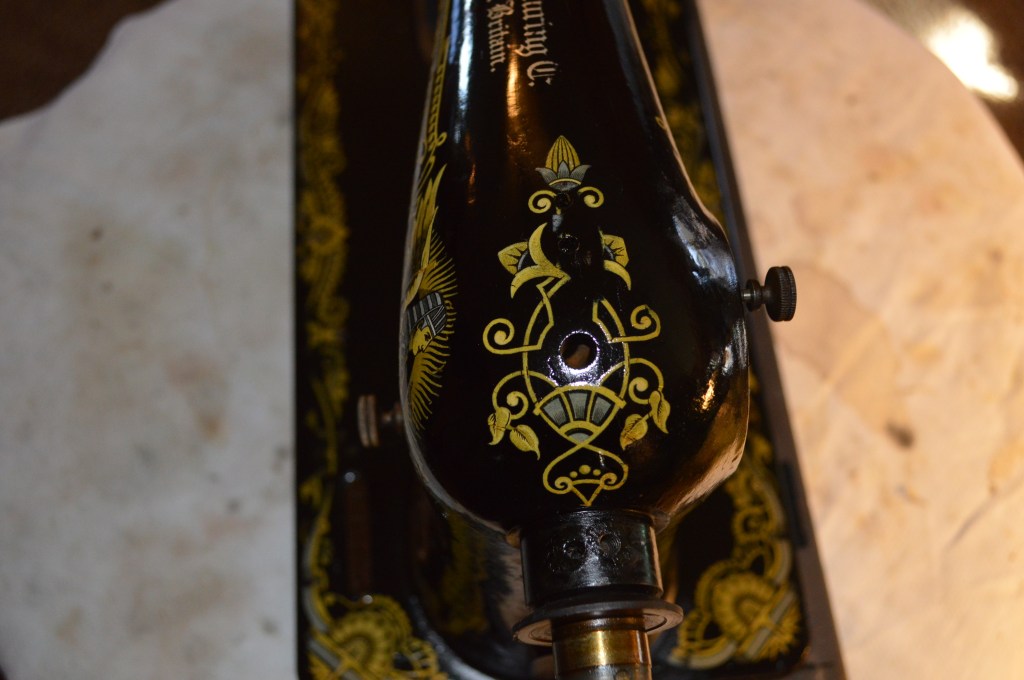
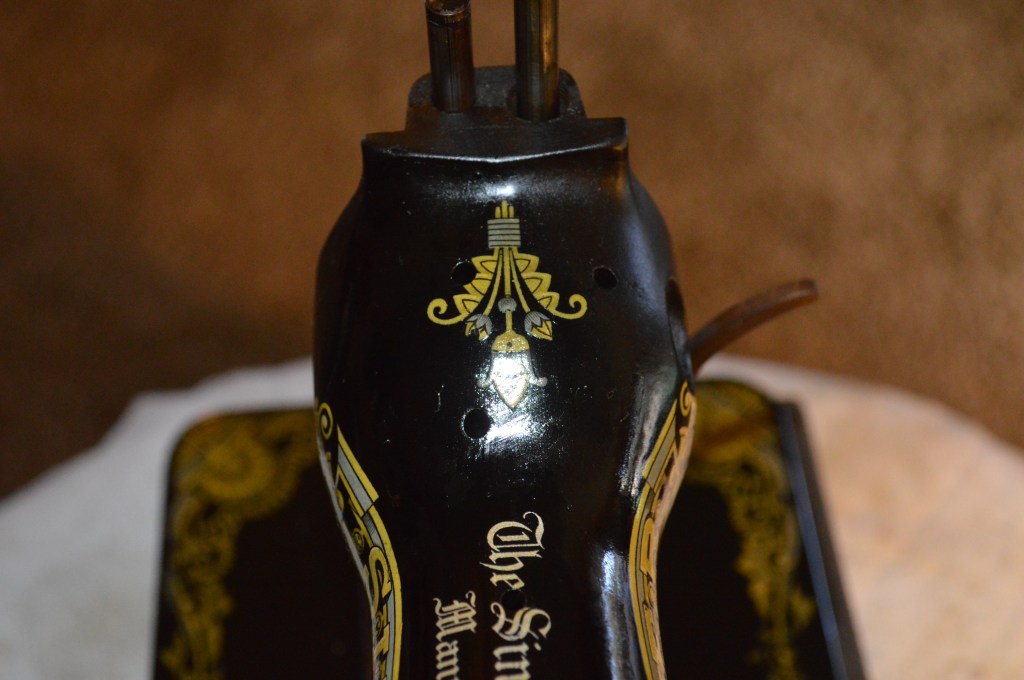
Its dirty… and even though the decals show through and don’t look too bad, the real beauty… shades of rich colors and fine details lie underneath this dirt. You will find many machines in this condition, or even worse. So, if you find one, and the decals look even in reasonably good condition, you can find a beautiful sewing machine underneath.
This machine is going thru a complete restoration, so it will be completely disassembled and all of the plated pieces buffed to a fine condition… it will look and sew like new. But, all of that is outside of this tutorial, and it will be documented in a separate full restoration blog. What I want this tutorial to explain is how this machine was cleaned, and how it looks after cleaning…
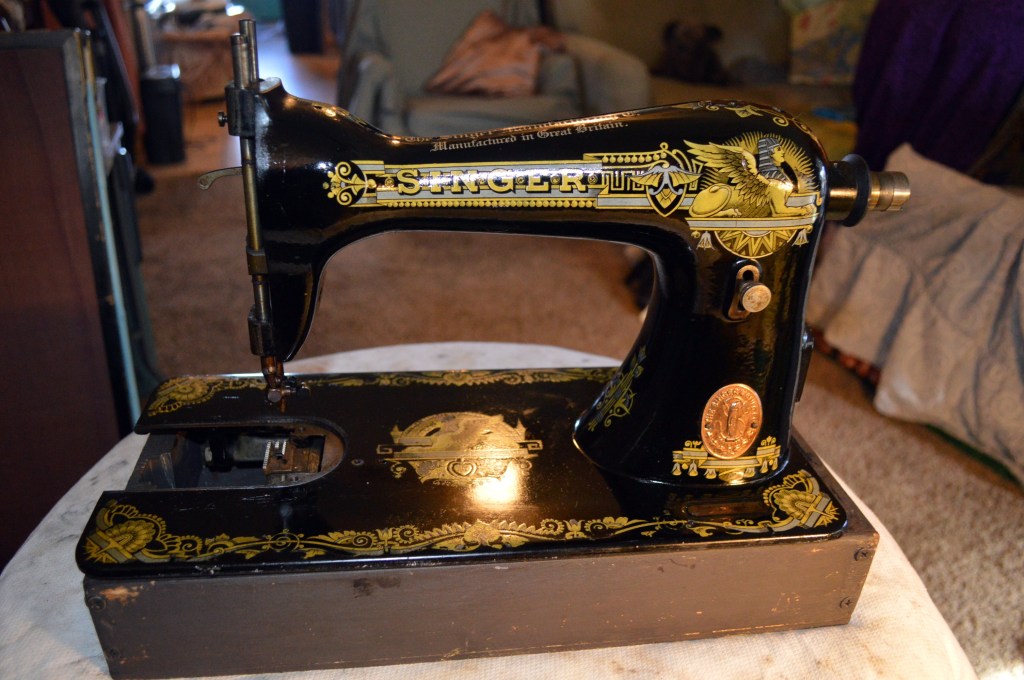
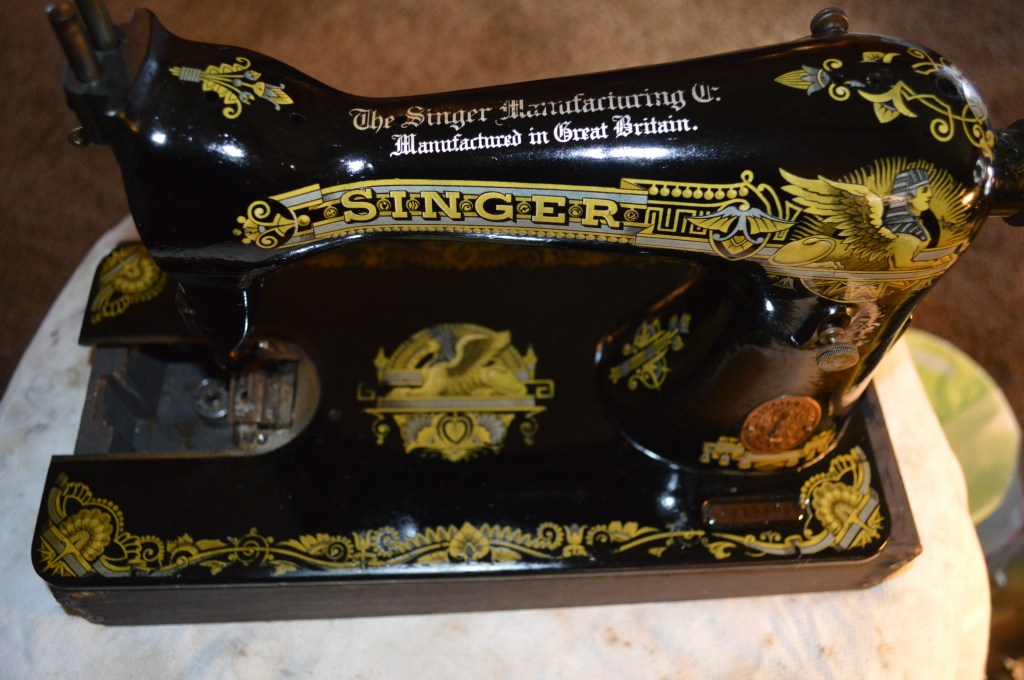
It is clean, but the decals are still unprotected. To stabilize the finish the machine will be sprayed with several coats of shellac to seal and protect the finish for years to come. Again, this is not covered in this tutorial, but lacking this, the results are still very much worth the effort.
For this project you will need:
- GoJo “Original Formula” Hand Cleaner. Do not use the formulation with pumice, it will scratch the finish horribly.
- Cotton Balls
- Cotton swabs (start with a box of at least 100… you will use most of them)
- Boiled linseed oil
- About 4 or 5 hours of time
After dusting the machine, apply GoJo on a small area of the decals with your finger. Don’t rub it in, just apply it. Then, using a cotton swab, gently rub the GoJo over the decals… How much pressure to use? Think the “weight of gravity” on the cotton swab… rotate and gently swirl the tip of the cotton swab on the decal. Remember, you are not cleaning by rubbing off the grime… you are cleaning by dissolving the grime. The cotton swab is not doing the cleaning, the GoJo is. Resist scrubbing with the cotton swab to clean the area faster, remember, the decals are largely unprotected and will not withstand aggressive cleaning.
Gently wiping with the cotton swab in this fashion, let the GoJo work on the dirt, old oil, and grime. Wipe the GoJo off gently with a cotton ball when you notice the GoJo has turned brown. Repeat the process, and then repeat it again until the decal is clean. Remember, GoJo is really a gentle solvent, it does not work fast, and it does not dissolve all of the dirt and grime quickly. During each repetition of the process, keep a constant eye on the decal and the cotton swab to make sure the decal is not lifting. If you notice any glitter, paint, or see any decal loss, stop. That is as far as you can clean.
Once the decal are as clean they can be, or stand being, clean the rest of the body of the machine with GoJo, Avoiding the decals, apply GoJo to the machine with your finger and gently rub in small circles. When the GoJo shows brown, wipe it off with cotton balls. Repeat this process until the cotton ball is no longer picking up dissolved grime.
The next step is to coat the machine with boiled linseed oil. Linseed oil is completely compatible with the original finish on the machine and will nourish and help protect it. Apply the linseed oil to a cotton ball and apply it in gentle even strokes (back and forth or side to side). It is not a thick application of oil you are looking for… just a film. When you do this, the machine will transform into a beautiful black color and shine. Believe me, it will make all of your effort worth the time it took in cleaning.
If you decide to apply a protective coat of shellac, leave the linseed oil to “cure” for 48 hours before applying the shellac. For a small project such as this, shellac is available in spray cans. Again, outside of this tutorial, search YouTube and the internet on how to apply it and you will find the steps you need for success.
I hope that you can see that even a dull and dirty vintage sewing machine has potential to look beautiful again. It takes time, patience, and attention to detail but if you commit yourself to the task, it is very easy to arrive at similar results.
I hope this helps, and tell me what you think! … and please visit our Etsy store at https://www.etsy.com/shop/pungoliving to see our selection of restored fine quality vintage sewing machines.
As always, our tutorials are provided as a free resource to help you learn and maintain your vintage sewing machine. As our site has grown, so has the cost to keep and maintain it. Despite these costs, I will strive to continue posting tutorials and other relevant content for the benefit of the sewing community. If you found the content of this tutorial useful, please consider making a small donation to help me grow the site and help defray my costs… every little bit helps.
Help Support our Site…
Make a one-time donation
Make a monthly donation
Make a yearly donation
Choose an amount
Or enter a custom amount
Your contribution is appreciated.
Your contribution is appreciated.
Your contribution is appreciated.
Please let me know if I can answer any questions or if I can be of any assistance by emailing me at pungoliving@gmail.com
Thanks for reading!
Lee

Wondering if you could let me know if a machine is worth repairing/ restoring to be used? I have one like you show in picture.
Please contact me at my yahoo address. I want to use one extremely badly. I know it needs a new belt maybe a rubber piece on hand wheel.
Thank you Georgi.
LikeLike
Hello Georgi,
I sent you an email, I hope you got it.
Lee
LikeLike