
Introduction
My sister Beth moved into a new house and when she was packing, cleaning and clearing stuff out in preparation for the move, she gave me our Mom’s 1938 vintage Singer 201-2. For it’s memories and sentimental value it is my favorite machine… Lucky for me the 201 is also Singer’s finest straight stitch machine! Anyway, she has occasional sewing projects and needs a sewing machine for general purpose sewing needs but the 201 had wiring problems and didn’t suit her needs. I promised her that I would find and restore a vintage all metal machine well suited for her as a house warming present. Well, It’s been about two years since she moved and this restoration is her belated housewarming gift.
We talked about what she wanted and needed in a sewing machine and decided that a good utility sewing machine made primarily for garment construction and repair was perfect for her. My first thoughts were a Kenmore model 158.1400, 1410, or 1430. Any of these machines would be perfect. Not only are these machines all metal, high quality construction and durable, they have all of the stitches anyone needs for garment construction built into the machine… no need for separate pattern cams. I finally found a 1410 that was a perfect candidate for restoration and cleared the decks to begin the restoration. Then, I came across a 158.1941 in very good condition. The 1941 is a convertible machine which simply means that the front deck detaches from the machine and offers a free arm that is very useful for hemming cuffs and seams. Because she will probably need her machine to repair or alter cuffs or sleeves, it dawned on me that the 1941 would be a better machine for her than any of the 1400 series machines I originally considered. It’s a win-win for me because the 1941 has all of the same stitches built in, it is a free arm machine when needed, and it has an excellent reputation in the Kenmore line up… Now her machine is going to be a 1941 and it is going to be restored to look and sew like new.
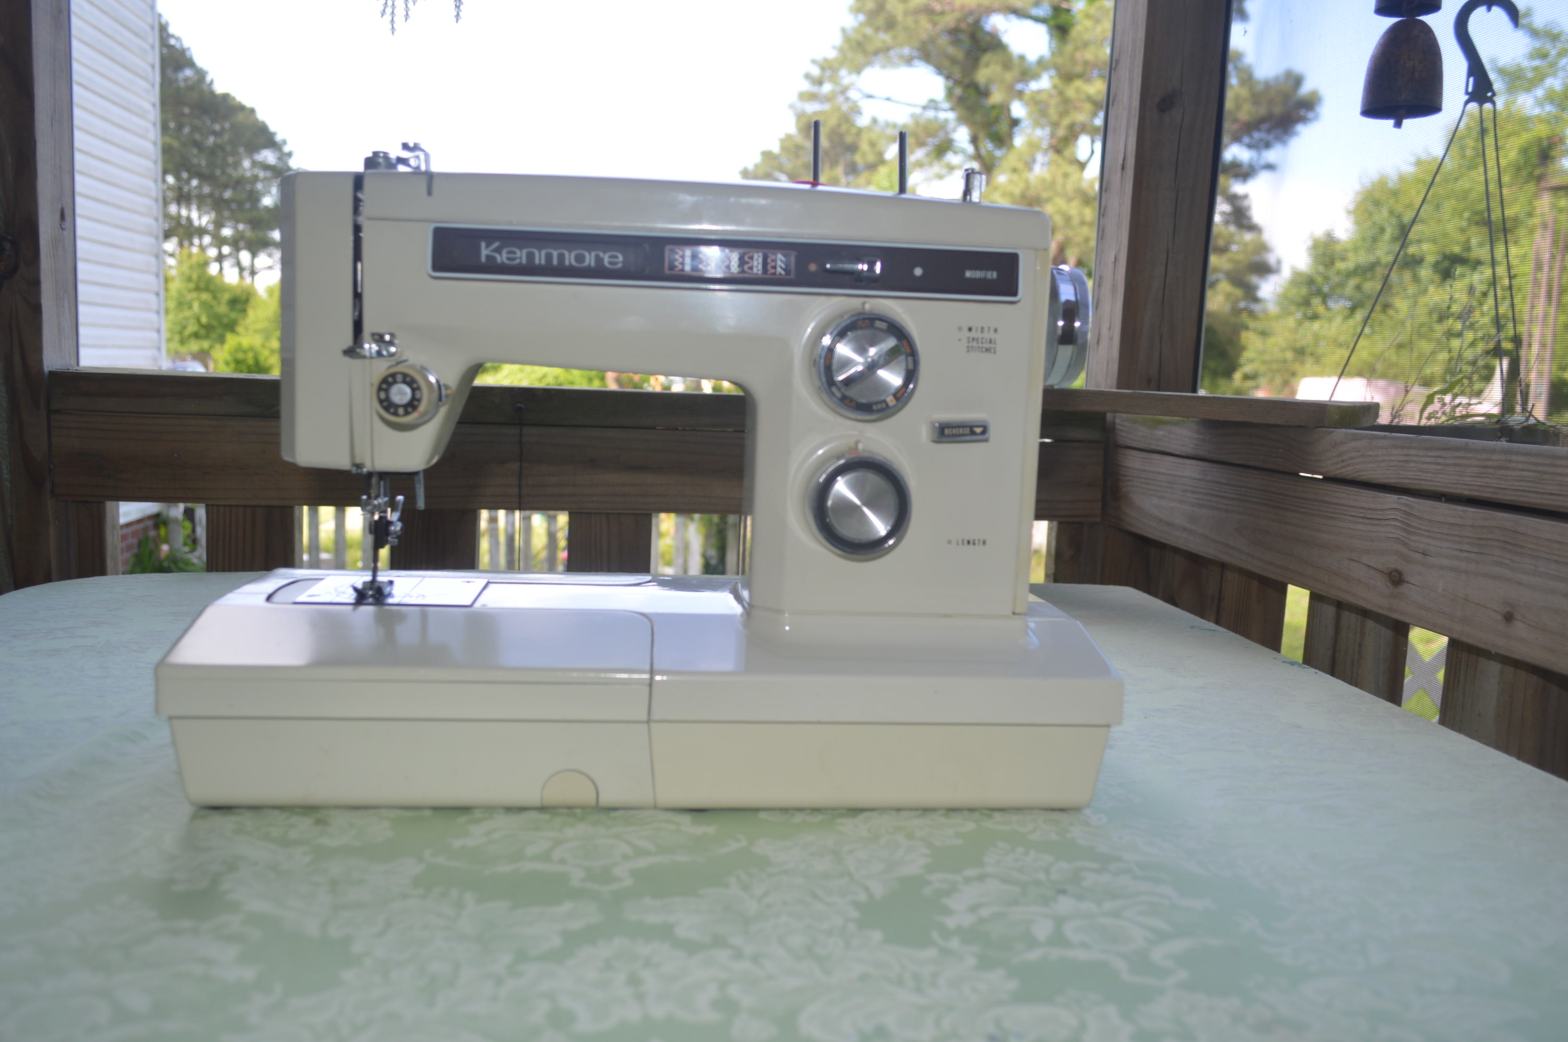
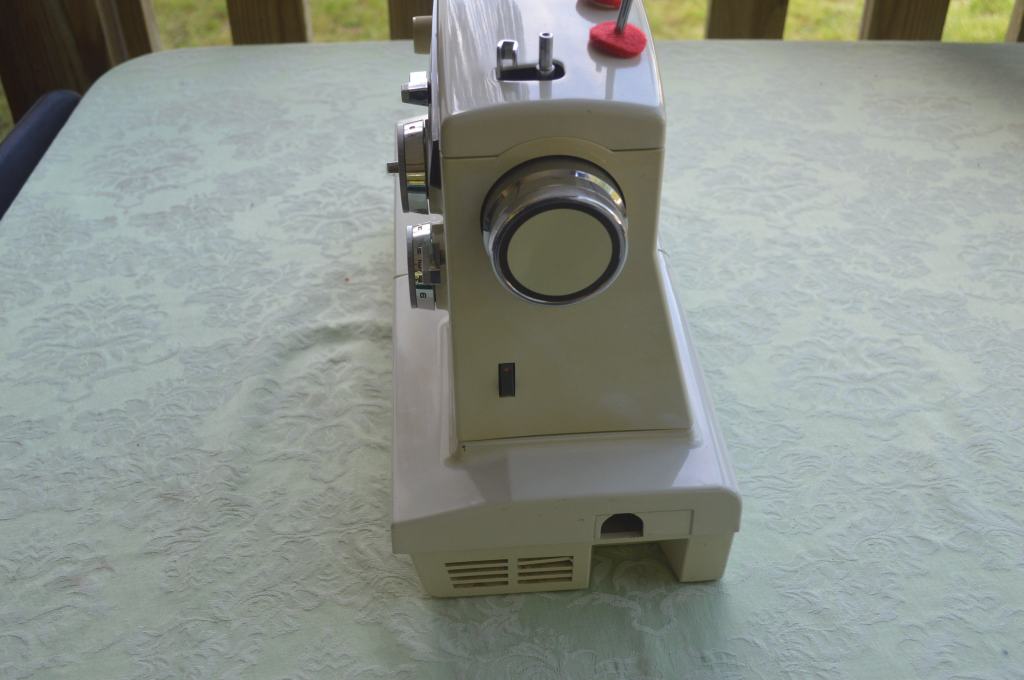
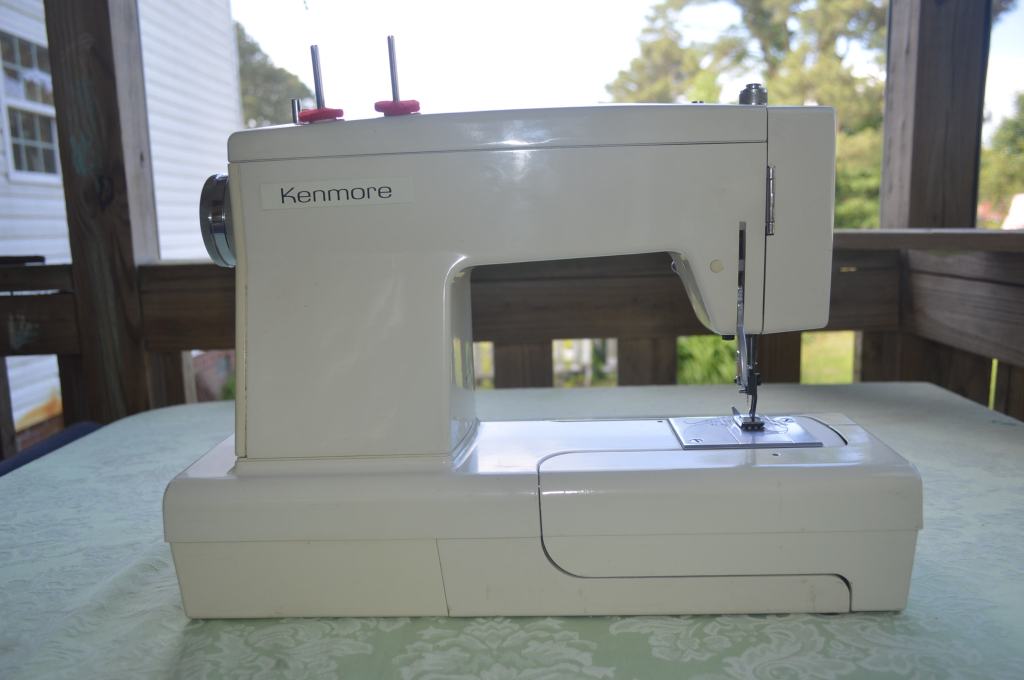
Introducing the Kenmore Model 158.1941
The condition of this machine is above average. The machine shows some signs of light use but it is apparent it has not been used extensively. Close inspection of the sewing mechanisms and drivetrain show very little signs of wear or use. I oiled the machine, cleaned out the little bit of lint in the feed dogs, and it ran great! Cosmetically, it is in great condition. a little yellowing and some very minor paint chips in the removable bed. All in all, I asked myself if it is even worth the effort to disassemble and do a full restoration on the machine. Still, there is always room for improvement and restoring these great vintage all metal sewing machines is what I do, so the question is settled.
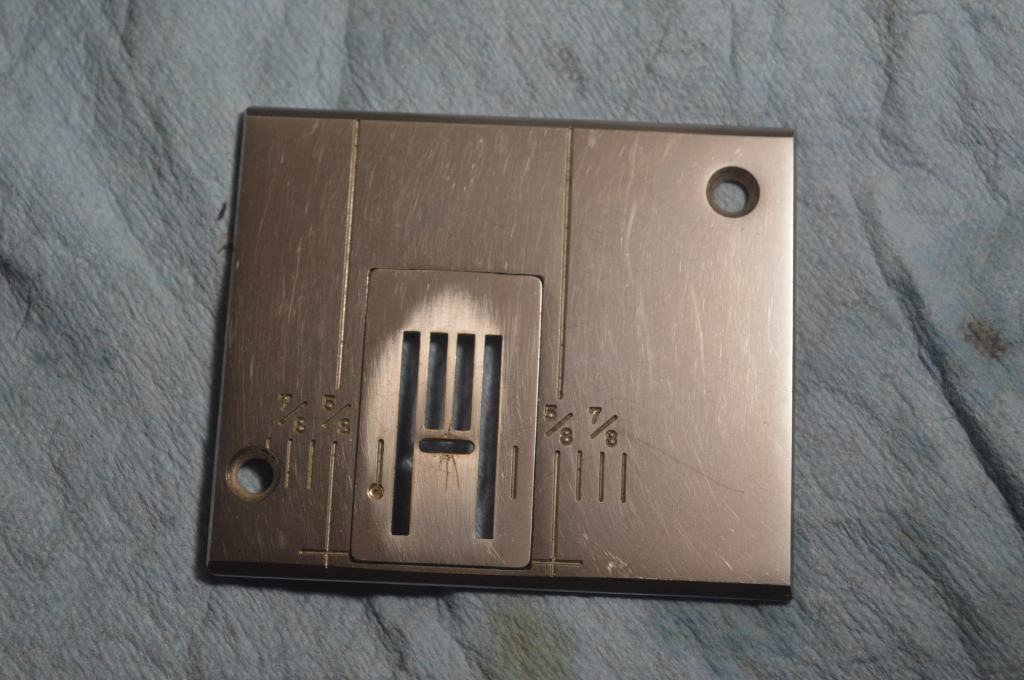
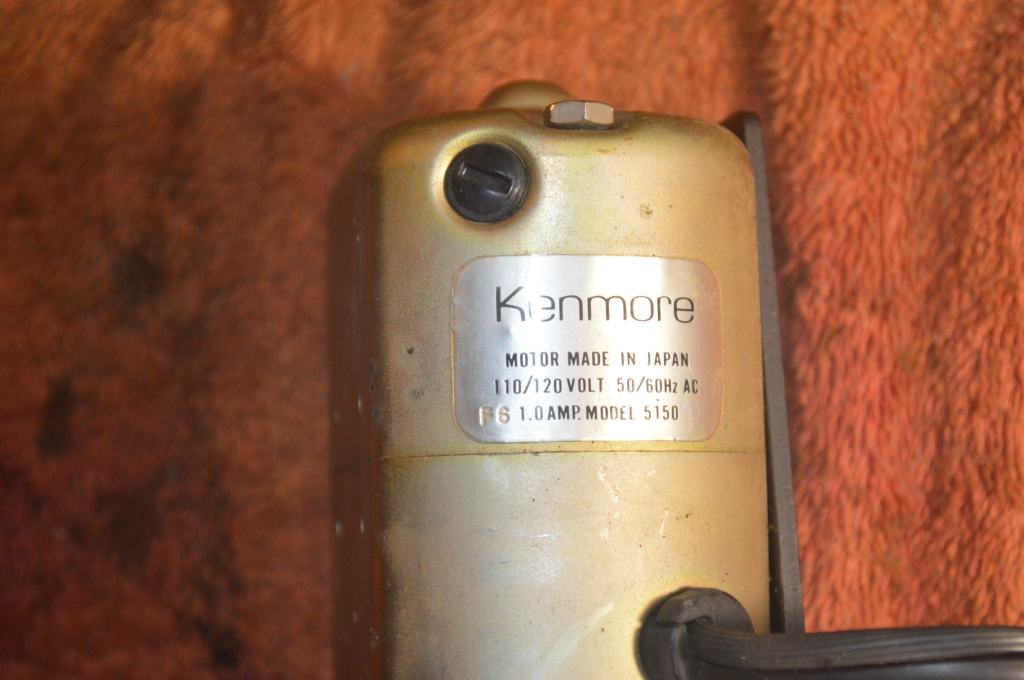
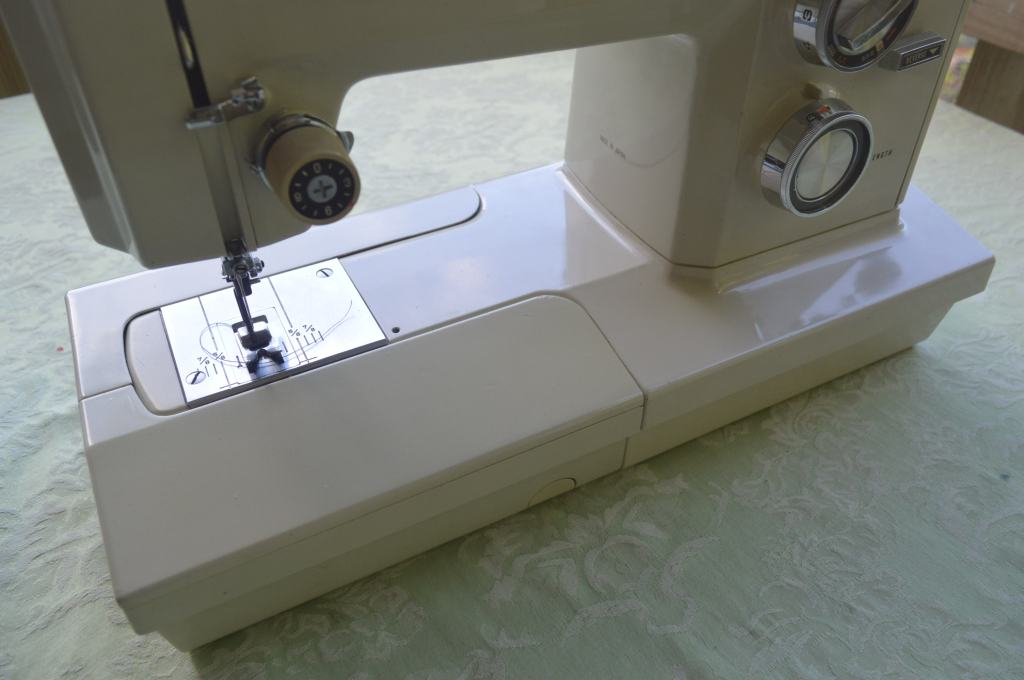
As I said previously, the 1941 is a convertible machine. It uses a class 15 bobbin and standard 15X1 sewing needle. It has a gear driven oscillating hook, and a 1.0 amp internal motor with a dual belt reduction system to amplify the piercing power at the needle. The machine offers 11 built in stitches which includes a good variety of stretch stitches. It uses Kenmore super high shank presser feet with a quick disconnect presser foot clamp. The machine has a left homing needle (suitable for a 5/8″ hem allowance), a generous hyper extension of the presser foot bar, feed dog drop, and very good tension control. In short, the 1941 is a full size sewing machine that is portable, has a free arm feature, is forgiving in adjustment, powerful, and very capable of handling fine and heavy sewing projects… perfect for my sister.
The Restoration
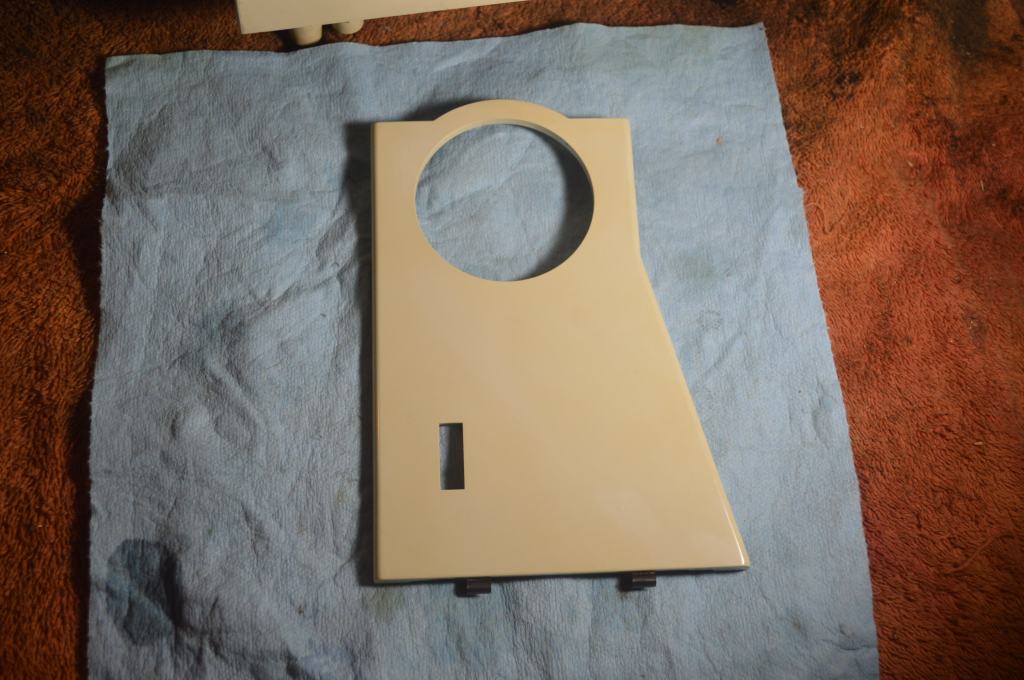
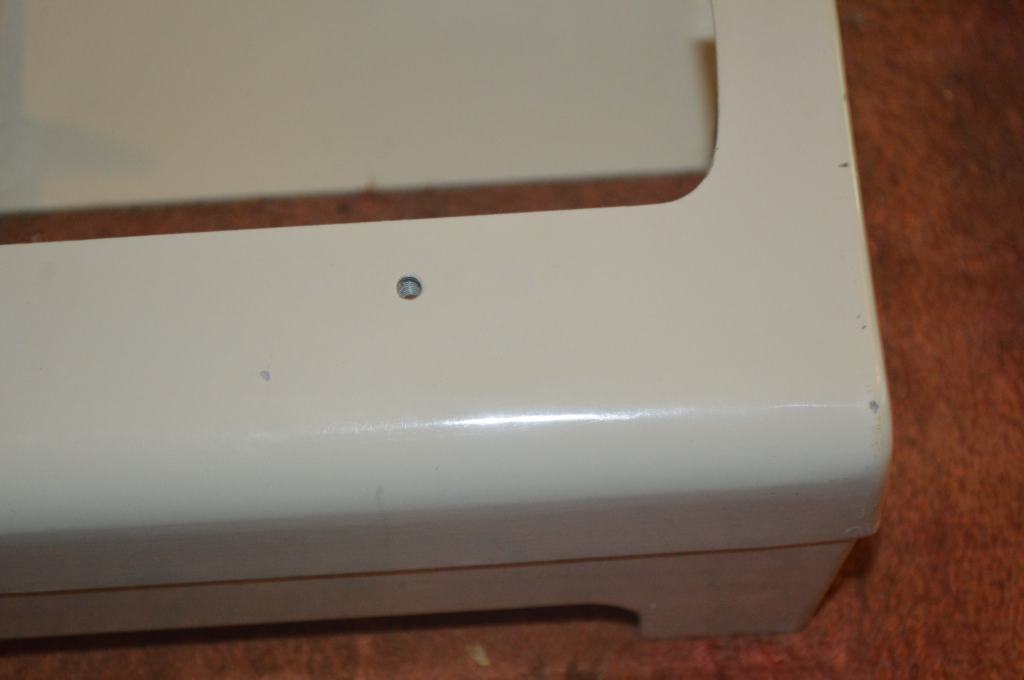
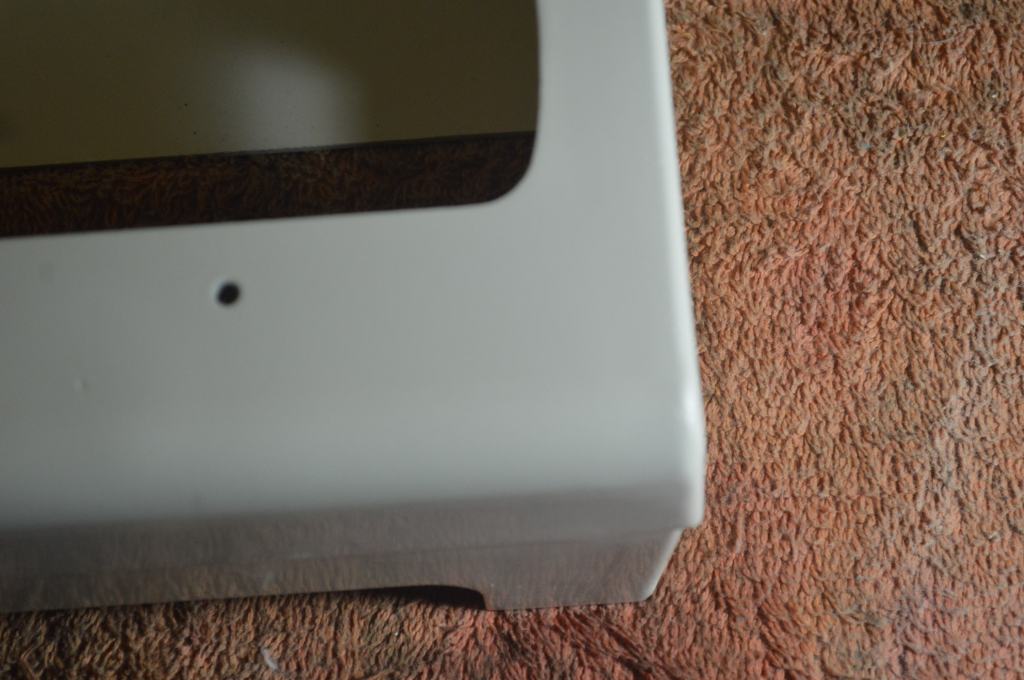
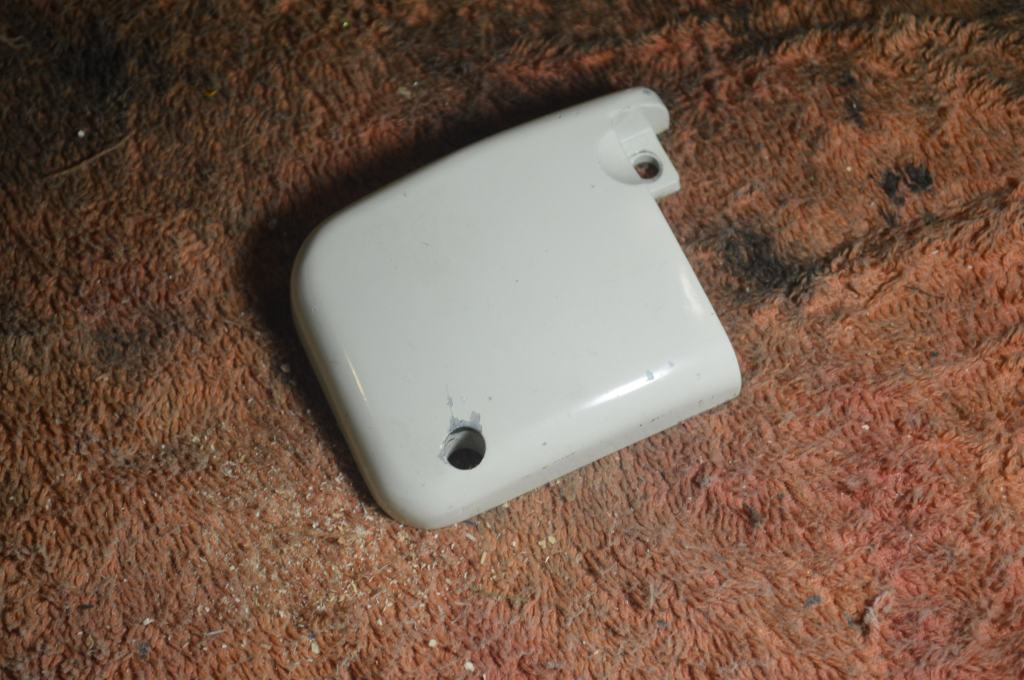
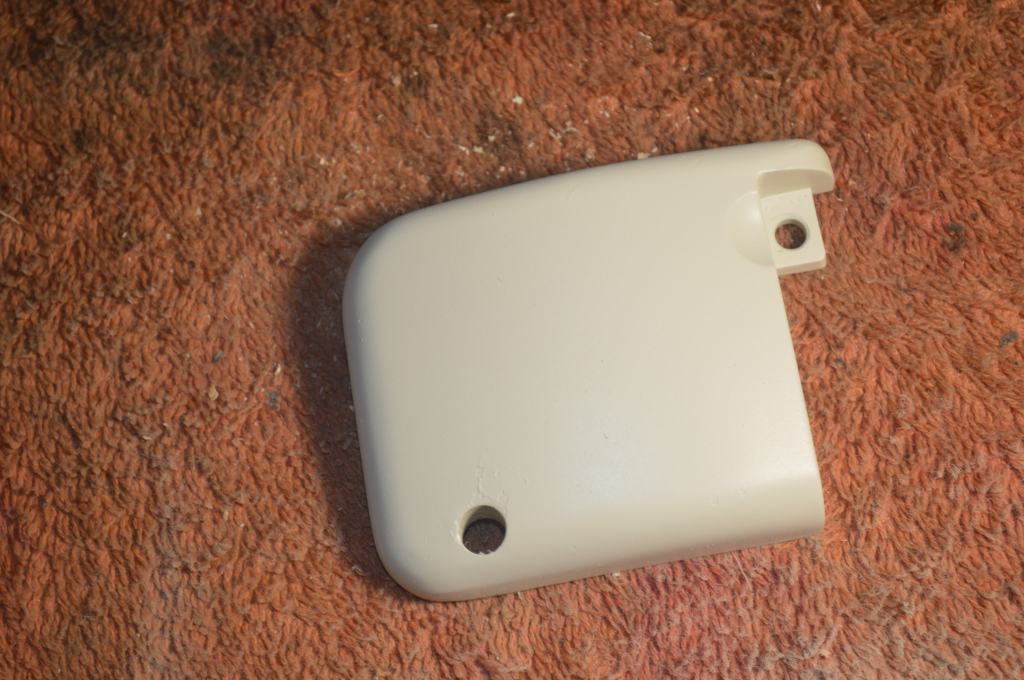
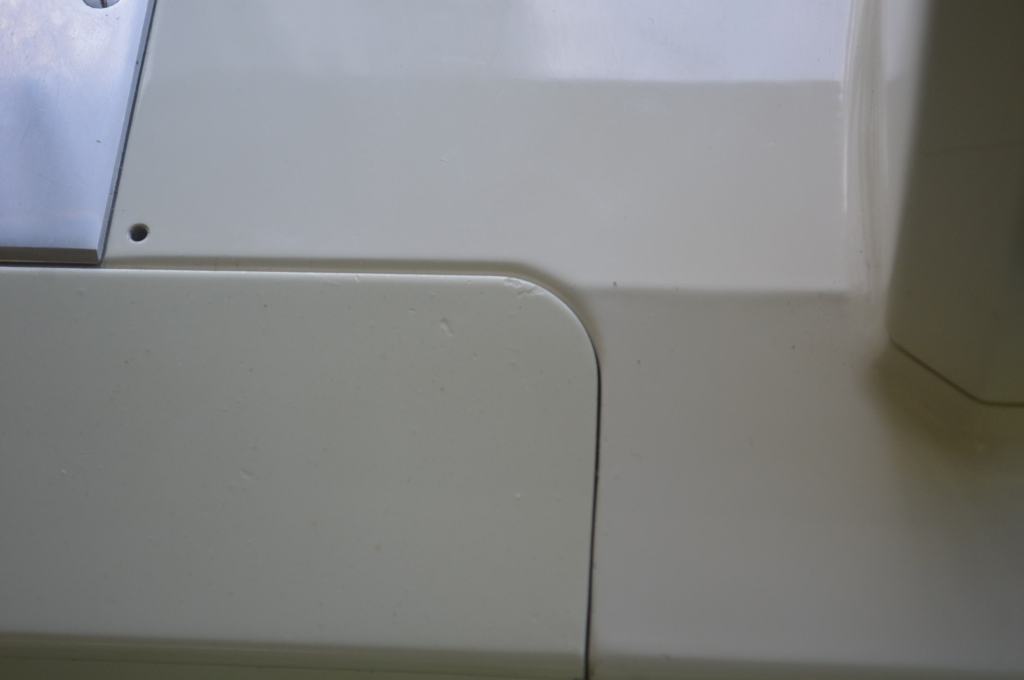
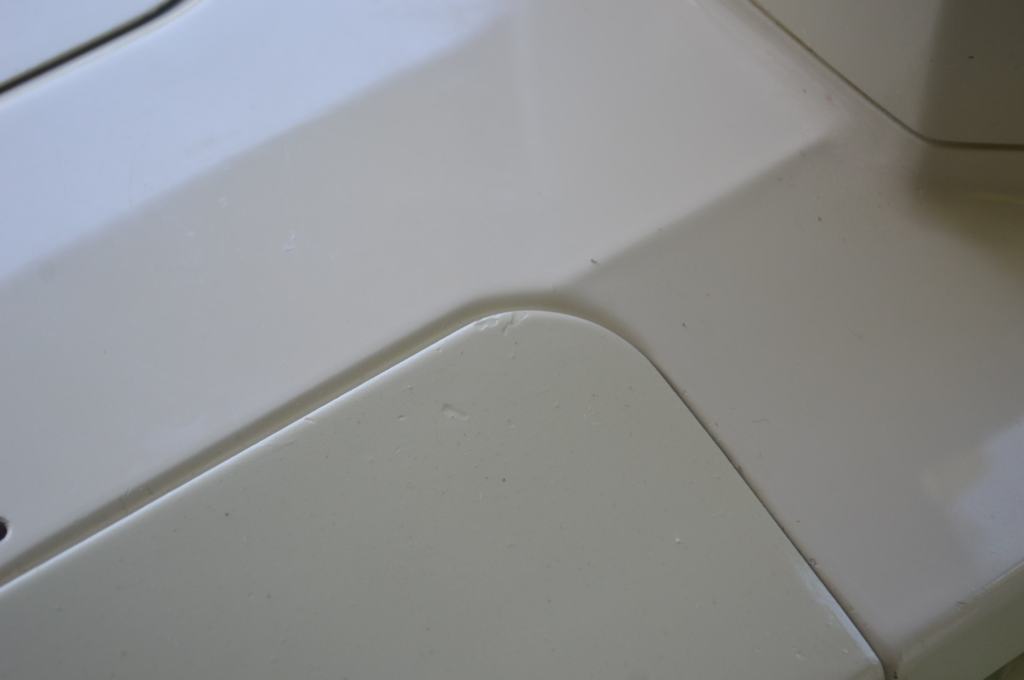
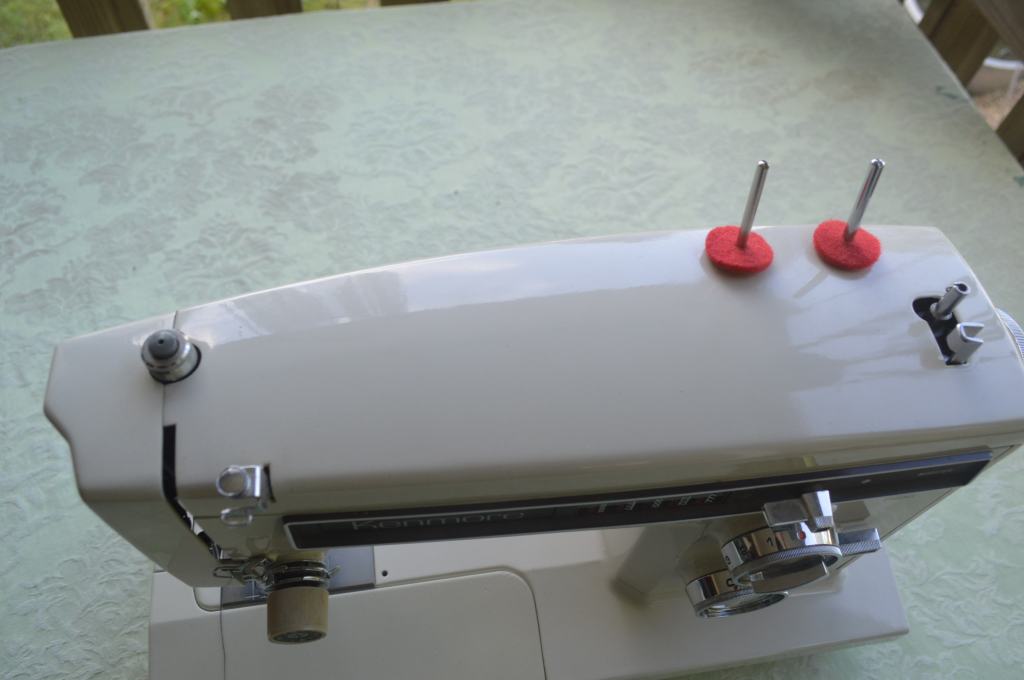
The machine has some issues that are more cosmetic than mechanical. Aside from the tape and gum labels on the top cover, a spool pin is broken and will need to be drilled out. The back cover and tension control knob have yellowed with age (very typical for these vintage Kenmores). The yellowing will be reversed in the restoration and the small cosmetic defects will be paint matched. The machine will be disassembled to the extent necessary to ensure that all parts that rotate in or move against any other part will be cleaned. the needle bar and presser foot bar will be polished, The motor will be disassembled and restored, and the gear case will be cleaned and re-lubricated. It will be an easy and quick restoration so let’s get started!
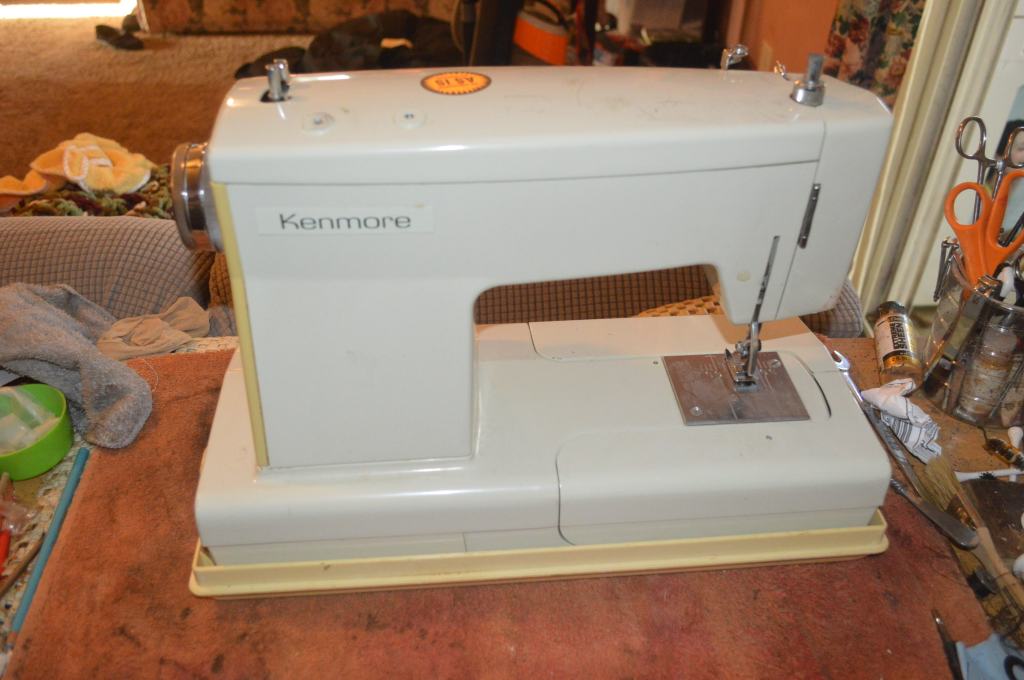
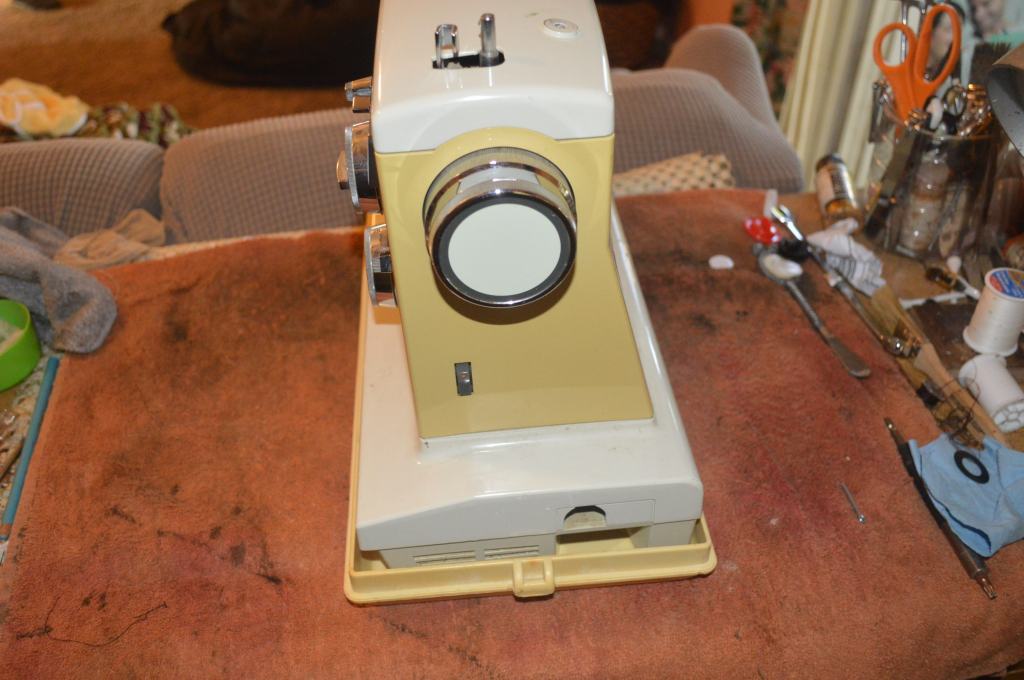
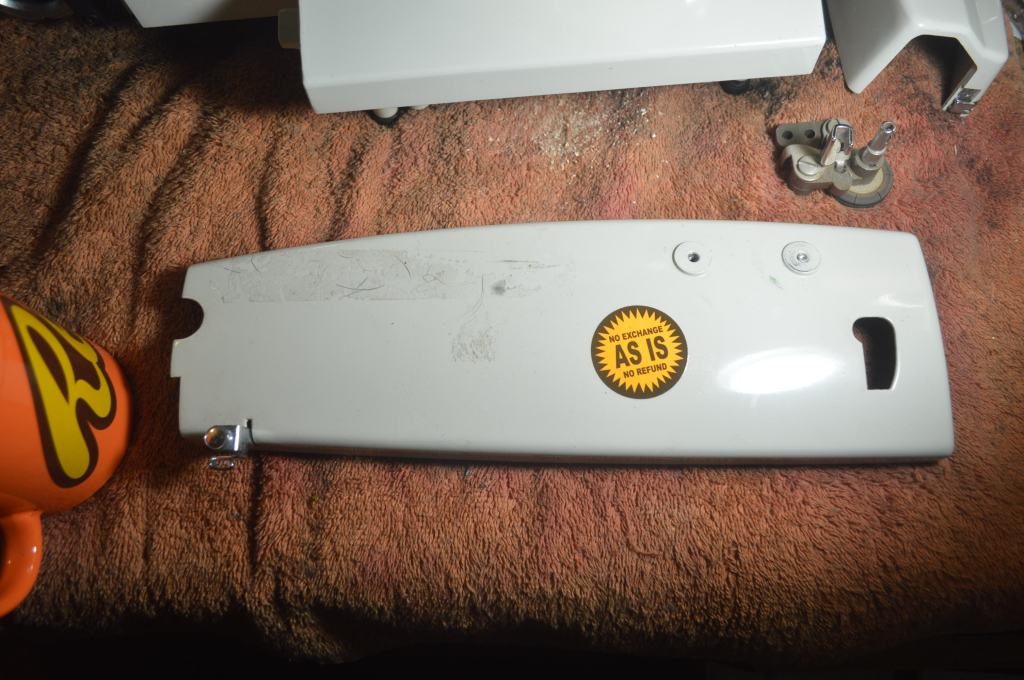
This is the machine before restoration.
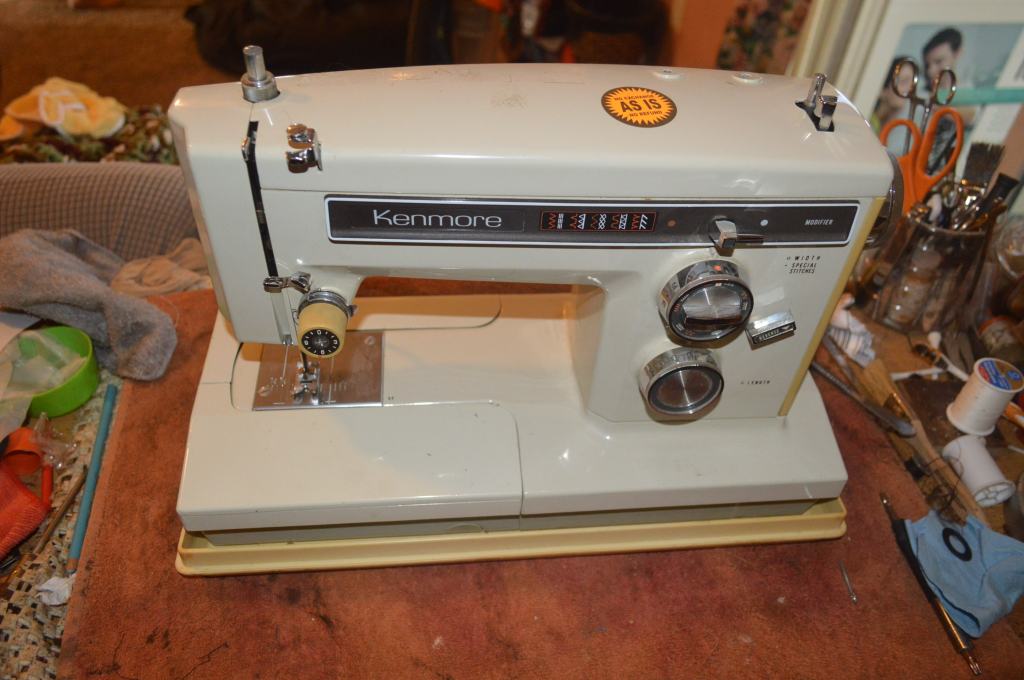
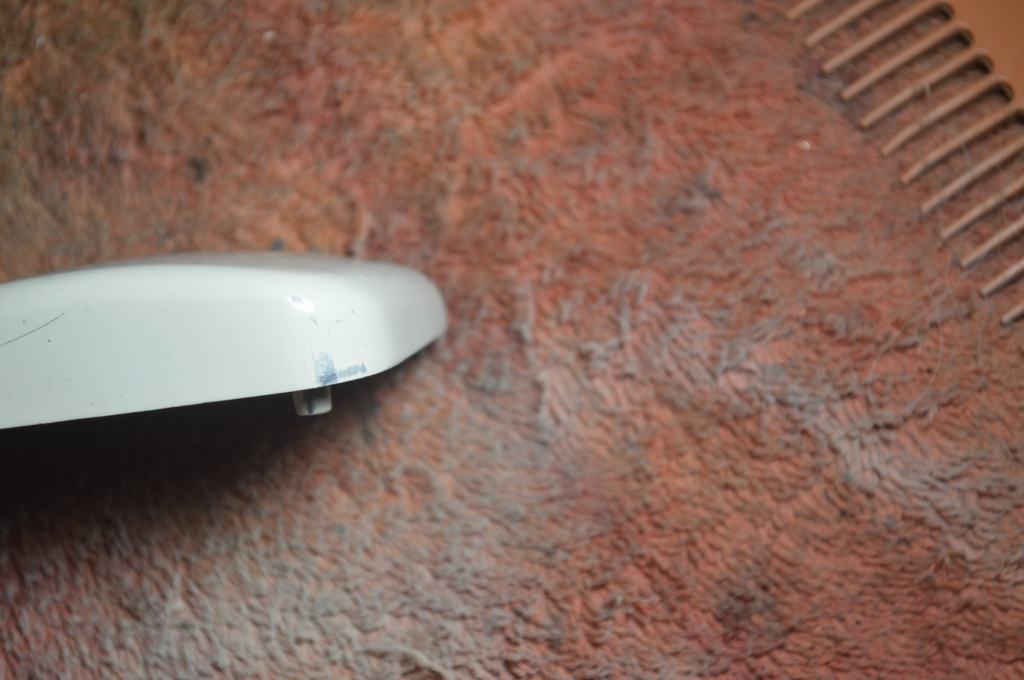
Sticker says “As Is” after this restoration it will be “As New” 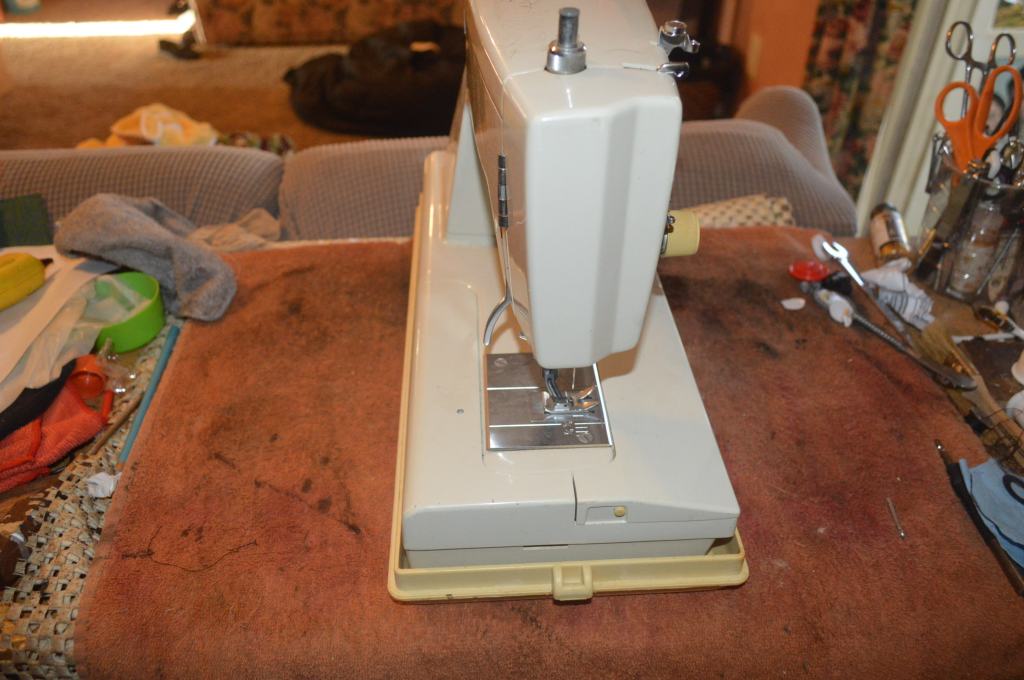

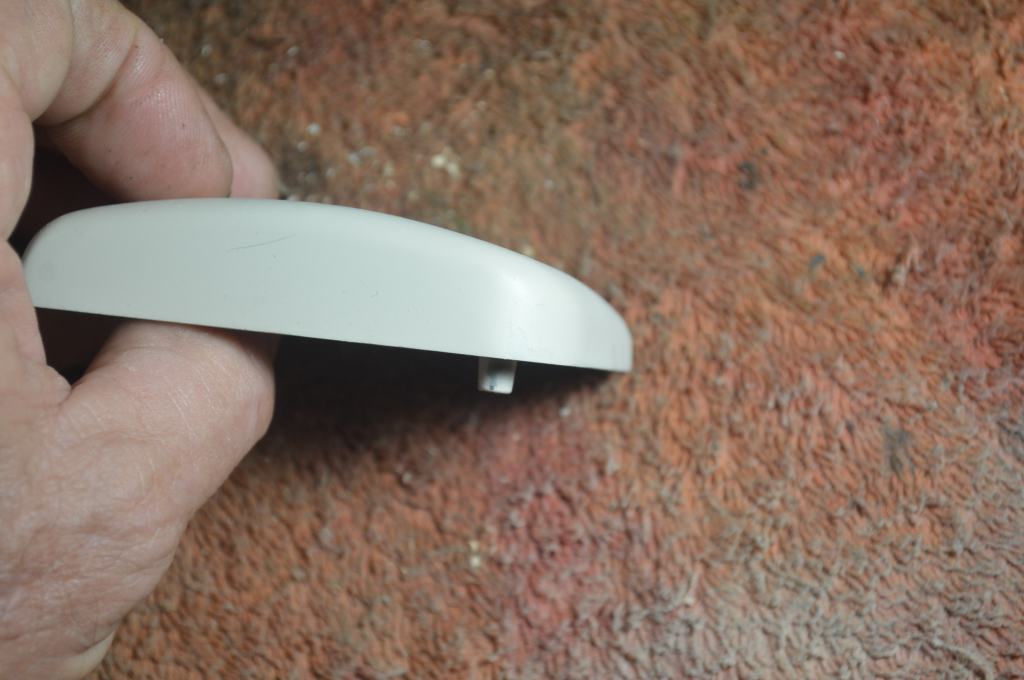
Broken spool pin 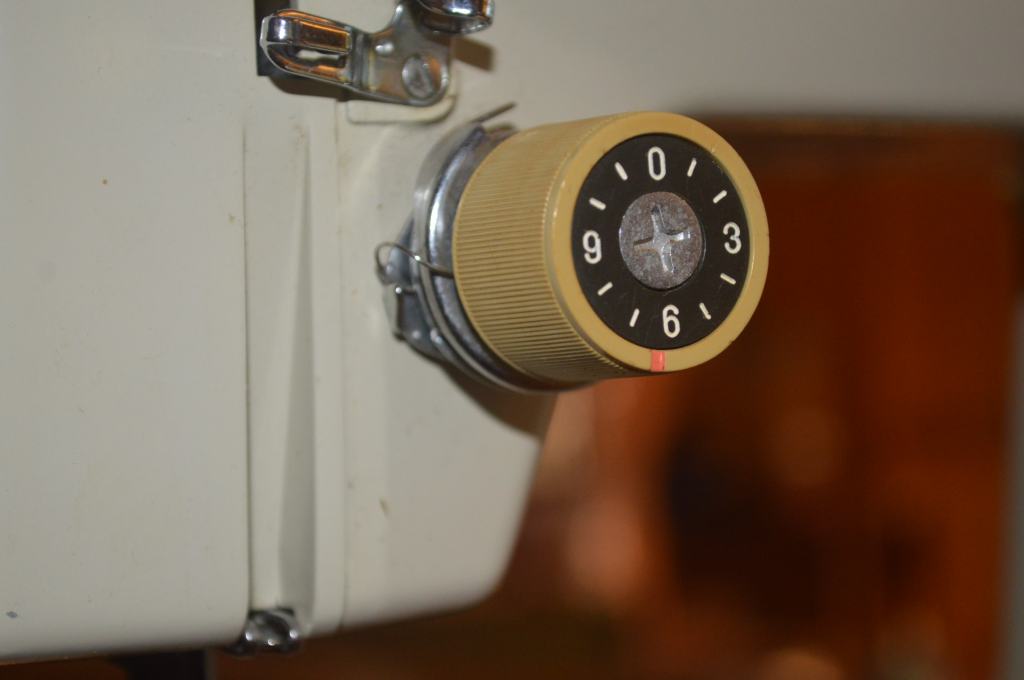
Mechanical Restoration
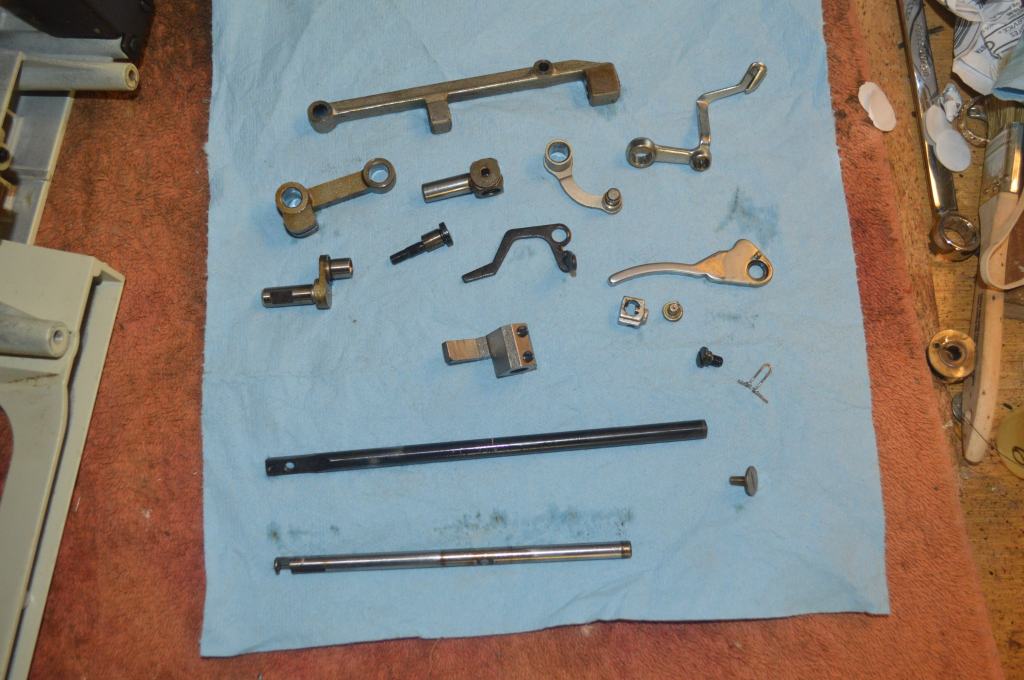
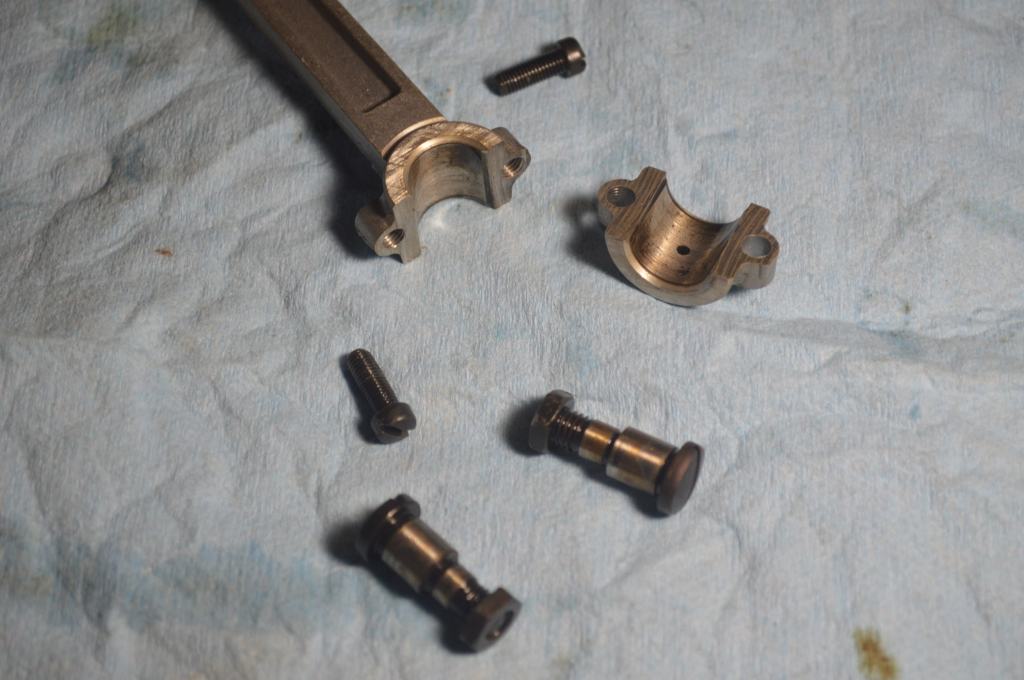
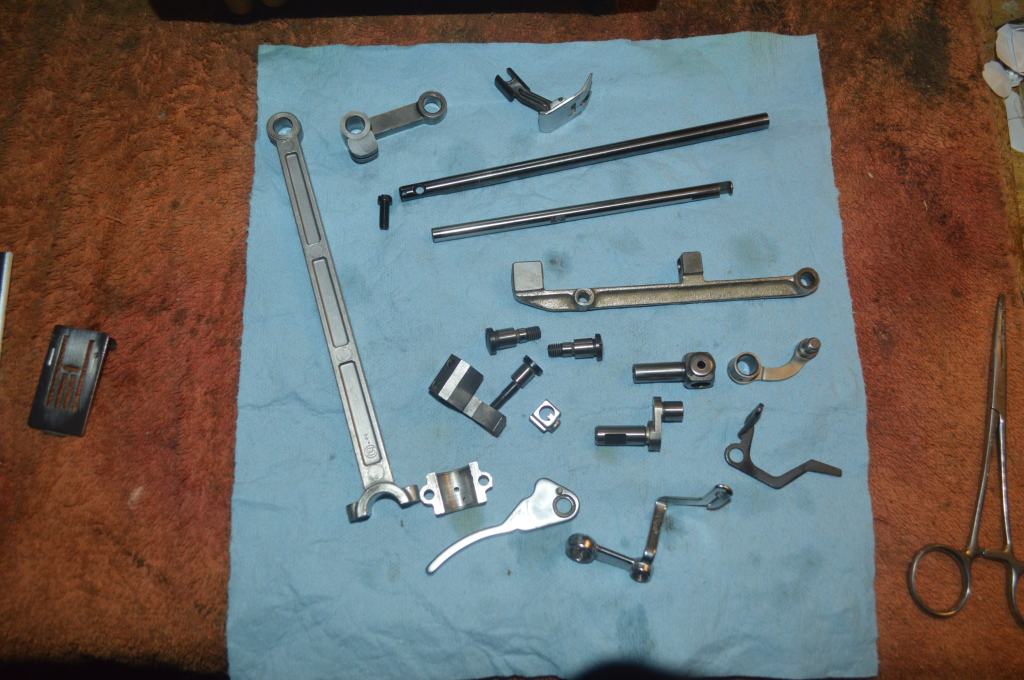
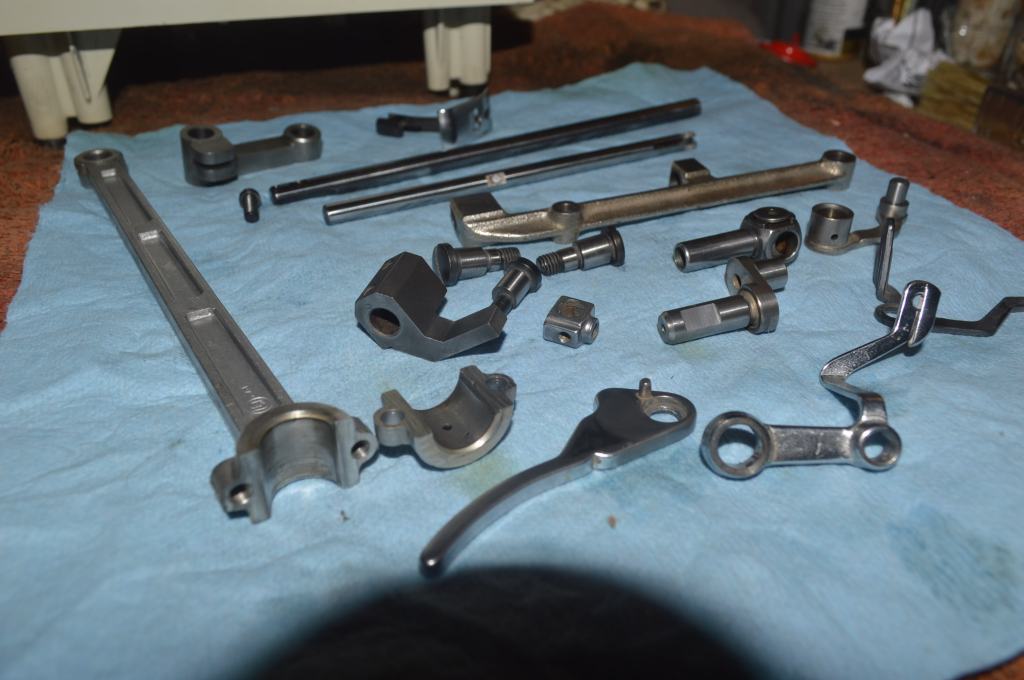
The restoration begins with disassembly of the parts and part cleaning. These include all of the parts in the needle bar head, the motor, the connecting rod, the bobbin case and bobbin race cover. Also disassembled is the connecting rod pin, the stitch length fork pin, and the plates and covers. The sewing mechanism parts are laid out for ultrasonic cleaning.

After cleaning they are wire brushed clean. Kenmore’s have brushed satin finishes on the bobbin and needle plates. Chrome plated parts are typically polished with jeweler’s rouge, but satin finish parts are polished differently. I polish these parts in a vibratory tumbler using crushed walnut shells as the polishing media. The result is a fine polished finish… inside and outside. Since the plates are far less than the capacity of the tumbler, I polished all of the parts along with them… why not.
Following the polishing, the parts are laid out and set aside for reassembly.
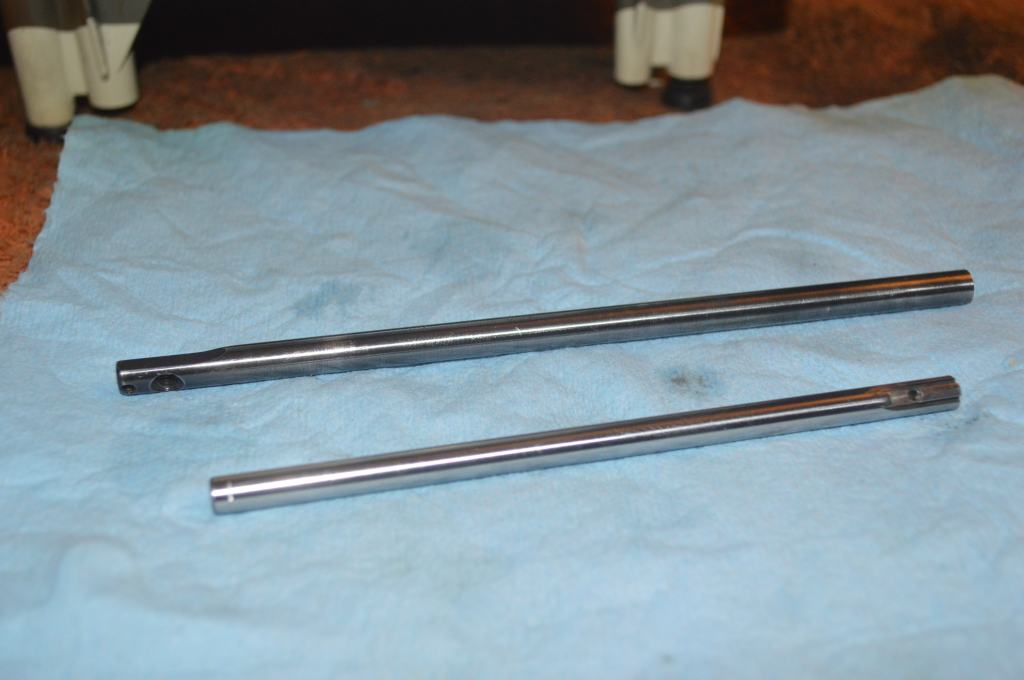
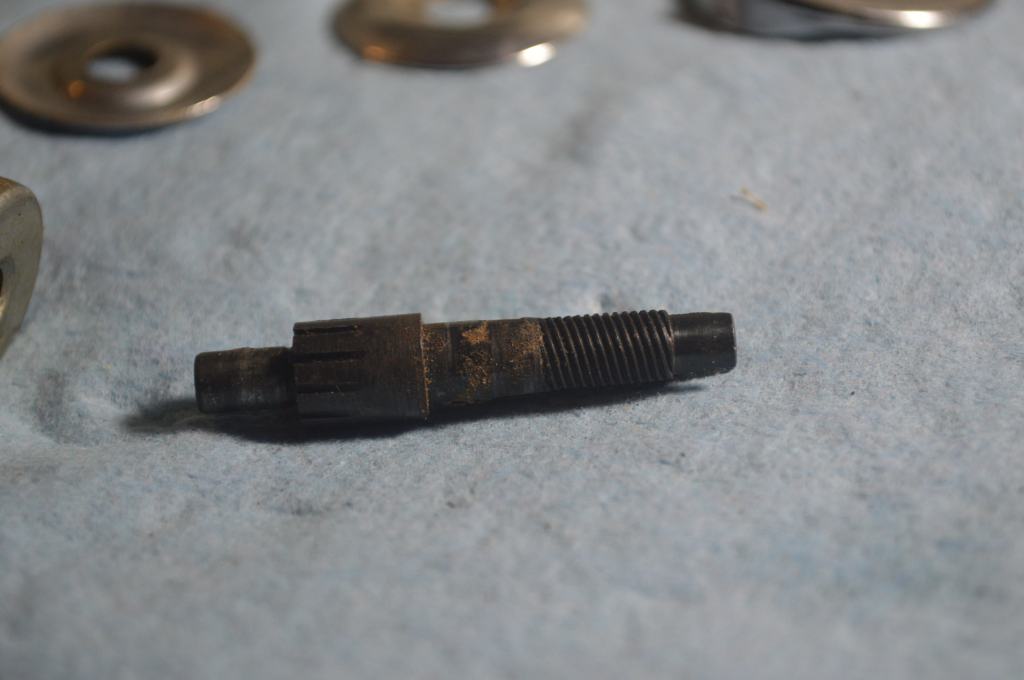
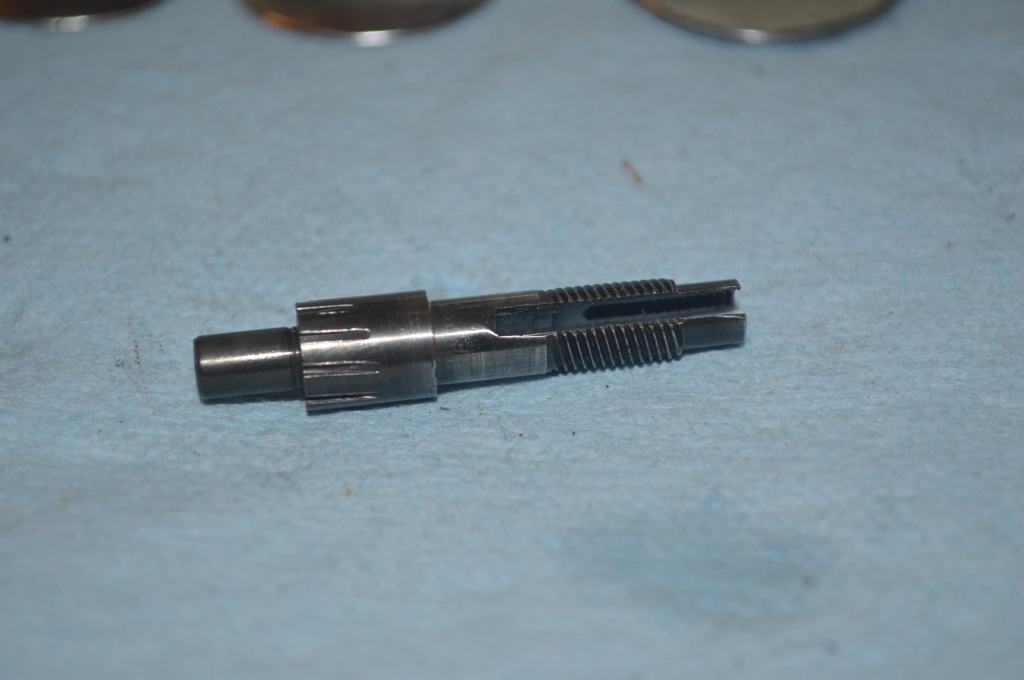
he needle bar and presser foot bar are polished smooth as glass using 2000 grit sand paper wetted with oil.
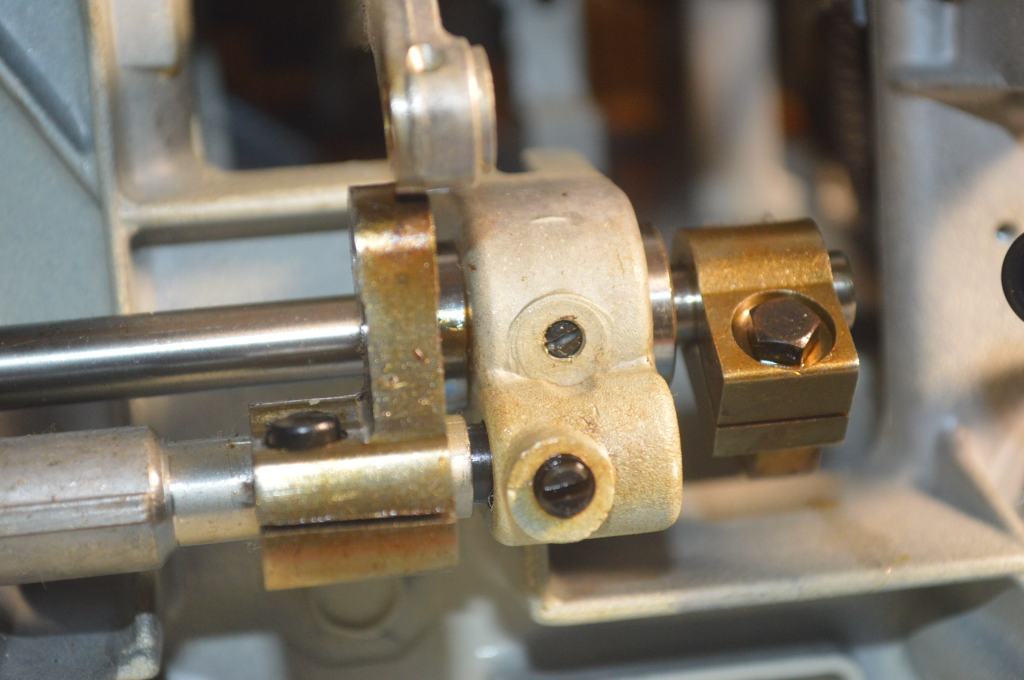
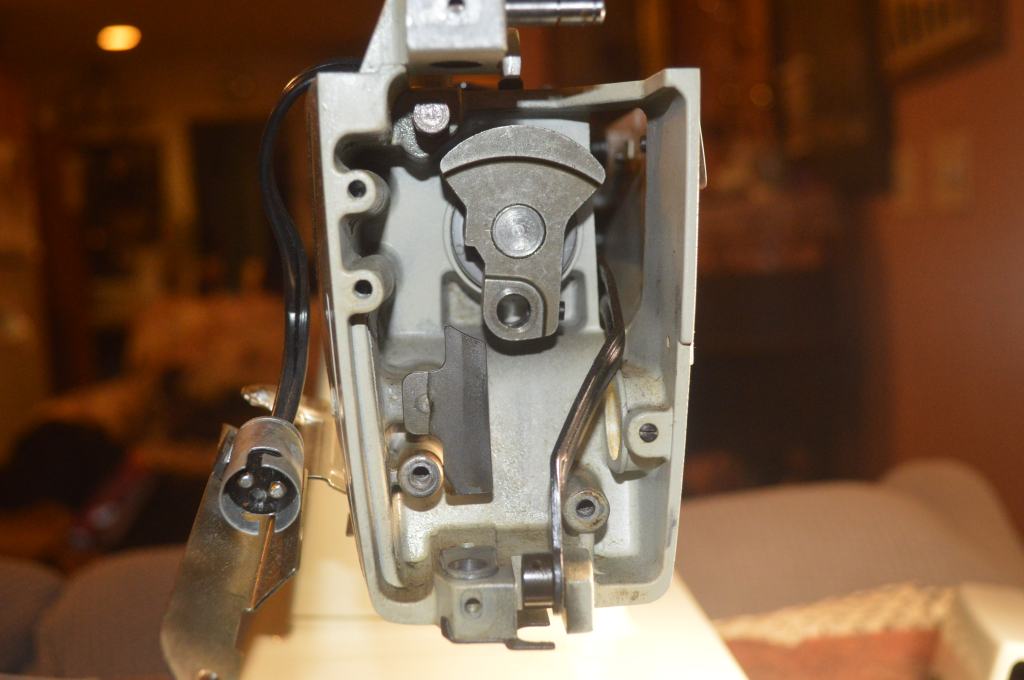
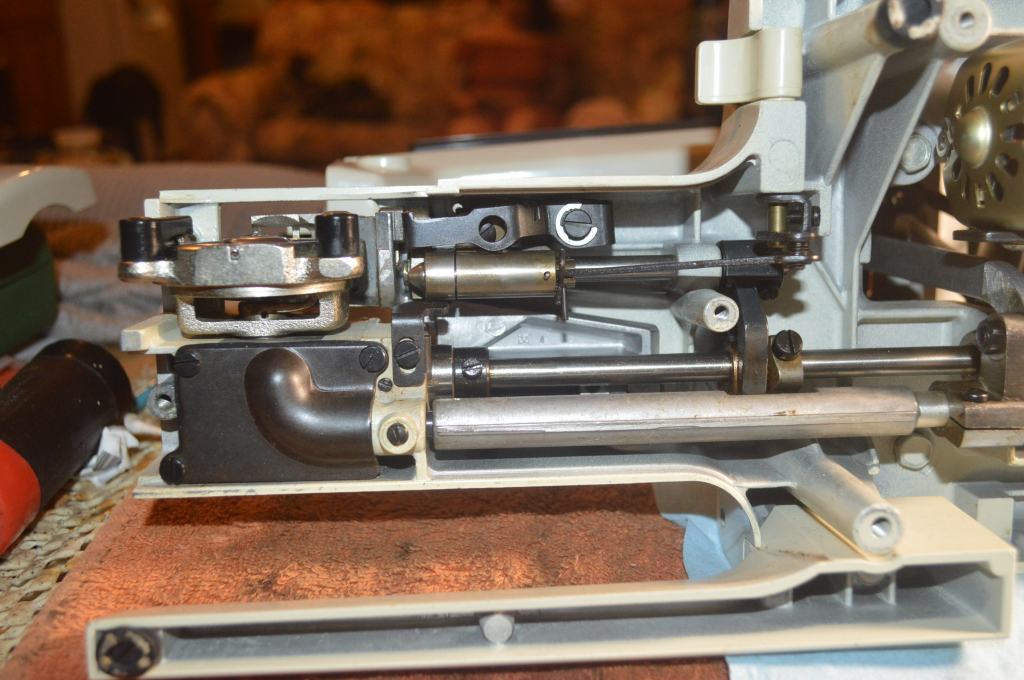
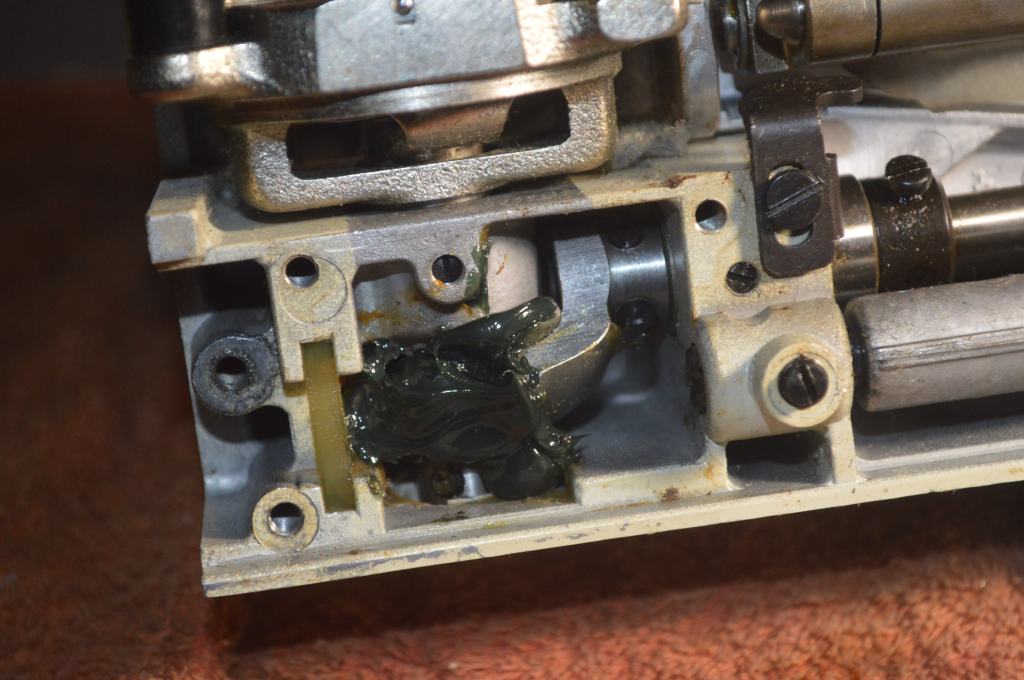
The assemblies under the machine are cleaned.
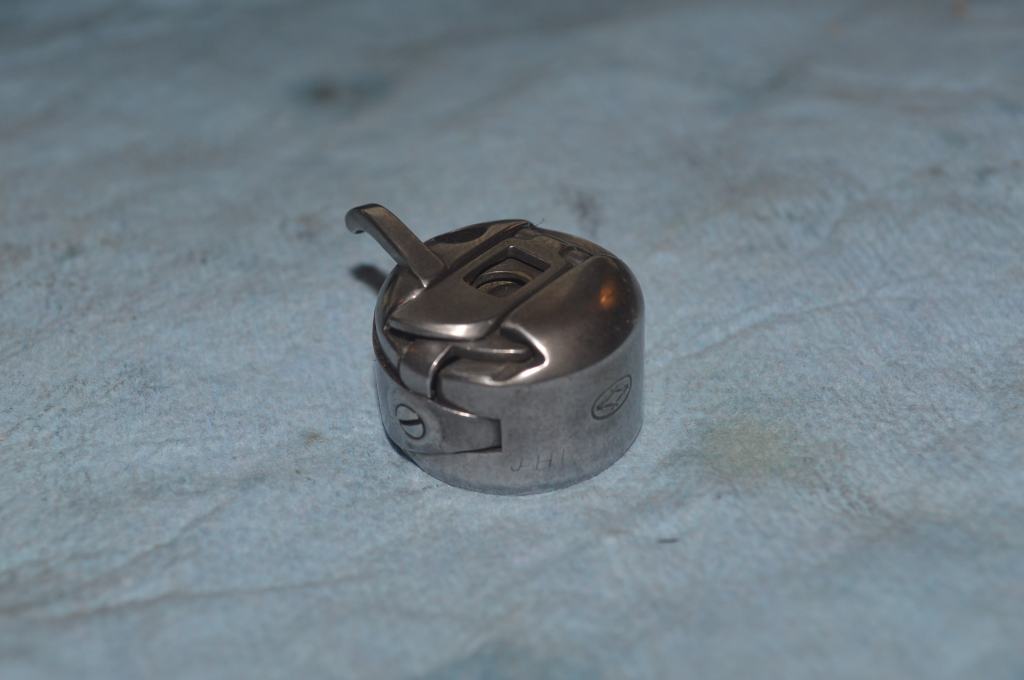
The bobbin case is cleaned and polished.
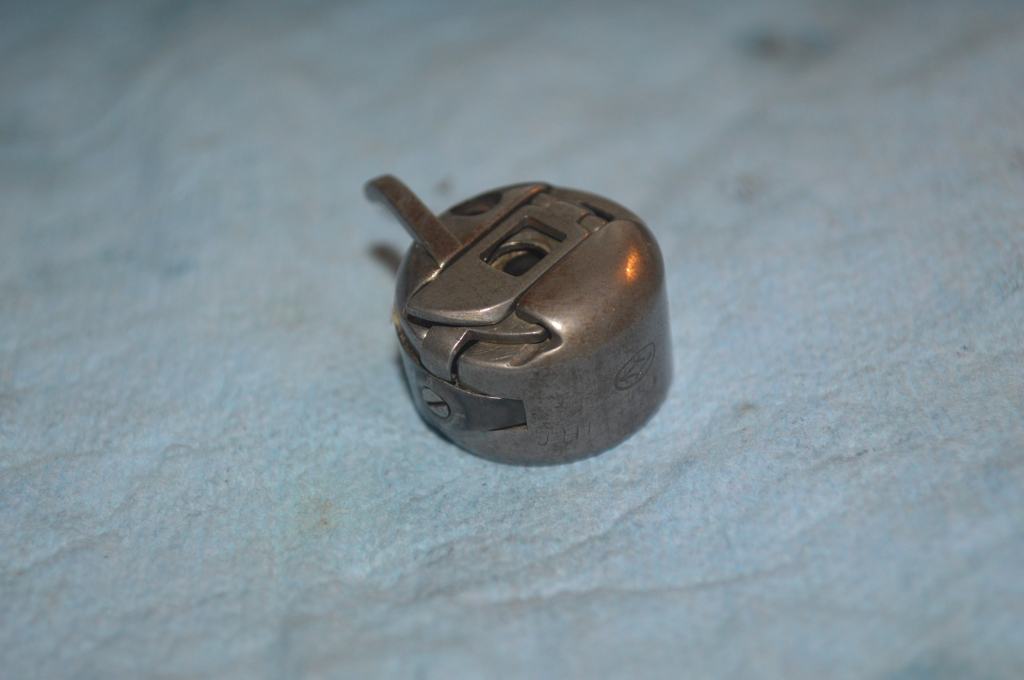
The bobbin race hook and cover are very important and must be as clean as possible. It is the part that catches the thread from the needle and forms the stitch. For this reason, it is polished to a mirror finish with jeweler’s rouge.


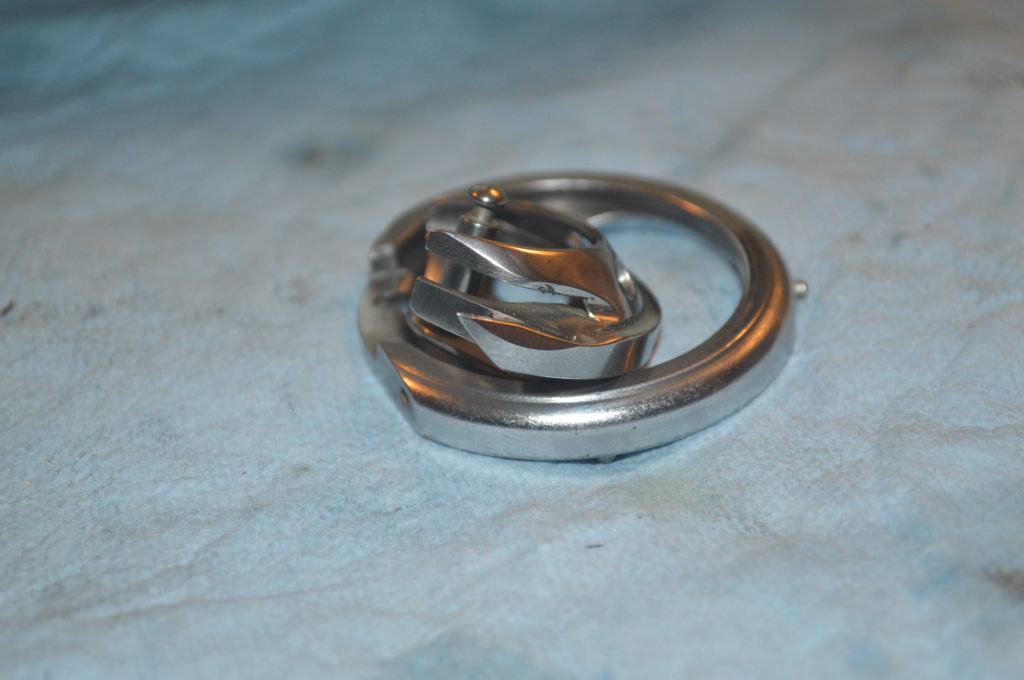
The hook has a very fine and sharp point… we don’t want anything to drag on the thread anywhere in these parts
The oscillating hook is driven by gears. These gears are housed in a gear case and are lubricated with grease. Over decades, this grease hardens and loses their contact with the gears. When I removed the cover, I noticed that this machine had a minimal amount of grease from the factory… very unusual and I think that this machine was grease starved from the beginning. In truth, the gears are steel and do not have much wear so there is no damage here, so the old grease is removed and the machine is re-greased. The one thing that will be noticed immediately is the sound. The gears are much quieter when properly greased.
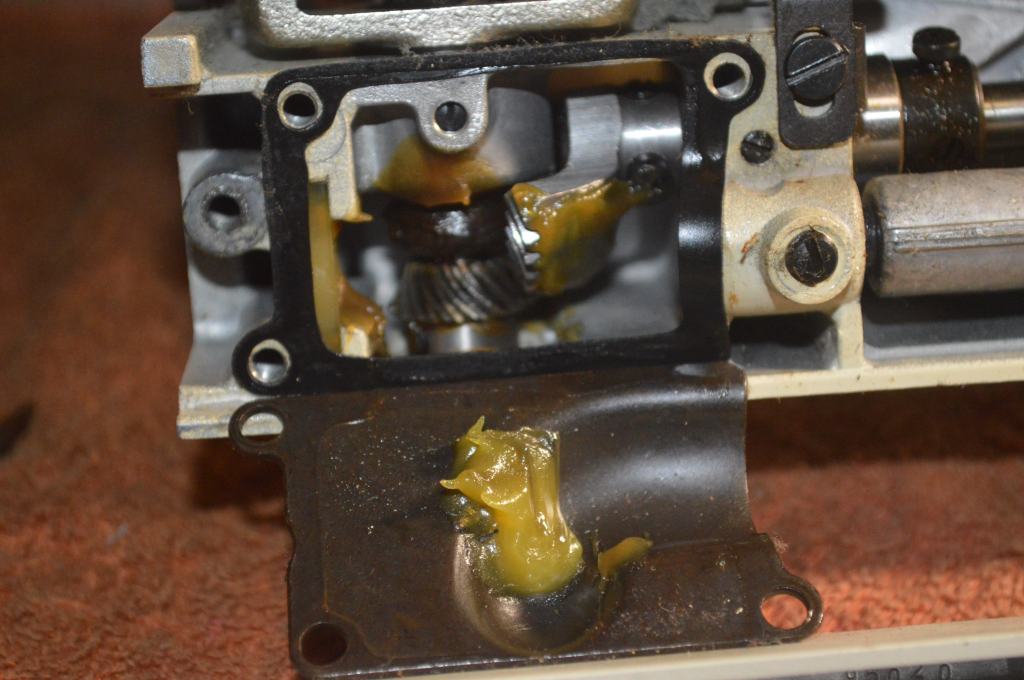
Notice that there is no grease on the gears! 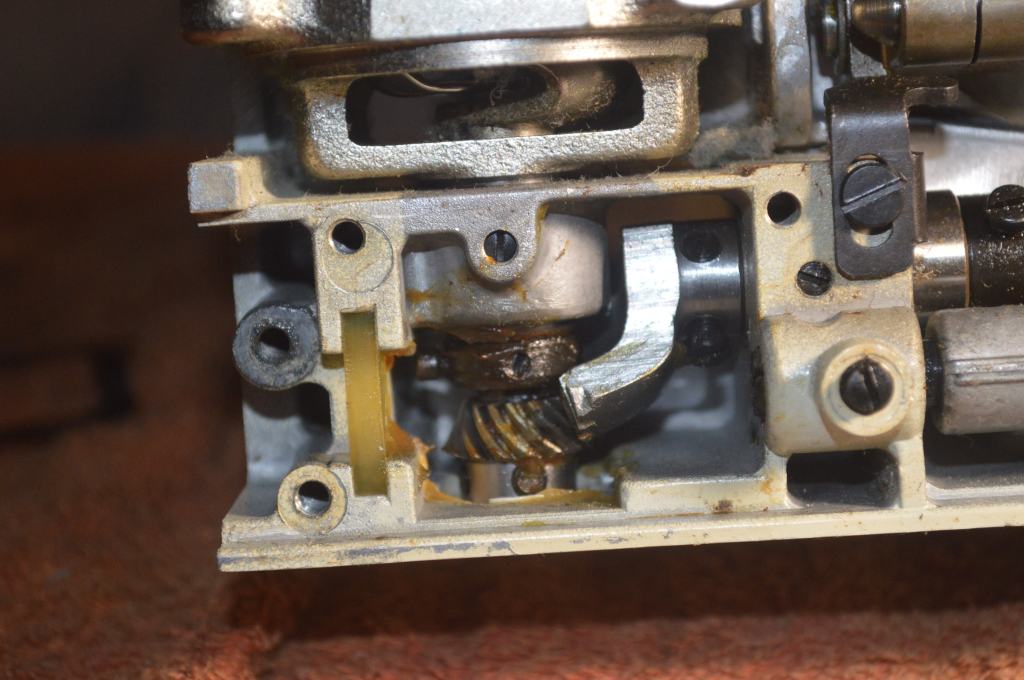
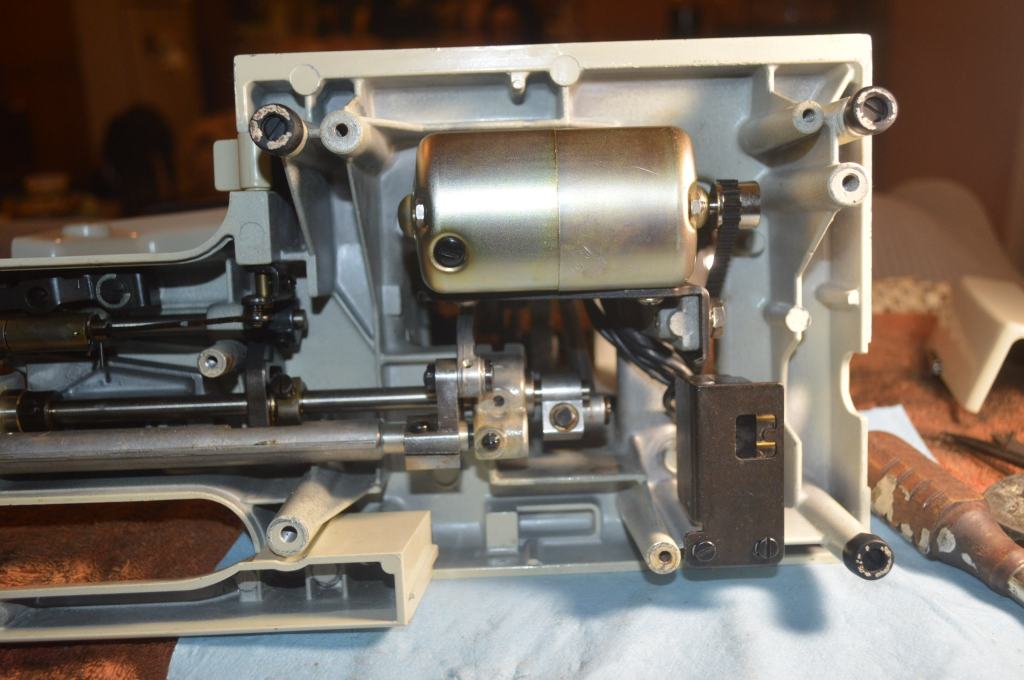
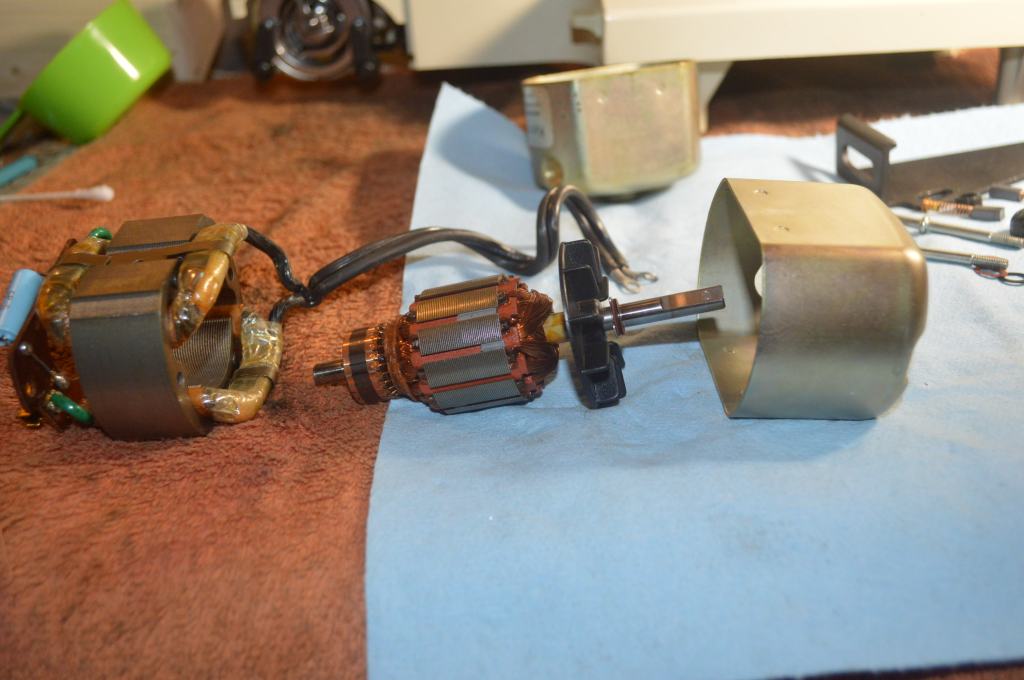
The next step is disassembly and restoration of the motor. Kenmore motors are excellent quality and it is rare to find one that does not come out running smooth and powerful. The motor is disassembled, the commutator is polished, and the shafts are polished.
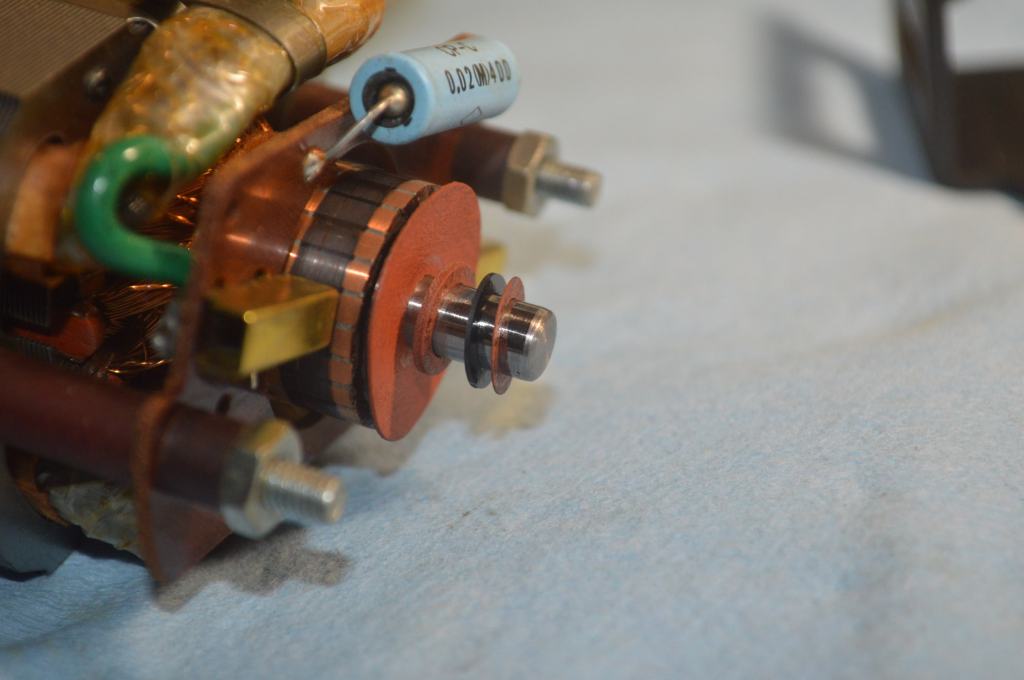

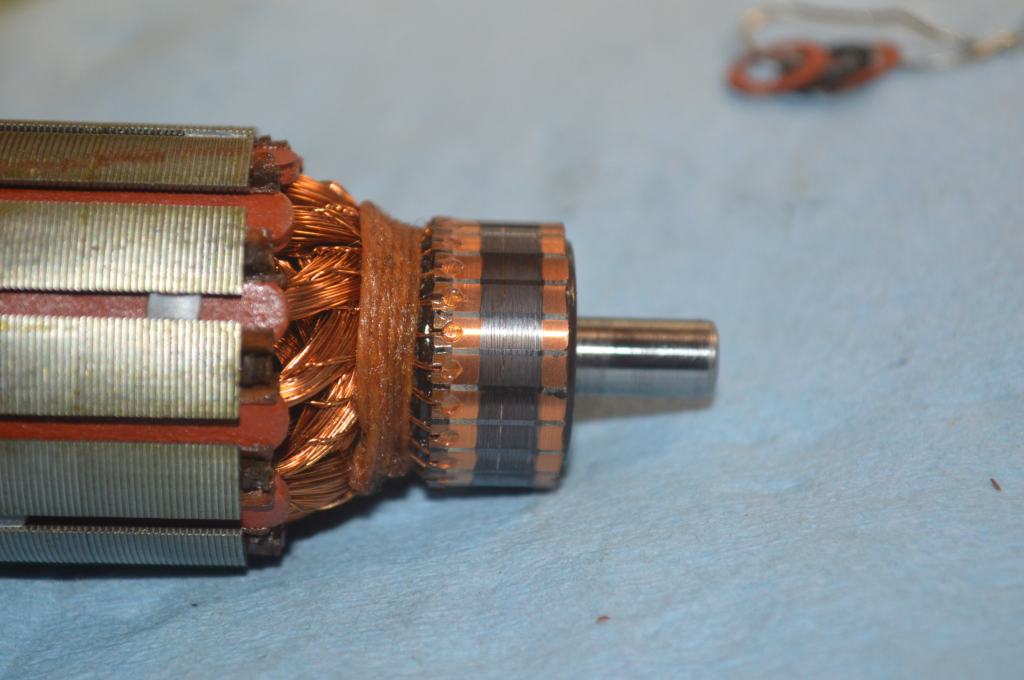
Commutator before polishing 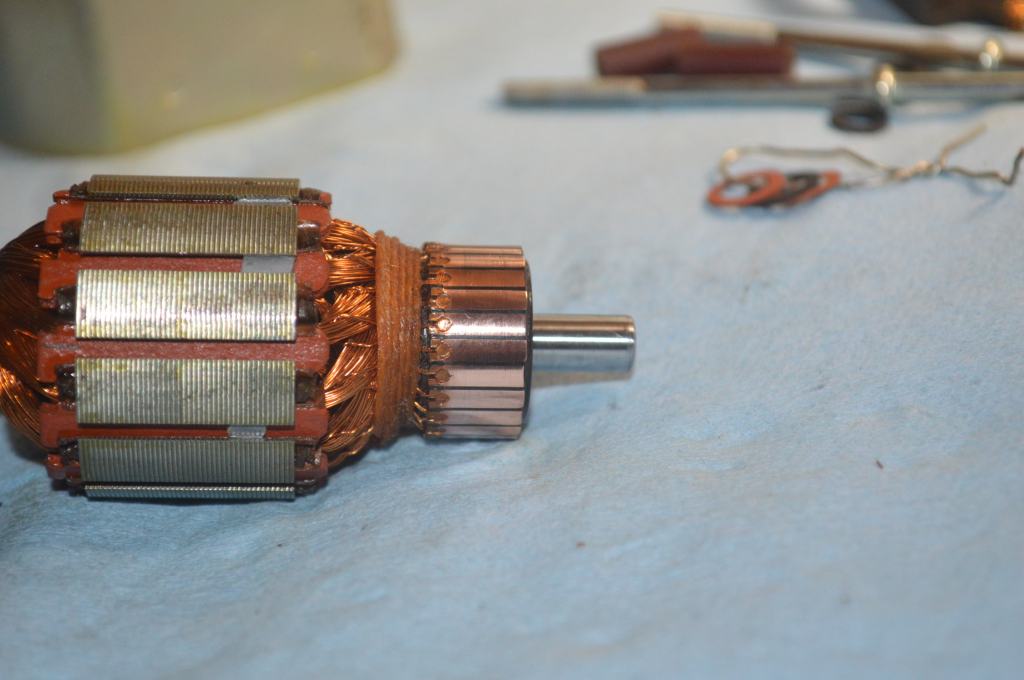
Commutator and shafts after polishing 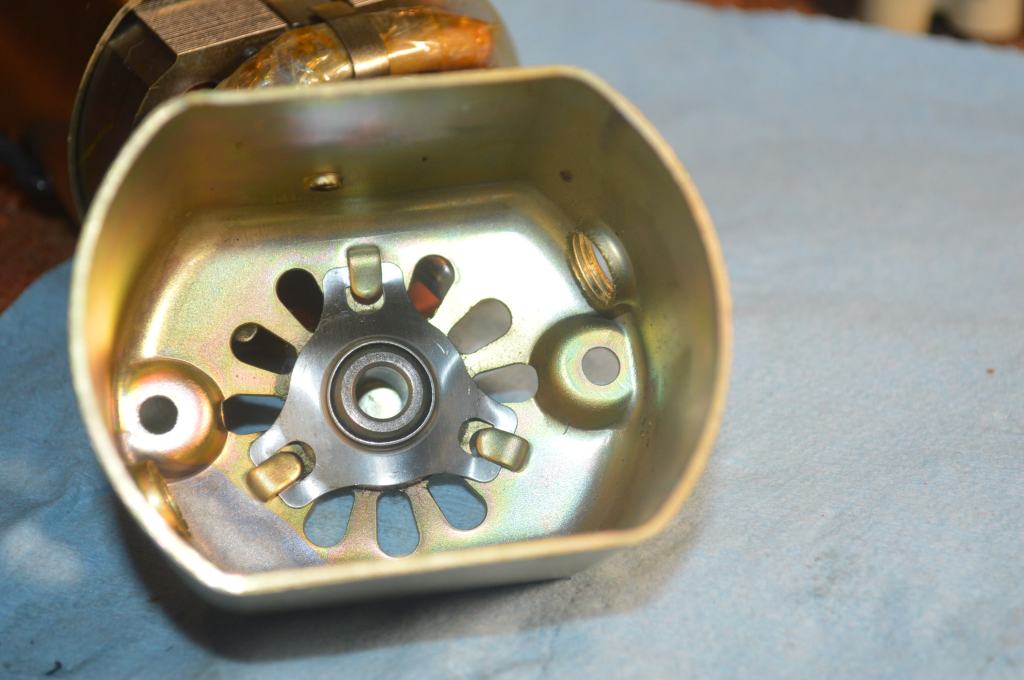
Shaft bearings cleaned 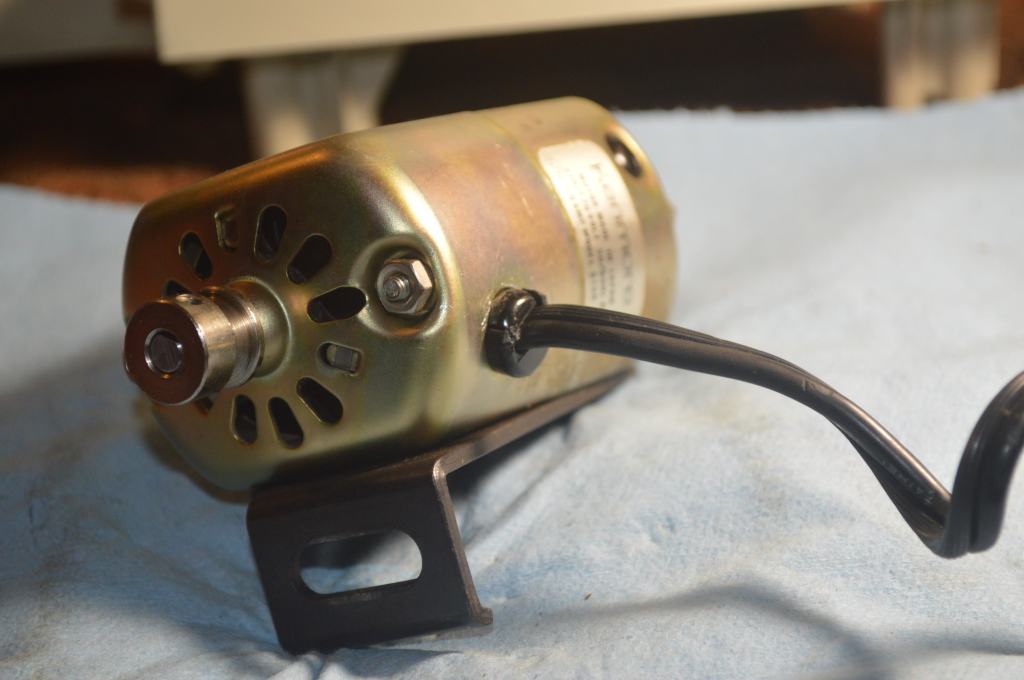
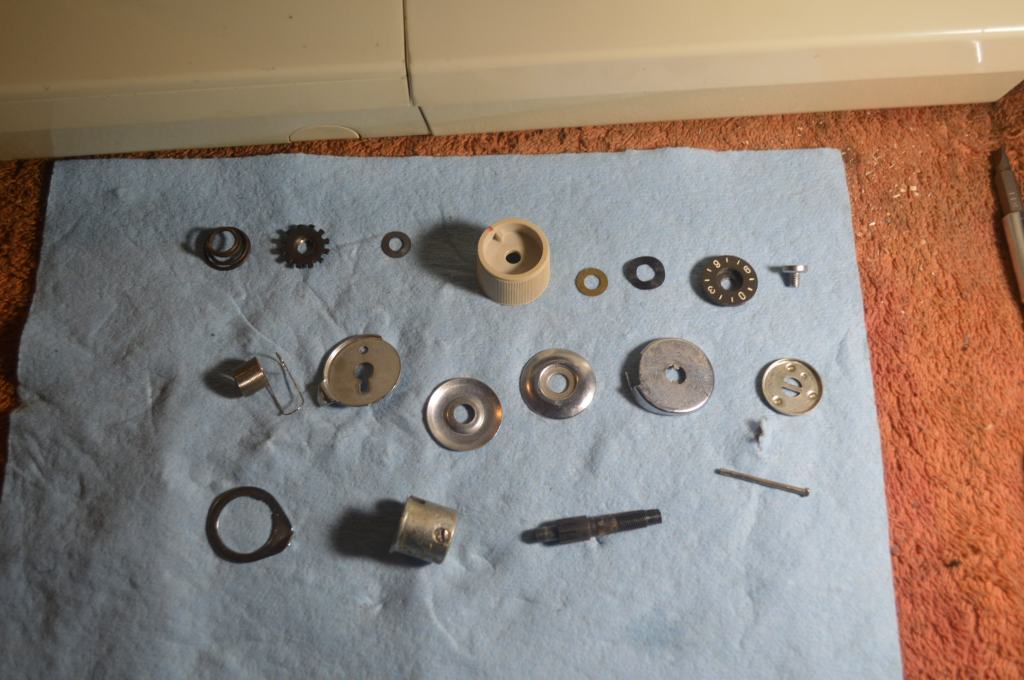
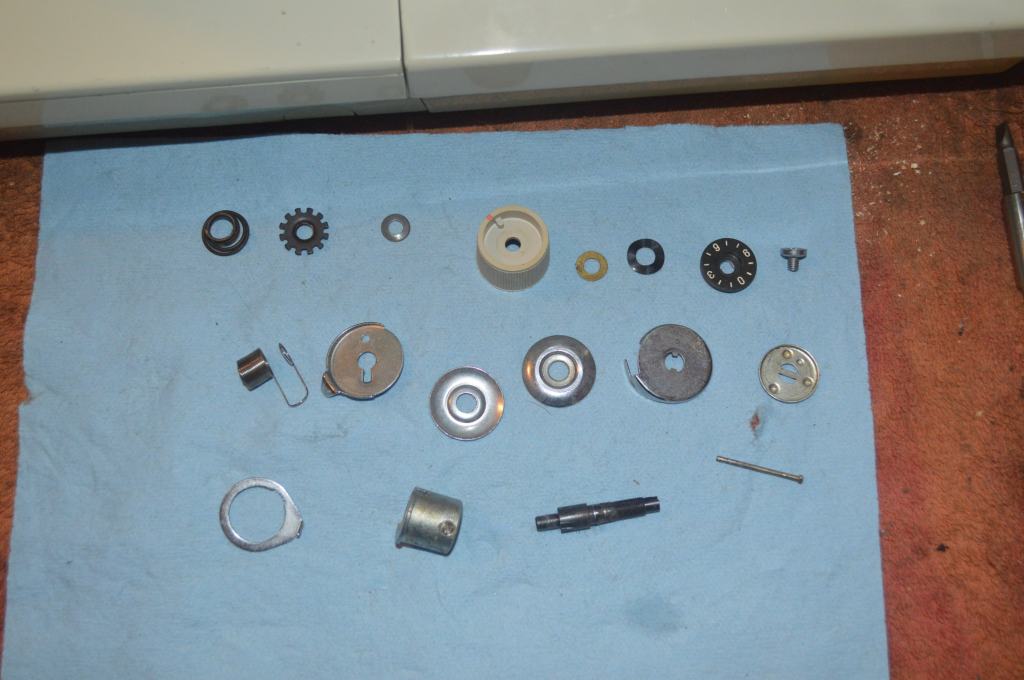
Next the tension assembly is disassembled, cleaned, and reassembled.
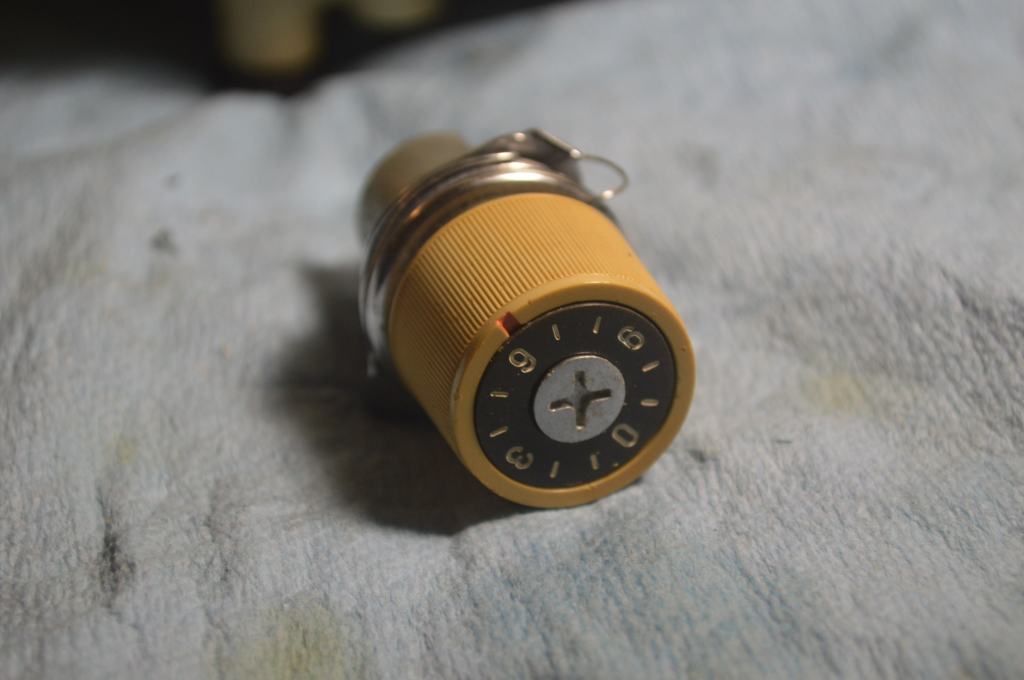
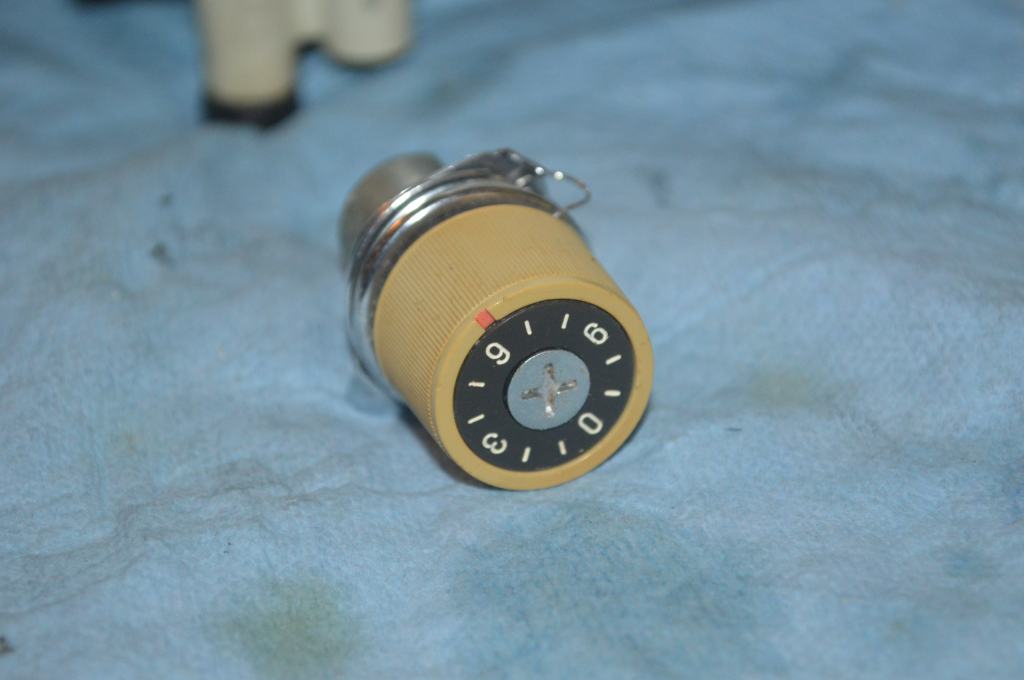
The post on this particular tension control assembly had dirt buildup and corrosion. The thread passes through the tension discs and wraps around the post to change direction of the thread 180 degrees. Because the thread rubs against the post, it must be smooth. This post is cleaned and polished.
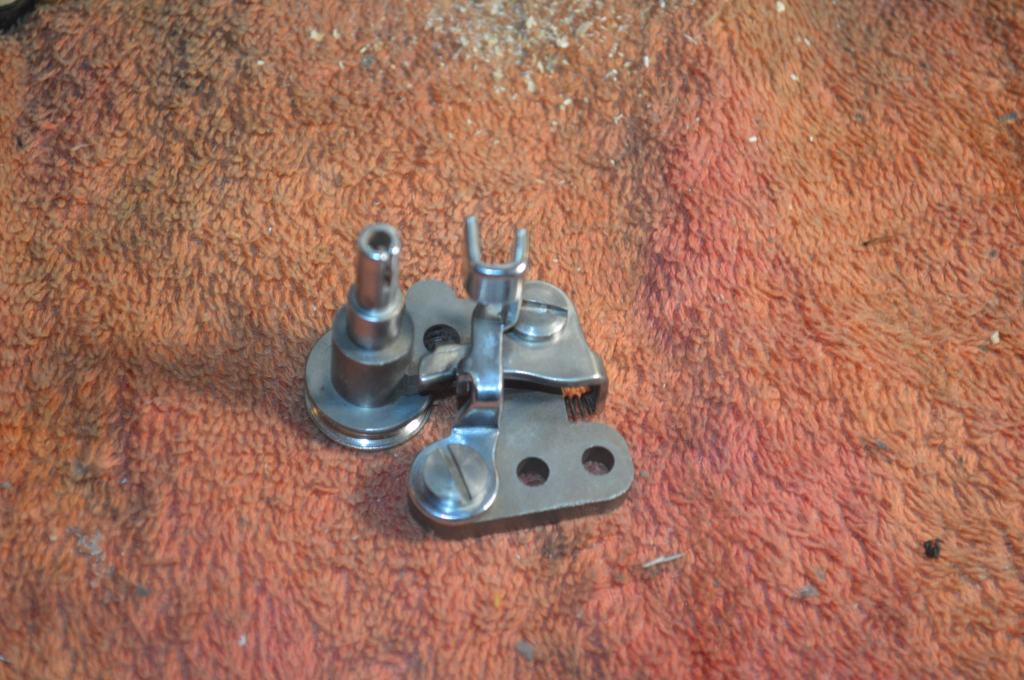
The bobbin winder is cleaned.
All of the mechanical parts of the restoration are now complete and set aside for reassembly.
Cosmetic Restoration
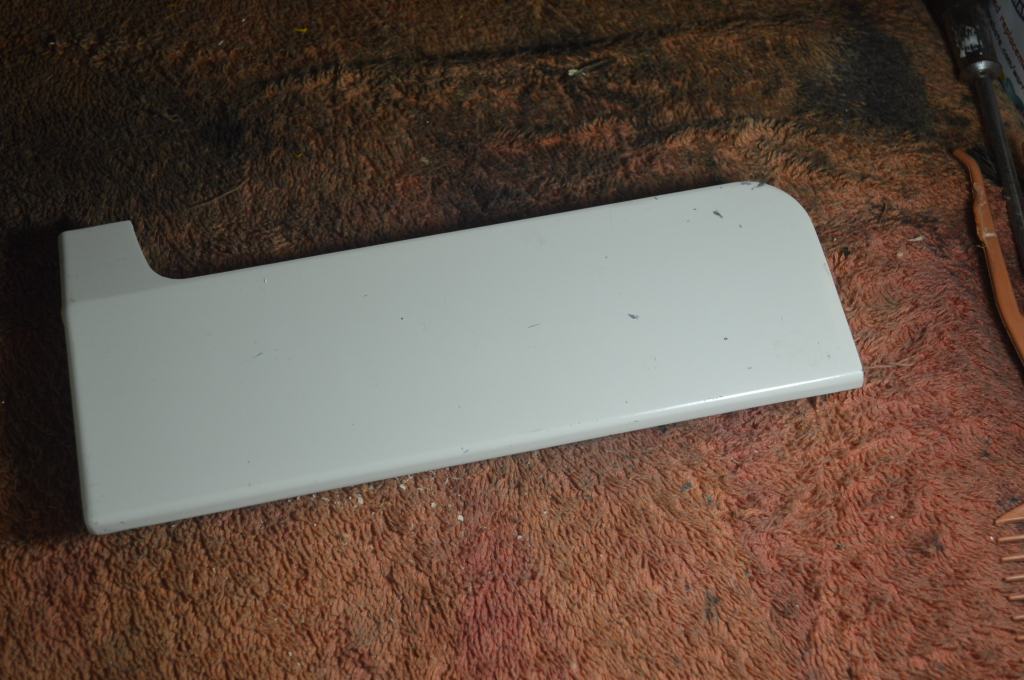
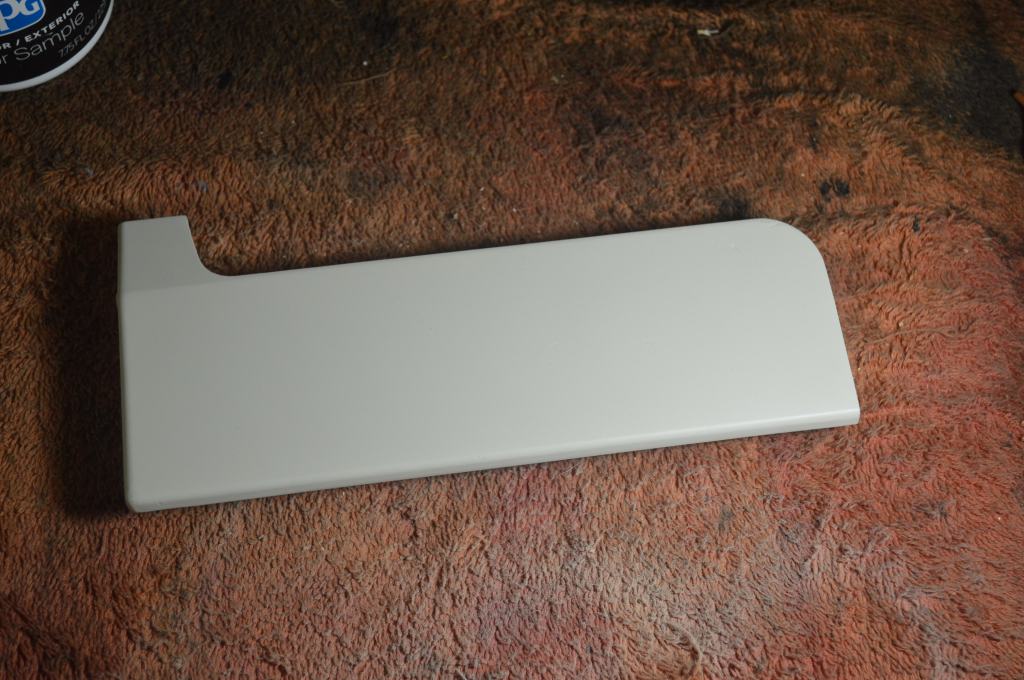
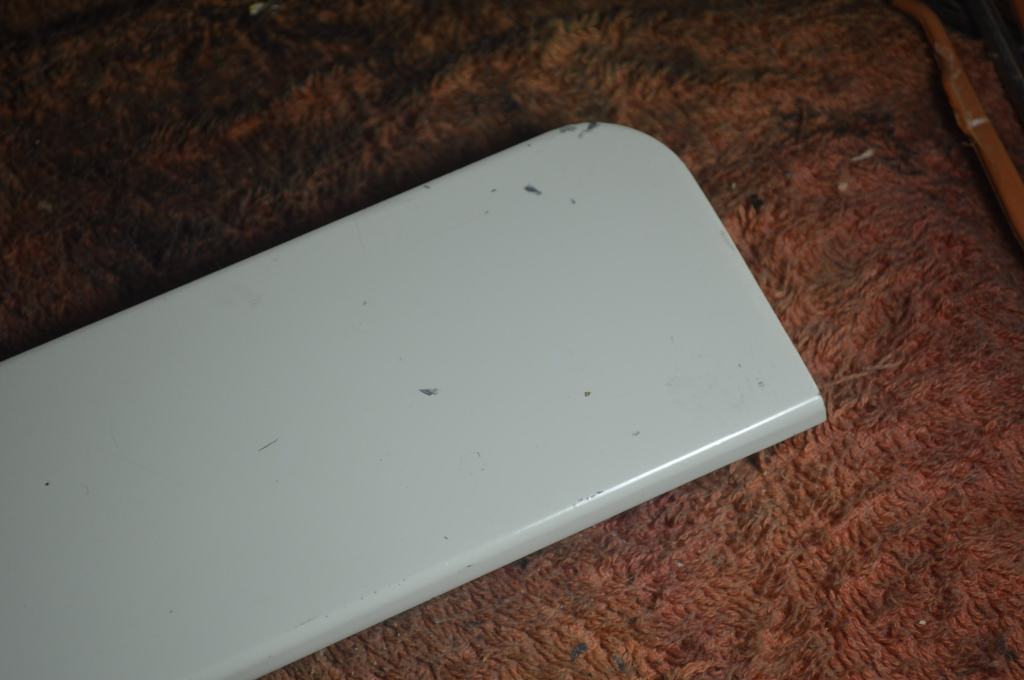
Now is the time to start the cosmetic restoration. The body of the machine is cleaned and the yellowed pieces are restored to their original color. The cosmetic defects are really very small. Some yellowing and a few small paint chips.
Correcting them is fairly straight forward. To see a tutorial on reversing the yellowing, see my blog: A Tutorial – Reversing the Plastic Yellowing on a Kenmore Sewing Machine – Restored Vintage Fine Quality Sewing Machines (home.blog). As you can see below, the result is dramatic and easy to achieve,


The machine is cleaned in preparation of paint matching. The gummy tape and labels are removed and the broken spool pin is extracted.

The paint chips are almost too small to worry about, but the efforts made to reach this point justifies attention to correcting all defects. The parts that have paint chips are paint matched and an air brush is used to apply the paint. Though slight, the appearance is improved.
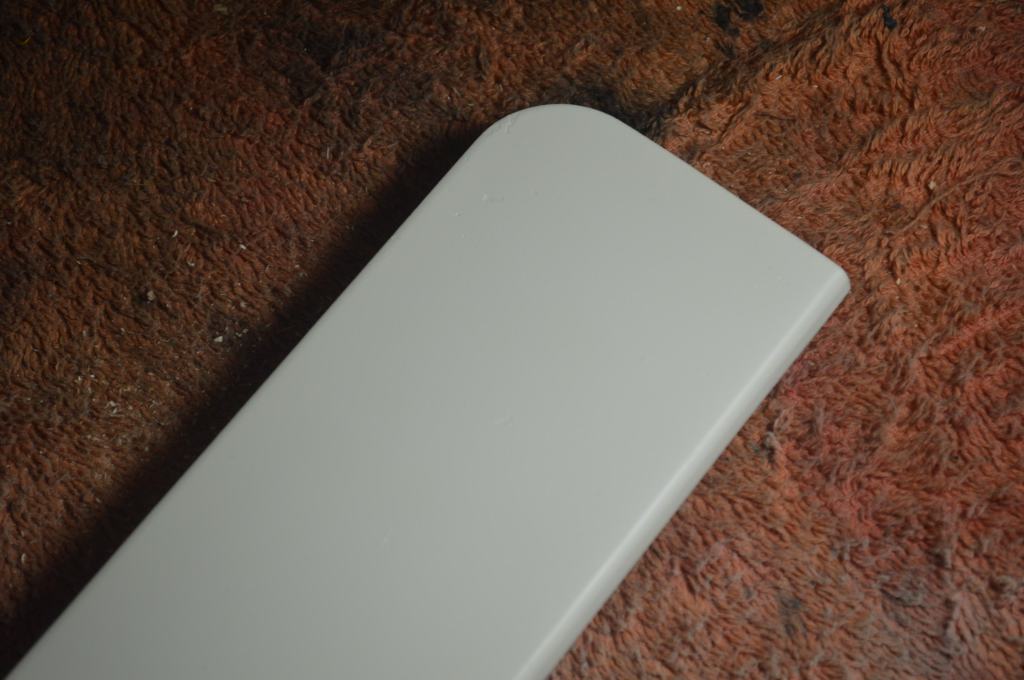
The paint used for color matching is a satin finish. The final gloss will be achieved when these pieces are sprayed with a clear high gloss poly acrylic finish.
With the top coat cured, the cosmetic restoration is complete.
The parts are reassembled, the assemblies are adjusted, and the machine is run through it’s paces. The result is a machine that is surprisingly quiet and very powerful! All in all, the machine looks great, sews great, and this restoration has been a great success.


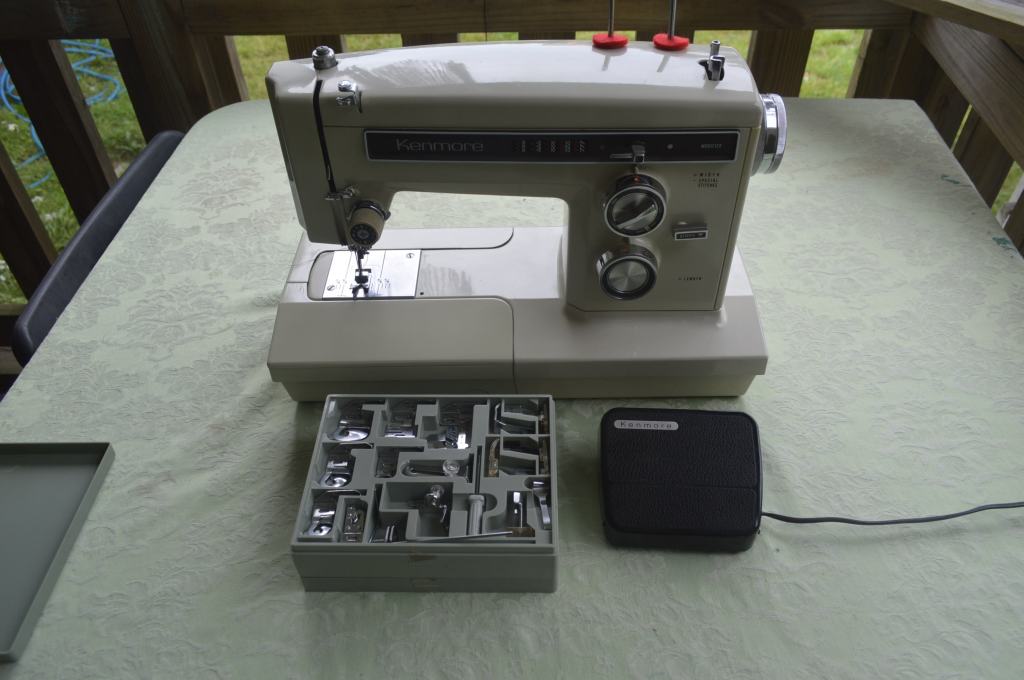
Add an assortment of high shank feet and she will have everything she needs for whatever she wants to sew. I hope she gets as much enjoyment using her “new” Kenmore as I did restoring it for her!

Gorgeous machine! I hope to have one of these very soon – we’ll see. But in the meantime, would you mind sharing the type of paint you used? And the poly? Did you paint just the damaged areas? What about prep-did you do some light sanding first?
I have no problem with cleaning the underside “in place” or cleaning the motor, but I’d like to disassemble the needle bar for cleaning and polishing to. I’m a little worried about putting it back together again, so do you have any advice or special tips to offer? I have tools, polishing rouge, special little wrenches and that sort of thing, plus I’ll take photos as I go. I’d just be grateful for a little help from an expert.
One last problem….you realize, of course, I might just become the biggest pain-in-the-a** you’ve ever known! ; – }
LikeLike
P.S. I hope your family members understand and appreciate the work you do and the quality of the machines you’ve given them. You are exceptionally generous!
LikeLike
Hello Suzanne,
Thank you for your kind words! I enjoy restoring these fine sewing machines. I grew up with them so I guess I take them for granted. Still, I know that whatever sewing machine I could afford to buy today would not be working in 50 years… Then again, later generations don’t know or have access to these machines and don’t know how well they perform in comparison.
Disassembling a sewing machine should follow the three P’s… pictures, pictures, and pictures. Kenmore’s are fairly easy to disassemble but there are a few catches… the quick release presser foot lever has to be carefully adjusted and has a 6mm nut. The not that allows adjustment (and removal) of the needle requires a 5/16″ wrench… so you need a metric and SAE set of wrenches. Luckily they are not expensive. If you take a bunch pictures from different angles of things as you disassemble them you won’t have any problems putting them back in their proper place, just keep track of what nut and bolt goes where. Thank goodness for digital pictures. For a typical sewing machine restoration I may take 150 to 200 pictures… some I use in the blogs but the others are for reference.
Paint matching is not as hard as it sounds. I use an 8oz sample color size of PPG paint that is sold at Home Depot. They will computer color match it to a part from your Kenmore that you take to them. I used the 1941’s convertible deck lid for mine. The computer does an excellent job of matching the color.
I prepare the surface by lightly scruffing it up lightly with 800 grit sandpaper, and for small parts like the deck lid. To apply the paint I use an air brush and thin the paint 25% with distilled water. For small parts that detach from the machine, I repaint the whole piece. For nicks in the body of the machine I spot paint and feather the paint away from the repair. I have to use thinned paint for the airbrush and the thinned paint is very transparent so I need to build up the color with multiple coats until I am satisfied with it.
You can fill small nicks with a tiny dab of paint and a fine tip artist brush, but this won’t work on scratches… (that’s why I use the air brush). If you use a brush, you don’t need to thin the paint.
The color match paint needs to have a top coat applied to it. For Kenmore’s I use a water based clear polyacrylic. Again, I use a spray gun to apply the top coat in several coats to build thickness, but I think it is available in cans (a can may provide a thicker coat per pass). For the sake of precaution, I let it cure for a week before I would use it. I want to make absolutely sure it is hardened. Keep in mind, a repair is still a repair and unless you top coat the entire machine, it will show itself on close inspection. If you keep your expectations at a reasonable level, you won’t be disappointed. Regardless of what you do to paint match defects on your machine, it will look better so I don’t think you can go wrong.
Kenmore’s are pretty tolerant and if you decide not to disassemble and polish the needle bar, it can be polished in place. I have seen videos where folks use strips of cloth and polishing compounds to wrap around the needle bar and presser foot bar. This won’t get to the oil varnish inside the parts, but the motor and the gear grease alone make a noticeable difference.
Obviously, disassembly and cleaning does improve the machine. The 1941 I restored for my sister runs very quietly and smooth… a big difference from start to finish. So if you decide to do disassemble, I will be more than happy to guide you through any problems or help in any way I can.
Please let me know when you find the “perfect” 1941 and how your restoration goes!
Have a great day,
Lee
LikeLike
Thanks for this! I have a 1931 that is very similar. I got it used, and someone had put the quick release presser foot lever on backwards, so I had to disassemble those parts. I can’t figure out if there is something missing, as I can’t get it to work. Is there anything between the lever and the black screw coming from the left side? Thanks for any help you can give me!
LikeLike
Hello!
I don’t think the quick release mechanism Kenmore design was very well thought out. I might get flamed for saying that because I have not found much to complain about Kenmores in general.
Trying to explain how it fits together and adjusted is difficult in words, but it would be a great topic for a tutorial. I’m always on the lookout for a useful topic and I’ll post a tutorial with pictures and a detailed explanation so you can get it back together, and most importantly, get it adjusted so it works reliably.
I’ll pull out a machine and post a tutorial (hopefully) by Sunday night on the procedure.
Thanks for the topic and I hope it helps!
Lee
LikeLike
That would be great! Thanks so much, Lee! I know it’s a common problem, so I’m sure you’ll be helping many people. Thanks again! Looking forward to your tutorial. 🙂
LikeLike
Hi MRB,
I was looking forward to doing a tutorial on how to properly assemble and adjust the Kenmore presser foot quick disconnect assembly. I was sure that I had a Kenmore with this feature, but it turns out the model 1940 I have is a low shank machine with a standard clamping screw. I don’t have a machine to use for demonstrating, but I will certainly create a tutorial on the next machine I find.
I’m sorry I can’t show you how, but if you would like for me to try and talk you thru it, send me an email to pungoliving@gmail.com and I’ll do my best to walk you thru it.
Thanks!
Lee
LikeLike
Thanks for letting me know! Today someone on Facebook very kindly made a series of short videos for me and I finally got it to work. I did have to put the 6mm nut on backwards (flat side out), because I couldn’t get it tight enough otherwise. Hopefully it will stay on now. Thanks so much for offering to help!
LikeLike
Great! It will likely loosen up again and that is why I think Kenmore could have put a little more thought into the design. It is still a good topic for a tutorial and I look forward to getting a machine that has it!
Please let me know if I can be of any assistance and have a wonderful evening.
Lee
LikeLike
I think you’re right about the nut loosening again, and yes, it will still be a great tutorial. I love my 1931 but that part drives me crazy! Thanks again and have a great week!
LikeLike
Hmmm….I’ve always heard the 1941 was the “best” Kenmore of all. But reading your specs, I still think my 1774 is better! I don’t care for the super high shank or the left homing feature. (SHS feet and attachments are expensive and hard to find, for one thing.) Also, my 1774 has a 1.2 amp motor AND does chain stitching. I don’t see where the 1941 is the BEST Kenmore model but I guess it’s all a matter of opinion.
LikeLike
Hello Lisa,
I can’t disagree with you! There are a lot of Kenmore models that have a loyal following. The 1941 is center homing, but I am not a fan of the super high shank presser feet. The hyper extension is nice. For a convertible machine, the 1941has a lot going for it.
Thanks for sharing your opinion!
Have a blessed day!
Lee
LikeLike