
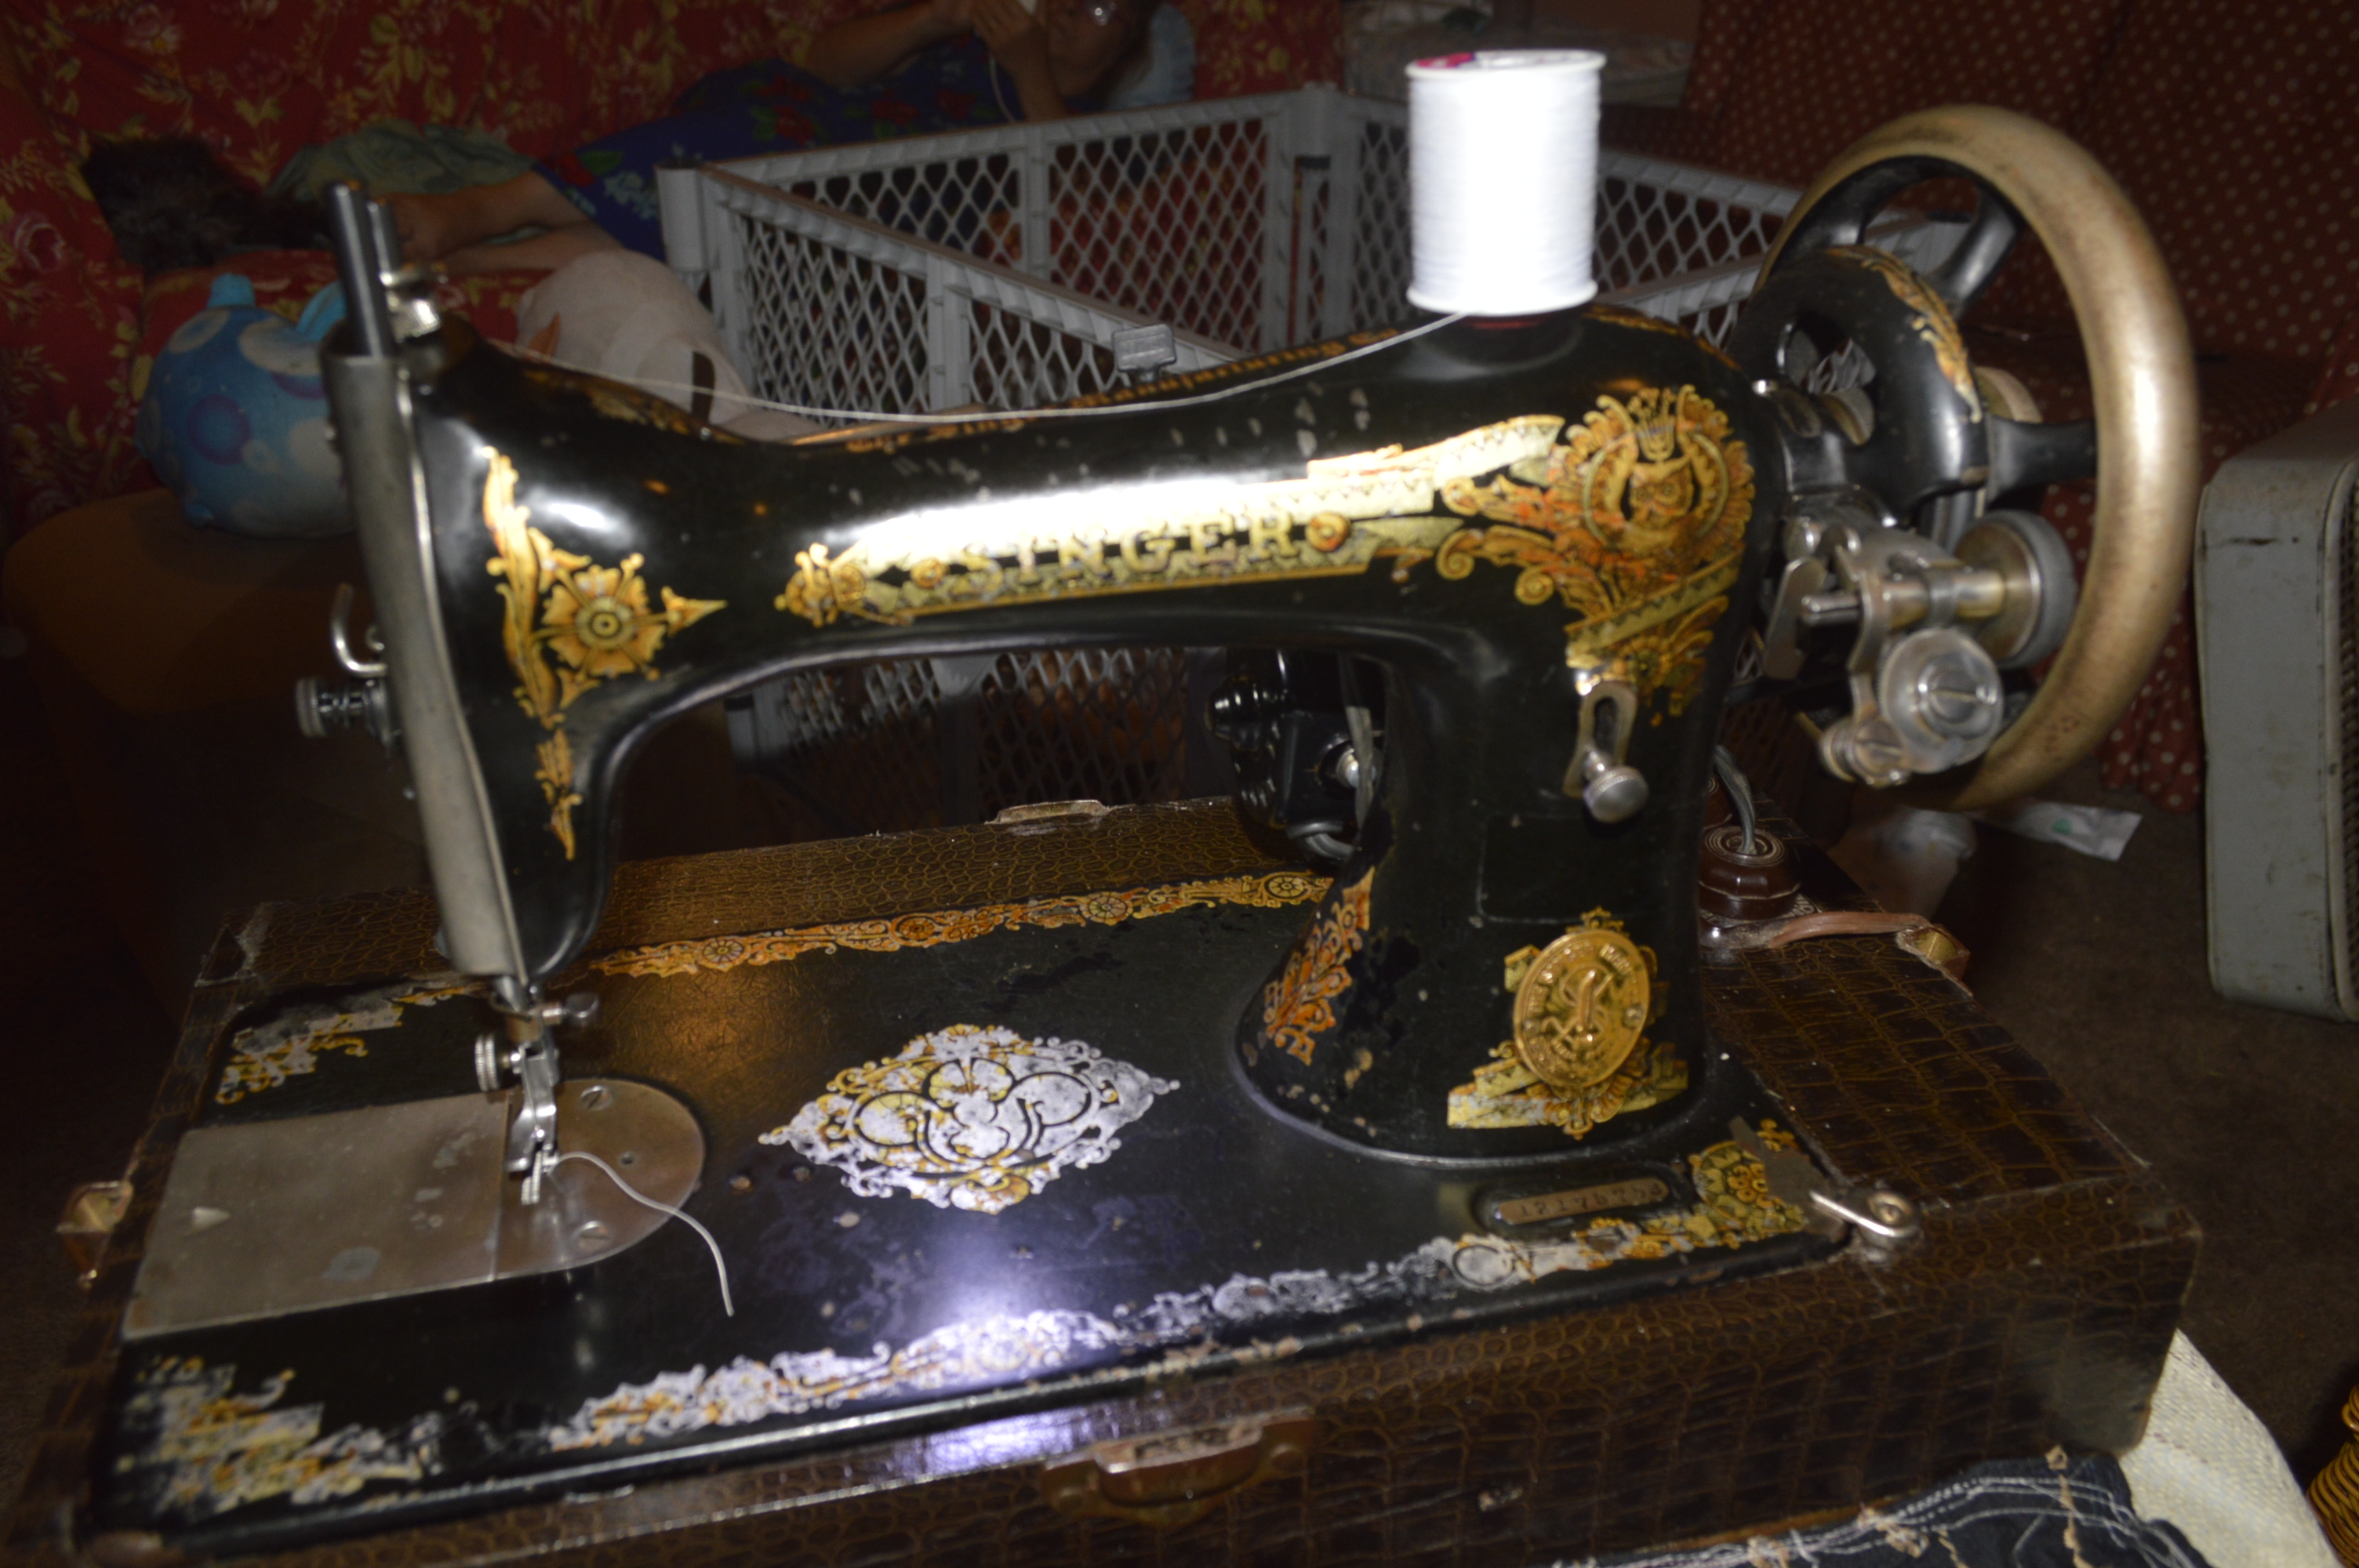
The Singer Model 15 is probably the most recognized sewing machine on planet Earth. Introduced in 1879, it was in constant production thru 1958. It is still manufactured in it’s original style in other countries such as China, India, and even Mexico. Some consider the model 15 to be the strongest domestic sewing machine Singer ever produced, I on the other hand tip my hat in favor to the Singer model 66, but given the pedigree, who am I to split hairs. The Singer model 15 introduced the world standard “class 15” bobbin. The bobbin was larger than the class 66 bobbin introduced with the model 66 and held more bobbin thread… a definite advantage for quilting where fewer thread changes makes the job easier. The model 15 uses a side loading bobbin and an oscillating hook and a standard 15×1 sewing needle. The stitch quality is excellent and that is another reason it became a very popular choice for quilters. About the only disadvantage I can see from a quilter’s perspective is that the machines harp space is not quite as large as it is on the model 66. Then again, the model 66 never garnered the 15’s reputation as an excellent quilting machine. But, the model 15 was not purpose built. It was built to sew… anything, anywhere, and anytime is was needed. In the days the domestic sewing machine was first introduced to the public, it transformed peoples lives. Think about it, for the majority of humankind’s existence people did not have the luxury of simply going to the store to buy clothes. Clothes were made at home, and they were made slowly by hand. All but a small minority of people depended on sewing to make clothes… The lucky few had them tailor made. In those days, clothing was mended, not disposed of. The development of the sewing machine is truly a transformative invention and it impacted the lives of people for the better all across the globe. So… now on to the restoration of this model 15.


This machine was manufactured in 1894 and is in fair condition for it’s age. Because it was manufactured prior to 1900, it is not a “vintage” machine… it is a “victorian” machine. Considering it’s age, the cosmetic condition is not bad. The surface is worn, the protective shellac finish is all but gone. The decals are badly worn on the front edge of the machine and not great anywhere on. When we got her, the mechanism was oil starved and the machine would grudgingly rotate. After oiling, the machine freed up and within fifteen minutes my Wife was sewing away on a piece of scrap fabric, and we were both surprised of the stitch quality… it was good. That was three months ago, and just the other night we were talking about free motion quilting. We both thought it would be a great way to express her artistic talent. We have more than one model 15 in the house, but we immediately decided that this antique machine was the one to use. Yep… that means we gotta restore the machine.
Because this is my Wife’s machine, the cosmetic condition is unimportant. While there is much to improve on, the machine will be cleaned but the original finish will not withstand any aggressive cleaning. There is some decal damage I am going to try my hand at improving, but the majority of the finish will remain as it is. The goal is to give the machine a complete mechanical restoration, and improve the cosmetic condition as much as practicality will allow.
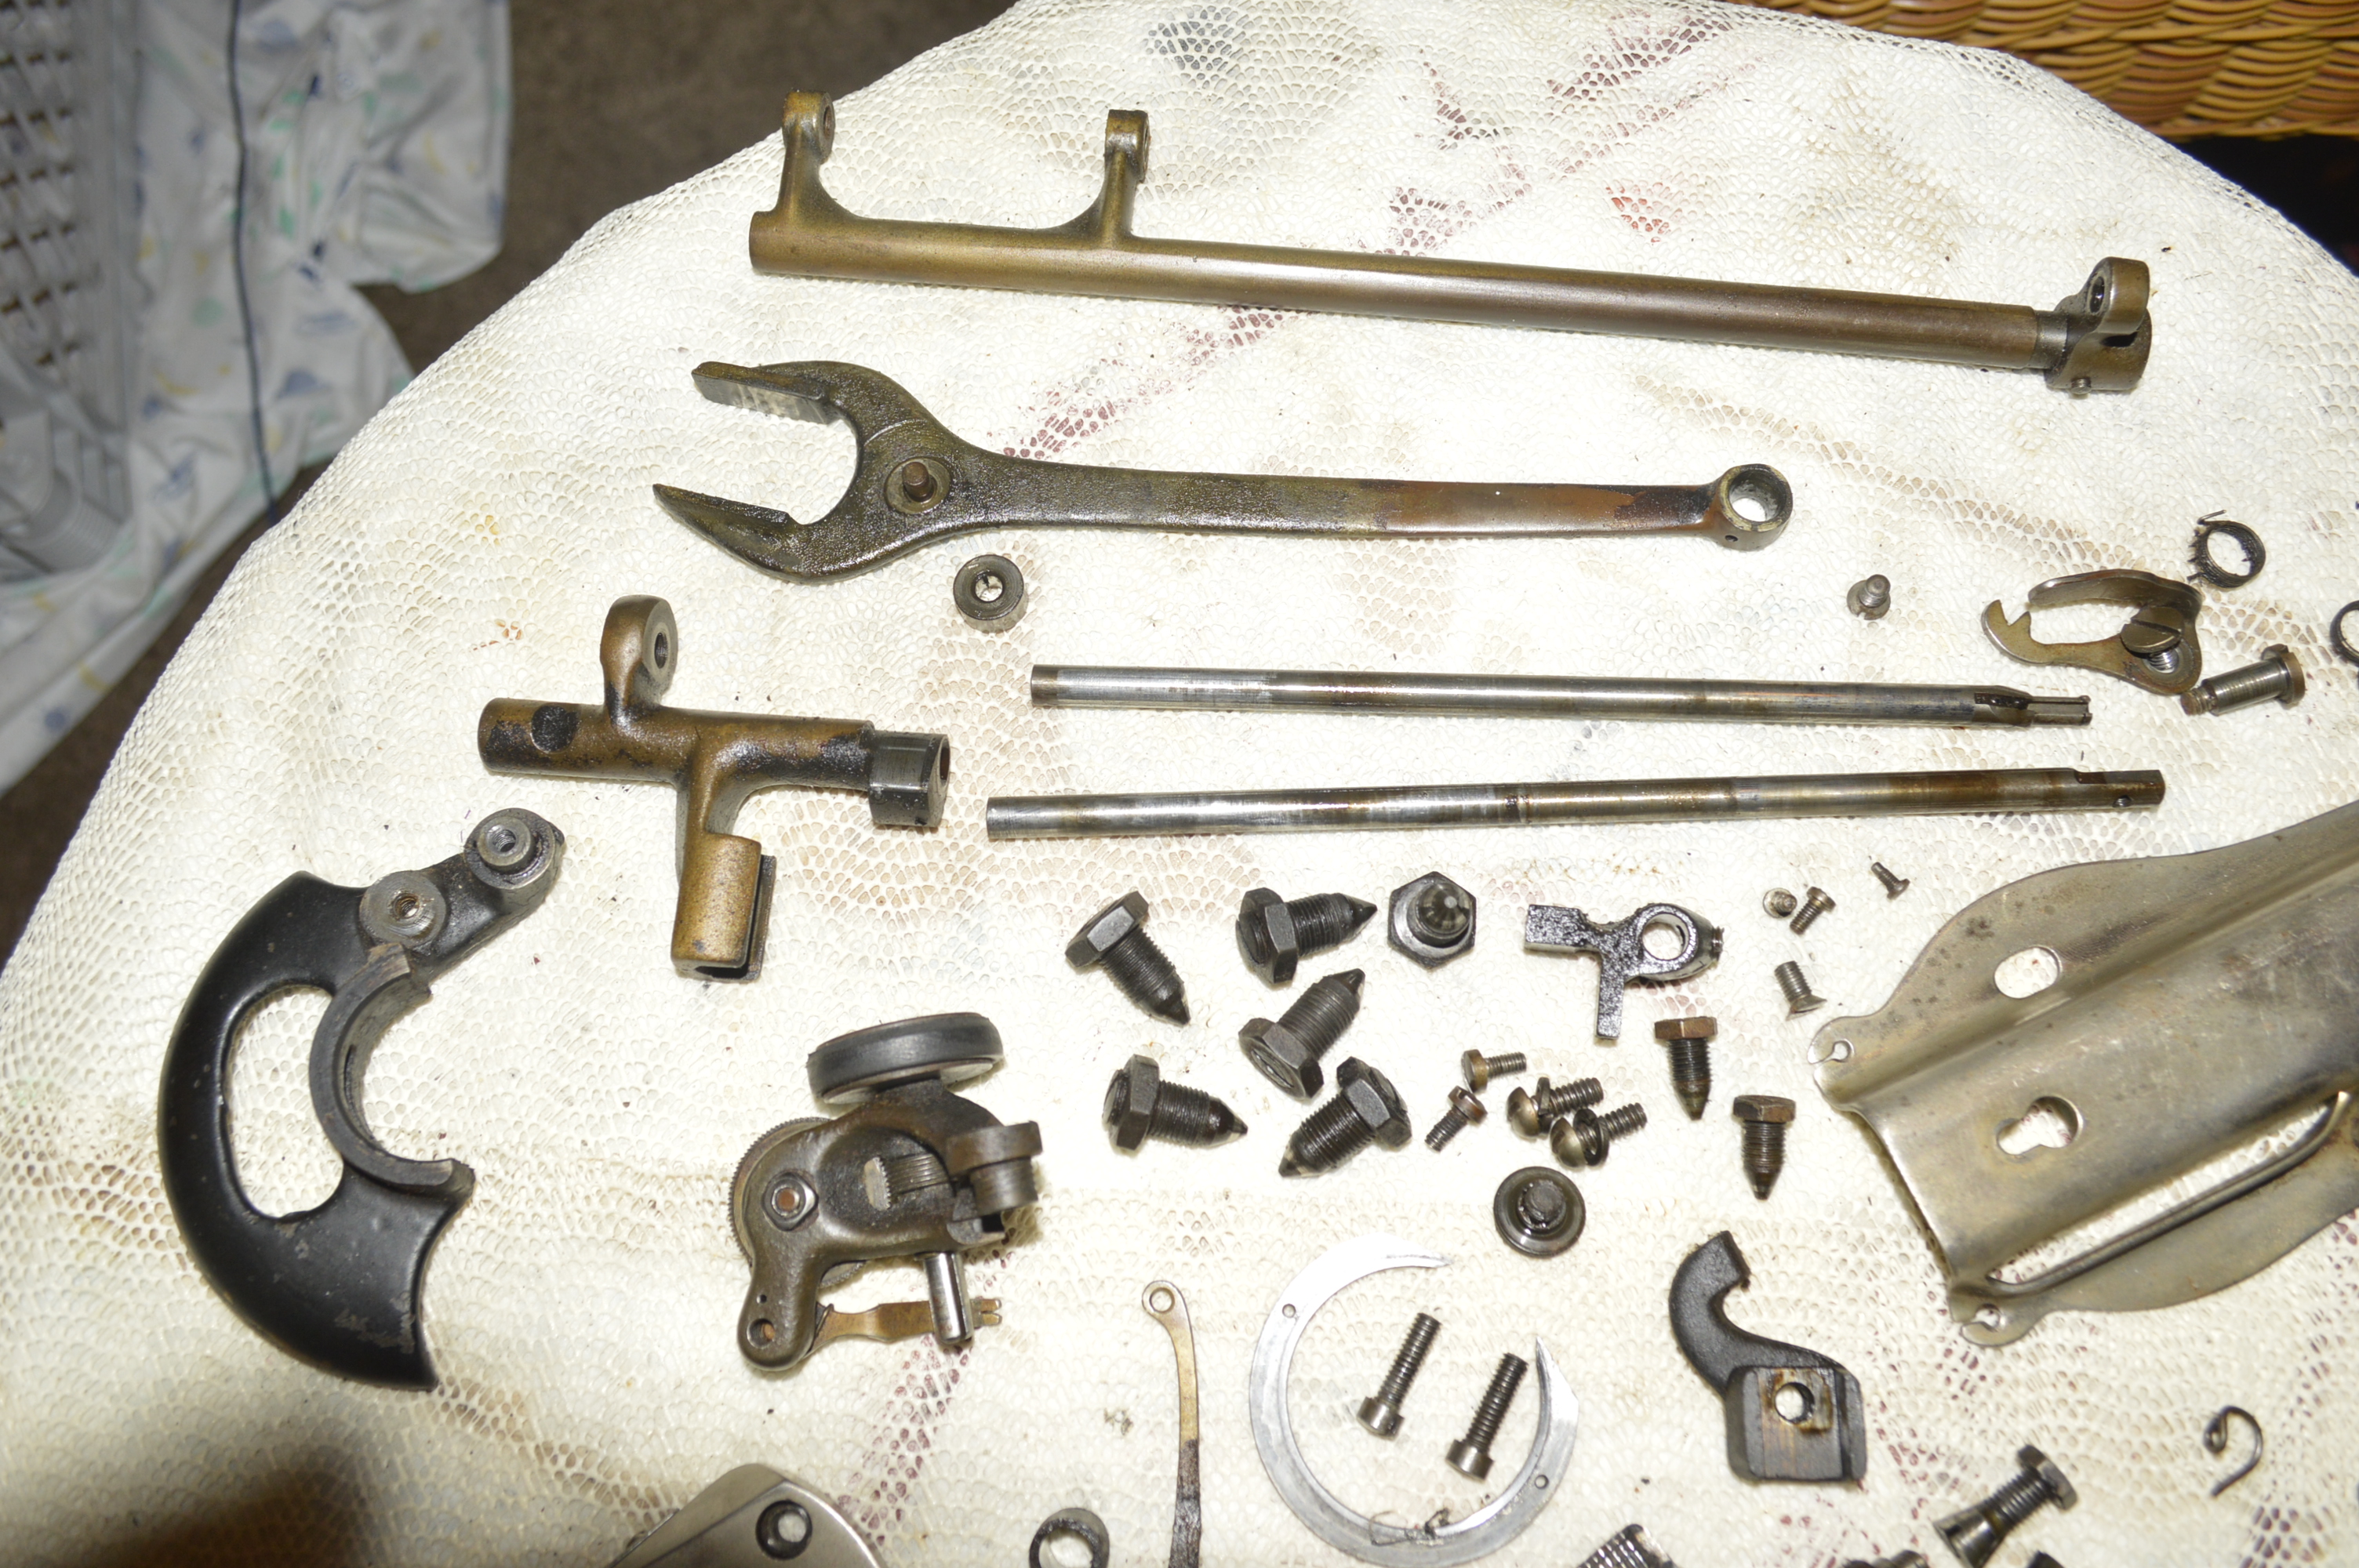
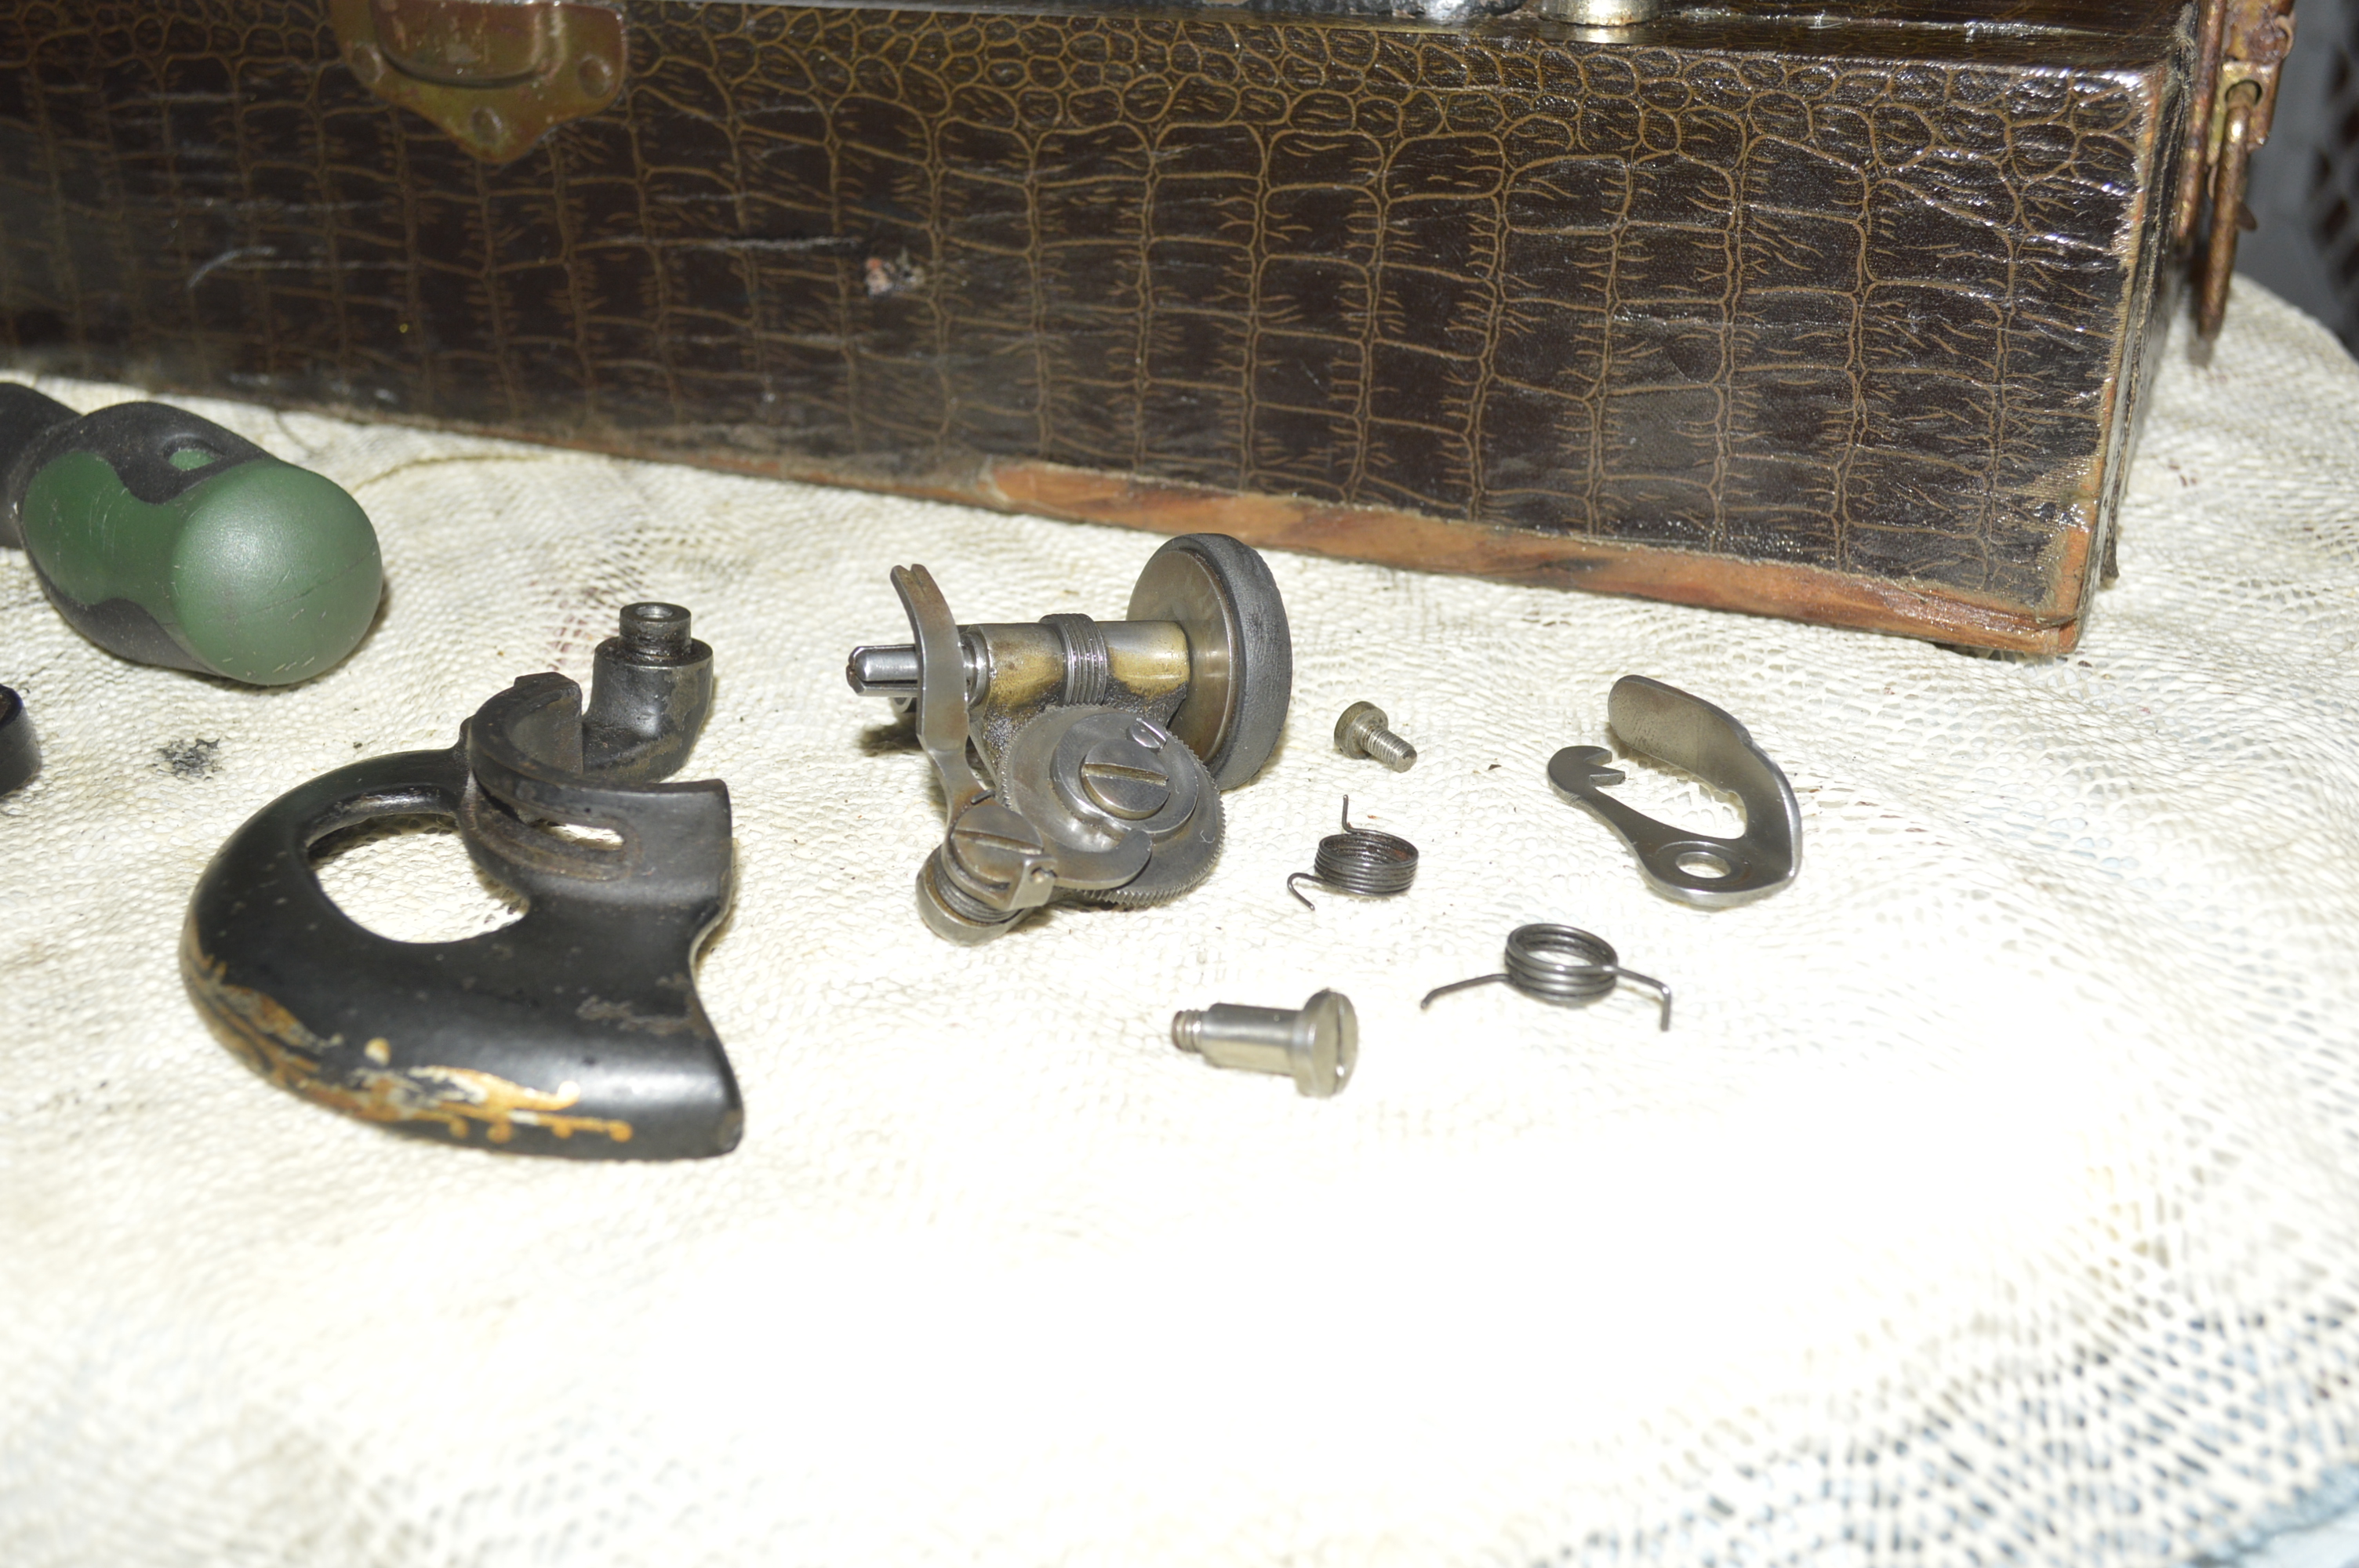
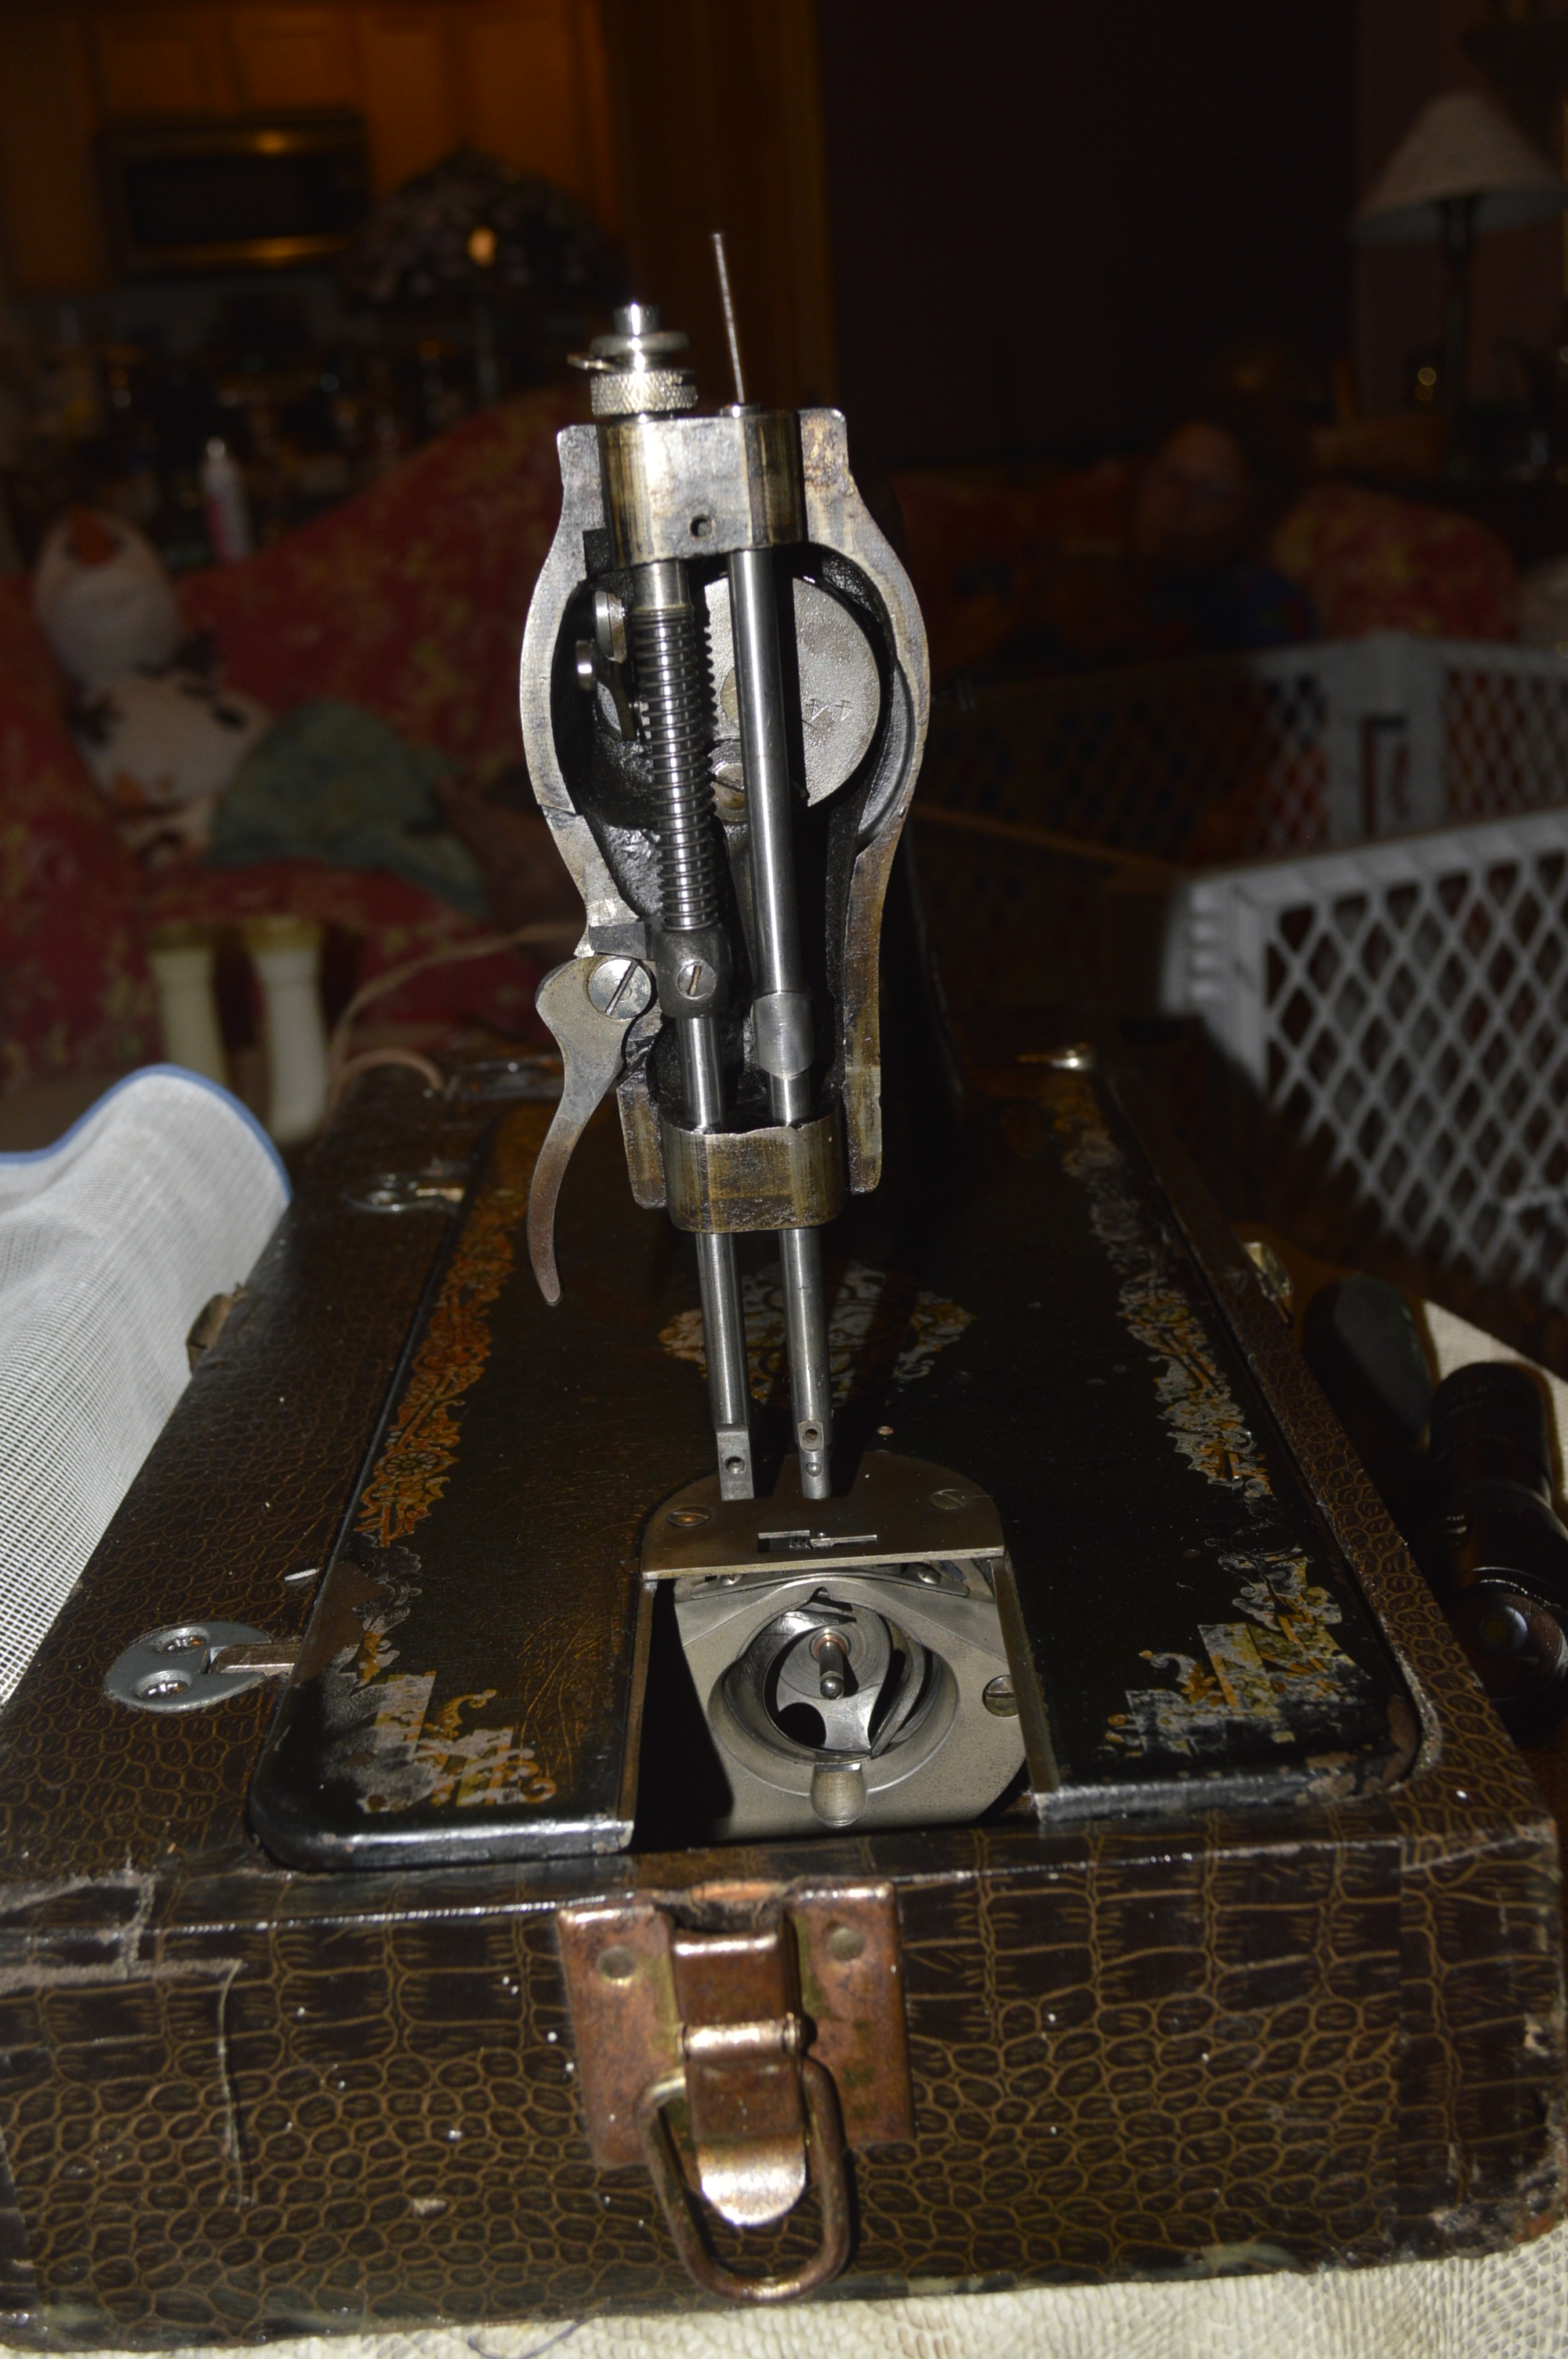
The first step is to disassemble the machine and lay the parts out for cleaning…
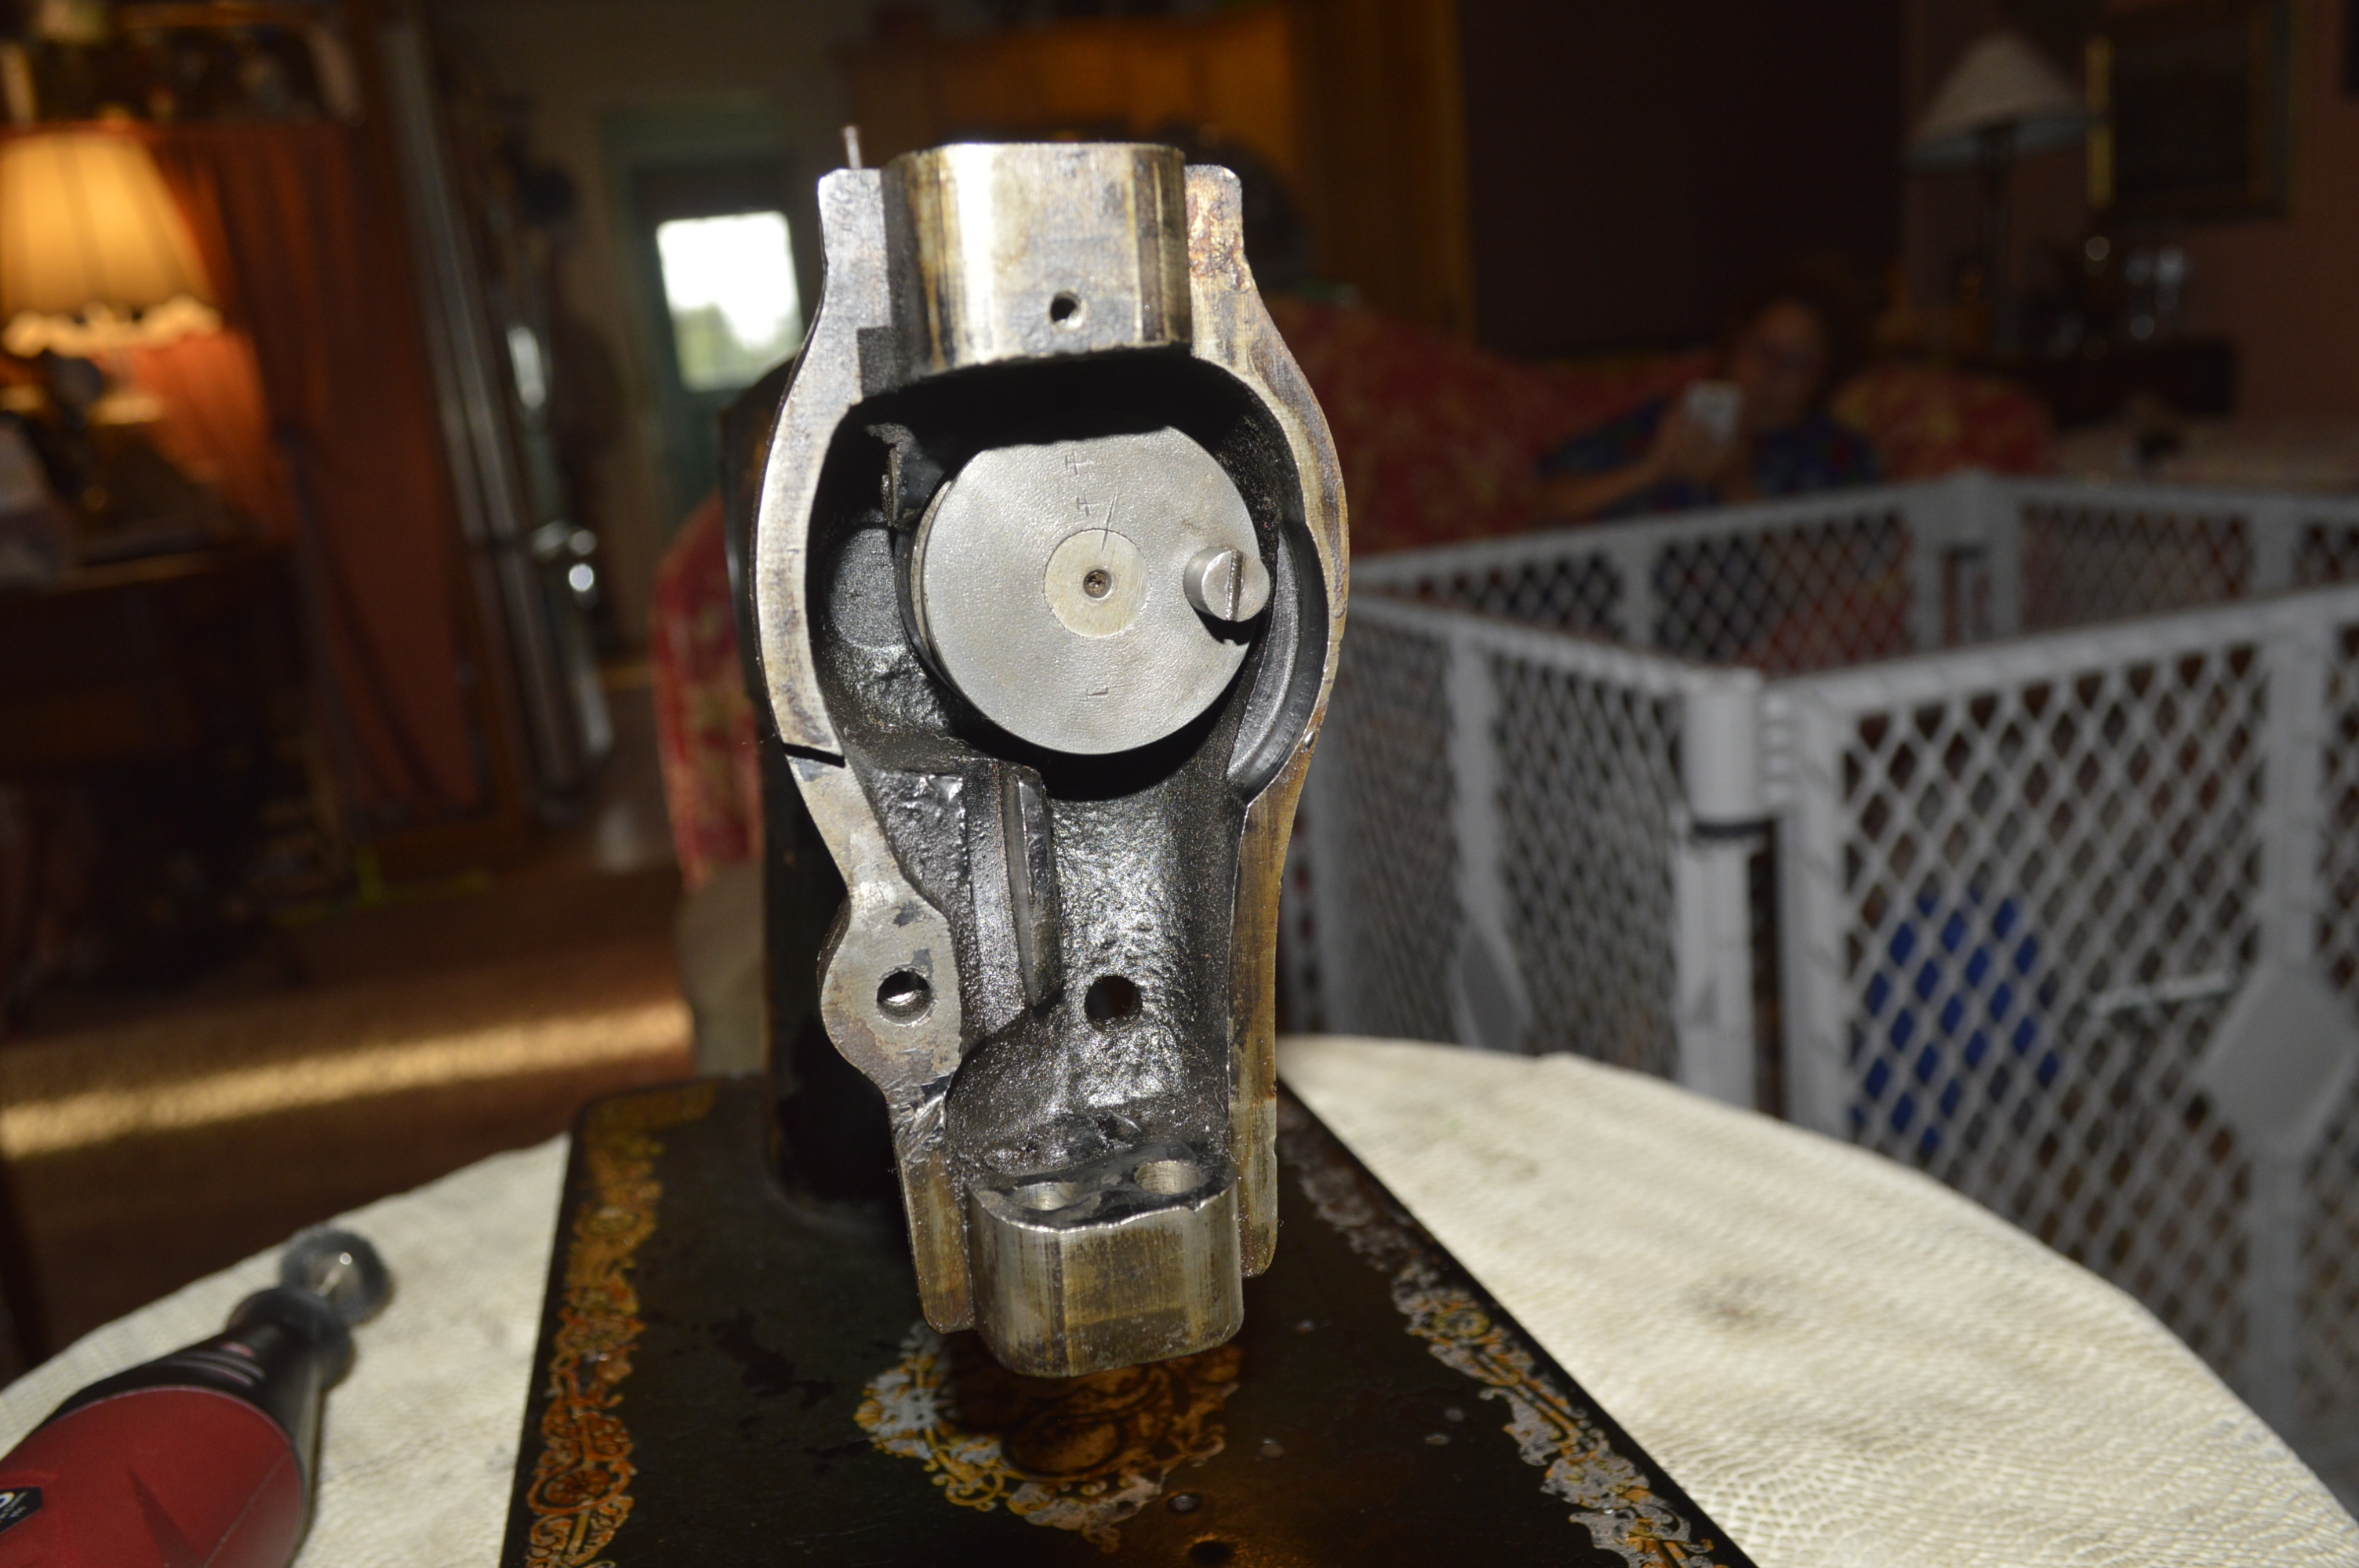
Notice that the hook shaft has not been removed. The shaft is held in by a steel pin that I could not remove. My efforts to remove it using moderate persuasion was not enough. My first rule of sewing machine restoration is “Do no harm”… It is not worth a chance damaging the machine to remove this pin, and the benefits don’t outweigh the risk. The feed dog fork is trapped by the hook shaft, and it can be cleaned in place.
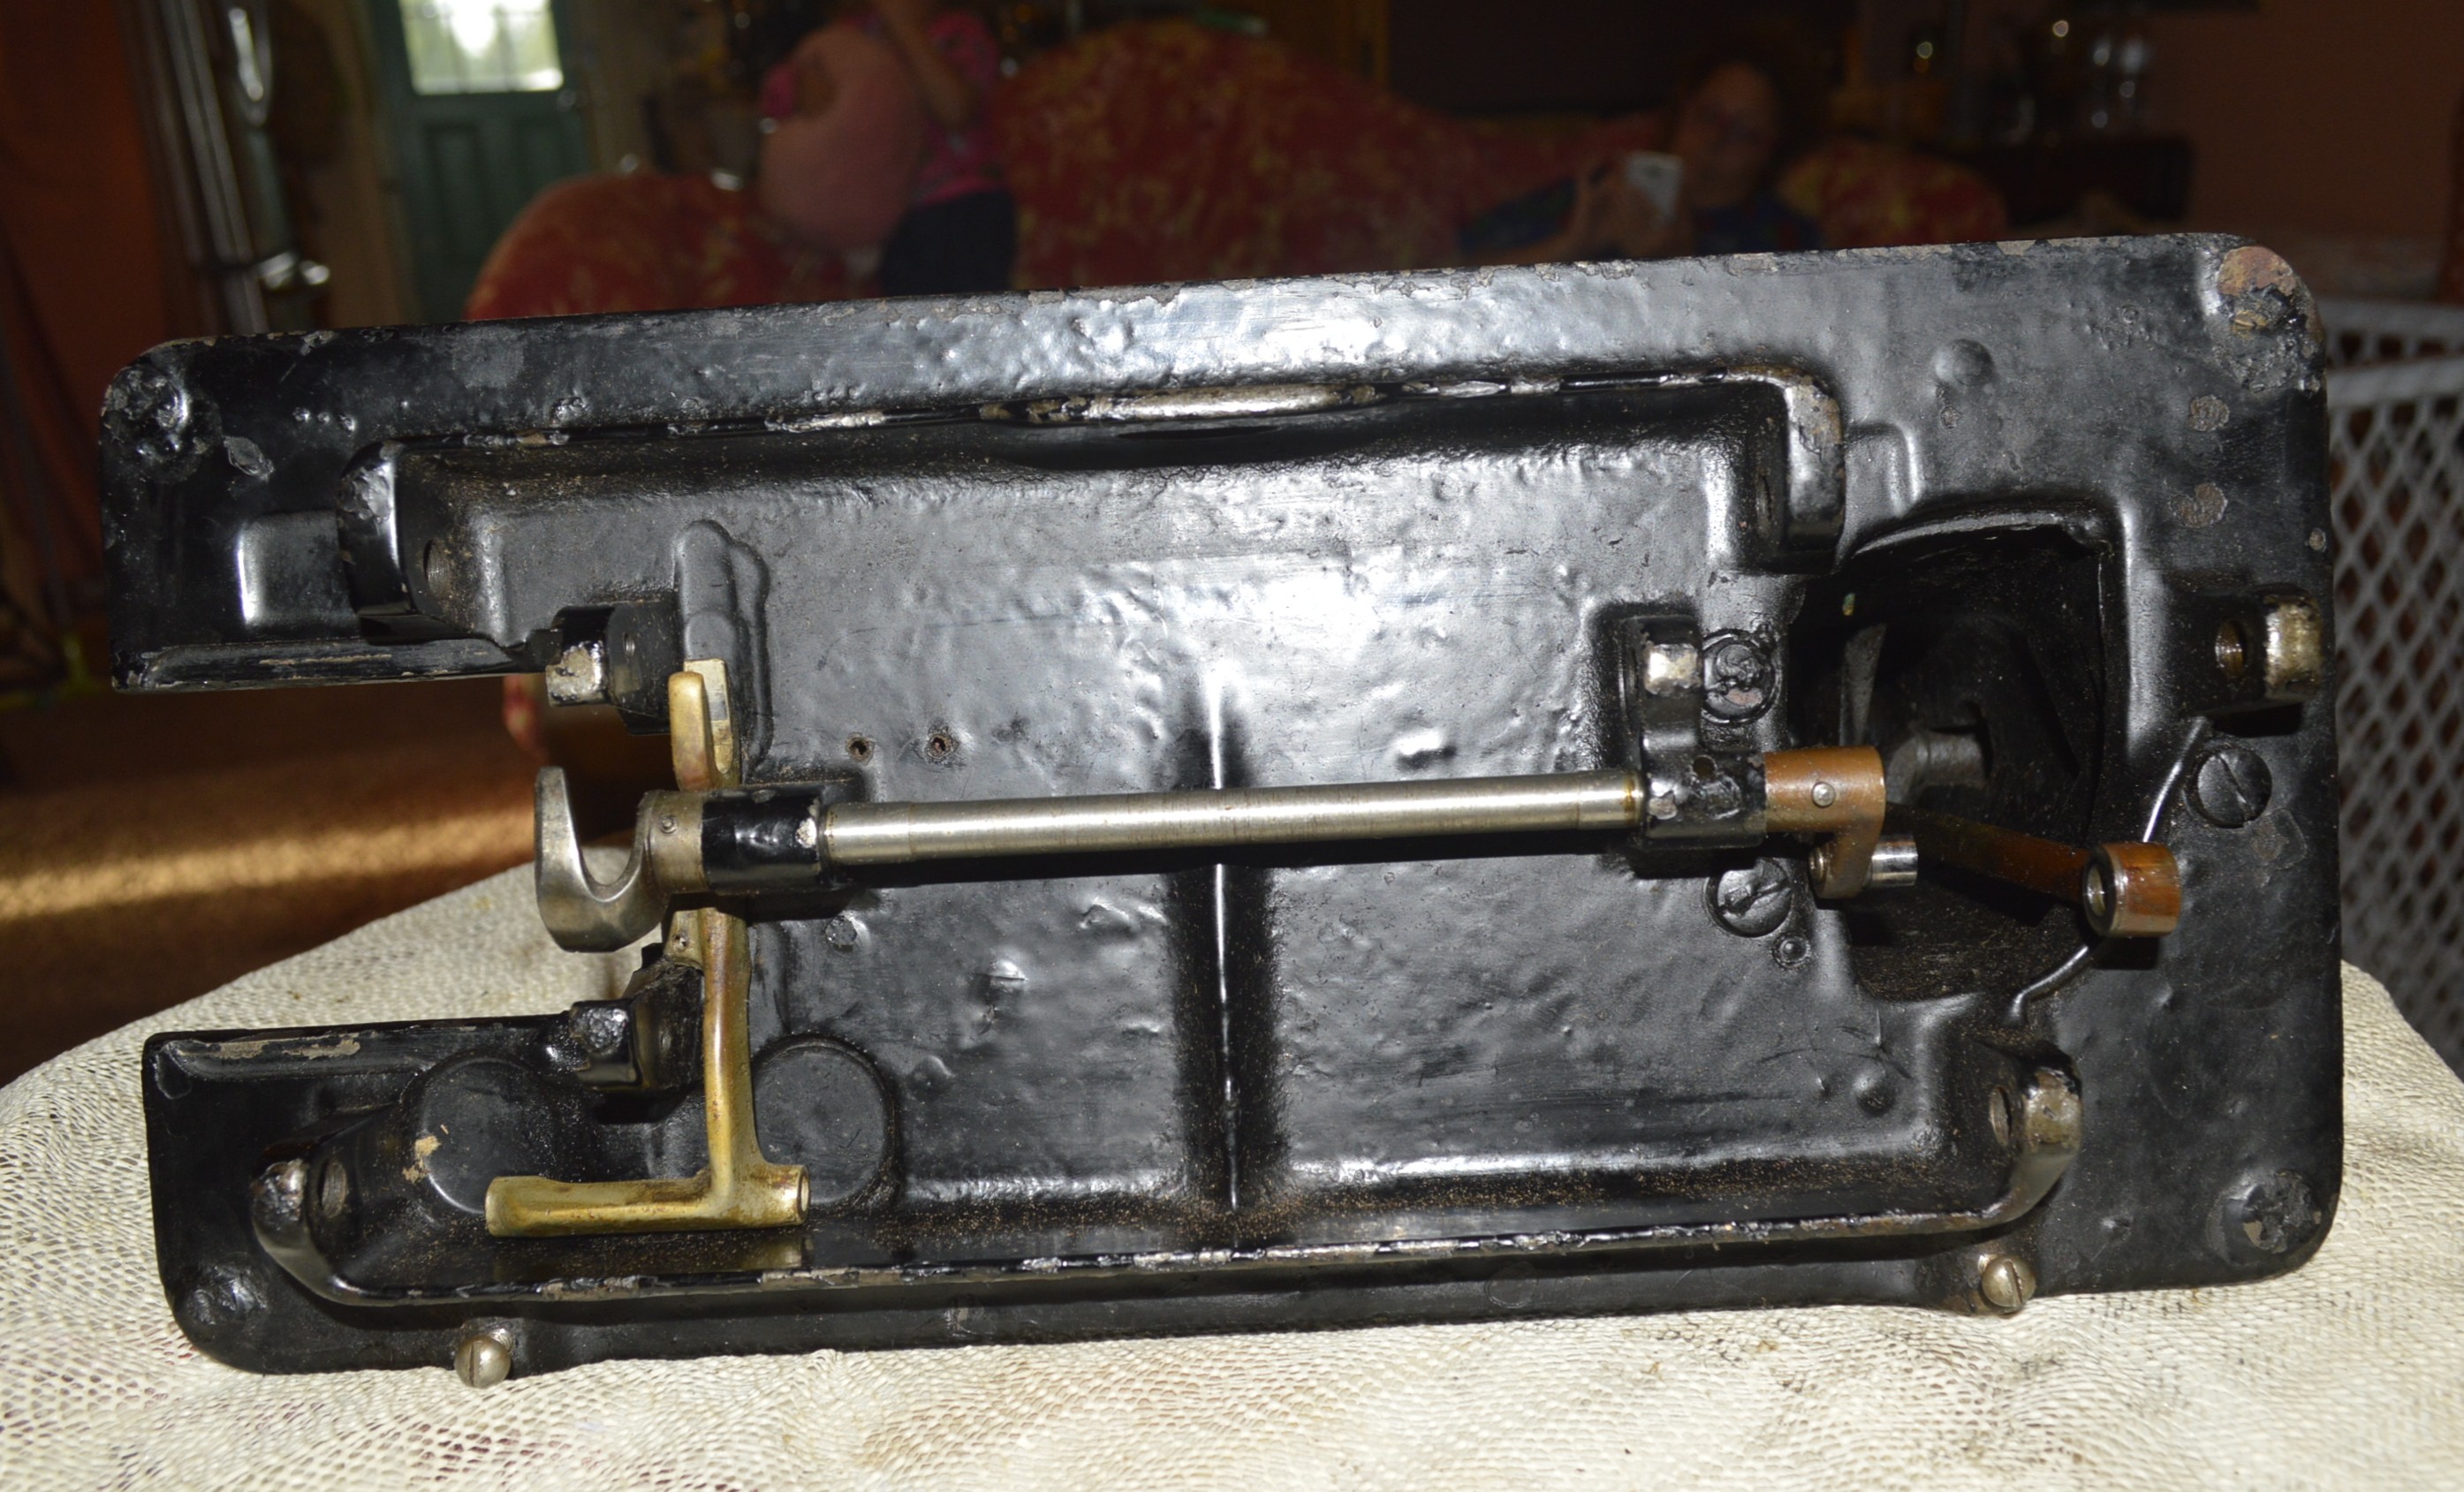
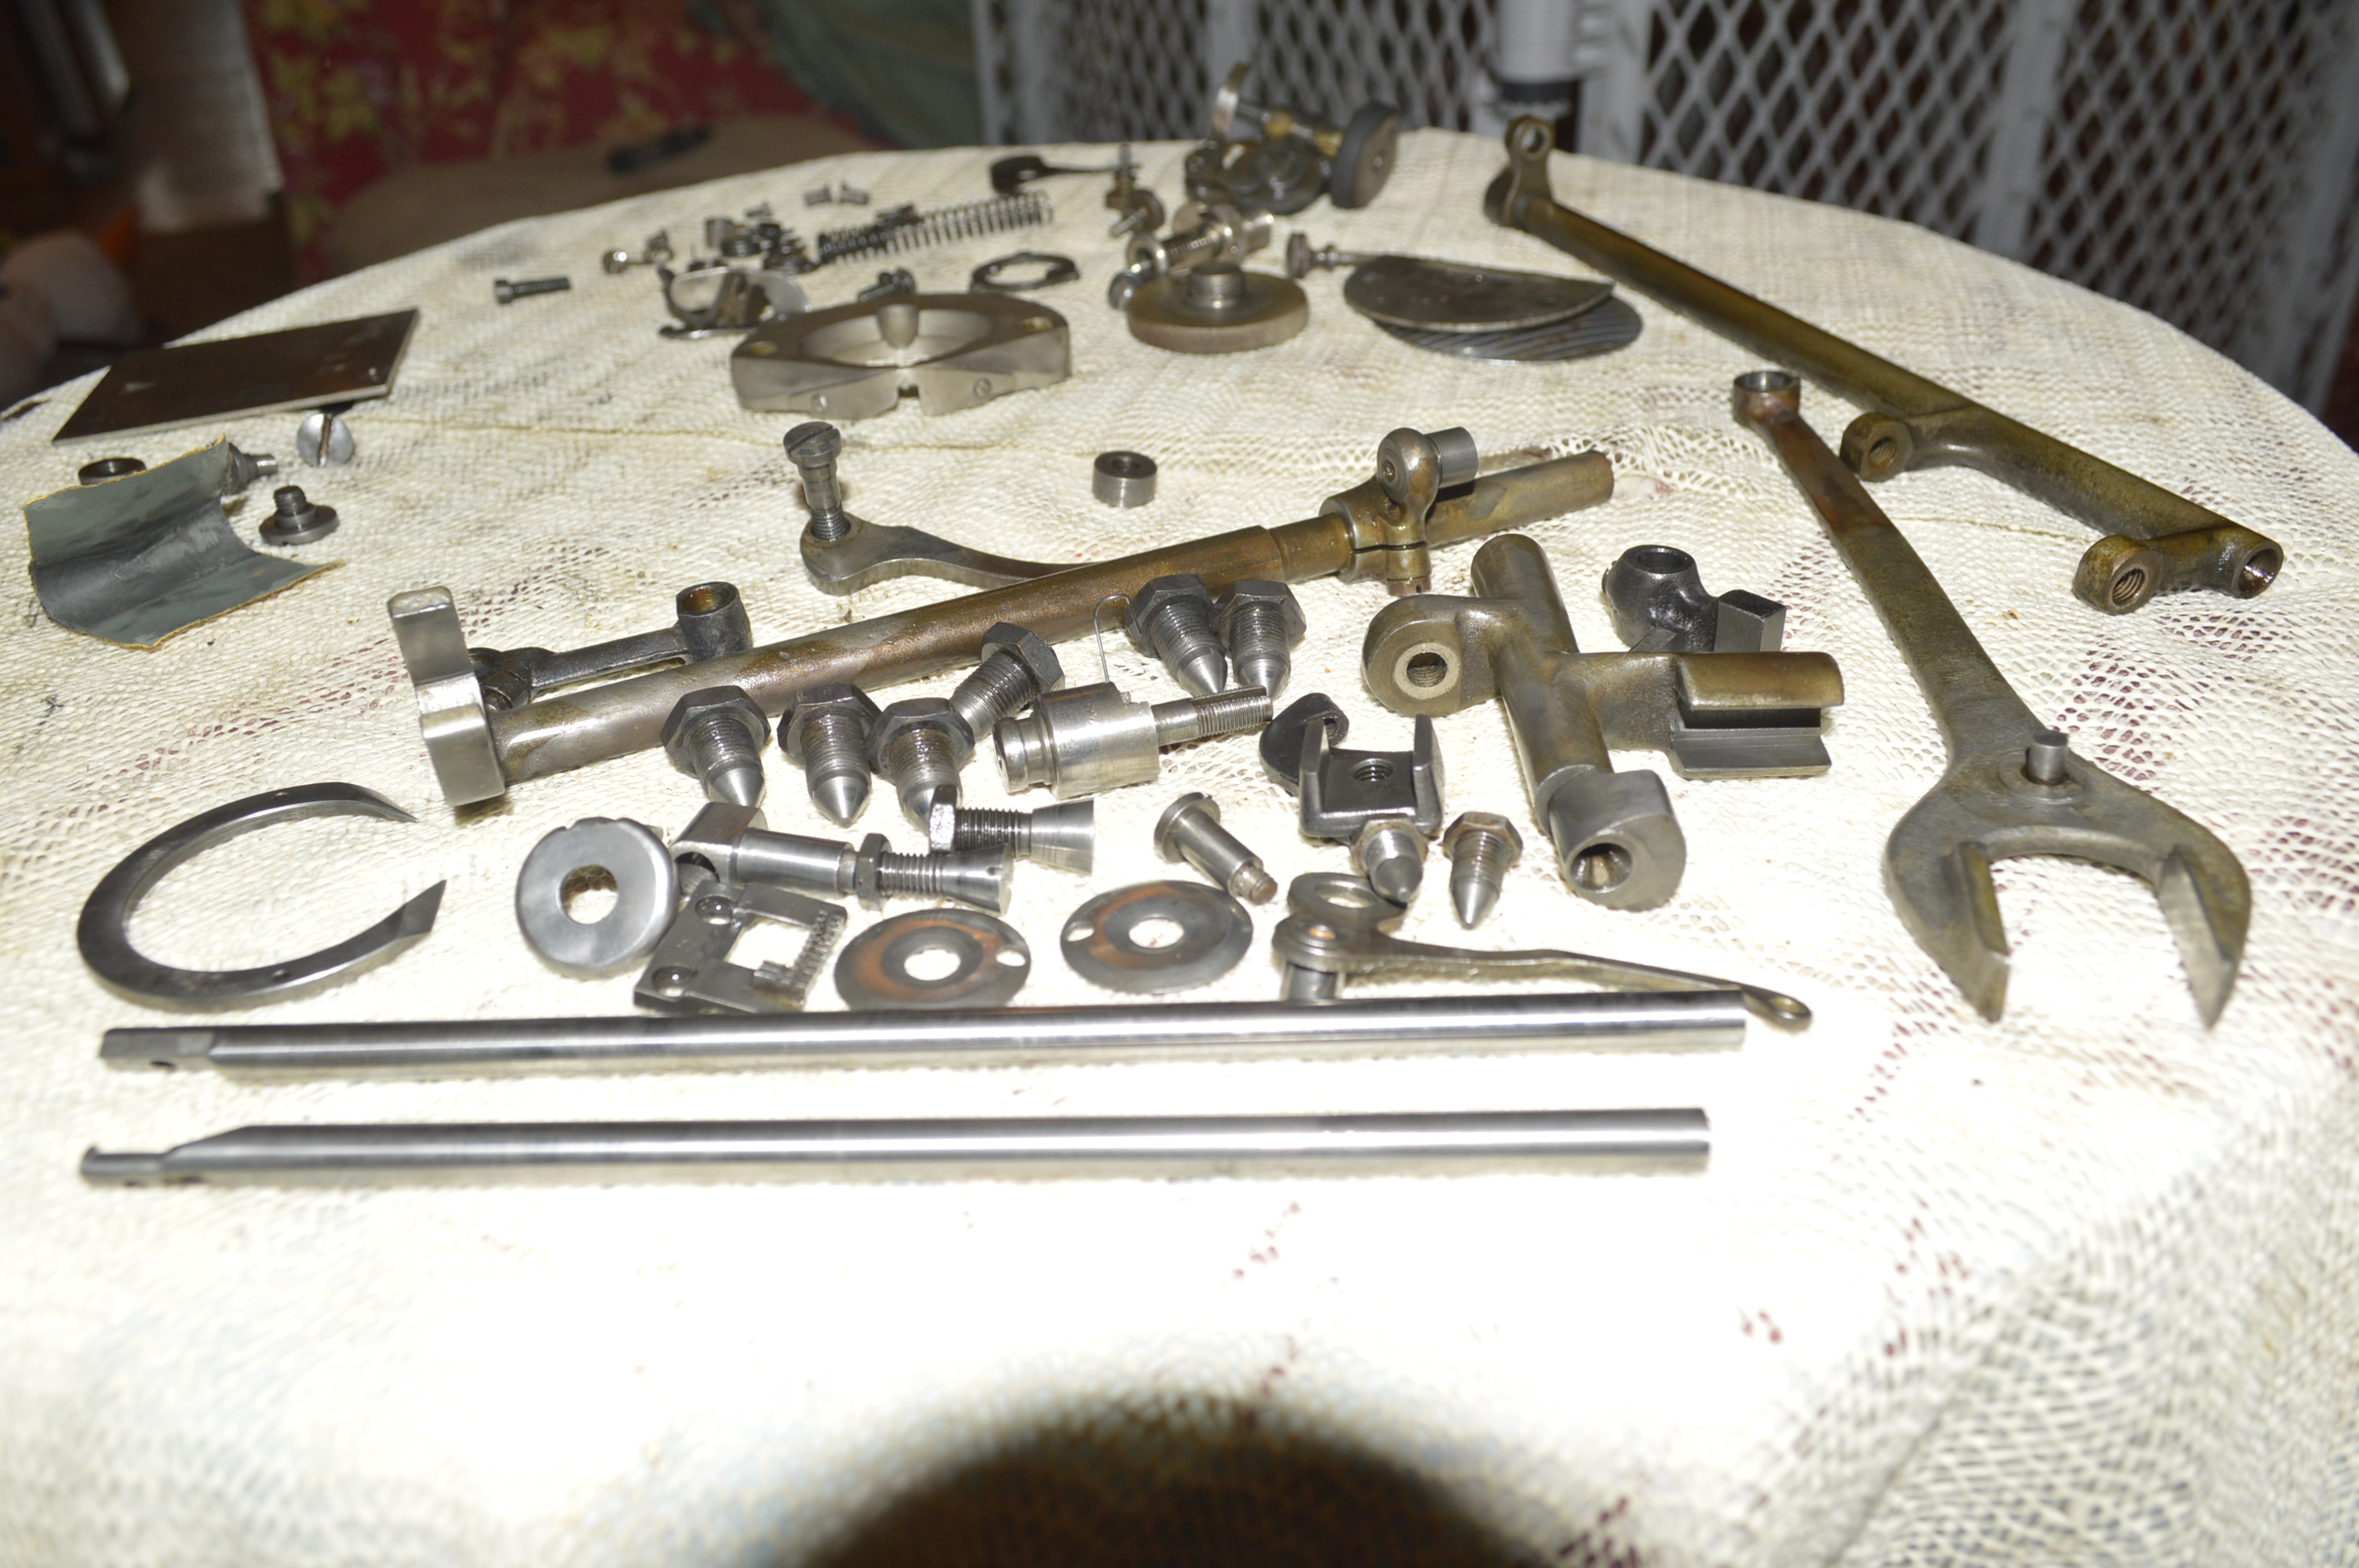
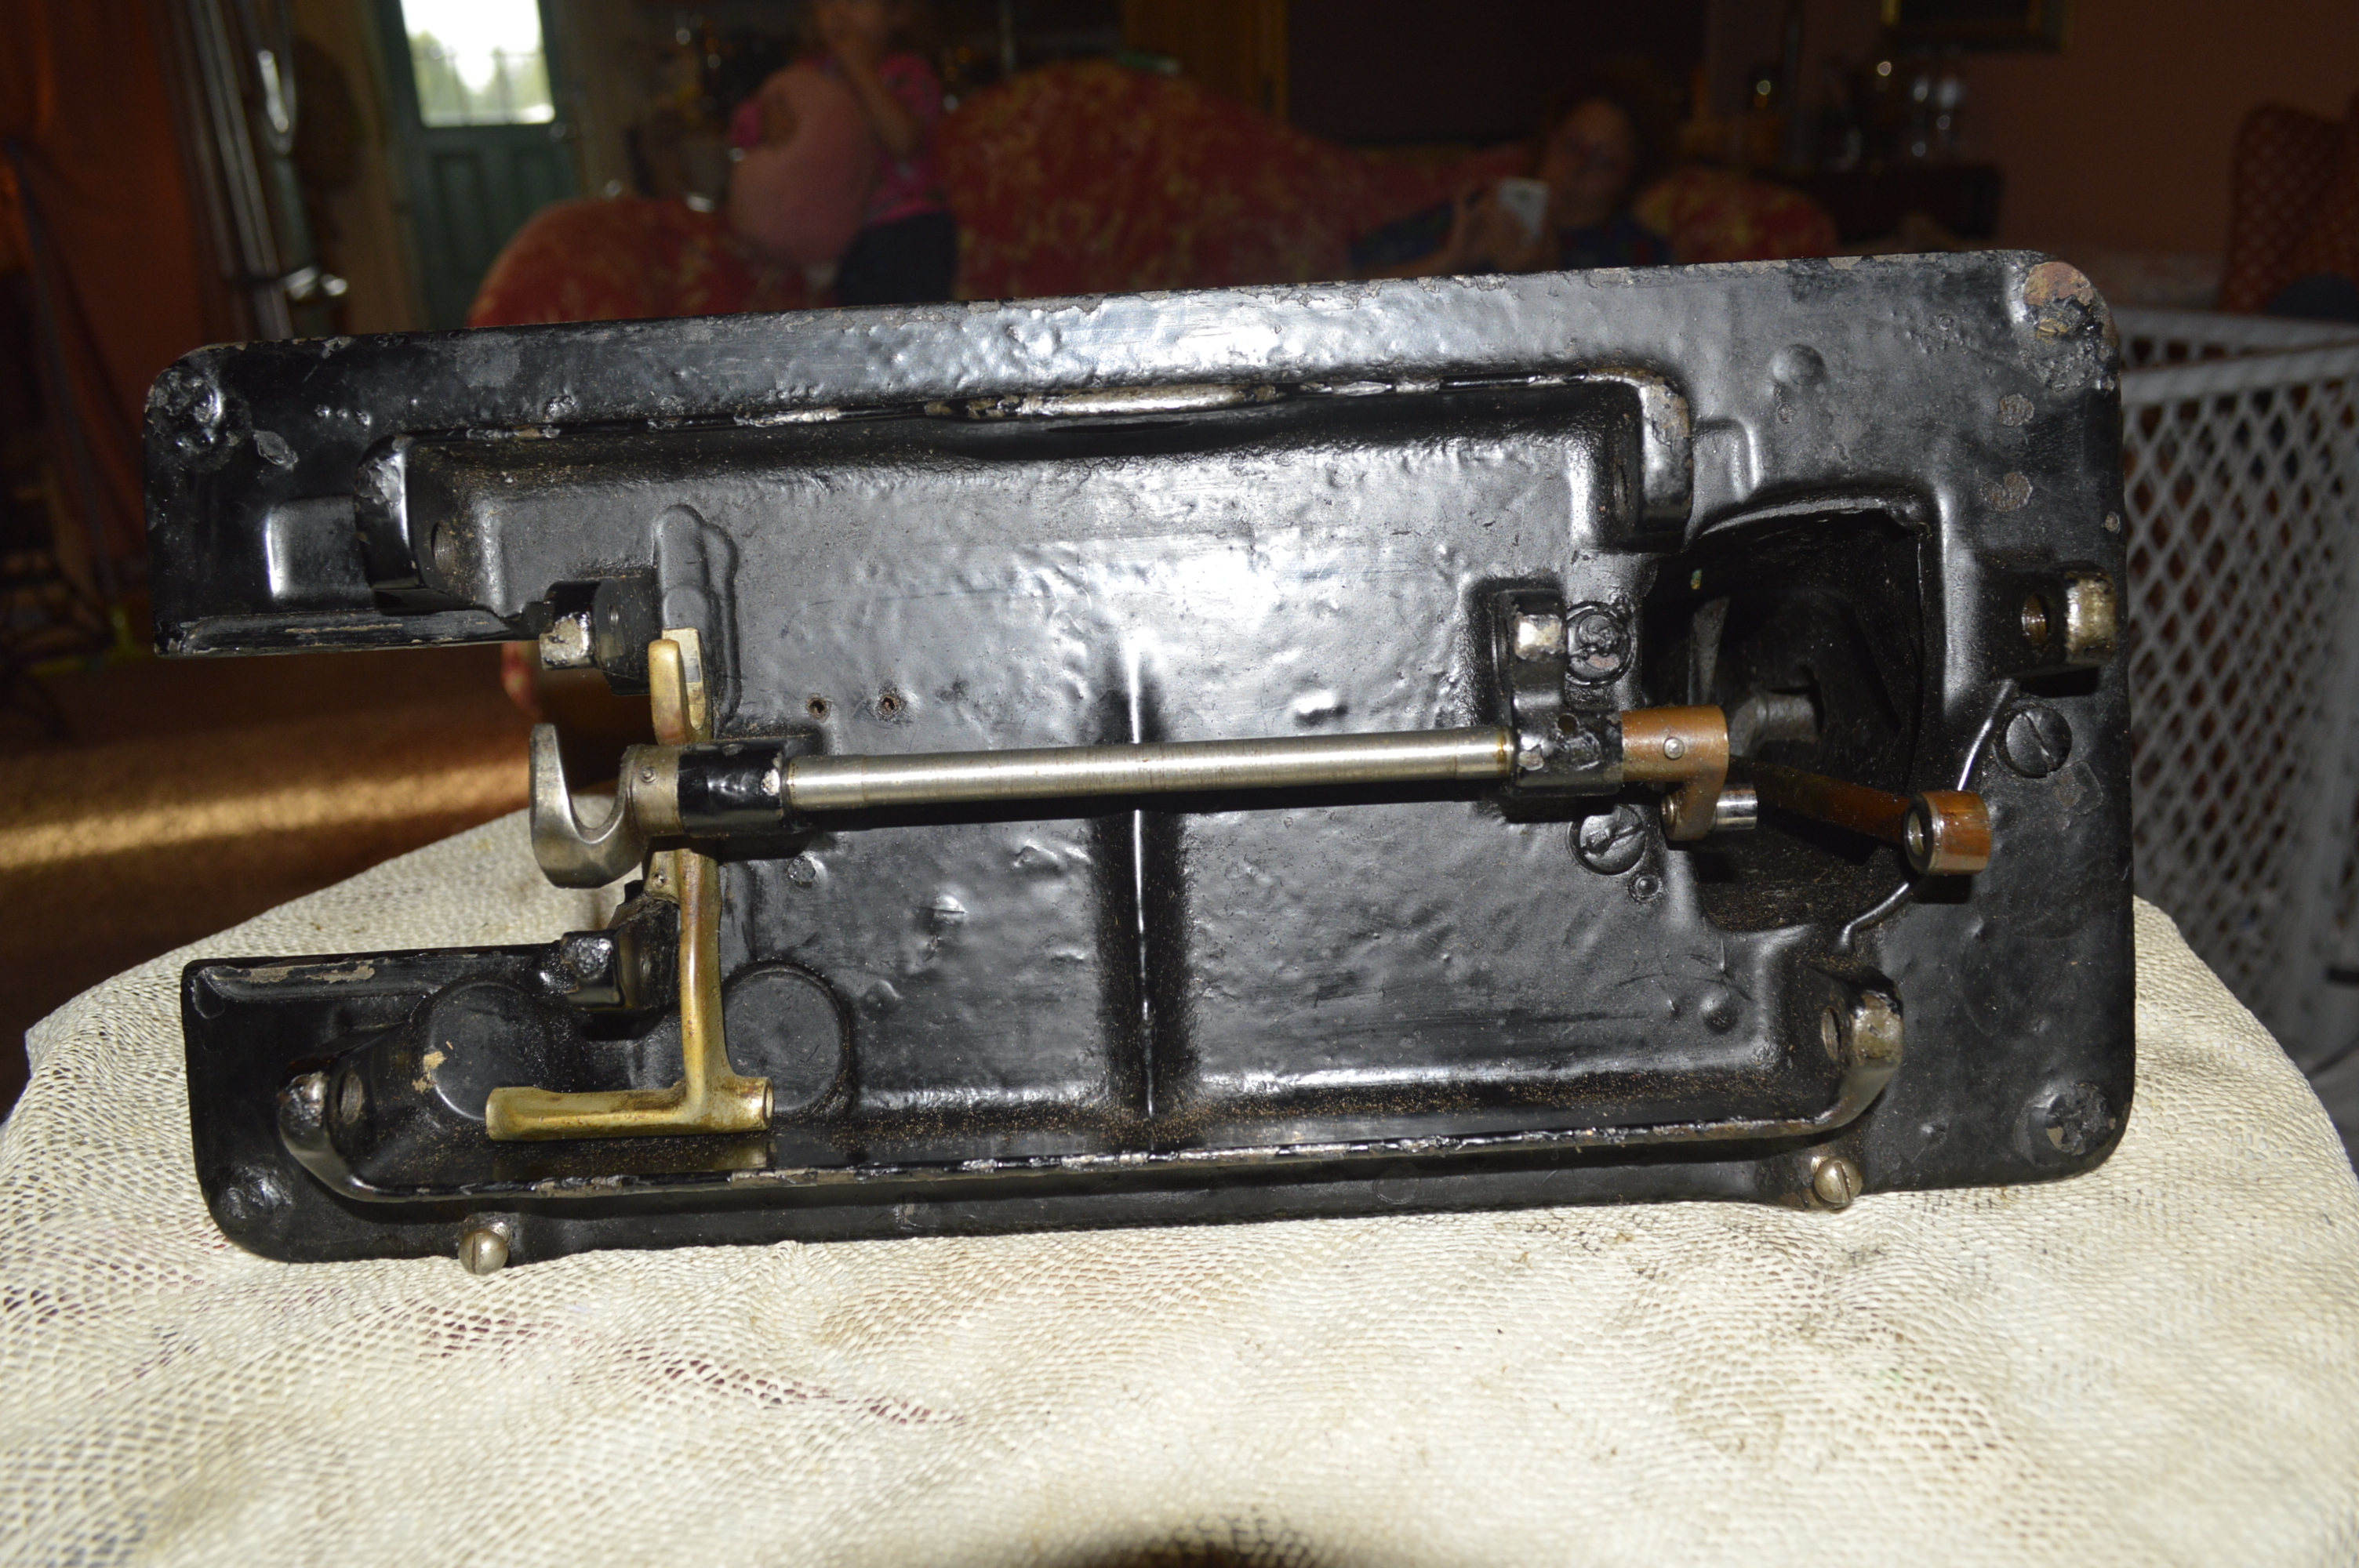
The other parts are laid out for cleaning…
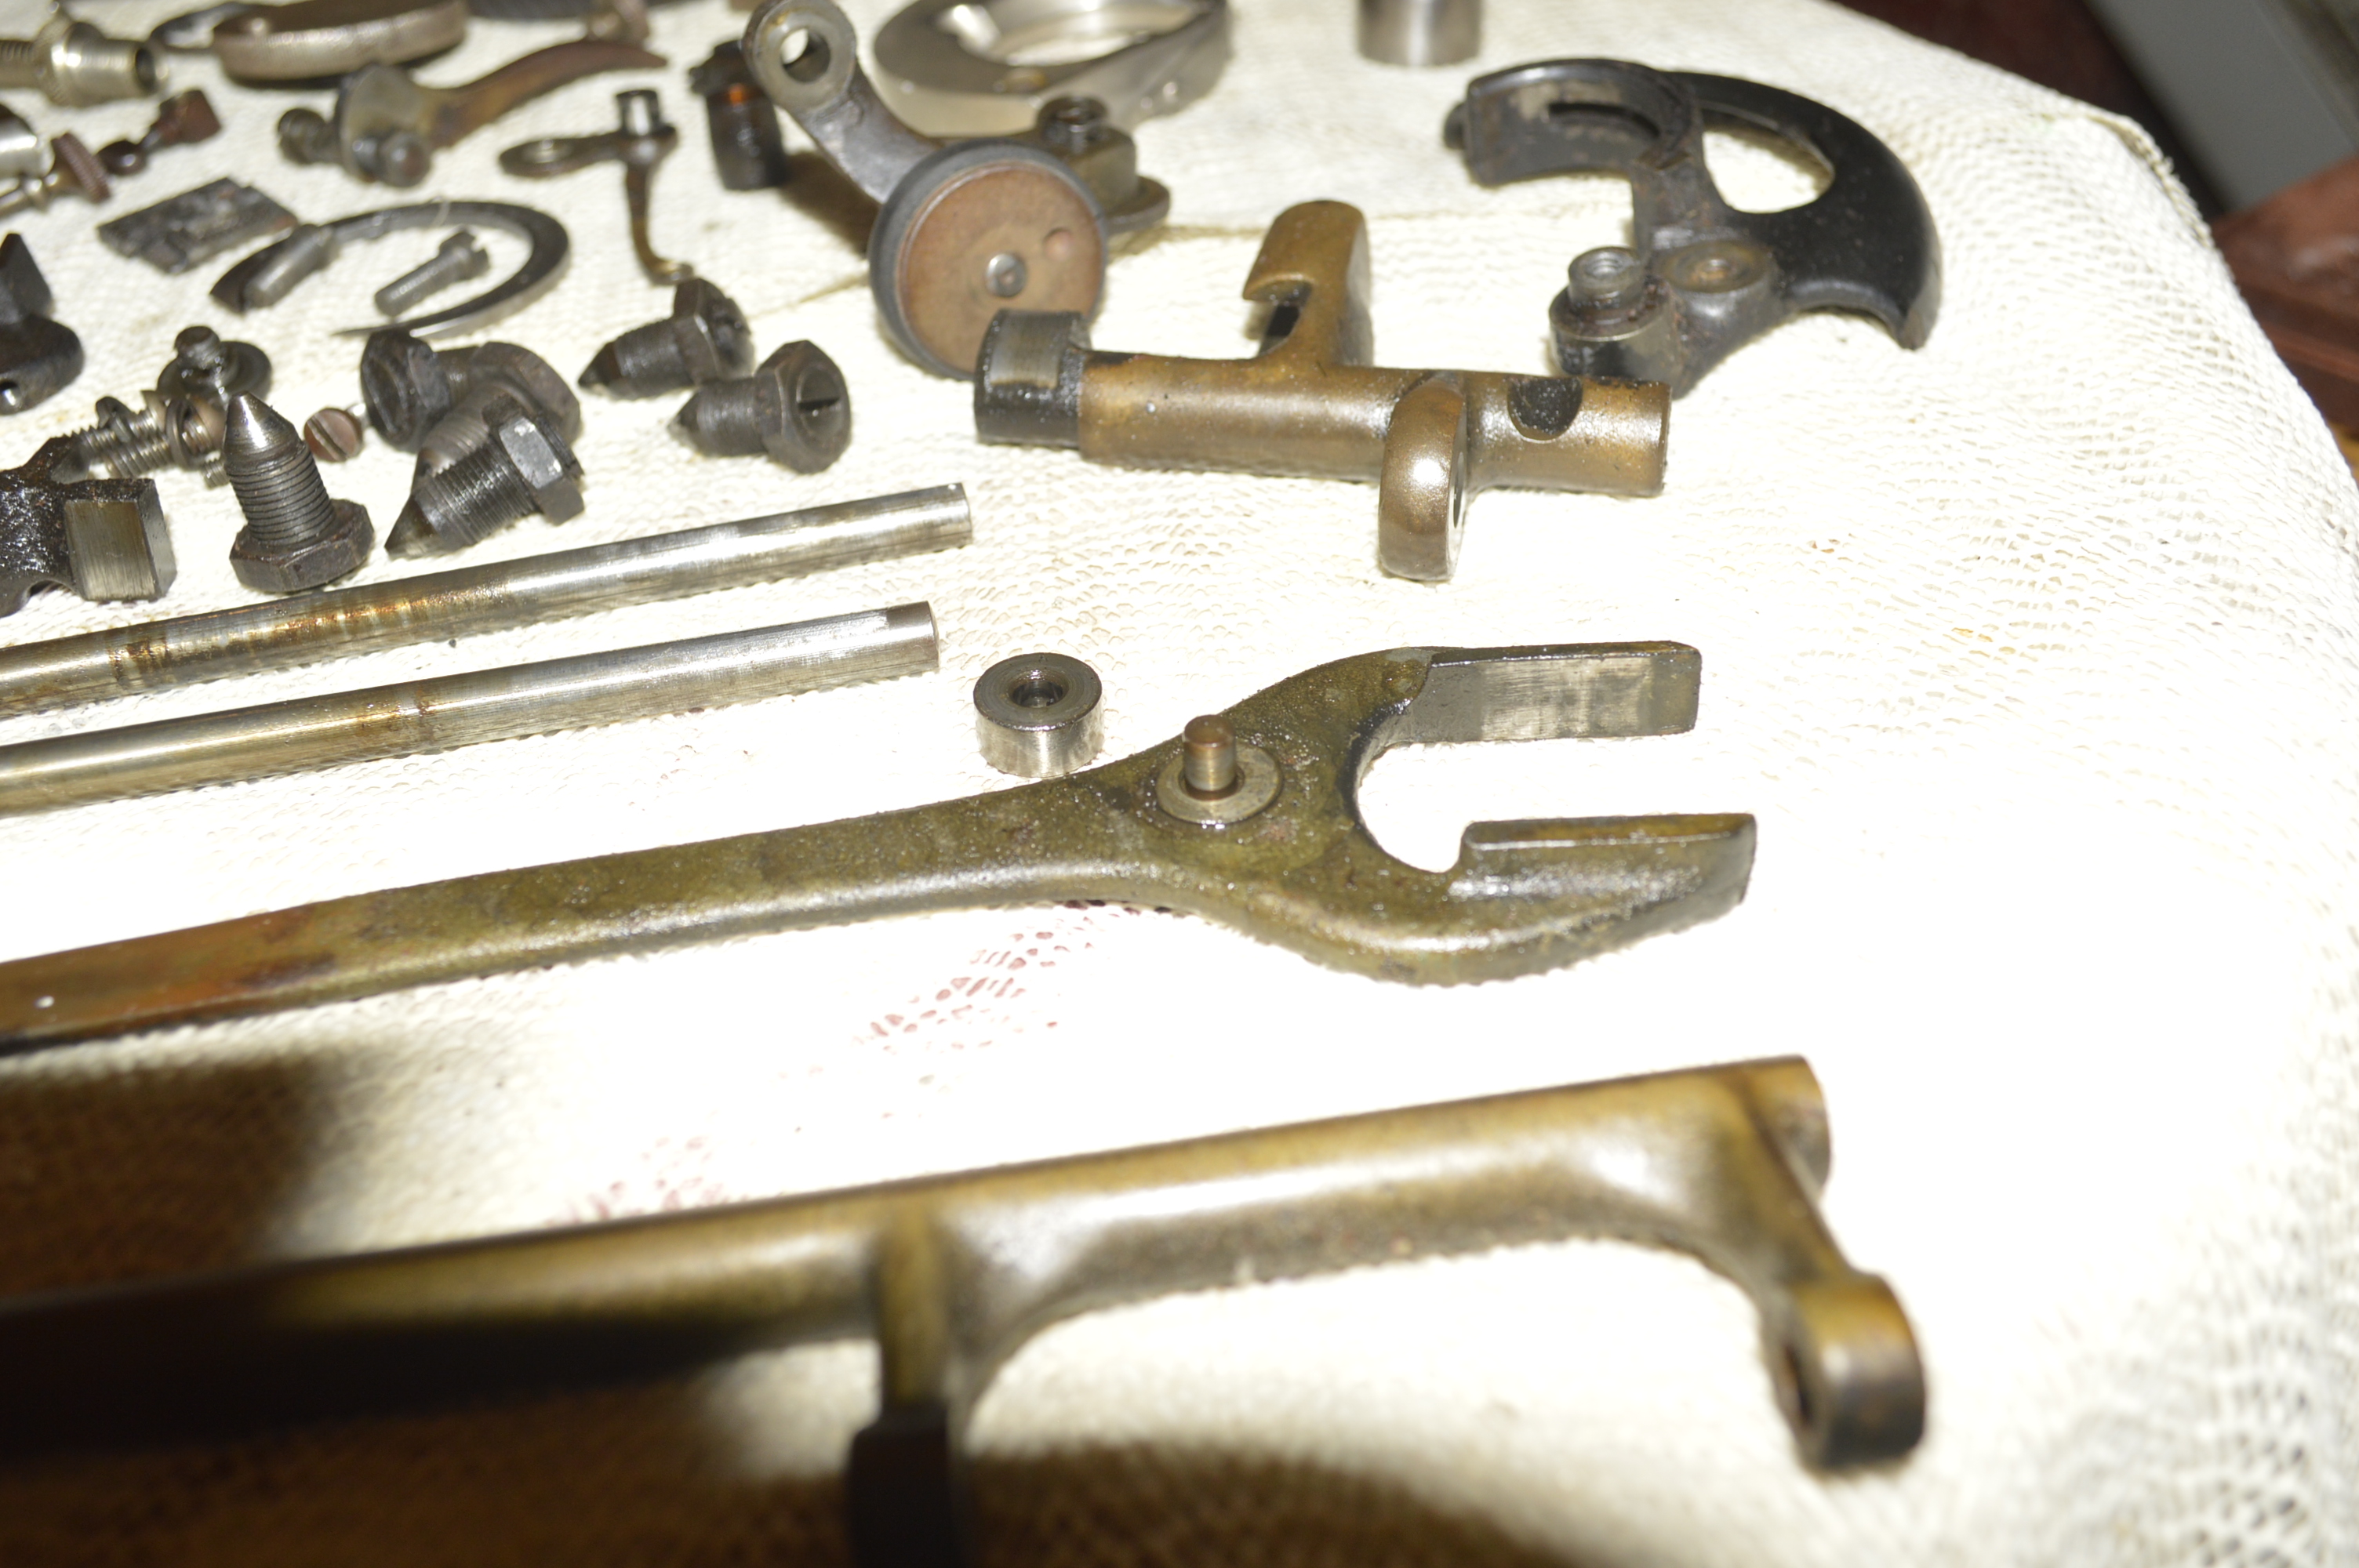

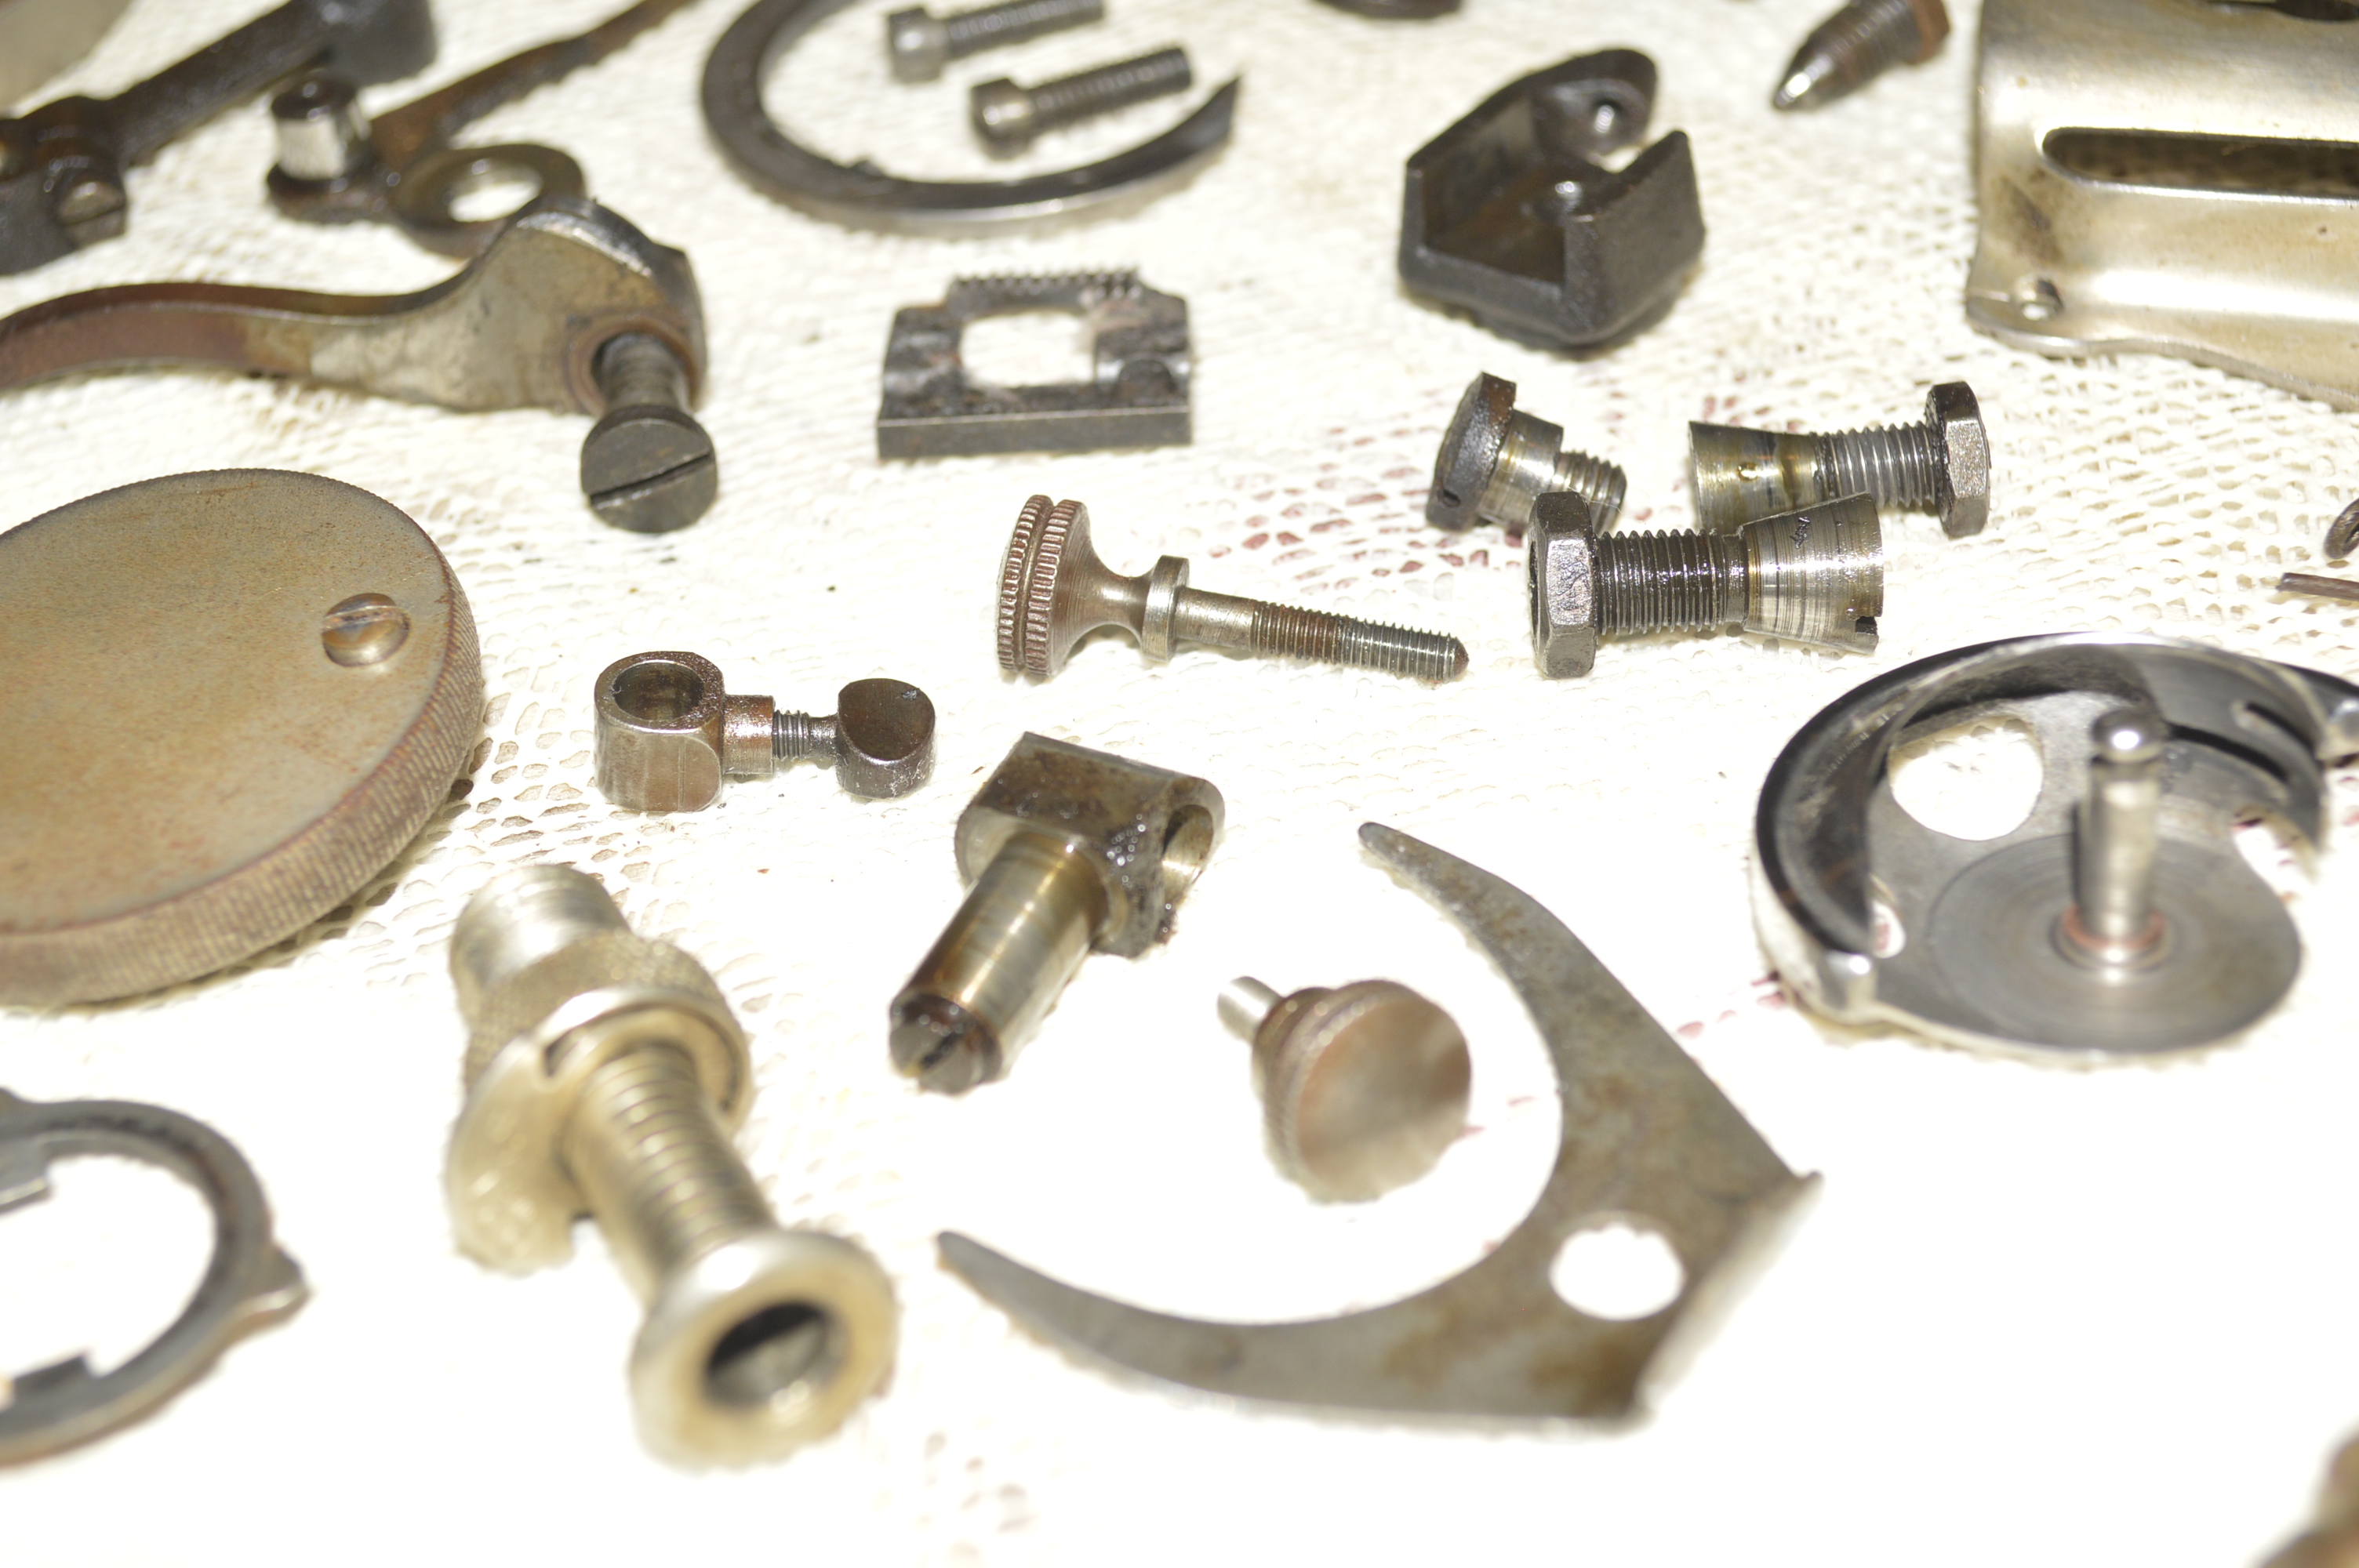
After cleaning, selected parts are wire brushed to a clean metal shine…
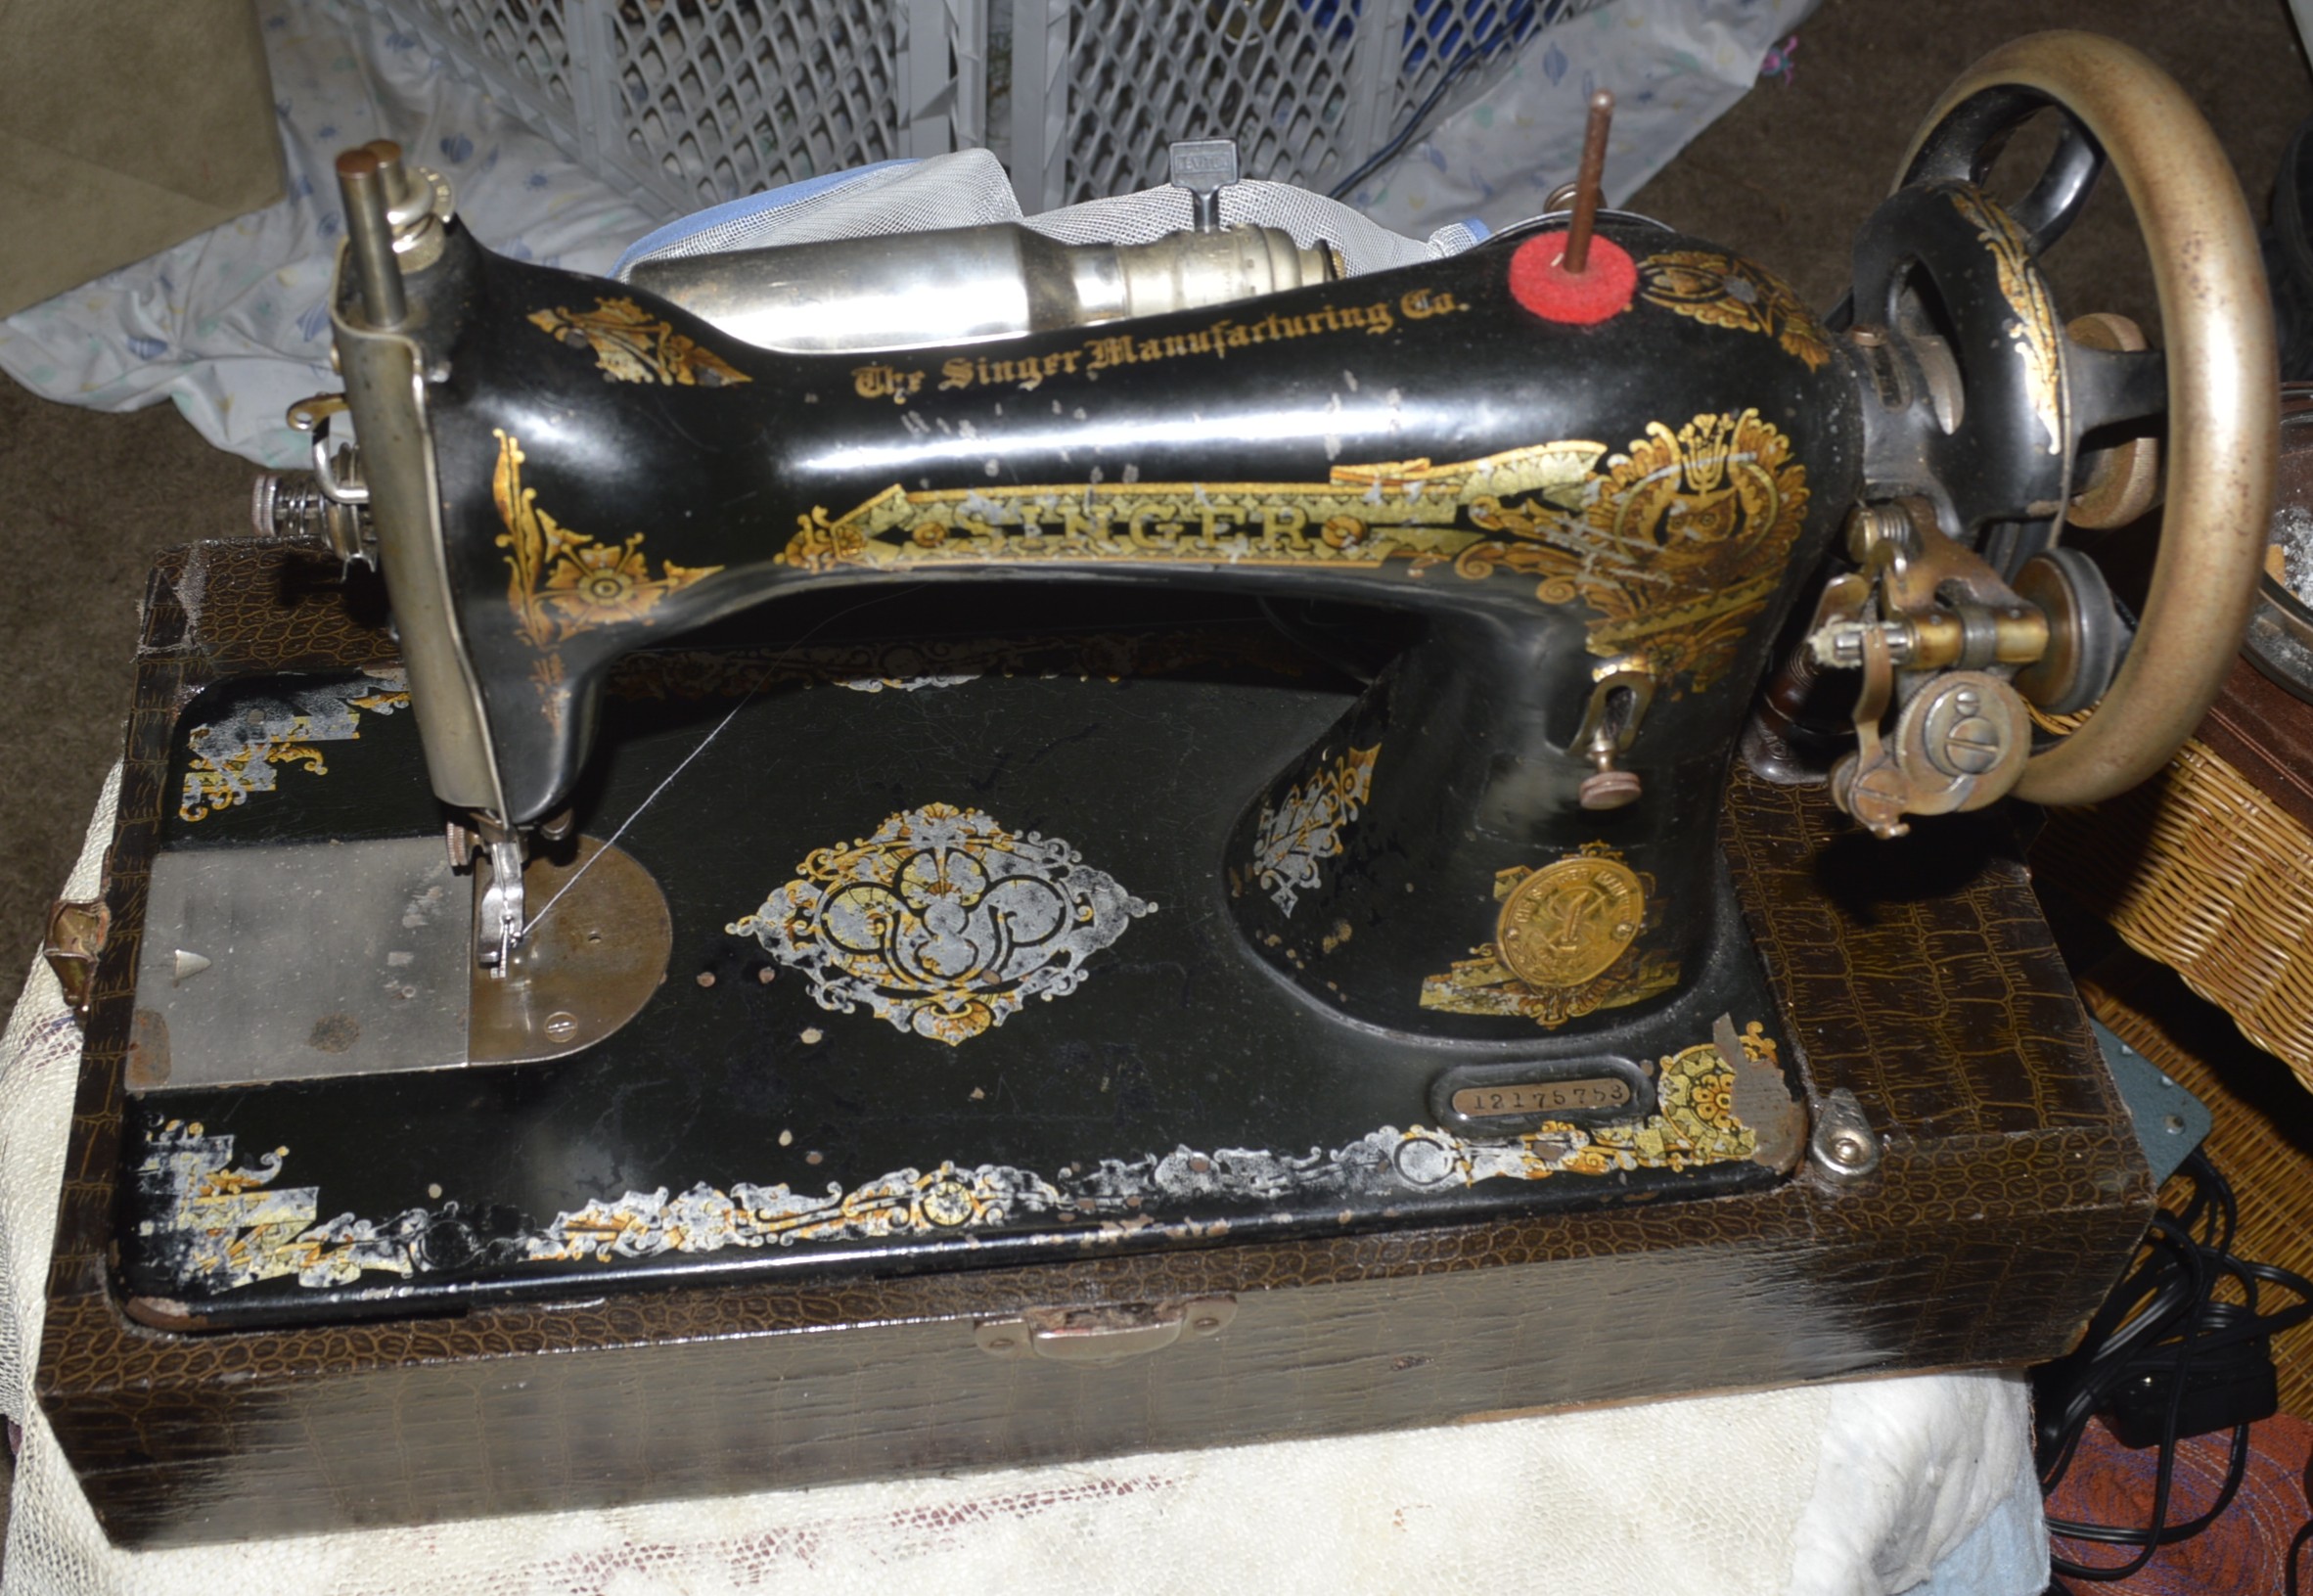
With these parts finished, our attention is turned to the cosmetic cleaning. As pointed out earlier, the protective shellac layer is gone from the bed, and the decals are prone to damage if too much cleaning is done… so it is gently cleaned to brighten the decals that do remain and to remove the dirt accumulated over many years.
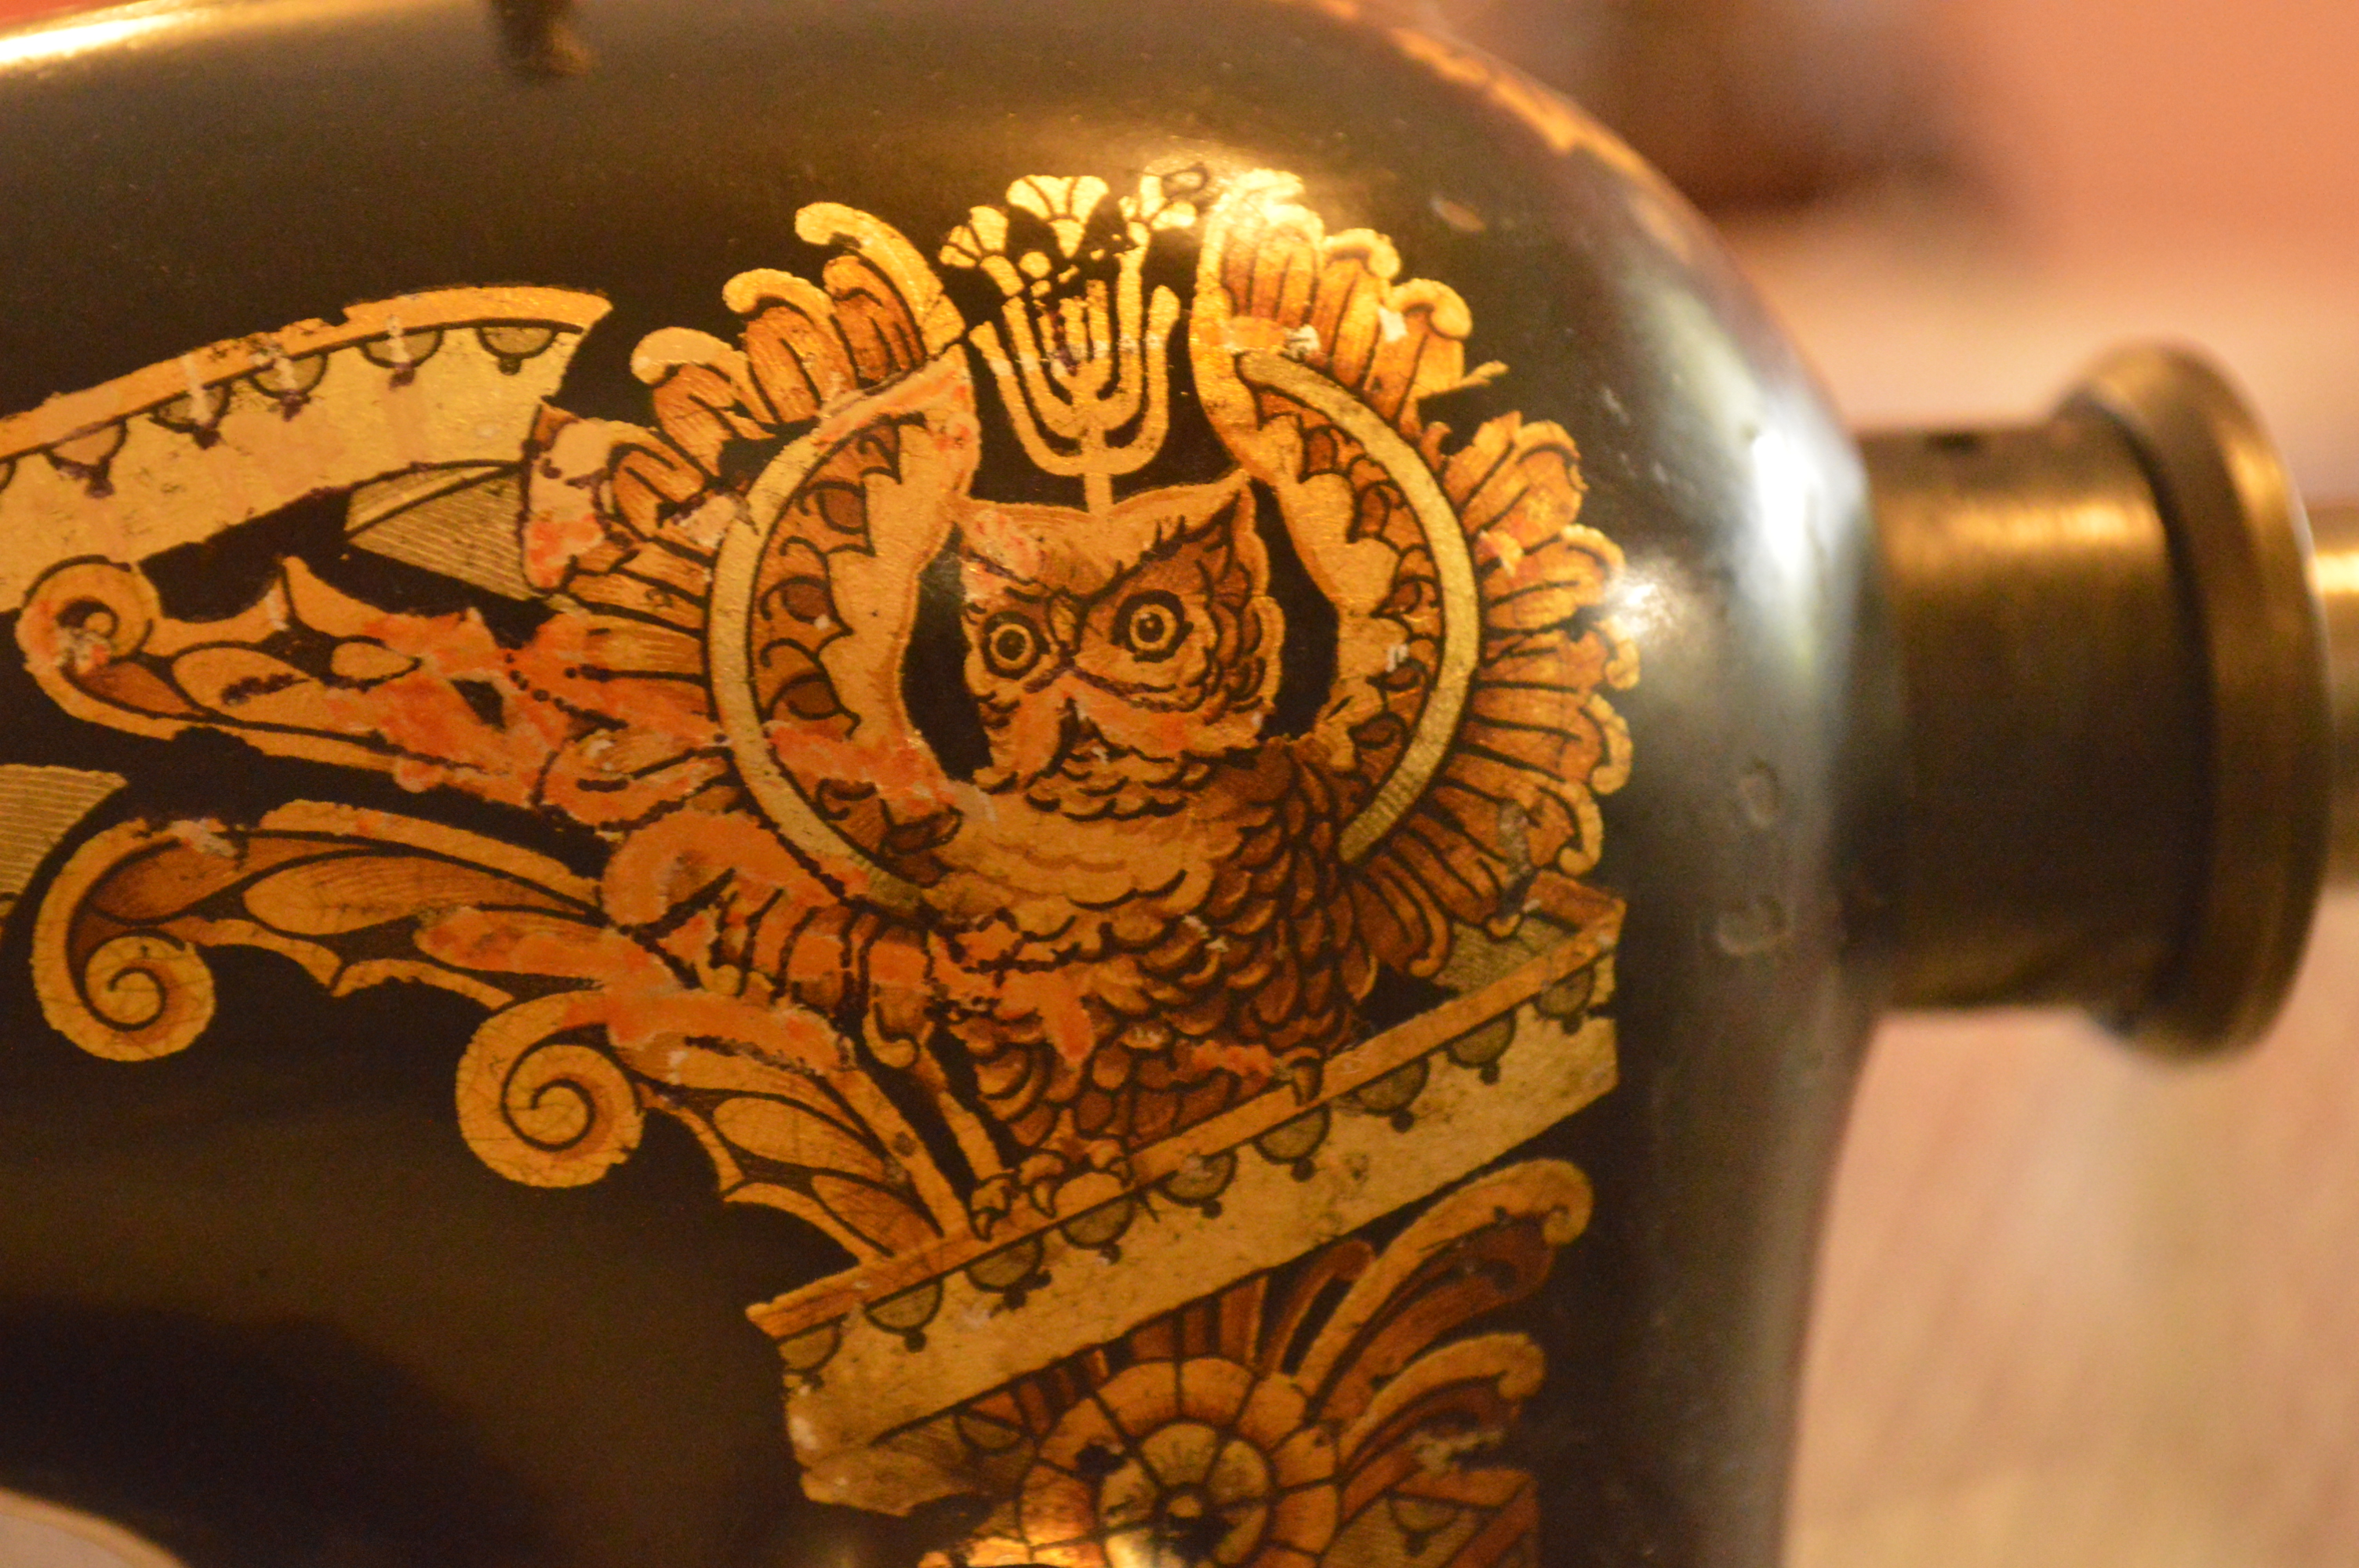
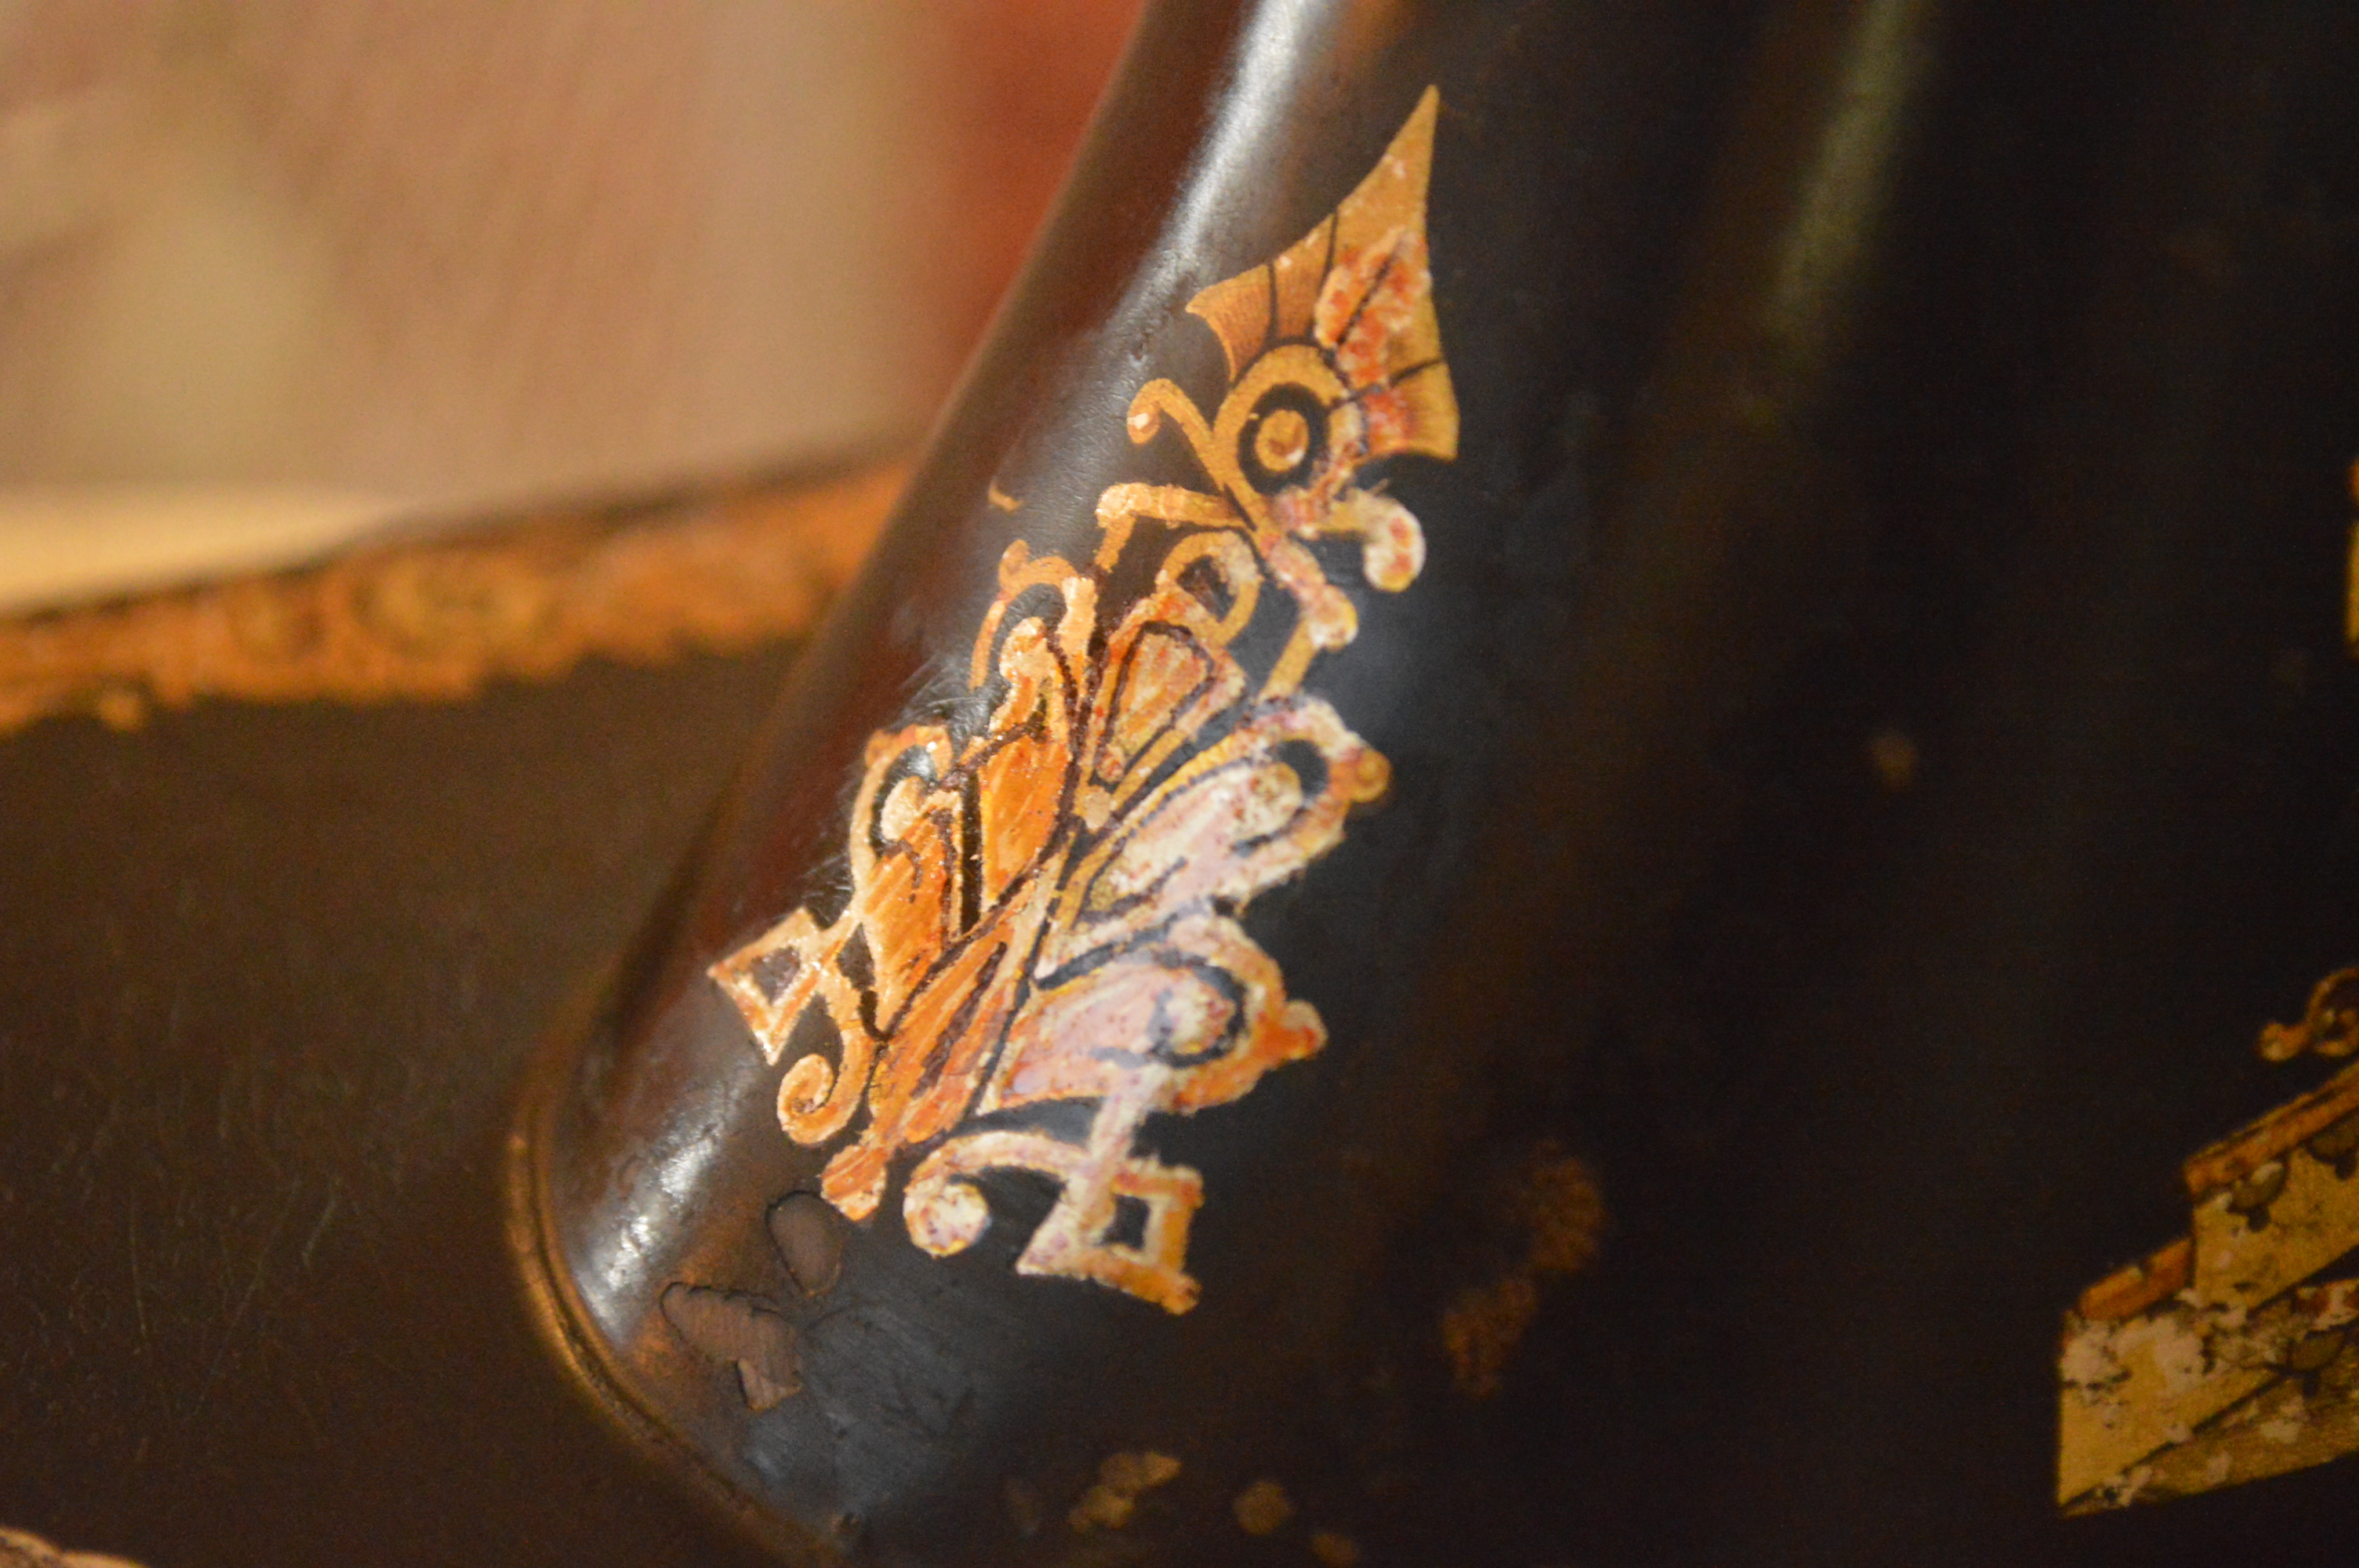
One aspect of this restoration is to attempt to blend in some existing decal damage, Specifically the owl and the decals on the pillar. These decals have the decal lines still visible, so gold paint is filled into the scratches and worn areas, and outlined by a thin black line. The color of the gold is a little light but is toned down by applying an orange tint over the gold.
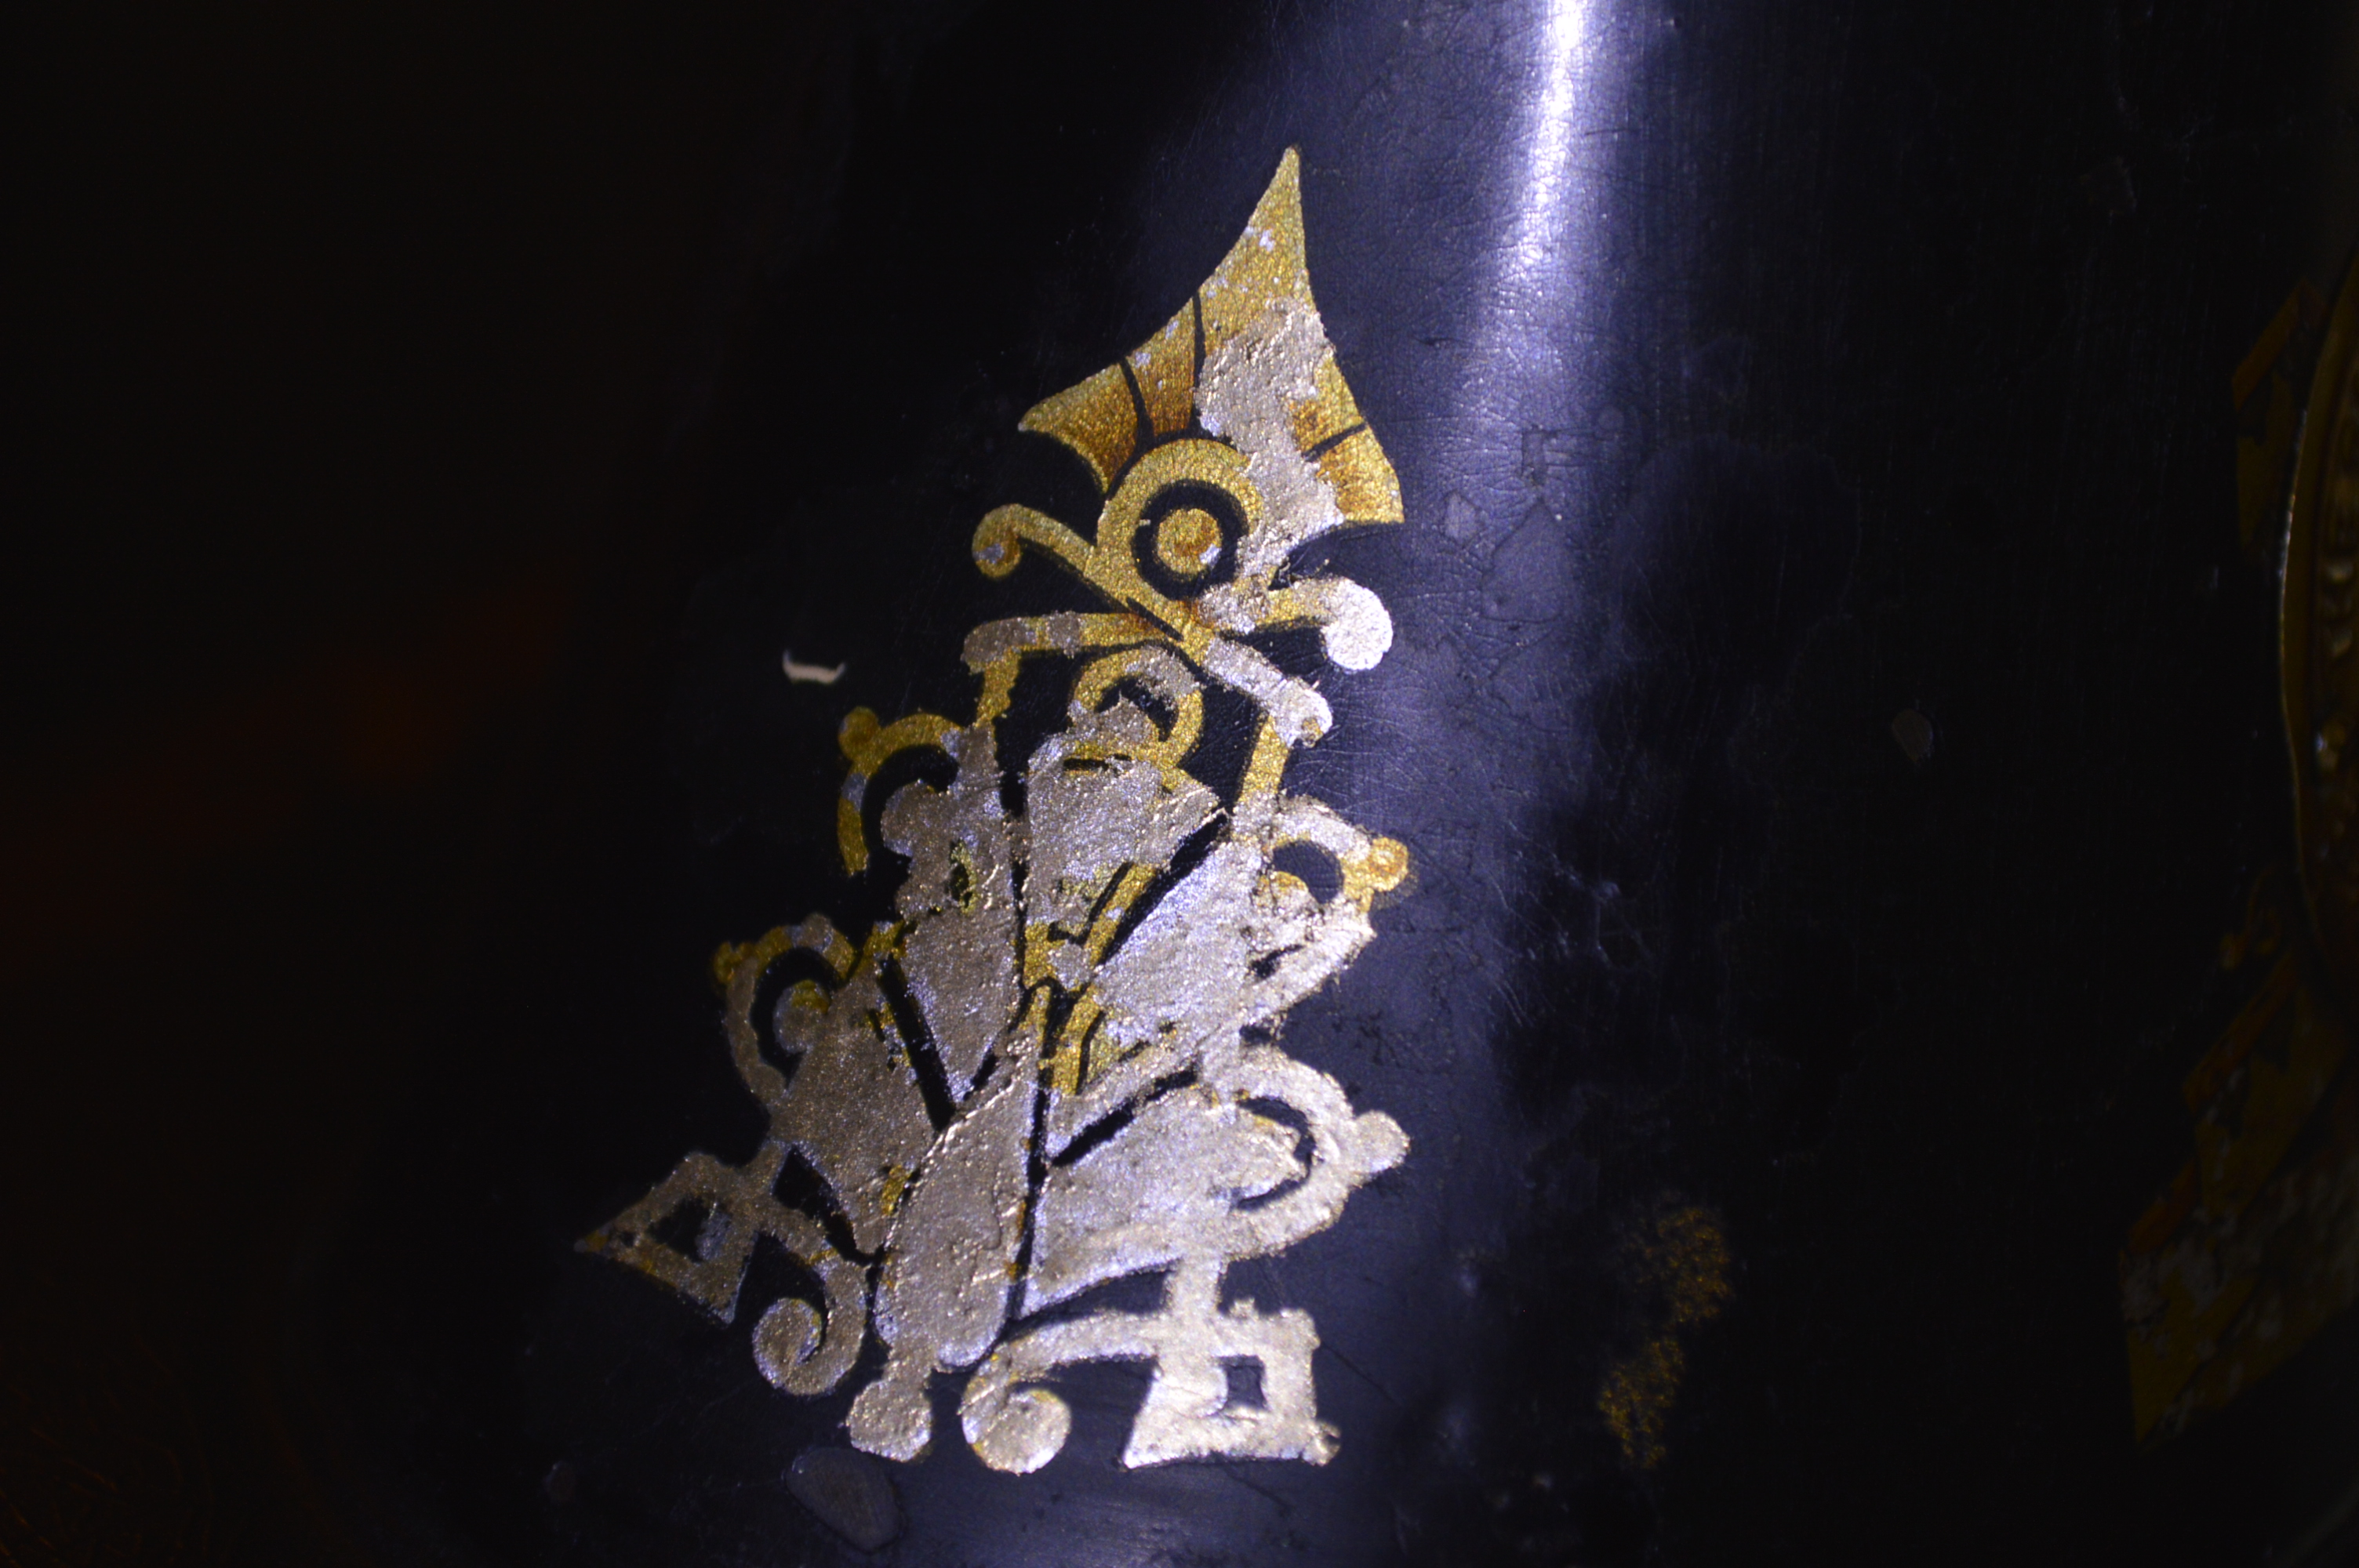
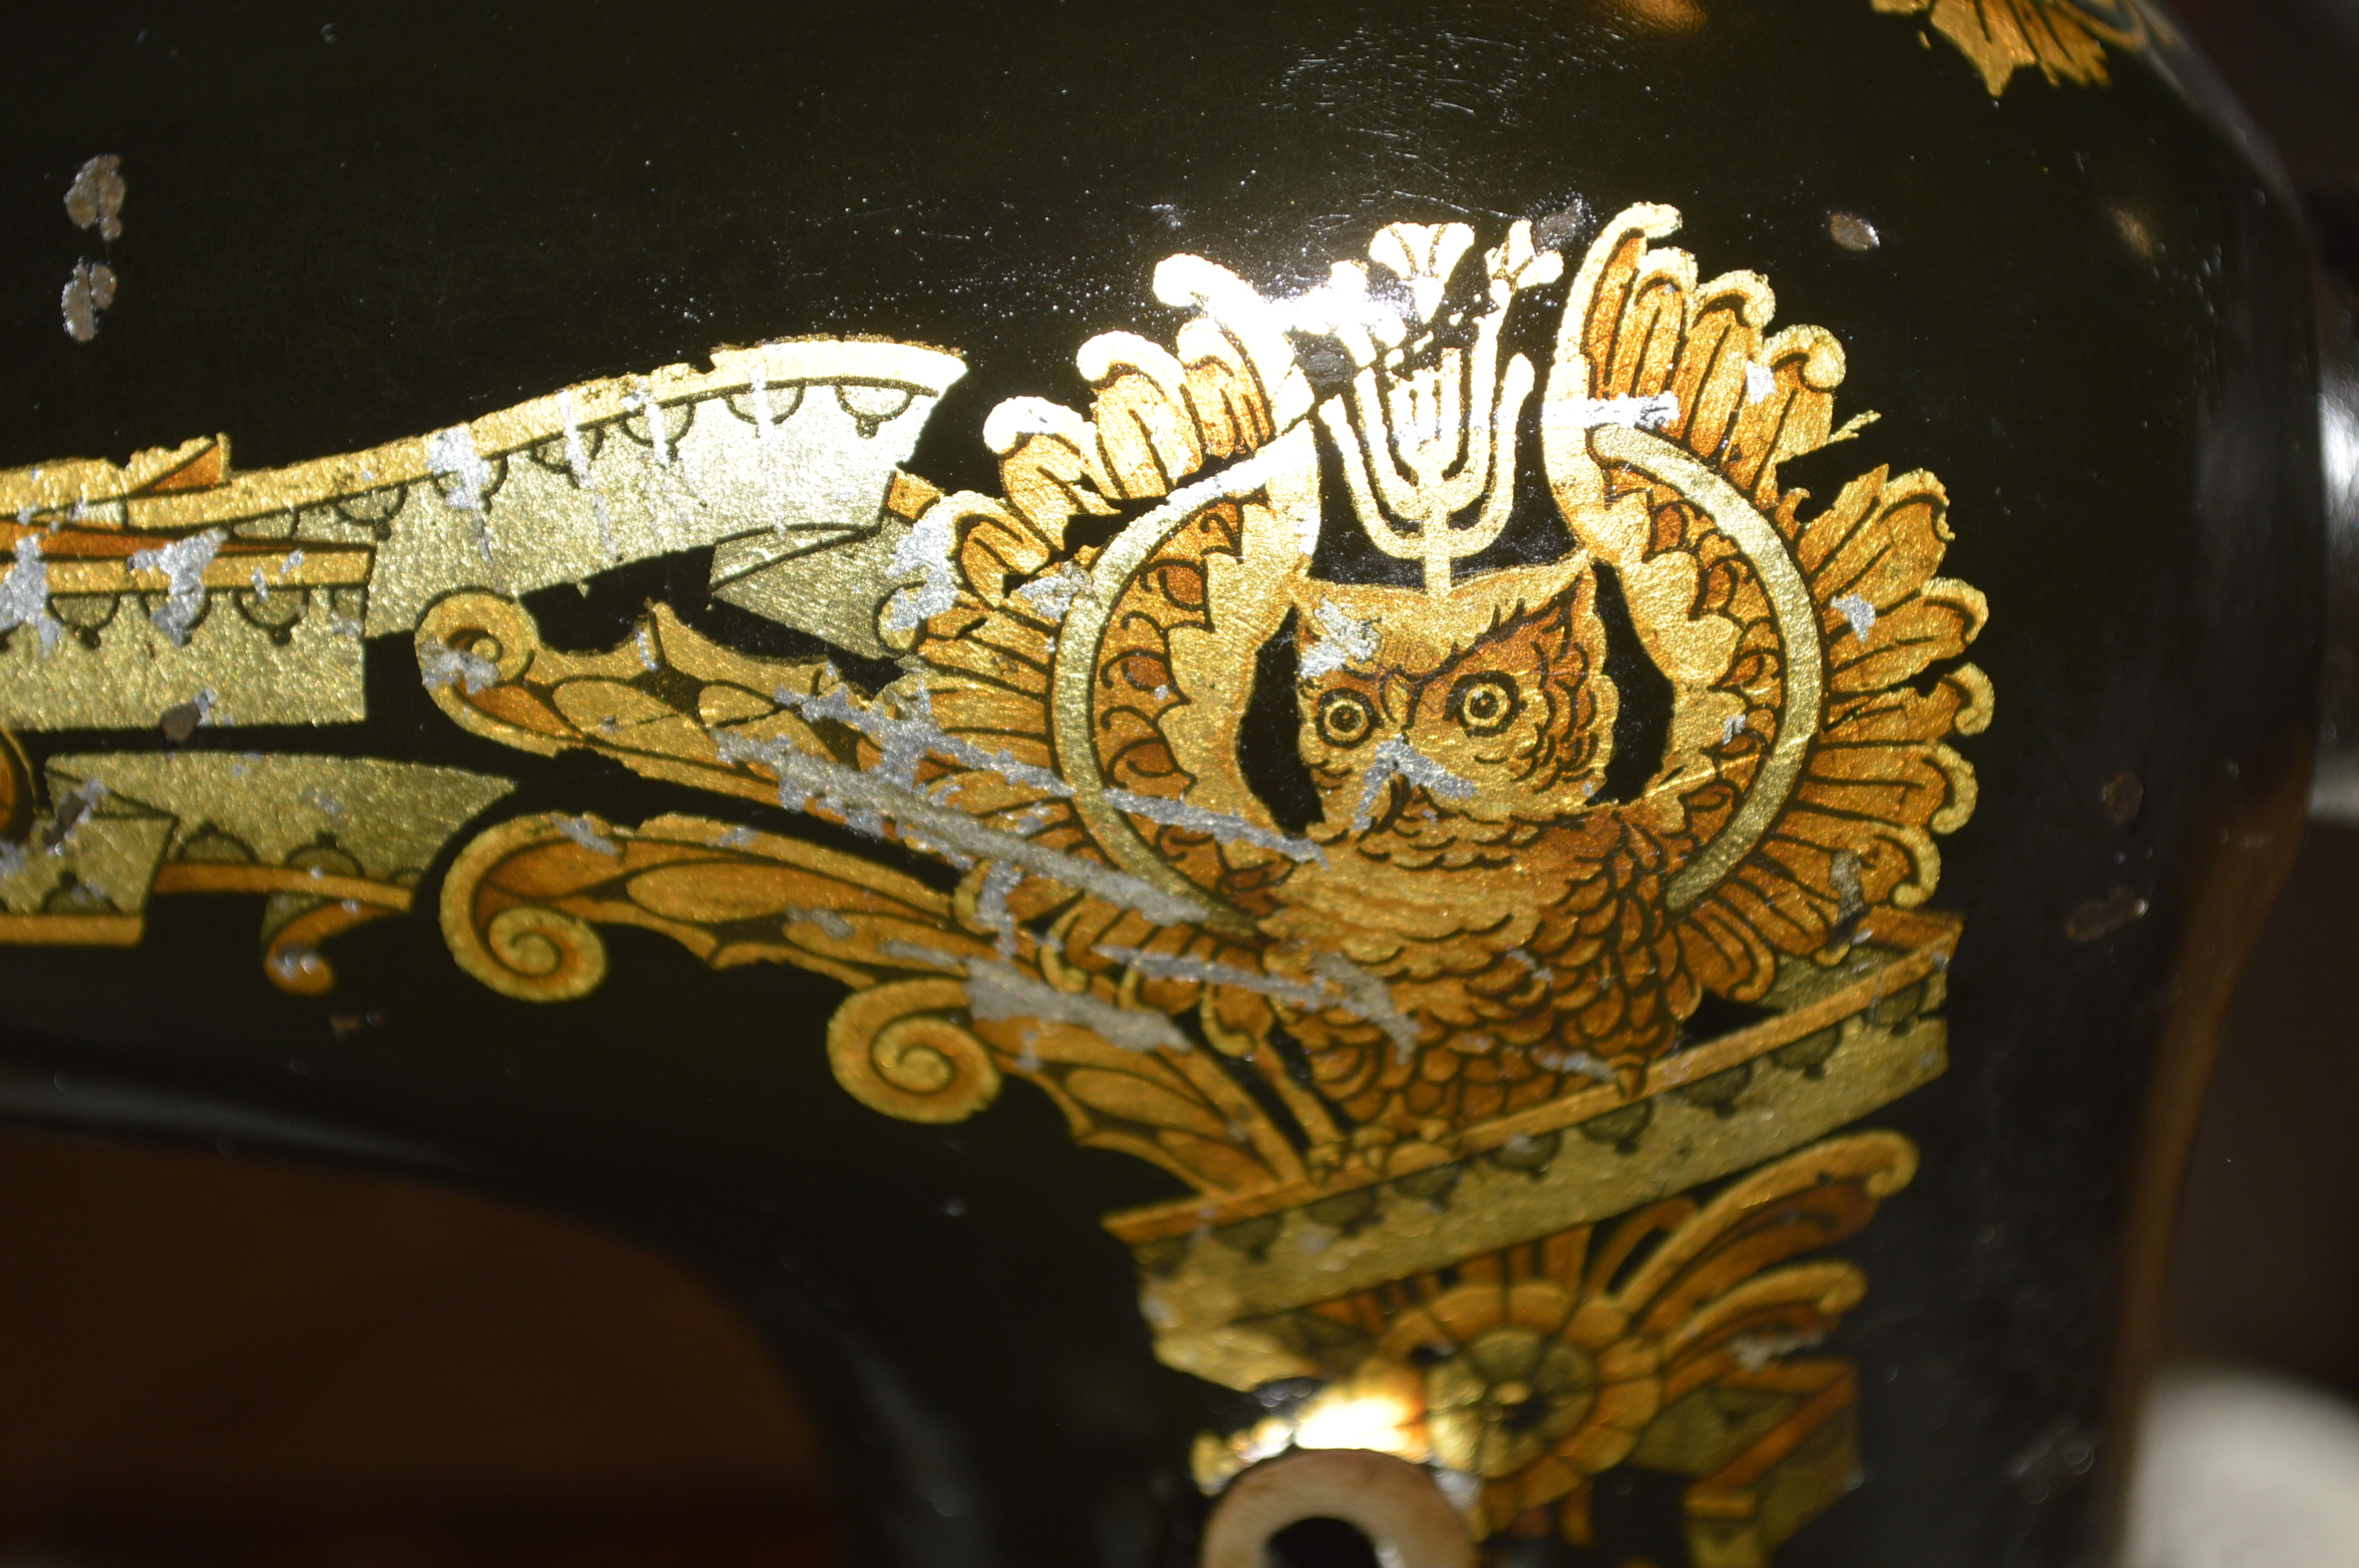
Of particular interest is the owl… the damage is limited to some scratches.

Before…
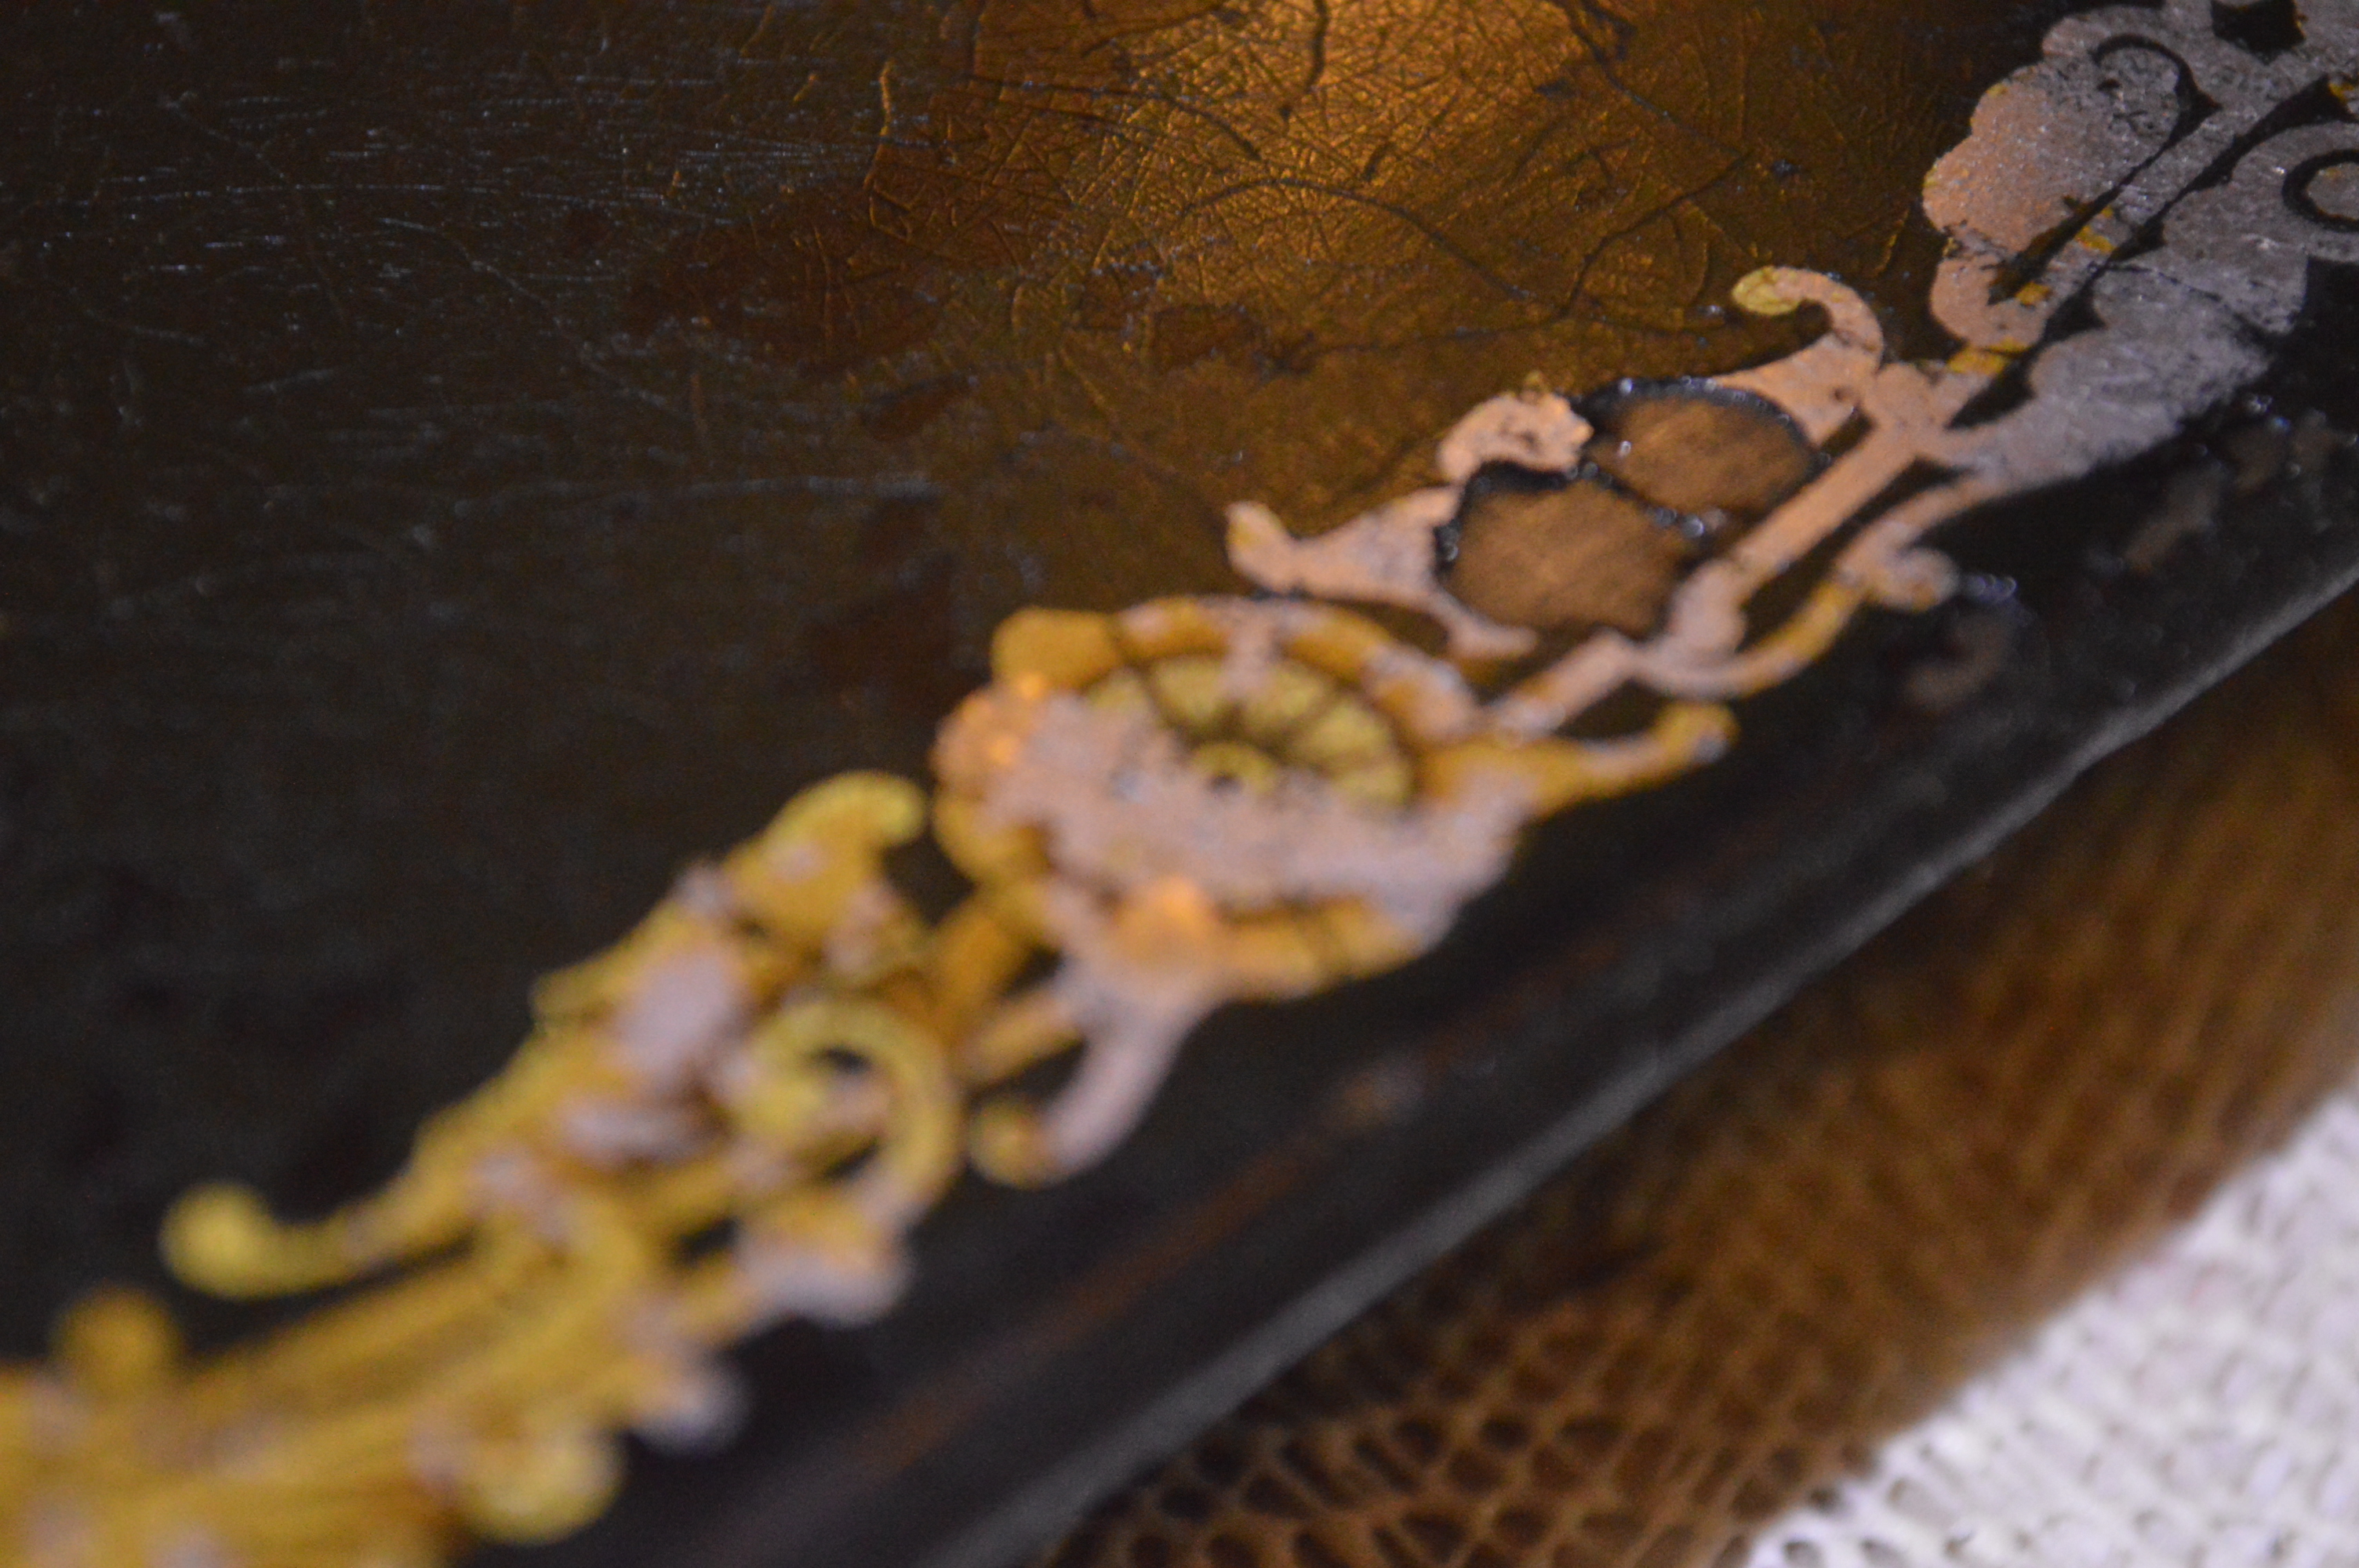
The decal on the pillar is similarly treated…

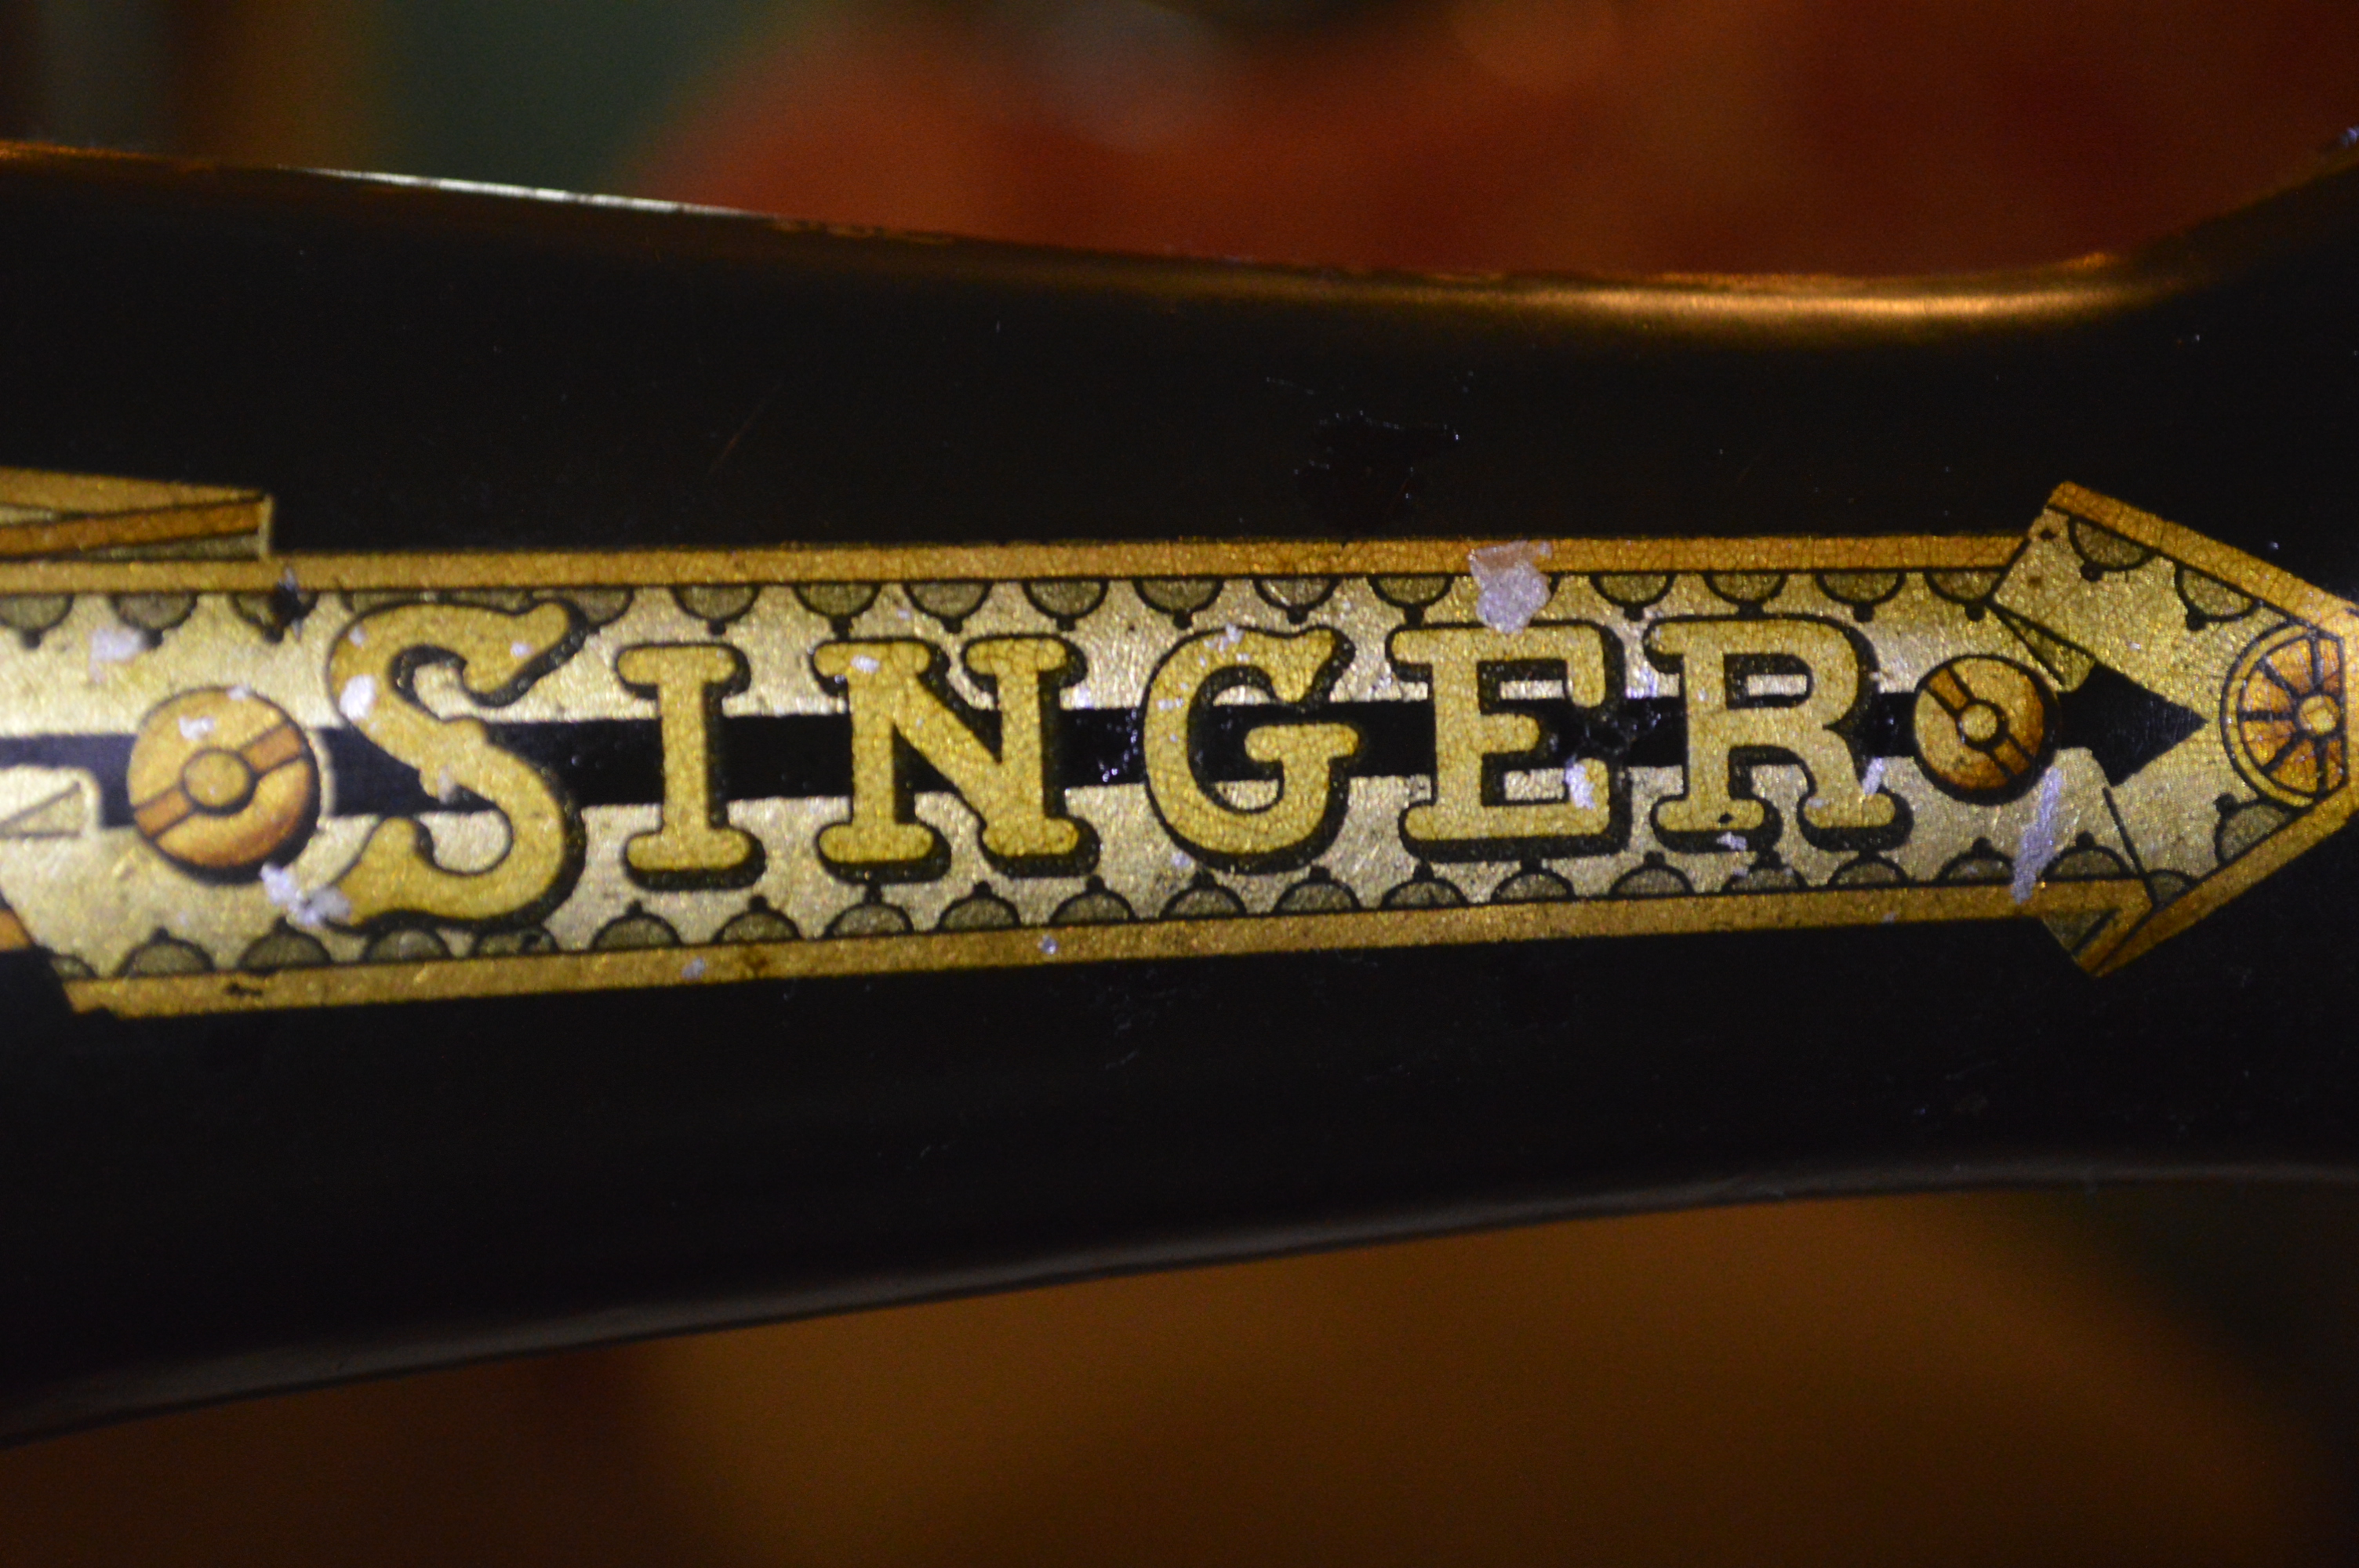
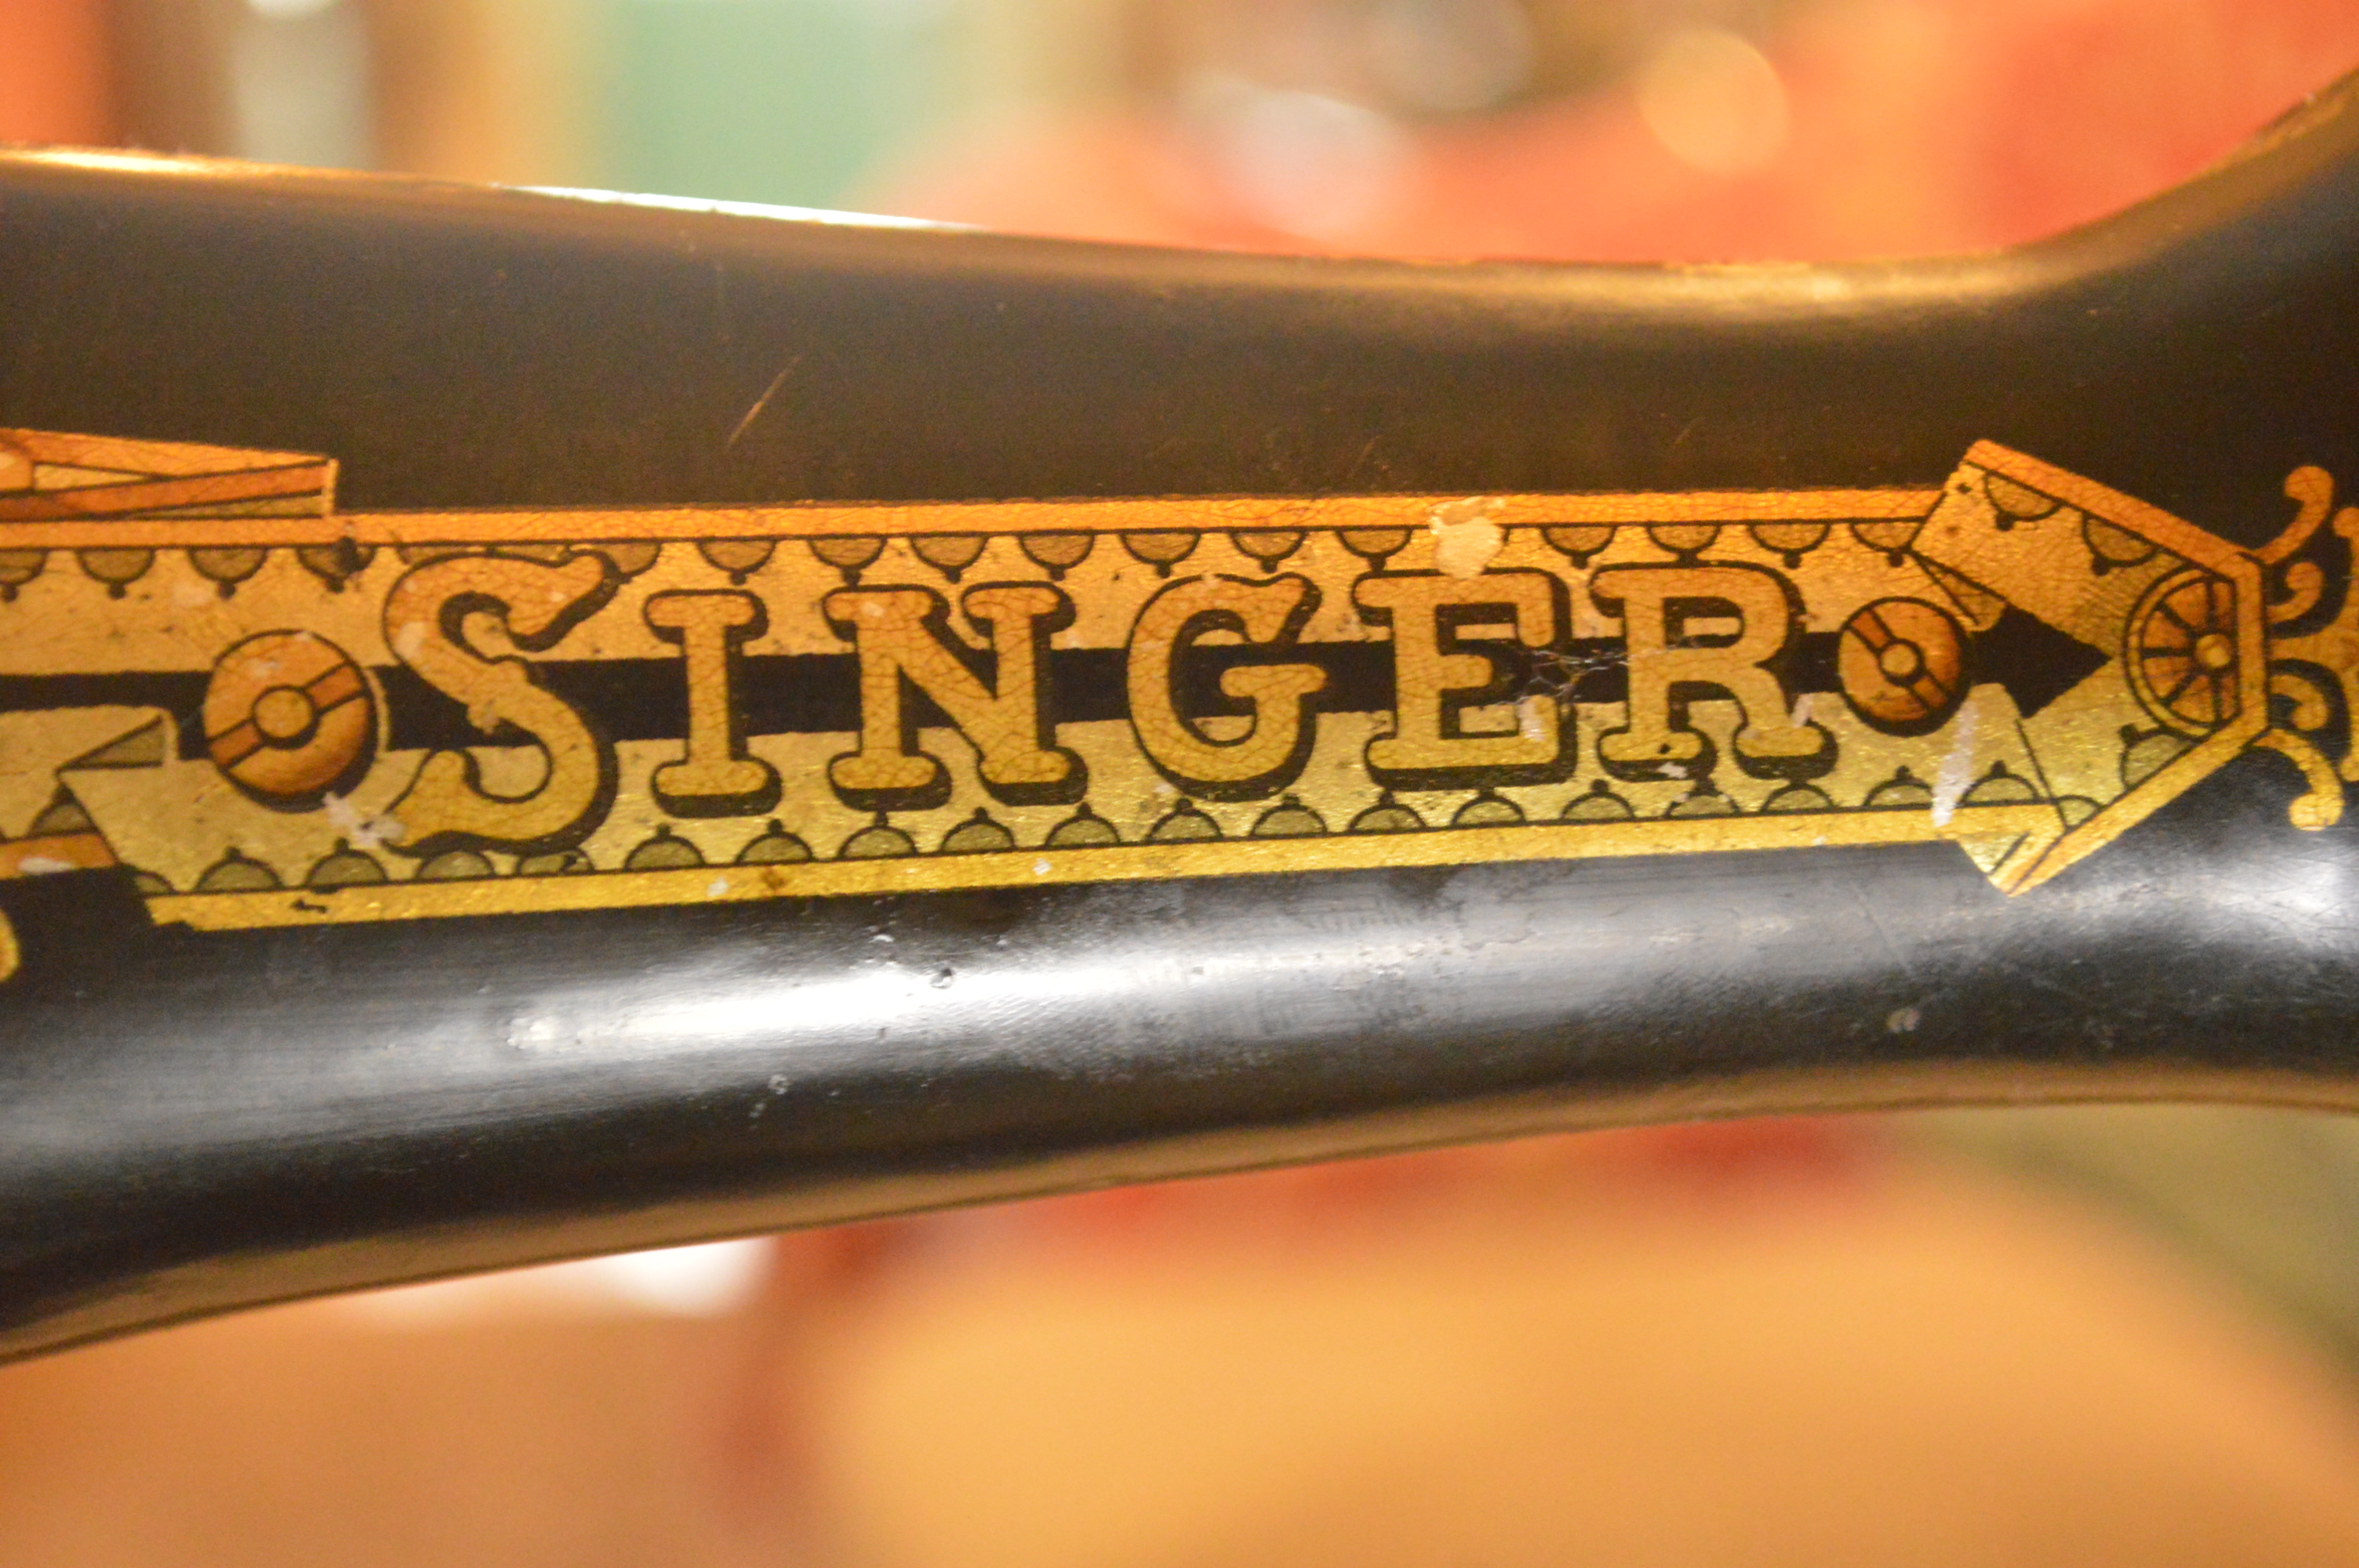
The “Singer” logo on the front of the bed was touched up…

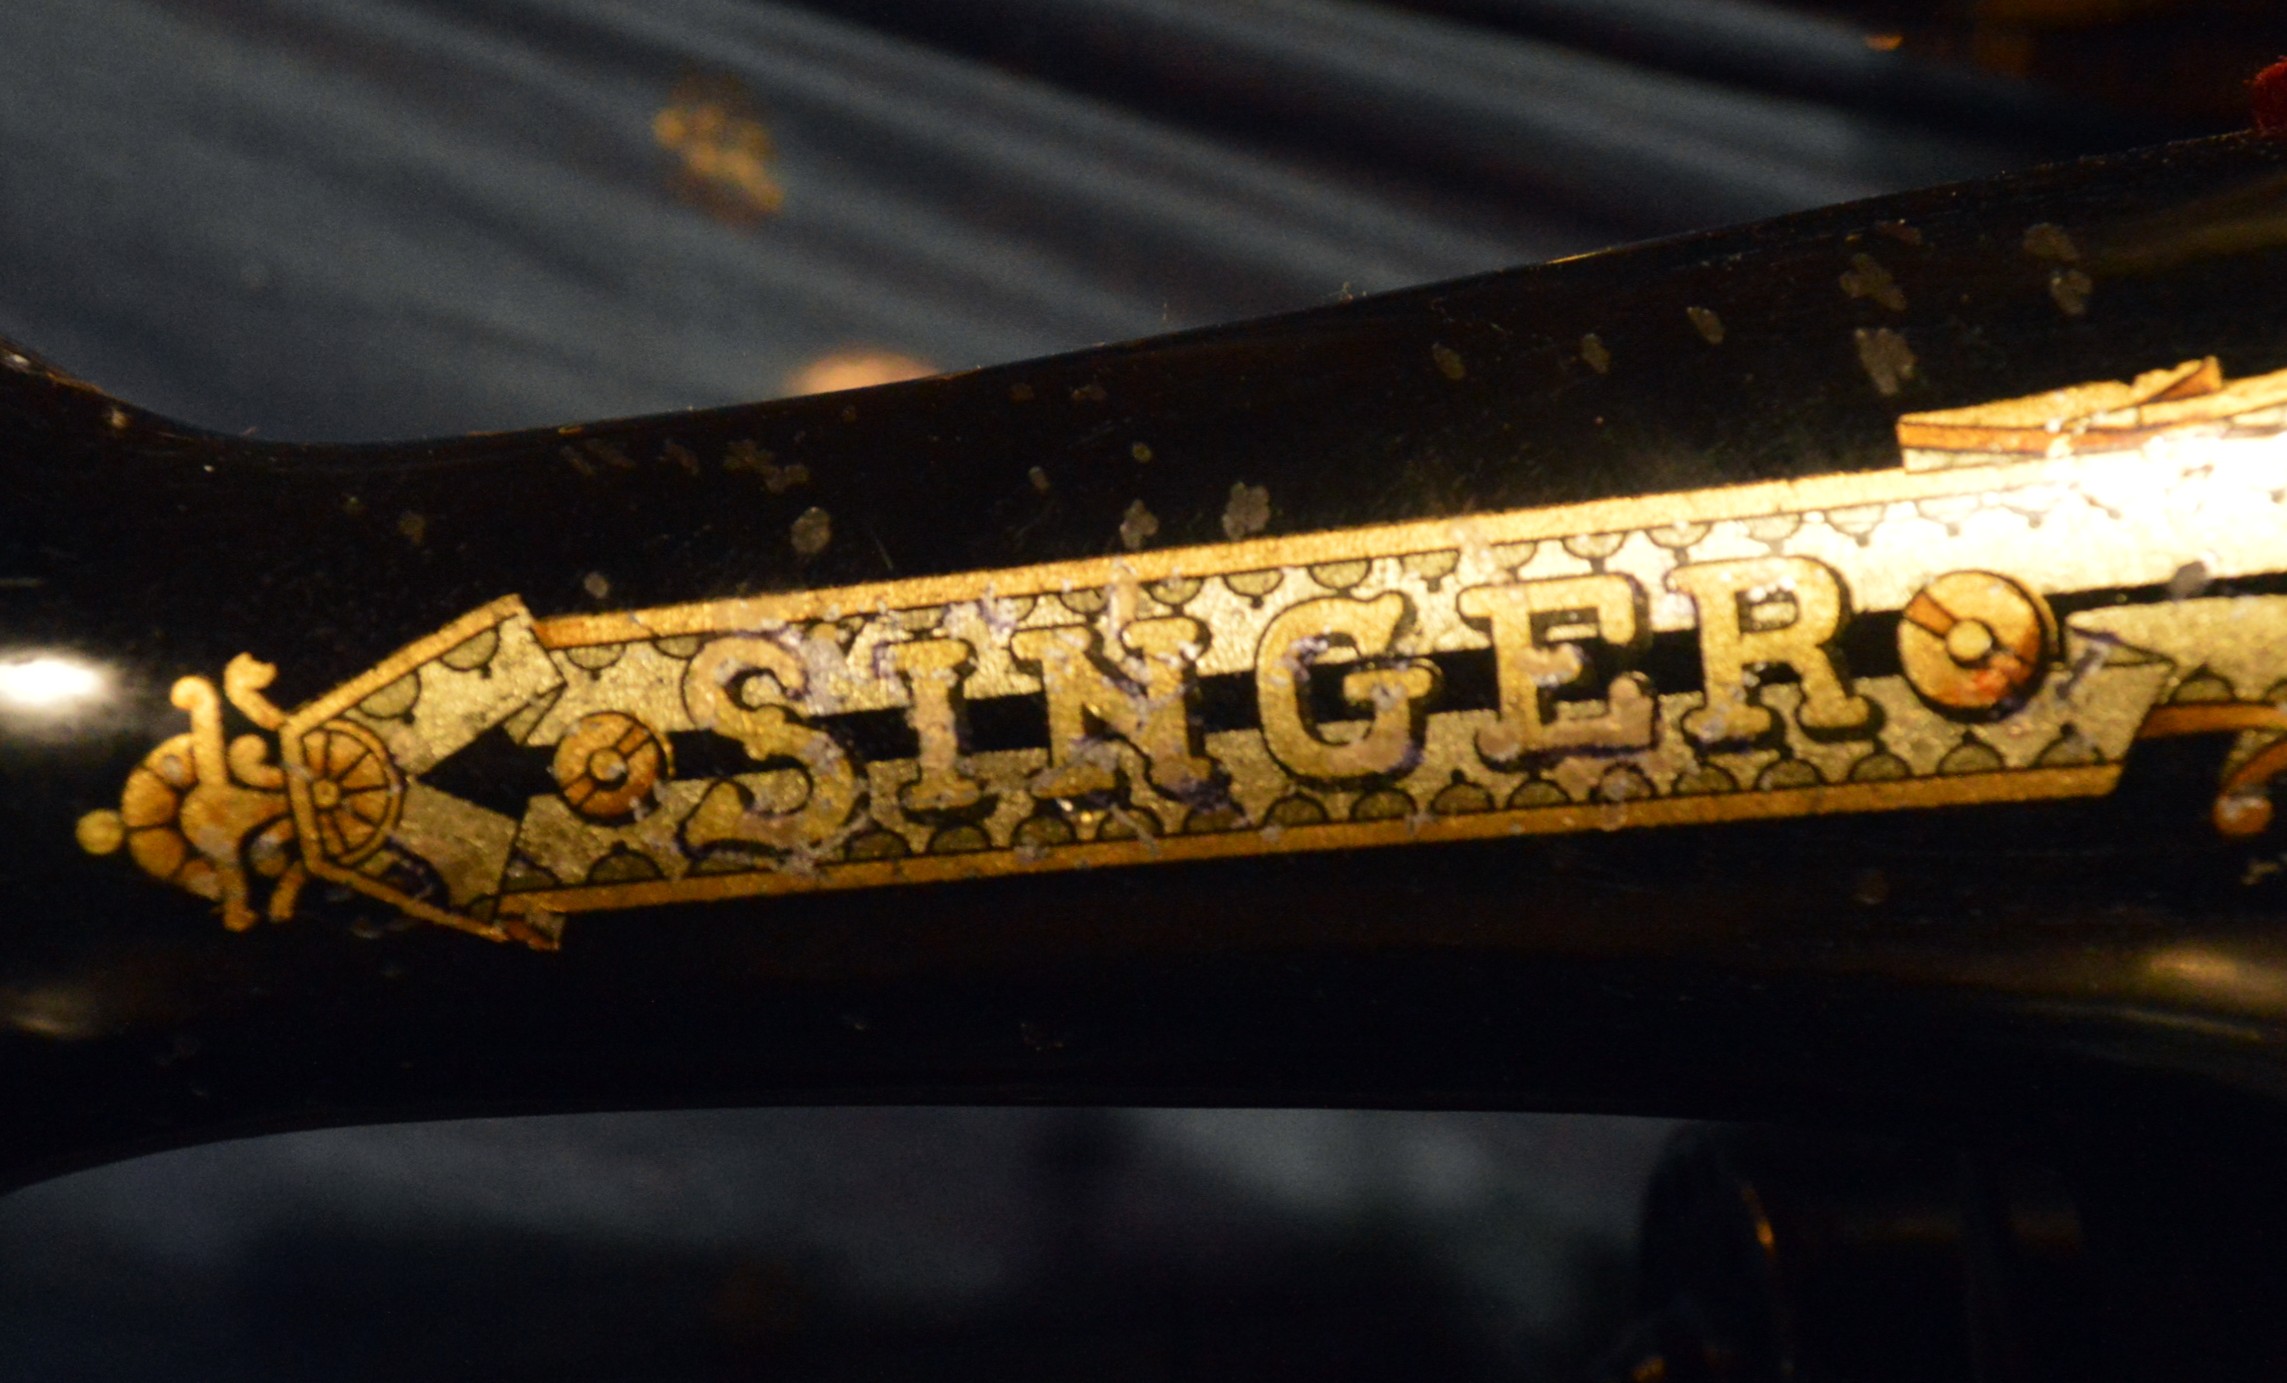
Now, I know that the decal is far from perfect. But perfection was not what I was expecting. The gold color on this machine has mellowed with age and I could only hope to approximate the tone. This is an exercise for my benefit so I can learn the best technique to apply to restoring other machines, where I can match the tone and achieve an acceptable outcome… practice makes perfect. I do think that the look is improved from a normal viewing distance. So, I will keep trying.
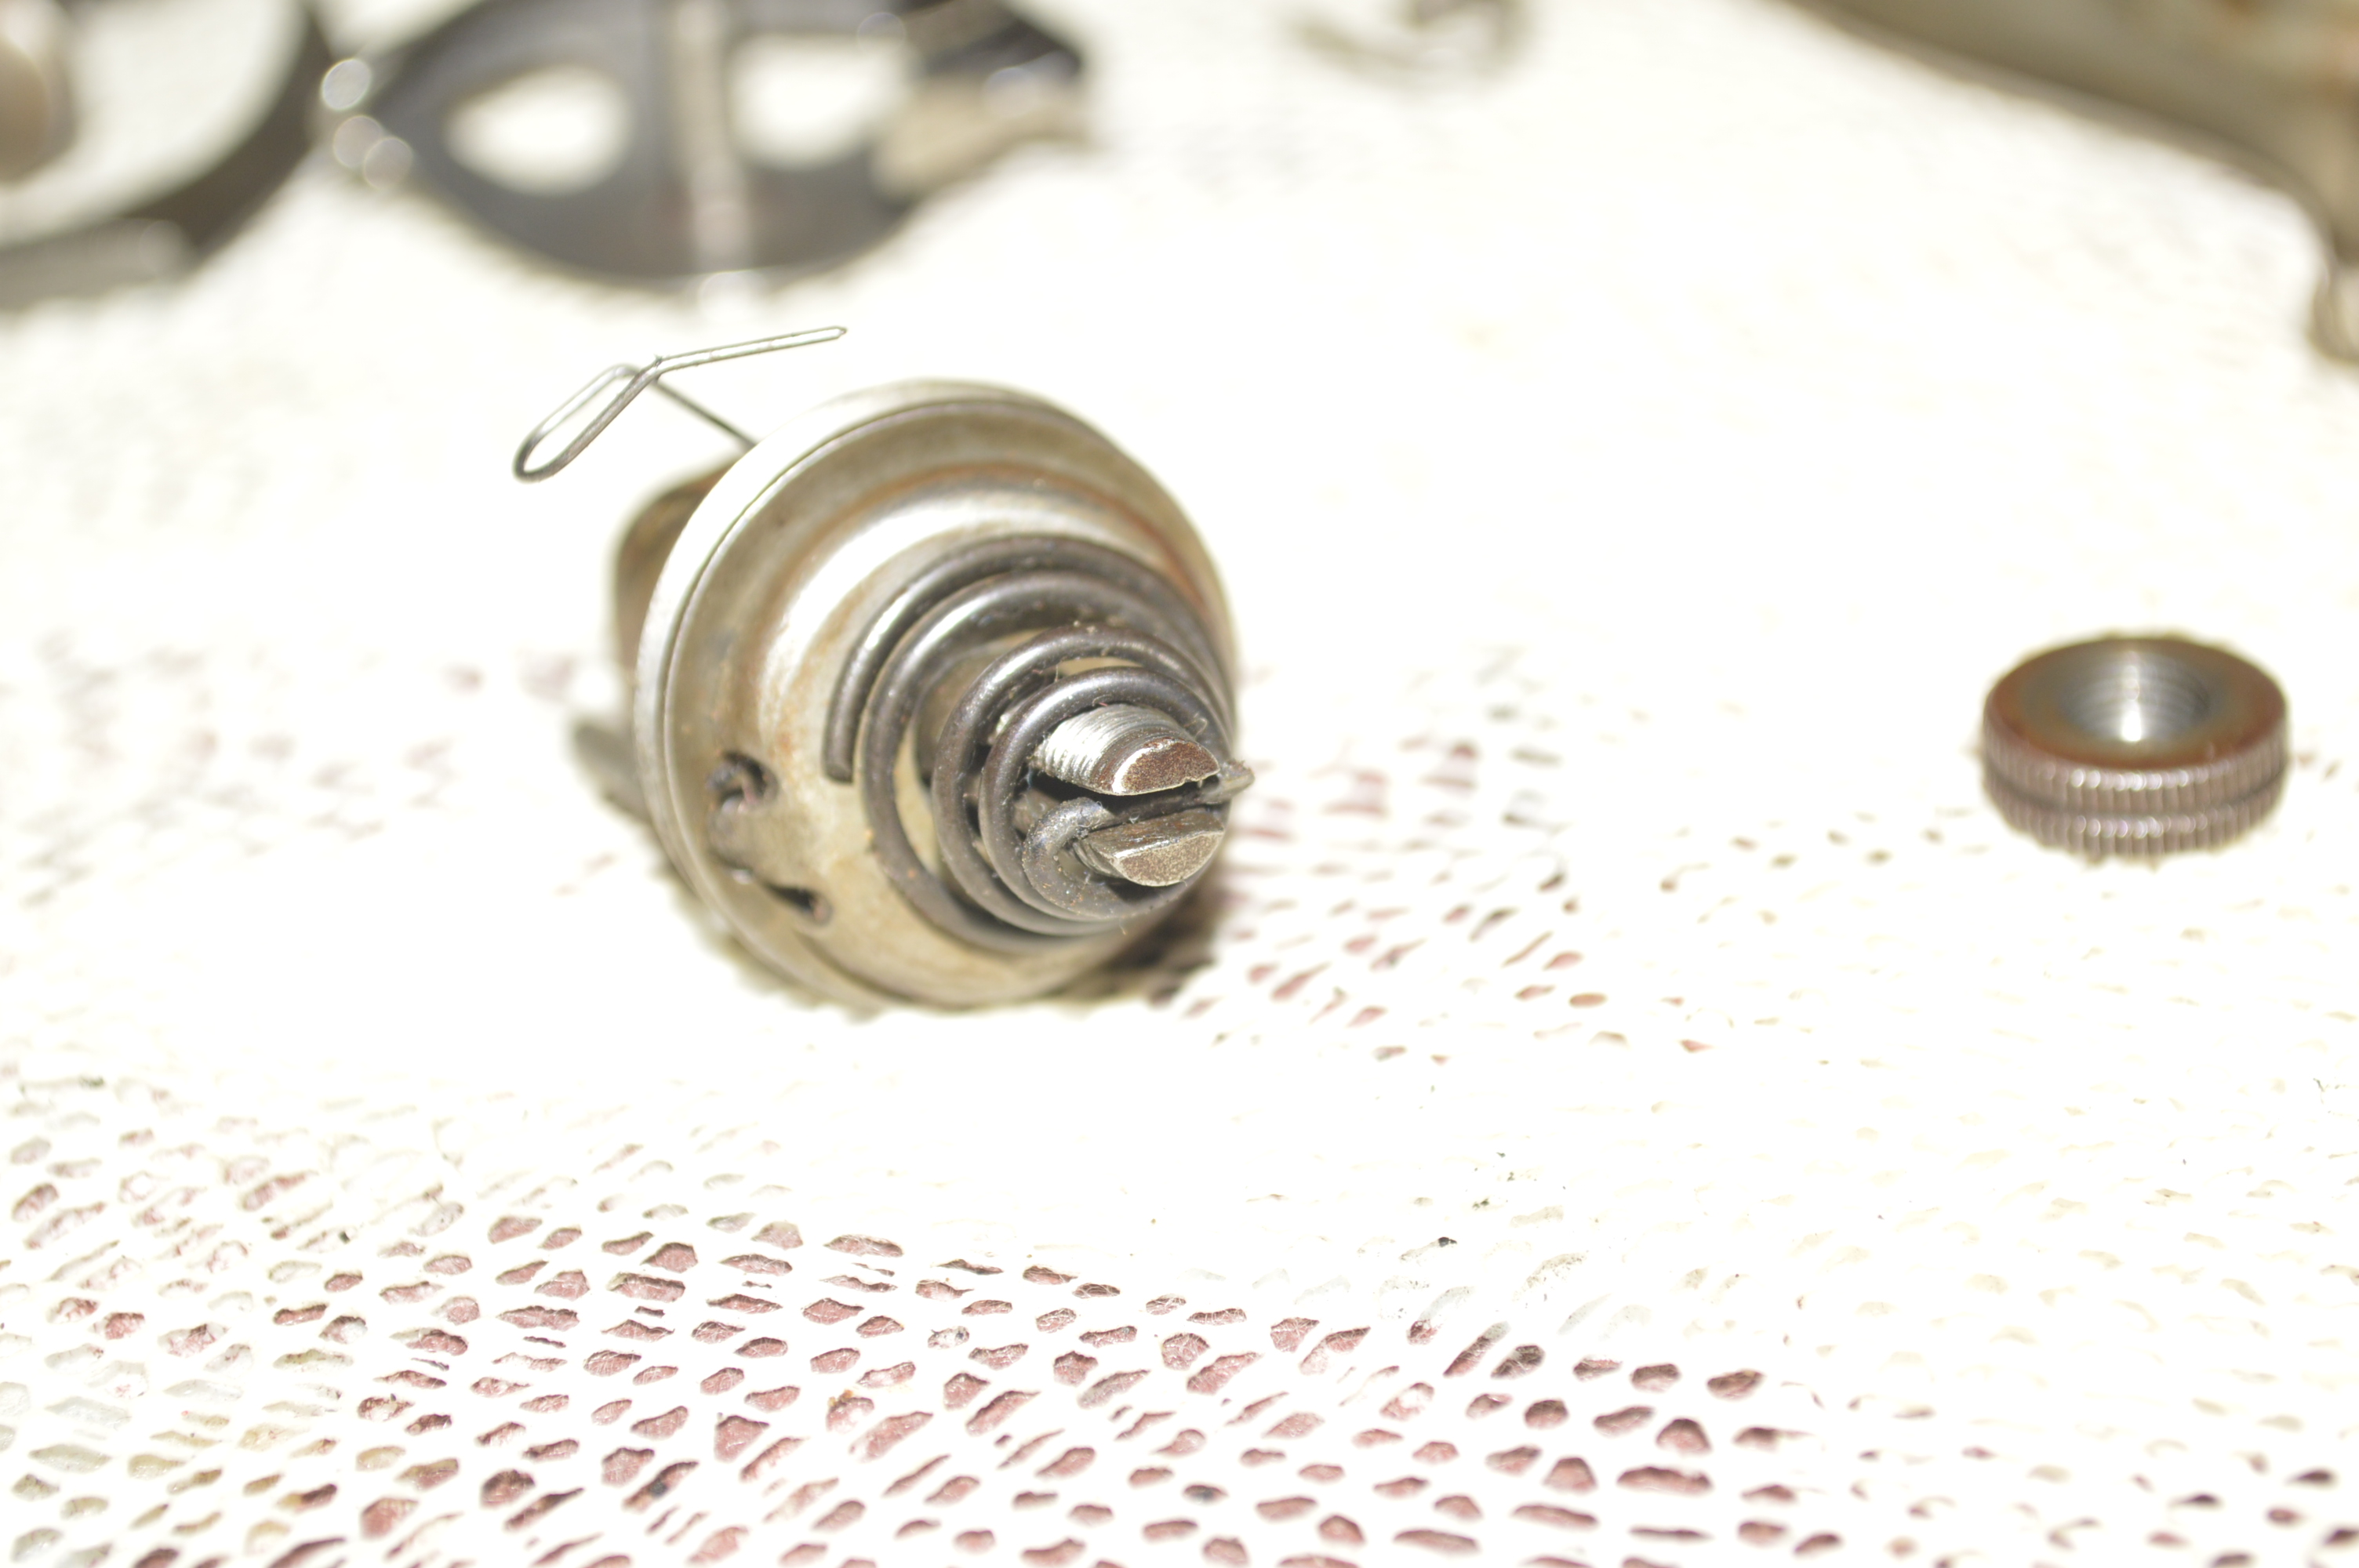
I did not correct the portions of black paint missing in areas. The lamp black paint supply I have and use literally “dried up”. These areas will be done when my paint supply is resupplied. I will also go over the detail on the owl, logo, and pillar decal to correct some places I now see that will benefit from more detailing, but for now, it is done. In any event, the bed of the body of the machine will receive a fresh coat of shellac to stabilize the original finish. Next, the tension dial and the bobbin winding mechanism will be disassembled, cleaned, and reassembled…
I decided not to disassemble and service the motor on this machine. It is not an original Singer motor and it runs just fine. Any servicing it may require can be done when it is necessary.
The parts are reassembled on the machine at this point…
The mechanisms are set for clearance, timed, and adjusted for proper clearance. With the machine assembled, it is tested for proper sewing and stitch quality. The final outcome looks like this.

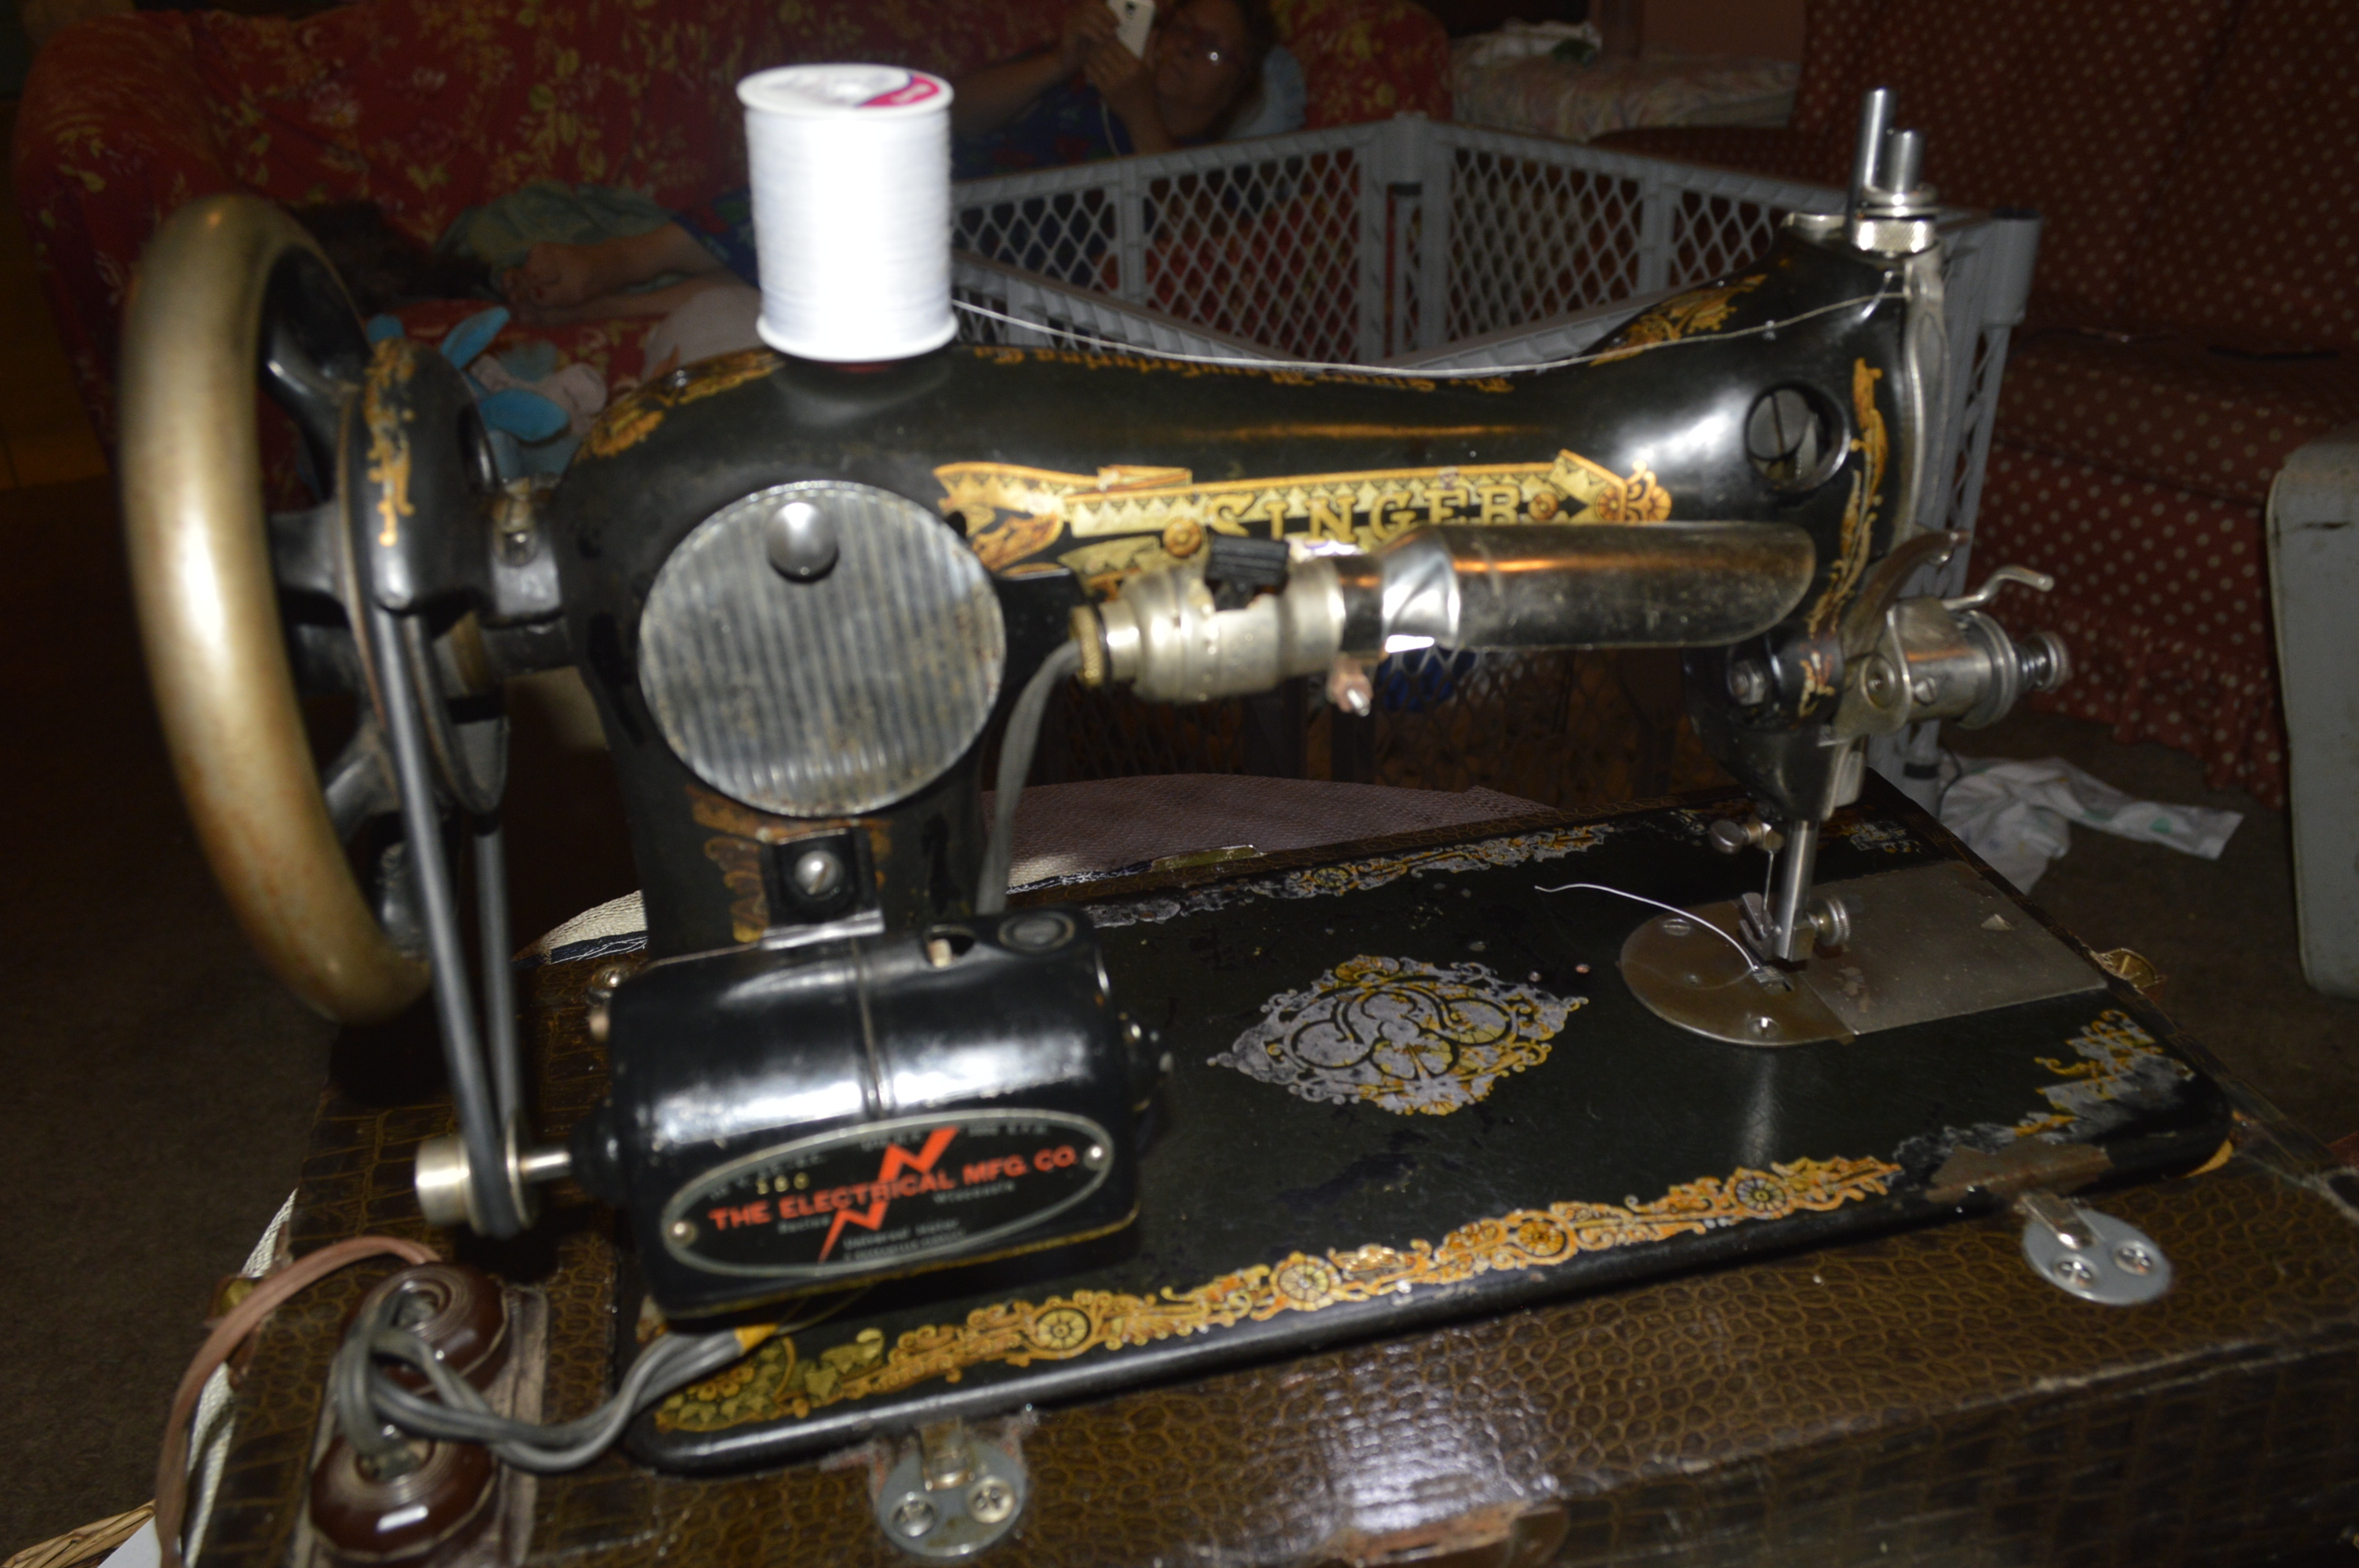
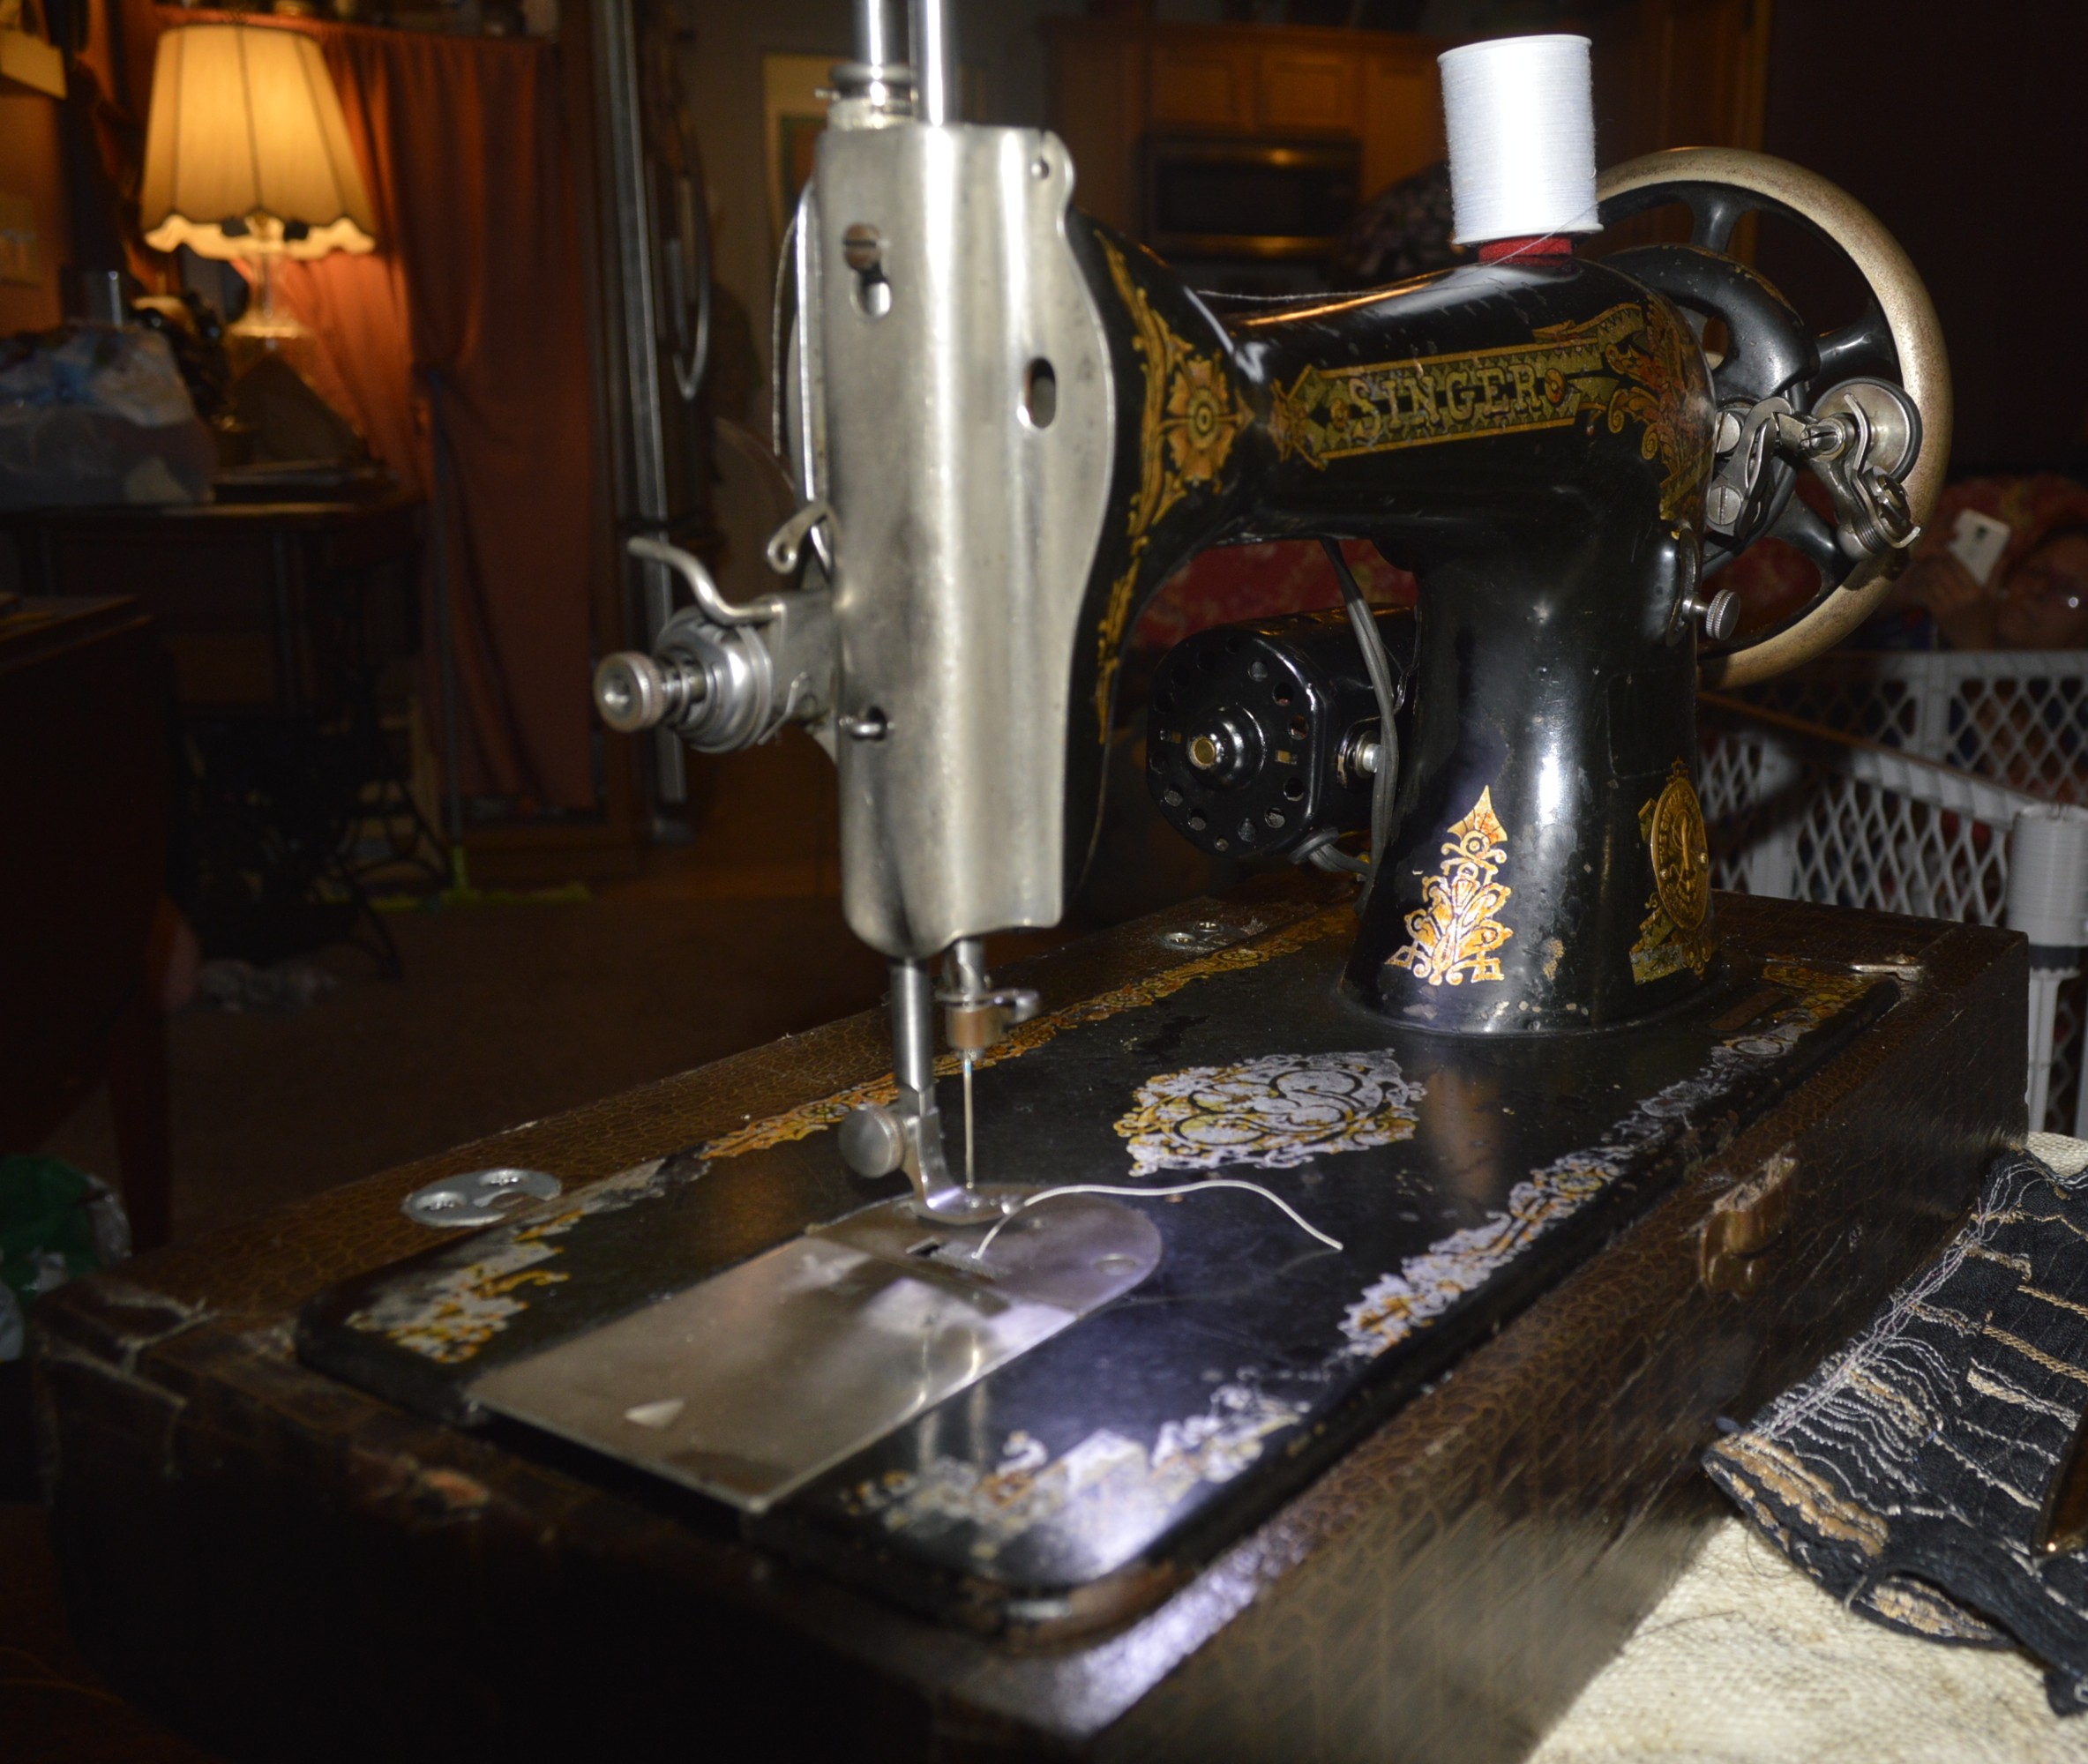
Ain’t she a beauty! The real measure of a high quality sewing machine like this is not how she looks… but how she sews. The end result is a machine that runs very smoothly, is powerful, and makes a great stitch. Overall, the restoration made a “night and day” difference.
If you like what you see, and if you would like to see some other beautiful vintage Singer machines where a detailed original finish restoration was worth the effort for the outcome, please stop by and visit our shop “Pungoliving” at http://www.etsy.com/shop/pungoliving, there we have a growing inventory of beautifully restored sewing machines in excellent condition.
Tell me what you think!

Wonderful explanations for a budding “engineer head” textile-degreed seamstress/quilter/vintage machine collector!
LikeLike
Hello Linda,
Glad I could help! Please don’t hesitate to ask if you have any specific questions.
Lee
LikeLike