

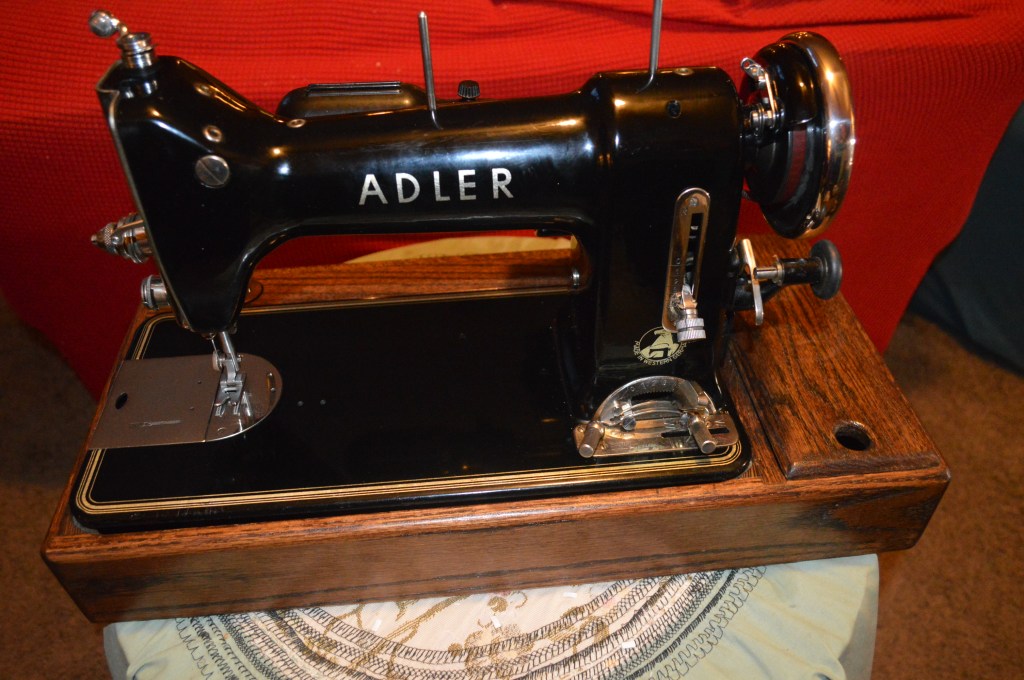
This is a great opportunity to get acquainted with an Adler sewing machine. I have had the opportunity to familiarize myself with many different makes and models of sewing machines, but this is my first Adler. Overall I am very impressed with the machine. The Adler 187 was manufactured in West Germany by the Duerkopp-Adler sewing machine company. The Duerkopp-Adler sewing machine company began manufacturing sewing machines in 1860 and became a primary manufacturer of industrial sewing machines. Seeking to widen their market, they began to produce a line of domestic sewing machines shortly after World War 2.
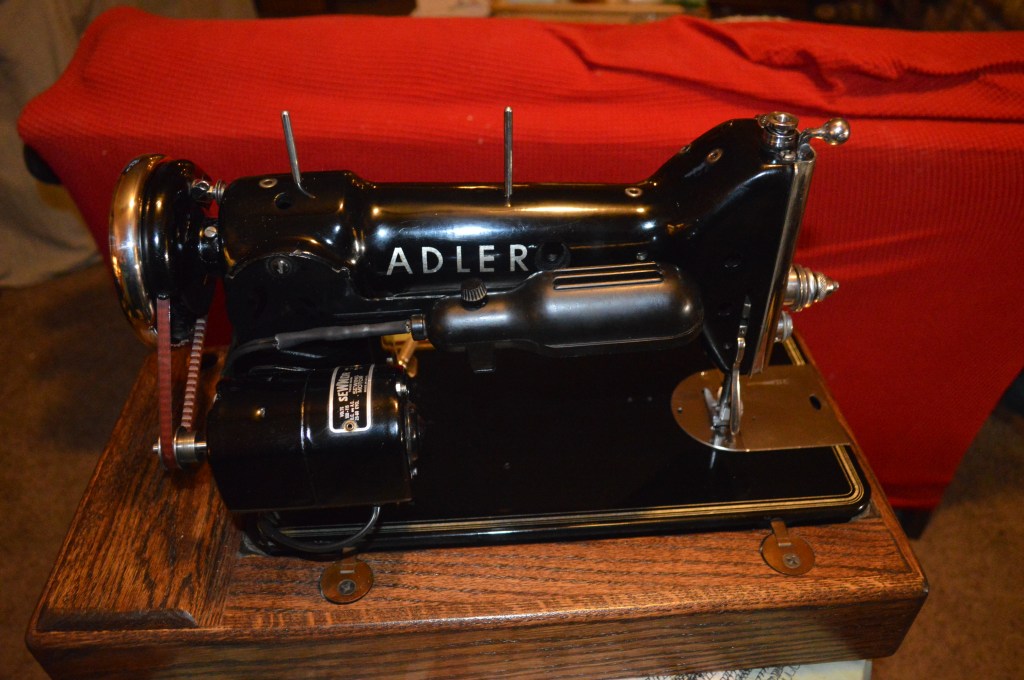
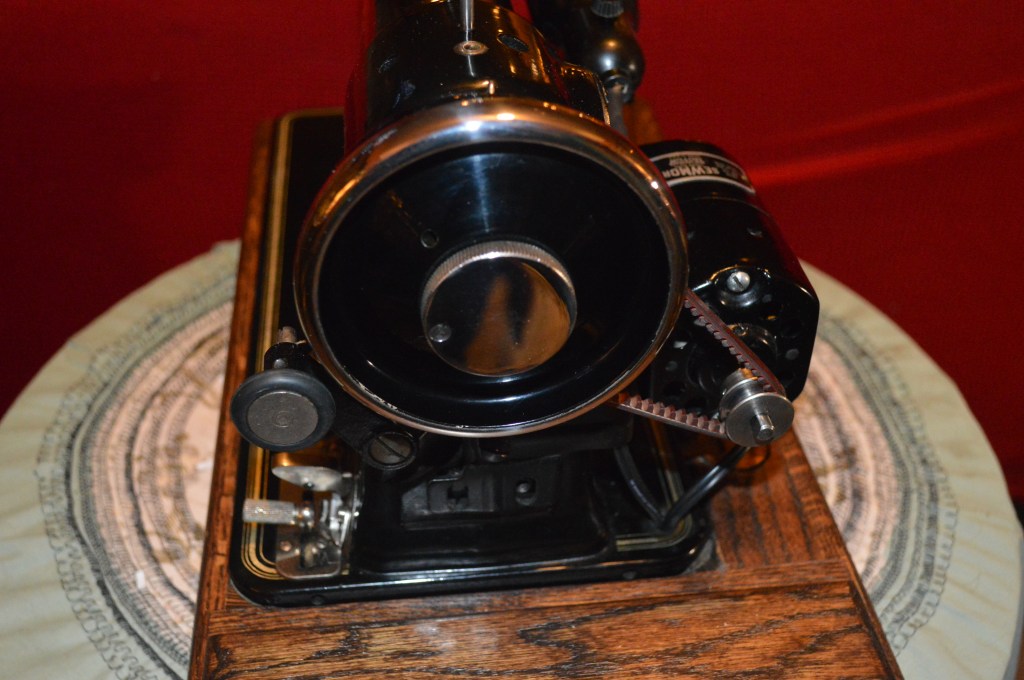
The Adler 187 was only manufactured for three years beginning in 1950 thru 1952. It’s industrial pedigree is evident in just about every aspect of the machine. It is very heavy, well built, and very durable in it’s manufacture. While the machine has an external motor with a belt, the sewing mechanism is gear driven, very compact, and being a mechanical zig-zag machine it is fairly complicated in its construction. For those who don’t know, a mechanical zig-zag machine has a bobbin hook shaft that moves in and out to match the swing of the needle. I think this is an advantage over the more common zig-zag mechanism that relies only on the needle swing because it keeps the hook timing exactly behind the needle. One look under the sewing machine bed makes me wonder how it was ever put together. There are nuts and screws that are positioned where they are inaccessible to any ordinary tools. The assemblies inside the sewing machine arm are likewise difficult to get to. Even if these assemblies could be disassembled, I would be concerned that they could ever be reassembled and keep everything in the proper adjustment. About the only opportunity for disassembly of this machine is the needle bar assembly.
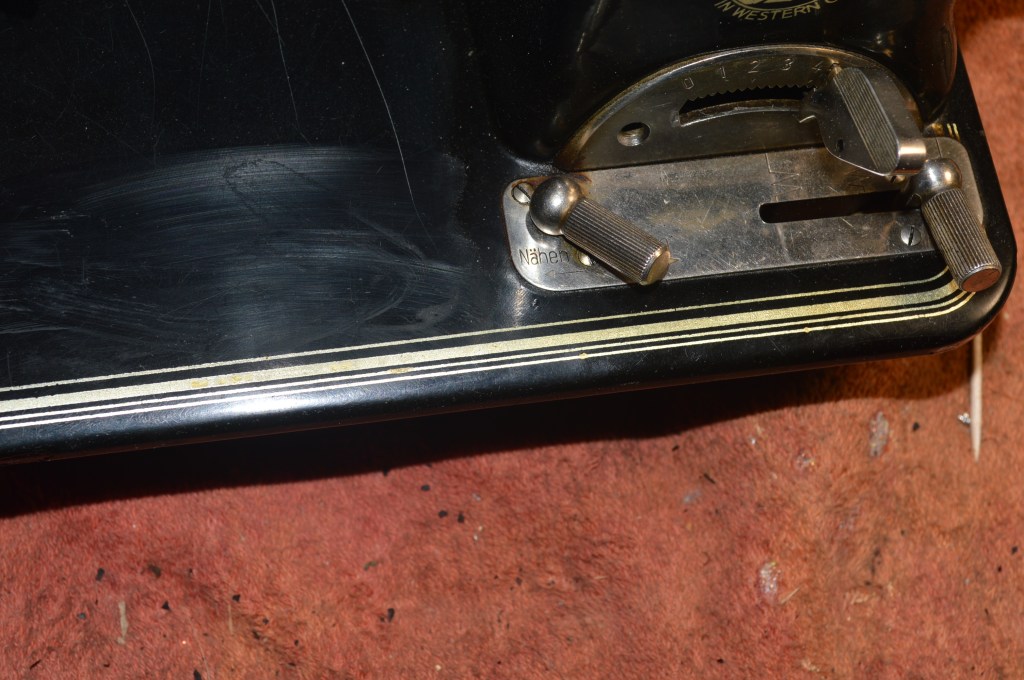
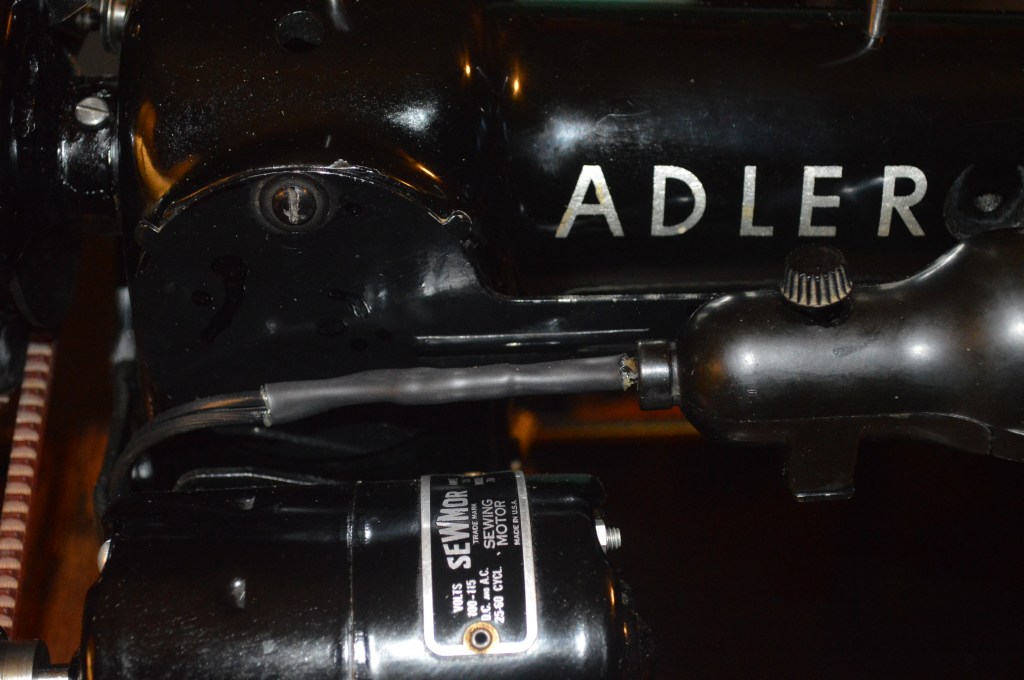
The Adler 187 sewing machine runs in a clockwise direction instead of the more common counter-clockwise rotation of the vast majority of machine brands. The machine will be fitted with a vintage 1.5 amp motor. Part of the motor restoration will be reversing it’s rotation. Everything in this machine exudes fine German engineering… Every piece and assembly, from the tension control to the bobbin winder, is well designed and follows the German design principle of “why use three parts when six will do!”. Just Kidding, but they certainly made every assembly on the machine operate smooth and precisely.
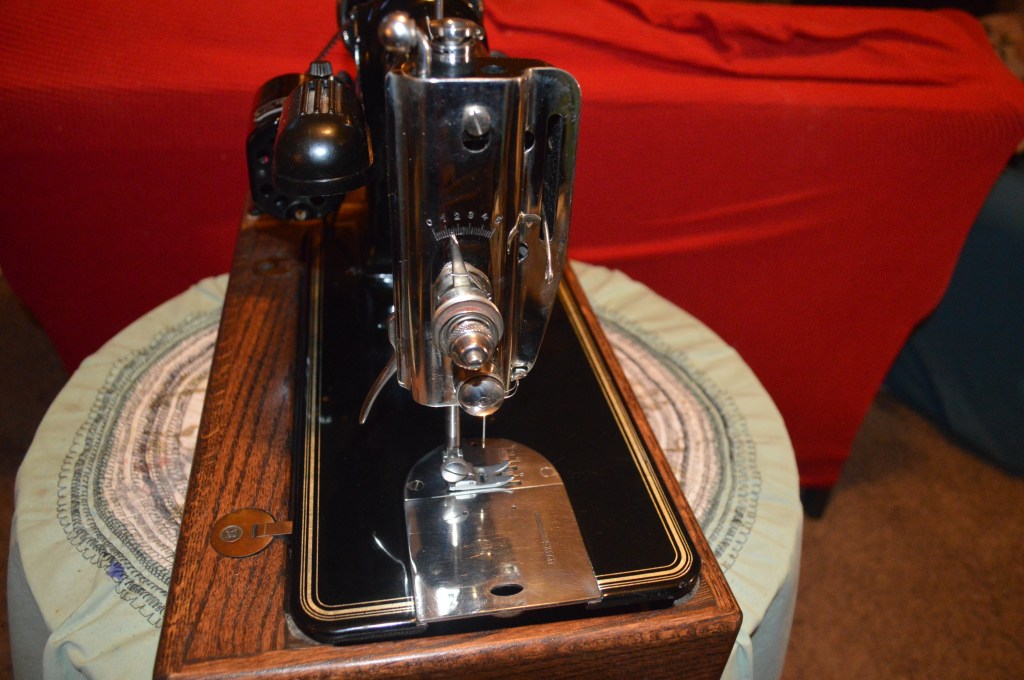
Tip of the day: Depending on the Adler 187 model machine you have will determine what needle it uses. Some use standard 15 X 1 needles, and others use “system 1932” needles, which after a lot of searching online turned up a needle style of DB X 1. The DB X 1 needle is round and there is no flat side to index the needle in the needle bar.
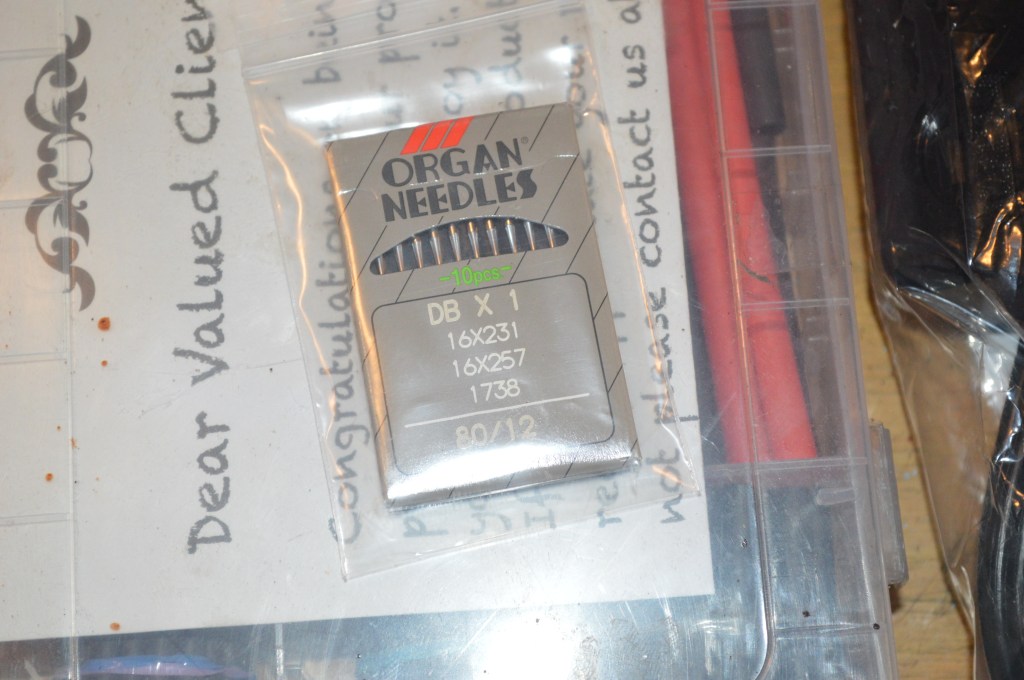
This 187 uses the DB X 1 needle.
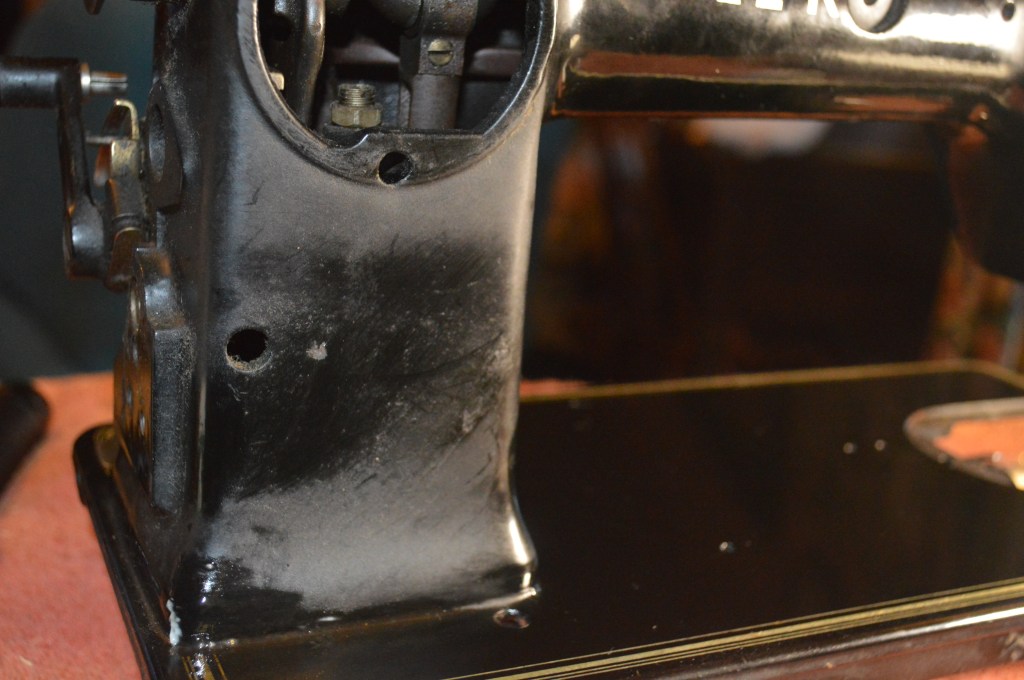
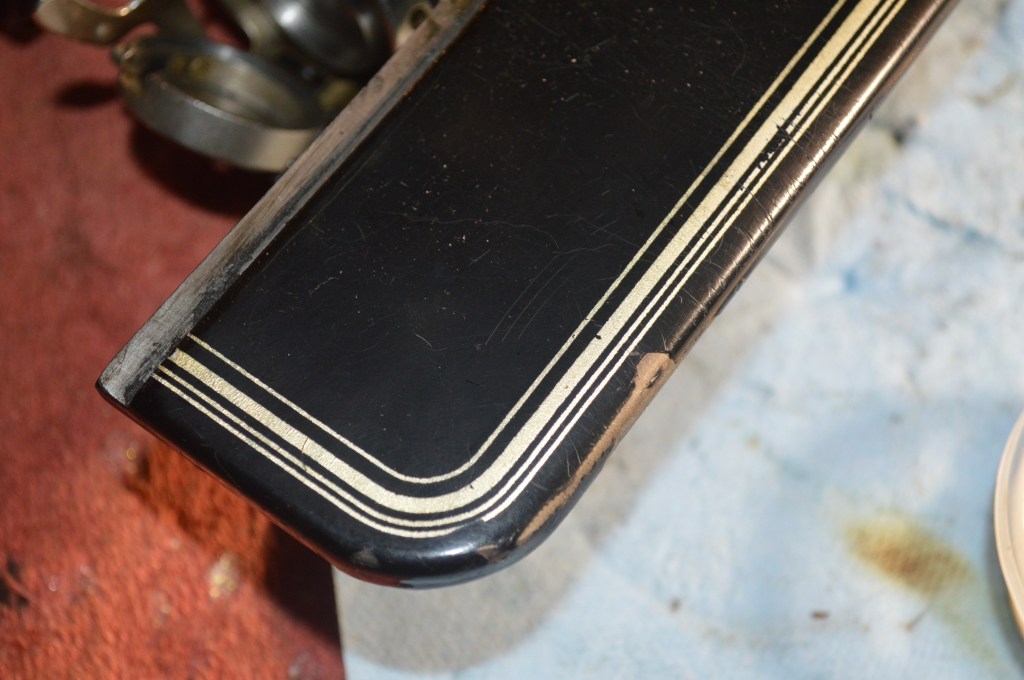
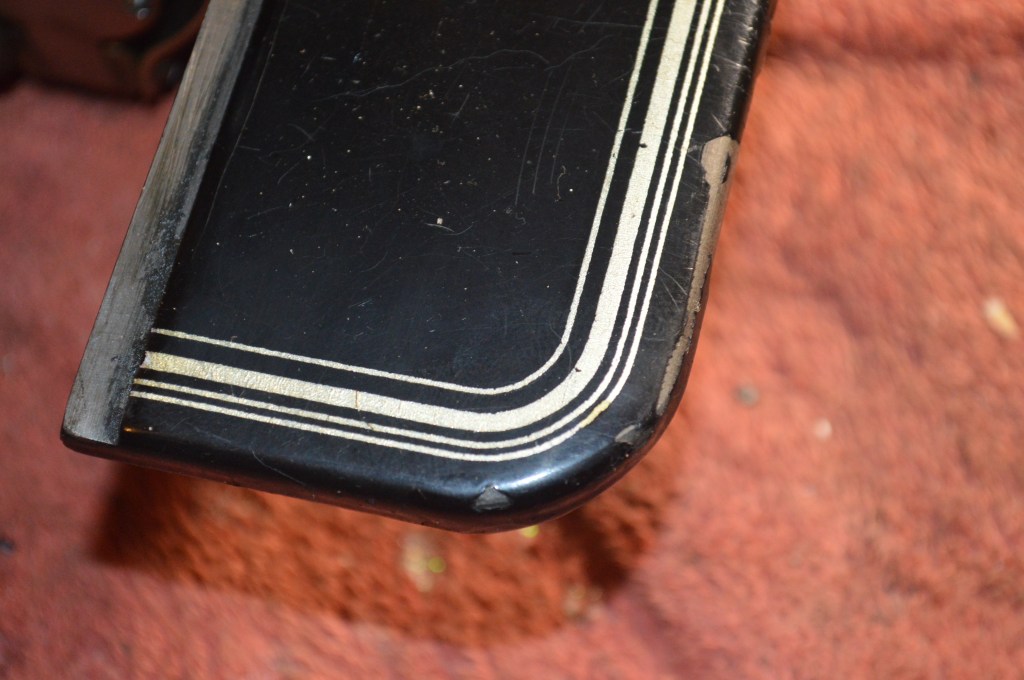
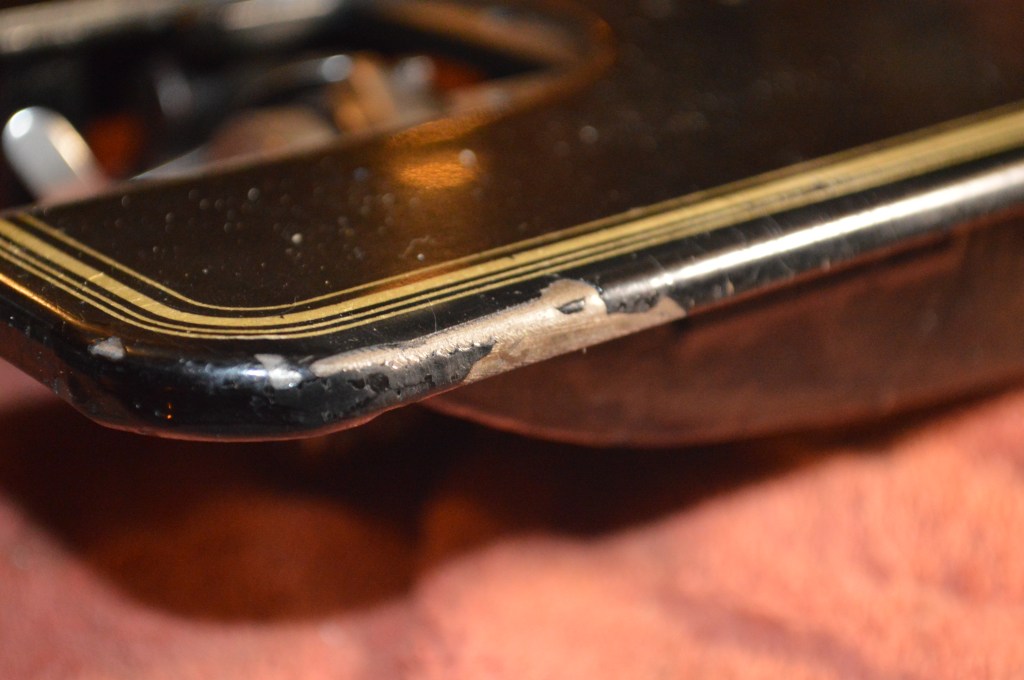
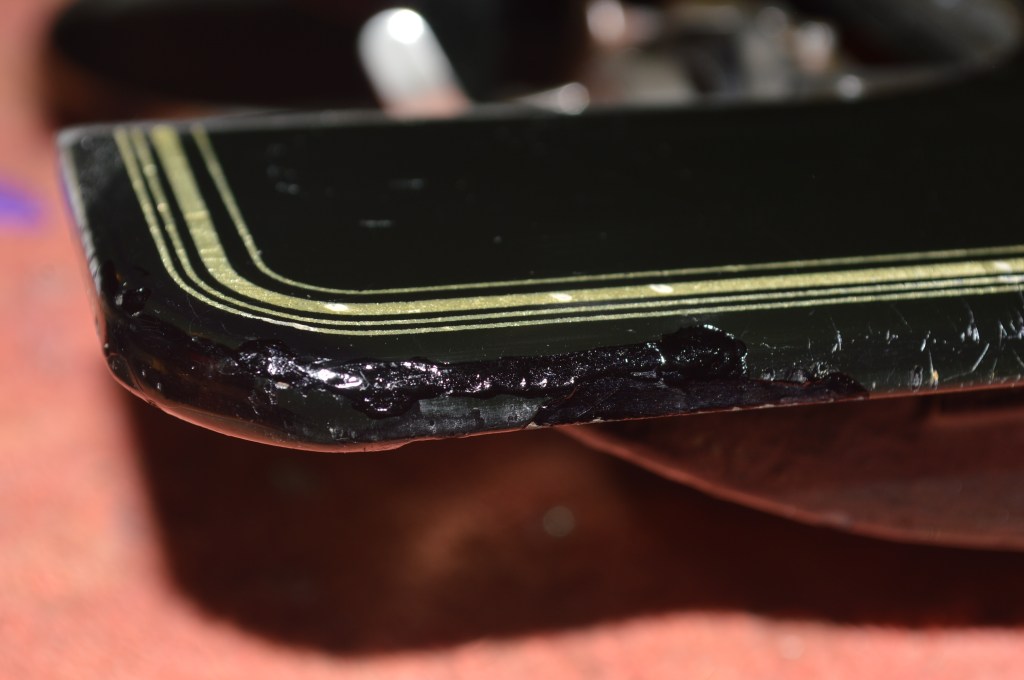
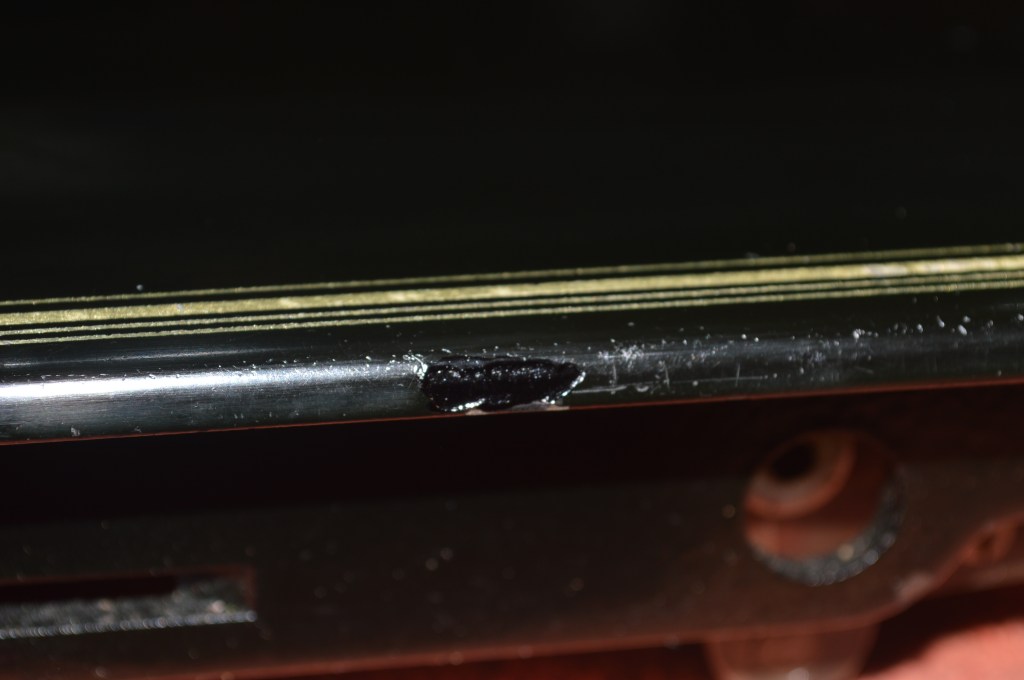
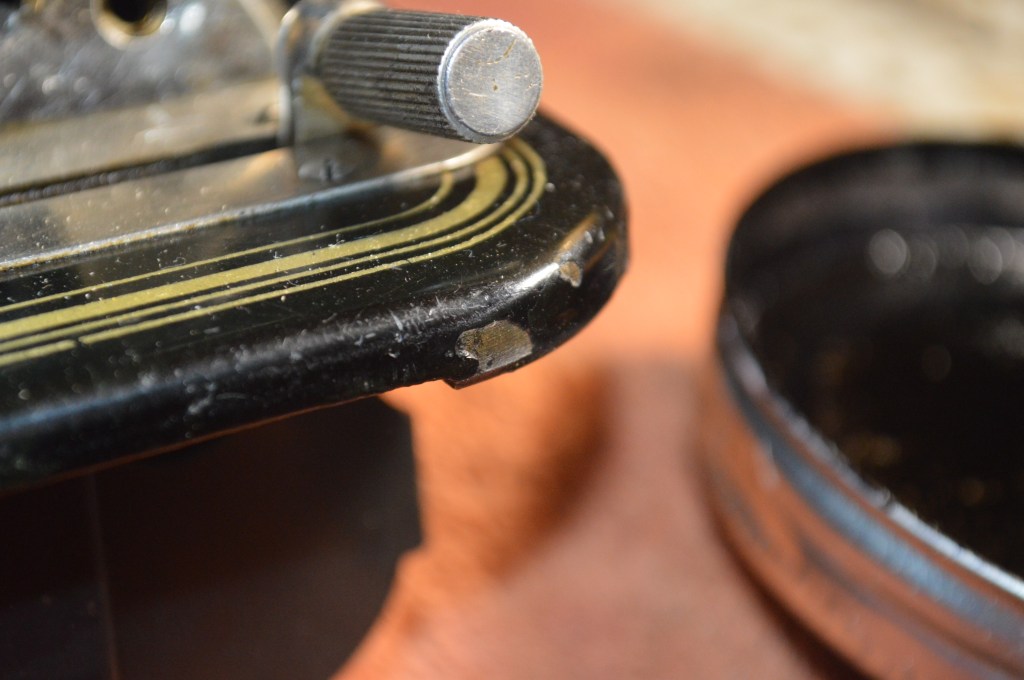
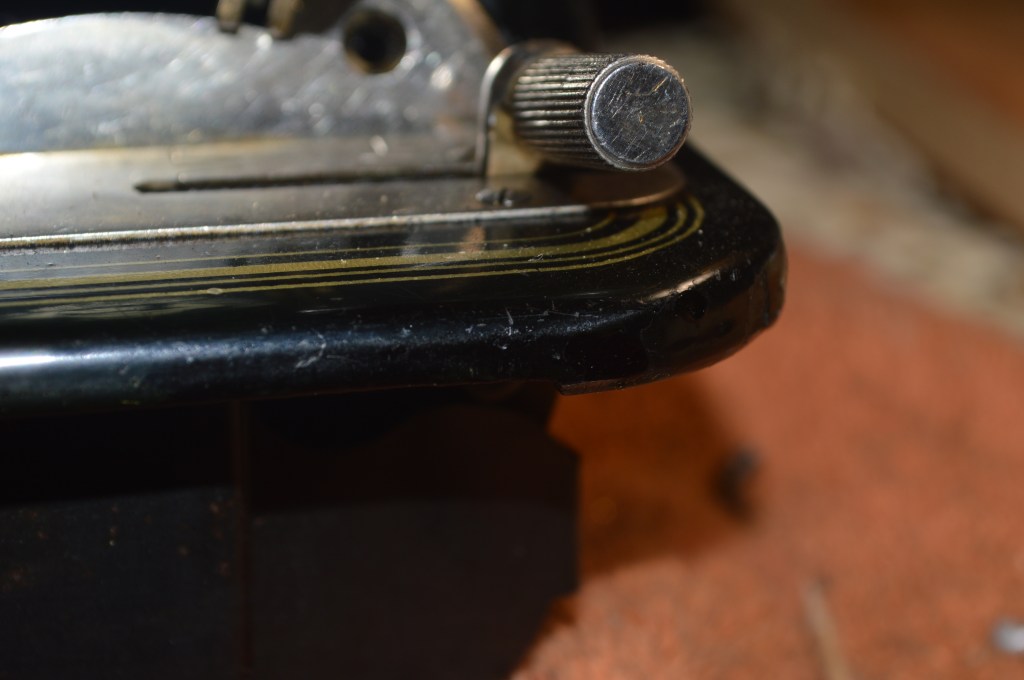
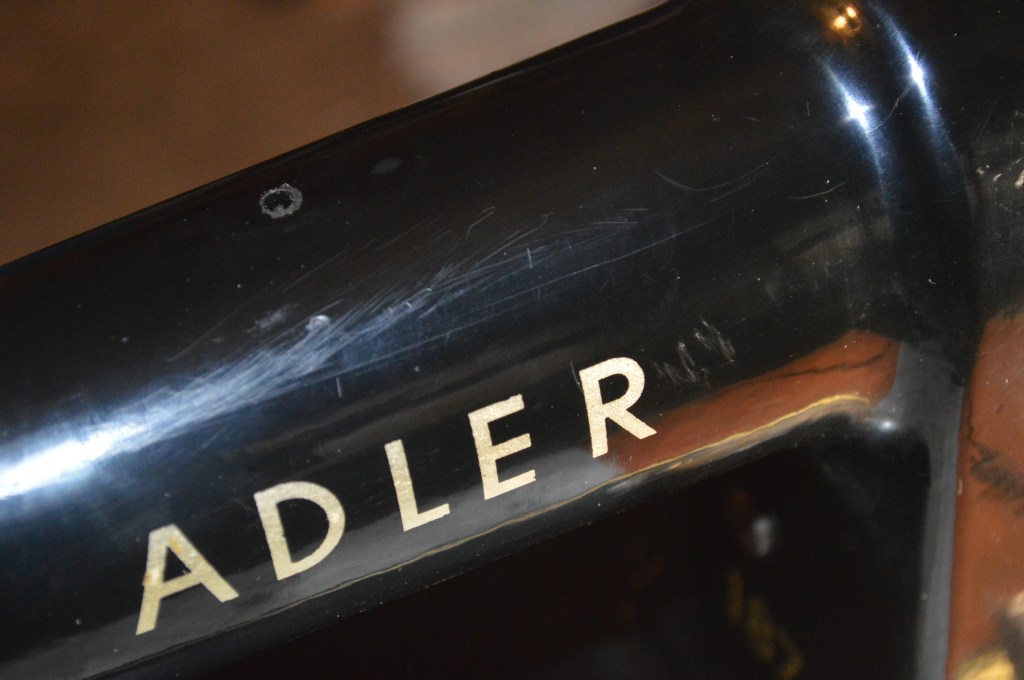
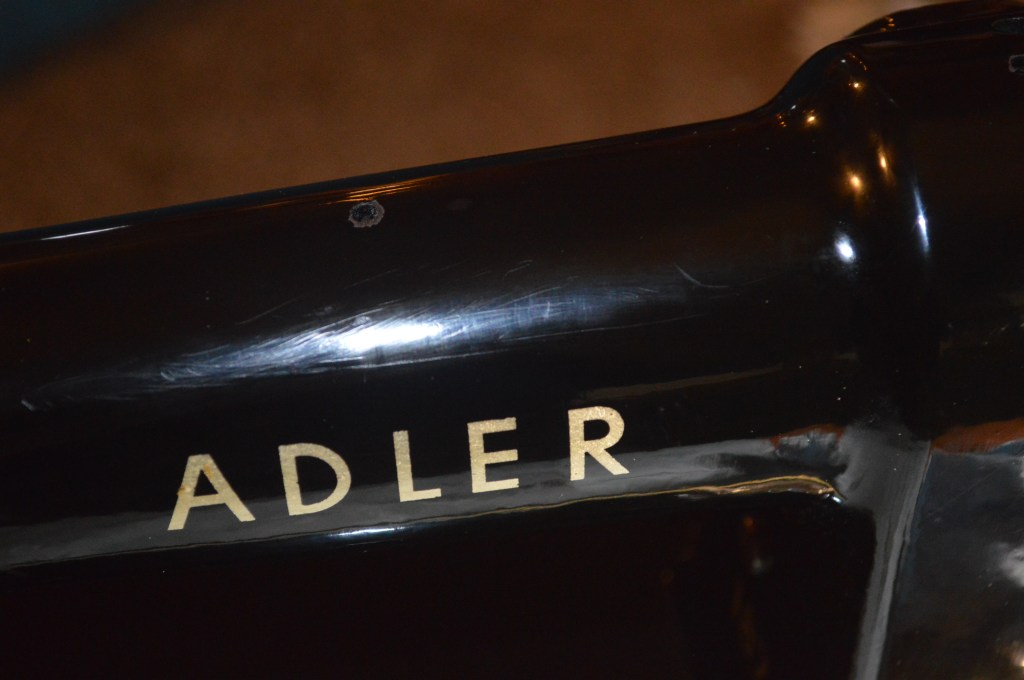
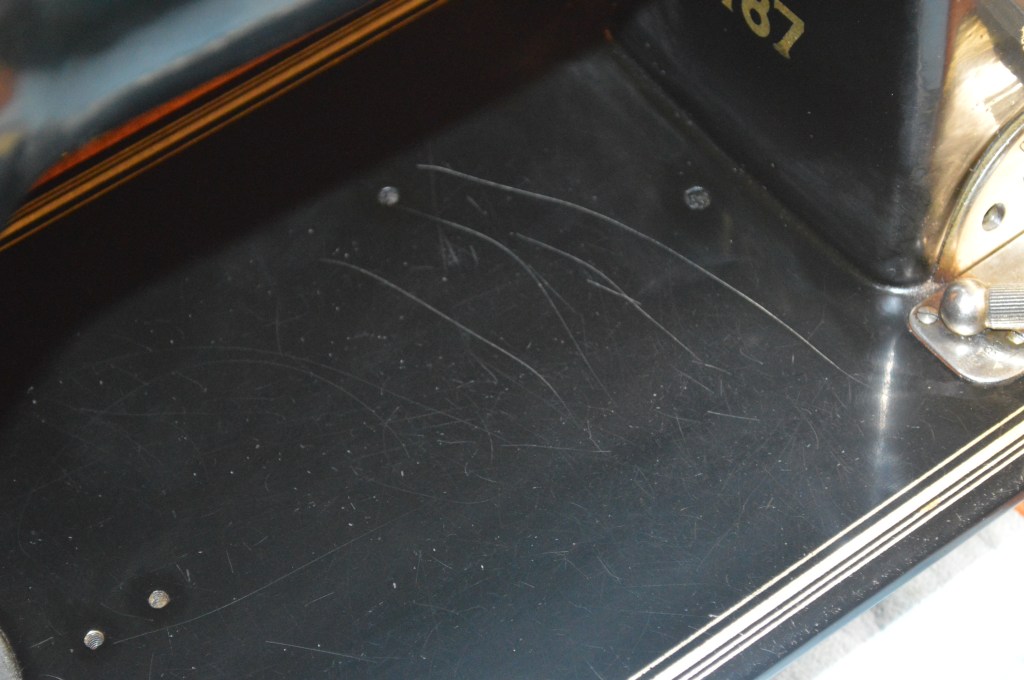
About this machine. This particular Adler 187 is a gem of a machine. Cosmetically, it is in very good condition, There are a few paint chips and a few defects in the decals that will need to be corrected. Mechanically, the sewing mechanism is smooth and free of any excess play. For this restoration, the machine will be disassembled to the greatest extent possible. and the remainder will be cleaned in place. The chrome is in very good condition, but it will be polished. The end goal and expectation is to finish with a machine in both excellent mechanical and cosmetic condition.
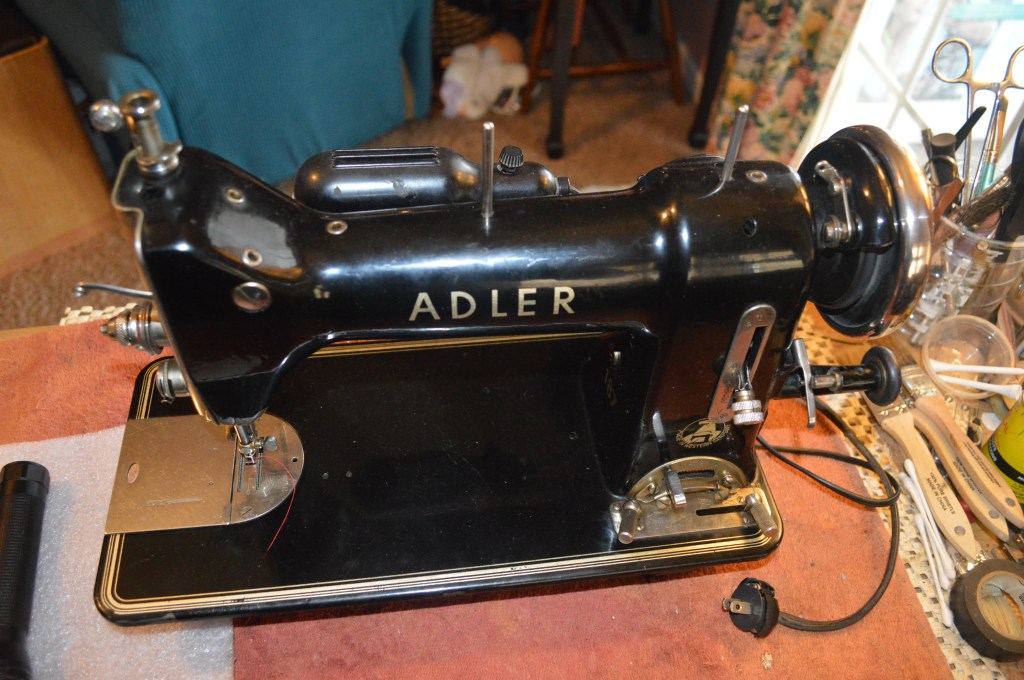
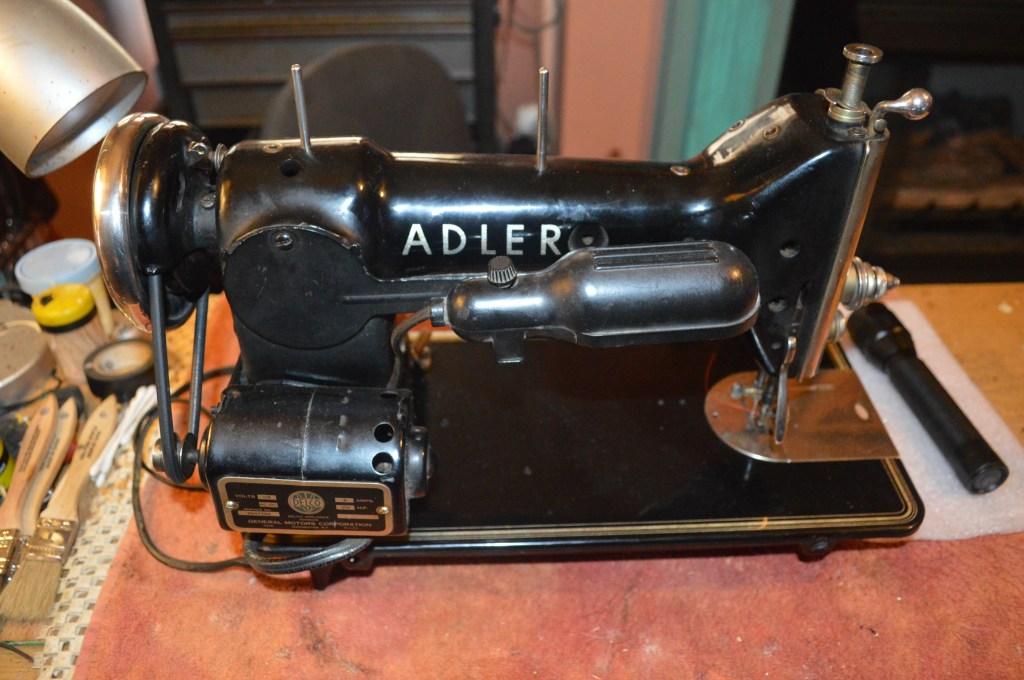
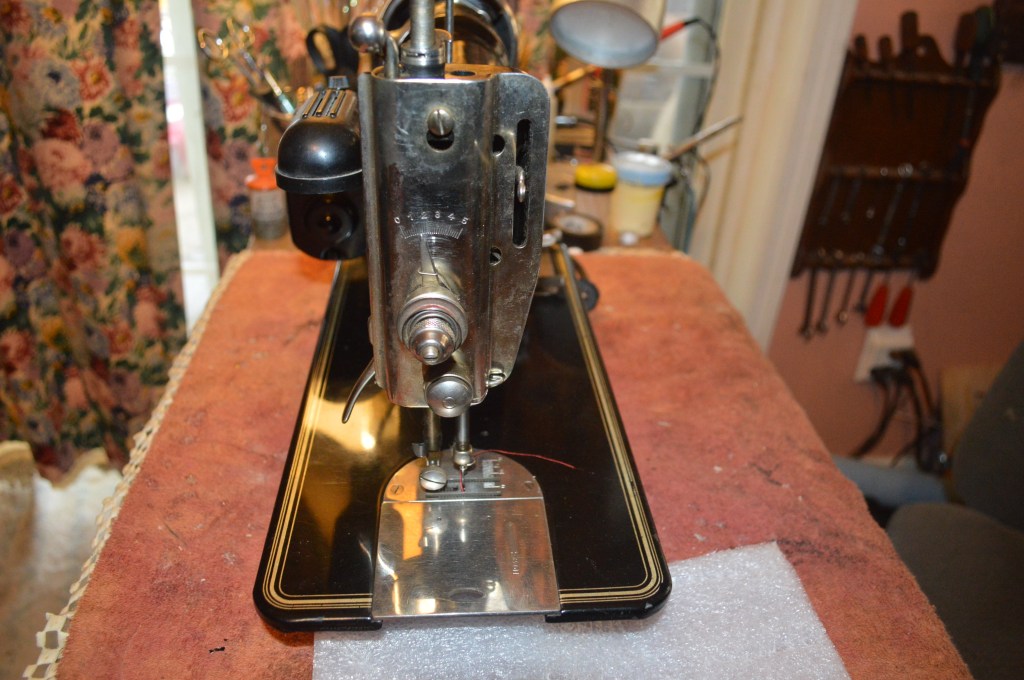
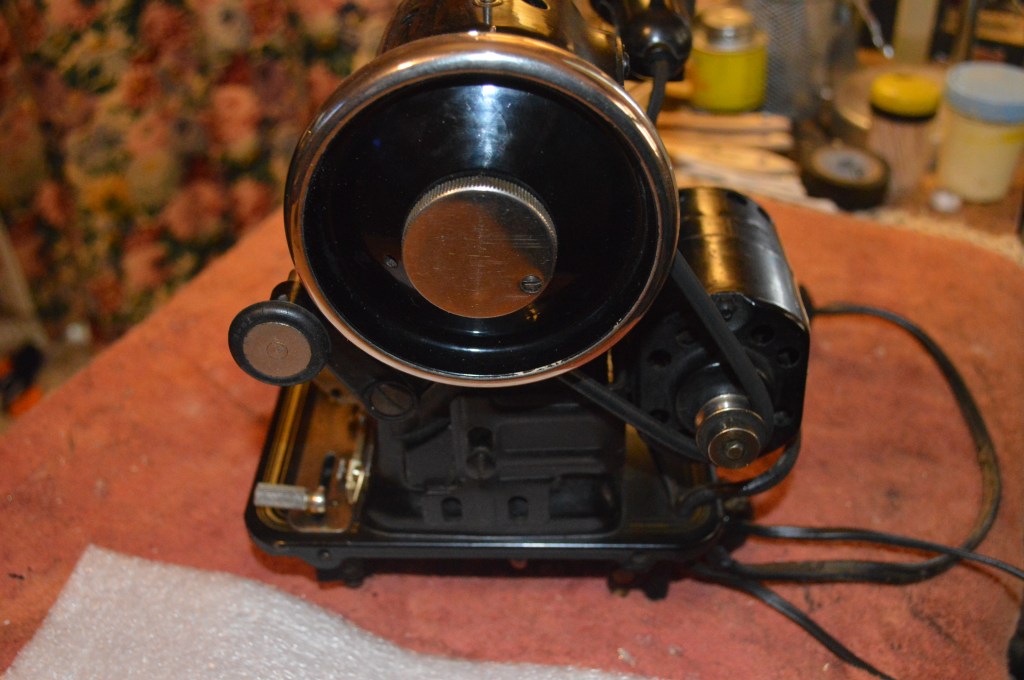
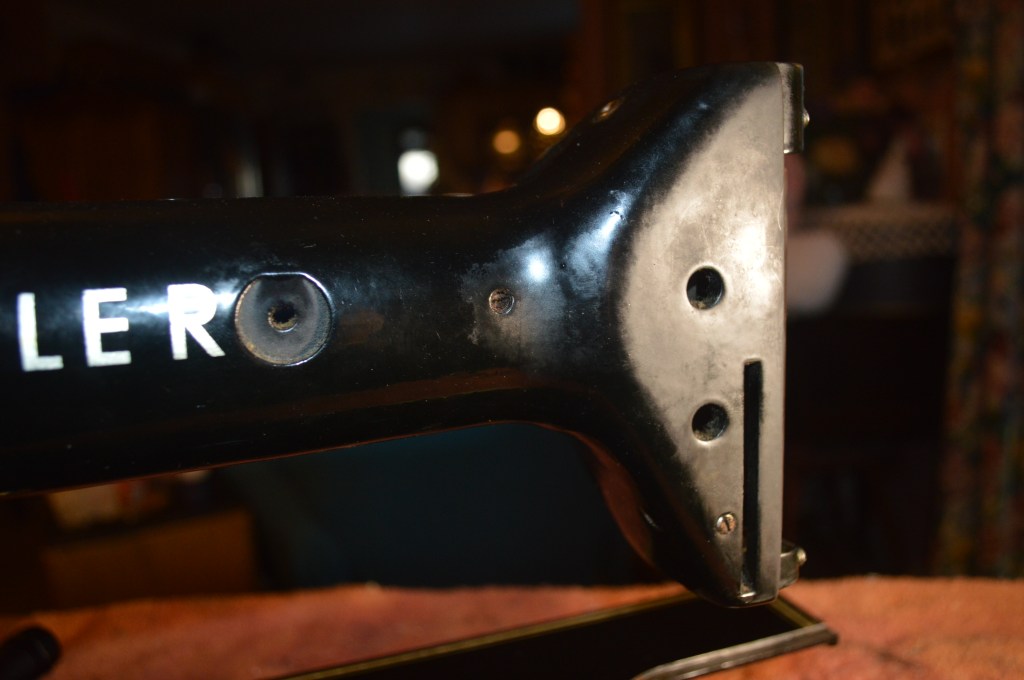
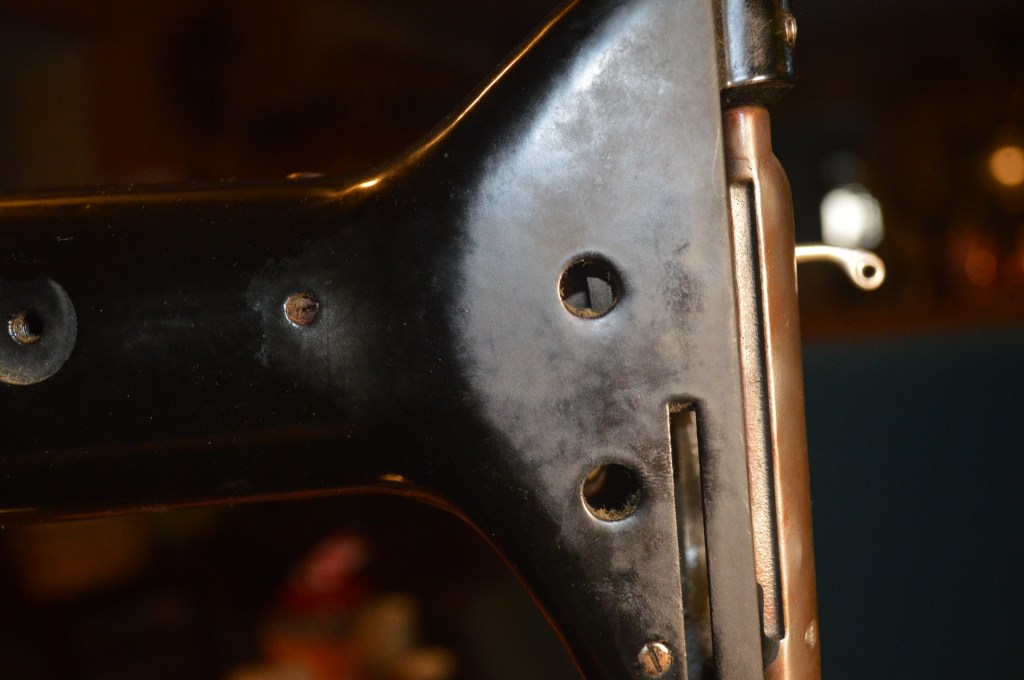
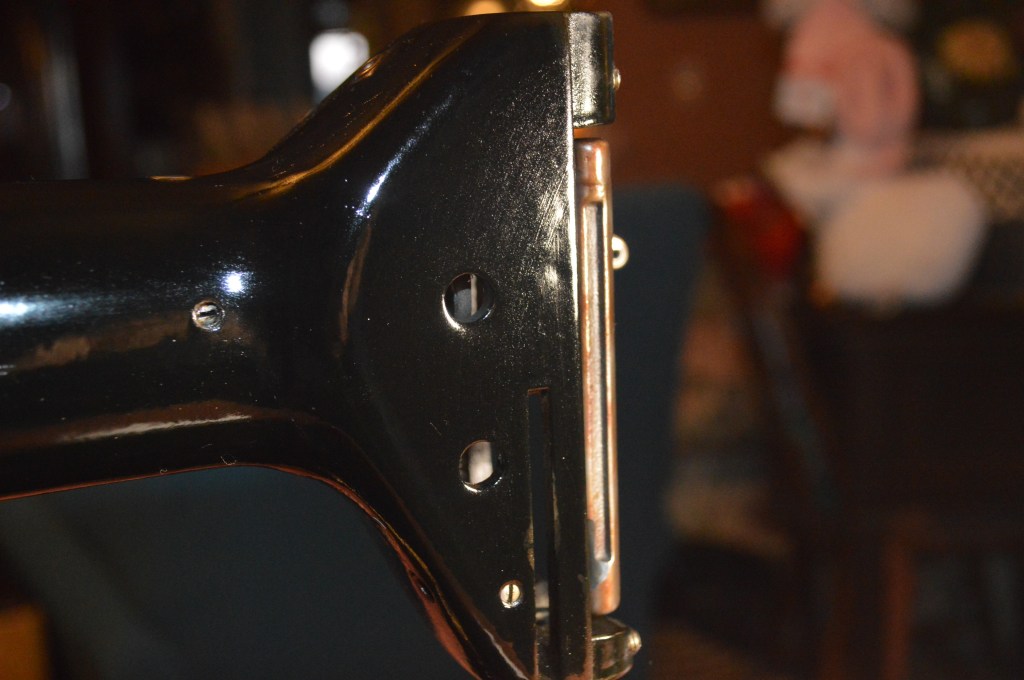
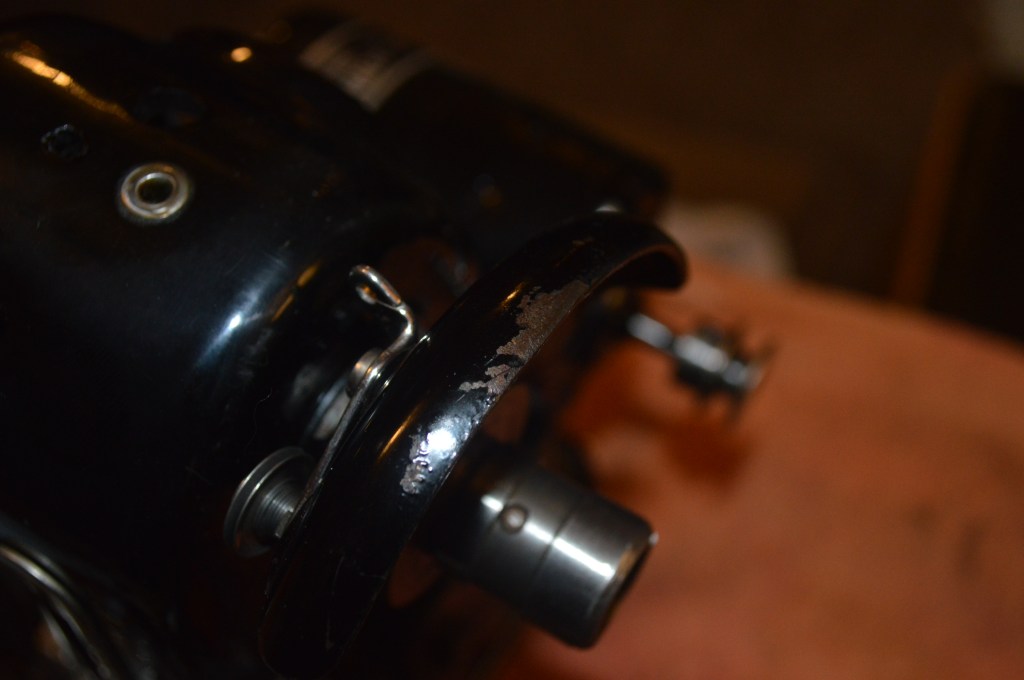
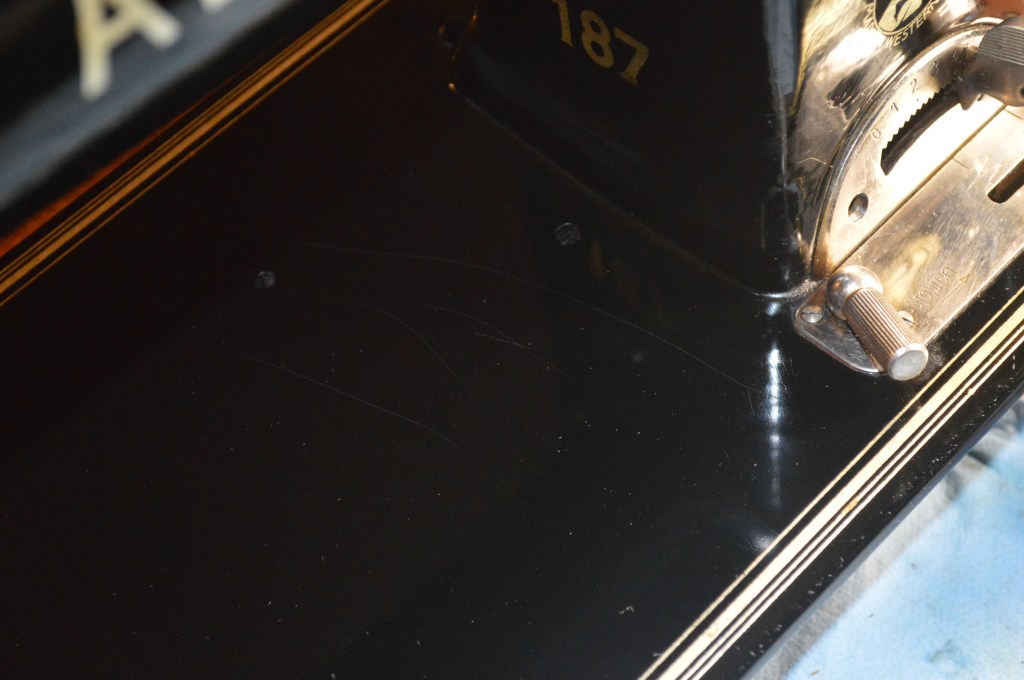
Here is the machine before the restoration…
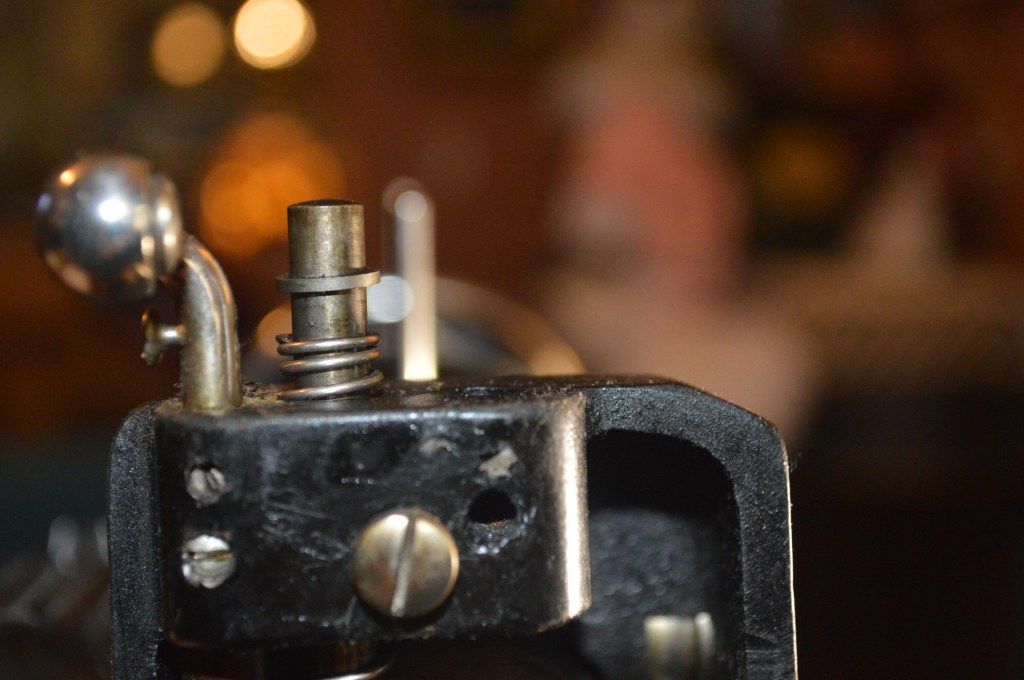
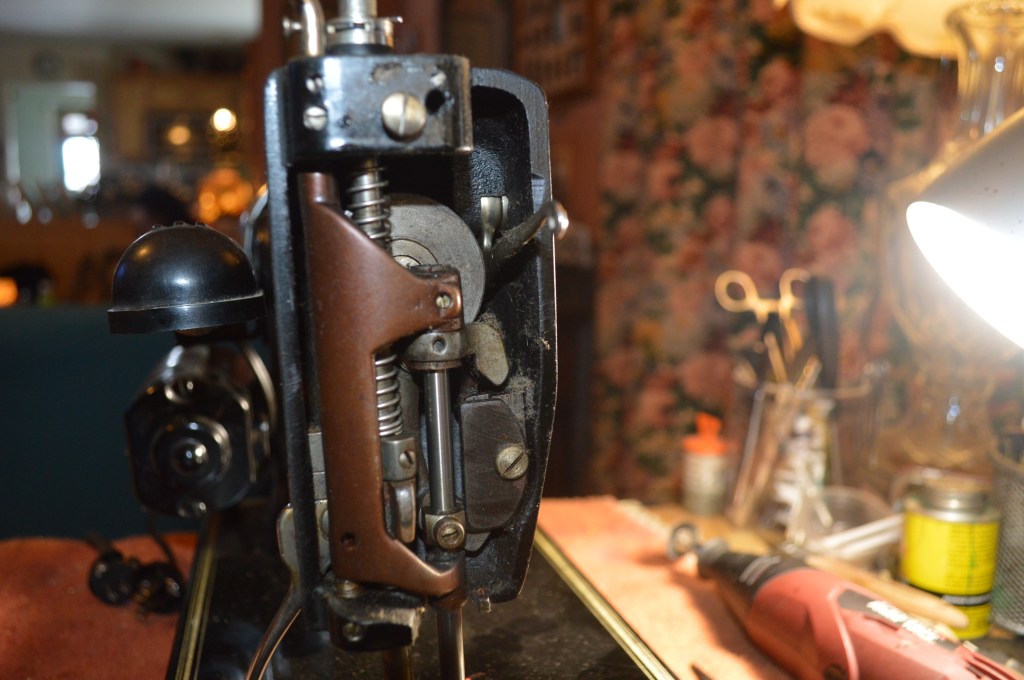
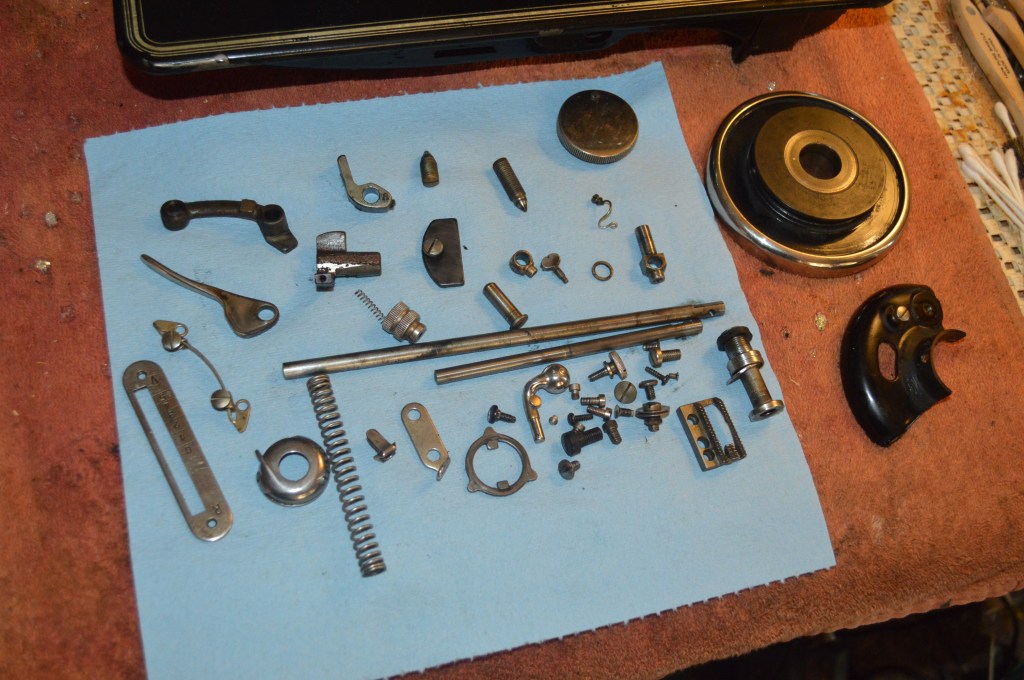
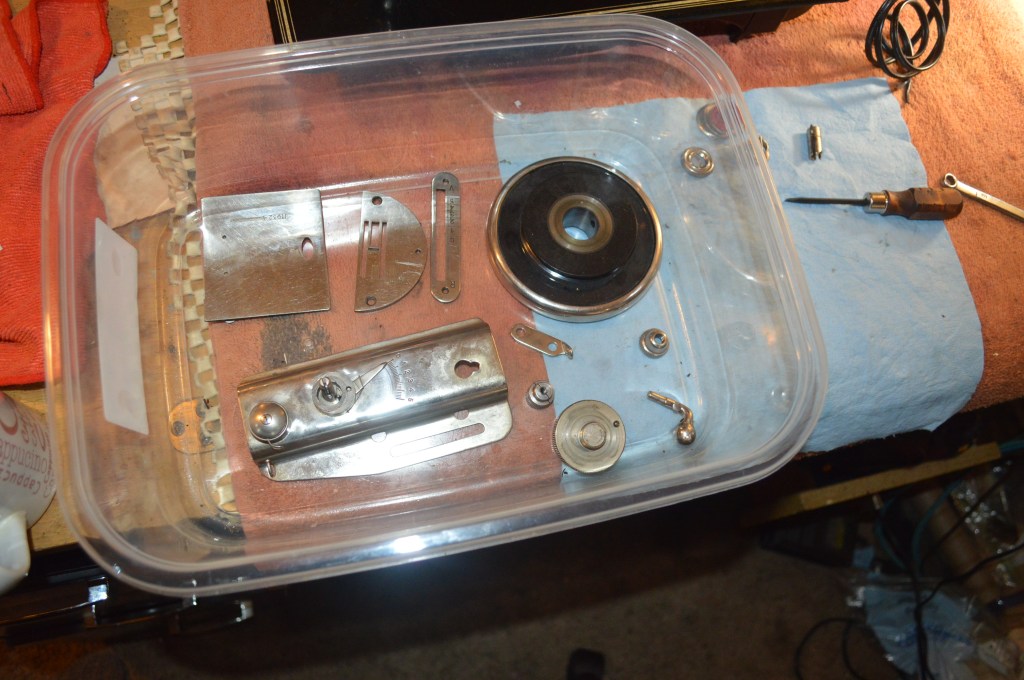
The first step is to remove everything possible from the body of the machine. Then the assembly in the needle bar area is disassembled to remove the needle bar, presser foot bar. There is a lot of dirt and oi varnish that when cleaned and polished, will result in exceptional smoothness.

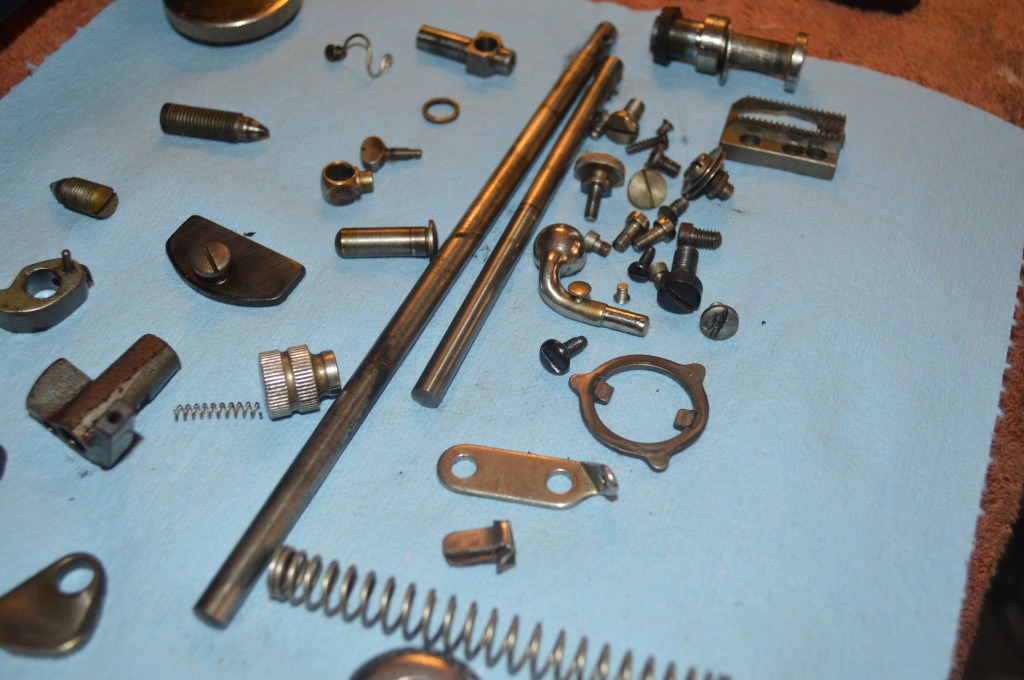
Everything removed is laid out for cleaning.
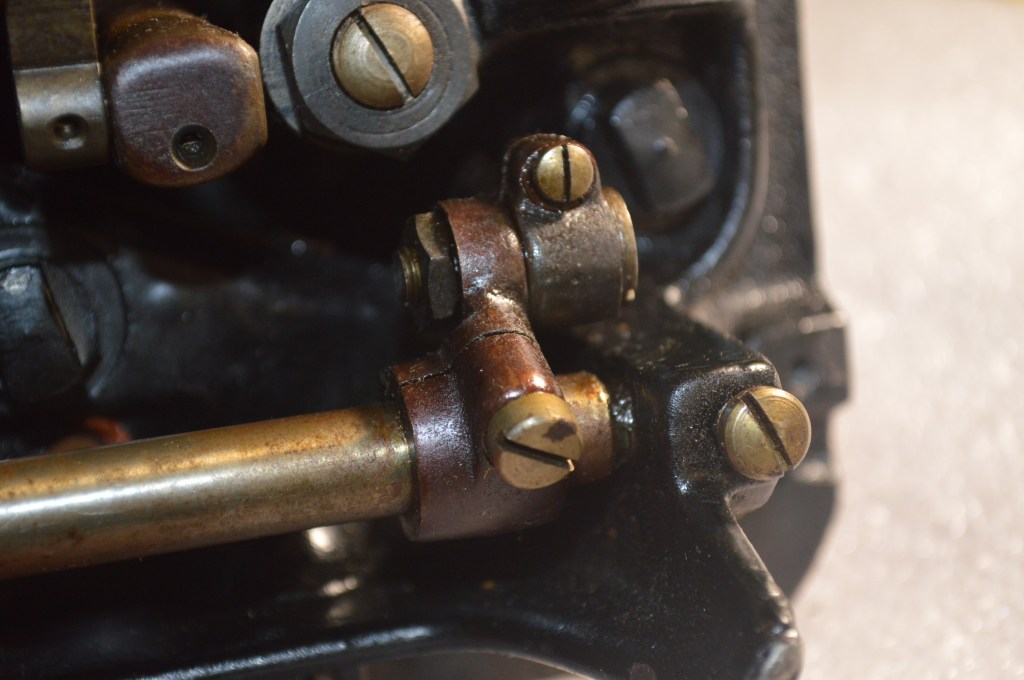
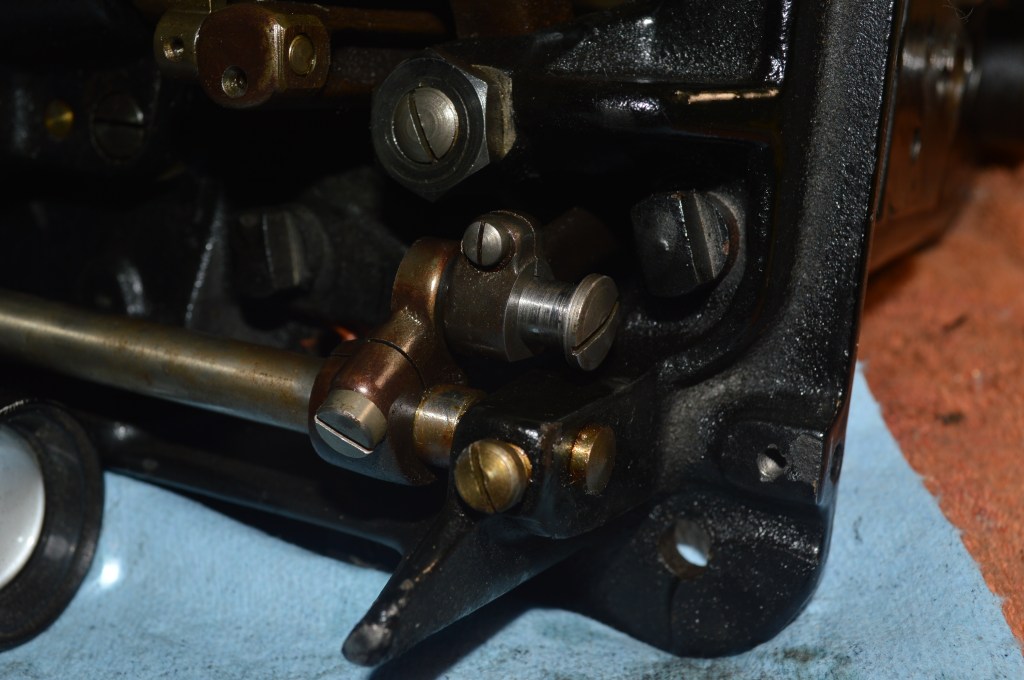
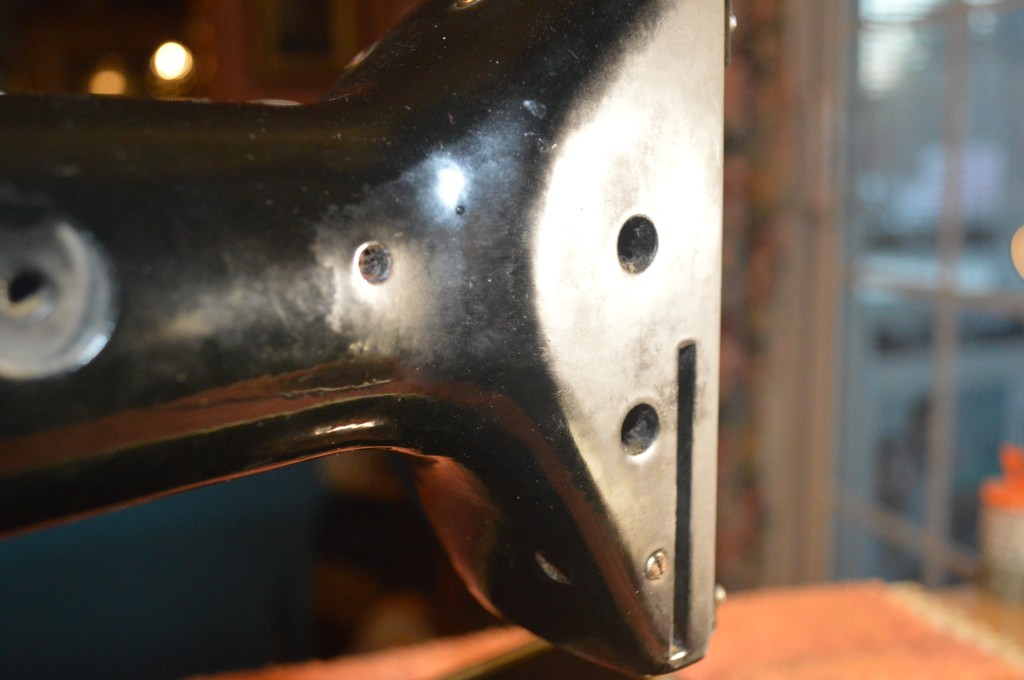
Looking at the underside of the machine, it is easy to see that disassembly is not an option…
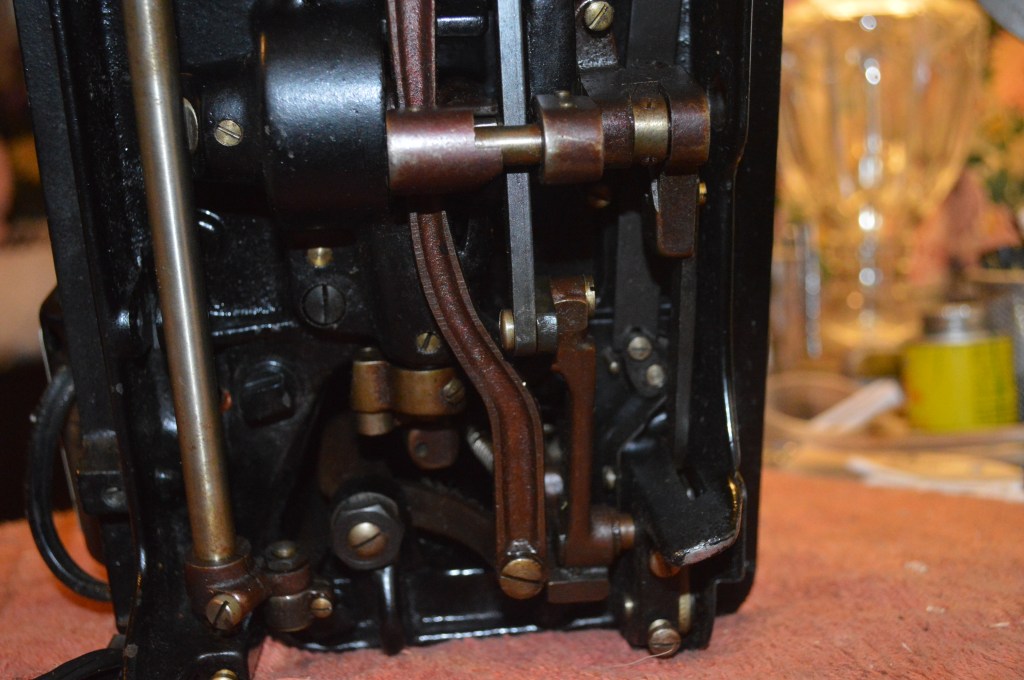
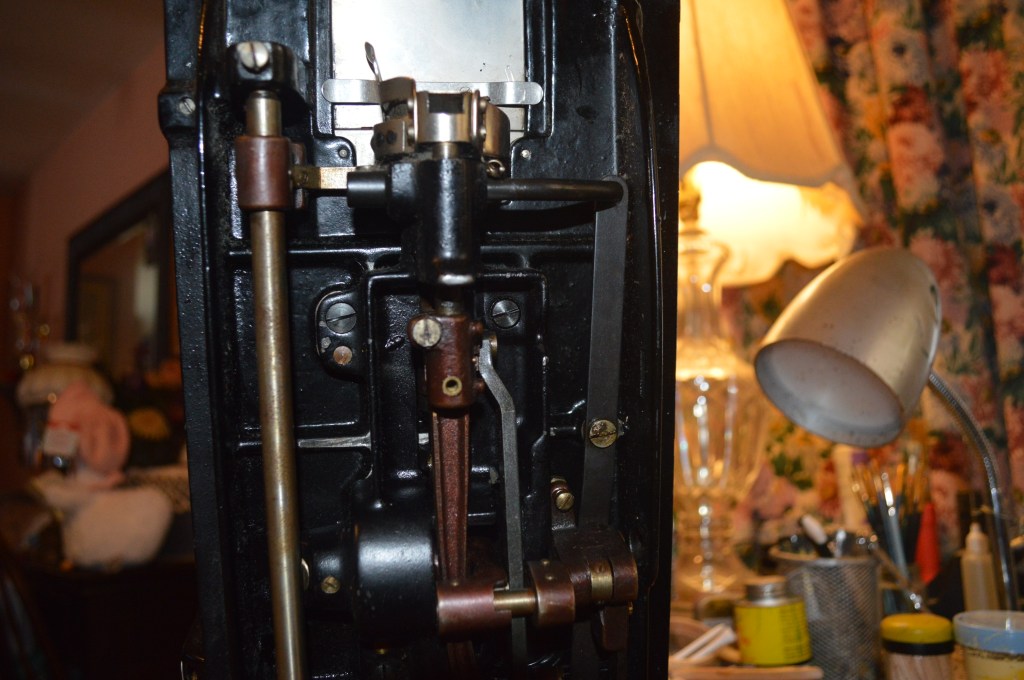


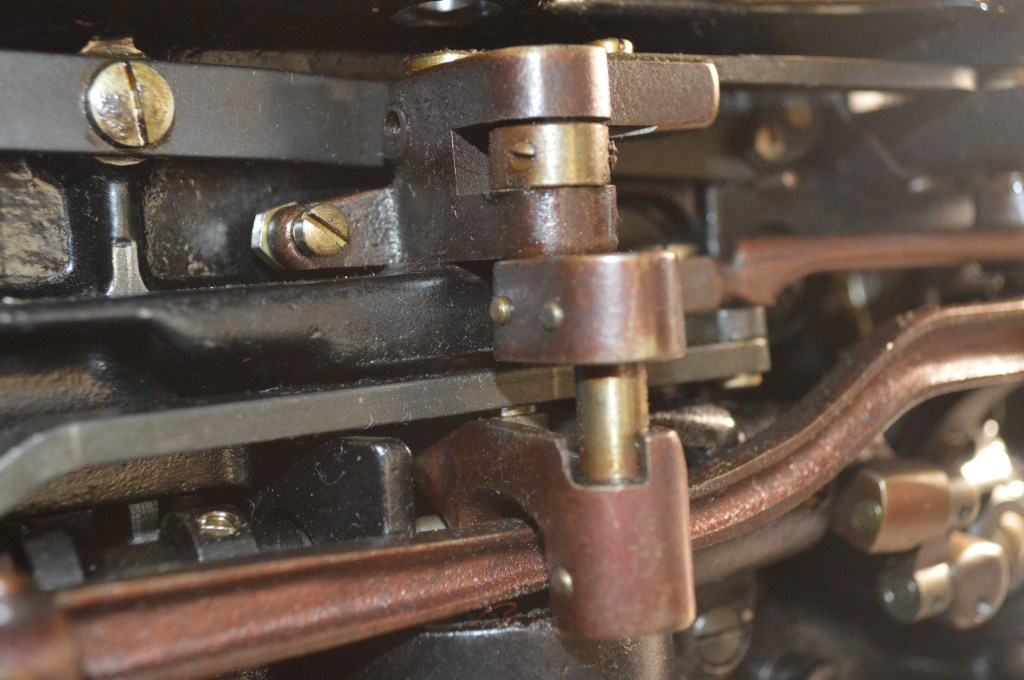
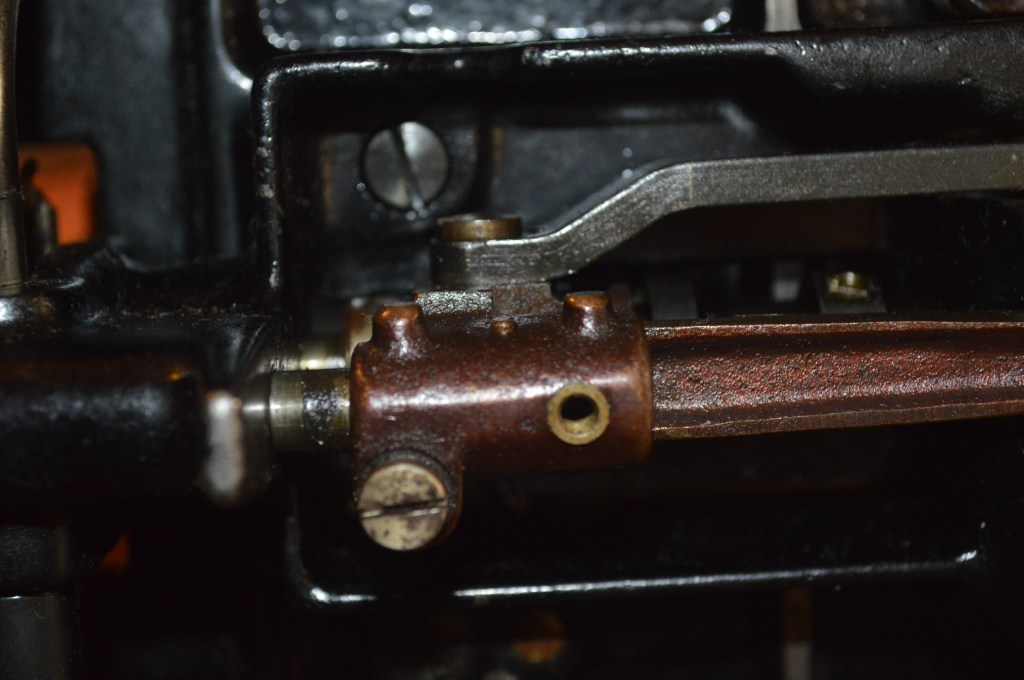
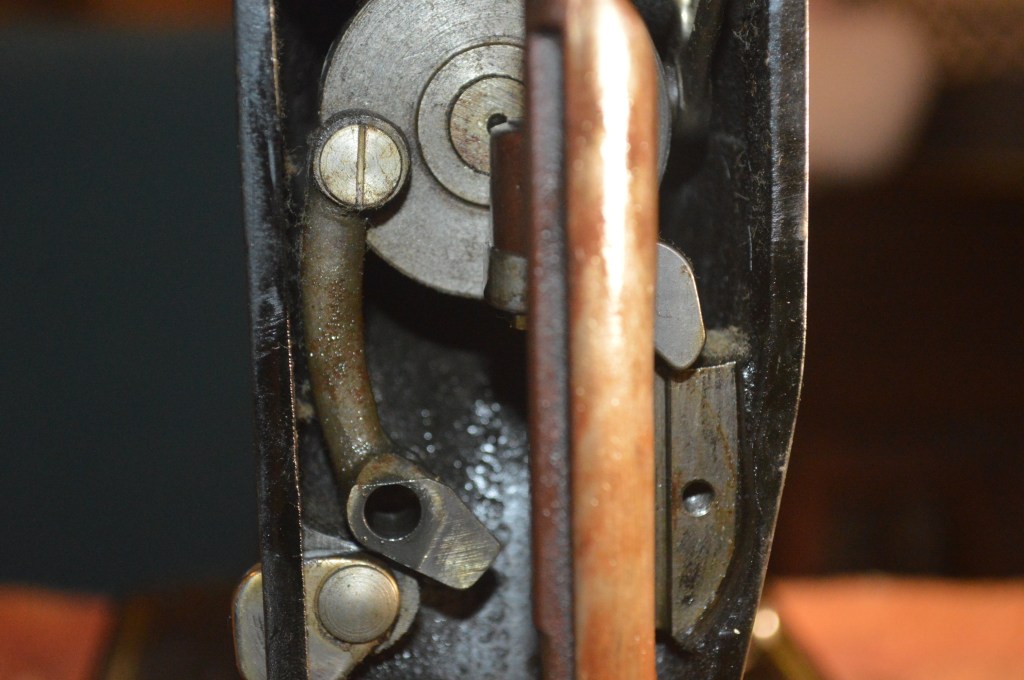
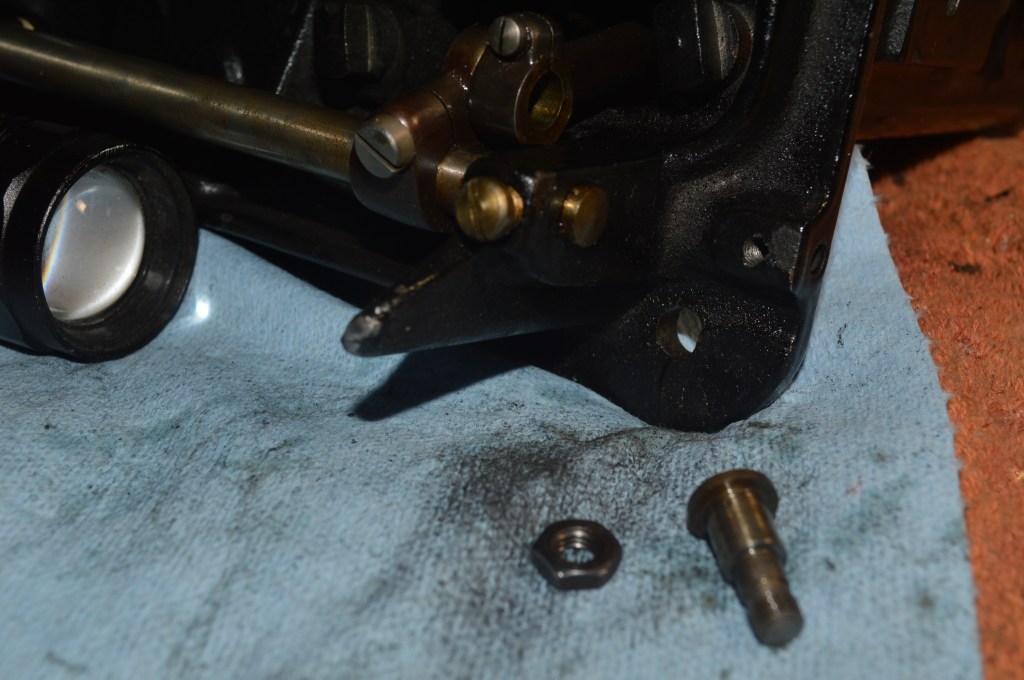
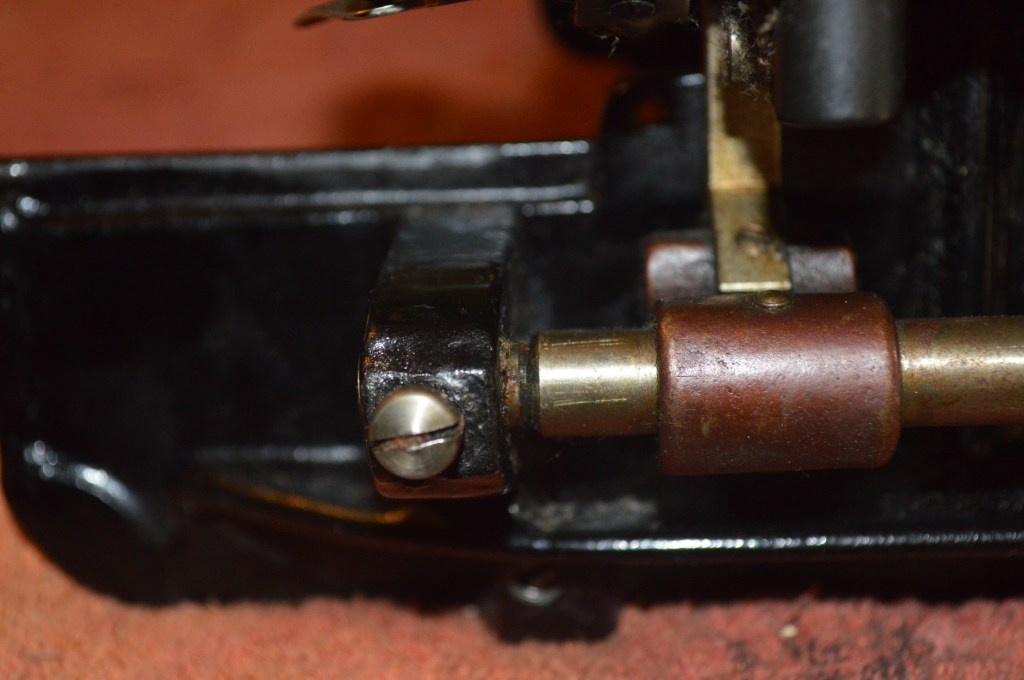
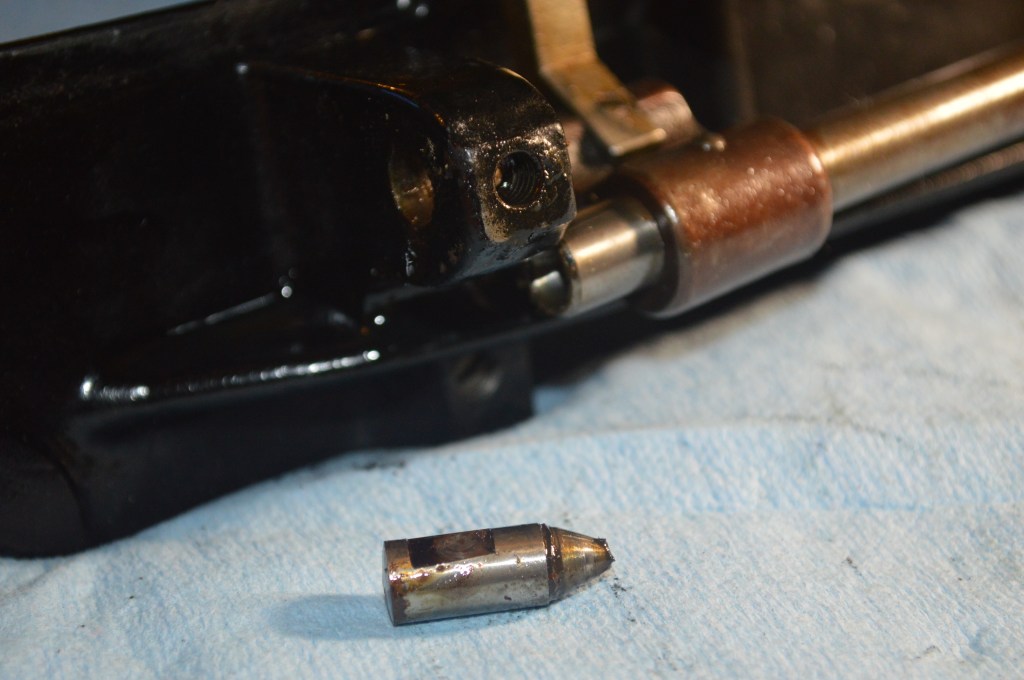
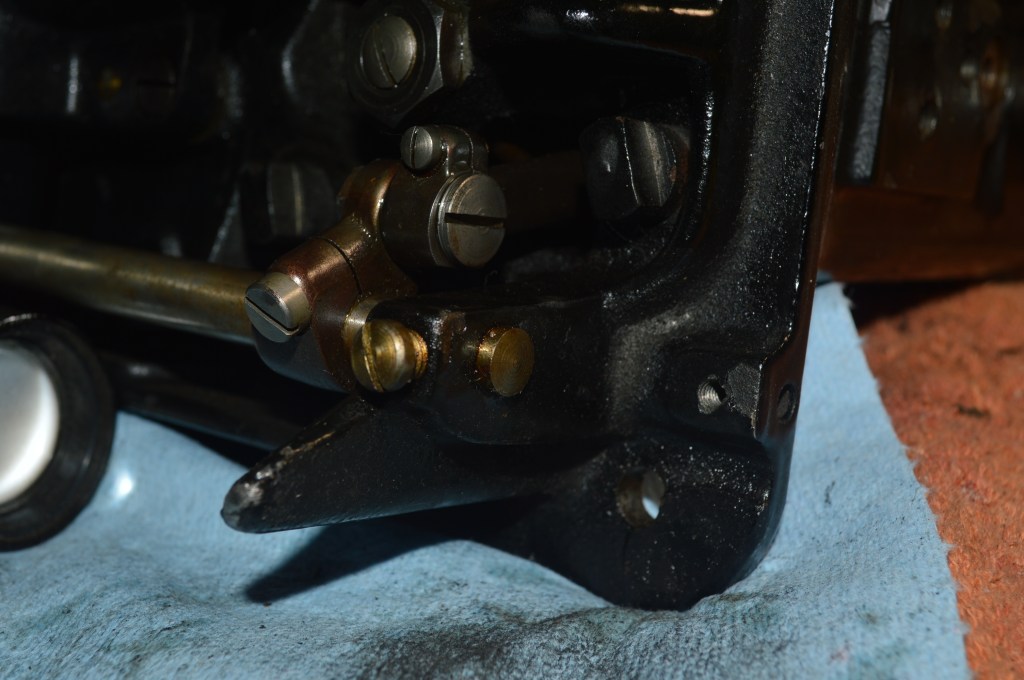
Everything here is cleaned in place and wire brushed. There are a few things that I need to get access to to ensure all oil and varnish is removed. These parts are removed one by one, cleaned, and reassembled without disassembling the whole assembly. This ensures the adjustments are not disturbed.
The motor restoration is next. It is disassembled and cleaned, the wires are replaced, the commutator is polished, and the motor shafts are polished. Because the brushes in this motor are worn out, the brushes are replaced.

Shaft before polishing 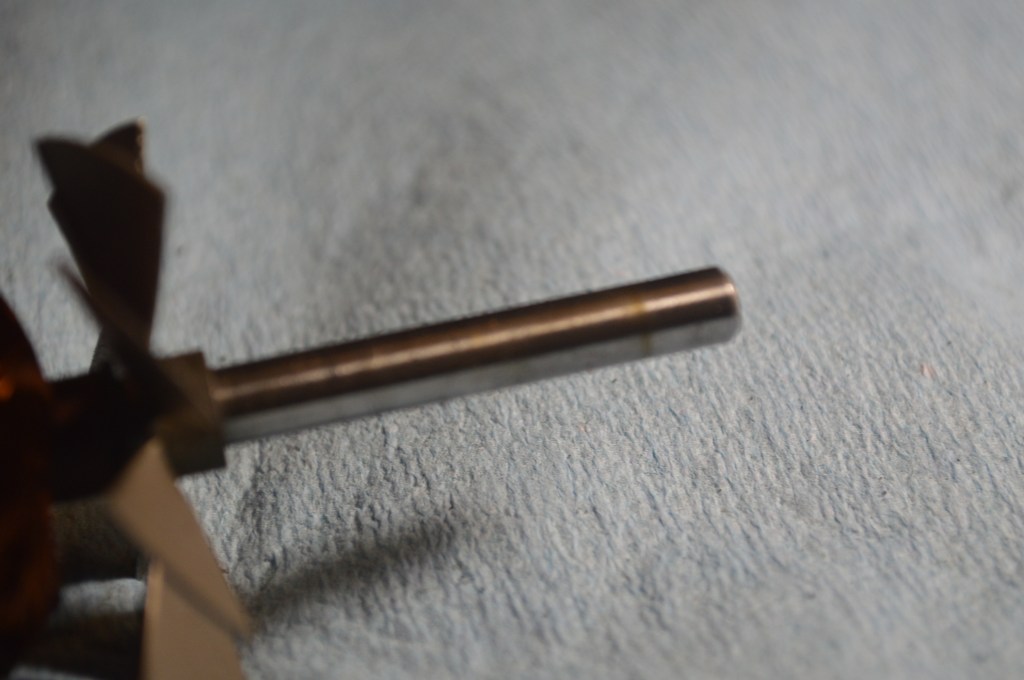
Shaft after polishing 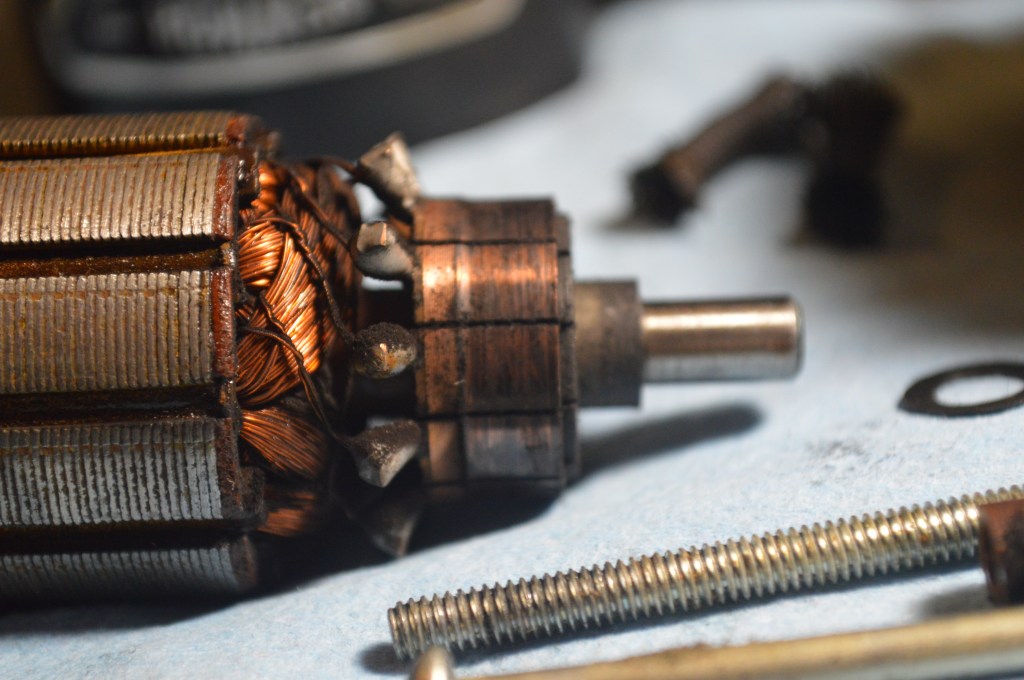
commutator before polishing 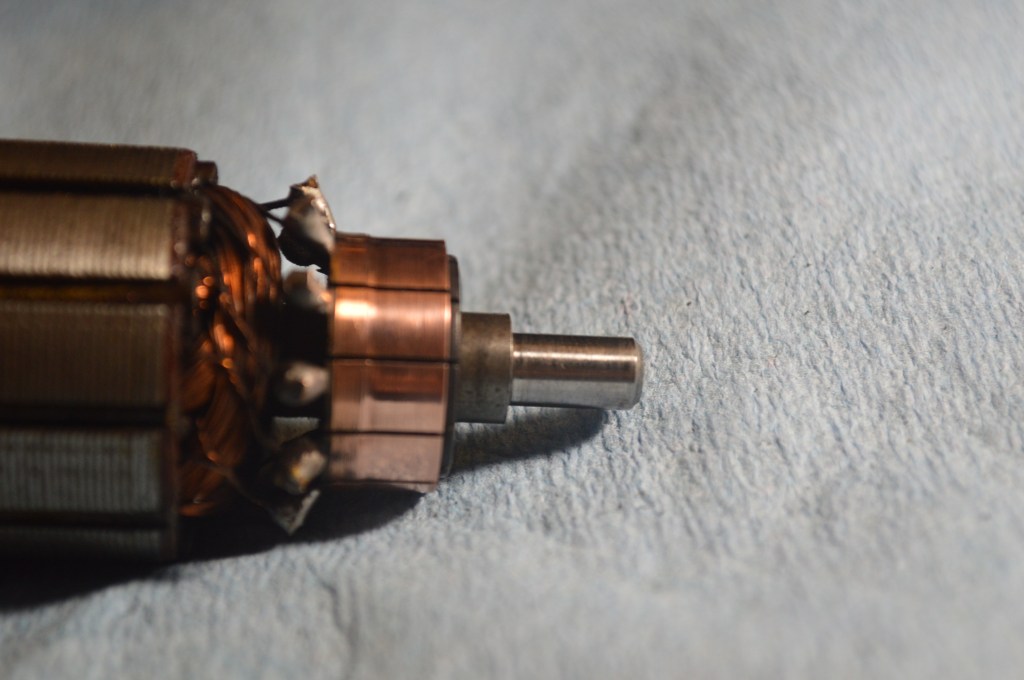
Commutator after polishing 
Parts laid out for cleaning 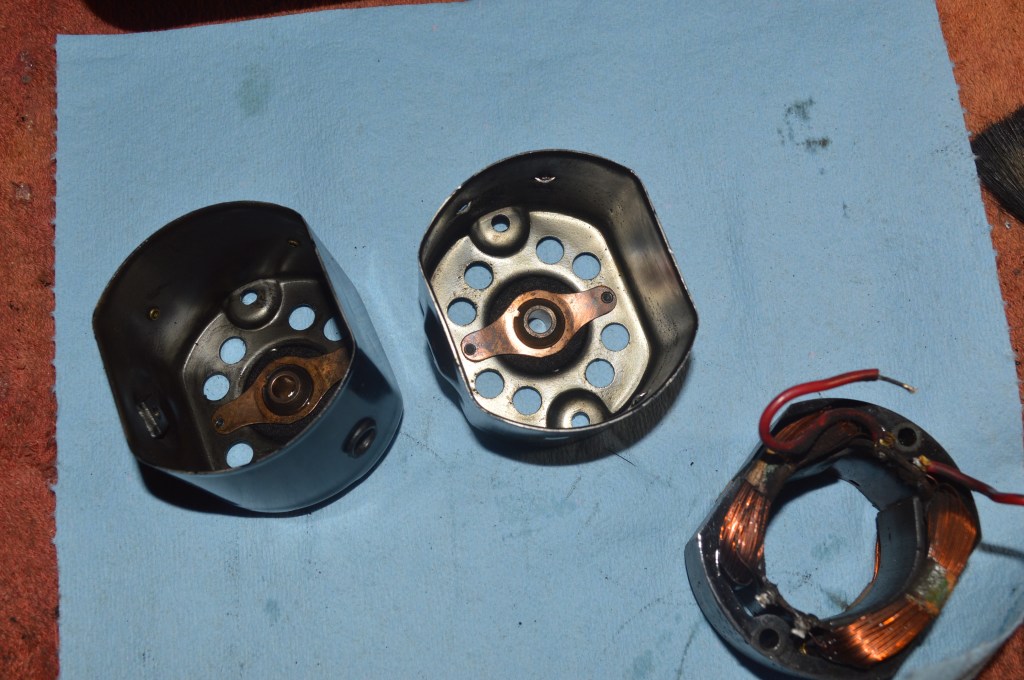
End caps cleaned and oil felts recharged with oil 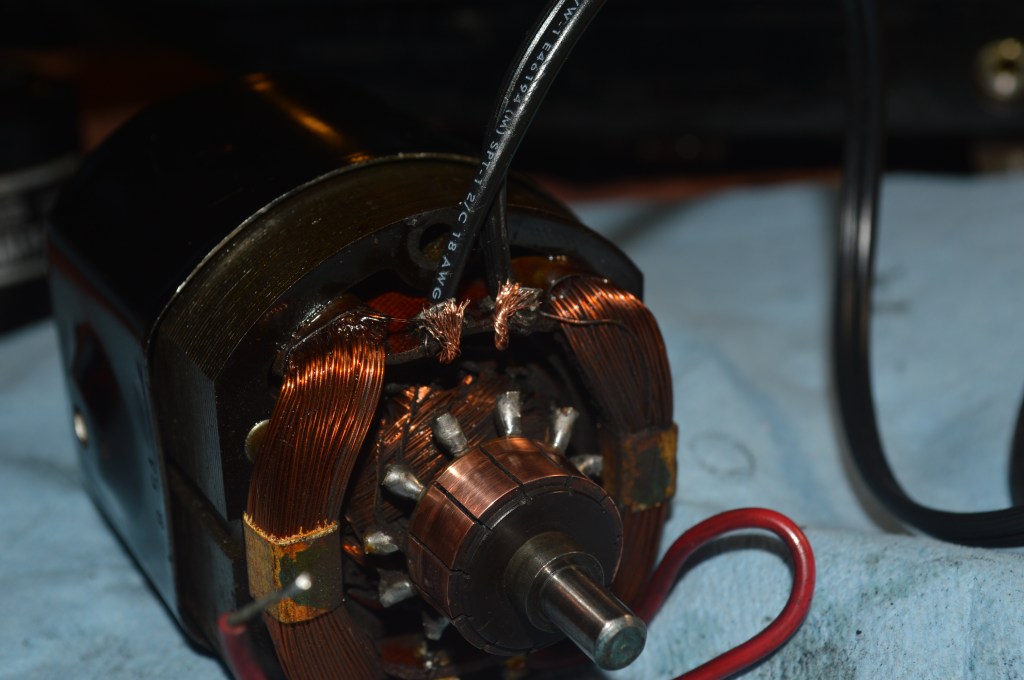
Wires replaced 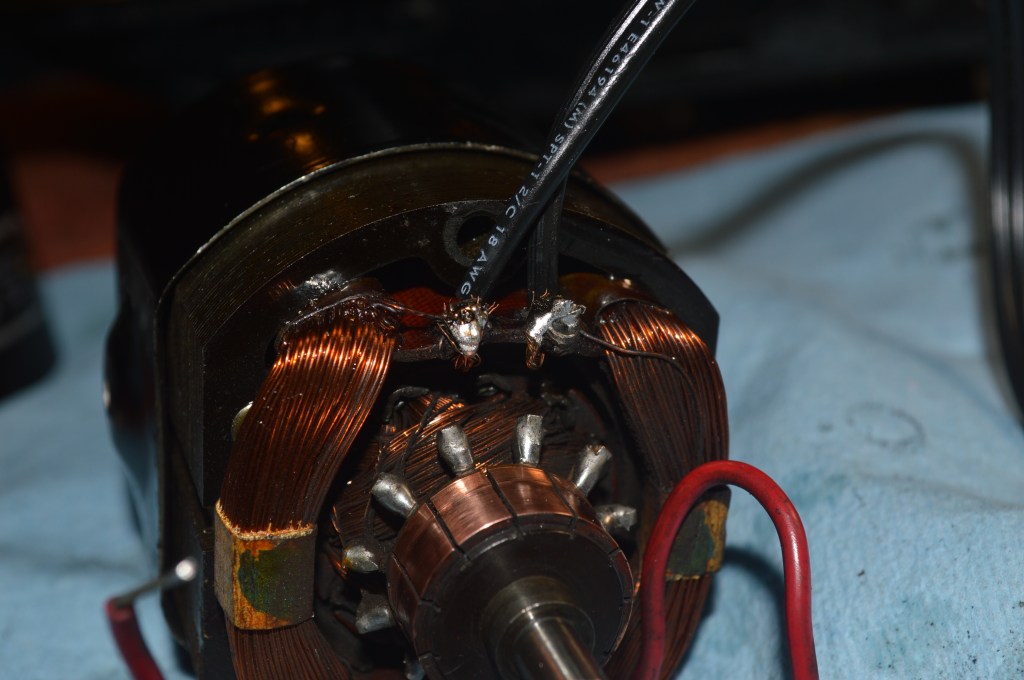
Wires soldered 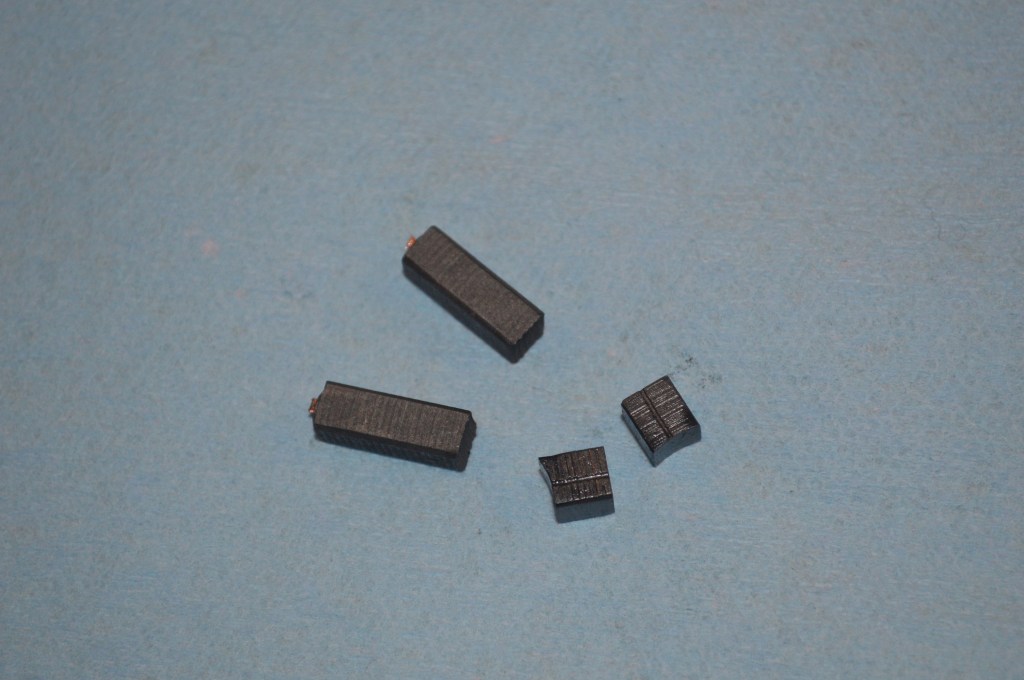
New brushes on left, old brushes on right 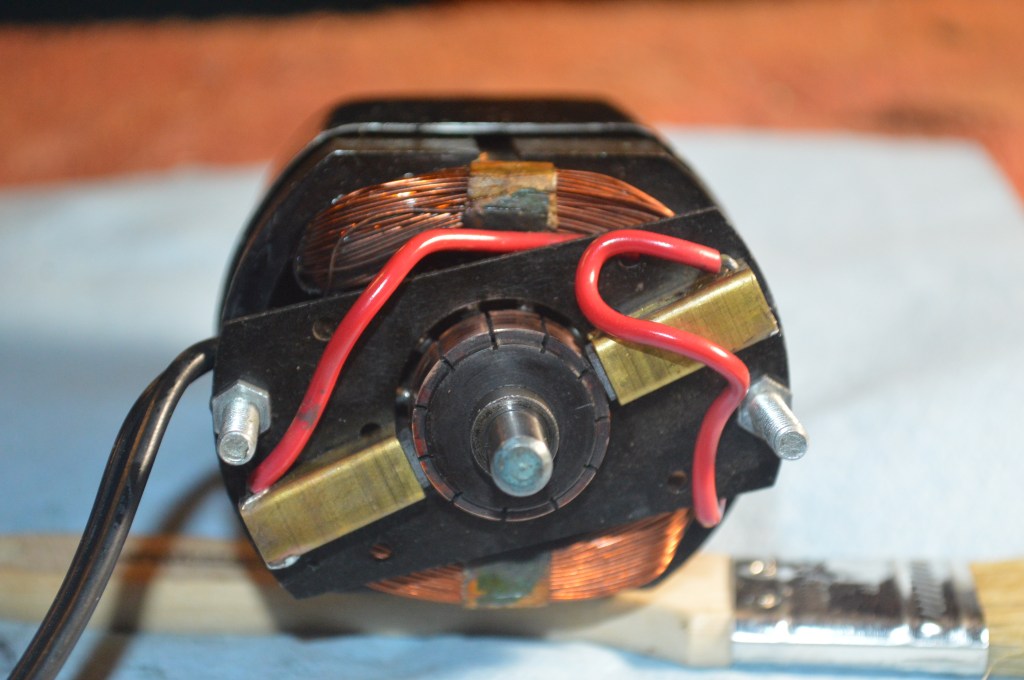
Brush tube wires swapped to reverse direction 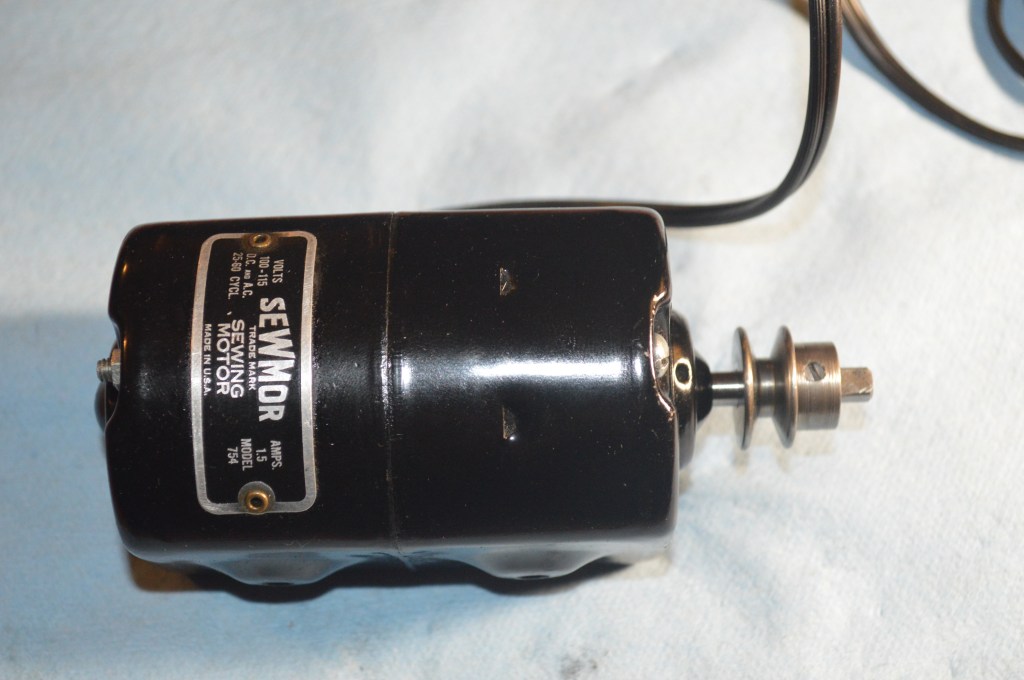
Motor reassembled
The motor is “run in” to ensure it runs smoothly and powerfully.
The cosmetic restoration begins with cleaning the body of the machine.
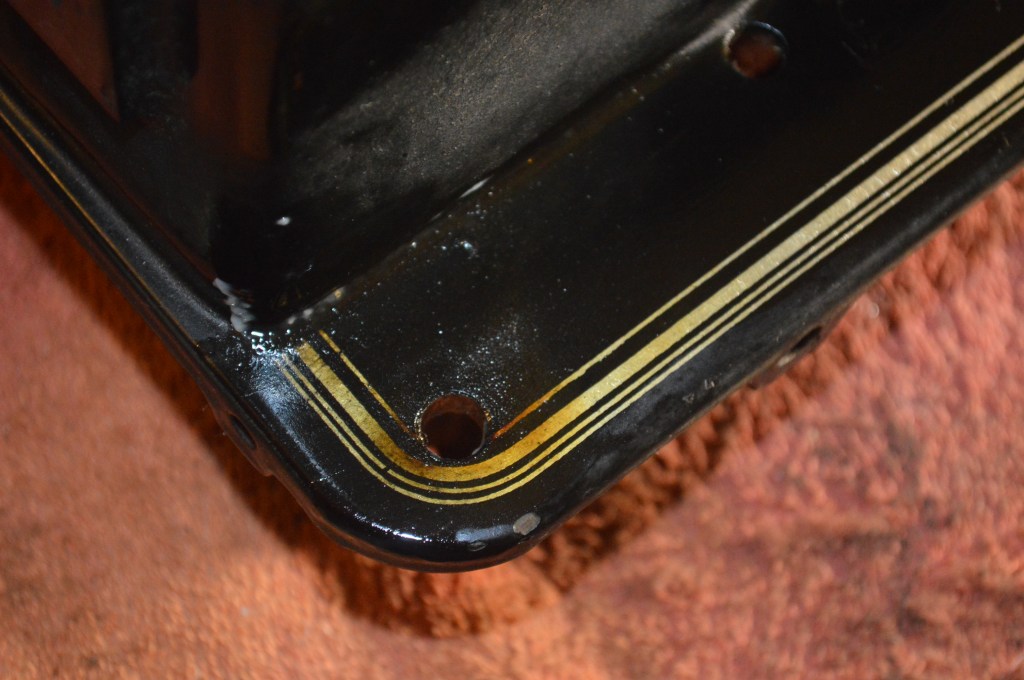
Next the decals are repaired. The gold on this machine is a very light gold. A mixture of gold pigments in a clear polyacrylic is custom mixed to closely match the decal colors.
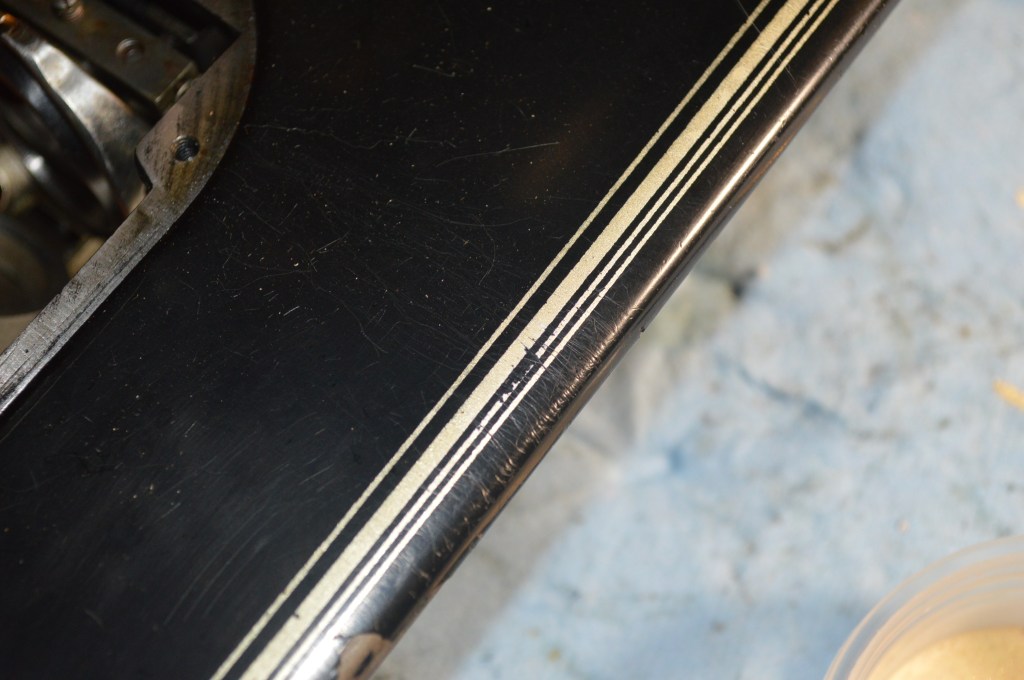
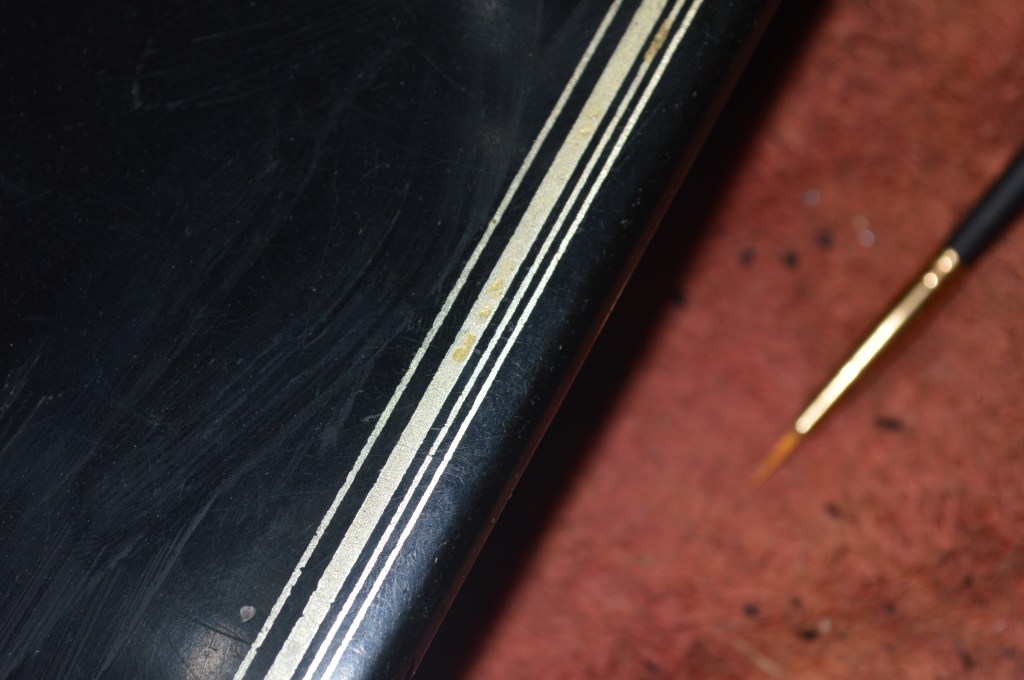
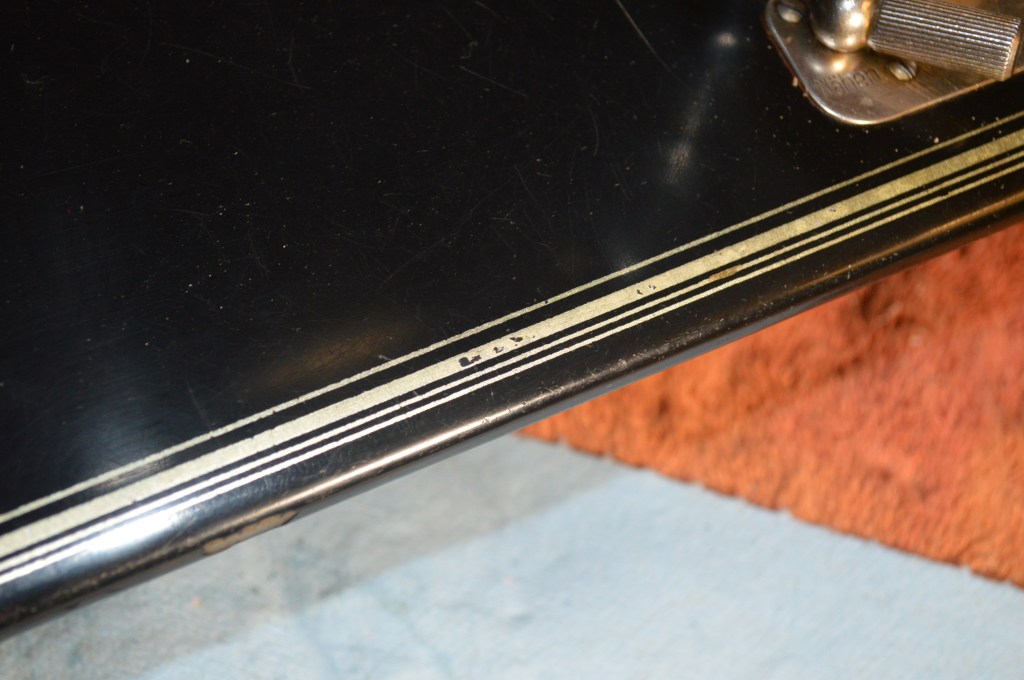
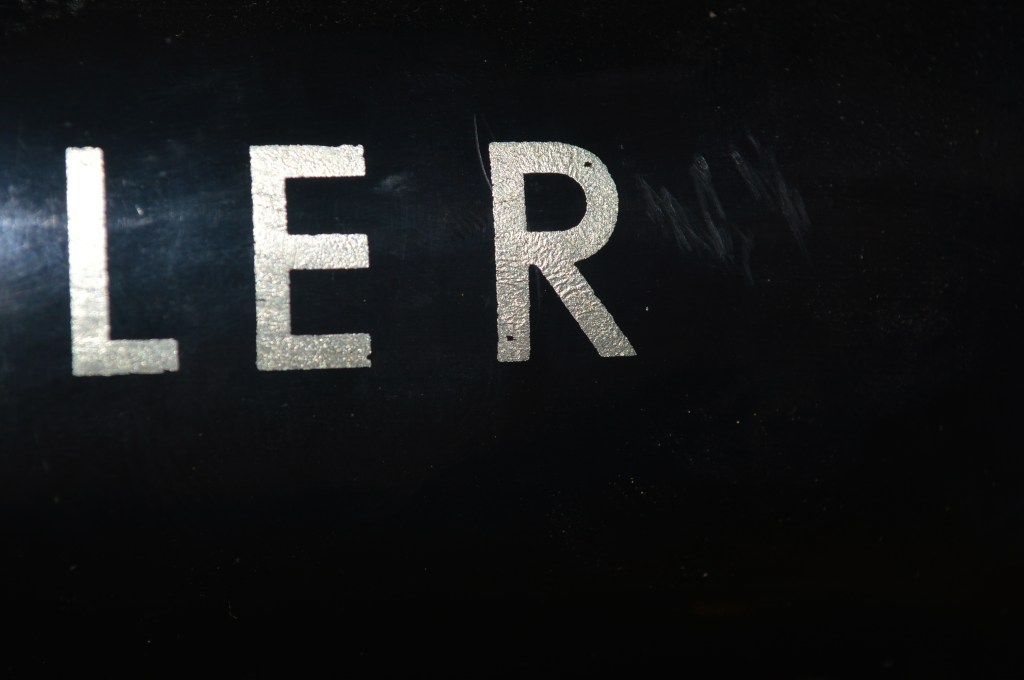
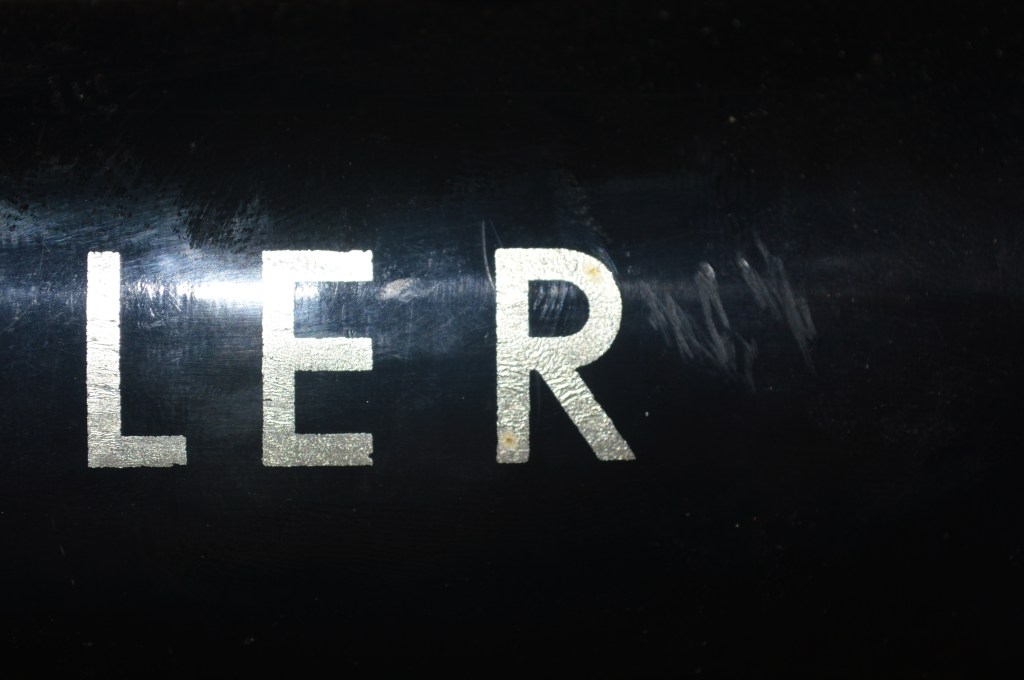
Repairing decals is the trickiest part of any restoration. The thin line on this decal is about 0.5mm wide. Consider that this is about one the thickness of a dime, and you can begin to see the challenge in repairing them. Repairs have to be made under magnification, and the thinnest artist brush, with a few bristles trimmed closer is needed. Even then, keeping a smooth line is a challenge.
Paint matching the paint chips is much easier to do. I use a custom mixed shellac based paint to get the closest “black” matching the machines paint.

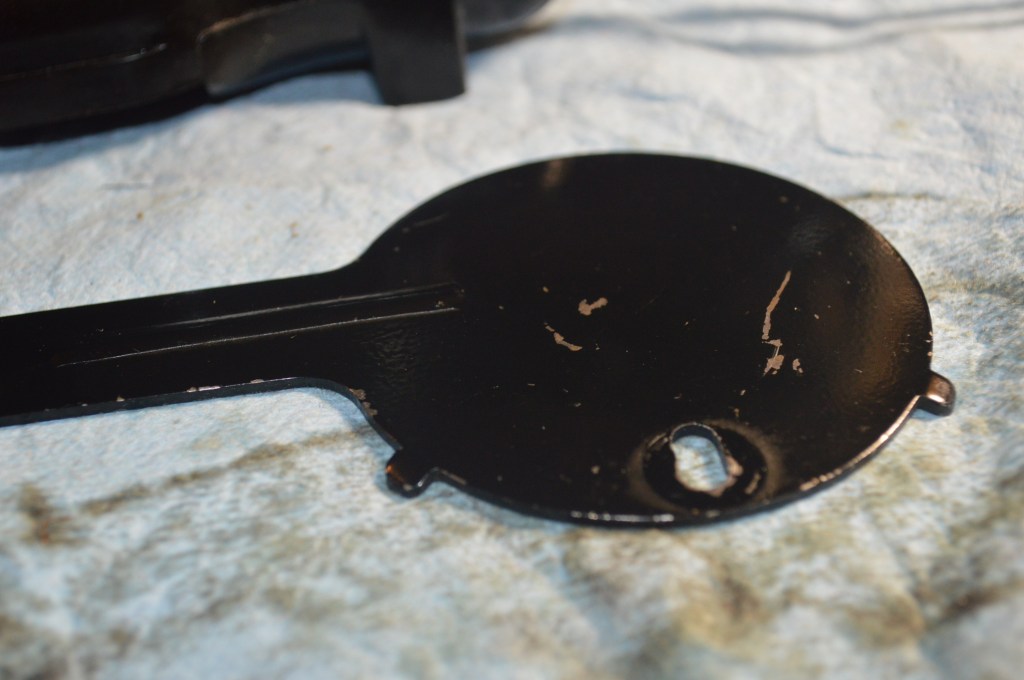
Not forgetting the balance wheel shroud, it is cleaned and the chips paint matched.
Before 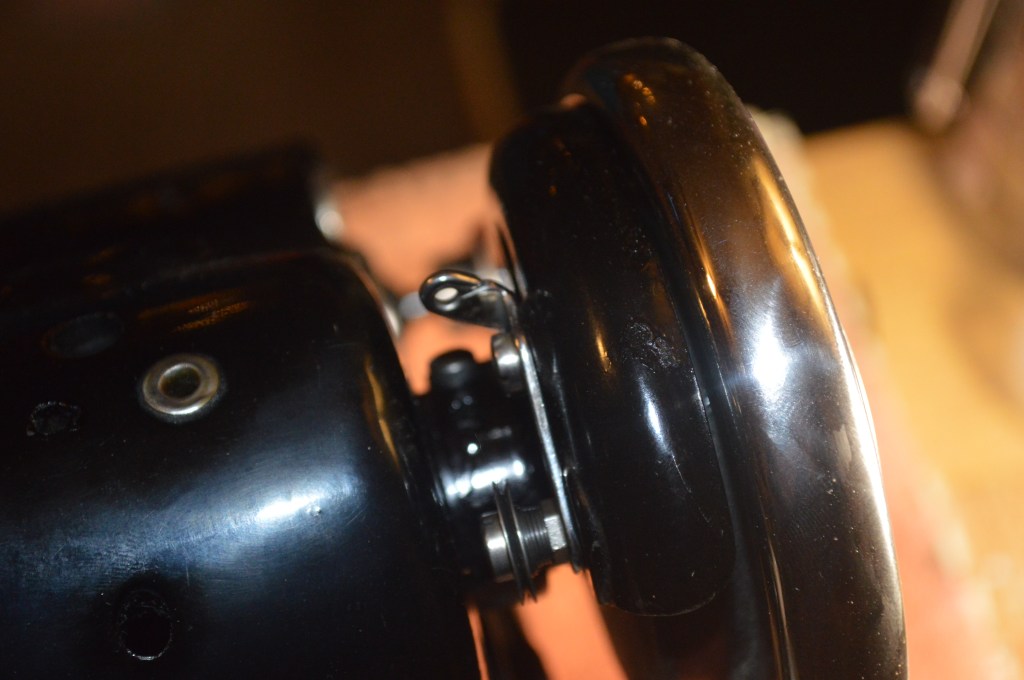
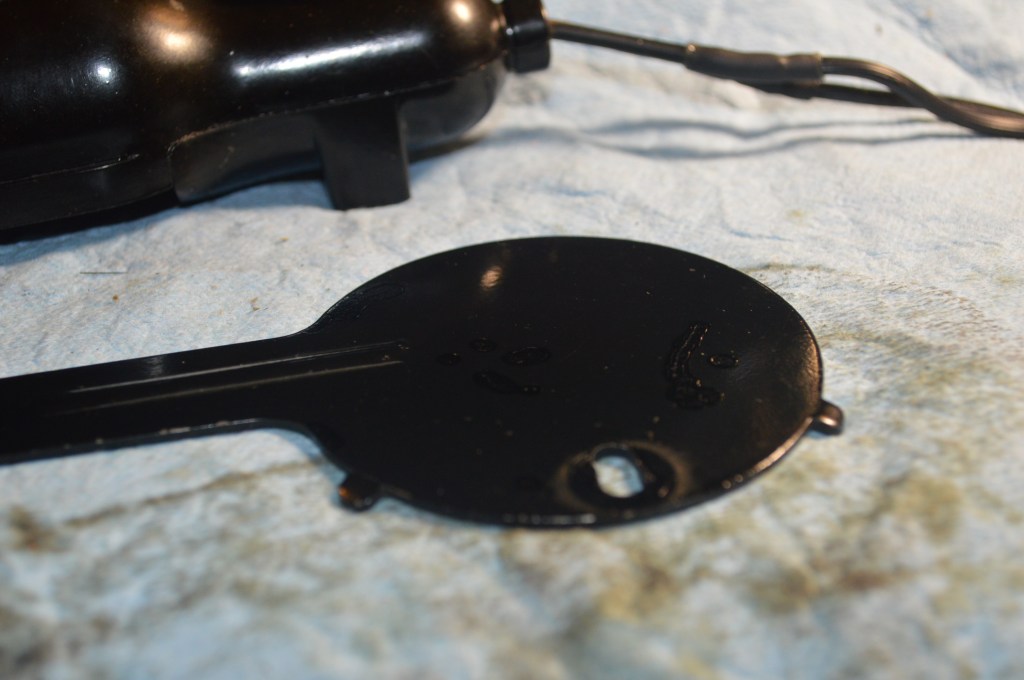
After
The final blending of the paint will be completed in the next step… polishing. The few scratches on the finish of the machine can be blended into the finish or removed completely by glaze polishing.
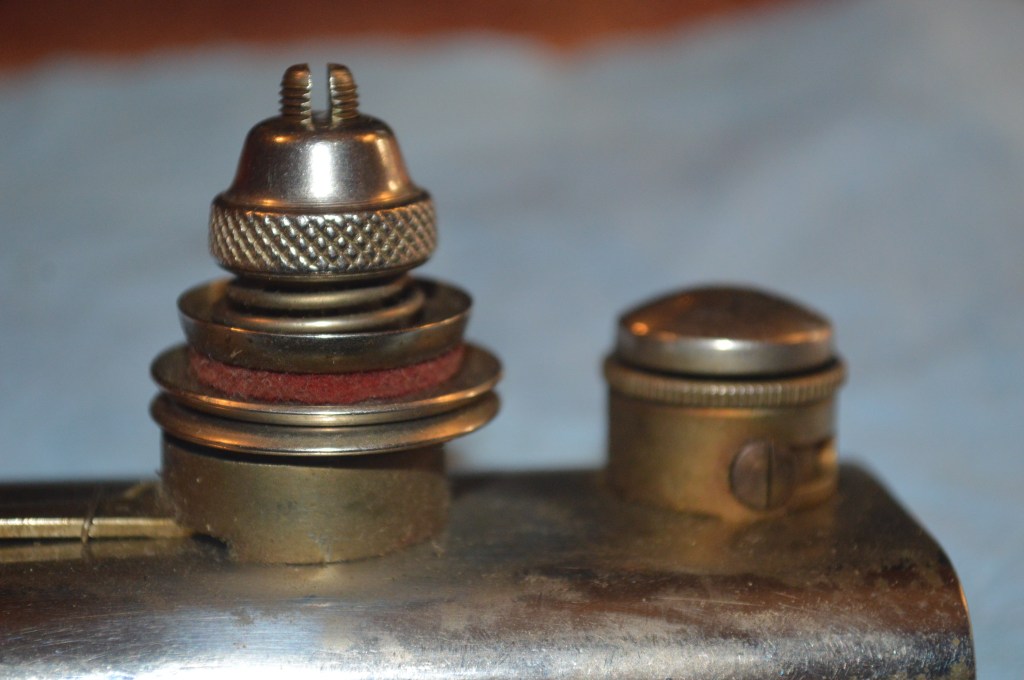
The glaze polishing completes the cosmetic restoration on the body of the machine. The next steps involve disassembling the tension assembly and polishing the chrome pieces.
The assembly is integrated in the nose plate of the machine. It is disassembled and cleaned.
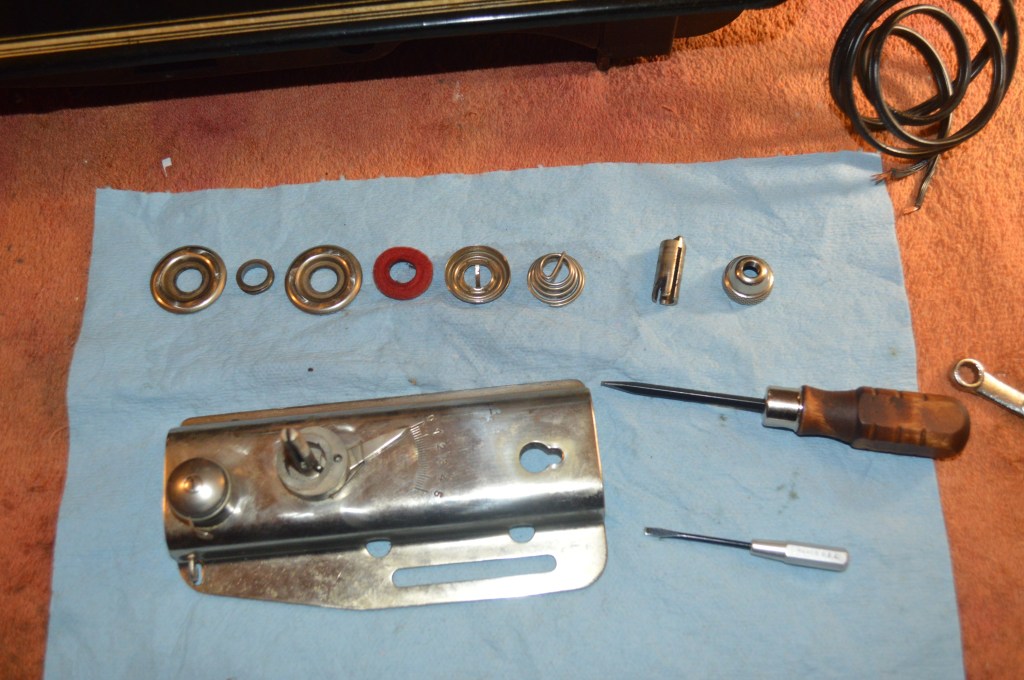
Everything removed for polishing is polished on a buffing wheel with a rouge polish.
After polishing, the chrome looks fantastic.
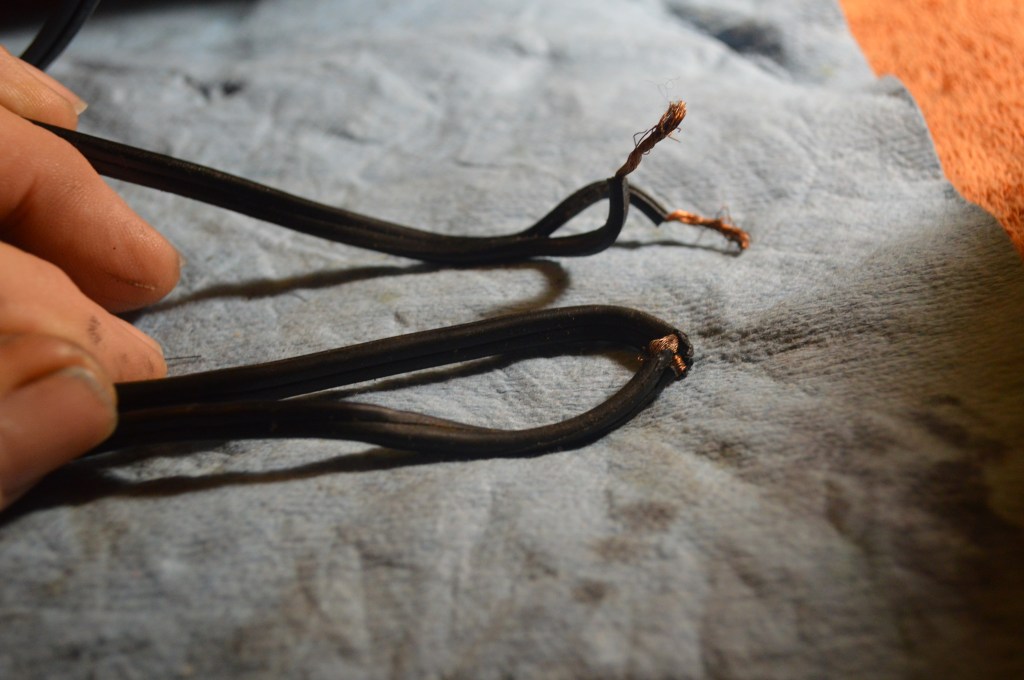
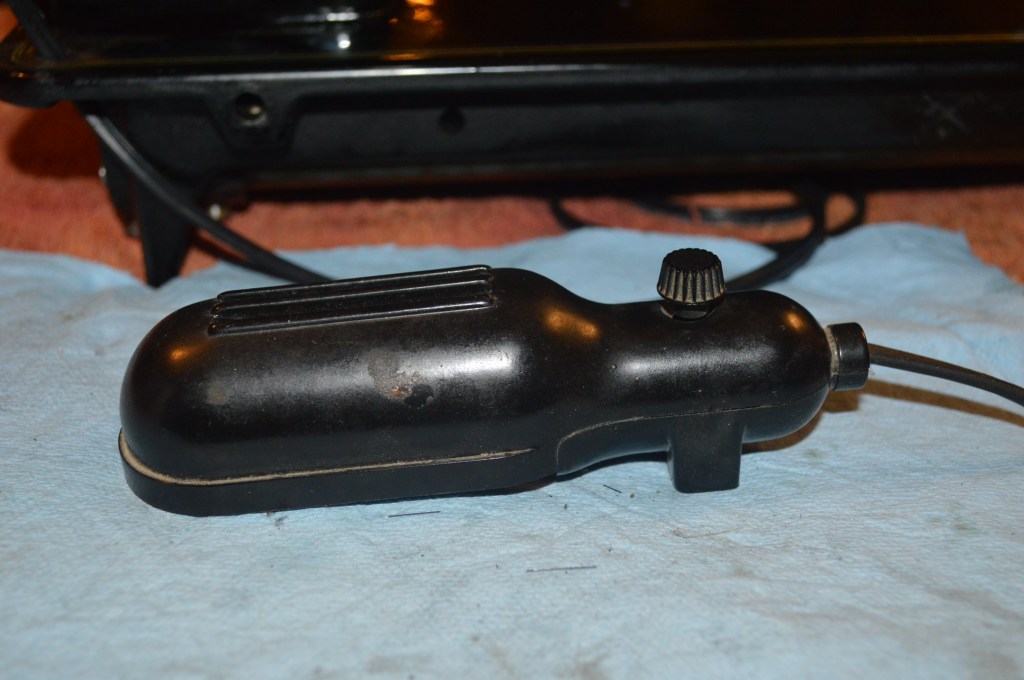
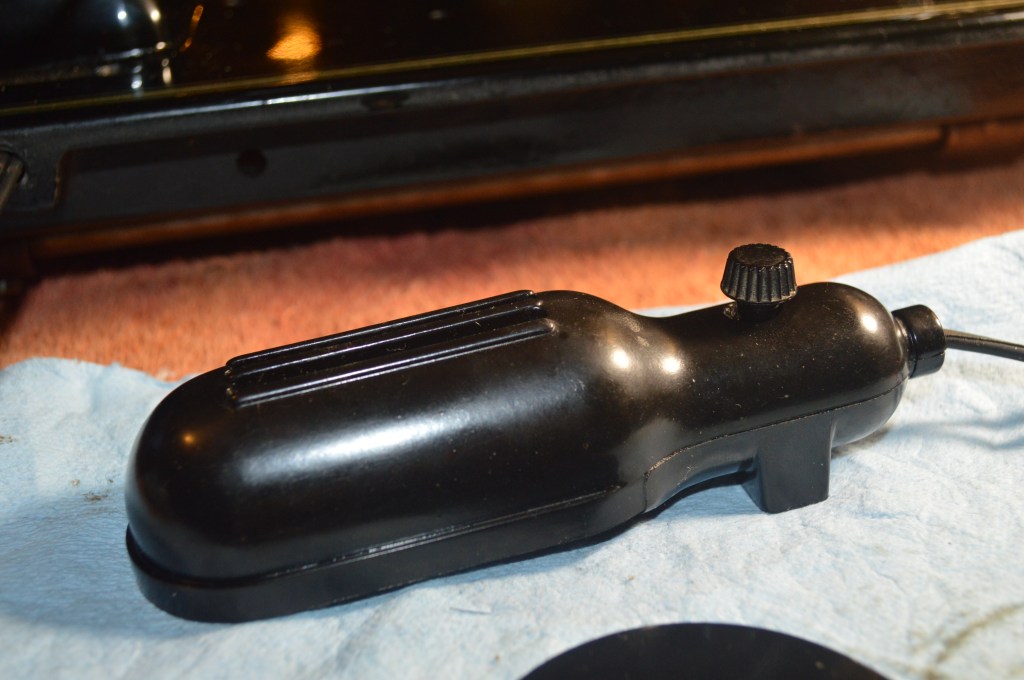
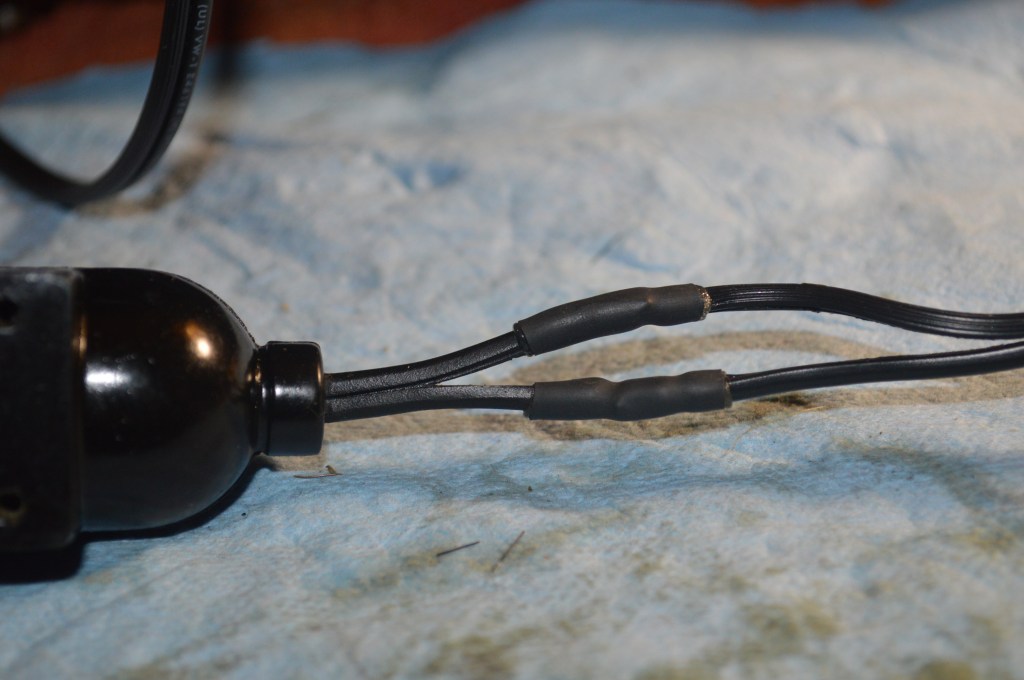
The last part of the restoration is the light fixture. I have been putting this off until the end because I have been trying to figure out the best way to do it. The wires are cracked so wire replacement is not optional. The light on this machine looks very similar to the “Singer light” found on many Singer sewing machines. The difference with this fixture is the fact that it cannot be disassembled… the halves are glued together. The only remedy I can come up with is to clean the fixture, trim the wires close to the fixture and solder new wires to the old. To make this as smooth as possible. solder sleeve’s and shrink tubing is used.
That’s it! With everything reassembled, the restoration is complete… Here is the machine after restoration.

I think it turned out great and was well worth the time and effort to reach this level of condition. I hope you enjoyed the restoration process as much as I and look forward to the next!
If you have any questions or comments feel free to contact me at pungoliving@gmail.com and let me know!
Thanks for reading,
Lee

What a gorgeous machine. I suspect I’m not alone in wanting to see it in action. Would you consider making a short video? I’d particularly like to see what it will do with that 1.5 amp beast of a motor. Thank you!
LikeLike
Hello Suzanne,
I guess I’m camera shy and a bit old school. Perhaps I’ll experiment with a video and see how it works out. It’s too late for this Adler though… she has been returned to her owner!
Thanks for your comment and enjoying the blog.
Lee
LikeLike
Yes, well, I’m kind of old school myself, and I’m definitely camera-shy. I’ve never been photogenic my whole life, and at age 70, it sure as heck hasn’t gotten any better!
Looking forward to your next video, regardless of the topic!
LikeLike
Hola buenas noches eh conseguido está misma máquina en mi ciudad y la eh restaurado pero tengo dudas de como enhebrarla … Podría ayudarme de antemano gracias saludos desde México
LikeLike
Did you replace the motor belt? Can you recommend an appropriate type or size? I have one of these machines and am having trouble with some belt slipping. I think it’s the wrong size or brittle or stretched out?
LikeLike