

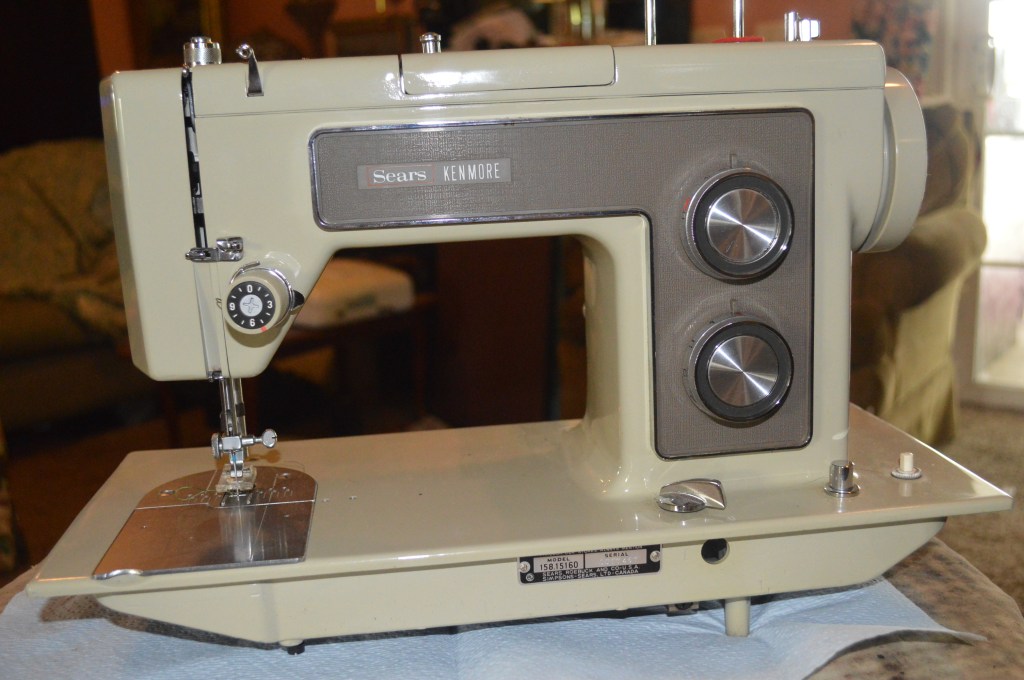
It is pretty unusual for a Kenmore model to span model years. Only thing I can figure is that after 1971, the model 1516 was no longer manufactured. A few years later, Kenmore must have figured they had a winner and “reintroduced” it in 1977. I don’t know the true answer, but I actually think that this is a 1977 vintage. I think this because the balance wheel hub is plastic. Plastic started to show up in Kenmores after 1975.
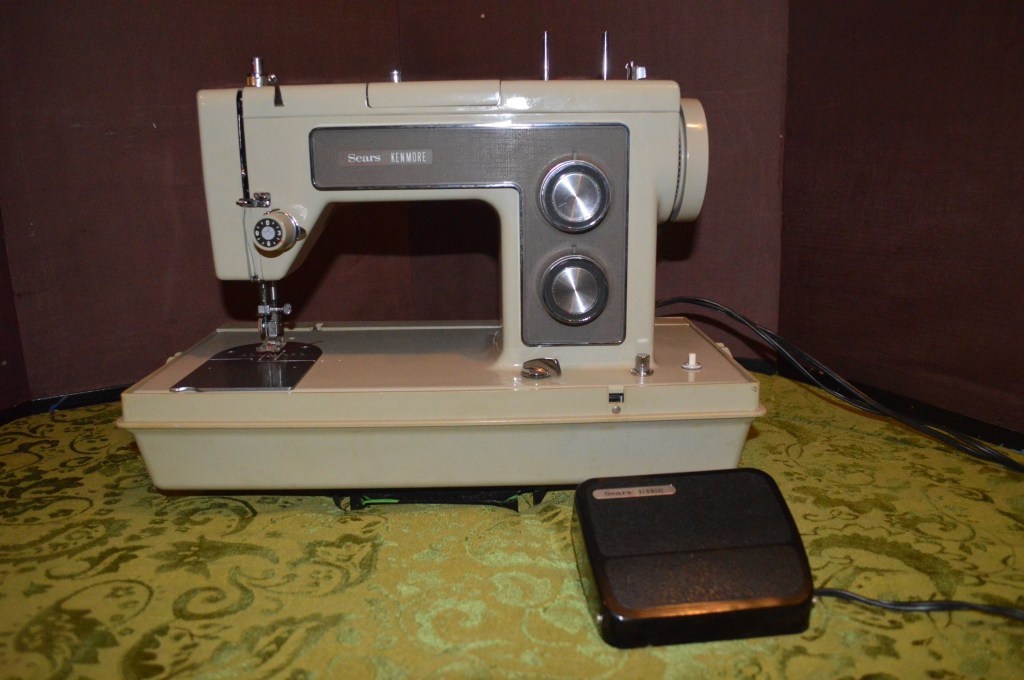
So what makes this machine so special that I consider it a candidate for restoration? Well, it’s not the condition of the machine… it is in pristine (near flawless) condition. If I had the box, I would swear it was new. It doesn’t need disassembly to remove old oil varnish, it doesn’t have any chips or scratches to paint match, it doesn’t even need any aggressive or deep cleaning to make it shine. So why bother?
Well I happen to like this machine. I like it for several reasons. It has a very efficient drive train. It’s 1.0 amp motor is a very respectable power for what is essentially a straight stitch mechanism, yet it is a cam machine. Unlike most later model Kenmores (I mean the 70’s), it does not have any built in stitches. It follows the sort of sewing machine that Kenmore made in the late 50’s and early 60’s, except the body is made with an aluminum alloy instead of cast iron and everything in the sewing machines mechanisms is metal. Without a cam in the machine, it will only sew a straight stitch. There are no internal cams to sap power from the motor, so if you are using the machine for straight stitch sewing, it delivers a great deal of power to the needle. If you want a decorative or a utility stitch, pop in a type “C” Kenmore cam, and you have a great selection of utility, decorative, and pattern stitches. The motor still has plenty of power to handle heavy fabric. I like that it has an external motor. This allows for a smaller pillar profile without giving up anything a full size machine needs to do. External motors are easy to maintain, and belt changes are simple. The motor bracket is spring loaded so belt tensioning is automatic, and belt changes can be made without tools. I like that it is a center homing low shank machine. This allows the use of readily available low shank feet and is perfectly suitable for quilting. This machine has a low shank quick detach accessory to allow for quick and easy foot changes, but it is an aftermarket accessory. As expected, the machine allows for feed dog drop and it has the under bed mechanism to drive the fantastic attachments Kenmore designed by using a gear driven bobbin plate cover…. In my opinion, Kenmore has the best mechanical button hole attachment you can get on any domestic sewing machine.
From my close inspection of this machine, it looks new. It does not show the usual signs of use oil varnish buildup. There is only one part that needed to be disassembled and cleaned. My compelling reason for restoration boiled down to one thing… it is loud. It sews a nice stitch, but it is not as smooth or nearly as quiet as it should be. A restoration will change that.
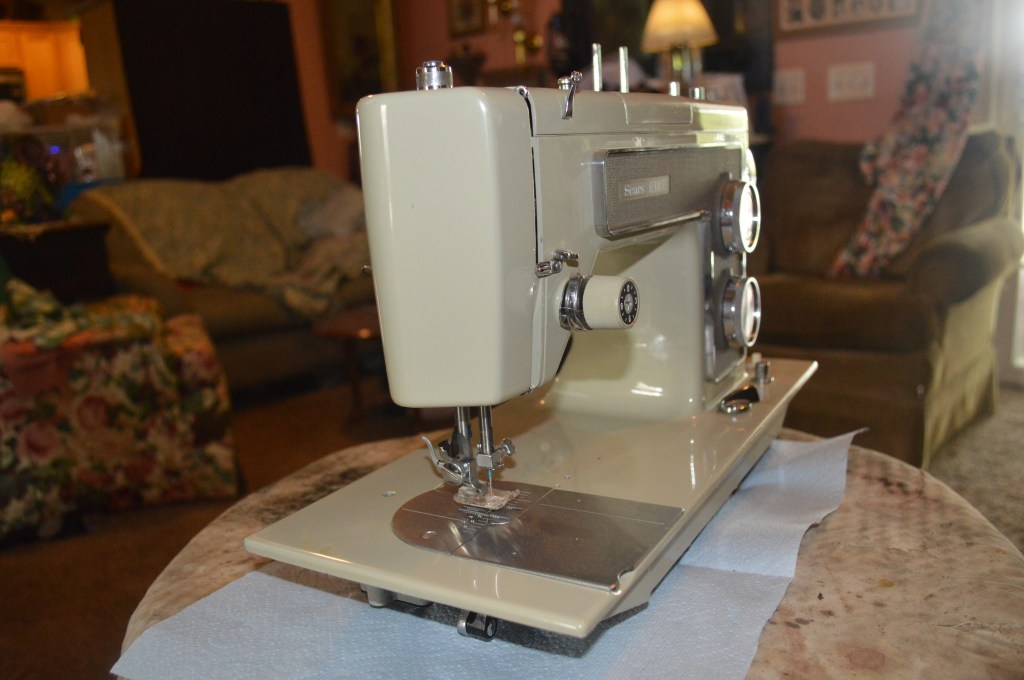
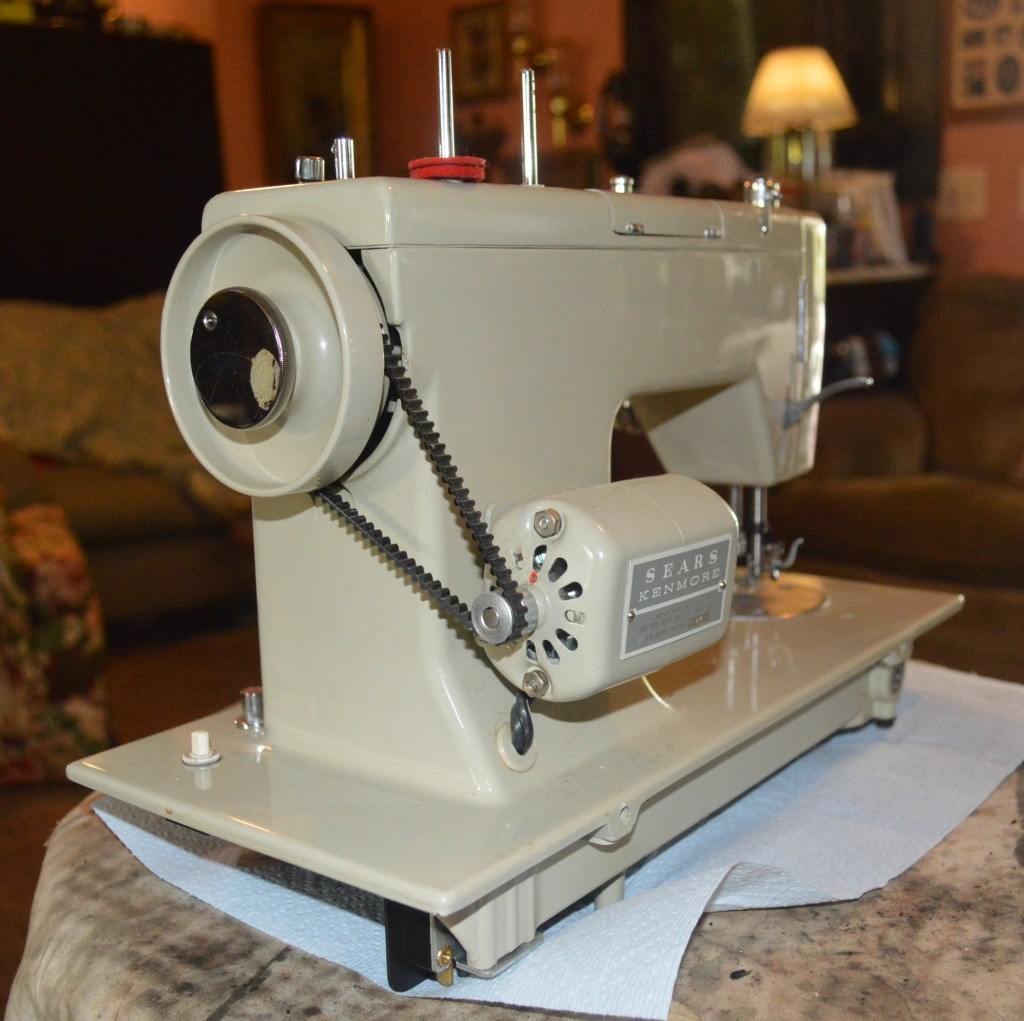
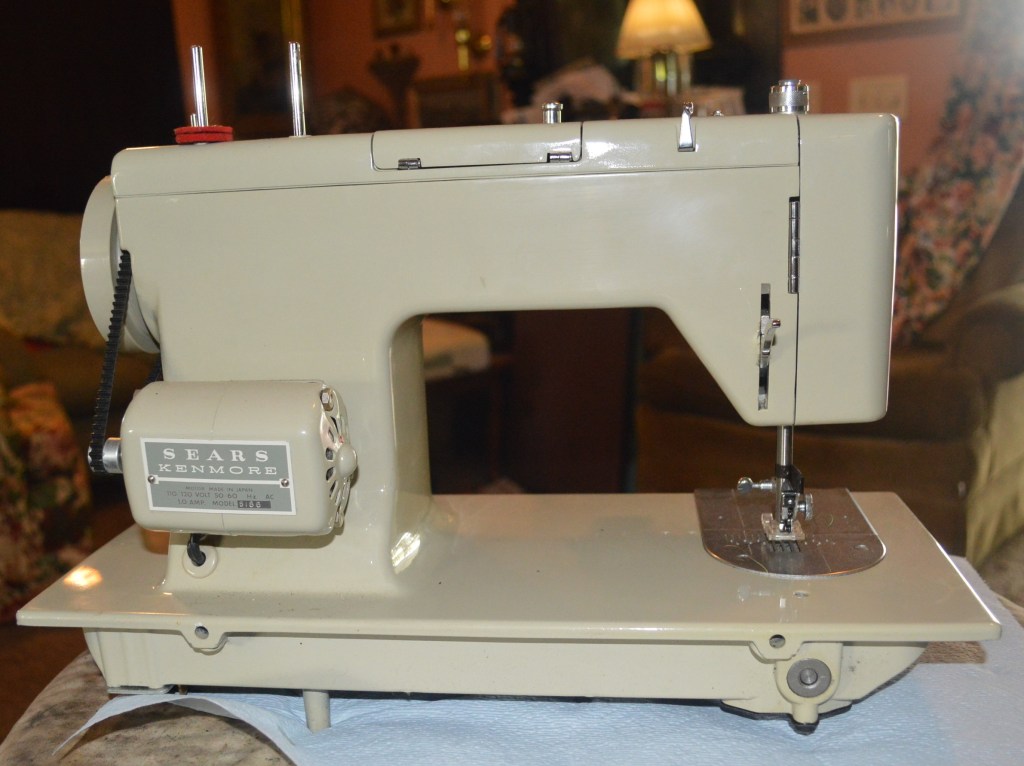
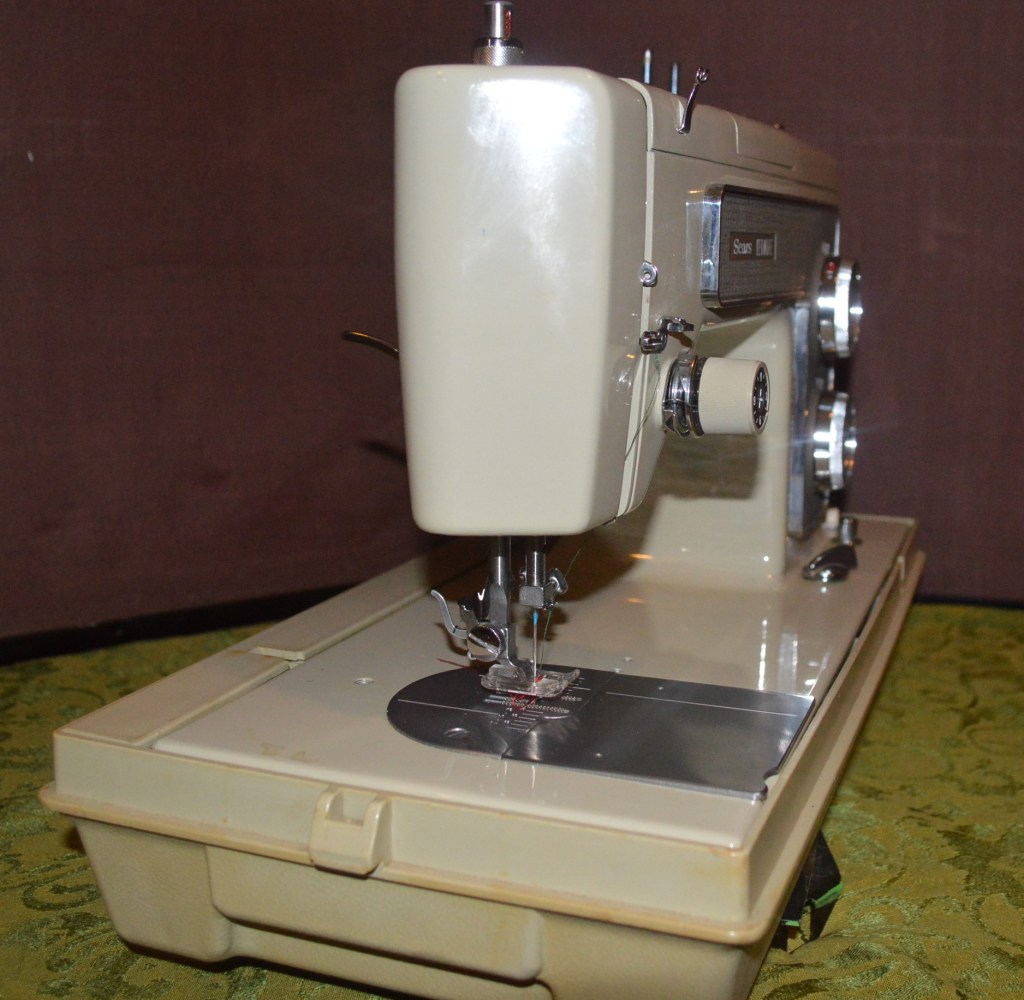
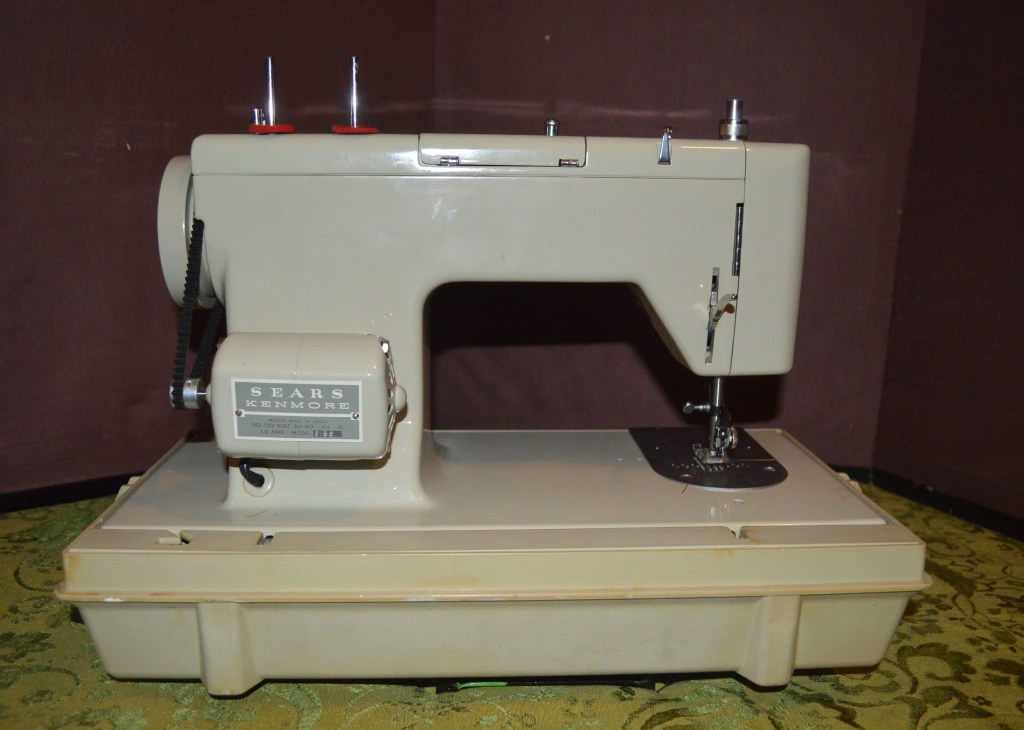
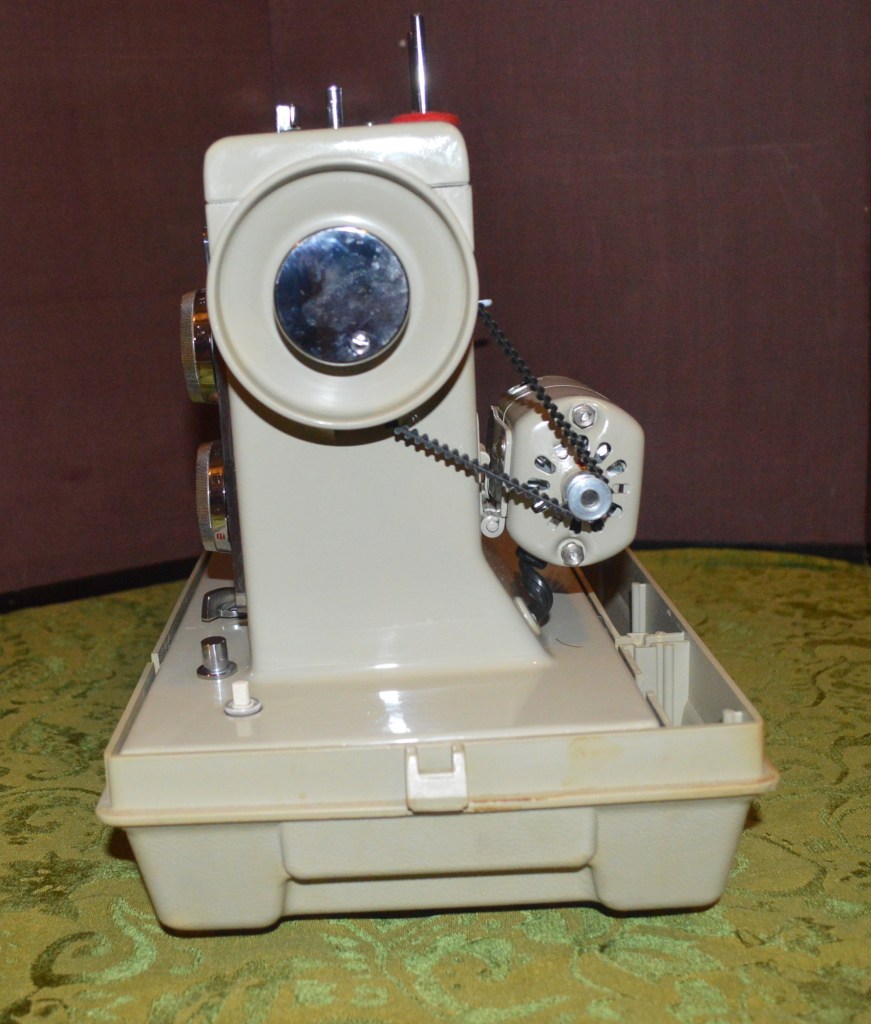
Moving on to the restoration, here is the machine before restoration.
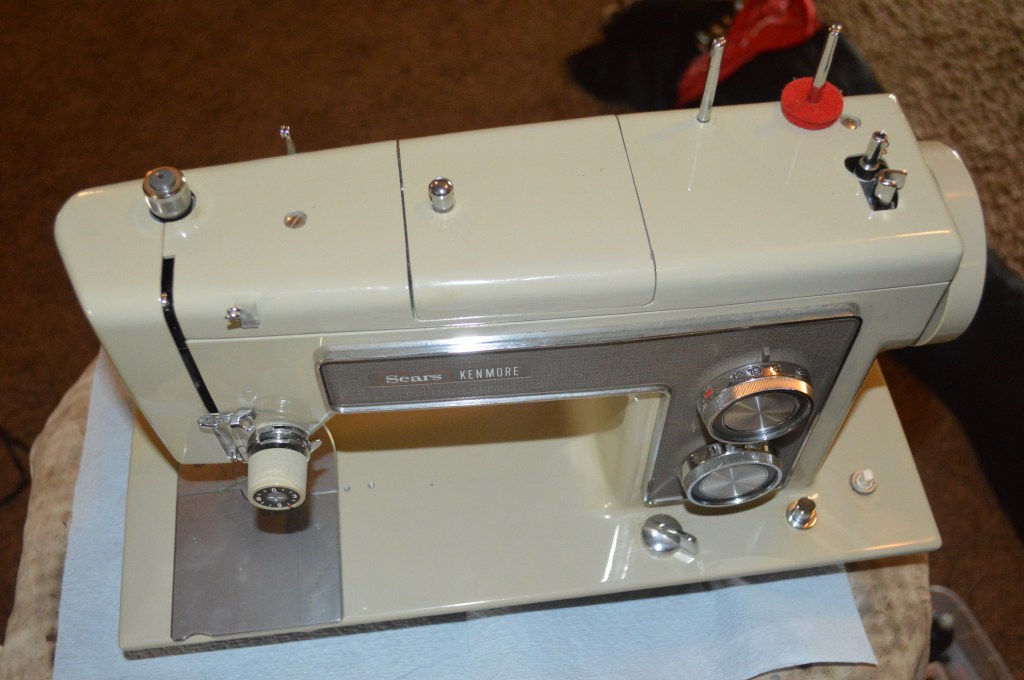
Looking at the sewing mechanisms, they look like they have just been cleaned… only the slightest trace of oil varnish.
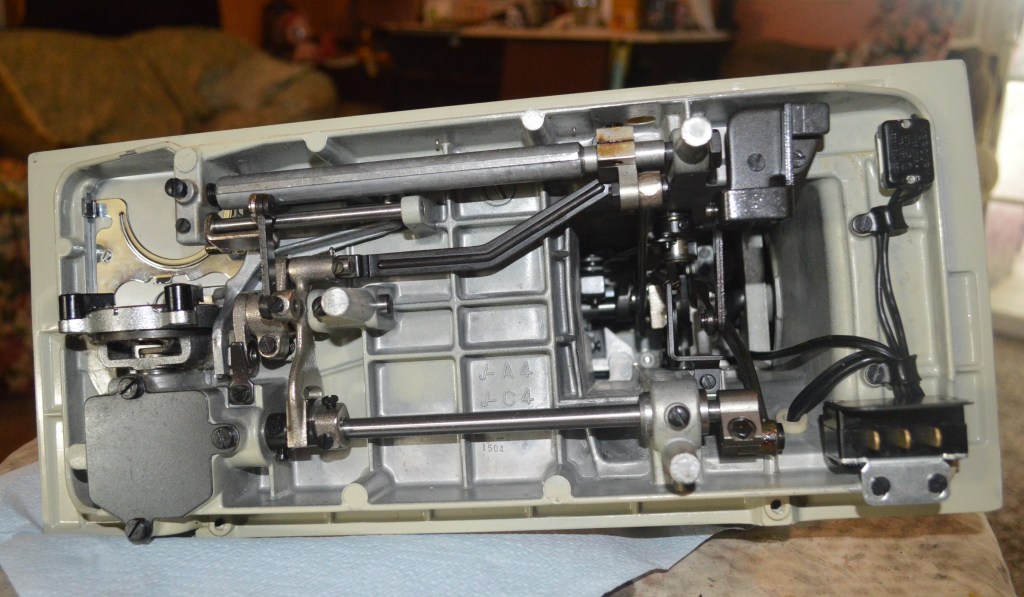
The restoration focus is on “quiet and smooth” All of the sewing mechanisms are cleaned and oiled, but the motor and gear case are always disassembled and restored. Without even seeing it, I know the grease in the gear case has hardened and separated form the gears… lets see what it takes to replace this grease…
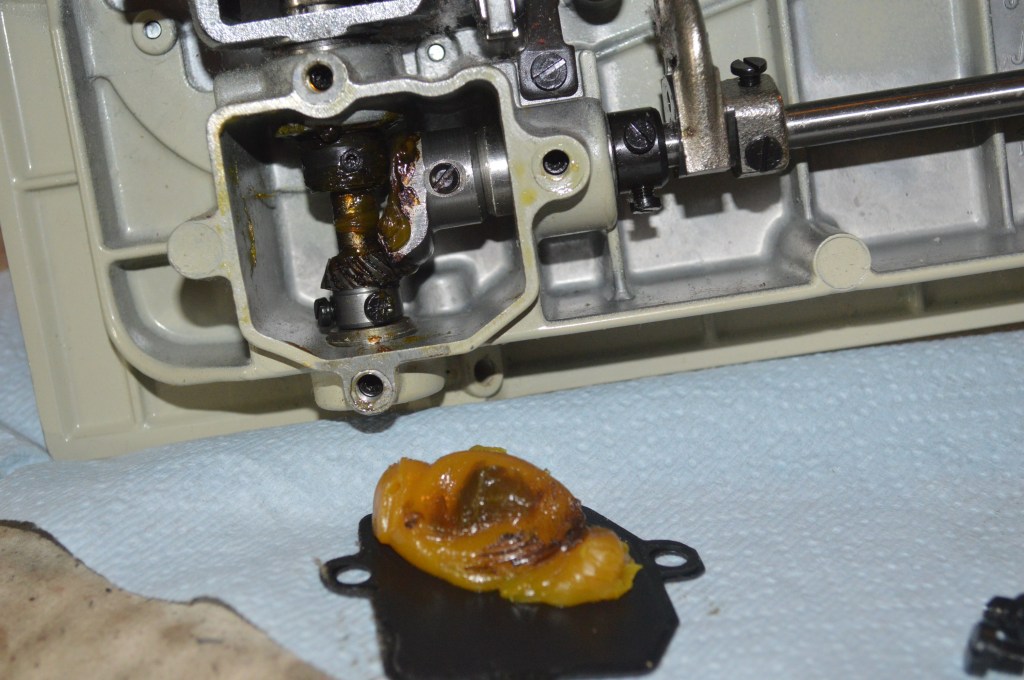
There is NO grease on the gears! 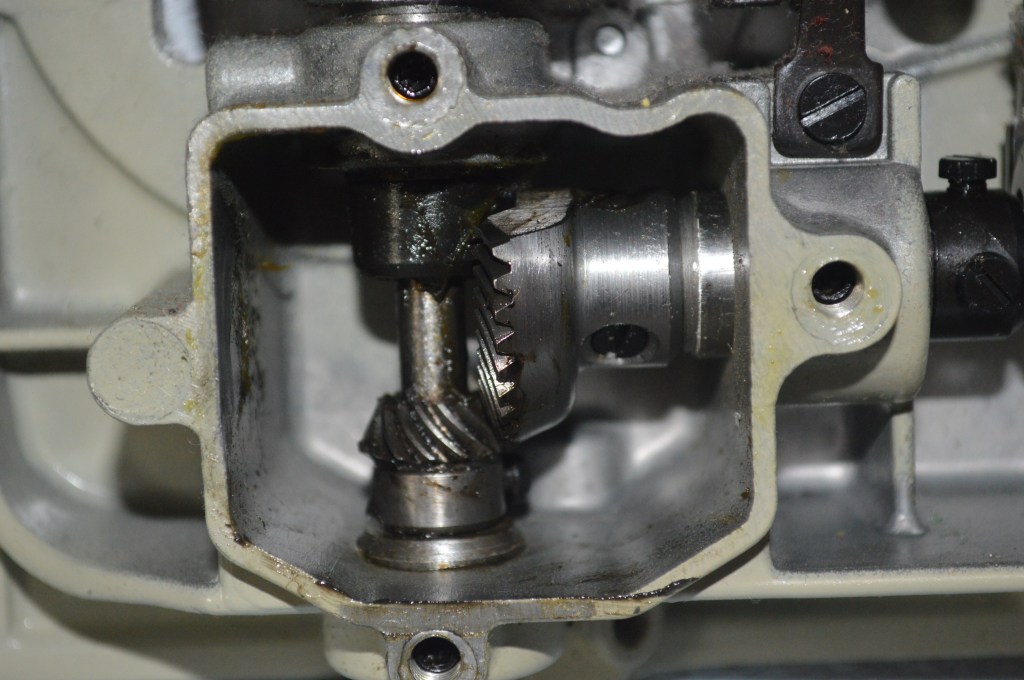
The gears are cleaned 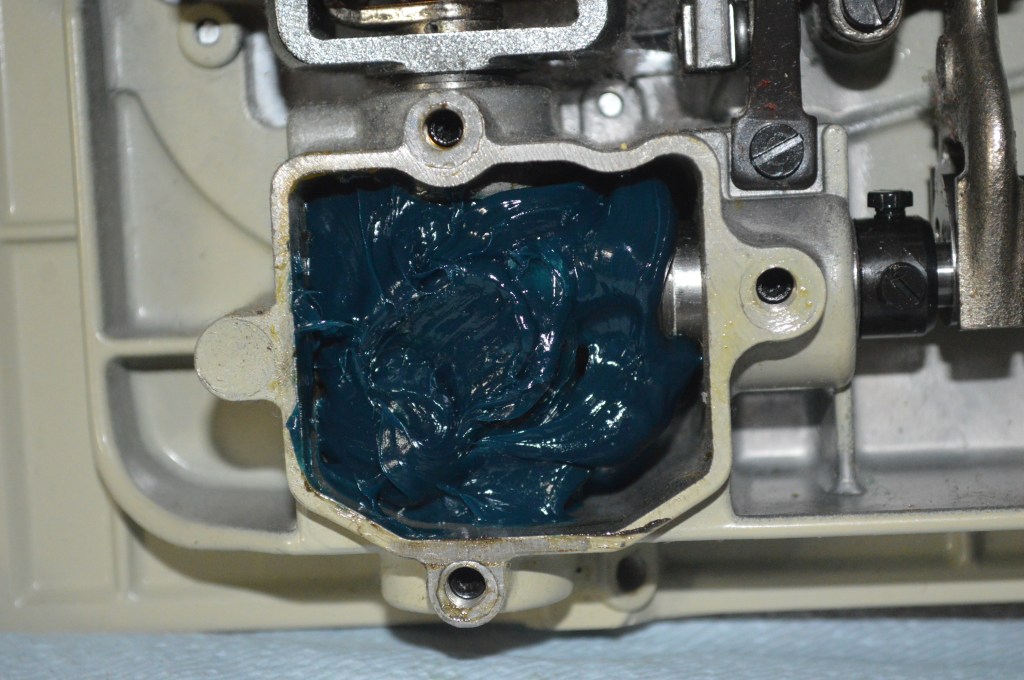
And the gear case is repacked with grease
I knew this going in… A symptom of a noisy Kenmore is often due to the gear grease drying out. If you have a Kenmore that is noisy and you want to quiet it down, change the grease. I have a simple tutorial on how to do this and you can follow it at: https://pungoliving.home.blog/2020/05/04/a-tutorial-re-lubricating-the-gear-case-on-a-kenmore-model-158-xxxx-series-sewing-machine/. Takes less than 30 minutes.
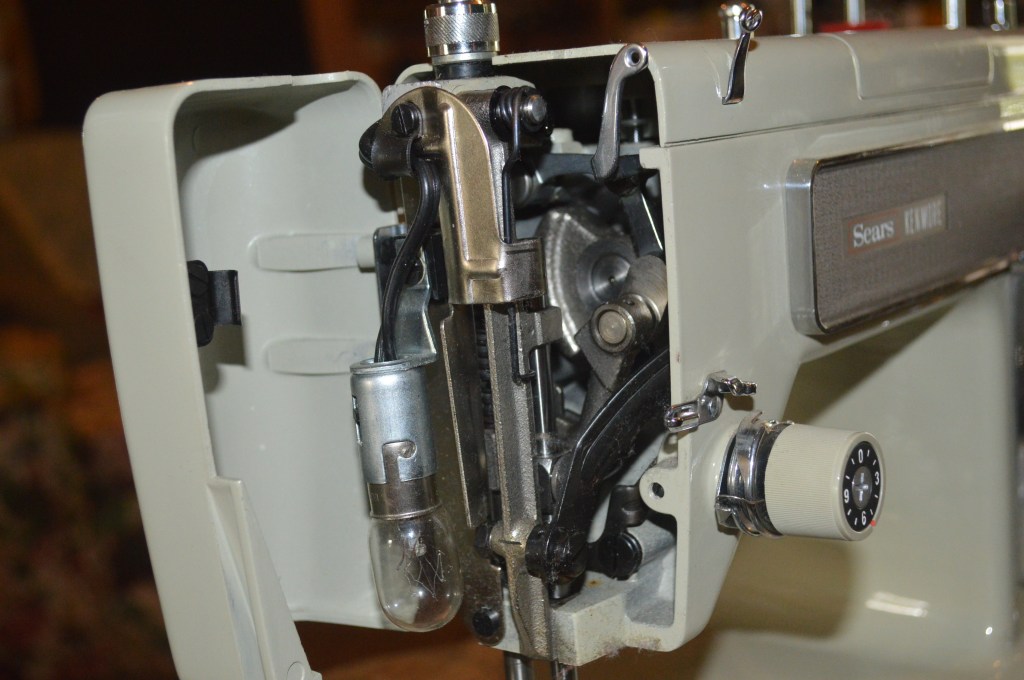
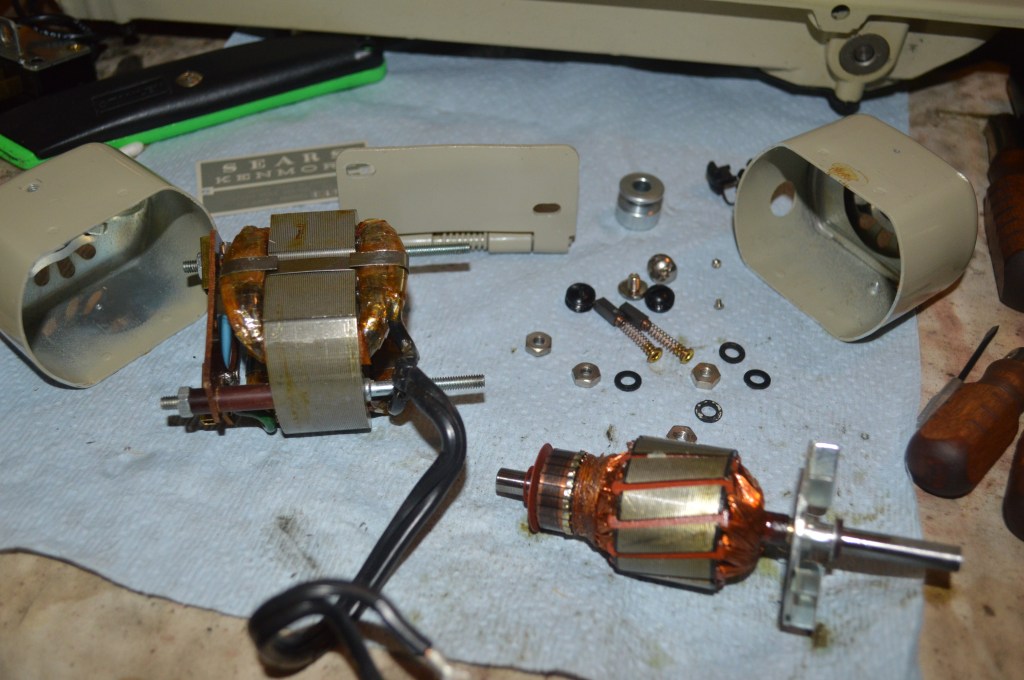
The next step is to disassemble and restore the motor. This motor is in great shape, but the commutator will e polished and the brushes will be reconditioned. If you take a close look at the label on the motor, you will notice that the label plate is attached with screws… This screams out to me “I was meant to be serviced! Refreshing in a day where everything is glued and snapped together so replacement is the only option.

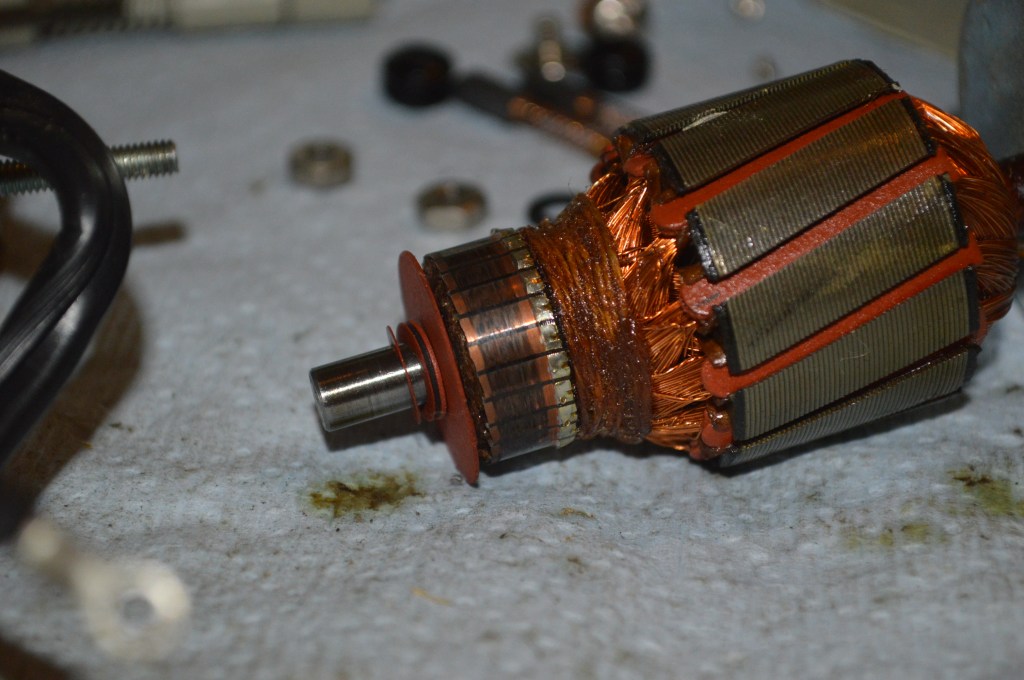
Commutator before polishing 
Commutator after polishing
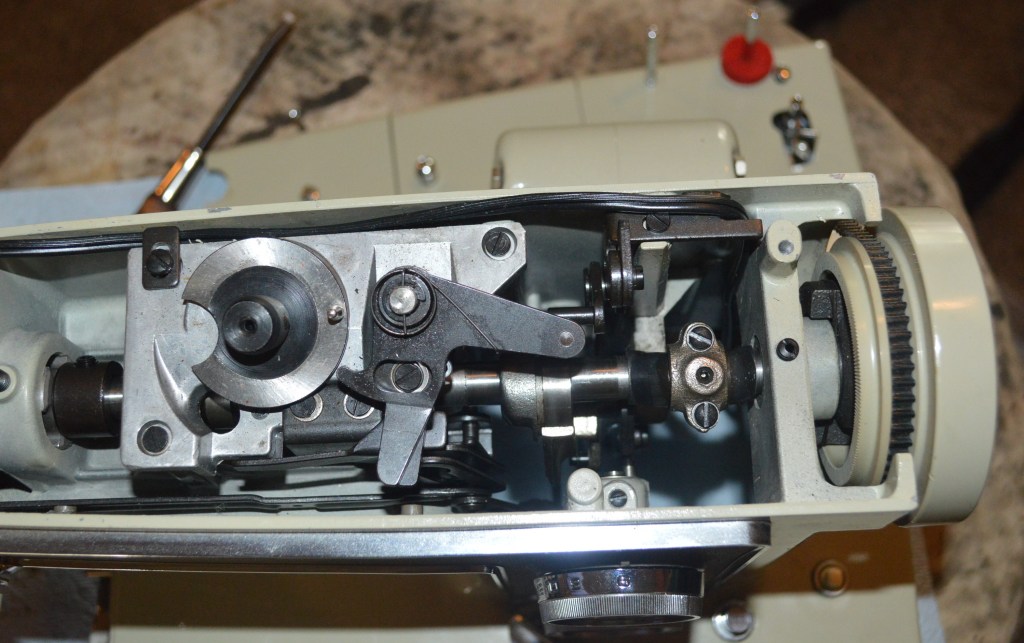
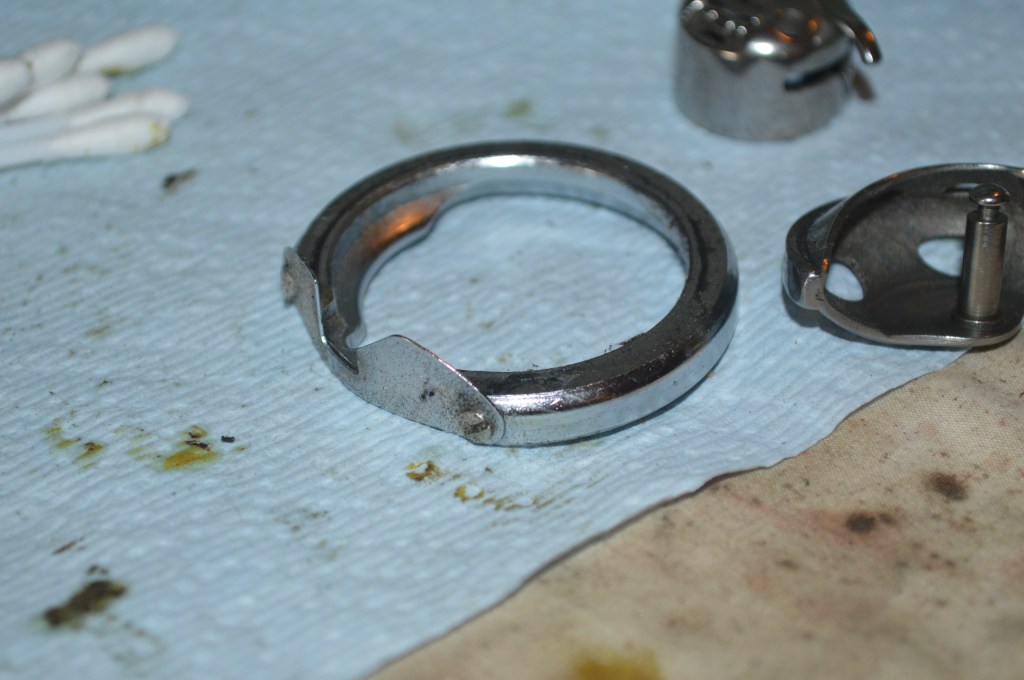
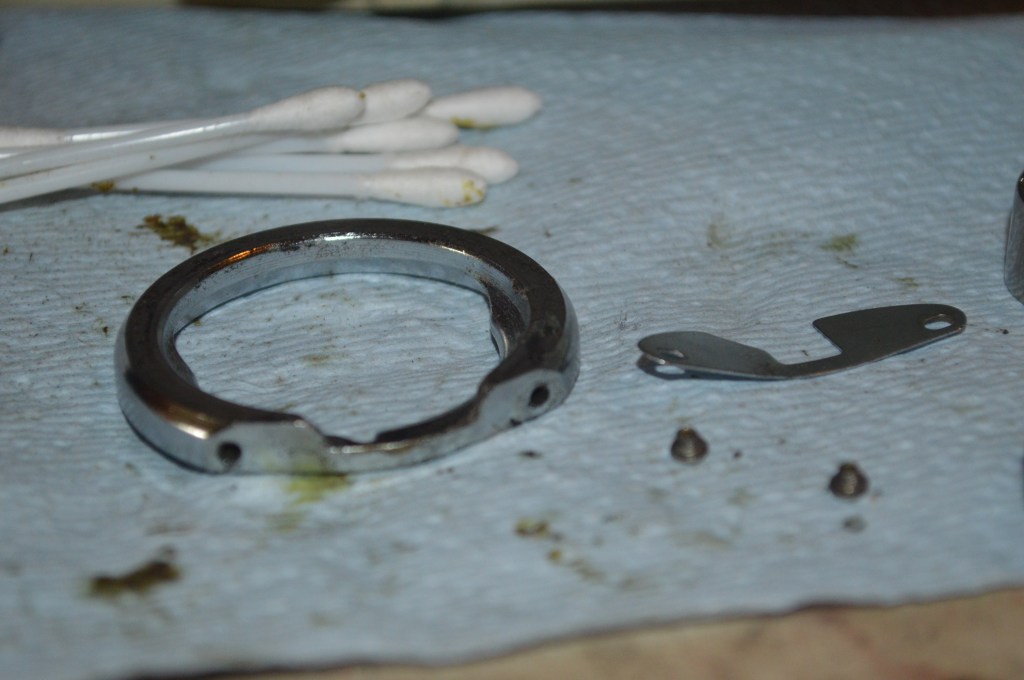
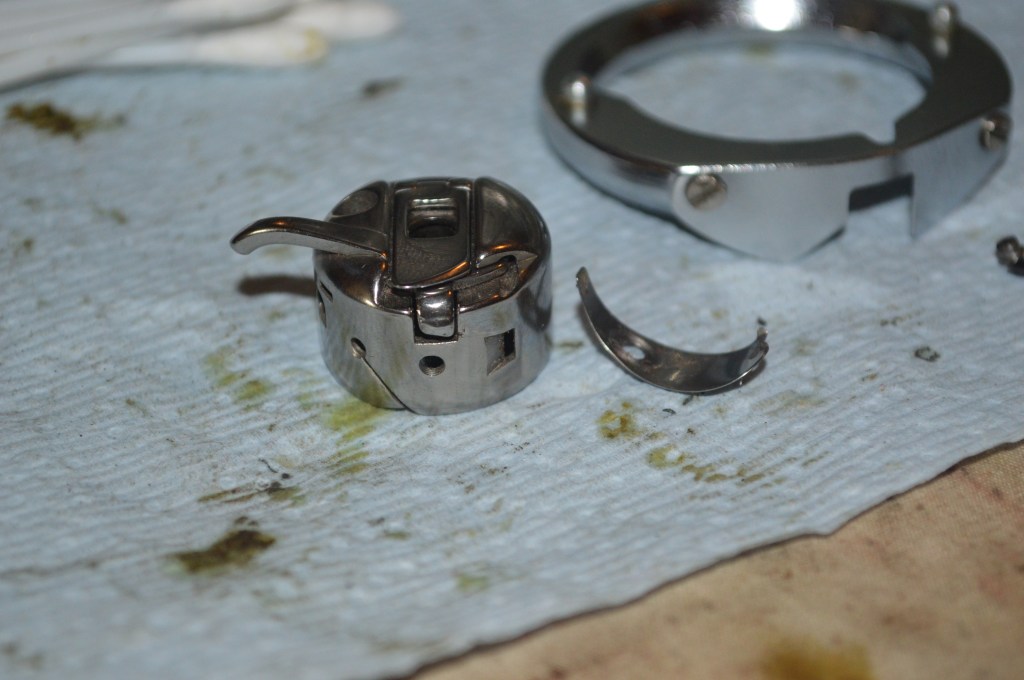
Other parts, such as the bobbin case, bobbin race, and bobbin hook are disassembled and cleaned.
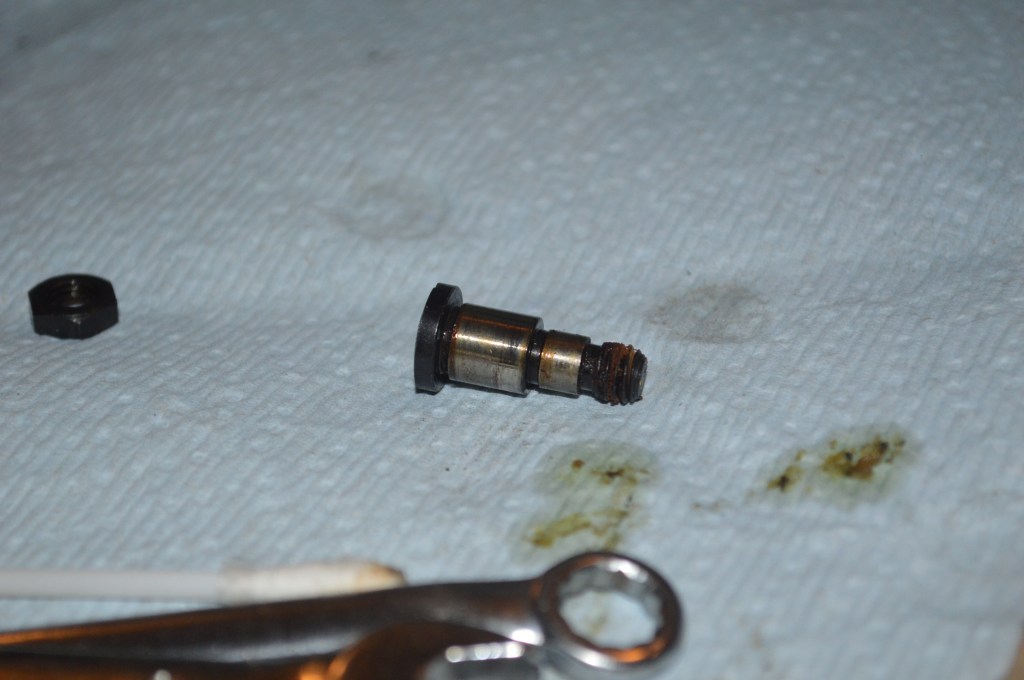
The only part on the sewing mechanism that looks like it is affected by oil varnish, is the bolt that connects the stitch length arm to the feed dog rocker shaft. It is disassembled, cleaned. wire brushed, and reinstalled.
Once the machine is cleaned, everything is put back together, oiled, and set up to adjust and sew. This finishes the restoration and the final result is gratifying. The machine is strong, quiet, smooth, and sews a great balanced stitch!
Believe it or not, the “after restoration” pictures look pretty much the same as the “before restoration pictures”.

It is a beautiful and functional sewing machine!
If you like what you see please visit our Etsy store at https://www.etsy.com/shop/pungoliving, and see this beautiful model Kenmore 158.15160 and all of our other restored fine quality vintage sewing machines. If you have any questions, please contact Lee at Pungoliving@gmail.com.
Thanks!

Hi, thanks for this wonderful website, I have Kenmore 158.1782 and there is scratches in the body, I do not know how to repair , and what paint brand I have to use or what shade , can you help please?
LikeLike
Hello Afrah,
You can get a computer paint matched color for your machine in a sample size (8oz) container at large hardware stores. Take a piece of your machine for the color match. Make sure the paint is suitable for painting metal. Any paint repairs you make need to be coated with a durable clear topcoat.
I hope this helps!
Lee
LikeLike
Beautiful. I had one identical to this since 1970. In September I moved and regrettably let the movers move my machine in the portable case. One of them dropped it and crushed the head and it seems pretty much destroyed. I am going to take it to my local repair person and see if he thinks it can be restored. I wish I could find another to use for parts! And to make matters worse, the mover brought it in my house and hid it in my sewing room behind boxes and didn’t say a word! I found it about 10 days later. They did finally 4 months later reimburse me the cost of the machine when it was originally purchased. Of course not near enough to replace it!
LikeLike
Hello Kayse,
What a tragic story! Vintage Kenmores are very well made and durable sewing machines. I hope you can find a replacement for it… I might recommend a 158.1410 or 158.1430. They have all the utility stitches you need and a few more. All metal and some of my favorites (no cams)!
Good luck and thanks for reading my blog!
Lee
LikeLike
I also have a Kenmore Sewing Machine 158.15160 and it is a very sturdy machine. My problem is that I lost all the cams for this machine. Would you be willing to sell me the cams if you decide to get rid of the machine?
LikeLike
Hello Darlene,
I’m sorry that I don’t sell accessories. You can readily find Kenmore cams for a reasonable price on Ebay. Good luck and let me know if you need any further assistance.
Have a great day!
Lee
LikeLike