

If all you need from a sewing machine is beautifully formed straight stitch, the Singer 201-2 is a fantastic machine to sew with… period. There are people that consider the Singer 201, in any of it’s variants, to be the best domestic straight stitch sewing machine ever manufactured, and there is much to be said in support these opinions. No doubt there are people that would disagree in favor of Necci, Bernina, Pfaff, or any other fine manufacturer of super high quality precision sewing machines, and that’s okay. In my opinion, there are a host of very high quality vintage sewing machines… made in the days where plastic was used for mass produced items where precision was not a consideration. So, I will not take a position on what is the “best” domestic straight stitch sewing machine ever manufactured, but I do know that the Singer 201 is certainly at or near the top of the list.
It is not hard to tell, the 201 is silky smooth, quiet, powerful, and produces a laser straight stitch. There is no “play” anywhere in the machine. In a good 201, there is absolutely no loss of movement anywhere in the drive train. The least perceptible movement of the balance wheel results in the same least perceptible movement in the needle bar, take up lever, feed dogs. and bobbin race hook. Every moving part is a free running fit with absolutely no side play. It is truly a precision built piece of machinery. I do a lot of research when restoring a machine… each has it’s little tricks and tweaks to properly disassemble and reassemble. The general consensus is that the 201 is not an easy project to tackle. I agree, but the truth is, the precision of the parts and pieces, makes the restoration of a 201 a worthy challenge, and I love restoring them.
The 201 has a glorious history… but with a sad ending. Unfortunately, the quality and precision of its manufacture led to its demise. Production of the Singer 201 ran nearly three decades before its production costs made it unviable and production in the US and the Kilbowie factories ceased. It was the end of an era and the end of arguably the best straight stitch sewing machine ever made.
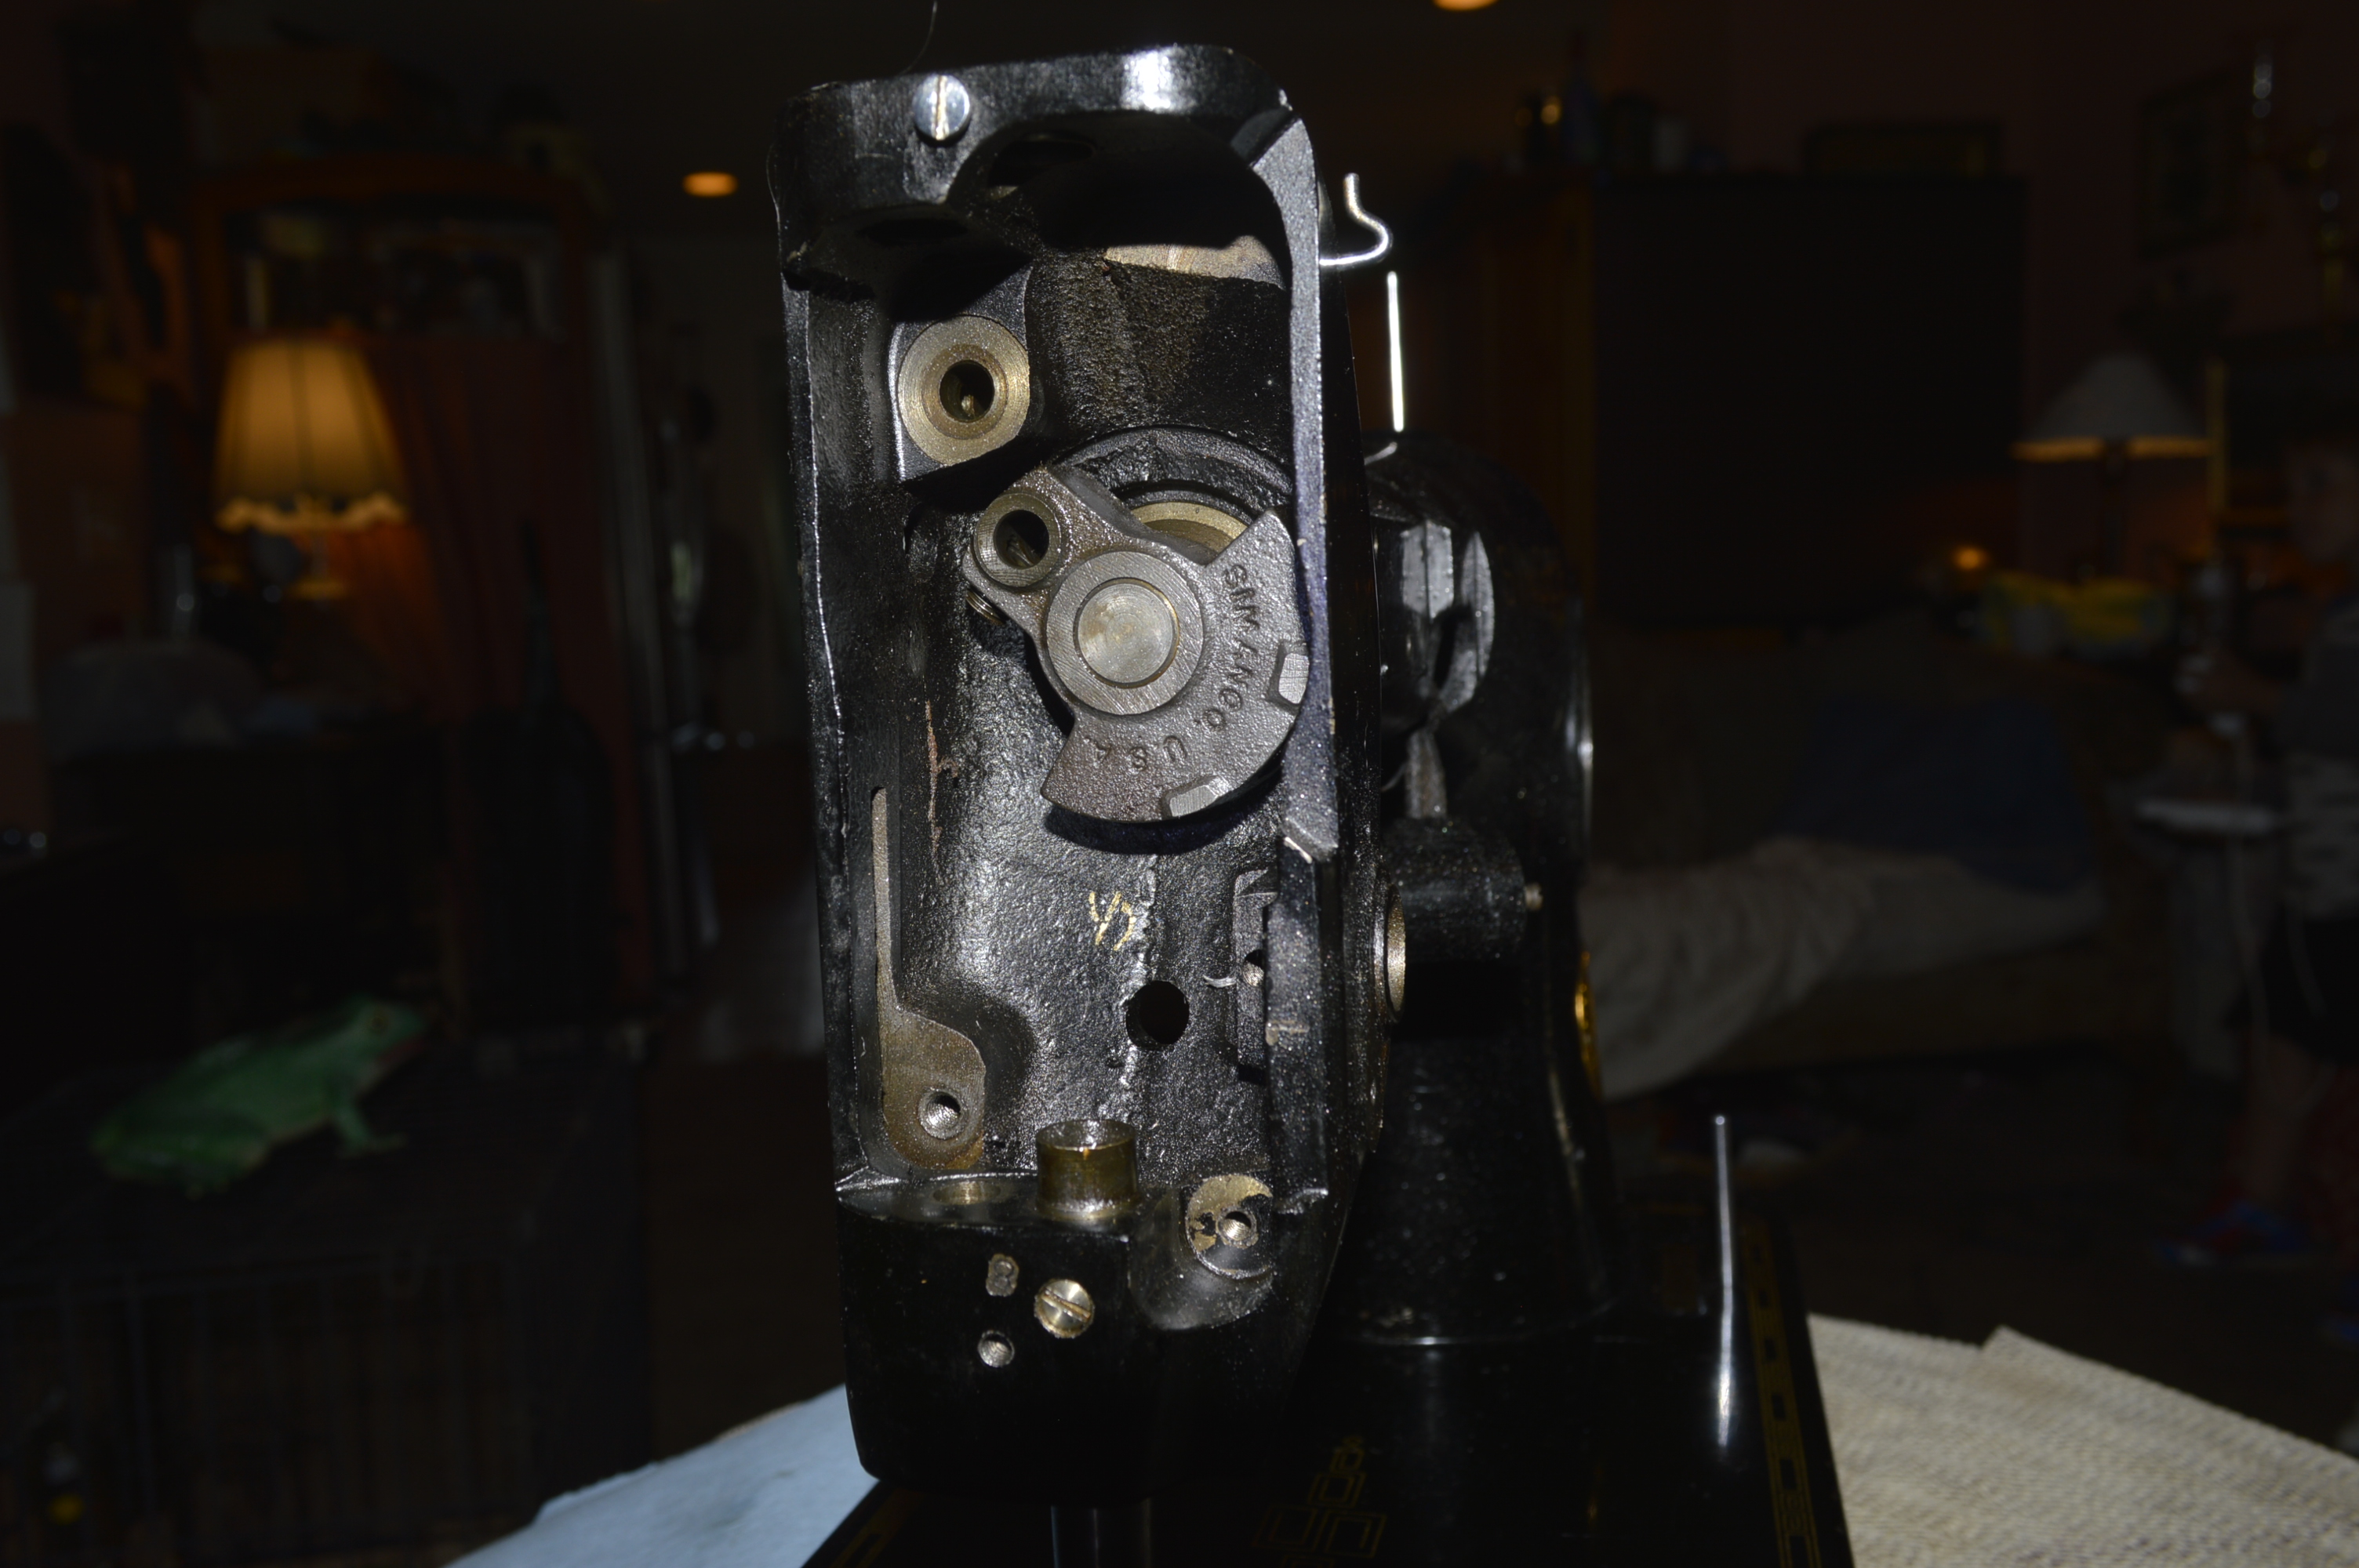
The subject of this restoration will be meticulously detailed and each step will be taken to the highest degree of restoration possible. The goal is to see how close as possible, I can see how a new 201 sewed… and to do this, all parts disassembled will be restored to like new condition. The only parts that will be left disassembled will be the gears. The reason is not because they cannot be disassembled, but because they were assembled in the Singer plant, The 201 uses three sets of heat treated steel gears. They are matched sets and are tooth matched. Each gear tooth is mated to its corresponding gear on the other gear. Singer did this for optimal smoothness and precision and disturbing the gears is not advised. In this restoration, only one gear will be removed. Its removal is necessary to clean and polish the bobbin hook shaft. This gear is positioned on a slot on the shaft, and the gear tooth will be marked on each side so the gear can be reinstalled with the proper tooth matching. This will be discussed in the steps taken in the restoration process. So, lets get started…
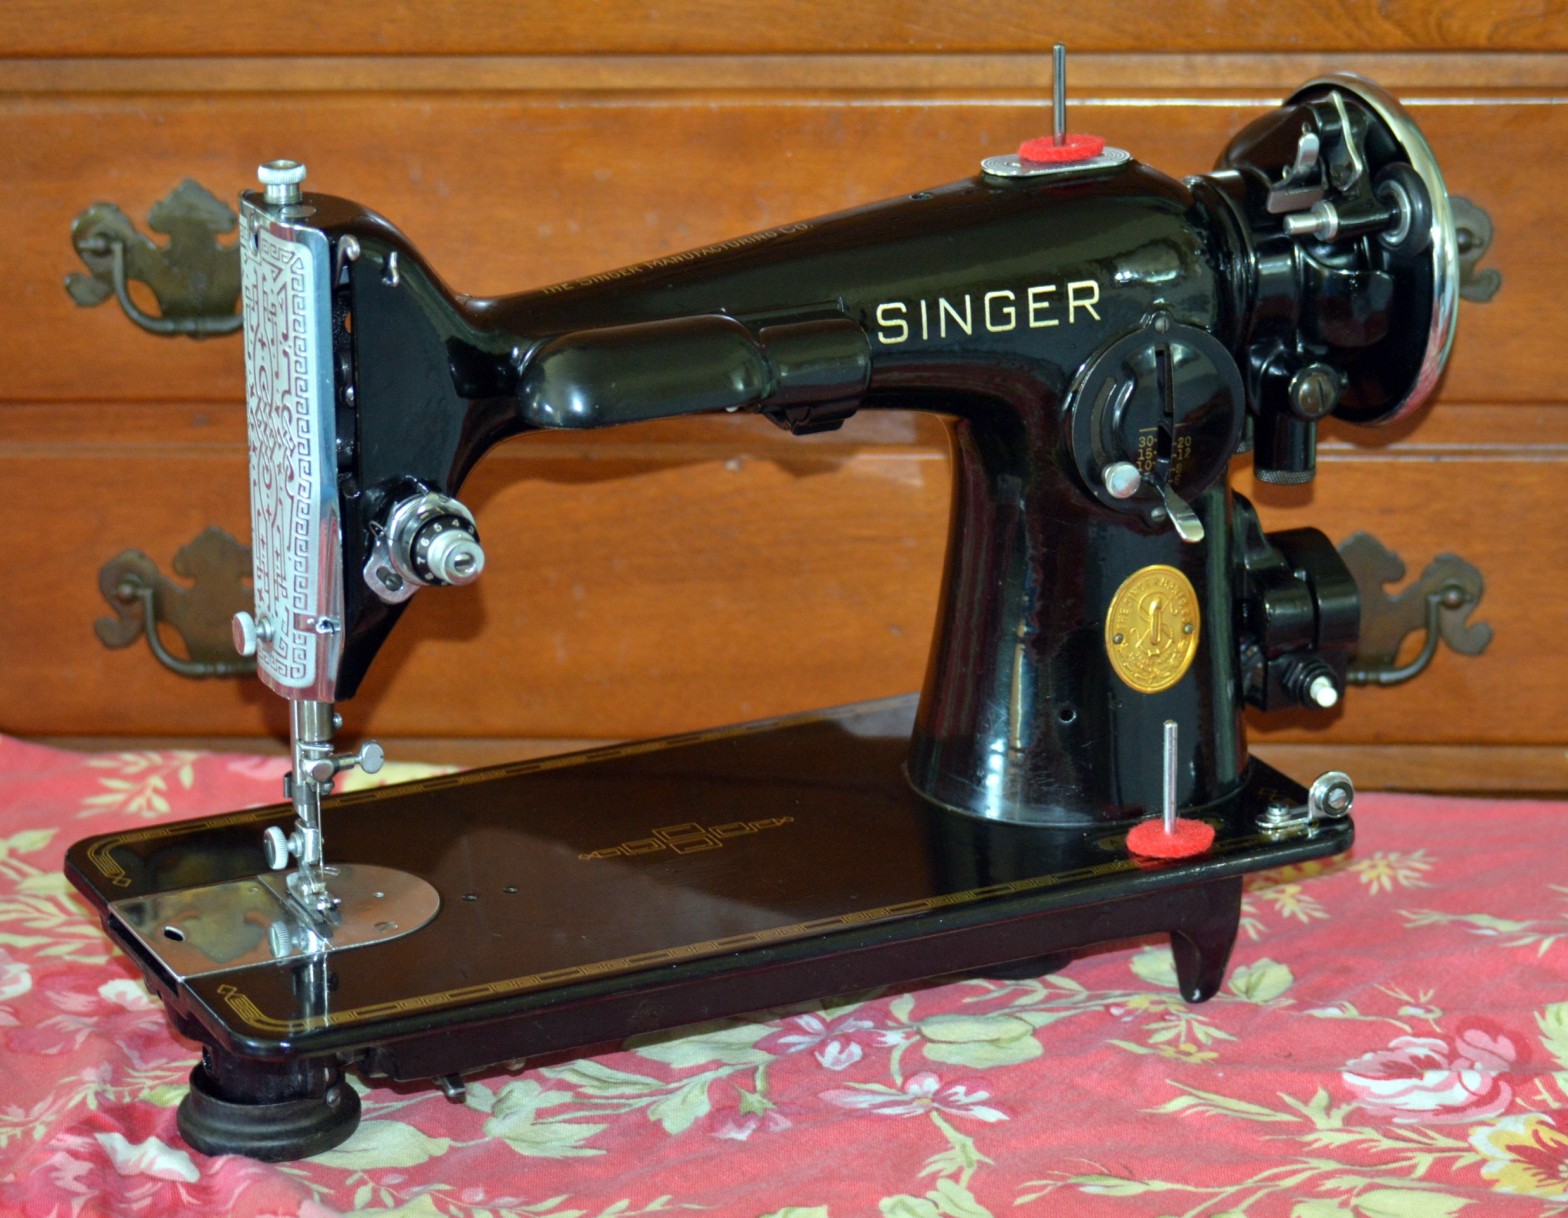
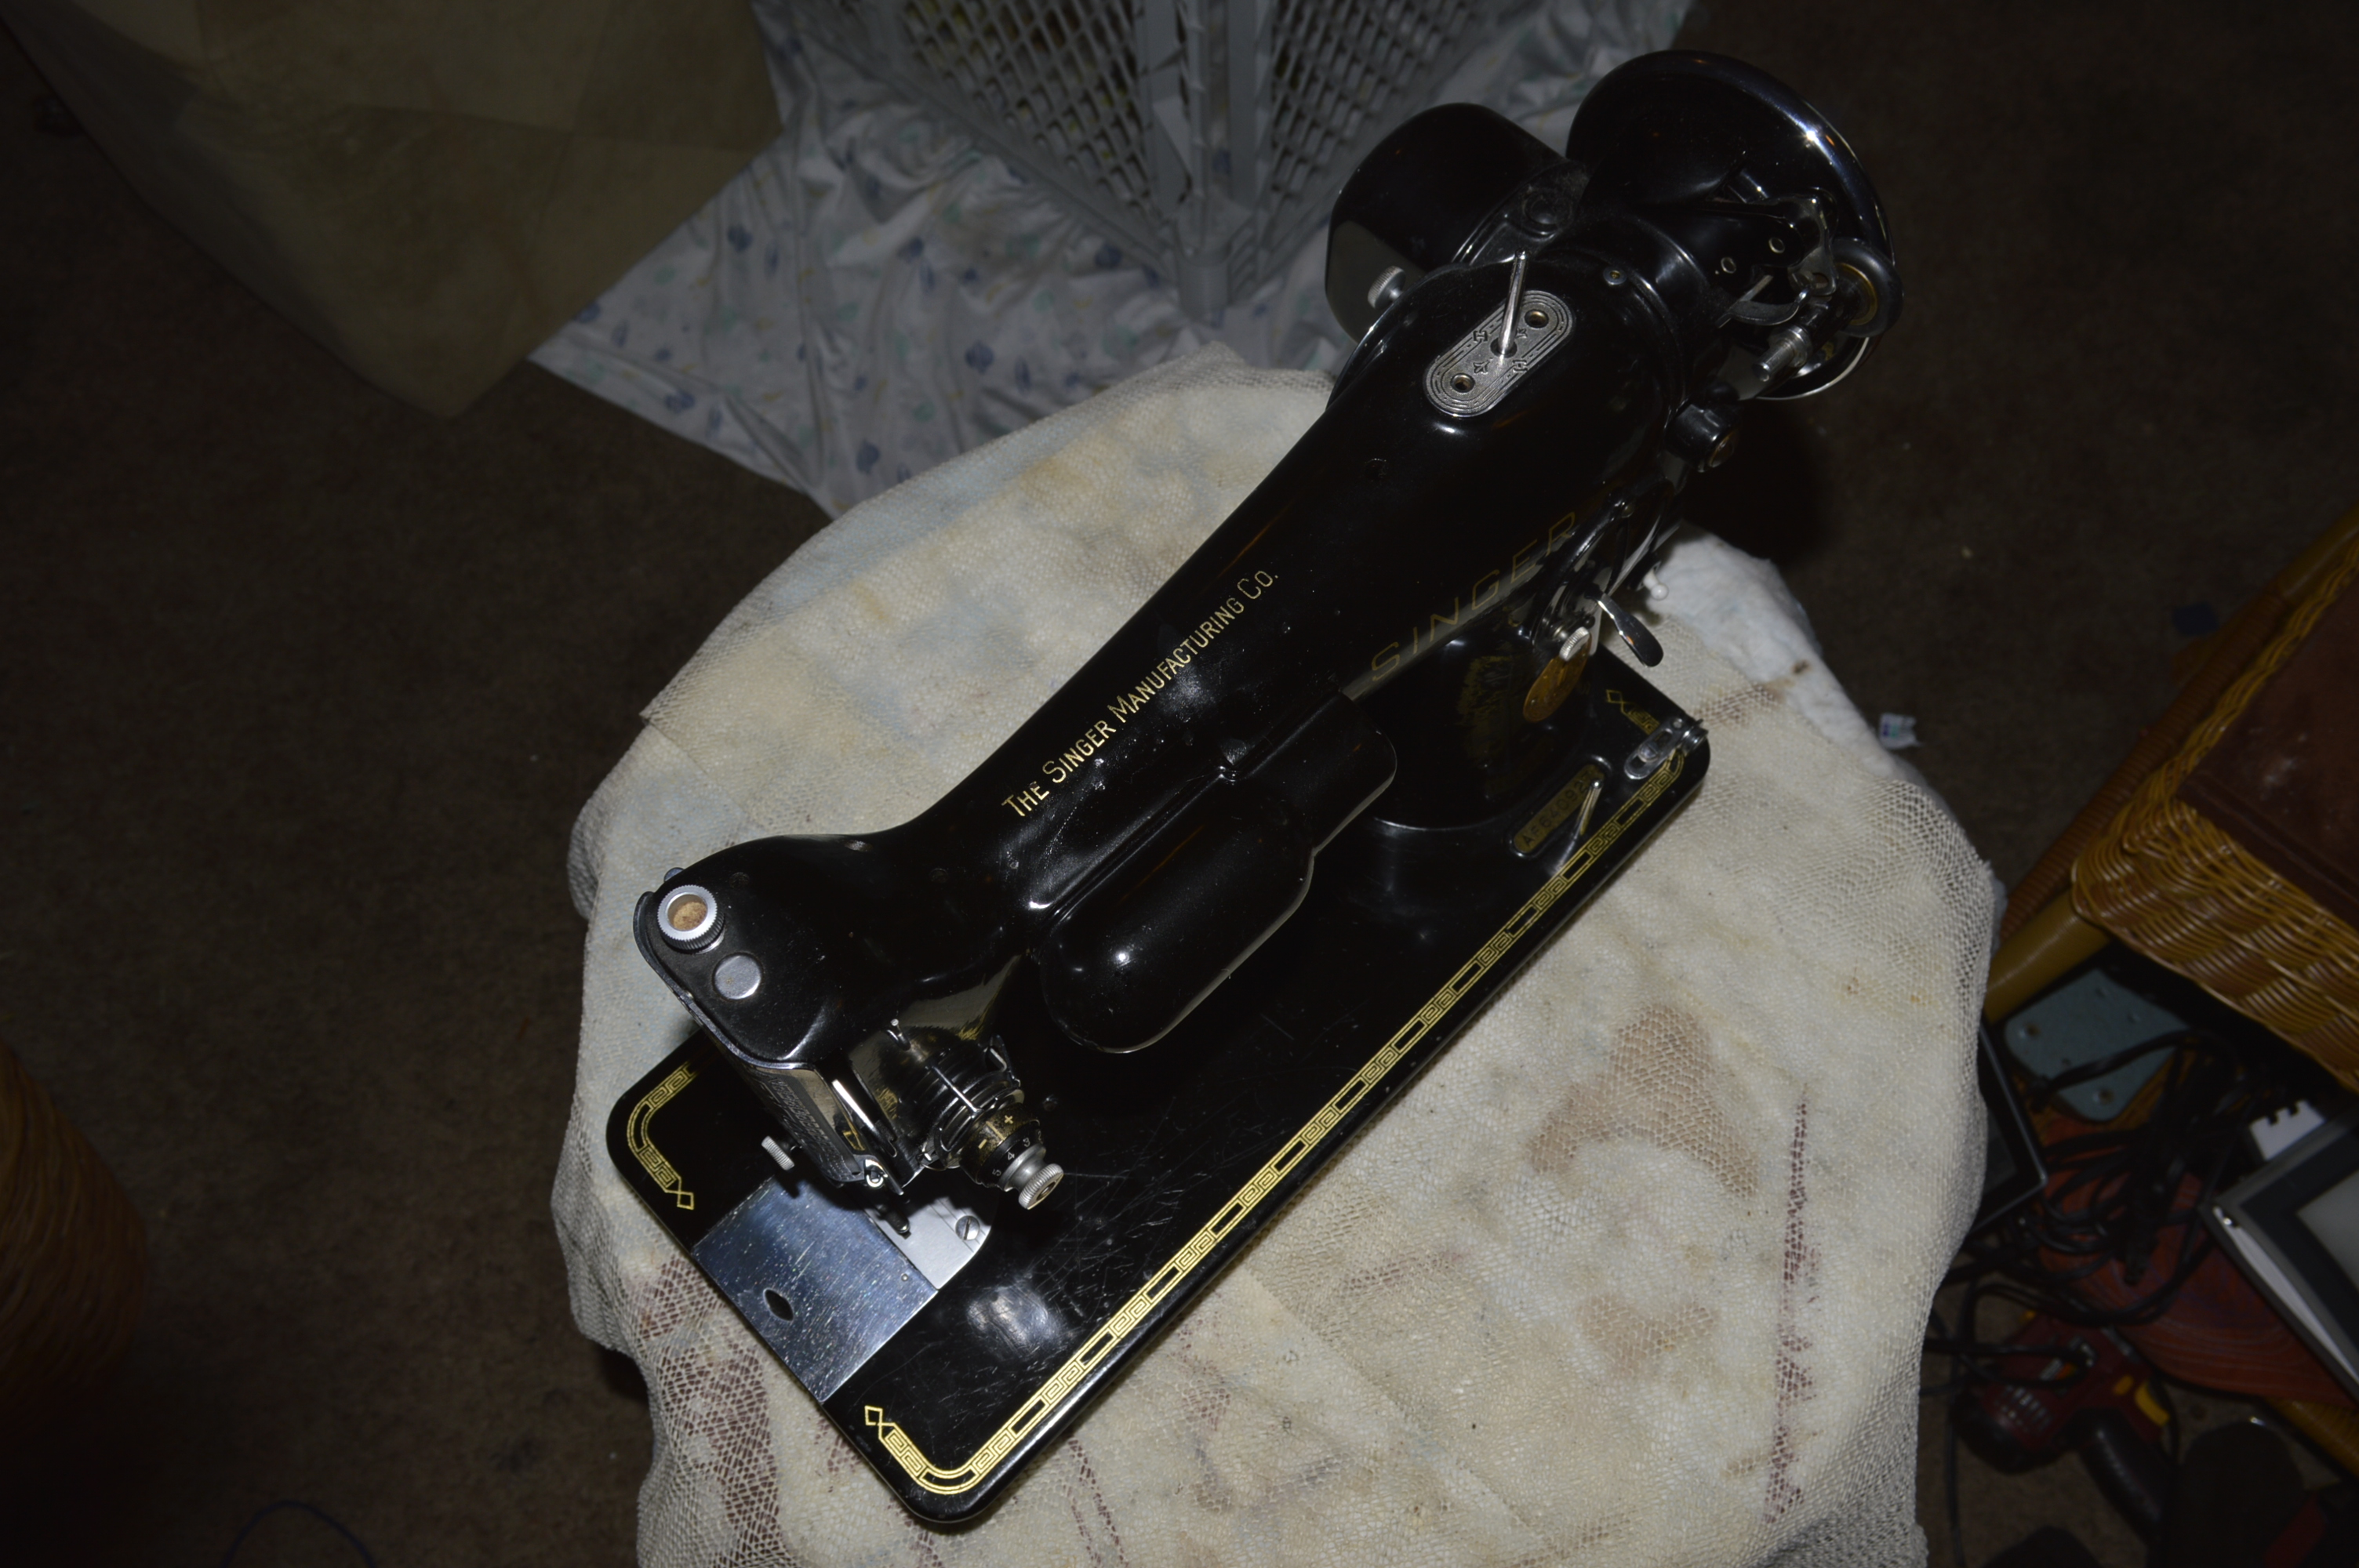
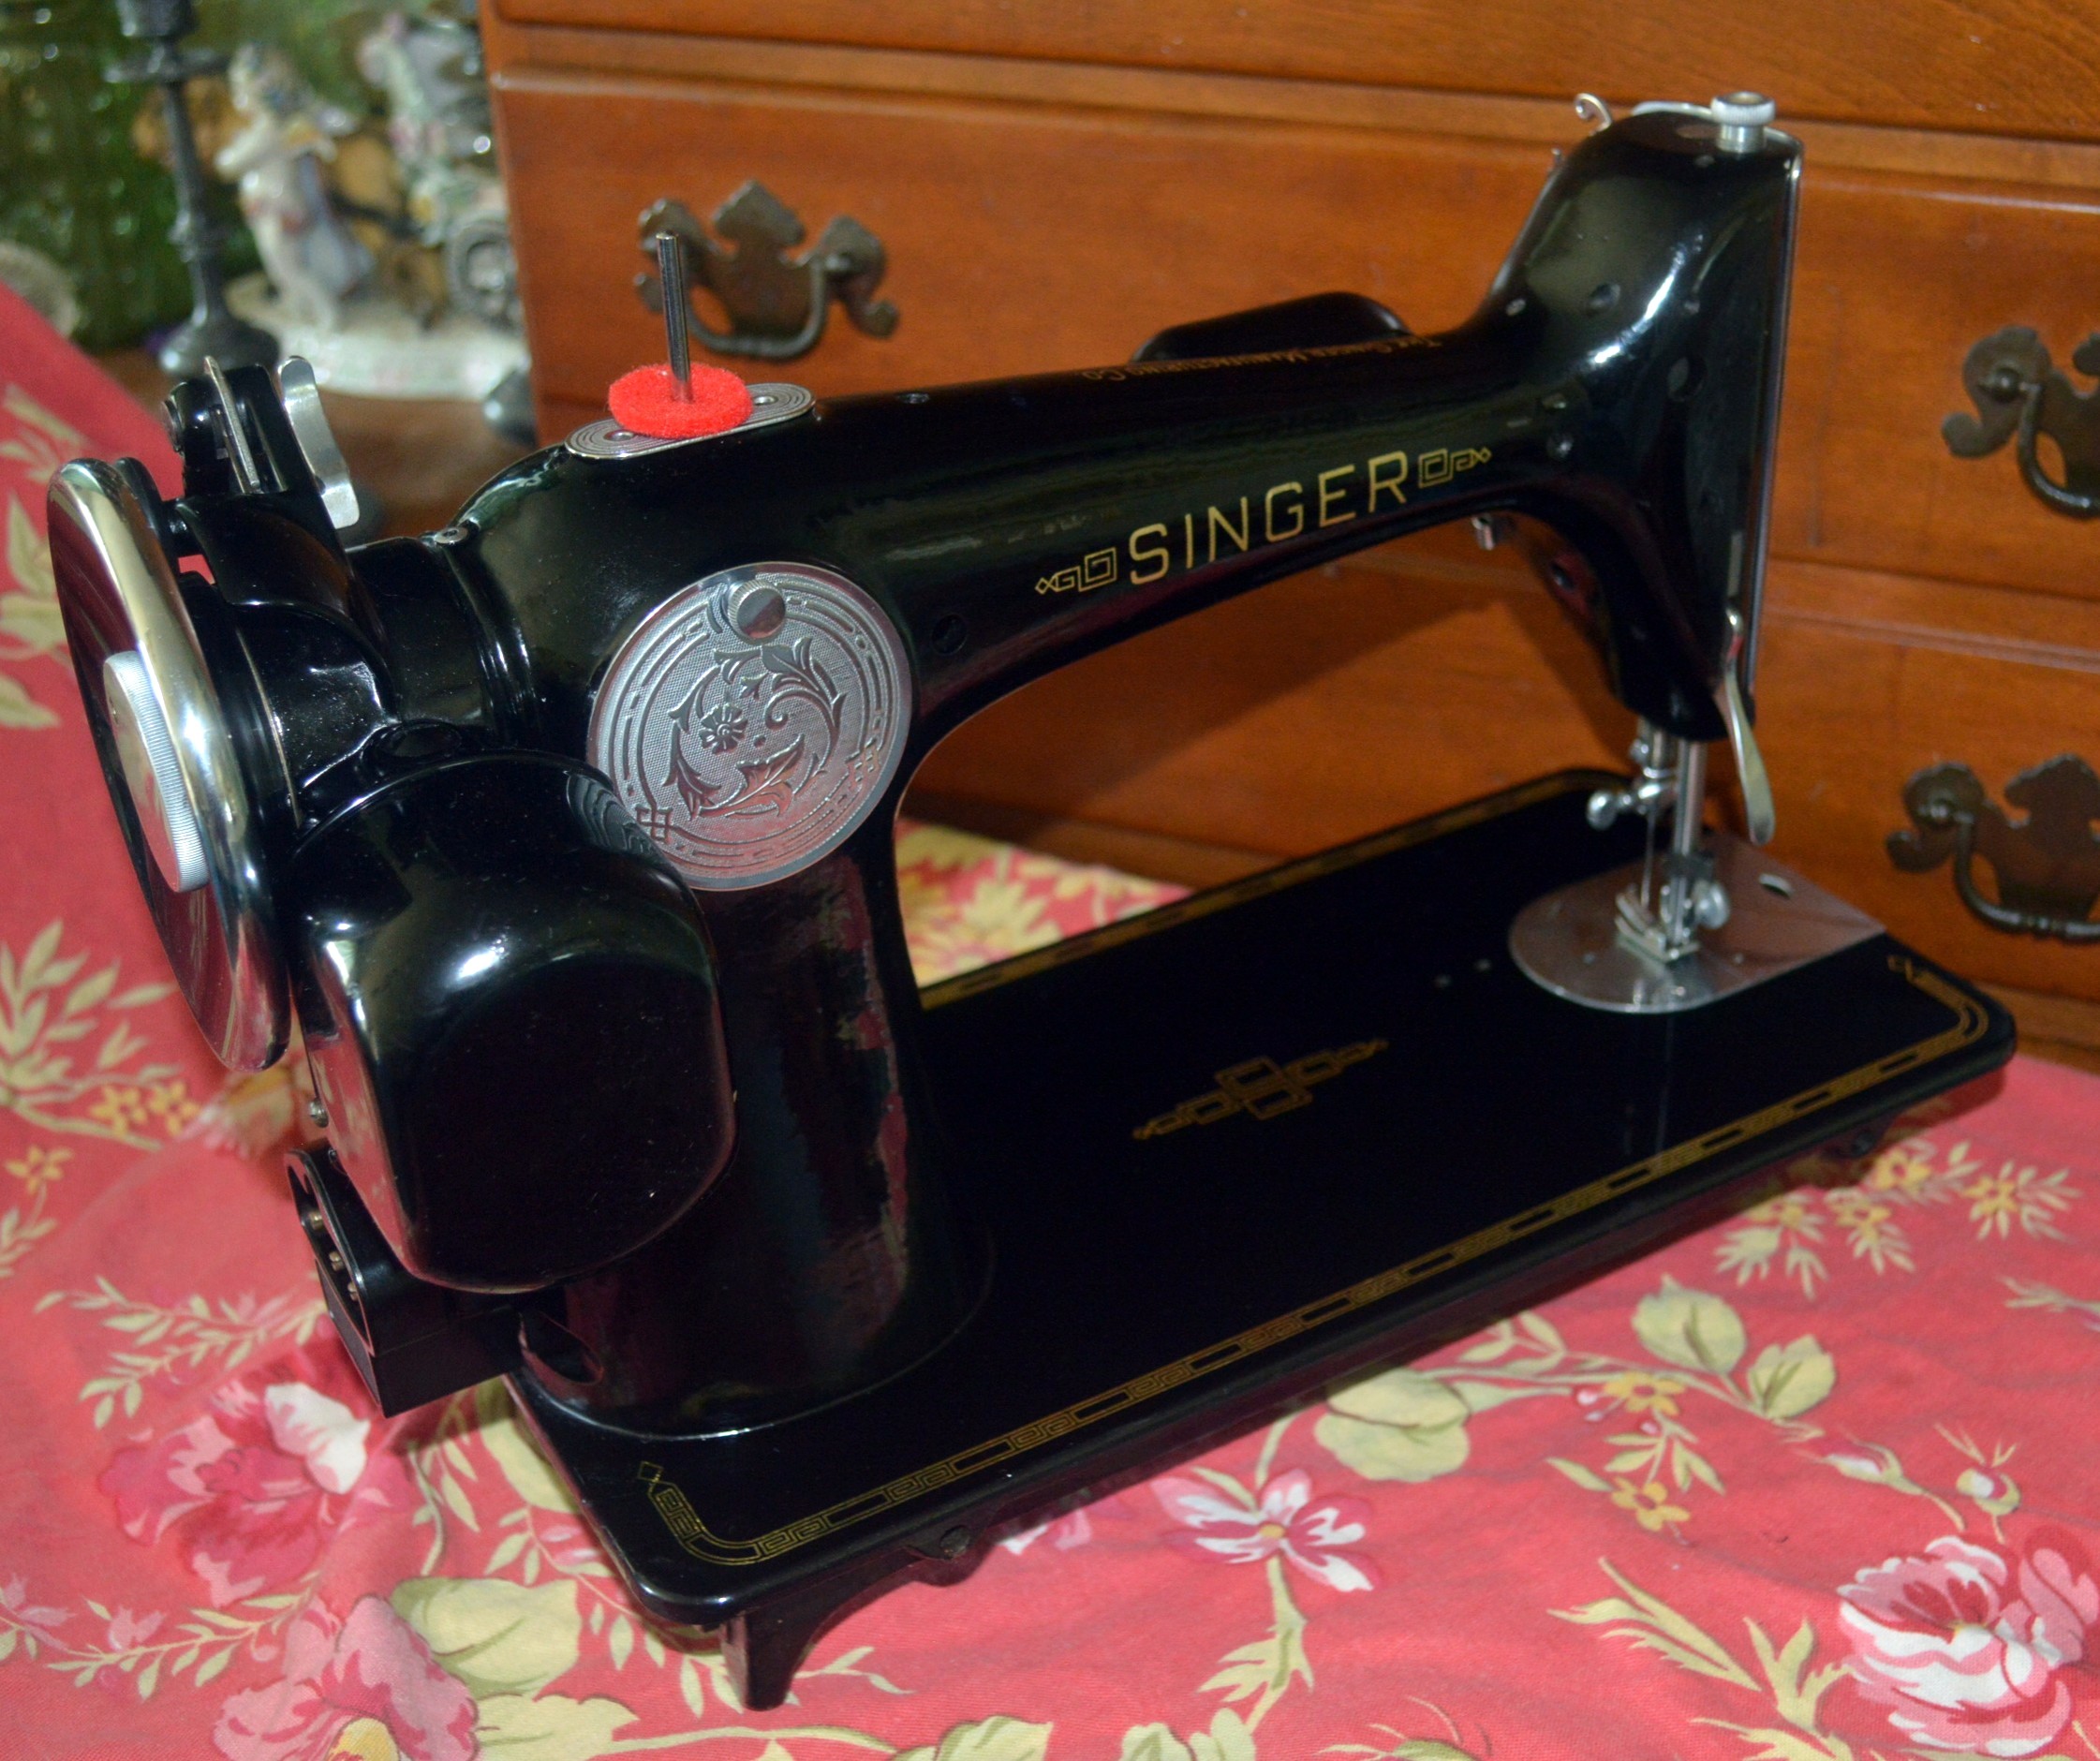
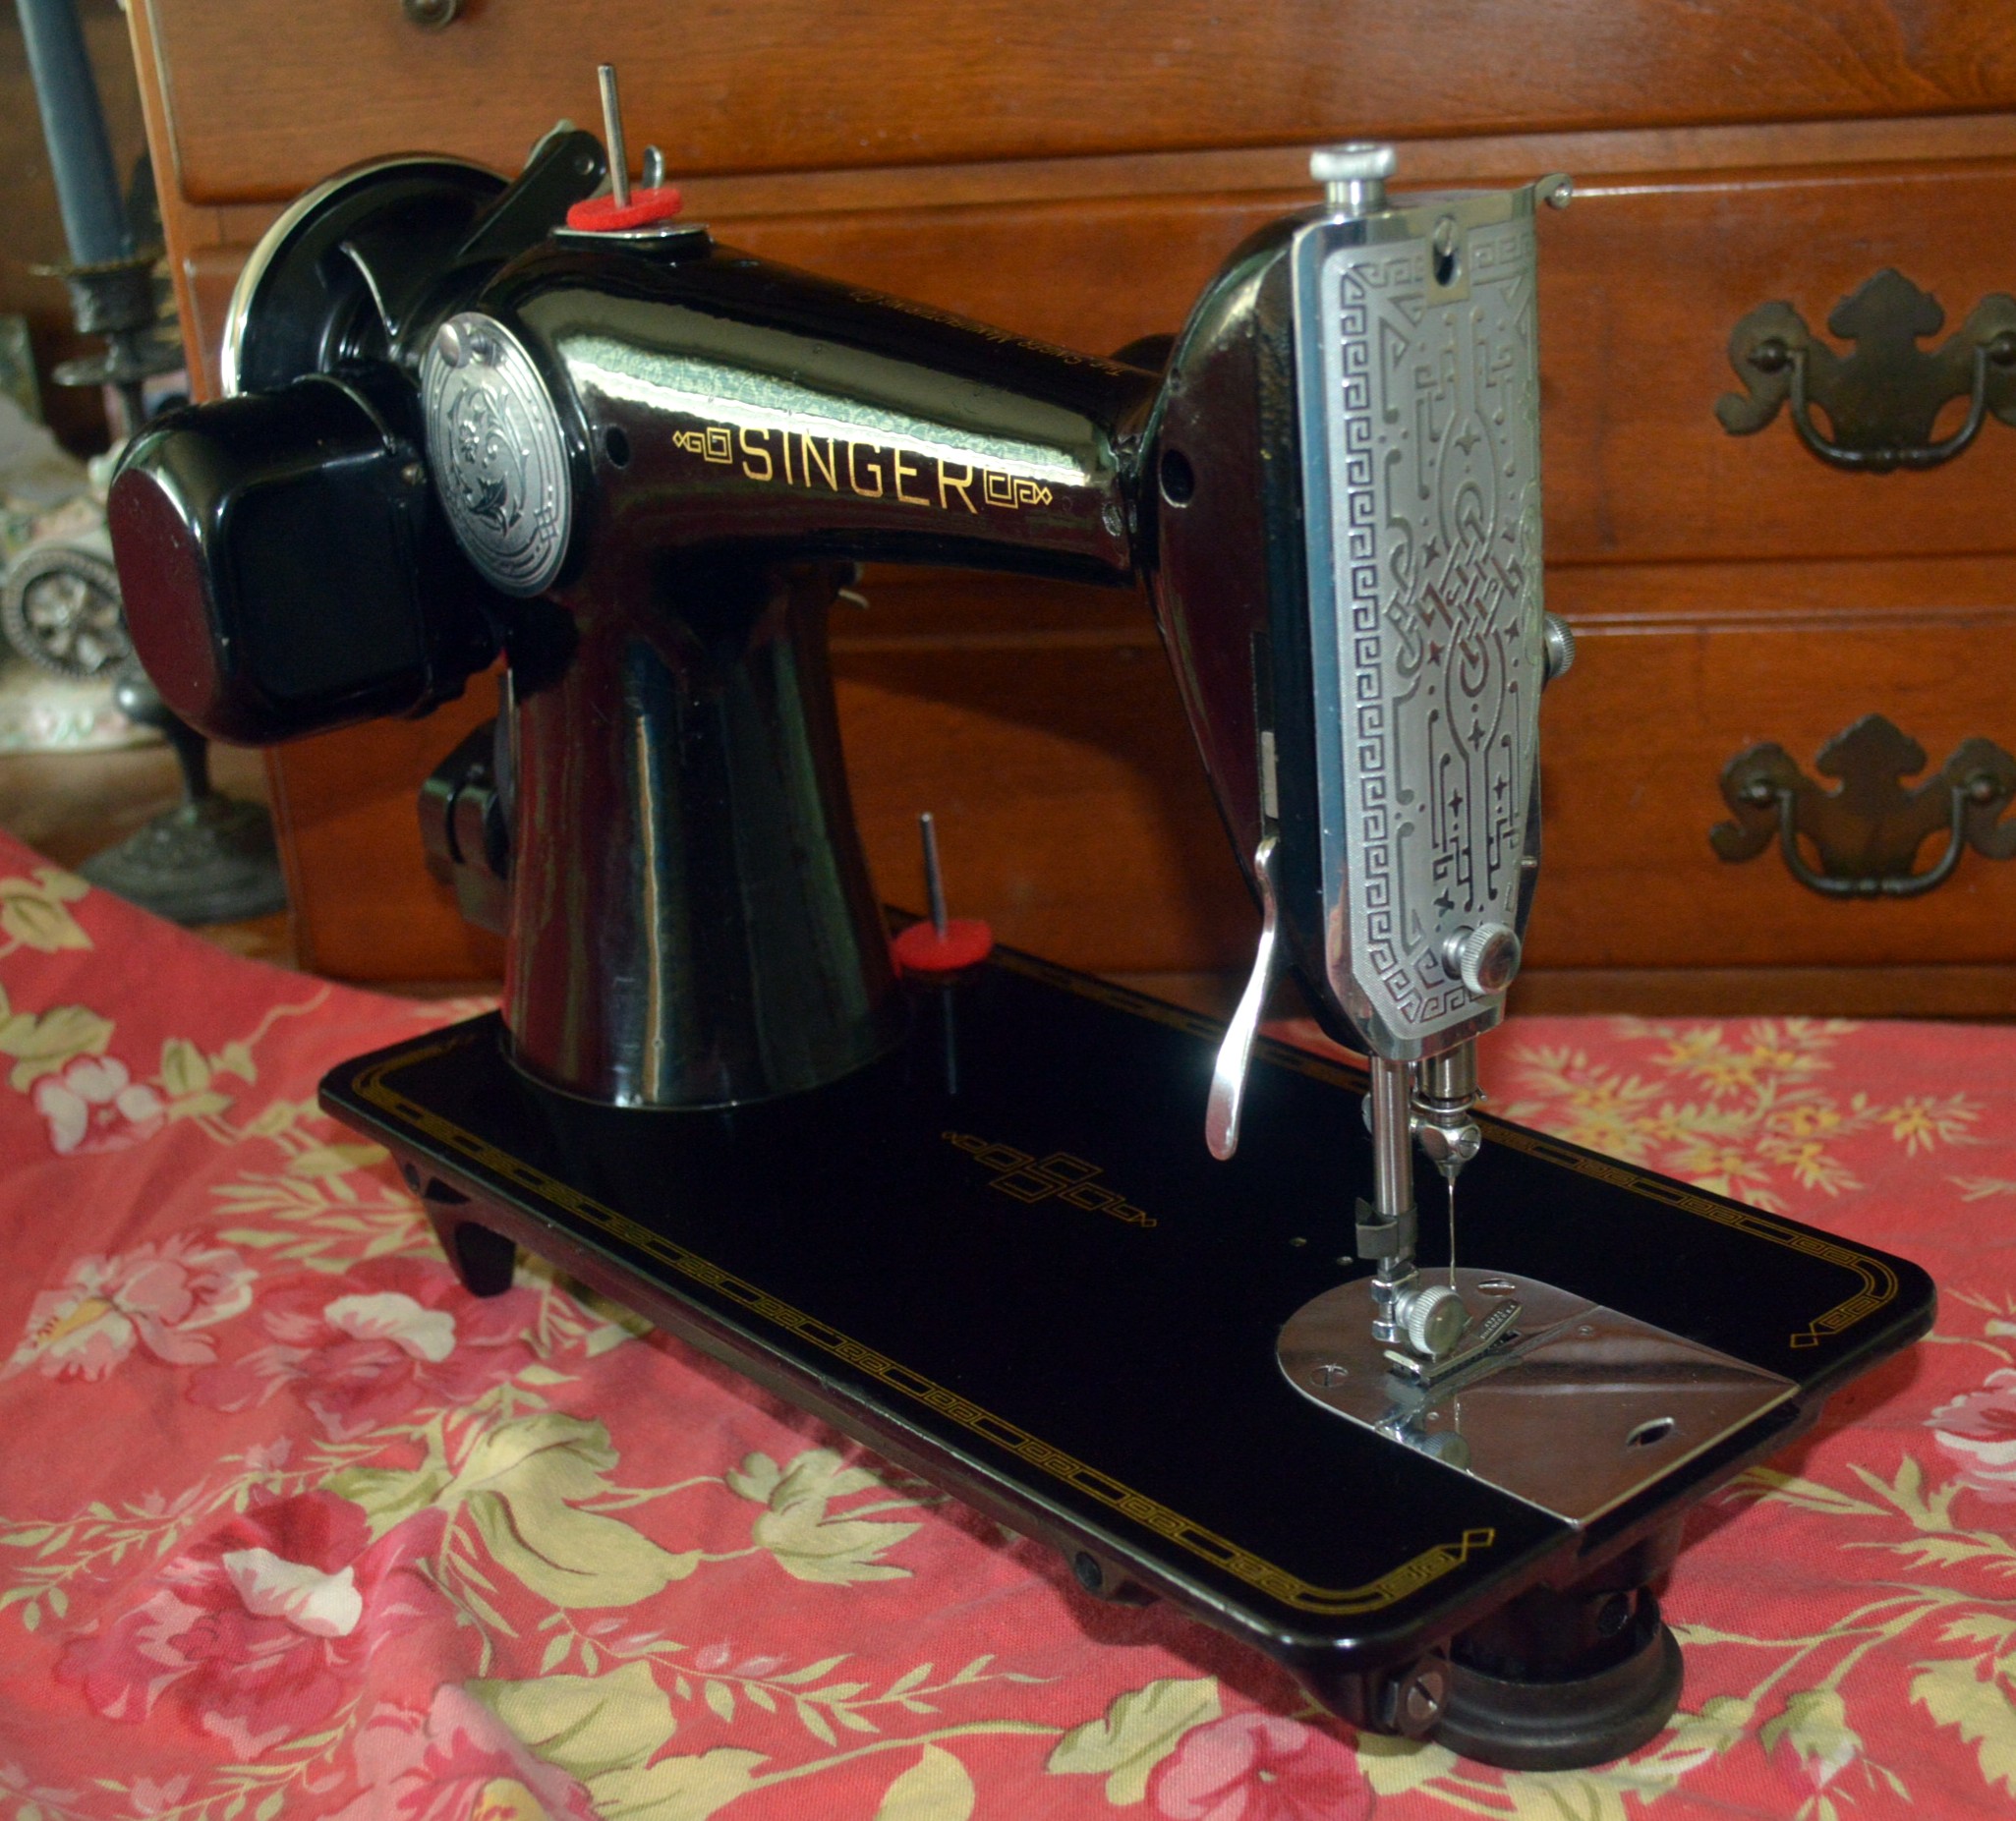
Serial number AF640927, this 201 was born on September 5, 1940, like all of the 201’s I choose to restore, it is in great cosmetic condition… especially since it is 79 years old! The decals are excellent and the finish shows only minor scratches and paint chips from use. Cosmetic condition is vital to the outcome. The goal is to keep the original finish intact but bring it to a condition where any defects earned are hardly noticeable. What more can one ask of a machine that is 79 years old. Here is the machine in the before condition…


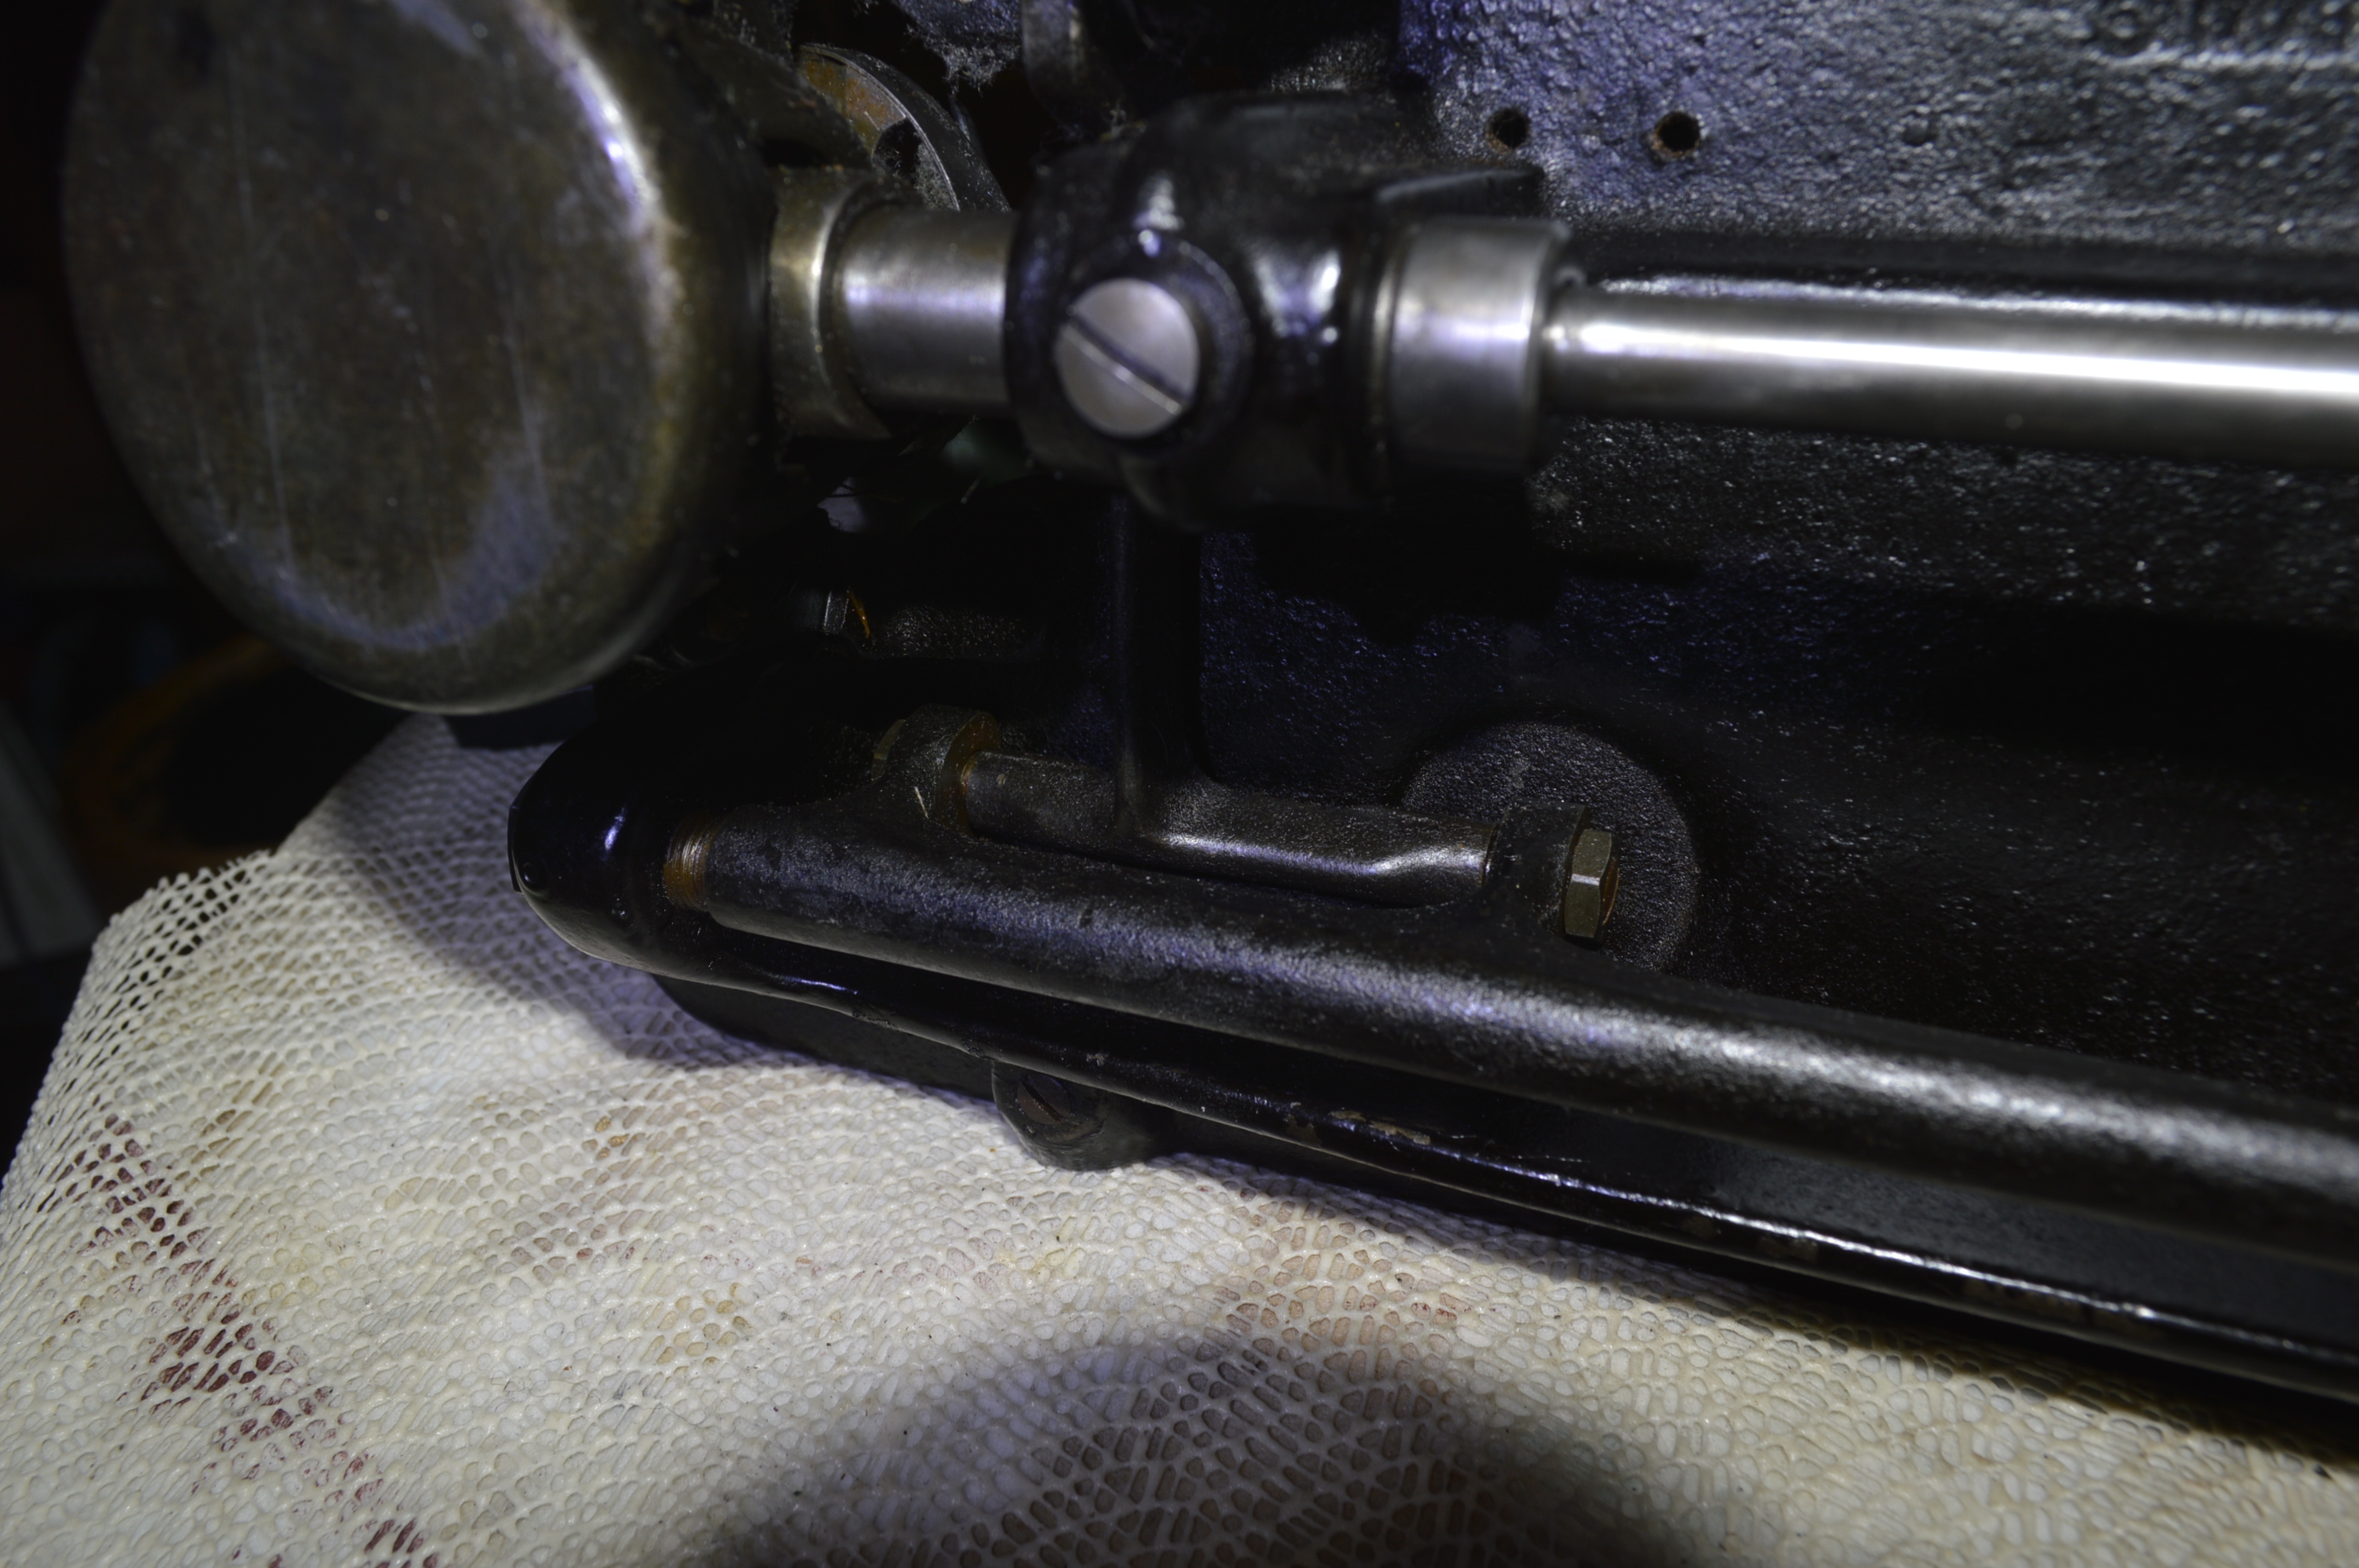
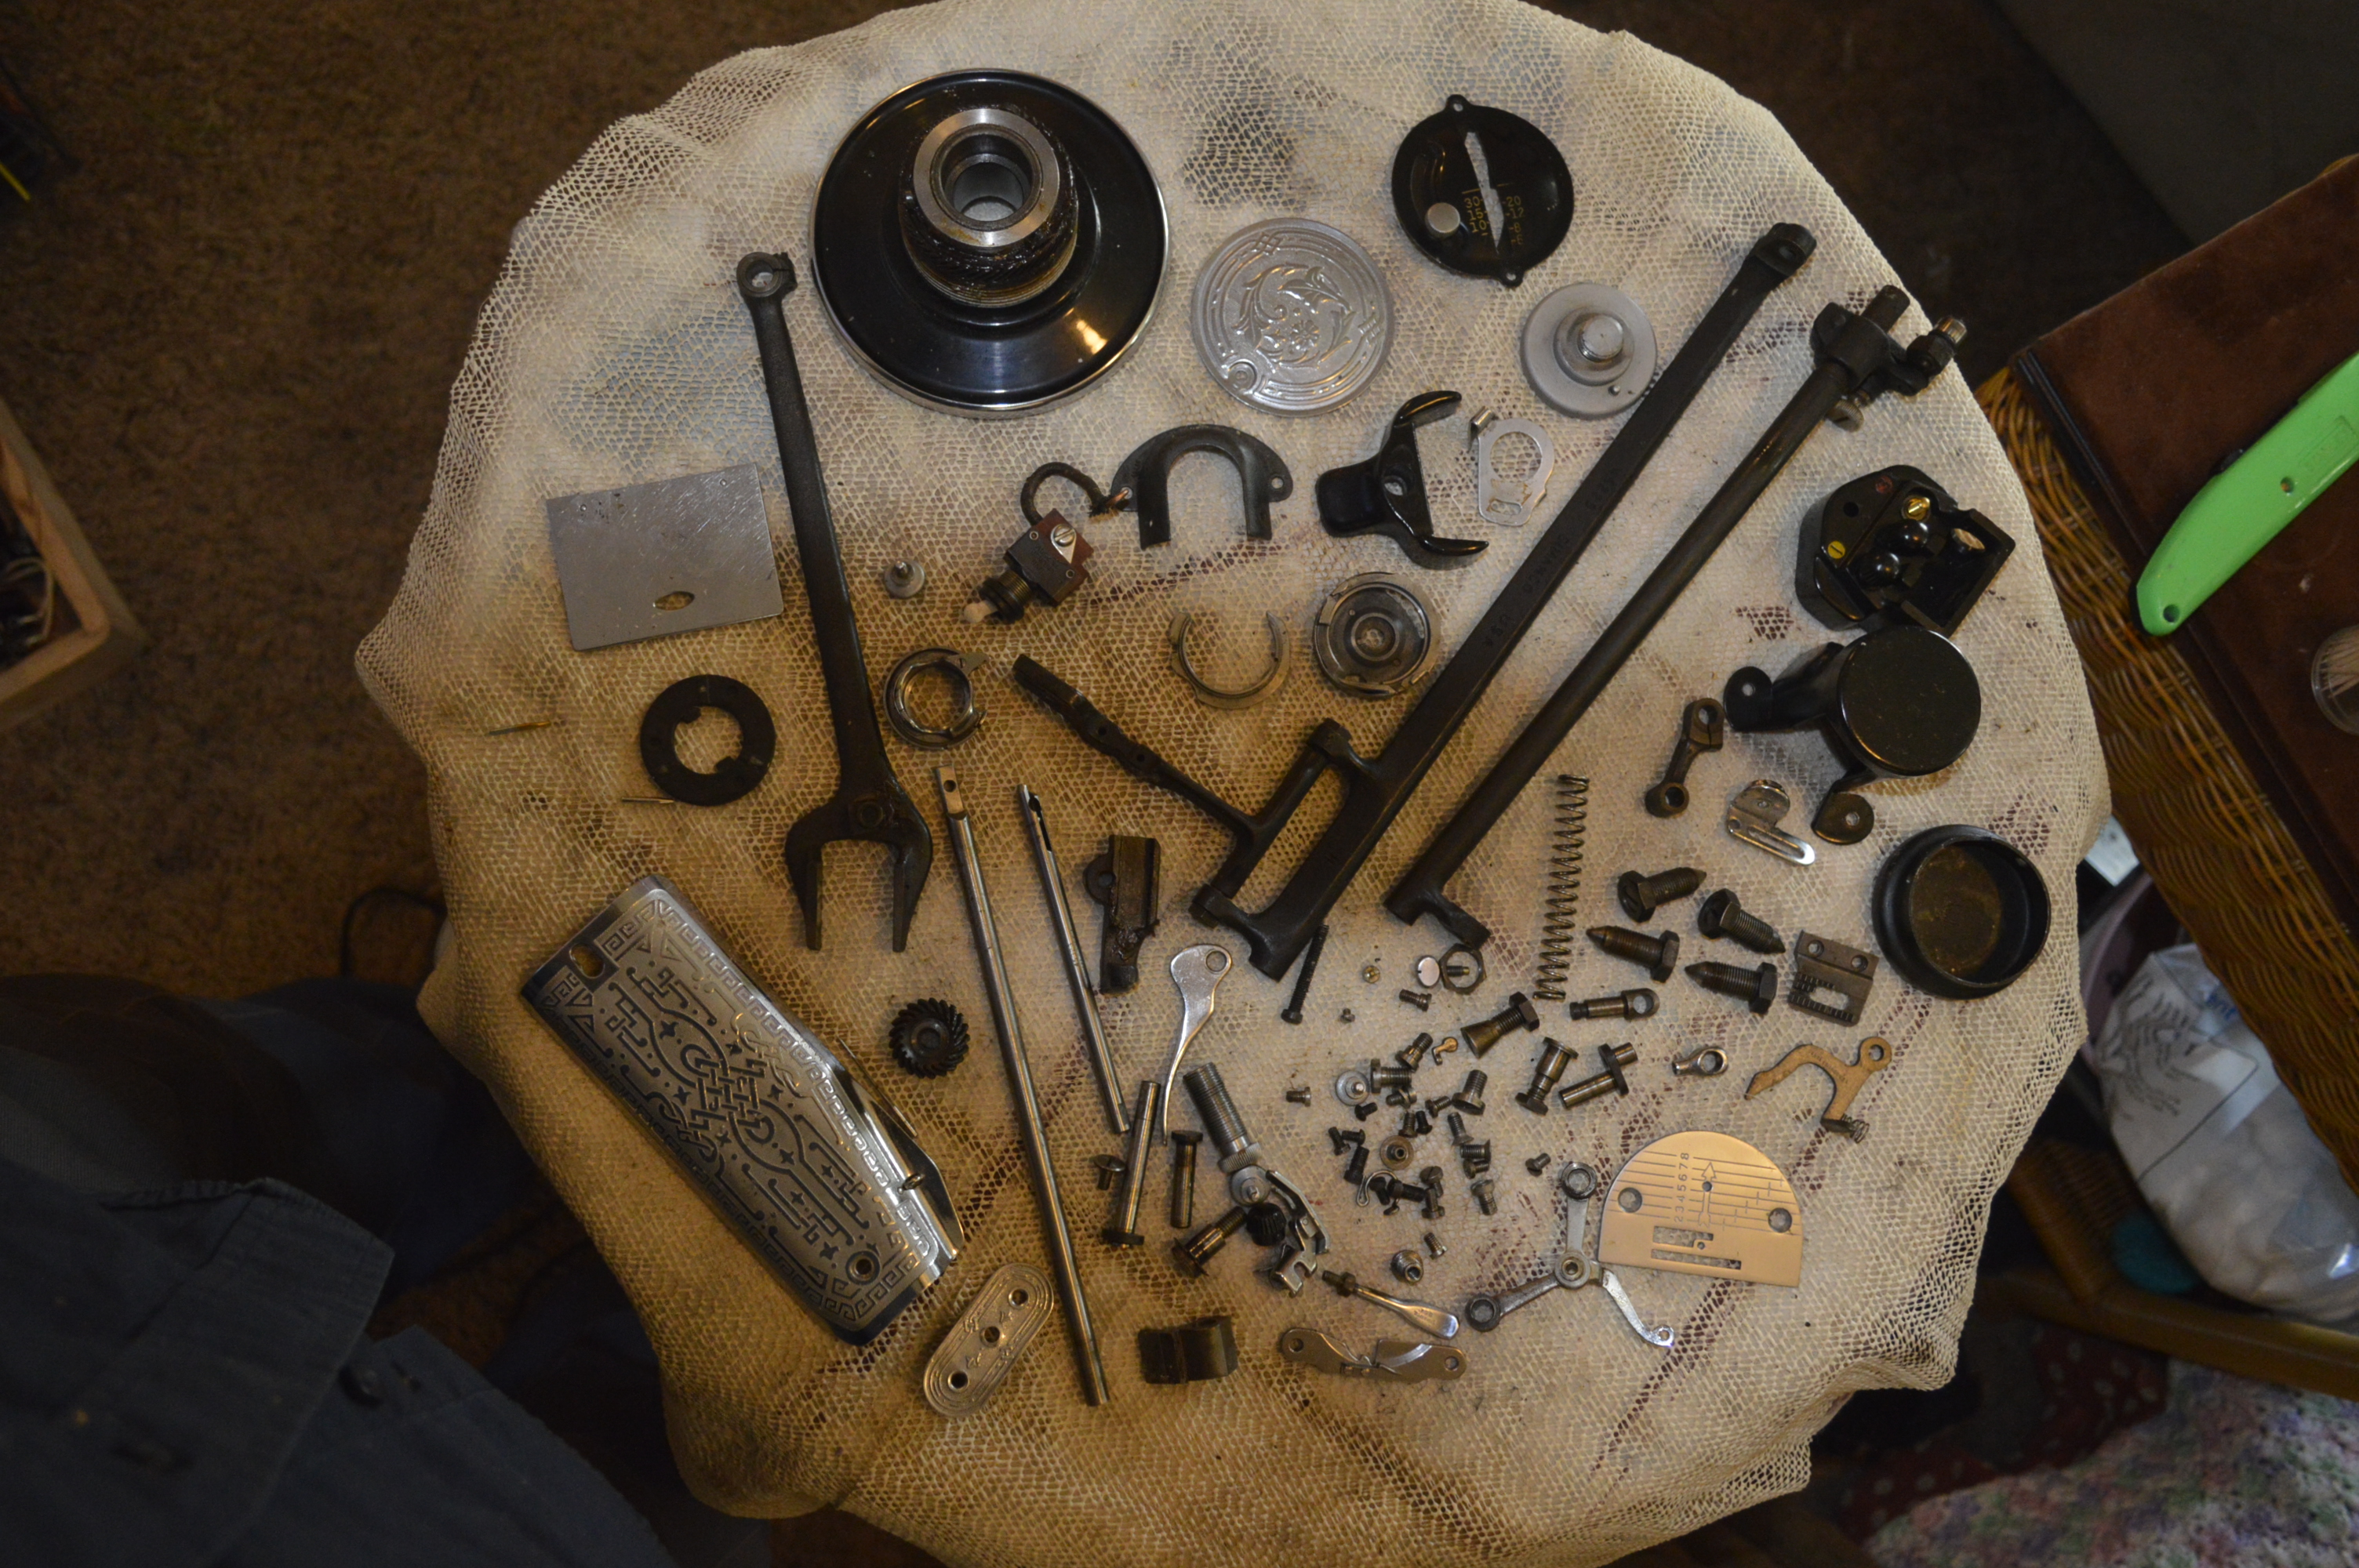
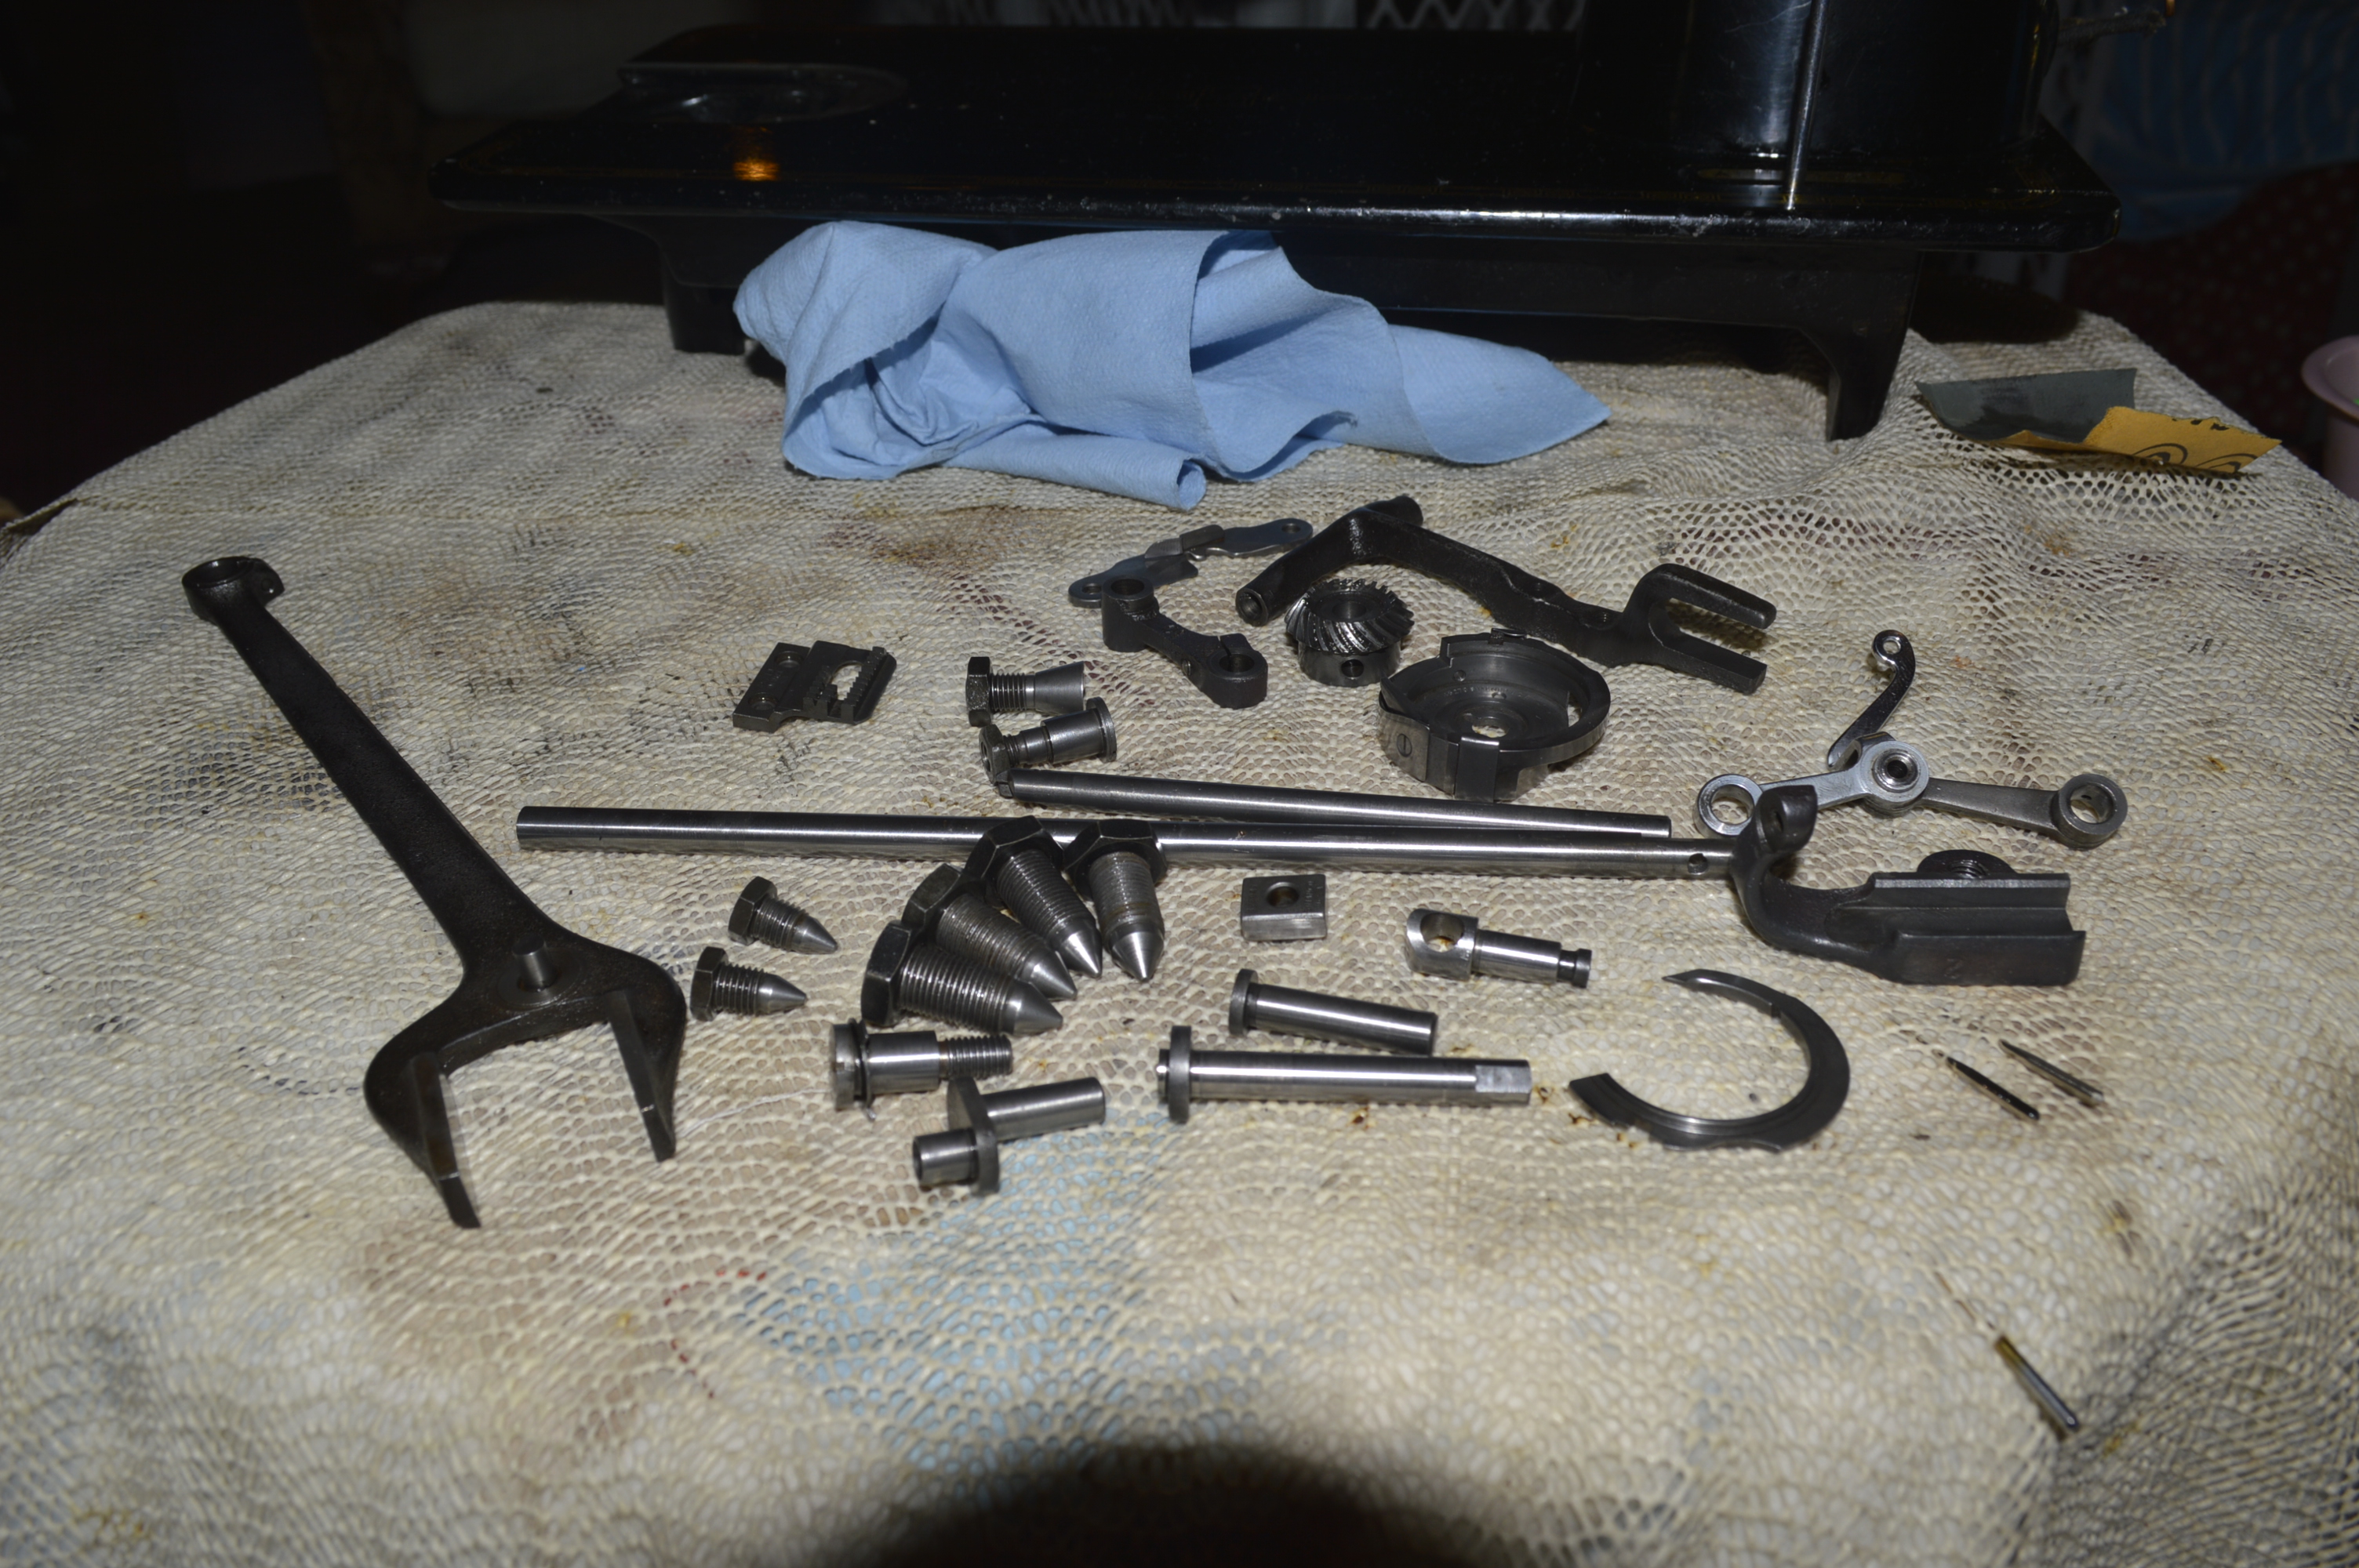
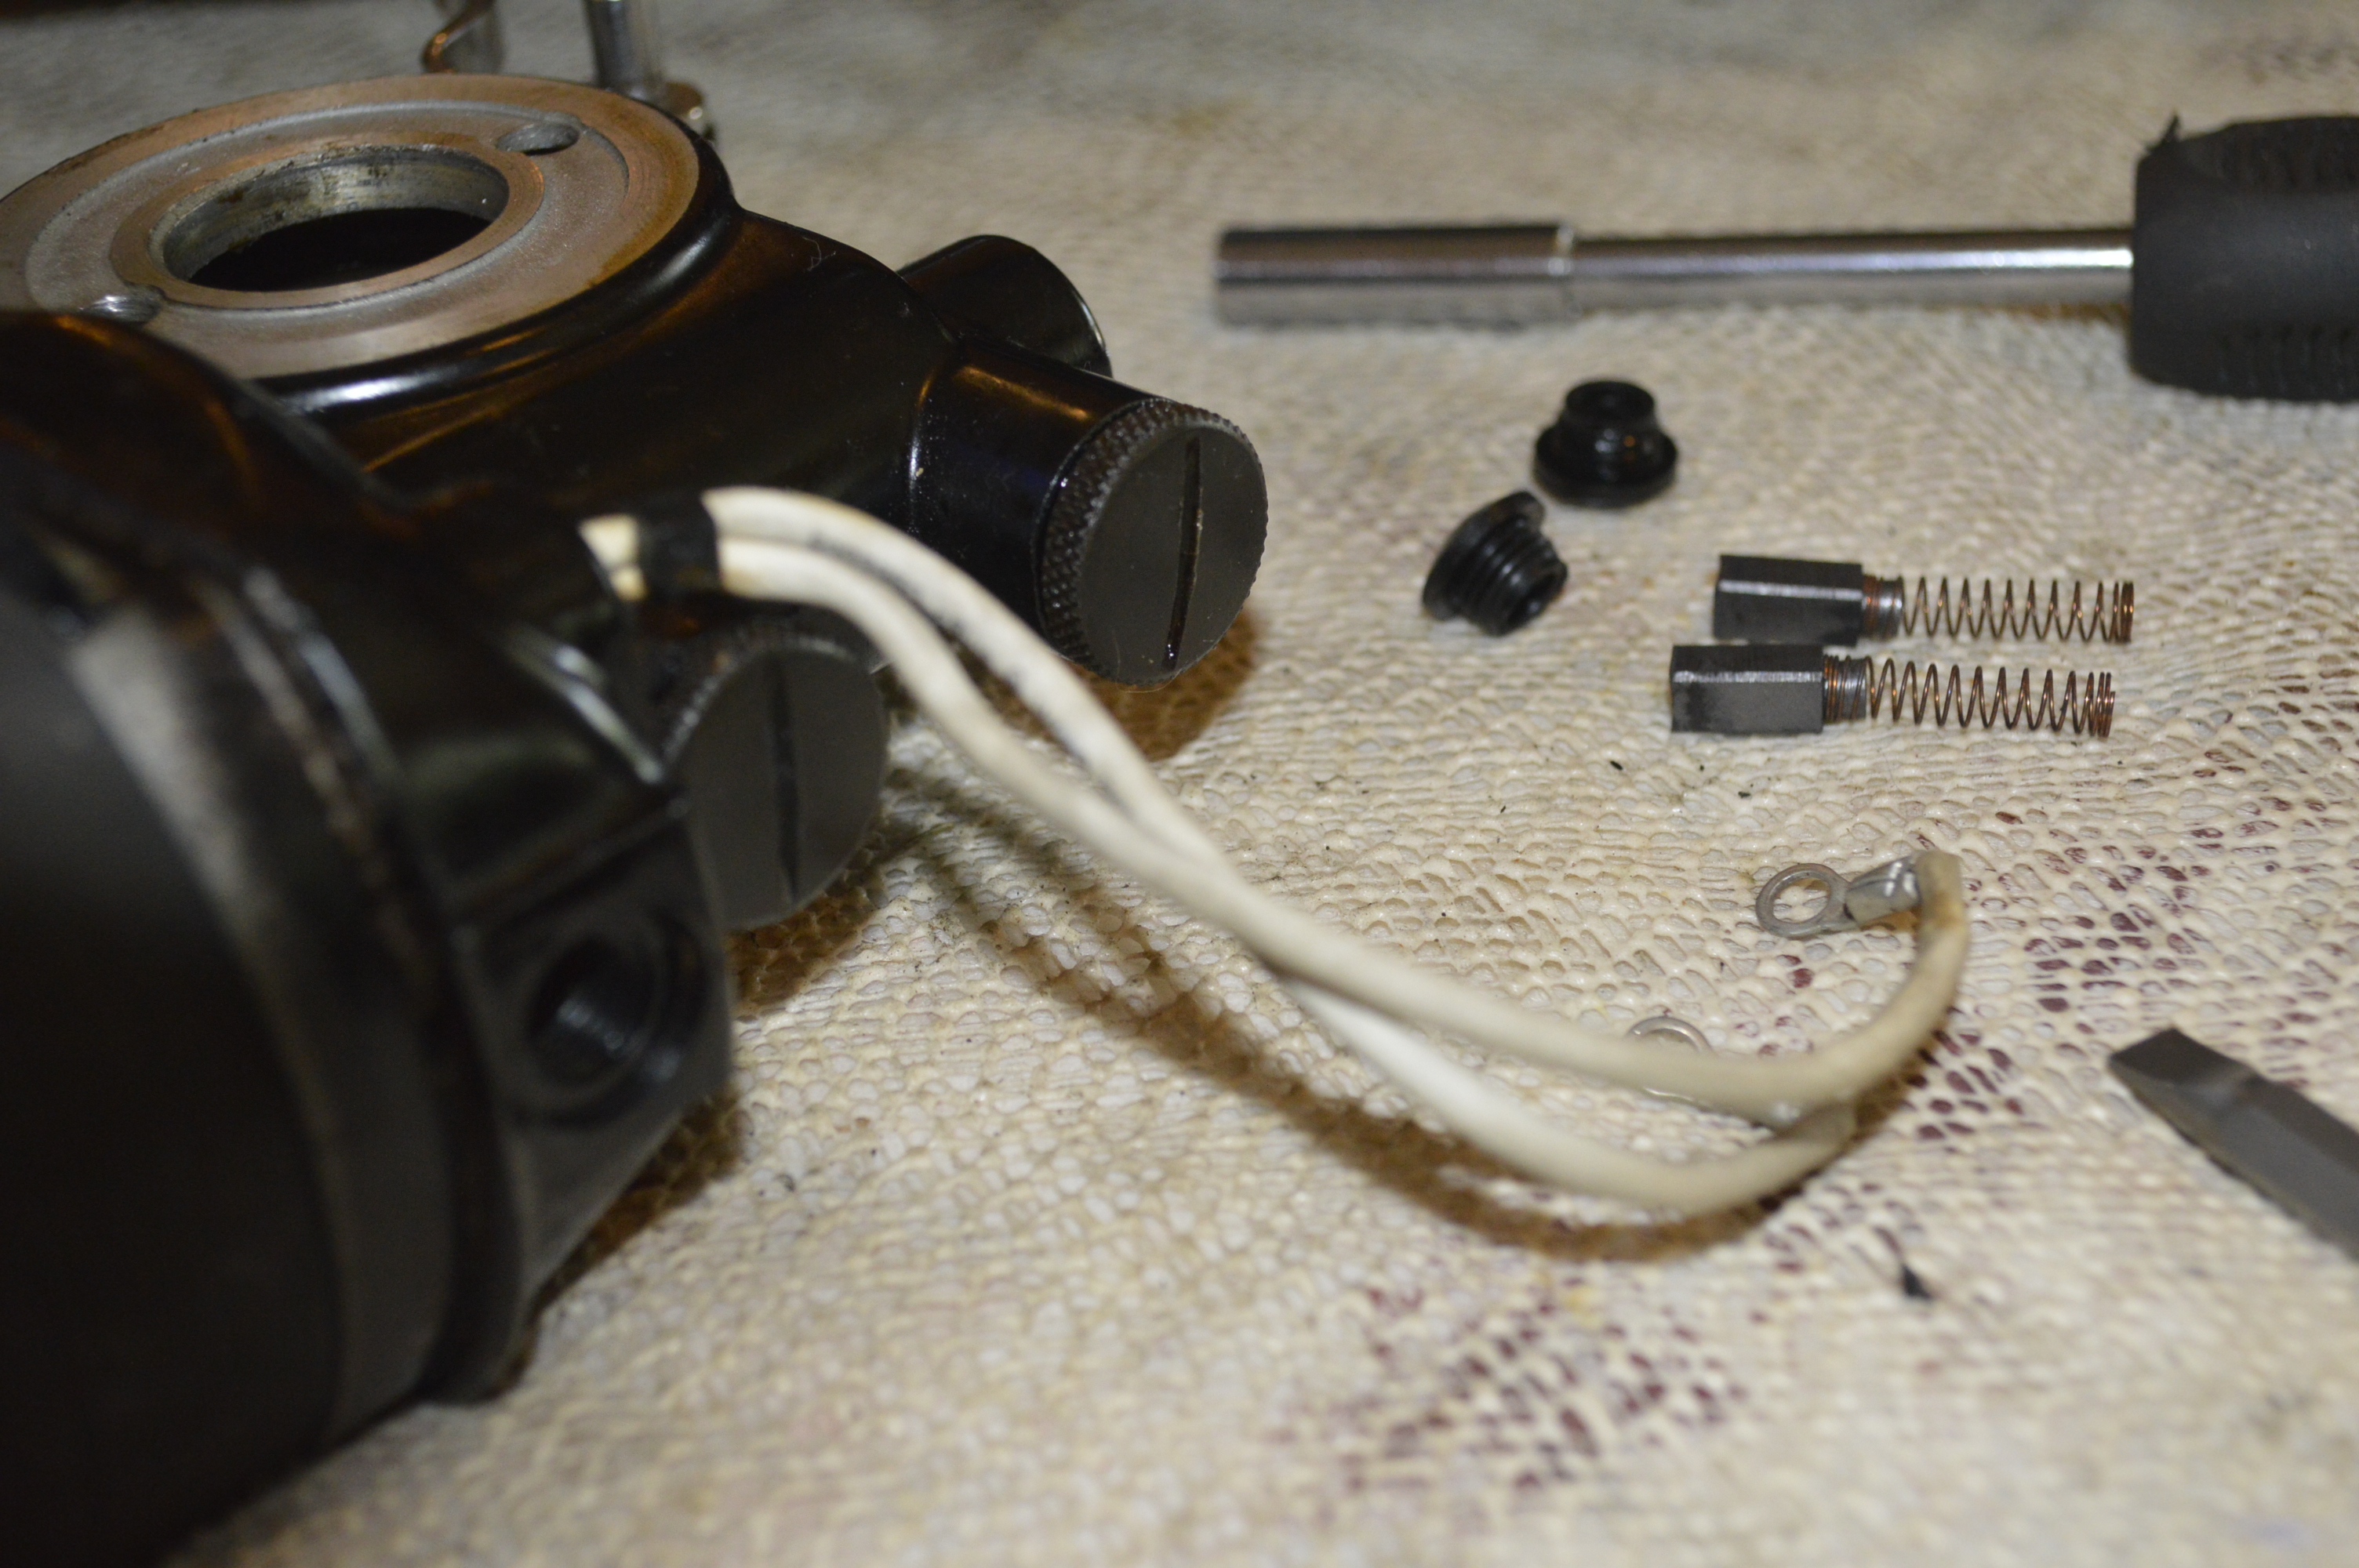
The person I purchased this machine from told me the motor had been rewired and the machine had been serviced. The white wires confirmed that the motor had been disassembled. But running the machine told me that the motor was sluggish and needed a complete tear down and rebuild. But that is one part of a restoration that is always done. Looking at the drive train, I noticed that it was lubricated with a thick brown grease… Grease is not an appropriate lubricant for these parts and it is going to take more time and effort to clean it all up. Oh well, if that’s what needs to be done, then that’s what needs to be done. The project starts with complete disassembly of the moving parts in the head and under the bed of the machine…
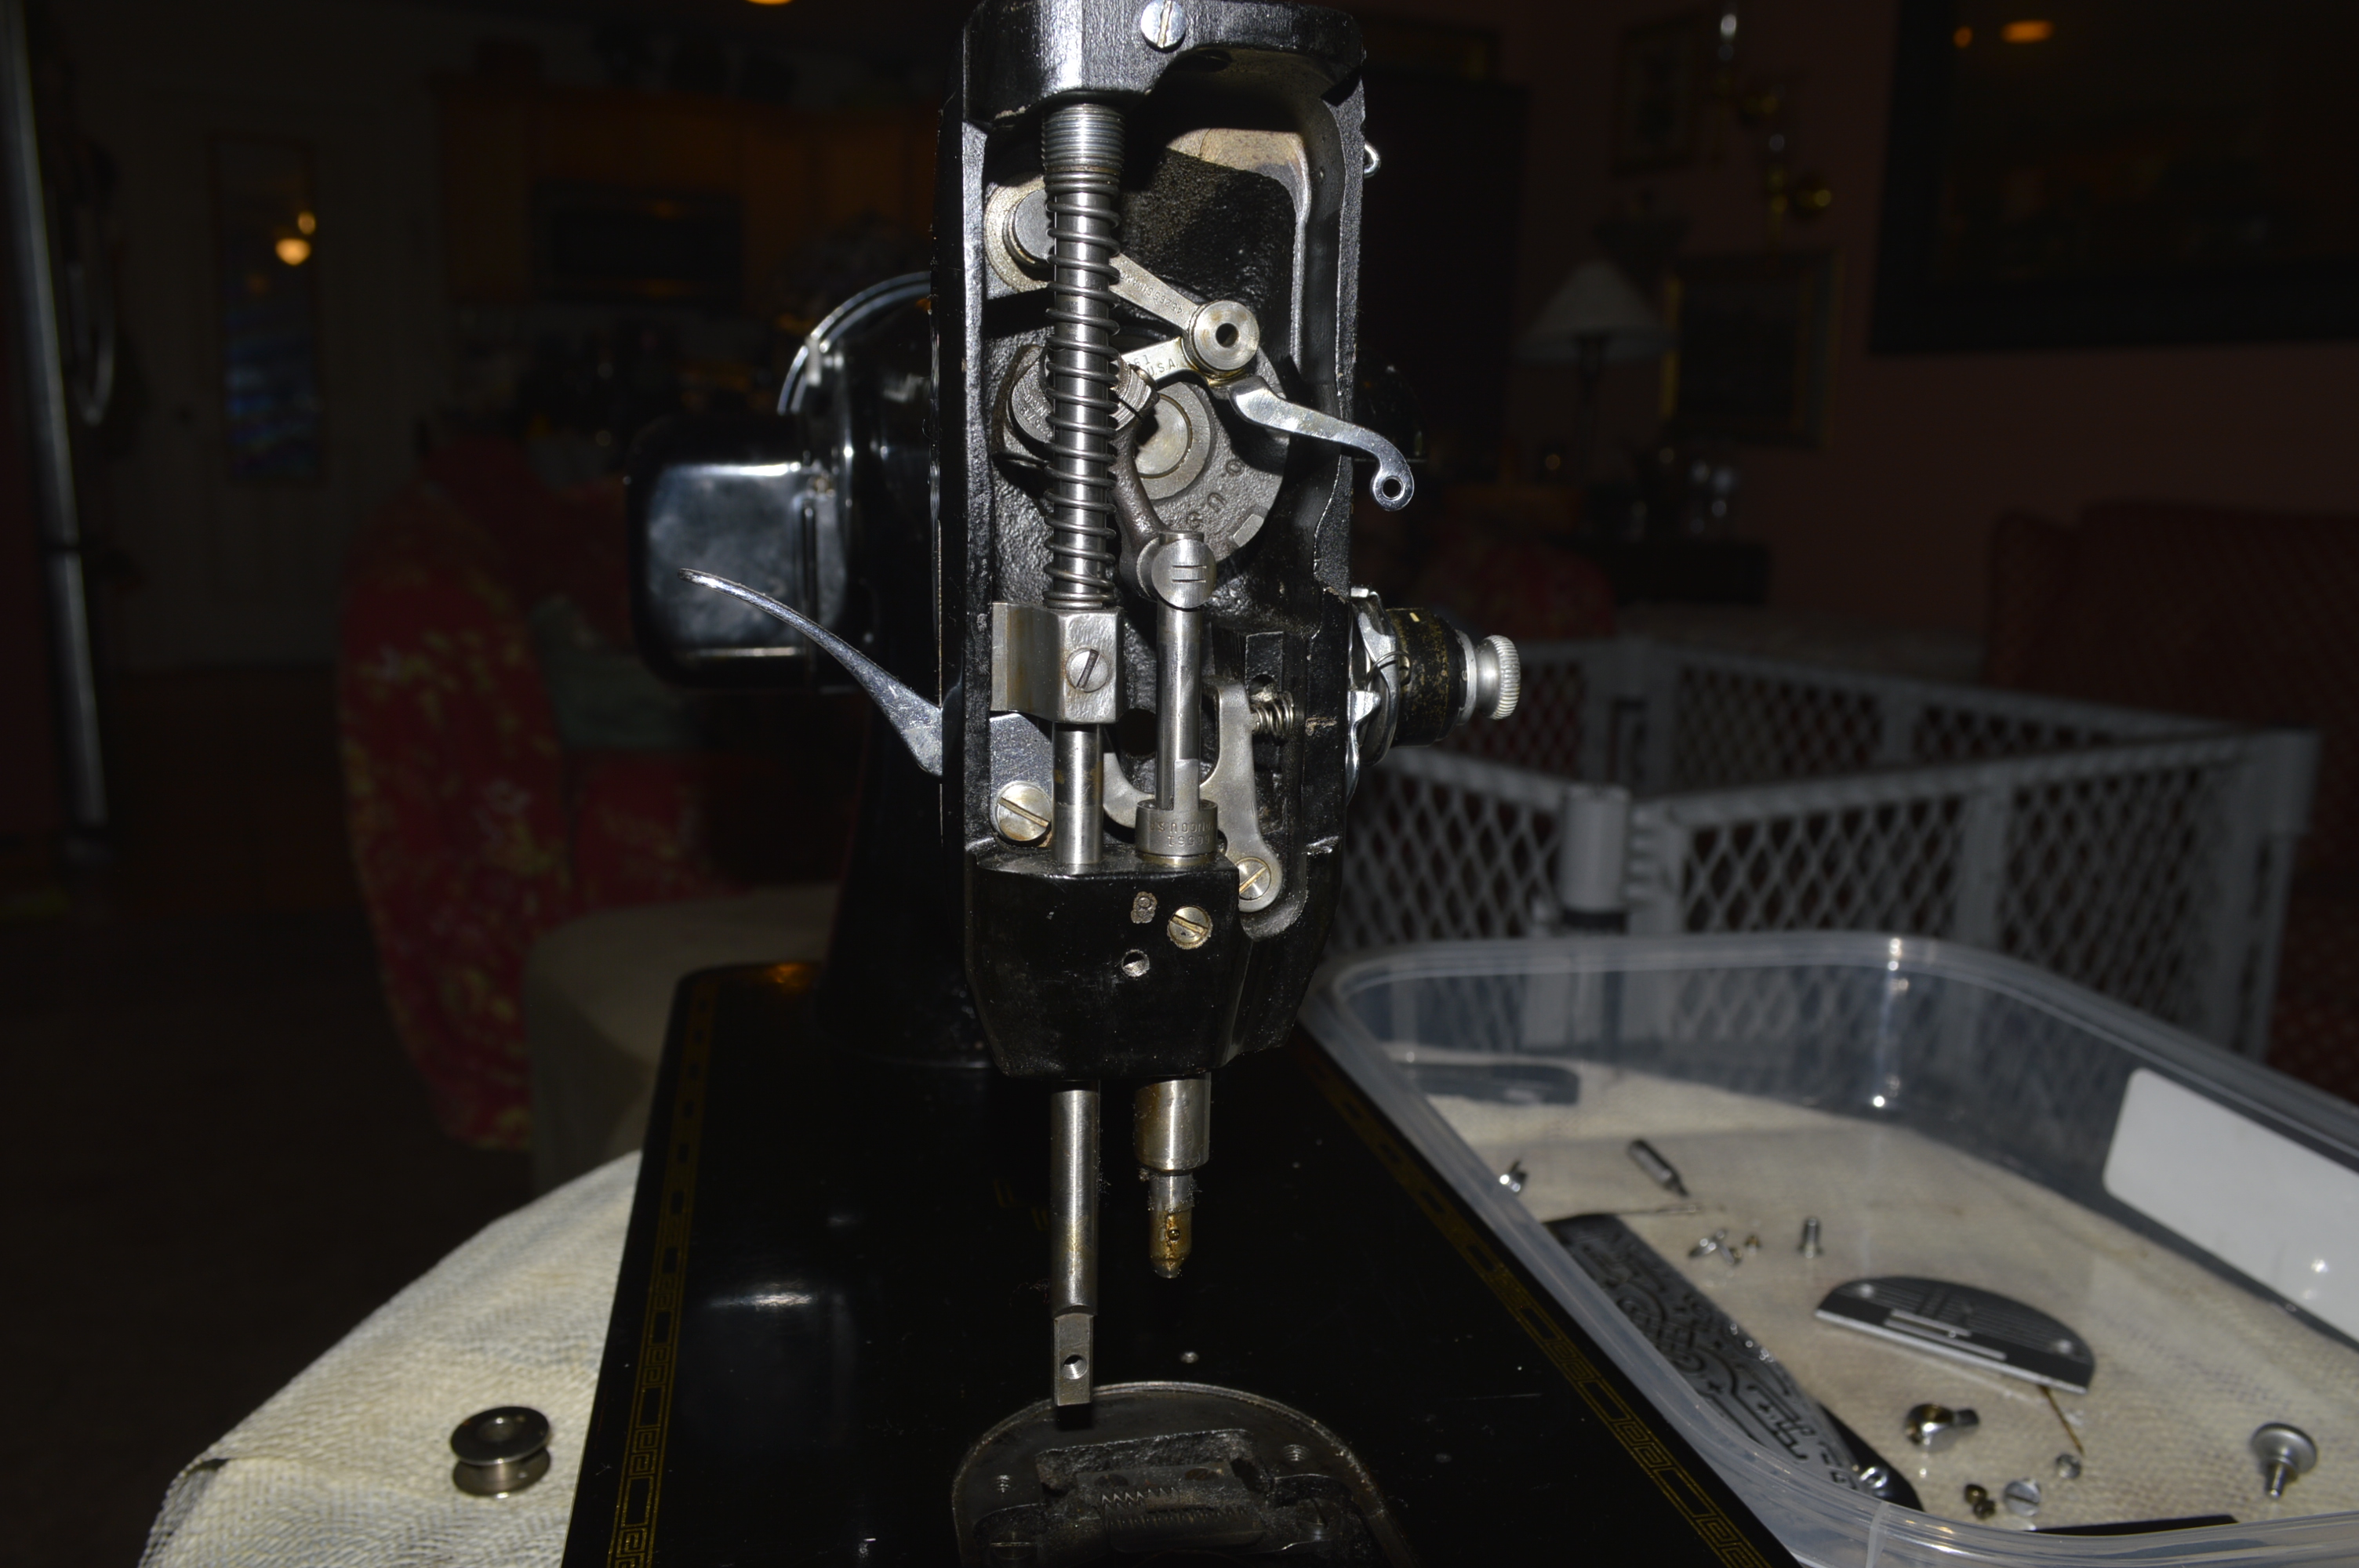

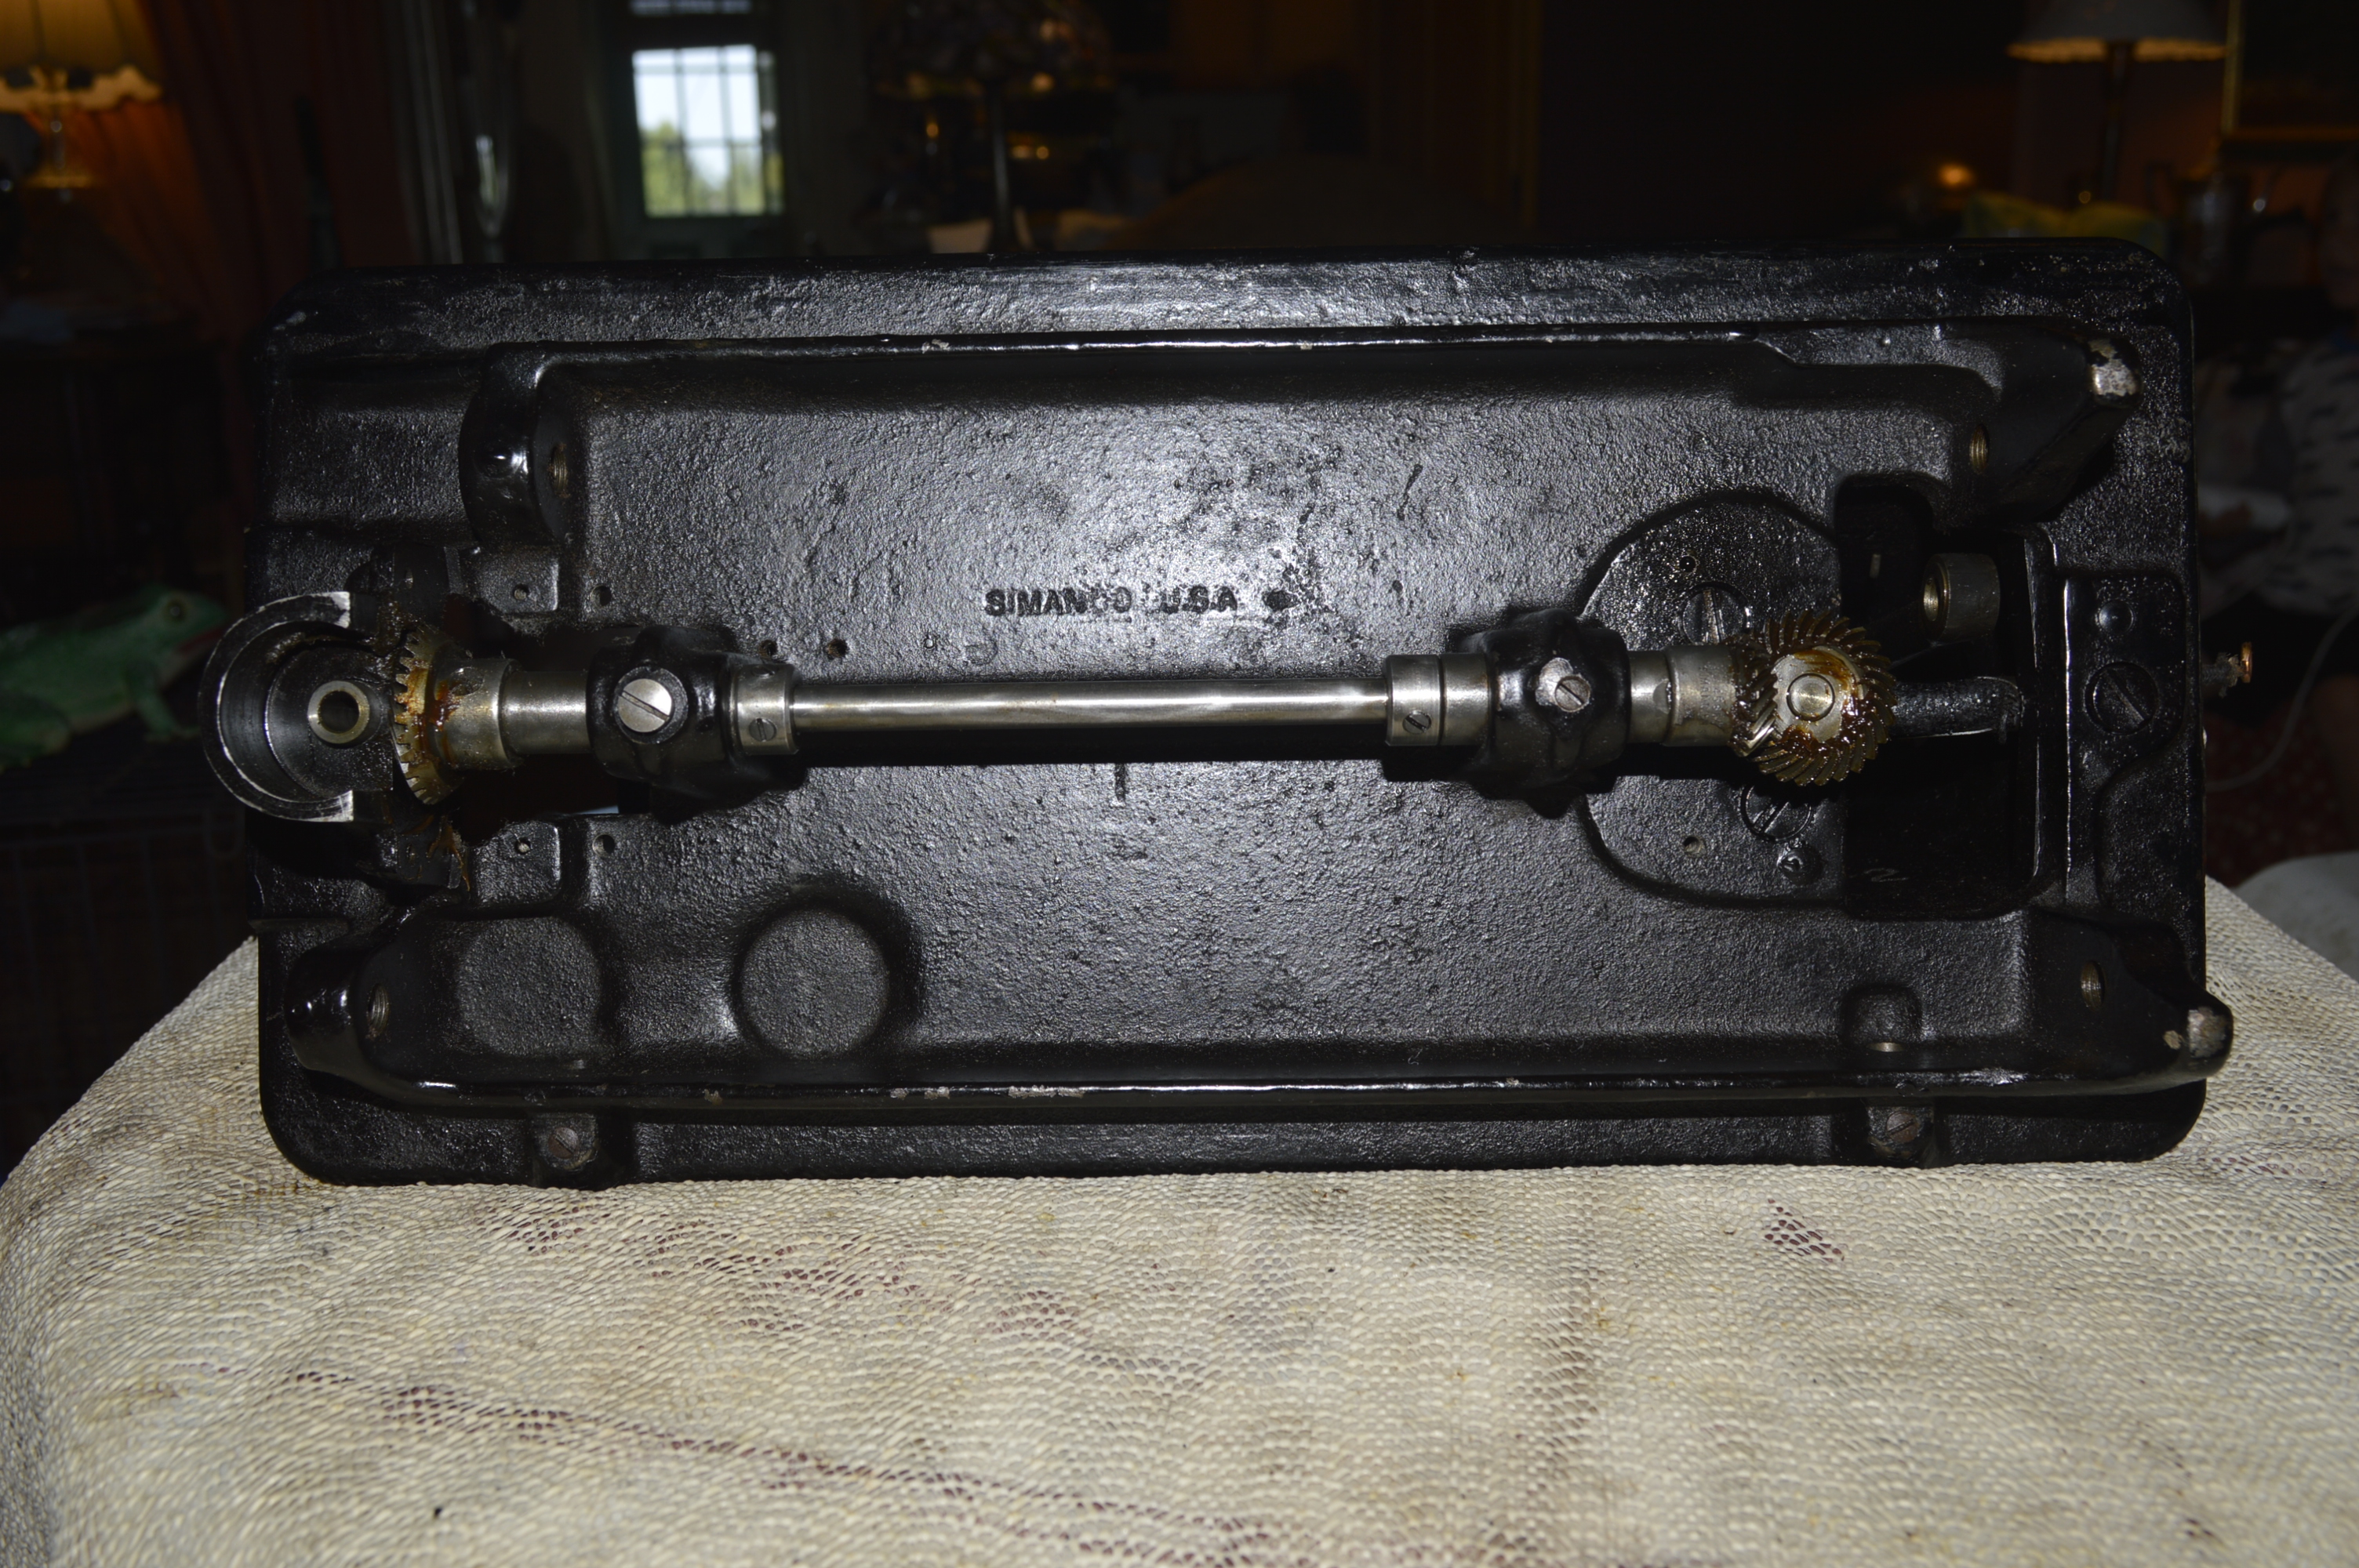
Note the front gear is removed
The stitch length fork and associated assembly is also removed. The parts are laid out for cleaning…
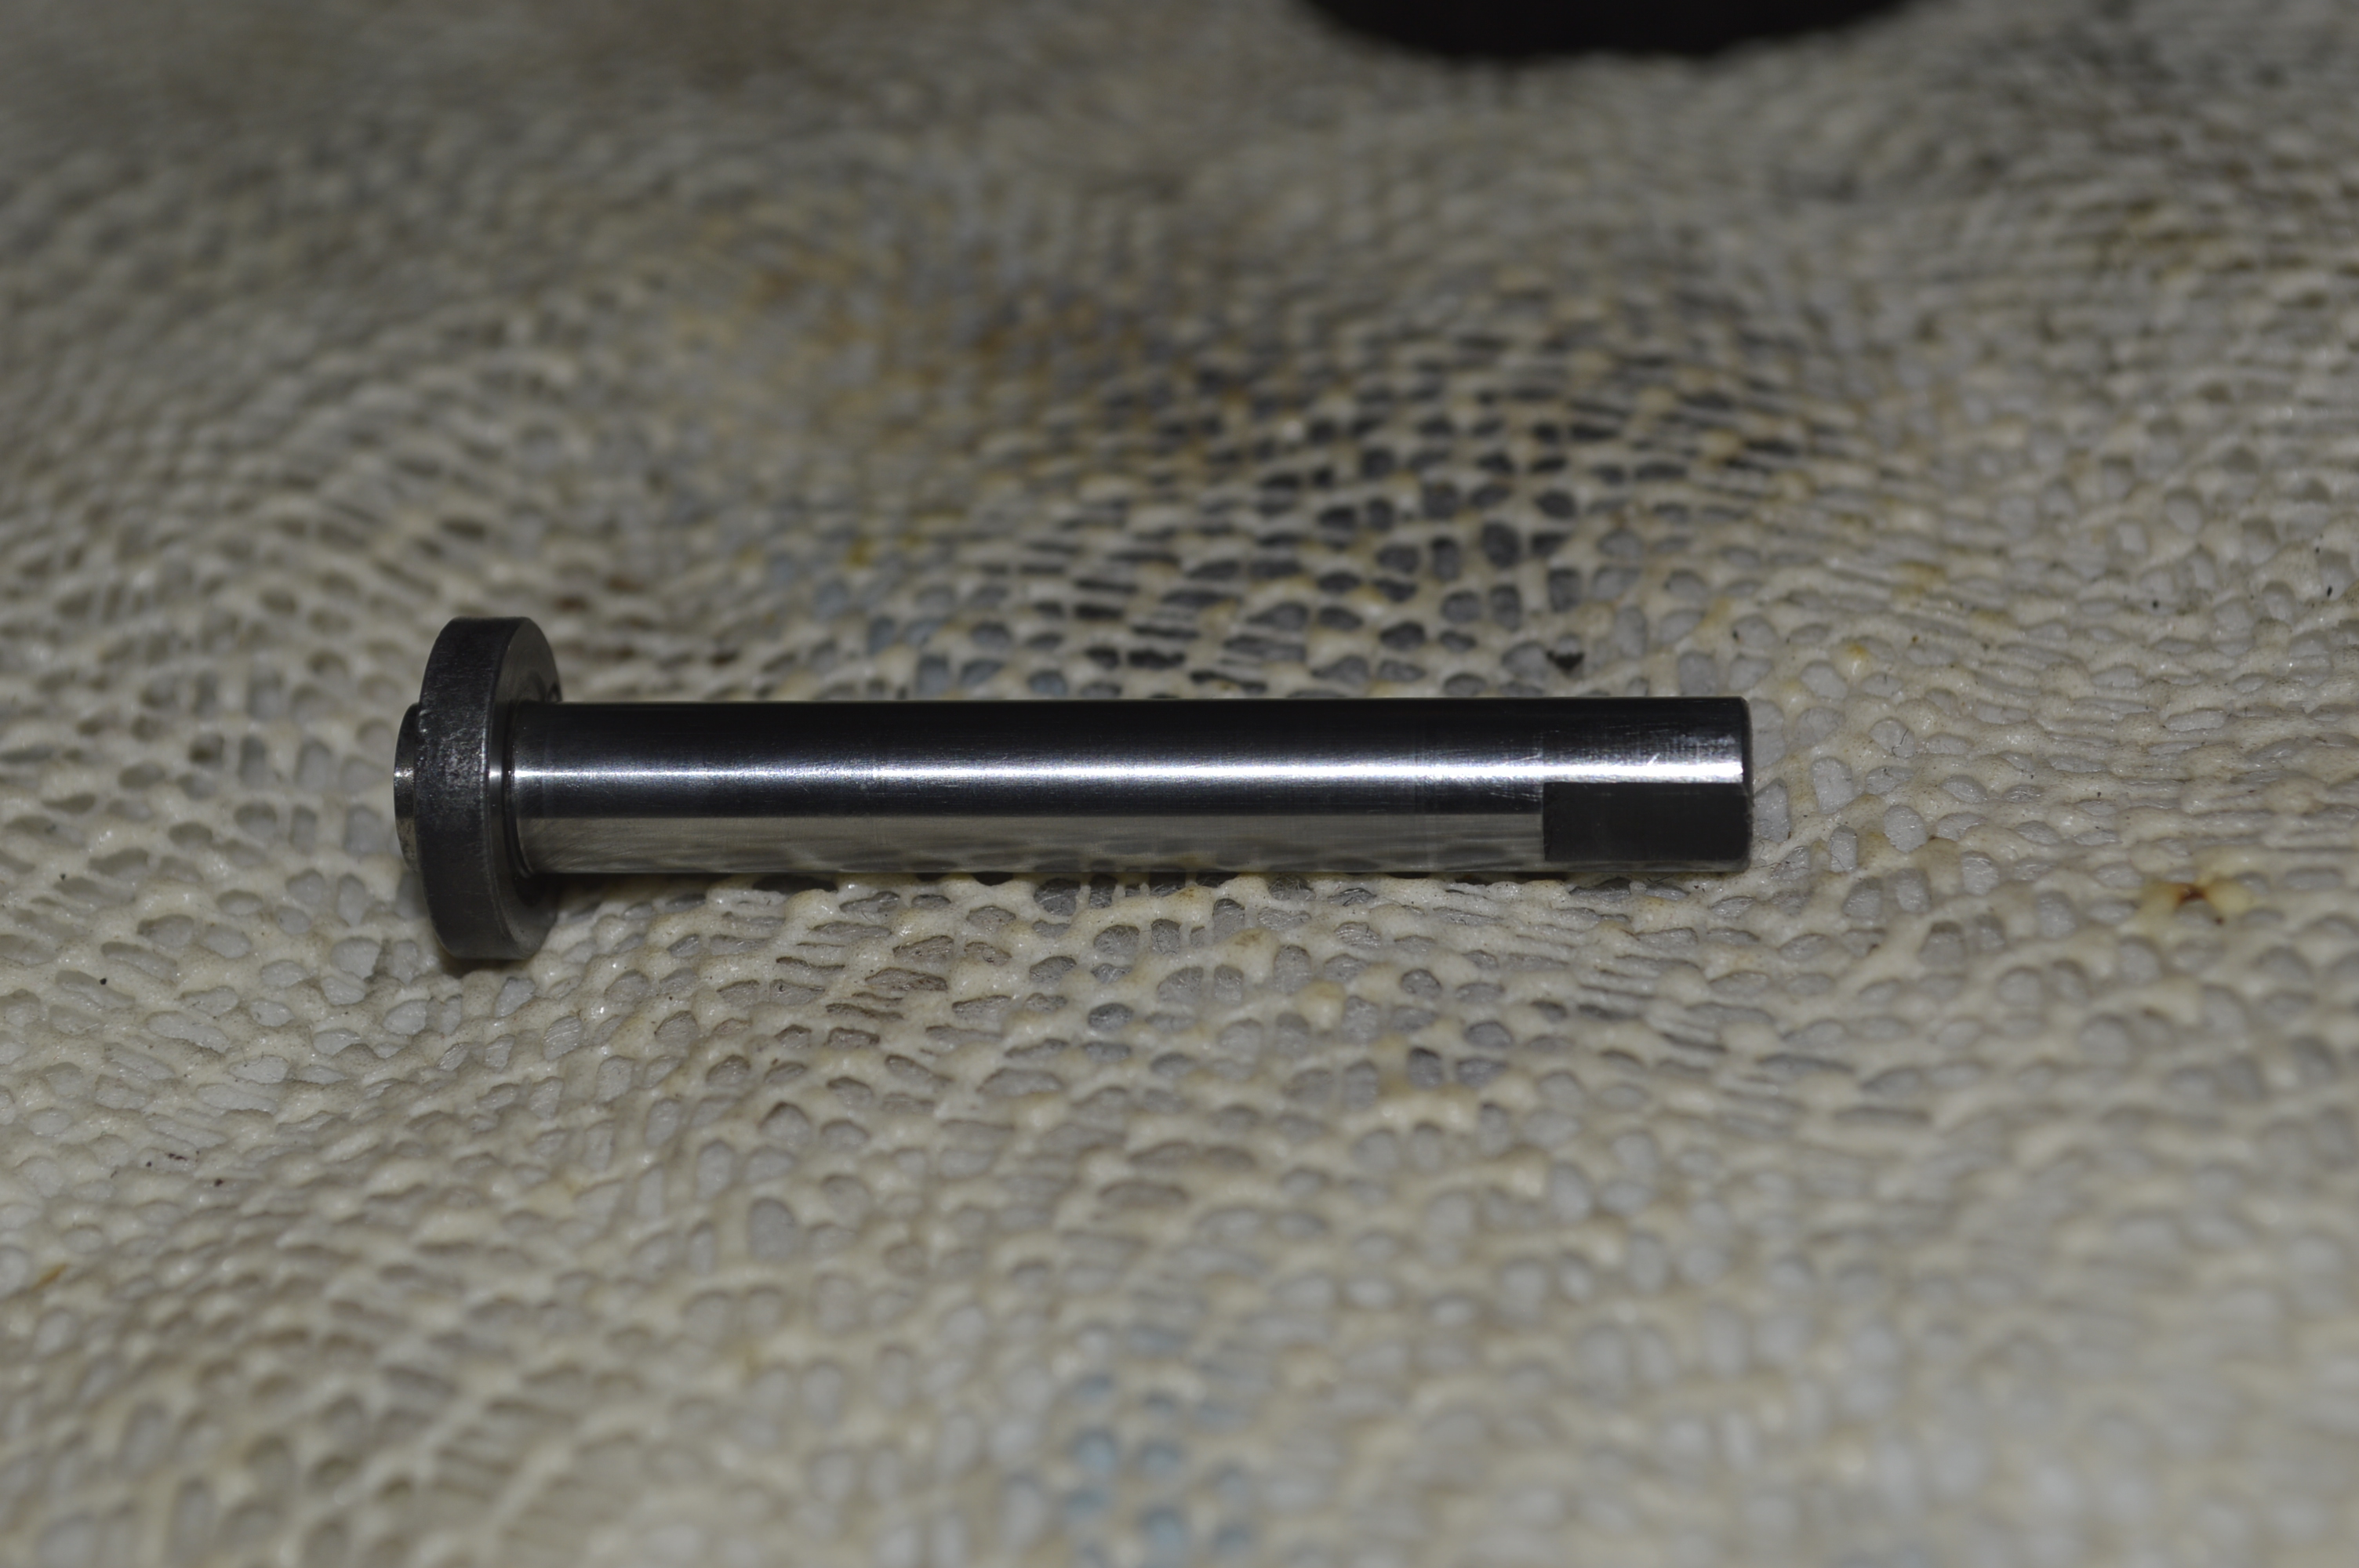
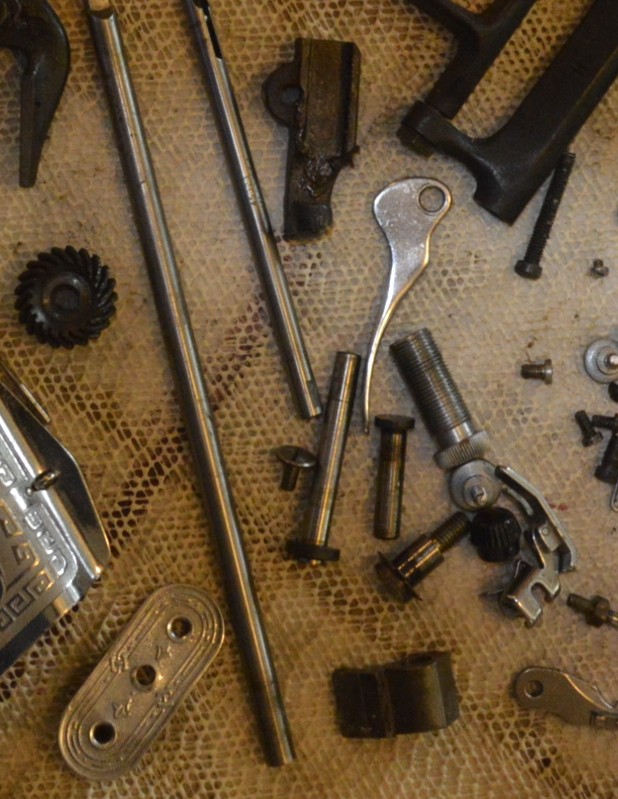
The parts that are shown below are of particular importance in cleaning because they rotate in, rub against, or need to be conditioned as smooth as possible for silky smooth operation. To achieve this, they are cleaned and wire brushed to like new condition…
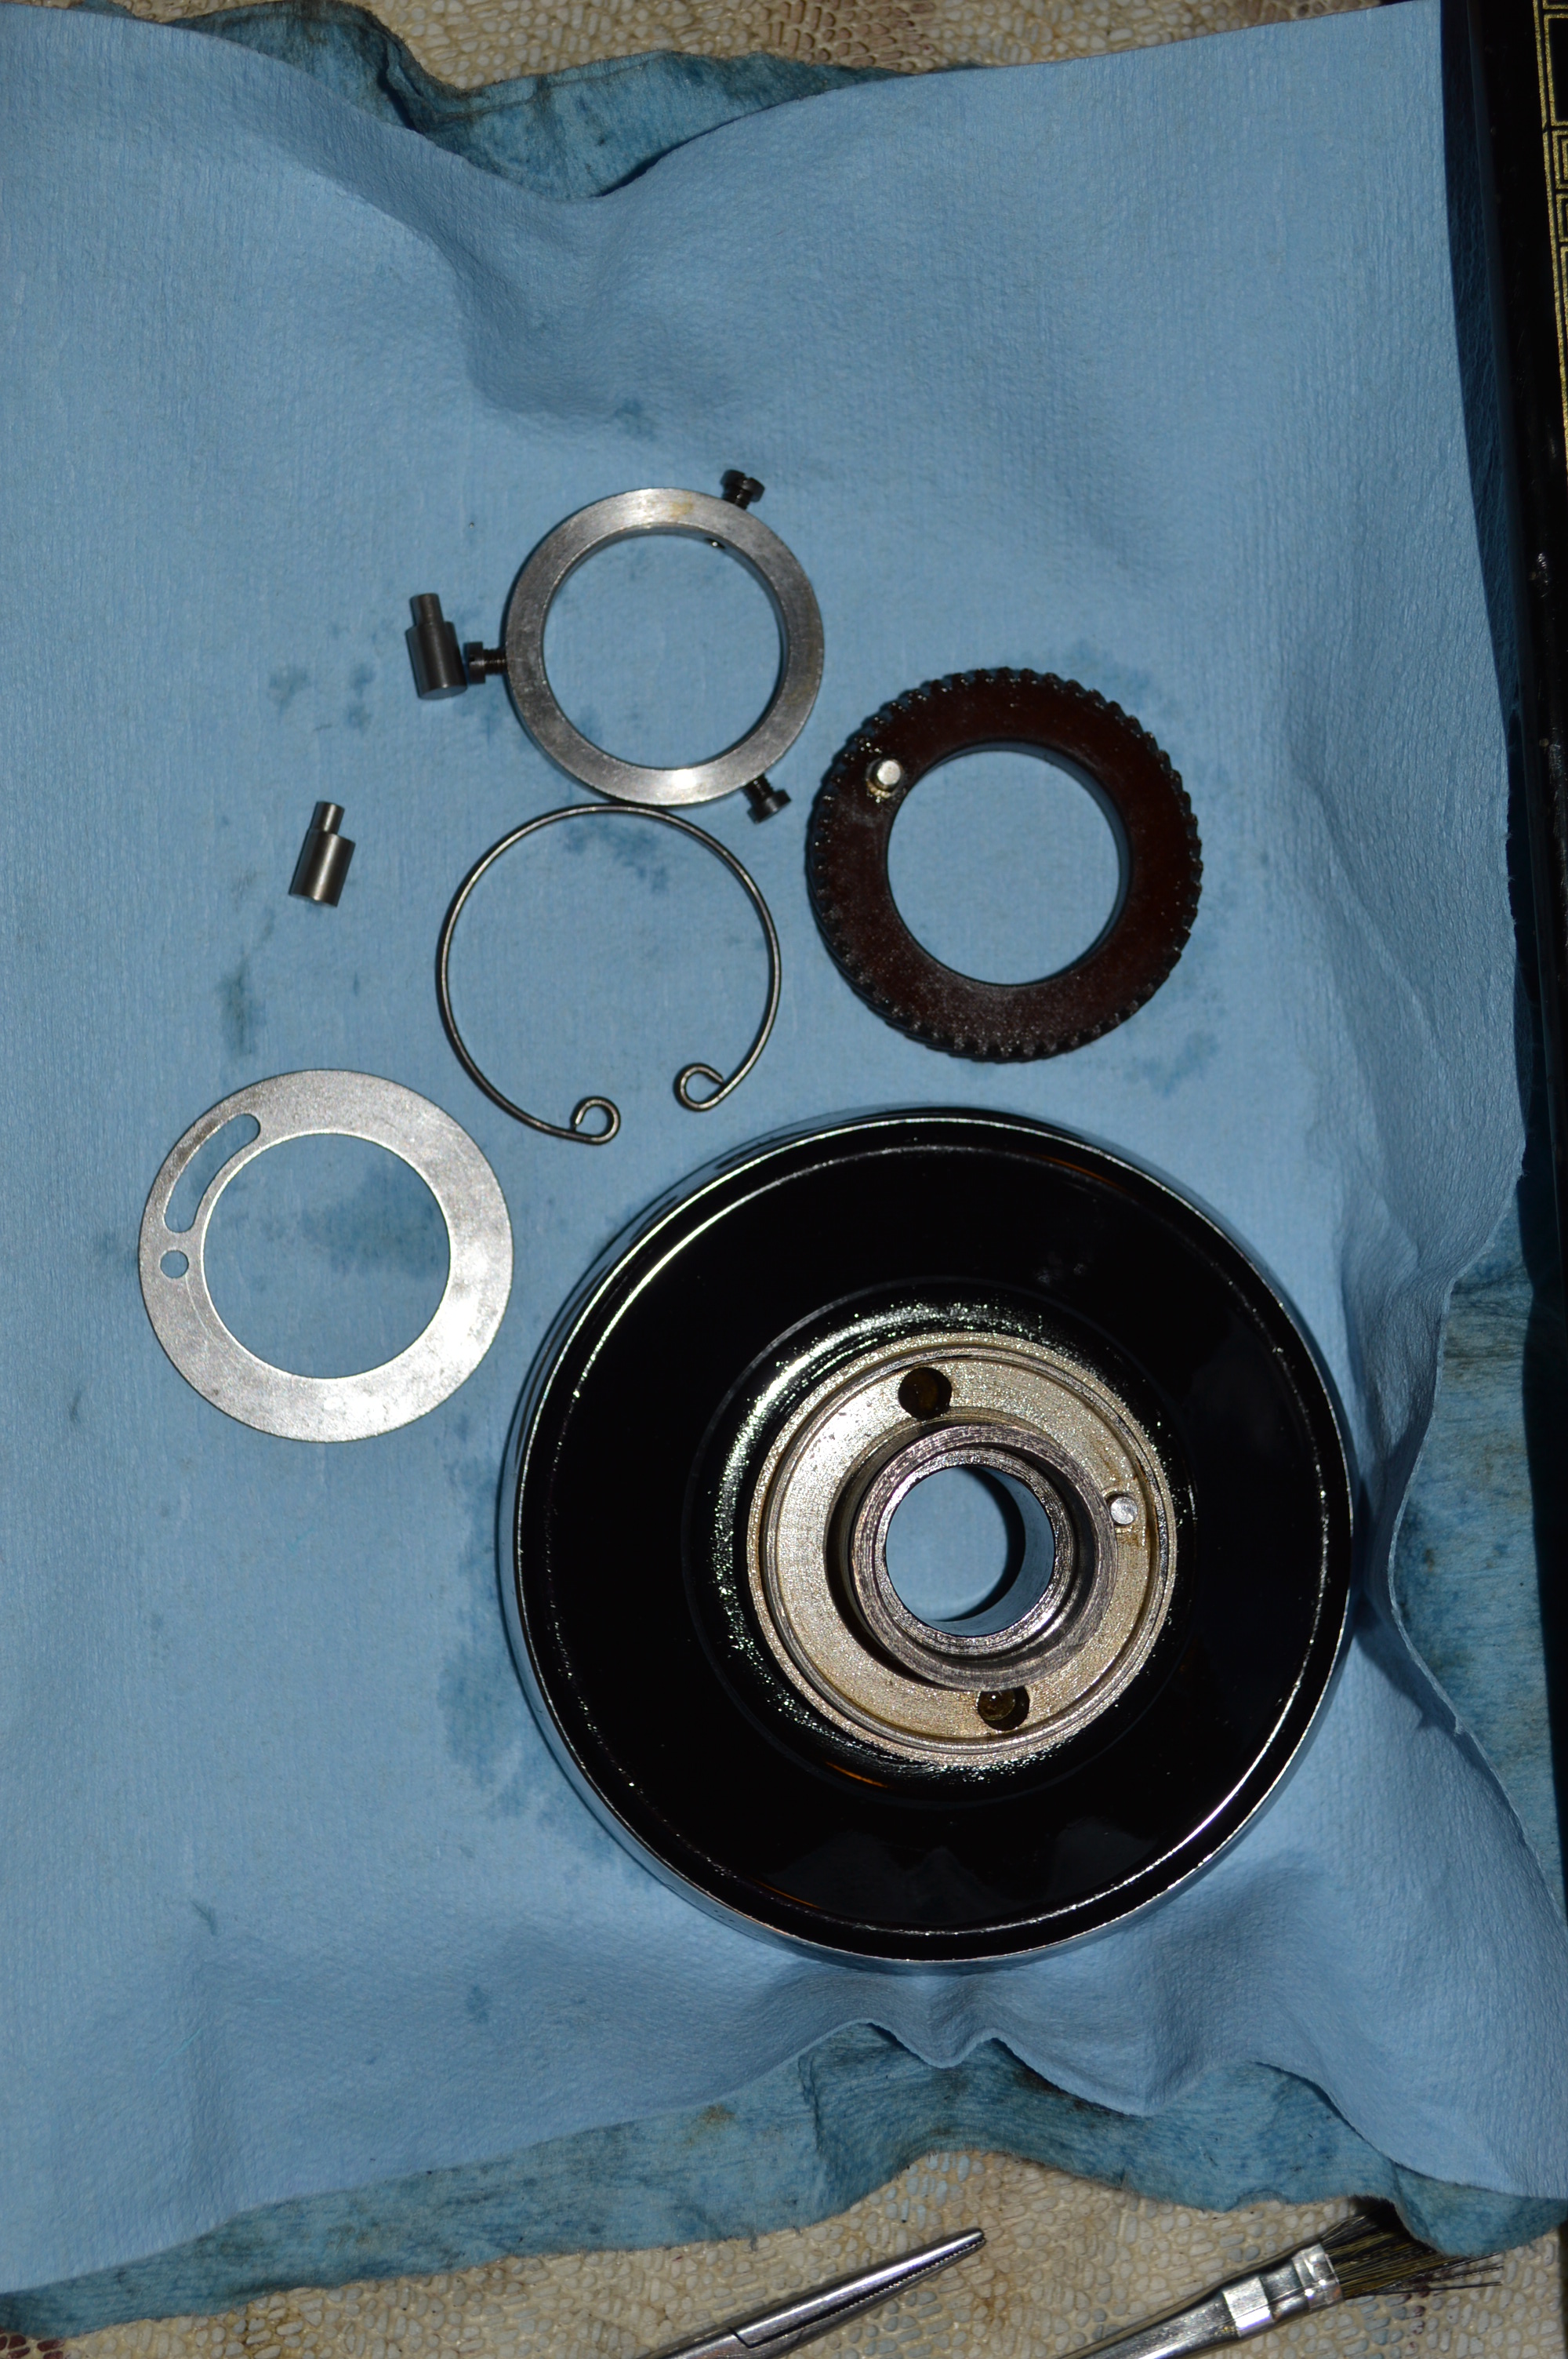
The bobbin hook case shaft is cleaned and polished. This is driven by the gear that needed to be removed to get this shaft off. The gear was etched at adjacent teeth to ensure it was reassembled in the same orientation.
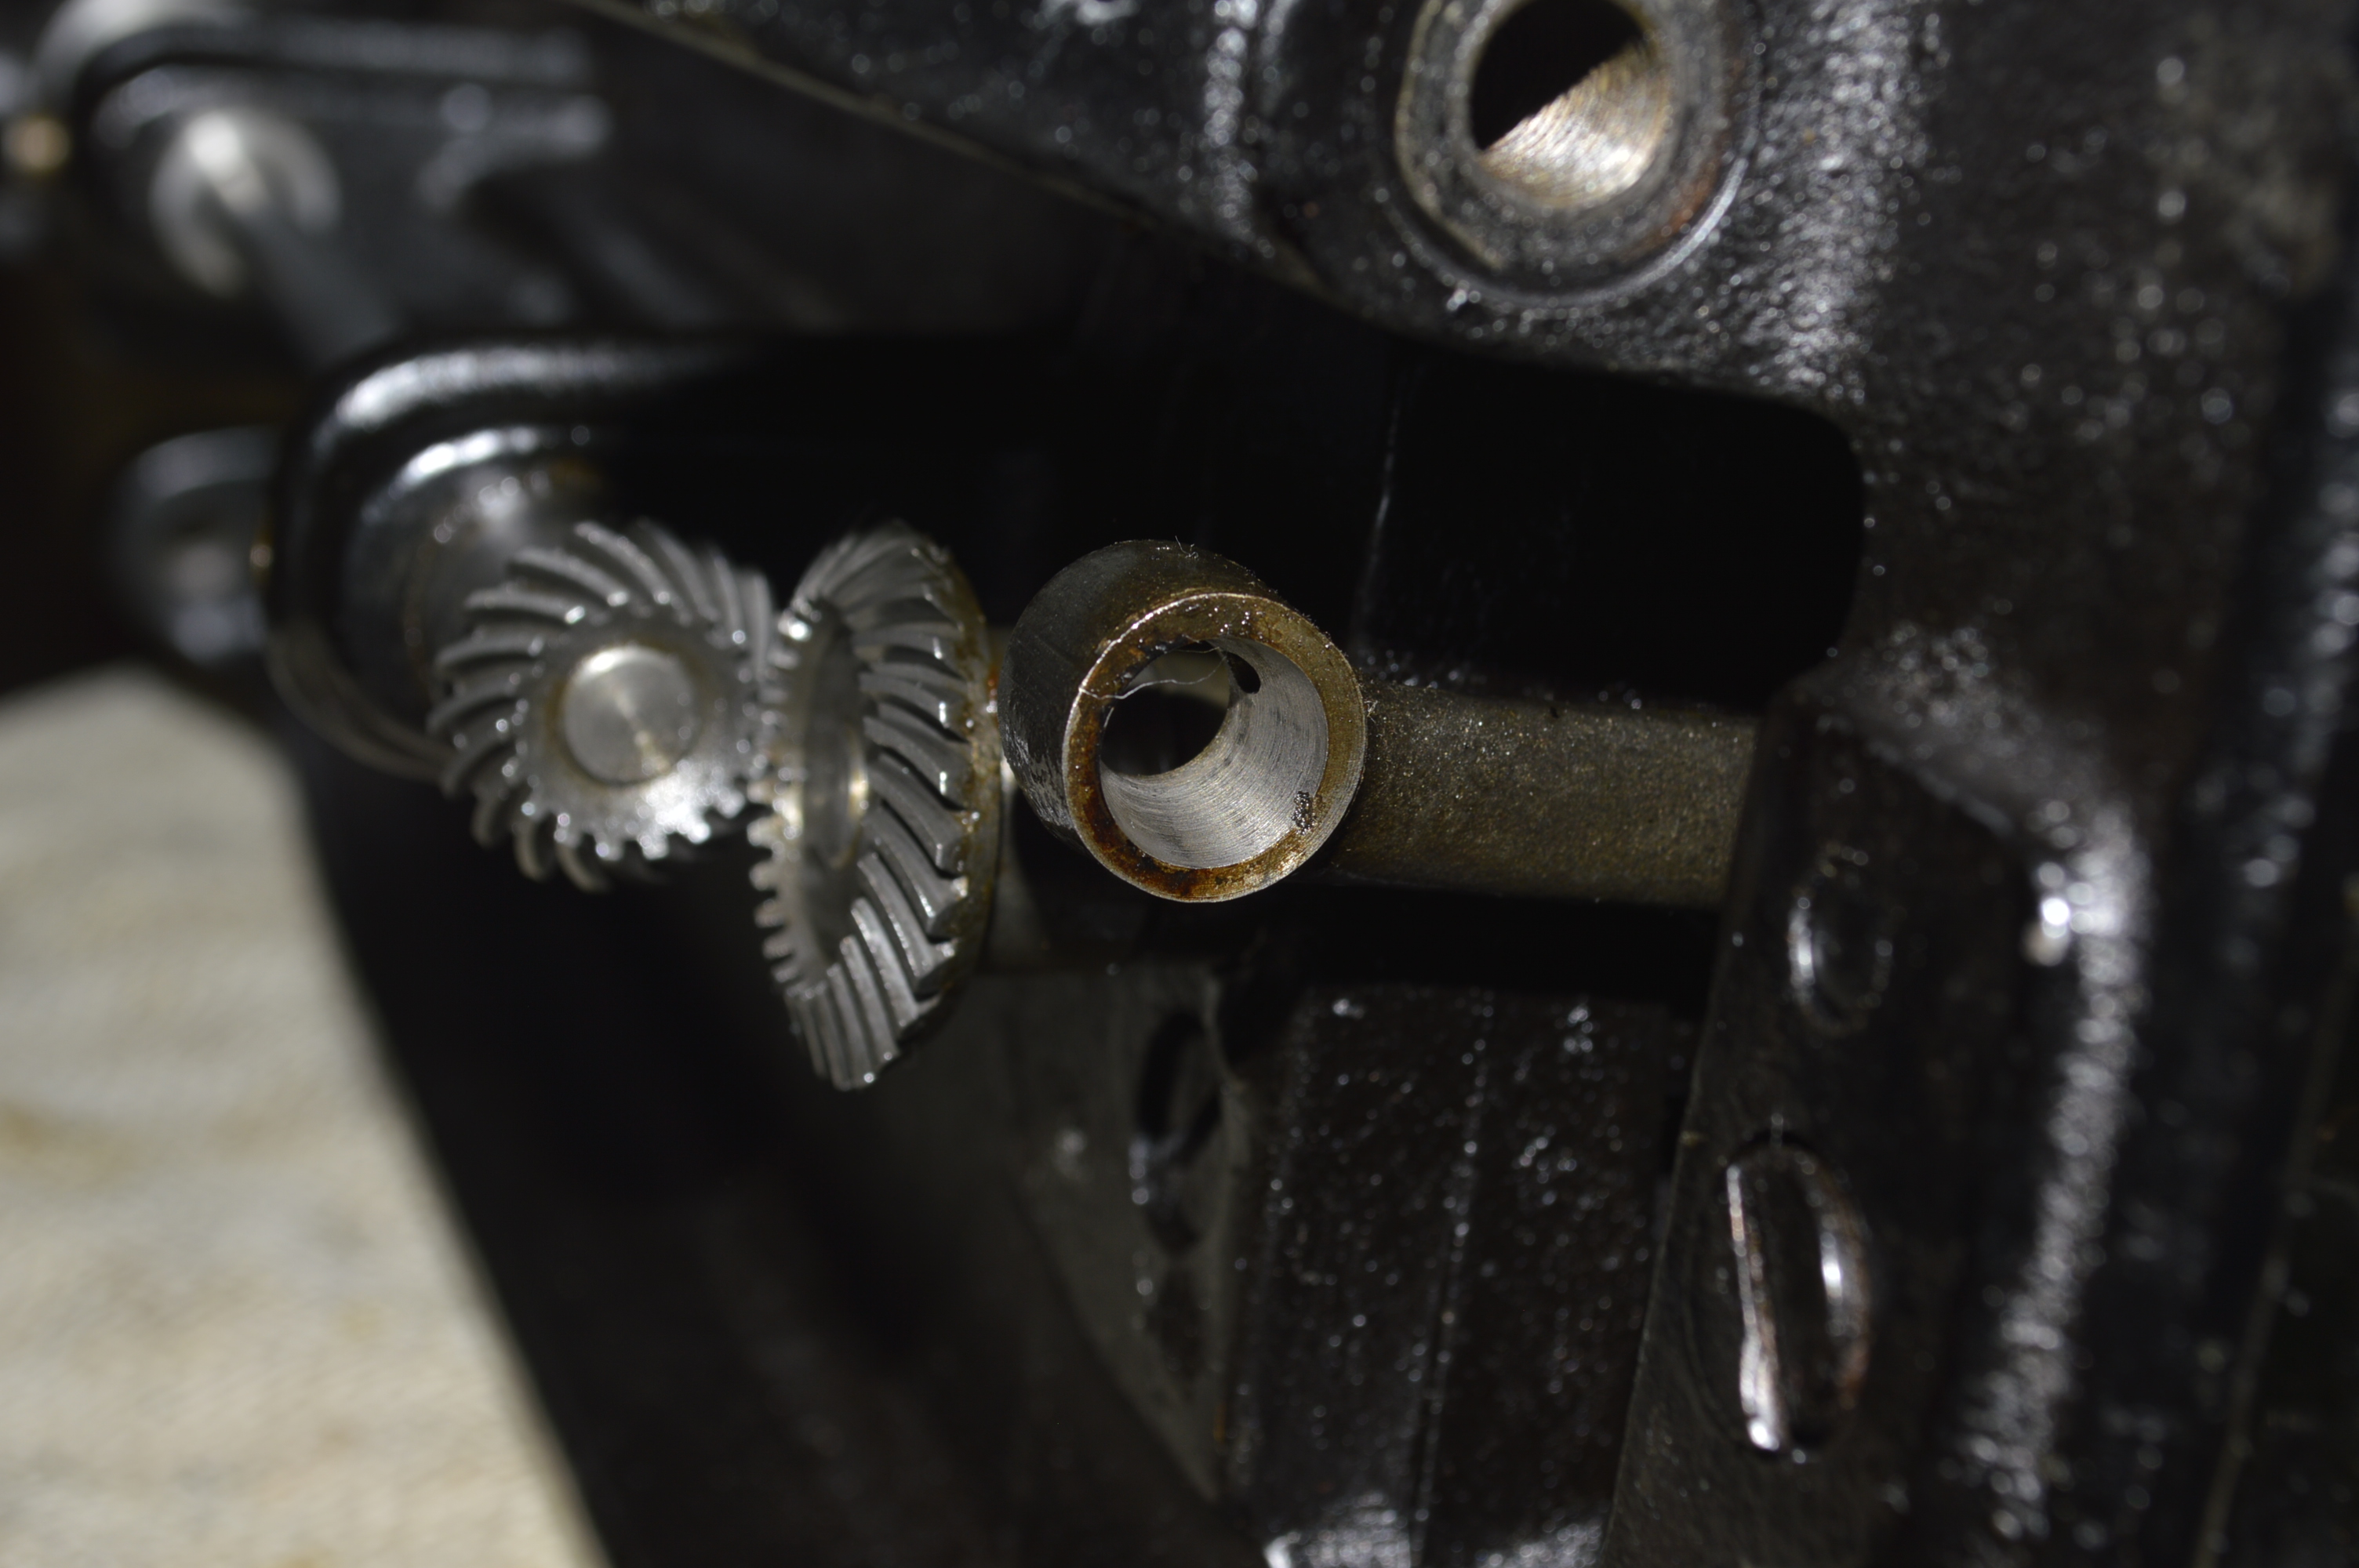
This is the hook shaft the hook case spins on… it is polished as smooth as glass
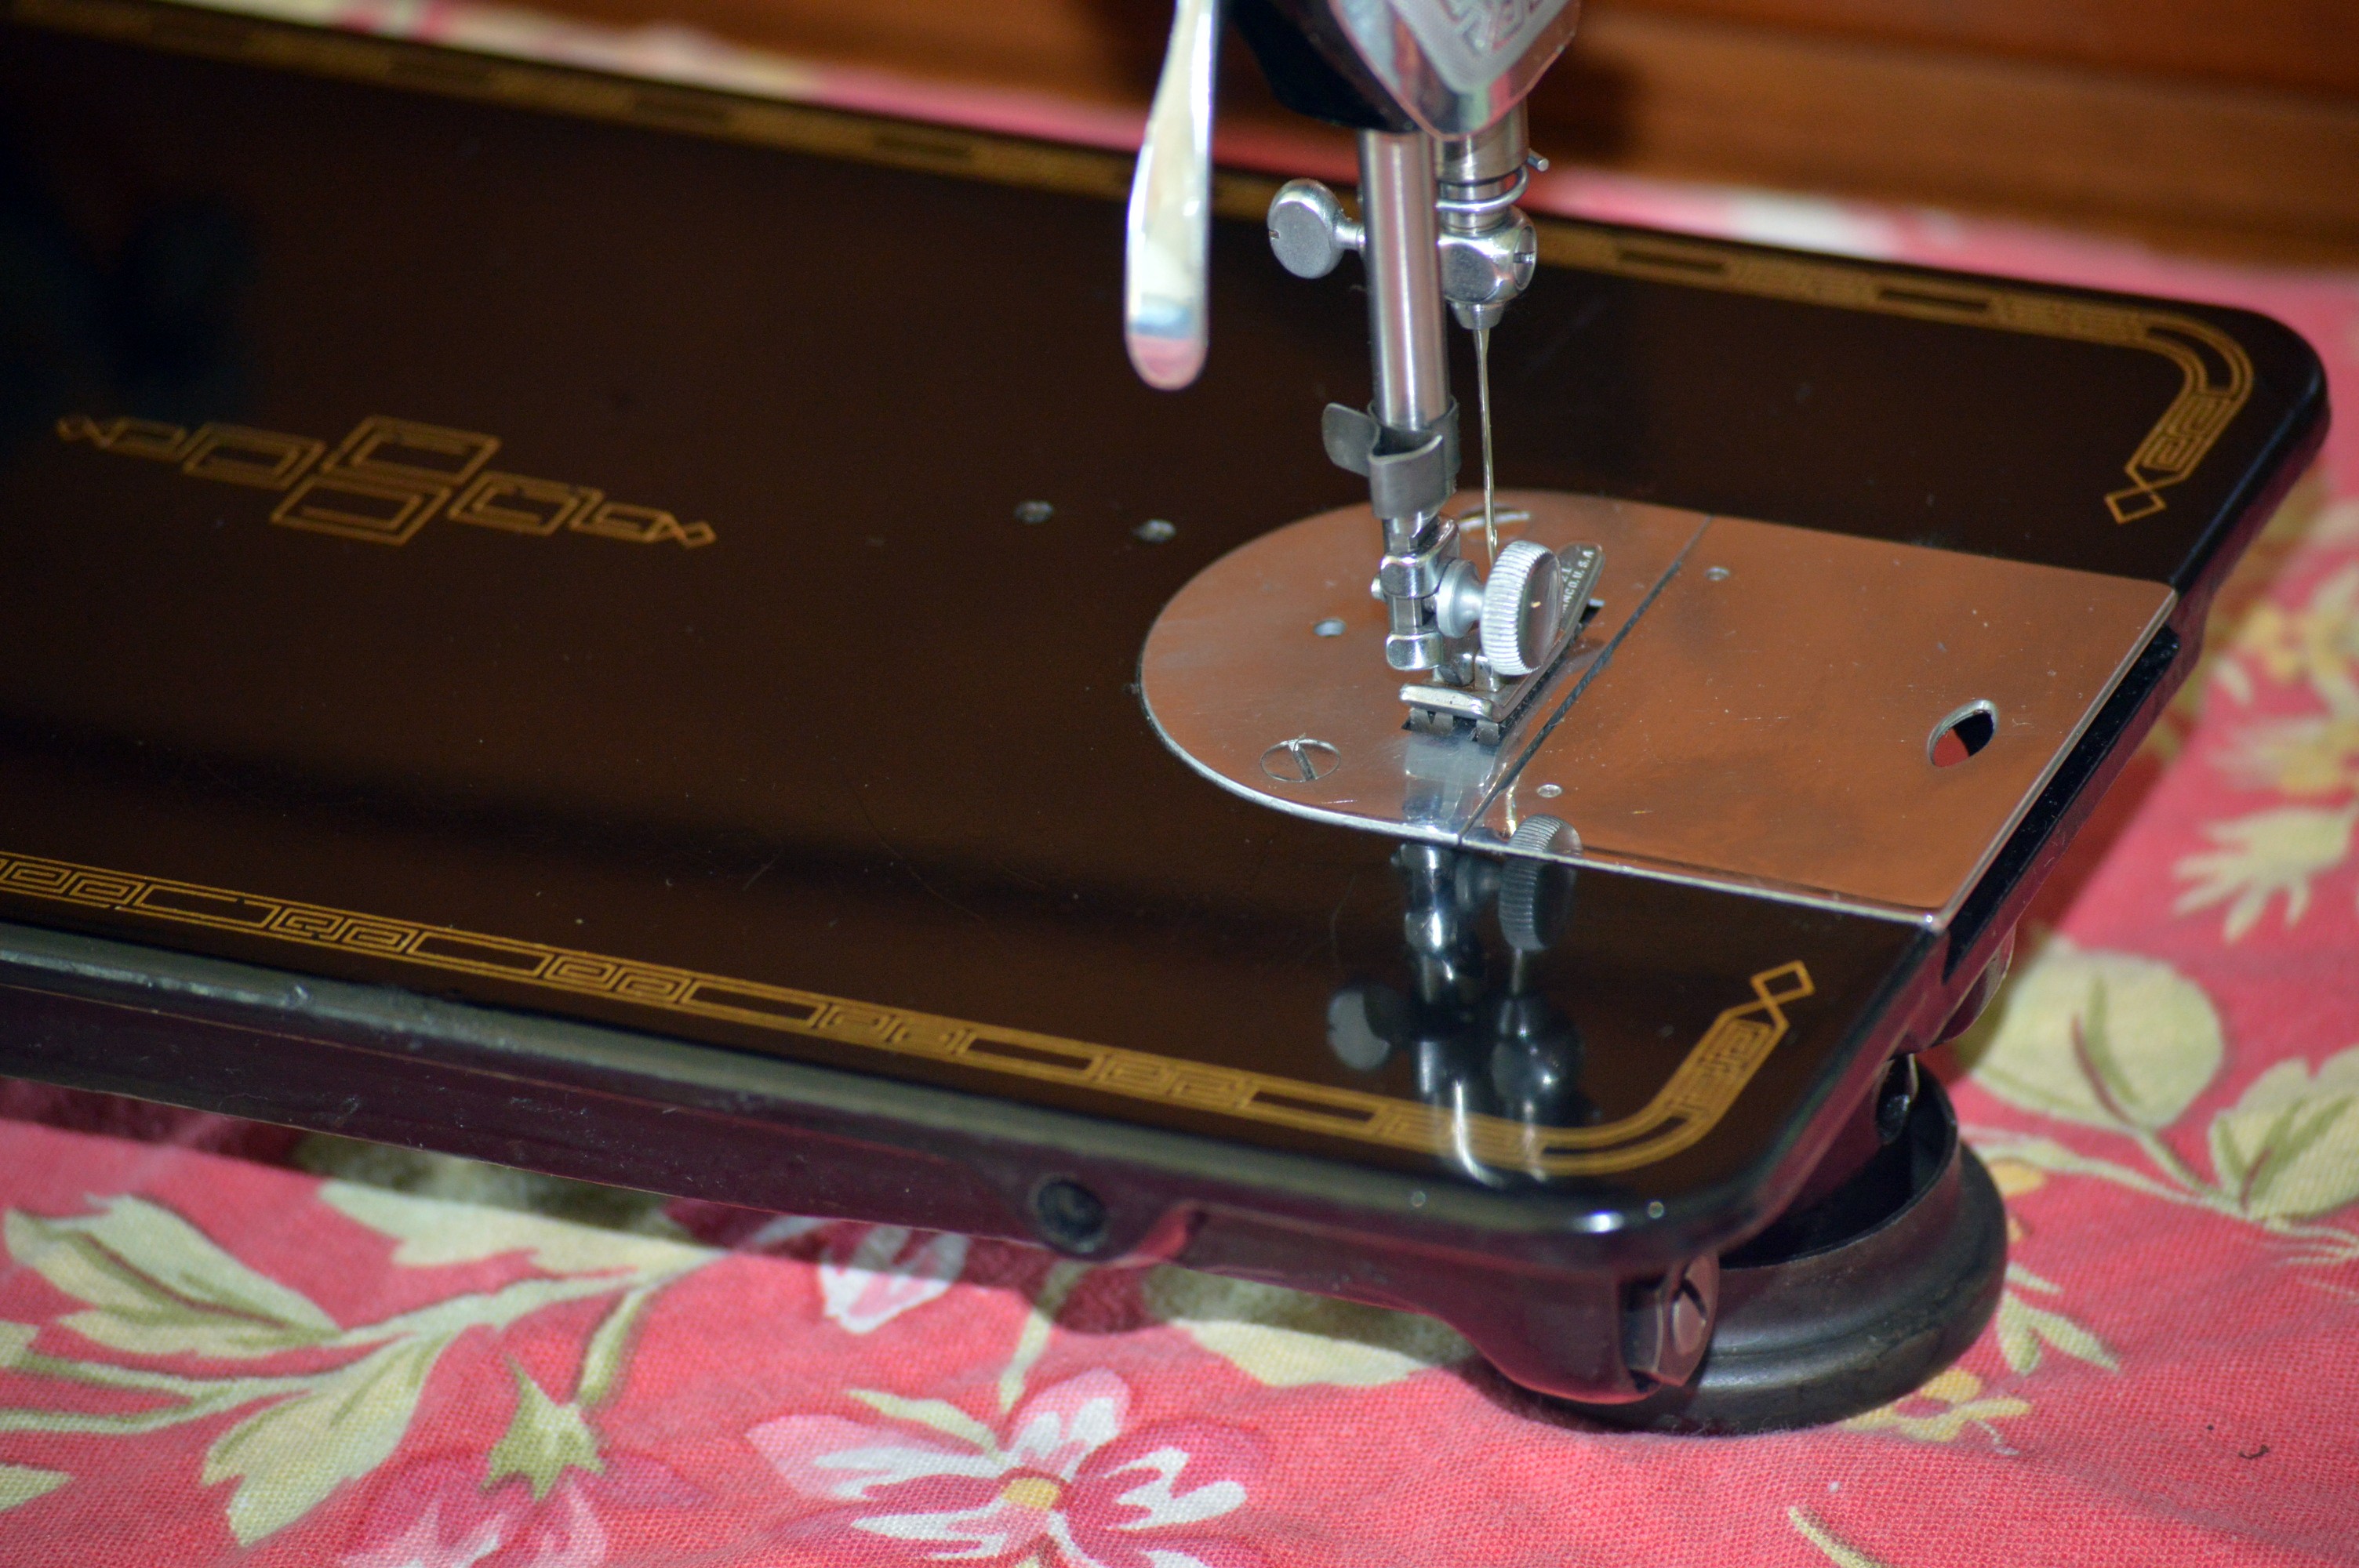
Compare this to the before… its in the center of the picture… also note the needle and presser bar. They too need to be polished.
The needle bar and presser foot bar are now polished smooth as glass…

After cleaning… 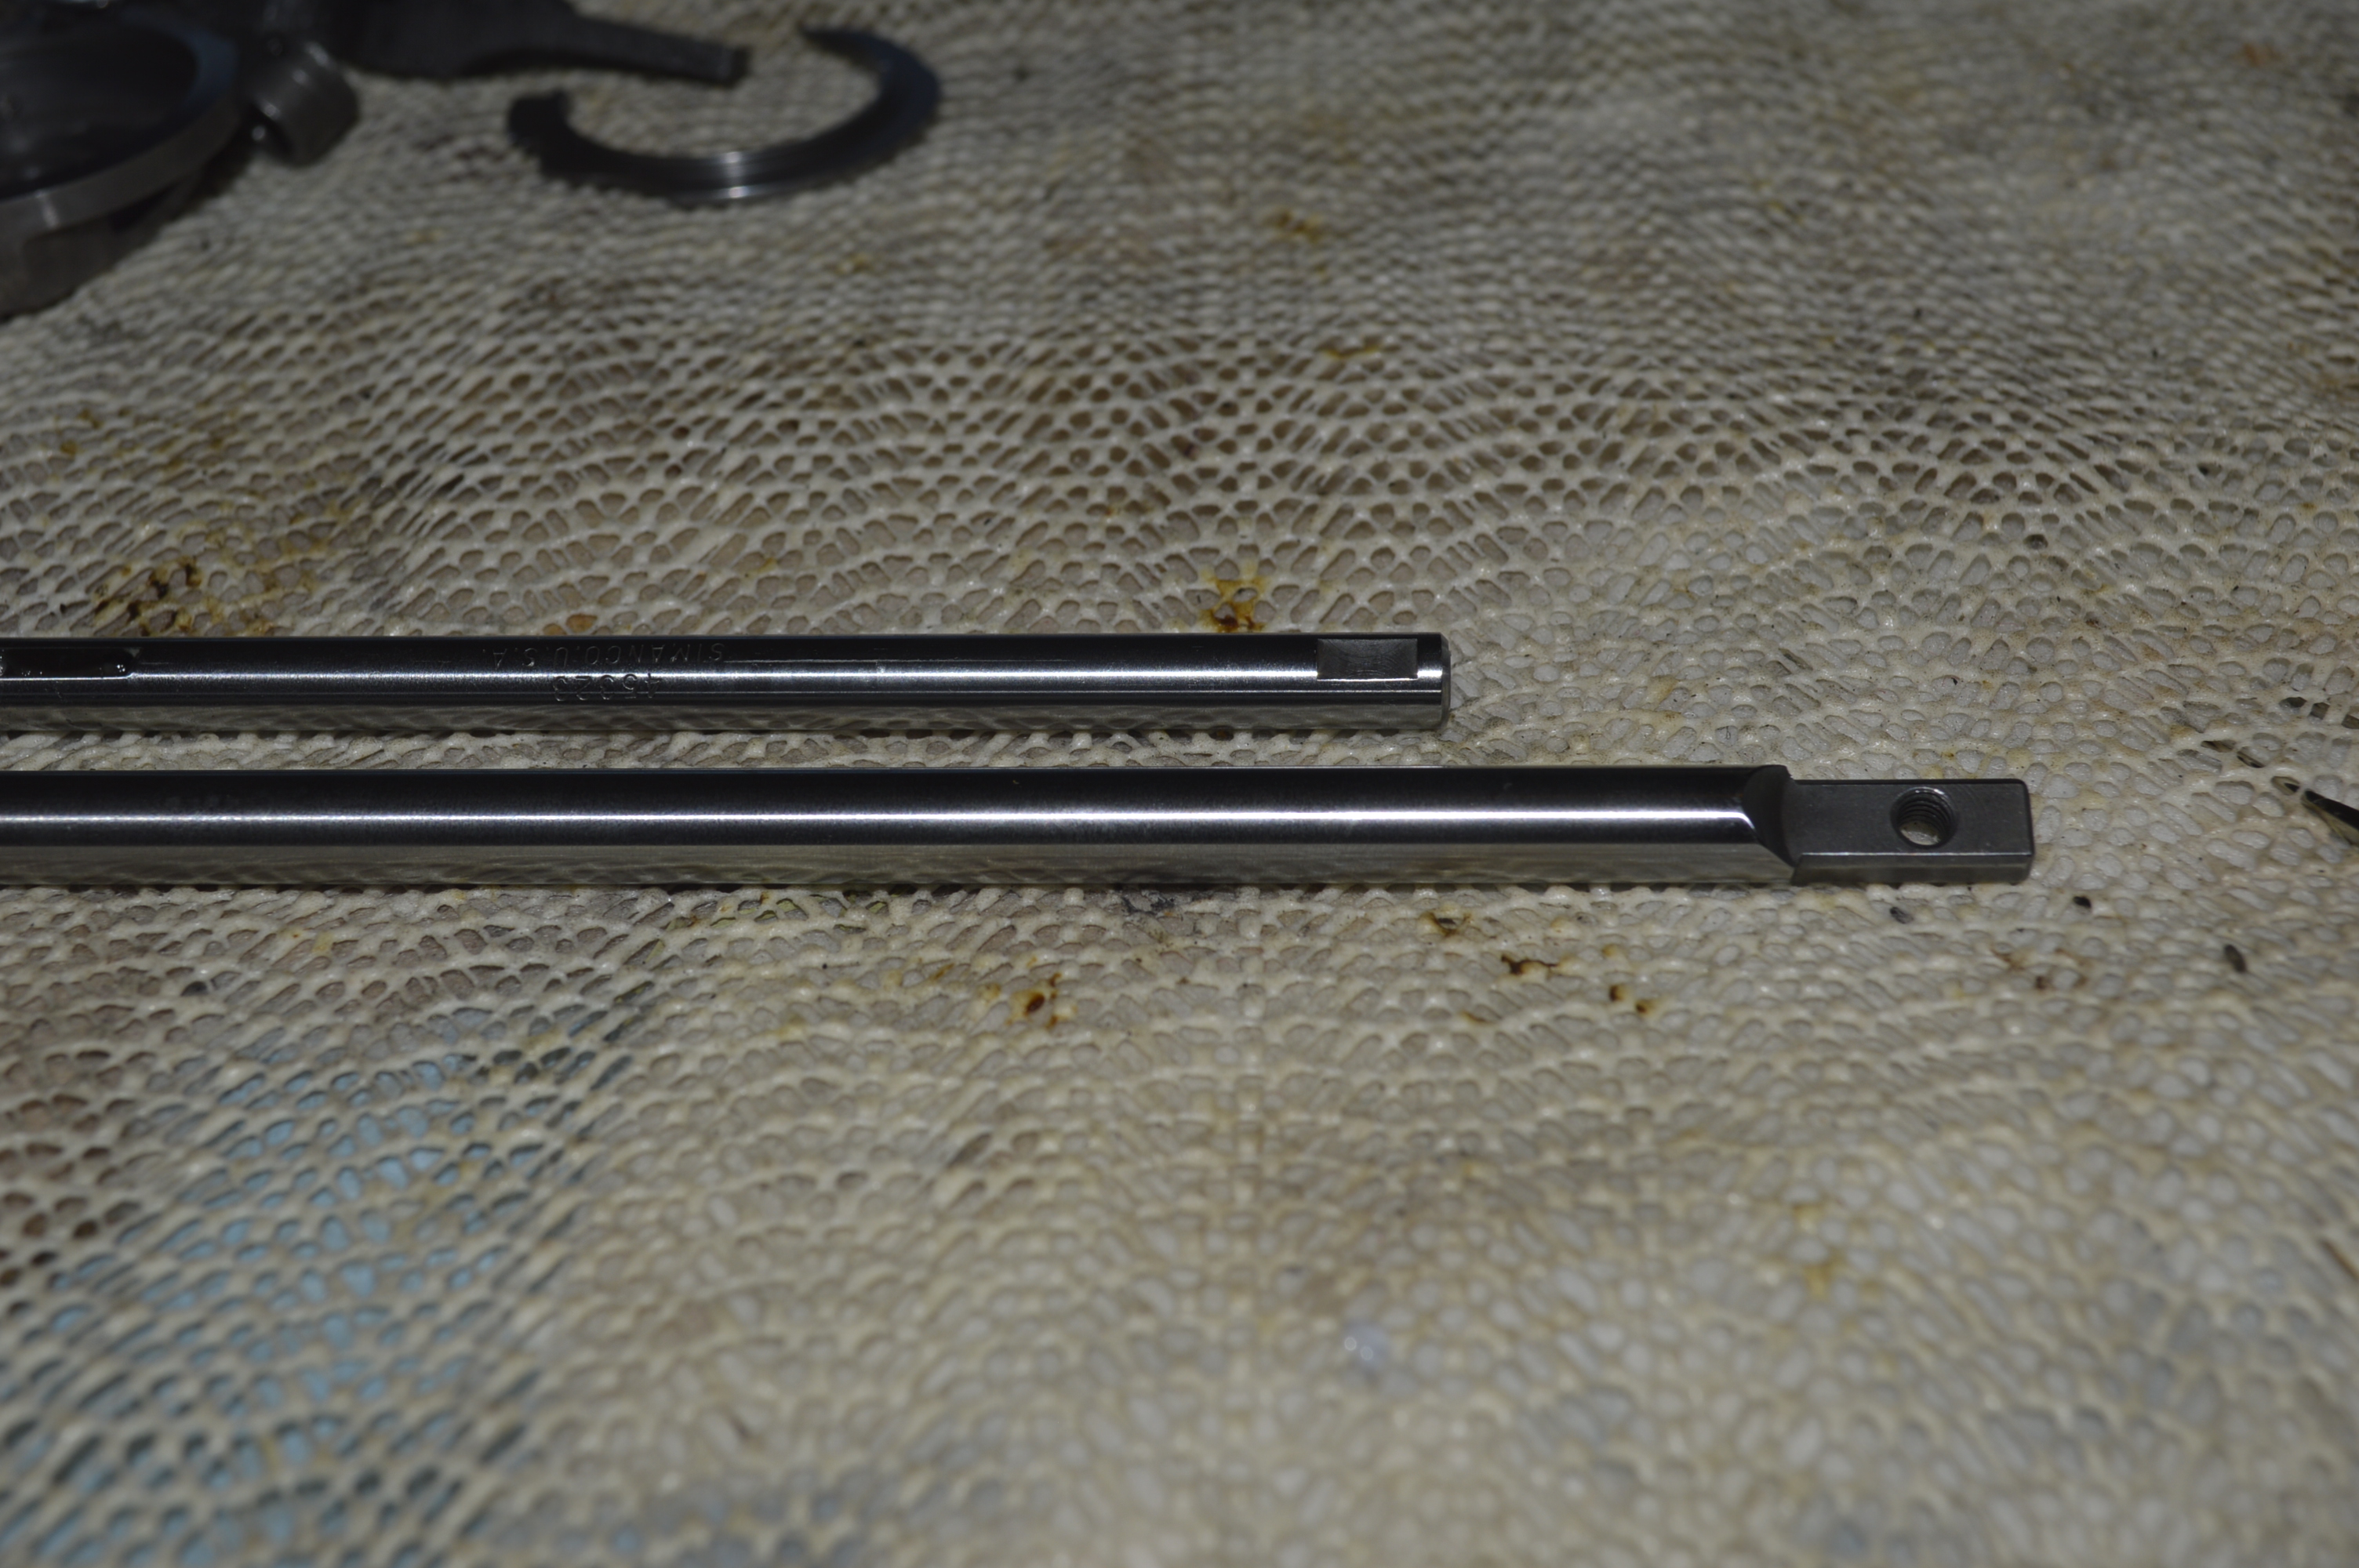
After Polishing
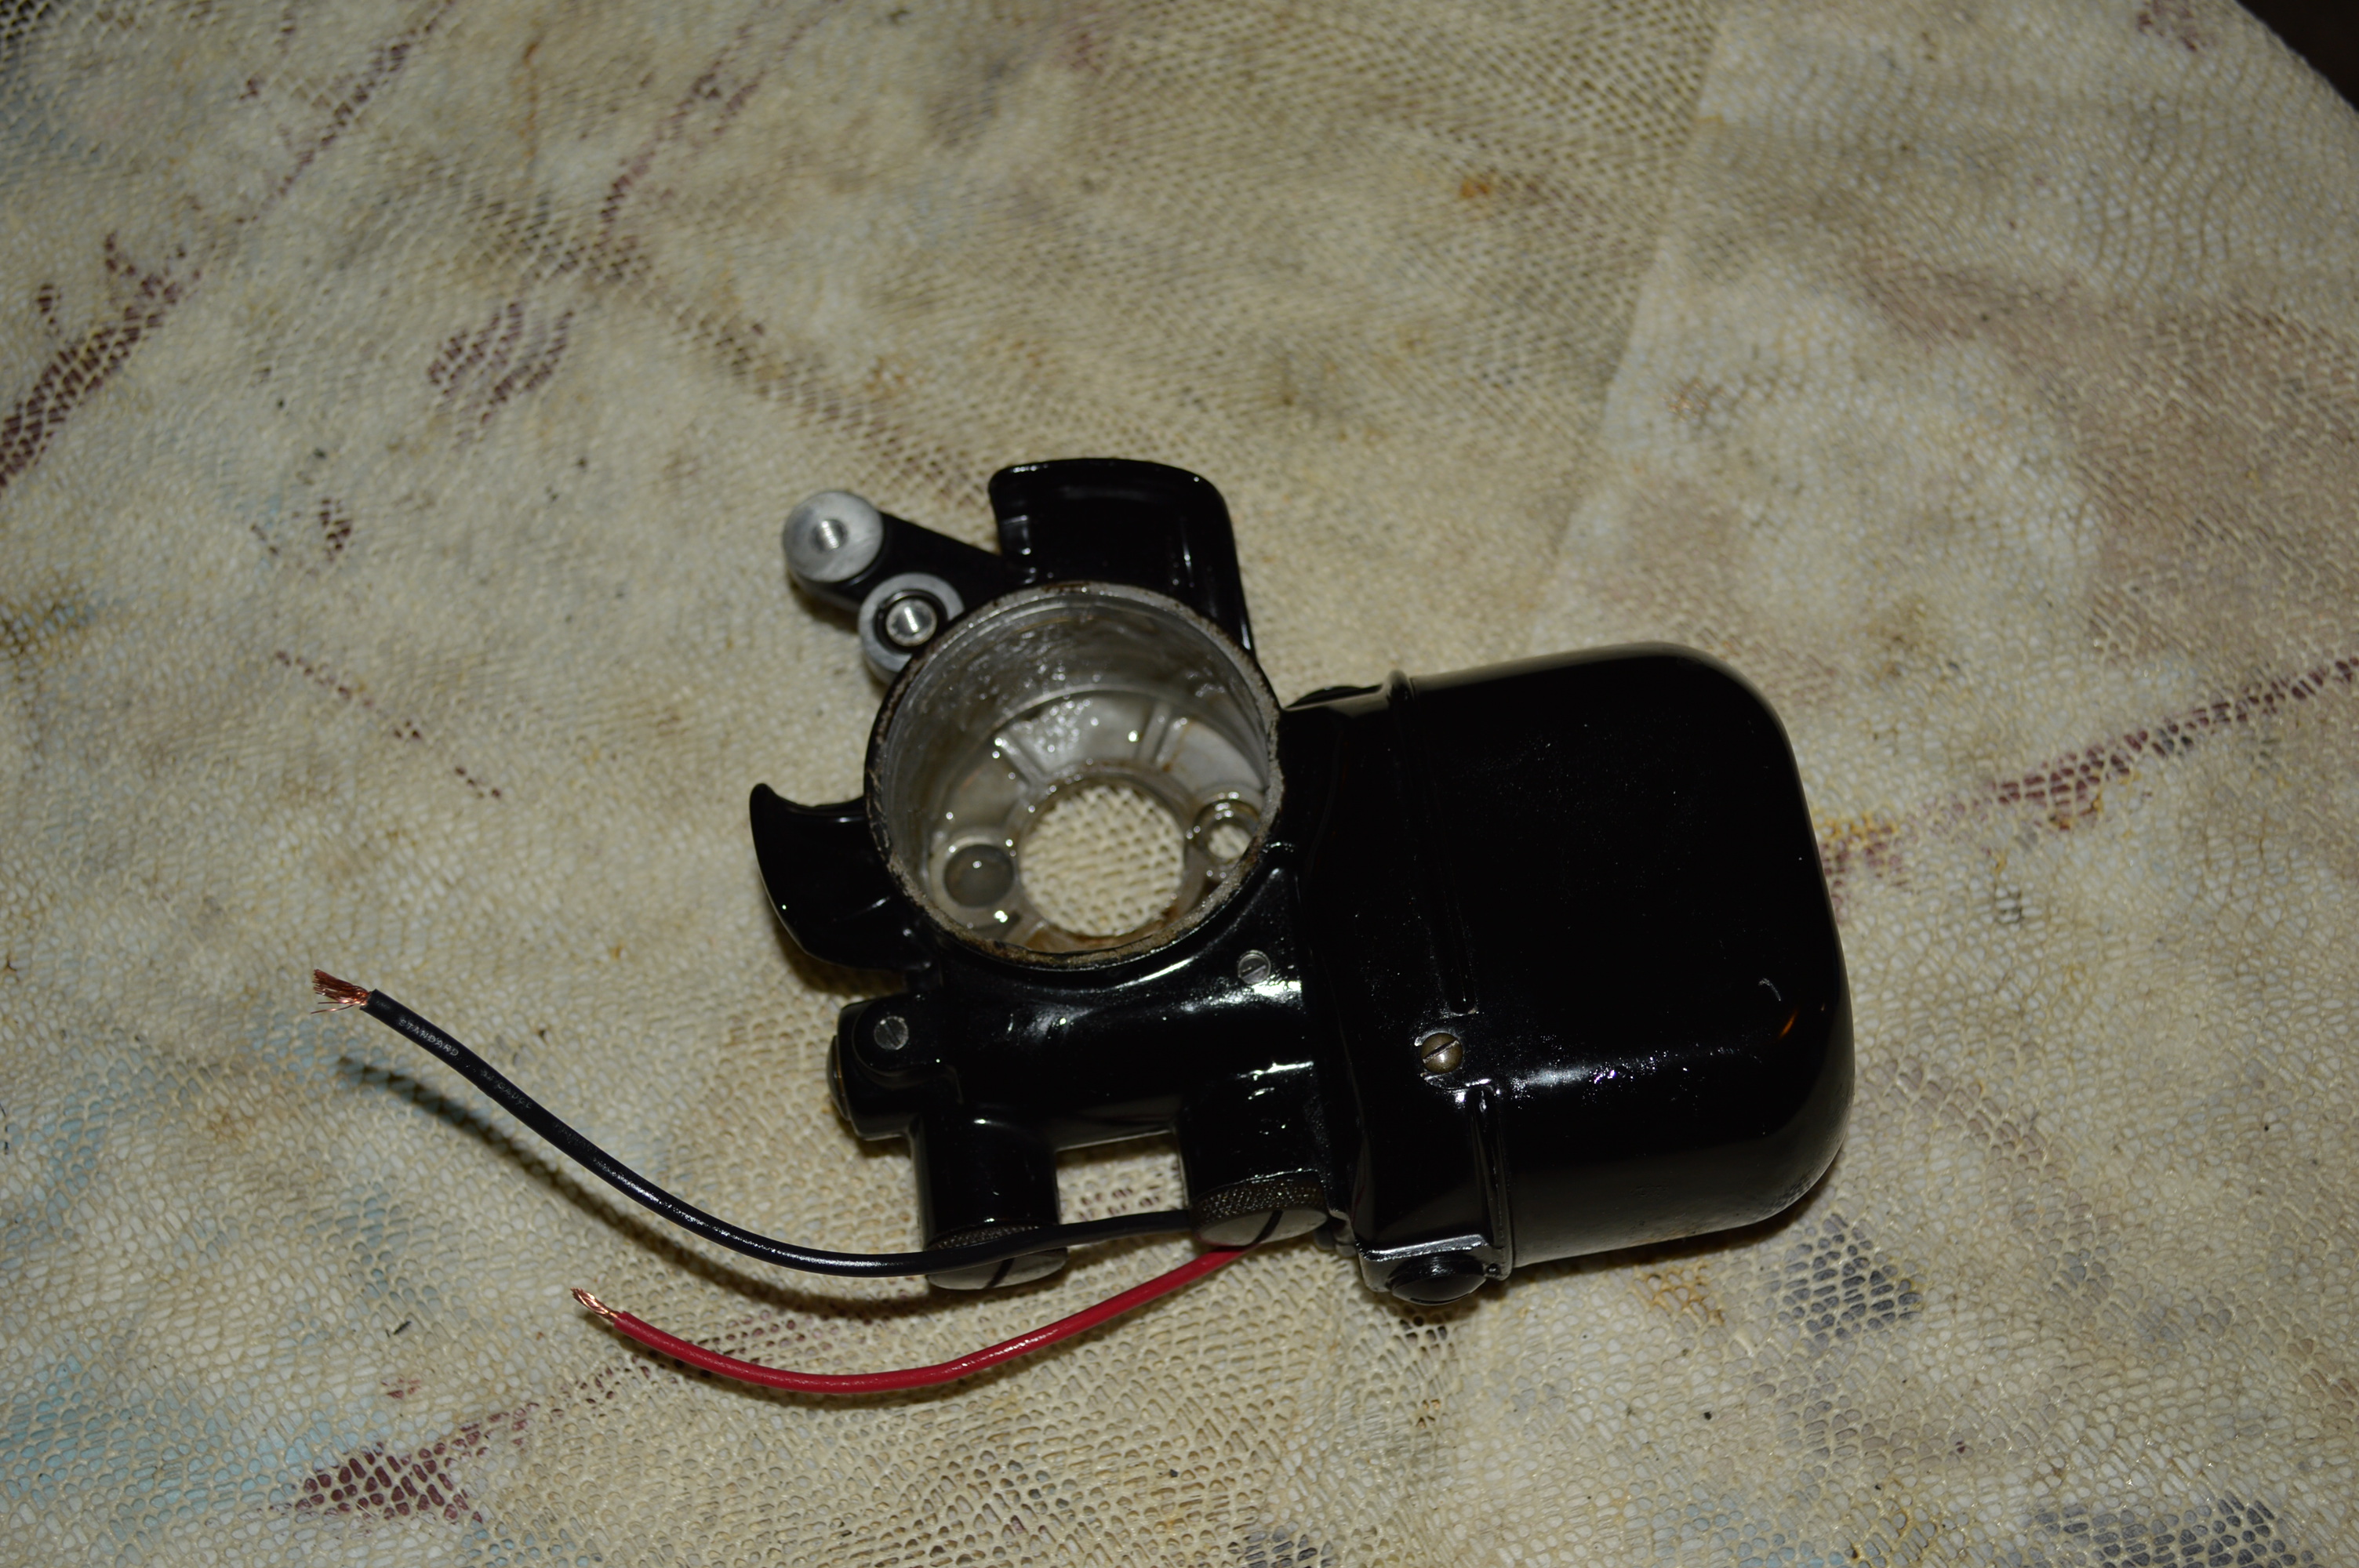
The next step is to disassemble and recondition the motor. Because of all of the thick brown grease packed in the gear housing, I elected to desolder the wires from the brush tubes so I could isolate the housing. The grease is picked out as best as possible and the housing and spiral gear is soaked in kerosene for about 24 hours… there is no rush since there is other stuff to do. The shrink tubing is removed from the field coil and replaced with proper wire. The armature and armature bearing shafts are polished, and the grease wicks are replaced. After reassembly, the grease tubes are filled with motor grease lubricant.
Brushes removed 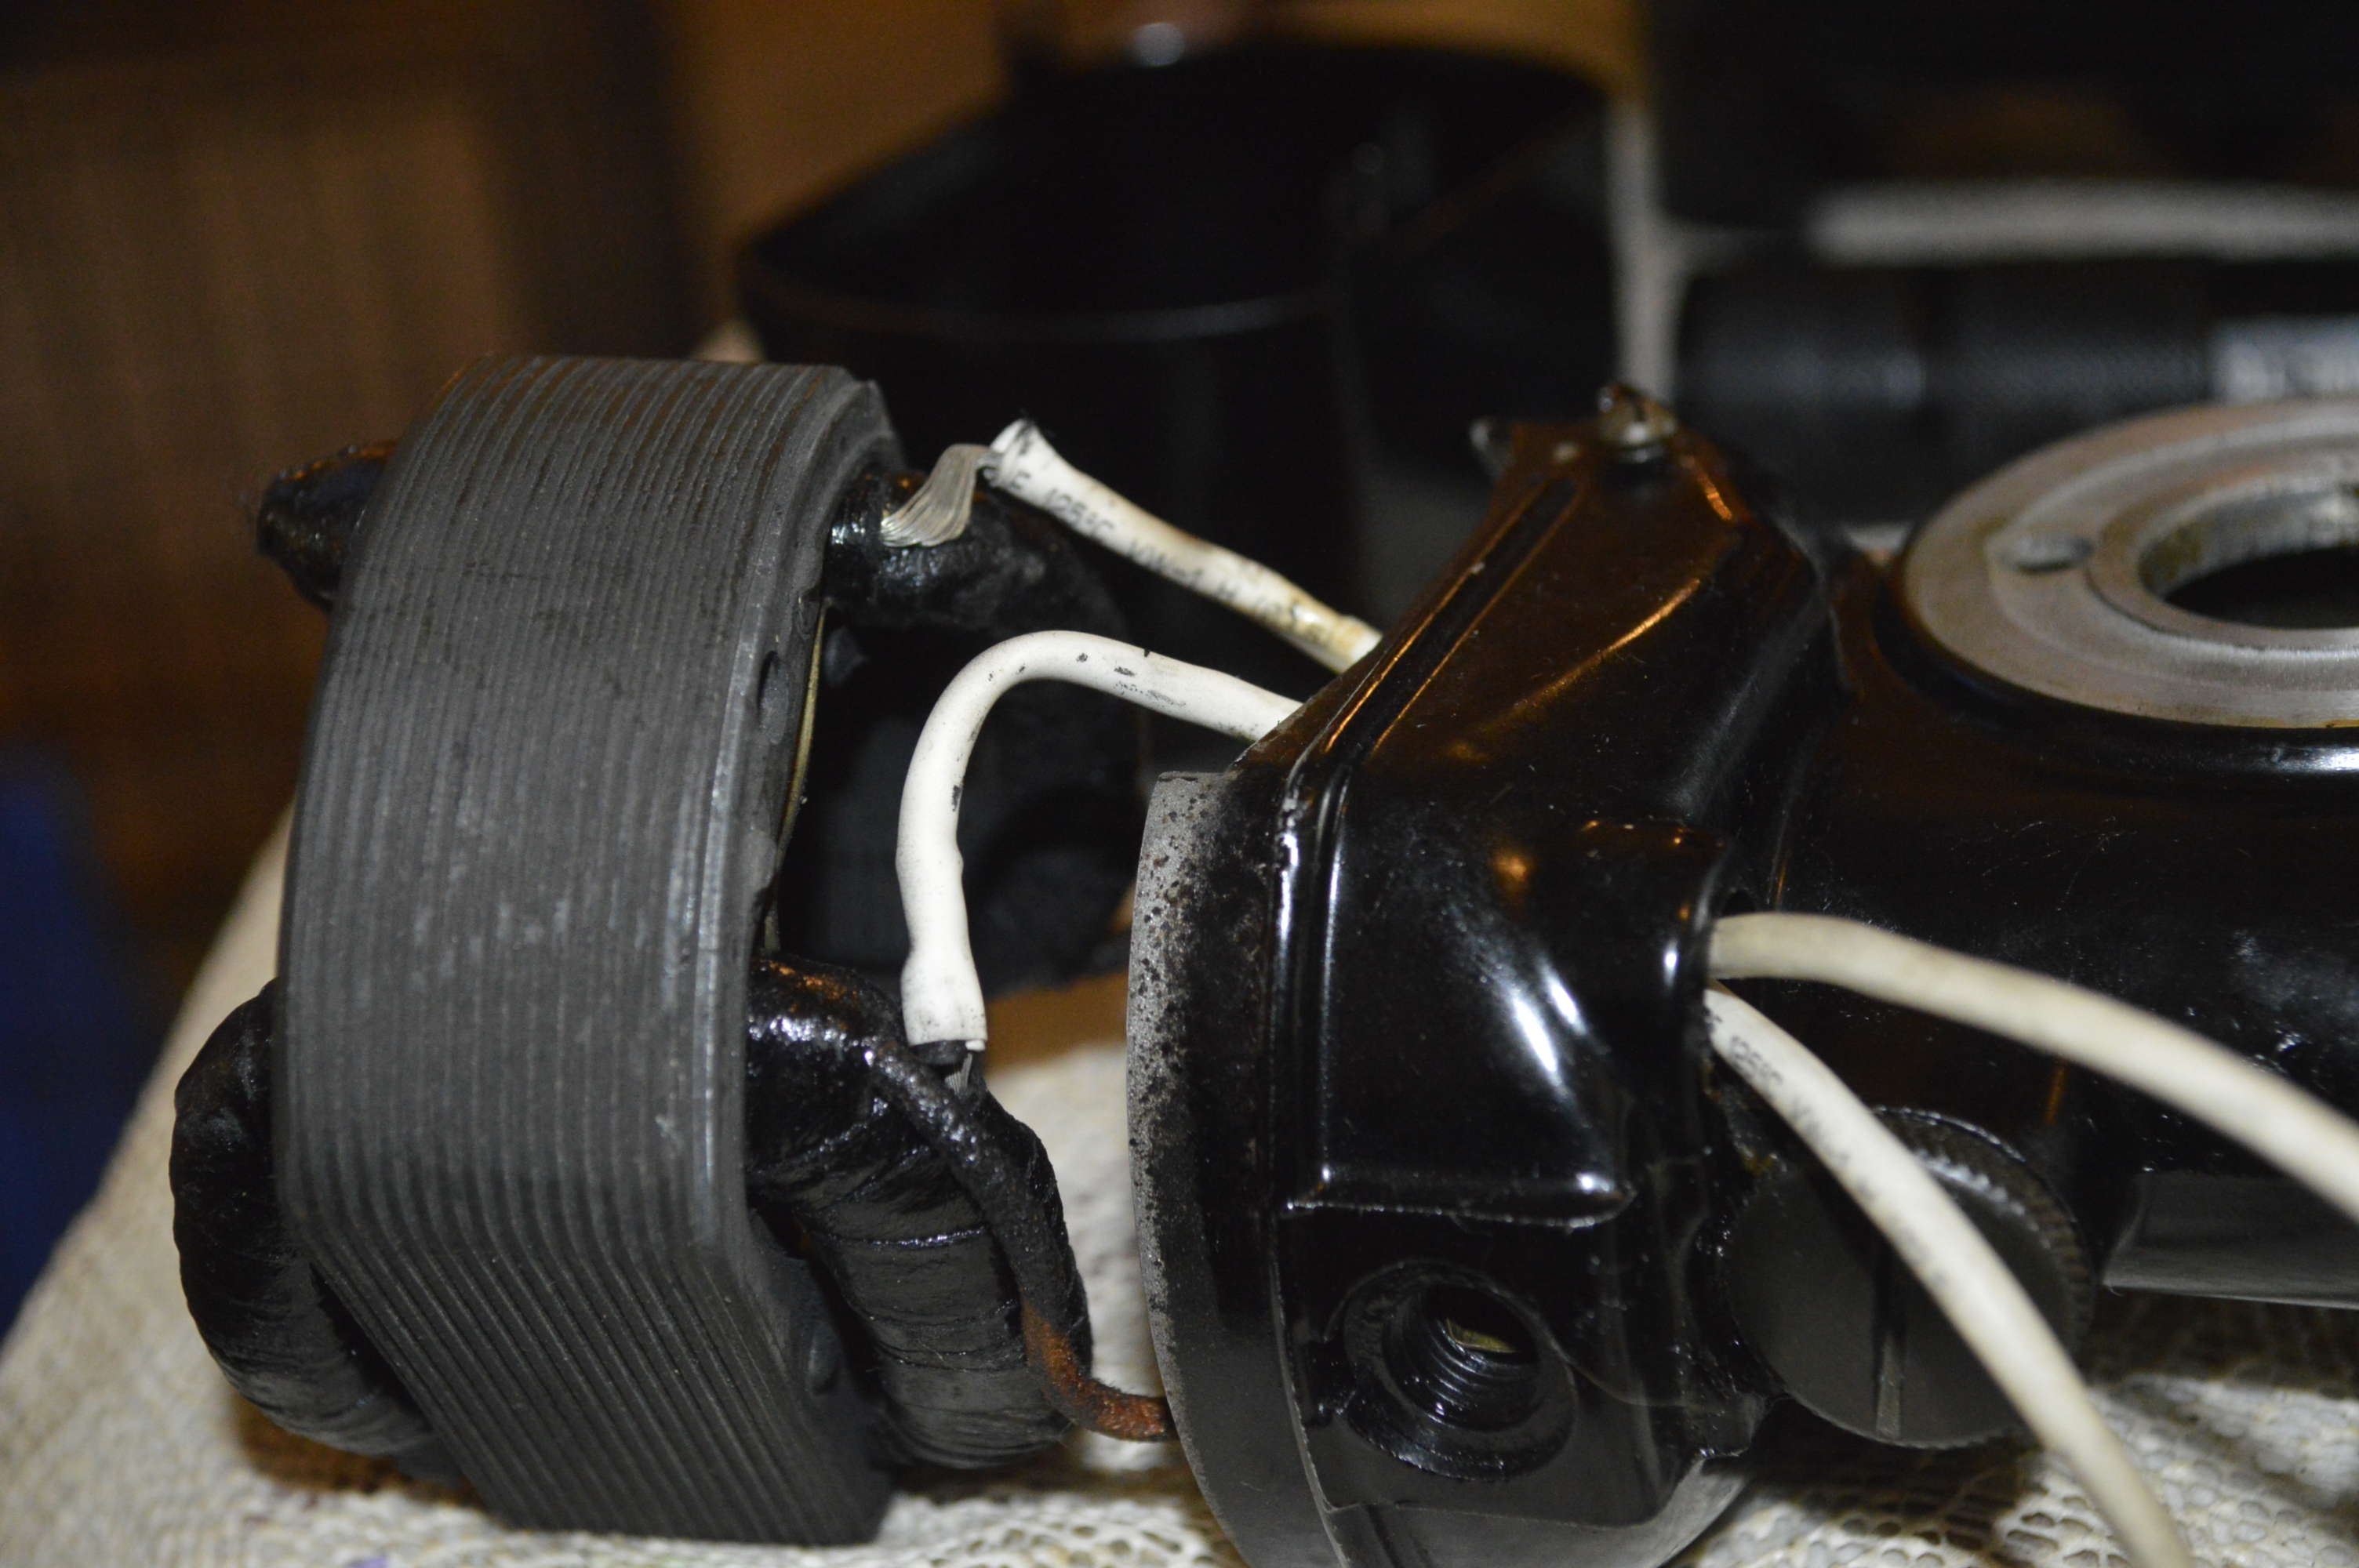
Field coil wires shrink tubing… not a proper fix 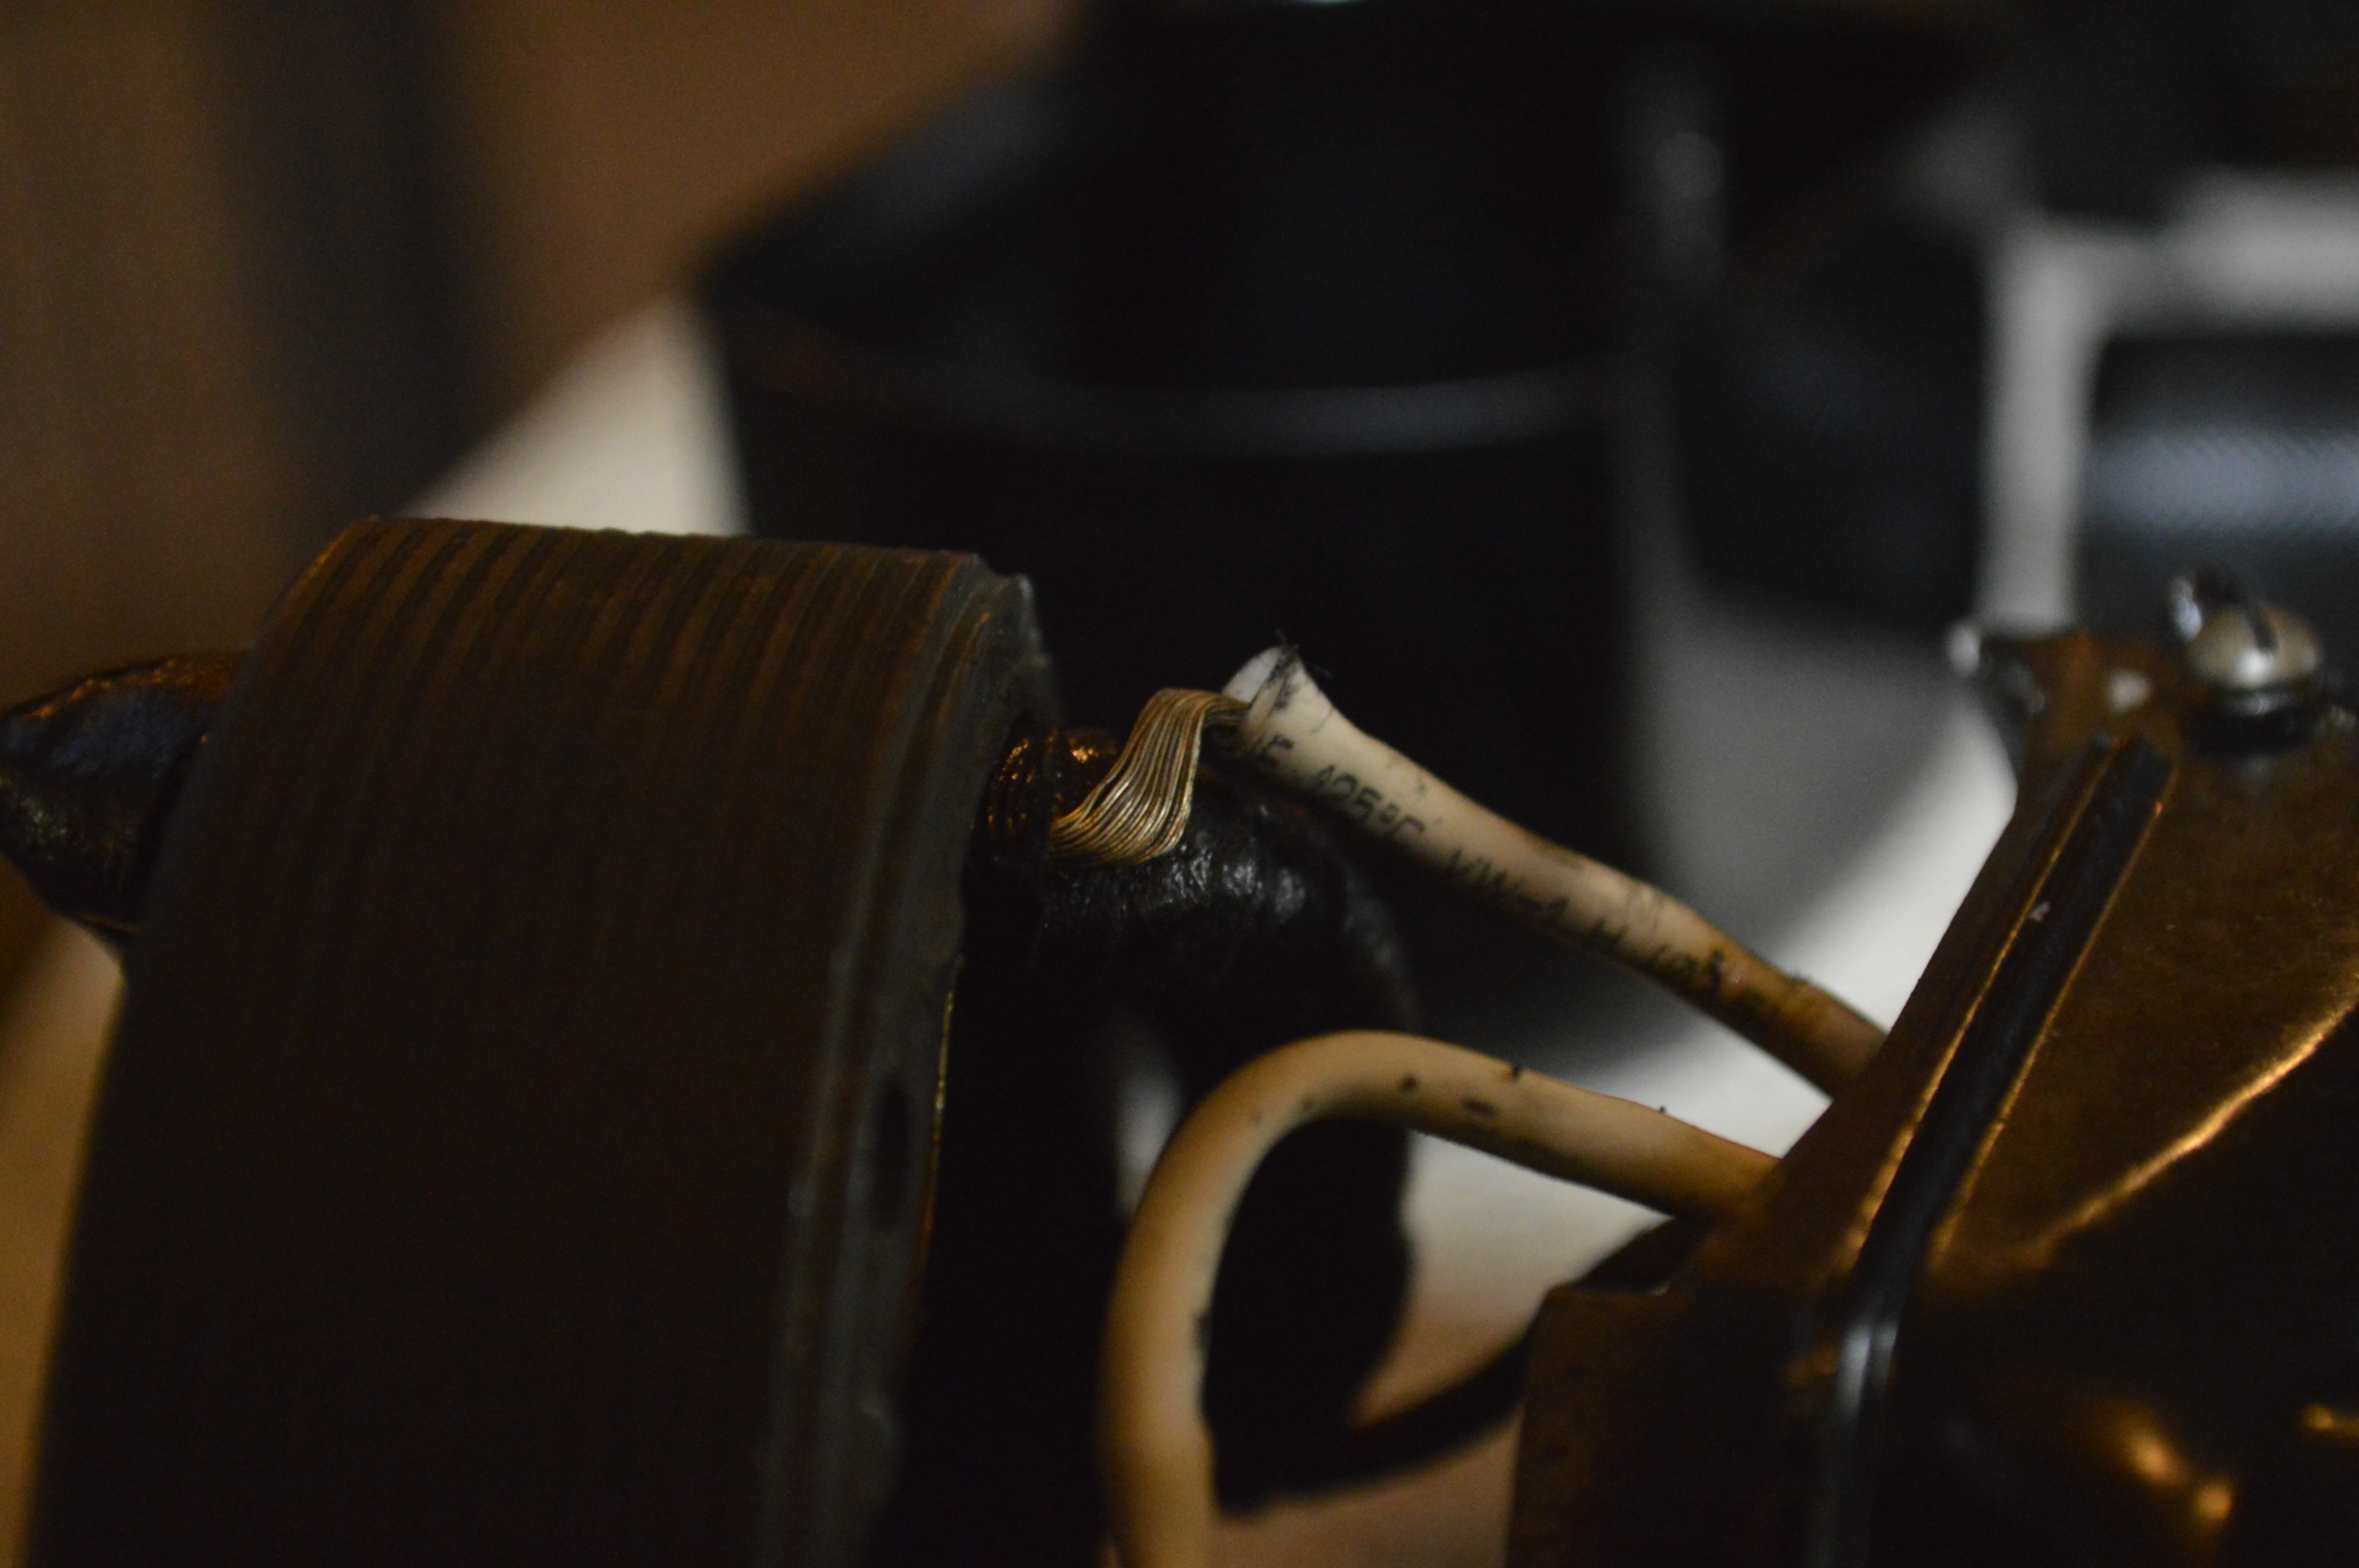
Bare wire exposed in the motor housing 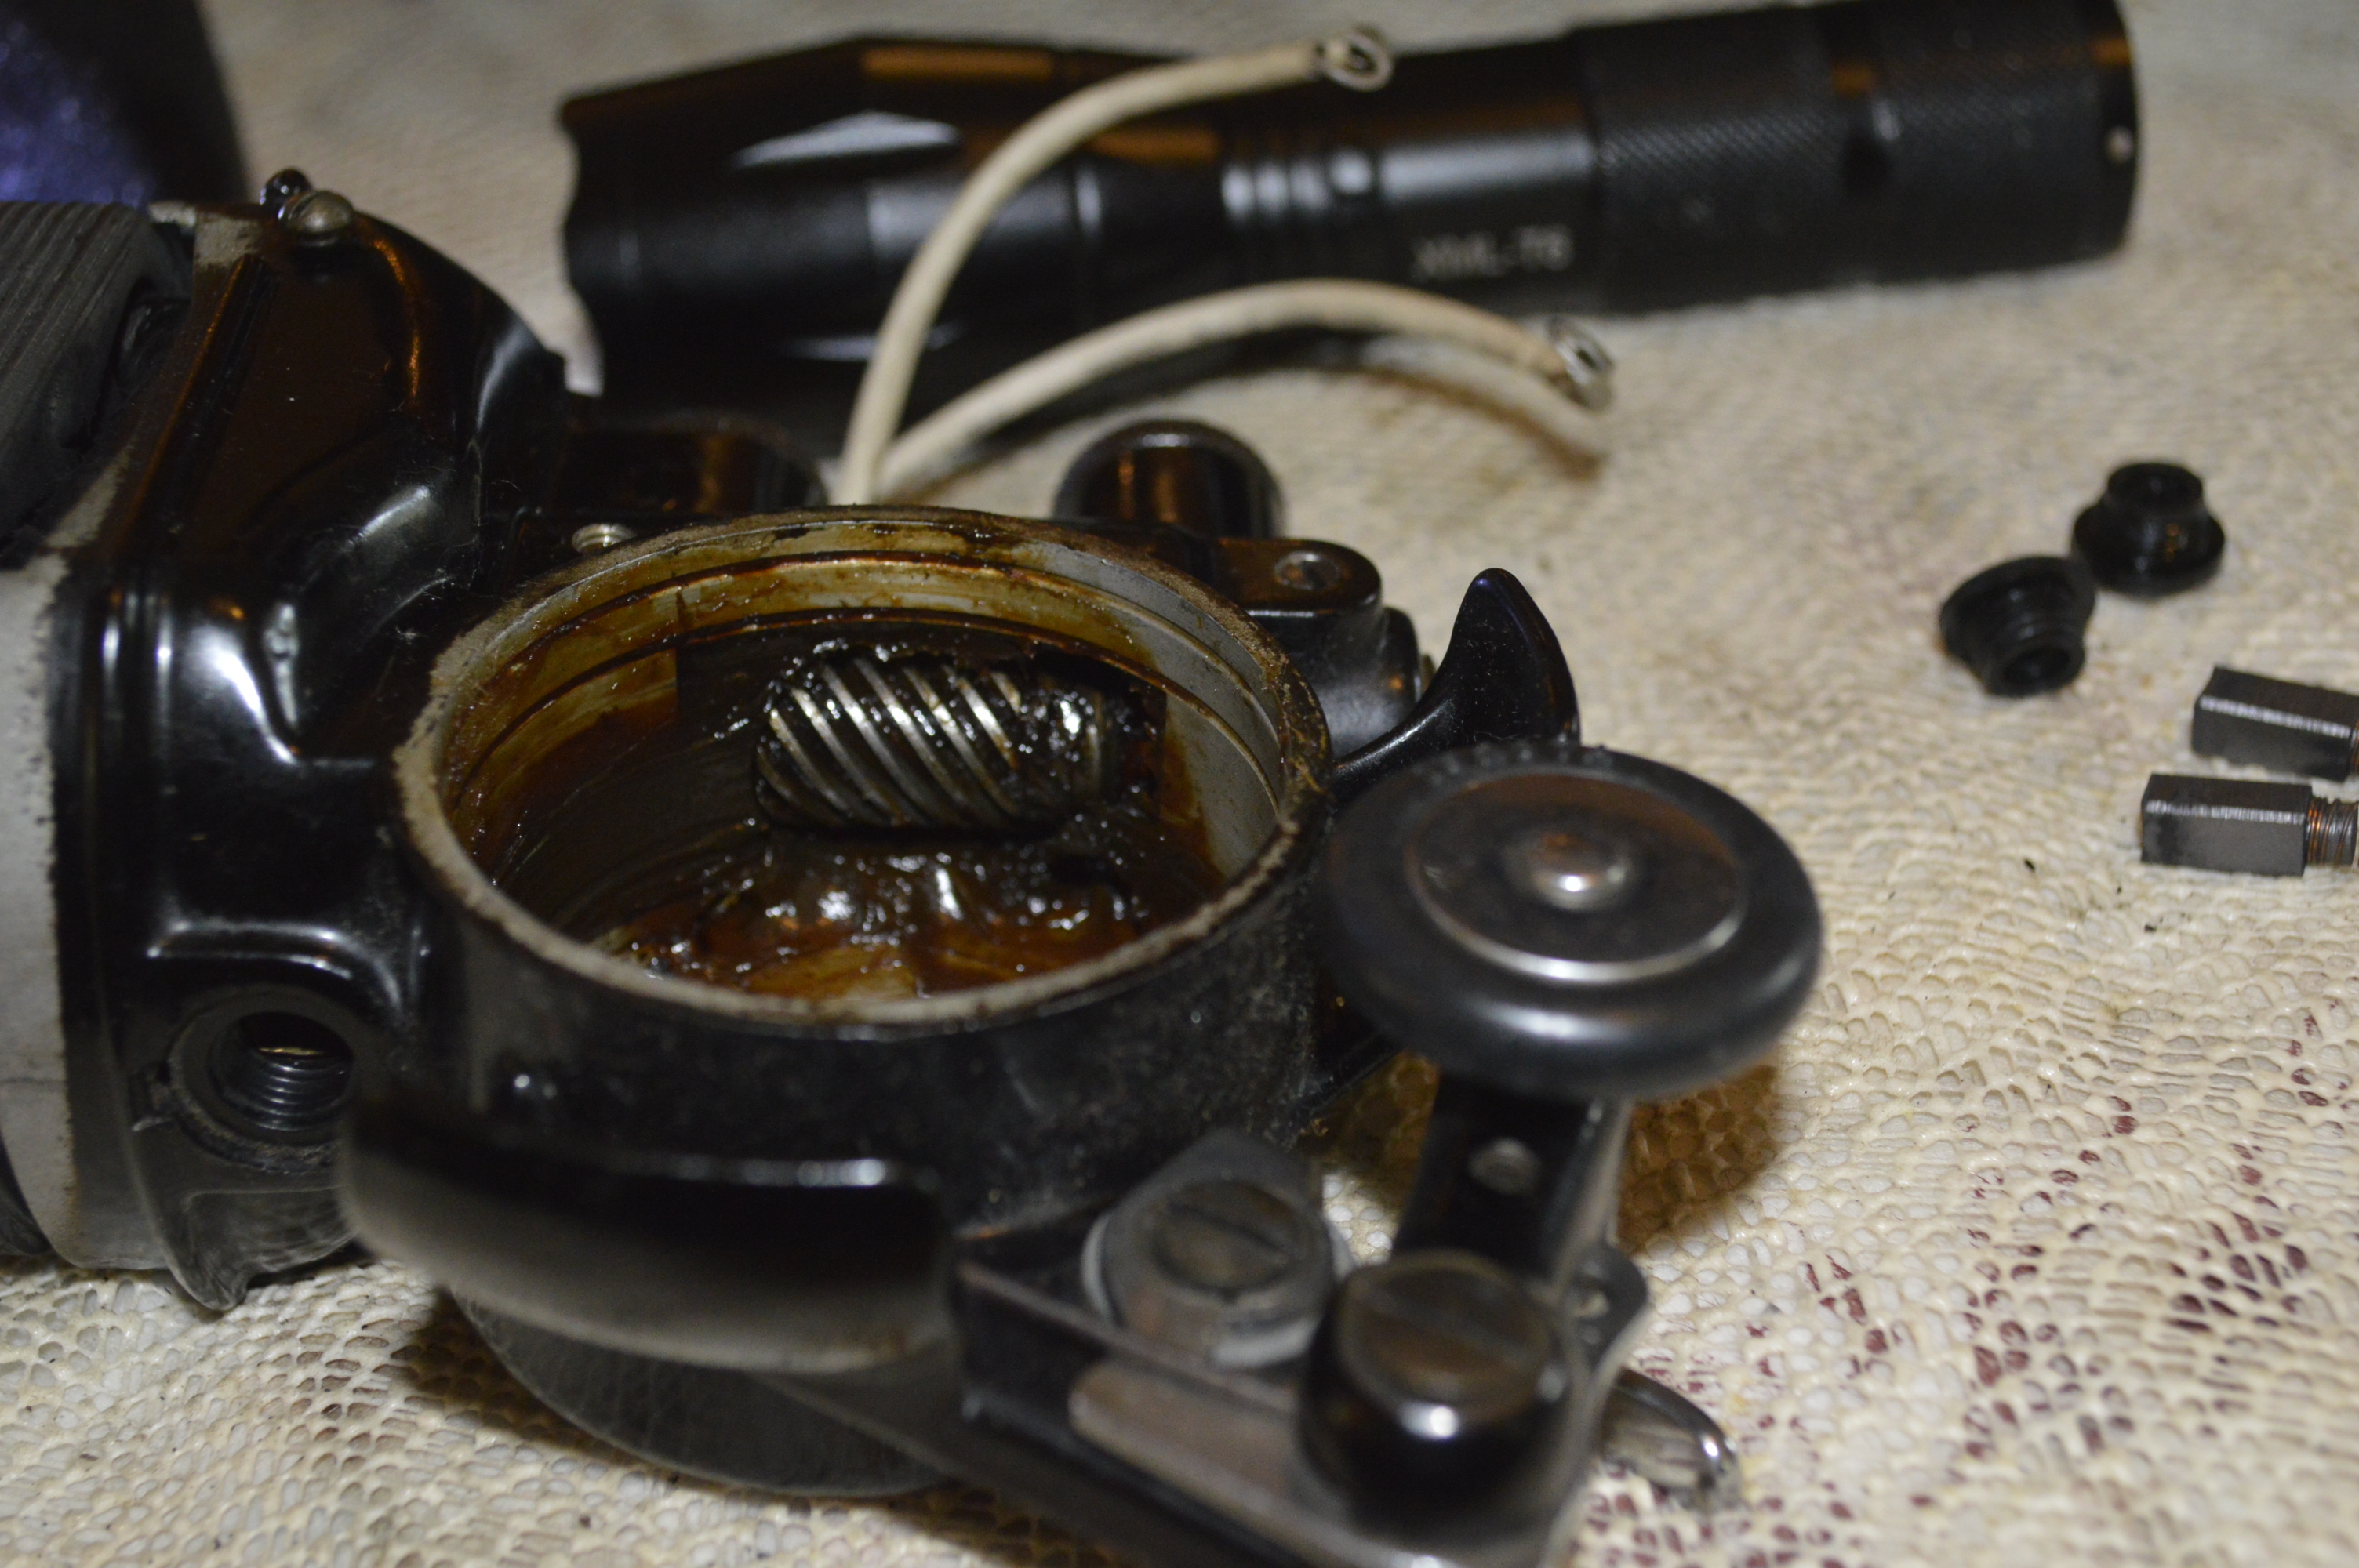
Brown grease packed in the housing 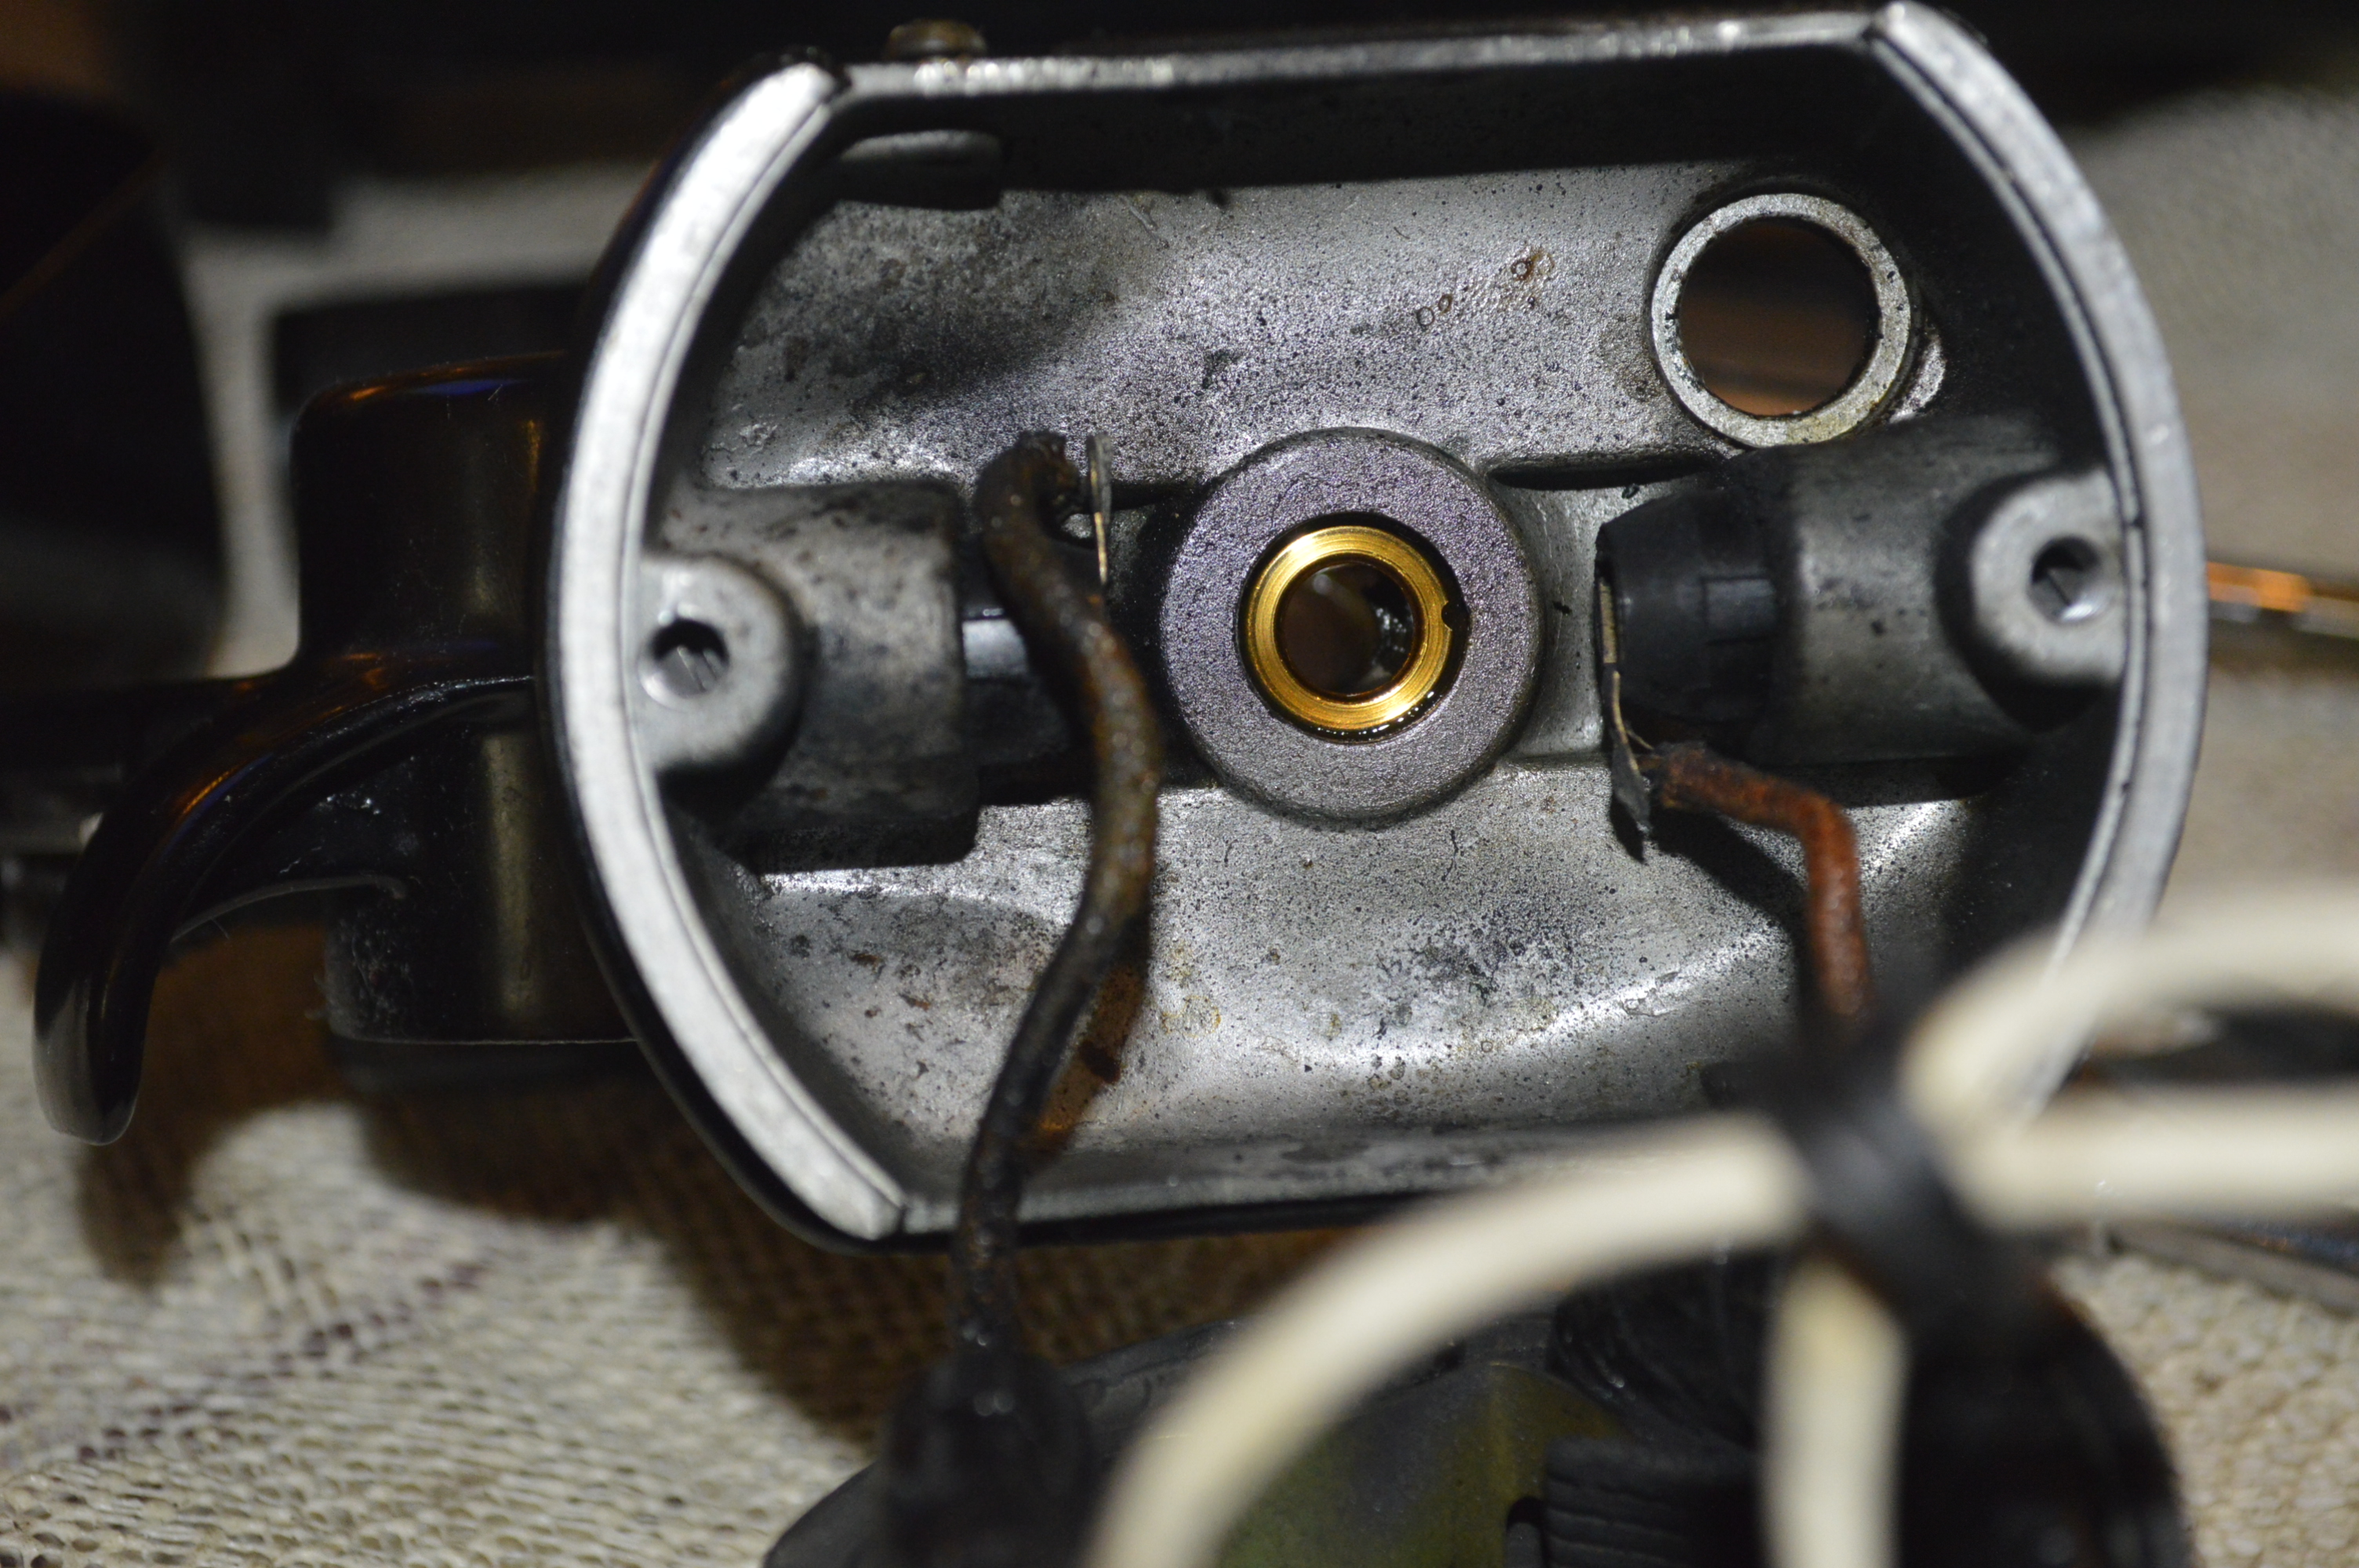
Brush wires need to be de-soldered to remove brush tubes 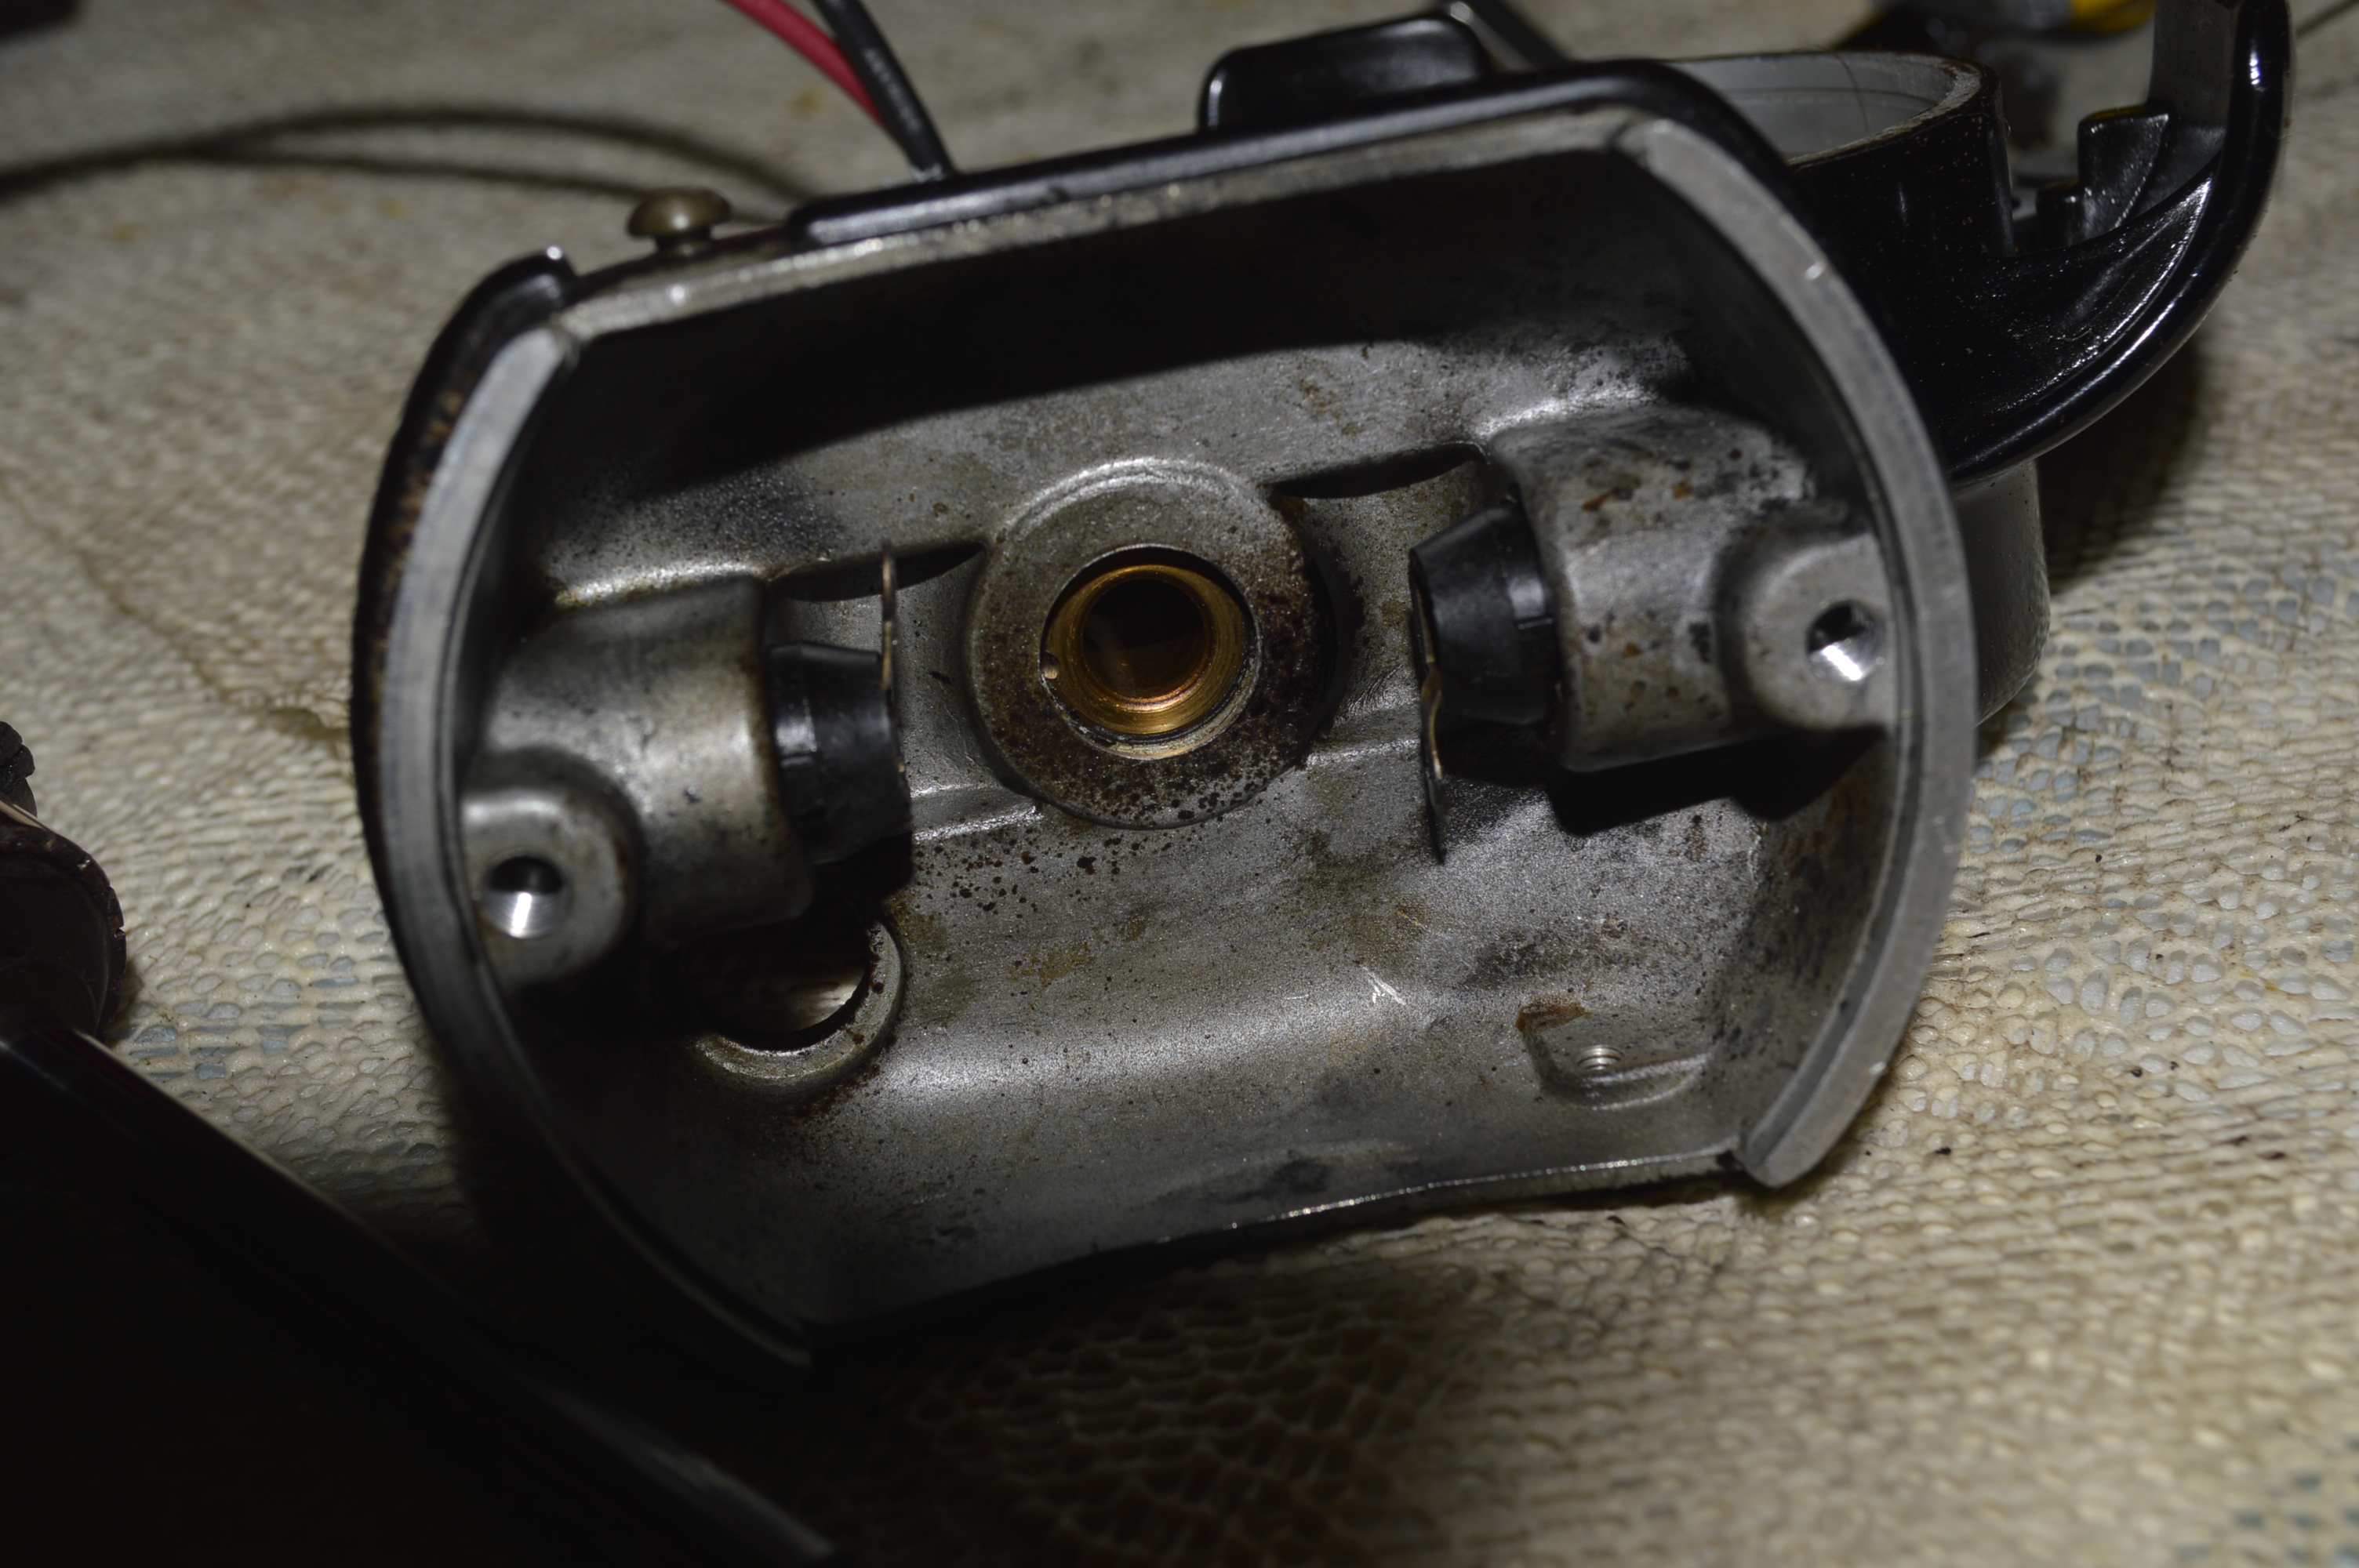
Housing ready to be deep cleaned after brush tubes are removed… 
Armature and shaft before polishing… 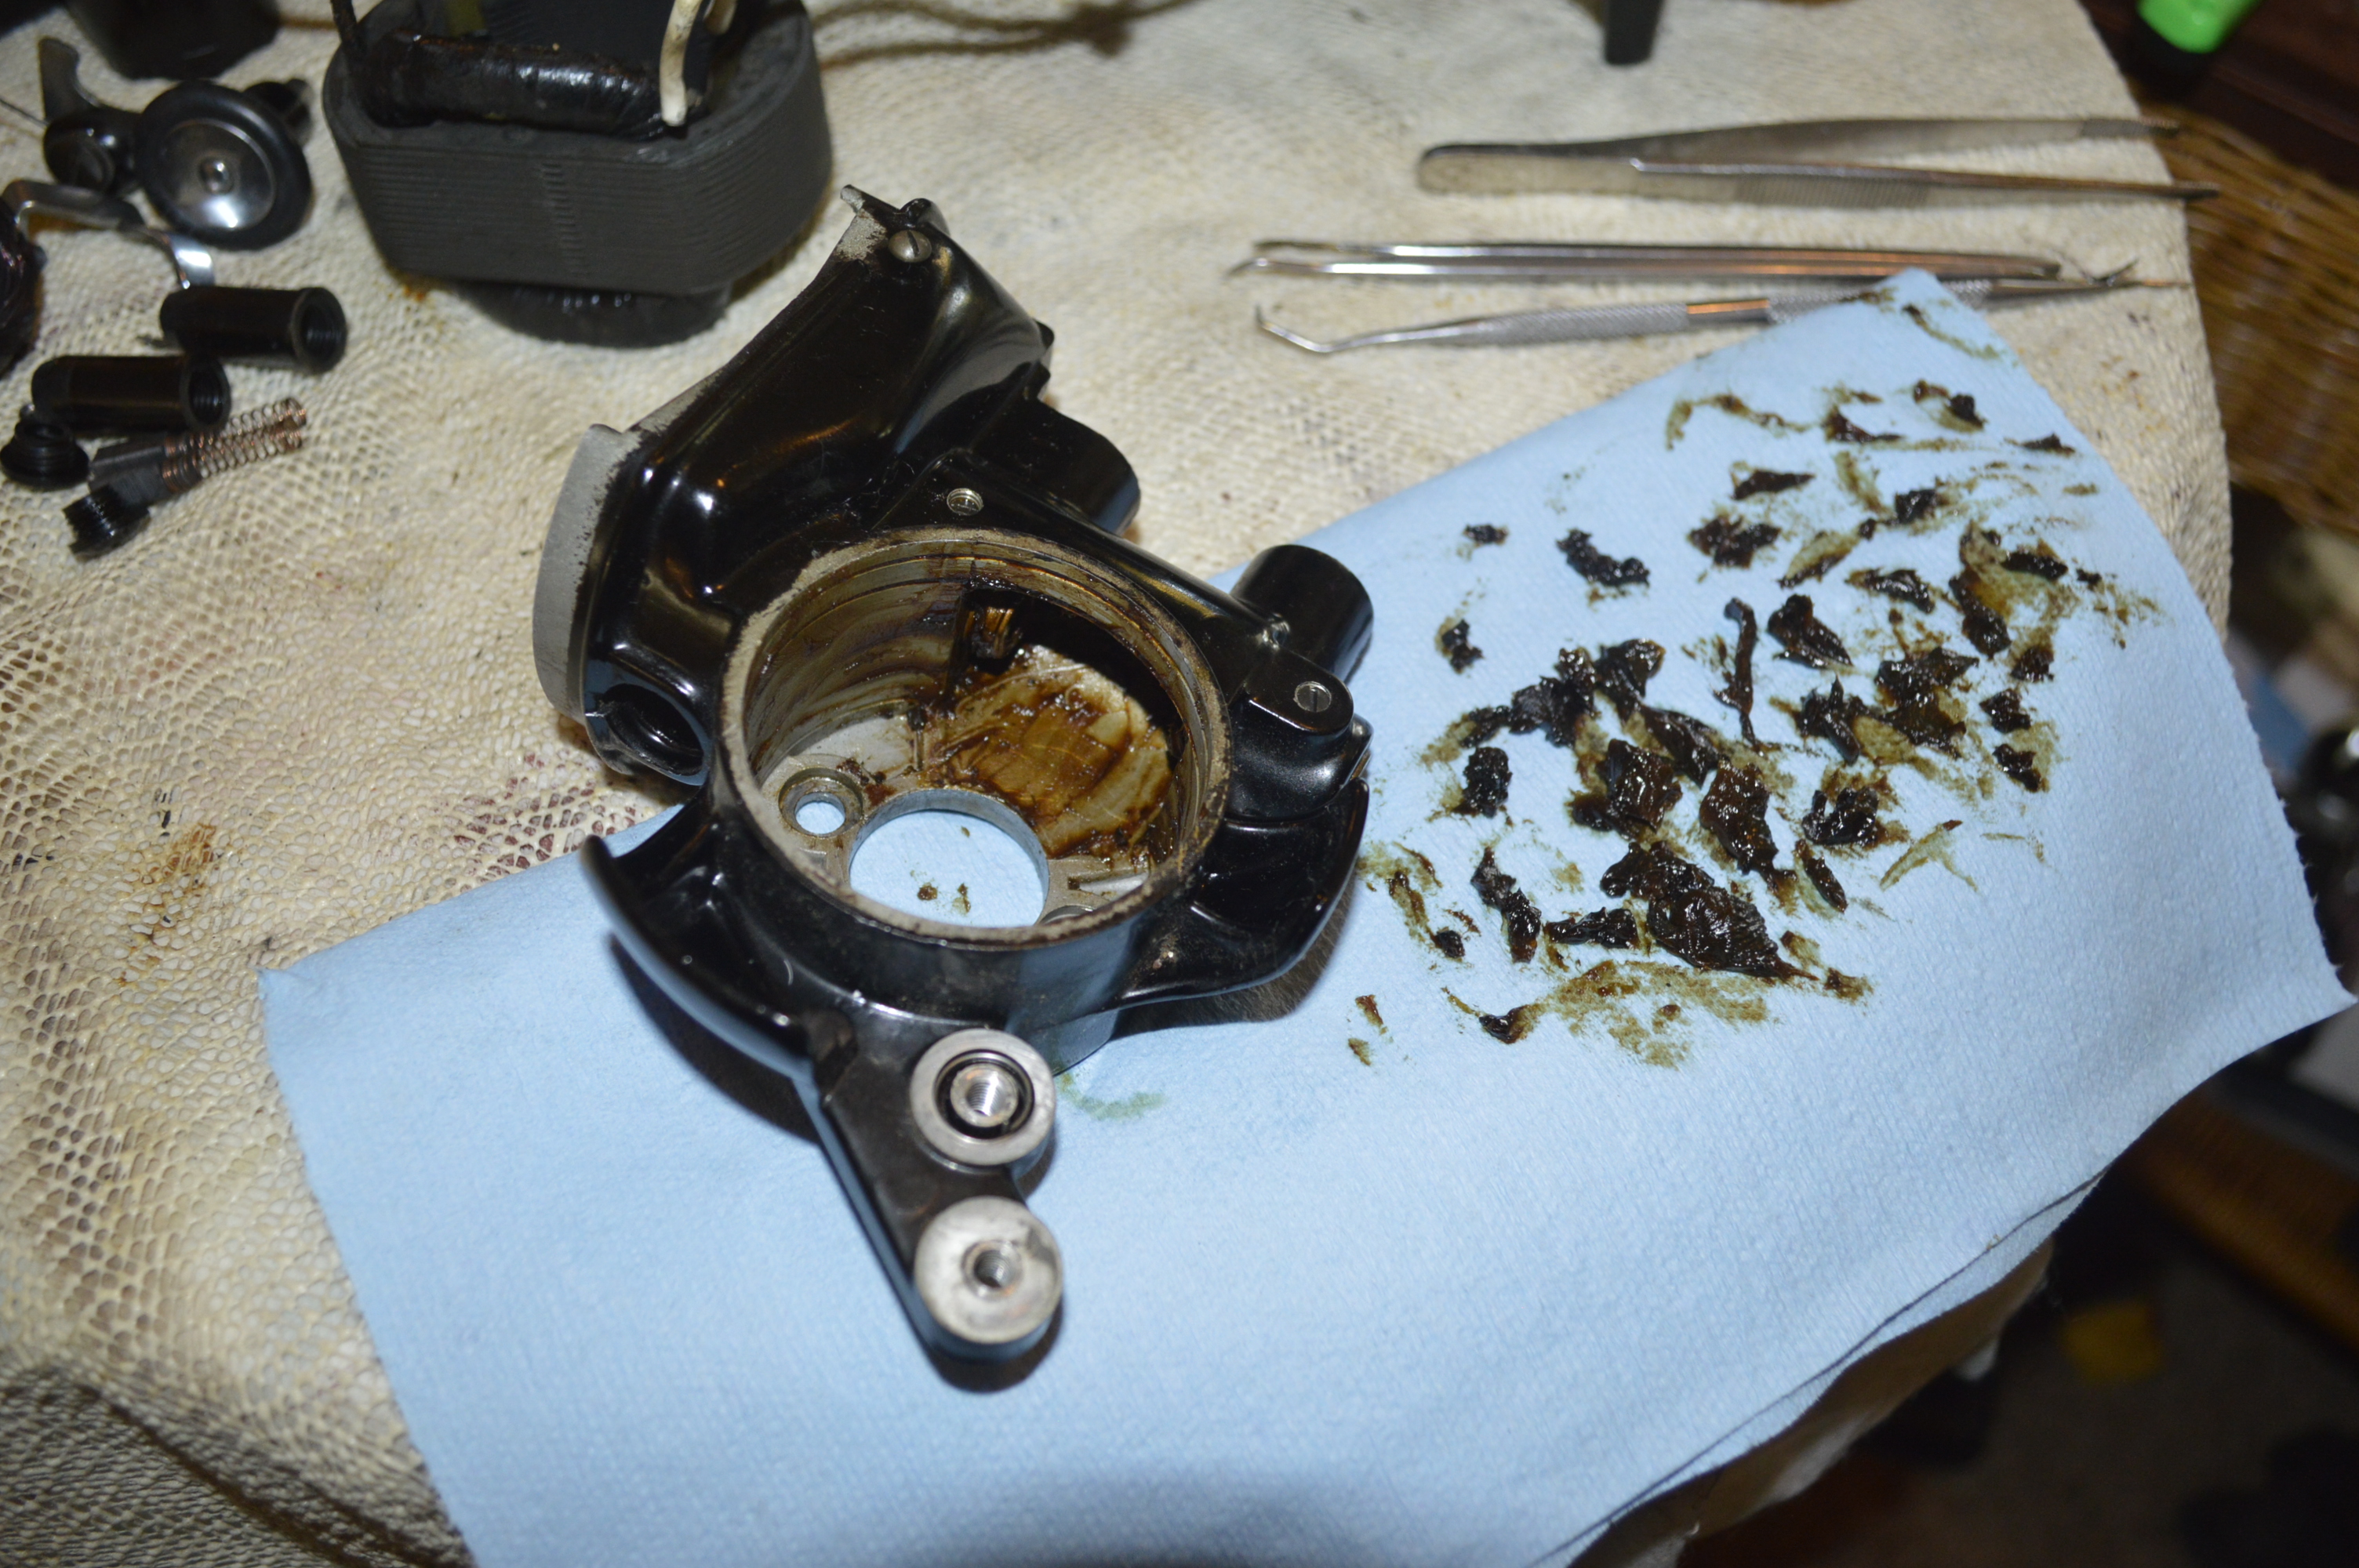
Getting as much grease out as possible before soaking in kerosene 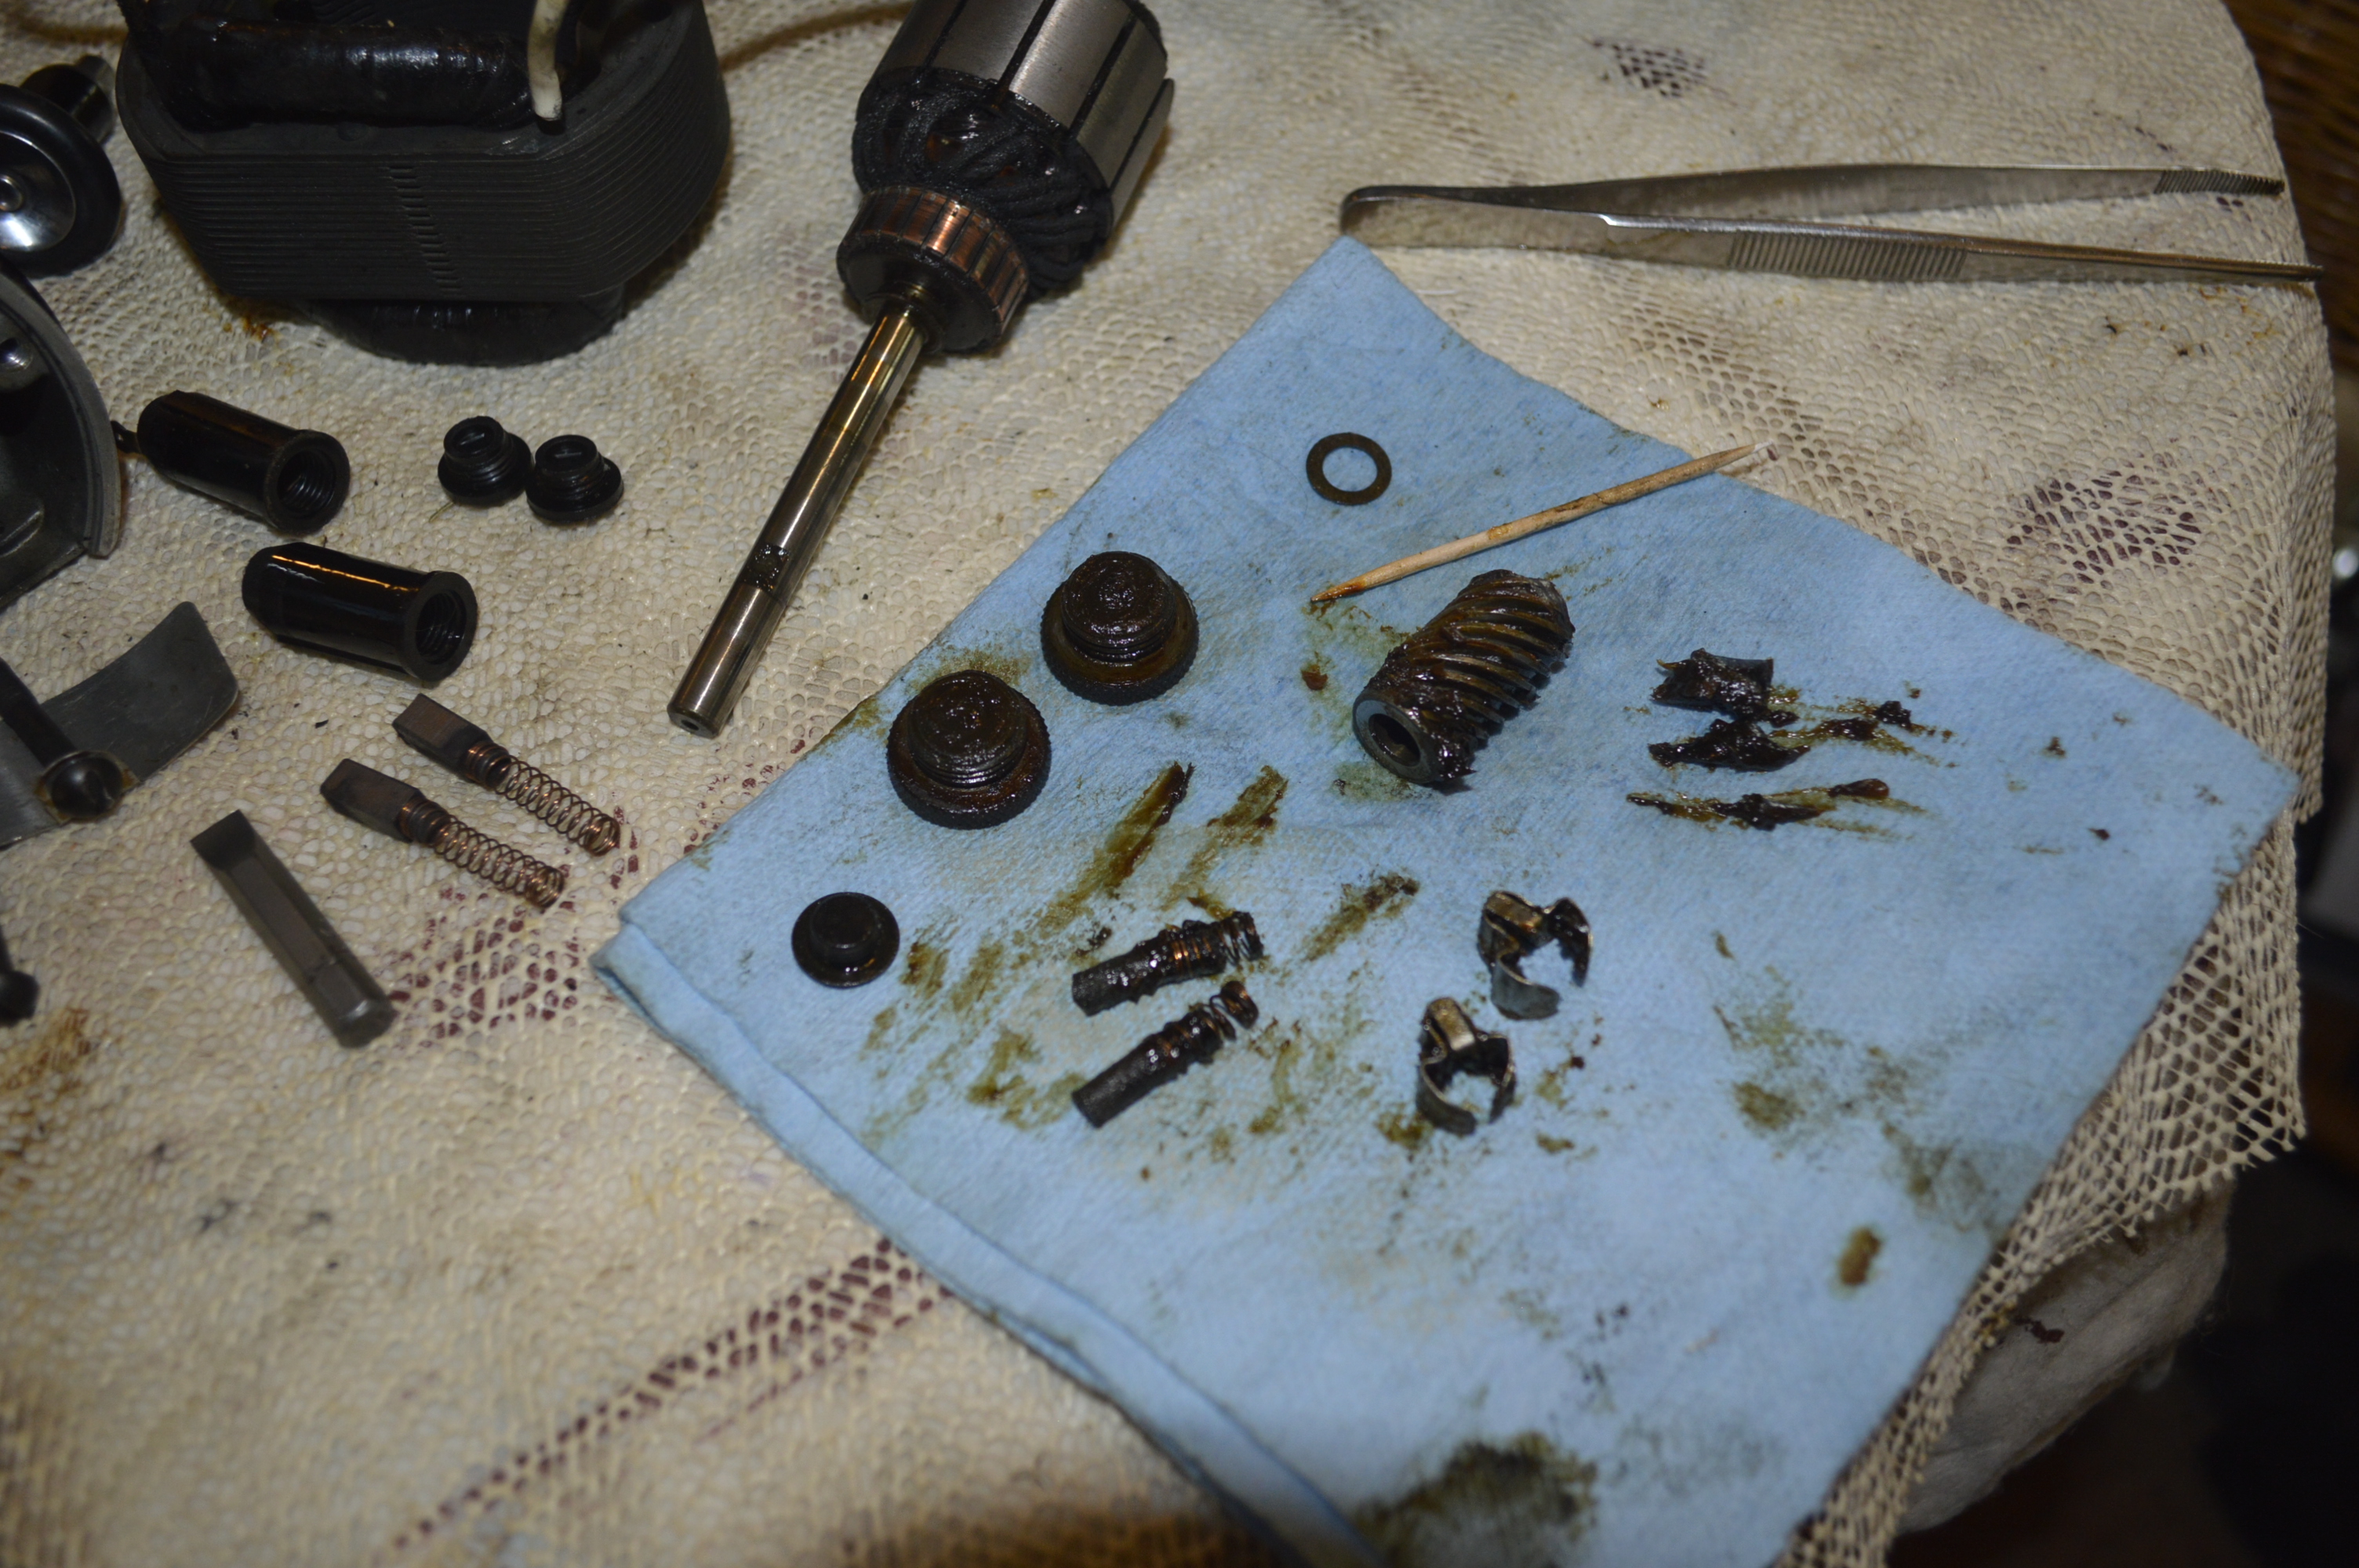
Spiral gear and grease wicks removed for cleaning 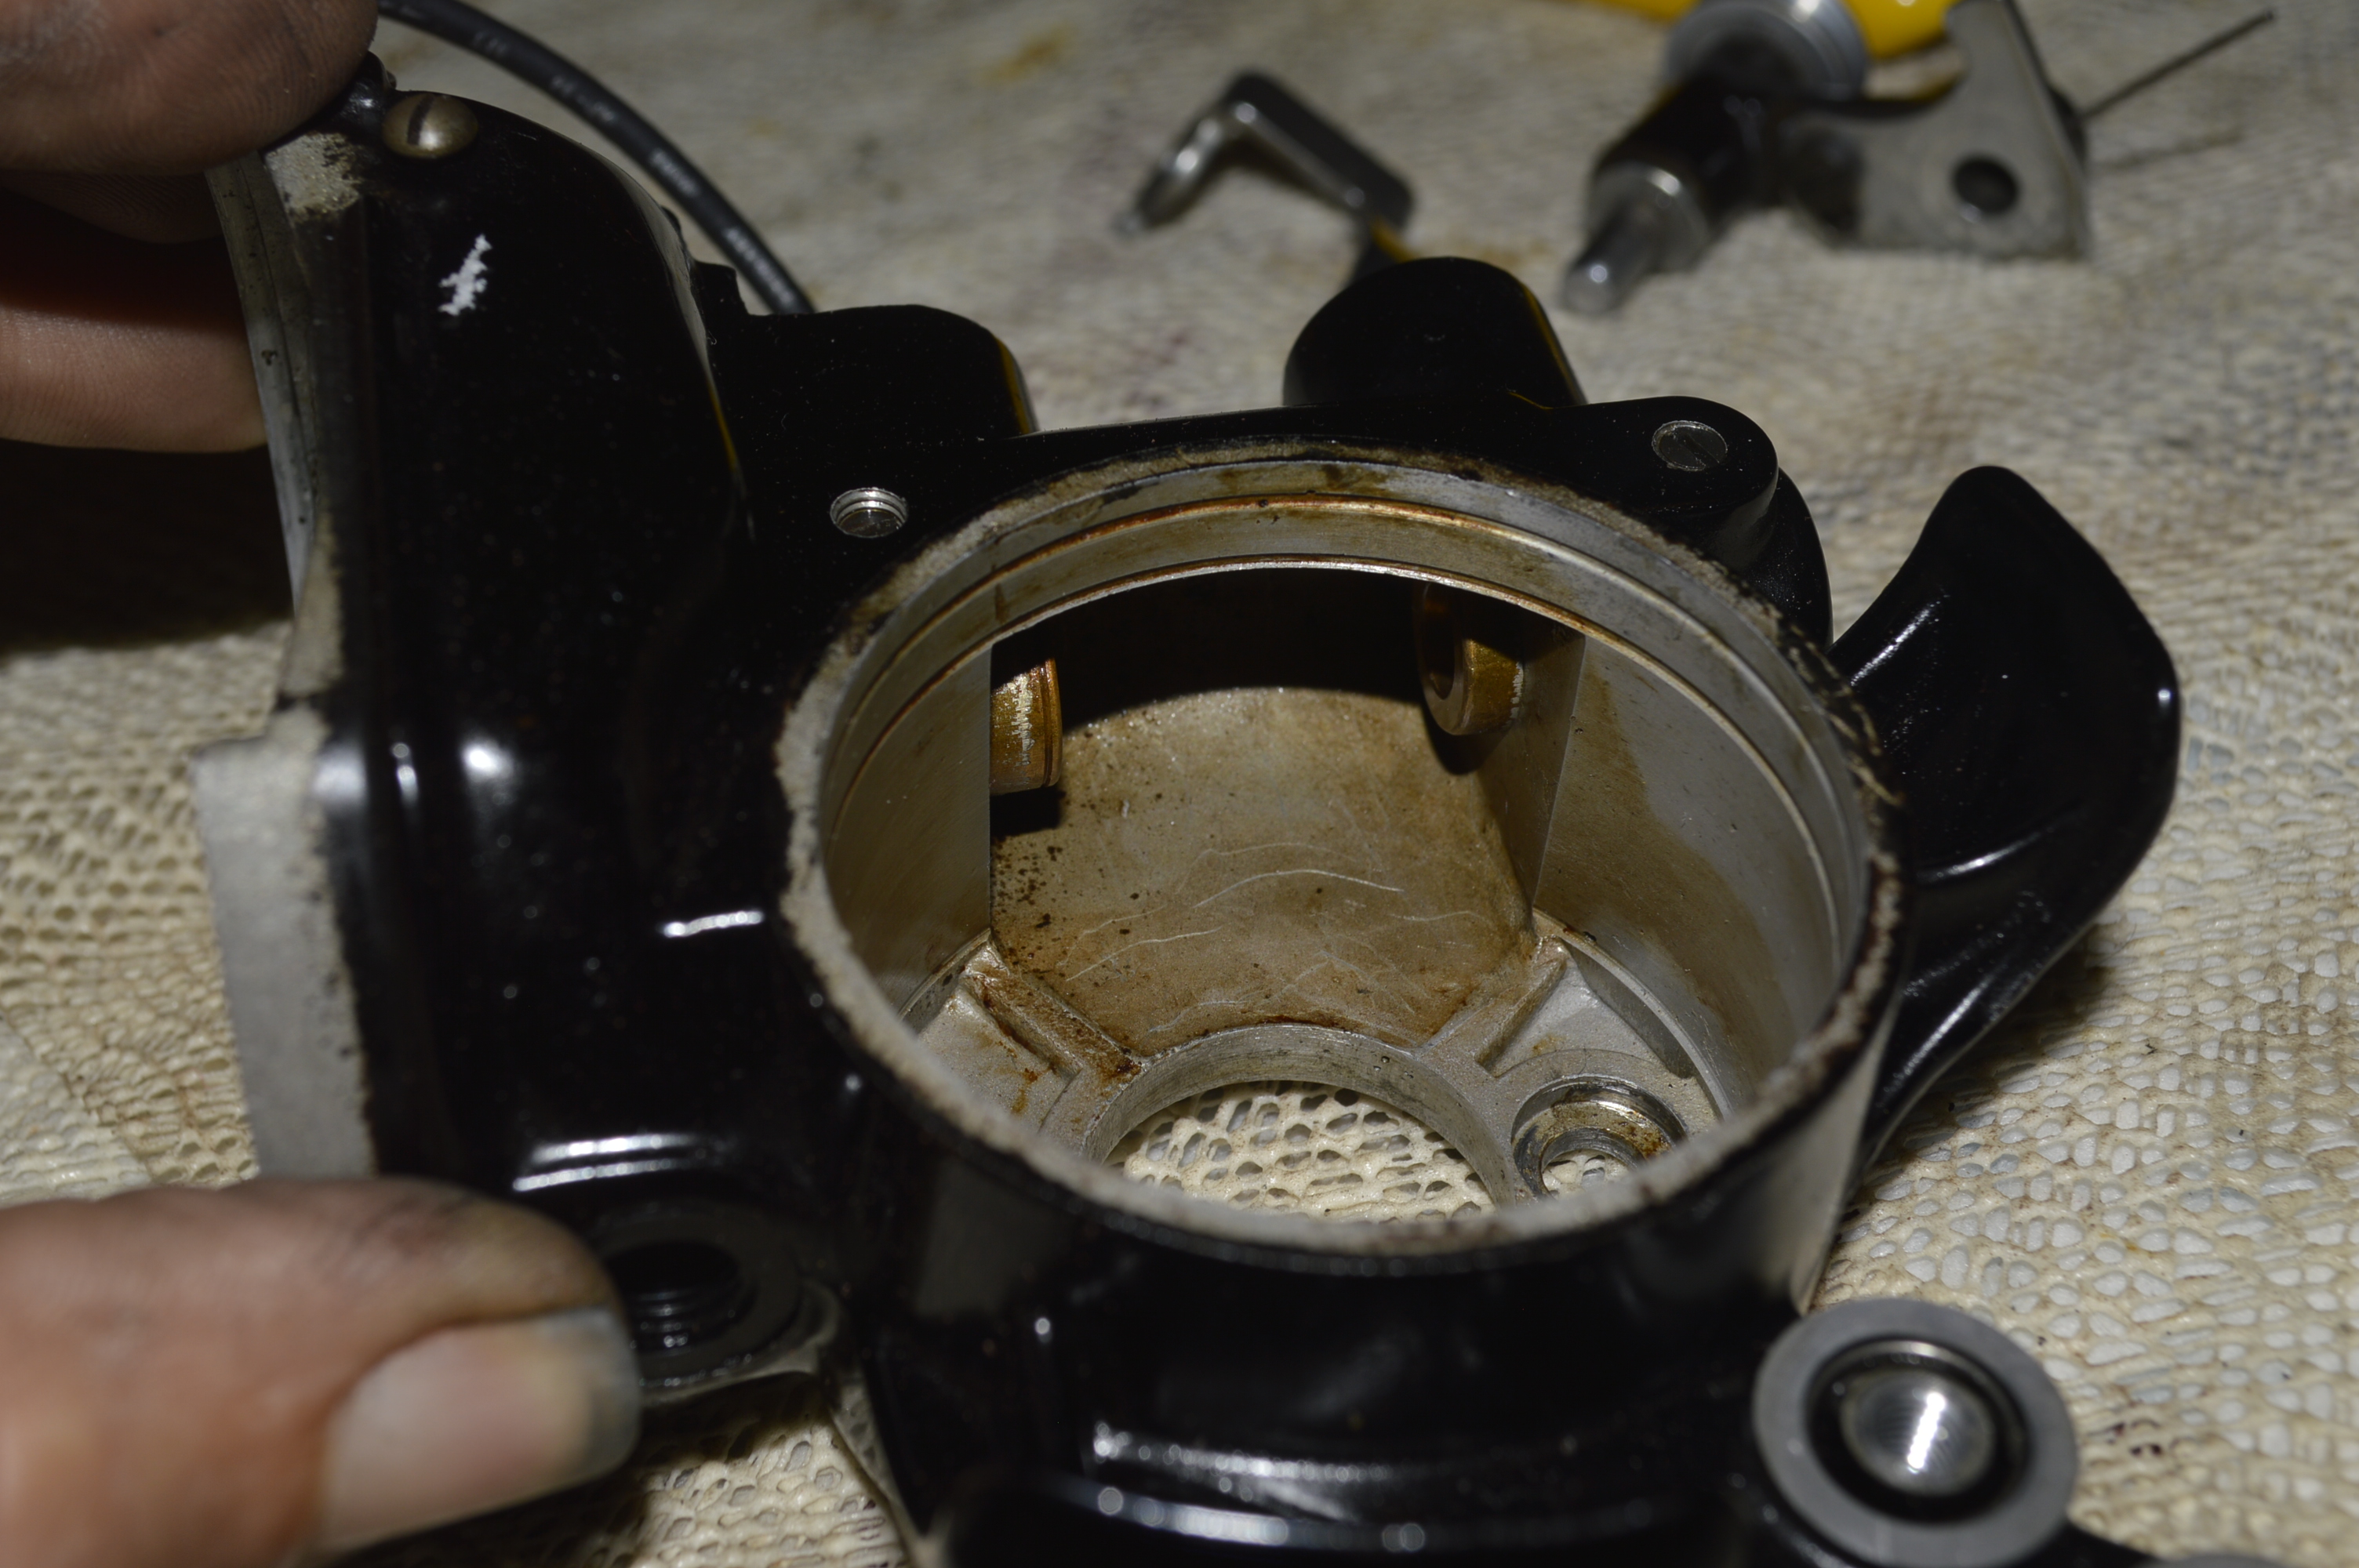
Housing after soaking and final cleaning 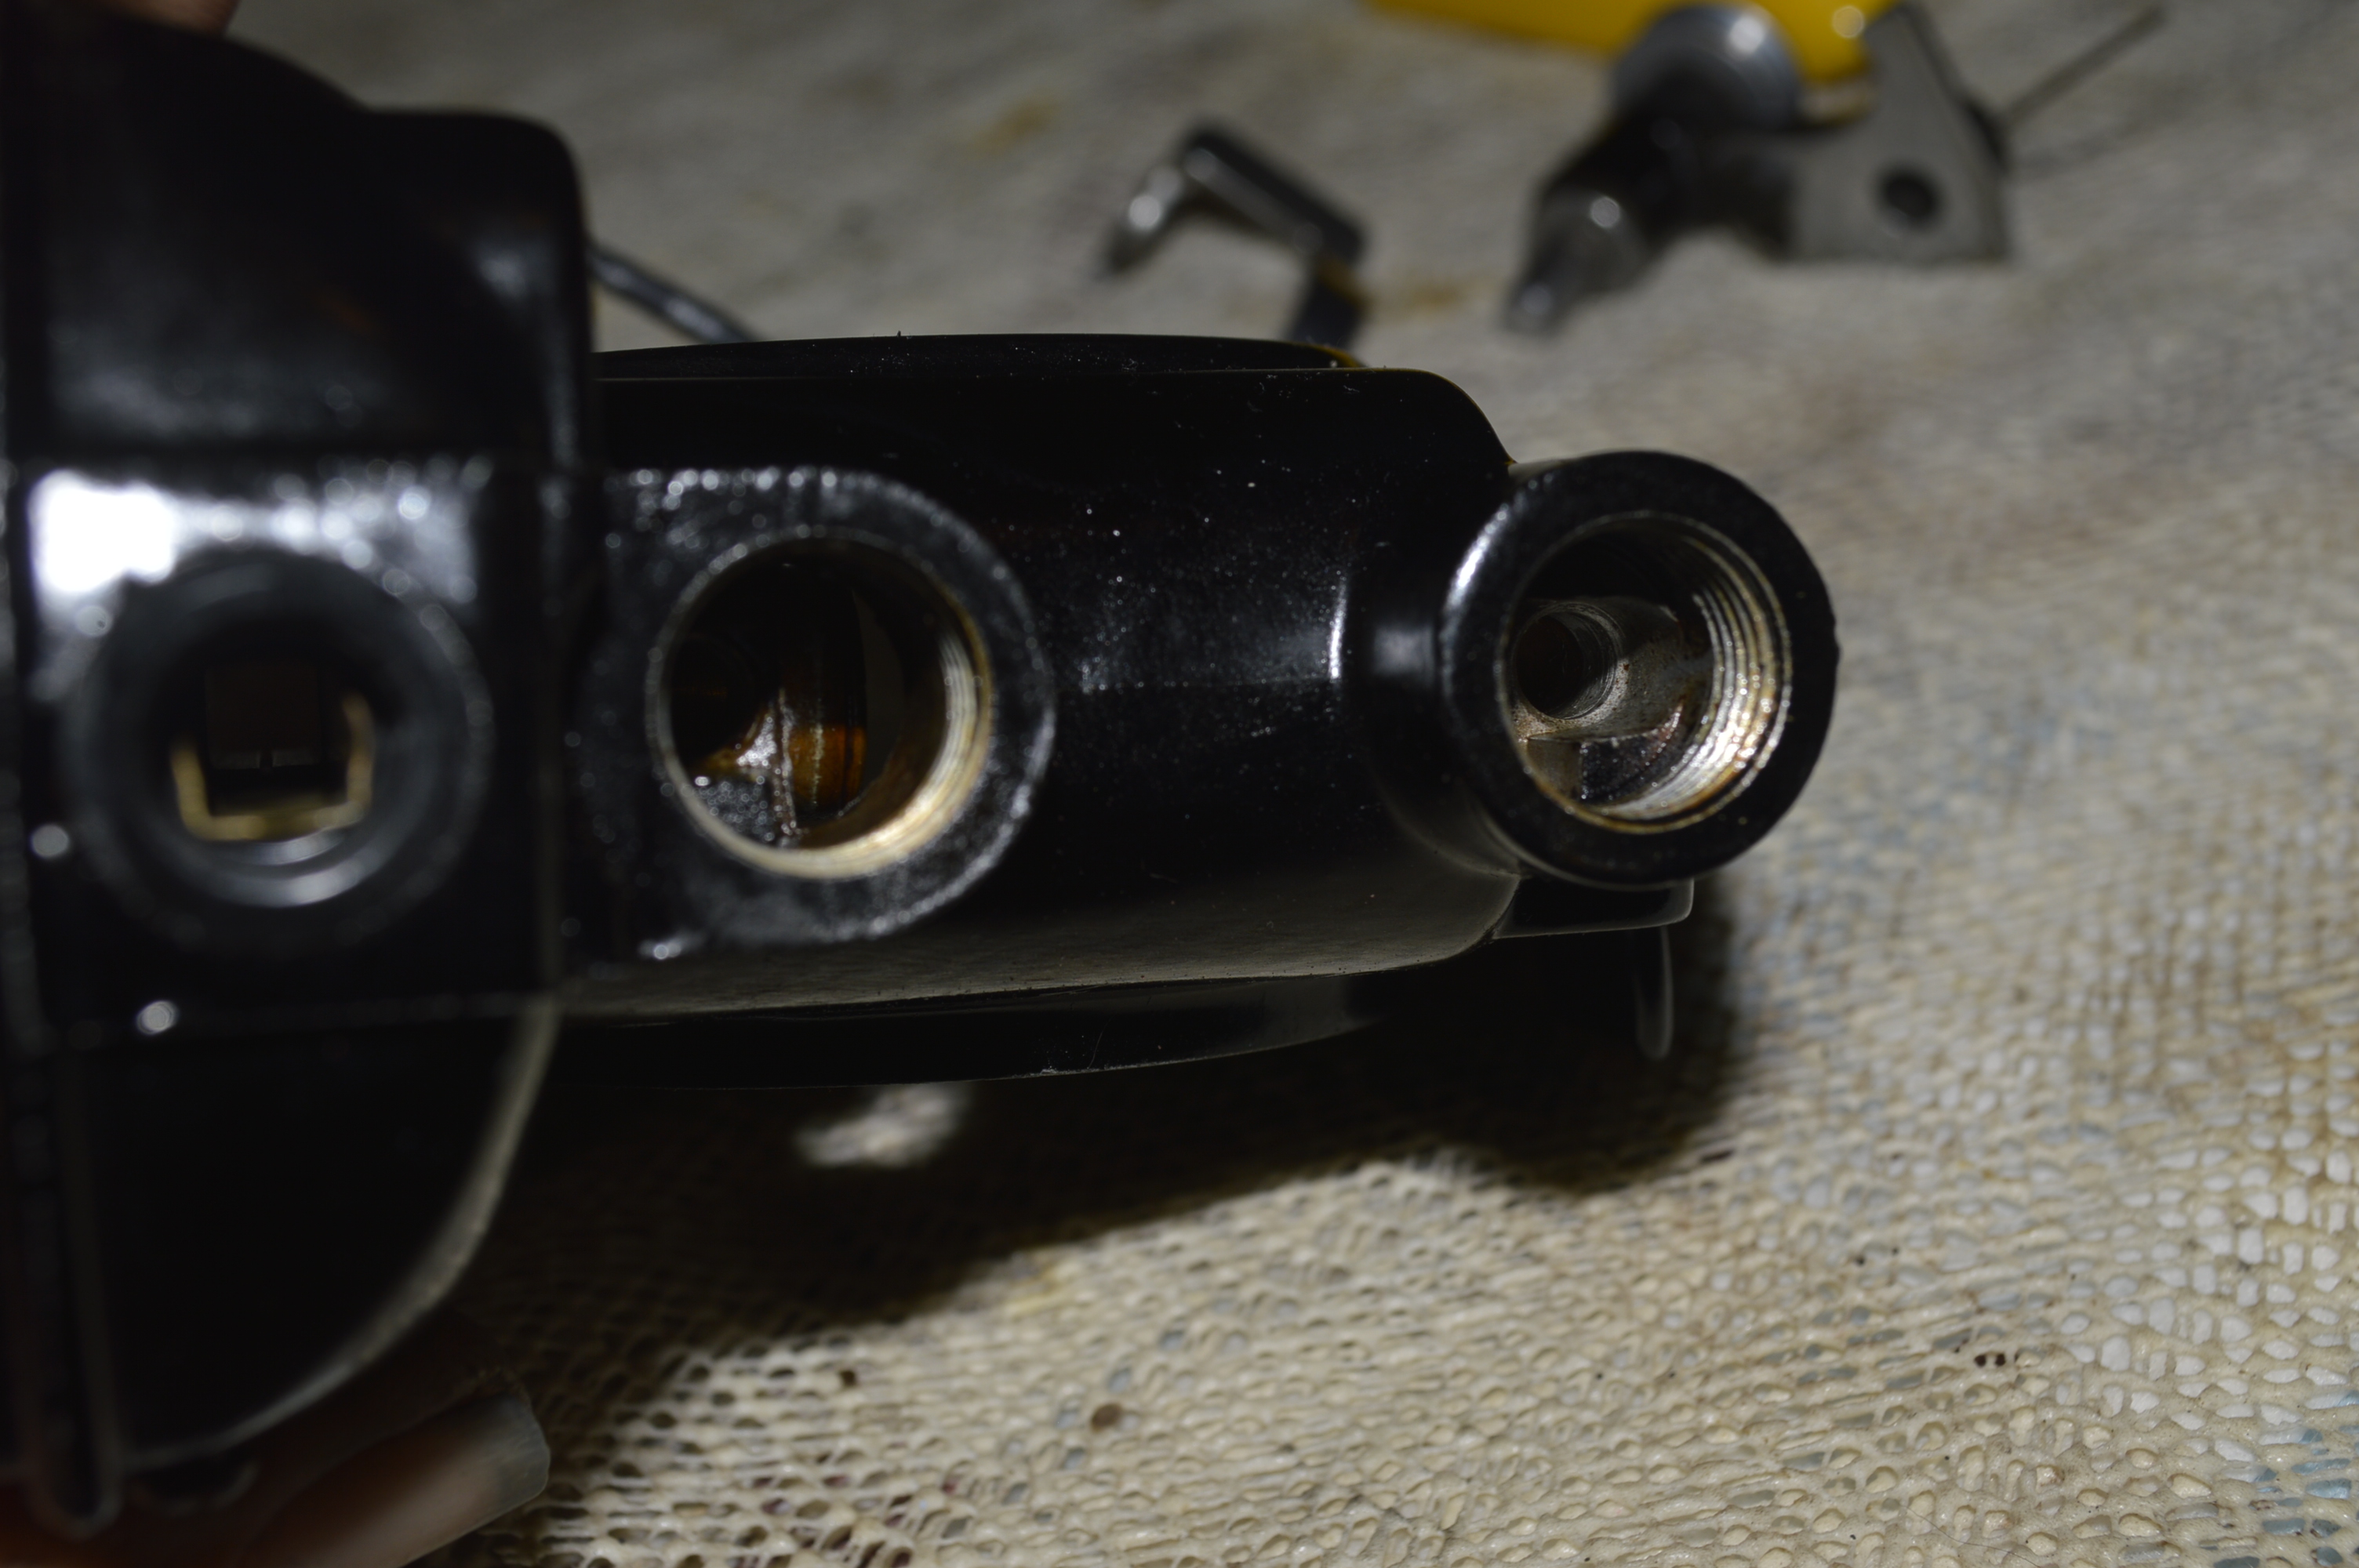
Grease tubes cleaned of old grease 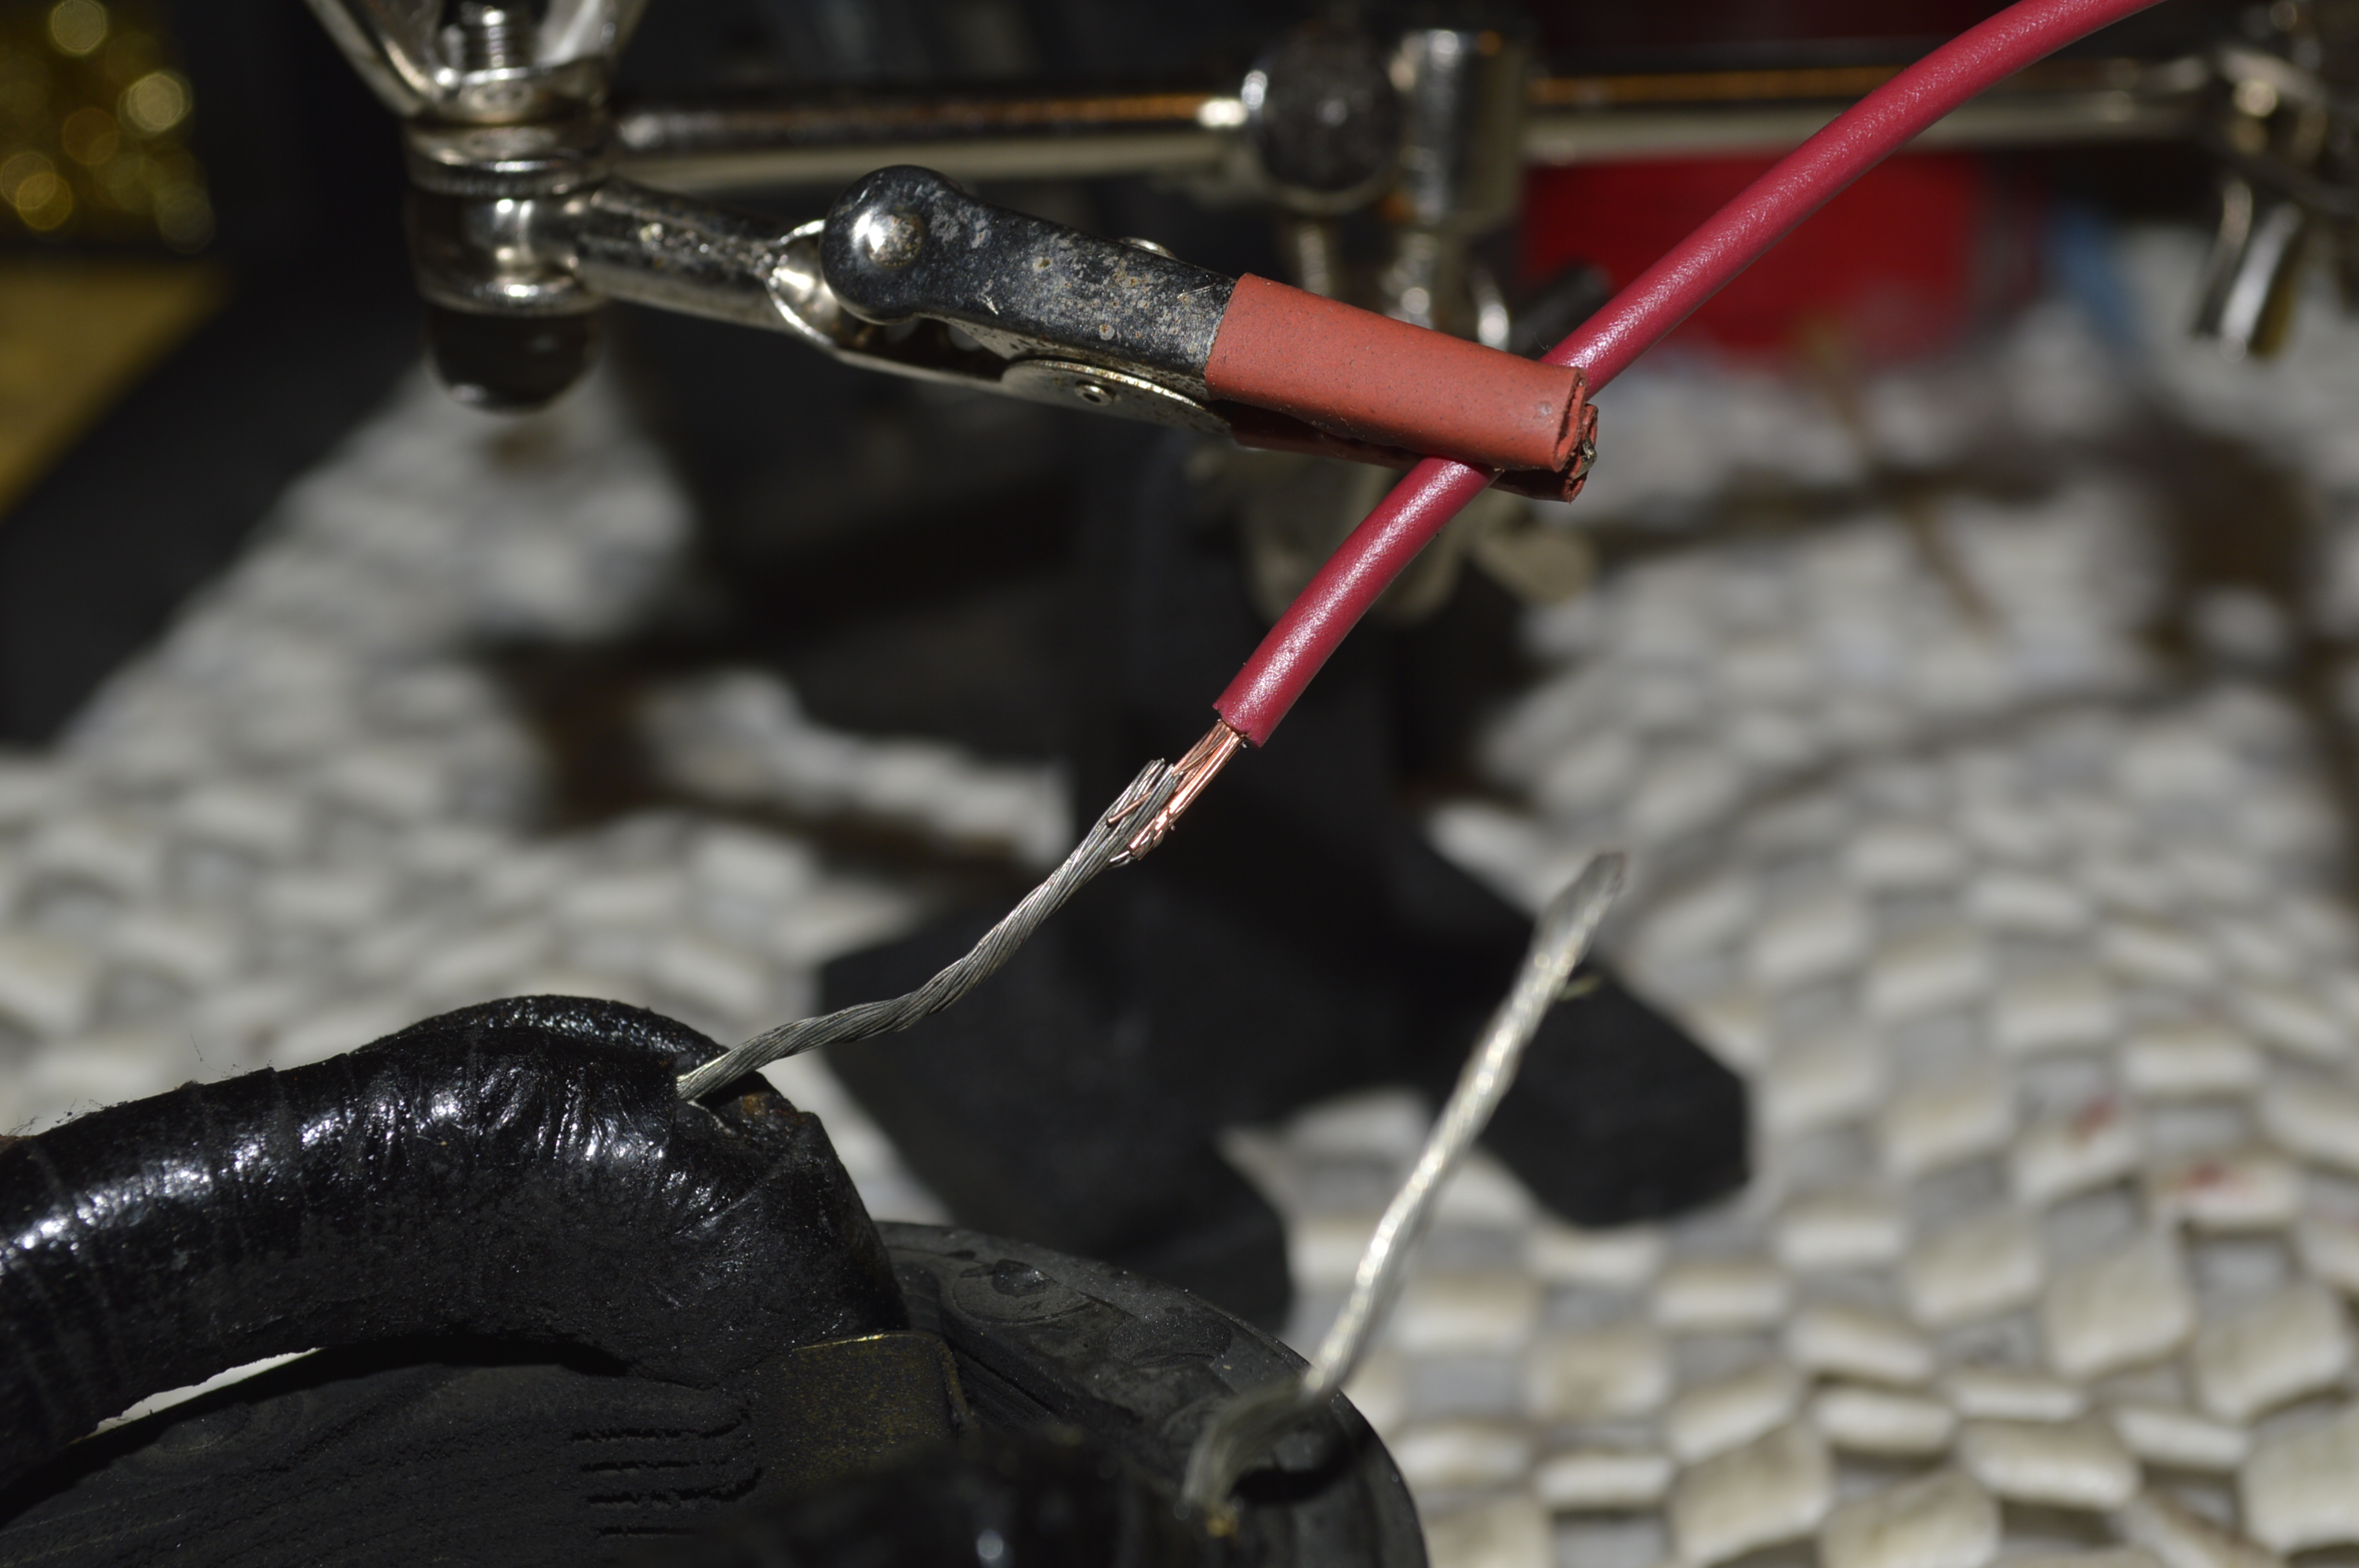
New wires soldered to field coil before shrink tubing is used 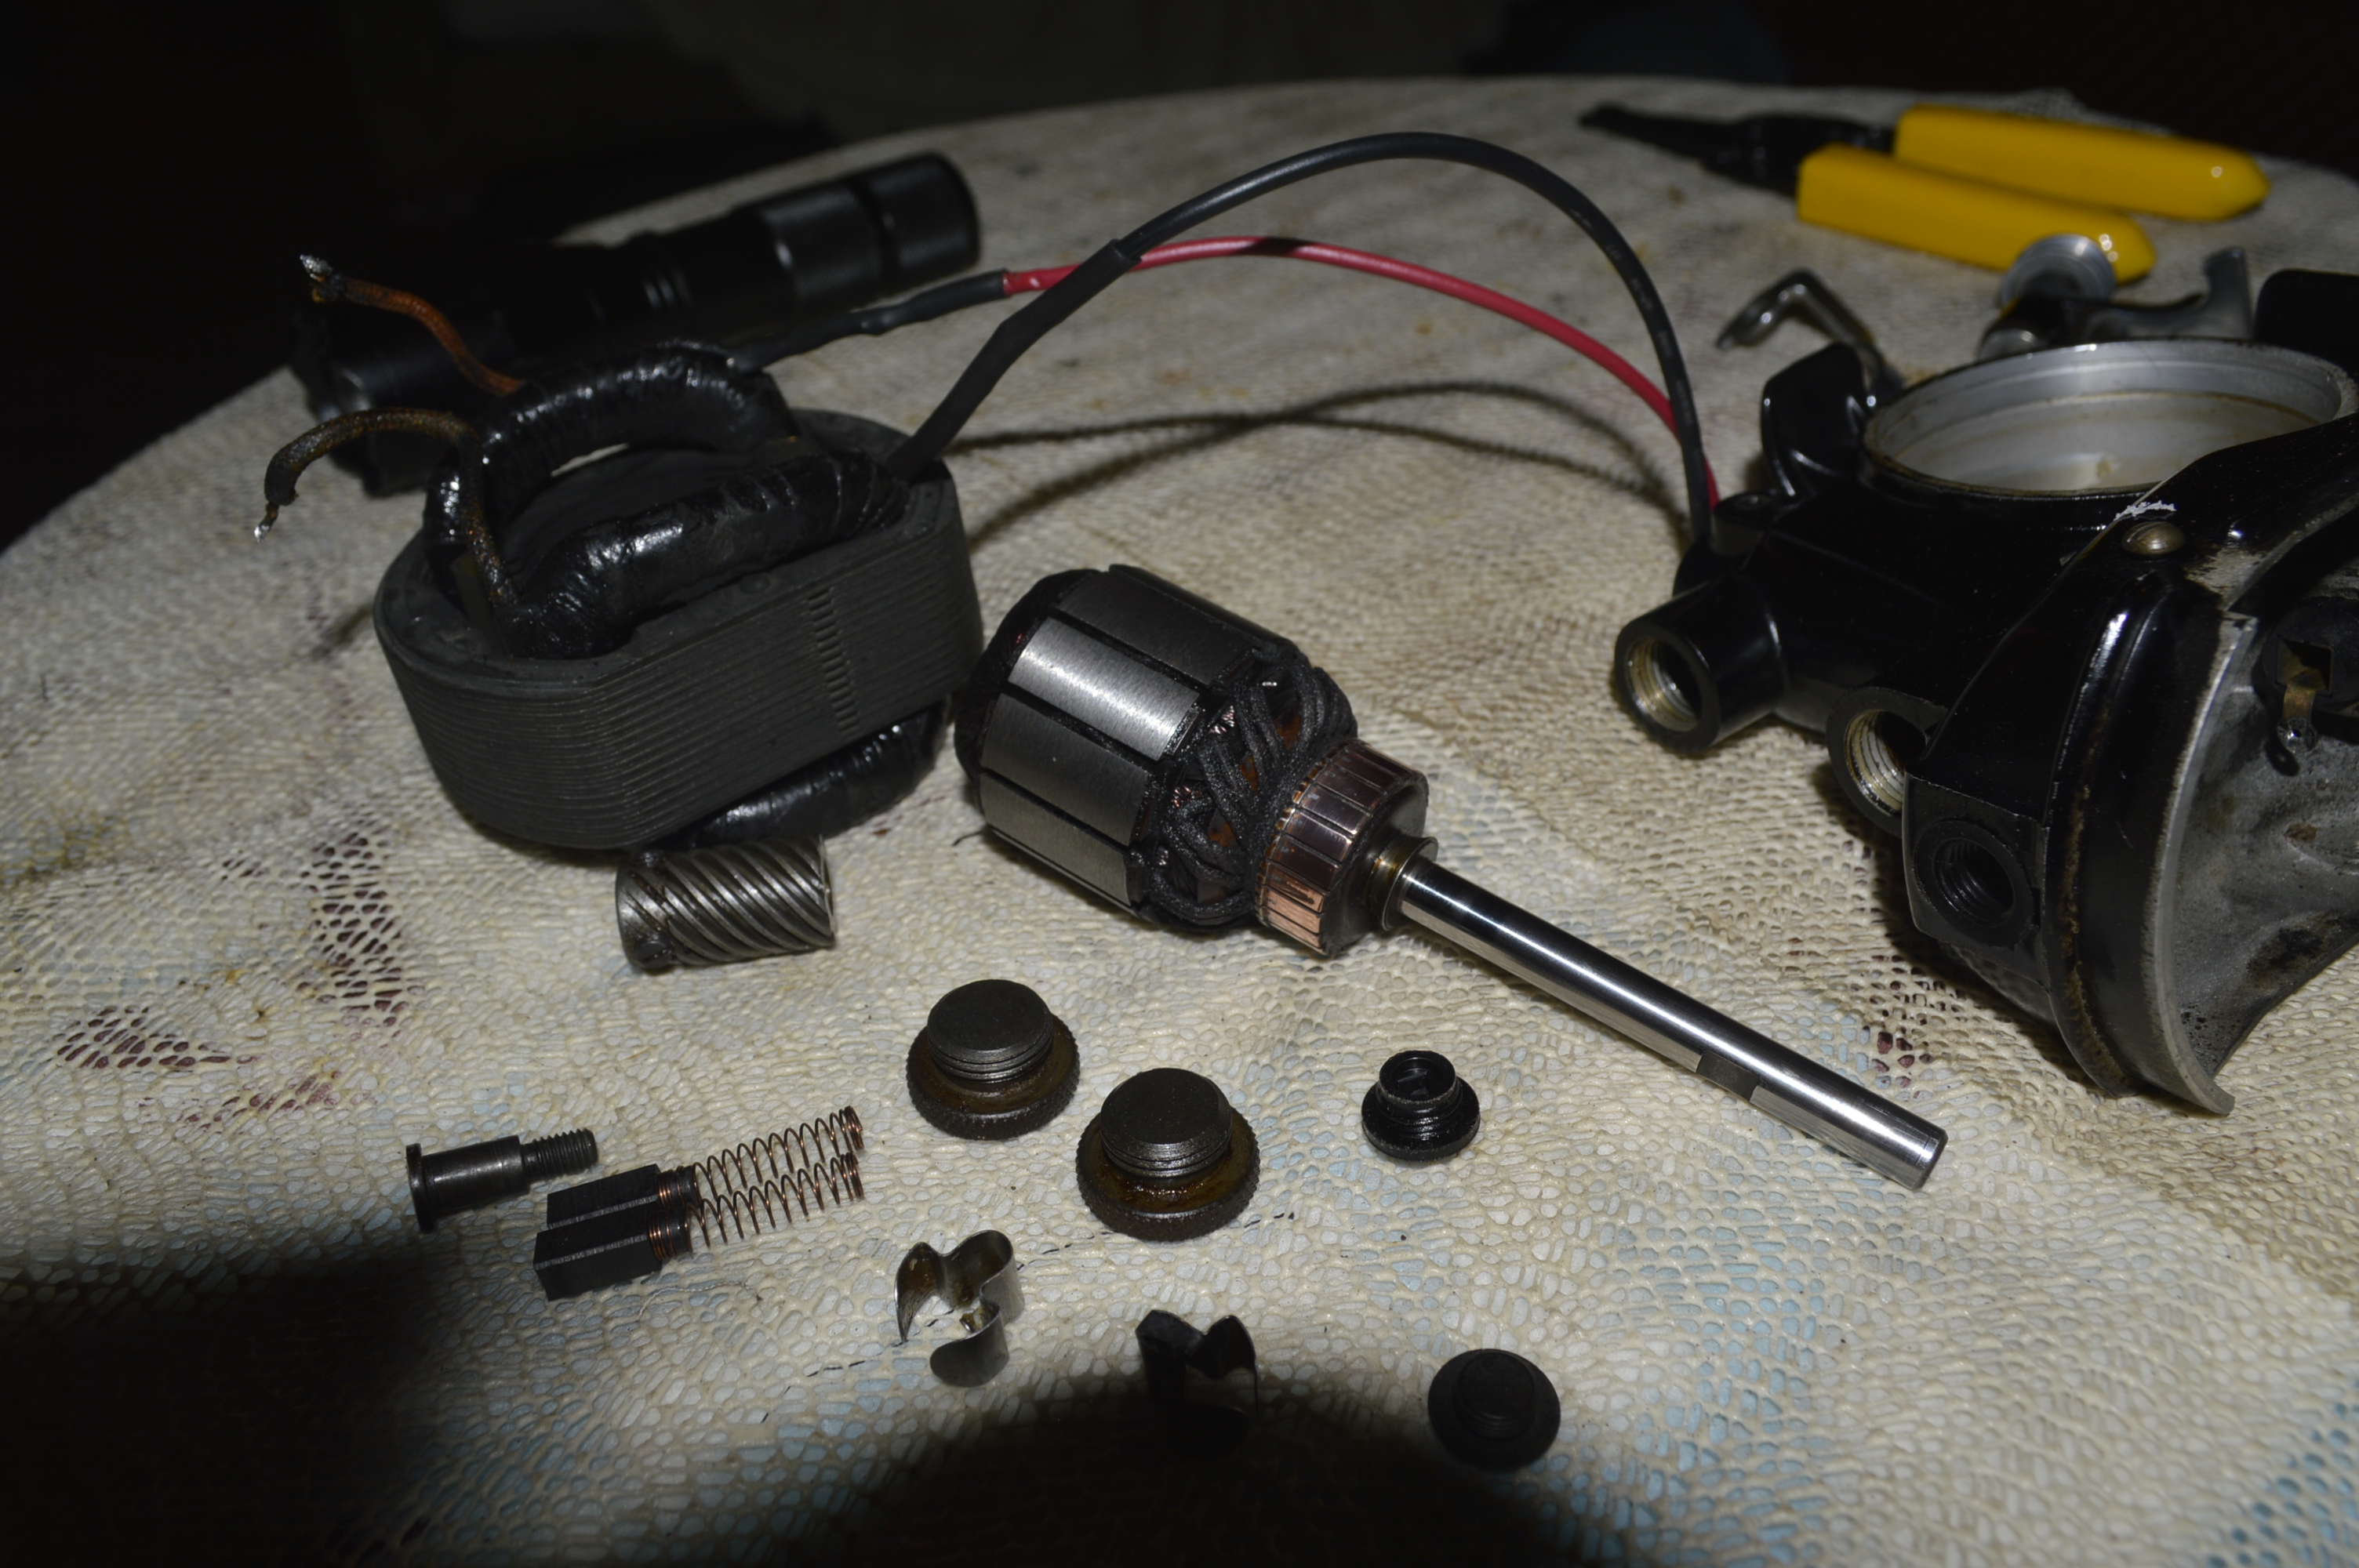
New wires with shrink tubing, armature and shaft polished, spiral gear cleaned, and everything ready for reassembly.
Once the motor is reassembled, it is bench tested and runs as it should… smooth and powerful.
The motor wires are prepared for the terminal block by looping and soldering.

before soldering a loop is made on the end of the wire 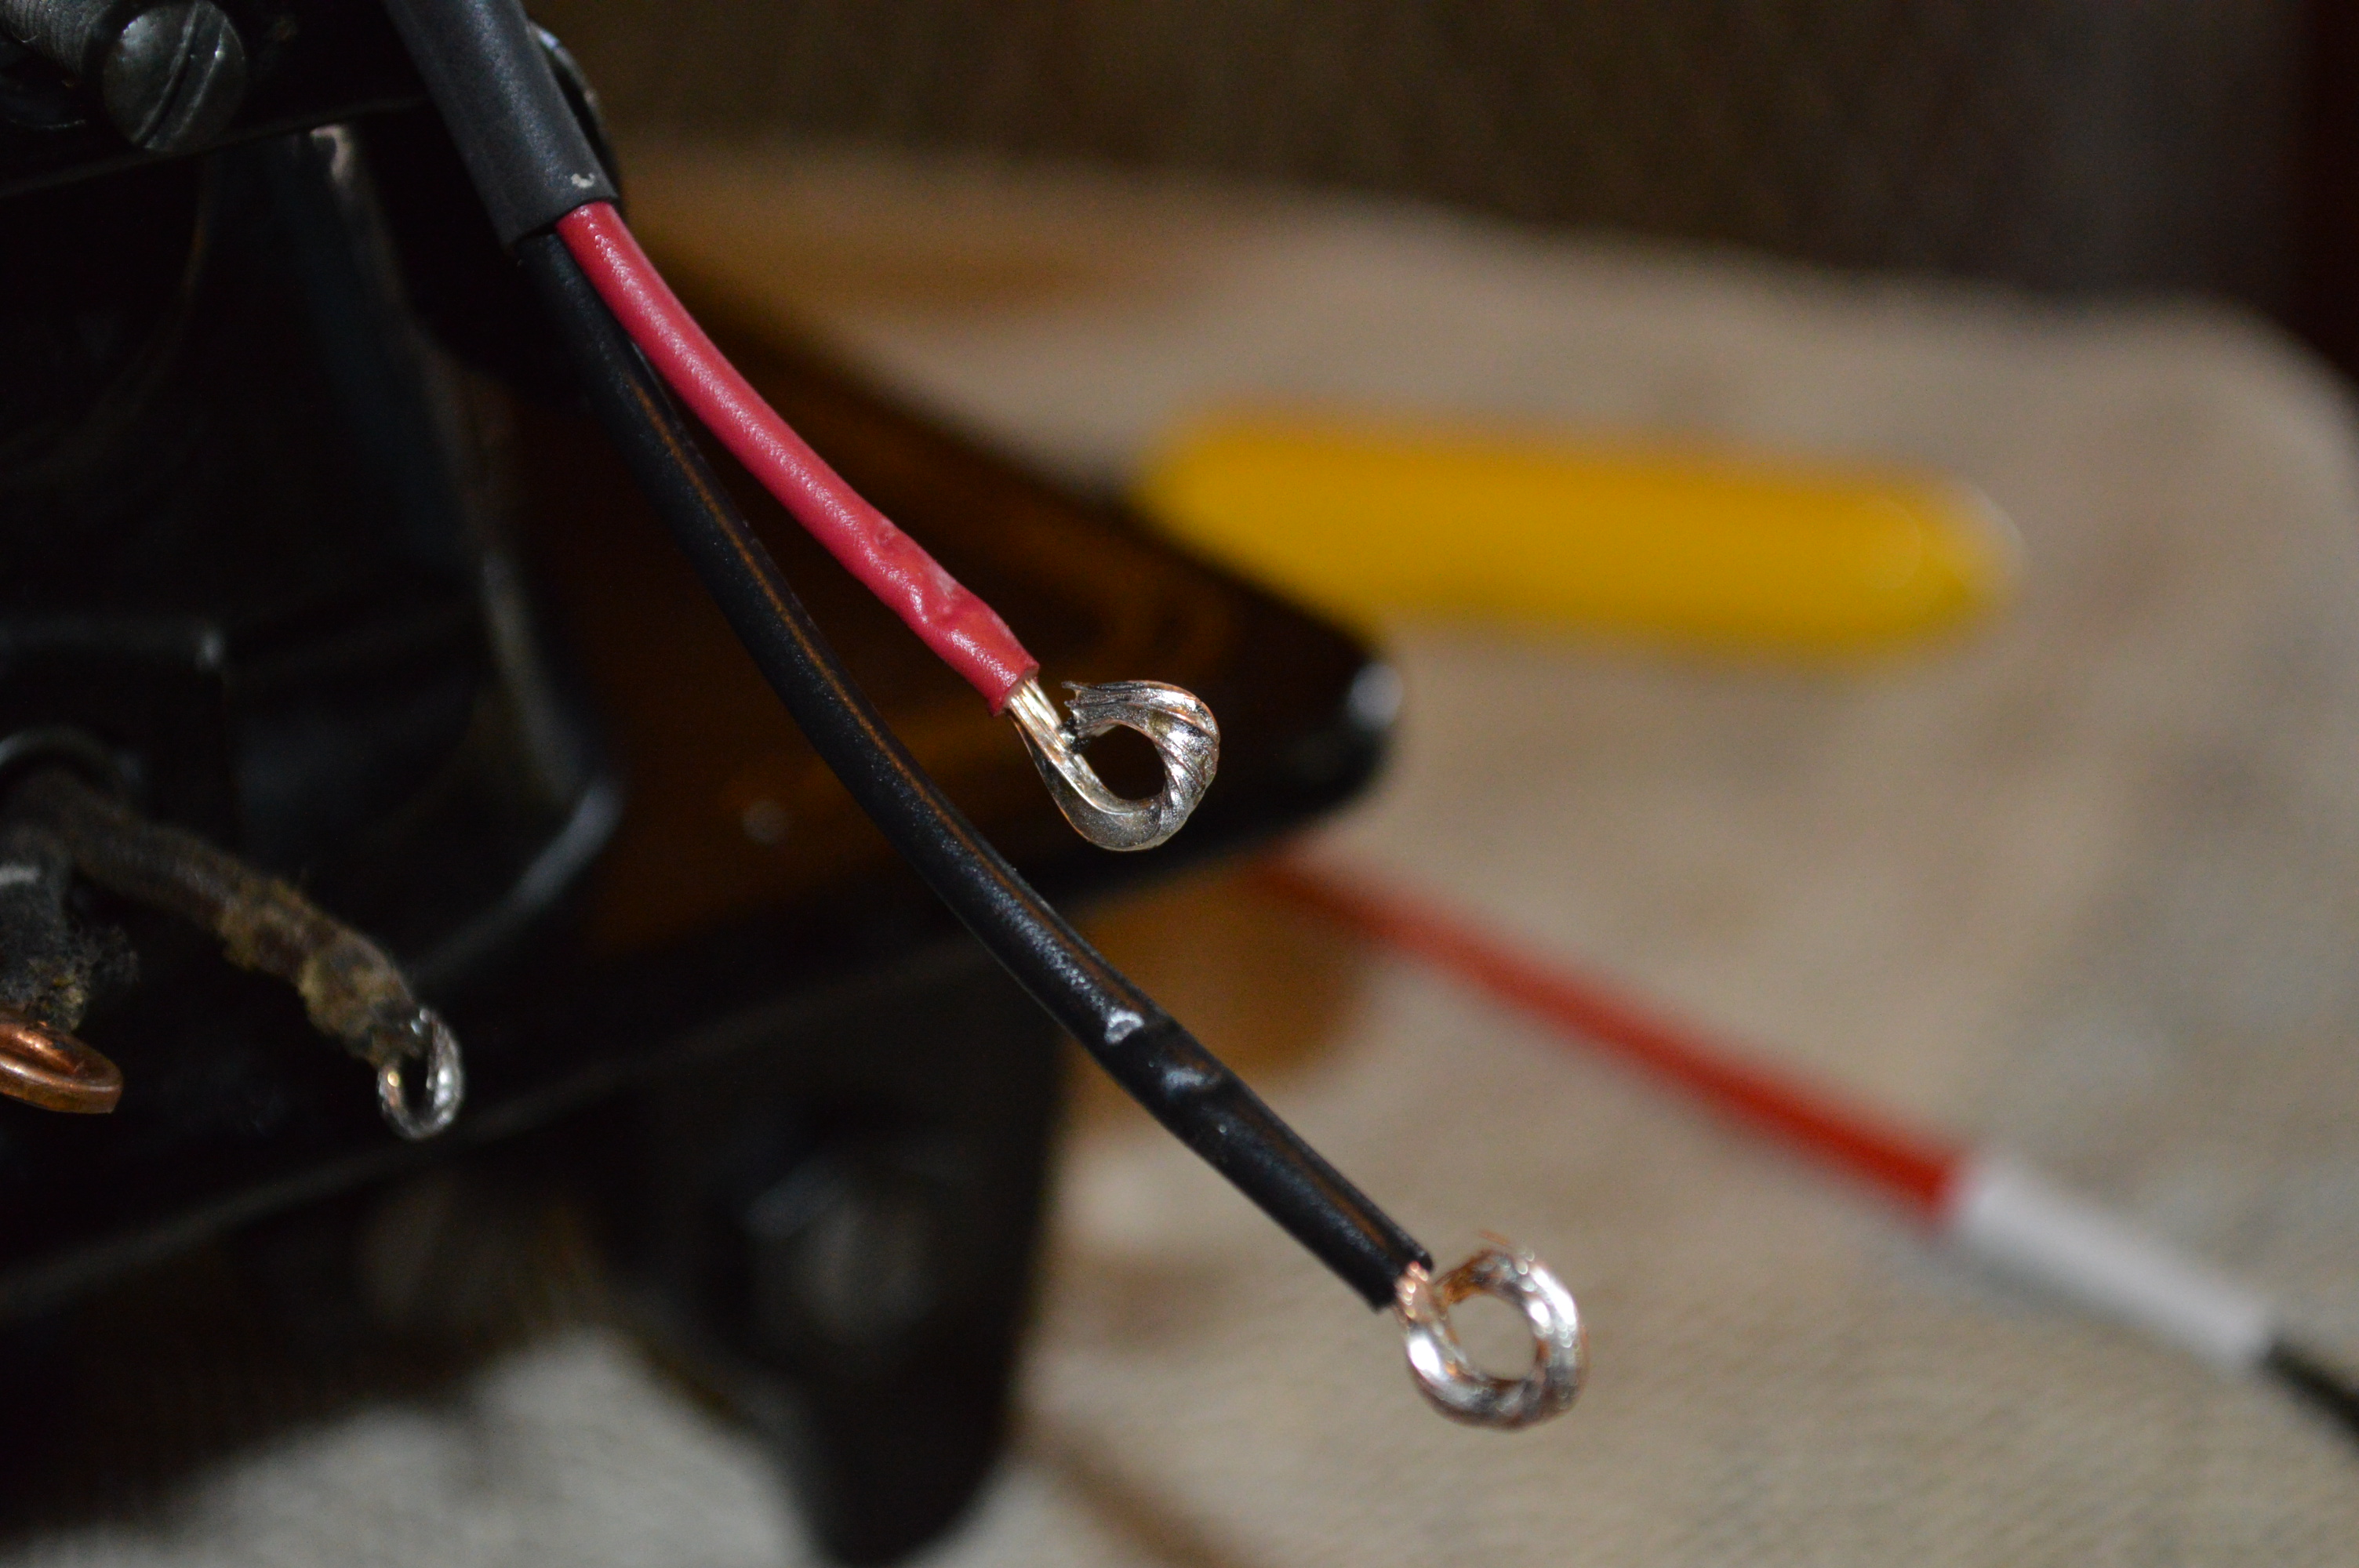
Soldered and ready to attach to terminal block
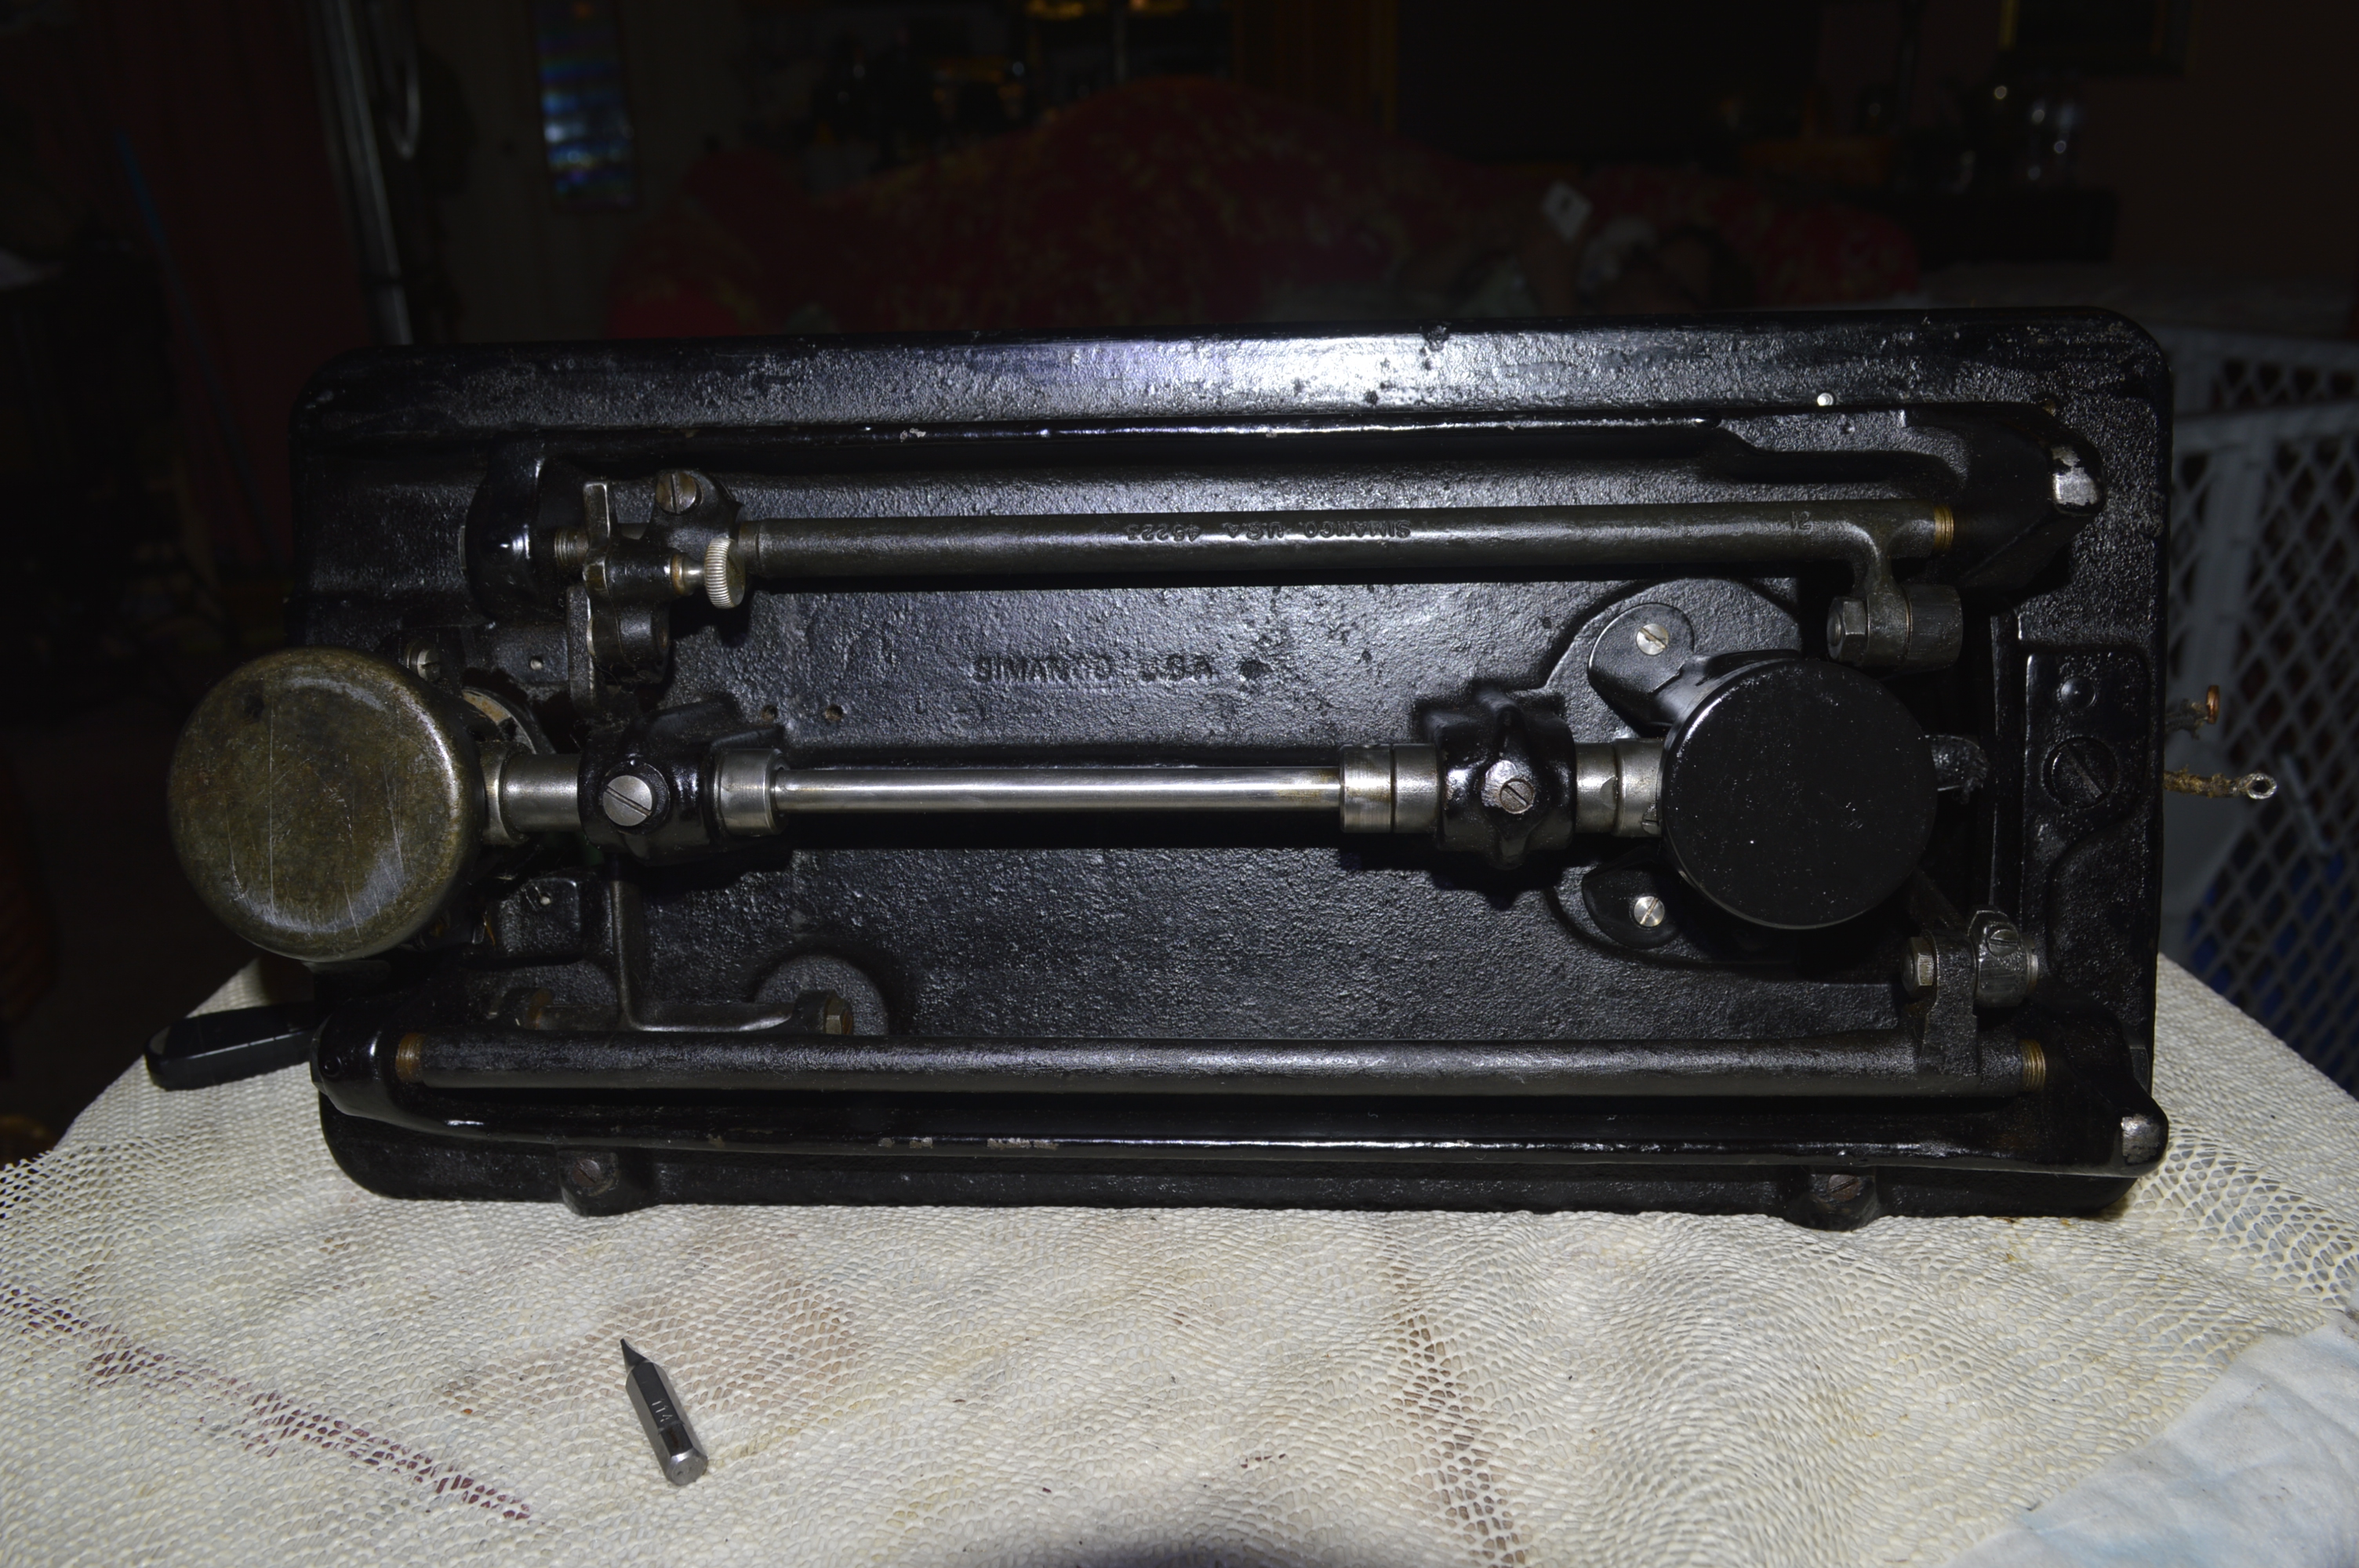
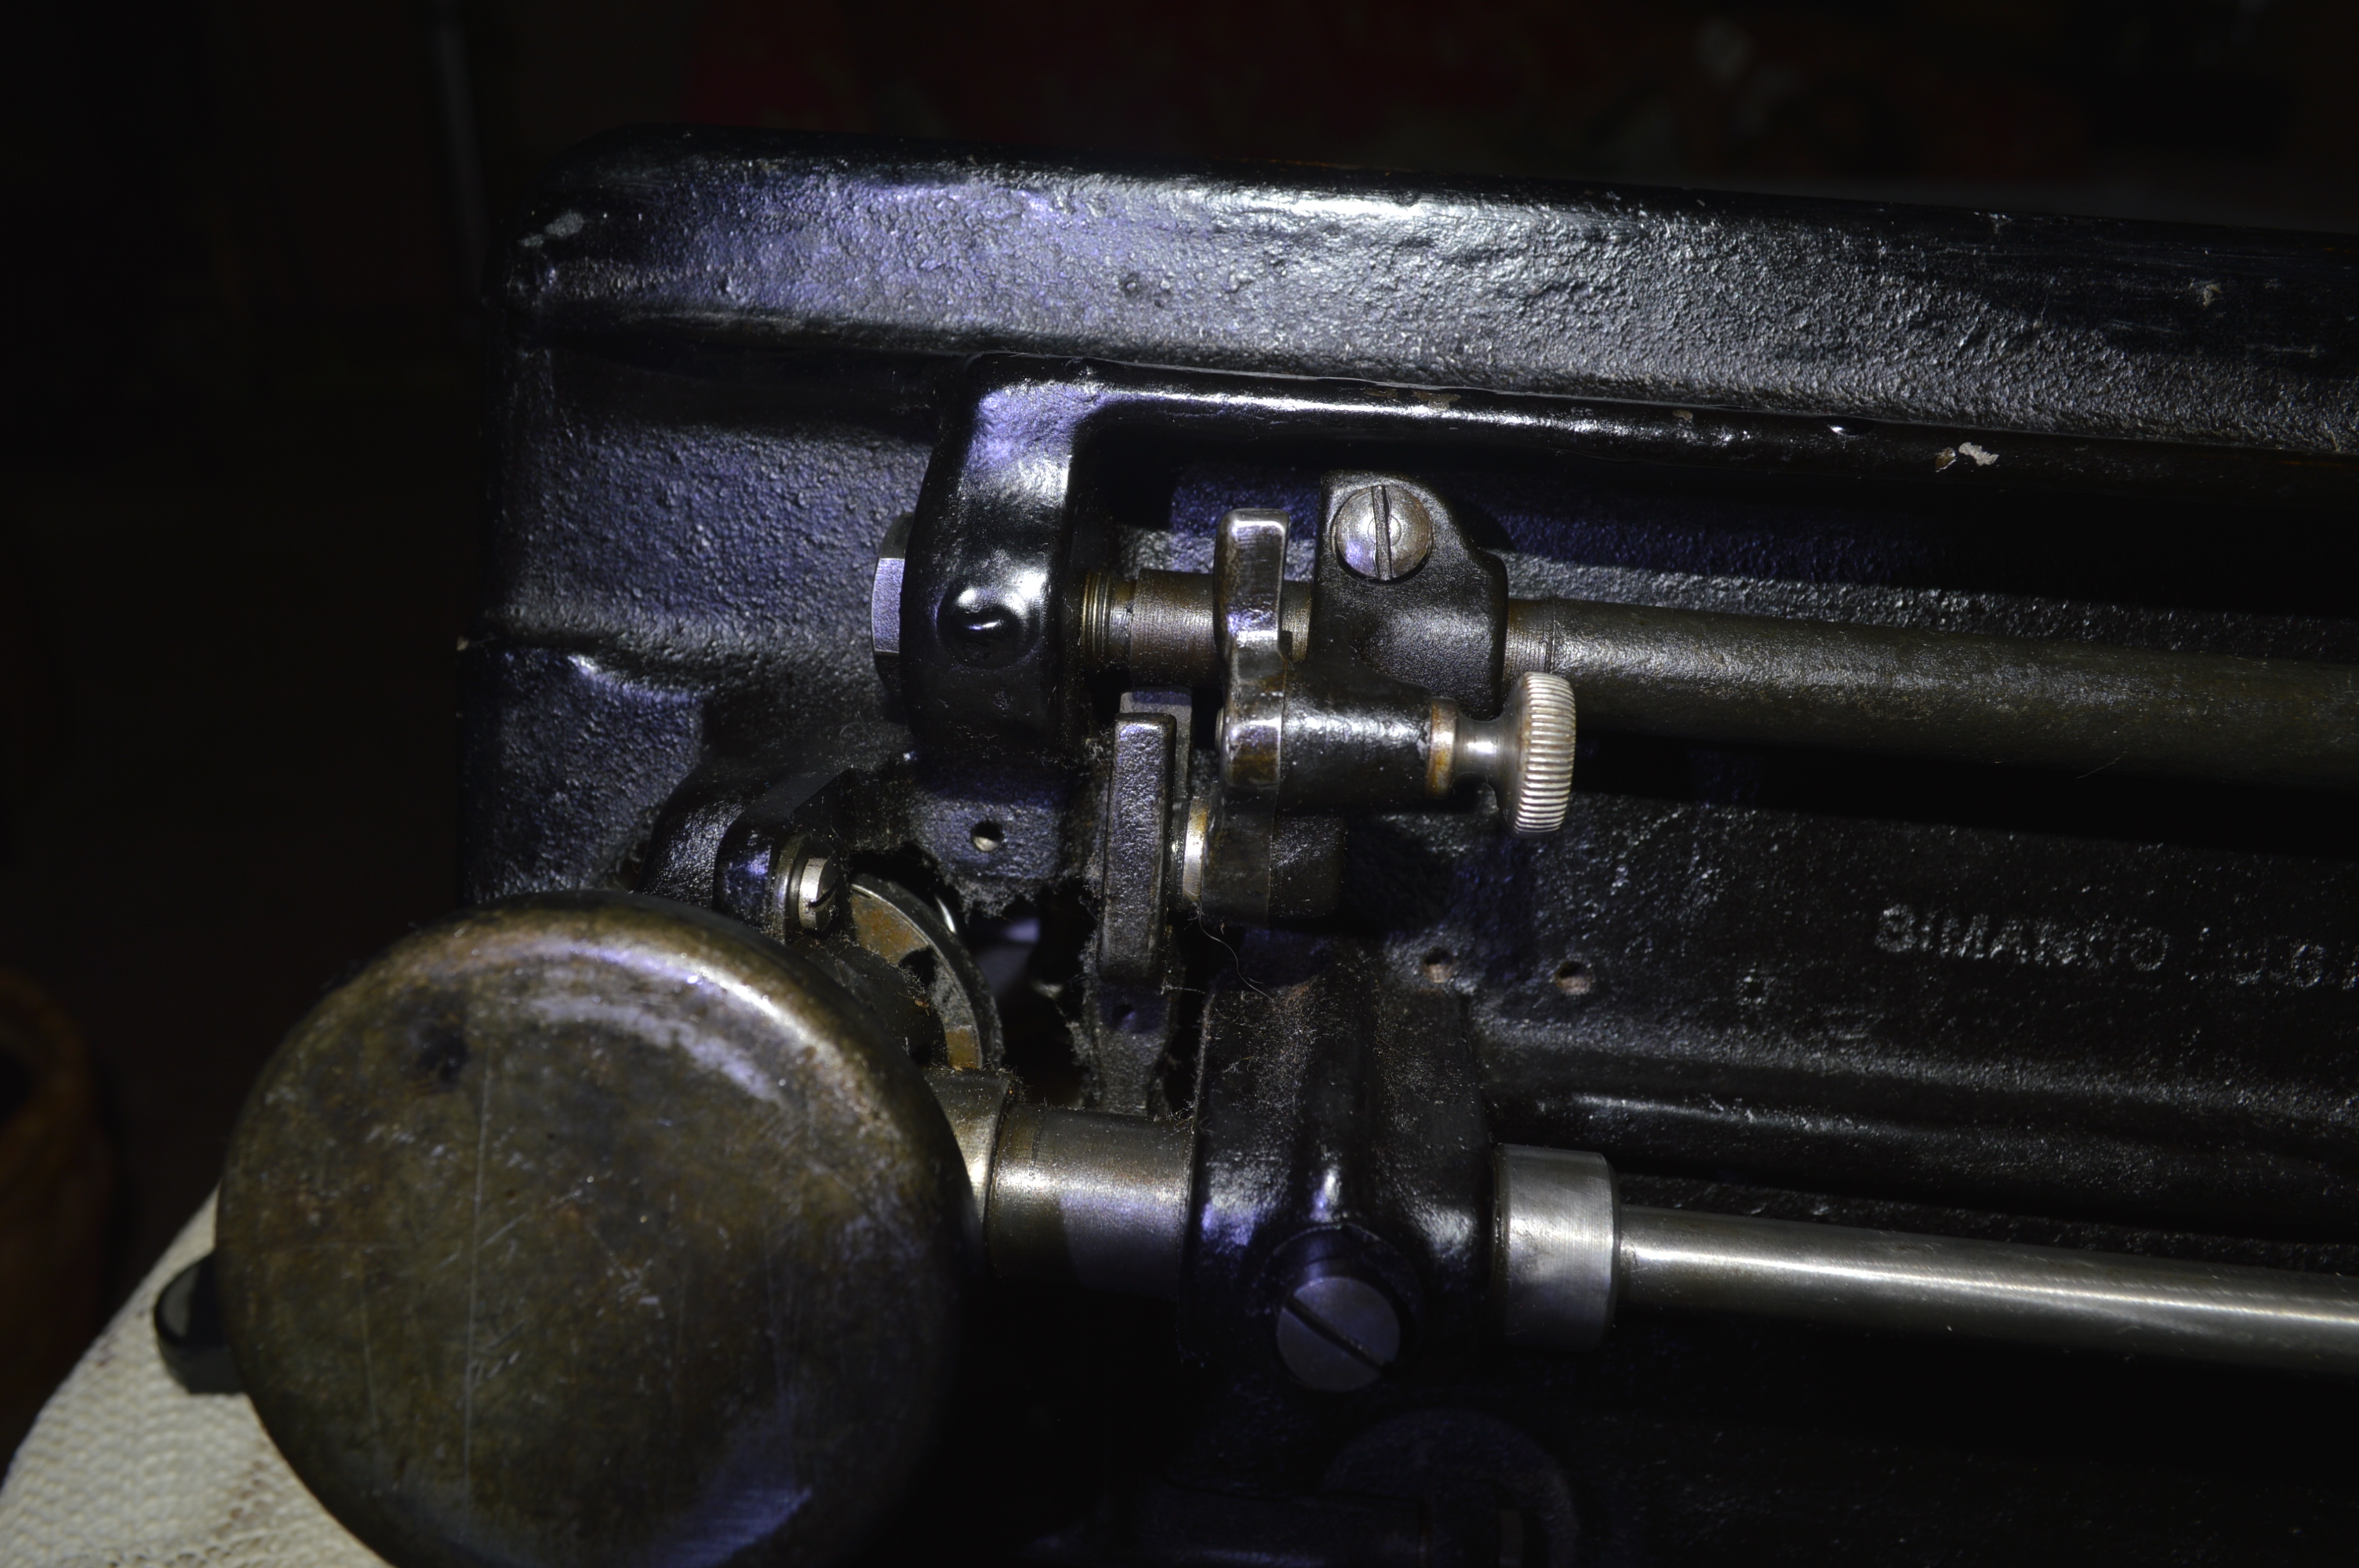
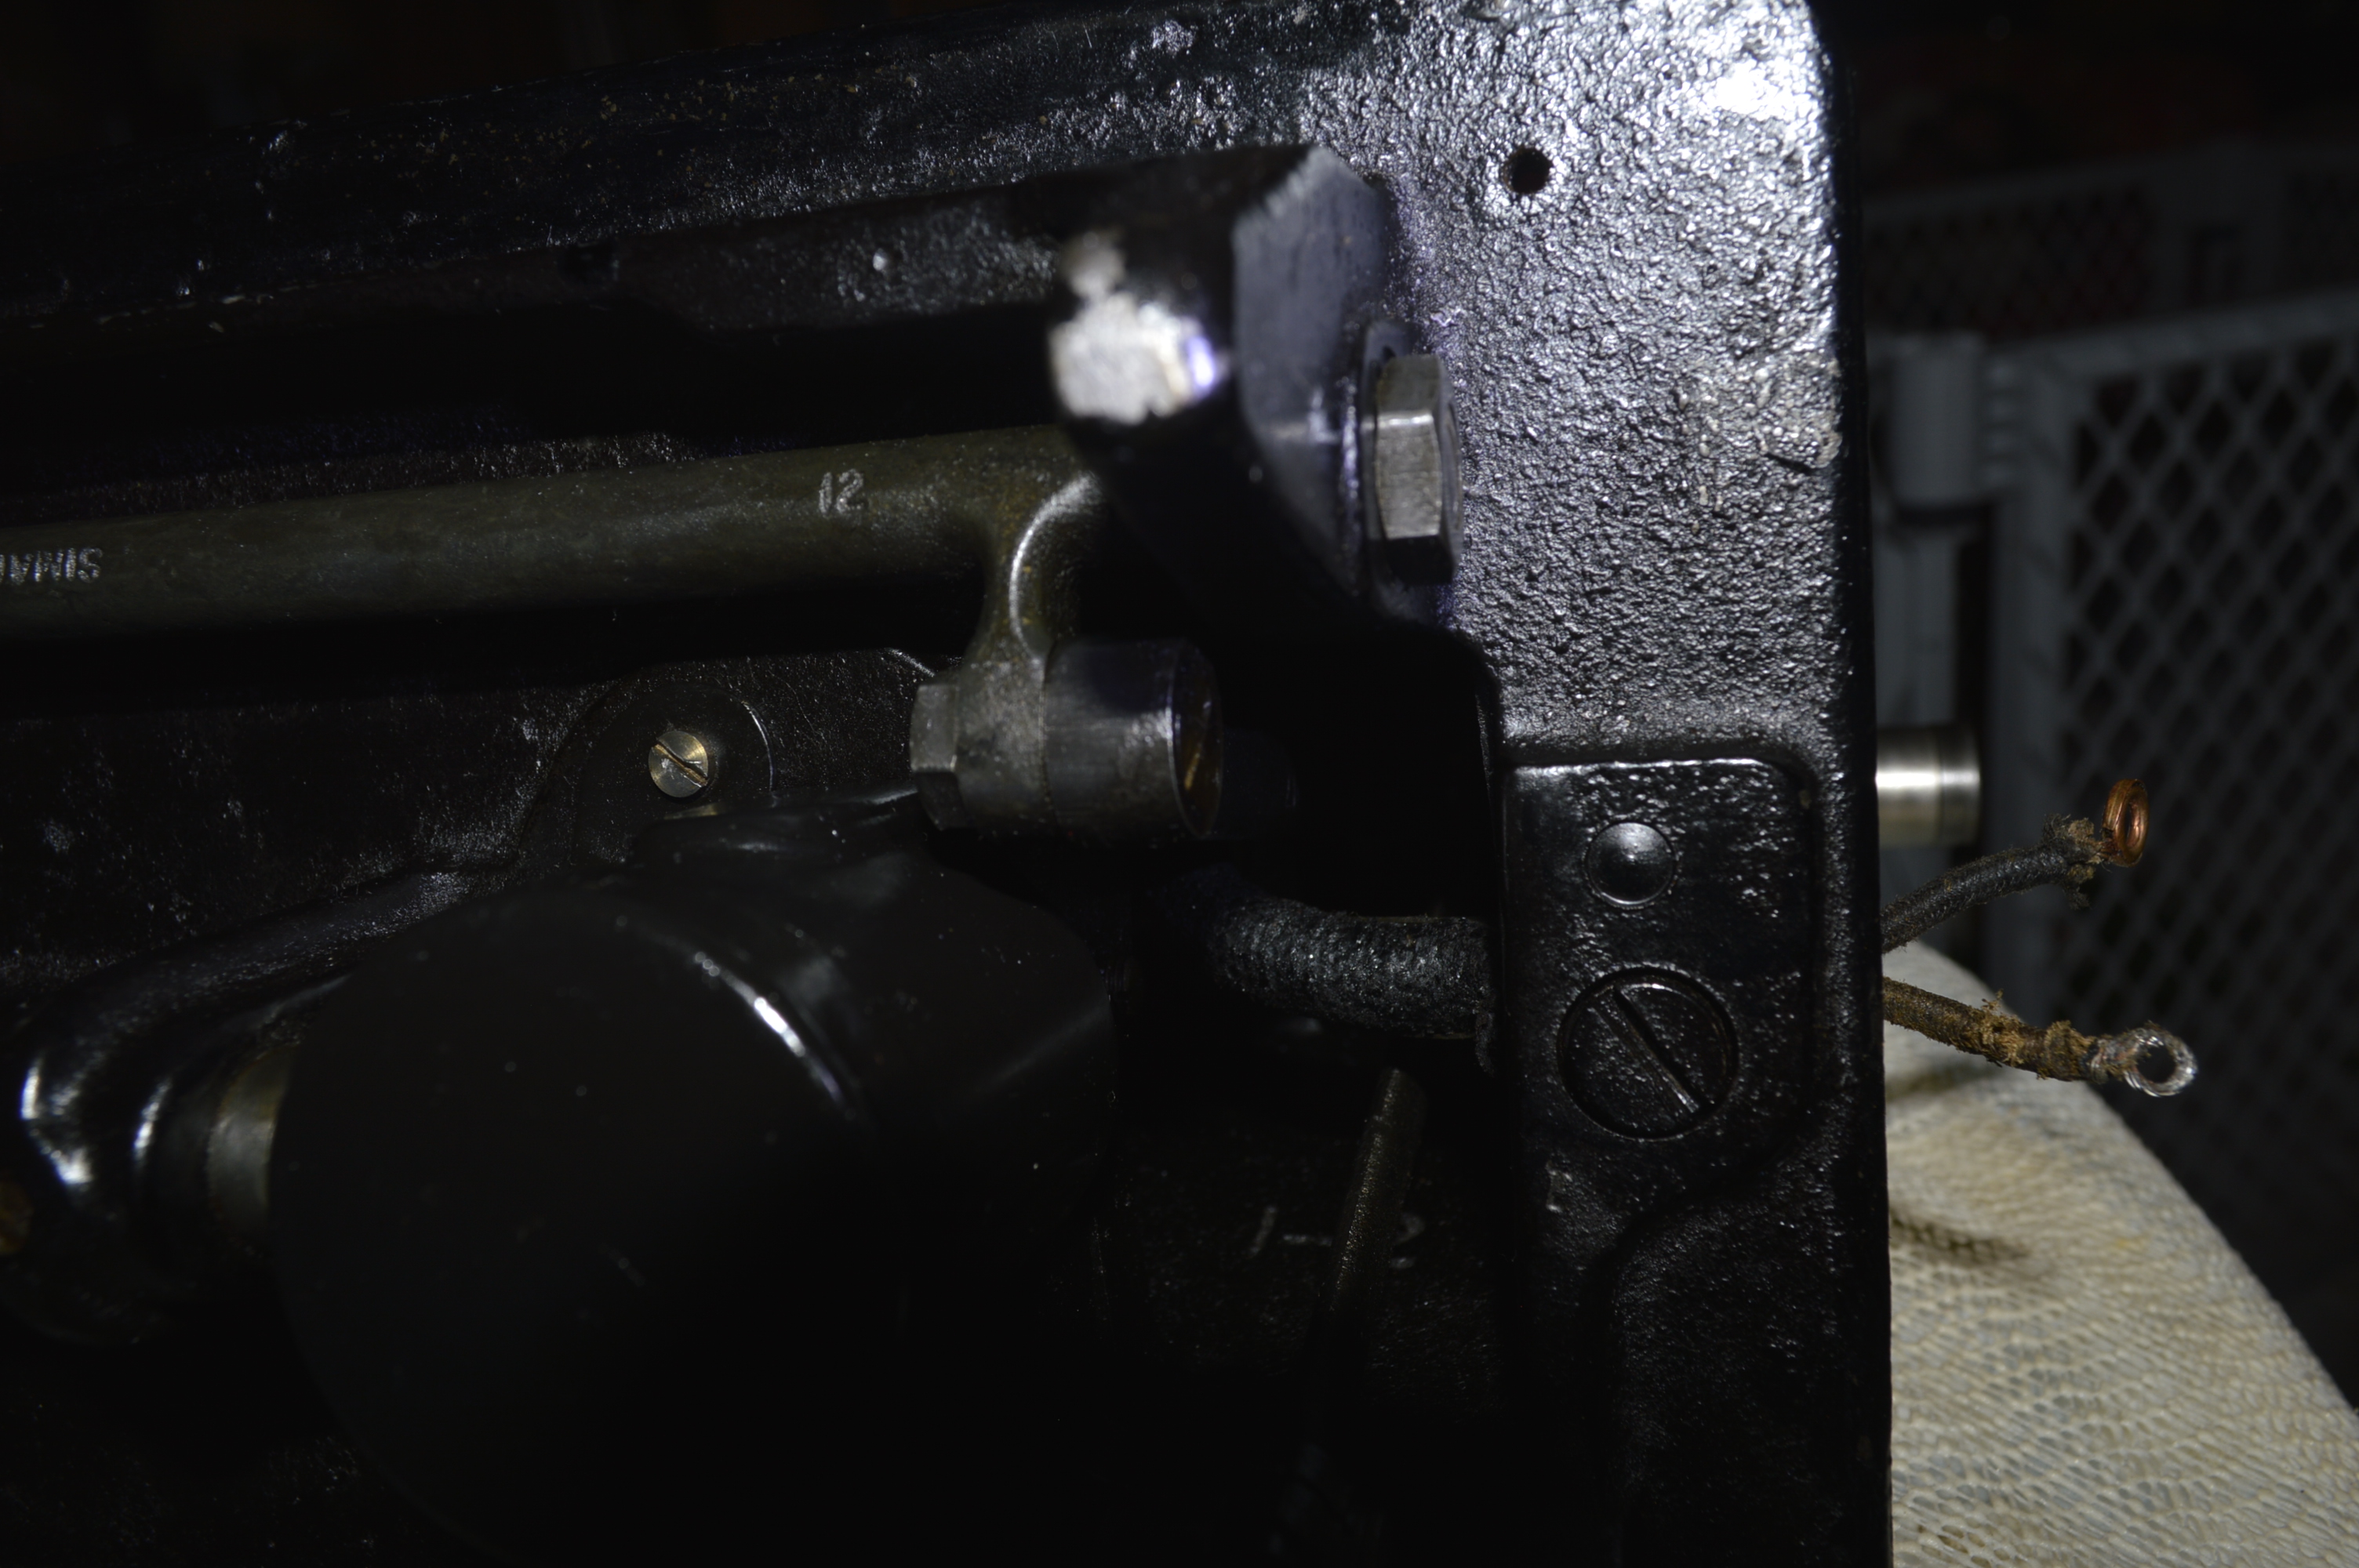
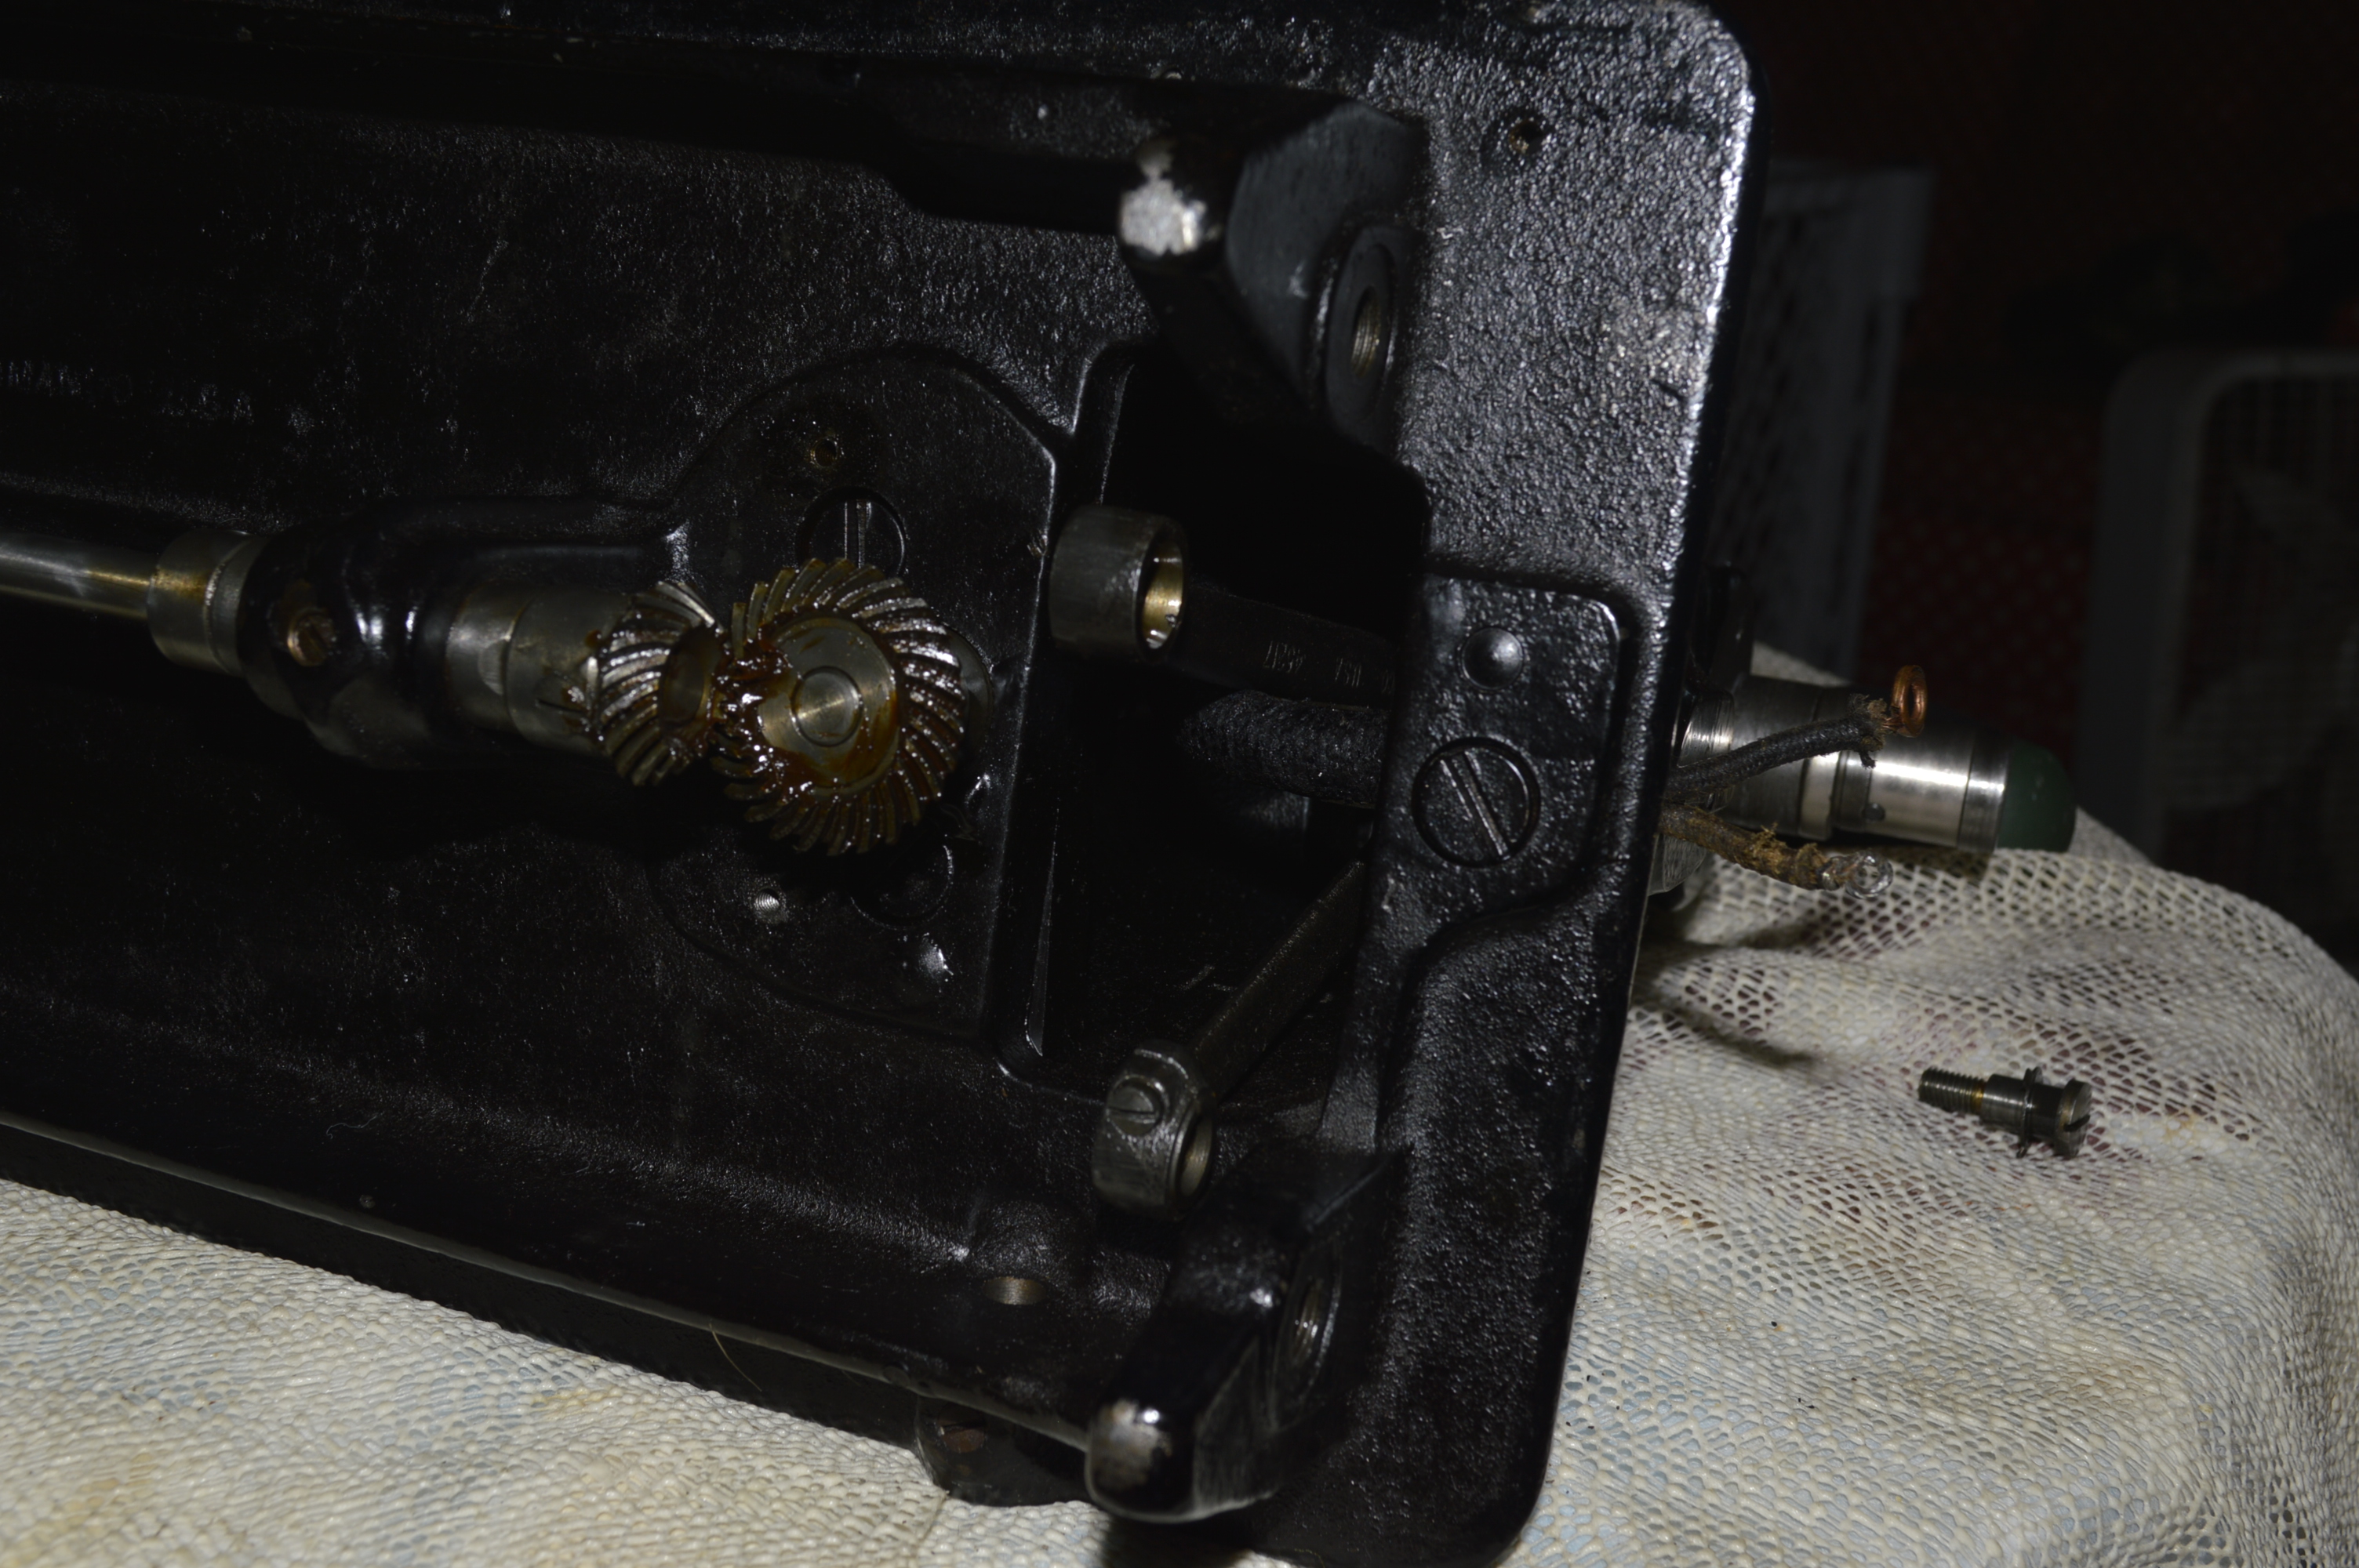
Because the gears are not removed, they must be cleaned in place. this is a tedious job and the paint on the machine must be protected to prevent damage from the acetone used to remove the grease.
Tip of The Day…
Don’t use cotton swabs (q-tips) to attempt cleaning gears. The gears have sharp edges that will peel of the cotton, stick in the old grease, and make a mess getting it all out… ask me how I know. What I do is surround the gears to protect any painted surface using blue shop towels (paper towels will work) and use a cheap water color paint brush… the kind kids use work great. First, brush out as much grease as possible and wipe it off on a towel. You will be surprised at how much grease is removed. Next, fill the cap from your acetone bottle and use it as a reservoir. Dip the brush in the acetone, and carefully wipe down the gear… always make sure any drips are caught by the shop towel and no acetone comes in contact with a painted surface. After a few dips and cleaning, the gear will be cleaned of all grease.

Before… 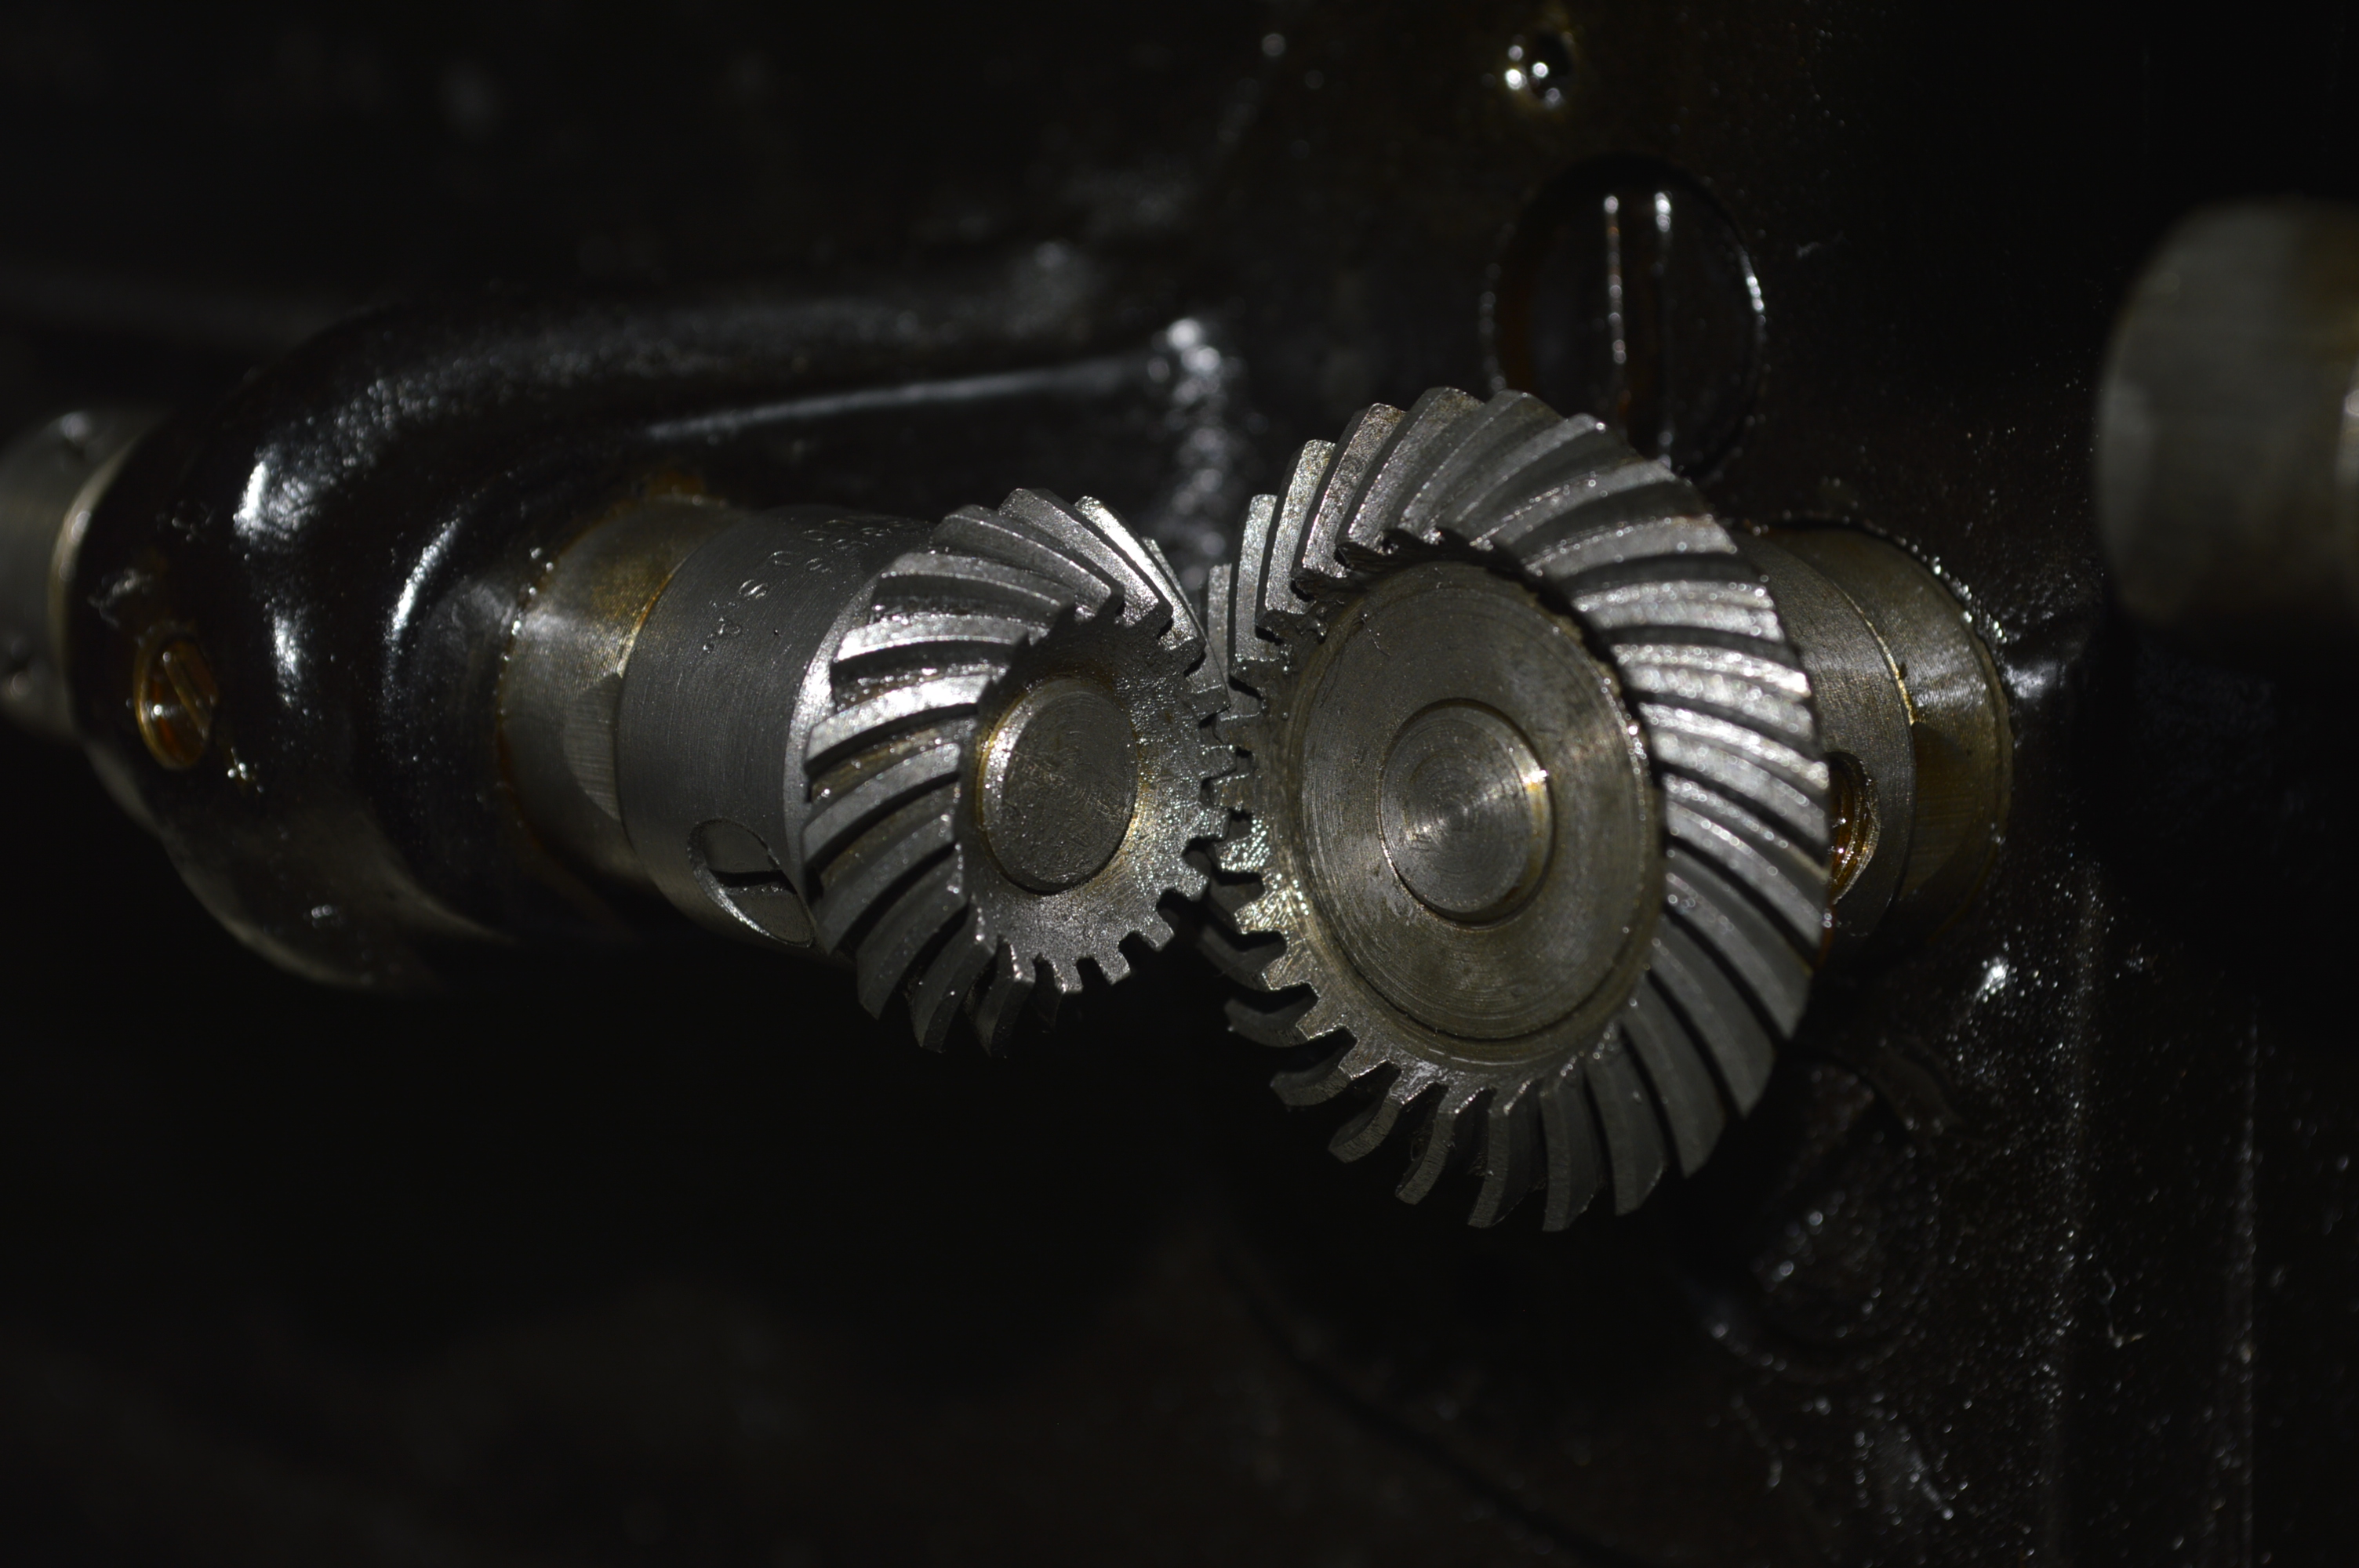
After… 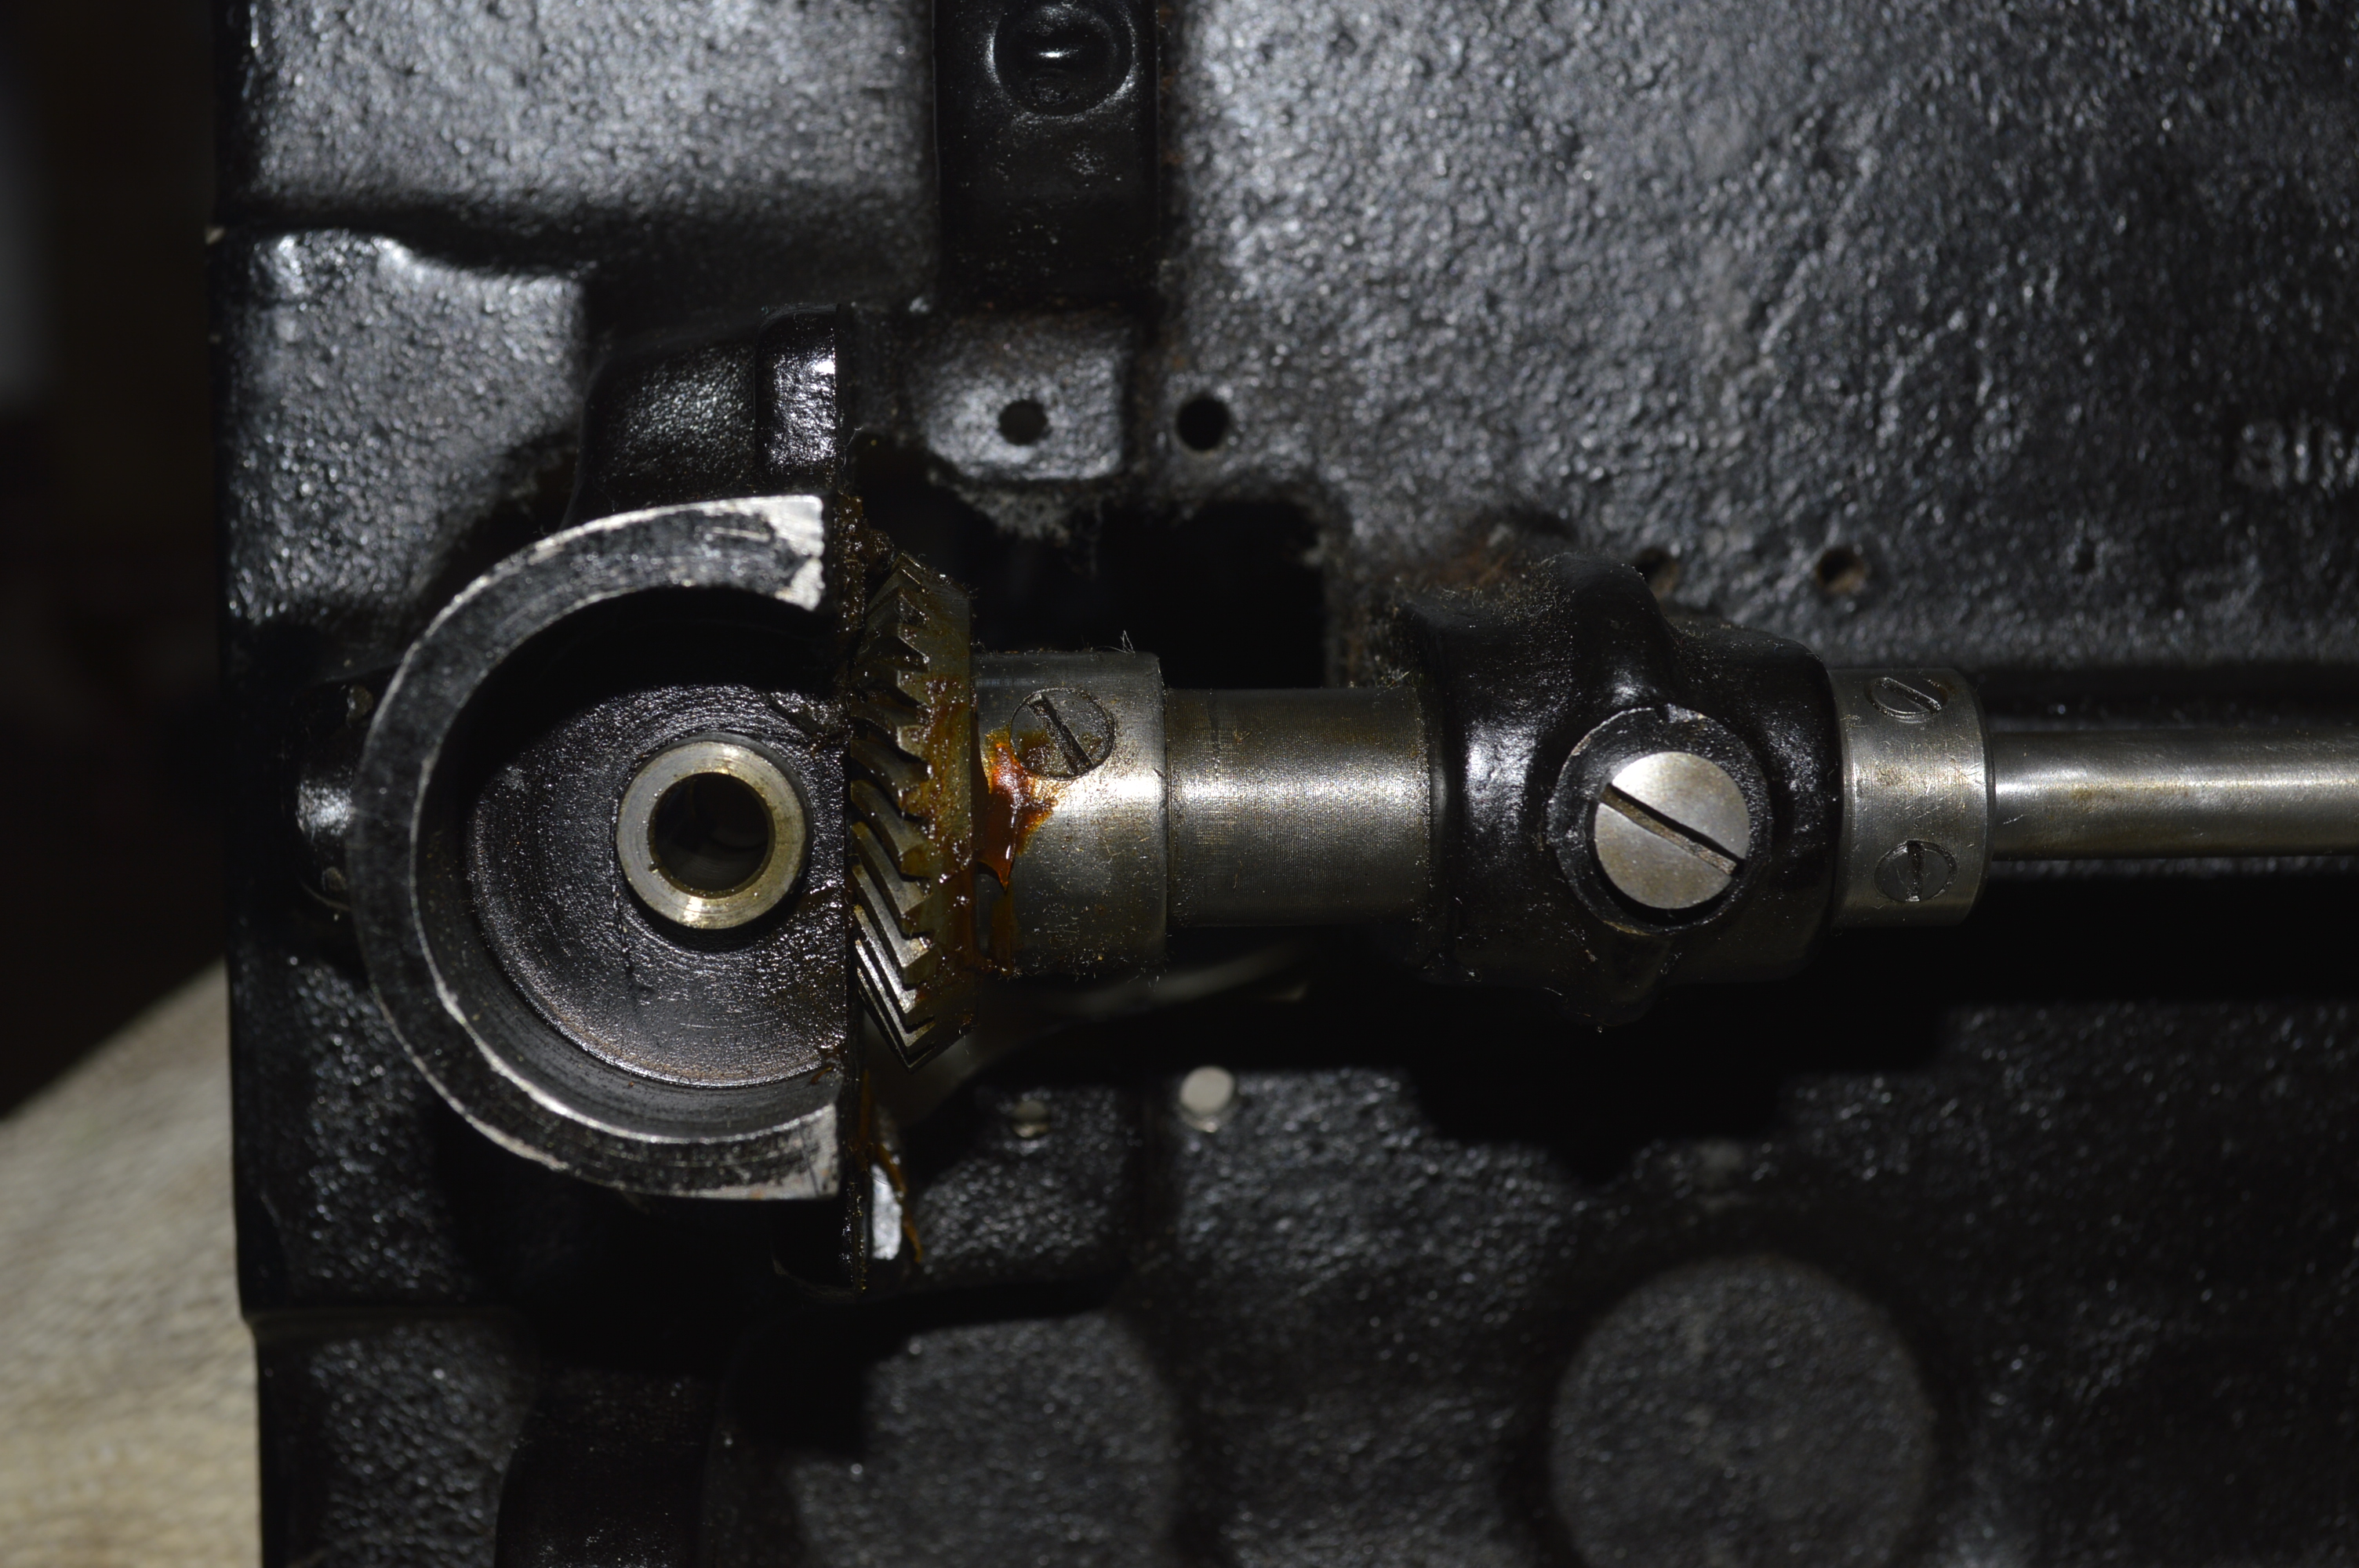
Gear before cleaning 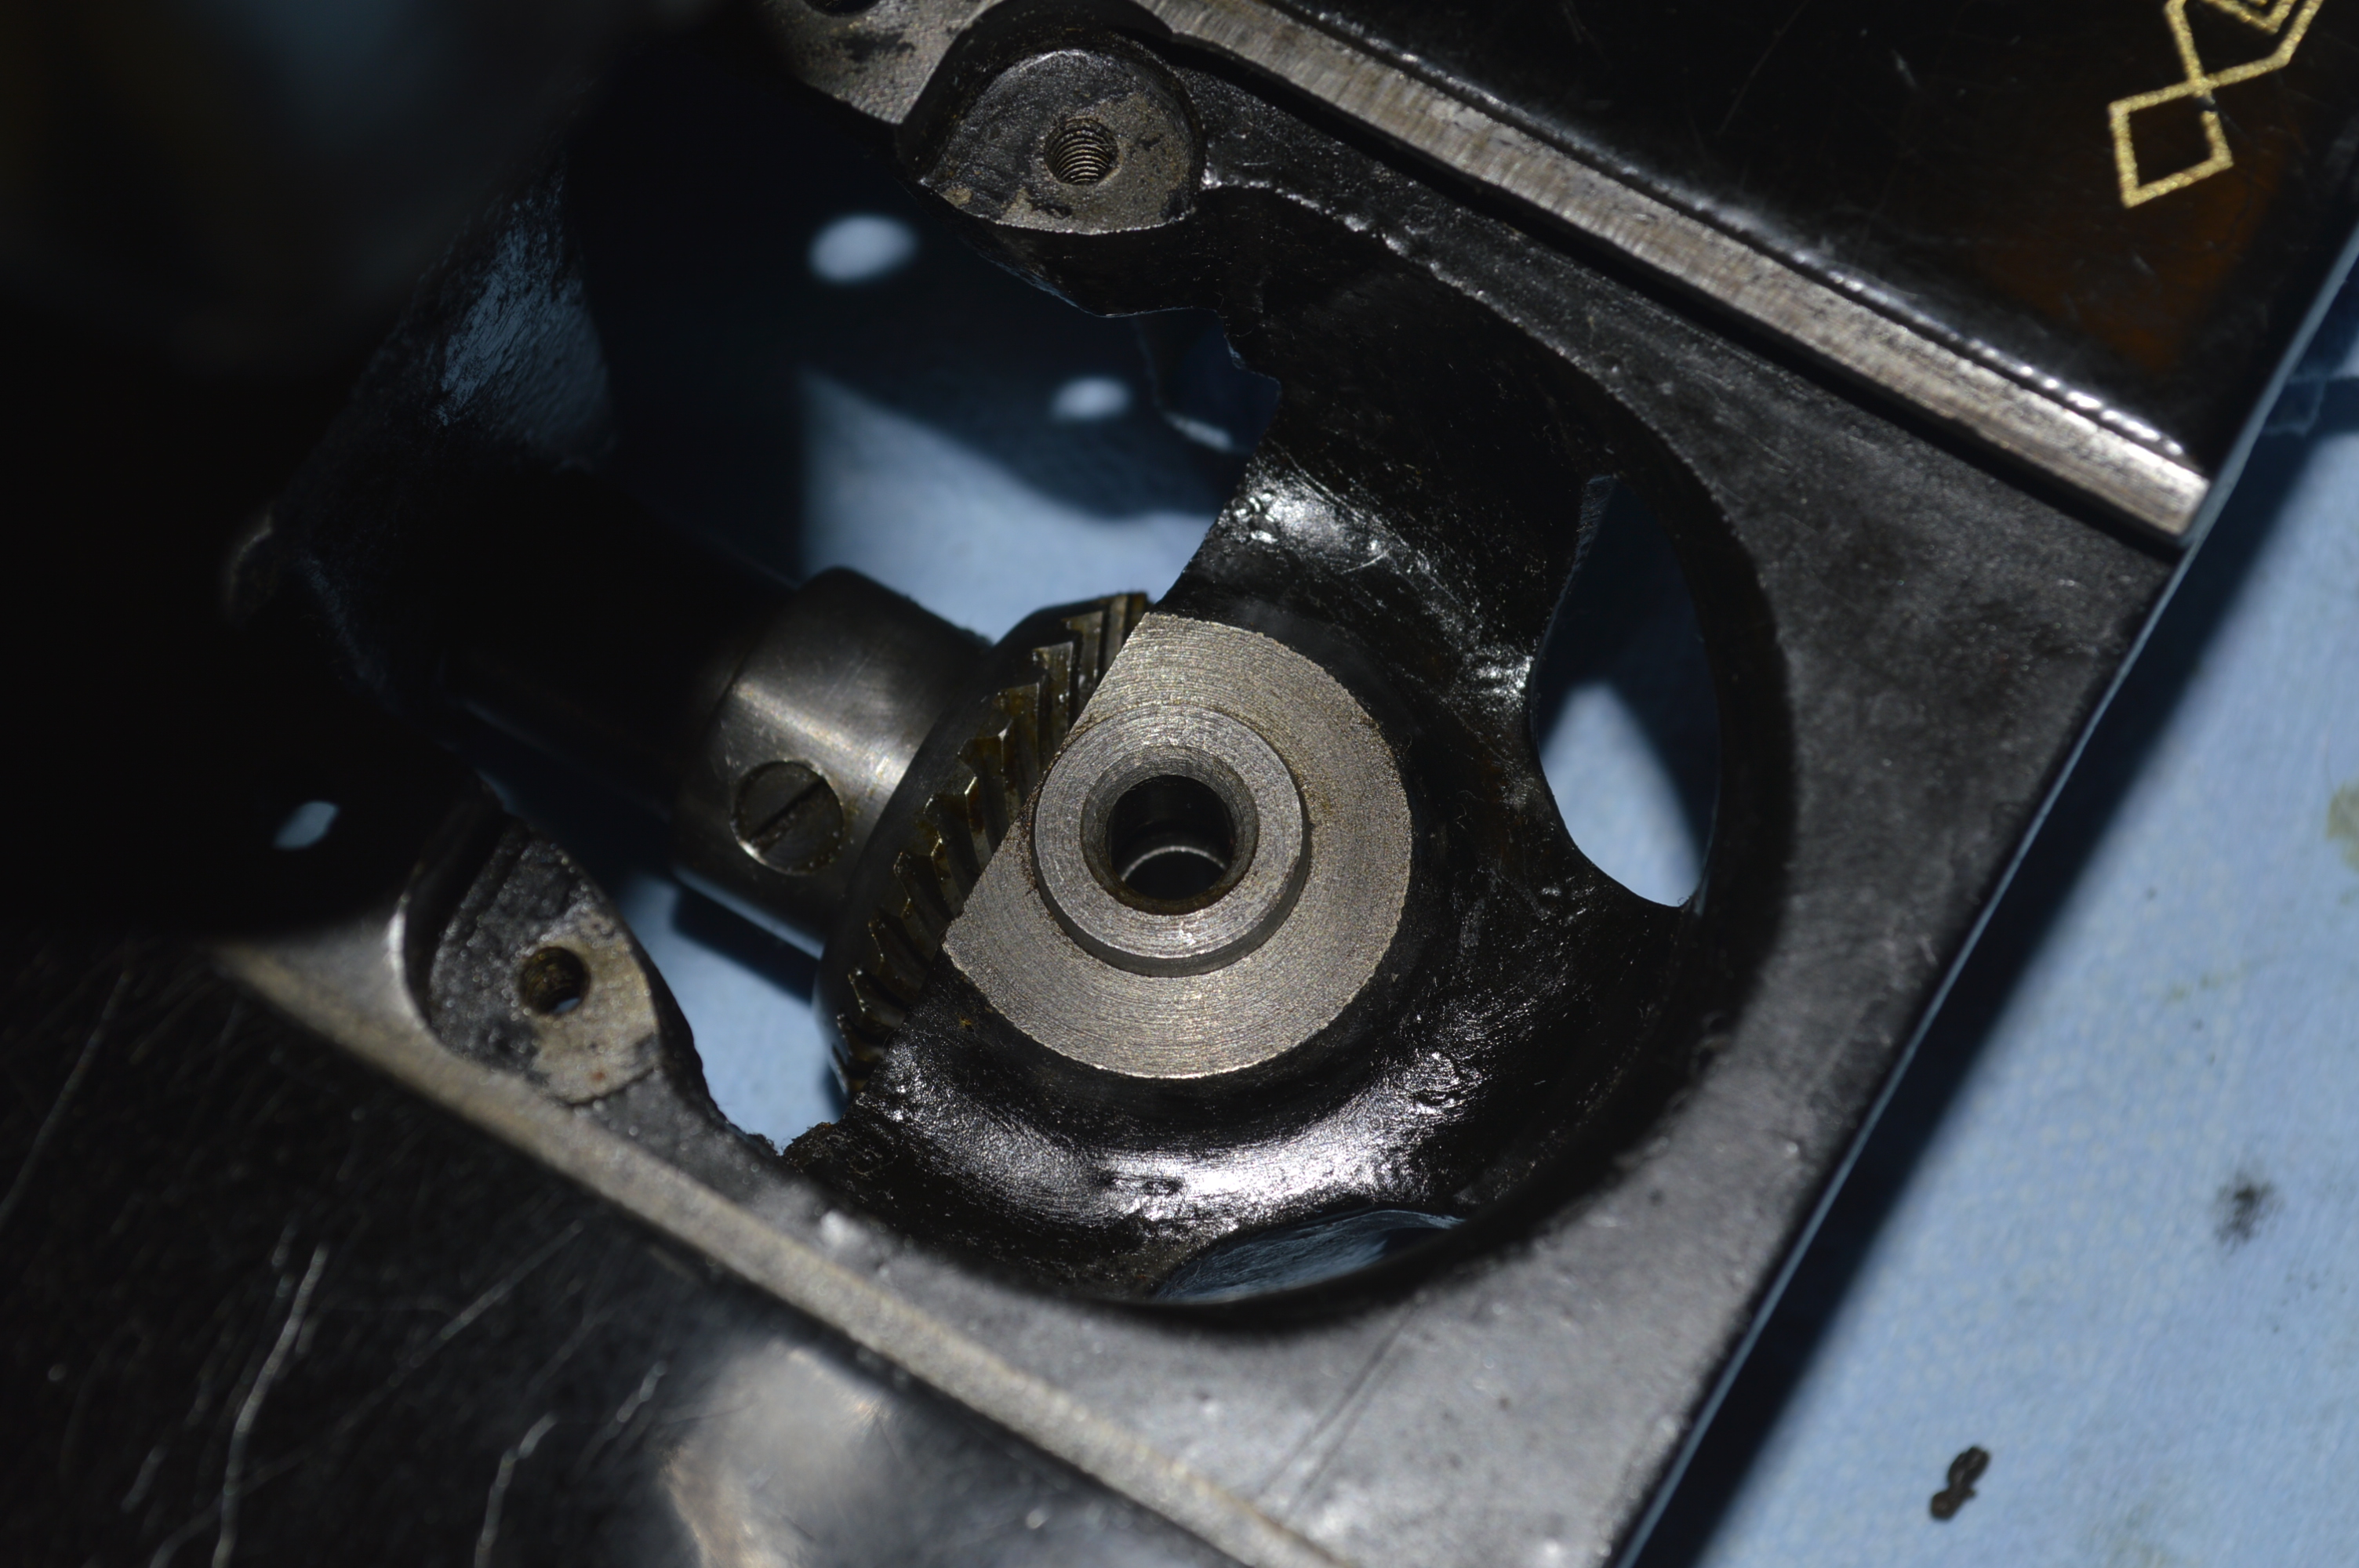
Gear and hook shaft bushing after cleaning 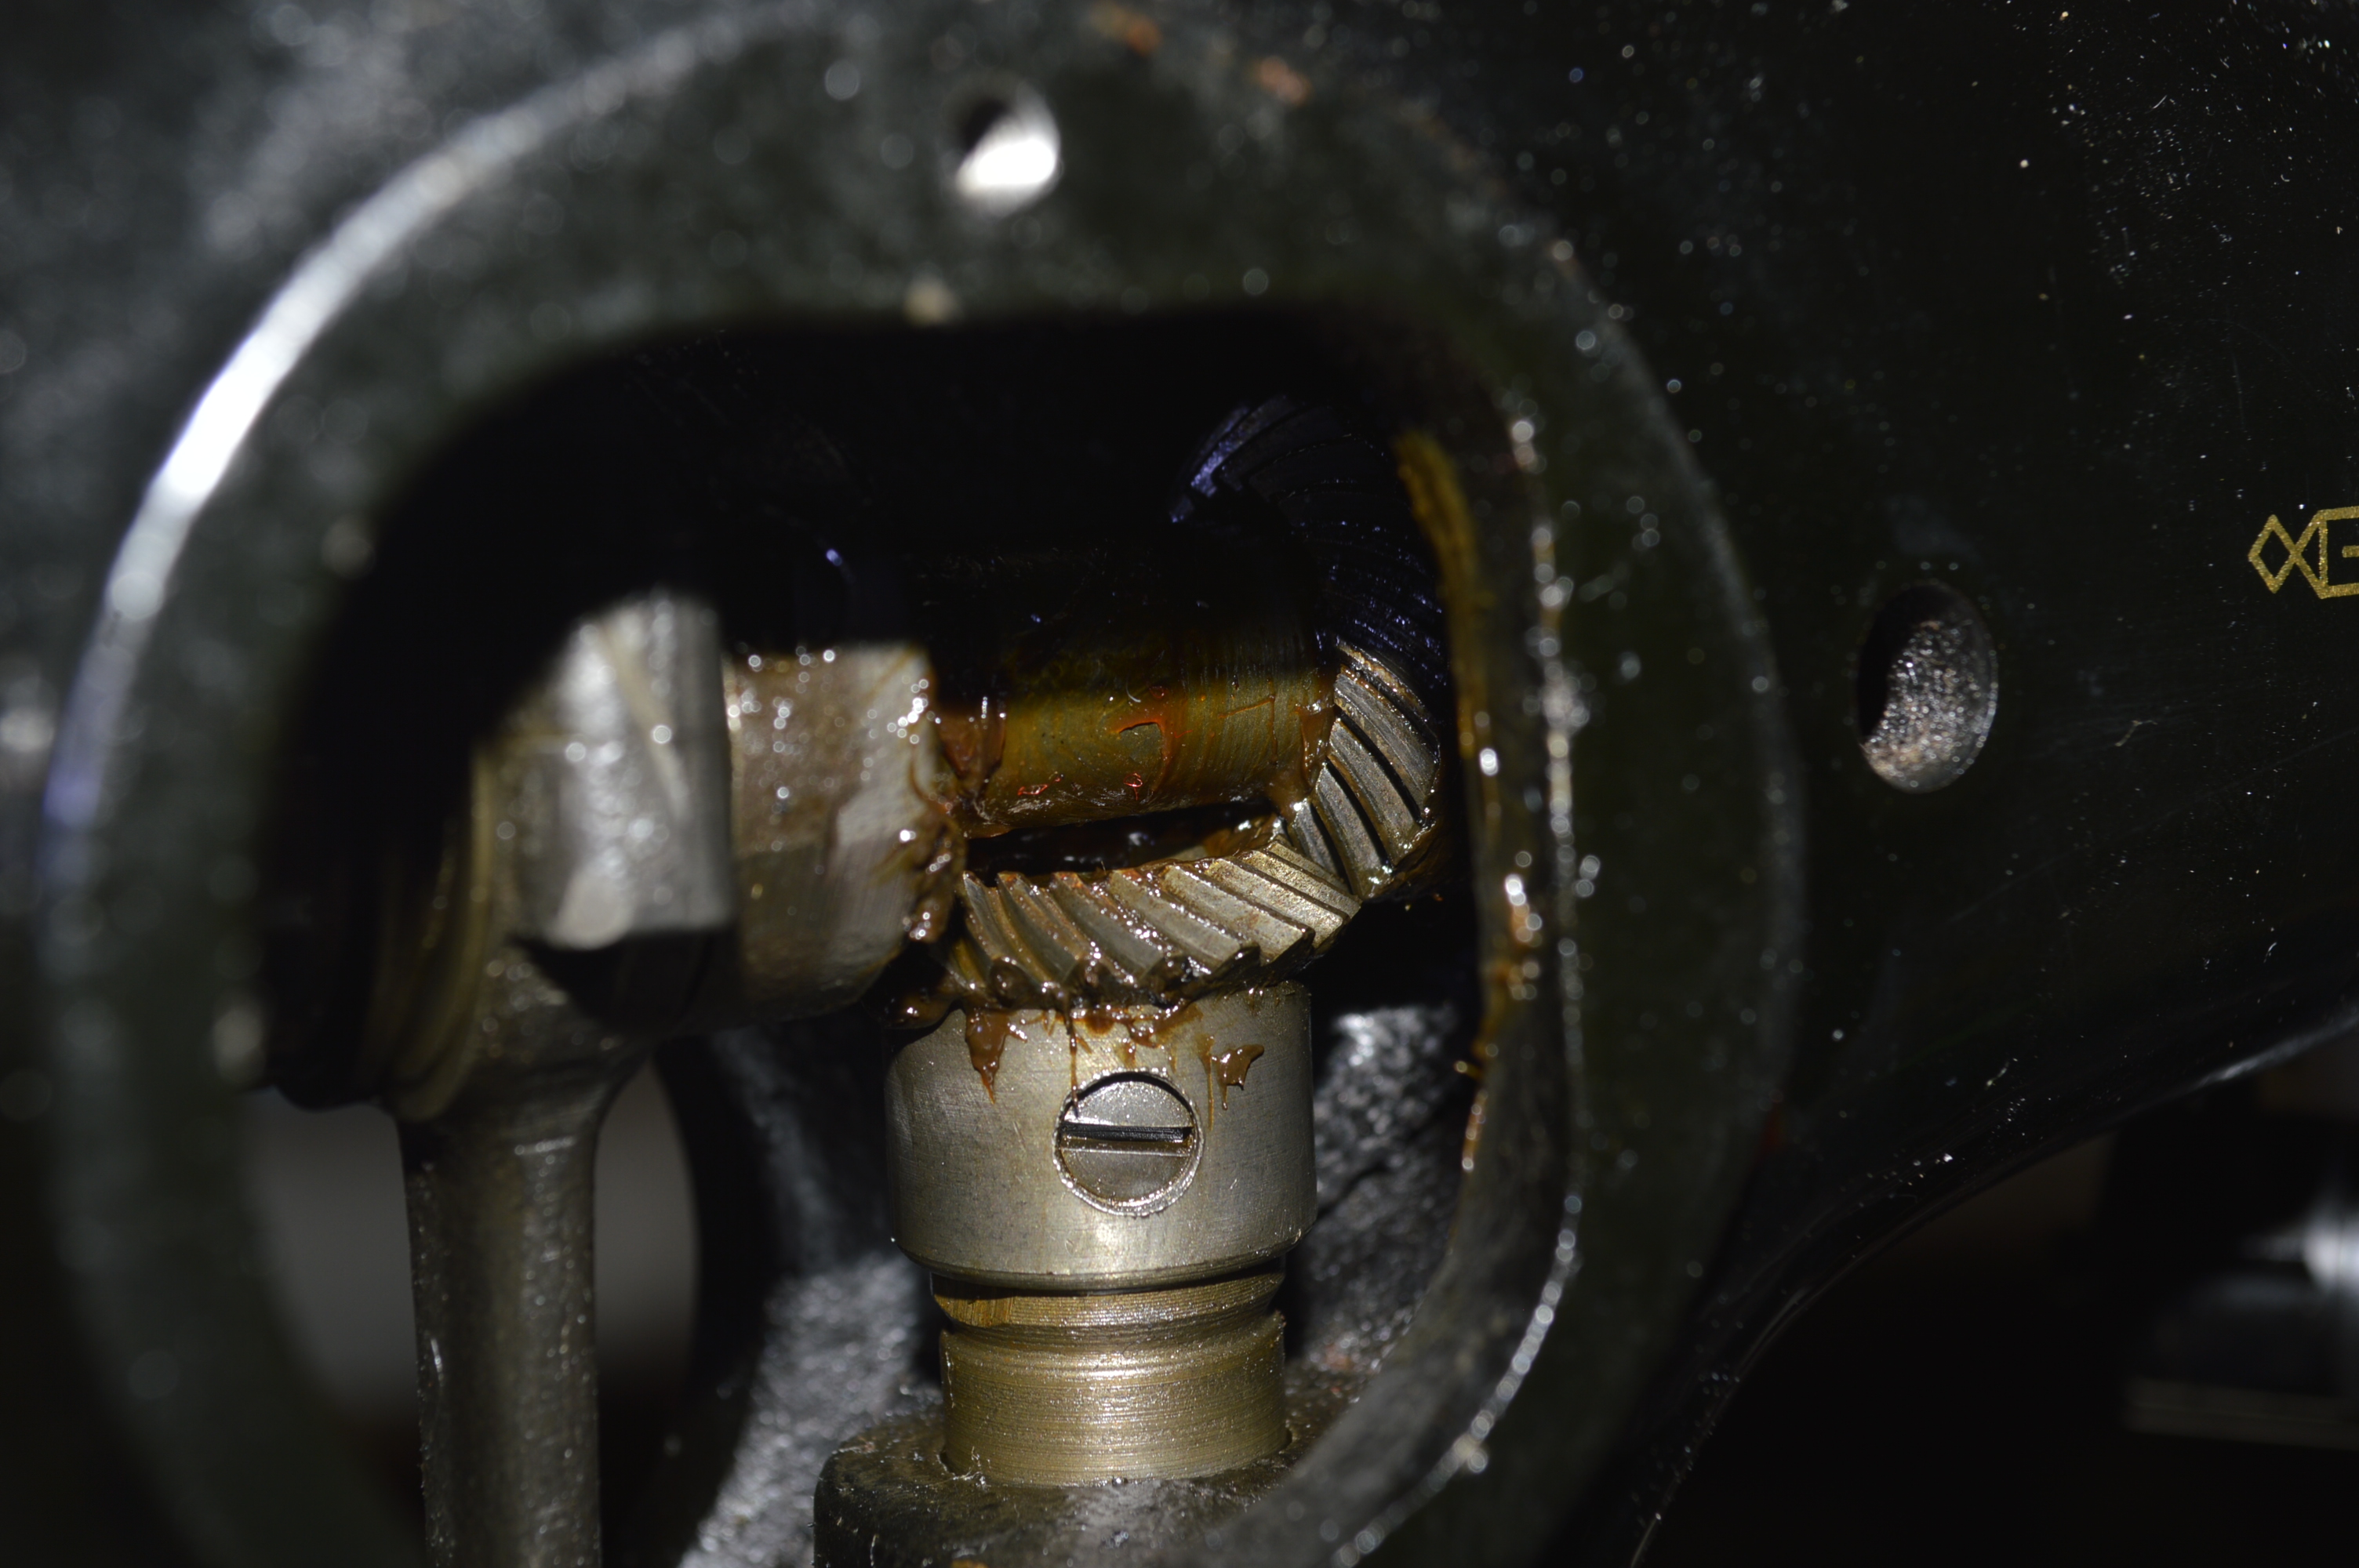
Vertical shaft gear before cleaning…
After the gears are cleaned, they are regreased and the shaft bushings lubricated with tri-flow oil. All of the bushings are cleaned and ready for the reassembly with the cleaned and polished parts.
Feed dog shaft bushing 
Needle and presser bar cleaned 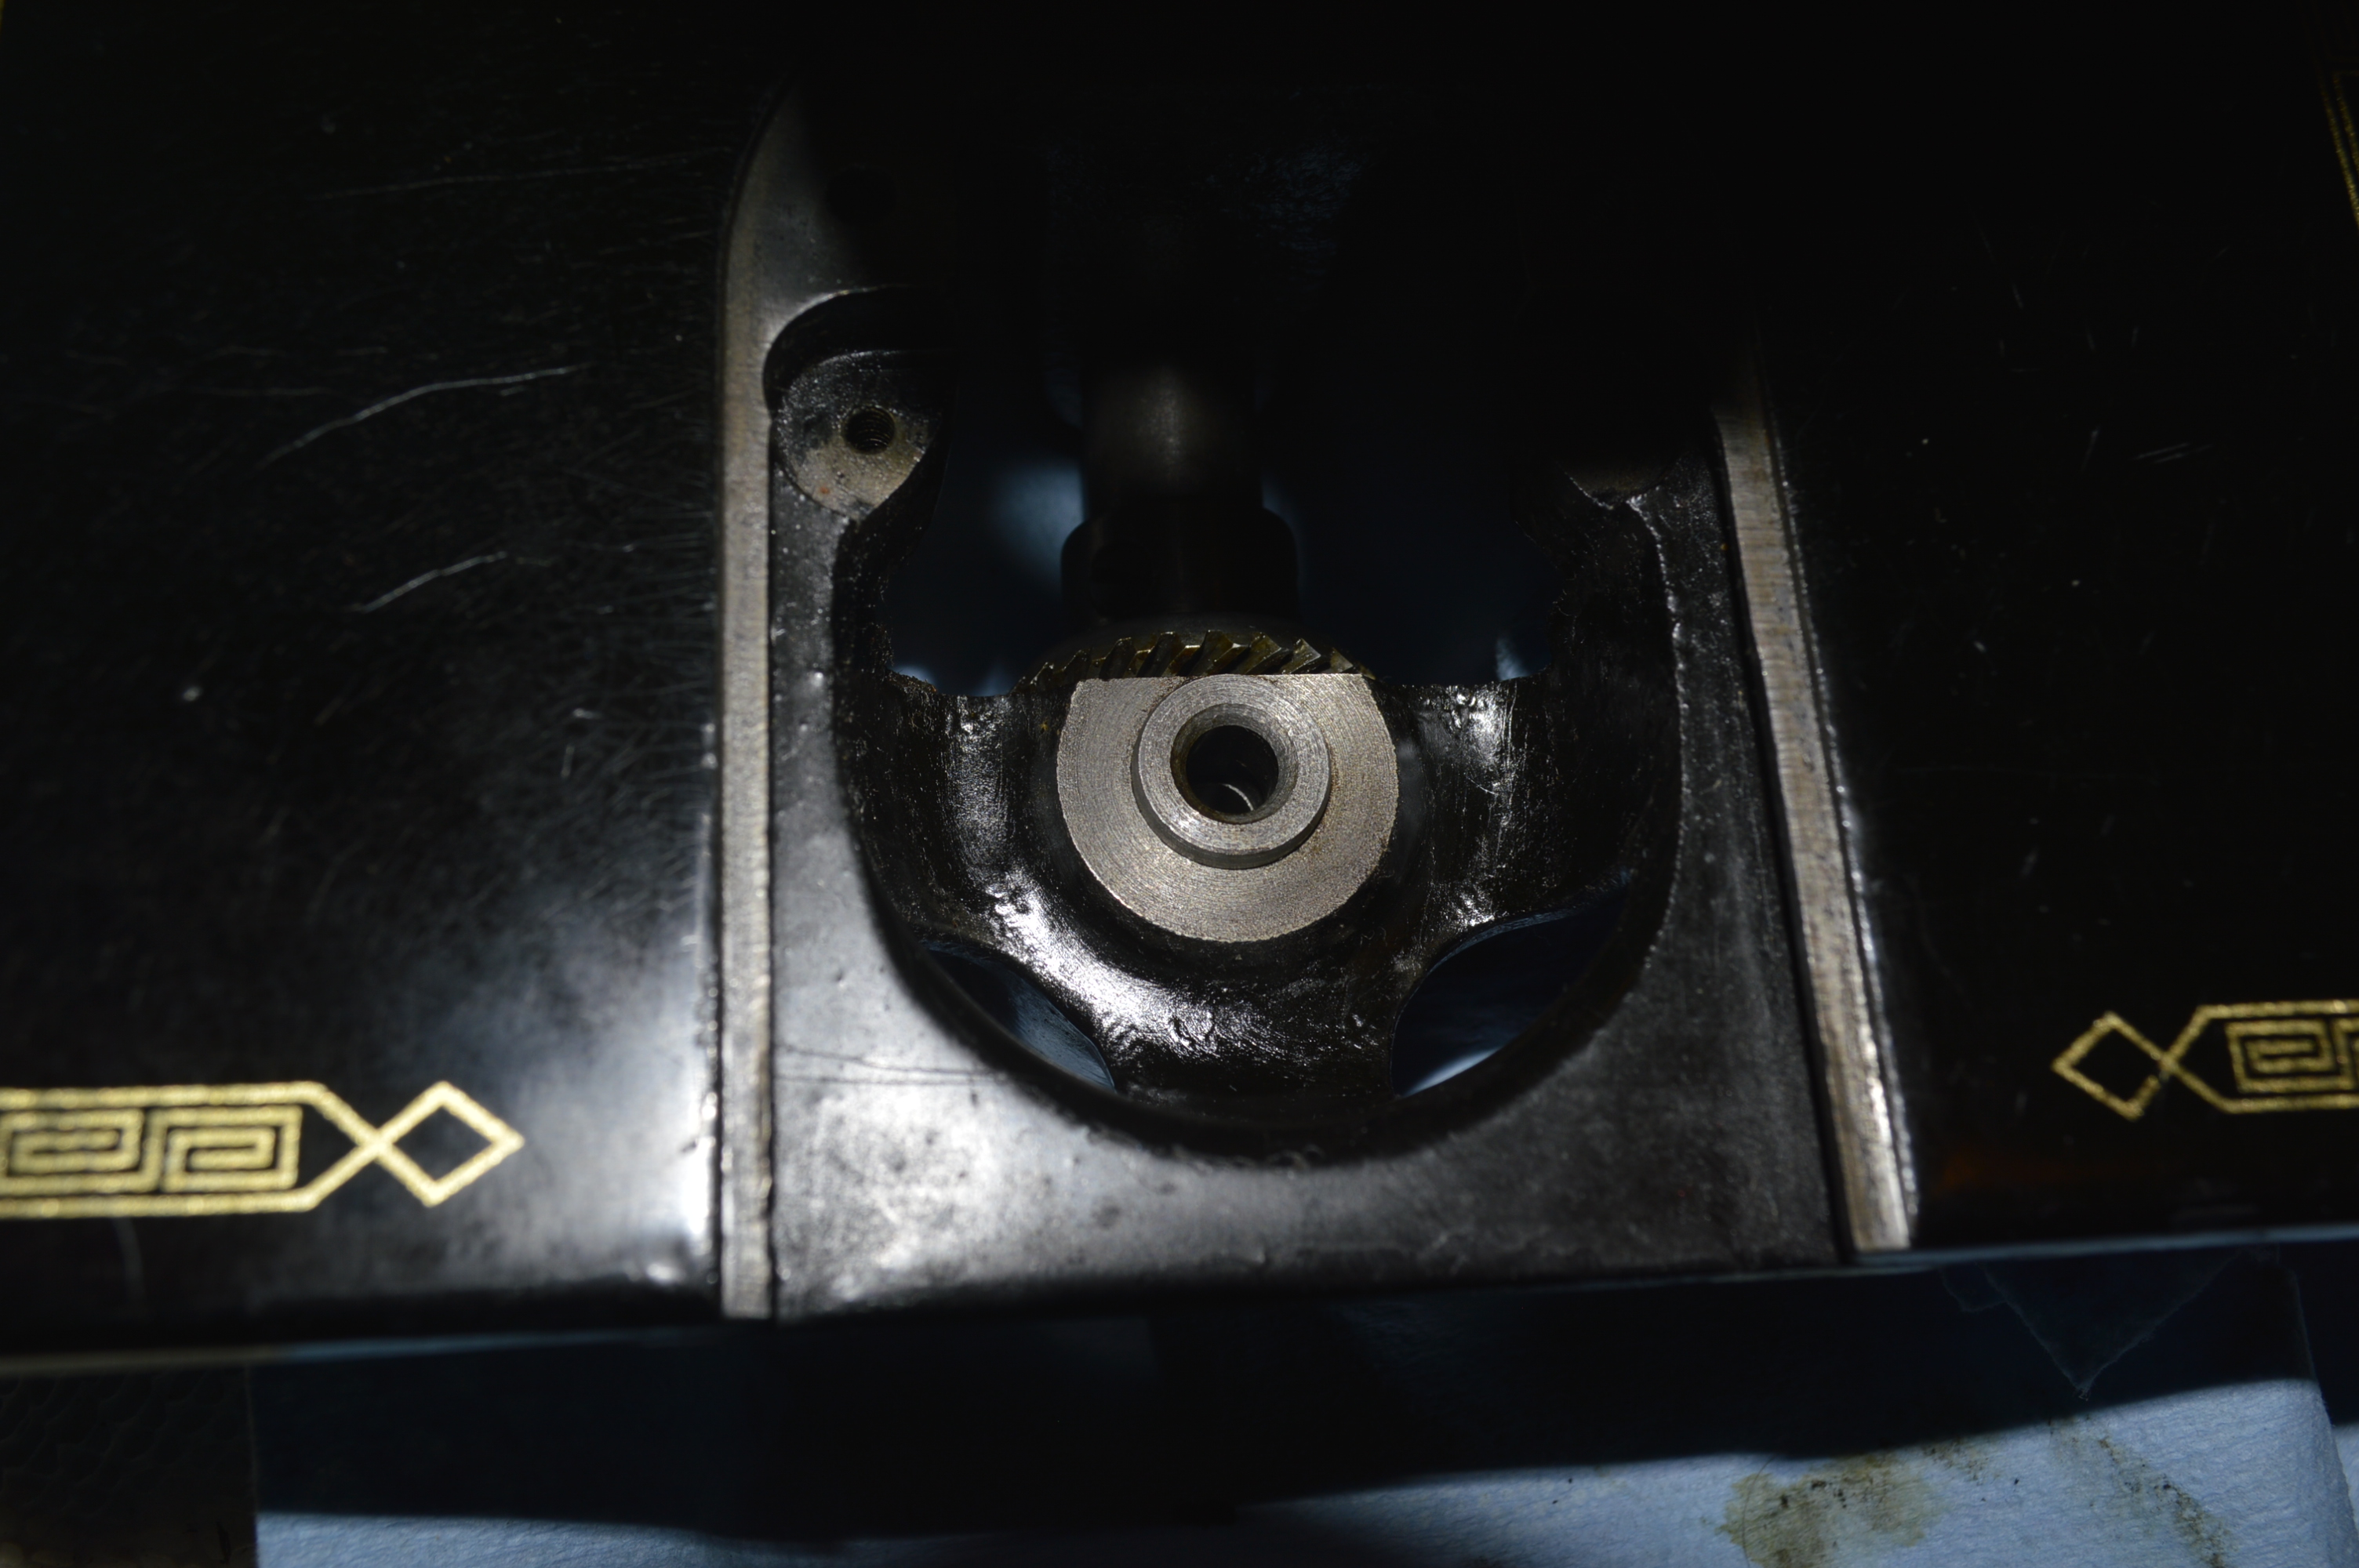
Hook race bushing cleaned 
Needle bar and take up lever drive bushing cleaned
Next comes the disassembly and cleaning of the balance wheel textolite gear shock absorbing mechanism. This is often overlooked, but the old grease in the mechanism can make them feel “sticky” and not operate smoothly as it should.
Balance wheel disassembled and cleaned… 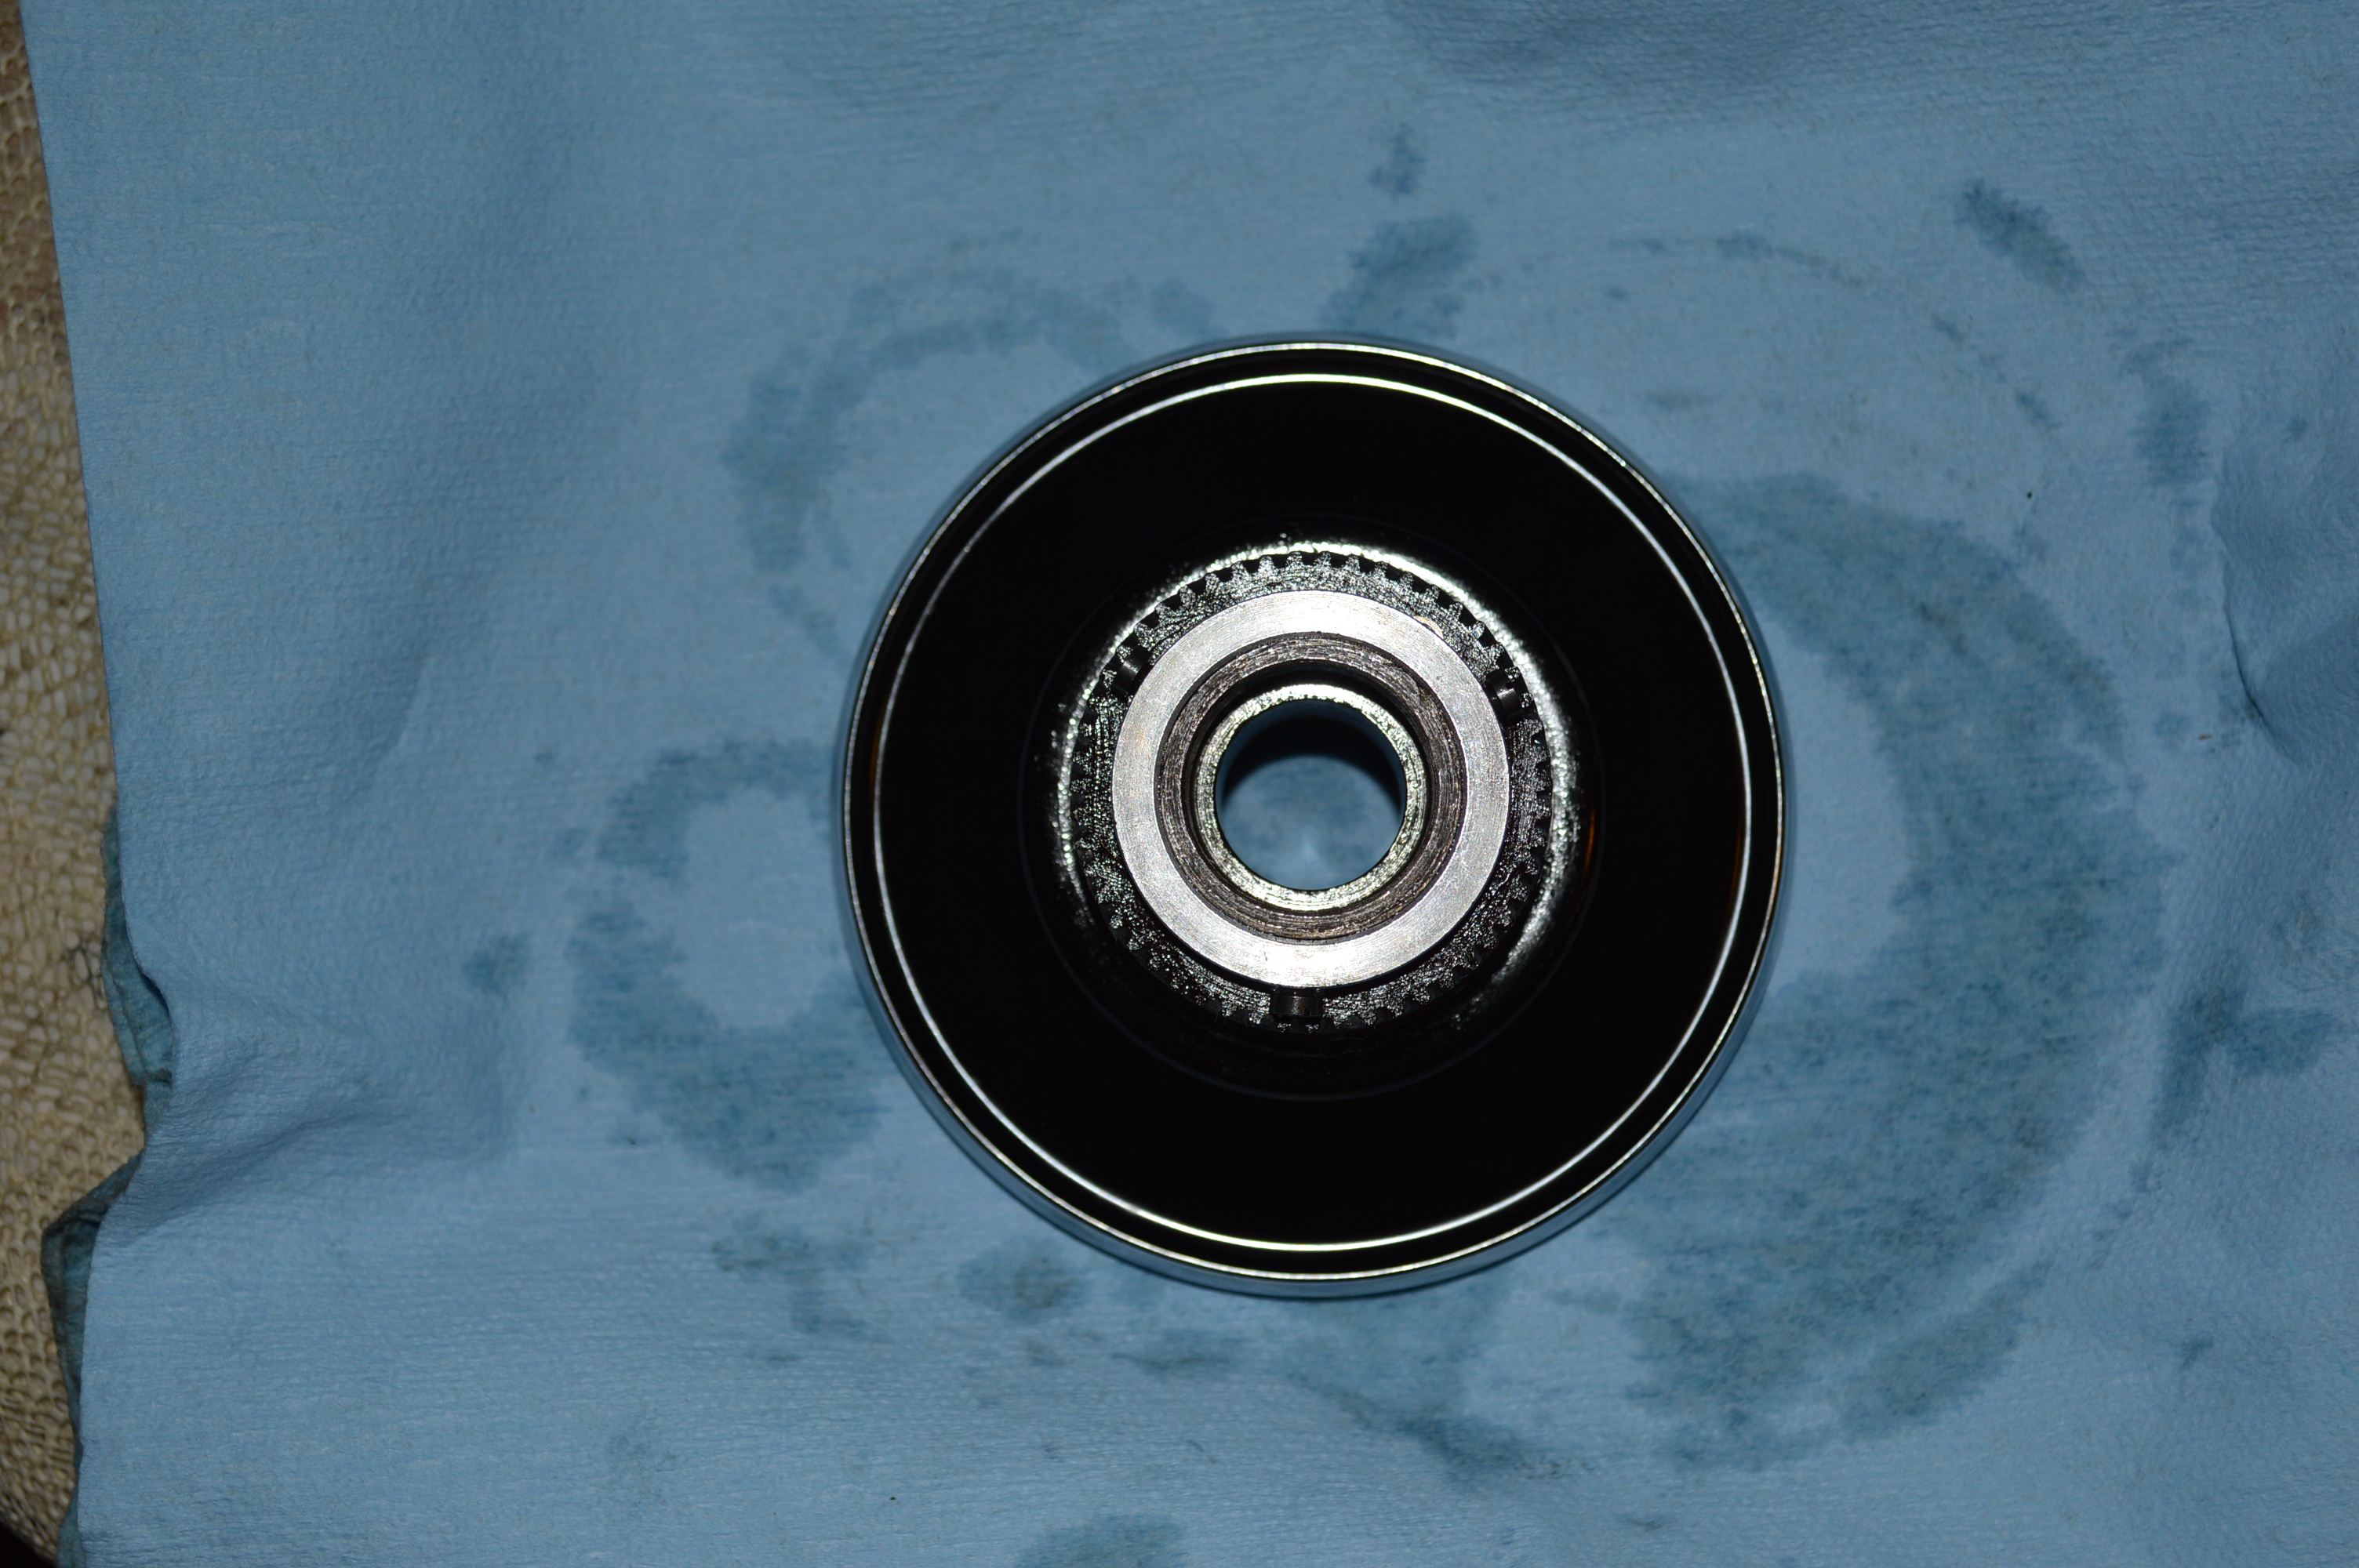
Balance wheel assembled and properly lubricated.
The tension assembly is disassembled and cleaned and the bobbin case leaf spring is disassembled and cleaned.
The next step is to start the cosmetic restoration. There is not much to do here, but any paint chips can be repaired for a much better final appearance.
The chips will be made by mixing a color matching paint with coal black pigment and shellac. Only a small amount of paint is needed, and this is the best deep black color match I have found.
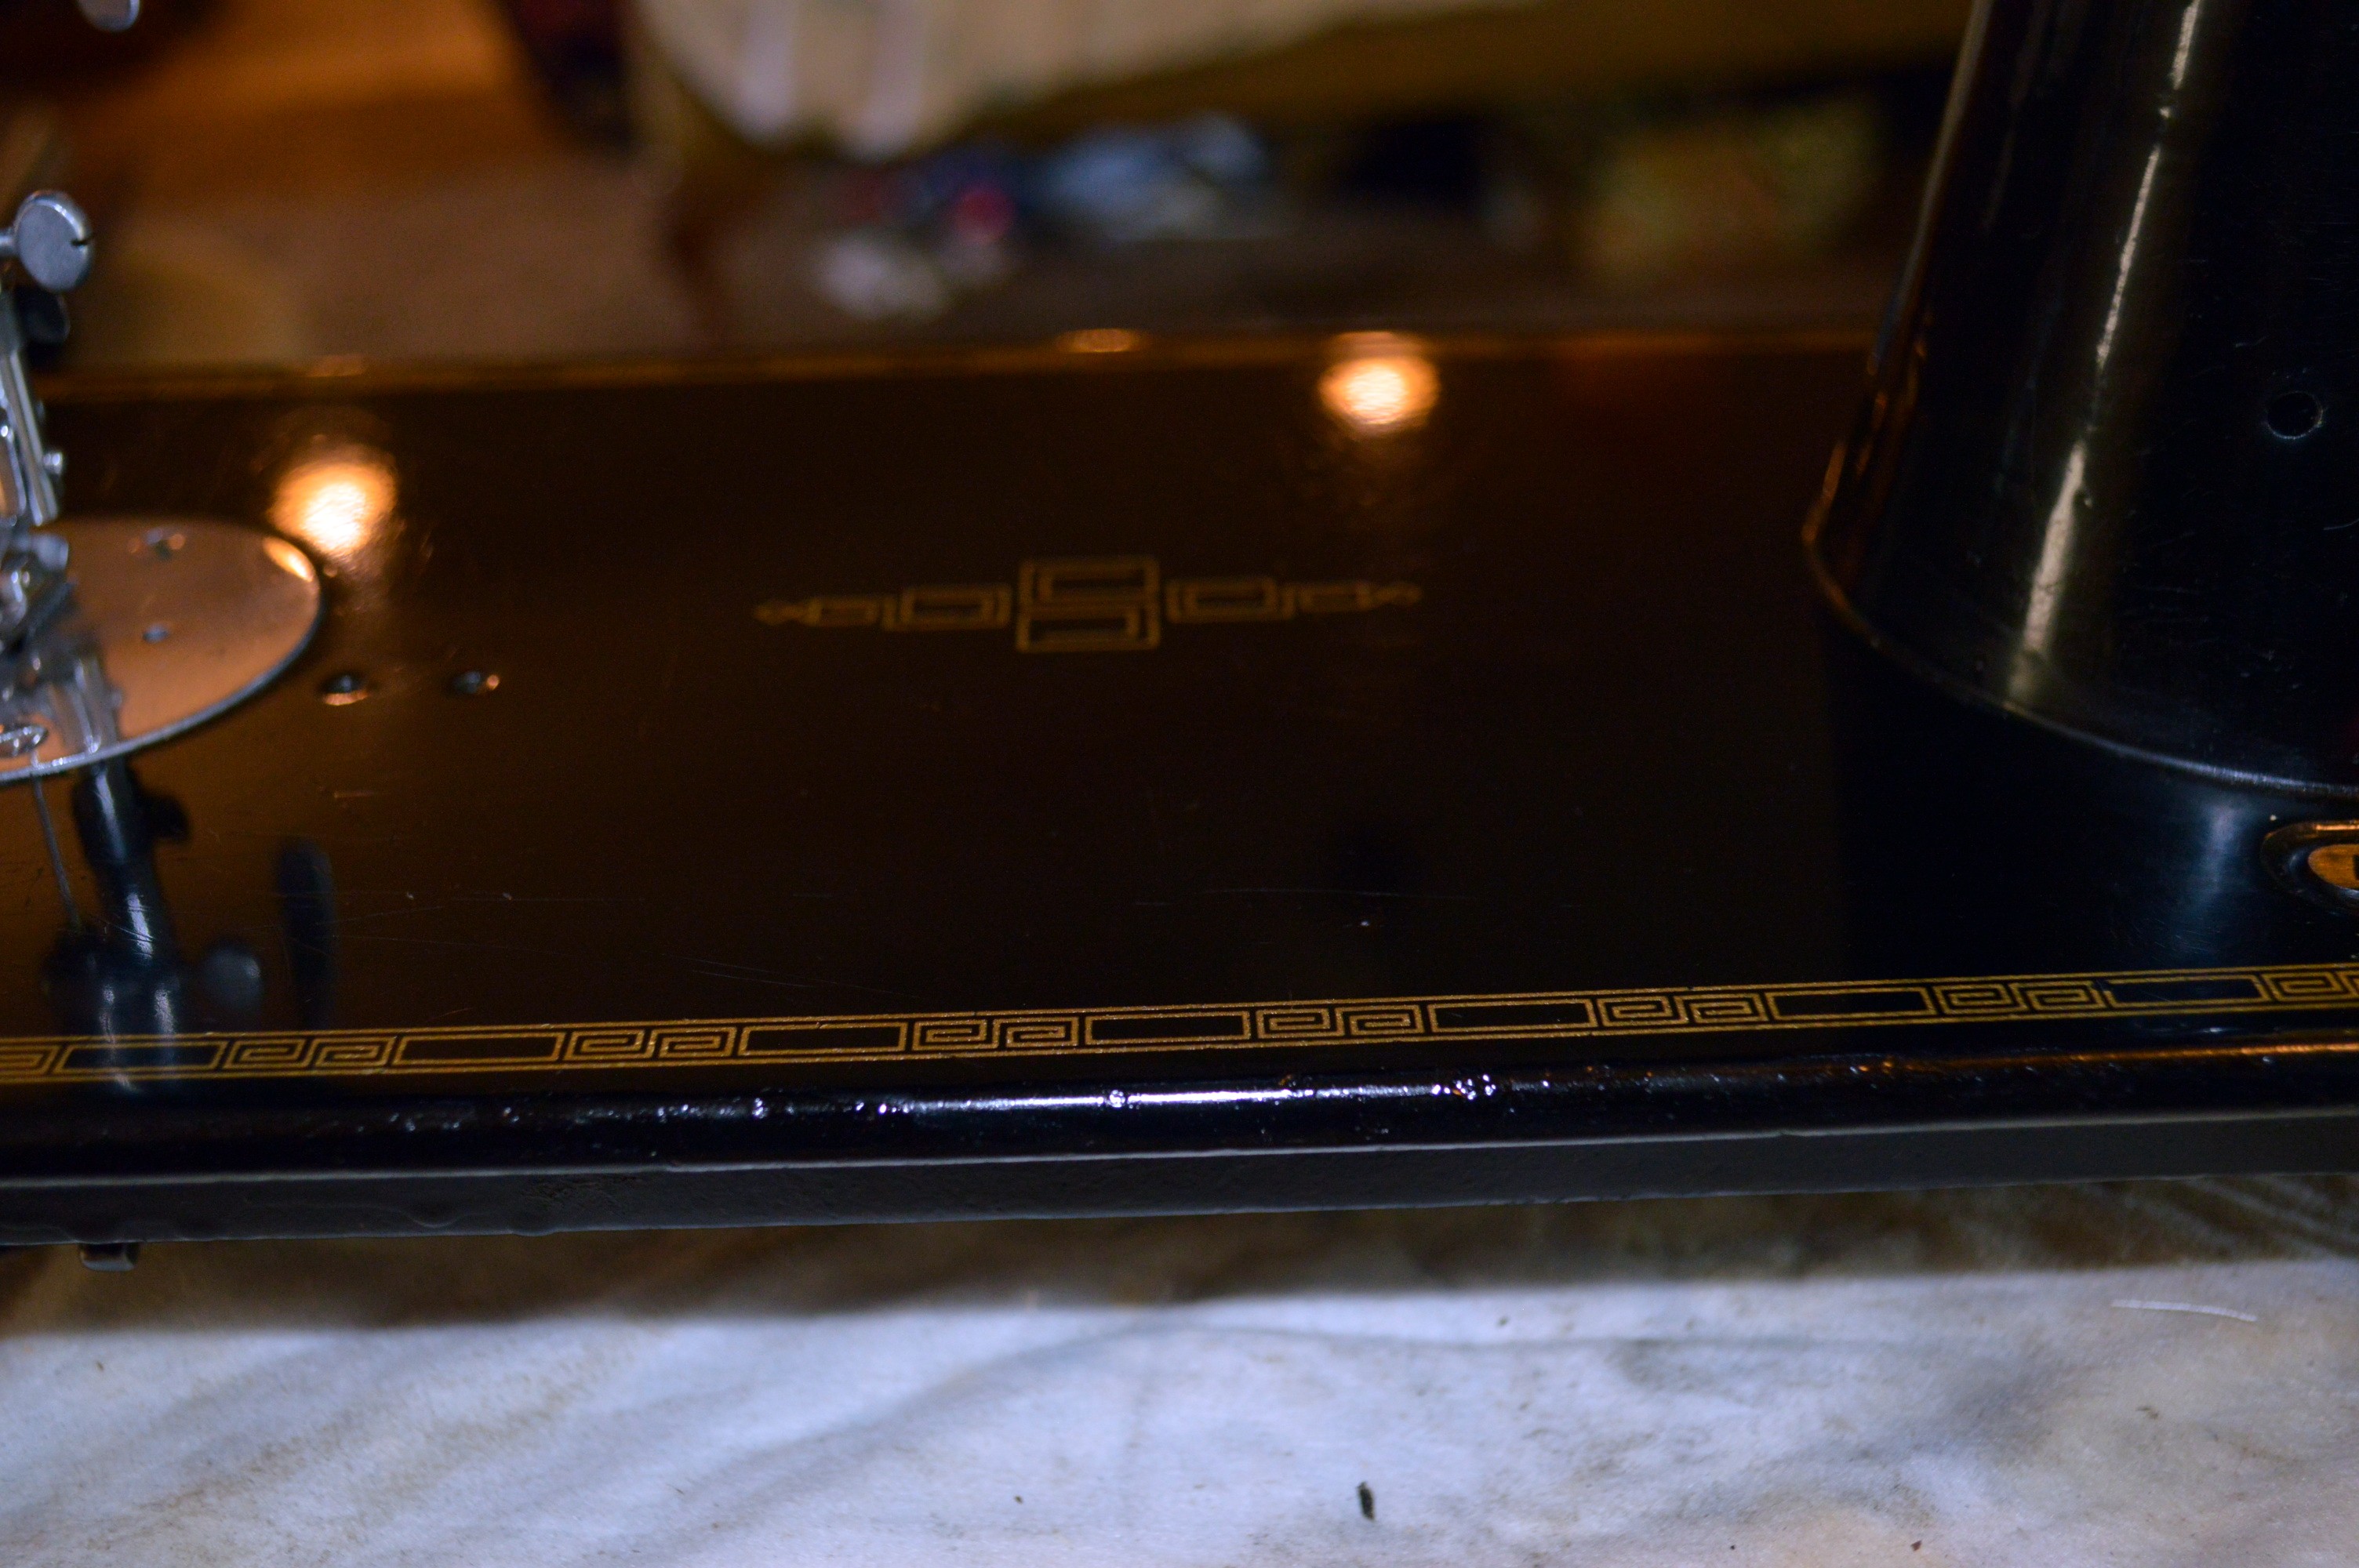
Before 
I will try to show the “after” pictures. The camera has a difficult time focusing on the glossy black surface. The process of chip repair for this restoration will take at least 5 days. After the chip is filled with paint, it will be allowed to dry for at least 24 hours before the edges are smoothed. The first coat leaves a small crater in the center. This is filled again and allowed to dry for at least 24 hours. As before, the chip is smoothed out. A third application of paint, and another 24 hours to dry, and the chip is smoothed to its final contour. The chip is then coated with shellac and allowed to dry for 48 hours before it is smooth polished to match the gloss and smoothness the adjacent original paint. This frees up some time for me to focus on other stuff… There is no rush and details matter, so patience here pays off.
After… Front 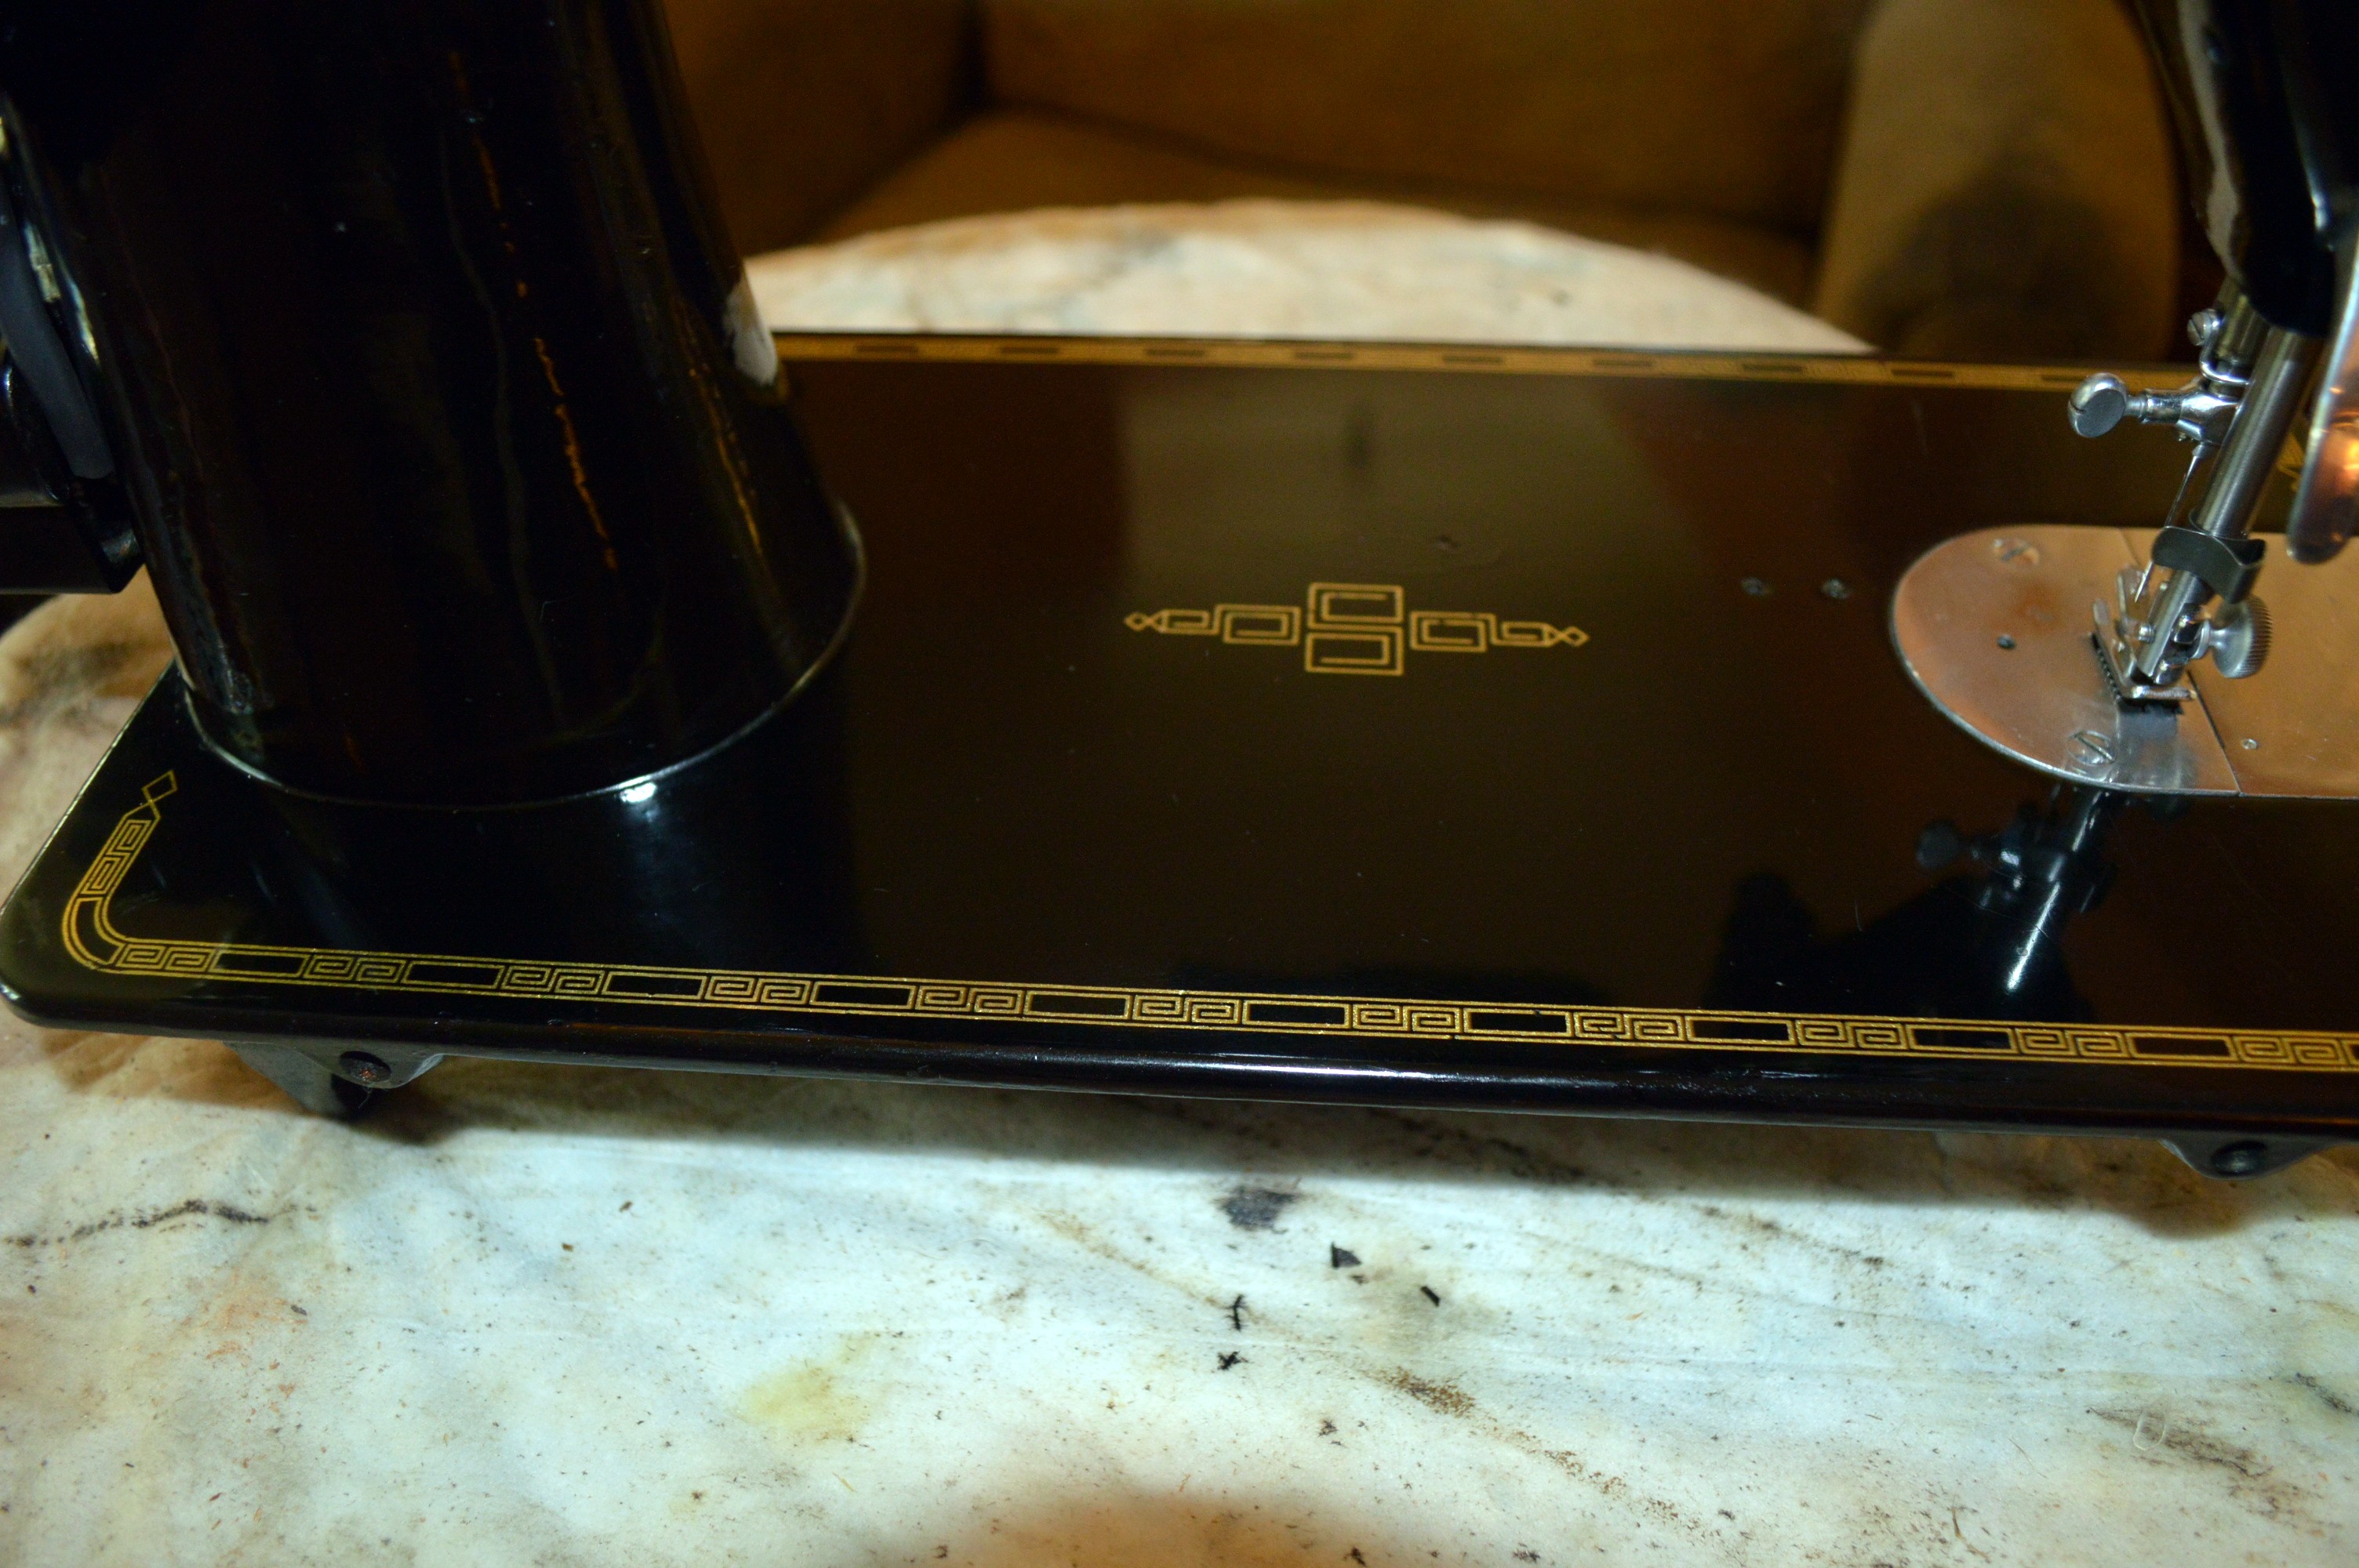
After… Back 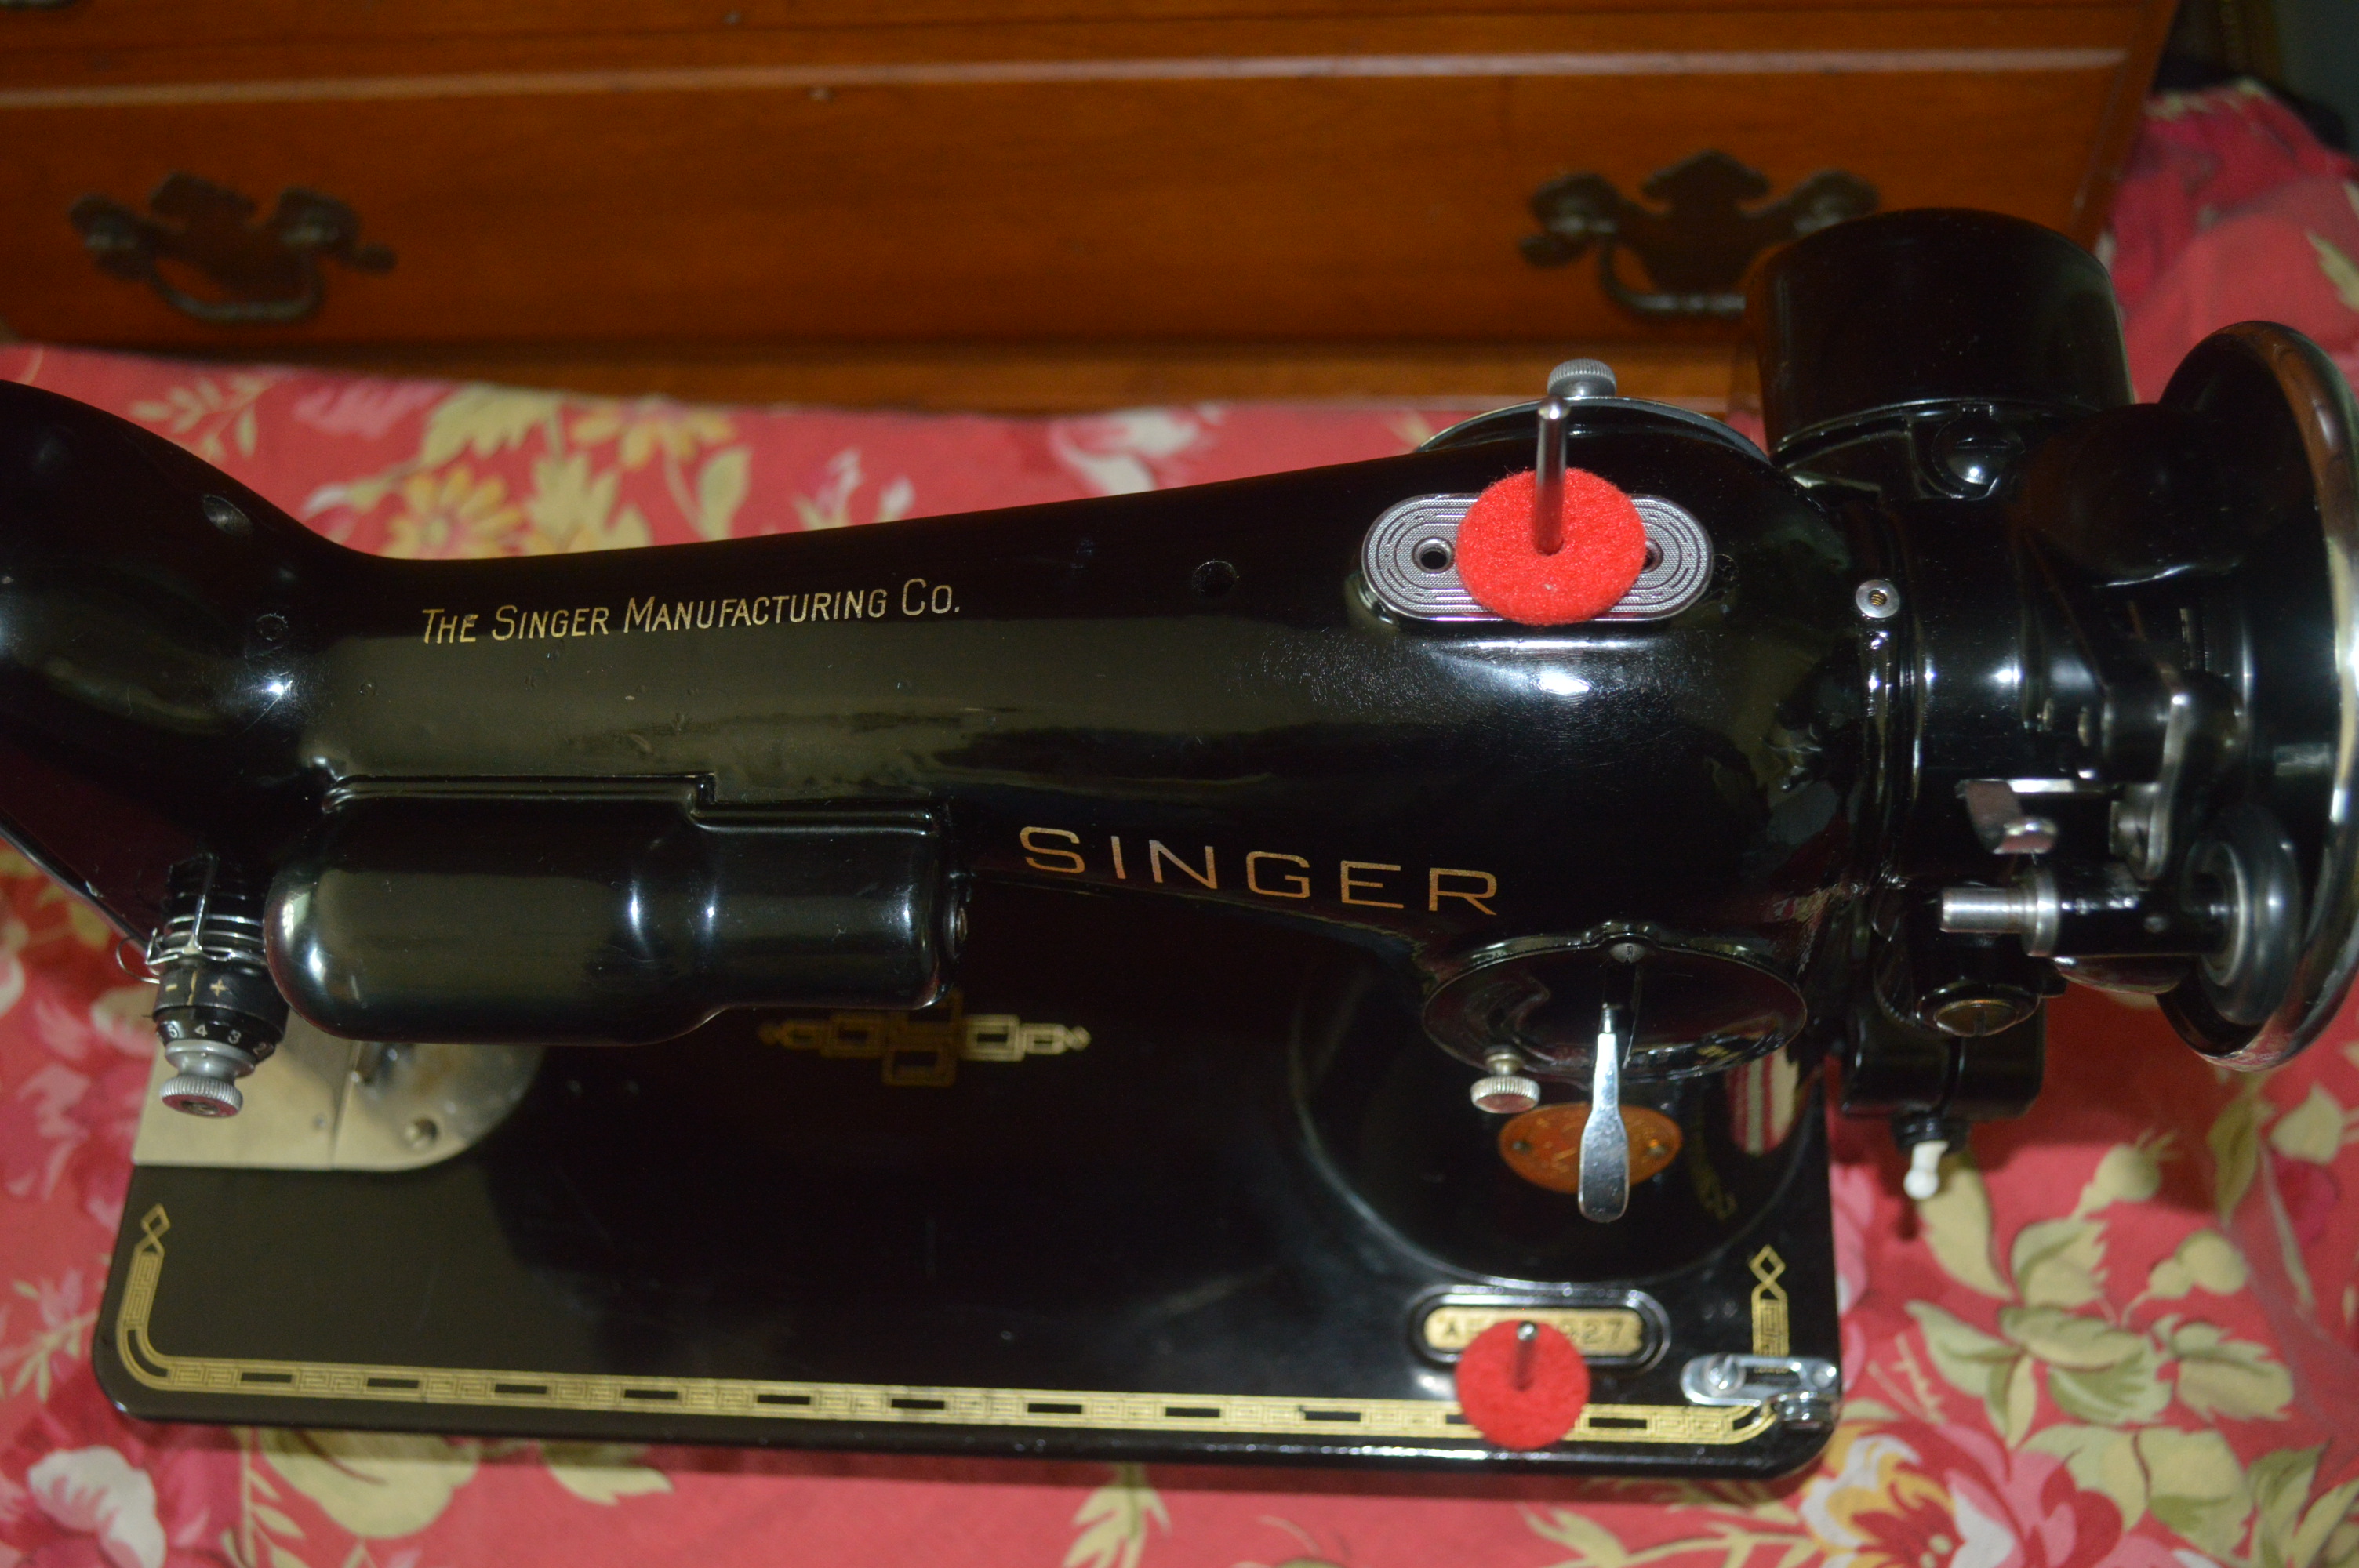
After… top
Now that the chip paint matching is done, and the paint and shellac has cured, the machine is again glaze polished to polish in all of the paint matched areas. The final step is assemble all of the parts and adjust all of the mechanisms. The final finish looks fantastic, the machine runs as smooth as any 201 possibly can, and the stitch is phenomenal. Thats it! It’s done!
Here is the machine before restoration…


Here is the machine after restoration…


I cannot show the difference in the machine feels running before and after… but it is like night and day. The difference in oil varnish coated parts, and cleaned as new parts in the drive train is something that can only be experienced, but what a difference it is! Another Singer restoration done… now on to the next!
If you would like to see this machine listed for sale, or any of the other restored fine quality vintage sewing machines in our inventory, please visit our Etsy shop at:

