
This restoration is for the legendary 201-2… perhaps the finest straight stitch machine ever produced… anywhere. Eh… that’s a very bold statement to make Skippy… To back this up, I can say that my research on the 201 generally draws the same conclusion (Compared with the Necchi Supernova was a tie…). My personal experience is very positive, but I don’t claim familiarity with every straight stitch machine produced anywhere so I go on what I read. Still, I don’t find it hard to believe. The 201-2 is considered to be a “professional grade” sewing machine. It was primarily designed for tailors, and for this purpose, it was designed to be used hour on hour in regular use.
I must admit that I am biased in my opinion, despite the laser straight stitch, smoothness, and almost silent running (except the whir of the motor). I have known the 201 for many years. I have the Singer 201 that my mother used, and I must admit that as a child, I used it too… and yes, it can sew thru a tin can!
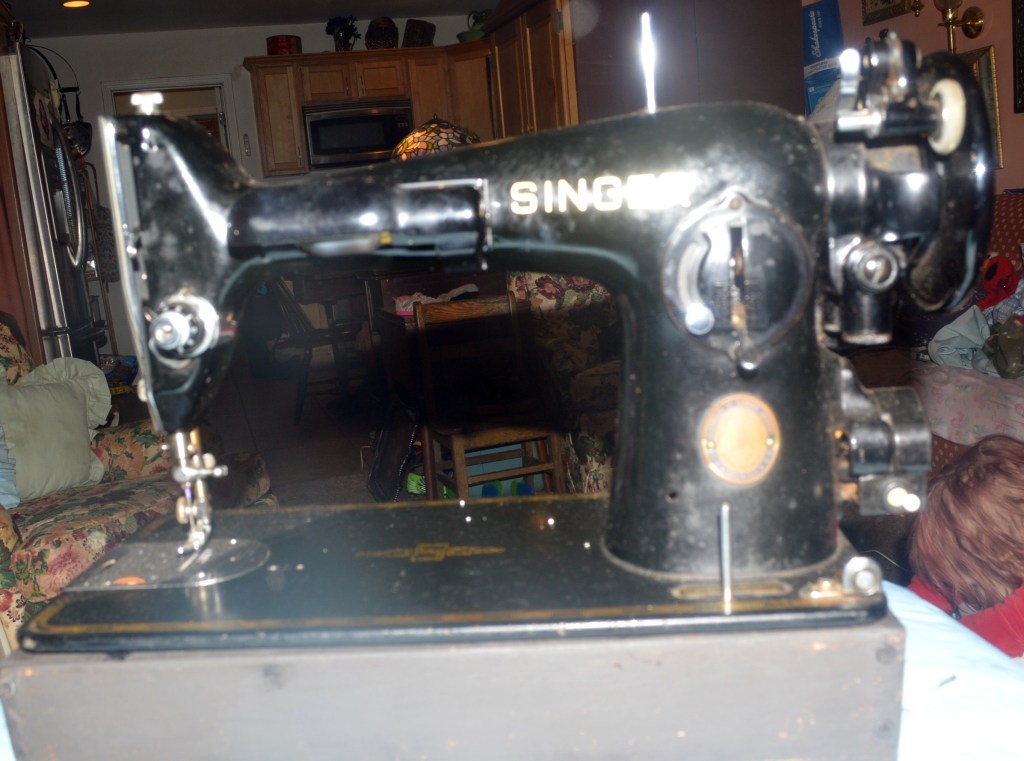
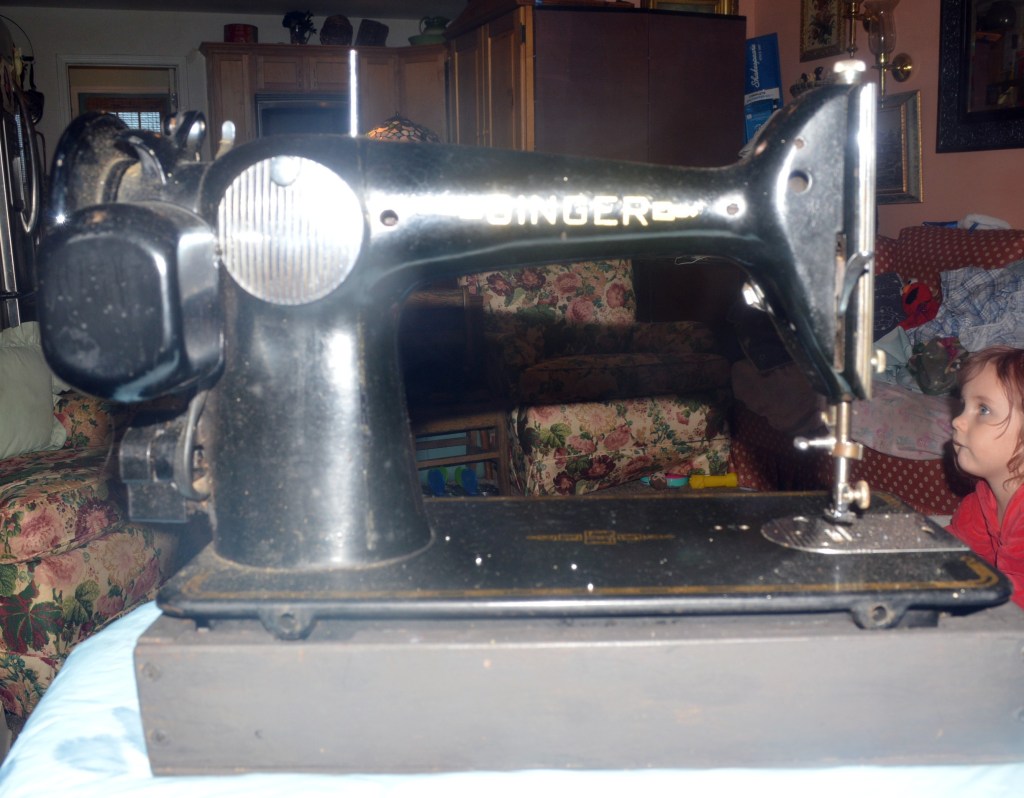
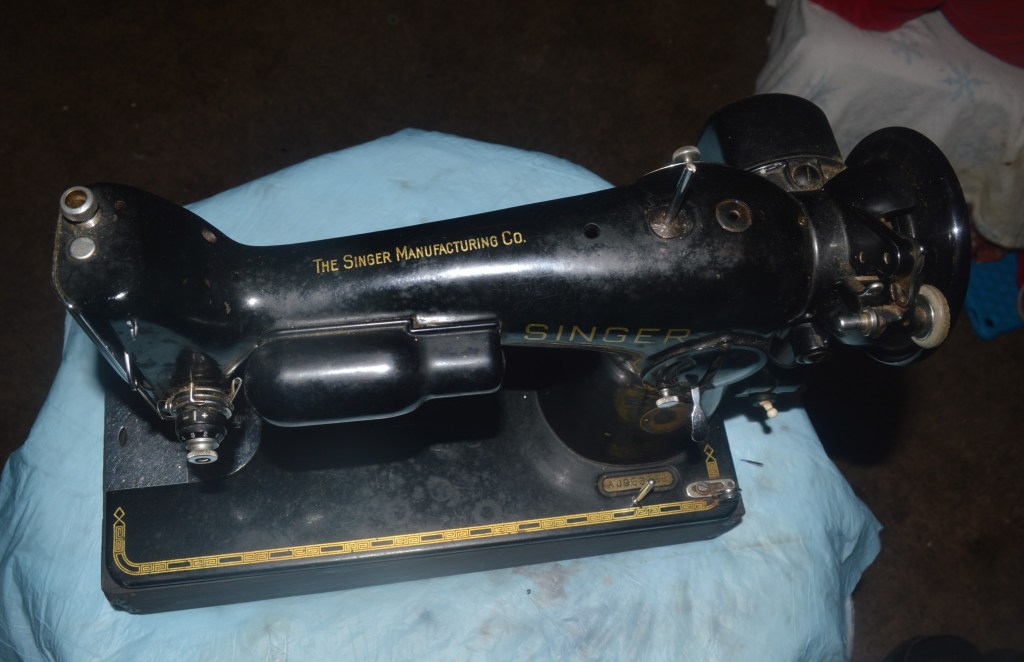
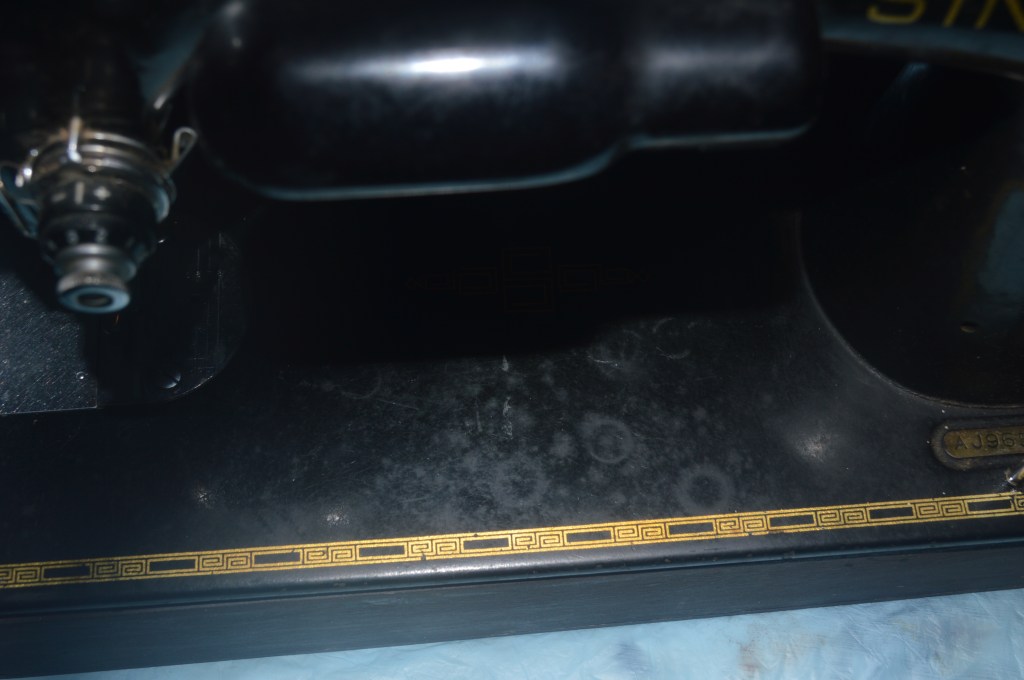
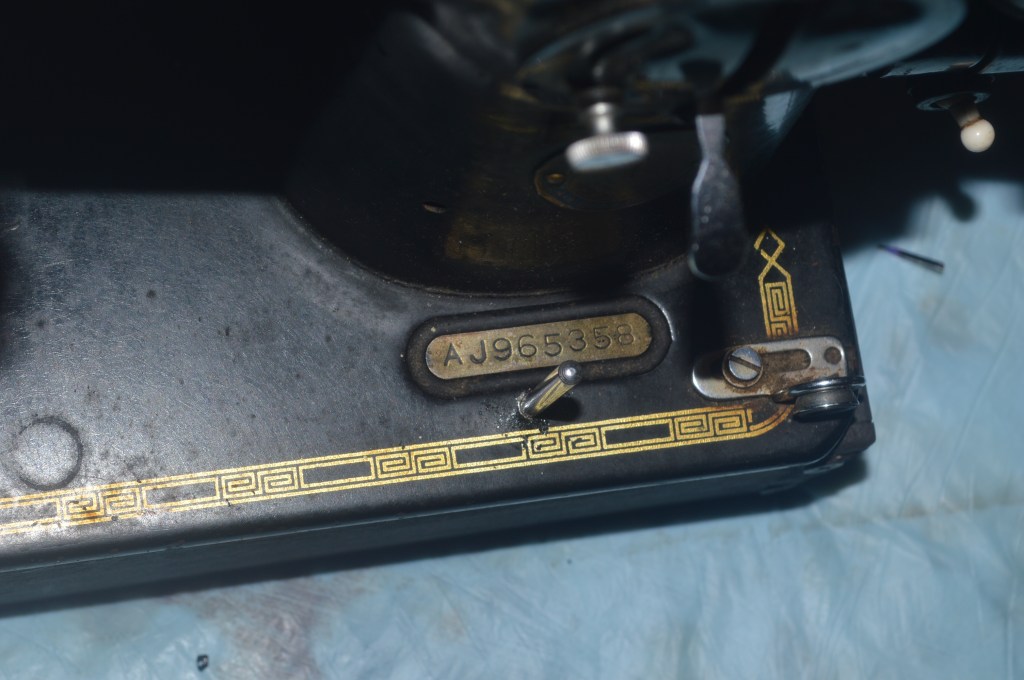
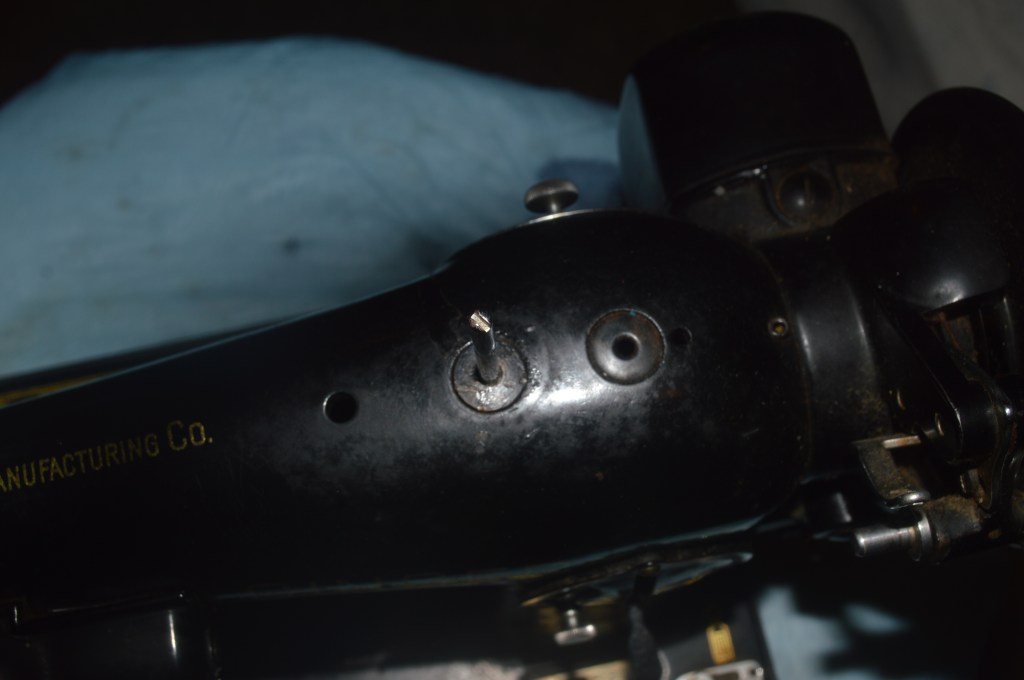
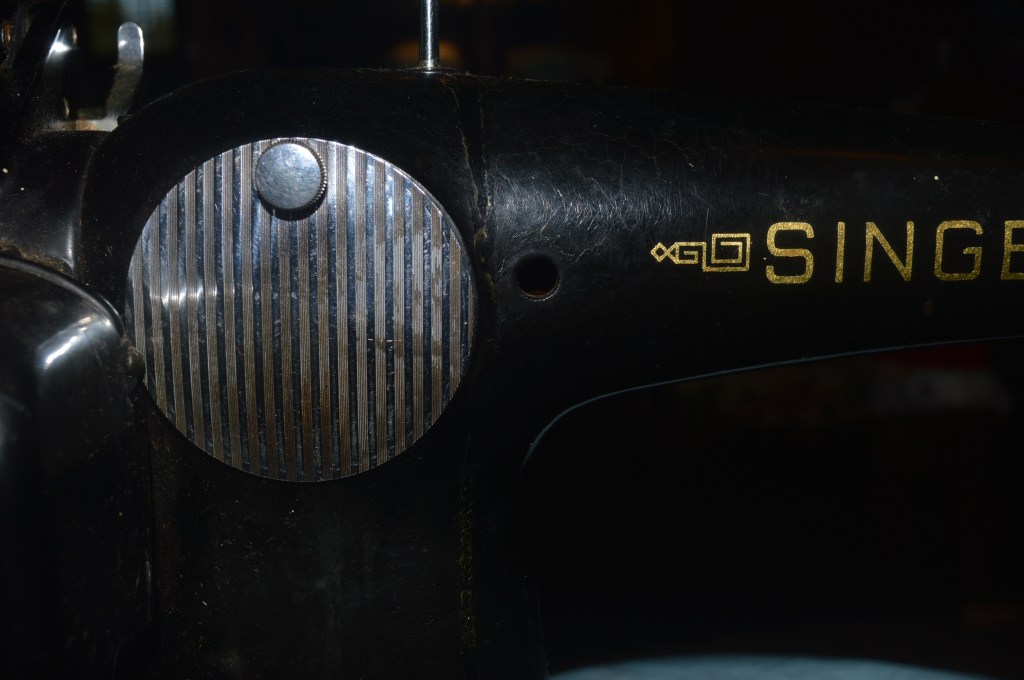
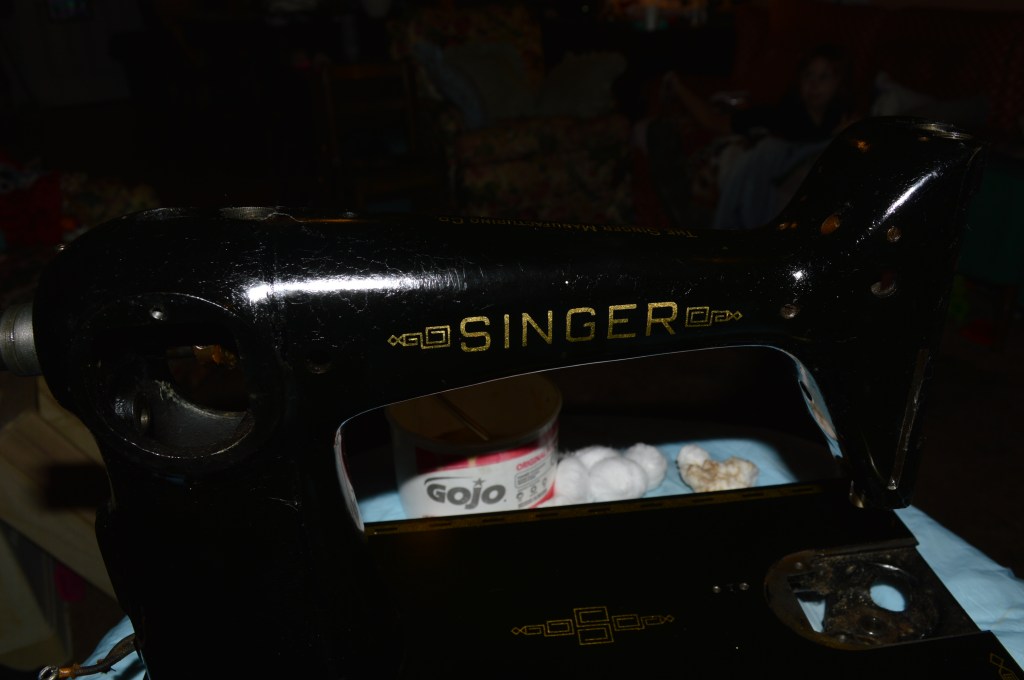
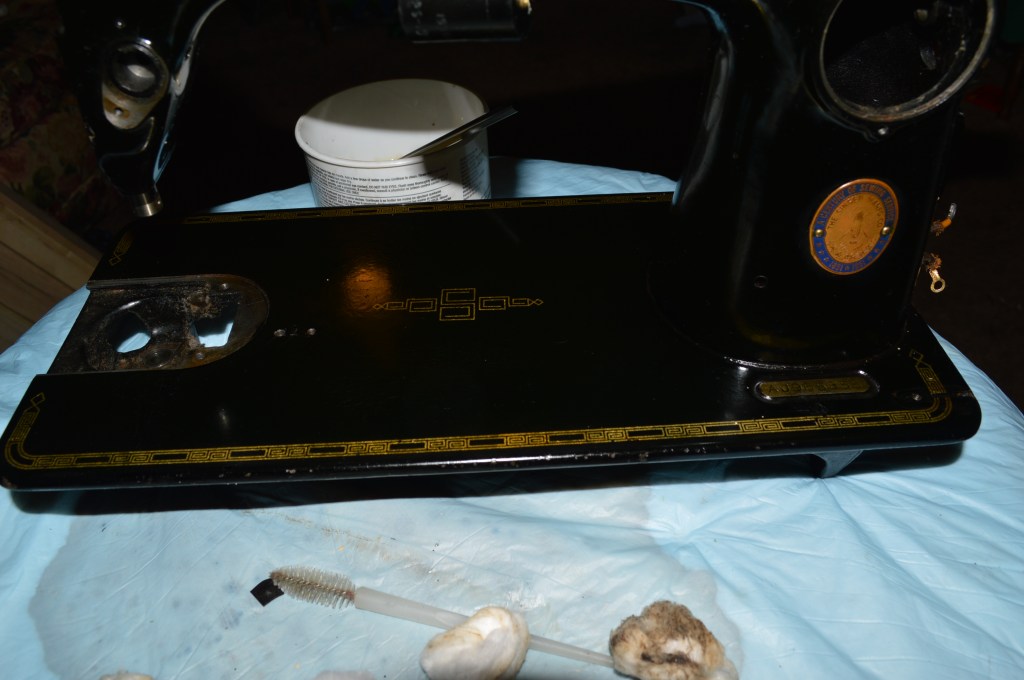
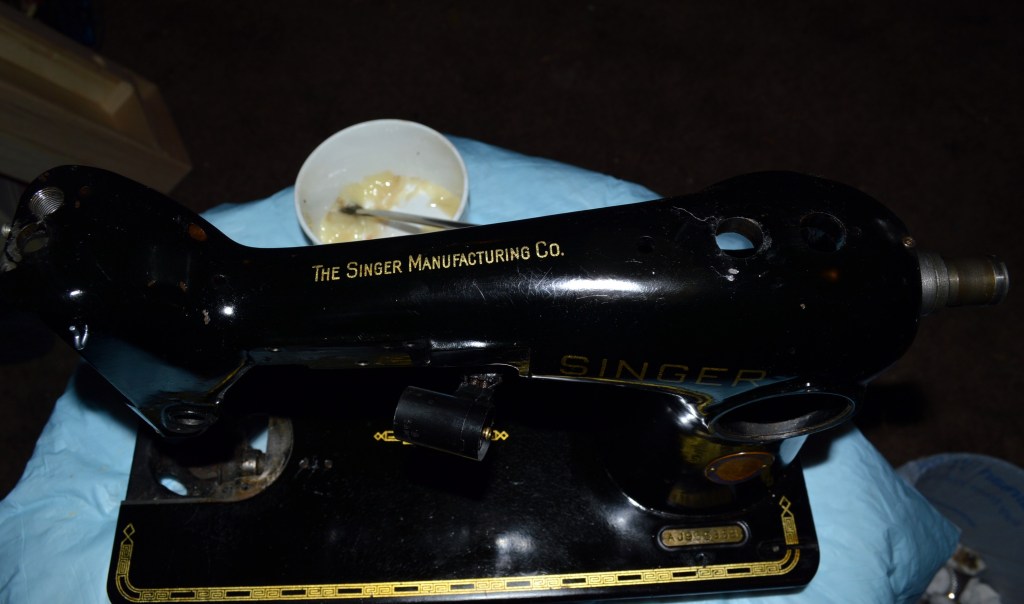
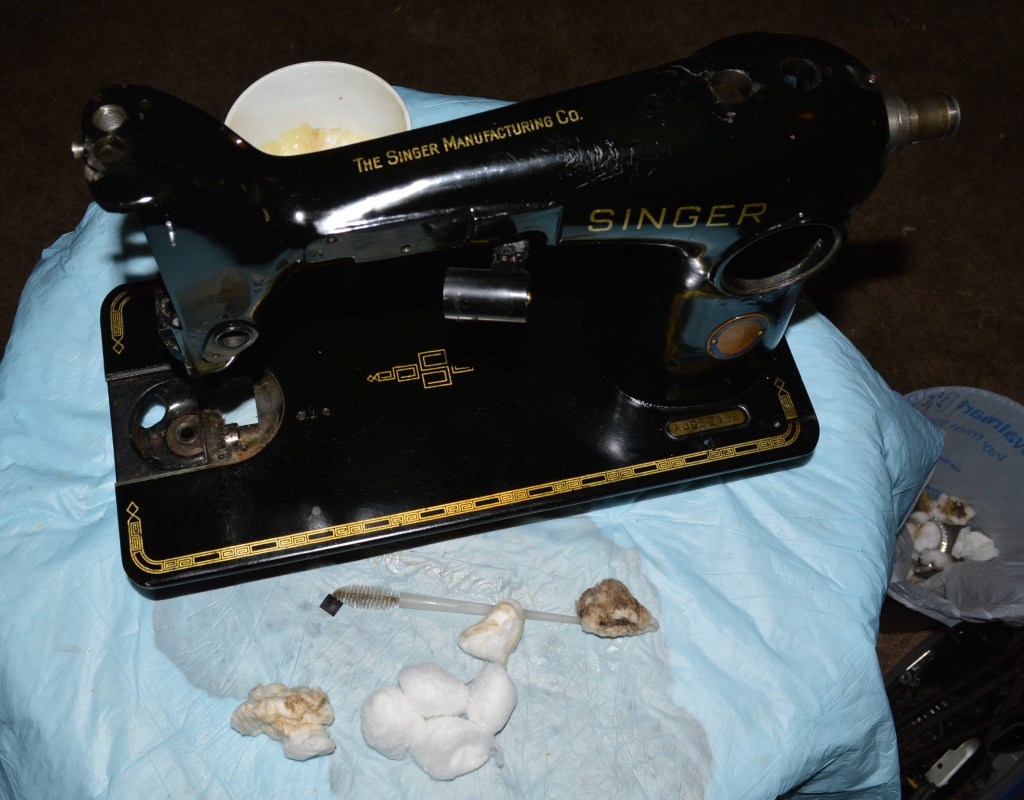
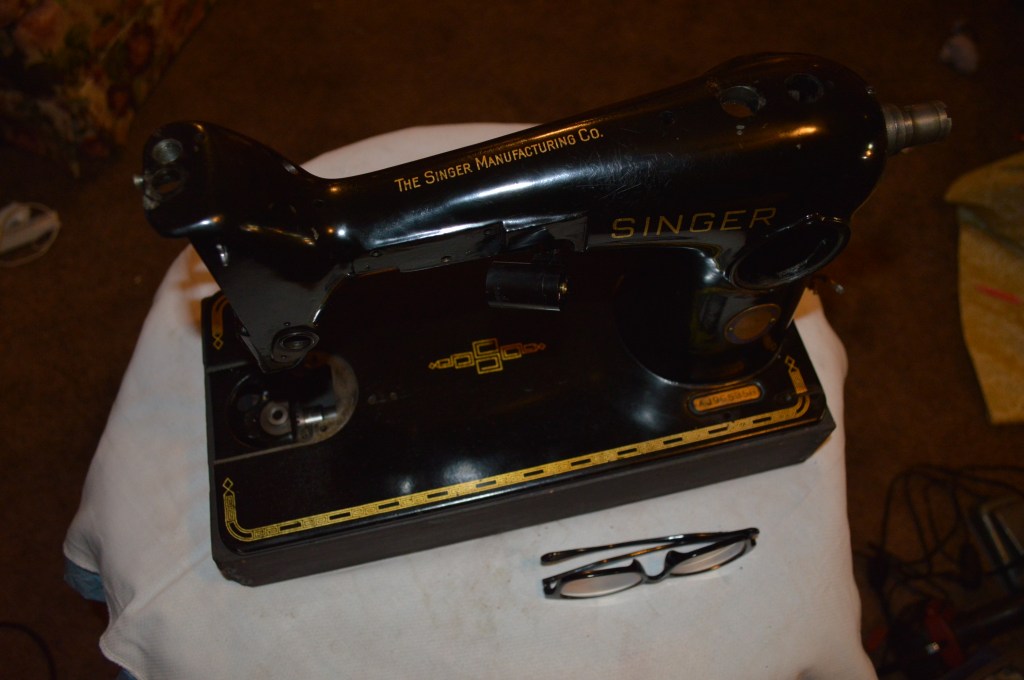
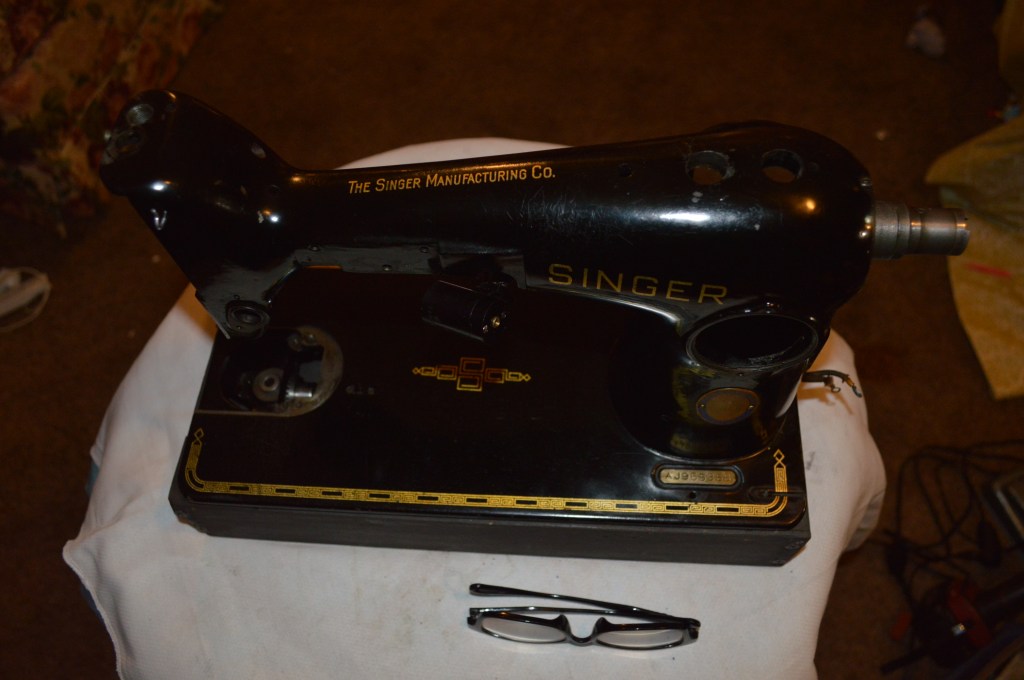
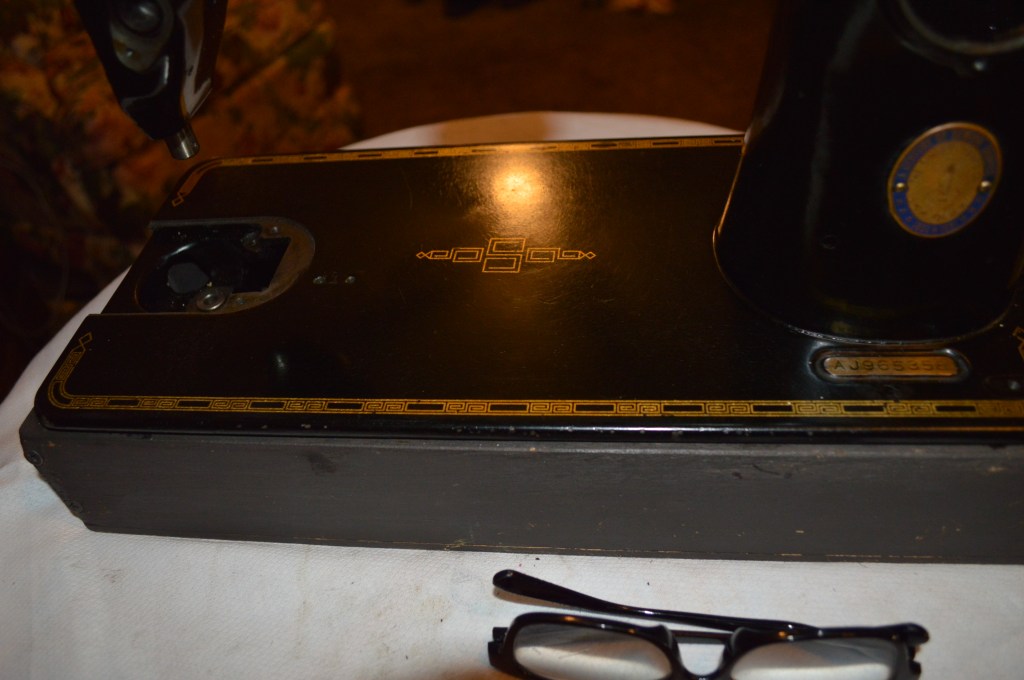
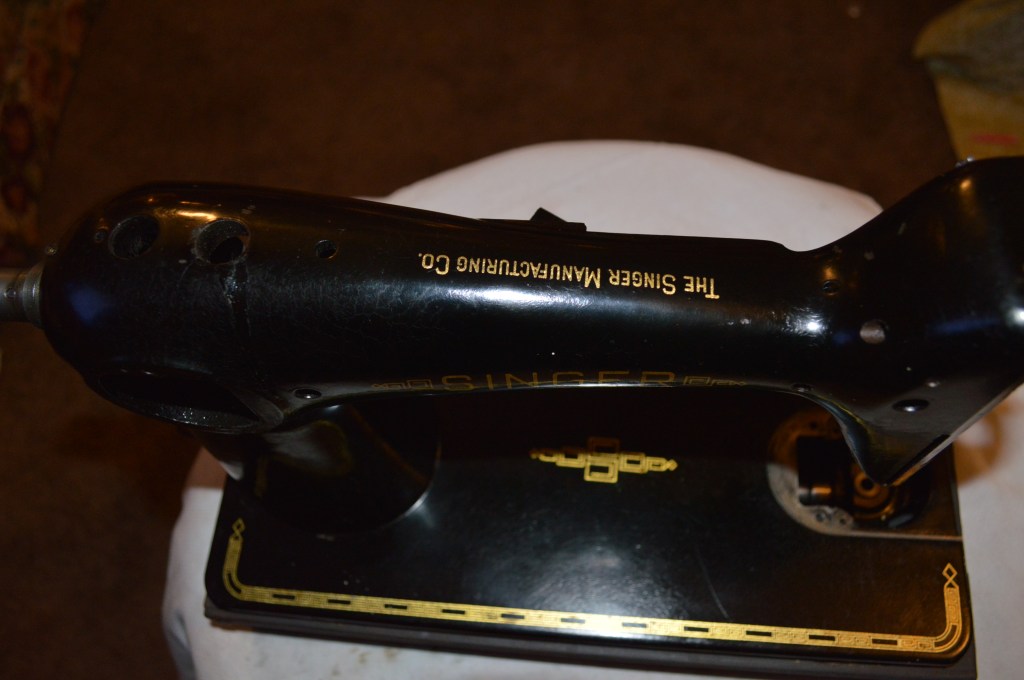
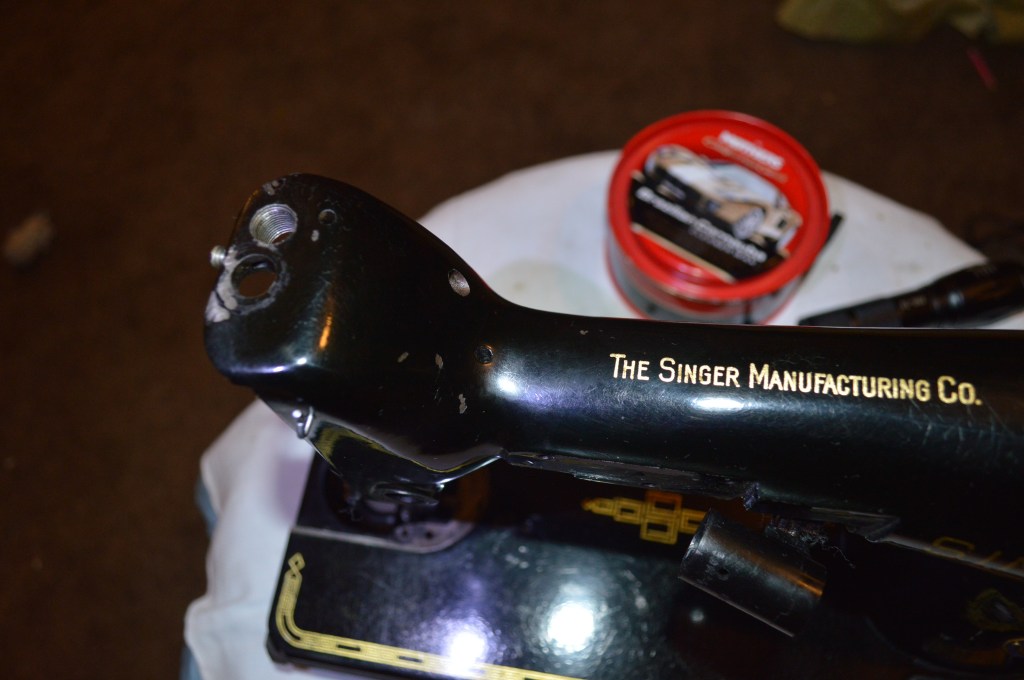
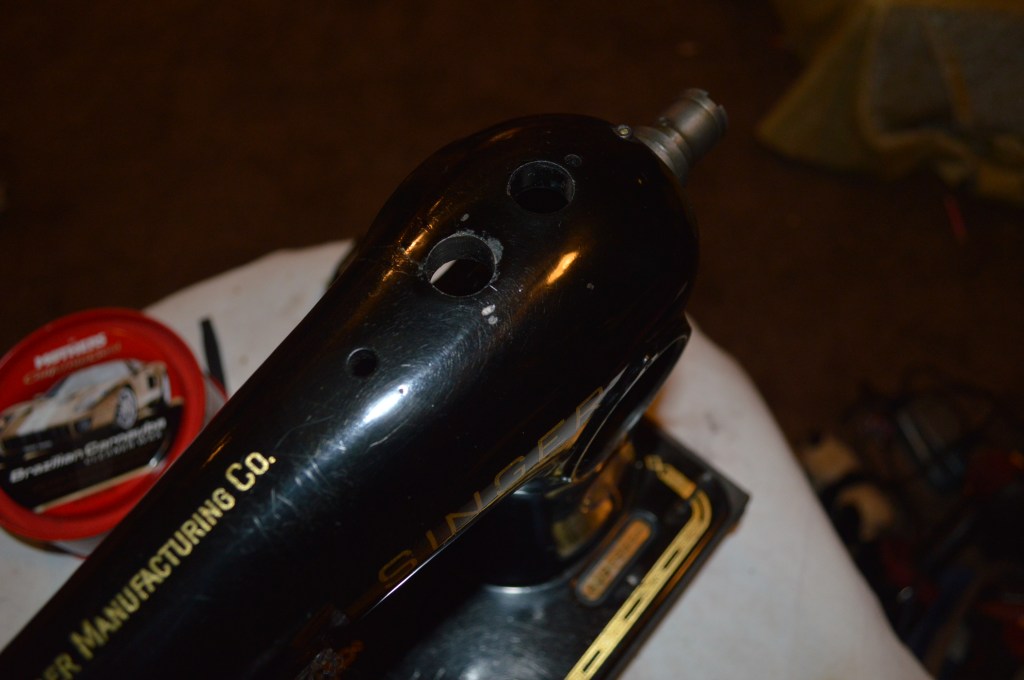
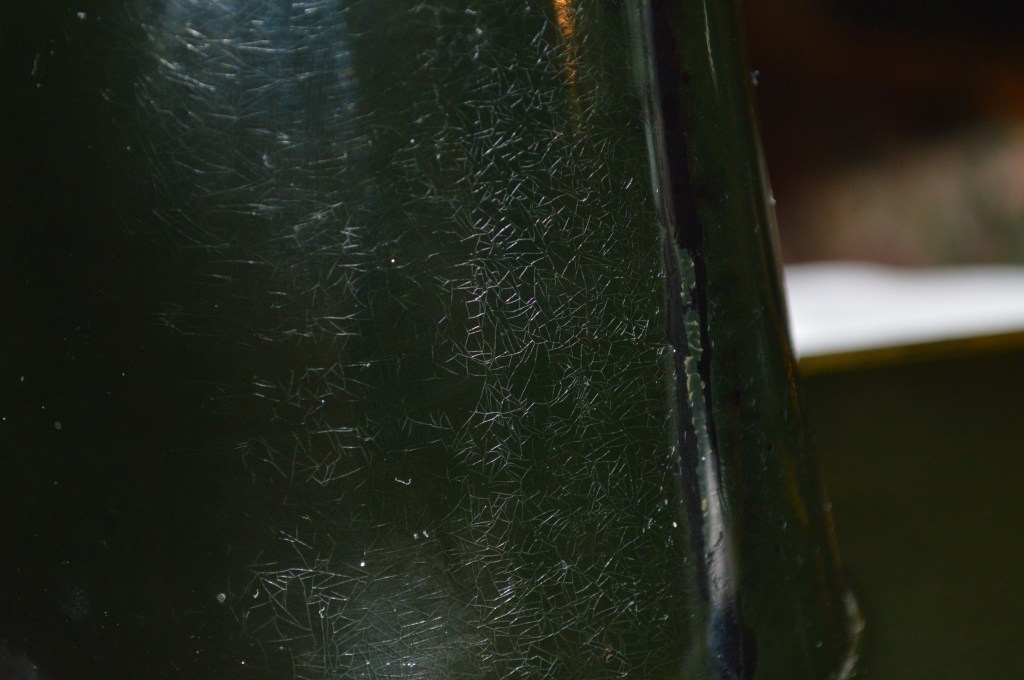
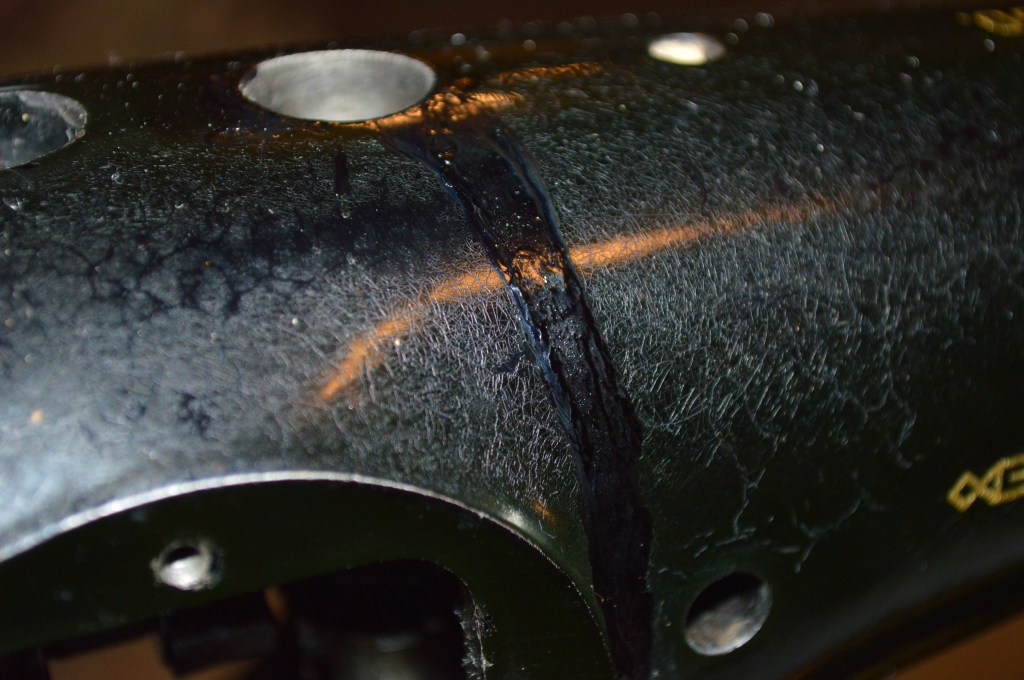
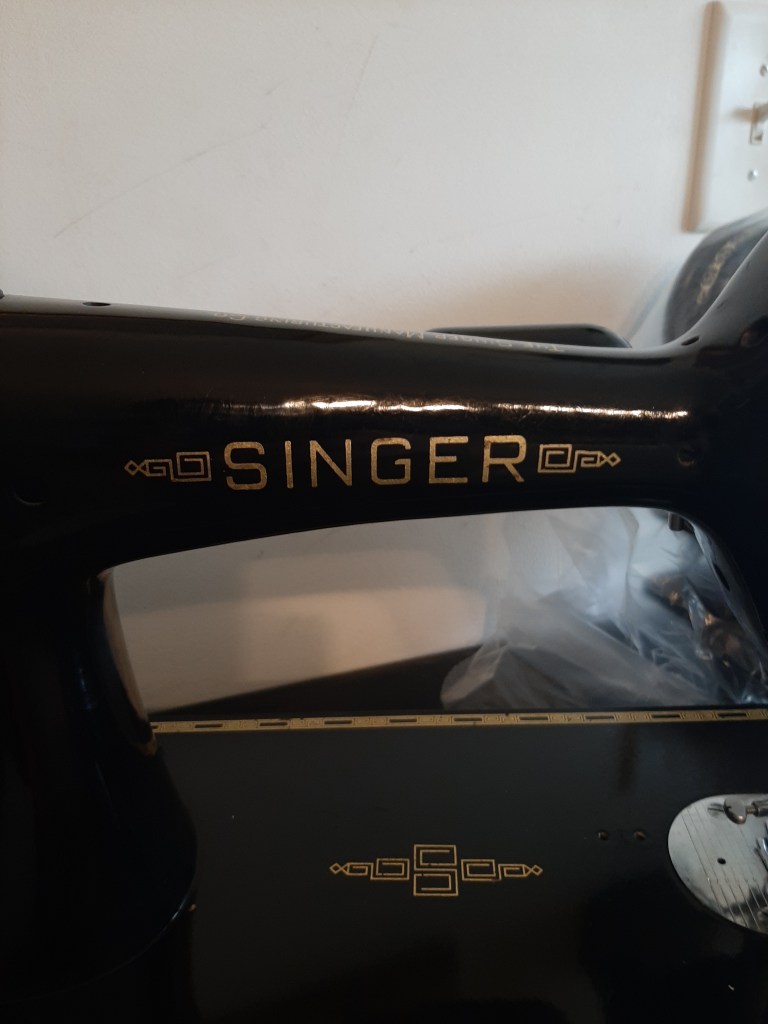
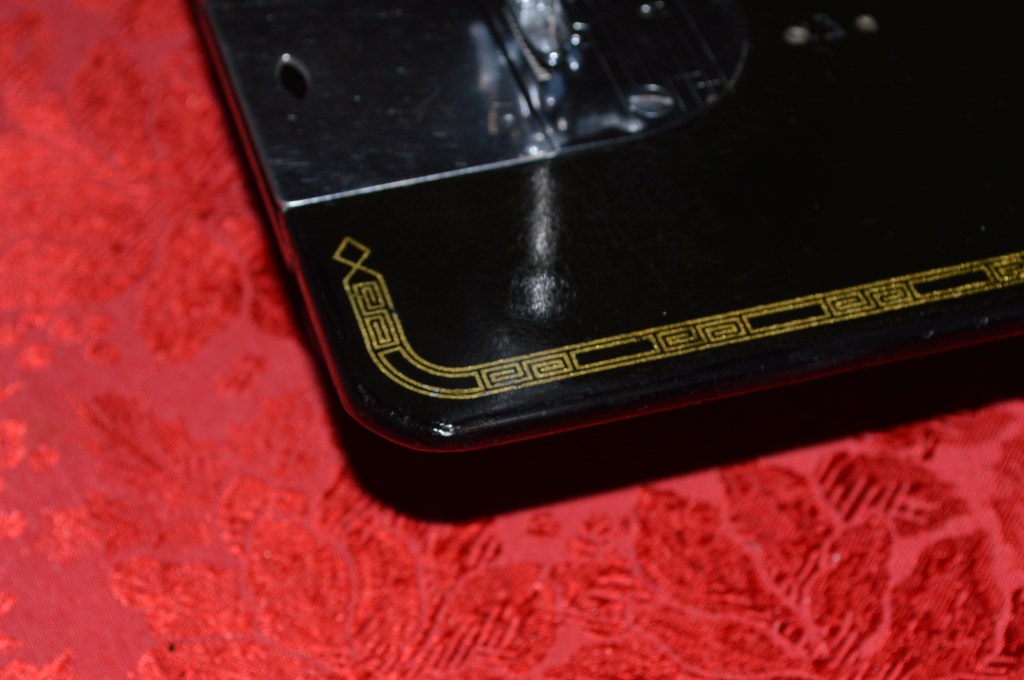
So, lets get on to the restoration. This Singer model 201-2 is serial number AJ965358 was one of 25000 commissioned on November 6, 1950. It came to me in okay condition. The machine was fairly smooth, turning it by hand, the decals were in very good condition, but the machine was dirty and the japanned finish was in need of attention. The bed looks as if the machine was well used, but the worst part of the finish, and the most challenging, was a “pin rash” on the sewing arm and some lost shellac due to some solvent used in it’s past. Unfortunately, pin rash is all to common, and it spoils an otherwise fine cosmetic finish. The good part is that the pin rash did not scratch the decals, so I think that there is hope that this will turn out to be a fine restoration. The machine will have a very thorough mechanical restoration, but I am going to stretch the limits in the cosmetic restoration. On the flip side, even if it doesn’t, it’s still a 201 and it will sew like a 201, and that’s the important part!
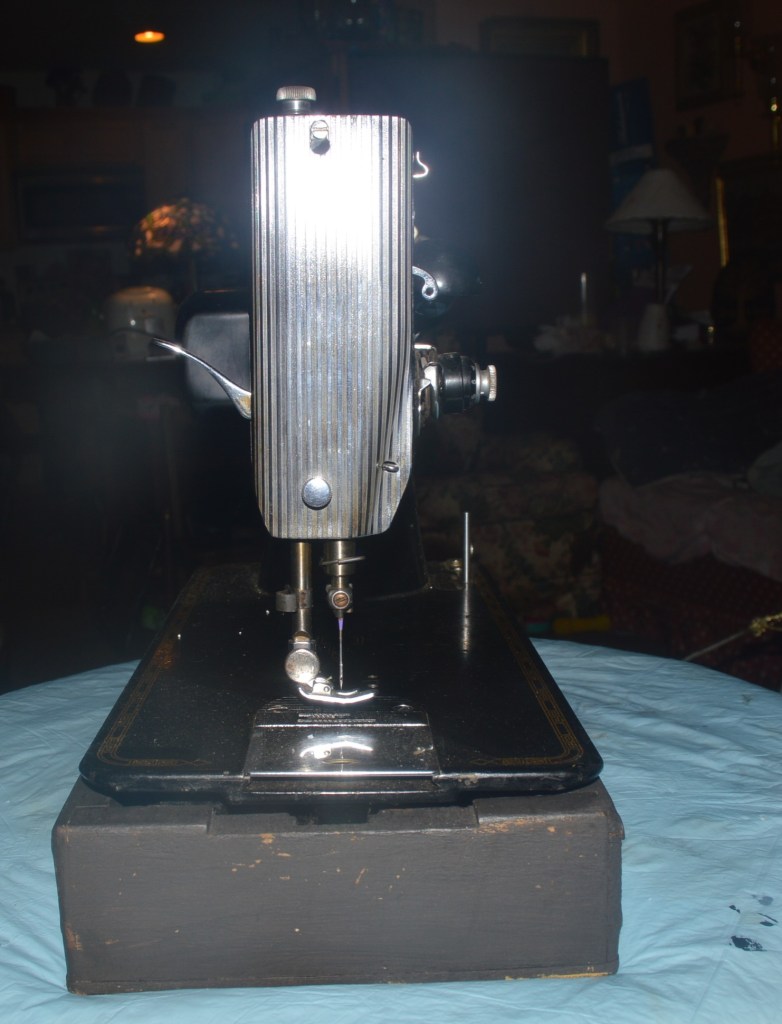
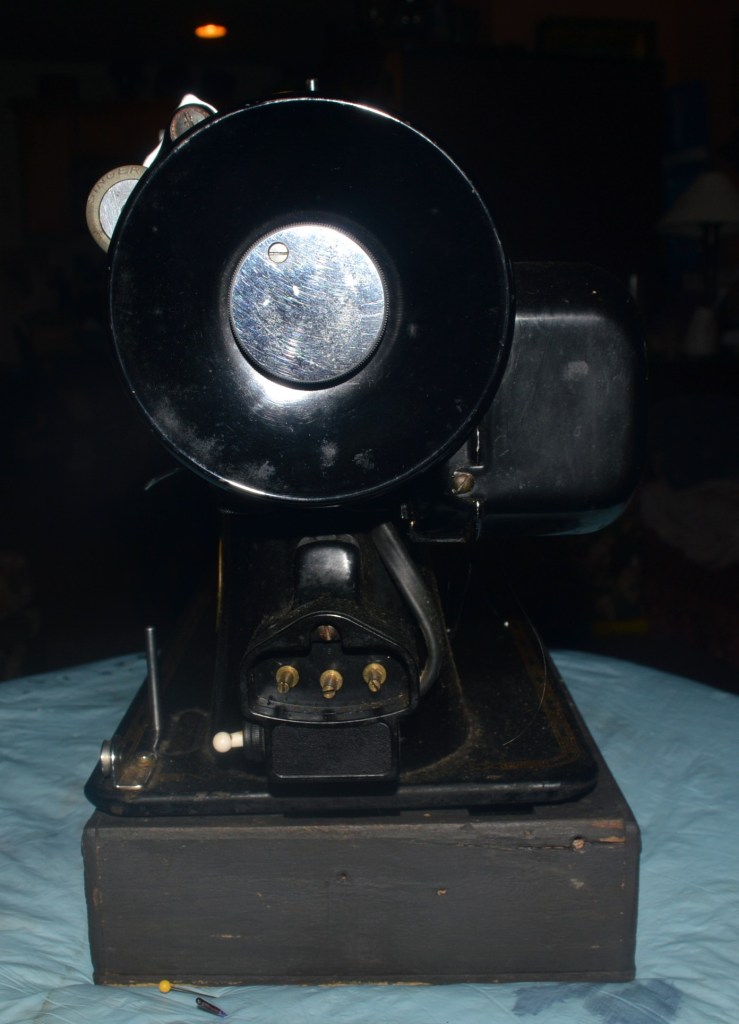
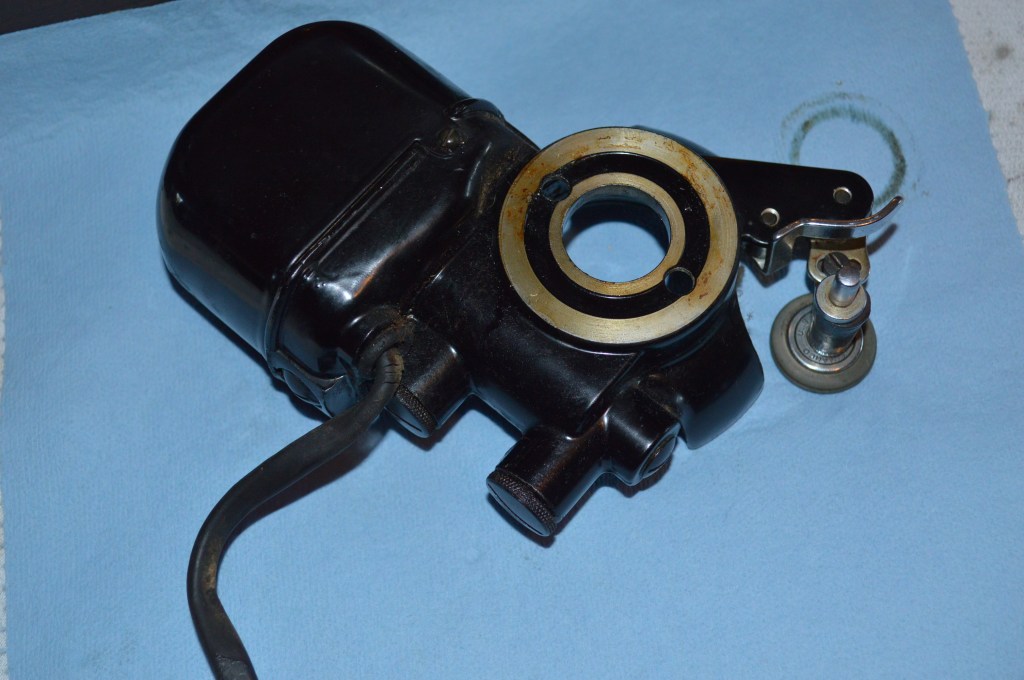
Read on and see what this means… here is the machine before restoration.
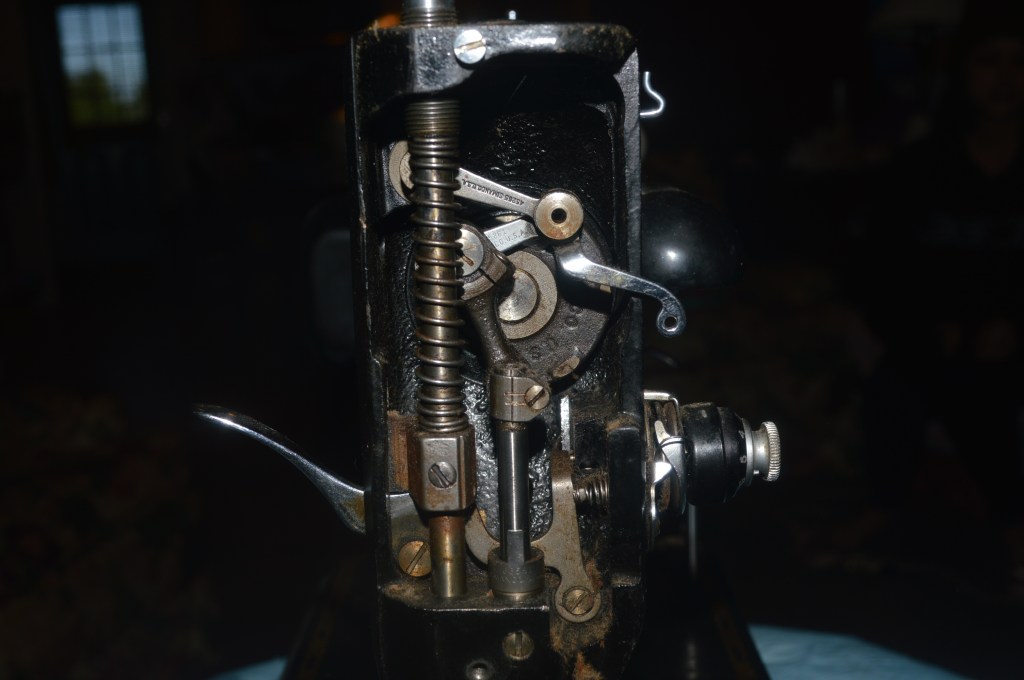
The 201 is a sewing machine that should not be completely disassembled. This is because the drive mechanism is completely gear driven. The machine uses three sets of heat treated steel gears. Two in the sewing arm to drive the needle shaft and send power to the underside at the rear of the machine, two under the rear of the machine to turn the bobbin shaft, and two under the bed at the front of the bobbin shaft to drive the rotary bobbin hook. These gears are lapped together as a set and matched tooth for tooth. The are precisely set to the proper gear lash to optimize the smoothness and balance of the drive mechanism. It is this close tolerance in the machines manufacture that delivers the smoothness and quiet running of the machine. In fact, Singer cautioned that, with one exception, in any event a gear needed to be removed or replaced, the machine would need to be returned to the factory for proper repair. Because there is no Singer factory around anywhere anymore, I am going to leave the gears alone. This does not make things easier… meticulous cleaning of these gears in place is very time consuming. I will show these gears as we proceed thru the restoration.
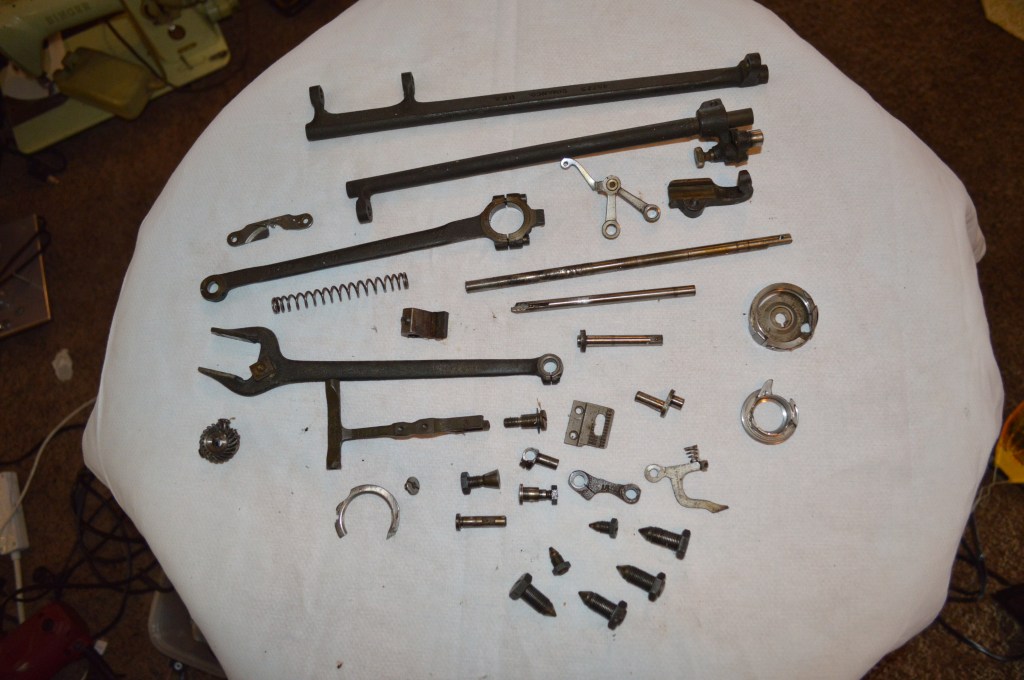
The first step is to remove all of the covers, the needle plate, the balance wheel, the plug terminal, the top tension unit, and the bobbin winder guide. Next, The feed dogs and thread clearance plate are removed in preparation of removing the bobbin case and rotary hook mechanism. The stitch length regulator arm and the feed dog drive connecting rod is removed from the sewing machine pillar. All of the parts in the sewing head to include the presser bar, the needle bar, and all of the linkages are removed. The rocker assemblies under the bed are removed.
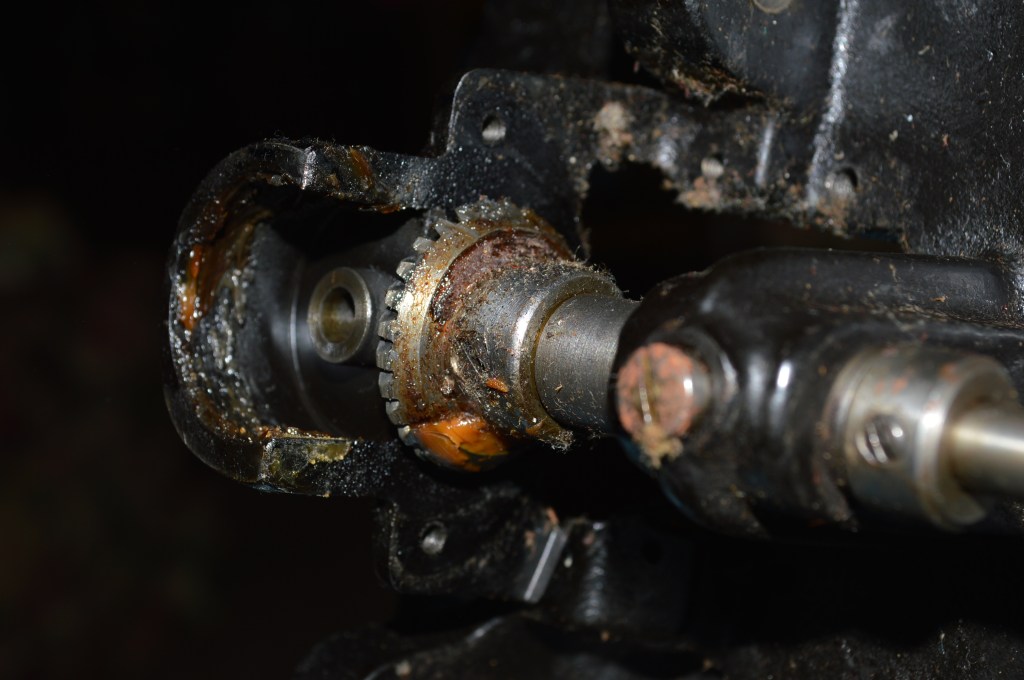
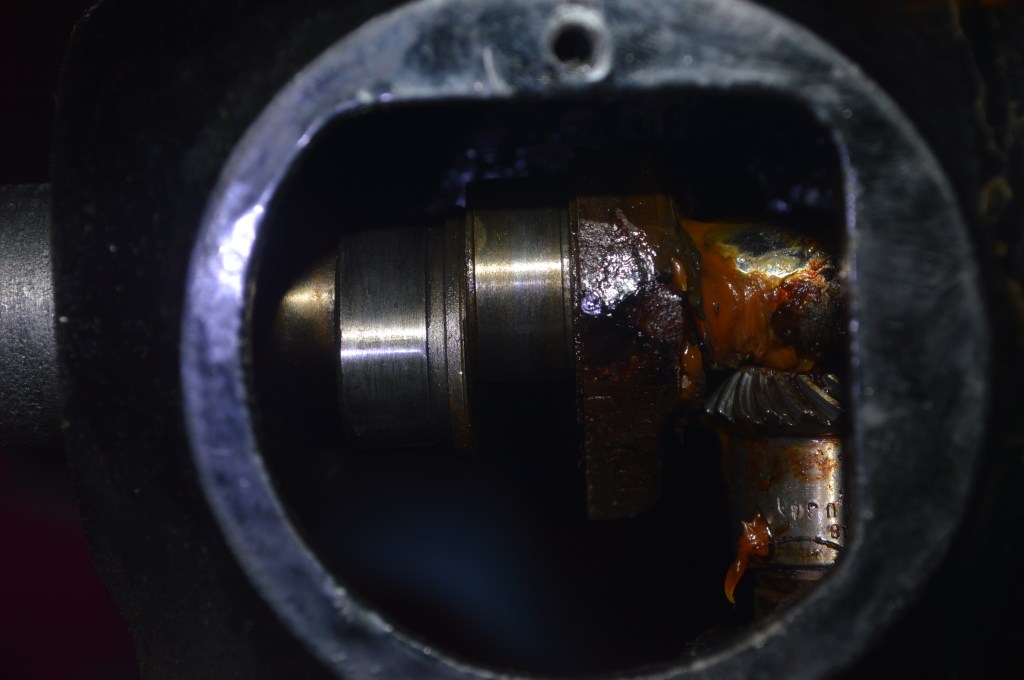
To remove the rotary hook, a gear must be removed. If you recall, I said that that there was an exception in disturbing the gears, and here it is… The gear that connects to the rotary hook shaft must be removed. This gear only fits one way on the shaft, as the set screw tightens against a flat surface milled into the shaft. It can only fit one way. I have also taken the precaution to mark the teeth of the matched gear to ensure the teeth are mated the same as before disassembly when the gear is reinstalled… it is the gear on the left.
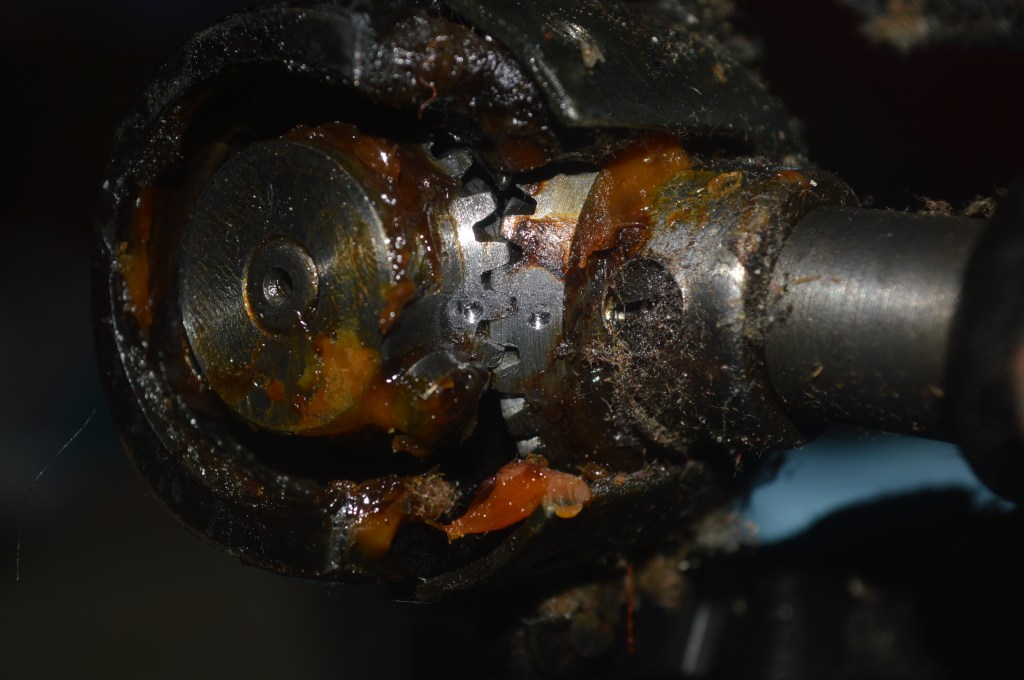
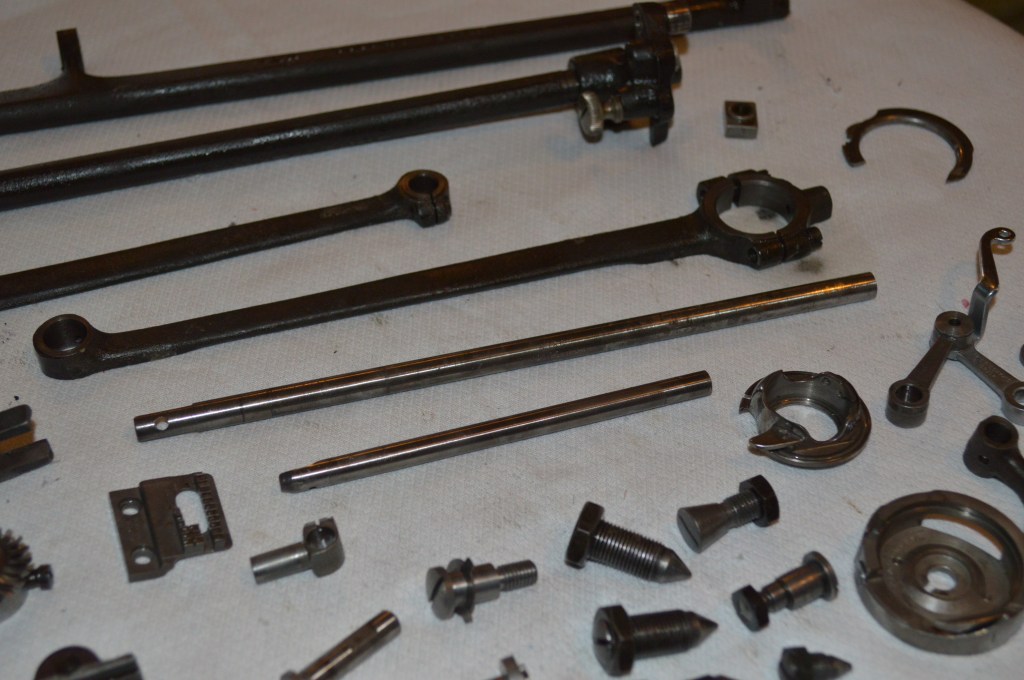
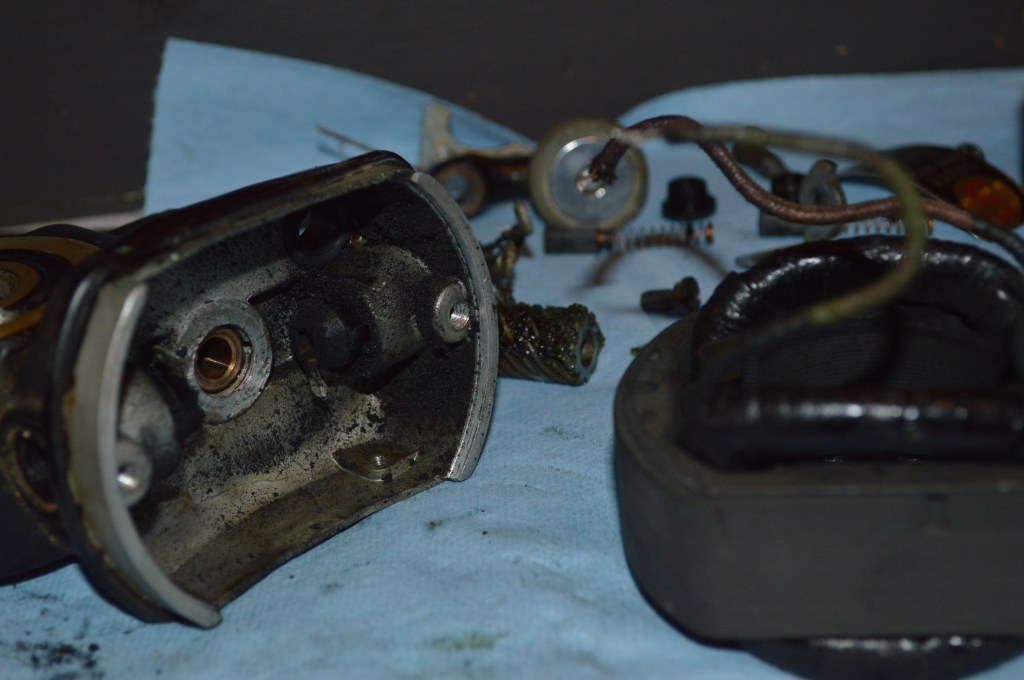
All of these assemblies will be shown “before” and “after”. The next few pictures shows the conditions of these parts before cleaning. Note the coffee colored oil varnish that has accumulated on both the outside and inside the parts… this varnish is detrimental to the machines full potential for smoothness and must be removed.

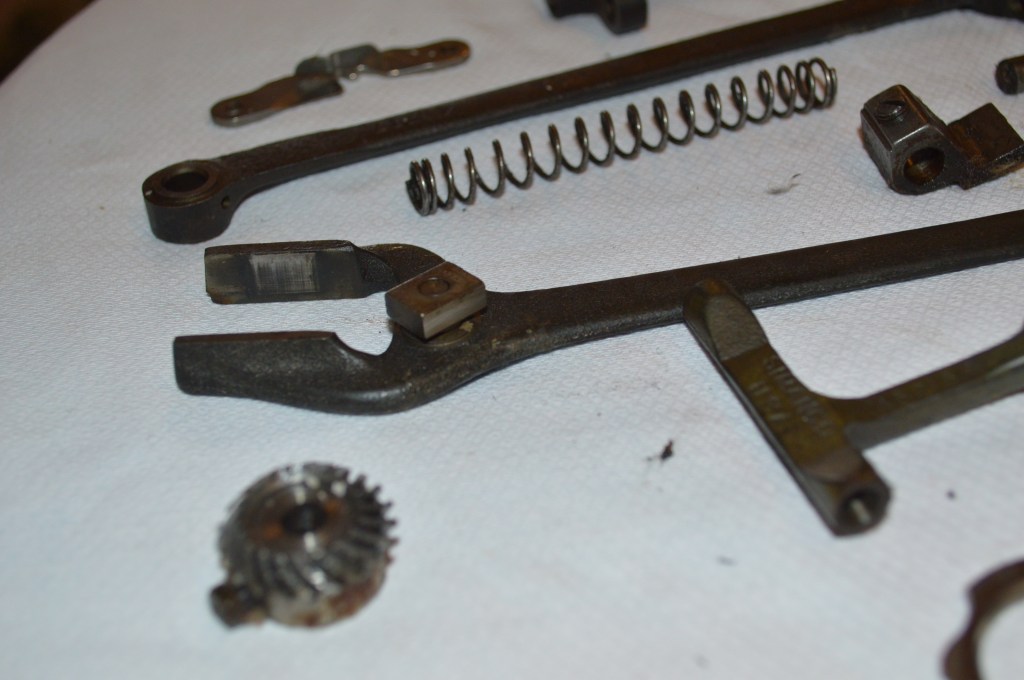

If you look closely, you will notice a brown oil varnish not only on the outside, but the inside of these rotating parts.
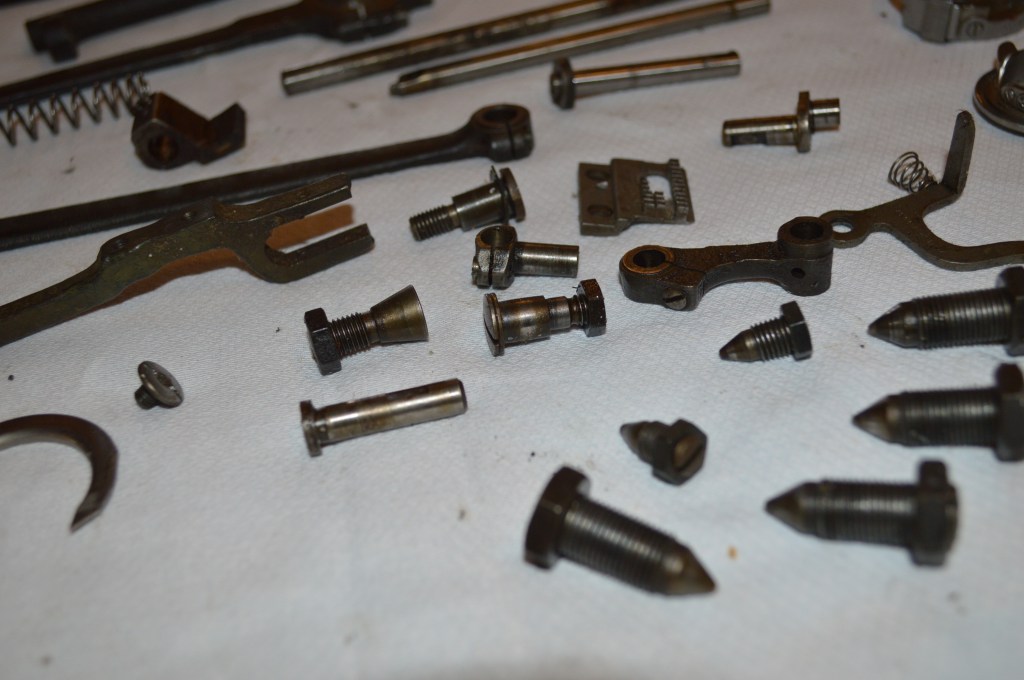
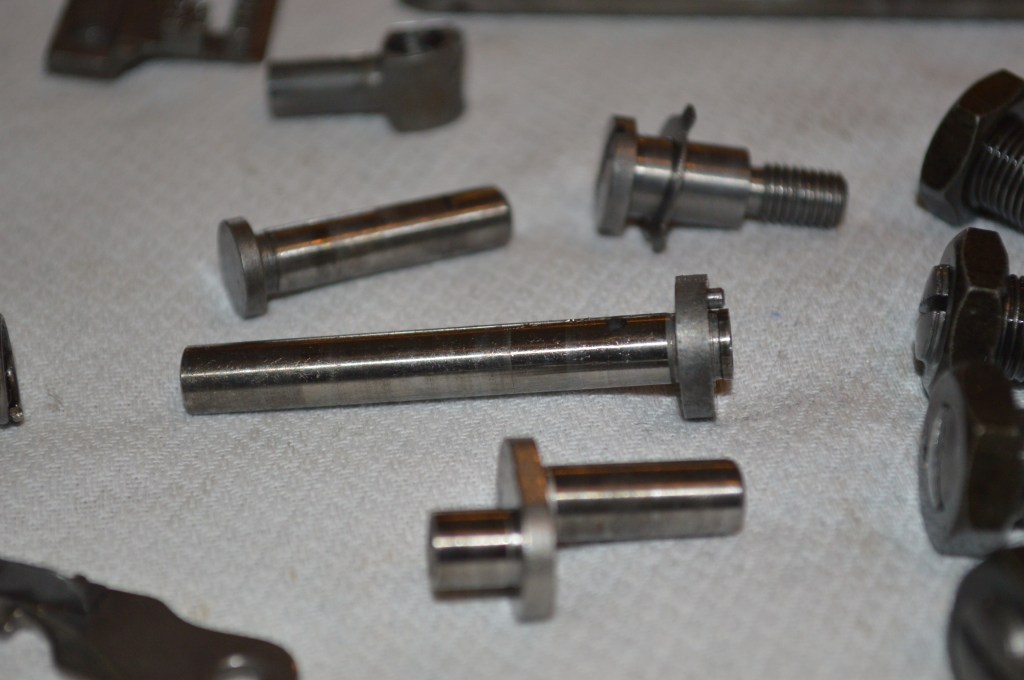
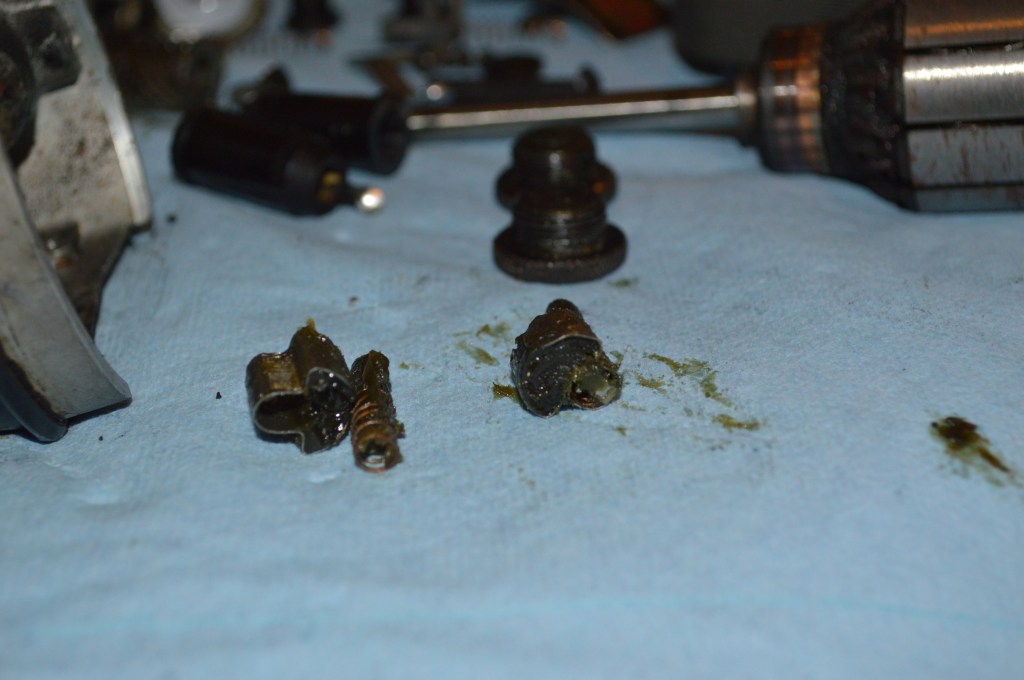
Here is a closeup of the feed dog drive connecting rod…
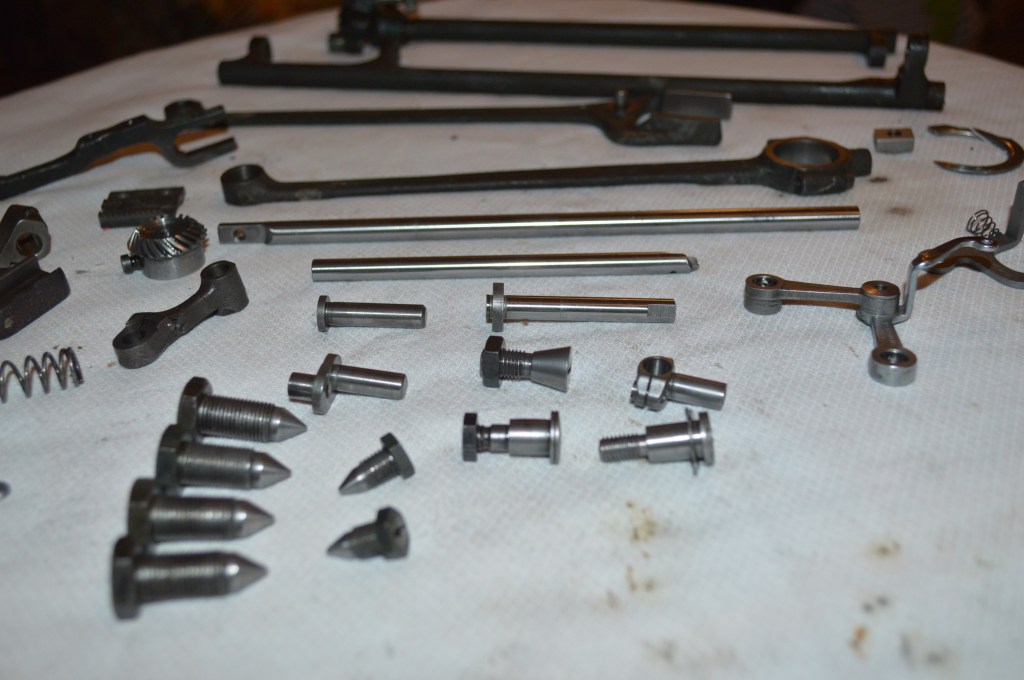
The parts are much cleaner after the initial ultrasonic cleaning…

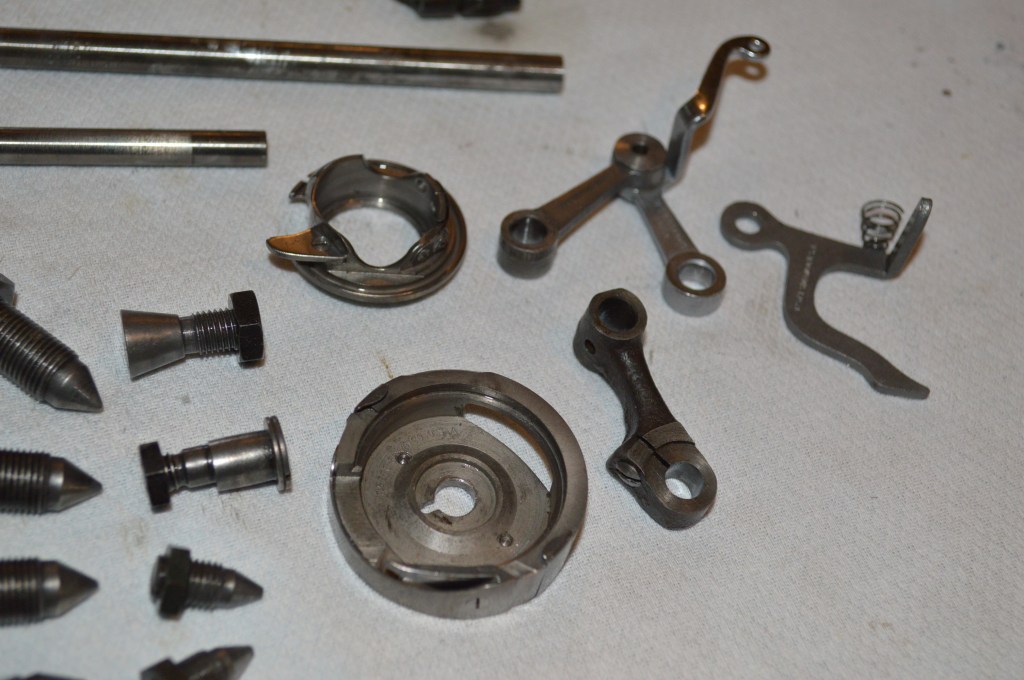
Bits Before Wire Brushing
To complete the cleaning, these parts are wire brushed, and the needle bar, the presser foot bar, and the rotary hook shaft are polished to a mirror finish. The condition of these parts is “as new” and are ready for reassembly.
Wire brushed, and/or polished, and Cleaned Like New 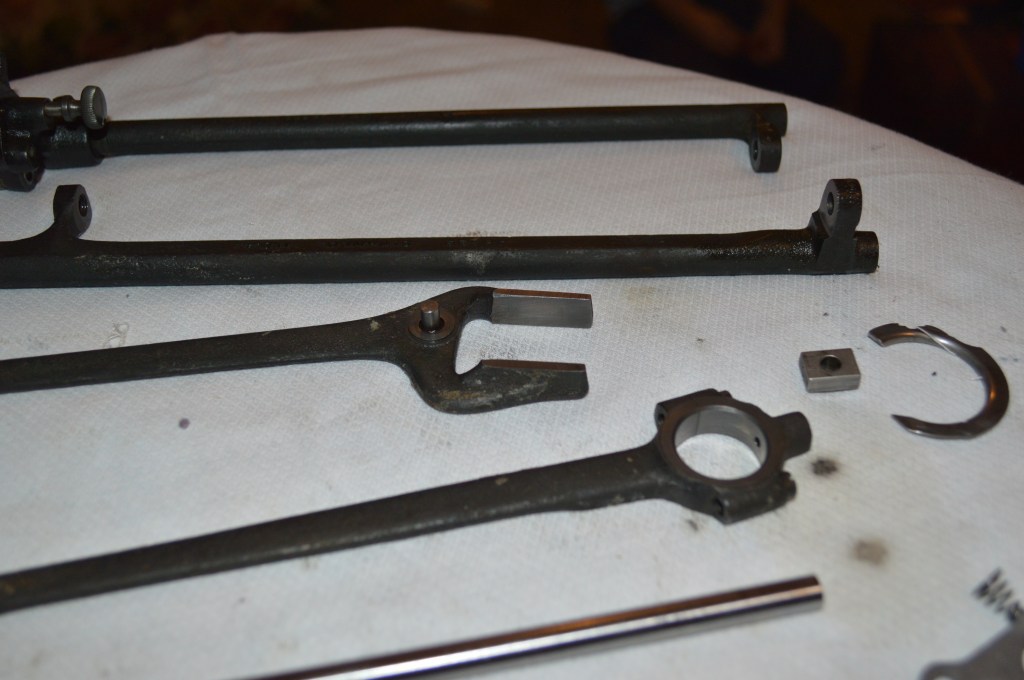
Parts Wire Brushed Free of Varnish 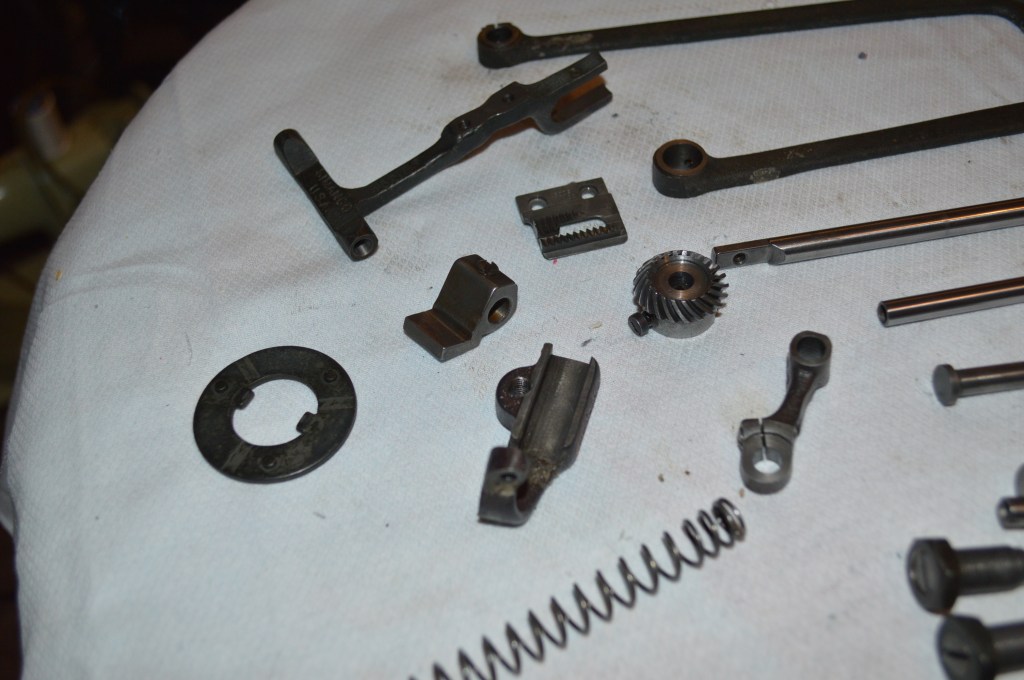
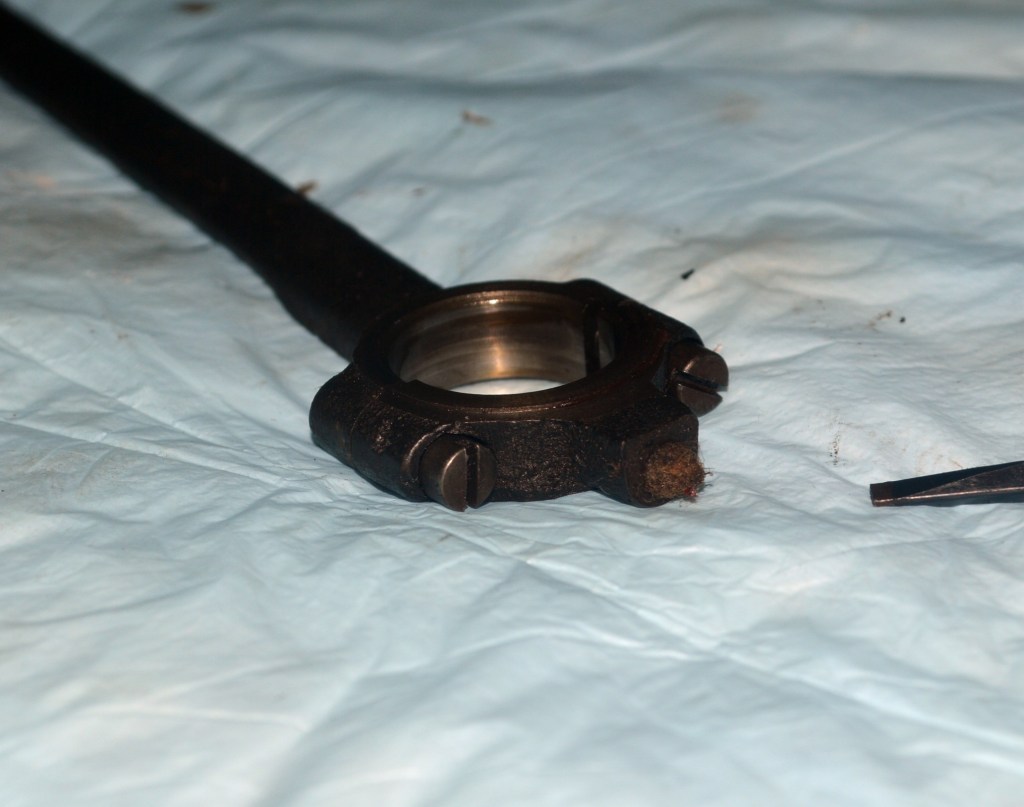
Any part that has a cover attached offers a place for dirt or debris to hide. These are disassembled and cleaned. Rule of thumb: If it has a screw on it, it can be disassembled, and should be disassembled.

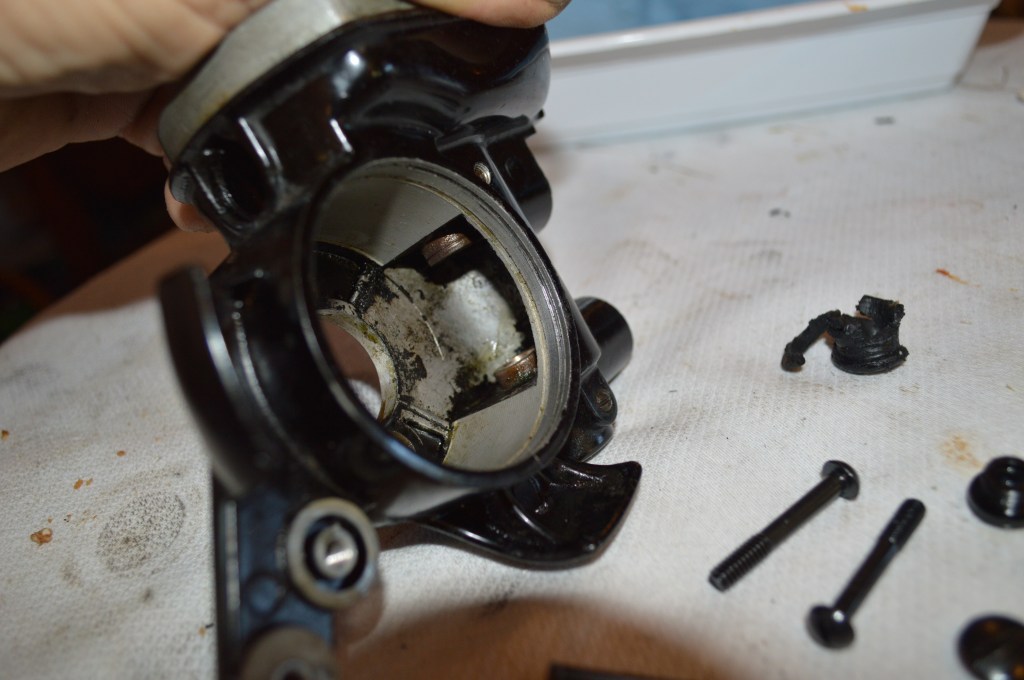
Further Disassembly of Rotary Hook Required for Cleaning… 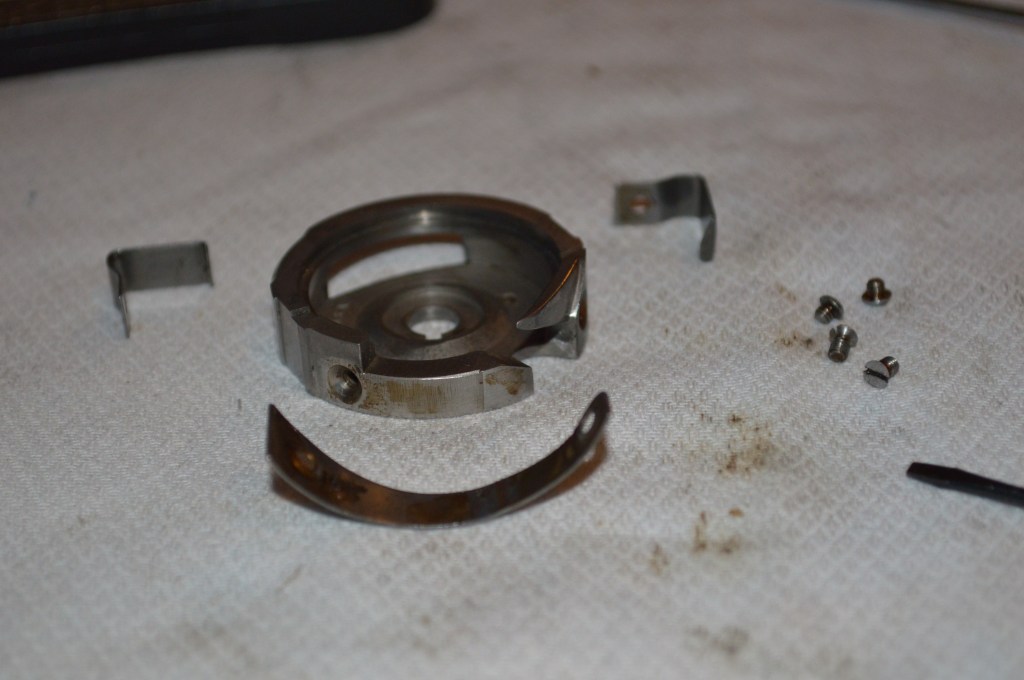
Varnish revealed Behind the Cover… 
See the notch? It was filled with crud, I don’t know what this groove is for, but Singer put it there on purpose… and that’s enough reason for me to clean it. 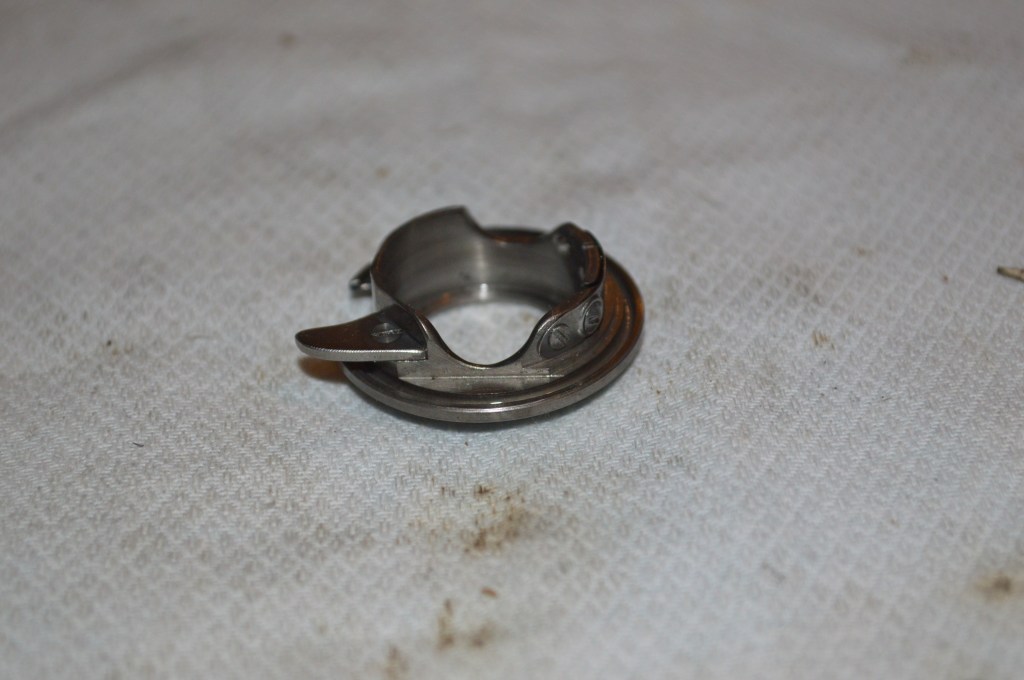
Bobbin case 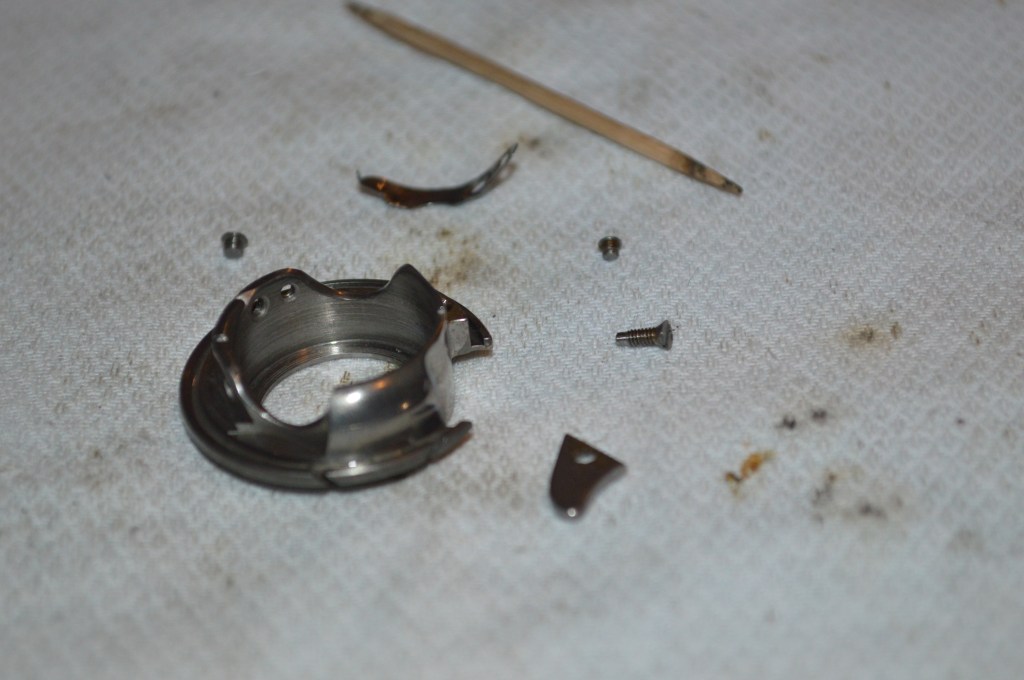
Bobbin case finger and leaf spring removed and cleaned.
The nickel plated parts that were removed are ultrasonically cleaned, then the front and side cover are polished…
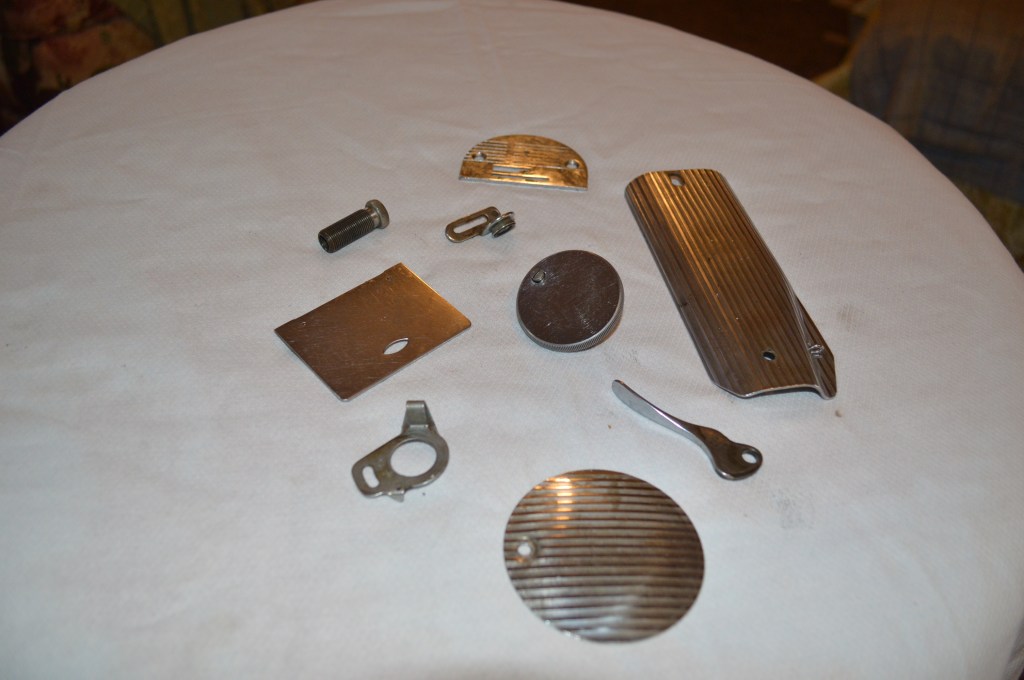
Before Cleaning 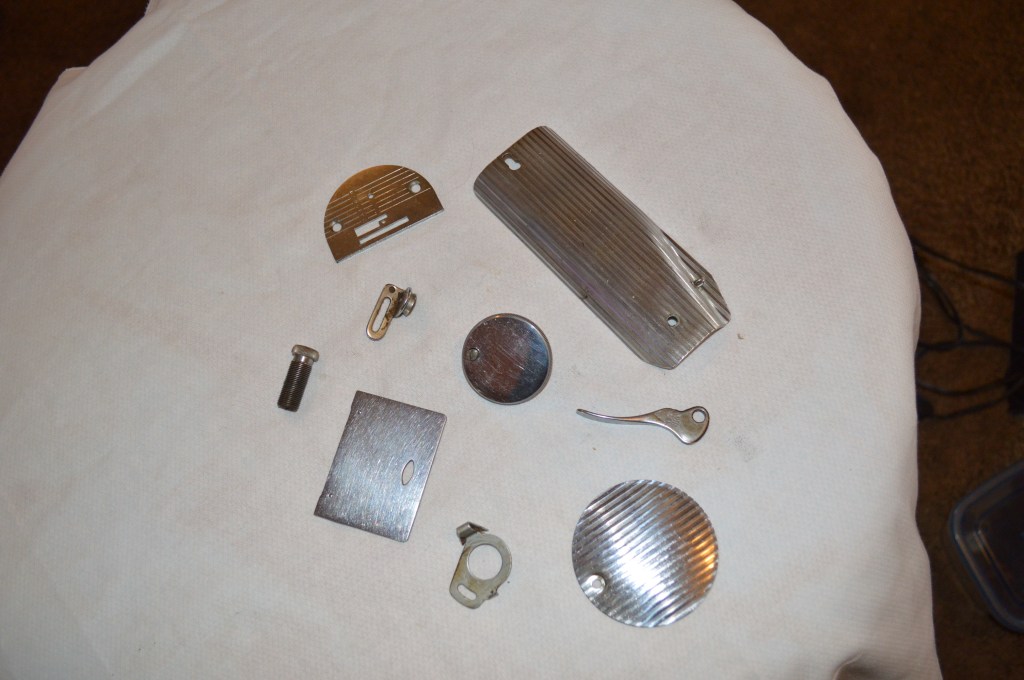
After Cleaning 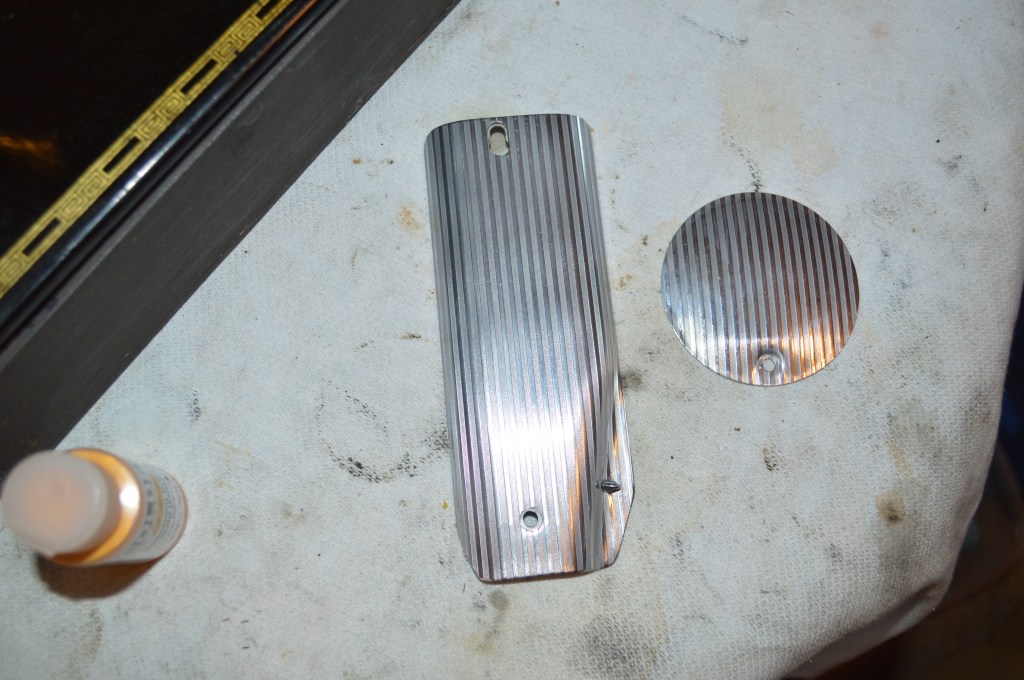
Polished Covers
Here is the Sewing machine head showing before and after…
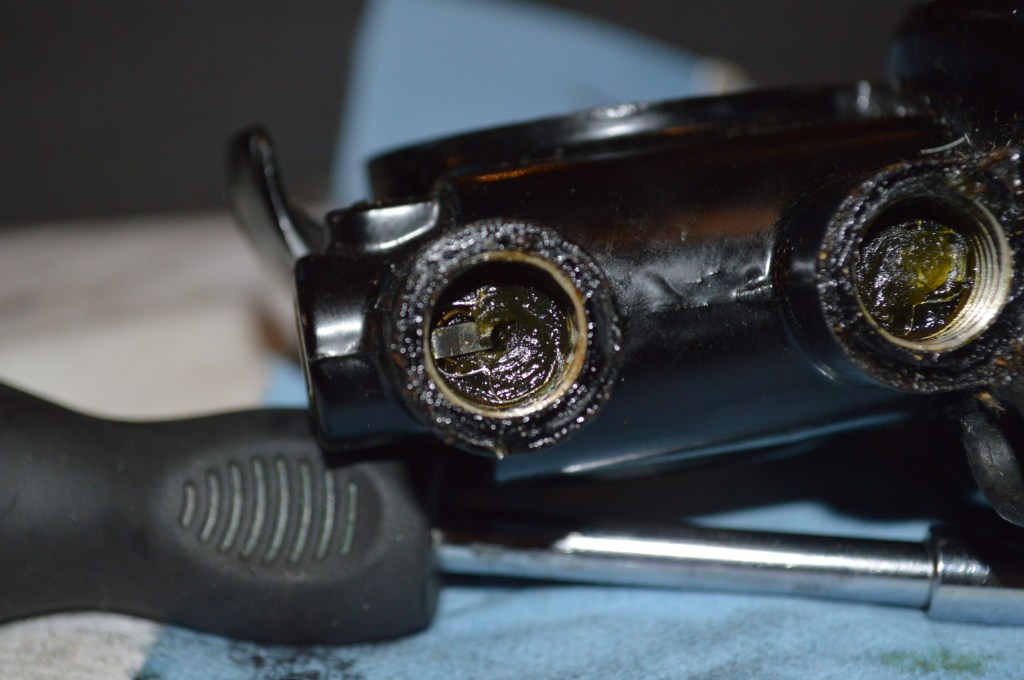
Sewing Head Assembly Before 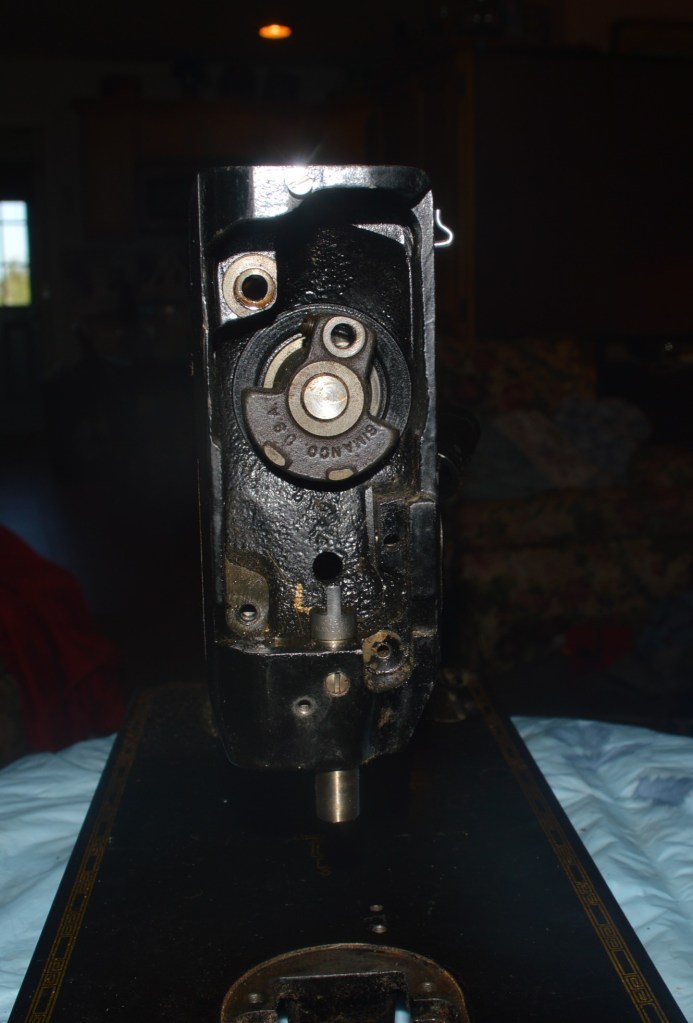
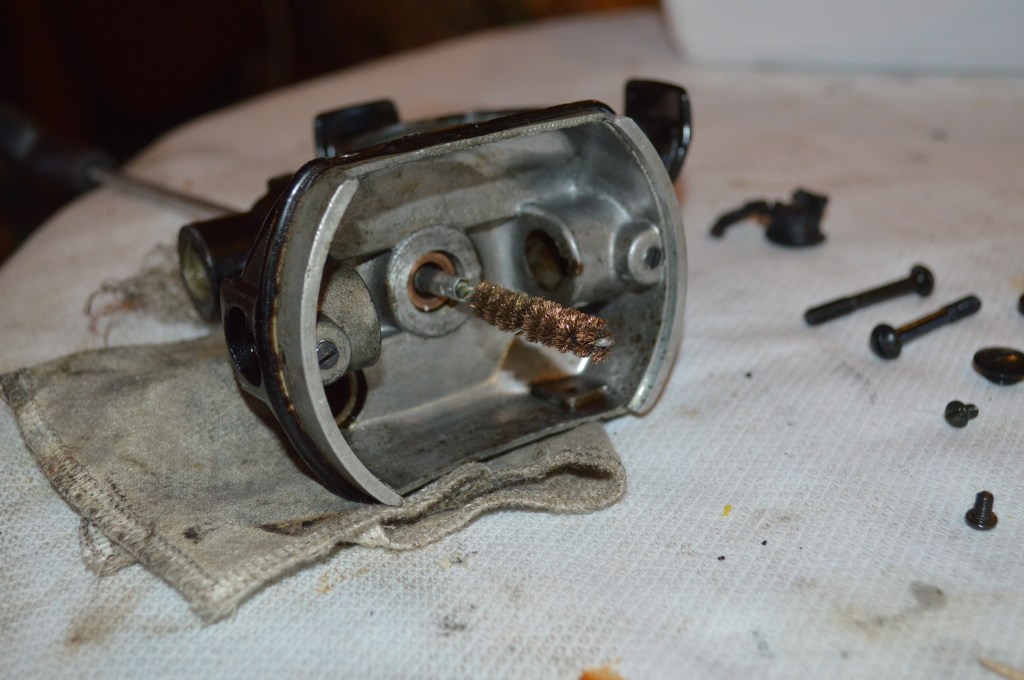
Sewing Head Assembly During… The Bores are Wire brushed With A Gun Barrel Cleaning Brush. 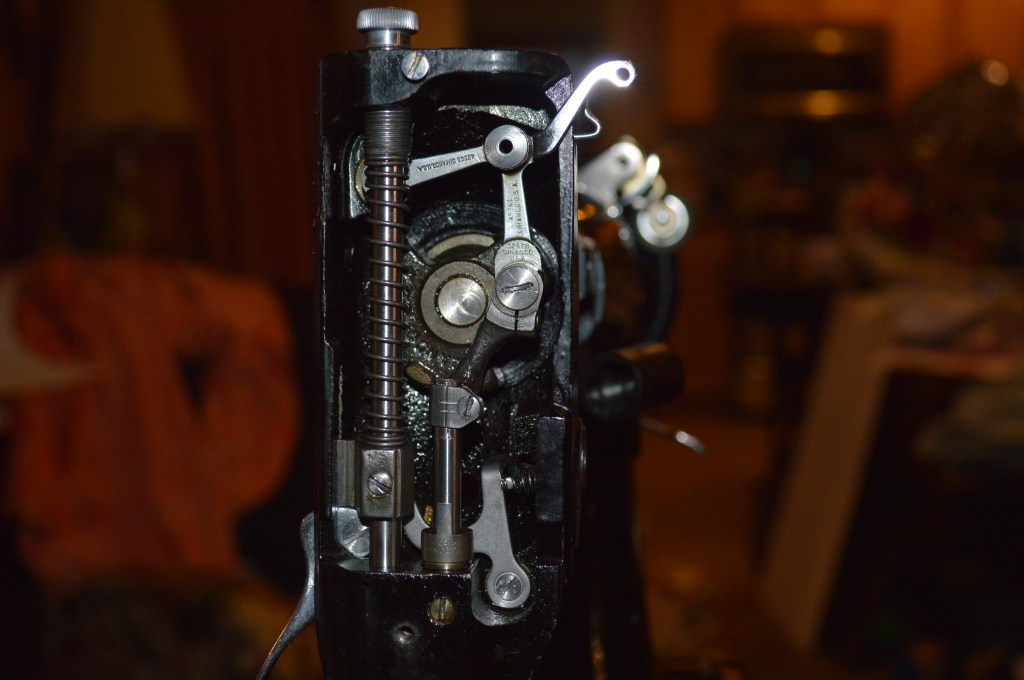
Sewing Head Assembly After
The same thing is done under the bed…
Bobbin Drive Gear Before 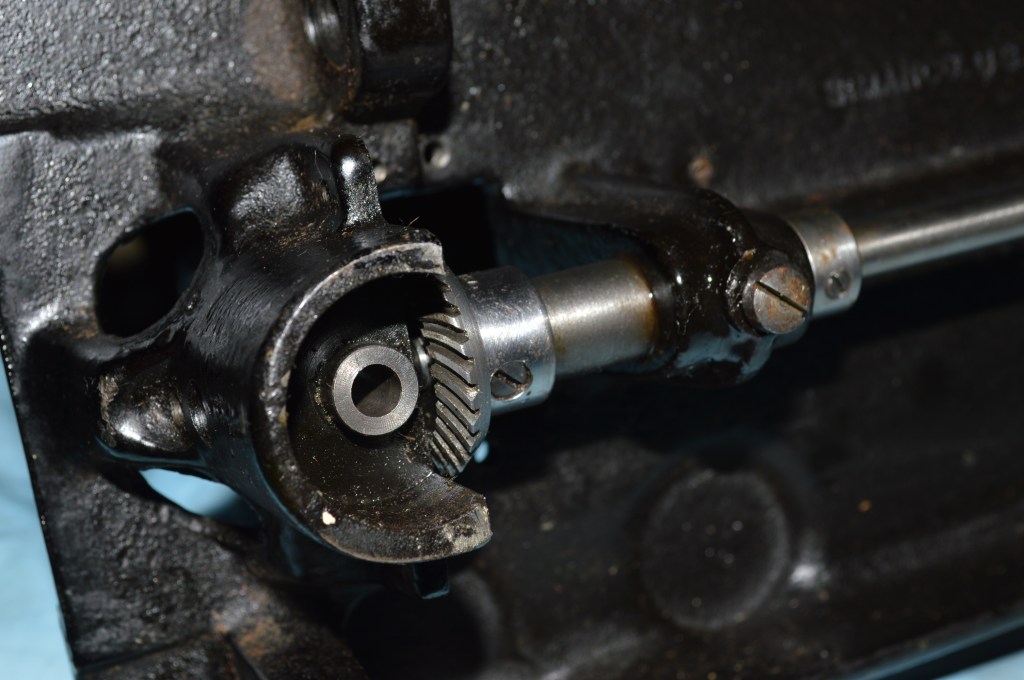
Bobbin Drive Gear After 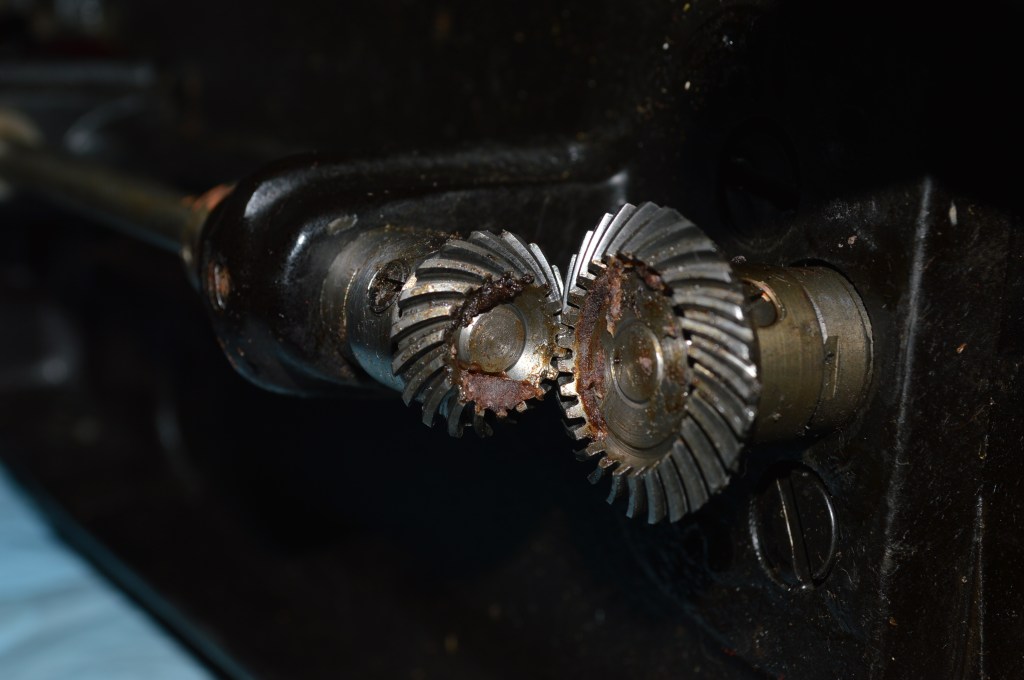
Bobbin Shaft Gears Before 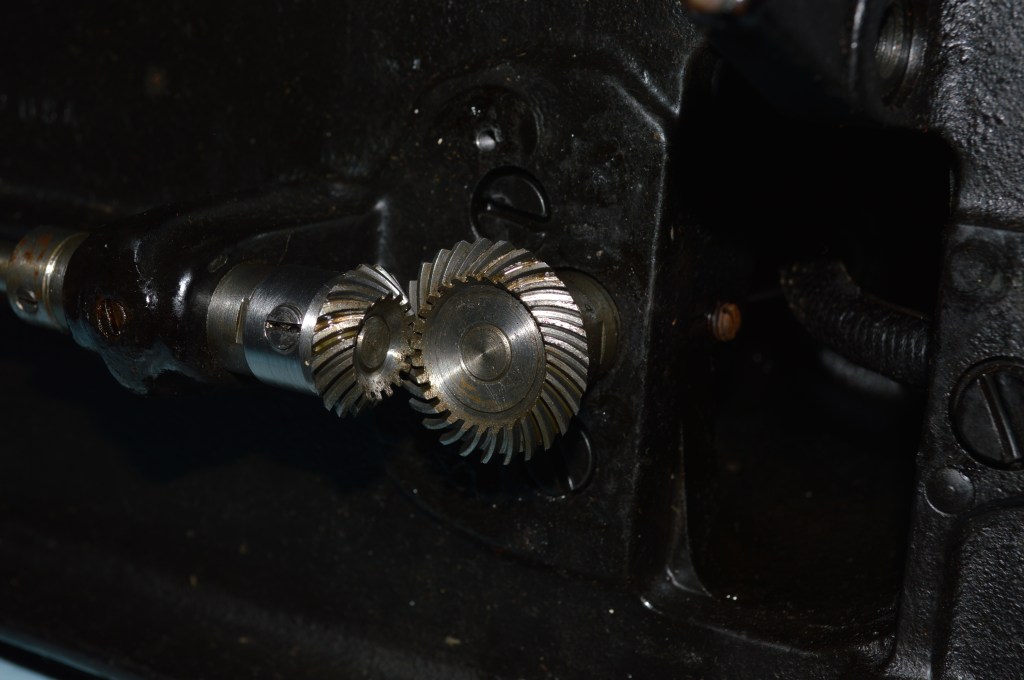
Bobbin Shaft Gears After 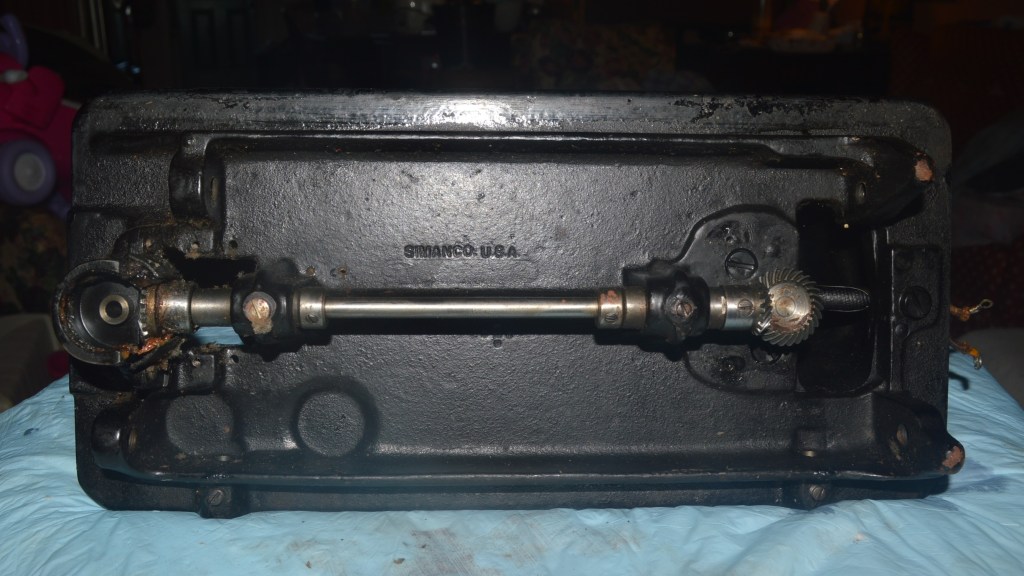
Bottom Drive Mechanism Before 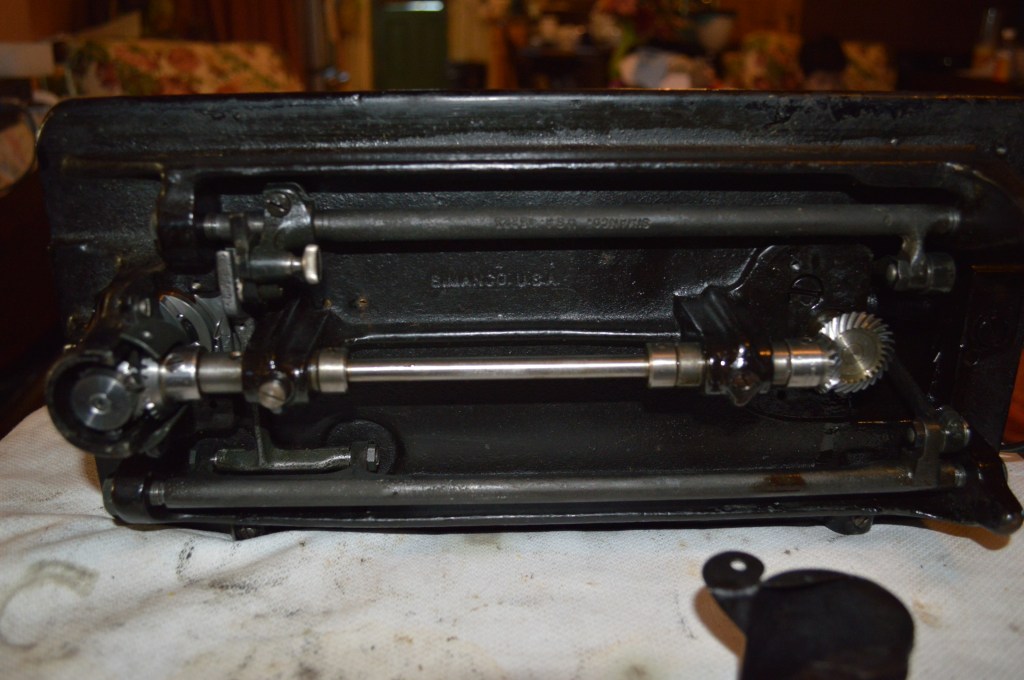
Bottom Drive Mechanism After
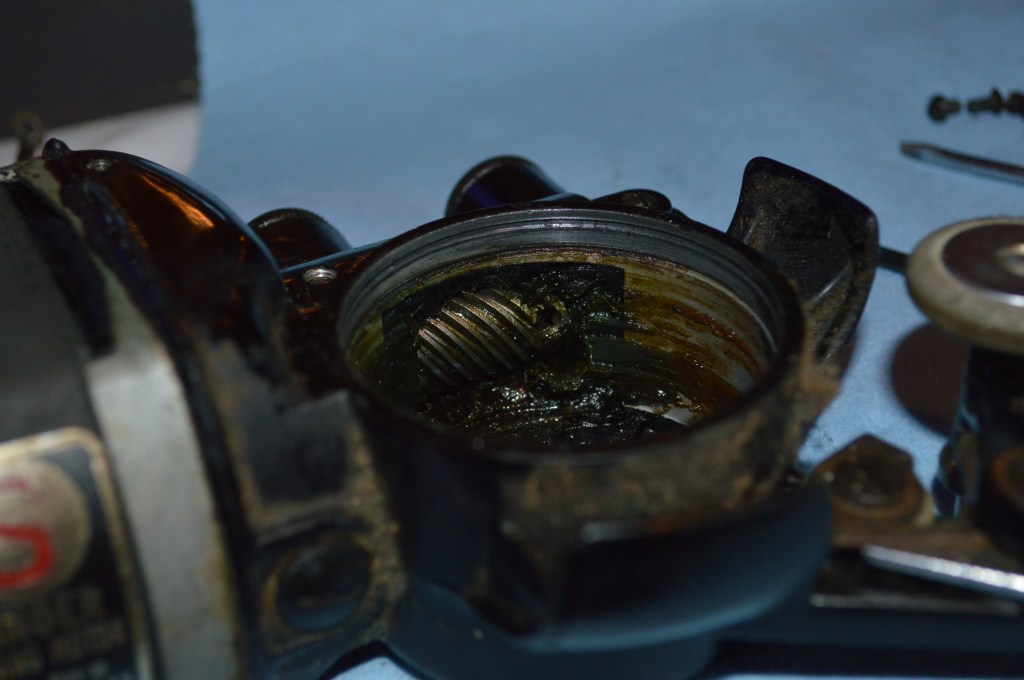
The gear set in the sewing arm is the most difficult. First, the grease is picked out as best as possible. The gears are then cleaned section by section as the gear is being turned. Now, here’s the thing… The gears in a 201 are supposed to be oiled, not greased. I see it all the time, and it is not unusual to find grease on these gears.
Gear Set Before 
Gear Set After
The rotary hook is a very important mechanism to get clean… the next few pictures show before and after…
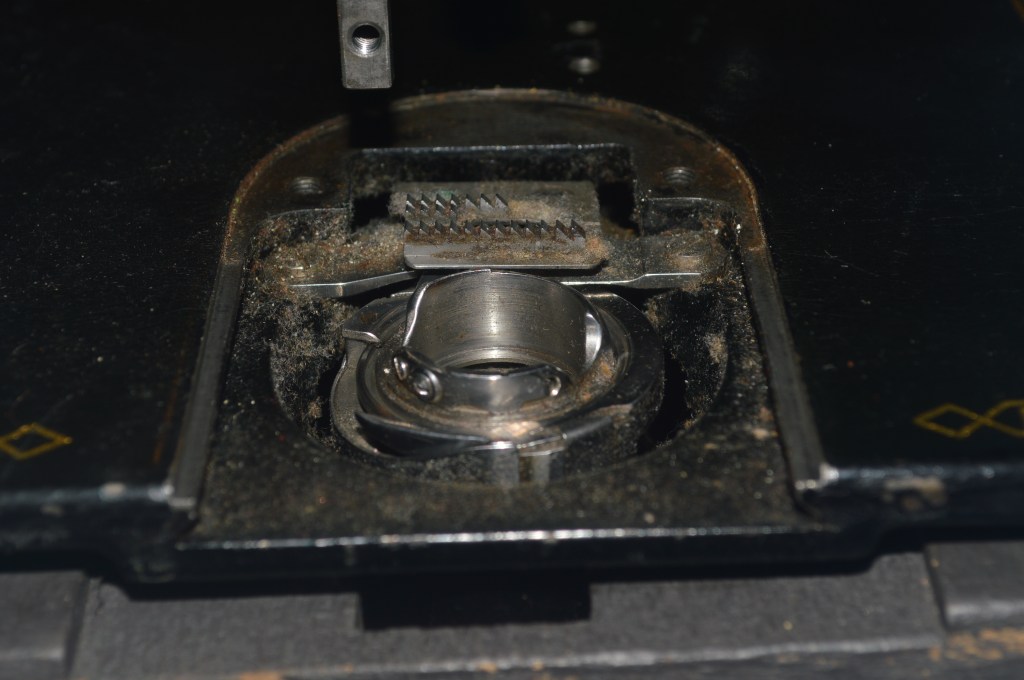
Bobbin Case Before 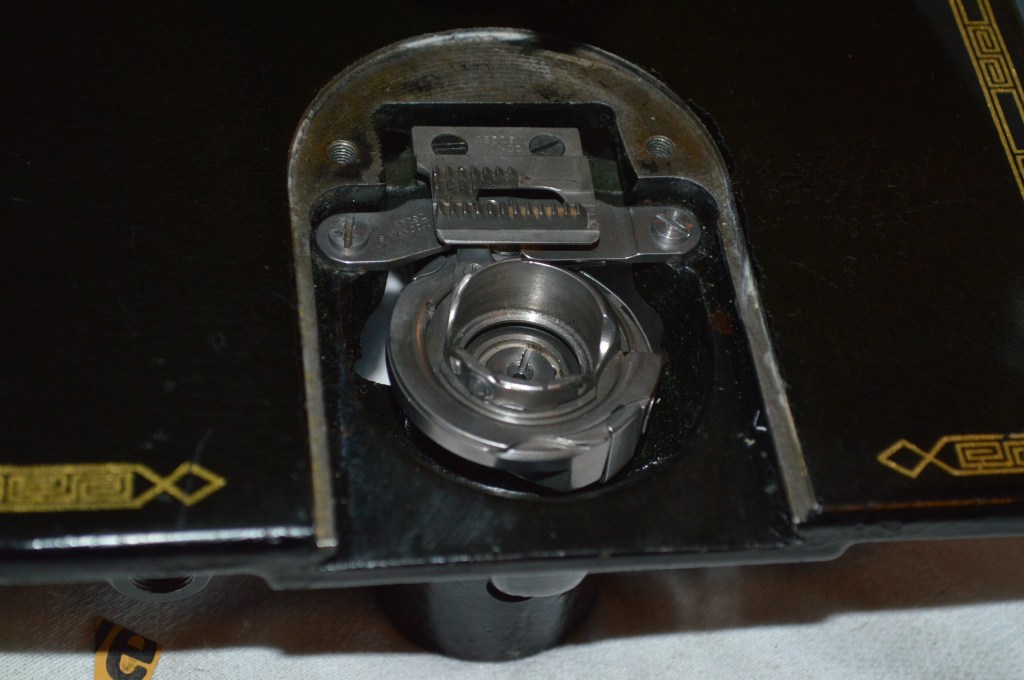
Bobbin Case After 
Rotary hook shaft bore before 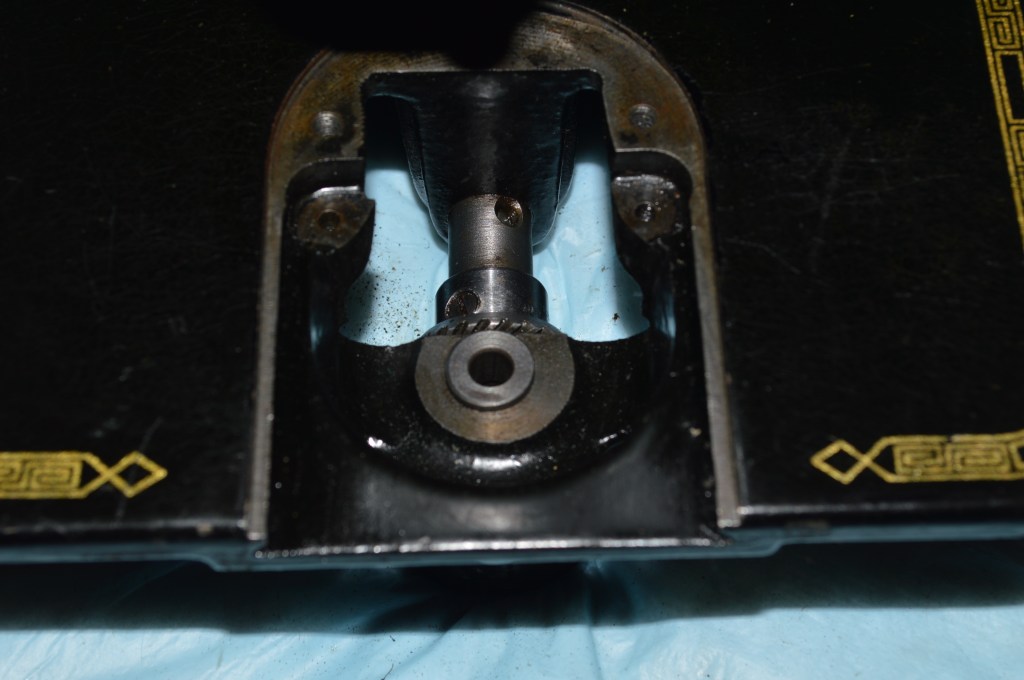
Rotary Hook Shaft Bore After
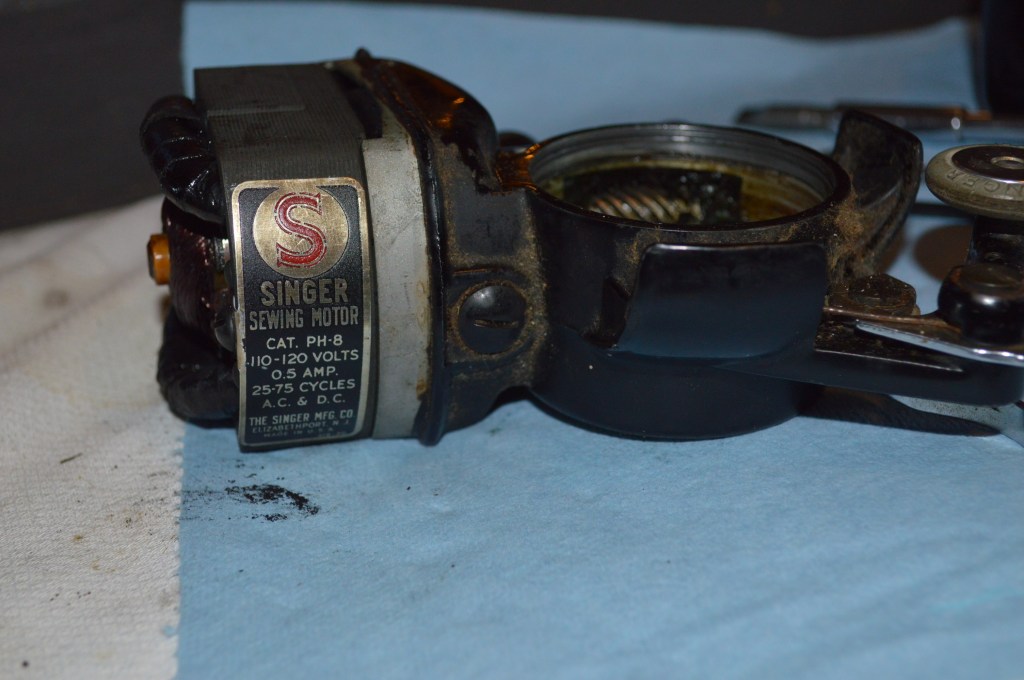
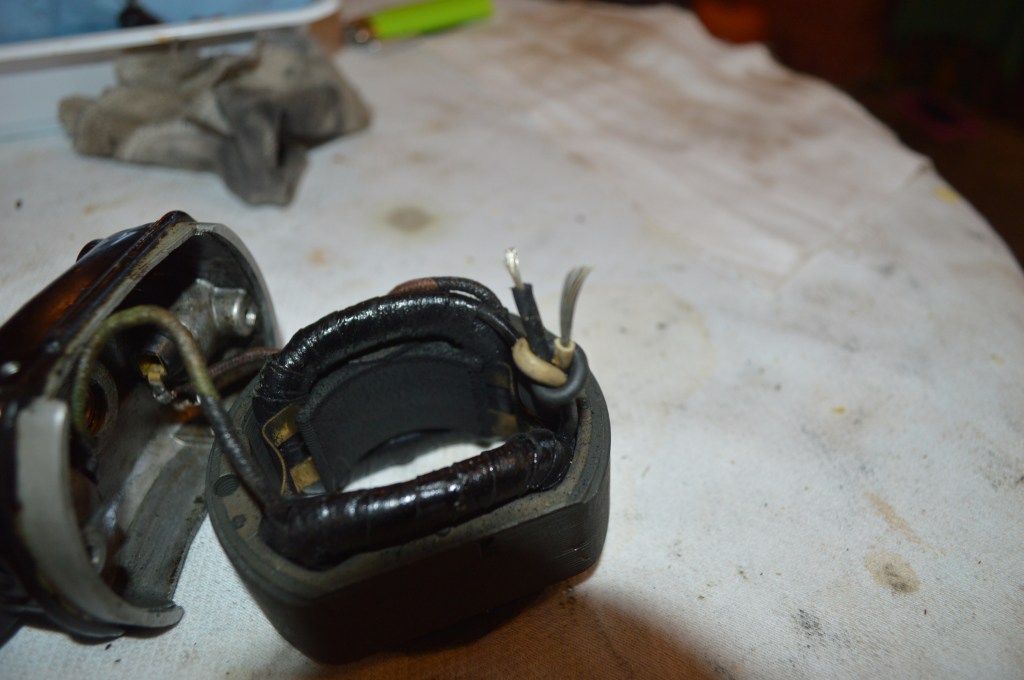
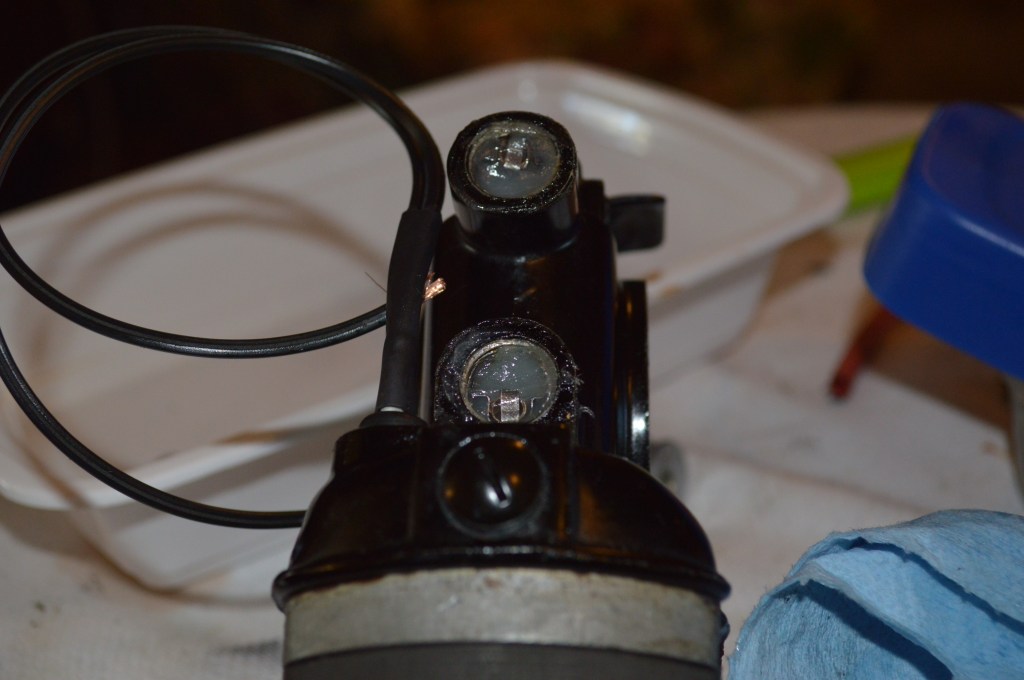
Now comes the restoration of the motor. The “potted motor” on the model 201 (and the model 15-91) is a fantastic motor. They are well designed, well built, and made to be serviced. It is a testament to the durability of these motors that after 90 years or more, they still run day in and day out. The motor restoration goes like this… here is the motor before disassembly.

The motor cover is removed, and the main wires cut
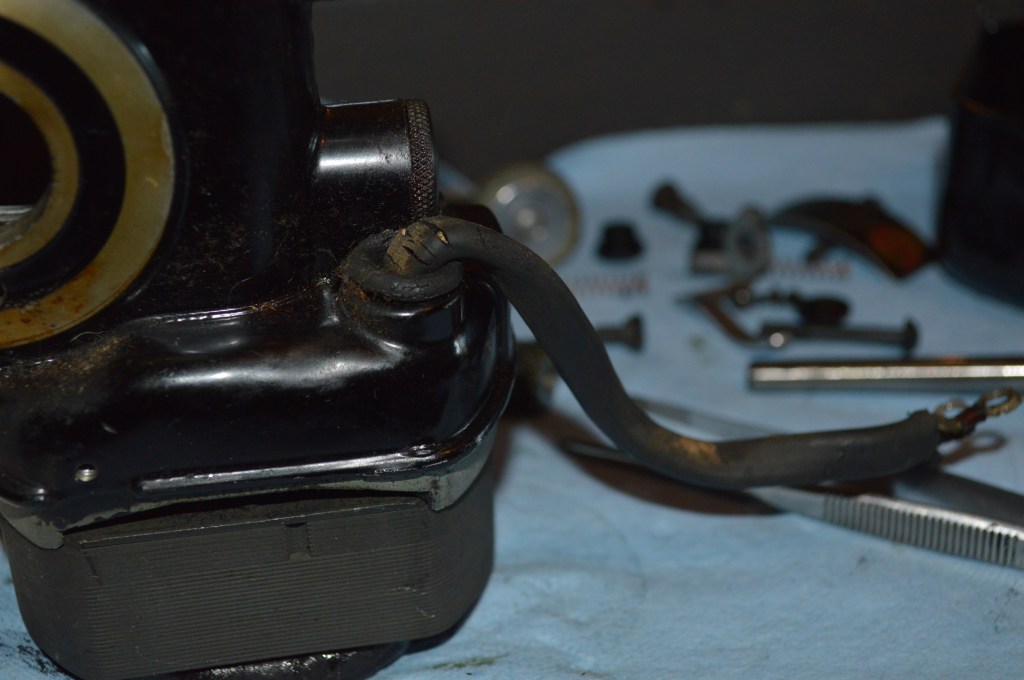
Main wires cracked… Very common and expected on a potted motor 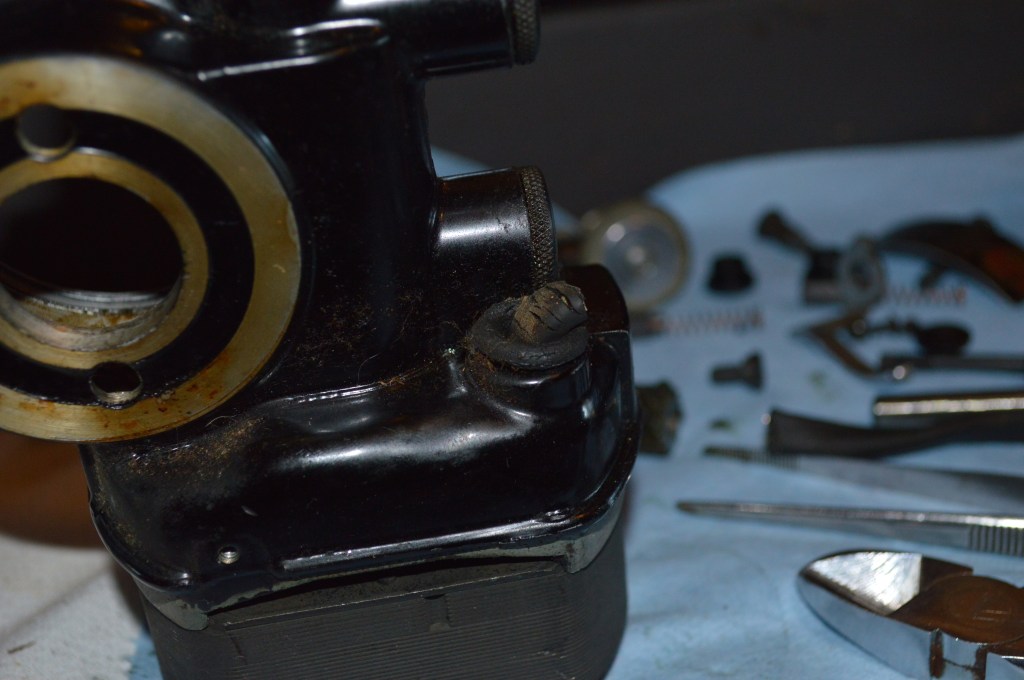
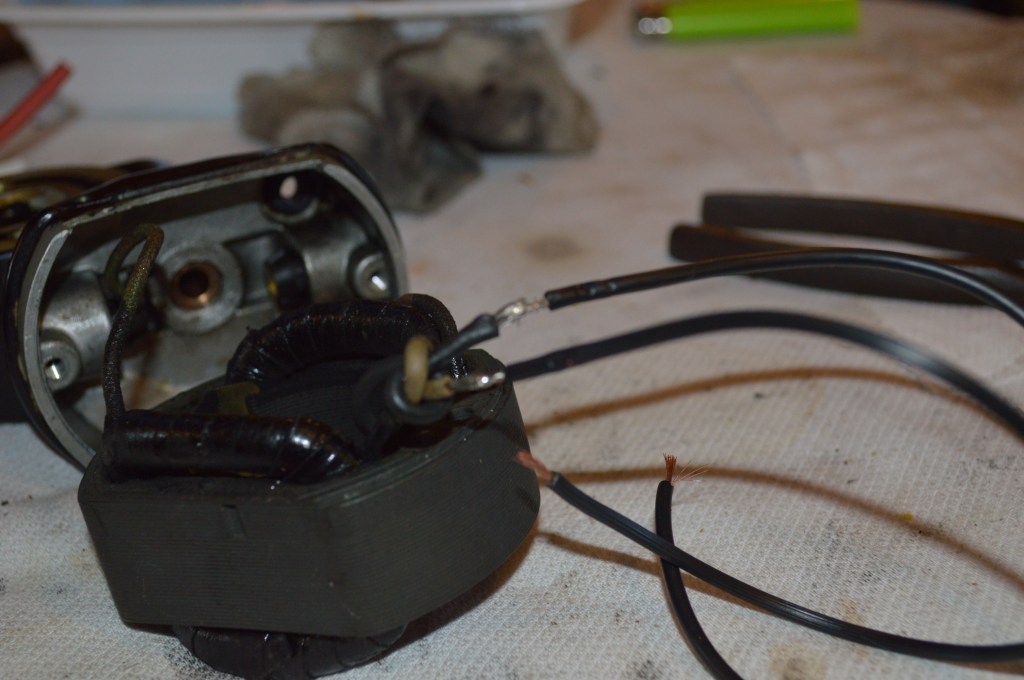
Wires are cut to facilitate removal of the field coil
The brushes are removed in preparation of the armature removal. There are two, one on each side of the motor. Care must be taken in loosening the brush caps. They are made of bakelite and can break… this will ruin your day. After the caps are removed, the brush springs can be removed. The brushes are attached to the spring.
Brush Cap 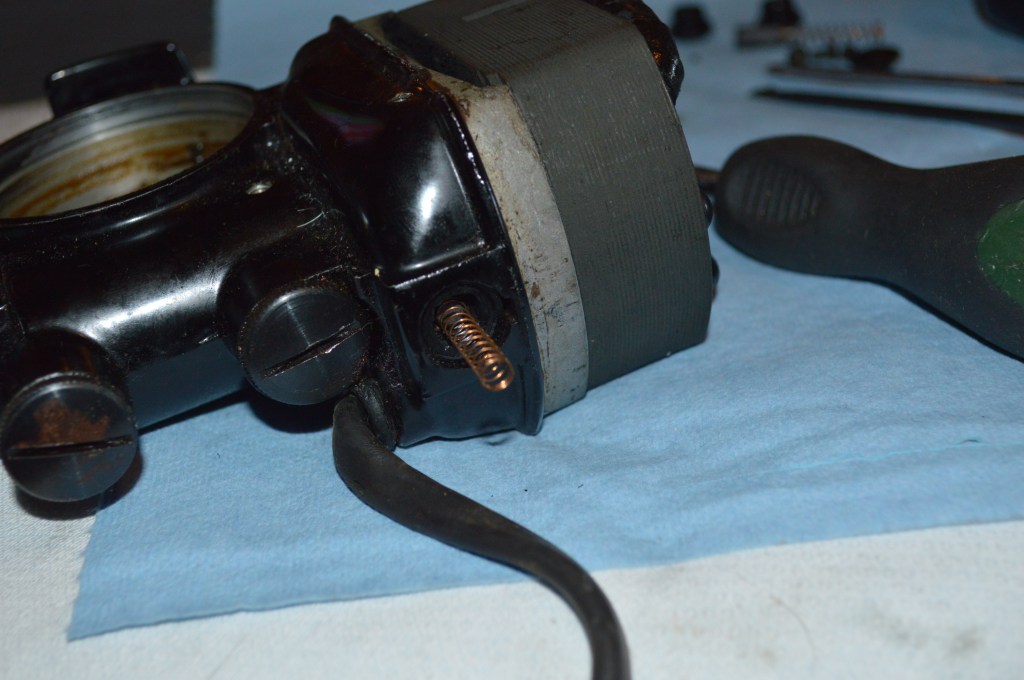
Brush spring
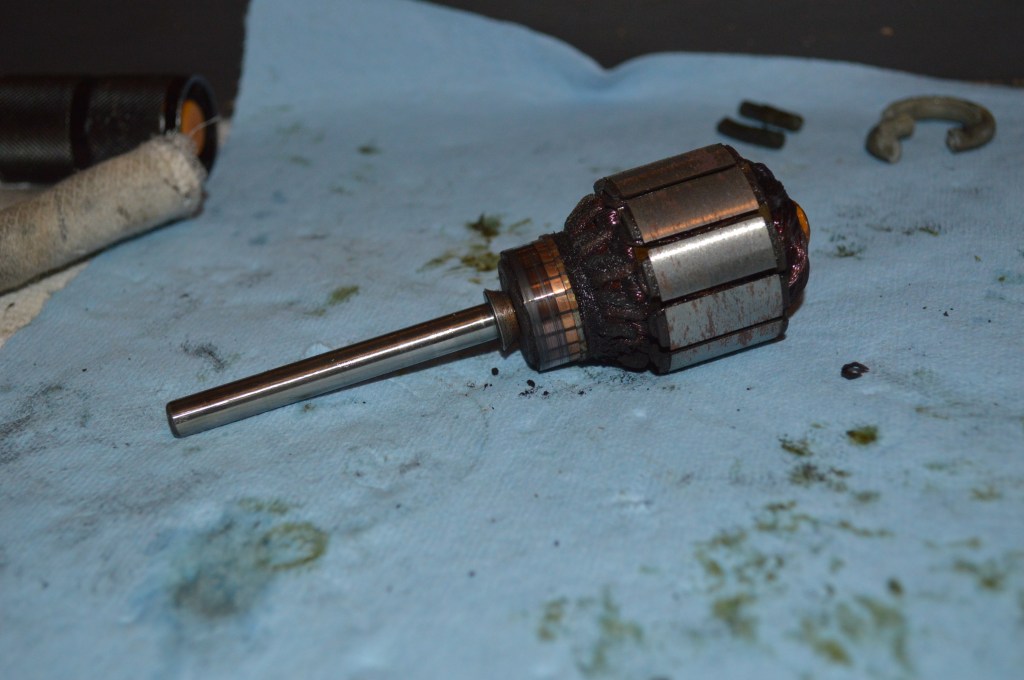
The spiral gear has two screws that connect it to the armature shaft. These are loosen to allow removal of the armature.

The armature can now be removed by pulling it out of the housing.
The field coil is de-soldered from the brush caps and the field coil removed.
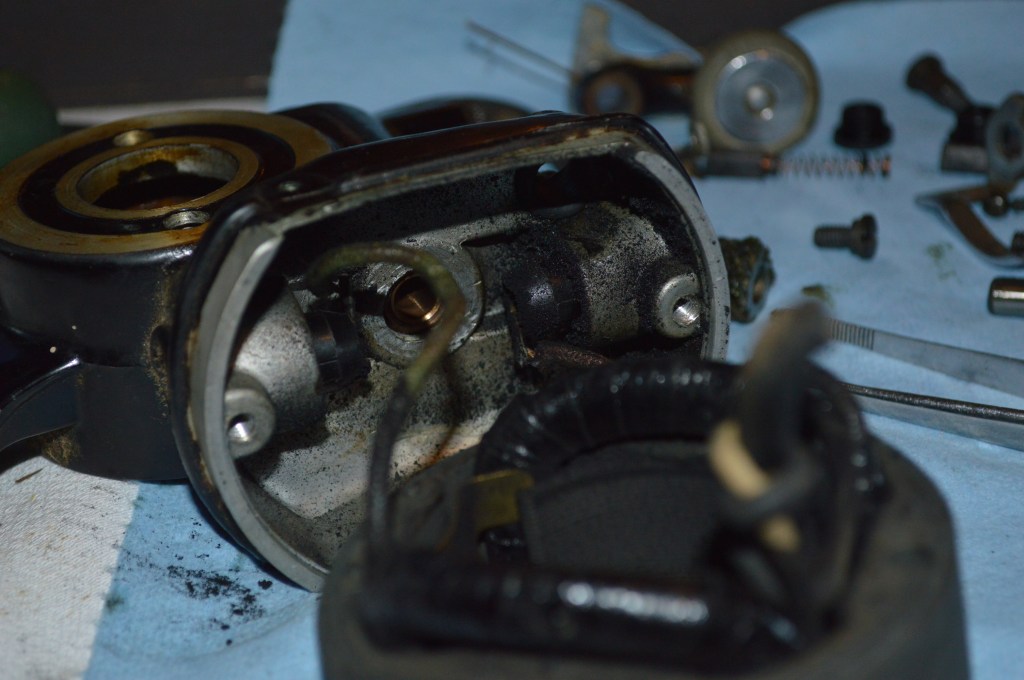
Next the grease wicks are removed.
The bobbin winder mechanisms have been removed to allow for complete motor cleaning, and the parts are laid out for this purpose.

There is grease embedded in the motor housing. This, the spiral gear, and the grease wick retainers are soaked in kerosene to dissolve the grease… don’t worry, kerosene will not affect the paint on the housing. All other parts (except for the brushes) go in the ultrasonic cleaner.
After soaking in kerosene for a few hours, compressed air is used to remove all remaining grease from the motor housing and the gear. The other parts are laid out for reassembly.
A bore brush is used to clean the bushing bores. 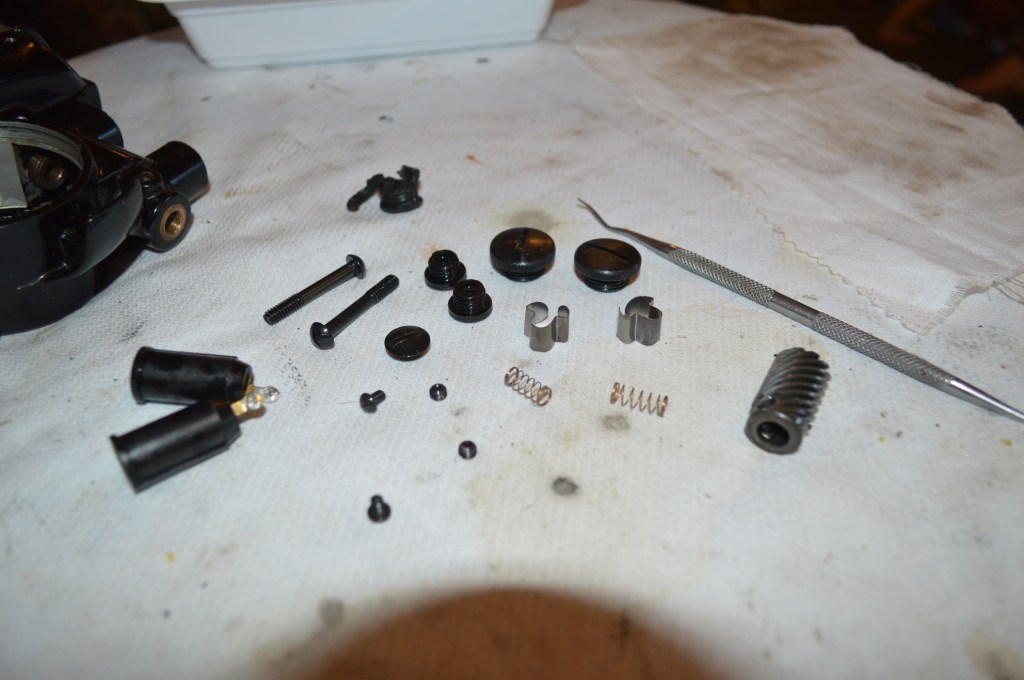
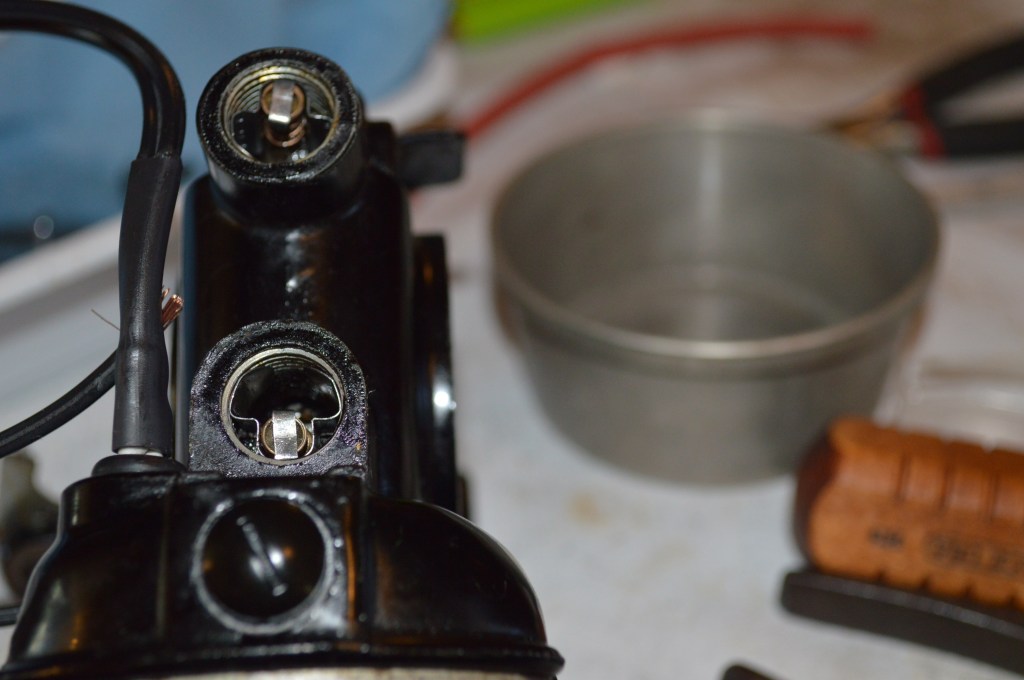
The brush tubes are reinstalled and the field coil wires are resolded to them.
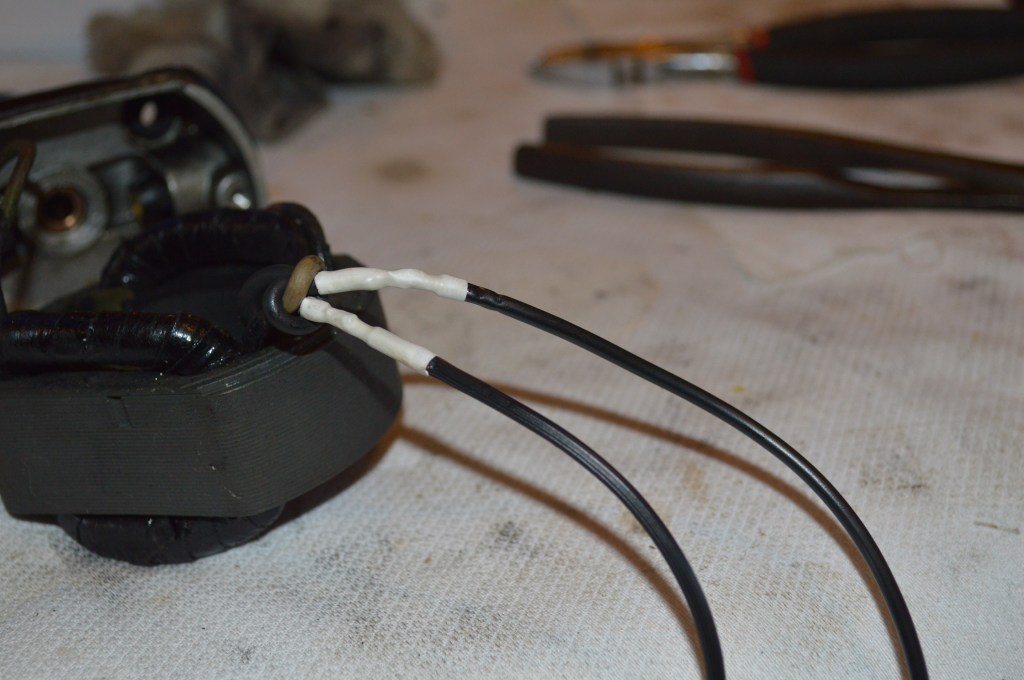
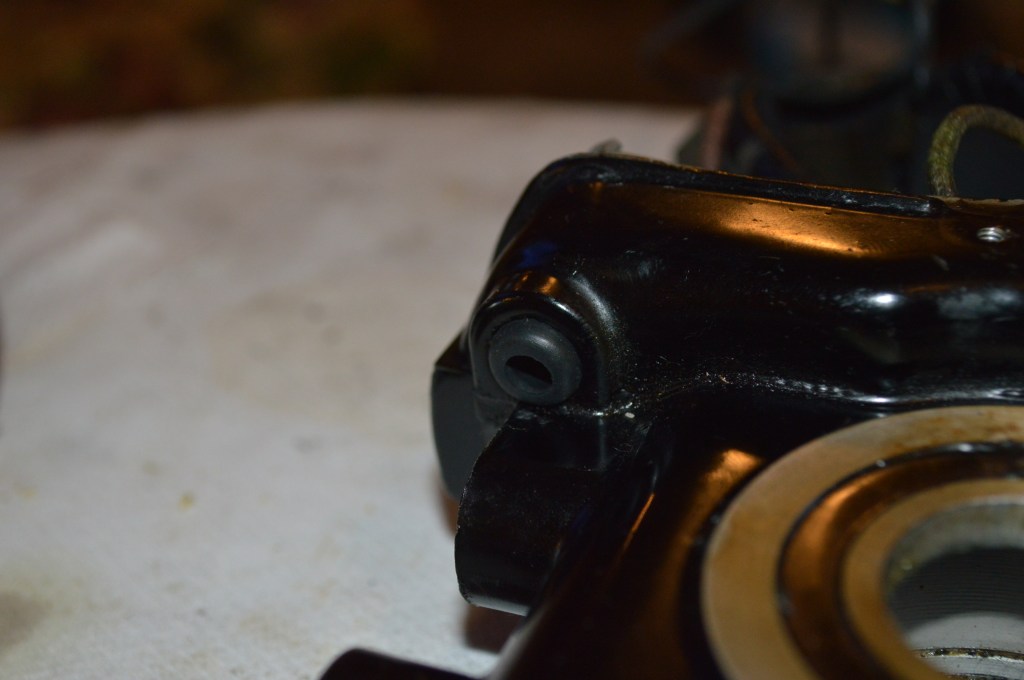
New wires are soldered to the main wires and insulated by shrink wrap. The rubber grommet is replaced.
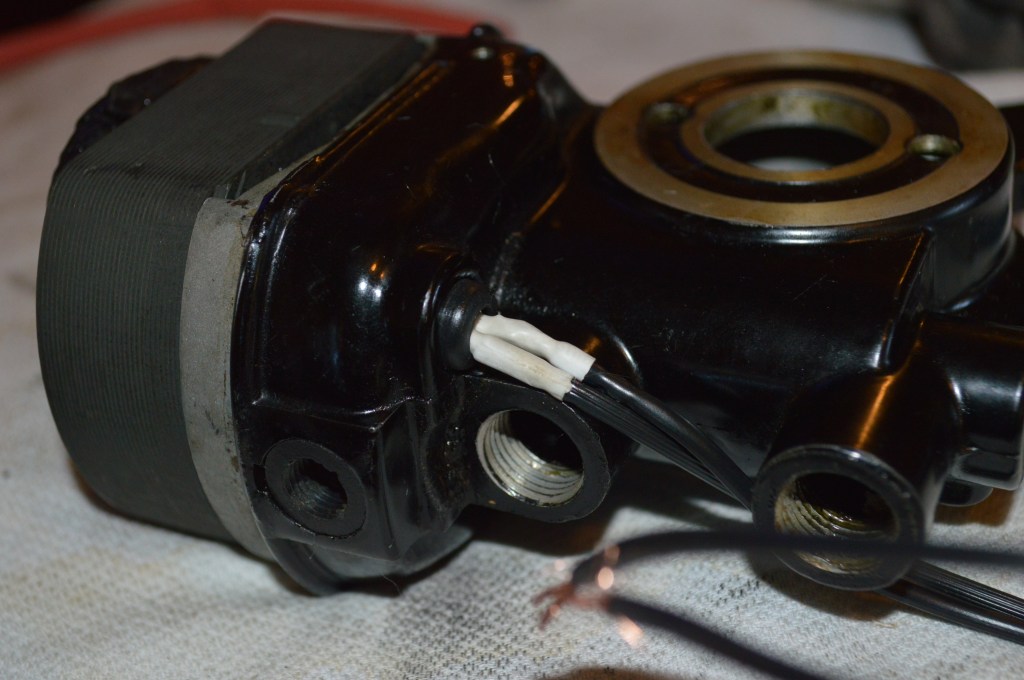
The field coil is reinstalled and wires routed thru the grommet.
The armature and gear is reinstalled. The grease wicks (previously reconditioned) are reinstalled in the motor and greased.
The brushes are reinstalled and the motor is prepared for bench testing. The motor runs smooth and strong.
Next comes the restoration of the textolite gear. It has a shock mechanism that needs to be cleaned. The next few pictures show this.
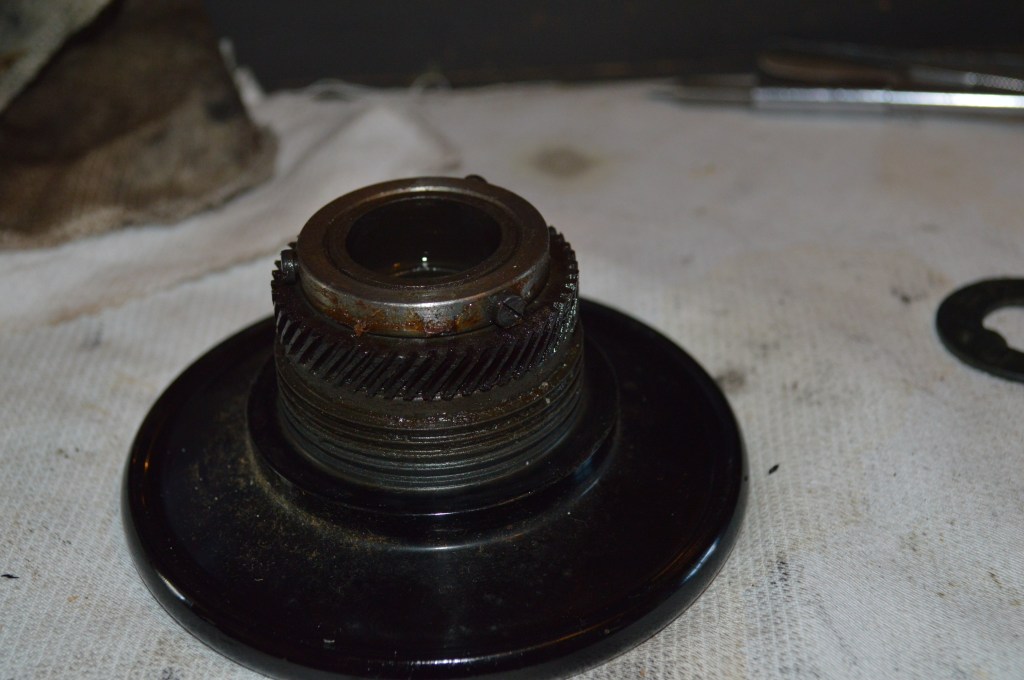
Textolite gear 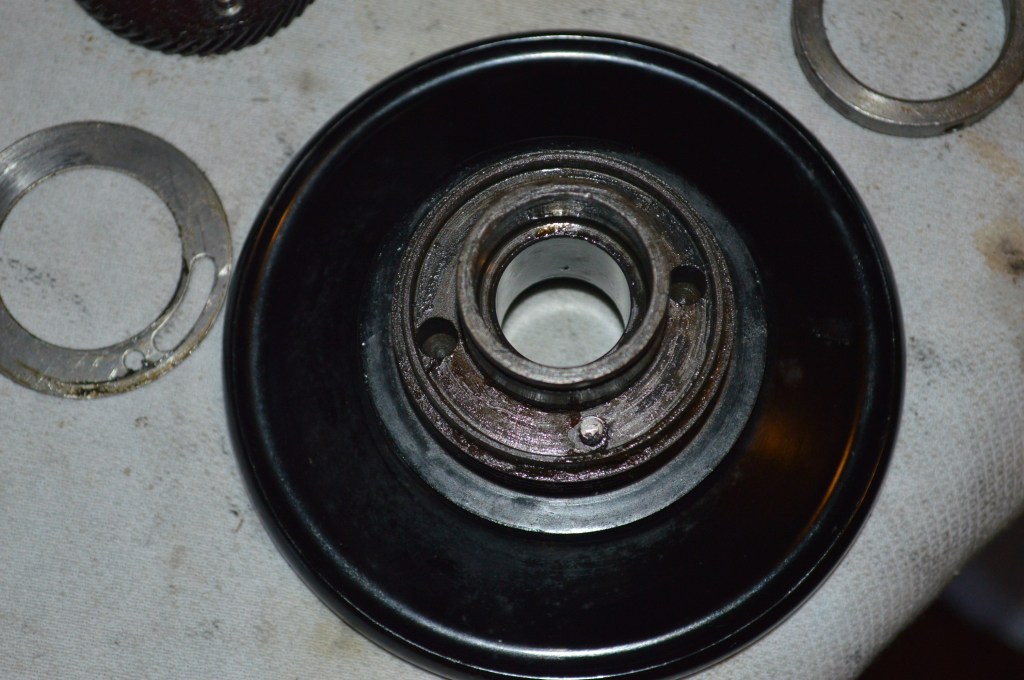
Disassembled 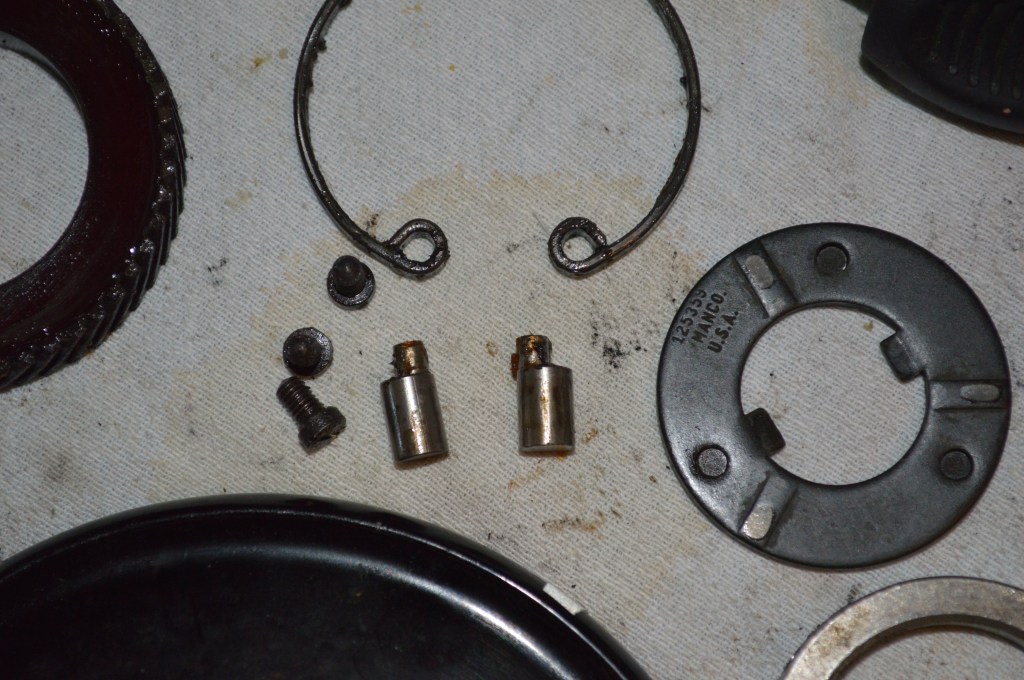
Cleaned 
Reassembled
The top tension mechanism is disassembled and cleaned and reassembled… sorry I forgot pictures, but it is a simple process to perform.
Now I am going to go over the cosmetic restoration process. This is a project in itself and involves multiple steps over multiple days.
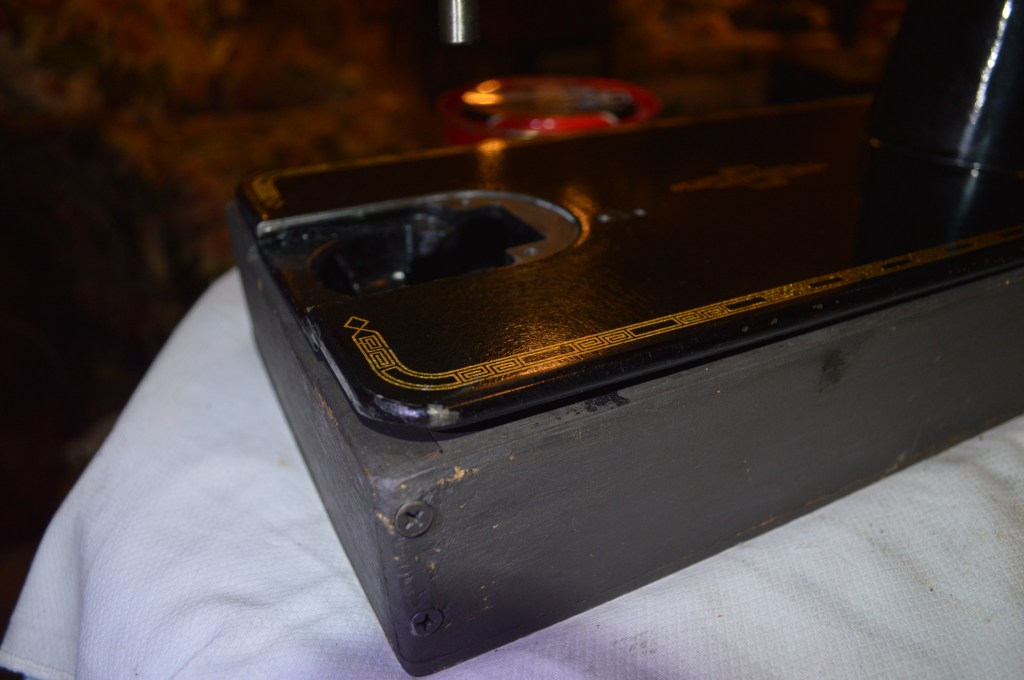
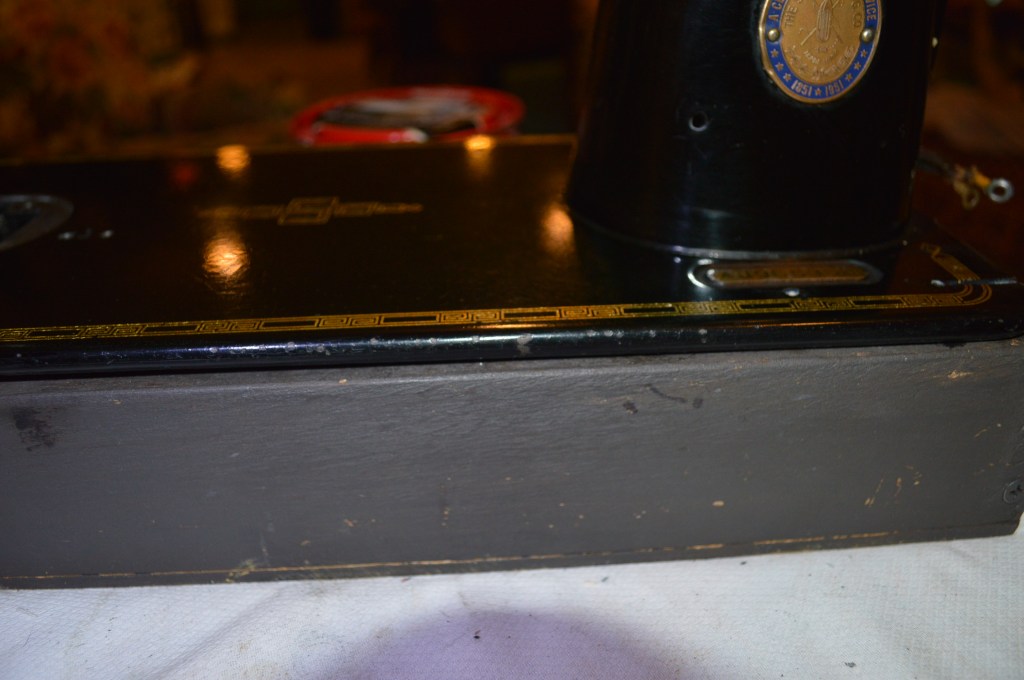
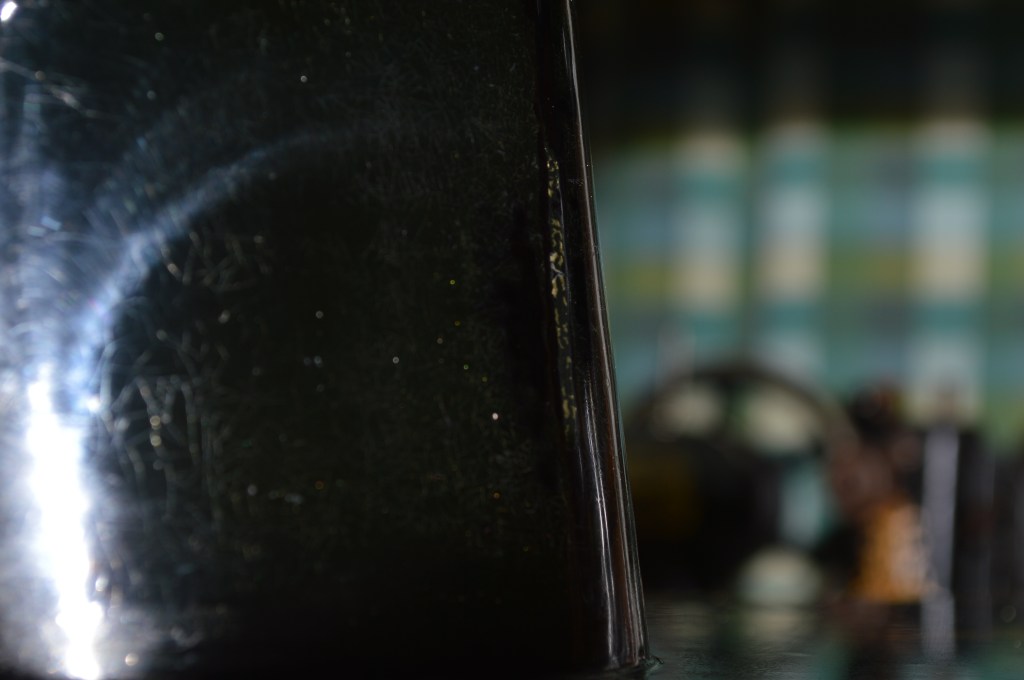
The machine is dirty and the finish is contaminated with dirt, some pin rash, and some shellac damage. The goal is to remove as much of the defects as possible while keeping the original finish as intact as possible. This means it will be much improved, but not perfect… As you will see, there is much to be gained.
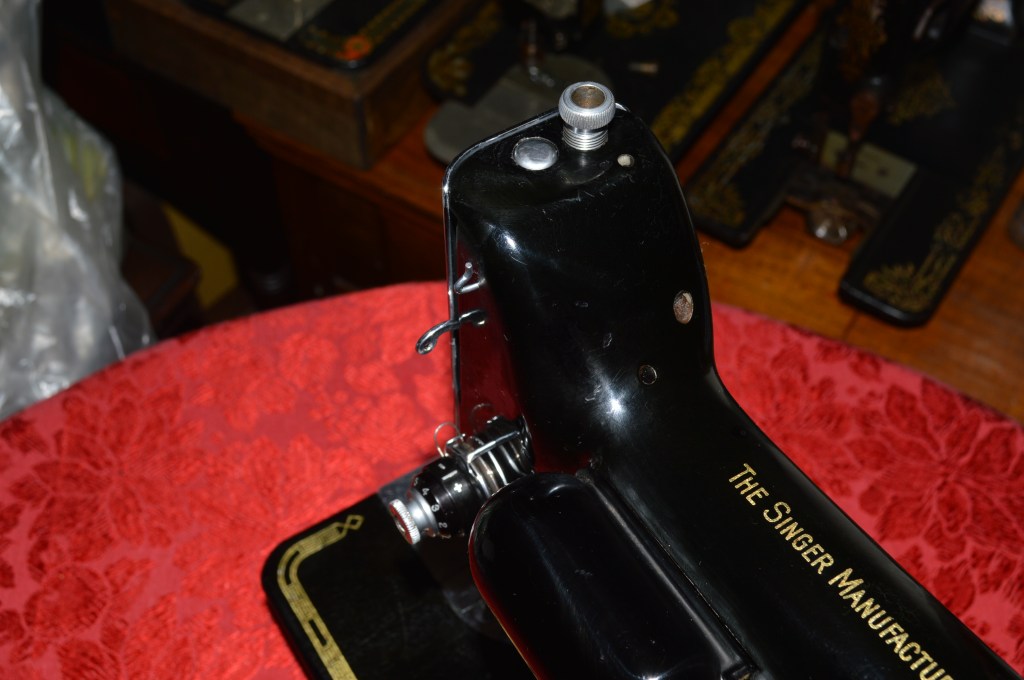
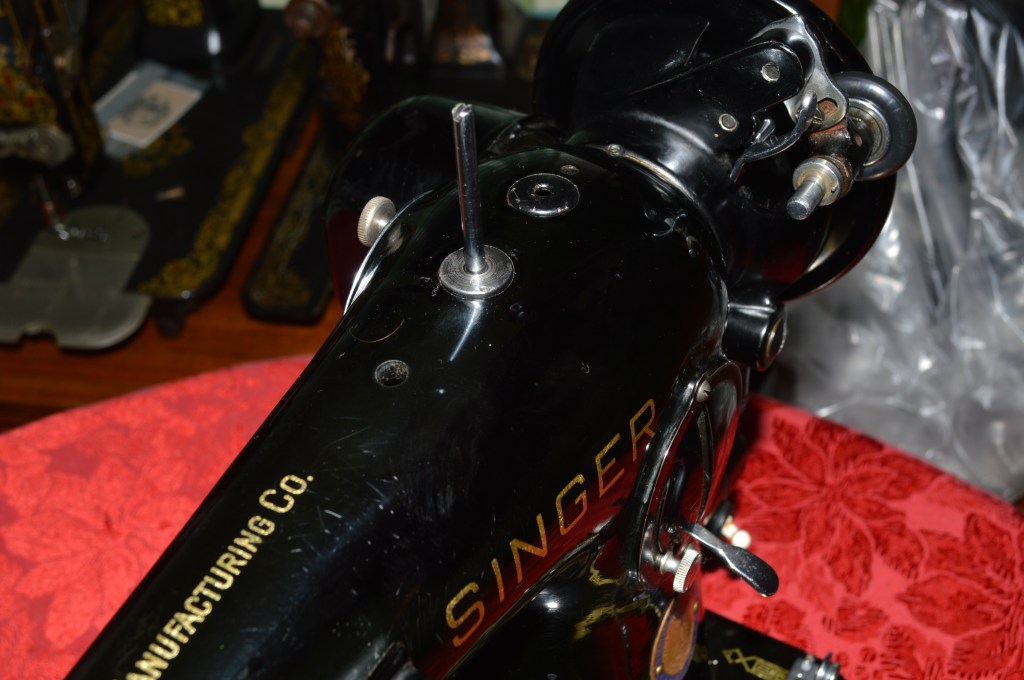
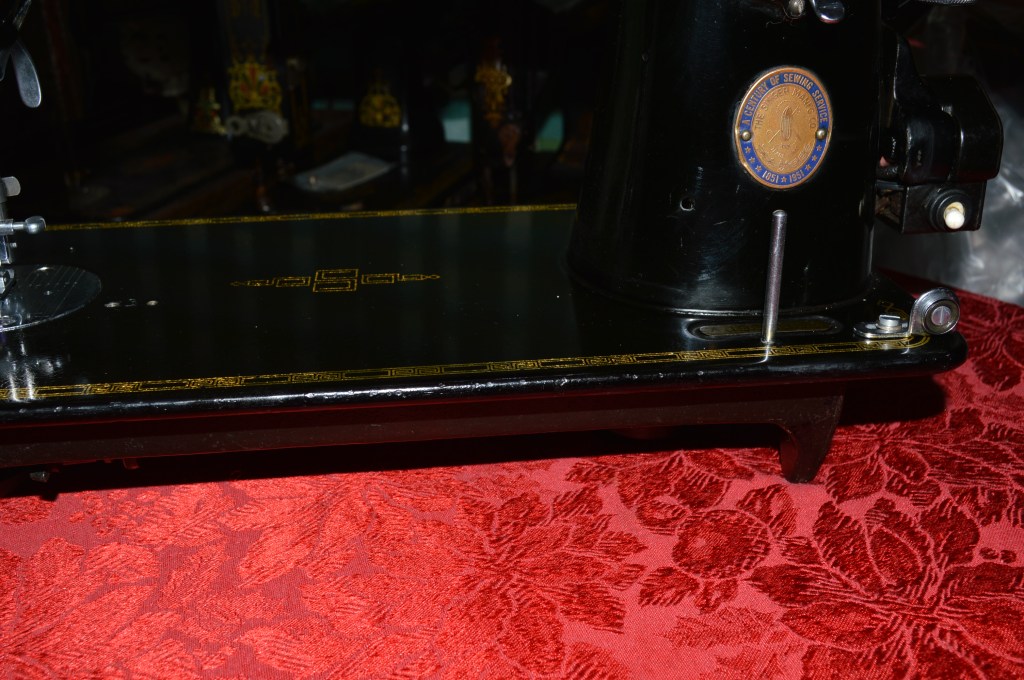
Finish before…
The first step is always a deep clean with Gojo. This greatly enhances the finish and reveals the areas I am going to focus on for repair.
The next step is to apply glaze polishing to the finish to see how many defects can be removed. First, two applications of TR3 glaze polish is applied, then three applications of Meguires “Mirror Glaze” polish. The results are promising, but it reveals much more work to be done.

Now is a good time to paint match any chips, and any place the paint is compromised. These are the areas that need attention.

The paint I am using is a mixture of ebony black aneline dye stain granuales dissolved in alcohol and mixed in shellac. This is the recipe I borrowed from Glenn W. Cleveland detailed in his post on the Quilting Board Forum in his thread “Cleaning and repairing the Shellac clear coat on Vintage sewing machine heads”. It’s a good informative read. But… notice that the recipe includes alcohol. Alcohol dissolves shellac, and the paint must be mixed to minimize the effect this has on the repaired area. Trial and error allowed me to get the proportions just right for this project.
The finished repairs are polished until they blend as close as possible into the original finish. This is where effort and patience pays off. The materials used to accomplish this are extremely fine grit and not very aggressive… but they don’t scratch the paint adjacent to the repair and that’s what I am after. The following are the finished repairs. They are not perfect, but the finish is much improved.
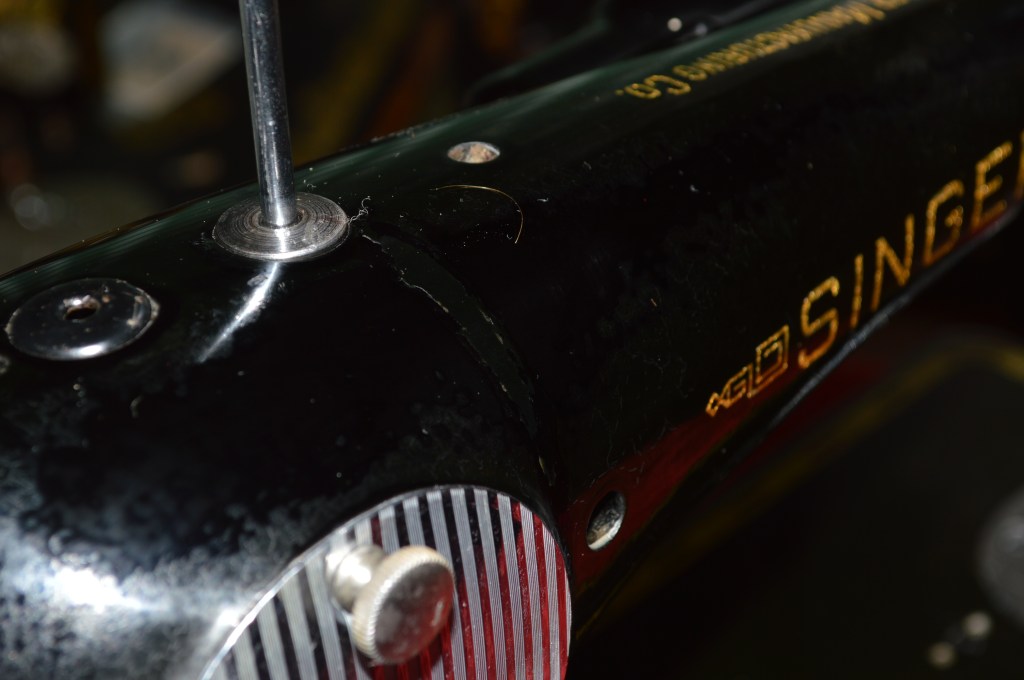
The last detail on this restoration is the stitch length lever cover. On this machine, as is true on many others is that the length indicator markings have been lost. These are stamped into the plate, but Singer used decals here too… and often times they get removed from cleaning, use, or who knows how. Anyway, these will be corrected with gold paint. The cover before looks like this.
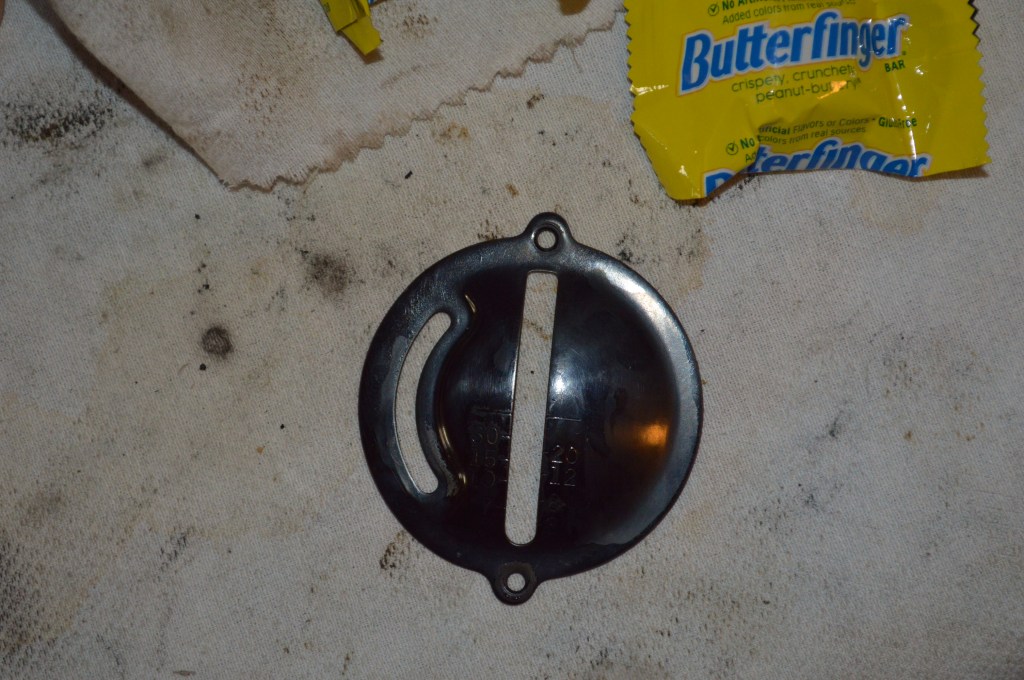
It was the day after Halloween, and my Granddaughter knows I like Butterfingers, so she brought me one… anyway, the is the plate after…

And there you have it. There is a time to put the brush down, and I think I have reached that point. The finish has been cleaned and it has been polished multiple times, The finish is not perfect, but it looks very good, The finish is smooth, black, and most of the defects that annoyed me have been polished out. The decals look great and the machine presents itself quite nicely. The machine runs as smoothly as any sewing machine I have ever seen . I was surprised that a 201 could be as smooth and quiet as this. I have restored several 201’s and they all were smooth and they were all quiet, there is always some sound as the thread clears the bobbin… not with this machine. There is no noise except the whir of the motor, and the ever so slight whir of the gears. The stitch is phenomenal and the machine delivers just south of 1100 stitches per minute. I am quite satisfied… well beyond my original expectations. This 201 has set the bar higher, and I look forward to my next 201 restoration.
If you like what you see please visit our Etsy store at https://www.etsy.com/shop/pungoliving, and see this Singer Model 201-2 and all of our other restored fine quality vintage sewing machines. If you have any questions, please contact Lee at Pungoliving@gmail.com.
Tell me what you think!
