

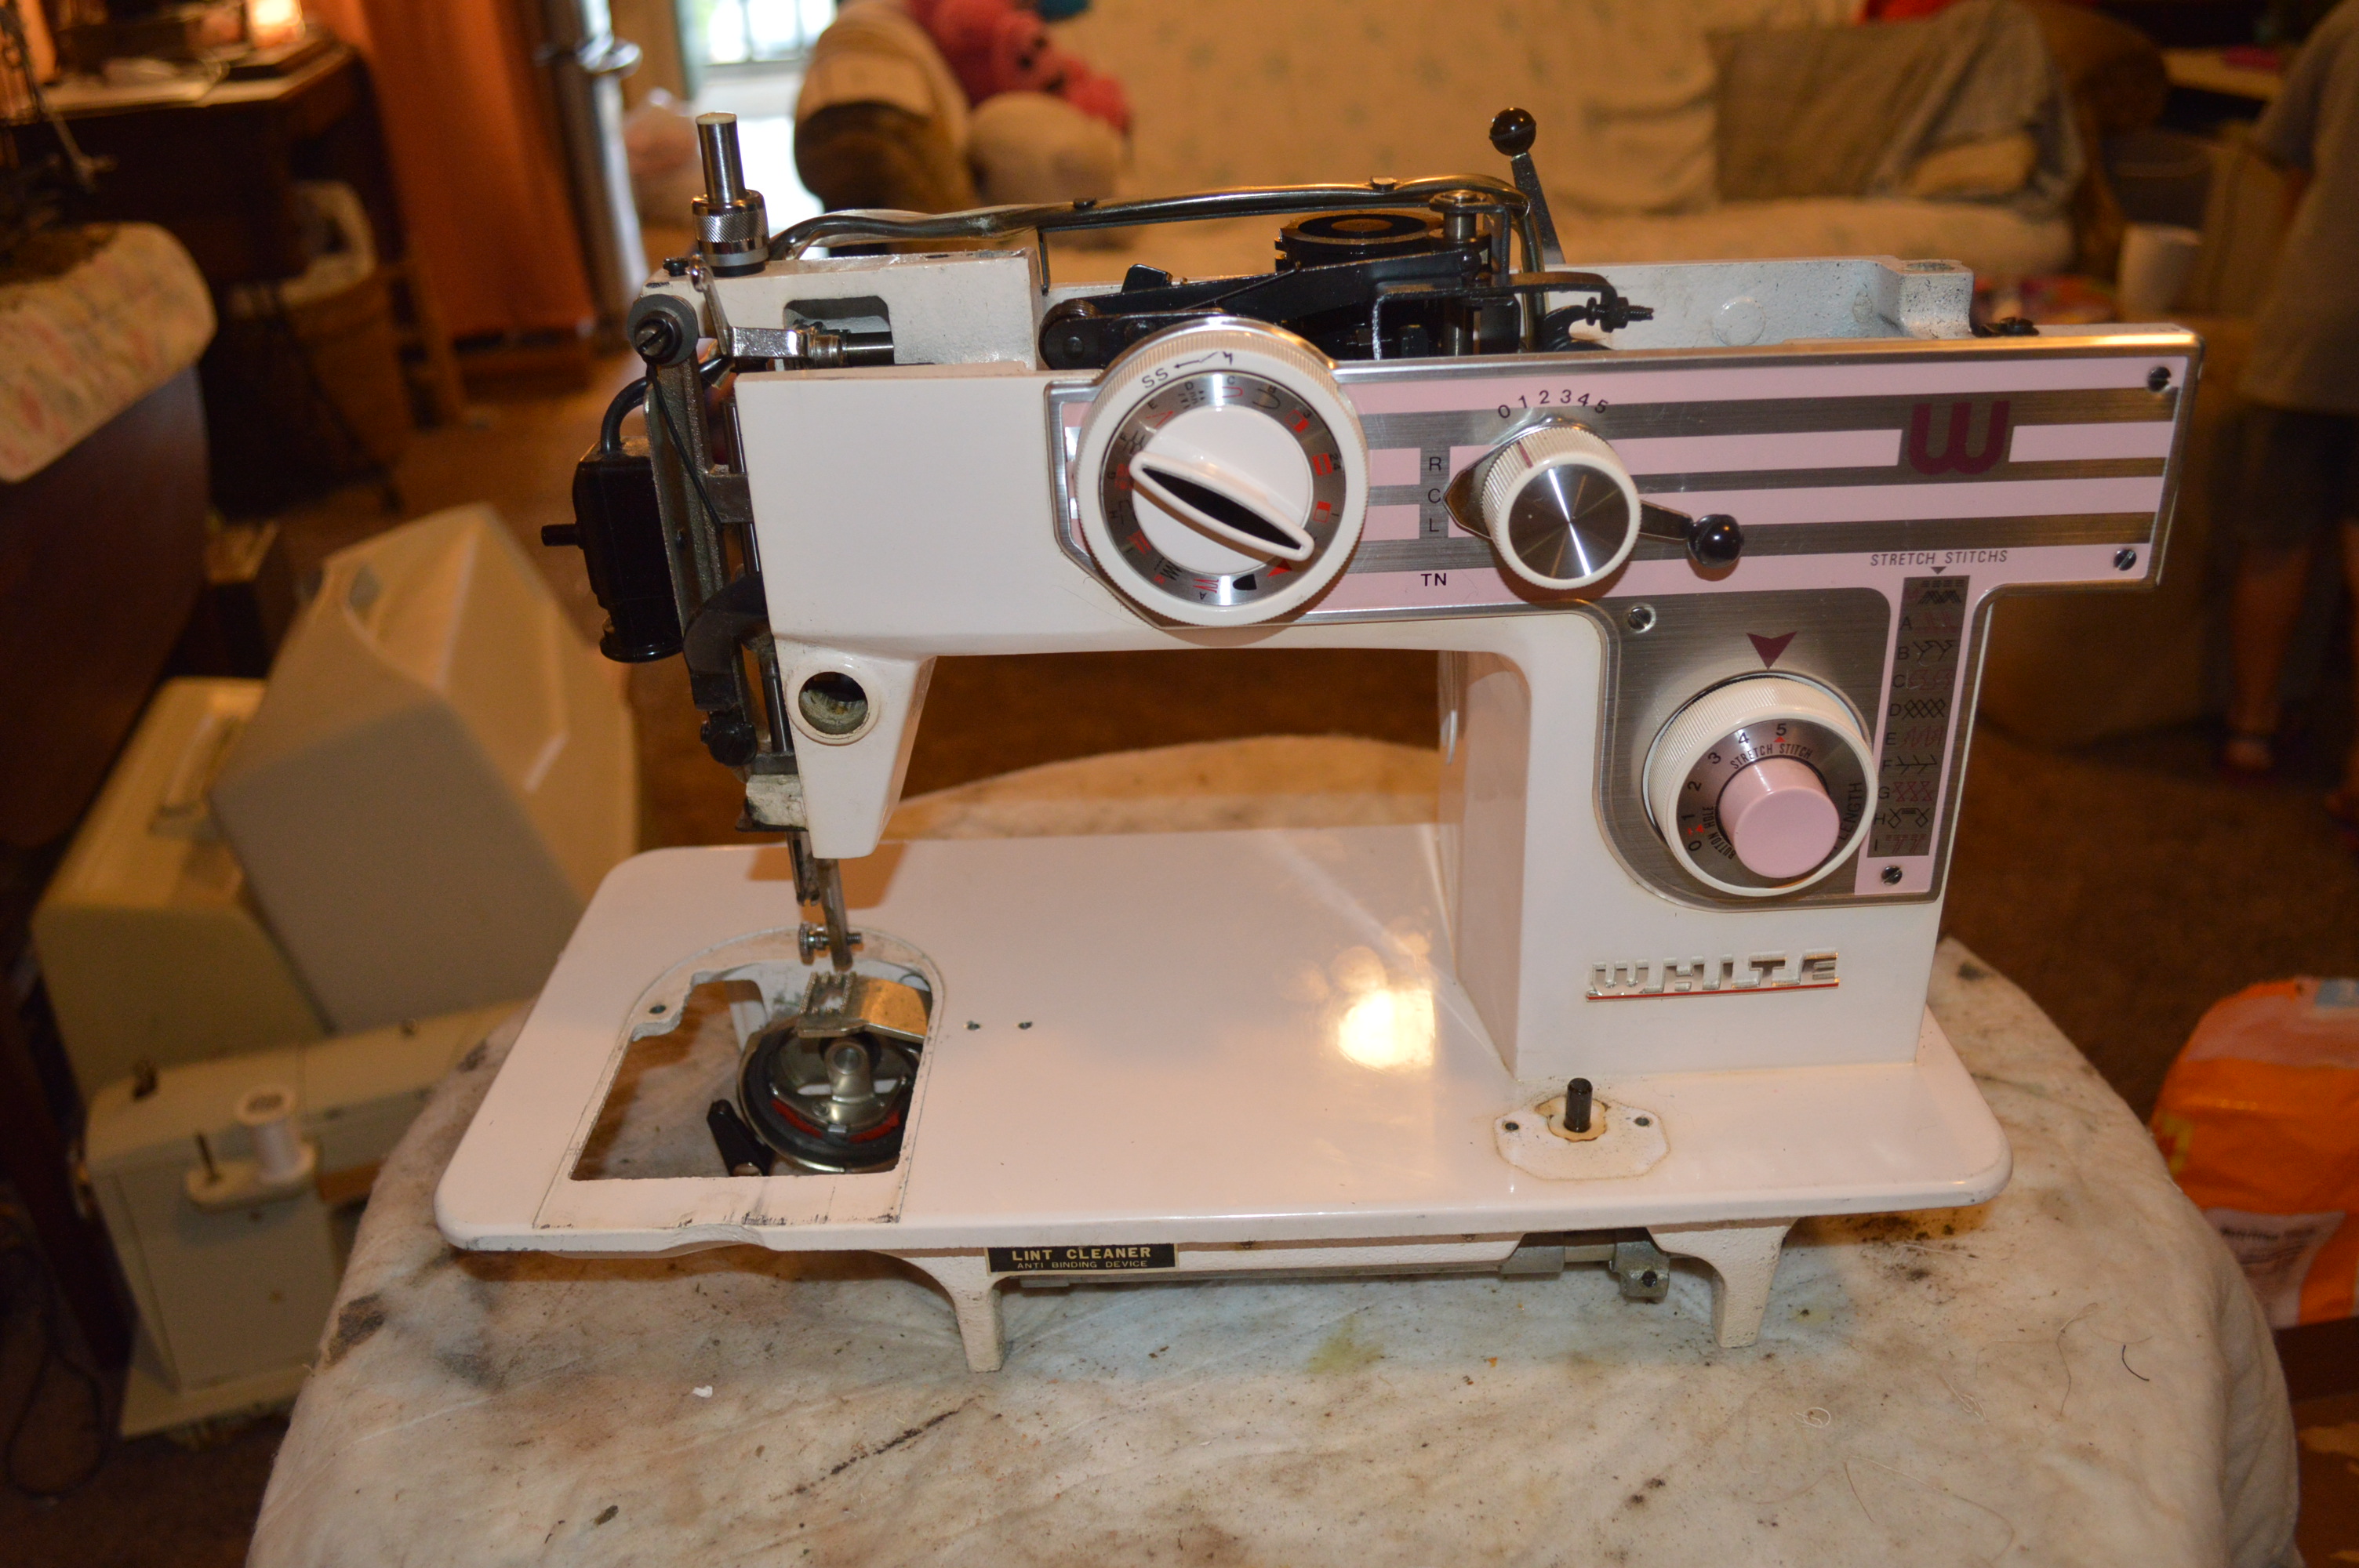
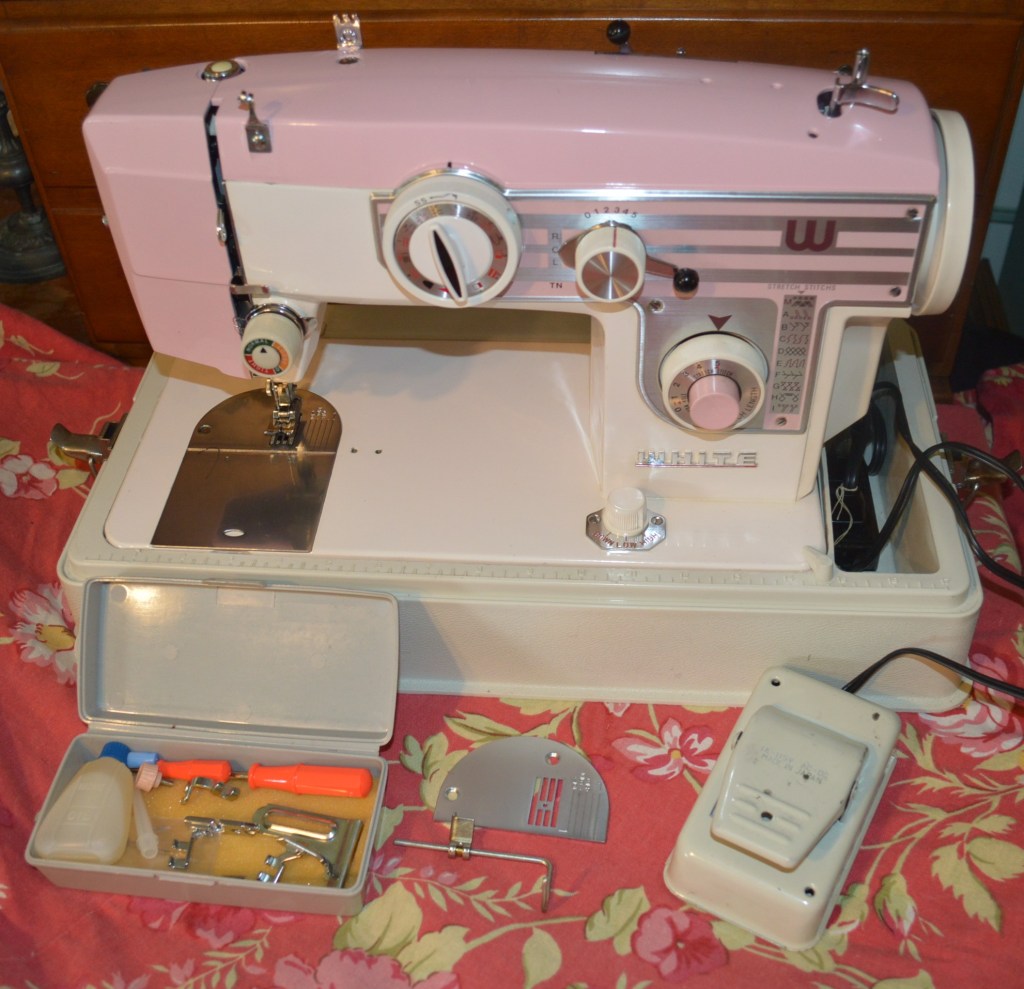
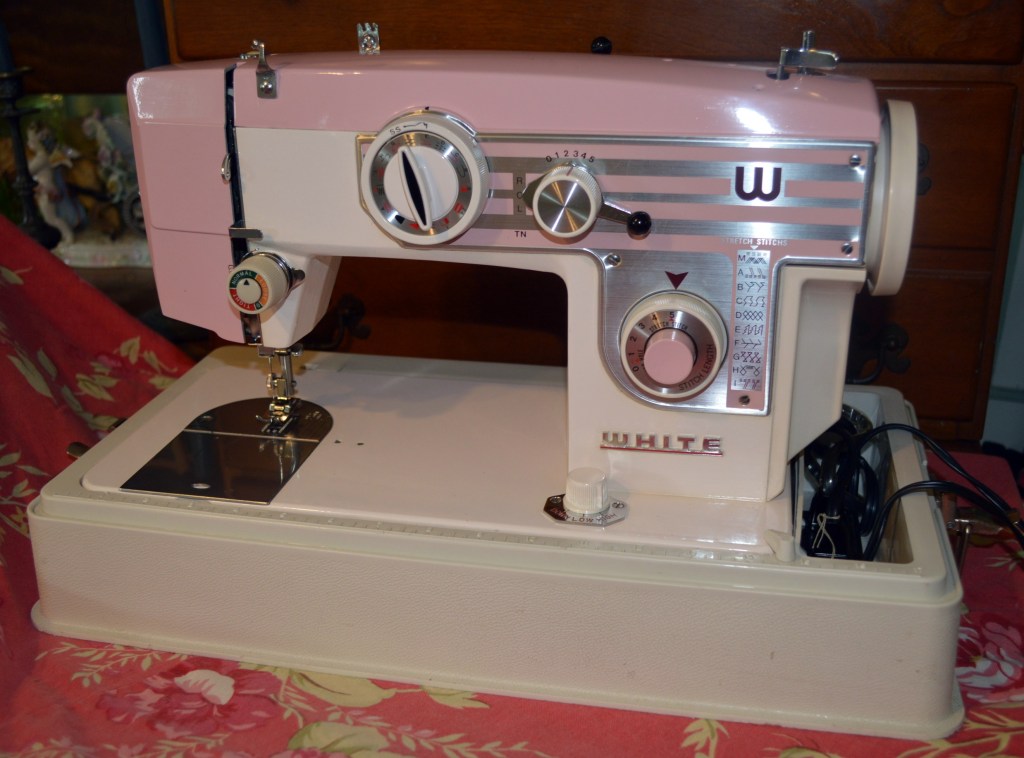
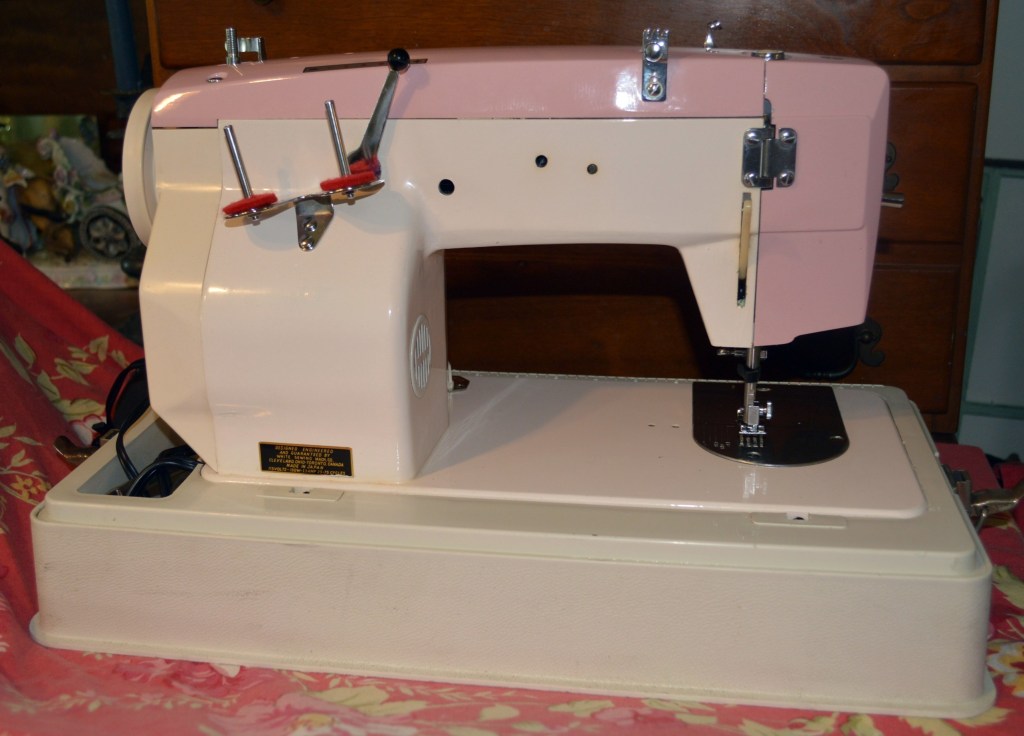
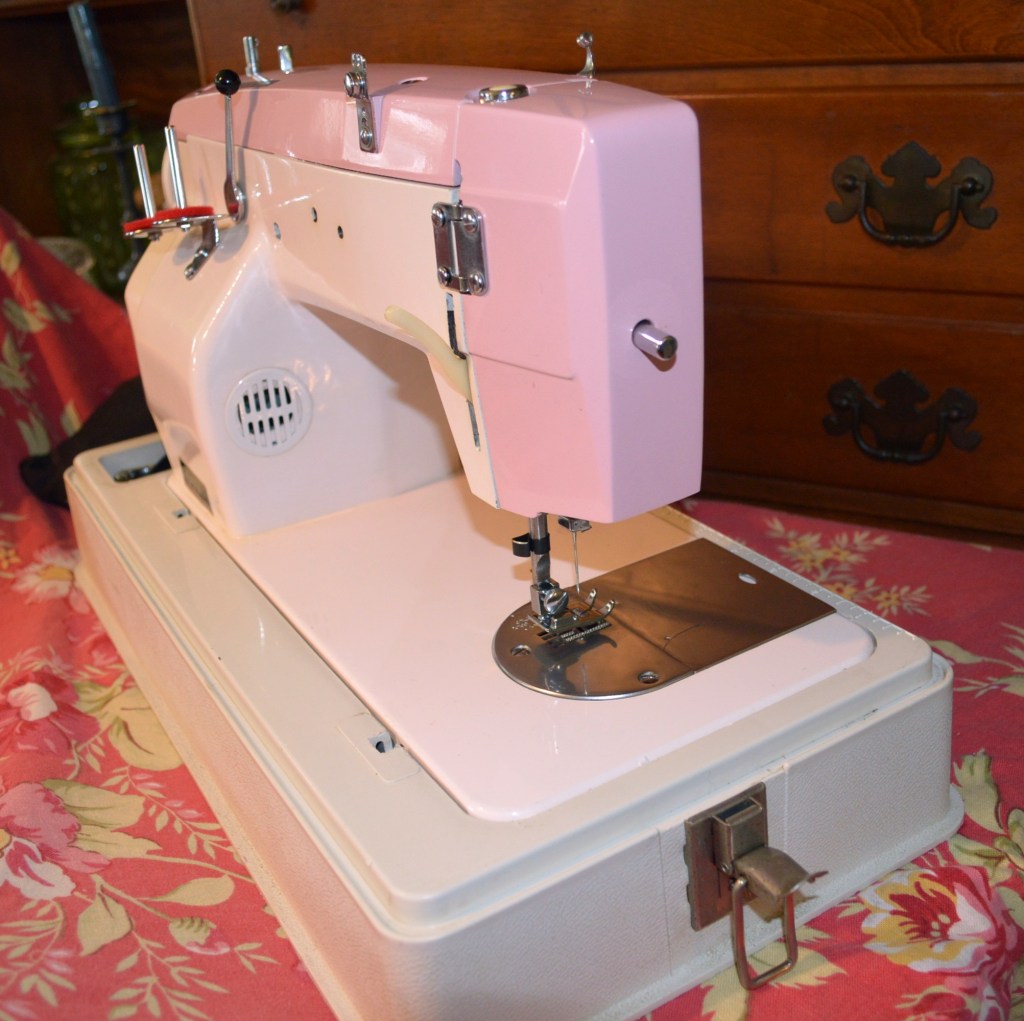
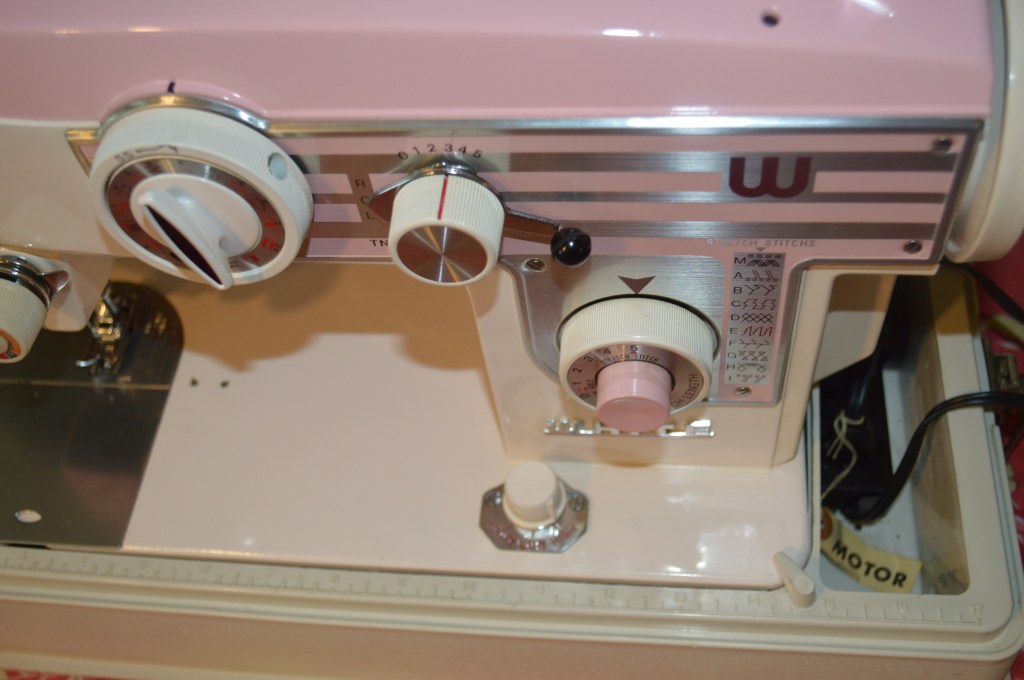
Okay, so did the title read a little weird? Kind of sounded funny to me too, but it is a vintage all metal White model 656 sewing machine and it is Pink and White. It is also feature rich with a variety of 27 stitch patterns… 14 for pattern stitching, 10 of which are stretch stitches, and 3 of which are for button holes. It has left-center-right needle homing, 3 position drop feed dogs, and uses a gear driven oscillating hook and a class 15 bobbin. The machine allows adjustment for different stitch lengths forward and back tacking. The machine is belt driven by a powerful internal 1.2 amp motor. The machine has a cast iron housing and is quite heavy and all of the drive mechanisms are made of metal.
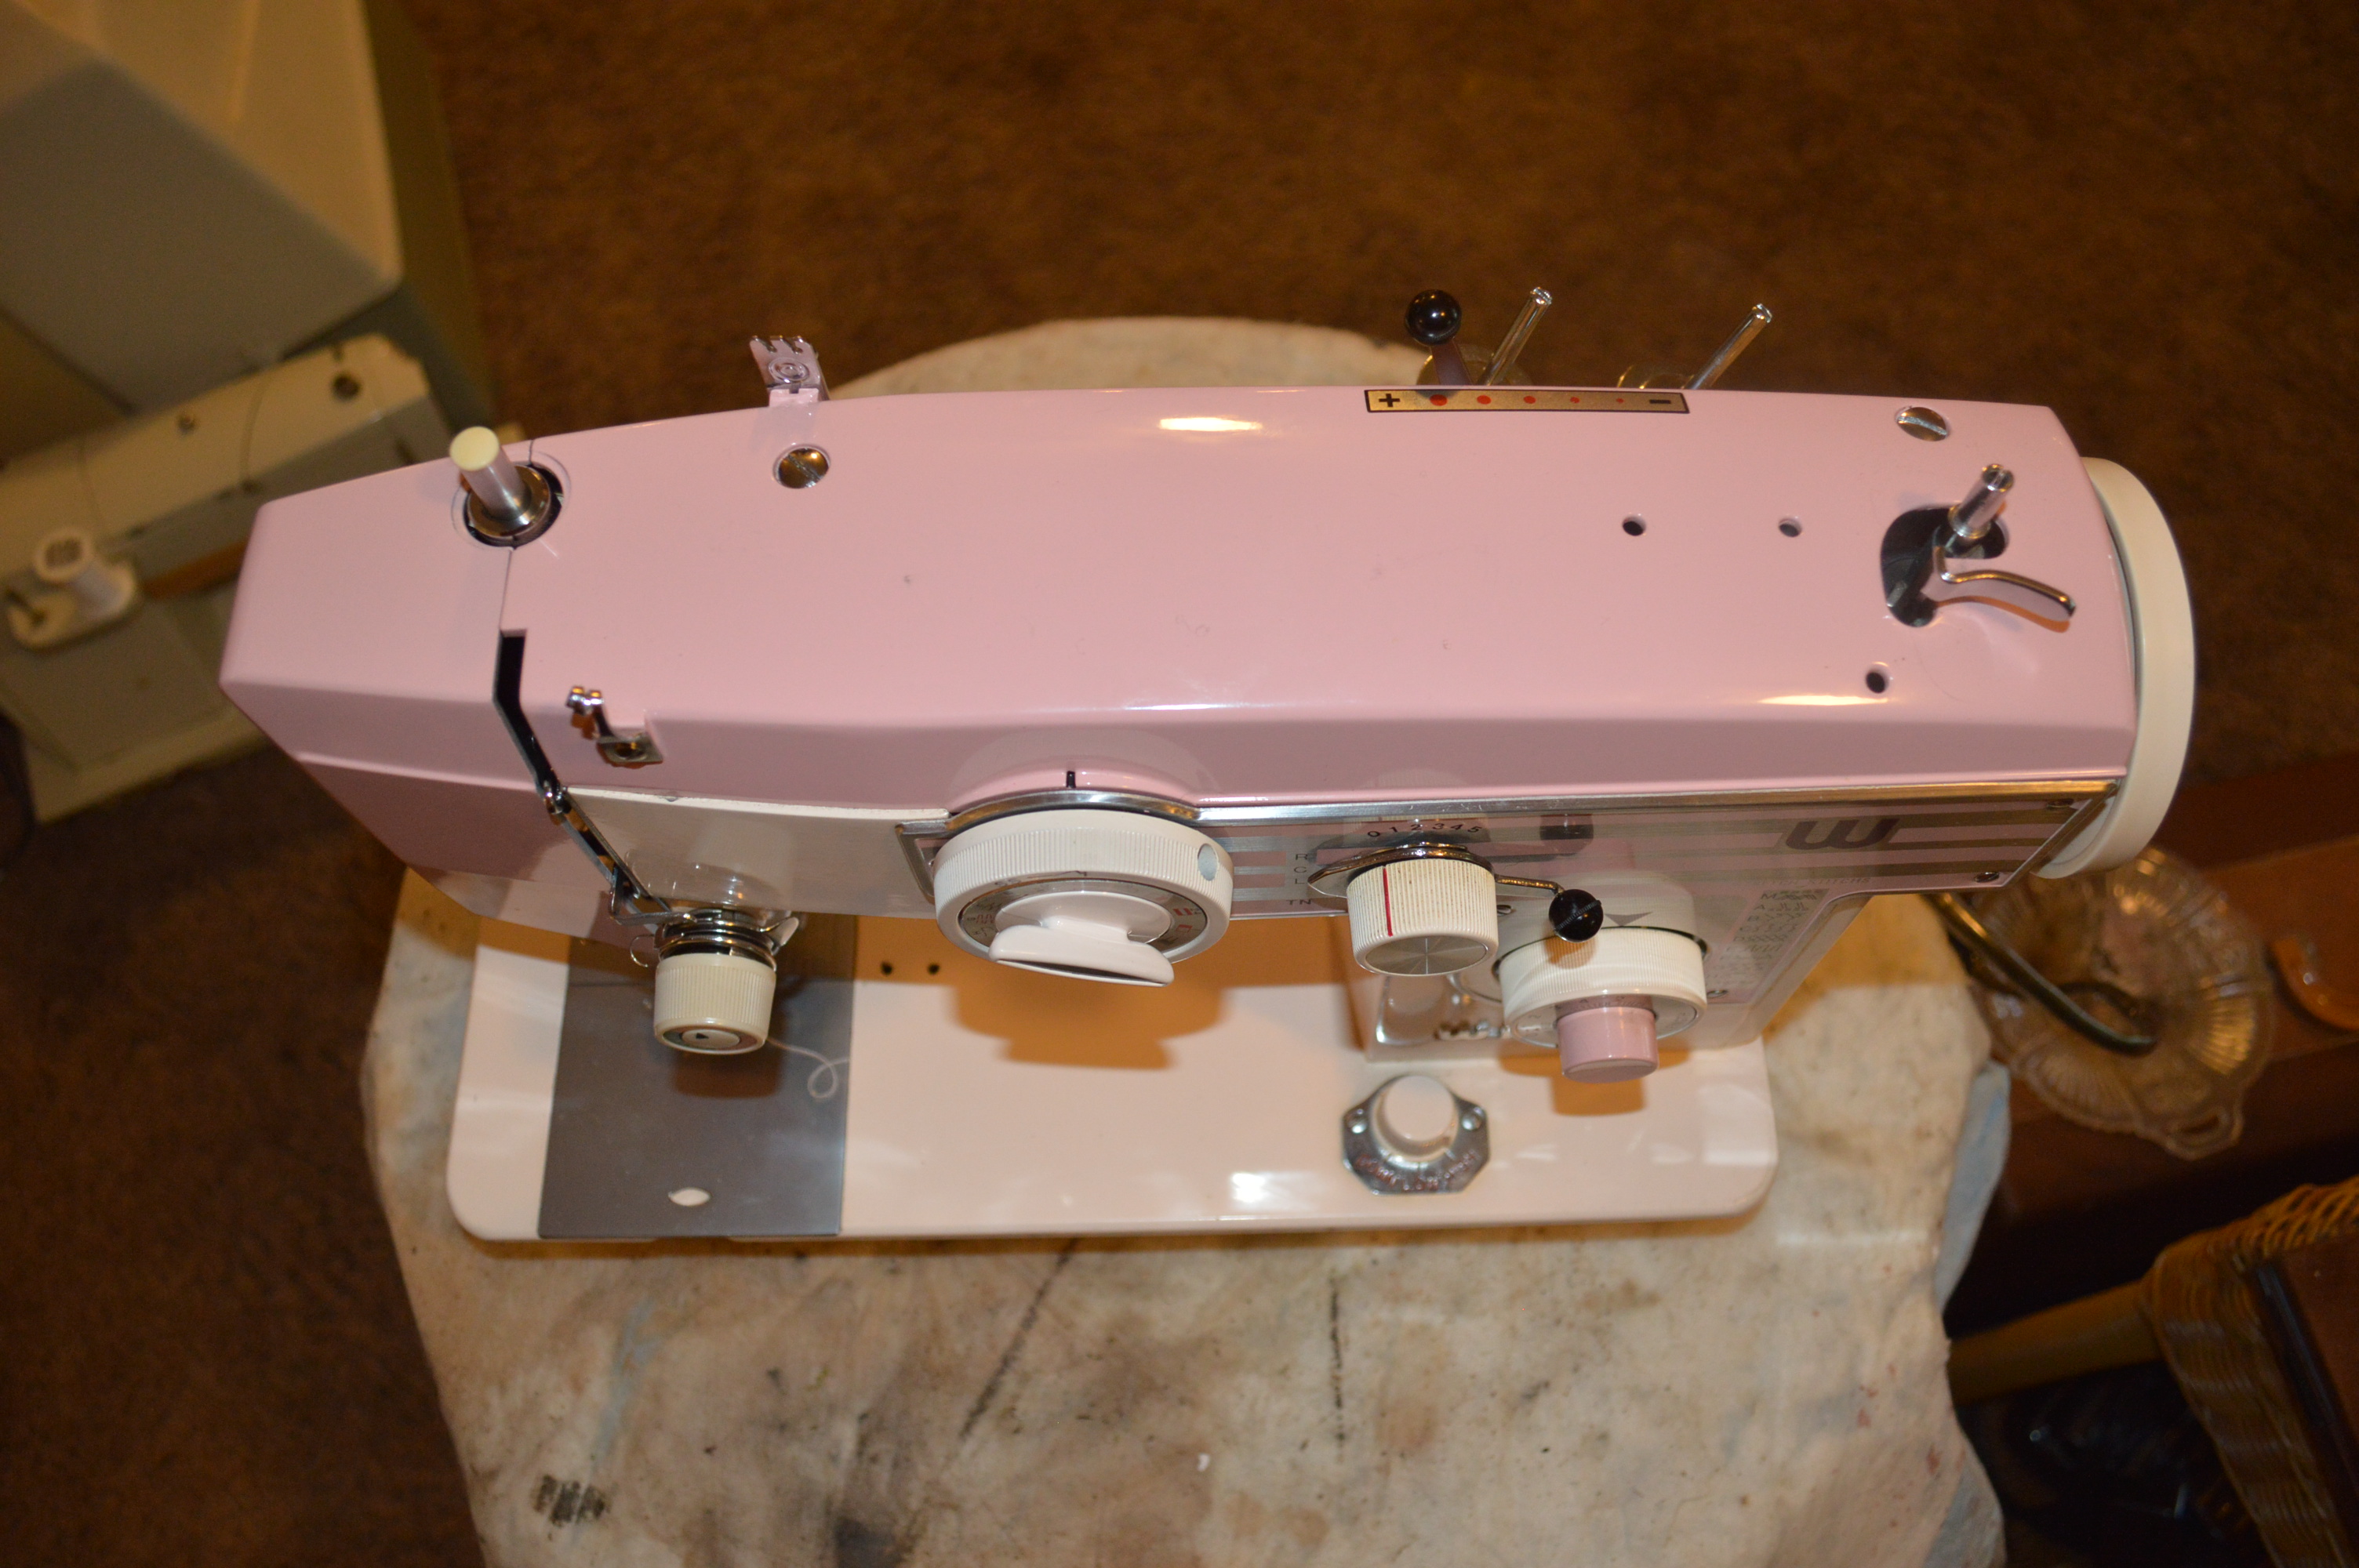
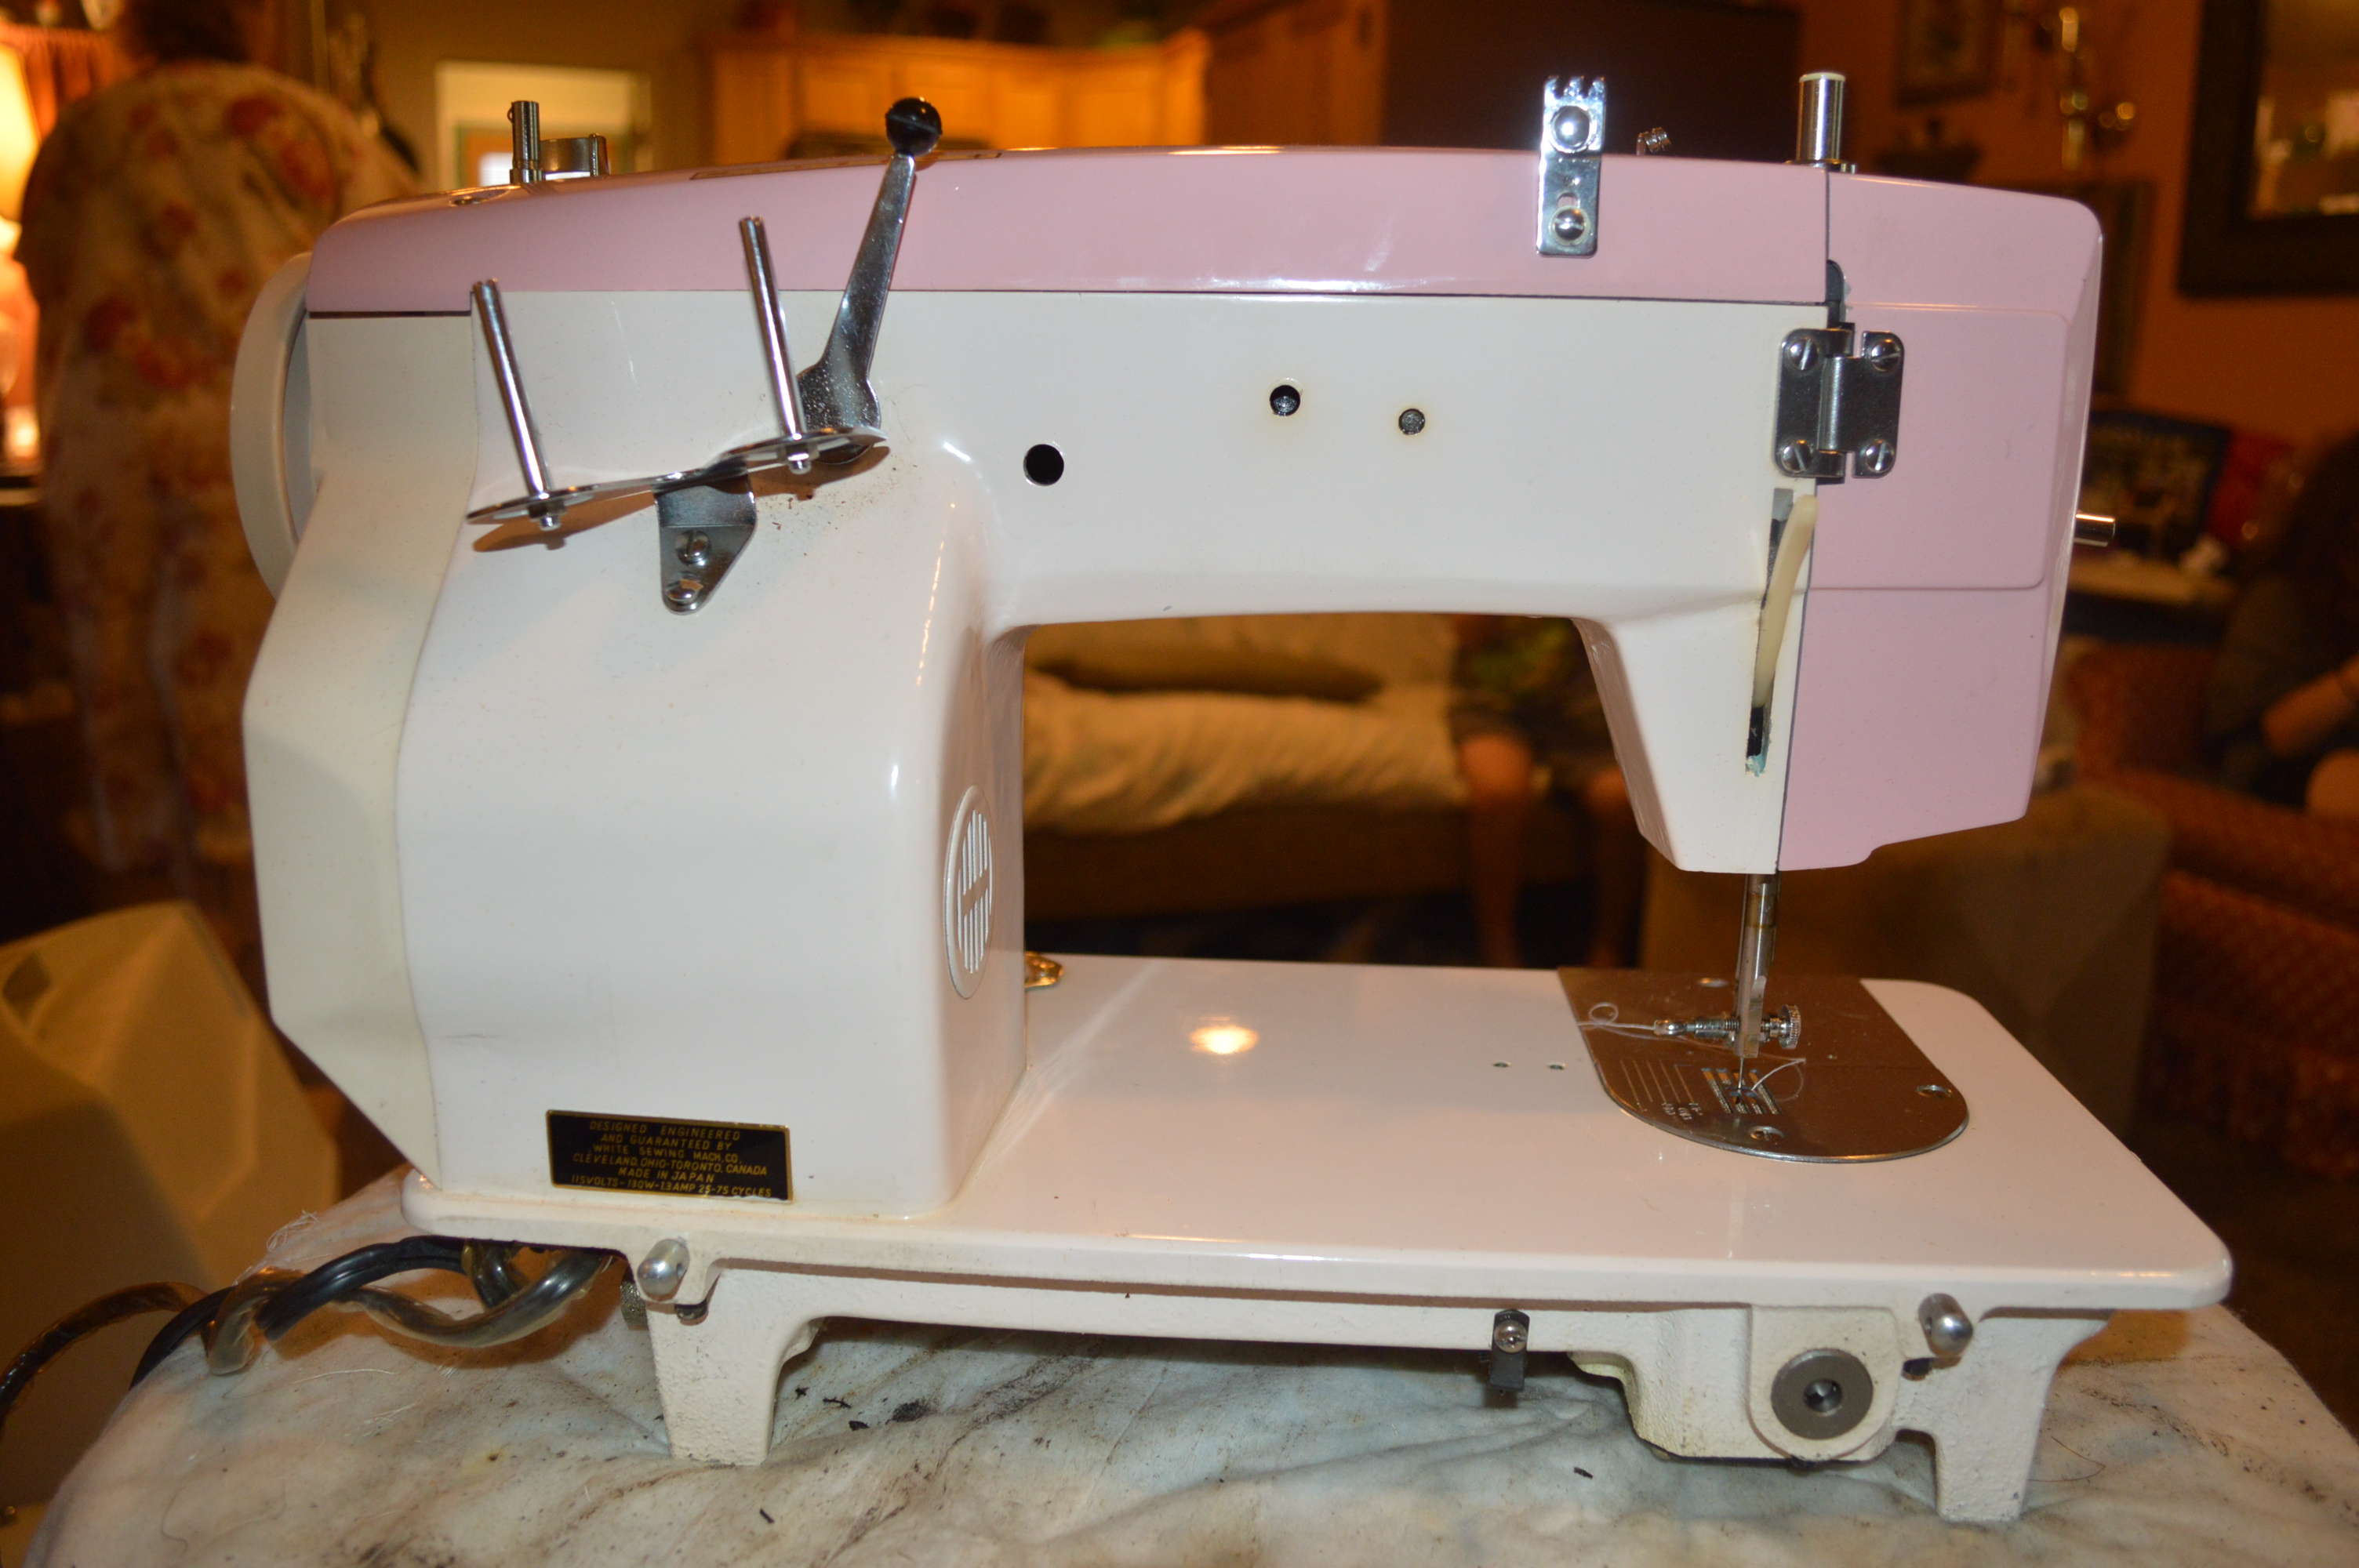
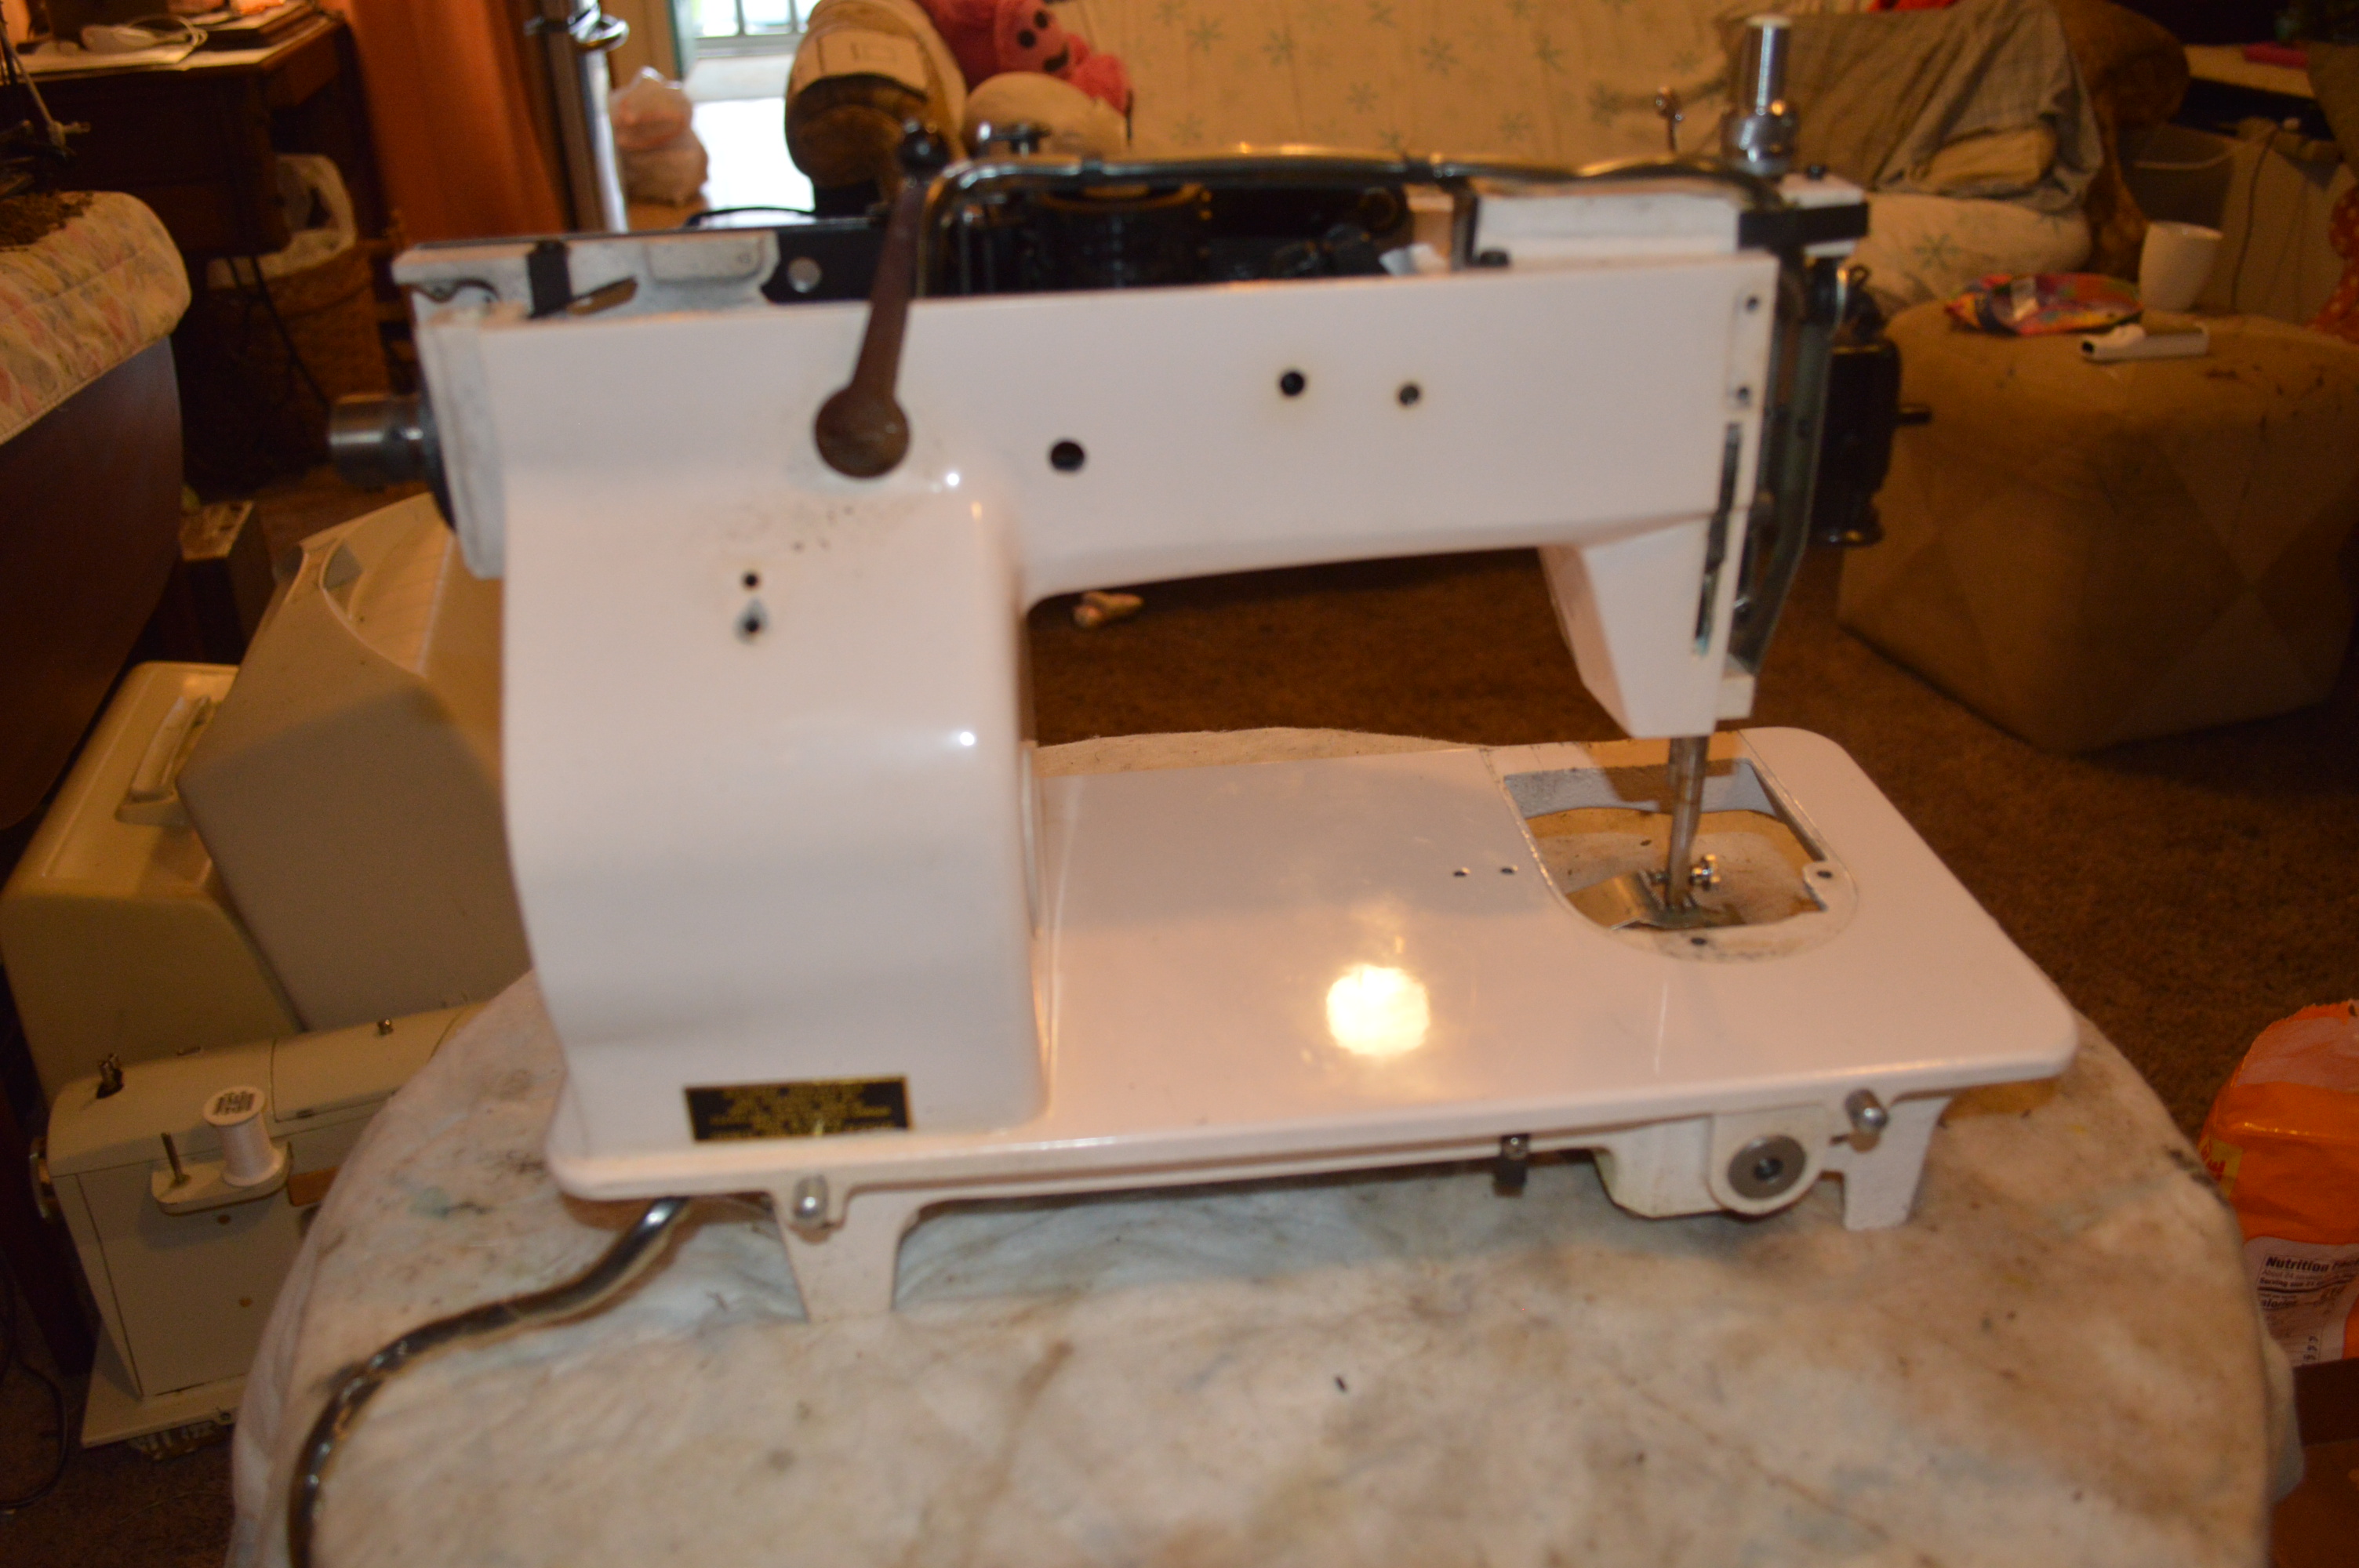
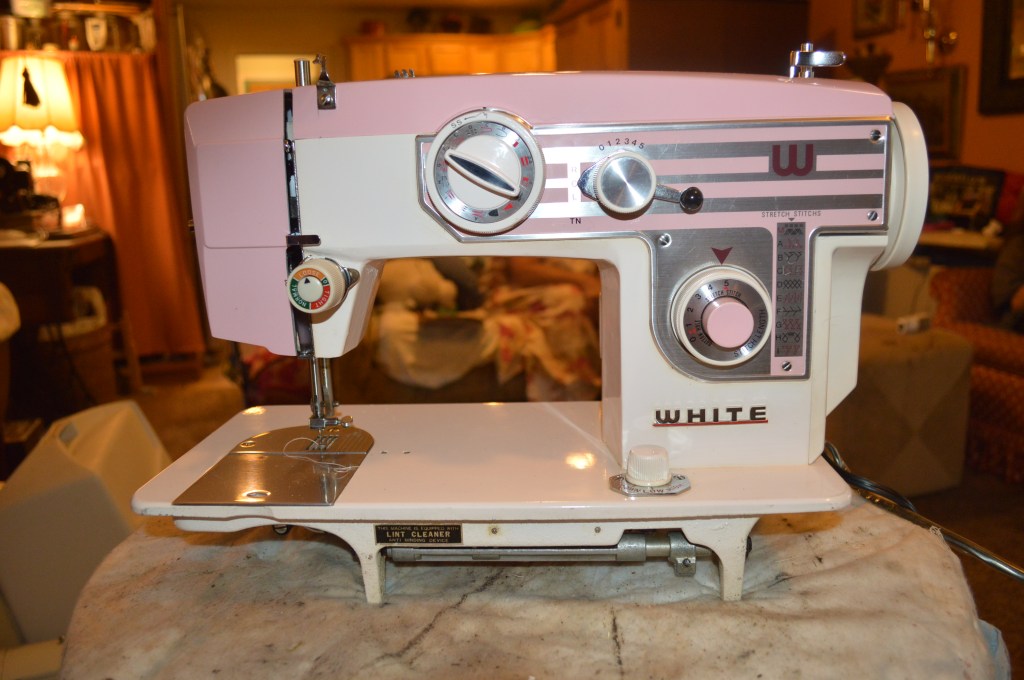
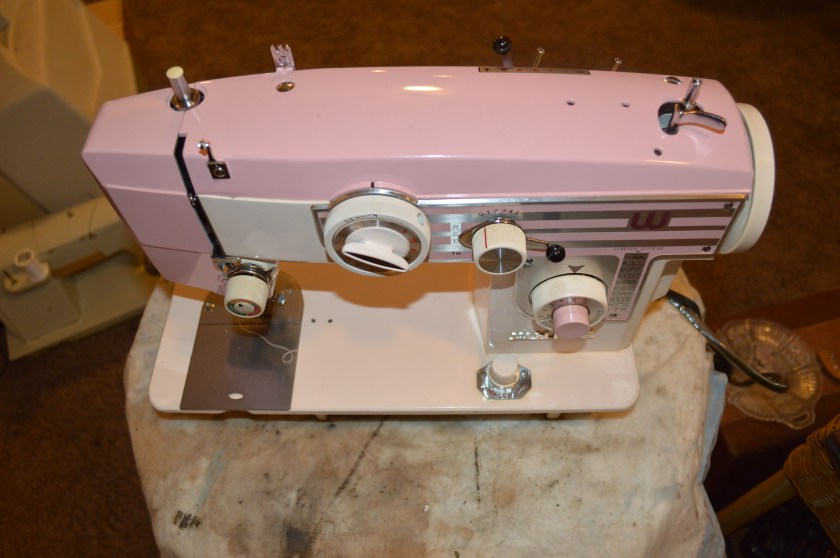
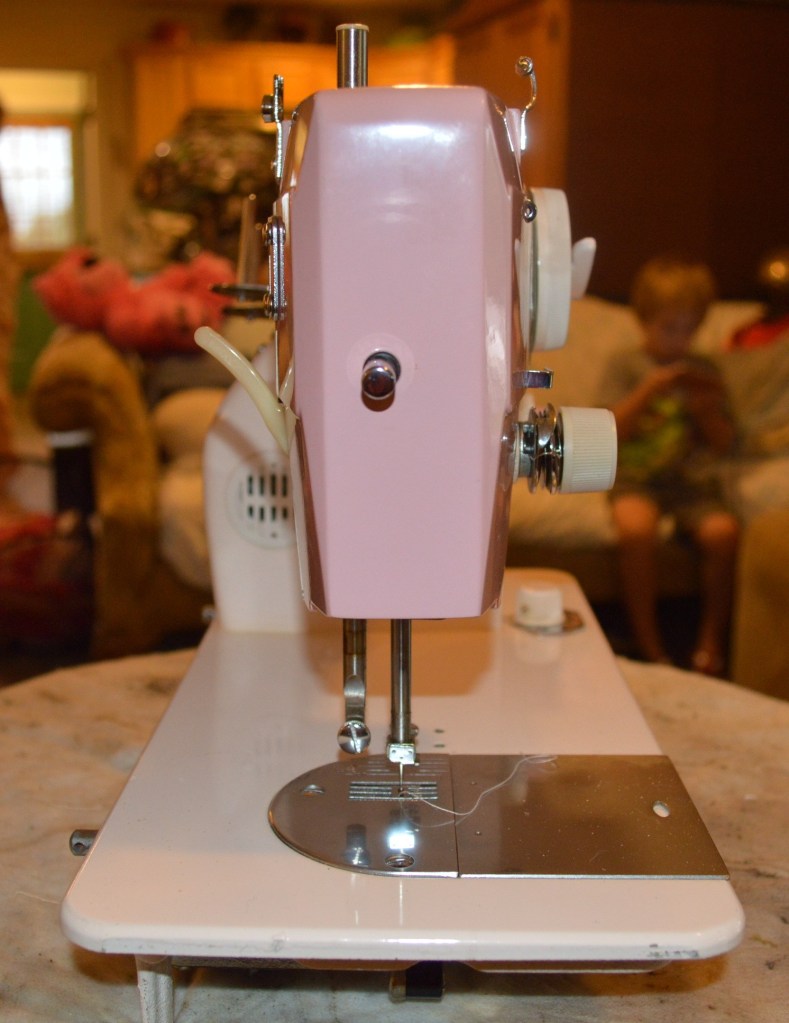
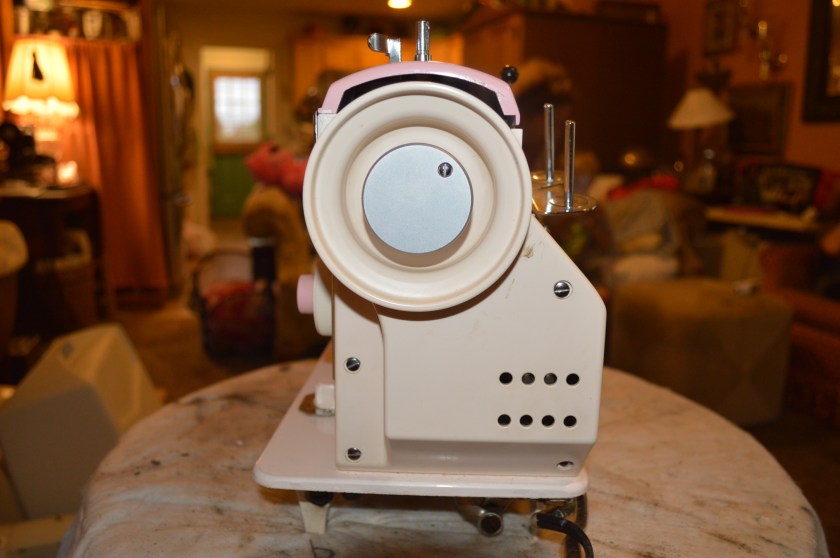
The machine being restored today is in very good condition to start with. The paint, chrome, and internal mechanisms, including the motor appear to be in very good condition. The plan for this restoration is to refresh the drive mechanisms, motor, and fine detail the cosmetic appearance of the machine. Here is a picture before beginning the restoration.


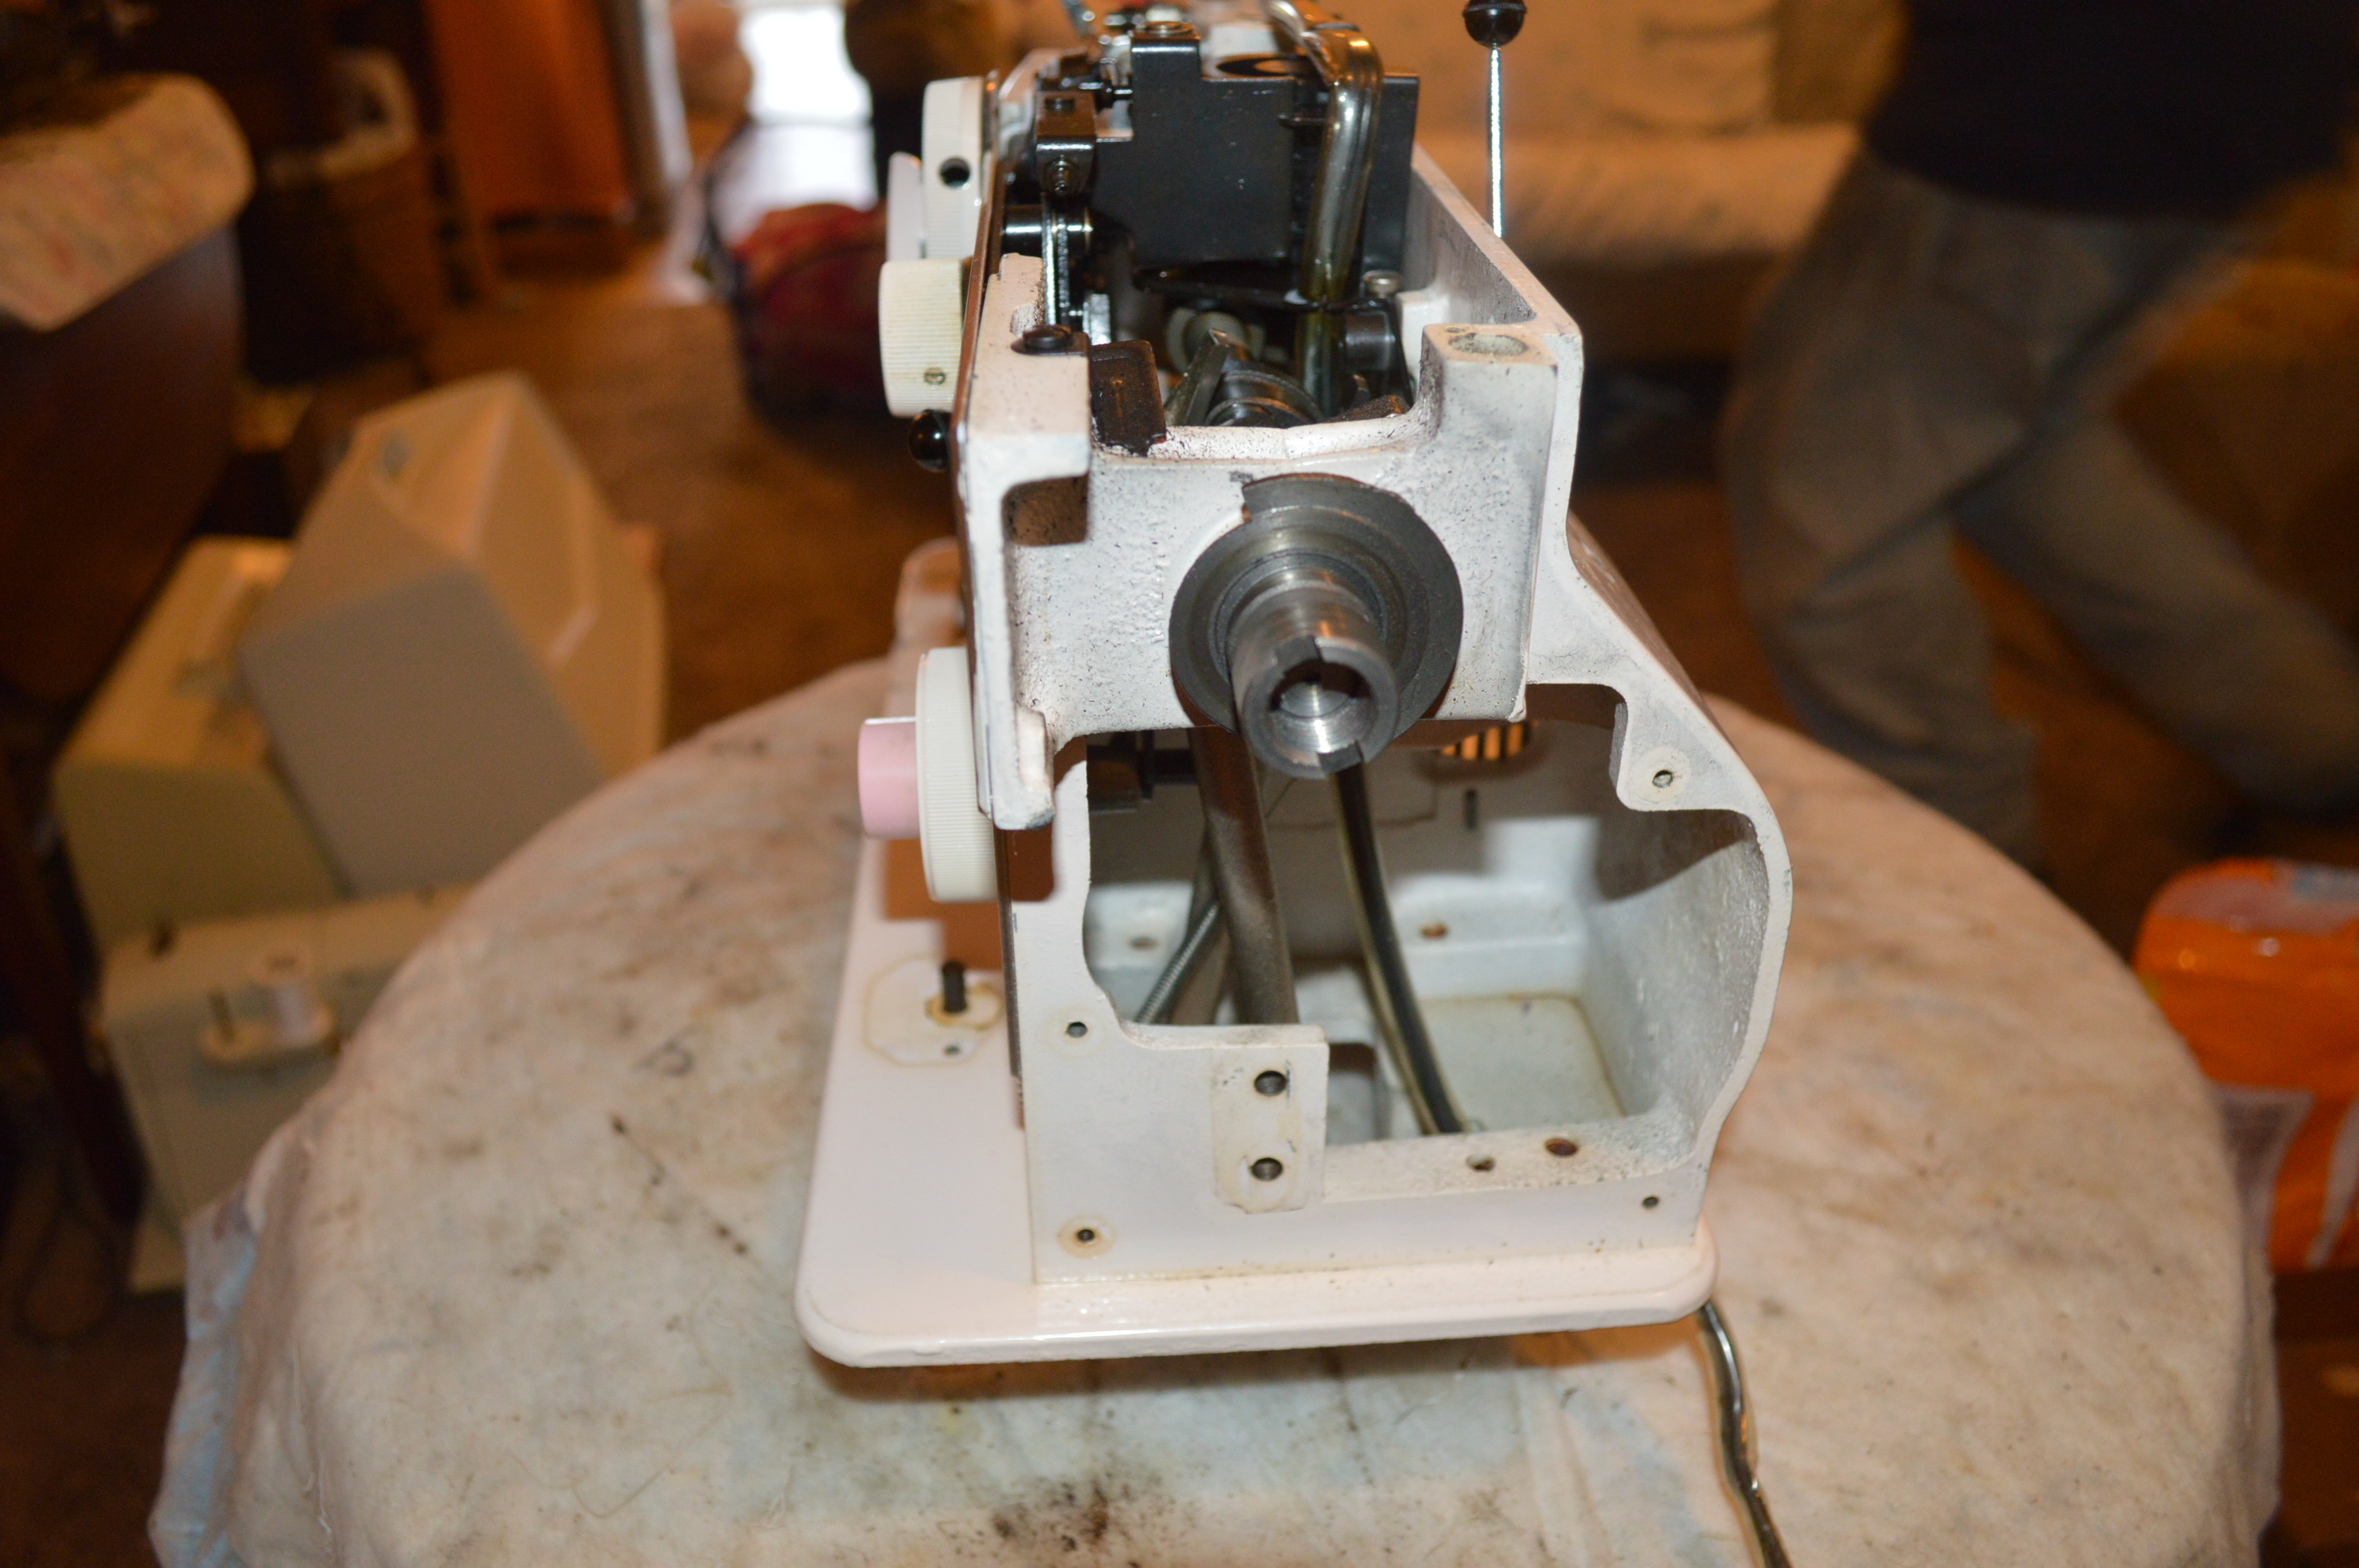
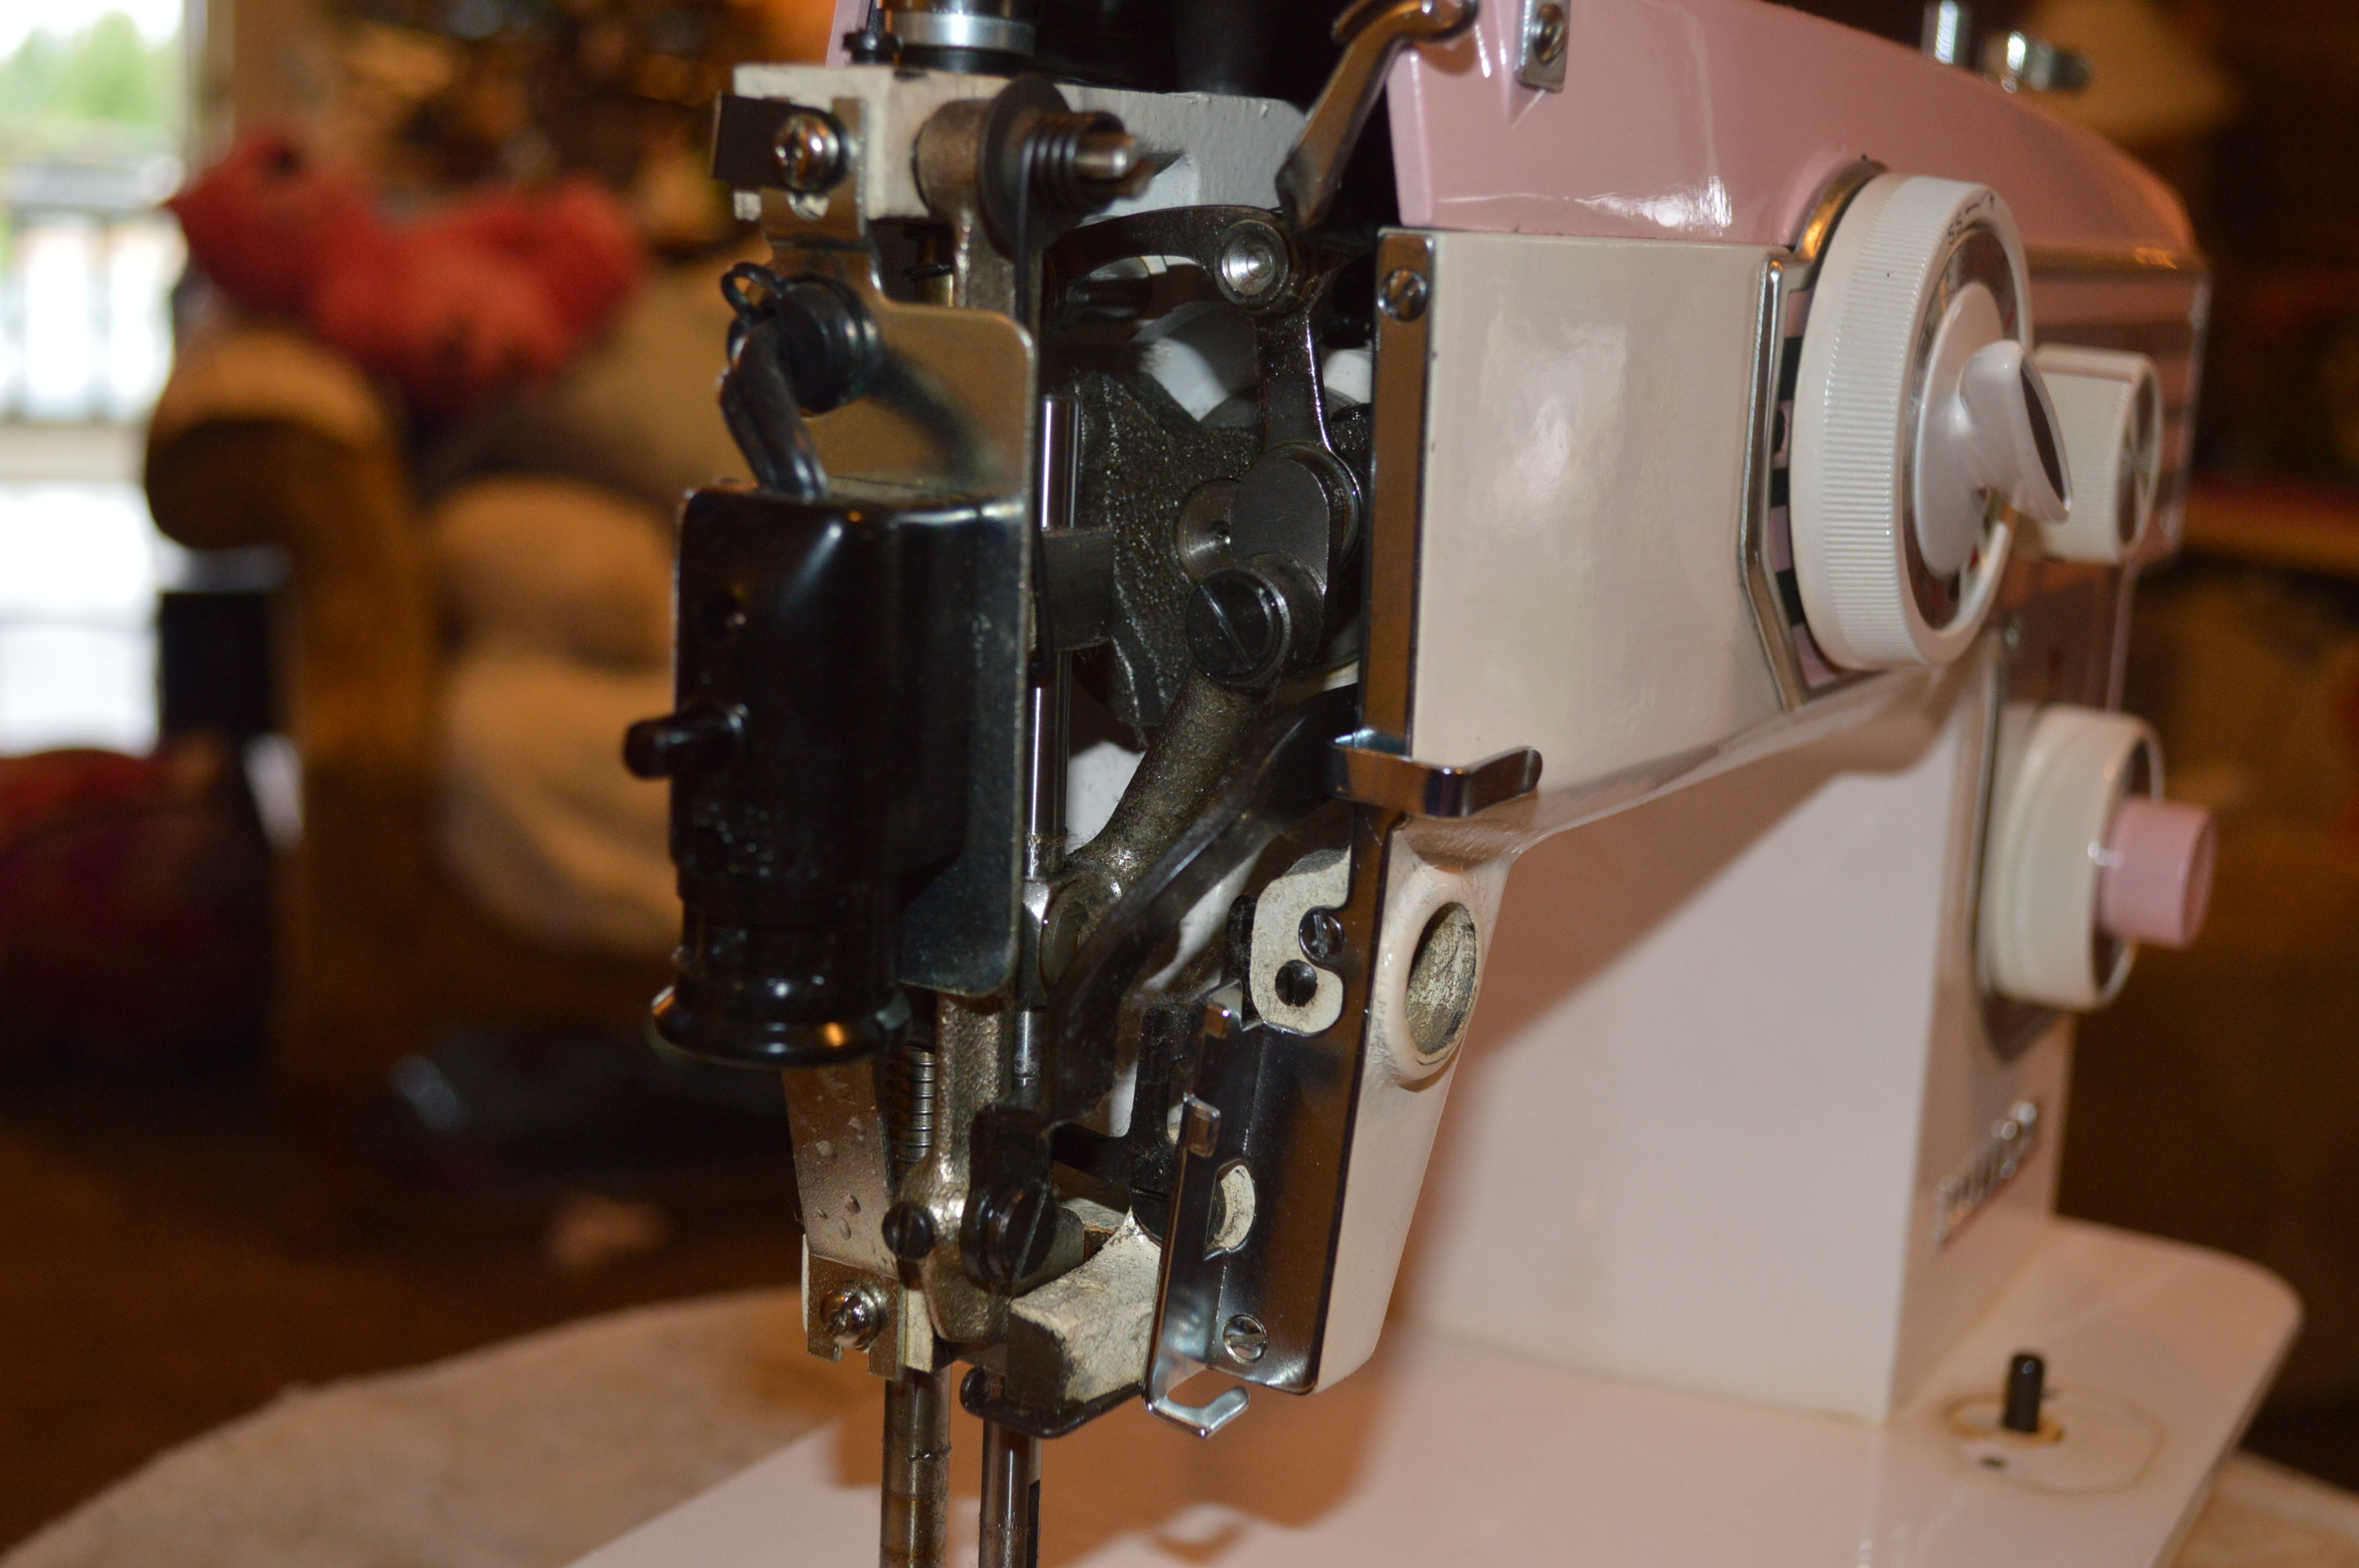
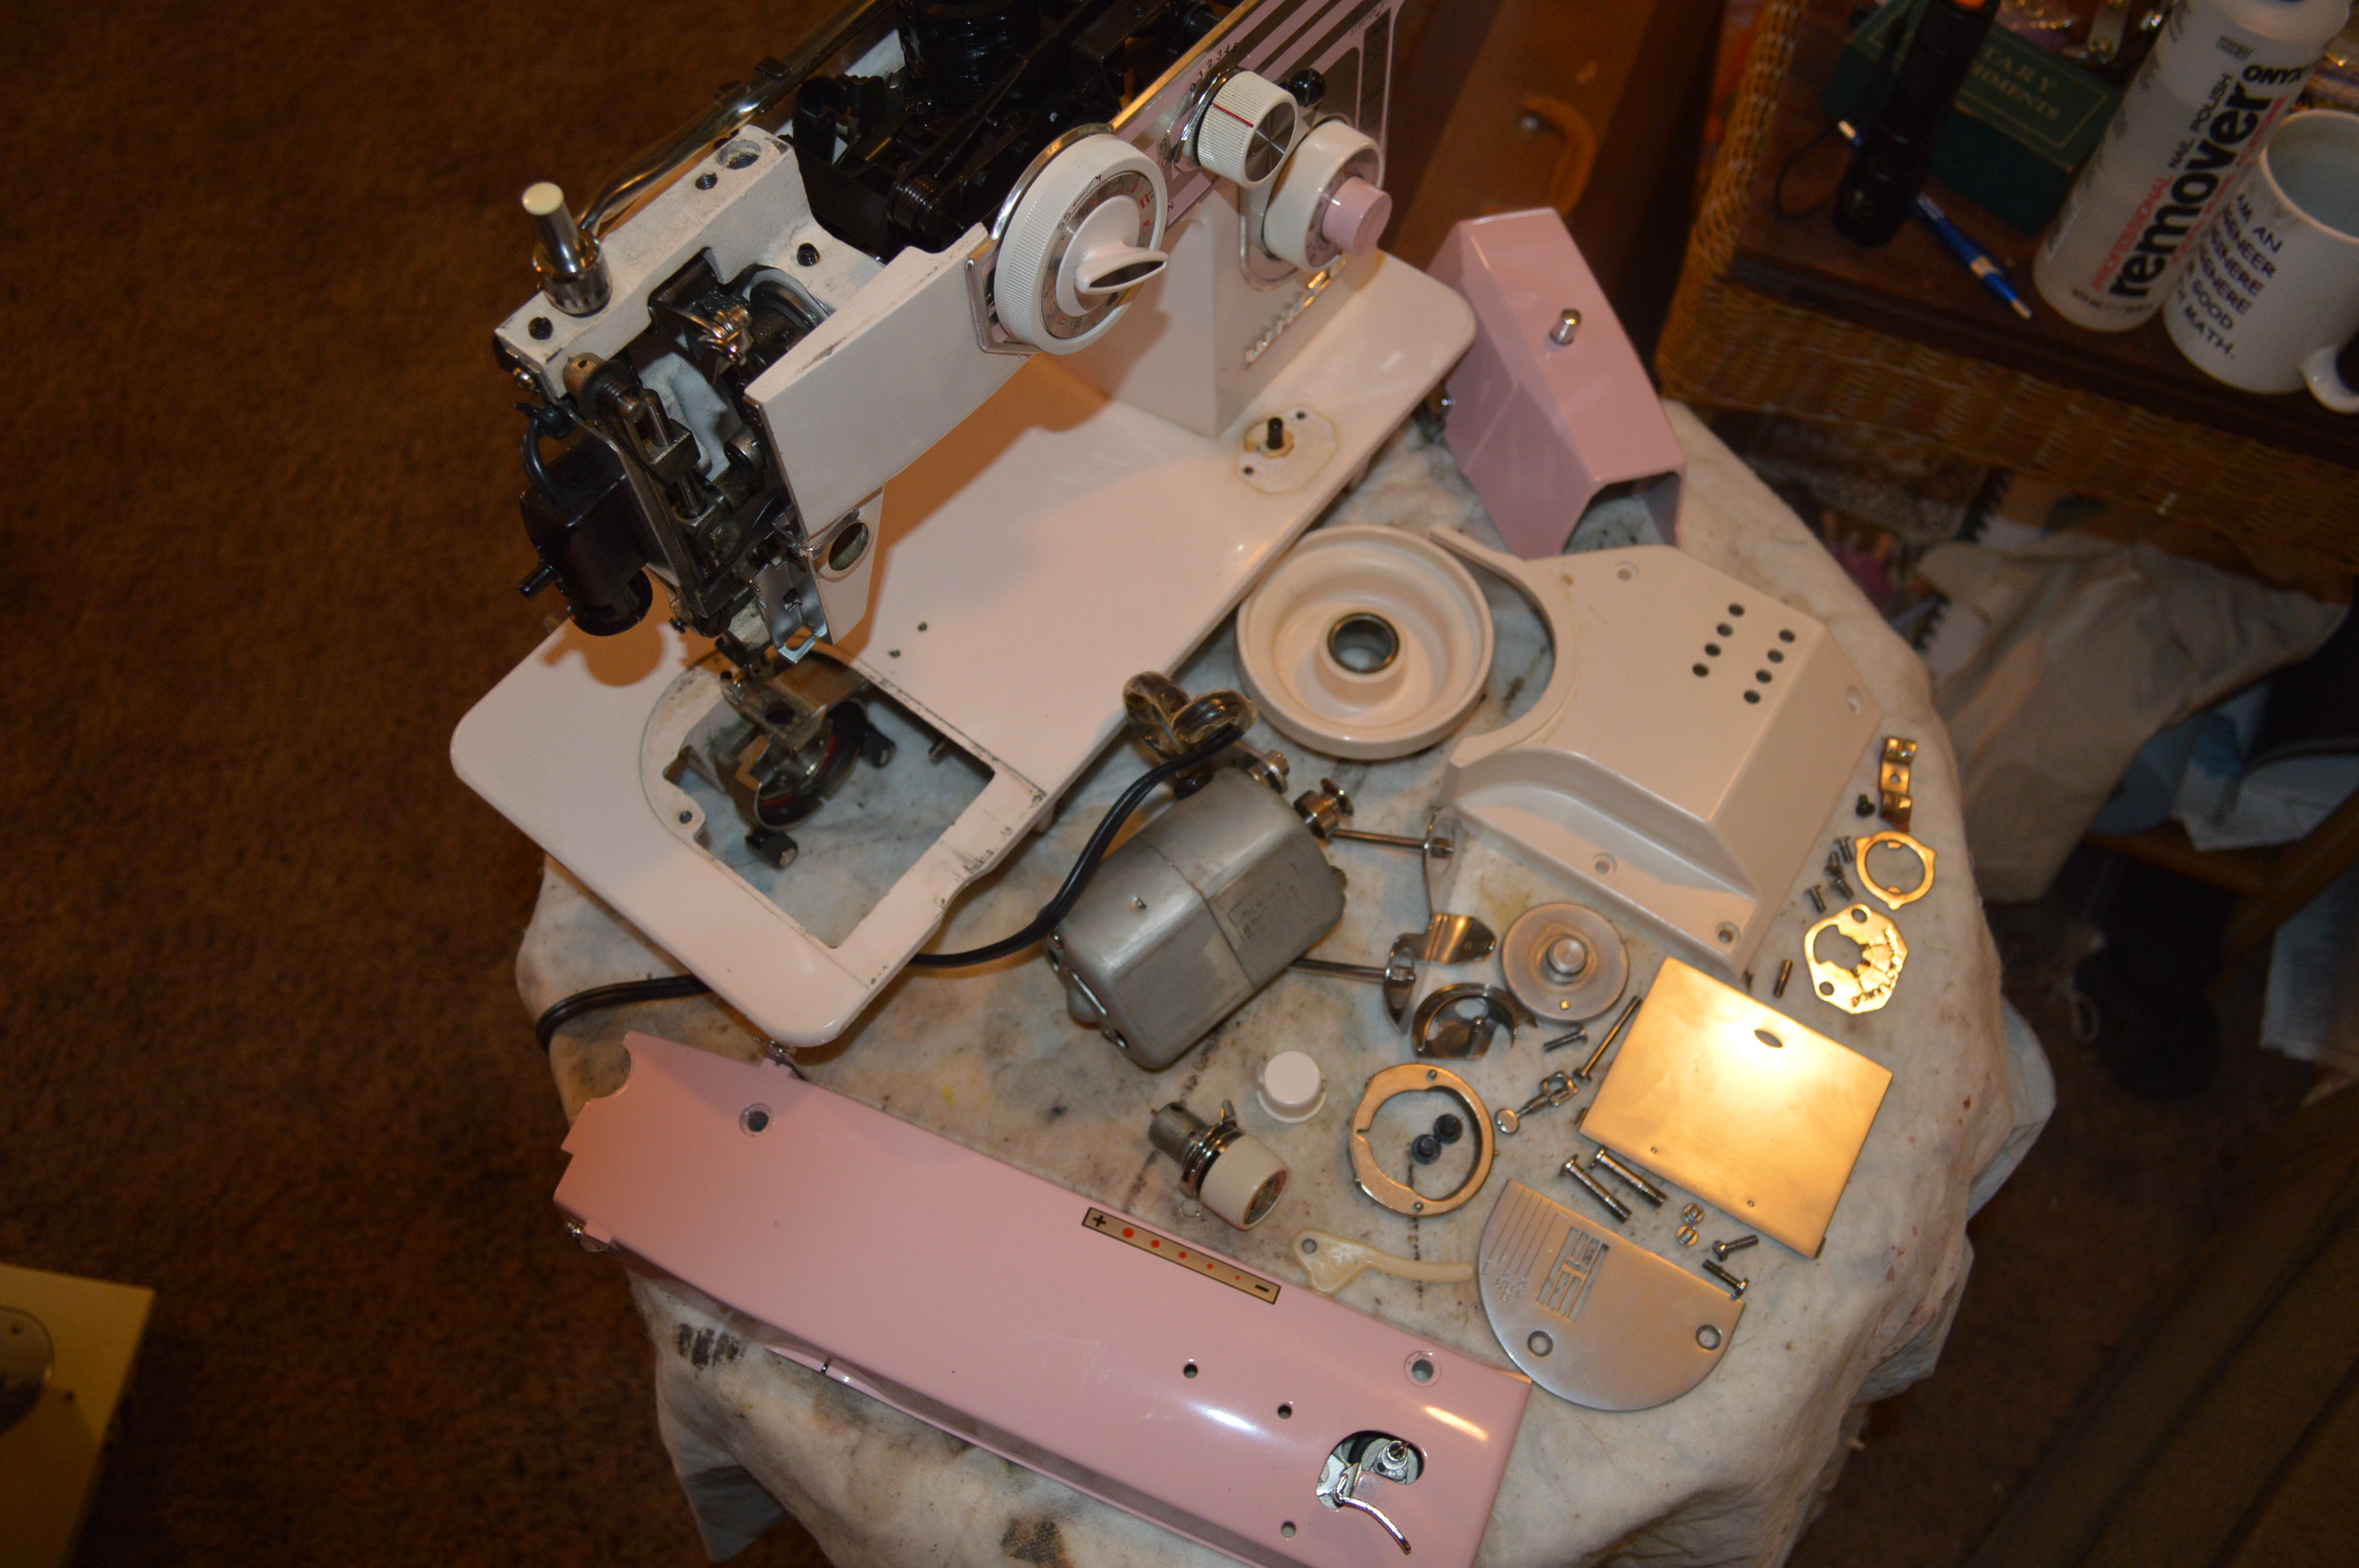
Because it is easier to clean the machines body and access the parts destined for disassembly, the first step is to disassemble them before we begin focusing on any one area…


The parts are laid out for cleaning…
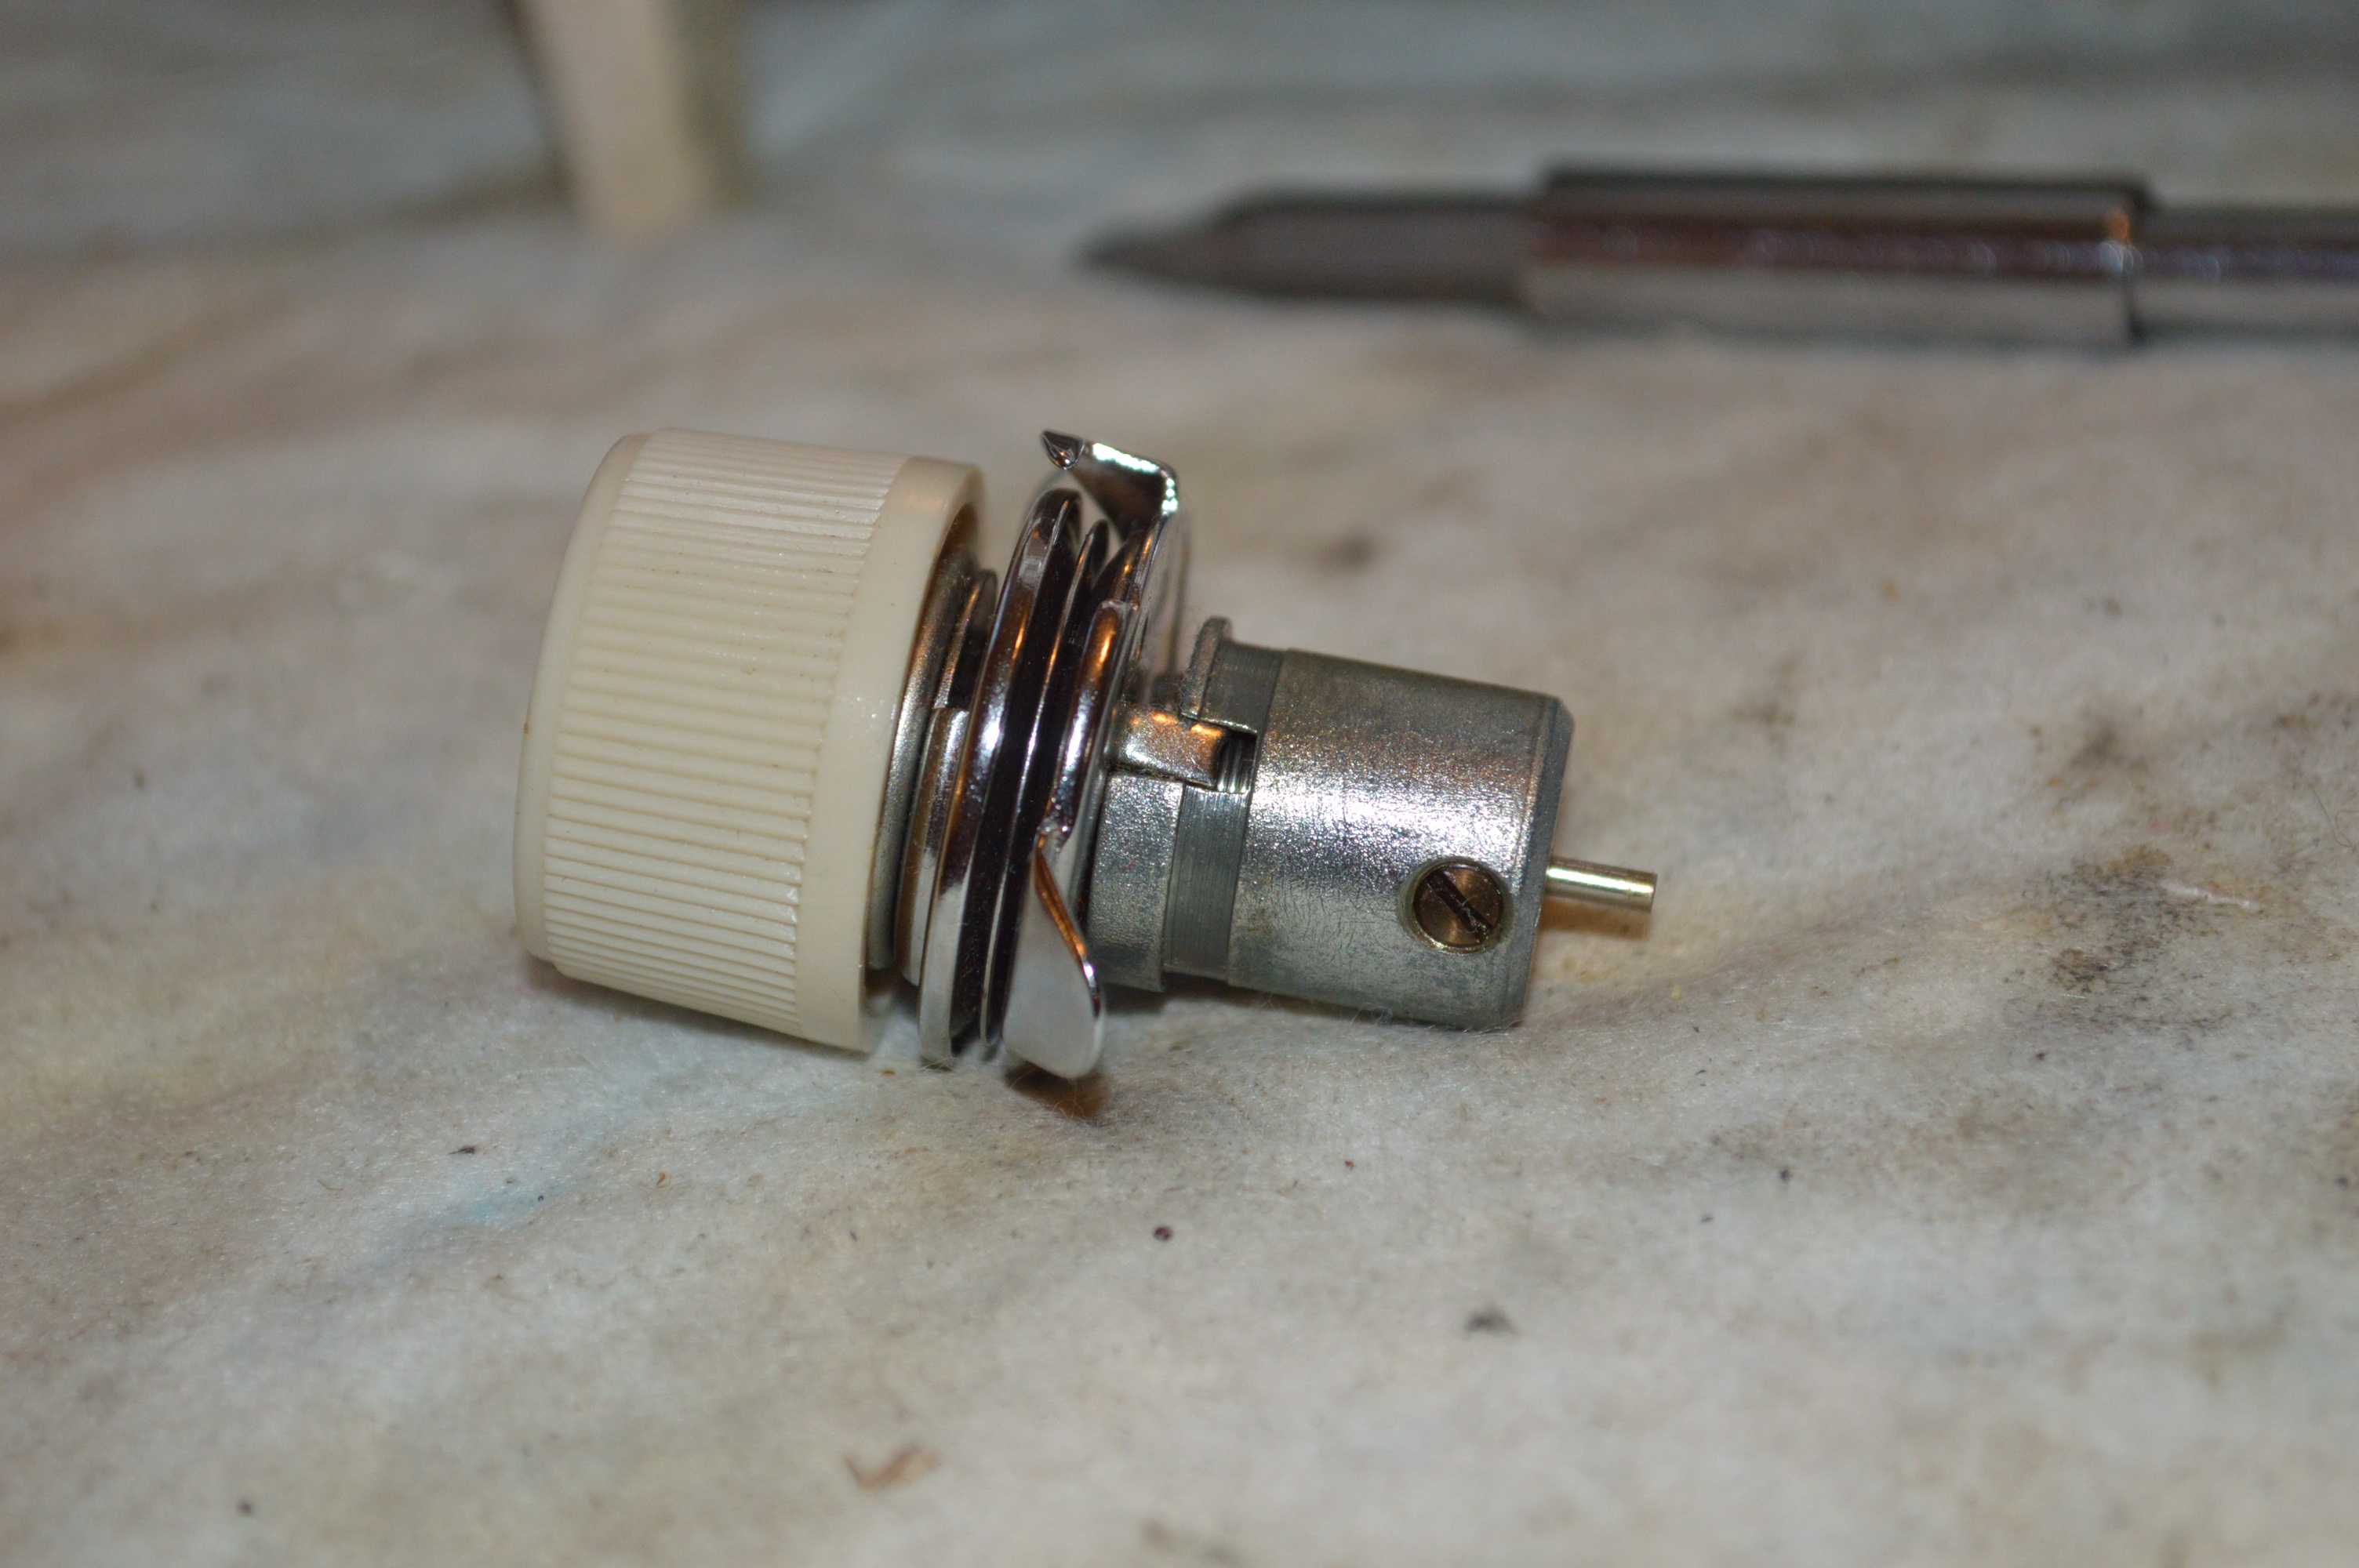
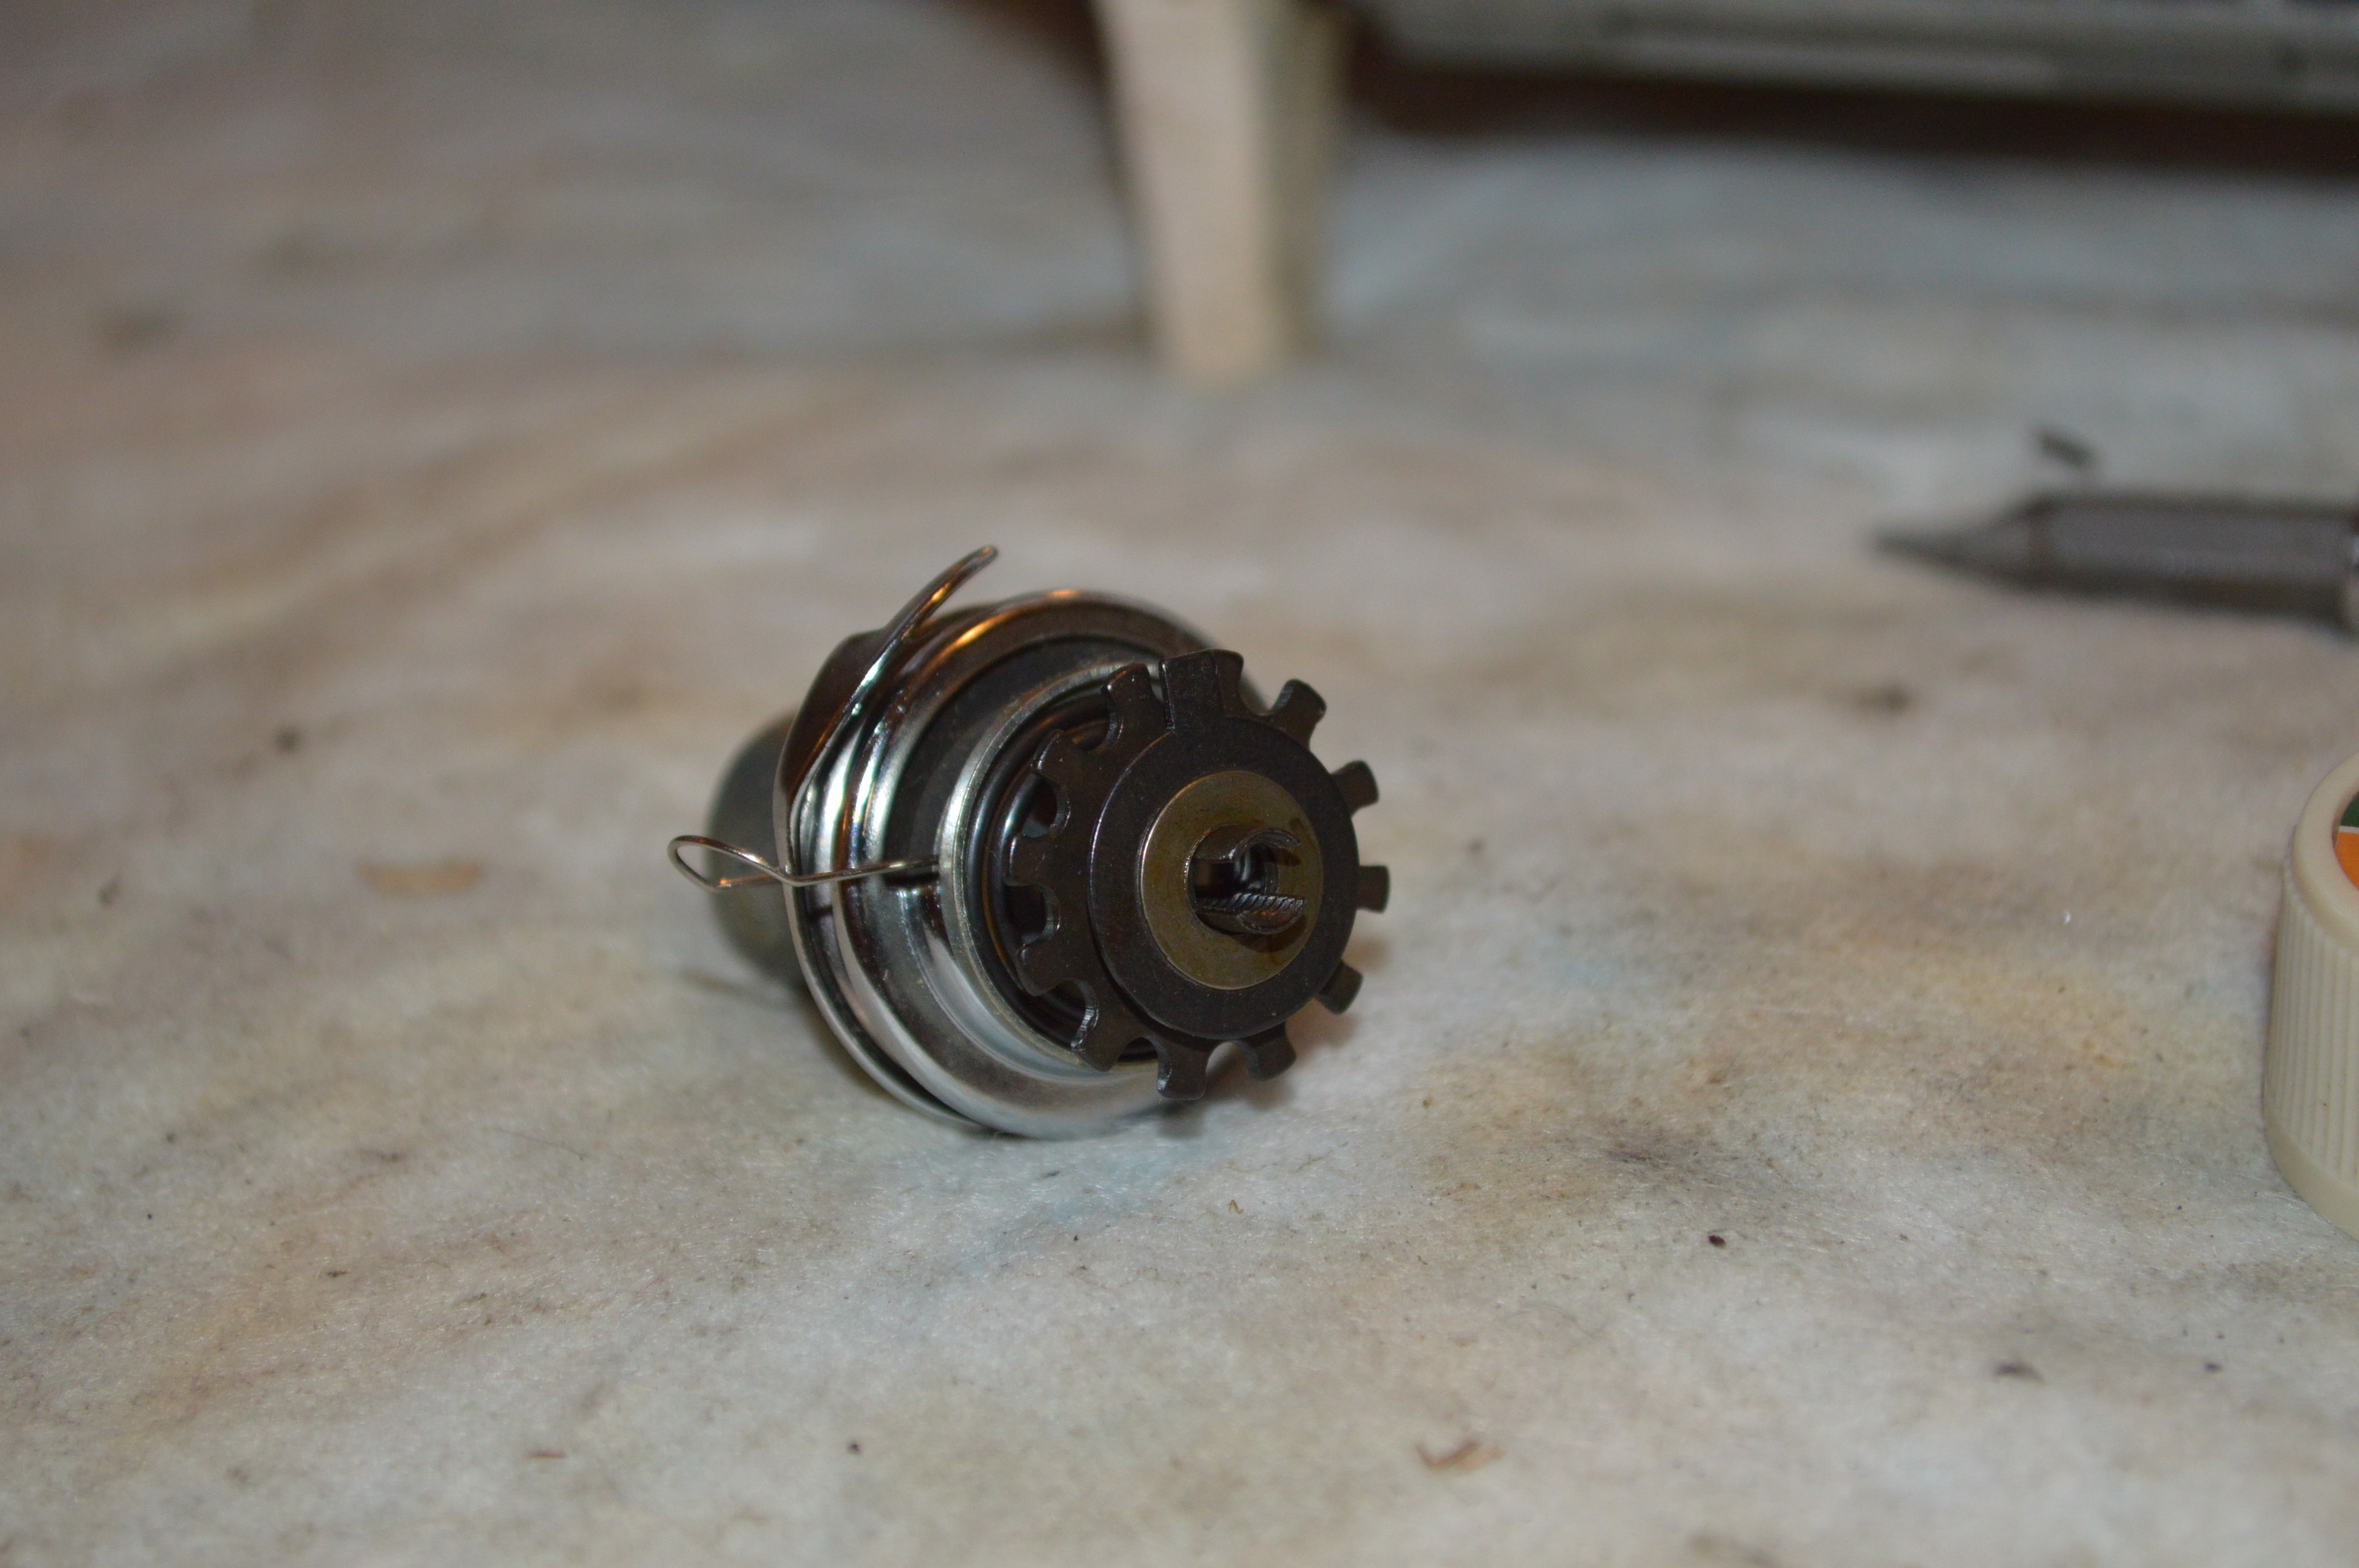
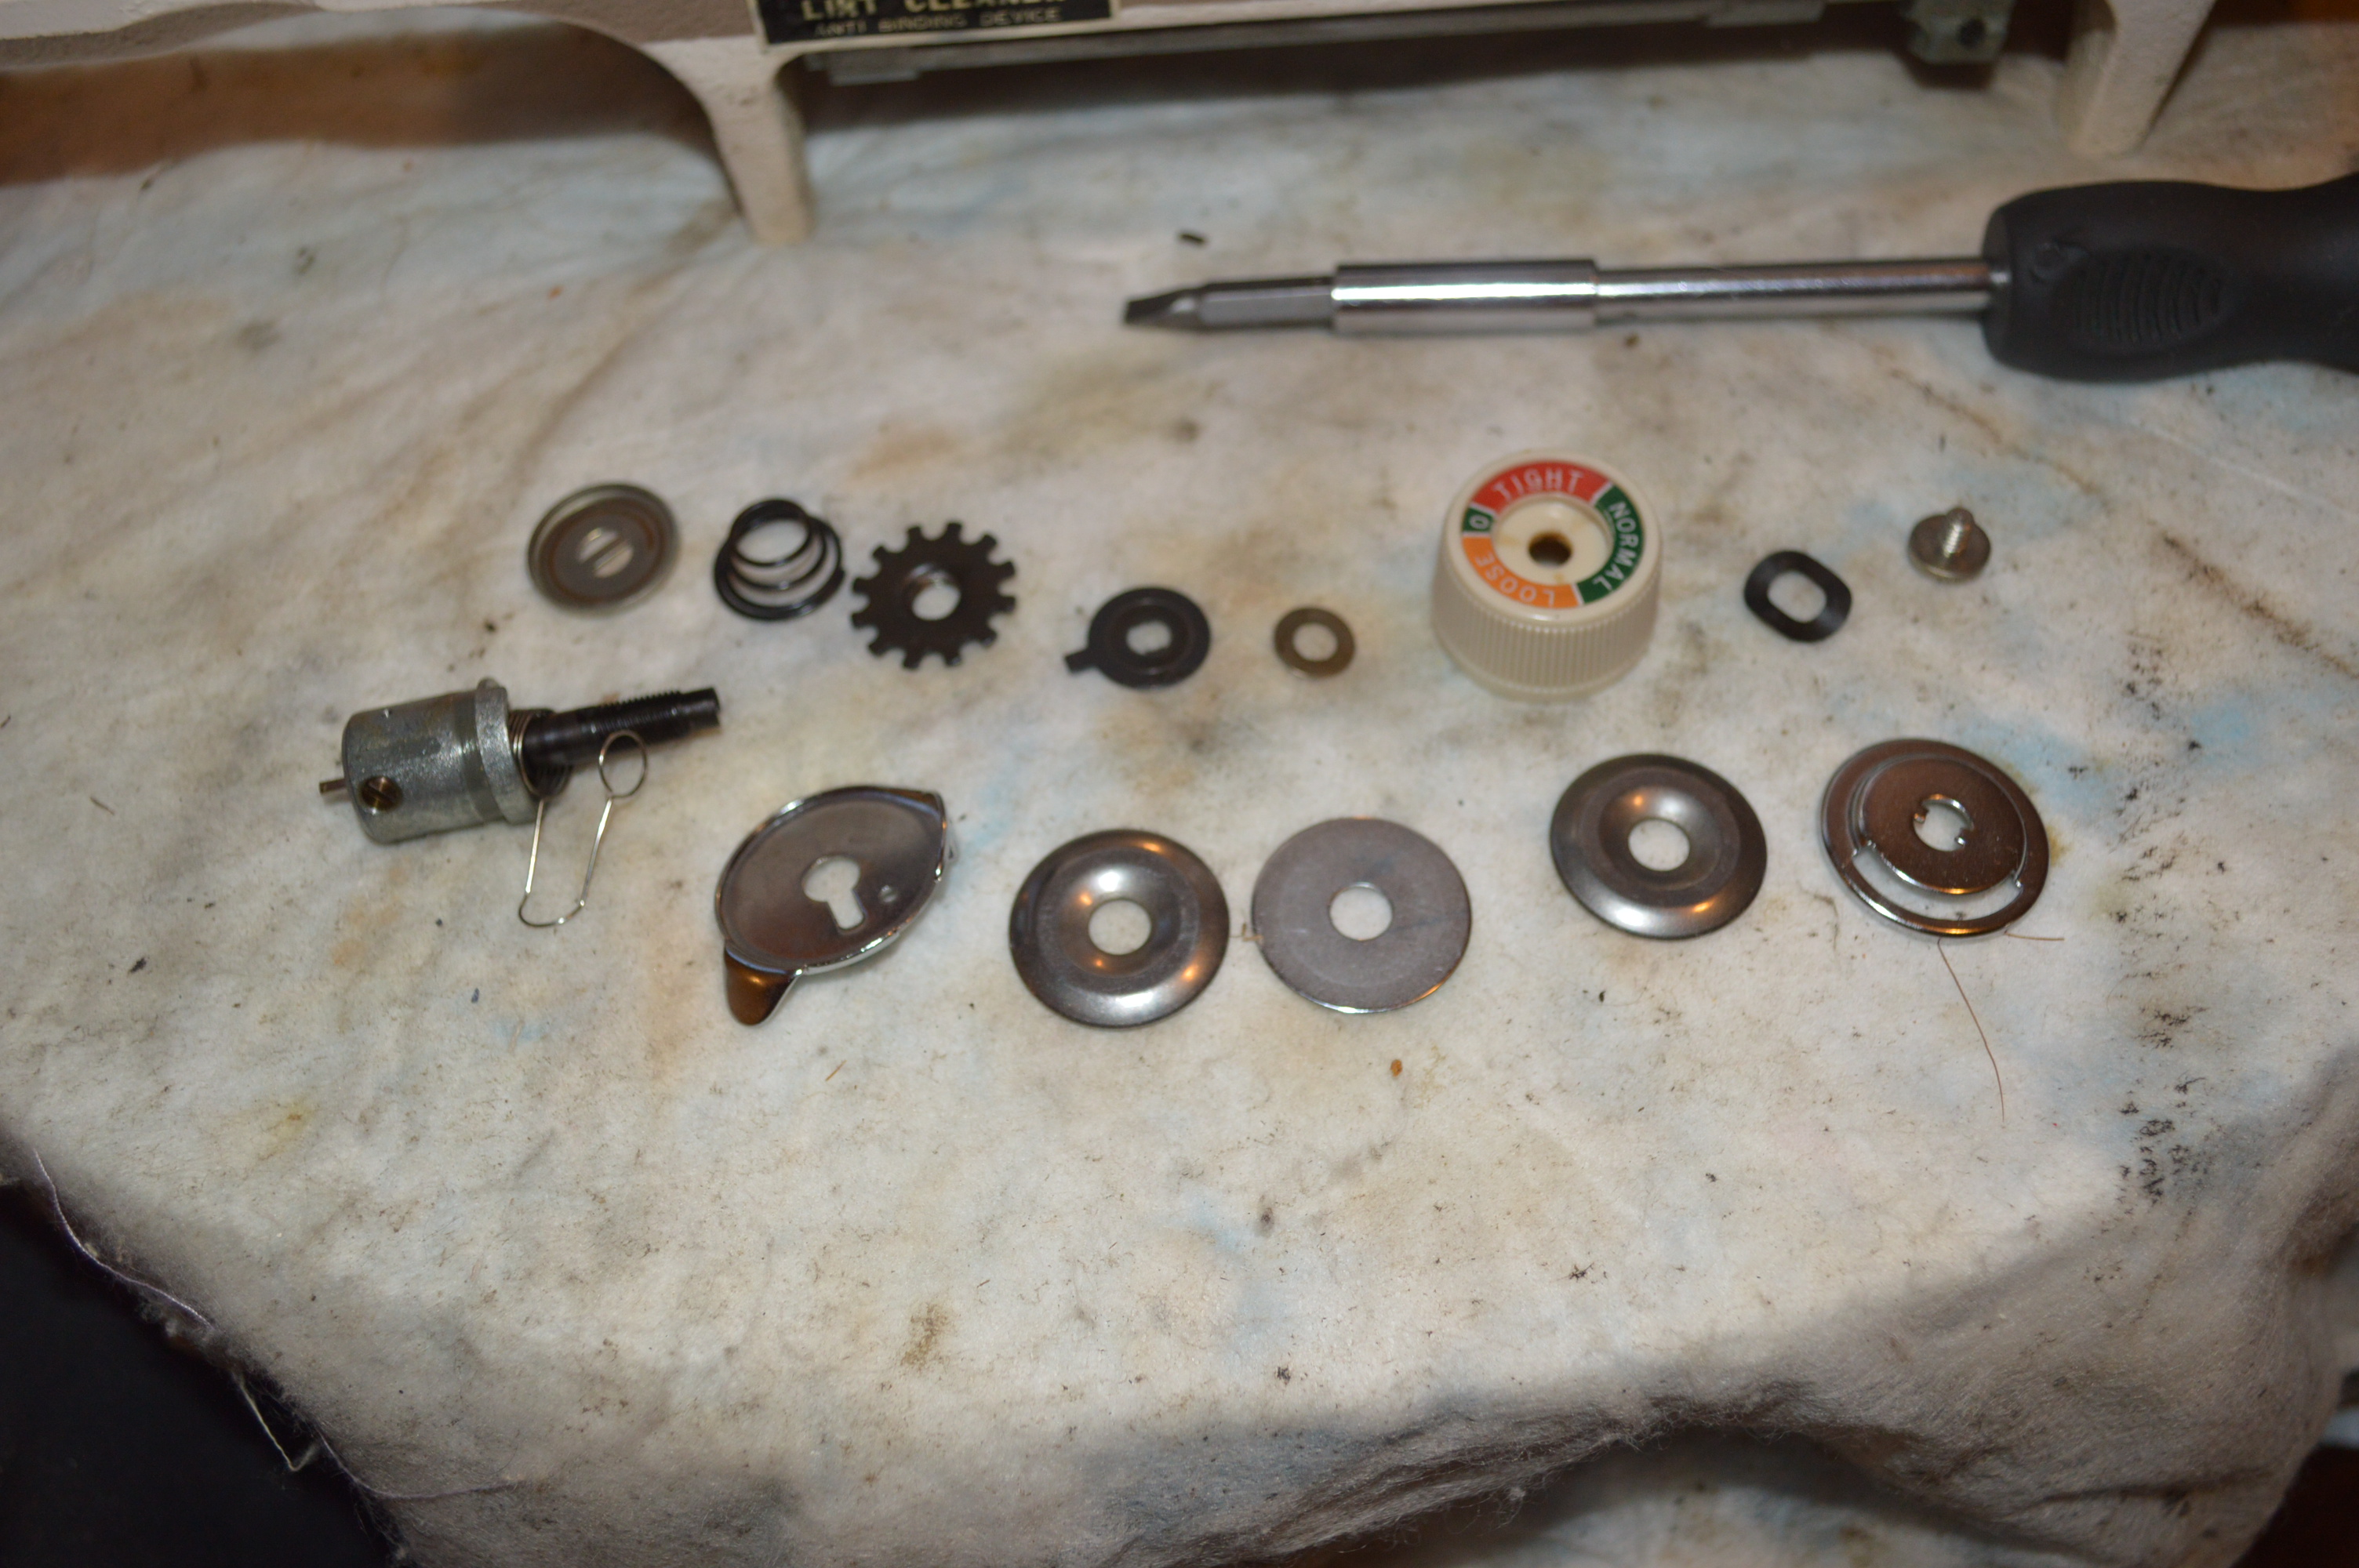
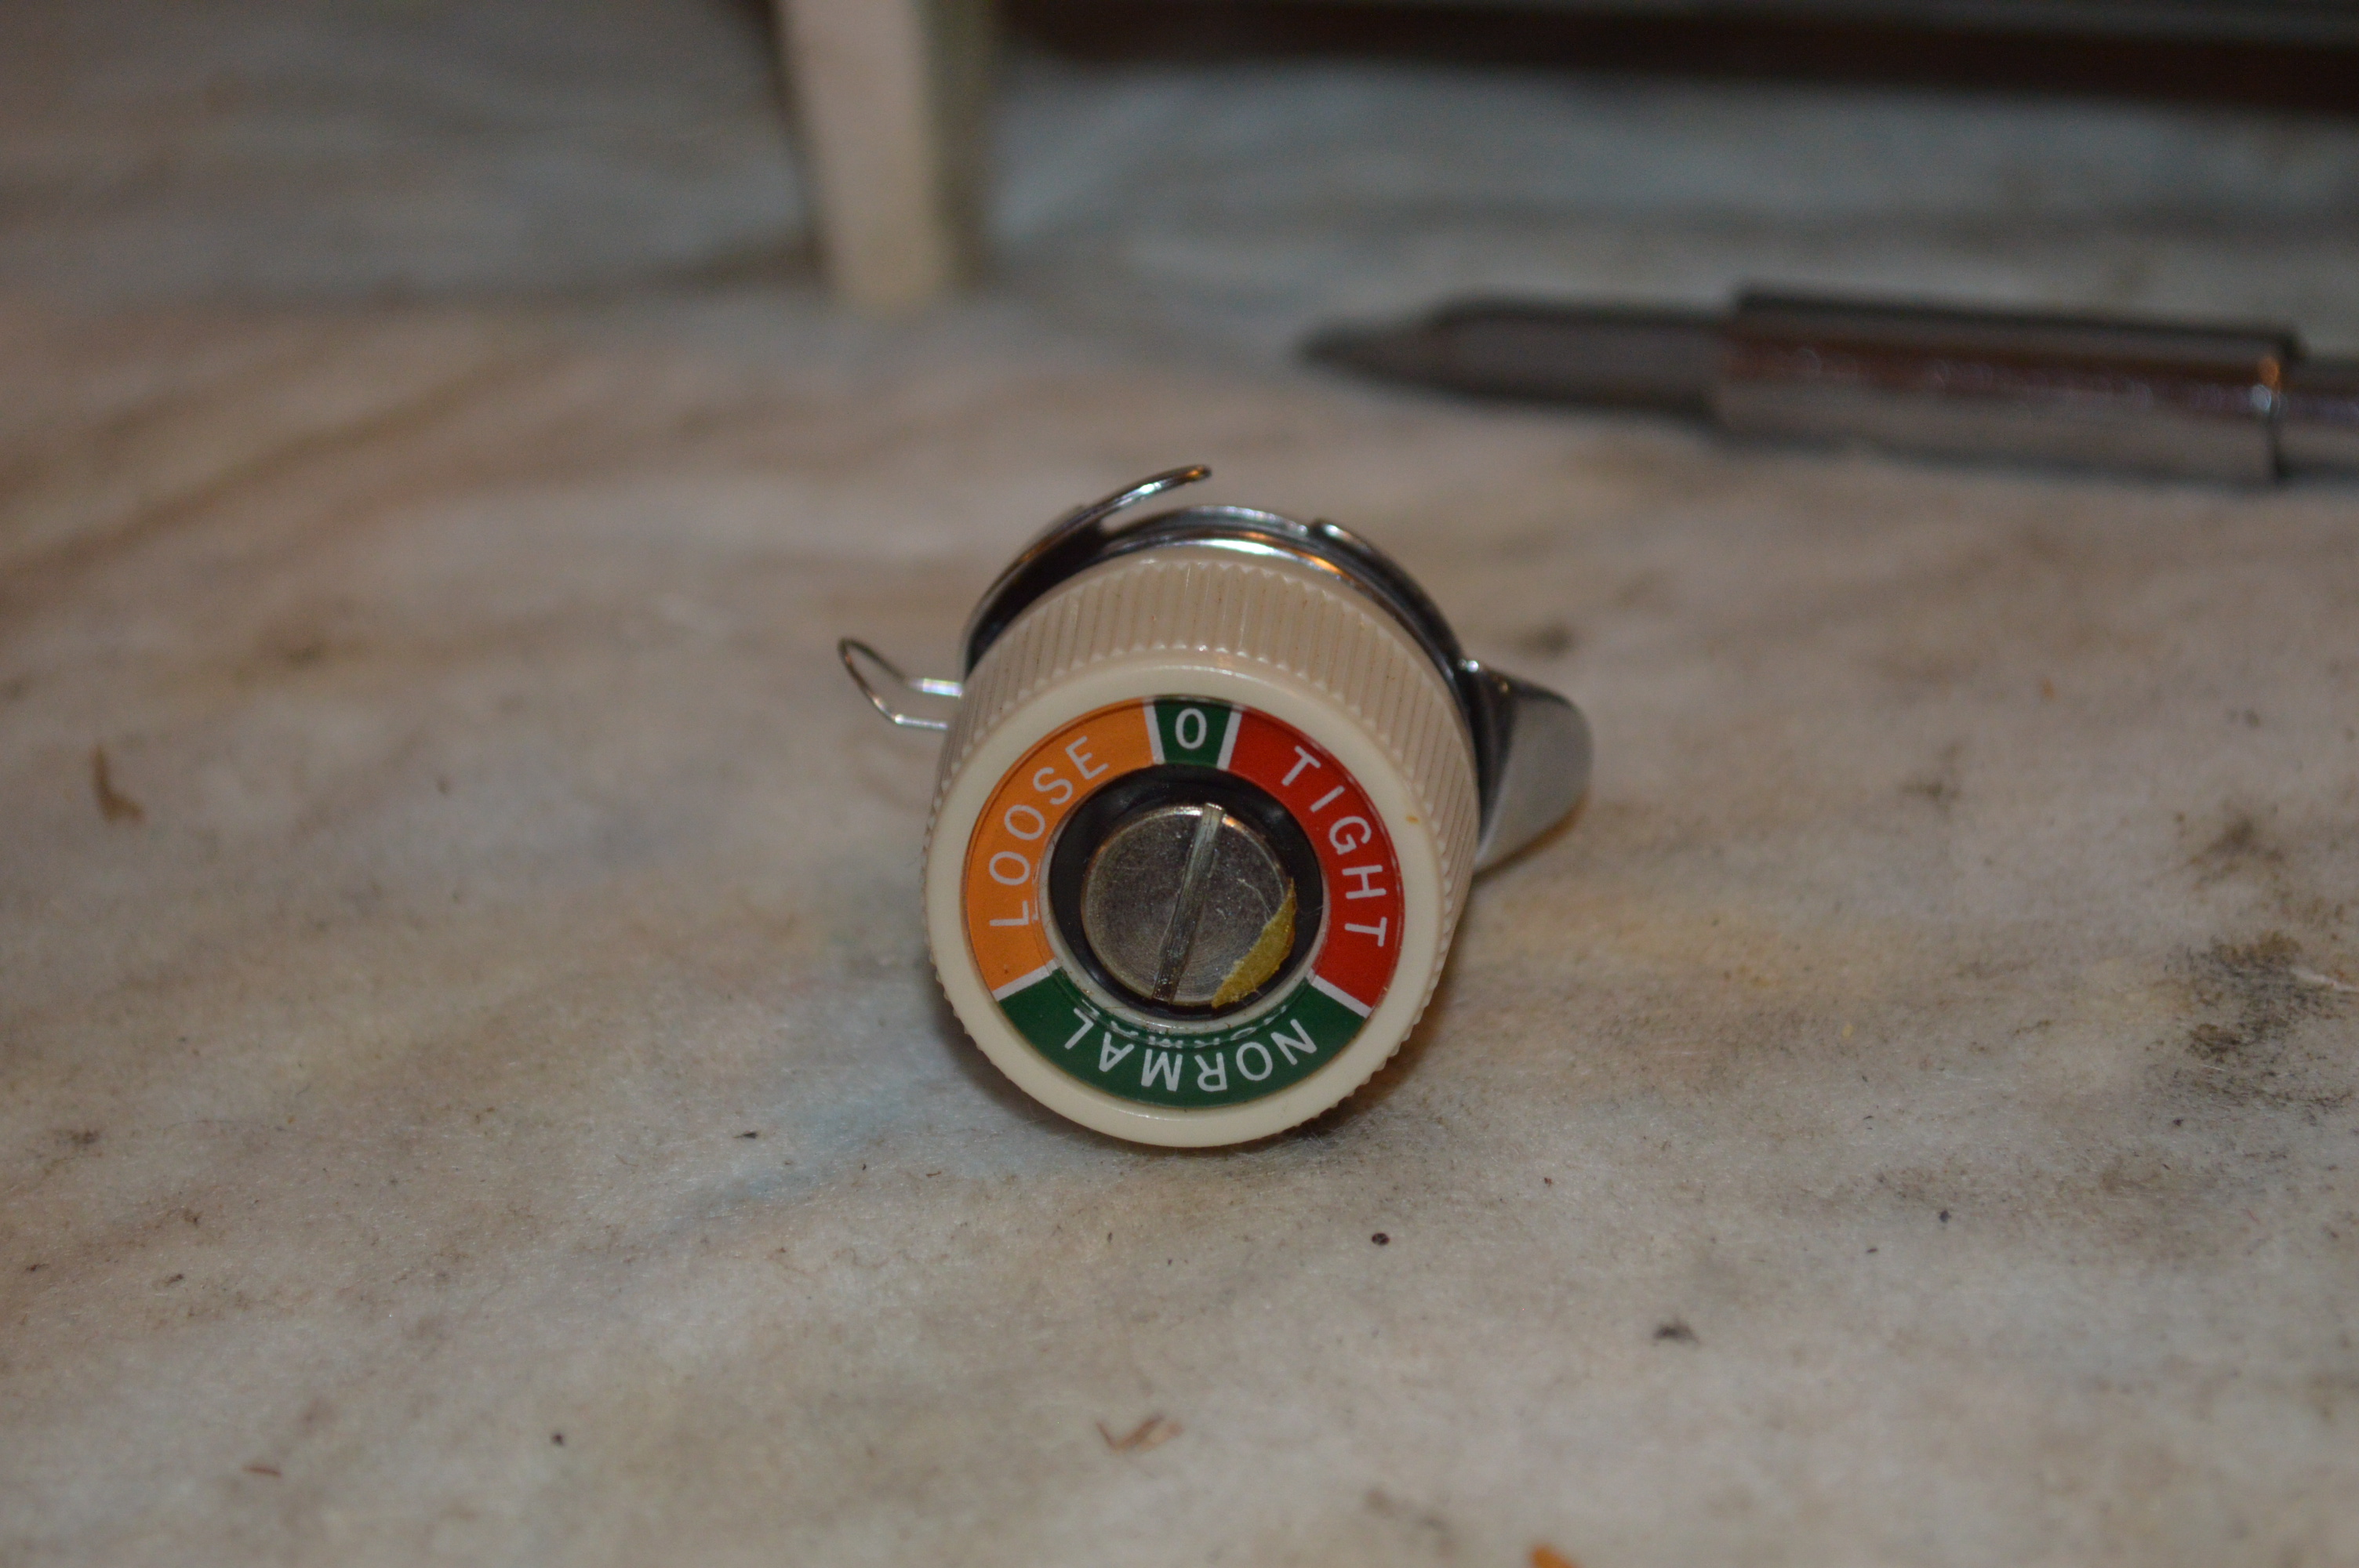
The tension assembly is disassembled, cleaned, and reassembled…
The next step is to disassemble the motor, polish the armature, clean the case, and inspect the wiring and brushes…

Motor disassembled 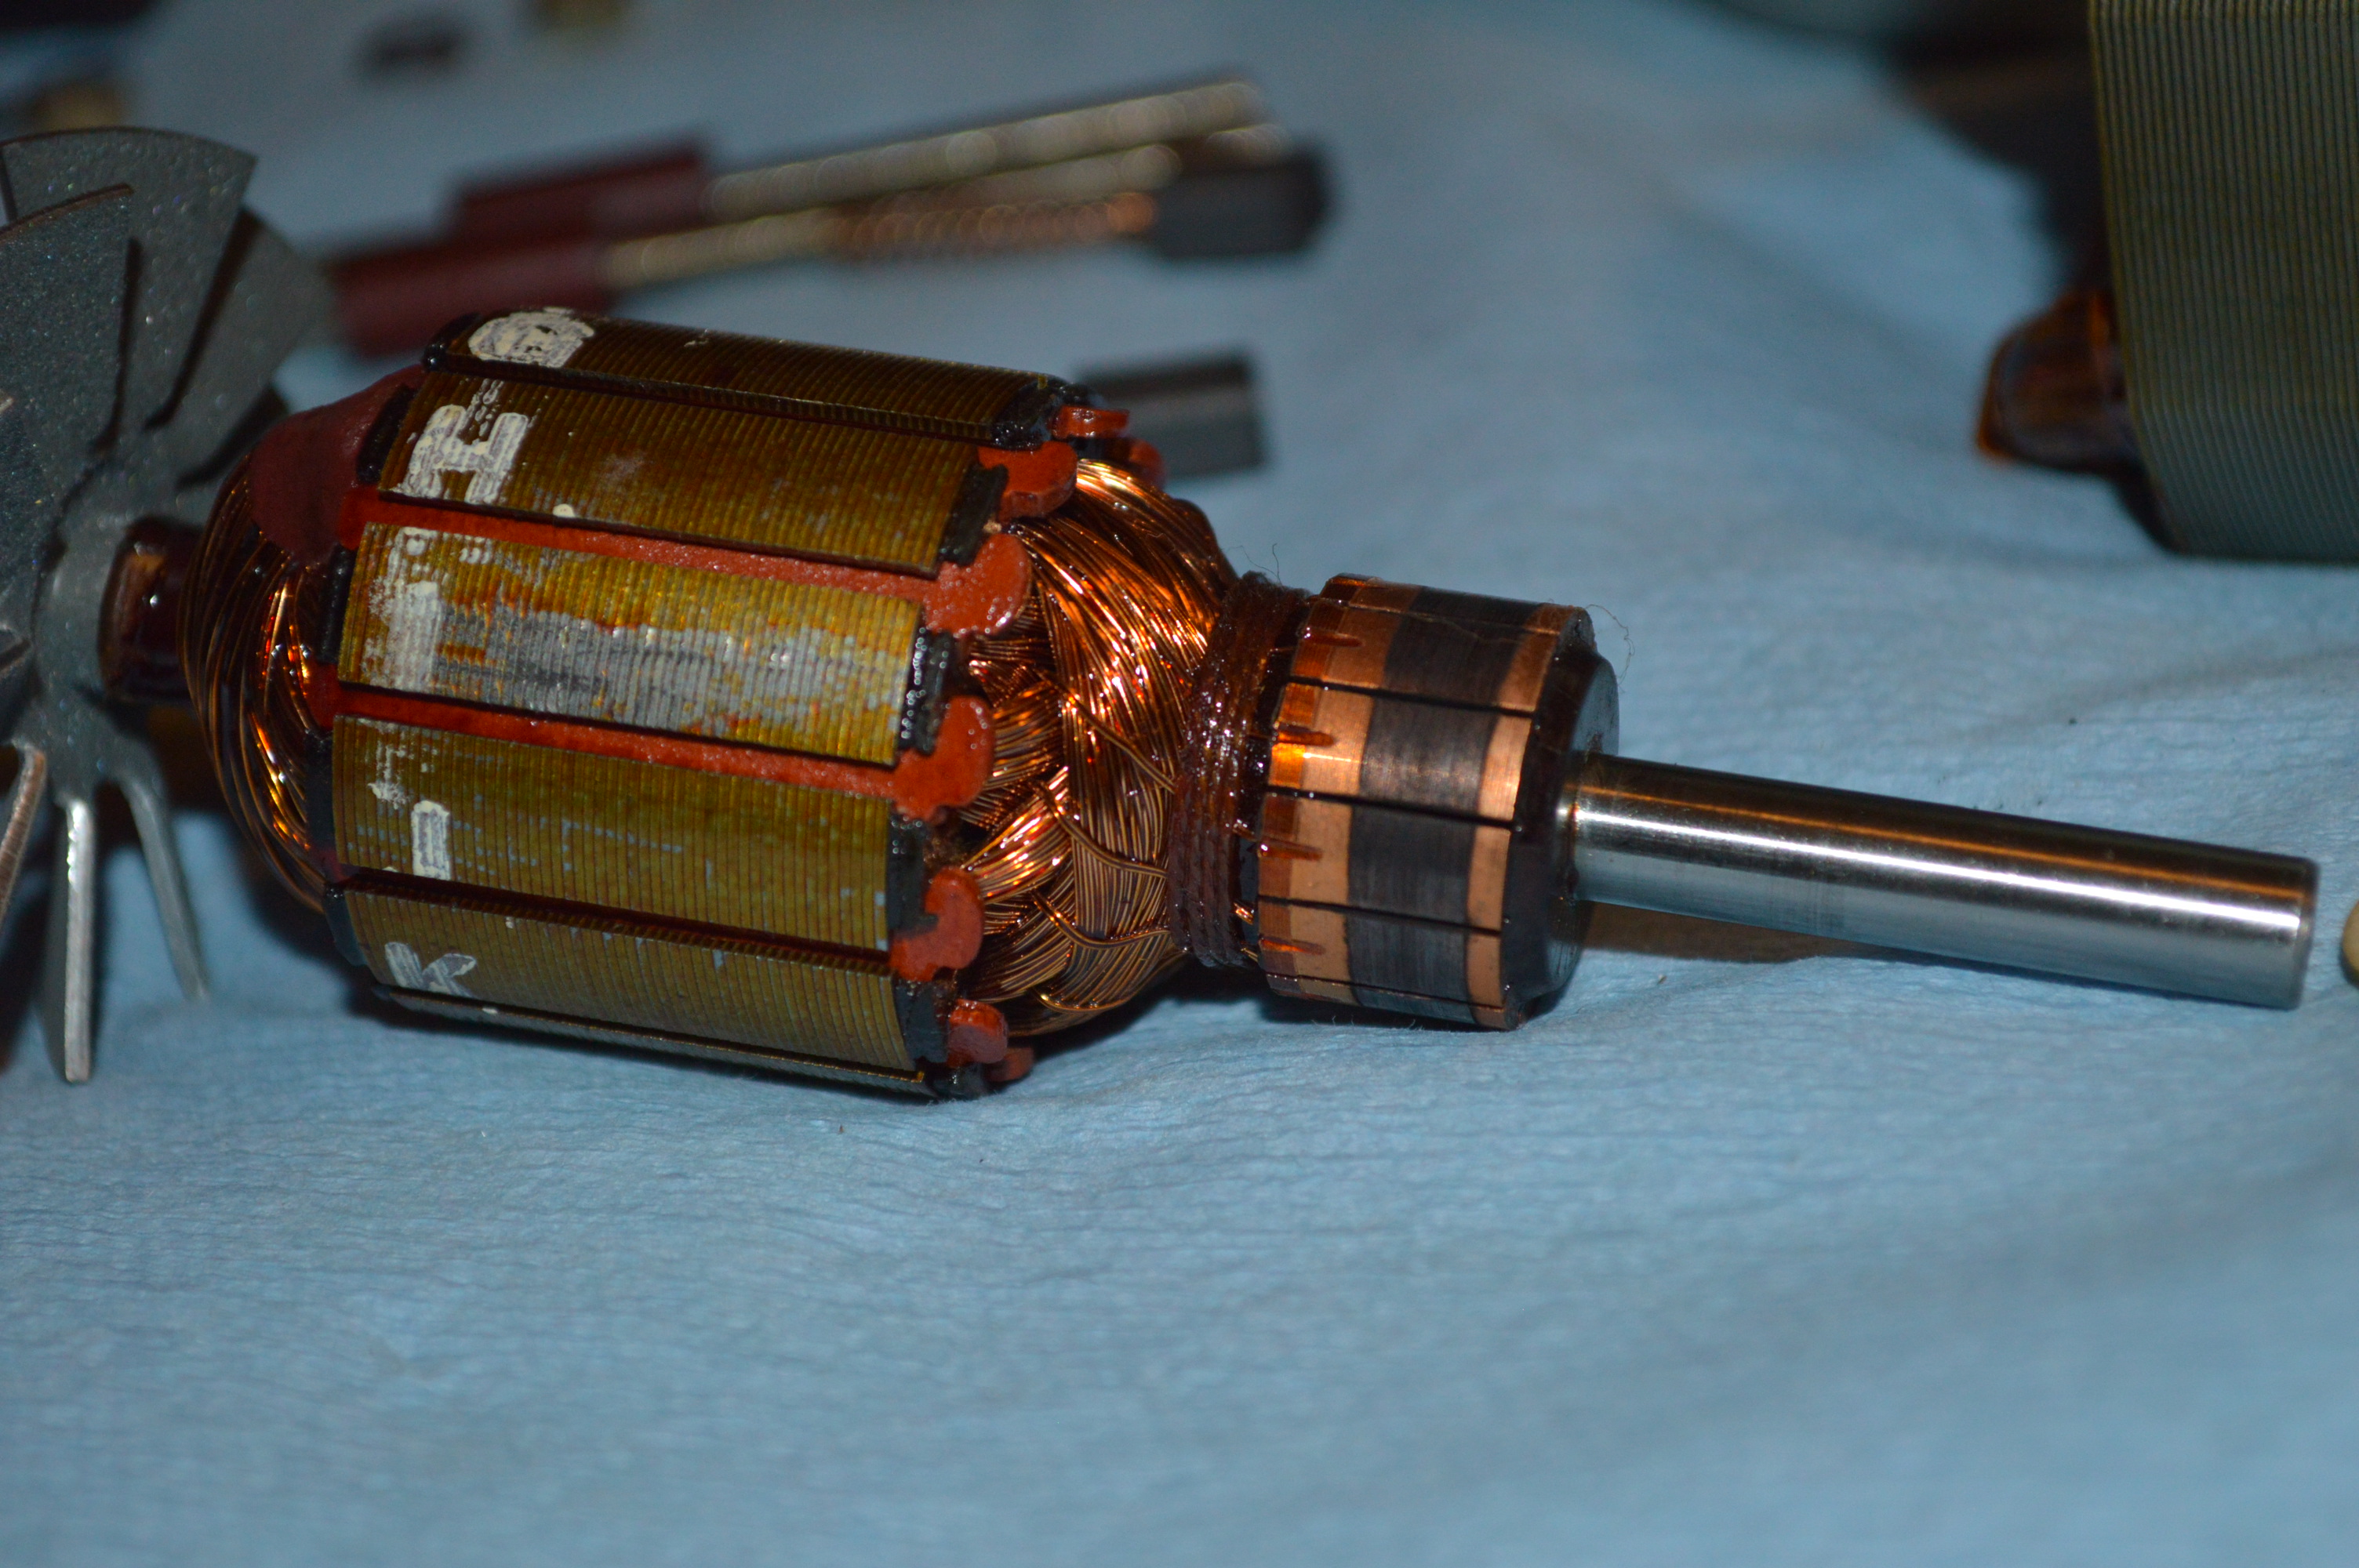
Armature before polishing 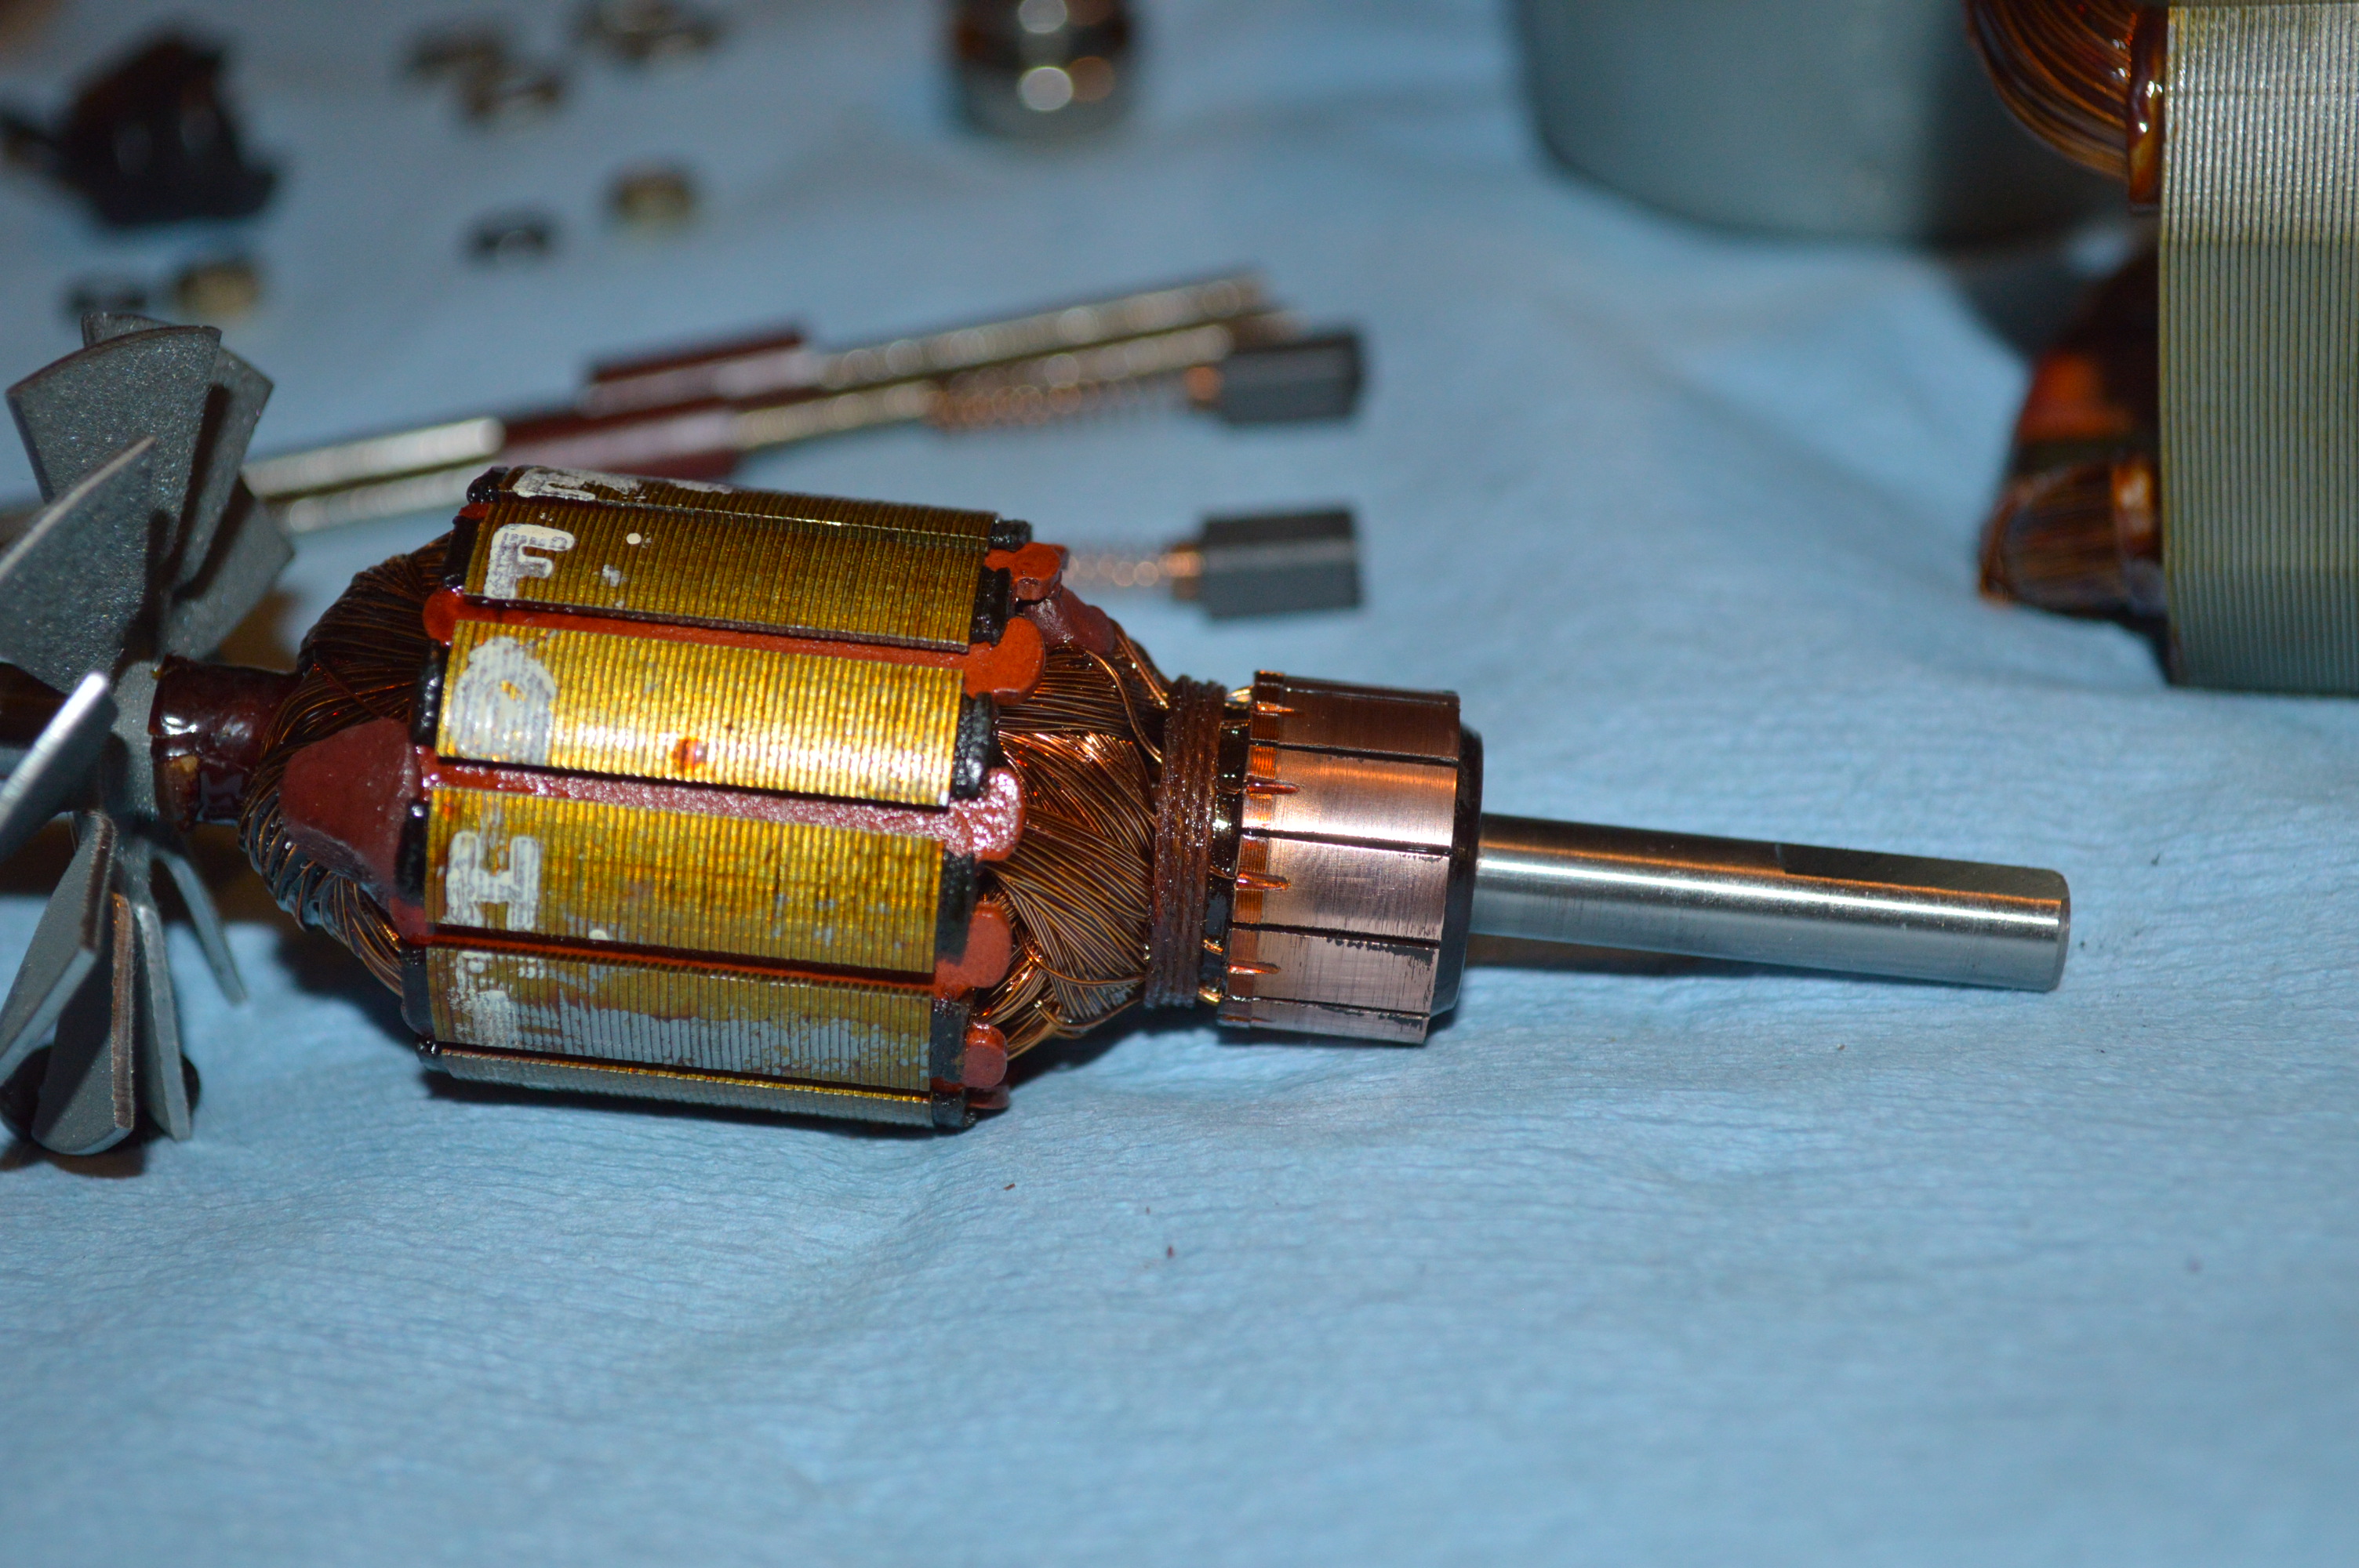
Armature after polishing
Once the motor is reassembled and lubricated, it is run in to ensure proper speed and power.
Another area that needs attention is the gear case. Most vintage machines that have these gear cases look the same when opened…
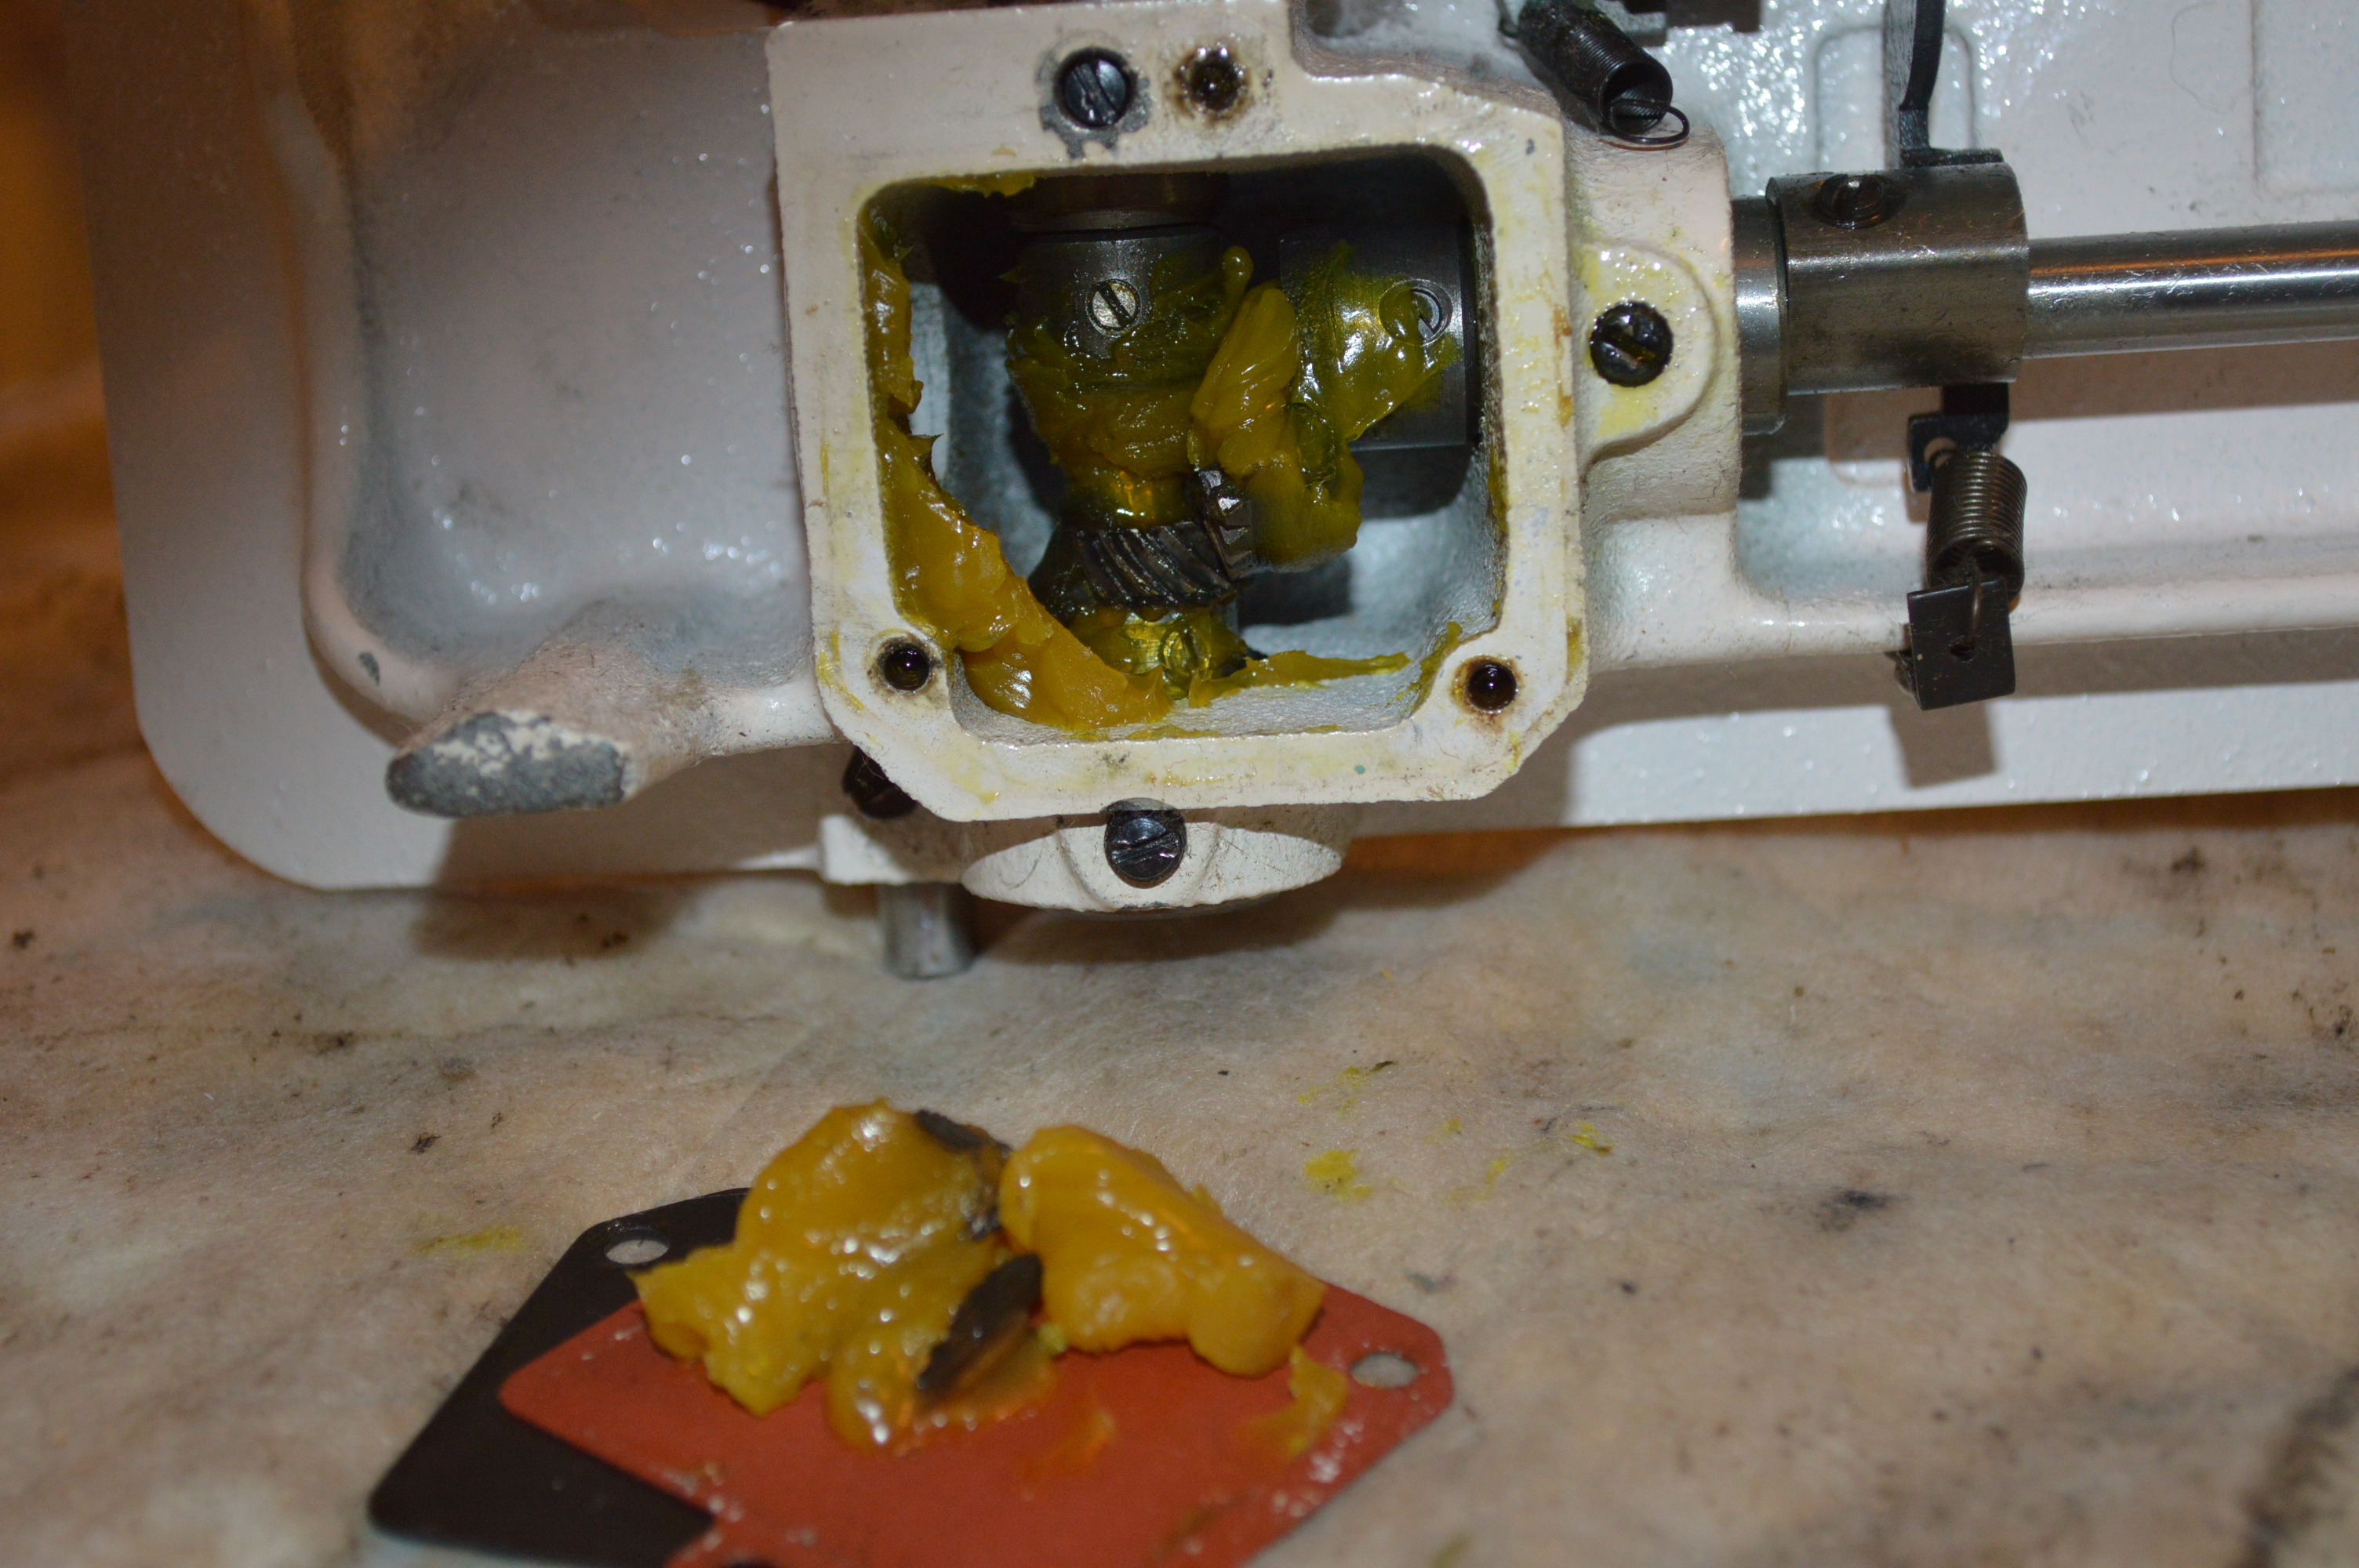
This grease has ceased to be effective, and the gear case is cleaned of all old grease…
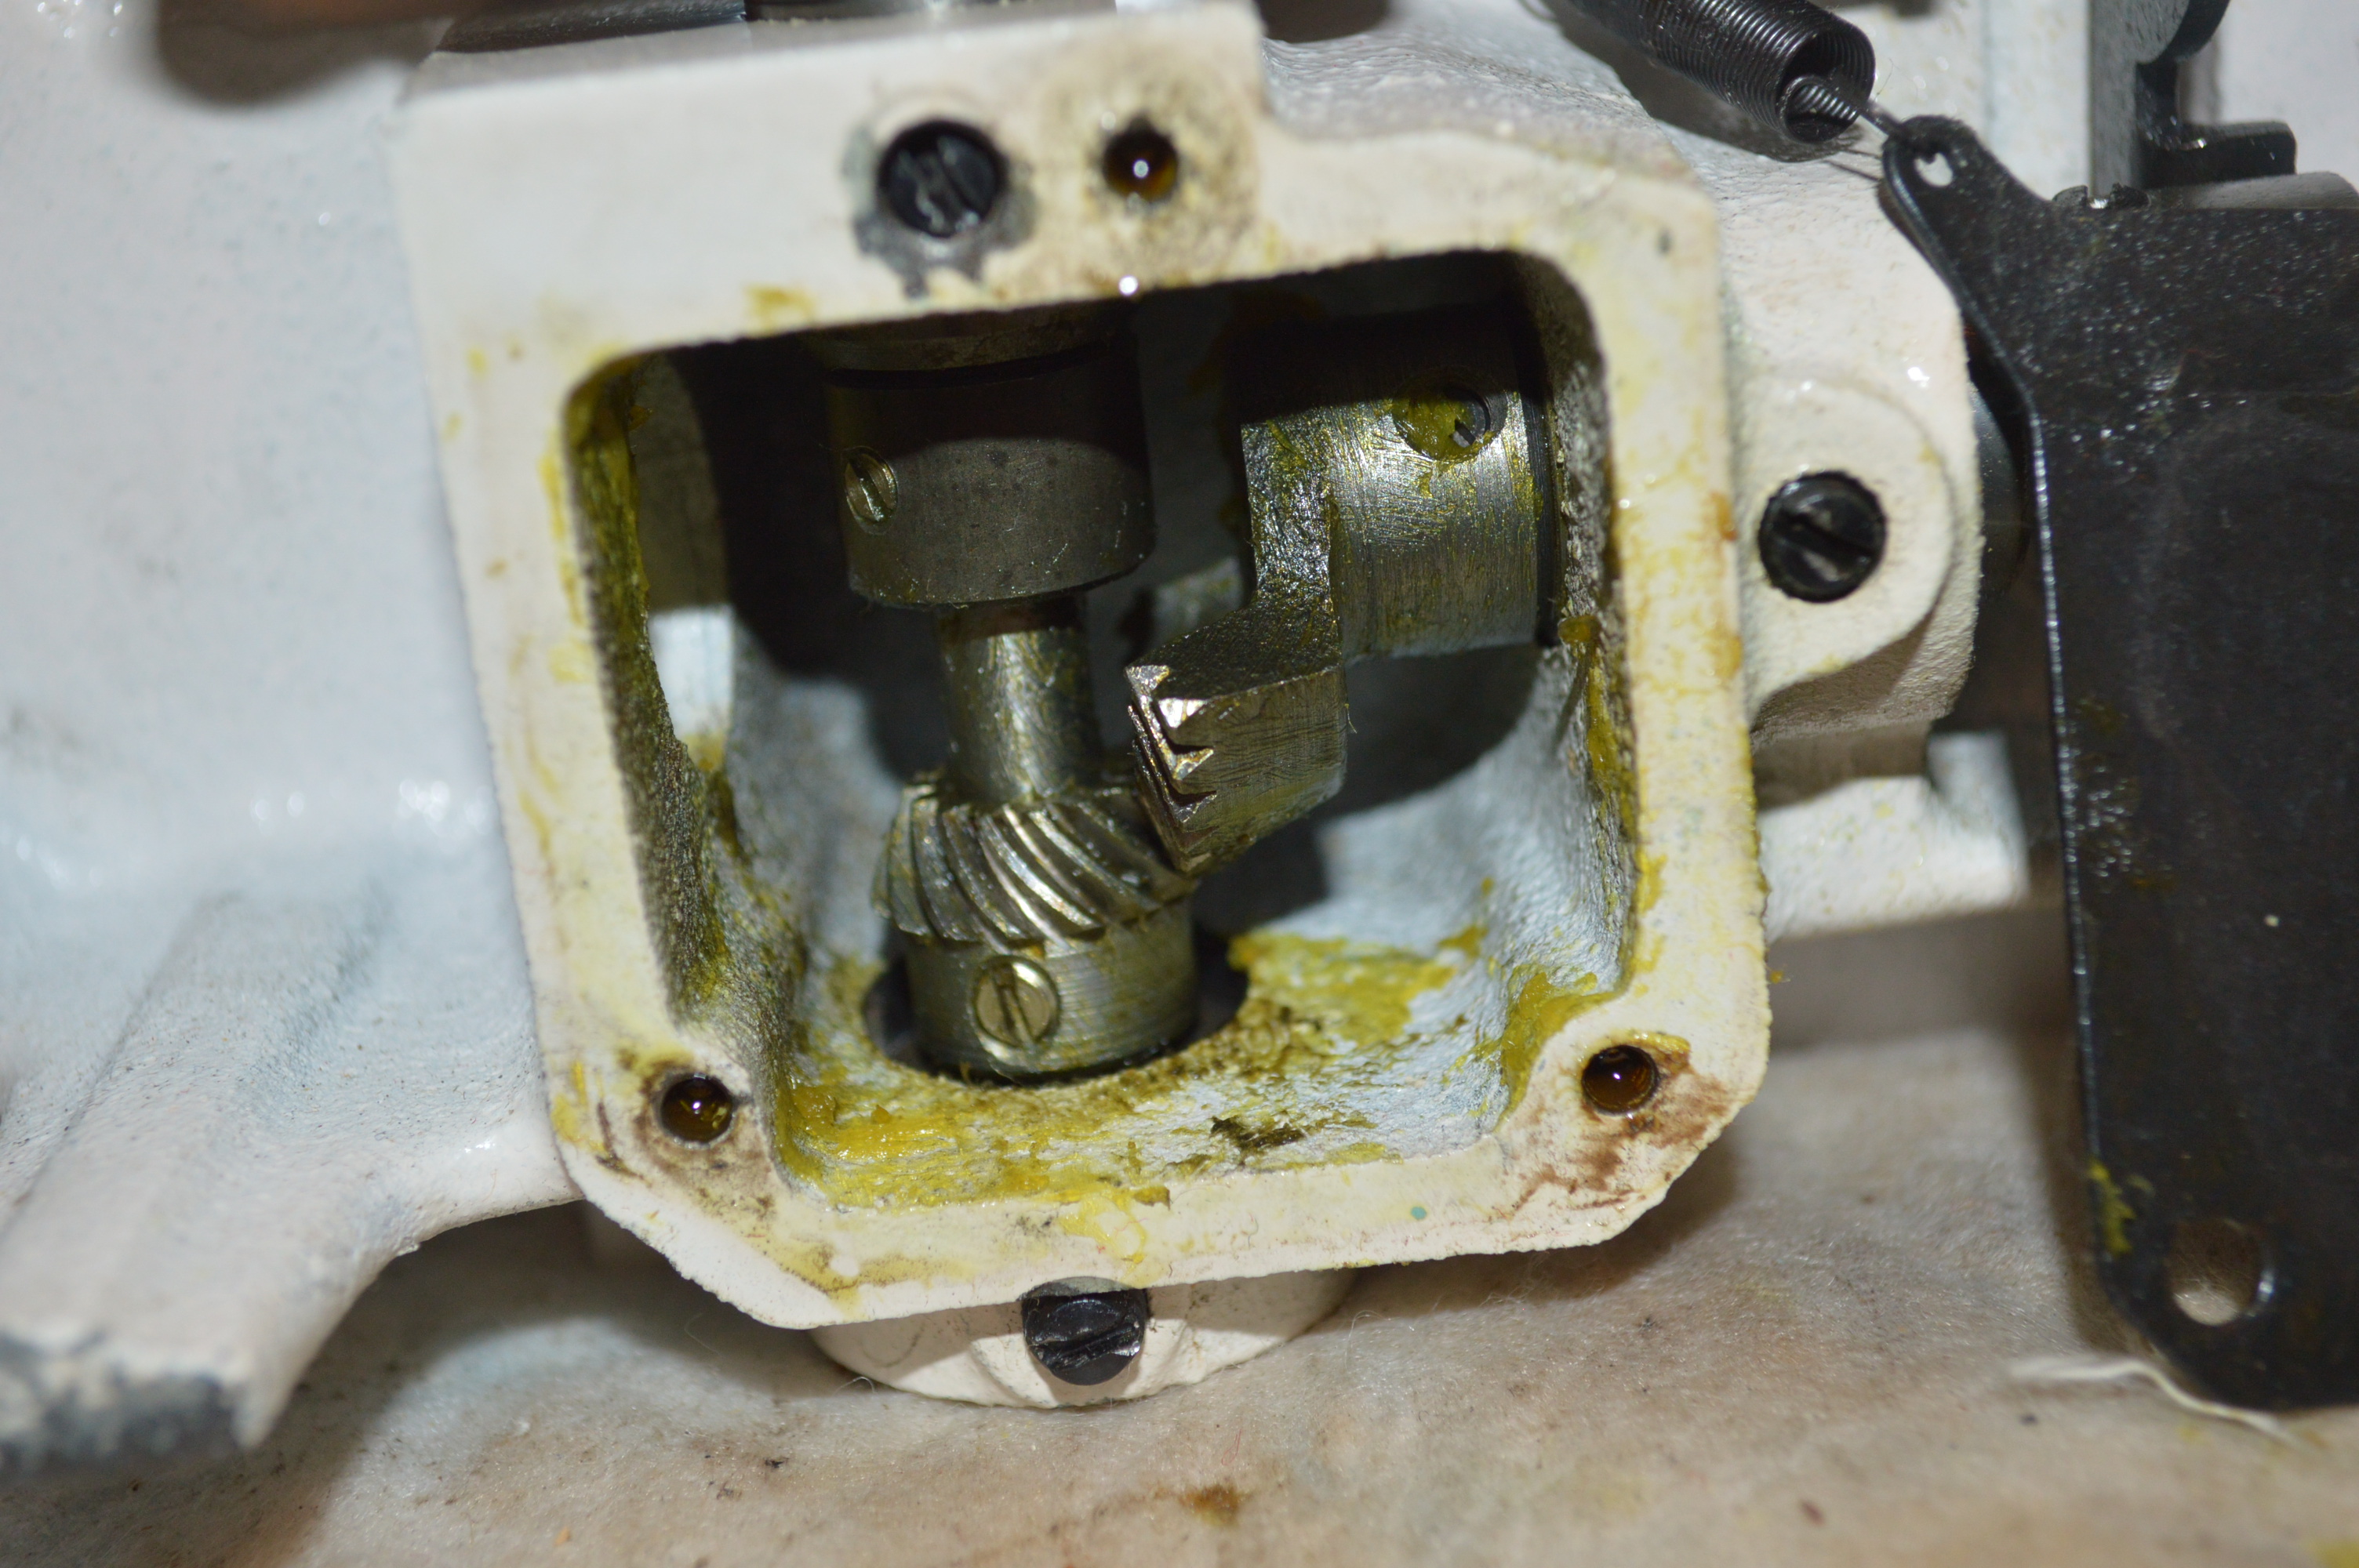
The gears are re-greased with Tri-Flow synthetic grease and the case is reassembled.
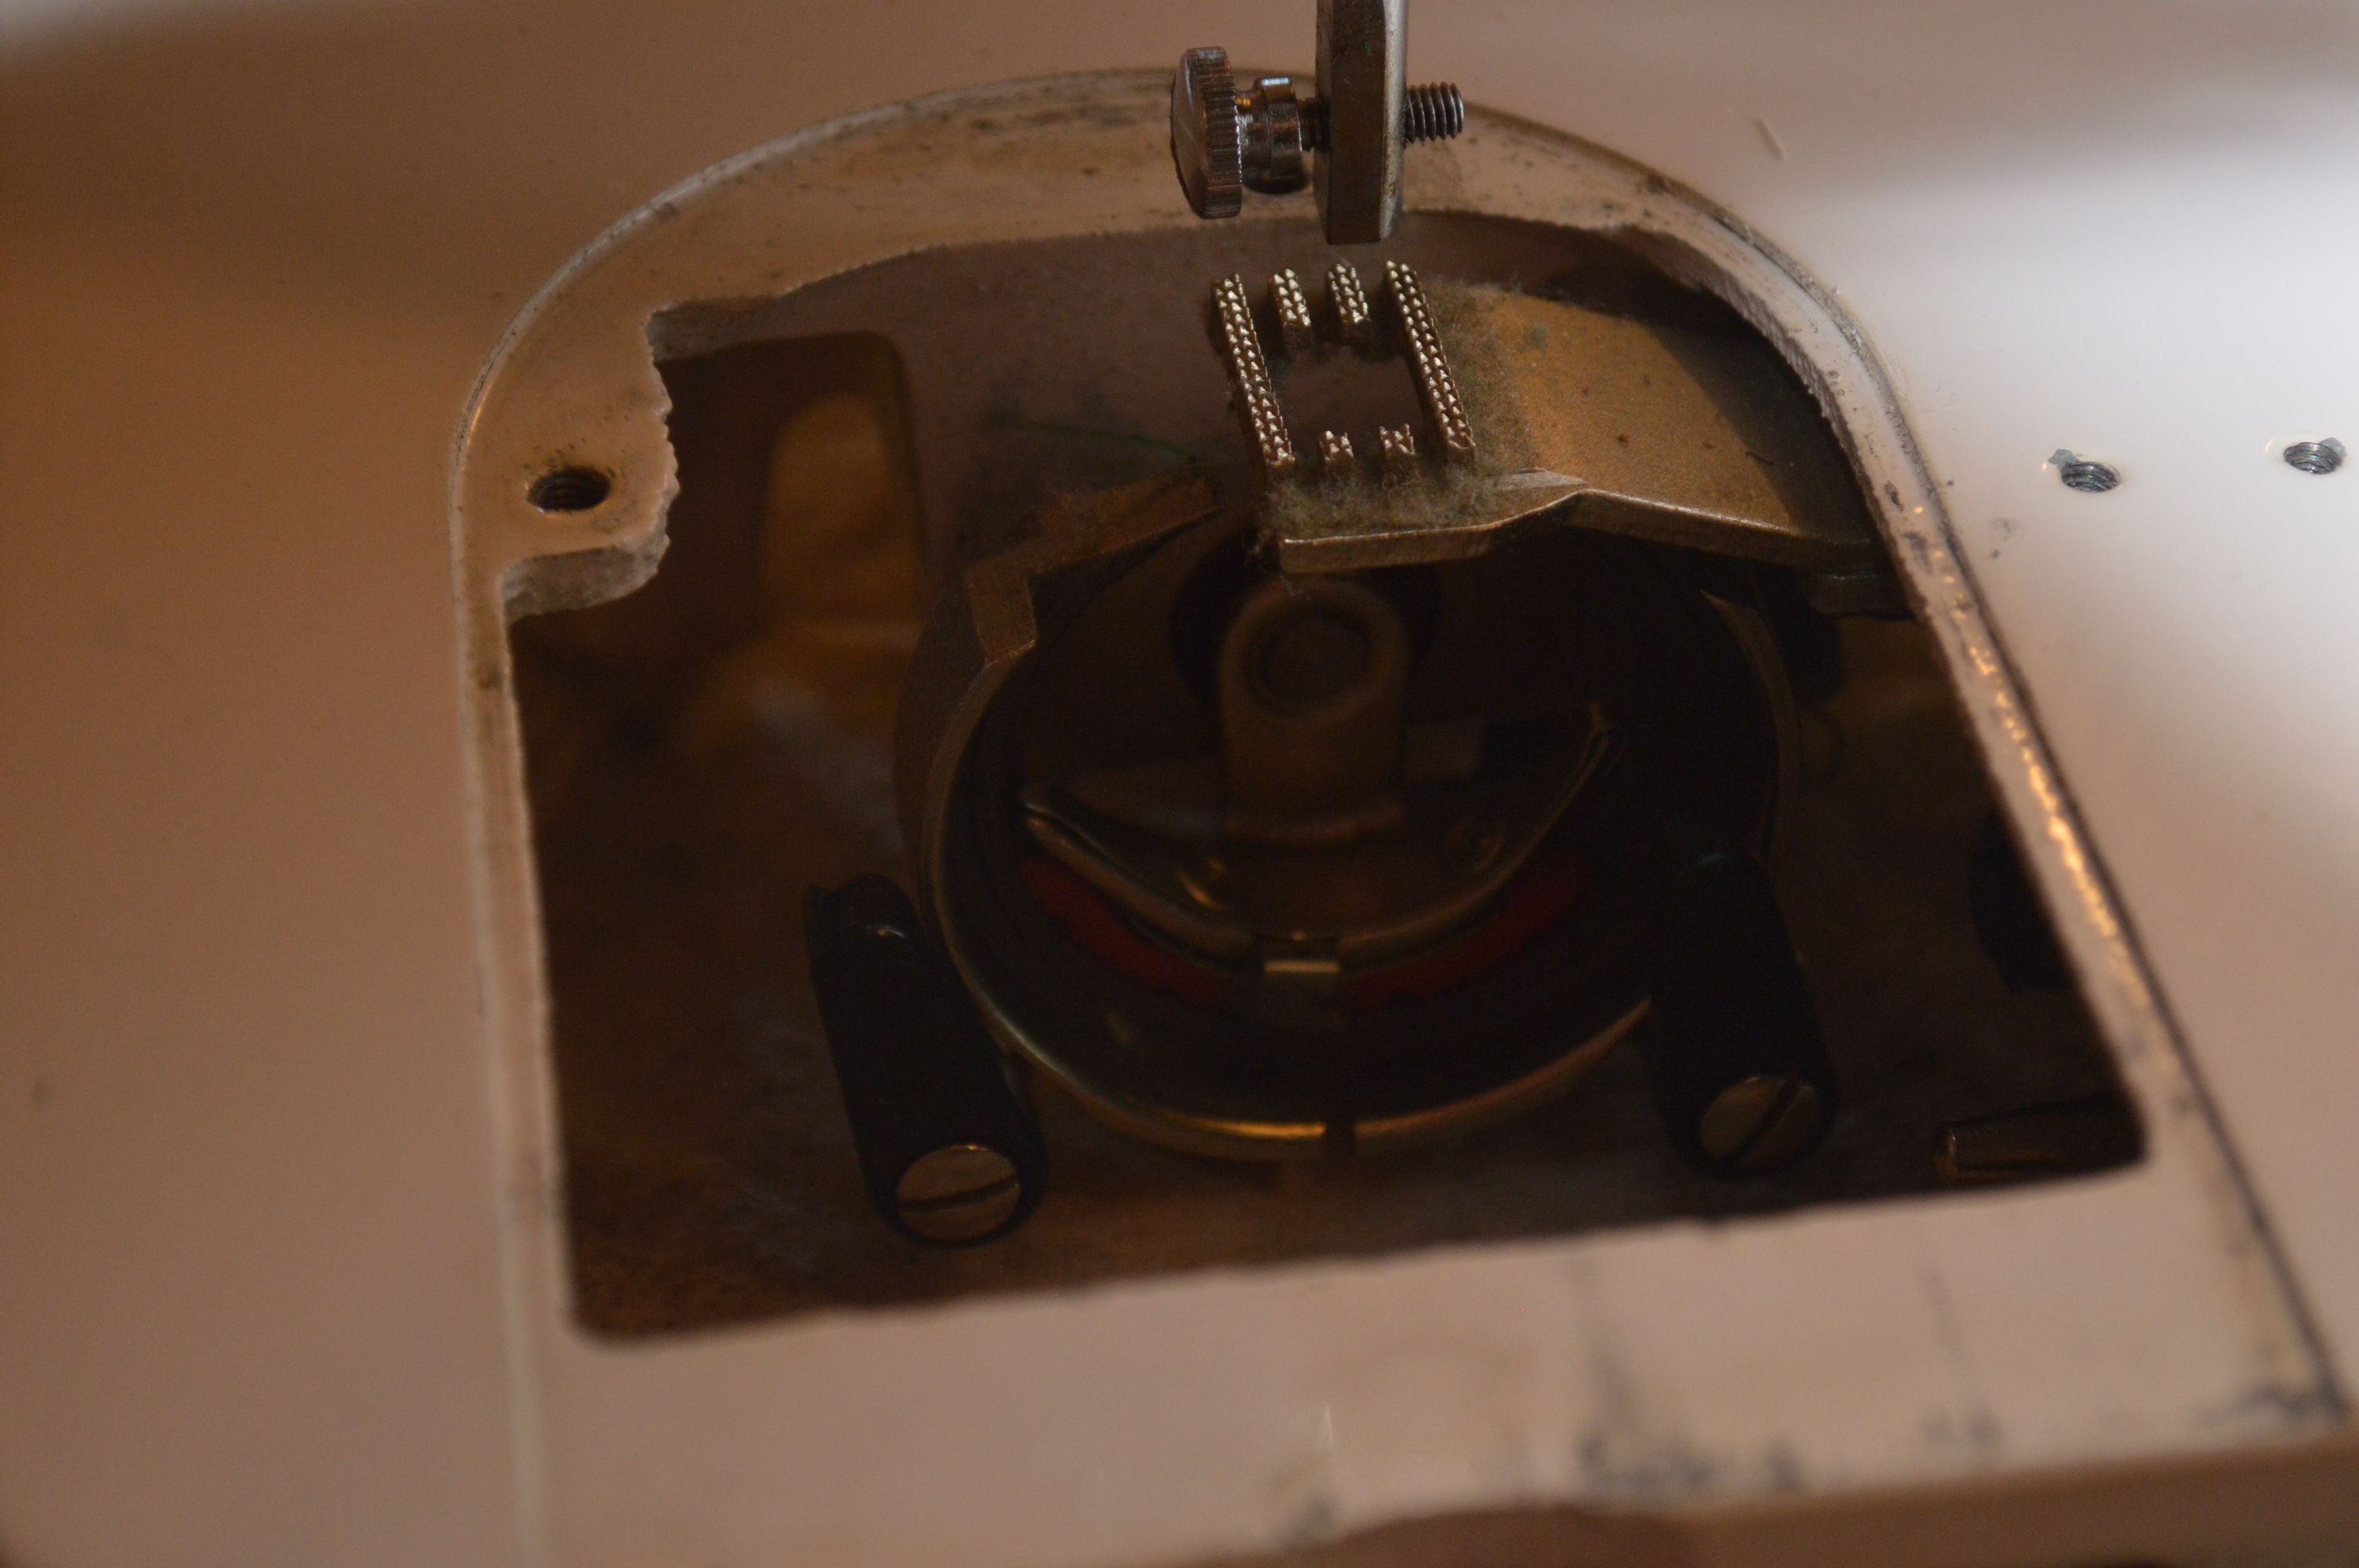
All of the little bits taken off, such as the shuttle hook, race cover, bobbin hook, screws, etc are ultrasonically cleaned. The needle bar, presser bar, connecting rod, stitch length rod, and the drive mechanisms located under the bed are cleaned and re-oiled.
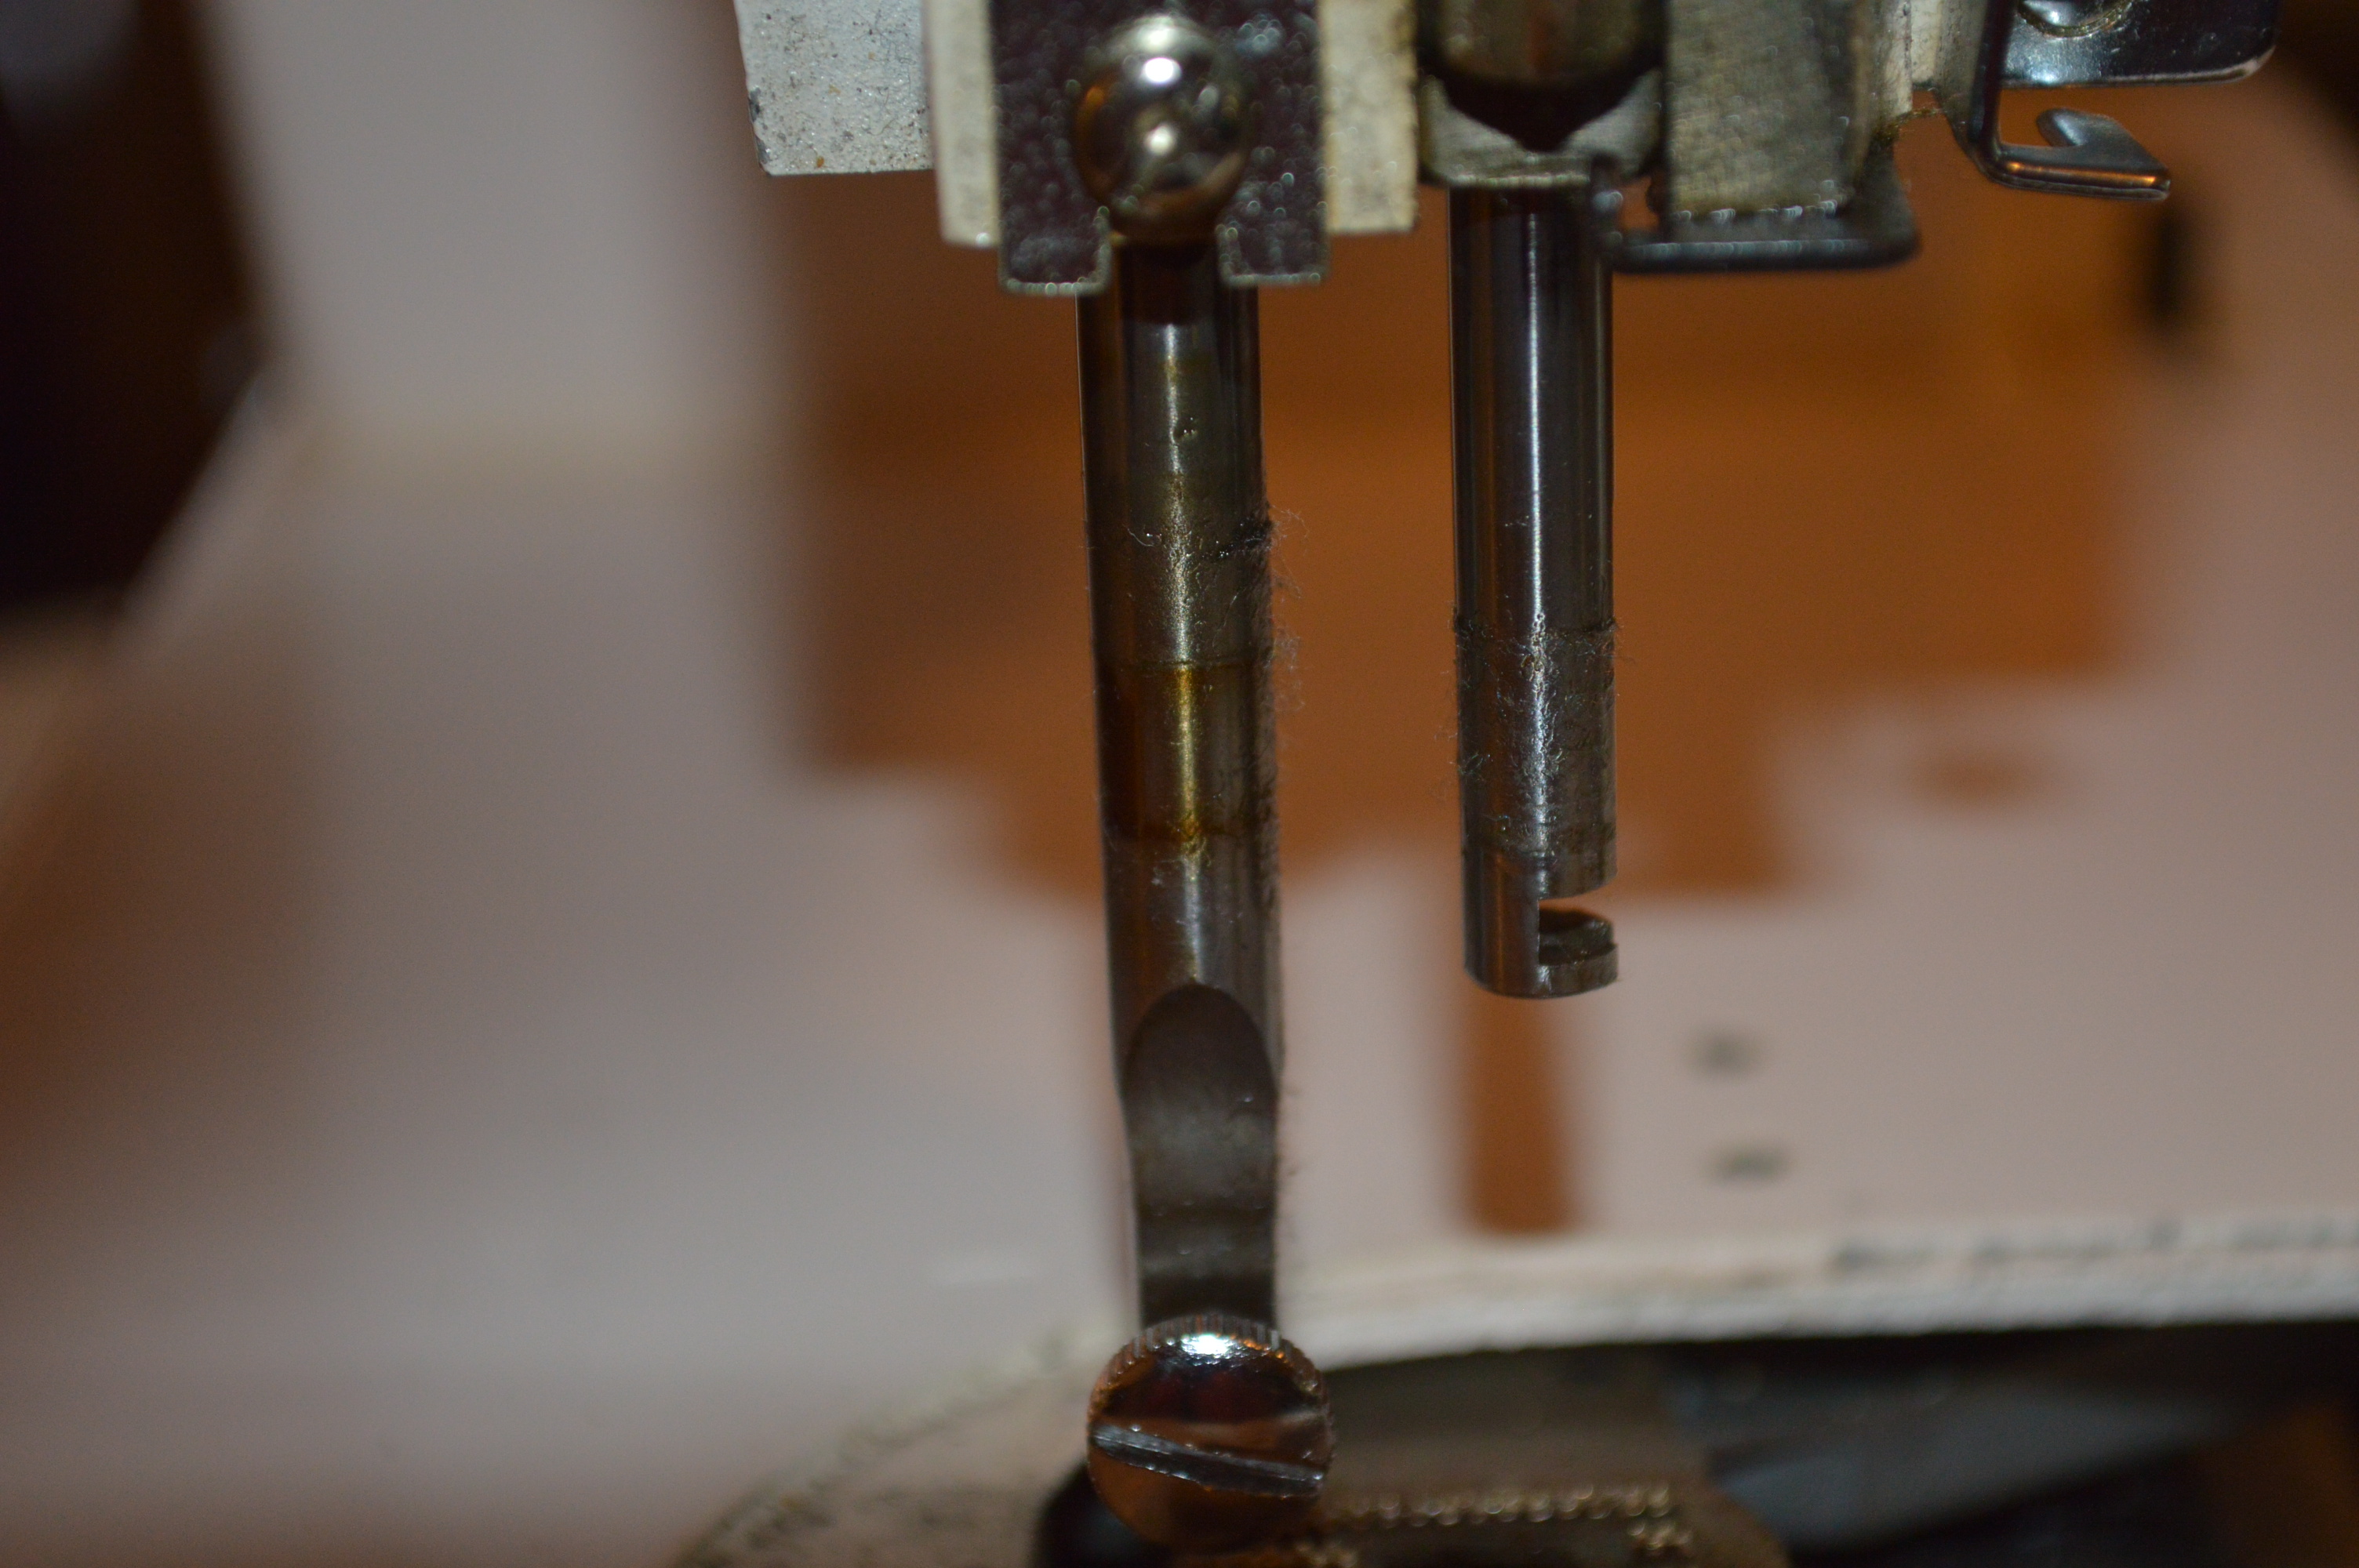
Before 
After 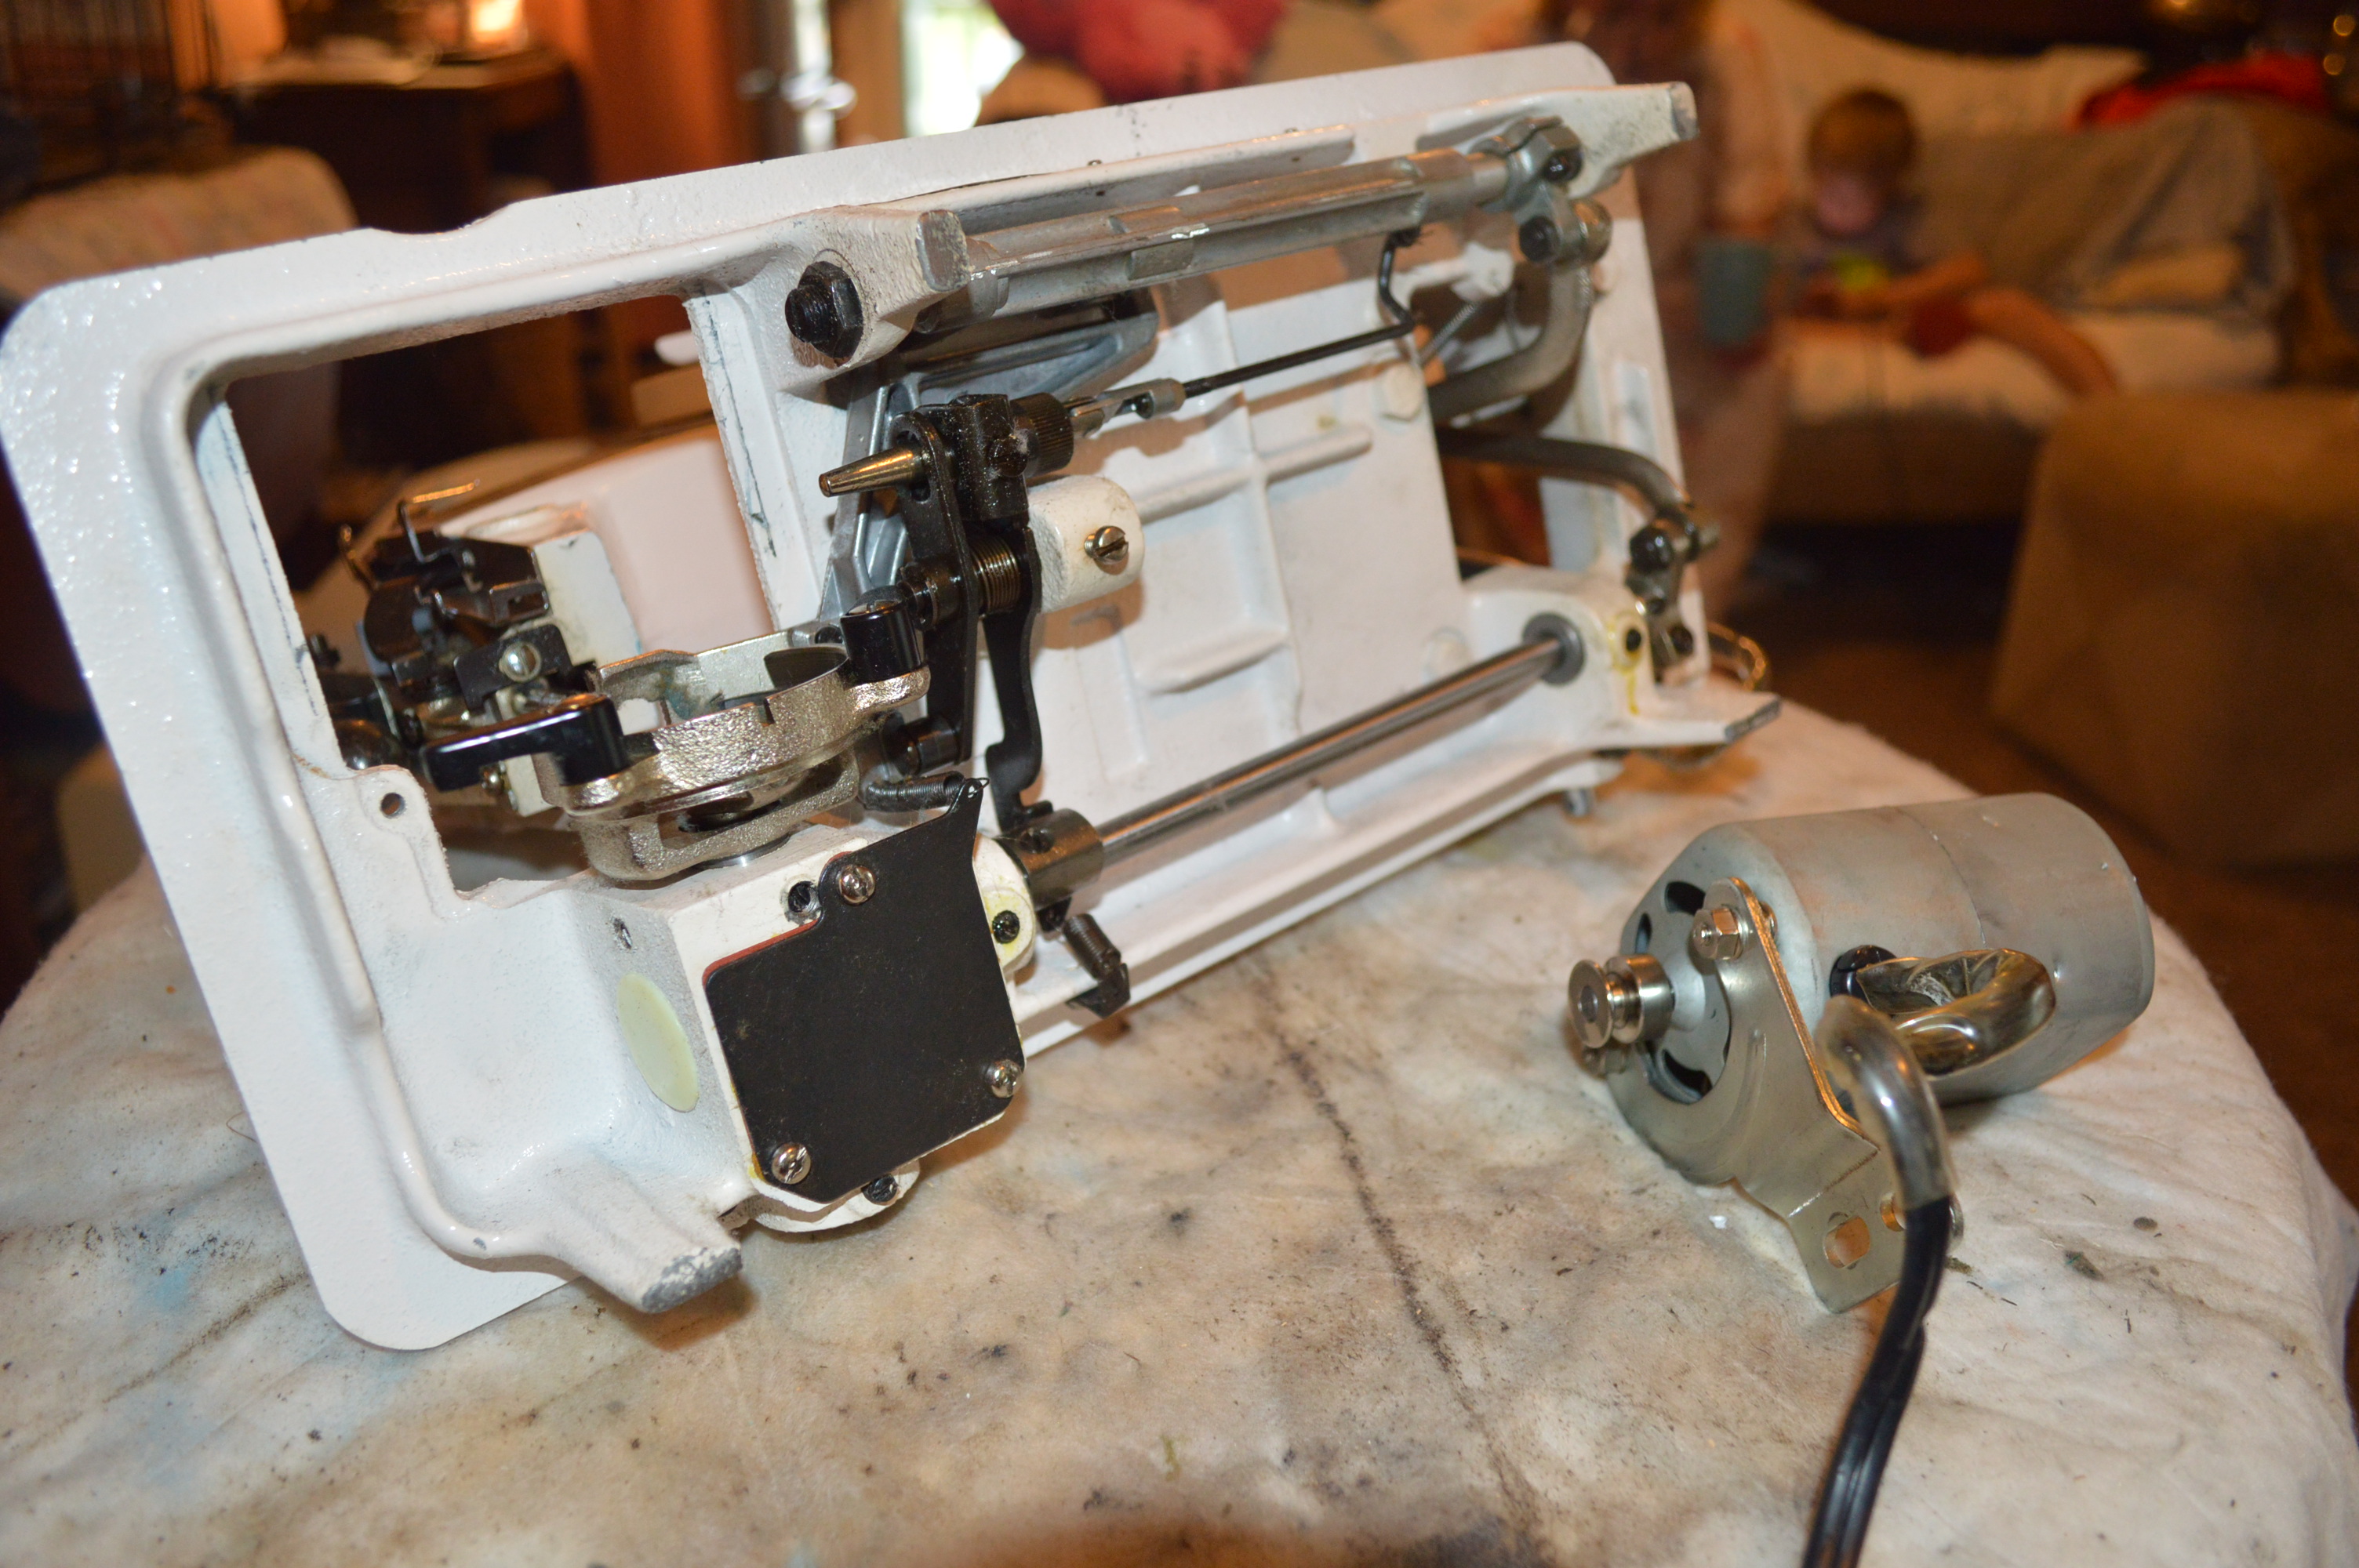
Underside Cleaned
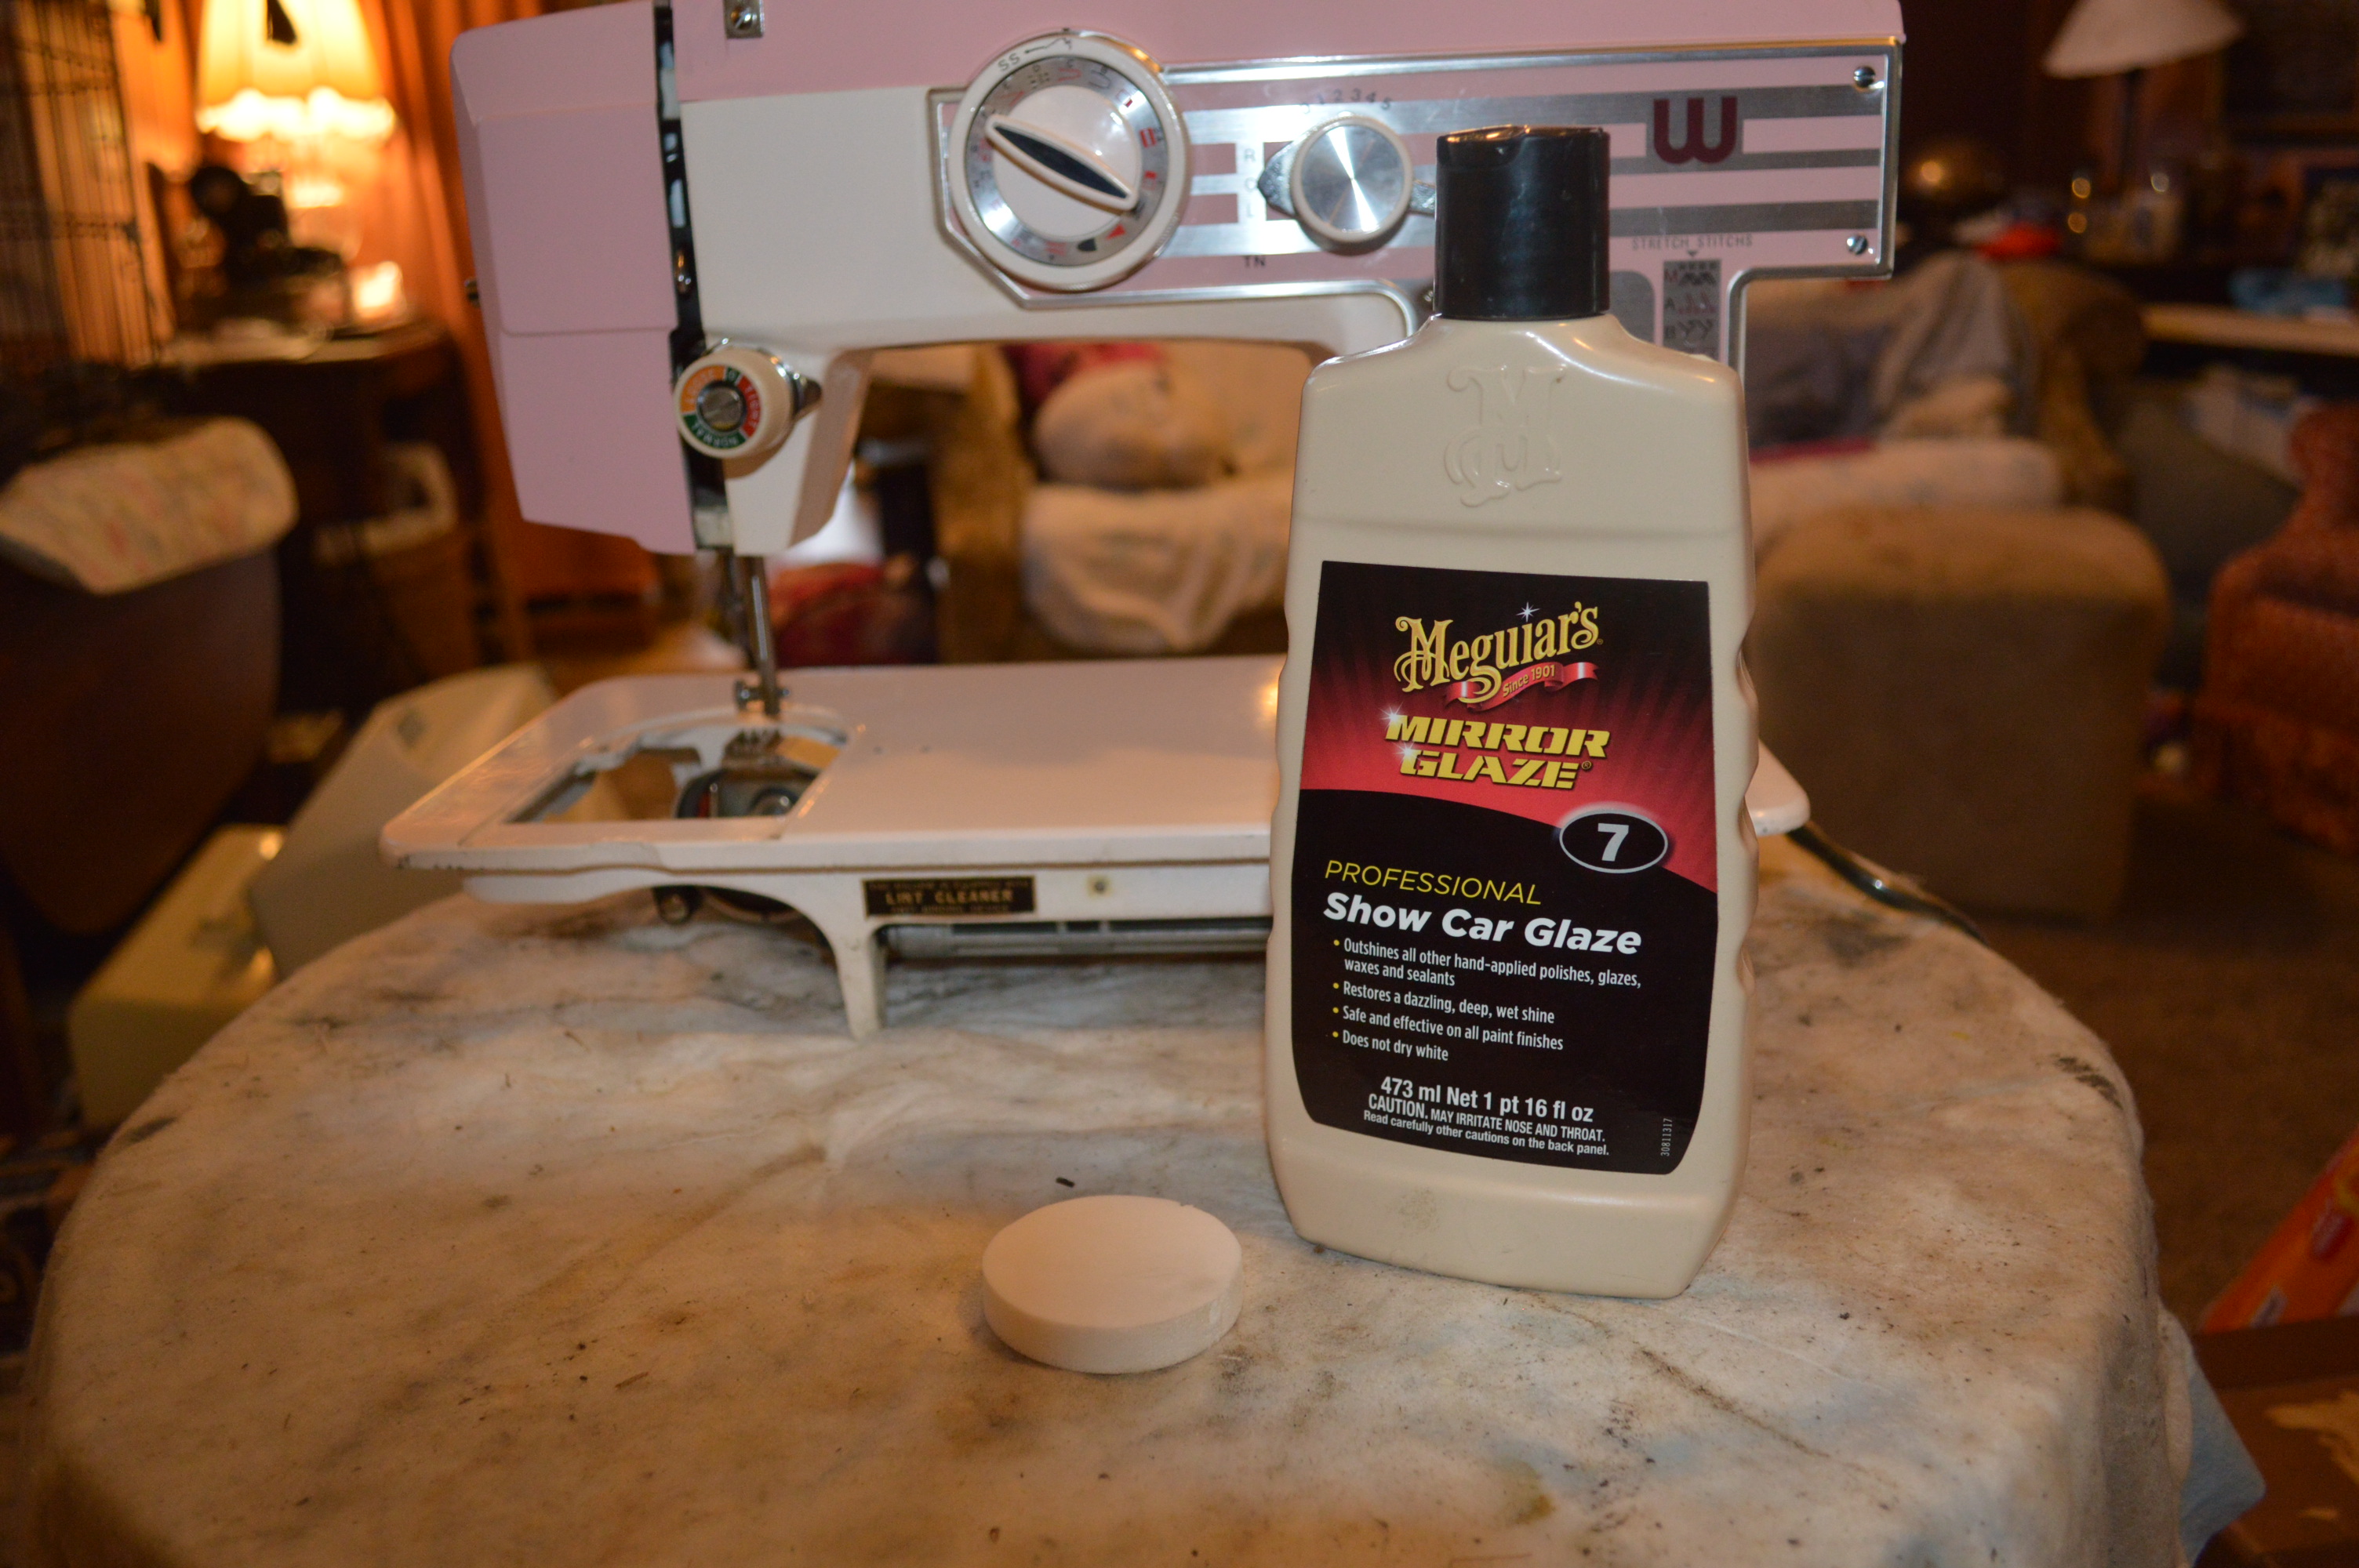
The cosmetic process begins. The body of the machine is cleaned, then polished, then waxed and buffed. The pieces removed allow better access to the body of the machine.

After everything is re-assembled. it is oiled and run for fine adjustments…
That’s it! Because of the condition of the machine, I’ll show the before and after… but it looks pretty good in both circumstances.
Before…


After…

One thing is for sure, White is a very high quality sewing machine and the White Sewing Machine Company was in the business for a very long time. It’s not a surprise that they make a great stretch stitch, and one of the best satin stitches you can get.
Tell me what you think!

I appreciate your skill with what you do. I am in love with this pink/white White and I’m happy to know your opinion of White’s in general. My husband is a woodworker, and has expanded into knife making and other interesting things. I am mainly a quilter. Do you think this machine is a good choice for a quilter? – maybe ask your wife if she sewed with it?
Thanks again
LikeLike
Hello Judi,
This White machine, like most White’s of this vintage have an abundance of piercing power. It produces a great stitch and it’s class 15 side loading bobbin is generally preferred for machines used for quilting. I have no doubt that it would work quite well for quilting. I think the best measure of this ability is the feed control (stitch length adjustment) and a straight stitch. White’s have the best feed I have seen on any vintage zigzag machine. The ability to make it’s beautiful satin stitch is due to the precision of the feed. This translates to a great straight stitch (basically a zero width zigzag stitch).
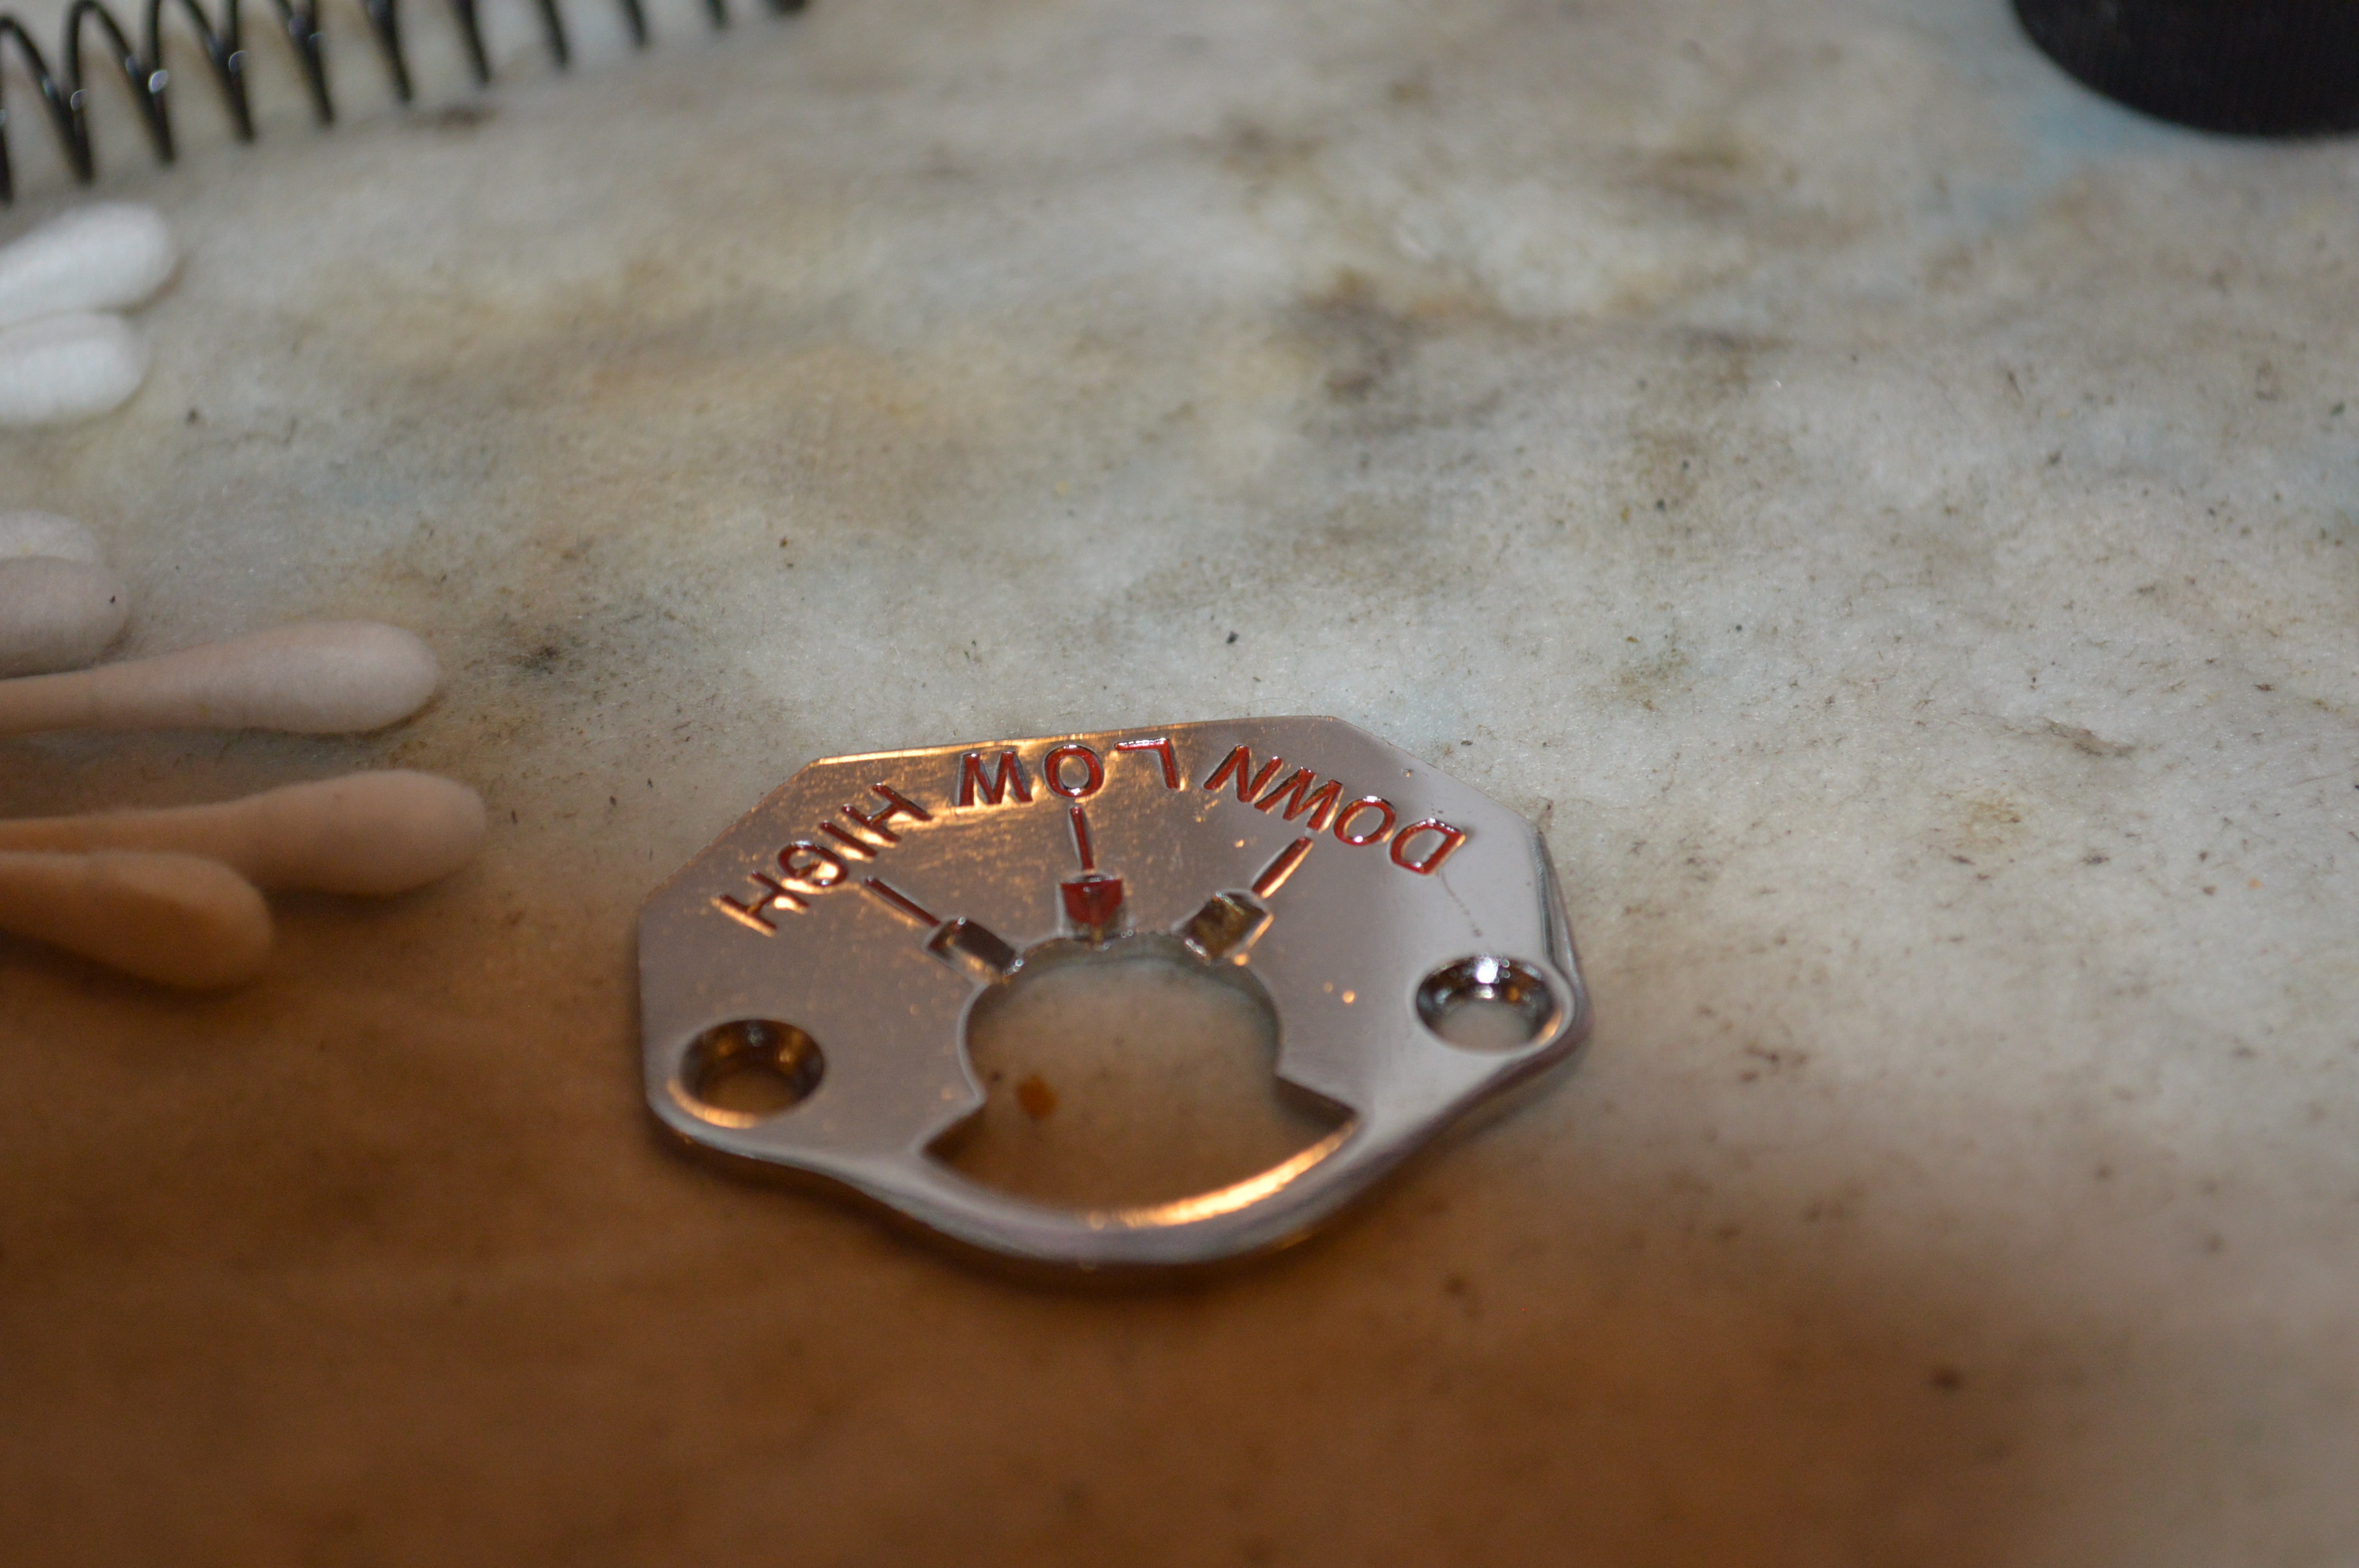
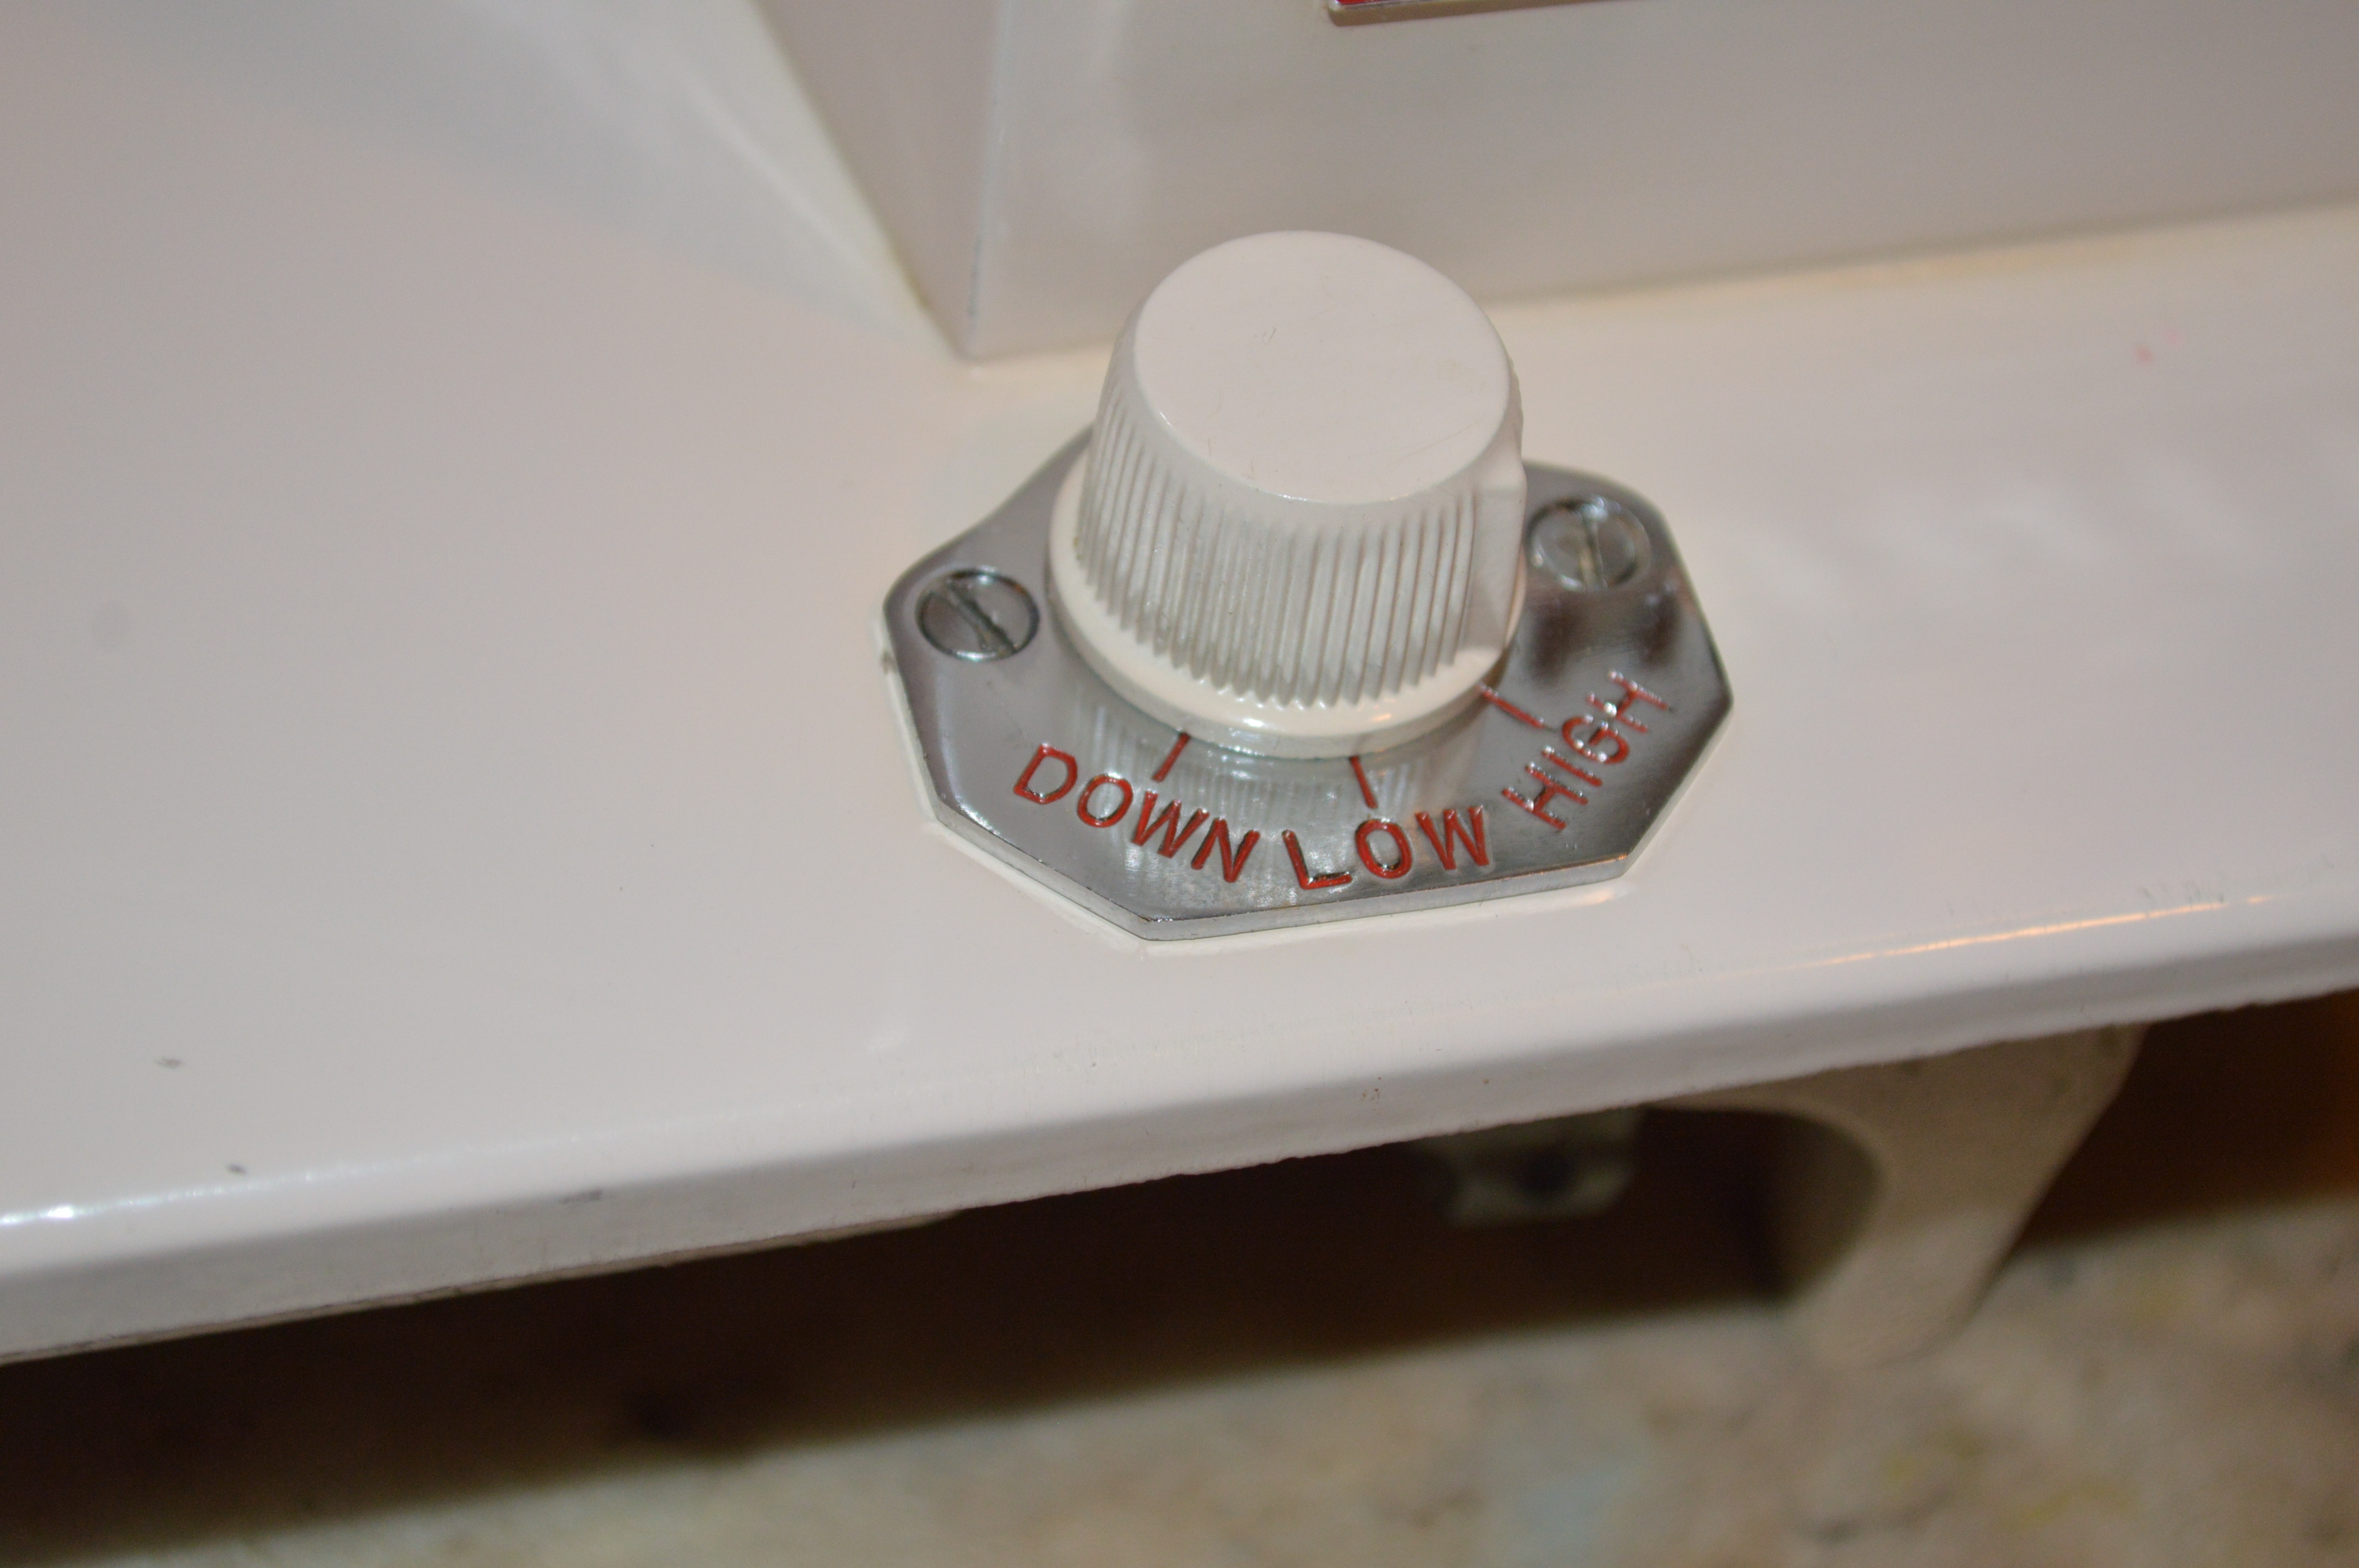
The machine has the ability to move the needle to the left, center, or right. This allows for multiple sewing preferences. The machine includes a quilting guide, a straight stitch needle plate, and a 1/4″ foot as accessories for quilting.
My wife is an avid sewer. She sews with all of our restored machines before I list them to make sure they sew well, and “feel” right (adjusted to her liking). She is not a quilter… free motion embroidery is her passion, but her opinion of the machine is high and it worked quite well at free motion embroidery.
I hope this answers your questions, and please feel free to contact me if you need any assistance.
Have a blessed evening,
Lee
I have no doubt that this machine would be great for quilting, or any sewing project you have.
LikeLike
I am also liking the White with stretch stitches. I really am looking for a butter smooth, humming type of machine – Elna comes to mind. I just bought a vintage Brother that I don’t like the sound at all. It’s a rough and bumpy ride although it was supposed to be serviced and ready to go. Any opinion between your two machines? Another thing I am making are rag rugs done with fabric and a zz stitch???
LikeLike
Gee… that’s a tough question. Both of these machines are smooth running. Both are all metal construction. The motor’s are close enough in power to make it a wash. The pink White is a much heavier machine, the stretch stitch machine is more portable. I can’t use Elna as a reference since I don’t have any experience with them… I prefer White’s, Singer’s, and Kenmore’s because they are easier to get replacement parts for, and accessories are more common and affordable. I have had Brother machines that ran beautifully. I restored a Brother “wizard”, a simple zigzag machine, and it whispered after restoration. There are many adjustments that make a machine run properly, and I think of this as “tuning”. One thing they all have in common is that they are not only vintage, but vintage all metal. As far as Brother’s go, the older, the better. There are plenty of vintage machines that have an abundance of plastic in the drive train and I avoid them.
To give you my honest opinion, I will need to compare them side by side and I will do that tomorrow and get back with you tomorrow evening.
I hope this helps.
Have a great evening!
Lee
LikeLike
Good evening Judi,
I have spent some time with both machines and compiled some data on each. I’ll start with the “Pink” White… The machine weighs 37 pounds. Using a digital tachometer, I clocked the machine running with the presser foot up and no fabric at 950 stitches per minute. The noise level is approx. 70 decibels (using a phone app). This is about the volume of a normal conversation. The sound of the machine is mellow.
The White “Stretch Stitches” machine weighs 24 pounds. With the presser foot up and no fabric, it runs at 865 stitches per minute. The noise level is approx. 68 decibels. It is slightly quieter, but the motor produced a noticeable “whine” compared to the pink machine. This is not an unusual sound, but it was absent in the pink machine.
Both have a very good straight stitch quality, and the zigzag stitch is excellent on both.
While slightly louder, the pink machine outperformed the “stretch stitches” in speed, and it has a mellower sound… Given a preference between the 2 machines in a side-by-side comparison, my Wife chose the pink machine hands down, with the comment that it had a better “feel”, has more features, and she likes the color.
I am confident that either would sew your projects.
Please let me know if you have any other questions, I am more than happy to assist you in any way I can.
Have a blessed evening!
Lee
LikeLike
Lee,
You are certainly a treat to do business with and do take your answers seriously. I don’t think I’d go wrong with either machine, but that pink one tickles me. Do you take paypal or? I will get my $$ together and you can let me know what you prefer.
Thanks
Judi
LikeLike
Do you think my pink machine will fit in a Martha Washington cabinet? I have a pretty one here.
LikeLike
Hello Judi,
I appreciate your interest in vintage sewing machines and they are very special to me. You will find the pink White in our Etsy store. You can find us there, our shop name is pungoliving. Since my retirement, my Wife and I have been sharing our interests, and I spend my time restoring these fine vintage sewing machines.They truly are built to last a lifetime and it is gratifying to me that there are folks like you who know and appreciate this.
I wish I could answer your question on a fir for your Martha Washington cabinet… I don’t know the answer because the early White machines had a different hinge spacing from Singer machines. This was complicated further in the the older White machines had a bobbin plate cover that was shaped like a T-shirt. Their cabinets fit this plate. You can look at a picture of a White “family rotary” machine to see what I mean by this. I don’t know if your cabinet accommodates this. This was later standardized to a large extent, and the pink White (as do most other machines except for Kenmores) fits the Singer pattern.
The Martha Washington cabinet is a truly fine piece of furniture. It was generally acknowledged that White made the best cabinets available. They even owned their own forests to grow the wood they used!
You may be able to see by taking some simple measurements. The pink White machine has dimensions of 14-1/2″ long by 7″ wide, and the distance between the hinges is 9-5/8″.
It would be great to be able to pair the machine and the cabinet together.
Sorry to ramble on, but if you are interested in purchasing the pink White, please visit our store!
Again, please let me know how we can help you,
Have a blessed day!
Lee
LikeLike
Love your detailed instructions and will use if I get brave enough. I have this beauty that was given as a graduation gift in 1975. Here’s my question. Where can I get a new electrical box? Also, I can’t get long stitches, only really tight, tiny stitches. Any suggestions? Thanks so much for this page, information and your love of this pink beauty!
ps. I can’t been a good owner with upkeep. Last tune-up was 10 years ago
LikeLike
Good afternoon CJ,
I think you are talking about the electrical cord with the plug for your motor and your light… You can find it at Central Michigan Sewing Supply and it is called a “Universal Home Sewing Machine Power Cord Motor & Light Block Portable Models”. I have no affiliation with them, but I order some parts from them from time to time… check around and price shop.
The short stitch length problem is an adjustment. Typical for machines that have a dial stitch length, as you turn the dial to a shouter stitch, the knob actually has a pin that extends out as you shorten the stitch length. The shorter the stitch length, the farther the pin will extend out. This pin sets against the stitch length fork. It is easy to identify it by taking off the top cover and looking down at the rear of the machine. You can also see the back of the stitch length dial and where the pin touches the fork. Sometimes the pin gets “frozen” in position and won’t move back and forth and the stitch length will be “set” wherever it happens to be set. You can try to free this up with a little oil on the pin, and while turning the stitch length dial between short and long stitch lengths while pushing the pin with a small screw driver. If this is the problem, the pin will move smoothly in and out. Otherwise, it is likely a problem with the stitch length dial.
I sure hope this help you get your machine sewing great again, your machine is certainly a fine machine and are very durable. Please let me know if this worked or if I can be of any assistance.
Have a blessed weekend,
Lee
LikeLike
I am looking for a manual for the pink lady model 656…i was given this machine and it looks like it was never used but i cant find any info on it at all
LikeLike
Hello Tammy,
I happen to have the manual for your machine. If you send me your email address to pungoliving@gmail.com, I will be happy to email a pdf copy.
The White 656 is a very good machine… best satin stitch out there!
Lee
LikeLike
Hello! I have this machine and it has been giving me some issues. I believe the upper tension is too loose because the upper thread forms loops over the lower thread. I think the problem is with the tension dial. When I turn dial to tighten or loosen the tension it doesnt seem to help. Thanks in advance!
LikeLike
Hello Andrea,
99% of the time the condition you describe is an upper tension issue, but not always. Assuming the machine was running fine before this problem started, the question is what changed? Tension assemblies don’t have many moving parts and aside from the “beehive” spring, responsible for adjusting the pressure on the tension discs, there isn’t much to go wrong. Beehive springs are very durable and the chances of it breaking is pretty low.
That said, let’s diagnose some potential causes.
1. I would start with setting the tension dial in the middle of the green range. This should be enough to put tension on the thread. Then I would raise the presser foot up… with the presser foot up, the tension discs should be loose. Now put the presser foot down, The tension discs should be pressed firmly together. If this is the case, the tension assembly is working. The next step is to see if it is providing adjustment to the thread tension.
2. With the presser foot up, thread the machine until the thread is through the lower thread guide, but not through the needle. The thread should pull freely through the thread guides. Now lower the presser foot bar. The thread should feel resistance and not pull freely. Loosen the tension dial to the lowest setting in the “yellow” range. The thread should pull with less resistance. Tighten the dial to the highest setting in the “red” range and the thread should pull with great resistance (or even break). If this is the case, the tension assembly is not the problem. If not, the tension assembly is not working properly and it is likely the beehive spring is the problem.
3. Assuming the tension assembly is showing adjustment, the problem can be caused by threading the machine with the presser foot down. It’s a simple error, but with the foot down when threading, the thread won’t seat properly between the tension discs and the machine will not operate properly. Thread nesting can result.
4. Check the bobbin thread tension. With the bobbin thread pulled up through the needle plate, it should pull with little resistance. This is somewhat subjective, but you should feel a little resistance… but not too much. To give you an idea, it should be about the same as pulling the thread through the thread guides with the presser foot up. If the bobbin thread tension is too tight, the top thread tension will not pull the bobbin thread up into the fabric and nesting can result. If the bobbin case tension is too tight, it can be adjusted by loosening the small set screw on the bobbin case leaf spring. At this point, I would disassemble the leaf spring and clean the gunk that is trapped under the spring and holding the thread from moving smoothly.
4. Change the needle… a bent needle can cause a host of problems. Make sure the needle is inserted correctly. The long groove in the needle should face the front of the machine.
I think by following these suggestions, you will identify where the problem is coming from.
Please let me know if it helped and let me know if I can be of any further assistance.
Lee
I hope this helps and please let me know if the problem goes away.
LikeLike
I have this machine and love it was wondering what year it was made.
LikeLike
Year?
LikeLike
Hello Christina,
It’s hard to date these machines, but I think late 60’s is a good guess… it’s a fine machine!
LikeLike